Tag

Indian sweets

Browsing

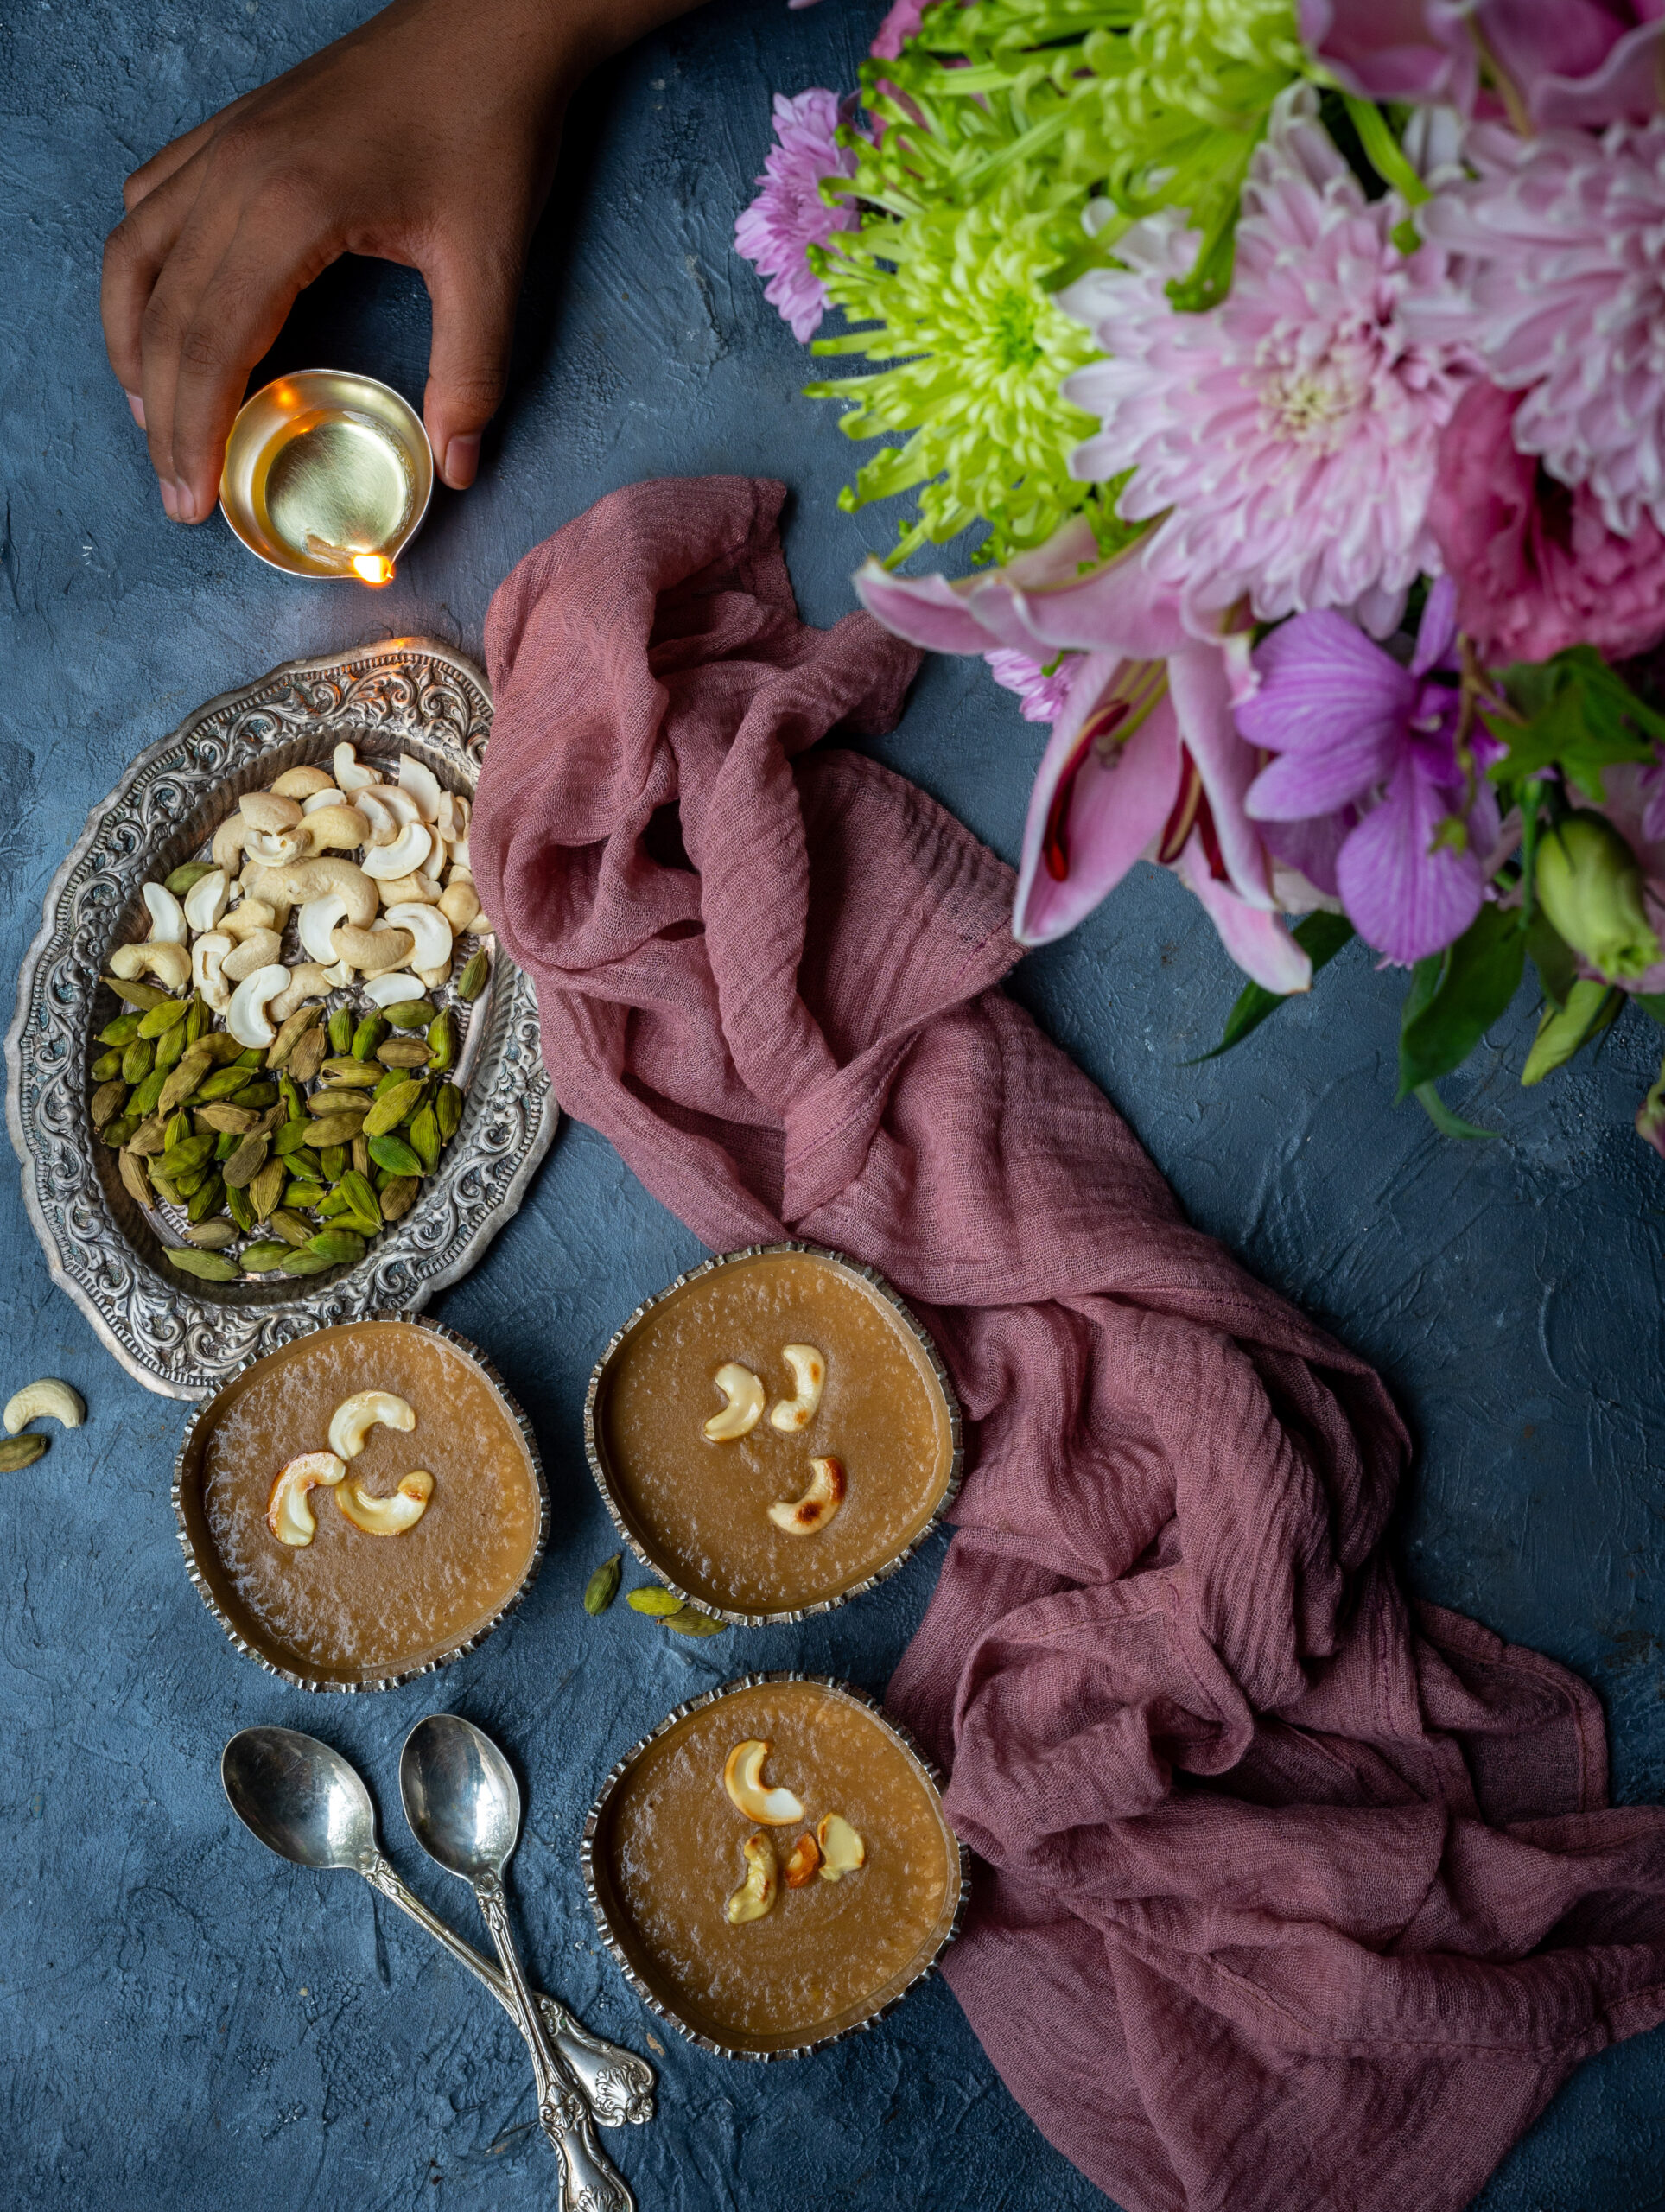
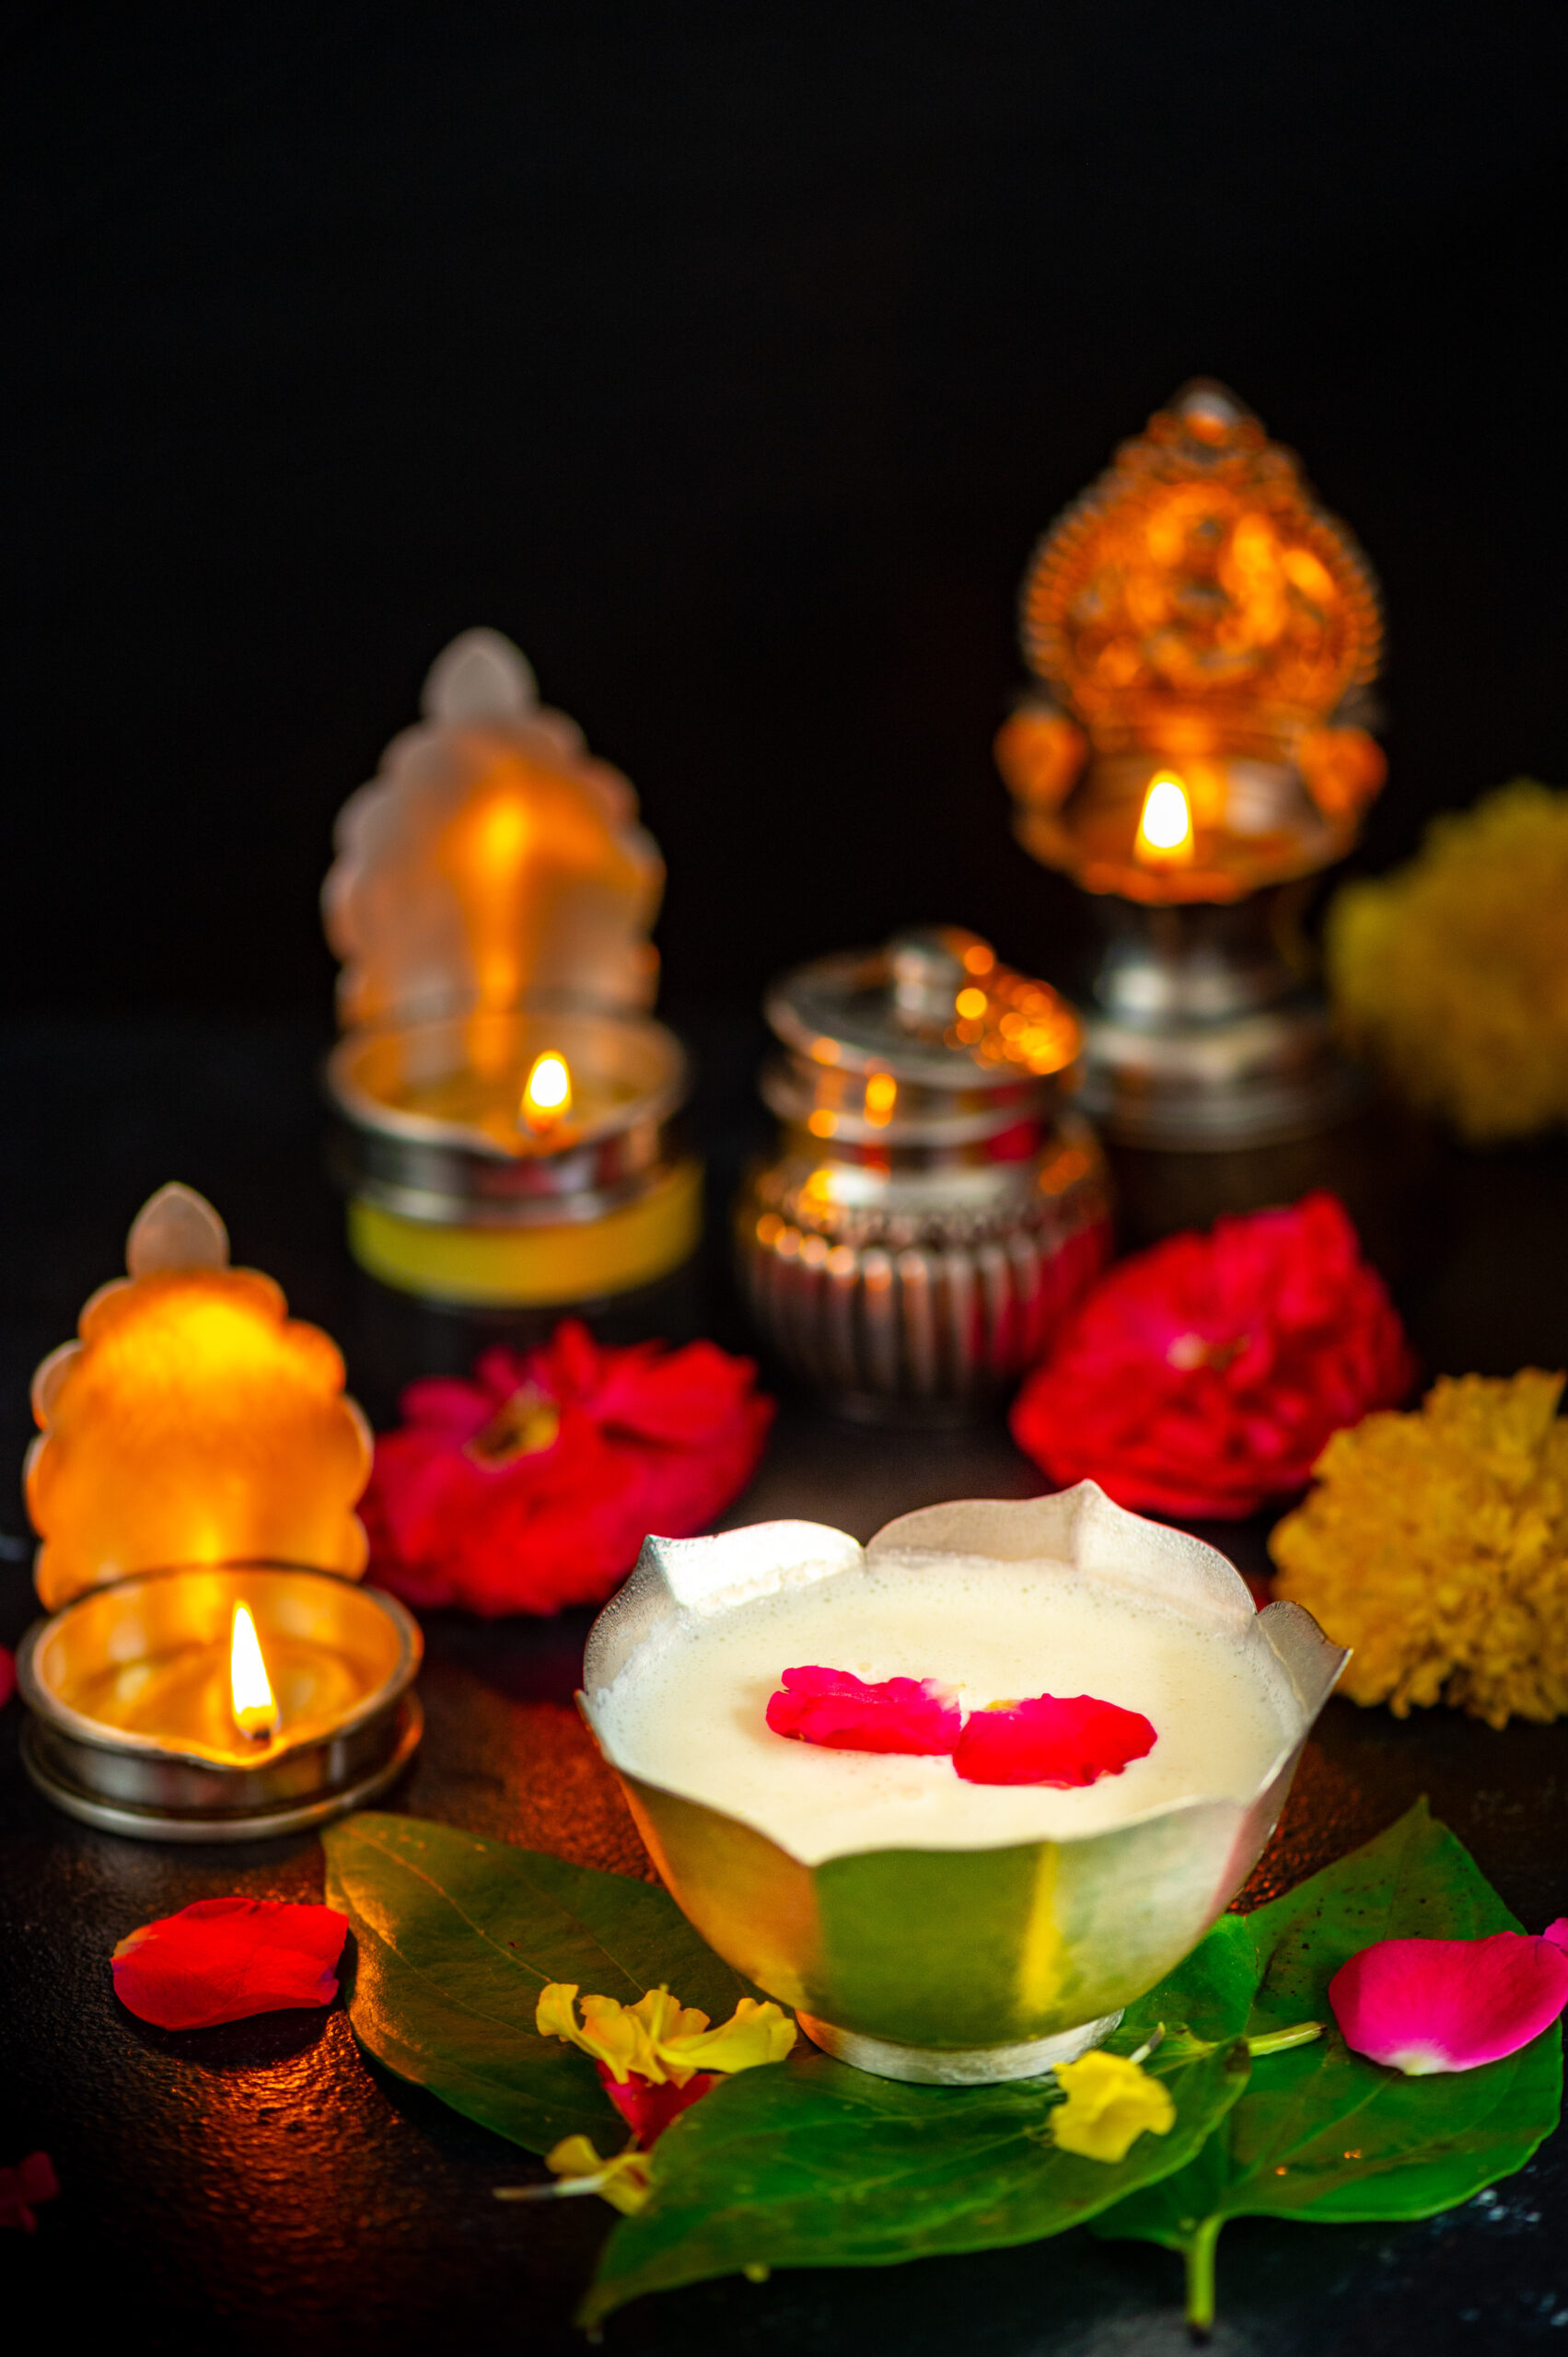
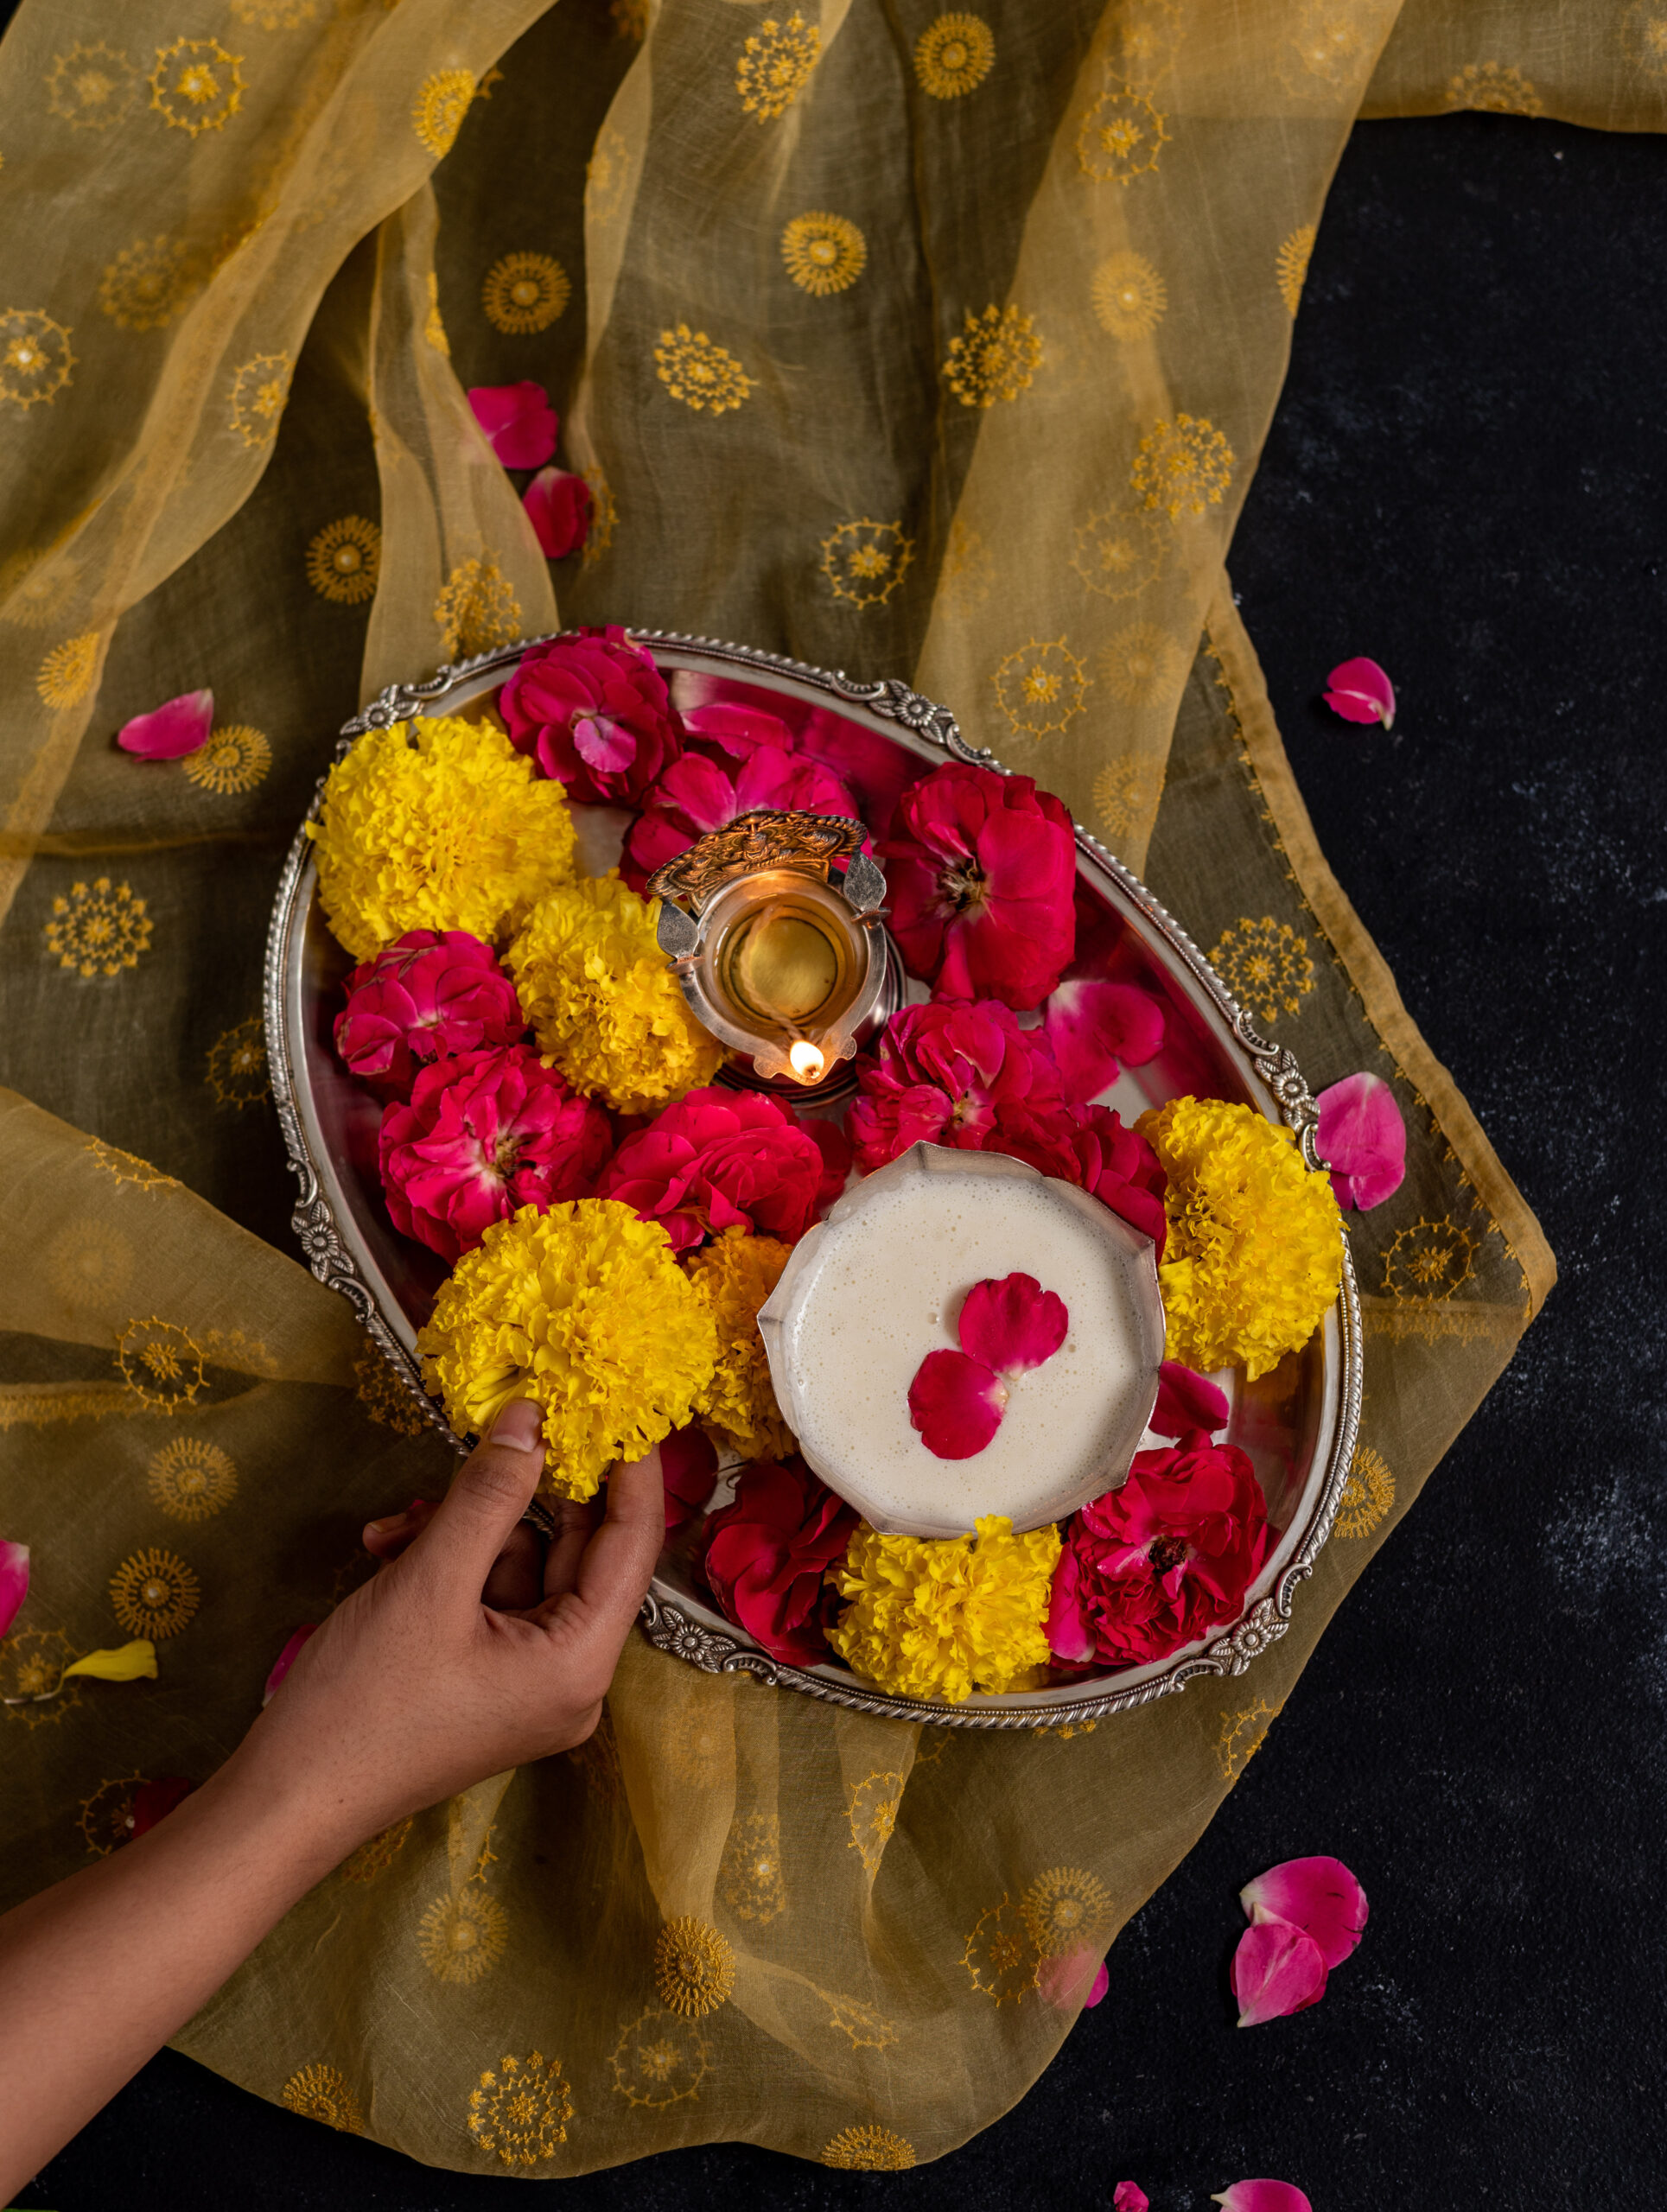
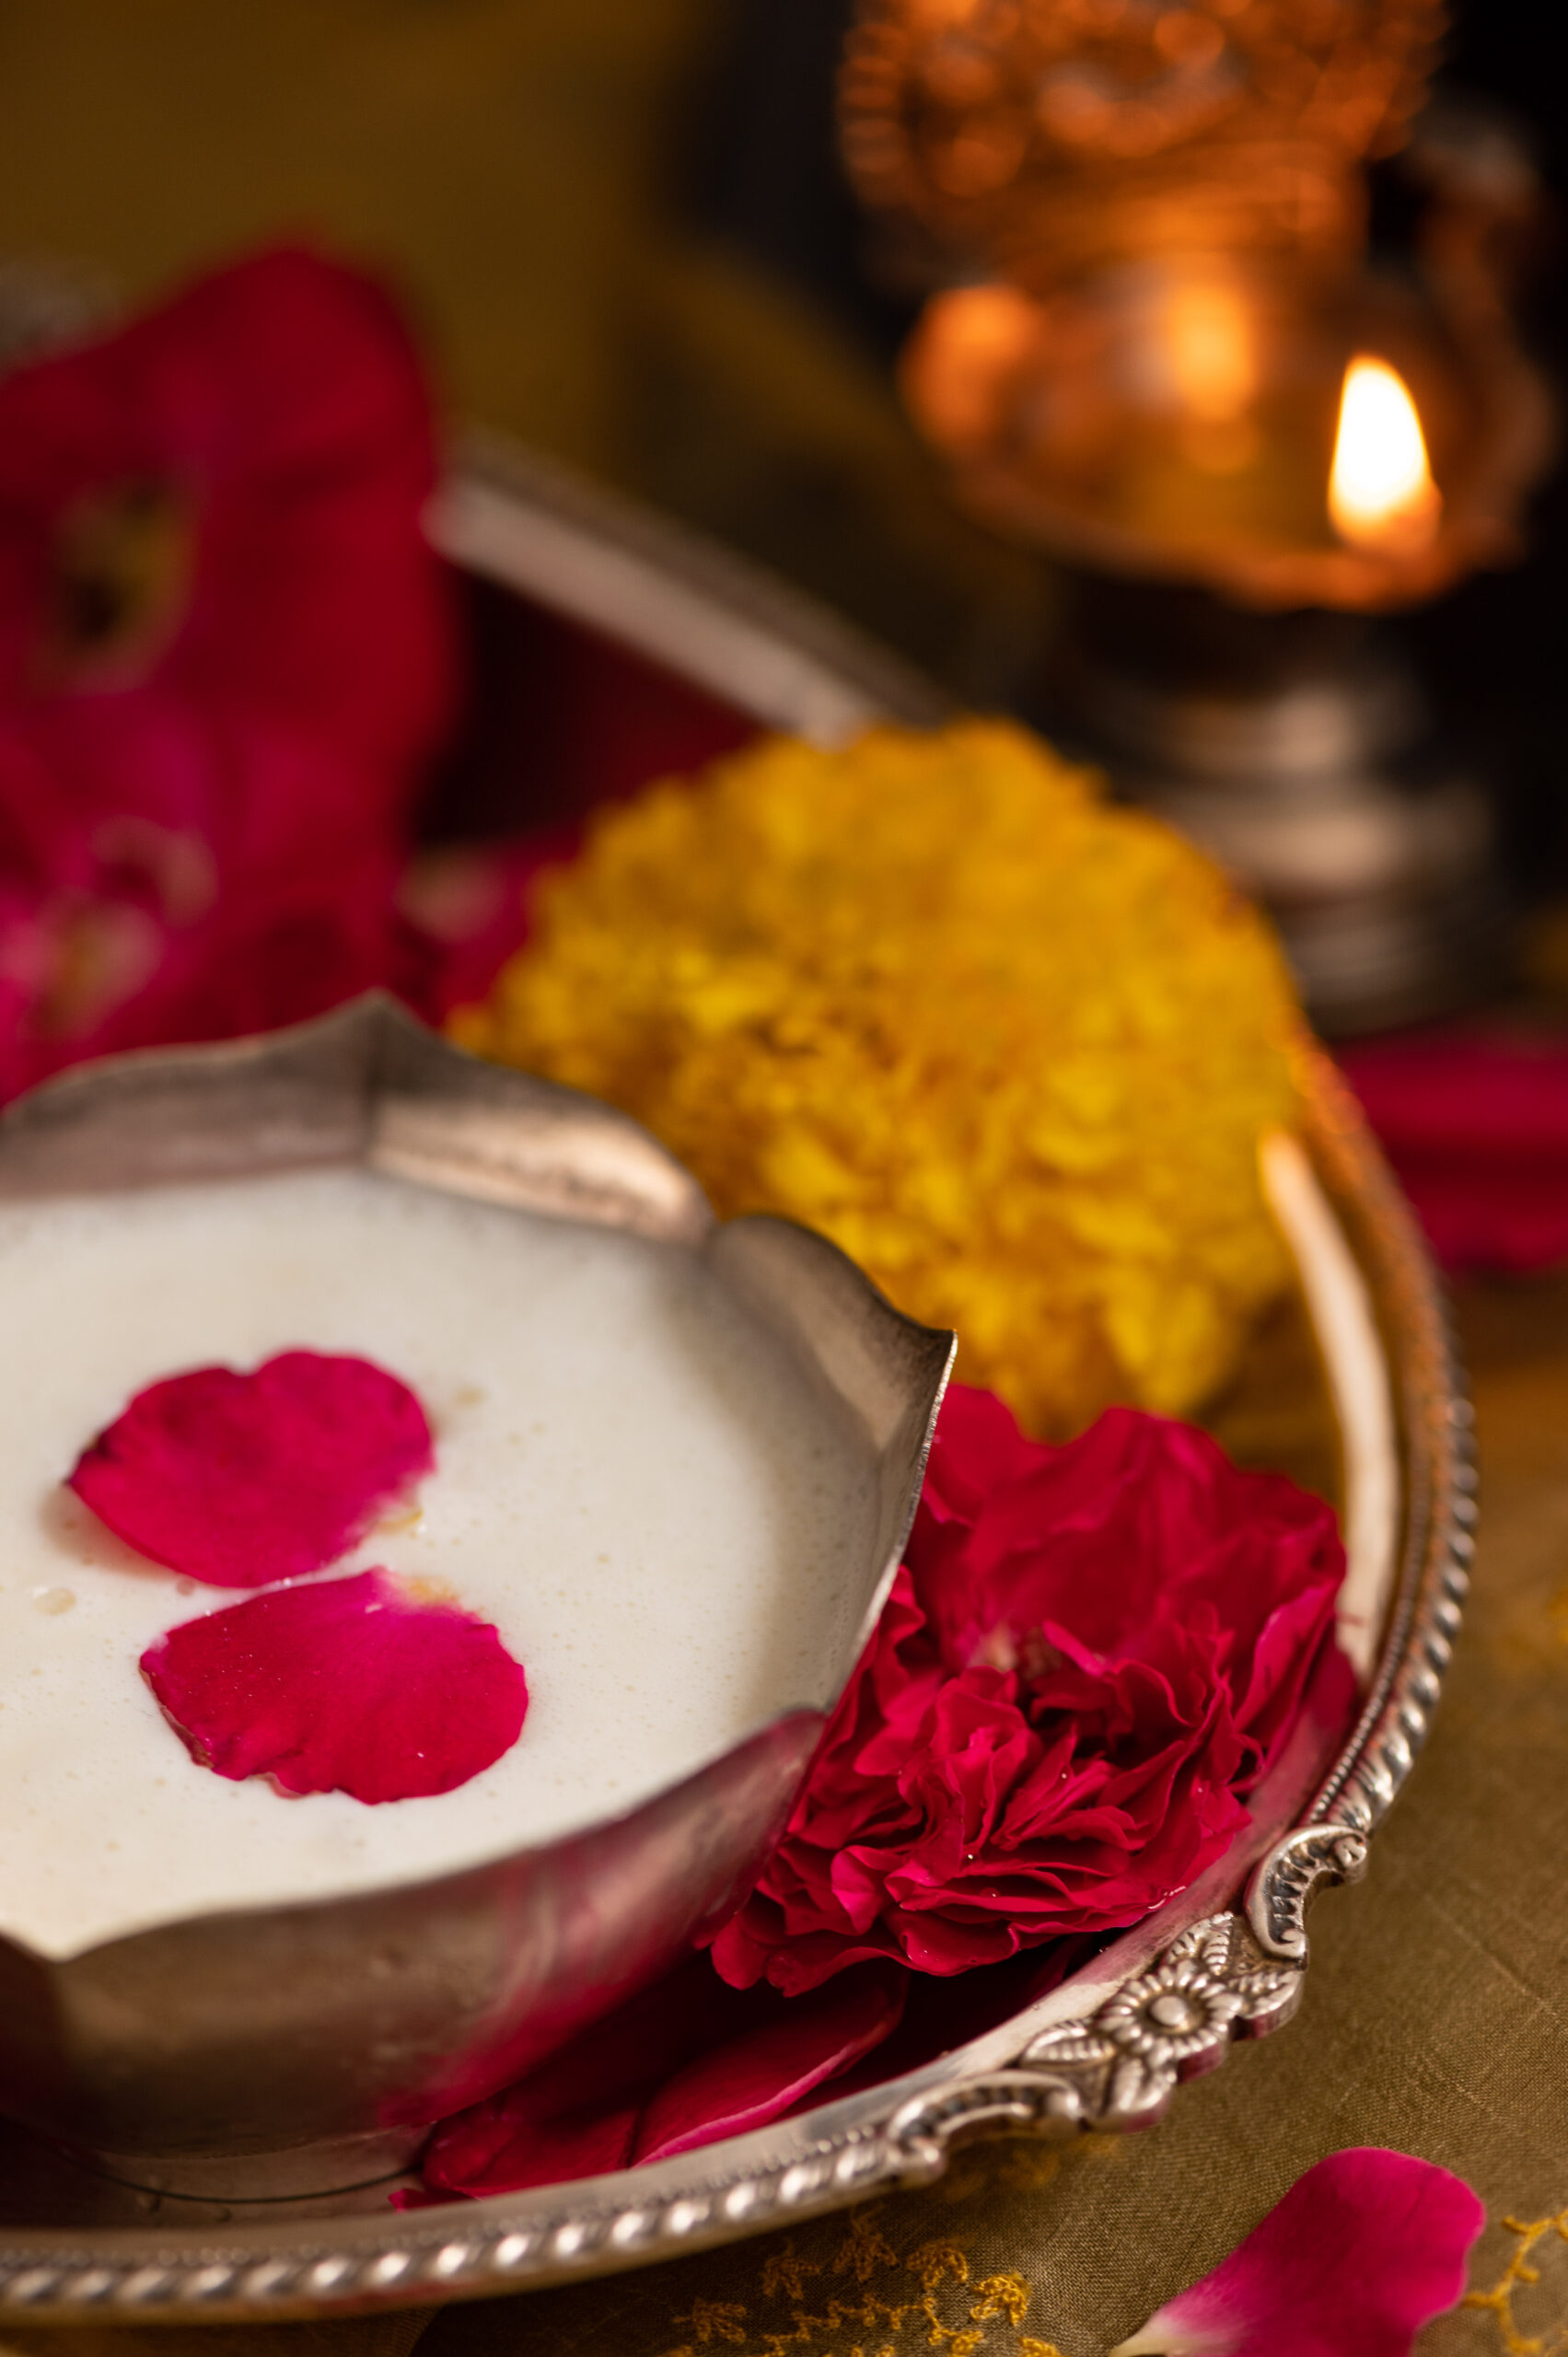
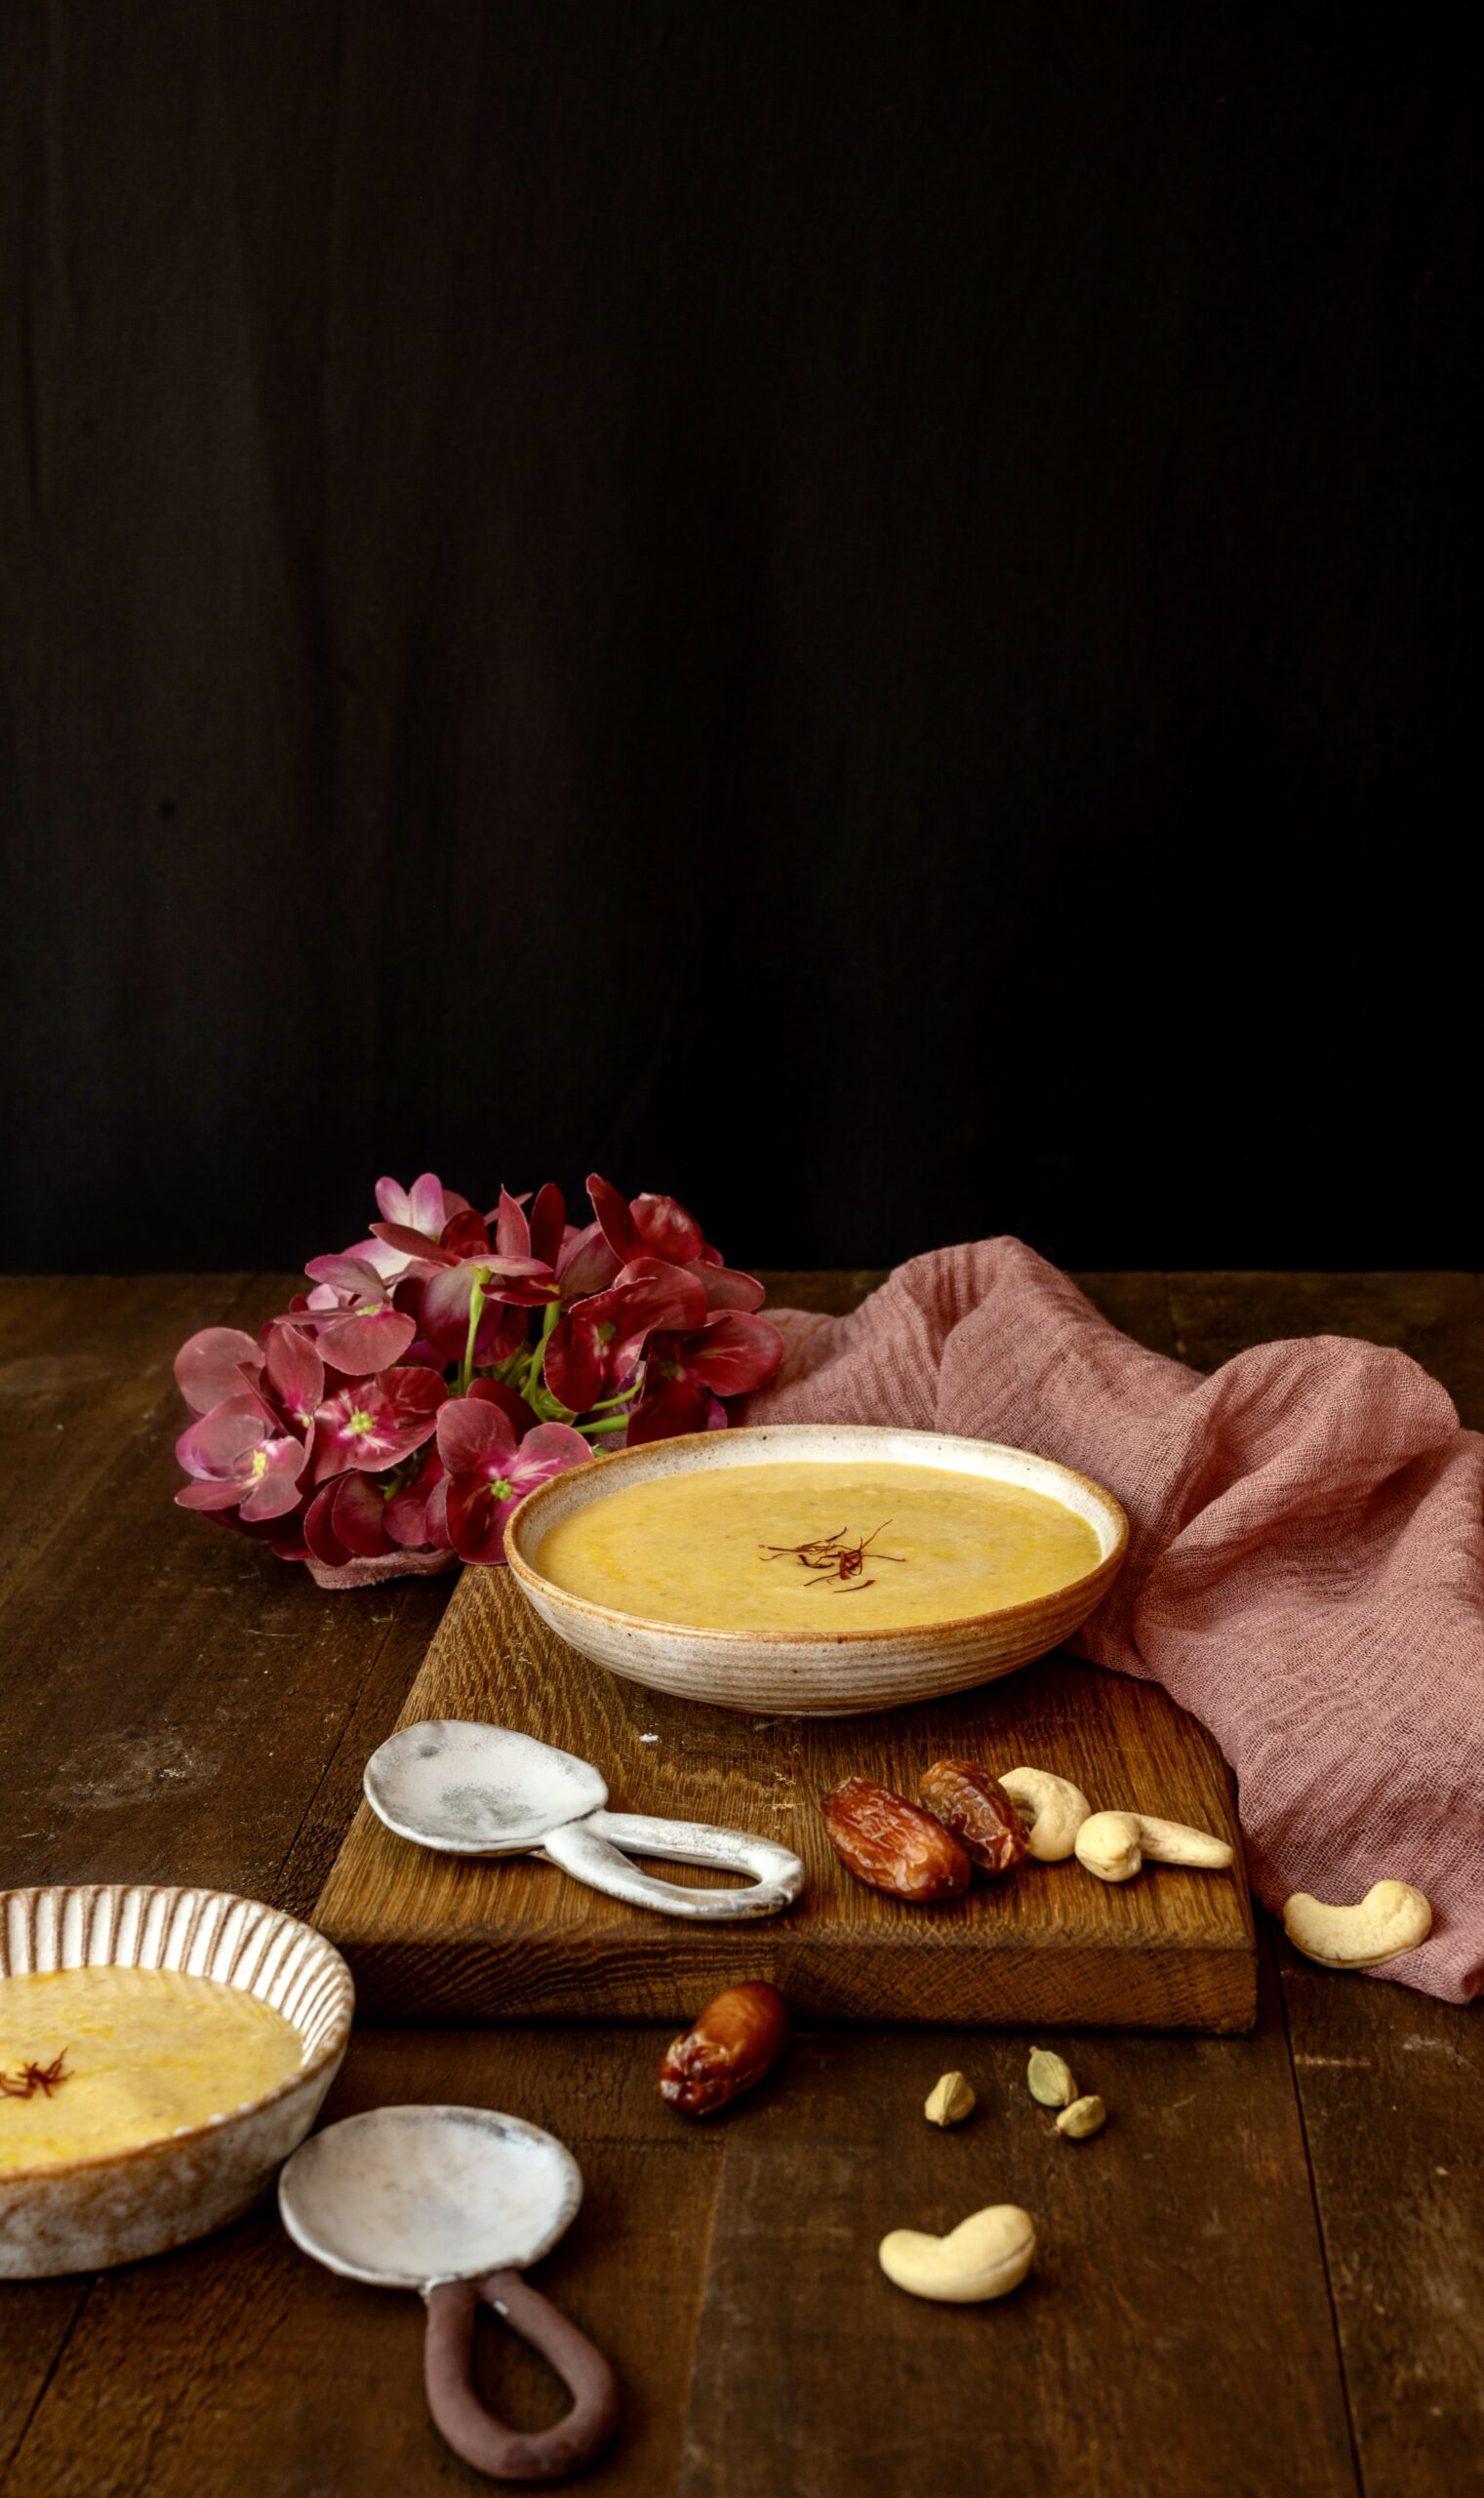
I have often been attracted to making sugarless desserts for two reasons. First and foremost, for myself, as I have an incredibly sweet tooth that I can’t seem to control, and I hope to satisfy it without making as steep a health compromise. I try to convince myself that when a dessert is sugarless or sugar-free I can also eat it guiltlessly, or guilt-free! I know this isn’t true, of course. Natural sweeteners and the sweetness that is intrinsic in certain ingredients like fruits do contain sugar, and anything sweet will spike your glucose levels even if you don’t add processed sugars to it. Still, I know that so many of you struggle with the same concern, which is why a treat like this sugarless date payasam can still make a difference in our dessert indulgences.

The other reason why I learned how to make more sugarless desserts was that my father-in-law used to put me up to the challenge of inventing ones for him. He was diabetic, and he would always say, “Just add Splenda or aspartame!” I would always refuse to, knowing that these have other side-effects. I would instead reach out for natural sweeteners like coconut sugar or dates, as their glycemic index is lower than that of refined white sugar. While my father-in-law is no longer around, the dishes I learned or came up with for him remain in my repertoire, and so does the habit of cutting down sugar content as far as I can.

Awareness of the dangers of too much sugar consumption is of extreme importance in India, which has one of the largest percentage of diabetics in the world. I often have diabetic visitors, which doesn’t surprise me at all given the prevalence of the disease in our country, and I ensure that I serve sugarfree desserts when they come over. There are also sugarless options on the re:store product menu. Whether or not my guests or family members are diabetic, I do keep an eye on balancing out our sweet consumption in multiple ways. Making dishes like these is one such way, and a necessary concession since giving desserts up completely is quite a big ask!

This particular sugarless date payasam is one that I learned from my dear friend Girija. I hadn’t heard of it before she served it to me, and I was wary of trying out the recipe, but I am very glad that I did. It is utterly delicious. For those who haven’t heard of it, a payasam is essentially a South Indian milk pudding, and I am thrilled to have a version of it that doesn’t require, let alone rely on, sugar or even jaggery. All it needs is the sheer sweetness of dates.
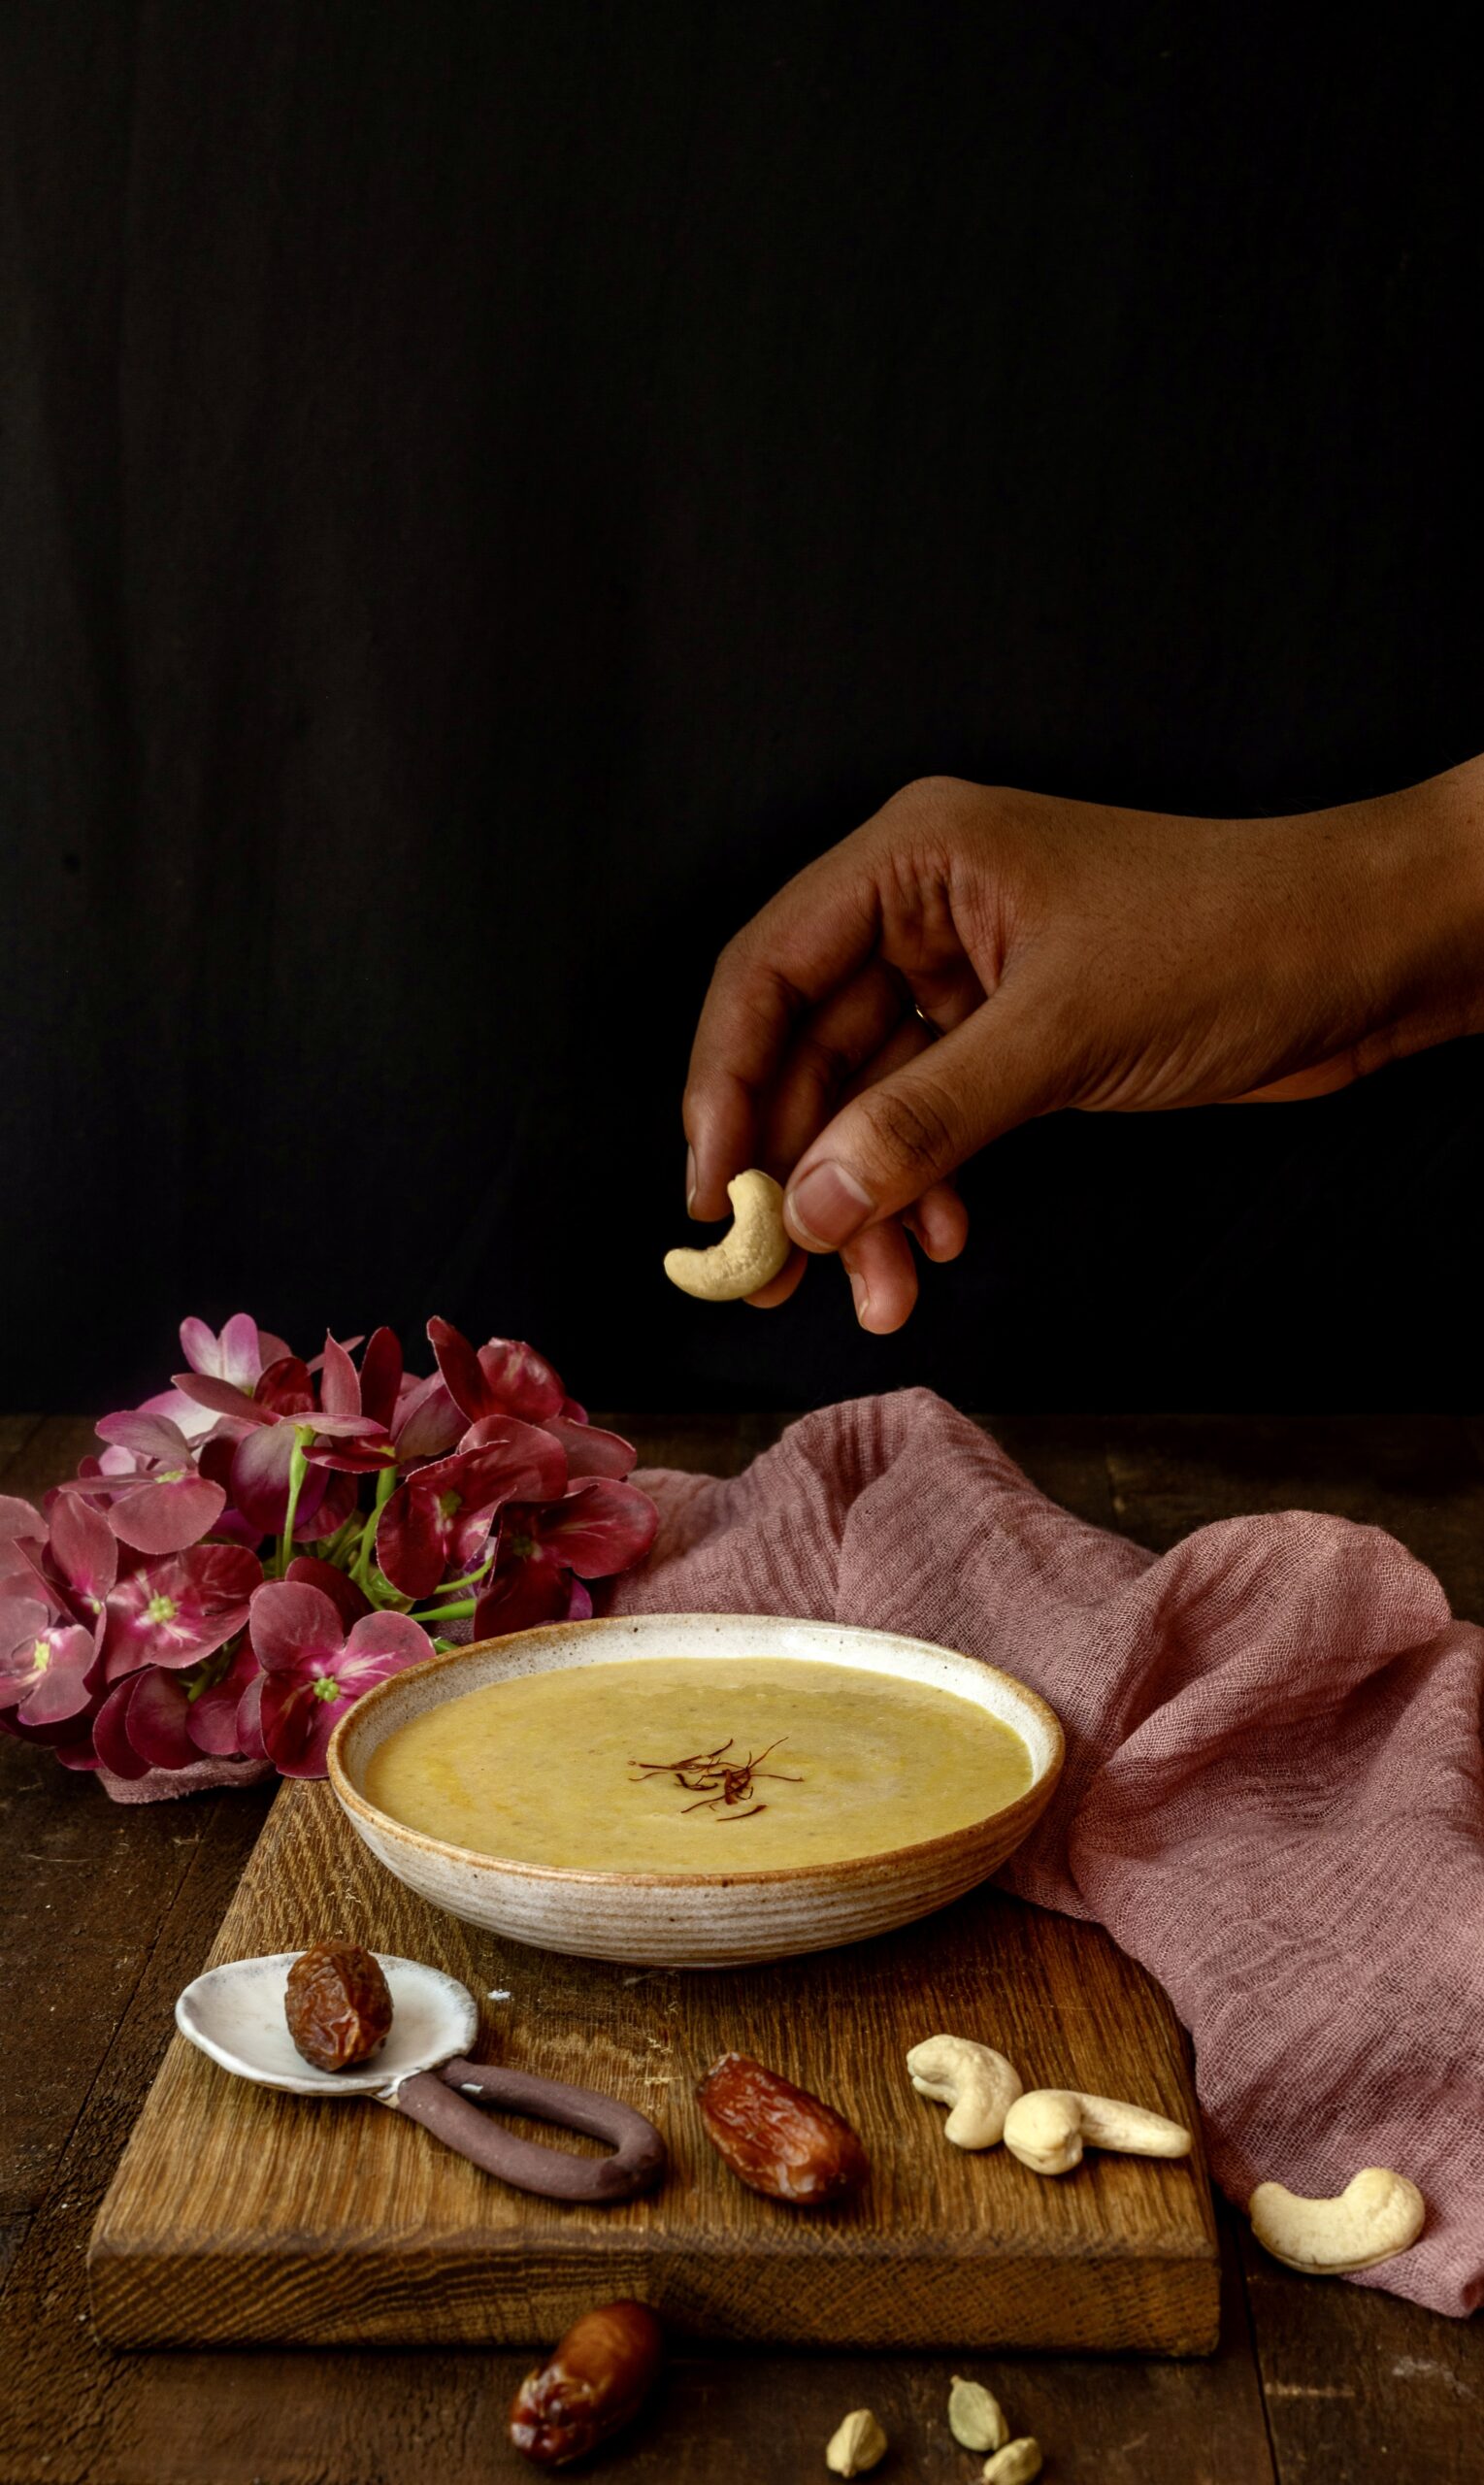
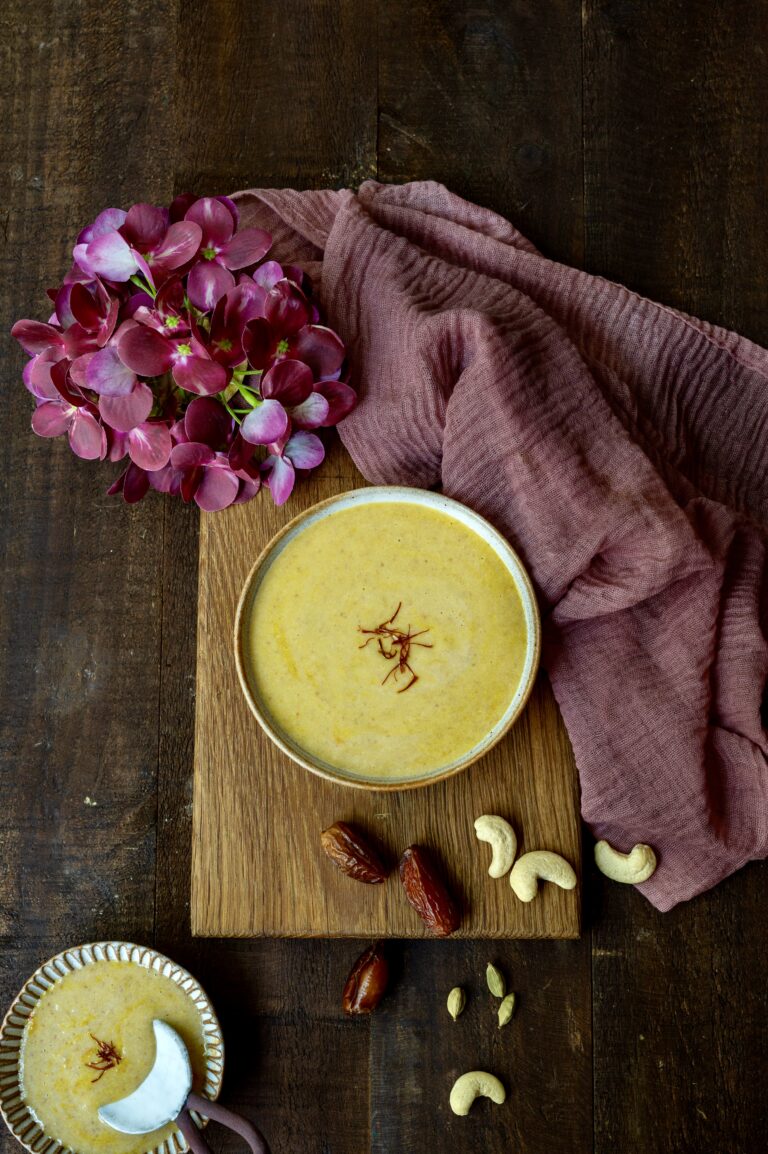
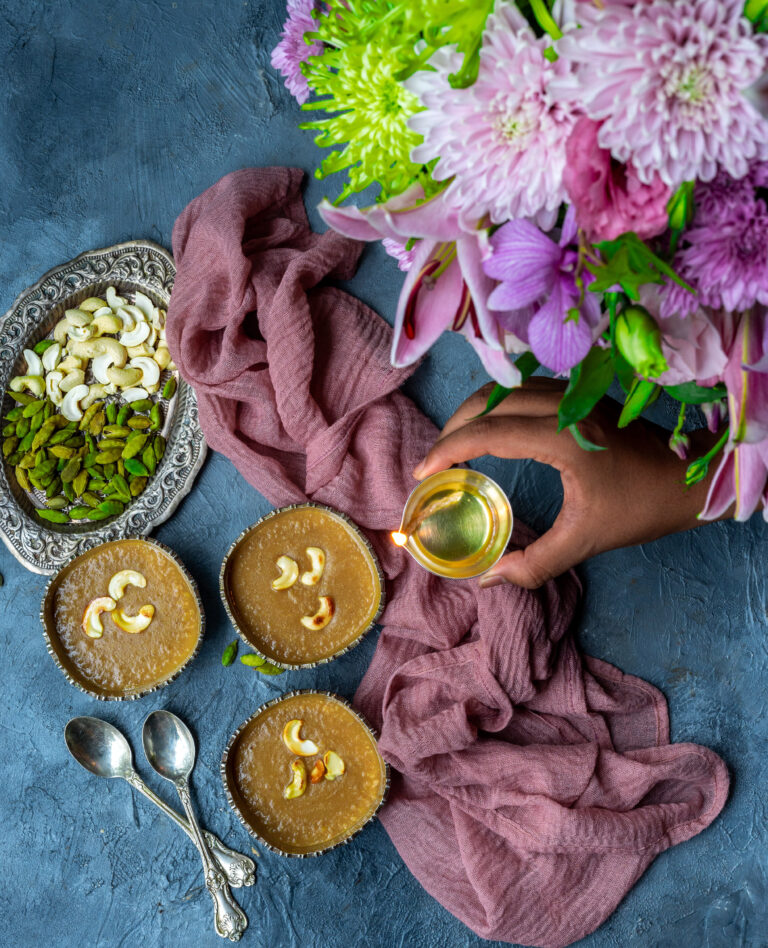
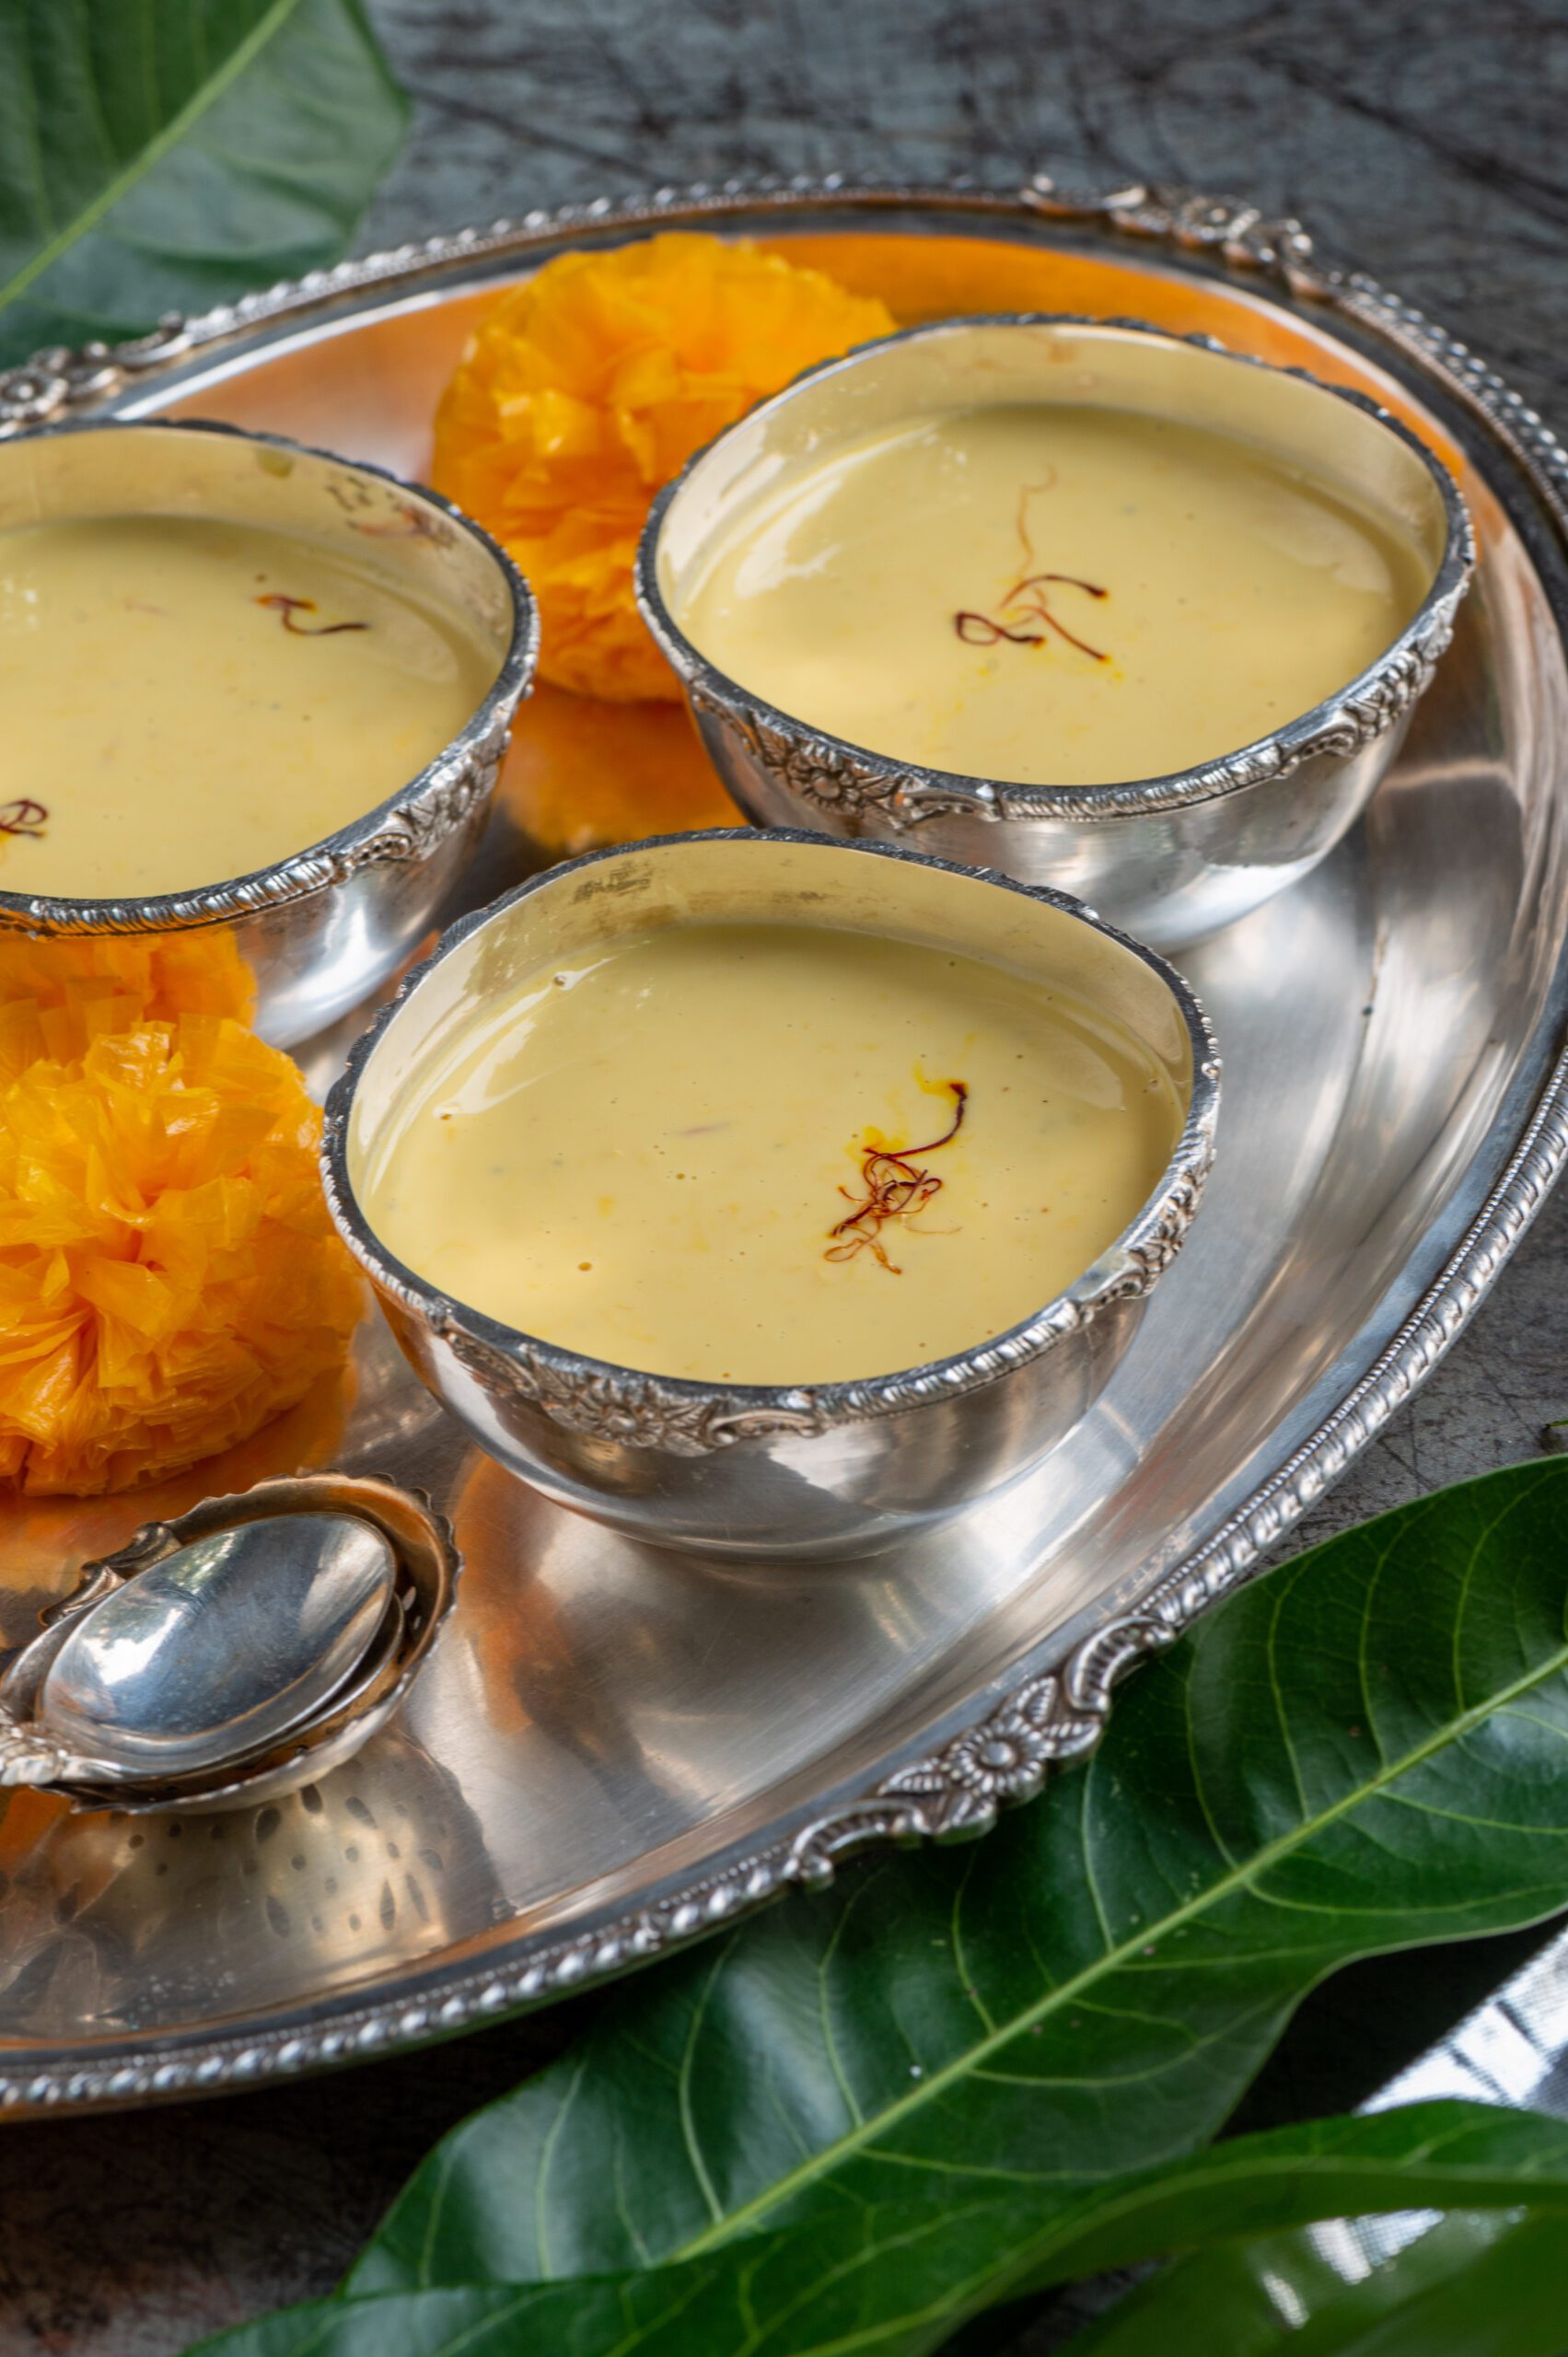
Sugarless Date Payasam

(Serves 6)

2 cups deseeded and chopped dates

1 cup cashew nuts

Water (for soaking)

2 cups milk

3-5 strands saffron

¼ teaspoon cardamom powder


Soak the dates and cashews separately in fresh drinking water for an hour.

Then, grind the cashews with the water that was used for soaking. Once the paste is smooth, add the dates. Grind once more until the paste is smooth again. Add the cardamom powder and saffron strands. Place the mixture in a pot and refrigerate until cool.

Once it has cooled, add the milk and stir well until it all comes together nicely. Adjust the milk quantity to your preference. I like it to be a little thick. Return to the refrigerator and let it cool again.

Serve very chilled. This is a perfect dessert for these hot summer months. As you can see, this delicious sugarless date payasam requires only grinding and mixing, which also makes it an easy dessert that even beginner cooks can prepare.

I have used cashews as I enjoy the rich flavour the nuts provide, but you can substitute them for another kind if you prefer. I also feel that the cashews sort of tone down the sweetness of the dates, which can be intense.

Ultimately, the payasam is both rich and sweet, which means that it is best in smaller portions.

Here is a suggested tweak to this recipe: add a handful of cooked rice to the milk, and then add then to the ground cashewnut-date paste and mix. This will give the dessert more substance, and more of a mouthful in each serving. The sweetness quotient will also further reduce. This preparation may technically turn it into a kheer rather than a payasam, but I have little doubt that anyone will complain! It will turn out delicious both ways, and while my father-in-law is not here to enjoy this dish in either variation, the rest of my family certainly does. As for me, my sweet tooth is sated, with a spoonful or two less of… guilt!
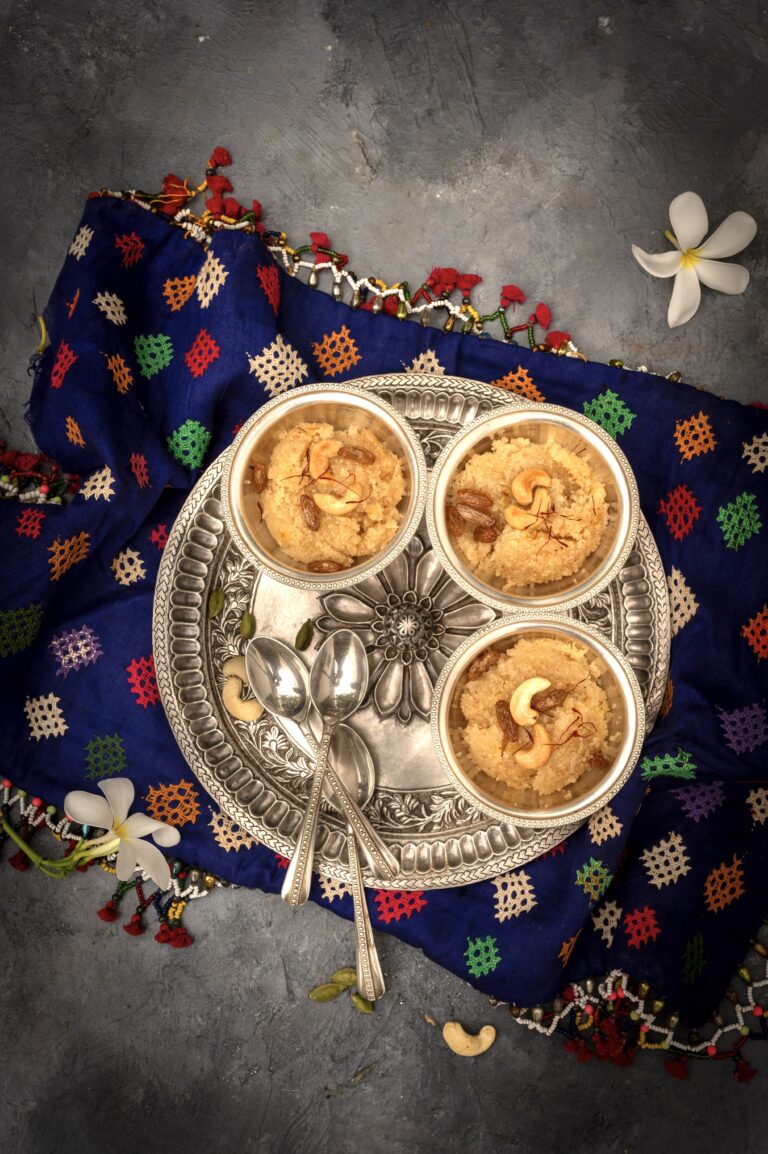
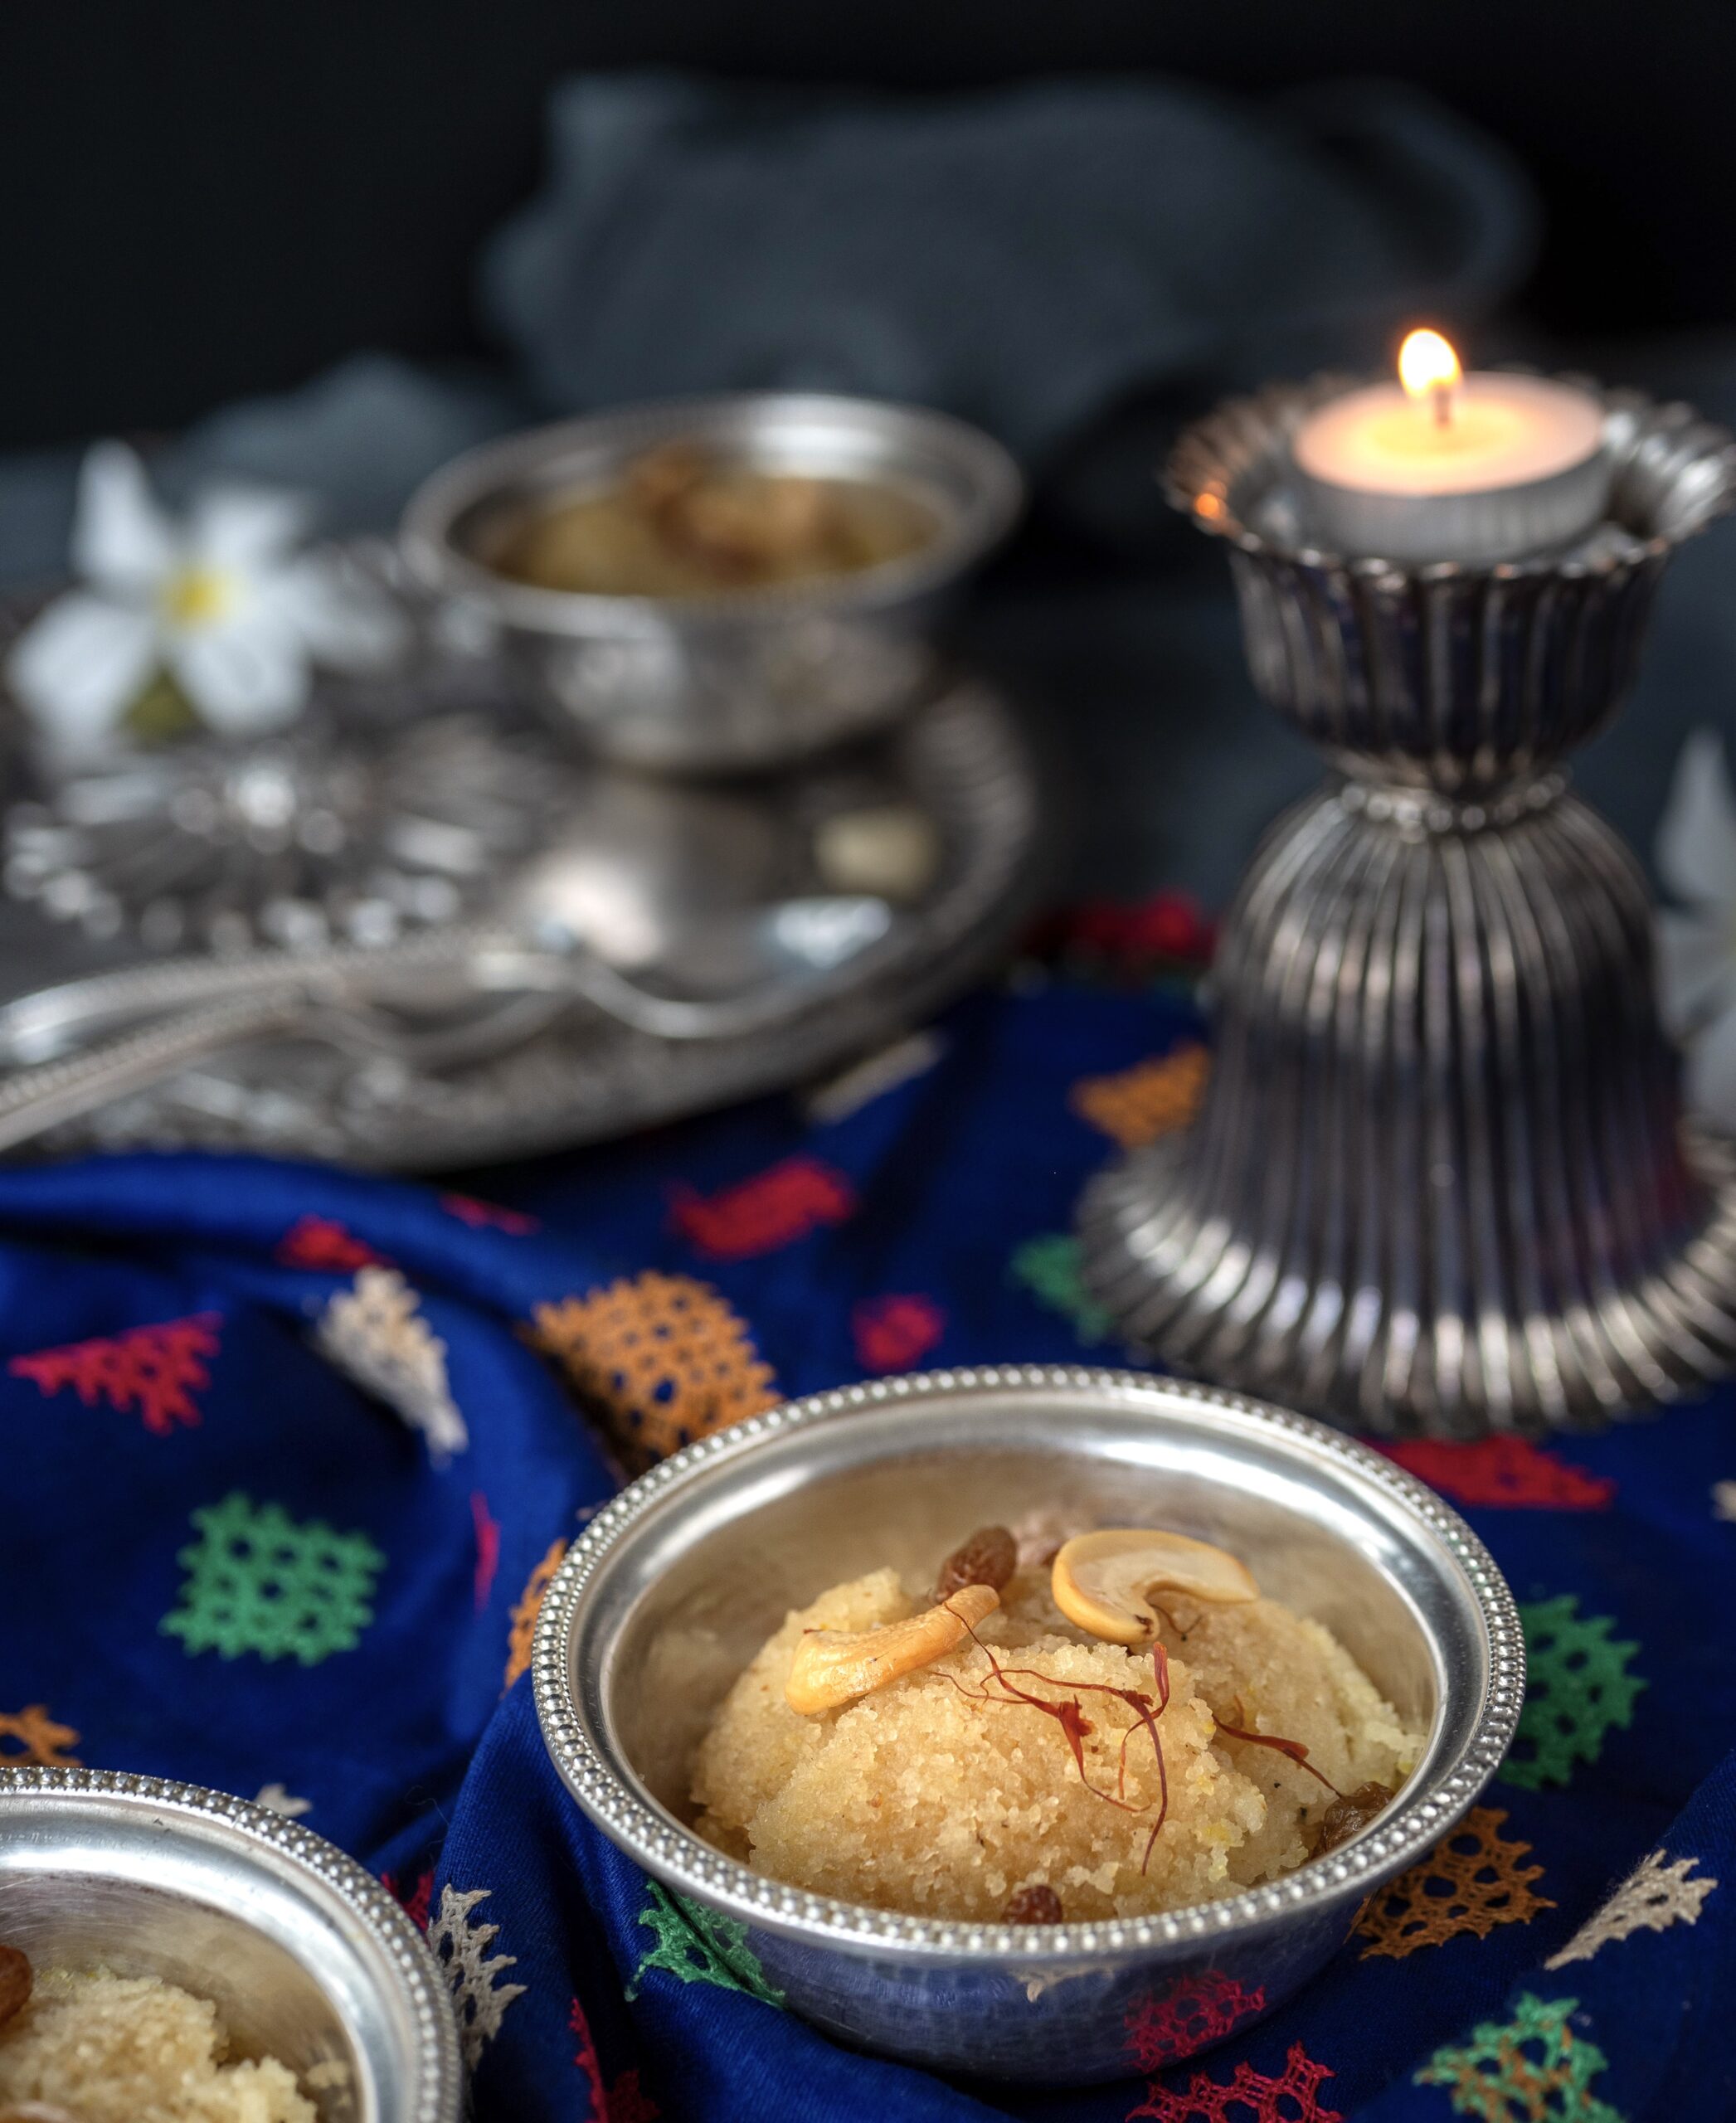
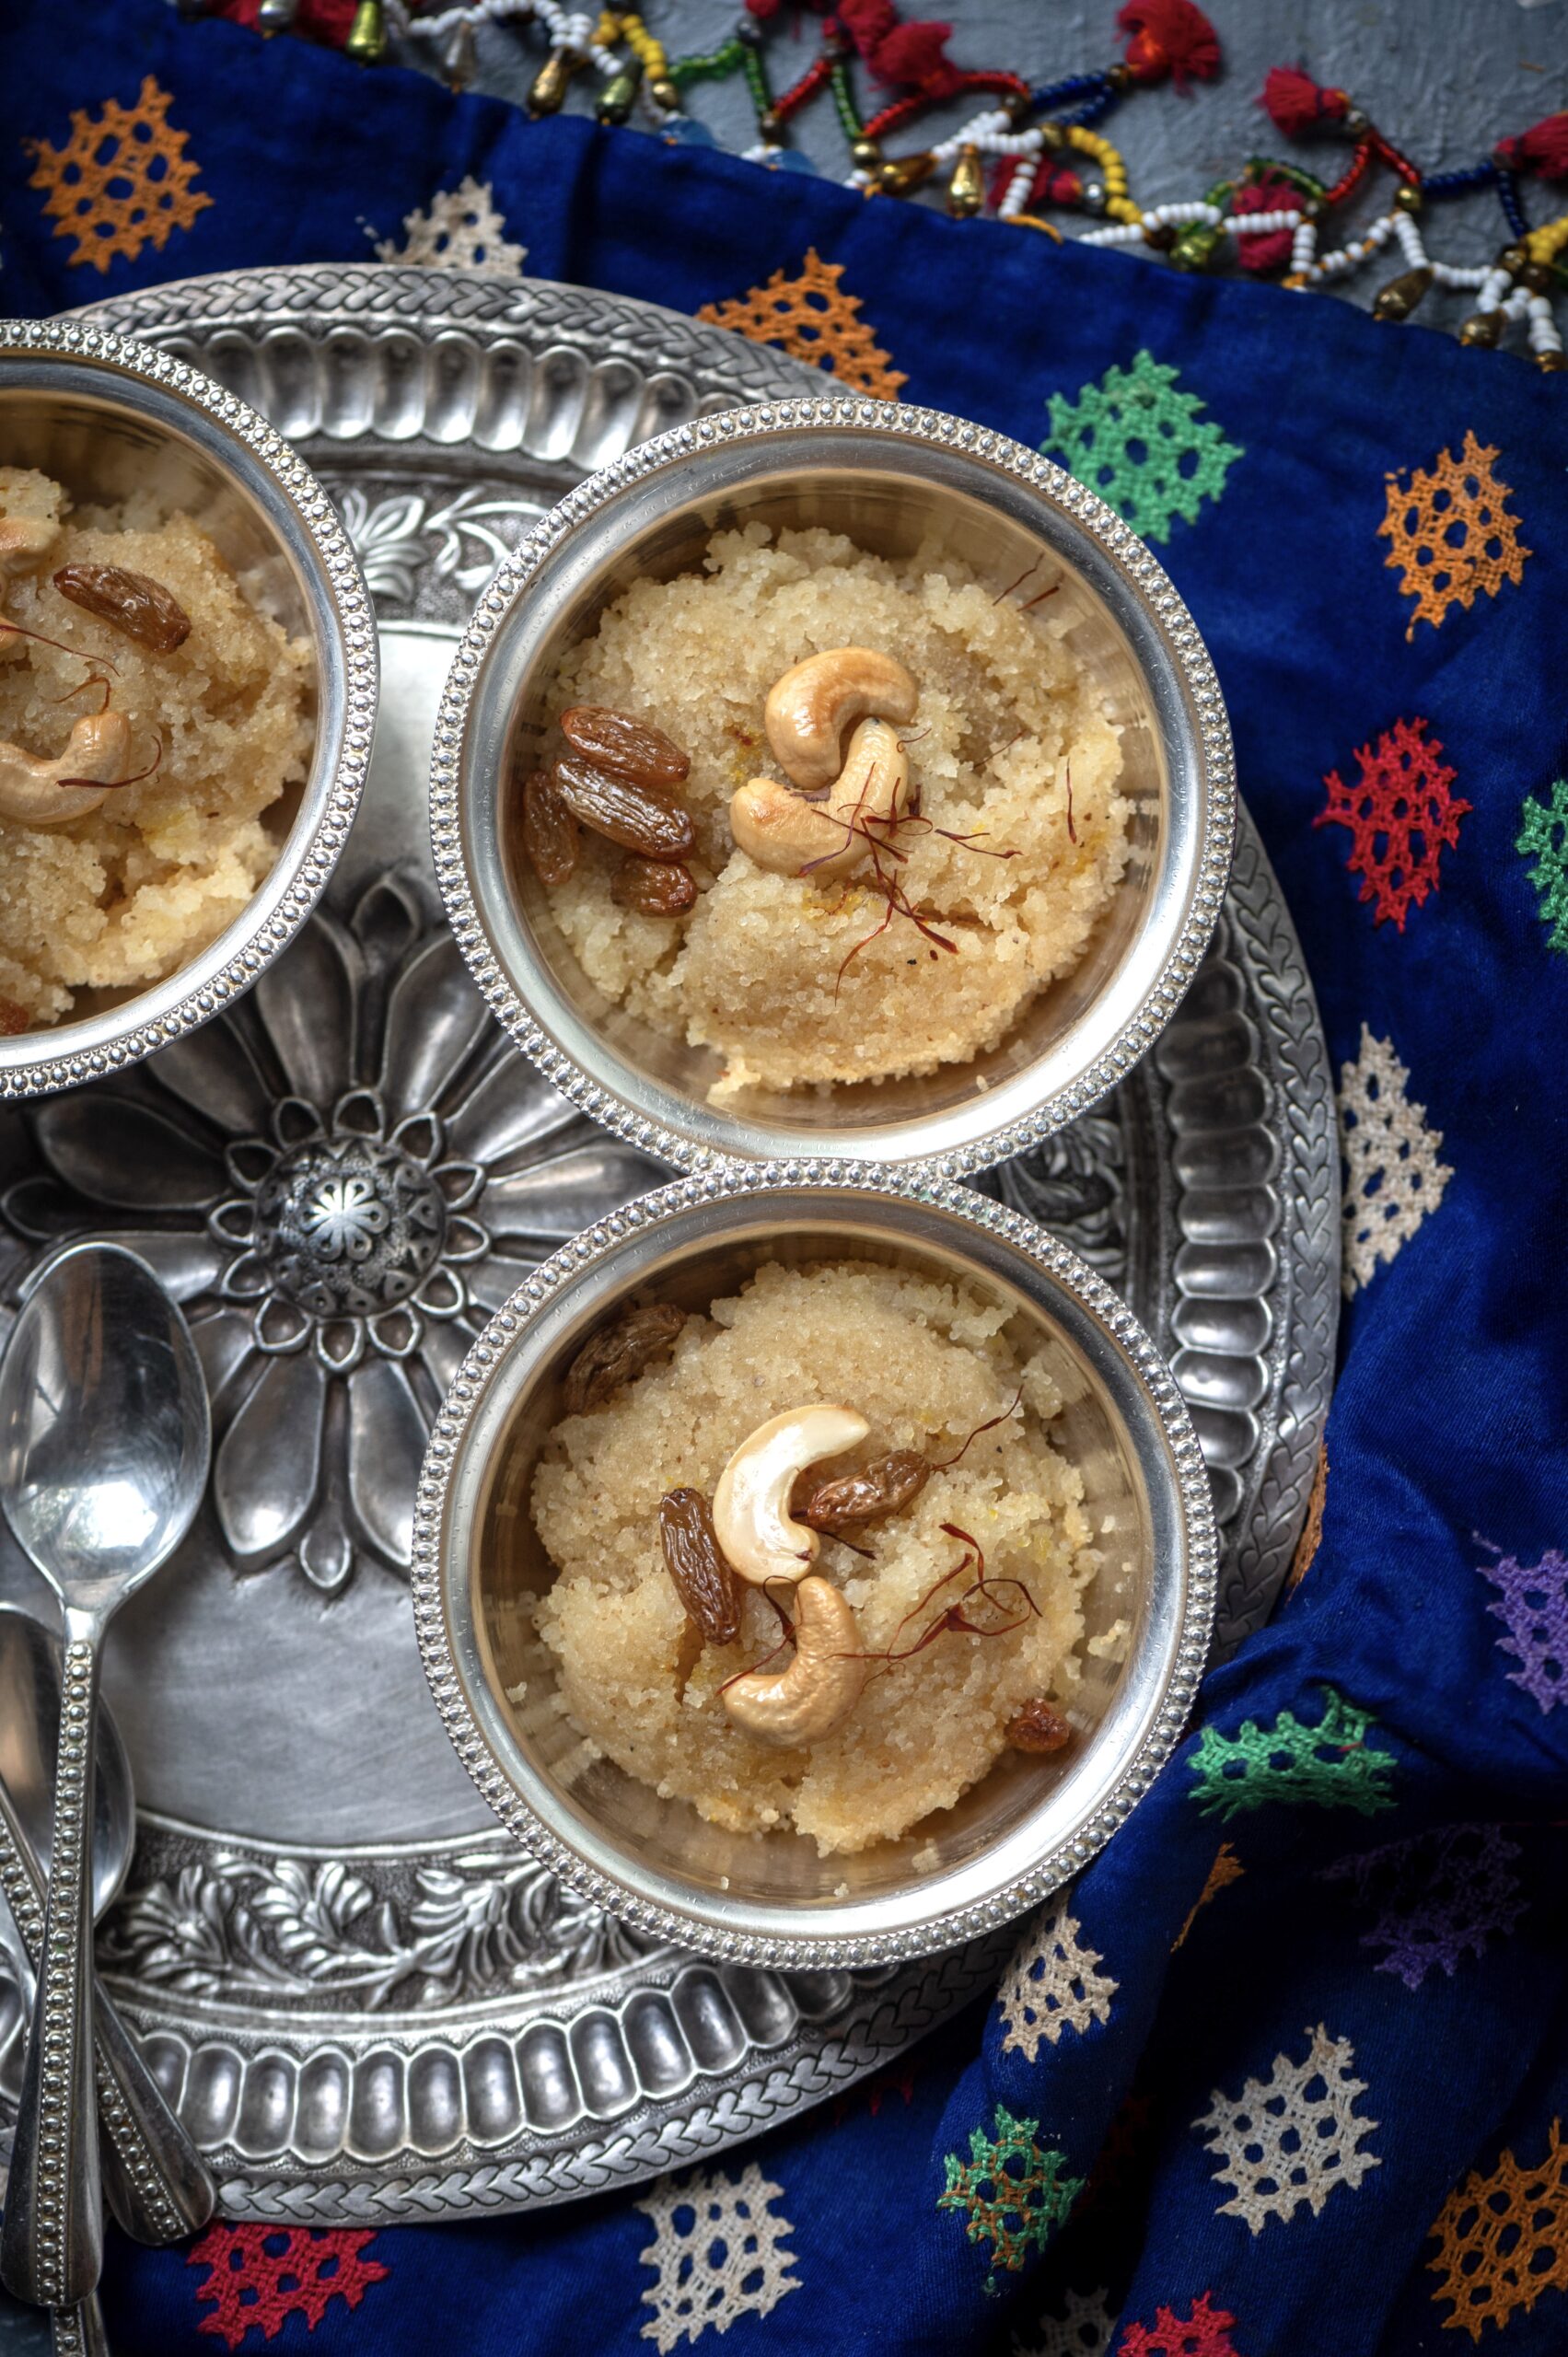
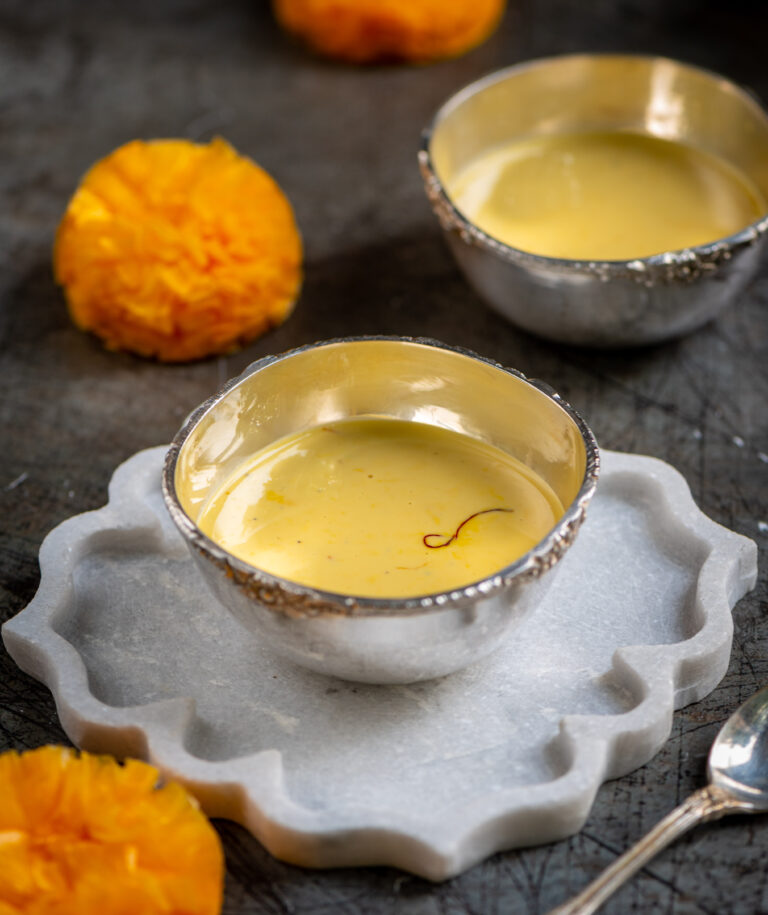
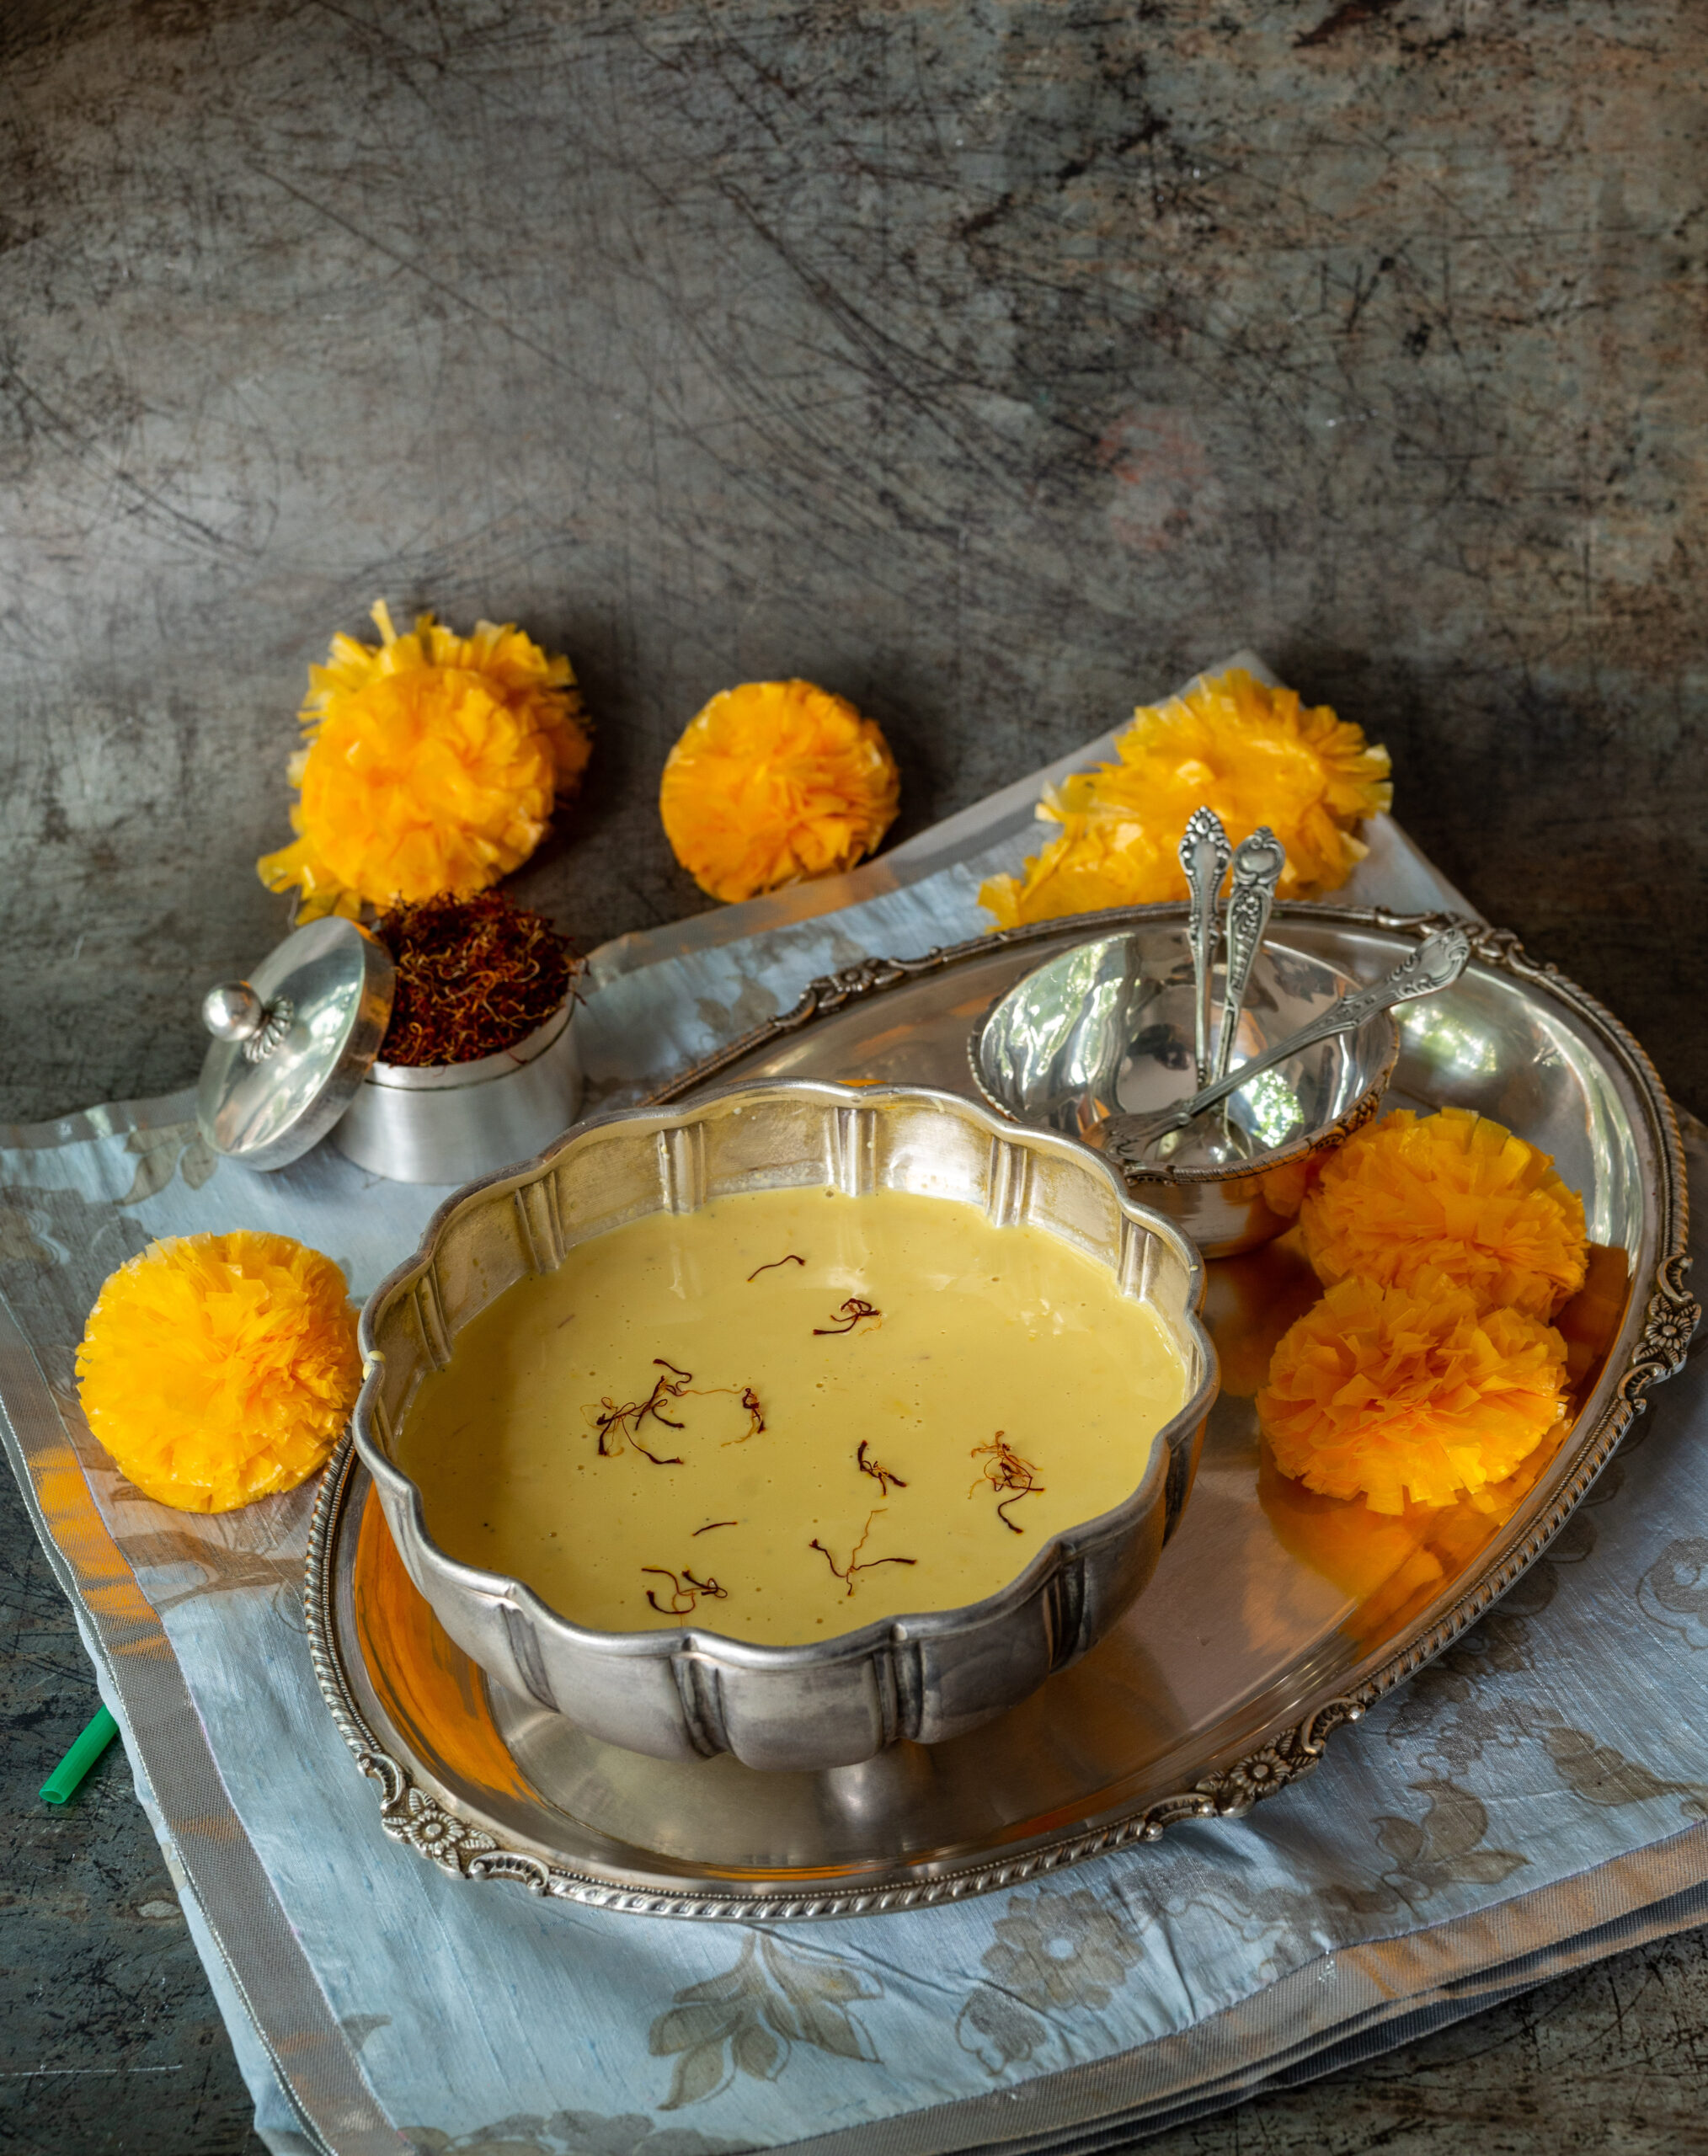
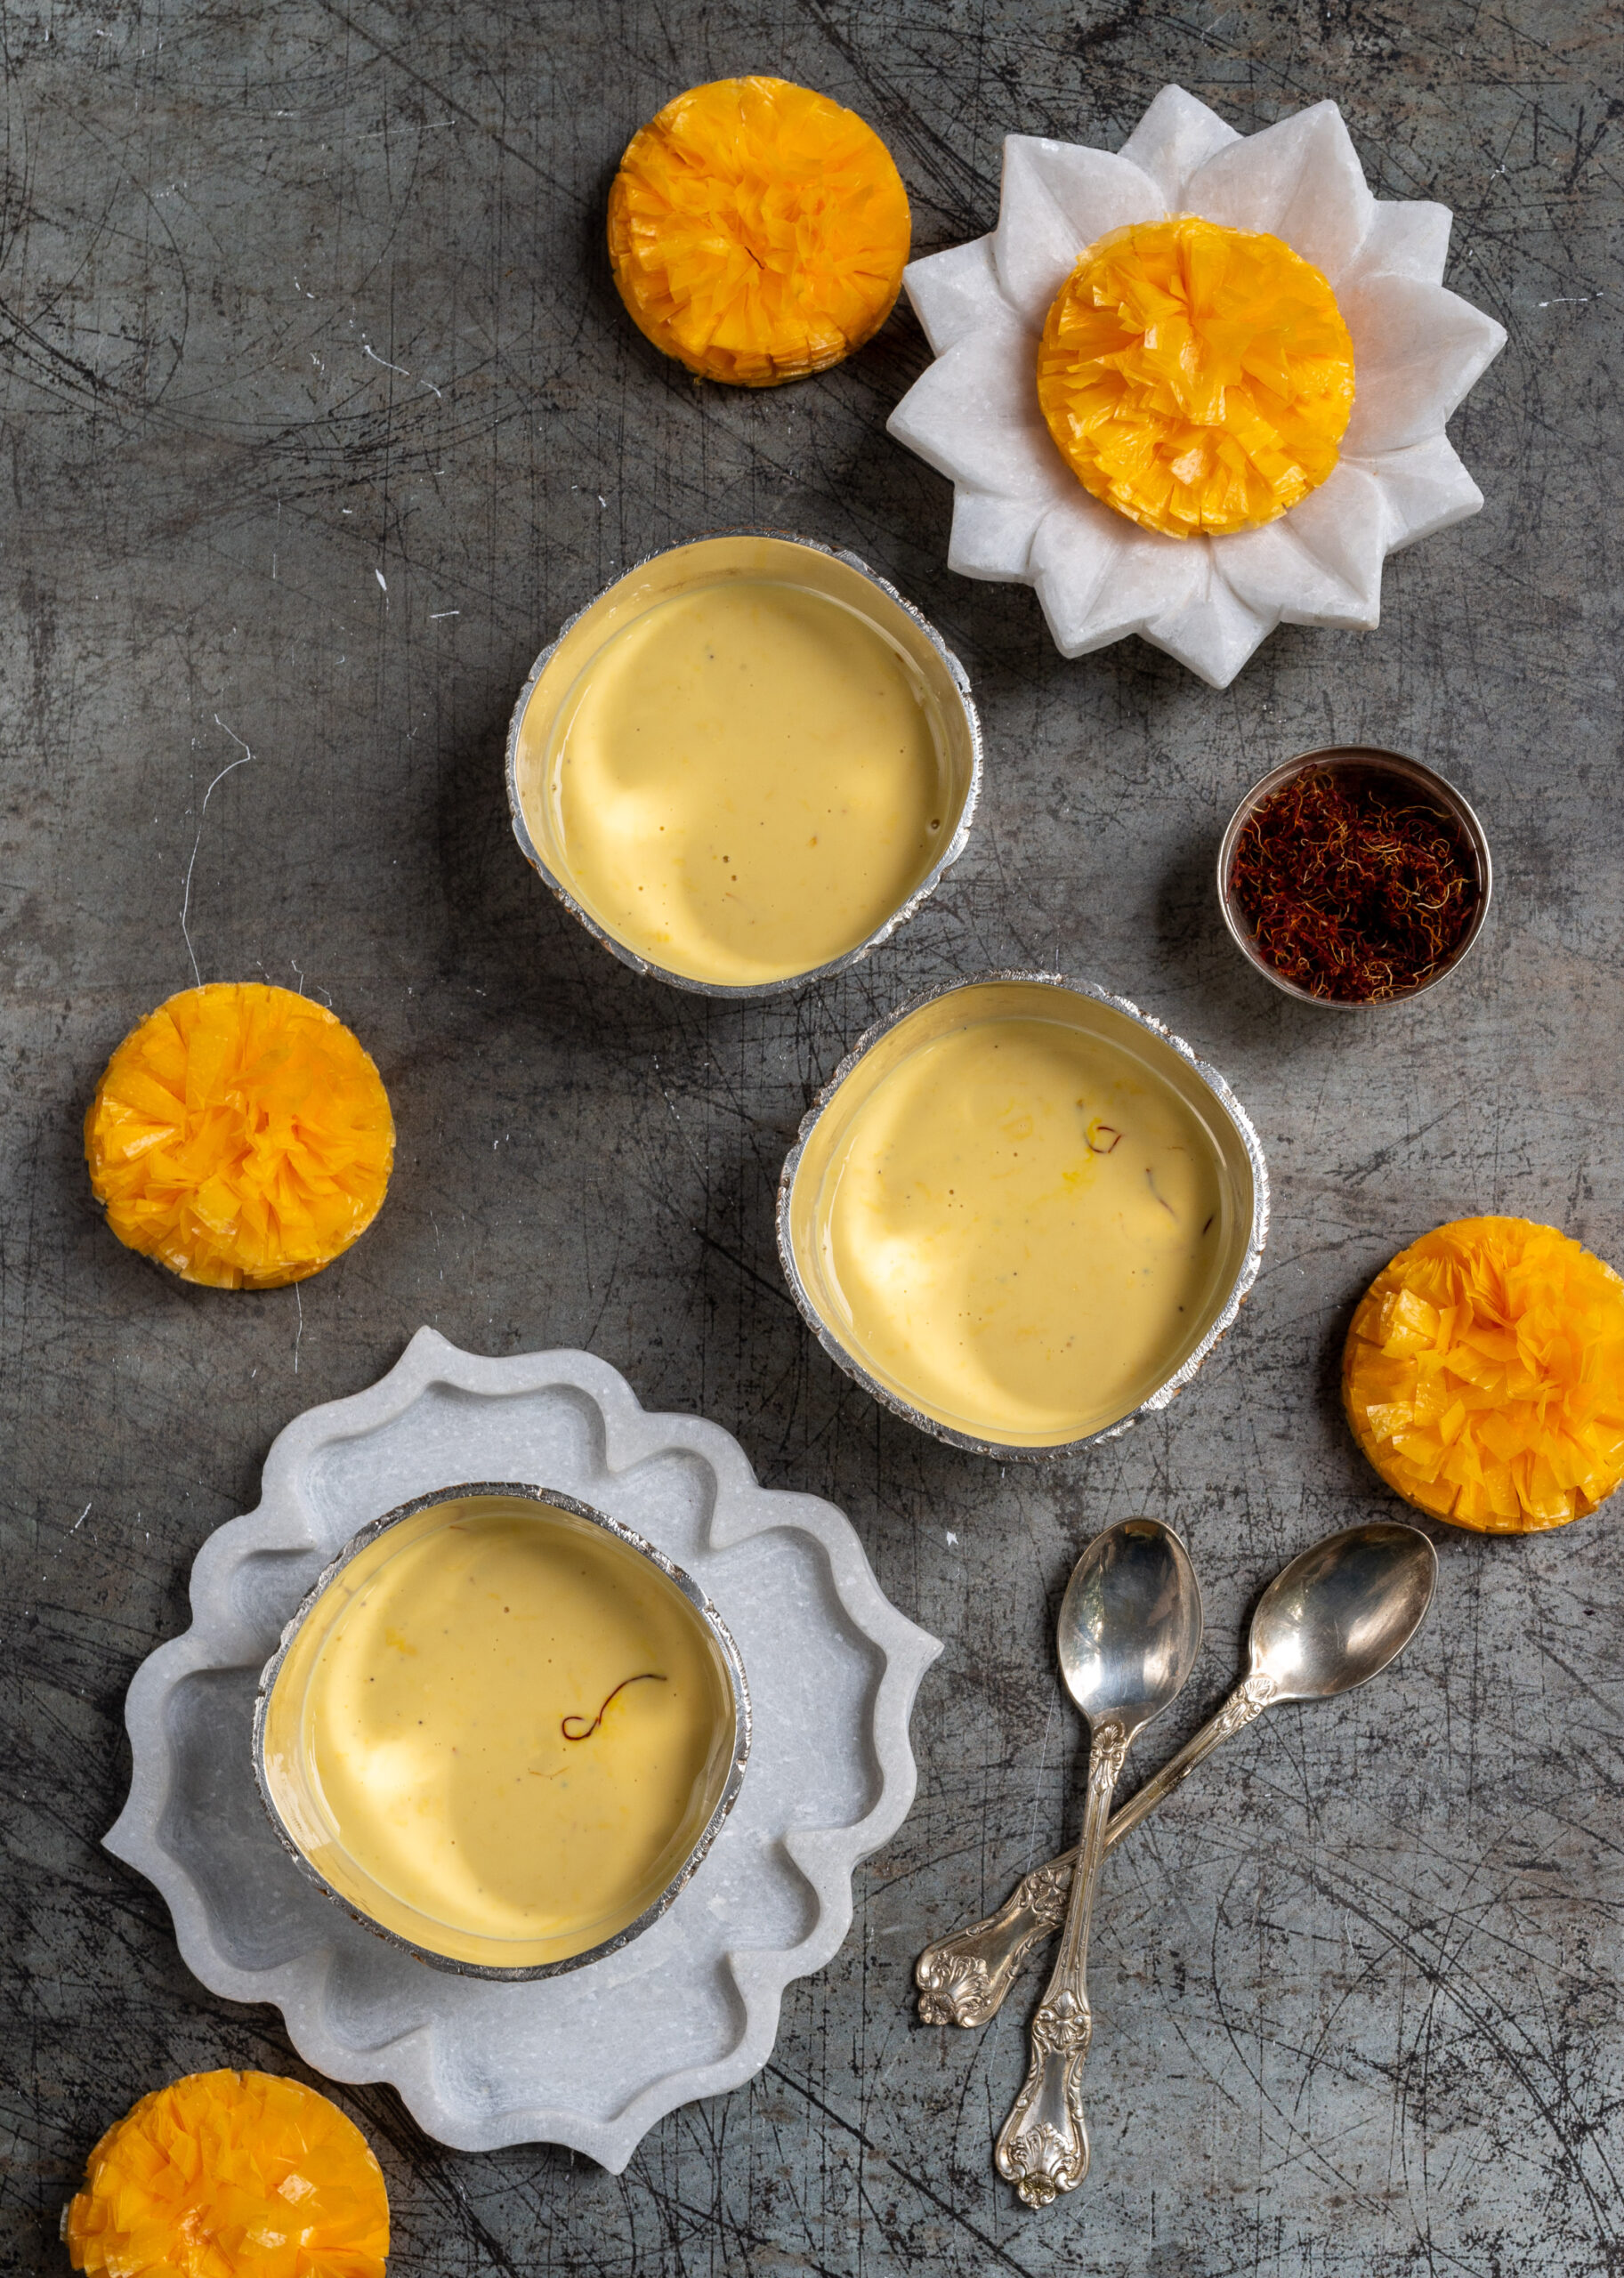
Kesari is a very common Indian sweet, one that can be prepared in a jiffy. Thus, it is perfect for when unannounced guests show up. Rava or semolina is the core ingredient, and most Indian kitchens will have some, alongside the other required basics. I find that it’s very useful to know a few simple desserts – whether to serve to guests or to satisfy one’s own cravings – and this kesari perfectly matches both requirements.

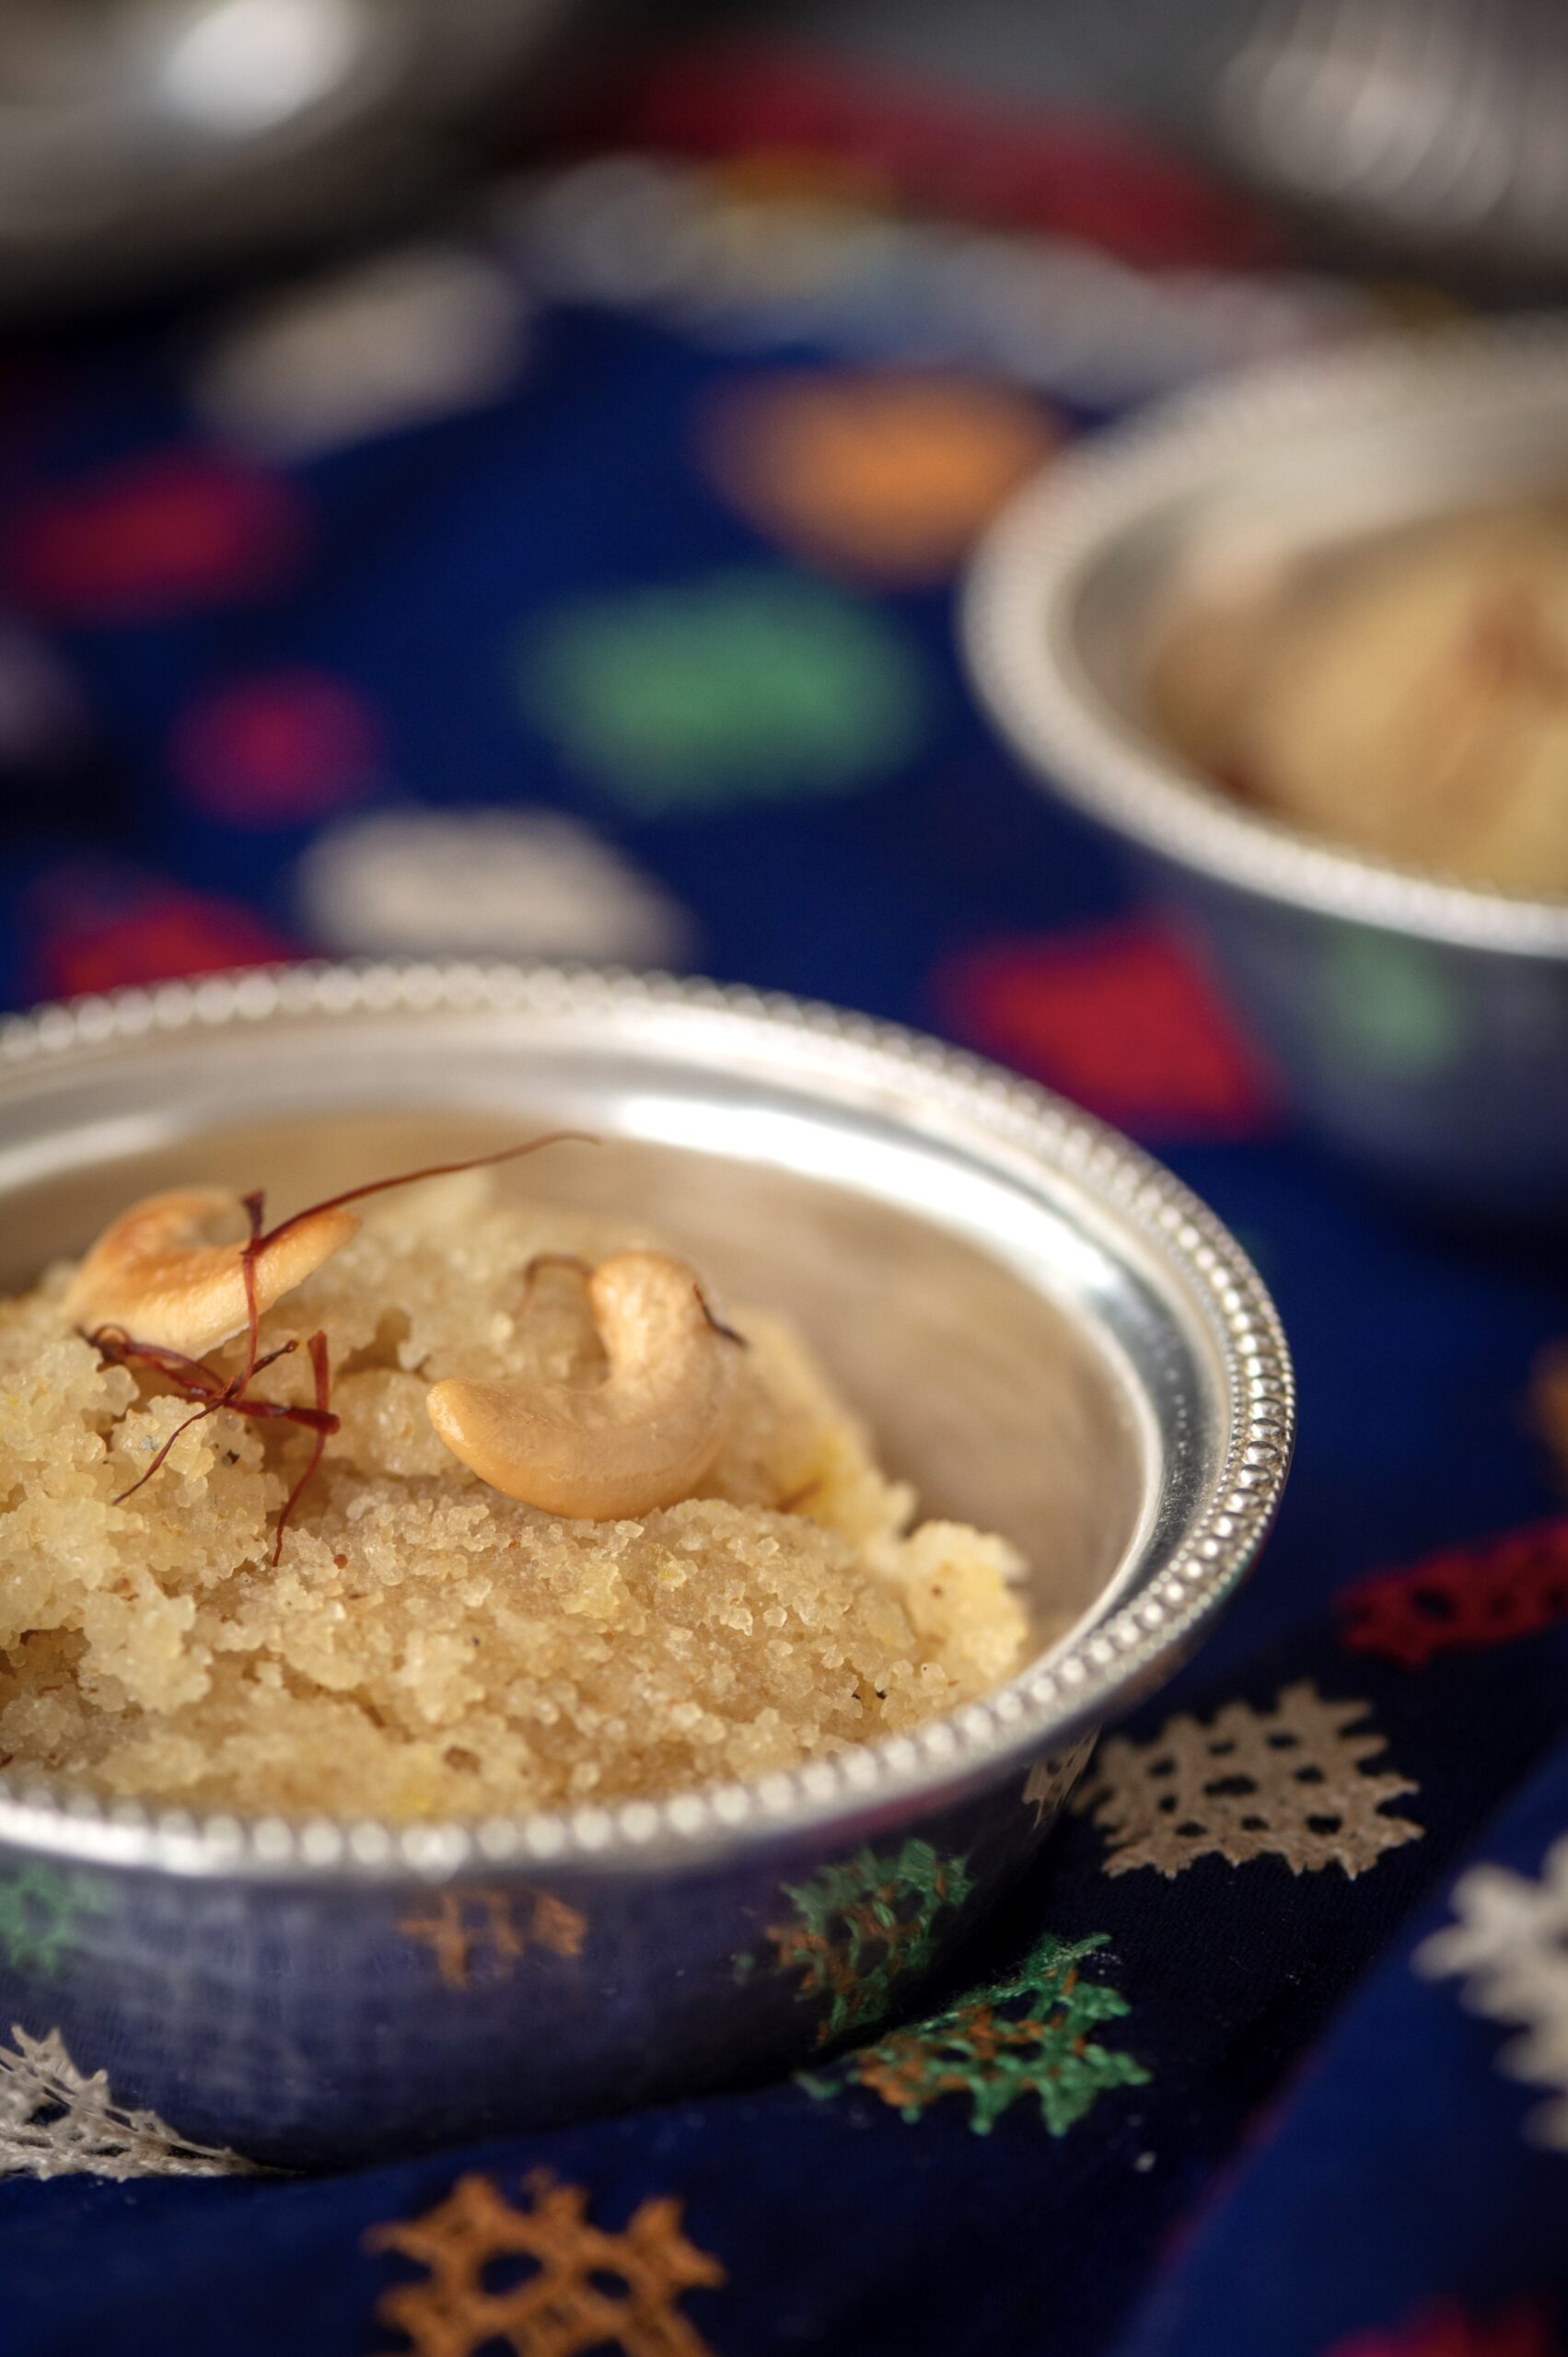
Kesari is named because of the traditional use of saffron or “kesar”. It is known in Gujarati as “sheero” and is also called “sooji halwa”. Saffron imparts a light yellowish tinge to the sweet, which is usually heightened by colouring. That is, if the spice is used at all, since it is an optional flavour and can be quite expensive. I have chosen to stick to the natural appearance of this sweet, and to avoid artificial ingredients. I have also used saffron – authentic Kashmiri saffron from my trip there this year. I have been fortunate to receive as gifts several boxes of saffron from other parts of the world, but I remain partial to what is grown in this region. However, you can prepare this recipe with colouring and without saffron, based on your preference or convenience.

And convenience really is the basis of the popularity of kesari. It can be made so quickly, and as I said earlier, its main ingredients are usually on hand. The reason why rava is almost always in an Indian kitchen is because it is so versatile. You can make upma, dhokla, porridge and so much more with it – which means it is ideal for savoury food as well as sweets like this one. It can be the base for either dessert, or for dinner – or both. There are numerous variants: refined wheat rava, wheat rava, rice rava and so on. I have used sooji, which is refined wheat rava.

Our mom seemed to make kesari very often in our childhood. It was what she whipped up as a treat whenever we came home from school with good grades or an achievement. While this demonstrates how kesari is ideal for celebrating unexpected joys, I also recall how it was made lovingly and with anticipation for certain special occasions too. For instance, it was usually kesari that was served to us as a greeting when we arrived at our dear grandparents’ home in Vijayawada. It was that “something sweet” that they had ready to welcome their daughter and her family – all of us – after our long journey to meet them. In these ways, it is a part of many memories of mine. If you make it frequently, it will become a part of many cherished moments of yours too.

Kesari

(Serves 4)

1 cup rava

¾ cup sugar

3¼ cups milk + water

8-10 split cashew nuts

8-10 raisins

75 grams ghee or clarified butter

A pinch of cardamom powder

A few strands of saffron in 1 tablespoon of milk


Add the ghee to a kadai. Once it has heated, add the split cashews and stir until golden. They darken quickly, so keep the flame low. Remove the cashews and set them aside. Repeat this process with the raisins.

Add the rava to the remaining ghee in the kadai. Roast on a low flame. Simultaneously, in a separate pot, add the sugar and water and stir until the mixture starts bubbling. The sugar water will be boiling while the rava turns golden. This will take about 15 minutes. Keep stirring the rava, ensuring the flame remains low.

The sugar quotient I have used is minimal. Add more if you prefer. I have not added colouring, but you may if you prefer to.

Then, gently add the boiling sugar water to the rava. Maintain a little distance between yourself and the pot as the contents may splutter. Stir. Add the saffron. Cover with a lid for five minutes.

Next, add the cardamom powder, along with the toasted cashews and raisins. Mix gently.

Your kesari is now ready to be enjoyed. You may wish to spread and slice it and then use cookie cutters to make shapes, or simply scoop it out and serve it. I suppose it depends on if you’re making it with or without advance notice. I hope you find this process simple and quick, and will now be able to add this easy dessert to your repertoire!
There are numerous milk-based sweets that are very popular in India, and several have made appearances on this blog over the years, as you can see here. While they are all fantastic, for this Deepavali I was thinking about making something that doesn’t require milk. This recipe is great for lactose-intolerant people, and can be tweaked and made vegan (all you have to do is to replace the ghee with your usual alternative). Additionally, the dessert I came up with is millet-based, so it is extra nourishing. Here it is: foxtail payasam.

Foxtail payasam, strictly speaking, is not quite my own recipe, even though I’ve substantially played with the basic ingredients. As a payasam, it can be said to be traditional in South India, where they are a well-known category of dessert, eaten often and not just on festive occasions. Here in Tamil Nadu, foxtail millet is known as thinai and is a widely-known native produce. Like all millets, it is nutritious and versatile.

Many of us have become conscious about our eating choices and have brought millets into our diets over the last few years as a white rice replacement. Even the Tamil Nadu state government has been promoting their use, and so has the United Nations. This is something that I’ve advocated for as well, across many recipes.

In terms of payasam, I think the paruppu payasam (made with dal) is probably the most common. I always reach out for it whenever I have a banana leaf meal at a South Indian restaurant. It uses dried coconut bits and also contains jaggery, which is healthier than sugar yet satisfies my sweet tooth. Drawing inspiration from it, but adding my own twist, I have opted to use coconut milk in my foxtail payasam. The coconut milk, along with a cashew garnishing, adds a richness to it. You may also wish to use raisins, and reduce the jaggery quantity accordingly. Or you may want to use coconut sugar instead of jaggery. You may even want to replace the millet itself, just as you can also replace the moong dal with toor dal.

If you are a young adult making festive goodies for the first time, this is an ideal recipe for you to try wherever you are. It is simple and utilizes easily available ingredients. The world has become a smaller place, and I have no doubt that you’ll be able to find them even if you’re spending Deepavali away from home.

I have a South Indian daughter-in-law now and I wanted to prepare something this year that is familiar to her and the region she comes from. Thus, this foxtail payasam serves as a welcoming sweet for her as she enters our family. It is her first Deepavali with us, so it is really special. This recipe is for her, most of all. It is also for my sister, who always asks me to show her something new from South Indian cuisine whenever she visits me, and is very curious about what I am making at this time of year. It goes without saying that it is also for you: I wish you and your loved ones a blessed festive season, and much joy ahead!

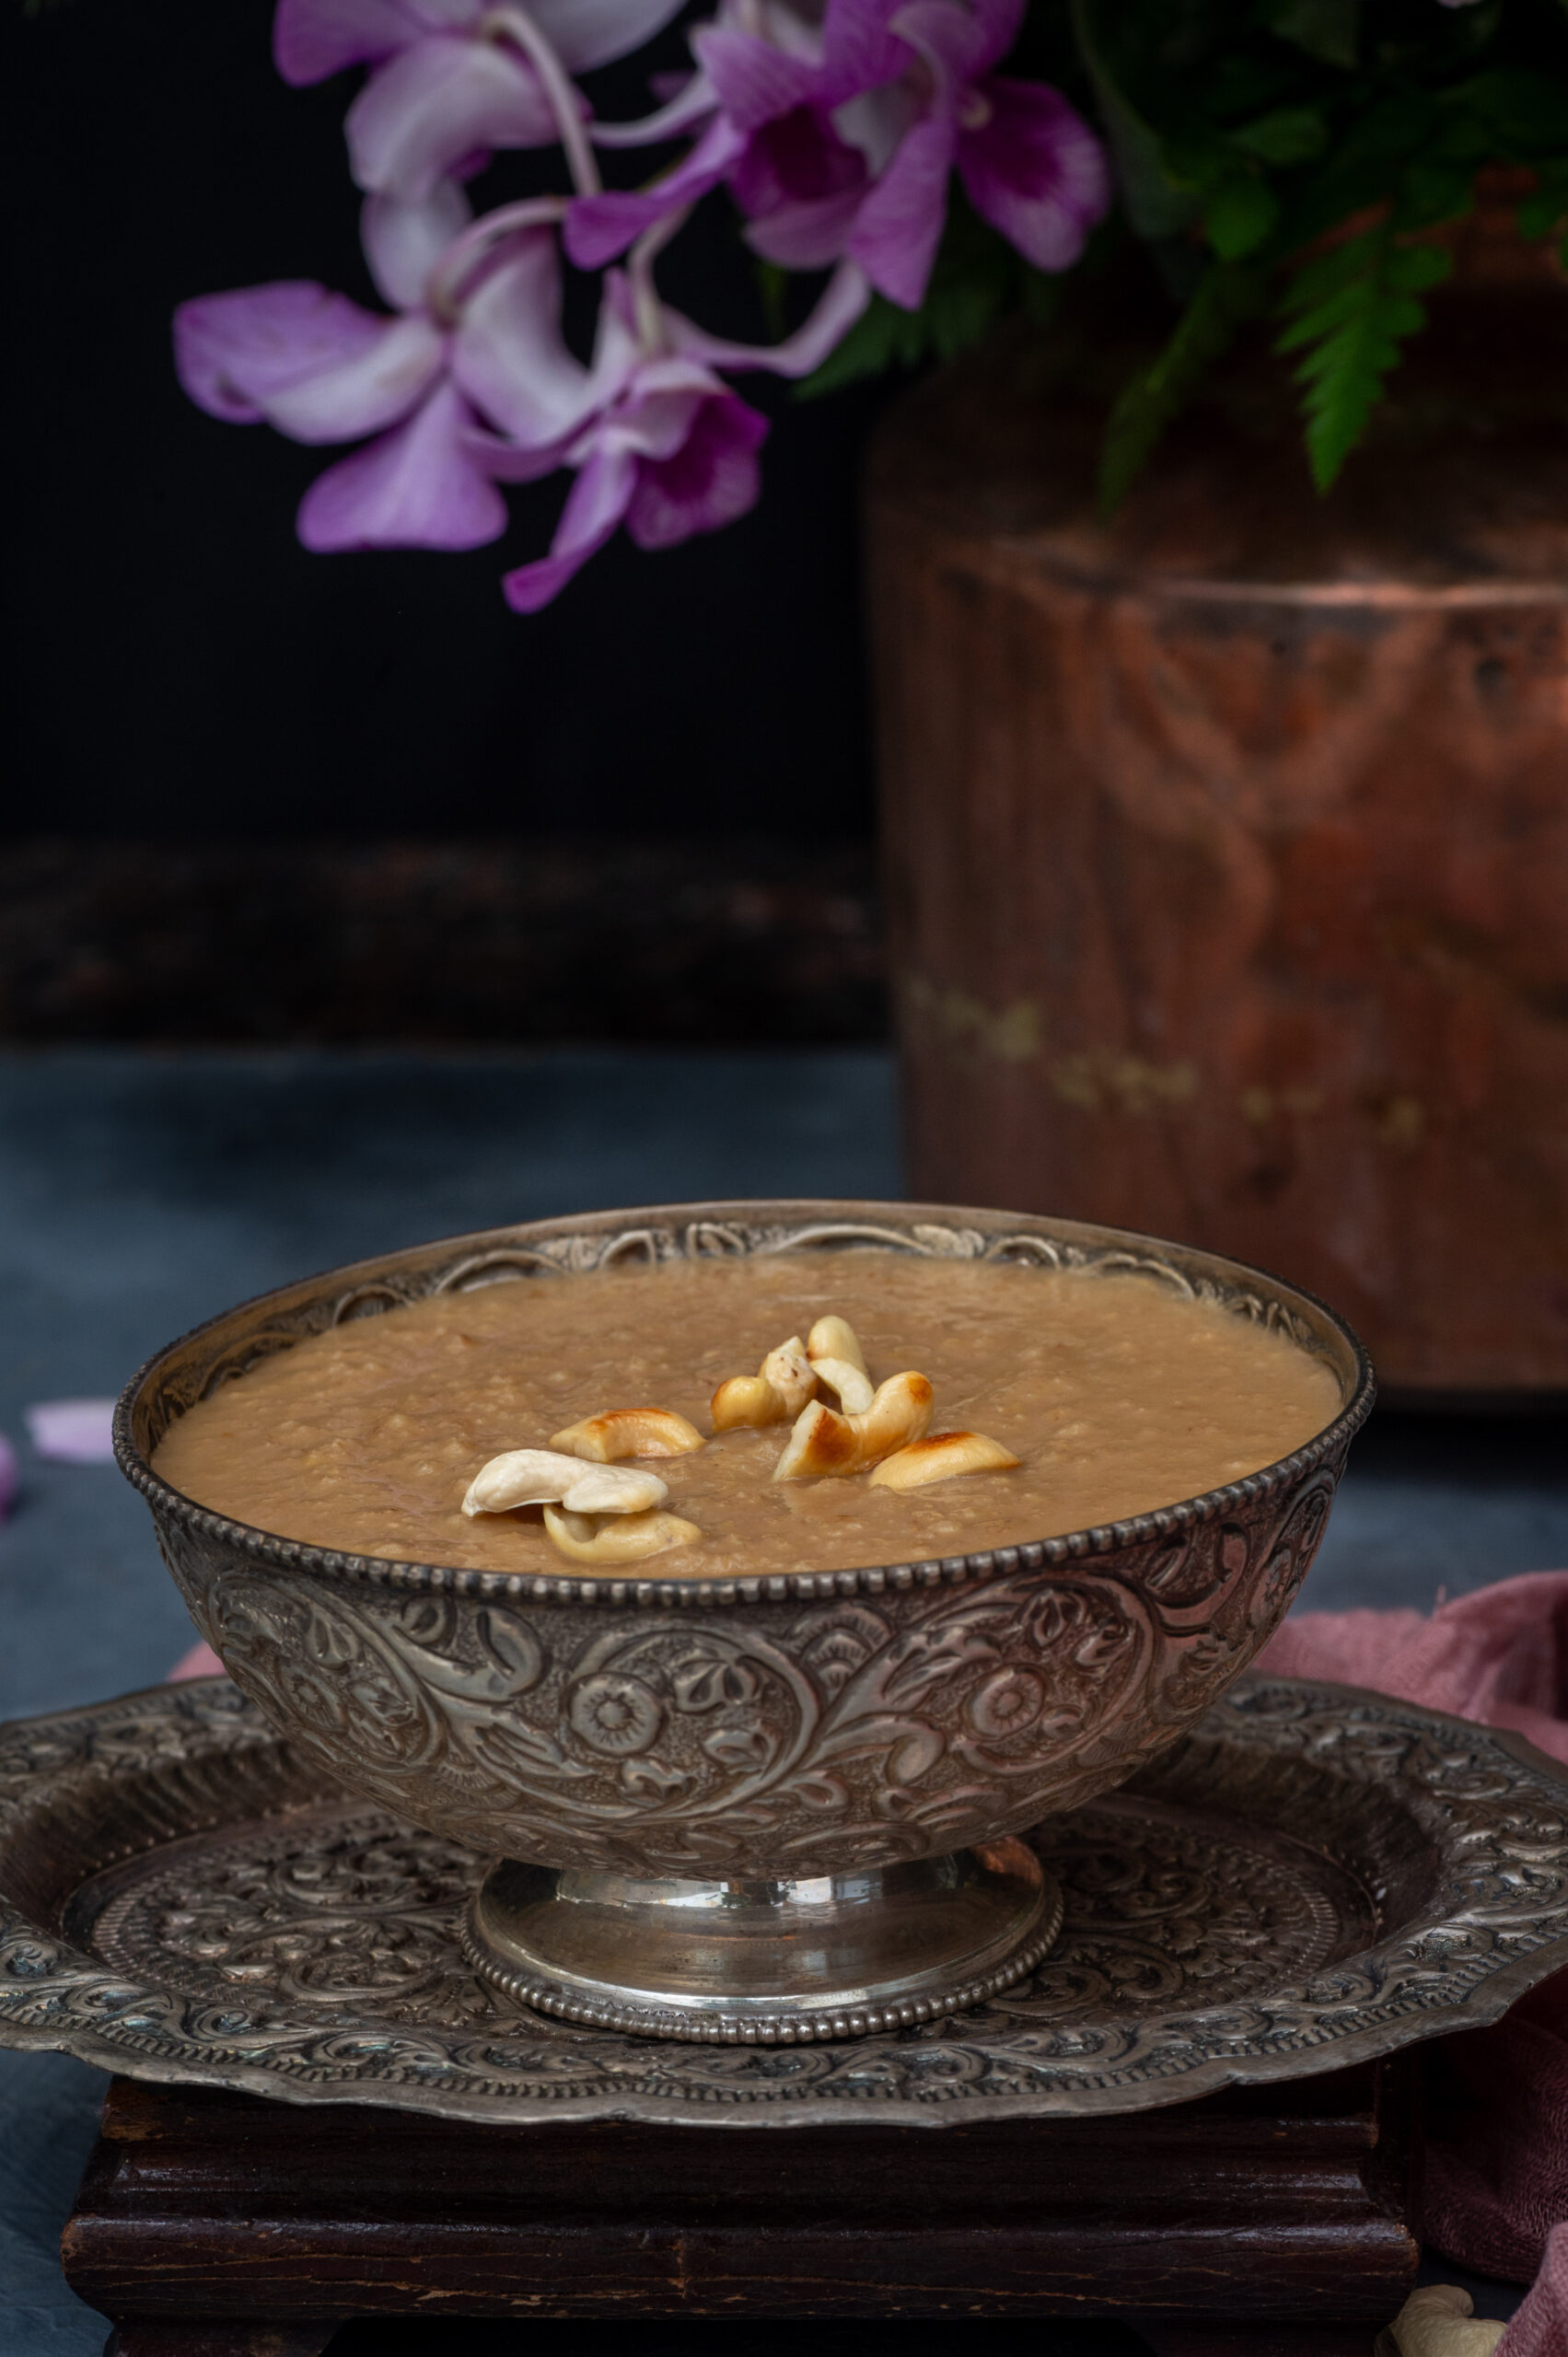
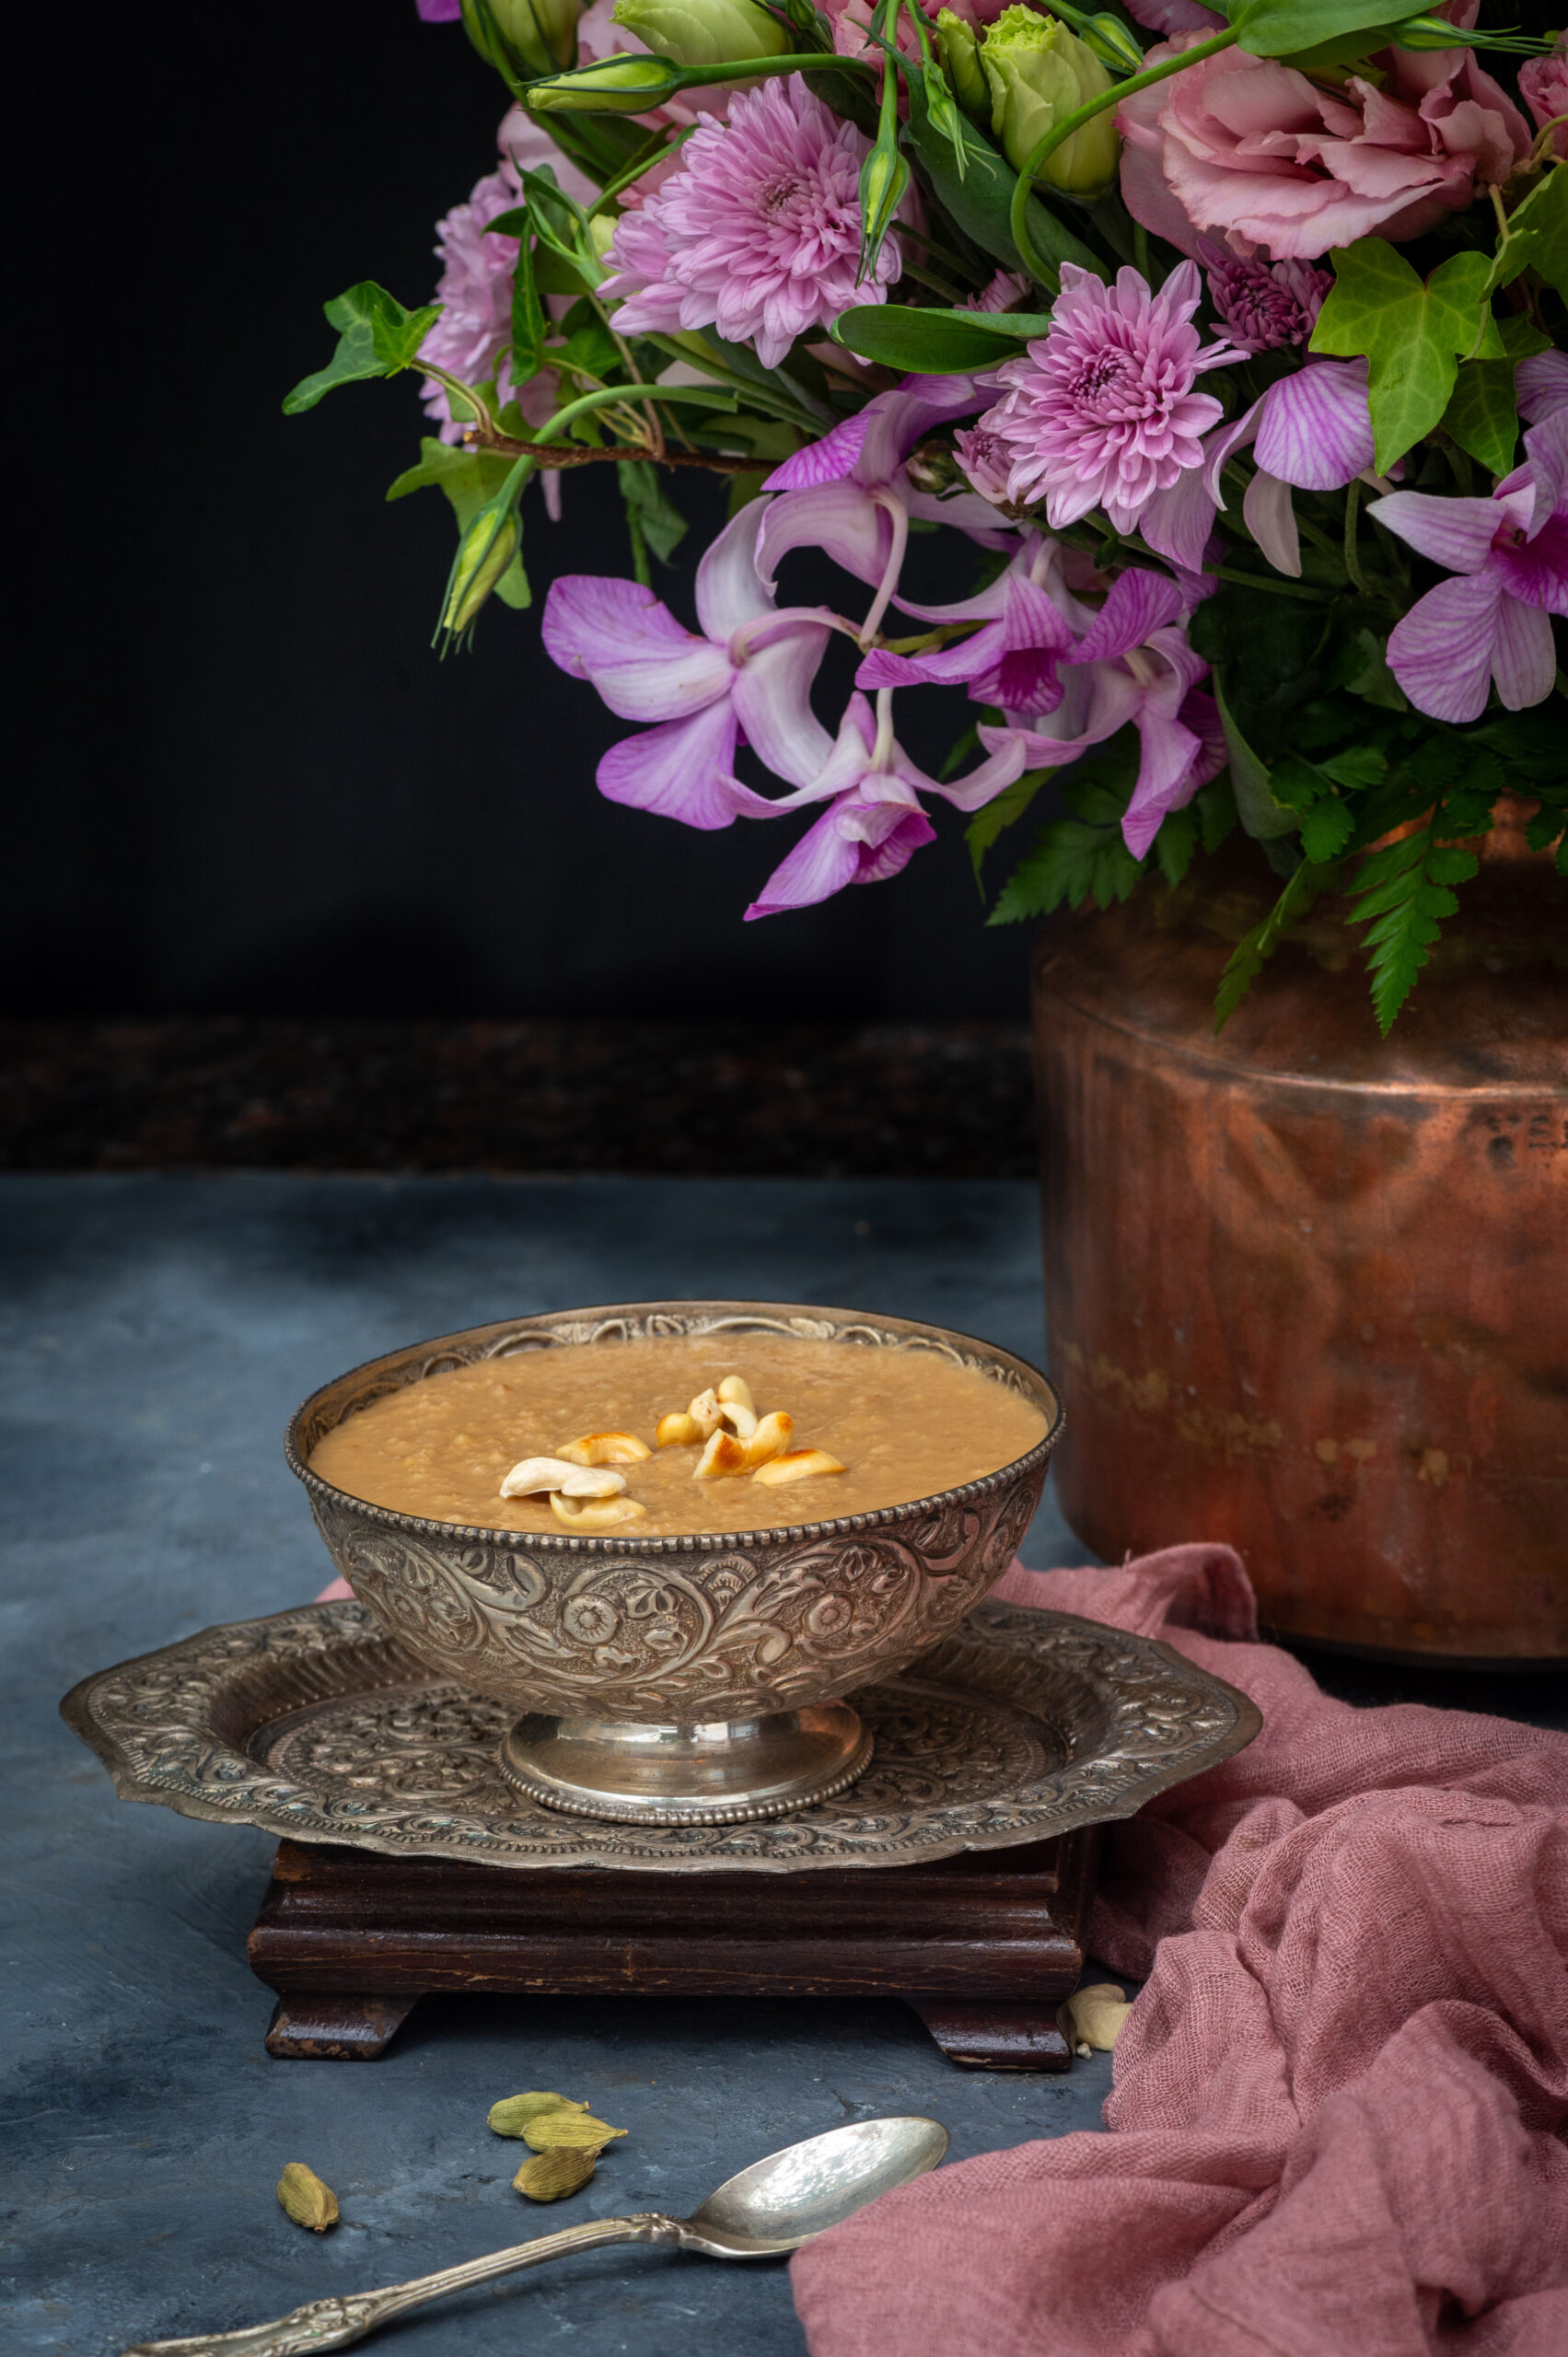
Foxtail Payasam

(Serves 4-5)

25 grams moong dal (green gram)

60 grams thinai millet (foxtail)

¾ cup jaggery

2 + 1 cups water

1 cup coconut milk

1 teaspoon ghee

A handful of cashews

Rinse and soak the moong dal in water for at least an hour. Strain the water and set aside.

Roast the thinai in a pan for a few minutes or until it releases an aroma.

Next, add the thinai to the strained dal and add two cups of water. Place these in a pressure cooker and cook until tender. Remove the pot once cooled.

In another bowl, add jaggery and to it add one cup of water. Boil this mixture until the jaggery has melted. Strain this liquid and add it to the dal-thinai mixture.

Allow to cook until it all comes together. Finally, add the coconut milk, mix well and turn off the flame.

To garnish: heat the ghee and add the roasted cashew nuts. Toast until golden. Sprinkle over the payasam. Serve hot.

I hope you’ll enjoy this delicious, nourishing sweet this Deepavali and for many years to come!

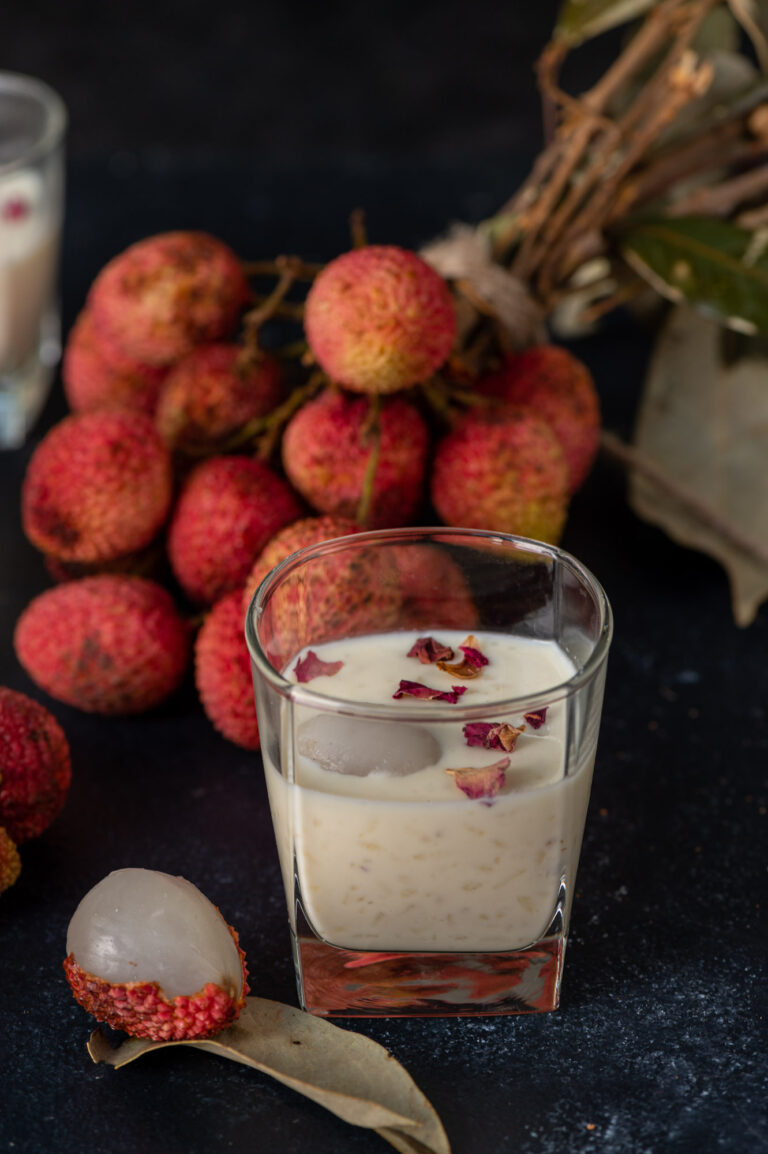
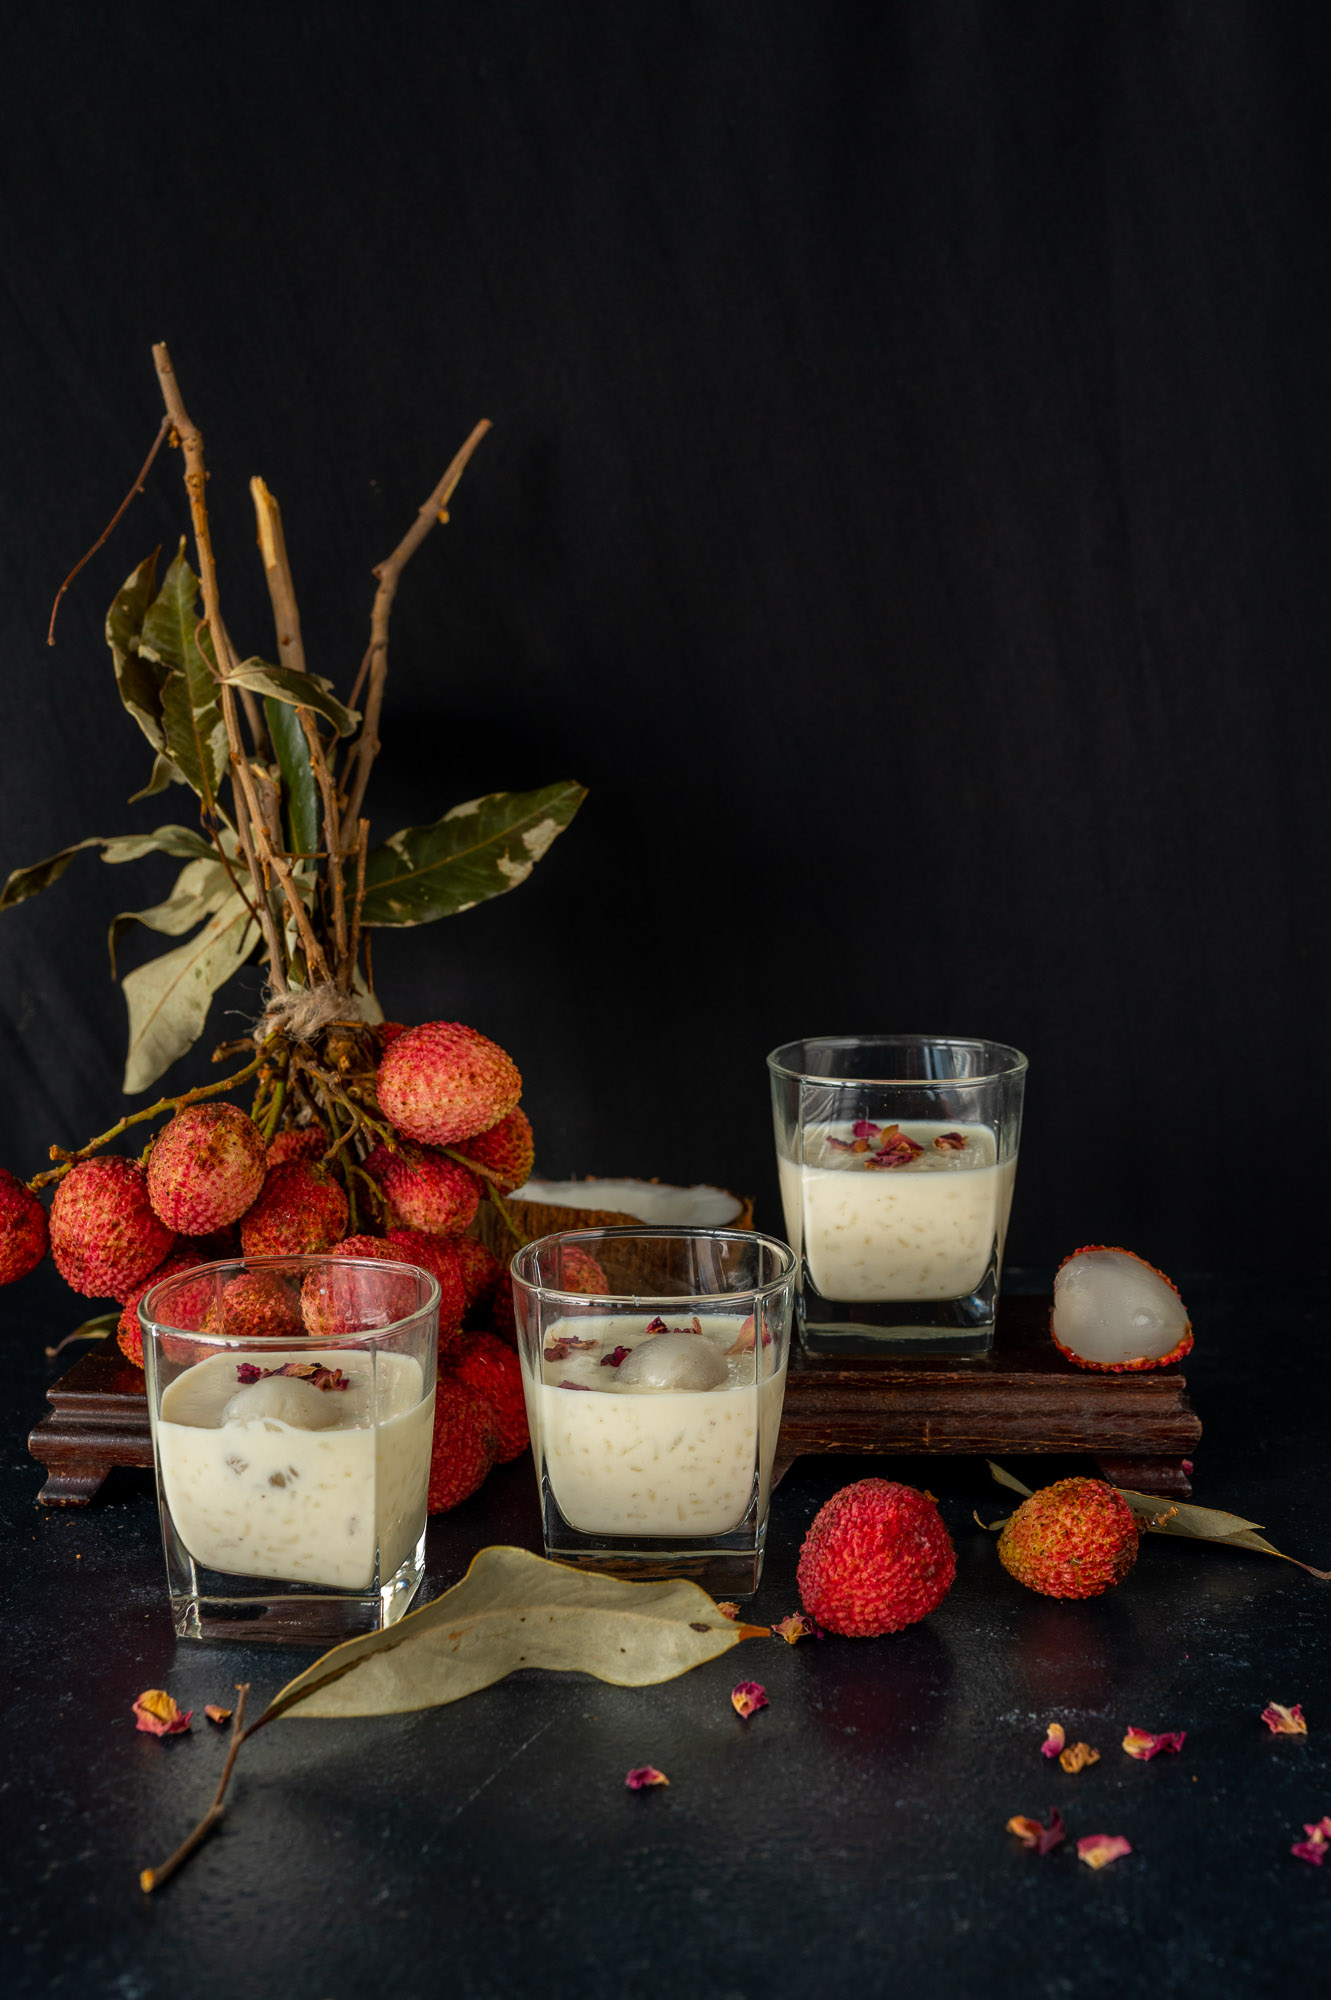
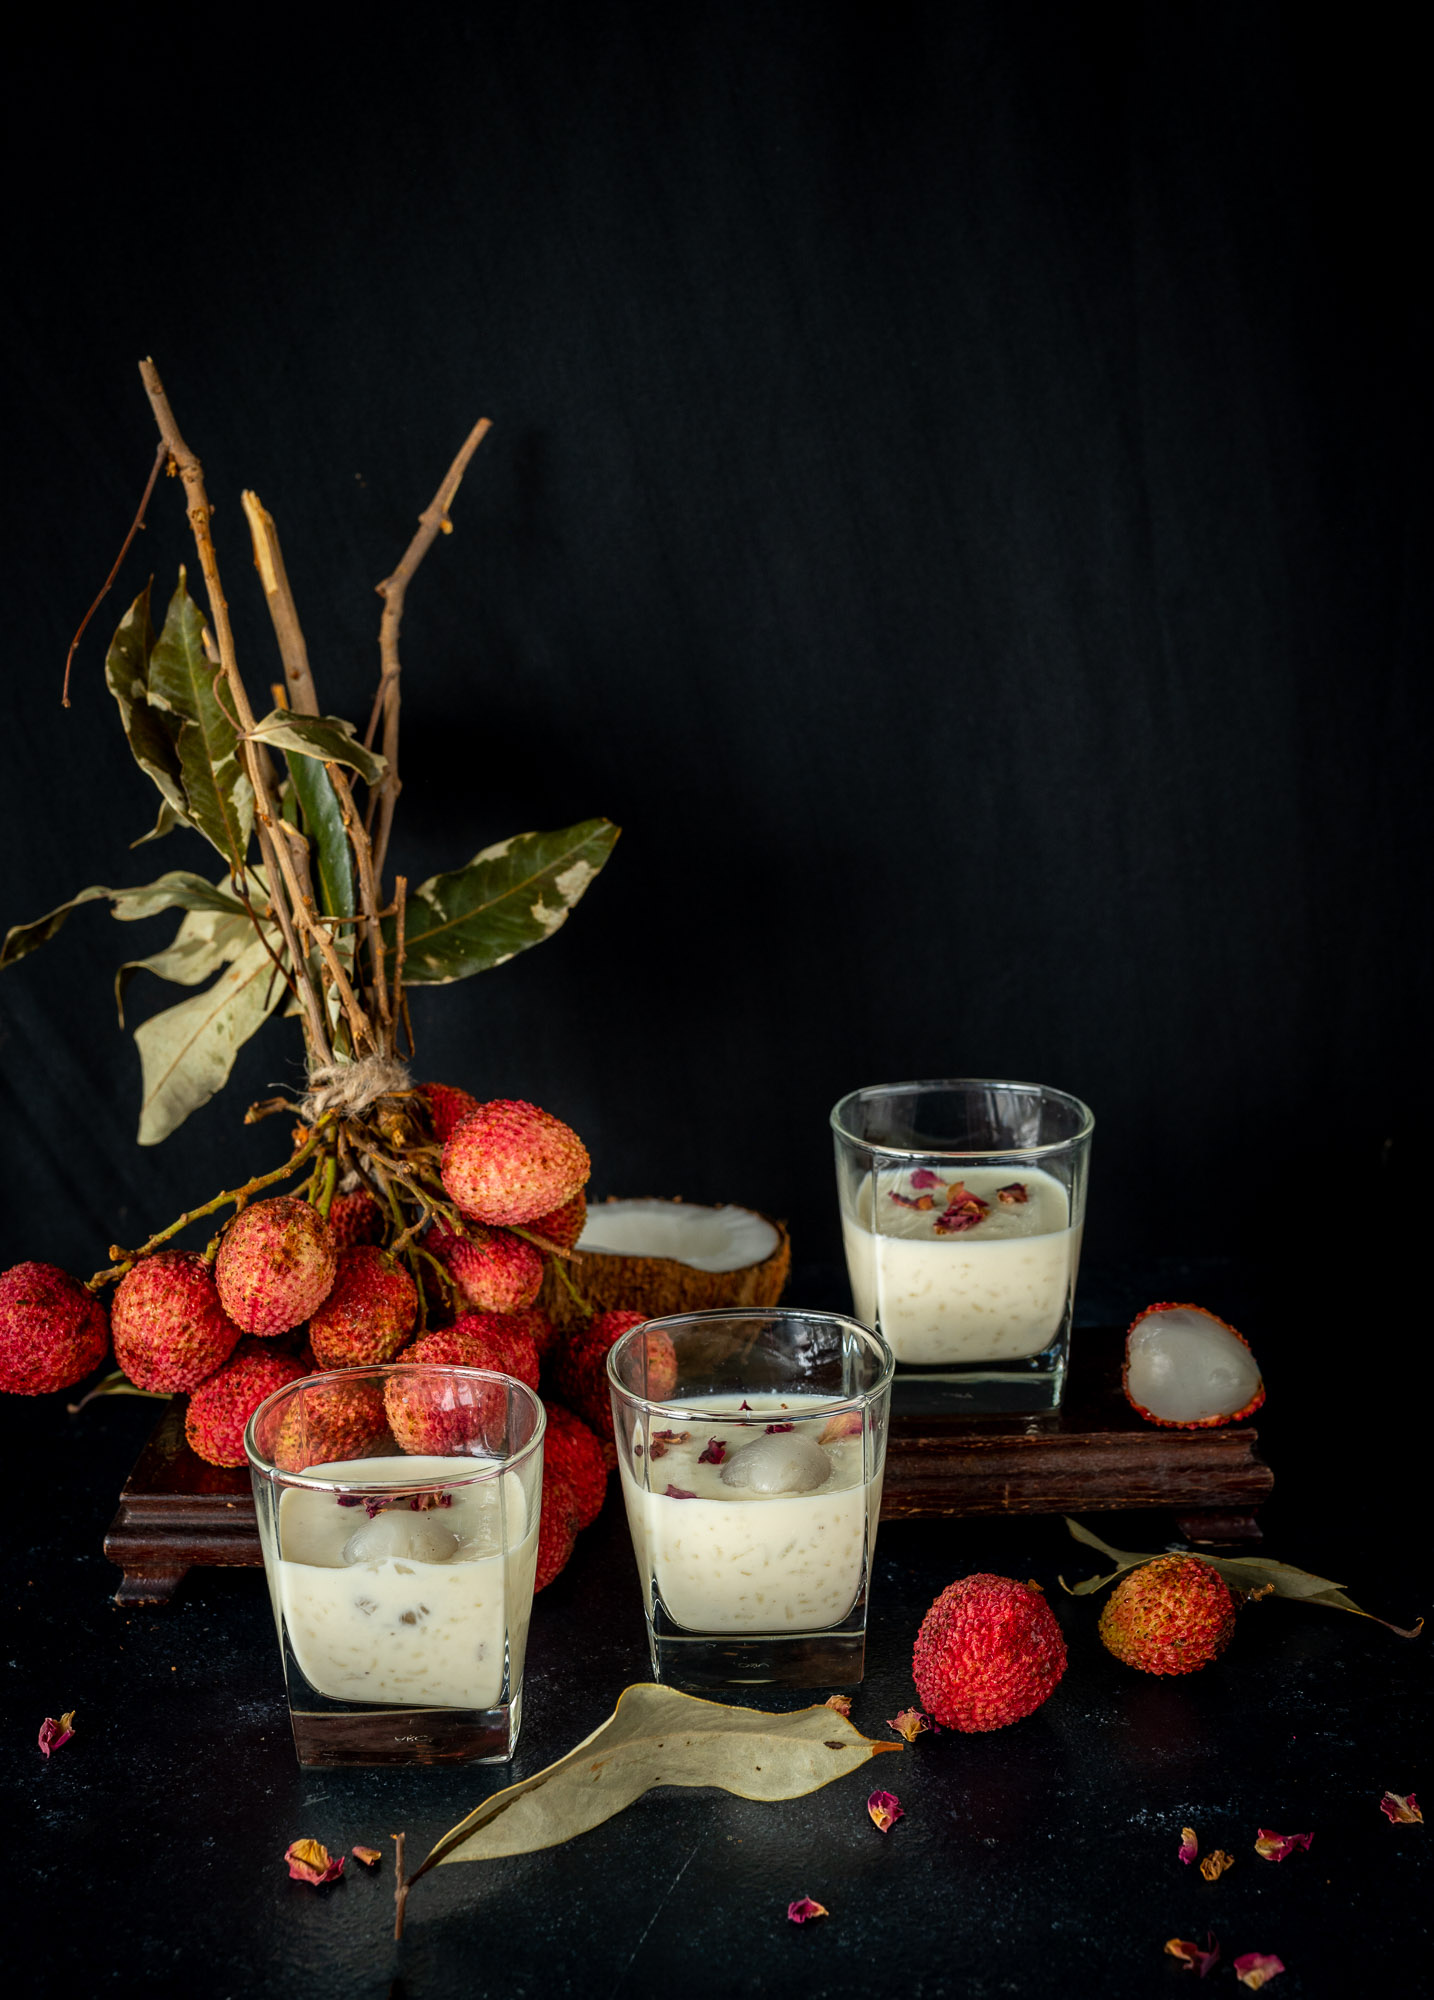
I wanted to make a panna cotta recently but didn’t have the time, which is when I decided that something like a kheer would be the next best thing. Isn’t it lovely when we can almost match our cravings with something equally delightful, although different? This dish is all the more special because it uses lychees, which have a really short season. This lychee kheer is simply perfect as a cold dessert for the summer.

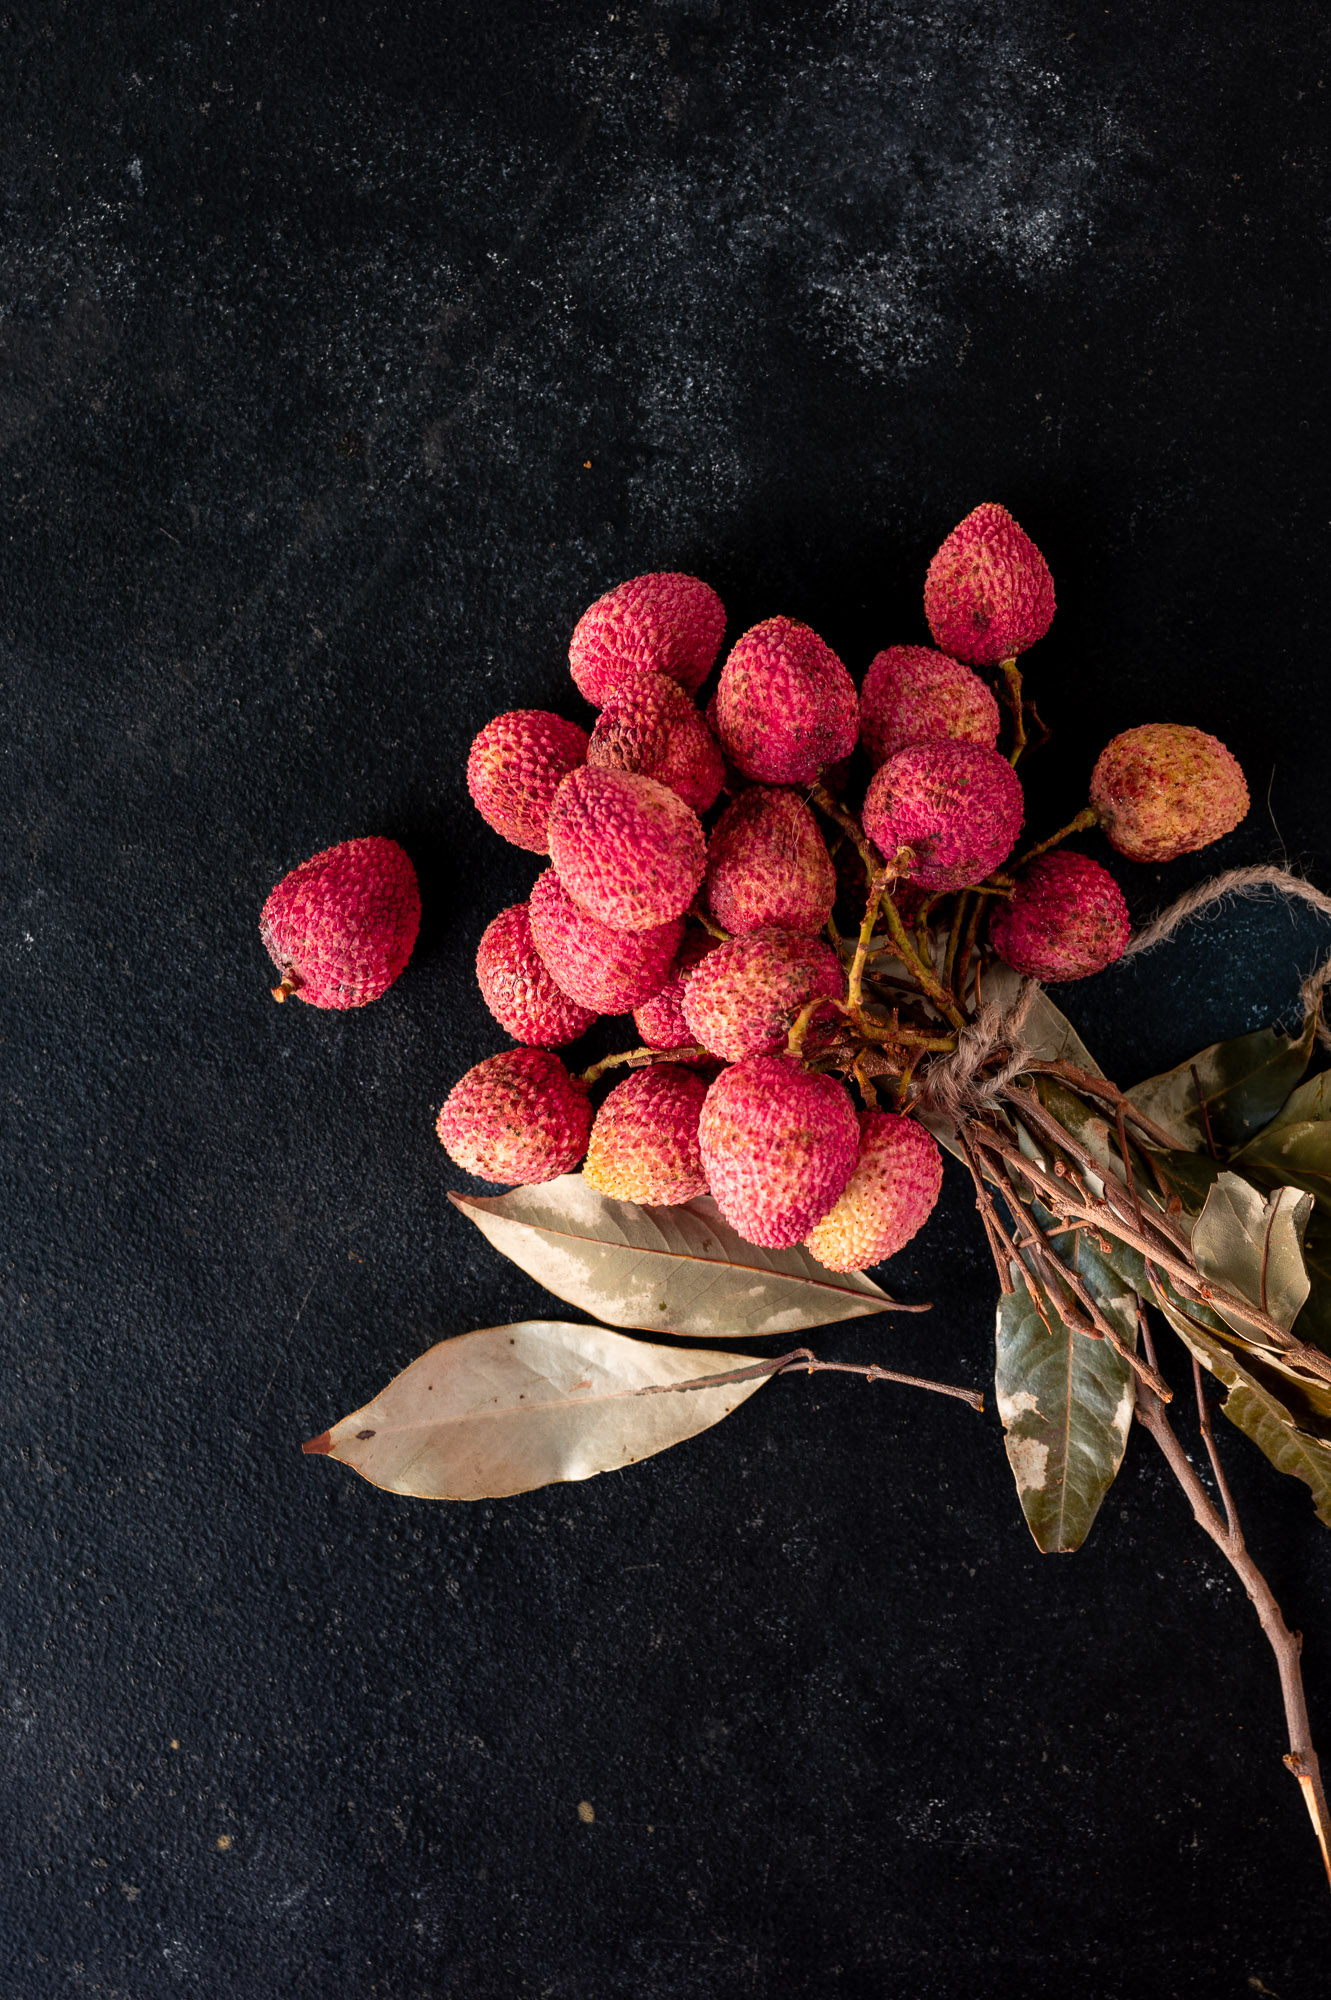
I really love Indian lychees, even though I know that they originate in East and South East Asia. The flavours of each variant depends on the location, and the Indian-grown ones are my favourite. Perhaps it’s just that I am used to that taste. Similarly, mangoes grow all over the world but there is nothing like an Indian mango to me, the ones we find in our own neighbourhoods. Incidentally, lychees are at their own best during a short time during mango season. They are also more suited to the heat, as they are definitely more cooling than mangoes. Since lychees have a short season, I want to add that you can use tinned ones too – the kheer will taste just as good.

In fact, the memory of some very cool lychees were what inspired this dish. I had visited a friend a while ago, during another lychee season, and she had peeled and frozen the fruit. We enjoyed these after a lazy afternoon lunch, and they tasted like ice cream. I will never forget how that day was: gossip, food, laughter and the delicious frozen lychees melting in the mouth.

I have shared below a very basic recipe that focuses on the flavour of this fruit, but I have found that it pairs quite well with coconut and/or rose too. As I have so much of it on hand from the trees at home, I’ve added some grated coconut, which is optional. I’ve also found that saffron and almond, despite being typical kheer flavourings, don’t quite match. Still, go with your gut instinct and choose to add what you’d like to. Or else just stick to the simplest version, for it really is quite wonderful as it is.

Lychee Kheer

(Yield: 6 cups)

1 litre milk

½ cup broken rice (washed and soaked)

½ cup sugar

1 cup lychees

2 tablespoons grated coconut (optional)


Boil the milk until it reduces a little, then add the soaked broken rice. Substitute with whole grain if you prefer.

Allow the rice to cook in the milk. You will notice when the rice cooks and the milk reduces further. Once cooked, the rice becomes tender. Now, add the sugar.

I used a hand blender to gently whip the mixture so the rice breaks down further.

Remove from the flame and cover. Allow to cool to room temperature, then refrigerate.

Meanwhile, peel the lychees and chop finely. Add them to the kheer along with the grated coconut, if you are using it, and stir well. Refrigerate again and serve cold.

The main thing that gets in the way of making this dish properly is that you will have to be careful as you peel the lychees not to pop them into your mouth! I hope you have a nice big bunch around, as you’ll find it very tempting to do so. Trust me, putting them in the kheer is well worth it – try it out, and you’ll see.

Milk plays a very central role in most communities in India. This is evident when it comes to cuisine, where dairy ingredients like ghee, paneer (known as cottage cheese in the West) and milk itself are crucial components of many dishes. Milk also has religious significance, such as in Hinduism wherein idols of deities are bathed in milk and then offered specially-prepared sweets which often contain the same. In South India, where I live, other than Deepavali or Diwali the big festival is Pongal, when milk is boiled and allowed to spill over the pot as a sign of abundance, a good harvest and new beginnings. Milk therefore can be considered auspicious or even sacred. With Diwali just days away, a milk sweet is thus a must on this blog. This year, I have chosen to share with you the recipe for rabdi. Rabdi is essentially a form of thickened milk, not to be confused with condensed milk.

In the past, I have mentioned various kinds of kheers on this blog, including orange kheer, sitaphal kheer and rose-coconut kheer. Rabdi is a similar dish, and you may also hear it being called by the name rabri. It is also difficult to differentiate between rabdi and basundi. There is a vast array of milk-based desserts in the subcontinent, and sometimes they may resemble each other in look, preparation or taste.

As you may know, over the last few years I’ve increasingly taken a vegan approach to my diet, and many recipes I’ve shared here attest to the same. Being vegan in India is certainly a bit of a challenge because dairy is a big part of our cuisine, as mentioned before. We also have certain conditioned ideas about the importance of it, such as how children are forced to drink milk as it is believed to give them good health and strength, or even how drinking chai is a kind of milestone. I remember how when I first got married and started drinking chai, I started to feel like “Now, I am an adult”. All this aside, my personal struggle is not with milk, ghee, paneer or milk sweets at all but with yoghurt. I just can’t seem to give that up. Anyhow, more on that later, as I continue on my adventures on the vegan path.

For now, since I still consume dairy, I’m going to do so by reflecting on what it means on a day like Diwali, when it is such a big part of our food and our rituals.

Actually, it is important in my family on more than just a festive occasion such as Diwali, but every day. You see, I grew up with a precious statue of Balagopal, the baby version of Lord Krishna. This statue has been in my family for generations. He was gifted to my great-grandmother by a priest, then looked after by my grandfather, then my parents, and now my 91-year old father. My father has found it difficult to keep up with the seva, or rituals, and I imagine that I will welcome Balagopal in my own home in due time.

We have elaborate customs to worship him, which must be performed throughout the day. He must be treated like a child of the home: he must be bathed, fed, dressed, sung to, played with, and put to bed – until the following morning, when it must all be done all over again. There are seasonal rituals too. In summer, he is given water in a tiny pot and cooled with a tiny khus khus (vetiver) fan. In winters, he is dressed in warming velvet and fragranced with attar.

To me, these rituals are an exemplary way to follow traditions that inculcate discipline, respect, humility and generosity, as well as a daily practice of celebration and joy. I am sure that when he does come to my home, his welcome will be a very big affair. I am waiting to receive him. I have taken the advice of elders in the family who tell me that I should do the best seva I can, but that I cannot miss a day. He can never be abandoned or ignored, just like my child.

I am a big believer in “to each their own”. People look at or don’t look at God, do or don’t have spiritual leanings, and come from different religions with their own systems. They are all valid to me. For myself, I see Balagopal as an important legacy, one I want to continue for the sake of both of my elders and my children.

Now, the sweetest part of all this: Balagopal loves milk, according to the myths. So he is often offered a milk-based treat, such as rabdi. So it is sure to be among my offerings to him. It can also be among your own festive delights. Both these thoughts give me joy.

Rabdi

(Serves: 4)


2 litres milk

1 cup sugar

¼ teaspoon saffron strands

¼ teaspoon cardamom powder


In a heavy-bottomed pot, boil the milk on a low flame. Keep stirring to make sure it does not stick at the bottom of the pot. Do this until the milk has reduced to almost half the quantity. This will take about an hour.

When the milk is noticeably thick, add the sugar and saffron. Continue to stir constantly. Finally, add the cardamom powder. Stir and take the pot off the flame.

Cover with a lid and allow to cool until it has reached room temperature. Then, refrigerate.

Rabdi can be eaten either cold or warm, and I hope it will bring some sweetness to your festivities this year. In many communities, these go on for about a week, with something special eaten every day. If you’re looking for more recipes to make your Diwali delicious, do explore my blog archives. Let me point you toward the recipes for laapsi, chevdo and sweet ghugras to begin with. Enjoy!

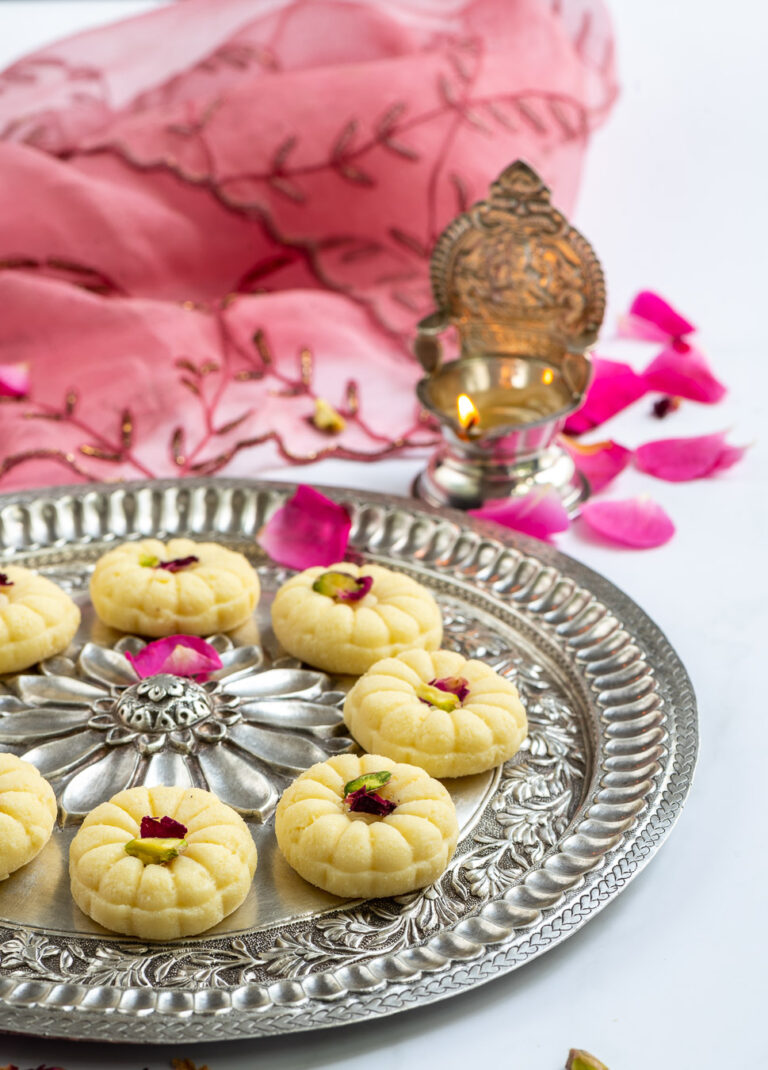
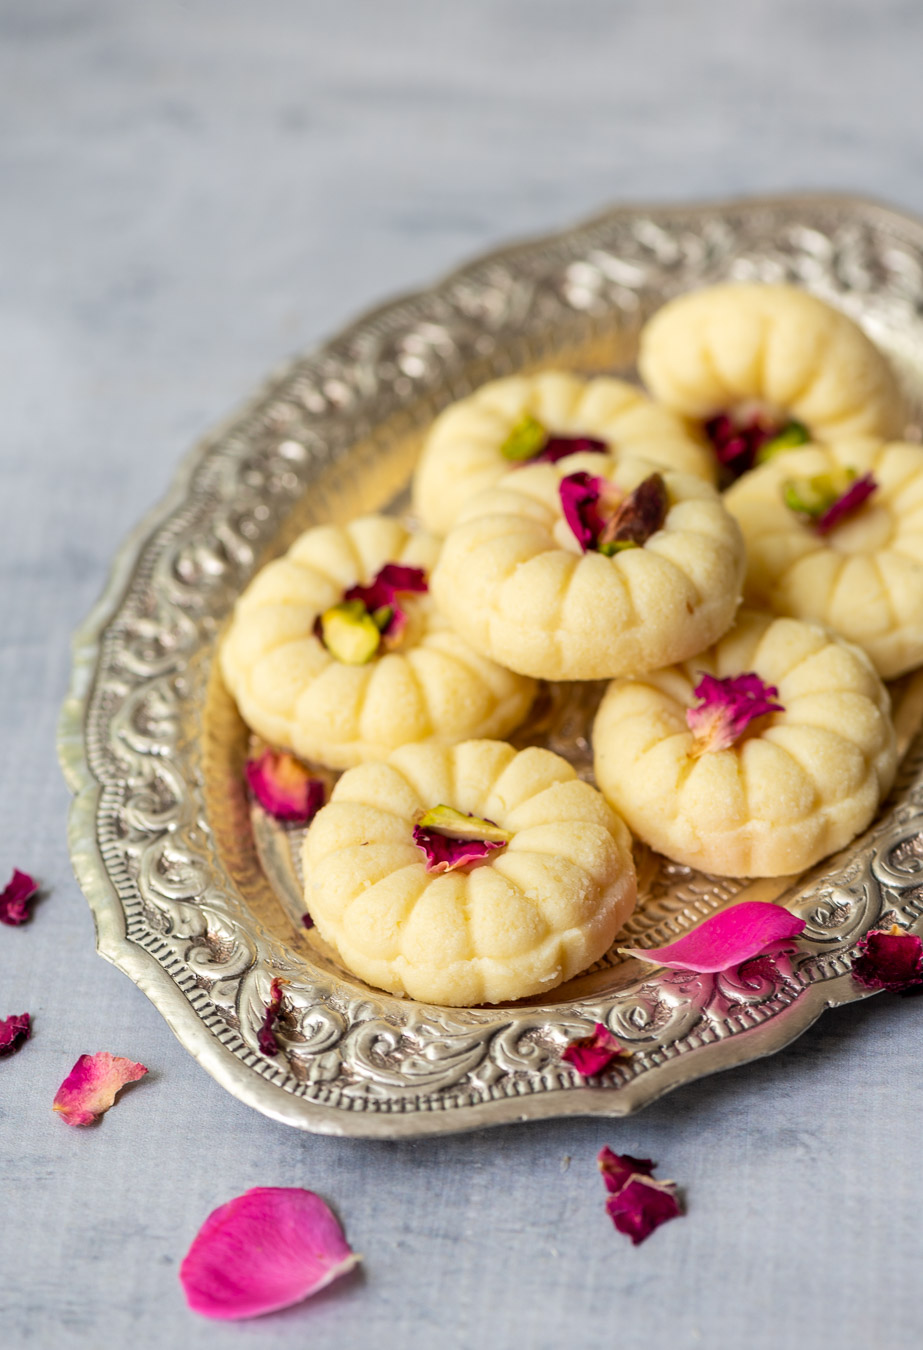
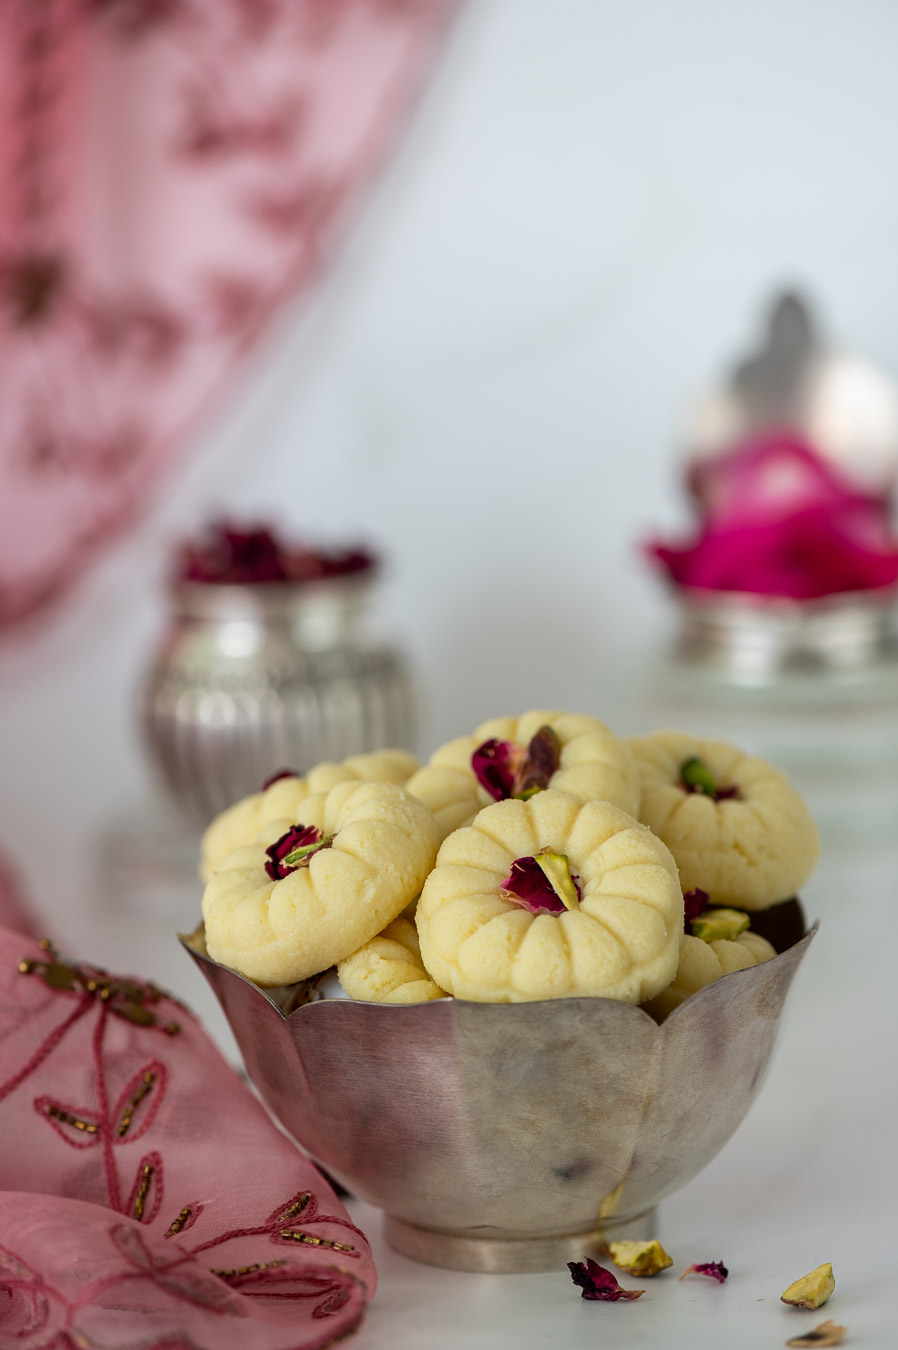
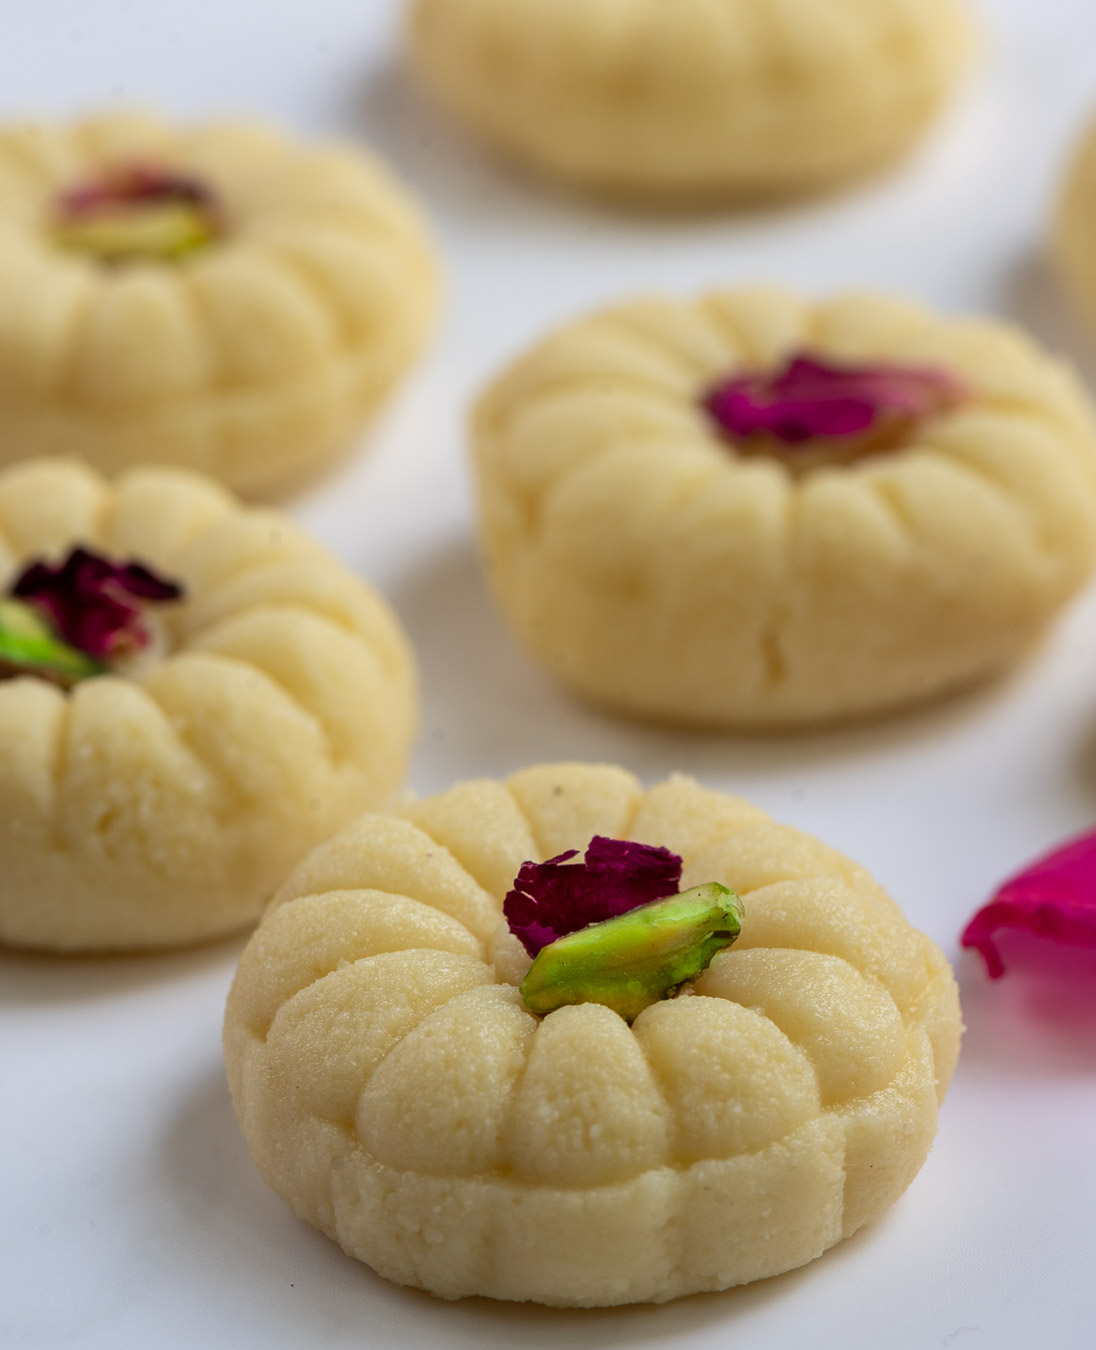
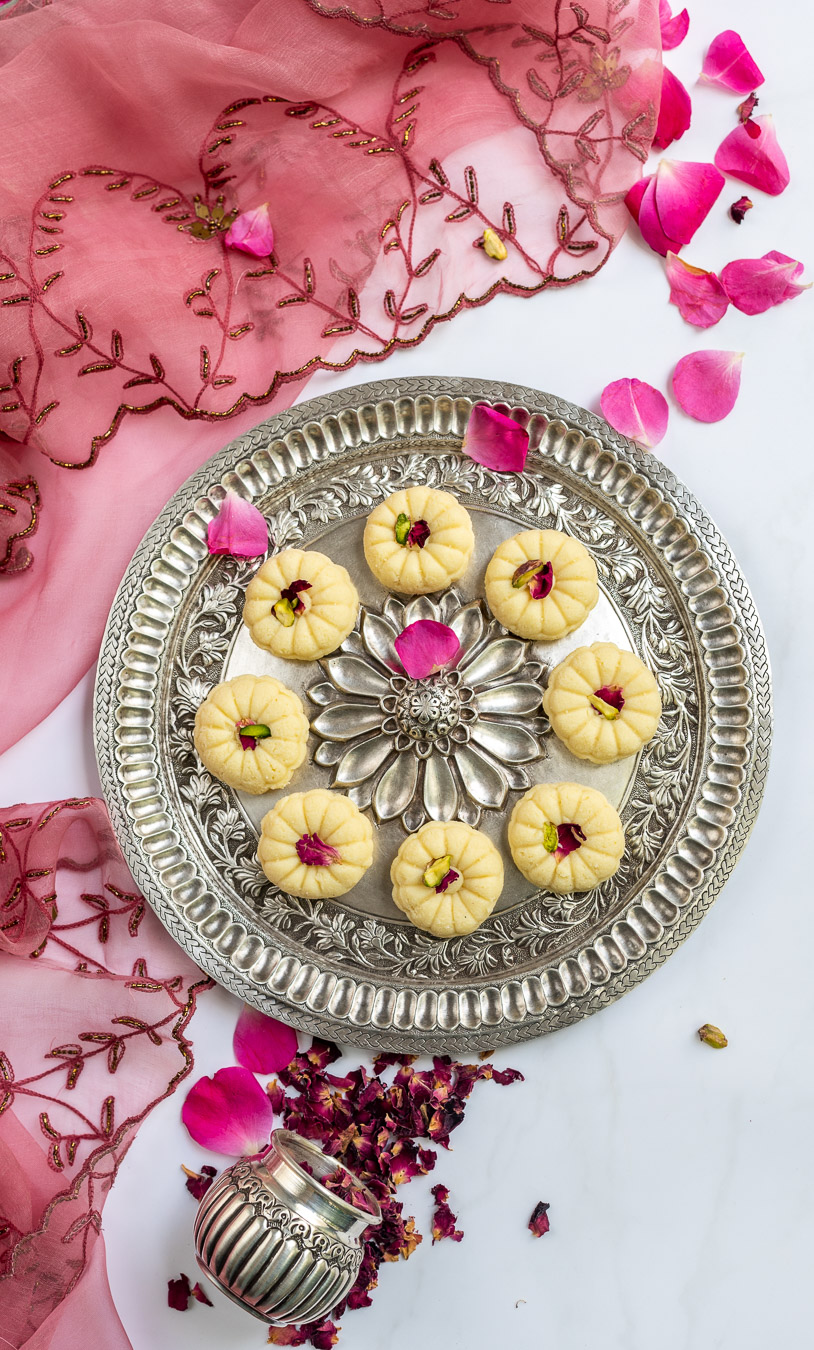
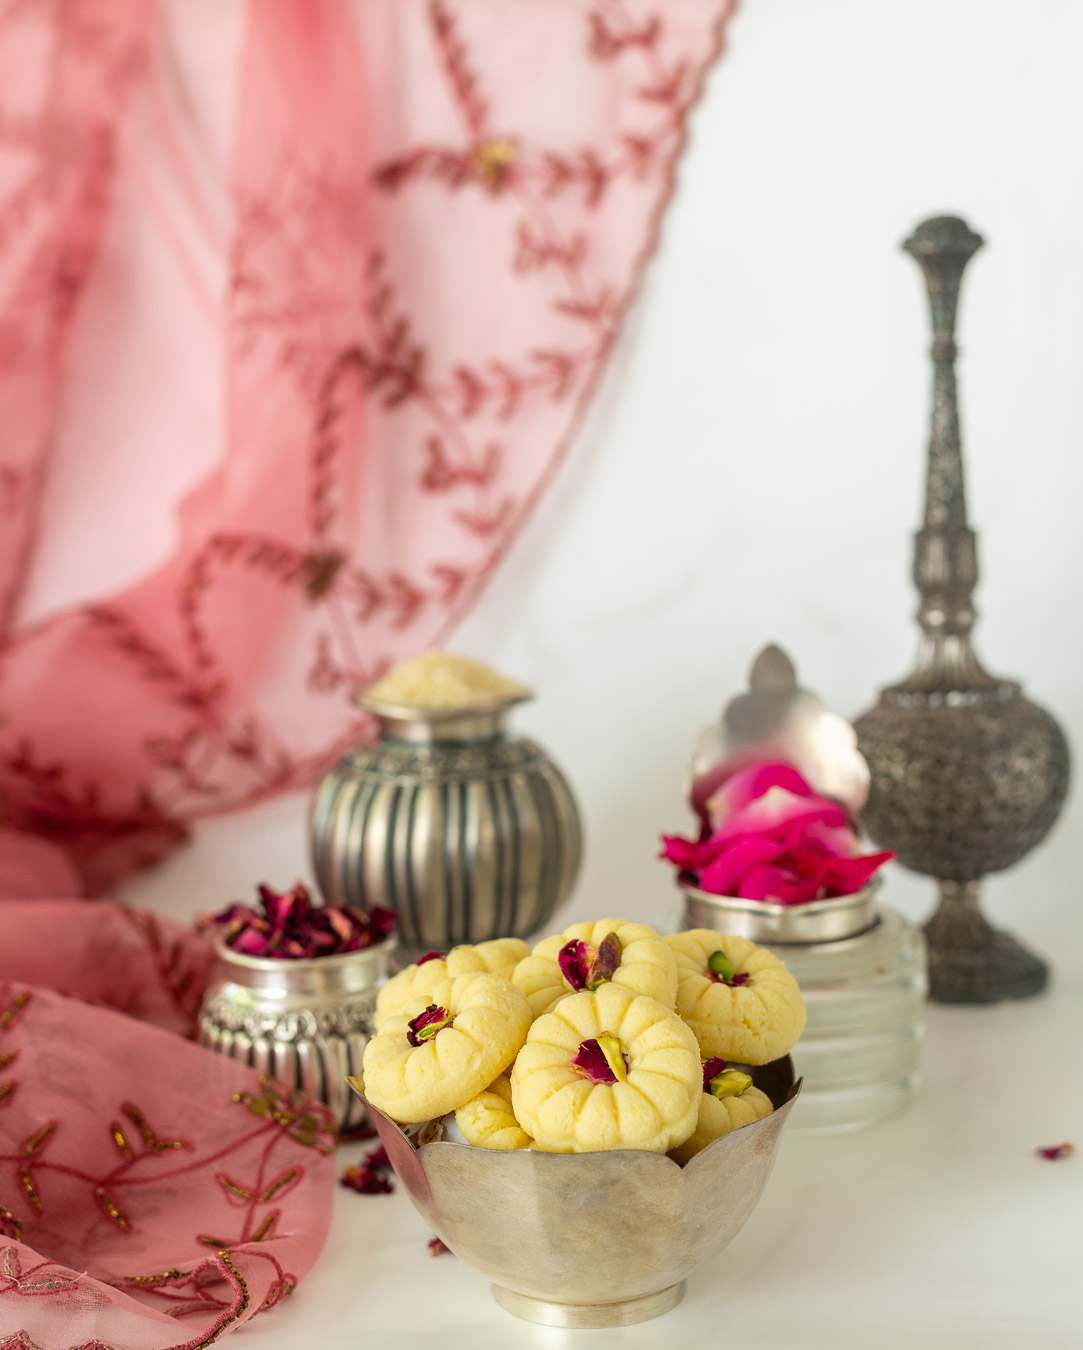
A while ago, I noticed on Instagram that many people had been making pedas in lovely shapes. These Indian milk sweets are always a mood-lifter, and seeing them online inspired me to put them on my own festive menu this year. I’ve always been a believer that presentation goes a long way when it comes to any dish, and we usually eat with our eyes first. That said, taste is ultimately the most important factor. So, while dreaming up my own pedas, the two elements came together. Firstly, I sought out exquisite little moulds that would beautify my sweets, thinking of Kolkata’s famously attractive sandesh. Secondly, I gave the flavouring quite a lot of thought. Through some trials, I eventually settled on one of my favourite flavours, and indeed one of re:store’s signature ingredients: rose water. These rose water pedas are aromatic, delicious and very sweet, just like I hope your Diwali will be.

Whenever I see something beautiful – either culinary or creative – I must learn to make it immediately. You could call it a flaw of sorts, or maybe a happy curse, but that’s just how I’m wired. From the moment of inspiration onwards, it becomes an obsession for me until I arrive at a rendition that I am happy with. That’s how I learnt how to bake, to photograph and to cook so many beloved items in my repertoire. I experiment, make mistakes and keep going until I succeed. Only sometimes do I concede that it’s time to give up, but even then I don’t consider those experiences failures. Rather, there are lessons in them too. When I succeed, the journey doesn’t just end at having made something. The next step is sharing it, which is why this blog exists, but also why I am an inveterate giver of gifts. In my case, my gifts are mostly edible nowadays.

The reason for this is that people really do receive enough and plenty of other kinds of gifts, and unlike a memento which may not be to one’s taste, food almost invariably will be consumed. Before I visit a friend, I now bake or cook a little gift, or else select organic vegetables and arrange them in a basket. These are items which I know for certain will be used by the recipient, and will never gather dust. Personally as well, there’s nothing more exciting to me than fresh ingredients, and I love getting gifts of the same. You may have noticed that many of my recipes here have been spurred by a present of some kind: such as lavender, cinnamon, saffron or more wonderful pleasures that travelled to me with love. Recipes, too, are fabulous gifts – and it’s my pleasure to keep gifting you these.

I learnt how to make basic pedas from my sister, who is the peda queen in my eyes. Peda-making was truly in my destiny because of a nickname in my extended family. My mother had nine siblings, and each had many children of their own, among whom I was one of the very youngest. As a baby, I seemed to that huge group of cousins to look like a little peda. So that’s what they called me: “pendo”, the Gujarati word for this dish. I remain Pendo to many of them, even to this day!


Rose Water Peda

(Yield: 10 pieces)

125 grams paneer

50 grams full fat milk powder

50 grams powdered sugar

2 teaspoons ghee

1 teaspoon rose water

1 teaspoon milk

Grate the paneer and place it onto a plate. Knead it with the palm of your hand until it is soft and even, like dough. Form a ball and set aside.

Heat a non-stick pan and add the ghee. Once it is hot, add the paneer. Keep stirring and pressing the paneer down. The paneer will become soft and smooth. This process should take no more than two minutes.

Add the rose water and the milk powder. Mix well. Then add the sugar and turn off the flame. Mix it all well together once more. Spread onto a plate. Allow to cool.

Once cooled, use the palm of your hand to knead this mixture until it’s smooth. It will feel sticky, but do not worry.

Then, wrap the mixture with cling film. Keep it in the refrigerator for between ½ an hour to five hours.

You will notice that this recipe uses milk powder rather than milk, and this is a common modern innovation on the old method, which involved boiling and boiling milk for hours on end. Milk powder makes the process far simpler and faster, while retaining the classic taste of this deeply cherished Indian sweet.

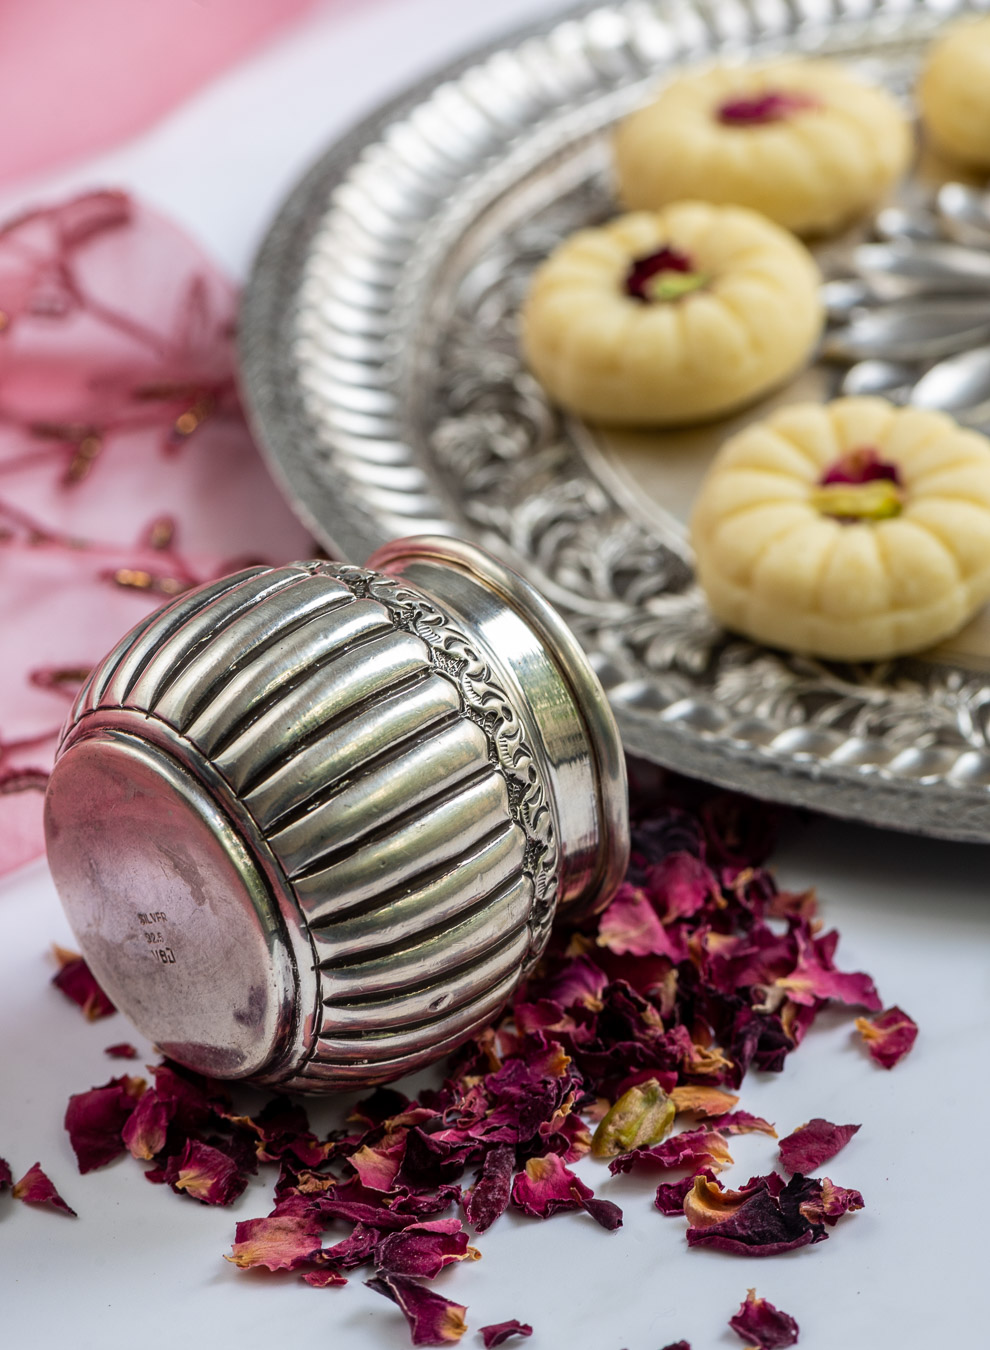
When you are ready to prepare the peda, take out the cold mixture and knead it once again, making sure there are no lumps. Now, make small balls and reshape them as you desire, or use moulds. Garnish with rose petals and pistachio slivers.

Keep the peda at room temperature, but protected by a netted cover. Allow to sit for a few hours.

Serve, and relish the delicate taste of these lovely rose water pedas. You can store any remainder in the refrigerator, as long as you consume them within three days.

In my home, whenever I make peda, the first offering is always to Balakrishna or Baby Krishna, the god who is very fond of dairy according to all the stories about him. He is our family deity and we have a seva or service for him every day, an elaborate process of waking him, bathing him, treating him lovingly like a child and of course feeding him. So when I’m making pedas, I always make tiny ones to offer at the altar, alongside the regular-sized ones. As with all kinds of prasad, it is never tasted while being cooked, as it must be offered pure.

Do you have rituals like these too, in which food and faith come together? I’m always interested in learning more about world cultures, and would love to hear from you.

And so, the coconut series comes to a sweet finish with a dessert, just in time for Diwali! The first time that I had this coconut pudding was at a friend’s potluck, a long time ago. I had not yet started re:store then or become known for my baking, and so my standard contribution was always some kind of traditional Gujarati fare, like a kachori or a dal dhokli. Each of us would bring something, and we would partake in a lovely and diverse feast together. It was at one such gathering that I first encountered this sublime coconut pudding. Whose preparation it was, and at whose house, blurs in my mind. Every one of the posts in this series (podi, oil and stew) has involved the inspiration of one or several friends of mine, and while I wish I could recall exactly who inspired this one, I can say with certainty that my friendships were a big part of it too.

Despite forgetting the other details, I still remember vividly that first coconut pudding itself. It looked very pleasing to the eye, giving off a sense that it would be cool and refreshing. The first spoonful confirmed my expectations. It was just fabulous, and tasted so light. I can recall that it was summer at the time, but the elements and sensations of the dish are the same no matter when in the year you have it. It is simply a delight.

Every Diwali, I usually prepare the ghugra that my mother taught me, as well as boondi. This year, given the circumstances, I wanted to create something lighter, something that would not only have a subtle flavour but would also feel more breezy overall. I also wanted something that would be consumed quickly, given that we cannot have guests for days on end as we usually do. The coconut pudding was perfect on all counts. With the exception of the ceremonial laapsi, there are no other sweets at home for Diwali this year.

But rest assured that we are, finally, in a celebratory mood, and I hope very much that you are too. I have had an instinct for a while now that November would be the turning point when things would begin to get better. The news of Joe Biden being elected the next President of the USA seems to usher the good times in, and as I have American family members, the feeling of hope is quite close to home. Moreover, our Gujarati New Year is also around the corner. This time of year is always a new chapter for us, and the number of lovely traditional dishes I’ve linked from my native cuisine in this post also honours the same.

To return to the uplifting and delicious star of our Diwali this year, this coconut pudding… While I can’t remember who brought this dish to the potluck where I fell in love with it, or who shared their recipe with me afterwards, I’ve been making it for years. You may recall an earlier rendition, with chia seeds, here. This is a different version, and the twist here is rose – re:store’s most preferred flavour, as many of you who have made orders with me know. Somehow, a rose represents so many things at once: love, coolness, fragrance, birth, death, celebration and more. It is a universal symbol, and a timeless flavour. One of the things I love most about roses is that they are locally available and very accessible. It’s so easy for me to bring that aroma and those soft petals into my day.


Coconut Pudding

(Yield: Serves 4-6)

1 cup condensed milk

½ cup cream

1½ cups coconut milk

11 grams agar agar

¾ cup water

1½ tablespoons rose water


Place a saucepan with the water and the agar agar on a double boiler. Stir until the agar agar melts and becomes translucent. Cool and strain.

The method for this dish is quite simple, but agar agar – which is a vegetarian substitute for gelatin – is a bit tricky to work with. If required, add another cup of water while melting it.

Making sure that all the other ingredients are at room temperature, mix them well together. Add the strained agar agar at the end. Pour into cups or moulds.

Leave to set in the refrigerator, and serve chilled. I hope that this dish uplifts your mood as much as it does mine.

I am lighting a lamp this Diwali to wish you all the best for a hopeful and healthy 2021. Even though we have not yet become able to open our homes in the ways we used to, let us open our hearts even wider to make up for it. May the festive season bring you and your family joy!

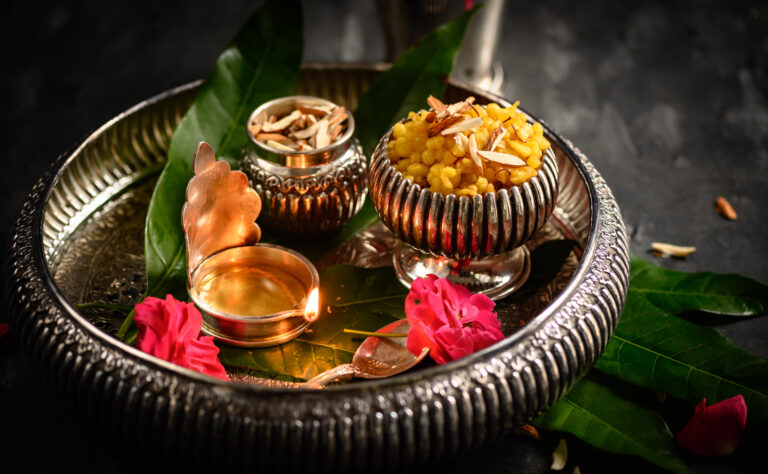
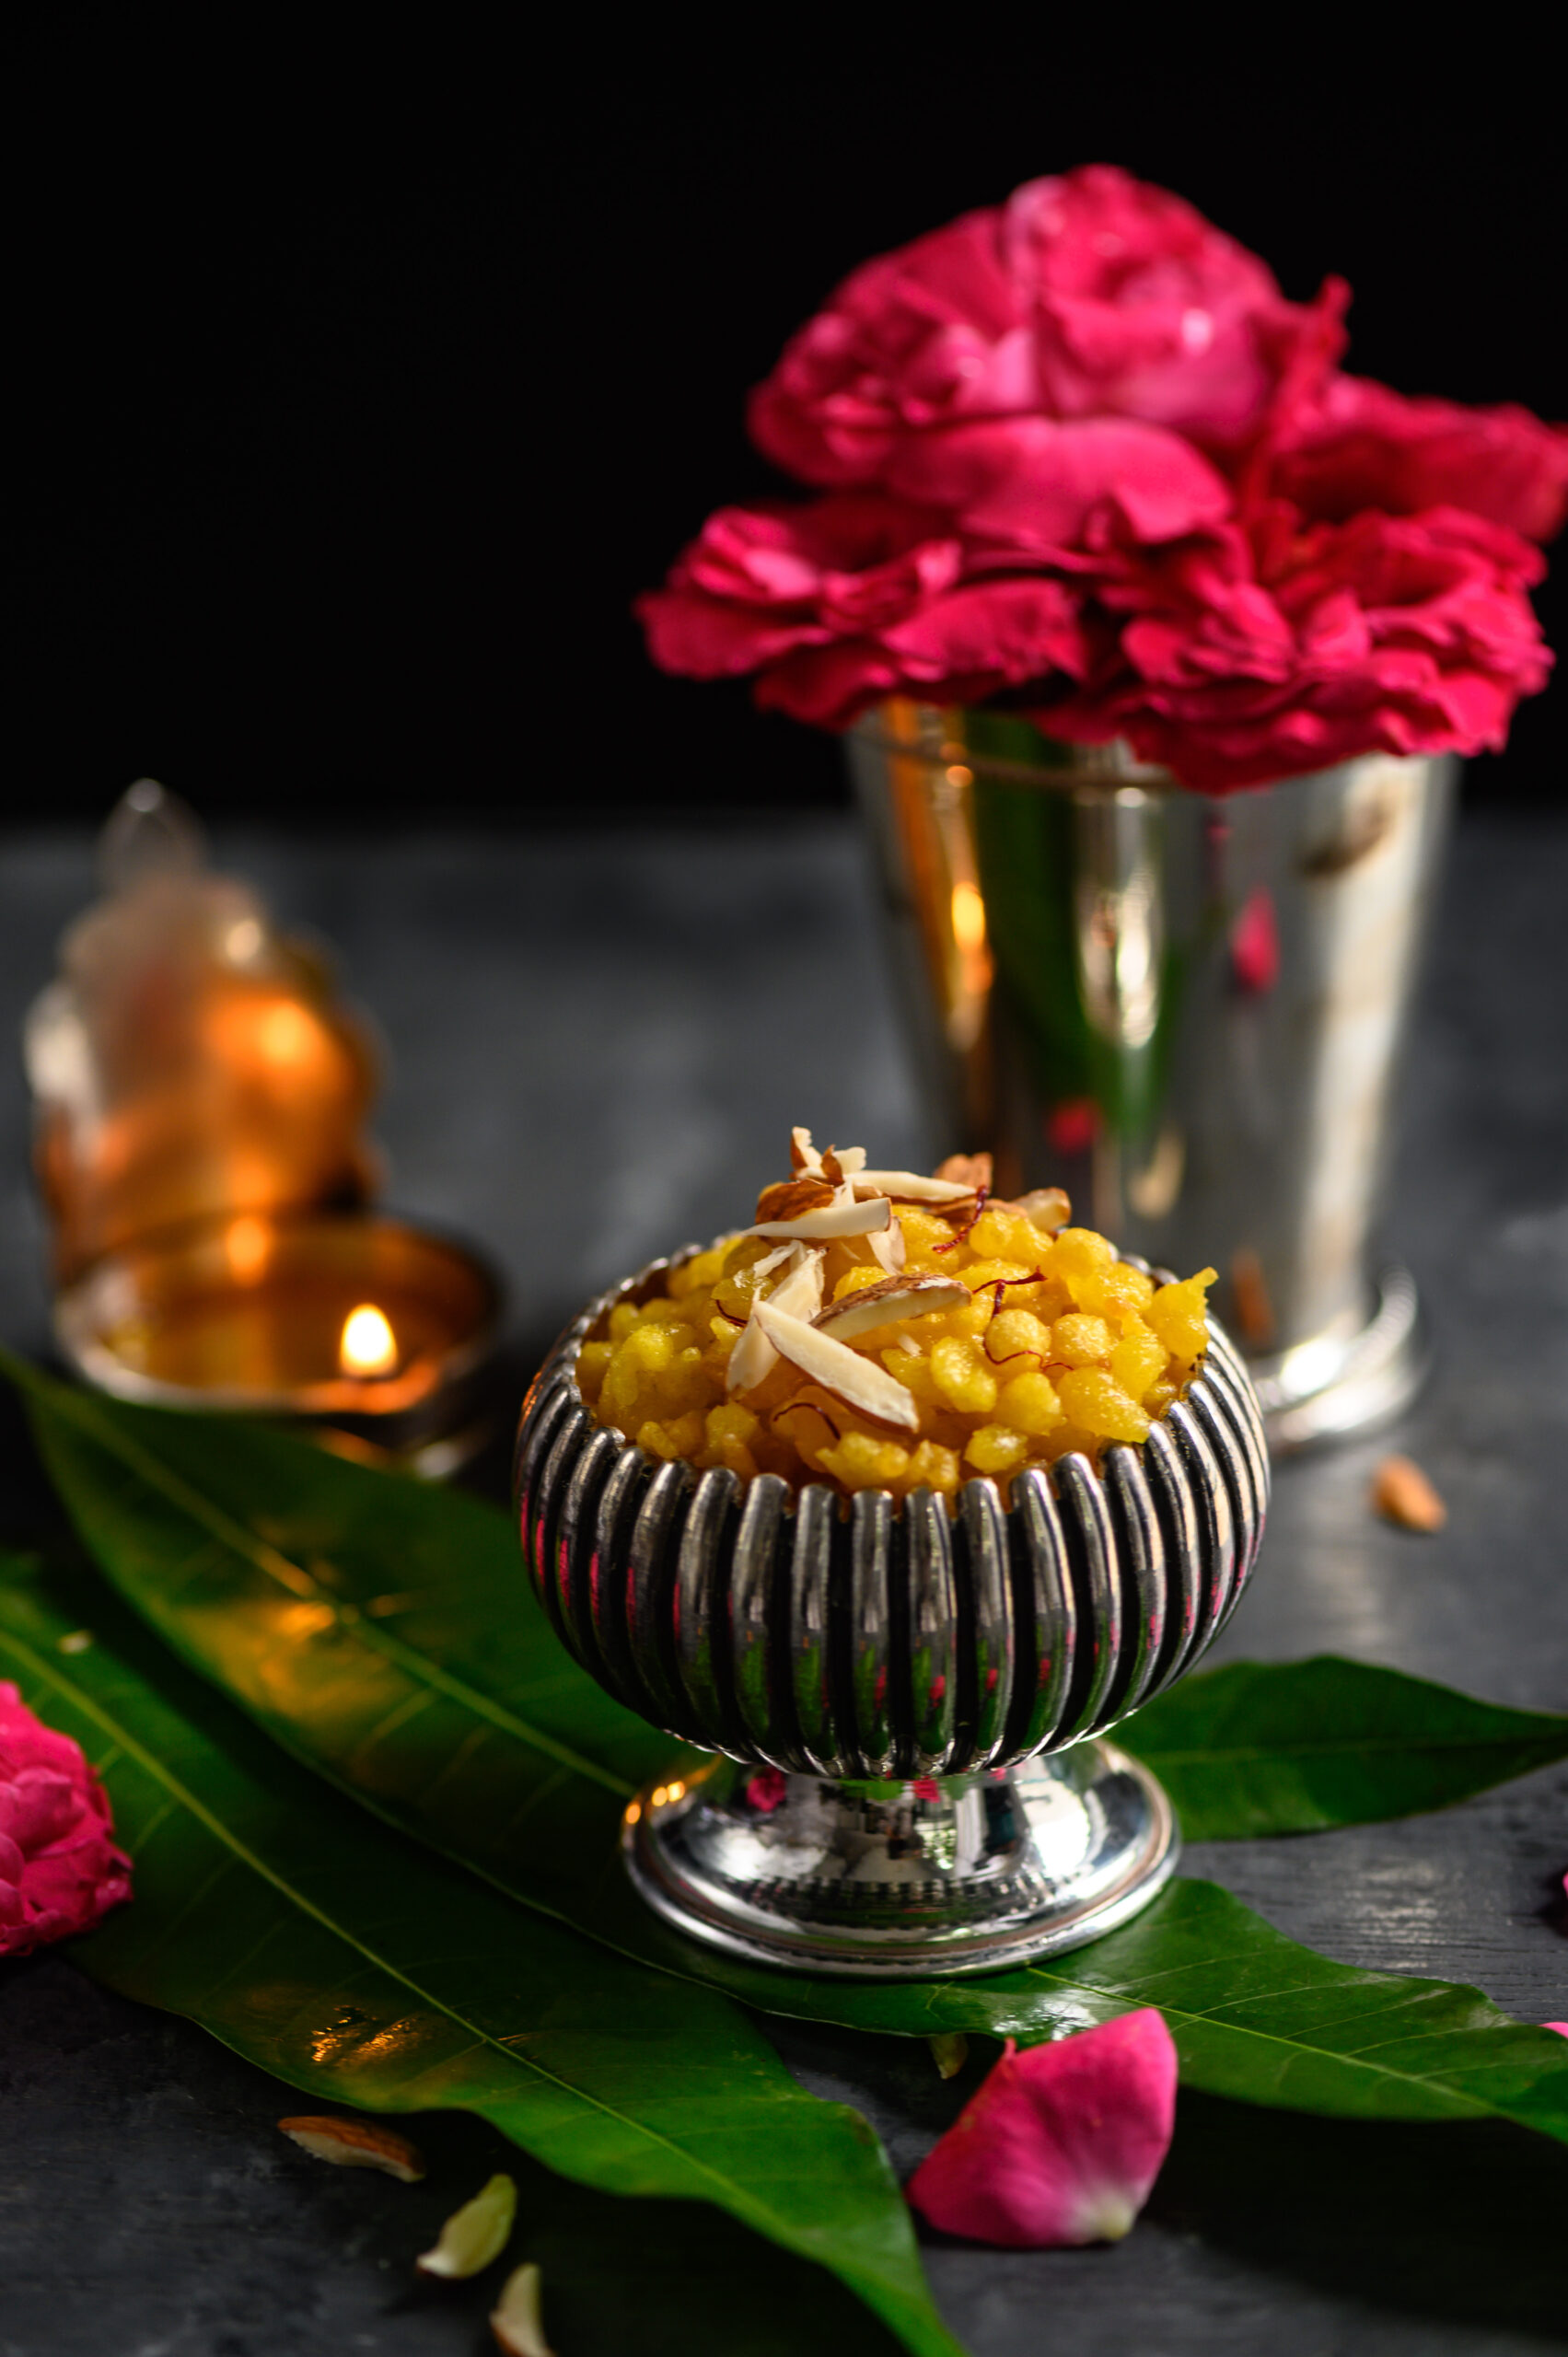
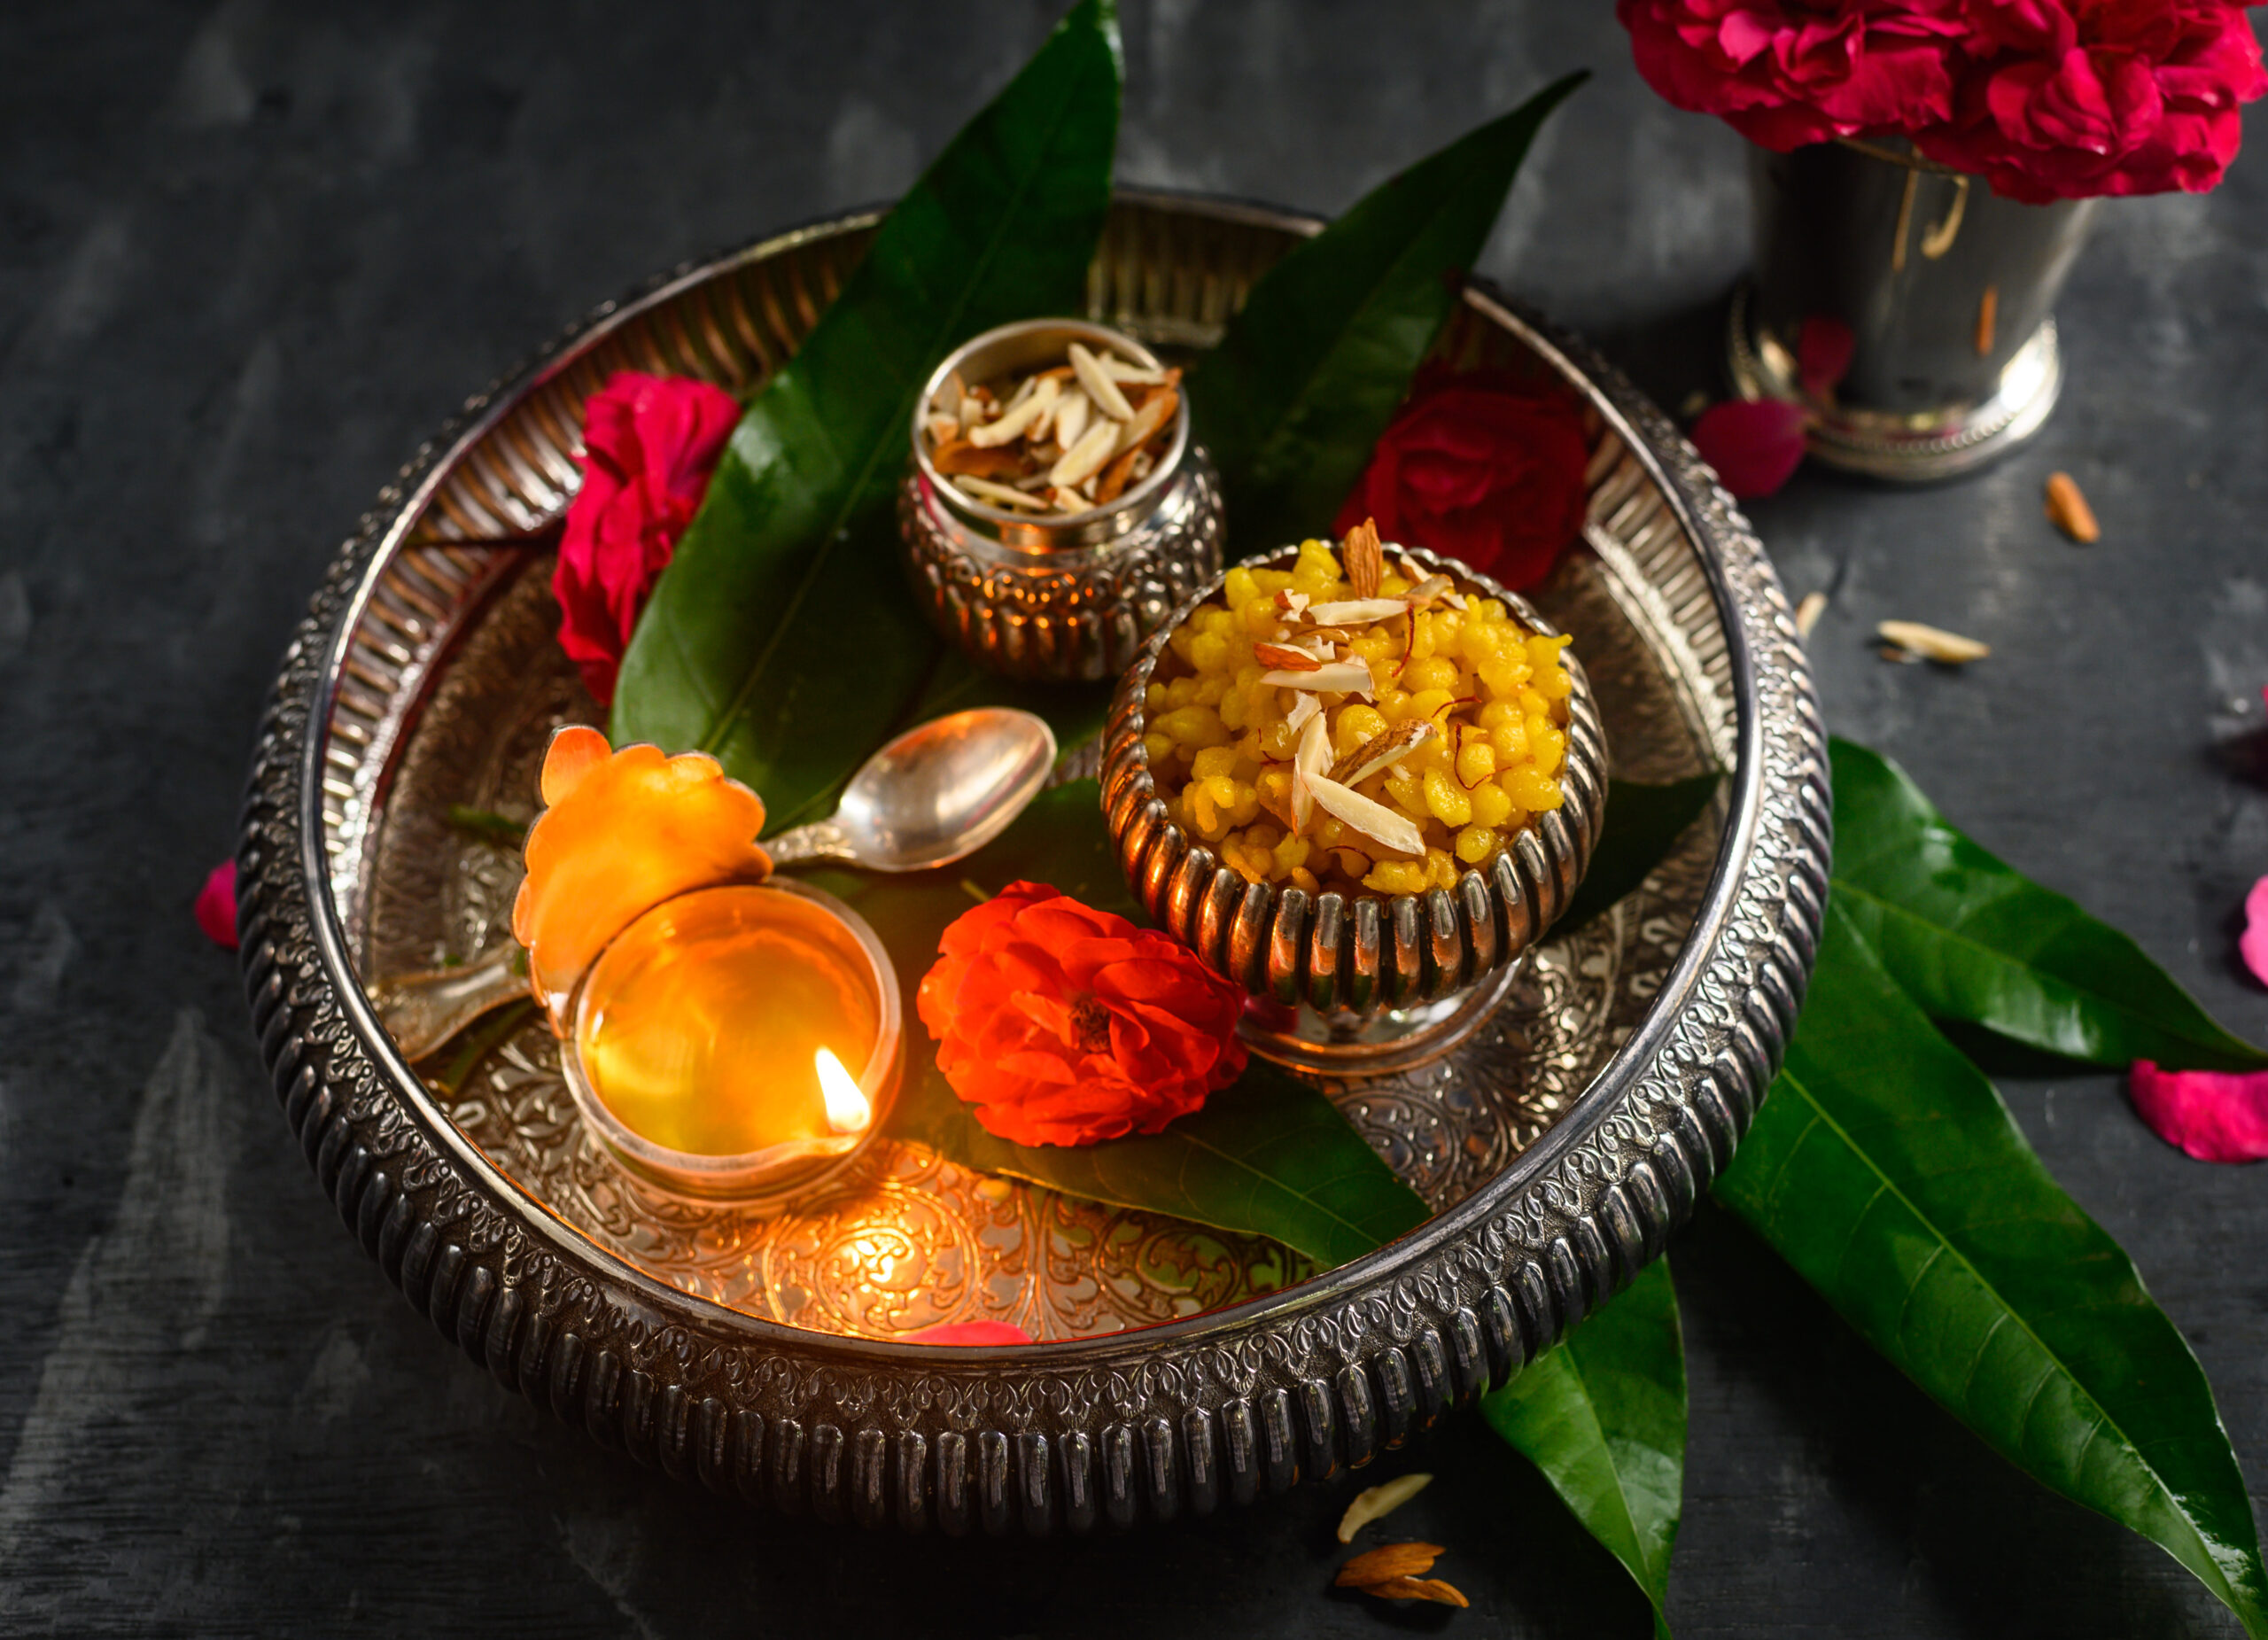
This Diwali, in so many homes across India (and in Indian homes across the world), sweets are going to be the star of the celebrations. Among several I am preparing is the sweet boondi, which I only learned how to make recently. Much to my surprise, it was an almost effortless process. Originating from Rajasthani cuisine and also popular in Bengal, boondi is essentially fried balls of chickpea batter, submerged in sugar syrup. It is certainly an indulgence, but that’s what festive seasons are for, aren’t they?

My sister has become my culinary teacher of late, and I was staying with her for a few weeks while having my sciatica treated. You may have noticed that I had been lying low on Instagram for awhile, and that was the reason why. I believe that illnesses have a mind-body connect, and my body forced me to destress through this one. The best advice that anyone gave me was that I needed to enjoy my downtime. I spent my recuperation reading, catching up with films, taking it easy, doing mild exercises which were a far cry from my frantic and intensive gym regimen, and just breathing. We have to remind ourselves to slow down and savour the moment. For those of you watching your diet over the holidays, you know exactly how it feels to let yourself enjoy just one sweet. That’s the kind of slowing down and savouring that I am talking about.

Staying with my sister gave me a chance to watch her working in her kitchen daily, and to pick up so many techniques and recipes from her. Among them was this sweet boondi. Like many people, I had consumed it innumerable times without ever attempting to make it myself.

Boondi is made in different sizes. The tiny one is called “motichoor”, for “moti”, meaning pearl. This recipe can be considered medium-sized. I recall enjoying the large, laddoo version of this sweet as a child (“motichoor laddoo”, in which many small balls are rolled together to make one big one). Another way to make this sweet is to flatten out the batter on a dish and cut it into squares, which are then fried and dipped in sugar syrup just like all the variants.

These days, with the proliferation of sweet stores, I find that many people reach out to purchase a whole range of treats without any idea of how easy they are to make. The soft sandesh that I recently shared on this blog was a perfect example of this. Some of my friends told me after reading the post that they had no idea that an item they had always considered fancy and difficult to make was in fact extremely straightforward and required so few ingredients. We often have the impression that just because something is available for purchase in stores and at restaurants, it cannot be prepared at home. This sweet boondi is similar. Let me assure you that as long as you master the consistency of the batter and the syrup syrup, you’ll be able to whip it up in your own kitchen in no time. The process is quick and easy, not as long-drawn and elaborate as you may have imagined.

Unlike perishable milk sweets, this dish will keep for a few more days – but I guarantee you that you won’t have proof of that. It’s far too irresistible. Place it on the table and just watch it disappear!


Sweet Boondi

(Yield: approximately 3 cups)

1 cup chickpea flour

¾ cup water

1 cup sugar + ½ cup water

¼ teaspoon saffron + 1 teaspoon water

½ cup sliced almonds


The trick is to get the consistency of the batter just right, so that it drips into the oil properly as it fries. After this, the next trick is to have perfectly-made sugar syrup is key. I was so tempted to flavour mine with rosewater, given that rose is an ingredient I reach for so frequently that it’s one of re:store’s signature twists. But I refrained, choosing to go for a traditional spice instead. The saffron in this sweet adds a subtle fragrance and flavour to it.

In a bowl, mix the chickpea flour with water. It needs to be almost like an idly batter or pancake batter consistency. Only if you have the consistency right will the boondi drop into beautiful dots.

In another bowl, add the sugar and ½ cup water. In a medium flame, stir the sugar and water slightly for about 10 minutes until it becomes thicker, but not too thick. Allow to cool slightly and add the soaked saffron so the sugar expands in an orange colour.

Heat ghee in a frying pan on a medium flame. Once the ghee is hot, drop the batter through a sieve so that it falls in tiny droplets into the hot ghee. See the video below for the method.

Fry the droplets for a few minutes, making sure it doesn’t turn colour. Now, strain the drops from the hot ghee and add them into the warm sugar syrup. Fry all of the batter this way. As you drop the boondi into the syrup, it will soak up the syrup.

Garnish with sliced almonds or pistachio, or to give it a festive look, decorate with silver leaf/varak. Your sweet boondi is now ready to serve.

If you prefer this boondi in laddoo form, then the sugar syrup needs to be thicker so that you can pick up the boondi and roll it into balls between your palms.

When it comes to snacks, my most favourite combinations are both sweet and savoury. I love having this sweet boondi with the crunchy, spicy poha roast mix. Over Diwali, I feel like I consume endless bowls of the two together, with their medley of textures and tastes.

You may have noticed that the majority of recipes I share are for dishes I have some emotional connect with, especially from my childhood. This sweet boondi is one with which I have no such nostalgic attachment, but for me festivals and food are not just about the past. Each dish, each festivity, is a chance for new experiences. We create new memories this way, which may eventually become sentimental in their own way. As we celebrate this Diwali, I wish for you that the year to come contains all the sweetness of this dish. I hope it will be a part of the precious bonds that you are building over your dining table, too.

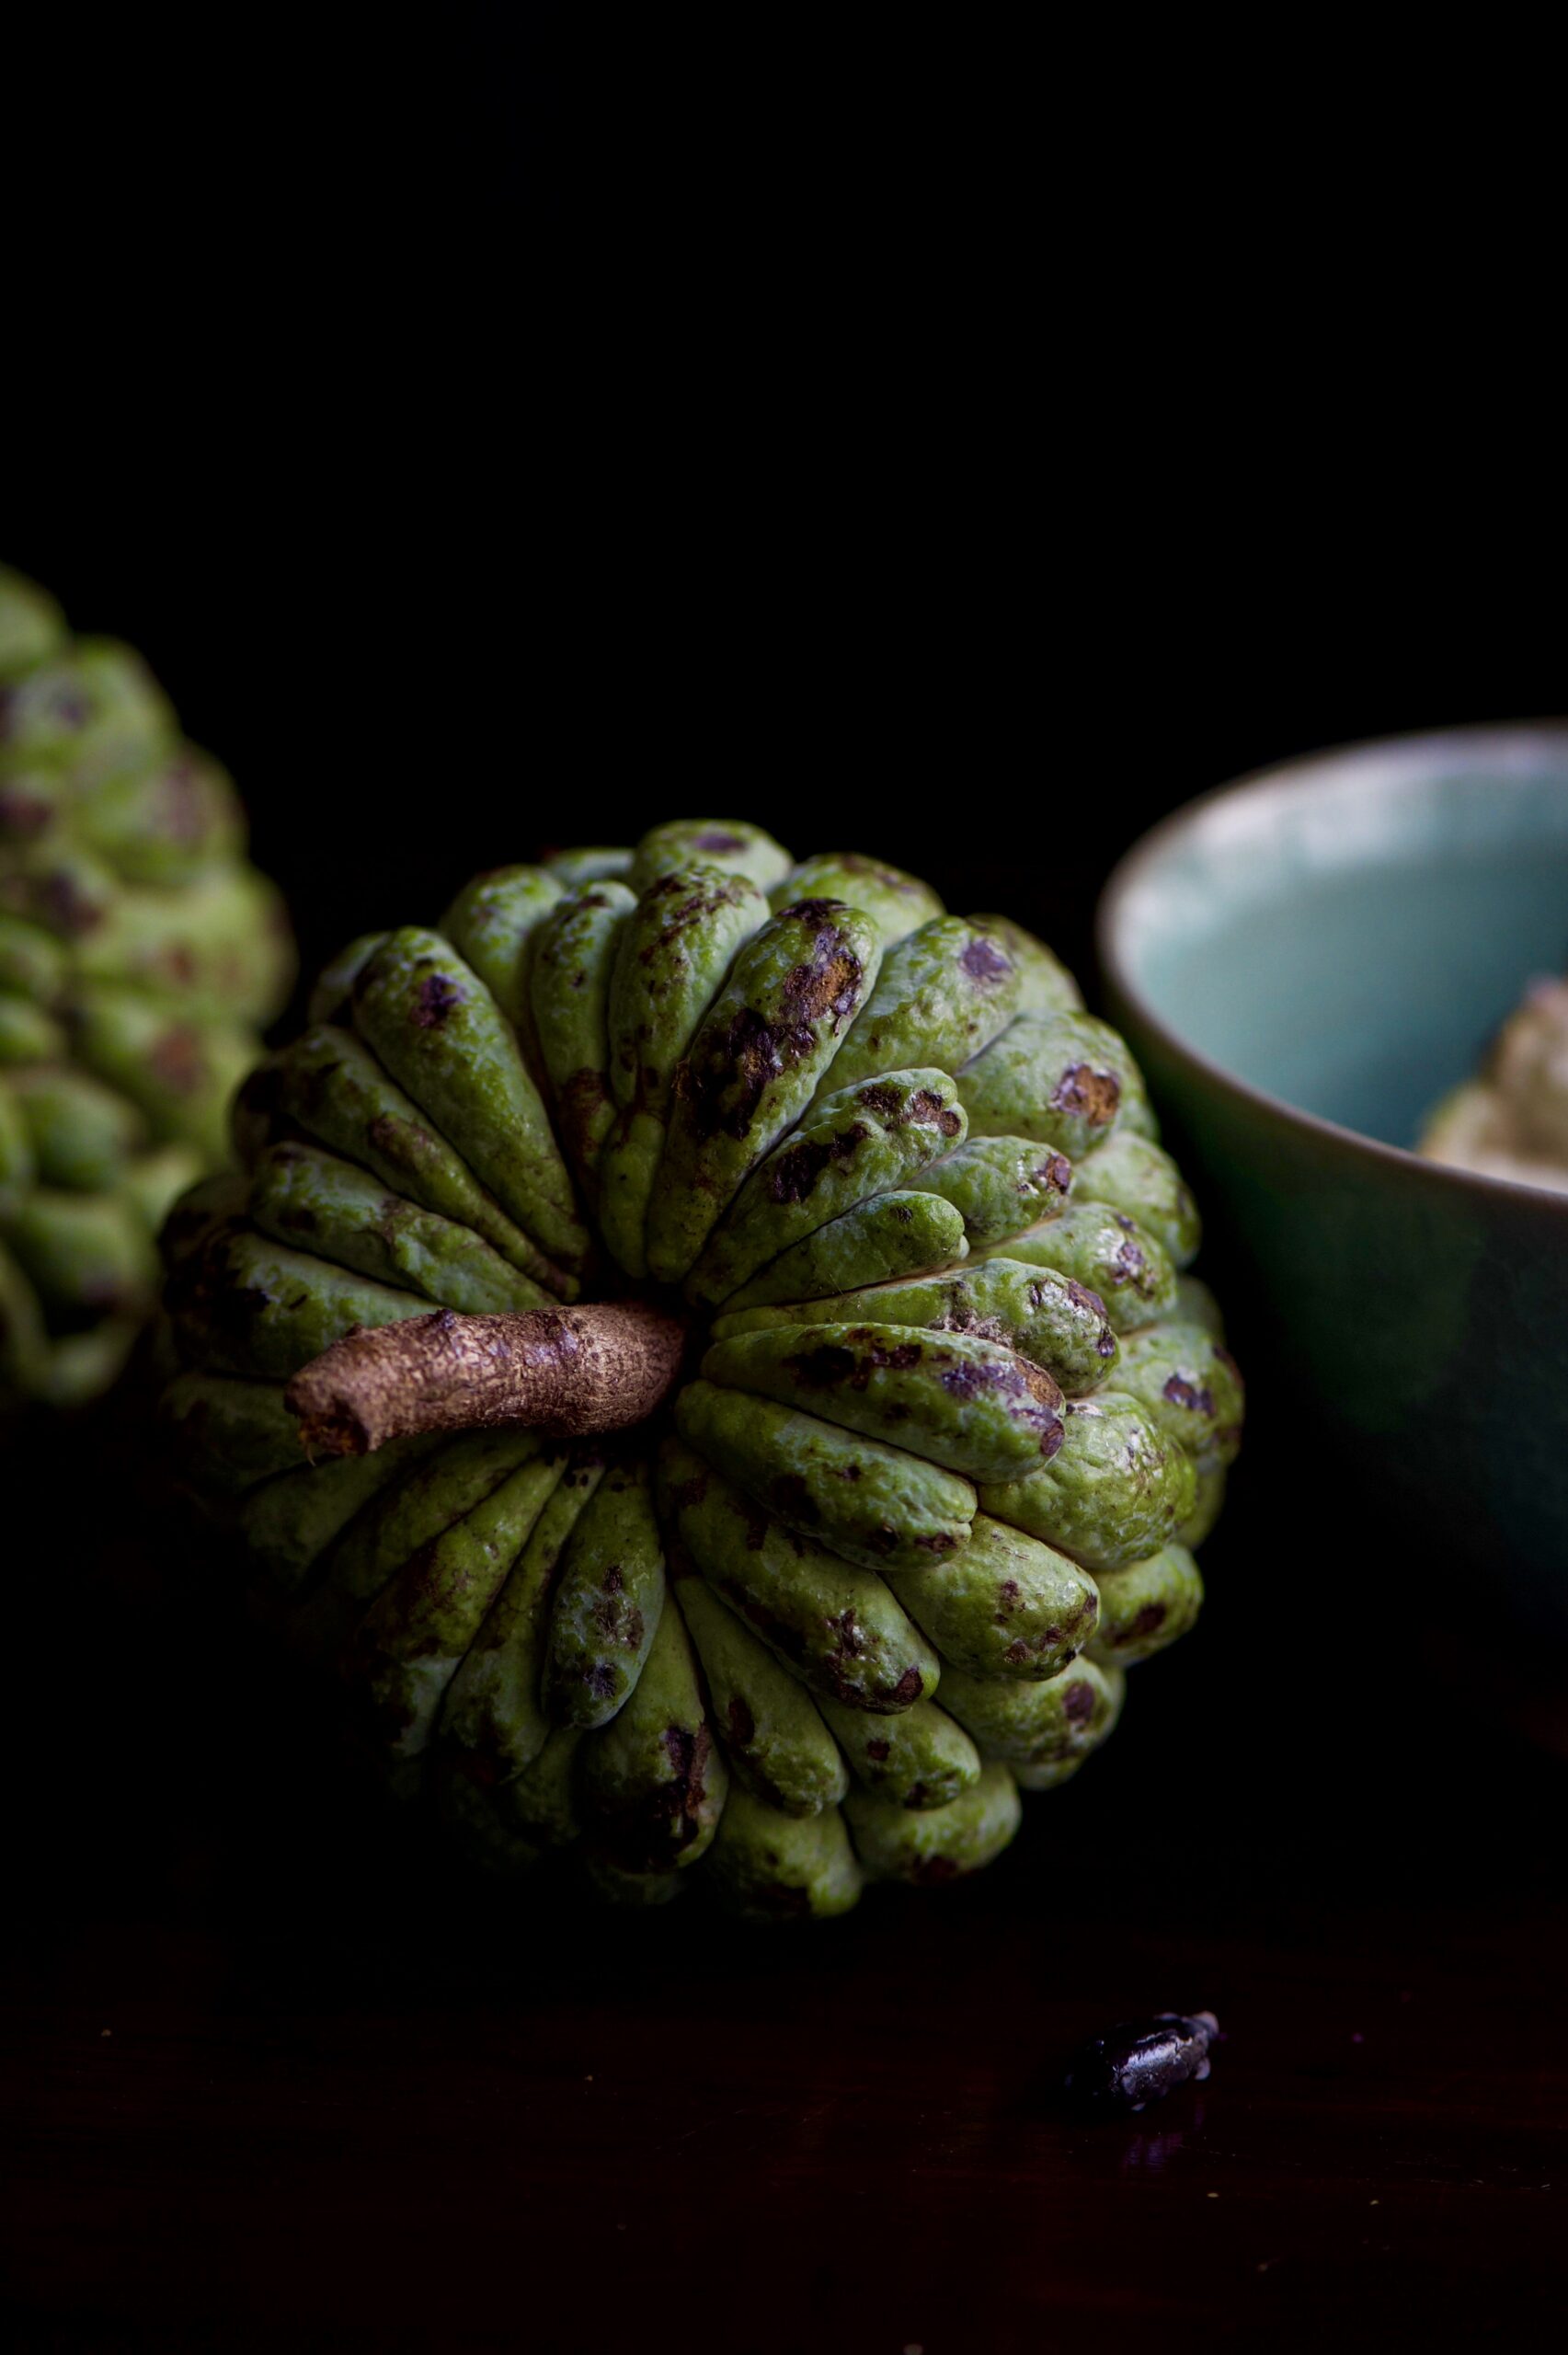
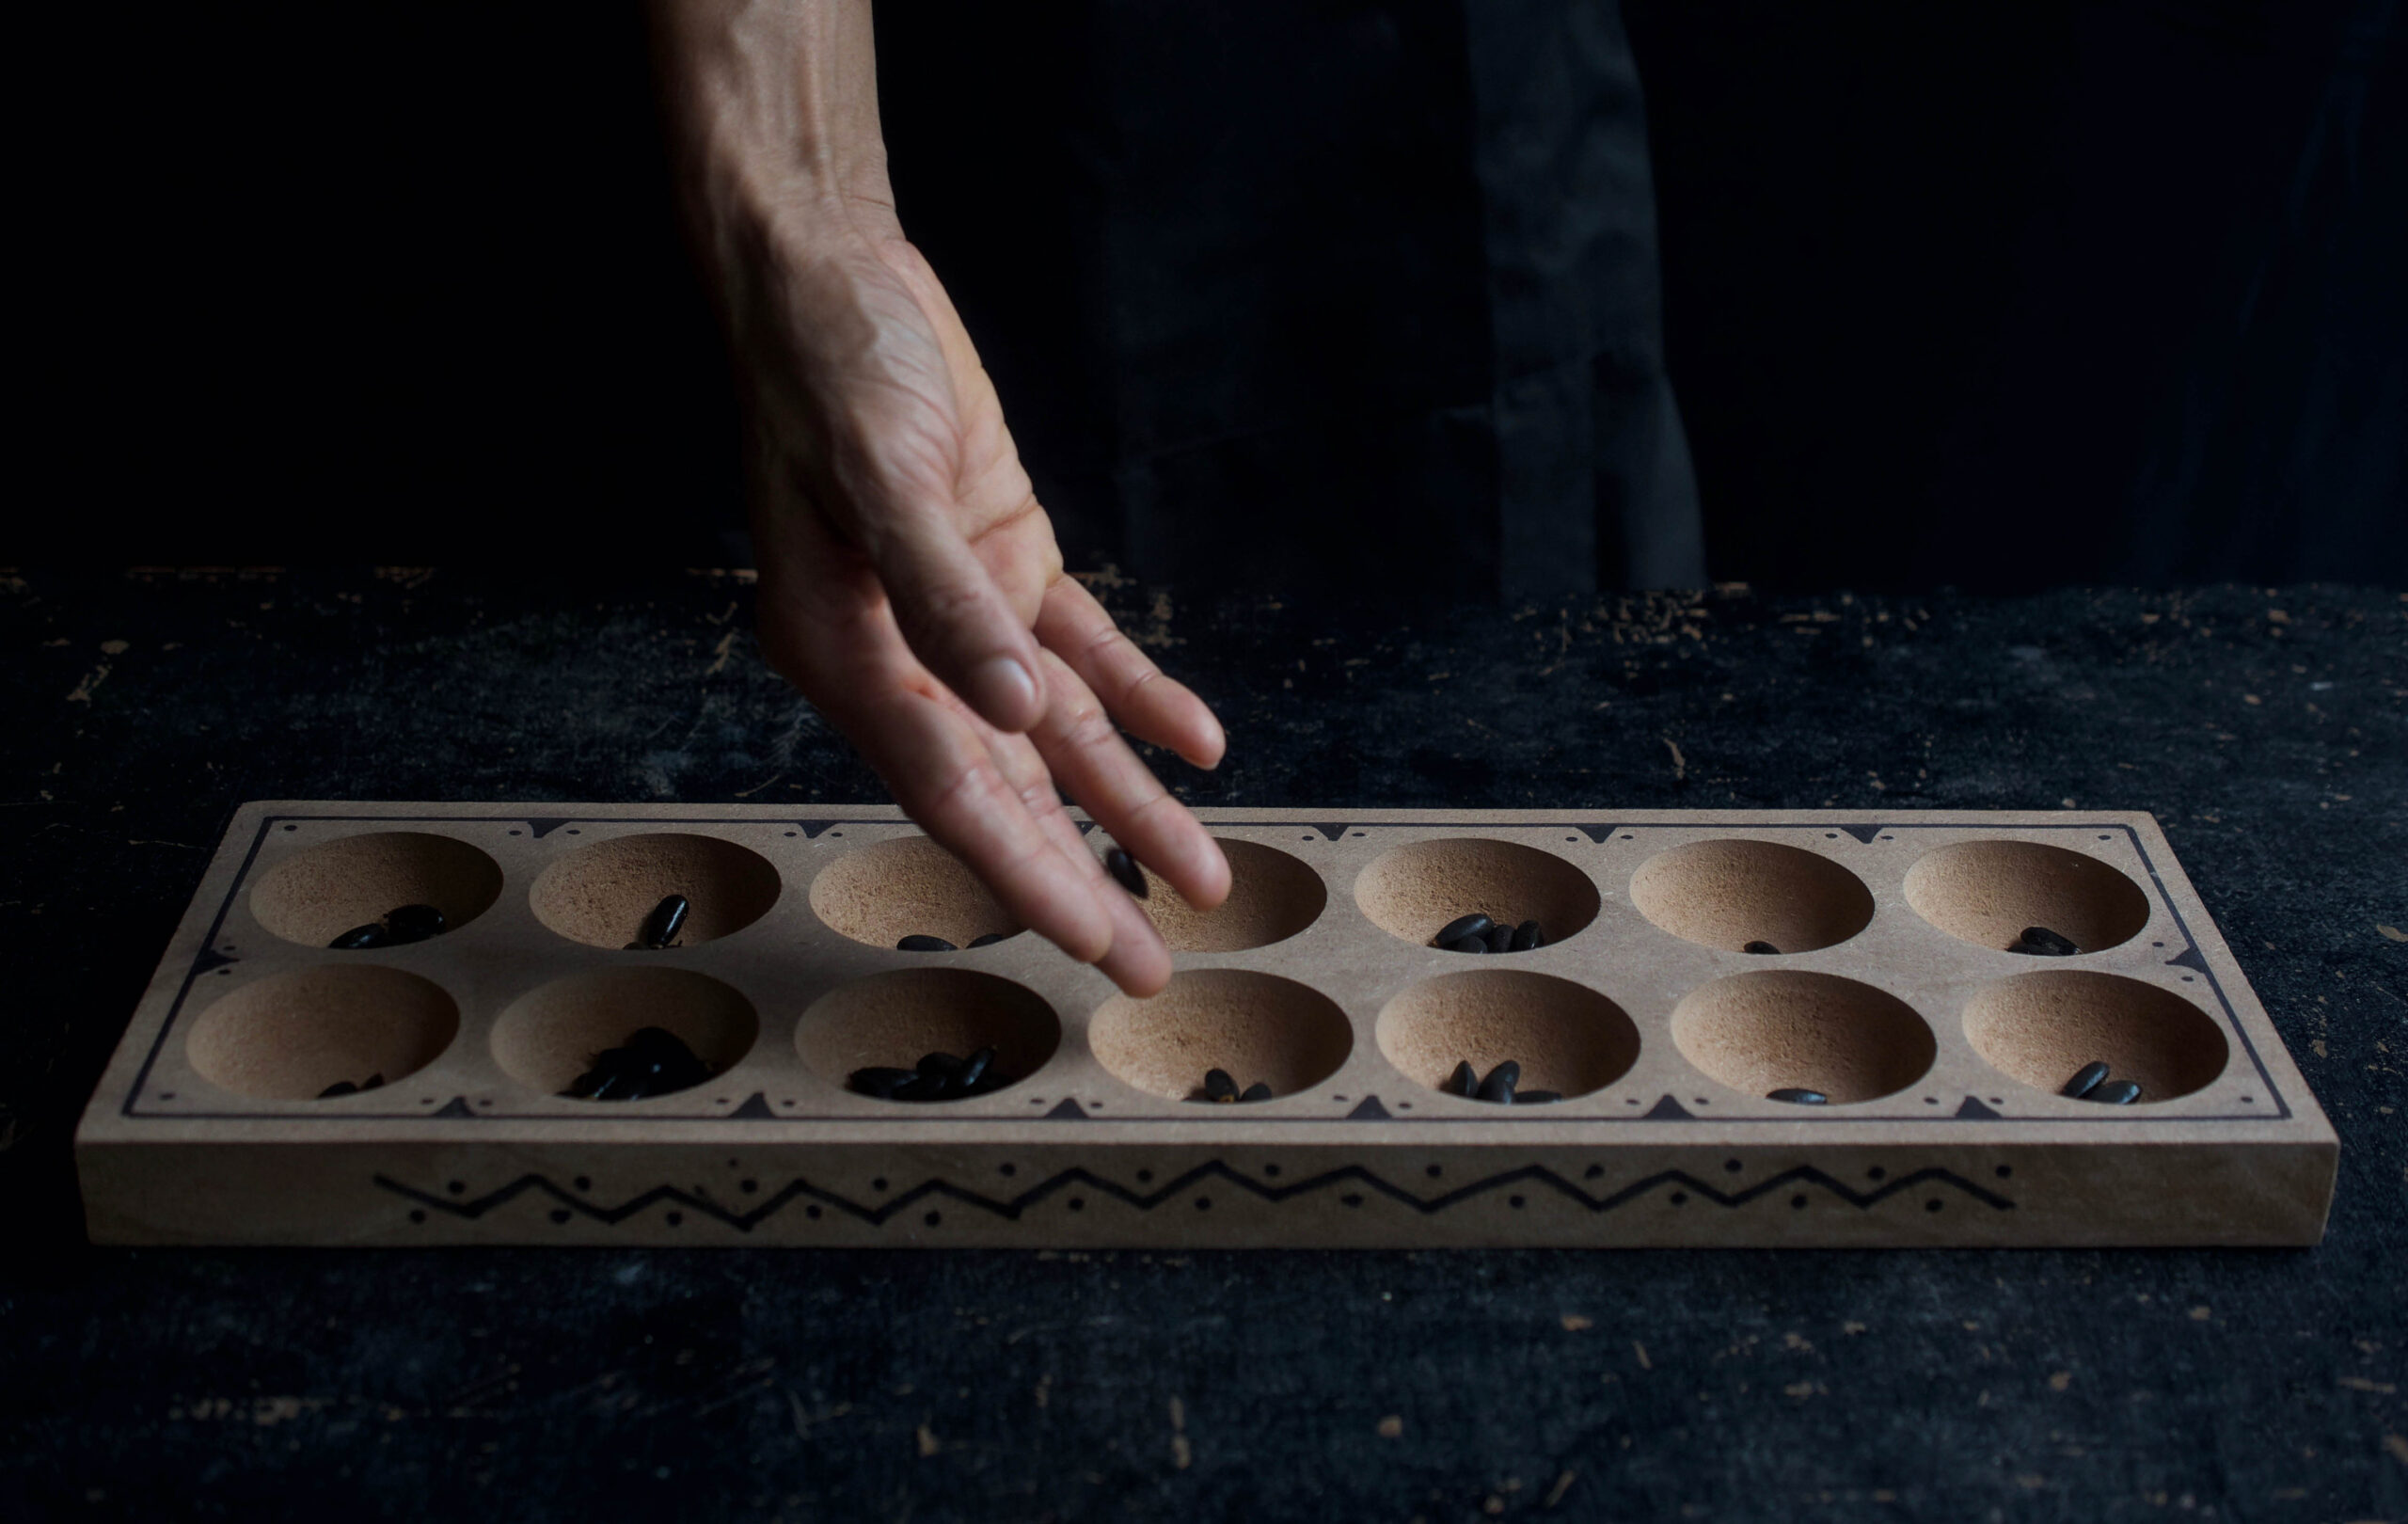
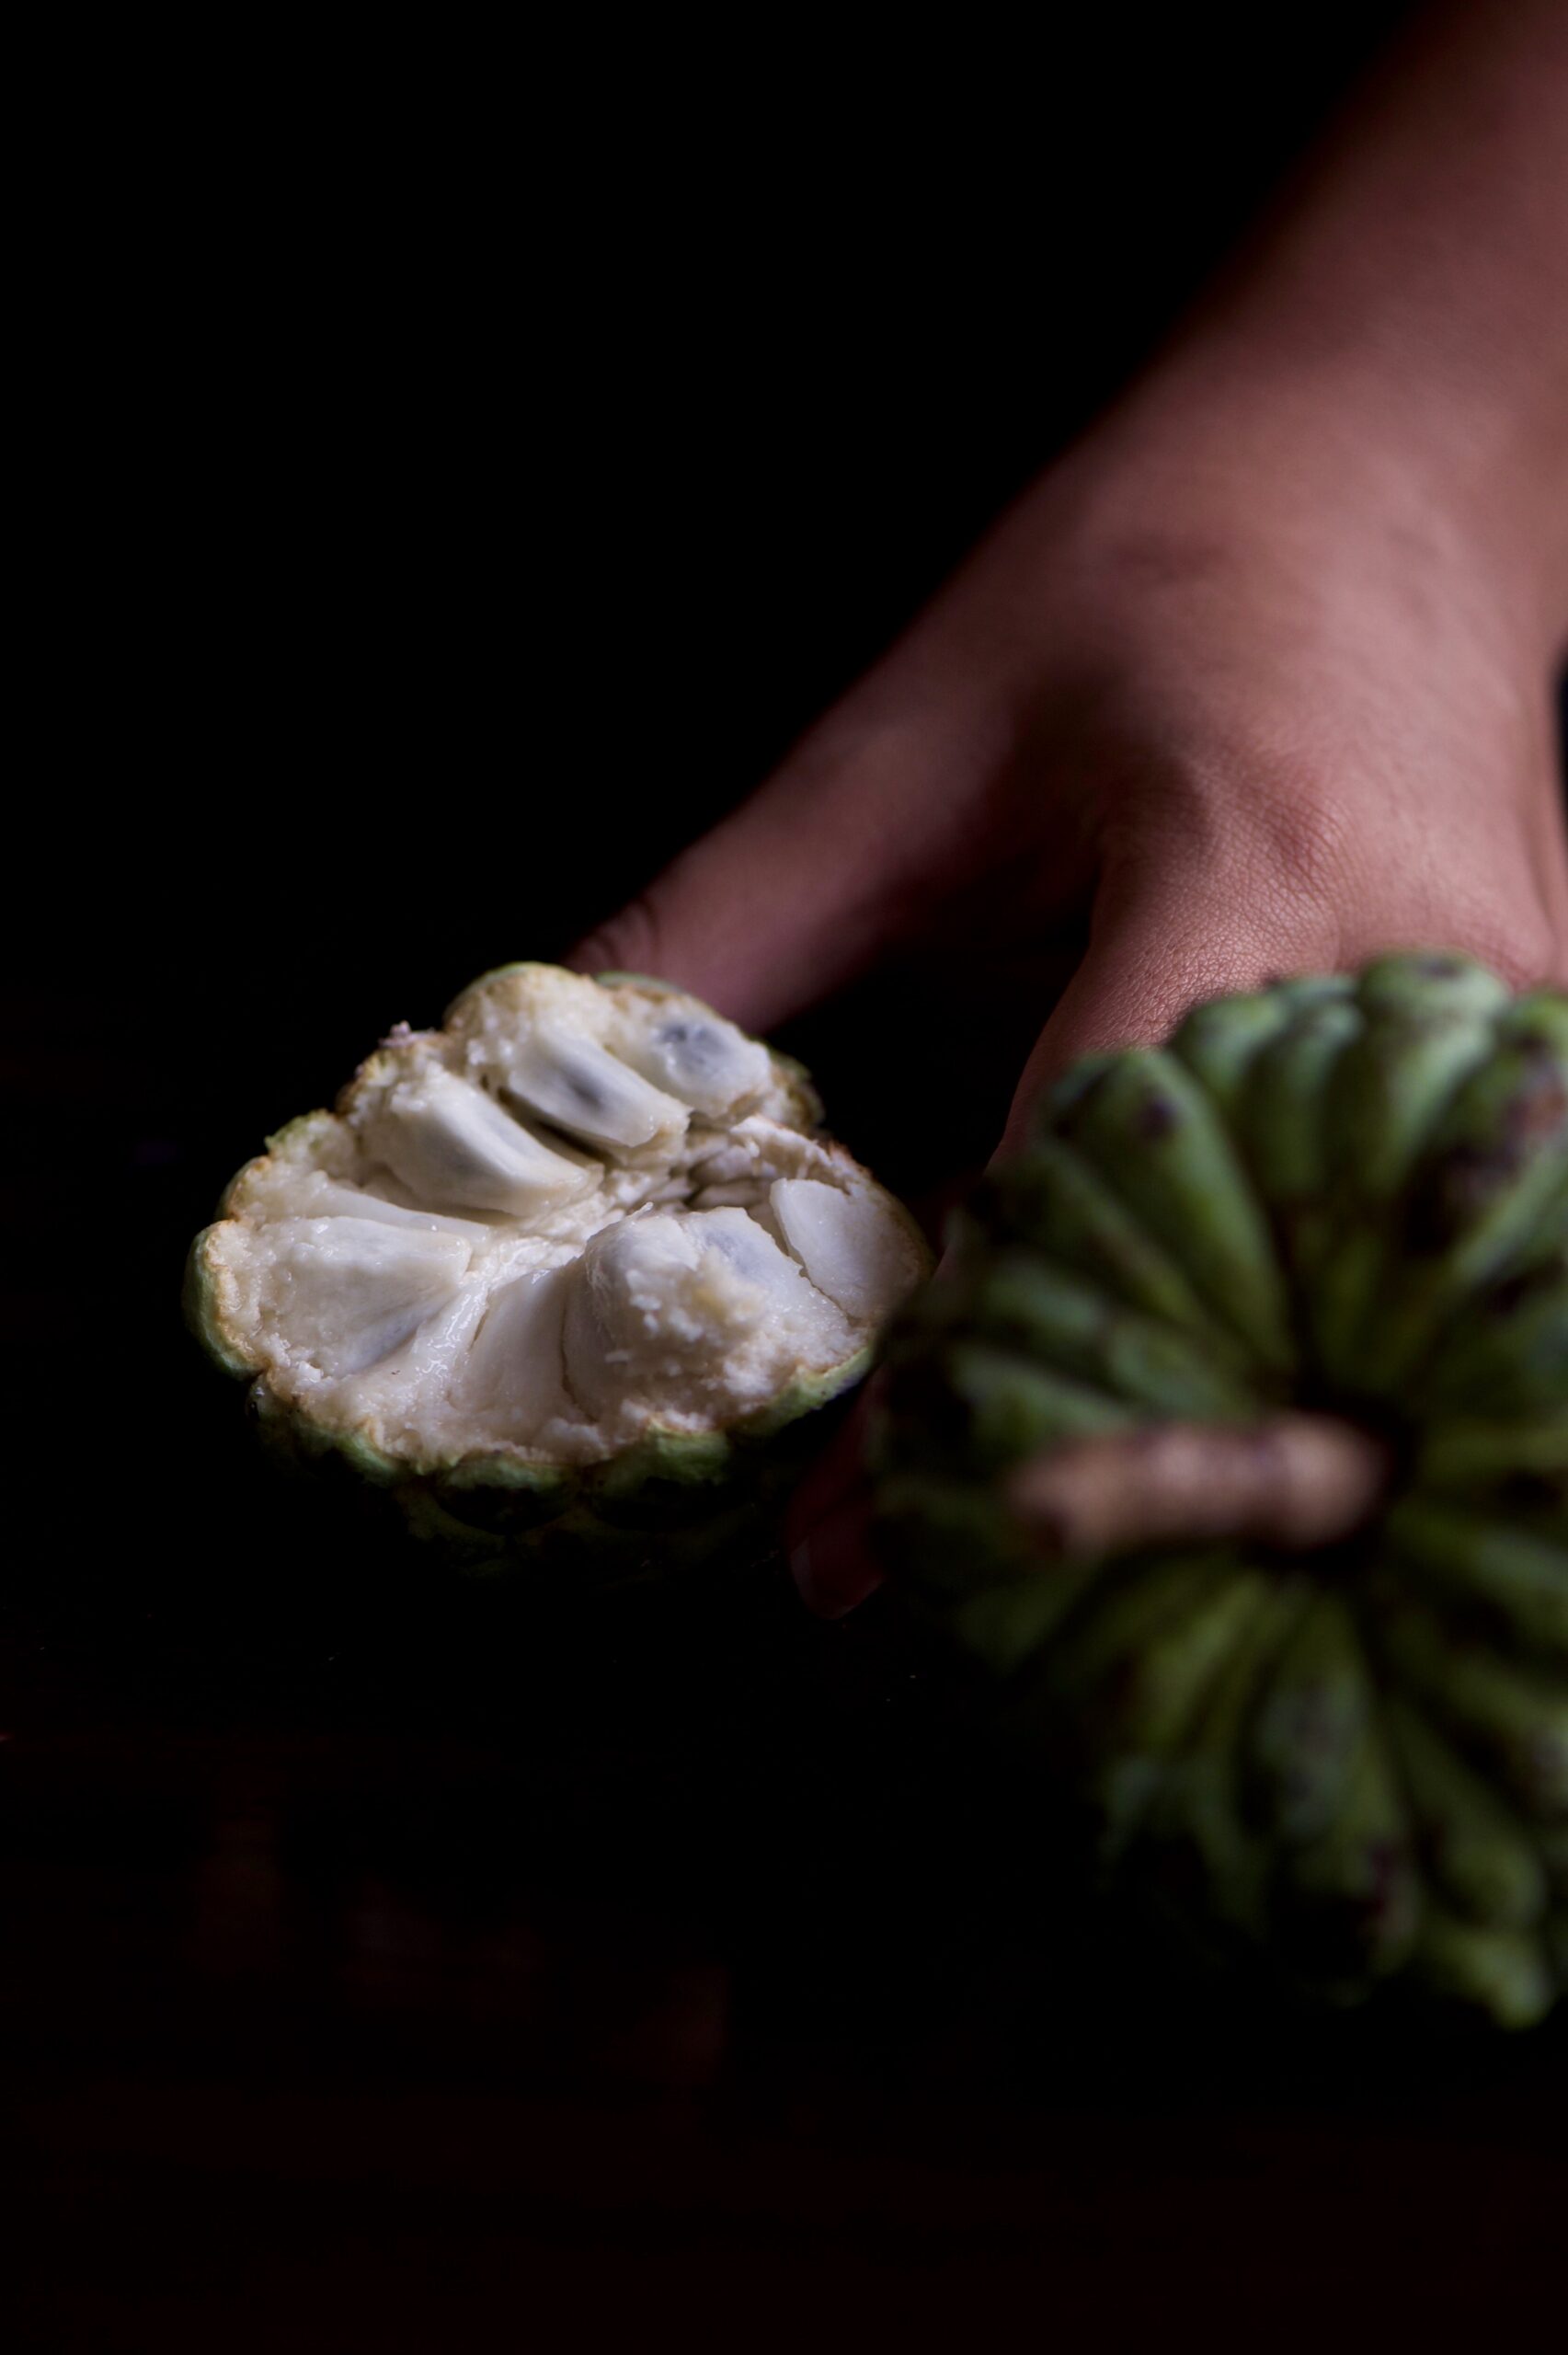
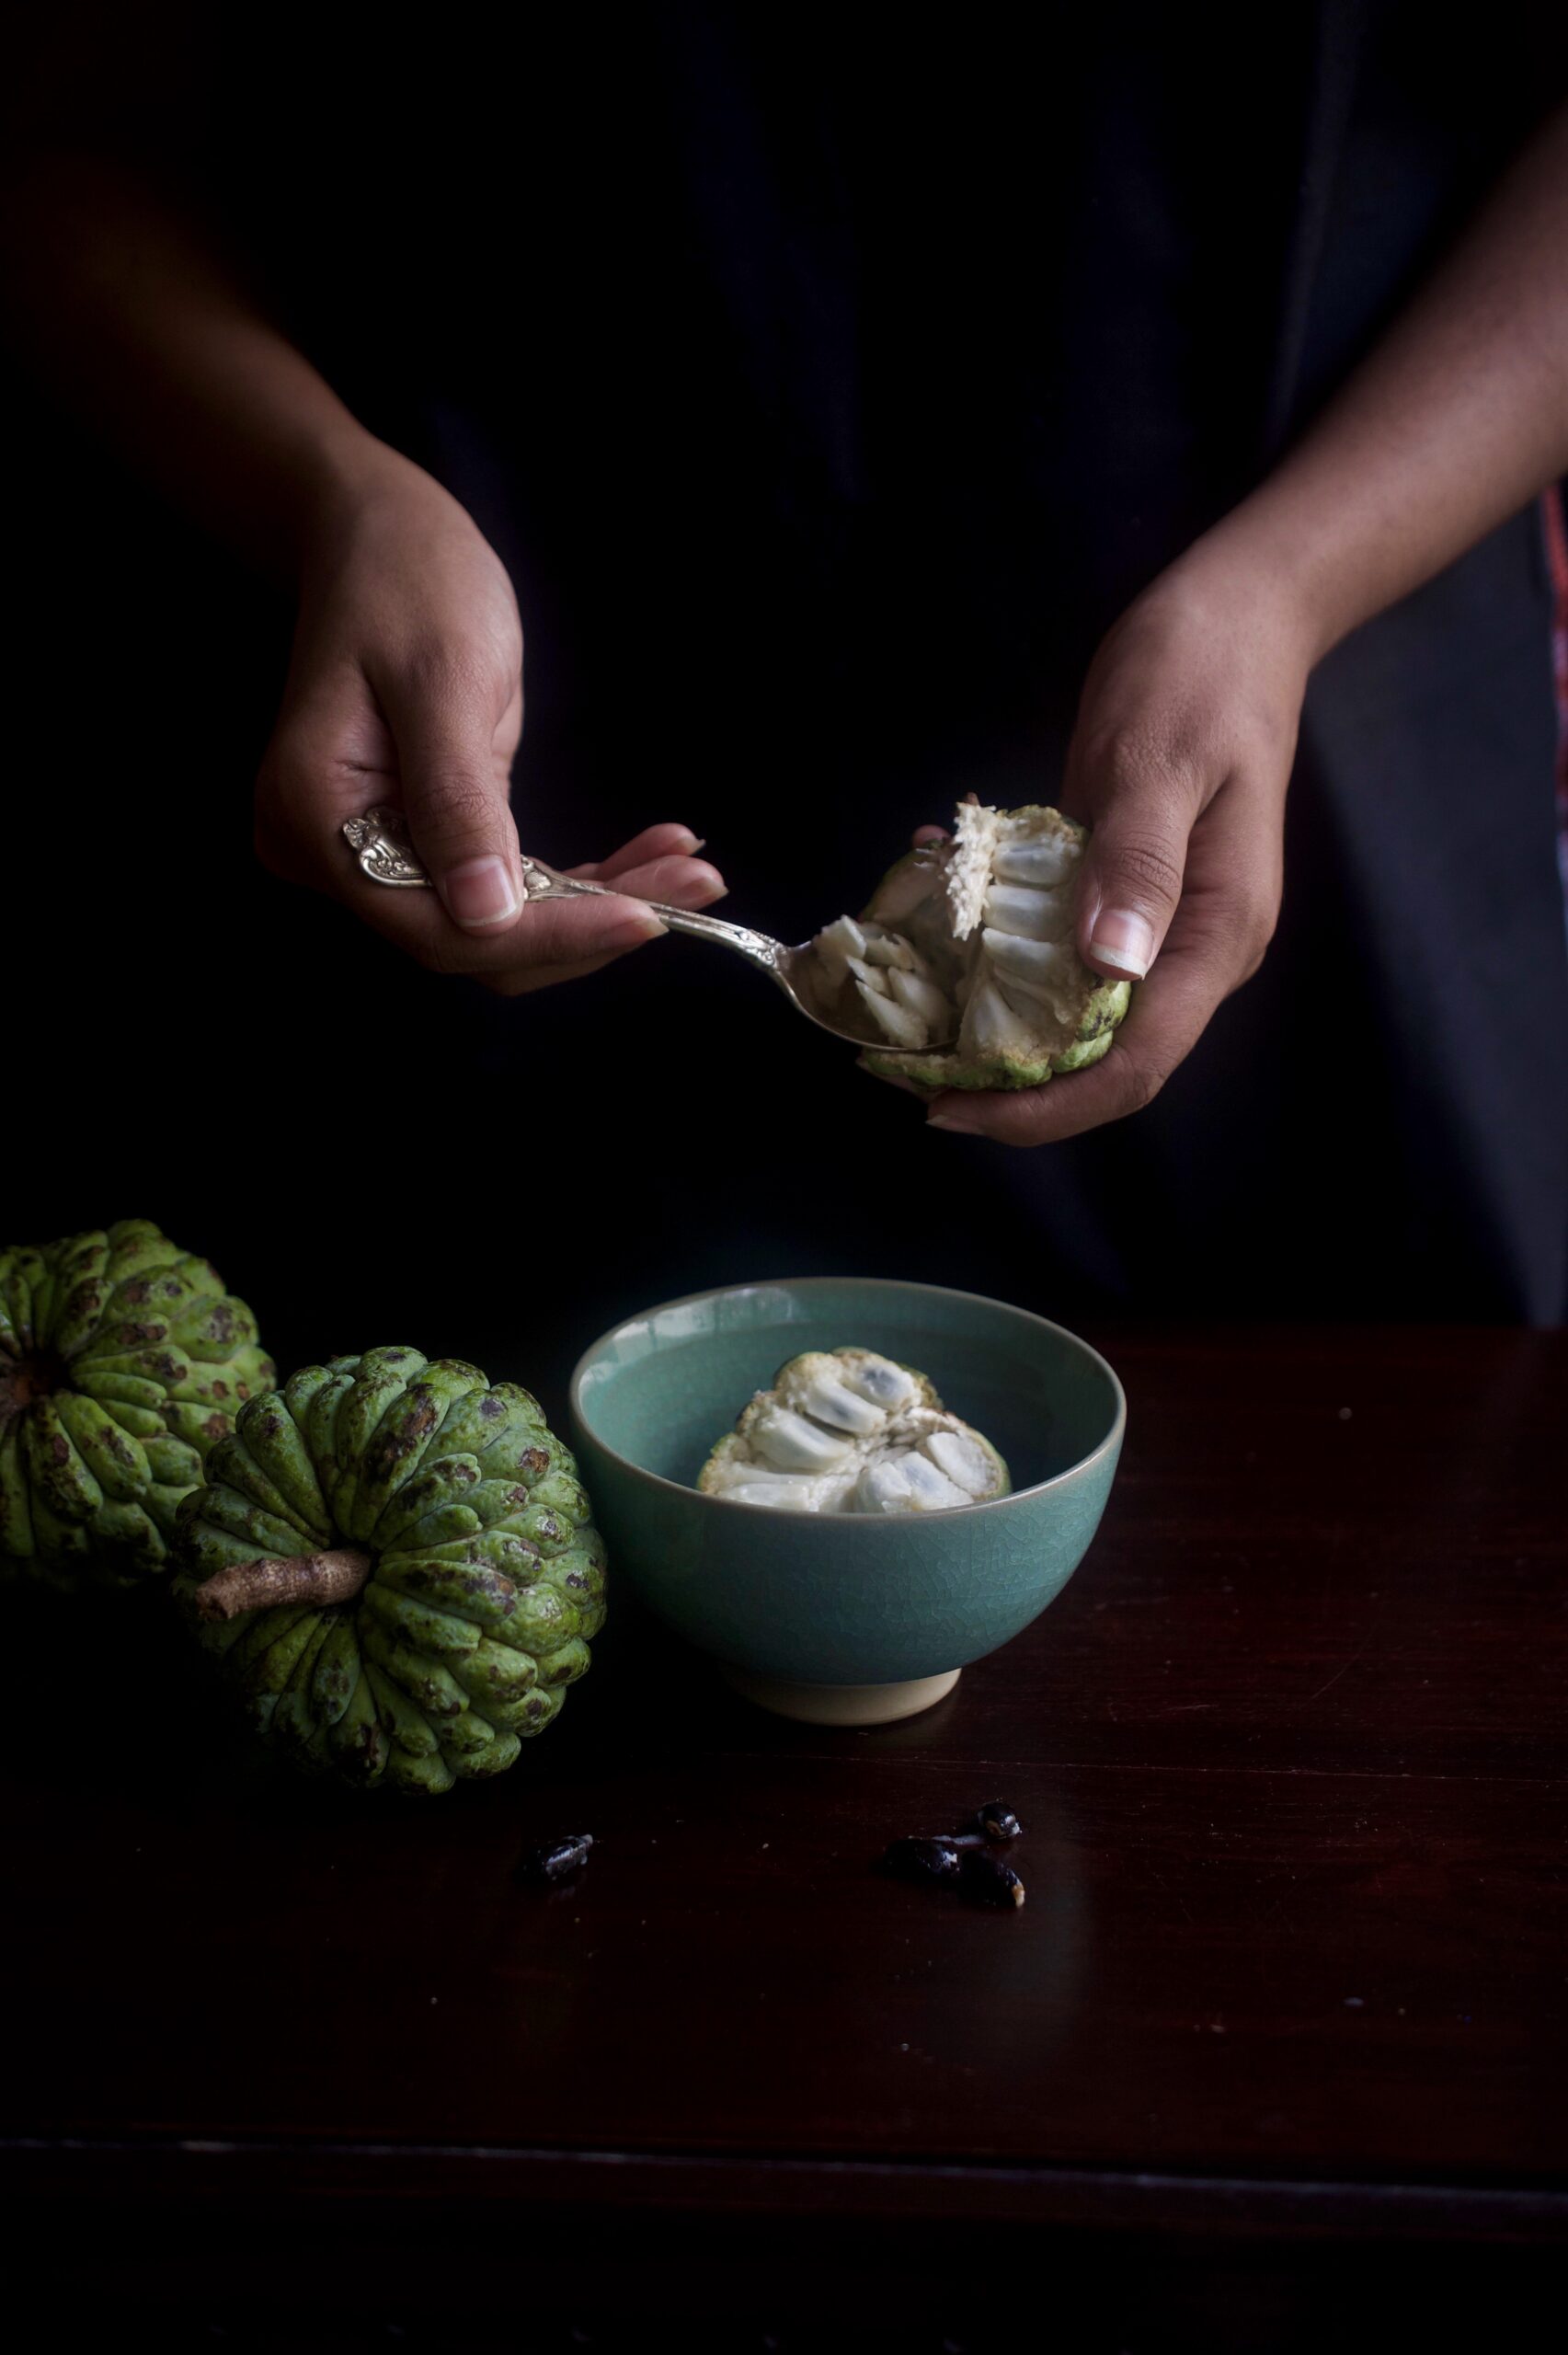
We would clamber up the sitaphal tree, pluck one right off the branches, and in our greedy delight not even check whether the fruit was ripe enough to eat before we tore it open with our hands and devoured the sweet white pulp. Then, we would spit out the shiny black seeds and collect them, for they were perfect for playing pallanguzhi, a traditional Tamil mancala game! Whenever I think of sitaphal, I think of these moments from my childhood. They were filled with joy, and I taste it again each time I taste the fruit.


Recently, I visited our organic farm a few hours’ drive from Chennai – and the sight of the abundant green harvest of the sitaphal trees brought back those childhood memories.

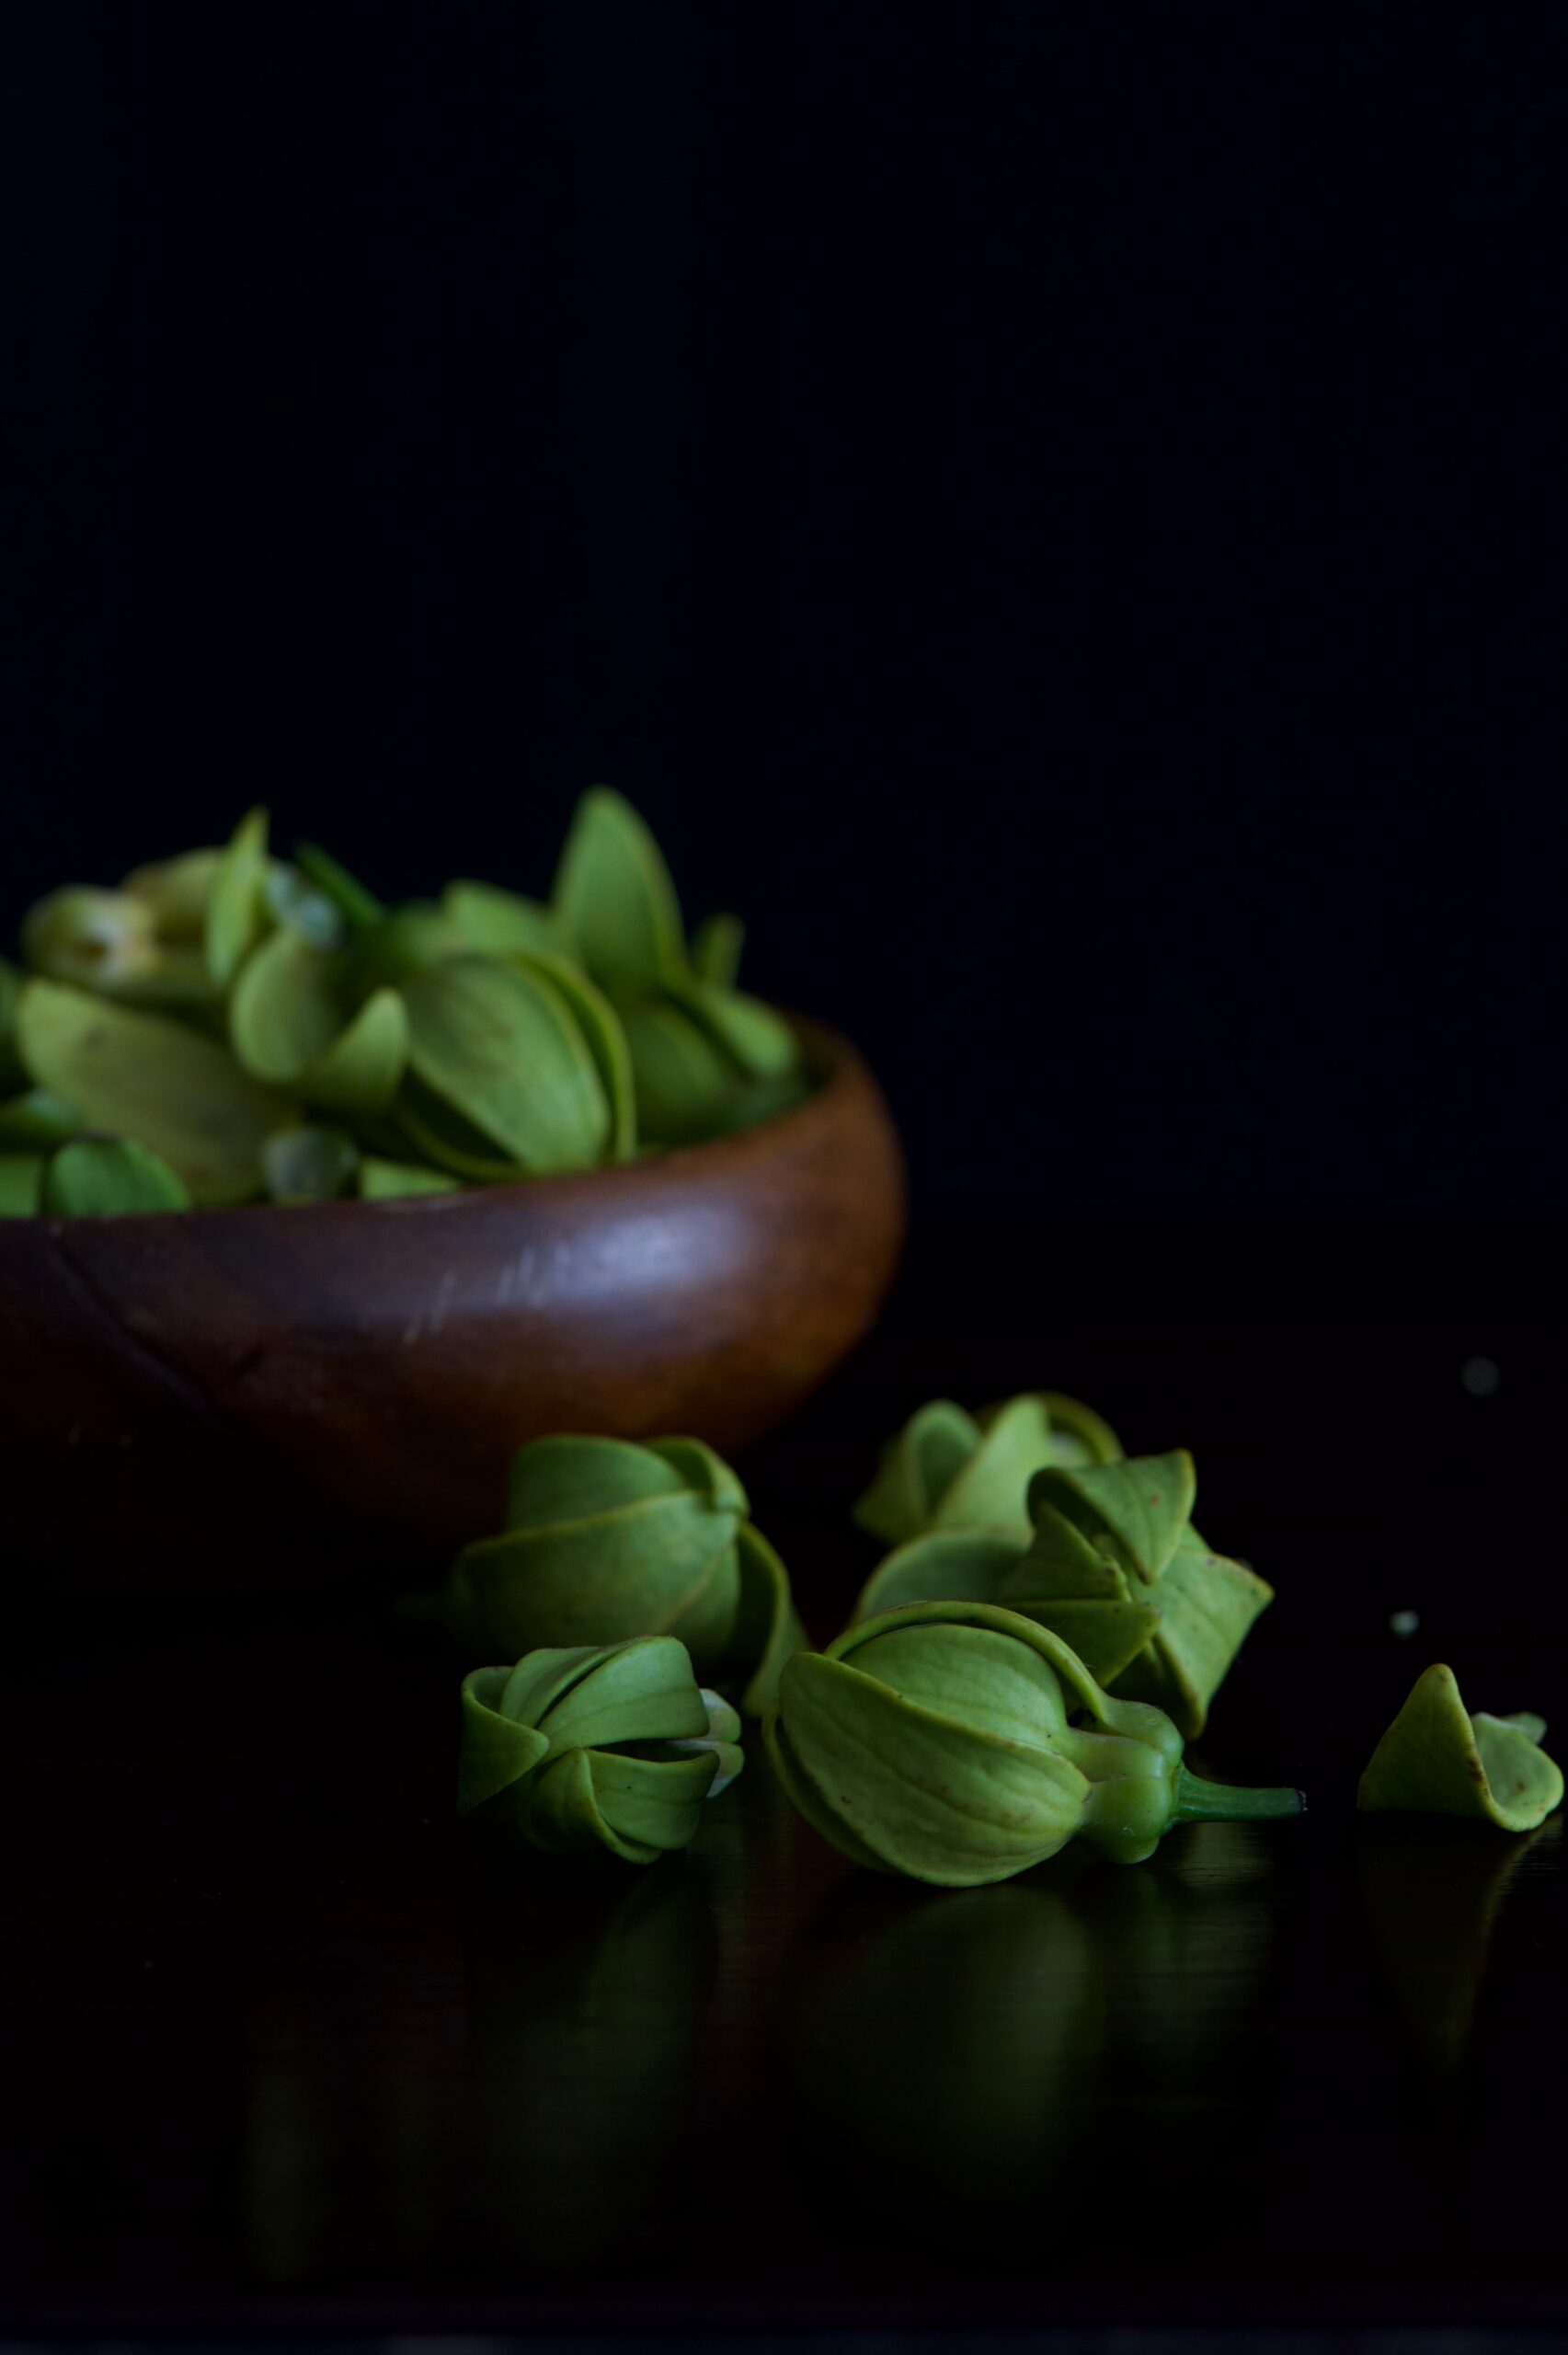
I will tell you more about our organic farm soon, where we grow paddy, varieties of gourd, numerous other vegetables, fruits – and a thoughtful selection of gorgeous native flowers that are fading from public memory. Hardly anyone wears or sells them anymore, but I take heart from the fact that there is one lady who sits by the Kapaleeshwarar Temple in Mylapore, with a colourful array of blossoms for purchase. Among them are the shenbagha and the manoranjitha. When I was a little girl, the teachers would wear beautiful manoranjitha flowers in their hair, and the classroom would be filled with their fragrance. And I would often think to myself: one day, when I am grown, I will have a house of my own with a tree that bears those flowers.

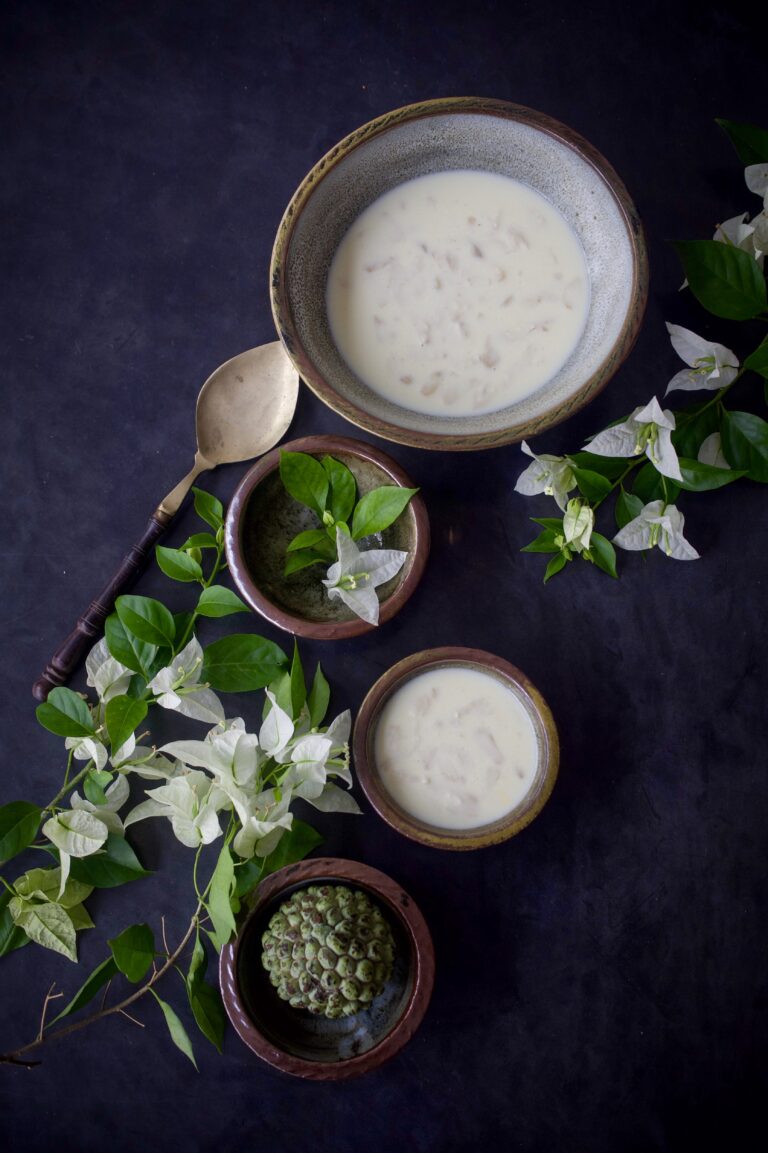
With the sweetness of all these memories in mind, and with the fruit in season in the serene landscape I dreamed of as a child, I remembered and craved a recipe that I had introduced into our family repertoire. When I got married and moved into my new home, I had enjoyed learning certain dishes from my mother-in-law that I found unusual. Among these was a fresh orange kheer. If you remember from this rose-coconut recipe, kheer is a kind of Indian pudding, with milk as the primary ingredient.

My mother-in-law’s citrusy dessert inspired my own variation. Perhaps I had wanted to bring the sitaphal I had plucked and gorged on in my childhood into my matrimonial home. And that’s how this sitaphal kheer was created. Even decades on, it remains a favourite of mine.

Sitaphal (Custard Apple) Kheer

(Yield – 8-10 cups)

Ingredients
1 ½ litres whole milk
2 large custard apples
1 ½ tablespoons corn flour or custard powder
½ cup sugar

You may know the sitaphal as the custard apple. I cannot recall seeing sitaphal sold abroad, which made me think it must be an indigenous Indian fruit, but it seems it’s actually native to the West Indies and Central America. Nonetheless, it thrives on our farm, and is popular throughout India. I wonder why it is not as well-known elsewhere as the mango. If you ask me, sitaphal is under-rated, and deserves renown.

One of the English names of sitaphal is sugar apple, attesting to its sweetness. Another is sweetsop. That tells you a lot about the taste of this fruit, if you haven’t had it. While it is not at all cloying, and in fact is quite subtle given its names, it is slightly higher in calories than other fruits too. Which means that I won’t sugar-coat it (pun intended): this recipe is a treat, and a bit of an indulgence! Still, sitaphal is also rich in potassium and magnesium, which protect the heart from disease, and Vitamin A and C. Fruit of any kind can never be truly bad for us, and sitaphal is no different.

Open up the soft, patterned green skin of this beautiful fruit, and begin to remove the seeds patiently using a spoon and clean hands. Keep the pulp in the refrigerator, covered.

In the meantime, boil the milk until it reduces partially. Vegans, you may want to try either coconut or almond milk. Keep stirring it on a low flame, making certain it doesn’t stick to the bottom of the pot.

Put the corn flour or custard powder into a small cup, and add 2-3 tablespoons of milk at room temperature. Stir this mixture well, until it is smooth. Now, gently add this mixture to the milk in the pot. You have to be careful now to stir continuously, so that it doesn’t stick to the bottom, which it is very likely to.

I like my kheer not too thick, but you may like yours thicker. In which case, simply add an additional 1 teaspoon of the corn flour or custard powder. Or reduce the quantity, to thin it further. Adjust according to the consistency of your preference.

Add the sugar. The taste of the sitaphal is so gentle and distinctive that I find the addition of cardamom, nuts or saffron – classic elements of most kheer recipes – takes away from this flavour. But you can always add these if you wish.

Once the milk thickens to the consistency you prefer (this will take approximately 15-20 minutes), turn off the flame and cover the pot with a lid. Allow this to cool, then refrigerate for a few hours.

Add the seeded sitaphal pulp into the refrigerated mixture and blend well. Serve this chilled dessert in small bowls.

Just as I substituted my mother-in-law’s fresh oranges for sitaphal, the lovely thing about this recipe is that you can use any fruit of your choice, based on your own tastes and seasonal availability. It is a luscious dessert, and it’s equally perfect for summers (when it has a cooling effect) and for the year-end festivities (when it’s also in season). I’d love to know what you think of it – and what variations you’ll spin up in your kitchen.