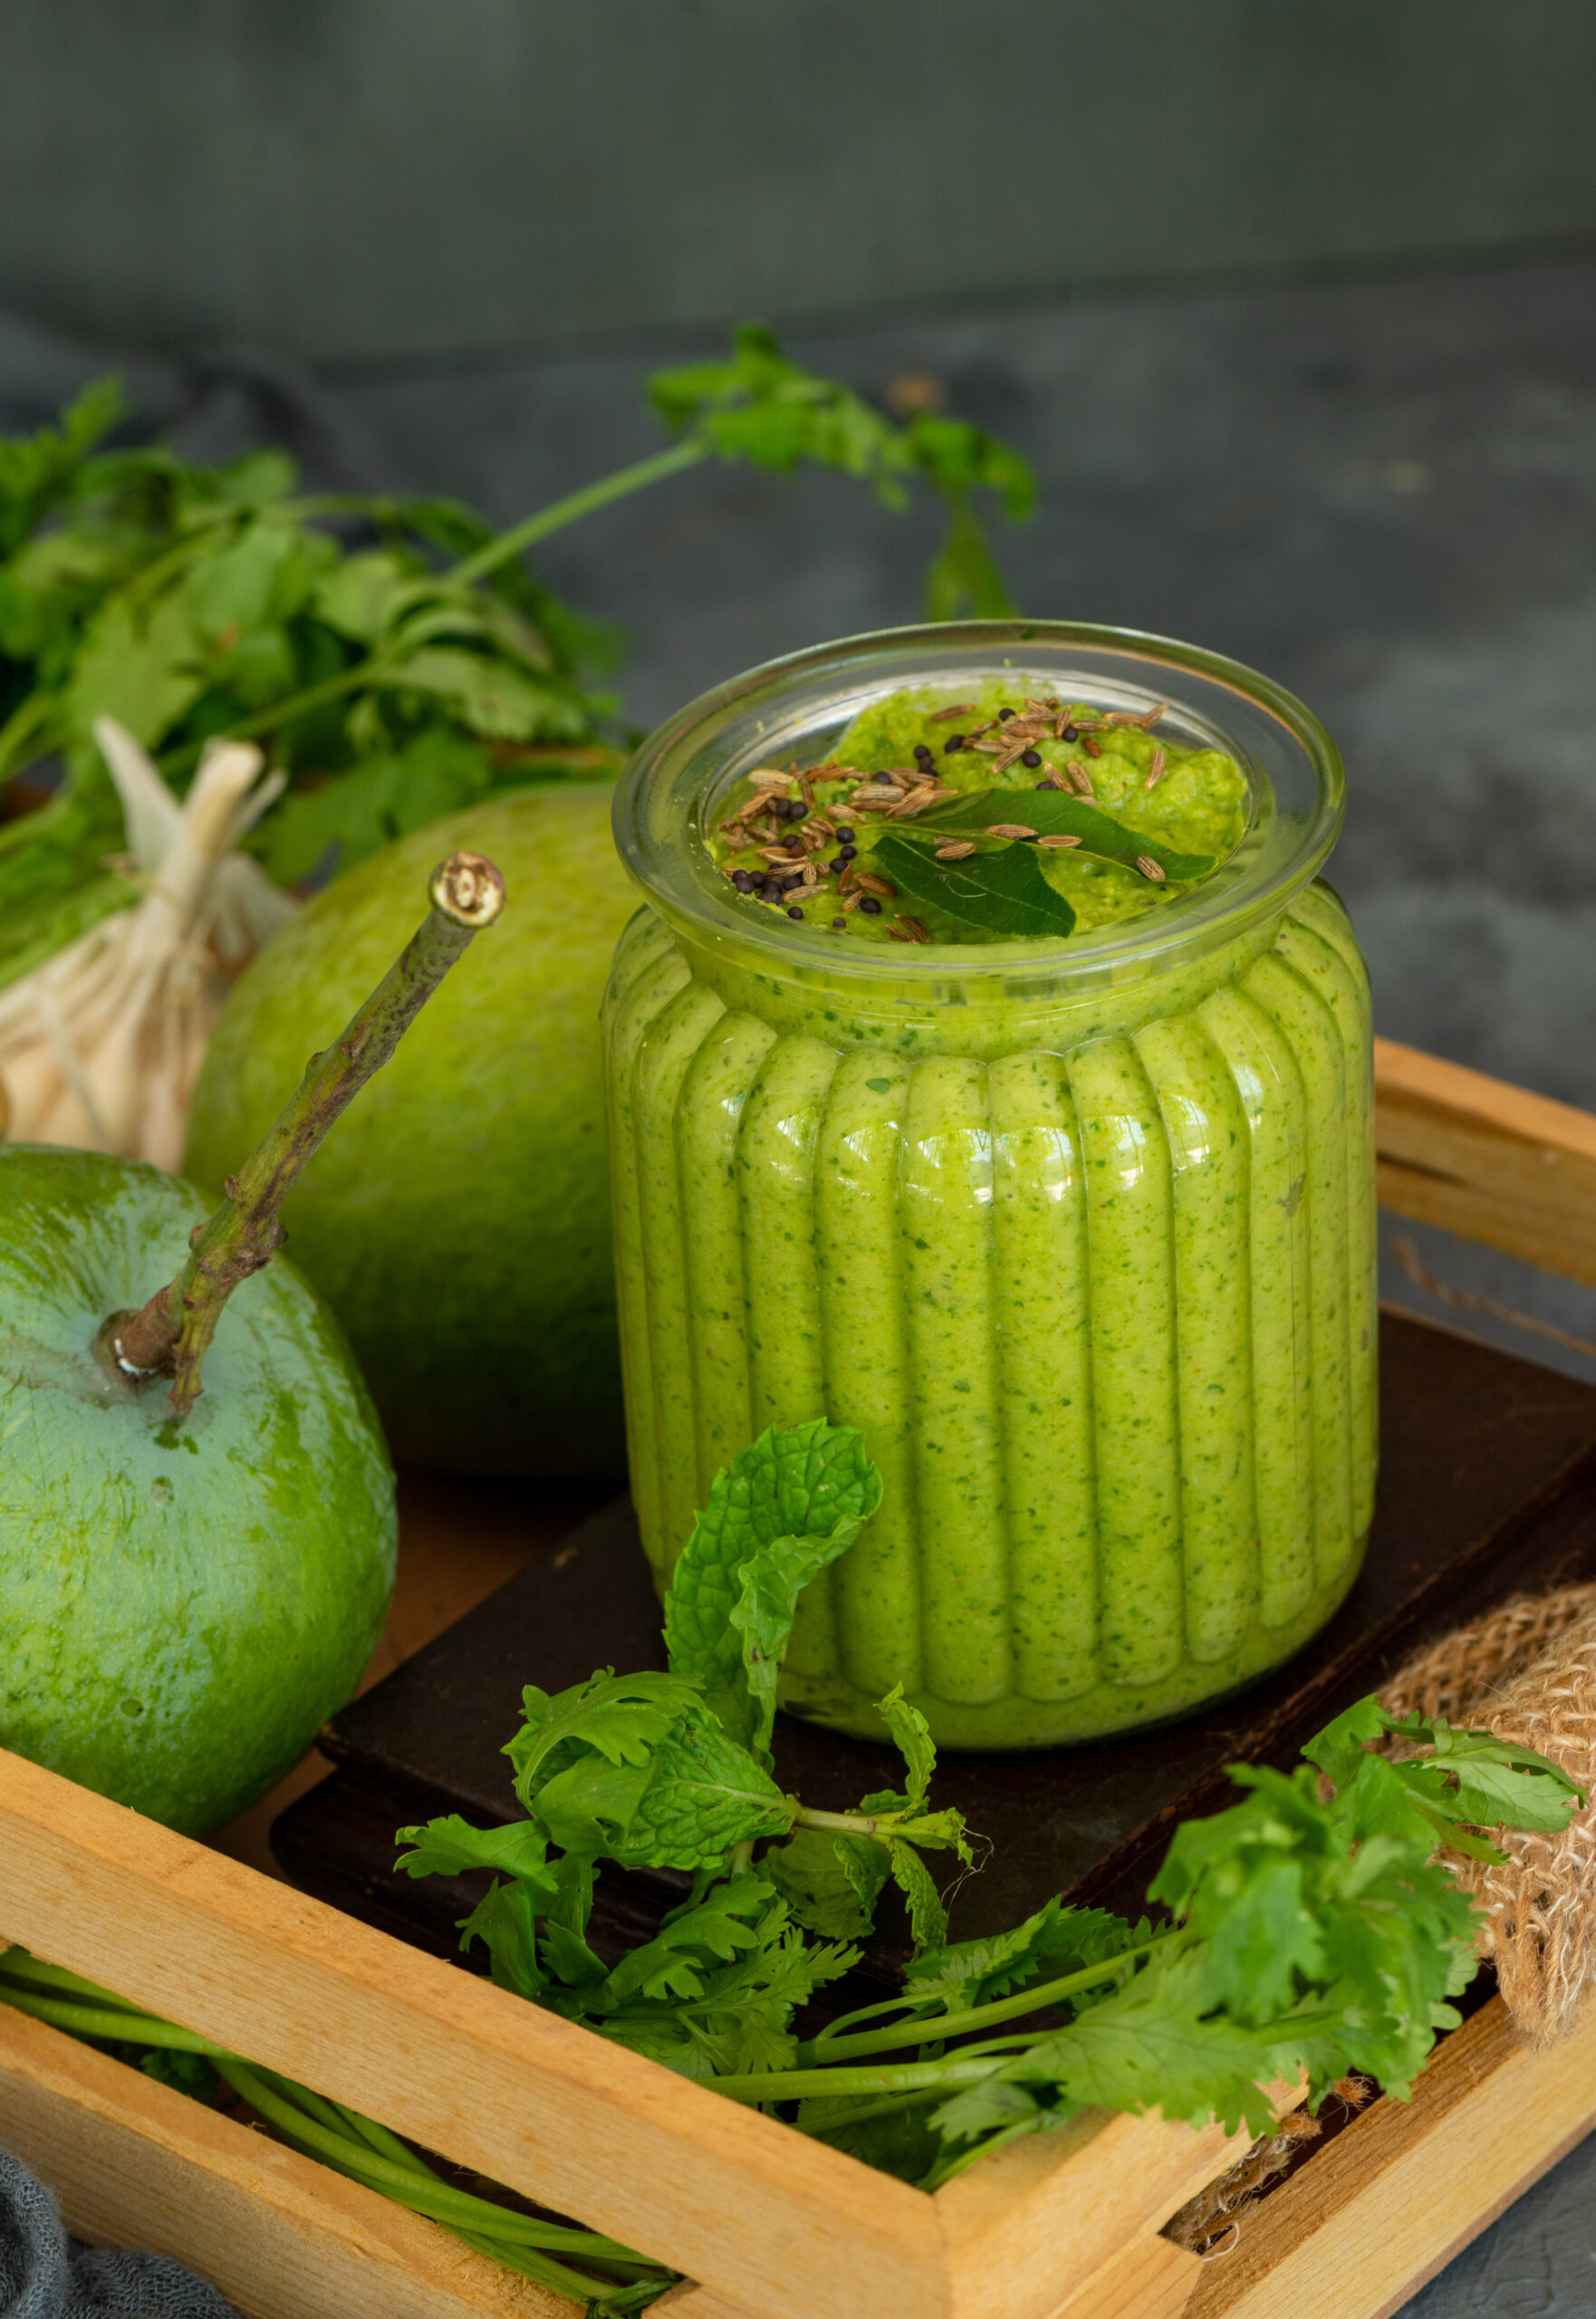
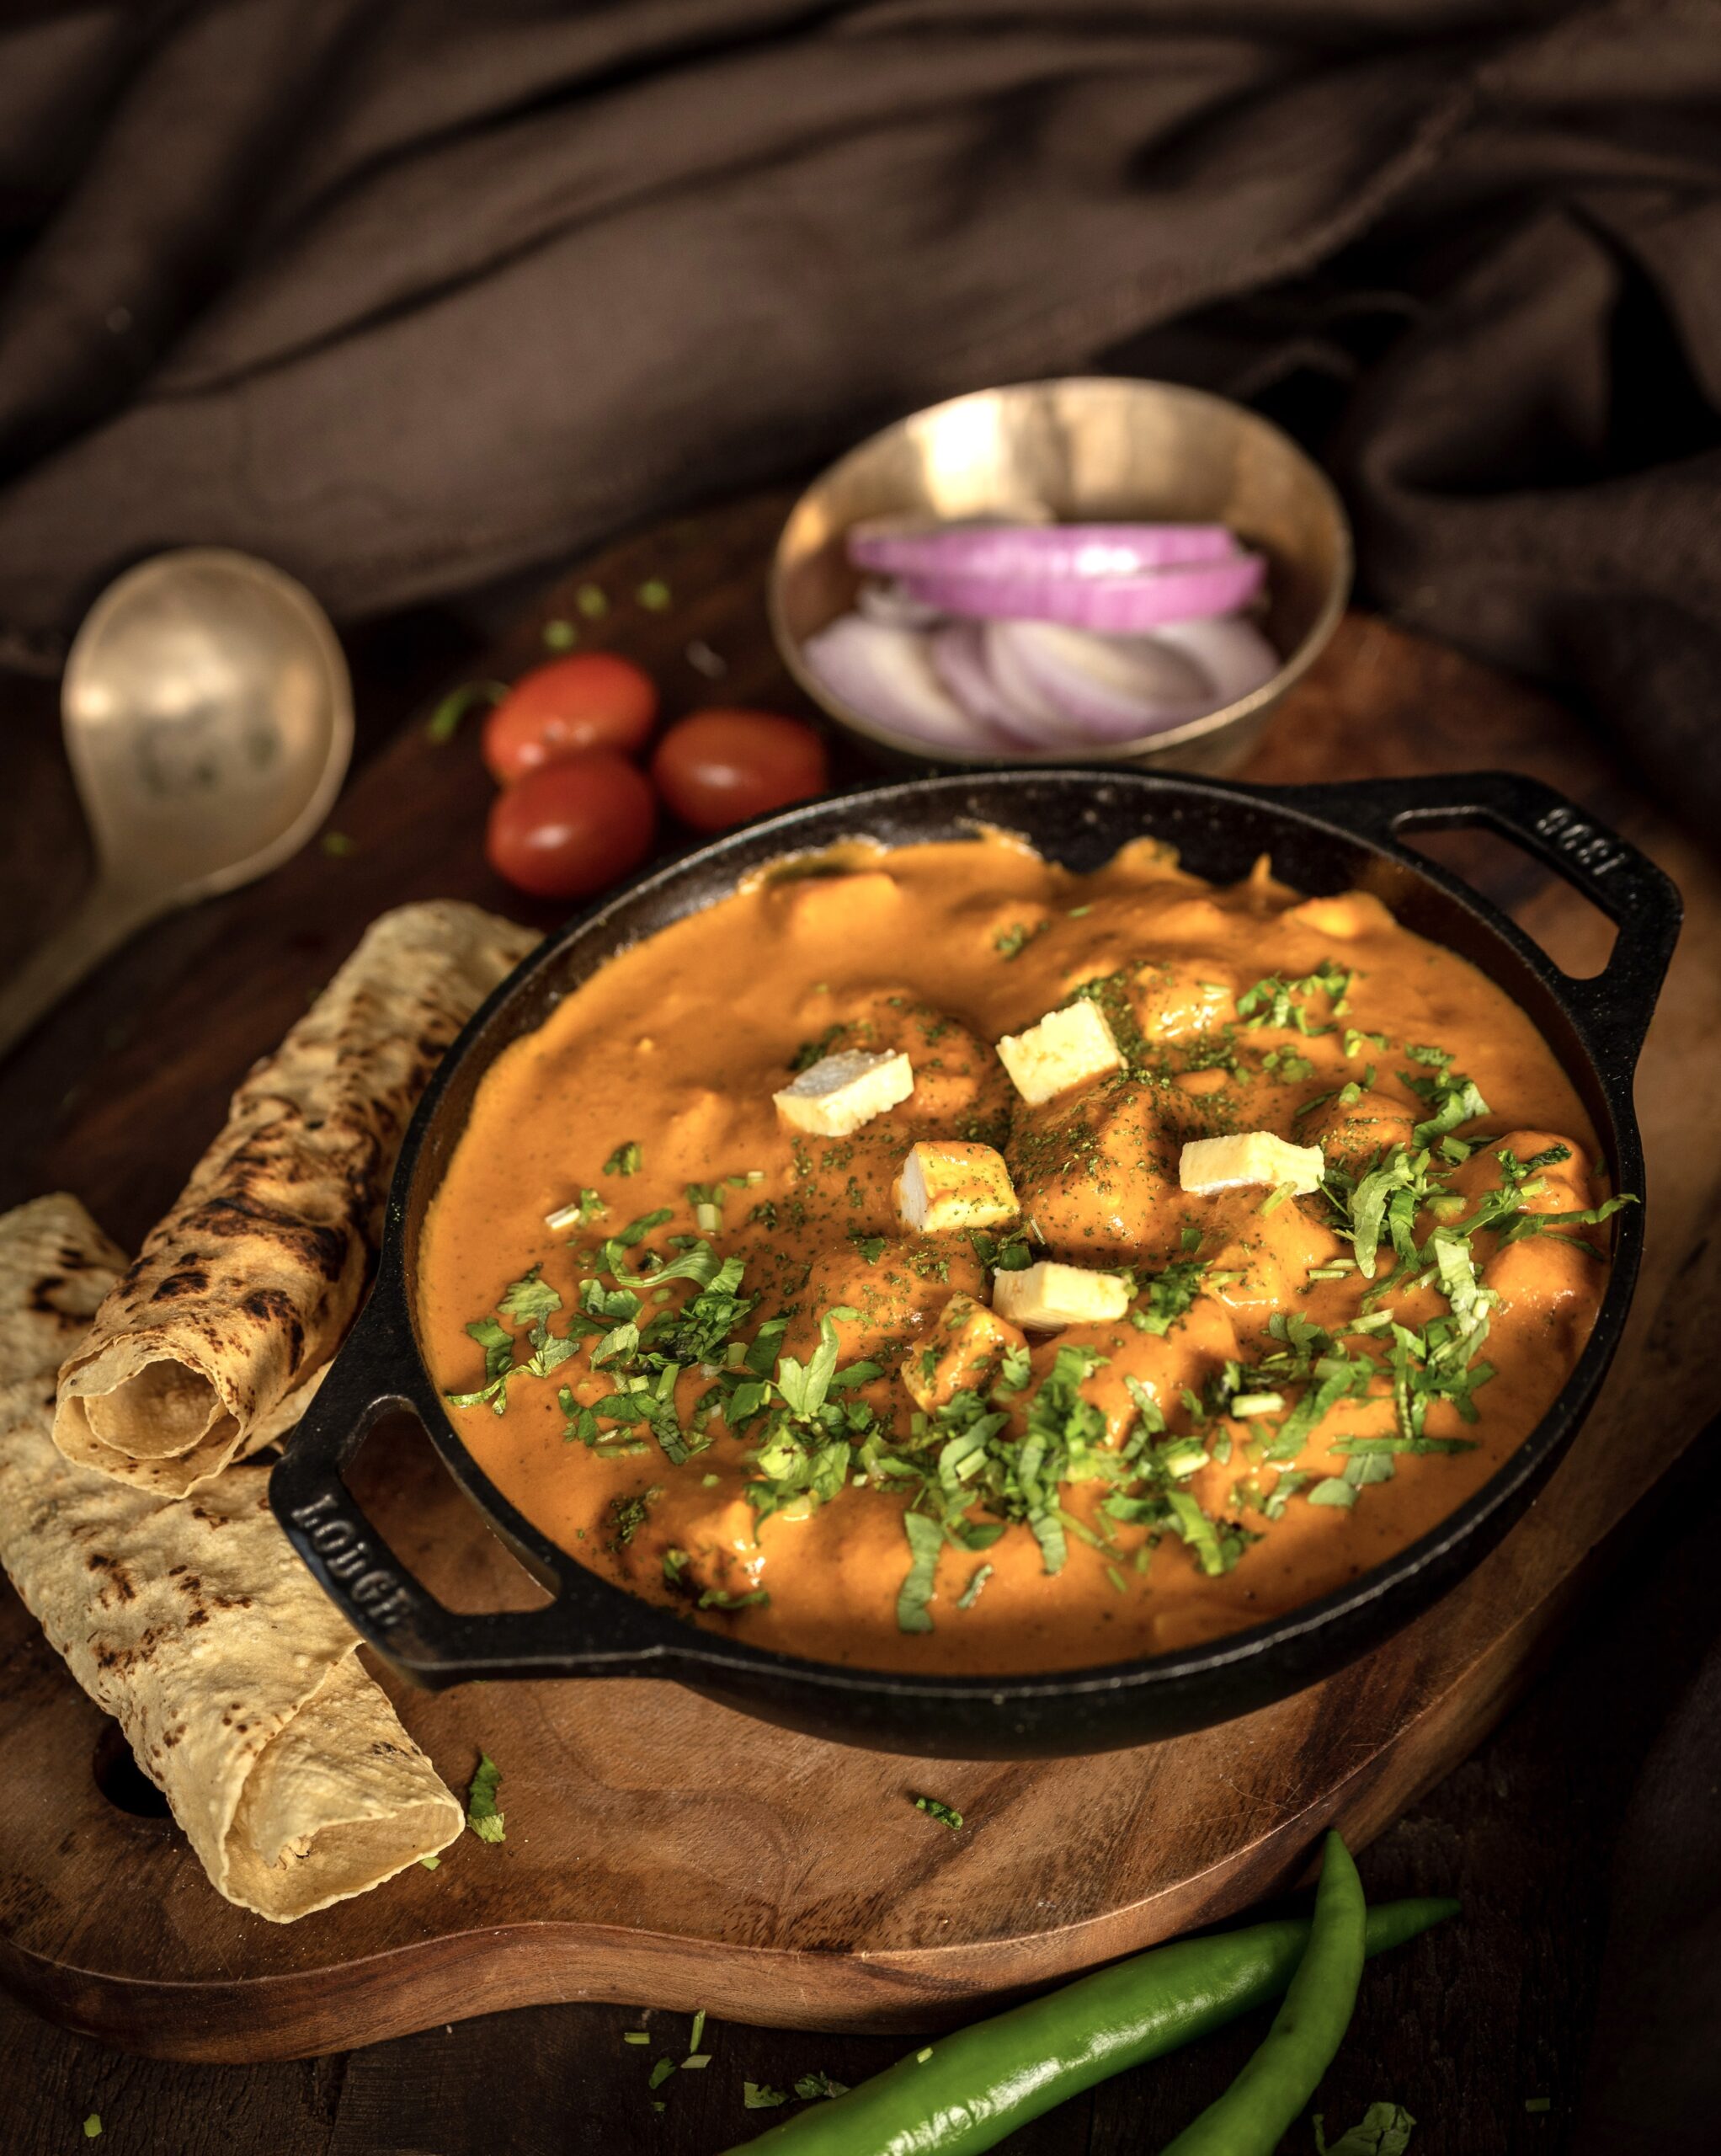
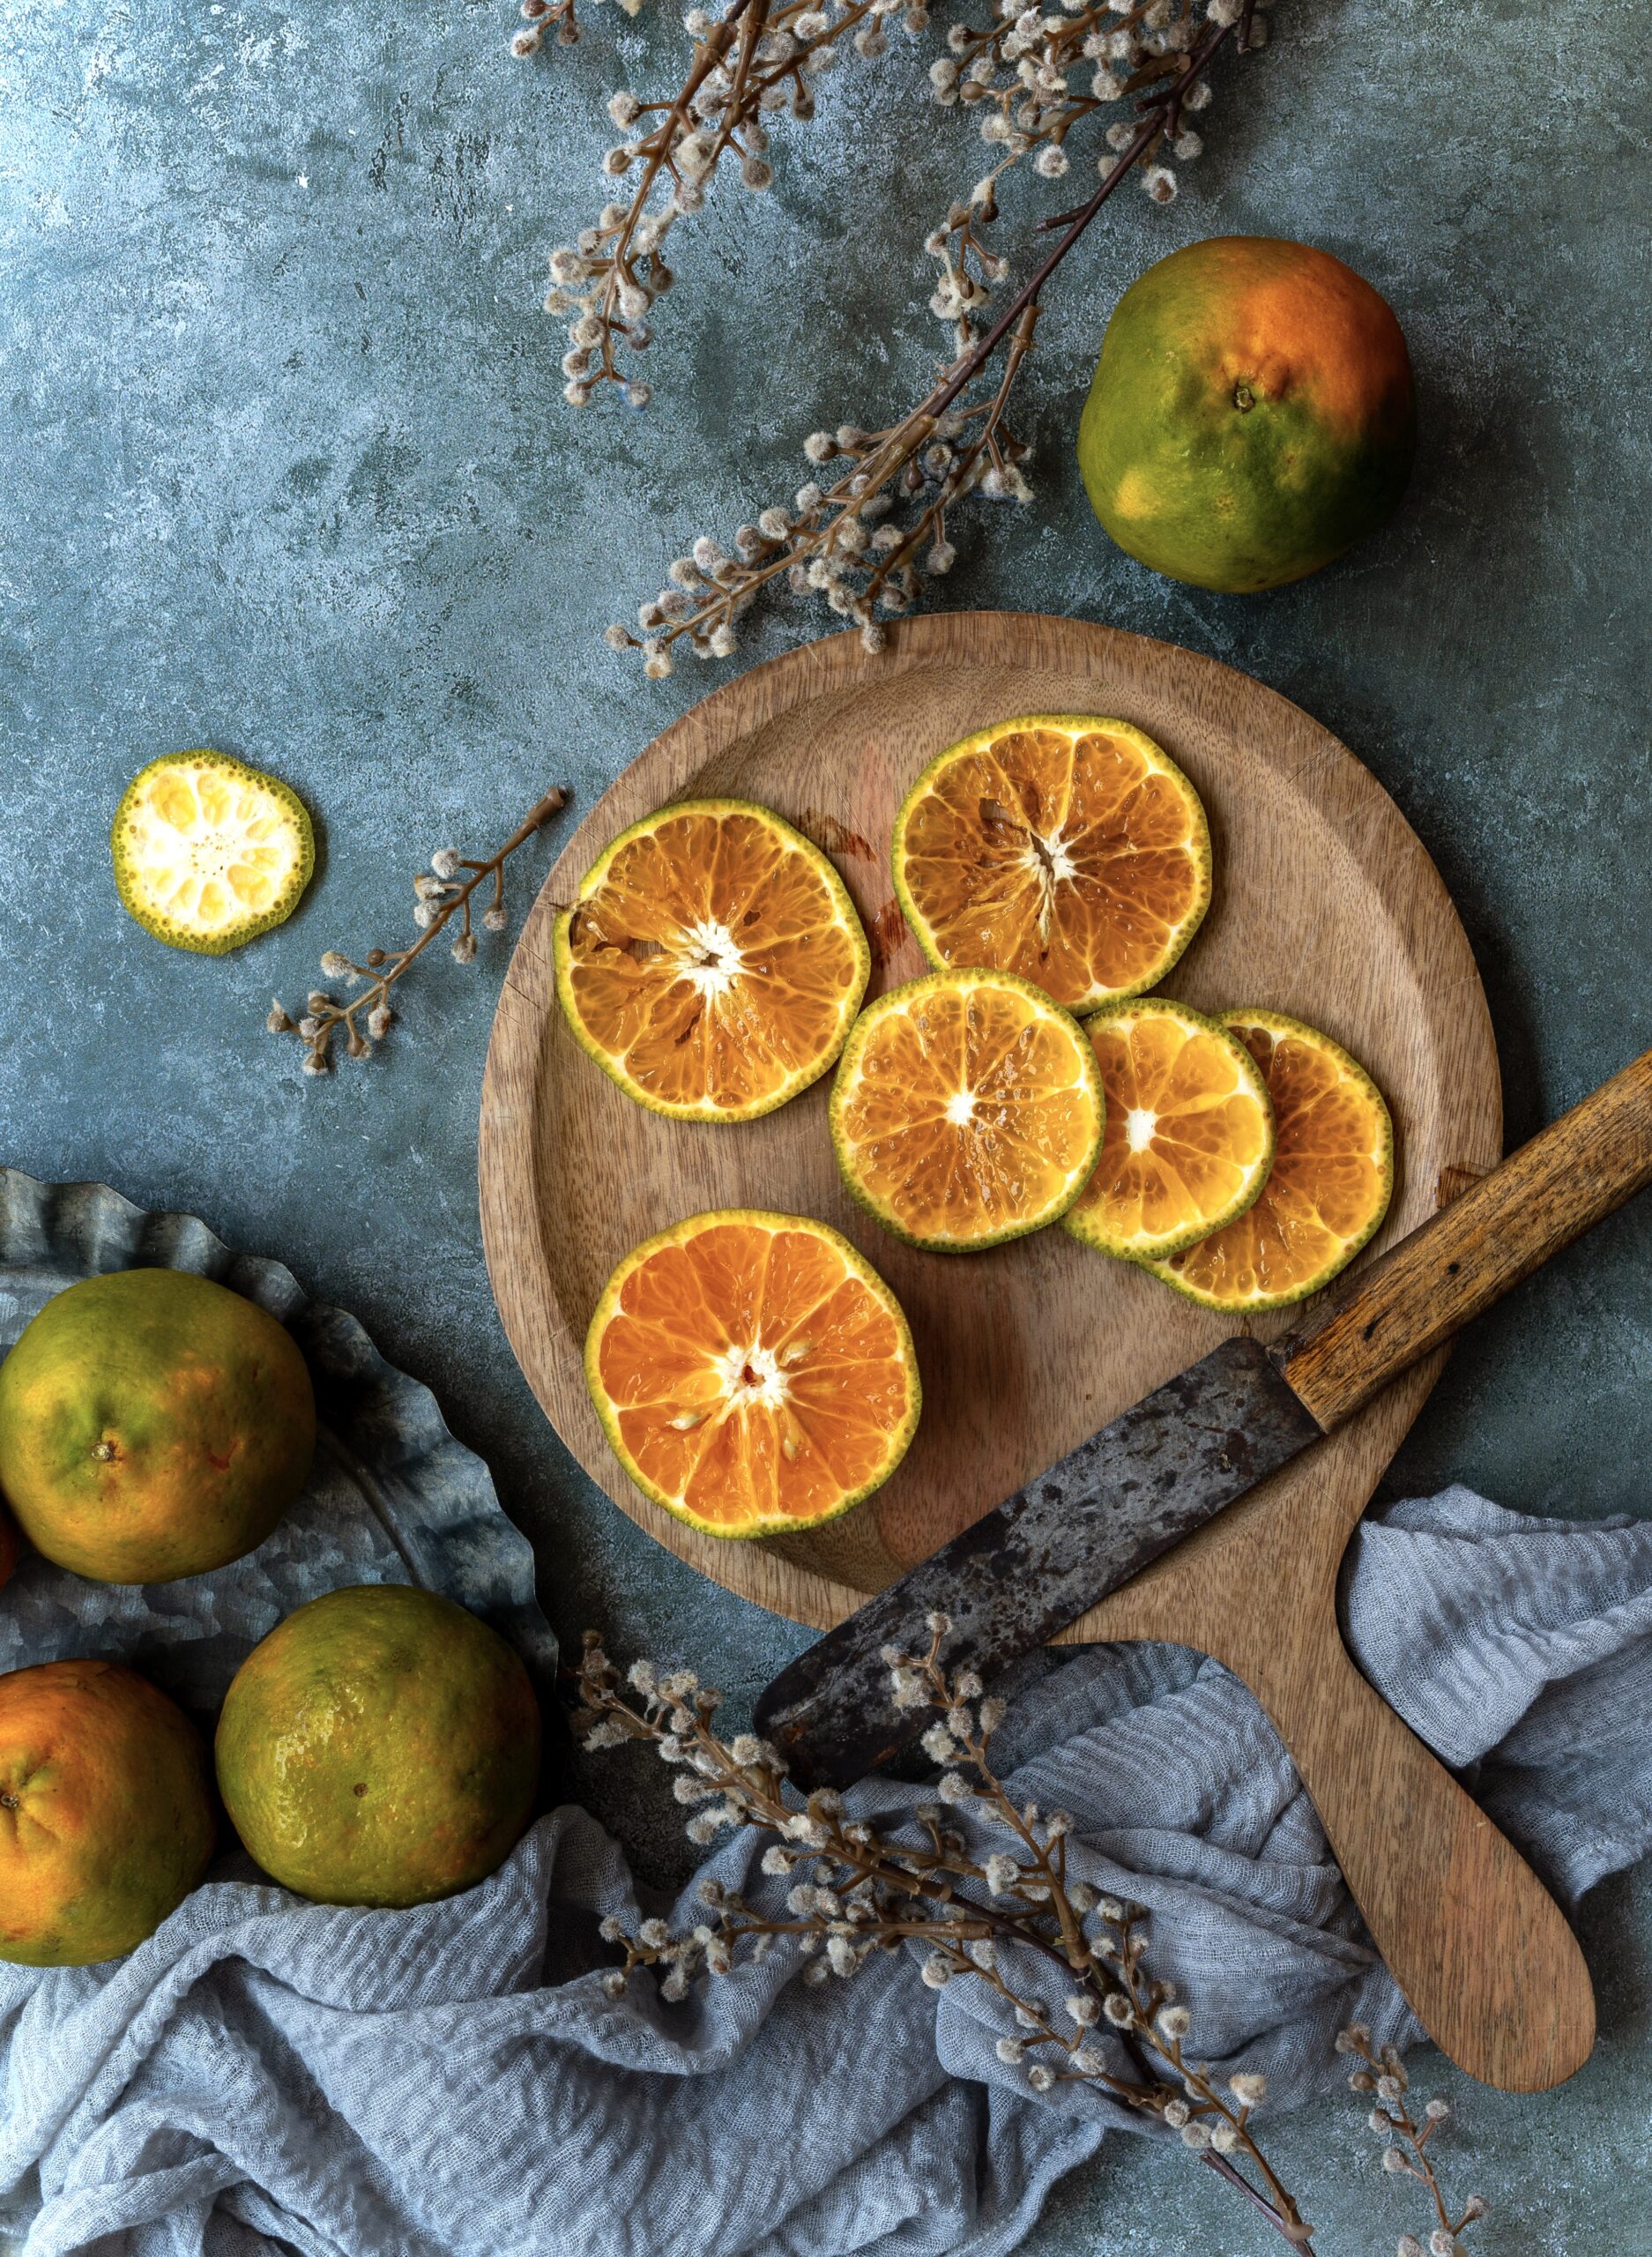
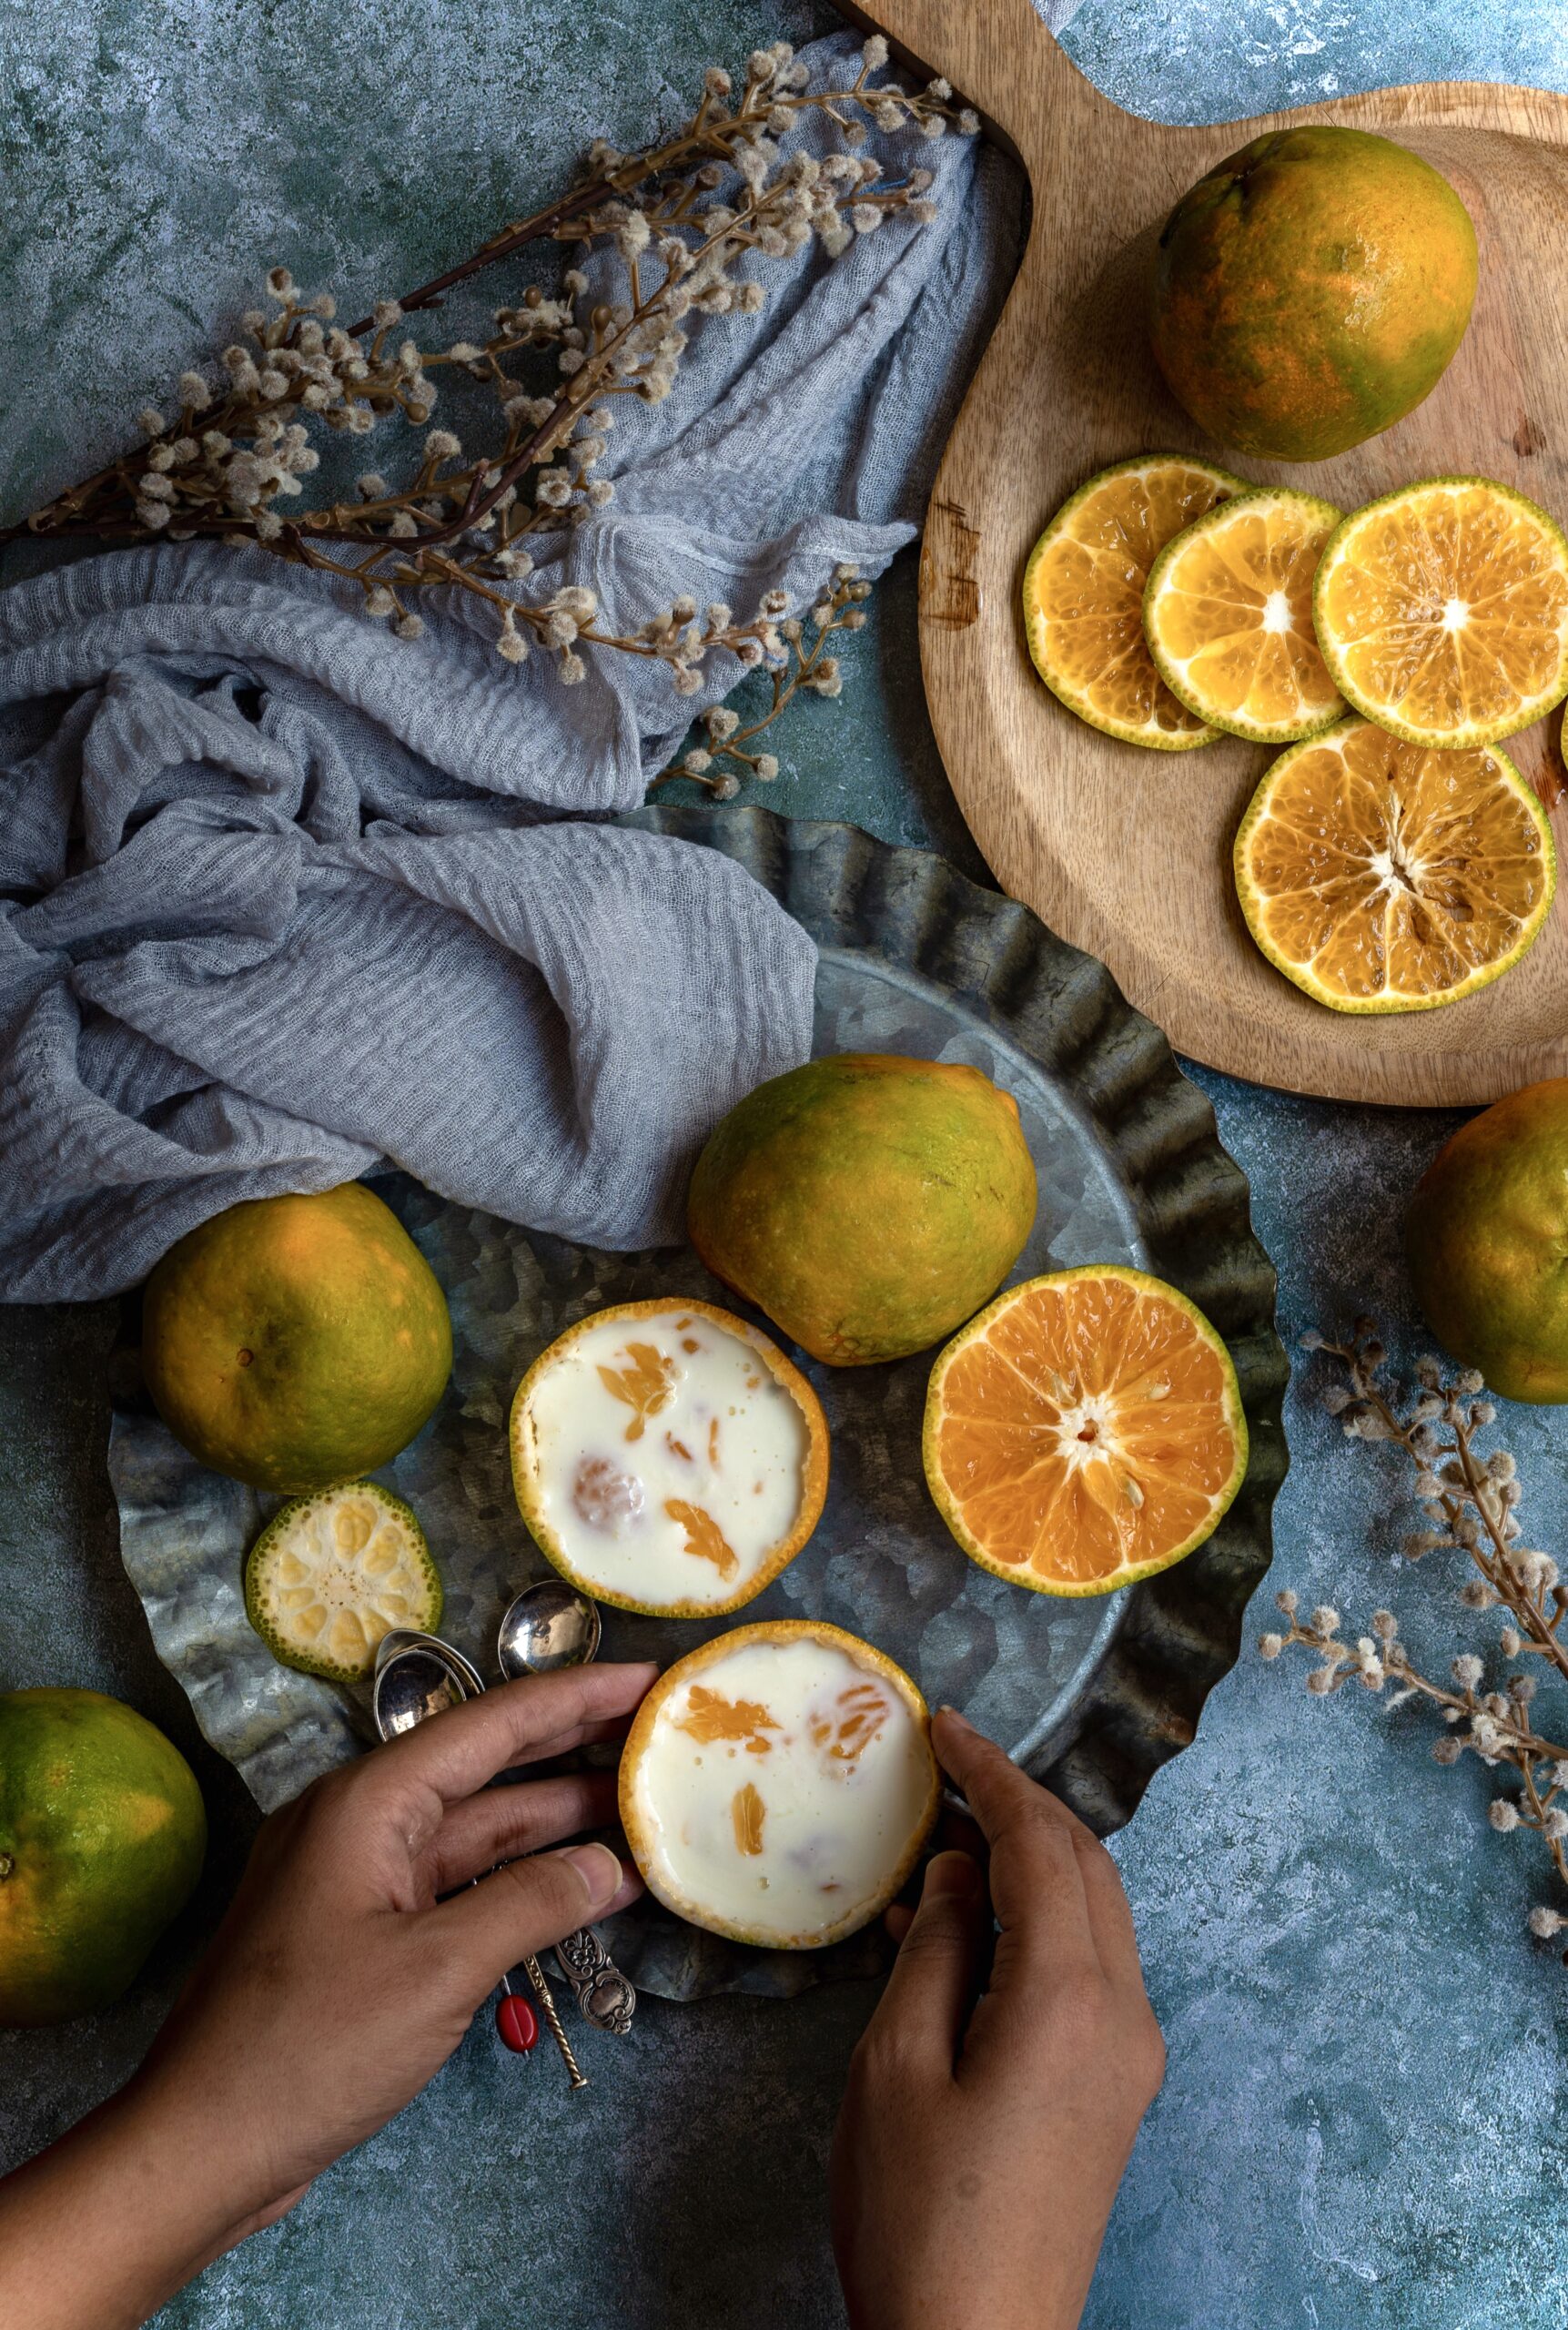
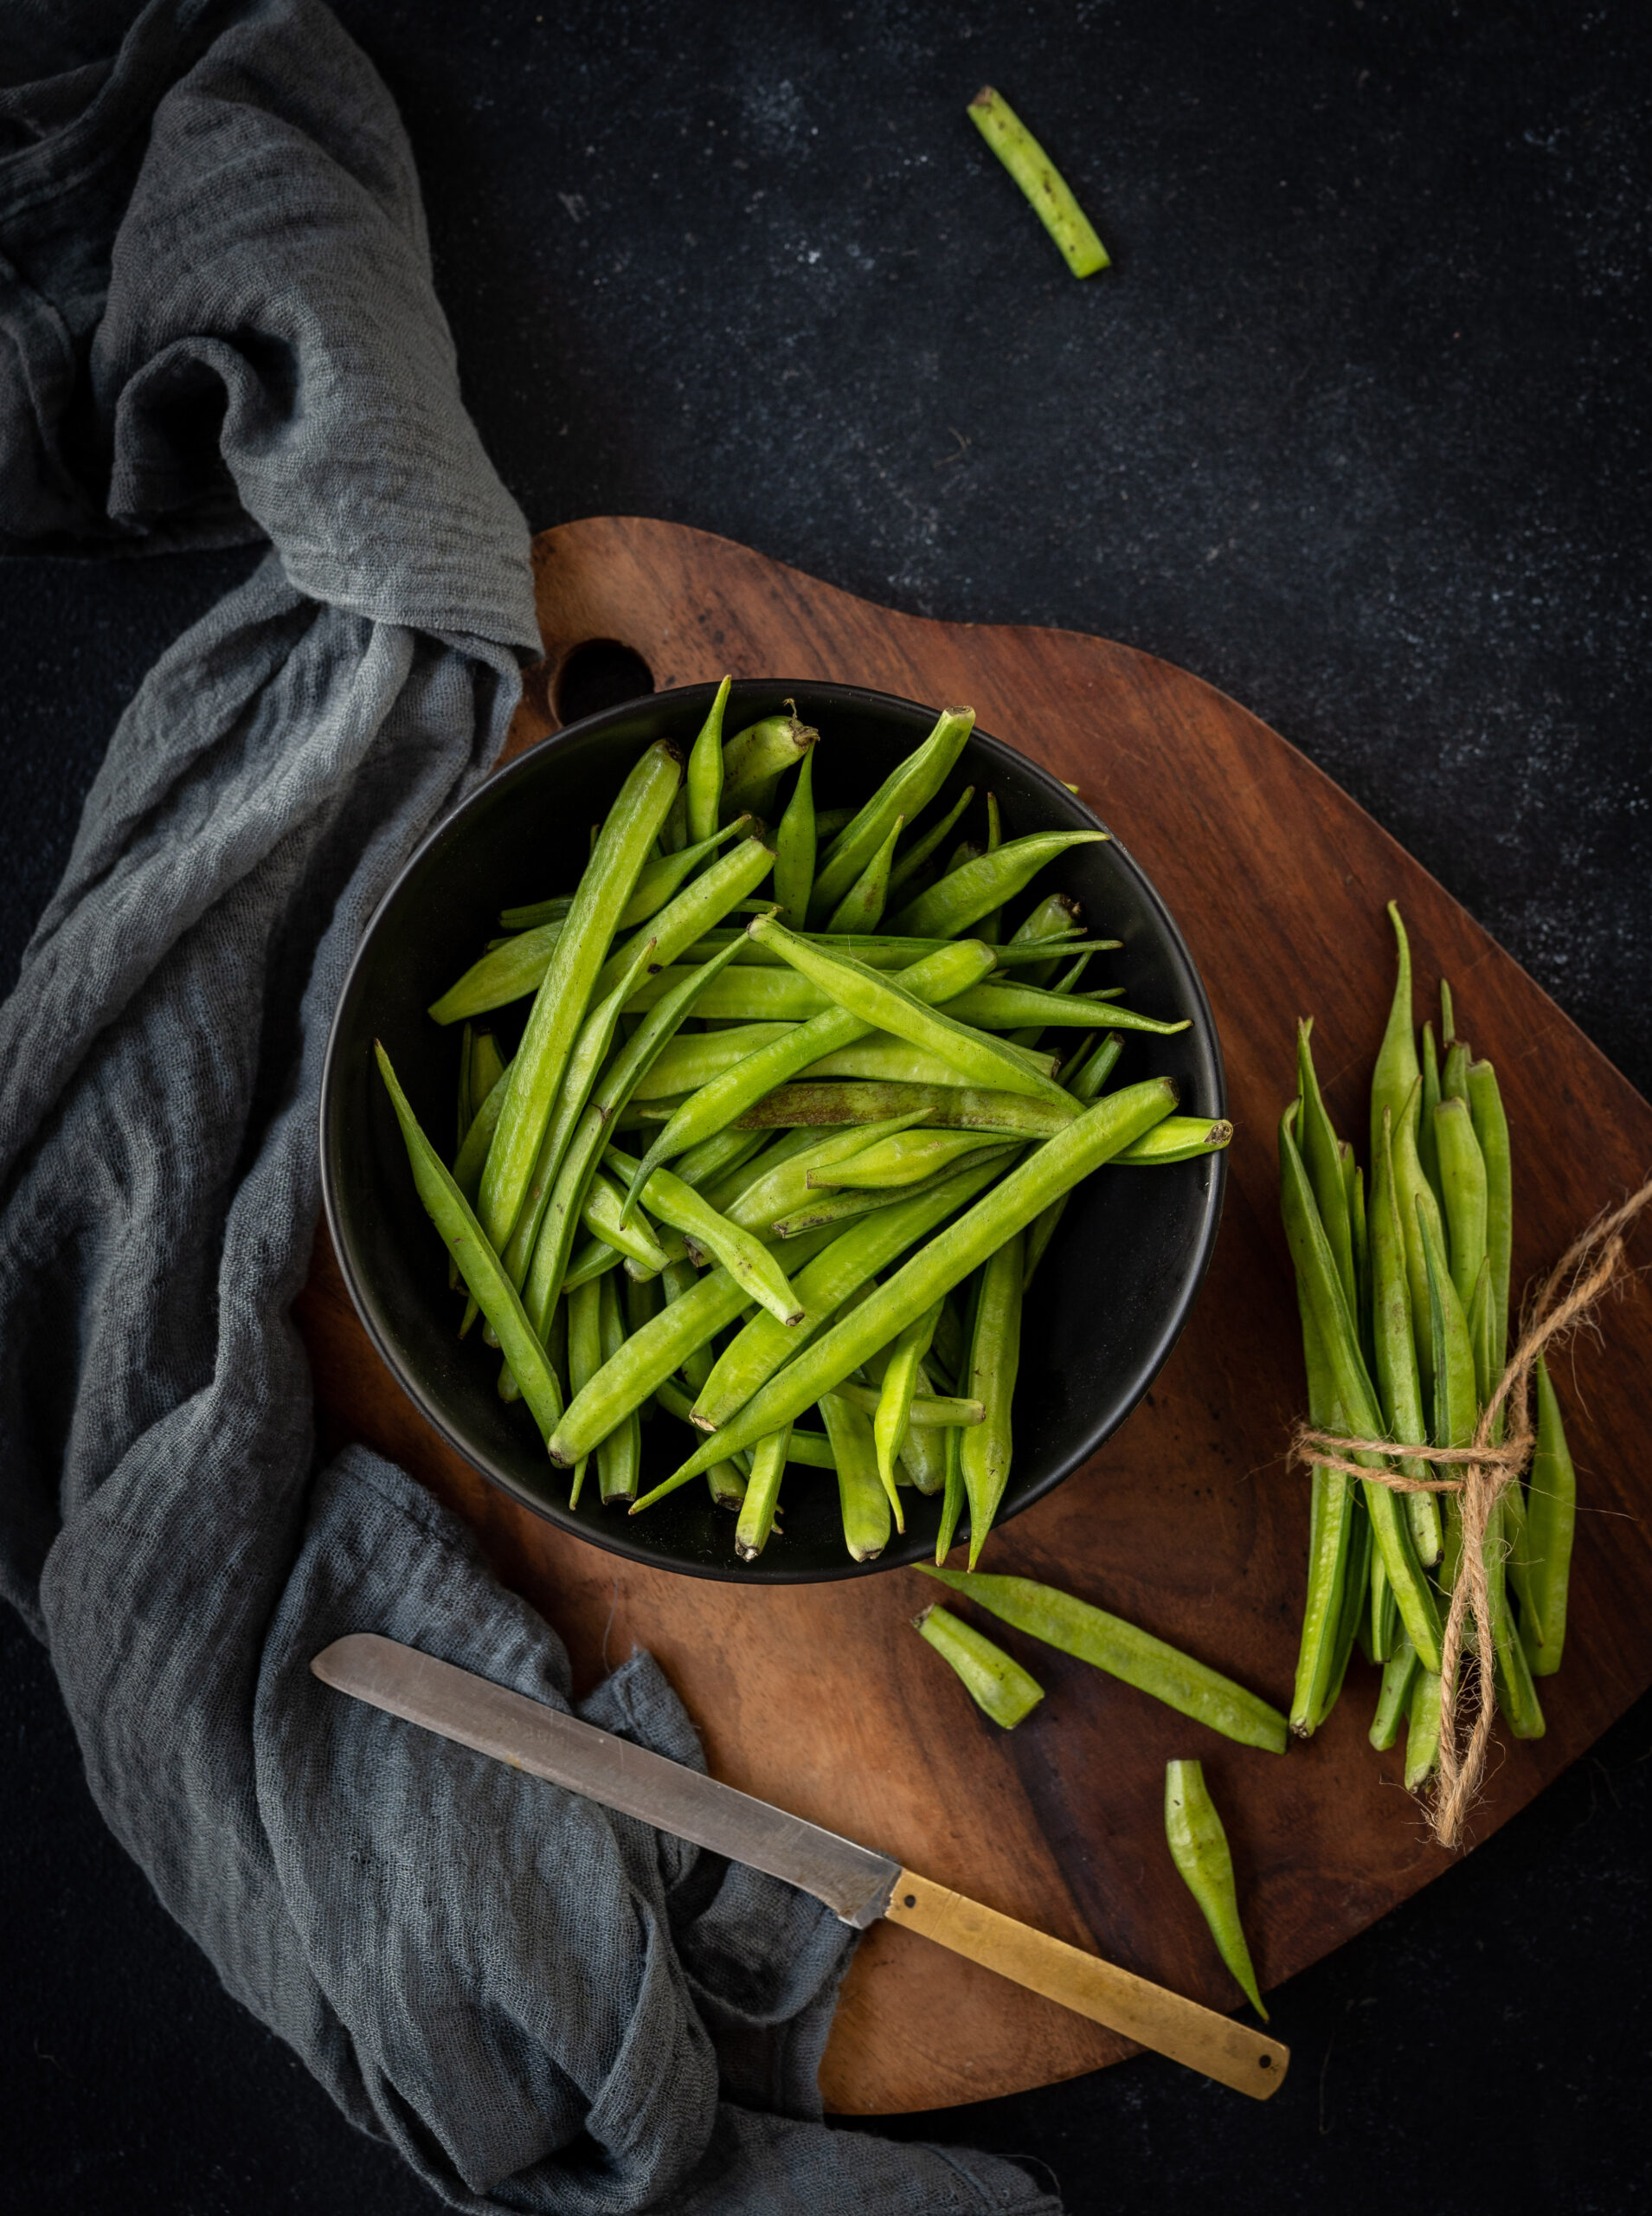
As you probably know by now, I have mango trees in my garden. At home, we really do take these for granted. Sometimes, there are so many fruits ripening out there that we don’t even try to stop the monkeys in the neighbourhood from coming to make a meal of them. One of the varieties that we grow, known as the parrot beak or killimooku, is best enjoyed when it is still raw. It is not unbearably tangy, which makes it just perfect for condiments like this raw mango chutney. You may also remember it from this vegan raw mango dal and other raw mango recipes I’ve shared before.
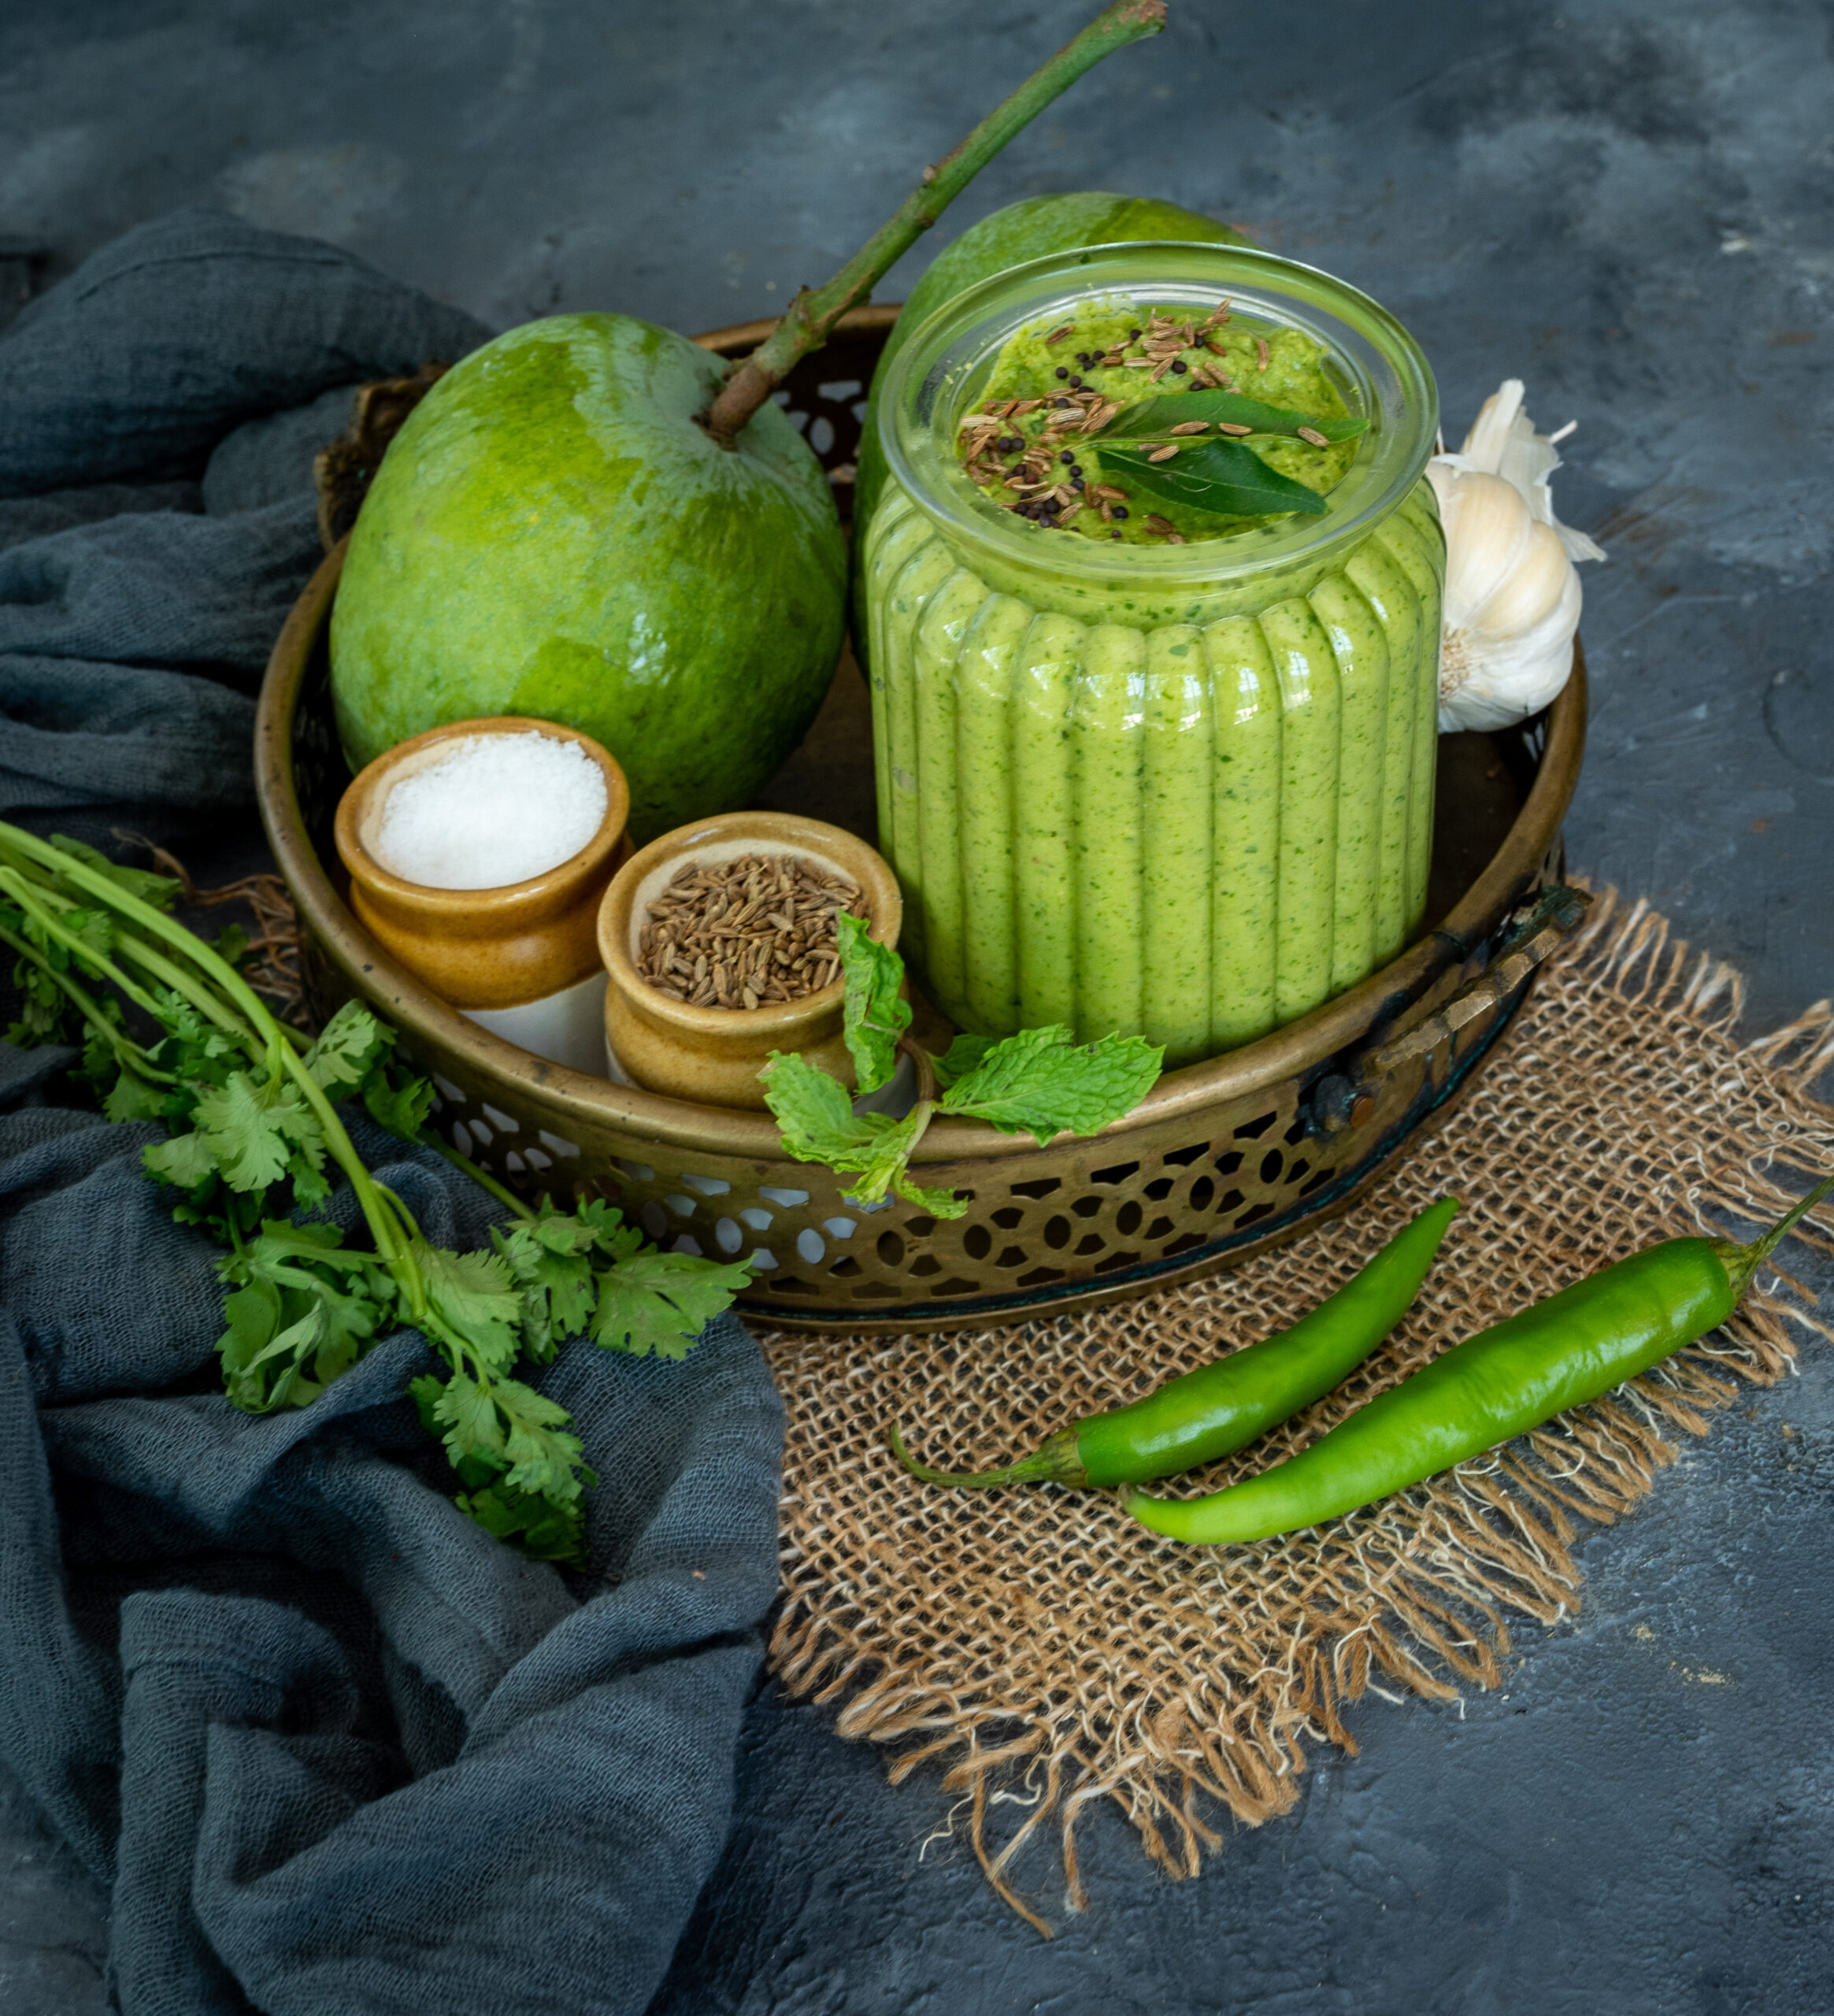
Initially, the challenge for me was always about making it a green chutney, as I like the colour. Invariably, my many trials would result in a chutney that was blackish or another shade. While the taste remains the same, the visual effect differs. Both as a photographer and as a cook, I believe the eyes eat first. I wanted that beautiful, pure green of the fruit to be captured in the dish as well. So I persevered until I hit upon the perfect method to create a green raw mango chutney.
I have made and shared another green chutney before, a coriander one. I have also made and shared a raw mango thovayal, which is a coarse chutney from Tamil cuisine. But I have never shared a raw mango chutney itself so far, and this may be because it has taken me this long to figure out how to ensure it comes out green and stays that way!
I hope this will be the case when you try it out too, as that lovely green is such a delight to look at. I am not sure what the trick is exactly – whether it is the tiny pinch of turmeric, or the ice cool water. I am sure there’s a scientific reason, something about chemistry or temperature, that I just haven’t gotten to the bottom of. I do want to assure you again that if your chutney turns out anything other than green, it should still be fine to consume!
I somehow prefer this recipe to the coriander chutney, taste-wise. I enjoy it with dhoklas and other Gujarati savouries. It is absolutely delicious as a dollop of hot rice, in lieu of a pickle, along with some ghee. I also wonder whether it would work as a pesto replacement in a toastie. Since it’s the season, I may give this experiment a shot one of these days.
My inspiration for this really comes from the region I live in and grew up in. Tamil cuisine is full of chutneys and thovayals, and I’ve not really encountered raw mango used this way in Gujarati cuisines. It is not only the flesh that is used. I have recently seen a chutney made only with the seed, from the beginning of the season when it is tender. Mango peel, as well as ridge gourd peel, are also turned into similar condiments. I may also experiment with this, perhaps by cooking the skin a bit.
Once again, despite so often taking it for granted, I am reminded of just how versatile the mango plant is. Not only are all parts of its fruit edible, but its leaves too are used in prayers, as they are considered auspicious. Those lush green trees, beautifully blossoming away in summers, bring much needed cool relief. Whatever we do, we go full circle and come back to the beauty of nature – don’t we?
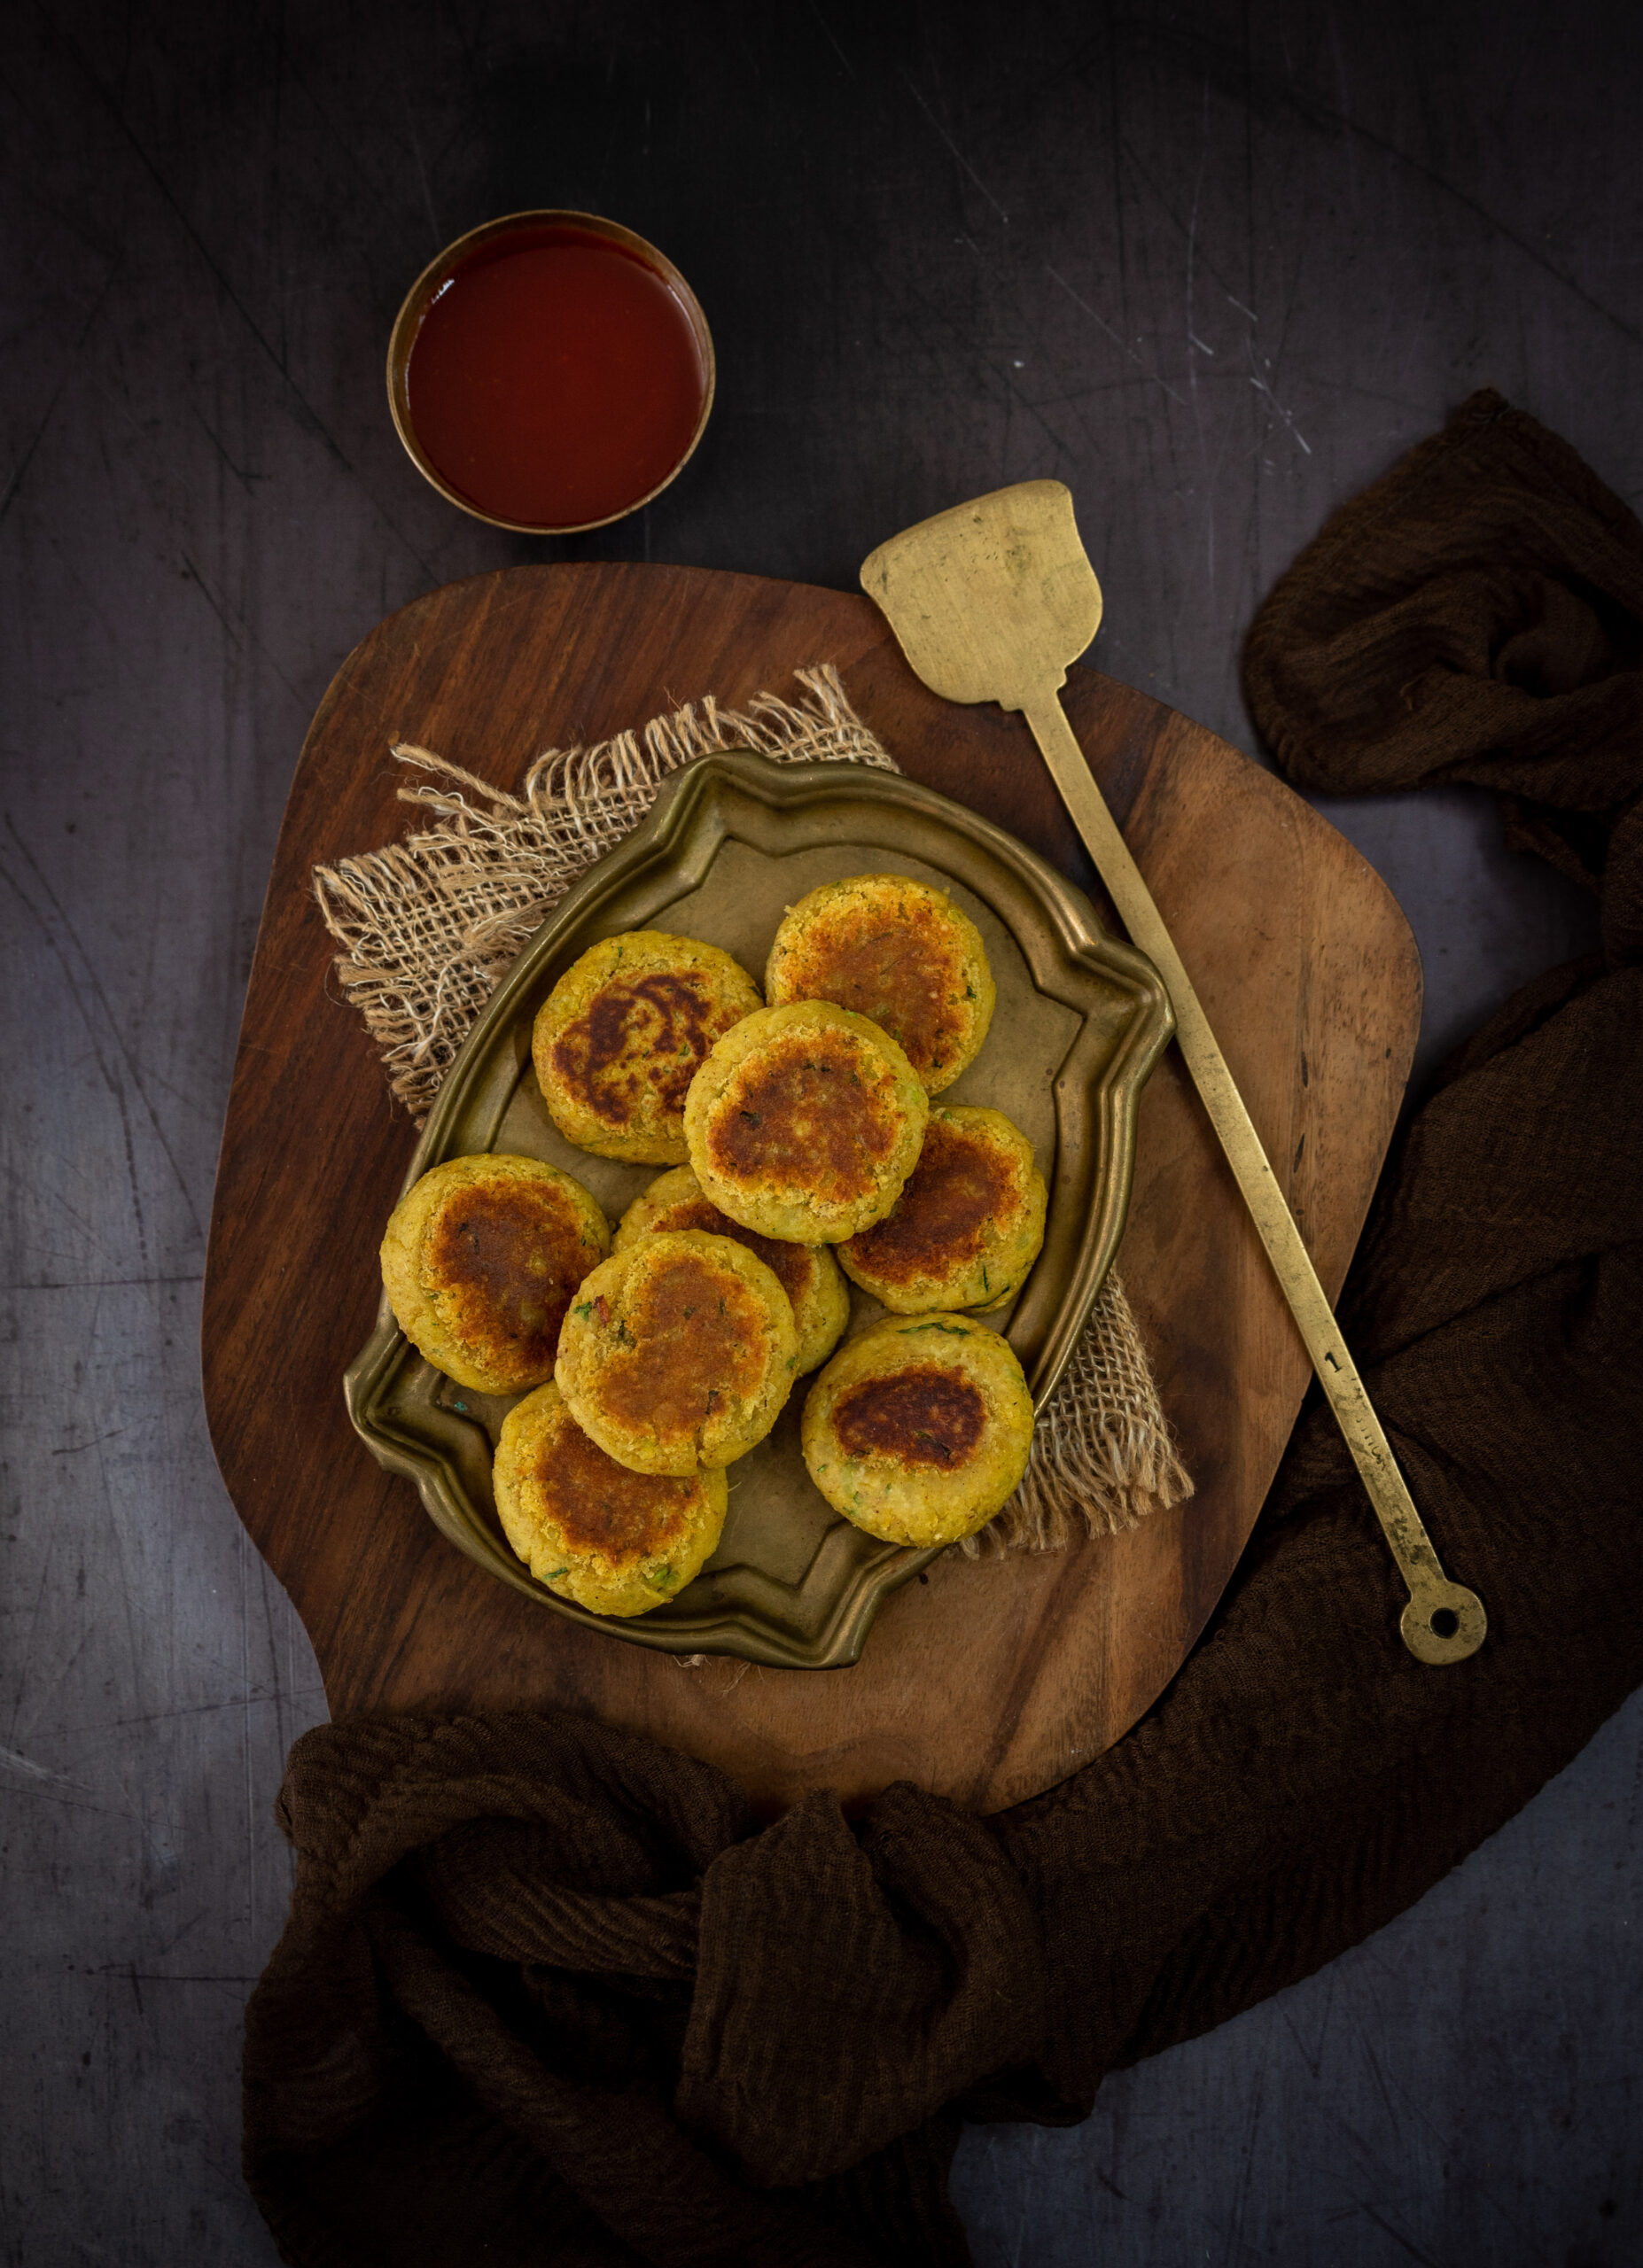
Raw Mango Chutney
(Yield: 1½ cups)
2 tablespoons coconut
2 tablespoons roasted chickpeas
Salt to taste
1 cup coriander leaves (no stalks)
¼ cup mint leaves
2 pods garlic
1 cup raw mango
1 teaspoon roasted cumin powder
½ teaspoon sugar
2 green chillies
¼ cup cold water
A pinch of turmeric
Seasoning:
1 tablespoon sesame oil
¼ teaspoon mustard seeds
¼ teaspoon cumin seeds
A few curry leaves
Wash and peel the mangoes and cut them into pieces.
In a blender, add all the ingredients and blend until you have a smooth paste.
Prepare the seasoning. Heat the oil and add the mustard seeds and cumin seeds. Once the mustard seeds start to splutter, add the curry leaves. Immediately, pour the seasoning over the prepared chutney.
Your raw mango chutney is now ready to be enjoyed. If you are a fan of Indian dips like this one, I hope you’ll also explore my recipes for ginger chutney, plum chutney, wood-apple chutney and date chutney.