As you may know, I straddle the worlds of being Gujarati and having been raised in Chennai. I believe that I’m more of a Tamilian than a Gujarati in many ways, or at least I feel that way at times (especially while I’m preparing or sharing certain recipes, like this one). Adai is a very traditional dish from Tamil Nadu, similar to the dosa. I didn’t grow up with it, but once I discovered it, it became a regular on my dining table. I like it a lot as it ticks all the boxes for me in terms of nutrition and taste. It is rich in protein but makes you feel like you’re eating carbs, which it in fact has very little of. It is very satisfying, in the ways that simple dishes can be.
I learnt this recipe from a friend, a few decades ago, and it has been a staple in my home for decades, so I was a little surprised myself that I hadn’t shared it yet. The story of how I got this recipe is that when my son was in kindergarten, there were a bunch of anxious moms waiting outside the school on Day 1 and Day 2 to make sure the kids settled in well. We got around to talking, and as many young mothers do, wound up exchanging recipes. That was how I learnt this adai recipe, and I still think of the friend I made way back when my son started school every single time I use it. I’ve been to her home many times over the years and eaten it there too.
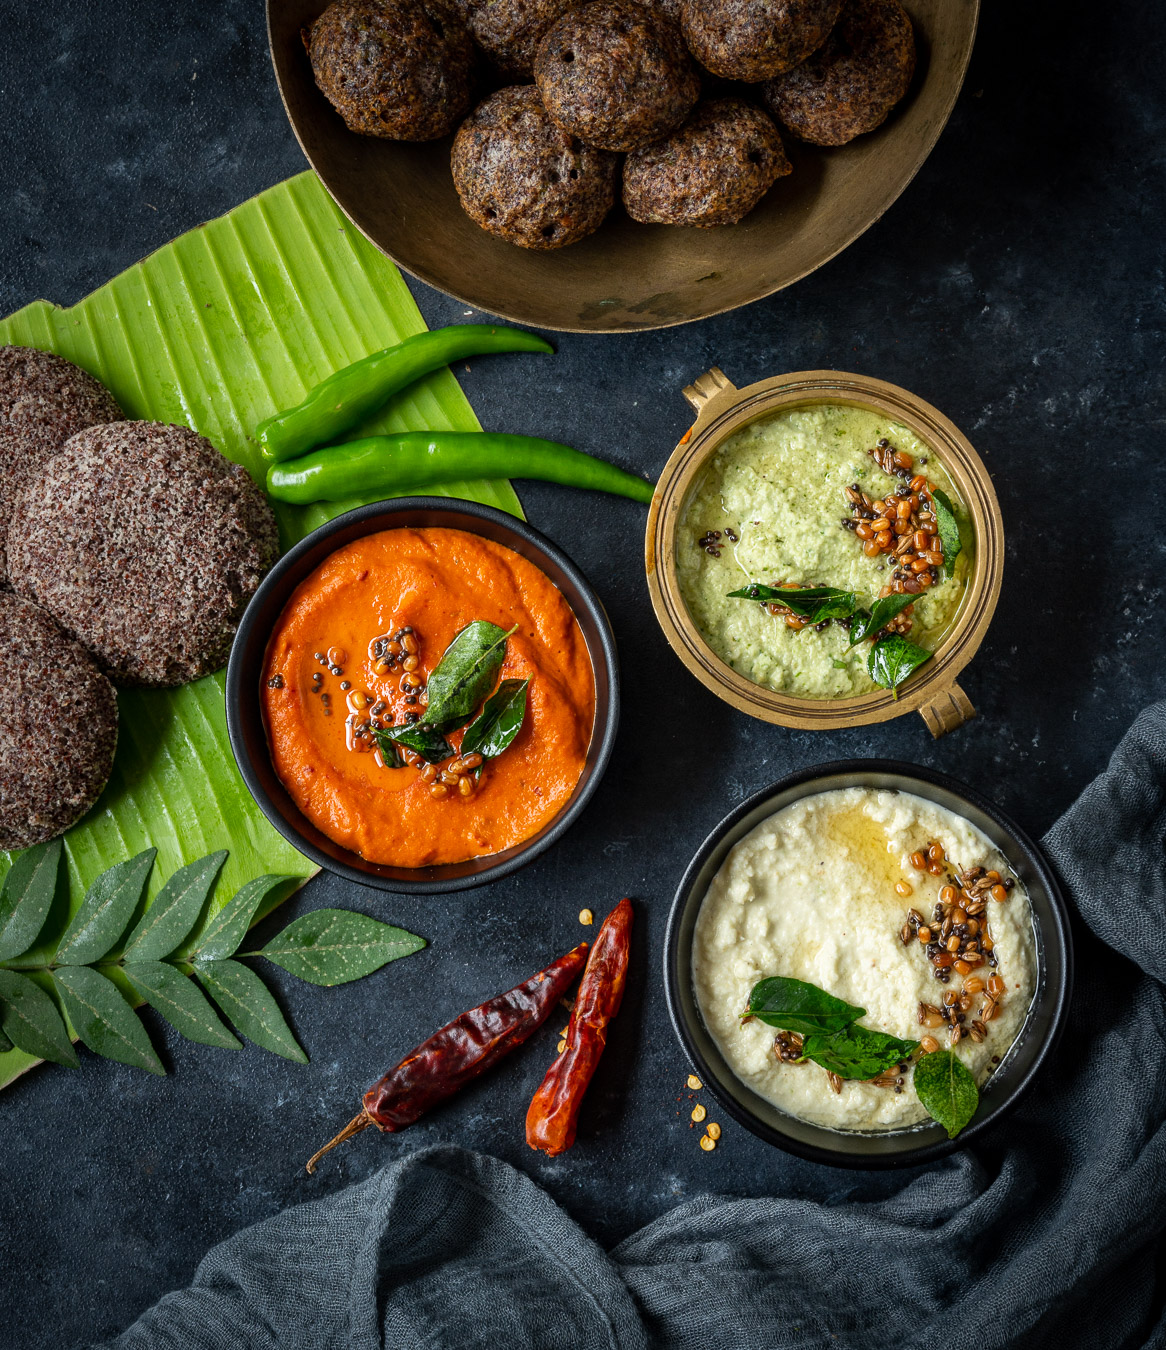
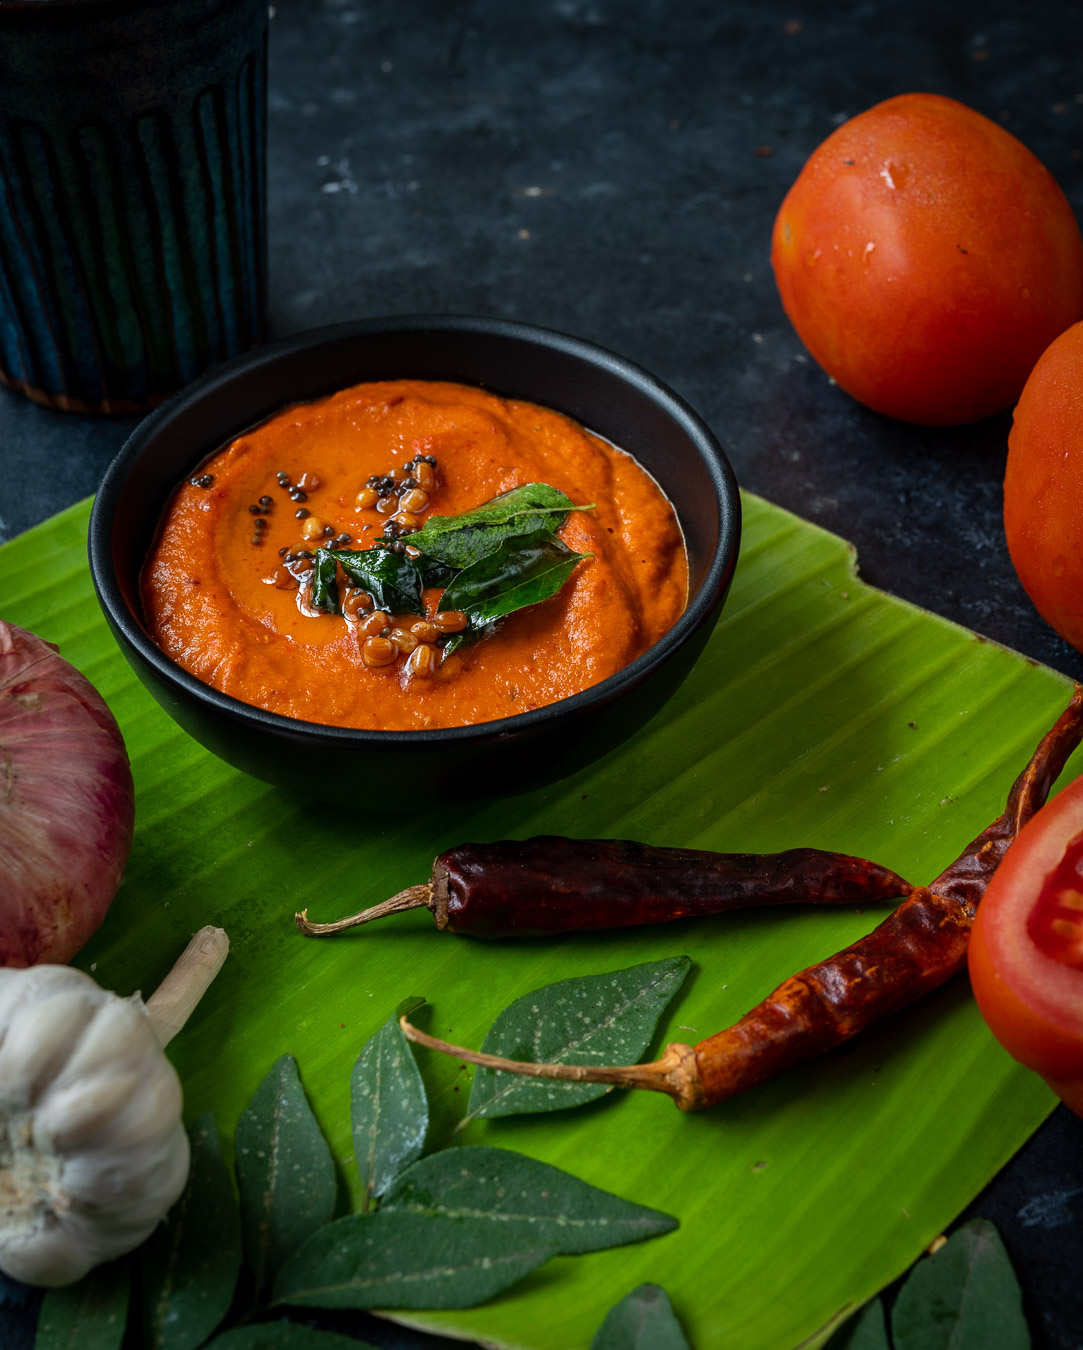
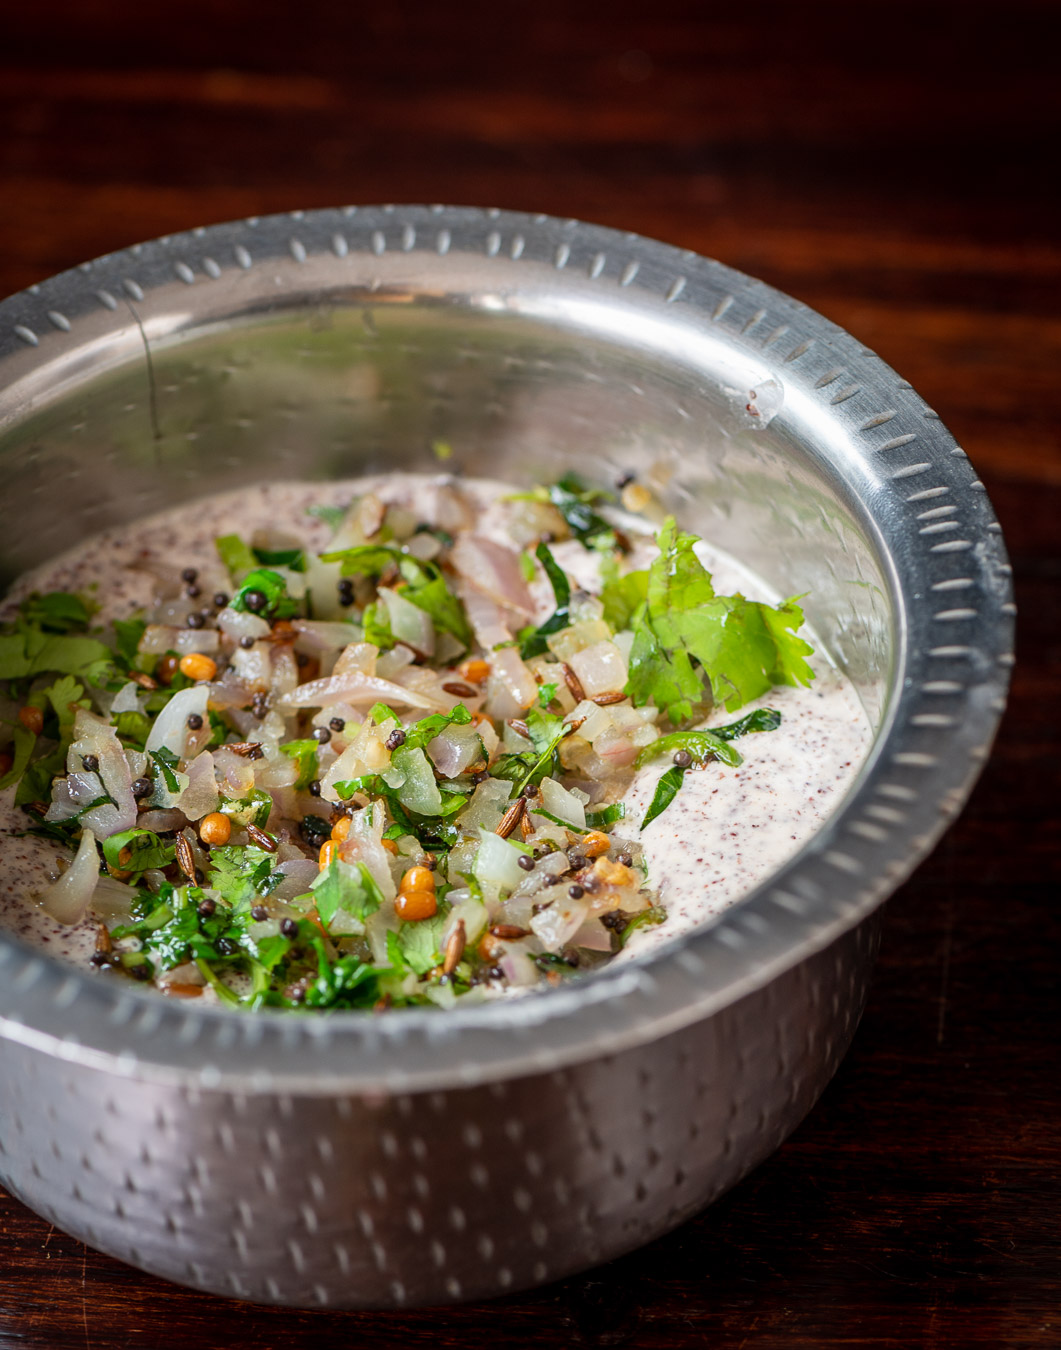
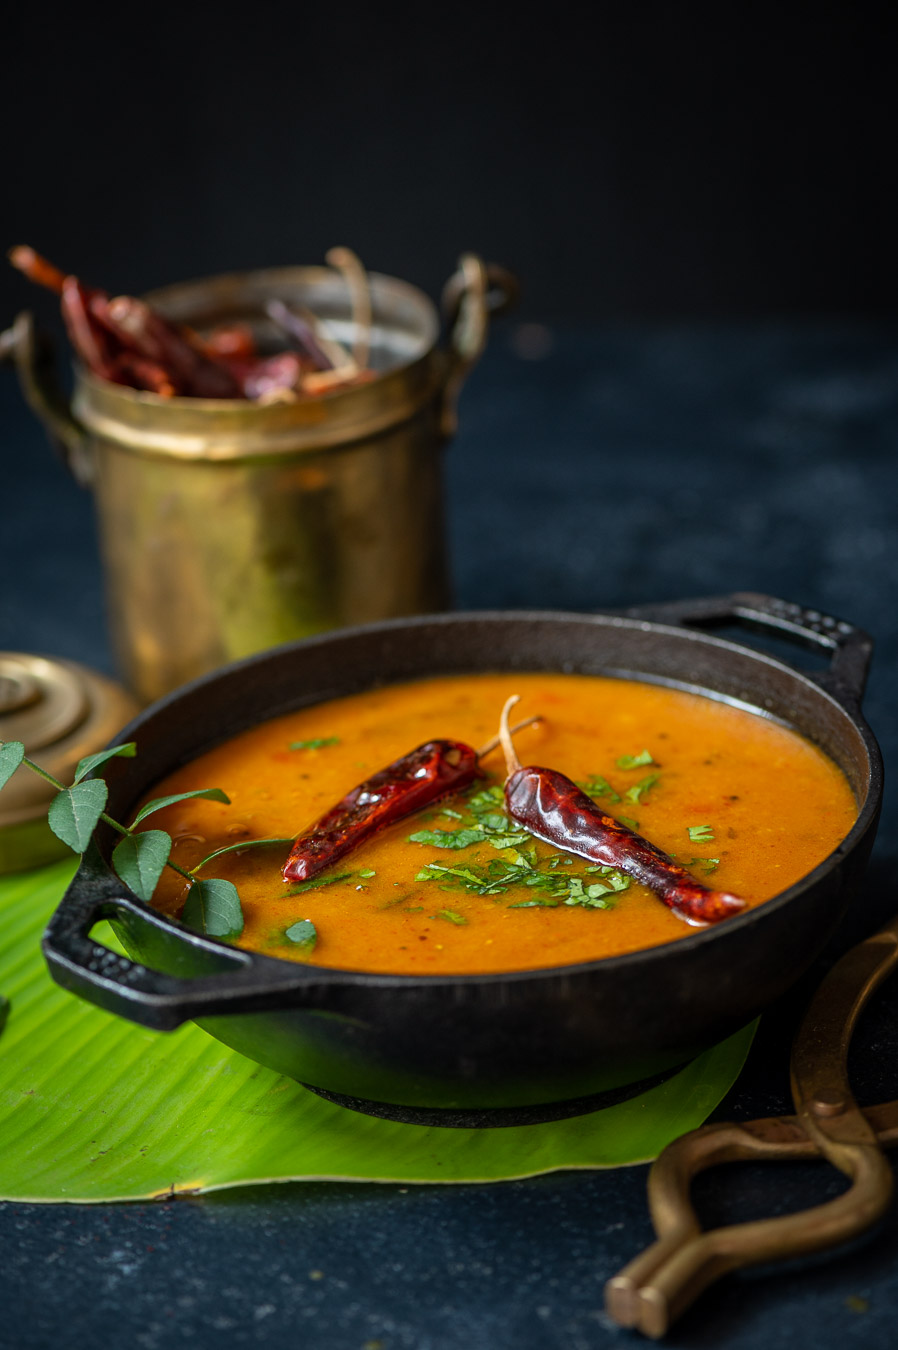
Traditionally, adai is had with fresh butter and jaggery. That is still my favourite combination, even though I also prepare it with a variety of chutneys, a number of which you can explore on the blog. I suspect the traditional accompaniment is my preferred one as it’s sweet, so the Gujju in me kicks in!
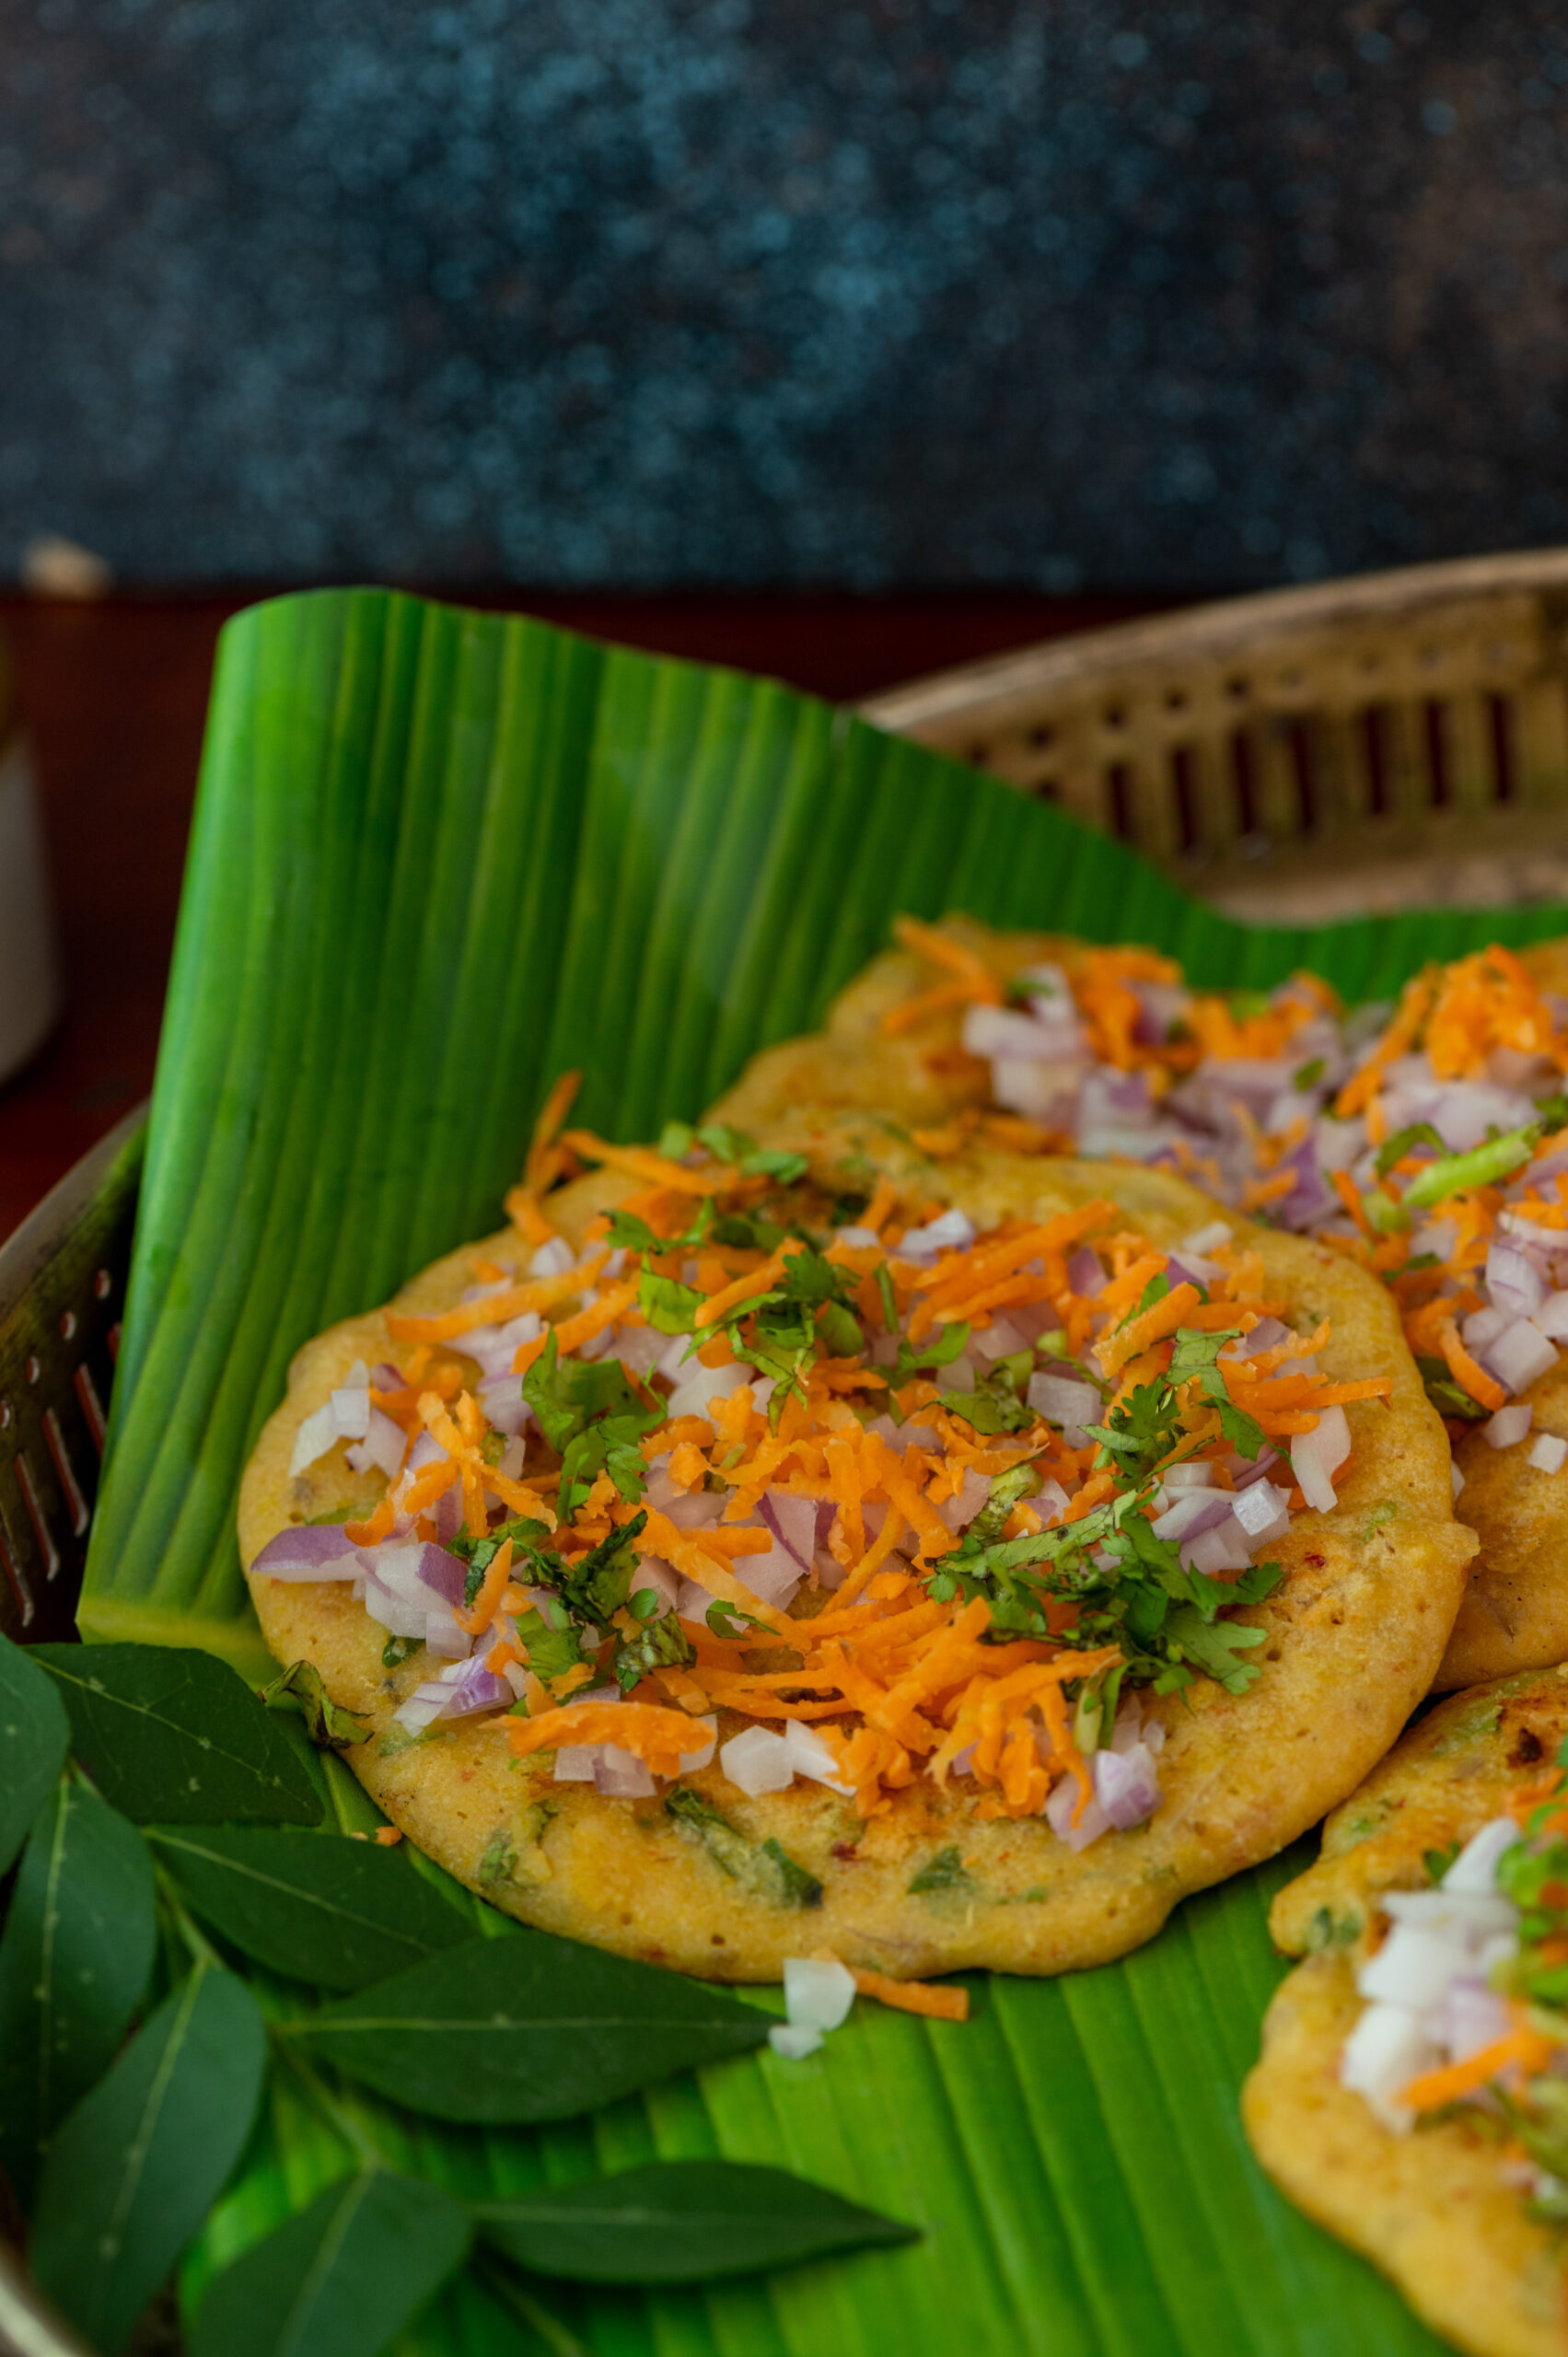
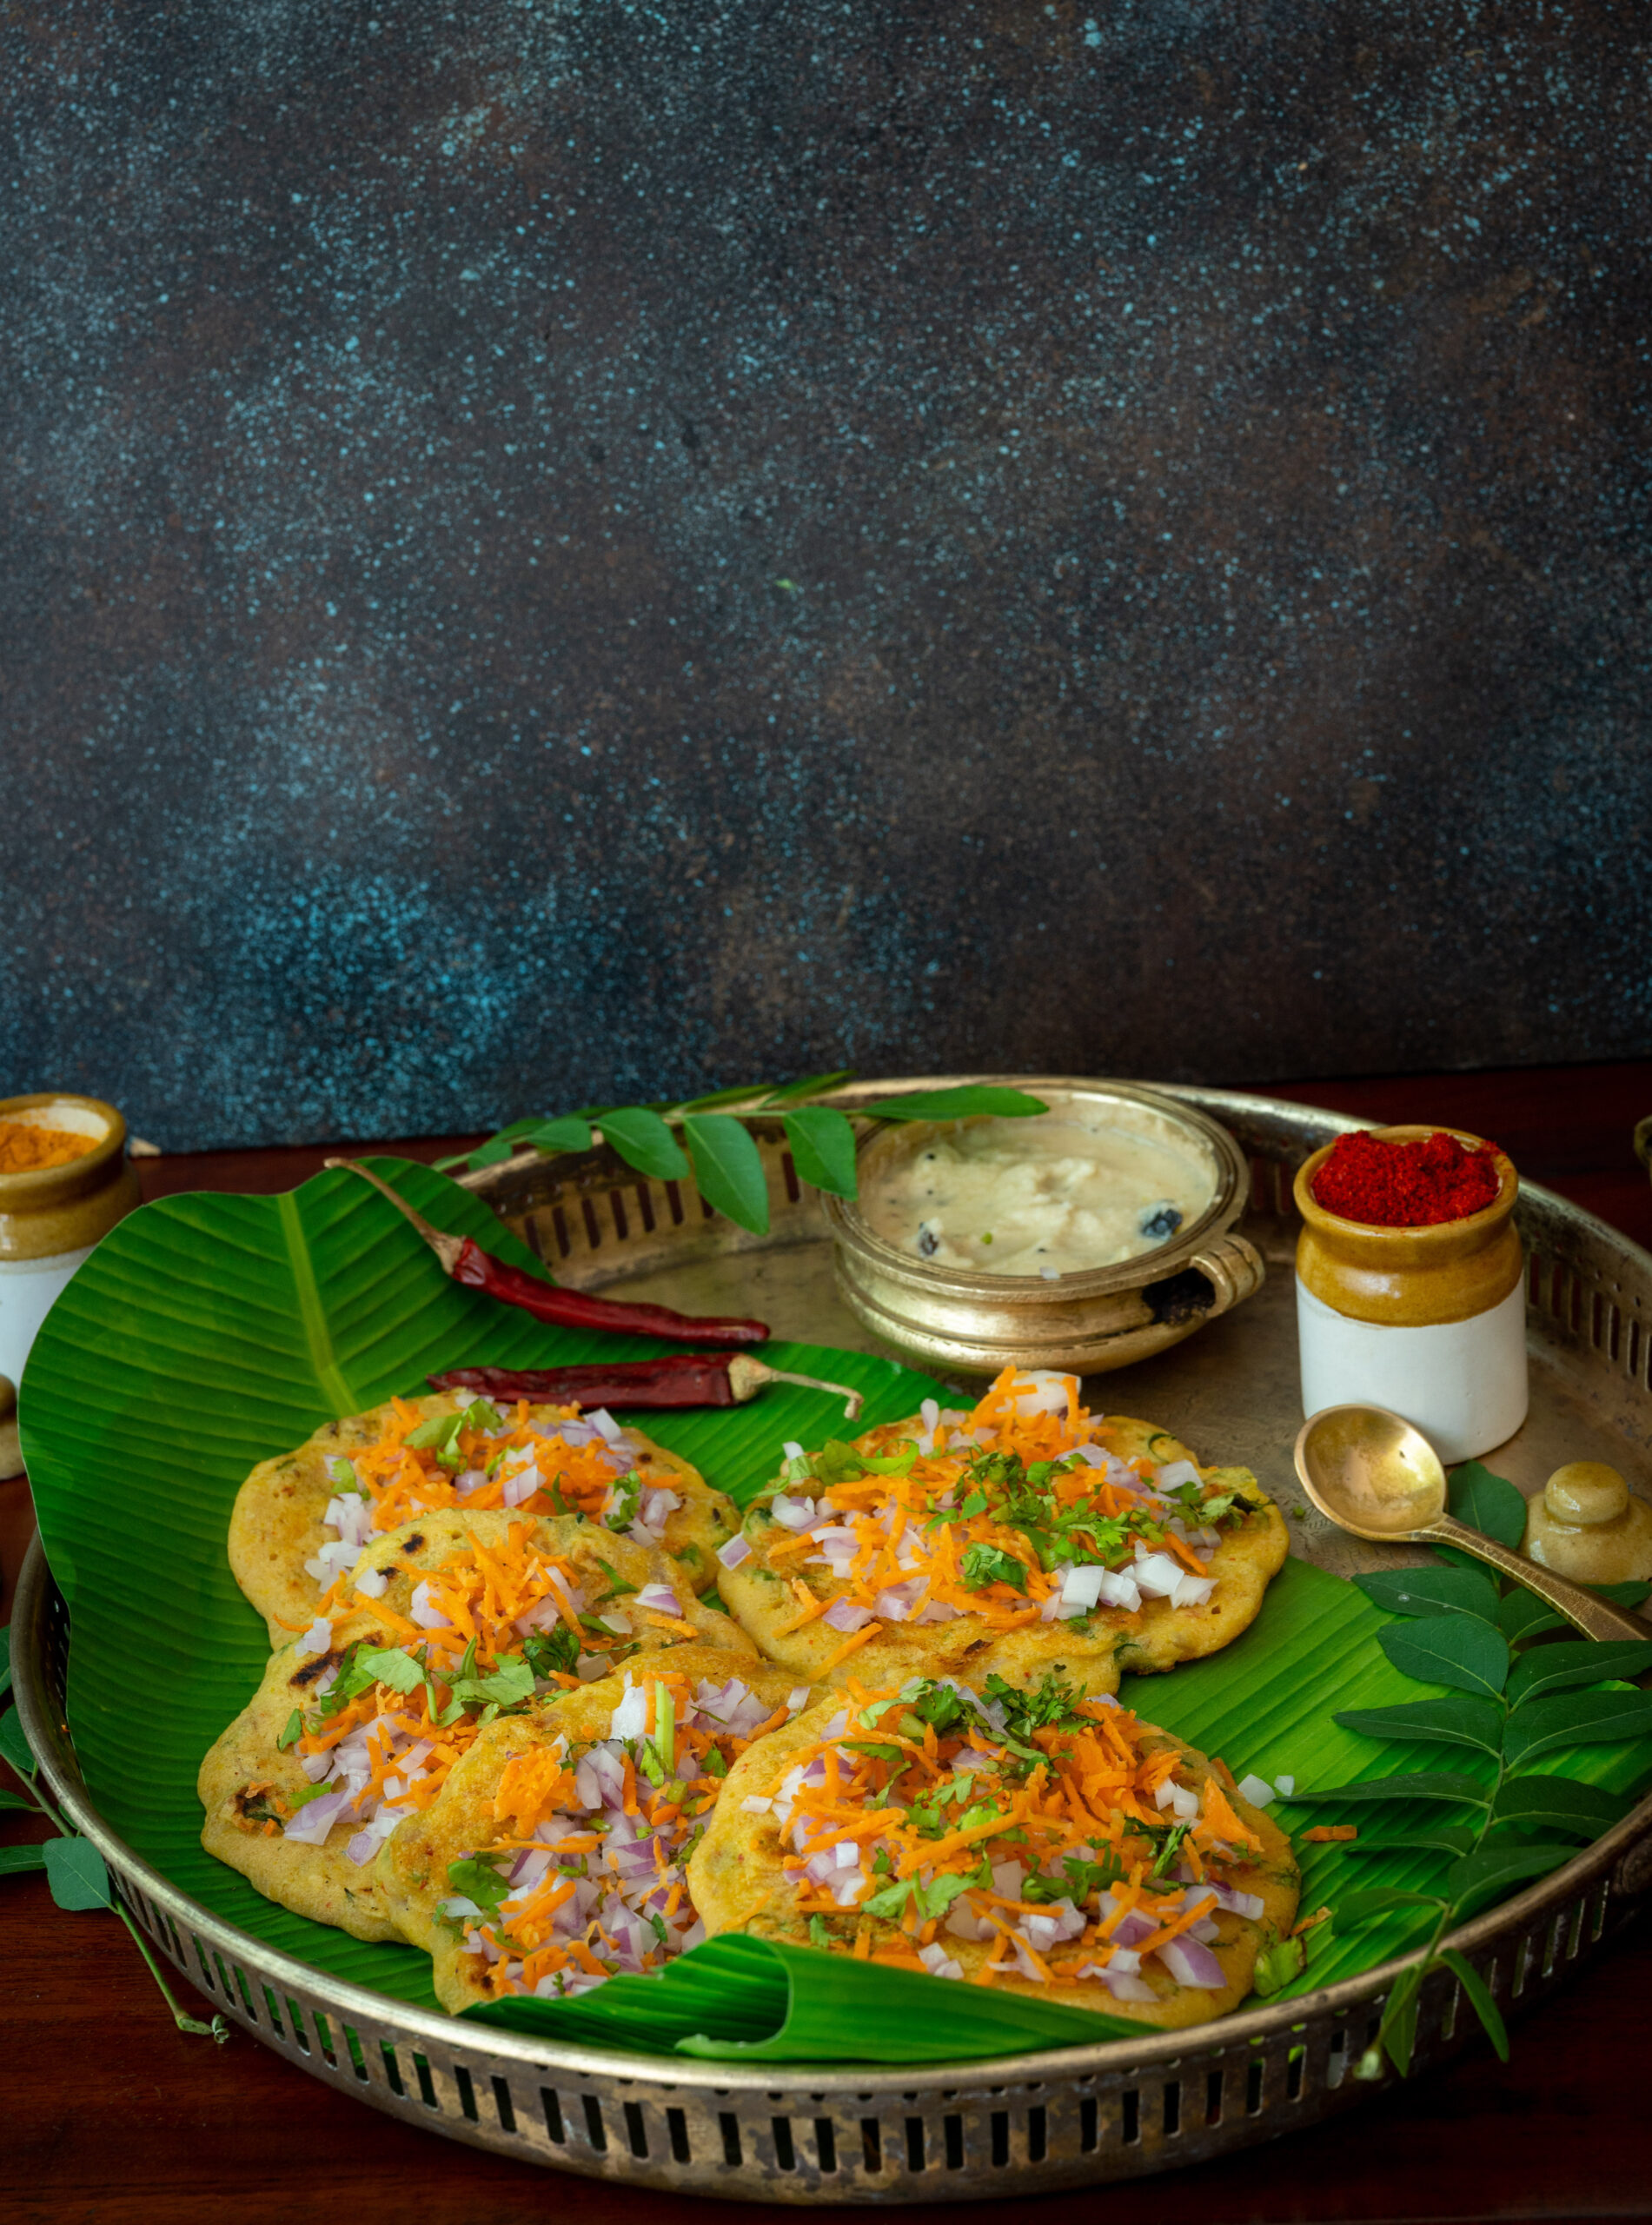
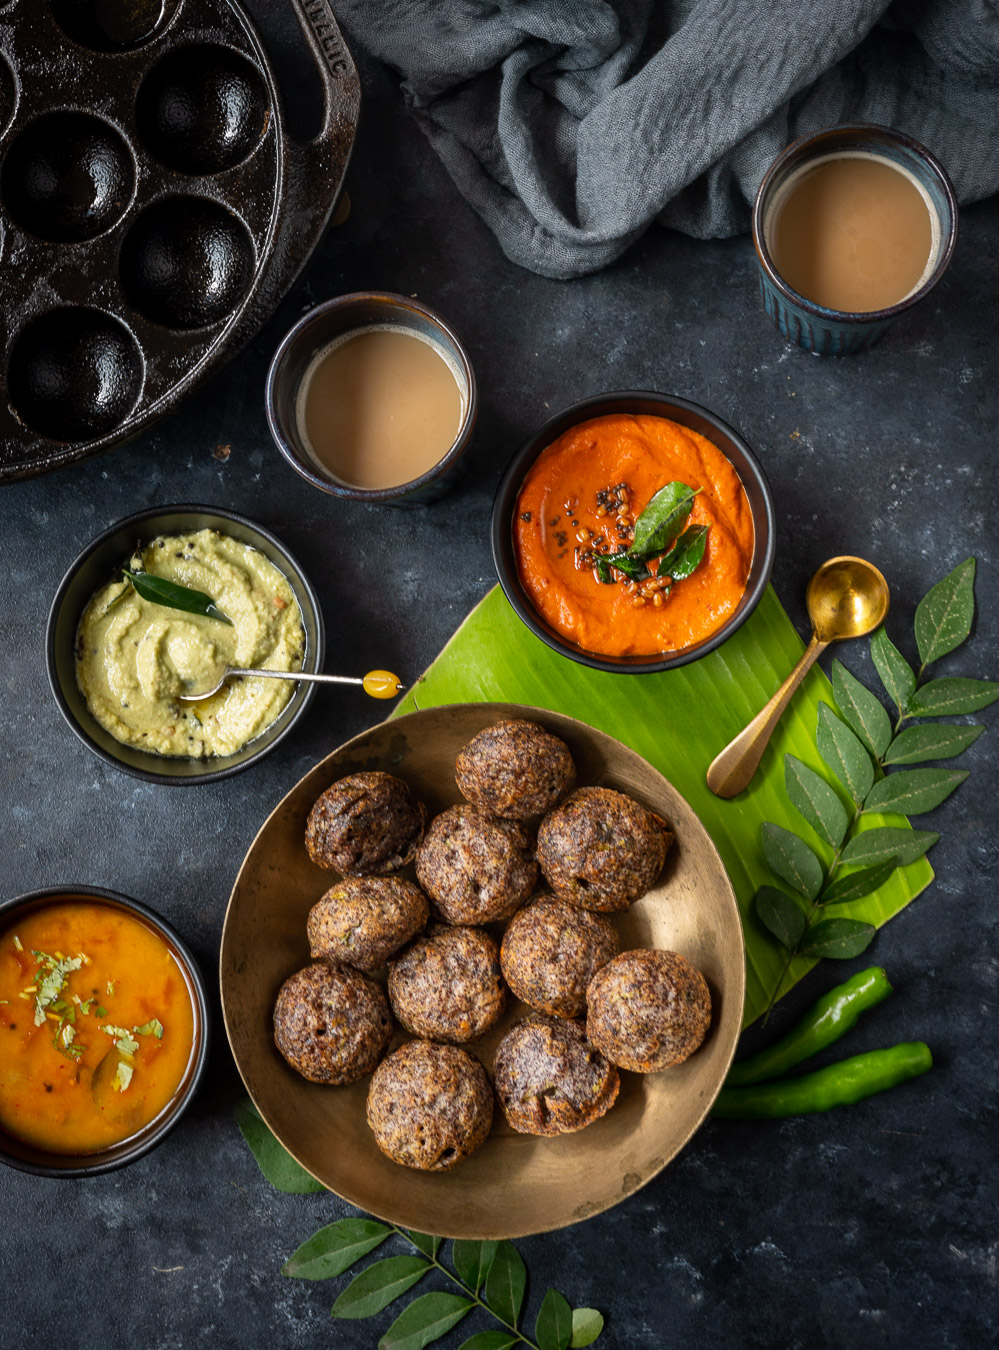
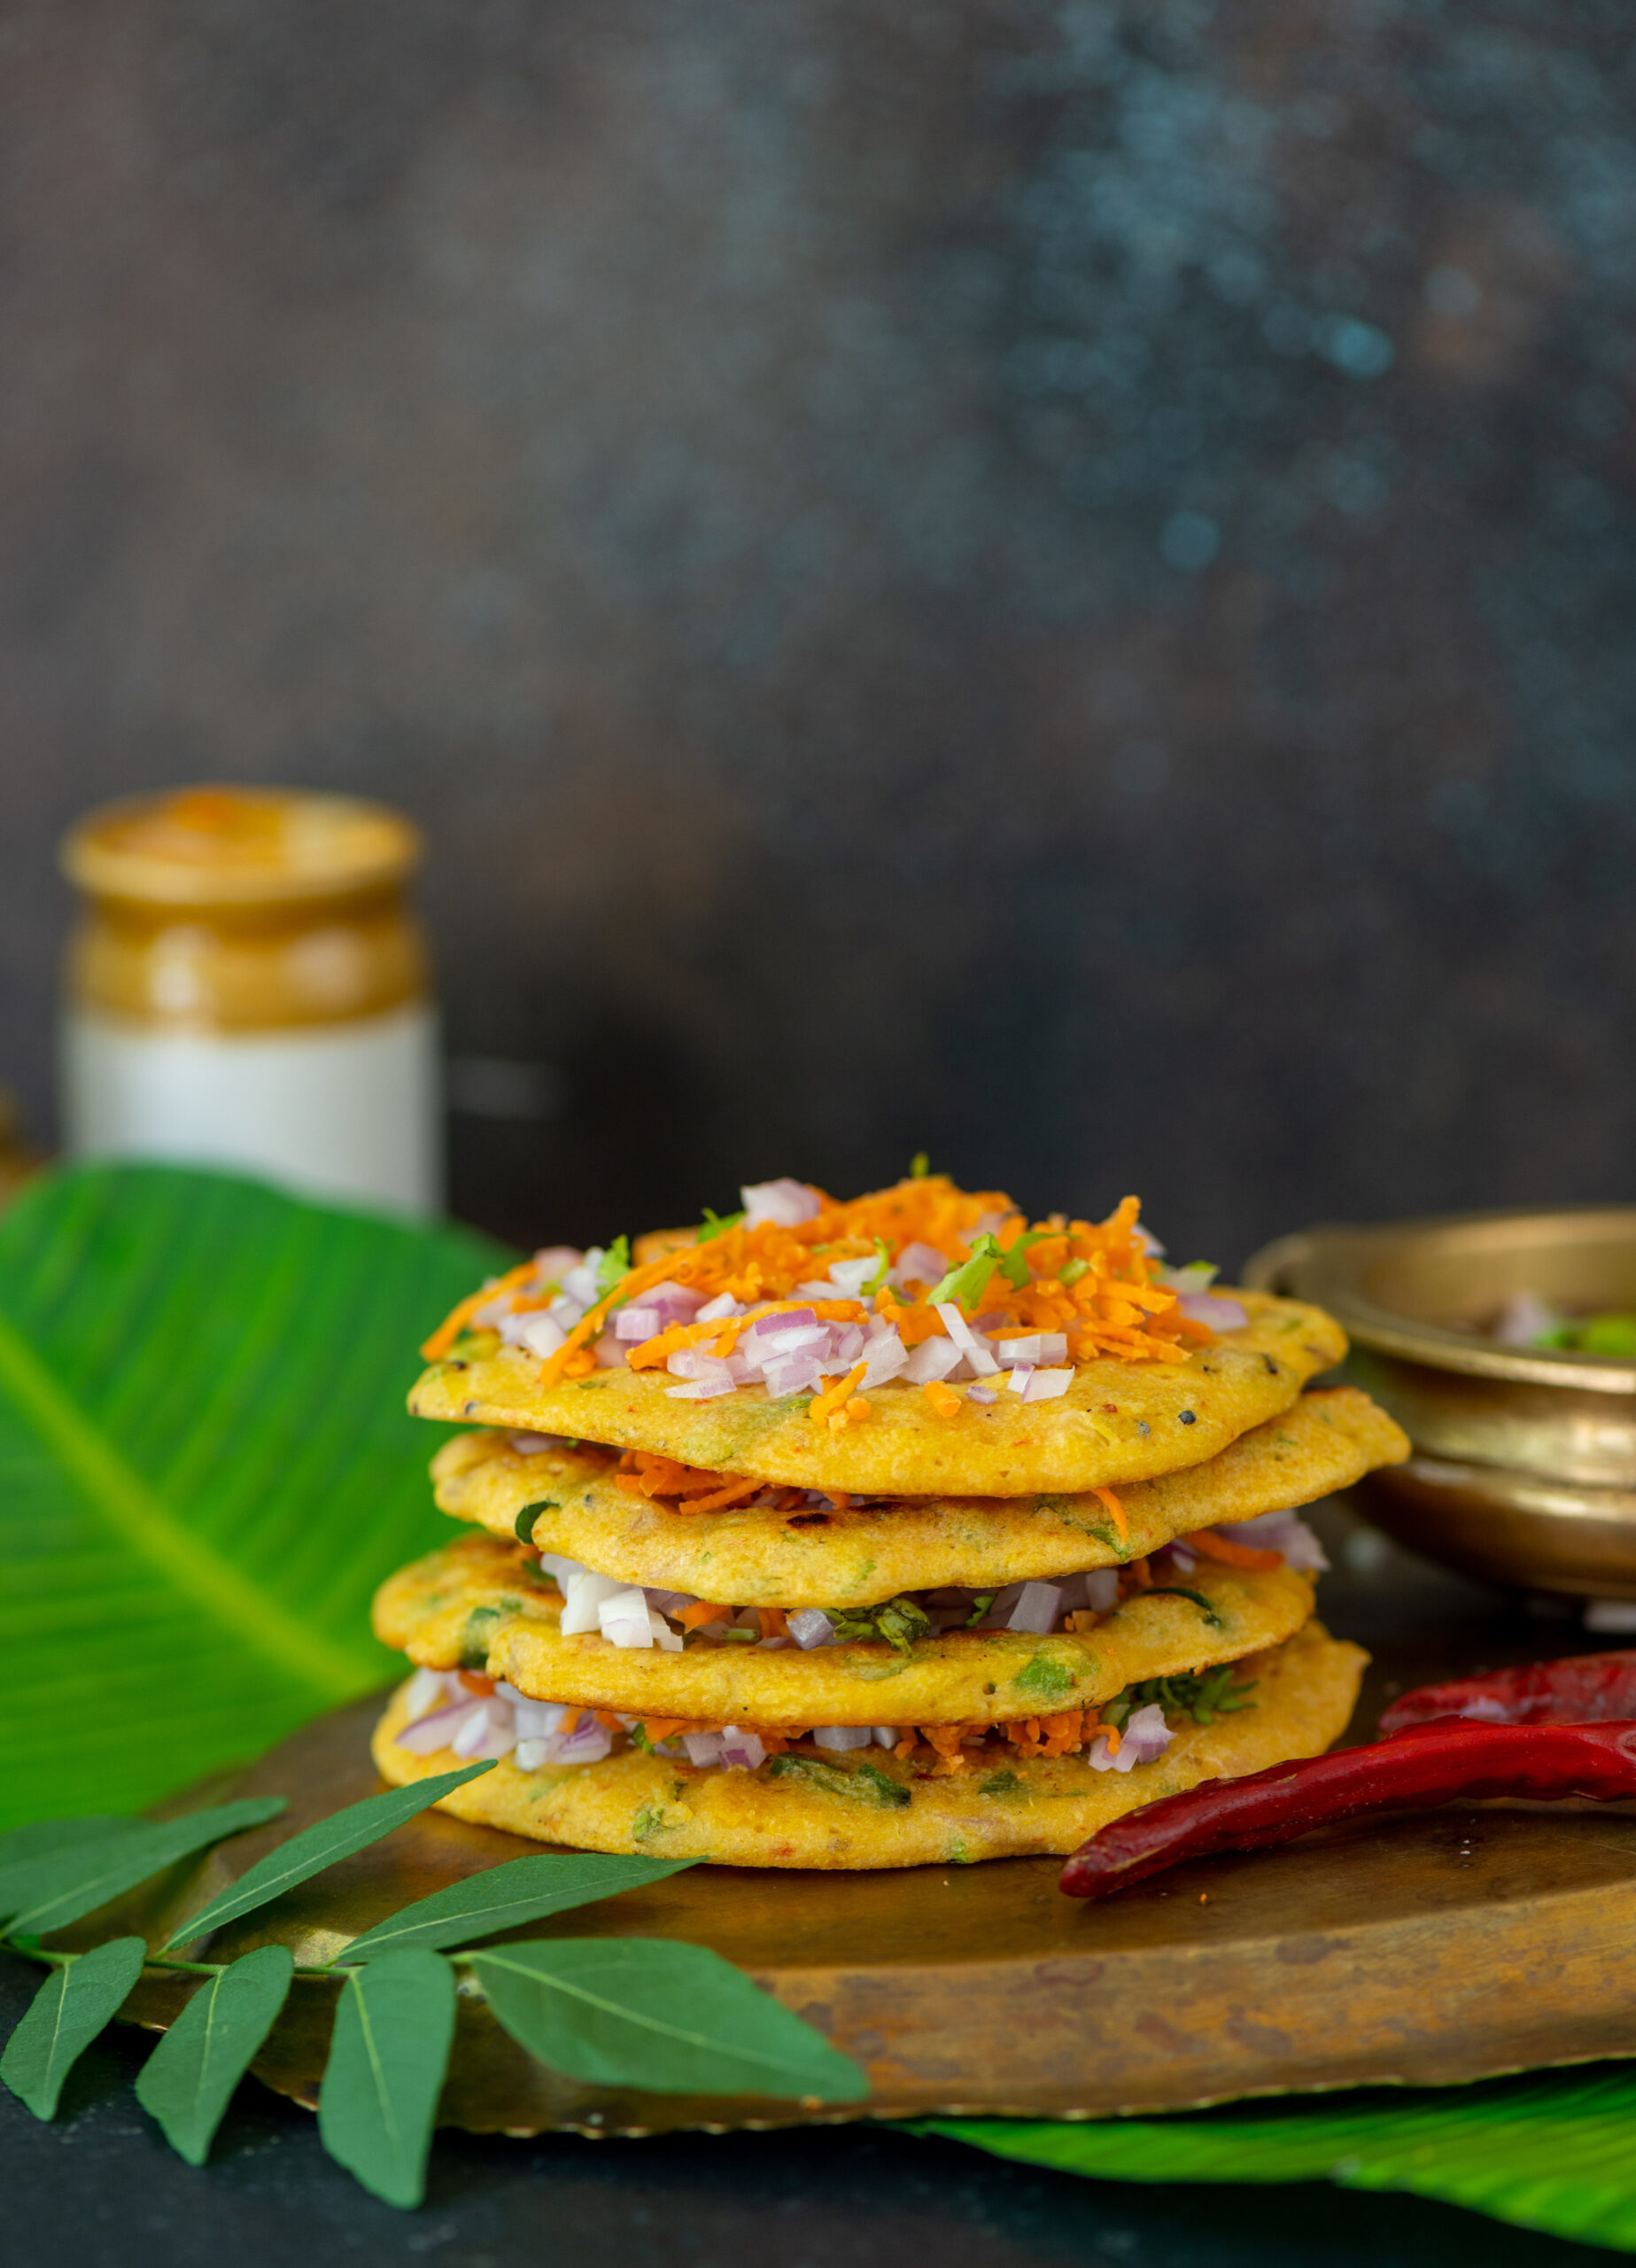
I make different versions of adai, in the sense that I may pour it into a waffle maker for novelty, make a big one for dinner or a small one for a starter. Sometimes I even prepare it with a filling – for this, I’ve found that paneer works well. I also make the batter thick and make it like a pancake with raw, finely chopped vegetables, which gives it a different taste and improves the healthiness quotient. Adai in and of itself is quite nutritious, as long as you go easy on the oil. In the version below, I share the recipe for smaller adais topped with the goodness of vegetables.
Adai
(Yield: 10-15 pieces)
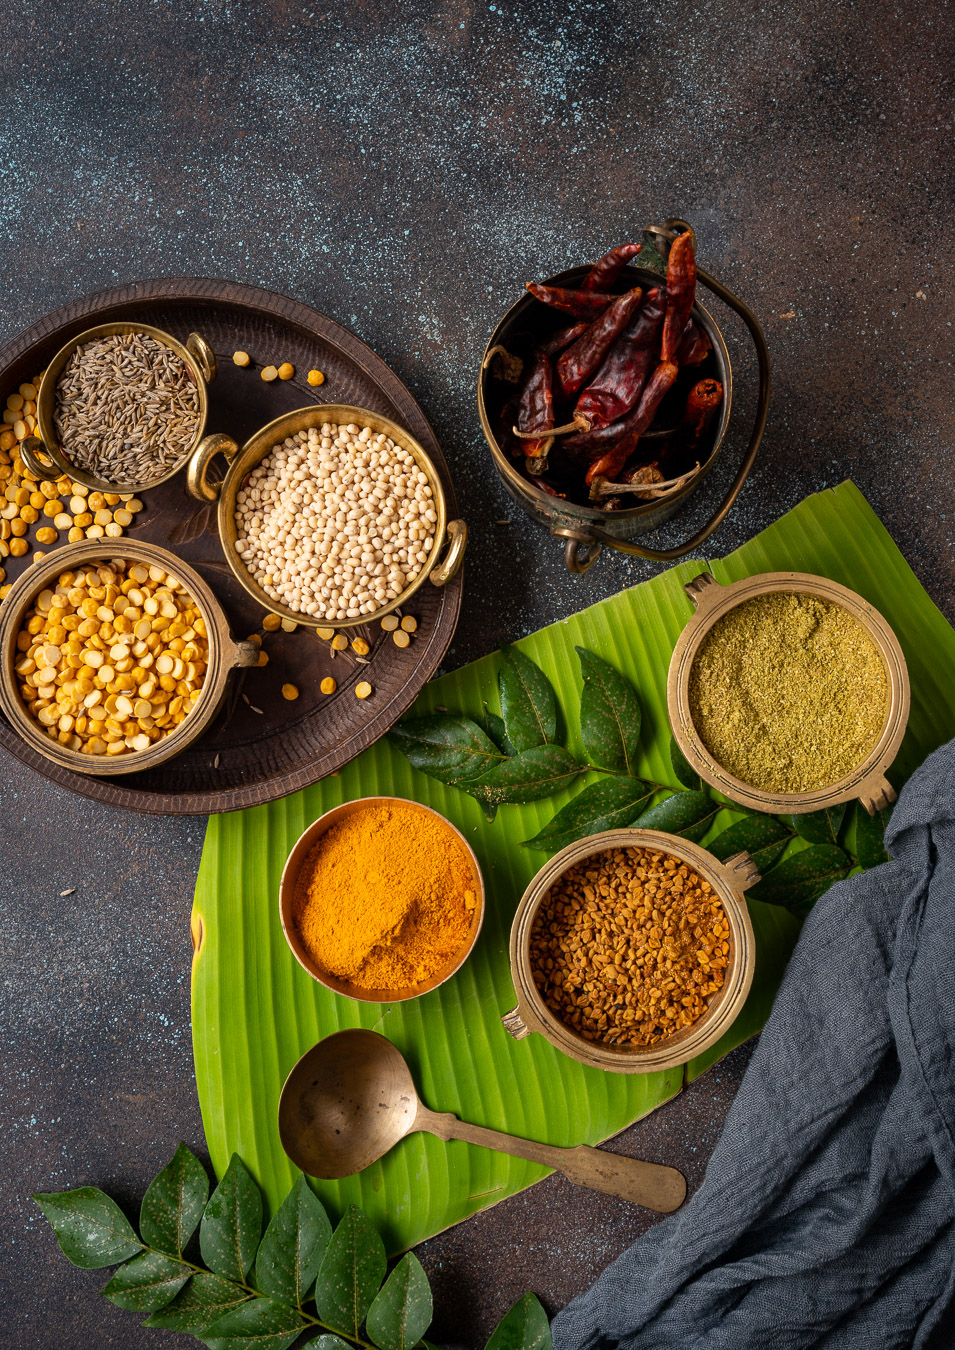
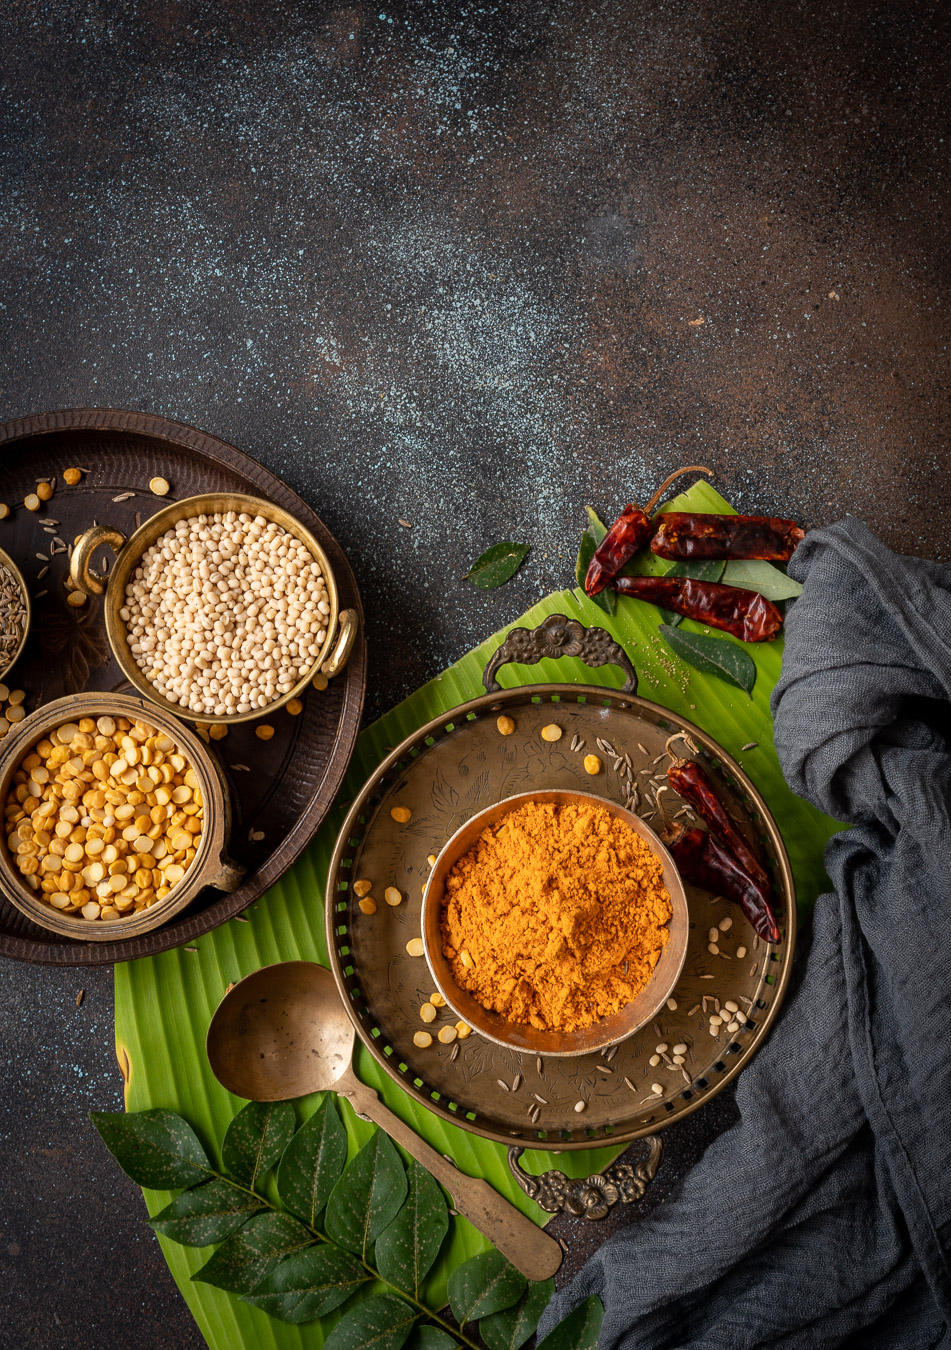
1 cup boiled rice
¼ cup tuvar dal
¼ cup yellow moong dal
¼ cup channa dal
¼ cup urad dal
1 onion
1 teaspoon cumin
1 teaspoon fennel
2-3 cloves garlic
2-3 dried red chilli
1 teaspoon cumin
1 teaspoon fennel seeds
Salt to taste
½ teaspoon turmeric
Tempering:
1 tablespoon oil
½ teaspoon cumin
½ teaspoon mustard seeds
1 onion (finely chopped)
½ teaspoon asafoetida
Coriander leaves
Sesame oil for cooking
Finely chopped vegetables (onions, carrots and coriander leaves) for topping
Soak the dals and rice for 6-8 hours in enough water to cover them.
Grind the soaked dals and rice in a blender along with garlic, cumin, fennel seeds and red chilli until coarse. Set aside.
In a kadai, add the oil. Then, add mustard seeds, cumin, asafoetida, curry leaves and finely chopped onion. Sauté on a high flame for 2 minutes and add to the coarse batter. Add the turmeric and coriander leaves to the batter. Mix gently. Your batter is now ready for making the adai.
To cook the adai, the method is as follows. On a heated flat pan, make small discs of the batter, spreading them a little. Add the sesame oil as required to cook. About 1-2 teaspoons will do.
Once the adai is golden brown on one side, flip gently and allow to cook on the other. Then, turn back to the previous side, and add the finely chopped vegetables as an optional topping. Serve with a chutney of your choice. If you decide to serve it with butter or jaggery, you can skip adding the vegetables.
I hope you’ll enjoy this adai, especially if you were already familiar with dosas and wanted to explore a variation on the same!