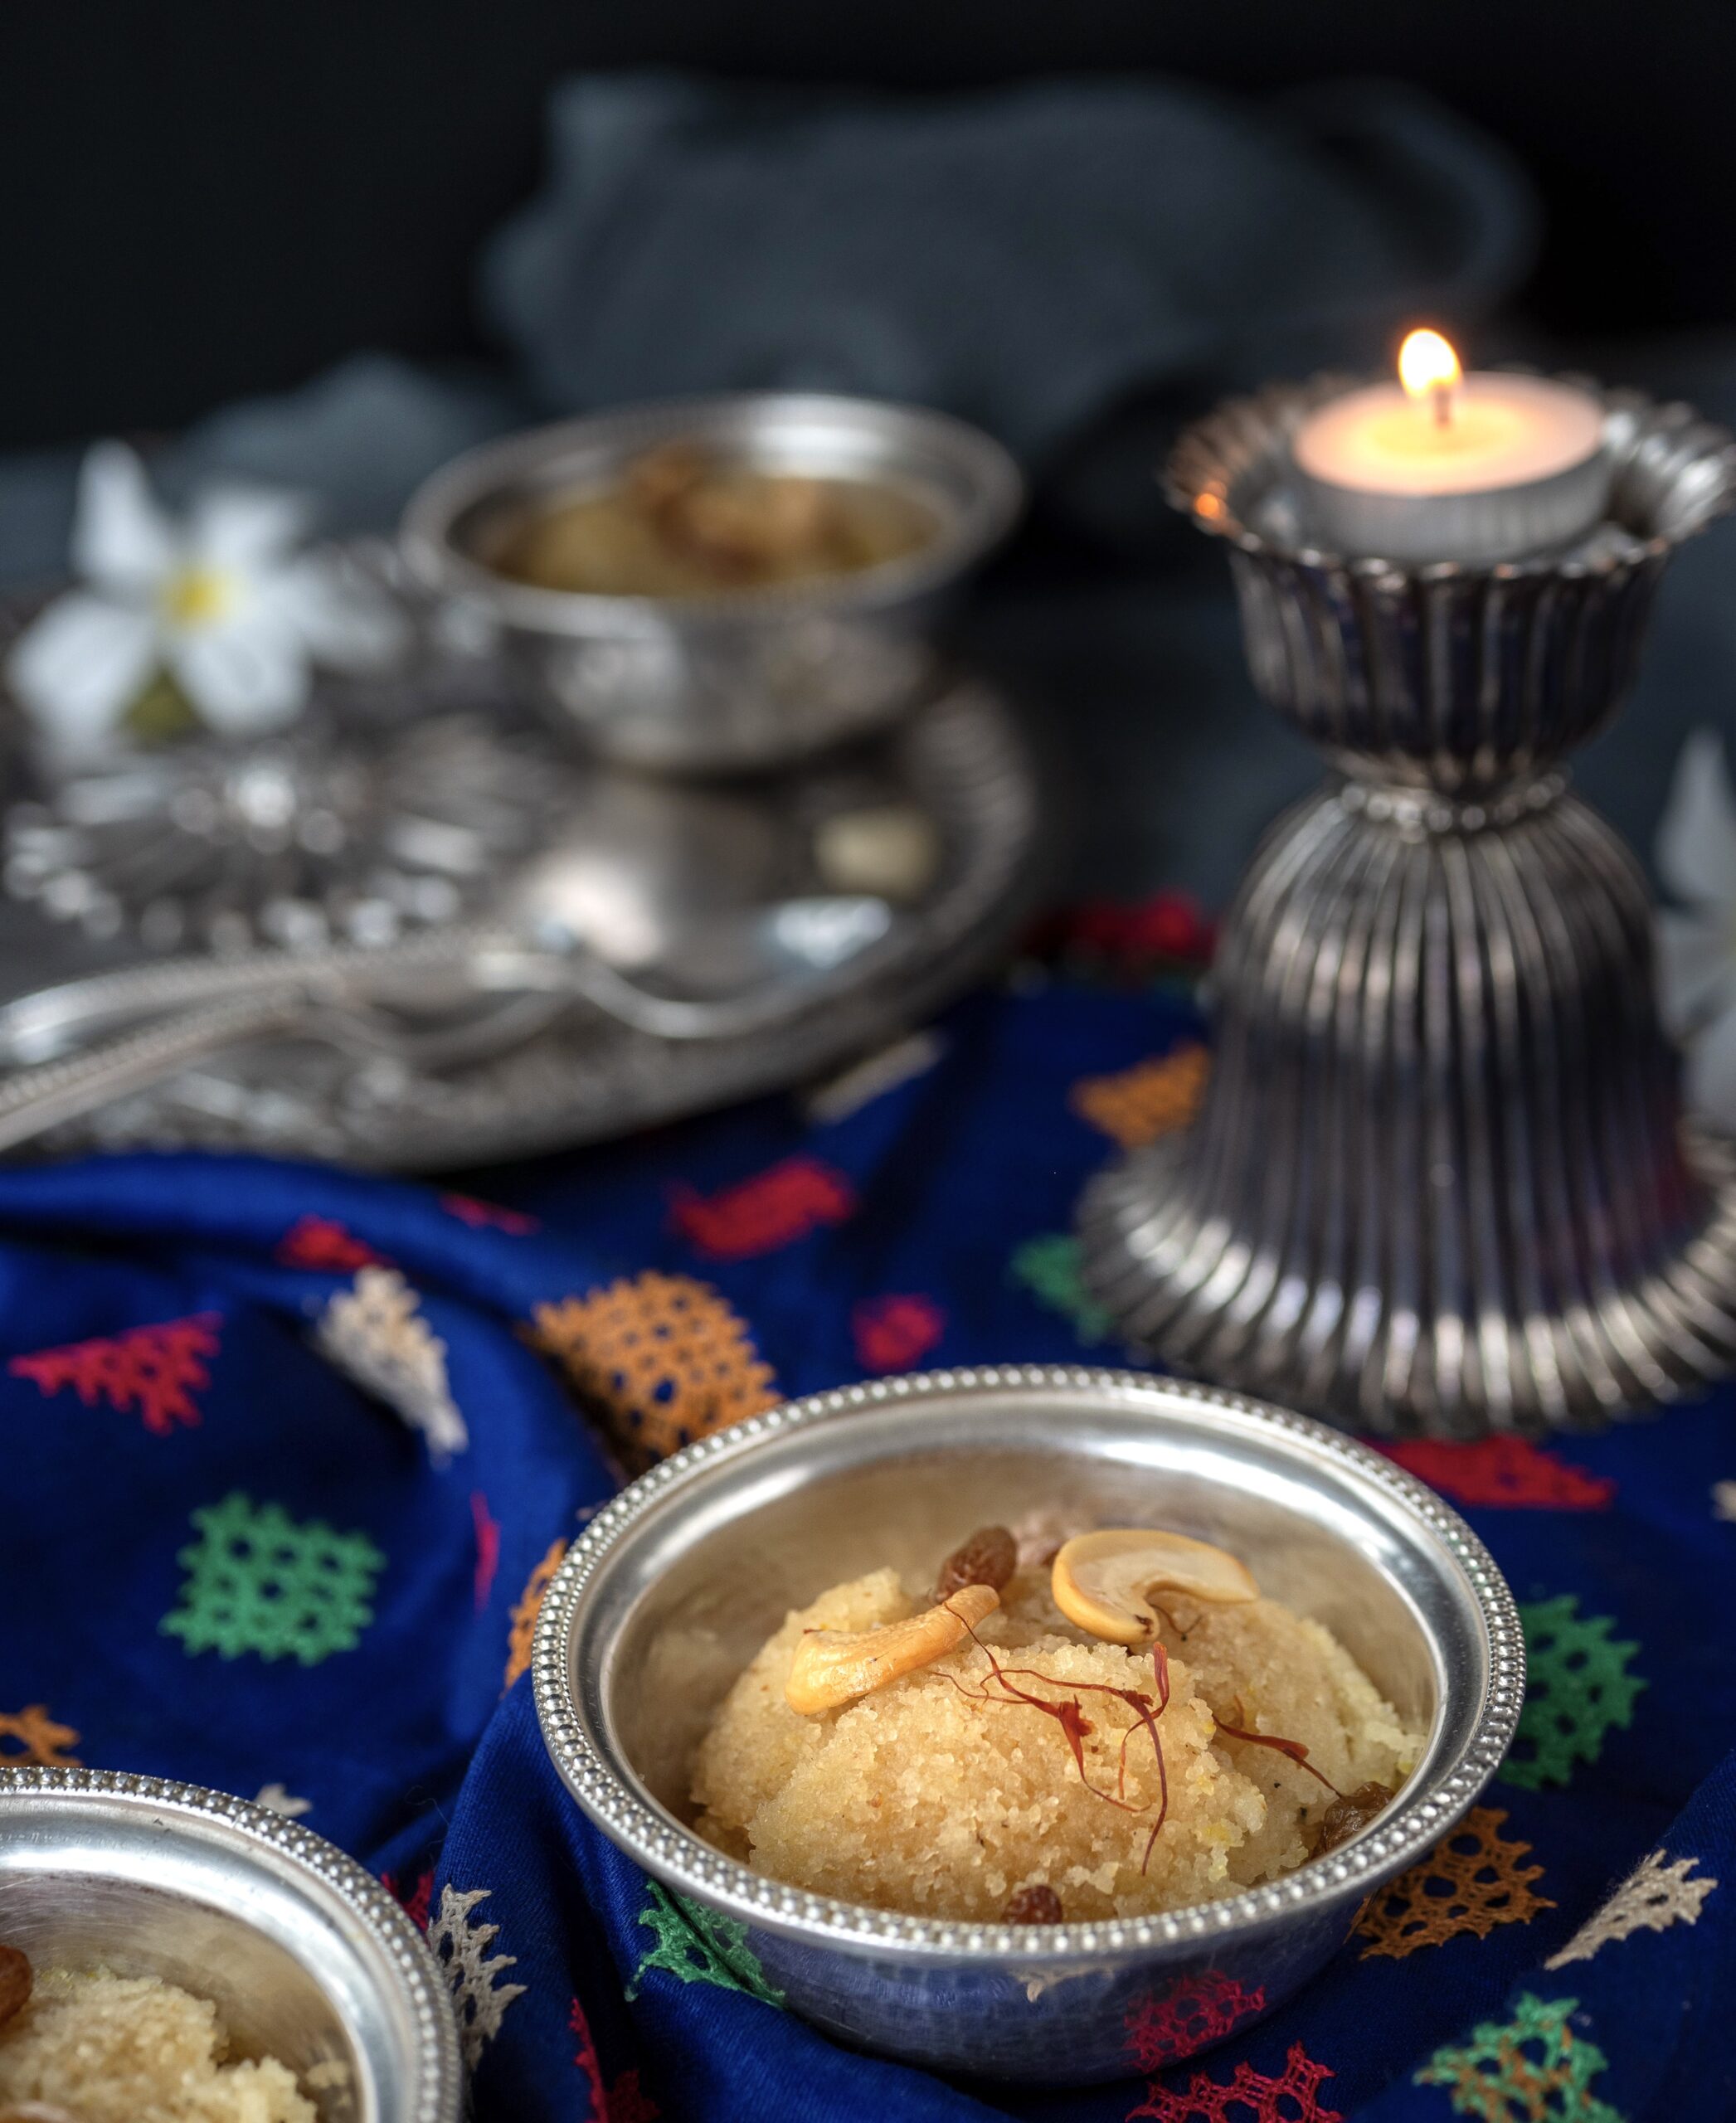
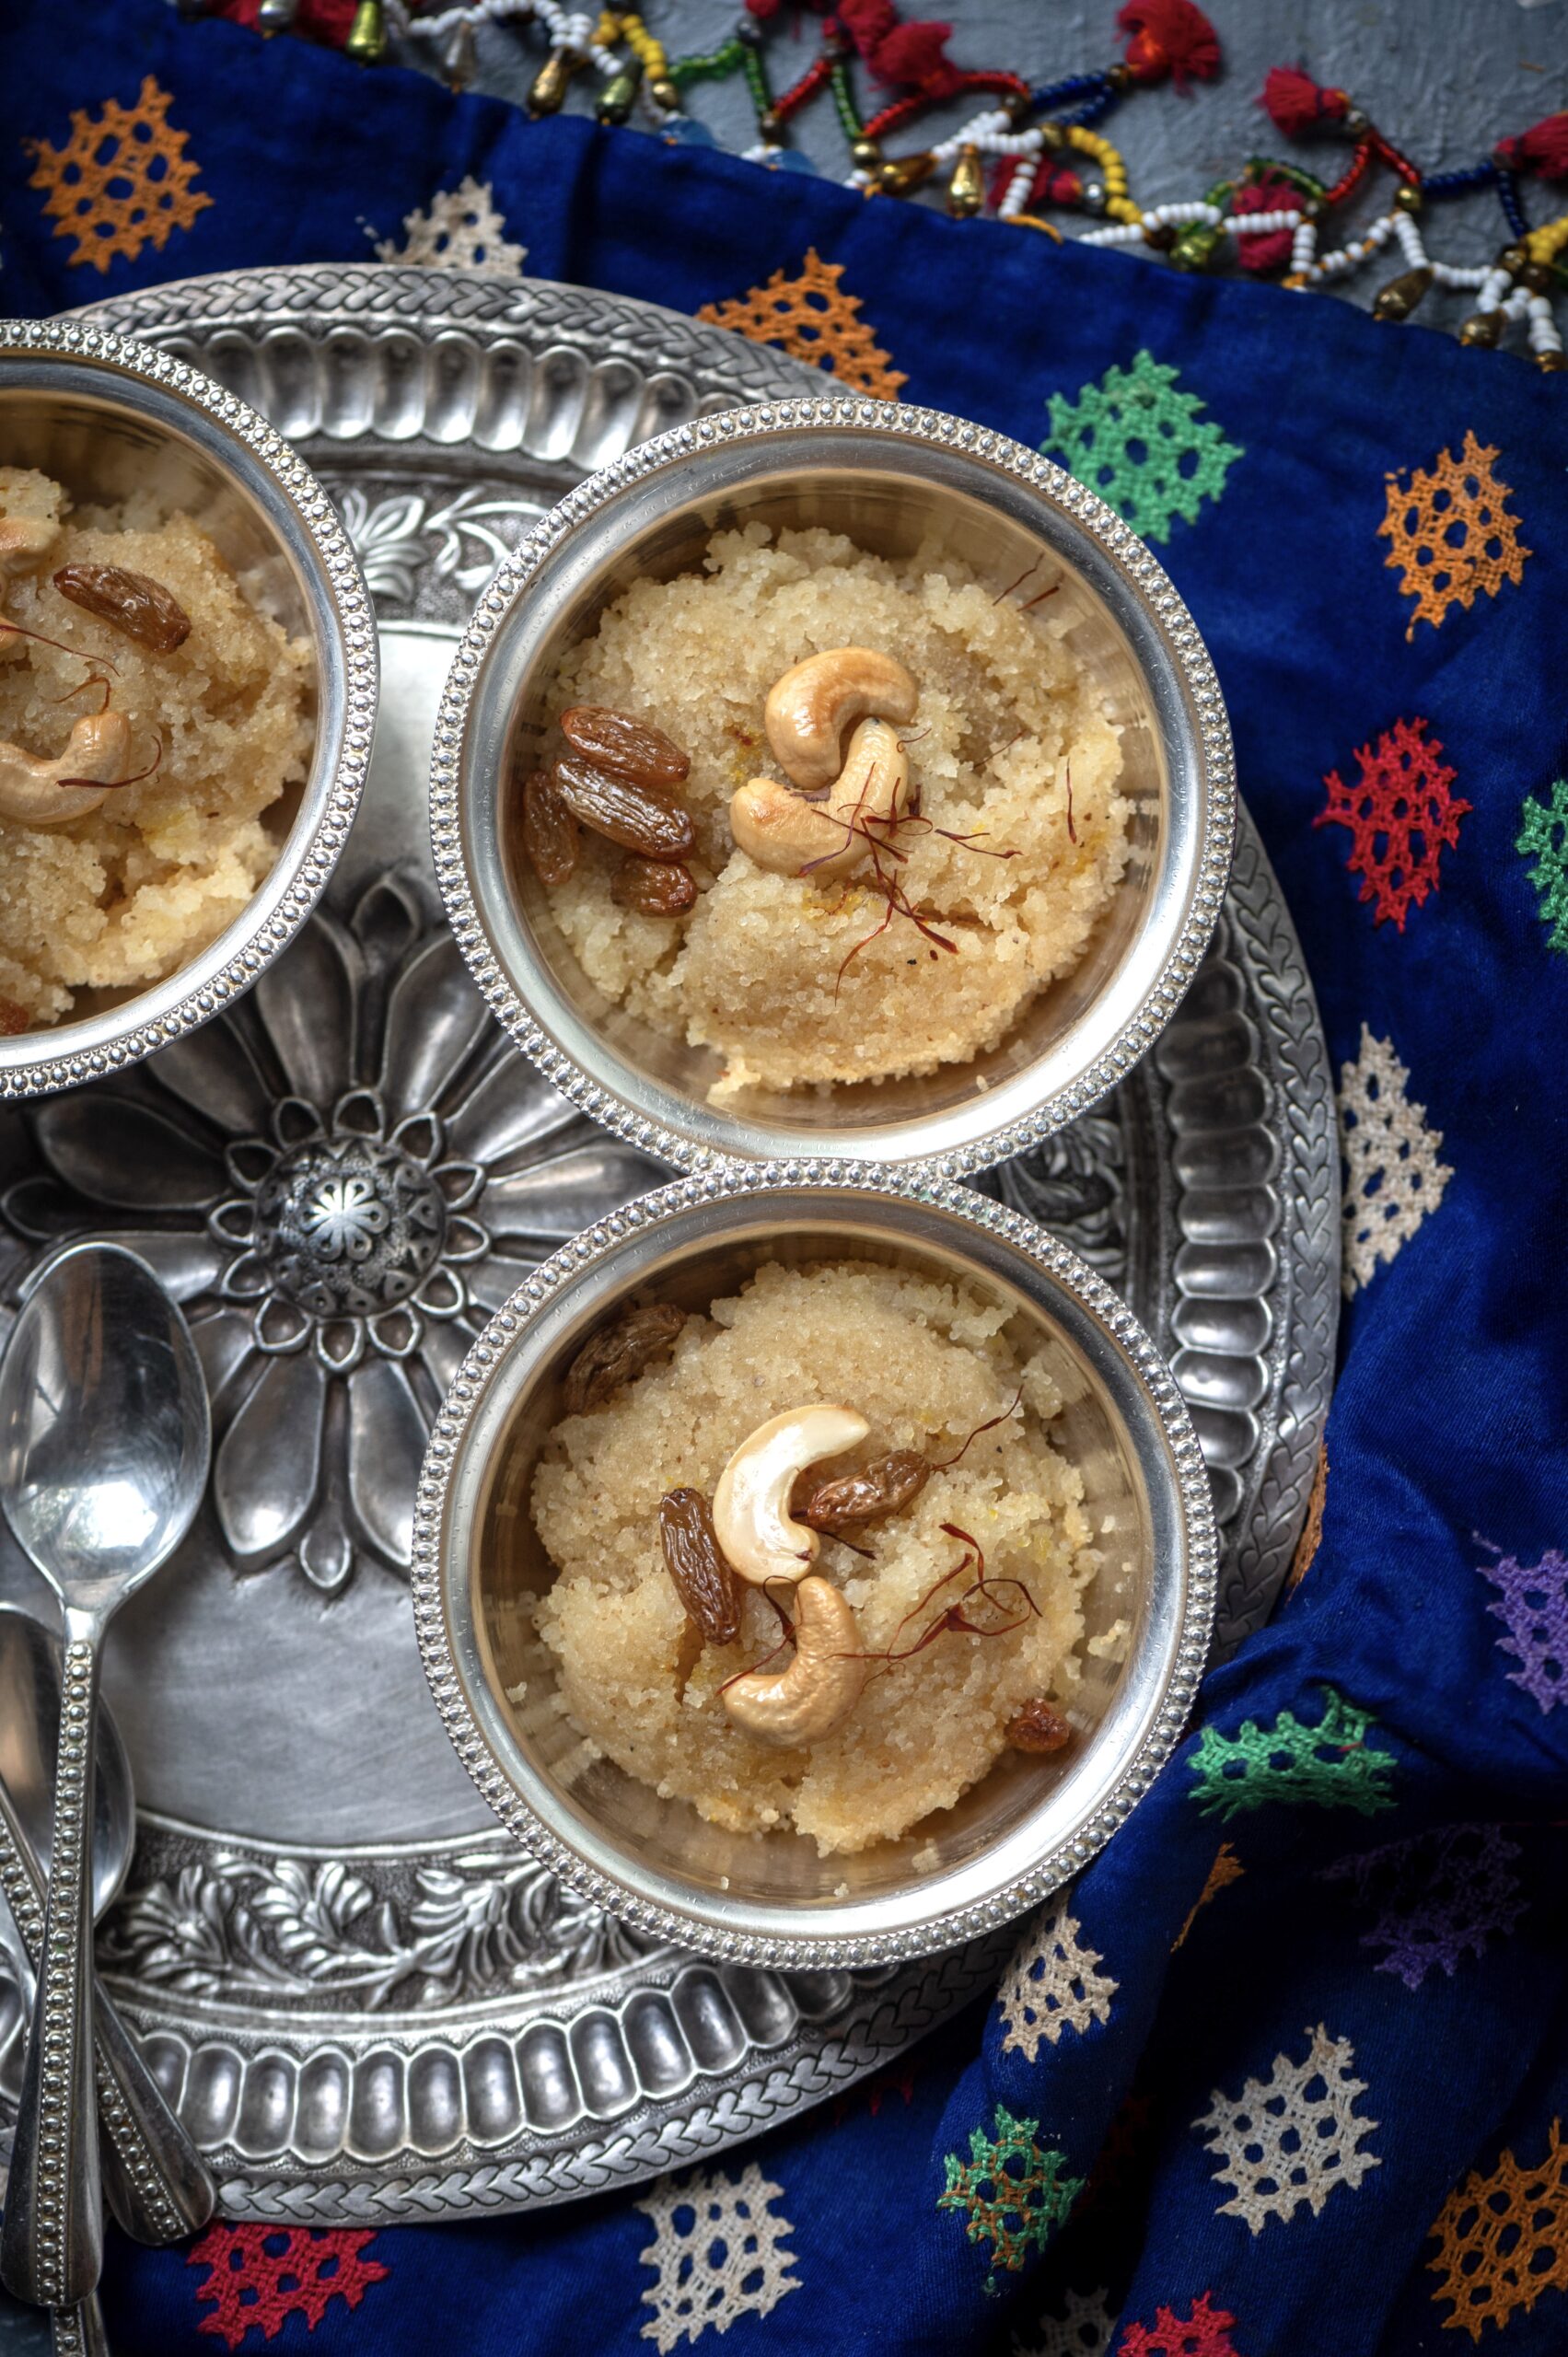
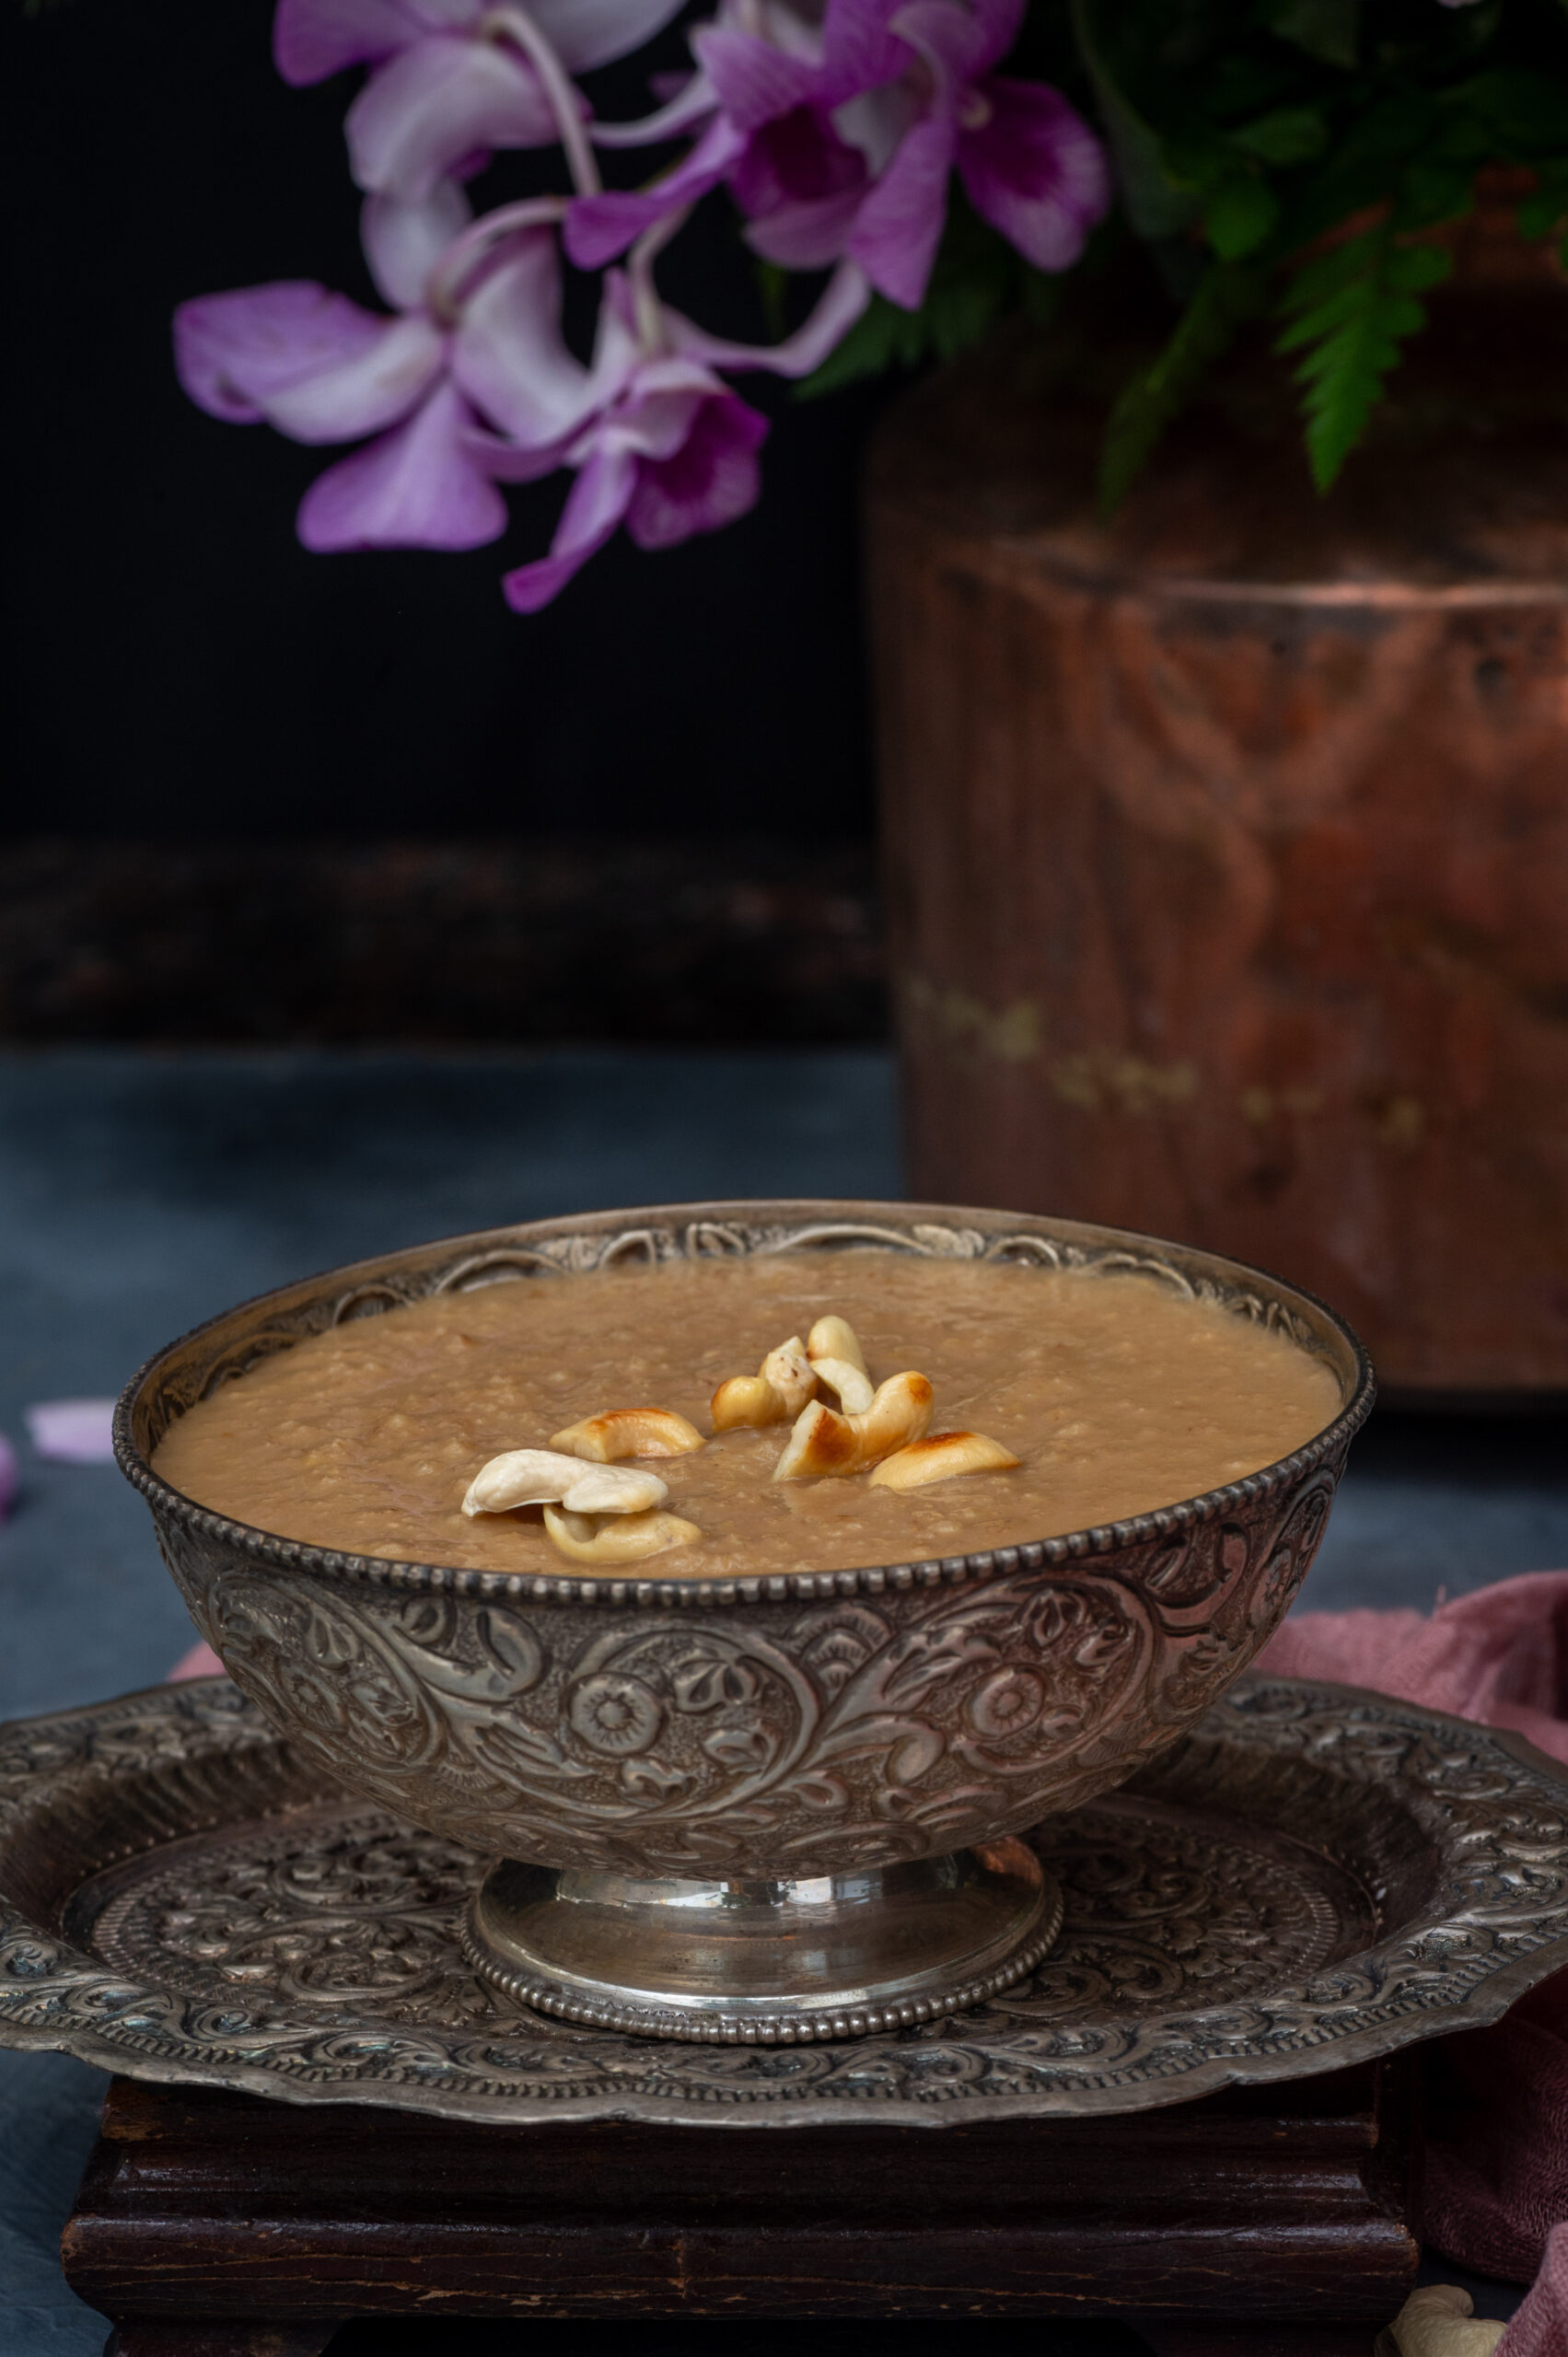
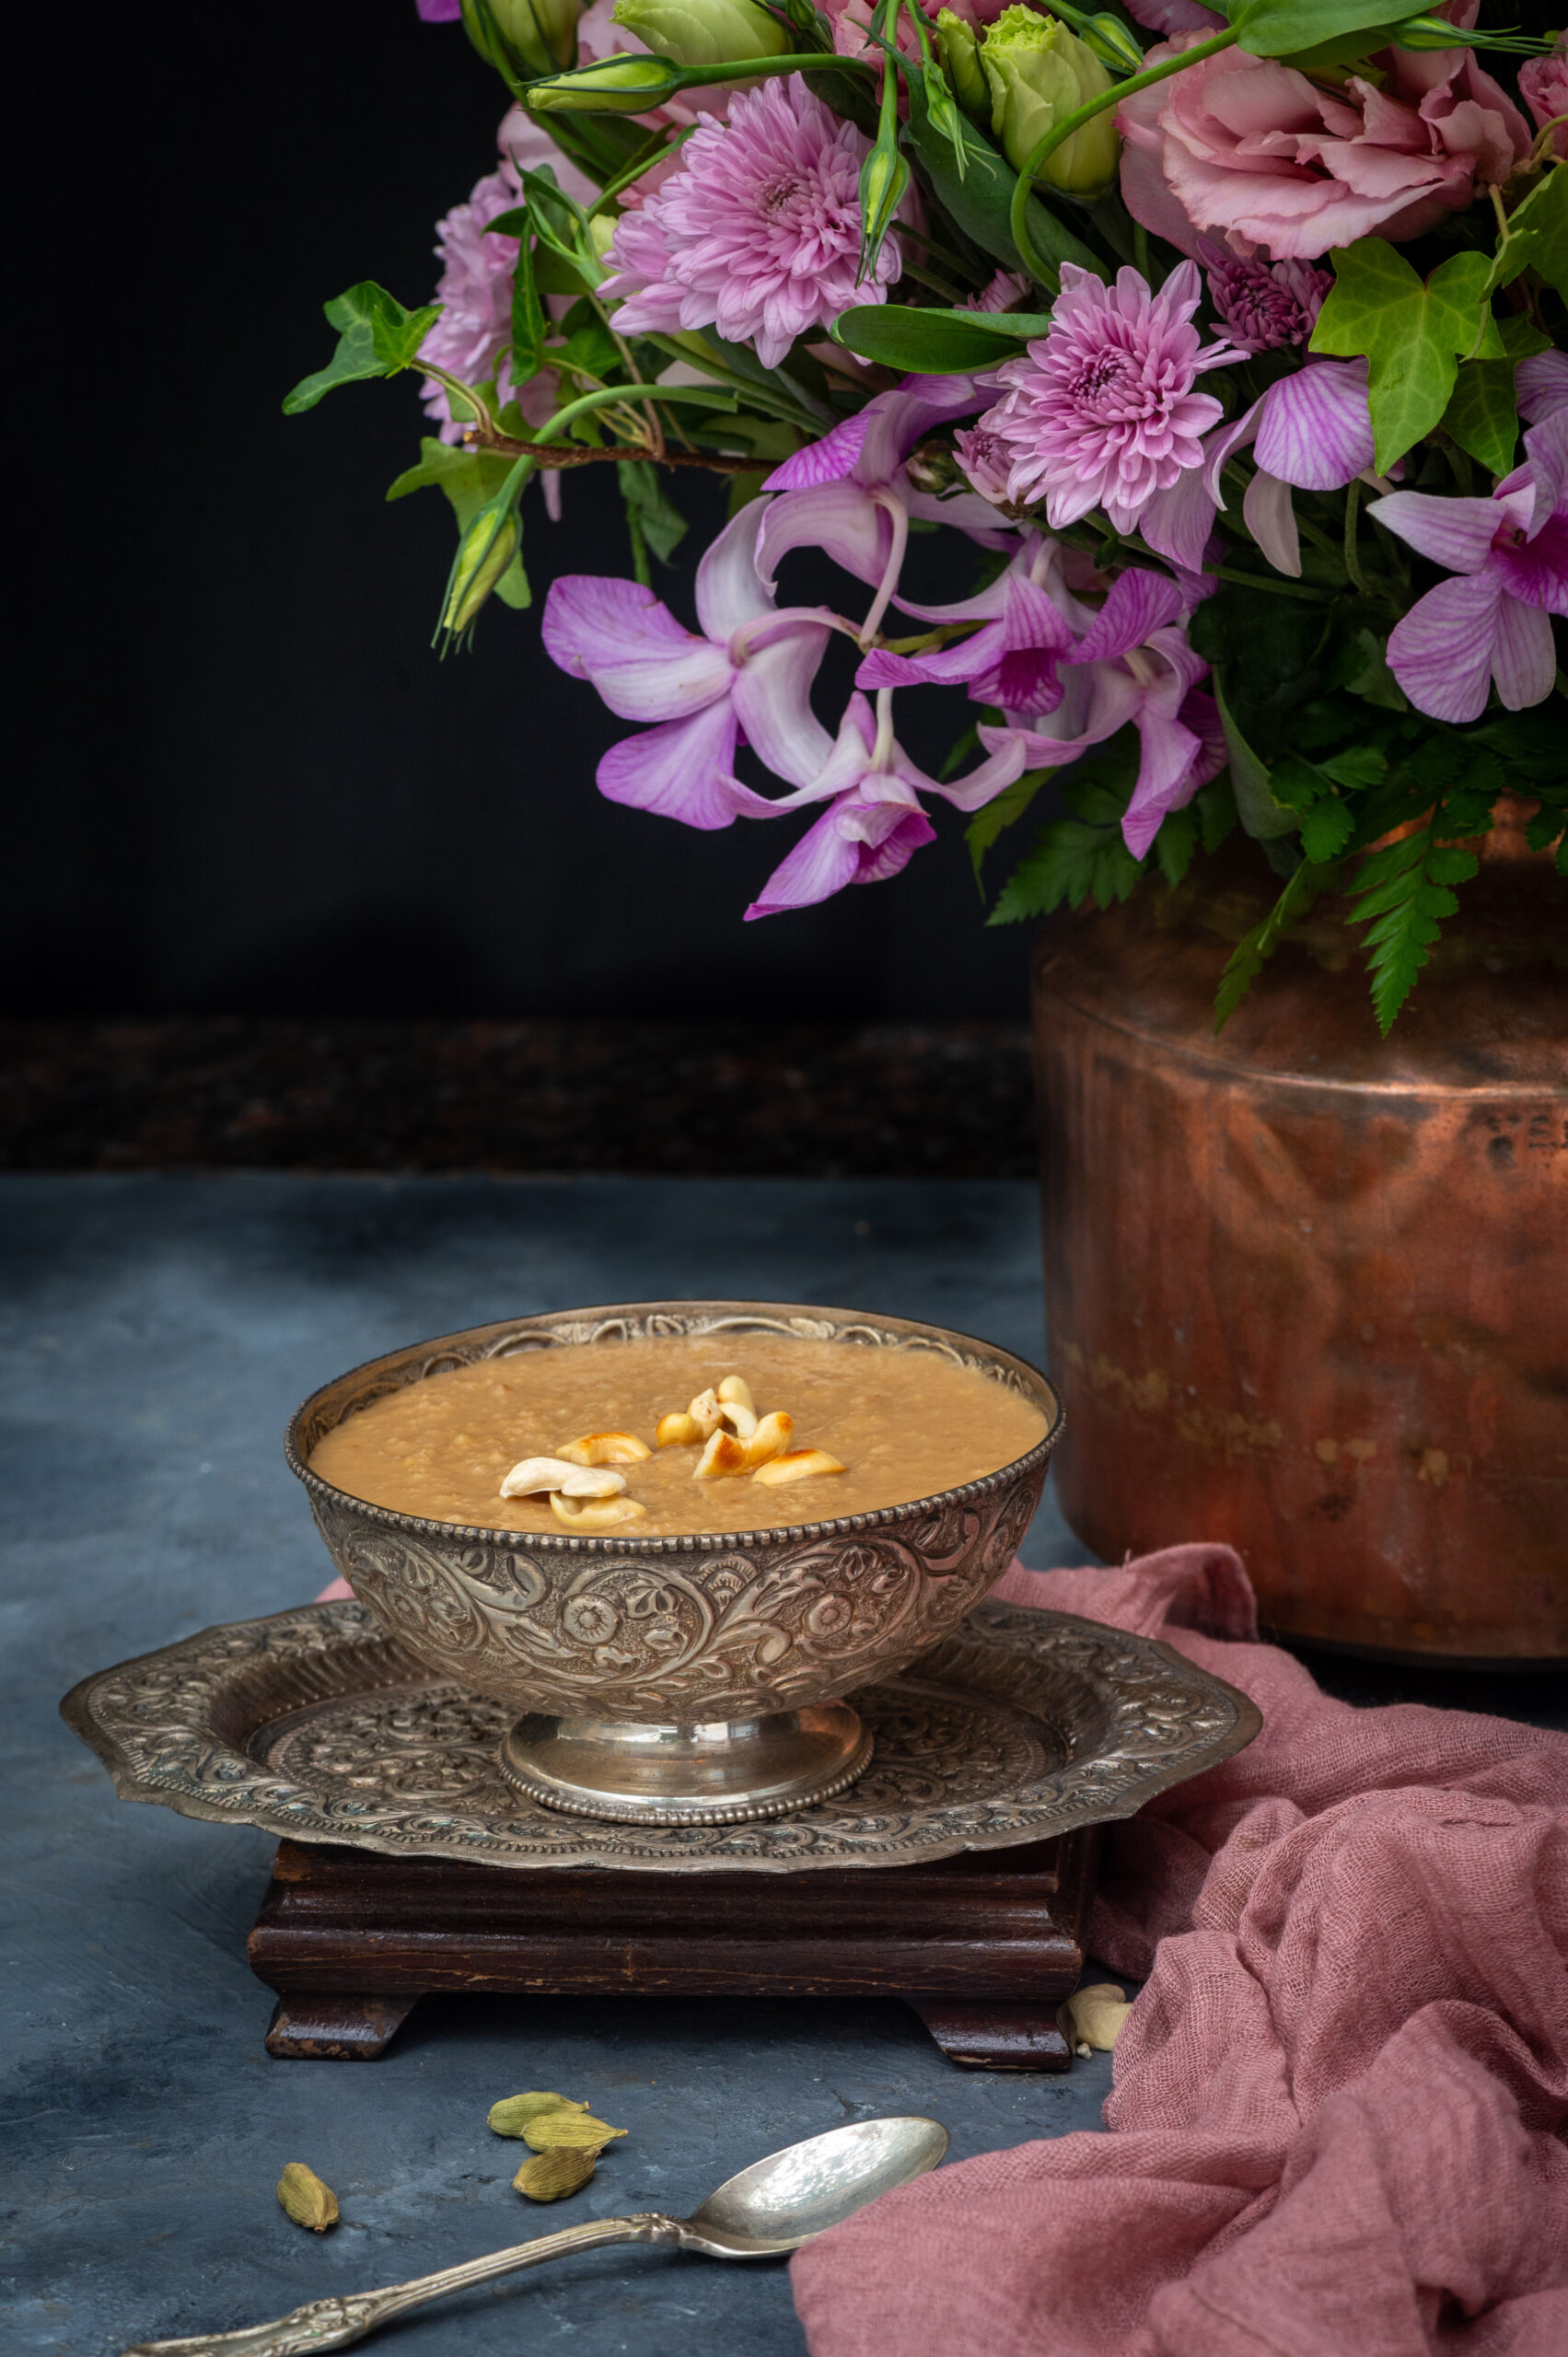
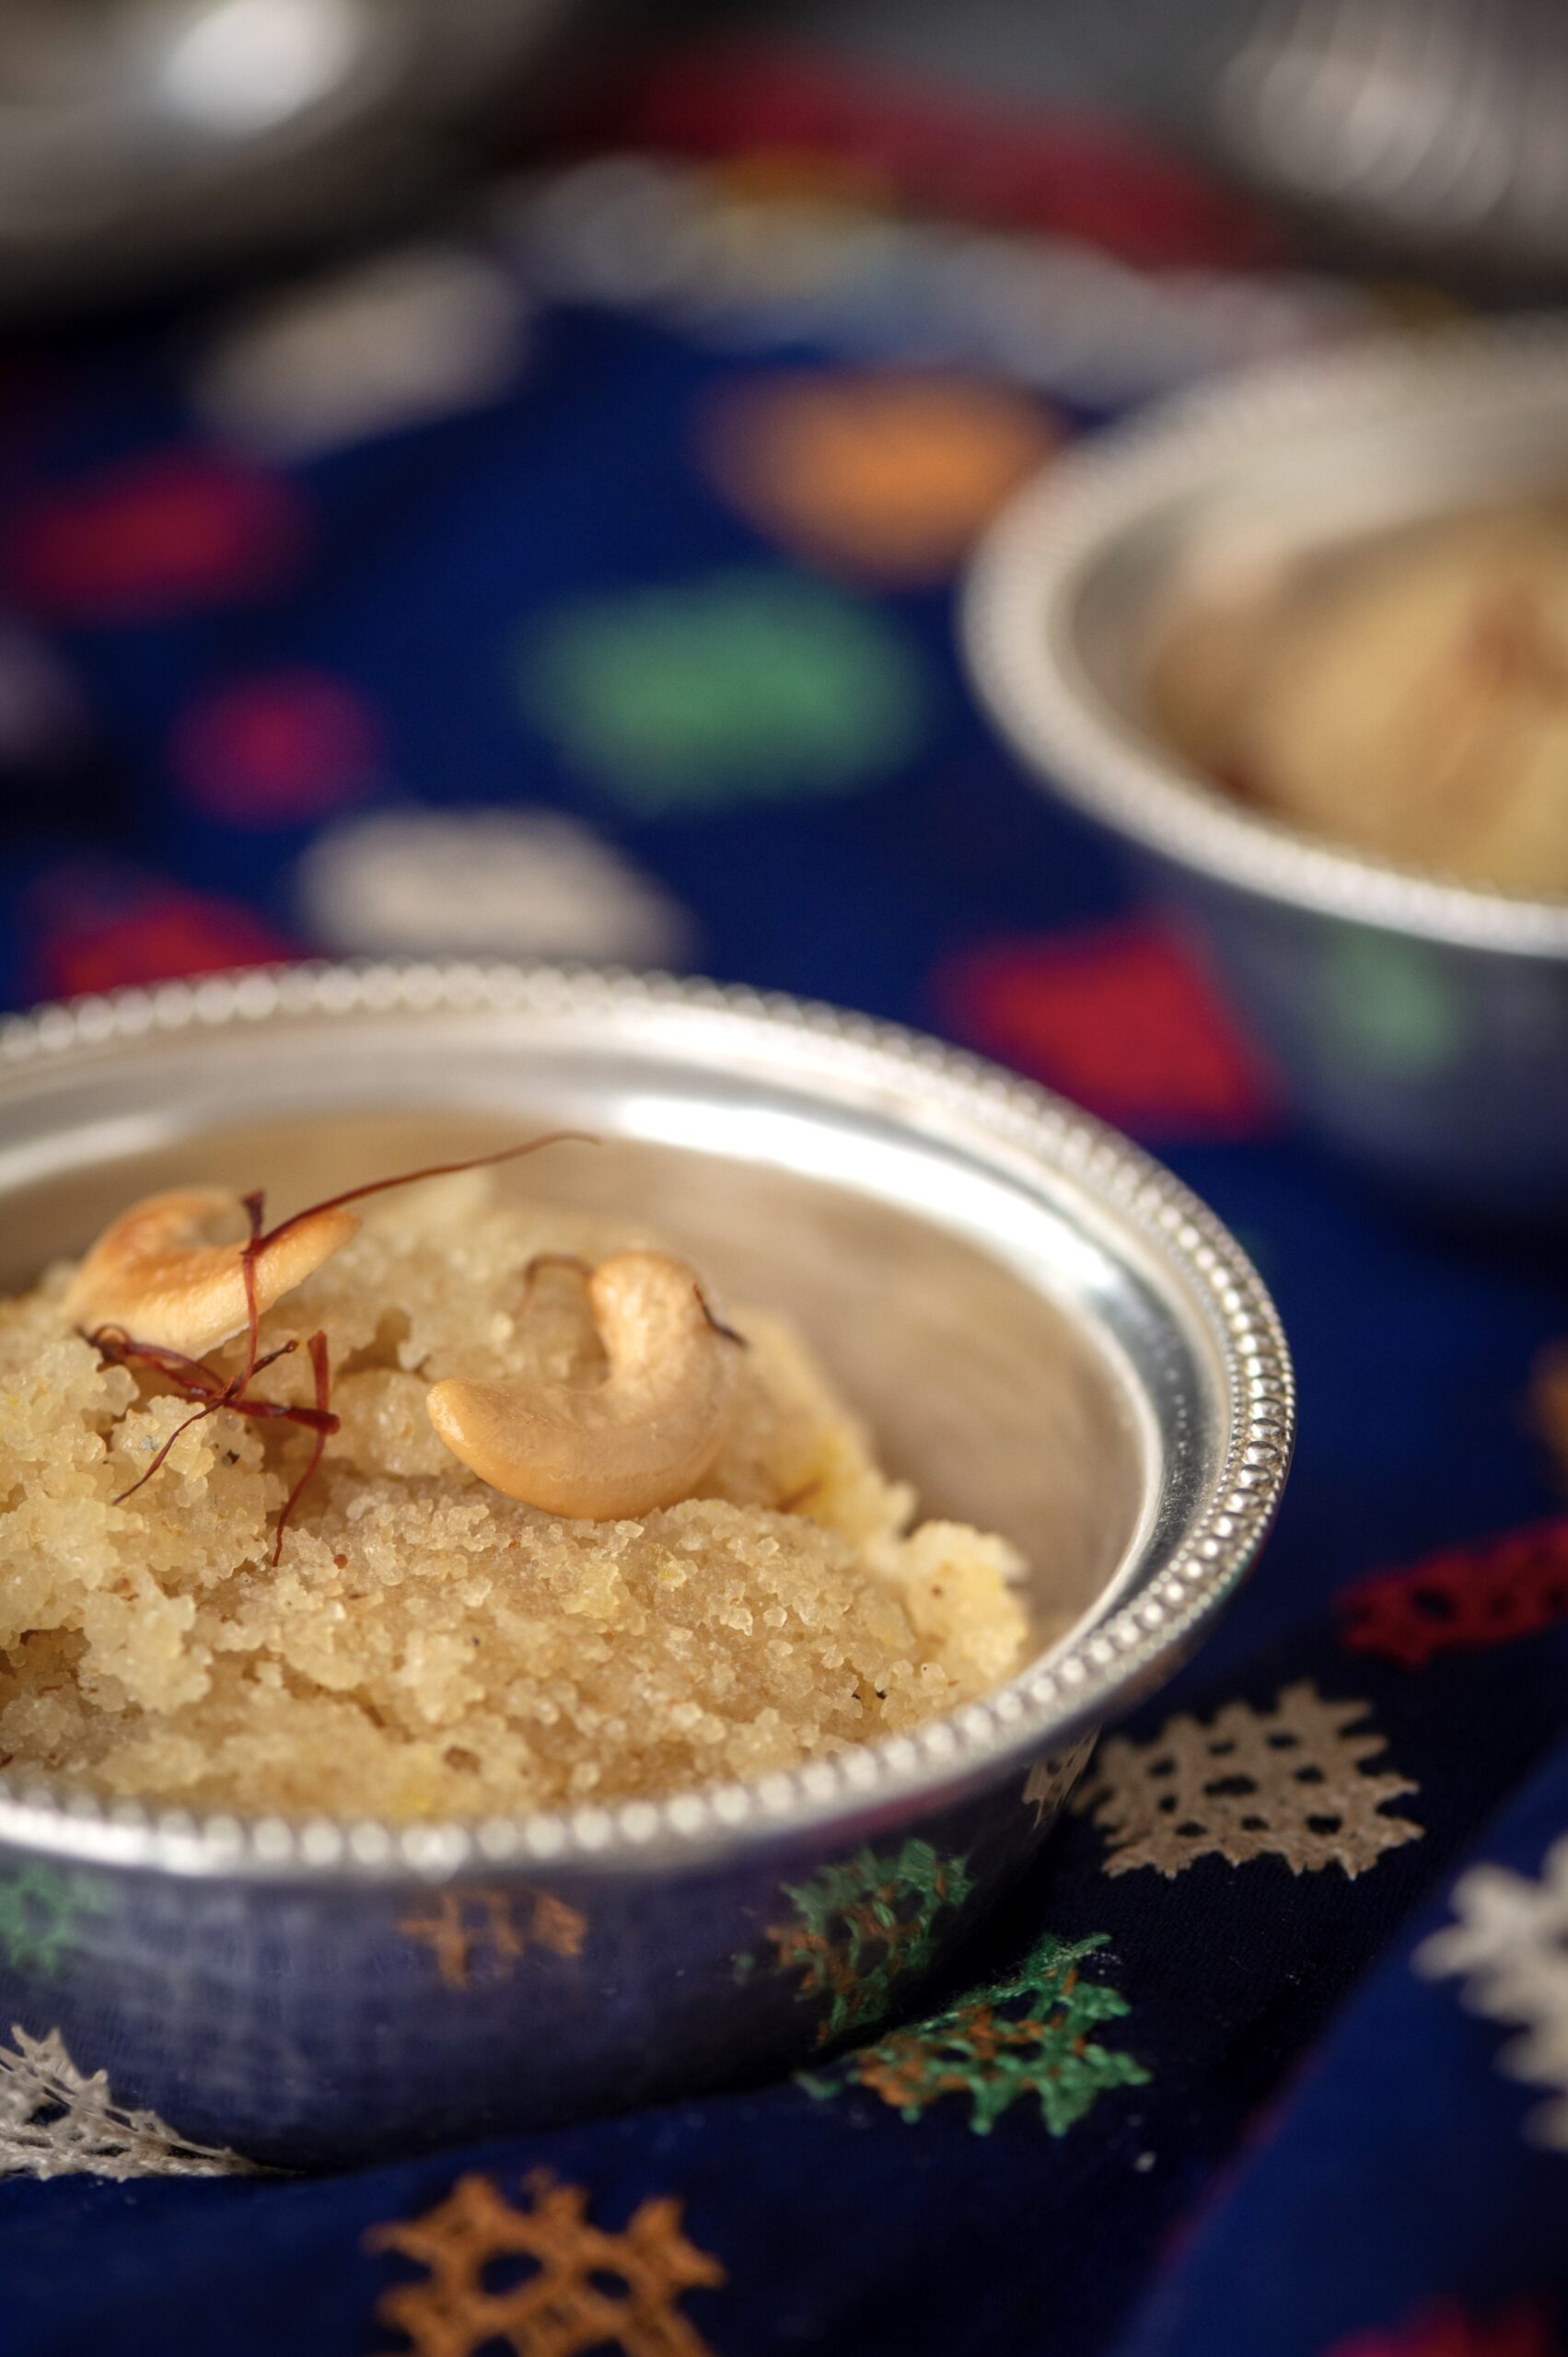
Kesari is a very common Indian sweet, one that can be prepared in a jiffy. Thus, it is perfect for when unannounced guests show up. Rava or semolina is the core ingredient, and most Indian kitchens will have some, alongside the other required basics. I find that it’s very useful to know a few simple desserts – whether to serve to guests or to satisfy one’s own cravings – and this kesari perfectly matches both requirements.
Kesari is named because of the traditional use of saffron or “kesar”. It is known in Gujarati as “sheero” and is also called “sooji halwa”. Saffron imparts a light yellowish tinge to the sweet, which is usually heightened by colouring. That is, if the spice is used at all, since it is an optional flavour and can be quite expensive. I have chosen to stick to the natural appearance of this sweet, and to avoid artificial ingredients. I have also used saffron – authentic Kashmiri saffron from my trip there this year. I have been fortunate to receive as gifts several boxes of saffron from other parts of the world, but I remain partial to what is grown in this region. However, you can prepare this recipe with colouring and without saffron, based on your preference or convenience.
And convenience really is the basis of the popularity of kesari. It can be made so quickly, and as I said earlier, its main ingredients are usually on hand. The reason why rava is almost always in an Indian kitchen is because it is so versatile. You can make upma, dhokla, porridge and so much more with it – which means it is ideal for savoury food as well as sweets like this one. It can be the base for either dessert, or for dinner – or both. There are numerous variants: refined wheat rava, wheat rava, rice rava and so on. I have used sooji, which is refined wheat rava.
Our mom seemed to make kesari very often in our childhood. It was what she whipped up as a treat whenever we came home from school with good grades or an achievement. While this demonstrates how kesari is ideal for celebrating unexpected joys, I also recall how it was made lovingly and with anticipation for certain special occasions too. For instance, it was usually kesari that was served to us as a greeting when we arrived at our dear grandparents’ home in Vijayawada. It was that “something sweet” that they had ready to welcome their daughter and her family – all of us – after our long journey to meet them. In these ways, it is a part of many memories of mine. If you make it frequently, it will become a part of many cherished moments of yours too.
Kesari
(Serves 4)
1 cup rava
¾ cup sugar
3¼ cups milk + water
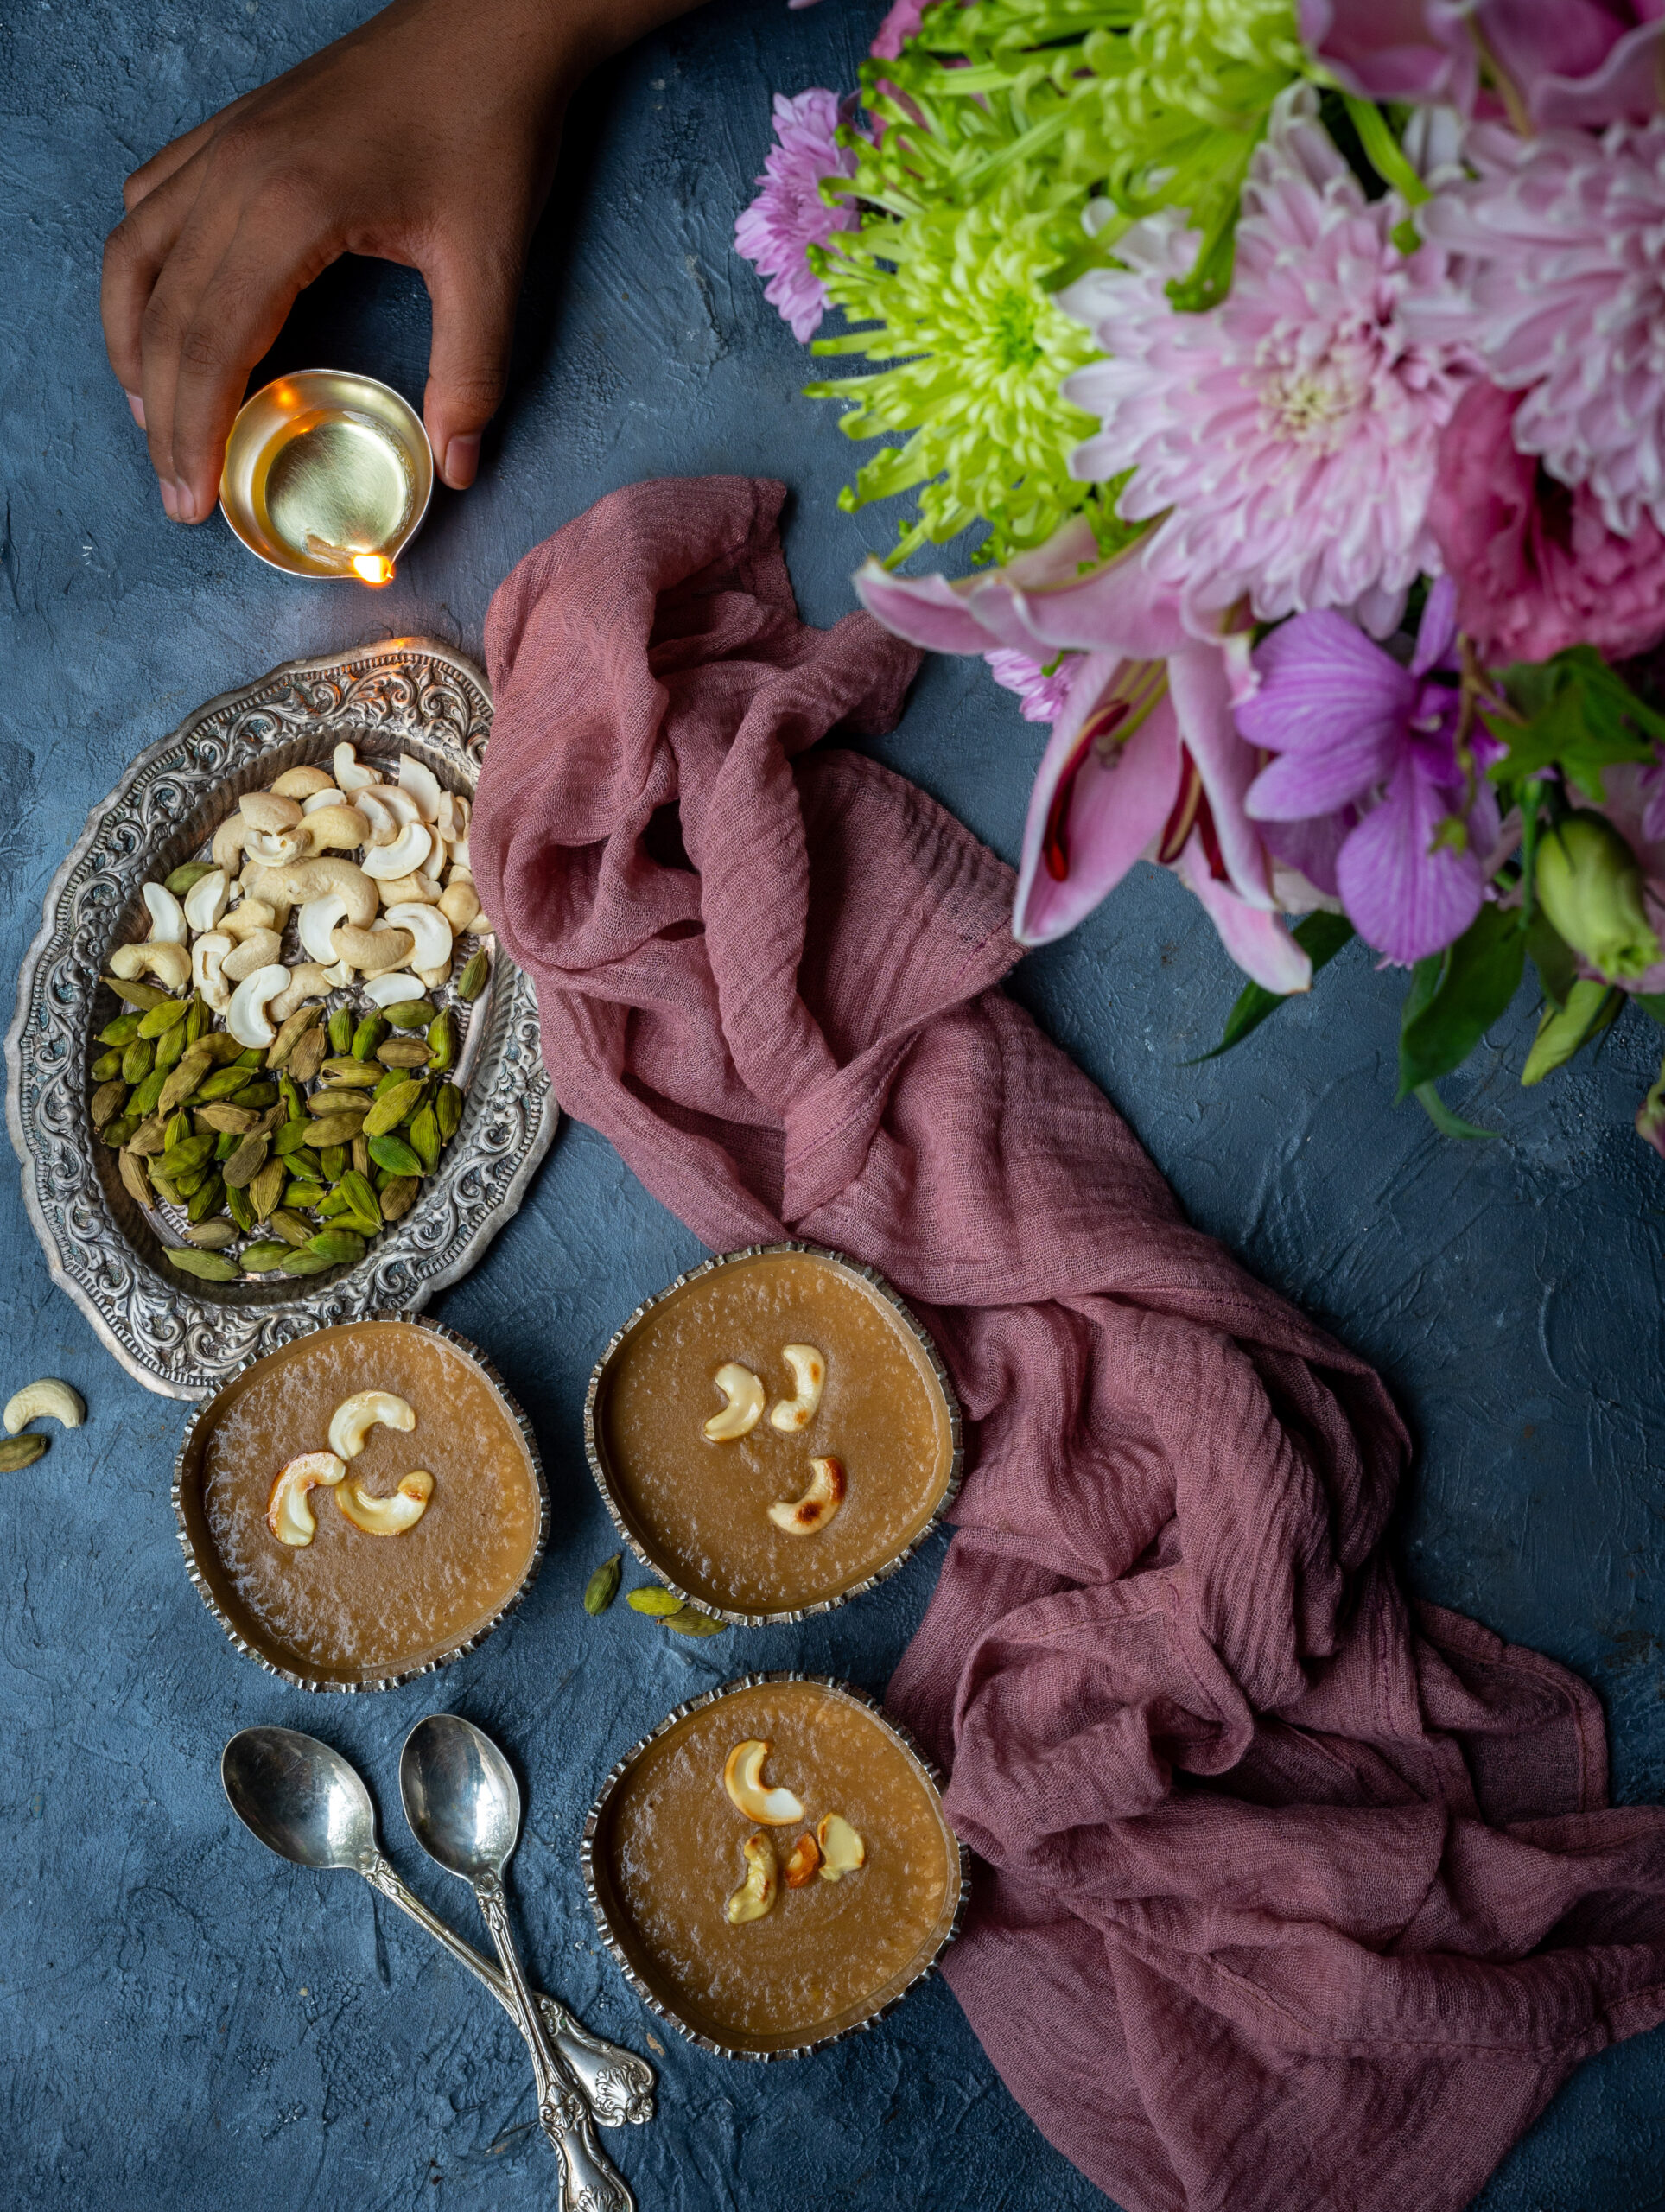
8-10 split cashew nuts
8-10 raisins
75 grams ghee or clarified butter
A pinch of cardamom powder
A few strands of saffron in 1 tablespoon of milk
Add the ghee to a kadai. Once it has heated, add the split cashews and stir until golden. They darken quickly, so keep the flame low. Remove the cashews and set them aside. Repeat this process with the raisins.
Add the rava to the remaining ghee in the kadai. Roast on a low flame. Simultaneously, in a separate pot, add the sugar and water and stir until the mixture starts bubbling. The sugar water will be boiling while the rava turns golden. This will take about 15 minutes. Keep stirring the rava, ensuring the flame remains low.
The sugar quotient I have used is minimal. Add more if you prefer. I have not added colouring, but you may if you prefer to.
Then, gently add the boiling sugar water to the rava. Maintain a little distance between yourself and the pot as the contents may splutter. Stir. Add the saffron. Cover with a lid for five minutes.
Next, add the cardamom powder, along with the toasted cashews and raisins. Mix gently.
Your kesari is now ready to be enjoyed. You may wish to spread and slice it and then use cookie cutters to make shapes, or simply scoop it out and serve it. I suppose it depends on if you’re making it with or without advance notice. I hope you find this process simple and quick, and will now be able to add this easy dessert to your repertoire!