For many years, a lovely lady named Hamsa has visited a few times a week, to conduct a chanting class for me. She teaches me Sanskrit scriptures like the Vishnu Sahasranamam and the Lalitha Sahasranamam. I’ve been chanting for the last fifteen years and it’s a source of immense solace for me. Hamsa is from Andhra Pradesh, a region known for its spicy cuisine, and it so happens that one of my favourite condiments comes from there. It’s a ginger chutney sweetened with a hint of jaggery, and I’m delighted to share the recipe for it with you today.
Before the pandemic, I was a frequent customer at a wonderful South Indian restaurant where an array of chutneys would be served. No matter how diverse the spread, I would always reach instantly for the ginger chutney, so much so that I’d even ask to have any leftovers of it packed to take back home and enjoy with the next meal. One day, as we were chatting after class, I asked Hamsa if she knew how to make that fabulous dish. I was thrilled to hear her say, casually, that she made it daily! Of course, she then kindly brought me some a couple of times, after which I asked that she teach me the recipe. I’m a hands-on learner and I wanted to watch her preparing the dish. So one day when she visited, she prepared it in my kitchen as I eagerly watched the process, and I’ve been making it happily ever since.
I believe that we all experience learnings from any person. It doesn’t matter who they are, or in what form the learning comes, but it enriches us just the same. This is something that’s so crucial for us to keep in mind at this difficult time for India. If we keep our eyes and our minds open, we will perceive that all of life itself is a learning, and that we are amidst so many ongoing lessons given what is happening is the country and the world. We are learning about what works and what doesn’t, and what has to change for a better future. In our personal lives and relationships, we are learning something every day about how to get through this crisis – seeing which relationships can withstand it and how, seeing sometimes that the problem isn’t the other person but us, and so much more. These are valuable learnings that we must carry forward.
I’m grateful to have learnt this recipe from Hamsa, to add to all the knowledge she has given me over the years spiritually. She doesn’t just teach me chants, but also talks about culture and ritual, deepening my understanding of the same. When I’m feeling down, she will often suggest a mantra that I can say to strengthen myself. This is advice that has kept me in good stead through my adversities.
I’m sharing the recipe for ginger chutney with you today along with a slice of my life. After I have completed my baking, cooking and exercise schedule in the morning, I always sit down to chant. I genuinely believe in prayer, and in the power of hope. I believe that as a human race we will come out of this darkness, and when I am in prayer, my conviction in this is at its strongest.
With the current lockdown in Chennai, I now take virtual classes from Hamsa daily. I can read Sanskrit, and one of the things I appreciate about her teaching style is that she is very particular about pronunciation. This takes me back to when I was a little girl in a convent school full of wonderful Irish nuns, who insisted on precision in handwriting and enunciation. The lovely Mrs. Martanda, my English teacher, would teach us the difference between the spoken words “vow” and “wow”, for example. She used the Wren and Martin grammar book and various dictionaries as teaching tools. That I am able to recall these details decades on is a testament to the influence a good teacher can have, in any aspect of life. As I said earlier: we learn something from someone, every day. We are all students, and we are all teachers.
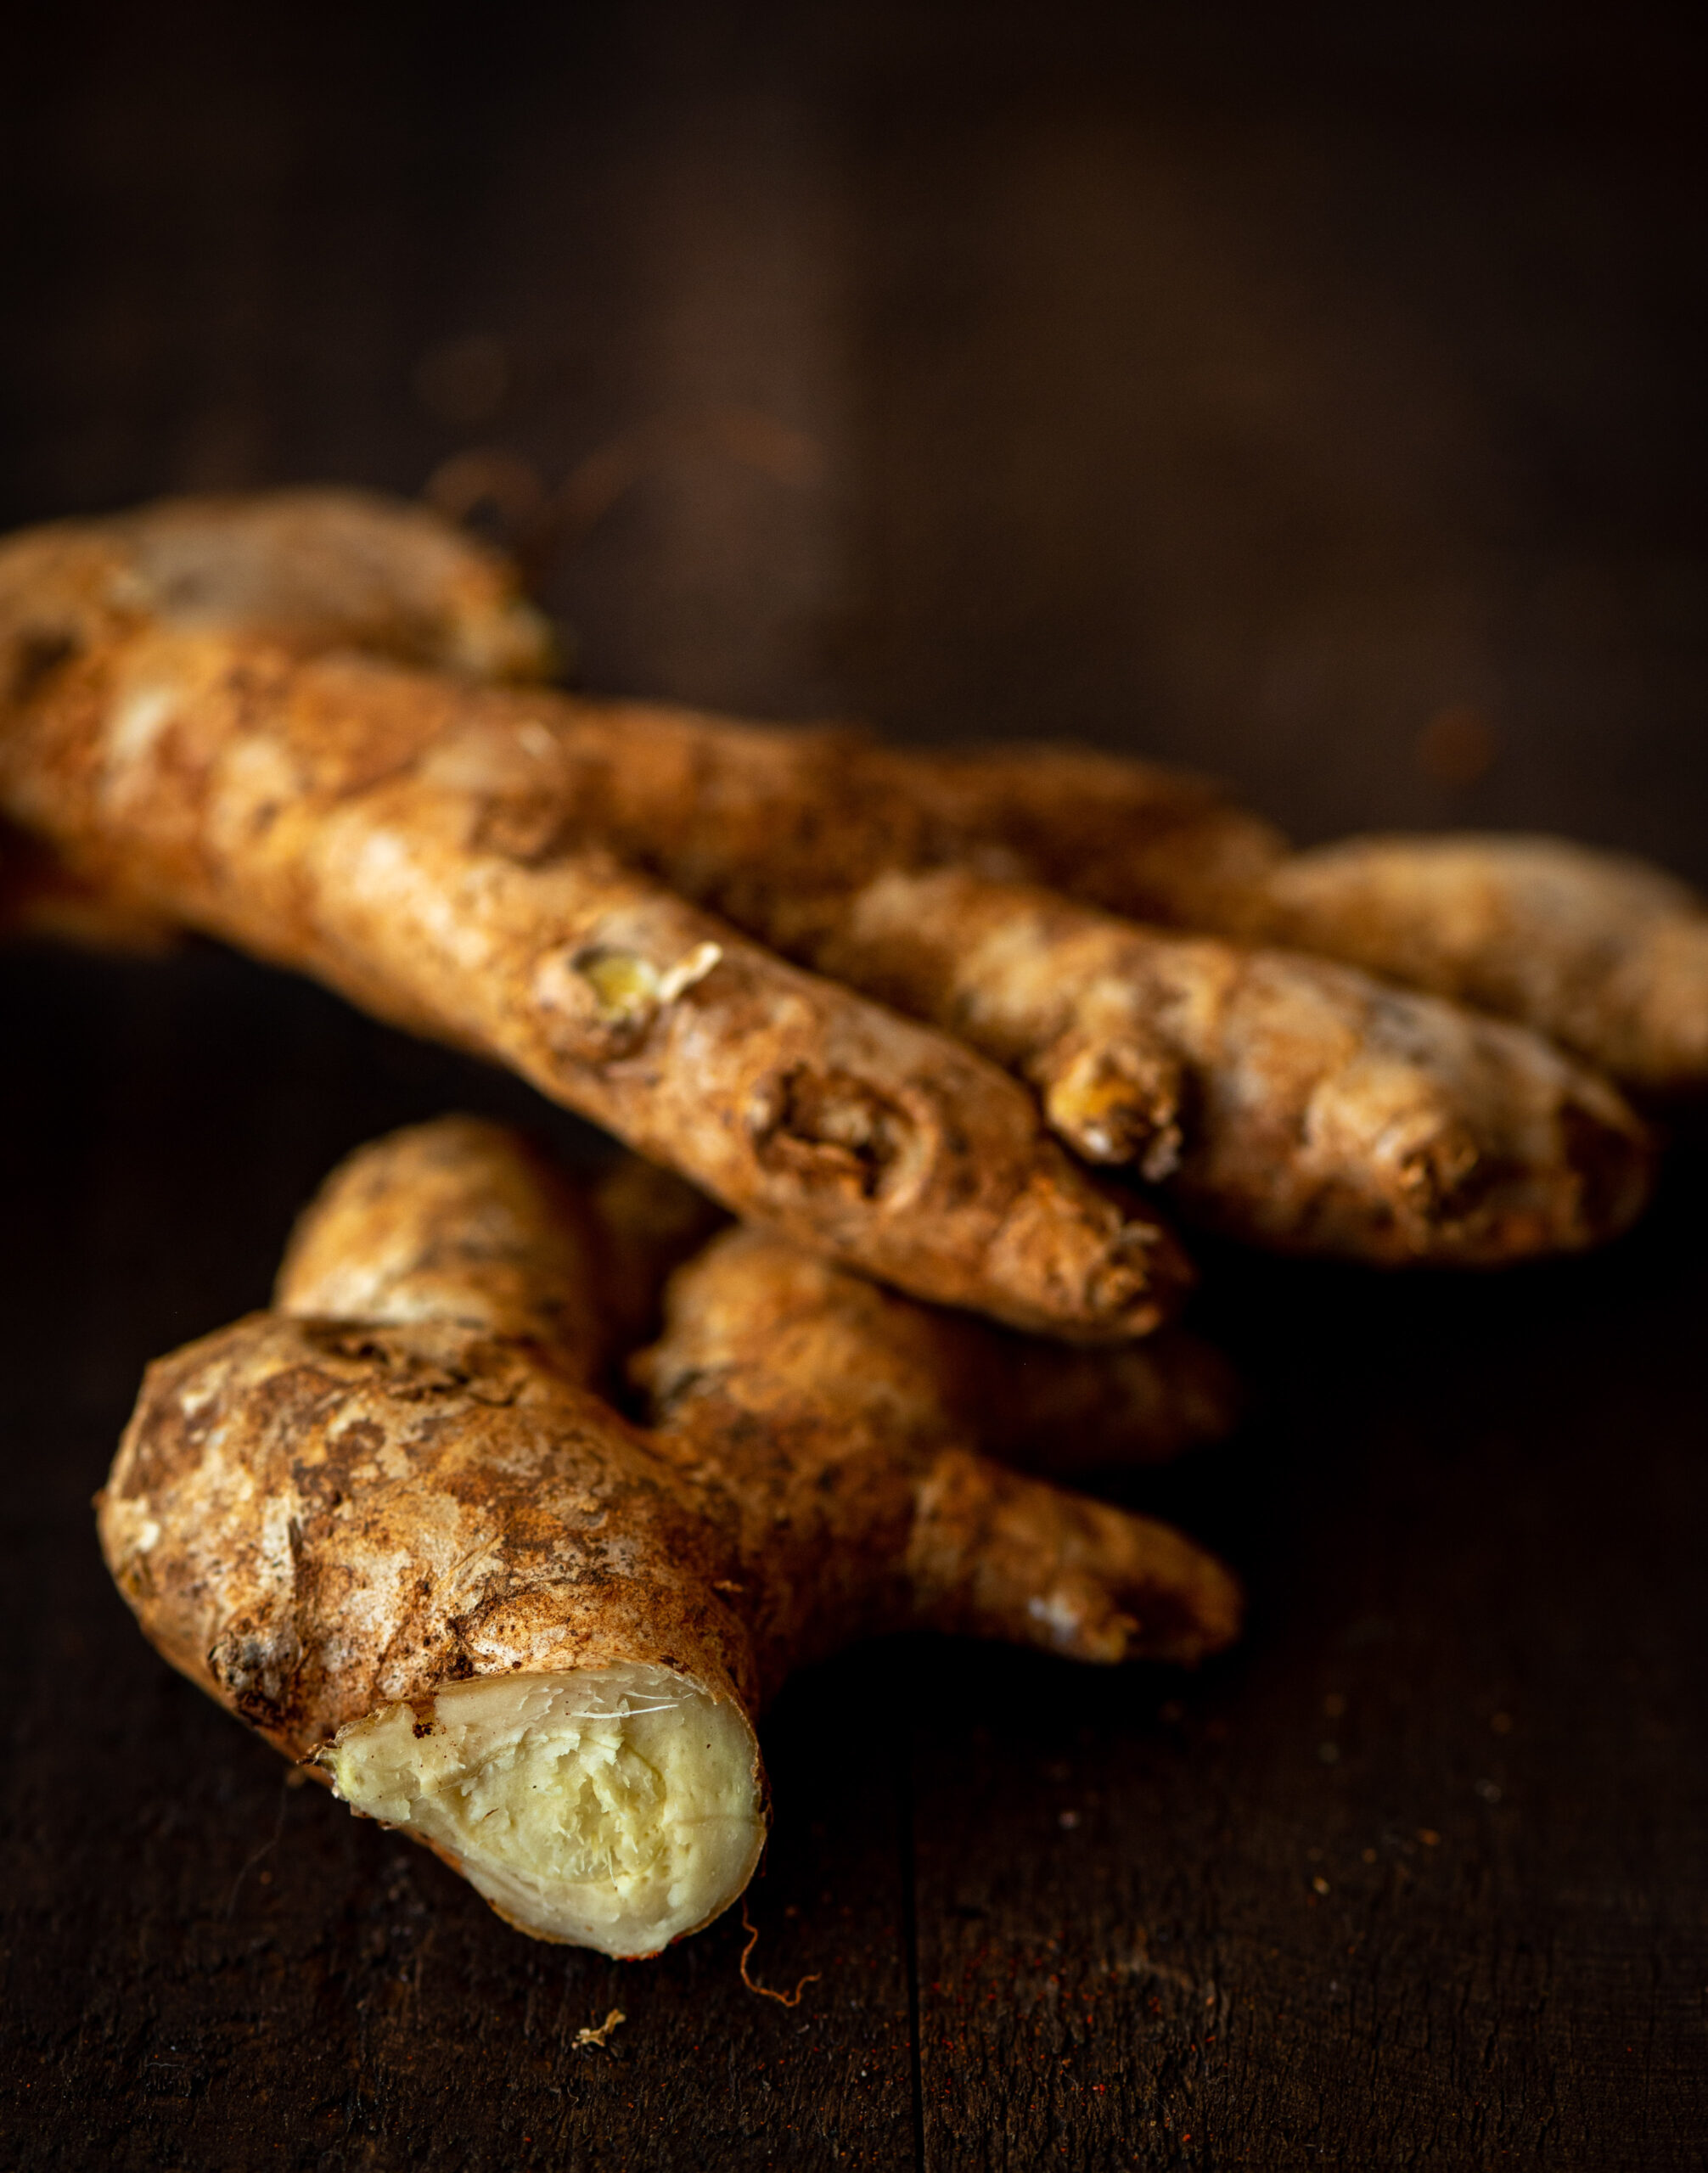
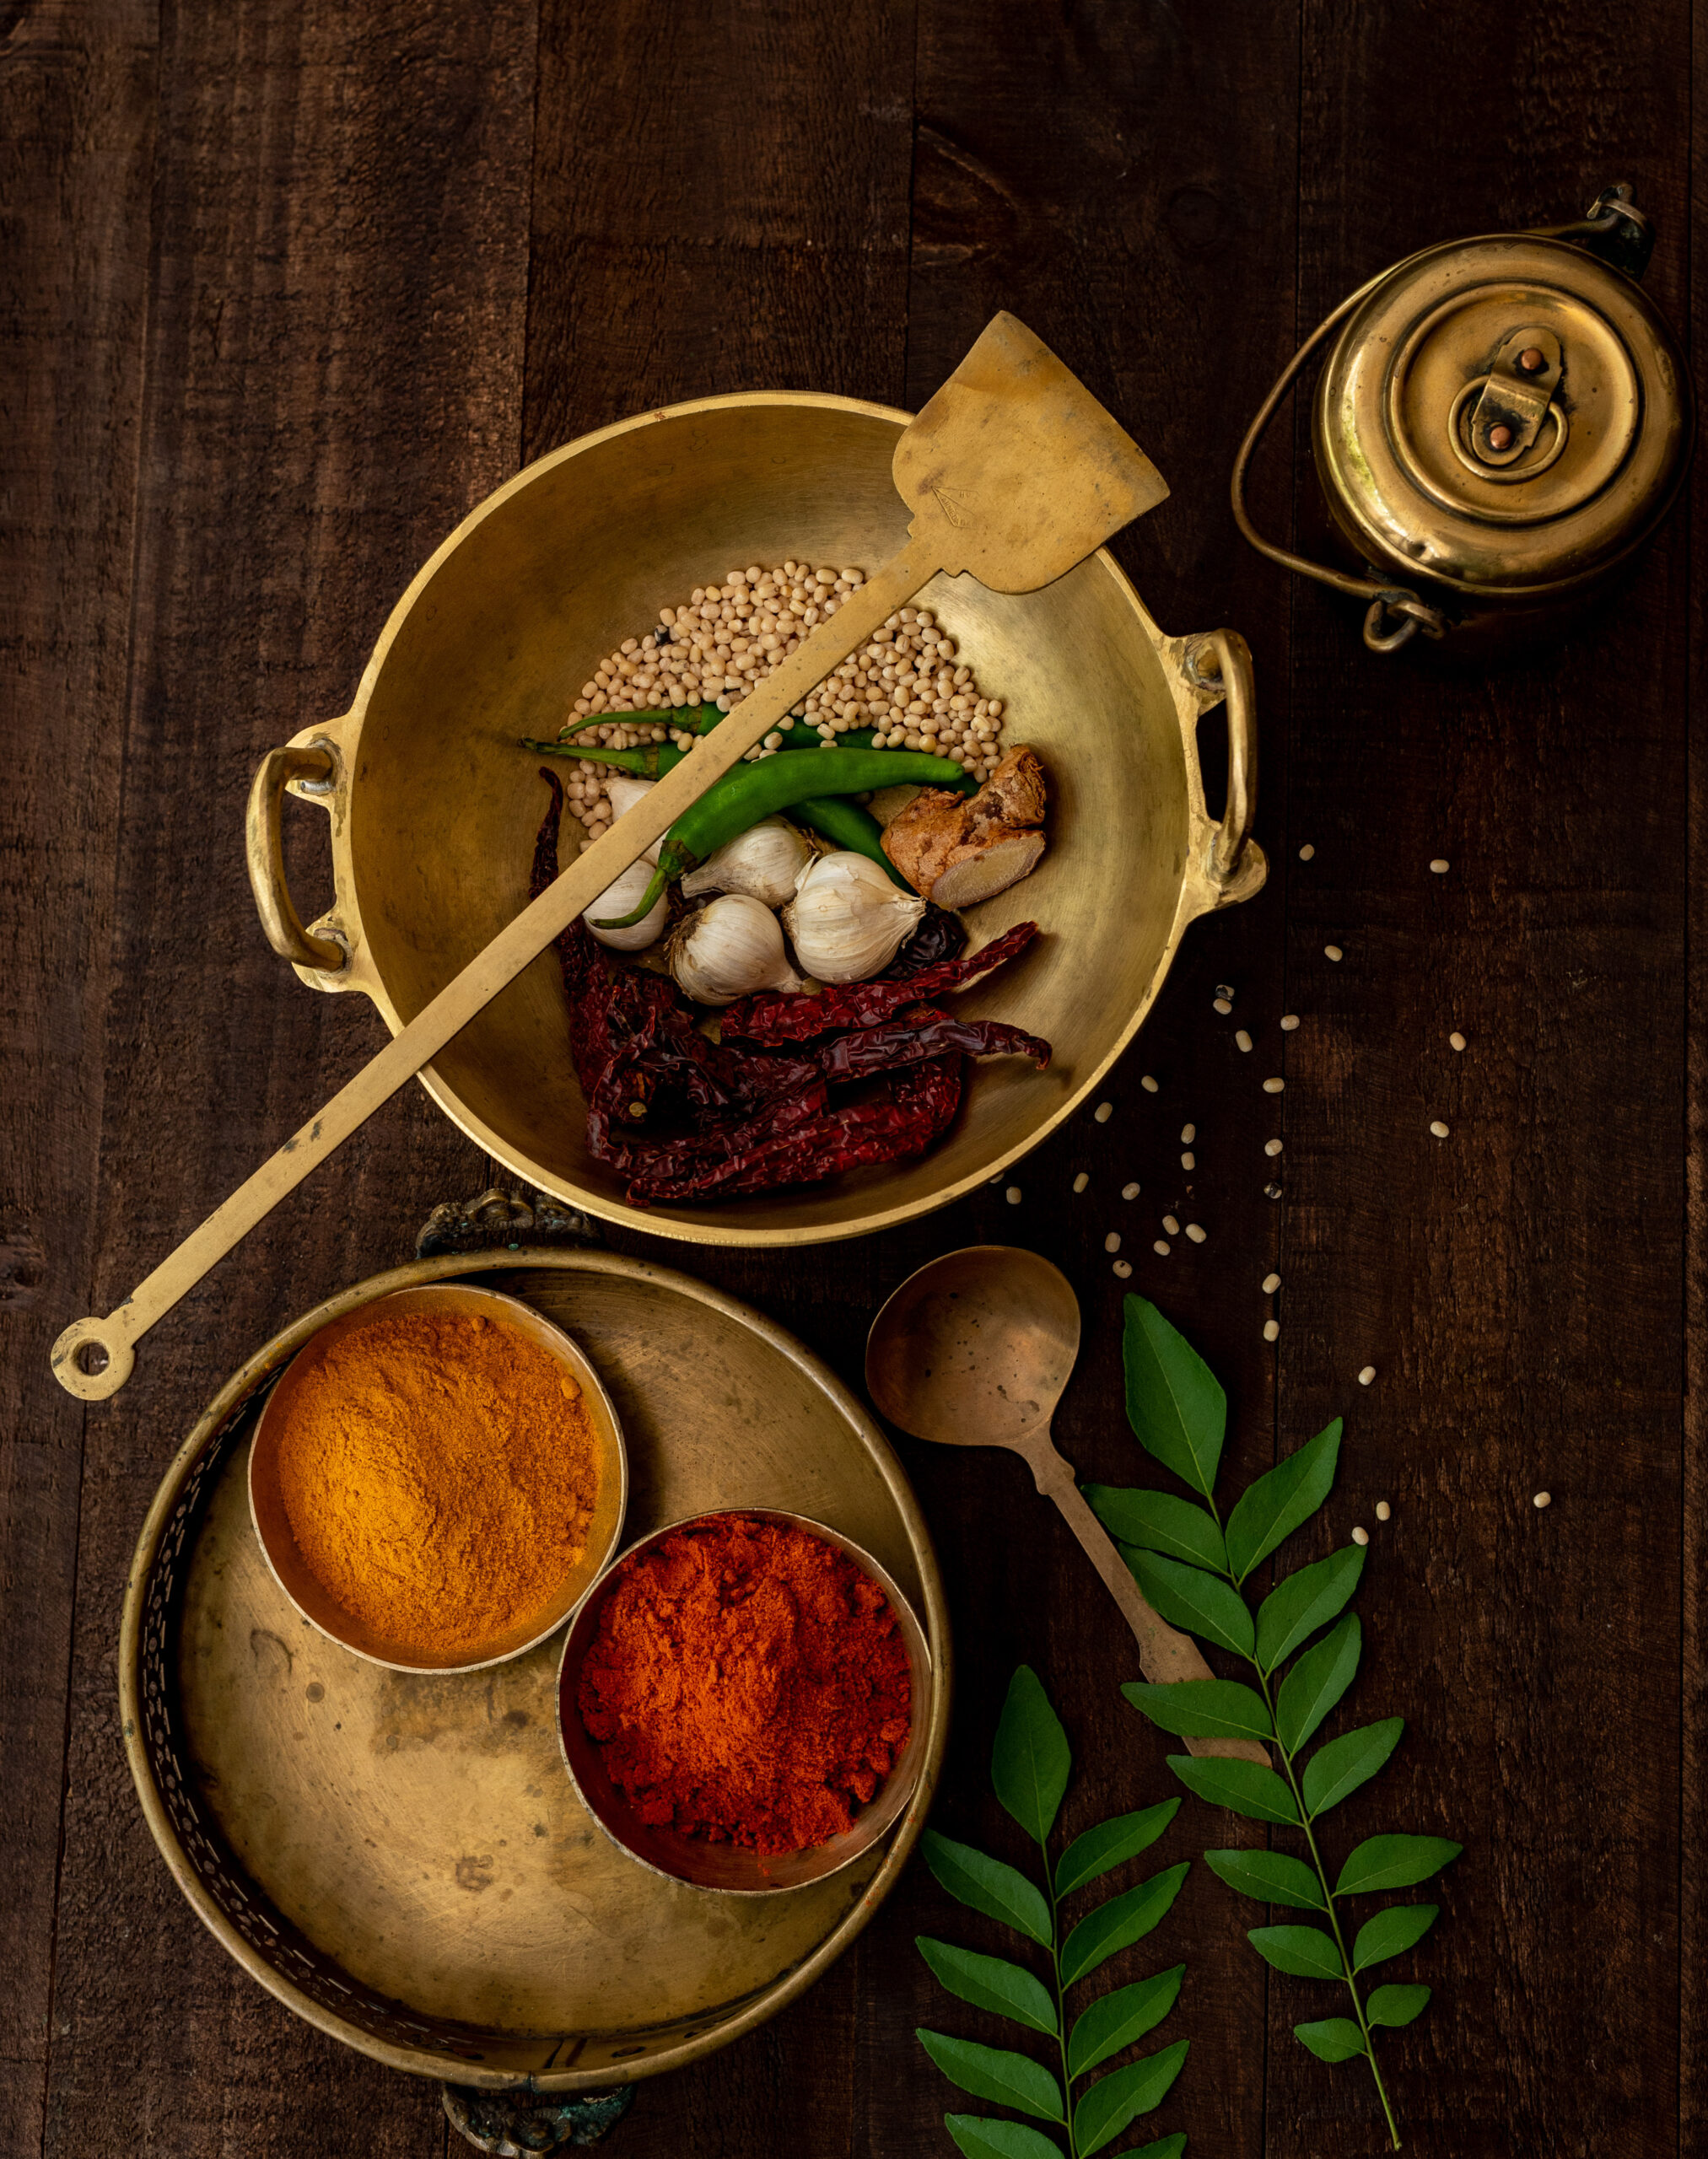
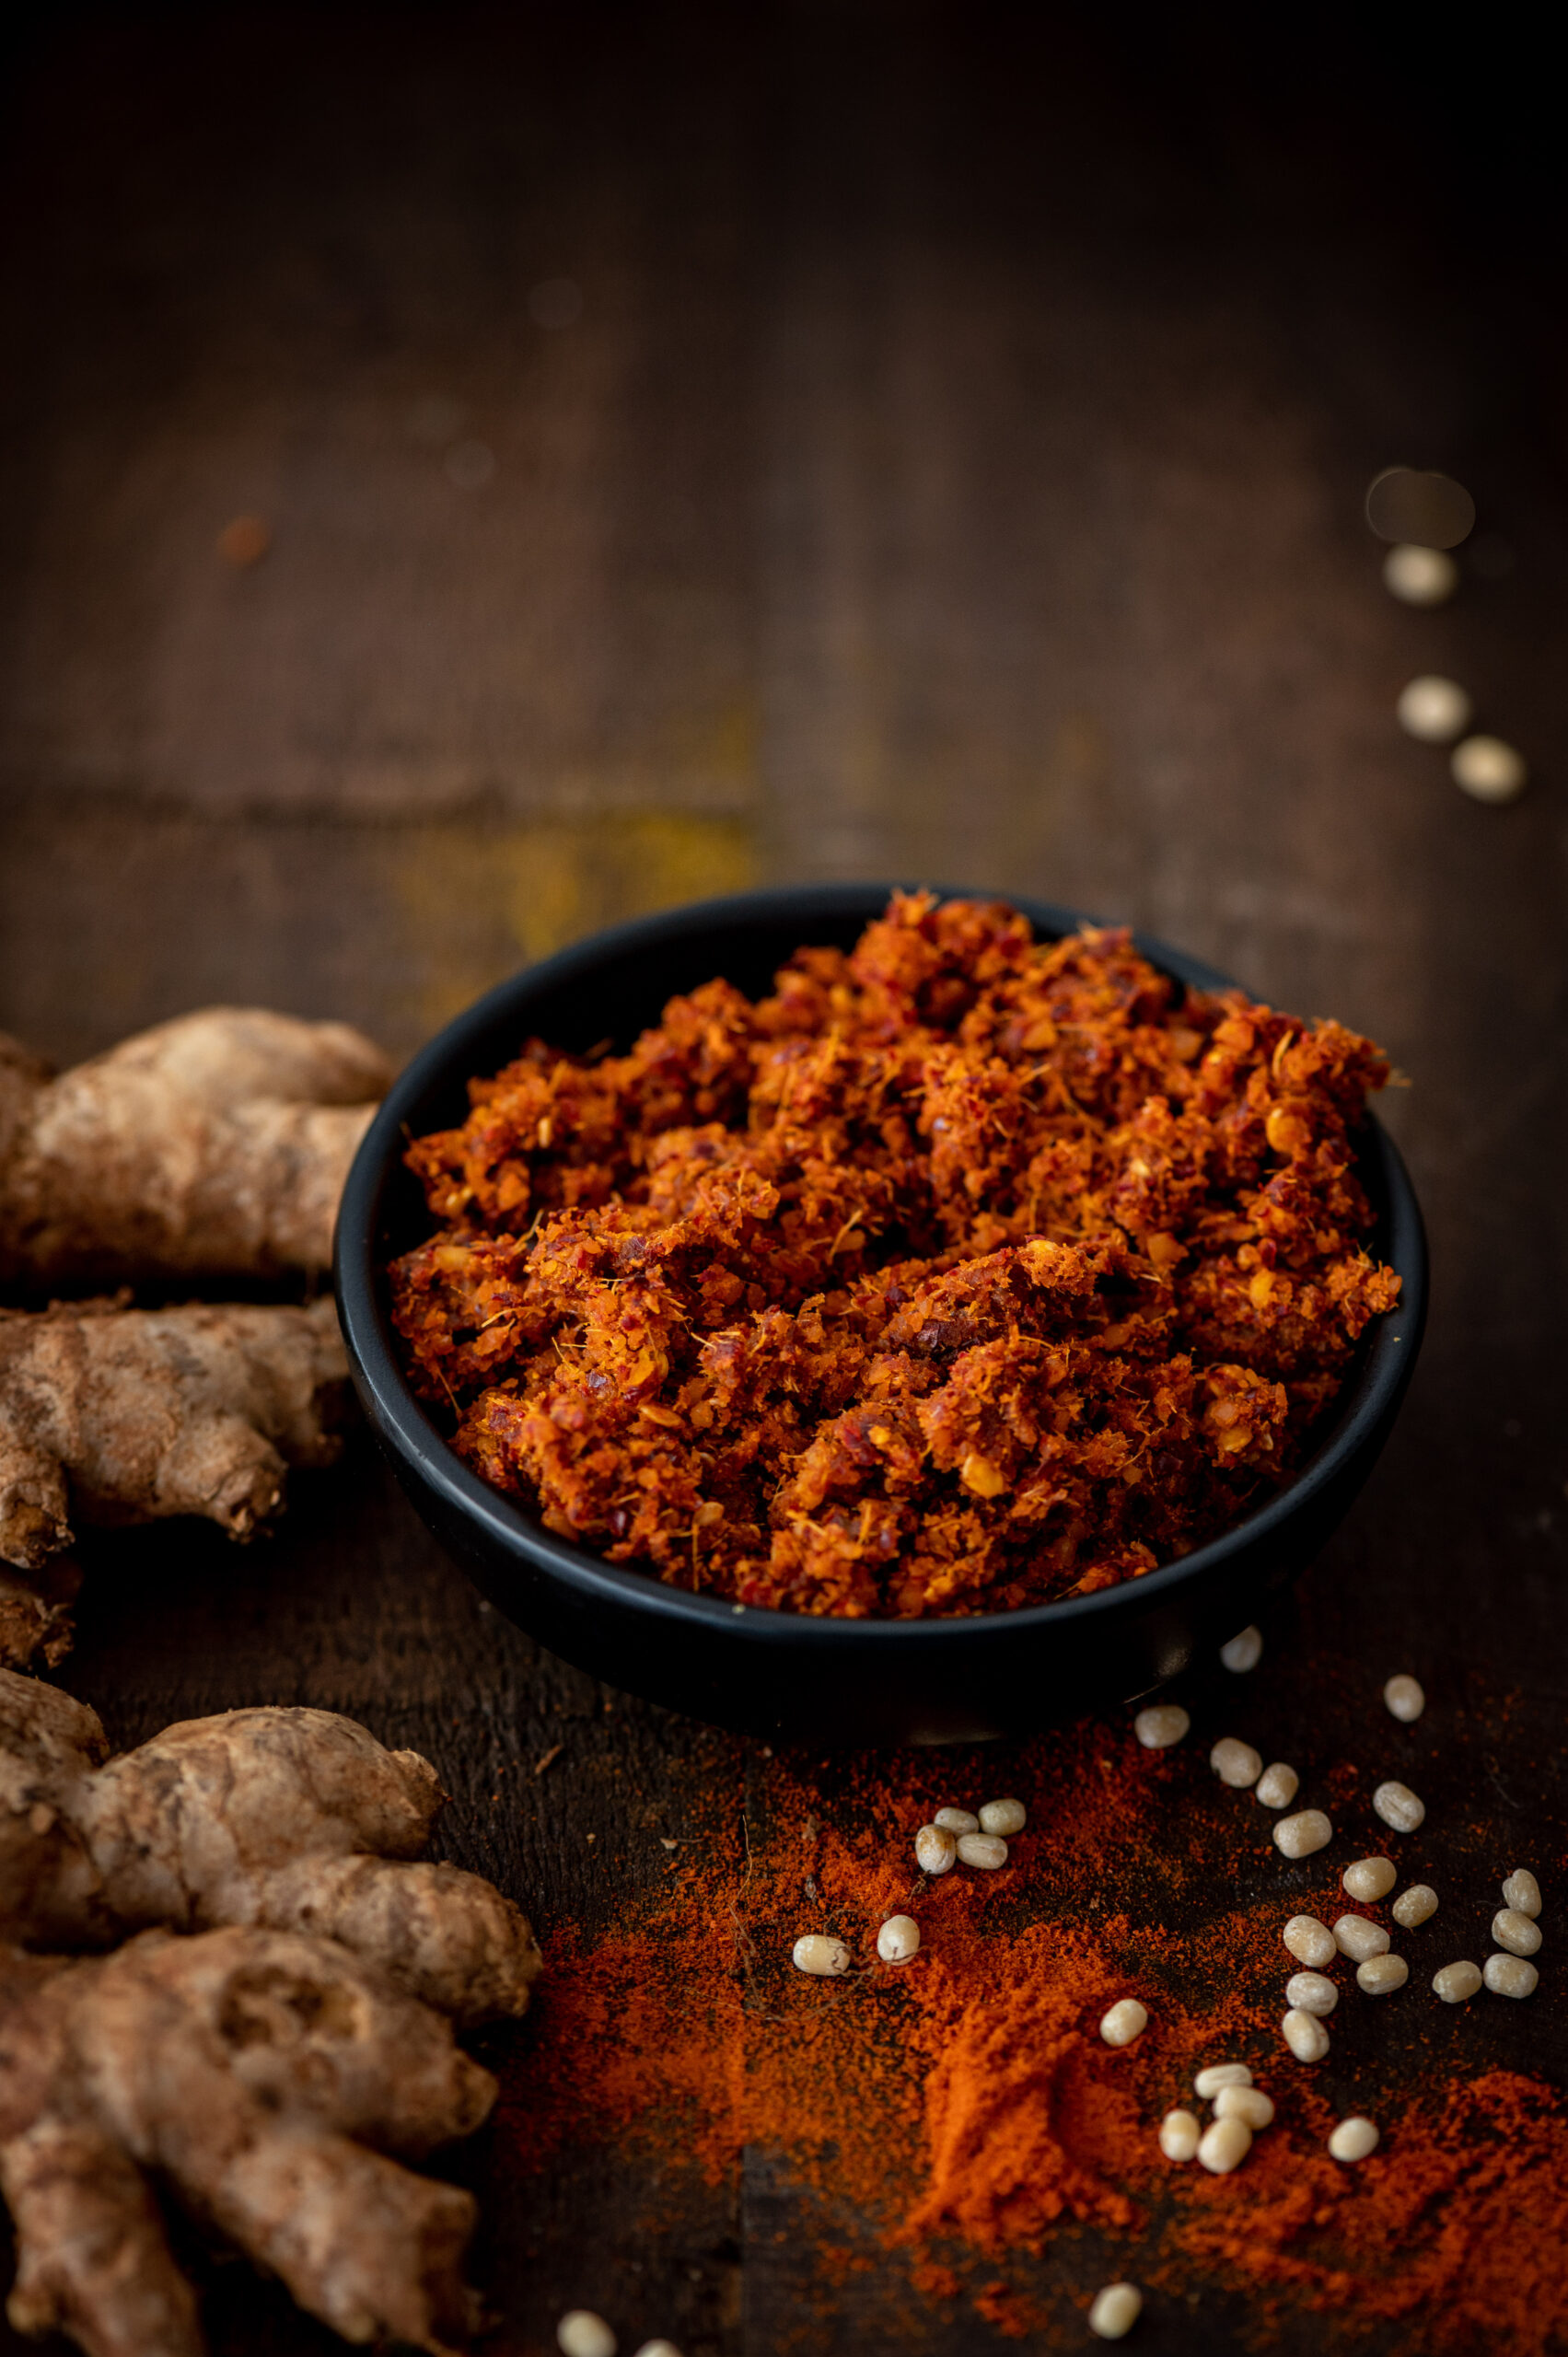
And so – I learnt this from Hamsa and I am now teaching it to you. It’s a brilliant ginger chutney made in the Andhra style. My version is drier than Hamsa’s, and I make it this way so that it lasts longer. It has a perfect combination of flavours – sweet jaggery, spicy red chilli and piquantly aromatic ginger, the last one being a particular favourite of mine. It’s so Indian, yet so doable in any part of the world, consisting of simple ingredients and a quick and easy process. In case you cannot source jaggery, try brown sugar or coconut sugar as a substitute. This ginger chutney lifts up the flavours of my Buddha bowls, my dhoklas, my dosas… it adds such a sumptuous taste to anything I pair it with.
Ginger Chutney
(Yield: 1 cup)
2 small cups washed, finely cut ginger
1 small (lime-sized) ball tamarind
8 dry red Kashmiri chillies
2 tablespoons urad dal
Salt to taste
2 teaspoons cumin seeds
2 tablespoons jaggery powder
2 tablespoons sesame oil
Add the oil to a pan. Dry roast all the ingredients – except the jaggery – until they all turn golden, on a medium flame. Finally, add the jaggery.
Allow to cool. Blend well together without adding any water. You can store this in the refrigerator for 10-15 days. As a dry chutney, it is inherently more long-lasting.
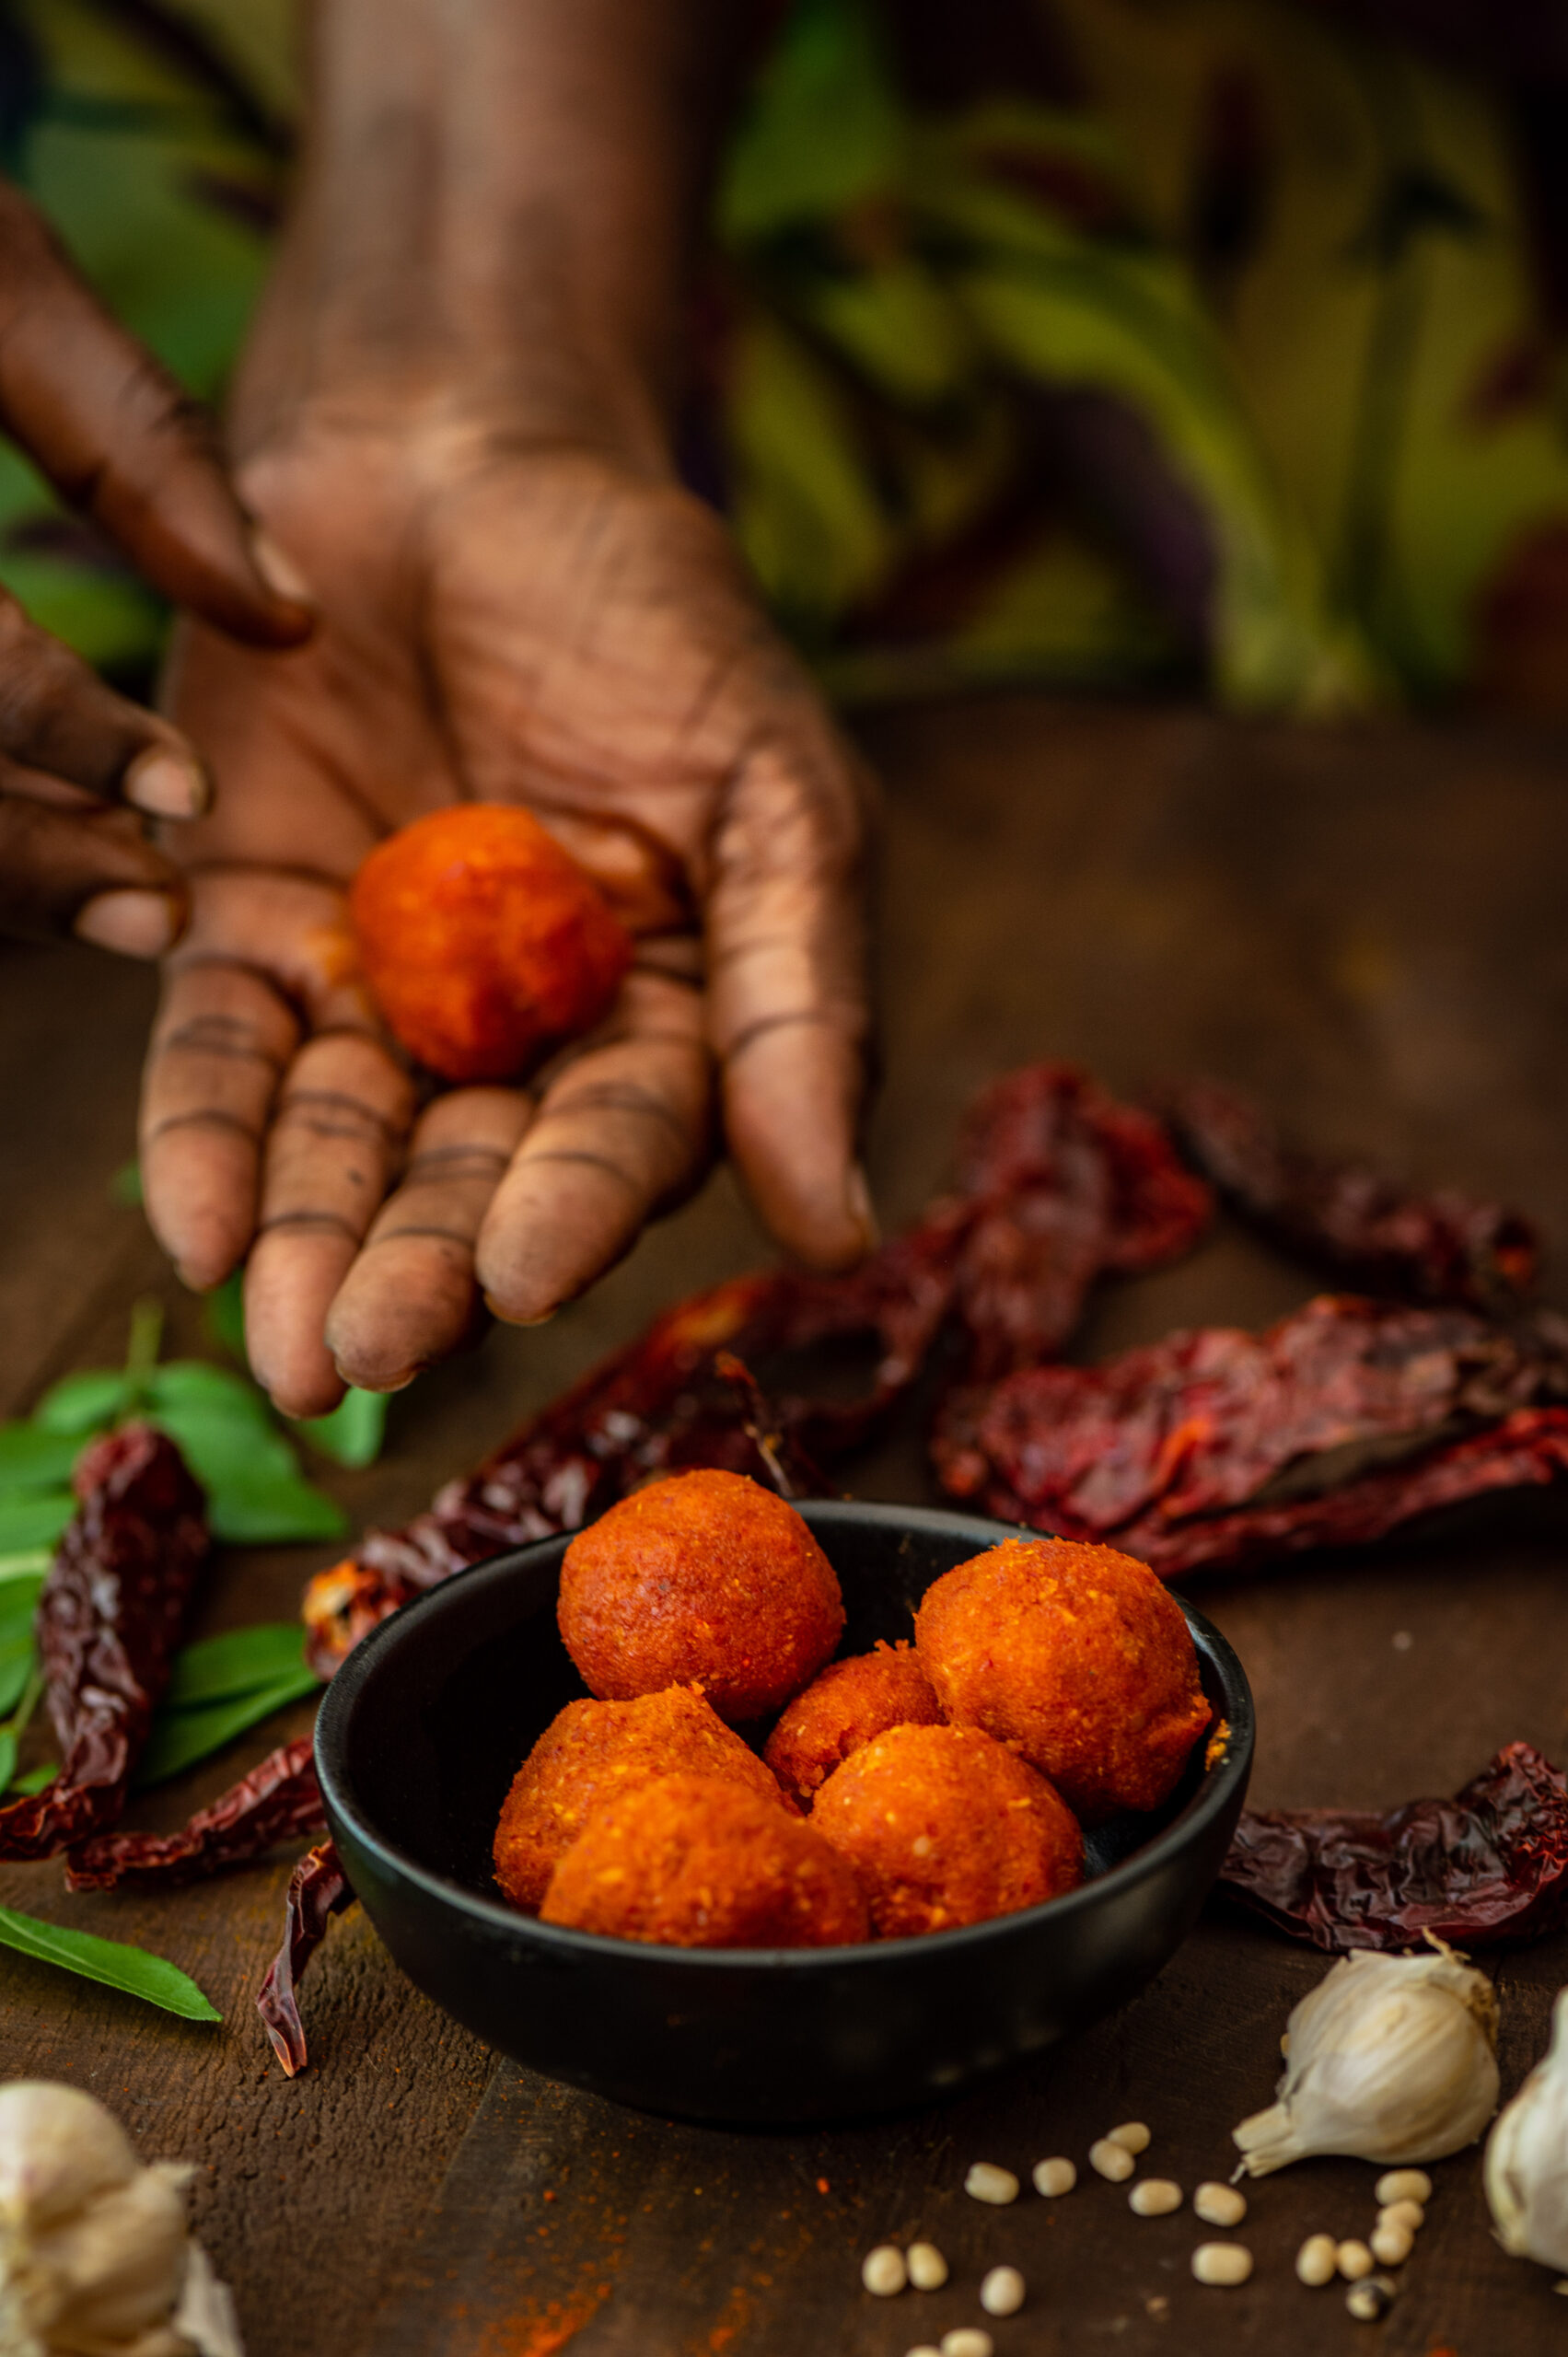
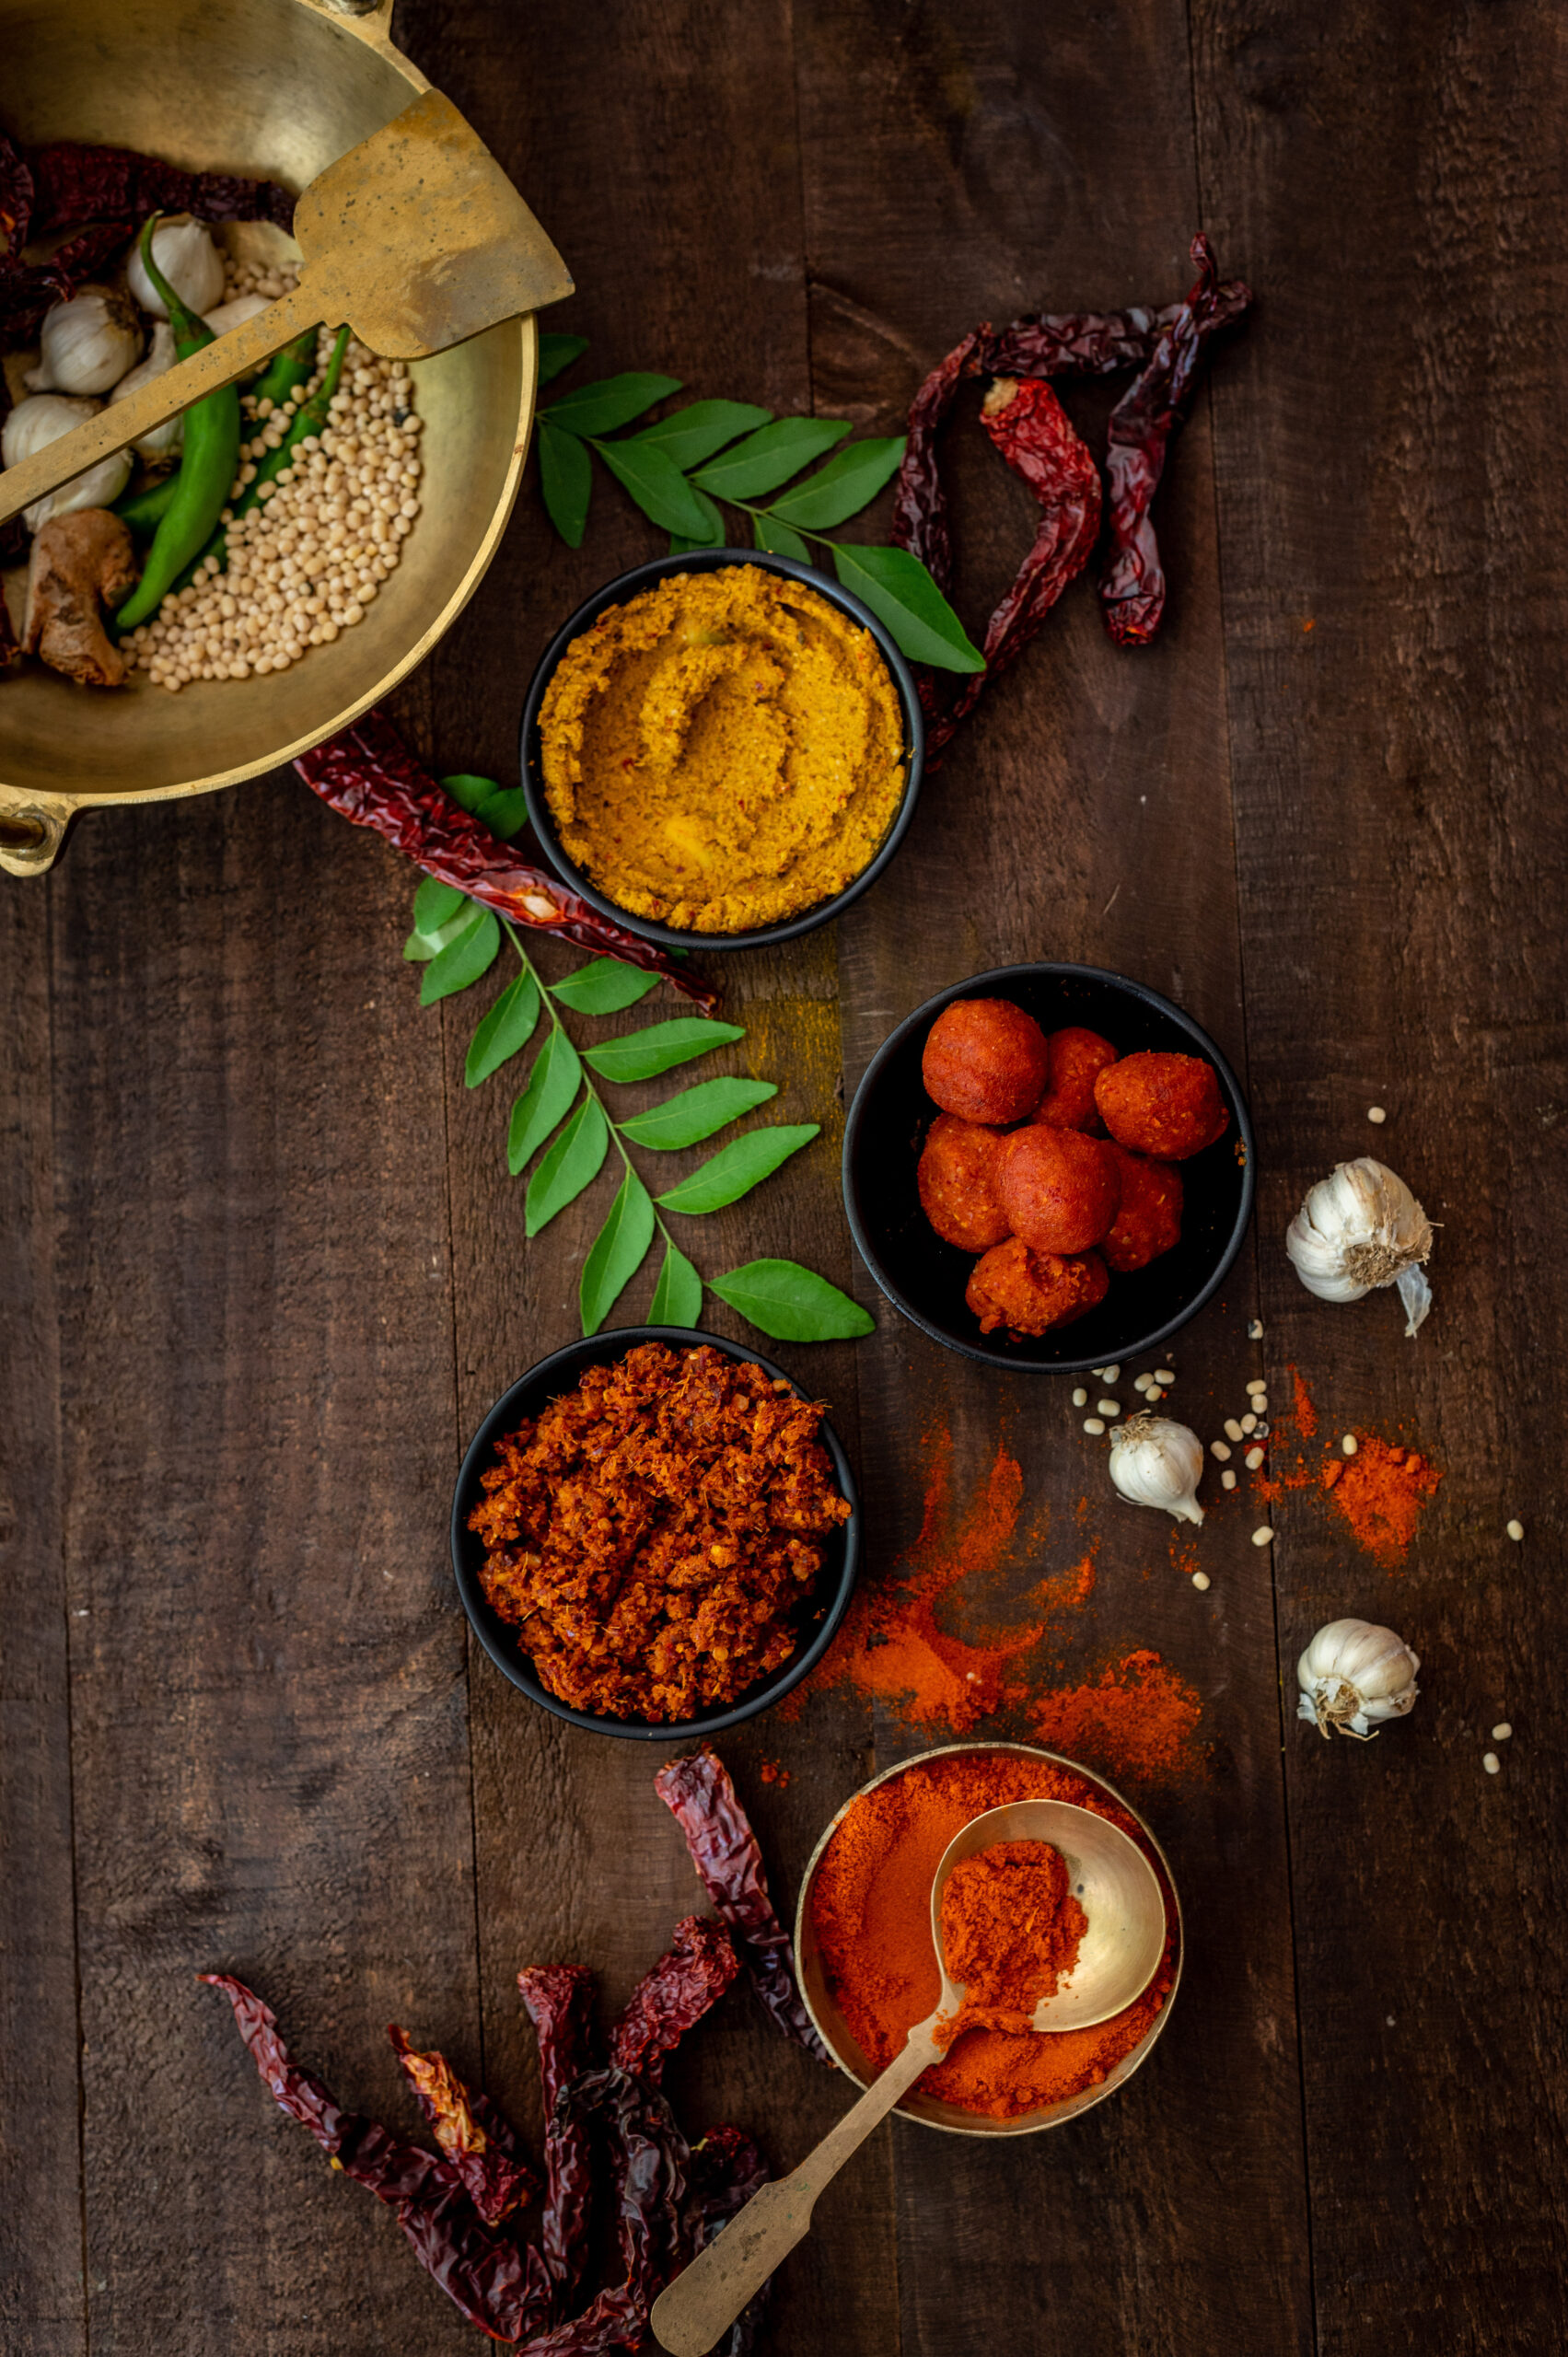
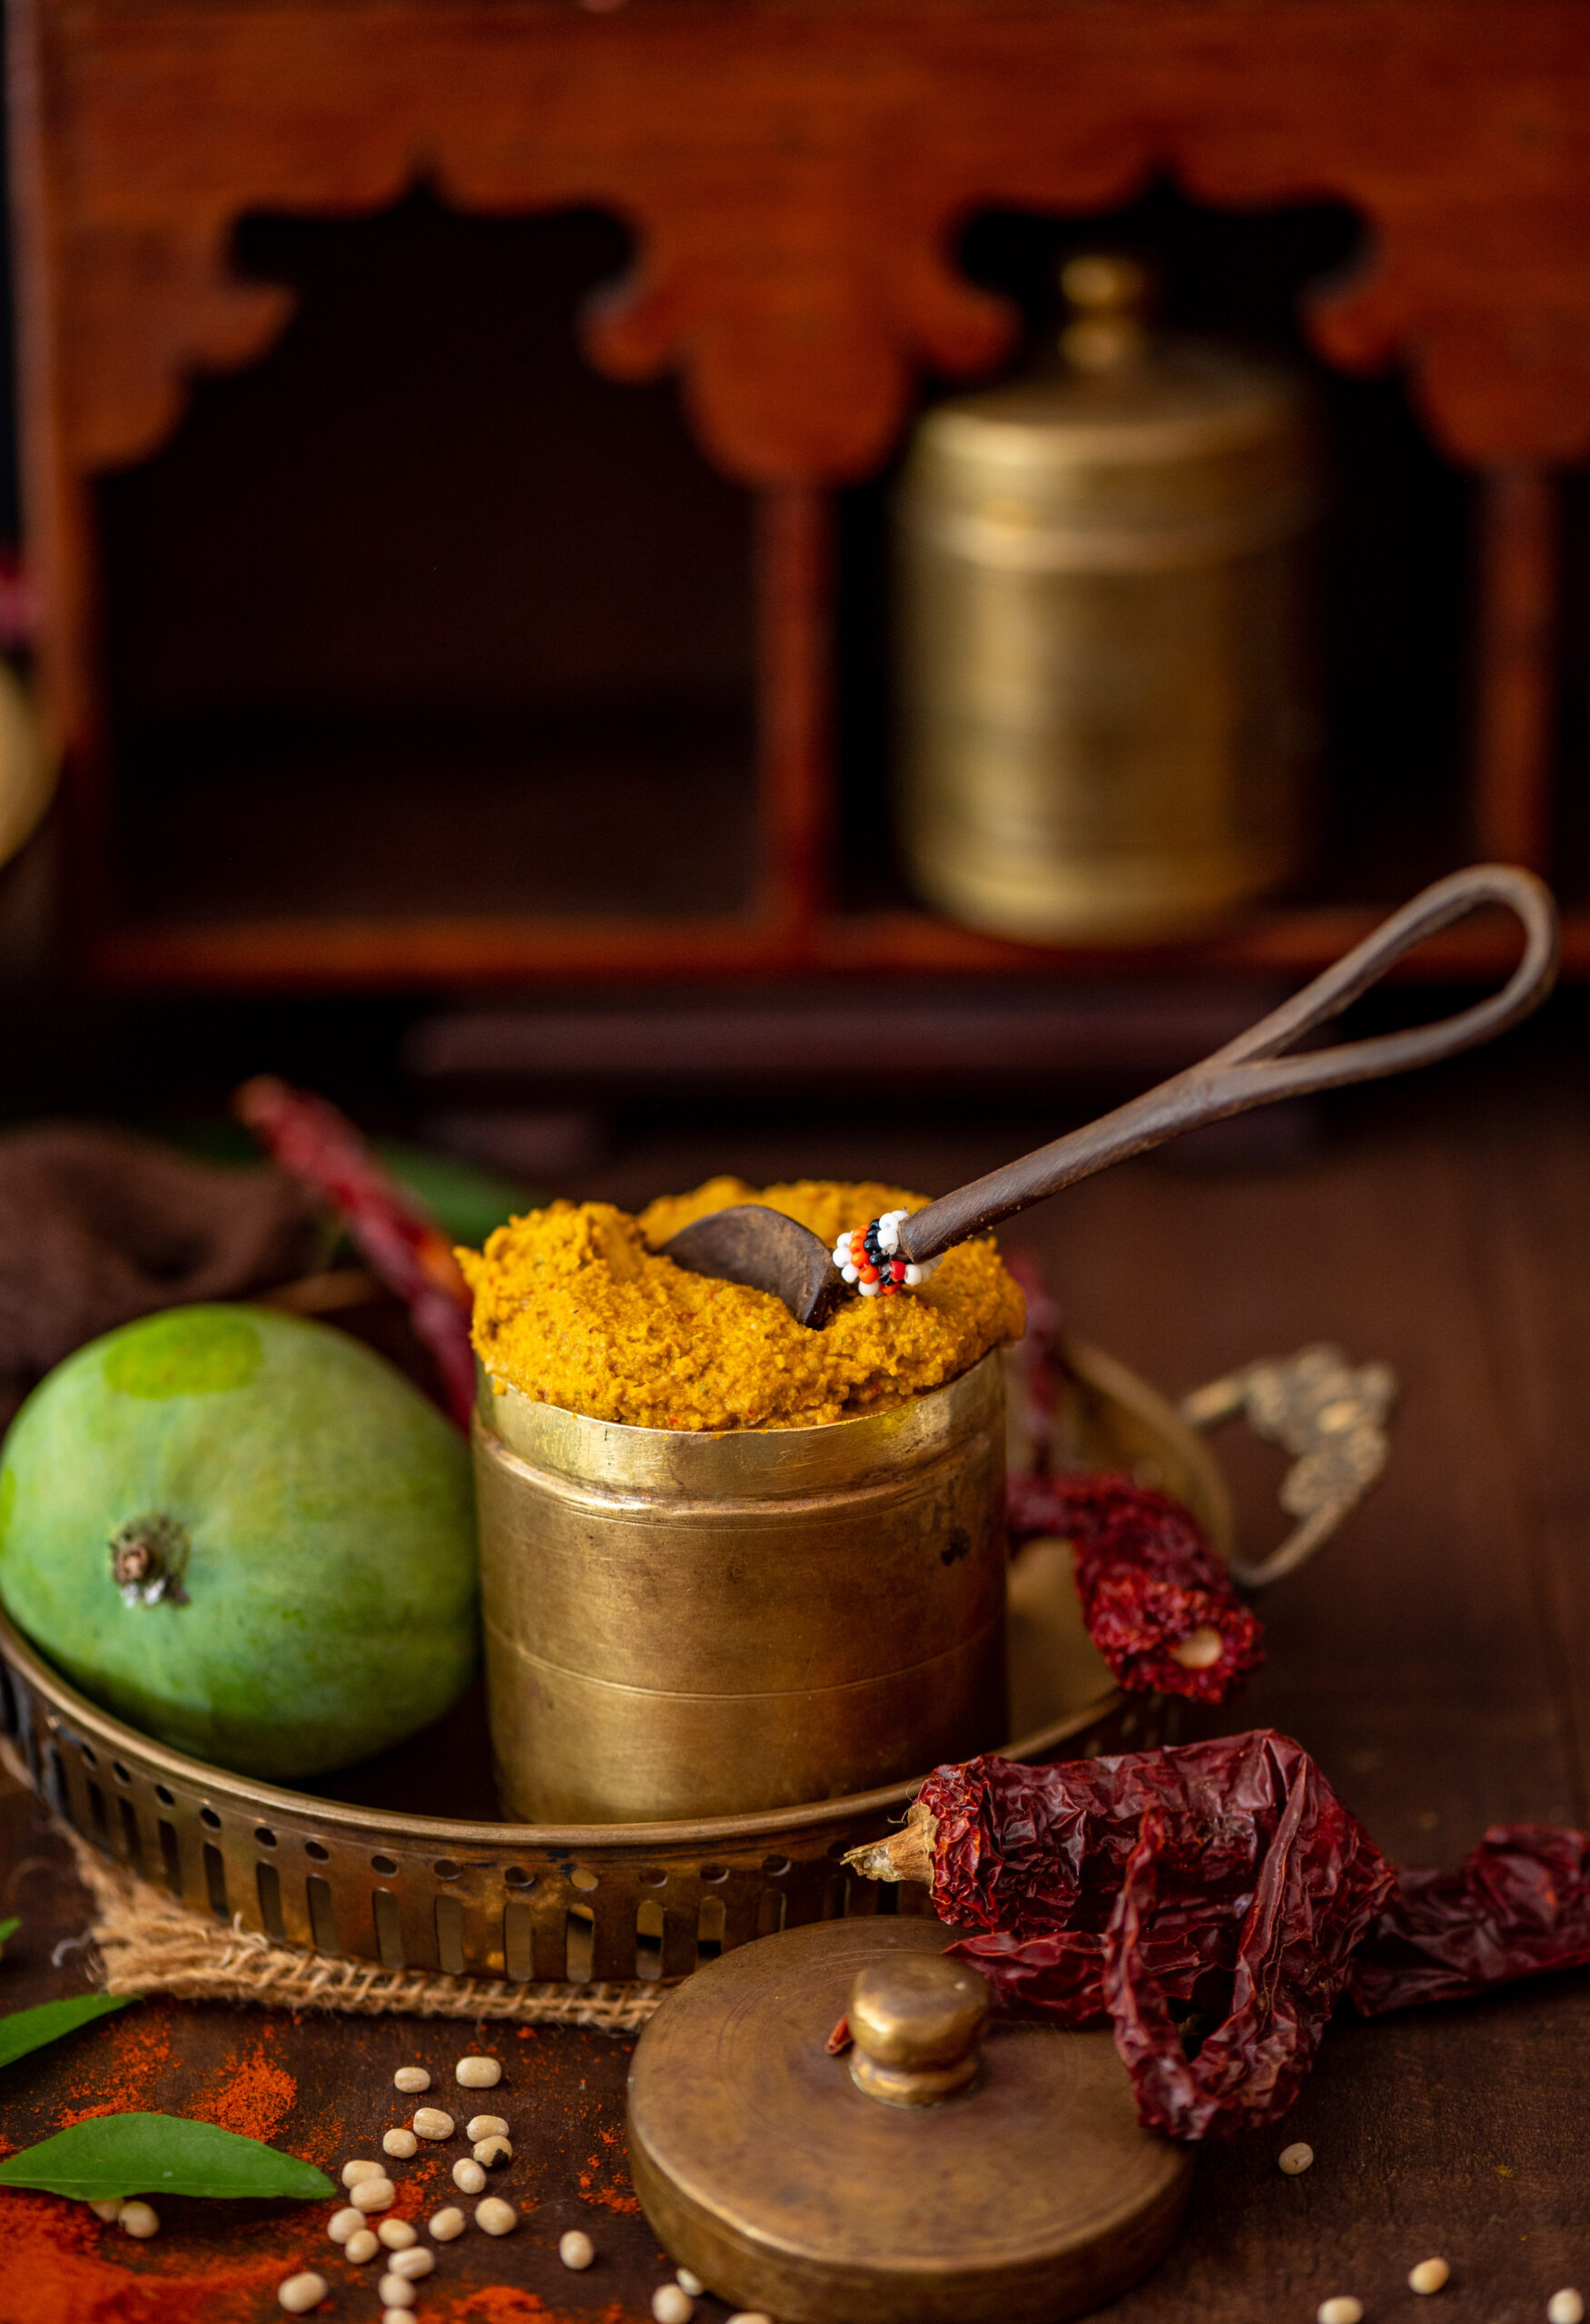
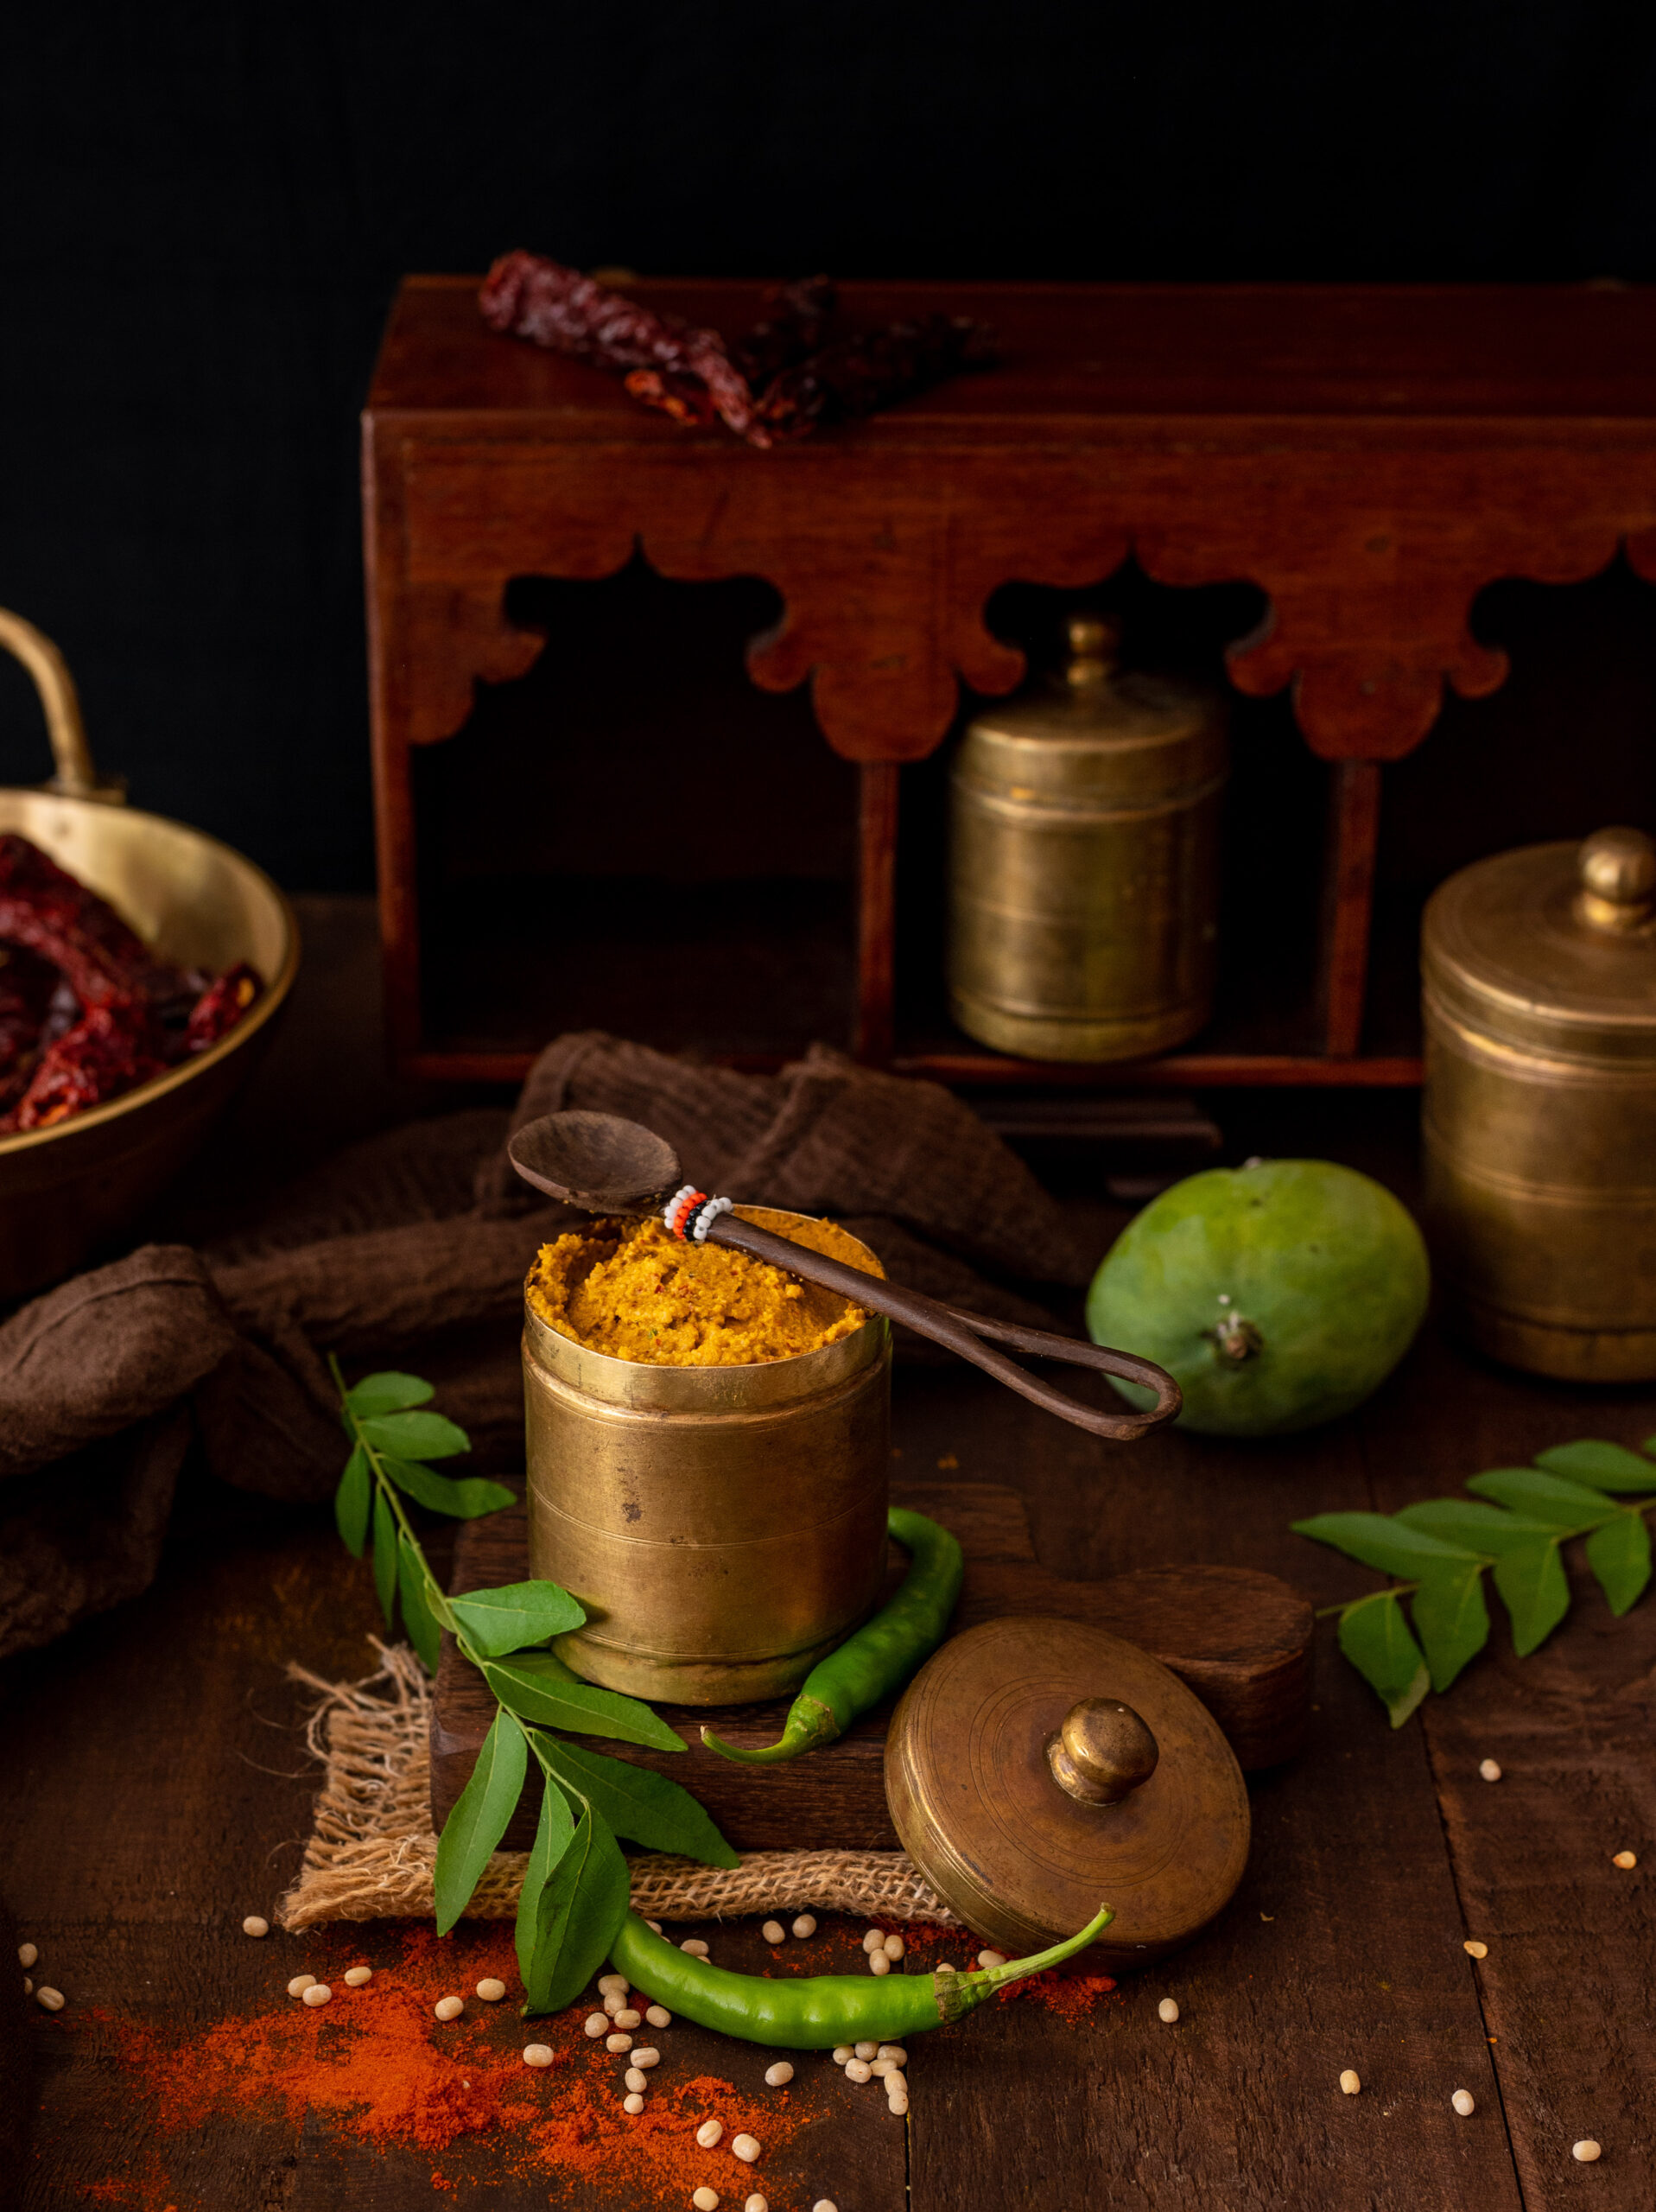
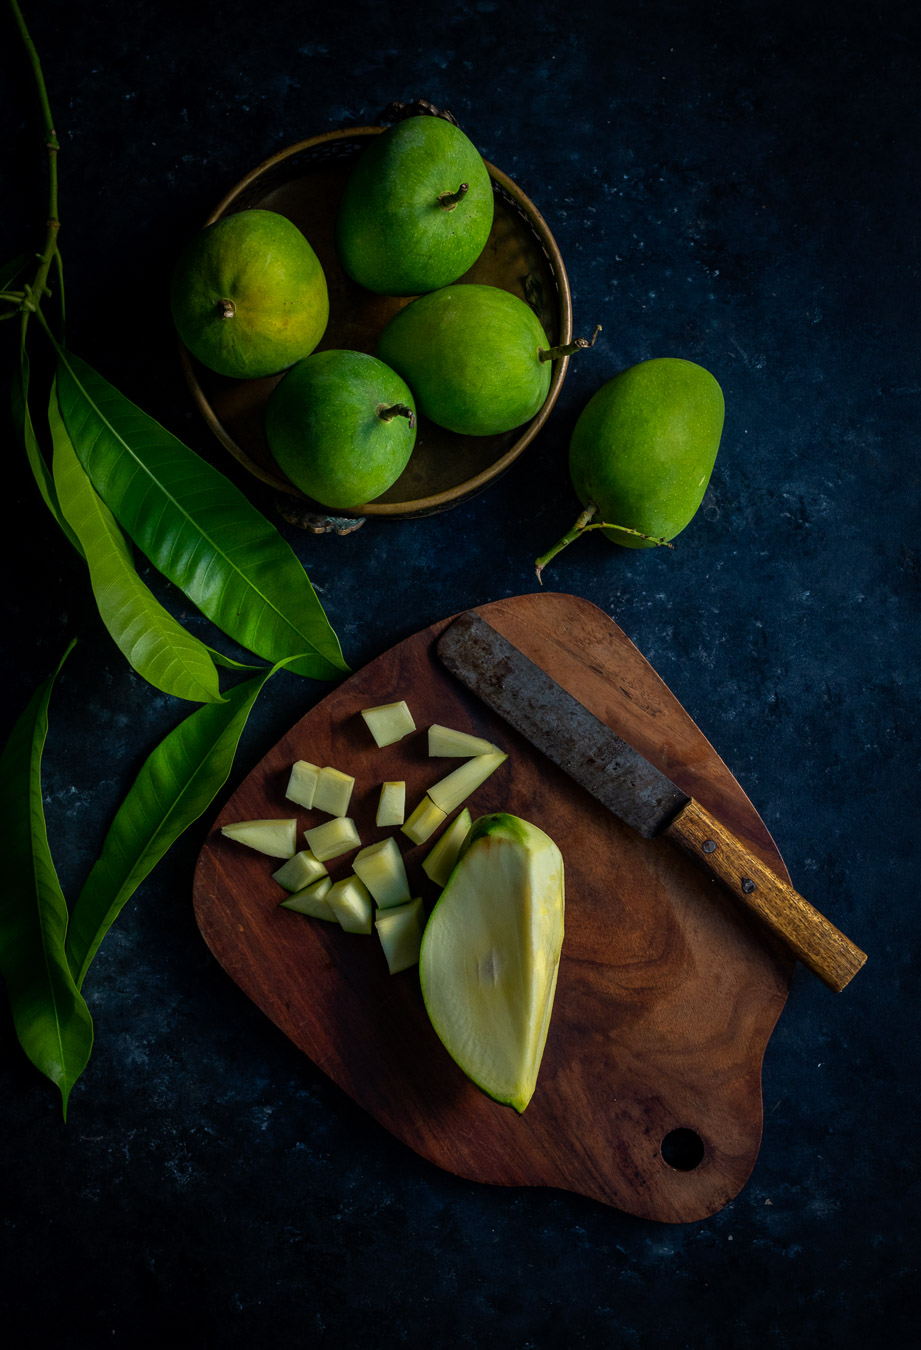
I’d love to know how you’ve been pairing the various dips I’ve been sharing. The previous two in this Indian condiments series were the Tamil-style raw mango thovayal and the Gujarati-style dry garlic chutney. In the past, I’ve also shared several fusion and Indian dips and condiments, all of which can be used creatively, and I hope you’ll be curious about exploring those too. Here they are: curry leaf and green chilli hummus, plum chutney, wood-apple chutney, coriander chutney and date chutney. Enjoy!
")