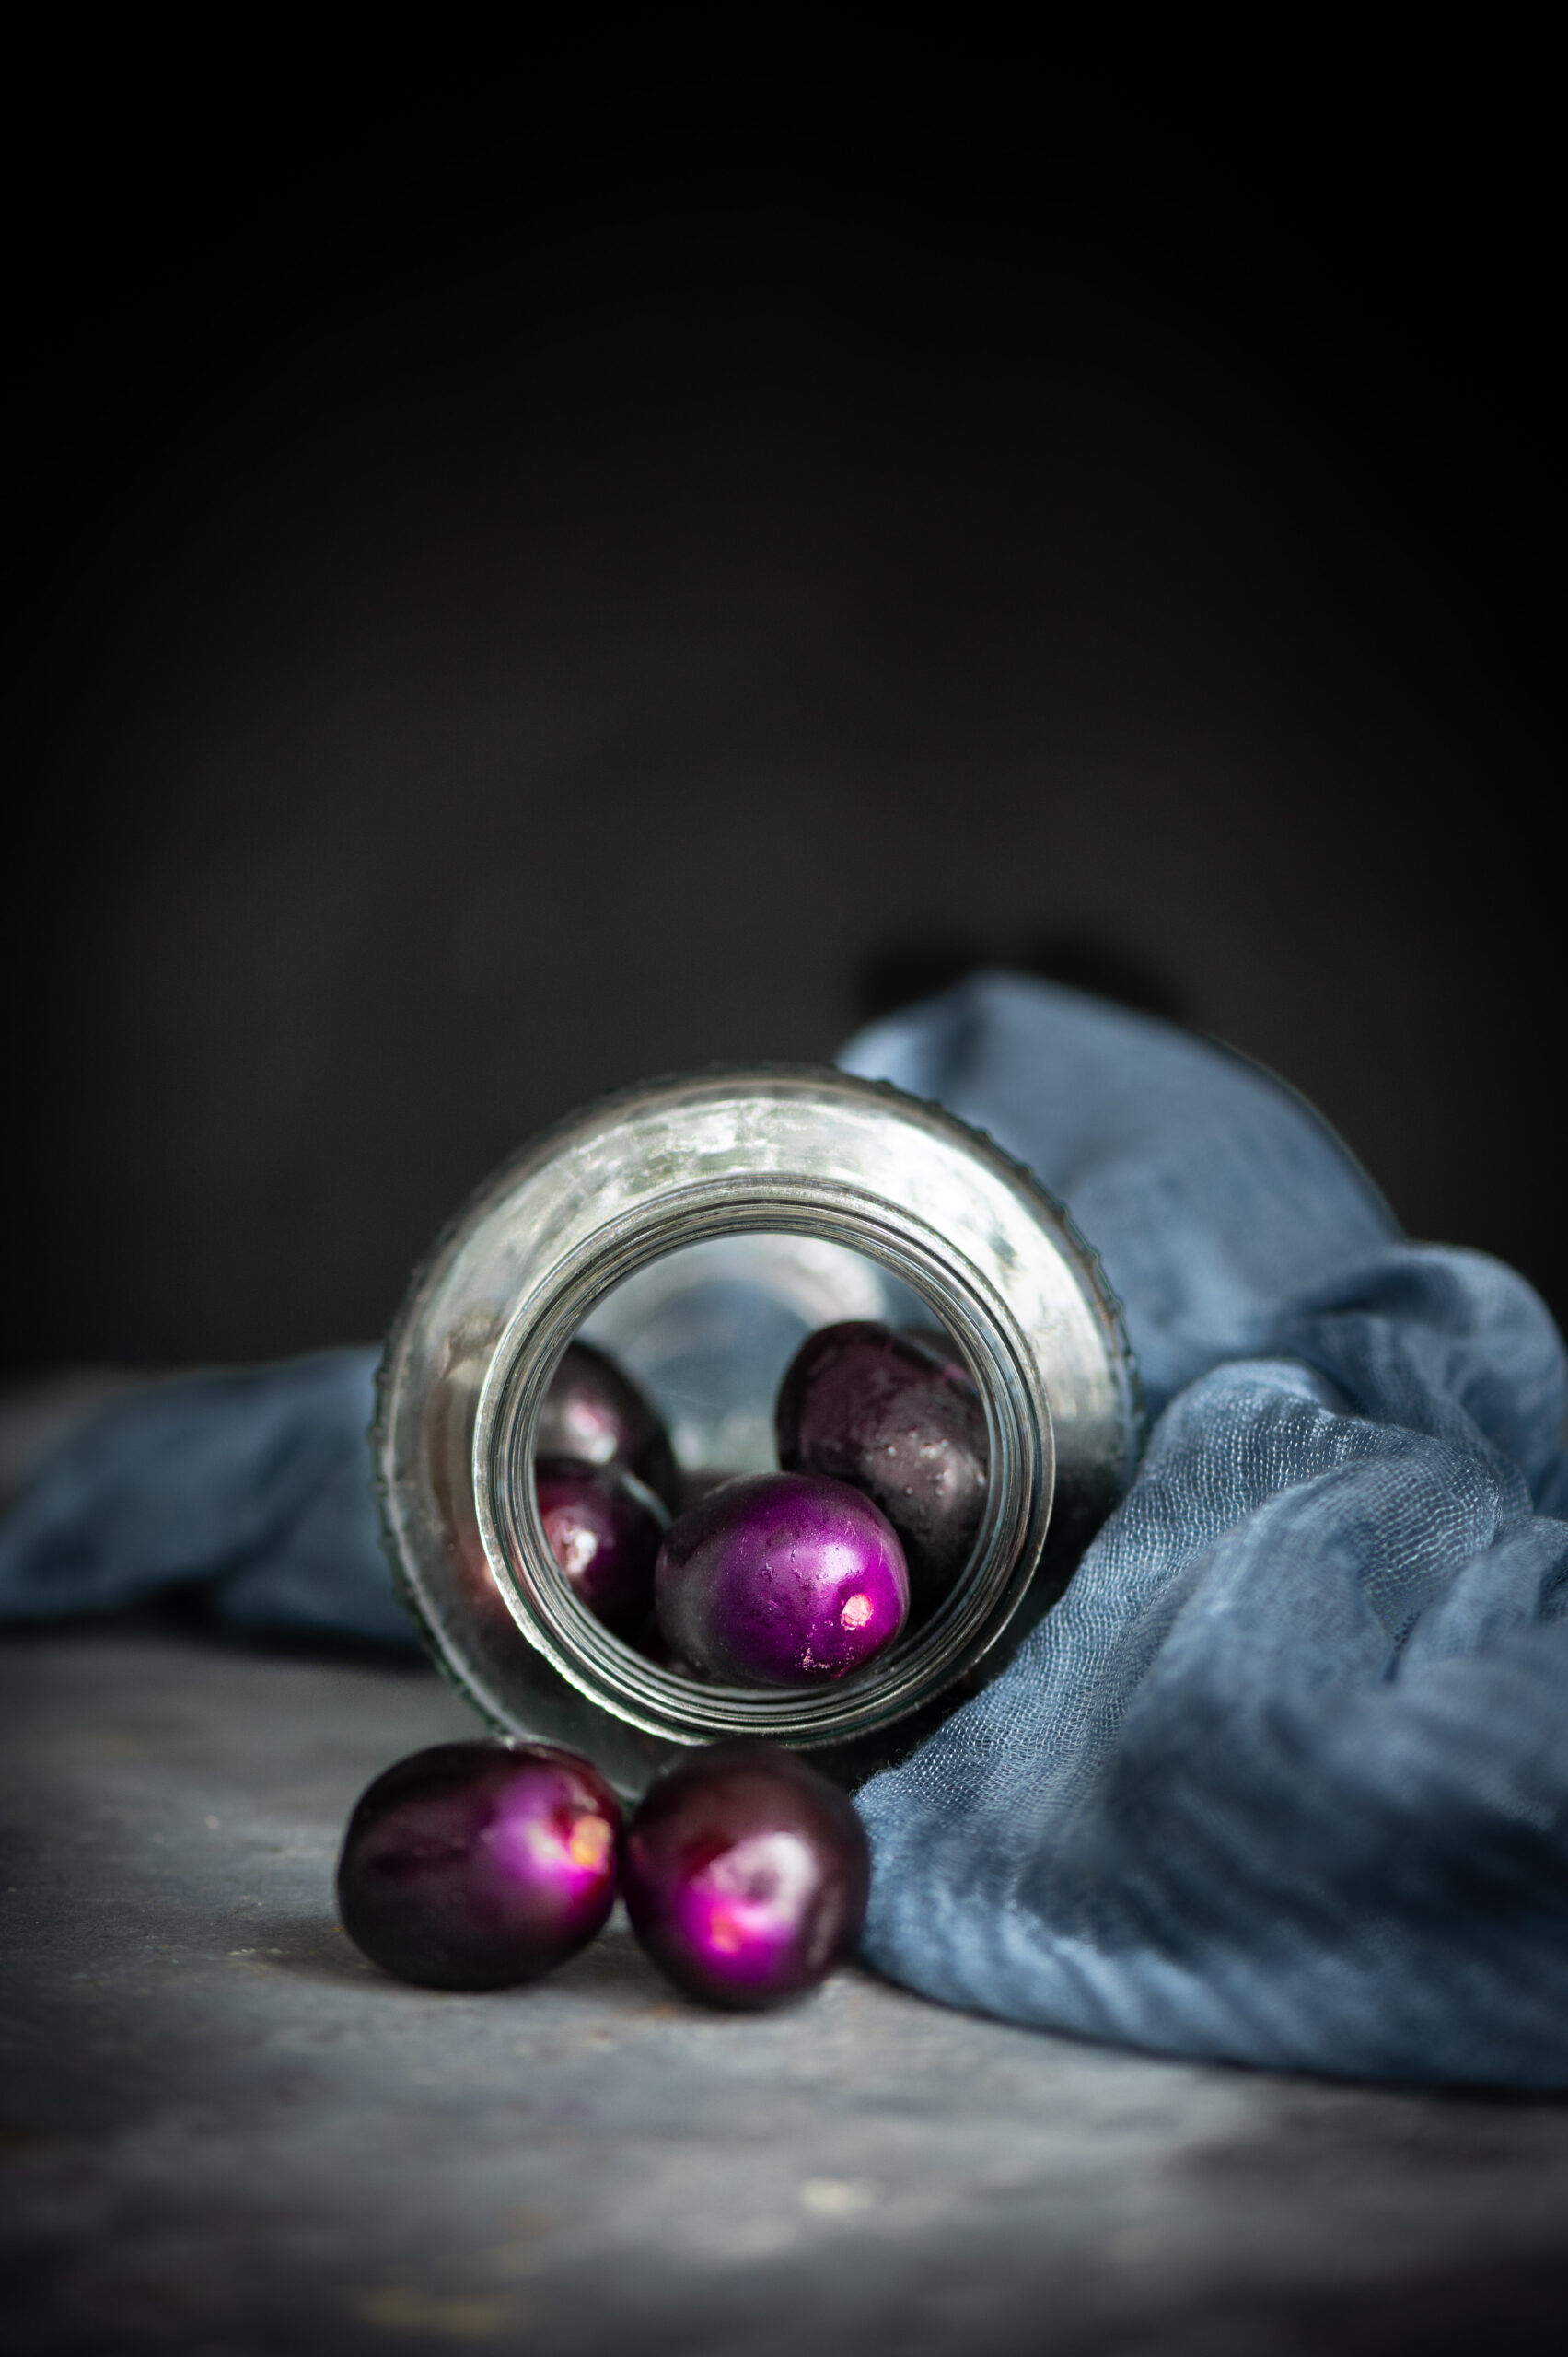
I have been seeing these gorgeous lilac drinks being made and beautifully captured by food bloggers abroad this summer, and have been so enamoured by their vivid colour and the extremely pretty flowers. I admired them, a little wistful that lilacs do not grow here, only to quickly realise that we too have a glorious abundance of plants and blooms. In the tropics, and especially here in India, we have just as much colour, flavour, texture and taste – if not more? – to captivate our senses. I have written in the past about my love for manoranjitha, oosi malli, shenbagha and other native flowers, some of which have faded from memory and many of which I’ve been trying to grow both on our farm and at home. These musings led me to remember the perfect local equivalent to lilacs, the plant (and specifically, the fruit rather than the flower) that could let me create an eye-catchingly vibrant beverage as well: jamun.
Also known as Java plum and Indian blackberry, jamun is indigenous to this region. The fruit is prized for a range of health benefits. These include: reducing blood sugar levels, improving cardiac health and haemoglobin production, assisting the digestive and immune systems and regulating blood pressure. It has a cooling effect, and it’s wonderful that its season is at the cusp between the summer and the monsoon, when it can simultaneously beat the heat while building immunity for the upcoming rains. It has a unique umami-like taste, which people either like or don’t (similar to the love-it-or-loathe-it jackfruit, which also happens to be in season now).
Here in Chennai, we all grew up with jamun trees around us, that we ate from directly. They were literally in our own backyards and in the neighbourhood. We consumed only local fruits in those years – bananas, mangoes, jamun, jackfruit (and of course, if we were lucky to get away to the hills, the summer bounty of fruits and vegetables there, which I’ve talked about here). Even fruits like litchees that grew in North India didn’t make their way to our markets, and some of the produce that has since been cultivated in the hills (like strawberries) had not yet been introduced. Now, of course, the market is full of exotic imports. But when I see the exorbitant prices on a pack of foreign raspberries, for instance, I sometimes wonder why I’d reach out for it when the Indian blackberry and other local fruits are right here – accessible, nourishing and delicious?
On the subject of local plants, I’ve just redone my little garden and it has truly become a place of joy and solace for me. Full of lushness and greenery, it has a pleasant clime despite the heat. I love hanging out there, either by myself or with my family. We have had some beautiful, quiet dinners there, in that intimate and special space. At other times, I sit by myself and read a book as I sip on a nice beverage. If someone hollers for me and I’m nowhere to be found in my house, I am definitely in this sanctuary of mine. It was my birthday a few days ago, and it was where I was able to have both moments of contemplation as well as moments of celebration. With a glass of this fabulous jamun drink by my side, of course.
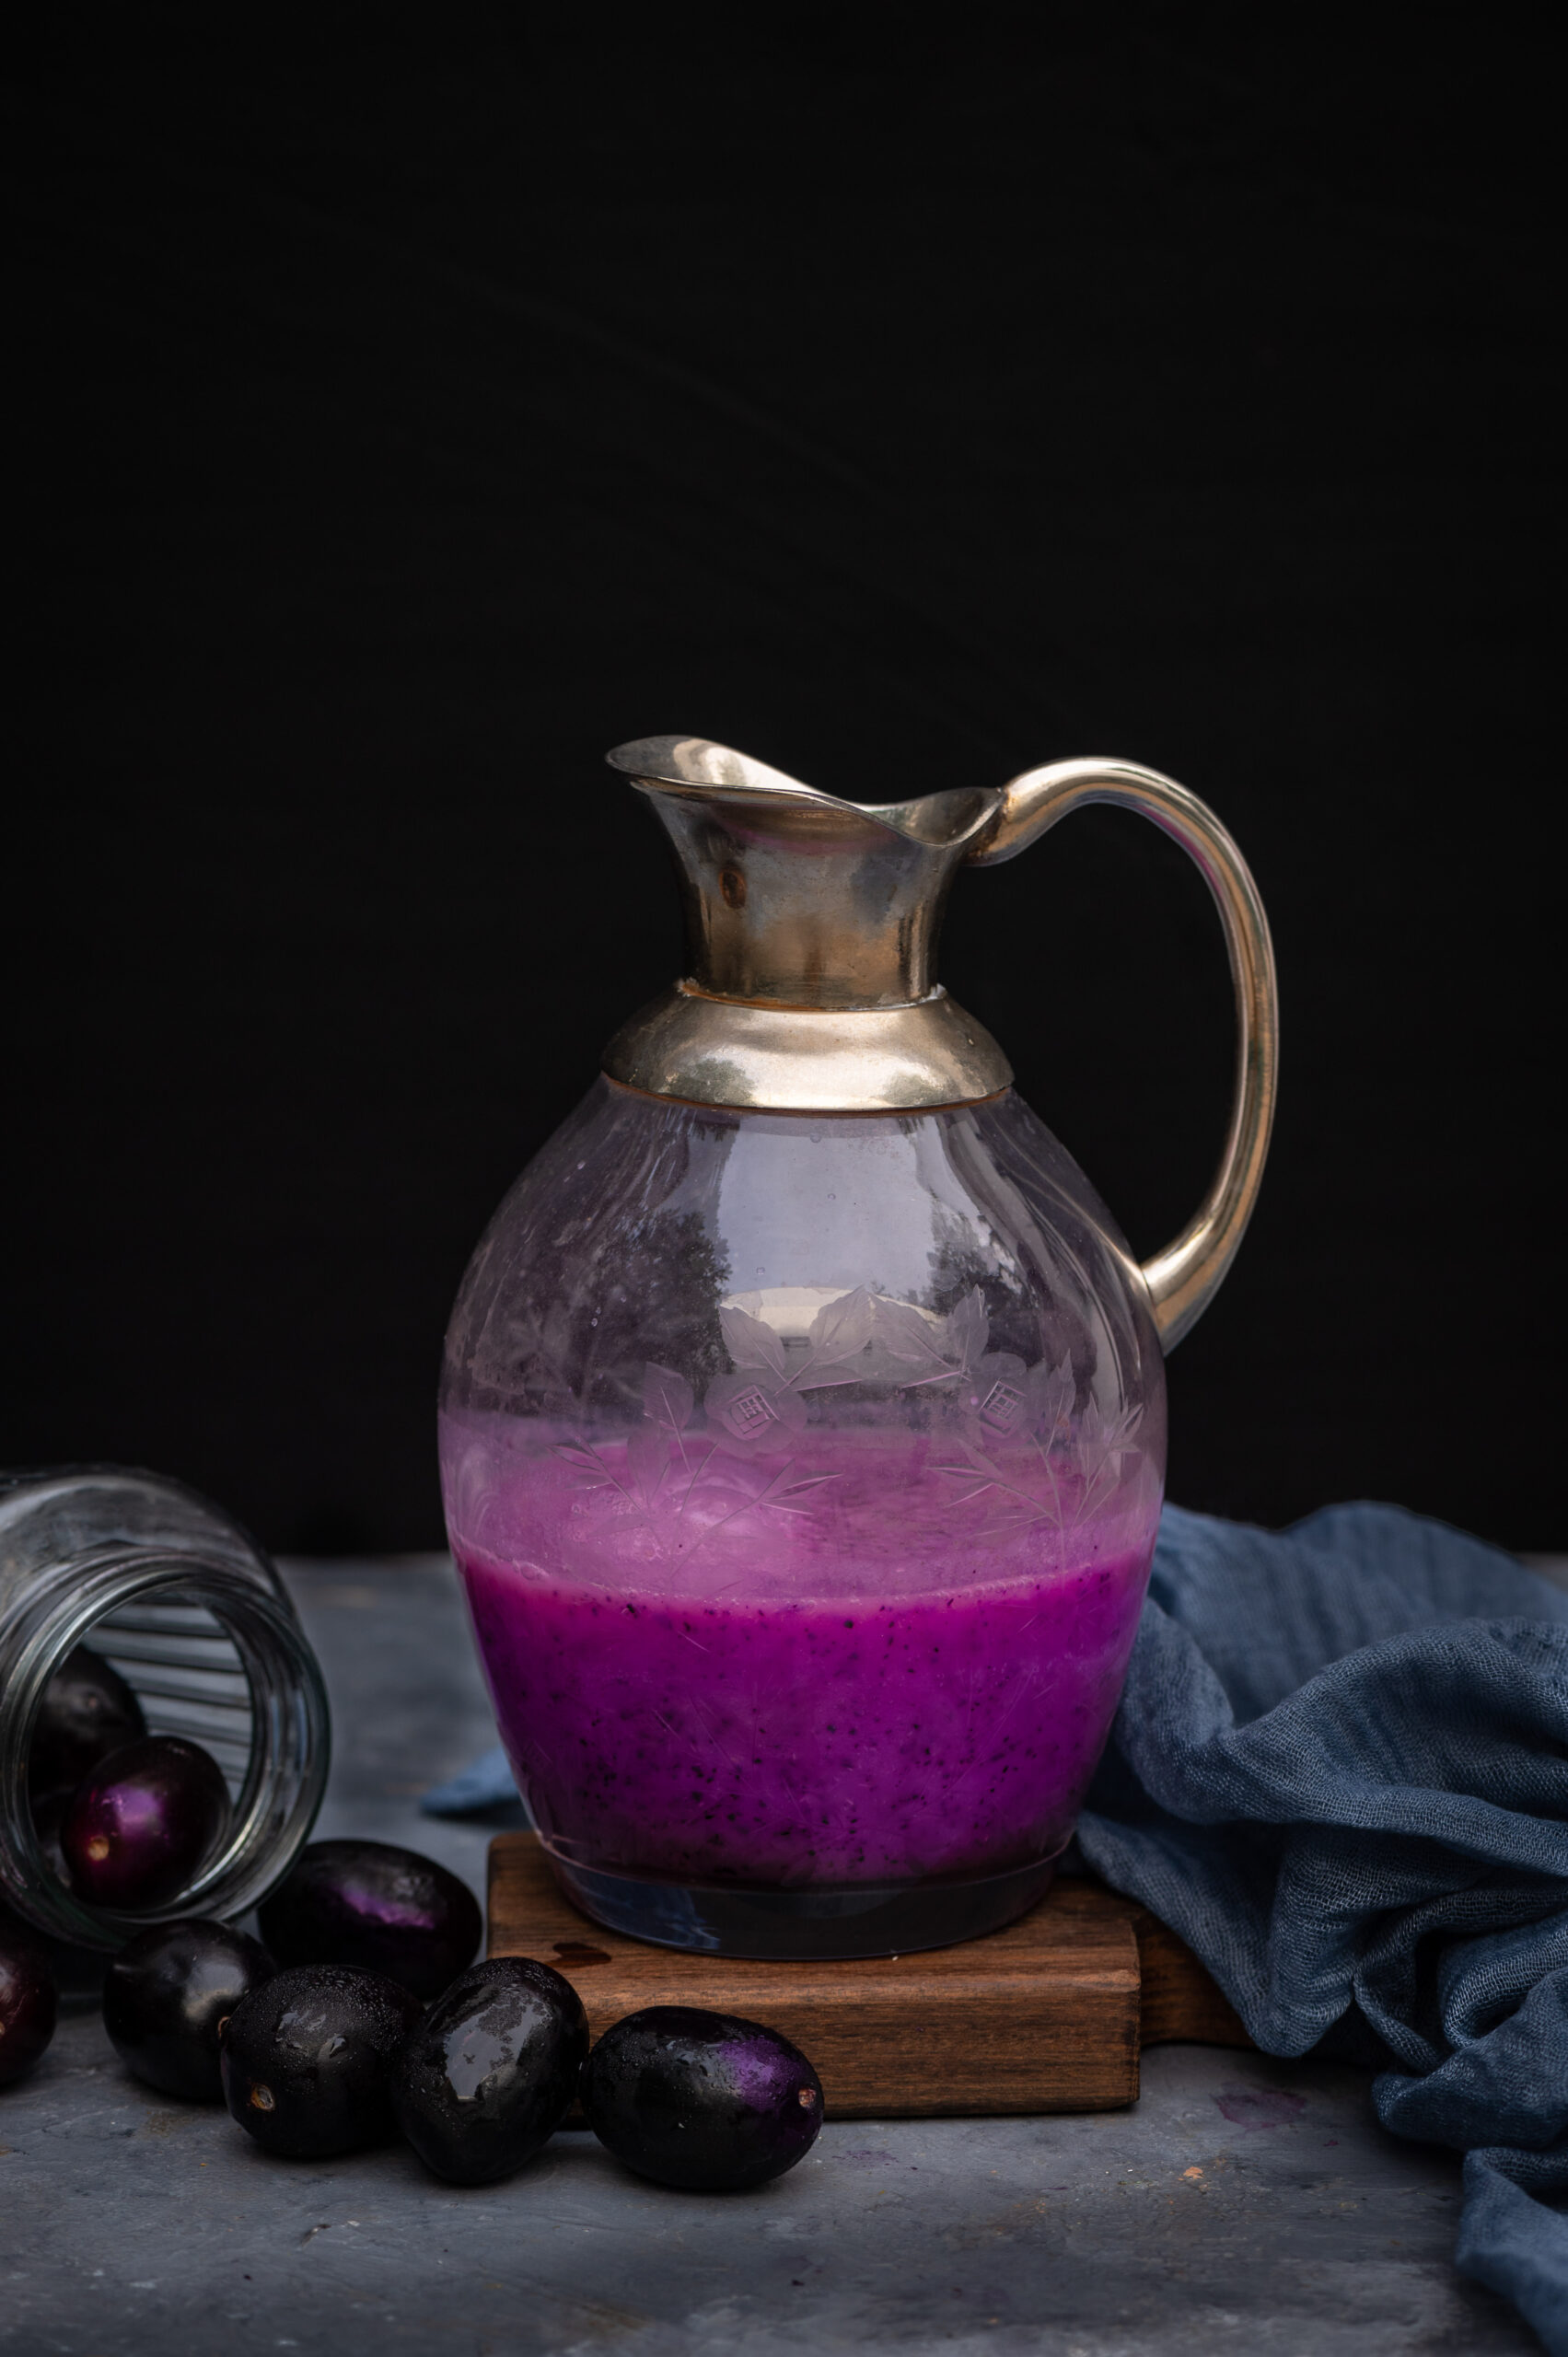
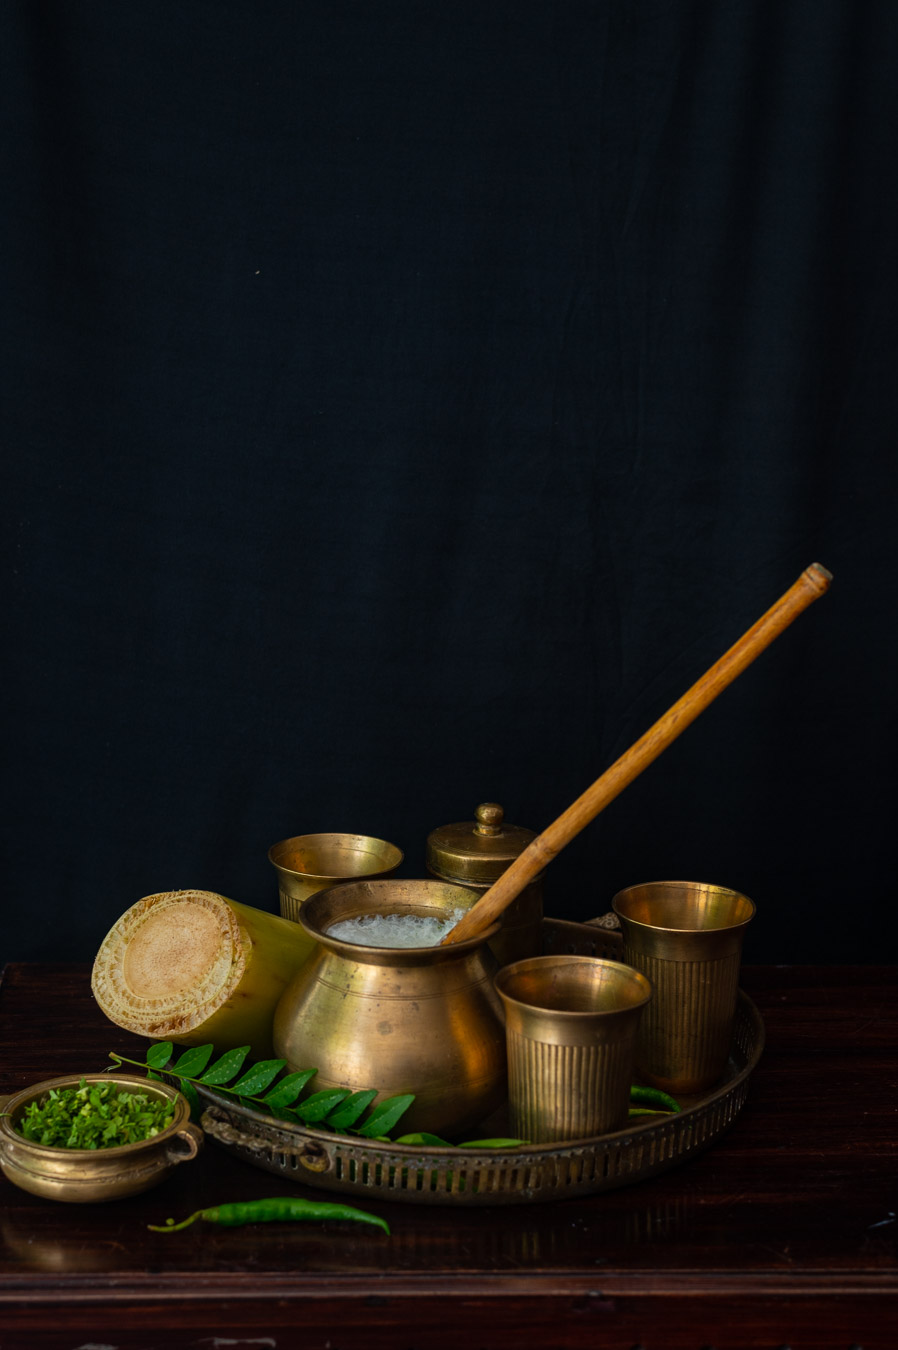
Jamun (Indian Blackberry) Drink
(Yield: approximately 4 glasses)
300 grams jamun
2-3 cups cold water
Black salt to taste
Sugar or jaggery (optional)
¼ teaspoon roasted cumin powder
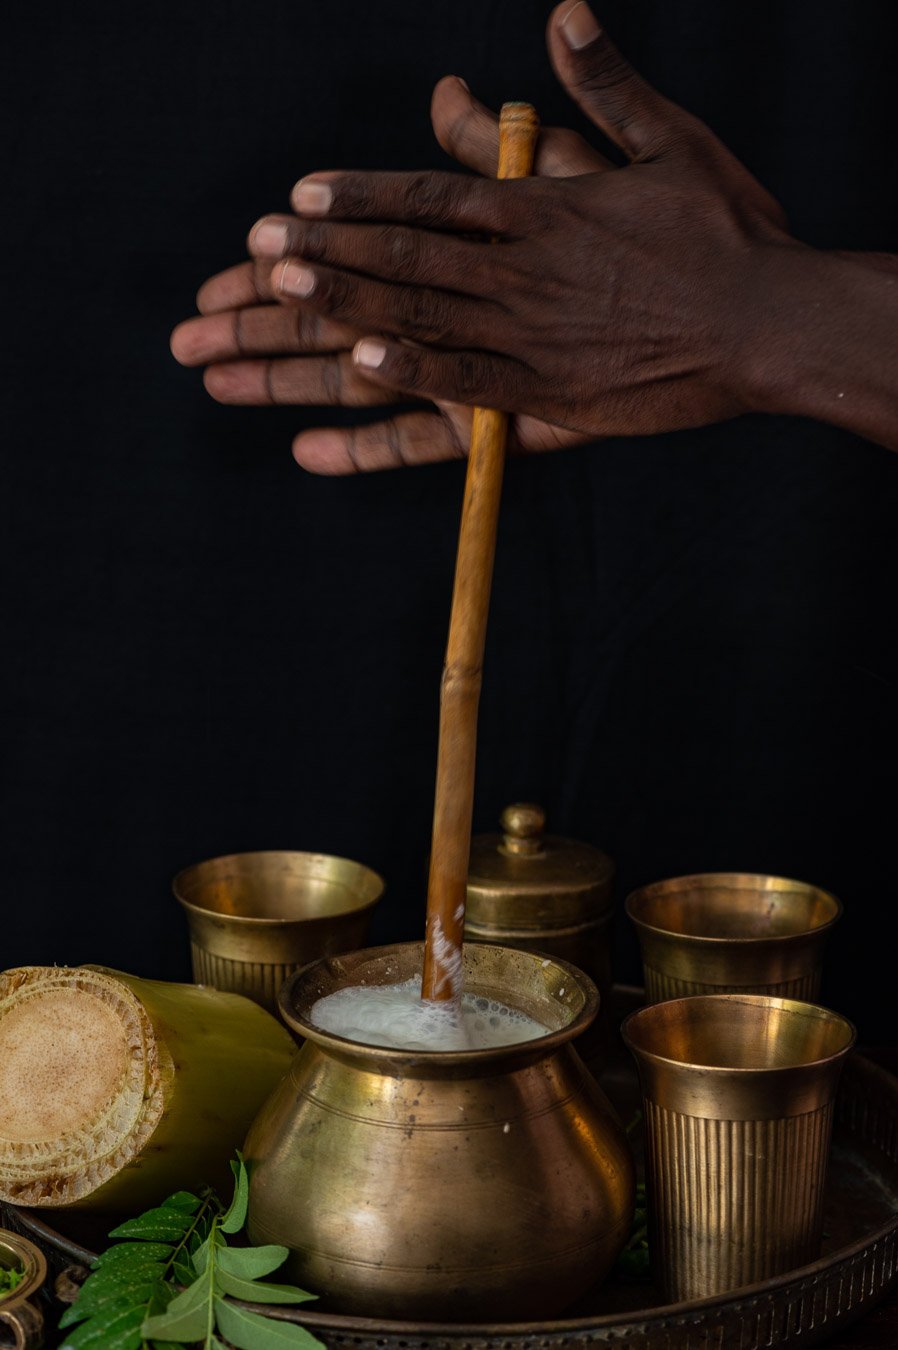
De-seed the berries and put them in a blender along with the salt, cold water and cumin powder. The amount of water you use depends on the consistency you prefer. Use a sweetener if you’d like to. Blend well.
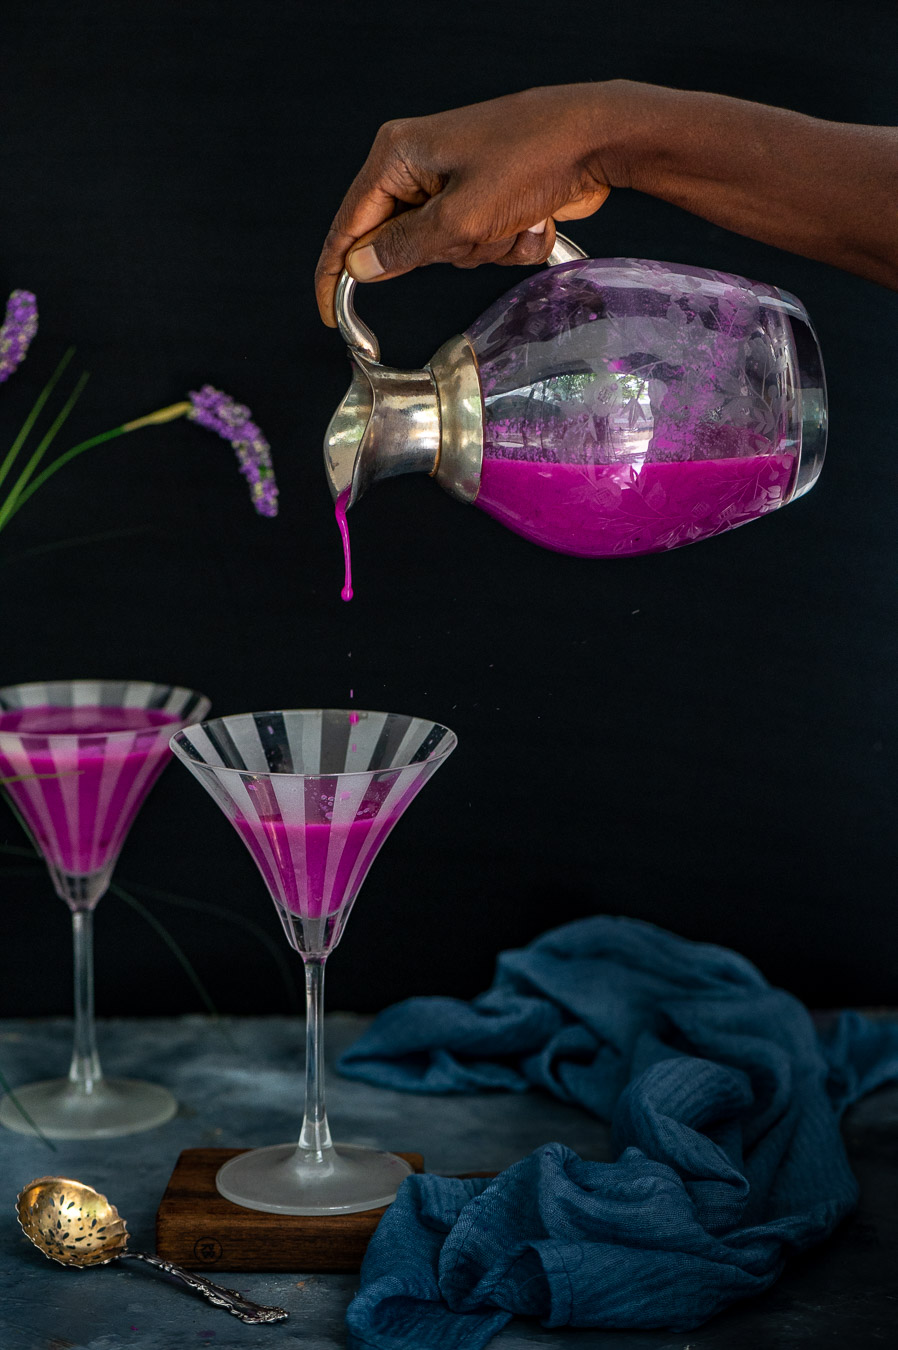
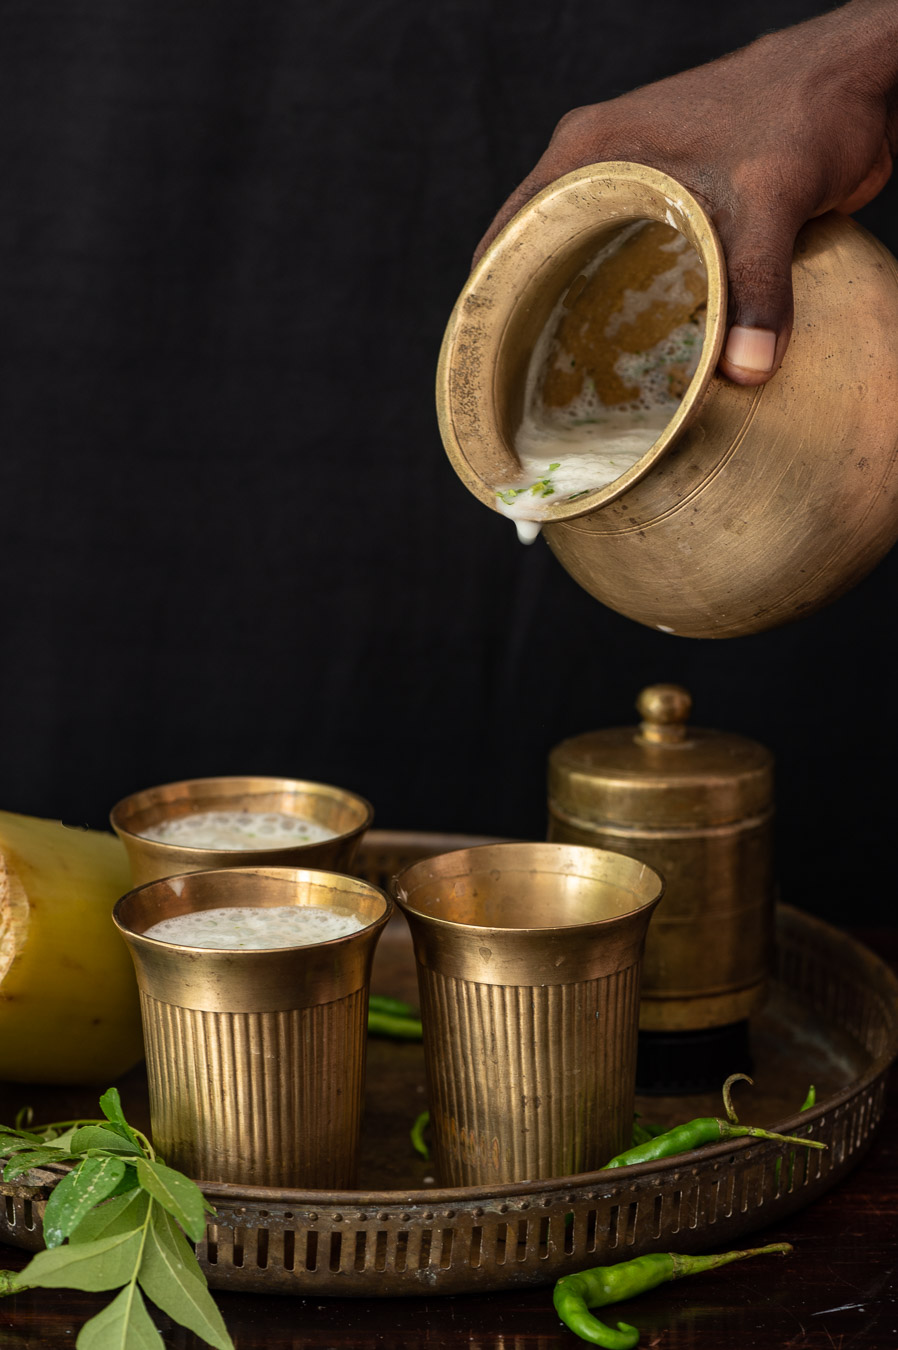
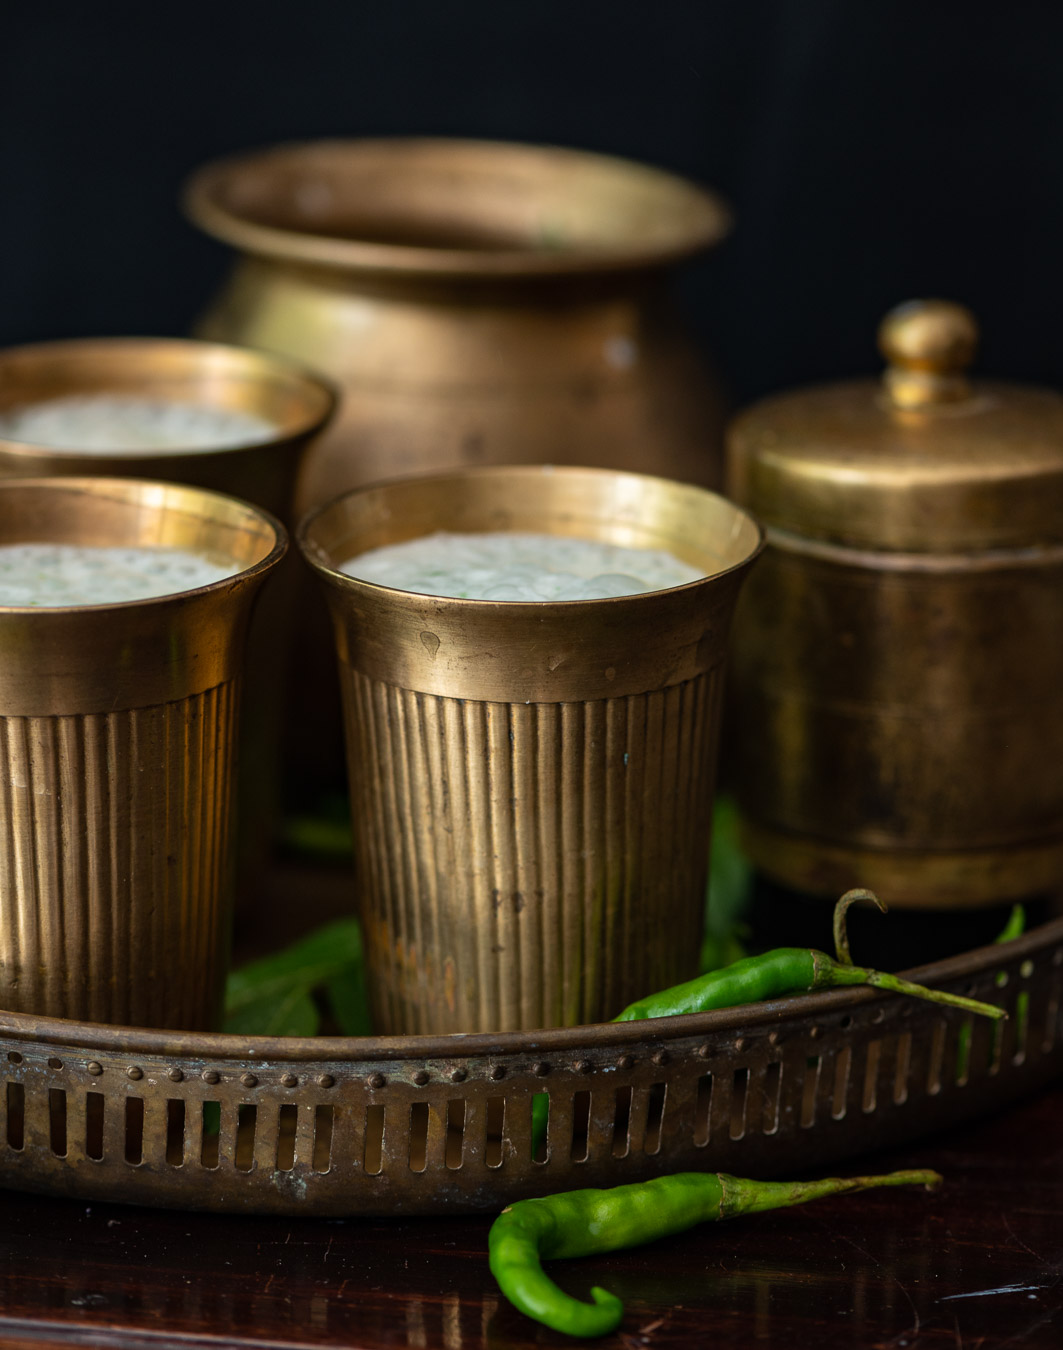
Strain into the glasses, add an optional topping of mint leaves – and then go to the sweet, safe spot in your home that’s your “happy place” and relax! Let’s raise a toast to good things ahead for us, which we all so richly deserve.
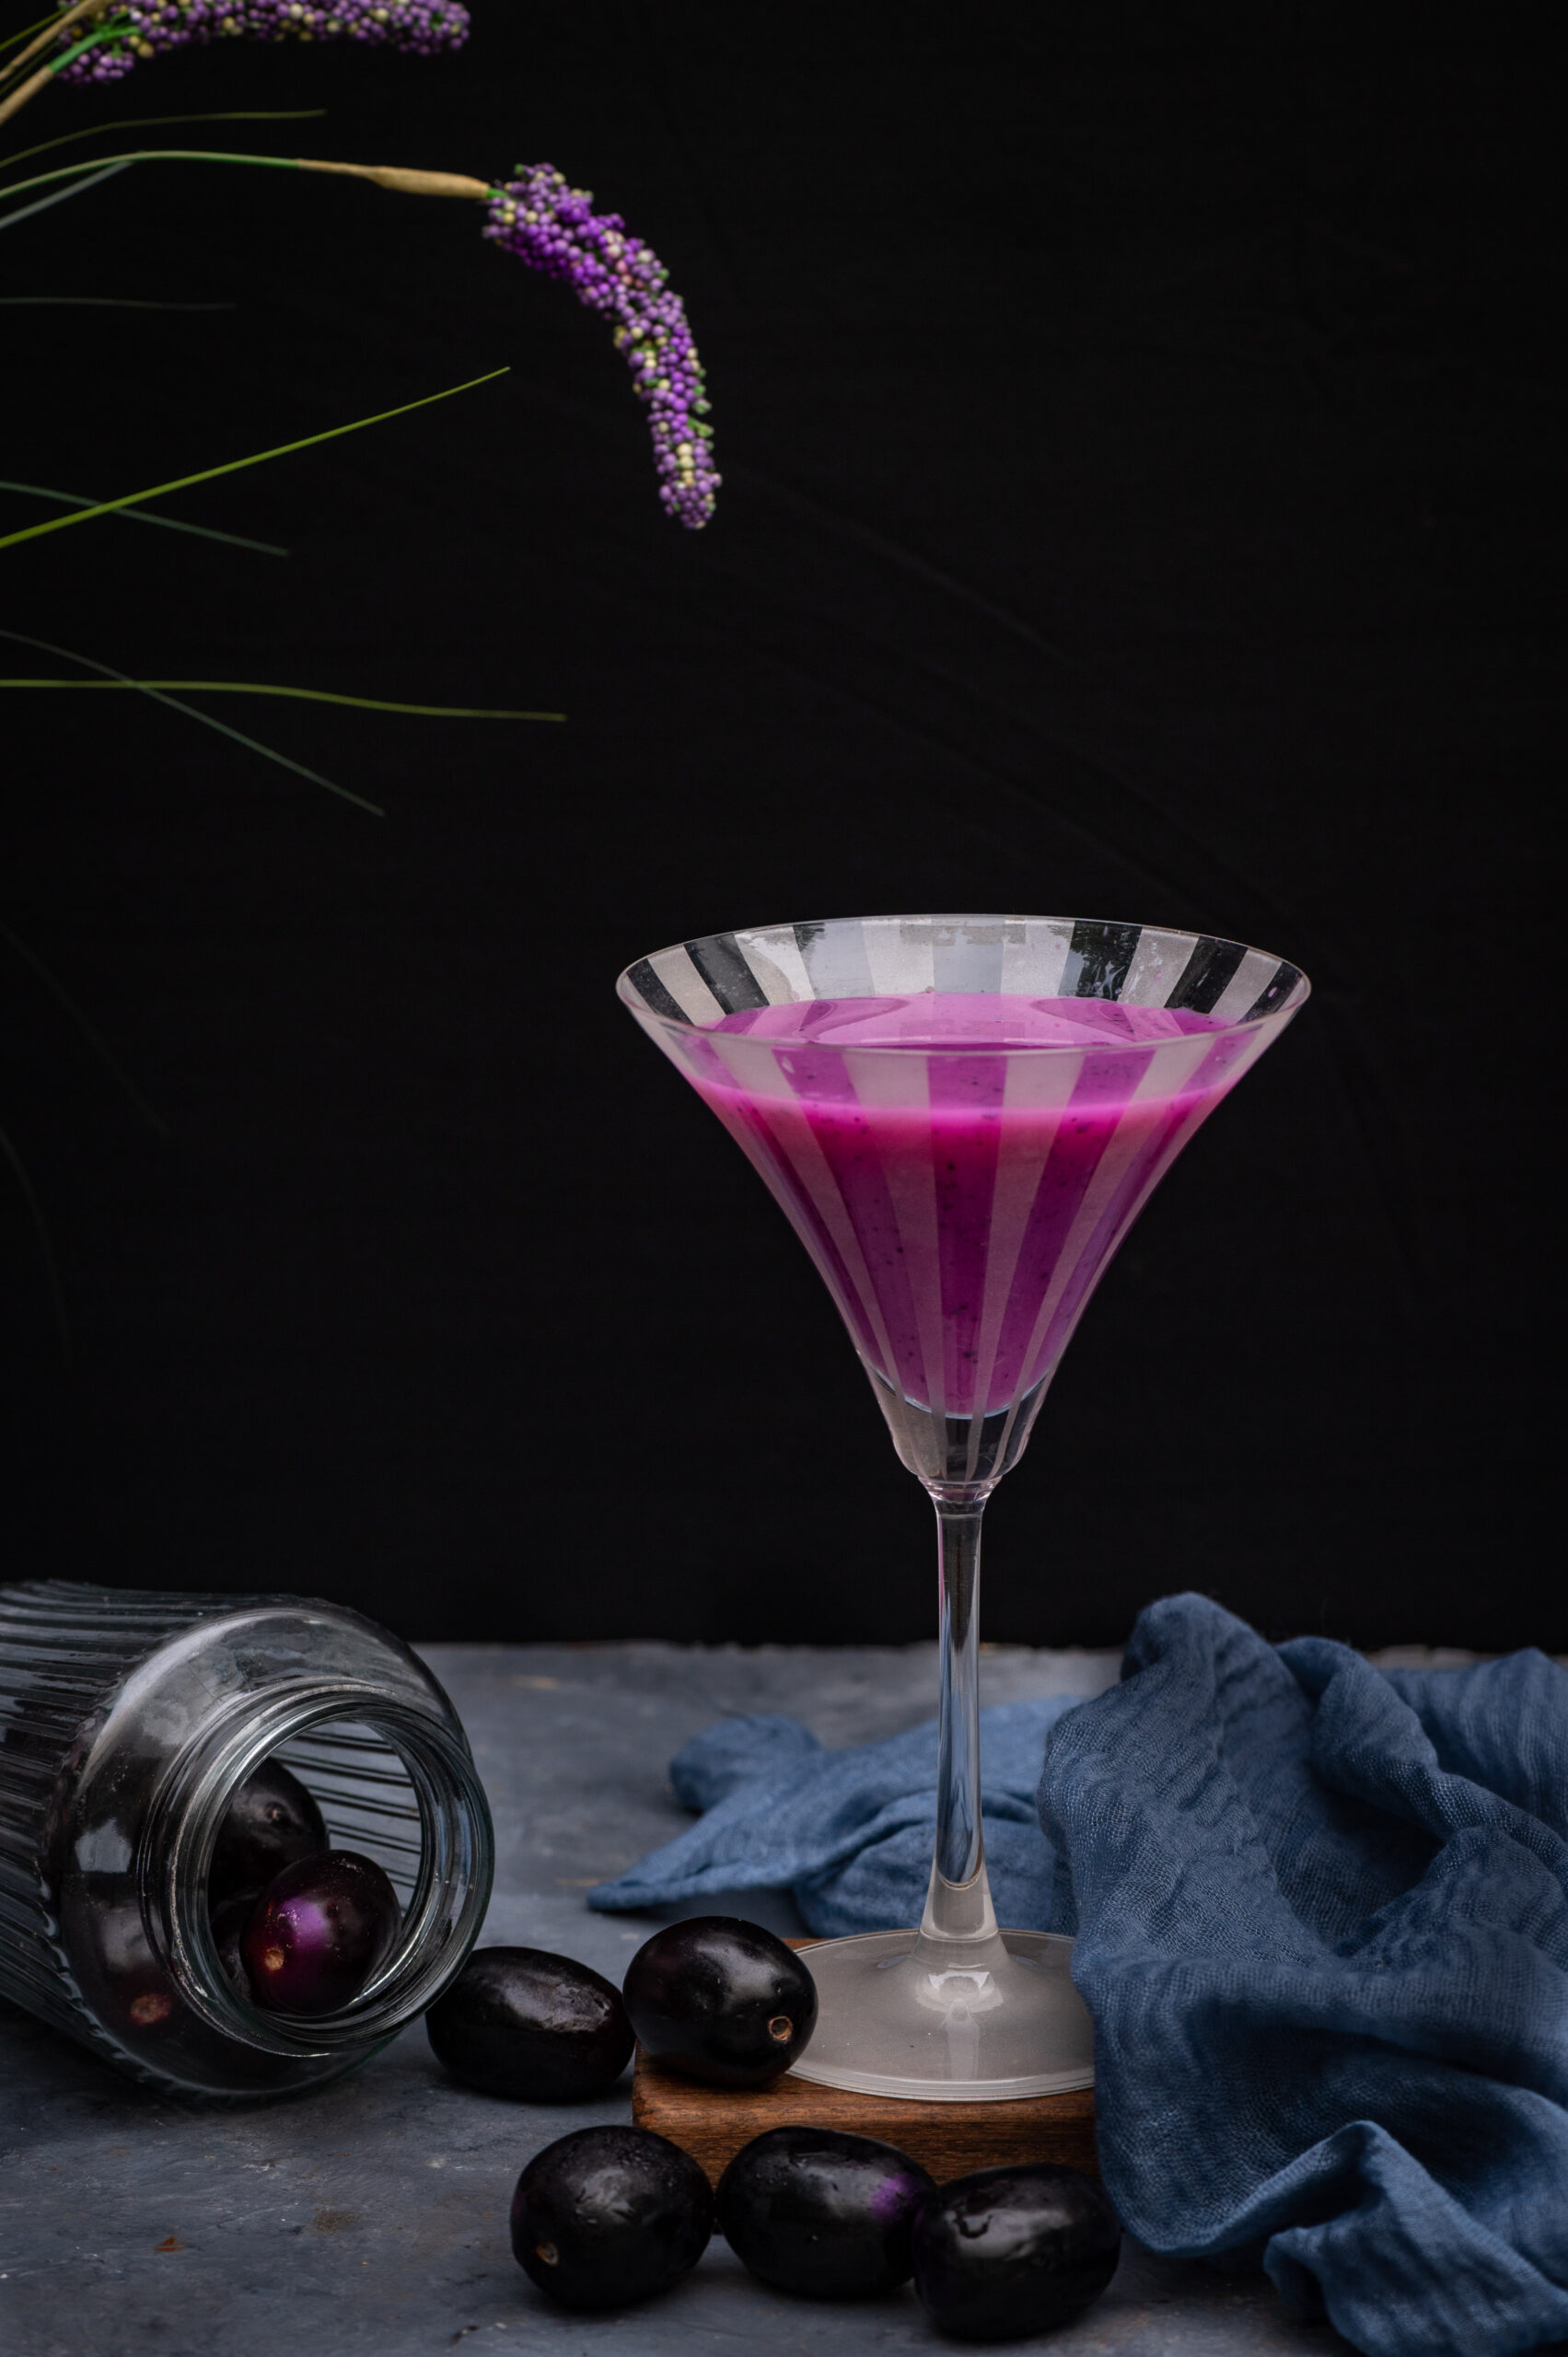
This jamun drink can be very filling, so portion sizes are important. You can thin it with more water, or else have a smaller glass of thick juice. With jamun, as with many other highly flavourful items, there can be such a thing as too much of a good thing. In my case, when I enjoy something, I can sometimes eat such a lot of it or have it so often that I feel sick of it after a point. So as wonderful and stunningly attractive as this drink is, I do take care to have a just-right portion.
There you have it, a lovely seasonal drink, just perfect to enjoy as the summer begins to turn to the monsoon. If you’re someone who enjoys discovering new thirst-quenchers, I hope you’ll explore the various beverages I’ve shared on this blog over the years.
As I said, for me, making this jamun drink all began with that enchanting colour – about which these photographs really say it all. But thinking about it a little more, I wondered if there are other ways I can bring this fruit into my meals? Do you have any jamun recipes you can share with me?


")