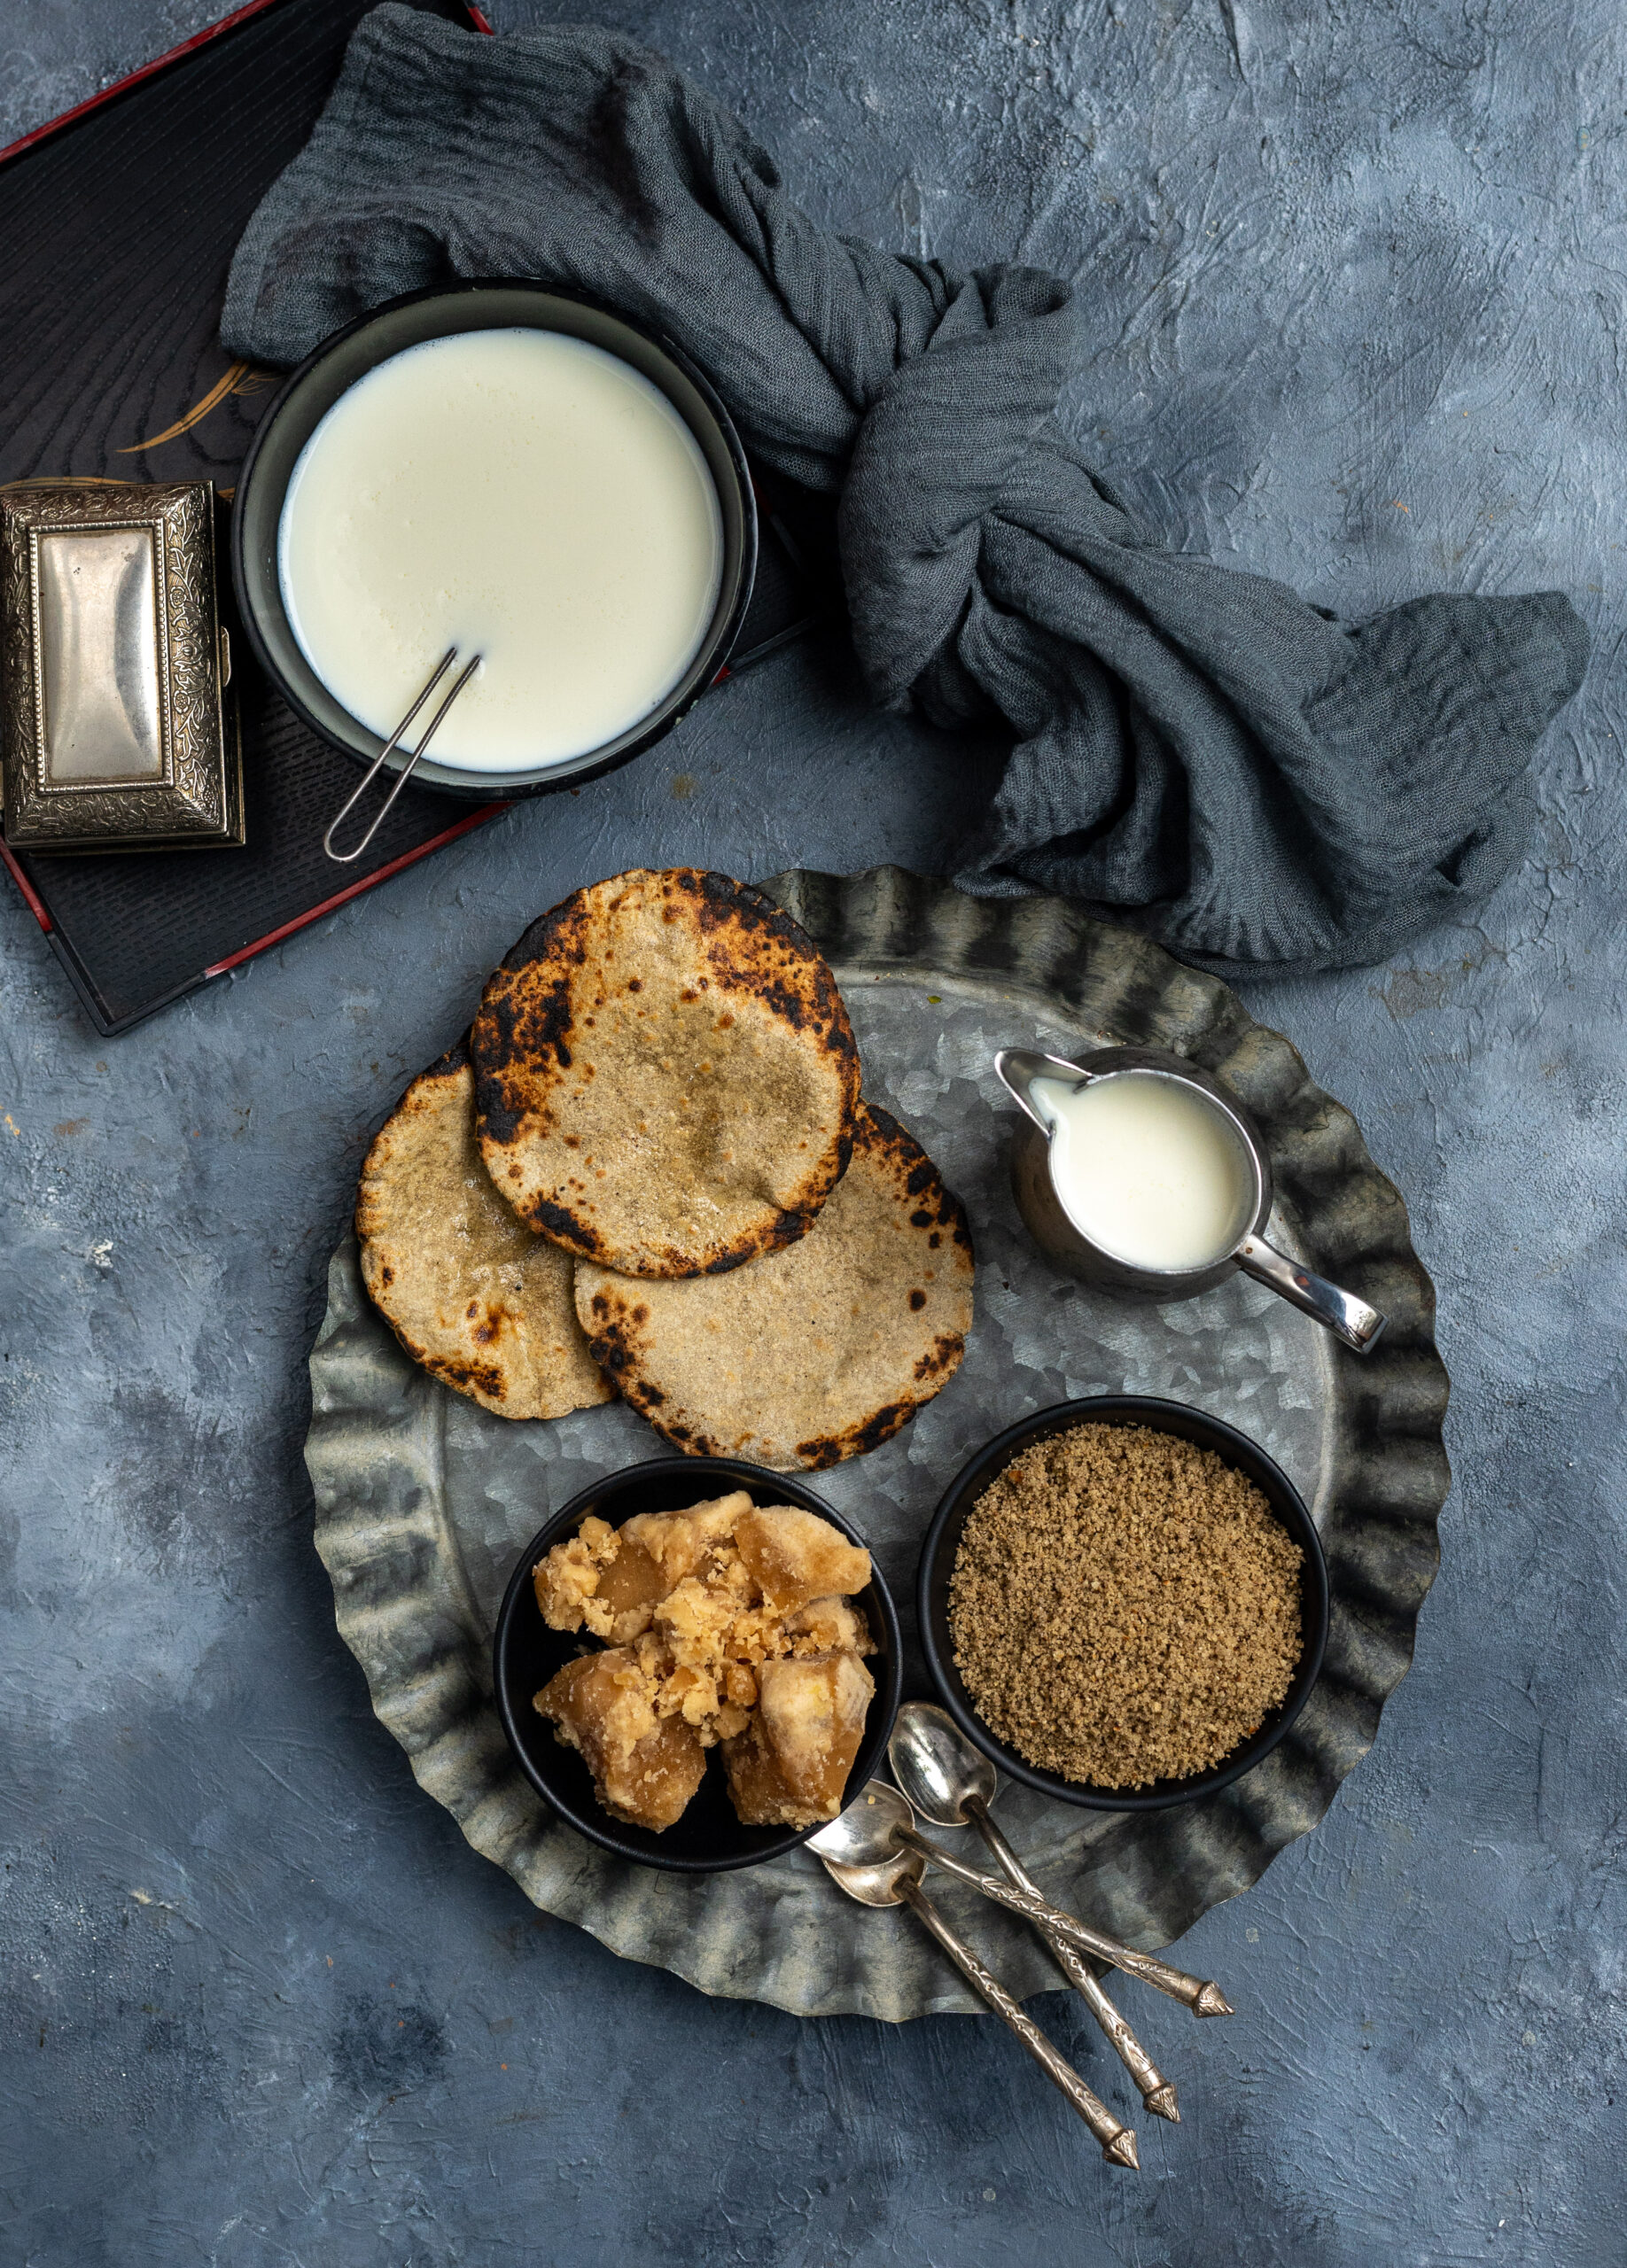
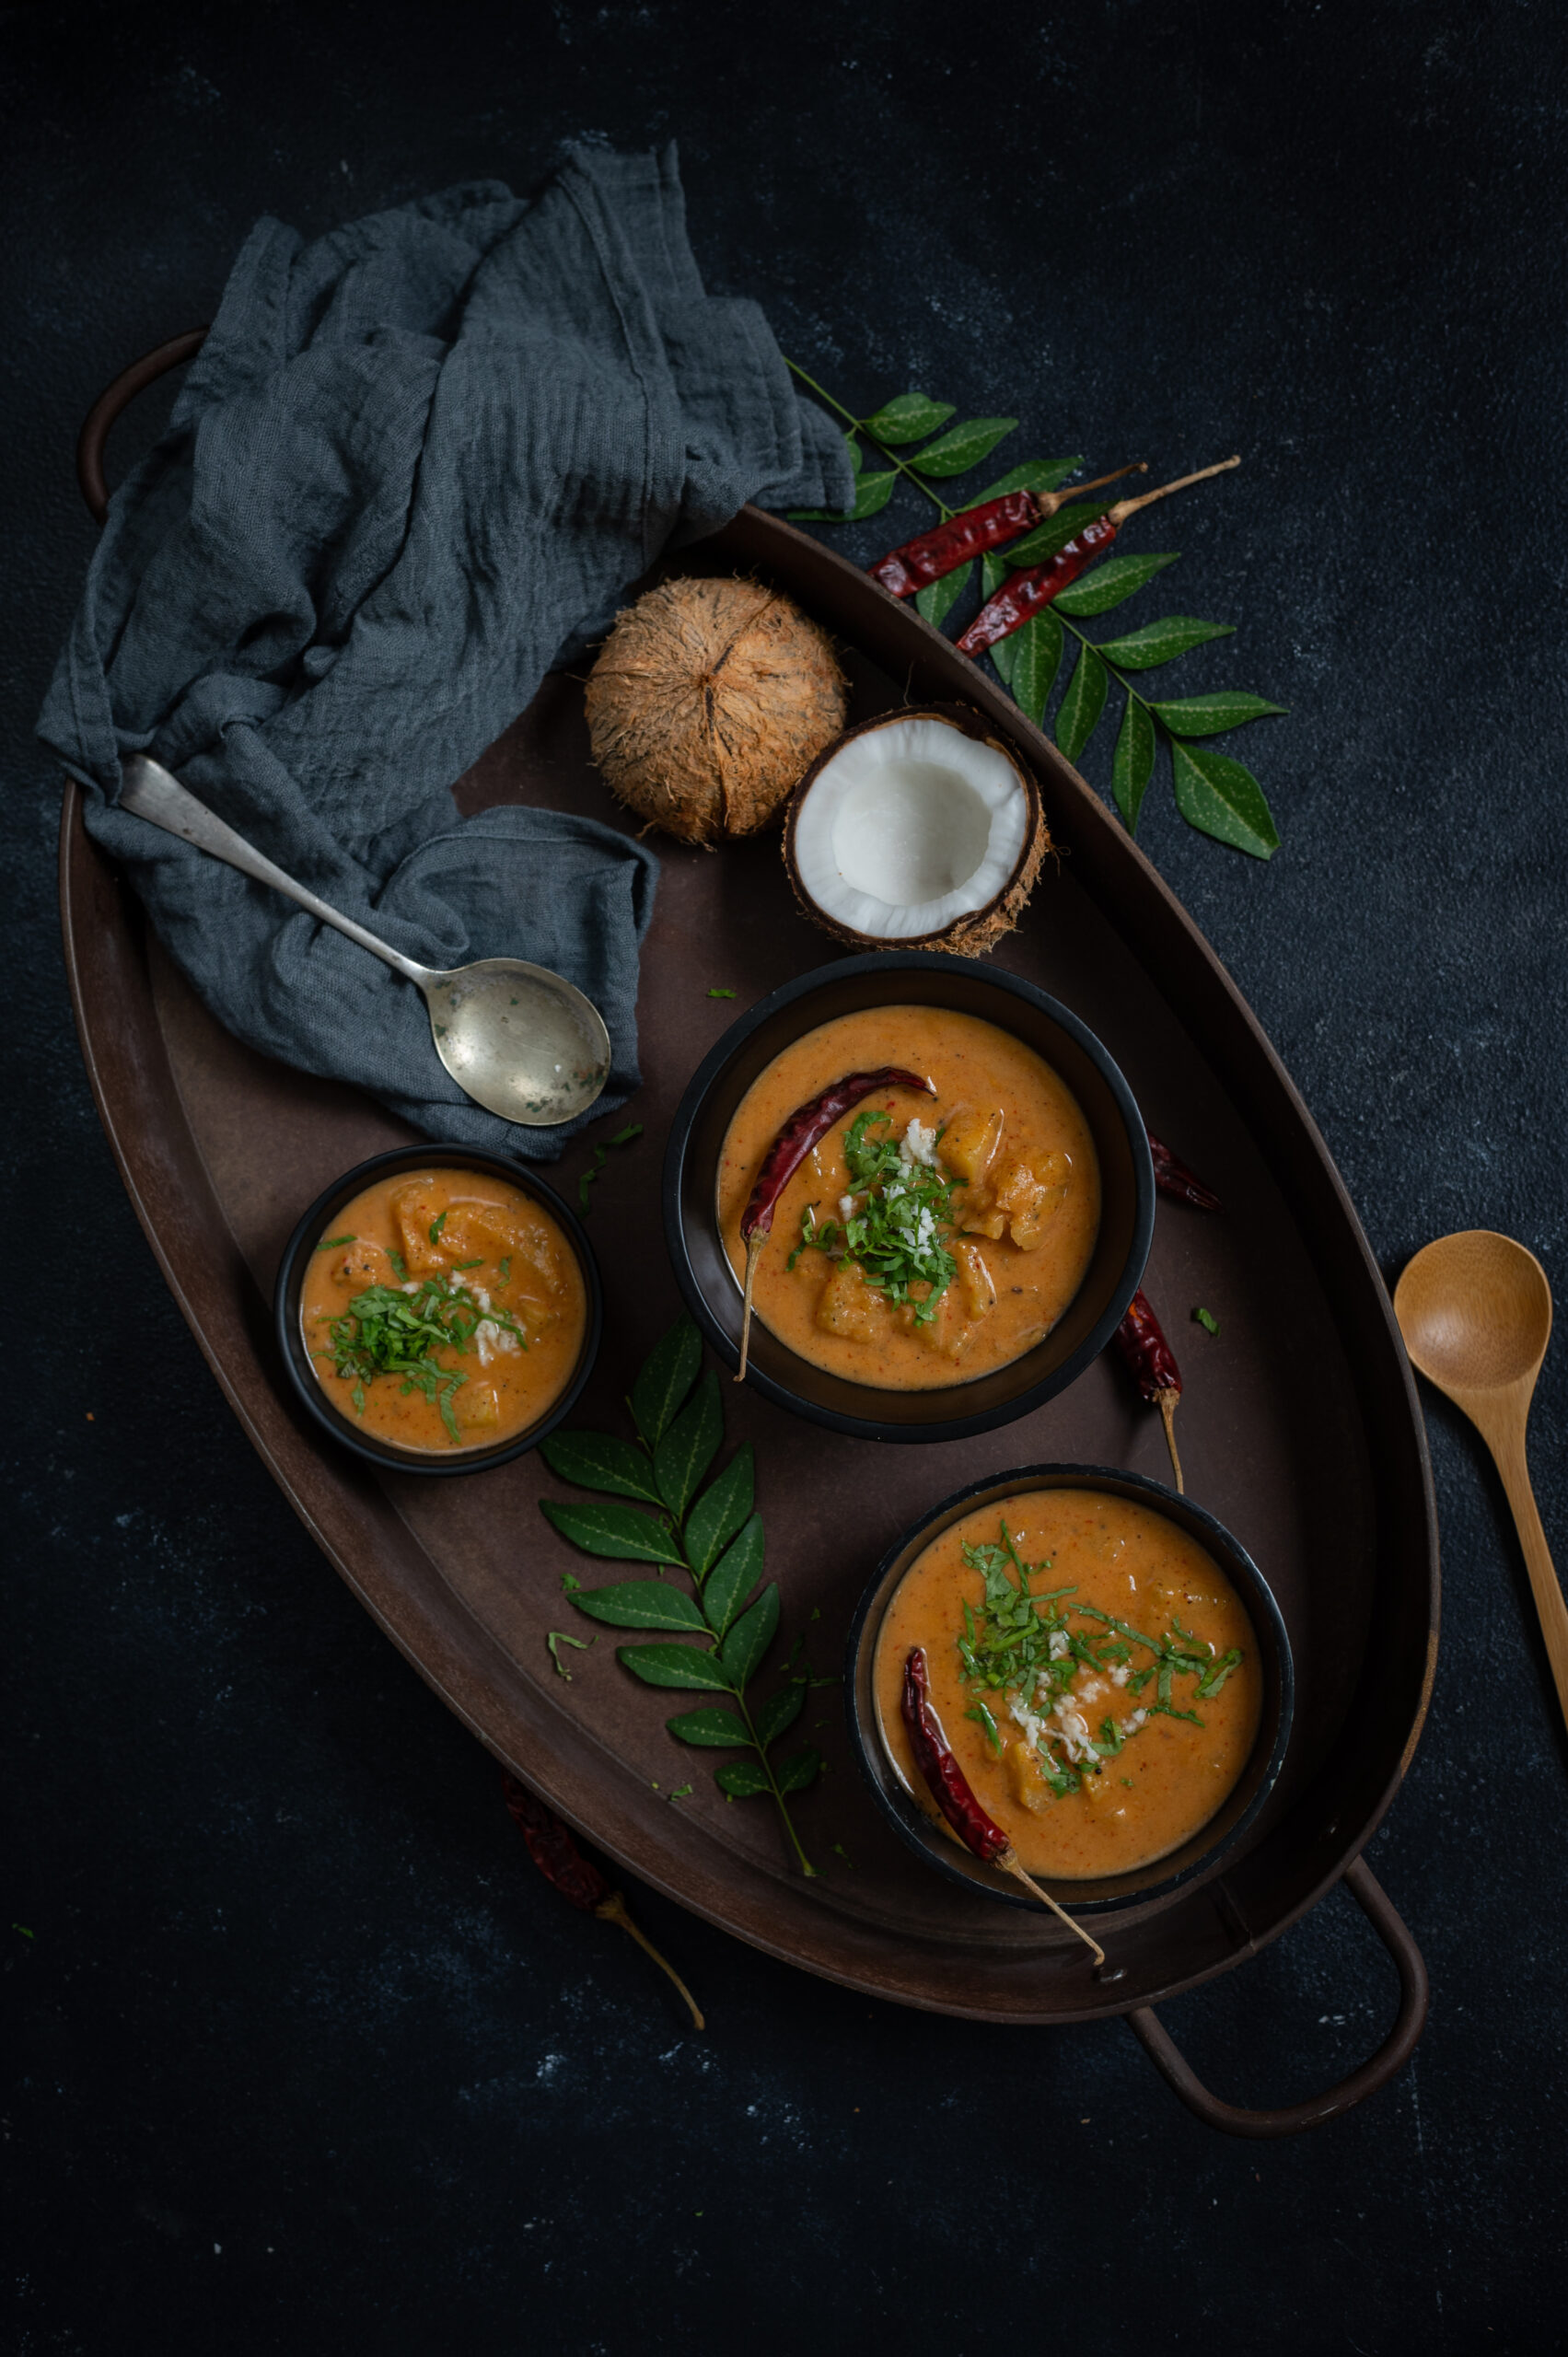
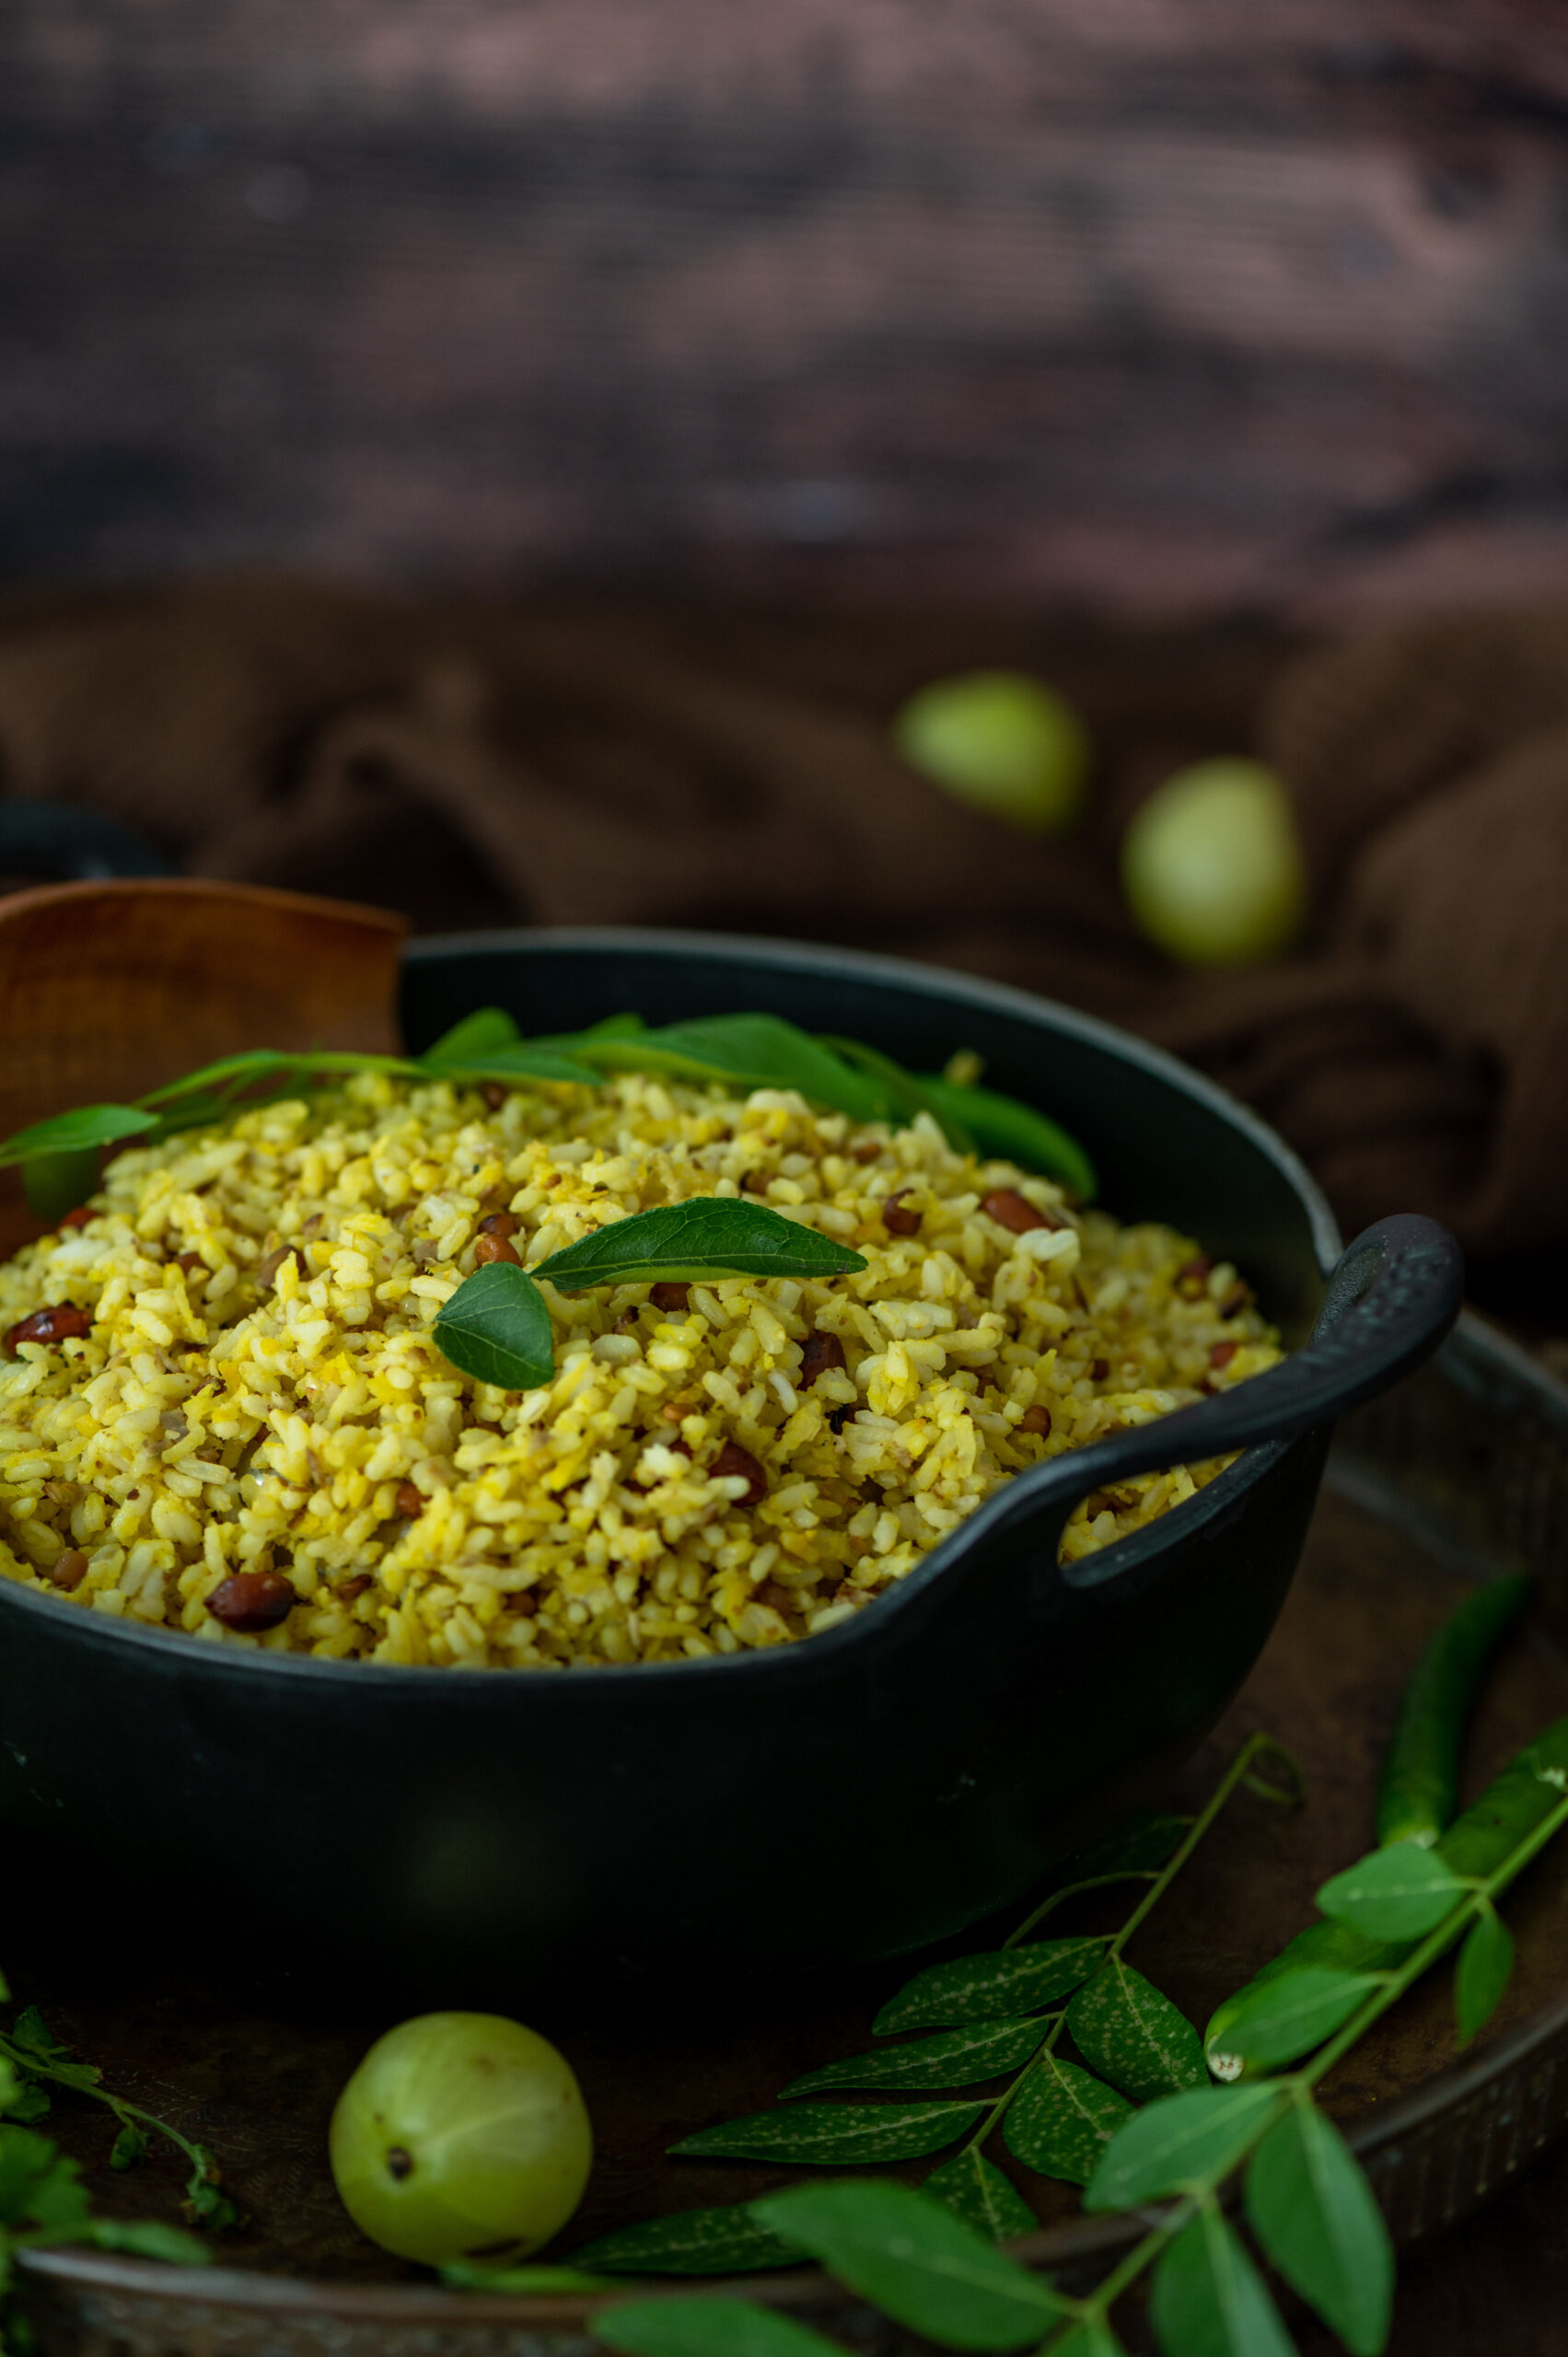
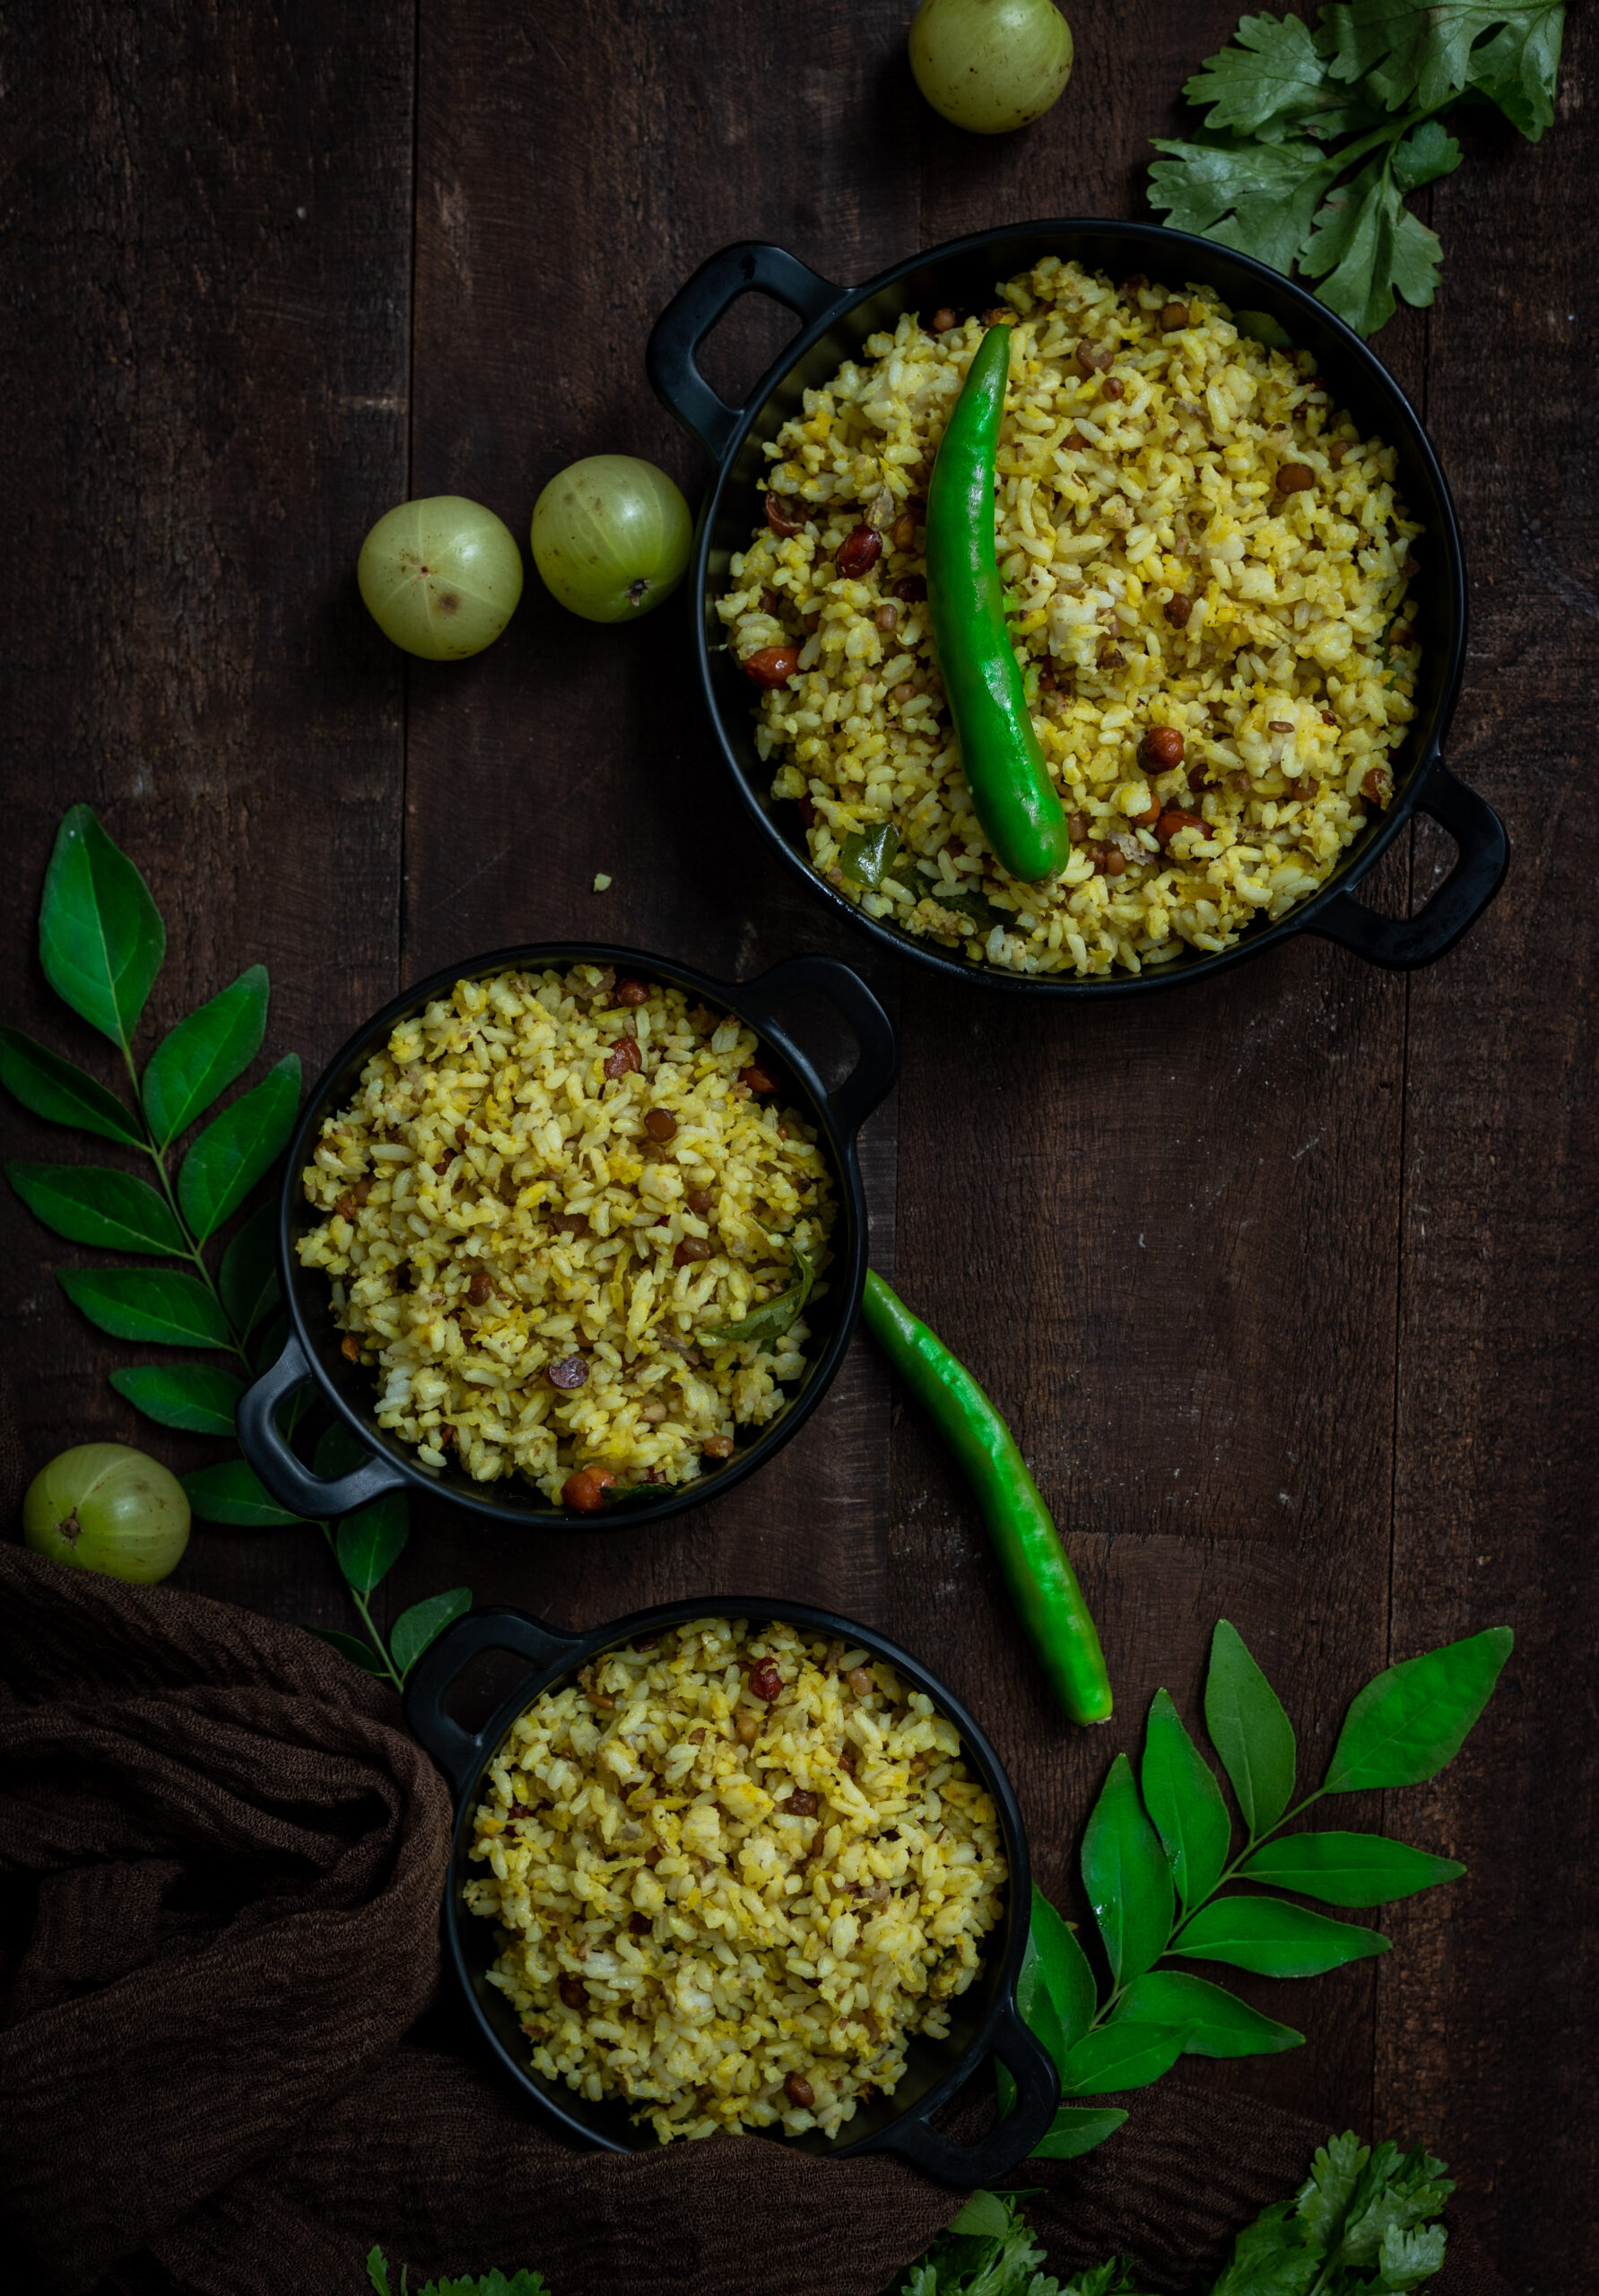
Here in Tamil Nadu, the harvest festival of Pongal has begun, and all over the state families are celebrating the occasion. Delicious, piping hot chakkara pongal is customarily consumed, but alongside it ven pongal (white pongal, made with freshly harvested rice) is also made. Oh, and let’s not forget certain creative yet authentic pongal renditions that are out there, such as this red rice and jaggery pongal. As you can see, there are many kinds of pongal, and this year, I thought I’d share with you a lovely savoury one.
Ven pongal is a traditional breakfast, one of my own favourites. It is a part of regular temple offerings too. This ven pongal is similar to a khichdi, which is a basic mixture of dal and rice. Unlike khichdi, it’s to be eaten with chutney or sambar. While khichdi is normally eaten for lunch or dinner but seldom for breakfast, with pongal it’s the reverse. As I mentioned, it’s a breakfast dish, and is rarely seen at other times of the day or night – except when it’s eaten for tiffin, which is what we call a late afternoon meal in this region.
Whenever I have breakfast while out and about in Chennai or elsewhere in Tamil Nadu, I always reach for the ven pongal. To me, it takes pride of place on the restaurant menu alongside its more famous counterparts, idli and dosa. The latter two are the “safe choices” that most people usually stick to, but I love ven pongal for breakfast and find it just as reliably made across the state. It’s very refreshing, filling, satisfying and healthy – and sees me through the day up until a hearty lunch.
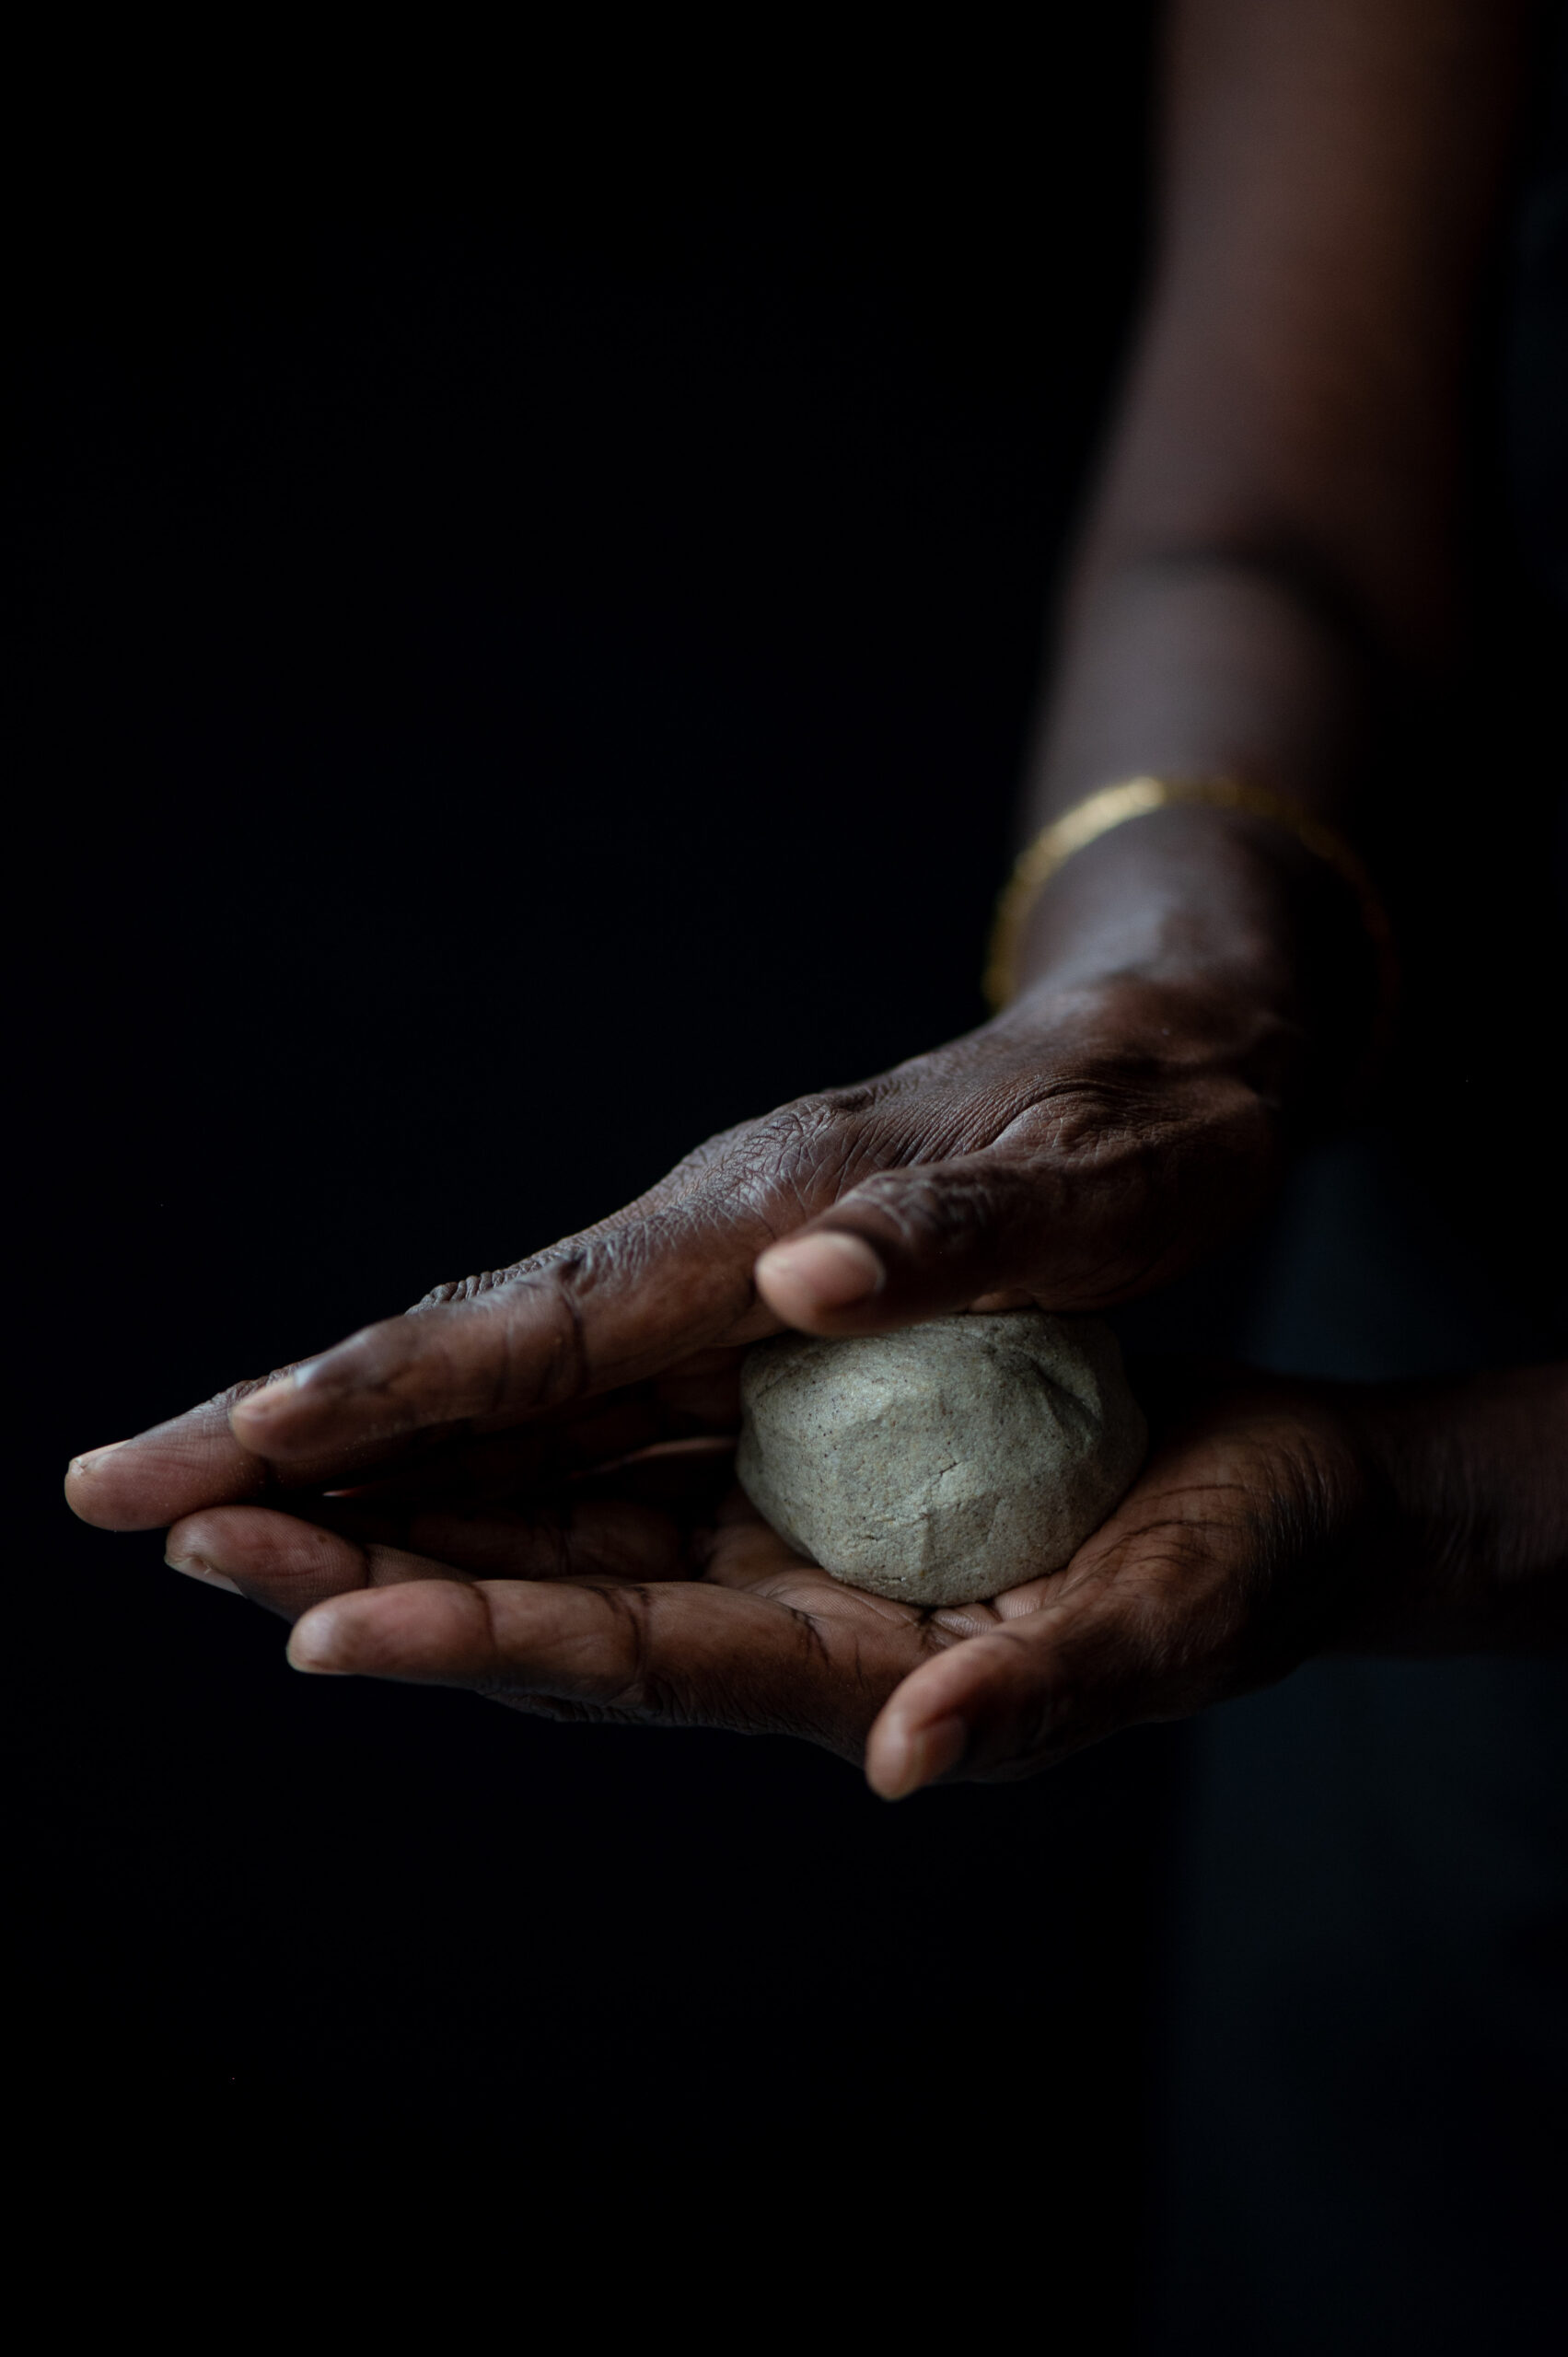
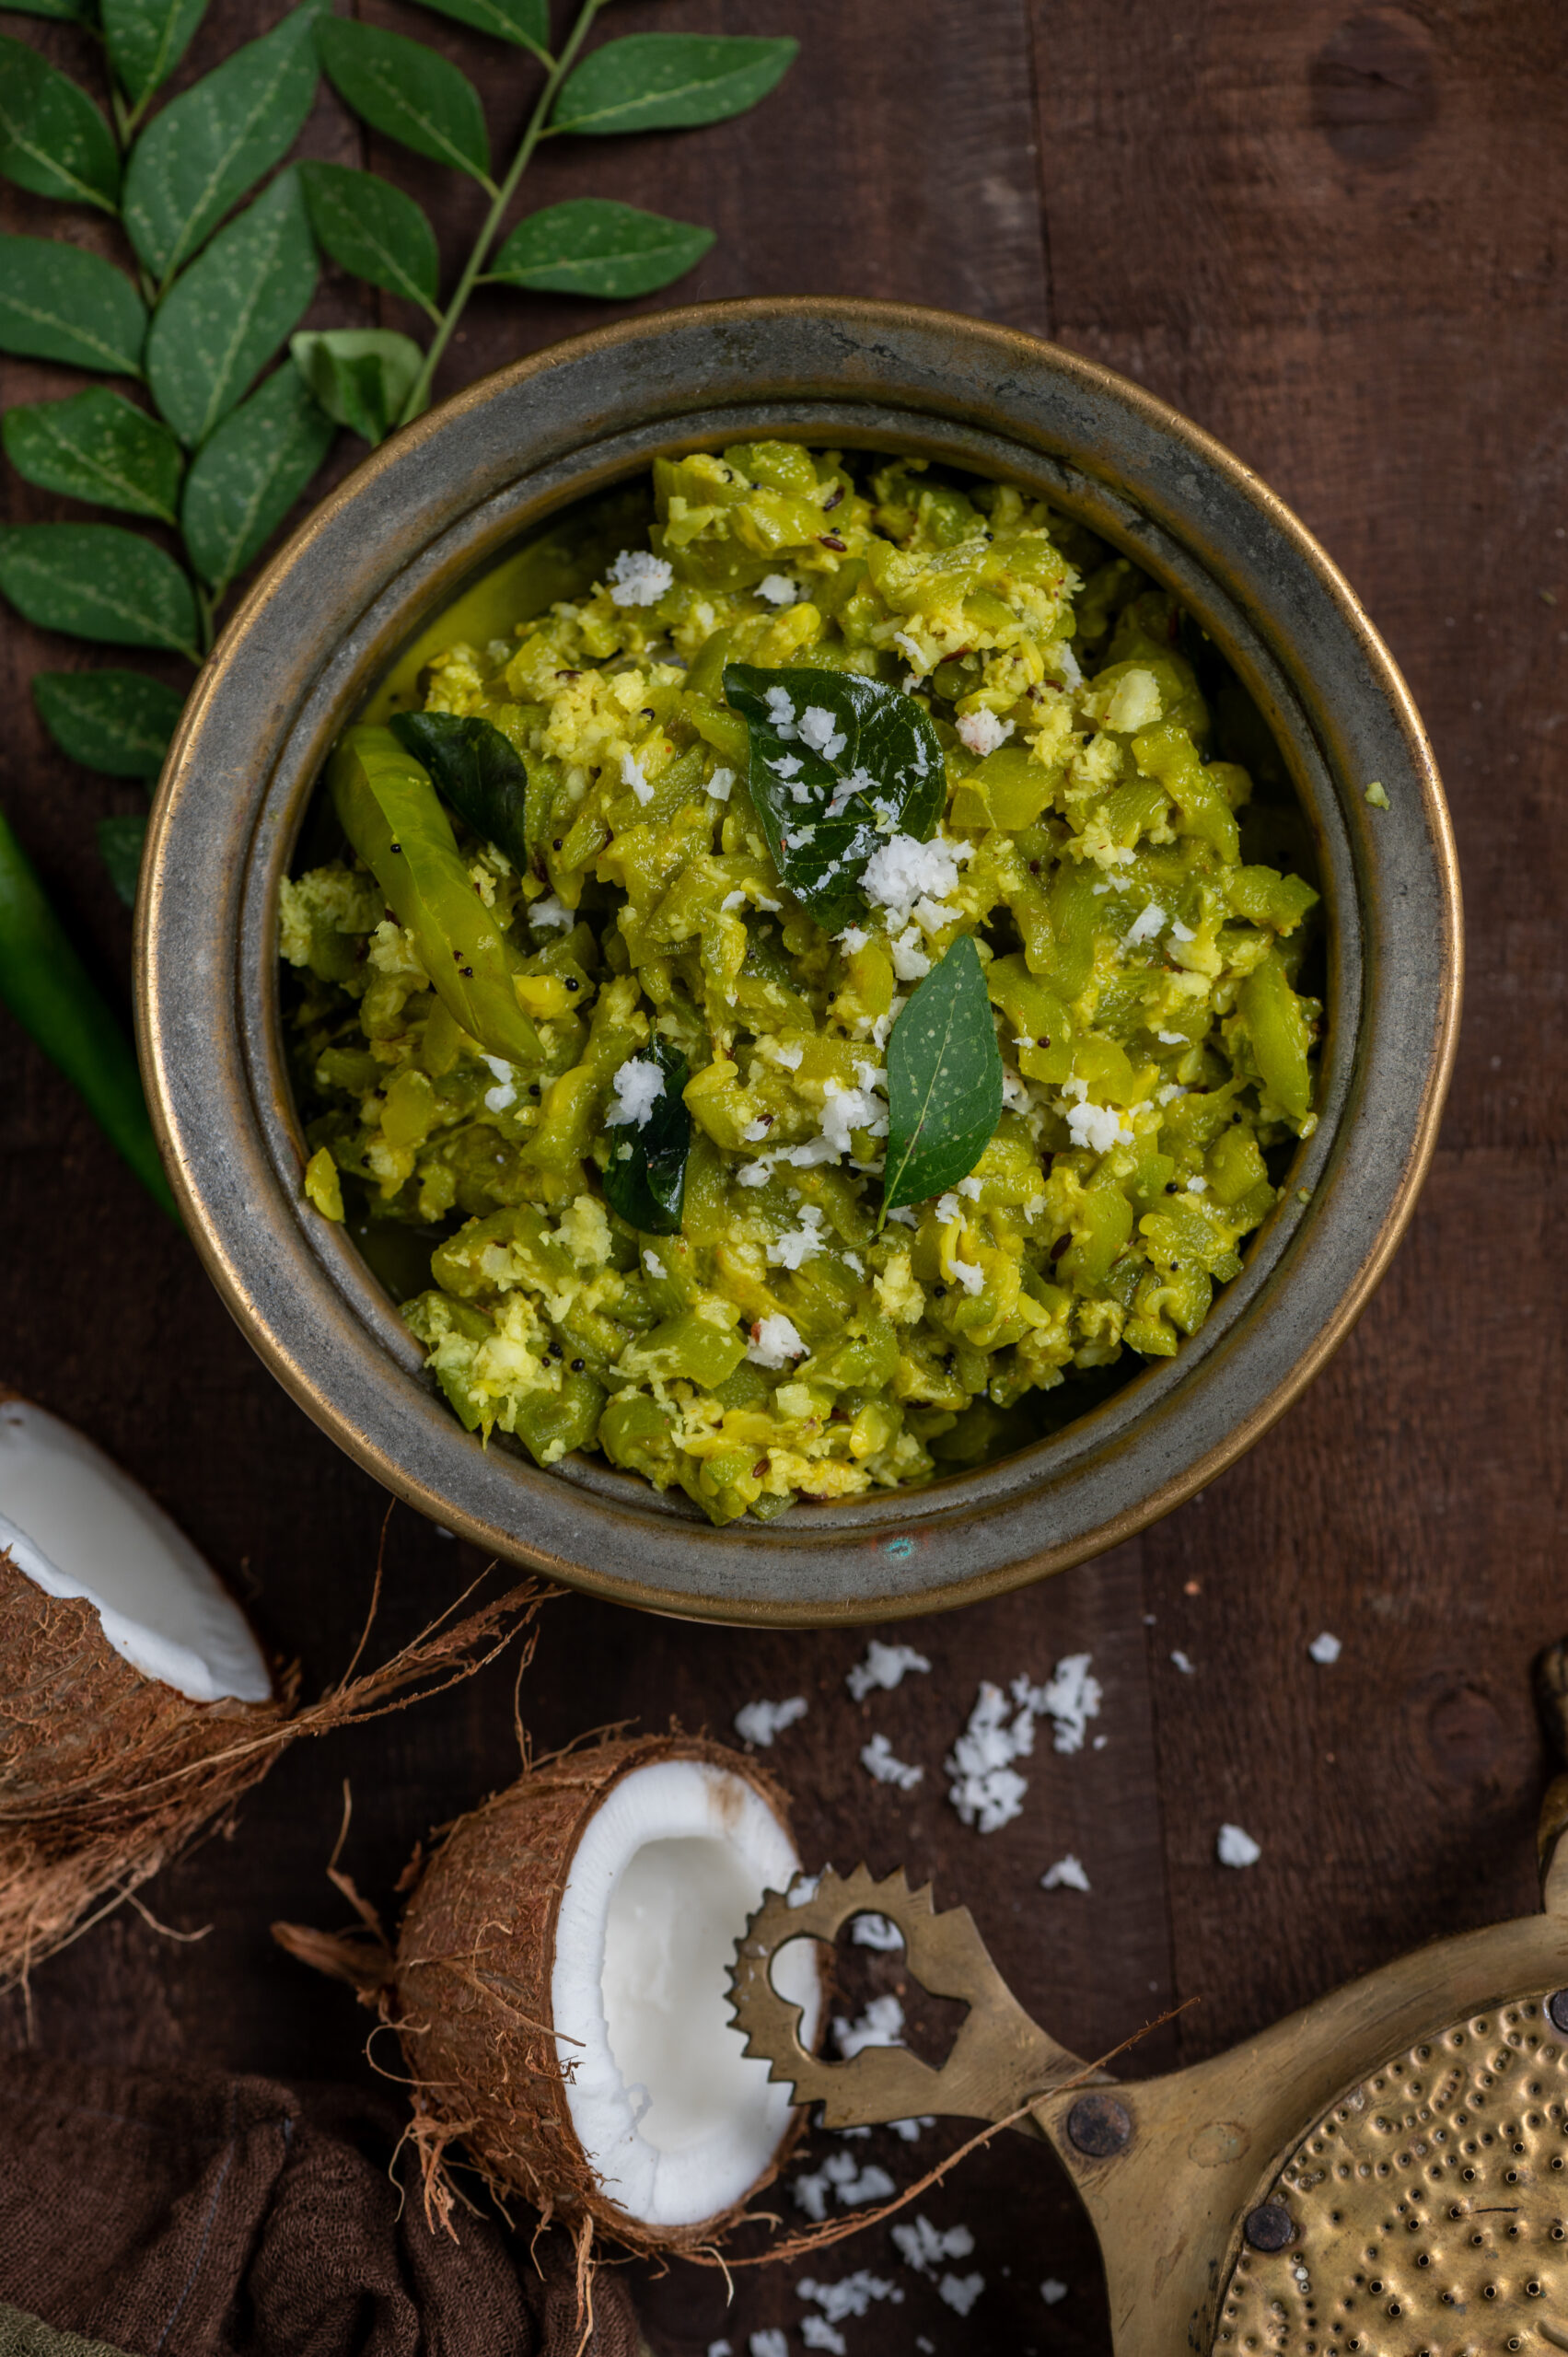
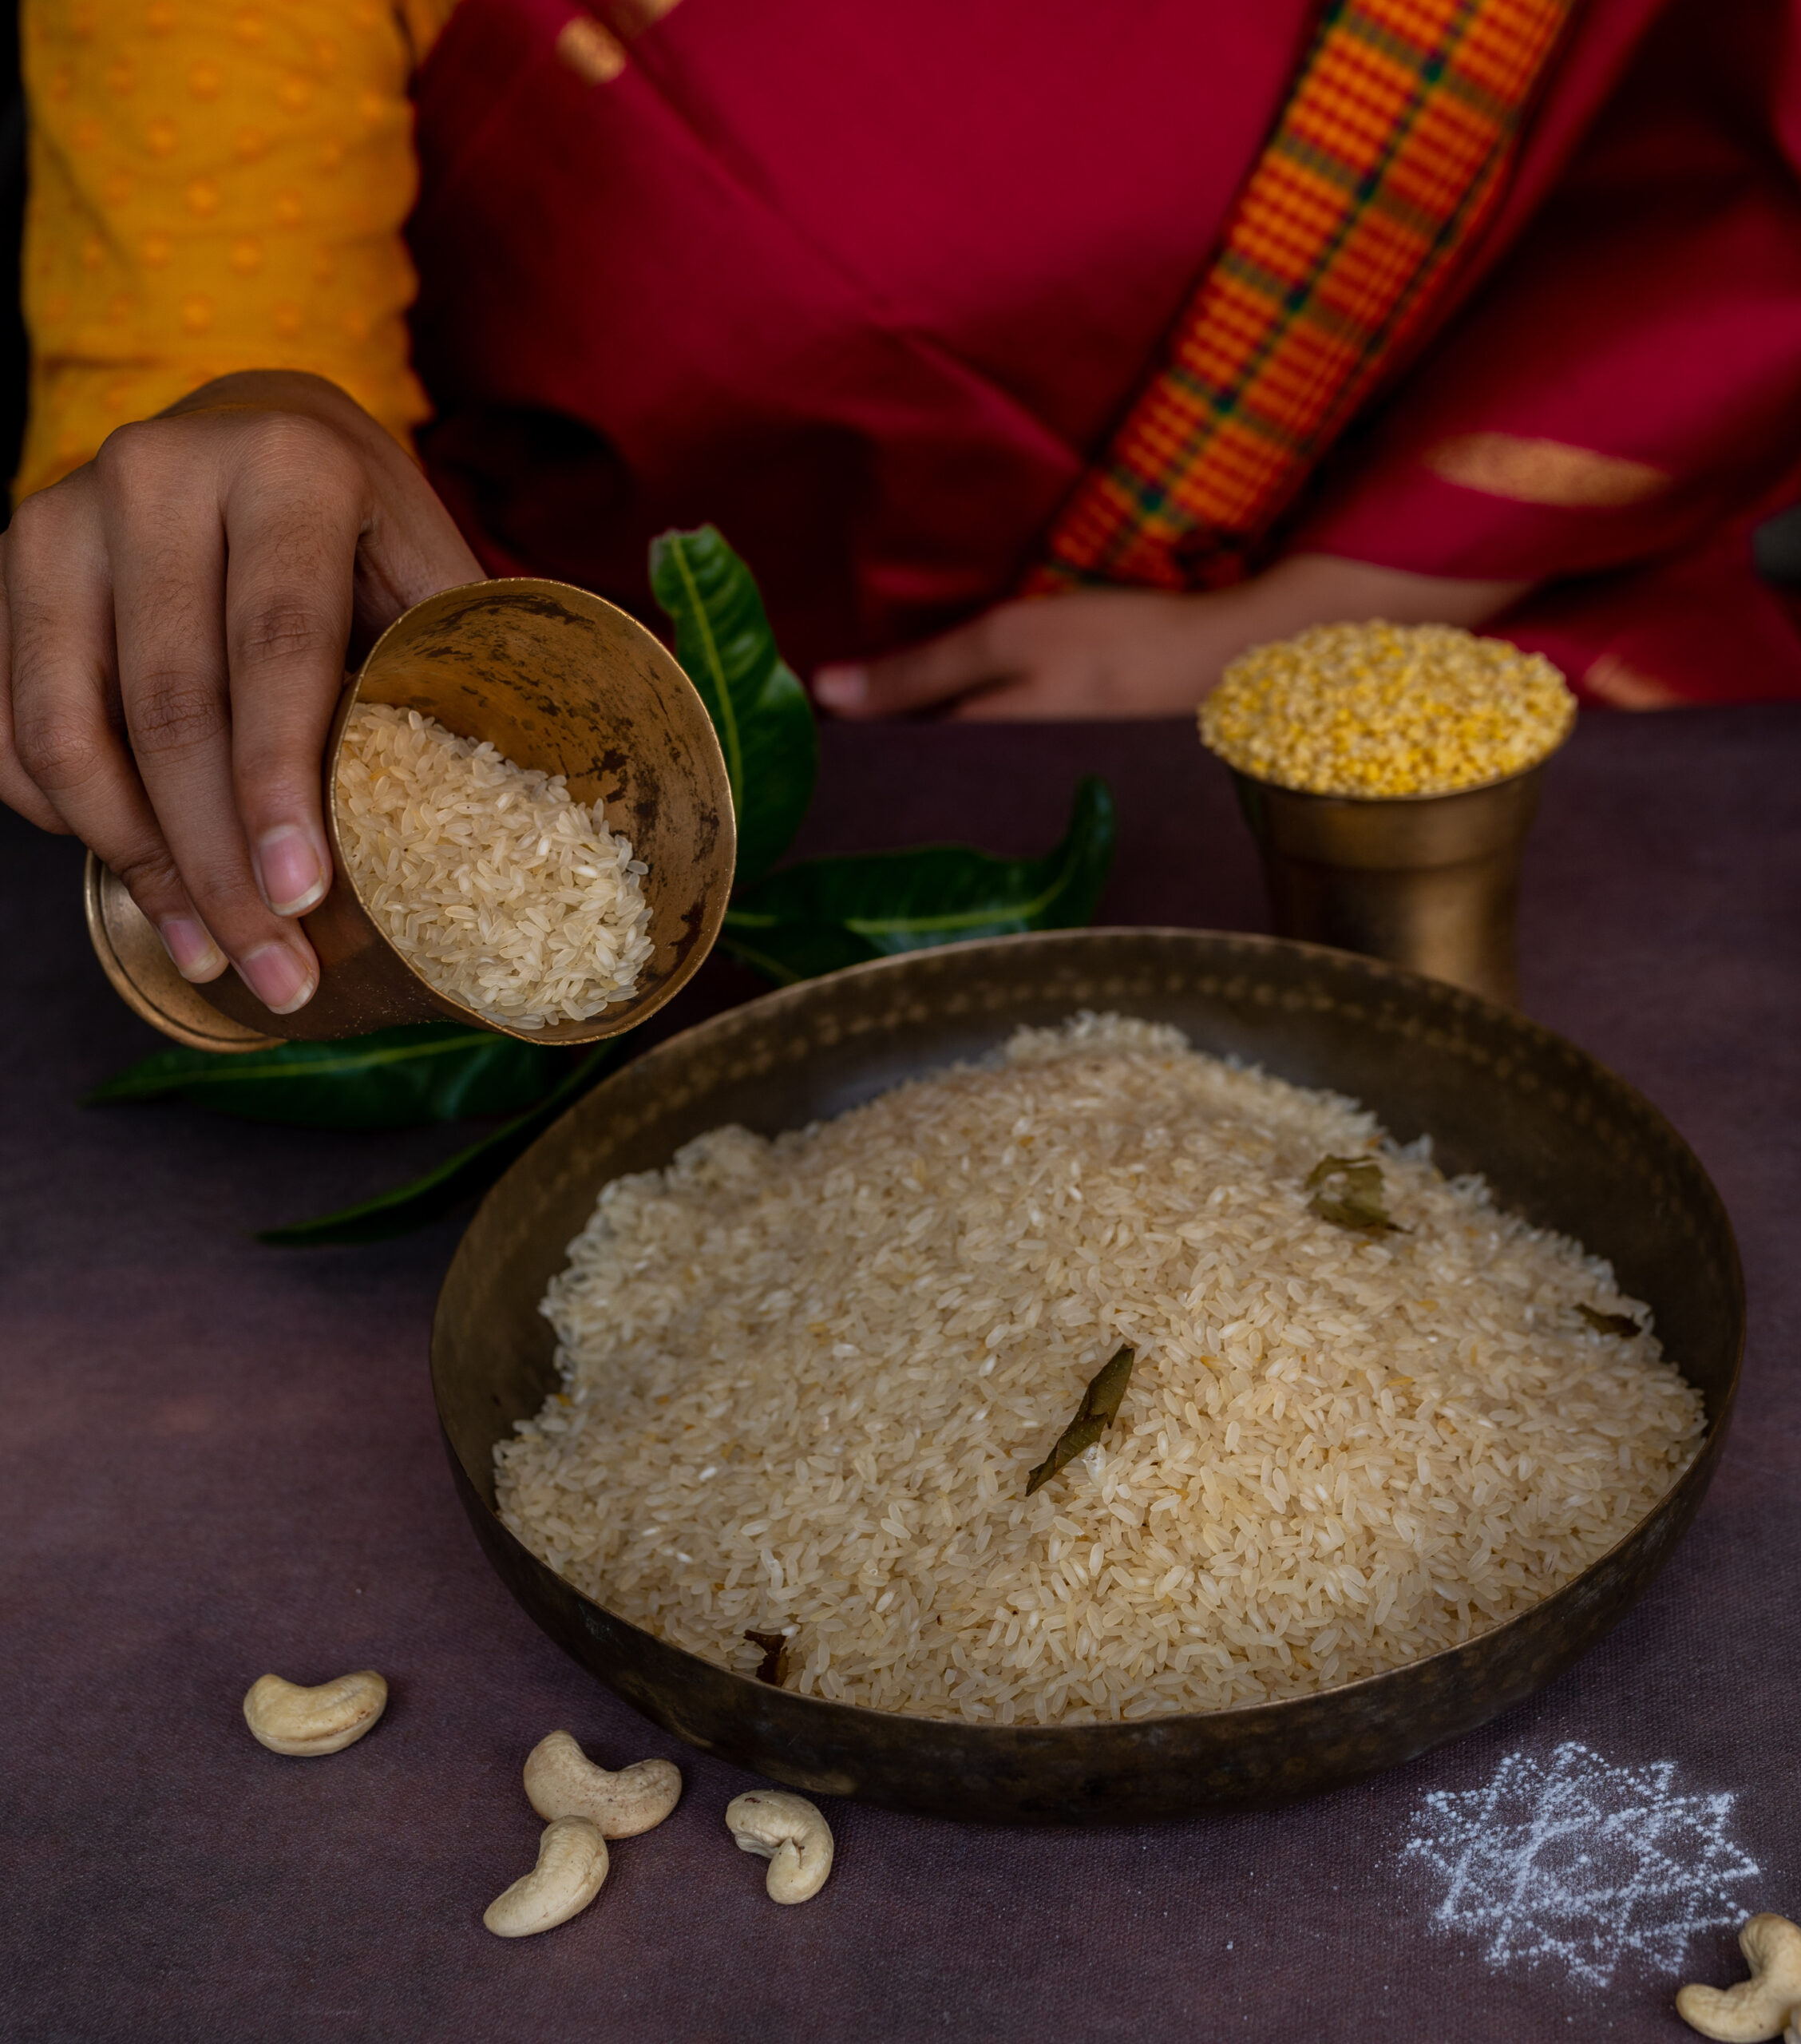
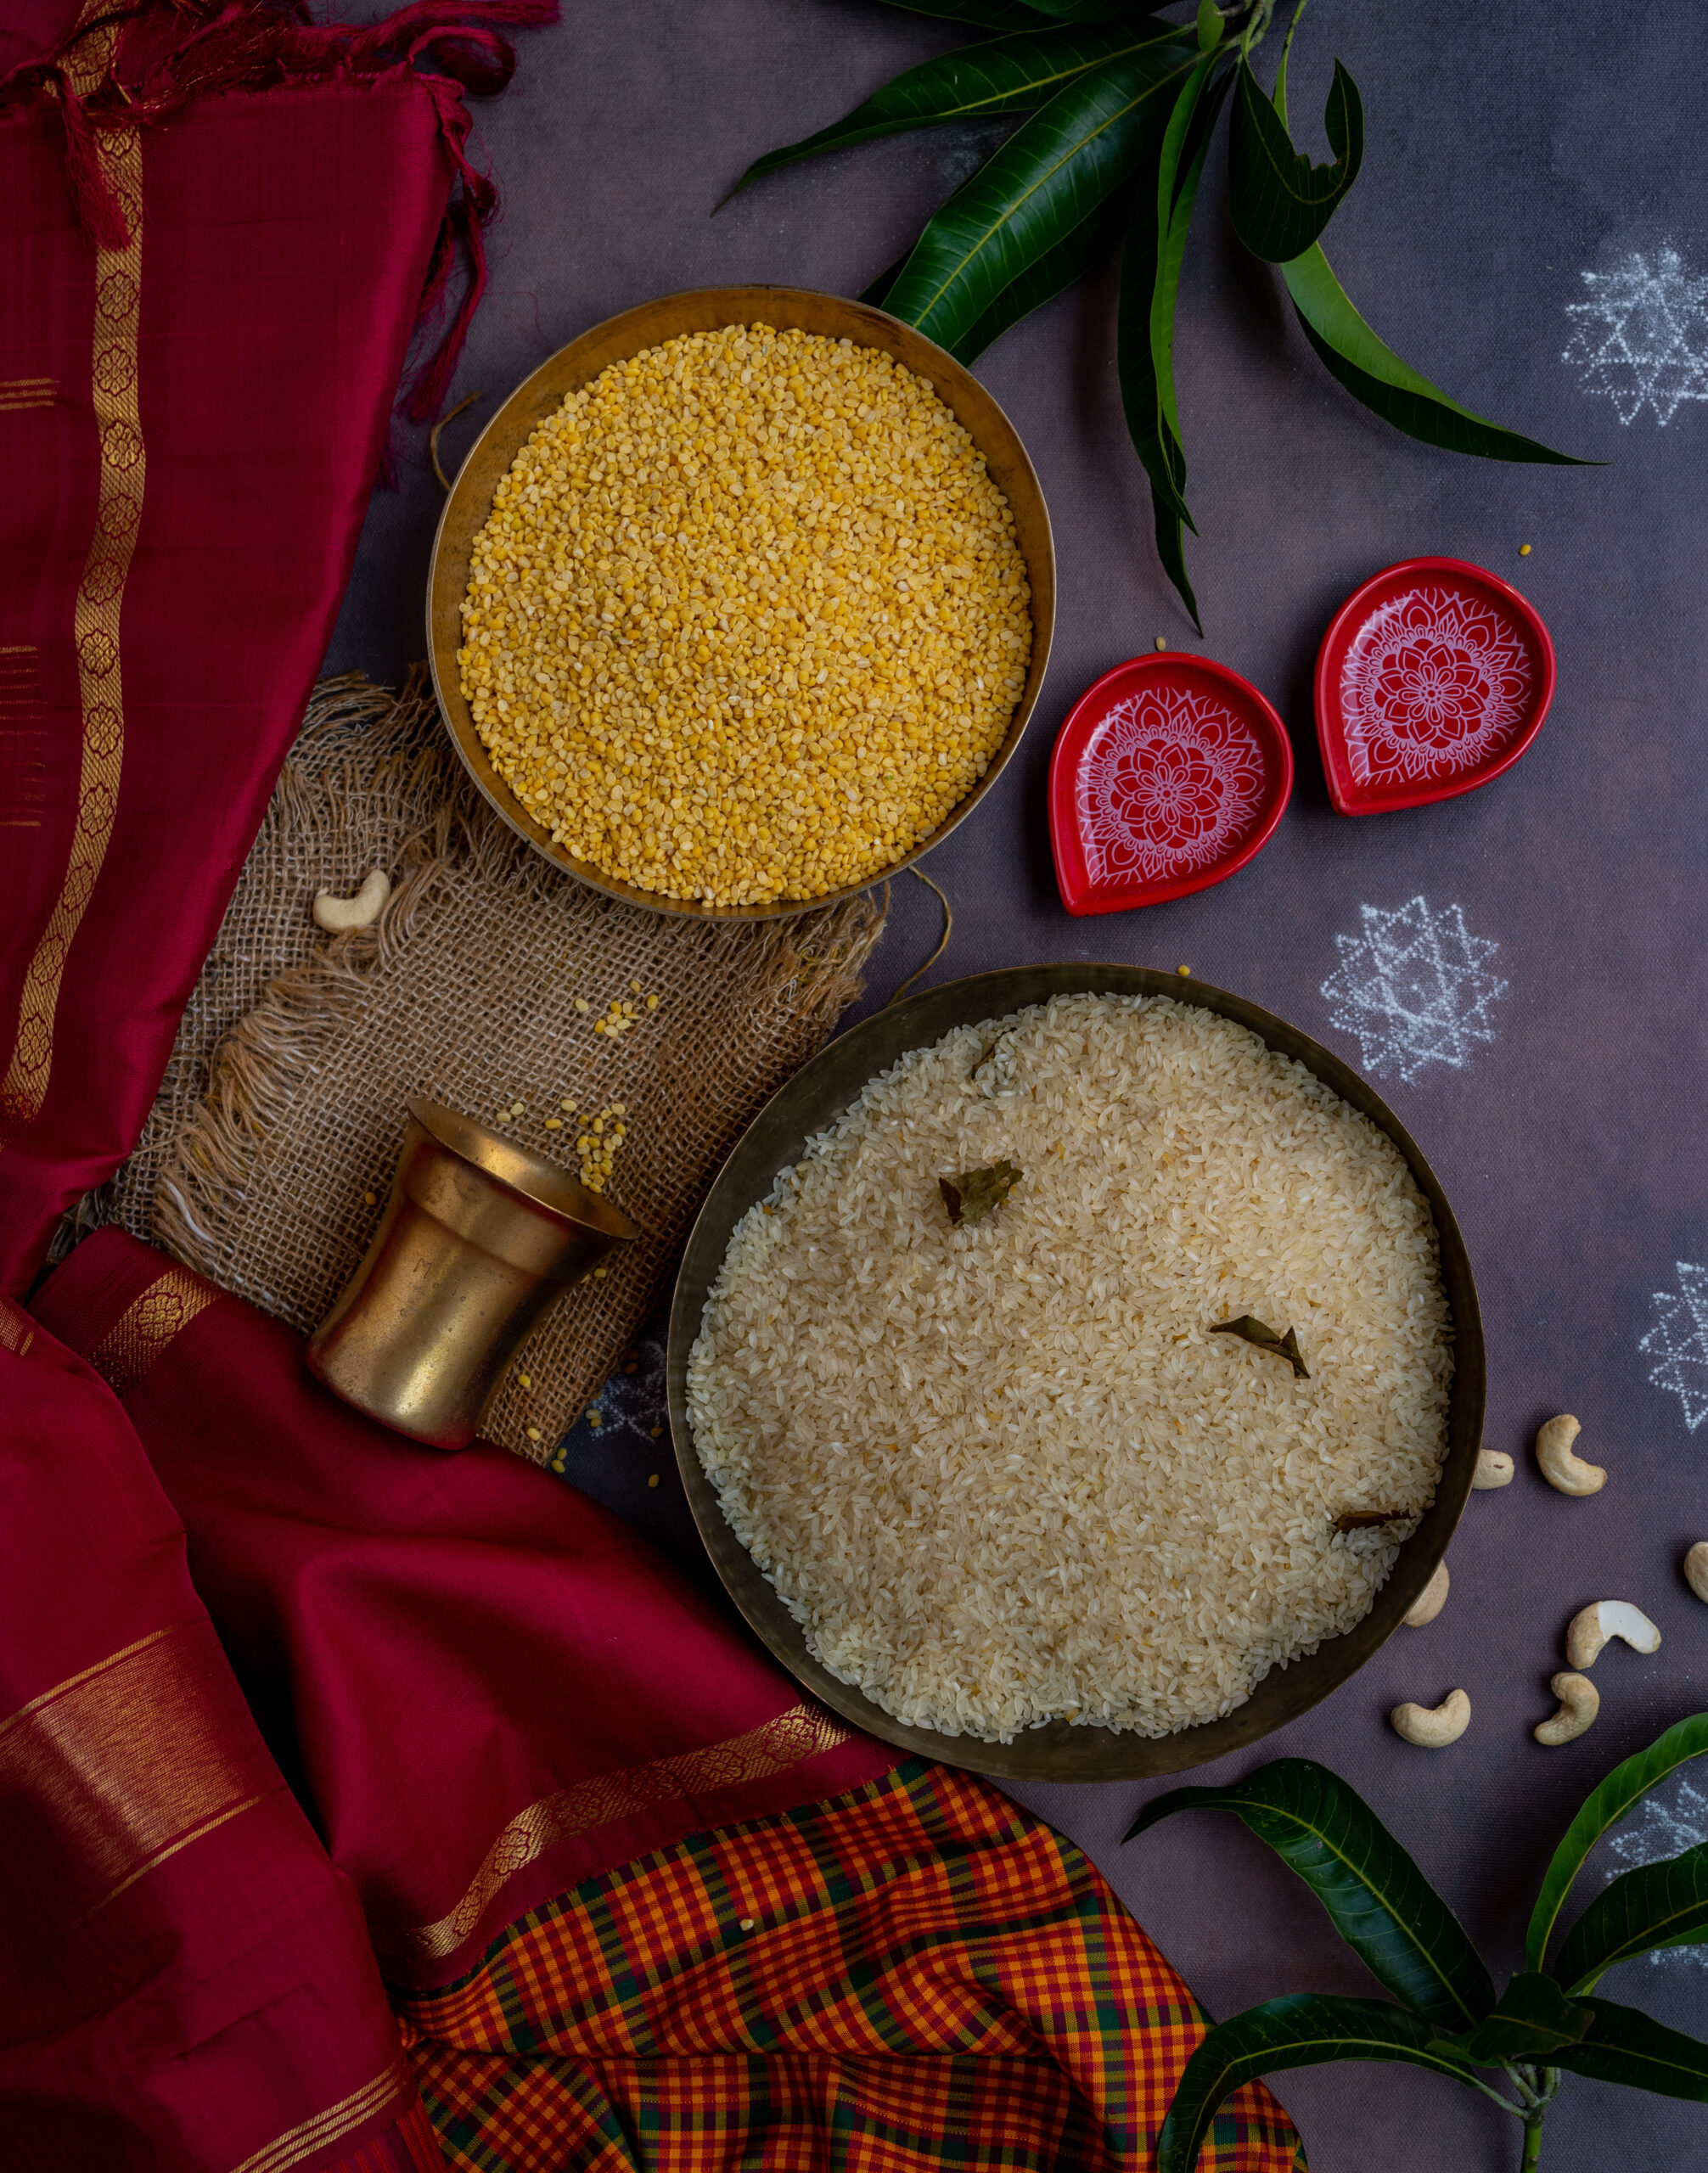
The rice that I use in the pongal made on Pongal comes from our farm, and I observe a local tradition on this day. As is custom, this is when I store rice for the household for the whole year. The older it gets, the better it tastes. It is preserved well through a natural method: the raw rice is dampened with castor oil, and neem leaves are layered on it as I fill the storage barrels. This ensures that bugs stay away, given the humidity and the climate of this region. This raw rice is eaten throughout the year. When it is rinsed before use, the castor oil goes way, and any residue left is healthy for the body in any case. You can see a part of the process in the photograph below.
My love for this dish started in childhood. We had many Tamilian friends in our neighbourhood, so my familiarity with South Indian flavours and cooking began early. The house beside ours had girls of my age, and so we used to hang out together all the time. In those days, there were no TVs, computers or other electronic devices to keep us distracted indoors, so our hobbies were to run around, climb trees (eating fruits from them and being bitten by hairy caterpillars, as I’ve recounted on this blog before), play fun games that kids no longer seem to do and generally make a racket.
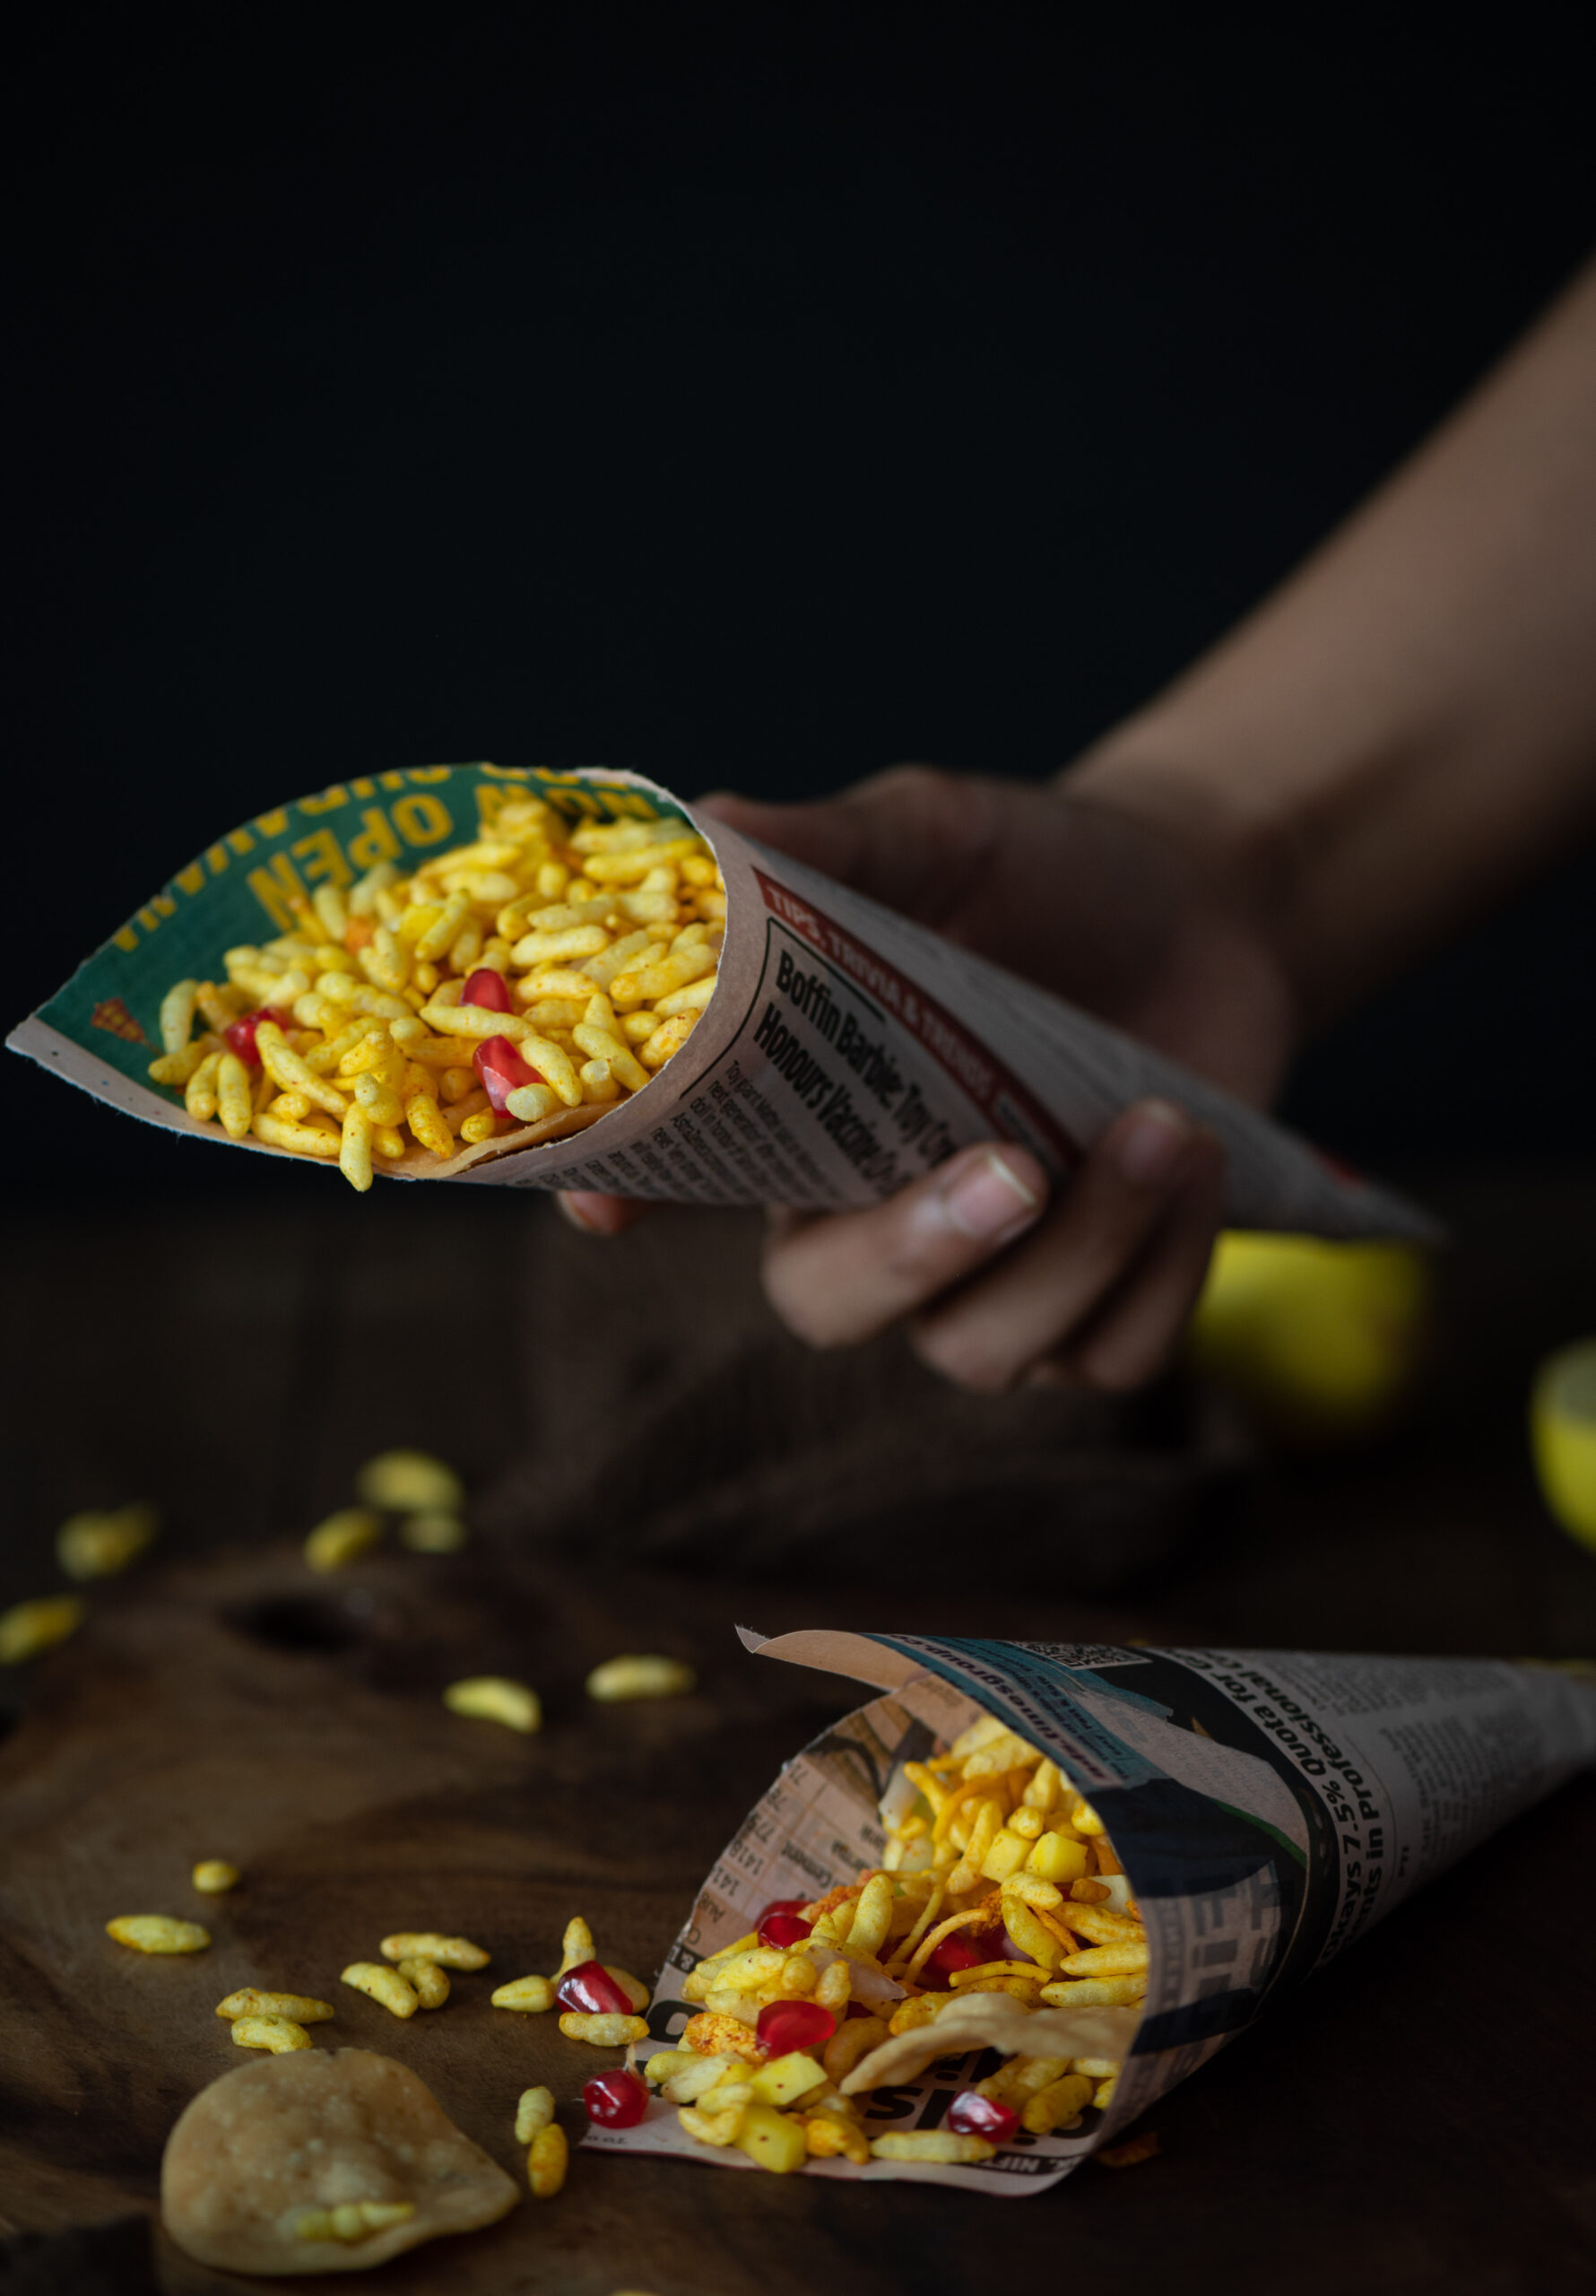
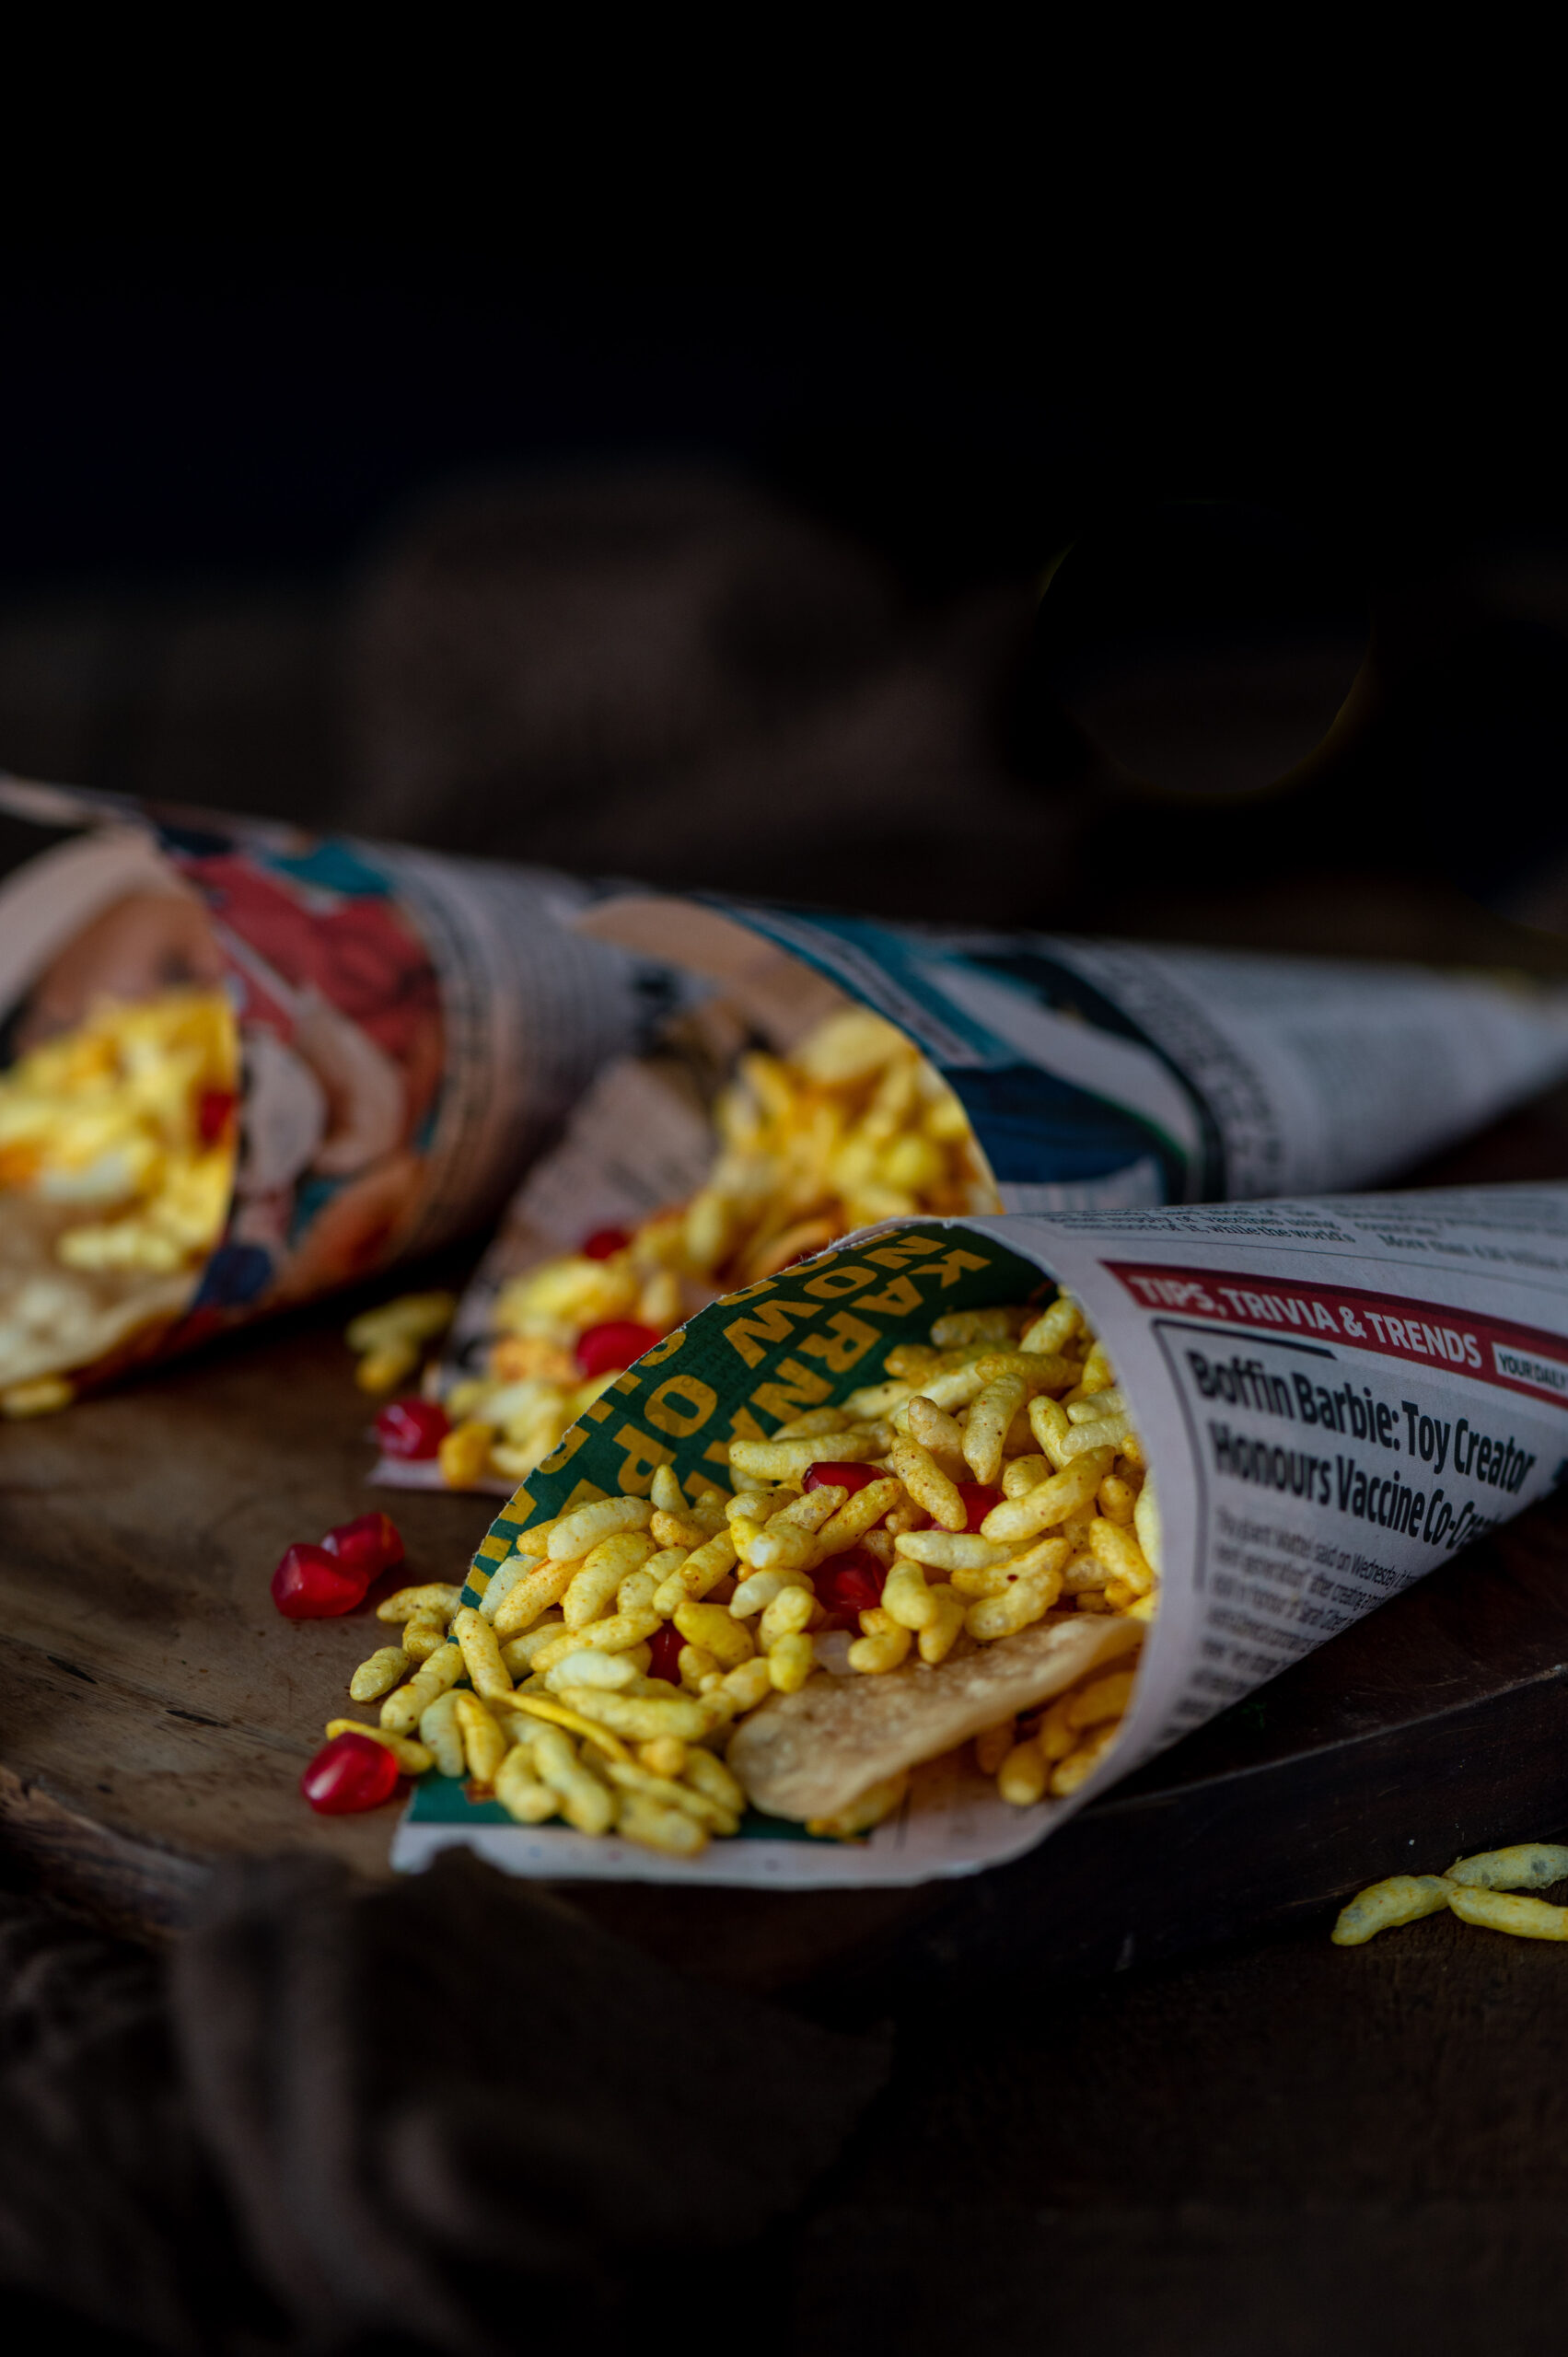
With these particular neighbours, we often spent the late afternoon together. I would go to their house at around 3.30pm, right in time for tiffin. We would sit on their front porch, enjoying leisure time together. My friends’ grandmother would oil, comb and braid their long hair and decorate it with jasmine. As she did, she would tell stories. I would watch their grooming ritual, listen to their Paati’s tales and enjoy the snack of the day. Very often, it was vada (savoury fried dough) or ven pongal, like the recipe I’m sharing with you today.
While I was growing up, my mother would sometimes make this too. This was because I would bring recipes back and forth between the different homes in our neighbourhood. Pre-blog and even pre-Internet, I already loved the exchange of kitchen techniques and secrets! South Indian families we grew up with also ate quite a bit of Gujarati food as a result. Of course, festivals meant gathering together and sharing meals too. It’s funny how connected we all were in that time before cellphones. I had such a lovely, inter-cultural upbringing – it contained food, heritage, granny tales and so much more from my family and well beyond. I feel like my children missed out on those simpler times, since technology began to dominate when they were little. I wonder how the generation of today fares, with even more at their disposal, and perhaps with even more disconnection in the world. What are your thoughts on all this?
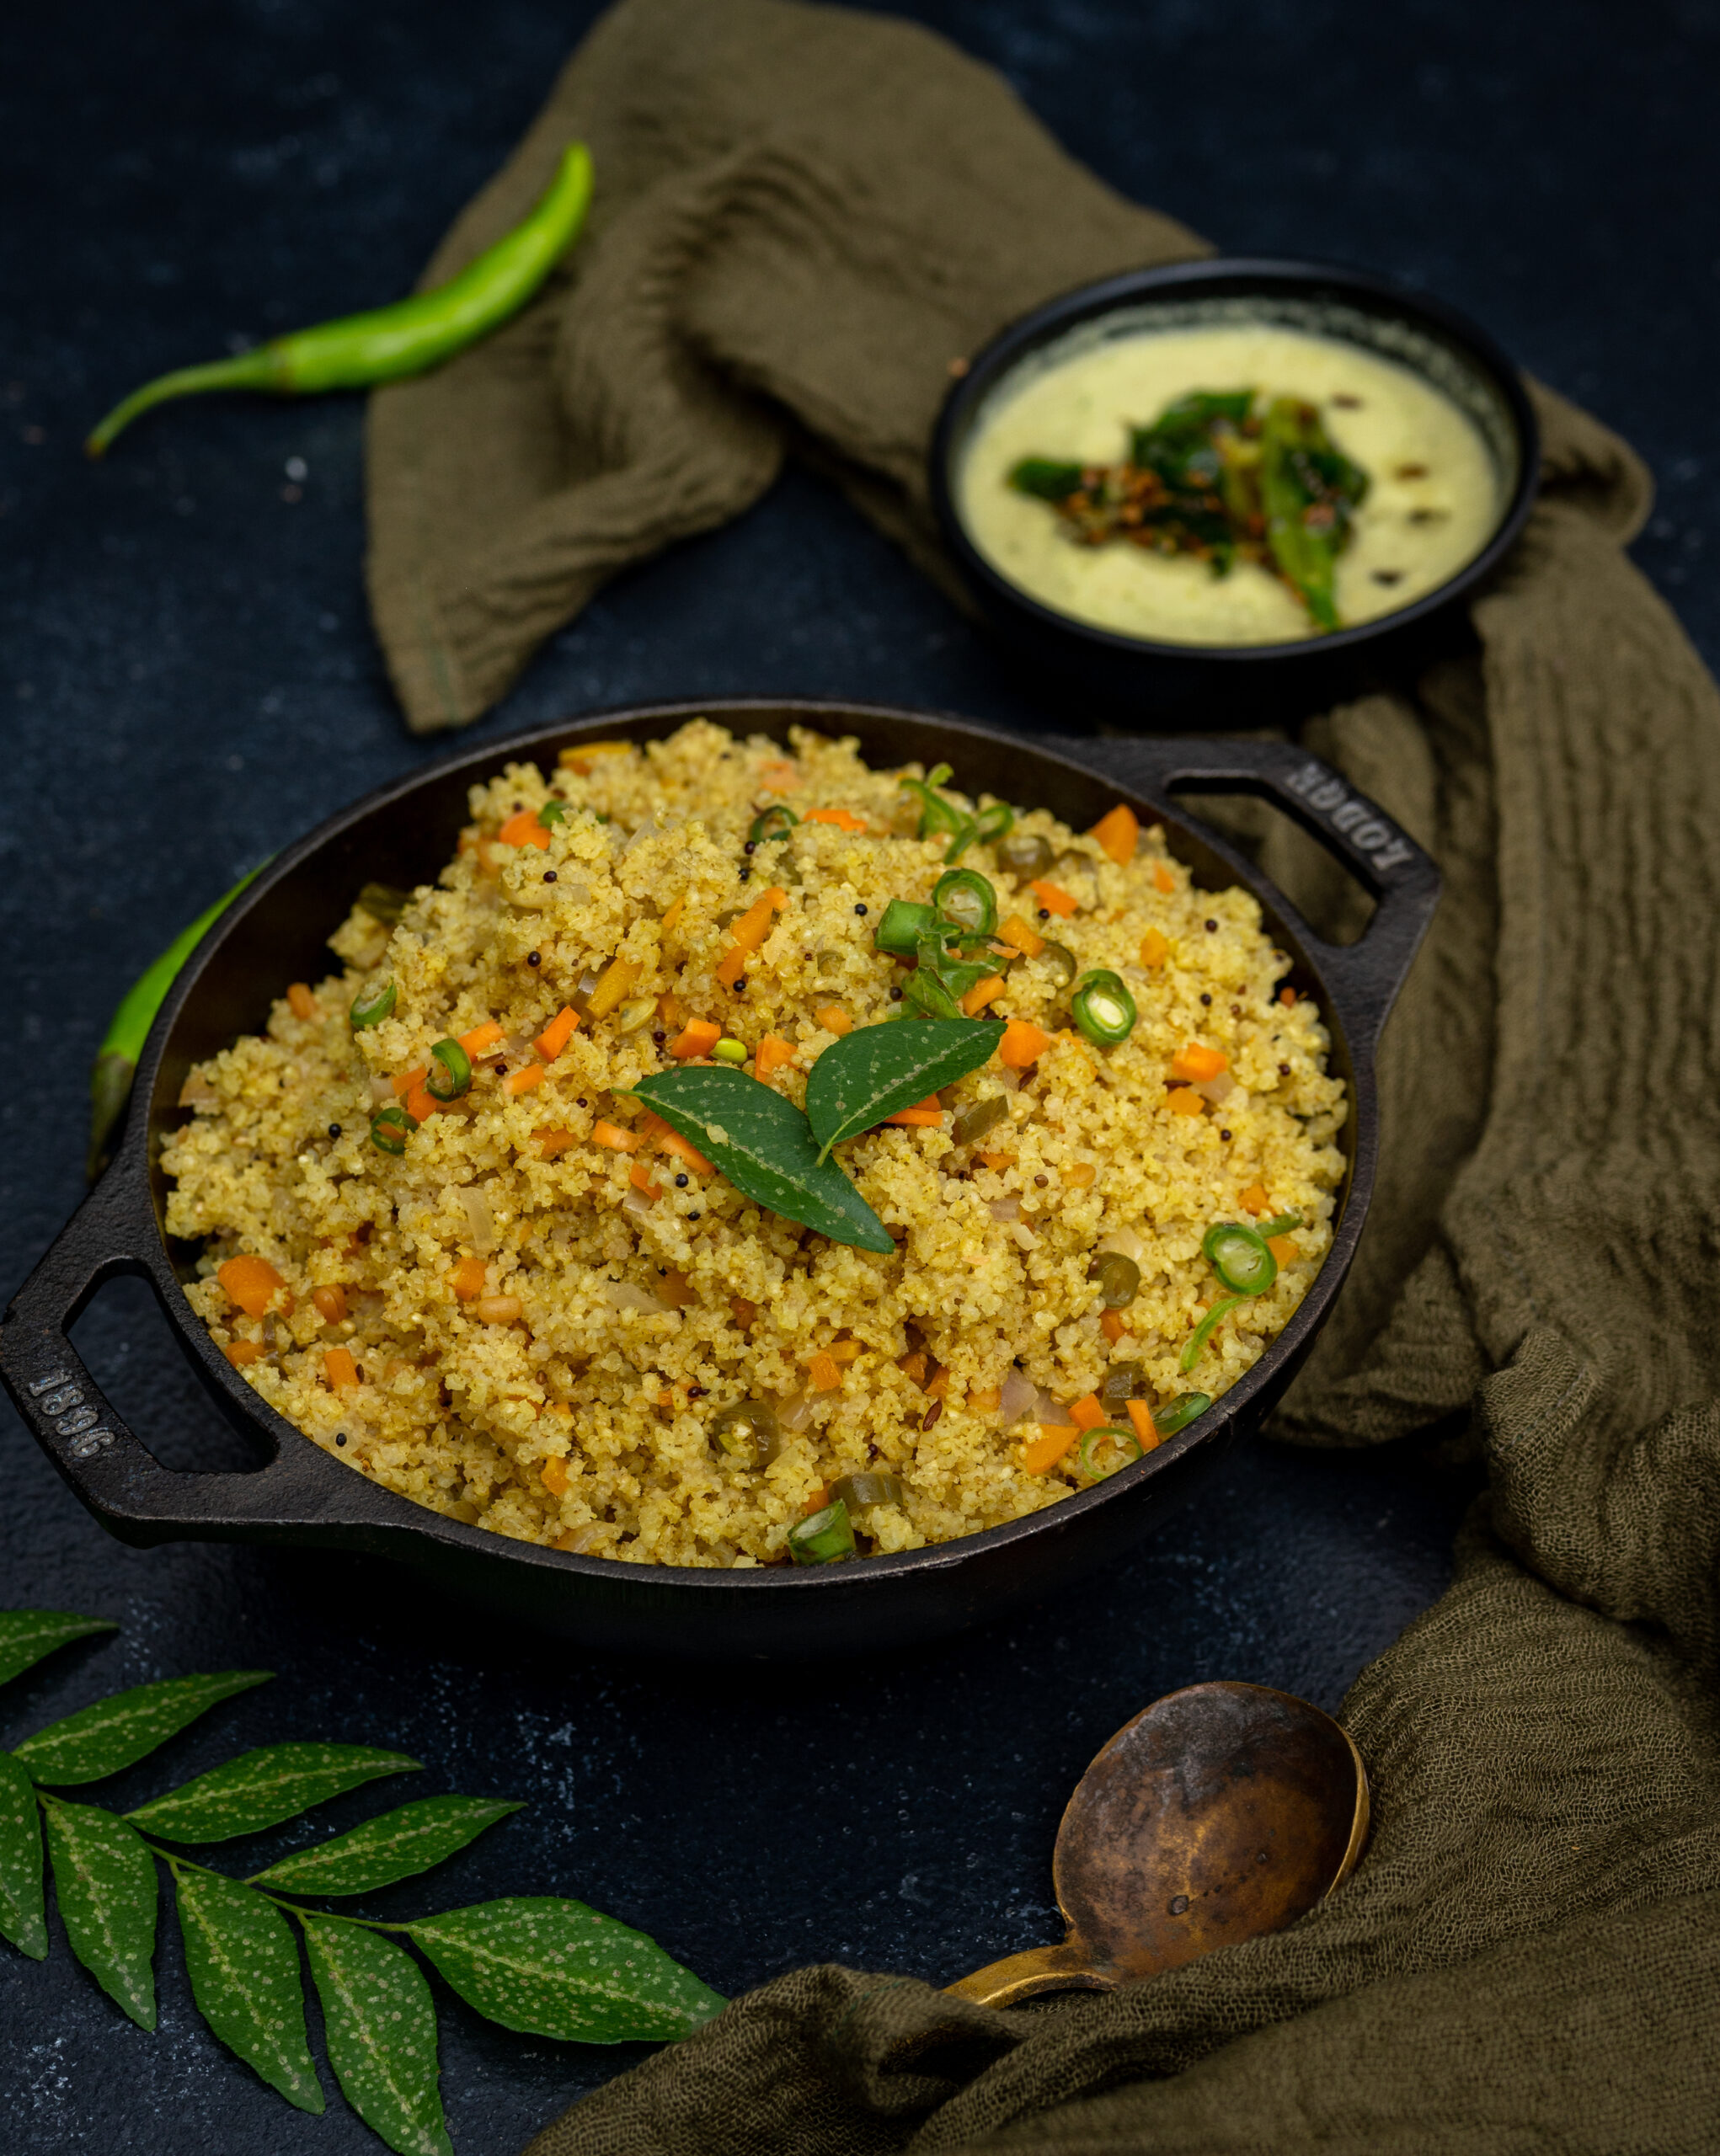
Ven Pongal
(Yield: serves 3-4)
½ cup split mung dal
½ cup raw rice
3½ cups water to cook
2 tablespoons ghee
1 tablespoon cumin seeds
1 teaspoon whole black pepper
3 tablespoon split cashews
2 teaspoons finely minced ginger
Salt to taste
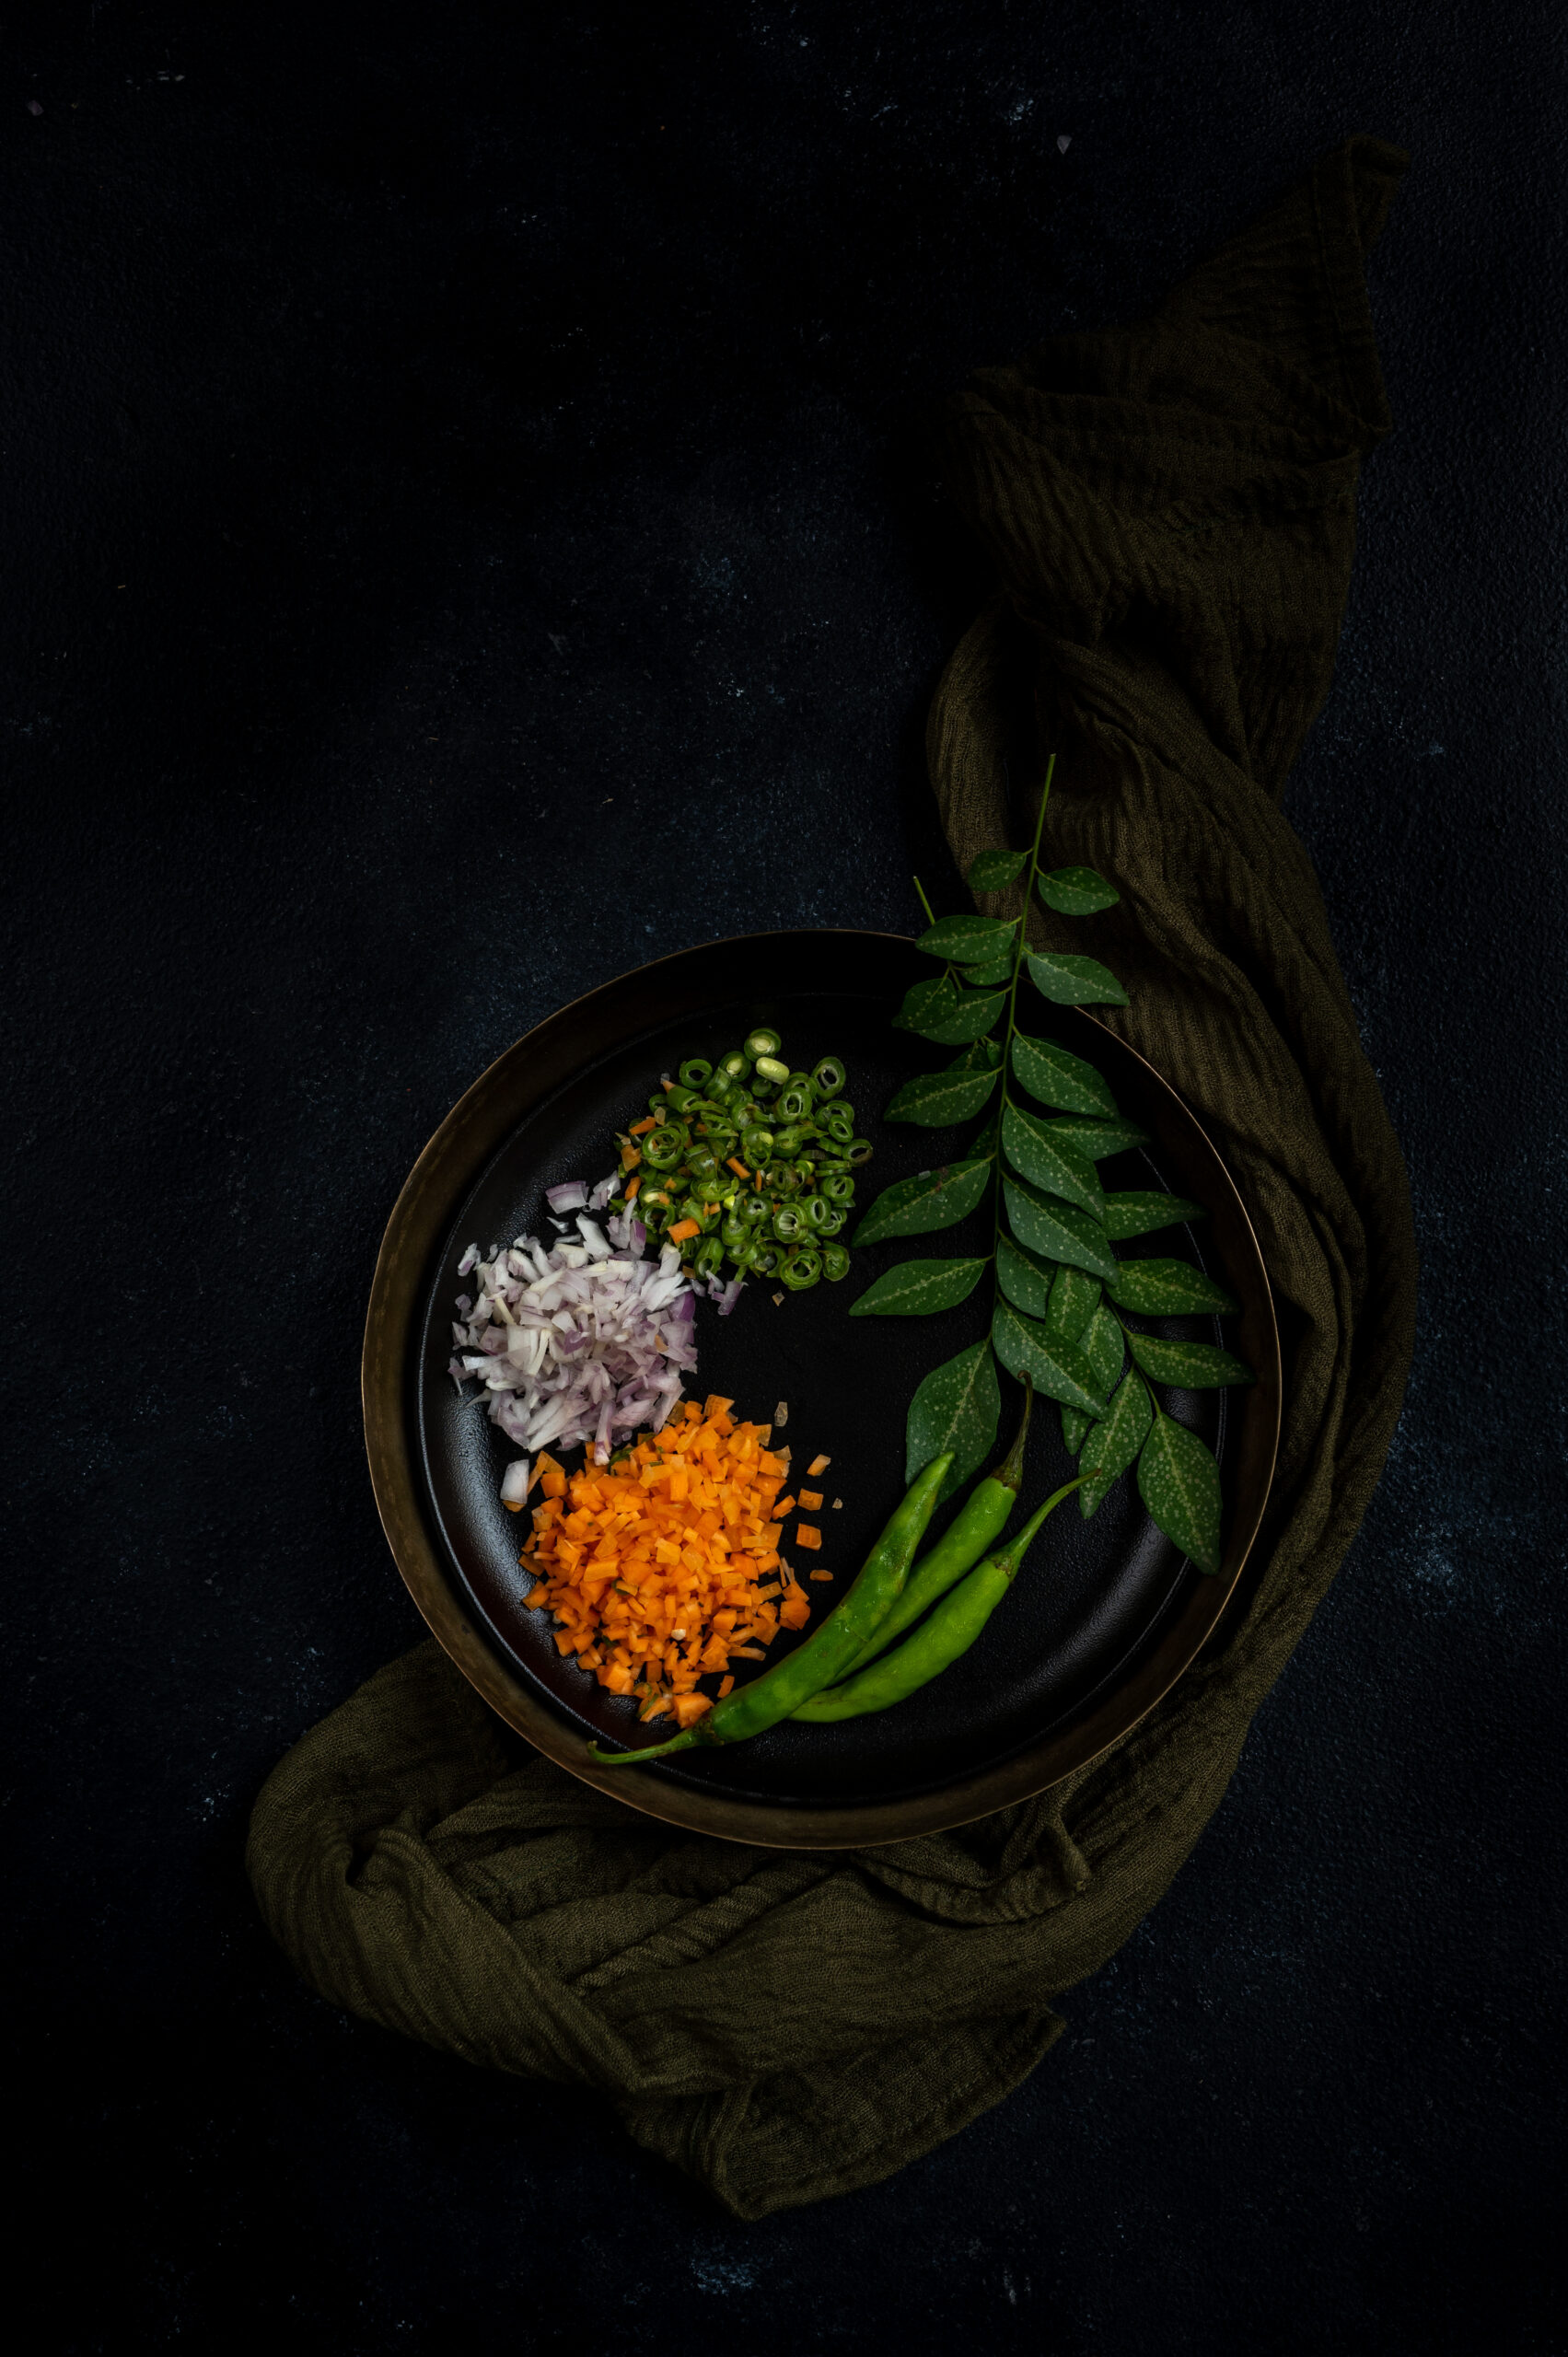
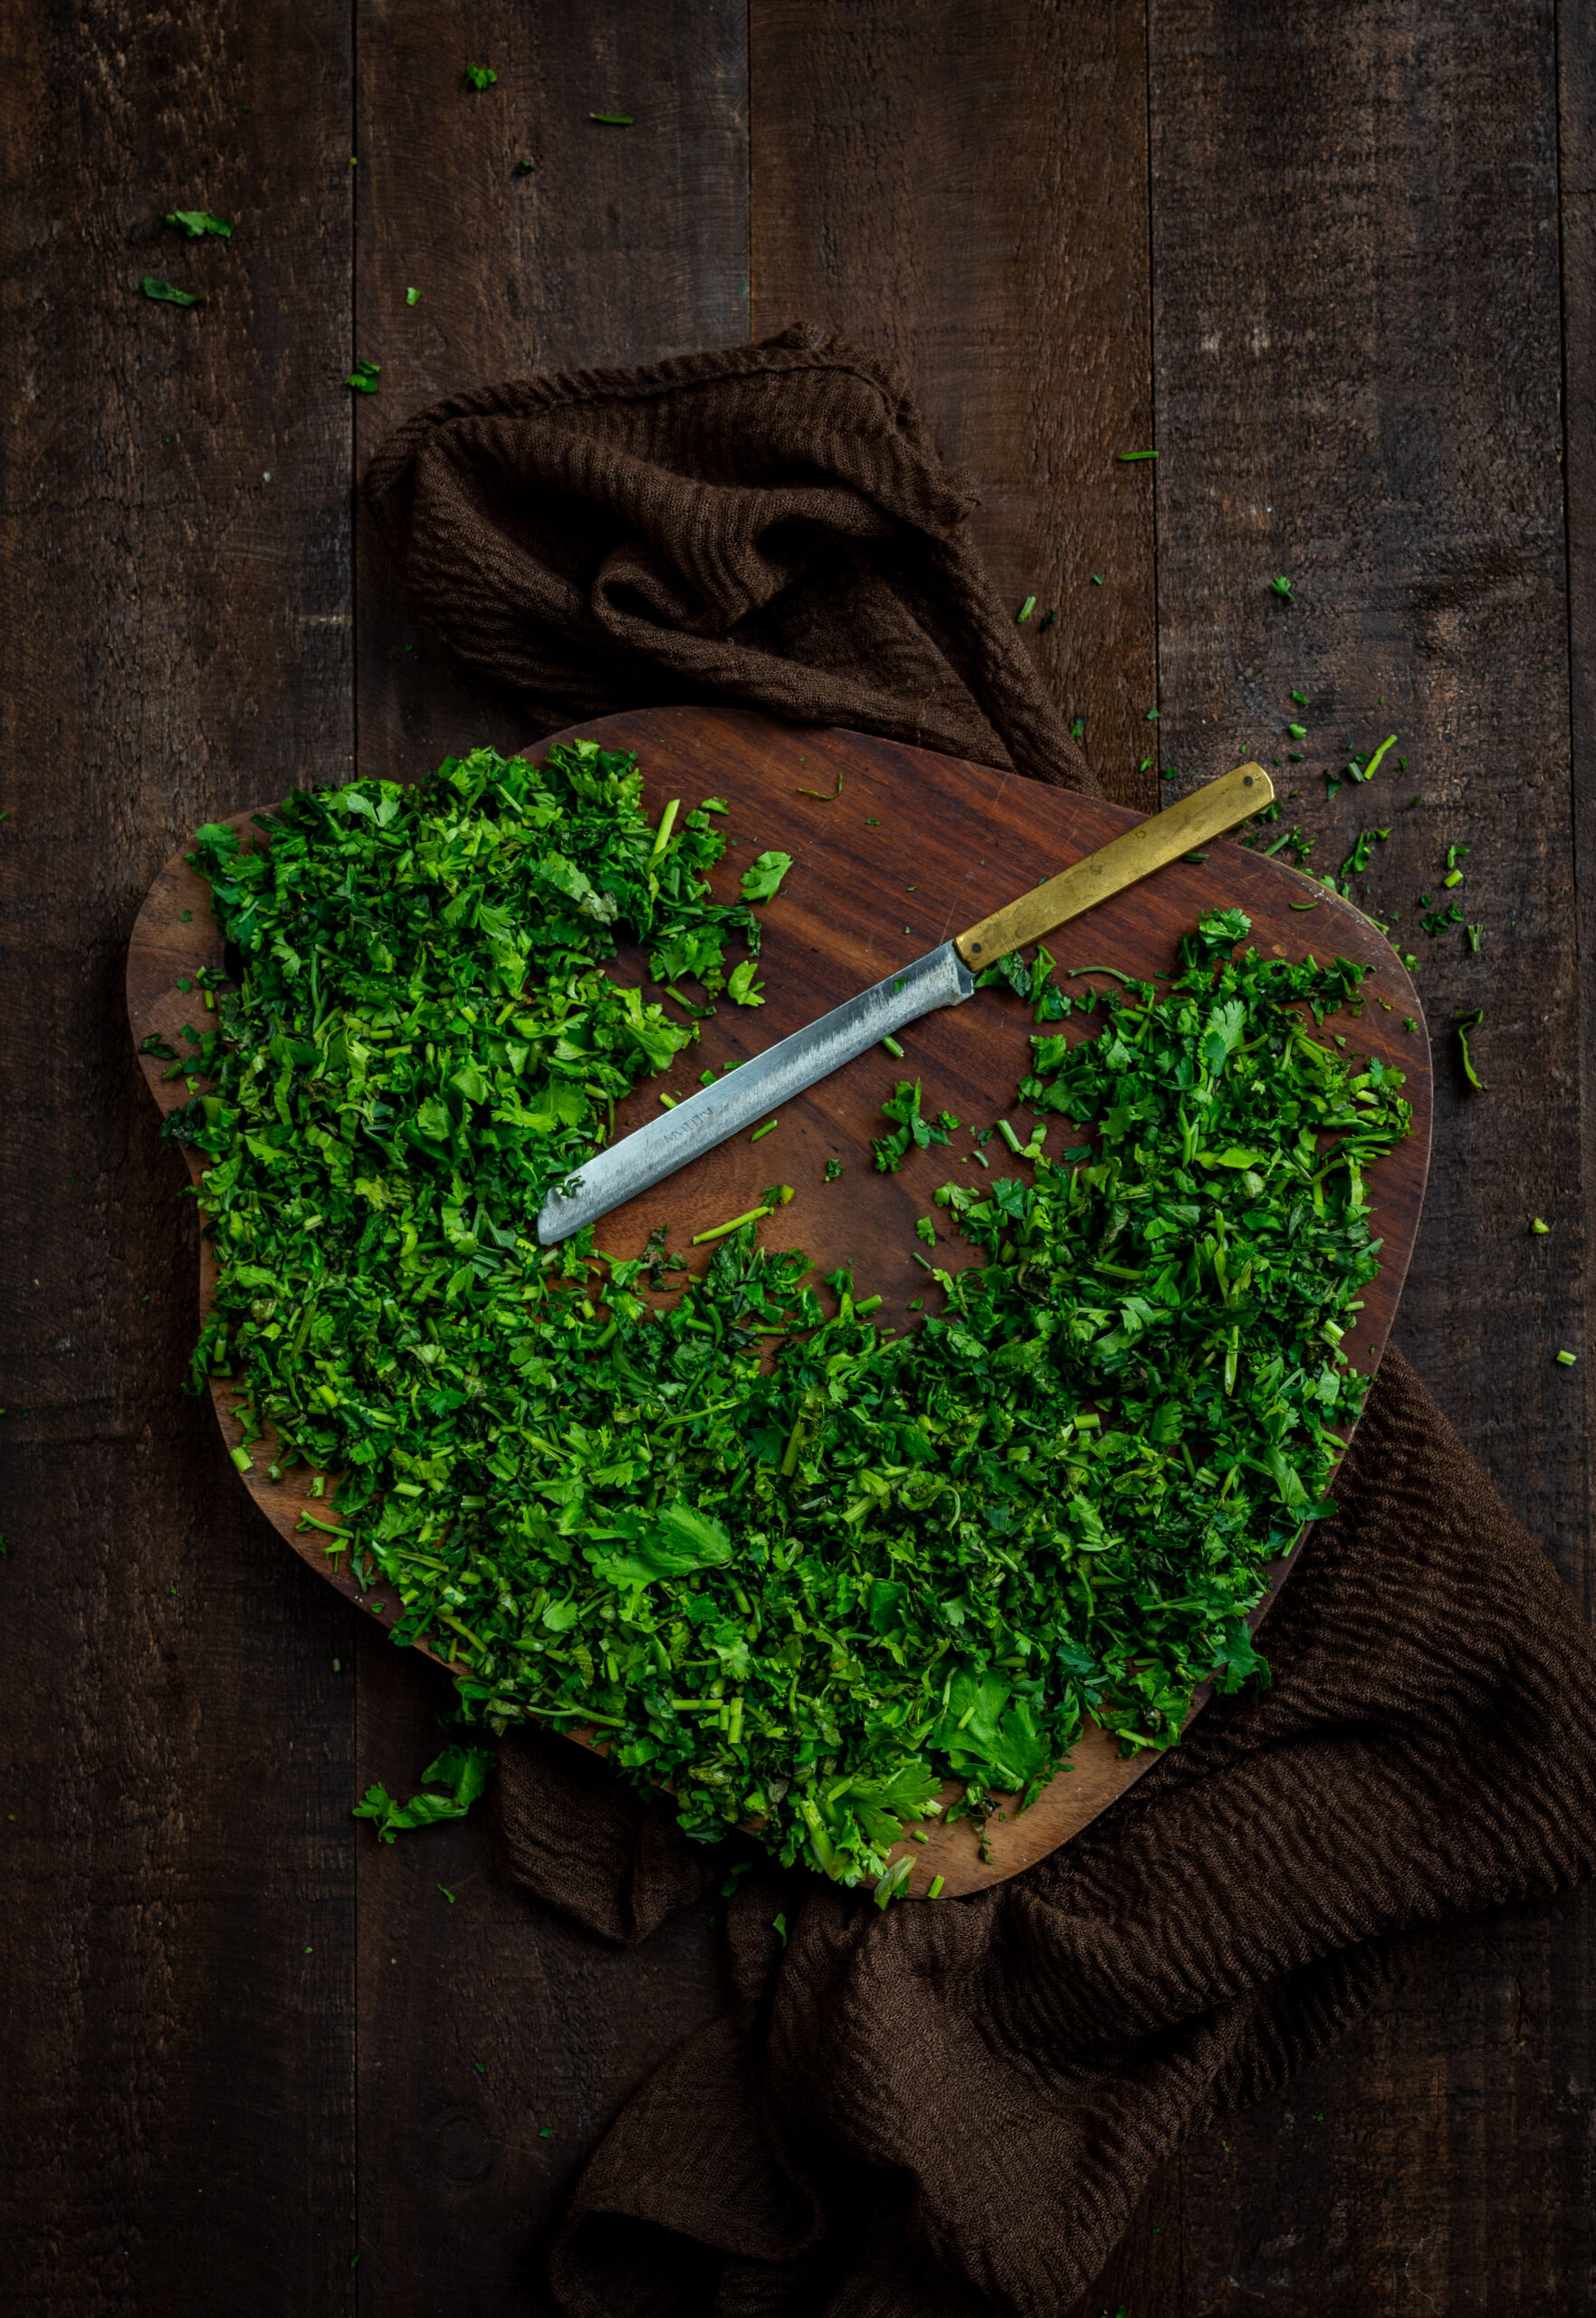
A handful of curry leaves
Mix the dal and rice together and rinse well. Heat a pan and add the mixed rice and dal to it. Sauté until they release an aroma. Do not allow the grains to turn colour.
Now, add the water, salt and 1 tablespoon of ghee. Pressure cook until tender. This will take approximately 20-25 minutes.
In another pan, add the remaining ghee. Once it has heated, add the cumin seeds and pepper. Next, add the curry leaves and ginger. Finally, add the cashews. Once this tempering has turned golden, add it to the steaming hot rice mixture.
Mix well and serve warm. It can be eaten on its own, or with sambar or chutney.
Whether you’re having this as a festive dish, or just snacking on it at tiffin or breakfast, I hope that you find it as delicious as I do. If you happen to enjoy it while sitting on your porch or balcony with dear friends, as I used to as a child, I’d especially love it if you could paint me a picture of those special moments in the comments! Food is such an intrinsic part of bonding, is it not?