Being Gujarati, I think it’s only fair that I give you another detailed description of and a special blog post for theplas, even though the standard recipe for them has already made an appearance in my comprehensive post on rotis of many kinds. After all, Gujaratiness goes hand-in-hand with theplas and dhoklas, as stereotypical jokes go – in which there is a kernel of truth, for these really are essential parts of our cuisine. The thepla is particular, in fact. You may also recall a khichdi thepla shared earlier, which is a nifty way to turn what’s left of lunch into dinner. This time, I’m sharing with you a particular recipe that I happened to mentioned in that post – dudhi thepla, which adds the goodness of bottle gourd to the basic bread.
We make all kinds of flatbreads and rotis in India. Each state and each community will have distinct versions. For instance, farmers and people who labour outdoors will tend towards breads that use bajra or pearl millets, or other kinds of seasonal millets. As millets are slower to digest than wheat, this ensures that the body has energy for longer. The roti itself will usually be thicker, larger and drier. A garlic chutney is often the preferred condiment for this dish.
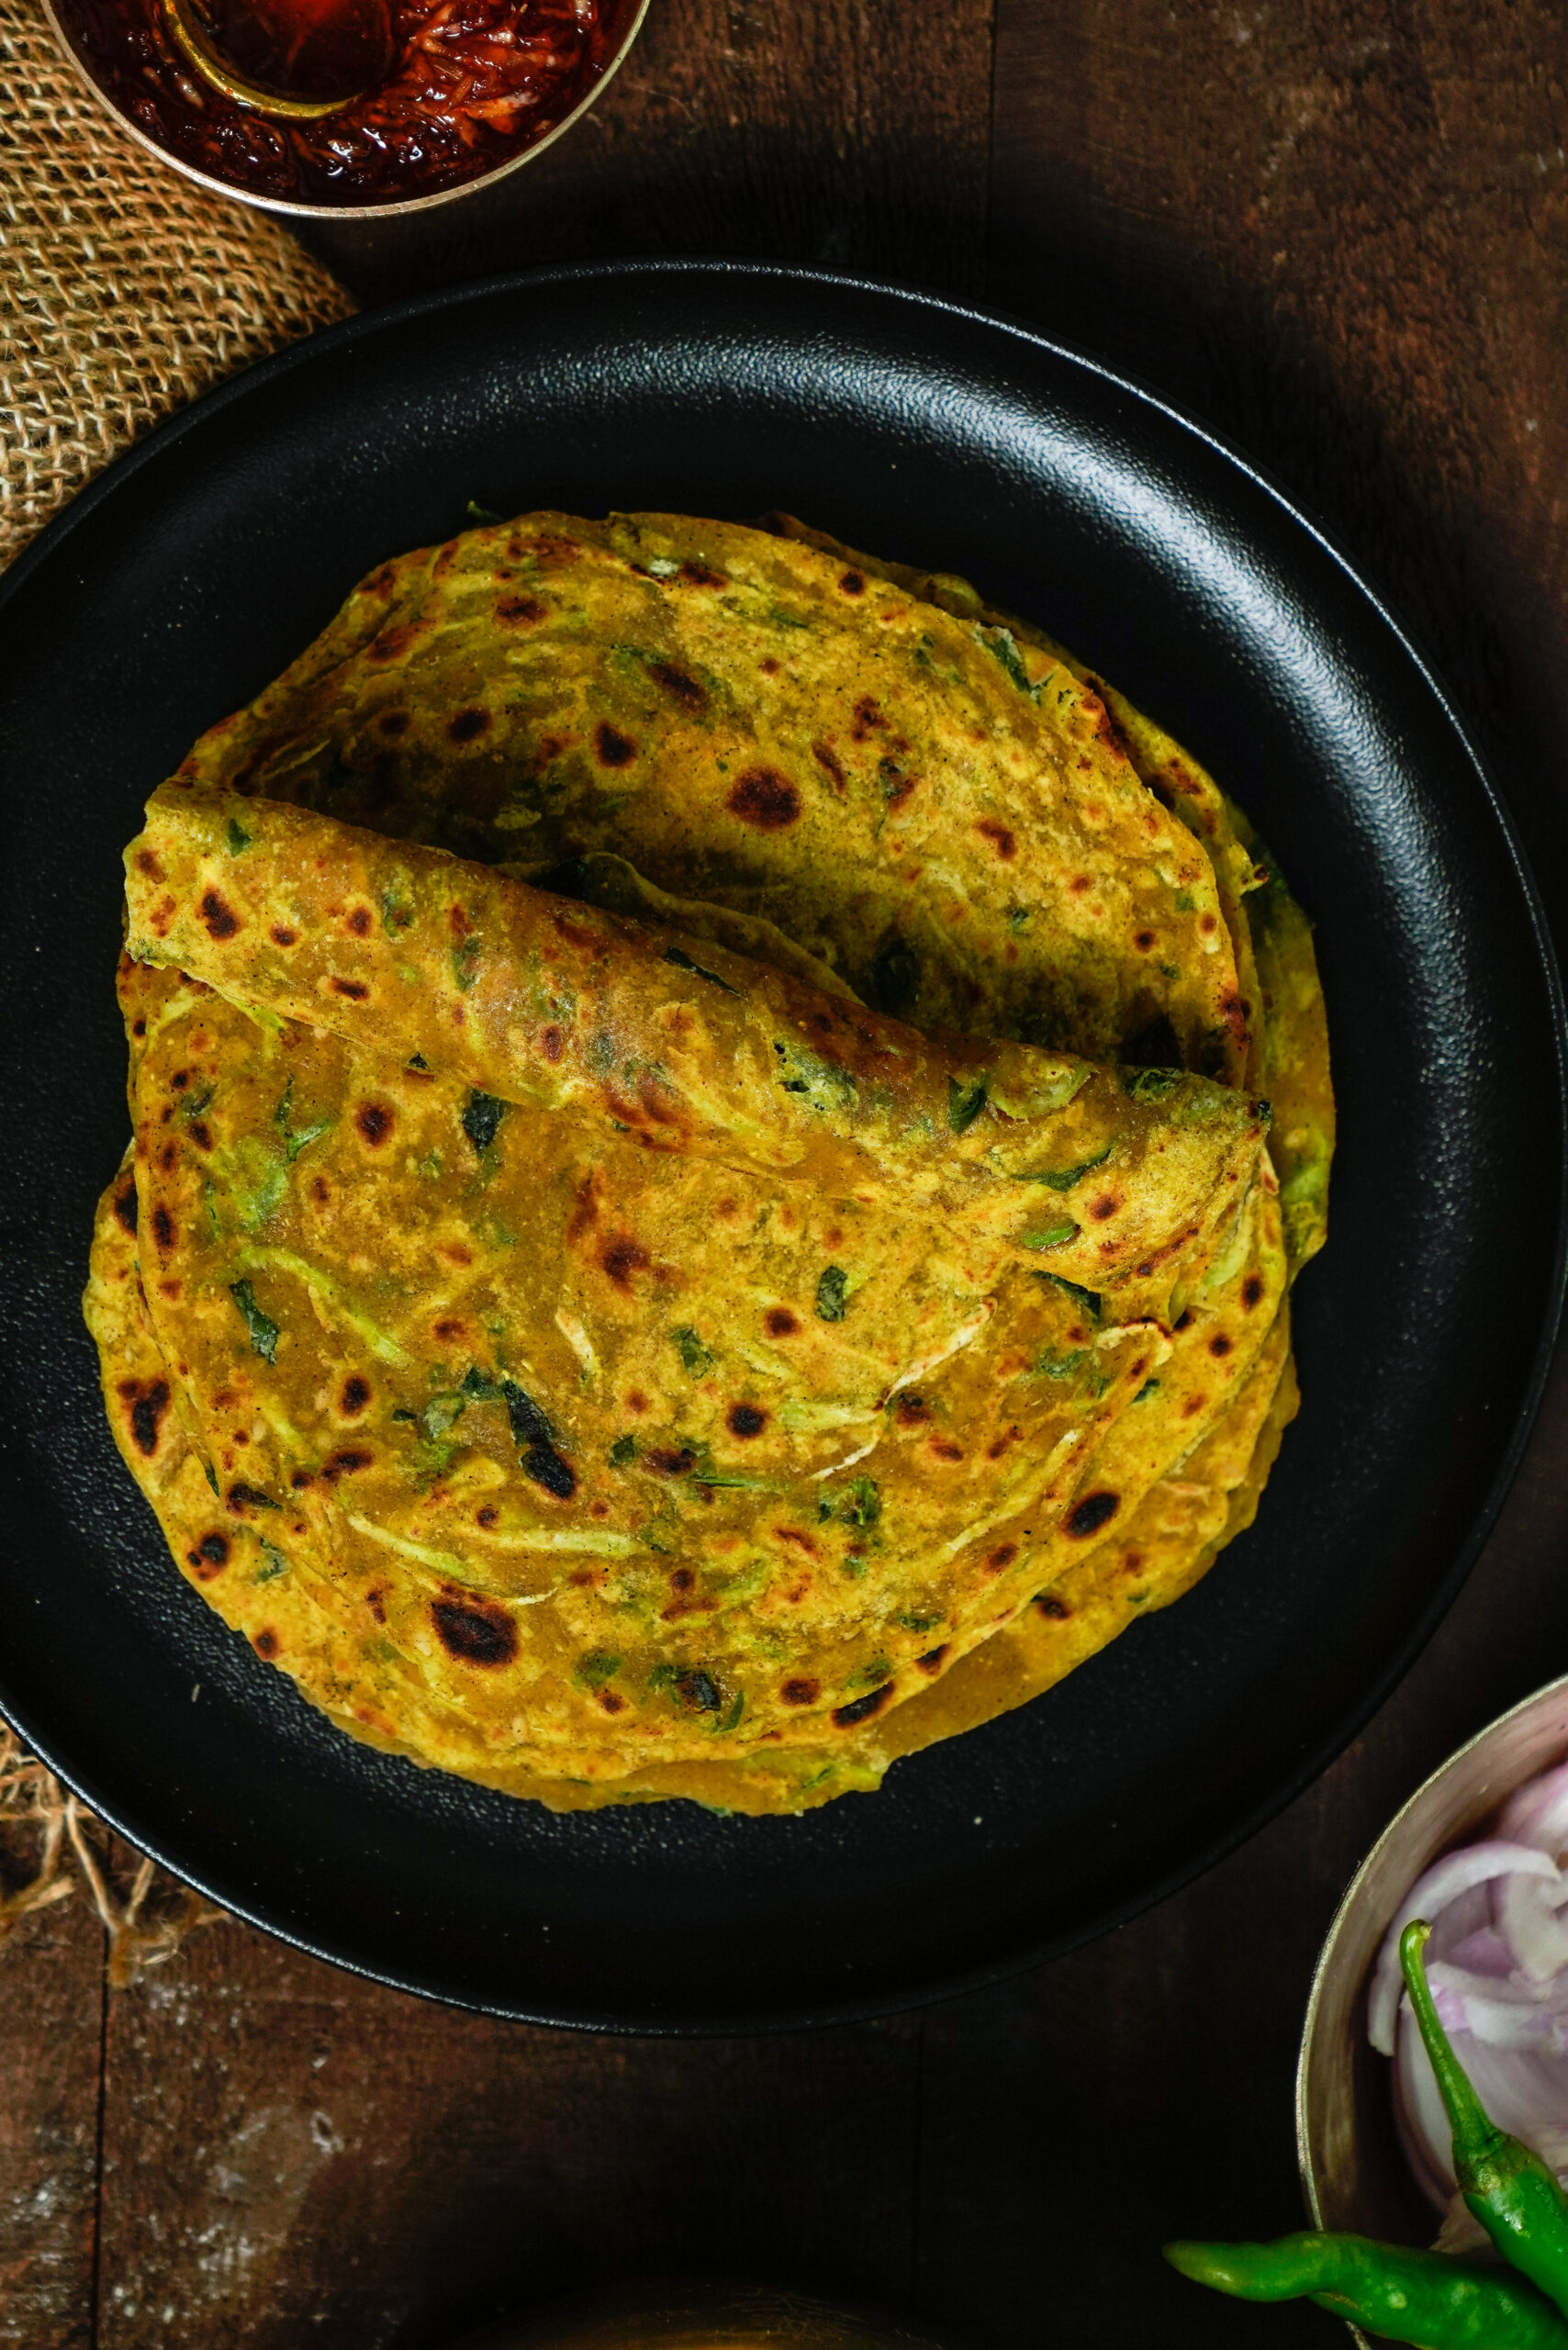
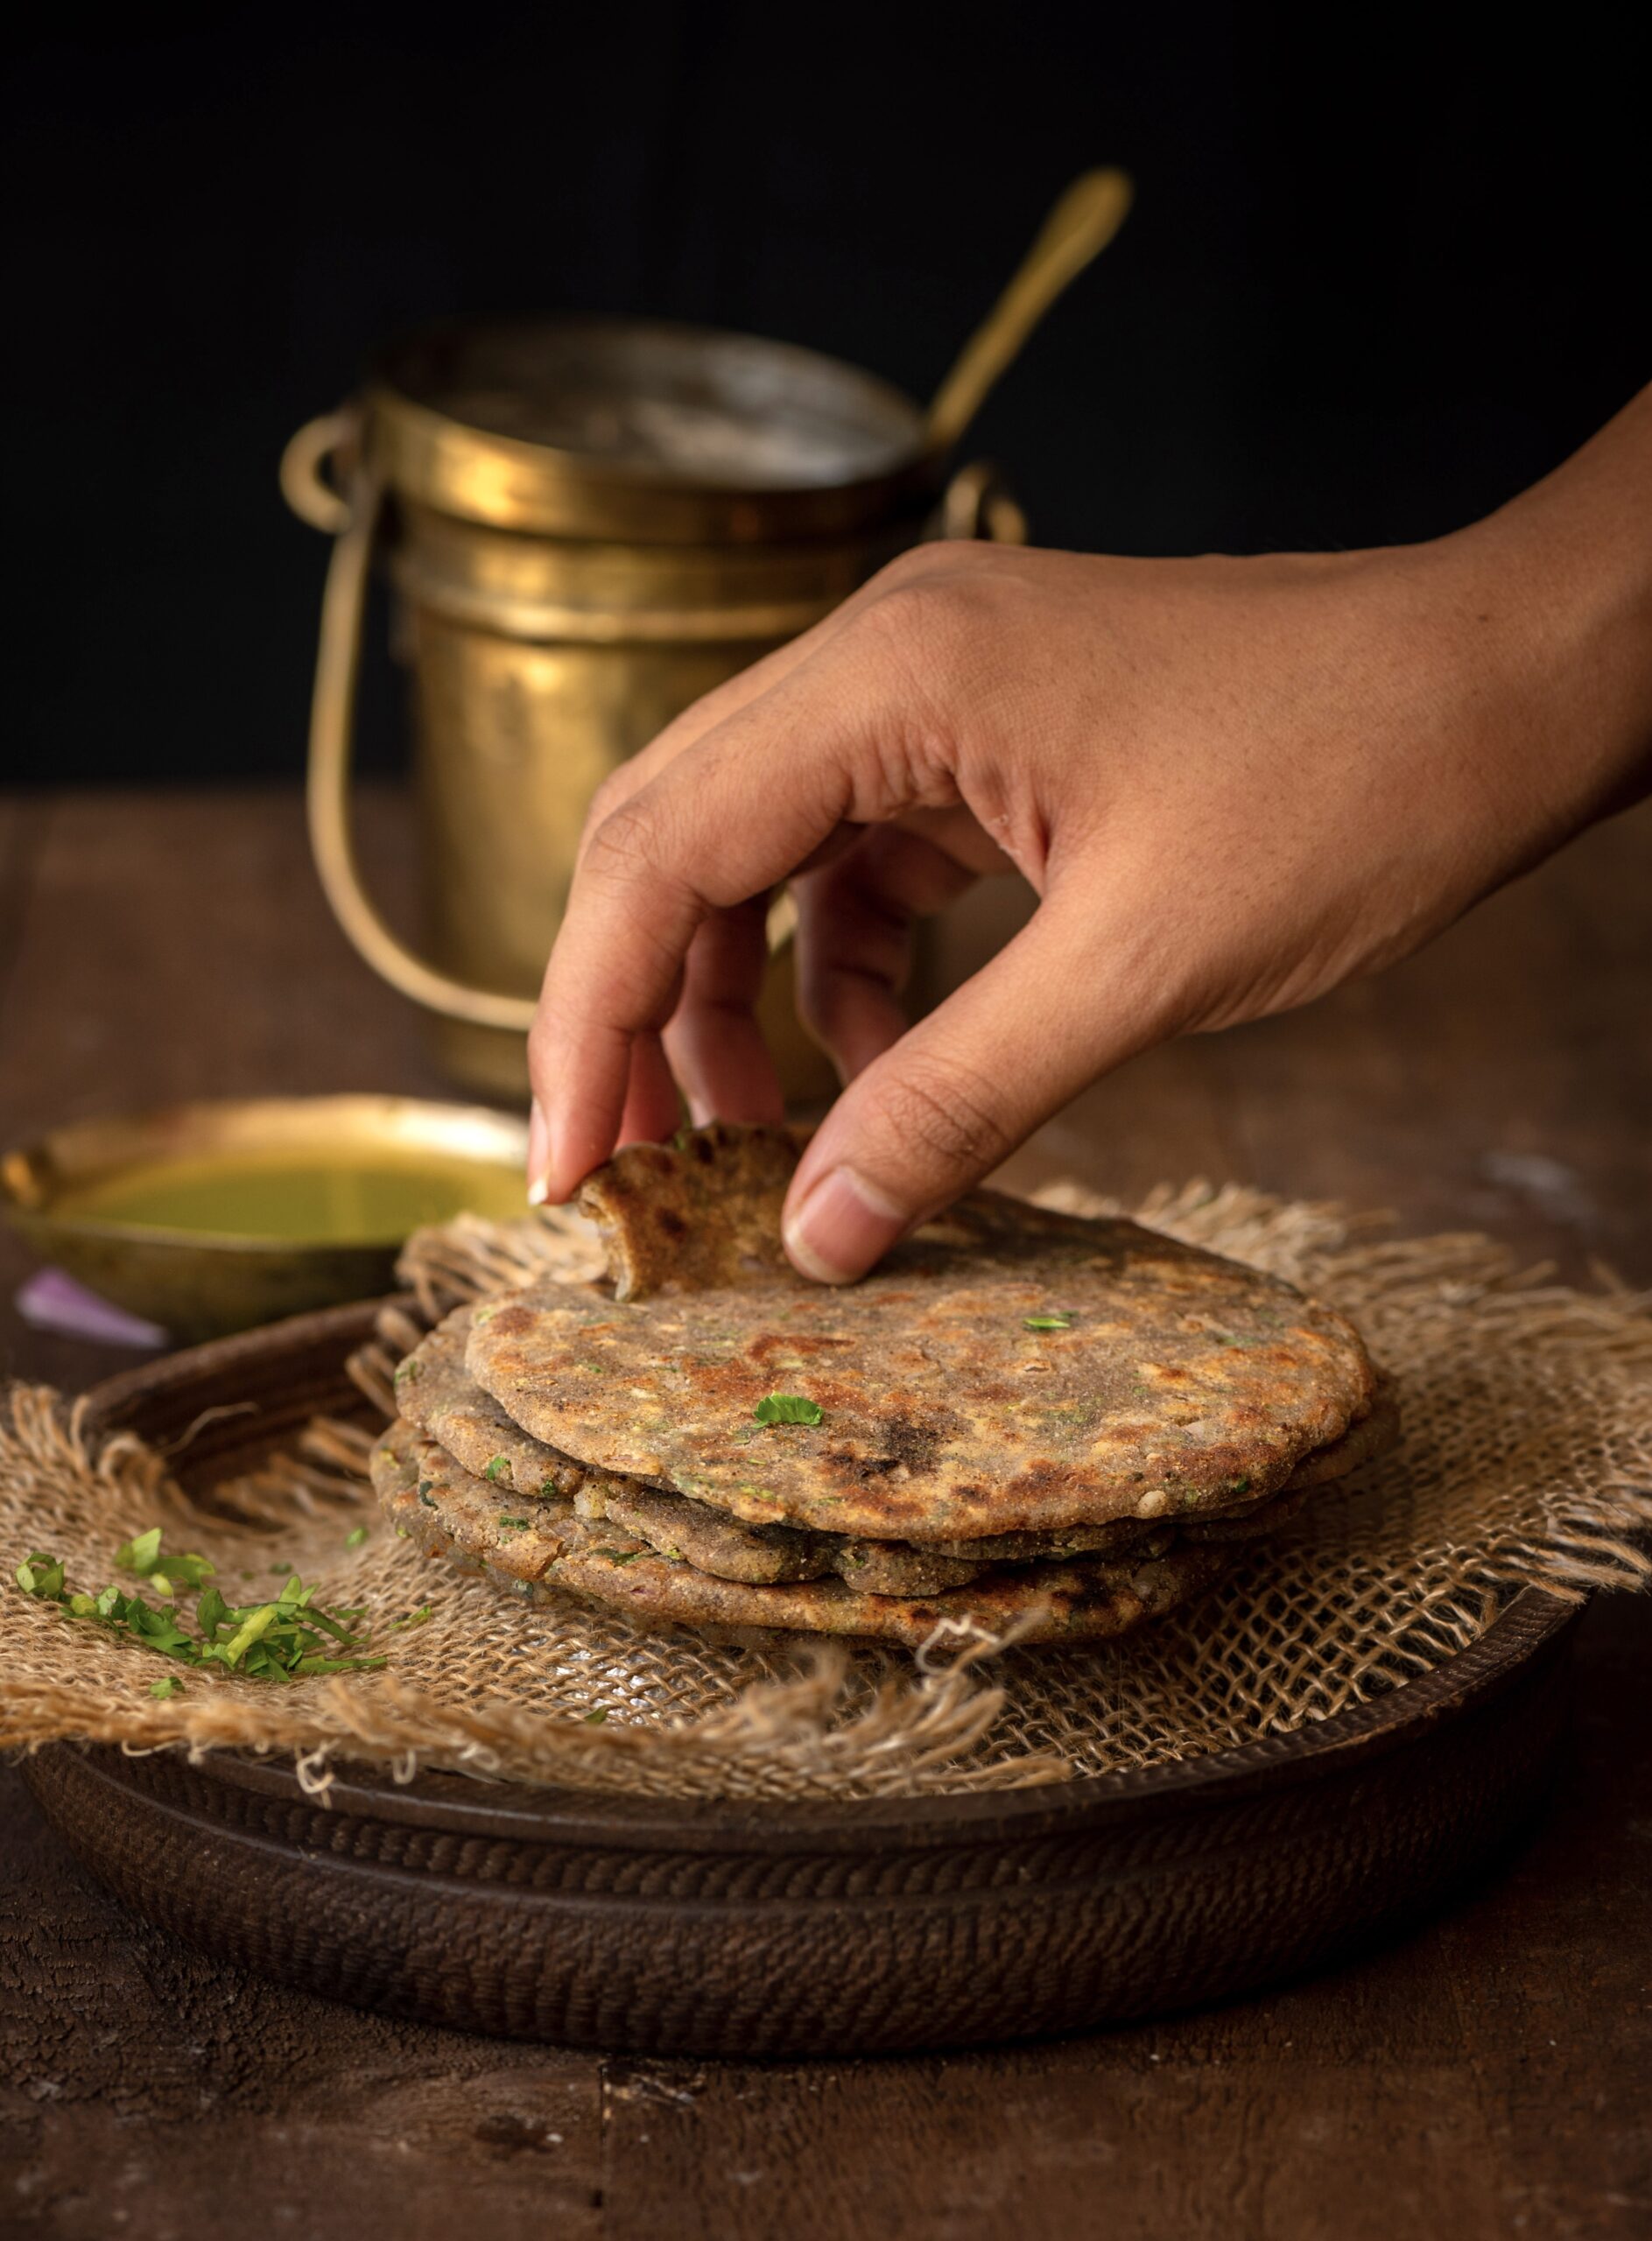
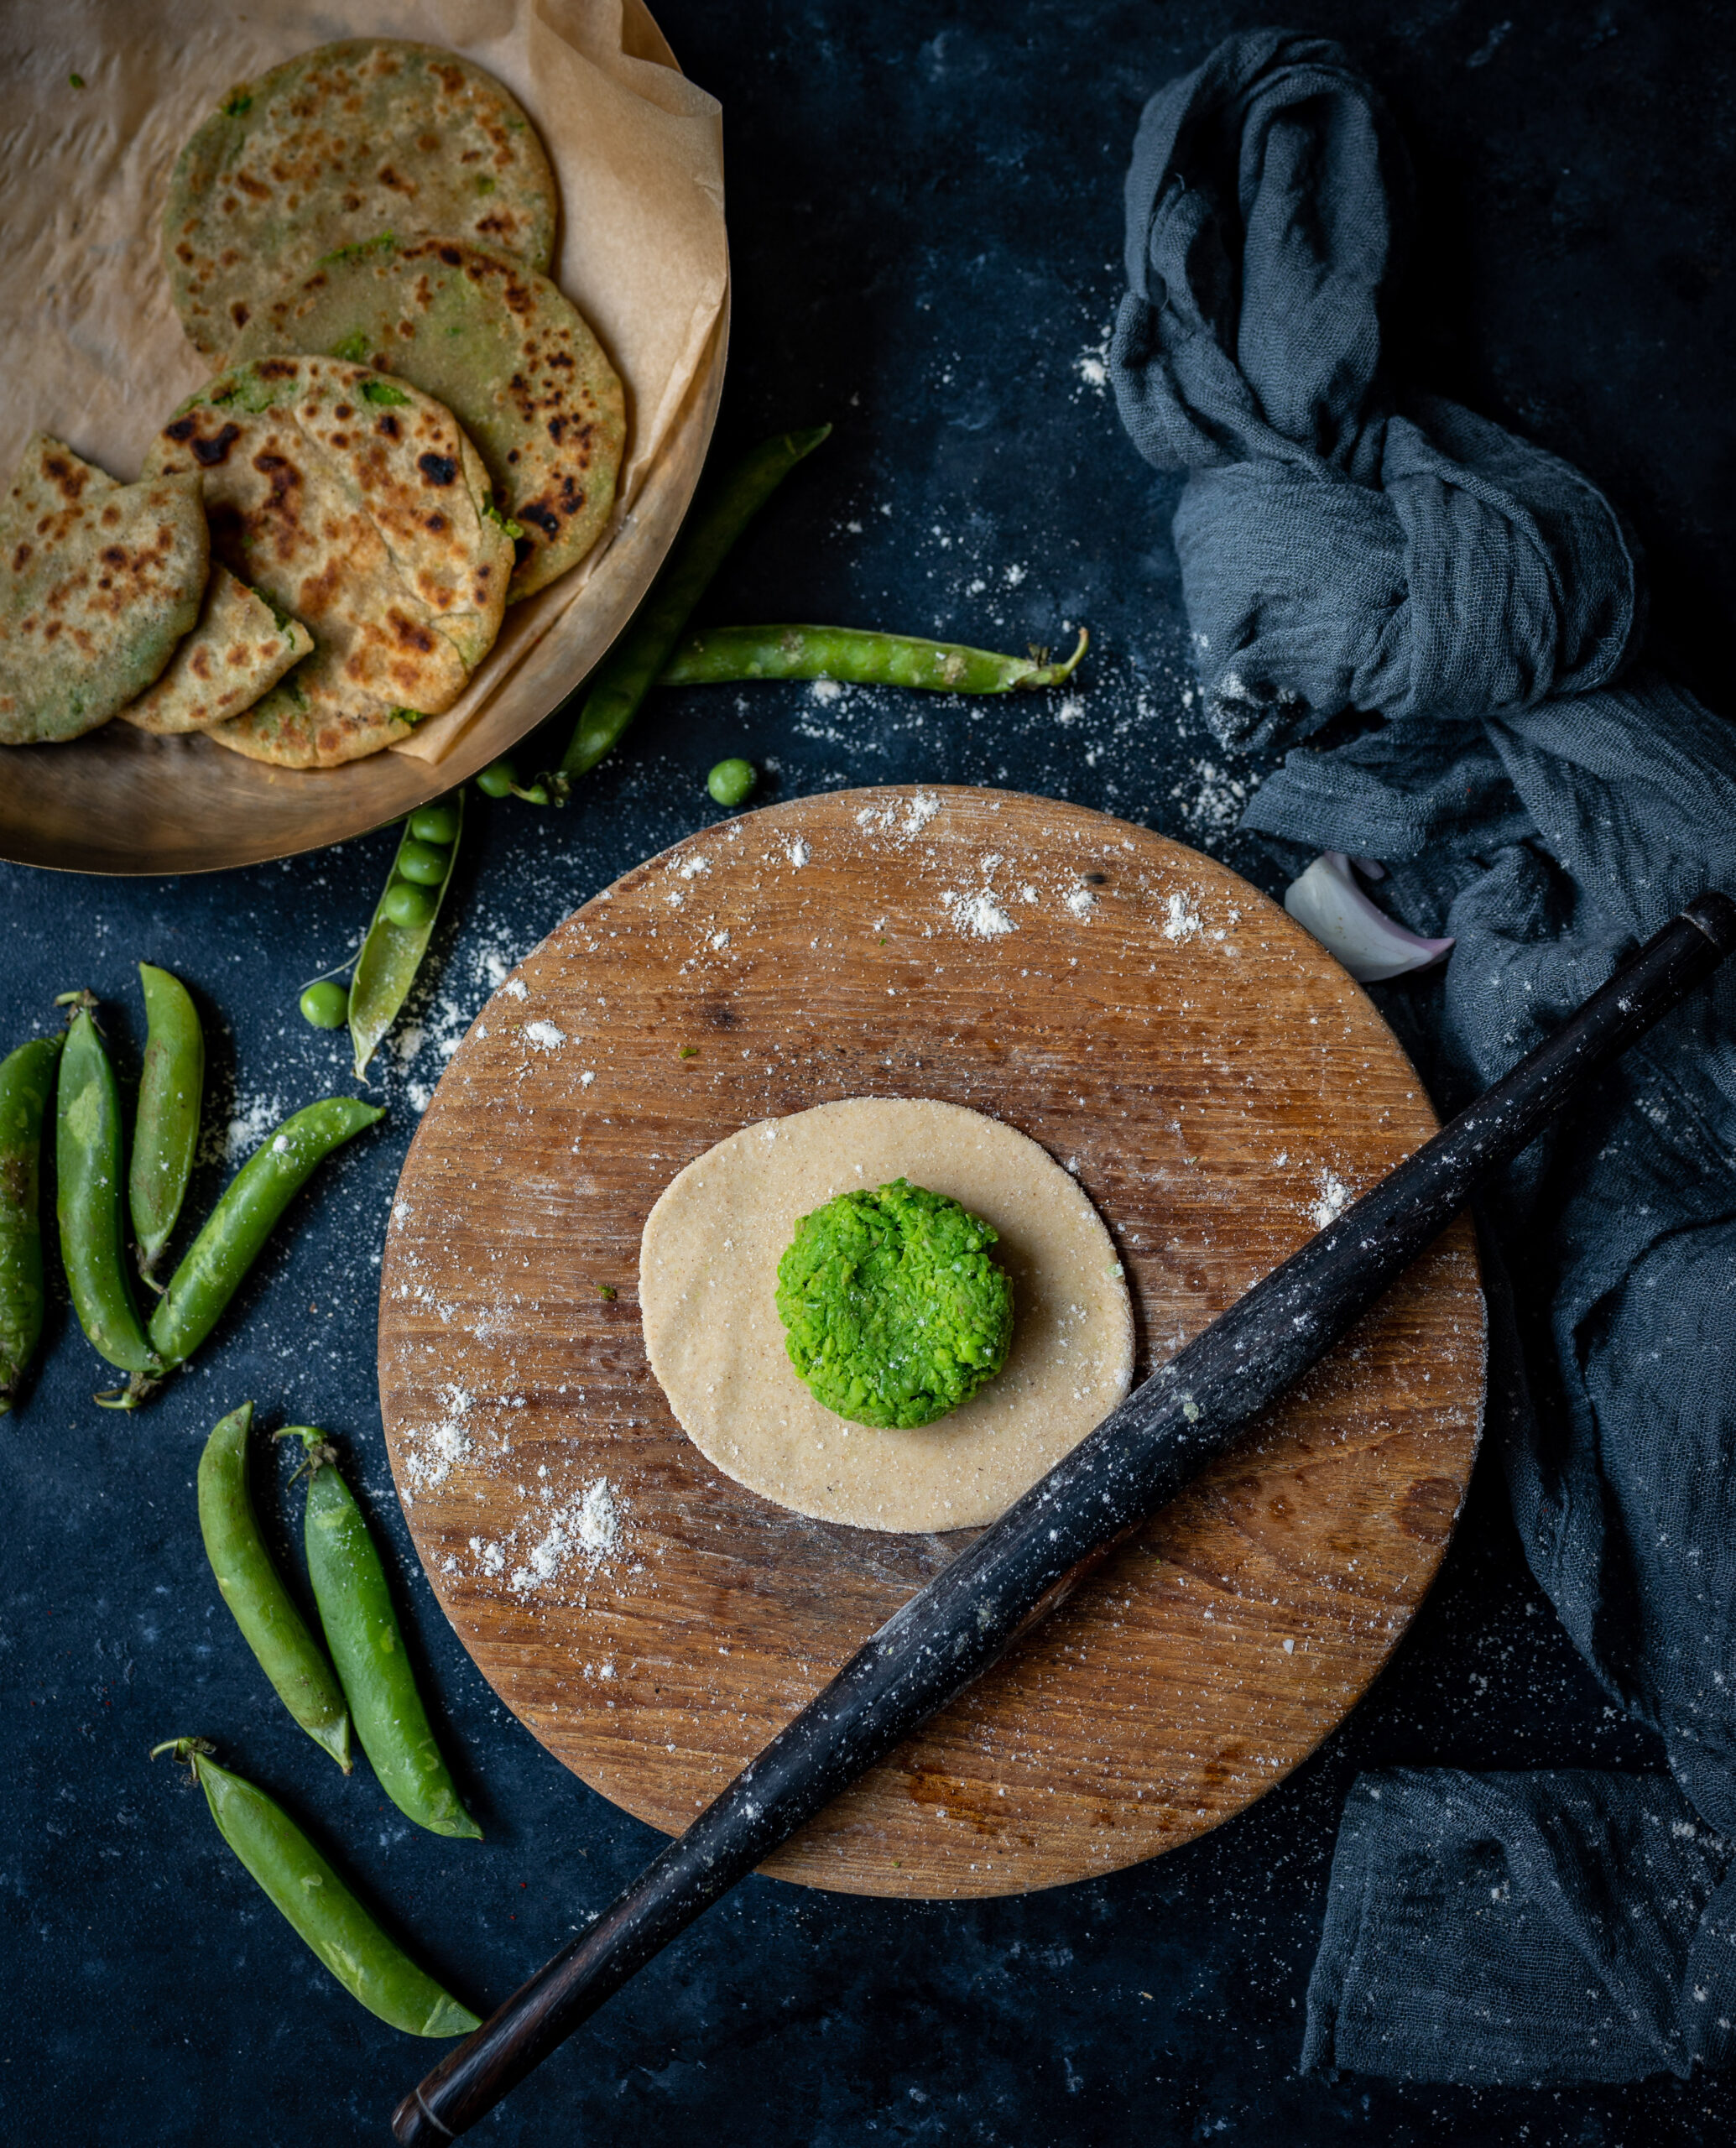
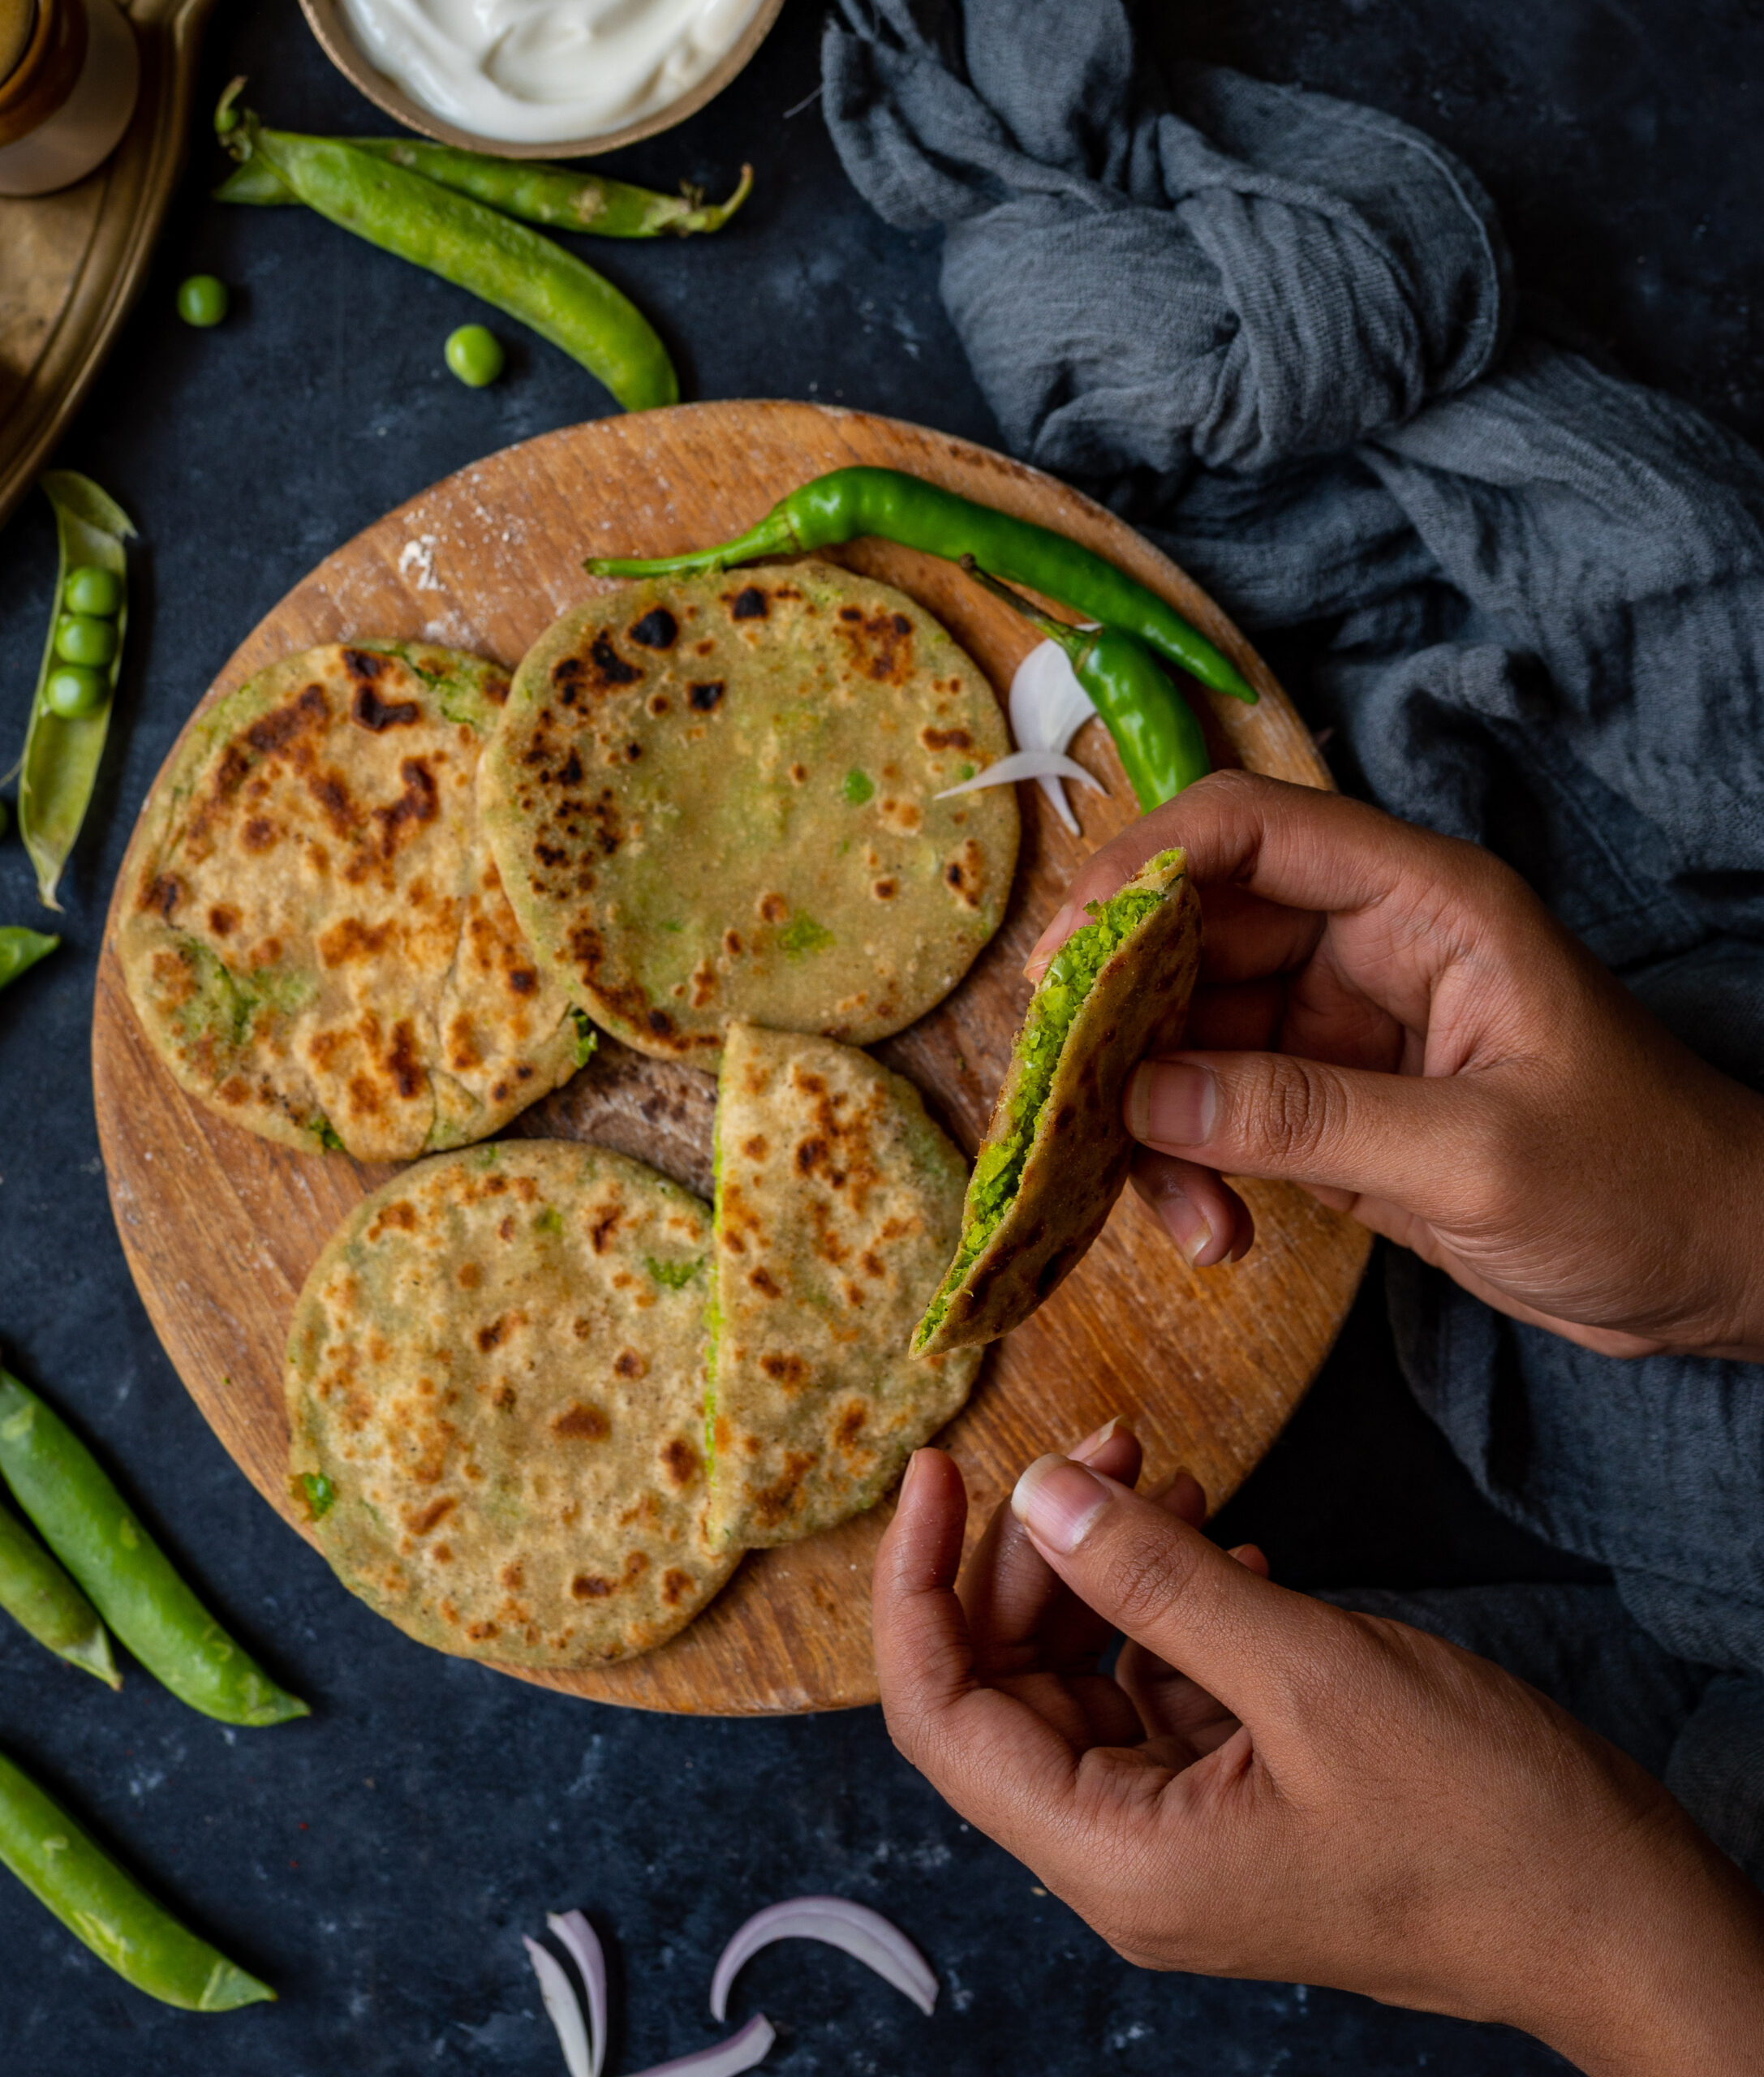
Within the thepla category itself there is great variation. In terms of adding vegetables and herbs, methi or fenugreek leaves are commonly used, and spinach may also be used. Those are among my favourites too, and I’ve put some methi into this recipe as well. If you thought the khichdi thepla was innovative, how about a thepla taco? It’s a fun way to dress up a staple and make it even more appealing to a variety of palates.
My children, despite their greater exposure to other cuisines, still consider as a cherished comfort food a roti or a thepla made at home. It’s the same for my husband. Whenever any of them return for a visit or after a long journey, some delicious theplas are always waiting for them, and I’ve watched time and again as their exhaustion becomes happiness quickly as they tuck in to the meal.
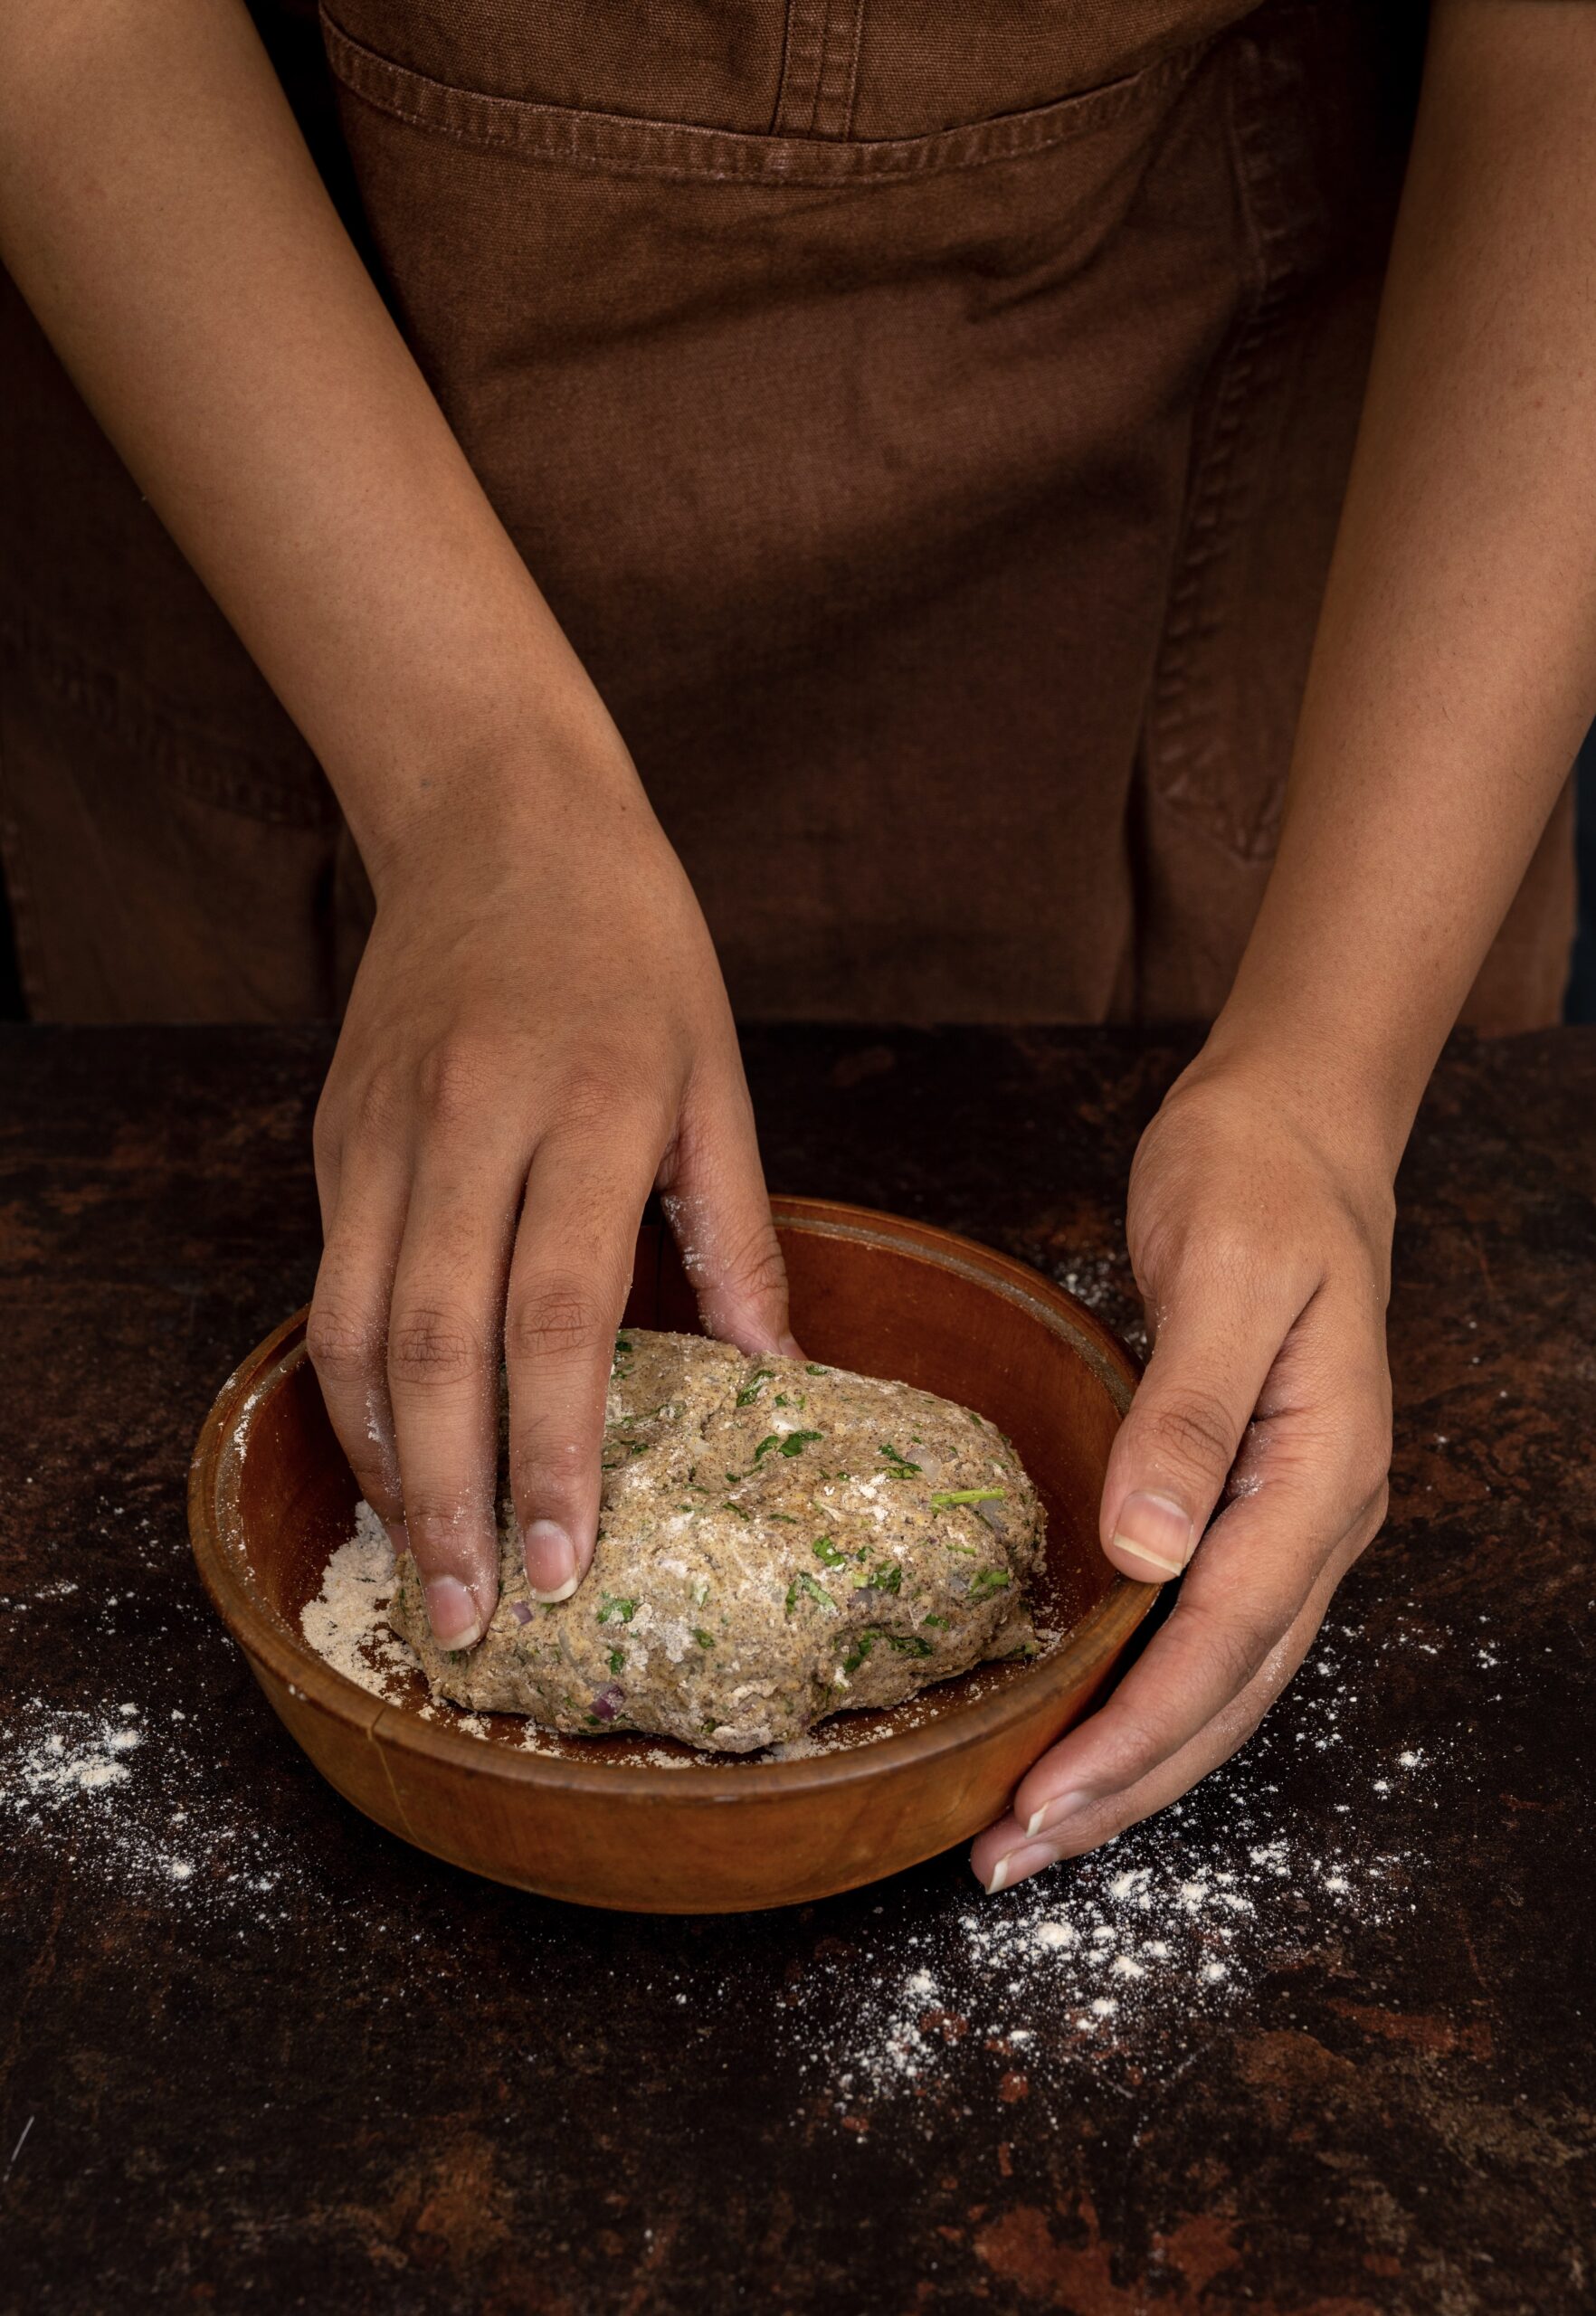
As I have mentioned before, the plain theplas travel very well and last long. They are a very popular work and school lunchbox item, as you may have seen if you’ve had Gujarati colleagues or classmates. My mother would carry them whenever we took trips, and many years later, I do this myself too. Do note that the bottle gourd thepla does not keep for as long as the plain ones, because of the vegetable used. However, it is much softer, and this is once again attributed to the vegetable. Bottle gourd has a very high water content, so much so that I do not add water at all when making the dough. When you are preparing it, if you feel that you’ve added a bit more flour, a few sprinklings of water will help. Otherwise, with practice, the flour, spices and grated bottle gourd will come together easily in a dough.
Whenever I entertain at home, if I’m planning an Indian menu, you can be assured that thepla is the chosen bread. It’s comforting, delicious, versatile and funnily enough, both light and filling. I’ve noticed this: when you’re eating theplas, you feel kind of full, but you seldom feel bloated or heavy afterwards. Have you observed the same too?
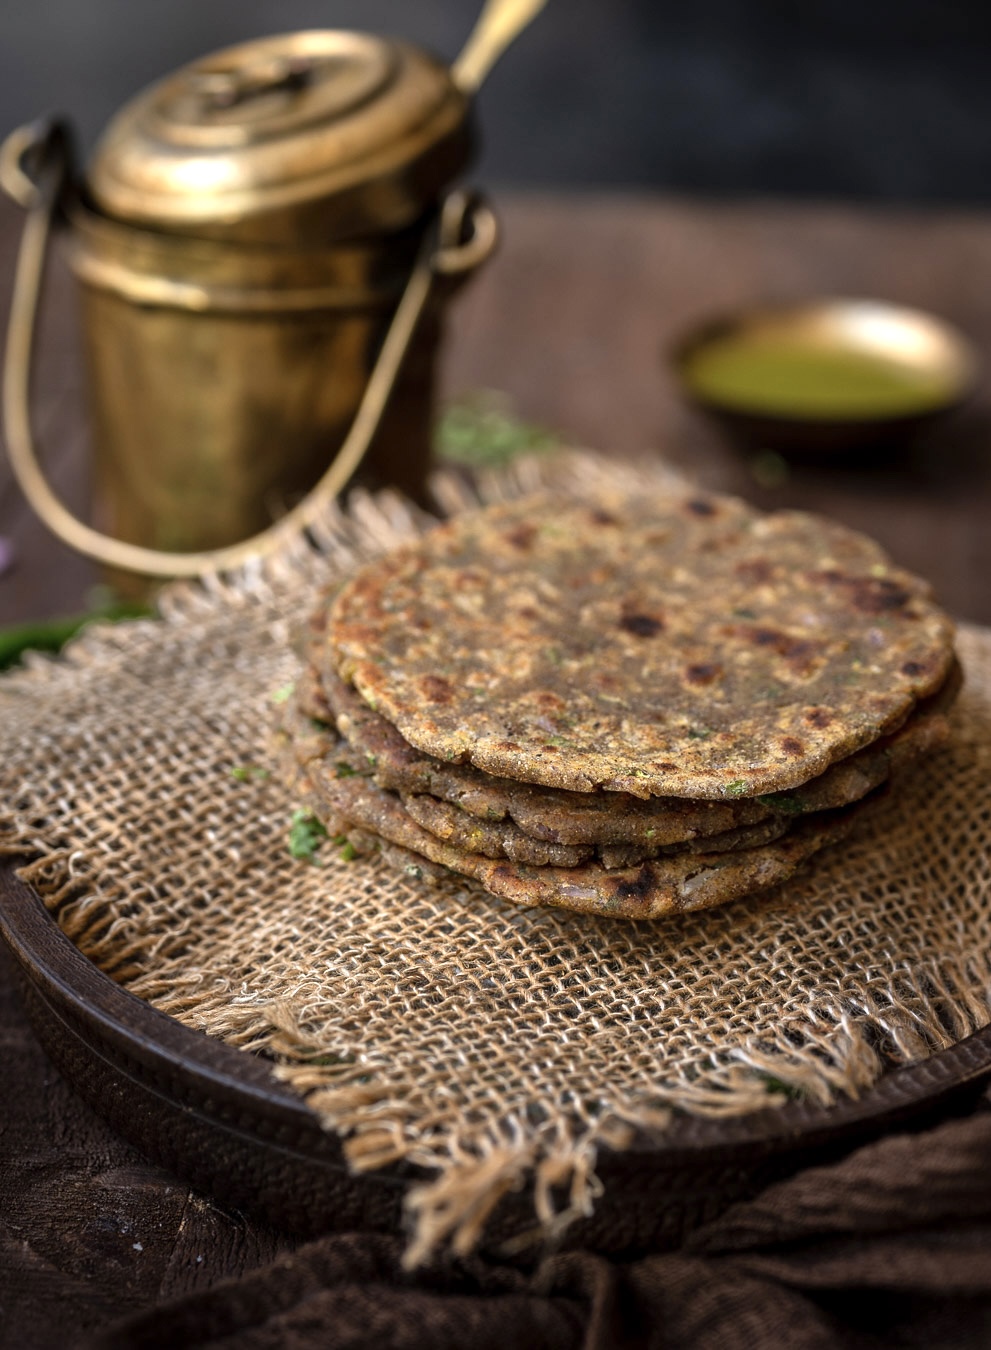
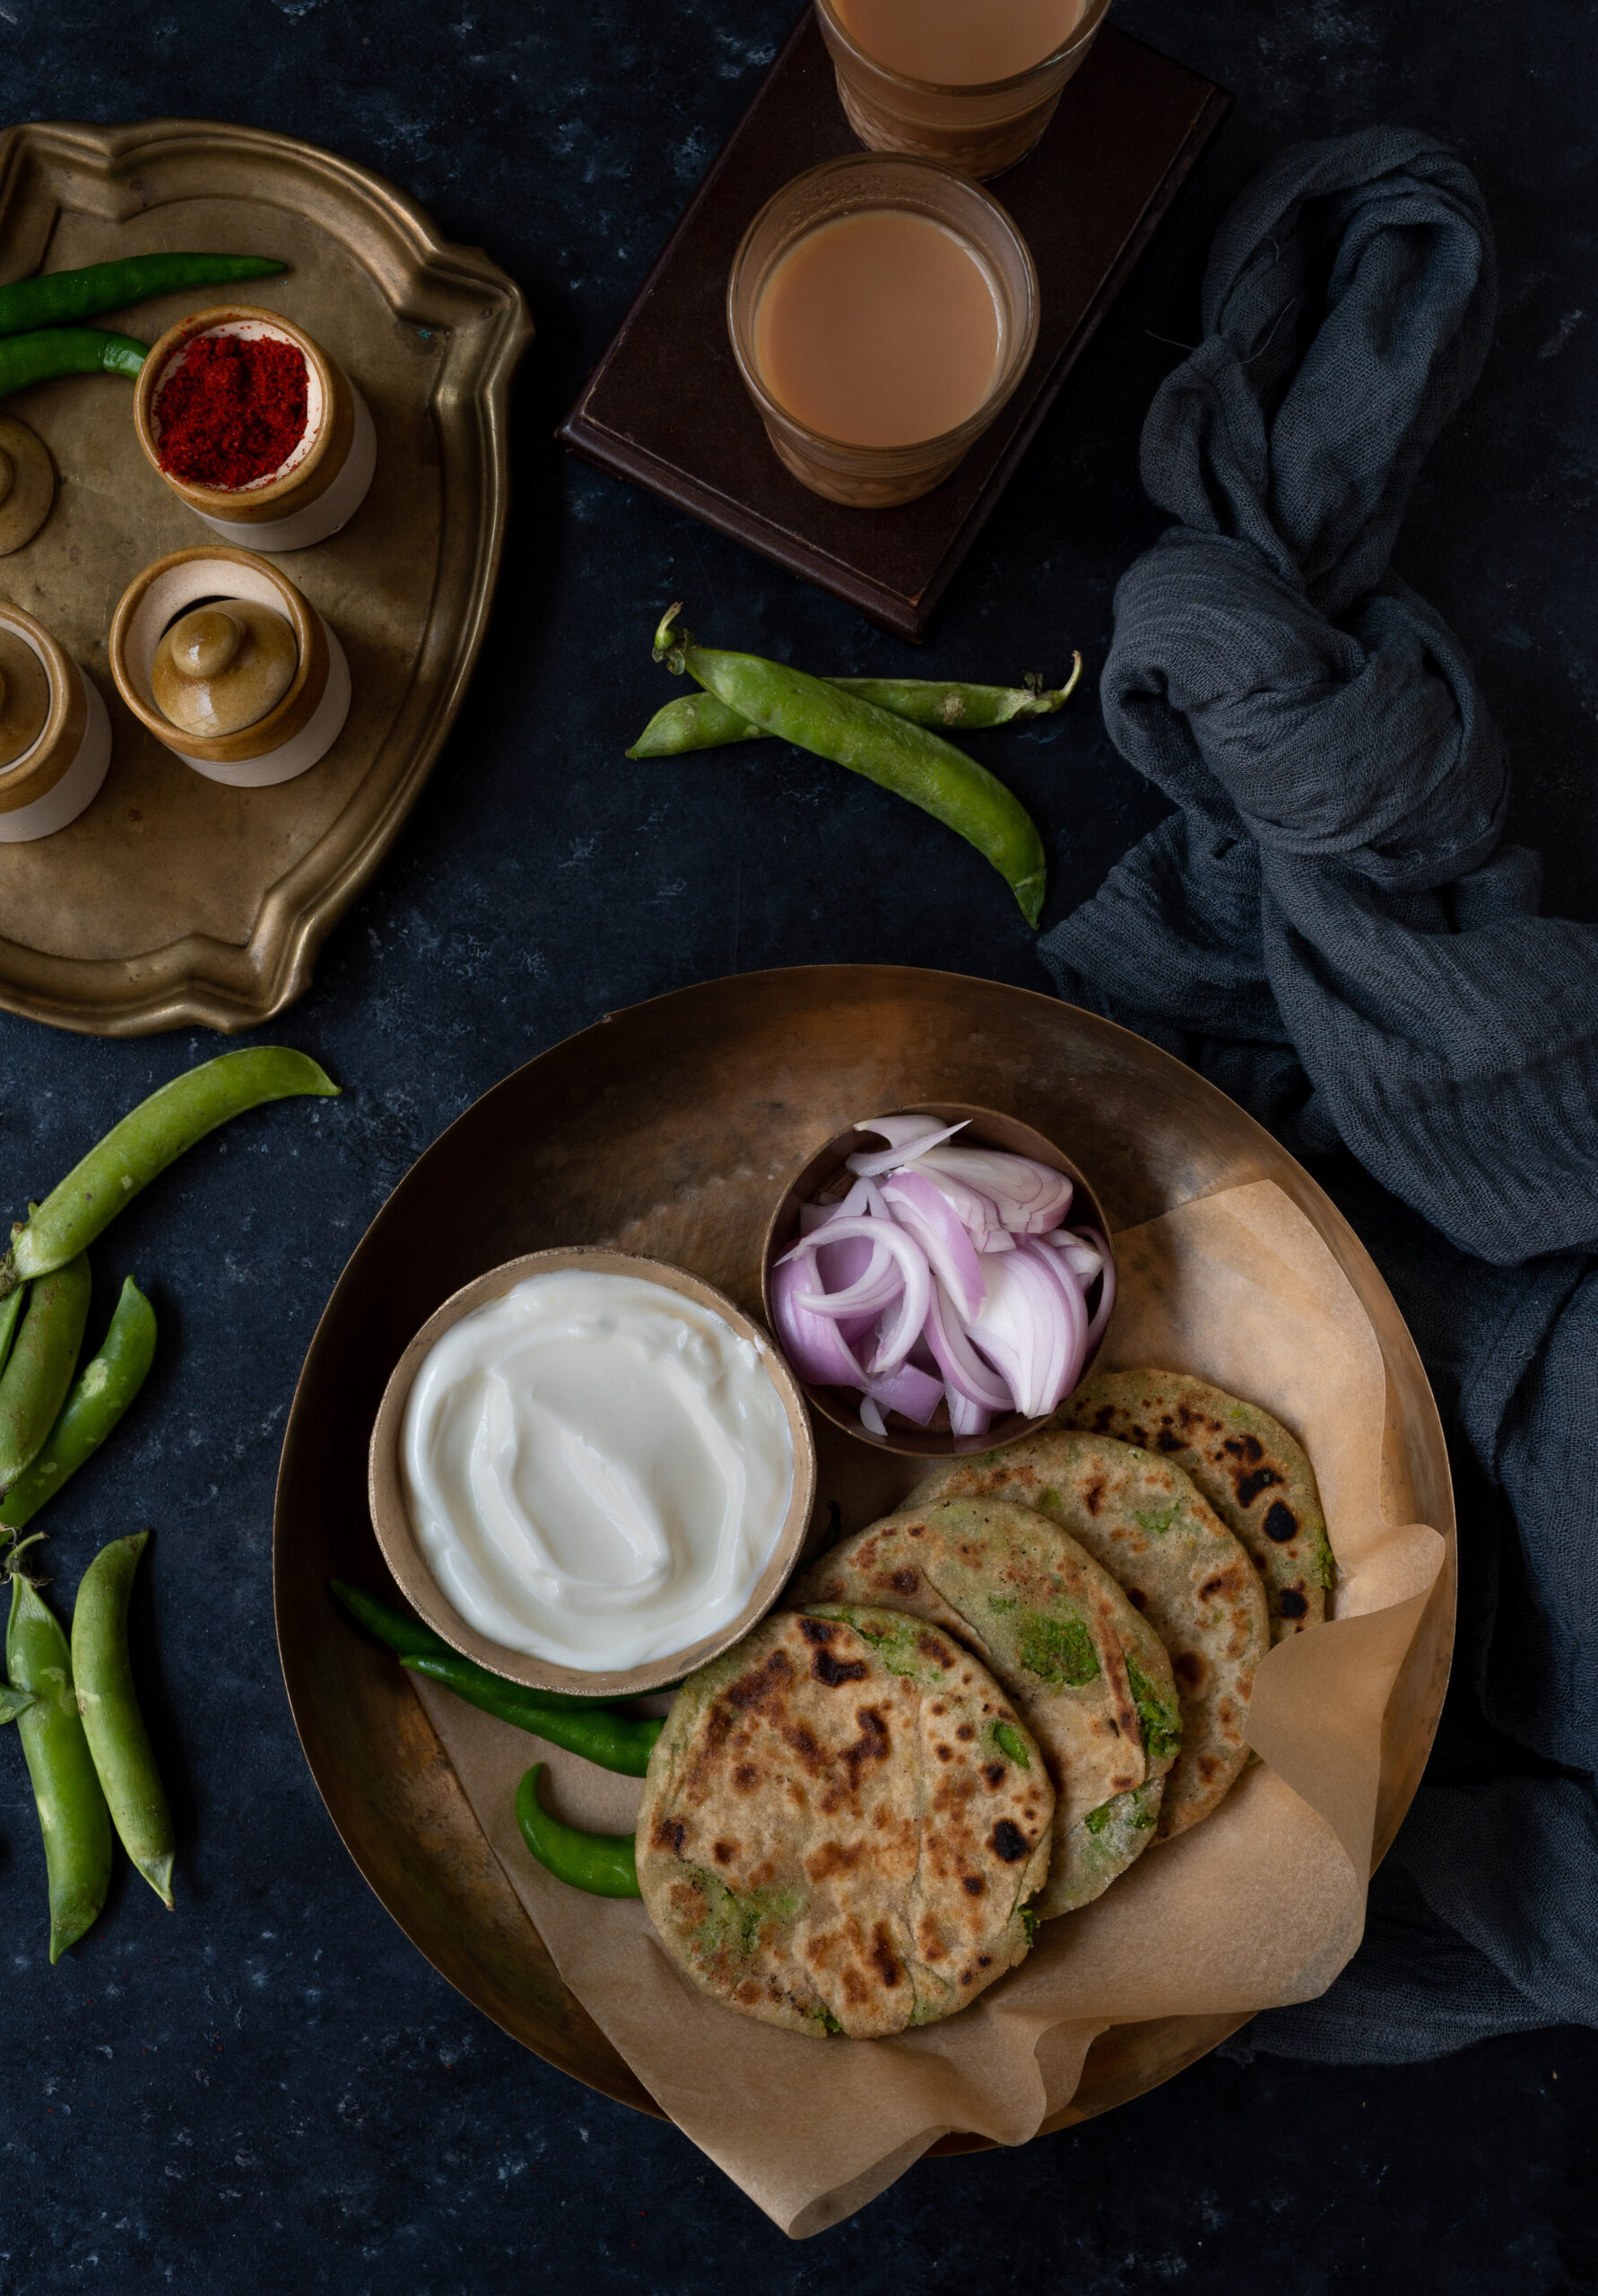
Bottle Gourd Thepla
(Yield: 9-10 theplas)
2 cups flour
2 teaspoons yoghurt
A handful of methi (fenugreek) leaves
Salt to taste
1 cup bottle gourd (to grate)
½ teaspoon turmeric
1 teaspoon cumin powder
1 teaspoon coriander powder
1 tablespoon ginger green chilli paste
1 tablespoon oil
2-3 tablespoons water (if required)
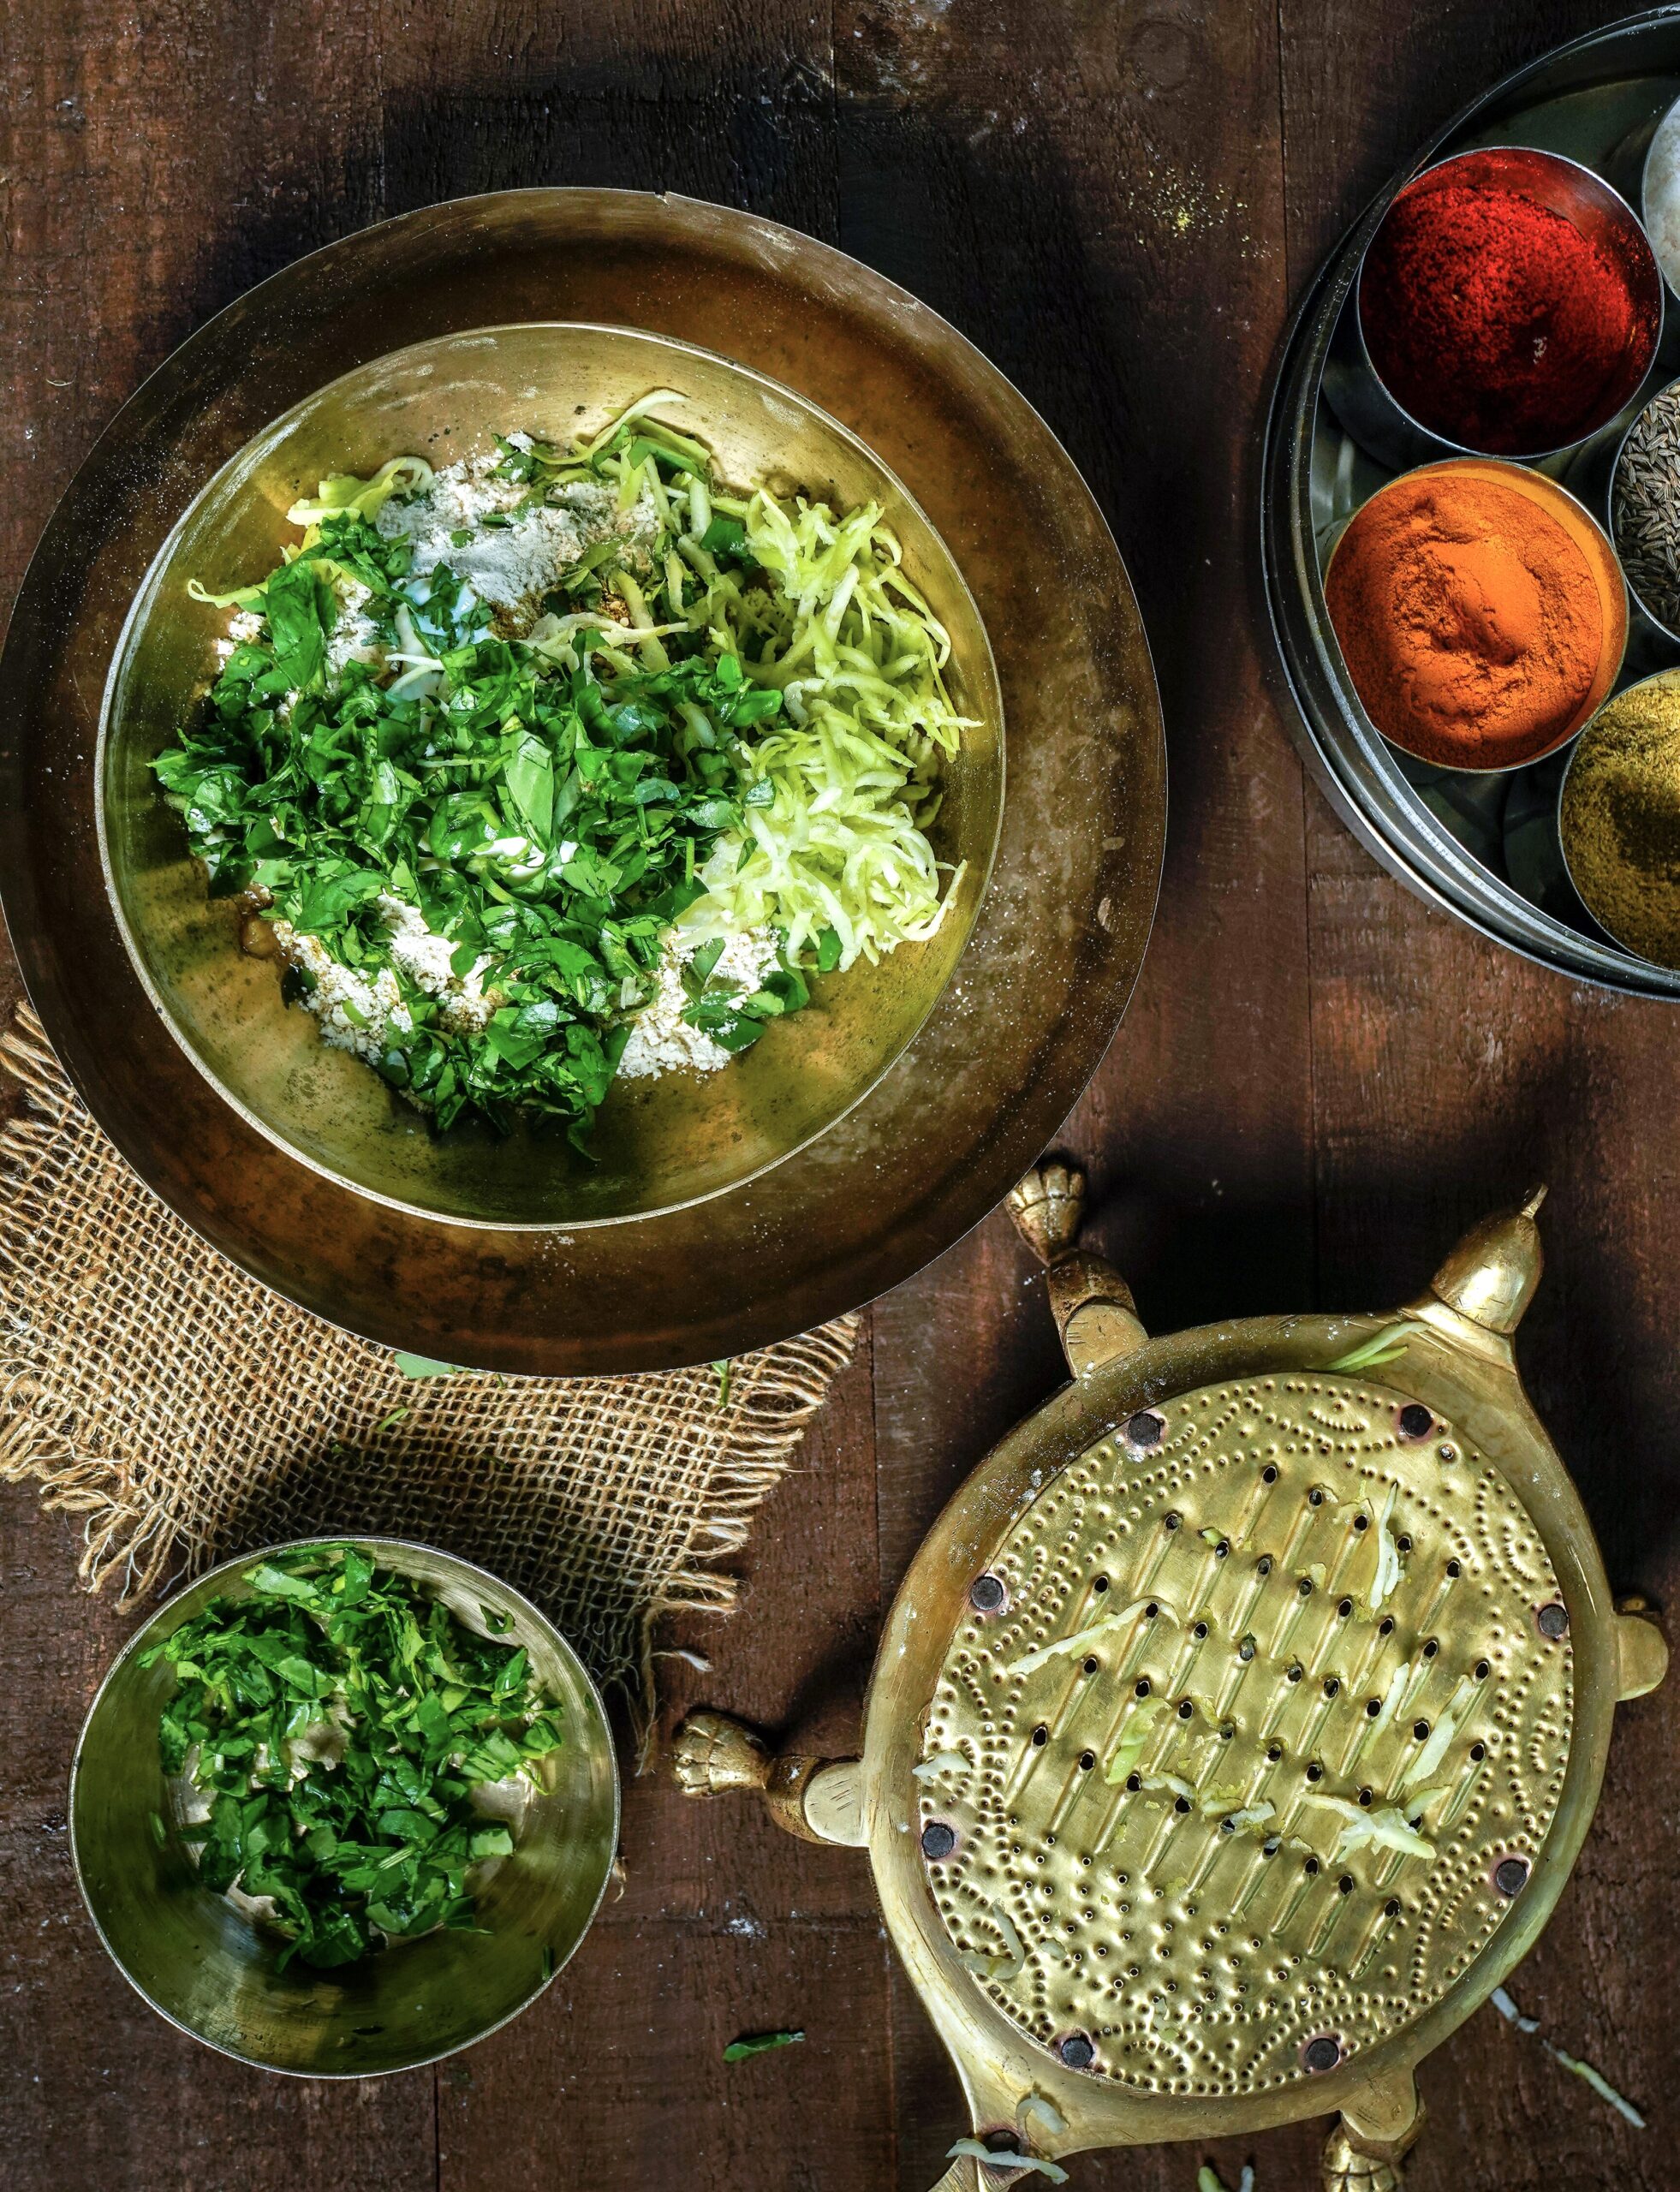
Clean and chop the methi leaves. Wash and set aside. Peel the bottle gourd and grate the flesh. Keep aside, but not for too long.
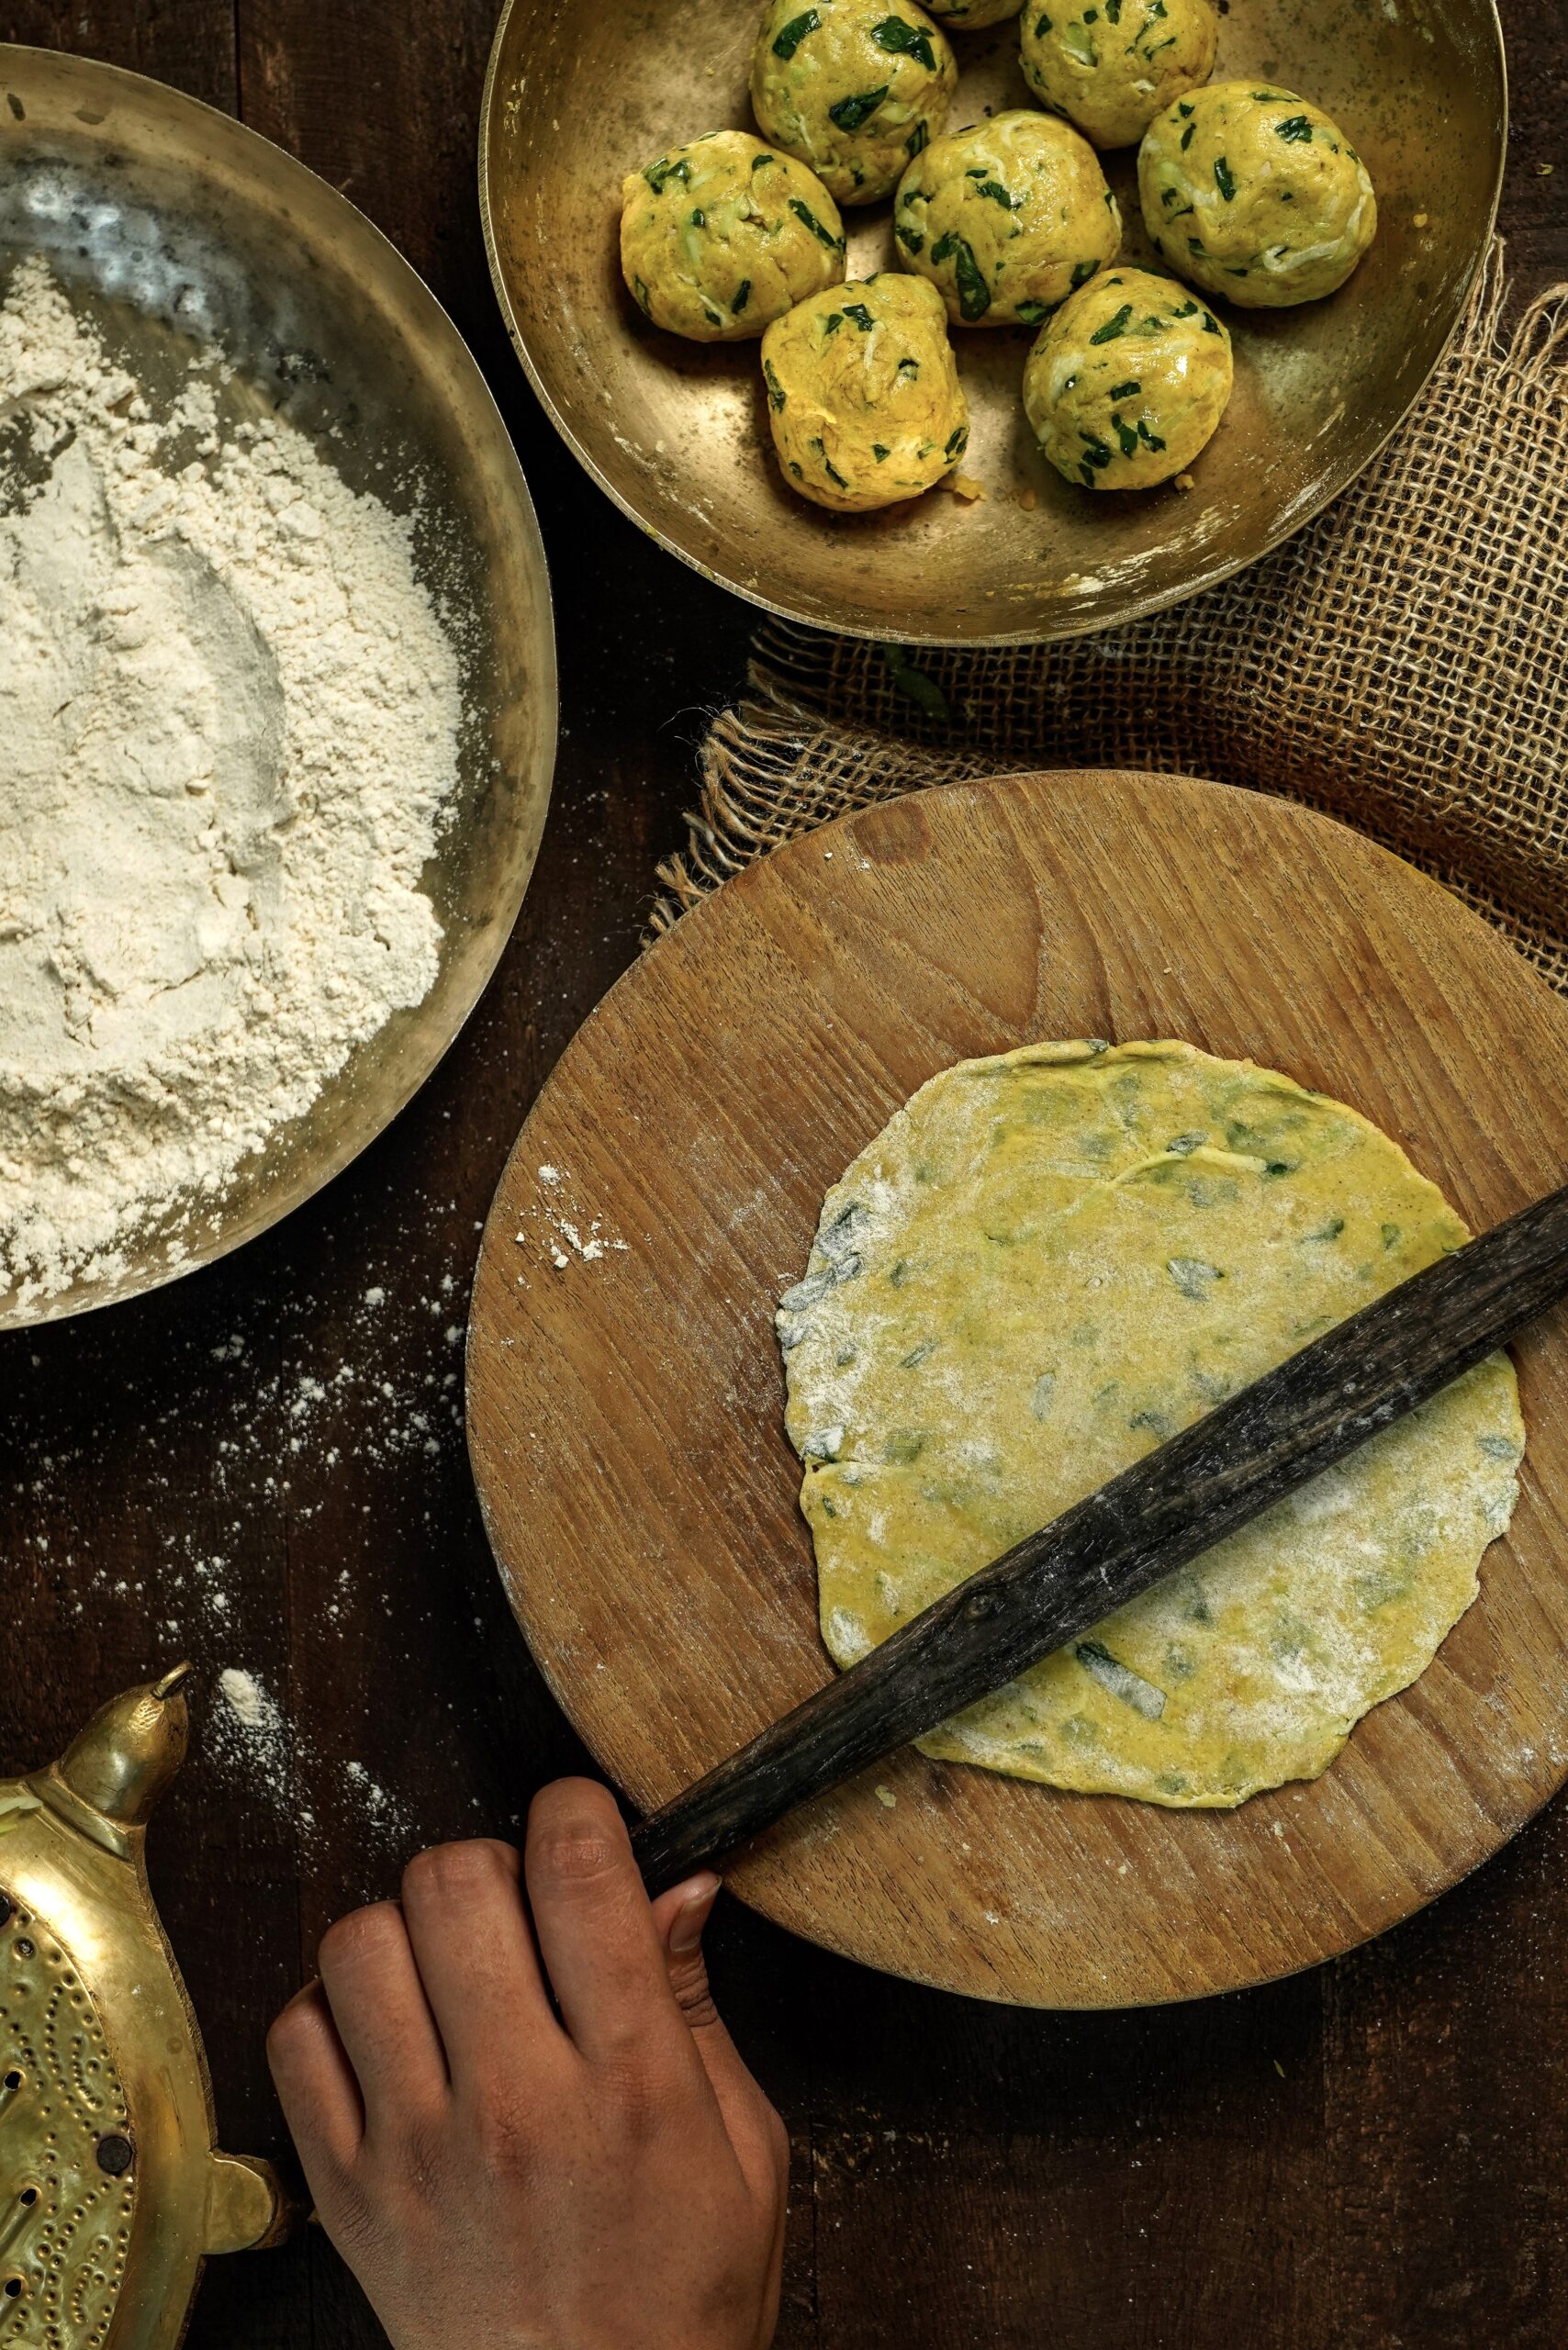
In a bowl, add the flour and then add all ingredients, except water. The grated bottle gourd releases water, as explained earlier. Hence, add water at the end, and only if required. Knead well and make a stiff yet smooth dough.
Now, make small balls with the dough. Dust a ball with flour. Using a rolling pin, roll it out into a circular shape.
Heat a pan, and place the rolled disc onto it. Allow to roast on one side and then flip the thepla. Allow a few seconds to roast again and then add a few drops of oil onto both sides. Allow to cook until golden.
Repeat the process for all the rolled dough balls. Collect each as it’s done in a box so that they remain soft.
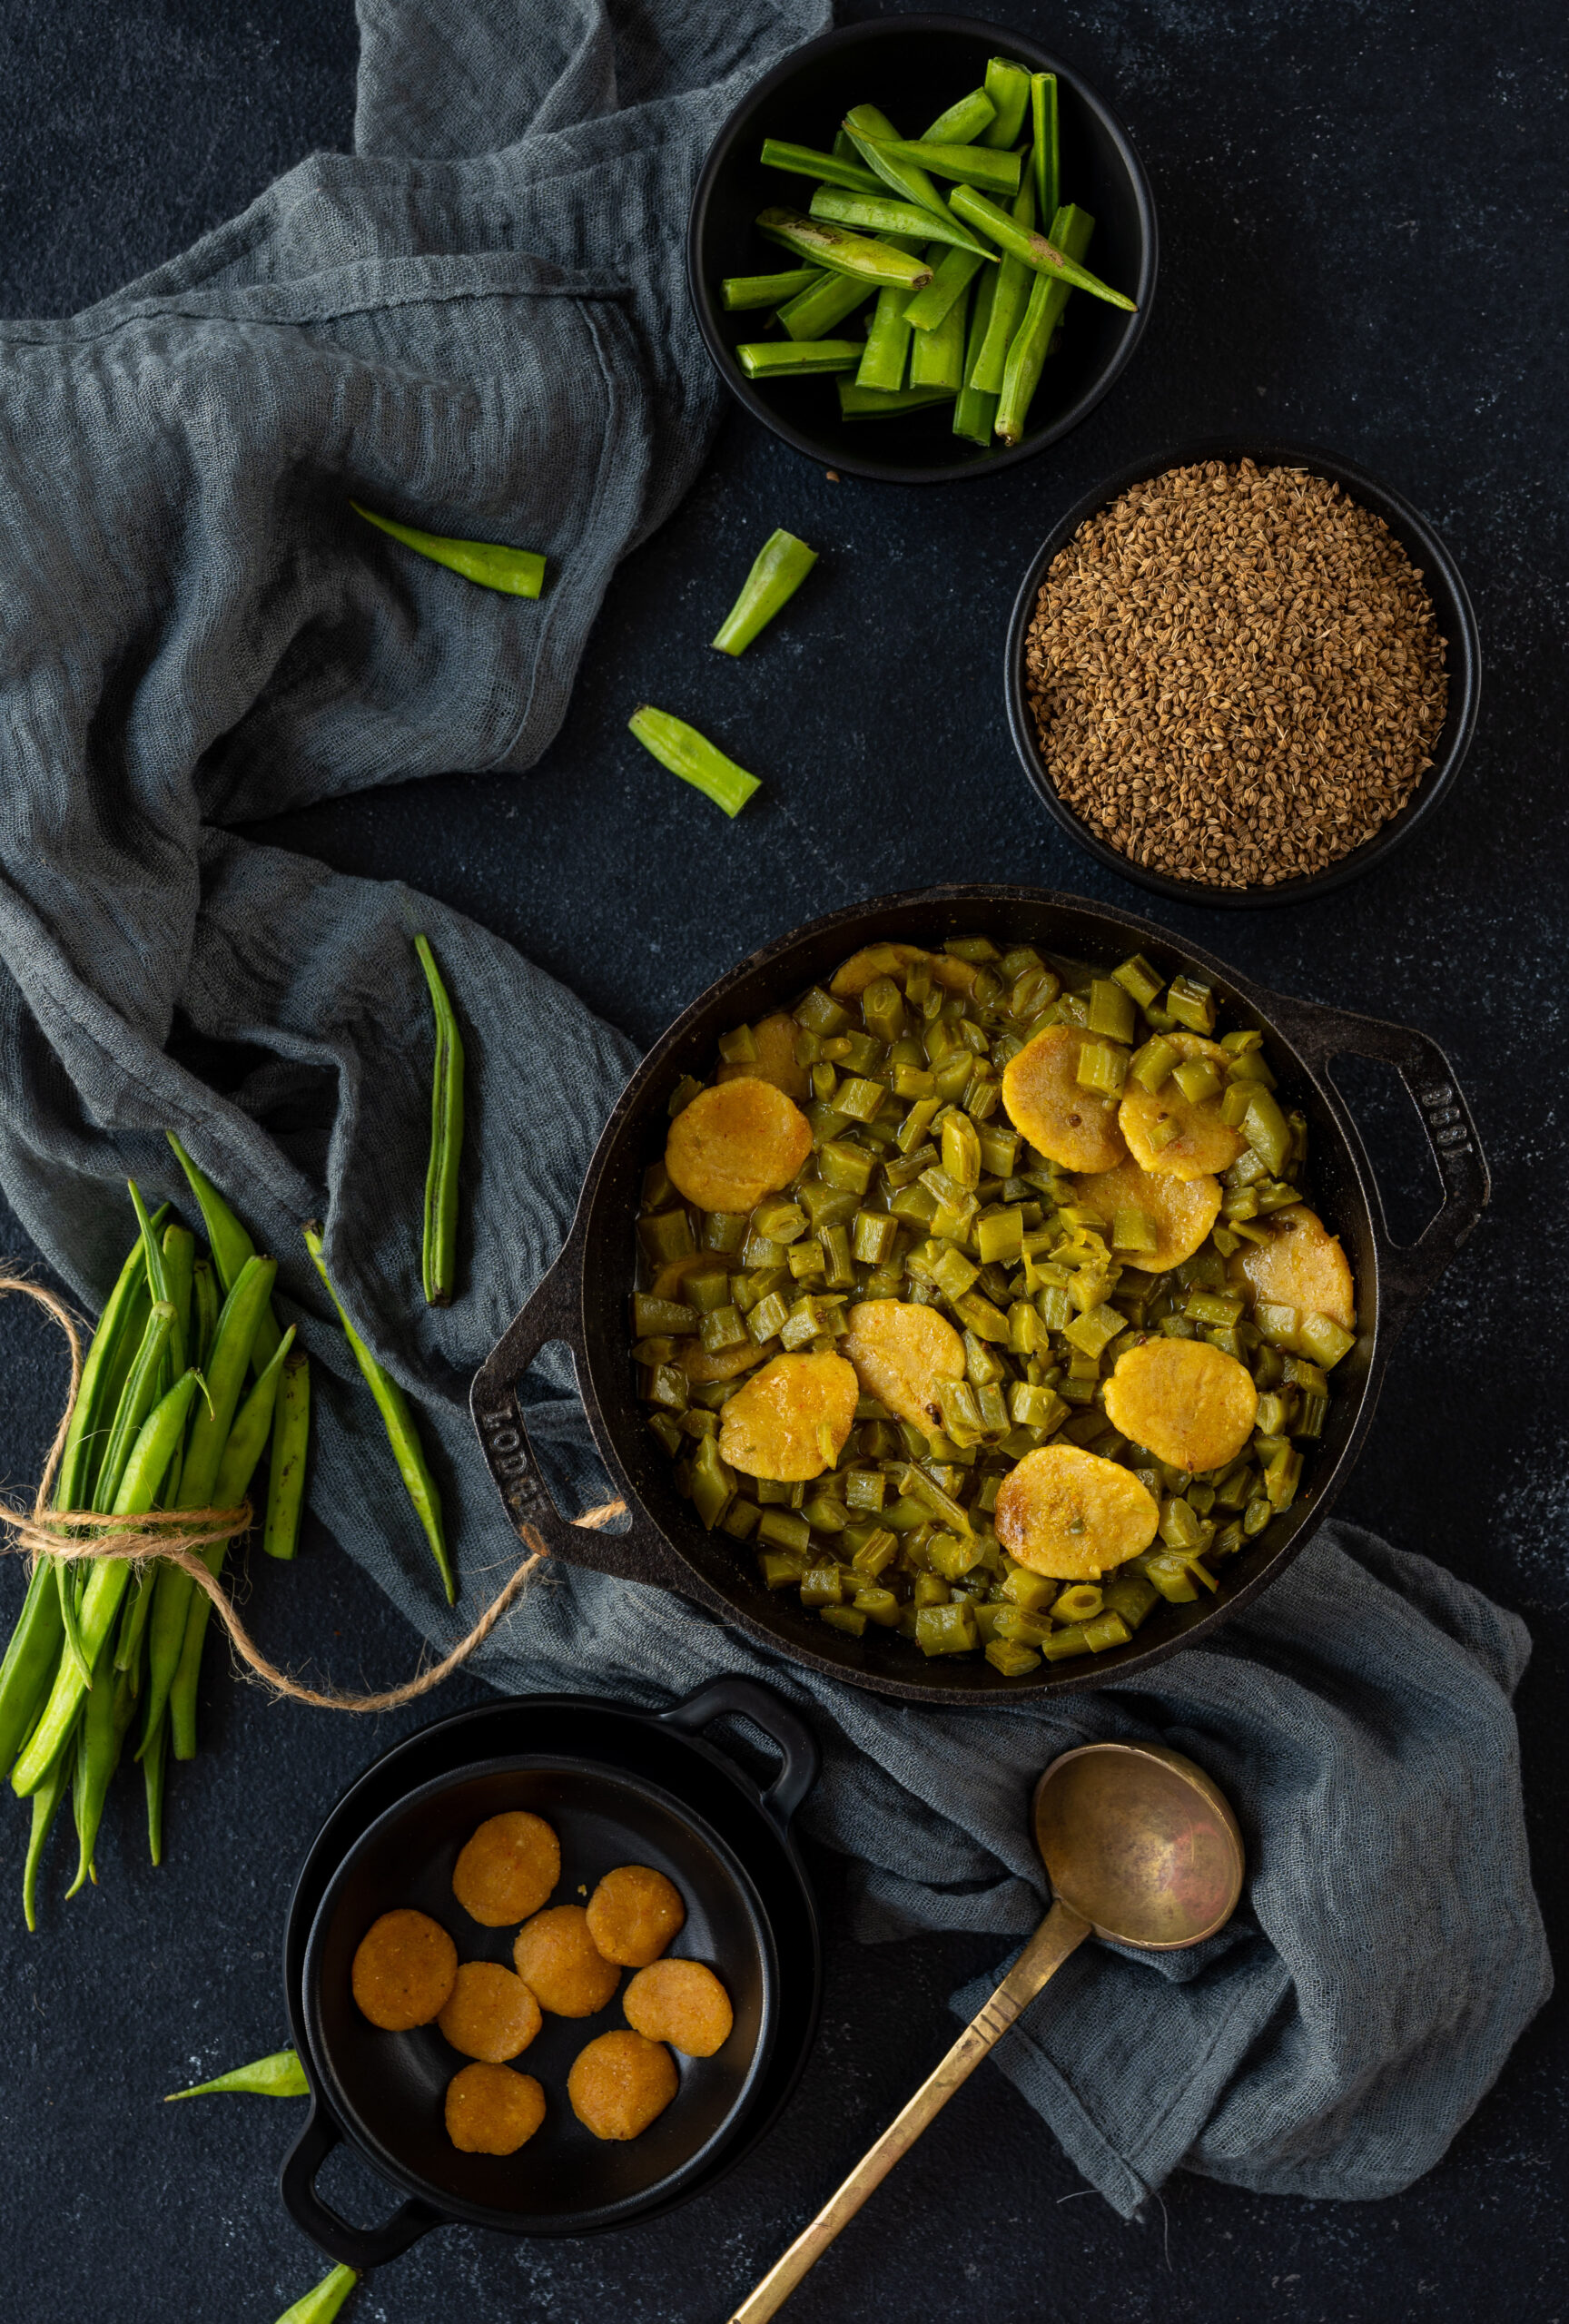
Theplas go well with pickles or potato roast (i.e. aloo sabzi). I’ll be sharing the recipe for the latter in my next post, so do stay tuned!