Tag

fun

Browsing

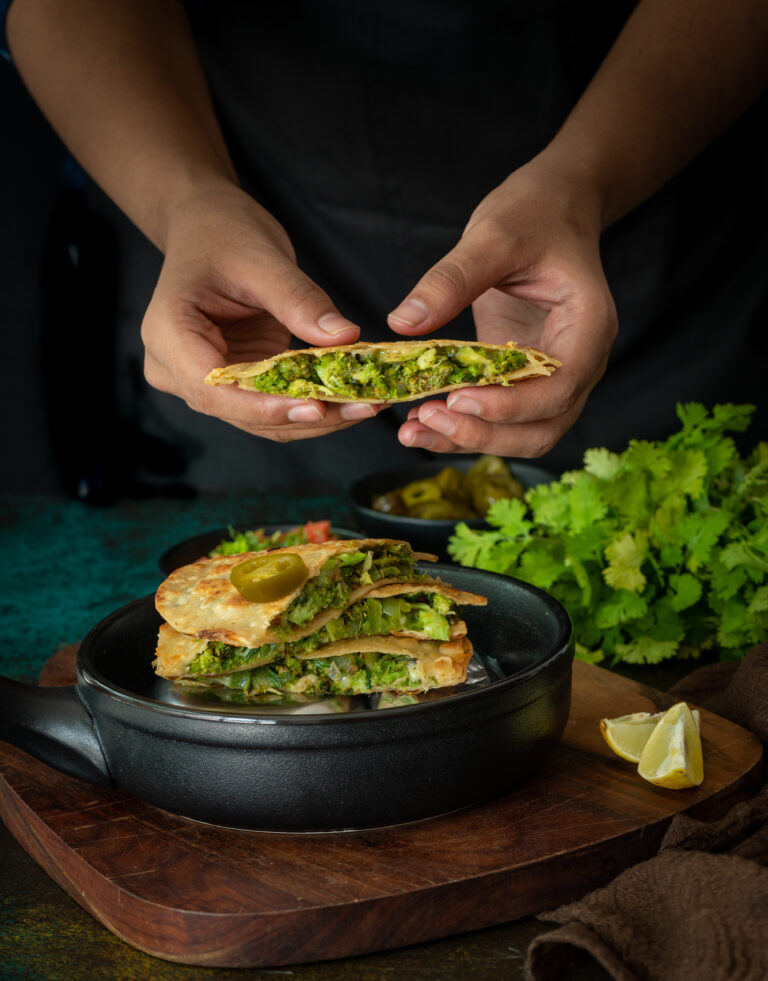
We can’t get enough of food inspired by Mexican cuisine at home, and after last week’s Mexican-style pineapple salad, I thought it would be perfect to share another delicious recipe in the same vein. This green quesadilla, truthfully speaking, is re:store style – a cross between Indian and Mexican, but leaning towards being an Indian dish with a Mexican name. For the culinary purists out there, no, this is not authentic. For the rest of us who love our fusion food and things that taste good under any moniker, I can assure you that this green quesadilla is quite amazing just the same. If you don’t believe me, ask my mother-in-law, who at 85 relishes it to the point of requesting it specifically when it’s been missing from our menu for even a week!

I can’t recall exactly how it came into being, but can make a vague guess that I must have had an excess of broccoli in my kitchen one day. I must have decided to pack it all into a quesadilla, to use up my stock while also ensuring that my family got a good load of greens that day. I do know that when I began serving it to them, my grown kids didn’t blink twice, distracted by the yummy cheese that holds the “tortilla” together (you’ll see why I use the quote marks when you read the method). I realised then that this dish is ideal for my readers with kids, especially younger ones who detest vegetables and need to be tricked into having them. In fact, calling it a quesadilla – even when you’re using ingredients that are so basic to an Indian kitchen – will also help with this, as children are always curious about trying new things and are likely to enjoy the novelty.
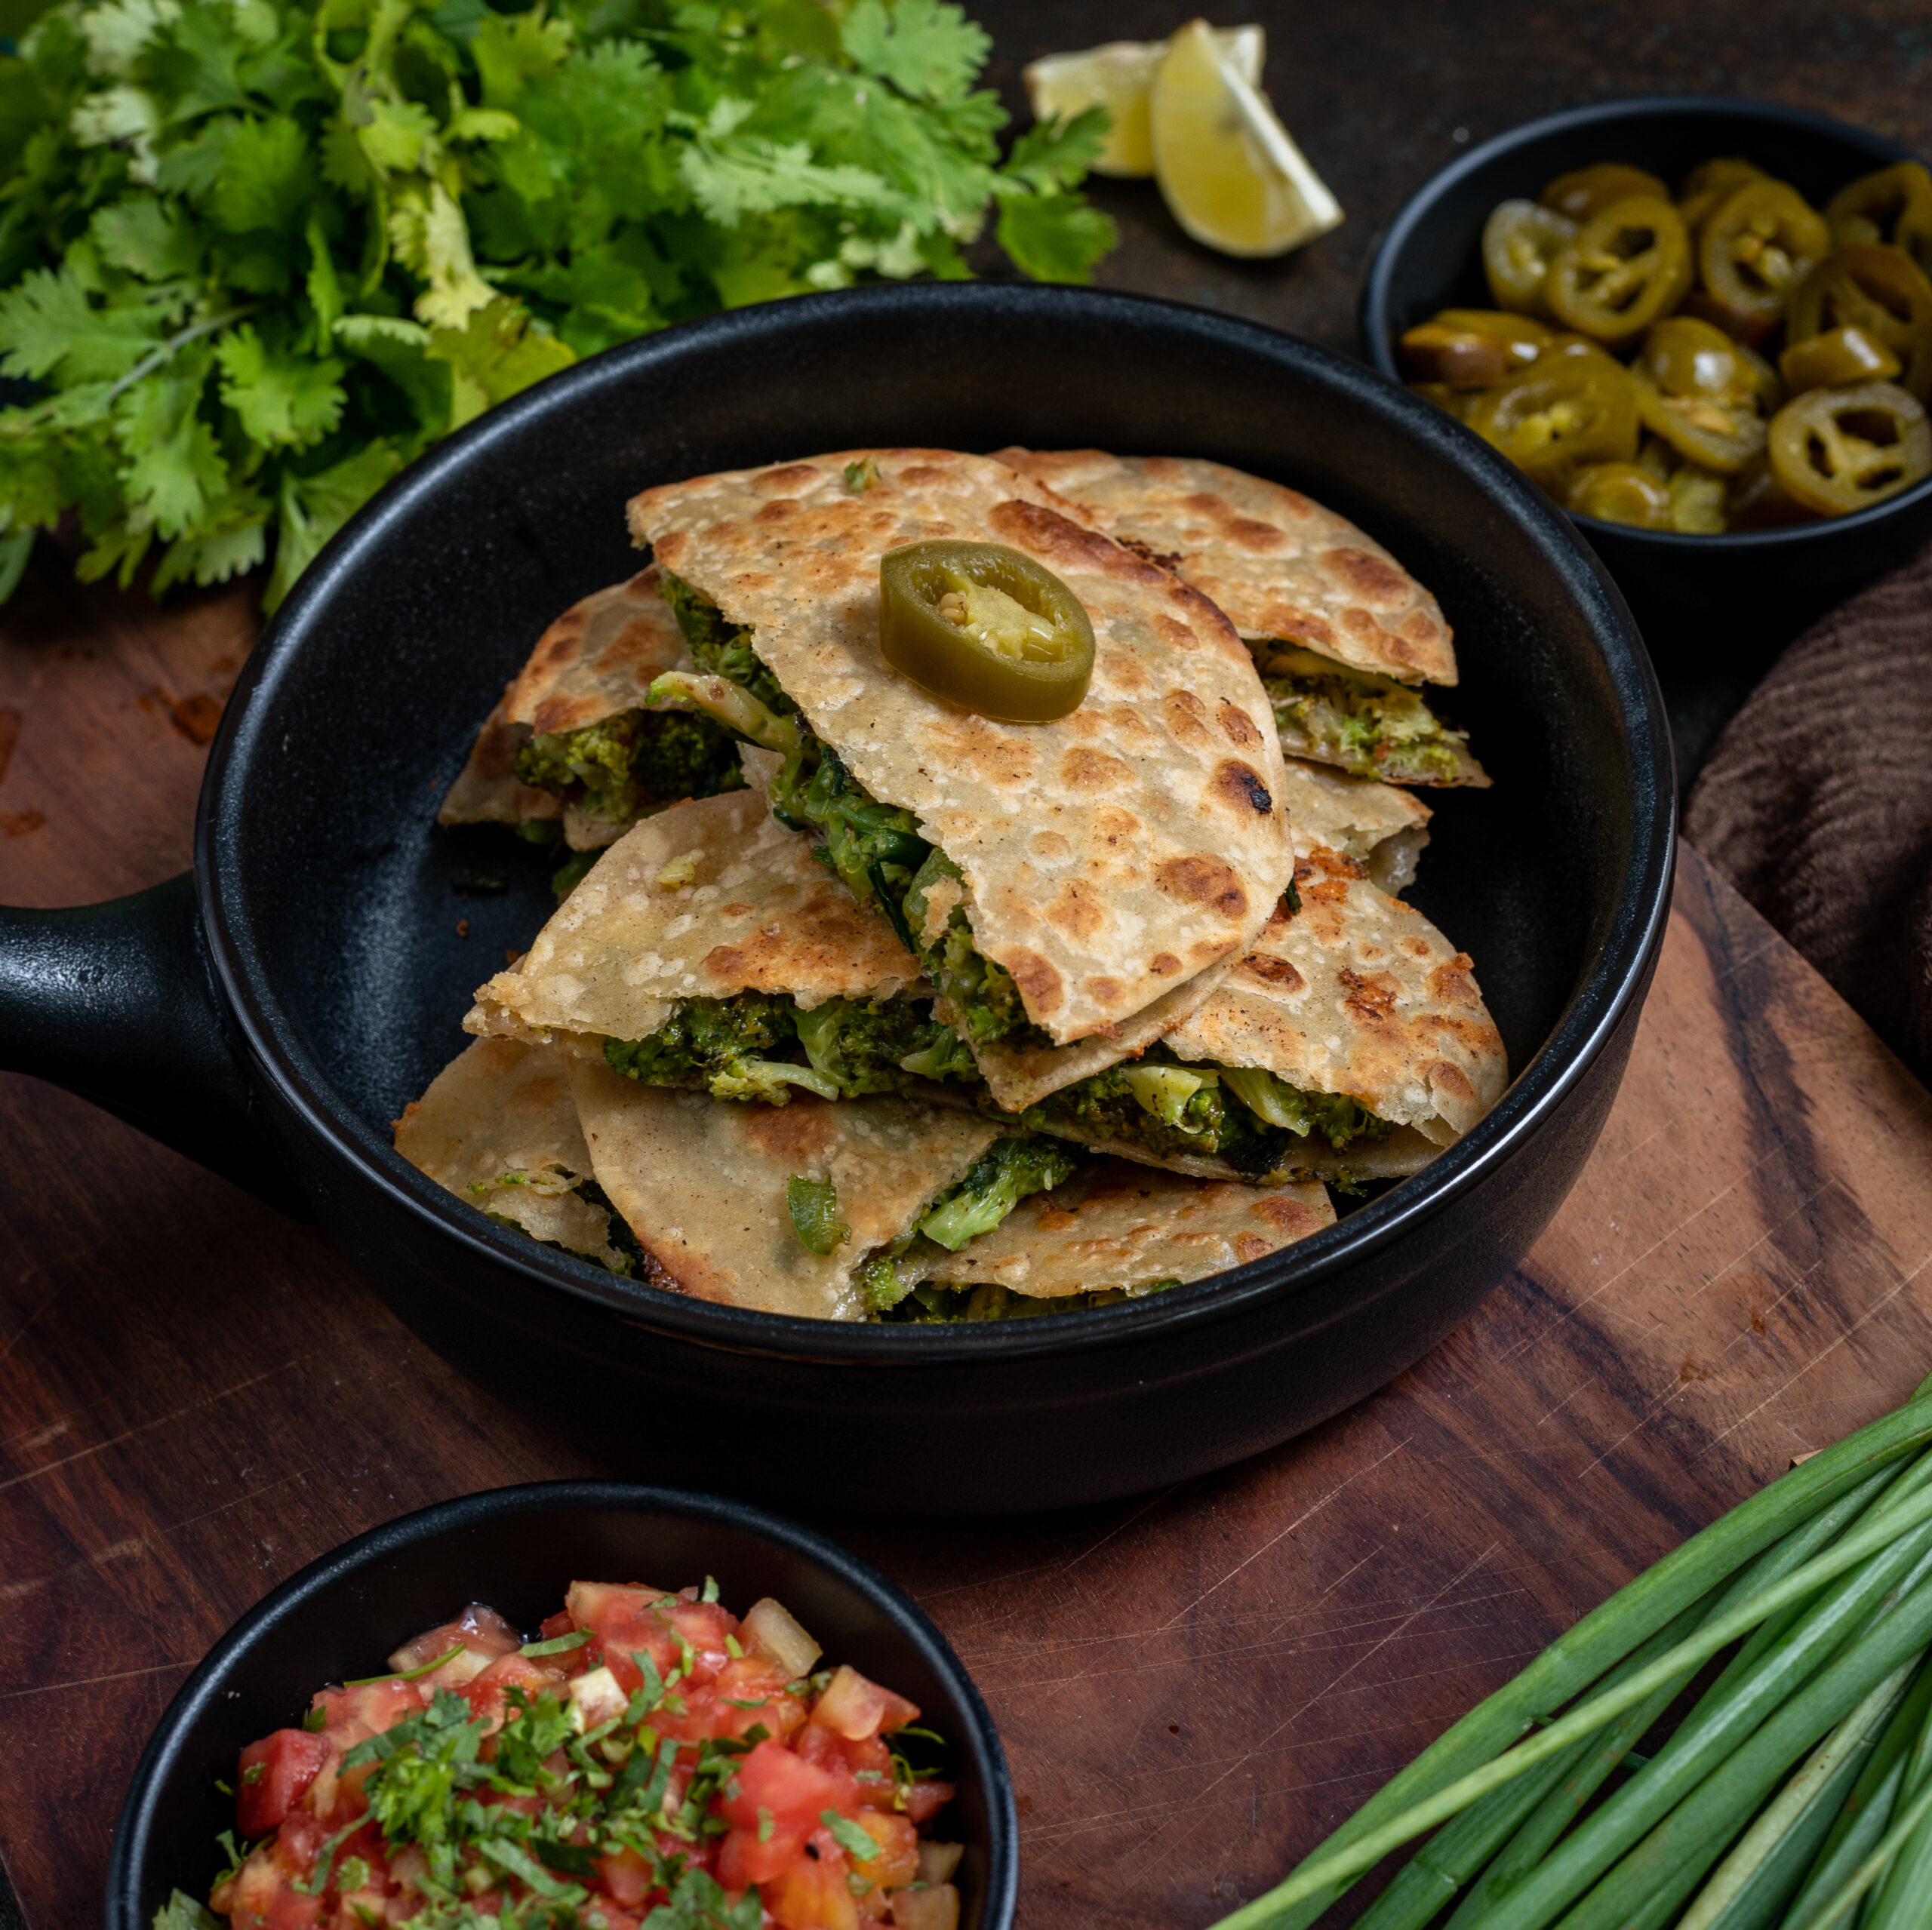
It has since become a staple at home, and I usually accompany it with a soup of some sort. Depending on your personal preferences, I can recommend several of my recipes for this pairing too. From the richly indulgent to the comfortingly simple, I have shared quite a range on this blog. Do check out my minestrone, zucchini soup, vegan whole corn and lemongrass soup, broccoli and almond soup or watermelon gazpacho at leisure.

Long before I encountered real quesadillas, and long before those of us who grew up in Chennai had the slightest clue what Mexican cuisine was all about, I enjoyed another dish based on the same concept at my friend Sharmila’s home. Whenever a small group of us would land up there after school, surprising her mother who would be unprepared to serve lunch for unexpected guests, she would take some rotis and whip up a simple, but extremely satisfying, treat for us. She would put some jaggery between two rotis and flip them on a pan with ghee. The jaggery would melt, bind the bread together, and would ooze out so appetisingly the moment you took a bite. Looking back, I can imagine how this clever innovation came into being. I’m sure you can too. Do you have a dish like this, one you put together in a rush one day that then became a regular?

The category of so-called quesadillas is, as proved by Sharmila’s mother, a highly diverse one. Sprinkle some idli podi on it and make it a South Indian version. Change up the veggies so they fulfill a specific dietary restriction, or to make a colourful version. Add textures or ingredients that you like. Just remember that the cheese is the main factor. Without it, the whole thing will literally fall apart!

This green quesadilla makes for a filling dinner, or even a healthy snack. I flatten and slice it like a pizza, but you can also roll it up like a kati roll. Serving it in different ways will also keep your kids (or their grandmothers!) happy and enthusiastic. Isn’t it so interesting how our tastes when we are very young often have much in common with our tastes when we are very old? With that in mind, I’m delighted to share with you my recipe for a green quesadilla that is sure to satisfy several generations of your family!
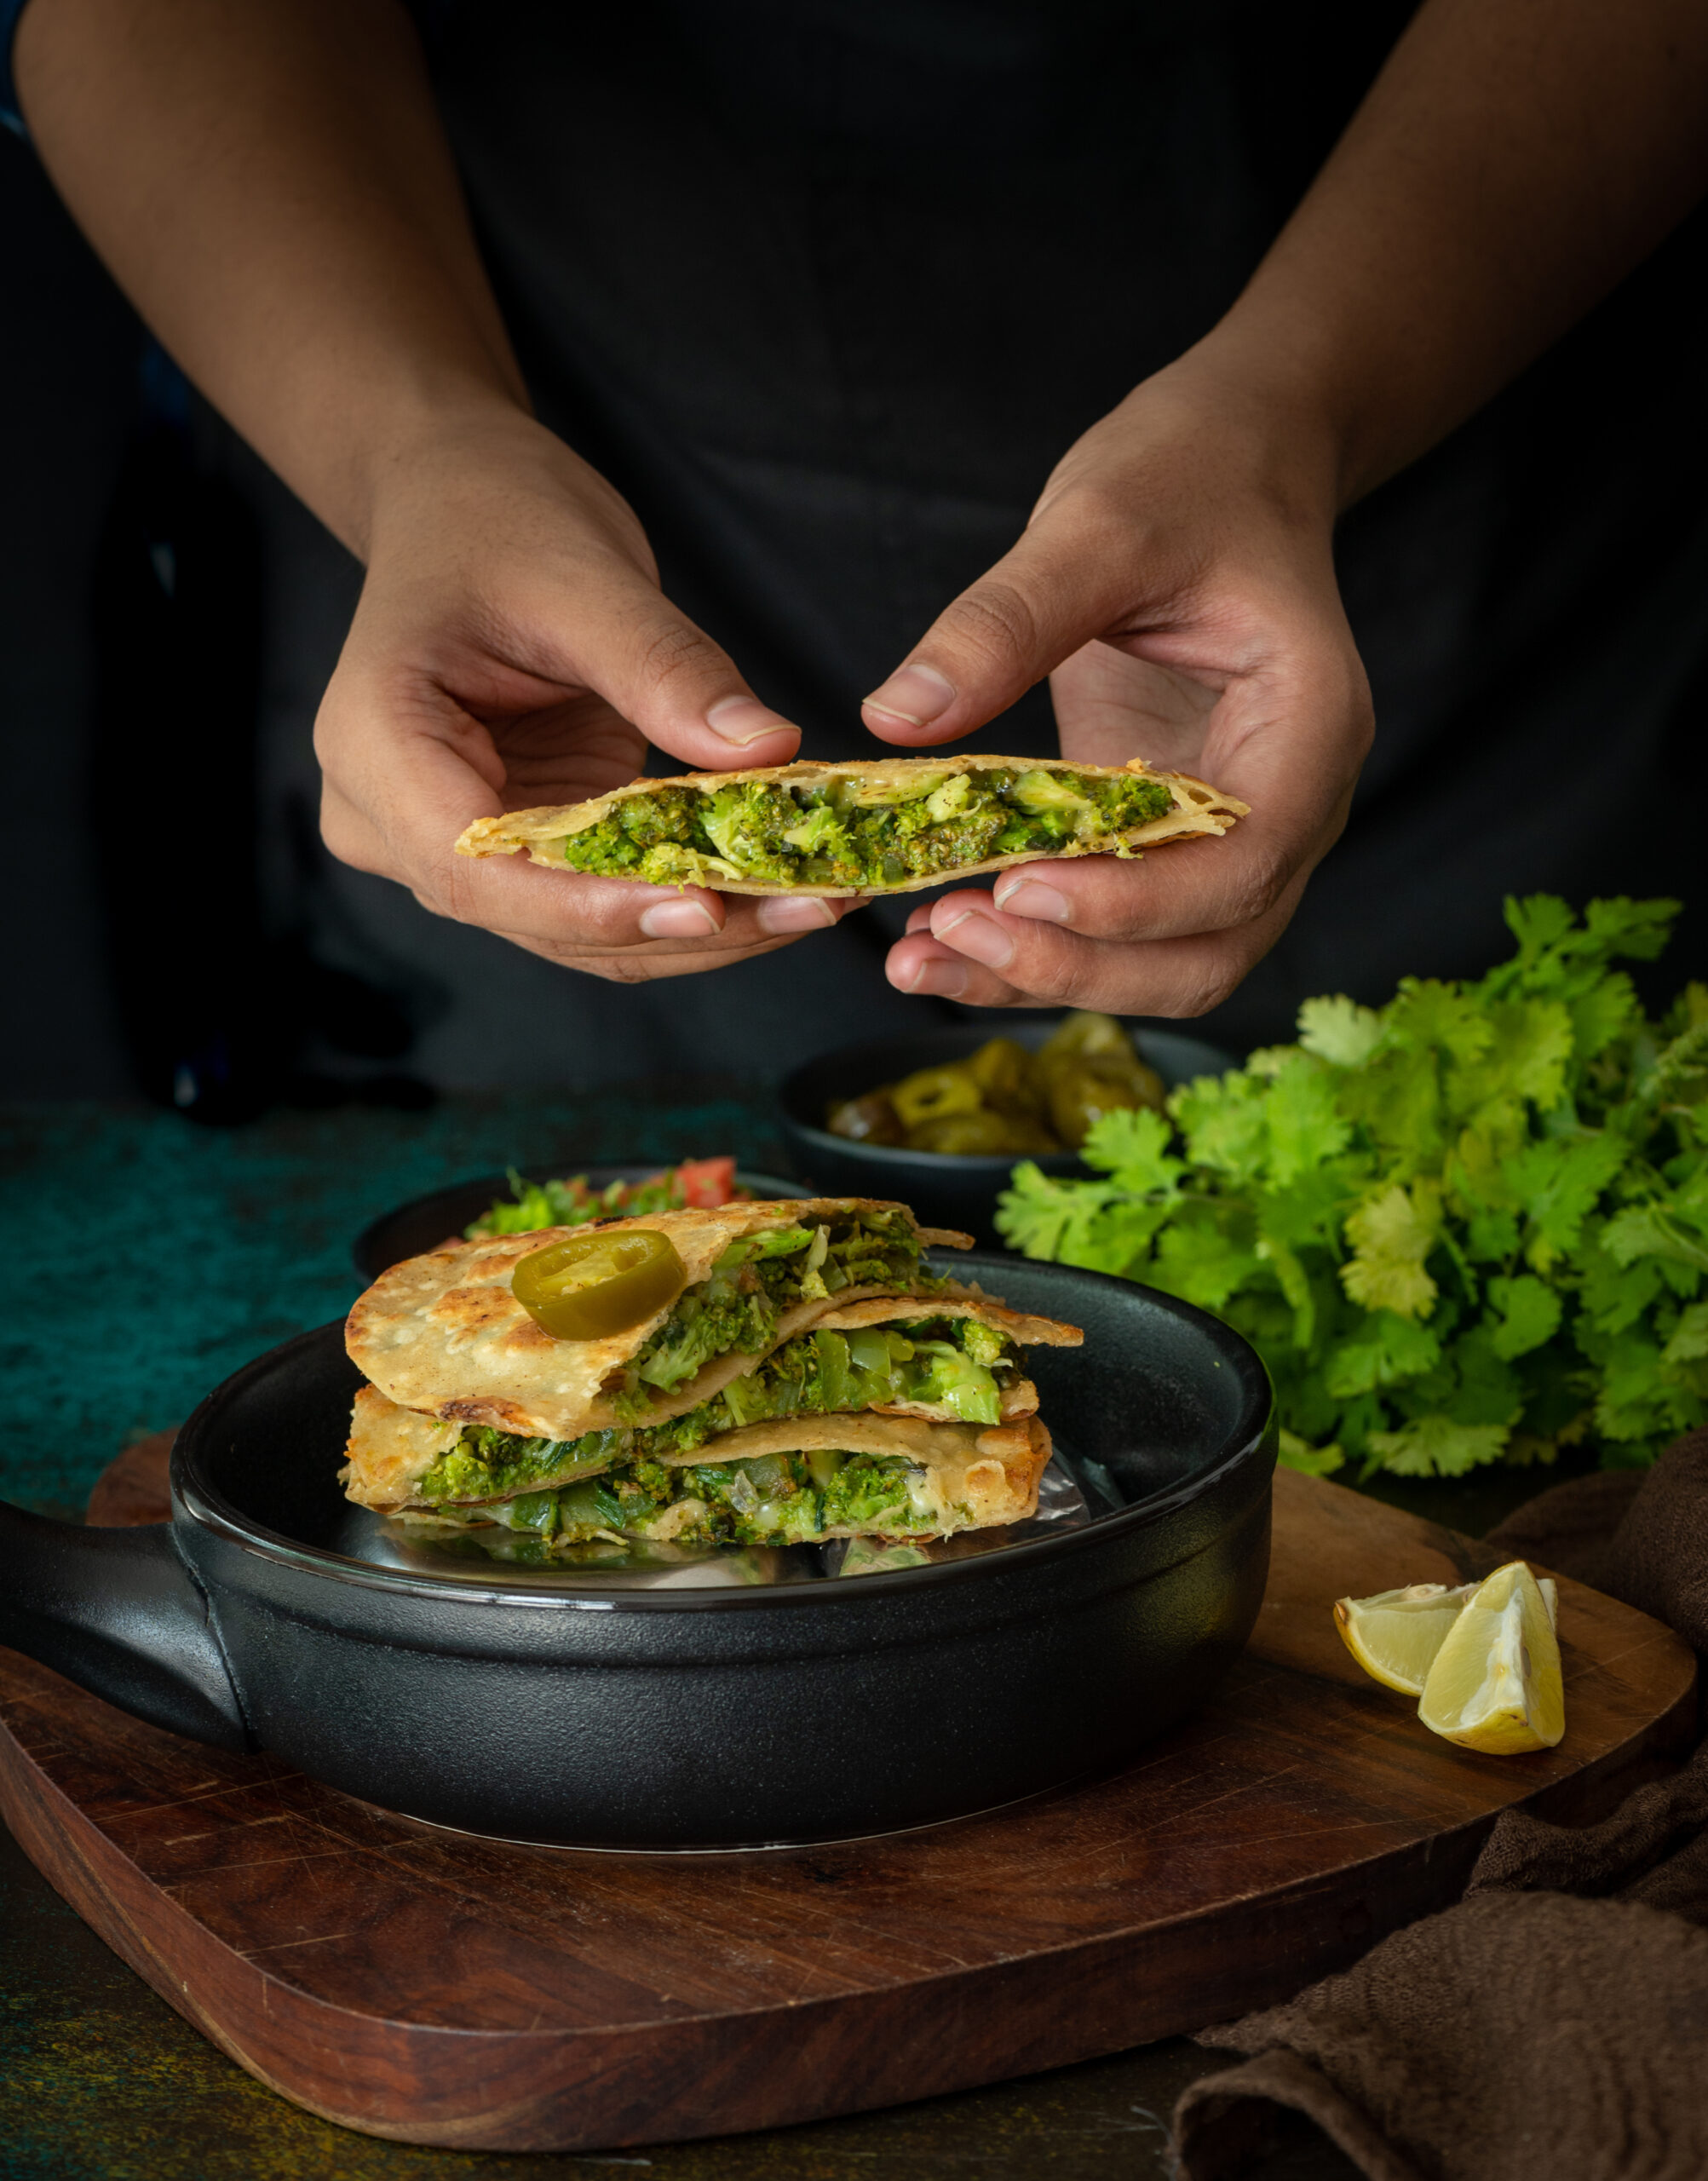
Green Quesadilla

(Yield: 3 quesadillas)


Dough

¼ cup all purpose flour

¼ cup whole wheat flour

¼ cup water (or enough to make a tight dough)

Salt to taste

1 teaspoon oil


Filling

½ cup broccoli

¼ cup green bell pepper

¼ cup spring onions

2 teaspoons olive oil

Salt to taste

1 pinch pepper

½ cup grated cheese


Butter to cook


Make a tight and smooth dough using all of the dough ingredients and set aside. When it’s ready to be worked with, make six small balls of dough. Roll them out with the help of some flour. The method in my roti post may be useful here if you want to know how to do this.

Cook all six rolled-out rotis on both sides partially. Set them aside.

In a pan, add the oil. Once it has heated, add the vegetables. On a medium to high flame, stir the vegetables and cook them al dente. Add salt and pepper and mix well.

To assemble the quesadilla, place three rotis flat. Then, scoop the vegetables on top of them, making sure that most parts of the roti are covered. Now, sprinkle the grated cheese. Cover each of these prepared rotis with a plain one, sandwiching the veggies. Press down with your hands.

Add butter or oil on both sides of each quesadilla and cook on a hot griddle. Flip carefully. The cheese will hold the vegetables together, but be gentle anyway, else they will open up.

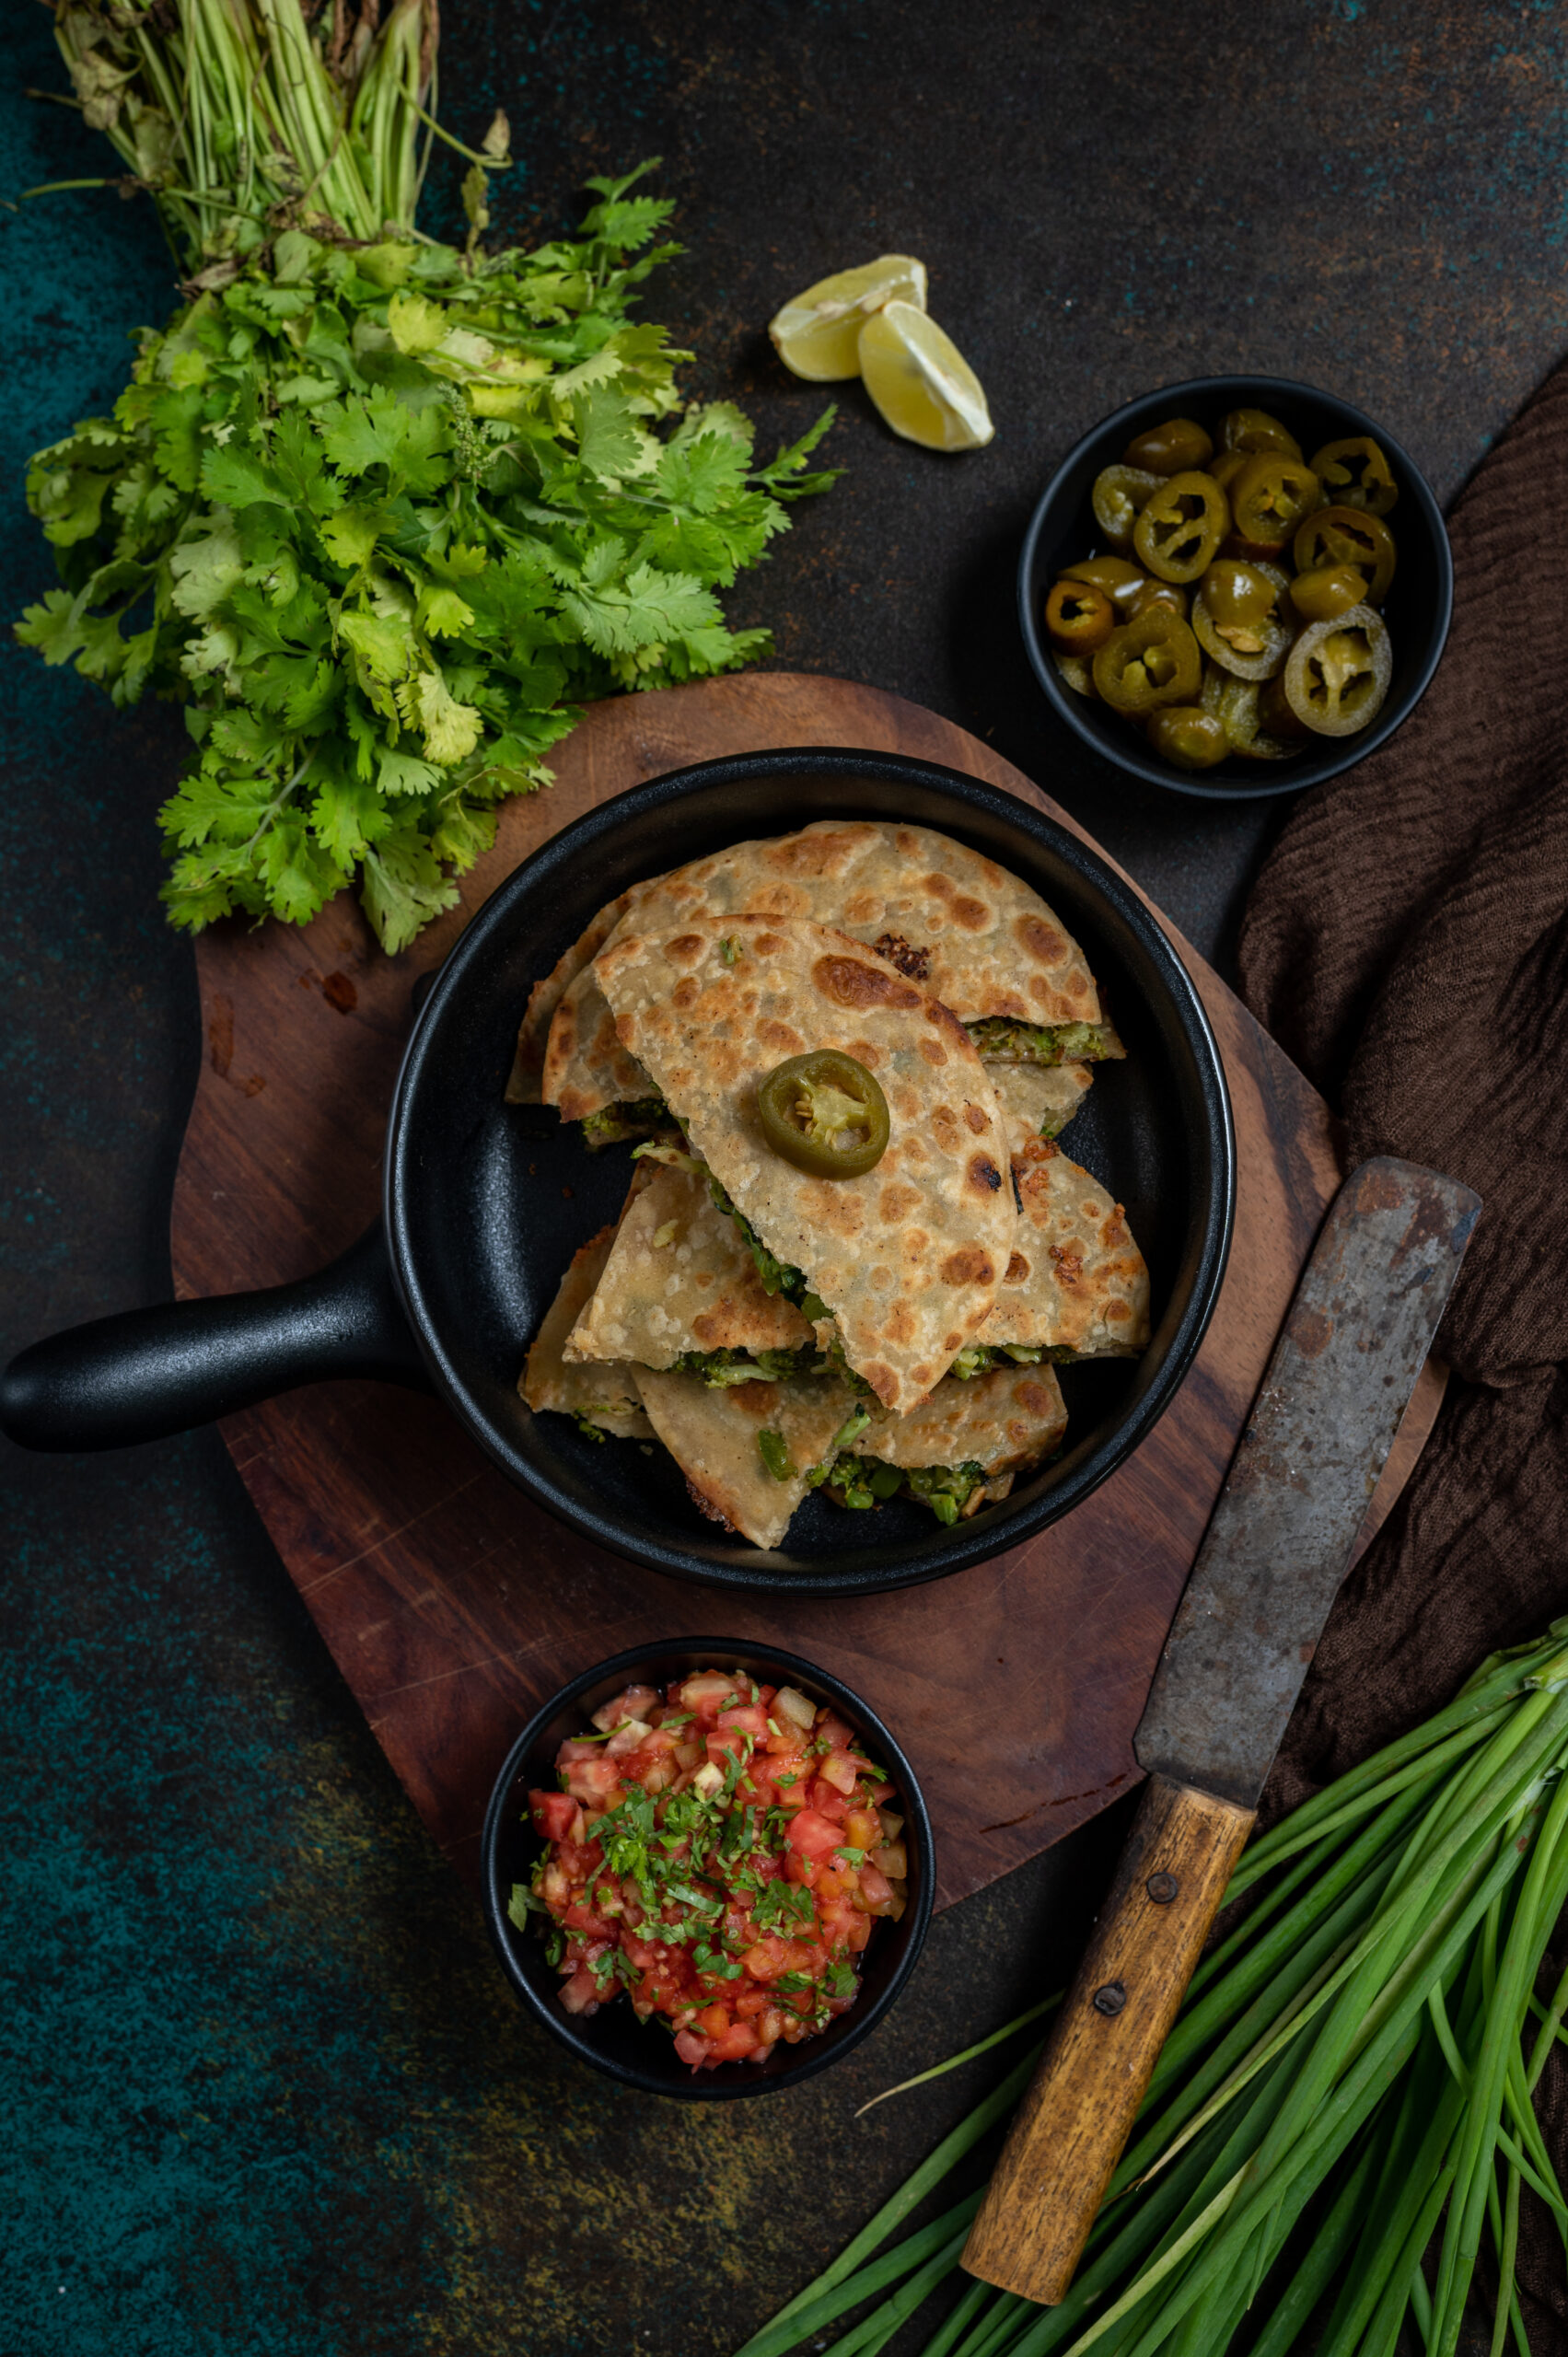
Cut them in half and serve. You may add jalapeños to the vegetable mix, or serve some alongside. As I said earlier, a soup makes a great accompaniment if you want to round it out into a full meal. A salsa or dip of your liking will also make it more delicious as a snack. You may want to adapt my peach salsa recipe, using complementary ingredients.

There you have it – a cheesy, nourishing dish that somehow blends the comfortingly familiar with the intriguingly foreign. Do you also make your own quesadilla-ish recipe, using the simple Indian roti, and how do you do it? I would love to know!
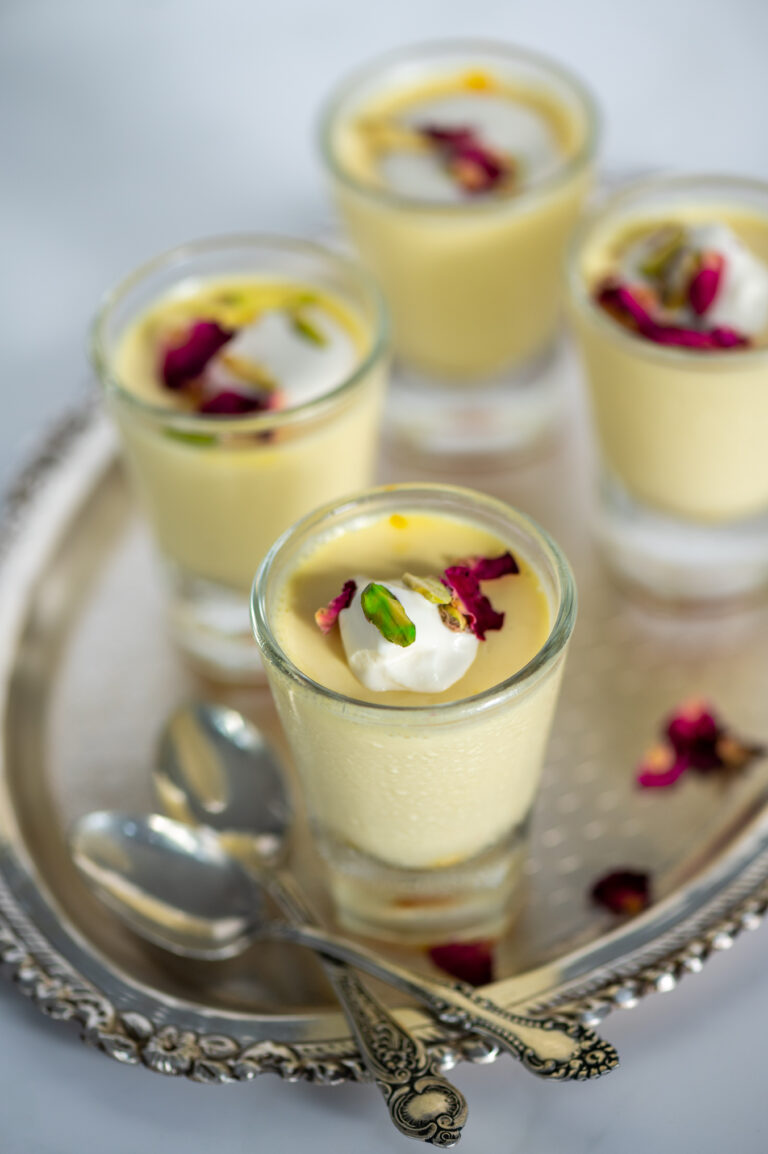
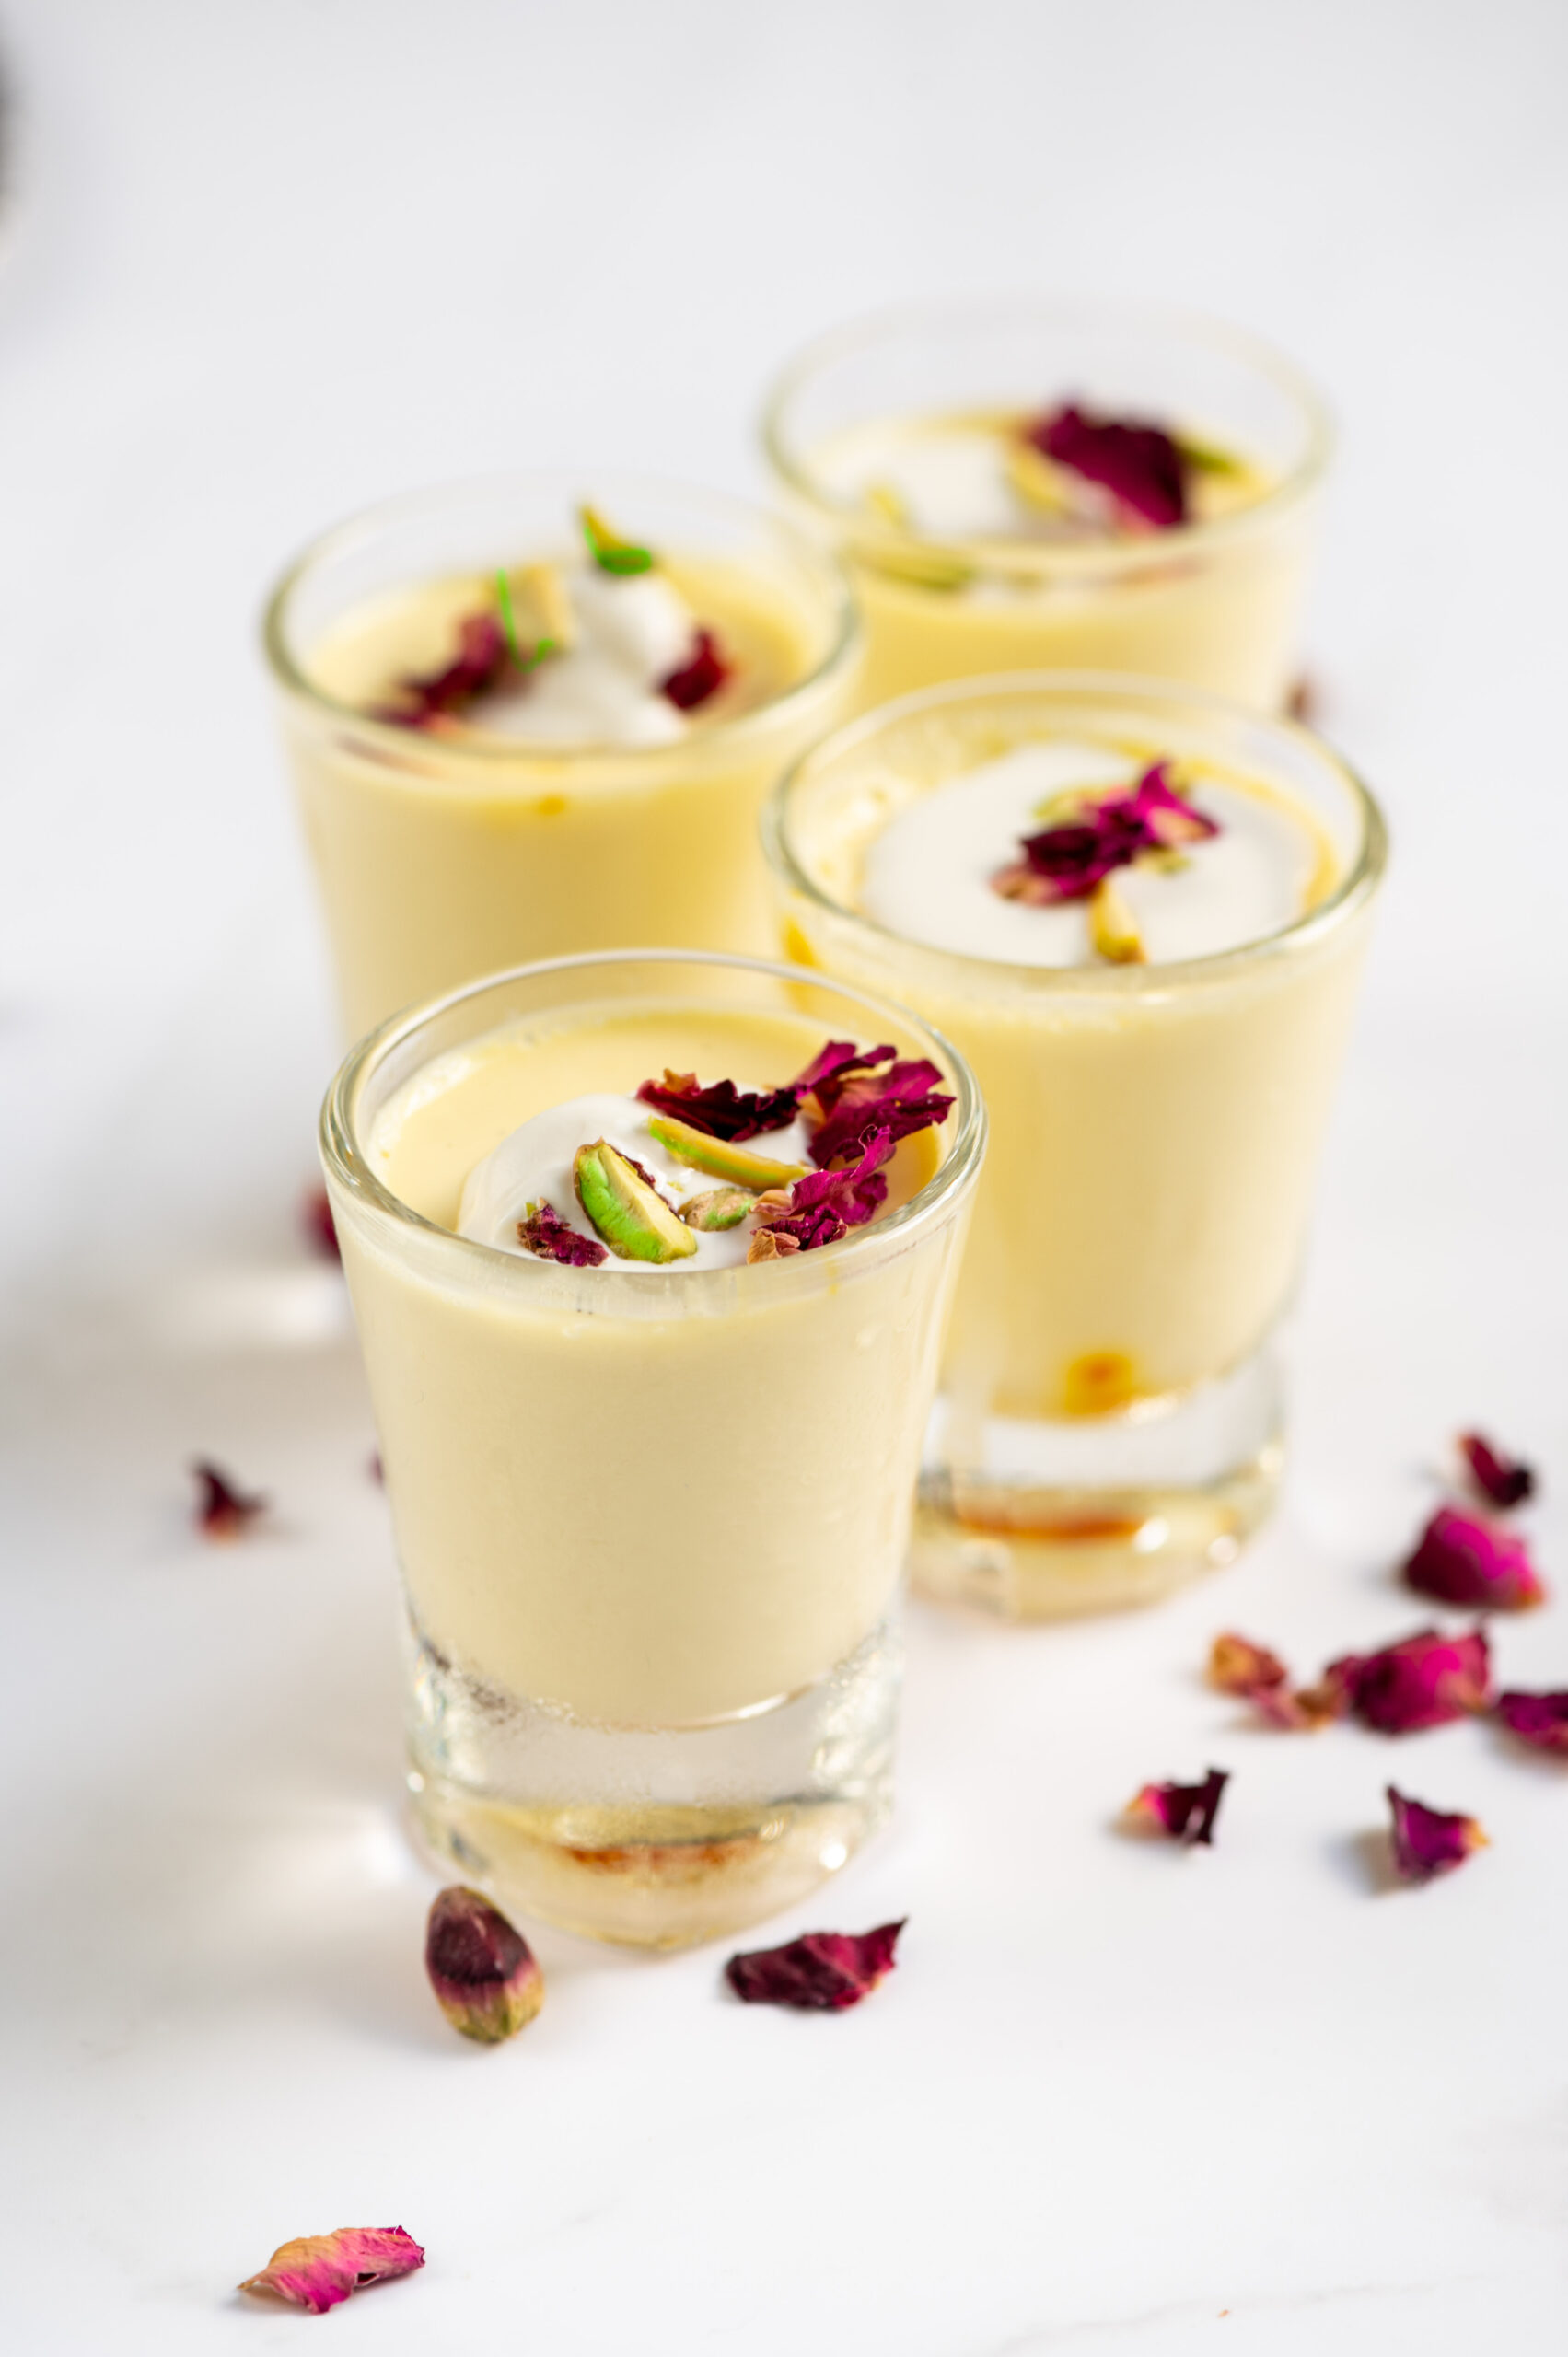
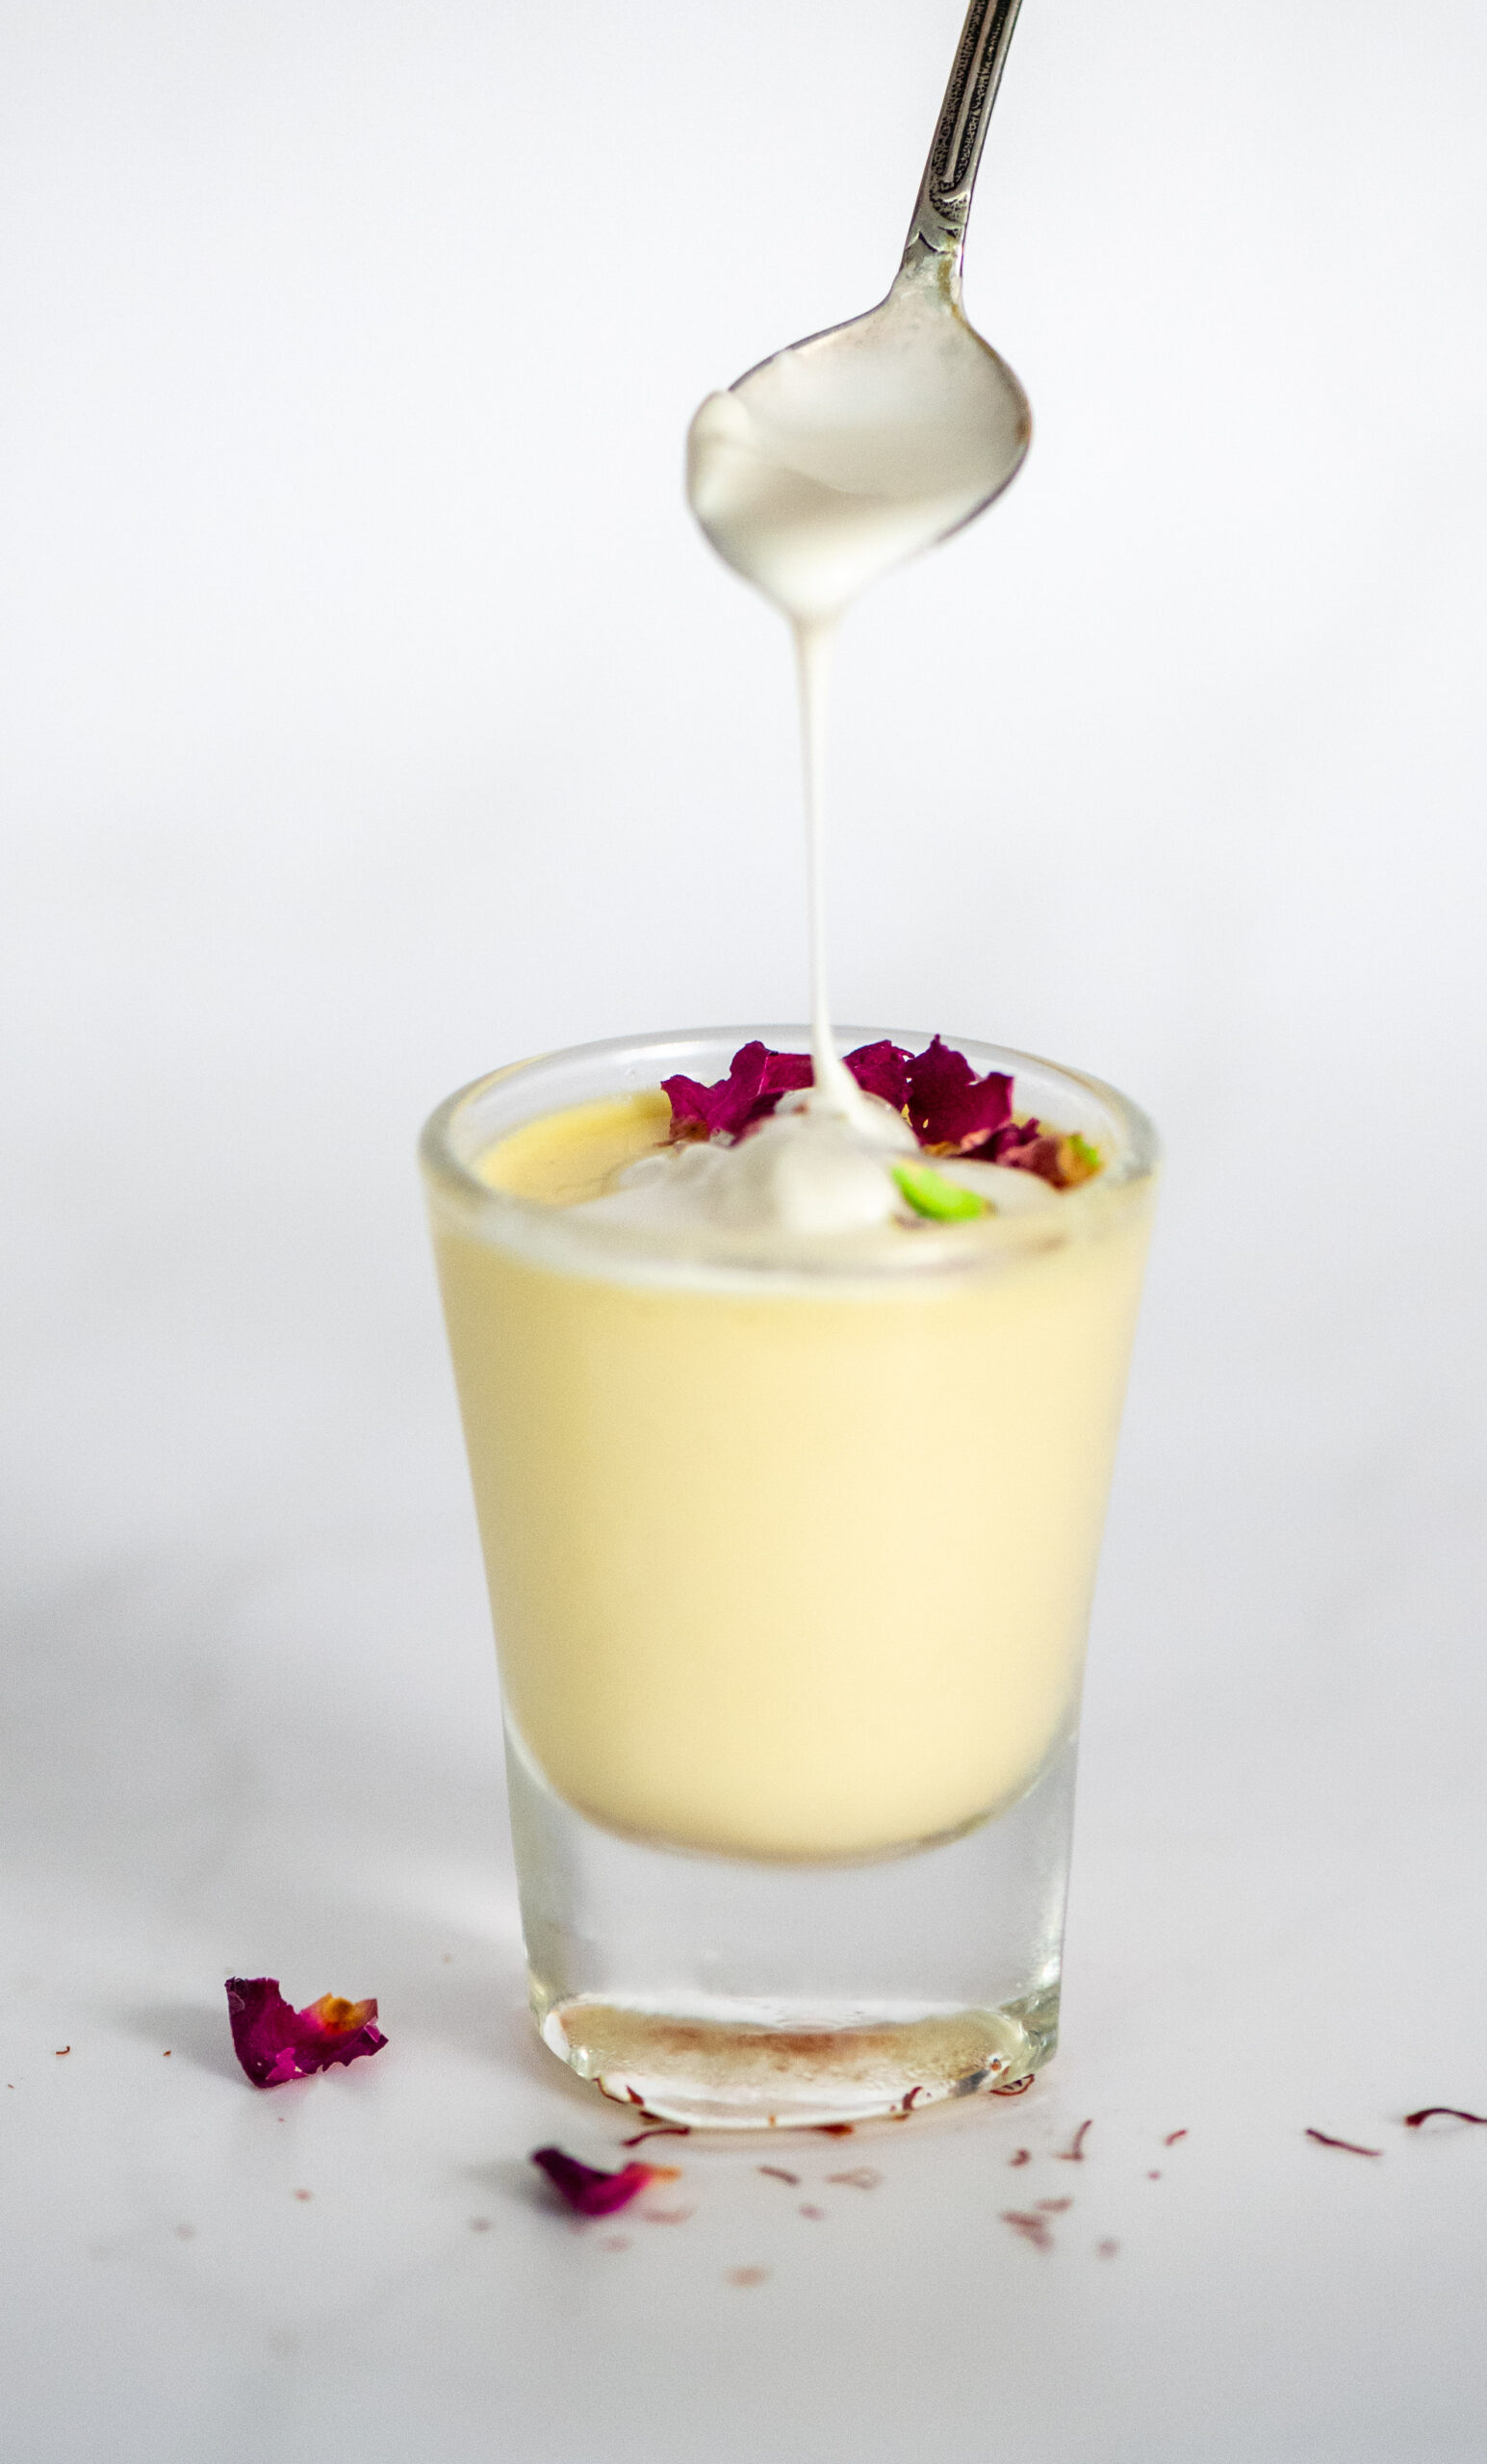
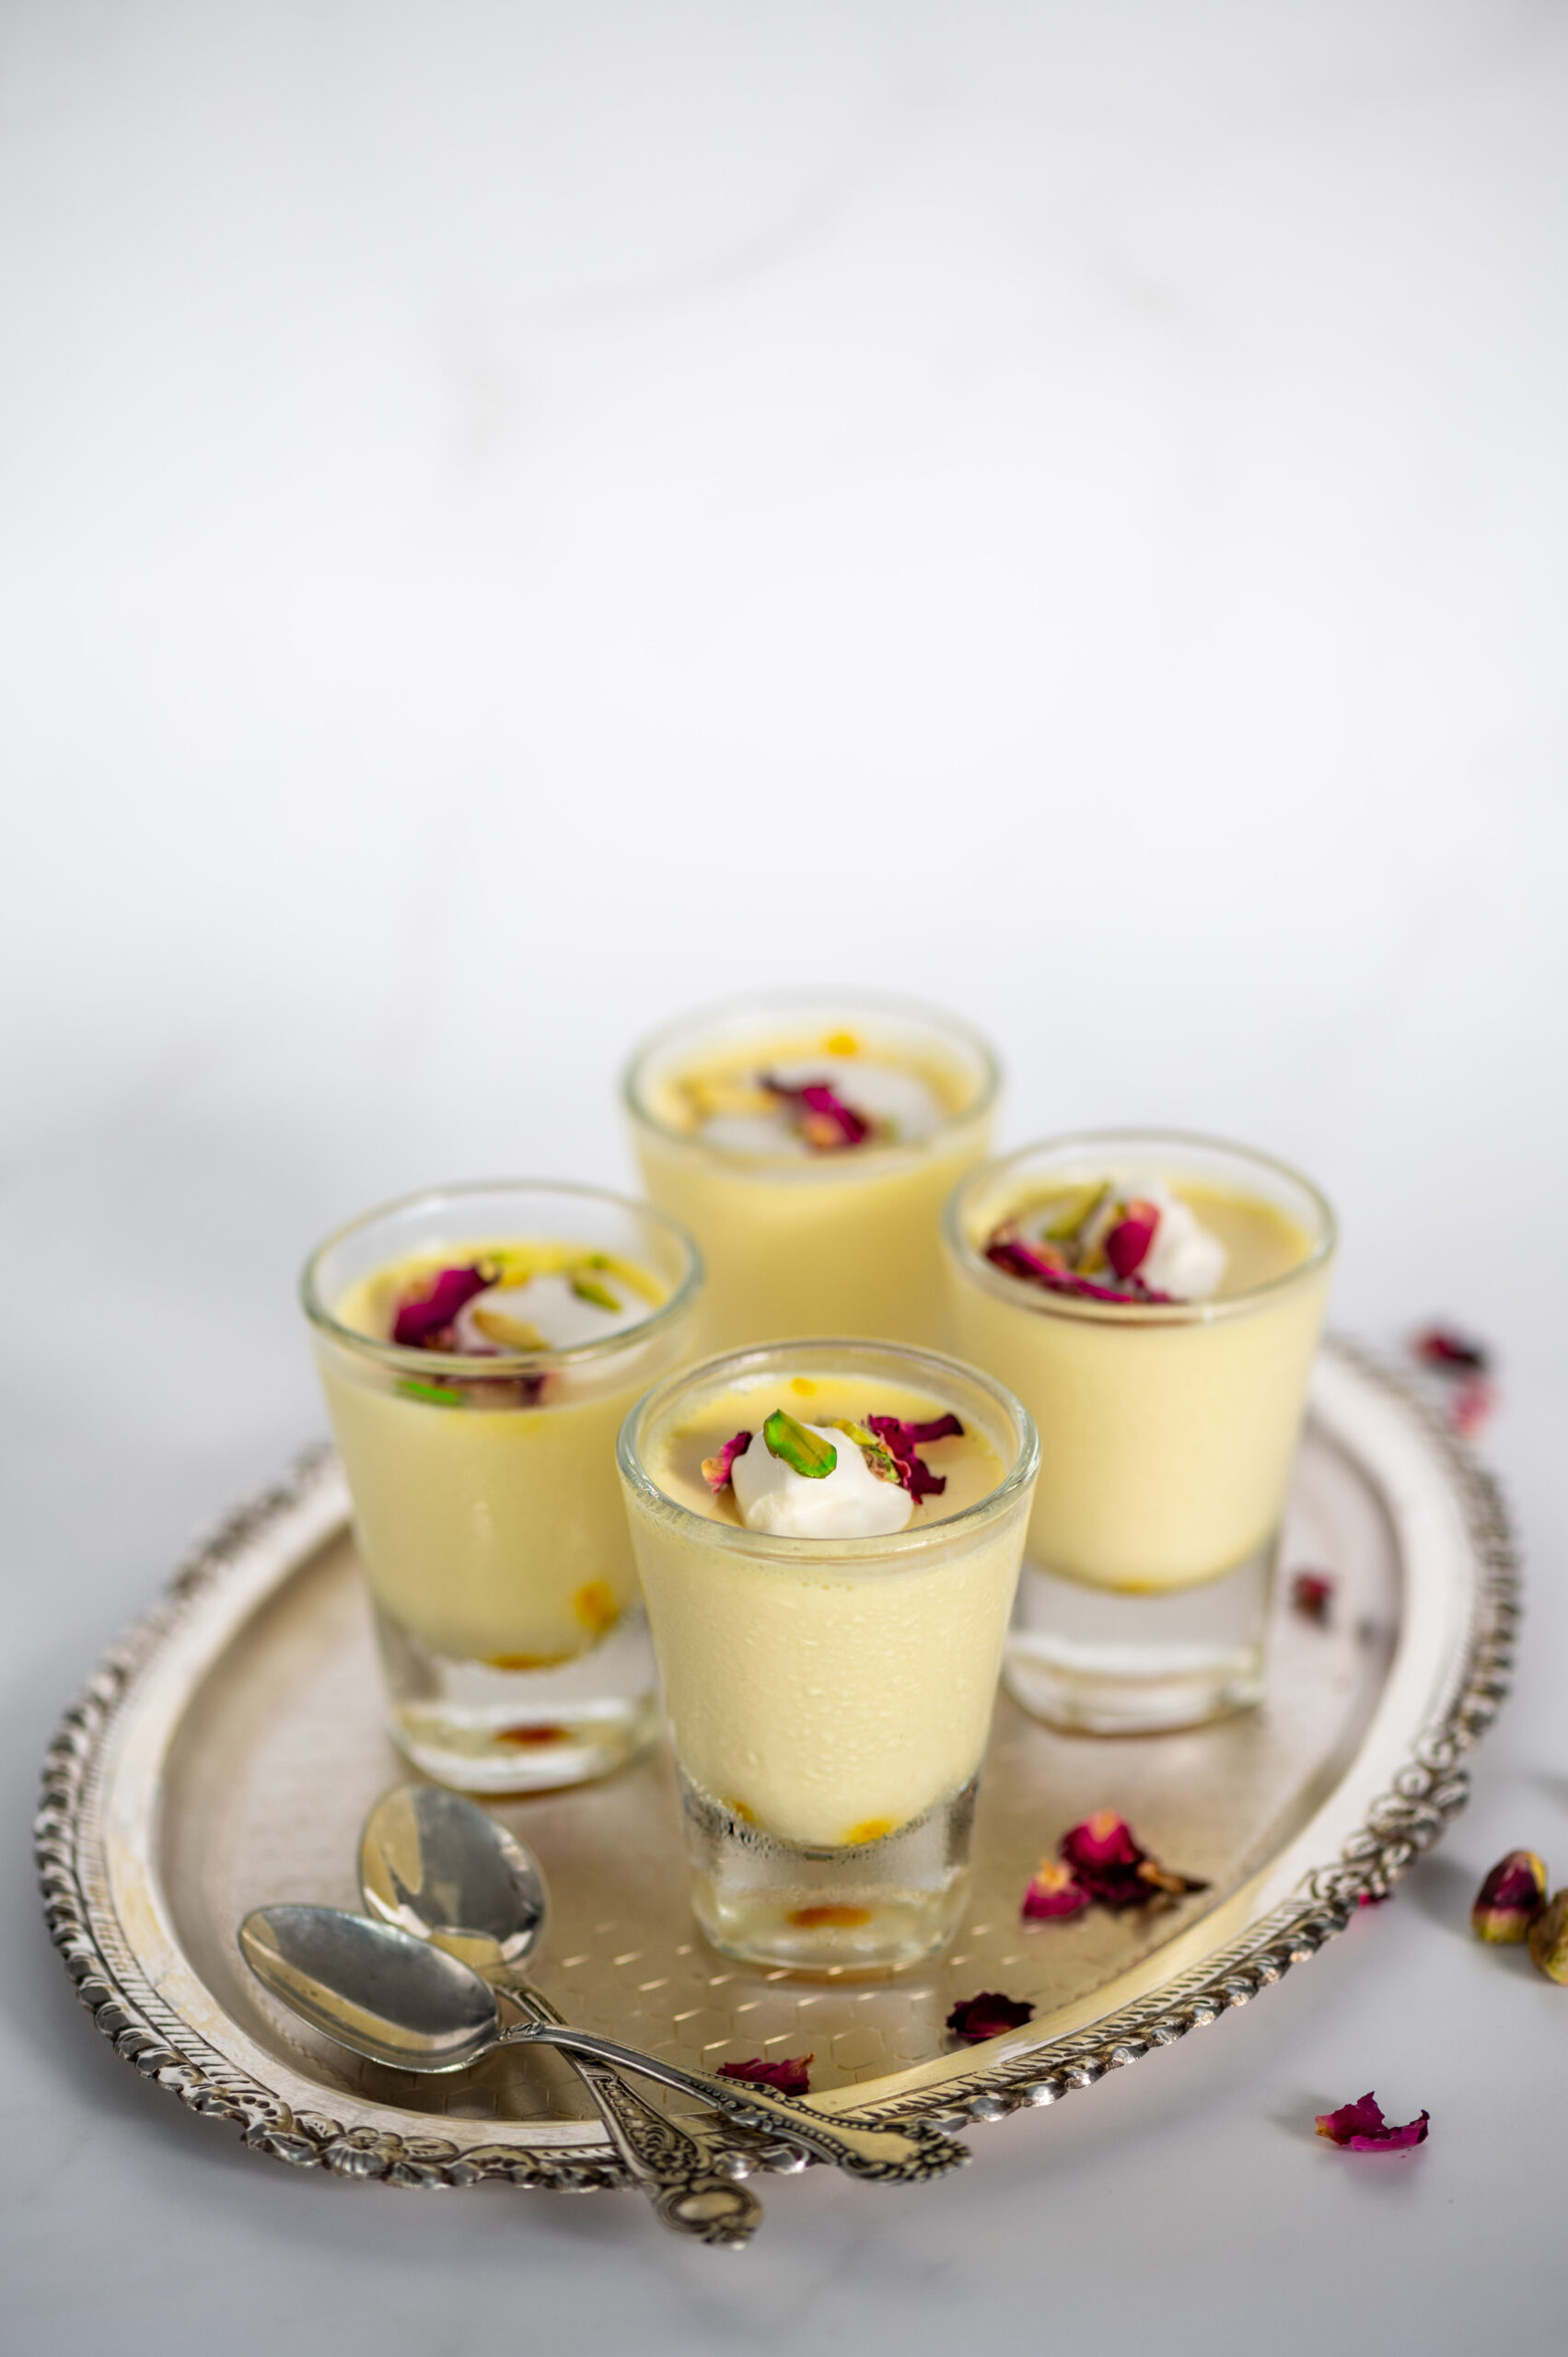
Some years ago, I shared a recipe for a vegan lavender panna cotta, and this dessert has been on my mind yet again. This time however, the non-vegan variety is what I’ve been craving. Perhaps I am drawn to dairy in desserts because it is the basis of most Indian sweets, and therefore is a part of what I grew up eating. Although it is not Indian in origin, panna cotta certainly hits the spot as a milk-based, delicious sweet treat. It is light but satisfying, and I love that it lends itself to a range of flavours. While playing around with possible flavours, I hit on a combination that retains a sense of the regional. So here you have it: a saffron-pistachio-rose panna cotta.

While many people enjoy their panna cotta with a coulis made of berries, I prefer a pistachio topping. I find it complements the saffron. It’s is one of my favourite flavours, and when I make my pistachio cake at re:store (available in saffron, rose and classic variants), I often make a tiny cupcake for myself from the batter. This panna cotta therefore brings together all the flavours that I have tried, tested and tasted time and again and know work well with pistachio.

You may wish to use agar-agar if you prefer, but I find that this substitute just doesn’t give the dessert the jiggle that gelatine does. If you ask me, a good panna cotta should jiggle. Perhaps it’s just a matter of presentation, but as I’ve said often, presentation is key when it comes to sweet treats. The eye eats first.

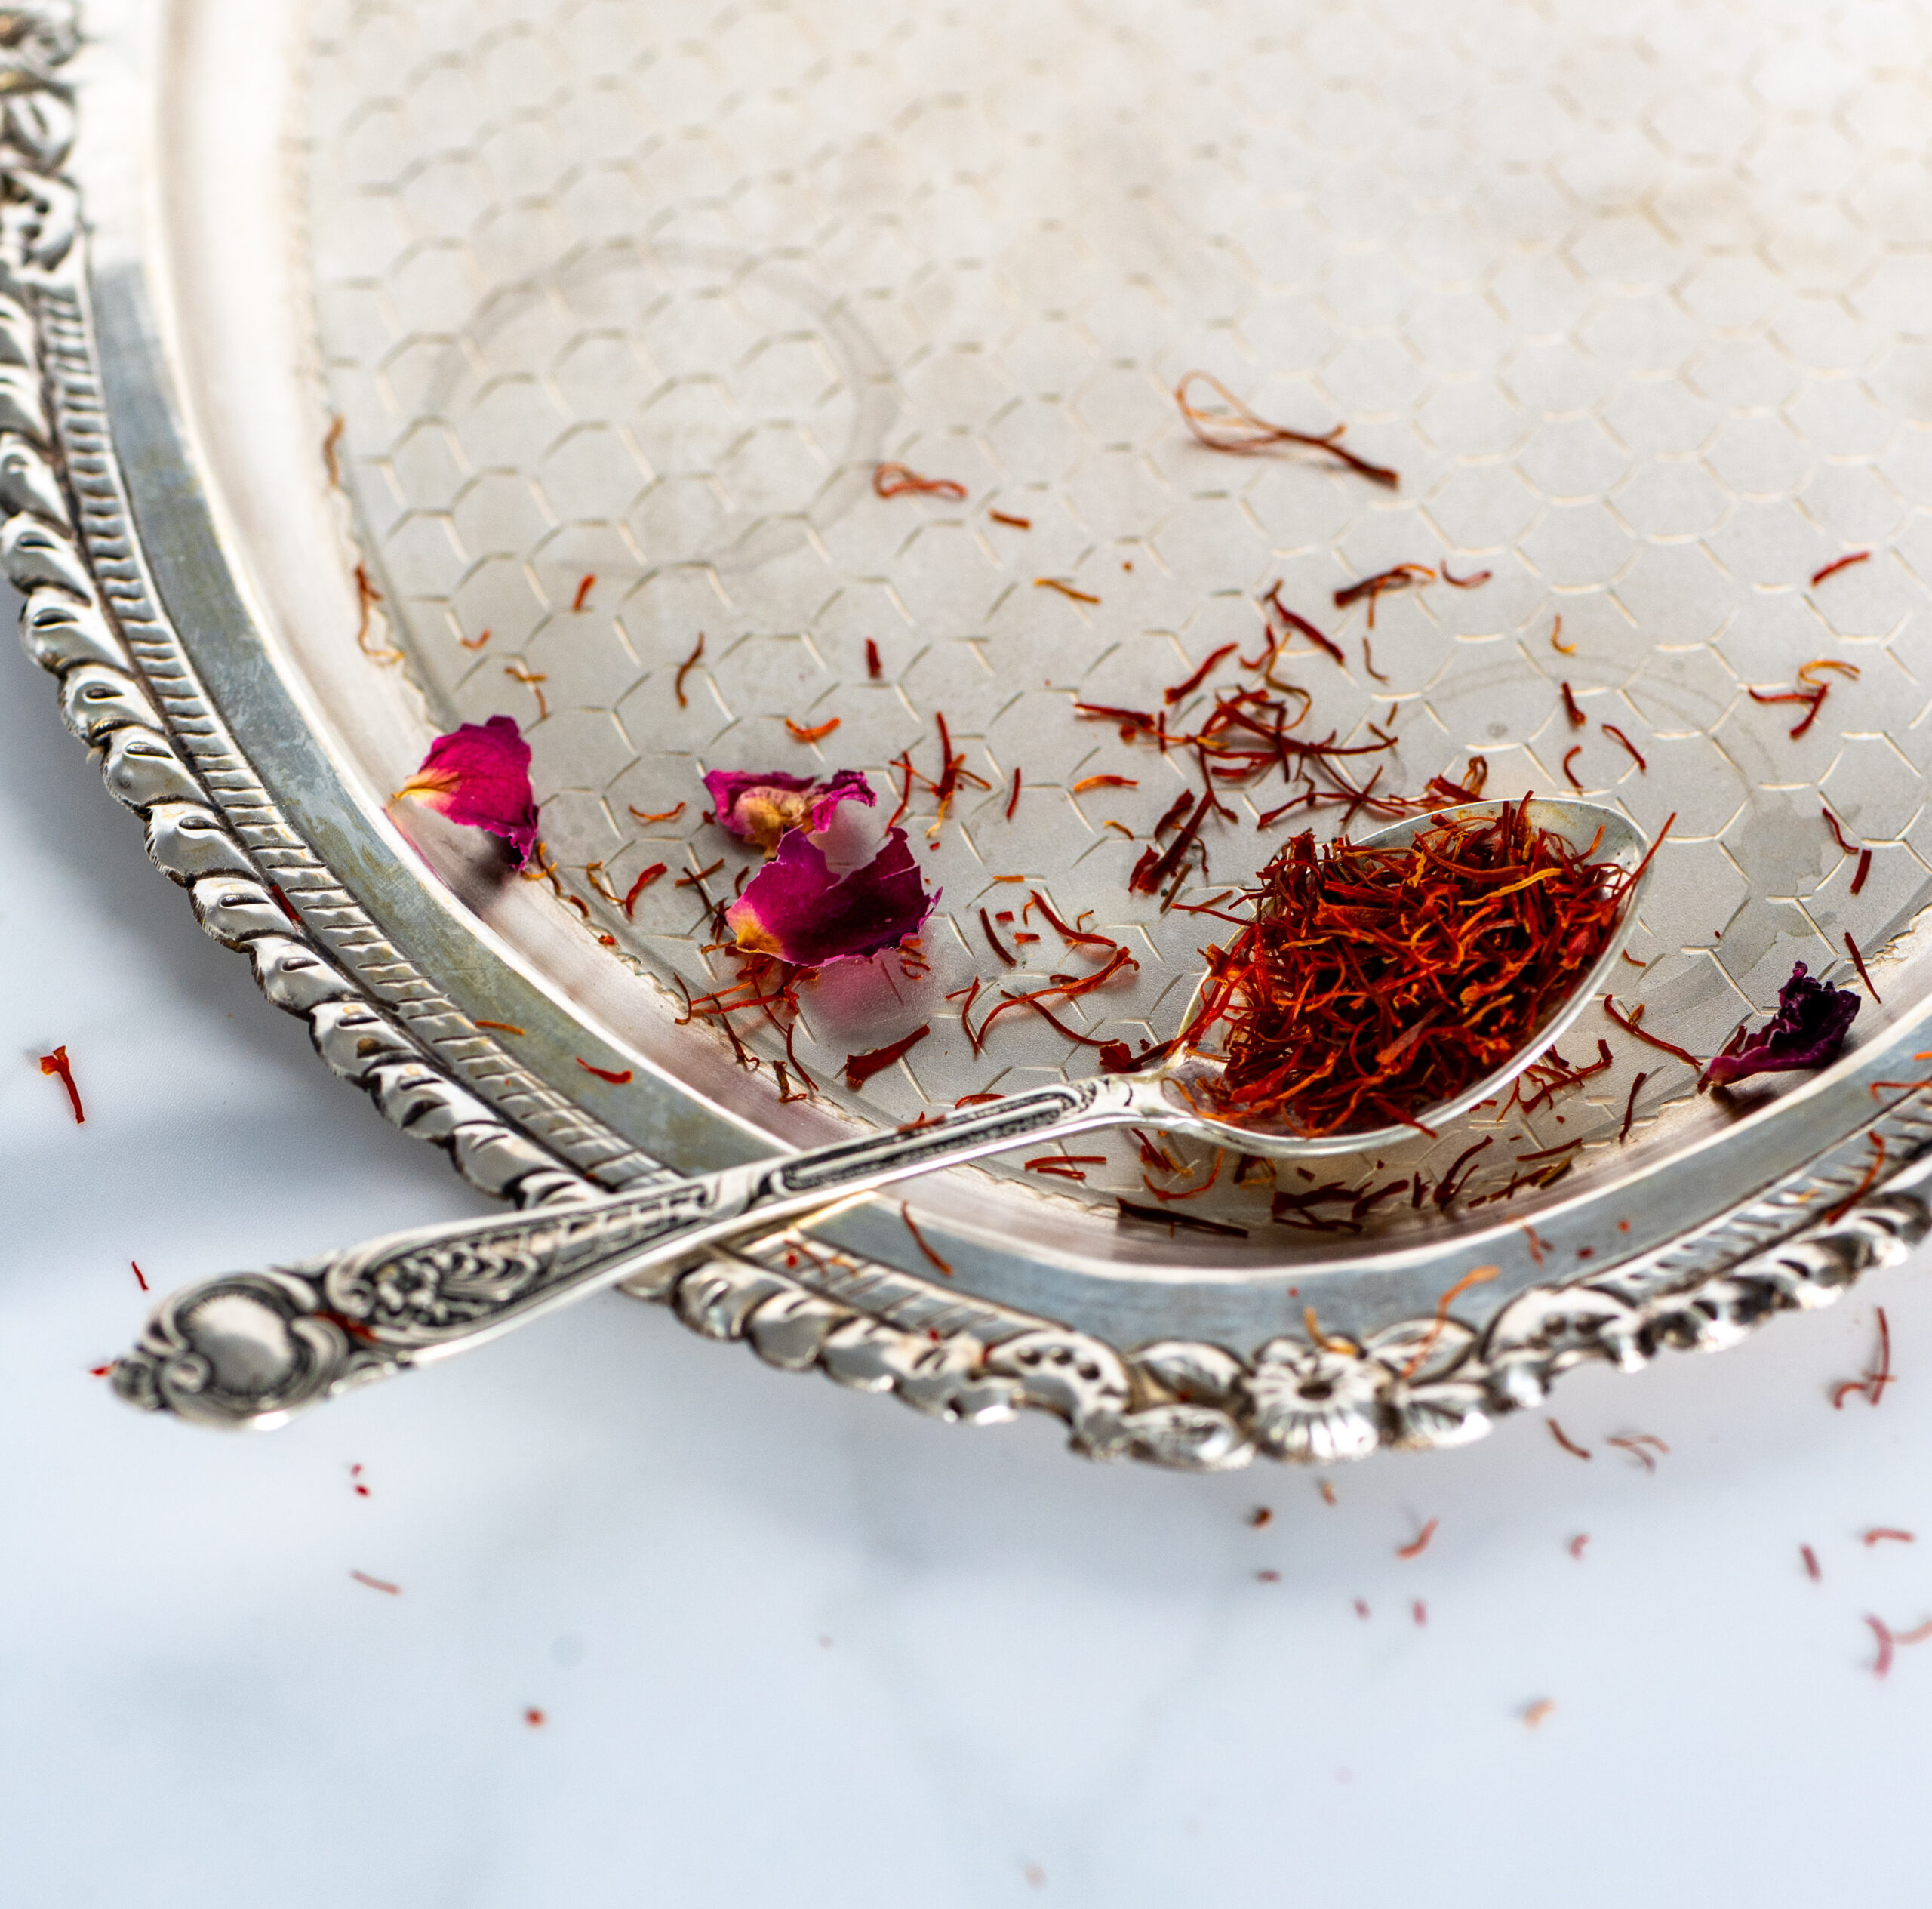
Remember that you can make sugar-free and vegan panna cottas, using any medium (almond milk, coconut milk, etc). I often do. Today, however, I felt indulgent… The saffron I used was some absolutely beautiful Spanish saffron that dear friends who live in Spain gave me when they visited. So many friends of mine scattered across the globe tend to bring gifts that can be used at re:store or in my kitchen. The lavender in my previous panna cotta recipe was a gift as well. I’m grateful to have these delectable ingredients, alongside my local and seasonal ones.

A pinch of Spanish saffron, with distinctly Indian touches of pistachio and rose water… And yet it’s memories of a trip to Rome that emerged as I prepared this lovely dessert. Wherever we went, we gorged on authentic panna cotta, tiramisu and gelato. Reminiscing on my Italian sojourn must have been what inspired me to become interested in making ice cream. As I’ve said on this blog before, I consider myself an eternal student, and I’m literally going to sign up for a course. Isn’t it wonderful how food is a way to travel, especially in these difficult times when travel is sometimes not possible, or just not what it used to be? It’s all the more special when we are able to evoke memories or aspirations of travel right in our very own kitchens.

Saffron-Pistachio-Rose Panna Cotta

(Serves 4)

Panna Cotta

7 grams gelatine

3 tablespoons cold water (to soak)

1 cup cream

1½ cups whole milk

13 cup sugar

A pinch of salt

½ teaspoon saffron + 1 tablespoon milk


Pistachio Topping

¼ cup shelled, toasted and sliced pistachio


Rose Cream

½ cup whipping cream

1 teaspoon rose water


Soak the gelatine in cold water for about ten minutes. Soak the saffron in milk.

In the meanwhile, add the cream, milk and sugar along with the salt in a saucepan. Allow to cook on a medium flame, stirring occasionally.

When the mixture is ready to boil, add the soaked saffron. Bring to a boil and turn off the flame.

Allow to rest for about ten minutes, and then add the bloomed gelatine. Due to the heat, the gelatine will melt. Stir well, pour into a mould and set overnight in the refrigerator.

When you are ready to serve the panna cotta, prepare the topping of rose cream. Whip the ingredients together in a bowl until you get soft peaks, or the consistency that you prefer.

Now, it’s time to assemble the dessert. Dip the mould in which the panna cotta has set in warm water. Turn it upside down onto a serving plate. Garnish the panna cotta with a sprinkling of pistachio, a dollop of the whipped rose cream and rose petals if you have them. You will have an aromatic, alluring-looking dish, replete with a plethora of flavours. You can keep this saffron-pistachio-rose panna cotta in the refrigerator for 3-5 days. It’s a perfect dish to prepare in advance when you are expecting guests, and it is sure to wow them visually too.

Saffron, pistachio and rose are international flavours as well as Indian ones, and I hope that they are easily available to you. The panna cotta base is beautifully adaptable, so you’ll easily be able to swap any of them out if you don’t have something on hand.

Aside from how gorgeous it is to the eye and how delicious it is to savour, what I like most about this dish is that it is a symbol of how food can make the world a smaller place. As we span worlds and cuisines, here’s an ongoing wish for the end of the pandemic and for us all to be able to communicate, commute, share and care again as easily as we did before.

Many of you know that I picked up the camera because of re:store. What began with taking product shots and creating images for the blog grew into a deep love of food styling and photography, gradually becoming a major component of my work. Cooking and photography are my twin passions, and I have dedicated myself to both through challenging myself, studying and learning, and lots of trial and error. Despite knowing the amount of effort it takes to get really good at something, like anyone in today’s era, I also get excited about attractive new creative forms. I’ll see some interesting content that someone else has shared, and go, “OMG, I have to do this!” So it was with stop motion video. Having seen some charming stop motion videos online, I made it my mission to produce a couple for re:store.

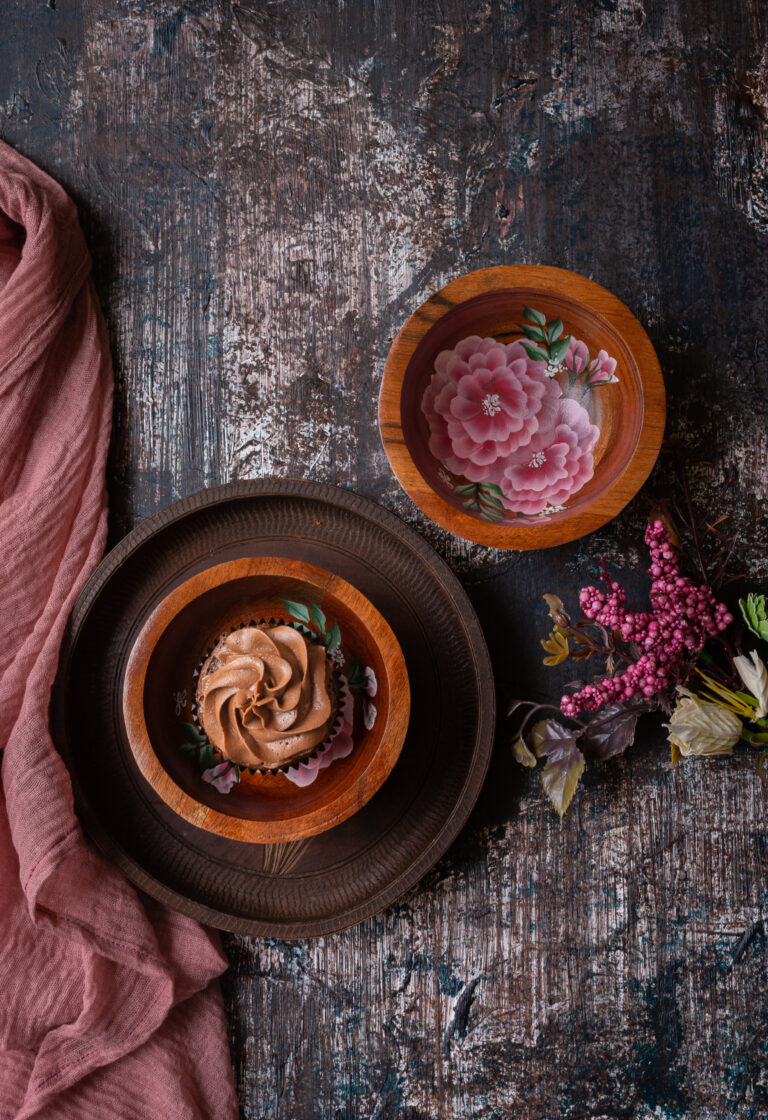
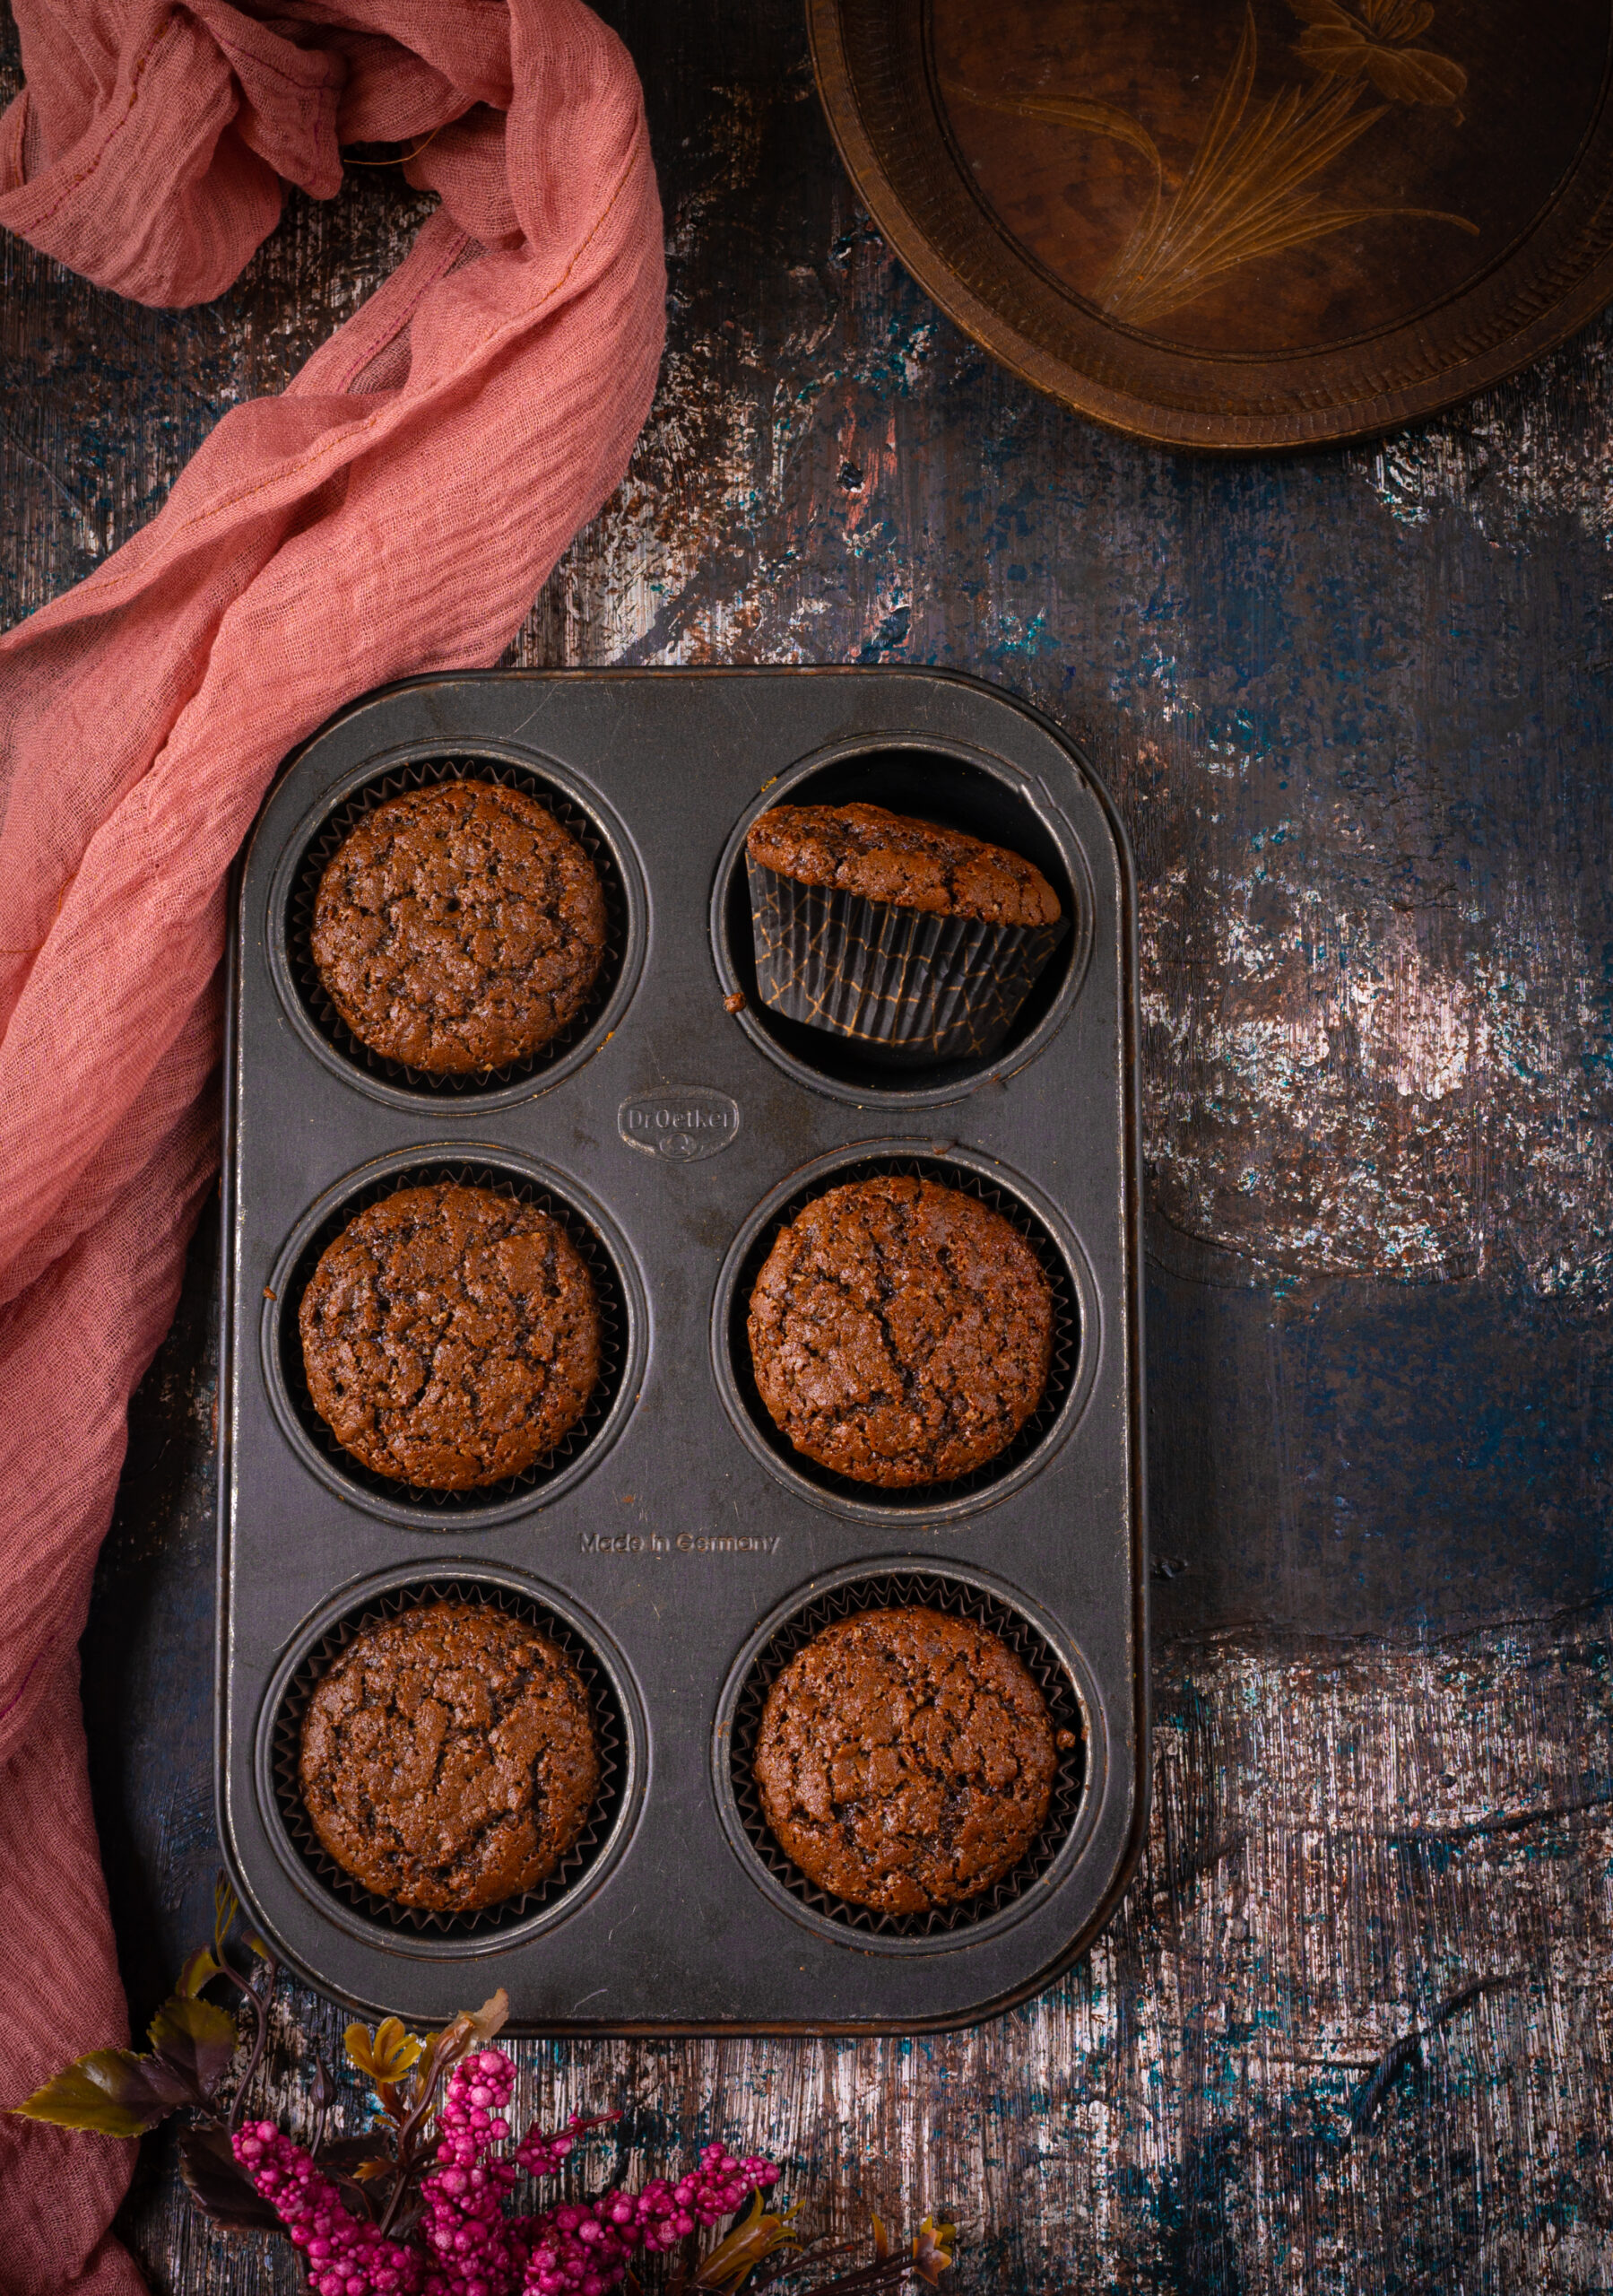
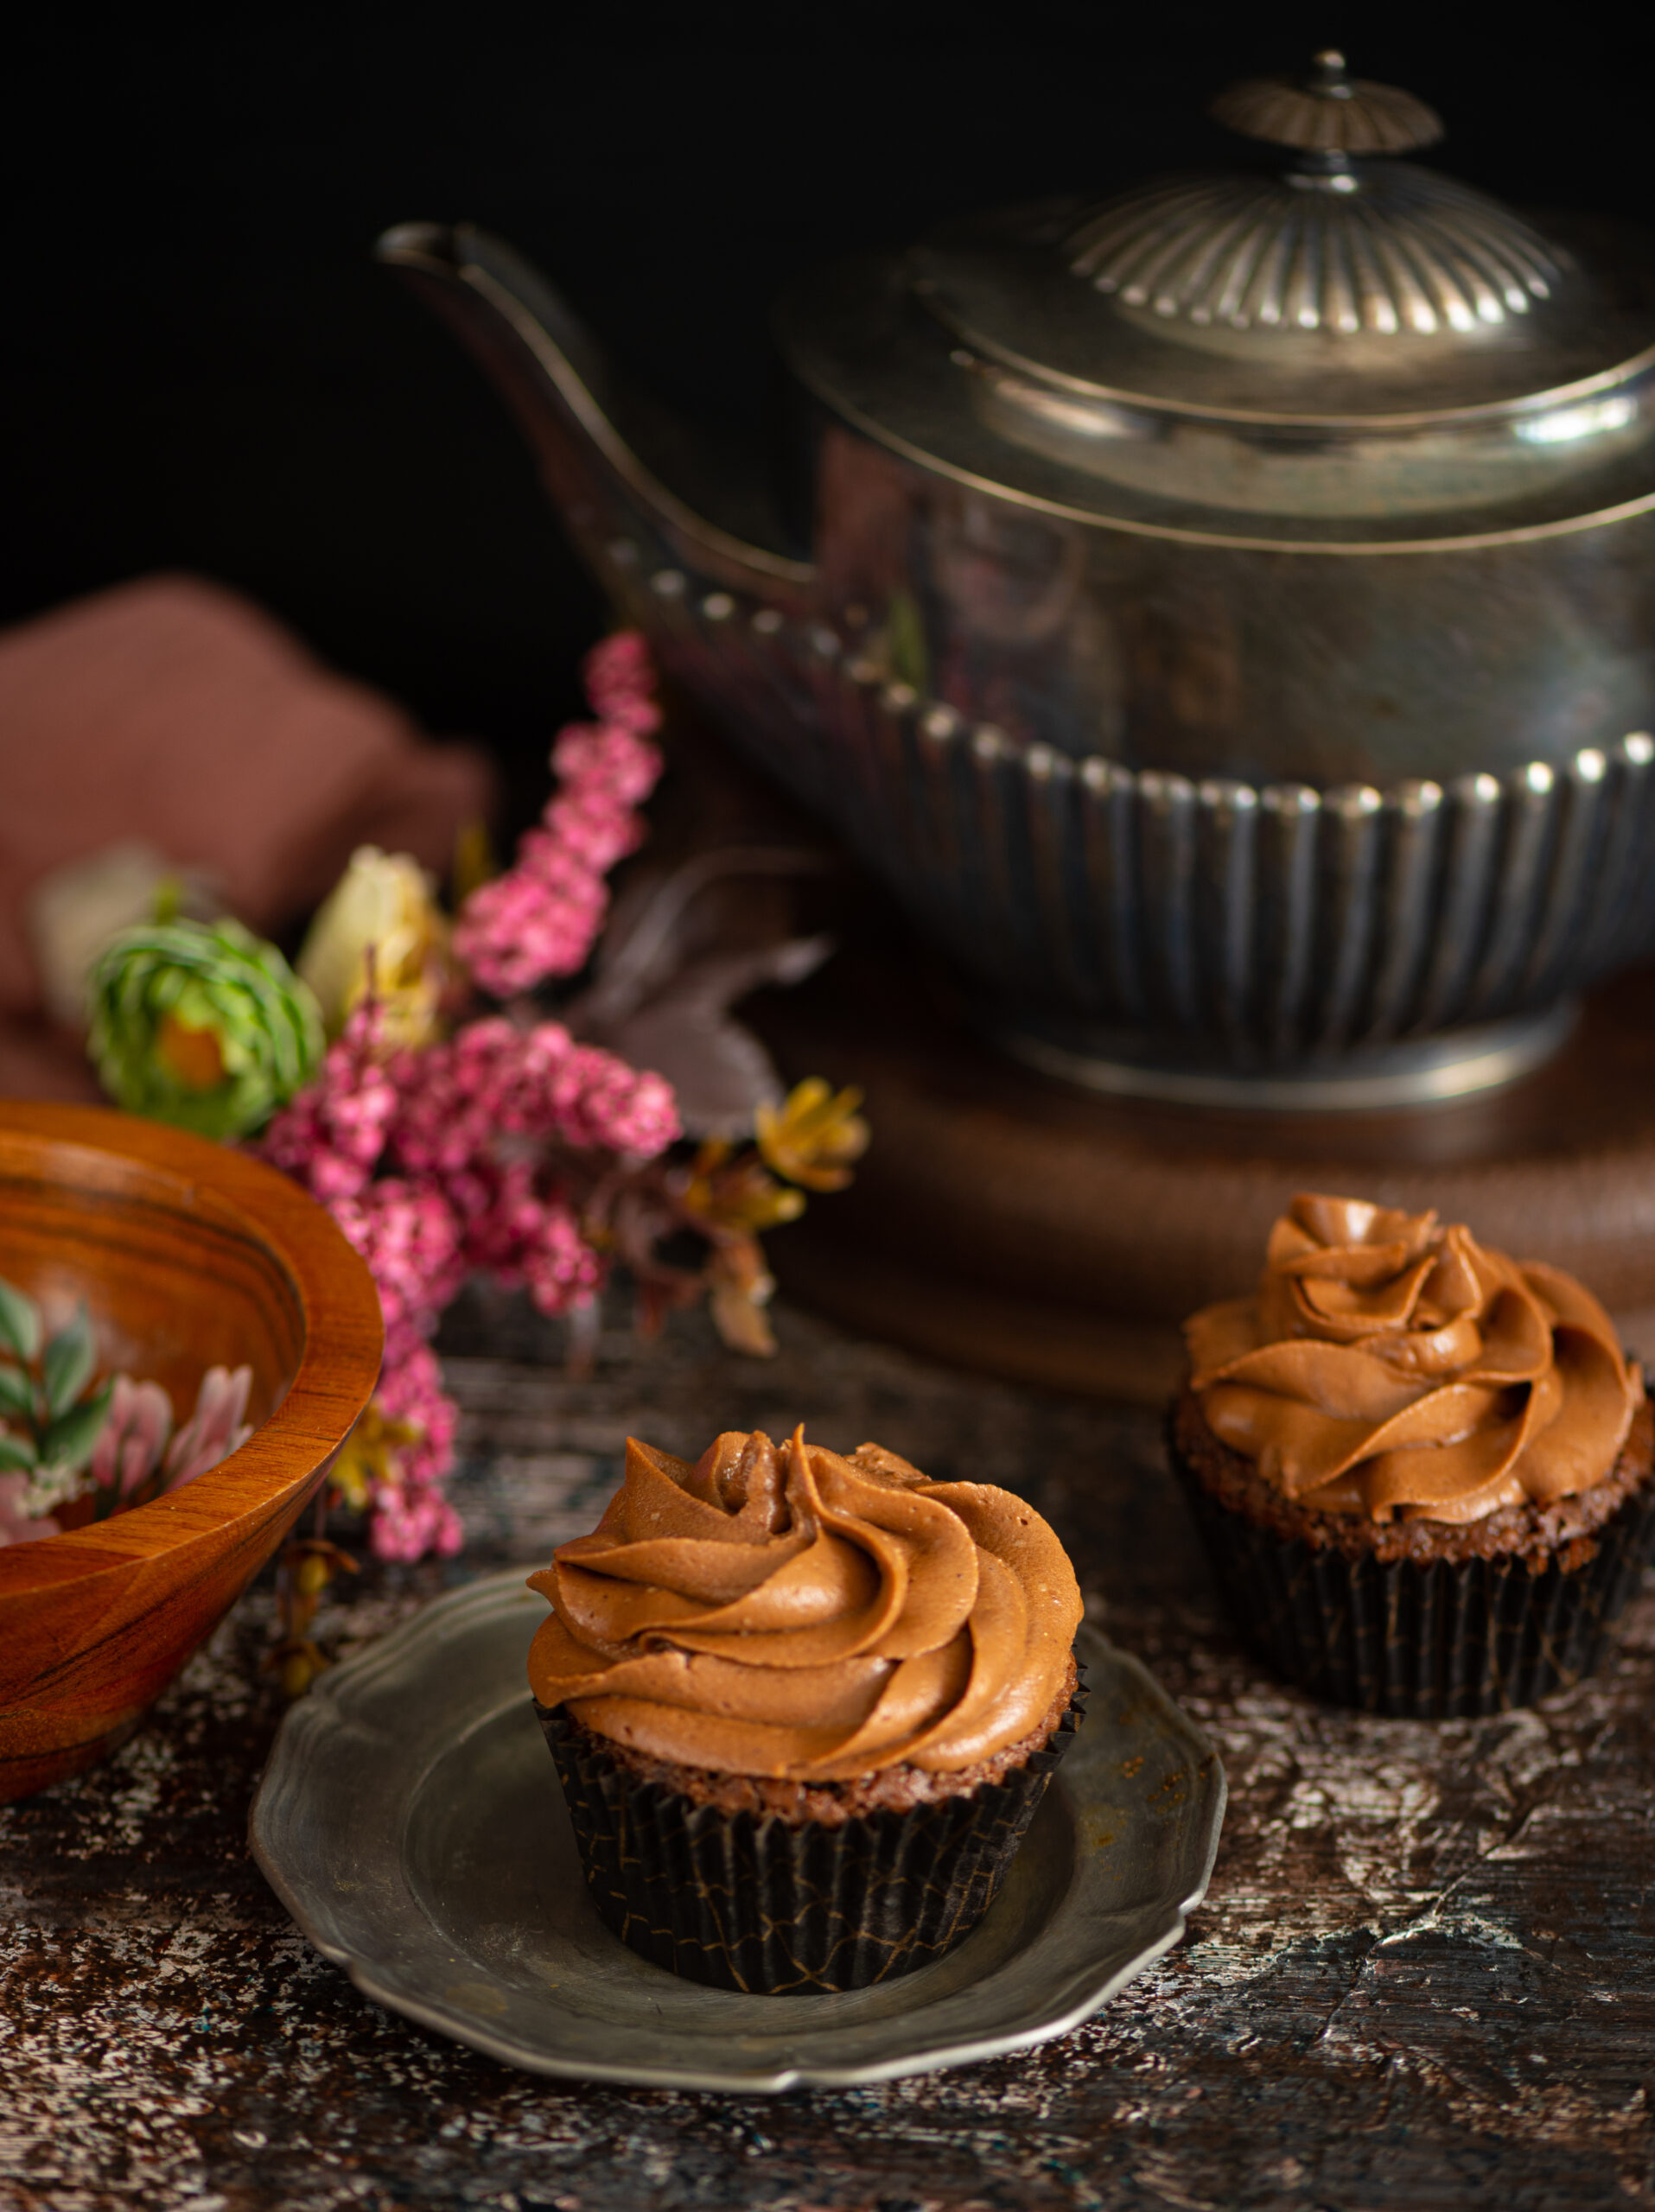
Tada! Here is the first: some cute, classic chocolate cupcakes. Do click on the link to watch the video on Instagram.

Let me tell you, that one minute of fun was a whole day’s work! I’m so glad that I had a friend’s daughter, Anushka, to work with me on the technical aspects. What this experience has taught me is that it isn’t about learning 75 different things, but being able to focus on the handful that one is really drawn to, so as to become good at those. There are so many eye-catching possibilities out there today, but I can’t manage them all, and neither should I aim for that. I need to give myself time to get through one learning, and let it naturally lead to the next one. This dilemma or distraction I had, about whether or not to begin studying stop motion video production, ultimately reminded me that this is how my businesses have grown from inception anyhow. Step by step, following a logical flow of studying, experience and growth, and knowing when to accept help. Doing the next best thing of delegation and collaboration helps me focus on what I am good at, and what is in my control.

Authenticity is a really important part of this blog, and all my work at re:store and at Nandi Shah Photography. Every recipe I share is something that I enjoy, and have prepared, served and eaten multiple times before I decide to showcase it. These are my recipes, containing my touch. For every shoot, I cook, style, photograph and edit everything myself. There’s a lot of love and attention that goes into each post, and there’s already a lot on my hands. In addition to my work, the current scenario has me responsible for the well-being of an entire household, including geriatric family members, and I must use any spare time I have from those responsibilities thoughtfully.

Still, I’m glad I indulged my curiosity about stop motion videos. I deliberated over what recipes would look good in this format, and these chocolate cupcakes were one of two (a different one will be coming up next weekend, so stay tuned for that as well). Even though it’s not a technical skill I want to learn for myself anymore, I enjoyed the process – having company, laughing, joking, learning more things about my camera, and of course, making the cupcakes and enjoying them with tea once the production was all done.

Subsequently, I baked these chocolate cupcakes all over again for the photoshoot for this blog. That was a separate endeavour, and I felt right back at home, doing what I love to do (and striving to better my best each time).

In addition to how they’re perfect for cute videos, I feel like although I’ve shared a variety of baked goods here before, I haven’t done any cupcakes. I also wanted to share something sweet, after several main courses. These classic chocolate cupcakes are a popular product that we get a lot of orders for, but I thought I’d share the recipe for those who want to try them out at home as well, in the spirit of spreading joy in this time.


Chocolate Cupcakes

(Yield: 12-15 cupcakes)


Cupcakes

1½ cups flour

½ cup cocoa powder

1 cup granulated sugar

¾ teaspoon baking soda

¼ teaspoon salt

⅓  cup oil

½ teaspoon vanilla extract

1 egg

¾ cup buttermilk


Frosting

1 cup unsalted butter at room temperature

3 cups icing sugar (and a little extra, if required)

A pinch of salt

2 tablespoons fresh cream

1 teaspoon vanilla extract


Preheat the oven to 180° for 20 minutes. Prepare the cupcake pans with liners.

First, prepare the dry mixture. Whisk the flour, cocoa powder, baking soda and salt together in a bowl. Set aside.

Now, prepare the wet mixture. Whisk the sugar, oil, egg and vanilla extract together.

Mix the flour mixture and the milk, alternating them, into the wet mixture. Beat them all together until the batter achieves a smooth consistency.

Scoop the batter into the prepared pans. Fill the liners to a ¾ level so that the batter has room to rise. If you’re fairly new to baking, you may want to check out this recent post of mine, which has a primer with tips you may find very useful.

Bake for about 20 minutes, or until a skewer comes out clean. Allow to cool, then top with frosting.

To prepare the frosting, beat the butter until it turns fluffy. Now, add the icing sugar and stir with a spoon. Be gentle, or else you will have the icing sugar dust all over. Once the two have come together, beat well. Add the salt and vanilla extract and beat for approximately another two minutes. If the butter cream is thick and difficult to spread, then add the cream a teaspoon at a time.

As I said earlier, these cupcakes are actually a part of our menu and one of our fastest-moving products. At re:store, we avoid artificial sweeteners that contain harmful chemicals, switching them out for natural or unprocessed ones, and use good old-fashioned ingredients (eggs, butter, oil and cake flour for instance – the basic elements of a cake)  of the best quality available locally. If you’re in Chennai and would like a fresh batch of these cupcakes from the re:store kitchen, especially with the festive season coming up, we’re just a phone call away. They’re delectable at tea-time, and ideal for gifting. As you can see again in the stop motion video, we give a lot of importance to packaging and the finished look of each product.

I’m currently very busy in the kitchen, and happily so, conducting trials for more delicious goodies, and am so looking forward to expanding the product list. Do stay tuned for some lovely new treats from re:store in the coming months, as well as new recipes on this blog as always!

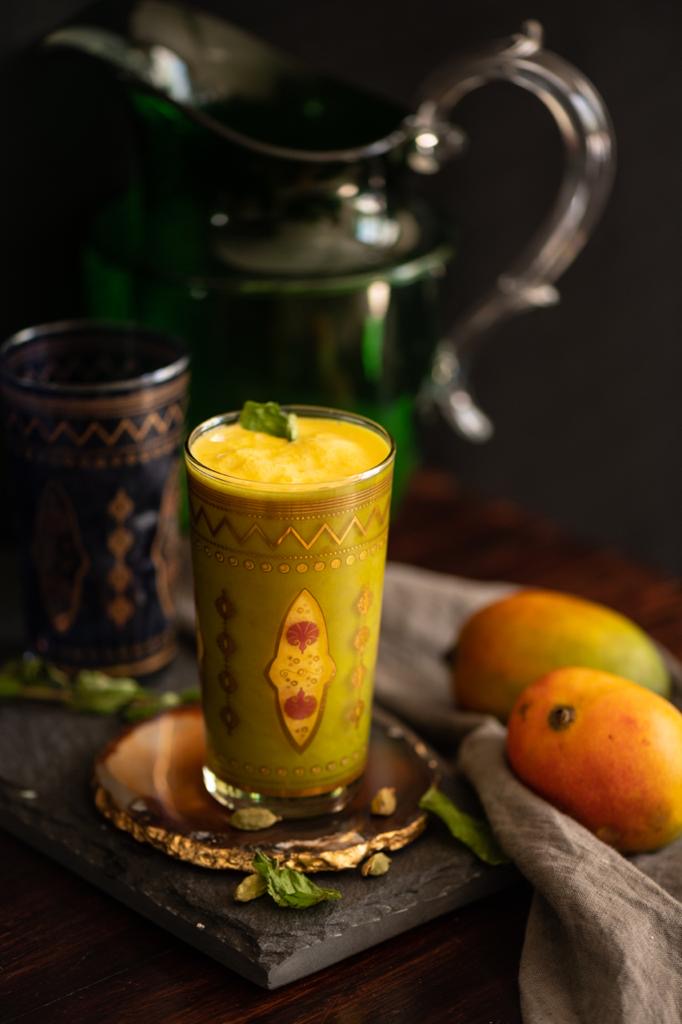
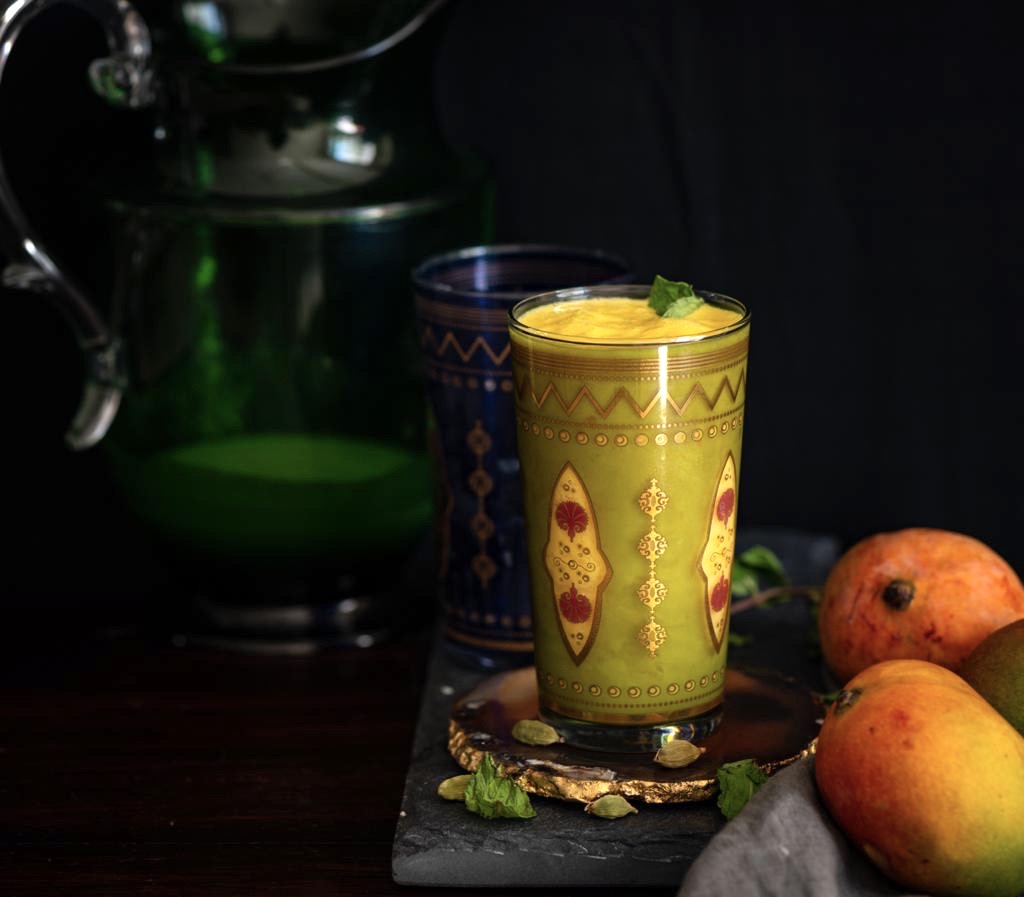
Lassi is an extremely popular and very effective Indian beverage, a coolant that’s popular in the summer months. Being yoghurt-based, it not only reduces the heat in the body but is also rich in probiotics. Naturally, the classic mango lassi had to find a place in my ongoing mango series here on the blog!

This wonderful, lip-smackingly good mango lassi doubles as a dessert. The natural sweetness of the fruit is enhanced by the use of honey (or a sweetener of your choice). I like a flavourful lassi, so a little cardamom and a sliver of ginger go into mine as well.

Some wonder whether mangoes, which are known to be a “heaty” fruit, can really be eaten so much during the summer, despite this being the season when they are most delicious. I’d like to share a very interesting Ayurvedic technique that I came across. It seems that by simply soaking the fruit in water for at least half an hour before consumption, the heat is depleted from it. Mixing it with yoghurt as one does with this lassi also neutralises the heat.

Yoghurt in India is usually homemade, and dairy is consumed regularly. Chaas, also known as buttermilk, was a daily drink for us when we were growing up, as our mother insisted that we always had it after lunch. Lassi is a more indulgent dairy drink that has the same beneficial effects. It can be had salty or sweet, and flavoured in many ways. As a child, I enjoyed a watery lassi best. An excellent savoury variant uses ginger, green chilli, mint, coriander and salt. As for the best sweet variant, well, the recipe is below!


Mango Lassi

(Yield: 2 servings)

½ cup peeled & cut Alphonso mango

½ cup plain yoghurt

¼ cup plain milk

1 cup water

A pinch of salt

1 heaped teaspoon sugar or honey

¼ teaspoon cardamom powder

½ teaspoon grated ginger

A few mint leaves

Blend all the ingredients together, except the mint leaves. Adjust the water quantity based on your requirement. If you prefer a thick lassi, use less. Or use more to thin it according to your preference.

Top with ice and serve with the mint leaves as a garnish. Sliced nuts or saffron also work well as garnishing options.

Mango season will continue on this blog, and hopefully in the world too, and I have a variety of innovative dishes I’m excited about sharing with you soon. So do stay tuned for more fruity deliciousness to come!

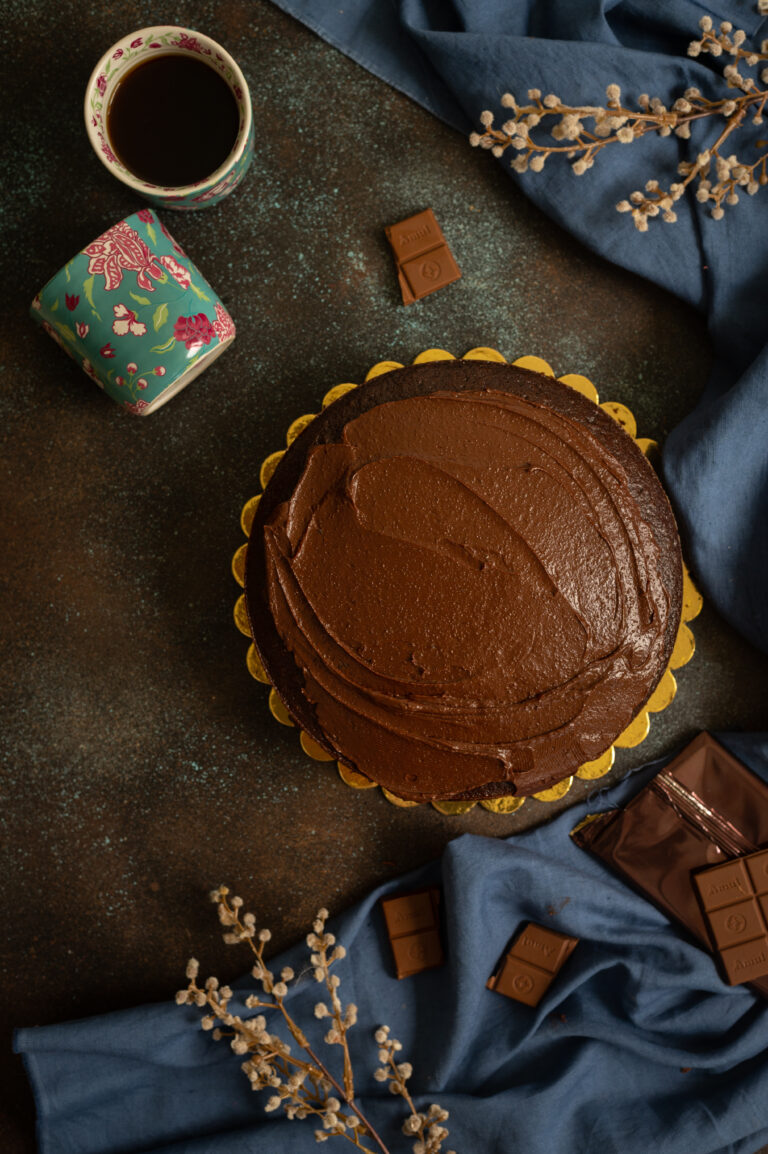
With my kids being at home with me during the lockdown, I’ve found myself baking even more than usual – which is saying a lot! I’ve been enjoying this process, and as always I can’t help but reach out for my camera to challenge myself and indulge my creative side. With every new image of a cake that I post on Instagram, a flood of messages comes in, mostly from people asking for recipes. I’m so thankful to each and every one of you who enjoys my posts and I’m thrilled to share this recipe with you today.

The joke in the house is that I won’t share my cake recipes with my kids unless they bake along with me, which they rarely do. I’ve decided to make an exception as April happened to be my son’s birthday month, and I want to spread some happiness during what is a challenging time for all of us. This classic-style chocolate cake recipe is my gift to my son, to make use of when he returns to his city eventually, so he can remember all the bonding moments we shared together in these last few months. I am just as delighted to share it with you. As someone who took her first step into the world of entrepreneurship through the world of baking, I know just how much pleasure and empowerment and sheer comfort the process can bring. I hope you experience that delight today.

This chocolate cake is a repeat order in my house, so to speak, because it is my son’s favourite. Every single time I bake it, he relishes a generous slice and says, “Mom, today’s cake is the best one I’ve had in 27 years!” Every single time! Such appreciation truly makes my day. I’ve also noticed how there’s just something about cakes in particular that have such an uplifting effect. Perhaps that really is why they’re such a vital element of celebrations.

What I am sharing today is a no-fail or foolproof recipe. What’s lovely about it is that it is not very heavy, being oil-based. This also makes it very moist. It has a lovely, deep and rich colour which comes courtesy of the coffee powder used. The coffee powder enhances the cocoa flavour, and doesn’t impart even a whiff of its own flavour into the cake. Don’t be perturbed by it. This will not turn out to be a coffee cake. Follow the simple recipe step by step, and you’ll achieve a chocolate cake that is not cloyingly sweet, tastes absolutely delicious, and that you’ll no doubt bake over and over.


I hope that all of you baking for the first time because of the resultant free time due to the lockdown will also find the same comfort and satisfaction in it that I do. There are two things I’d like to share with beginner bakers. Firstly, I get a lot of questions about ingredient substitutes and shortcuts that go something like: “I don’t have baking powder; can I still bake a cake? How about without an oven?” My answer to them all is straightforward: baking is a science. It’s all about formulas and proportions. Once you’ve understood that, you can tweak ingredients, explore different flours and powders, and experiment. Until then, don’t start off on the wrong footing. Baking isn’t like cooking. It isn’t like replacing chilli powder with another spice. Every part of the process and every ingredient involved has a role to play when it comes to the final product of a cake.

Which brings me to the second major tip I have for beginner bakers: patience is key. If you’re in a hurry to see the end of the cake, it won’t happen! Enjoy the process.

I know that more people are binging on sweet treats now more than ever, so I’ll let you in on one more secret from the re:store kitchen. The key to moderation is not making less, it’s sharing more! A neighbour once asked my son, “Your mother bakes every day; how come you’re all so trim?” That’s because everything I put into the oven is split into many portions. For instance, whenever I bake this chocolate cake, everyone from family members to our household staff to our neighbours gets a slice. There’s a different quality of delight that comes when everyone partakes. Rest assured, there are never leftovers. It’s wonderful to bring that bit of sweetness into everyone’s day.

To my son: I hope this recipe travels with you through your life. Spending your birthday with the family, despite lockdown, was a beautiful occasion for us. Dressing up, dining together, cutting a cake, and bonding – we have been creating memories to cherish. I initially thought that we’d get on each others’ nerves, but I’m glad to be experiencing the opposite. We’re learning so much from each other about sharing and caring. Up until now, everyone was living in their own cities and doing their own thing, and sometimes I felt scared that I would be alone when I most needed it. Instead, the joy we’ve experienced in this time through being together reassures me of all the love that I have in my life.


Classic Chocolate Cake

(Serves 5)

Ingredients:

250 grams all purpose flour

85 grams unsweetened cocoa powder

400 grams powdered sugar

2 teaspoons baking powder

1 teaspoon baking soda

1 teaspoon salt

1 teaspoon coffee powder

120 ml oil

240 ml milk

2 tablespoons white vinegar

2 eggs

1 teaspoon vanilla essence

240 ml hot water


Butter icing:

150 grams unsalted butter at room temperature

400 grams icing sugar

¾ cup cocoa powder

1 teaspoon vanilla essence

A few drops of milk, if needed


Preheat the oven to 170°C. Prepare two 8’ cake tins by greasing the tins and dusting them with flour. Line the bases with parchment paper. The parchment paper helps release the cakes easily from the tins, after baking. Two tins are used as this allows you to put a layer of chocolate icing between them.

In a bowl, add the milk (at room temperature) and the vinegar. This is called buttermilk. Set aside.

Sift the dry ingredients together: flour, cocoa powder, salt, sugar, baking soda and baking powder.

In another bowl, add the eggs, oil, buttermilk and vanilla essence and mix them together.  If you’d like to, you can use orange or mint essence instead of the vanilla to give the cake a different flavour.

Now, add this wet mixture to the dry mixture and fold well, making sure there are no lumps. Do not over-beat. Next, add the coffee powder to the hot water to create a slightly thin liquid. Add this to the cake mixture too.

Now, pour the batter evenly into the prepared tins and bake for 30-40 minutes, or until a skewer comes out clean when you insert it.

Remove the tins from the oven and allow them to cool for 10-15 minutes. When cooled, flip the cake tins, remove the parchment paper and cool the cakes on a rack. Then, flip them back again (top side up).

While the cakes are cooling, prepare the icing. Stir the butter and dry ingredients with a spoon first, otherwise you’ll have the cocoa powder and sugar flying out of the bowl. Add the cocoa powder and vanilla essence, and slowly add the icing sugar until the mixture reaches a spreadable texture. Only once the mixture has been partially incorporated should you use a handheld blender. Beat until creamy. If required, add milk to achieve the consistency you desire. Store in the refrigerator.

Once the cakes have cooled to room temperature, you can frost and layer them to form a single cake. Here’s a video of the frosting – tempting, isn’t it?

Level the tops of both cakes with a sharp knife, until they are flat and even. Place one layer on a cake stand. Frost the top, and then gently place the second layer over it. Now, frost the top of this as well. If you have any kind of toppings on hand that you’d like to use, such as confectionery or fruit, go ahead and decorate the cake as you wish.

The trick to making clean slices lies in a half hour of refrigeration after frosting, so don’t skip this step before you serve it.

At a time like this, I believe that sharing something uplifting and refreshing is the need of the hour, and I could think of no better recipe that would do that than this beautiful chocolate cake. We should all remain in positive spirits, hoping and praying for the best and resisting feeling pulled down. I want you to feel good when a notification about a new post from me arrives. So I want you to tell me: what are some recipes you’d like to see on the blog in future? Looking forward to hearing your wishes in the comments!

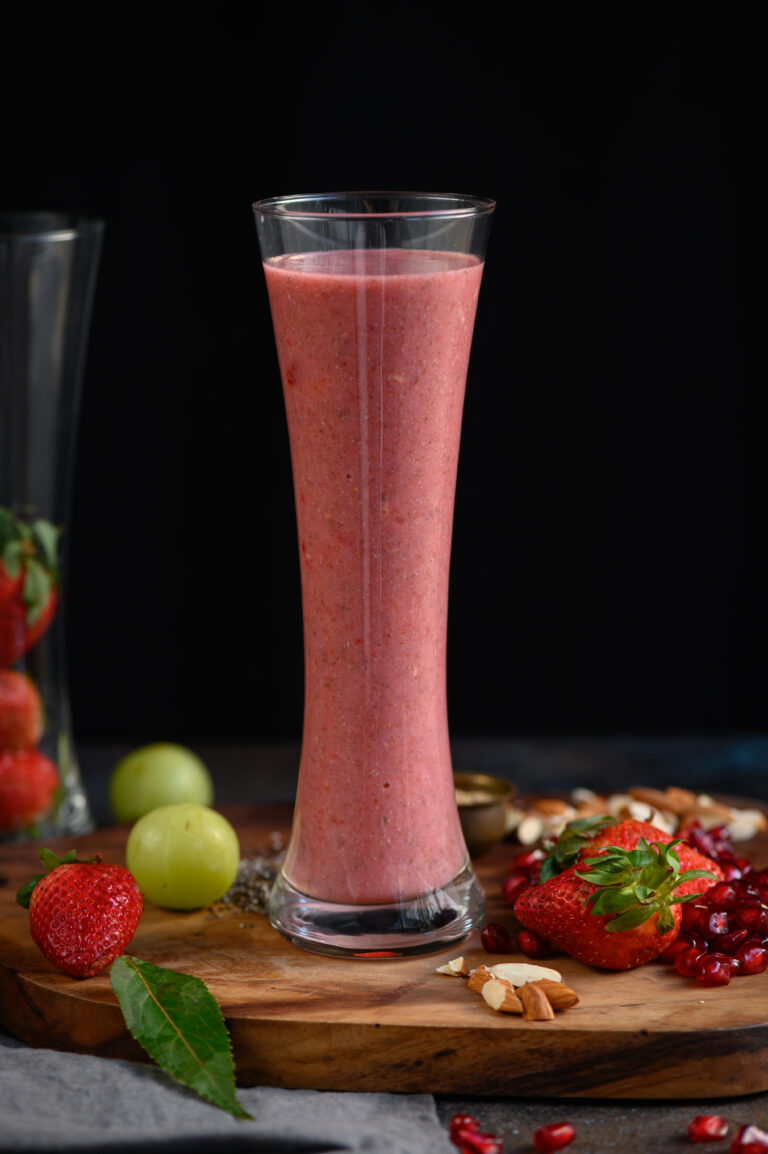
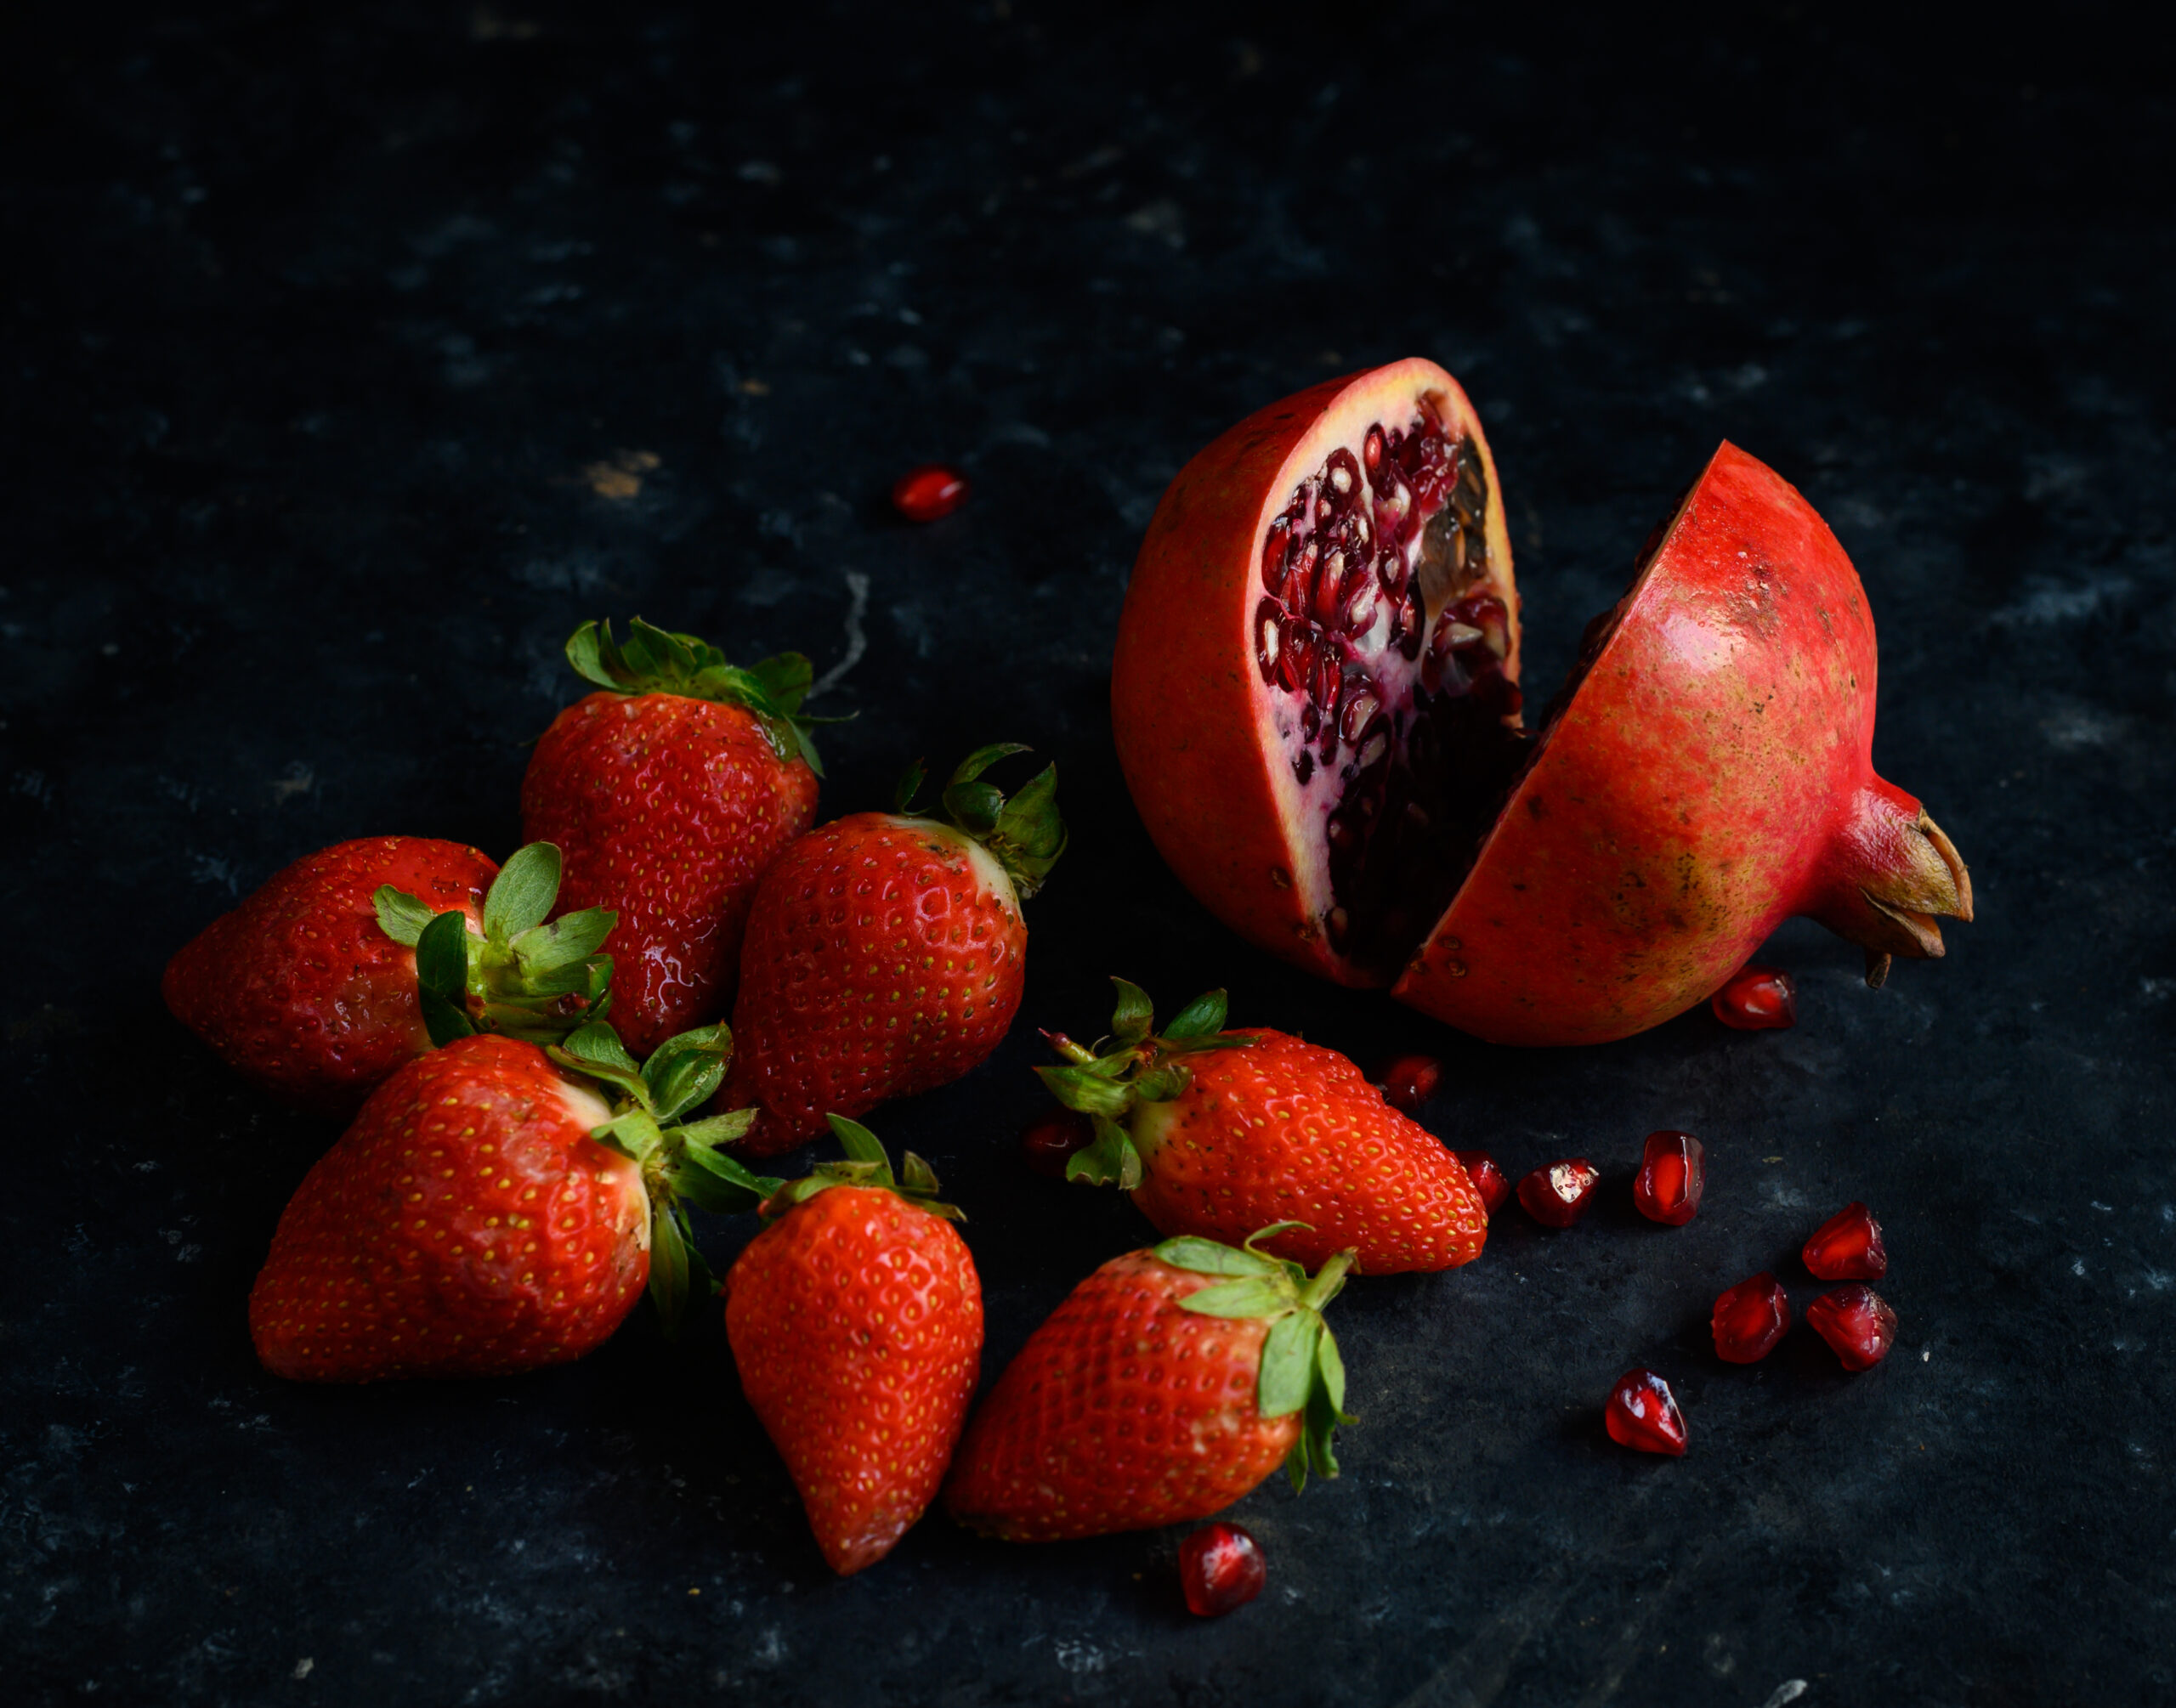
Strawberries are in season right now, and are easily available at my regular grocery outlets, and I know this is true for many Indian cities. I love tossing a few of these sweet fruits into the blender, along with a fantastic mix of healthy ingredients, to whip up a smoothie in no time. I’m not a great fan of green smoothies, especially ones which involve raw spinach! While I know they are good for us, I have had an aversion to them ever since I once fell sick after having one. It’s interesting how memory and food are so strongly correlated. Our experience of food becomes a memory, and informs our next experience of the same item. But this fun, fruity smoothie is only a repository of goodness for me.

I highly recommend smoothies if you are currently going carb-free or observing a thoughtful diet. They pack a lot of nutrition into a single glass and are very filling. There comes a point when one realises the value of eating healthy and age-appropriately. This is especially important for women who undergo many physiological changes with age. Chia seeds and flax seeds are two ingredients which are particularly beneficial for us, lowering the risks of certain cancers, balancing the hormones and providing nutrition that addresses post-menopausal needs. You can sprinkle these onto salads or lightly onto various dishes, incorporating them into daily meals. I am also keen on innovative ways that centre them as major ingredients. You may remember my take on the trendy chia seed pudding here.

As with my recent stir-fry recipe and so many others that have been shared on this blog over the years, this smoothie recipe is highly adaptable based on personal tastes and dietary needs. For example, my son likes an addition of protein powder in his smoothies. I personally not only hate the taste but am against such chemical supplements, so you’ll never find the same in mine. When I find that I’m in need of a protein boost, I head for these overnight oats or a similar recipe. The use of natural ingredients is important to me, and I don’t like to compromise on this.

This smoothie is based on flaxseed meal and chia seeds, with an eclectic and ever-changing mix of other ingredients. I prepare it through the year, so while strawberry is my current star, I will substitute the base fruit depending on what is seasonal. What’s fresh and being harvested right now matters, as well as what I used to call my mood or state of mind, but which I now recognise as something deeper. I’ve come to understand that what we think of as cravings can sometimes be needs. When your body is asking for a dish, it is sometimes because of the need for a specific ingredient, and its positive effects. The healing or nourishing benefits of that ingredient may be what my body requires each time I feel an urge for a particular taste. We must learn how to listen to our bodies well so that we can identify the underlying need and address it. This means that I may add a bit of turmeric or ginger to my smoothie on certain days, because there’s an extra boost my body is asking for.

My craving for this smoothie itself sometimes reflects my body’s desire for sugar, and I find that this is one of the healthier ways to meet it – through fruits. It’s a great appetite-sater between meals. Nowadays, I often have it for breakfast, or in the evenings if I’ve eaten a complete meal in the morning instead.

As I said earlier, there’s presently an abundance of strawberries in hill stations all over India, and they are plentiful in our urban supermarkets. I believe strawberries are the easiest berry variety to grow in our climes, and they must be a newer crop as they don’t form a major part of my memories of school holiday summers in Ooty. My most cherished memories of strawberries are from trips abroad. It was wonderful to relive my childhood experience of going strawberry-picking with my aunt in America with my own kids. We ate until we were sick of strawberries, if there could even be such a thing!

That reminds me also of a long-ago visit to Italy. Somewhere just outside of Rome, I came upon a place where wild strawberries grew lushly. They were marble-sized, as small as raspberries. I learnt very little about them except that they had a very short growing season, and that they tasted sublime served with whipped cream. They also looked so beautiful that I don’t think I’d blend them into a smoothie even if you gave me a basket of them today. Their incredible flavour was meant to be relished whole. Fortunately for us here in India, strawberry crops of a good quality that are perfect for smoothies are now easily available.

Still, they carry an air of exoticness to me, and it’s never stopped being amazing to me that in some places, sweet strawberries grow the way that mangoes and bananas grow in our own backyards. We don’t care if they fall to the ground or become pulp, if monkeys steal them and just leave their skins, or if they just go to waste. The reverse must be true for those in countries where strawberries run wild, who would be alarmed that we take our own abundant tropical fruits for granted!


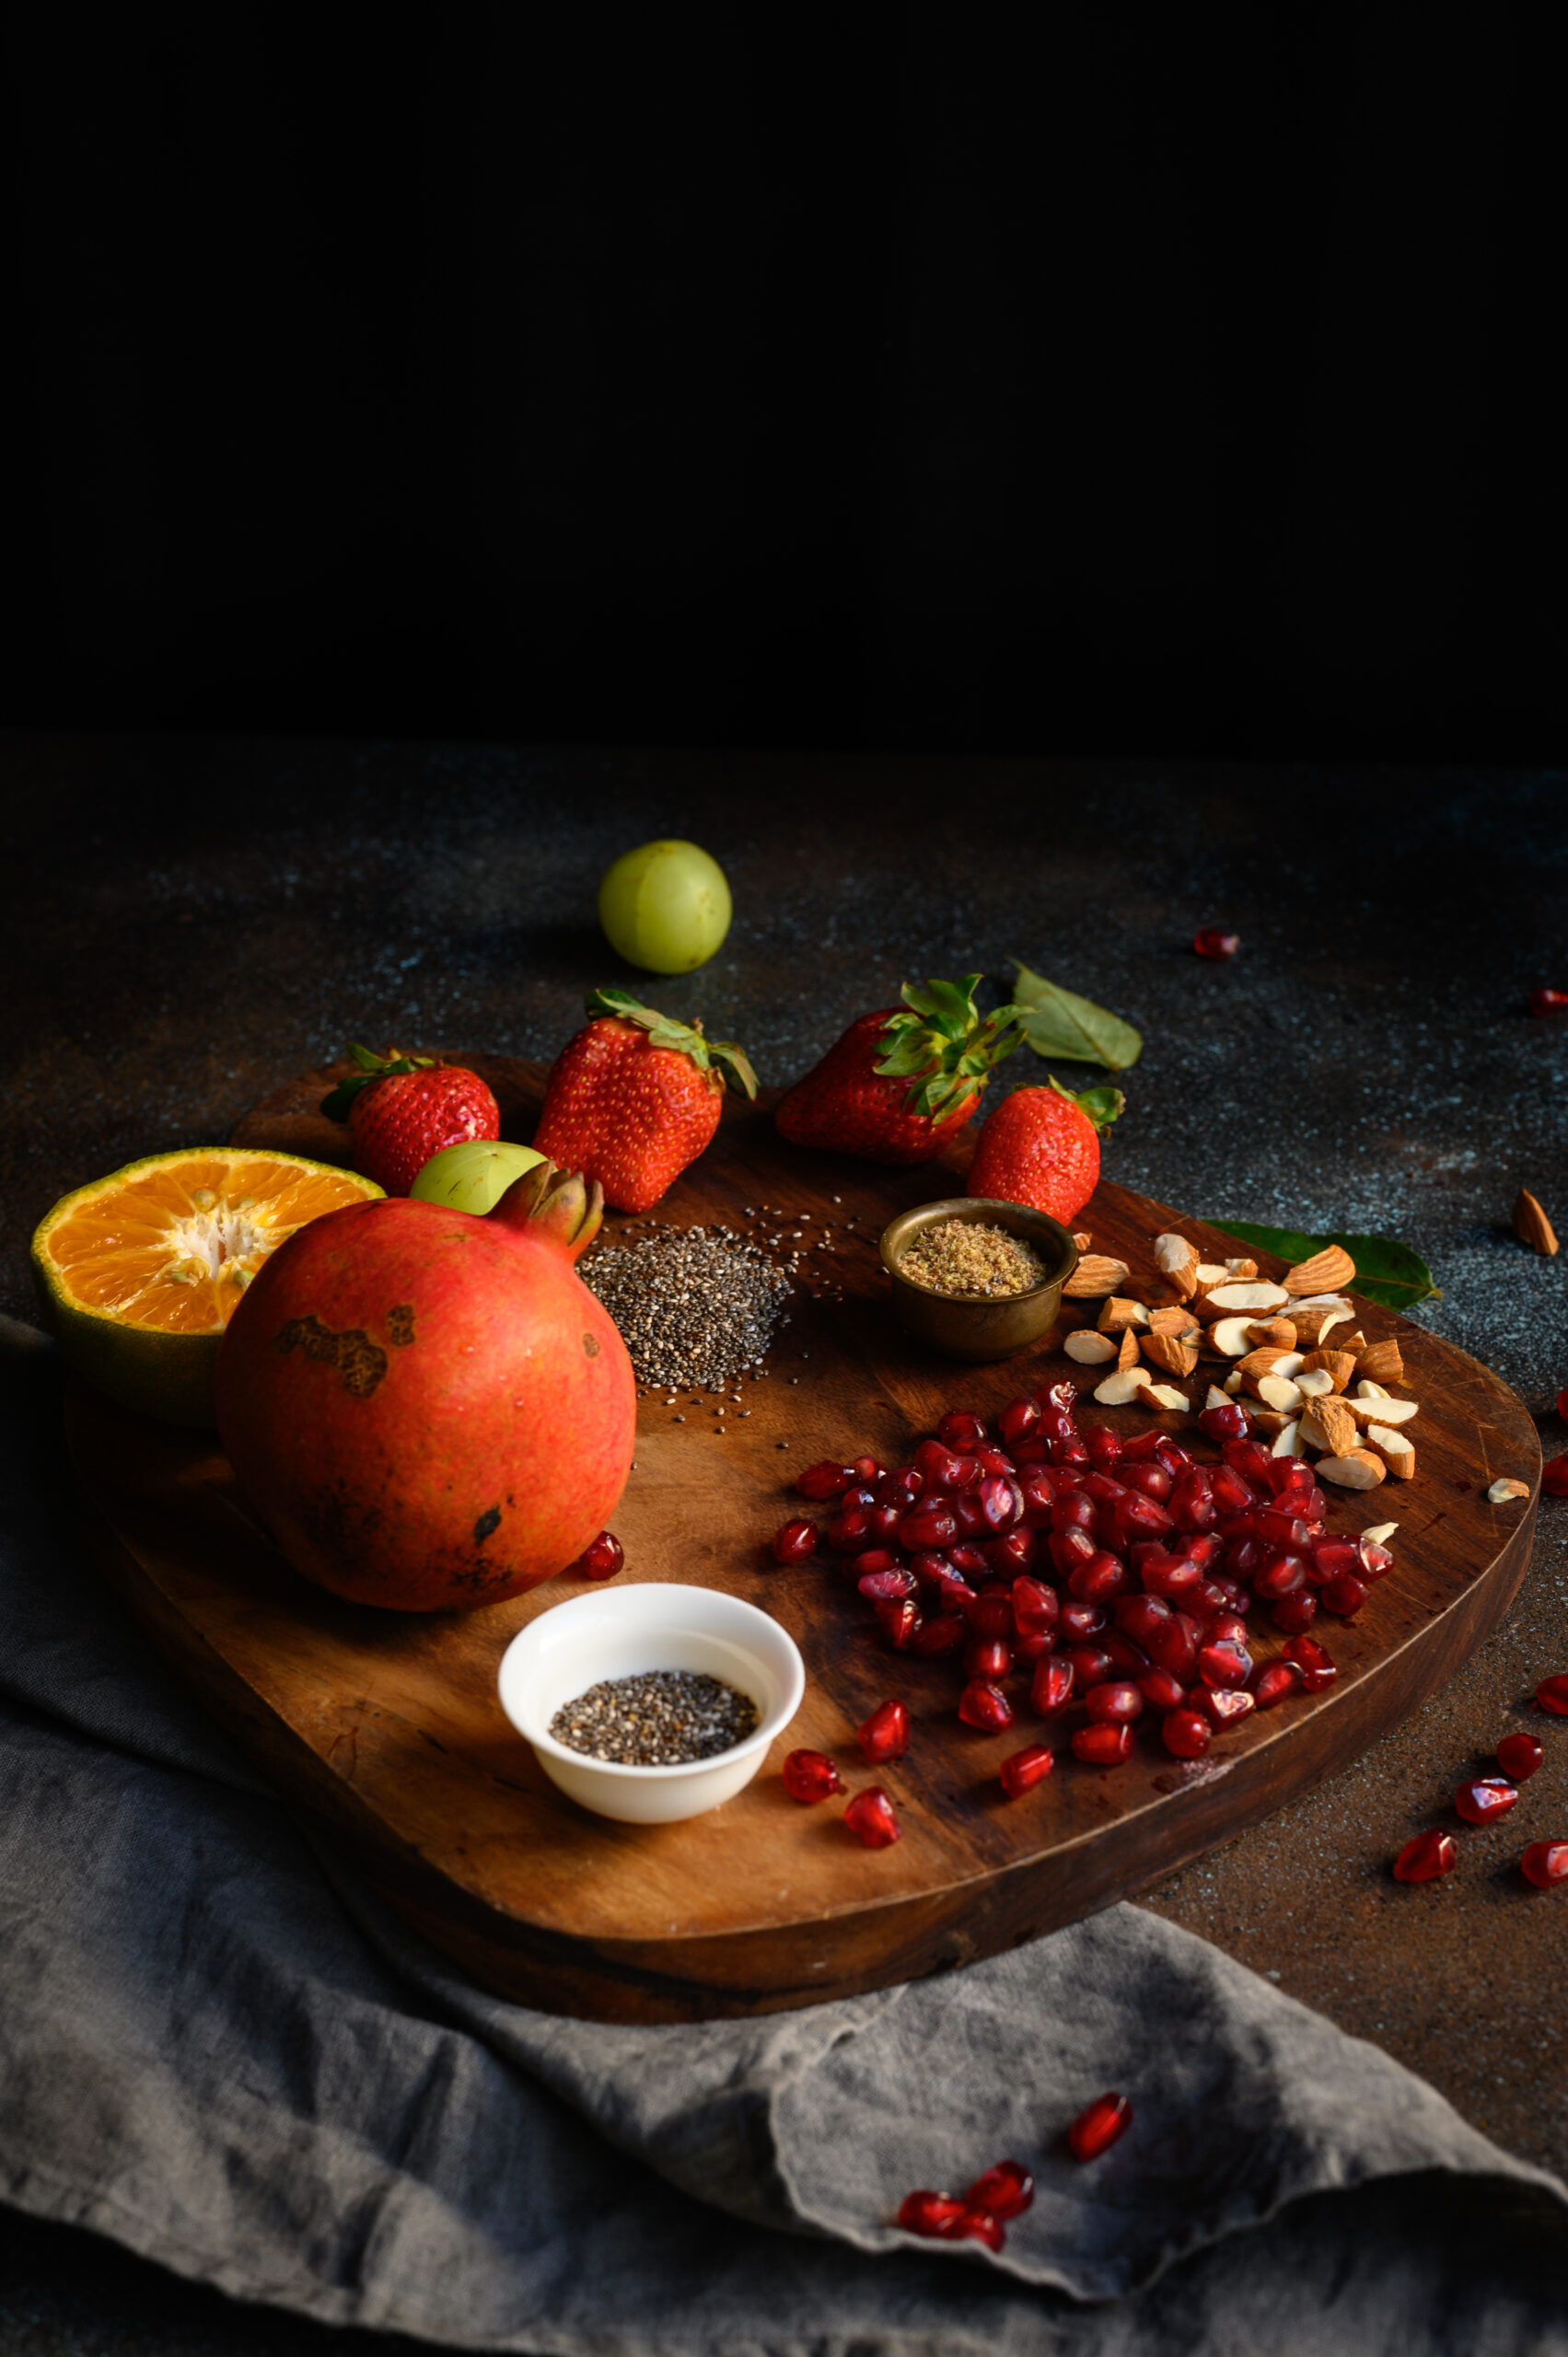
Strawberry Smoothie

(Yield: 1 glass)


3-4 strawberries

½ cup pomegranate arils

1 cup orange juice

1 amla (gooseberry)

1 teaspoon flax seed powder / flax seed meal

1 teaspoon chia seeds

4-5 almonds

Water as required


Put all the ingredients into a blender. Add water, either at room temperature or cold/iced, depending on your preference. You may also add mint leaves, as I do sometimes, if you want to enjoy that flavour.

Blend well and serve. That’s really the entire method! The beautiful simplicity of smoothies is part of what lets you be creative with the ingredients. In my home, the components change daily. A seasonal fruit, however, is always the base and the key.

Although some people add nuts directly into their smoothies, I often have a handful of whole ones alongside my drink instead. Walnuts and almonds are my favourites. Together, they form a light but nourishing meal.

You’ll find this strawberry smoothie highly flavourful and filling. It definitely falls into that “how can something so tasty be so good for you?” category! The convenience of putting it together, as well as how quickly you can consume it during a busy day, are also attractive points that make it a dish that’s well worth incorporating into your lifestyle. I’d love to know if you try it out!


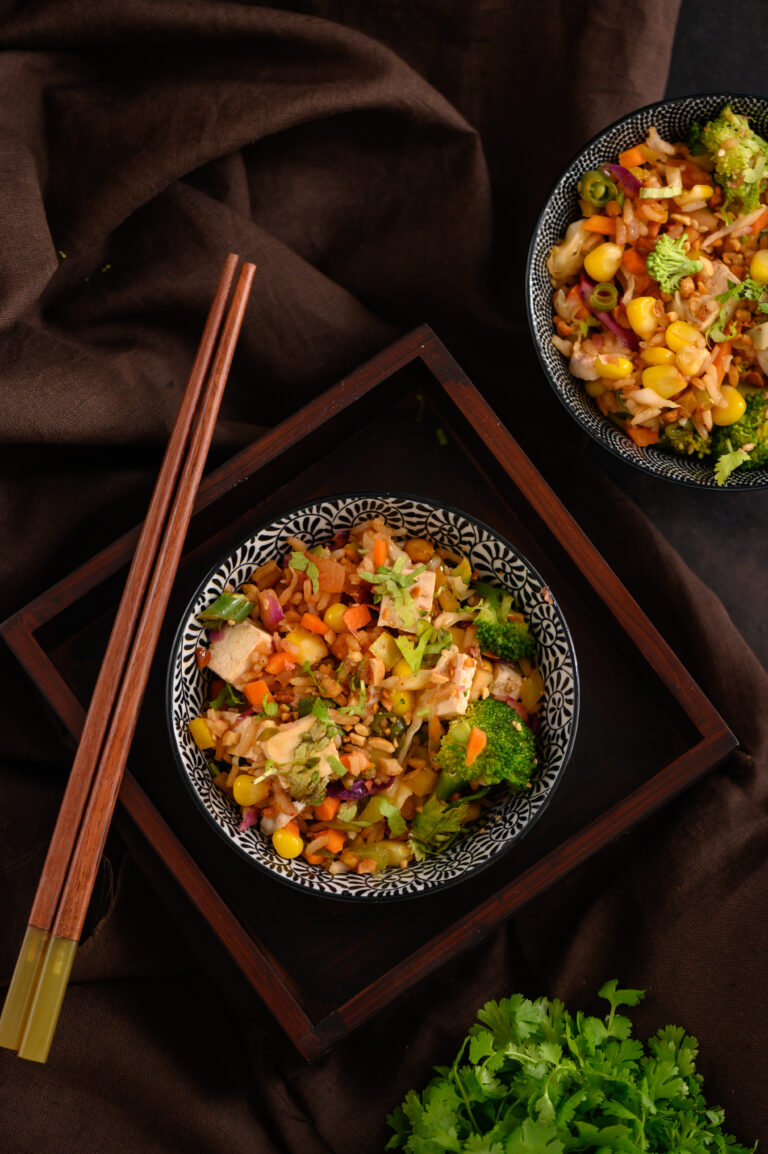
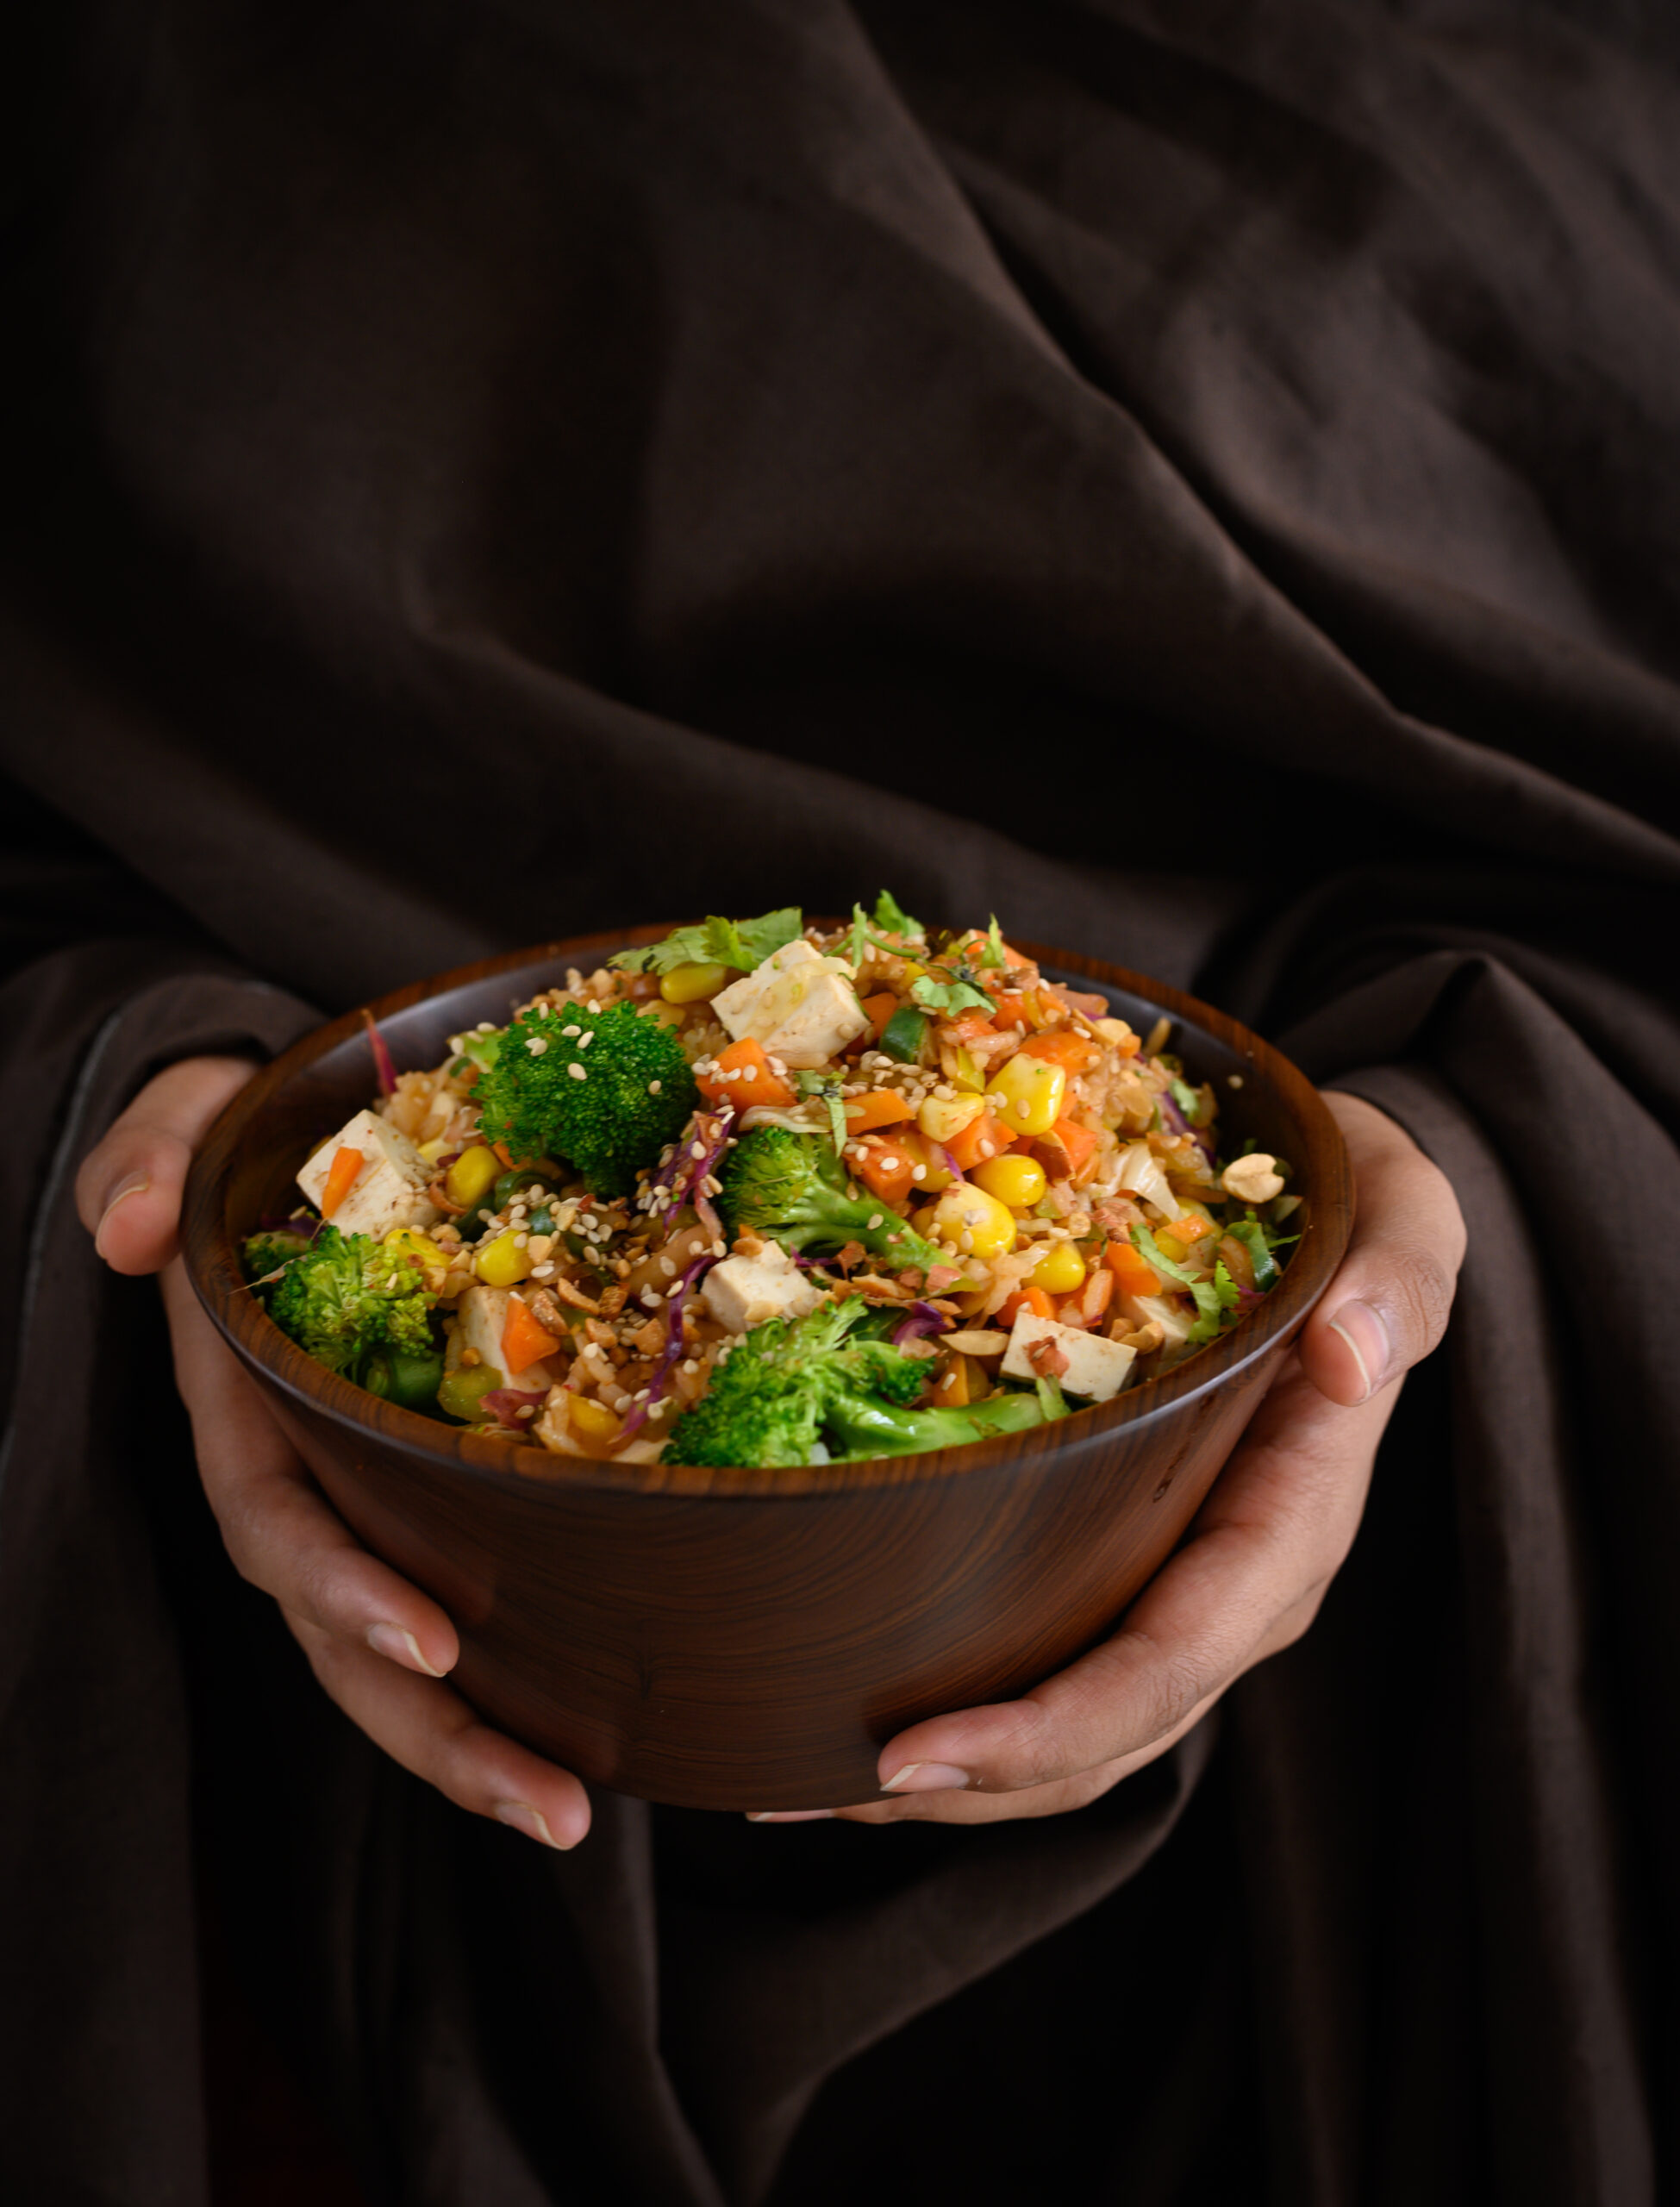
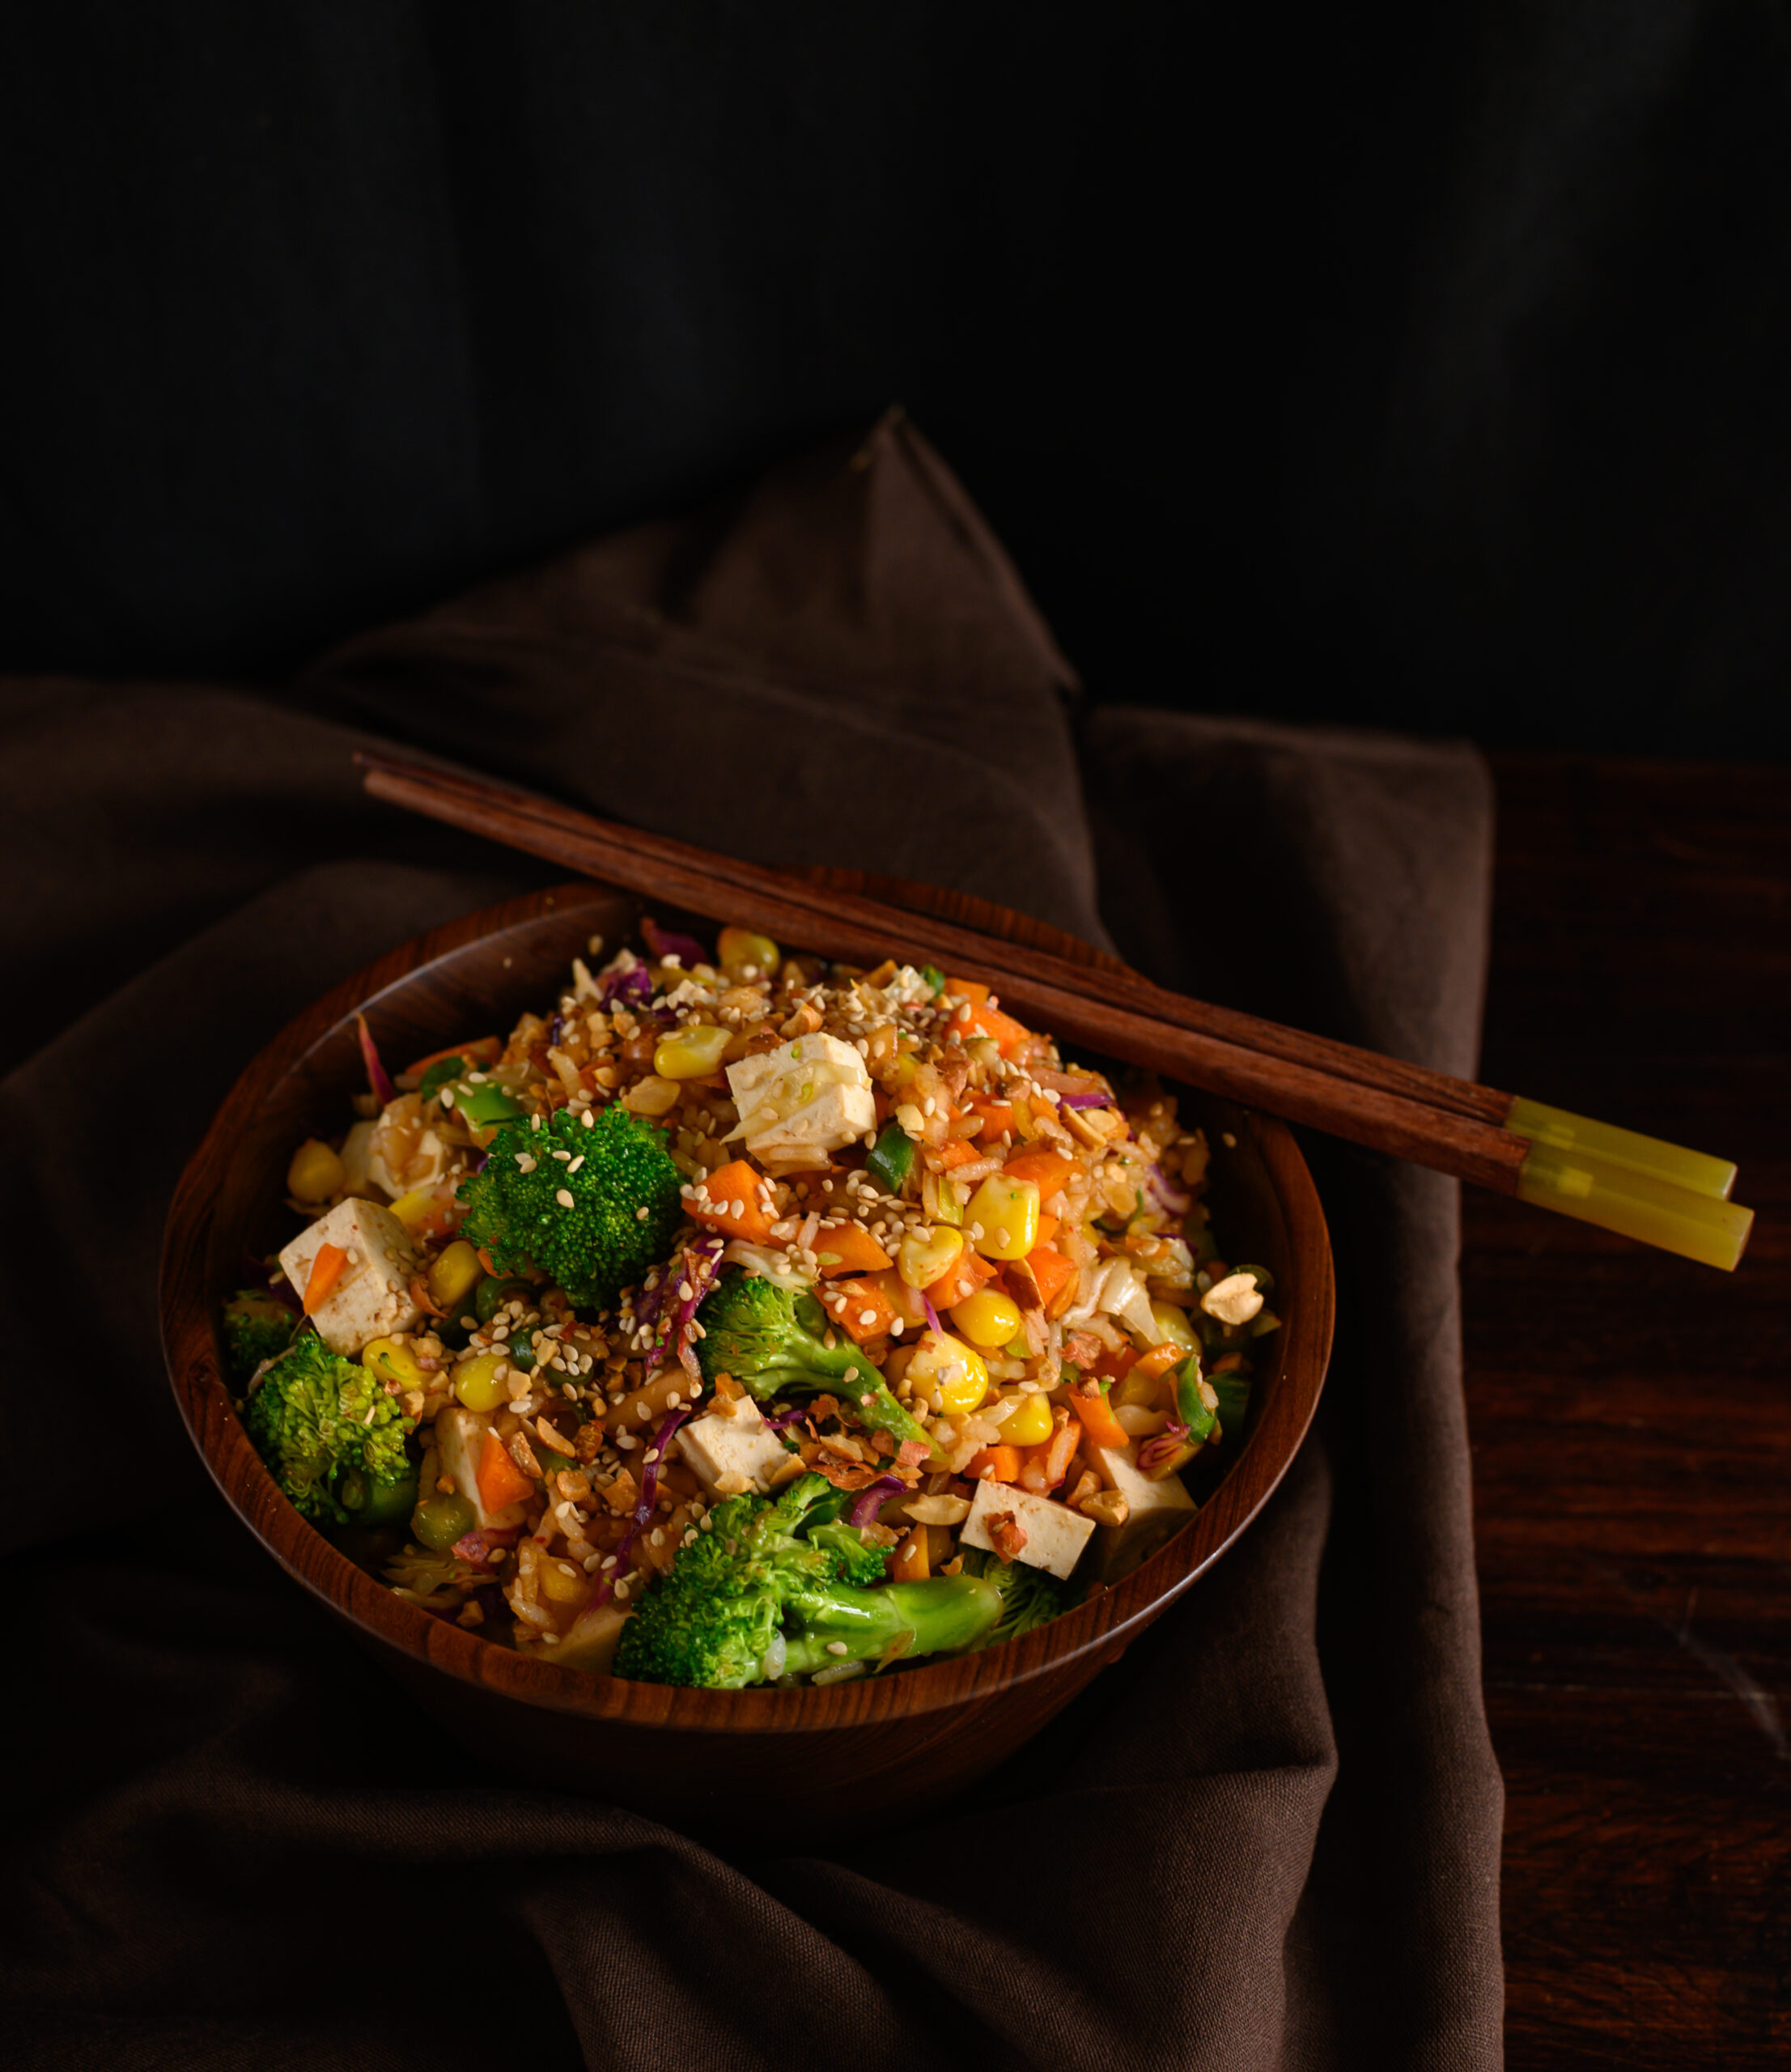
I love, love, love stir-fry and could eat it every day, and some weeks I think I actually do, making different versions of it as per my craving or mood. A stir-fry is more of a category than a dish, of versatile meals-in-a-bowl that cater to any kind of dietary restrictions, lifestyles or personal taste. My boys love theirs with meat, so I regularly add chicken or prawns to theirs. Vegan versions are protein-rich with tofu. When it comes to stir-fries, to each their own.

The simplicity of my preferred version of a stir-fry, replete with healthy ingredients and subtly flavoured, is something I arrived at after sampling numerous versions in many places. For a long time, I would gravitate towards stir-fries in restaurants, which would be made in an elaborate way with different additives and sauces. Then, I encountered them again when I was studying Macrobiotics at the Kushi Institute, where we ate a lot of steamed and sautéed vegetables. Realising how adaptable this dish was, and how it could be cooked to suit a diverse range of diets, made me introduce it into my repertoire frequently.

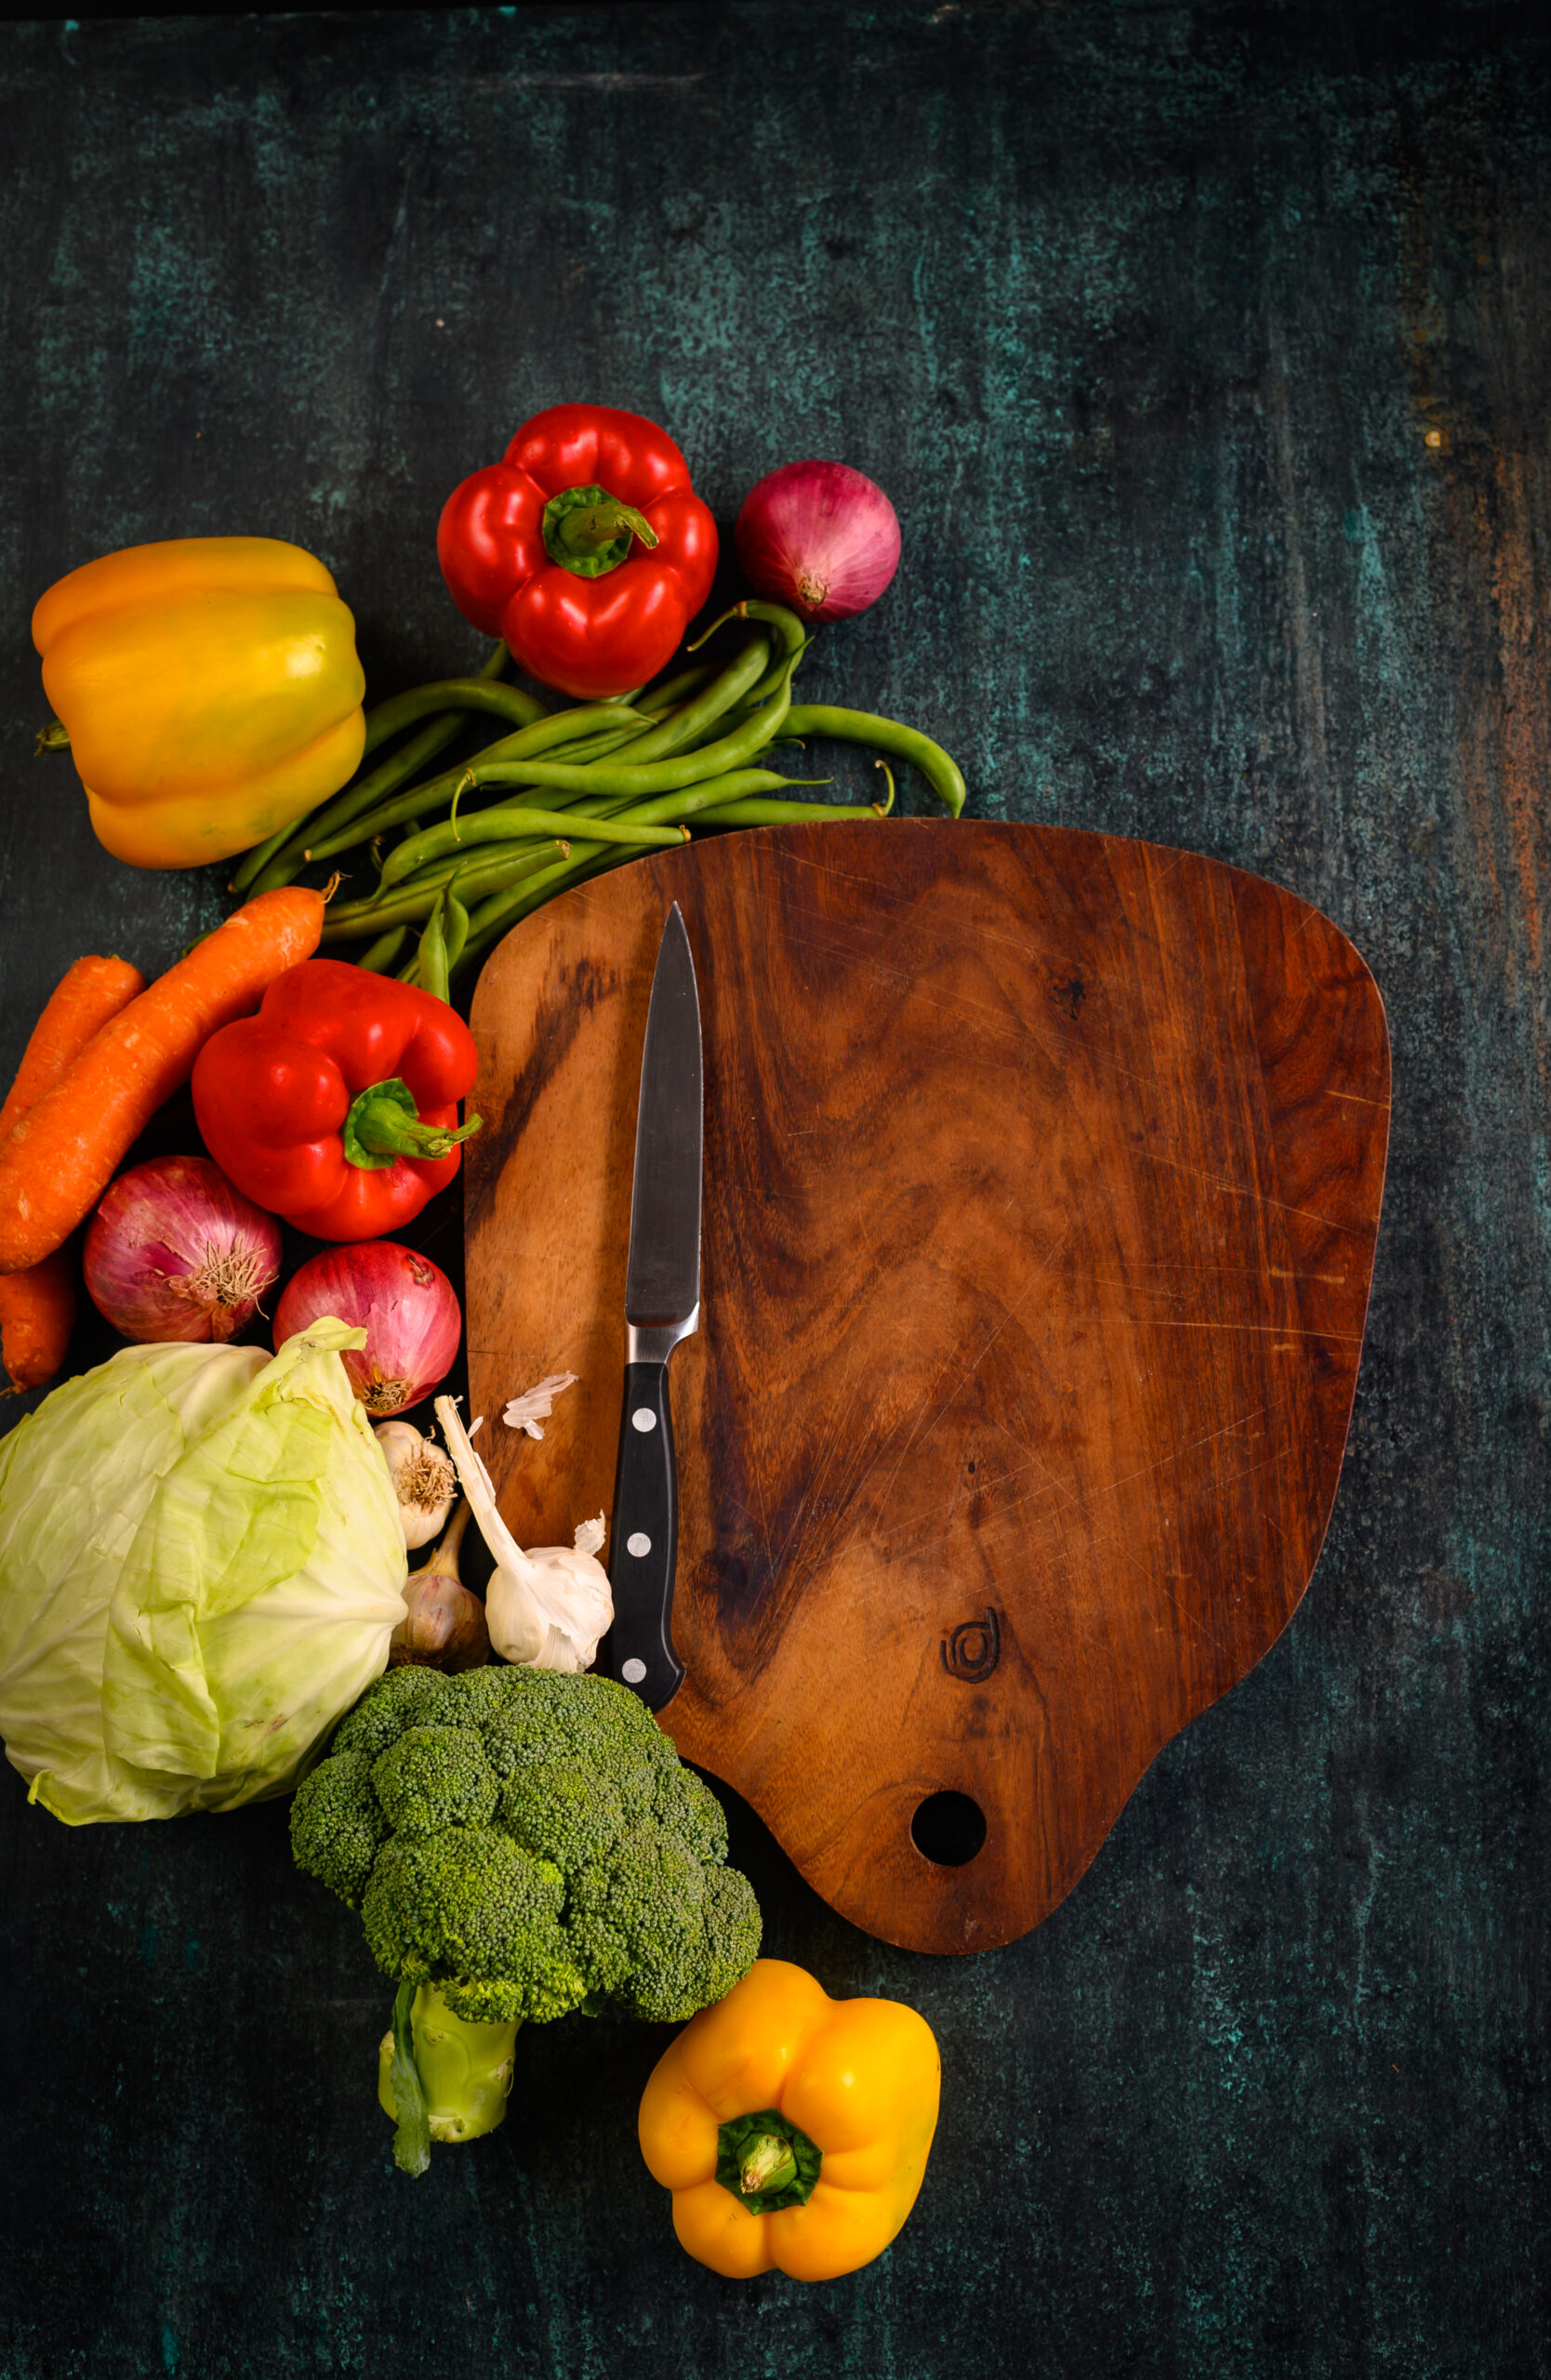
Stir-fries are built through a checklist of choices: pick a protein, some vegetables, the oil you’re using, nuts or seeds for texture if you like them, and an optional carb. They can literally be made with whatever basic produce you have available at home on any given day. For me, the vegetables are the star ingredients and I have certain time-tested preferences about which ones are good when cooked in this style. I prefer to avoid water-based vegetables as the stir-fry technique works best for firmer, crisper ones. Baby corn, aubergine, bok choy, spinach and kale are among my favourites.

When I want my meal-in-a-bowl stir-fry to be extra filling, I add a carb to it. This can range from red rice, white rice, millets and pasta, depending entirely on what I already have on hand. All these carbs work well when layered with the other ingredients. Without them, a stir-fry can be enjoyed as a hearty salad. When I am including a carb, I tend to avoid starchy vegetables such as potatoes, so as to keep the dish light. You may also choose to avoid sugary vegetables like peas and baby corn if you’re being strict with what you’re consuming. See what works for you. Ultimately, I still feel that vegetables are vegetables and you can’t really go wrong with them. Sometimes, it’s about using your own intelligence. For instance, in Macrobiotics, nightshades such as tomatoes are believed to not be good for you. That doesn’t mean that you have to eliminate them completely. Instead, you balance them by using a smaller portion and adding extra leafy greens as a counter.

I enjoy the crunchiness and slight rawness of the vegetables so much, as well as the feel-good factor to eating them. At the Kushi Institute, I also learned that chewing is absolutely essential. In fact, at mealtimes we sometimes actually counted the number of times that we chewed one mouthful. The maximum I got to was 25! With the slightly undercooked vegetables, you have to be sure to chew them well. To keep the focus on their natural tastes and textures, I ensure that the spices I use are minimal.

The trick is to incorporate all the colours of the rainbow within the dish, which specialists say will cover a broad spectrum of your nutritional needs in a single meal. Here is a convenient list that explains how and why. I try my best to do this when putting together a stir-fry. Visually too, there’s something so beautiful and appealing about this method. It really does make me feel like I am eating a bowl of sunshine.

Not only is this perfect meal-in-a-bowl versatile in terms of the ingredients you can use, but it can work for any time of the day. Aside from lunch and dinner, I find that a portion of it with a couple of boiled eggs makes for a superb, energy-boosting breakfast. The best part is that it takes all of fifteen minutes to put a bowl together, right from chopping to serving. Sometimes, when my son says he won’t be coming home for lunch but then suddenly shows up because a meeting got cancelled, all I have to do is throw together a few fresh vegetables with a bit of chicken, the way he likes it. Within minutes, not only does he get a delicious home-cooked meal, but he is also fully fortified to get back to work.


Meal-In-A-Bowl Stir-Fry

(Yield: 1 bowl)


2 cups vegetables of your choice

½ cup cooked rice

1 tablespoon groundnut oil

¾ teaspoon ginger/garlic paste

3 tablespoons cut tofu

2 tablespoons soya sauce

1 tablespoon lemon juice

½ teaspoon honey

1 teaspoon white sesame seeds

1 teaspoon chili paste

2 tablespoons coarsely crushed peanuts

Coriander leaves to garnish

Salt to taste


Add the groundnut oil in a wok. Once it’s hot, add the sesame seeds and allow them to lightly change colour.

Next, add the garlic/ginger paste. Stir for a minute.

Now, add the vegetables and stir them on a high flame. Do this for about 3 minutes. I like my vegetables to be a bit crunchy so I don’t allow them to cook until tender. Be careful not to burn or singe the ingredients at the bottom of the pan, as this will reduce their nutritional value.

I often use carrots, bell peppers, beans, broccoli, spring onions, raw mango for a bit of tang, and some corn. If you decide to follow the same choices, make sure that the carrots and beans go first as they take a while longer than the others to cook, even slightly.

If you are including a carb, add the cooked rice now. I prefer organic rice varieties, and you can also use millets or orzo pasta. Then, add the tofu.

Finally, add the salt and the remaining ingredients, substituting peanuts and sesame seeds for cashew nuts or walnuts if you prefer. In terms of flavours, some of the best ones are soya sauce, lemon juice, honey glaze and chili sauce/paste. Stir fry for a few minutes on a high flame. Serve hot, garnished with coriander.

There is no single recipe for stir-fry, but this is my favourite. I like the mix of East Asian seasonings with familiar local flavours like raw mango and peanuts, and I find they blend together beautifully. Remember that you can substitute any ingredient for another in its own category; protein, veggies, oil, nuts/seeds and carbs. And most importantly: remember the rainbow, and let green reign!

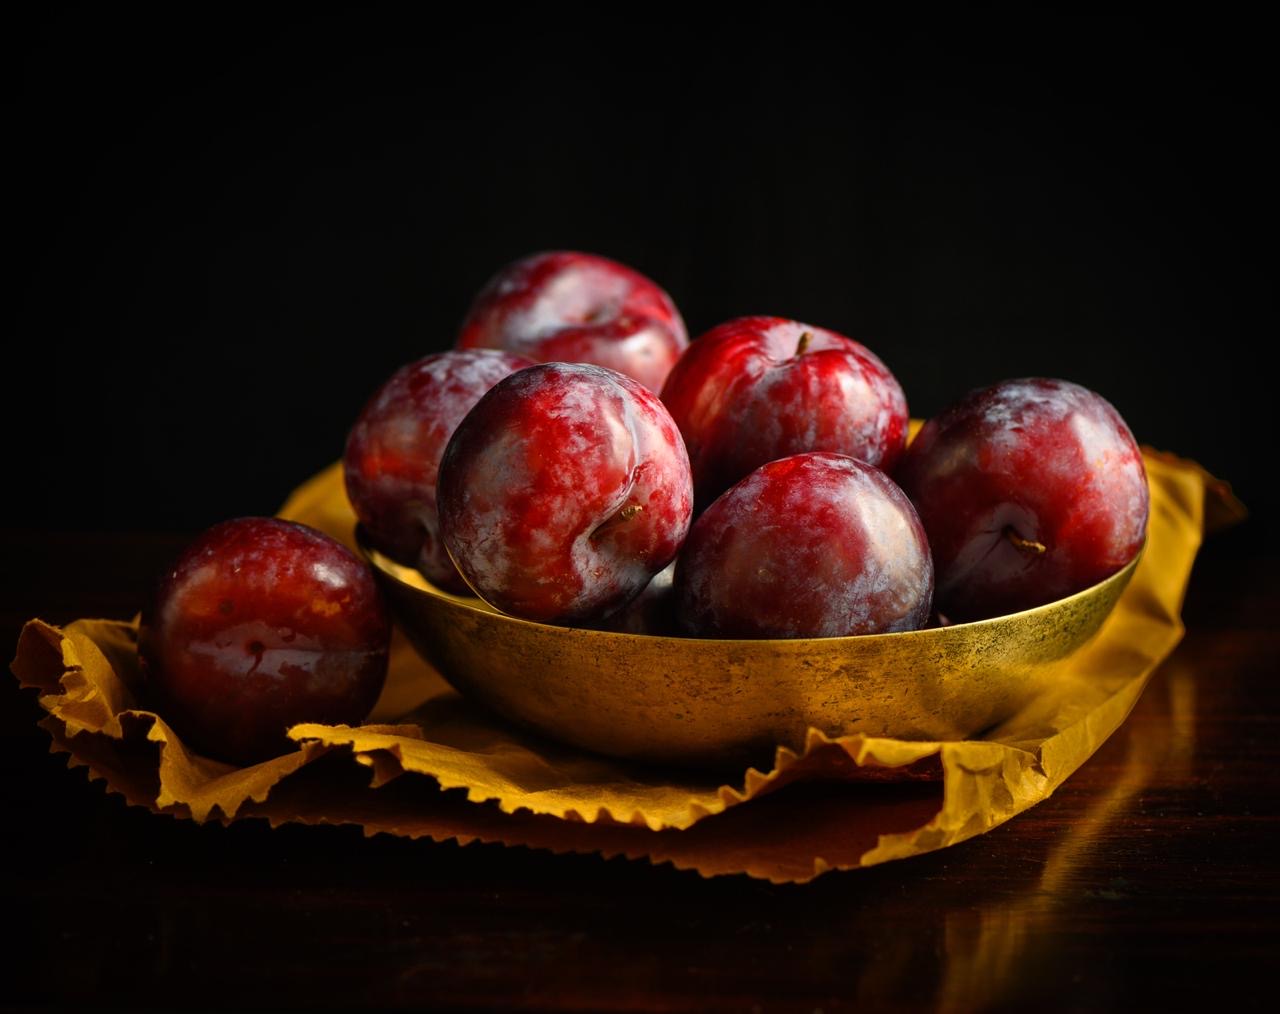
When I began to imagine this post, it was with the idea that there was not much of a memory storyline behind the recipe I am sharing today. All that had come to mind when a friend gifted me a basket of plums, and I wondered what I could make with them, was that I would pluck the tiny, country variety from trees in Ooty during our summertime holidays when I was growing up… And then, before I knew it, an abundance of recollections came flooding back – of reaching with my own hands for something to eat, raw and delicious and freshly-plucked. Before I get carried away with those reminiscences, let me just say that the recent occasion of Thanksgiving, which is important to my American friends and family, as well as the upcoming Christmas season also gave me inspiration. The plum relish that is traditionally enjoyed during those festivities has been Indianised in my home as plum chutney, and that’s the recipe that this trip down memory lane will culminate in.

The gift basket I received contained what I call “the millennial plum”, a delicious hybrid cultivar which is large and has a deep maroon colour. It usually tastes sweet. The country plums of my childhood, by contrast, were sour and tangy. They came in an orangeish shade and were relatively tiny. Still, as little children, my siblings, cousins, friends and I absolutely delighted in them. There was just a certain immense joy in picking fruits right off a branch and eating them unwashed. There was a rawness to the experience that brought us closer to Nature. Even the sourest fruit was enjoyed in this way.

Fruit-picking was always a thrilling activity for us, both with and without permission. When we had the chance to go abroad for holidays with our aunt, she would give us baskets of our own and take us to strawberry farms, where we would spend the day indulging this hobby of ours to the fullest. We would cherish and guard those baskets full of fresh, ripe fruit. Every last berry was special, plucked with our own hands, and tasted all the more delicious for this reason.

Back home, far from the hills of Tamil Nadu or the strawberry farms of Europe, we still pursued our fruit-gathering in earnest. We would run loose in our neighbourhood and steal mangoes from the trees, as I think I’ve mentioned a number of times on this blog before. It was certainly one of our favourite past-times, even if scoldings were a natural consequence!

The fruit-bearing local naatu cherry tree and the nellika or gooseberry tree were two that I grew up under, and to this day the sight of either of these can make me feel a bit emotional. The gooseberry tree in our garden was laden with kambilipoochis (hairy caterpillars), which would invariably leave a hair or two on me when I reached up to grab those fruits, and I would have to go crying to my mother to get her to remove those caterpillar hairs! Those naatu (country) cherries weren’t the beautiful, glossy-looking ones that top my cakes today, but a small, orange-coloured variety with a tiny, grain-like seed inside. There was also a black-coloured berry, sour and with a high Vitamin C content, with a name that slips my mind. These local, edible fruits were so plentiful in Chennai in those days, available to anyone who knew how to climb a tree.

I’ve spoken before of how much I long to revive different varieties of plants and flowers in our little farmland. I really believe that some of our green wealth is disappearing, and it hurts to find proof of it, as I did when I went looking for wood-apple recently. I dream of planting the trees of some of the fruits I plucked and ate in childhood. I’ve started the process by asking everyone I know for cuttings. Would you have some – of any kind of fruit, flower or plant that seems to be scarce in and around Chennai these days, but which you remember from before? I only specify Chennai because the cutting needs to be suitable to our climate.

The more time I spent reminiscing, the more I remembered: not only did we love eating freshly plucked (and sometimes stolen) fruit, but we even foraged for plants and flowers! The three leaf clover that grows like a weed was one of these. We’d just pop one into our mouths and enjoy its sour, earthy taste. There were also certain flowers, like the gorgeous orange trumpet flower, which we would suck the nectar out of after removing the stem. Did you do any of these activities growing up, when it seemed like we played in the outdoors so much more than the children of today do?

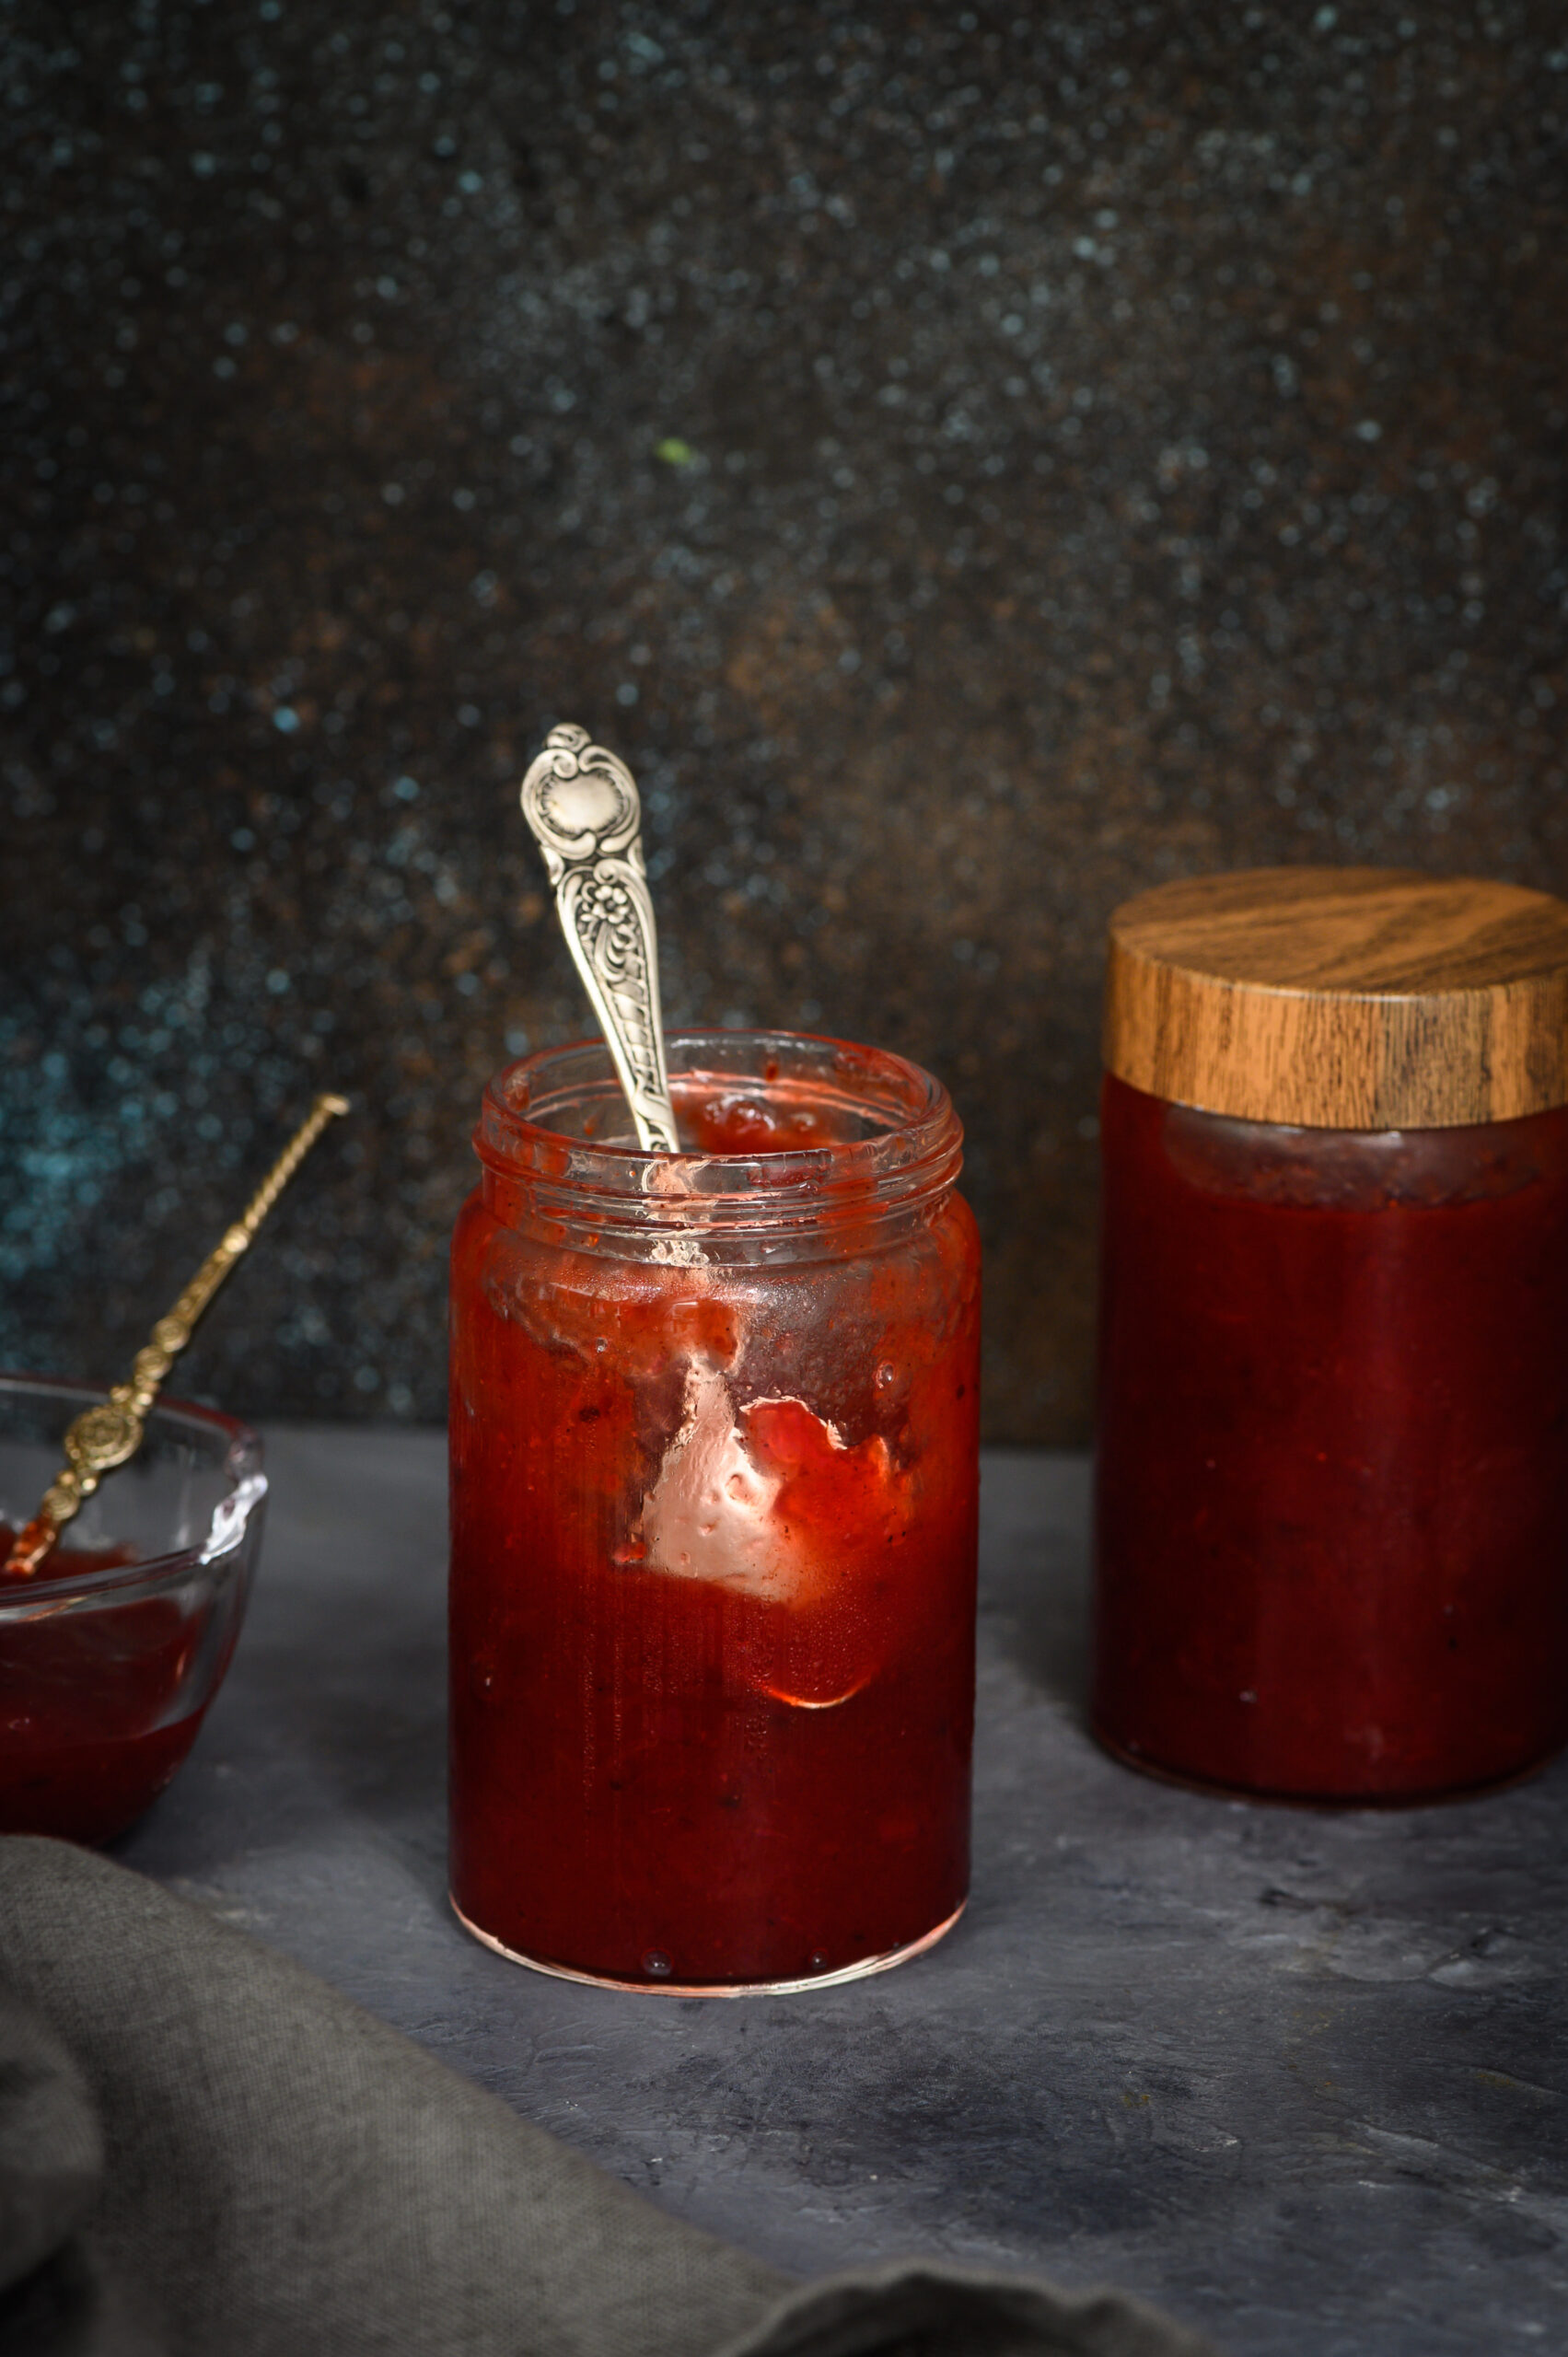
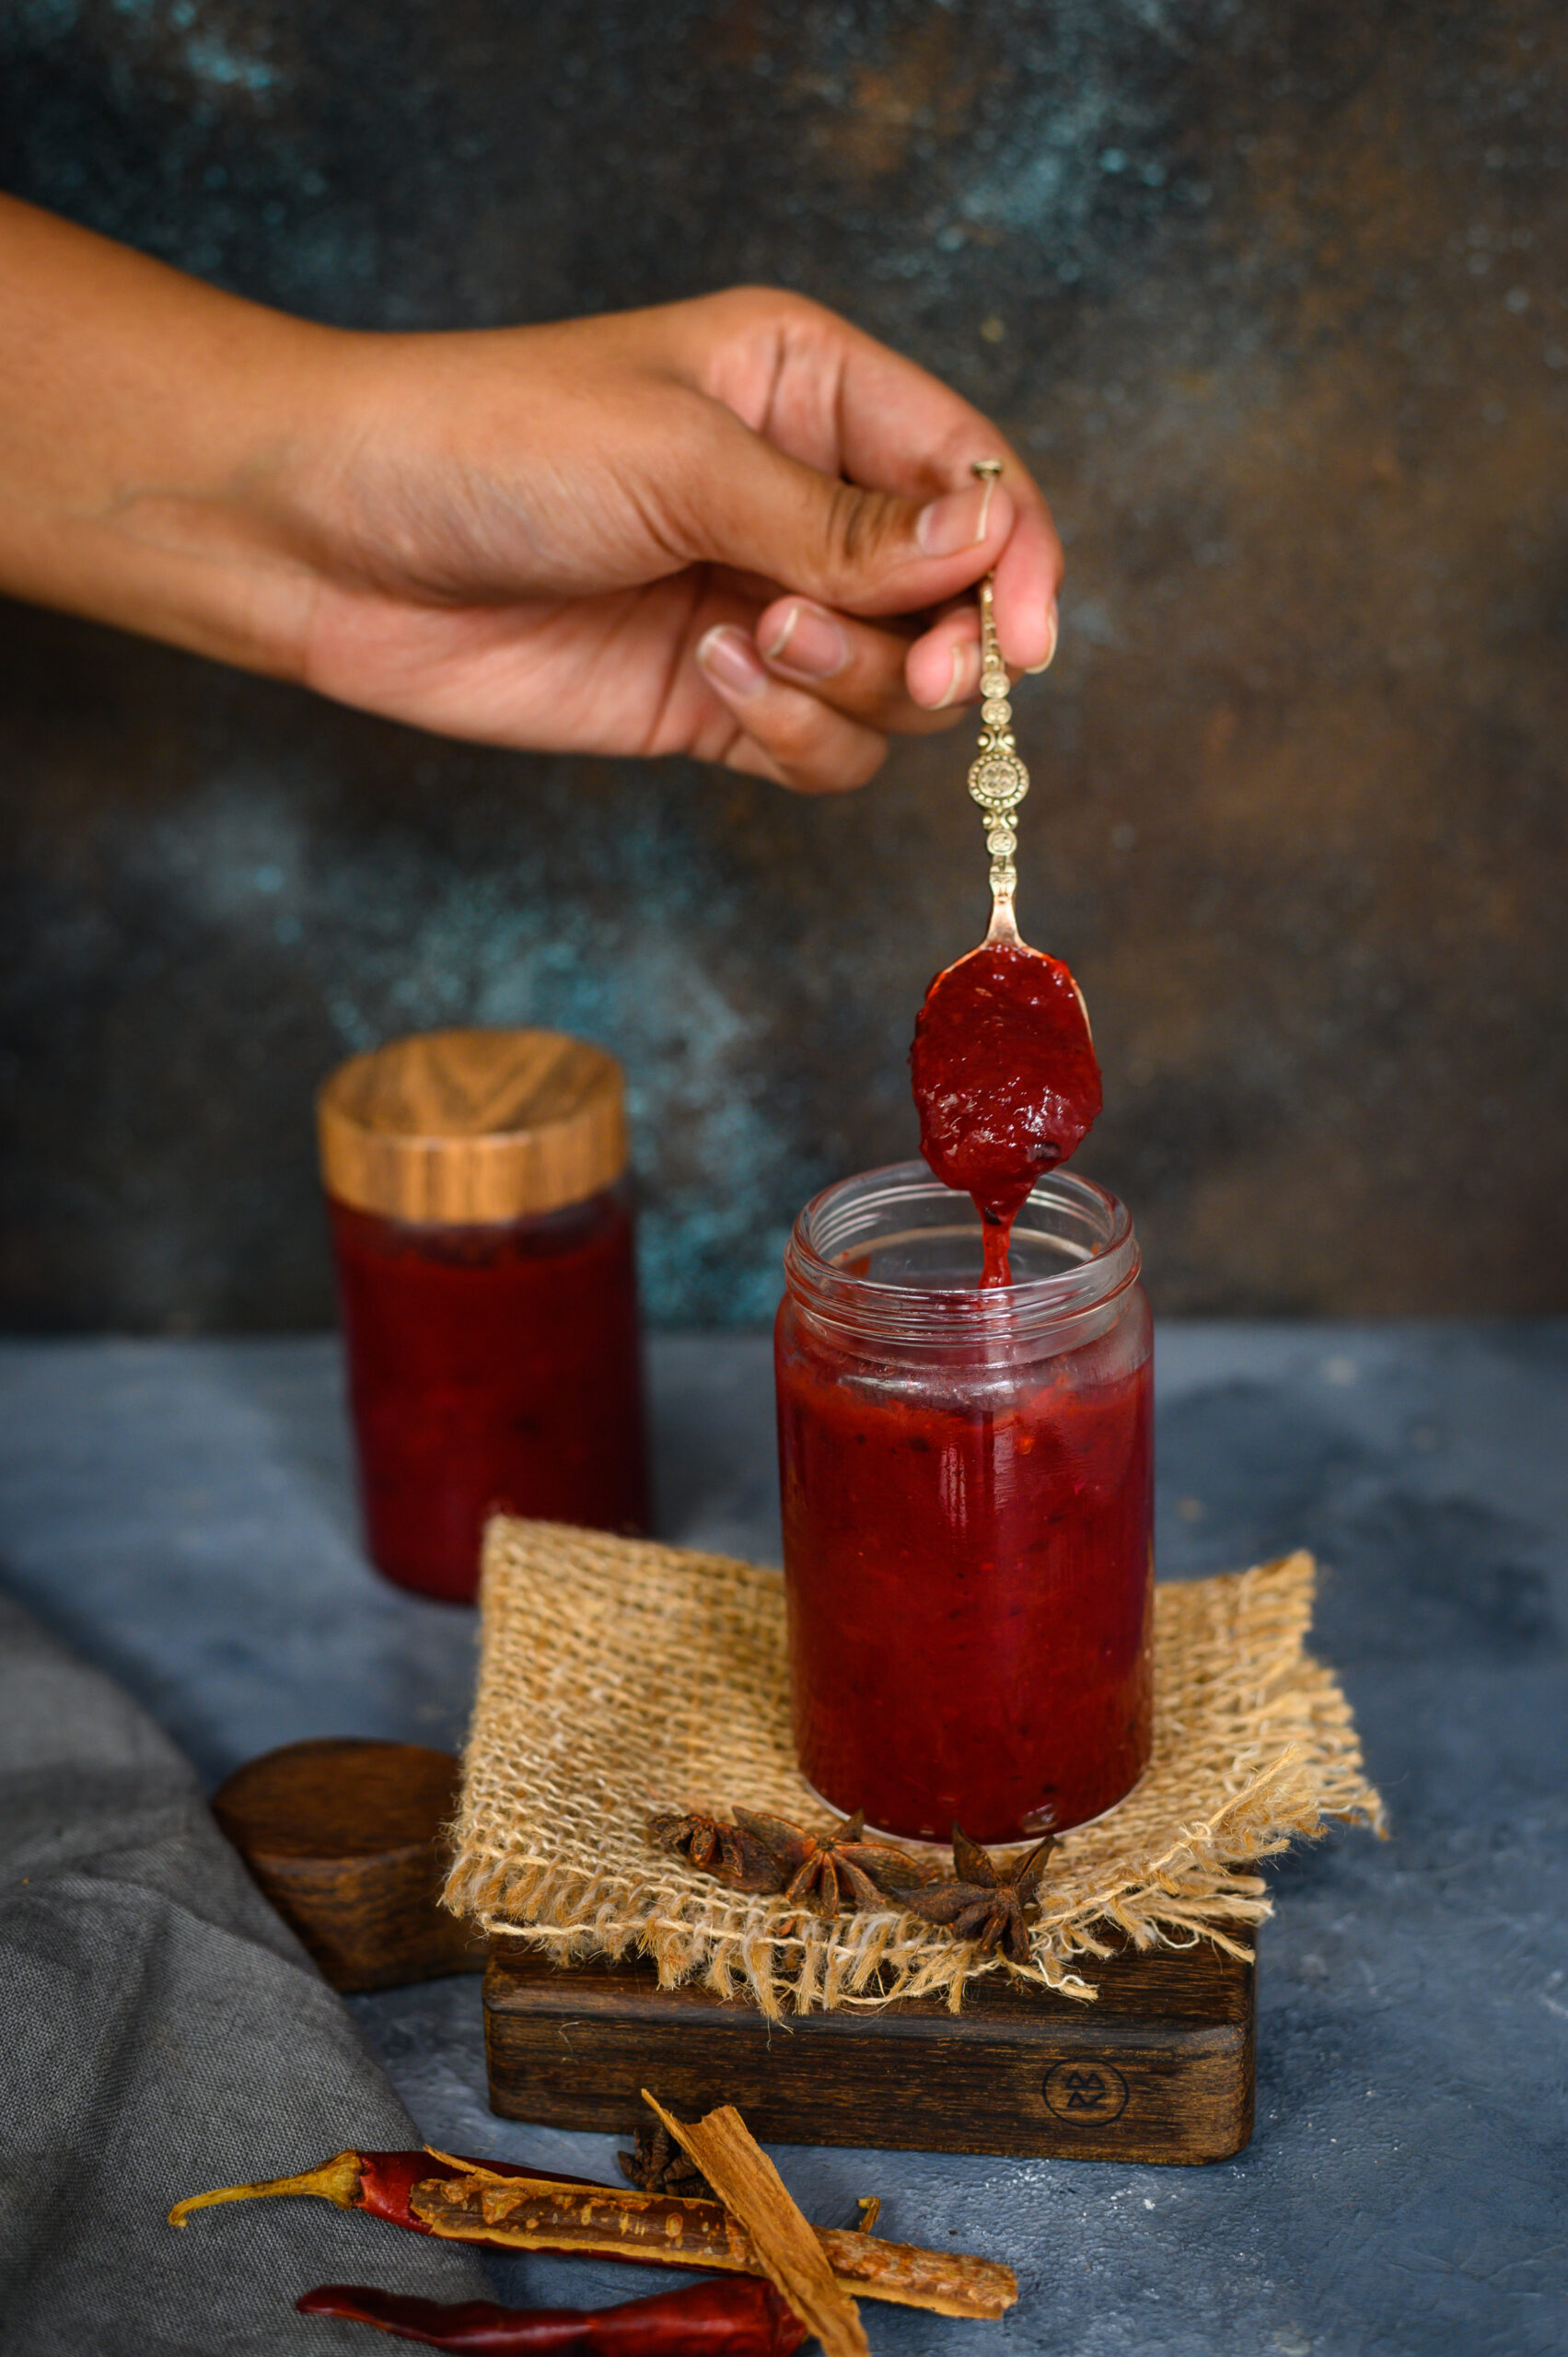
Let me bring this little trip down memory lane, lined with fruit-bearing trees, full circle by coming back to the gift of plums. In India, you can make a chutney with pretty much anything, and I was curious to try out this fruity one. My husband is a big fan of chutneys, and will even have some on the side with a pasta, so I know for a fact that this plum chutney is very versatile. You can also roll it up in a chapatti for a tiffin box, or spread it on toast. It has a sweet, spicy flavour that lends itself as an accompaniment to many dishes.


Plum Chutney

(Yield: 350 grams)

500 grams plums

150 grams sugar

1 small onion

⅛ teaspoon ginger powder

1 star anise

Salt to taste

2 teaspoons dry chili flakes

2 tablespoons apple cider vinegar

Lemon zest


Plums are a succulent fruit with a vast number of health benefits, from improving cardiovascular health to reducing the risk of osteoporosis to promoting skin health. They are packed with Vitamin C and Vitamin A, as well as antioxidants and minerals. They have been grown since ancient times, and the hybrid types we get today thrive in various places in India – which means we are fortunate that the market is abundantly flooded with them too.

This plum chutney is very simple to prepare, but requires one step of overnight prep. Chop the plums and discard the seeds. Add sugar to the fruit pieces, and cover with a lid. Allow to soak and refrigerate overnight, as this will reduce the cooking time.

The following day, add all the remaining ingredients to the sugar-soaked fruit. Boil on a medium flame. I lightly blended the mixture with a hand blender to break down and bring the flavours together.

Allow to simmer until the chutney thickens. Then, allow to cool.

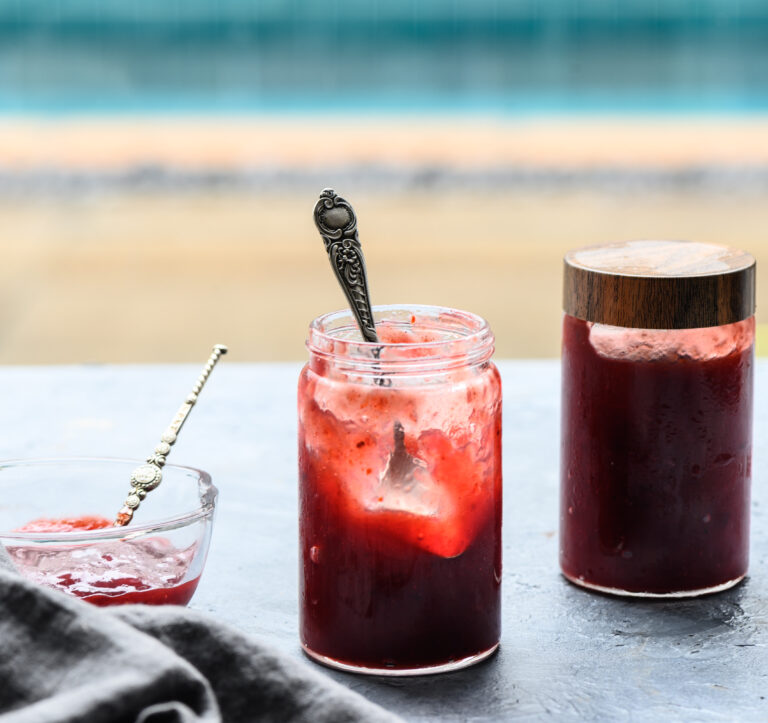
With a clean spoon, transfer the plum chutney into a clean jar and refrigerate. As long as dry spoons are used and the container is refrigerated, a batch can be kept for up to a couple of weeks.

You may serve it with cheese as they do in the West, or with chapatti as I do at home, but either way, I hope a jar of it finds a place at your table this Christmas – and I hope you’ll simply relish it!

It was Raksha Bandhan a few days ago, and my home was reverberating with boisterous laughter and shouting, filled with the joy and commotion of having all three of my children visiting. This was no coincidence, as Raksha Bandhan is one of the special occasions on which I enforce a very strict rule: no matter where they are in the world, they must return to Chennai to be with their parents and each other.

Raksha Bandhan is doubly special as it is in honour of their relationships to one another. This North Indian festival is a unique one that celebrates one of the most important bonds of all, the one between a sister and her brother. My daughter is fortunate to have two loving elder brothers, and the older they all get, the more precious this day has become to my family. It’s a delight for me as a mother to have them all come home at the same time, as well as a wonderful opportunity for me to fully express my “love language” – cooking!

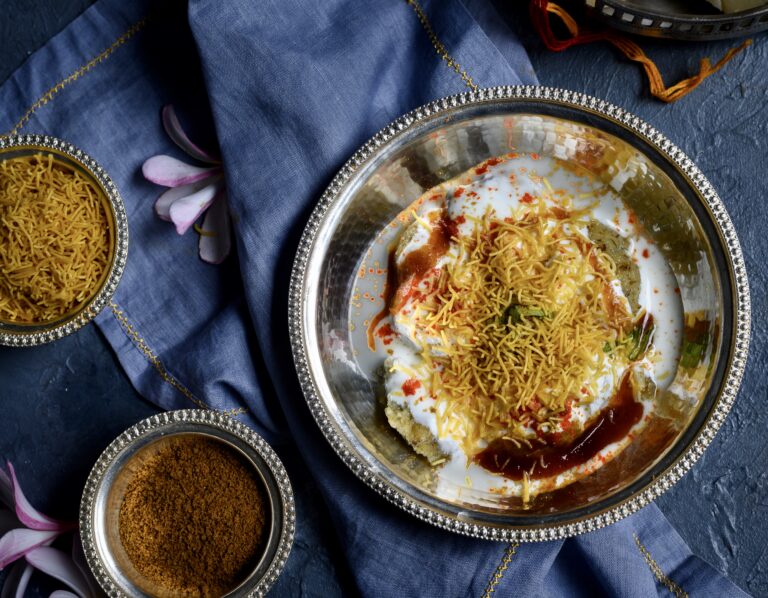
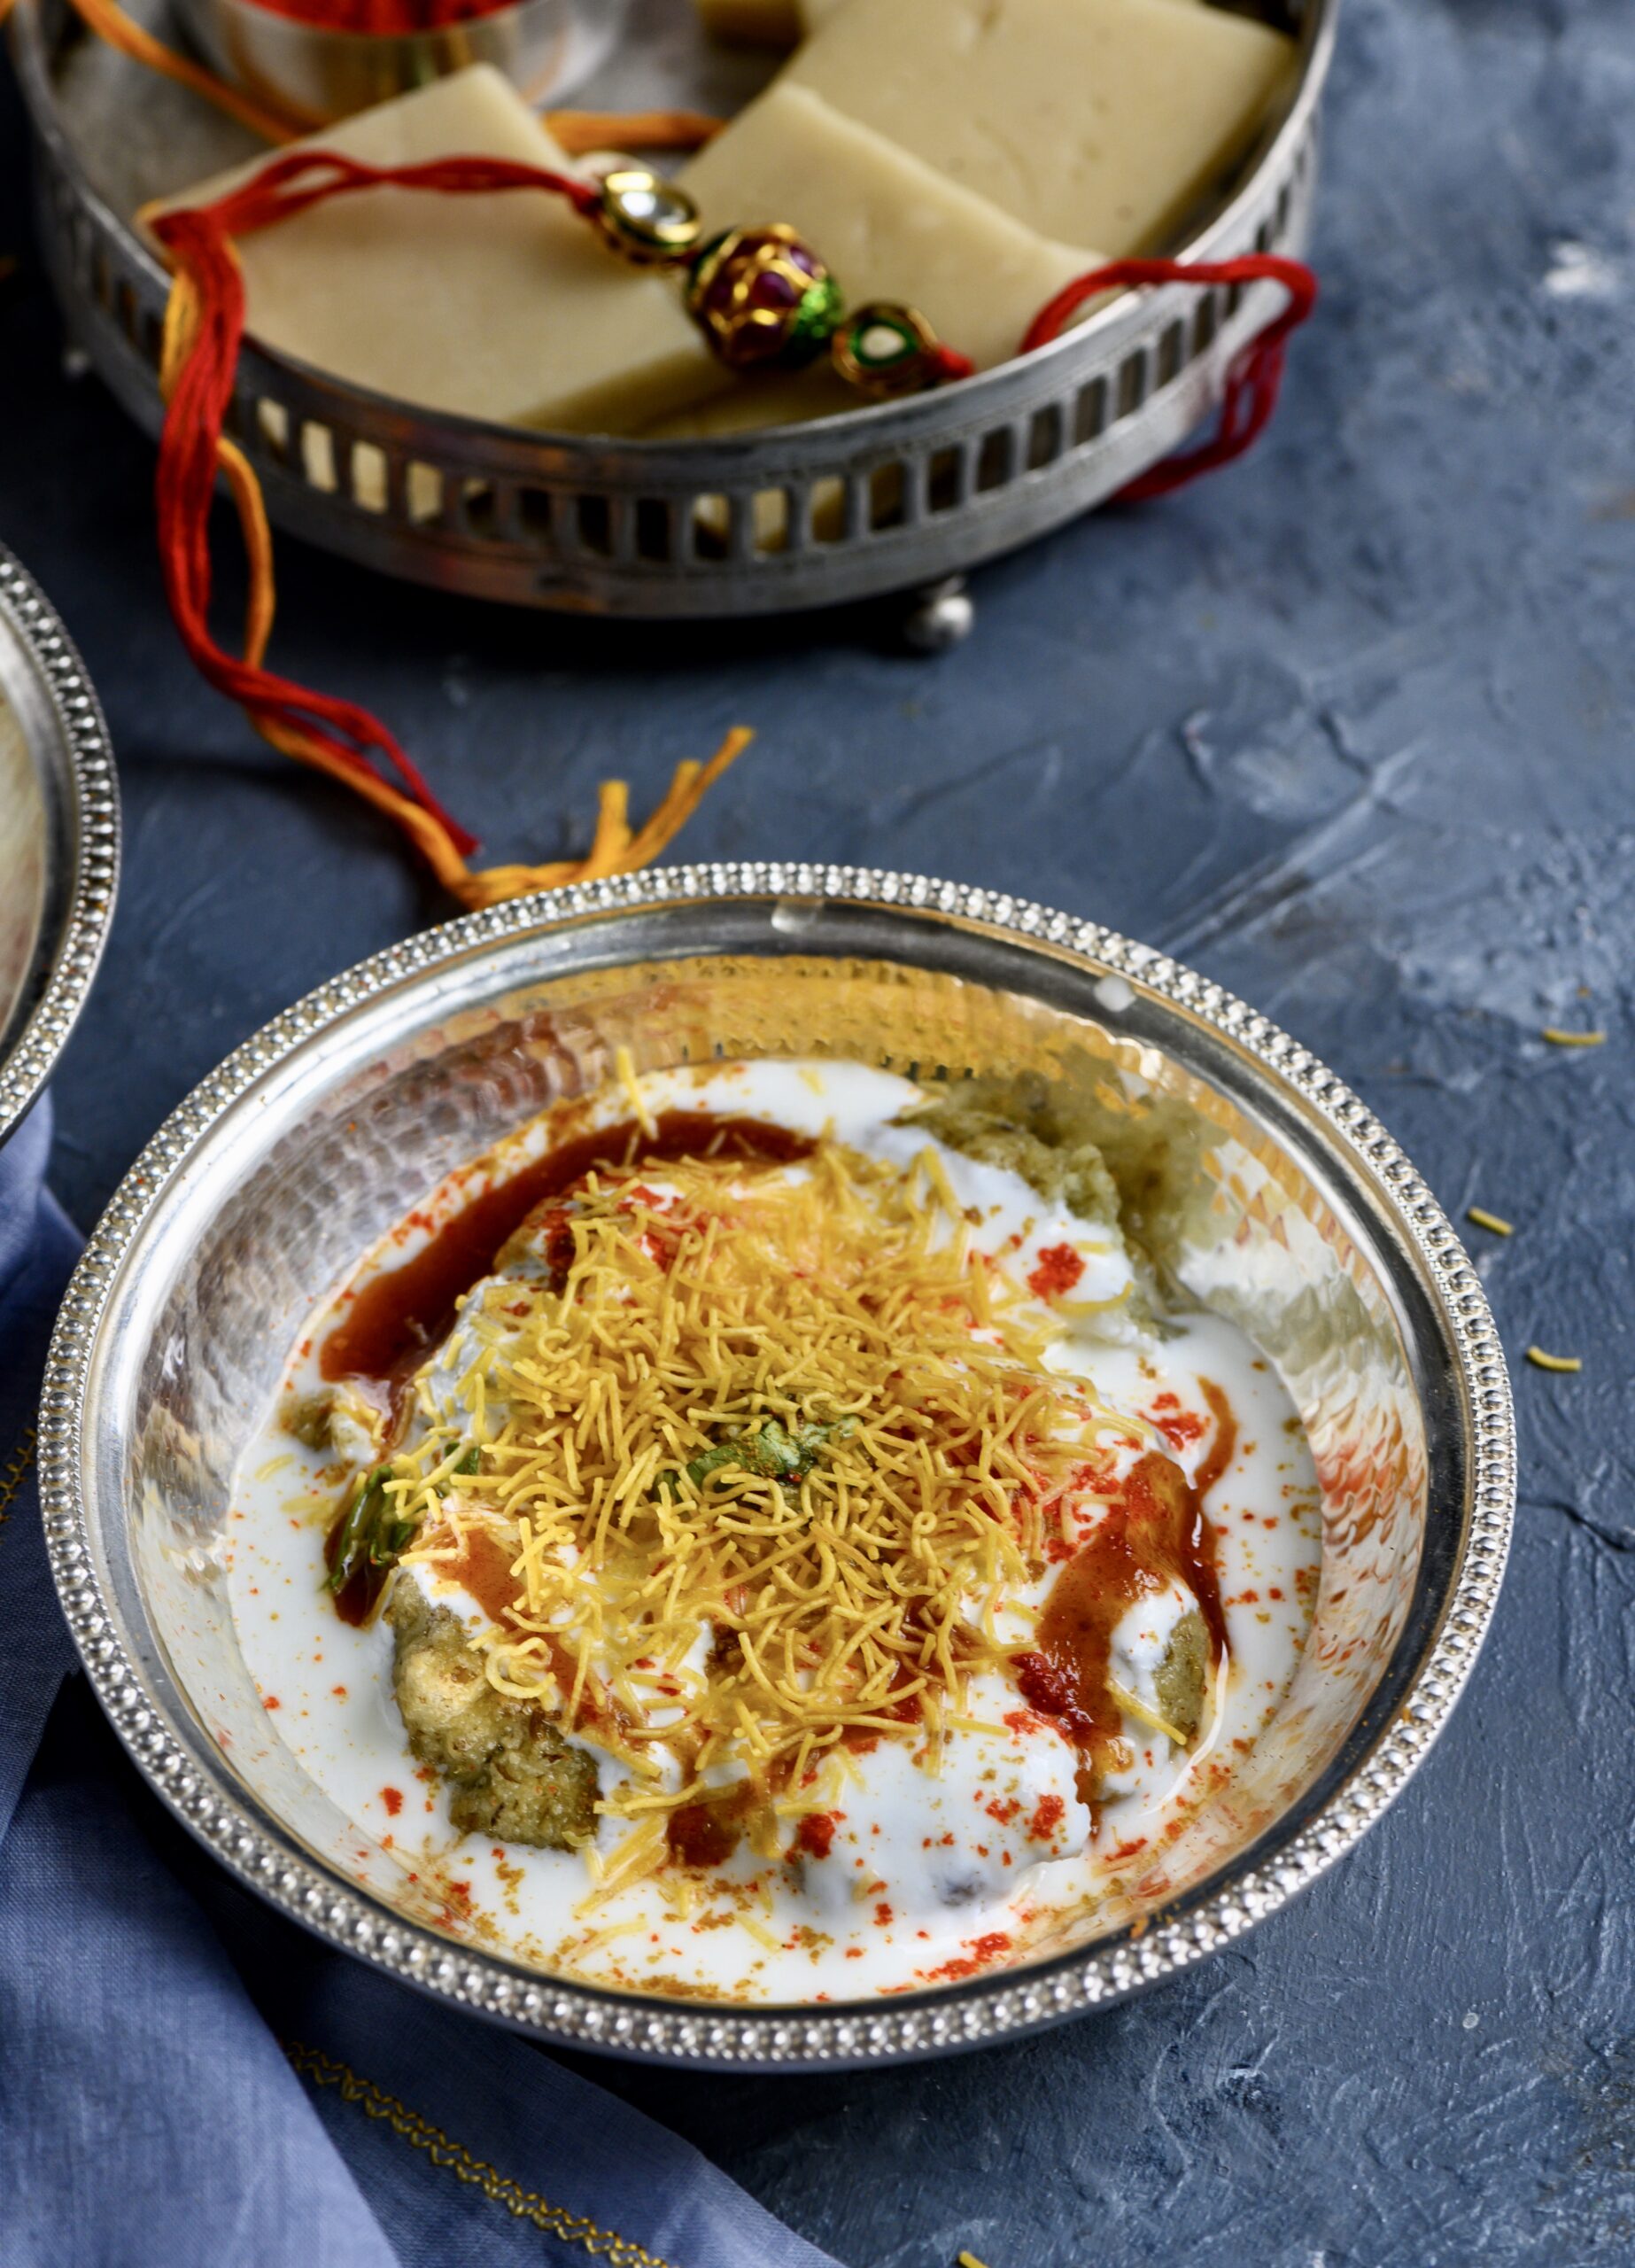
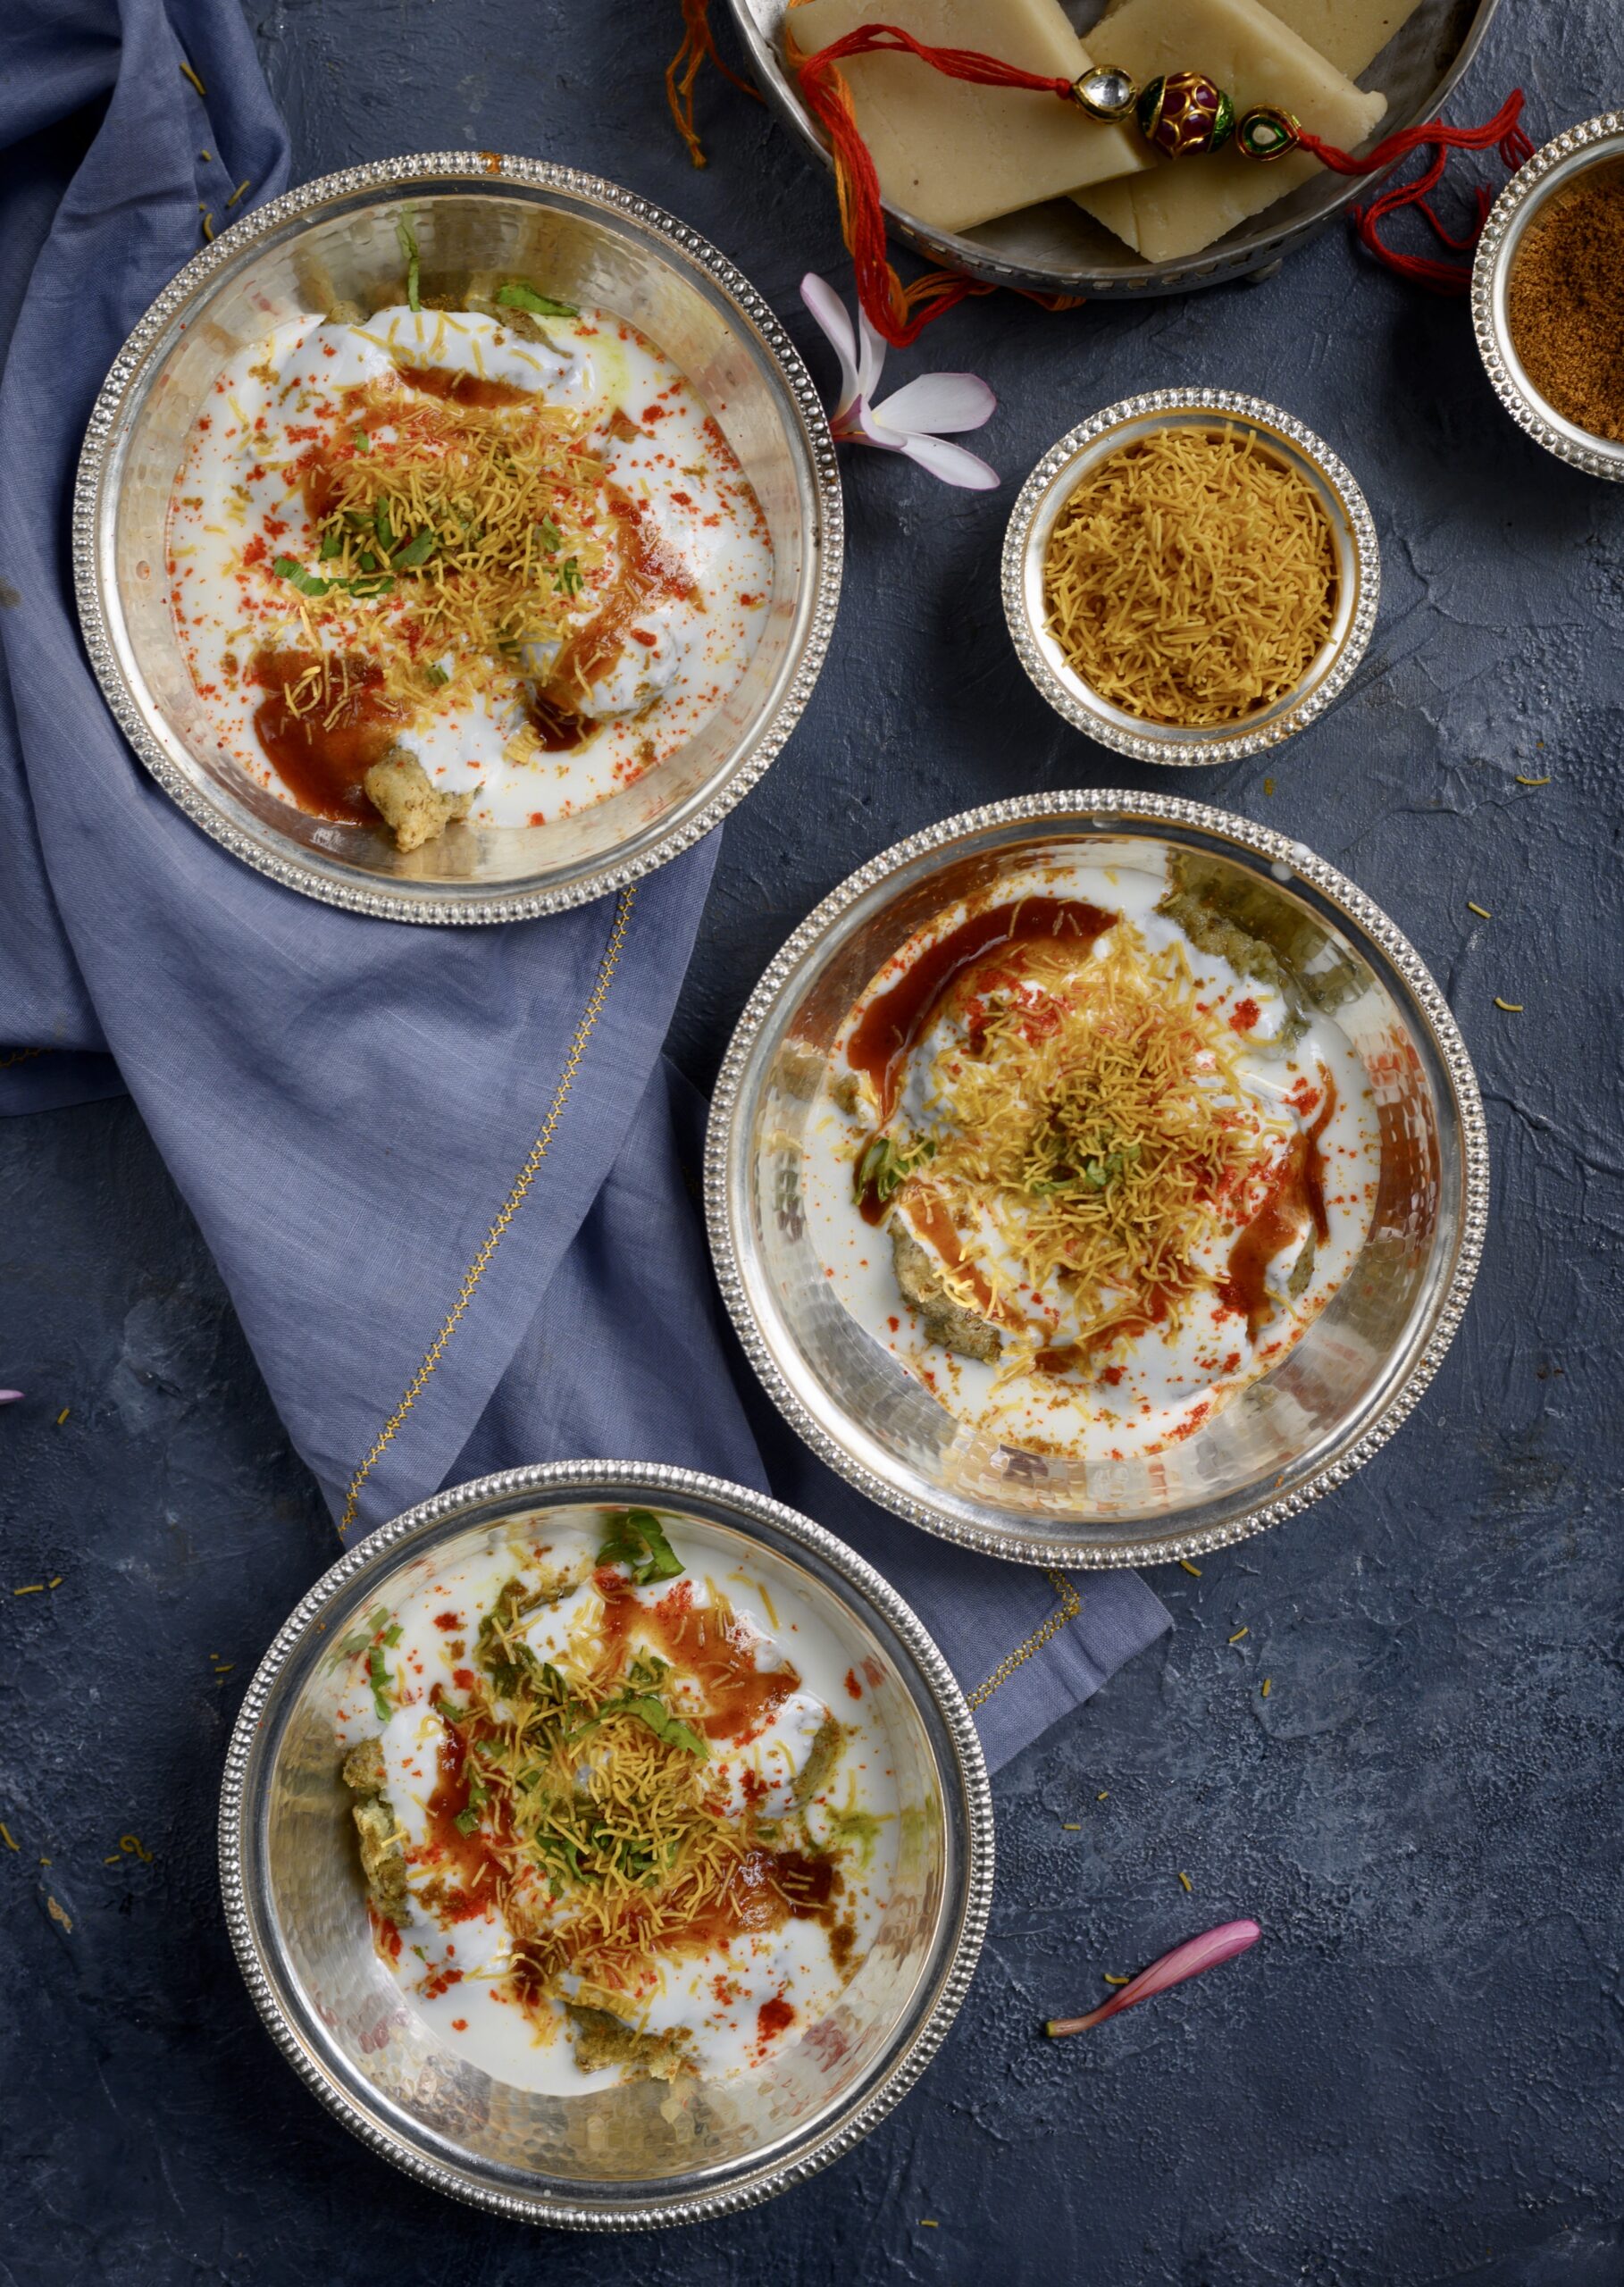
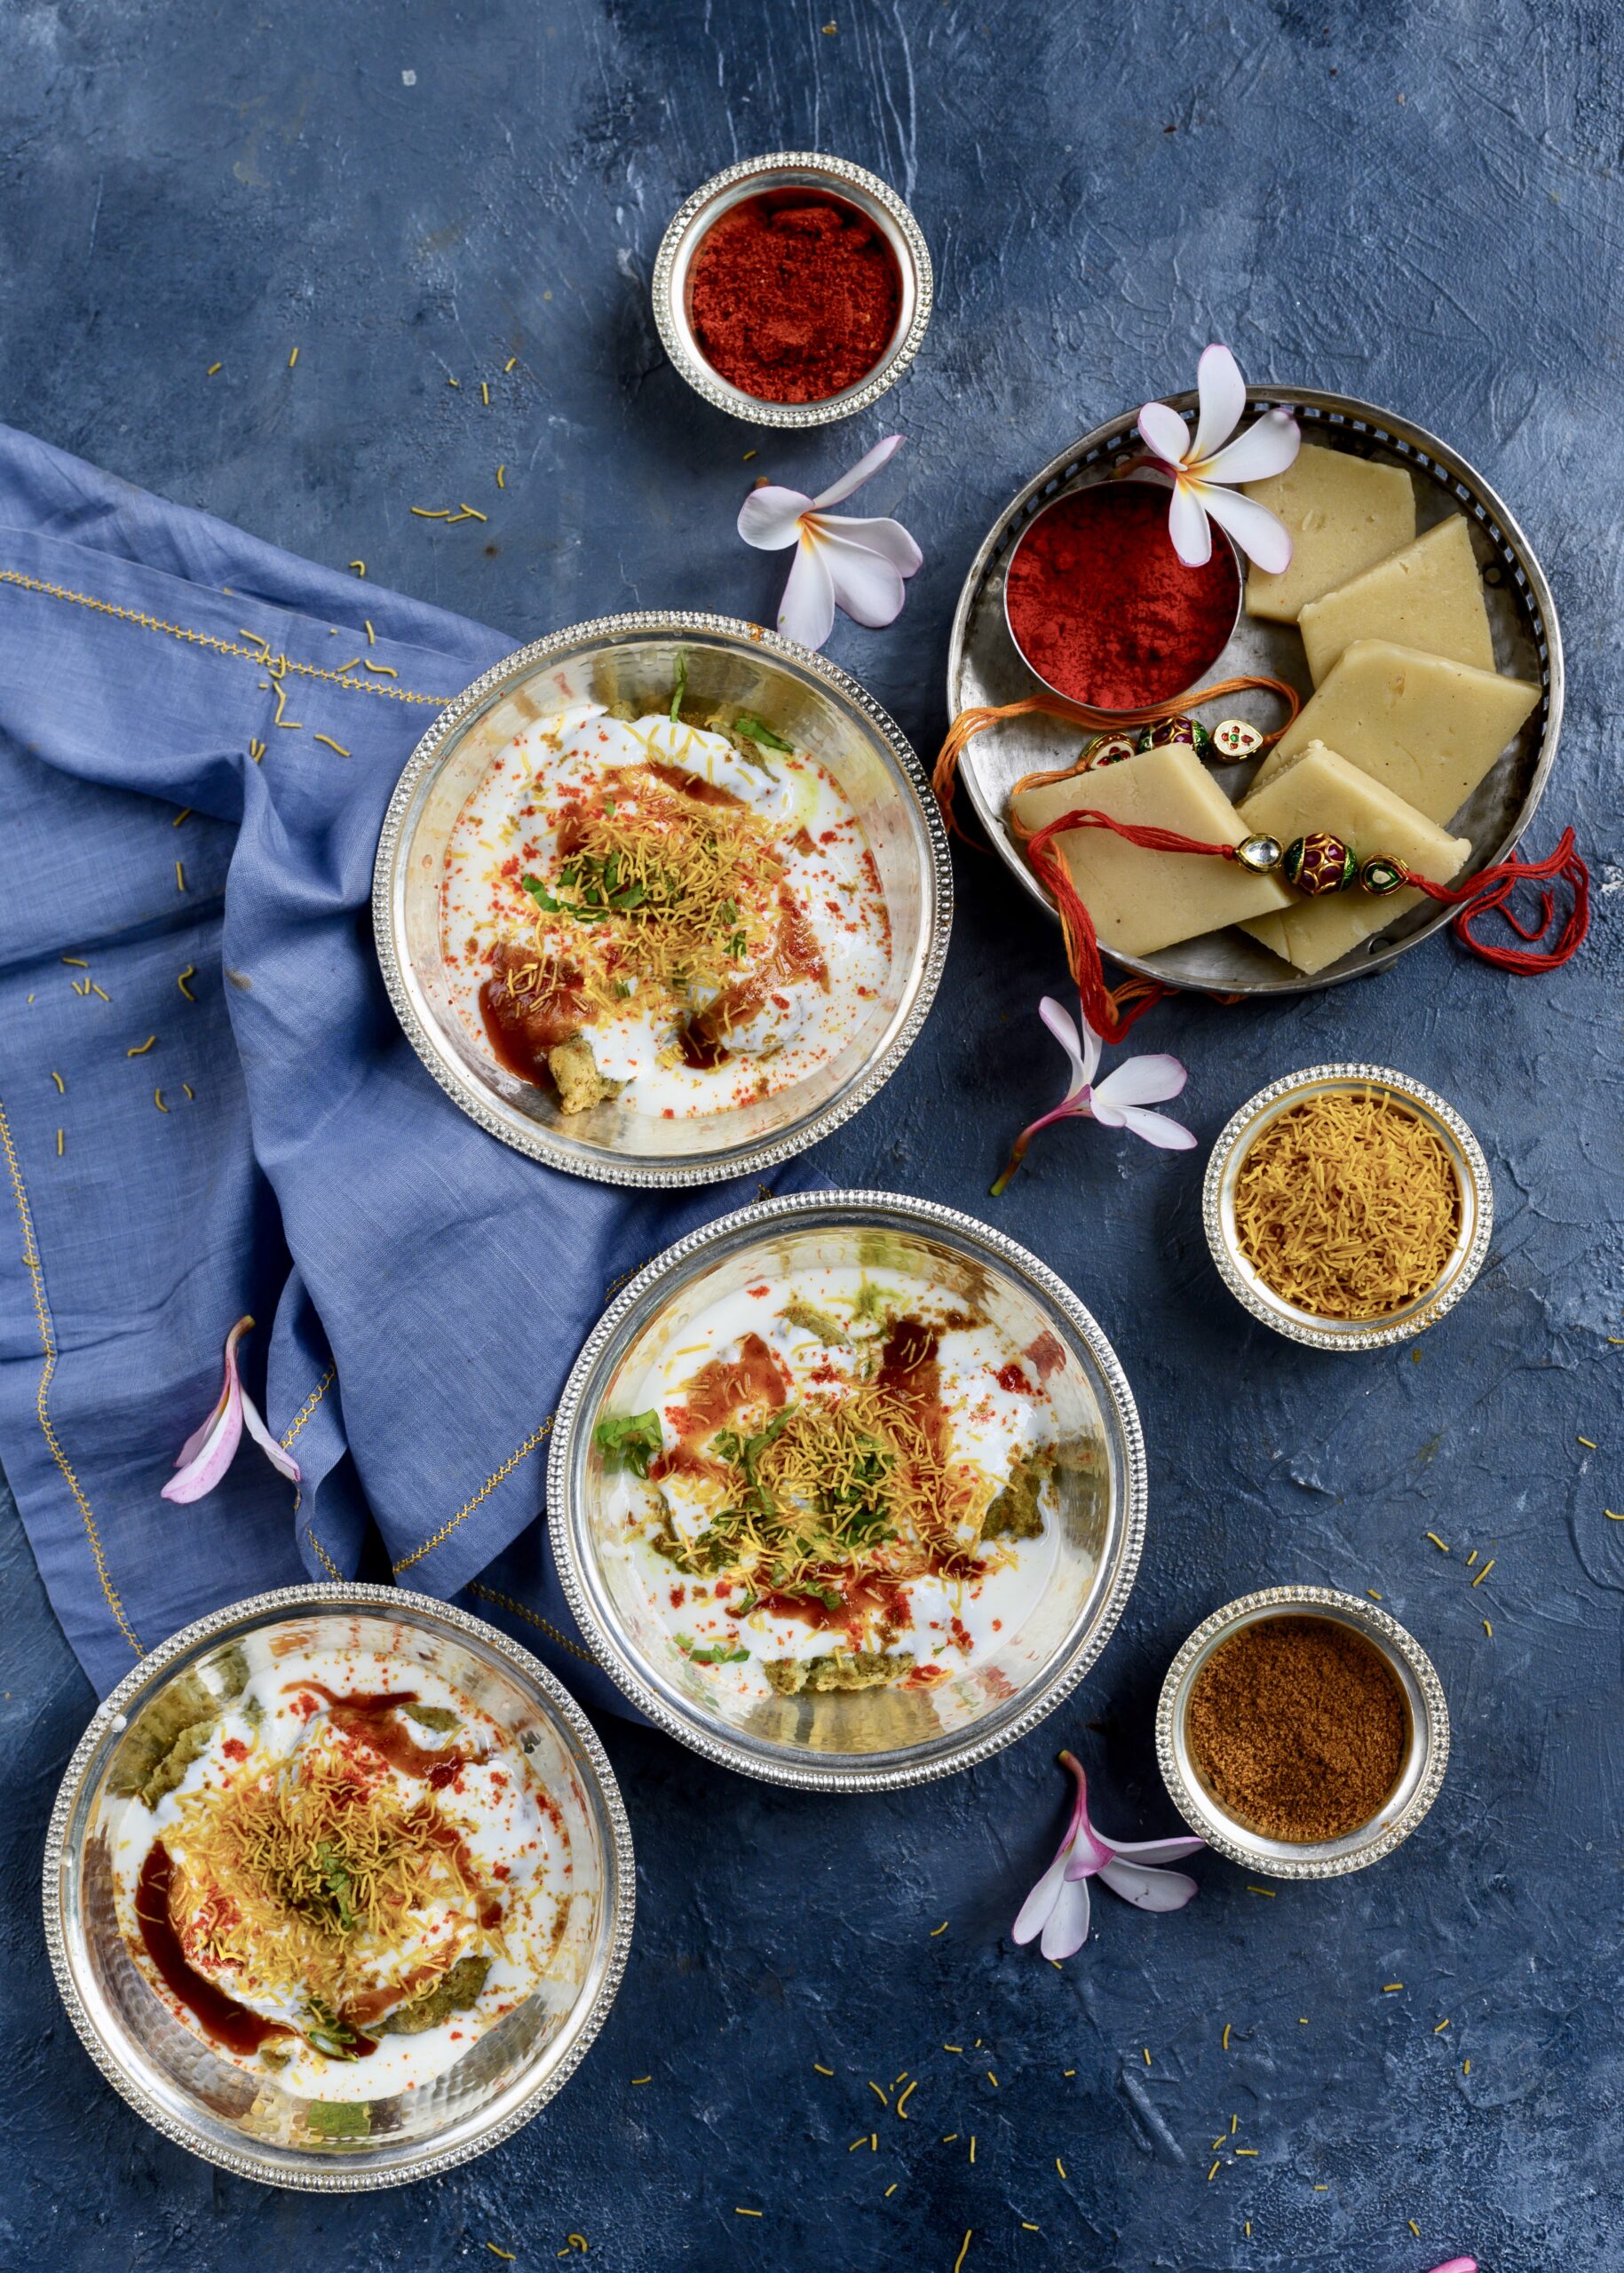
This time, I chose to make dahi vada, a simple yet important traditional dish. A vada is a kind of deep-fried doughnut or dumpling, made from ground lentils (sago or potato may be used in some varieties). You may remember that vadas have ritual symbolism to Gujaratis during our new year.  Dahi vada is made by soaking the plain vada in yoghurt (“dahi”) and serving it with light toppings ranging from basic curry leaves to more elaborate garnishings like pomegranate.  There are innumerable versions of the dish varying from state to state, community to community, and kitchen to kitchen. In Tamil Nadu, it’s the popular snack item known as “thayir vadai”. The Gujarati variant is made in an exciting way, almost like a chaat, with an added tangy flavour thanks to the use of date or tamarind chutney. It is one of my favourites to prepare on auspicious occasions.

On Raksha Bandhan, the traditional ritual is for the sister to place a sweet in her brother’s mouth so that his life will be blessed. In turn, he promises to protect her and take care of her for the rest of his life, and she ties an amulet called a “rakhi” around his wrist to seal this. At home, we love renewing this vow annually. There is a cheerful feel in the air, and we enjoy catching up over the delicious feast that I always prepare. But more than that, it’s the kind of vow which I take very seriously. I know that my children, who are young and full of ambition and who crib about having to shuffle their schedules around to be here, will some day understand why I insist on observing this occasion. I tell my daughter that I don’t care if she has to take the last flight out after her tough day as a law student, and ensure that both my sons (especially the one who must come from abroad) have planned their schedules around the dates that I insist that they spend here together. I am confident that they will carry this ceremony forward even decades into the future, and will continue to meet across continents to celebrate special occasions.

The recipe I am sharing today is from my own sister, who loves to spoil me every time I visit her in Mumbai by making these traditional dishes that I so enjoy. In exchange, she asks me to bake some kind of bread or to teach her how to make an eggless cake, and in this way we deepen our bond and expand our culinary repertoires too.

I hope this recipe below is also a healthier version of the usual vada, as it uses split mung, also known as moong beans, instead of urad dal or black grams. I prefer this lentil for its many nutritious benefits, especially its richness in minerals, vitamins, fibre and protein.

Although dahi vada is commonly seen as a snack or side dish, we love it so much at home that with enough servings, it simply becomes our dinner. As it uses ingredients which are always on-hand in the Indian kitchen, and combines two basic staples (vadas and yoghurt), it’s a great dish to serve to unexpected guests and as a light festive dish for upcoming occasions like Ganesh Chathurthi and Diwali. It’s also ideal for those who have senior citizens at home, as it’s soft to chew and yoghurt always has a soothing effect. Given the mix of ages in my household, especially during festivals, I find it works very well to please everyone. The young ones find it tasty and chatpata (tangy and flavourful), while the older people enjoy it as a type of comfort food.

Dahi Vada

(Yield: approximately 15 vadas)

For the vada

1 cup split mung

½ teaspoon asafoetida

Salt to taste

1 teaspoon cumin seeds

½ teaspoon green chili paste

Other ingredients

4 cups water

Oil for deep frying

3-4 cups yoghurt

Coriander leaves

Green chutney

Sweet date chutney

Roasted cumin powder


Wash the split mung and soak it in water for 4-6 hours until tender.

Rinse and then grind the soaked mung coarsely, without adding water, in the idly grinder.

Then, beat the batter in a bowl. Make sure that it is nice and frothy. This will ensure the fluffiness of the vada.

I like to add all the spices and other ingredients in the last whiz of the batter and fry the vadas immediately after.

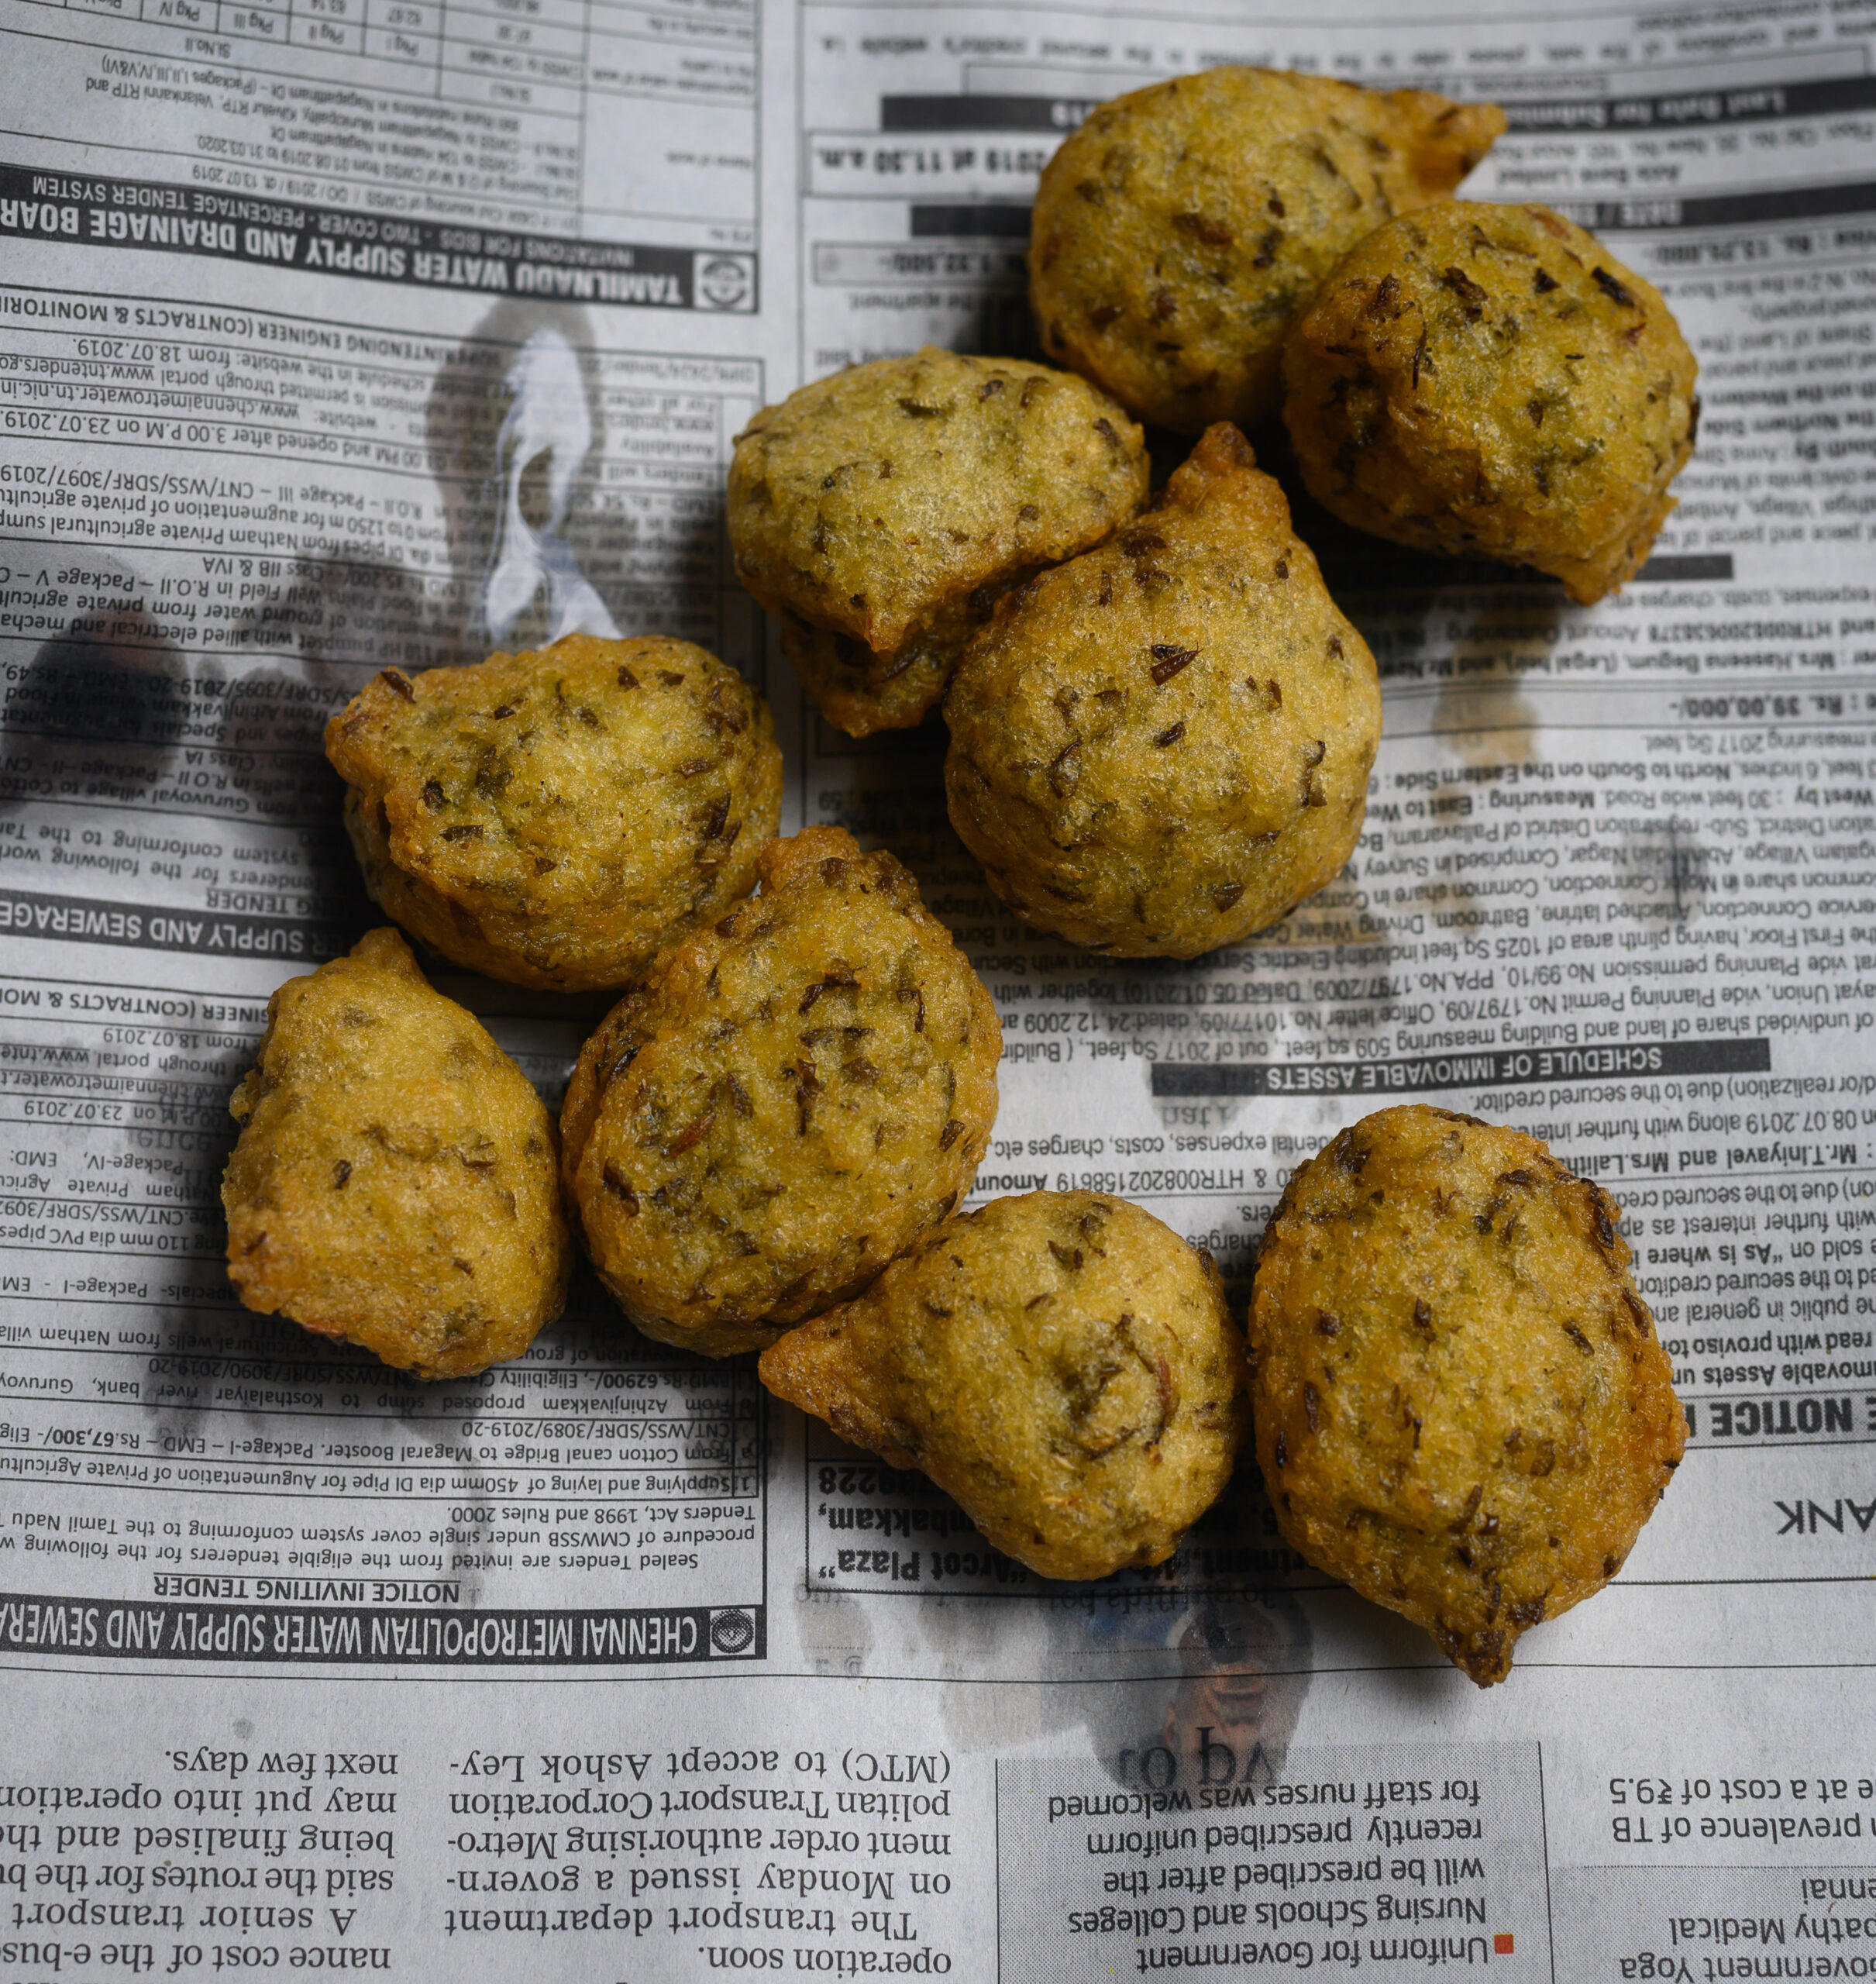
In a wok, heat the oil and make small vadas by shaping and then dropping the batter into the hot oil. These vadas are dumpling-shaped, and you can make them in your palm.

Once golden, remove the fried vadas and sink them in the 4 cups of water. This will ensure they become softer. Once all the vadas are fried and soaked, remove them individually. Gently squeeze out the water and arrange them on the plate for serving. I like to serve individual portions.

In the meantime, beat the curd, adding the salt and roasted cumin powder and mix thoroughly. Many Indian families eat homemade yoghurt, and the recipe to make the same is here. You can use store-bought curd as well. If you have access to coconut yoghurt or soy yoghurt, feel free to substitute accordingly. In India, these innovative items have yet to hit the market, so I’m afraid this is very much a dairy post, with apologies to my local vegan readers!

Pour the curd over the vadas, just enough to cover them.

Finally, top the curd with the green coriander chutney and sweet date chutney. Sprinkle some more roasted cumin powder and garnish the dish with some finely-cut coriander leaves.

When the weekend after Raksha Bandhan ends, my house will slowly quieten down as one by one, each of my children return to the places where they are establishing their own lives. Eventually, if they get married or have kids, I will look forward to them all coming home with their families. I can already imagine how Raksha Bandhan and Diwali will be exuberant get-togethers of the entire clan, giving us a chance to rekindle our bonds as well as get to know new members. There is already so much warmth and love between the five of us now, and I only want it to keep growing.

This warmth and love is something that we strive to build and to keep, and we never take it for granted. You have to learn how to tide over difficulties and manage practical struggles like living far apart. This is a choice. I believe that families with close ties exist because someone chose to take on the responsibility of creating and maintaining those ties. In mine, I am that person. My grandfather used to call me “the Lady of the House” for this reason. He would say that the entire family bond was in my hands, because I take my role as the one who holds it together seriously. Many women of my generation do, and I am sure you may feel the same way. We hold the bond together through tradition, love – and always – food. Here’s to all the joyous feasts in my home and in yours, right now and far into the future…

Every day, I wake up thinking: “What shall I bake today?” My work schedule begins with this question. By the time I walk into my kitchen, I am already excited about conducting a new trial of some kind. Whether on a whim, because of excitement over an item freshly in season or gifted to me by a friend, or thanks to setting a challenge for myself, I’m looking forward to an experiment. Often, I’ll already be thinking of how the finished dish can be styled for a shoot, even before I make it. These culinary experiments are a great source of pleasure and learning for me. In this way, the re:store repertoire constantly grows.

When the day is not cluttered with a hundred things to do, I can bake especially peacefully. I pull out cookbooks and pore over them. Sometimes it’s the beauty of the photographs that pulls me in. Sometimes it’s a single ingredient, either something exotic or a familiar one that I want to use in a special way. Most mornings, it’s something new. Something different. Even the beauty of a book on architecture or on art can excite me, reminding me of my travels and my memories. Or it could be words from a poem. Or even the colours worn by a group of people I may have seen on the street on the previous day. Something will make me reach for certain ingredients or search for certain recipes. It doesn’t always work, but even then, I enjoy the challenge of going, “Damn, what went wrong?” and finding a way around the snag during the next trial.

As I was raised in a household which observed the tradition of never eating food before it was offered to God (which meant that there was no dipping a spoon or a finger into the pot as we cooked), I learned early on how to tell on sight if a dish is ready. I can gauge if it will taste good, or otherwise. So I usually have a strong sense of how an experiment will turn out even as I’m in the midst of it. Of course, there are occasional dull moments when I feel like I’m dragging my feet, and I think something is doomed to fail, and that’s exactly when it doesn’t work at all. I’ve come to understand that space and mood are vital components for these culinary experiments. And when I get it right, I want to share the results immediately – with everyone! My friends and family get the first slices, scoops and sips. And then, there is this blog…

In addition to books, photos and memories, a well-stocked kitchen is often the beginning of inspiration for me. Many Indians love almonds, also known as badam, both for their taste and for their nutrition benefits (which include skincare, lowered cholesterol, weight management, improved eyesight and much more). In my case, there’s always almond meal or almond flour in my house, and it’s an ingredient I reach for liberally. As I’ve said so often, a belief in the goodness of homemade food is at the heart of everything at re:store. Most of the flours and powders I use in my kitchen – from turmeric to chillies to chickpeas and more – are sent to be ground in small batches at a trusted mill. The same goes for almond flour and all the others that I use in my baking.

One recent morning, my brainwave was to conduct a trial for a sugar-free version of the almond cookies that are a staple in my home. As we get older, we have to be more watchful of our food intake both in terms of quantity as well as where problematic ingredients are concerned. Sugar is a big culprit when it comes to health issues, and often the first thing that experts recommend eliminating or cutting down. Ever conscientious of eating well, I find myself increasingly attracted to desserts which use other natural sweeteners. These include maple syrup, coconut sugar, barley malt, honey and jaggery. That famous Gujarati sweet tooth can’t resist temptation. These days, I try to make sure that when my cravings hit, the treats within reach are sugar-free.


You know how much I love my tea-times and simply must have a crunchy bite to go with my hot drink. This is true not just for me, but equally so for my Max. The moment he sees the cup in my hand, he comes bounding up, salivating for his own biscuit.

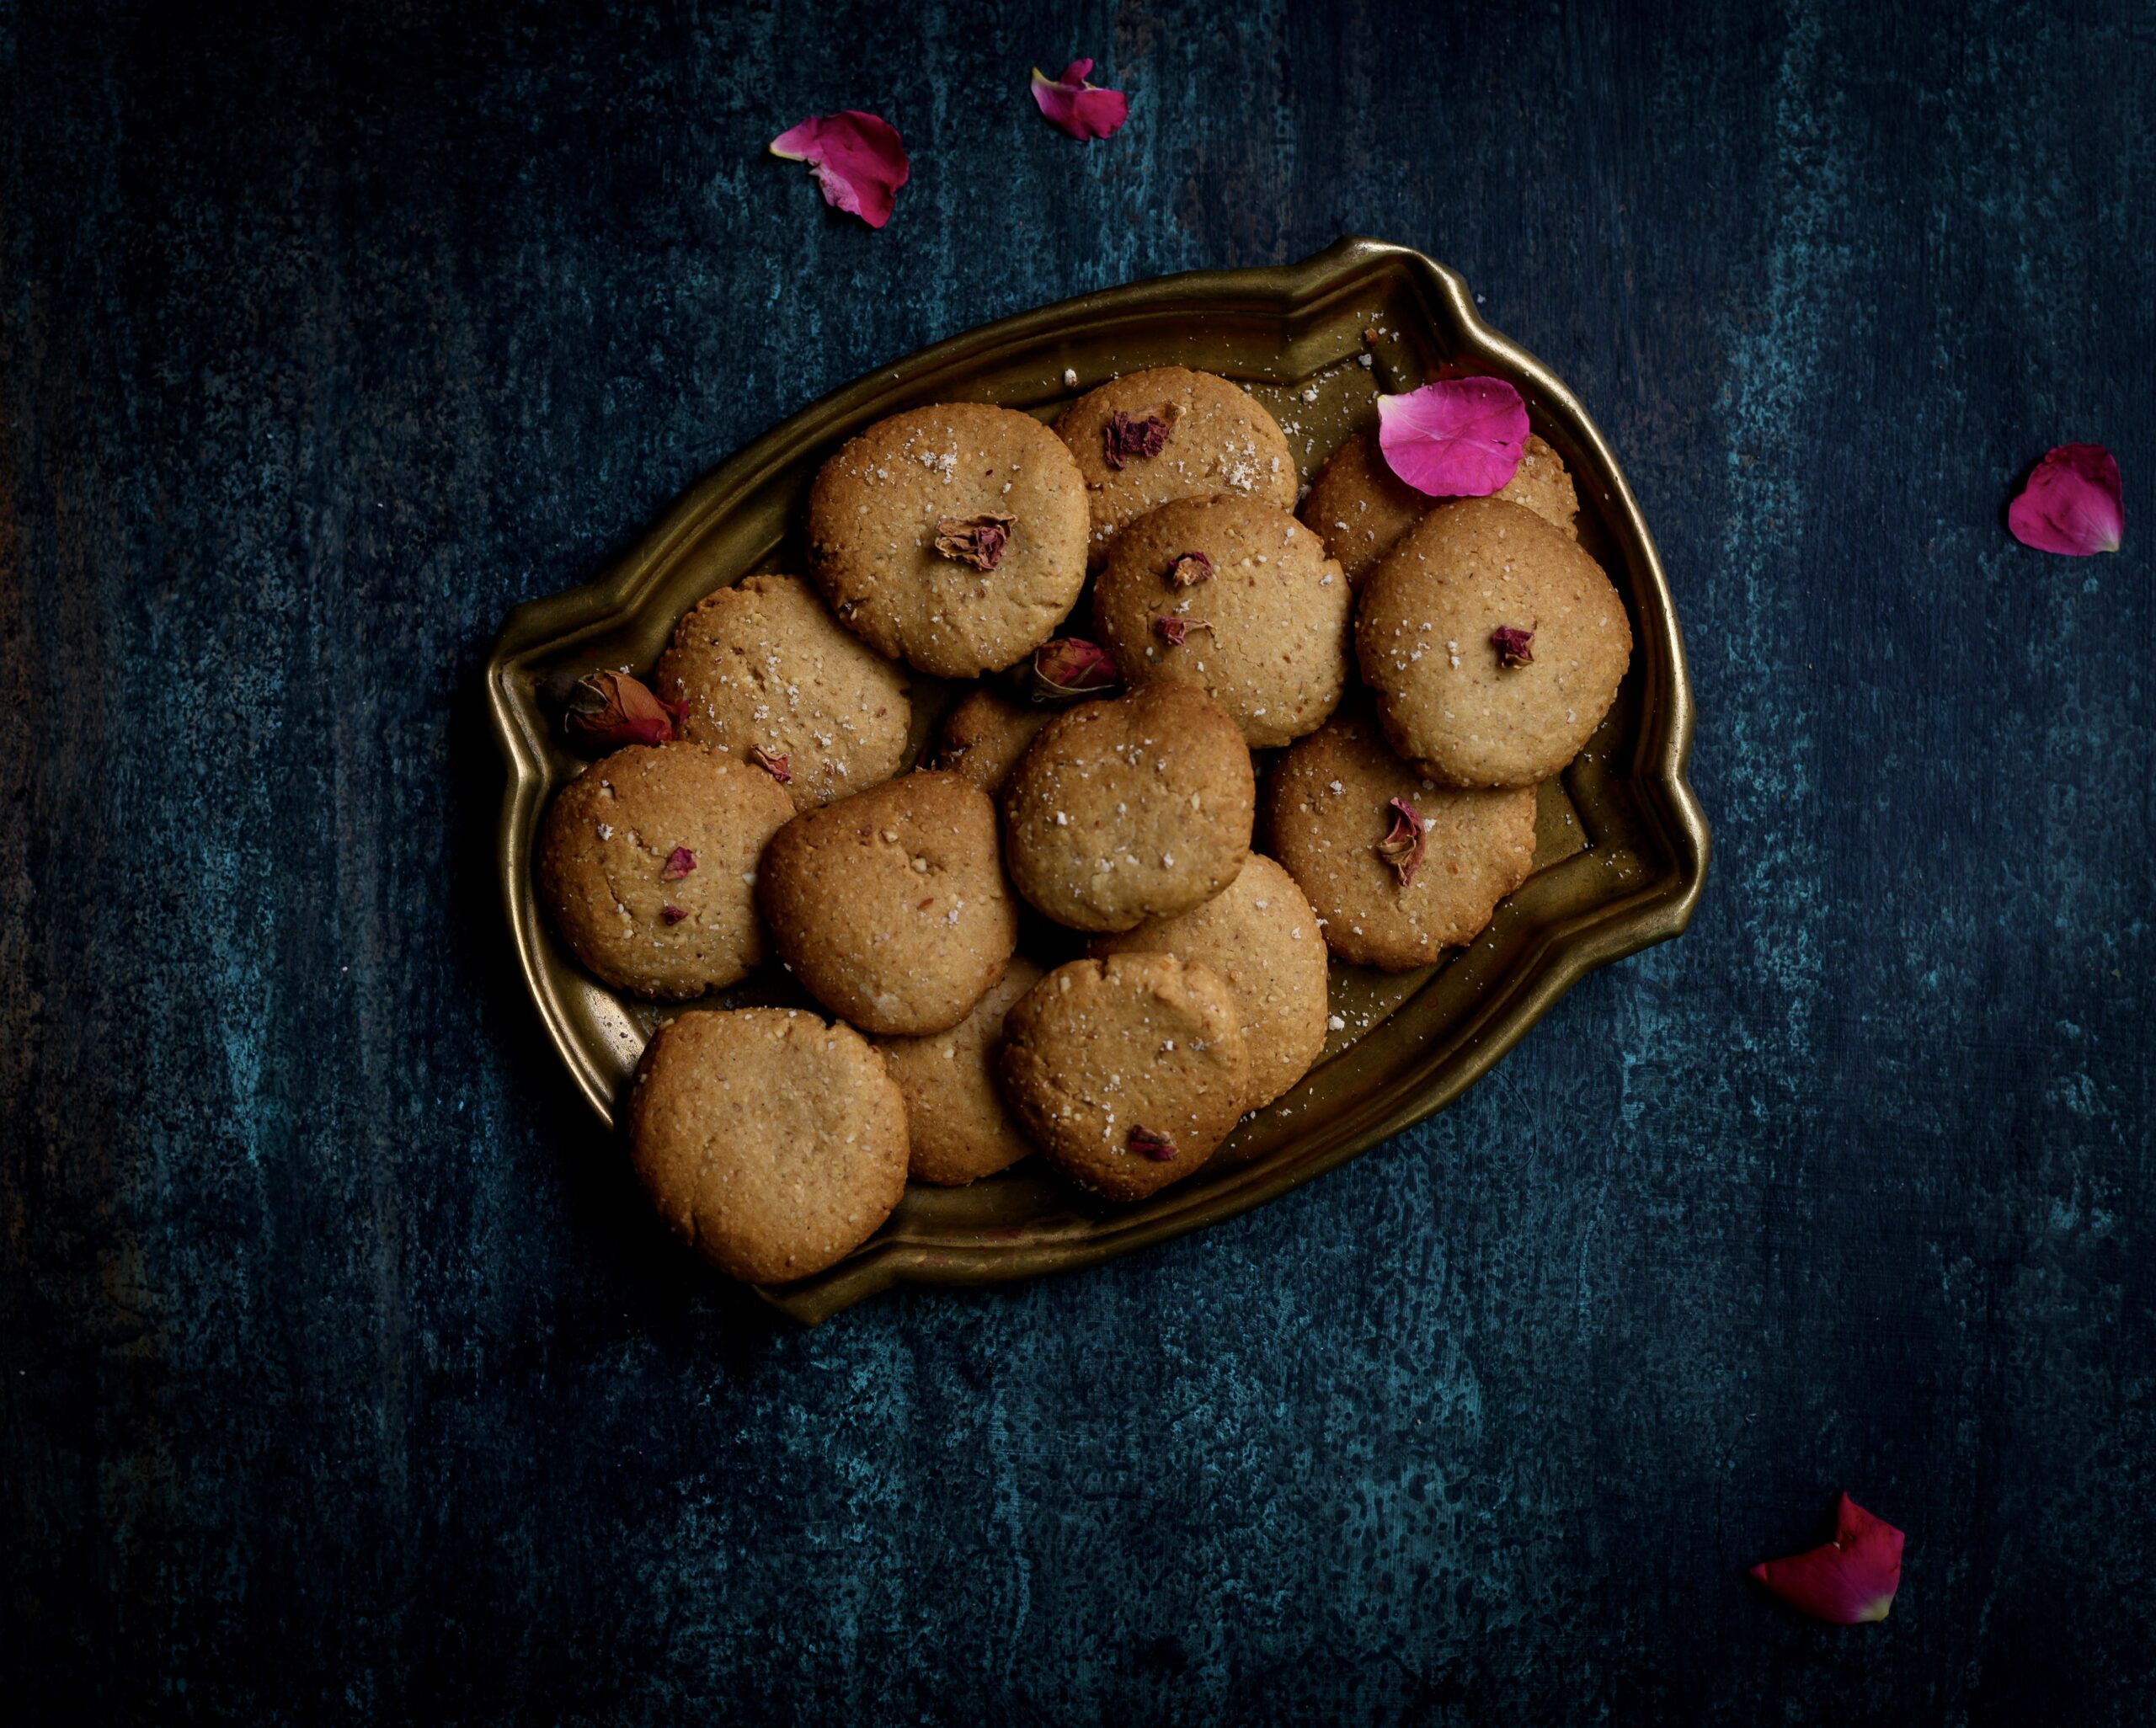
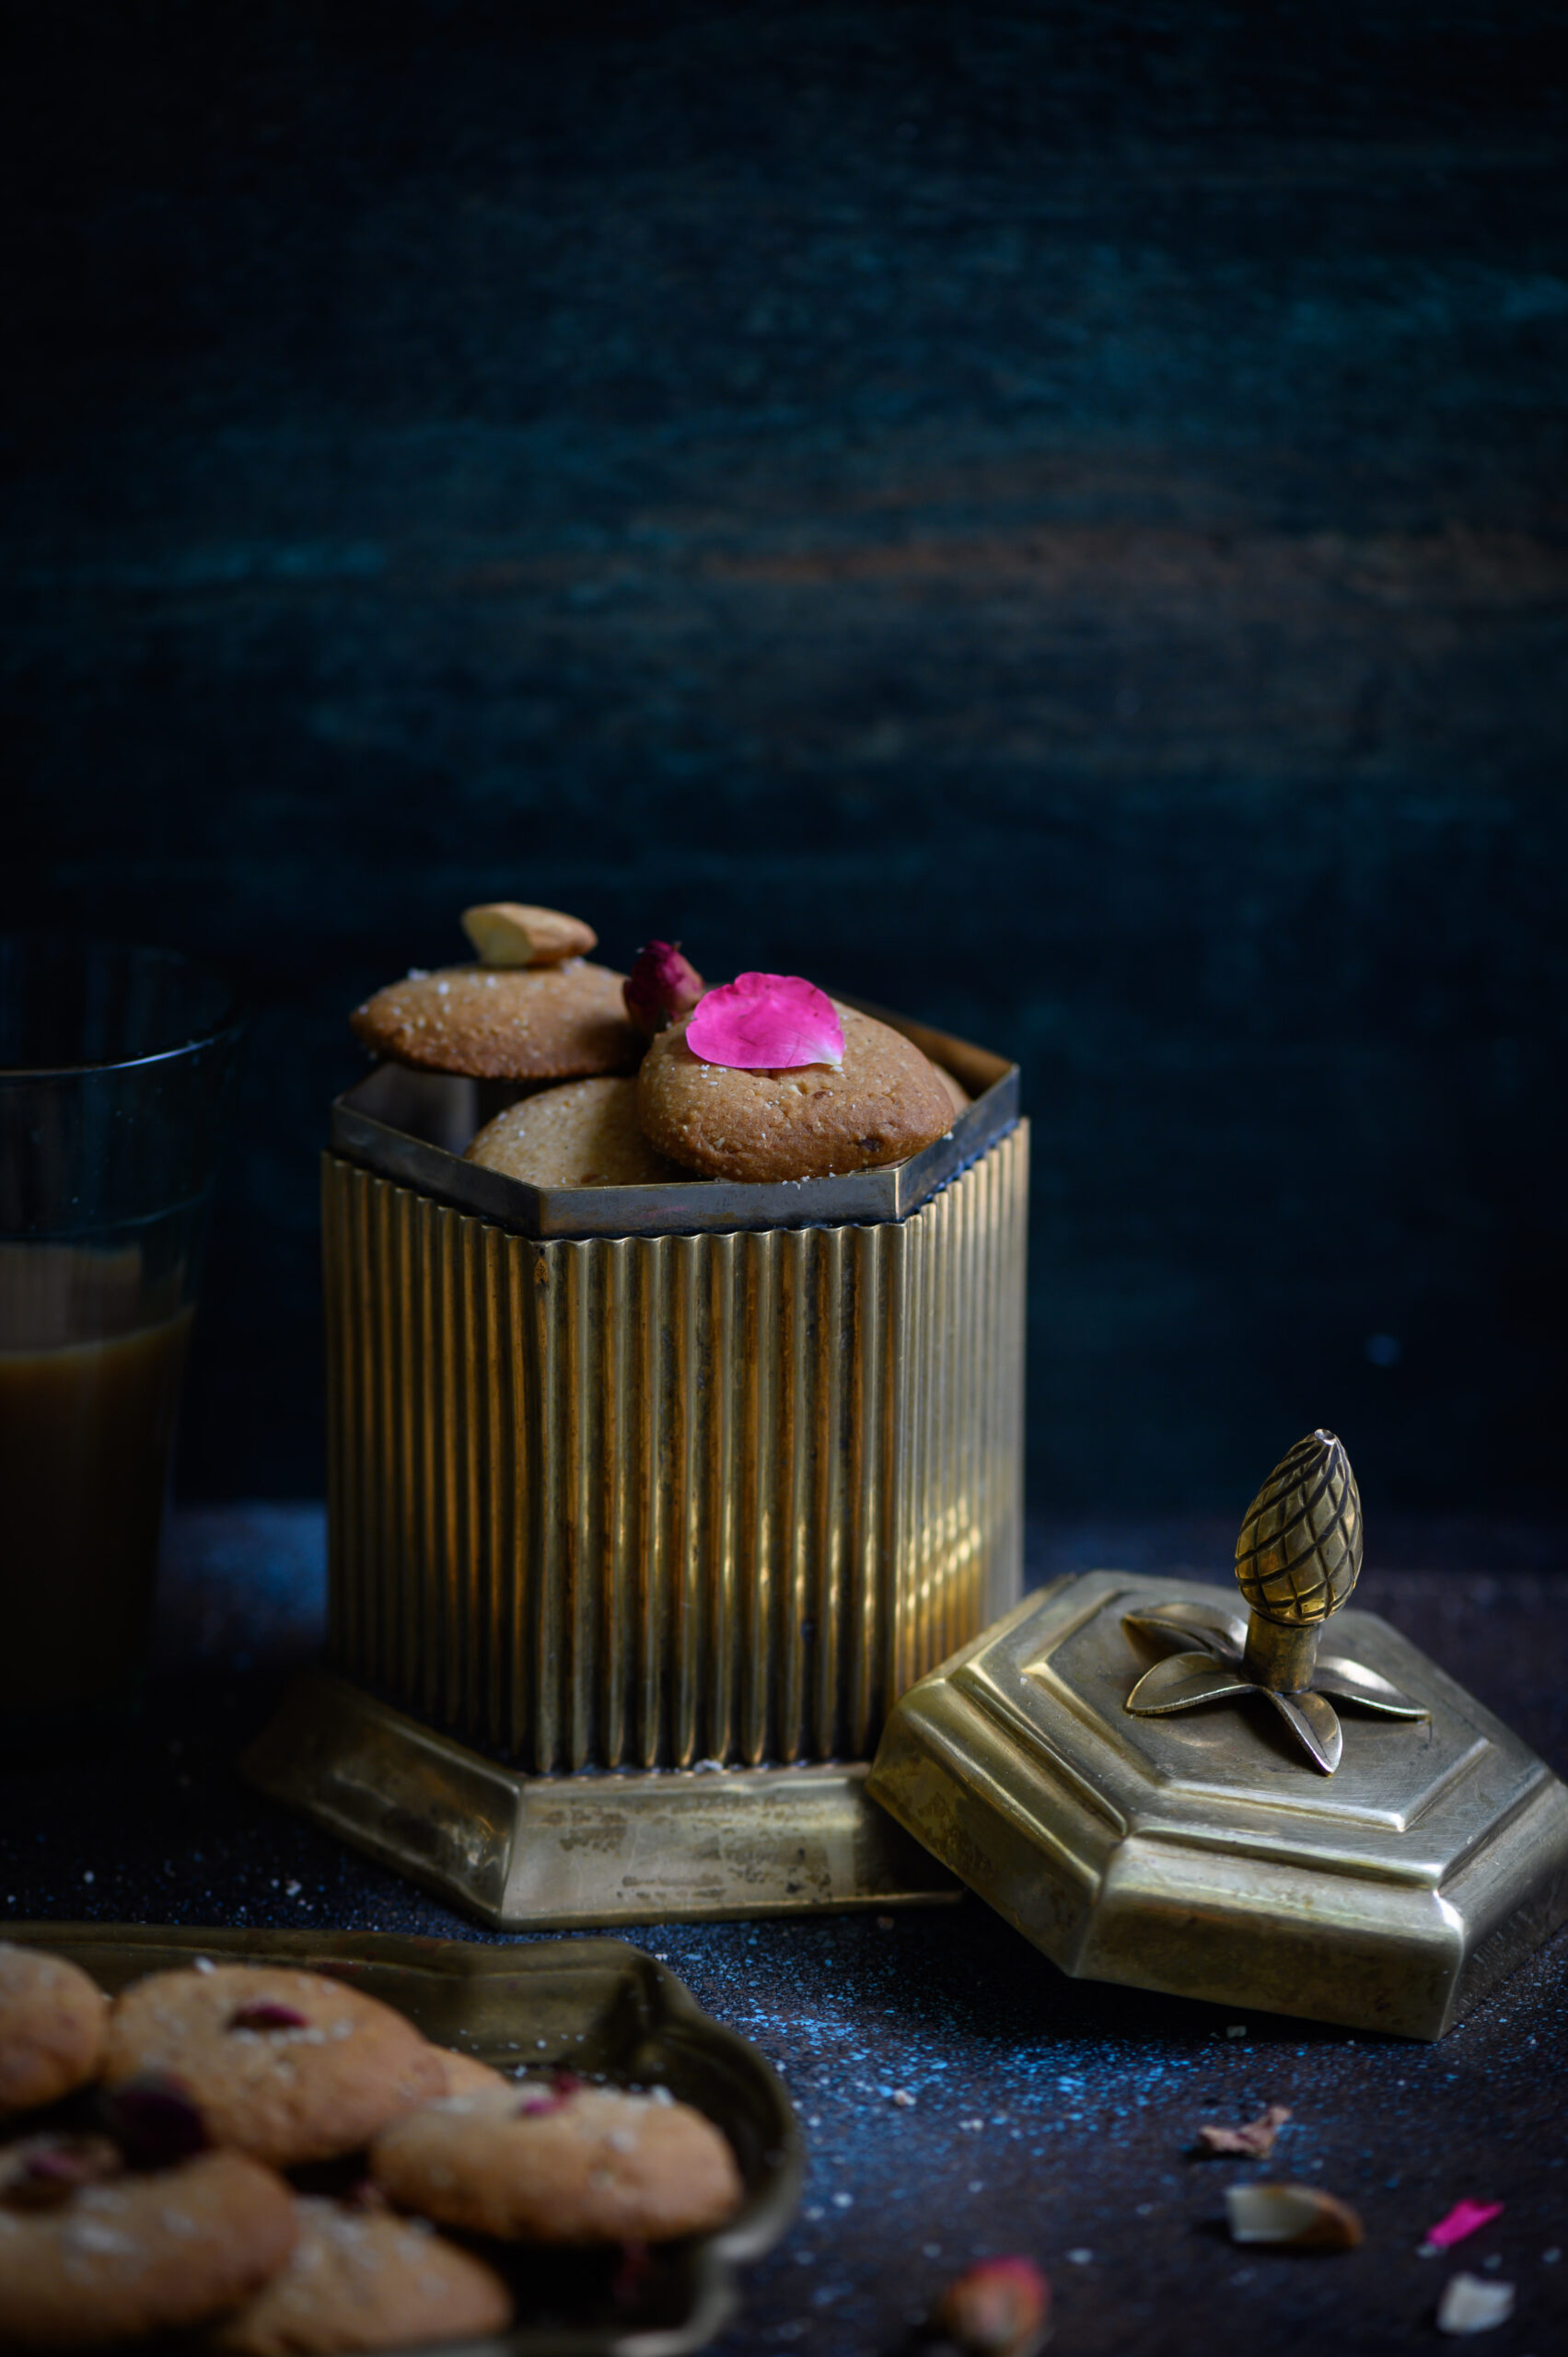
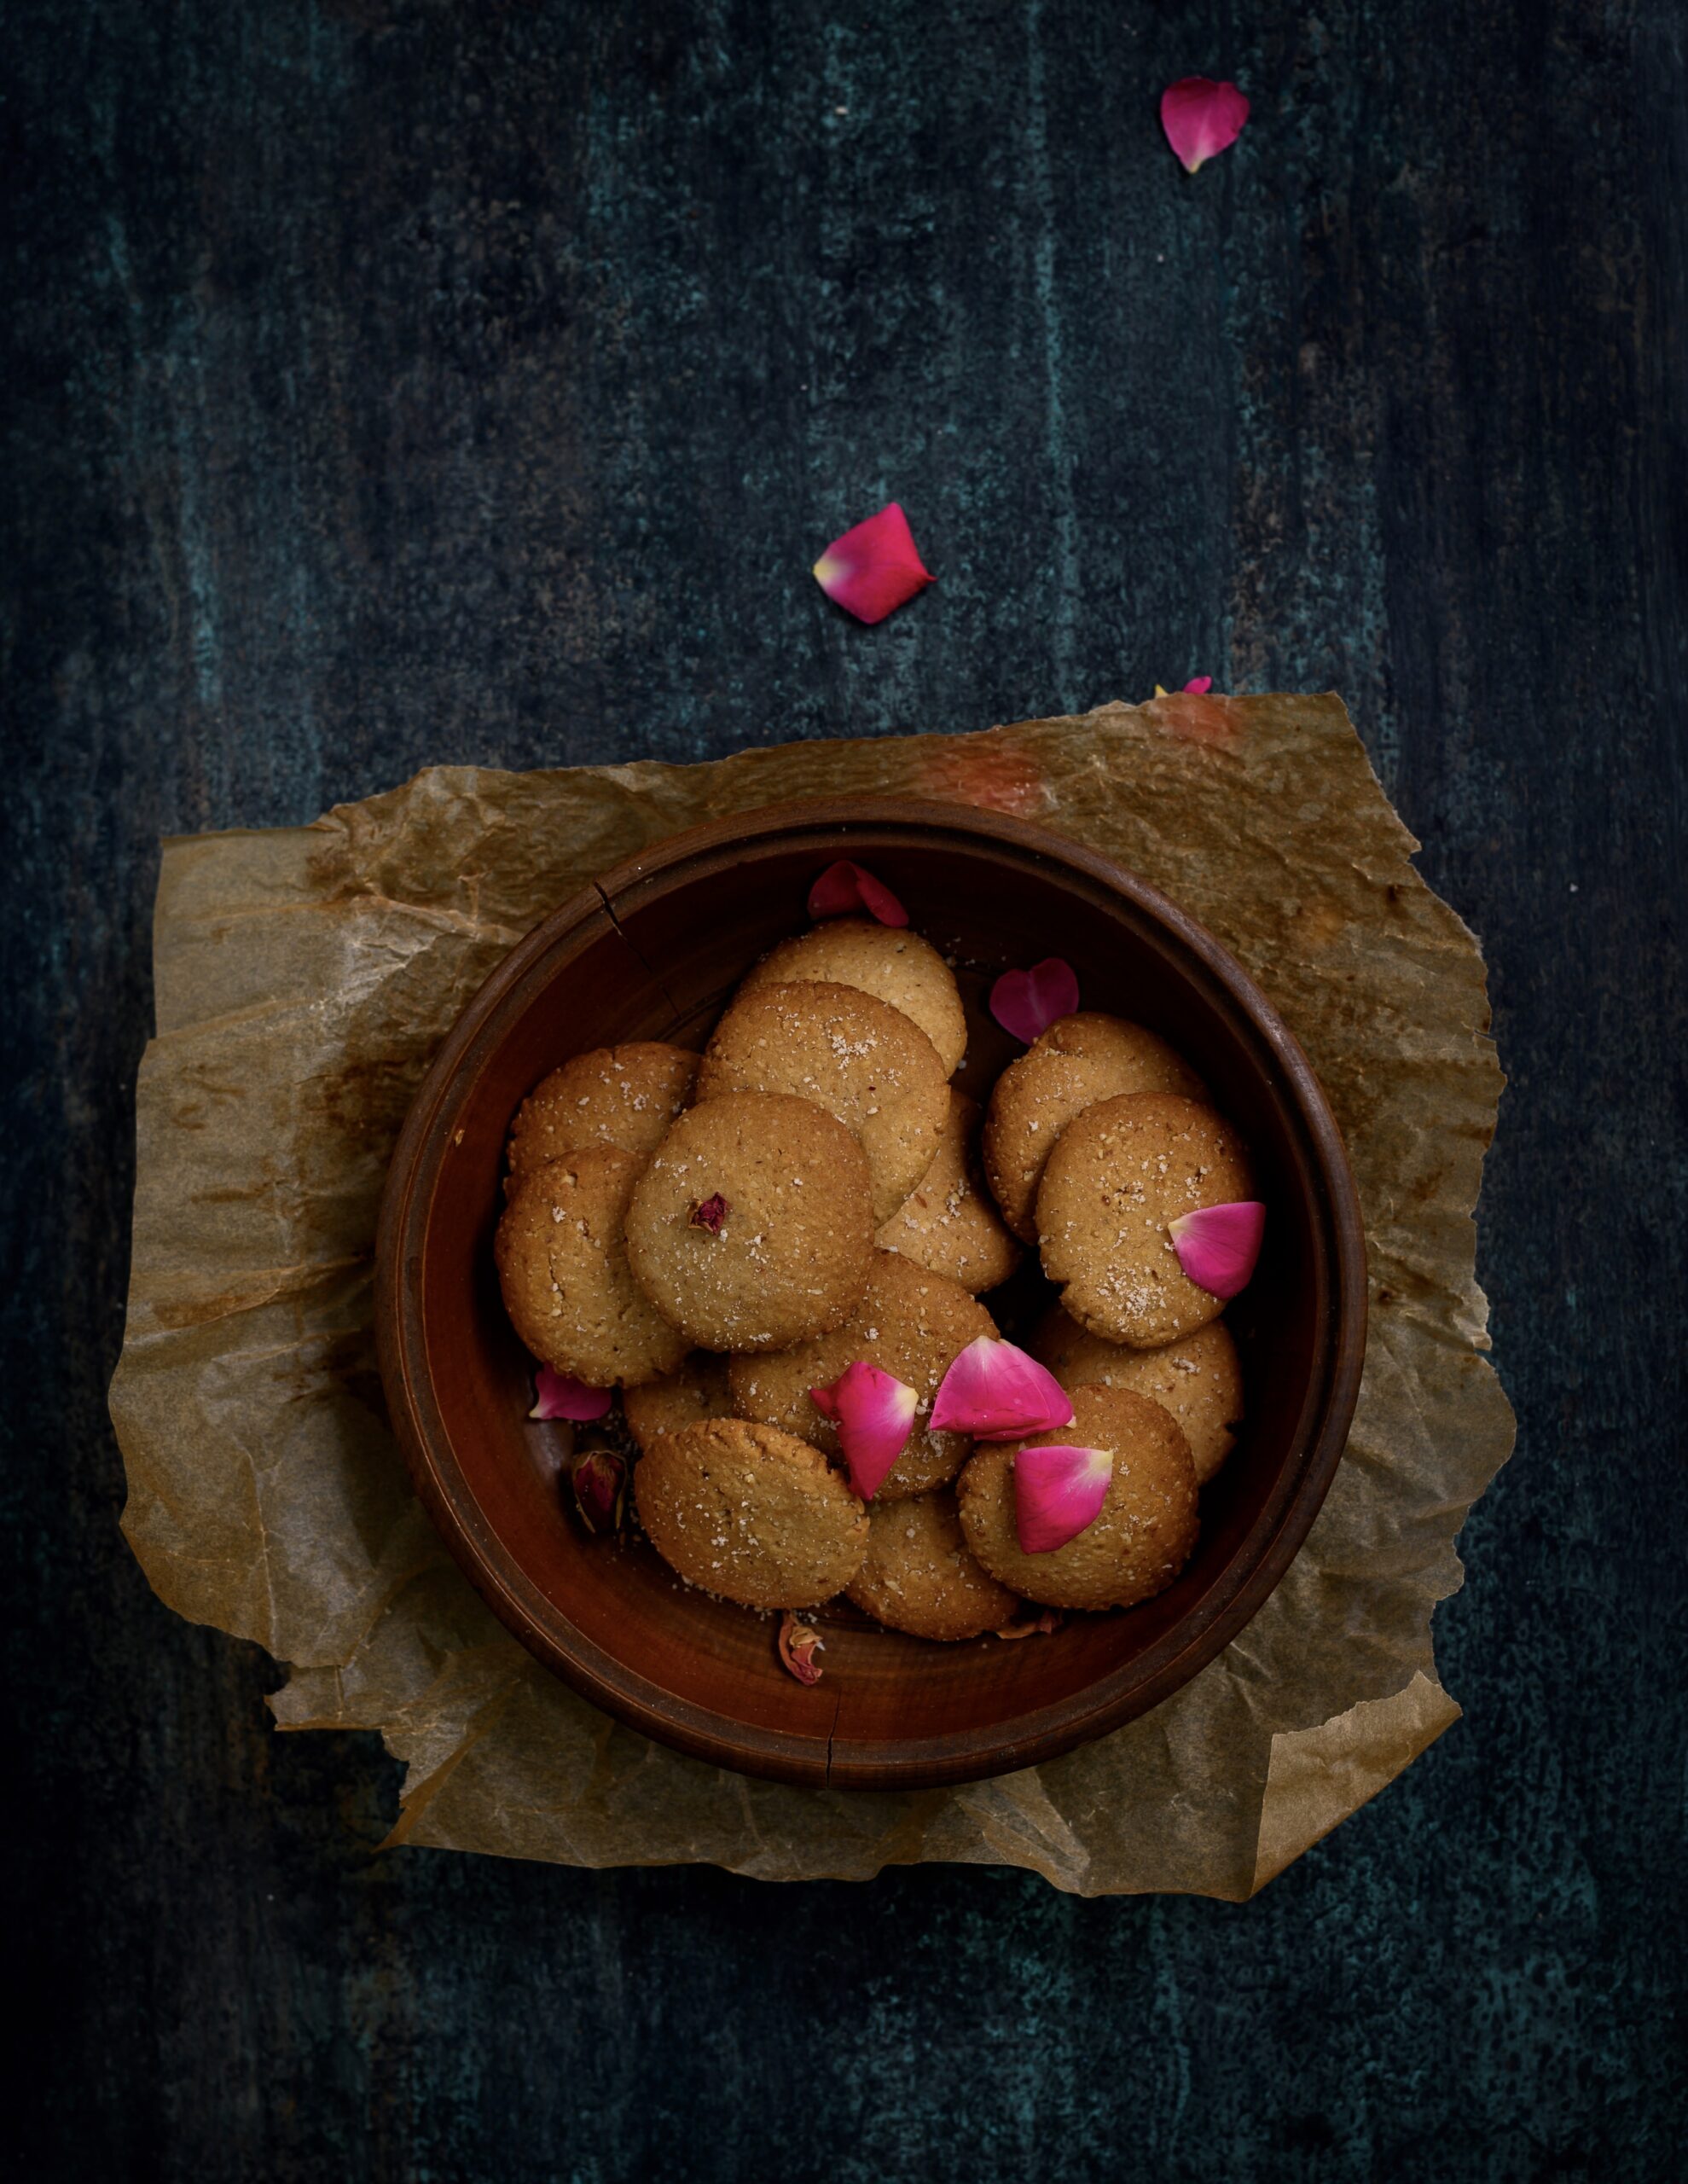
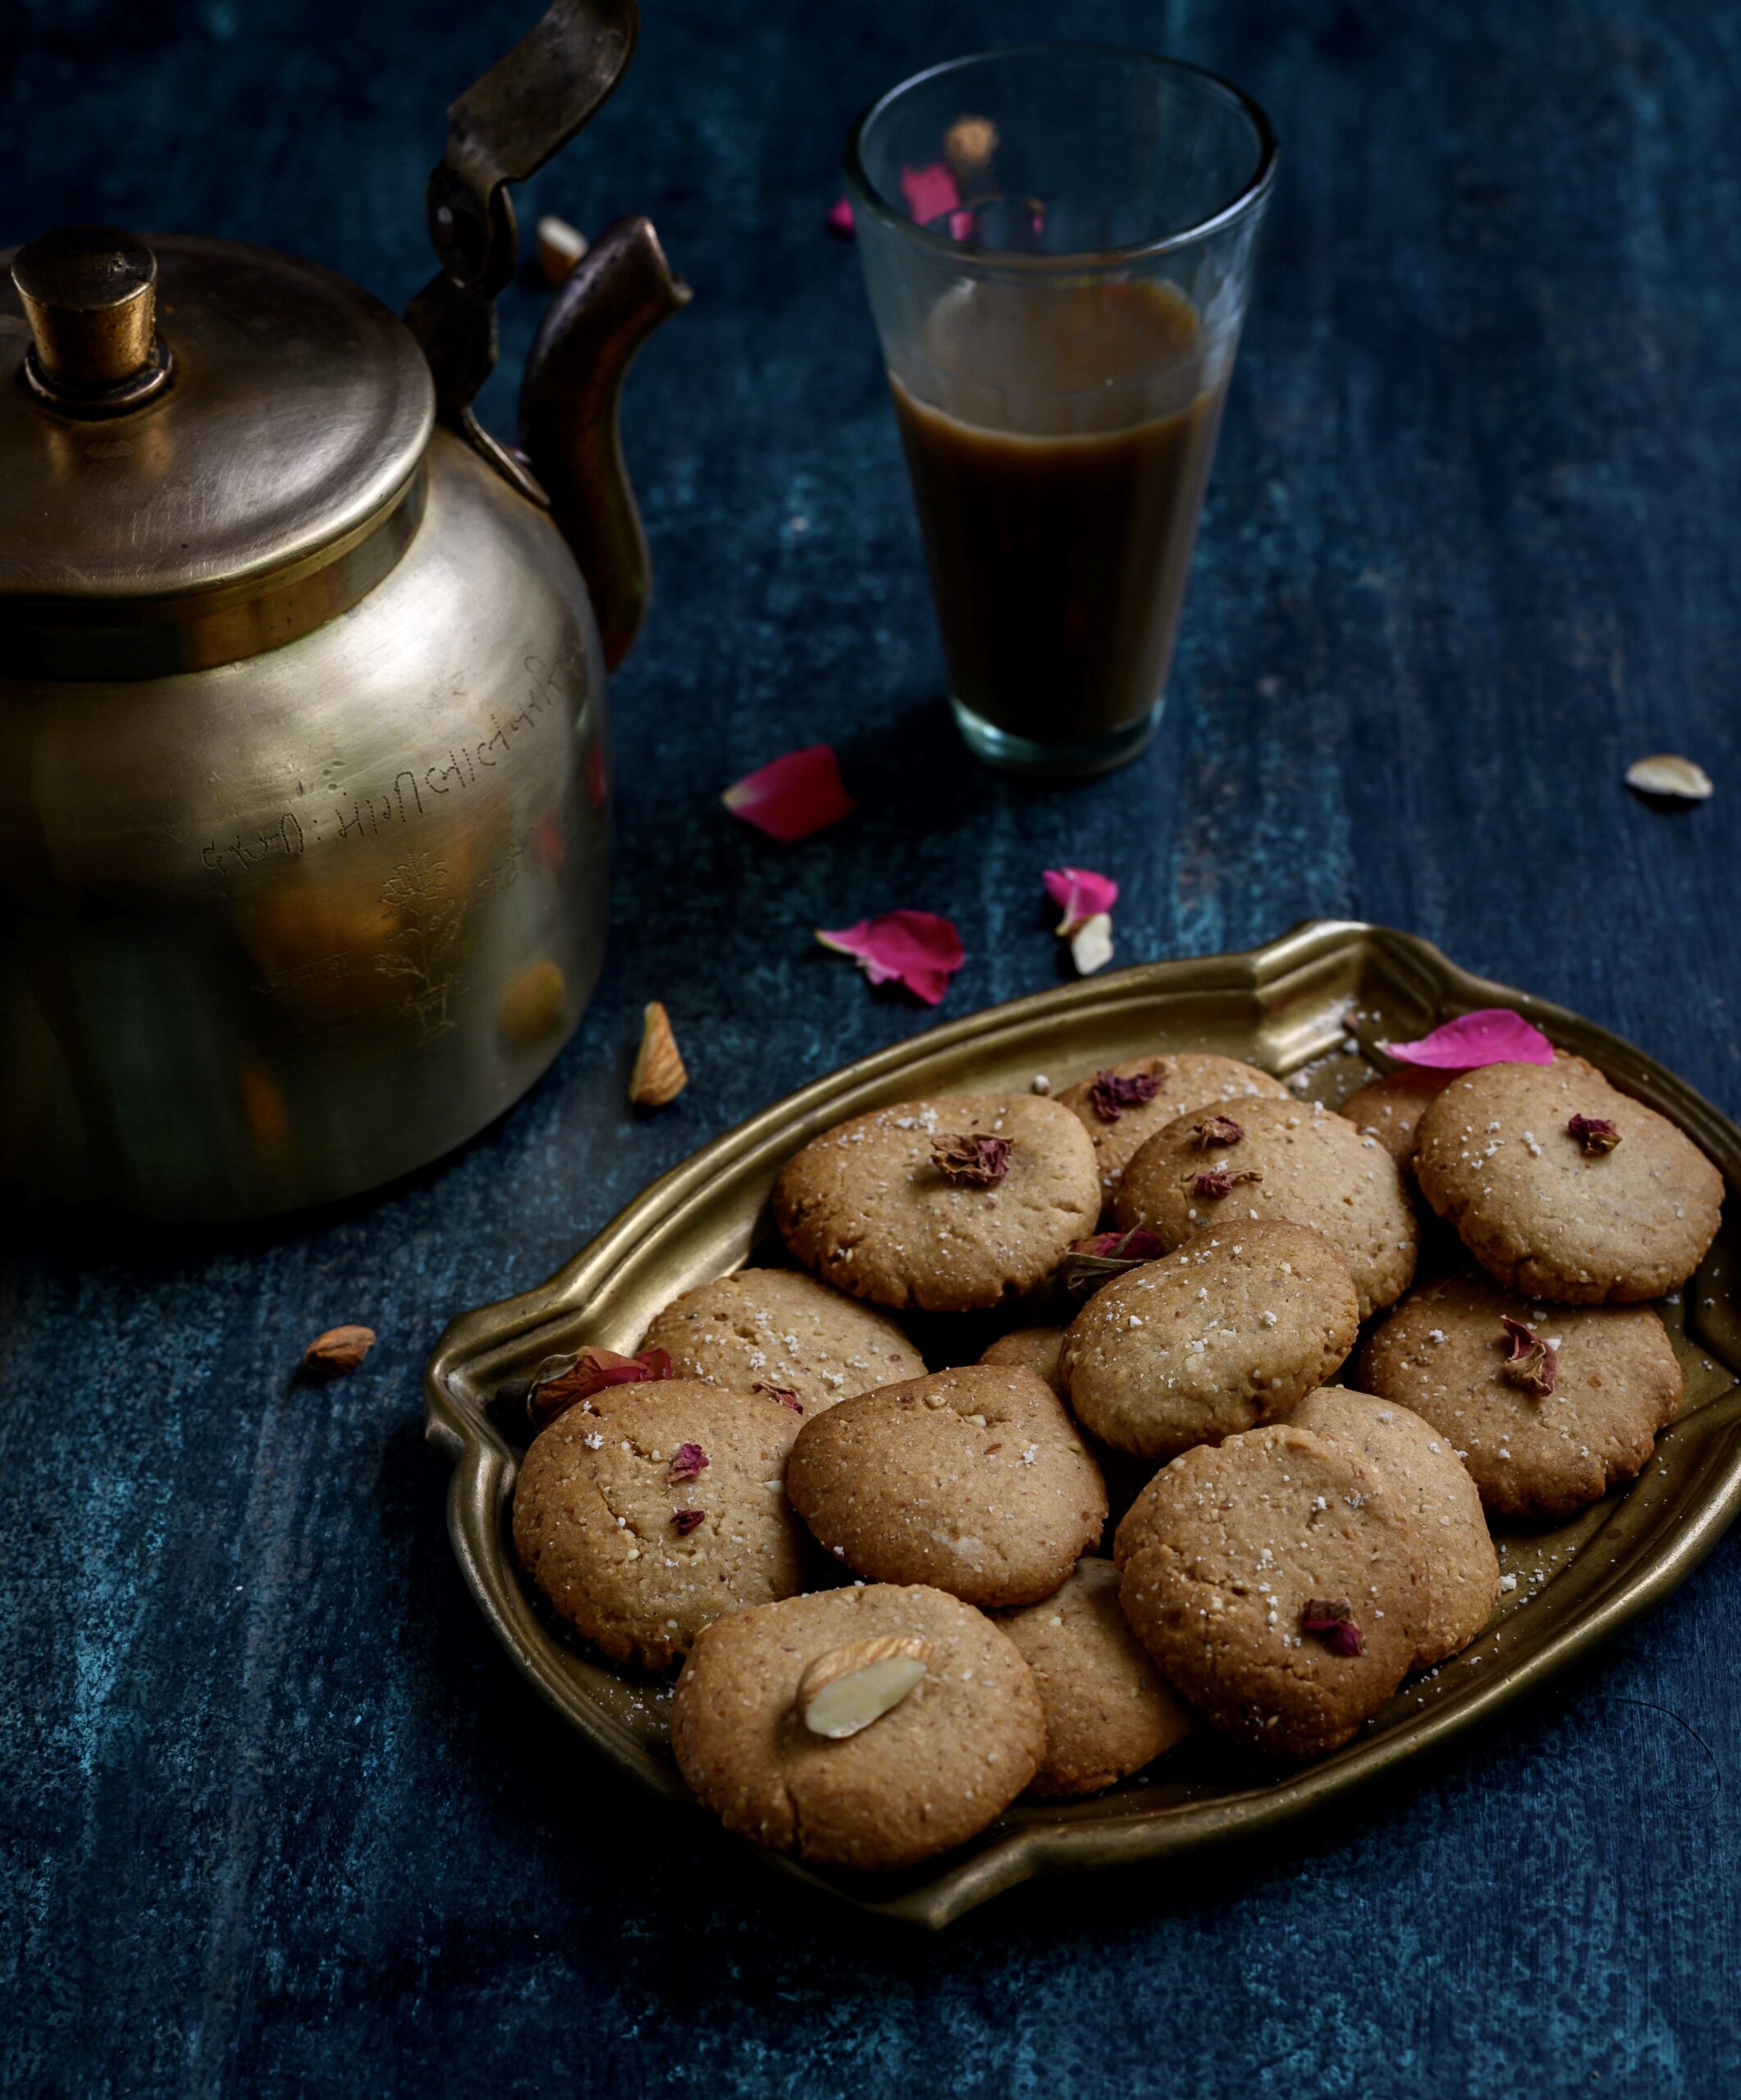
This is what we’ve been enjoying over the past few days. An almond cookie is a classic – and this sugar-free, eggless version is one that will capture a lot of hearts. And I can assure you that it comes with Max’s stamp of approval!


Sugar-Free Almond Cookies

(Yield: 15-20 cookies)


1½ cups oats flour

¾ cup whole wheat flour

¾ cup maida

1 cup almond flour

1 teaspoon baking powder

½ teaspoon salt

½ cup oil

½ cup honey

½ teaspoon vanilla extract

¼ teaspoon rose extract

¼ teaspoon rose water

Preheat the oven to 150°C. Prepare a baking tray and keep it ready.

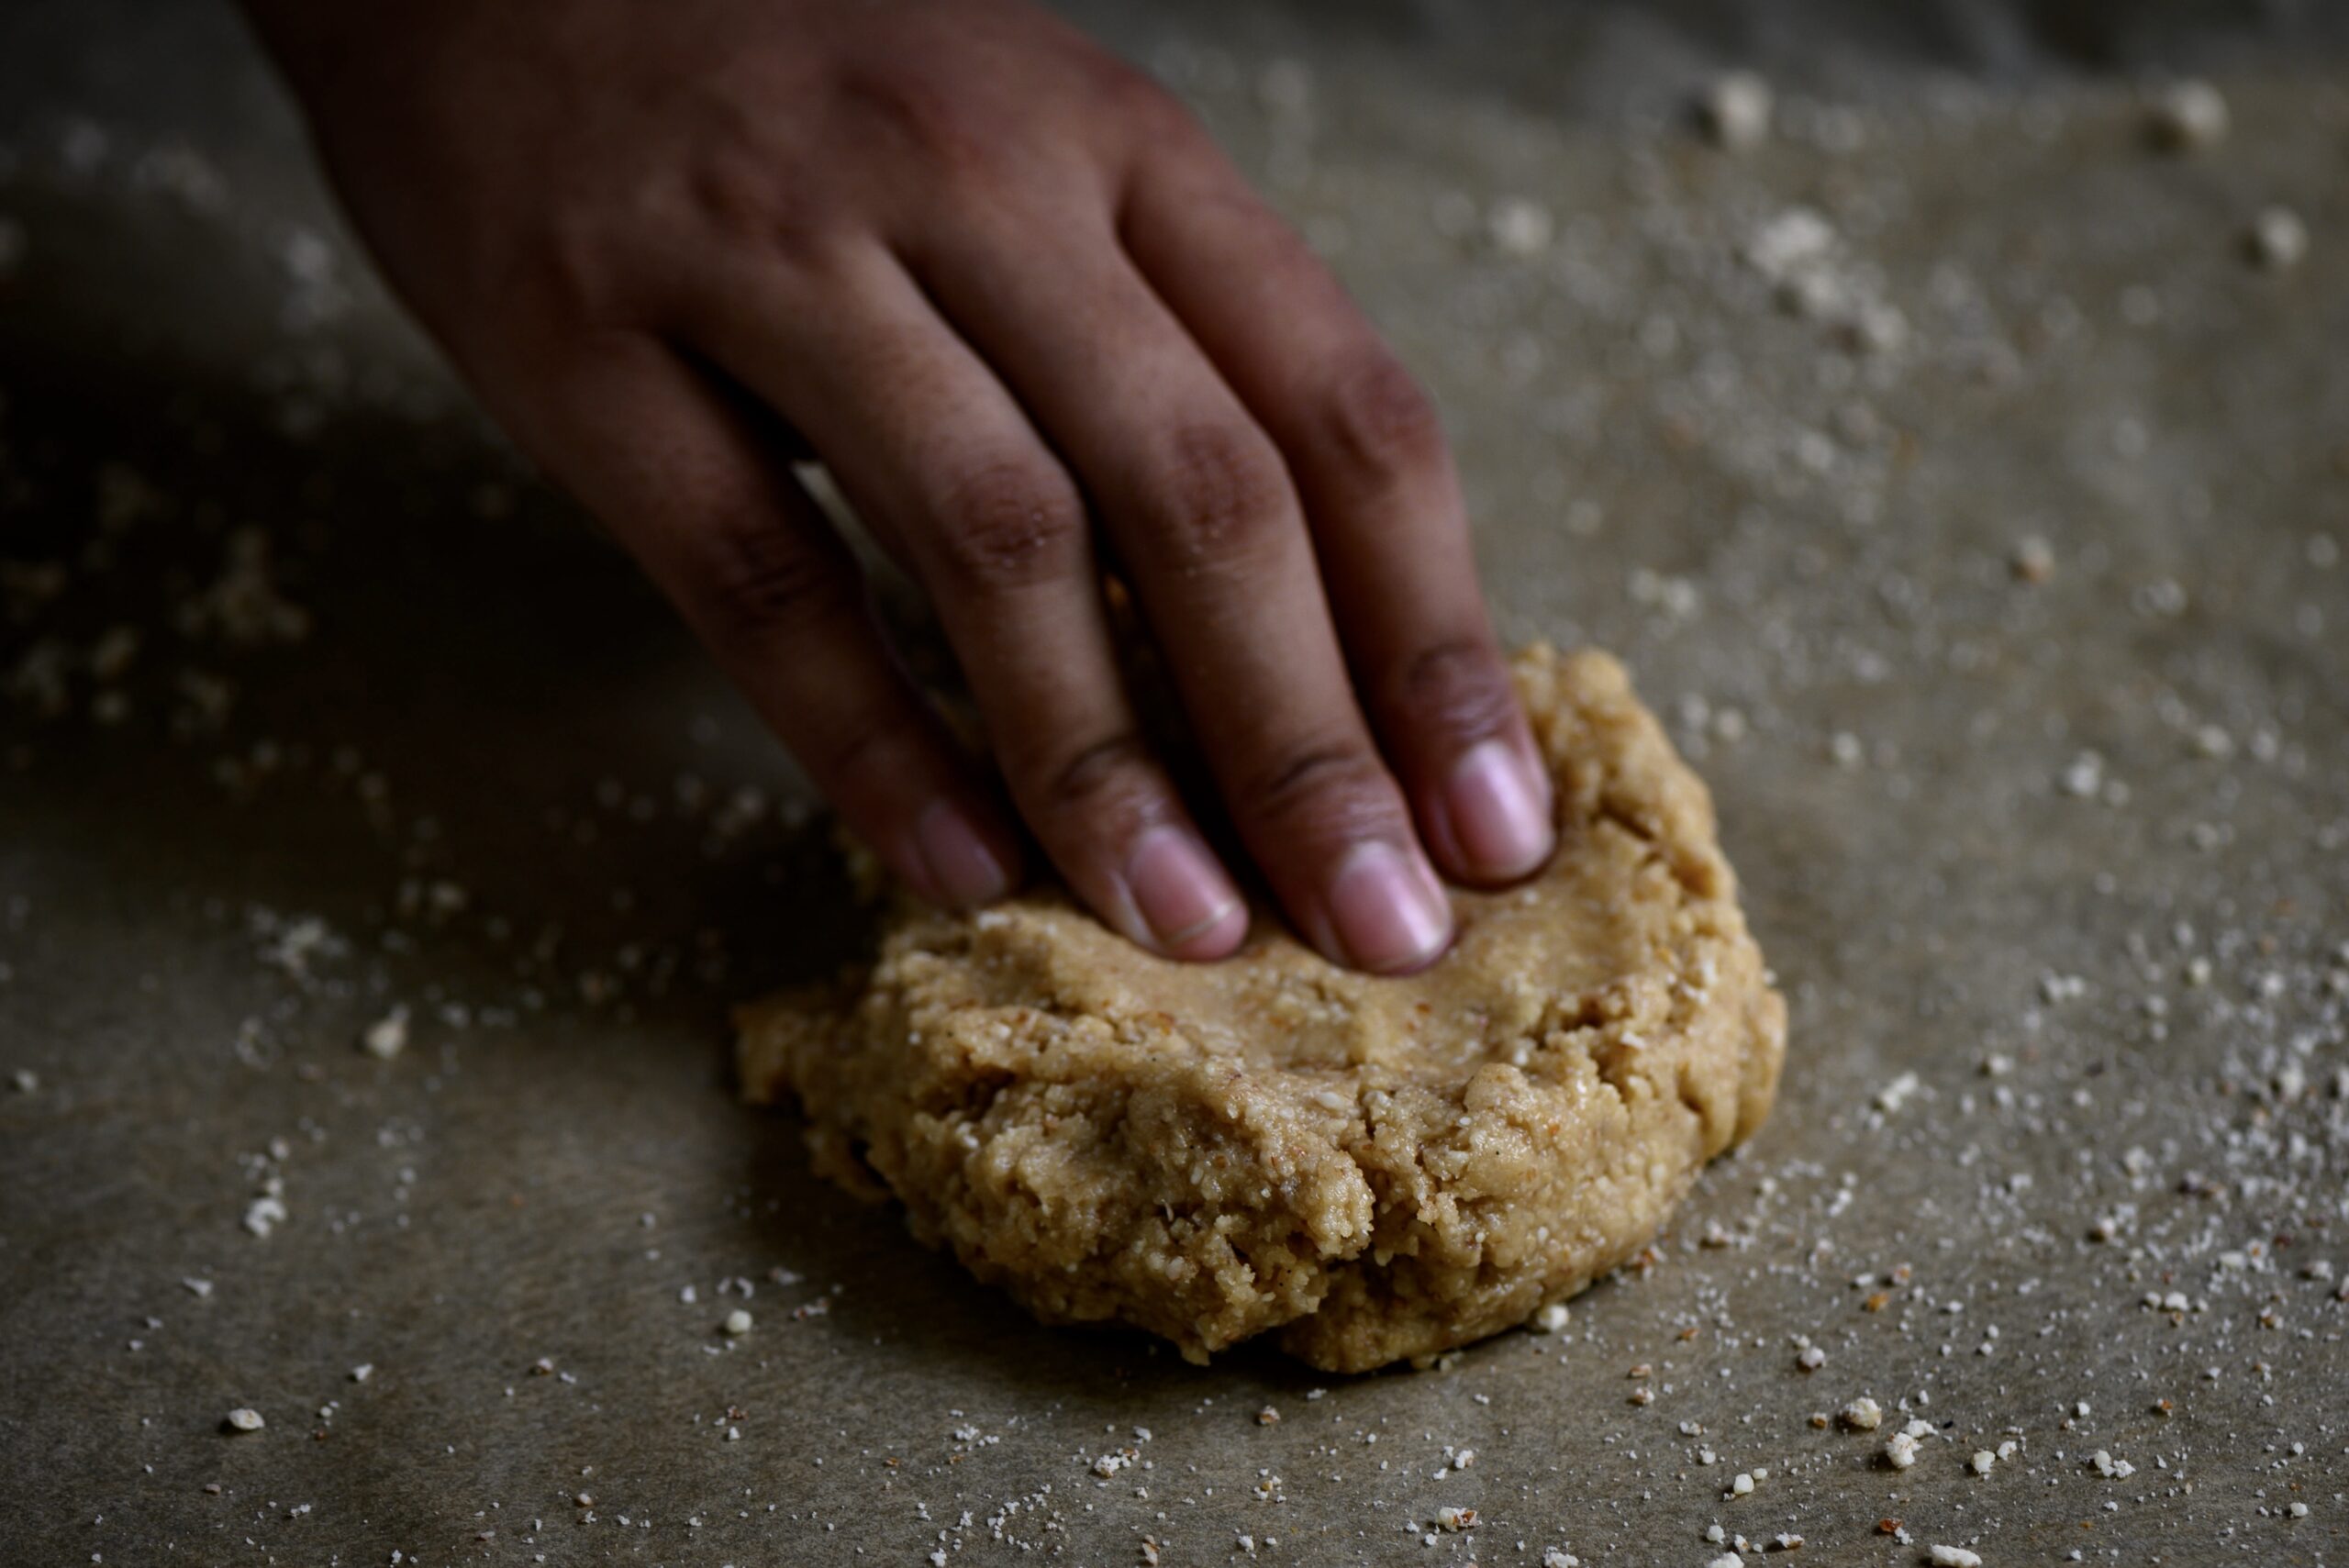
In a mixing bowl, add all the dry ingredients and whisk well. Then, slowly add all the wet ingredients into the dry ingredients. Mix them all together with your hands gently until they become one whole mass of dough.

Now, make small flat discs and place them in rows on the baking tray. Bake in the oven for 10-12 minutes or until they turn golden on the edges. Remove and allow to cool on tray for about 5 minutes. Remove them onto a cooling rack.

They are ready to serve, and if you wish to, you can decorate them with any toppings or icing of your choice.

On one of my recent Instagram posts, you would have seen another one of my successful latest experiments: pista-rose cookies, which combined two of the more popular flavours on the re:store menu. The next time I make it, I’m going to try and adapt this recipe to do so, replacing almond meal or almond flour with pistachio meal or pistachio flour.

With the kinds of cravings for sweetness that I have, finding and incorporating sugar-free desserts into my meals is a necessary, healthier choice. These sugar-free almond cookies are also eggless, as you may have noticed, which makes them the perfect choice for vegetarians. Vegans may opt to substitute honey with a sweetener of their choice. As I said earlier, this recipe came about through a process of experimentation. What next? As I write this, I’m already wondering: what about an almond kachori? Innovative uses of readily available ingredients are practically a daily adventure for me now.

Since I’m not giving up the crunchiness that I need with my cup of tea anytime soon, I’m delighted to have these sugar-free almond cookies around. After all, they are not only free of sugar, but in being so, also free of guilt!