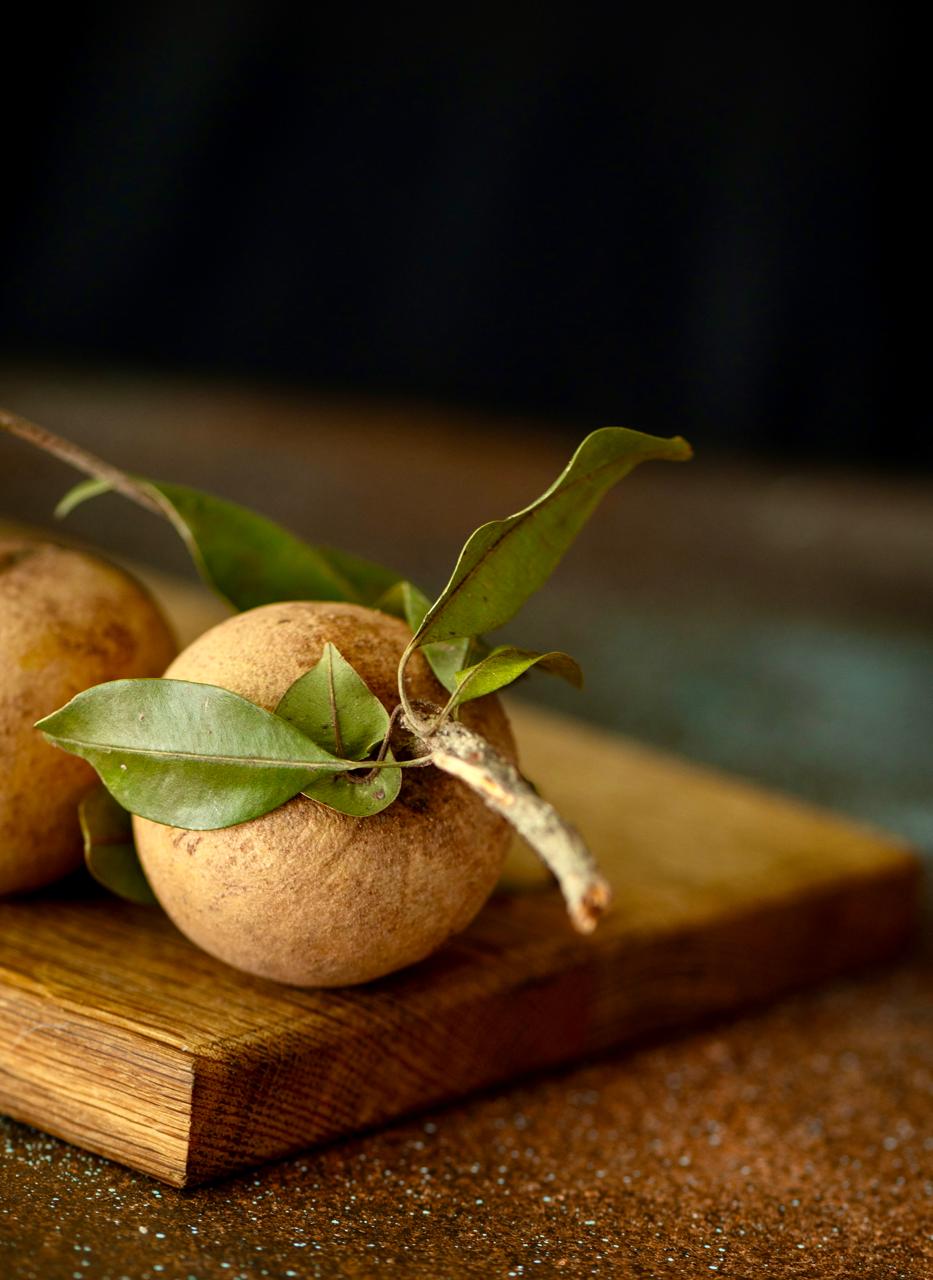
The delicious guava fruit has made a couple of appearances on my blog before: in the recipe for a popular Gujarati guava curry, as well as in a lovely Parsi guava jelly. Guava is something I have always enjoyed in various forms, and is linked to special childhood memories of climbing neighbourhood trees and plucking the fruit – eating it that fresh, and in such a fun way too. Having grown up in Chennai and having seen the abundant growth of the tree right here in the city, it occurred to me that there had to be regional dishes that feature it too. Upon speaking to Tamilian friends, I learnt about the guava chutney. I had initially been pleasantly surprised even by the concept of a chutney being made from a fruit. Preparing it had been on my mind for some time, and then a beautiful coincidence occurred. I’m so glad to be able to share both the recipe and the story today, in the last few weeks before I wind this blog down for good.
The beautiful coincidence I mentioned is this… As with several of the recipes I have shared here over the years, I often enjoy doing a few experiments and a bit of research before I bring a dish to you. I had been mulling a South Indian guava chutney recipe for a while. I had decided some months ago that I would settle on a good guava chutney recipe and share it here, so imagine my sheer delight when I encountered it during some travel last week. Just in time, and just so delicious!
I had been visiting Thanjavur and stayed in a village, where I was thrilled to experience the local cuisine. A lady there who was cooking for us prepared some amazing food, and amongst the spread was guava chutney.
Naturally, I asked her for the recipe and even requested that I watch her prepare it. What you read here today is a recipe for authentic Tamil-style guava chutney from the Thanjavur delta.
Guava has its own distinct flavour, which this chutney brings this out beautifully. In addition to being tasty, it is also nutritious. It is rich in fibre and antioxidants, and is known for an extensive range of benefits – everything from boosting cardiac health to boosting collagen in the skin. It is a good source of vitamin C, which is why it has a tanginess to it. You can avoid lime as an ingredient entirely while making this chutney. A small piece of tamarind enhances it, but this is the only addition of an acidic note.
In the past, I found hybrid guava varieties on the market, imported from Thailand, but I have noted that they are also being cultivated in India now. The hybrid kind is pink on the inside all year round, and you can find them all year round too. They look very attractive but are not necessarily sweet, although I understand why their easy availability makes them appealing. As much as I relish all kinds of fruit and also have out-of-season cravings, I do prefer to lean towards the traditional and organic. I wish to plant more guava trees on our farm, and I’m eager to find native variants, or at least those that have long been grown here.
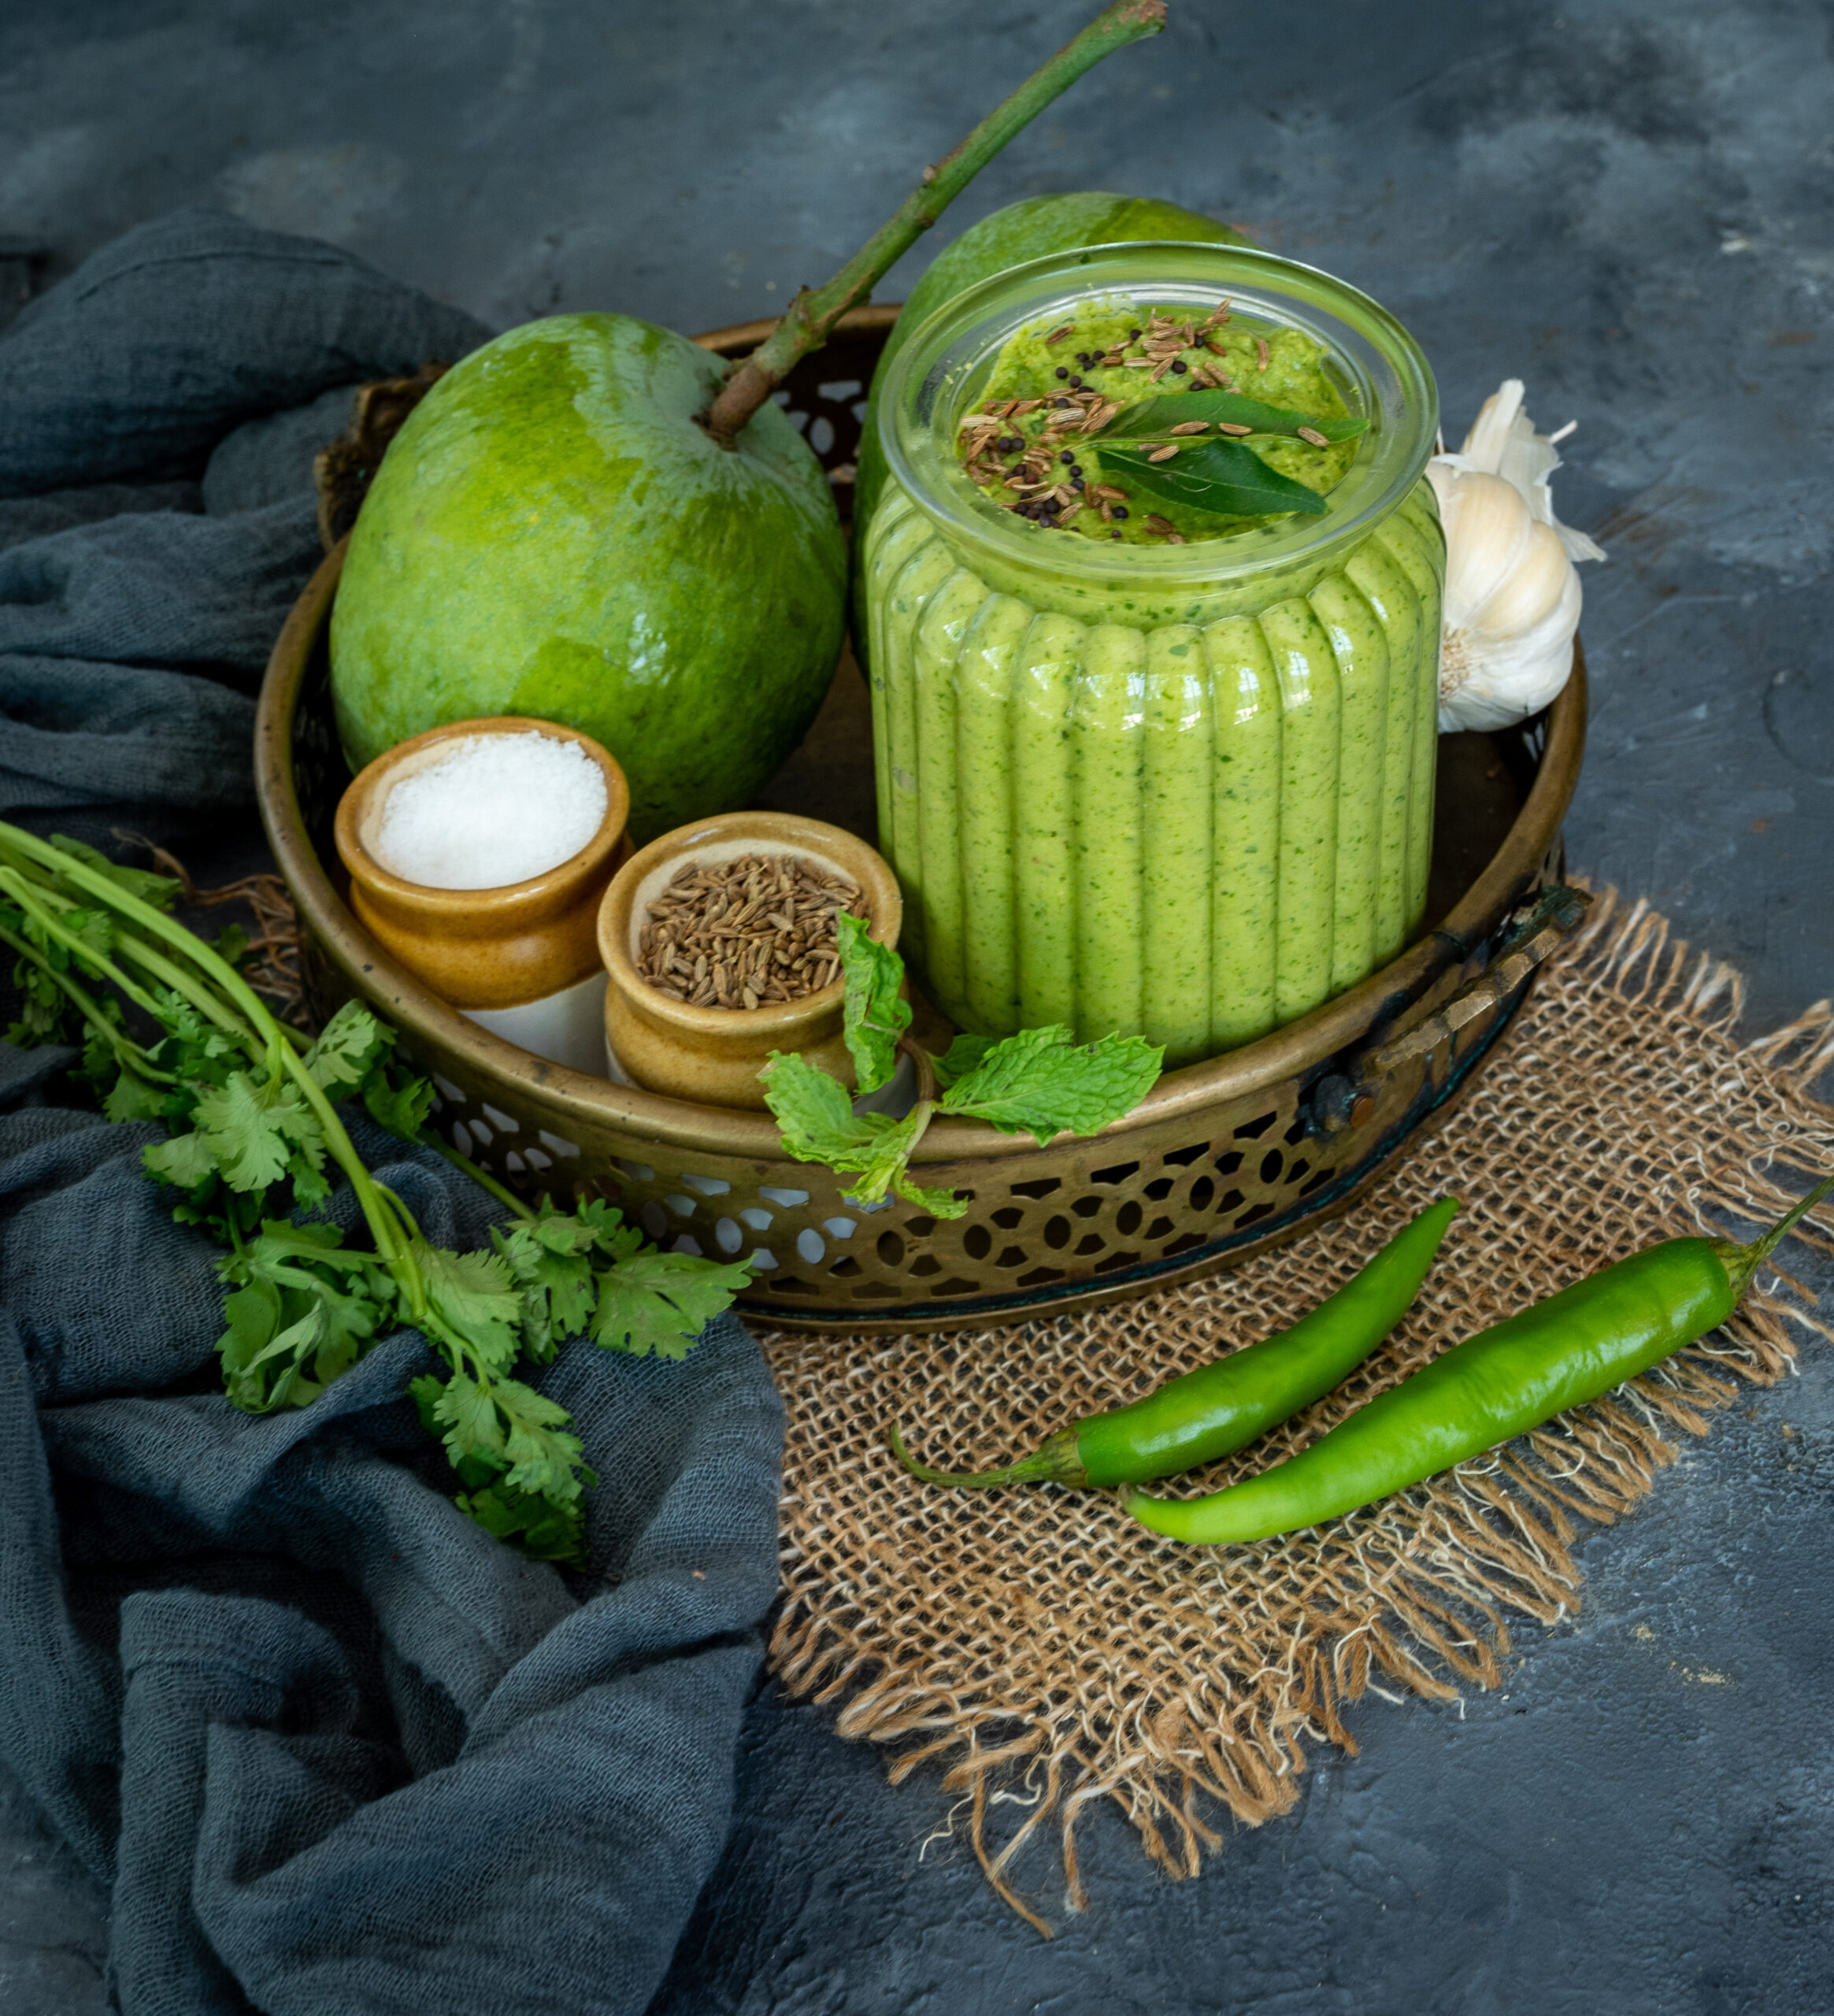
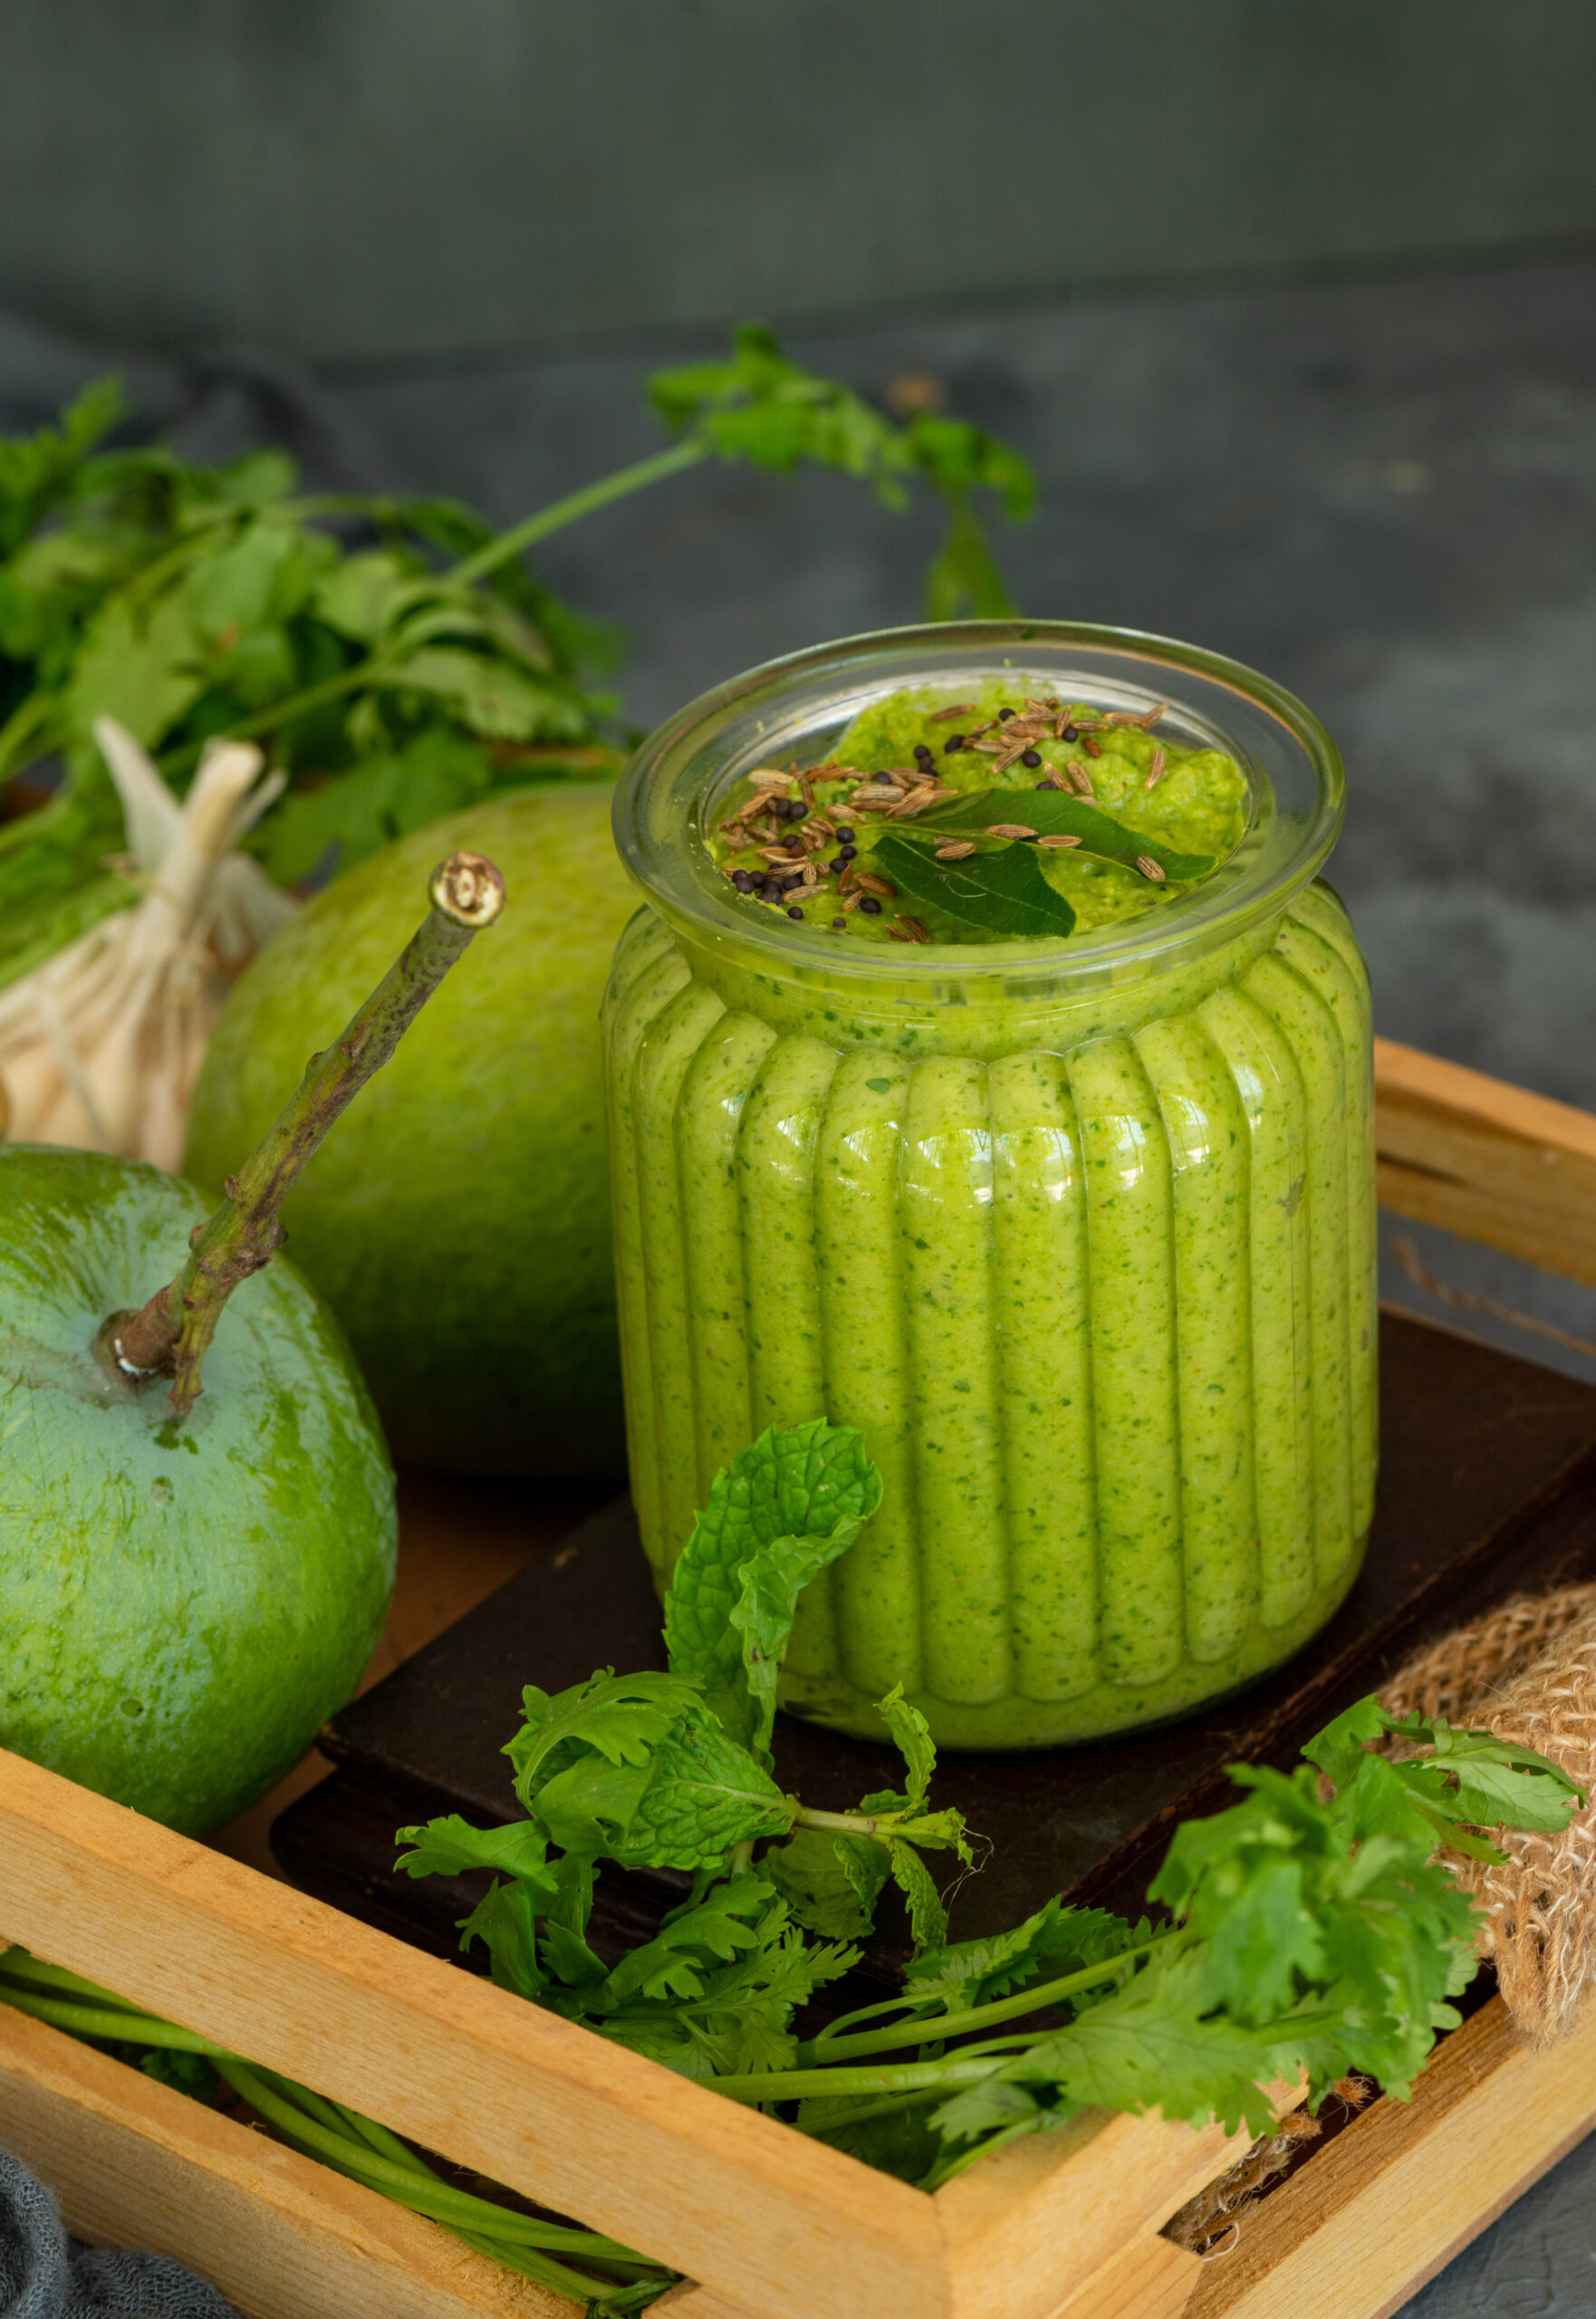
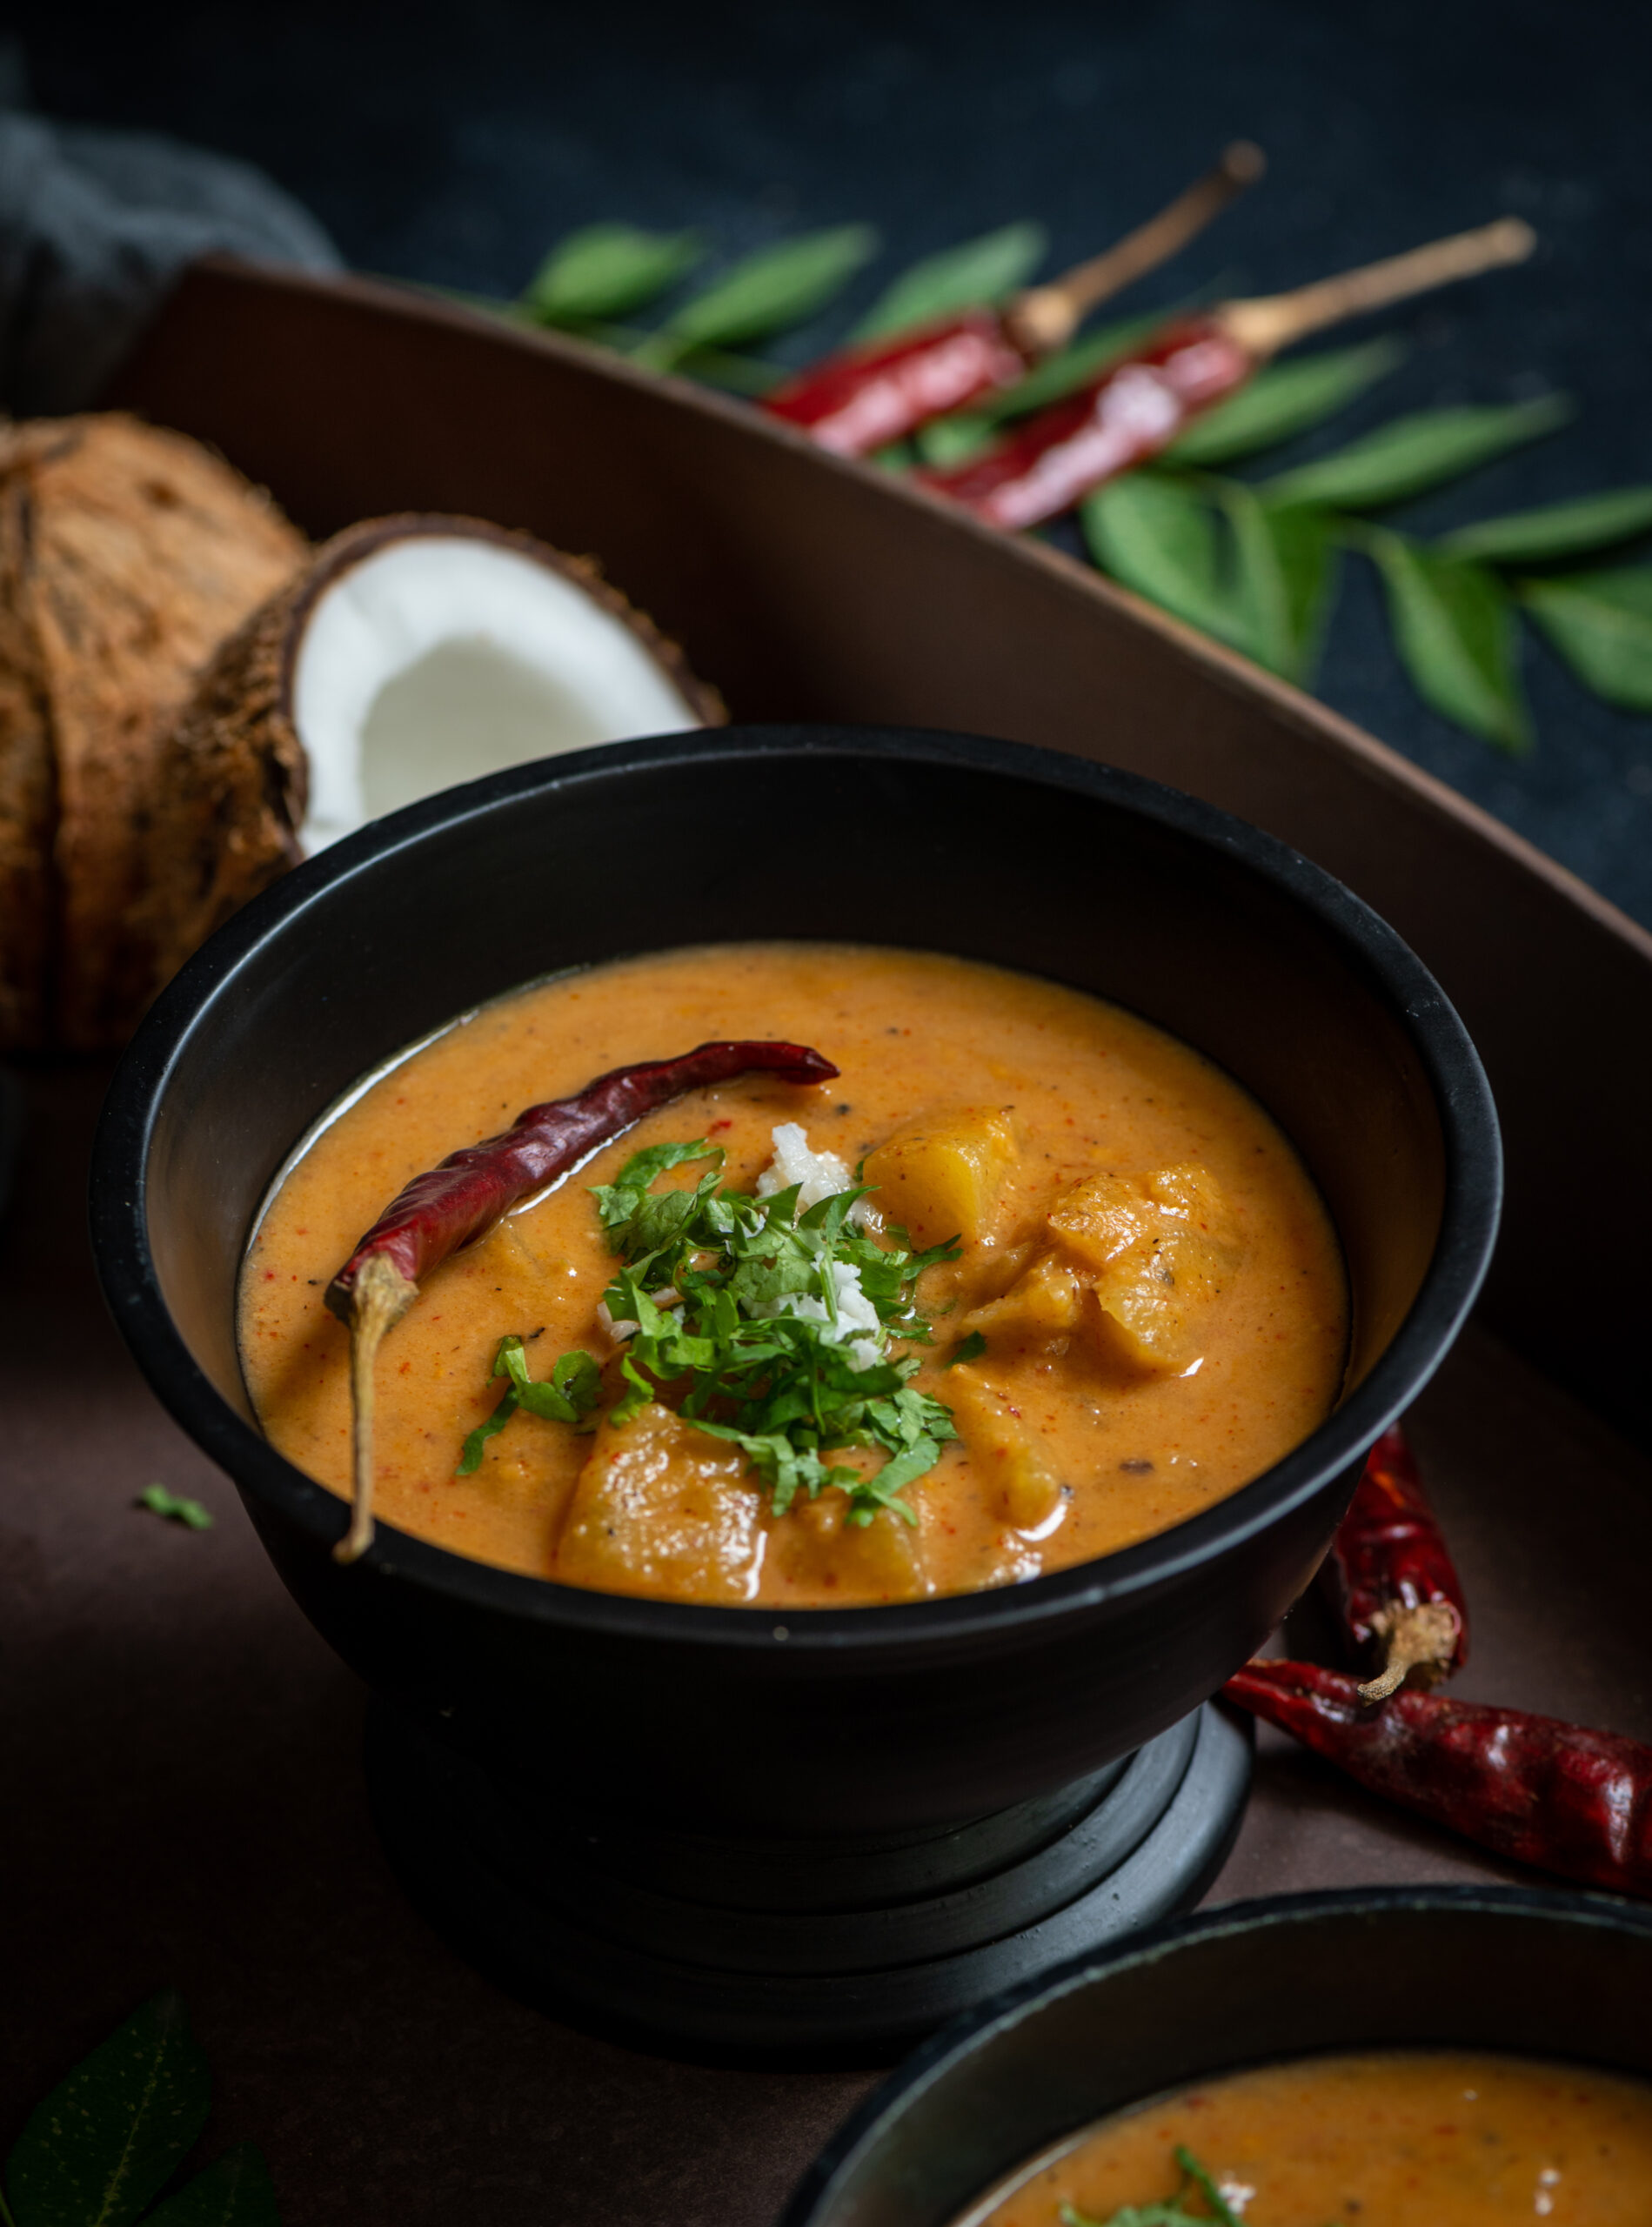
Guava Chutney
(Yield: Serves 2-4)
125 grams guava
2 green chillies
2 tablespoons grated coconut
2-3 cloves garlic
½ inch piece of ginger
1 inch piece of tamarind (soaked)
Salt to taste
Water as required
Tempering
2 teaspoons oil
½ teaspoon mustard seeds
½ teaspoon cumin seeds
A pinch of asafoetida
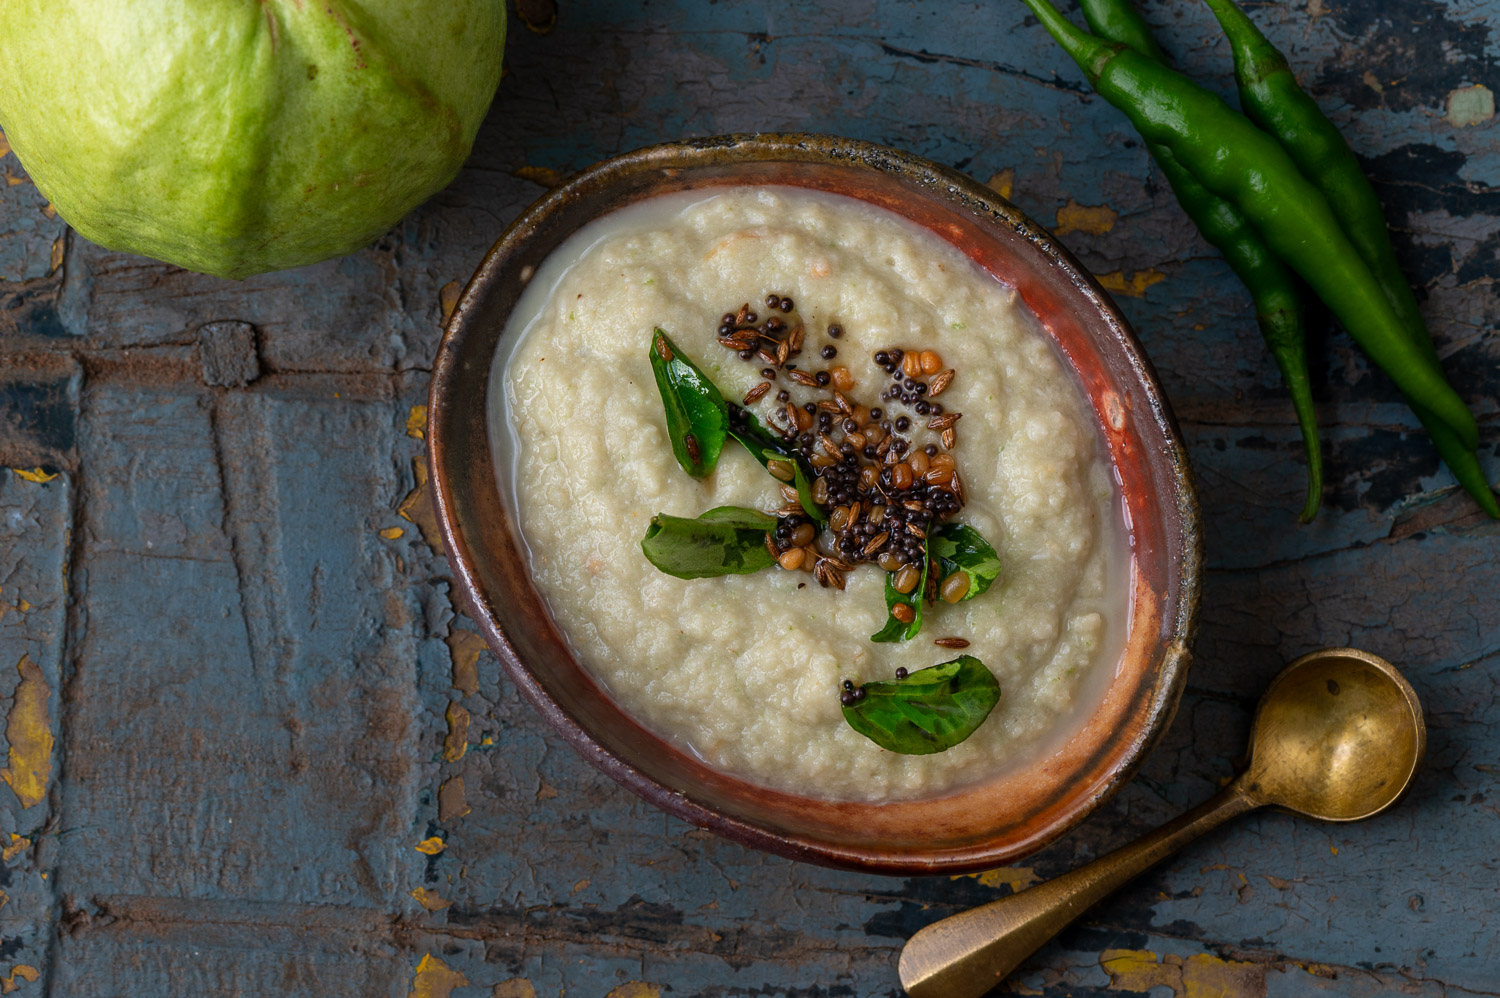
In a blender, add the guava, green chillies, grated coconut, garlic, ginger, tamarind and salt. Add ¼ cup water or as required. Blend until smooth.
To prepare the tempering, heat the oil and add the seeds. When they splutter, add asafoetida. Pour this tempering over the chutney and serve. You will probably enjoy it most with dosas or rice.
As you can see, the recipe is really very simple. Guava chutney adds a fruity, flavourful note to any basic Indian meal of yours, complementing the staples and bringing a bit more joy to the day. If you enjoy chutneys in general, do check out more of them in the archives too.