Tag

flatbreads

Browsing

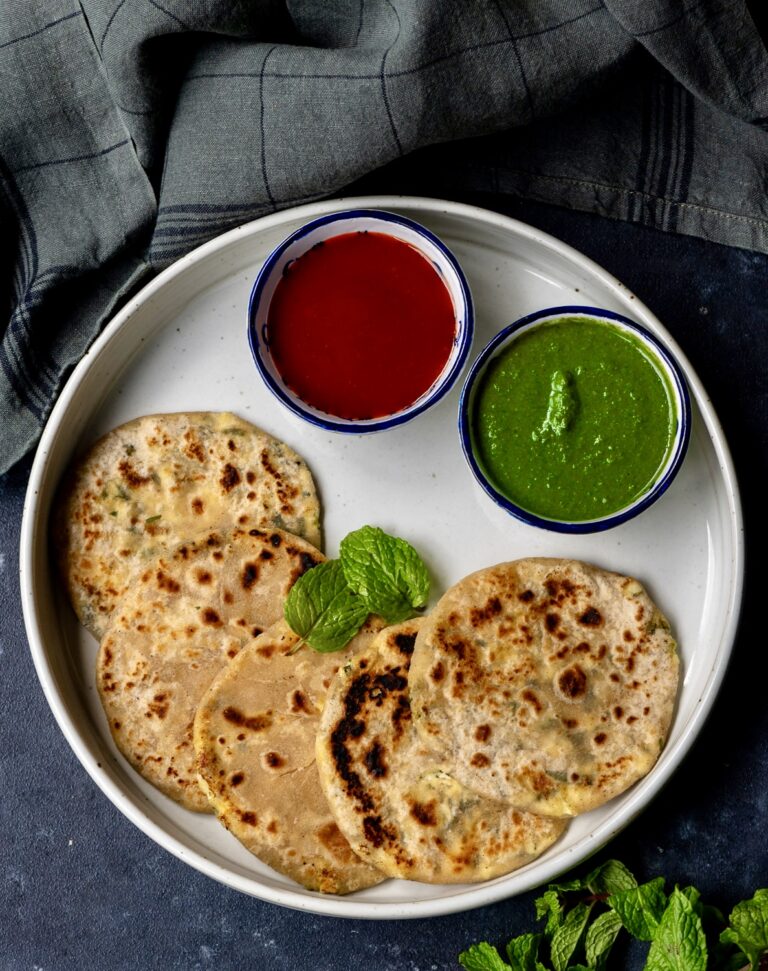
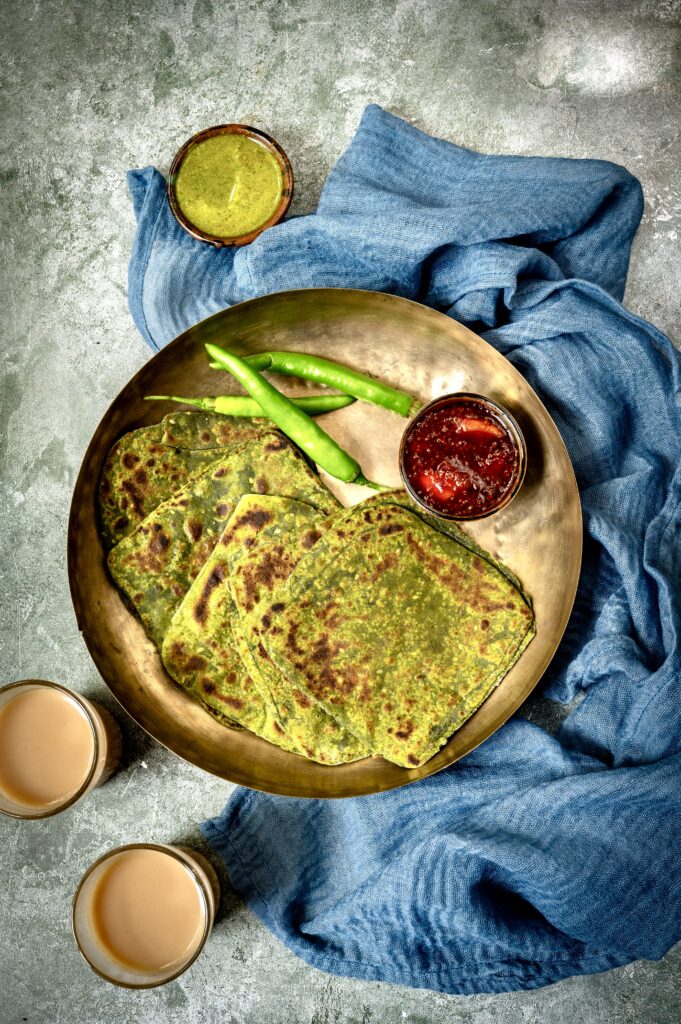
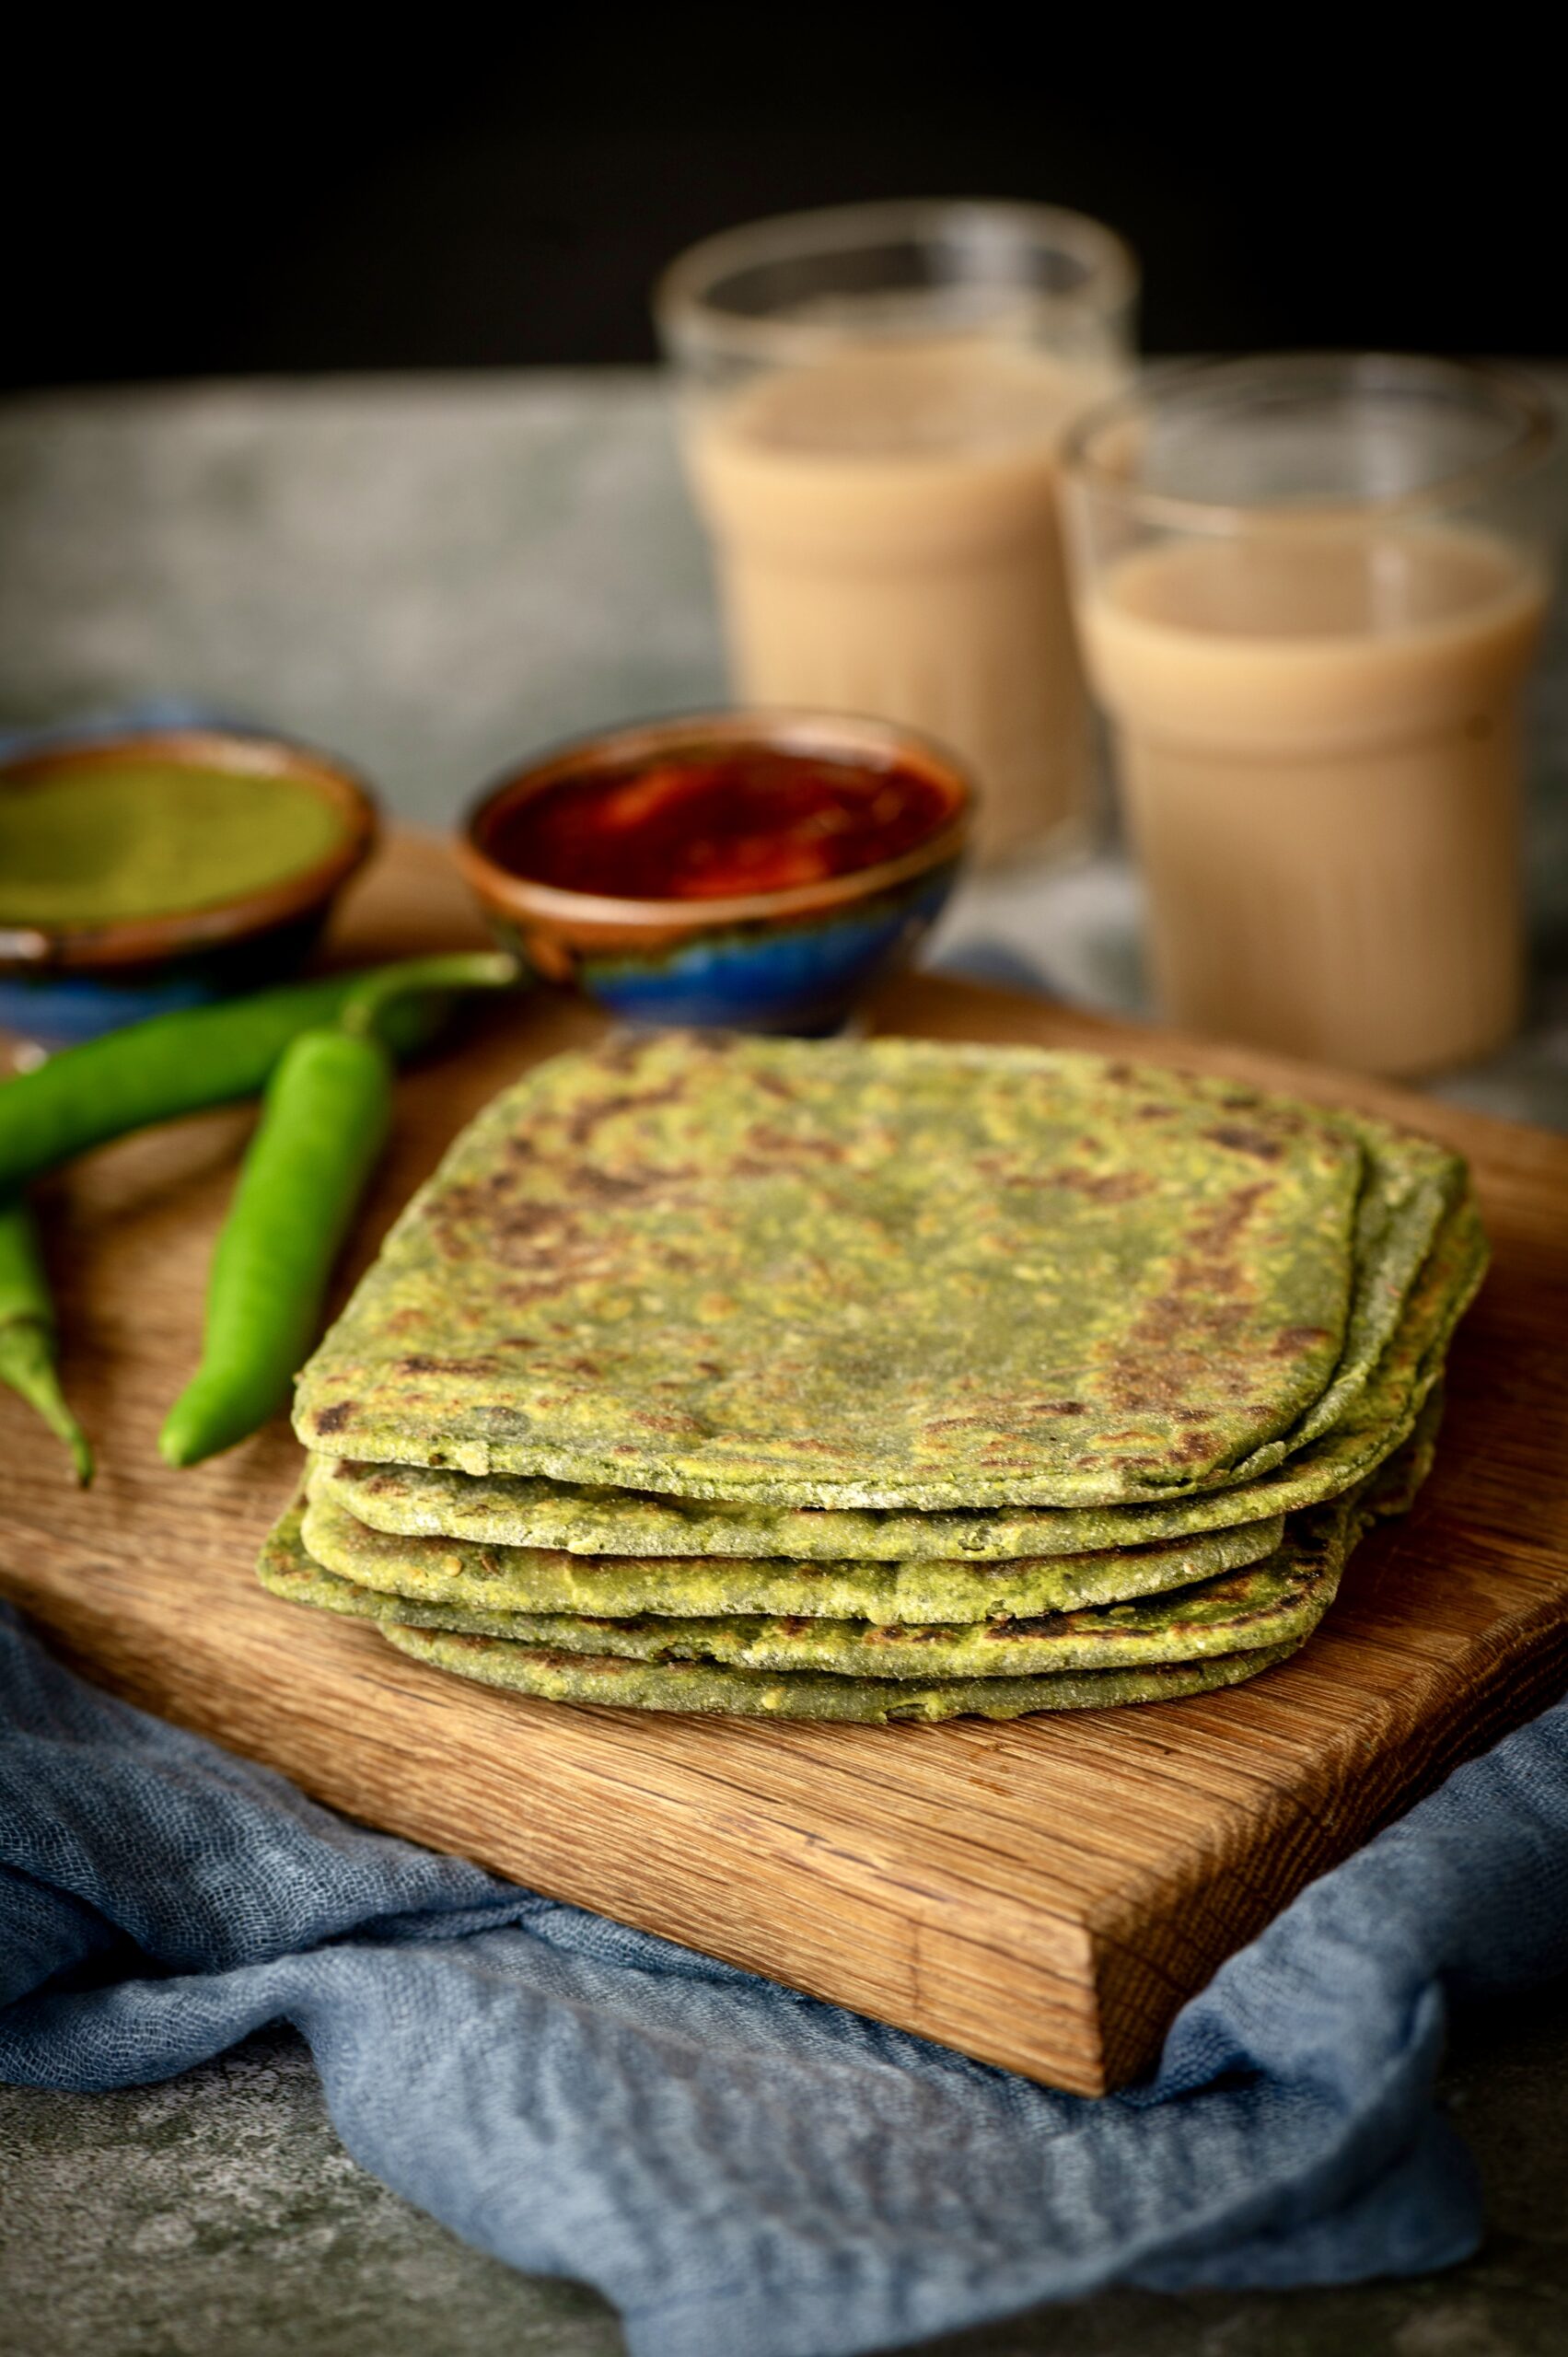
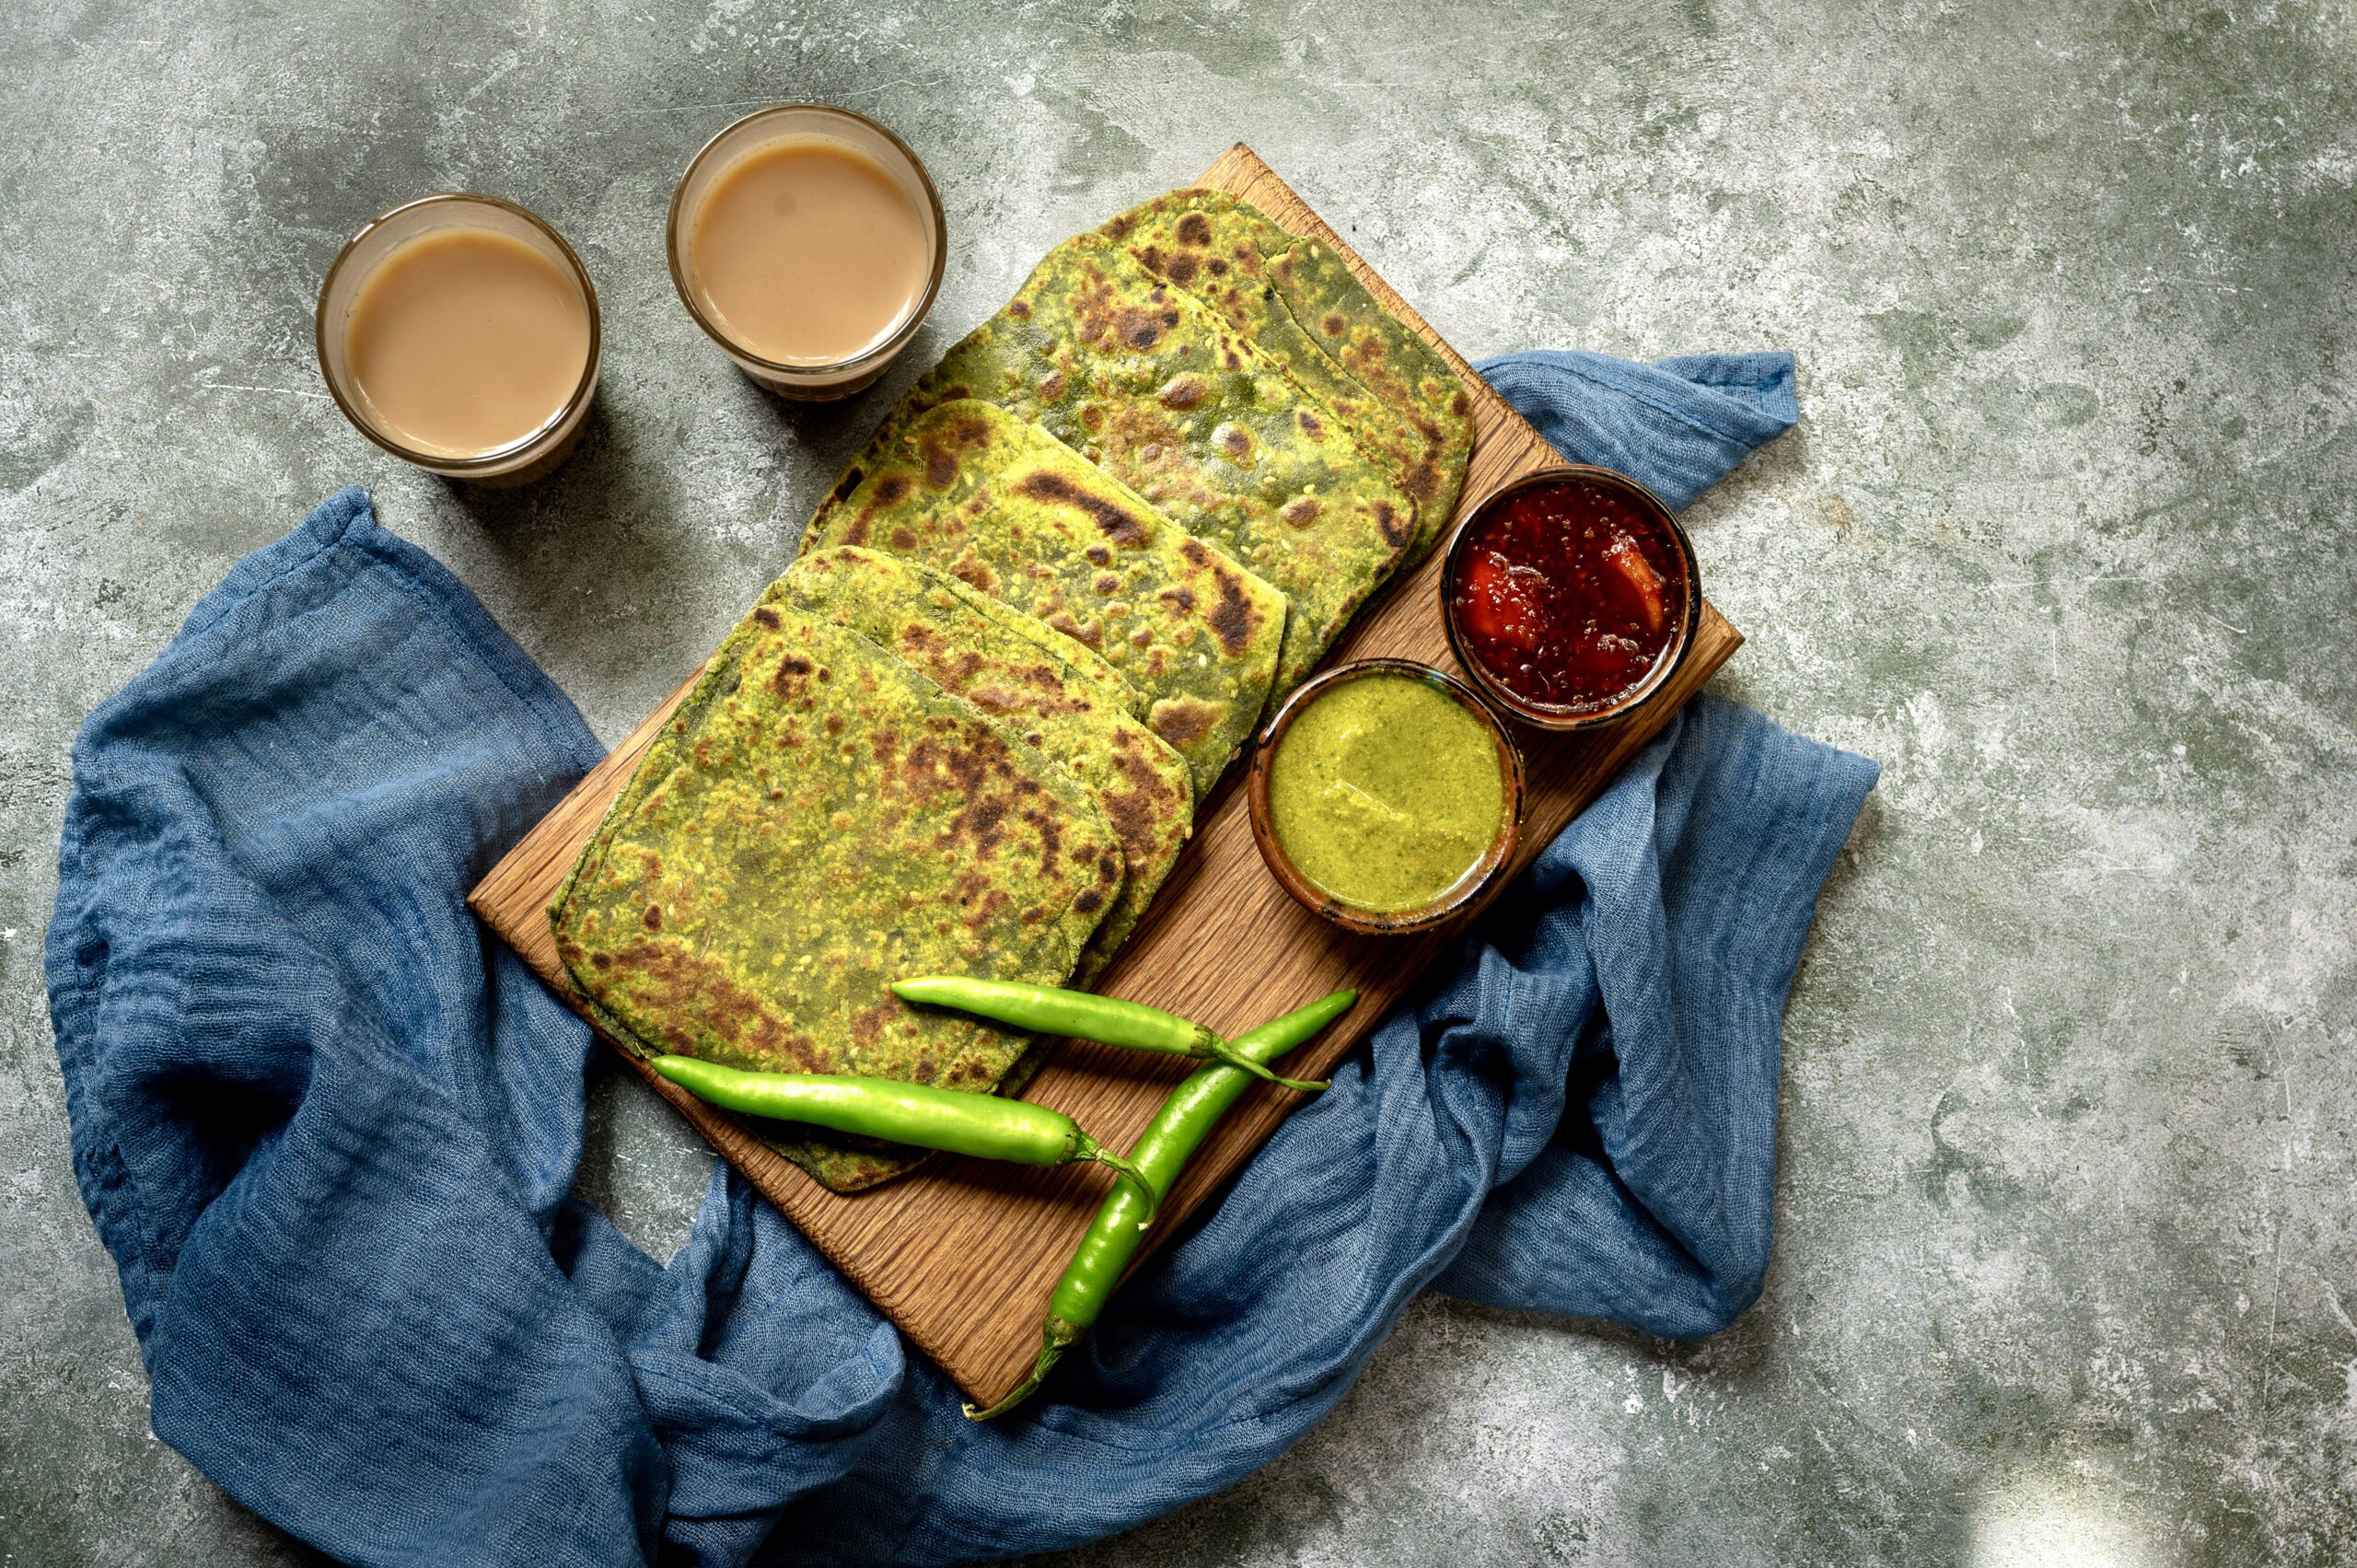
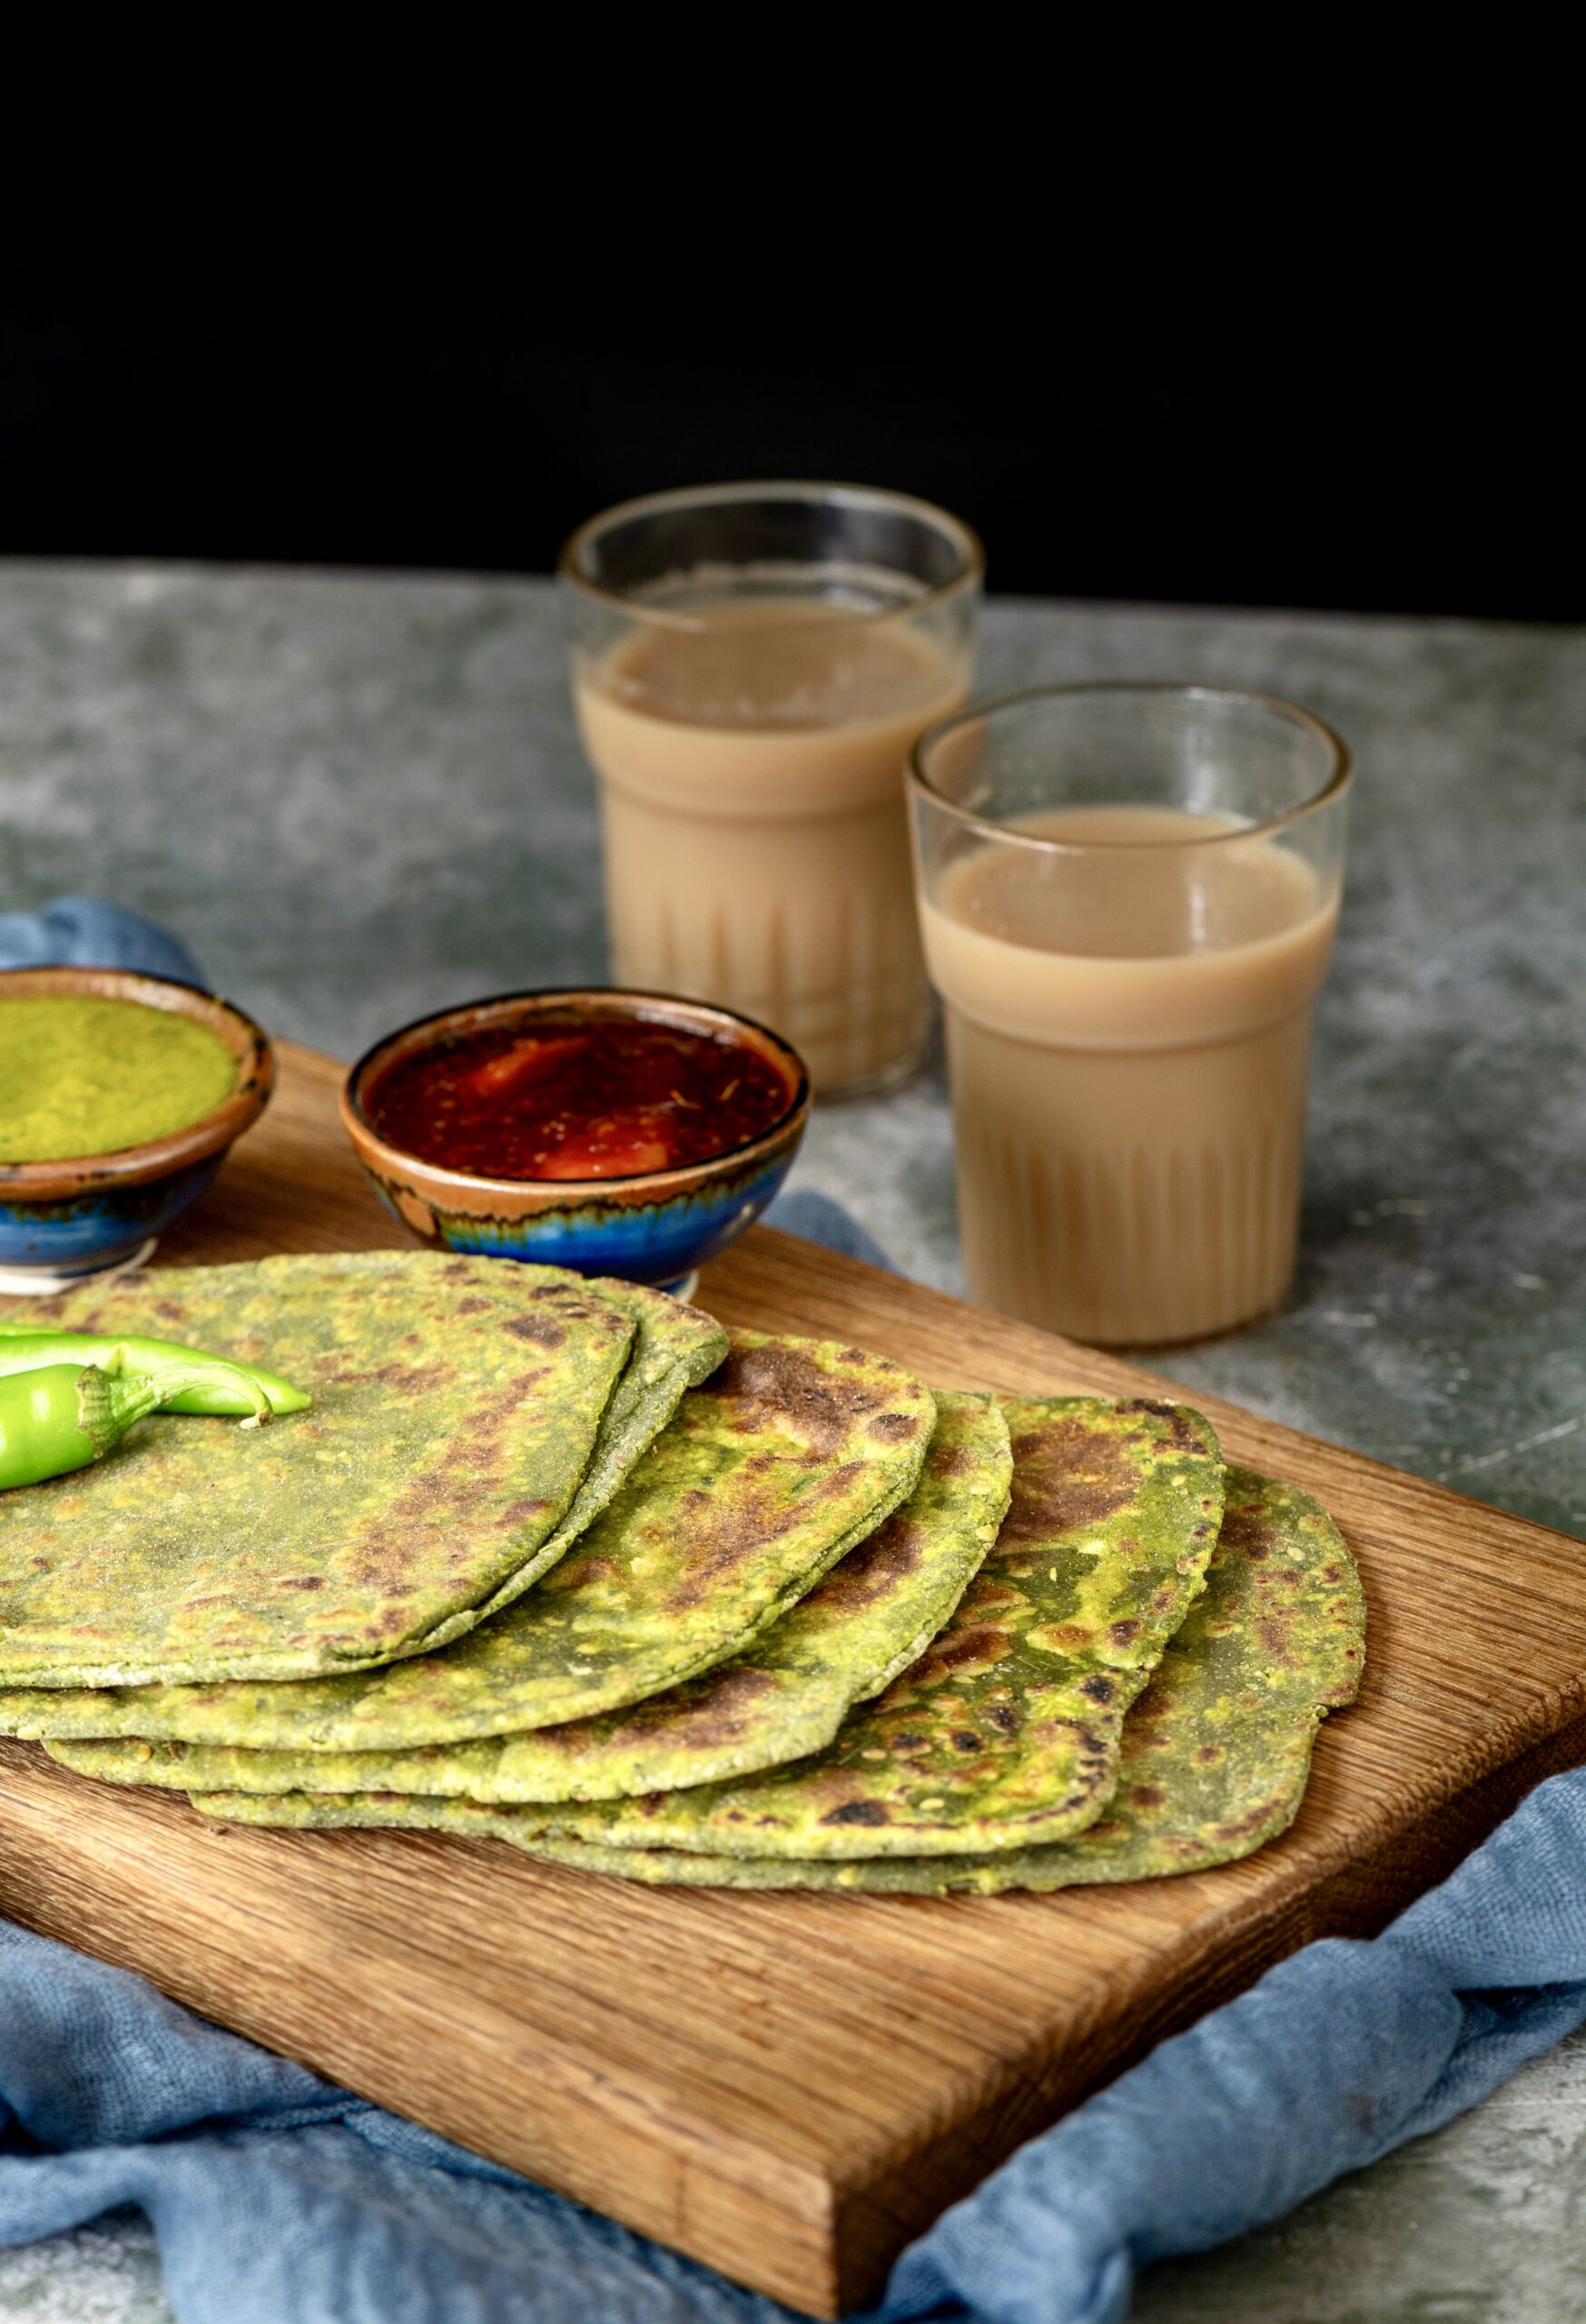
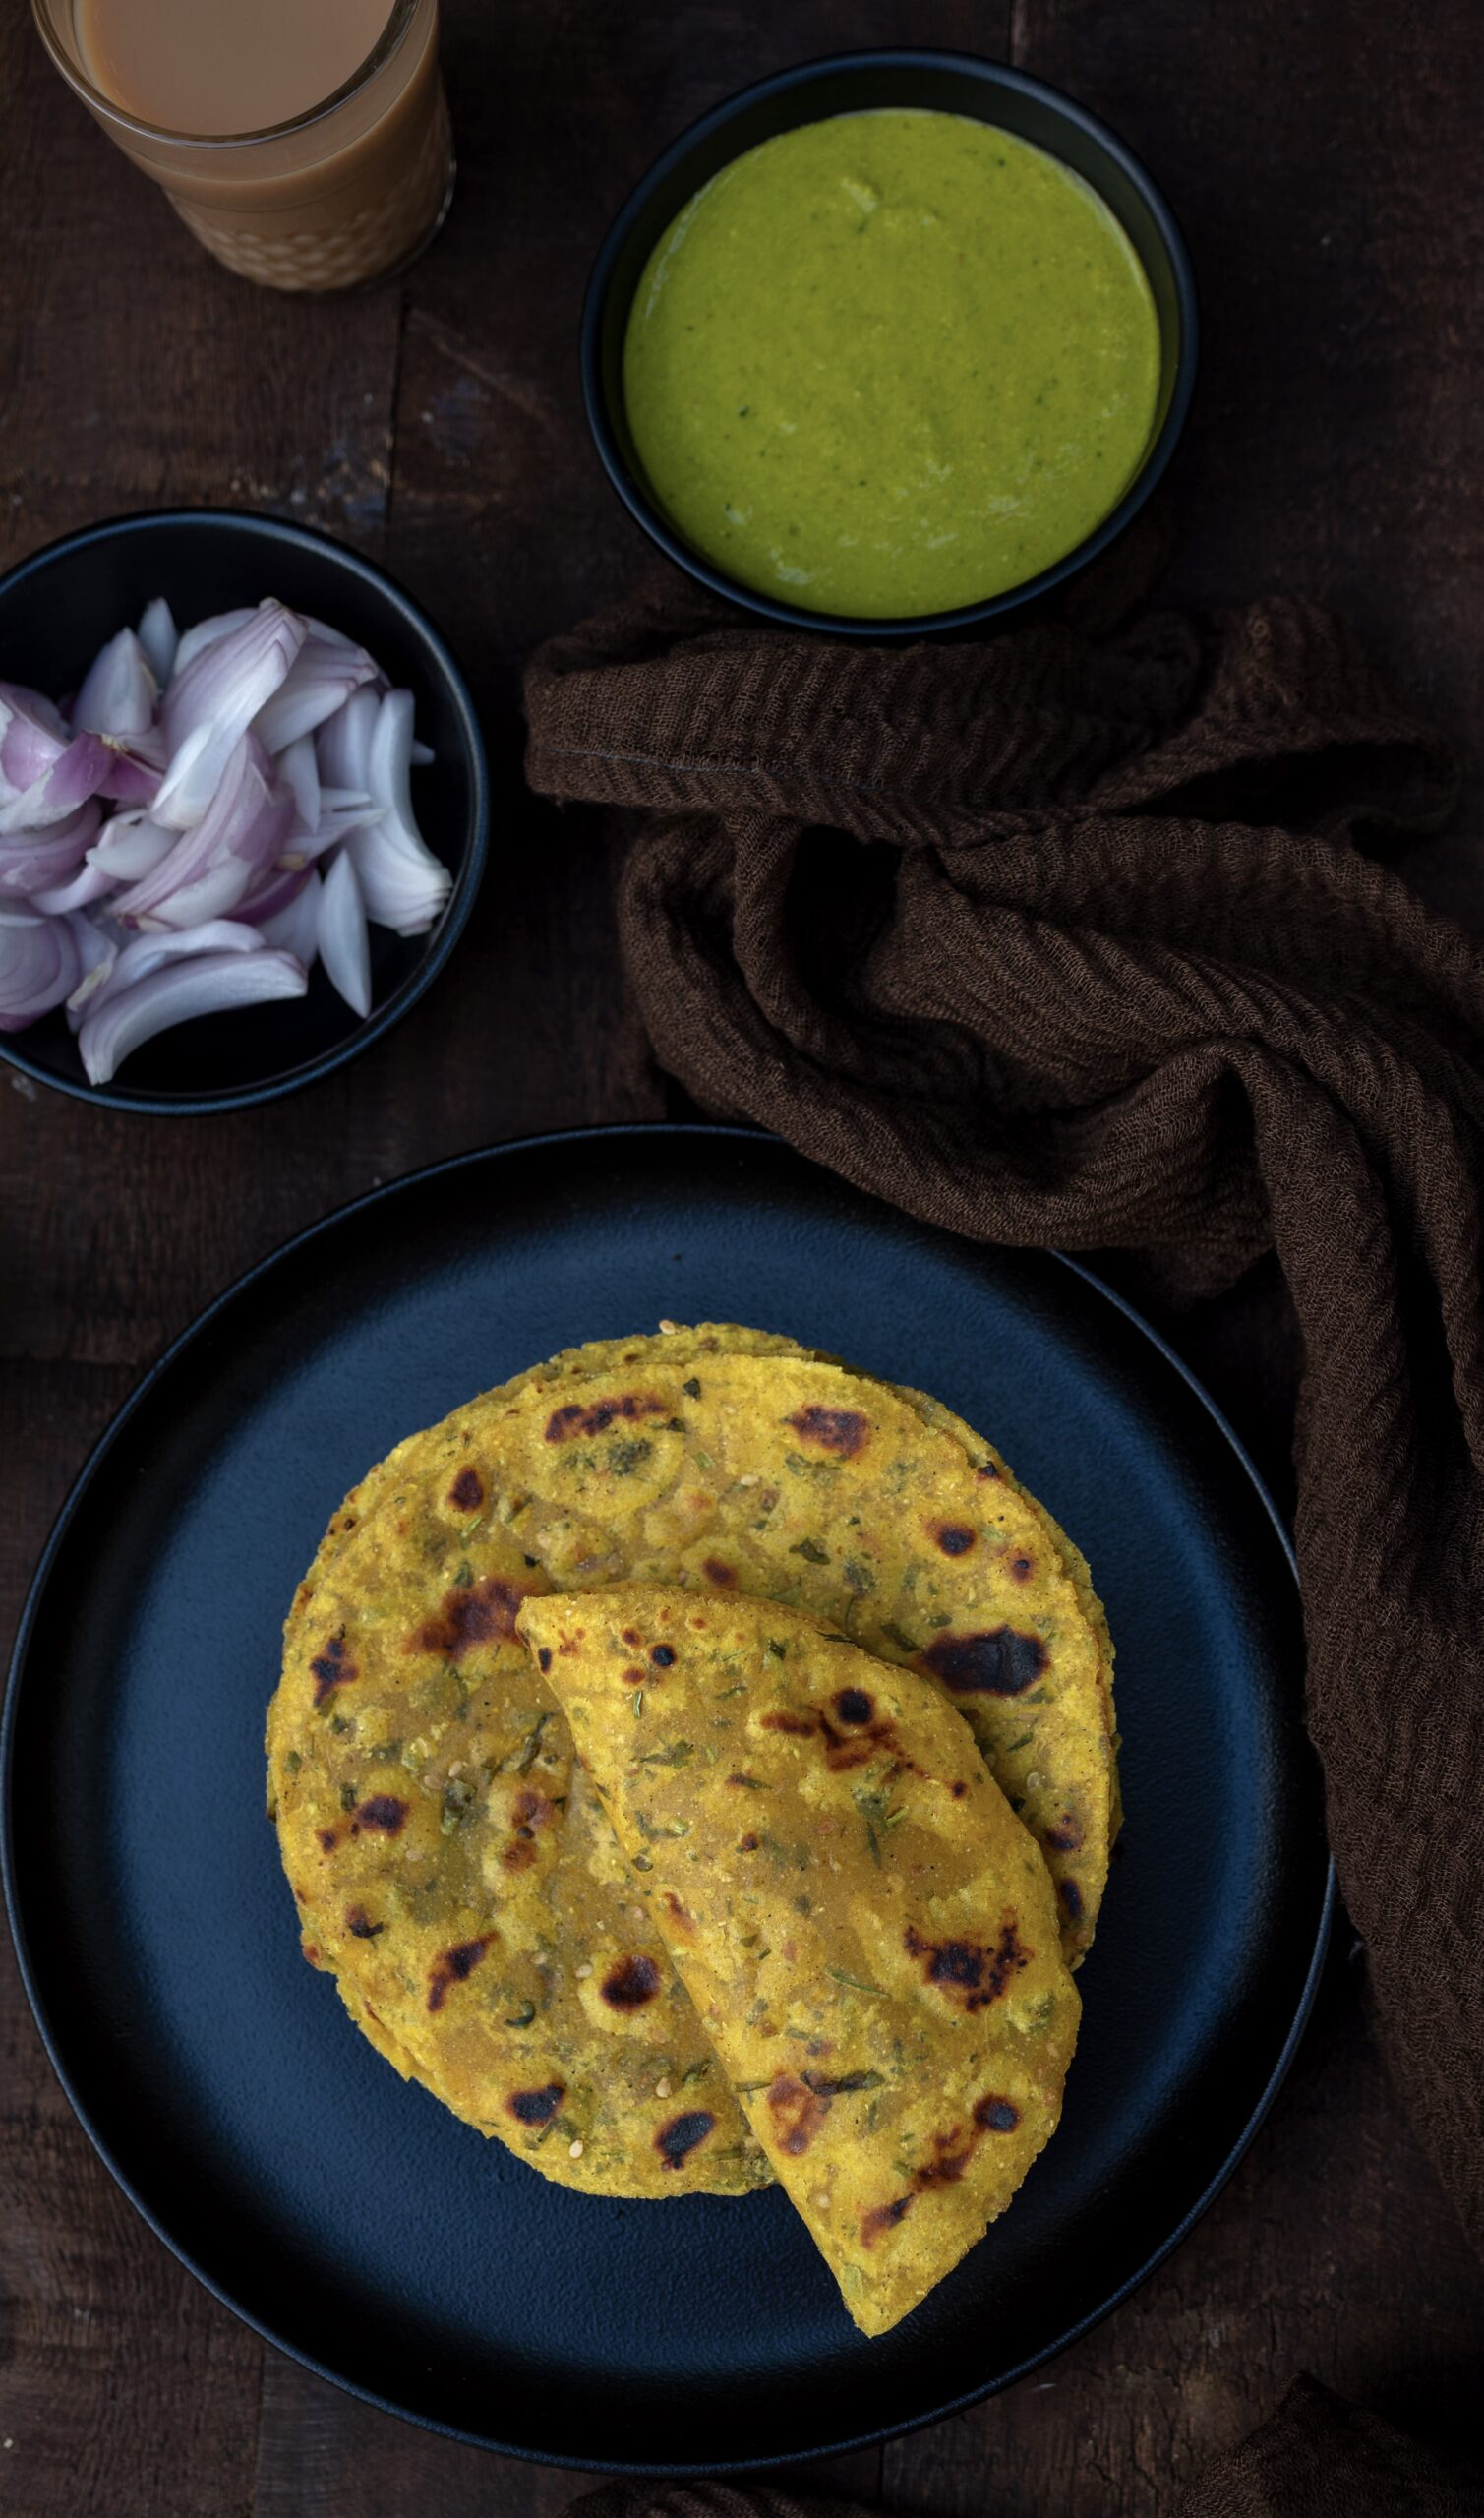
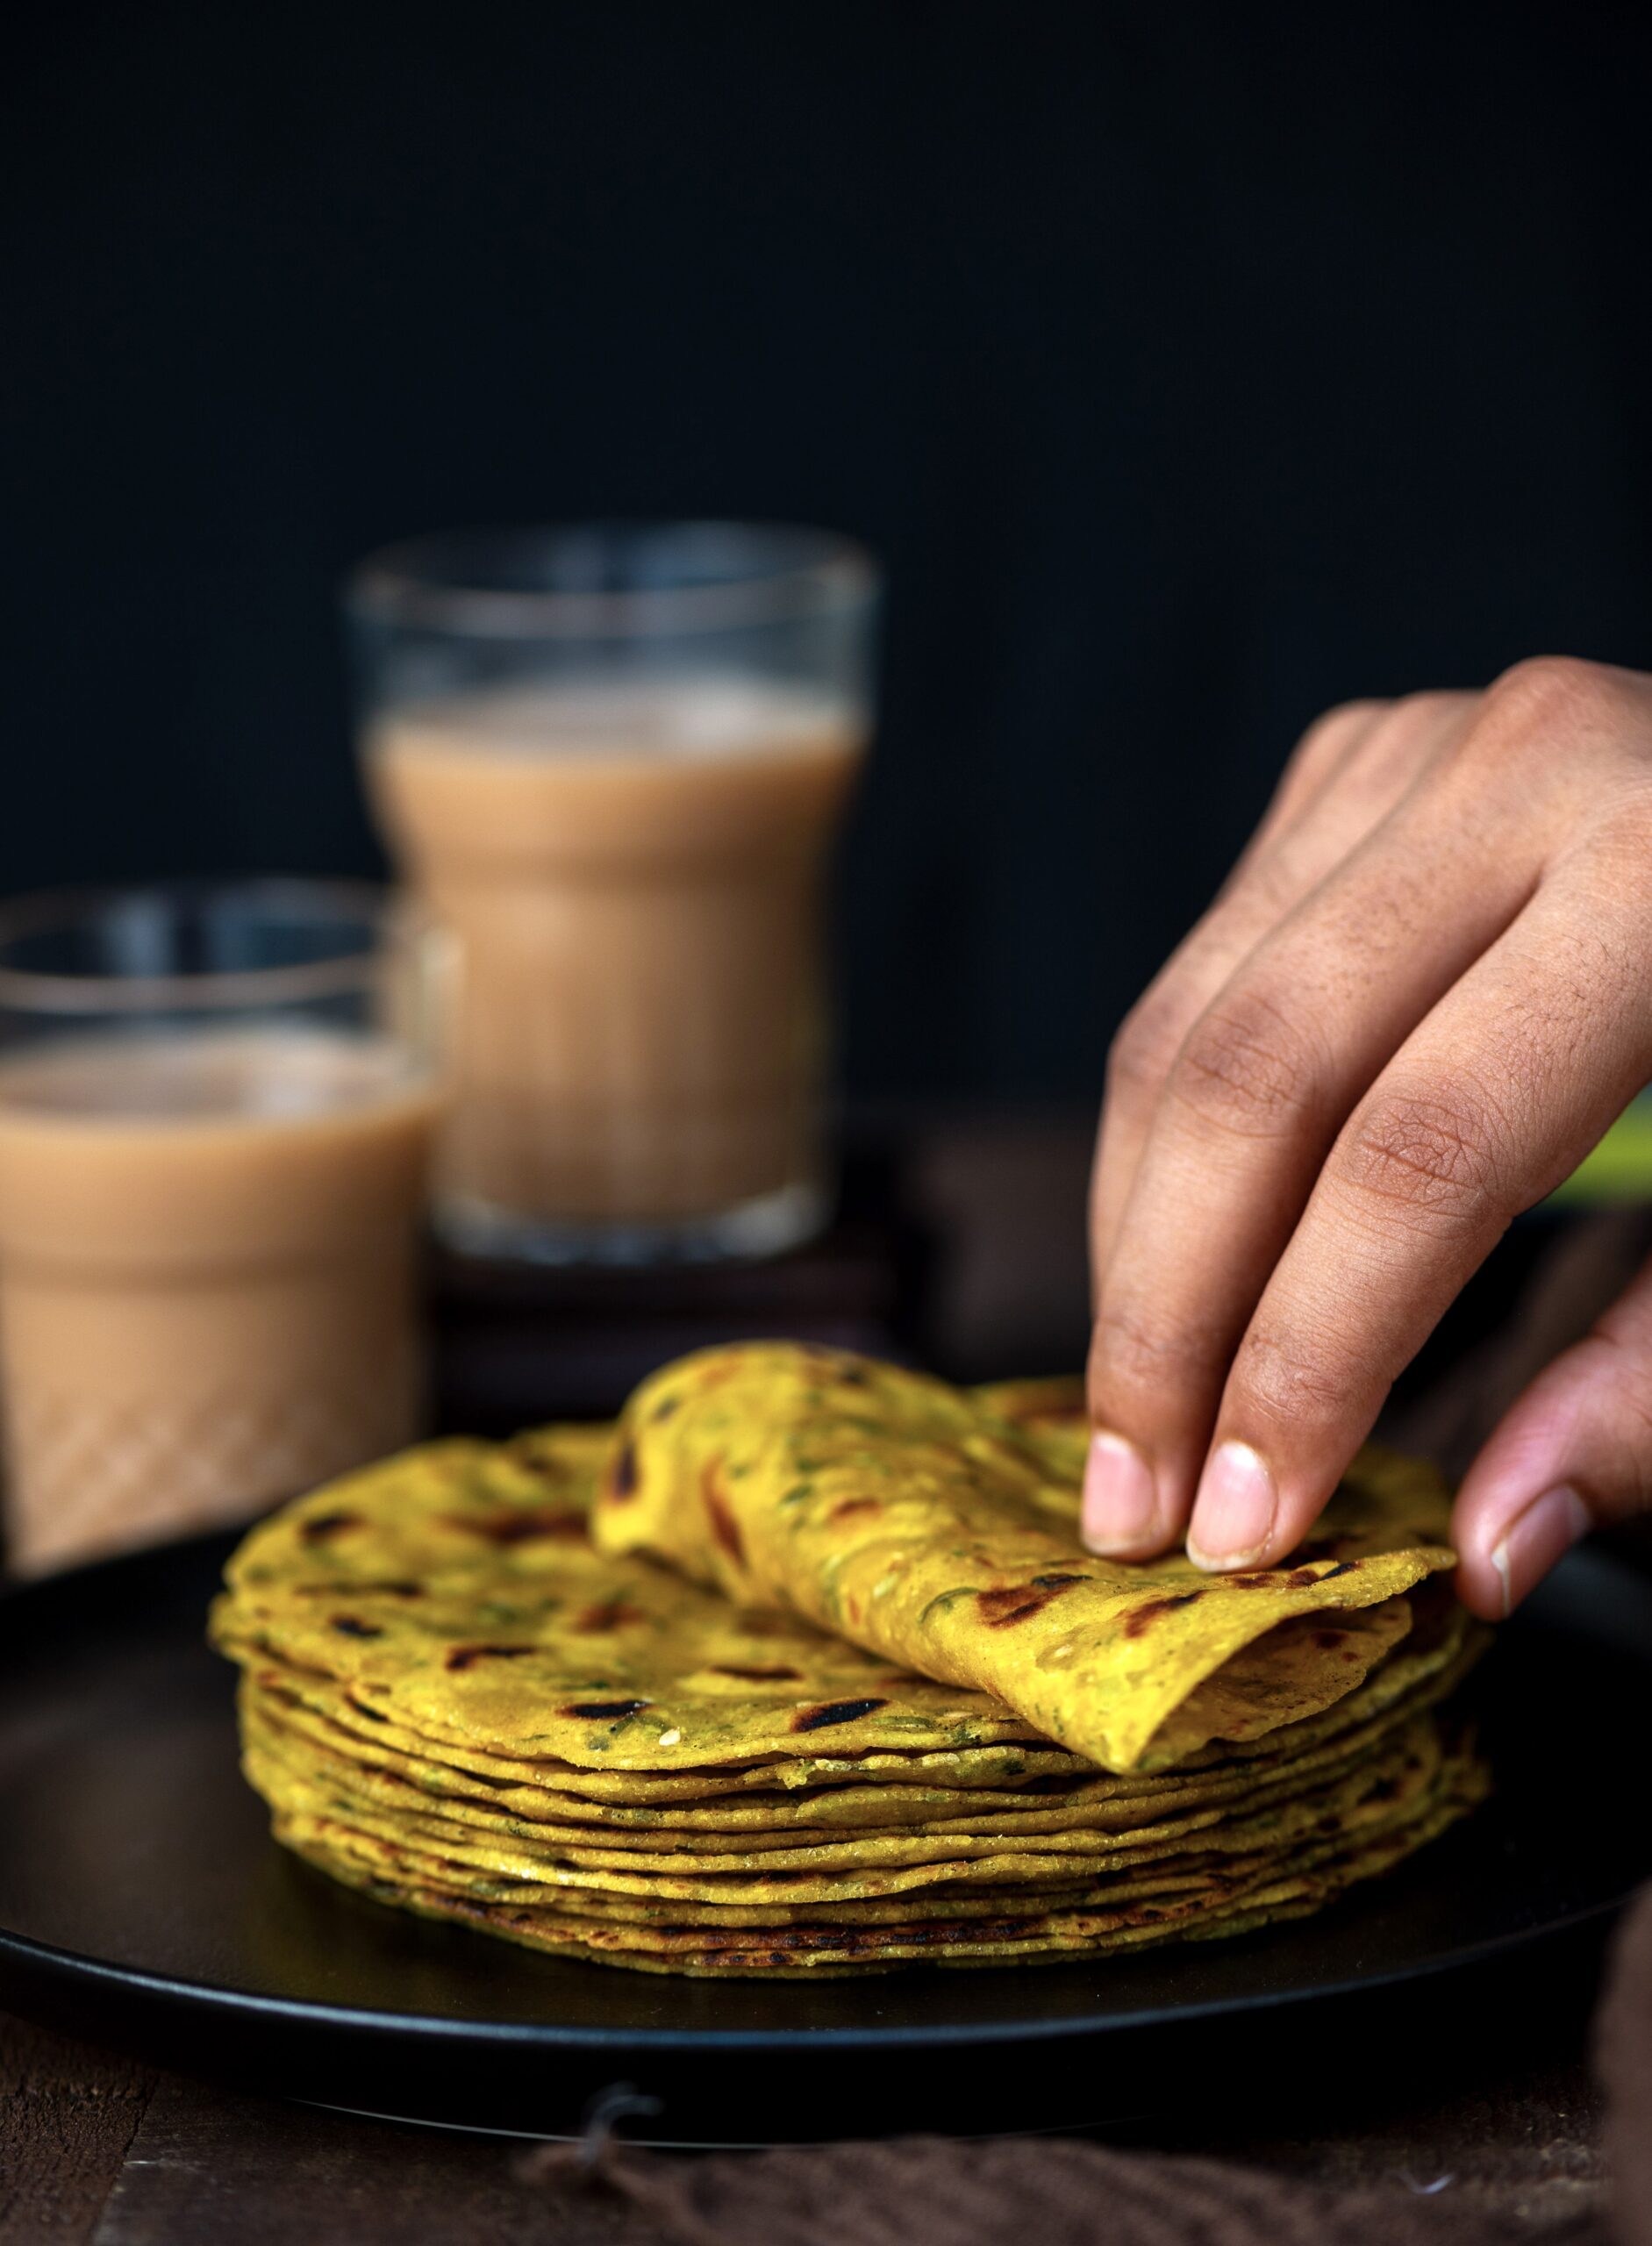
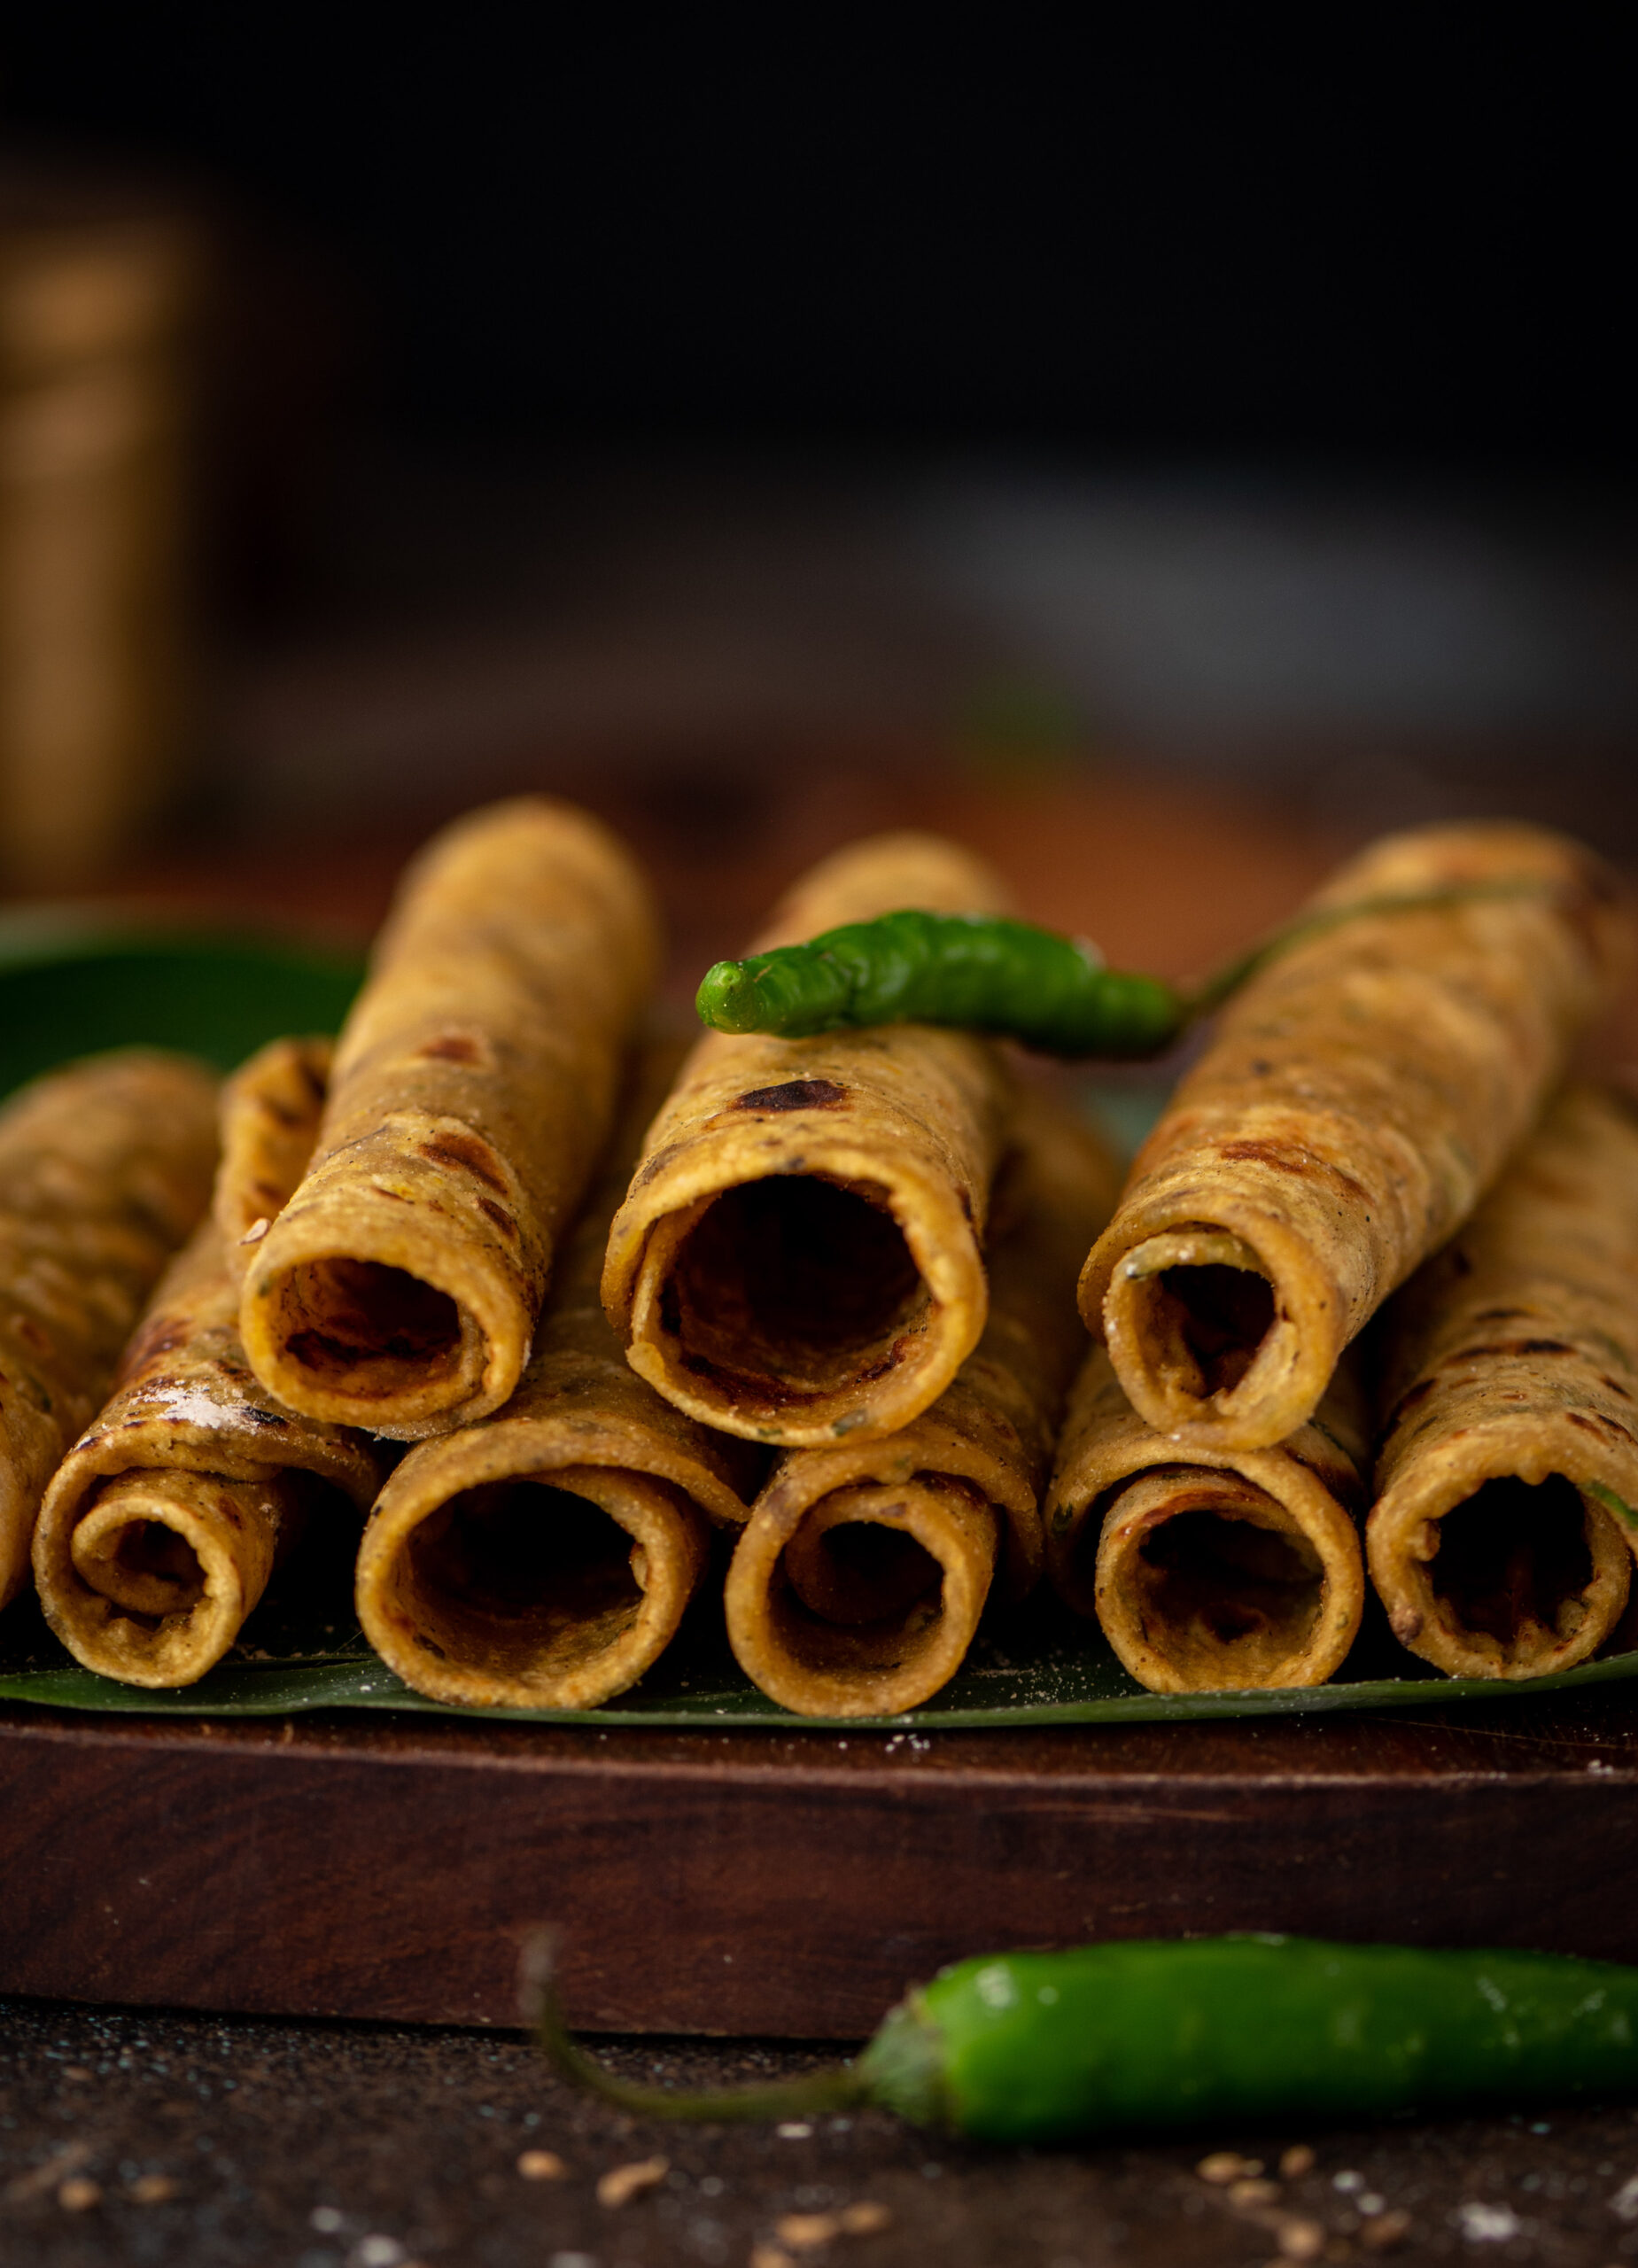
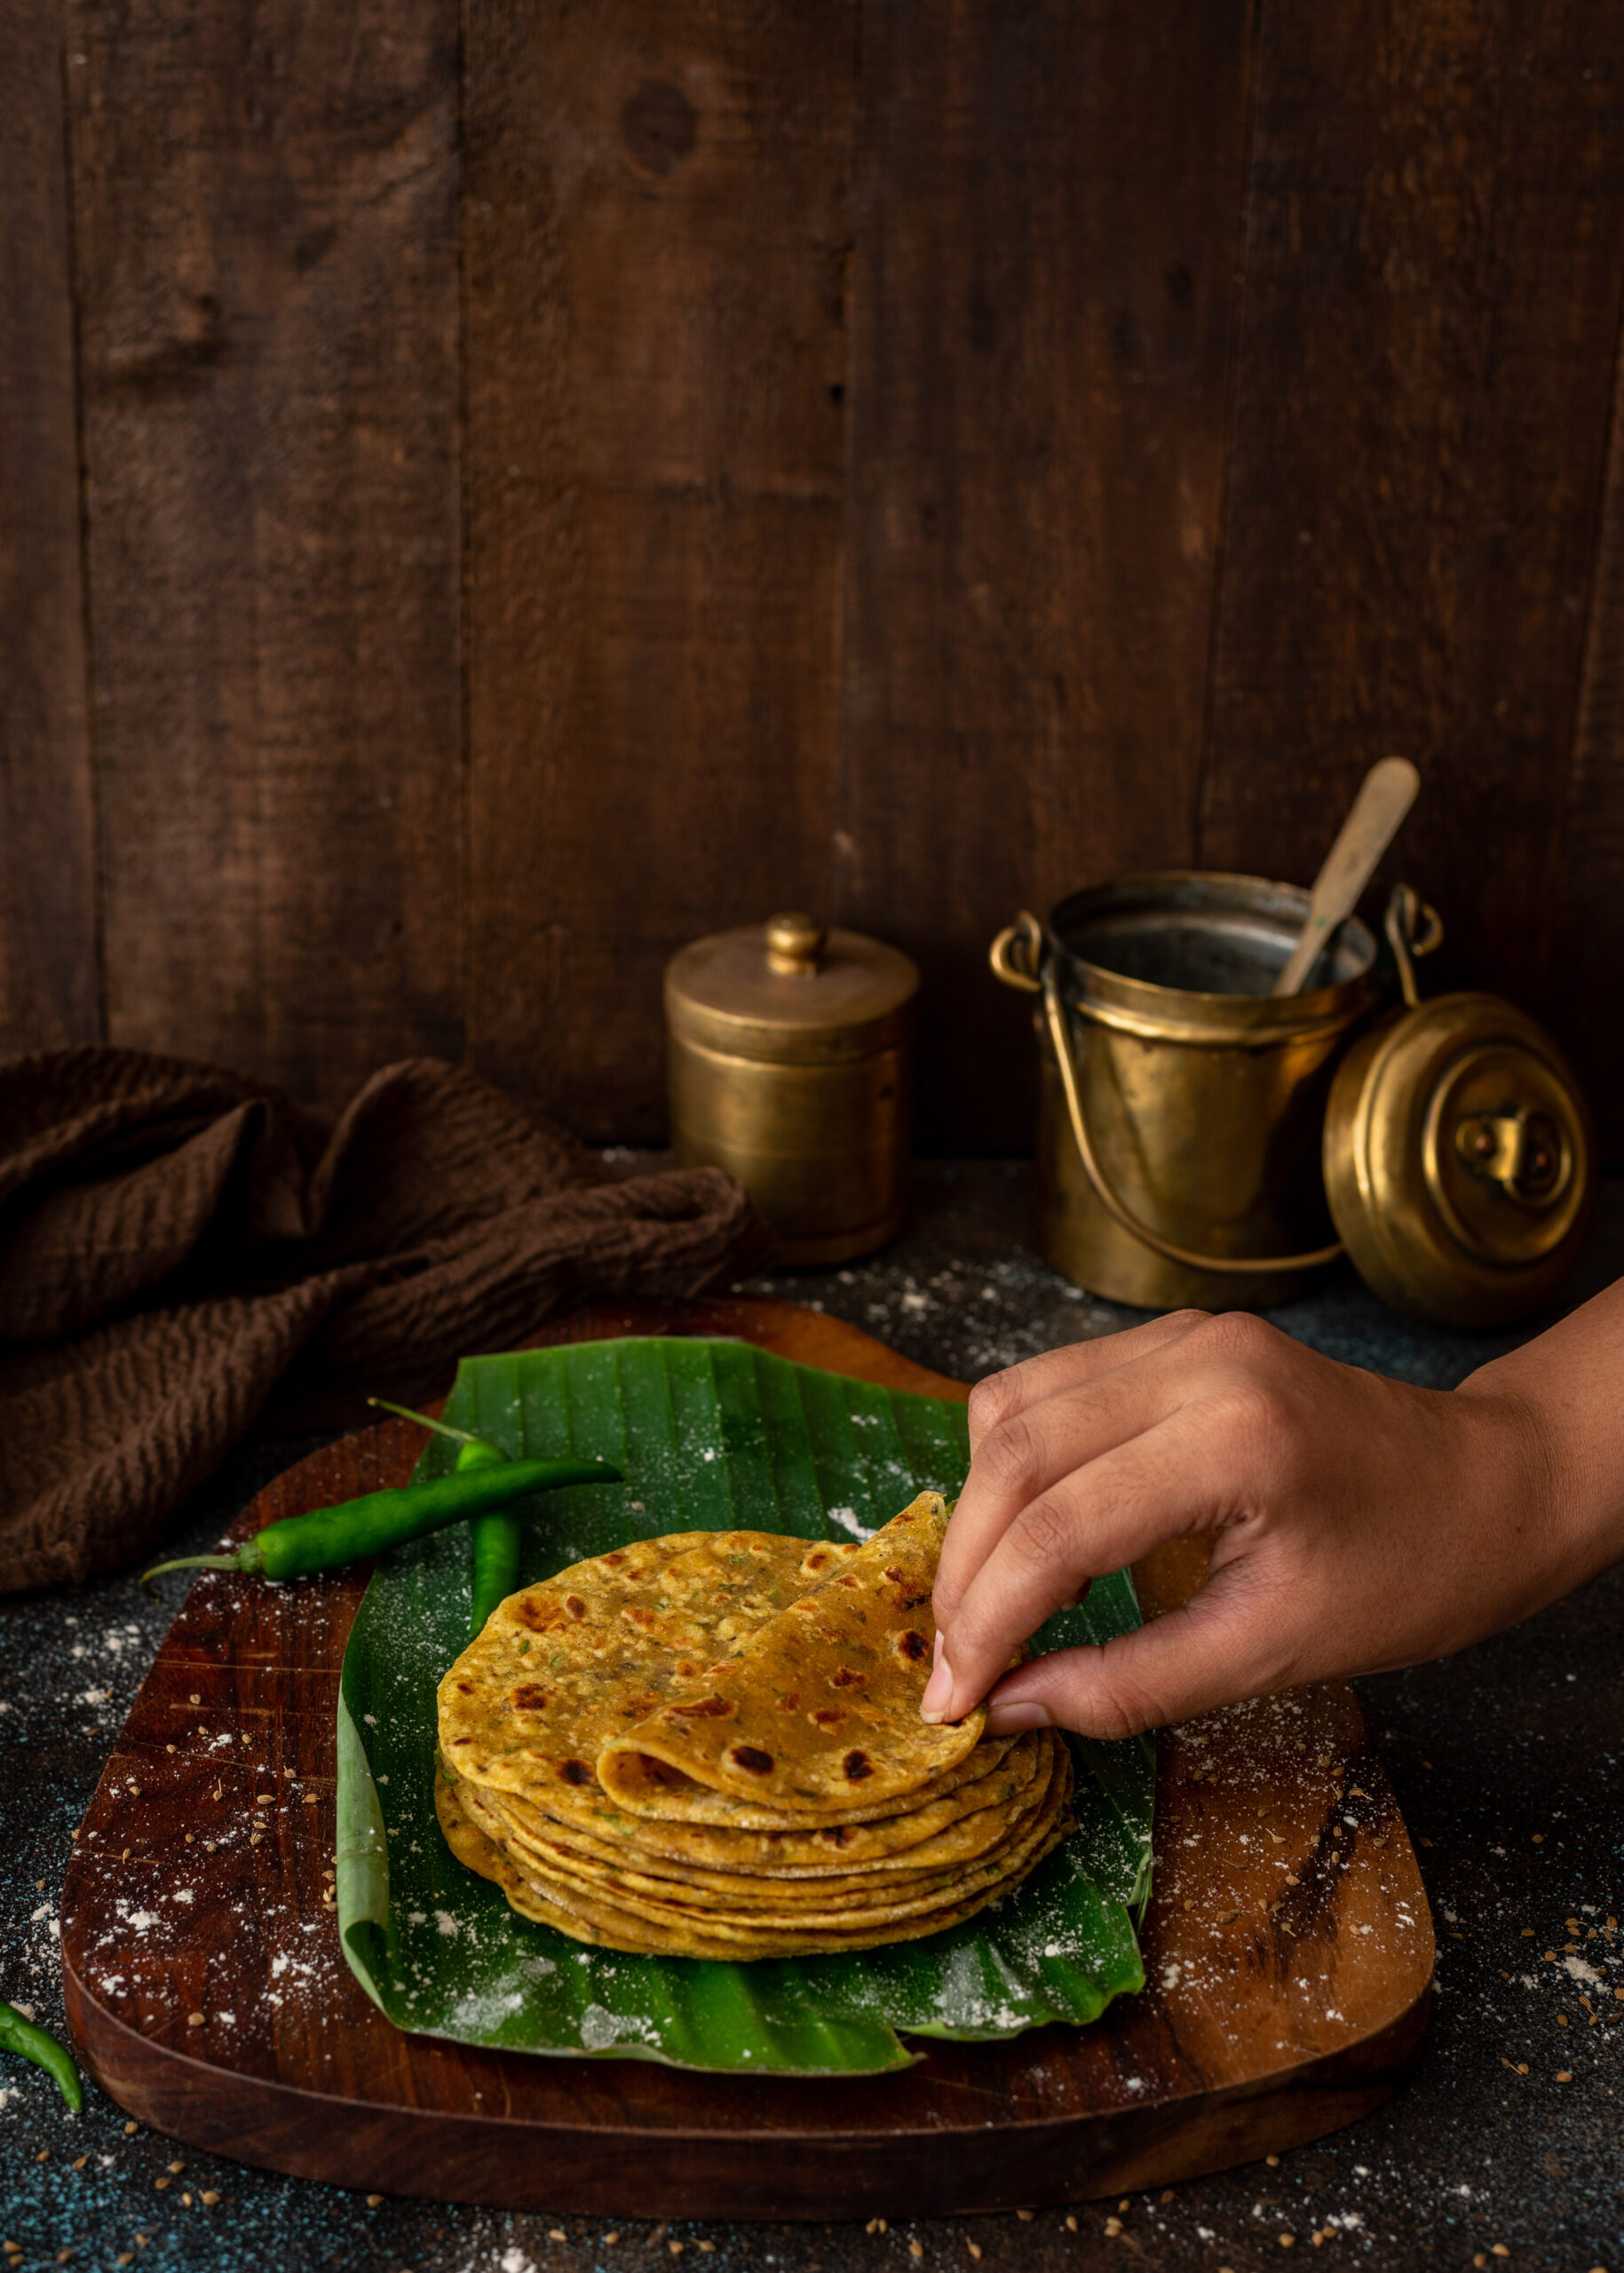
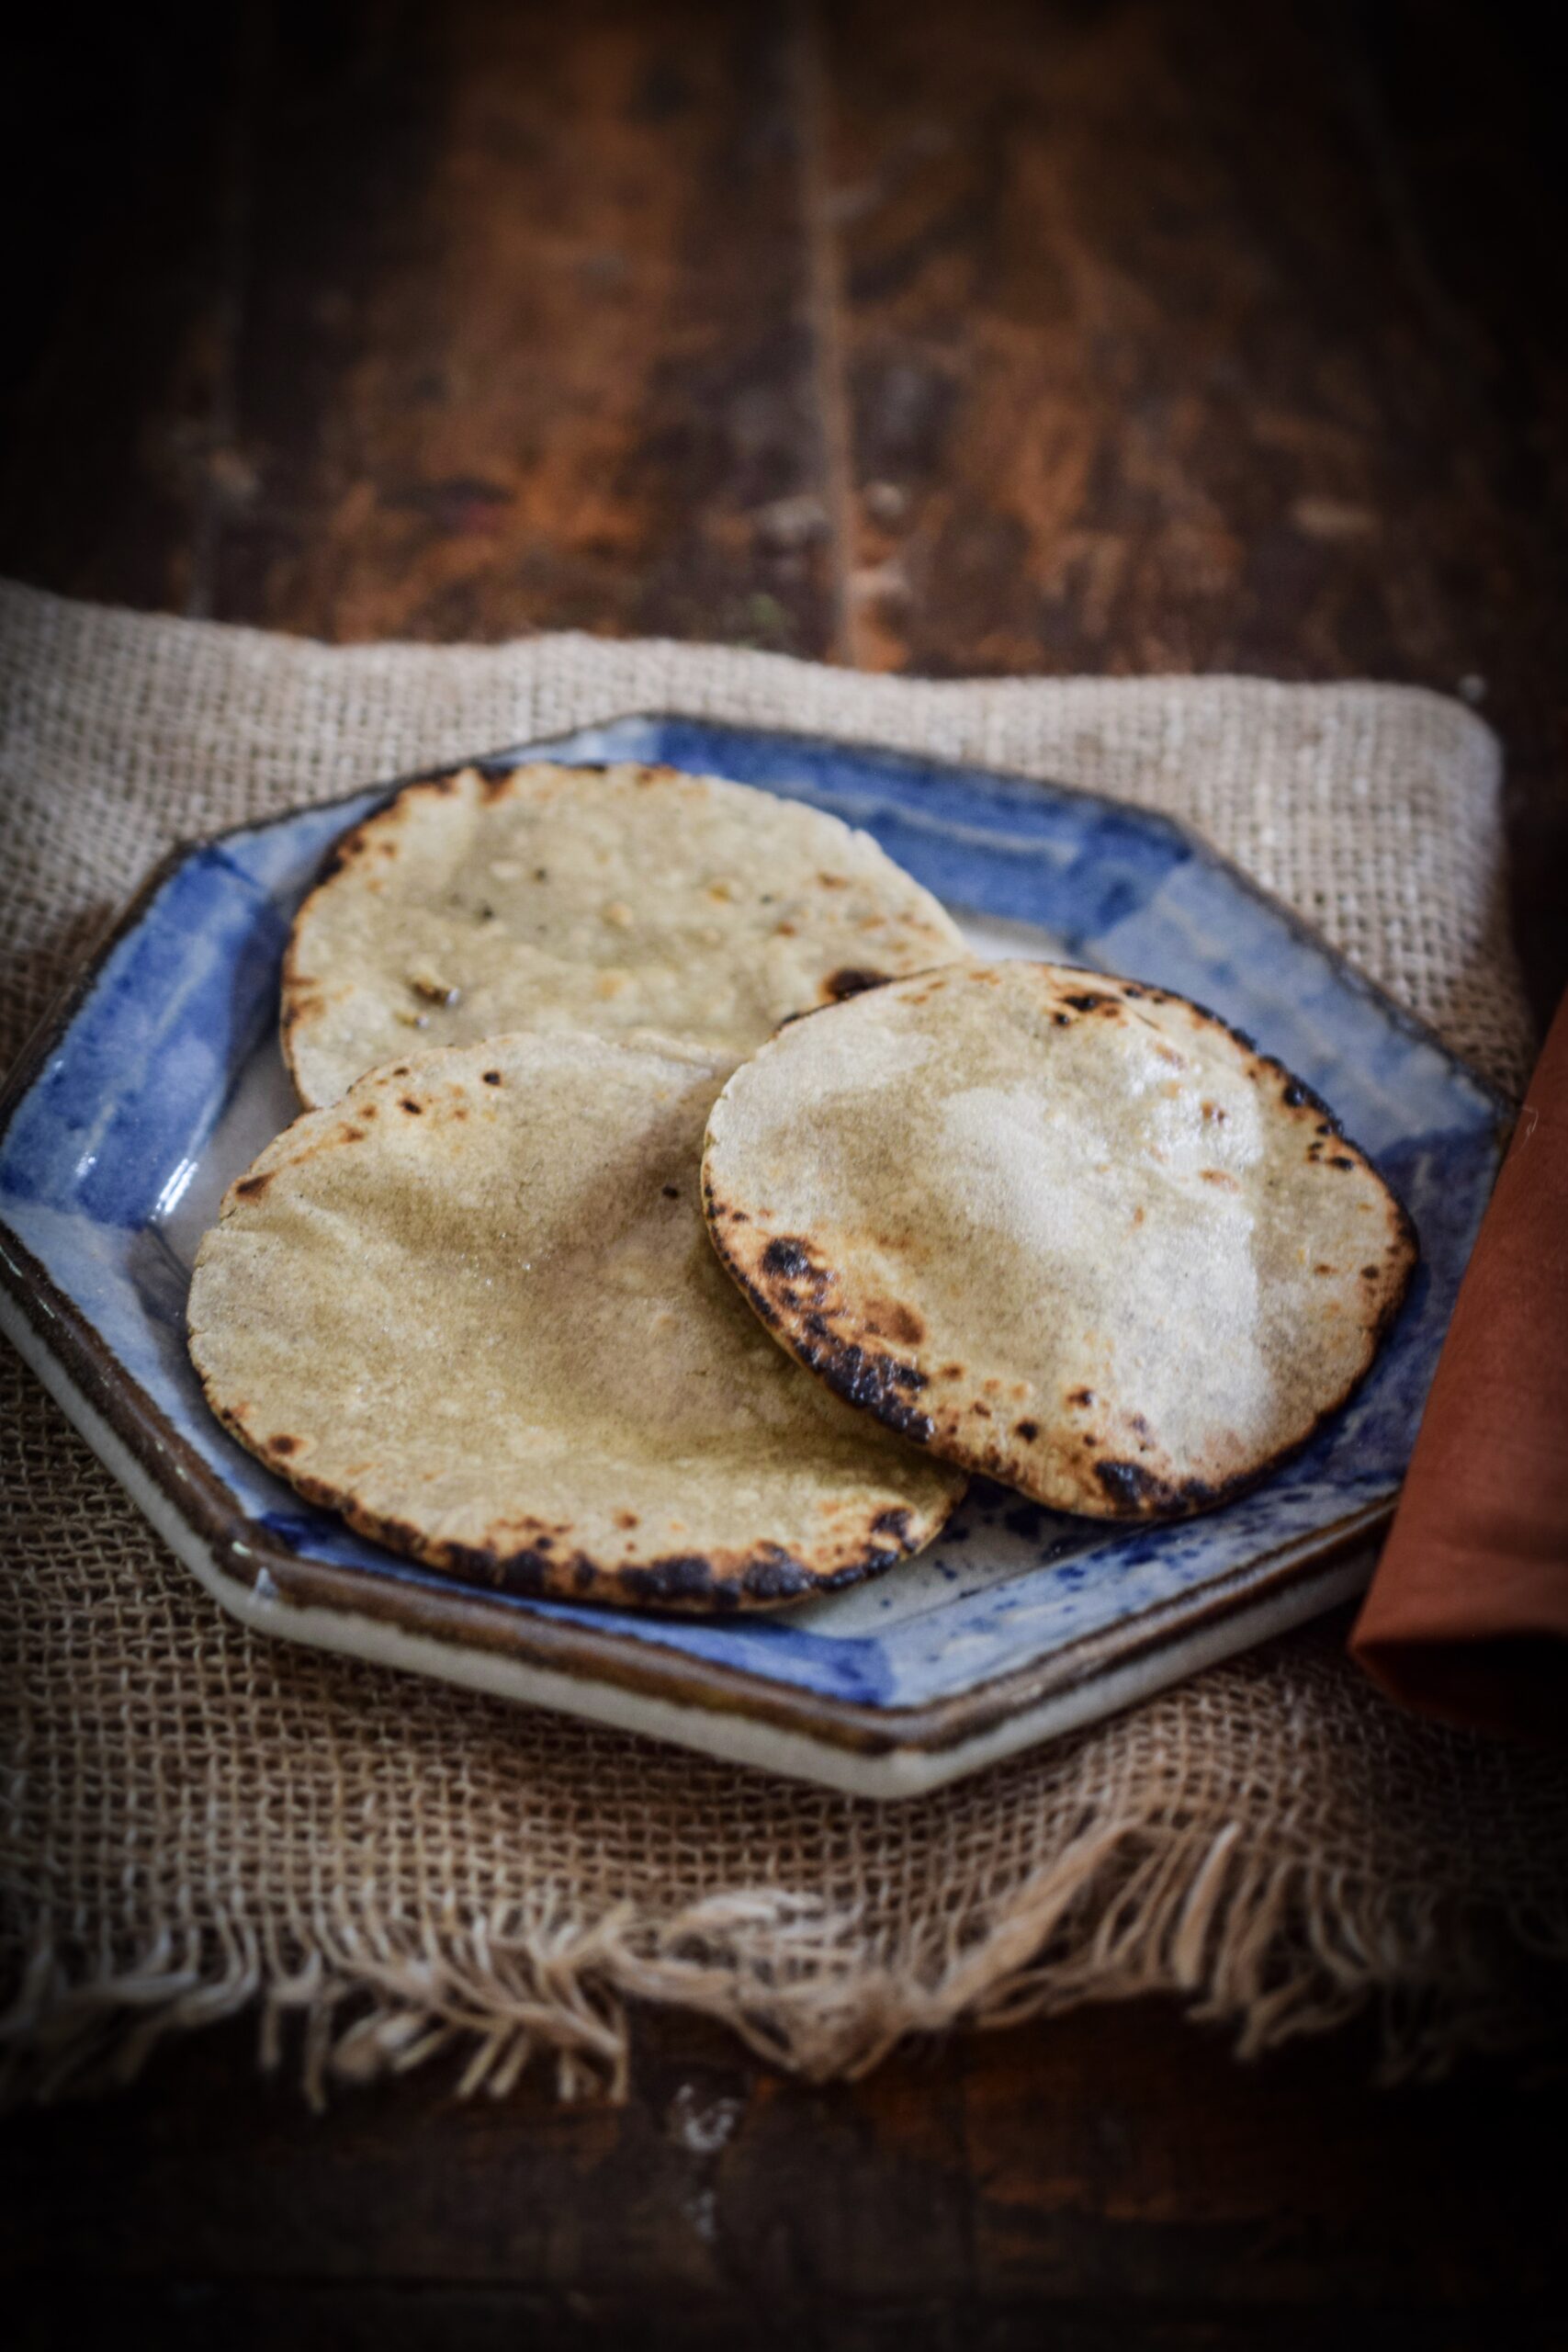
In my last post, I shared a recipe for a delicious stuffed paratha using radish, something I first began enjoying on my trips to Delhi. Today, I share another paratha, but this one is made differently. This lovely vegan palak paratha (using spinach) is a healthy upgrade on your regular parathas, and is perfect for those who often eat flatbreads at home.

The spinach is blended into the dough directly, which gives this paratha a lovely green colour. This also means that it is an excellent way to get people to eat their greens – not just school-going children, but even young adults or anyone who is picky about them, really. I imagine that the very first palak paratha must have been put together by an inventive mother who was trying to trick her kids into getting more nutrition. So this recipe is dedicated to everyone who is on a quest to serve healthy food to their children. Another thing that helps is to make the parathas in an unusual shape, to add a touch of fun.

You would think that I would have lots of childhood memories of palak paratha myself, but I don’t, and the reason is that my mother didn’t resort to this particular trick. Two or times a week, some kind of leafy vegetable would be spooned onto our plates, and we just had to eat it. That was that. Growing up in South India, this meant that a large selection of seasonal greens was a part of our diets. I may have made a fuss about it as a child, but I am grateful for it now. As I got older, I began to genuinely enjoy the different varieties of local spinach, and I understood just how much our bodies love the chlorophyll too. If you’d like to explore a few dishes that utilise South Indian greens, you could also take a look at my recipes for purslane dal and araikeerai vadai.

Speaking of stuff that’s good for you, I like to make these palak parathas with ghee, which has begun to shake off its bad reputation and is now being embraced everywhere as a superfood. That’s right, our humble ghee that we health-conscious Indians shunned is back with a bang, and is being acknowledged as being not just tasty but also nourishing. However, I have provided the recipe below with oil so that it remains vegan. Substitute accordingly, if you prefer.

Visually appealing, full of goodness and so very delicious – what more could you ask of this dish?

I feel that this palak paratha is best eaten hot off the griddle, and it goes very well with a dry roast paneer (which I will share the recipe for soon). A dal will also pair nicely. Sometimes I have this with a small bowl of tomato soup and a few scoops of that paneer stir-fry, and everything that’s on my table looks so beautiful. The reds, the greens and the aroma of them all together make for a gorgeous meal, in every way.

Palak Paratha

(Yield: 8 pieces)

1 bunch palak (spinach)
1½ cups whole wheat flour
1 teaspoon cumin seeds
1 teaspoon sesame seeds
Salt to taste
A pinch of turmeric
A handful of coriander leaves
1 tablespoon green chili ginger paste
1 teaspoon aamchur (raw mango) powder
2 teaspoons oil
Oil for cooking

Clean the spinach thoroughly. Put the spinach in hot water for a minute. Squeeze, remove and immediately place it in cold water. This will help retain the colour of the leaves. Squeeze the water out.

Place the squeezed spinach in a blender jar and add cumin seeds, a pinch of turmeric and coriander leaves. Blend. This will give you a ¾ cup of spinach purée.

In a bowl, add 1½ cups wholewheat flour.  To this add the aamchur powder, salt to taste, chili ginger paste, sesame seeds and 2 teaspoons oil.

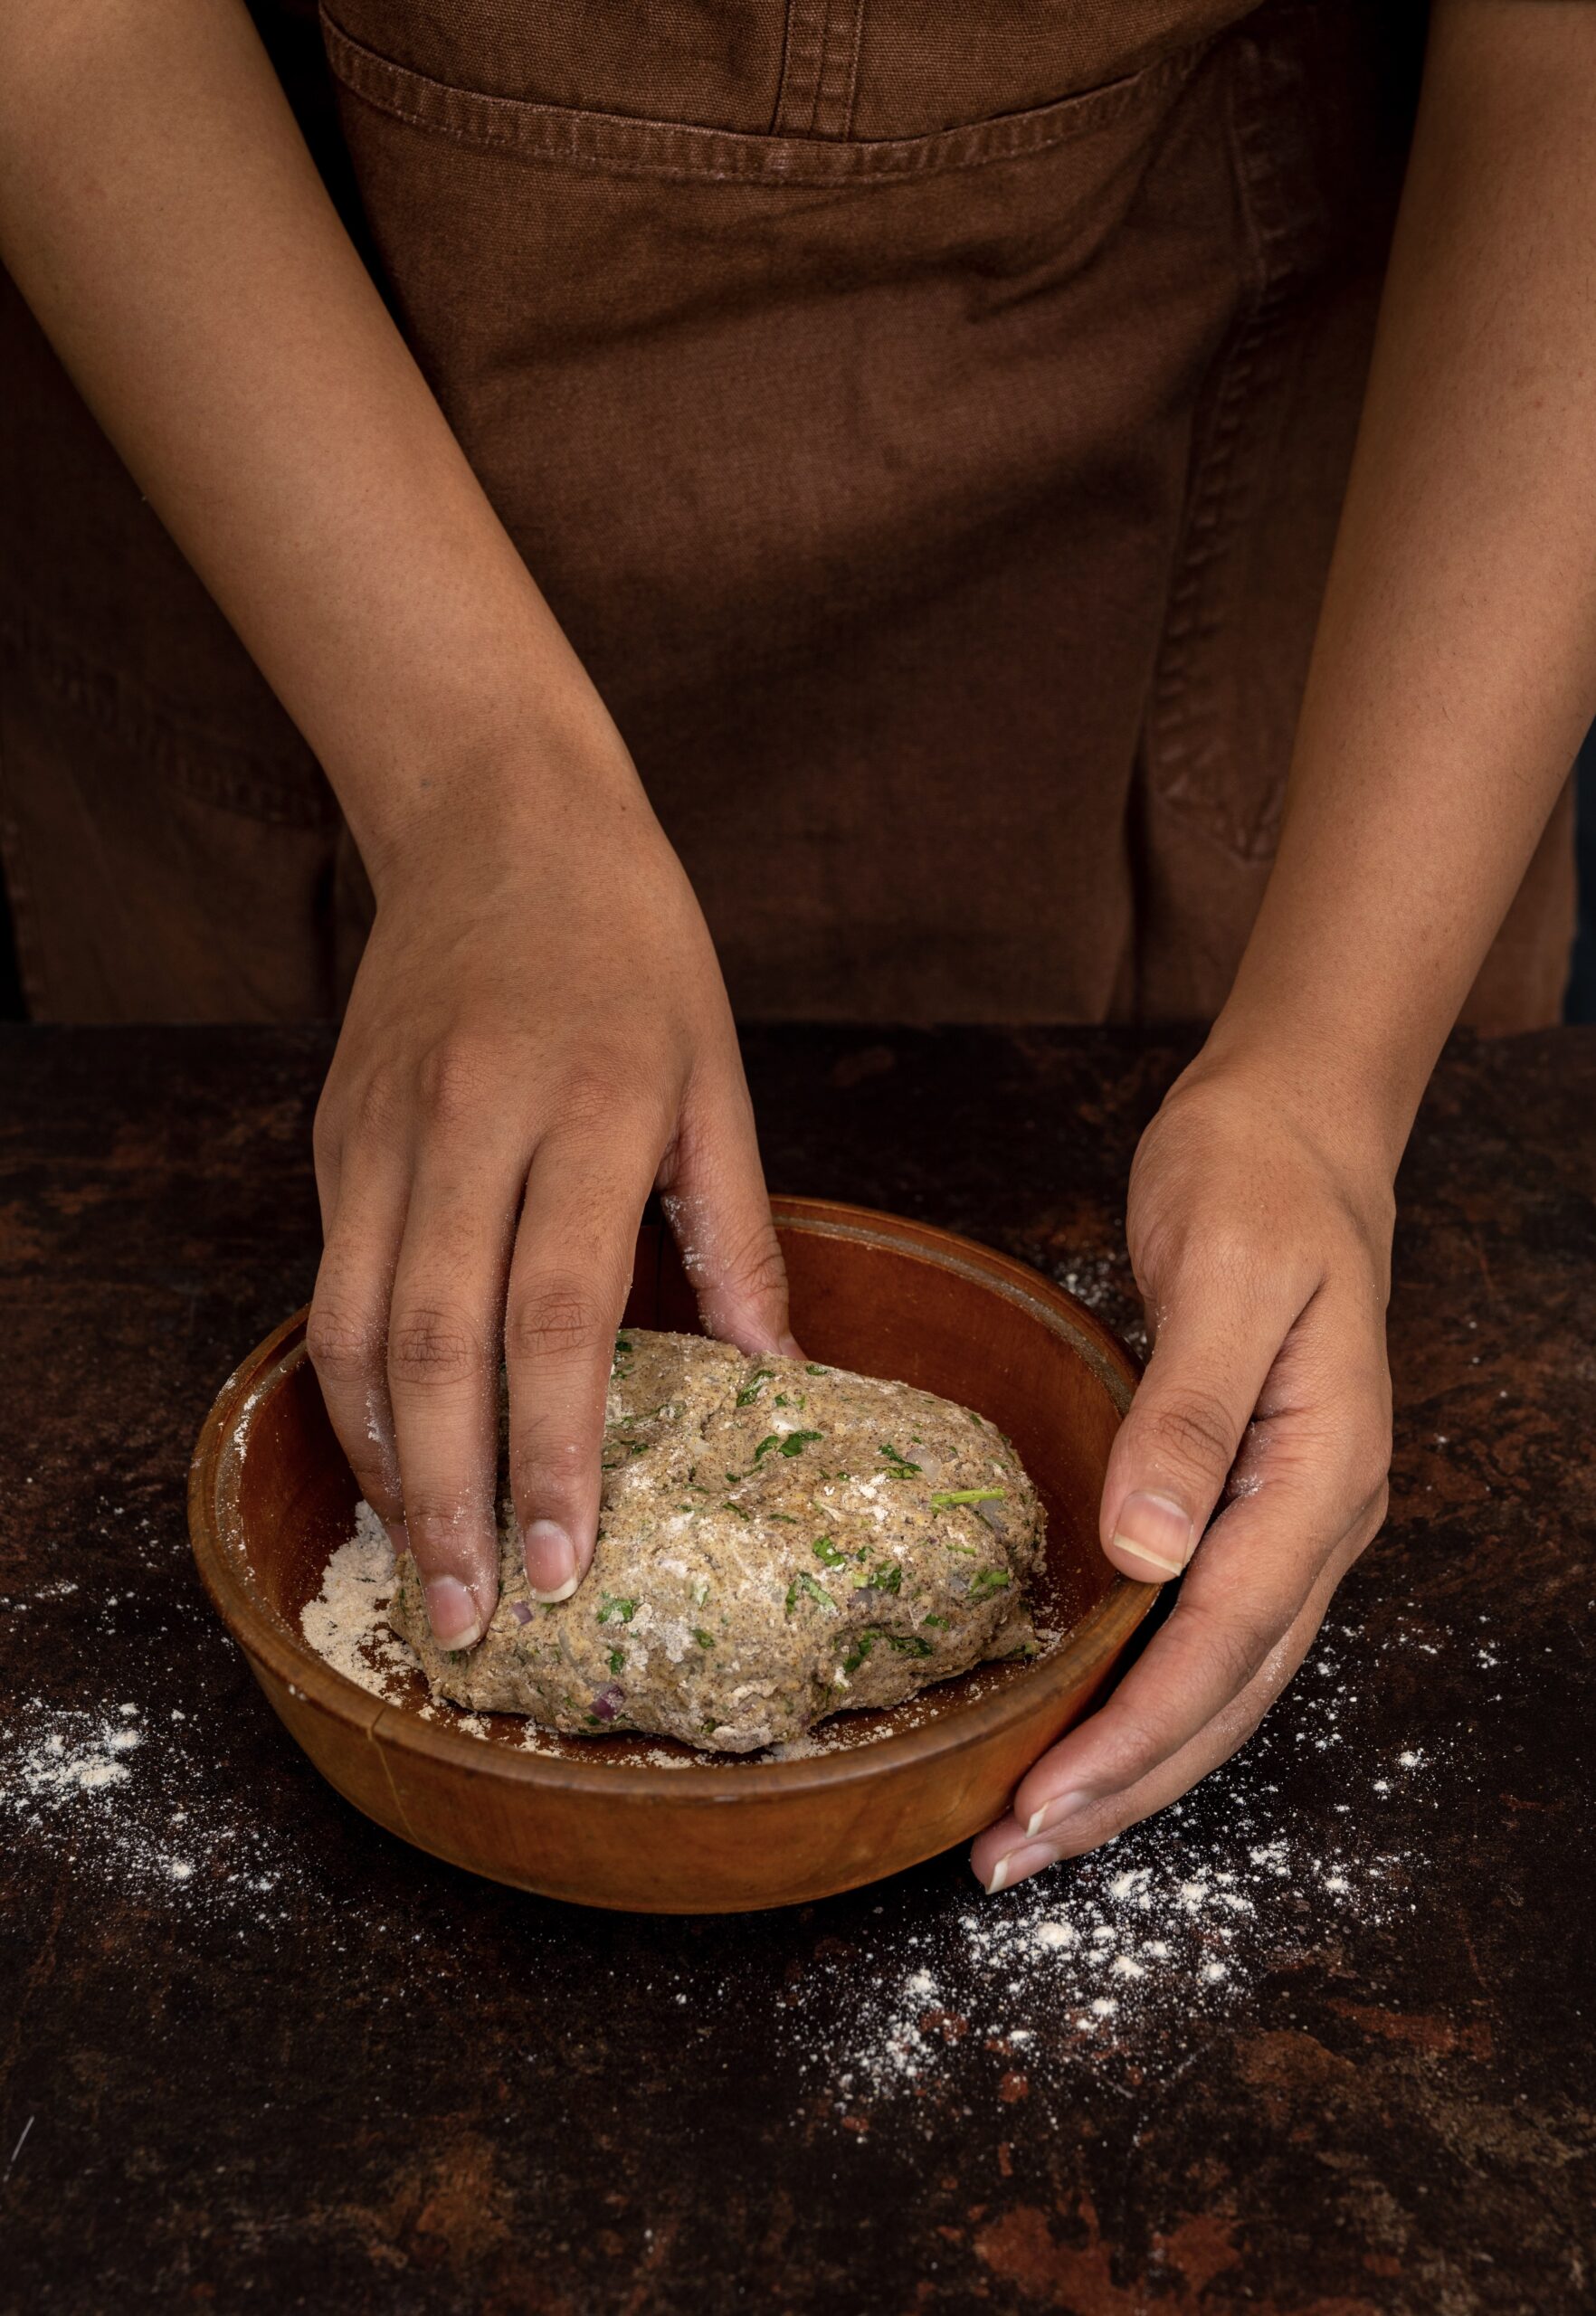
Now, add the spinach purée to this mixture. Using your hands, make a smooth, pliable dough with the help of a few drops of oil. Cover and set aside for ½ an hour.

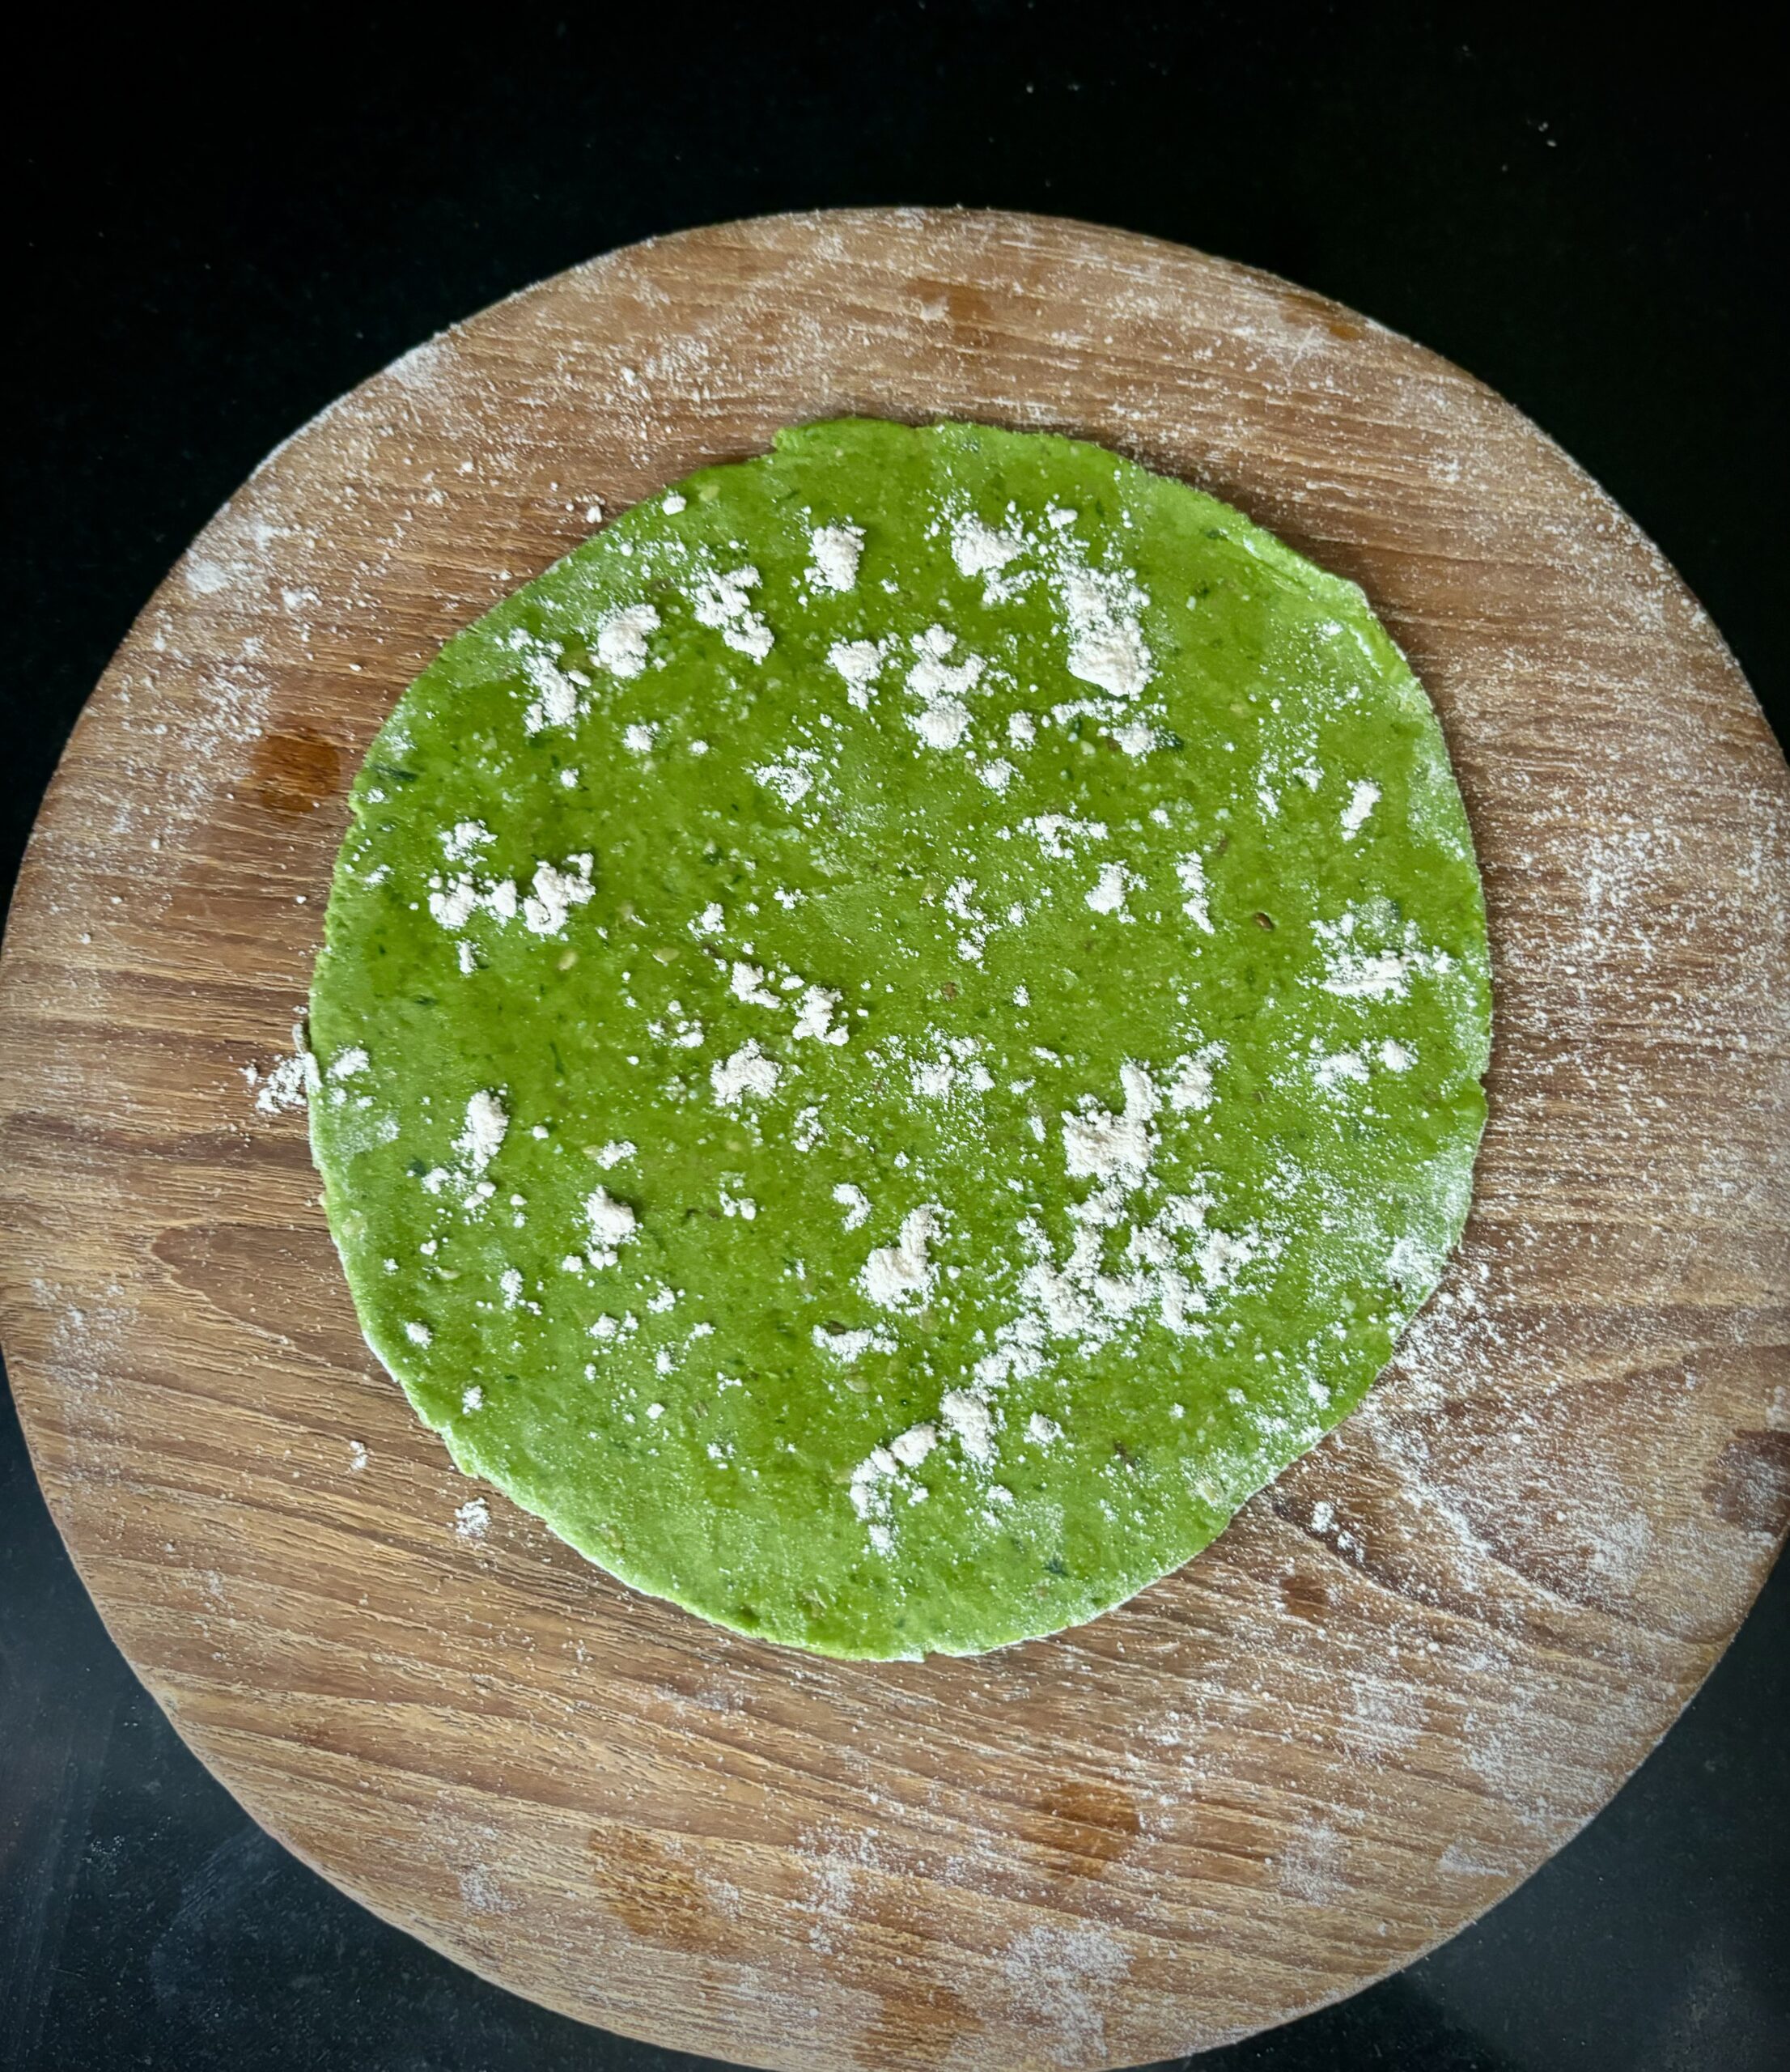
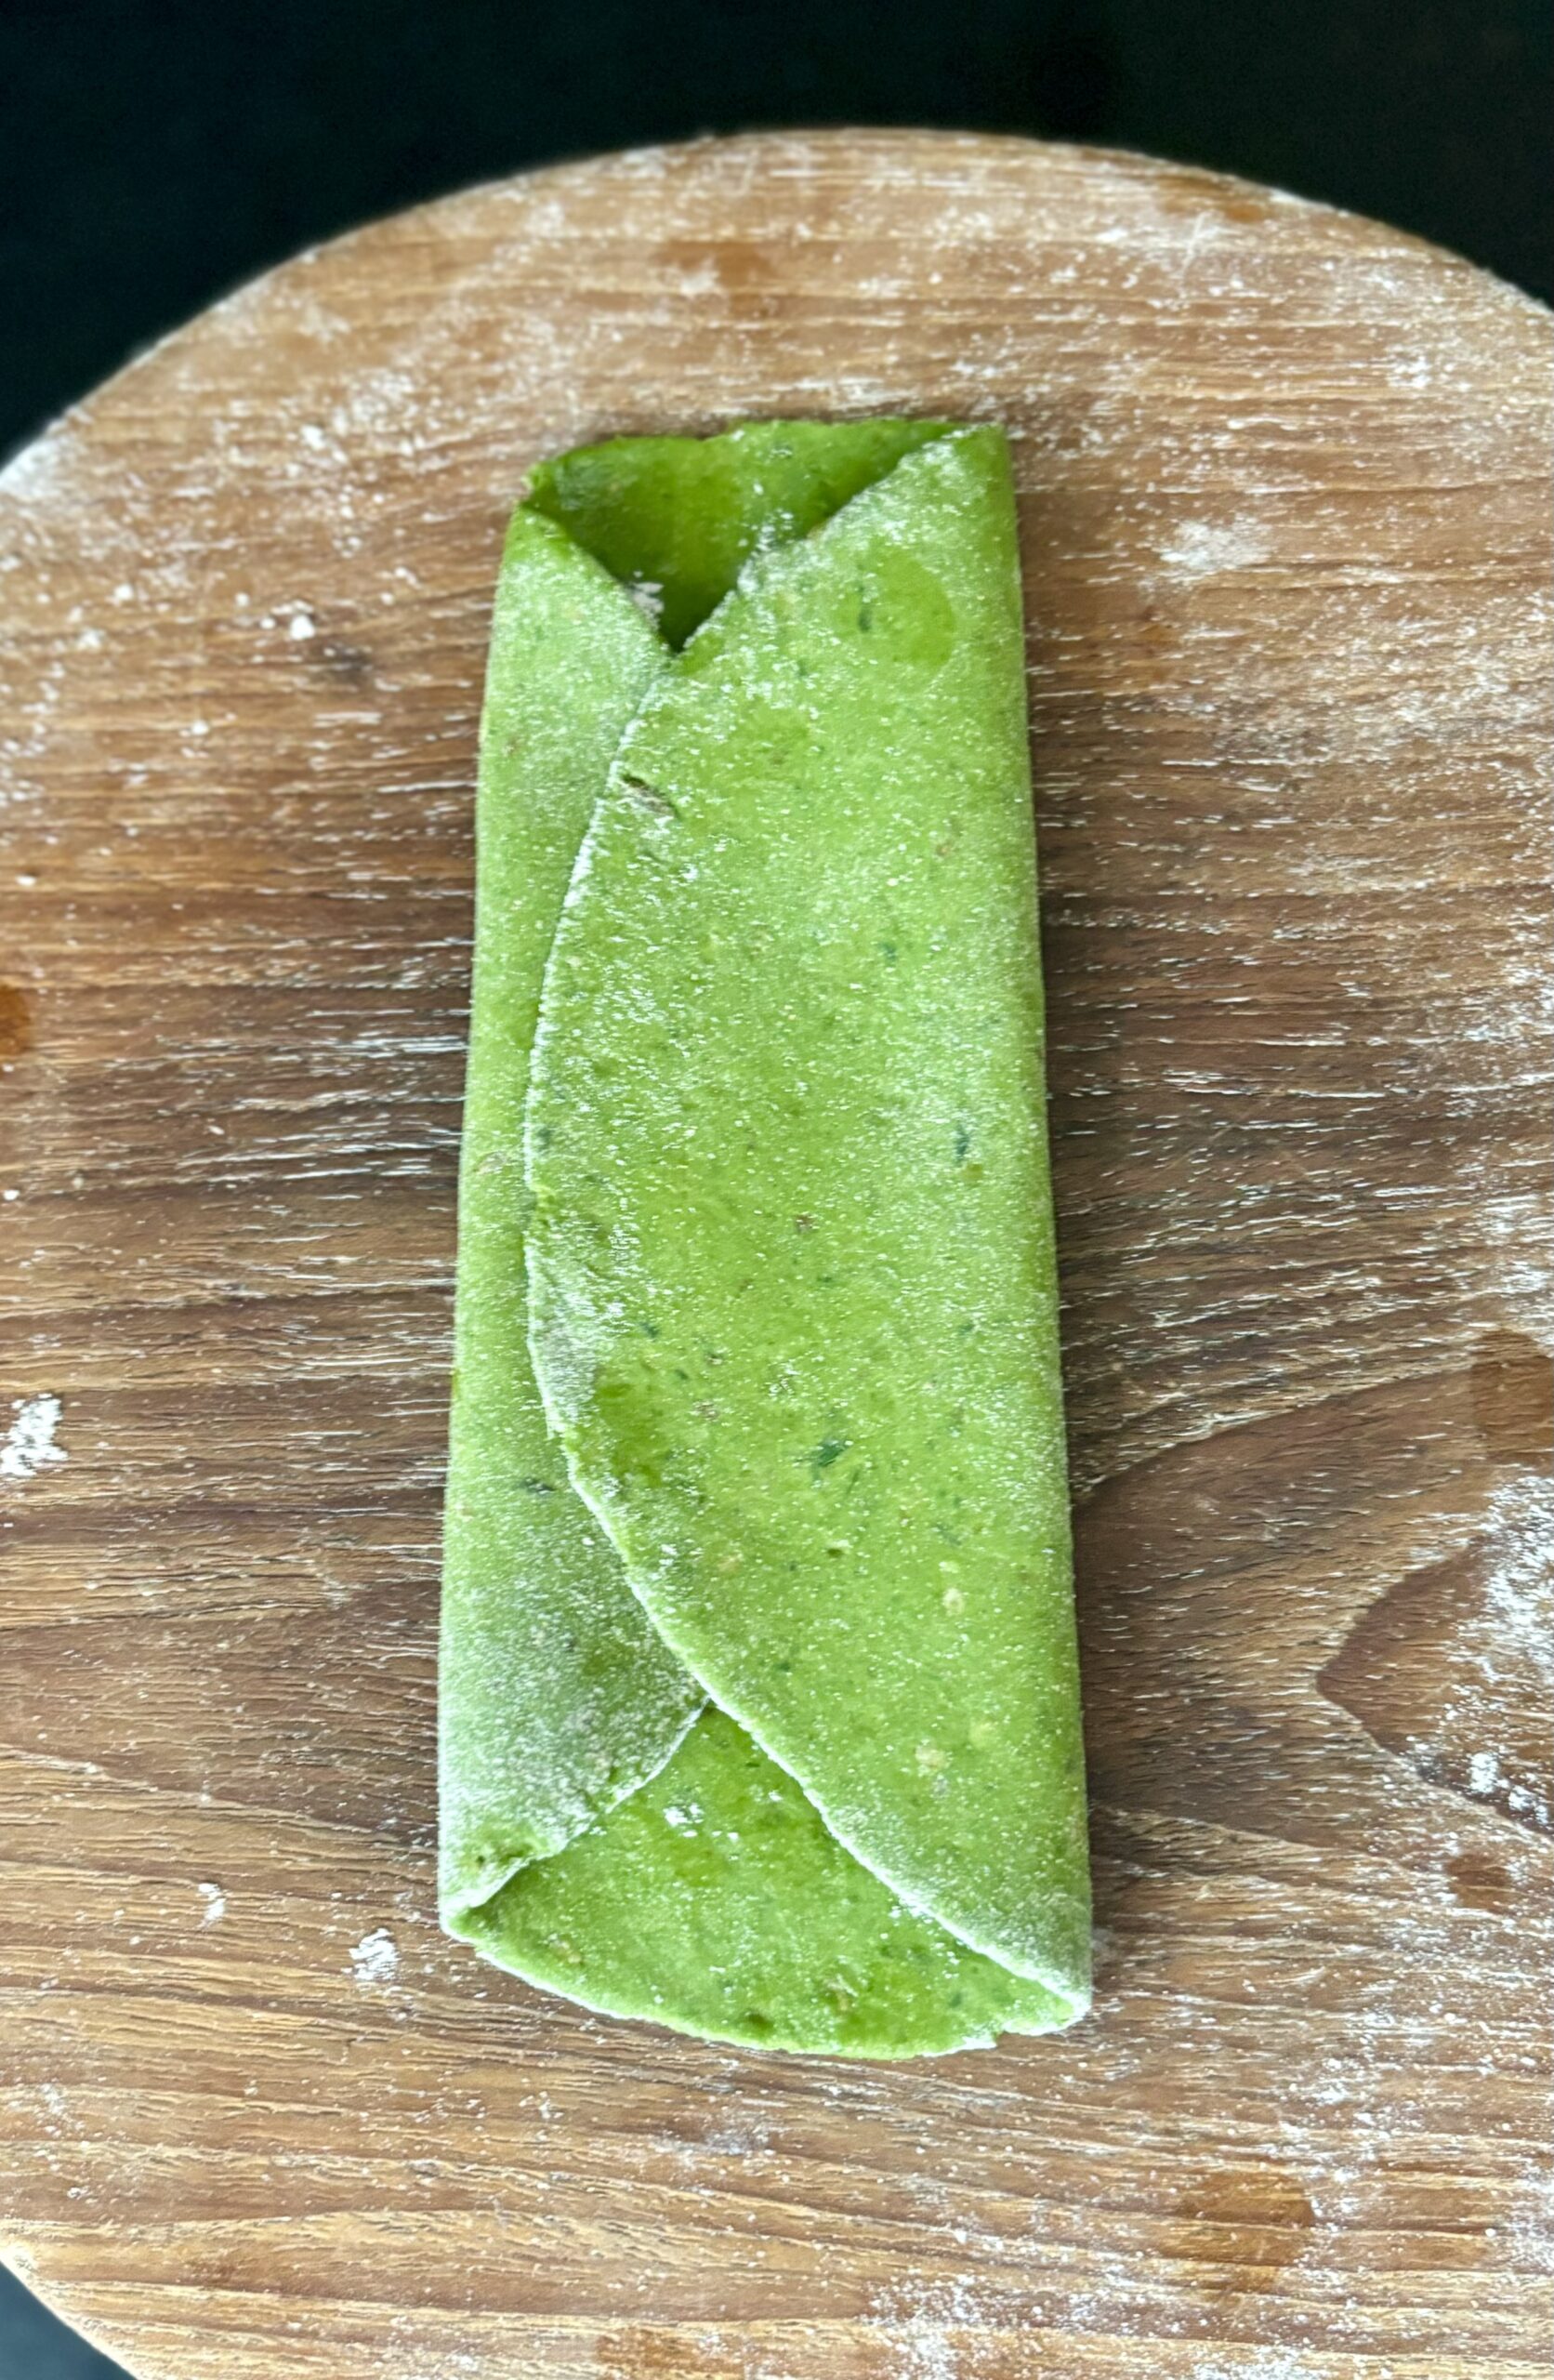
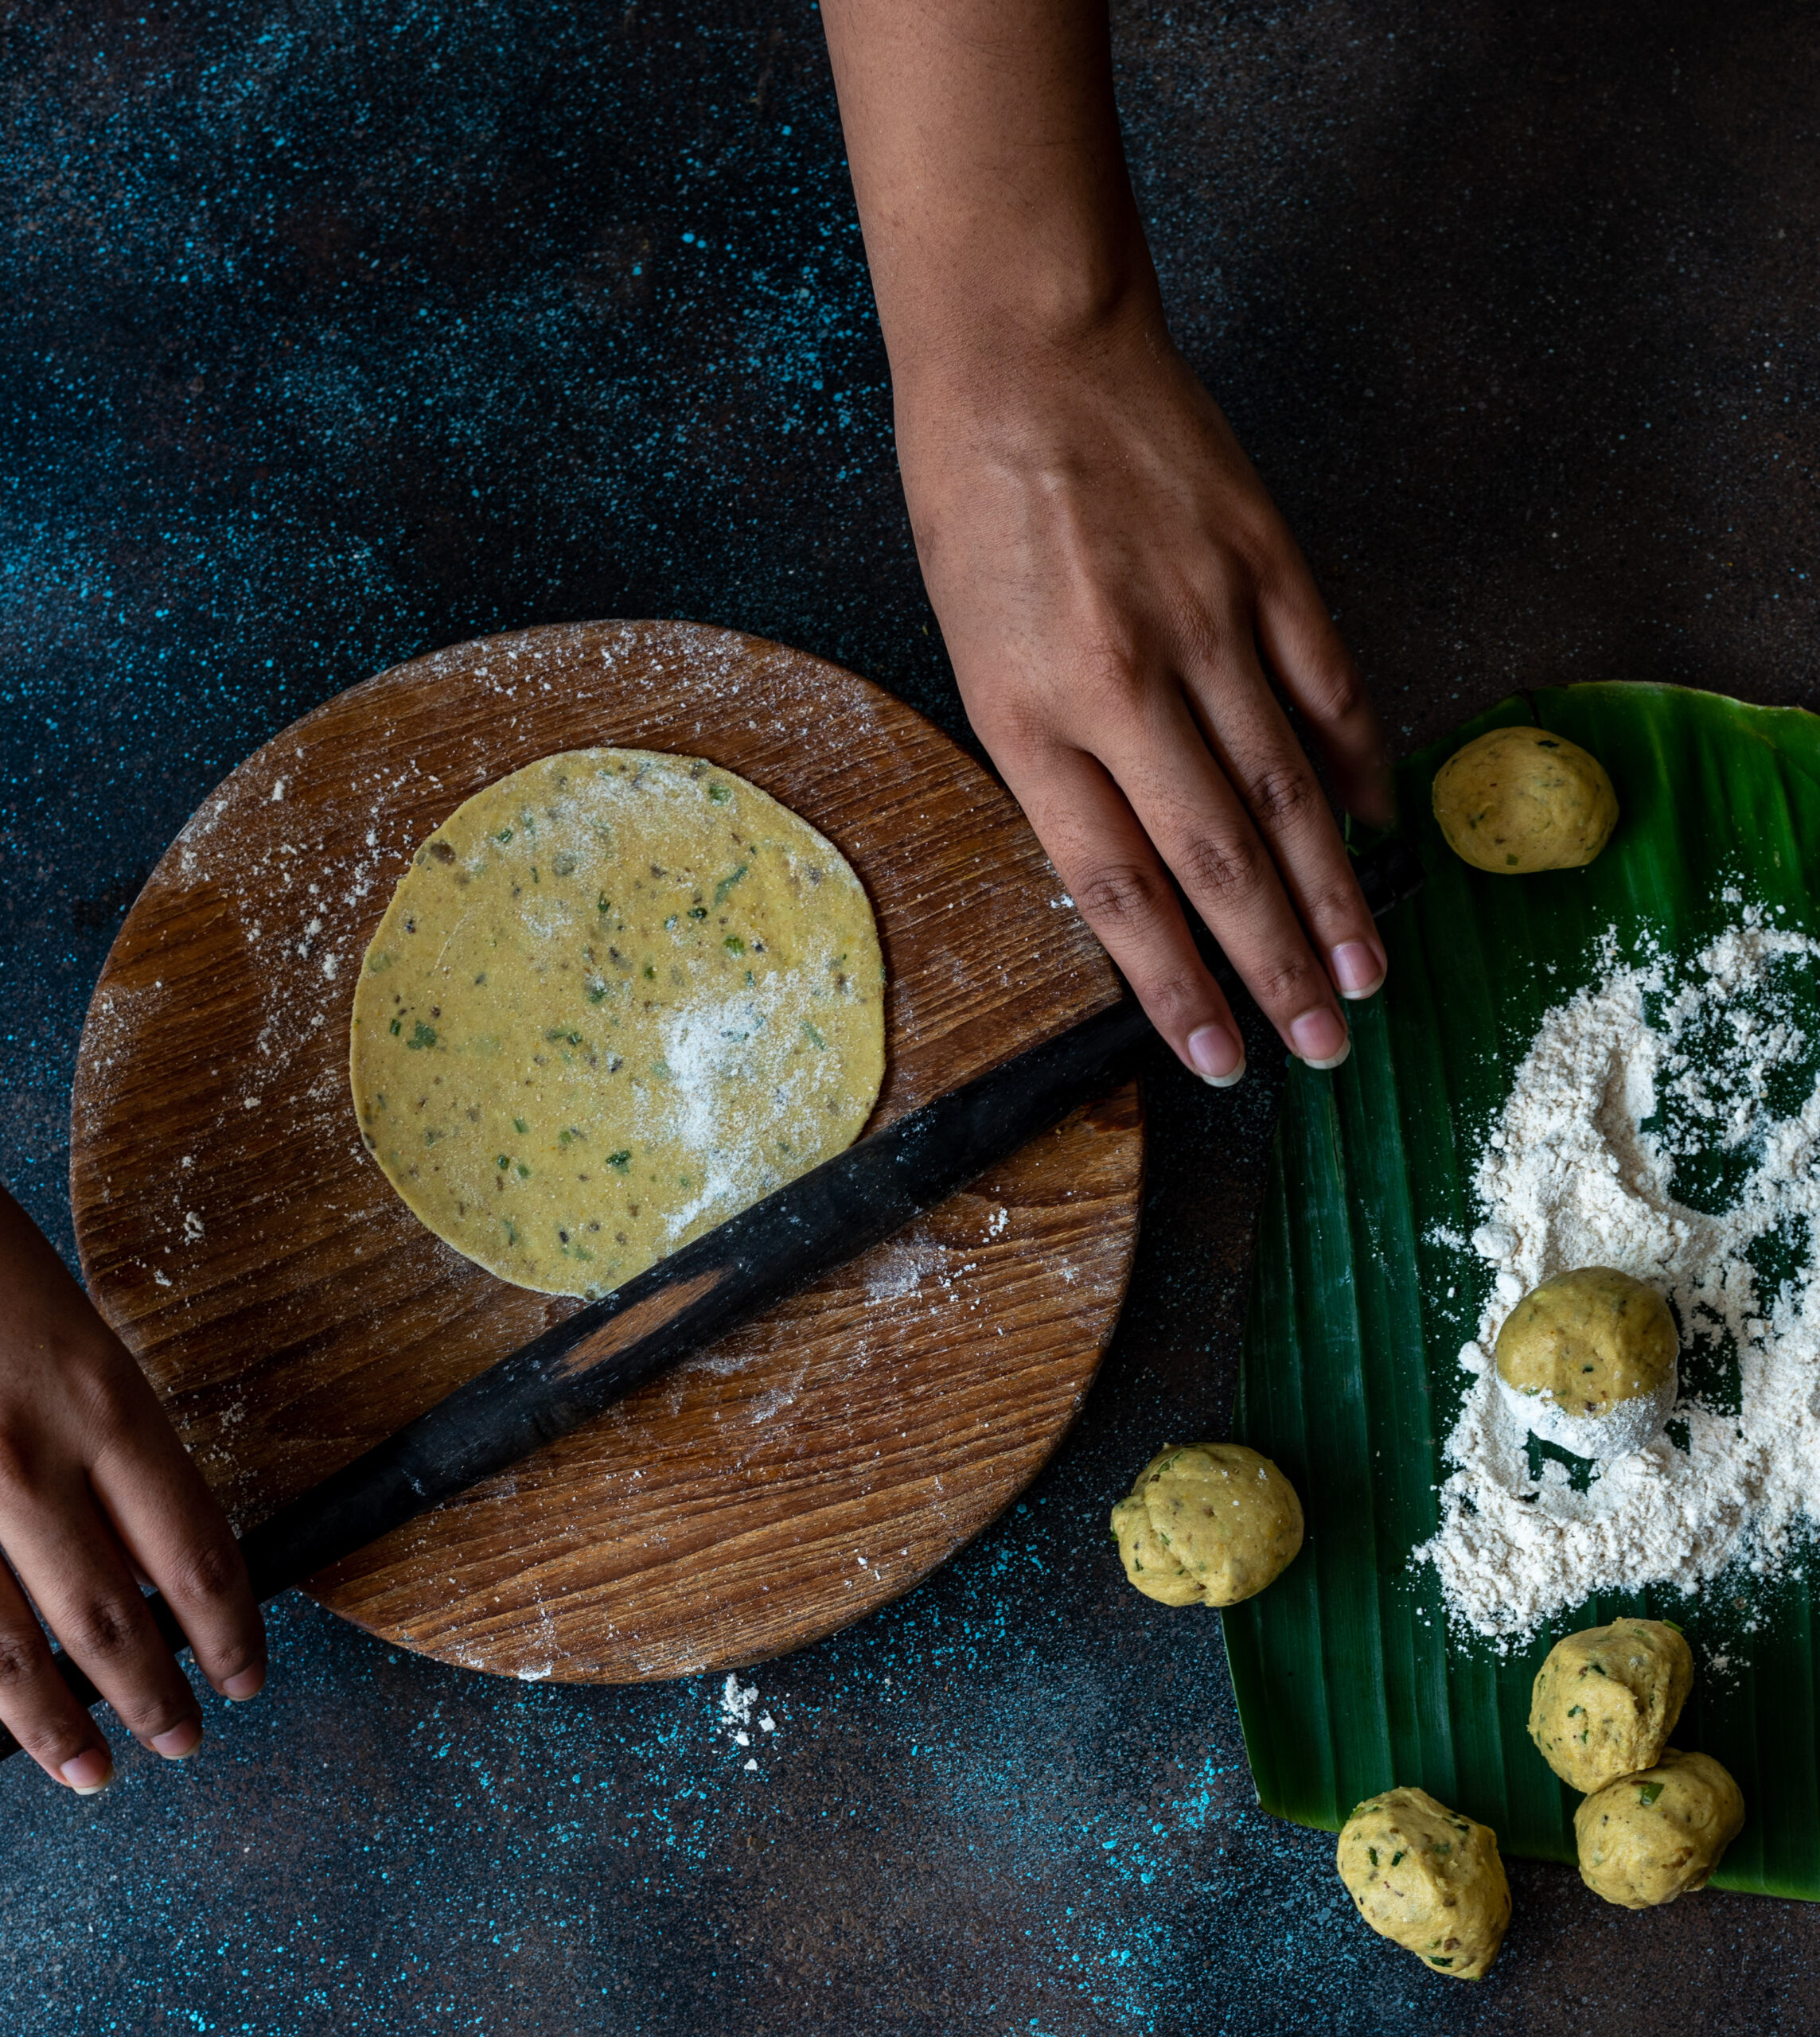
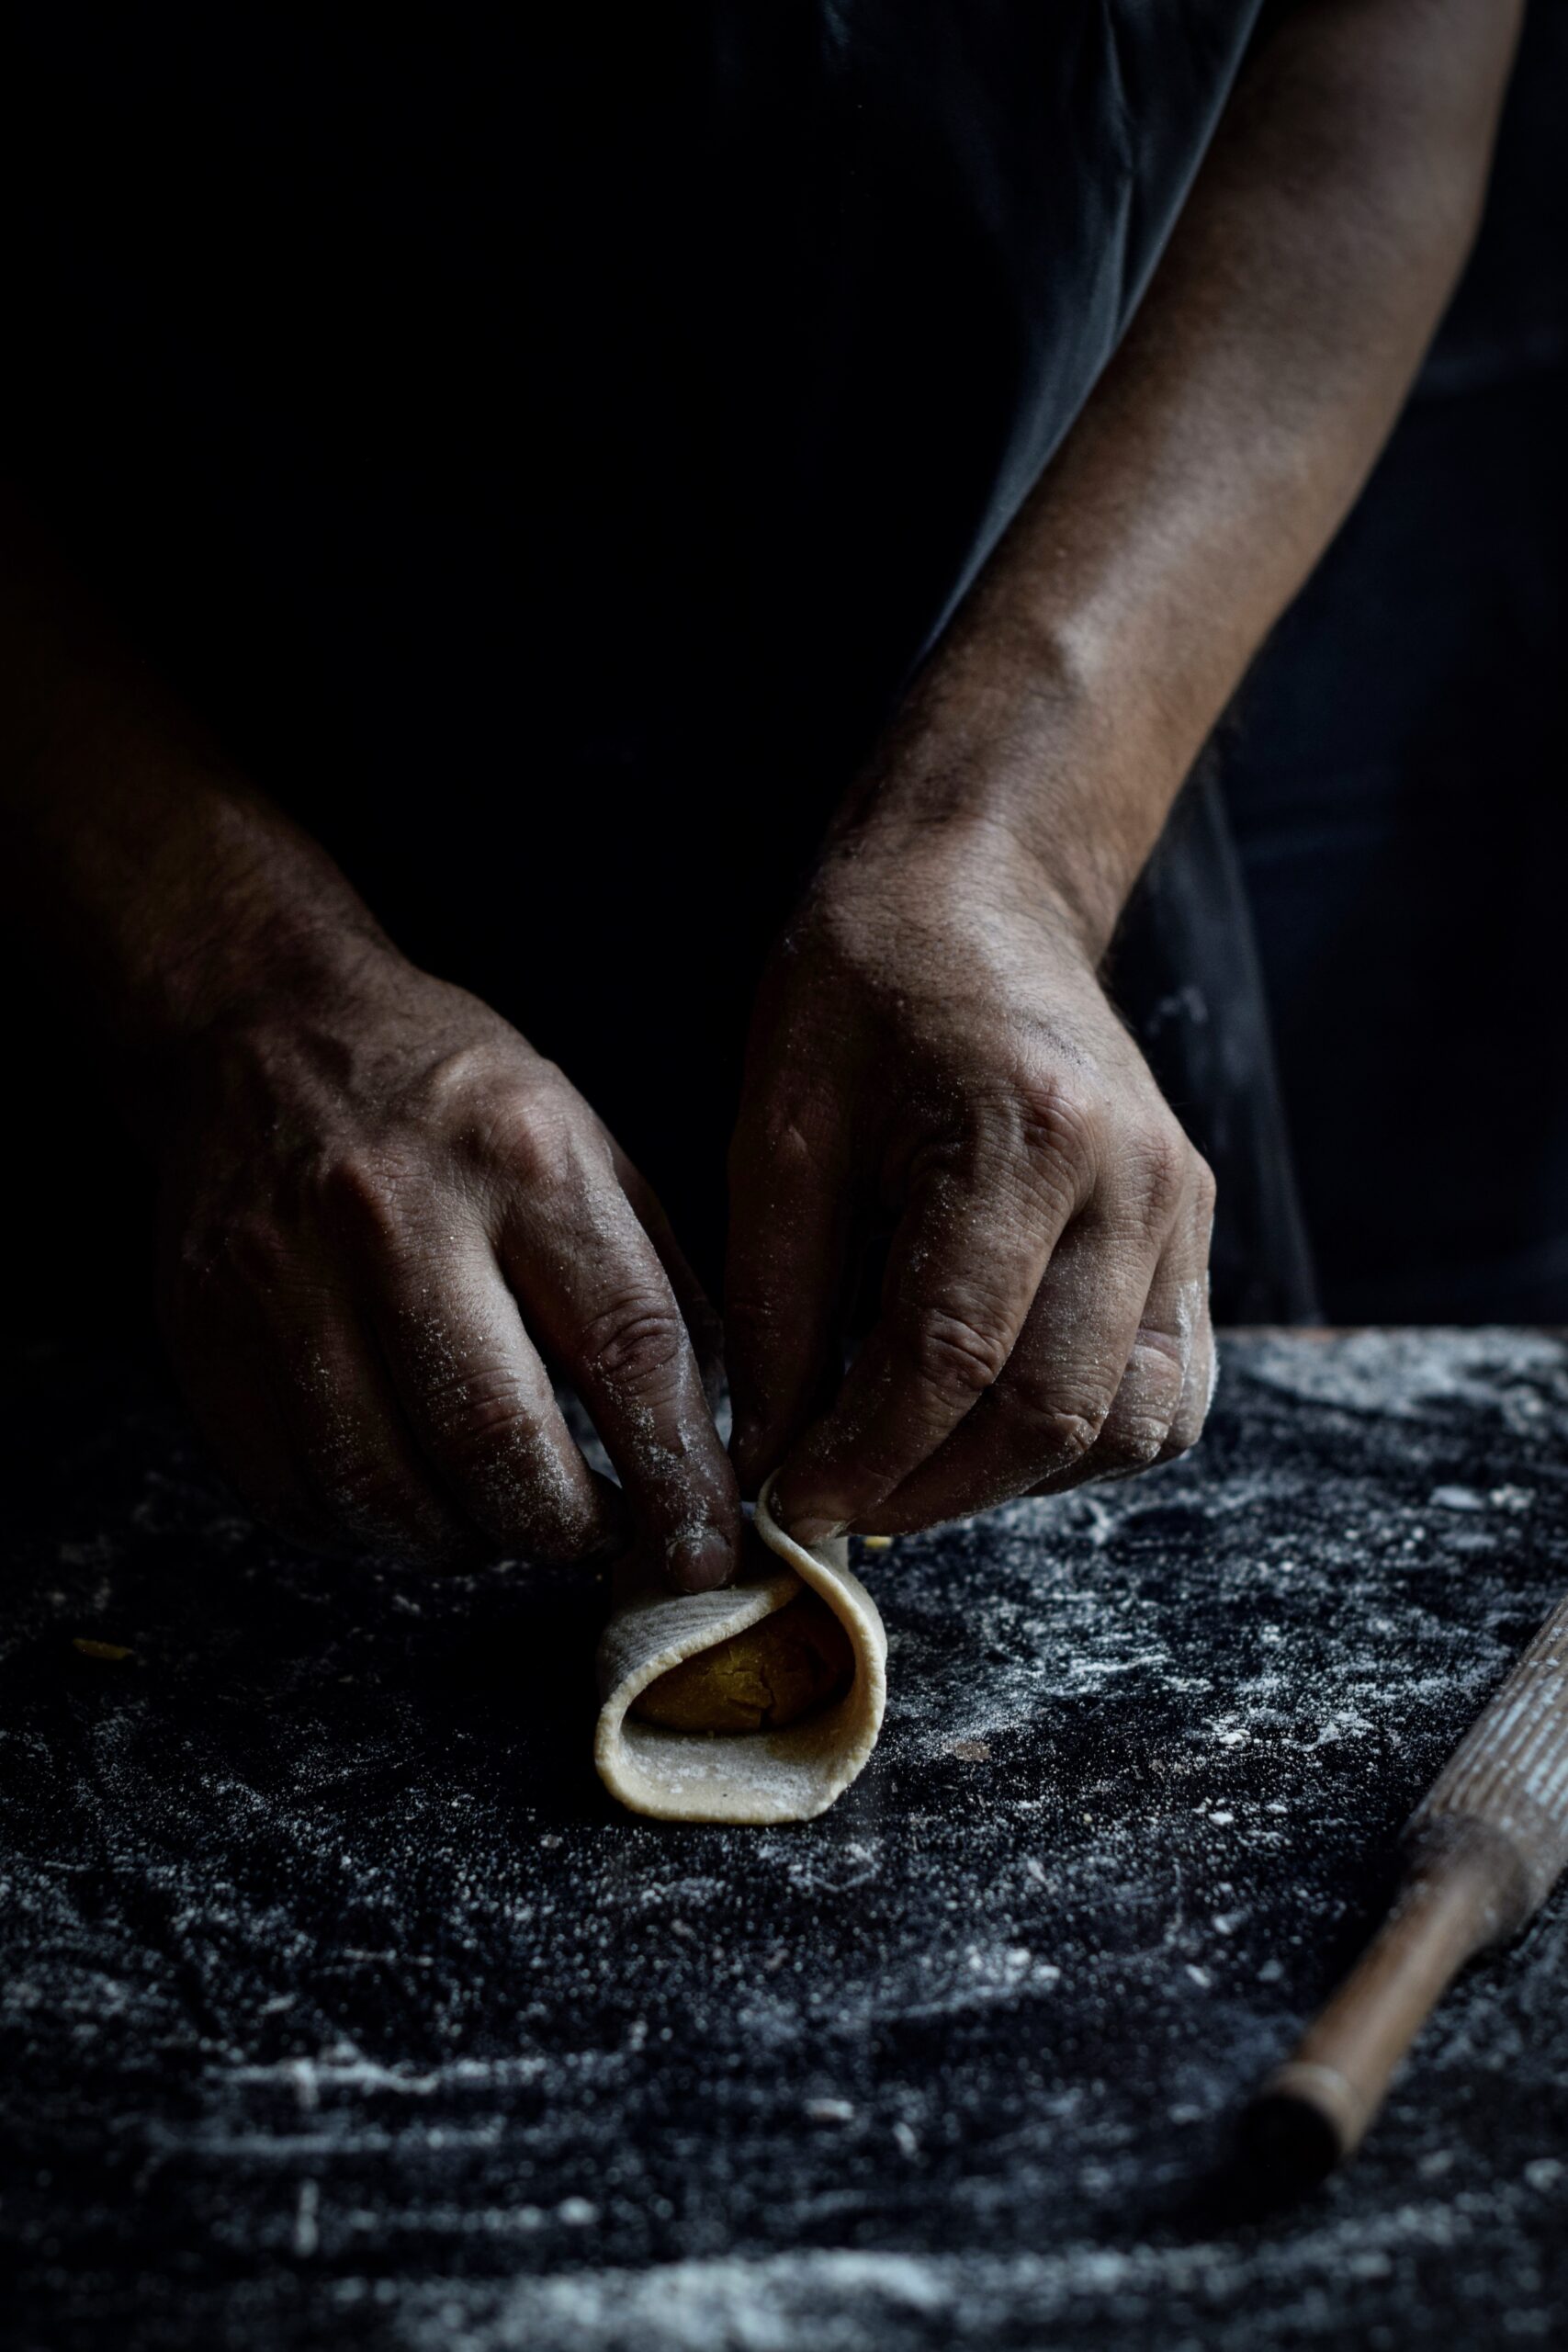
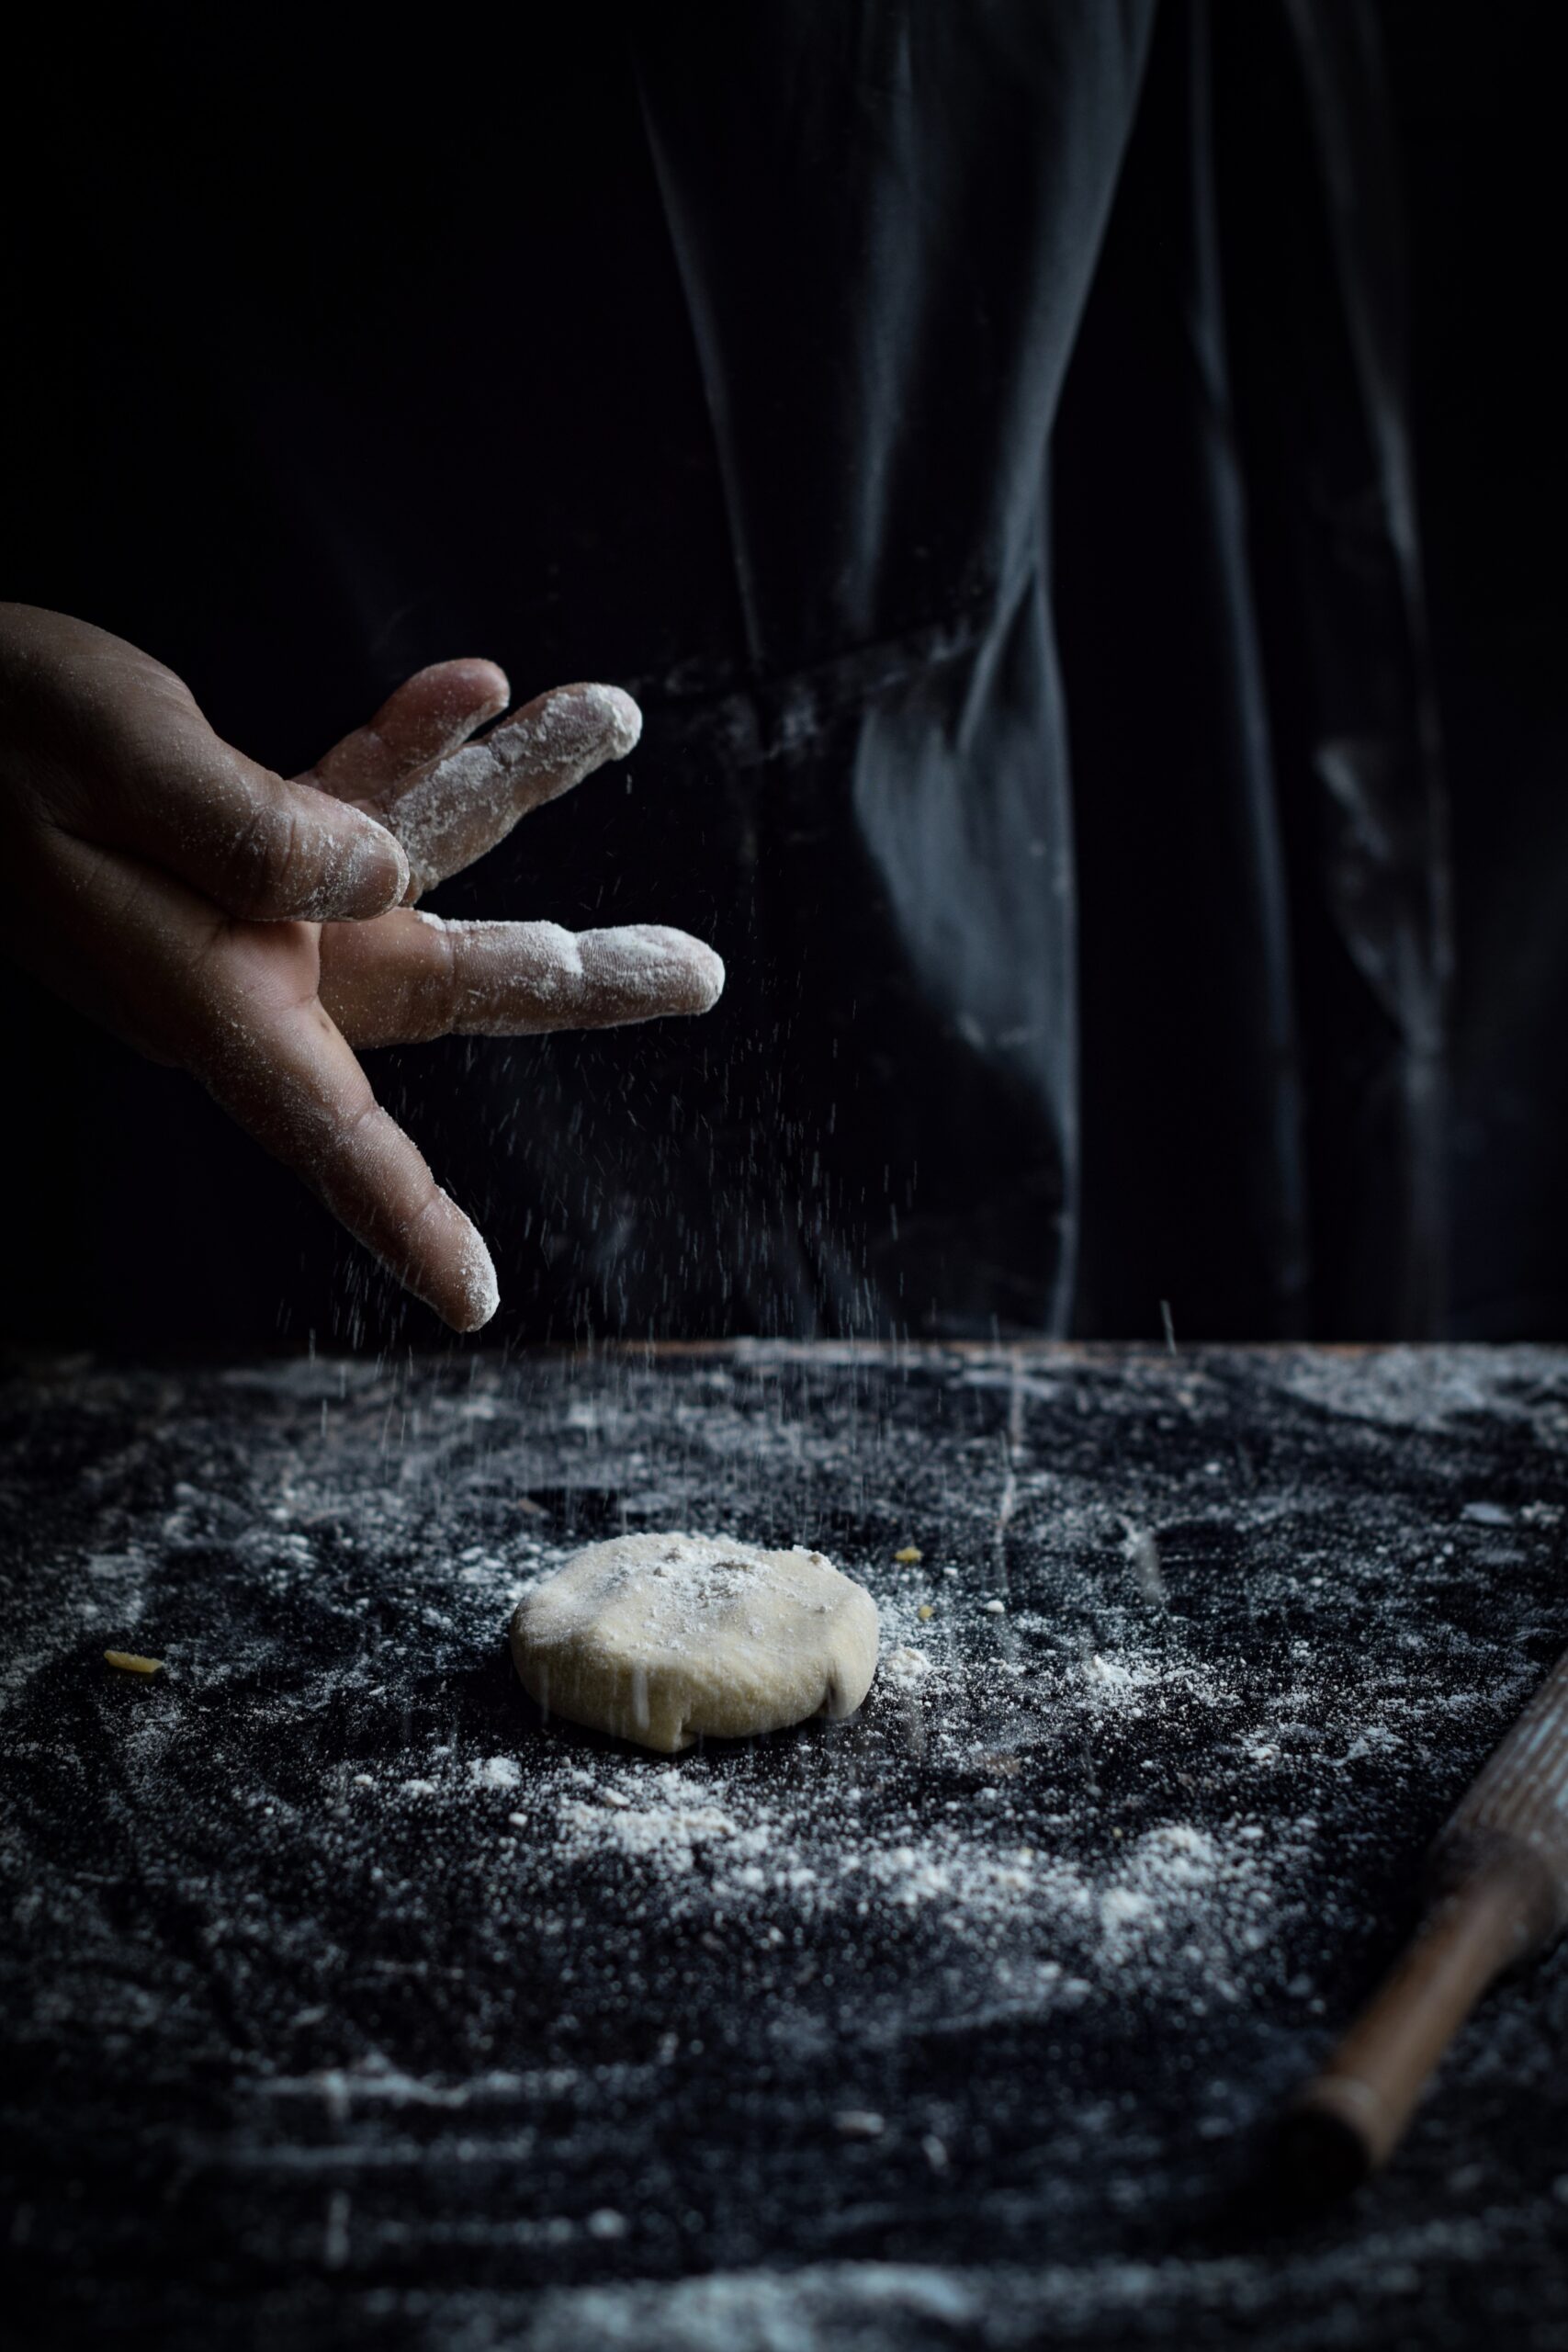
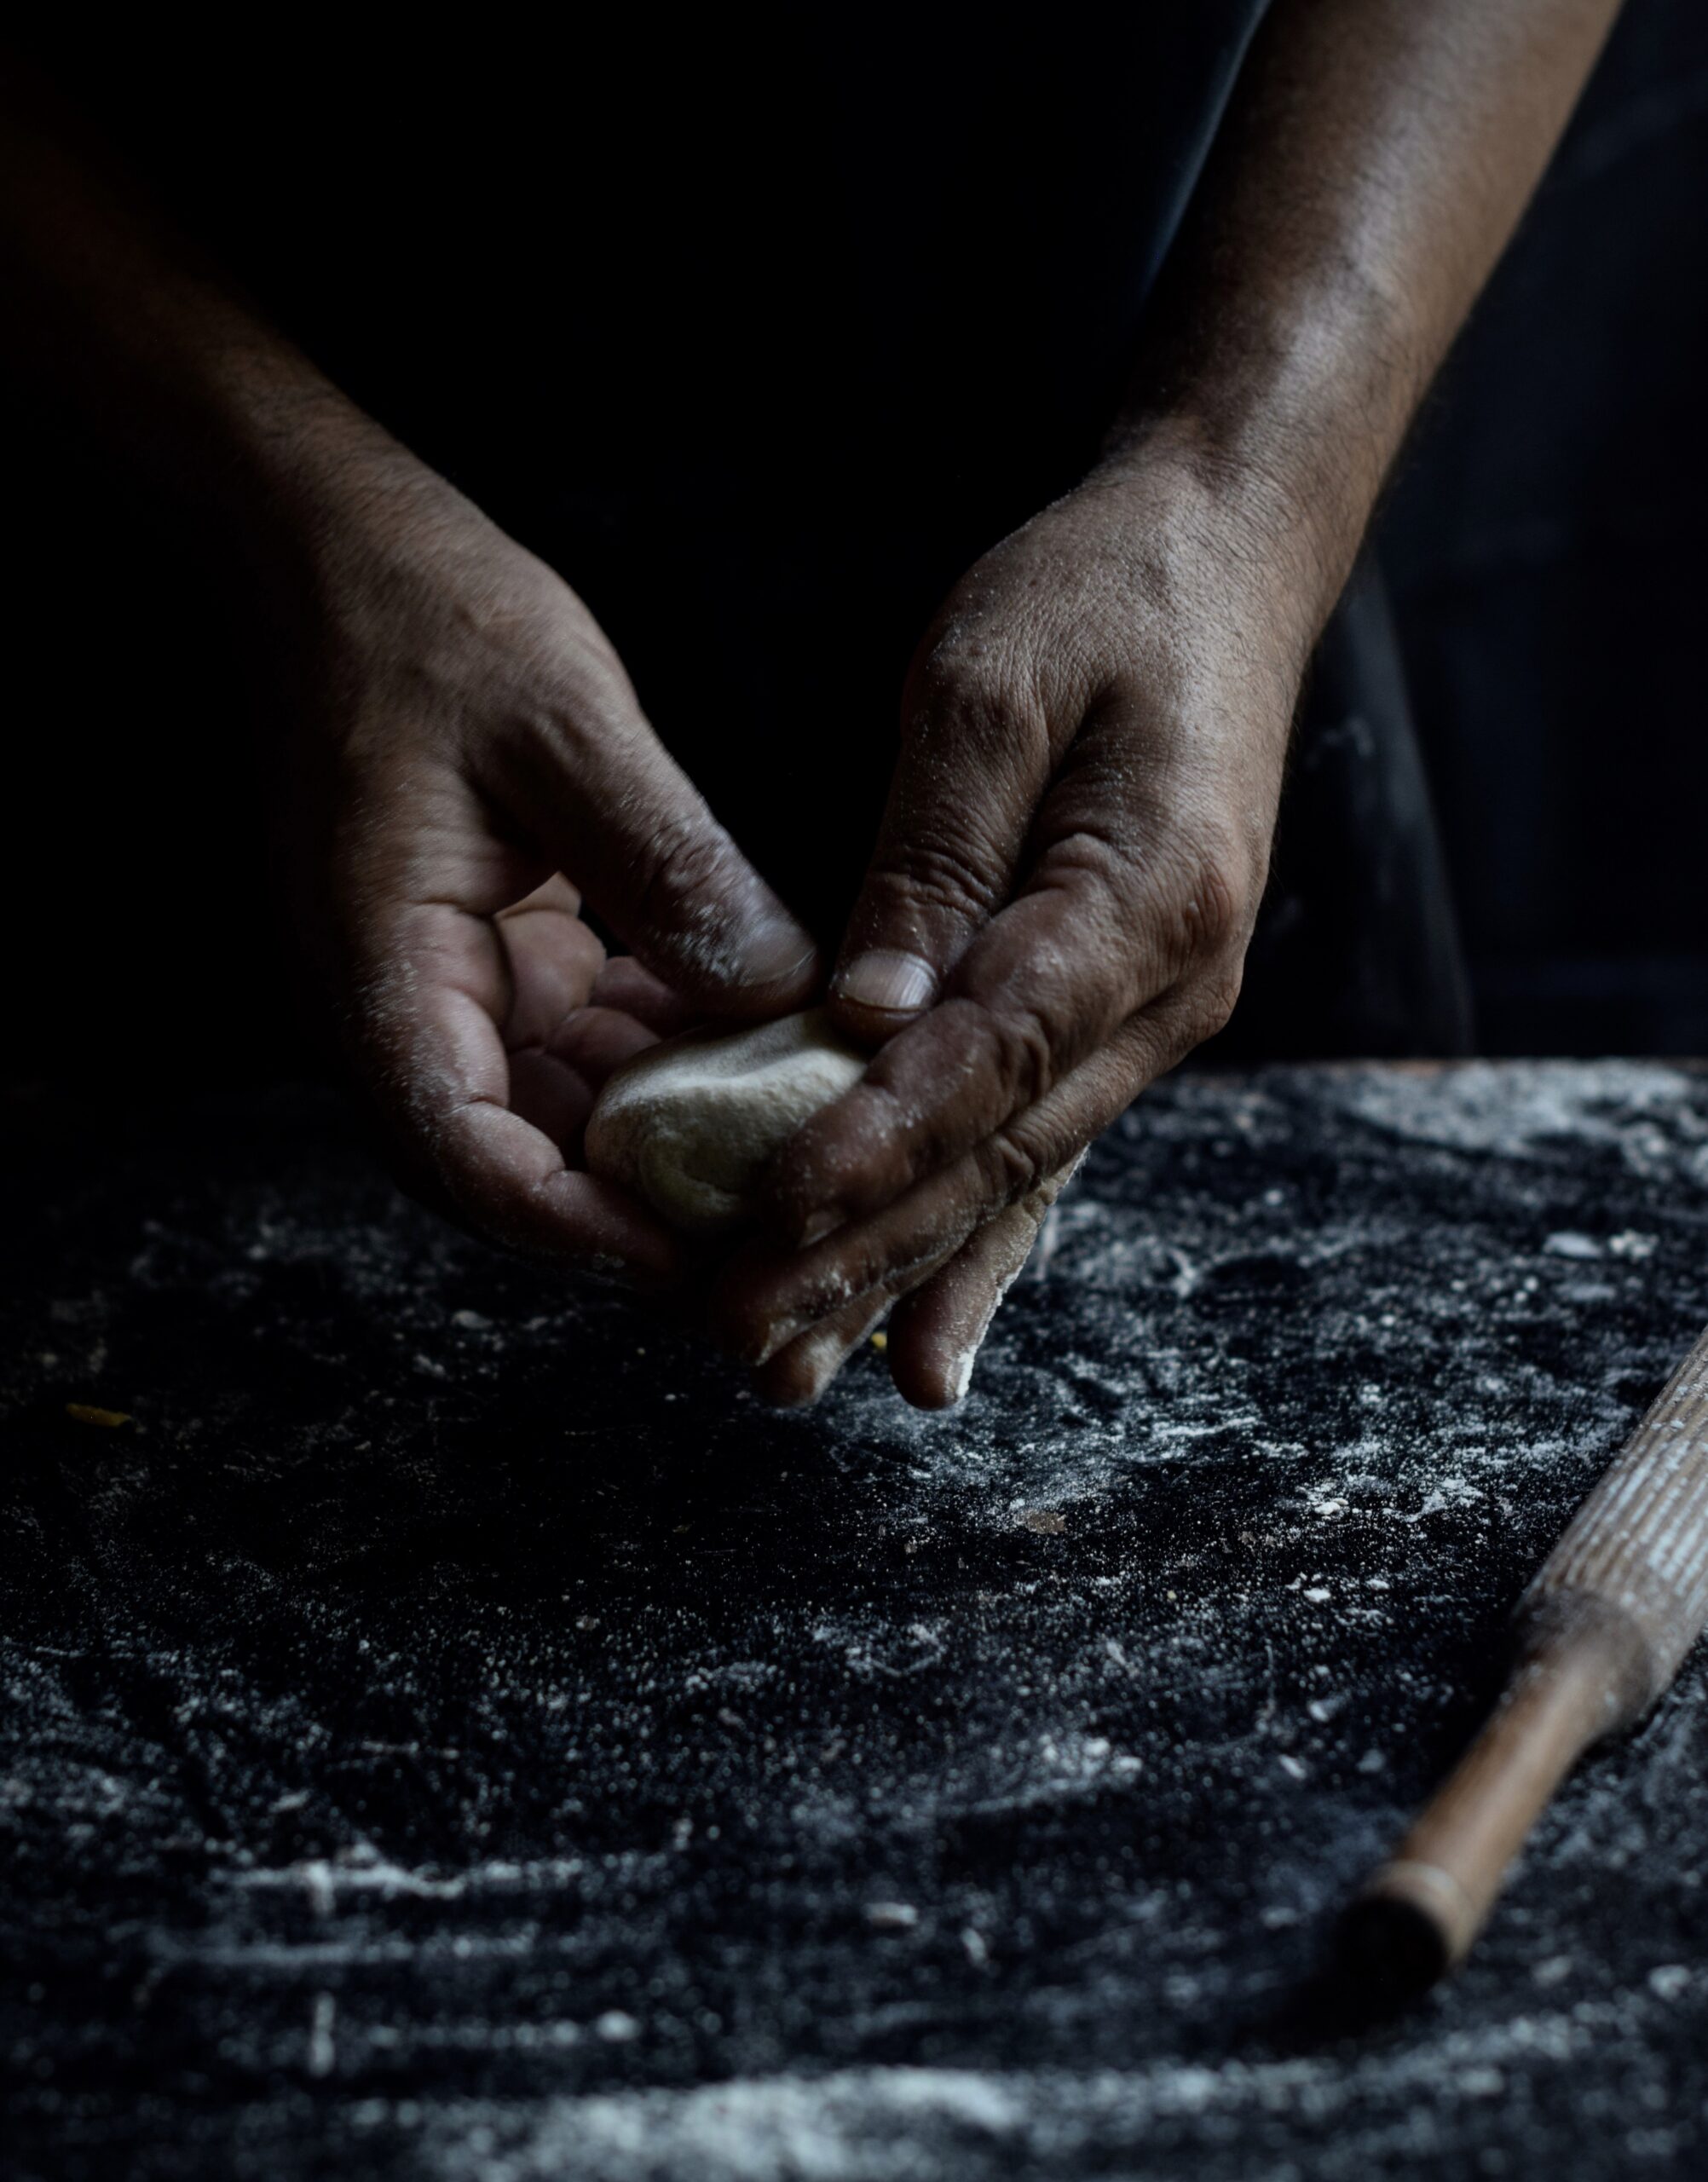
Make balls of the dough. With the help of dry flour, roll these out in any shape you desire. The paratha needs to be a little thicker than the regular rotis to get the most of the spinach flavour. Place on the griddle, and ensure both sides are cooked.

Serve hot with yoghurt or pickle or a vegetable of your choice.

If you’d like to explore more spinach recipes, do try out this spinach and corn bake and this spinach rice. As for parathas, my recent radish paratha and earlier peas paratha recipes may catch your fancy too!

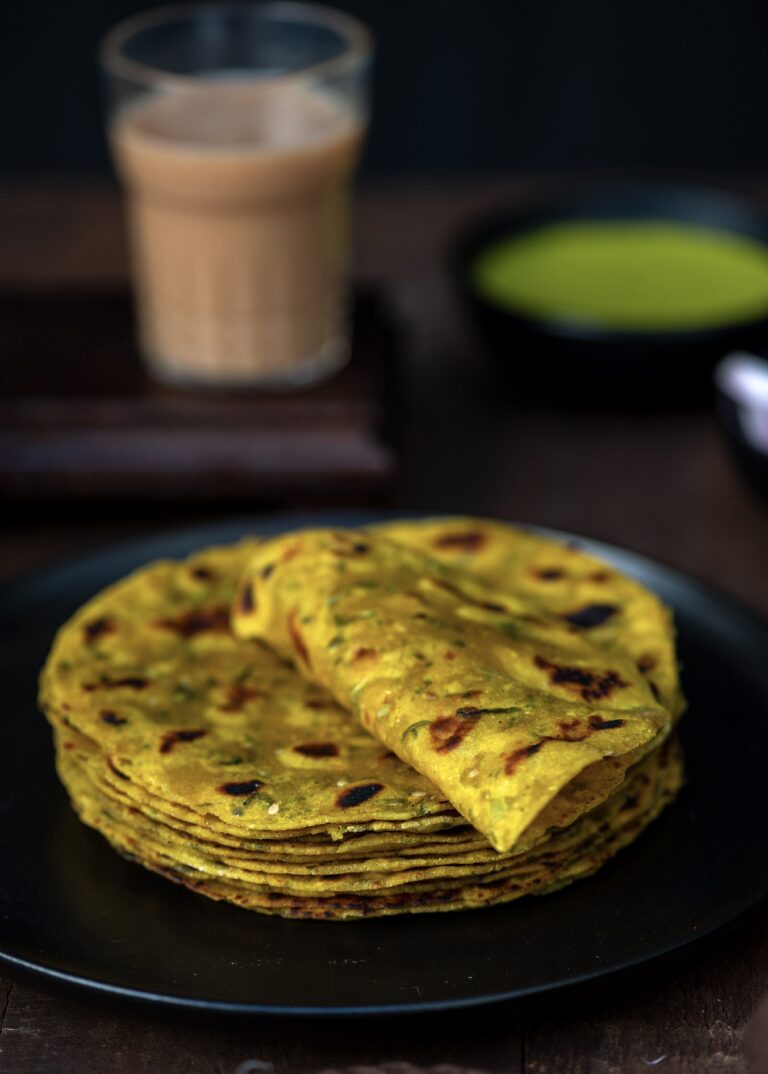
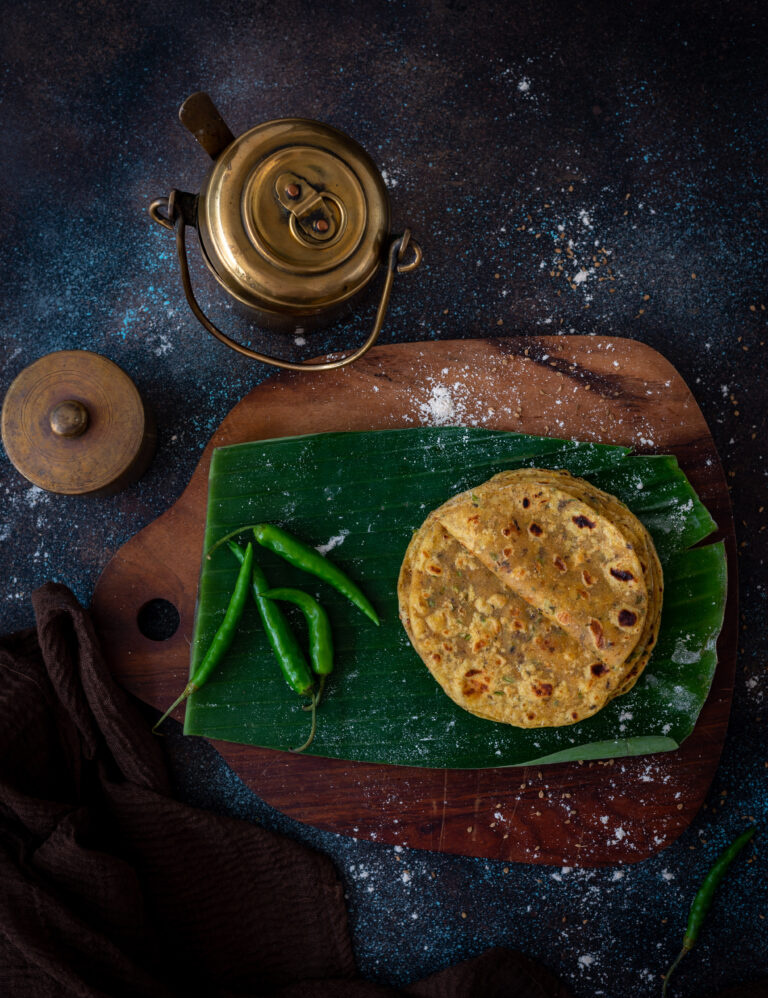
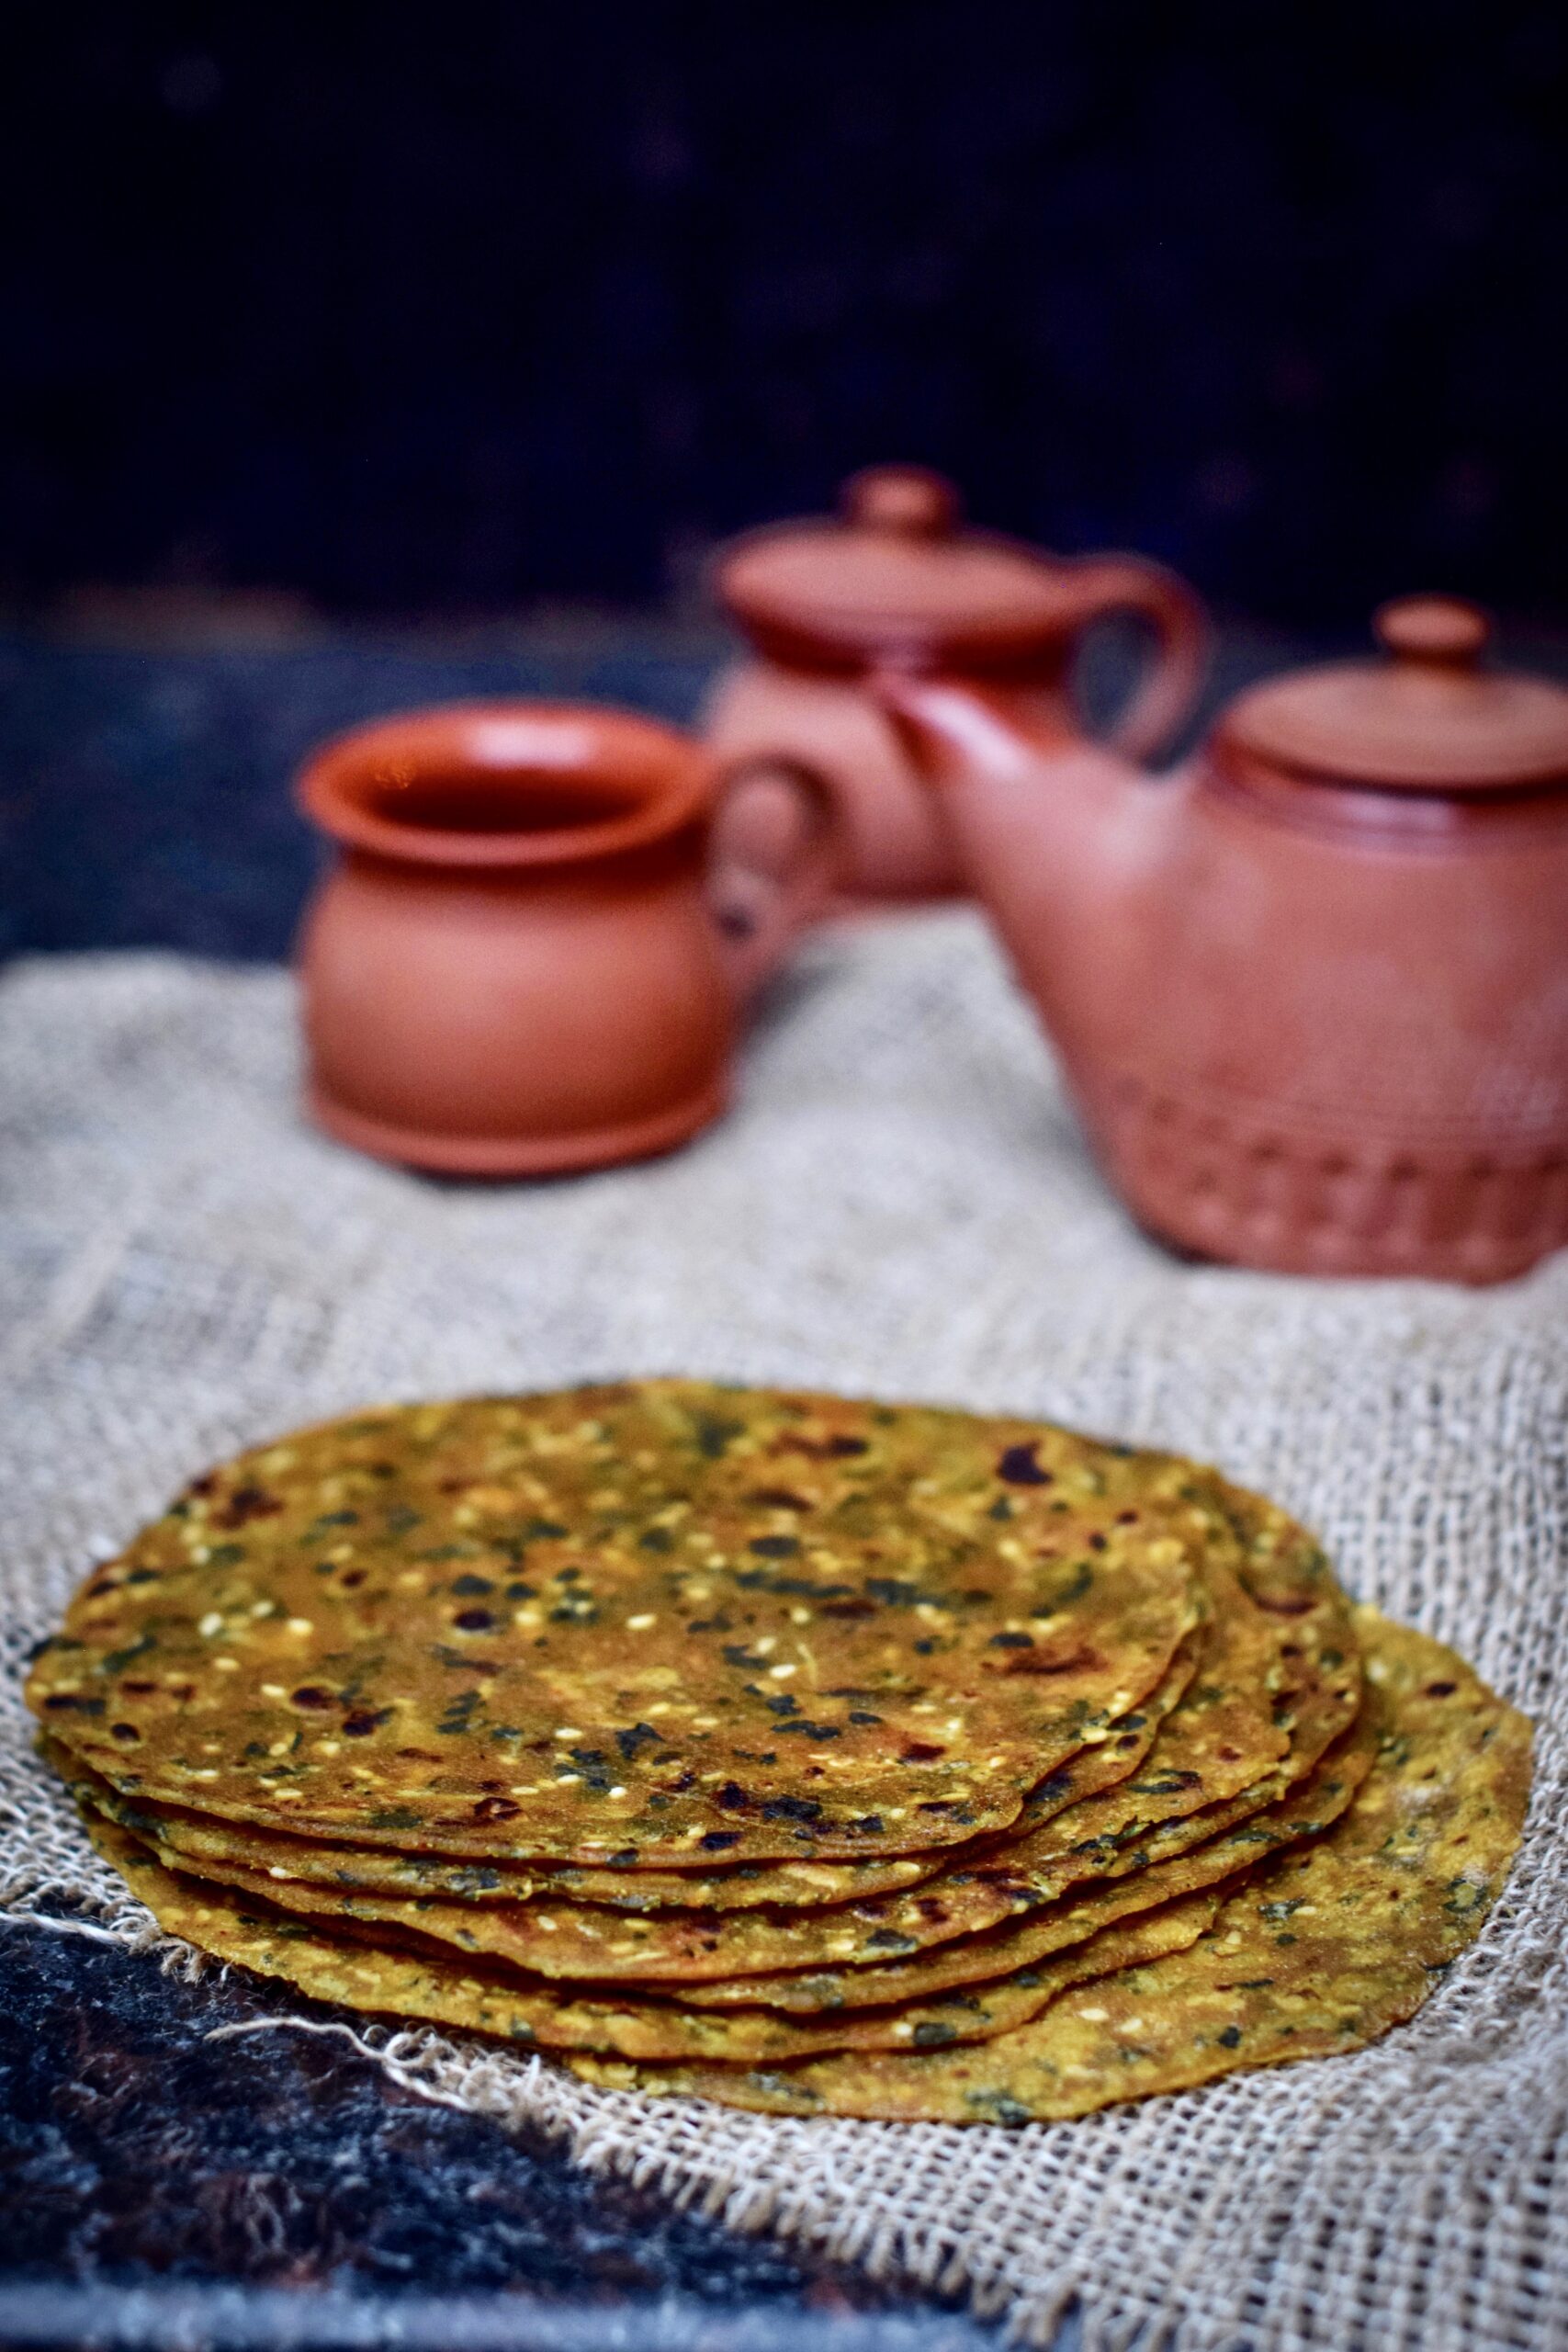
Several years ago, close to when I began this blog, I had shared a post on a variety of Gujarati flatbreads. The ones featured therein were just a small selection. There are hundreds of kinds of flatbreads in India, and even within different communities or regions, each family will have its own version. The thepla in particular has many types. It is basically a masala flatbread, and may have additions of grated vegetables or flavourings. Bottle gourds and leafy greens, of all different sorts, are often used. Here, I share with you a recipe for jowar methi thepla. It uses fenugreek leaves (methi) and sorghum millet (jowar) alongside the standard wheat, which makes it richly nutritional.

I prefer to use fresh methi, but dried kasoori methi will also work. If you’d like to totally substitute the methi, you can do so with any spinach. In my version of this flatbread, I make it with green chilli paste. My sister likes to use red chilli powder instead, which gives it a darker colour. Traditionally, jowar (sorghum) is replaced by bajri (pearl millet) in winters, as the latter is more warming. You can use the same method below to make bajri methi thepla.

Theplas go well with pickles, vegetables, curries and gravies (a potato and tomato gravy pairs nicely, for instance). They are also great by themselves, or as an accompaniment to a cup of chai. They are perfect for school and office tiffin boxes – applying some chhundo on one, rolling it up and packing it makes for an easy lunch. However, they are more traditionally eaten at dinner time, and I think this is because they don’t go well with dals, which are usually served in the afternoon. There are no hard and fast rules about theplas because convenience is the key to their popularity. They keep for a few days, and travel well. I often make a pile of theplas and carry them with me during short trips, so that I can avoid eating outside food.

As for jowar methi thepla specifically, I’ve had it all my life and so I take it for granted. Only if I sat down to think about it would I really be able to list the memories associated with it. It was frequently served at home for dinner, eaten as leftovers for breakfast, or carried to school for lunch. It was just a part of everyday life, and it still is. I hope it finds a regular place in your meals too.

Jowar Methi Thepla

(Yield: 12 pieces)

1 cup whole wheat flour

½ cup jowar flour

Salt to taste

1 tablespoon oil

½ teaspoon turmeric

½ teaspoon sesame seeds

1 teaspoon cumin and coriander powder

1 teaspoon green chilli paste

1 tablespoon yoghurt

½ cup chopped methi leaves (or any spinach)

Water to bind dough (approximately 1 cup)

Oil for pan frying


Add all the ingredients to a mixing bowl. Knead and bind the dough with water, pouring it a little at a time. Ensure the dough is neither too soft nor too hard.

Leave the dough covered for at least 30 minutes. Then, make even-sized balls from it. You will get roughly 12.

Roll each ball out with the help of flour into flat round discs.

Shallow fry them on a hot griddle with the help of some oil. Make sure the oil is added to the edges, as this way the thepla will not dry out.

Store the theplas in a covered box and consume within three days.

While there are endless variations on theplas themselves, all Gujarati homes will invariably have theplas available on a more or less daily basis. I hope you will explore more of my thepla recipes on this blog, and I’d especially suggest that you take a look at the taco theplas, if you’re feeling in the mood for some fusion fun, and this khichdi thepla that makes great use of leftovers.

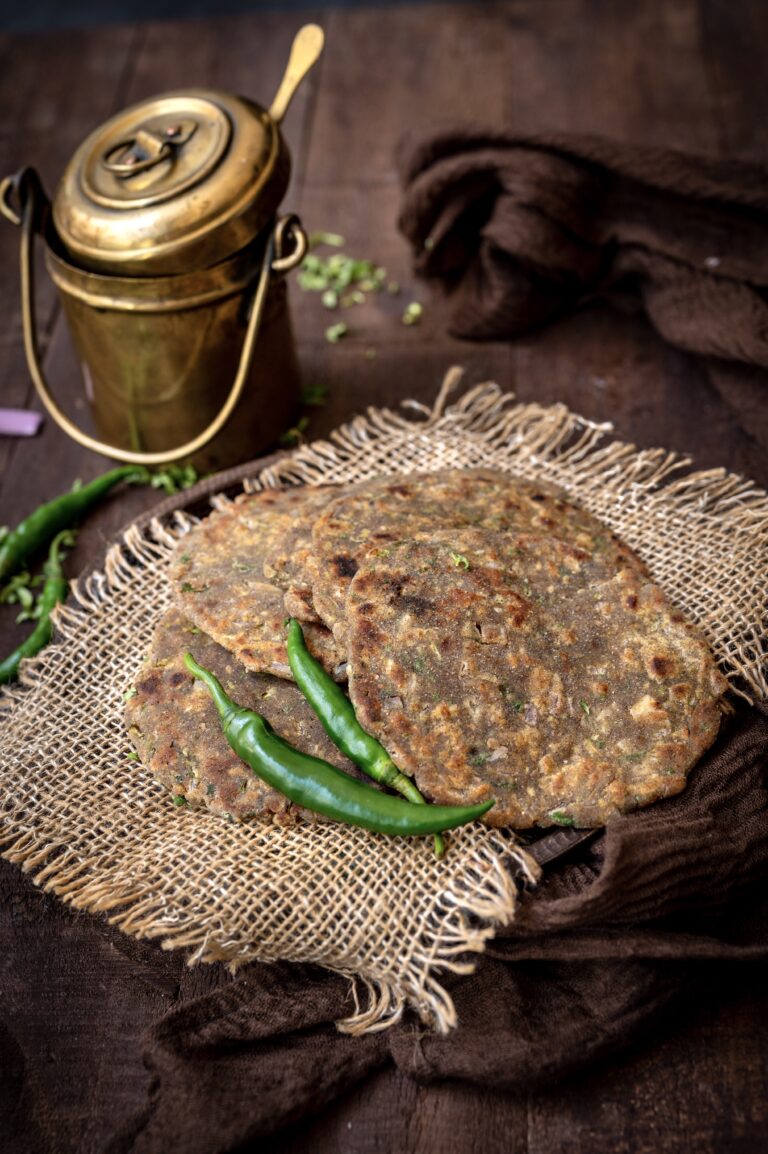
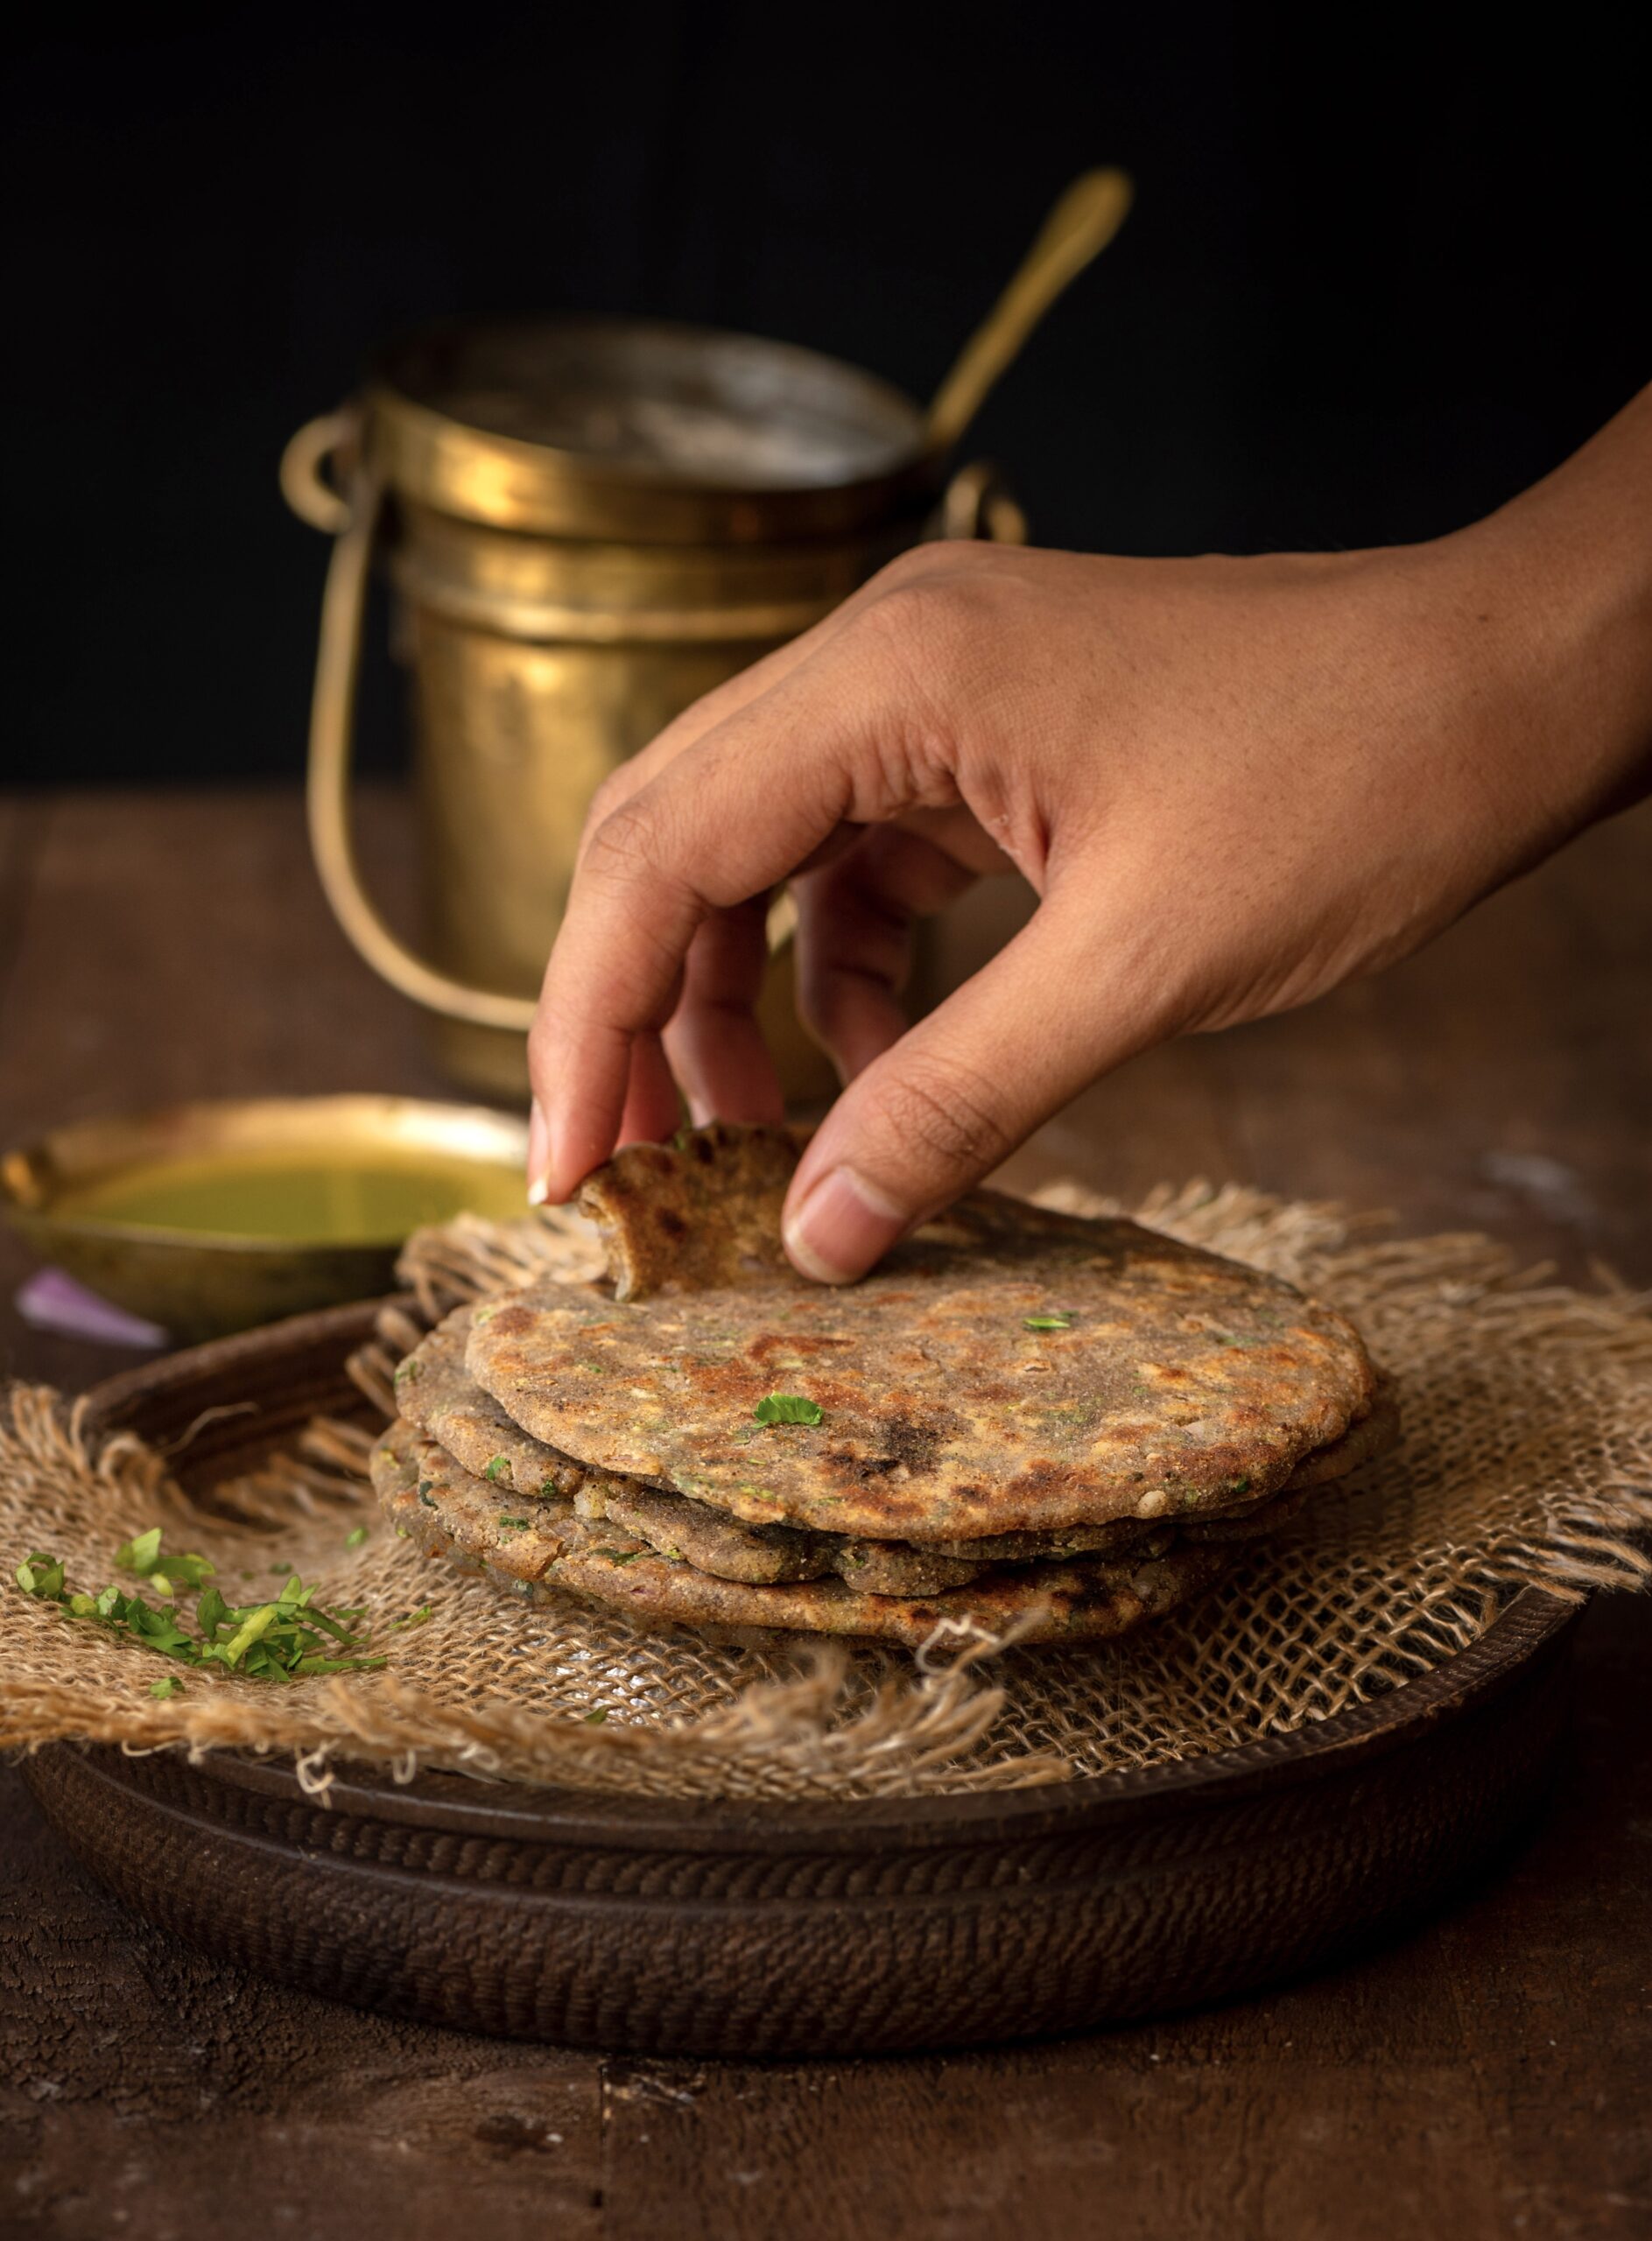
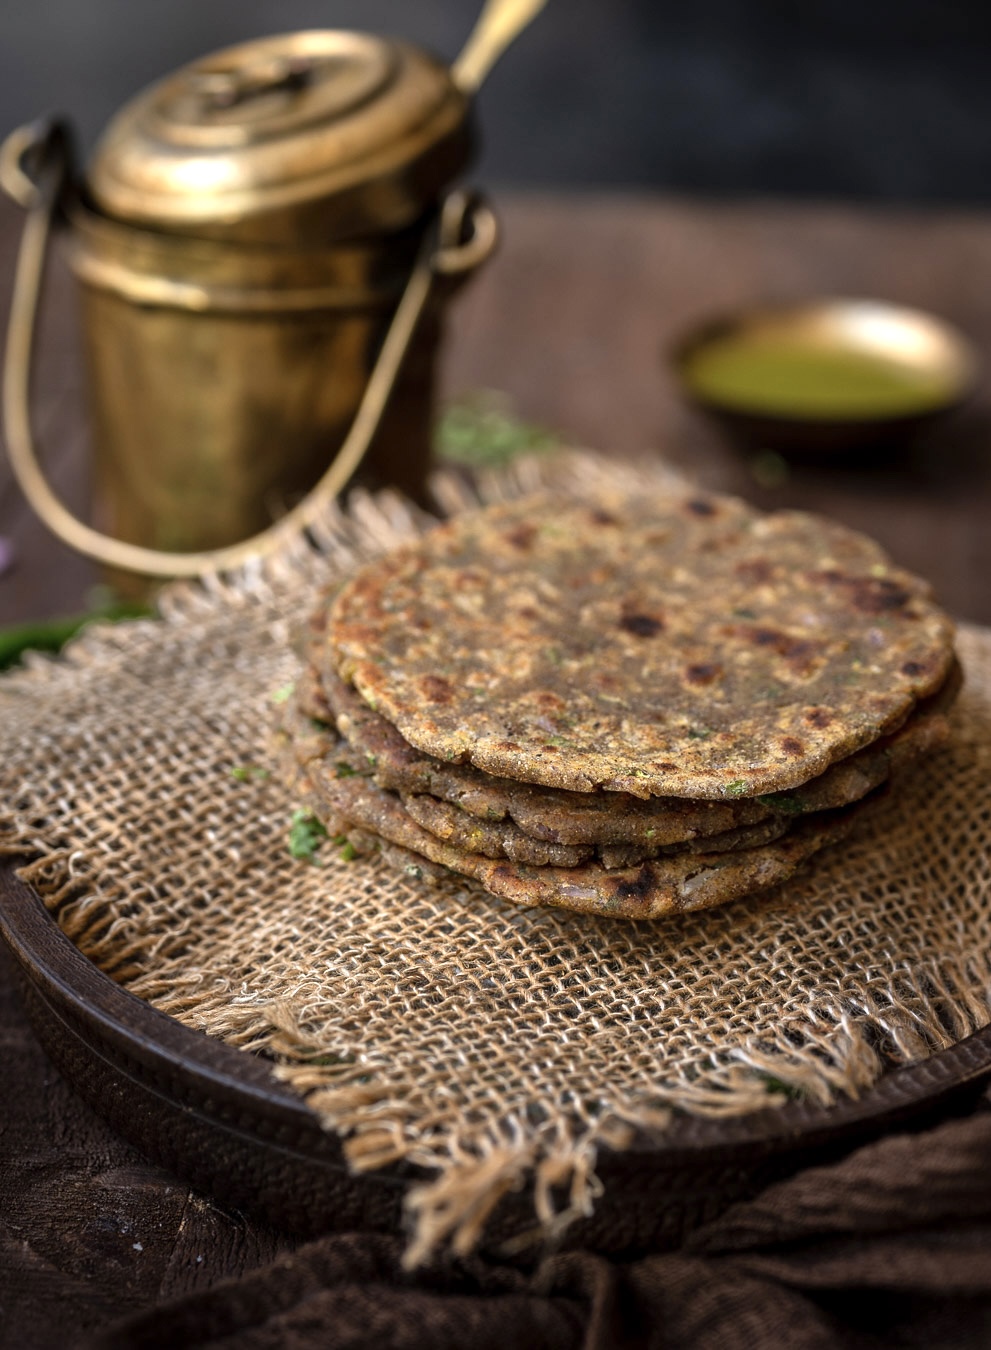
This multi-grain flatbread, also known as chilla, is a kind of crepe that has made an appearance on this blog before in a chickpea avatar. This version, which uses a selection of different flours, is very similar to the thaali peeth from Maharashtra or the sathu maavu that is popular in South India. This is a rustic flatbread that is best consumed in monsoons as it takes longer to digest and gives an energy boost, but it is also perfect for me right now as I take a break from rice and wheat. It is a great way to enjoy my dals and veggies. It does contain a very small quantity of wheat as a binding agent, but this can be eliminated if you ensure that you roll out each piece very gently and delicately.

While I am cutting down on this ingredient, I do want to say that I think it’s sad and perhaps unfair that wheat has become a culinary culprit at late. Newer health concerns like celiac disease and gluten sensitivity, which were unheard of when I was growing up, are now much more widespread. On this note, I want to add that with the health and nutritional requirements of my customers in mind, I do offer a selection of gluten-free cakes. Vegan and sugar-free cakes are also on the re:store menu. Please explore our options and see what calls to you, and give me a call. I get a lot of enquiries about cakes that use artificial sweeteners, but I am still wary of those, so I haven’t accepted such orders. I would rather use a natural sweetener in small quantities, or eliminate it altogether.

I’ve used five different flours to prepare this dish. Feel free to use whatever is available in your home. In mine, since I prepare this quite frequently, I gathered together all the grains and had them milled together. In that sense, my flour mix is a homemade one. This is more convenient than reaching out for half a dozen jars each time I want to prepare a multi-grain flatbread. You can just store one jar instead, and use it for your regular consumption. Growing up, my mother made bajra rotlo  quite a lot, but this is my own go-to. You can also prepare this in a thinner consistency, make it in an uthappam style and so on. Use the dough in your preferred way to create a flatbread.

I accompany this multi-grain flatbread with a simple vegetable sabzi or a dal, or sometimes just a pickle and some yoghurt, or even a chutney. There are multiple recipes for these accompaniments on these blog over the years, so I invite you to spend some time exploring the archives, following tags that interest you.

Multi-Grain Flatbread

(Yield: 6)

¼ cup besan flour

¼ cup rice flour

¼ cup ragi flour

¼ cup bajra flour

¼ cup wheat flour

½ teaspoon ajwain (carom seeds)

A handful of coriander leaves (finely chopped)

Salt to taste

½ teaspoon sesame seeds

A pinch of turmeric

1 tablespoon oil

2 tablespoons curd

13 cup finely chopped onions

Water as required

In a bowl. add all the flours, as well as salt and turmeric. Mix with your hand. Now, add the onions, coriander leaves, oil, curd, sesame seeds and ajwain. Mix lightly and add enough water to bind into a dough. You will not require more than 1 cup, and the quantity ultimately depends on the flours you use.

Once you have made a dough that doesn’t stick to your fingers easily, divide it into 6 equally-sized balls.

Using a rolling pin and stand, dip the balls into some flour again. Then, roll them out gently. Pat occasionally with your fingers. Form a circular shape.

Heat a pan and place a rolled out roti onto it. Allow to cook on one side then flip over. Once it has cooked, add a few drops of oil on both sides and flip so that it turns golden evenly. Make the rest of your multi-grain flatbread pieces this way too.

You can enjoy this the way you would any flatbread, as I said earlier. What are your preferred accompaniments? I’d love to know. If you’re a fan of Indian flatbreads in general, you may also enjoy this post of mine on a variety of Gujarati rotis.

When the grain-based series concluded last weekend (you can catch up here, here and here, I promised a recipe that would make use of leftover khichdi in a unique way that transforms it into an entirely new dish. Years ago, I had mentioned in this post on rotis that khichdi is sometimes used to make theplas. That’s exactly what we’re going to do today.

Theplas are really a category, not a dish. They are a flatbread staple in Gujarati cuisine, and the diverse range includes methi thepla (made with fenugreek leaves), dudhi thepla (made with bottlegourd), bajra ke thepla (made with pearl millet) and more. The main ingredients change, but the seasonings and masalas tend to remain the same. The simplest form of theplas are the plain ones, made without any vegetables or other ingredients that spoil quickly. They are often made especially for travel, as they store well. I believe I’ve mentioned in previous posts how theplas were a part of all our train journeys, to Bombay and to other places. As kids, we ate every two hours, and so our mother would pack a large quantity of plain theplas, which would keep us well-fed for the two or three days that it took us to arrive at our destination. They were healthy, clean and home-made, and we would enjoy them with mango pickles as our train criss-crossed the country.

Mango pickles, specifically chhundo, which I’ve shared the recipe for before, are the chief accompaniment to most theplas. A dollop of yoghurt is also enjoyed alongside, and a dry vegetable like roasted potatoes can round out the meal. Theplas can be a light meal of just the flatbread and a pinch of pickle, or a full meal with the works. They are often a taken-for-granted dish too – “chalo (‘come/okay’), let’s have thepla” is a standard refrain when planning dinner in many a Gujarati household.

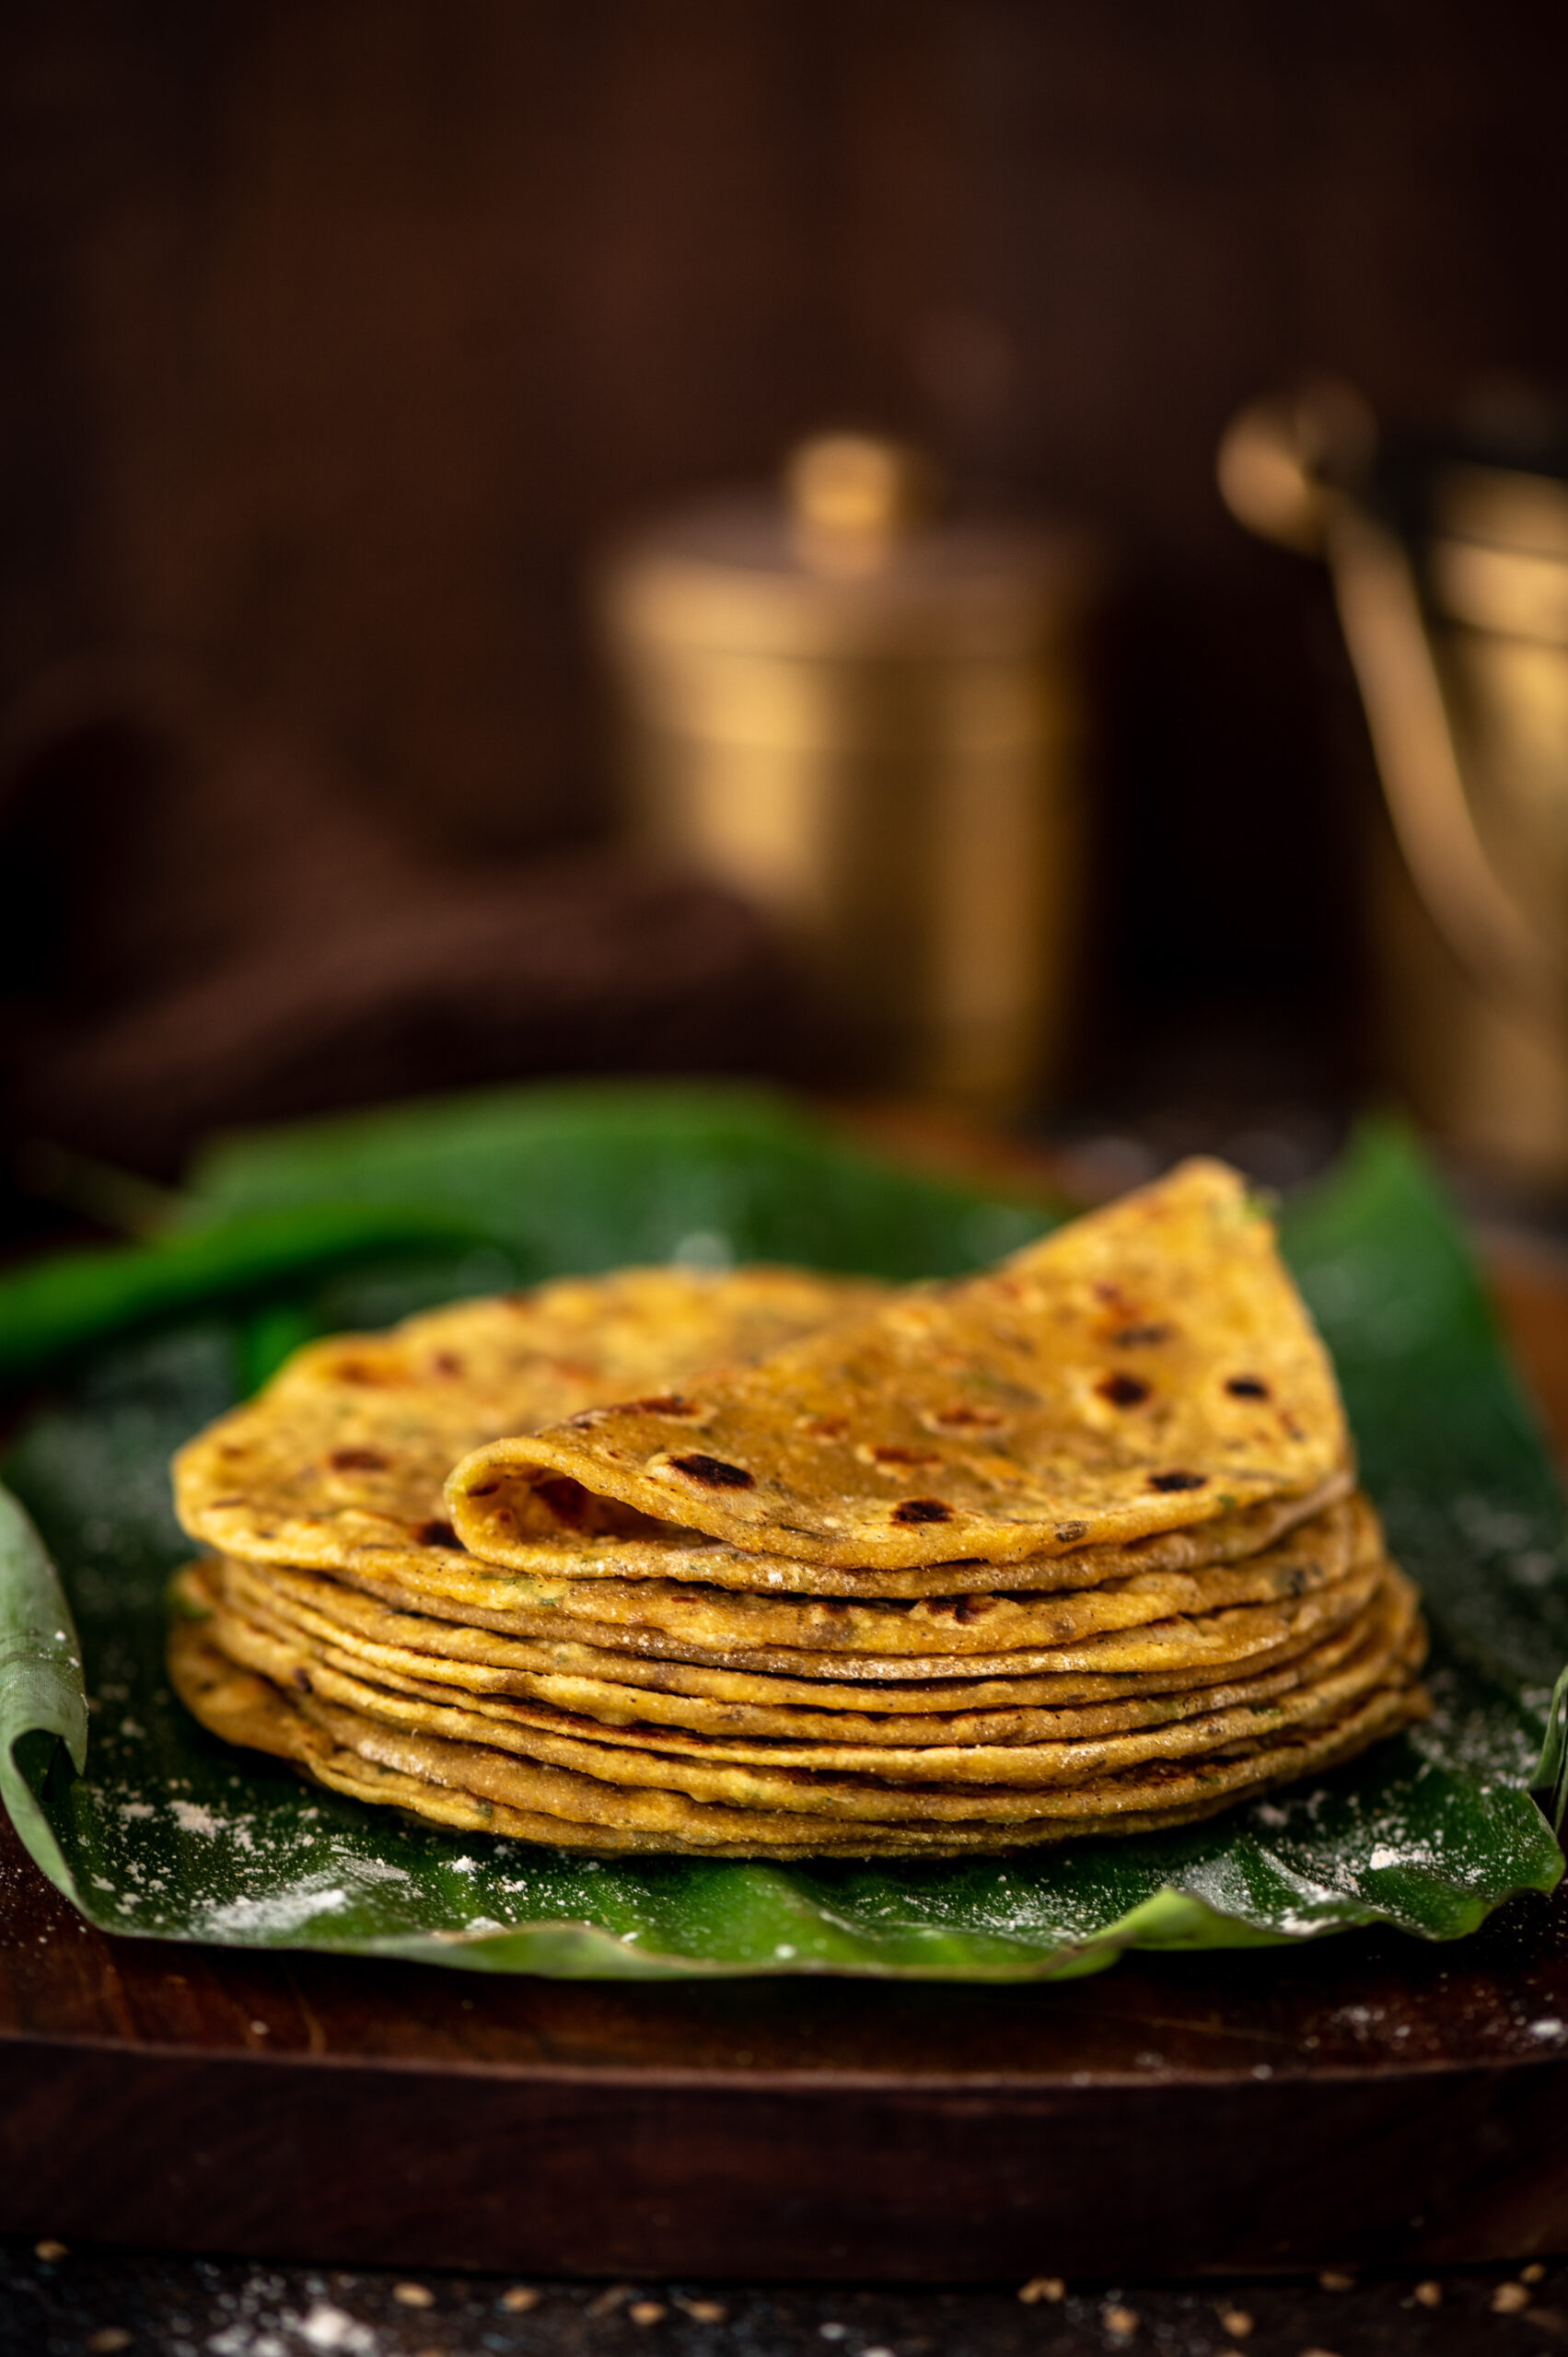
This style of thepla, which incorporates leftover khichdi into the dough and which is deliciously flavoured with ginger and green chilli (you may add garlic too, if you wish), is a perfect dinner dish to prepare with the unused portion of a simple khichdi made for lunch. Every family that uses this resourceful technique will have their version of what goes into the recipe.

Growing up, I was always impressed by the way my mother had a knack for turning over leftovers. It is a skill I’ve observed time and again in so many intelligent homemakers, who innovate ways to make a large meal go further, while appeasing picky children who demand fresh and interesting food. So this is especially for those of you who have fussy mouths to feed. Unless they are right there in the kitchen with you as you transform old khichdi into new theplas, they’ll never guess your little magic trick!

Khichdi Thepla

(Yield: 10 theplas)

½ cup khichdi

¾ cup + 2 tablespoons wheat flour

½ cup wheat flour (for rolling the theplas)

Salt to taste

¼ teaspoon turmeric

½ teaspoon dhania-jeera (coriander-cumin) powder

1 tablespoon + 1 teaspoon oil

¼ teaspoon ajwain (carom seeds)

1 teaspoon green chilli and ginger paste

1 teaspoon oil + 3 tablespoons to cook


Keep aside the oil.

Assemble all the remaining ingredients in a wide bowl. Make a dough by mixing them together with your hands, until the mixture is smooth. Towards the end, once it begins to turn sticky, add 1 teaspoon of oil and spread it around the bowl. Knead the dough completely.

I have used a soft and wet khichdi, and thus did not need to add any water. If your khichdi is dry, then you may need to add water too.

Once the dough is prepared, either make the theplas right away or refrigerate the dough as it will release water and turn soft again. Remember that as you are already working with leftover khichdi, it is best to make and consume these theplas on the same day. If you’ve kept the dough in the fridge for a while, do not wait for it to thaw. You can roll out your theplas right away.

Heat a roti pan. Make small discs of the dough, and dip them in the wheat flour. Roll out each thepla into a thin disc.

Place each thepla on the pan. Allow it to cook on one side, then flip over after 5 seconds. Once it has slightly cooked on the second side, add a few drops of oil and spread them. Flip the thepla and repeat until large dark spots appear on both sides. This indicates that it has been cooked well.

Set aside. Fry all the discs the same way. I usually intermittently lower the flame so that they are cooked evenly, but also do not end up dry and crisp.

Here are a few more tips that will help ensure that your theplas are soft, which is their ideal texture:

  • The dough needs to be pliable and smooth.
  • When adding the oil as you cook each thepla, make sure that the edges are oiled. They tend to dry up otherwise.
  • Once done, take each thepla off the pan immediately and pile it on top of the other ones. Somehow, this results in them all staying soft without becoming moist.

If you’ve enjoyed this, I hope you’ll take a look back at my original Second Helpings series, which featured Gujarati masala curd rice, dal dhokli and rotli na ladoo for a sweet finish. Do let me know in the comments about how you innovate new dishes using your leftovers too! As always, I love to learn more about recipes and the stories behind them.

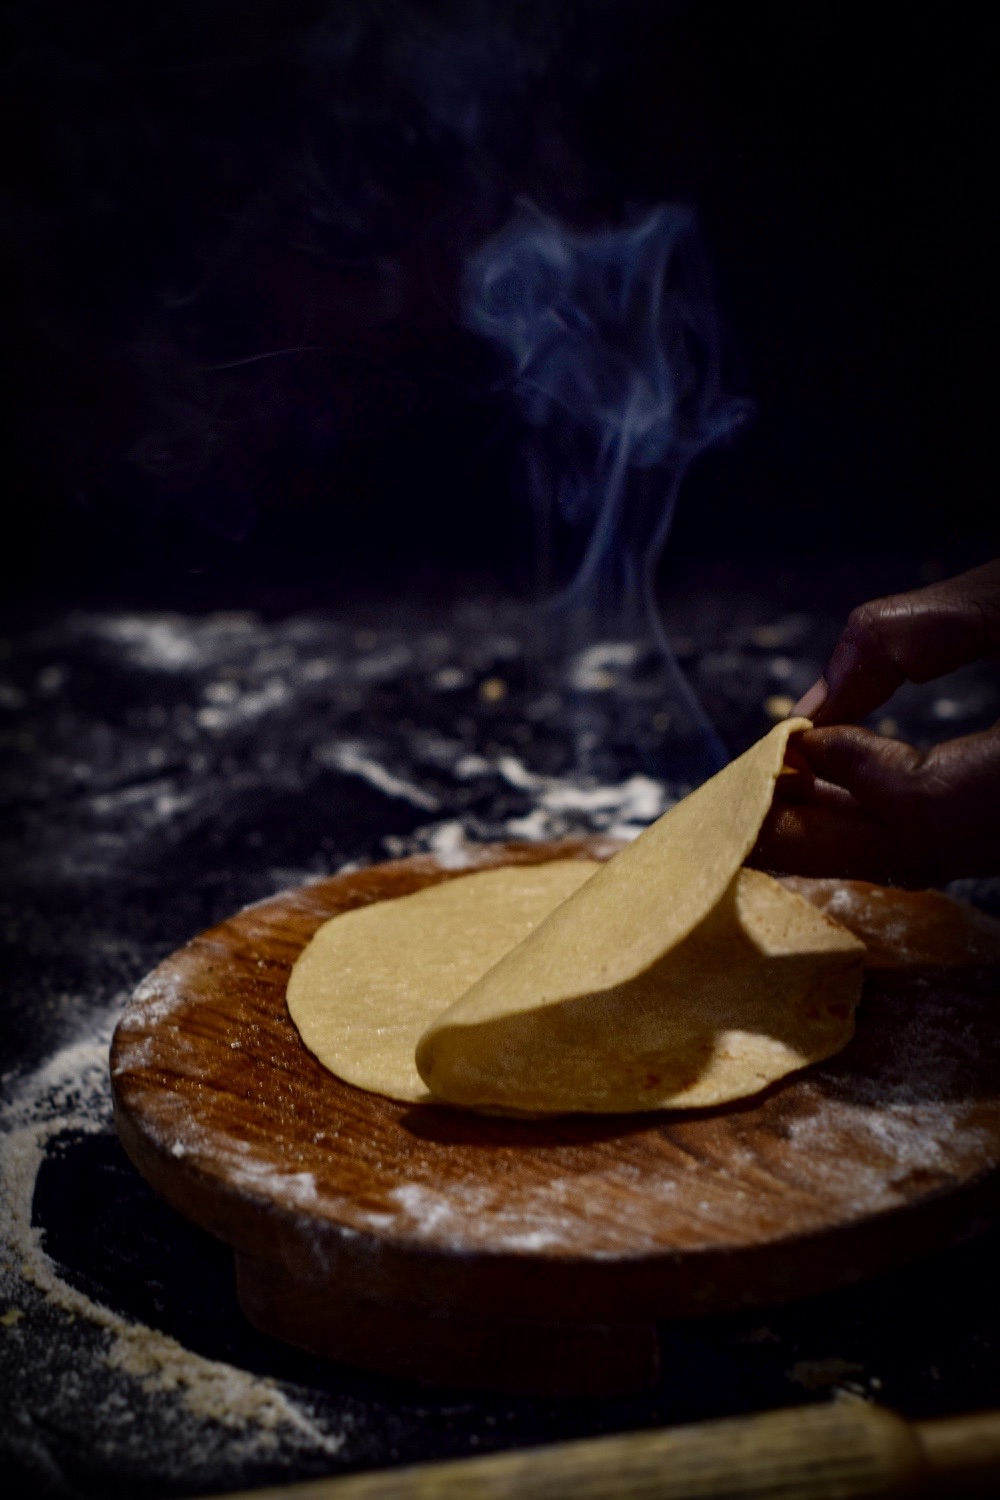
The very first recipe I learnt from my mother was the foundation of all Gujarati meals: the humble yet hard-to-perfect roti. Or as we call it, rotli. The ideal Gujarati rotli has to be as thin as muslin, and it took me years of practice to expertly knead the dough and roll it into perfect circles. My mother insisted that a good Gujarati girl’s rotis had to be dainty and delicate. My early ones often turned out like Punjabi parathas, large and thick – and by the norms of the Gujarati kitchen, totally wrong! Curious about this cultural difference, I asked a Punjabi neighbour why their standard for the perfect flatbread was so unlike ours, and she gave me a beautiful answer: the big Punjabi paratha reflects generosity, large-heartedness and the desire to share what you eat with the world!

Rotis, known by many names and variations, originated in the Indus Valley civilisation, where grain grinding is said to have been invented. Indian breads are different from other loaves in that they do not contain yeast. This soft form of unleavened bread comes in various forms, shapes, sizes and flavours typical of the region it is prepared, with flour made of millets, wheat, rice and other grains.

All over India, the basics of a good roti are flour, fat and flavour. The fat comes from oil, butter, cream or ghee. There are so many kinds of flavourings and stuffings – from green chilli paste to potato to cauliflower to the quintessentially Bengali renditions made with fish.

I’d like to tell you more about a few Gujarati variants: the herbed thepla, the crispy bhakri, the sweet puran poli, the seasonal juwar and bajri, and the simple rotli. Of these, I’ll share two recipes – both are meant to be eaten hot, and bear in mind that an average person can easily eat several at a time! Some notes for kitchens outside India: while binding the dough, I work with my hands. However, if you’re used to the food processor, please do utilise it. You can use a standard rolling pin.


Rotli

Lunch during our summer holidays as children was a competitive affair: who could eat the most rotlis? These rotlis were the simple, everyday variety, washed down with aam raas, a seasonal mango purée. A blissful siesta would ensue, the heavy lunch and the heat lulling us to sleep to the sound of old Hindi songs on the radio…

The rotlis we had then were made from balls of dough joined together, then roasted and peeled from each other. They were as fine as skin. We also ate a sweetened “children’s” version, made with jaggery water. Another way to sweeten a rotli, if you want to, is to eat it with a strained yoghurt dessert known as shrikand. I’ll be sharing a recipe for that soon, and if you subscribe to this blog, you’ll be the first to know.


Thepla


(Yields: 12)


1 cup methi (fenugreek) leaves, picked and washed

1 cup whole wheat flour

1 teaspoon salt

¼ teaspoon turmeric powder

2 teaspoons cumin powder

1 teaspoon white sesame seeds

1 teaspoon crushed green chili (adjust to your taste)

½ teaspoon ginger paste

1 tablespoon yoghurt

1 tablespoon sunflower oil + oil for sautéing

100 ml water or less


Traditionally, theplas are often made with leftover rice or khichdi, so as not to waste food, but you can make them fresh too. In a mixing bowl, add all the dry ingredients and blend them gently. Now add the 1 tablespoon of oil and the yoghurt. Slowly add water and continue mixing, until you feel the mixture is slightly tougher to the touch than bread dough. You do not need to use the entire 100ml.

Dust both sides of the ball with flour. Make small lemon sized balls and allow them to sit for at least half hour. Now, dusting more flour as you do, roll out the dough into discs. Make them as thin as you can.

On a heated iron pan, place the thepla on a medium flame for 30-40 seconds. Then turn it to the other side. In another 30-40 seconds, add a few drops of oil. Make sure the oil is spread to the edges too, as the thepla may dry out. Press down with a spatula to help it cook. Flip the thepla a couple of times until it is golden on both sides. Remove from the pan and fry the next disc, and so on.

As you make each thepla, either store it in a hot case, so it remains soft and warm, or pile them up on a plate. Serve hot, with a curry of your choice or a sweet mango or kumquat pickle, or simply enjoy them as some Gujaratis do – with a lovely cup of chai.


Bhakri


(Yields: 15)


2 cups whole wheat flour

¼ cup semolina

¼ cup oil

100 ml warm water

¼ teaspoon salt


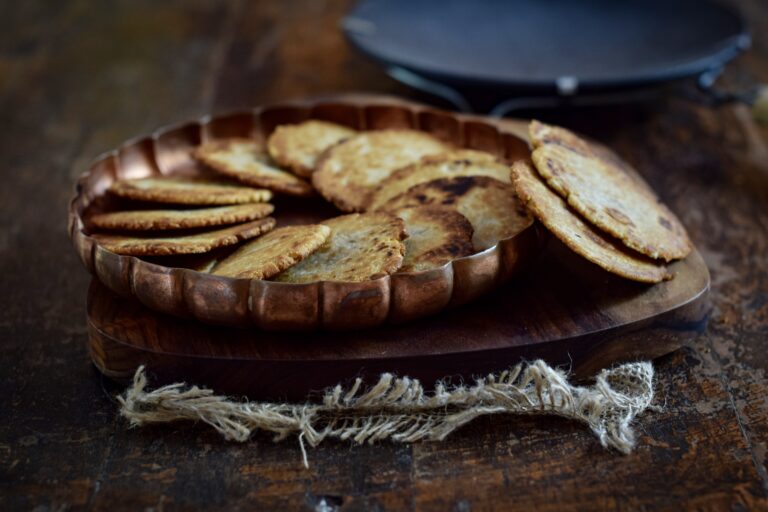
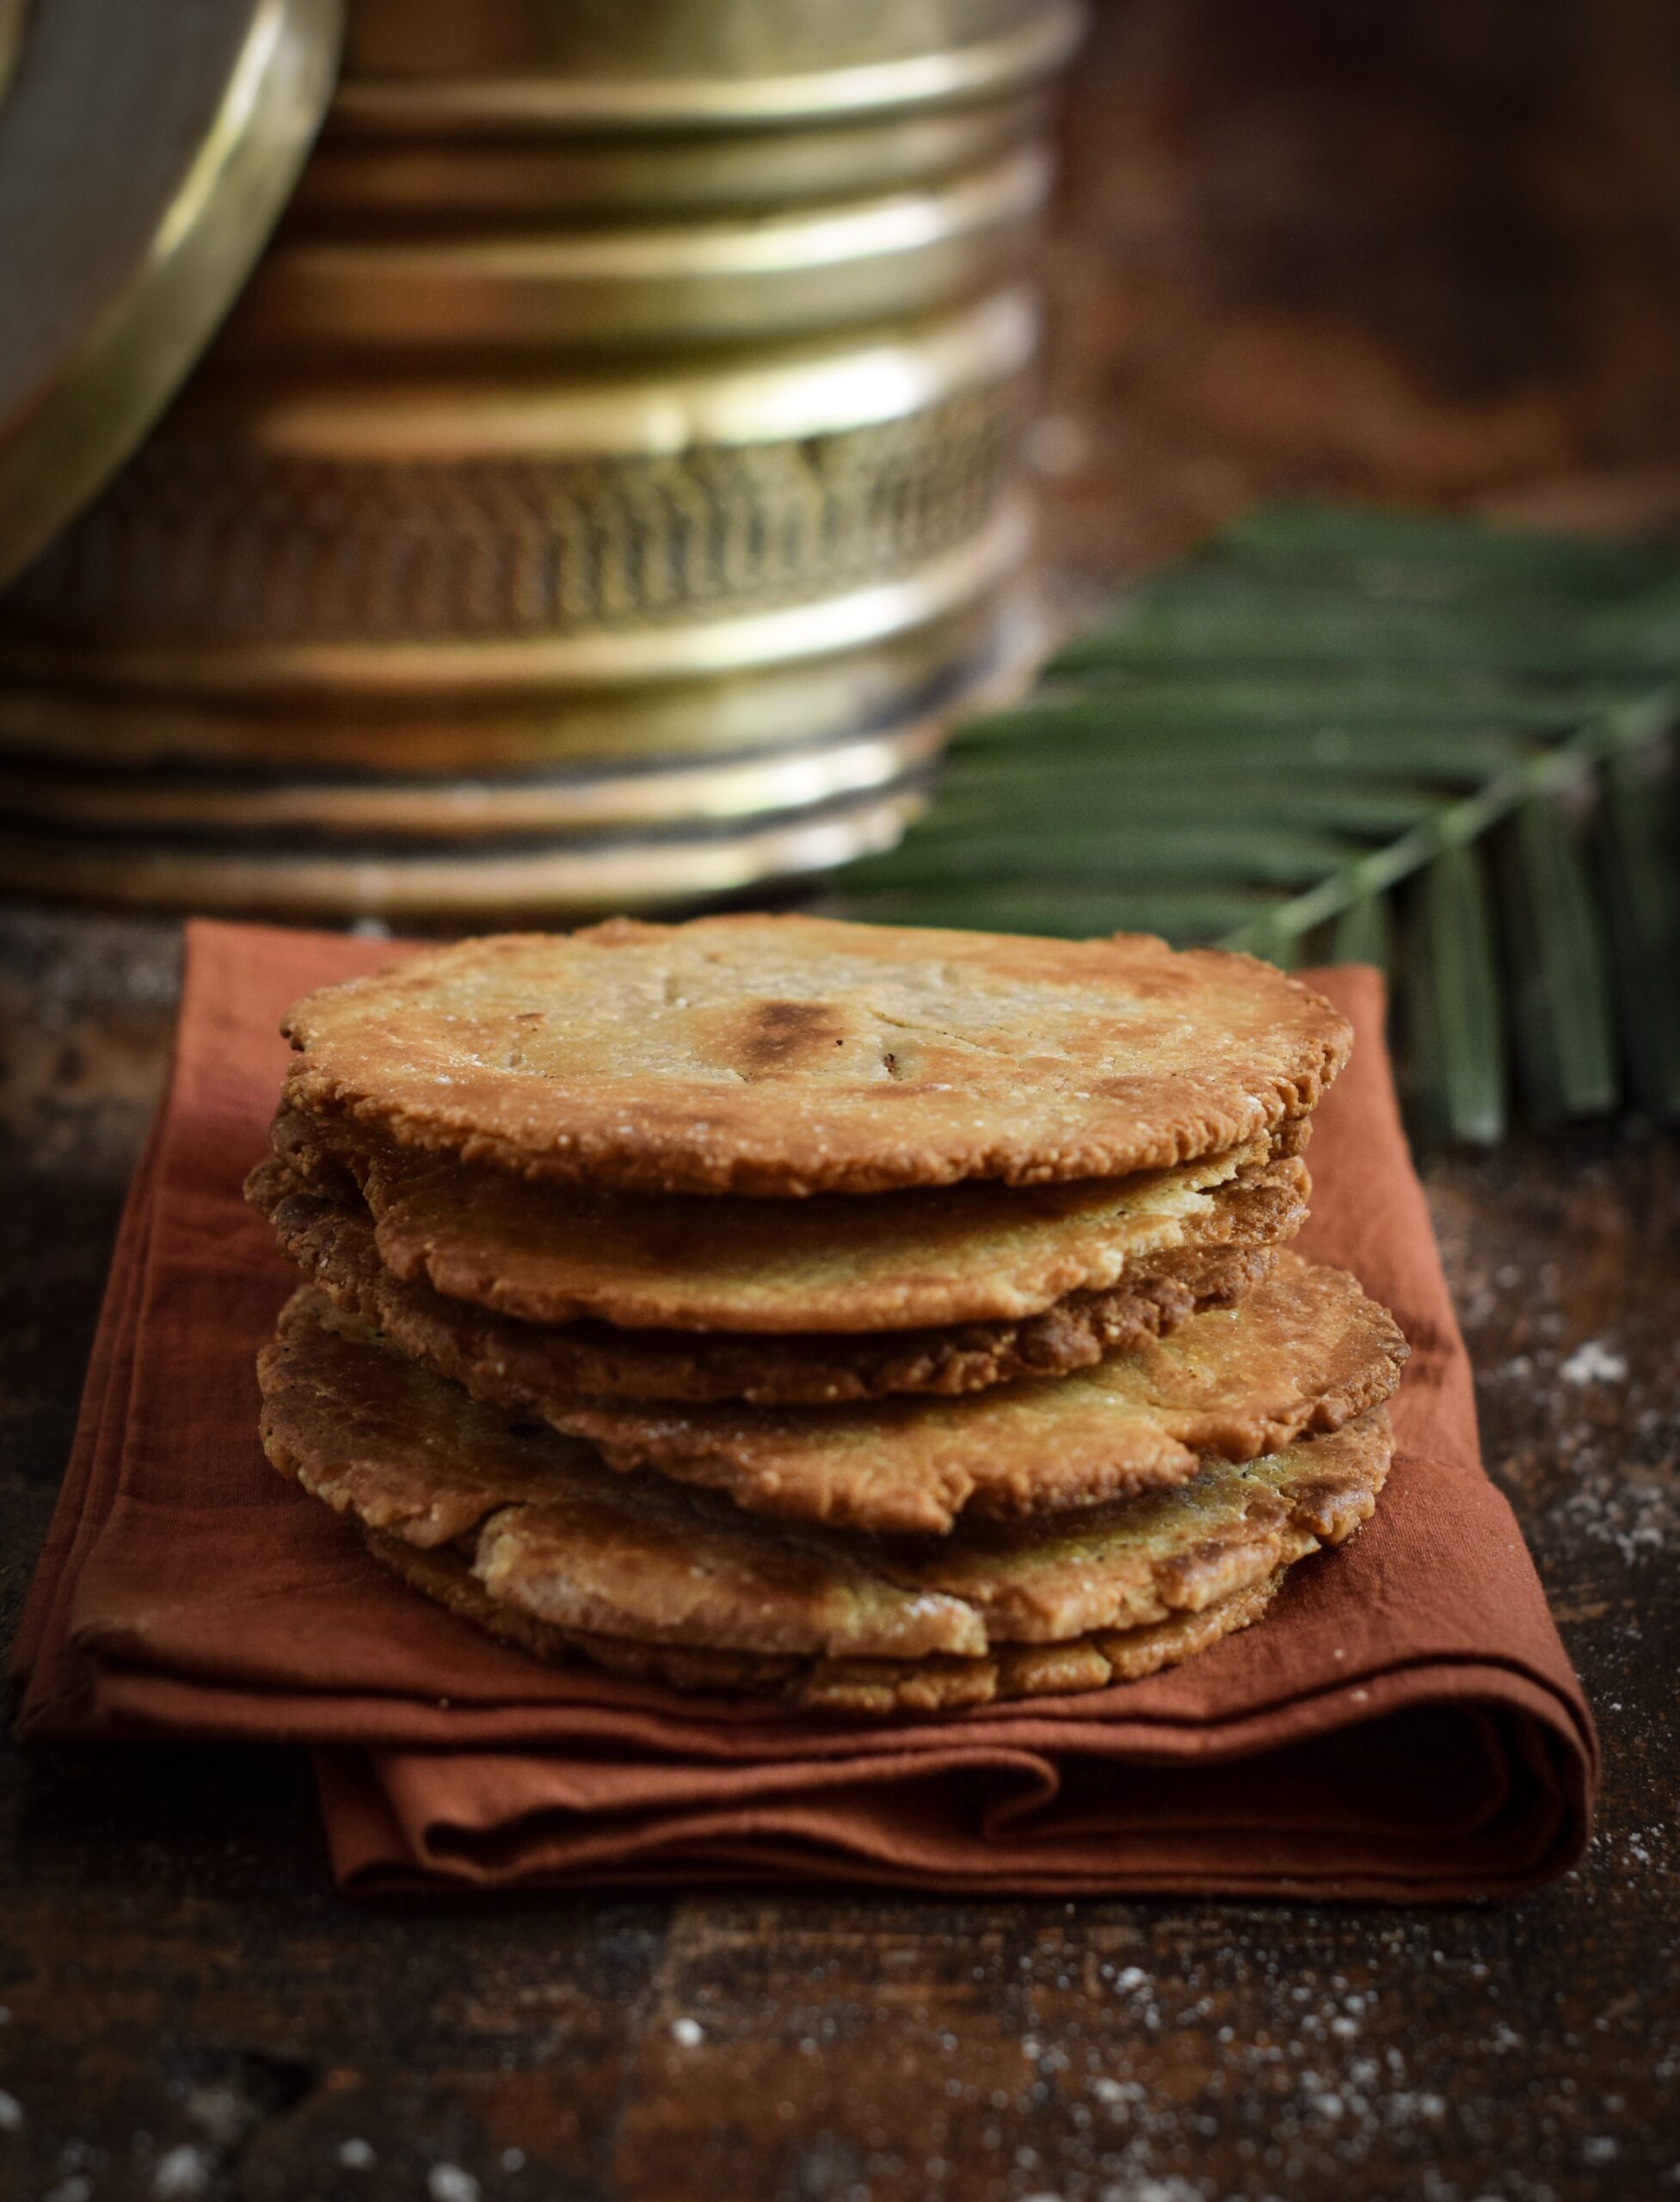
A bhakri is really a type of biscuit, made with a greater quantity of oil than water. A version with jaggery water was my standard after-school snack while growing up. You can make this in the sweetened (what I call “children’s”) version too, by substituting plain water for jaggery water.

Assemble all the ingredients in a large bowl. Add water slowly as required and bind the dough together. Continue pressing firmly, until it all comes together and does not stick to the bowl or your fingers. The dough should appear as a smooth, firm ball. There’s no need to dust this ball of dough with flour, as it is quite tough and will not stick while rolling. If it does stick, you have probably added more water than required, and only in this case should you dust a little flour. Now, divide the dough into 15 smaller balls and keep aside.

Heat an iron pan. Roll out the dough into discs of about 1 cm thickness – this is where the thin-as-muslin standard doesn’t apply! Place the discs onto the hot pan and reduce the flame. Since bhakris are thicker they need to cook on the inside too, so it will take longer to cook. The flame needs to be maintained between medium and slow. Flip over each bhakri a couple of times until golden. If you’d like to, use a pair of tongs and roast the bhakri directly over the flame towards the end of its cooking time. This is the traditional way – dough to flame, directly, just like in this video!

Once they are crisp and golden, remove from the pan and let a trickle of ghee melt onto the bhakri. Serve with tea. They also travel well, so consider packing them for journeys. As my mum would say, a well-made bhakri will be like an easily chewable cookie – it can be eaten comfortably both by the elderly and by children alike.

Puran Poli

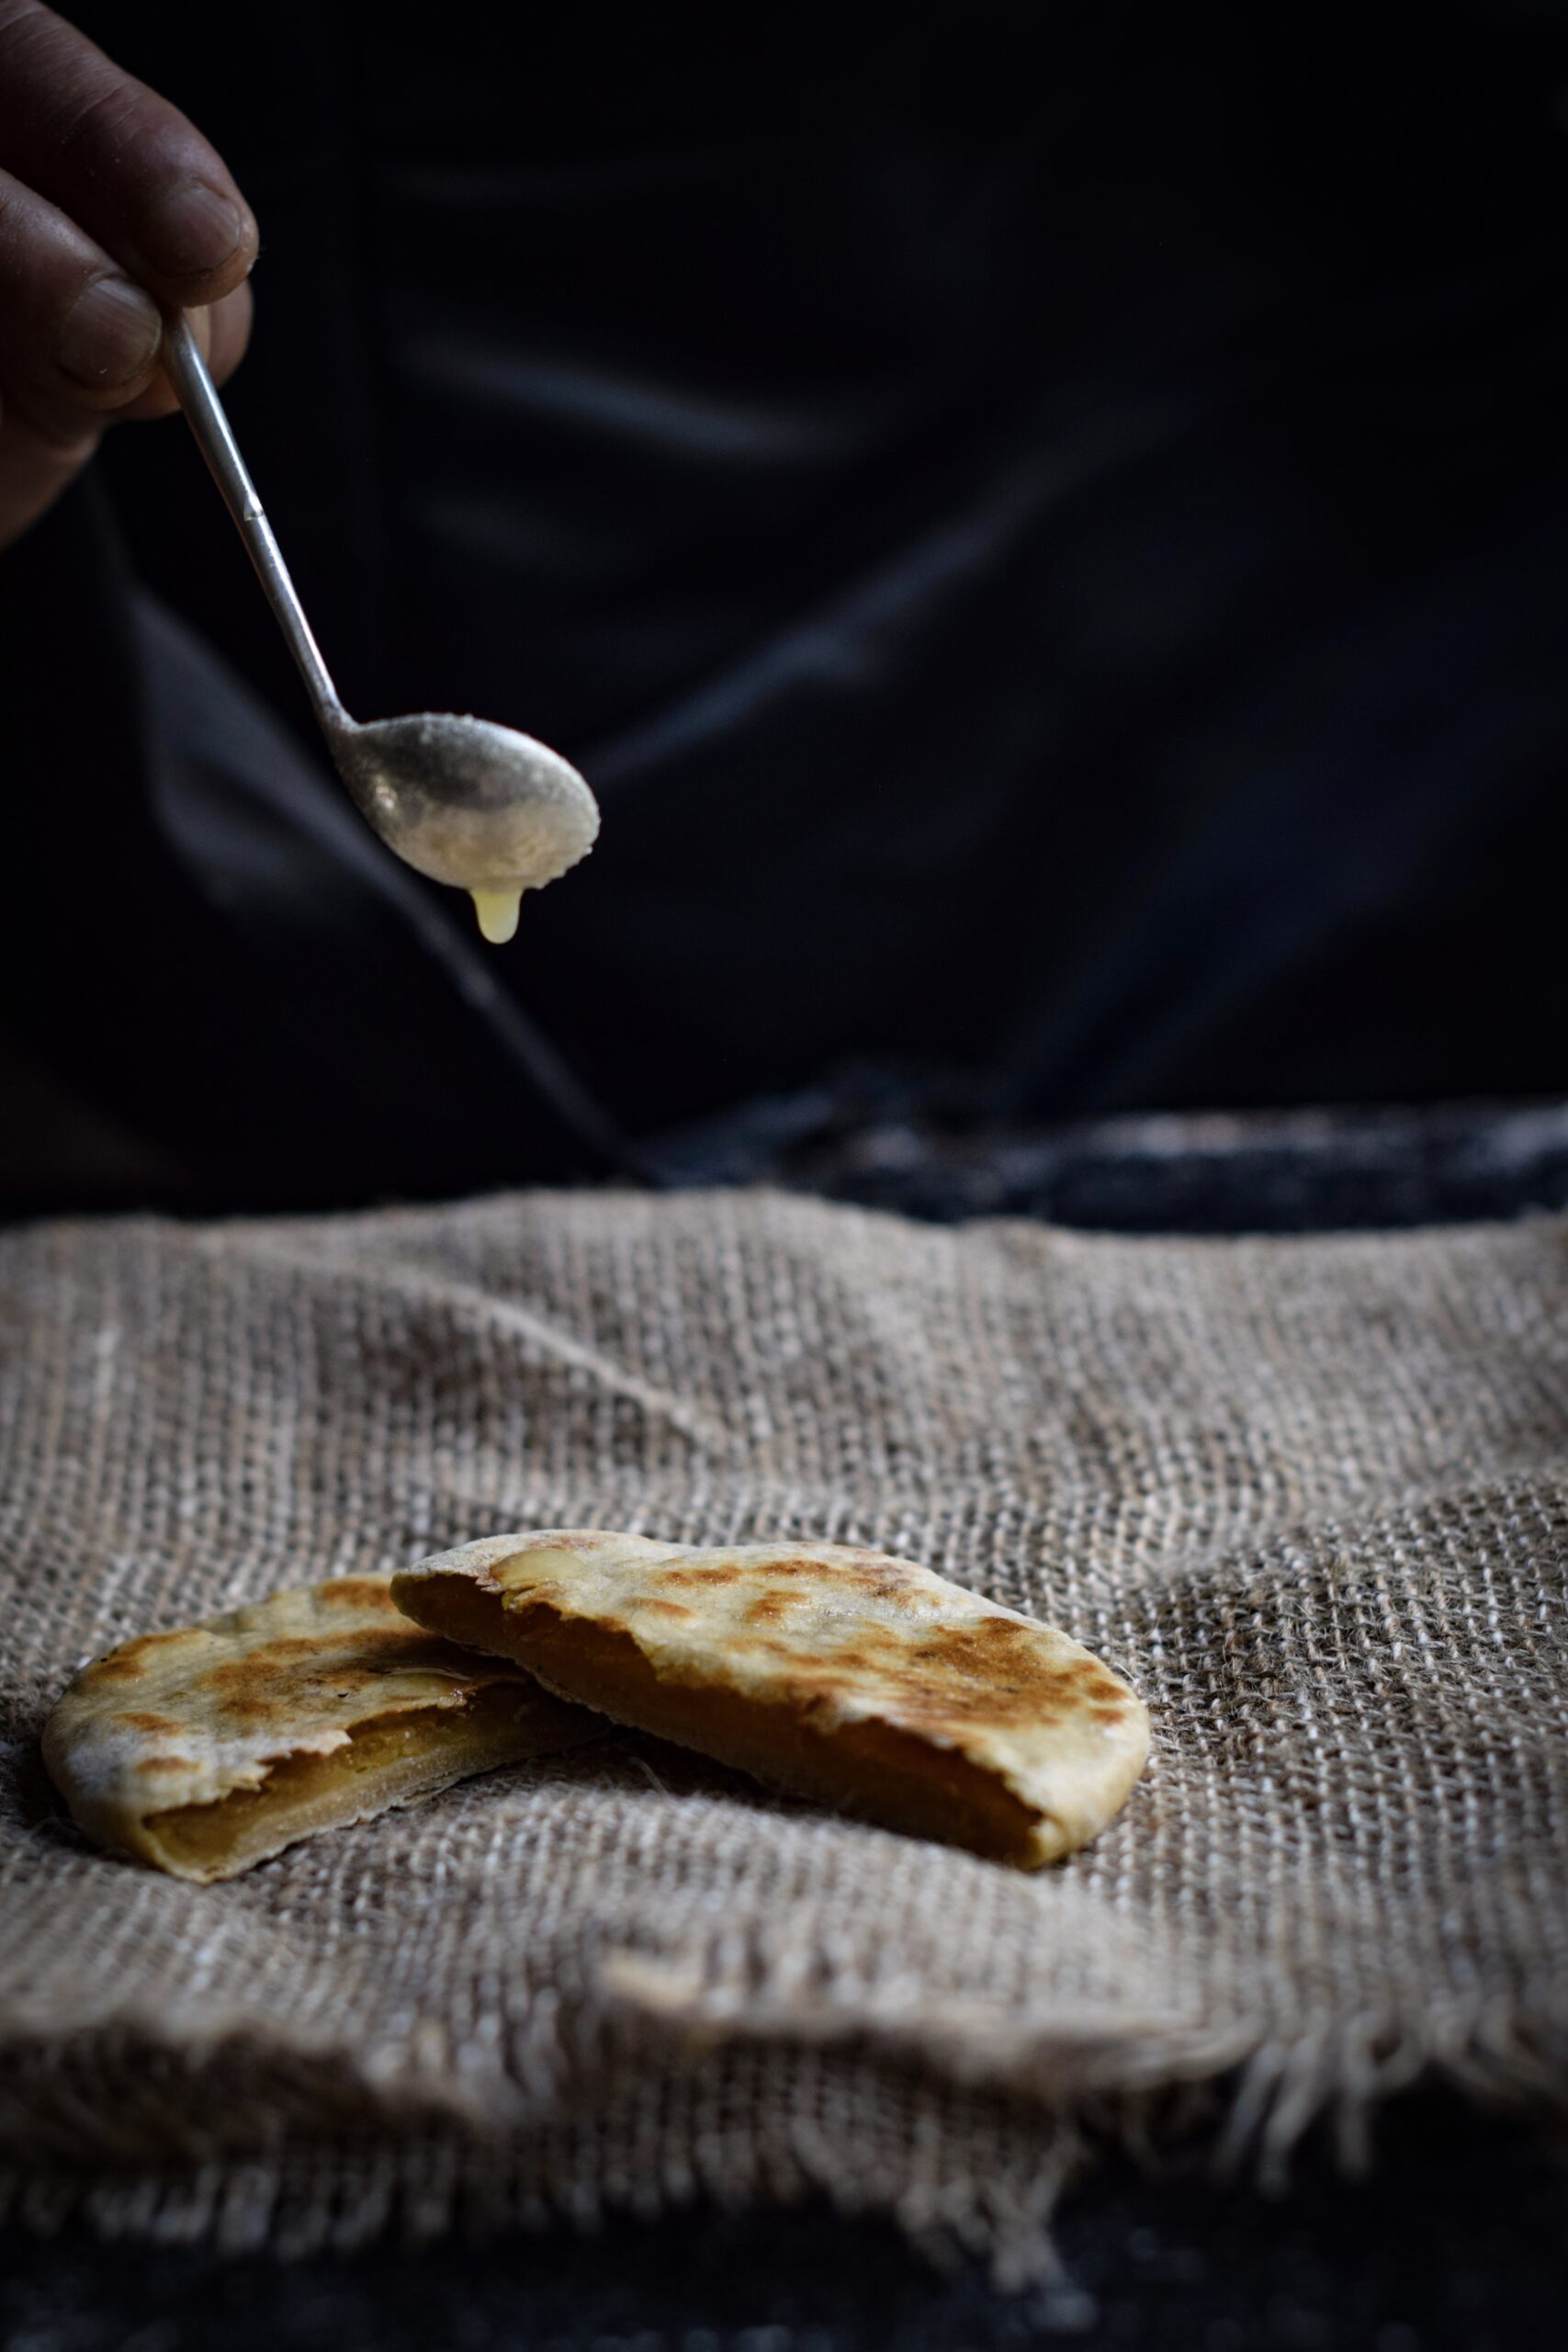
Sweet, stuffed and festive, the puran poli is enjoyed not just in Gujarati cuisine but throughout India. Made of toor dal (pigeon pea) and jaggery, it is a stuffed and folded variant that is half-roti, half-dessert.

Juwar & Bajra

It’s only after years of practice with the other rotis that one comes to seasonal variants like juwar and bajra, which are even more difficult to make, let alone master. Gluten-free, the juwar roti is made of sorghum flour while the bajra roti is made of pearl millet. These thick flatbreads were traditionally eaten during winters, roasted on a charcoal flame and thus imbued with a different flavour. They were most often relished with a thick layer of white home-churned butter and sugar or jaggery. Leftover juwar and bajra make delightful, healthy cereal when crushed and eaten with milk.

*

Many Gujarati rotis were created to satisfy two specific purposes: to suit the extremely dry summers and cold winters, or to be travel-friendly, a fact proven all the way from the traders of yore to families like mine who took cross-country train rides. Whether unpacked during a picnic or a road trip, or eaten fresh and piping hot from the stove, the roti satisfies.

Throughout the subcontinent, we eat with our hands. According to Indian philosophy, the 5 senses are at our fingertips, and the act of eating activates all of them. Eating is truly a multi-sensory experience: presentation, ambience, mood and texture (even the texture of the thaali or plate – is it silver, terracotta, bell-metal or steel?), who serves us, who we eat with, the memories we recall or create through the meal – all of these matter as much as the taste itself.