Tag

family

Browsing

I don’t believe in Valentine’s Day. That’s the reason why you’ve never seen the occasion observed on this blog with a special recipe, even though you know that love is the key ingredient in every dish I create! This year is different, however. The COVID-19 pandemic had brought all my children back home for the first time in ages. Despite all else, it gave us the rare opportunity of being able to have almost a year of each other’s constant company, that too with everyone working from home. Then, right on the cusp of Valentine’s Day, all three of them flew off again, returning to the respective cities in which they are based. I am experiencing all the emotions of having an empty nest, and I need to express them through the way I know best. So here I am in my kitchen, feeling wistful as I lay the ingredients out for some very special cupcakes. This post is a valentine in red velvet, a symbol of a mother’s love.

Through the many months that my kids were back home, they would ask for “a special cake” every other day. Red velvet was one of their favourites in this category, but it was rarely baked at home during the pandemic. I am extremely particular about the ingredients I use, and not being able to source the particular brand of red colouring I prefer meant that this was off the repertoire. As you must have noticed too, accessibility to goods had finally returned to a normal standard here in Chennai, and a beautiful bottle of red colouring now sits on my shelf, ready to bring vibrance to these Valentine’s Day cupcakes.

This one is for my youngest, my daughter, whose hands modelled for my photoshoots through the year. If she wasn’t up for it, I would threaten to withhold a slice of the day’s cake from her, which always did the trick. I often joke with her that my recipes are my prized heirlooms, but it is no joke at all that one of the reasons I compile them this way has always been for my children. My daughter is an excellent baker, and was in fact the one who inspired me to become one too, but she is also a busy young woman and rarely bakes these days. I hope she reaches for this recipe, the next time that she does.

This one is for my second son, my unofficial marketing man, who is so proud of my work and never fails to put a good word in for his mother’s cakes no matter where he goes. He doesn’t cook, unfortunately, but I hope he will pick up this wonderful activity some day. If that day comes, there is an archive right here for anything his heart or his tummy desire.

This one is for my elder son, my partner in the business and a valuable critic whose opinion matters to me very much. He loves cooking, and has just as much of culinary inquisitiveness as I do, and I hope that this recipe becomes a keeper for him.

This one is also for you. I know that many other parents who had their grown kids return and stay unexpectedly last year have felt or are feeling the same pangs that I am. I hope that baking these scrumptious cupcakes will offer you some comfort too. For me, what I noticed is that in the past – when they were away for their education or their work – these pangs were not as intense. They were adults with their own routines, just as I had mine, and I was used to seeing them at only certain occasions. But having this one year that felt like it was just dedicated to family, to catching up with each other on a deeper level, to reinforcing the values we instilled in them and live by… It was a very different experience. Perhaps you can relate to this too.

One day, hopefully sooner than later, when the world fully opens up again, I look forward to jetting off to see my three valentines just as often as always. If ever you bump into me at an airport, carrying big boxes in my hand luggage, you will know what’s in them. My precious baked goods are making their way with me to my children and their friends. Until then, and for long after, this recipe will always be here for them, whenever they want to recreate for themselves the taste of my love.

Red Velvet Cupcake

(Yield: 12 cupcakes)

For the cupcakes:

1 ¼ cups maida

3 tablespoons corn flour

2 tablespoons unsweetened cocoa powder

1 cup sugar

¼ teaspoon salt

½ teaspoon baking soda

¼ cup oil

¼ cup unsalted butter

1 tablespoon red food colouring

¾ cup whole milk (room temperature)

1 tablespoon (+ ½ teaspoon) vinegar

1 egg

1 teaspoon vanilla extract

For the cream cheese frosting:

1 cup cream cheese (room temperature)

¼ cup butter

2 cups icing sugar

¼ teaspoon vanilla extract

To prepare the red velvet cake cupcakes, preheat the oven to 170°C. Prepare 12 cupcake liners in the pans. You may want to check out this comprehensive introduction to baking, if you need to.

In a bowl, mix and sift together all the dry ingredients – flours, salt, baking soda and cocoa powder. Set aside.

In another bowl, add the milk and 1 tablespoon of vinegar and set aside. This becomes buttermilk.

In a large mixing bowl, use an electric mixer to cream together the butter and sugar on medium speed for 4-5 minutes, until the mixture is light and fluffy. Add the egg, and beat it in well. Next, add the oil, red food colouring, vanilla extract and the remaining ½ teaspoon of vinegar.

Add in the blended dry ingredients from the first bowl a little at a time, alternating them with the prepared buttermilk. Do not over-mix, and be very gentle.

Distribute the cake batter into the lined pans evenly. Bake for 15-18 minutes or until a skewer comes out clean. Remove the pans from the oven and cool on a wire rack.

To make the cream cheese frosting, use an electric mixer to beat the cream cheese until it is smooth. Add the butter and mix until the two are well-combined and smooth. Then, add the powdered sugar and vanilla extract, making sure the sugar doesn’t fly around. Beat until fluffy. There may be quantity variants based on the brand of sugar used, so add more or less to suit your requirement or until the icing is stiff enough.

Top the cooled cupcakes with a swirl of cream cheese frosting, and garnish with sprinkles for a celebratory touch.

This recipe has a generous yield quantity and is meant to be shared. I hope that you will enjoy these sweet delights with those who are most precious to you, during some cherished moments together. I’ve given the recipe away simply as a gesture of joy and camaraderie, but it is also on the re:store menu. If you’d prefer to order some red velvet cake or cupcakes from me, or perhaps any other delectable item from my array of goodies, please drop me a note. The pantry is fully stocked, the kitchen is thriving with scents and flavours, the house is quiet now – and I would simply love to bake for you!

Christmas was always a very special occasion in our home when my children were growing up. They would be so excited about setting up the Christmas tree, going shopping to find beautiful decorative ornaments, and simply enjoying the festive atmosphere. While Diwali always held its own importance as as our main religious event, Christmas was something we enjoyed as pure celebration. We had our own little Christmas traditions, and as the kids started leaving home, these slowly disappeared. But this year, for the first time in a while and with nothing but this pandemic to credit for it, we are all at home together. And once again, Christmas feels just like it used to, full of camaraderie and deliciousness – except, now that my kids are adults, we’re all raising toasts together. The beverage we’re clinking glasses with? This orange-kissed, boozy hot chocolate!

There are scores of recipes for hot chocolate all over Instagram this time of year. But this is my version, and I can assure you that it’s absolutely delicious. I first tried hot chocolates like this one abroad, but these days you not only find excellent brands here in India but also have homegrown confectioners who work with small-scale farmers, are eco-conscious and create locally-made chocolates of a high quality. You can use the dark chocolate of your preference for this recipe.

The booze quotient here comes from Cointreau. A French liqueur containing bitter orange peels, it adds a wonderful citrusy kick to the beverage. While I’ve used whole milk, you can try this recipe with almond or coconut milk too – let me know what you think of the results, if you do? You can also play around with the liqueur, perhaps substituting a mint-based one or some other flavour. But for me, chocolate-orange is an unbeatable combination, and that’s why this is my favourite version of this festive drink.

Every day during this pandemic, we’ve been drinking tonics that boost our immunity: warm turmeric, herbal anti-sniffle concoctions and more. I’m sure you’ve been doing the same at home. Hot chocolate – hot, boozy chocolate, to be accurate – is a nice change! The weather in Chennai has also been changing for the better, and there’s a nice nip in the air and the season of heavy rains has passed. This is such a lovely and appropriate dessert for this time of year, especially as we reflect on all that has passed and all that is to come.

The theme of hope is on my mind constantly of late. I believe hope is what separates us from others in the animal kingdom, and is the only thing that has kept and still keeps us going through the pandemic. “Hope, gratitude and good health” is truly going to be our mantra for the coming year. I wish for you that all three are in abundance always.

The lockdowns in various parts of the world have taught us all so much. We have changed and we have learned. We’ve understood what bears meaning, and what doesn’t. For me, one of the most important learnings is that Nature rules us all. We have to be mindful and respectful of the health of the planet and the co-existence of all living things. Our interconnectivity has never been clearer than through the spread of the pandemic. I believe that now that we have seen this, we must change our individual habits. I also believe that it is never too late to start doing so. Even though the planet is on the brink of climate collapse, we can still do our part to contribute to its healing. I have hope. I have hope that hope itself, combined with a strong sense of responsibility, can save us.

Just look at how much we have overcome already. We are no longer scared and confused. We’ve figured out how to cope, and we’ve also been able to bring little rays of sunshine back into life.

The beginning of a new year usually inspires optimism, but this year I’m feeling it all the more. I truly feel like I’m seeing everything in a fresh light, and I am looking forward to good things to come

It so happens that even our home has also undergone a bit of a transformation, and has been repainted and rejuvenated. It’s also our wedding anniversary in late December, so there’s a double reason to celebrate. We have had decades together, with all the ups and downs, and thick phases and thin ones, that such a duration invariably brings. It has been a beautiful journey, and has contained so much. I hope that you too have something to toast as this year winds down.


Boozy, Orange-Kissed Hot Chocolate

(Yield: Serves 2)


1 ½ cups whole milk

¼ cup cream

75 grams dark chocolate

1 tablespoon cocoa powder

1 teaspoon corn flour

¼ teaspoon vanilla extract

1 tablespoon sugar

1 star anise

1 tablespoon Cointreau


Garnish options (pick any, or all!)

Dried or candied orange slice

Cinnamon stick

Whipped cream

Caramel sauce


In a ¼ cup of milk, add the corn flour and whisk until the mixture is smooth.

Add the remaining milk and cream to this and stir. The cream is optional, depending on your tastes. Vegans – you may replace the milk with almond milk, and eliminate the cream. Next, add the cocoa powder and mix it all up.

In a heavy bottomed pot, place the concoction on a low flame and stir constantly.

You can now add the star anise. Do not allow the milk to boil, but once it is heated up, turn off the flame and then add the chocolate, sugar and cinnamon powder. We like our boozy hot chocolate only lightly sweetened so I use just a tablespoon of sugar, but you may double this quantity if you prefer. Stir constantly at this time, making sure the chocolate melts and the milk turns silky smooth.

Add the Cointreau. Use more liqueur if you want to make it boozier. Garnish as you wish to and serve immediately.

I believe that thoughtful portion sizes are very important, both aesthetically and as well as in terms of what is good for us. I always say that the eye feasts first, and I knew this from a culinary perspective even before I understood it as a photographer. Serve this beverage in small cups or glasses. It’s a heavy, filling drink that keeps you warm and cozy and you will not need a whole mug of it to enjoy it. What a perfect symbol for the year that has ended too, which has taught us all to be grateful for the little things. Look more closely at what you have, rather than take it for granted, and you will cherish it all the more.

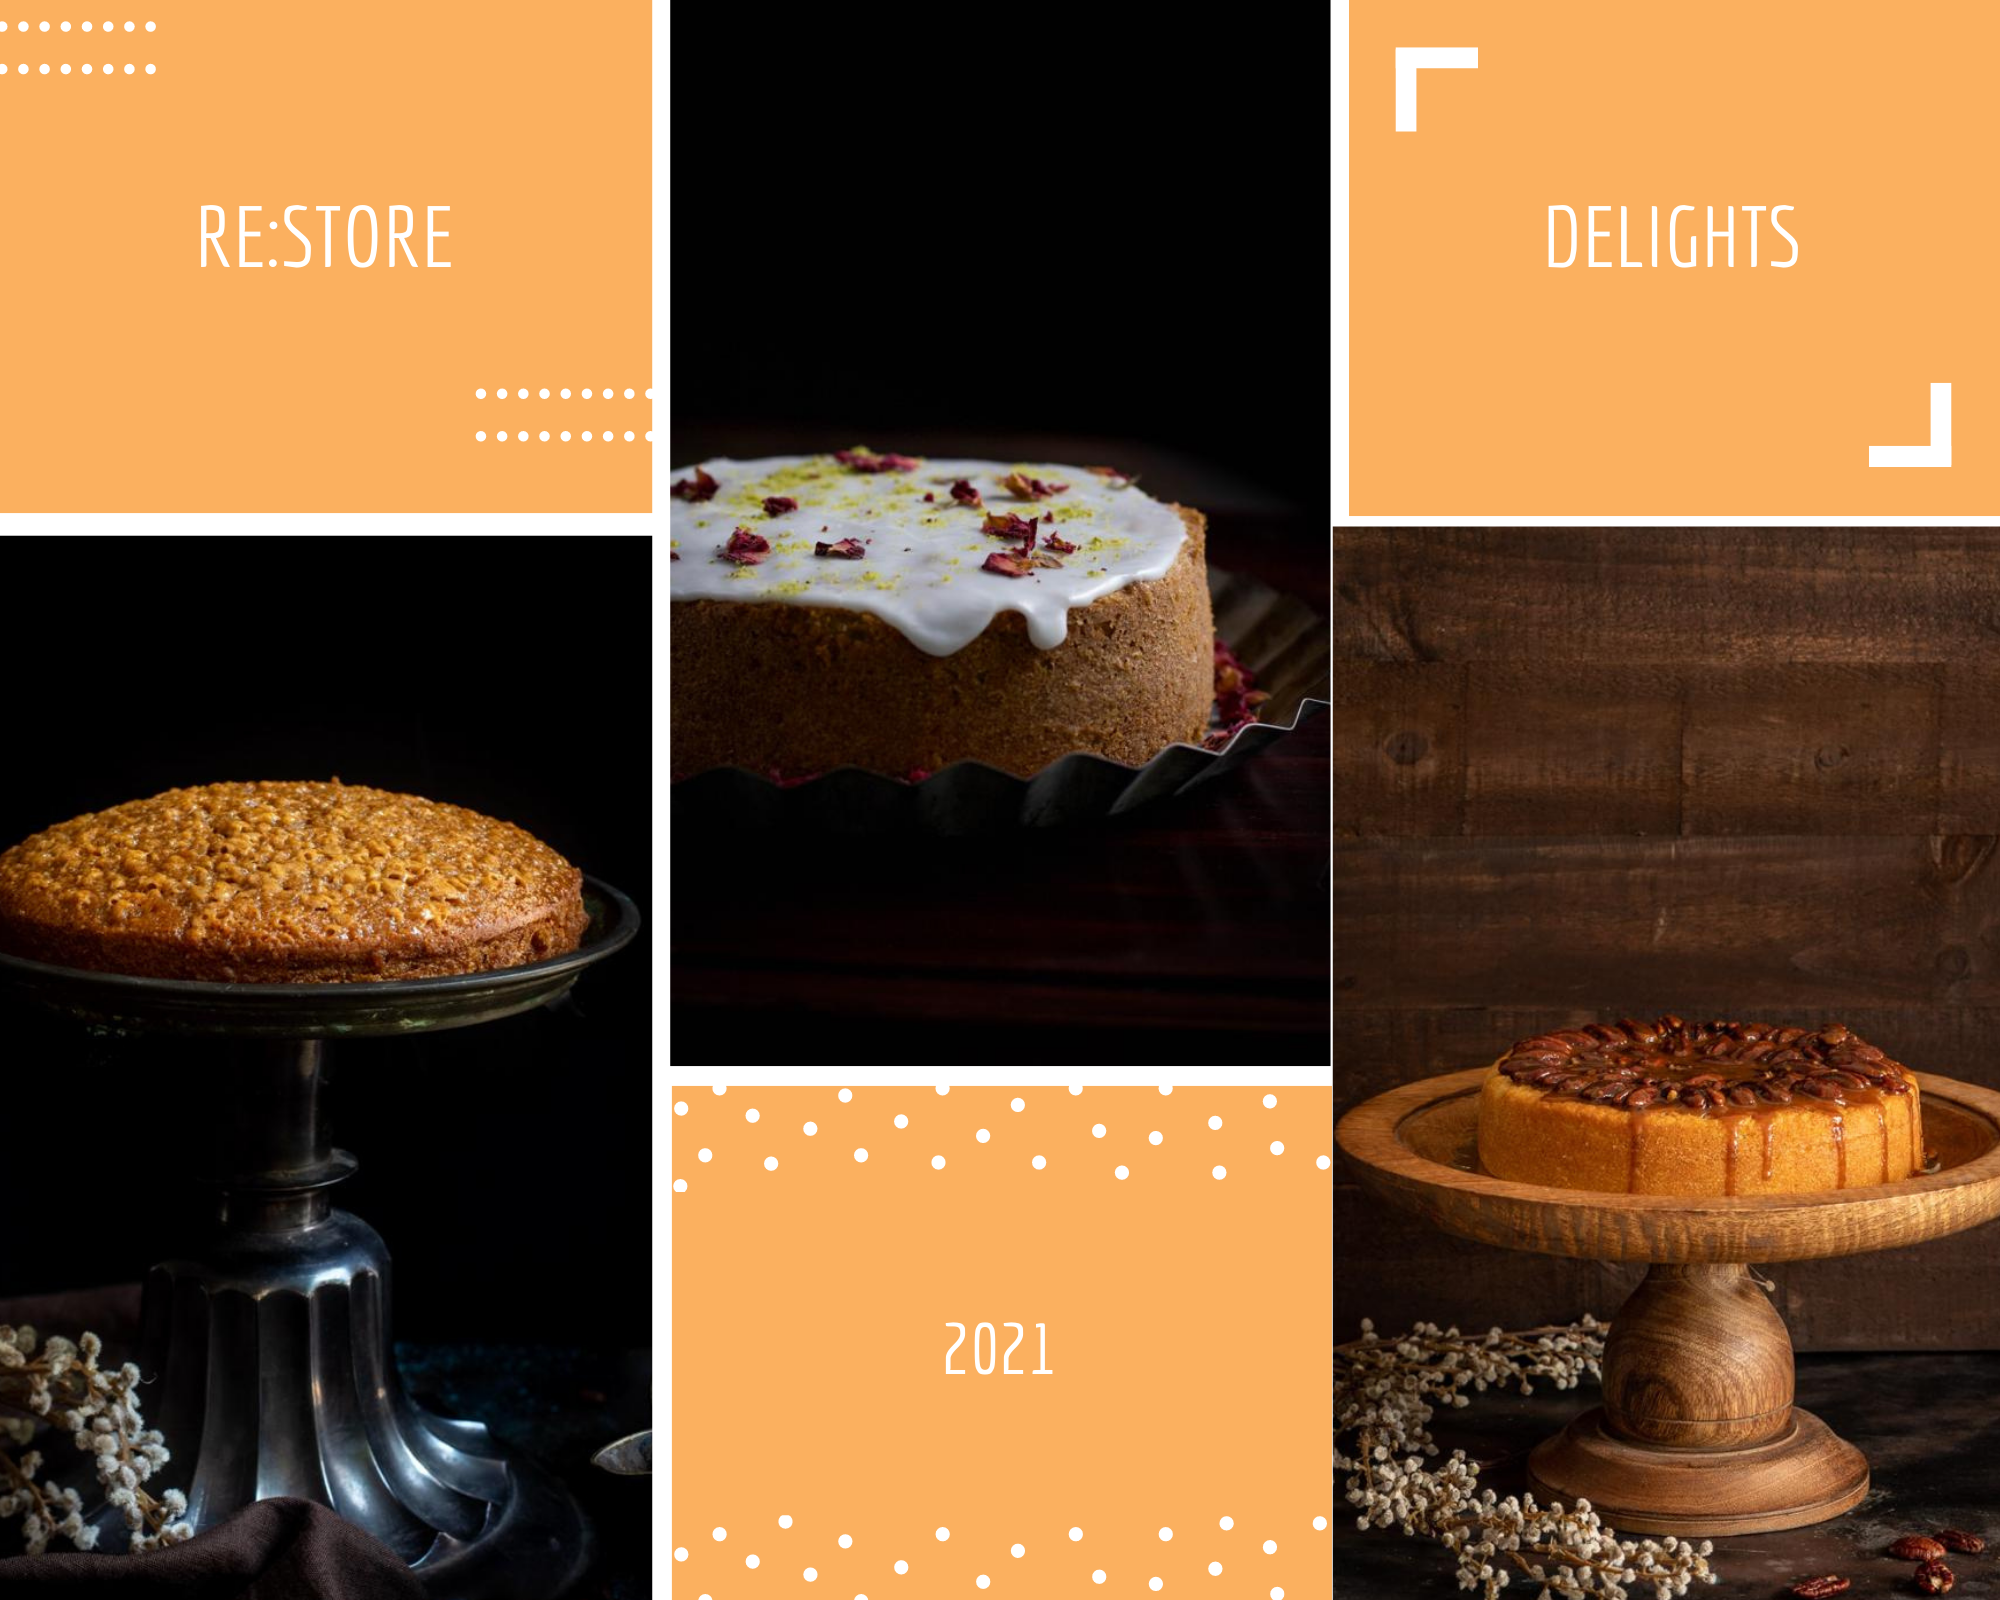
I am cherishing having my family around, and having the joy of my work to keep me busy. The re:store kitchen is always especially busy and beautifully aromatic at this time of year as I bake an array of goodies for the year-end festivities. I would love to bring some deliciousness and warmth to your home as well. If you are in Chennai, please take a look at my product catalogue  and see if anything catches your fancy. May I draw your eye to the almond cakes, available in a range of flavours and with an eggless option, to complement this wonderful beverage? Or how about my latest addition to the menu: a caramel-pecan cake that simply uplifts everything through its sweetness? I can’t wait to hear from you, and to place something special into the oven for you and your loved ones…

Many of you know that I picked up the camera because of re:store. What began with taking product shots and creating images for the blog grew into a deep love of food styling and photography, gradually becoming a major component of my work. Cooking and photography are my twin passions, and I have dedicated myself to both through challenging myself, studying and learning, and lots of trial and error. Despite knowing the amount of effort it takes to get really good at something, like anyone in today’s era, I also get excited about attractive new creative forms. I’ll see some interesting content that someone else has shared, and go, “OMG, I have to do this!” So it was with stop motion video. Having seen some charming stop motion videos online, I made it my mission to produce a couple for re:store.

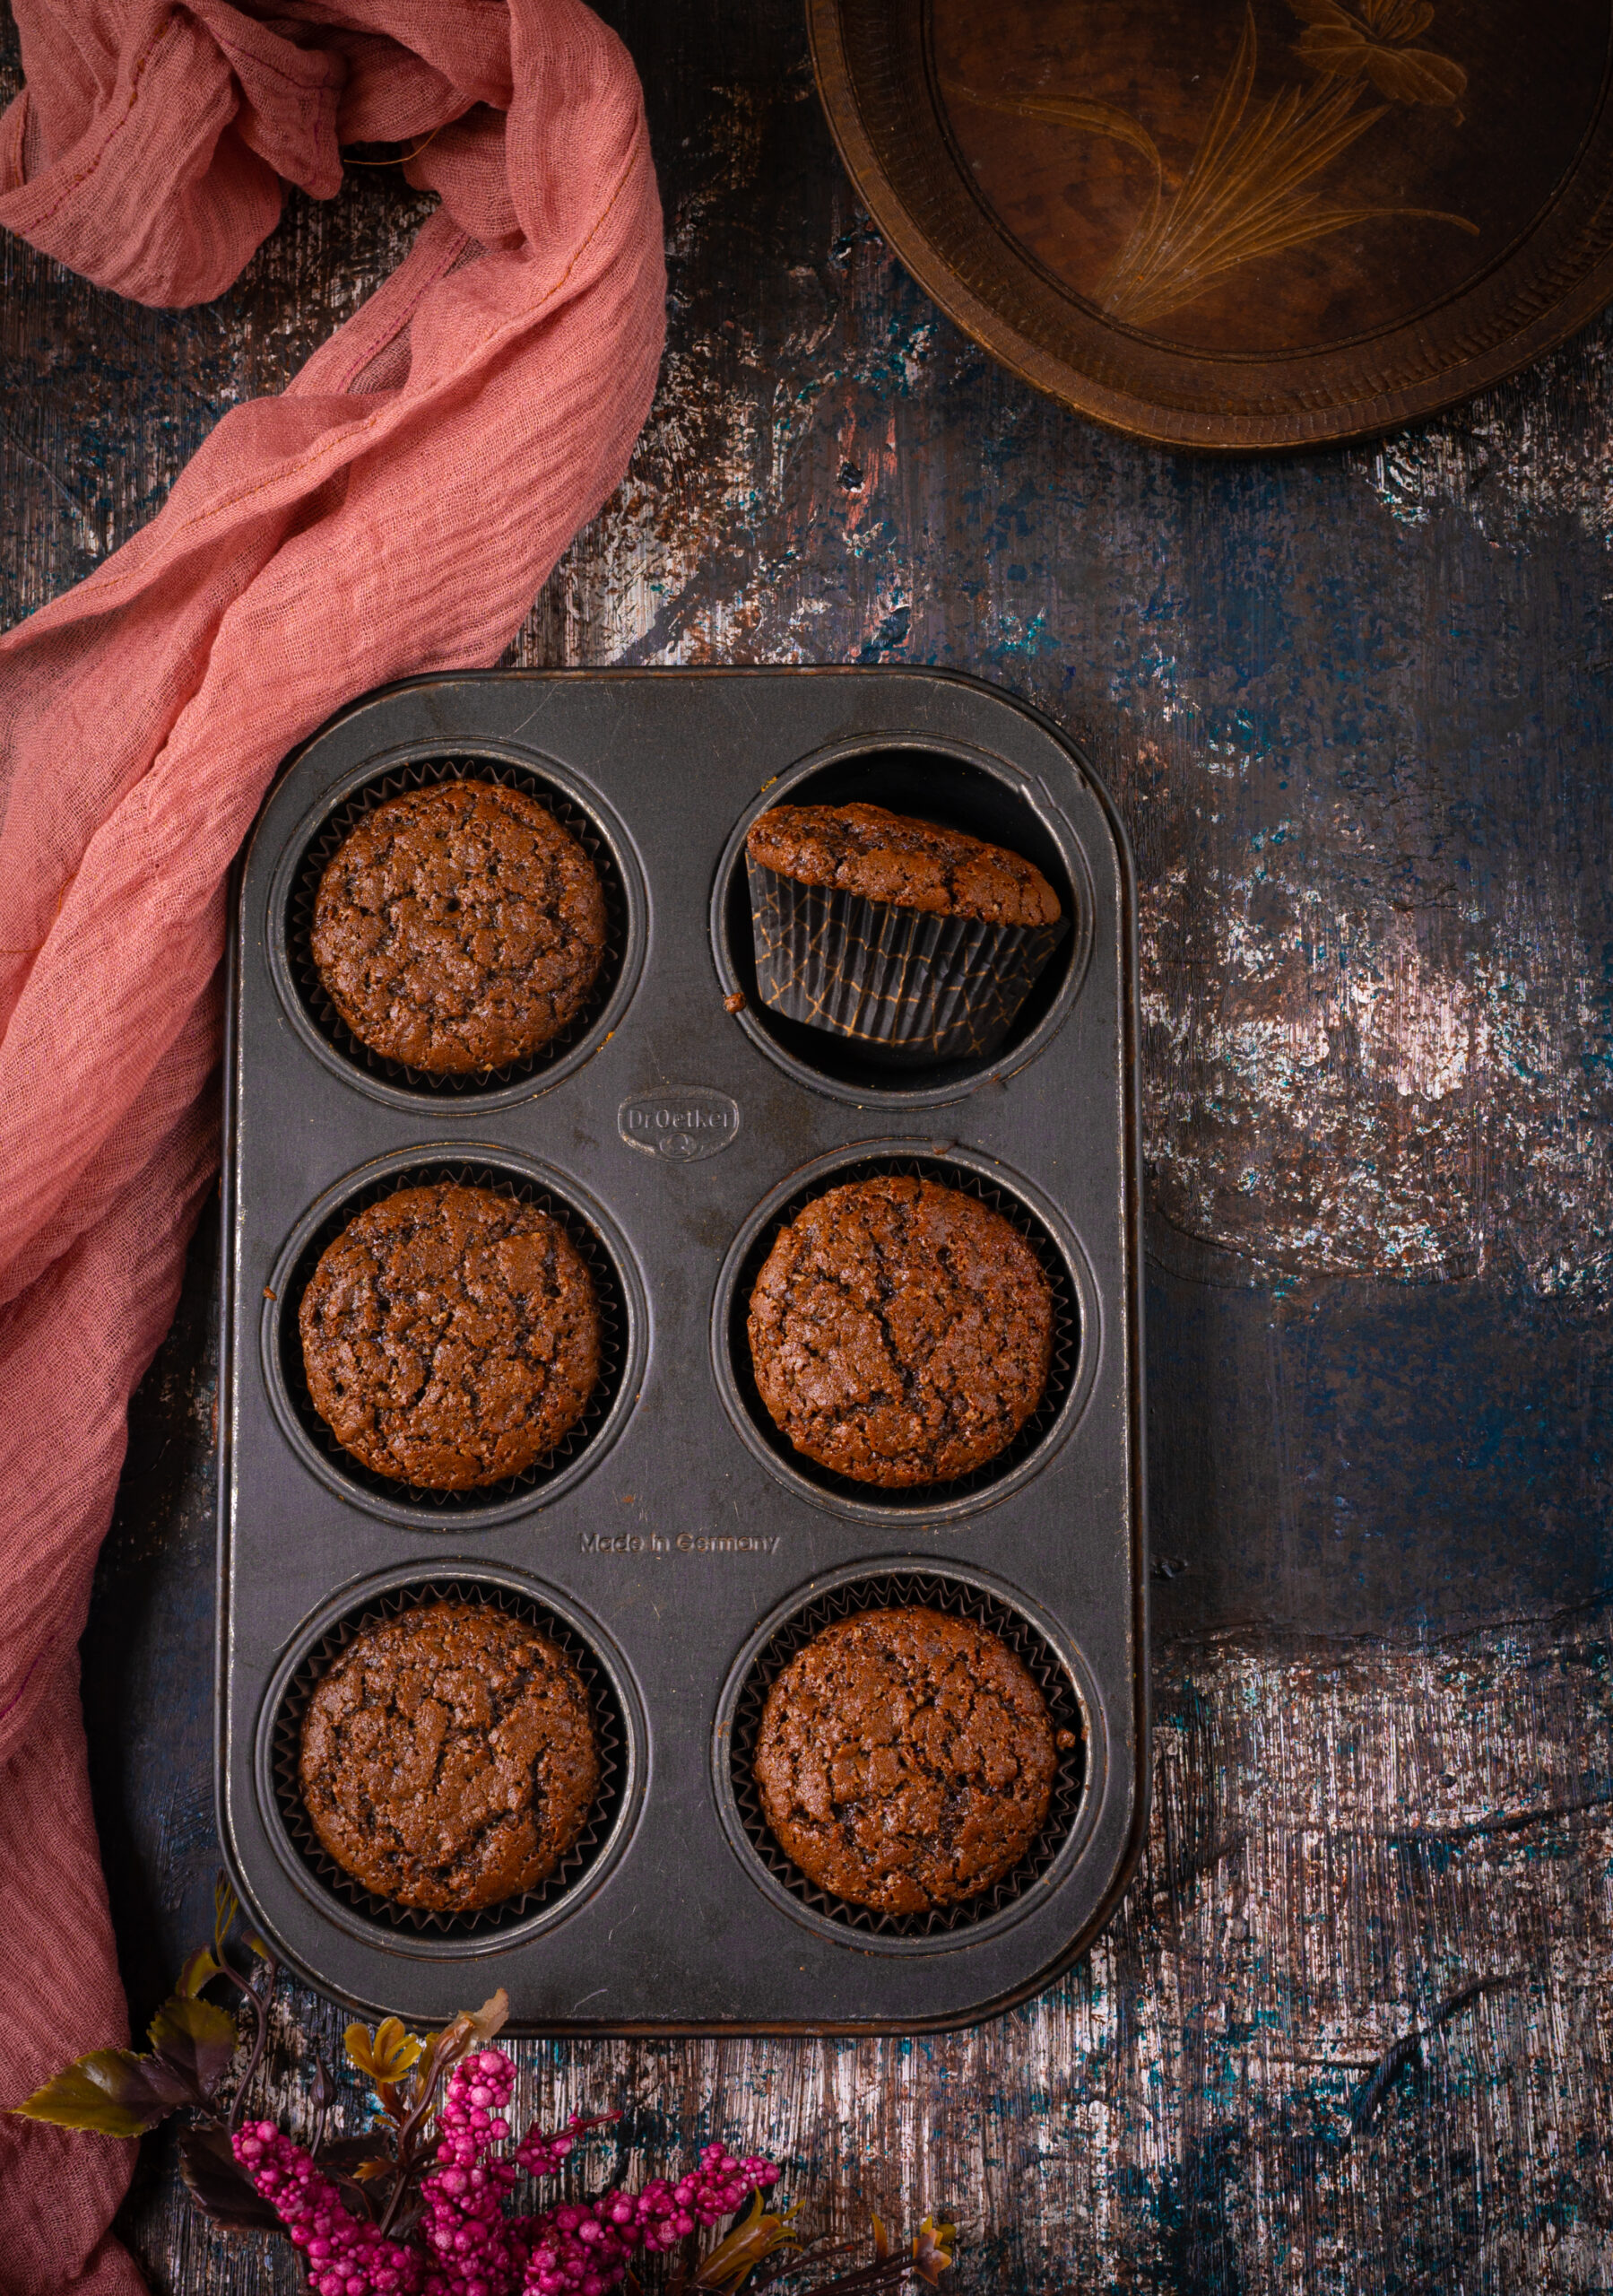
Tada! Here is the first: some cute, classic chocolate cupcakes. Do click on the link to watch the video on Instagram.

Let me tell you, that one minute of fun was a whole day’s work! I’m so glad that I had a friend’s daughter, Anushka, to work with me on the technical aspects. What this experience has taught me is that it isn’t about learning 75 different things, but being able to focus on the handful that one is really drawn to, so as to become good at those. There are so many eye-catching possibilities out there today, but I can’t manage them all, and neither should I aim for that. I need to give myself time to get through one learning, and let it naturally lead to the next one. This dilemma or distraction I had, about whether or not to begin studying stop motion video production, ultimately reminded me that this is how my businesses have grown from inception anyhow. Step by step, following a logical flow of studying, experience and growth, and knowing when to accept help. Doing the next best thing of delegation and collaboration helps me focus on what I am good at, and what is in my control.

Authenticity is a really important part of this blog, and all my work at re:store and at Nandi Shah Photography. Every recipe I share is something that I enjoy, and have prepared, served and eaten multiple times before I decide to showcase it. These are my recipes, containing my touch. For every shoot, I cook, style, photograph and edit everything myself. There’s a lot of love and attention that goes into each post, and there’s already a lot on my hands. In addition to my work, the current scenario has me responsible for the well-being of an entire household, including geriatric family members, and I must use any spare time I have from those responsibilities thoughtfully.

Still, I’m glad I indulged my curiosity about stop motion videos. I deliberated over what recipes would look good in this format, and these chocolate cupcakes were one of two (a different one will be coming up next weekend, so stay tuned for that as well). Even though it’s not a technical skill I want to learn for myself anymore, I enjoyed the process – having company, laughing, joking, learning more things about my camera, and of course, making the cupcakes and enjoying them with tea once the production was all done.

Subsequently, I baked these chocolate cupcakes all over again for the photoshoot for this blog. That was a separate endeavour, and I felt right back at home, doing what I love to do (and striving to better my best each time).

In addition to how they’re perfect for cute videos, I feel like although I’ve shared a variety of baked goods here before, I haven’t done any cupcakes. I also wanted to share something sweet, after several main courses. These classic chocolate cupcakes are a popular product that we get a lot of orders for, but I thought I’d share the recipe for those who want to try them out at home as well, in the spirit of spreading joy in this time.


Chocolate Cupcakes

(Yield: 12-15 cupcakes)


Cupcakes

1½ cups flour

½ cup cocoa powder

1 cup granulated sugar

¾ teaspoon baking soda

¼ teaspoon salt

⅓  cup oil

½ teaspoon vanilla extract

1 egg

¾ cup buttermilk


Frosting

1 cup unsalted butter at room temperature

3 cups icing sugar (and a little extra, if required)

A pinch of salt

2 tablespoons fresh cream

1 teaspoon vanilla extract


Preheat the oven to 180° for 20 minutes. Prepare the cupcake pans with liners.

First, prepare the dry mixture. Whisk the flour, cocoa powder, baking soda and salt together in a bowl. Set aside.

Now, prepare the wet mixture. Whisk the sugar, oil, egg and vanilla extract together.

Mix the flour mixture and the milk, alternating them, into the wet mixture. Beat them all together until the batter achieves a smooth consistency.

Scoop the batter into the prepared pans. Fill the liners to a ¾ level so that the batter has room to rise. If you’re fairly new to baking, you may want to check out this recent post of mine, which has a primer with tips you may find very useful.

Bake for about 20 minutes, or until a skewer comes out clean. Allow to cool, then top with frosting.

To prepare the frosting, beat the butter until it turns fluffy. Now, add the icing sugar and stir with a spoon. Be gentle, or else you will have the icing sugar dust all over. Once the two have come together, beat well. Add the salt and vanilla extract and beat for approximately another two minutes. If the butter cream is thick and difficult to spread, then add the cream a teaspoon at a time.

As I said earlier, these cupcakes are actually a part of our menu and one of our fastest-moving products. At re:store, we avoid artificial sweeteners that contain harmful chemicals, switching them out for natural or unprocessed ones, and use good old-fashioned ingredients (eggs, butter, oil and cake flour for instance – the basic elements of a cake)  of the best quality available locally. If you’re in Chennai and would like a fresh batch of these cupcakes from the re:store kitchen, especially with the festive season coming up, we’re just a phone call away. They’re delectable at tea-time, and ideal for gifting. As you can see again in the stop motion video, we give a lot of importance to packaging and the finished look of each product.

I’m currently very busy in the kitchen, and happily so, conducting trials for more delicious goodies, and am so looking forward to expanding the product list. Do stay tuned for some lovely new treats from re:store in the coming months, as well as new recipes on this blog as always!

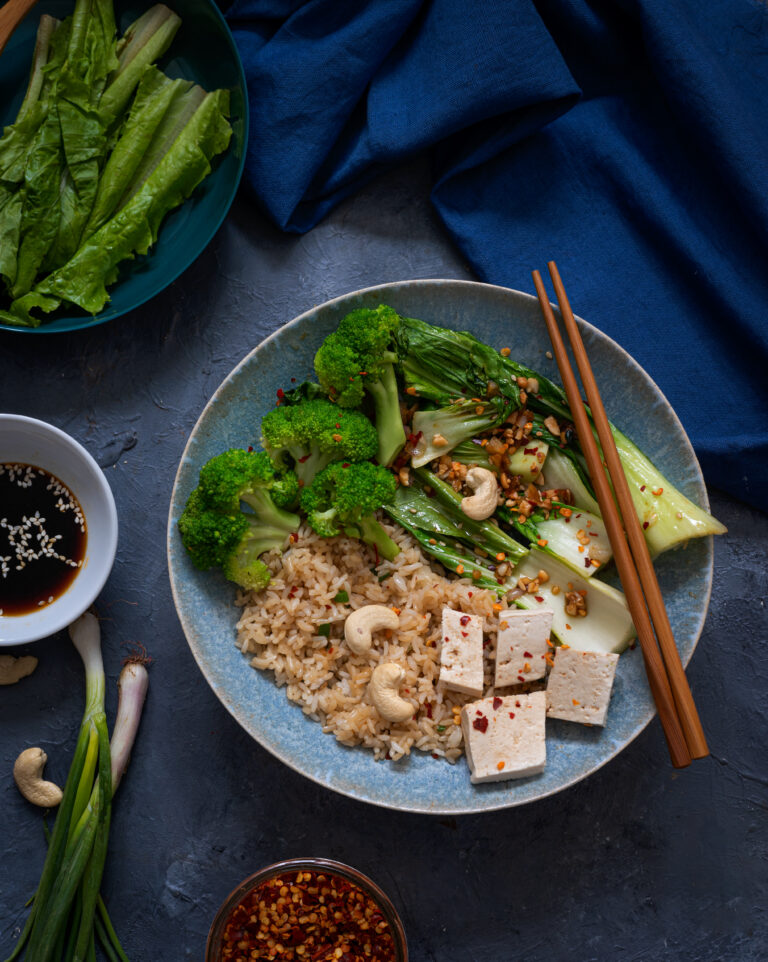
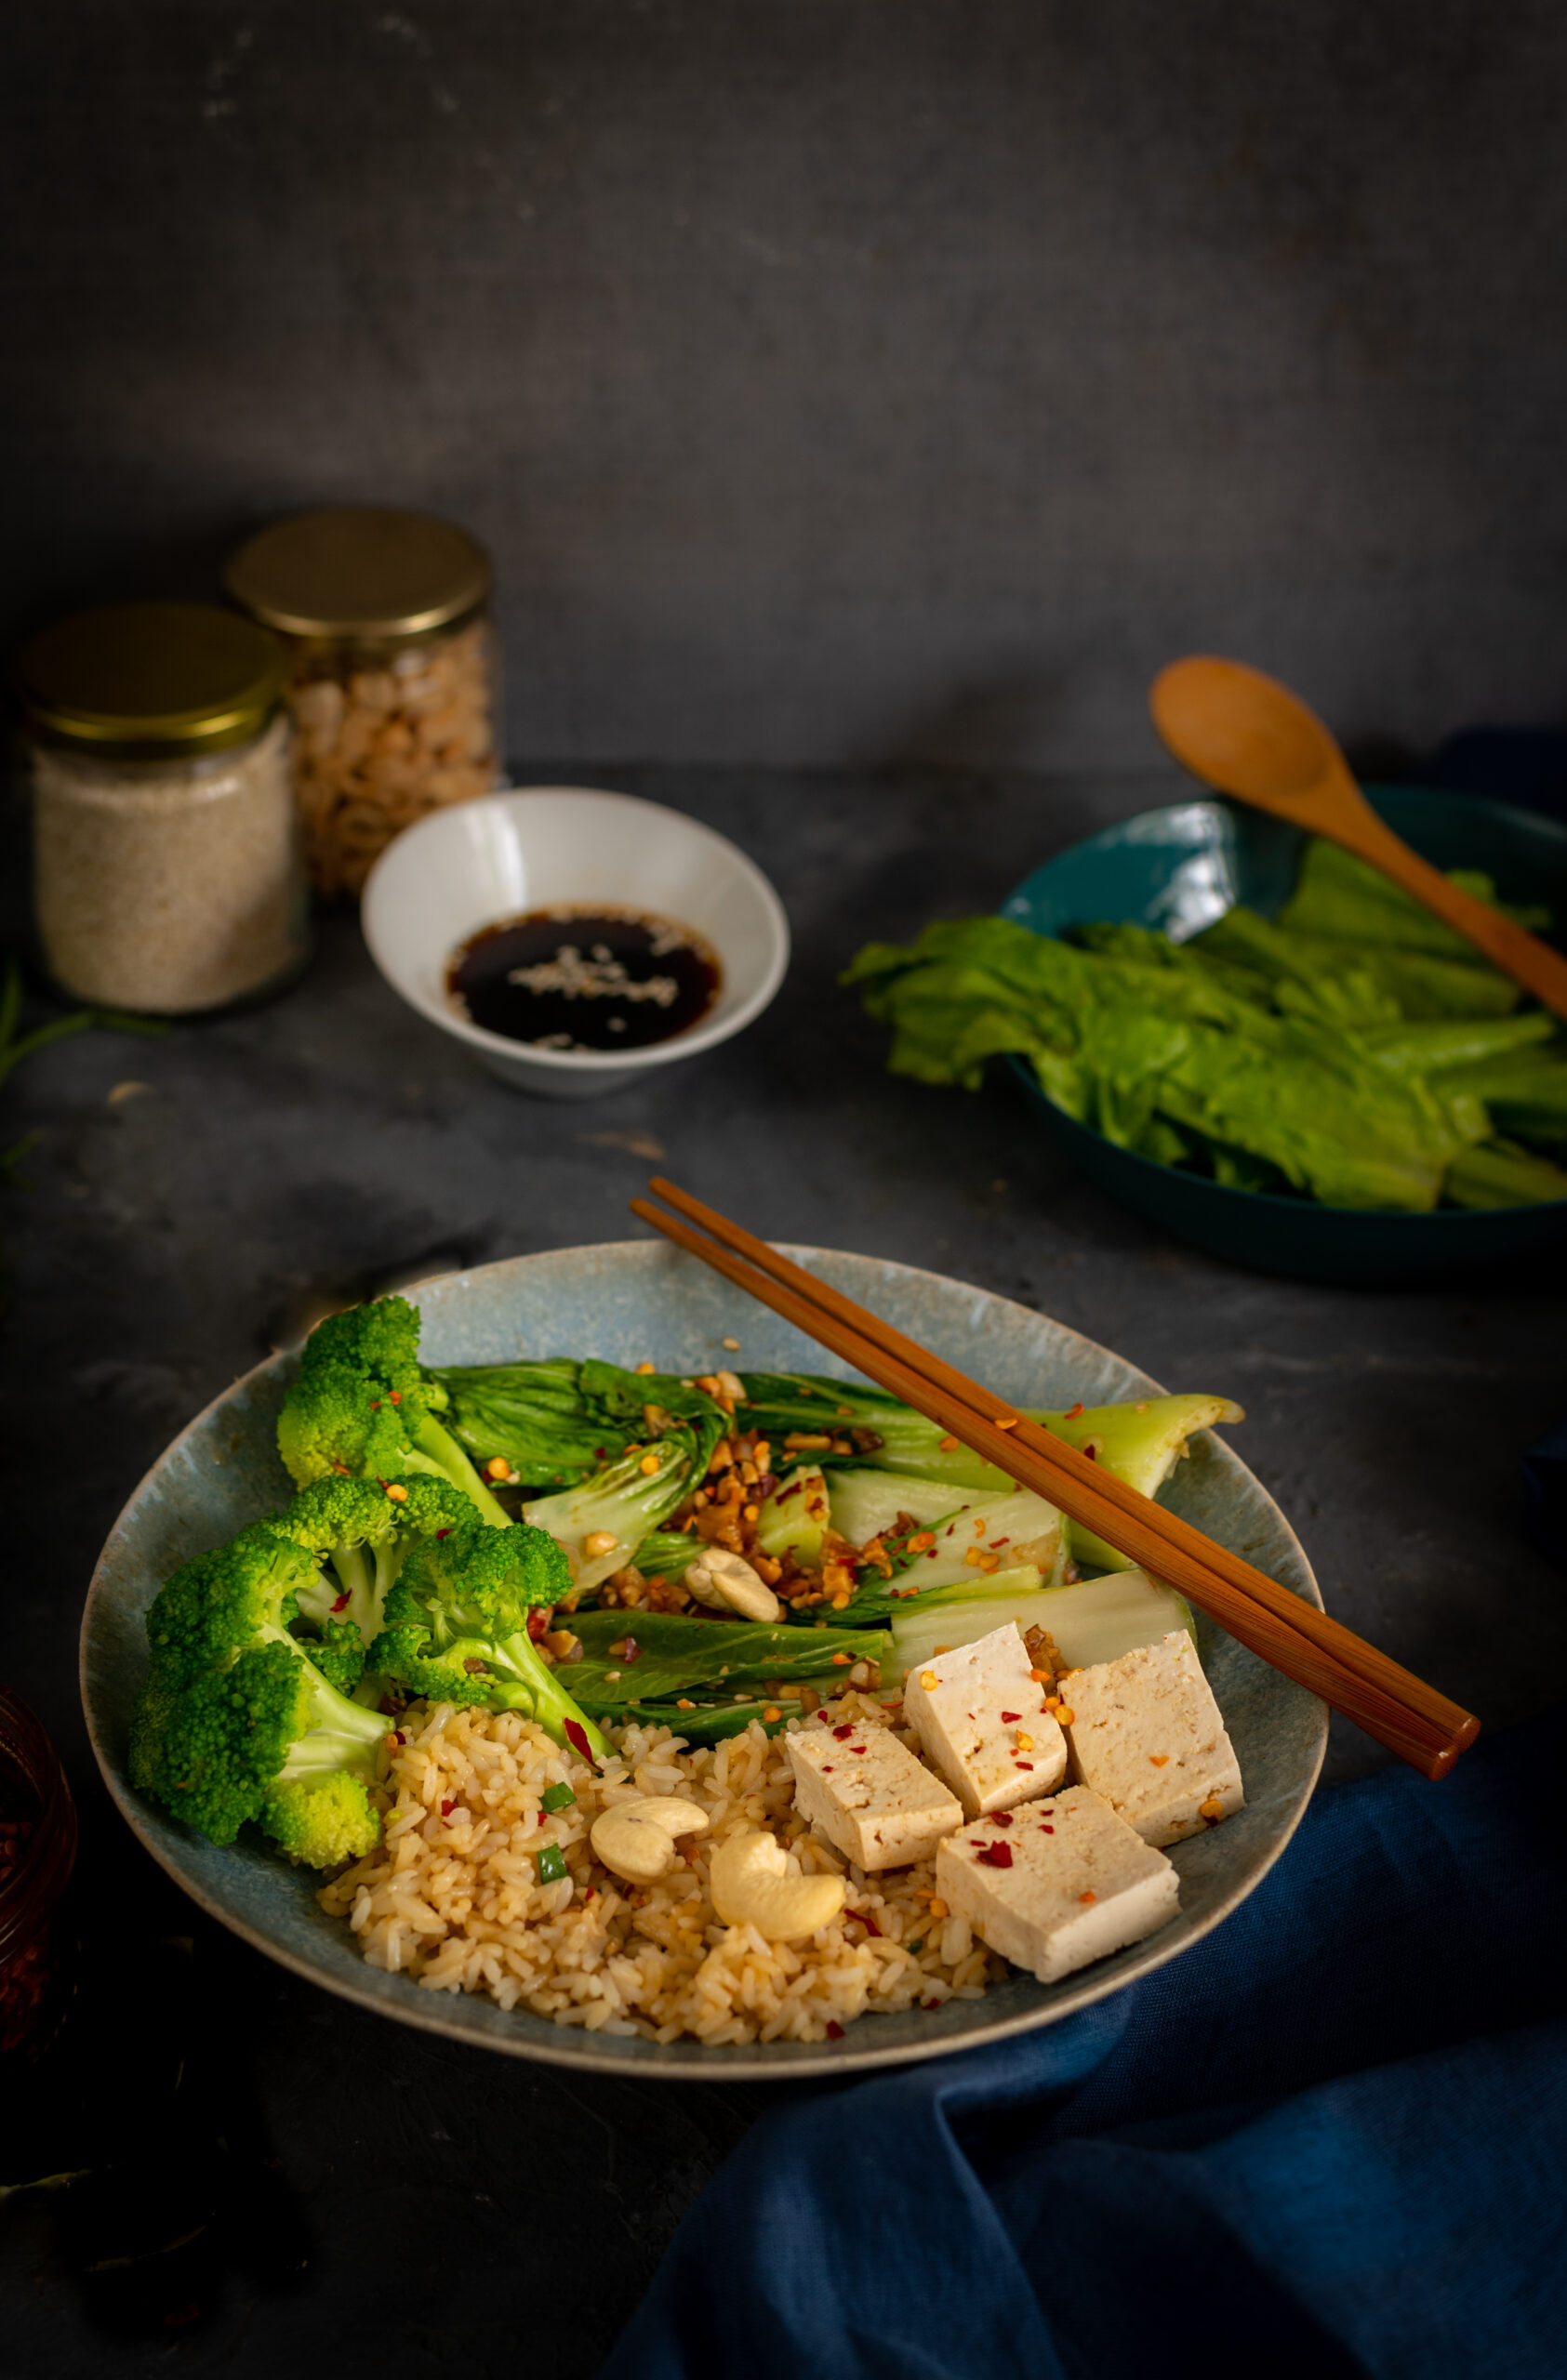
Having travelled through the tastebuds from right here in South India to Mexico and the Middle East and North Africa, the internationally-inspired Buddha bowl series on this blog arrives at its final destination: back on this continent. As I’ve said earlier, every one of these dishes qualifies as fusion cuisine, a tribute influenced by foreign flavours but by no means authentic. The same goes for this delicious, garlic-infused bowl of goodness, reminiscent of cooking from East Asia.

Indians have been very fond of Asian cuisines for the longest time, and what we eat here is really its own sub-cuisine, commonly known as Indo-Chinese food. While I’ve loved ordering these dishes while dining out, I had always been under the impression that Asian cooking involved too many ingredients or prep and that it somehow wouldn’t work for me. All this changed with the lockdown, which has had my daughter living here with us for the past few months. It’s a joy to have her safely here, rather than alone in Mumbai during the pandemic, and what she’s brought along with her is her love for Asian-inspired recipes. They are her own cooking go-to. Somehow, these dishes seem to come together rather naturally for her, and they taste fabulous. Due to her influence, I’ve been leaning towards (and learning how to make) this cuisine more and more, and enjoying the homemade versions, which tend to be healthier.

Fortunately for us, the ingredients are easily available and fresh. The recipes my daughter and I make together are all vegetarian or vegan, which suits us both. We have lunch together daily, and it’s wonderful to share dishes that I’d always only associated with the restaurant experience. I belong to a generation for whom Indo-Chinese food usually had something to do with a social or celebratory occasion, as I described here, so some of those special memories are also evoked at home now too. Nowadays, due to the large expat population in Chennai, we are lucky to also have a proliferation of Korean and Japanese restaurants, giving diners lots more wonderful variety when it comes to international food. My Asian-influenced and daughter-inspired Buddha bowl below, however, takes its cues from the Indo-Chinese restaurants that I was first exposed to. As a relative newbie to recipes like this one, I can assure you that this one is so easy and so tasty to make that you’ll be whipping it up in no time too!

Asian-Style Buddha Bowl

(Serves 2)

Garlic Rice

2 cups cooked rice

2 tablespoons finely sliced spring onions

2 tablespoons finely chopped garlic

1 tablespoon sesame oil

½ tablespoon light soy sauce

Salt to taste

Garlic Bok Choy

1 tablespoon crushed peanuts

½ tablespoon sesame oil

1 bunch cleaned and dried bok choy

½ tablespoon sliced garlic

½ teaspoon grated ginger

2-3 finely cut shallots

¼ teaspoon honey

Salt to taste

A pinch of chili flakes

A dash of lemon

Tofu

6 – 8 slices tofu

1½ tablespoons light soy sauce

1 tablespoon hot water

A pinch of sesame seeds

¼ teaspoon honey

¼ teaspoon sesame oil

Broccoli

1 cup sliced broccoli

Salt to taste

Garnish

Cilantro (finely chopped)

Spring onions (finely chopped)

Chili flakes


As with all Buddha bowls, each component must be made separately and brought together only when you are ready to serve the meal. Begin by preparing the garlic rice. In a pan, heat the oil. Add the garlic and allow it to sauté until it is golden and aromatic. Now, add the rice. Stir. Add the salt, soy sauce and spring onions. Mix well and set aside.

Then, prepare the garlic bok choy. Heat the oil in a pan. Once it is hot, add the garlic, ginger and peanuts. Stir them together. Now, add the bok choy and the honey, allowing the flavours in the pan to coat the leaves well. Sprinkle salt, add the dash of lemon and stir. Set aside.

I prefer the leaves to be a bit raw and crunchy. However, if you like them cooked well and wilted you may make them this way. You may also replace the peanuts with cashew nuts. If you have a nut intolerance, you can avoid the nuts altogether.

To prepare the tofu, first stir all the ingredients except the tofu together in a cup to make a sauce. Set this aside. Now, sauté the tofu lightly in oil.

To prepare the broccoli, drop the sliced vegetable in hot water for a few minutes. If you prefer to, you may sauté it next, or leave it as is. Remove and sprinkle with some salt.

Start assembling the bowl by plating the rice, followed by the boy choy and the broccoli. Finish these off by adding the tofu, which you can top with a teaspoon of the prepared sauce. Place the remaining sauce near the bowl to use as a dip for the tofu and even for the vegetables, if you like them crunchy like I do.

Before serving, garnish the bowl with the cilantro, spring onions and red chilli flakes. As I said right at the start of this series, a beautiful bowl allows the eyes to feast first, and I encourage you to pick one out that elevates your experience of the meal.

I hope you’ve enjoyed these Buddha bowl recipes, which pay tribute to different cuisines that I have loved. For other meal-in-a-bowl dishes, do click on the link and see some of the recipes I’ve shared over the years that fit the bill. Some of my favourites include two Indian classics, the dal dhokli and khatta mung, as well as another Asian-style dish, a stir-fry. I hope you’ll check them out!

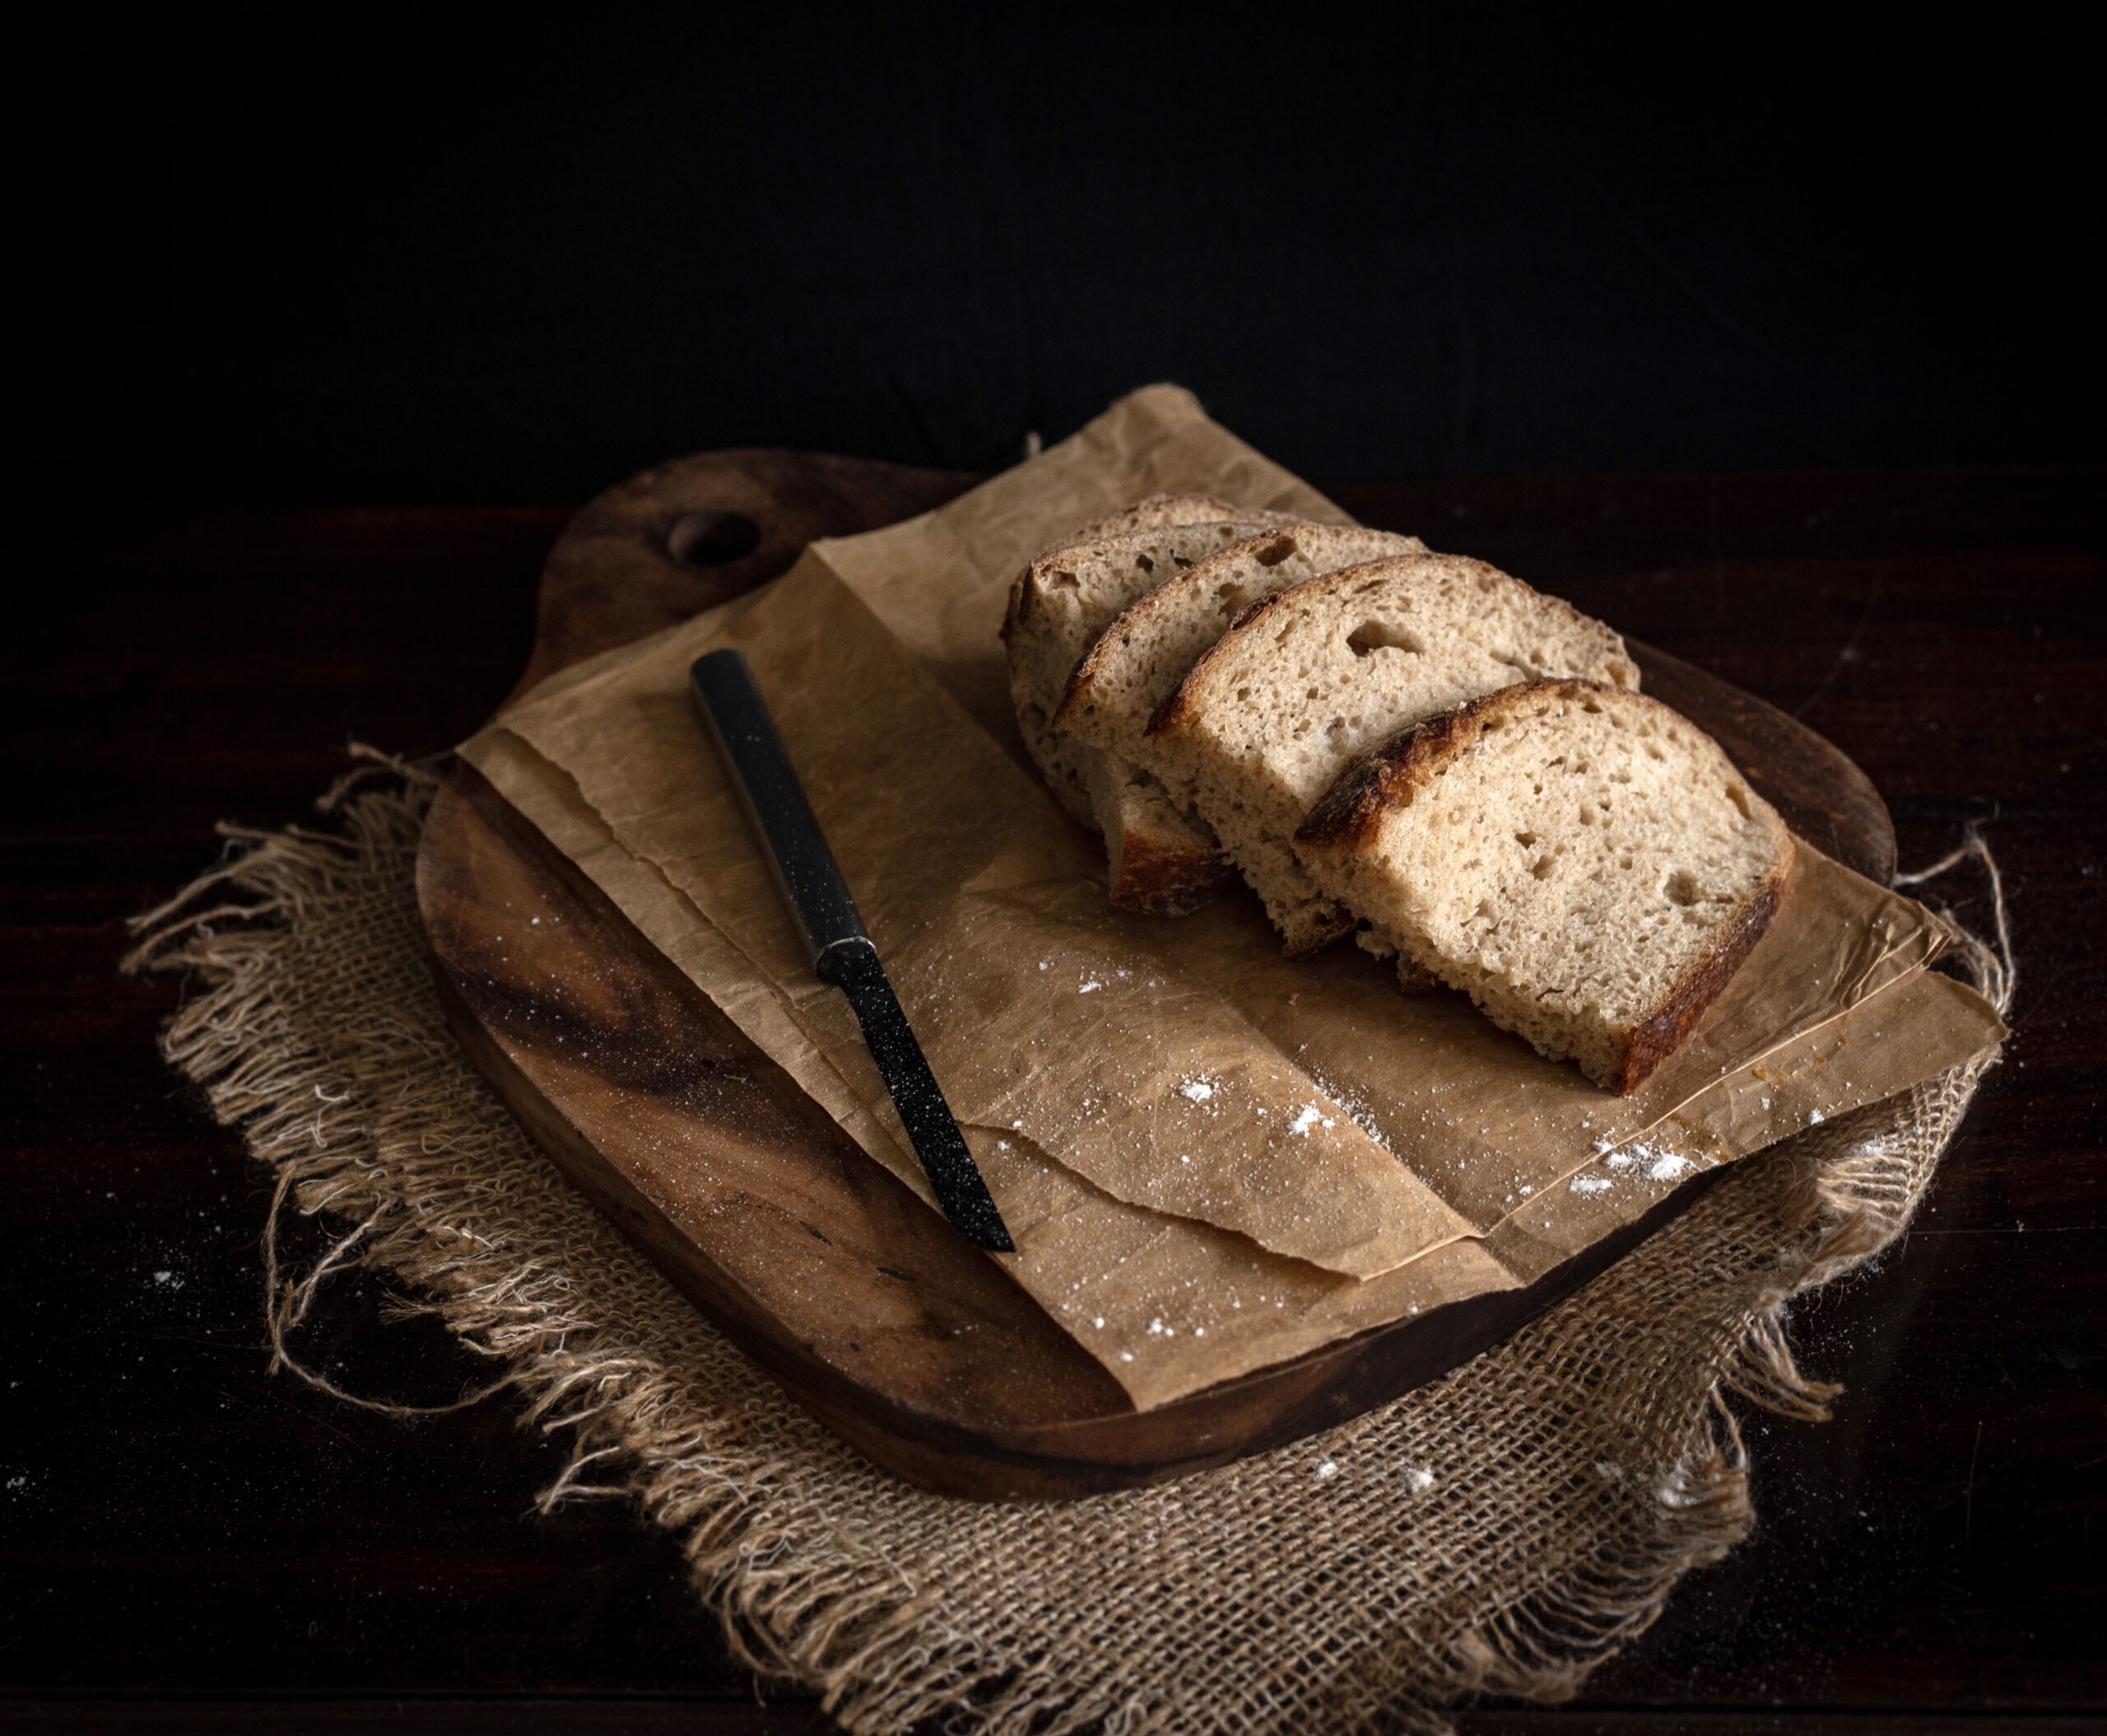
When it comes to any dish that I’m a novice at, I love making it as often as possible so that I can learn from each attempt. Novelty is part of the motivation, but improving my success rate is the real goal. The more you use your hands, the better you get at anything. For you, this may be true for one of your own creative passions, and for me this is all about baking and photography. This was certainly the case for me with sourdough. Those of you who’ve followed my sourdough journey through my Instagram Stories over the past couple of years will know how enthusiastically I’ve pursued working on it. Sourdough is all the rage everywhere at the moment, since the pandemic has made so many people  explorers in the kitchen, so it’s especially exciting for me to share this sourdough toast recipe today.

I bake sourdough every other day, and ever since I began doing this, my family doesn’t eat any other kind of bread. They prefer this natural variety to yeast-filled commercially-produced bread, and we use it in many ways. I make pizza bases, loaves and more all the time, and use them in main courses, sides (such as with a lovely minestrone soup, the recipe for which I promised you recently and will share soon) and snacks. At home, we are all very into daily exercise and healthy eating, so we have lots of one pot meals, and a slice of sourdough on the side is always nice. I find that this sourdough toast especially makes for a filling lunch, and that helps us reduce the number of heavy meals we have at supper time.

The idea of making a simple, yet fabulously delicious, sourdough toast came up during our planning for my husband’s birthday recently. This is not an innovative recipe as such, yet it’s one that suits the occasion of a celebration during lockdown. It’s a lovely appetizer using wholesome and easily available ingredients for a small celebration. We decided to have a picnic in our own garden, and I was thinking about which healthy dishes I could make to balance out the indulgence of the white cake I’d be baking when I came up with this idea.

Now, the white cake itself has a funny story behind it. You see, my husband adores the tea cake from the McRennett bakery, which many of us who grew up in Chennai will associate with childhood memories. As it happens, I can’t stand that cake, as it has a very strong vanilla essence smell. We have a running joke in the house that no matter what fabulous thing I have baking in the oven, my husband will say, “I’m going to get a McRennett cake!”, knowing it will tick me off. This year, I turned the joke on him by saying that I’d order him that tea cake for his birthday and not bake any of my own specialties. Secretly, I had a plan to prepare a cake that was inspired by his lifelong favourite, but which I would elevate with my own twists to a level that would make him forget the original. He must have gotten a whiff of my plan, because he said to me that if I could achieve the softness of the original, he wouldn’t mind trying mine. Well, I baked a lovely tea cake with real vanilla and pretty white icing (I rarely ice my cakes at re:store, so you know this was a special treat!) which he enjoyed very much… but it didn’t quite unseat the McRennett as his favourite!

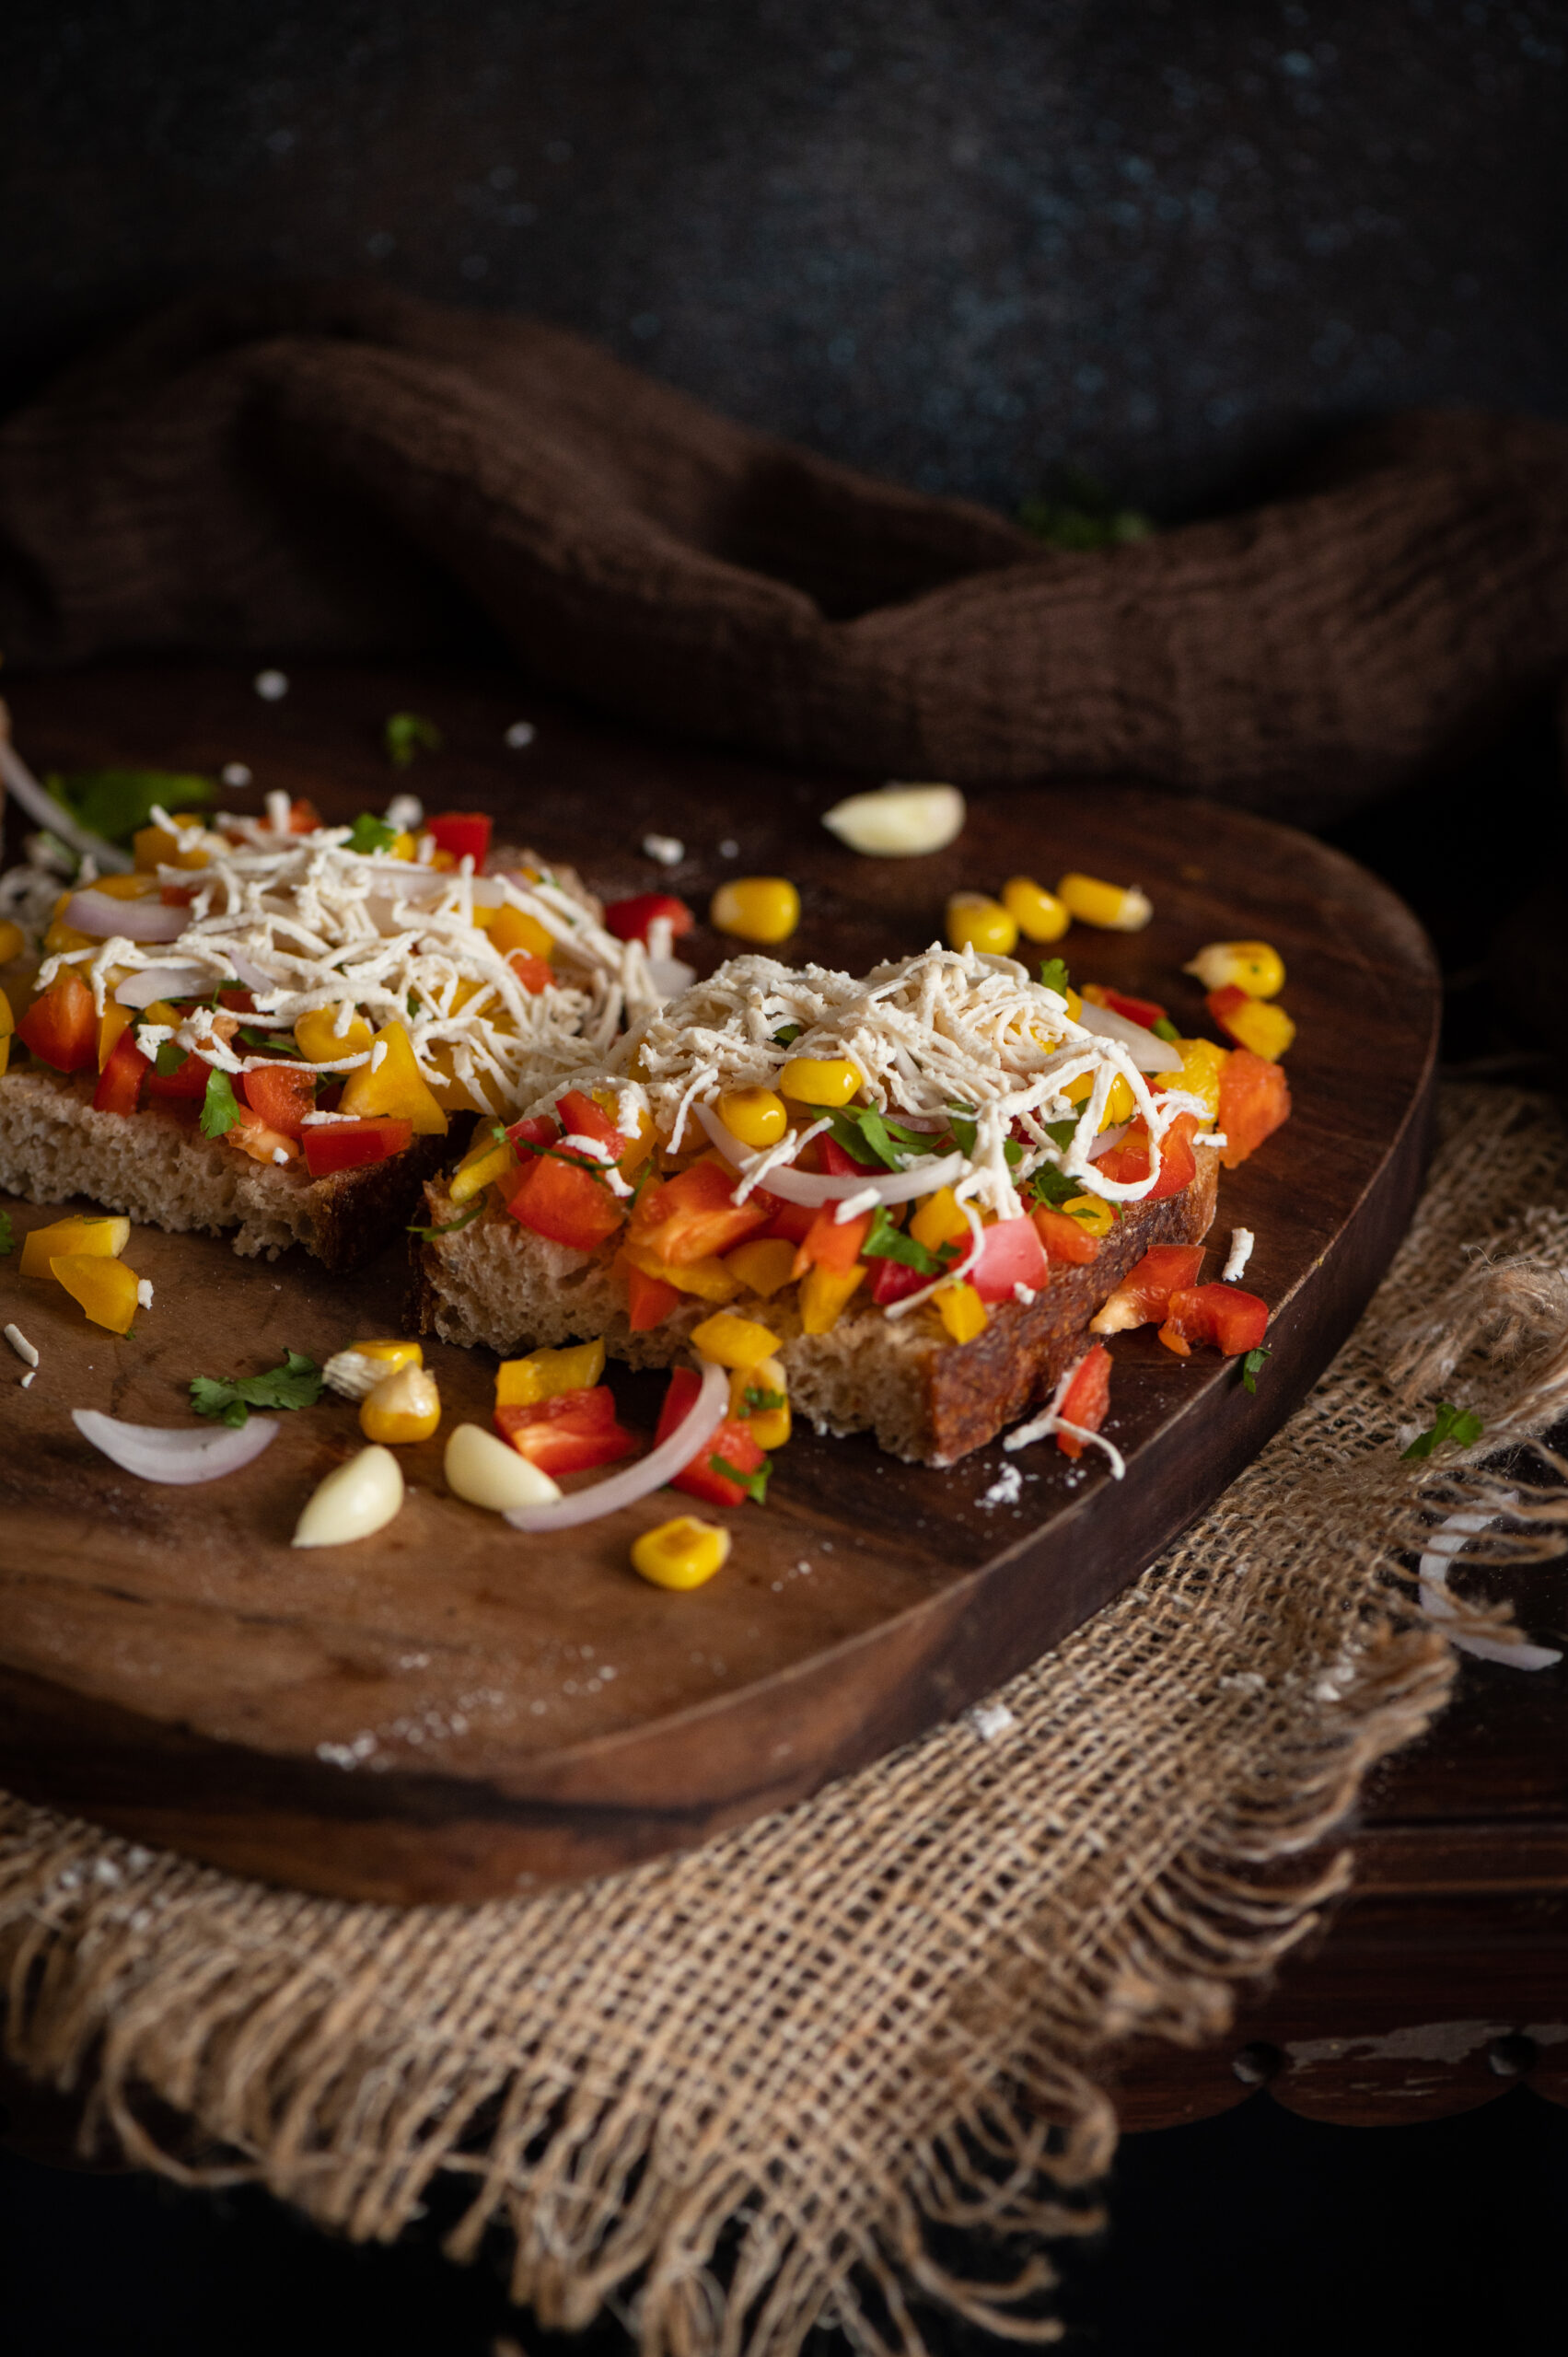
Oh well! At least I can safely say that this cheesy, spicy, garlicky sourdough toast was the hit of the picnic! I’ll always associate it with the memories of the fun we had that day, spending time together as a family in our garden. That’s the thing about food prep: when something is made to suit a particular need or occasion, the dish also gains meaning. Is it for a daily meal, is it for a special person, is it for an event? By thoughtfully planning the lockdown birthday picnic menu to feature a healthy but delicious snack like this, and making sure I prepared it in a way that was also special, the dish became impressed upon my memory and in my culinary repertoire.

Before I share the recipe, here’s a quick note on sourdough itself, just in case you’re curious about what it is. It’s the traditional, ancient way of making bread, which people around the world used for millennia before baker’s yeast was invented. It’s based on natural fermentation, with air pockets created by the same, and it rises beautifully. You can keep the starter going for ages, just like yoghurt. For me, it took a few miserable failures before I managed to get mine going. Before that, friends generously shared their own starters with me, which I fed and nurtured, but there’s a different kind of challenge and a sense of achievement when you’ve made your own. The learning is continuous, especially when you have to take into account variables like weather conditions. Sourdough maintenance is like plant maintenance.  Making sourdough in Chennai weather is a struggle, as the natural temperature is not really conducive, while air-conditioning dries out the starter. I’ve managed to make a few chips and freeze them just in case my sourdough dies on me, and I’ll need to start it all over again. In the meanwhile, we are truly enjoying the bounty of the current batch.

I am almost sure that foodies following this blog have either been making their own sourdough, or have access to a store-bought loaf, so I’ll jump right ahead to what you can do with it, rather than spend time on how to grow it. In case you don’t have it on hand, you can use white bread or any bread you like.

Cheesy, Spicy, Garlicky Sourdough Toast

(Yield: 4 slices)


4 slices toast

1 teaspoon oil

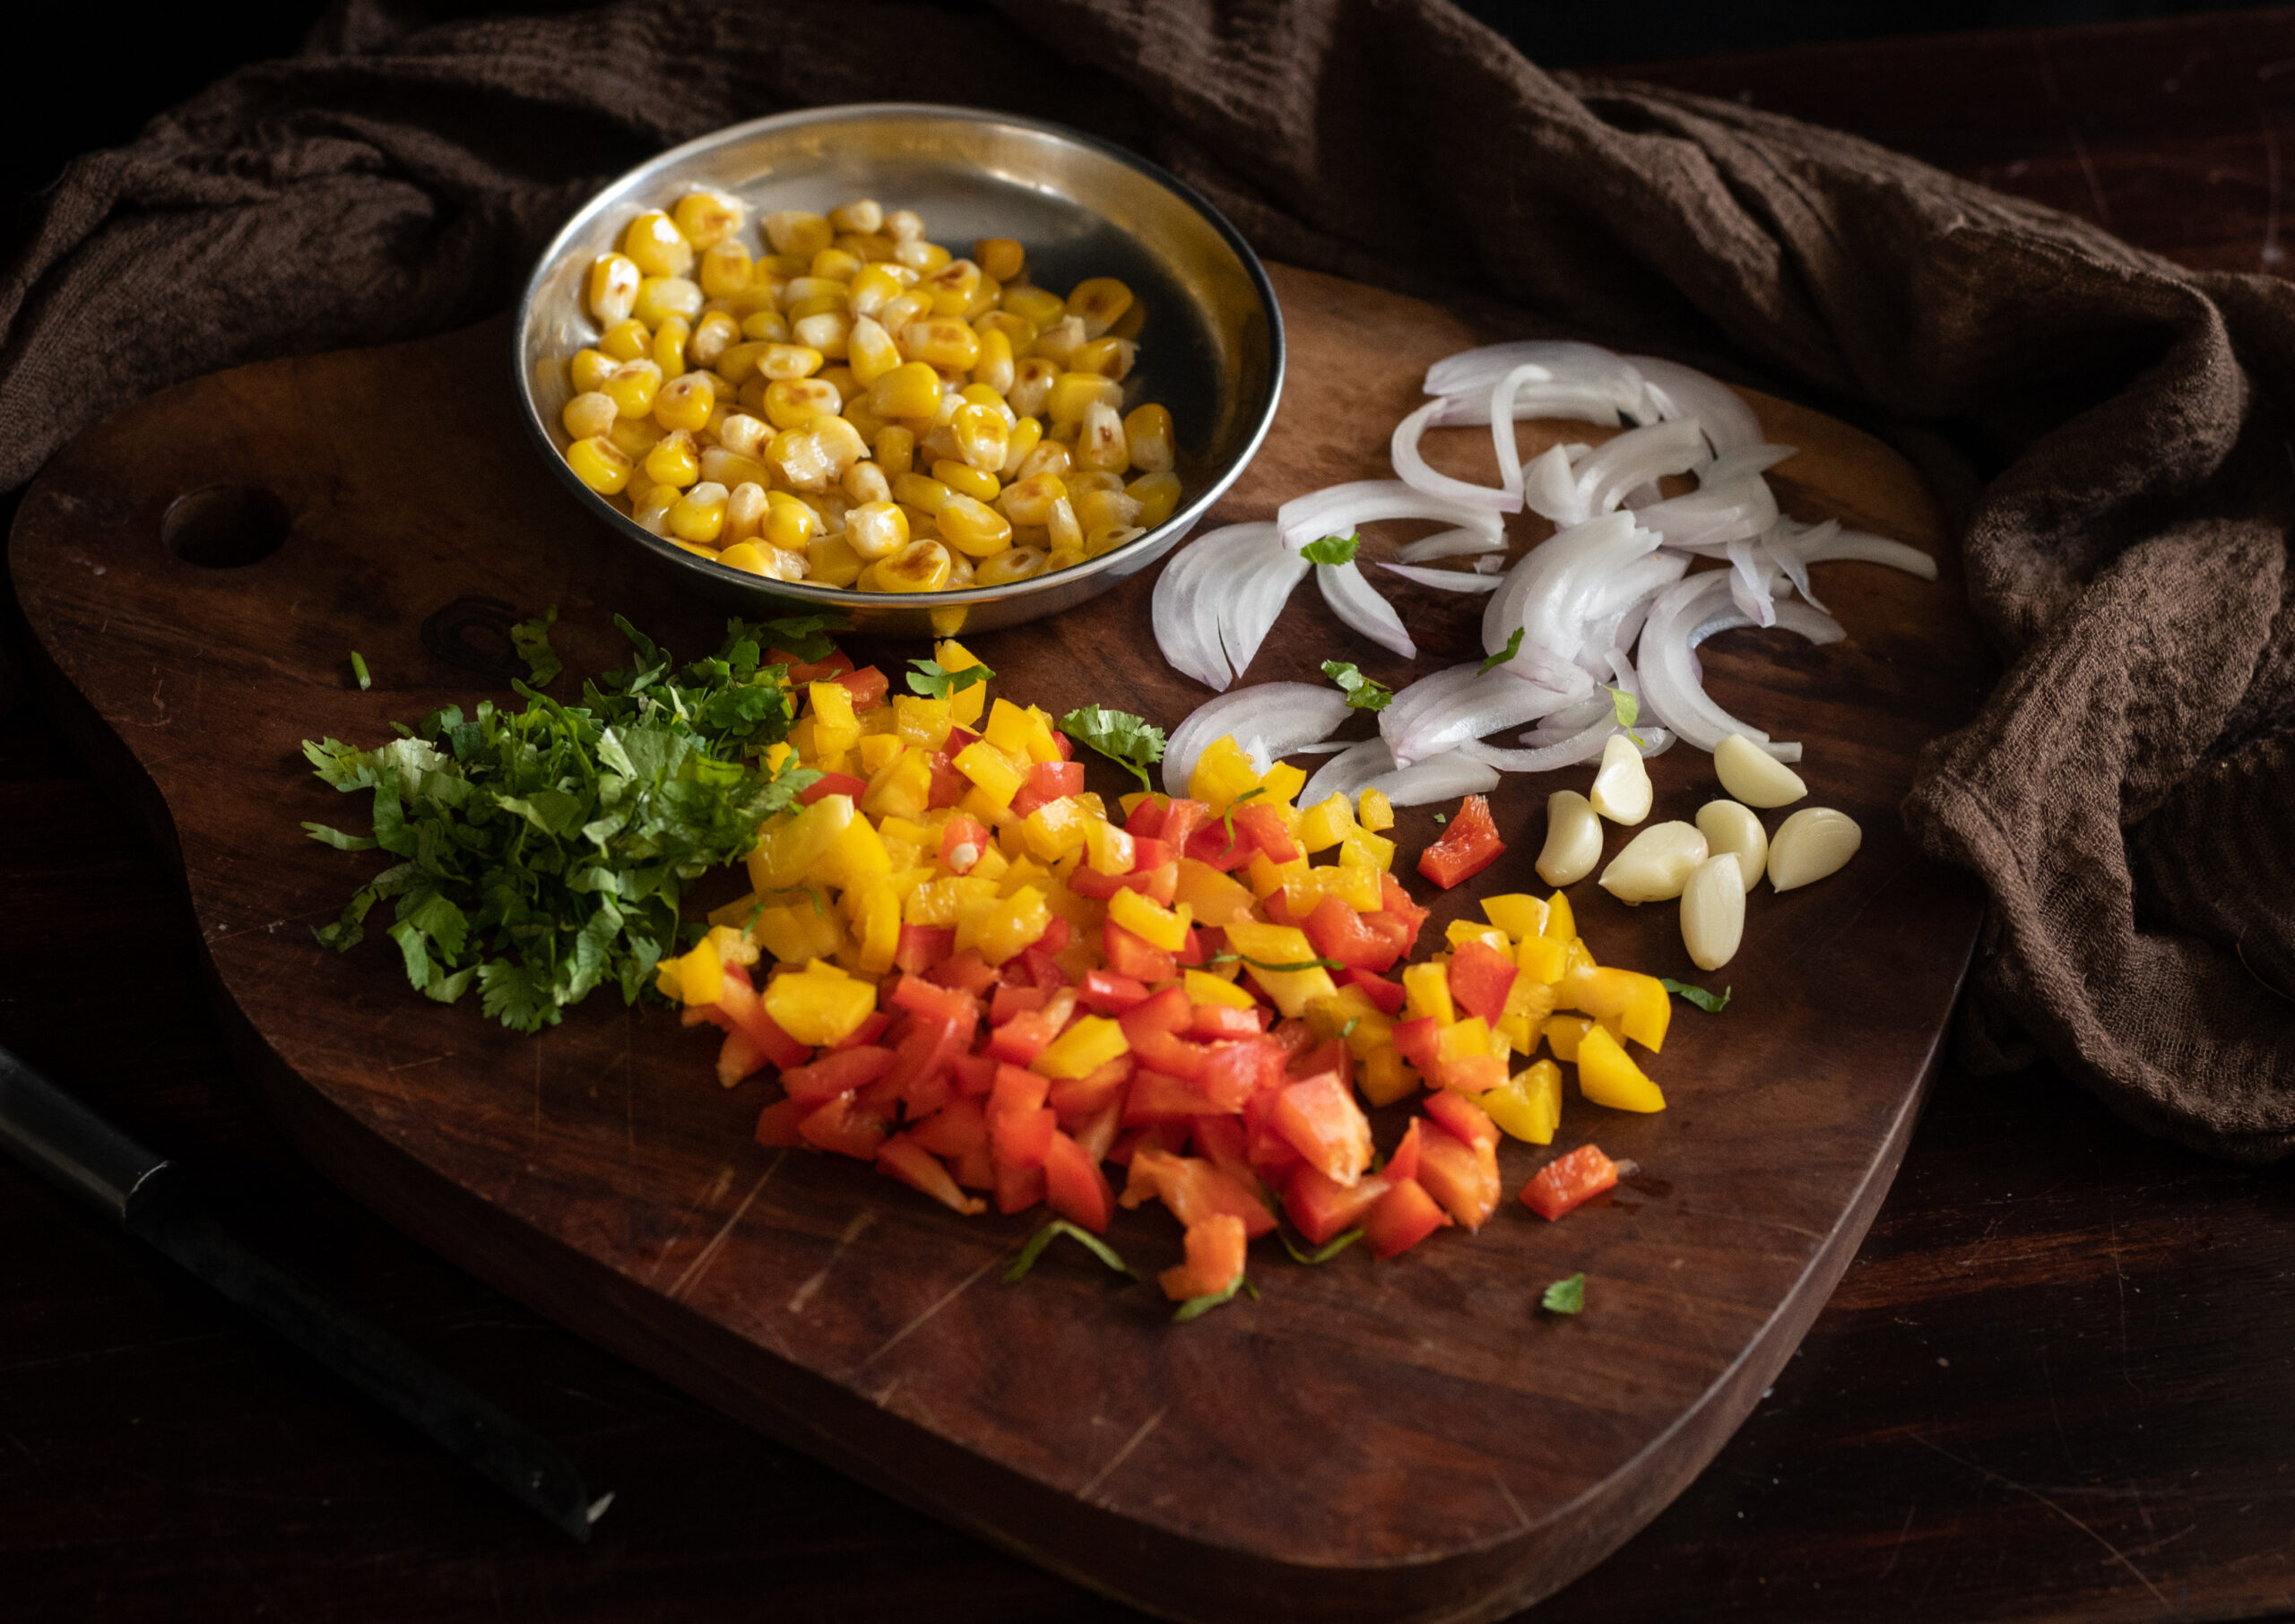
2 cups chopped vegetables (bell peppers, onions, garlic, coriander or parsley, cooked corn)

1 tablespoon chopped jalapeño peppers

¼ teaspoon grated ginger

Coriander chutney (alternative: pesto)

Salt to taste

Chili flakes

Butter as required

1 cup grated cheese (alternative: tofu/paneer)

Heat a pan and add the oil. Add the garlic and ginger, and then add the chopped vegetables. Stir-fry on a high flame. This mixture doesn’t take more than 5 minutes to sauté. Add the salt. Set aside. Allow to cool.

Prepare the slices of sourdough by buttering them lightly. Next, spread the coriander chutney (or pesto, if you prefer) over the butter.

Now, add a heaped spoonful of vegetables over the chutney/pesto. Top this with grated cheese or tofu.

Place the bread in the oven and allow to toast/bake for about 10 minutes or until the cheese melts and the slice of sourdough turns golden underneath.

Remove the slices from the oven and sprinkle with the chili flakes. Serve warm.

This cheesy, spicy, garlicky sourdough toast called to mind a variety of toasts my family has enjoyed over the years. When I was growing up, my mum used to make a version of masala and mashed potatoes with toasted bread. My husband is an ardent fan of  Bombay toast, as you may remember. In lieu of either, my sourdough toast – rich in fresh vegetables – is healthier, without skimping on taste.

Feel free to substitute the vegetables or even the spices as per availability and preference. You may want to increase the quantity of some based on your taste as well (I’m personally a big fan of corn and bell peppers too). If you prefer to go vegan, just replace the butter with olive oil, and either tofu or paneer are tasty and healthy alternatives to cheese.

This version has become my go-to every time I feel like having a snack. When I’m done with my workout and feel peckish, I whip up a slice or two. I sometimes also have it drizzled with olive oil and a sprinkling of salt without adding the spices. Given the lockdown and the limited vegetables that are on hand on some days, I improvise the ingredients. No matter how I make it, it’s unbelievably tasty!

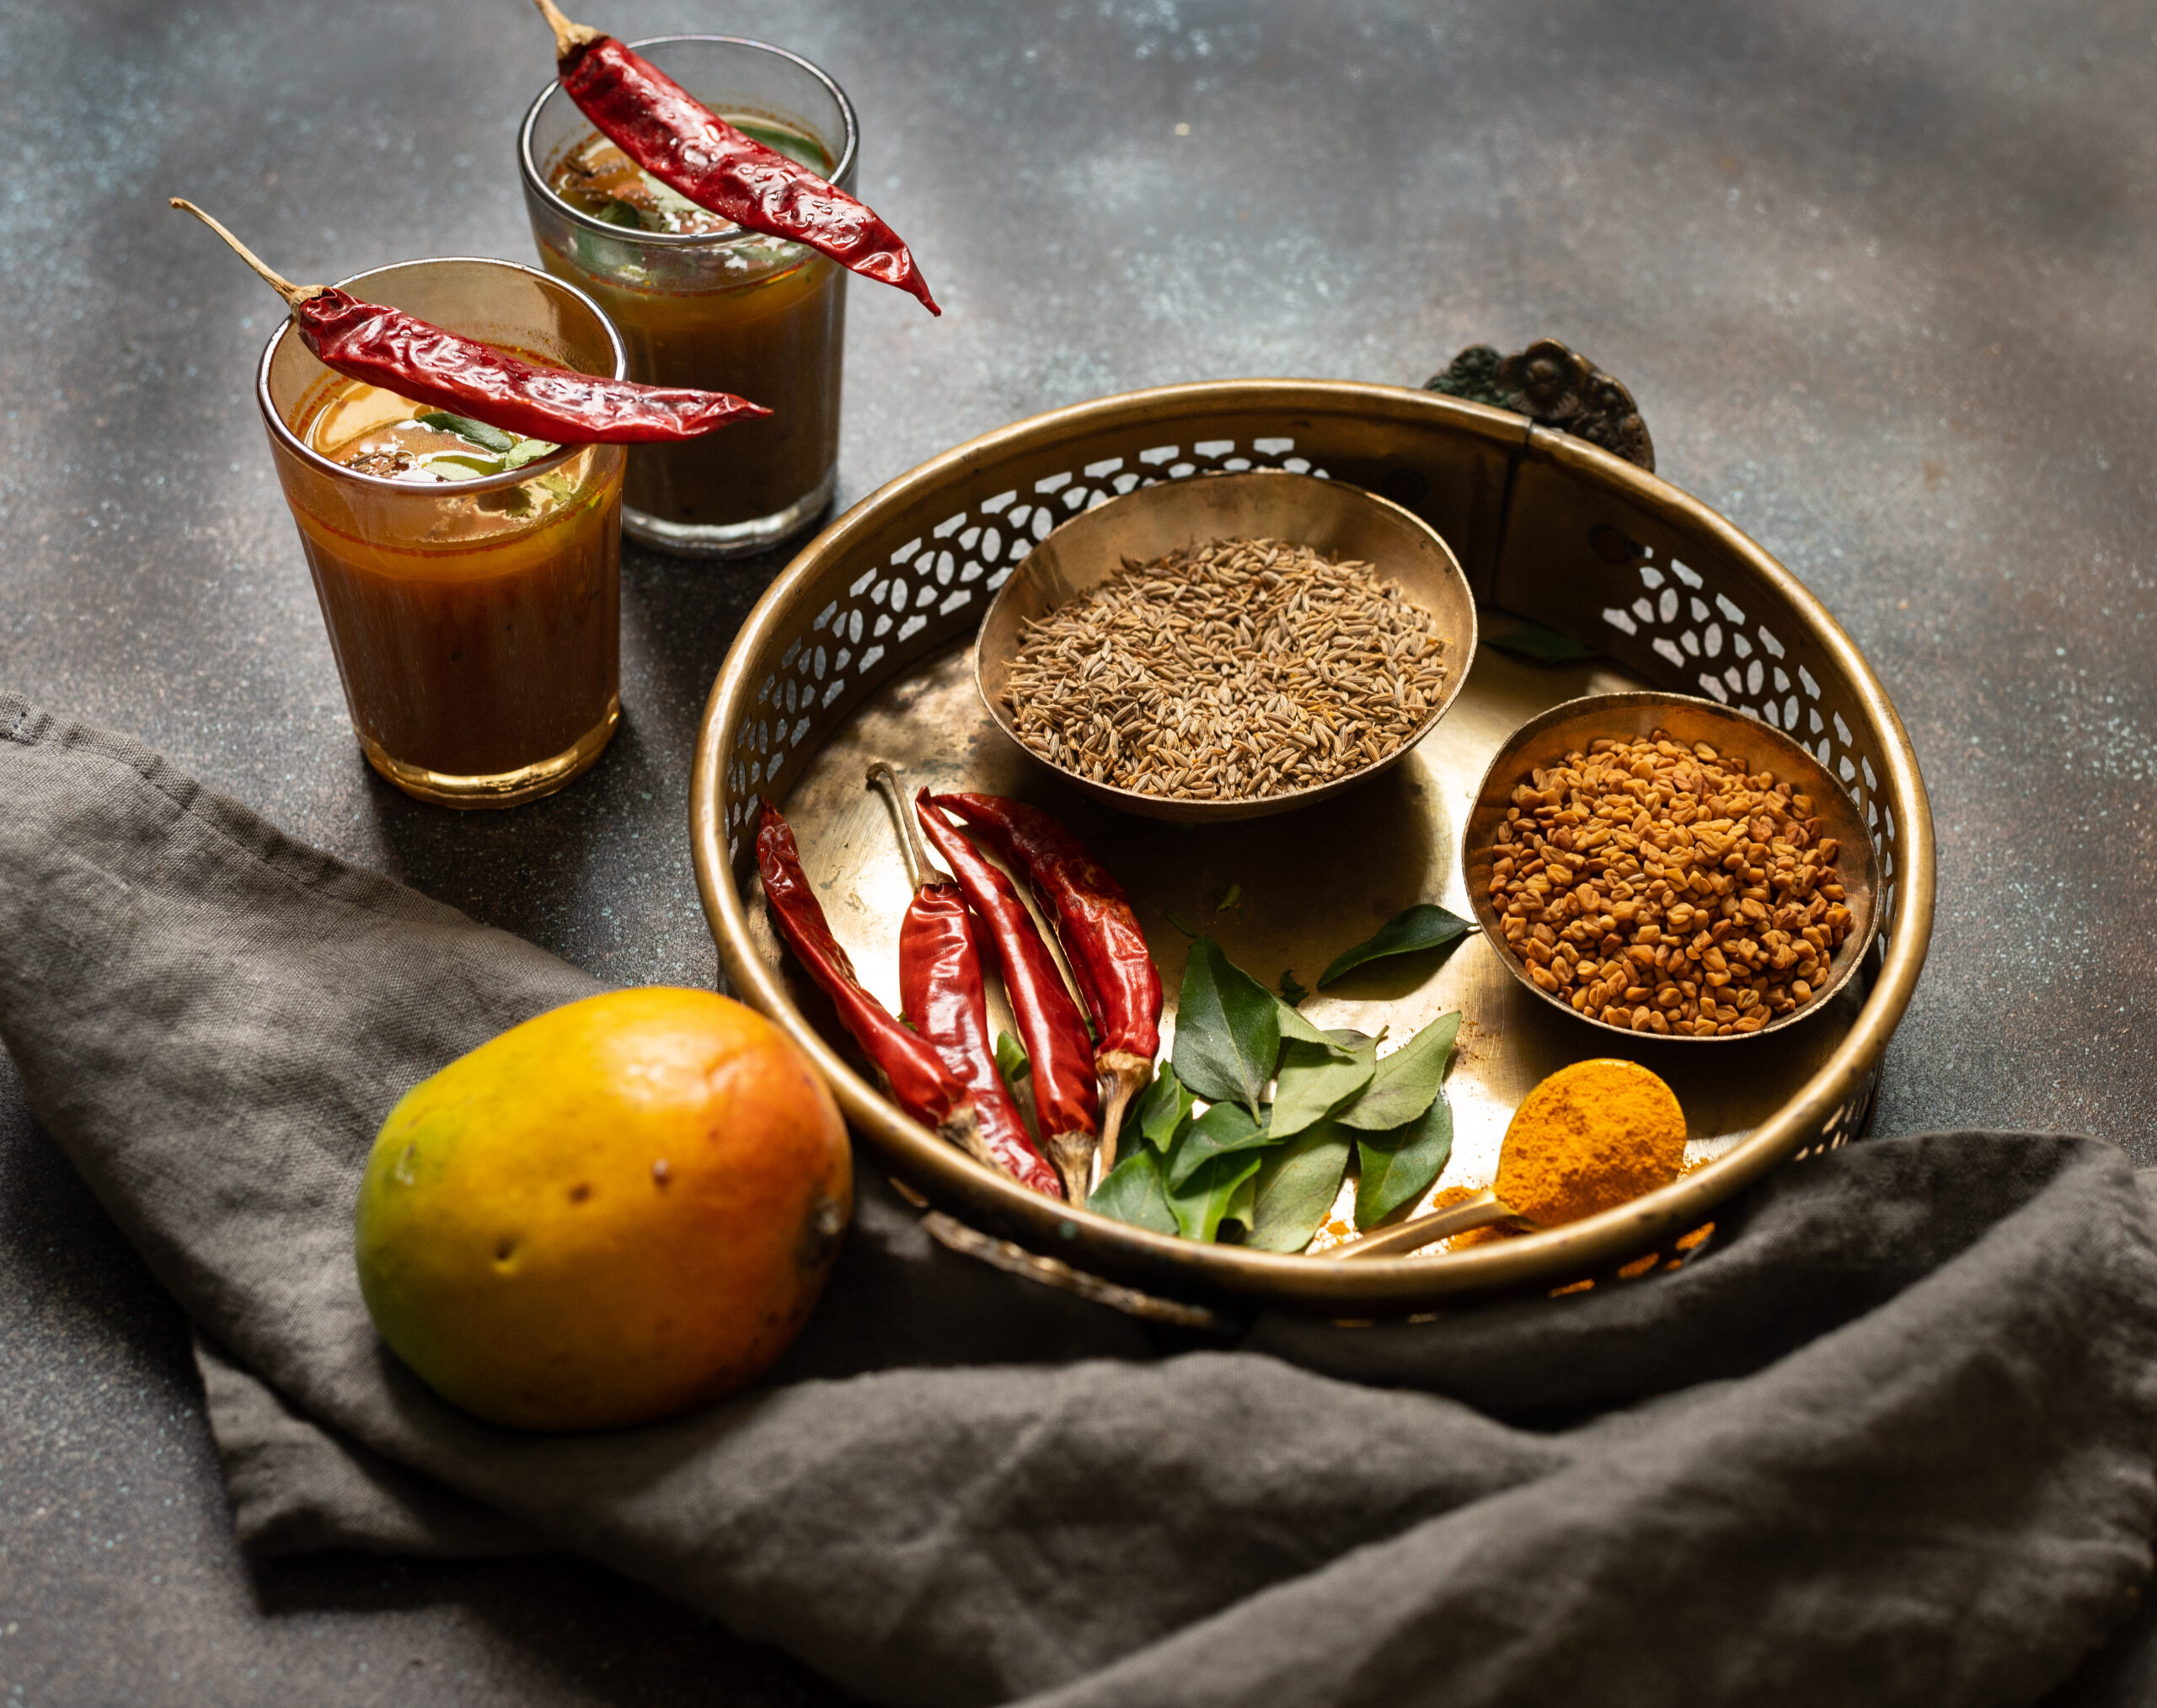
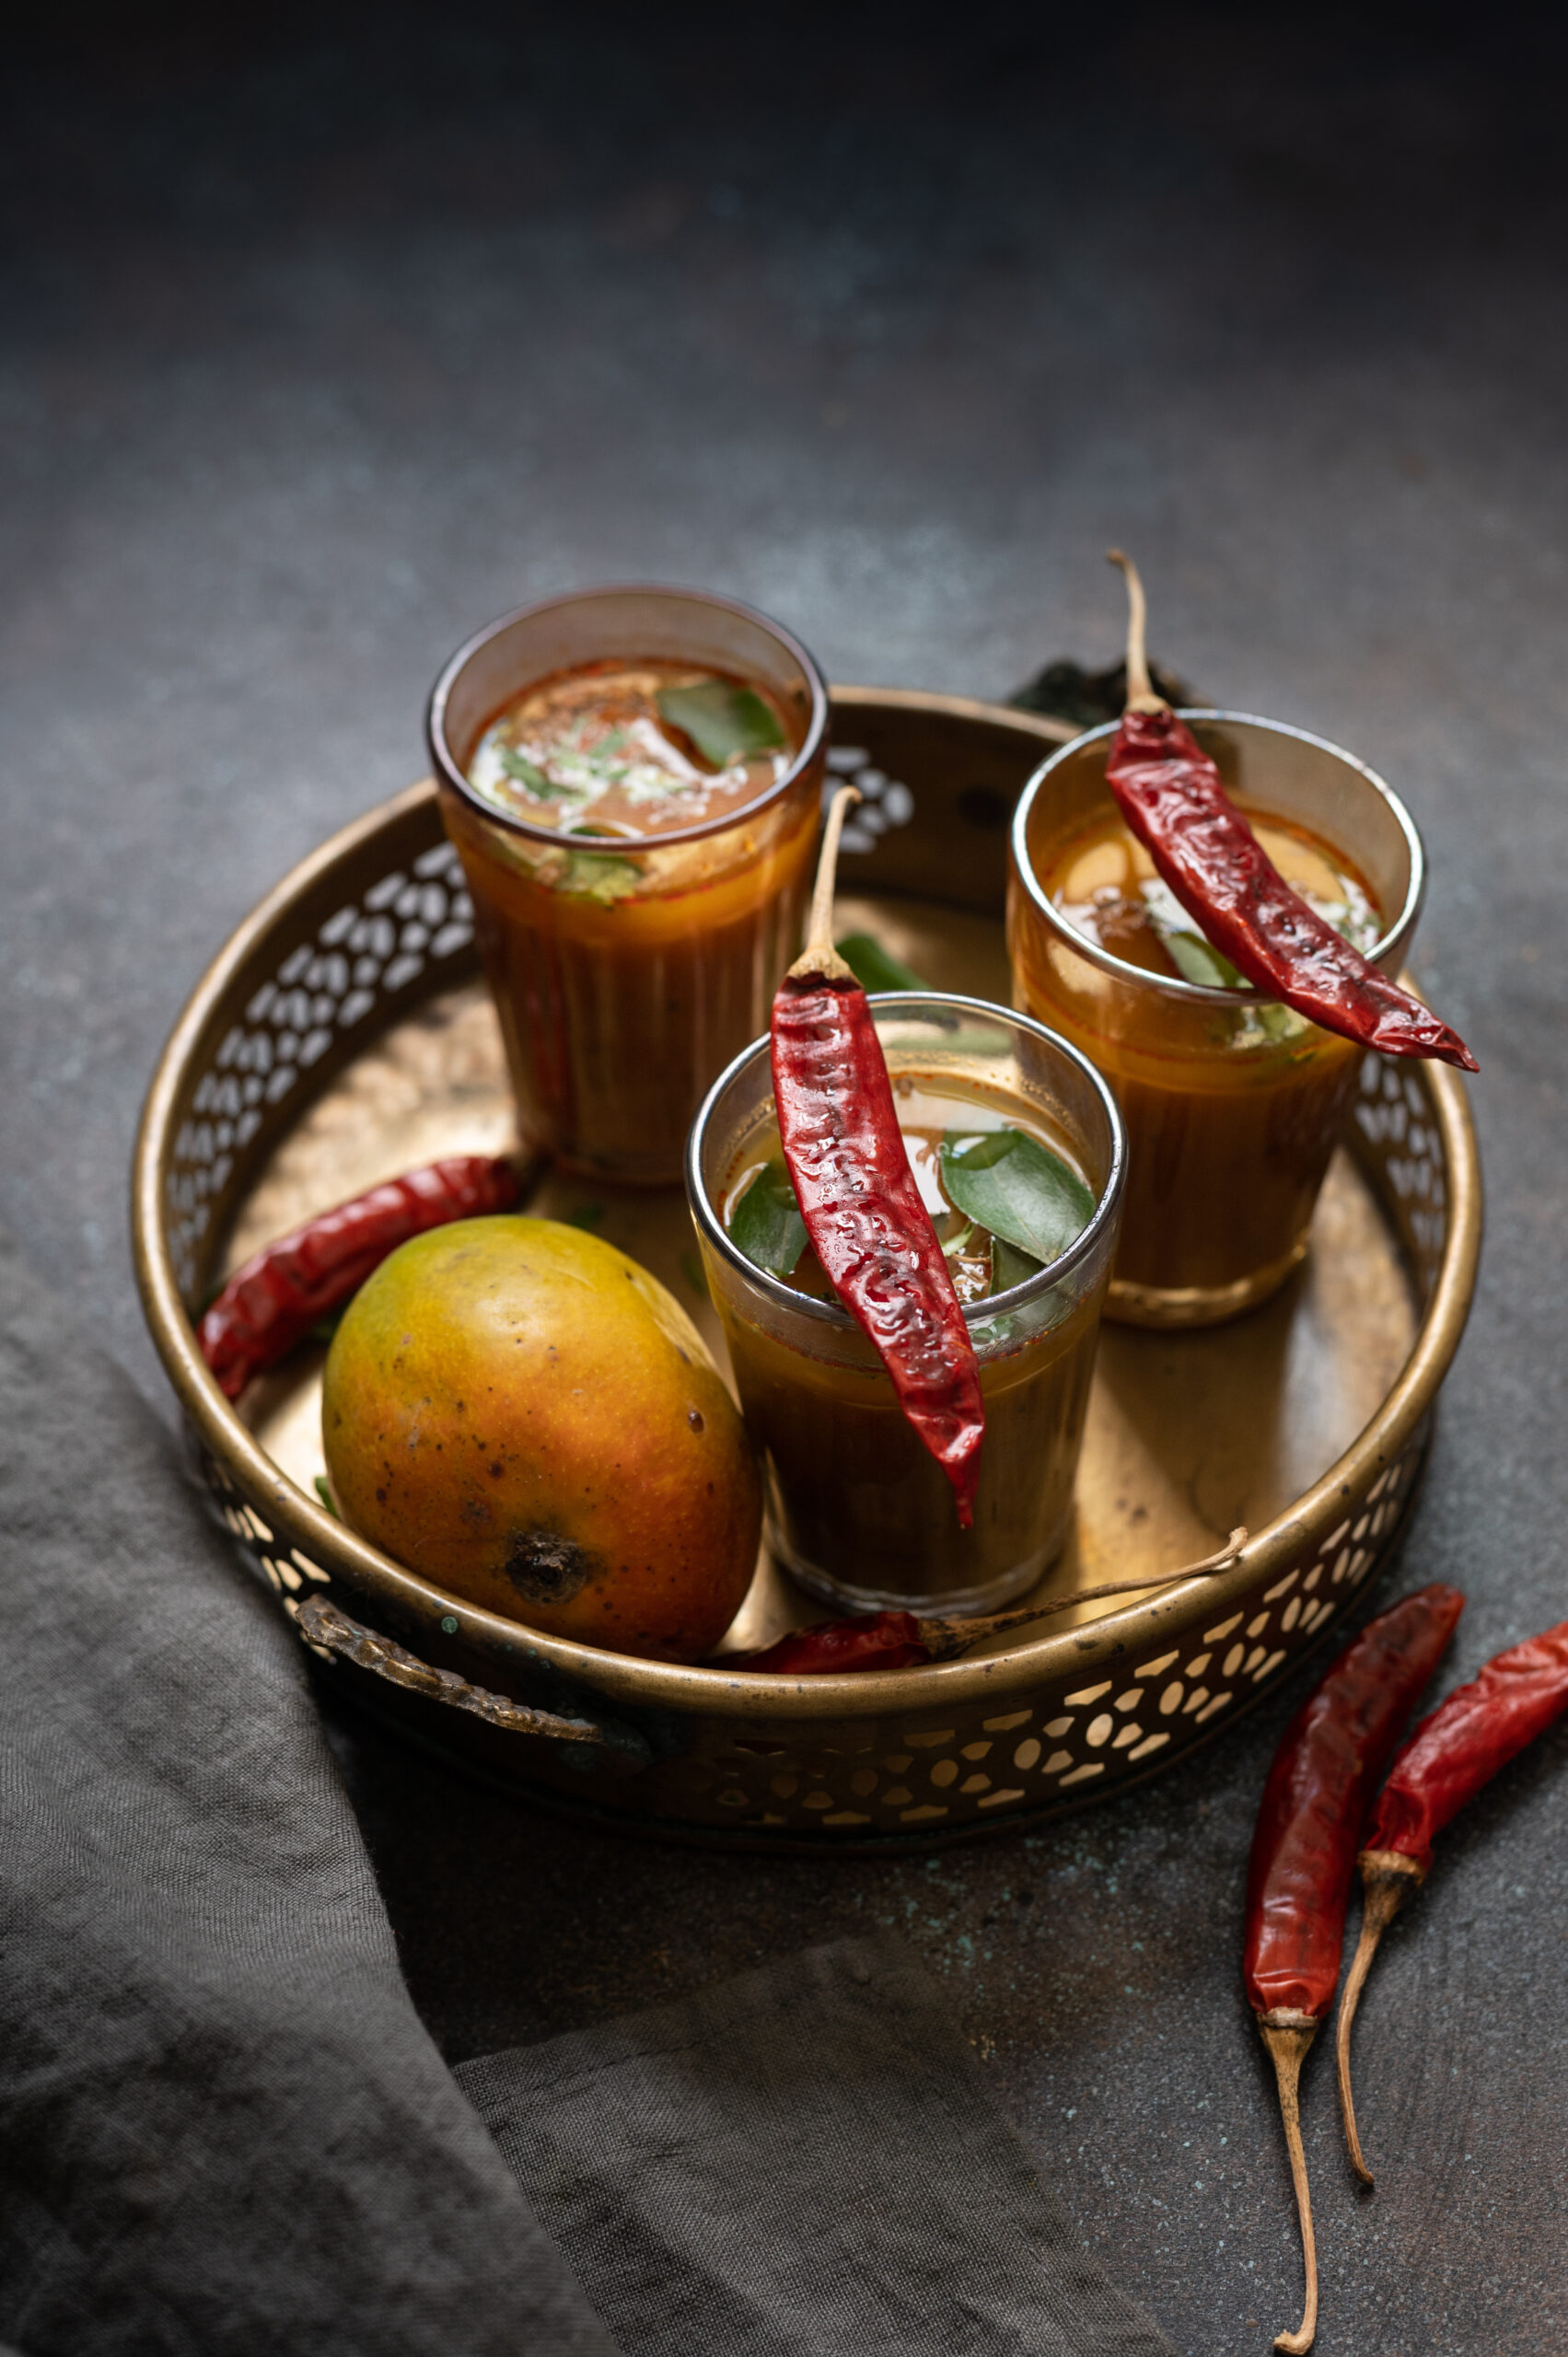
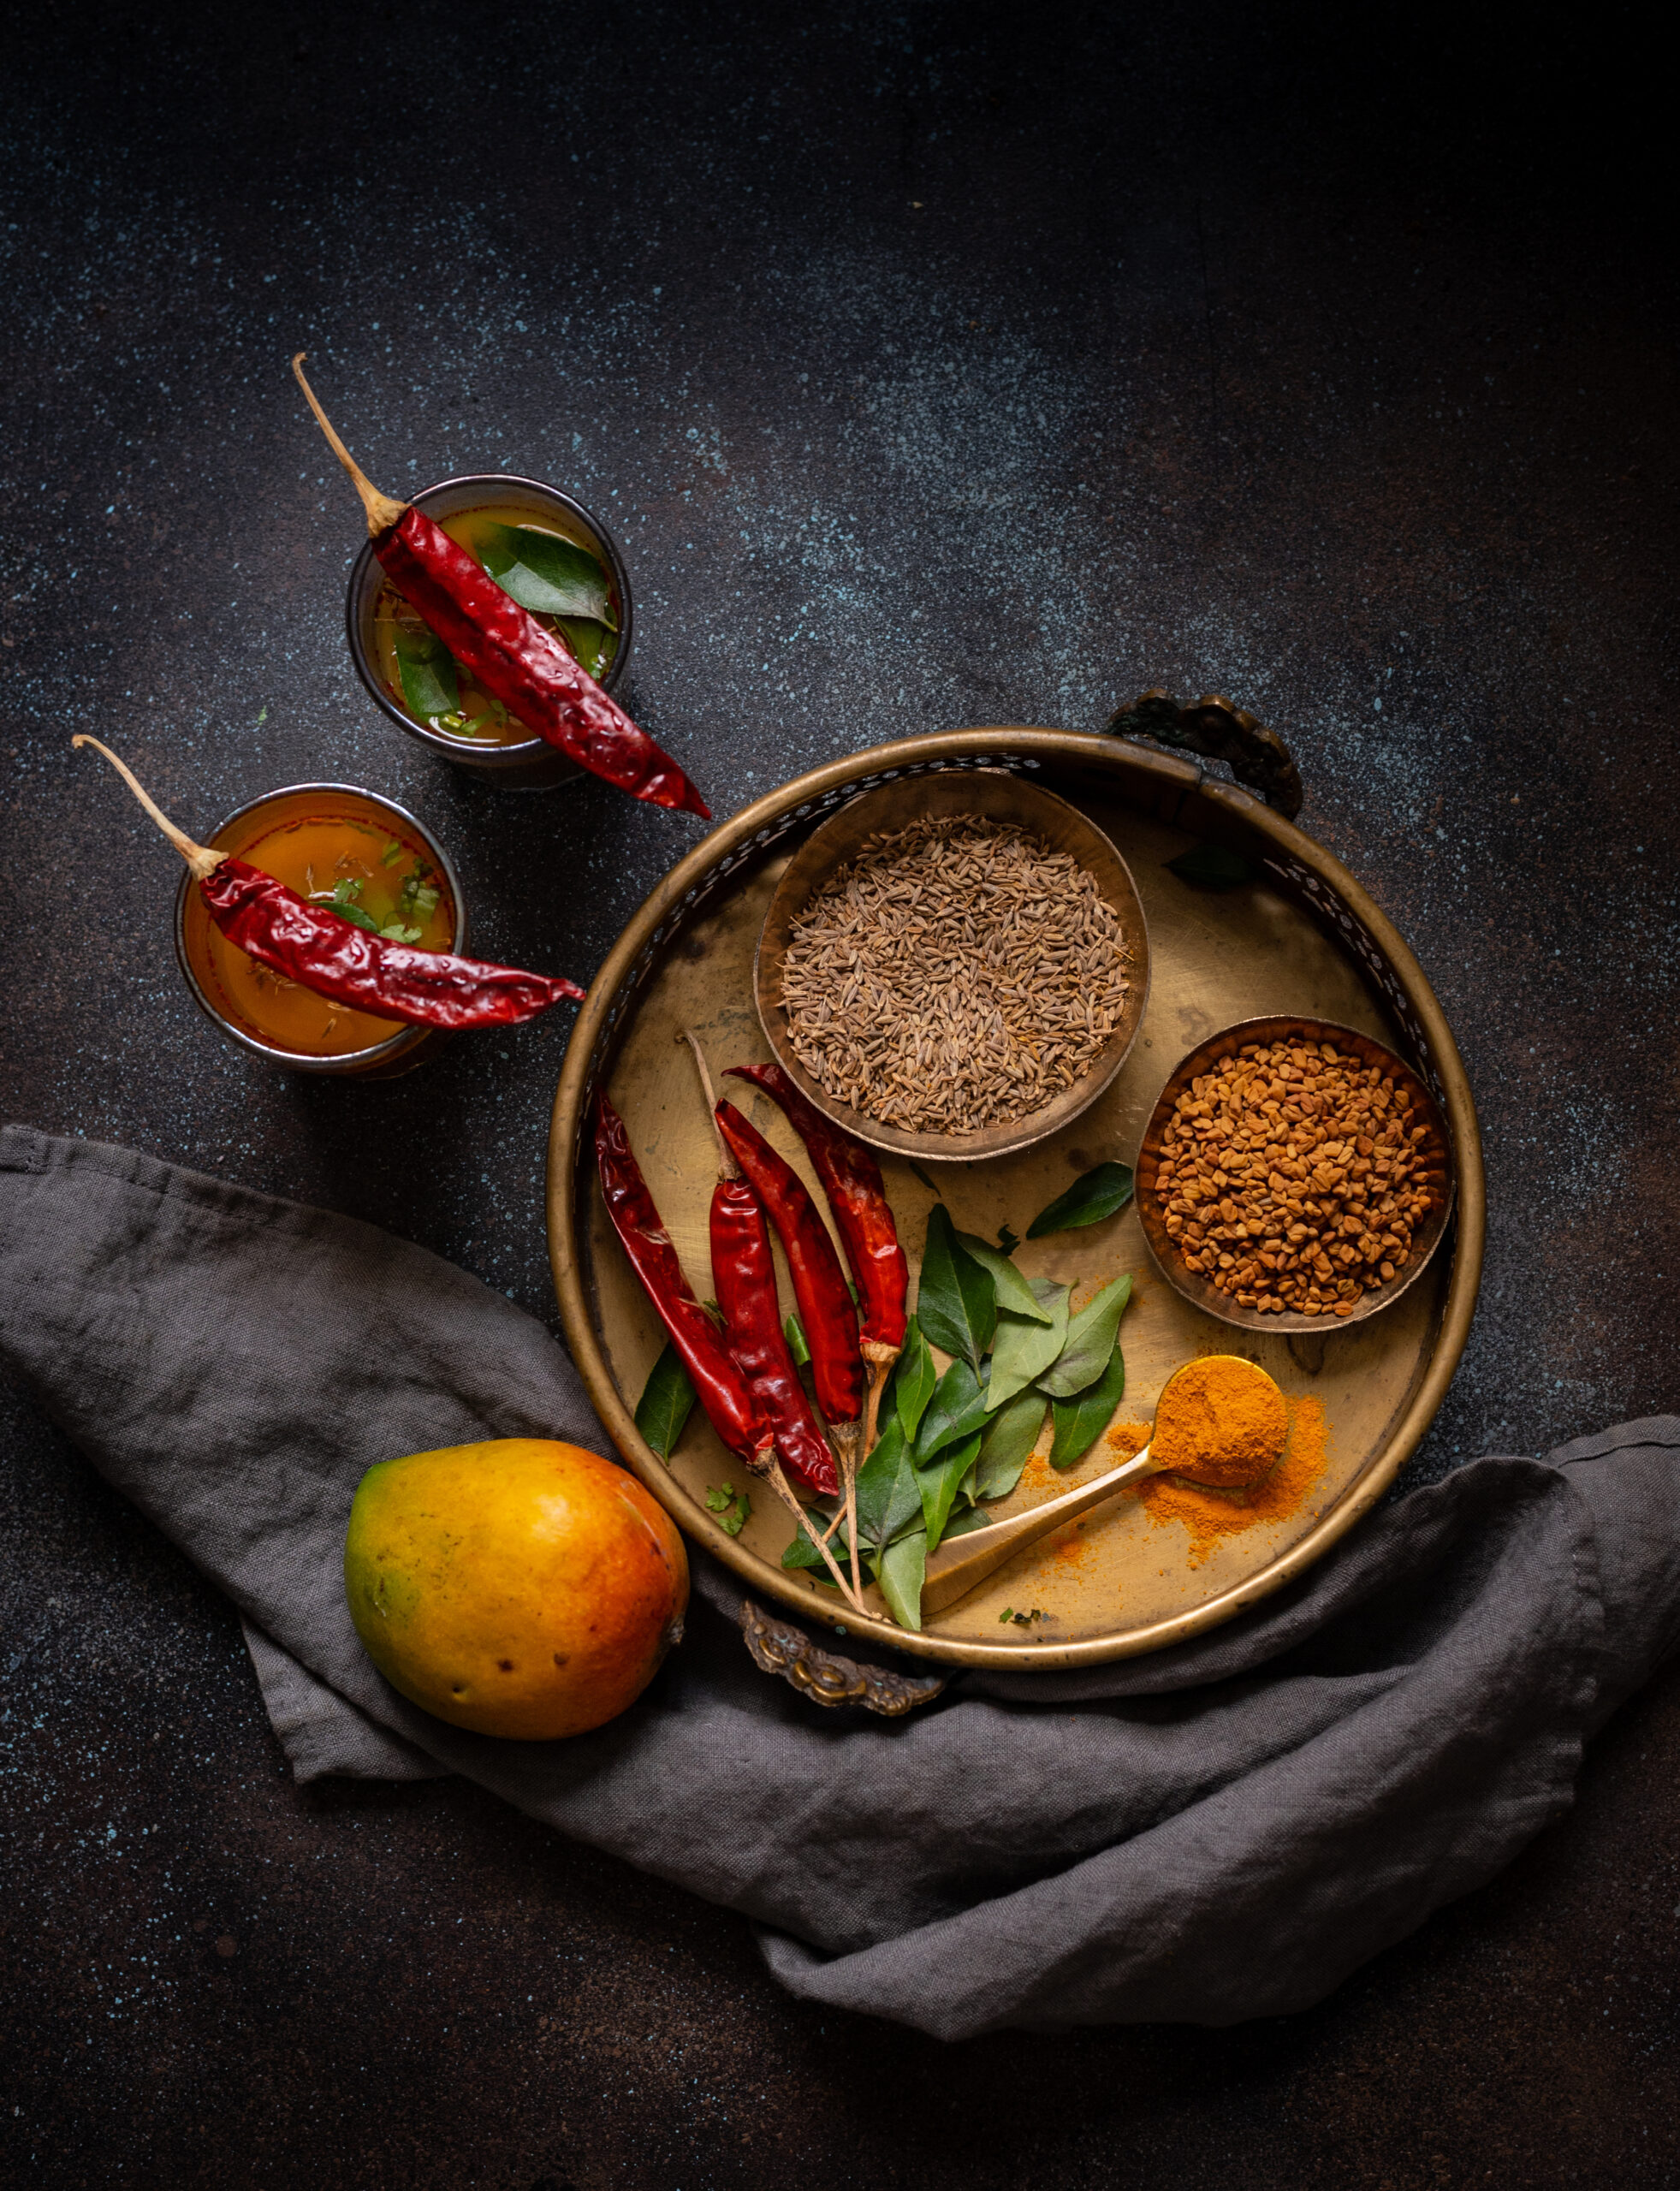
Osaman is a kind of thin broth made in Gujarati kitchens. It’s rather similar to rasam, although certain ingredients like tamarind are eliminated whereas other ingredients like jaggery are used. As I’ve said numerous times in other posts, every community and region in India will have its own variations on certain staples: rices, curries, dals and so on. With it being mango season here – in the country as well as on this blog! – this ripe mango rasam I shared a couple of years back was on my mind. That was when an idea struck: why not make the traditional osaman I had grown up with, but with a luscious, fruity twist?

Osaman is essentially made using the water that dal is boiled in, and served alongside the same dal in a meal. Inspired partly by mango rasam and partly by the Gujarati curry known as fajeto (which is similar to Tamil cuisine’s morkuzhambu), I blended some ripe mango into an osaman as a culinary experiment. The result was something delightful, and I’m excited to share it with you today. This mango osaman is my own recipe, bringing together various comforting influences into a single dish.

Despite being popular in Gujarati homes in the summer, the yoghurt-based fajeto is a heavier dish, and is not among my family’s favourites. They’ve been getting their dairy intake from this lovely lassi anyway, so this osaman was the perfect substitute, allowing me to bring mangoes into our lunch preparations in a new way as well. It’s been much appreciated, and I’m sure it will become a part of our regular meals over many mango seasons to come.

Ripe Mango Osaman

(Yield: Approximately 5 cups)


3½ cups water

1 cup ripe mango pulp

½ cup boiled toor dal

Juice of 1 lemon

Salt to taste

½ teaspoon turmeric powder

1 teaspoon cumin powder

1 teaspoon coriander powder

½ teaspoon red chilli powder

2 teaspoons jaggery

2 teaspoons ghee

½ teaspoon mustard seeds

½ teaspoon cumin seeds

1 teaspoon grated ginger

2 dry red chilies

A handful of finely cut coriander leaves

In a pot, add the dal, mango pulp and water. Mix well, using a hand blender.

Add the salt, cumin powder, coriander powder, jaggery, turmeric powder and grated ginger to the pot. Allow to boil for about five minutes so that the flavours come together nicely.

In a small pot, prepare the tadka (seasoning). Add ghee. Once it’s hot, add the mustard seeds, cumin seeds and dry red chillies. As soon as they begin spluttering, add the red chilli powder and immediately pour it over the hot osaman.

Squeeze some lemon juice over it, and garnish with coriander leaves and serve.

Just like rasam, this ripe mango osaman works beautifully both as a warm beverage and as an accompaniment to rice. I hope you’ll enjoy this Gujarati-Tamil fusion dish of mine. I’m simply thrilled to have one more recipe to make the most of my mango madness with!


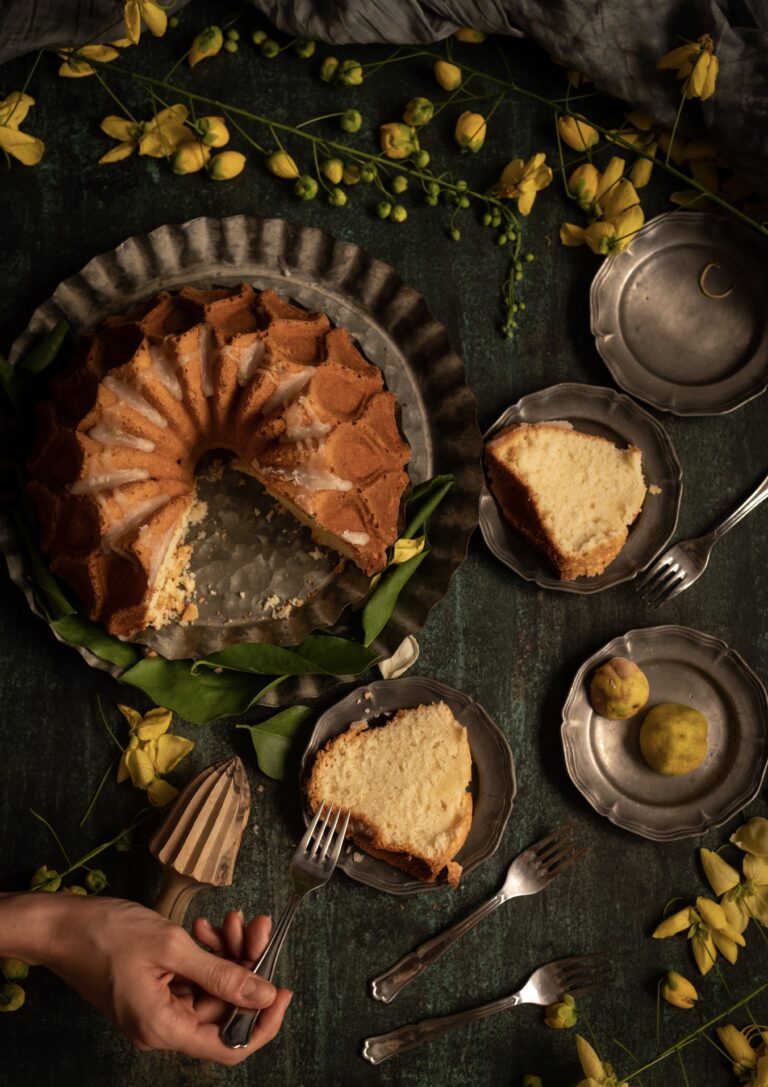
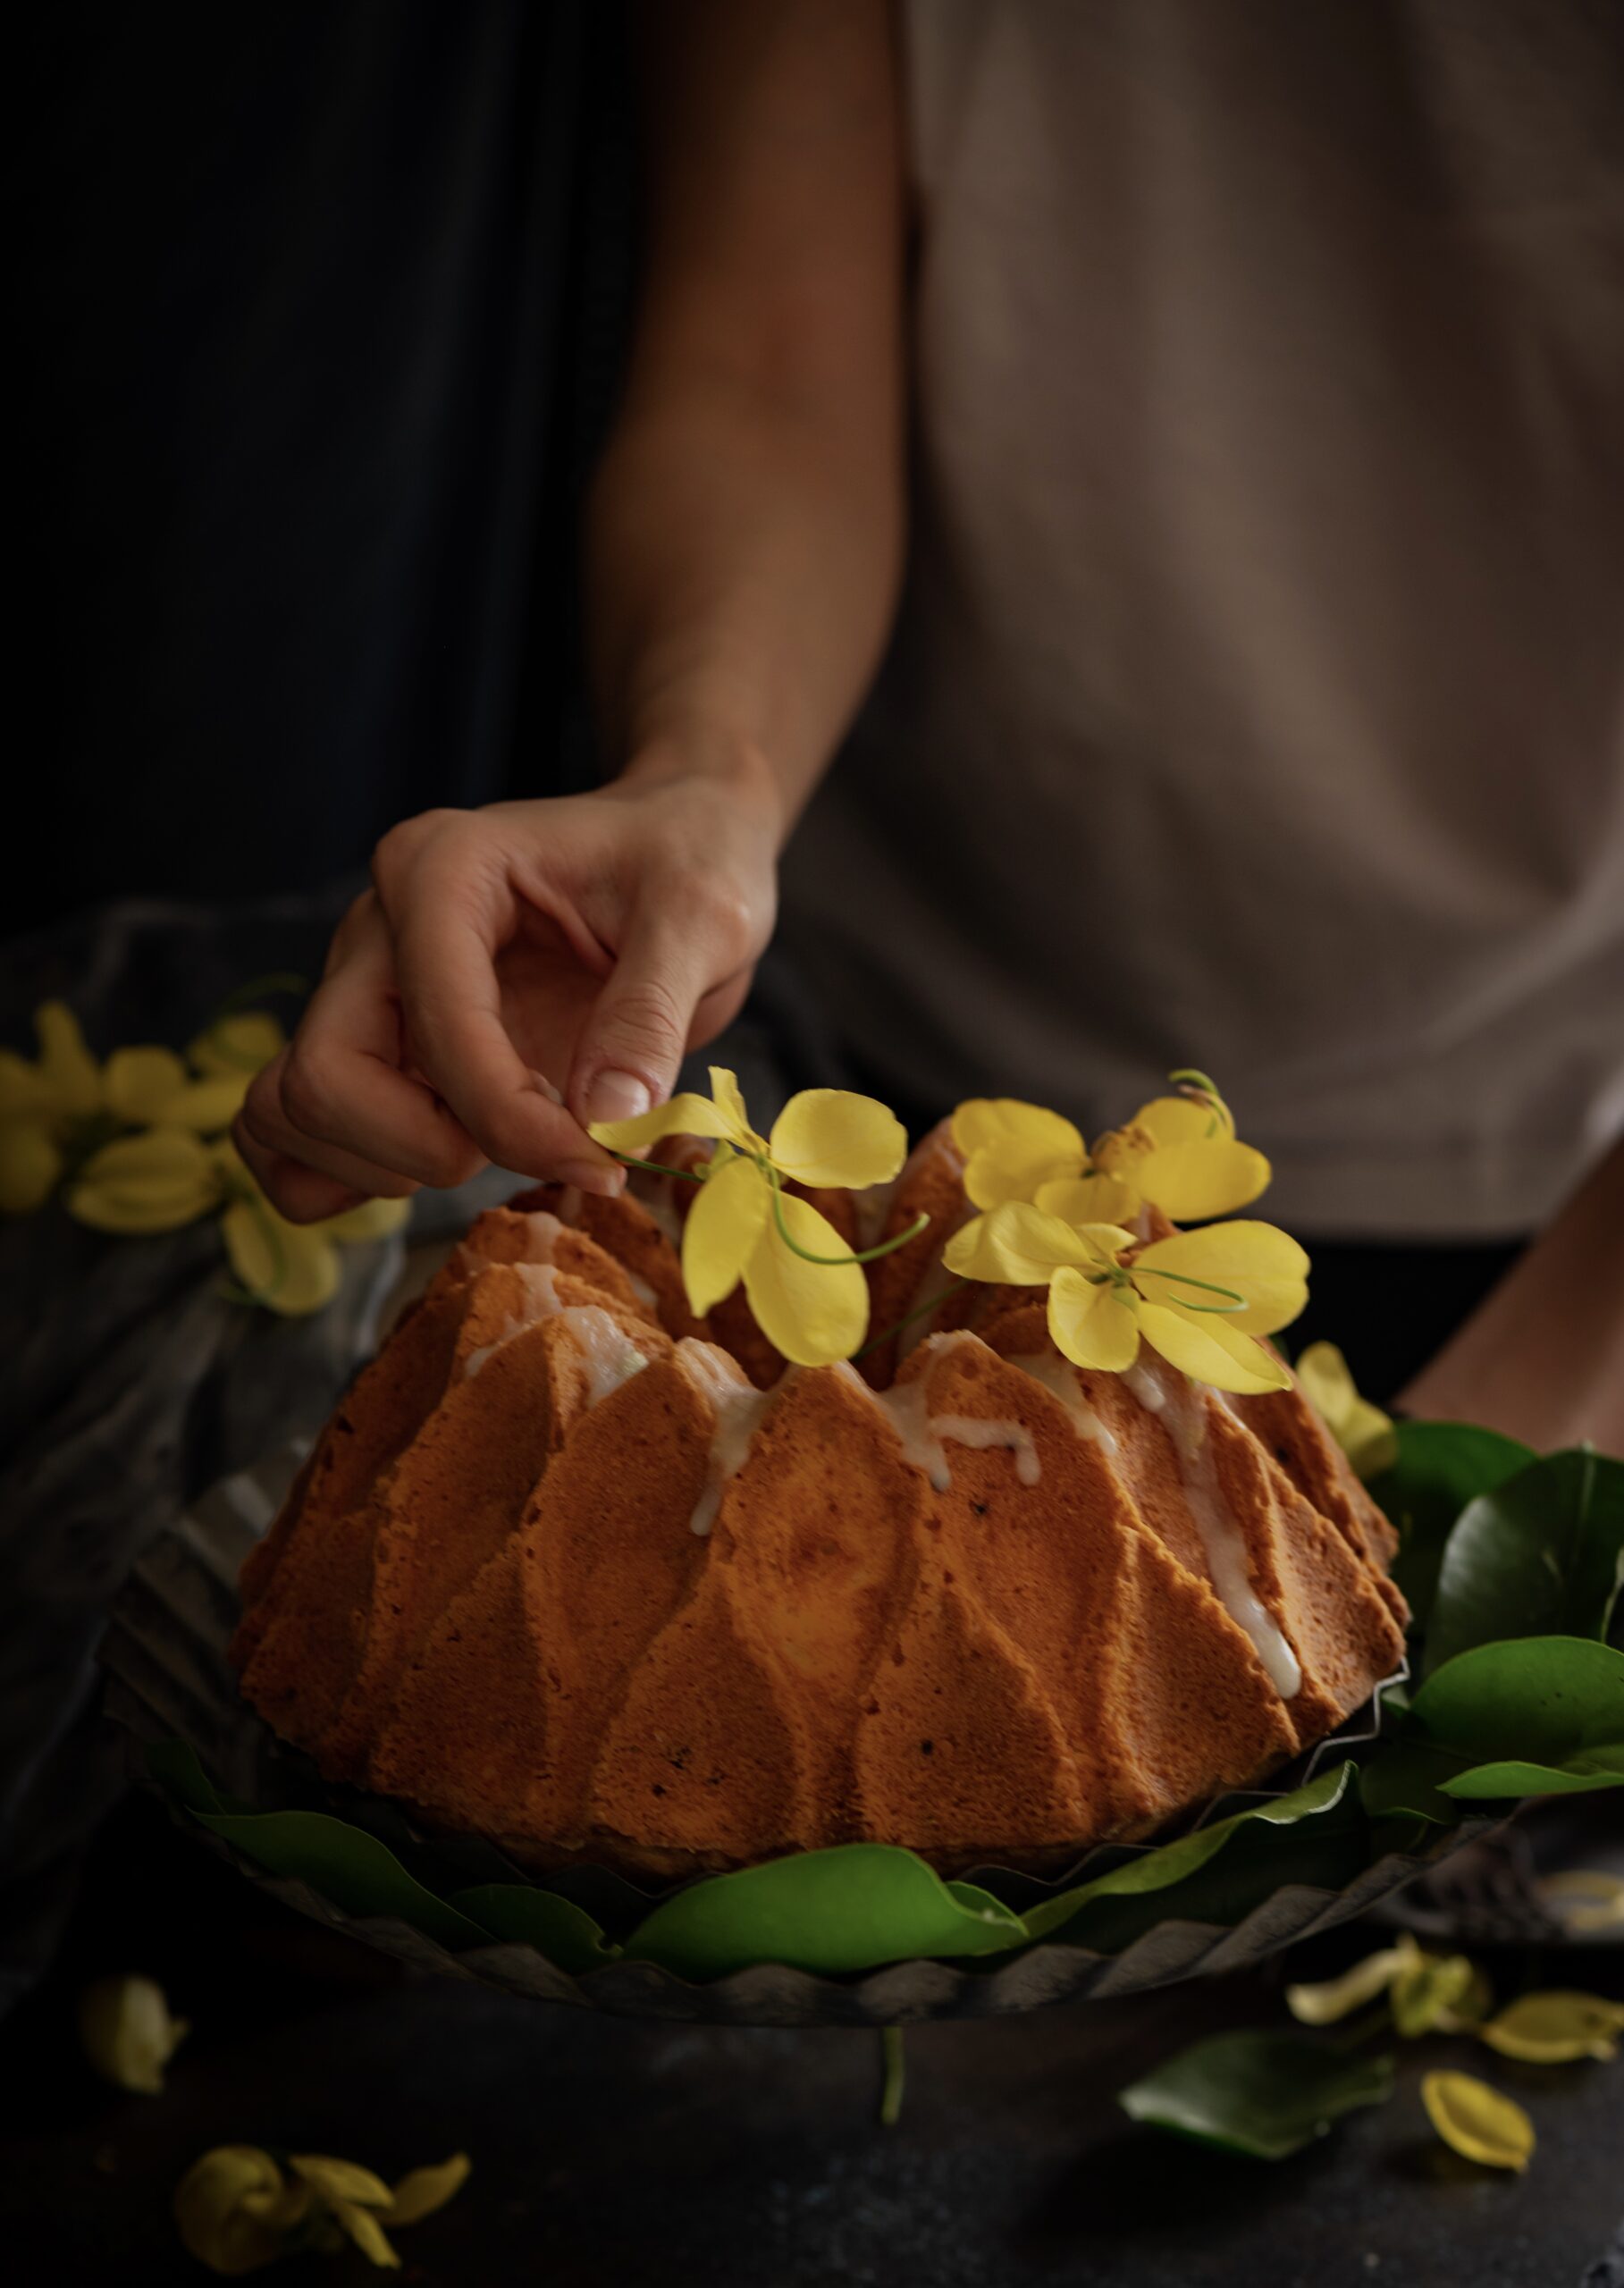
I usually brainstorm my forthcoming posts ahead of time, thinking about everything from which ingredient will be in season to when I might be able to set up my photoshoots to upcoming special occasions, and much more. I had been keeping this refreshing citrus bundt cake in mind for later on, but the number of calls and personal messages I received after the last few cake posts have inspired me to bring it out ahead of schedule. Nothing puts a smile on people’s faces like a cake, and perhaps it’s no surprise that it seems like everyone is on a baking spree right now. This delicious cake will add to your repertoire beautifully.

You may remember my lemon poppy cake with Meyer lemons from a few years ago. This citrus bundt cake has similar flavours and uses the same pan shape too. The pans I use have been collected either from my travels, or because my friends always know that the best gifts for me are functional and beautiful objects that I can use in my kitchen.

In this recipe, I used Indian limes, locally sourced of course, and you may wish to use oranges or lemons instead. You can play around with the citrus note based on what you have available in your pantry. I always have an eye on the health quotient of ingredients, and the boost of vitamin C, which replenishes the immune system, is most welcome at this time. Citrus fruits also have a way of livening up any meal because of their vibrant colours (using them in this recipe will not give you the same vivid hues, but the taste will amply make up for it), and it was a pleasure to shoot this cake – and just as much of a pleasure to bite into a slice. The attractiveness of the bundt shape, the delicious flavour and the nutritional value came together to represent hope and positivity to me, and I believe you’ll experience the same uplifting spirit when you take it out of the oven.

This period is giving so many of us an opportunity to do some of the things we always dreamt of pursuing but never really had the time to. We are exploring new possibilities. Most of us are discovering that we are actually very good at whatever we’ve been trying our hand at, because it comes from a place of passion, and is motivated by the desire to do something different that changes life for the better.

As we grow as people, learning new skills and exploring new talents, I feel that many of us are also realising just how much we have abused and polluted our planet. I’ve had so many conversations recently about exactly this, and I have faith that we will come together to make a kinder world. We’re learning the hard way, but understanding so much more now collectively that it will surely yield a brighter future.

Speaking of brightness, that’s exactly what a good bundt cake brings to the table. When my family and I, who are enjoying lockdown together, gather at 5 o’clock each evening for a chat and some tea, this lovely cake is the perfect response to our peckishness. By the way, speaking of the new experiments people are trying out reminds me – it’s my husband who’s frequently been making the tea these days!

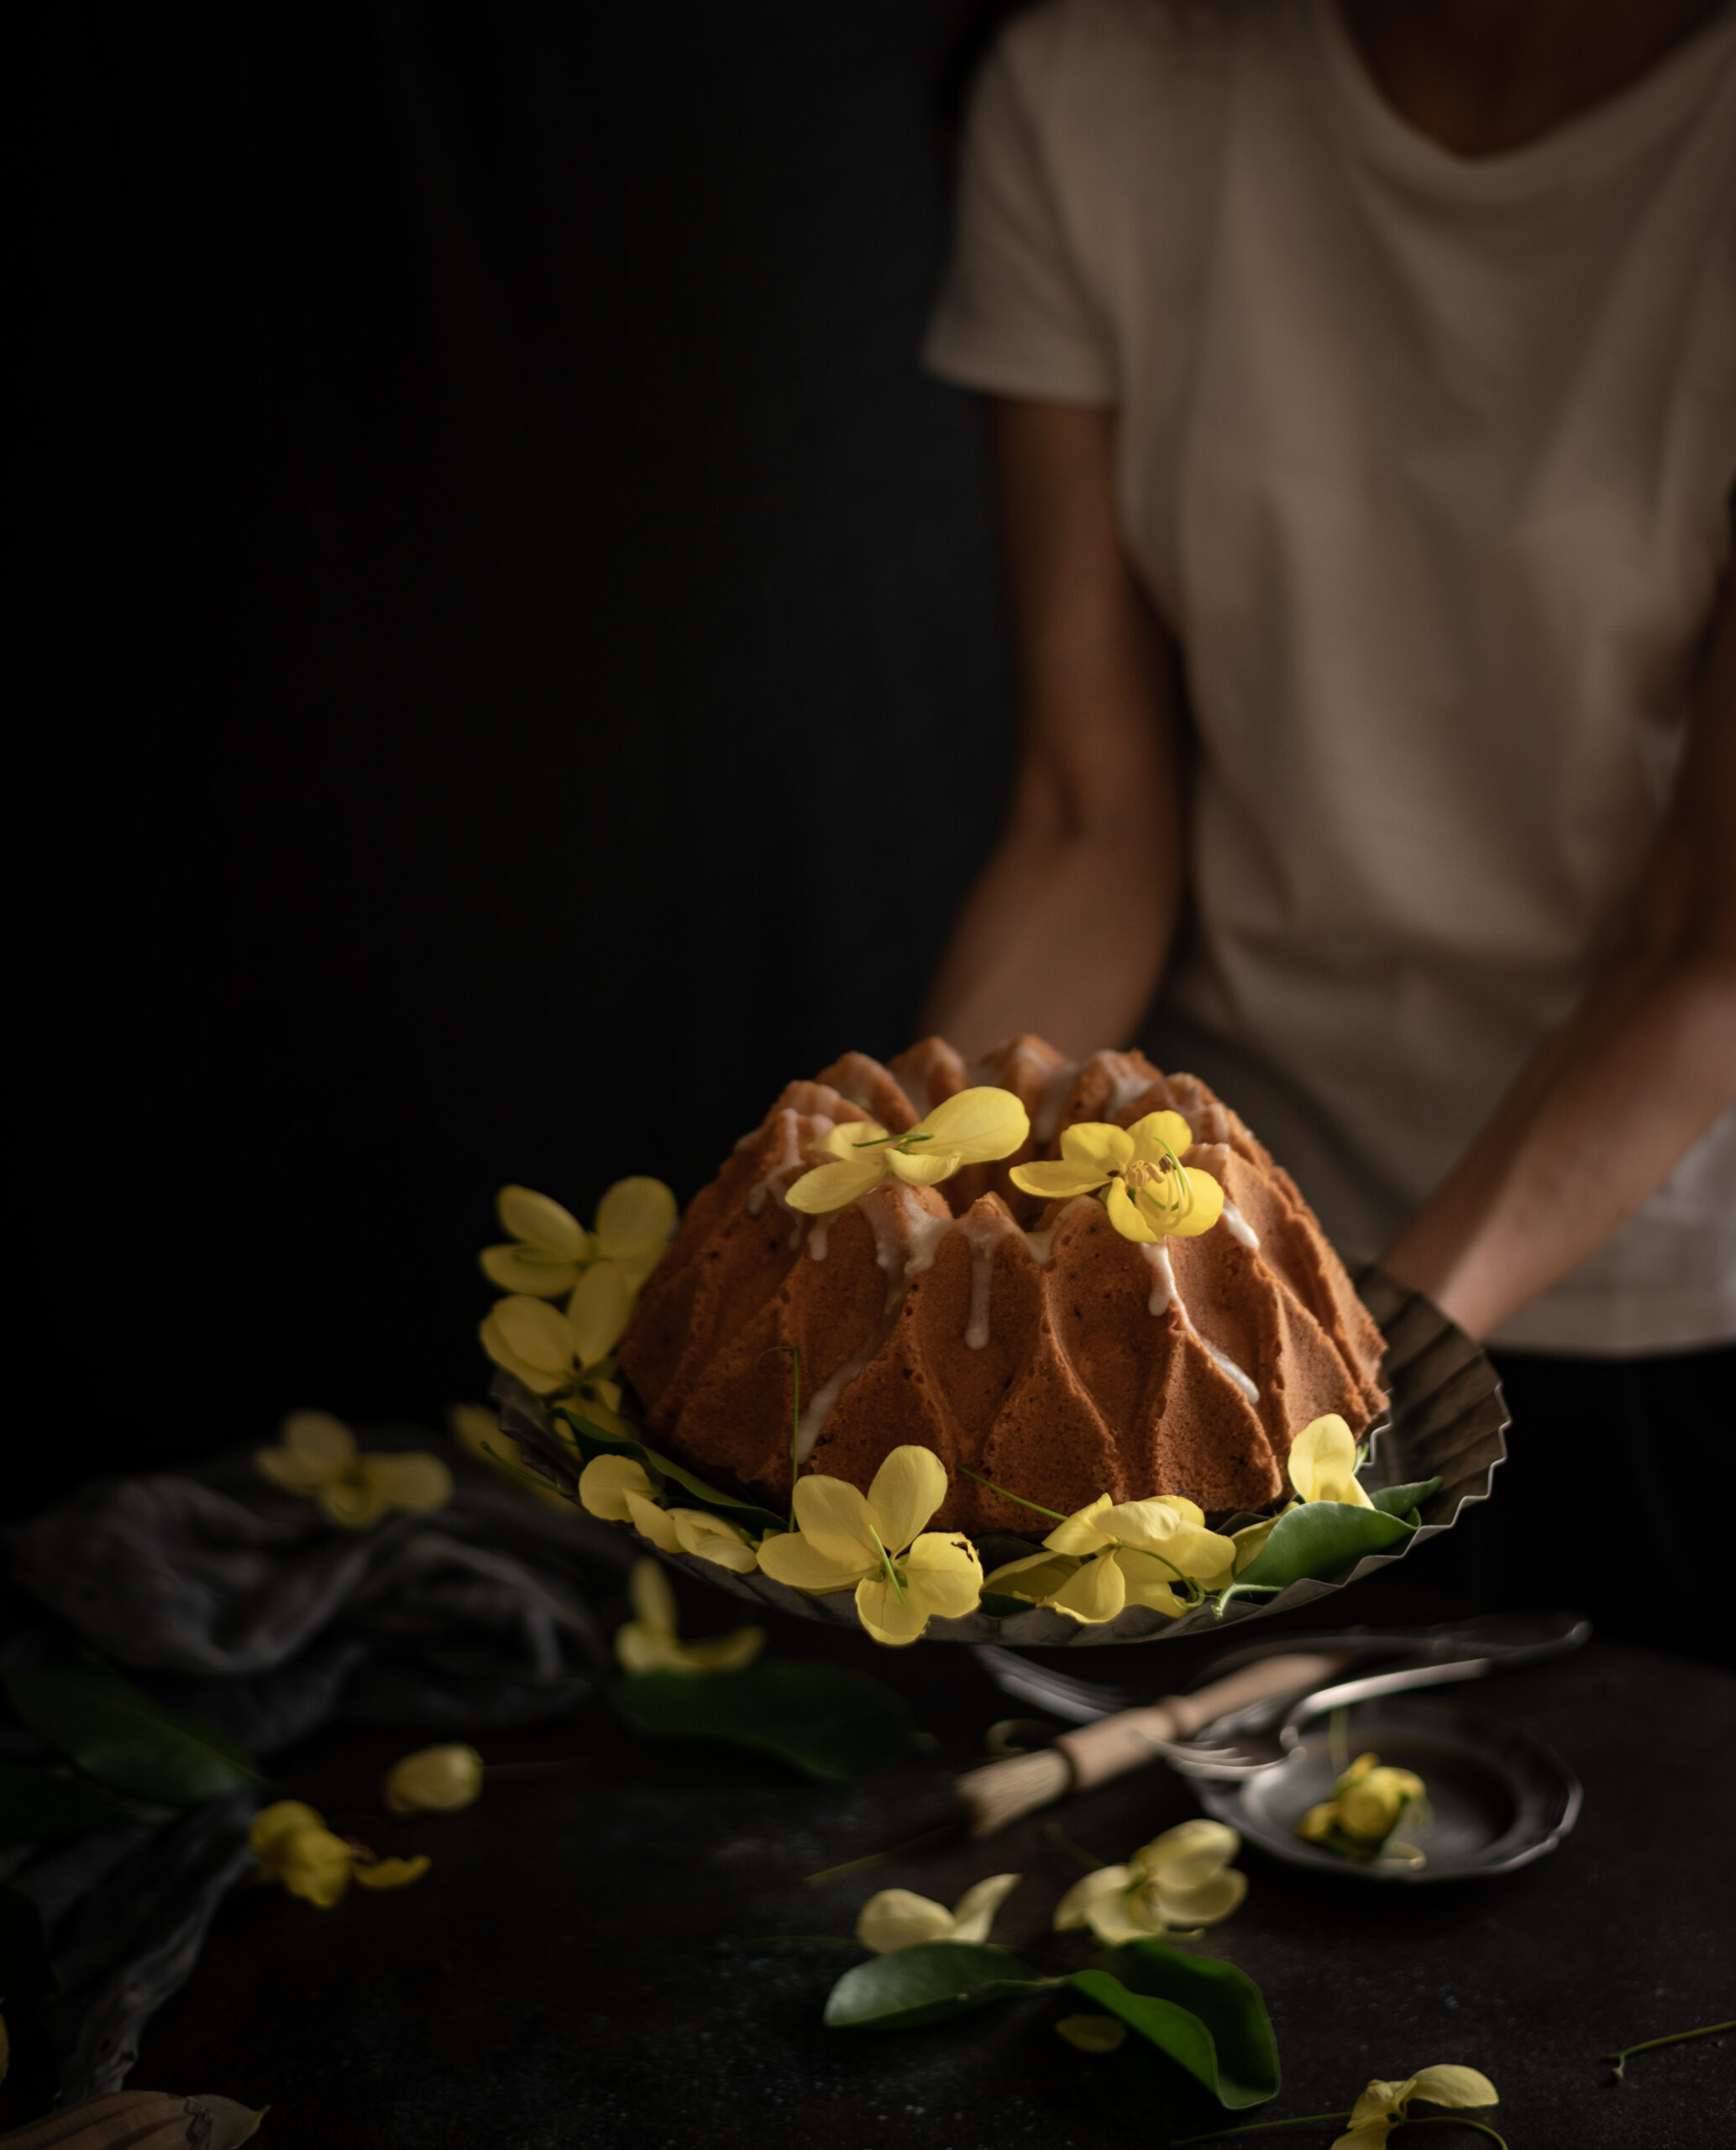
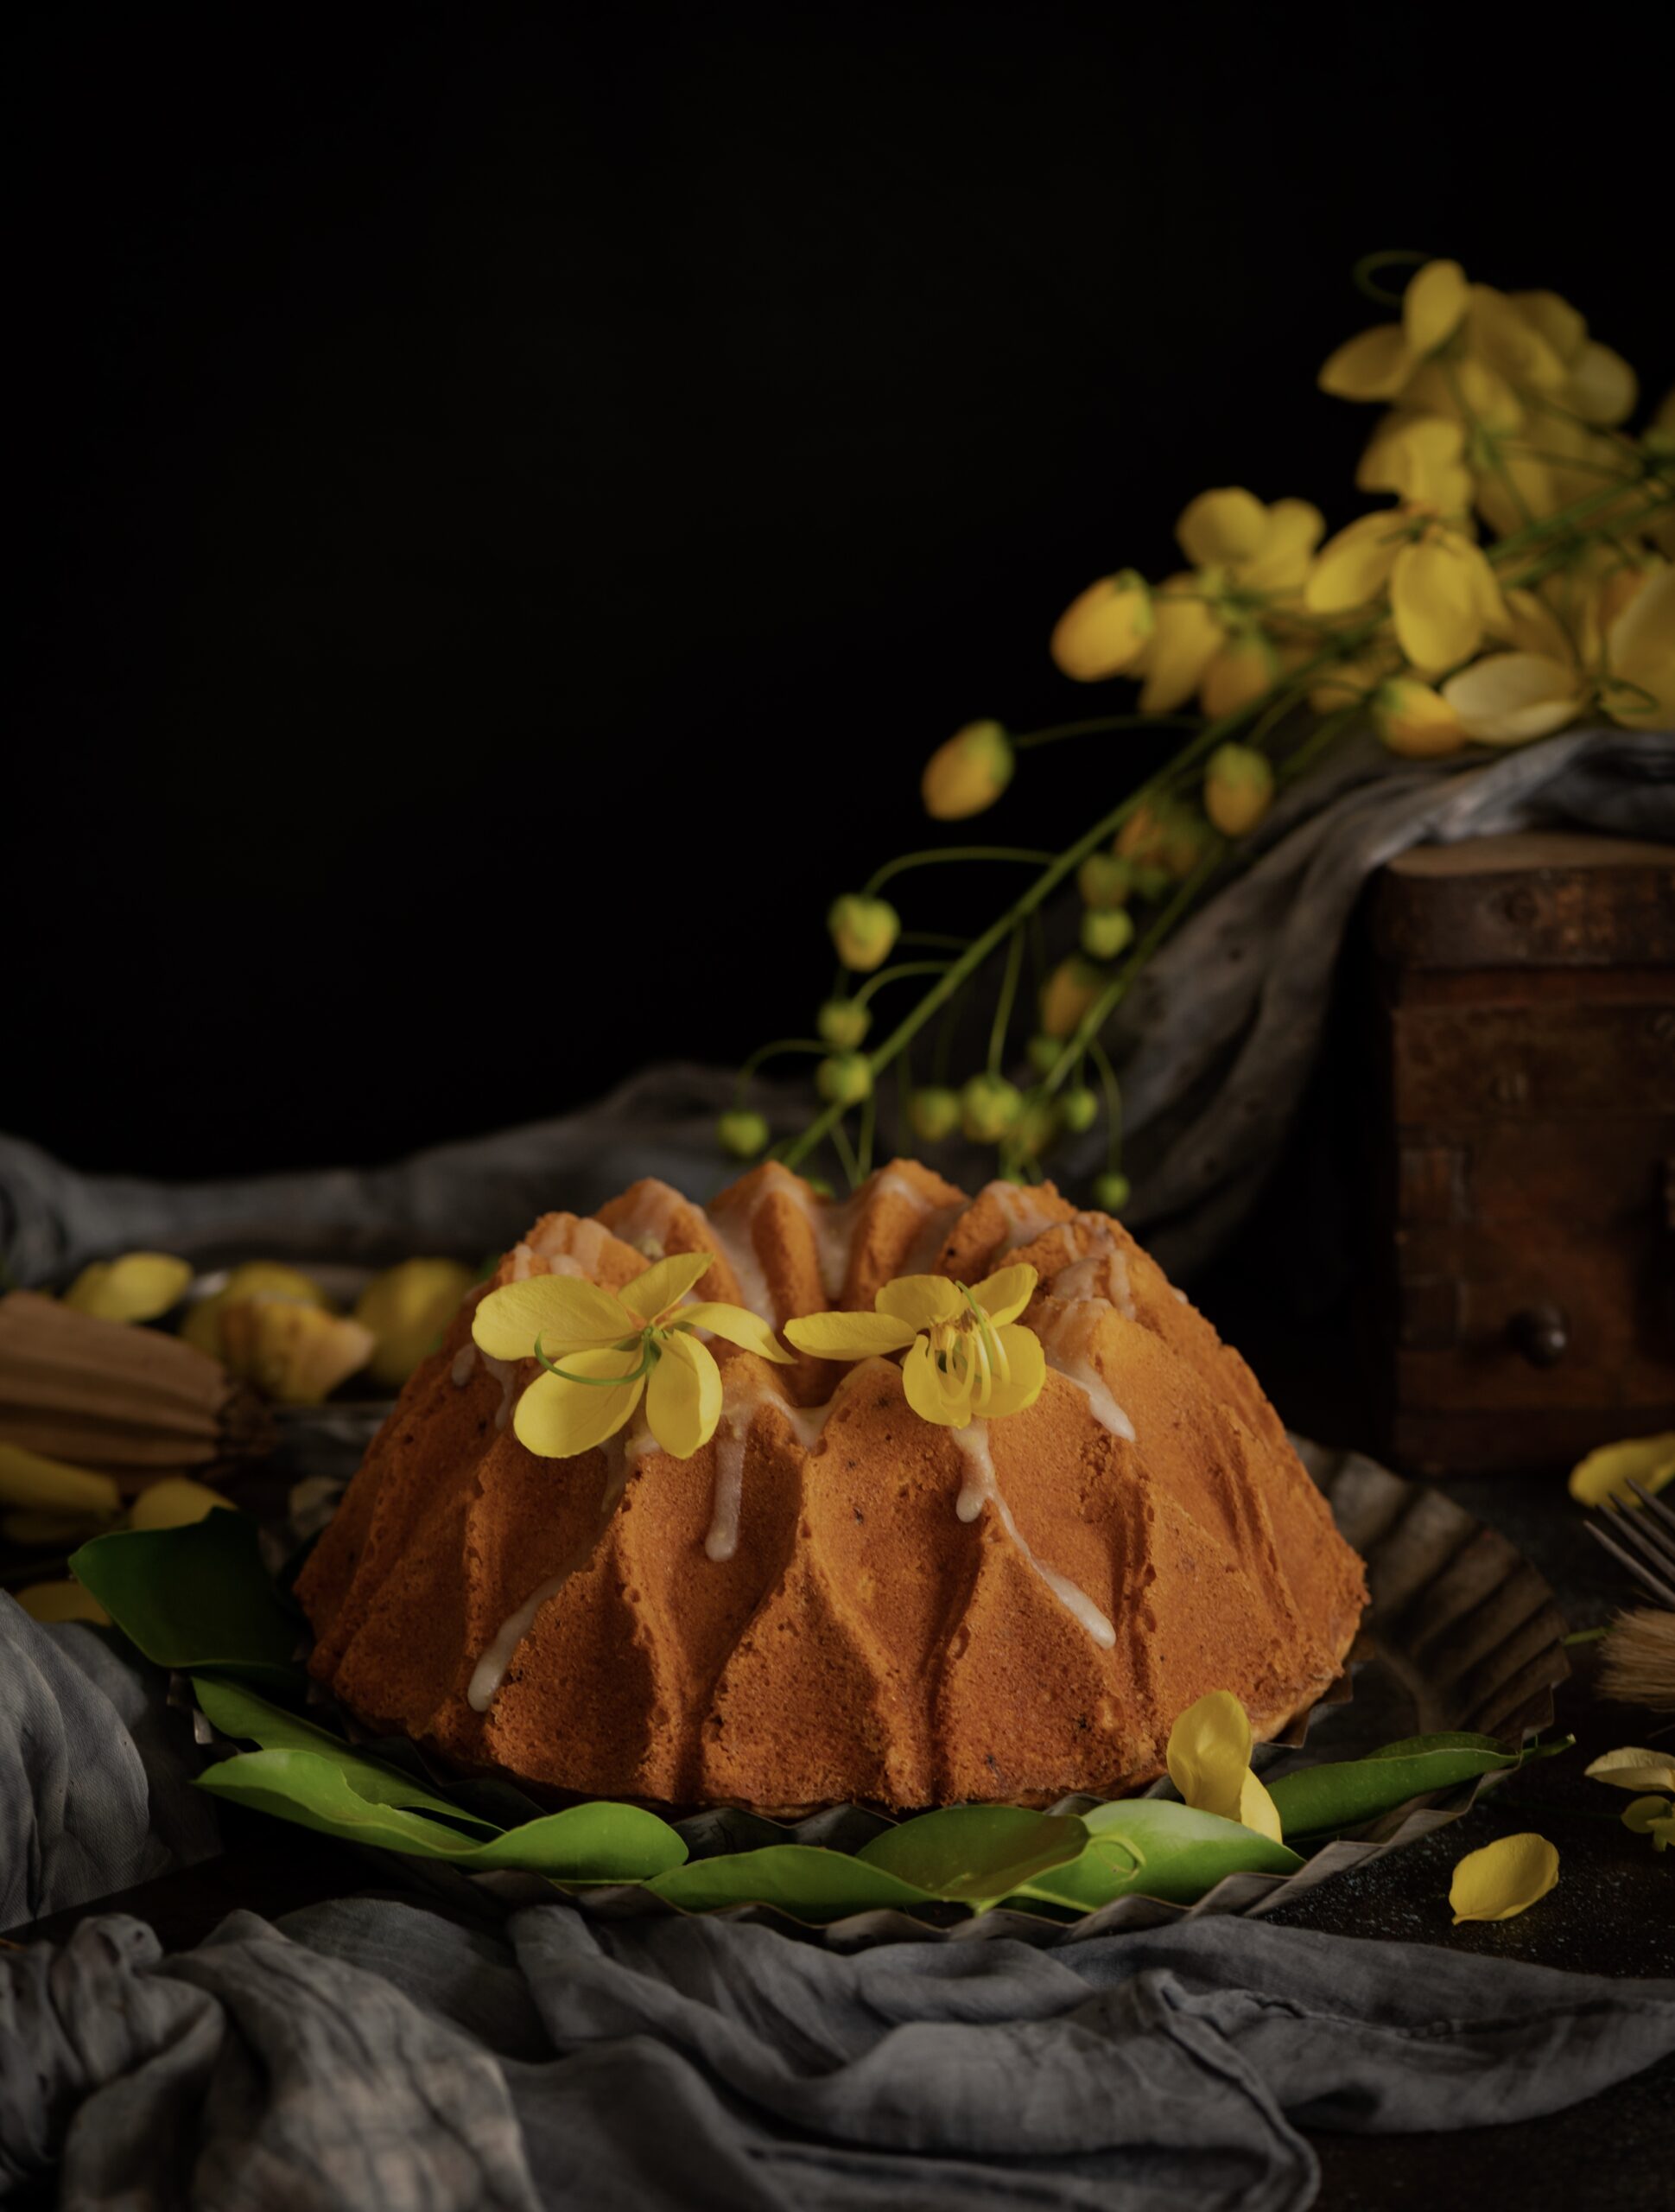
When I took this warm cake out of the oven the other day, the whole house had the lovely fragrance of lime lingering everywhere. While the cake cooled, every member of my family chipped in to help in some way. My husband put a pot of tea on the stove, my daughter modelled and posed for my photoshoot, and my son started the cleaning up. My dog Max, of course, was all over the place as usual, eager for cuddles (and a bite of cake, if we weren’t careful!). The beautiful, vibrant laburnum flowers – locally known as konrai – I was lucky to find to style my photos with also brightened the mood.

Like every meal we’ve eaten together in these weeks, this beautiful citrus bundt cake also brought us together. This very moist, very tender cake was a ray of sunshine, and affirmed the choice I’ve been making every day to make the very best of this time.

Citrus Bundt Cake

(Serves 5)

Ingredients:

2¾ cups all-purpose flour

2 cups granulated sugar

2 teaspoons baking powder

½ teaspoon salt

3 tablespoons cornflour

1 cup unsalted butter (at room temperature)

½ cup whole milk

¼ cup thick non-sour yoghurt

¼ cup freshly squeezed lime juice

4 eggs

2 tablespoons lime zest

1 teaspoon vanilla extract


Frosting:

1 cup icing sugar

1 teaspoon lime zest

3 teaspoons lime juice

Before I begin sharing the method for making this cake, I thought I would share a few tips. I know that many of you have taken to baking for the first time, and certain things that experienced bakers take for granted haven’t yet become forces of habit for you. So here are some simple guidelines that will go a long way towards making sure that your kitchen experiments and studies turn out much more satisfyingly.

Firstly – always make sure that the baking powder and all other ingredients are fresh and have not crossed the expiry date. It’s best to use all ingredients at room temperature, unless otherwise specified.

Now, about the role of sifting when preparing the flour. Always sift all the dry ingredients together, unless otherwise specified. This will incorporate some air into the flour and gives you a second chance to remove unwanted ingredients. Sifting adds volume to your cake and makes it light and airy.

Creaming the butter and the sugar together has the same effect, incorporating air into the mixture so that you have a nice, fluffy cake. If done right, creaming will change the colour to an almost ivory shade.

Once wet ingredients are added, be careful to not over-mix. Doing so will increase gluten formation, which is not good for the cake.

Always measure quantities by adding the ingredients into a measuring cup. As a hygiene measure, do not dip the cup into the ingredient jar.

Preheating the oven before baking is important. If this step is skipped, the cake may not rise and may sink in the centre.

Always grease the baking tin and line it with parchment paper, as this helps to easily remove the cake when it’s done.

Always place the tin on the middle rack of the oven. This will ensure that heat is evenly distributed over both the top and the bottom of the cake.

To ensure that your cake is baked to perfection, there’s a simple test that all bakers use. Insert a skewer and pull it out. If it comes out clean, the cake is done. If it comes out with clumps, it needs to bake for longer. Another sign of a cake being finished is that you may notice it receding from the sides of the tin. Finally, when you press the top of the cake gently, it should spring back.

It’s best to leave a cake in its tin to cool once out of the oven. This will take about 15 minutes. Then, turn it onto a cooling rack.

Now that these basic-but-brilliant tips have been shared with you, I must stress once again (as I did here, in this recipe for classic chocolate cake) that baking is a science. Follow the method to a T and you won’t fail. Remember to have fun!

Shall we move on to the recipe for this citrus bundt cake?

Preheat oven to 180°C.

Grease a bundt pan generously with butter and dust with flour. Refrigerate for about ½ hour. If you prefer using a regular cake tin, then use a 9” tin. Grease and line with parchment paper. You do not need to refrigerate this.

In a bowl, sift all the dry ingredients (except the sugar) together.

Put the butter in a bowl and cream it. To this, add the lemon zest and the sugar. Continue creaming the mixture. One at a time, add the eggs, making sure to incorporate each one well before adding the next.

In another bowl, add the lime juice and vanilla extract to the milk. Mix.

Now, slowly add the dry flour and the wet milk mixture into the creamed butter mixture, alternating each. Mix gently as you add. Once all the flour and the milk mixture have been included, add the thick non-sour yoghurt. Fold gently.

Pour this batter into the greased cake tin and bake for approximately 45 minutes.

Oven temperatures vary, so at 35 minutes, insert a skewer and do the test described earlier. As a rule of thumb, if the cake looks like it will jiggle if you move it, it needs more time.

Once baked, remove the pan from the oven and cool for 15 minutes. Then, turn the cake onto a wire rack.

Once the cake has completely cooled, mix the frosting ingredients together well. Pour this over the cake immediately.

Like all re:store cakes, this too is only very lightly sweet. The tanginess of the limes enlivens the tastebuds, and brings a boost of good energy your way. It can last a few days when stored in a refrigerator, and retains its moistness as well. Remember that you may use any citrus fruit that you please, and don’t let not having a bundt pan stop you from using a regular one. I’ve relied on my trusty local limes, which are used extensively in Indian cuisine. If you’re a fan of this zesty acidic fruit, you may also enjoy this rejuvenating drink that’s just perfect for the summer. Don’t forget to also check out this bounty of cake recipes I’ve shared on this blog, from this eggless whole-wheat saffron and cardamom cake to this exquisite vegan lavender cake and more!

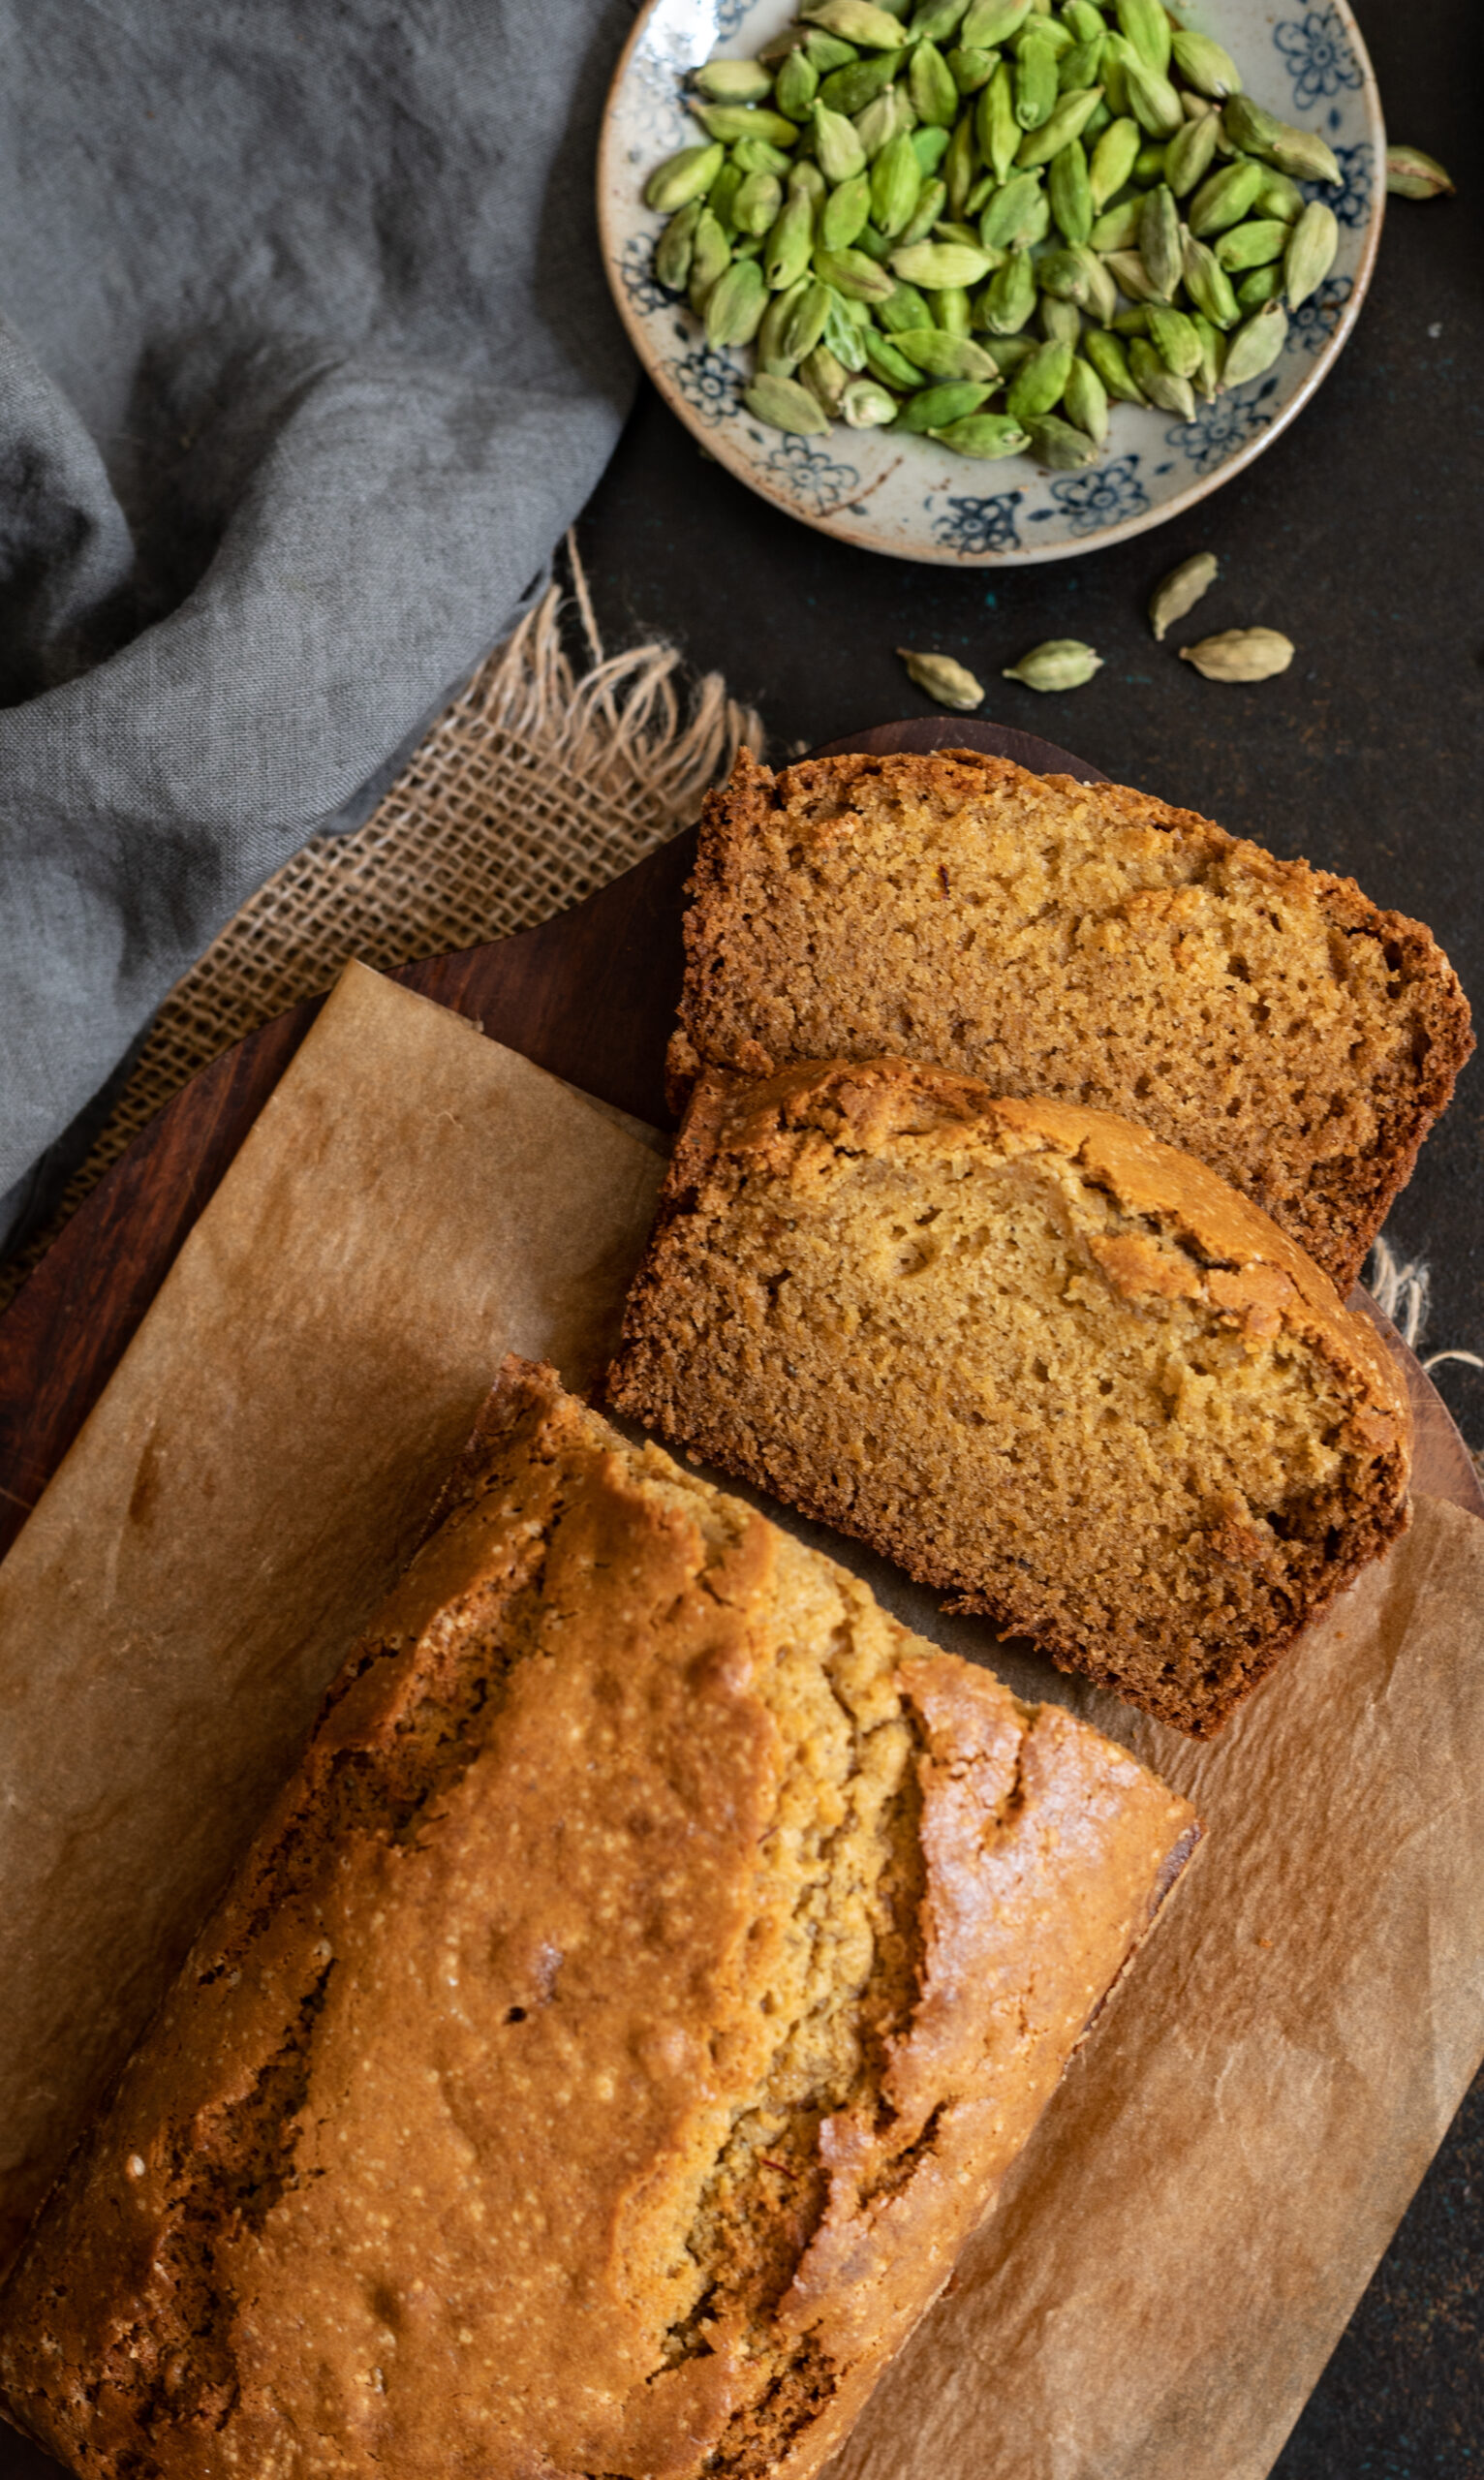
For as long as I’ve been cooking, I have woken up every morning wondering what new dish I might try in my kitchen. This hasn’t changed at all during this lockdown. I’m still starting each day by planning what I can prepare. Of course, as all of you are no doubt experiencing too, there’s an extra step of having to be especially creative so as to maximise available ingredients since grocery shopping is more infrequent now. Still, I believe that we must always eat well, as much as we can. Desserts are still on my mind – sometimes the thought I start my day with is: a sourdough-based dish, or a cake? The other day, I picked baking a cake – a whole-wheat saffron and cardamom cake to be precise – and I’m glad to share the recipe with you today.

Teatimes at home now have a whole new vibe. I usually have my tea alone, but with everyone at home all day at the moment, they have become a special bonding experience. This is why a cake made all the more sense to me, as an accompaniment to our cuppas and conversations. With the re:store kitchen on hiatus along with so many other food and beverage enterprises in the city, I also missed baking on a daily basis. Going through my blog, I realised that in these three and a half years, I have shared no more than four cake recipes with you. Given that they are my signature product, I felt that there’s no time like the present to give you another one.

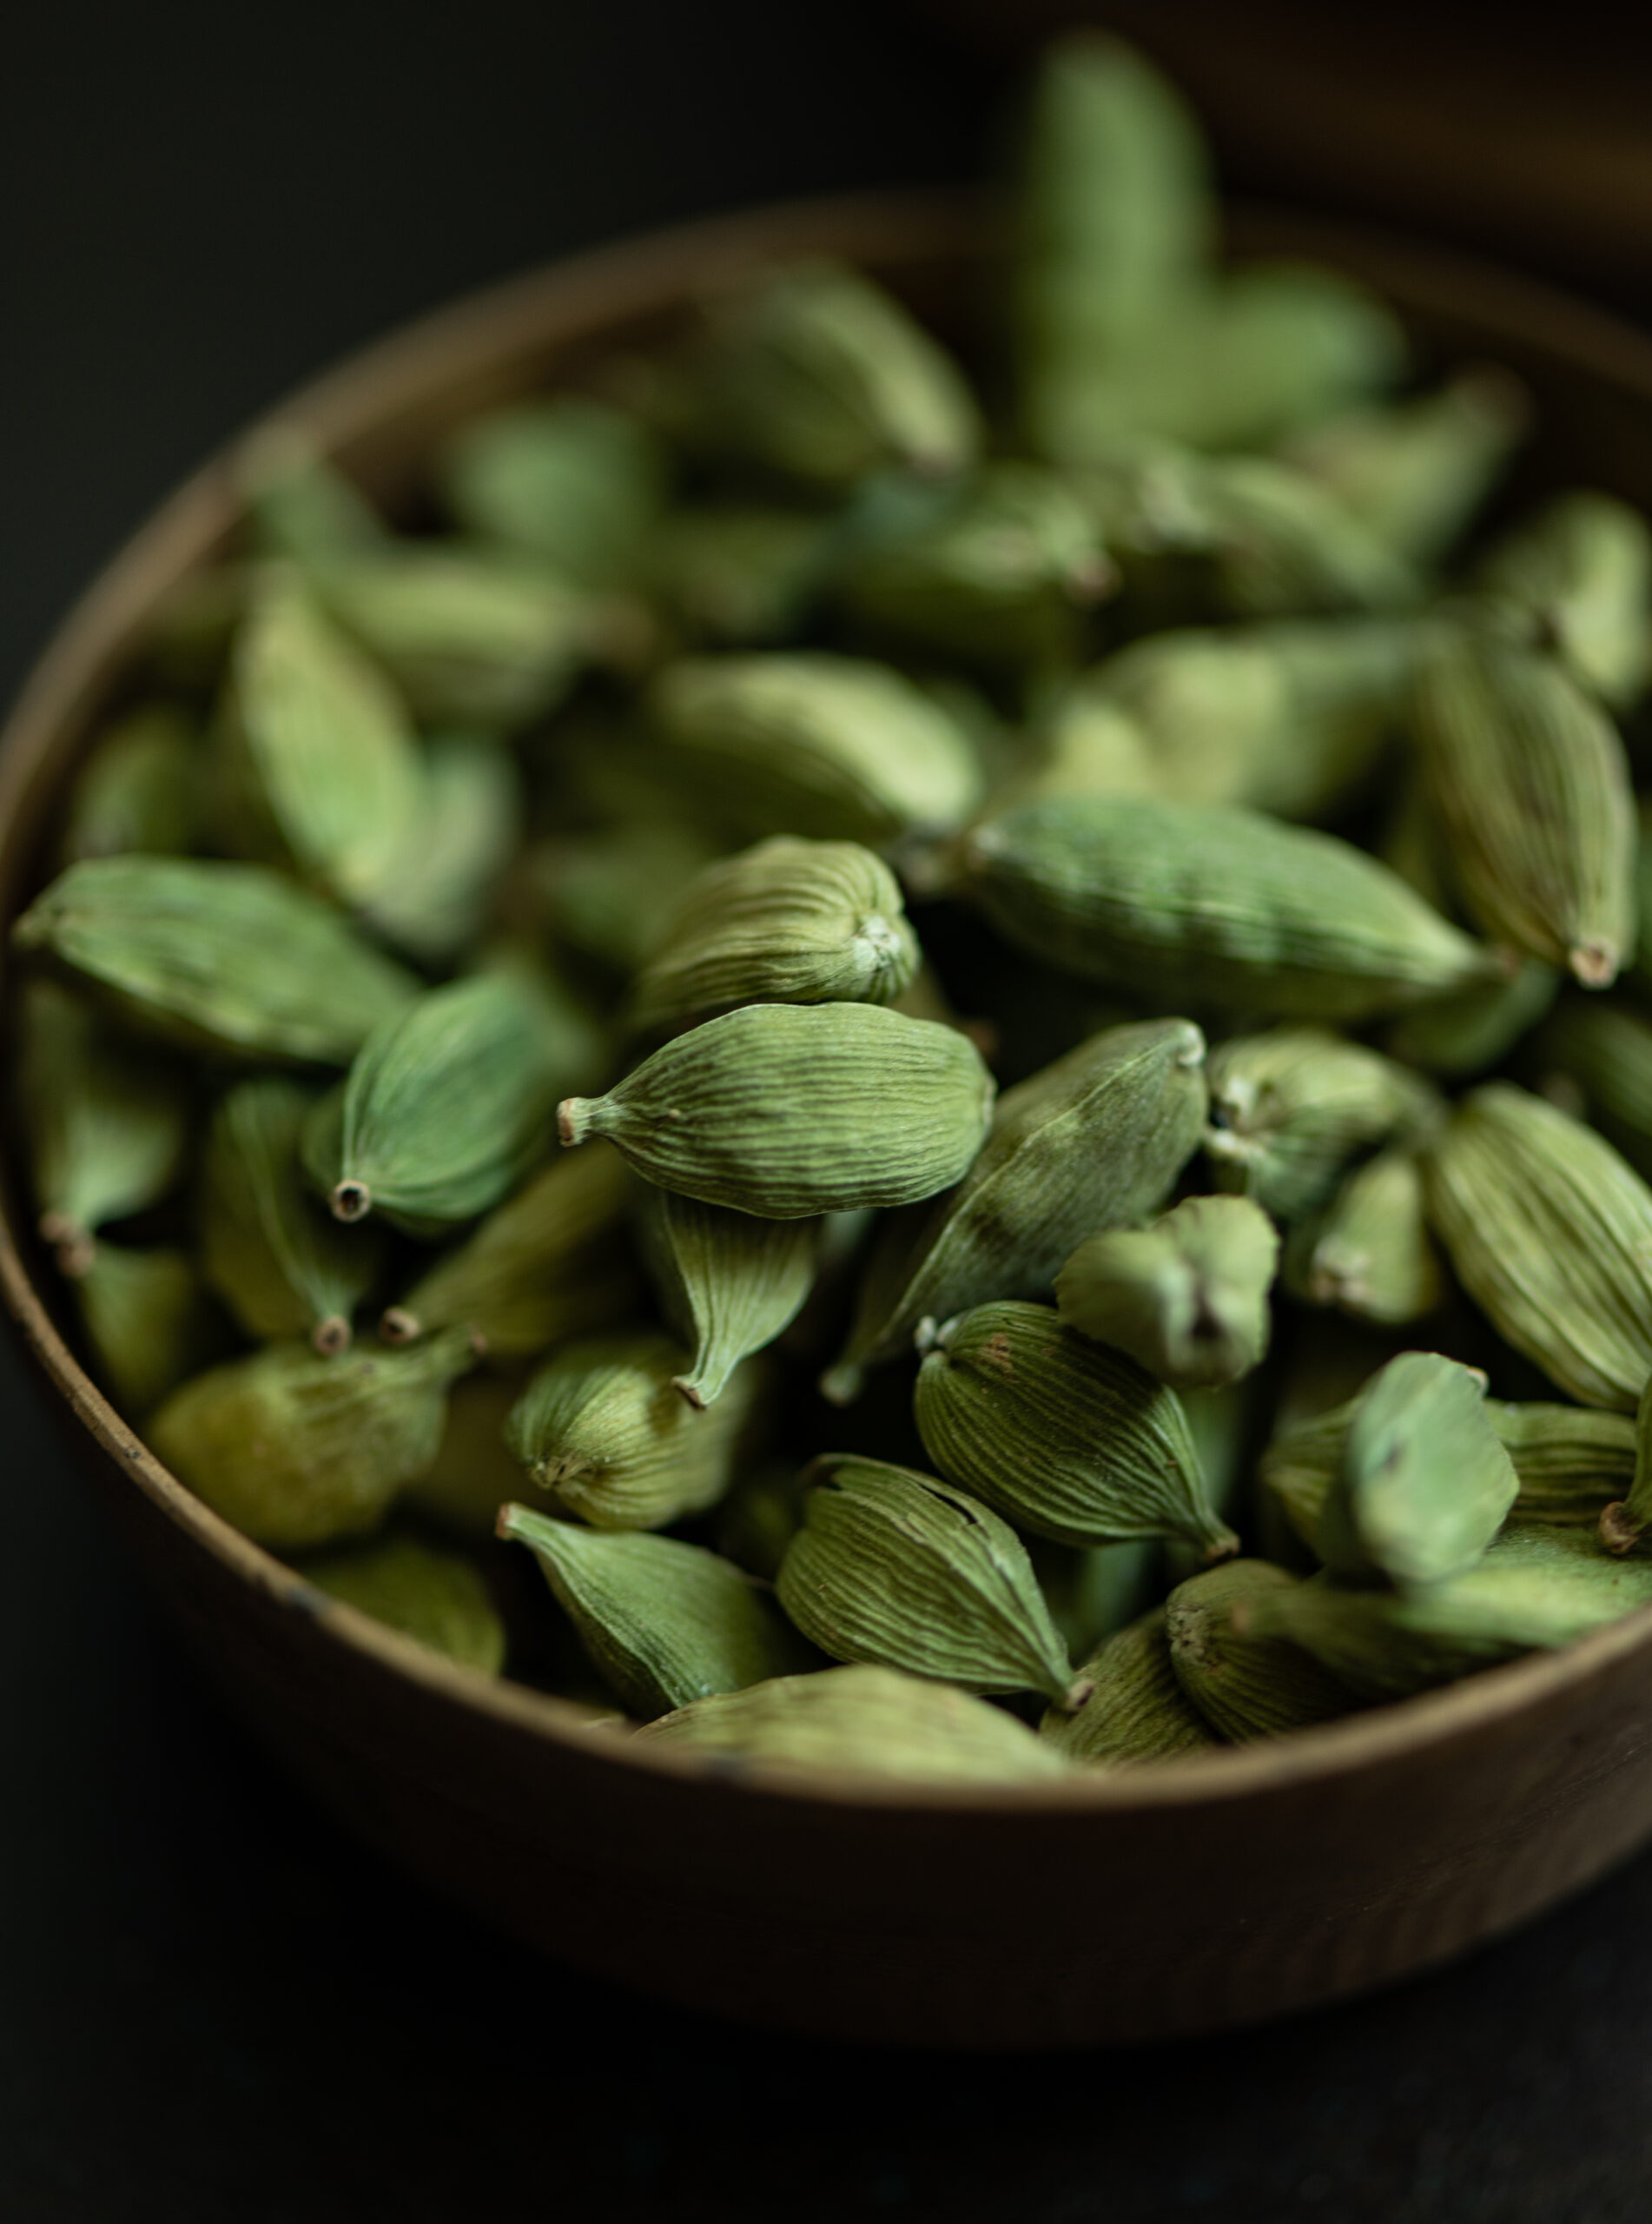
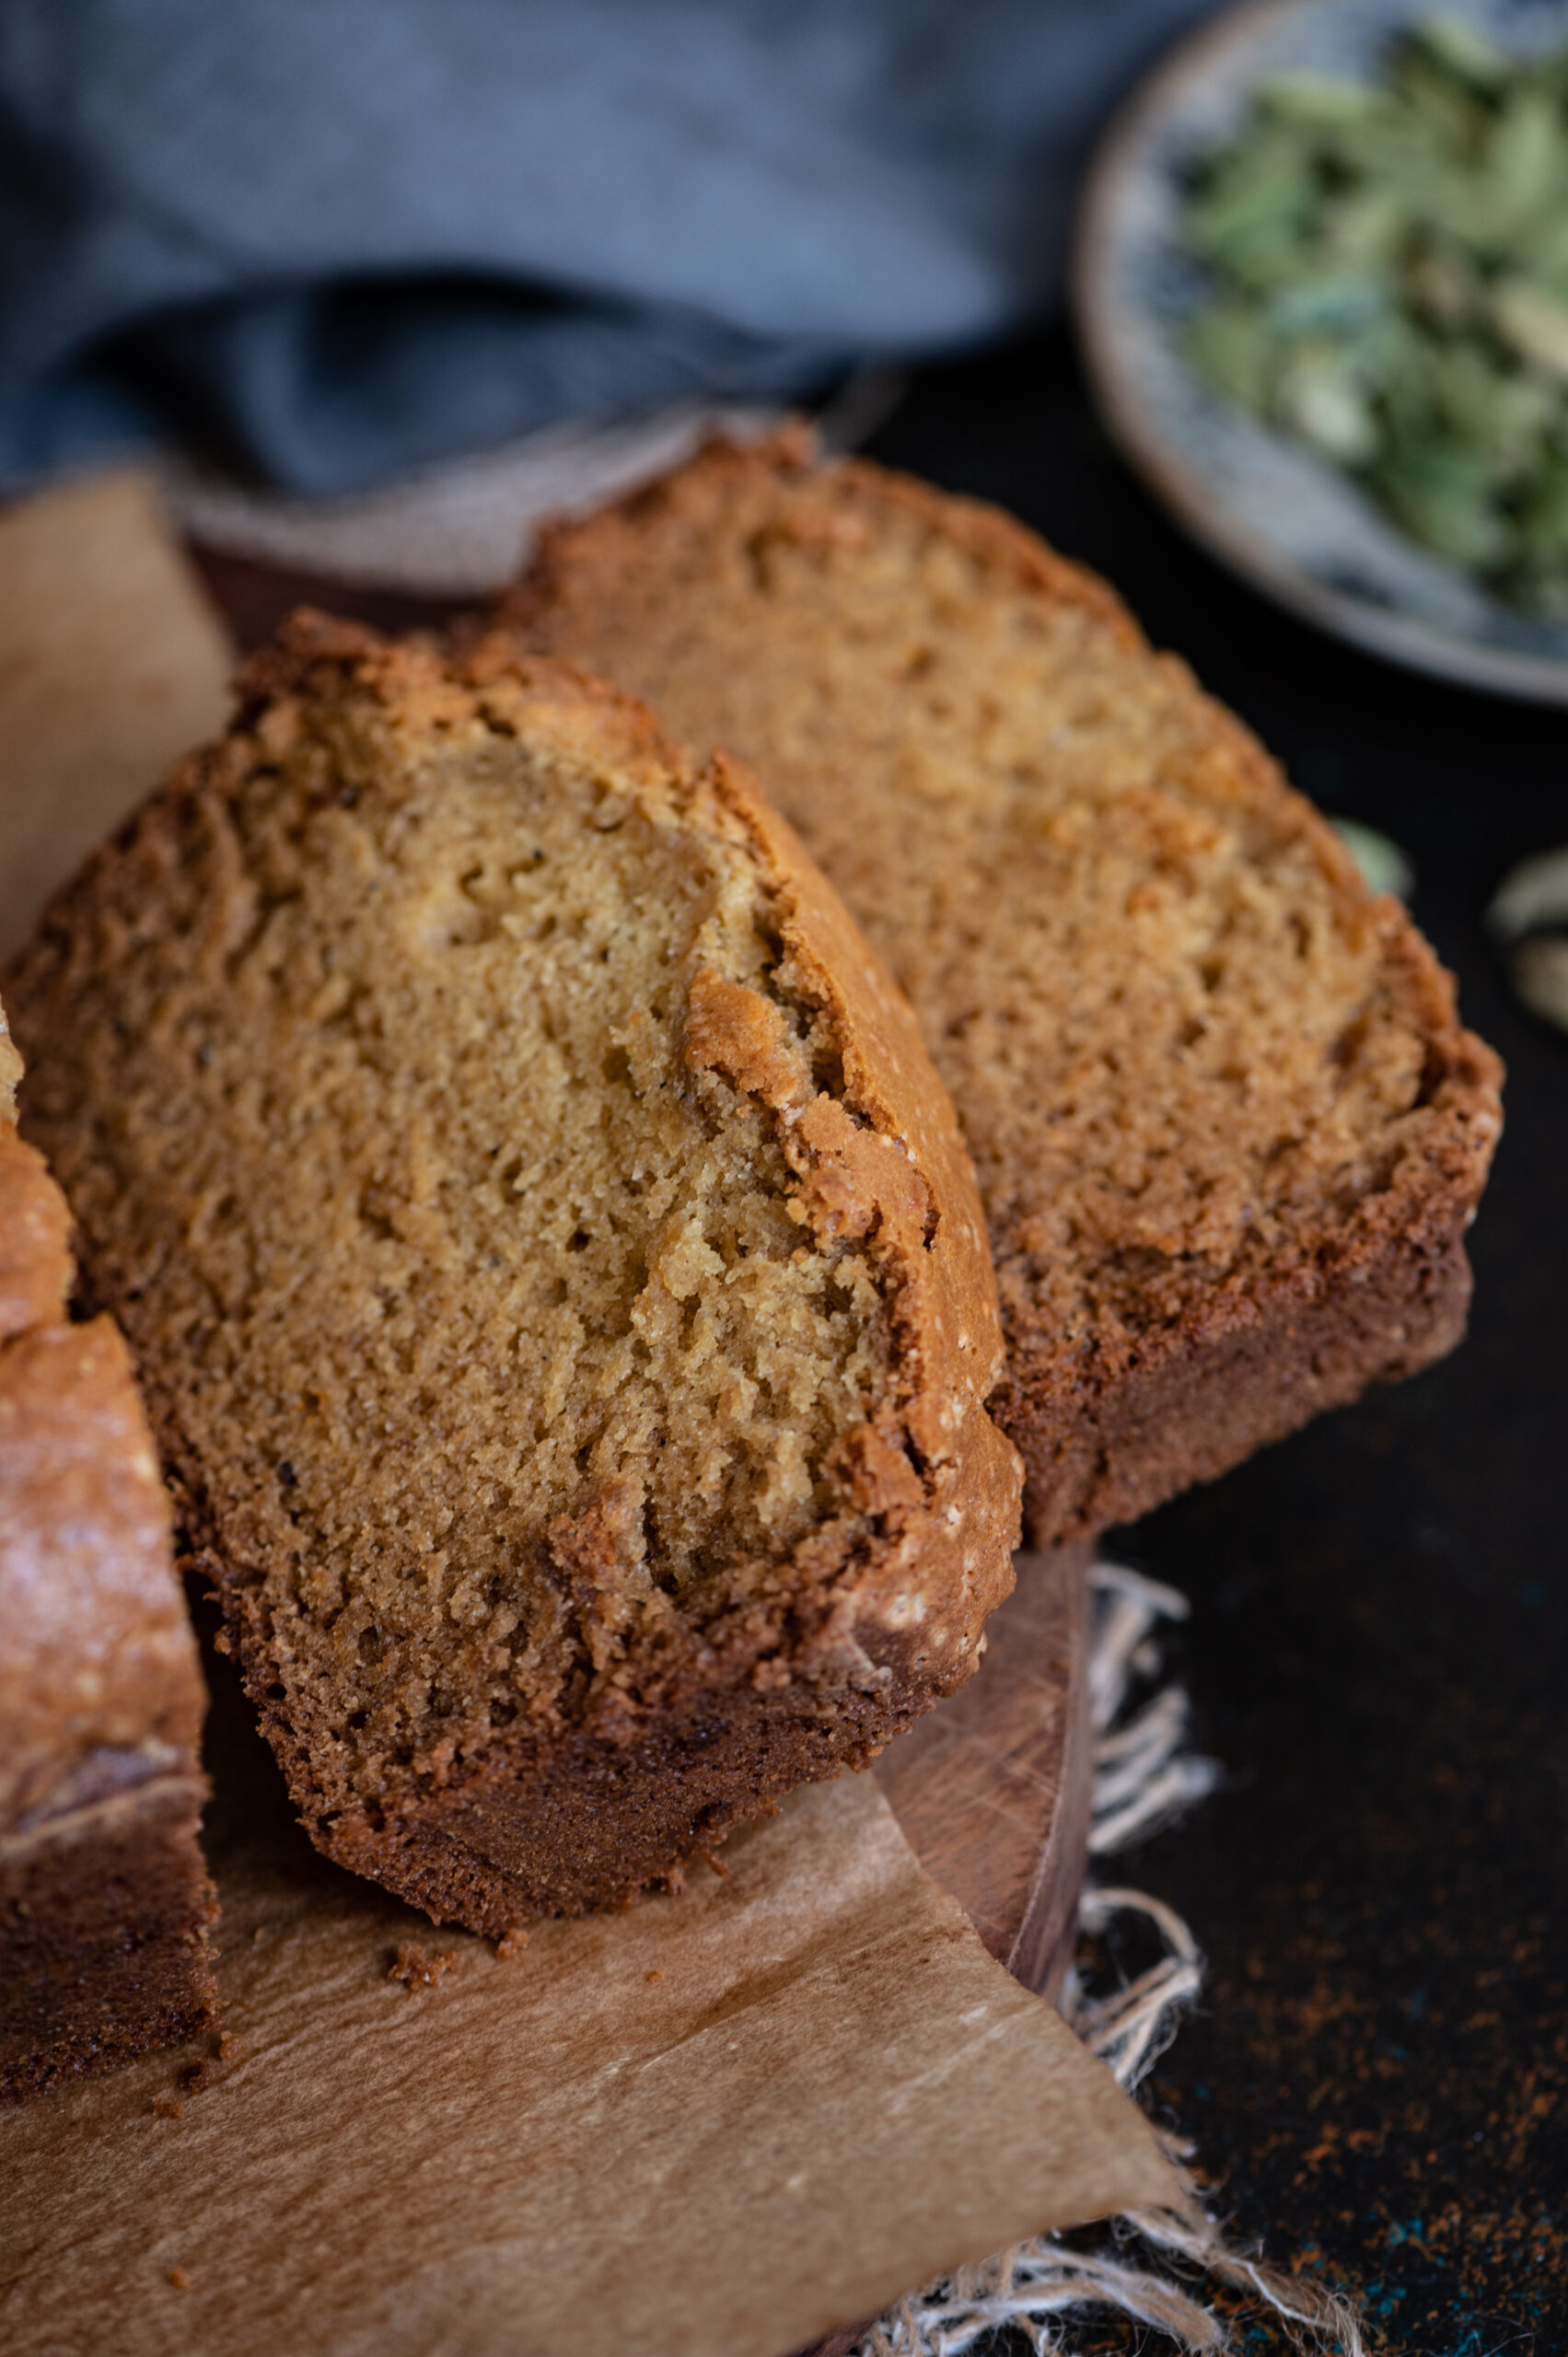
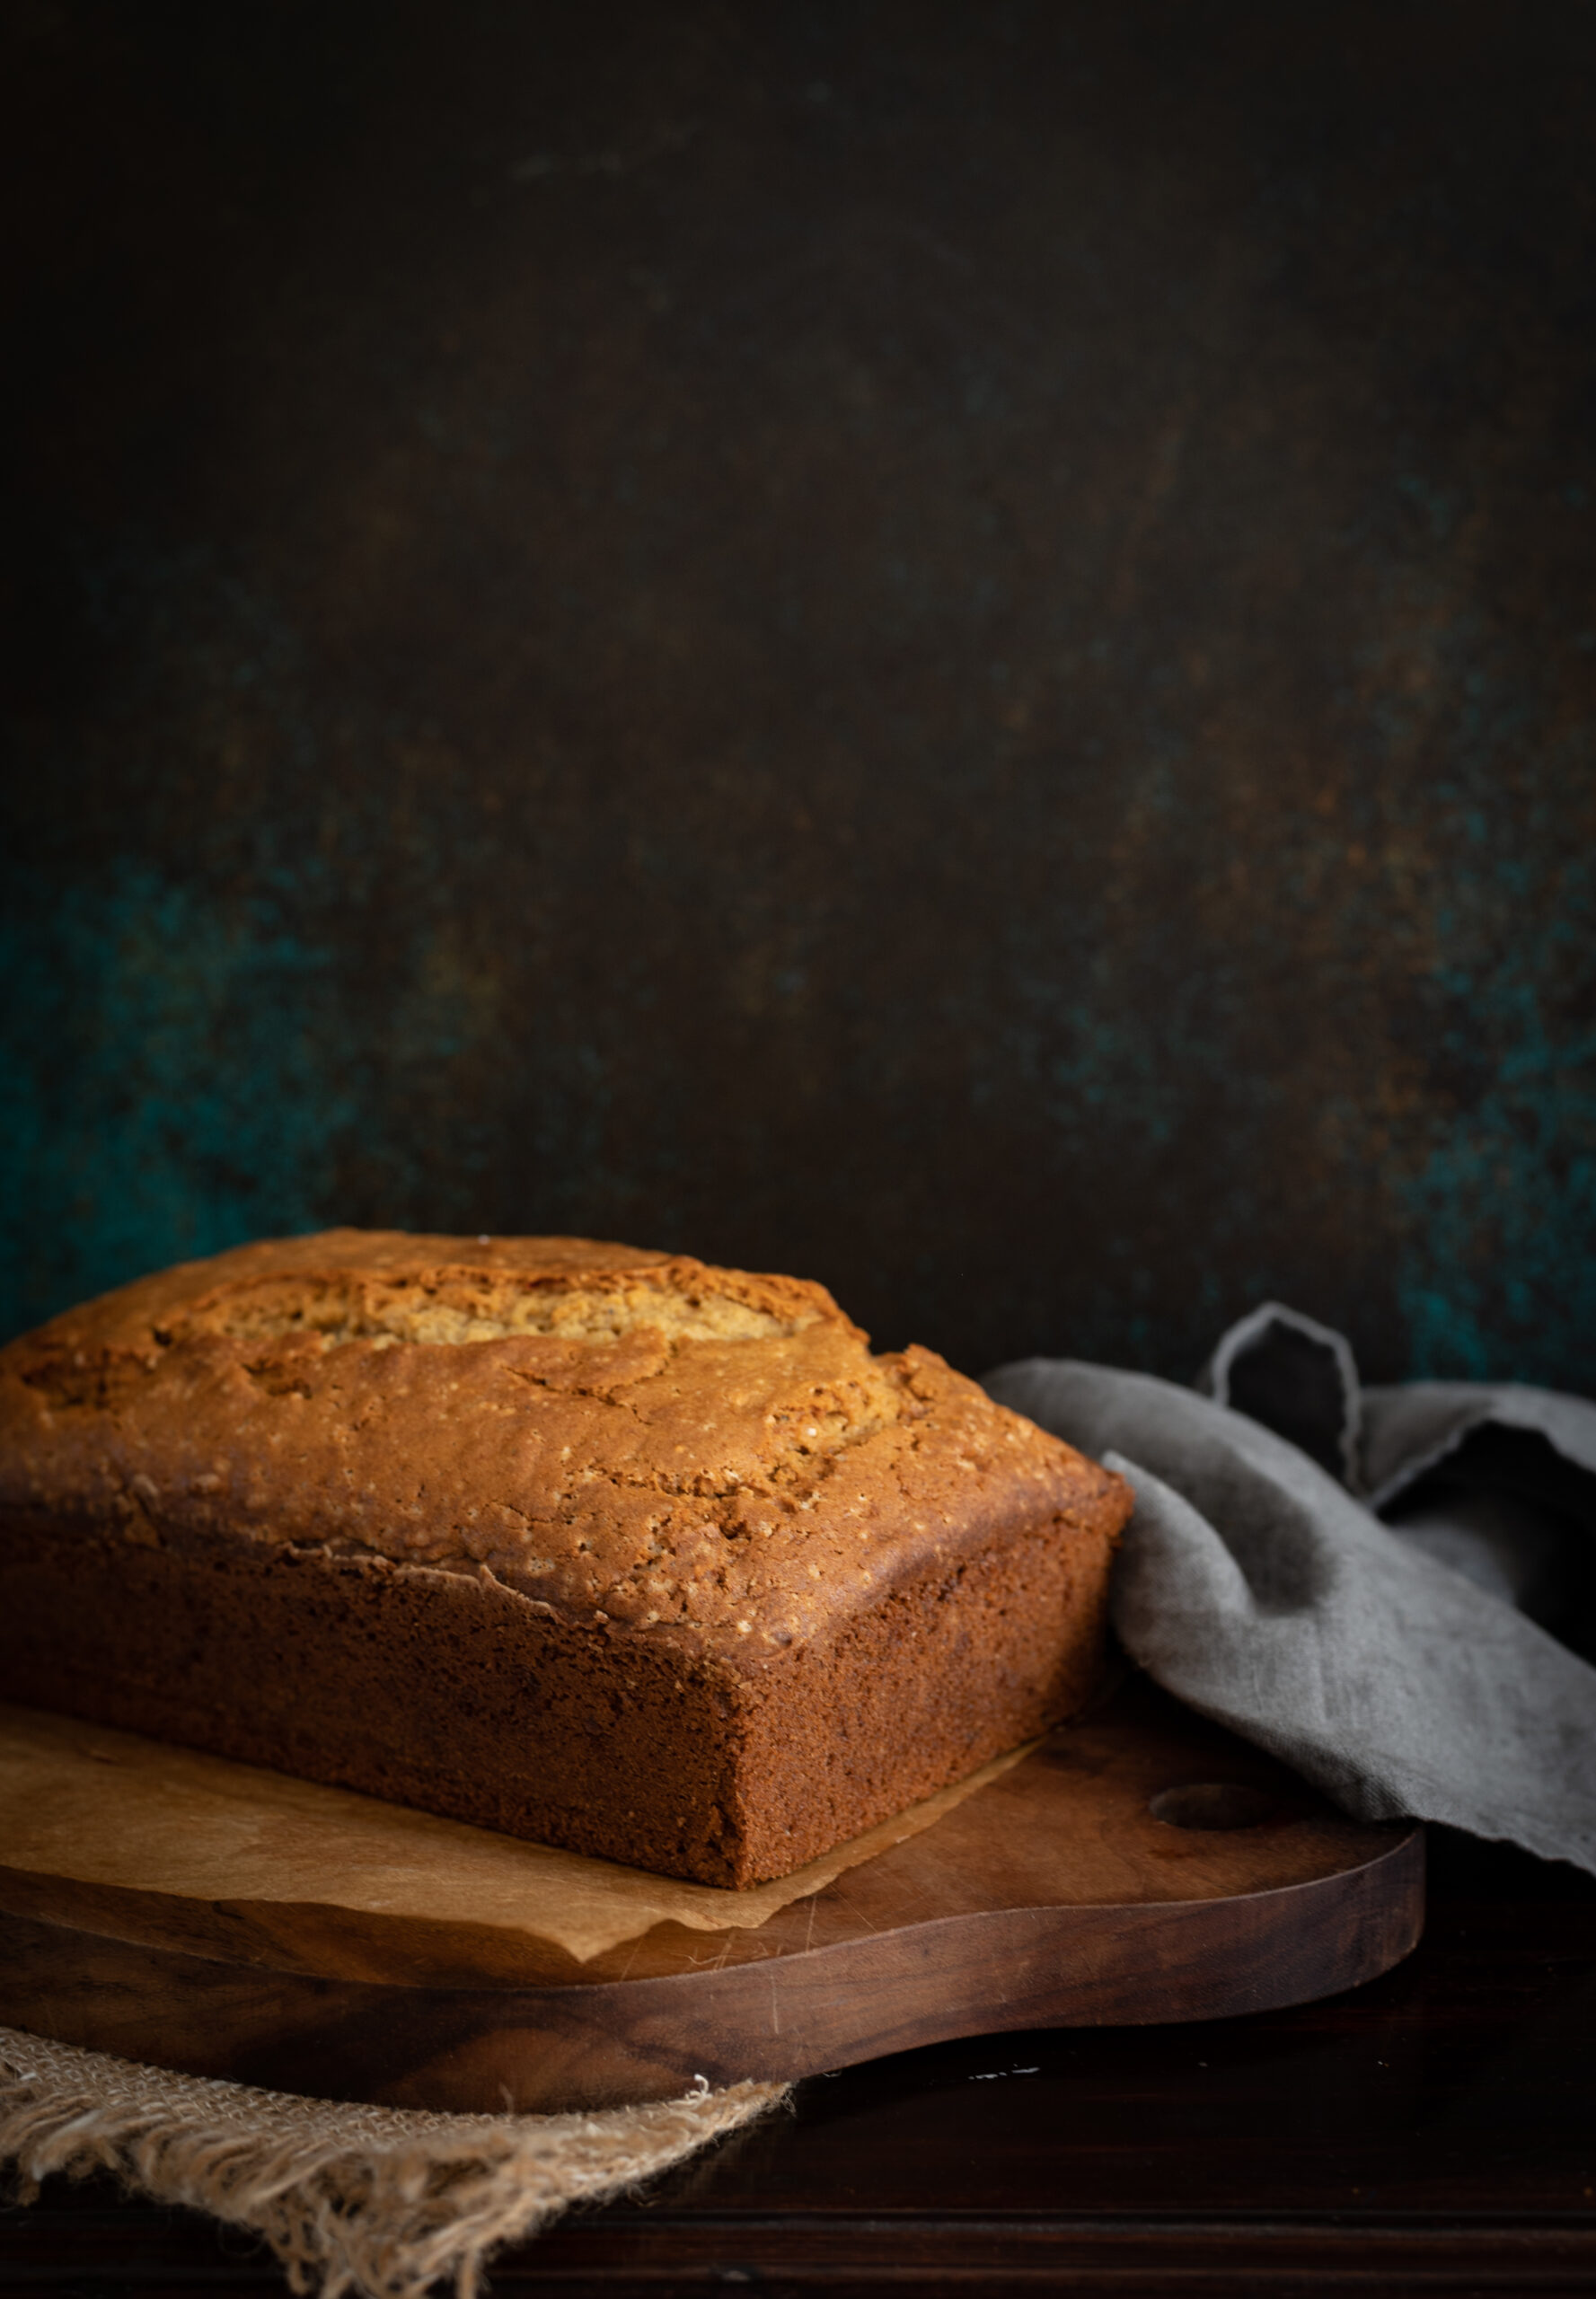
Like most of re:store’s baked goods, this whole-wheat cake is mildly sweet, with no icing. The cardamom and saffron add a faint but wonderful whiff of Indian-ness to it. An added benefit is that it’s eggless – perfect for vegetarians, and in case you’re running out of eggs at the moment. It’s a very easy cake to prepare, as well. Baking cakes always involves a simple formula, as I reminded my niece when she attempted one of the recipes I shared earlier. If you follow the basic principles carefully, they reliably turn out perfect. This one, I can assure you, is not only easy to make but also very tasty.

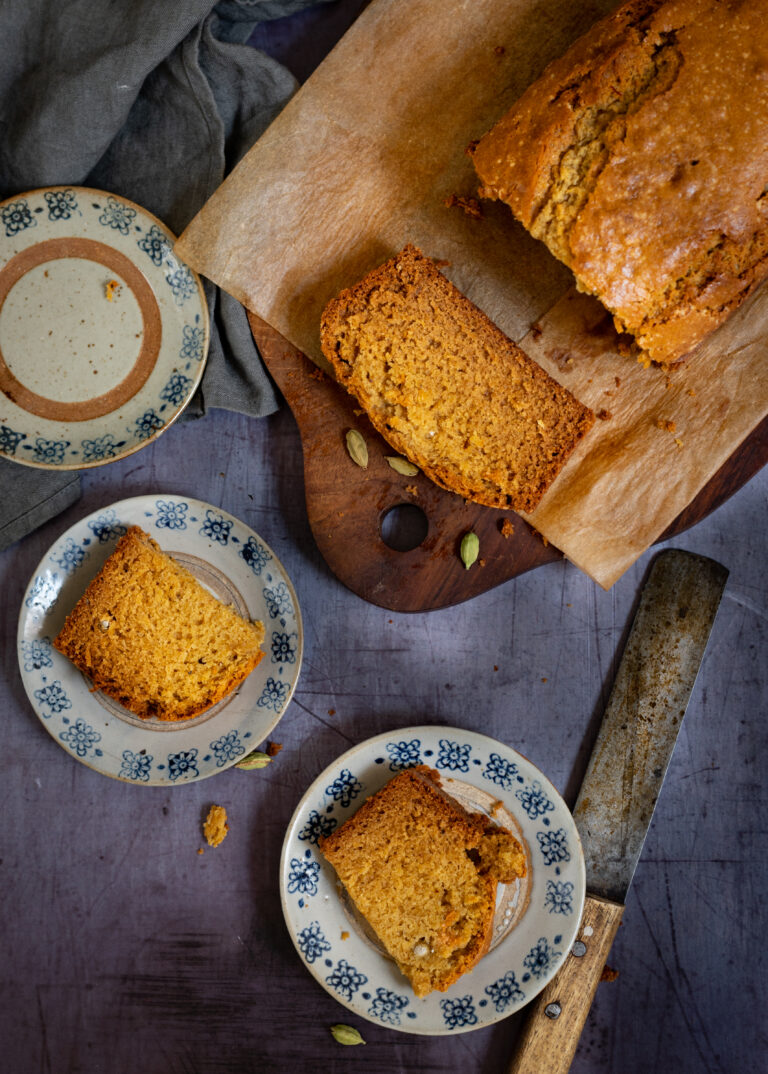
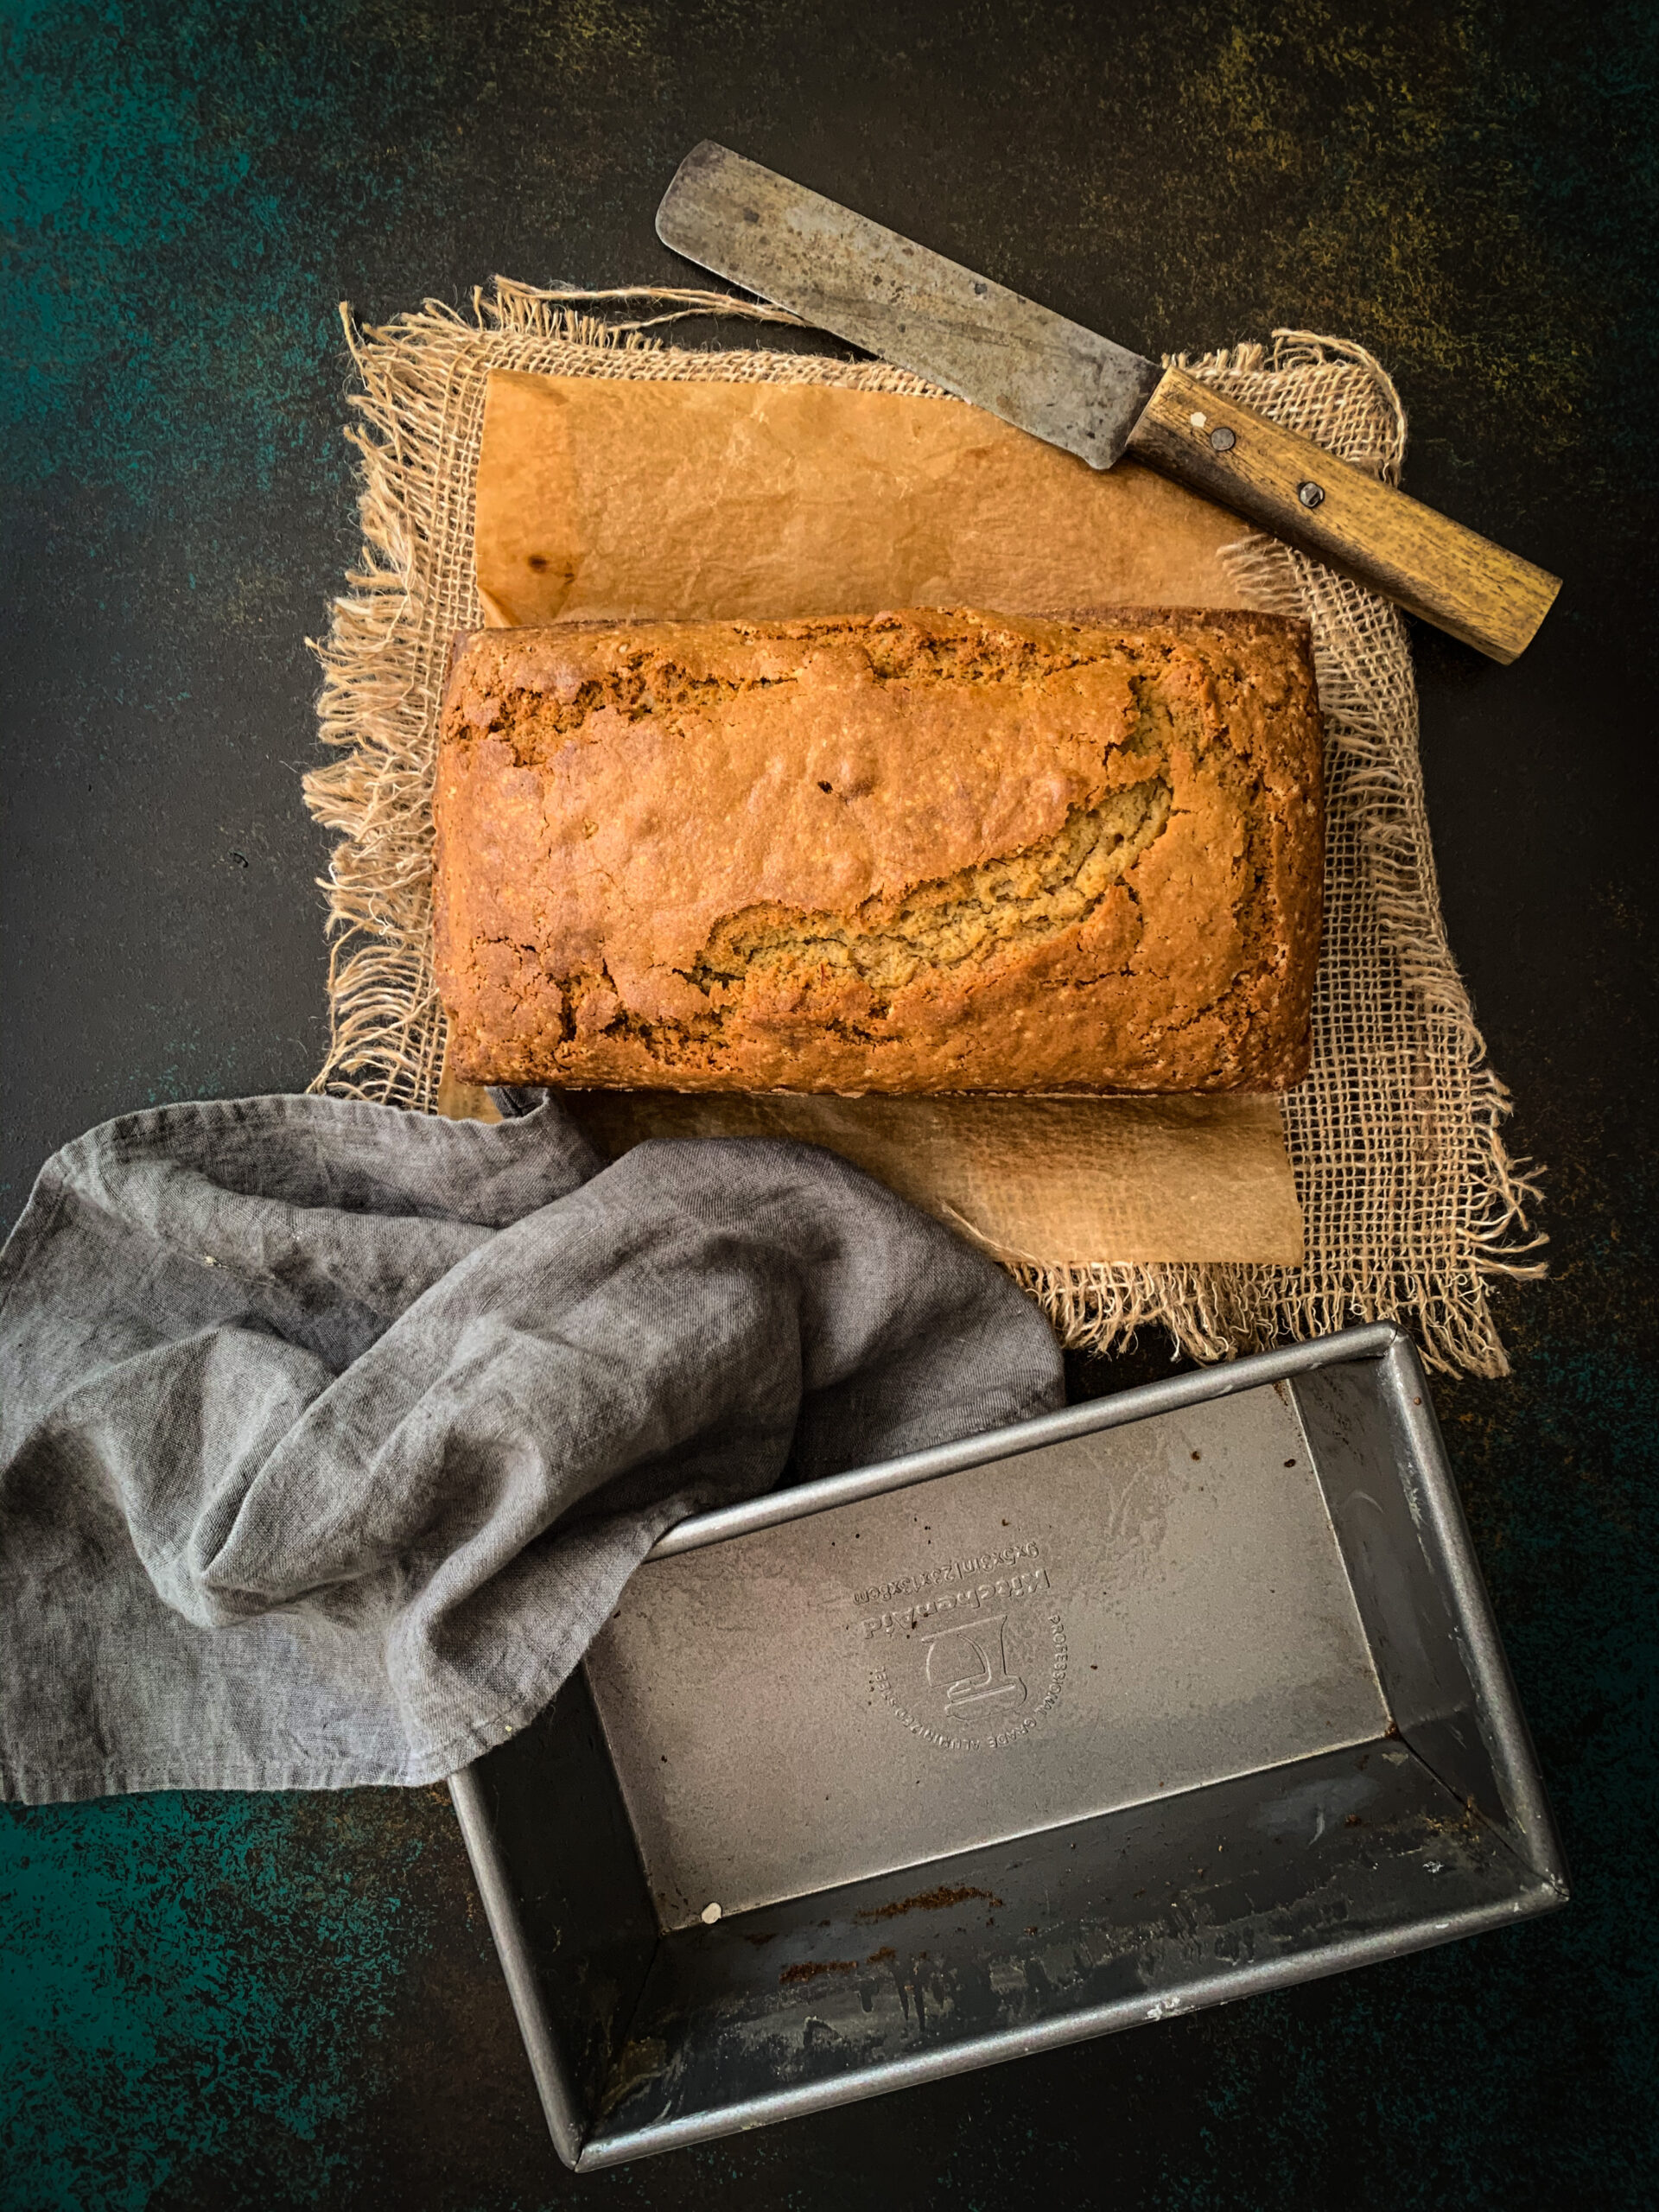
Earlier, I enjoyed making this cake using mini loaf tins. For a change, this time I baked the cake in a regular-sized loaf tin, selecting it from the pans which I have collected over time. This tin shape makes the cake especially cute, and it comes out in the perfect size to slice up. The portions are ideal for a family of five at teatime. Ours is 5+1 at the moment, including my dog Max – who always reminds us that we better eat up our share quickly, before he gobbles it up!

If cardamom and saffron aren’t available in your kitchen right now, this recipe will work equally well with lavender or even some mild lemon zest. The choice is yours. Feel free to experiment with flavours (and be sure to let me know in the comments later what you decided to do). Happy baking!

Whole-Wheat Saffron/Cardamom Cake

(Serves 5)

180 grams whole-wheat flour

185 grams white powdered sugar

2 tablespoons brown sugar

½ teaspoon cardamom powder

5-10 strands saffron

65 grams soft butter

1 teaspoon baking soda

¼ teaspoon salt

240ml whole milk

Preheat the oven to 180°C.

Prepare a loaf tin by greasing the tin and lining it with parchment paper.

Remove a ¼  cup of milk from the 240ml, keeping the rest aside. Soak the saffron strands in this for half an hour or until colour rises.

In another bowl, add all the dry ingredients and mix them together well. Then, add the wet ingredients one by one and mix again.

Pour the batter into the loaf tin and place it in the oven. Allow to bake for 30 – 40 minutes or until a skewer comes out clean.

Toward the end of the baking process, you may notice that the cake acquires a darker colour on top. This is due to the brown sugar. If you prefer, you may cover the cake loosely with parchment paper while it bakes, to avoid excess browning.

Let it cool slightly, then remove the still-warm loaf and slice it up for serving. The lovely thing about this cake is that it needs no icing or any kind of topping, and responds well to a variety of flavourings. It has a nice rustic look, and tastes perfectly moist and delicious all on its own. The perfect accompaniment is a cup of tea – along with a pleasant conversation…

I hope you’ll enjoy this recipe, and that it adds a hint of sweetness and sparkle to this challenging time!

Here in lockdown mode, due to the global pandemic, I feel now more than ever that memories, bonding, love and food are what keep us going and make it possible to manage this difficult time. I sincerely hope that you and your families are keeping well, and that my recipes will offer you some comfort.

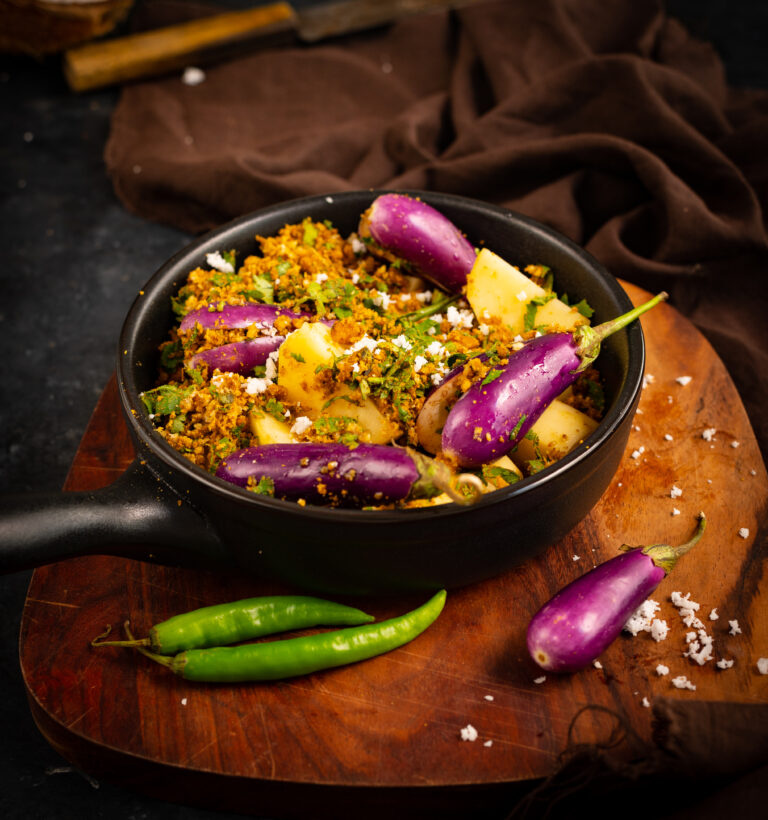
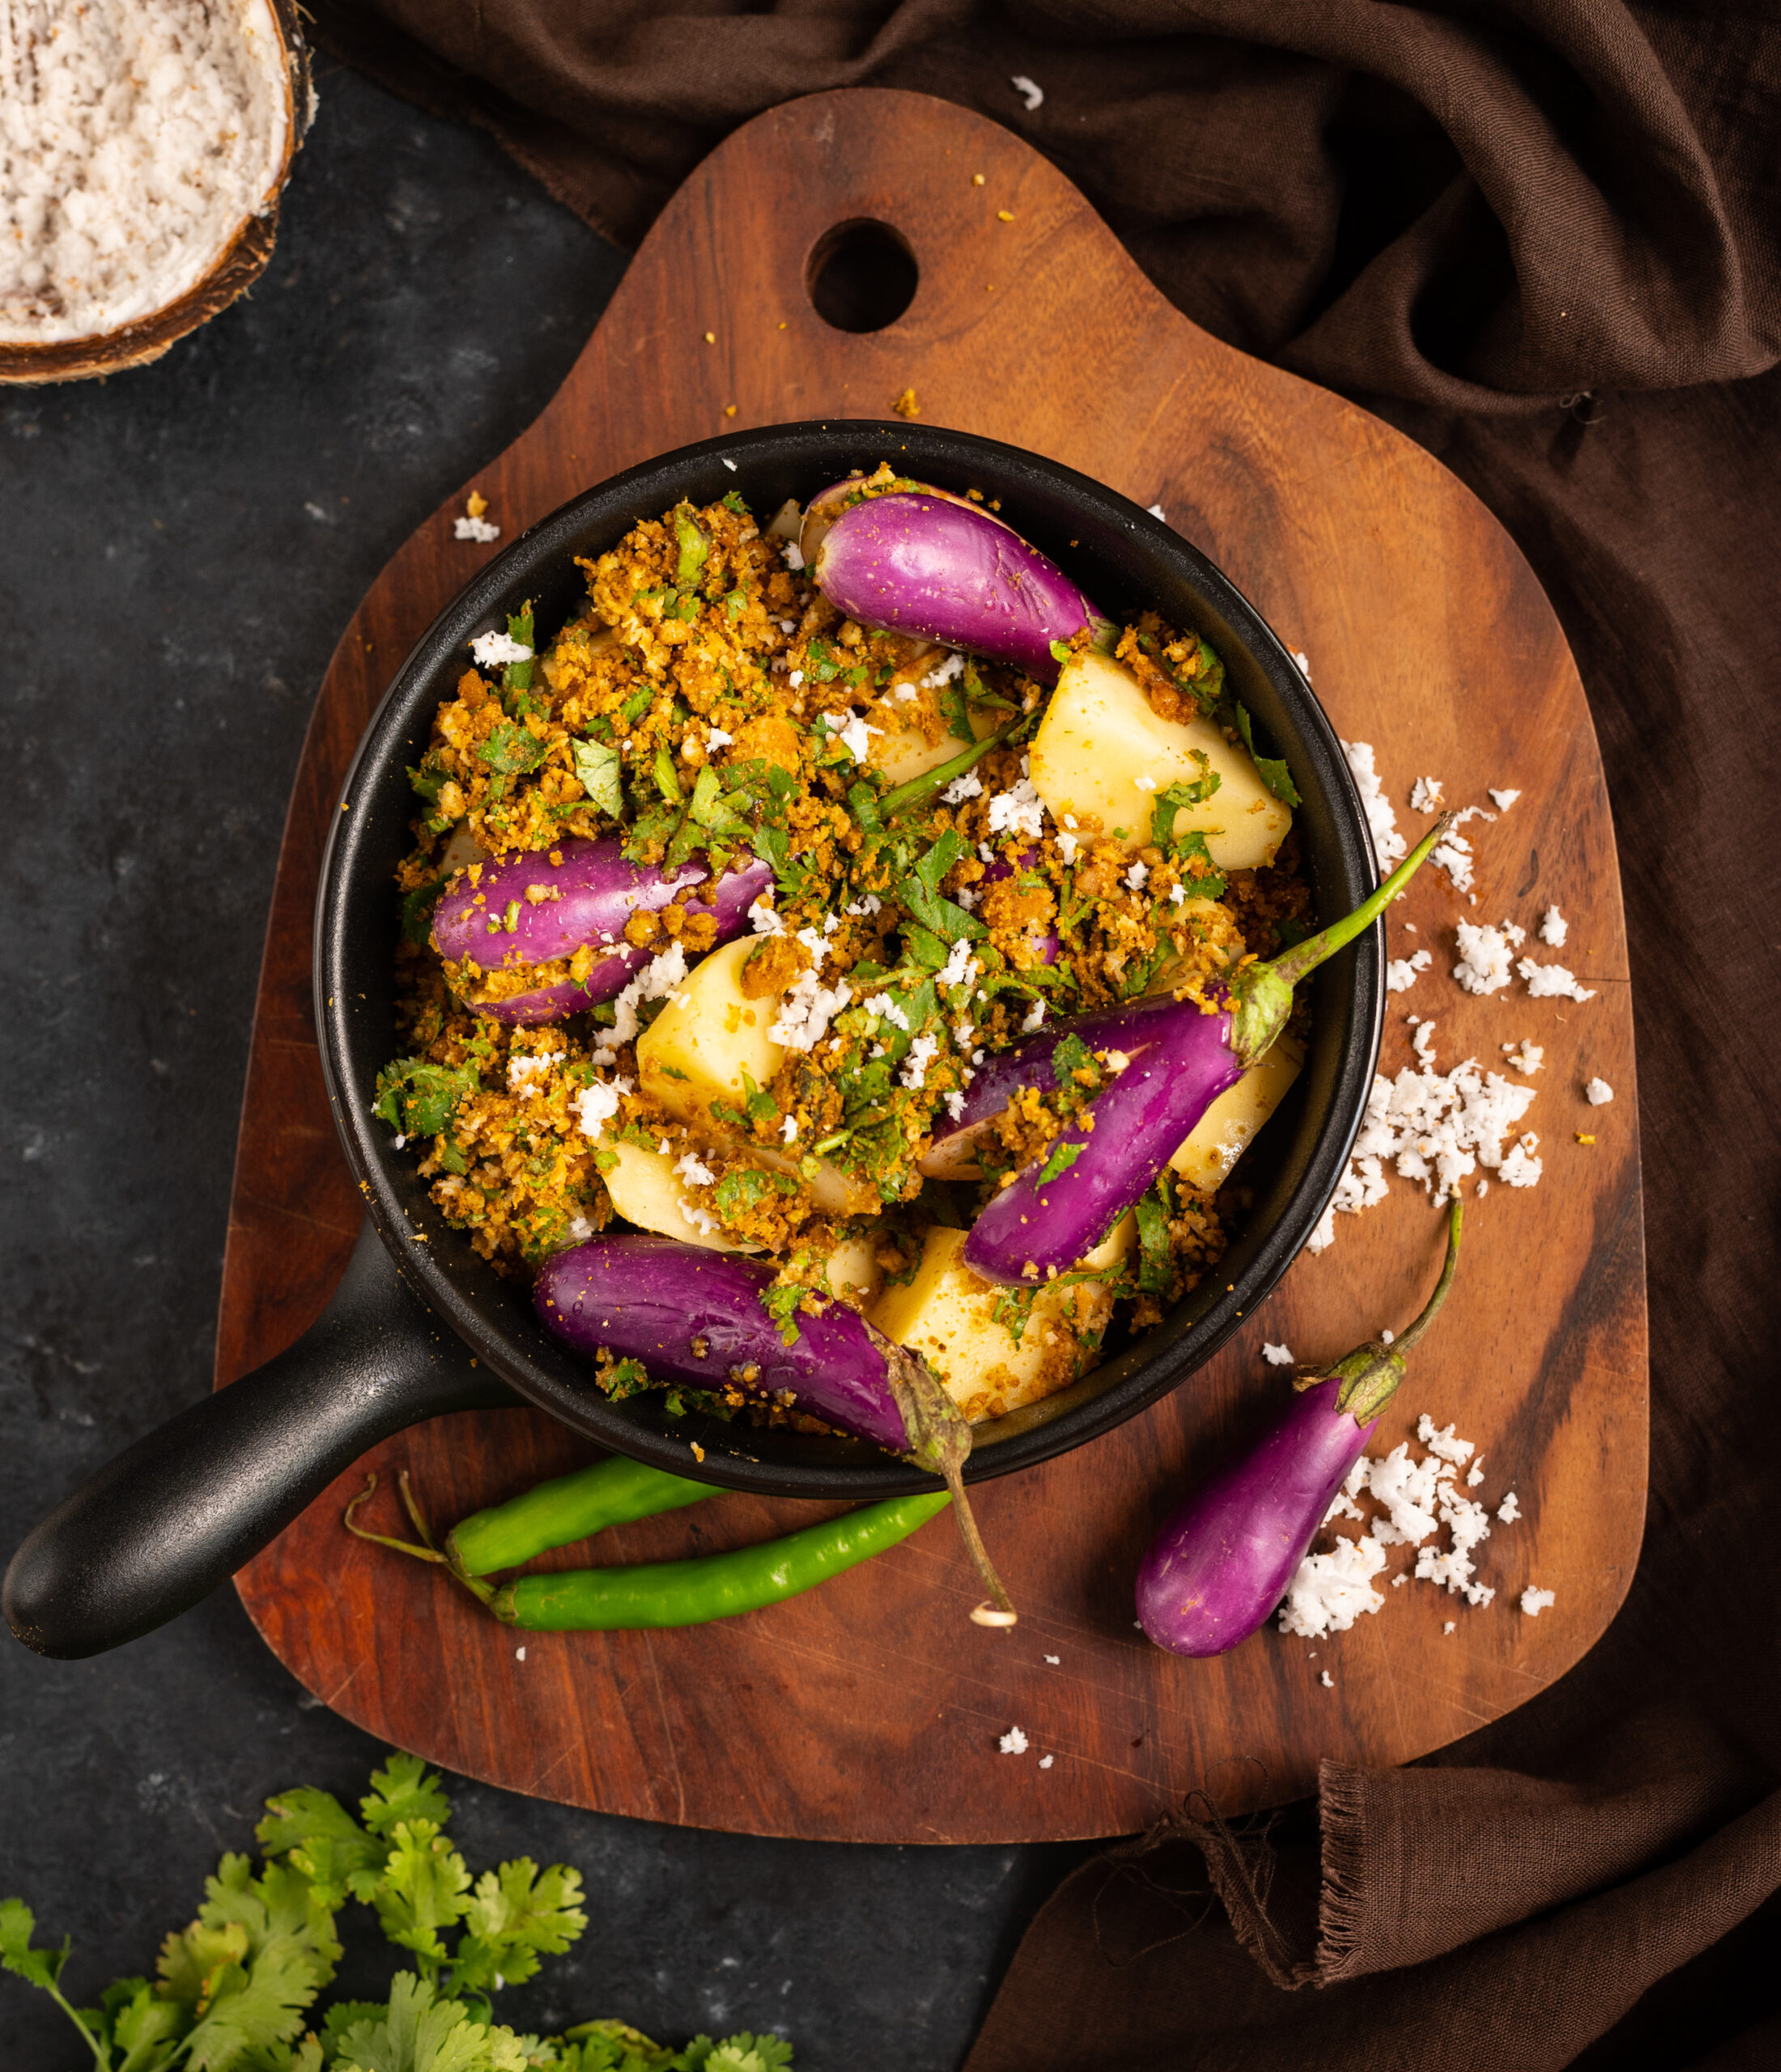
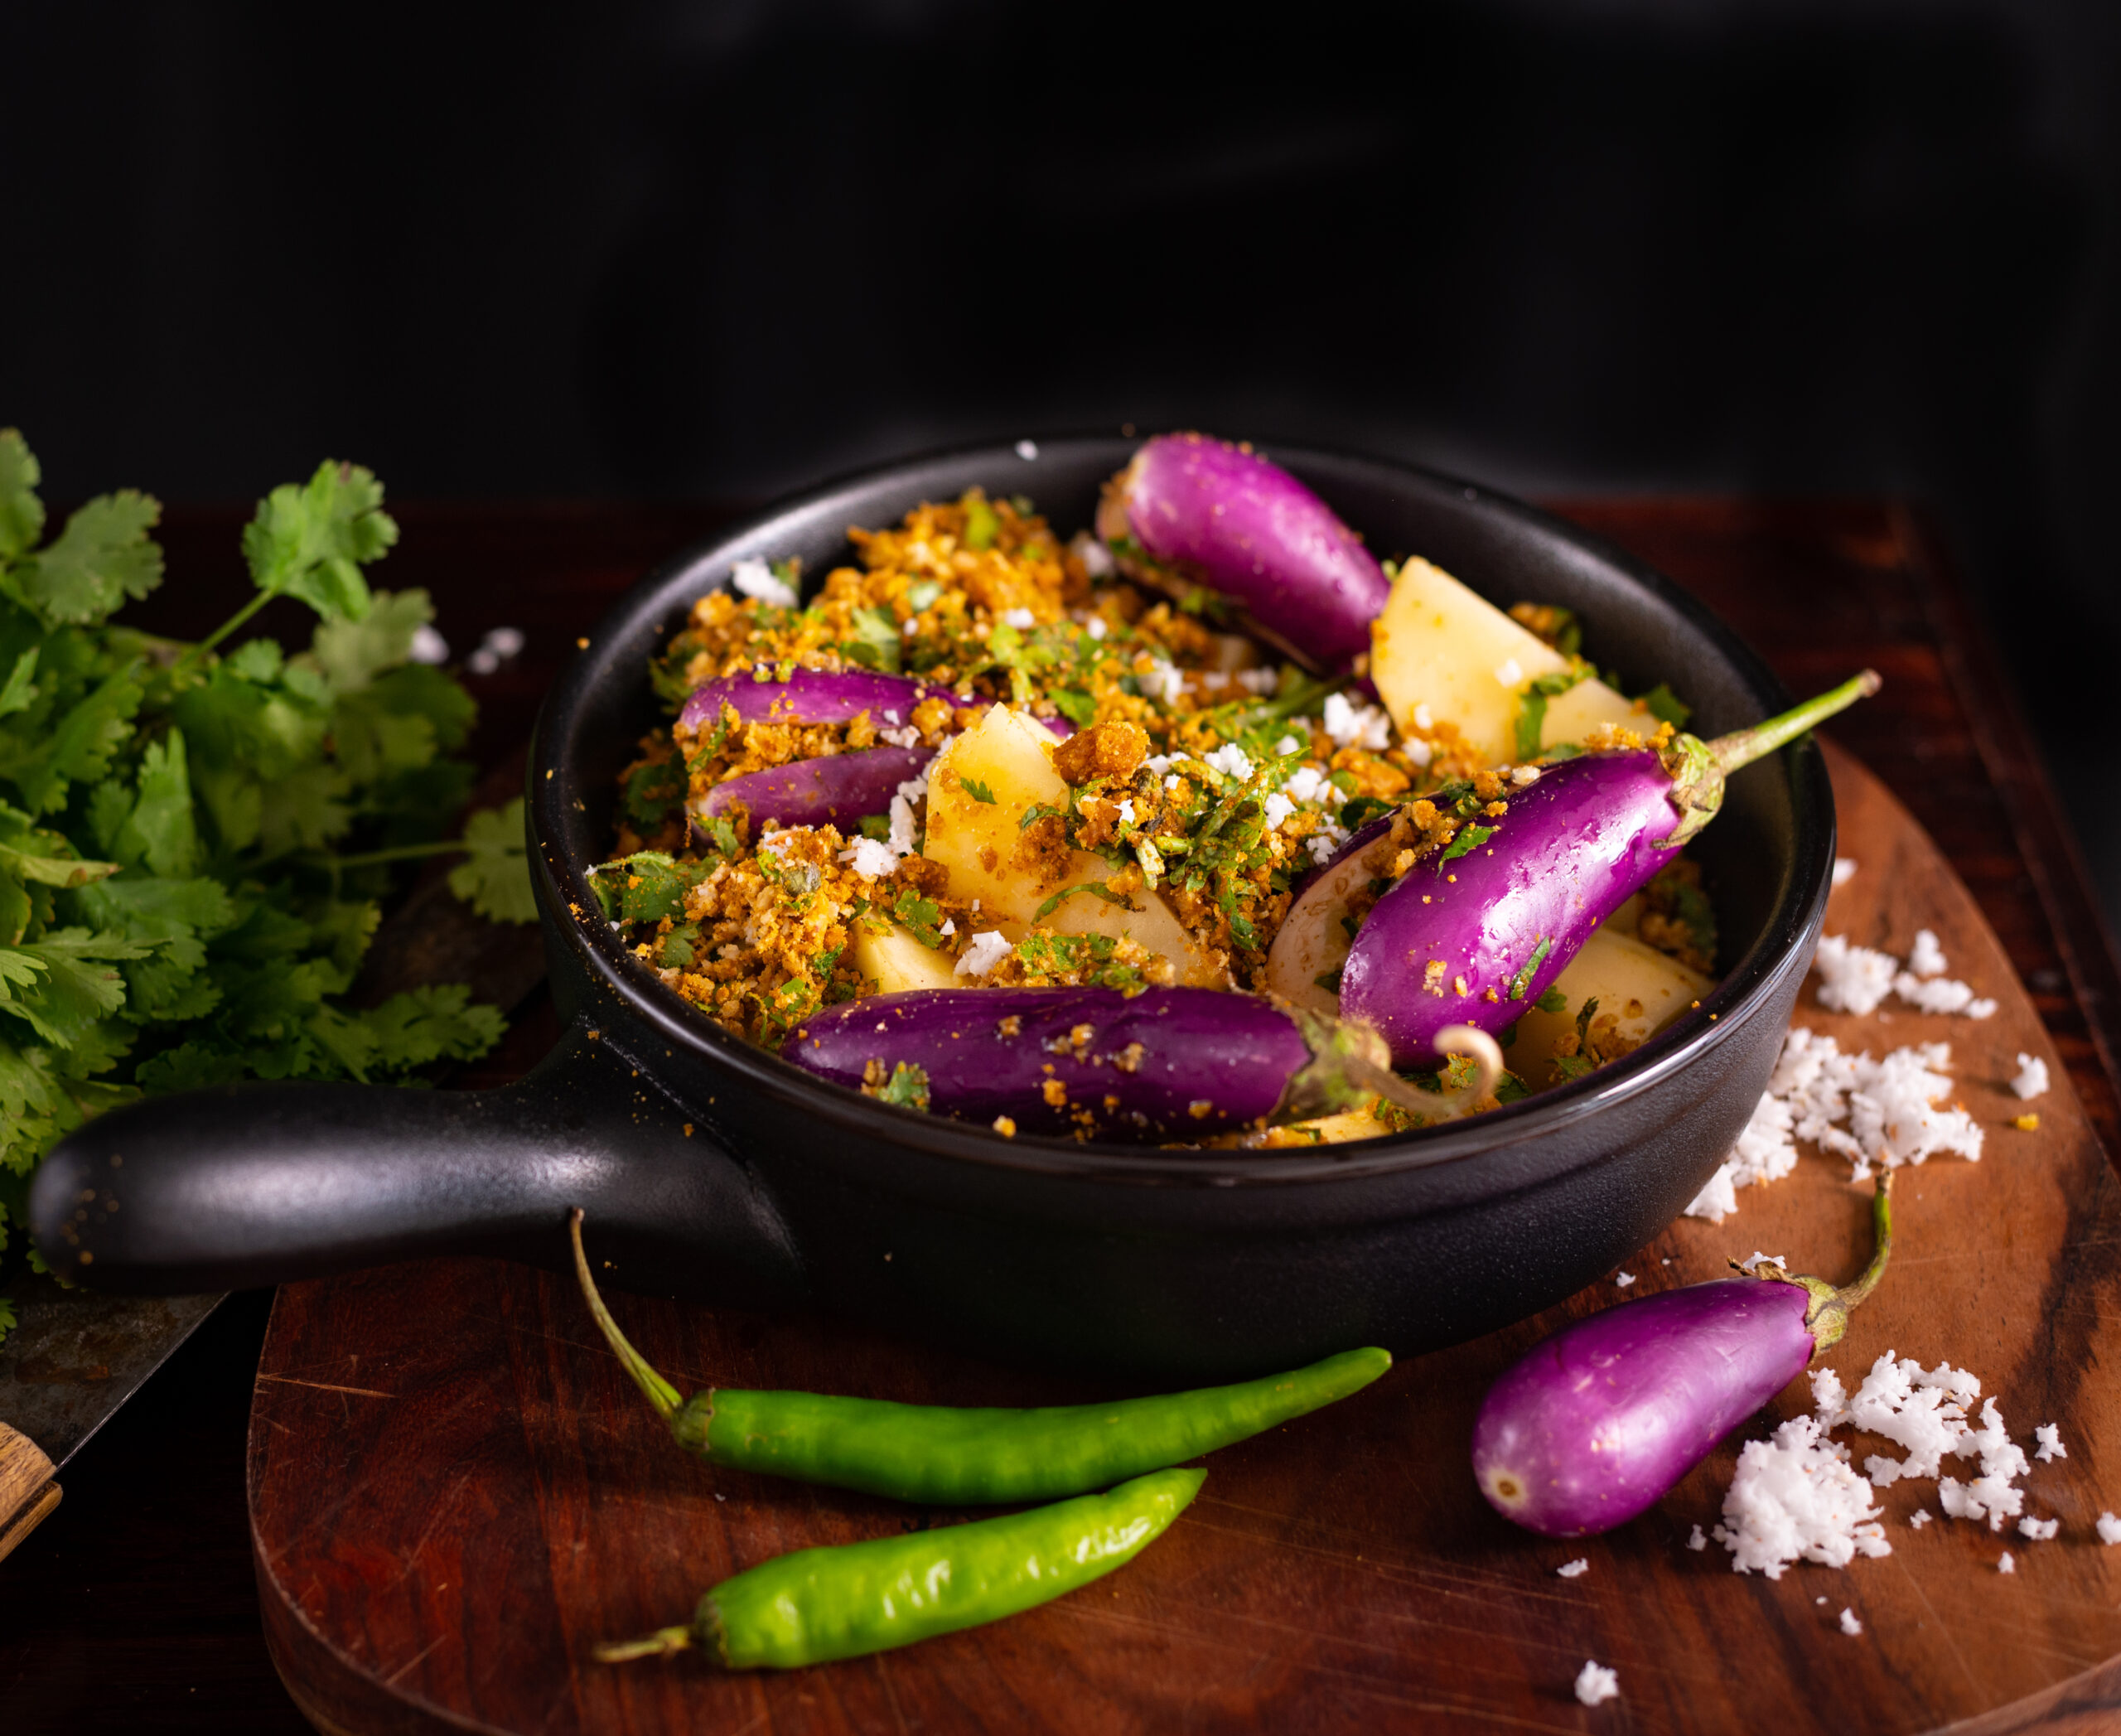
Ever since I can remember, this traditional stuffed vegetable dish has been a part of my life. It’s typically Gujarati, in the sense that every Gujarati household makes it. Some use onions and garlic, while for others these ingredients are not permitted religiously. Some use peanuts to add more texture. This dish is true to its region, so the taste and style you experience will also vary depending on where in the state the family originated from. No matter the variant, the base recipe for this Gujarati Potato & Brinjal Curry, which can be made either as a gravy or dry, is the same.

Needless to say, it’s a favourite and frequent dish in my home today, just as it was when I was growing up. It was a trademark preparation of my mother’s. When I first got married, she would speak to me often on the phone and if she sensed that I was feeling down, she would always say, “Come home for a meal. I made your favourite vegetable dish today.” Till she was 84 years old, she cooked this sabzi regularly for me. In that last year when she was unwell, it became my turn to. I would cook it and send it to her, made with all the love I have for her and the memories she had given me, and she would enjoy it just as much as I did.

And how many memories I have of this dish! Memories of eating it at home as a child, memories of making it for my own family once my kids were born, memories of visiting Gujarati relatives and friends for a meal and almost invariably being offered their own personal rendition of it. Perhaps there was something extra special about it to me always, and maybe this was the reason why my mother recognised that it was my favourite. That was because it was always served during our Sunday lunches when we were growing up. We would all be glad for the weekend, enjoying our leisure, and this delicious concoction of potato and stuffed brinjal would fill our tummies and become associated with the joy of a day of rest itself. Funnily, for such a quintessential and ubiquitious dish, Gujaratis don’t have a special name for it. We just call it “potato-brinjal curry” in our language too!

There are certain dishes which, even if one usually dislikes the main ingredient, the magic of the preparation always sways the eater to relish it. I’ve heard quite often that people who don’t enjoy eggplant in other ways do so when they have a bite of this. (People not liking potatoes is much rarer, of course!). Whether you call it brinjal, baingan, aubergine or eggplant, it’s a vegetable that has a host of benefits, and which can be made in delicious ways so that your family receives these. This Gujarati curry, for which I will provide both the gravy and the dry options in the method below, is the perfect way to bring the antioxidant-rich, fibre-rich, nutrient-rich vegetable into your regular diet.

Gujarati Potato & Brinjal Curry (Gravy/Dry)

(Yield: 1 bowl)

½ cup grated coconut

¼ teaspoon turmeric powder

2 tablespoons cumin/dhania (coriander) powder

1 teaspoon amchur (mango powder)

1 teaspoon garam masala

2 tablespoons jaggery

1 teaspoon chilli powder

Salt to taste

½ teaspoon grated ginger/green chili

½ cup finely chopped coriander leaves

2 tablespoons oil

6 baby eggplants

3 large potatoes

3-4 cups water

First, let me share the gravy version of this dish. The dry version is provided further below.

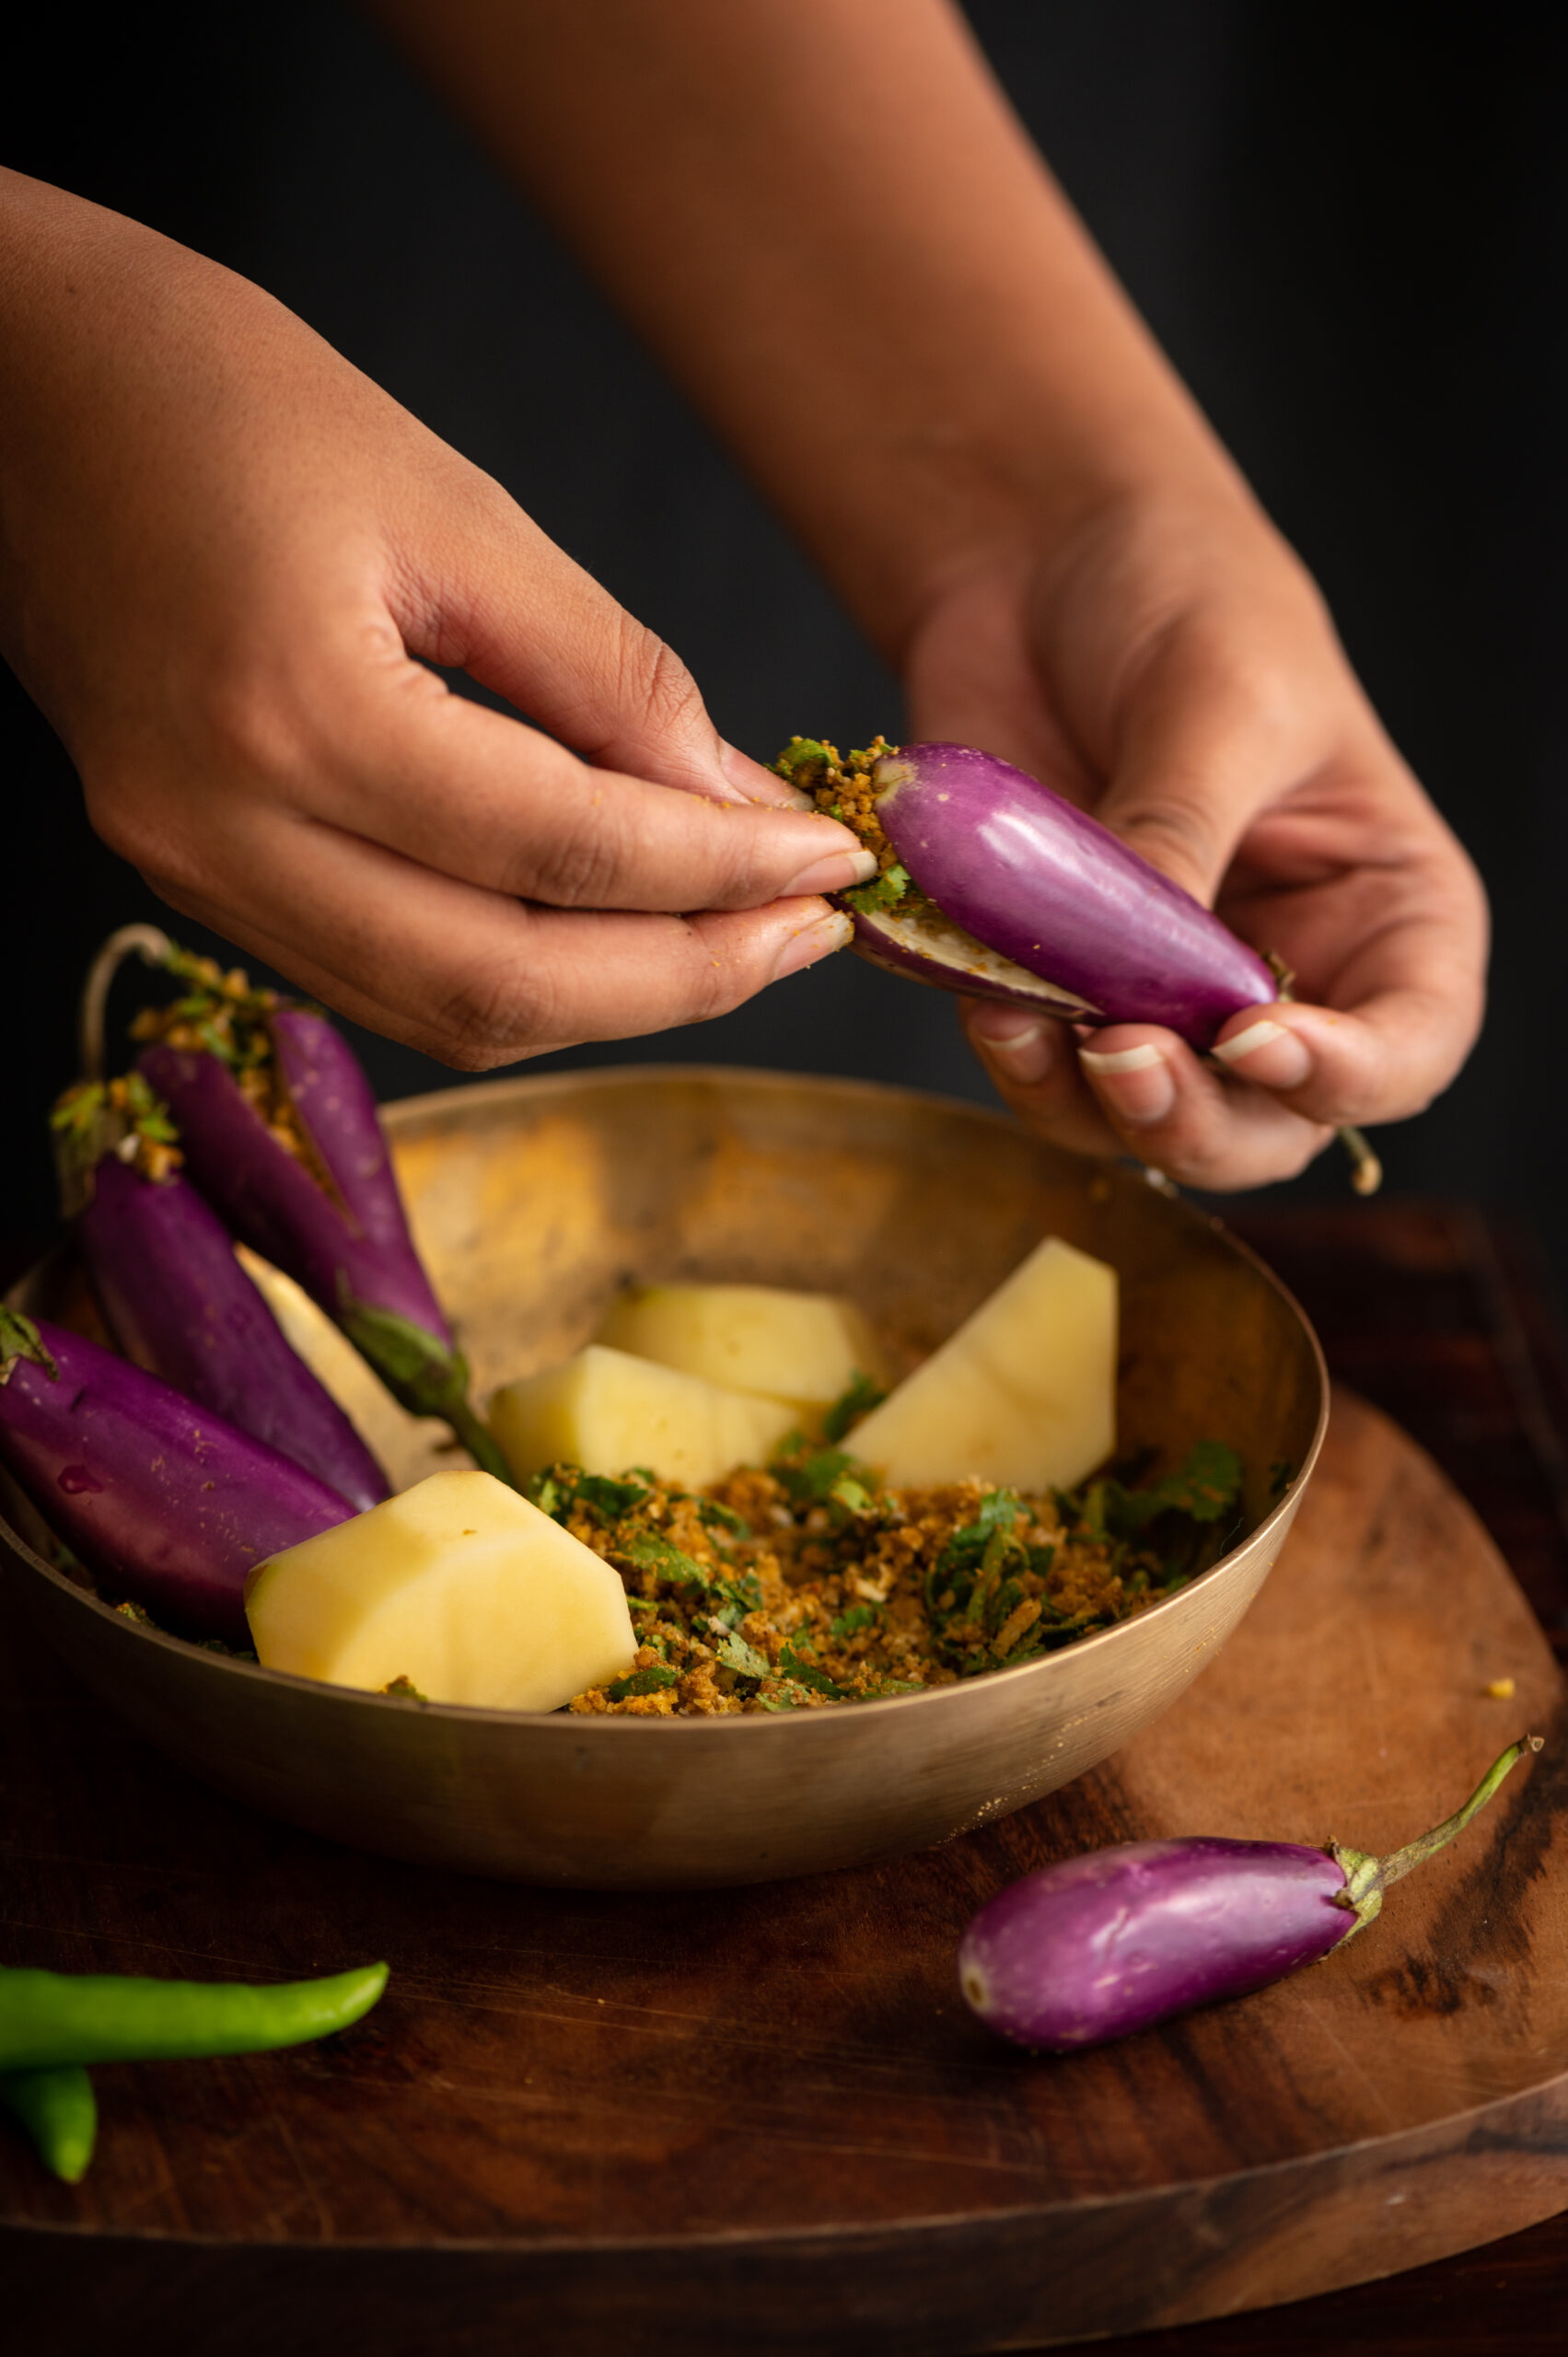
Wash the baby eggplants. Slit them lengthwise (so that they can be stuffed; be careful not to cut completely) and keep the slices in water.

Peel the potatoes and cut them into big pieces. Set aside.

In a plate, prepare the stuffing by adding together the coconut, salt, spices, coriander leaves, ginger chili paste, and jaggery. Mix it well with your fingertips and set aside. Now, take each eggplant and stuff it with this prepared masala. Keep aside.

Heat the oil in a pressure cooker and gently add potatoes, making sure the oil doesn’t splutter. Next, gently add the stuffed eggplants over the potatoes. You will find that there is a lot of masala left over. Sprinkle this over the vegetables, leaving just a little on the plate for later. Again, gentleness is key so that the stuffed eggplants don’t break.

Now, add the water and mix the concoction – again, gently! Cover the cooker and wait for three whistles. Allow to cool, then open the lid and add the remaining masala. Stir once again. Your gravy Gujarati Potato-Brinjal Curry is ready to serve.

If you prefer a dry version of the same, follow the first three steps as above: cleaning and preparing the eggplants for stuffing, cutting the potatoes, and preparing the masala.

Then, add the oil in a kadai. Once it has heated, add the potatoes. Stir them, then cover with a lid on a slow flame. Stir occasionally, making sure they do not stick to the bottom. Once the potatoes are slightly tender to the touch and not overcooked, open the lid and add the stuffed eggplants. Remember that potatoes take longer to cook than eggplants so gauge the time well.  Cover again.

If required, especially if the vegetables are sticking to the bottom of the pan, sprinkle some water and cover. Continue to allow the dish to cook until all the vegetables are well-done. Finally, add the masala and stir gently. Cover again and allow it to sit. The dry version of this dish is now ready to serve.

As you prepare the dish, adjust the spices as per your preference. If you don’t like the standard Gujarati-style touch of sweetness, don’t include jaggery. If you want to spice it up while maintaining colour, chopped green chillies will do the trick. Don’t forget the versions mentioned at the beginning, which incorporate peanuts, garlic or onions.

No matter which way you choose to make it, I hope this Gujarati Potato-Brinjal Curry brings as much comfort and deliciousness to your home as it does to mine. As with all Indian curries, it’s perfect with rice and a range of breads. It’s got the spiciness of our masala, is tummy-filling thanks to the potatoes, and just has such a feel-good effect on the heart. Trust me: generations of Gujaratis have been turning to this dish as nutritious comfort food!


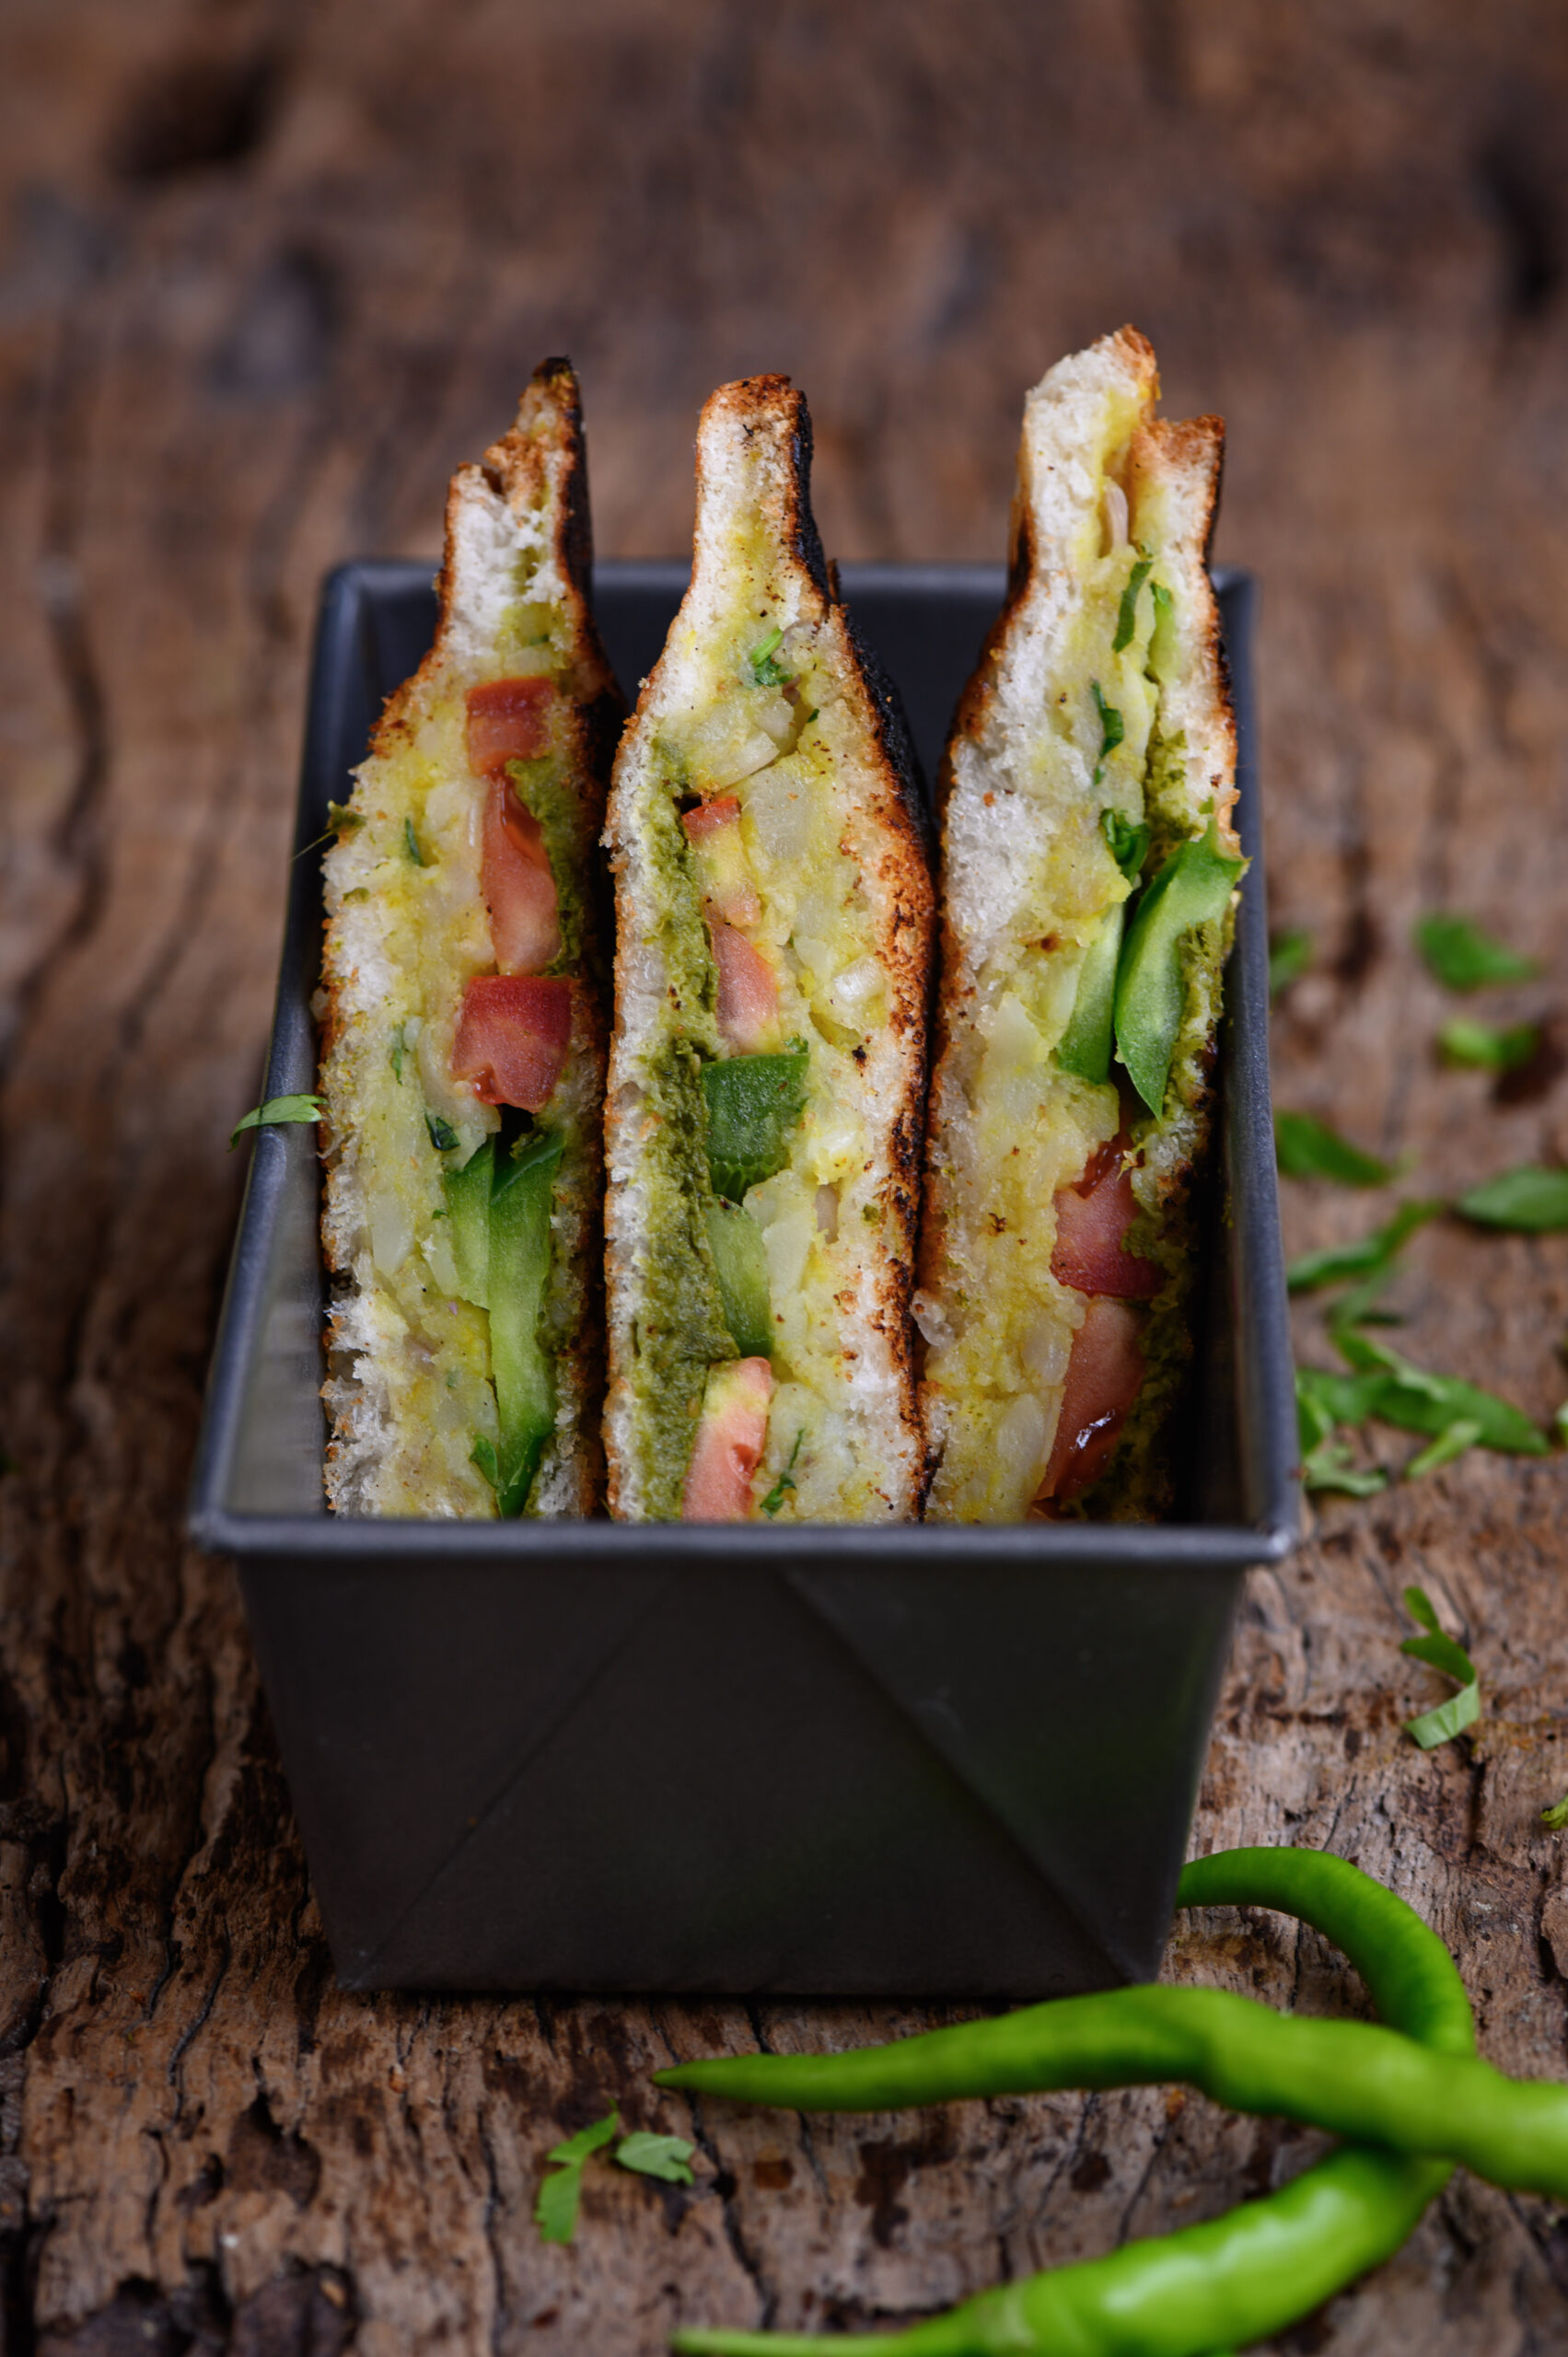
My husband is from Mumbai and if you asked him what the one thing he misses the most about the city is, he would probably say that it’s a type of street food available on practically every corner there. Its presence is so ubiquitous that it is even named the Bombay sandwich. Every visit back will find him at a sandwich stall, buying his favourite food and devouring it immediately by the side of the road. Even back home in Chennai, whenever we frequent neighbourhoods like Sowcarpet and Vepery, which have migrant populations who brought their cuisines with them, he simply has to make a stop for a snack. For myself, however, I’ve always preferred a homemade Bombay toast instead.

Bombay toast is essentially the toasted version of the Bombay sandwich. Whereas the soft sandwich is flavoured with a spiced chutney, the crispy toast has the spices mixed into the potato filling. Although peas, paneer and other ingredients may be used instead, potato is the most popular as it’s a binding agent. Arguably, it’s also the most delicious filling. Street vendors will ask you whether you want the Bombay sandwich or the Bombay toast, and prepare your order on the spot. Slices of cucumber and tomato are used in both, and they’ll top it all up with a red sauce. While it looks like ketchup, it is in fact a pumpkin-based condiment that’s cheaper to produce or buy.

During my own childhood visits to Mumbai, it was chaat that was always more interesting to me, whereas Bombay toast was something that tasted better when enjoyed at home. It’s said that there’s an attractive quality to street food that makes it seem like no matter what higher quality ingredient you use at home, you just can’t replicate the taste. This just doesn’t hold true for me when it comes to Bombay toast, however. Whether it’s on a street corner in Mumbai or at a stall in Chennai’s Gee Gee Minar, what I’ve tasted has never come close to what my mother would make at home. It was a frequent after-school snack for us because it’s a perfect leftovers-based recipe. Whenever there was some potato remaining from a meal, it could go right into this simple dish. It was as equally relished then as the fresh ones I make today are.

When I was growing up, many homes had a handheld sandwich toaster. You simply placed a slice of bread on one side, added your toppings, covered the first slice with a second thickly-buttered one, and turned the toaster on. It was incredibly easy to prepare these sandwiches quickly, and I loved them eating hot and crispy. I still like to use these old toasters, making sandwiches with a variety of chutneys and cheeses. I like that old world charm of using an appliance that is hardly around anymore. Also, not only is it faster than the new electrical toasters, but you can also control the amount of heat used so that you achieve the precise amount of crispiness you desire.

While customarily a snack, Bombay toast also makes for a good, filling breakfast. I often load a platter these days with an assortment of toppings so that my family can make their own versions of it. Still, nostalgia for this dish as my mother would prepare it makes me want to share her simple, no-frills version, using a spicy potato and peas mash. As it happens, peas are currently in season. And who doesn’t love potatoes, right? Bombay toast fulfills the criteria of providing a carb boost, satisfying a quick craving, and even helping fulfill some of your daily quota of vegetables.

Bombay Toast

(Yield: 3-4 sandwiches)


Mint chutney

1 cup coriander leaves

½ cup mint leaves

2 tablespoons dry roasted chickpeas

1 green chilli

Salt to taste

2 teaspoons lemon juice

2 tablespoons water


Potato filling

1 cup boiled mashed potato

¼ cup finely chopped coriander leaves

2 tablespoons finely sliced onions

Salt to taste

A pinch of turmeric

½ teaspoon chaat masala

½ teaspoon aamchur powder


Slices of tomato

6 slices of bread

Grated cheese

Butter to grease


For the mint chutney, mix all the ingredients together in a blender. Use enough water to make sure the mixture is of a paste-like consistency. Set aside.

In a bowl, add all the ingredients for the potato filling. Mash them all together by hand until all the spices have blended in and you have a coarse mixture. This filling can also be used to make samosas and kachoris.

Following this, you are ready to assemble and then toast the sandwiches.

Place the slices of bread on a board. On half of the slices, apply the mint chutney. On the remaining slices, evenly spread the potato mixture, making sure it reaches all the corners. Now, place the tomato slices over the slices containing the potato mixture. Add the grated cheese as desired. This is a straightforward recipe, but you can play with different variants. For example, you may add sliced onions, cucumber or jalapeños onto the toast, depending on your taste. Bell peppers will also add more spice. You may also wish to make it a healthier snack by adding finely chopped broccoli or other green vegetables.

Once you’ve spread out the filling and topped it, cover it with the other slice, which contains only the mint chutney. Grease both outer sides of this covered sandwich.

Place each sandwich separately in the toaster and allow to cook until golden or well done.

Loaded with flavours and textures, your Bombay toast is ready to be served hot, and I’m sure you’ll find that it hits just the spot. If you’re a fan of street food and want to make more of it yourself, you may also enjoy my recipes for green moong bhel and sundal. I’m curious to know: do you find that street food is unbeatable in its natural environment, or are some street food classics even better when made and relished at home? Let me know in the comments!