Tag

easy cooking

Browsing

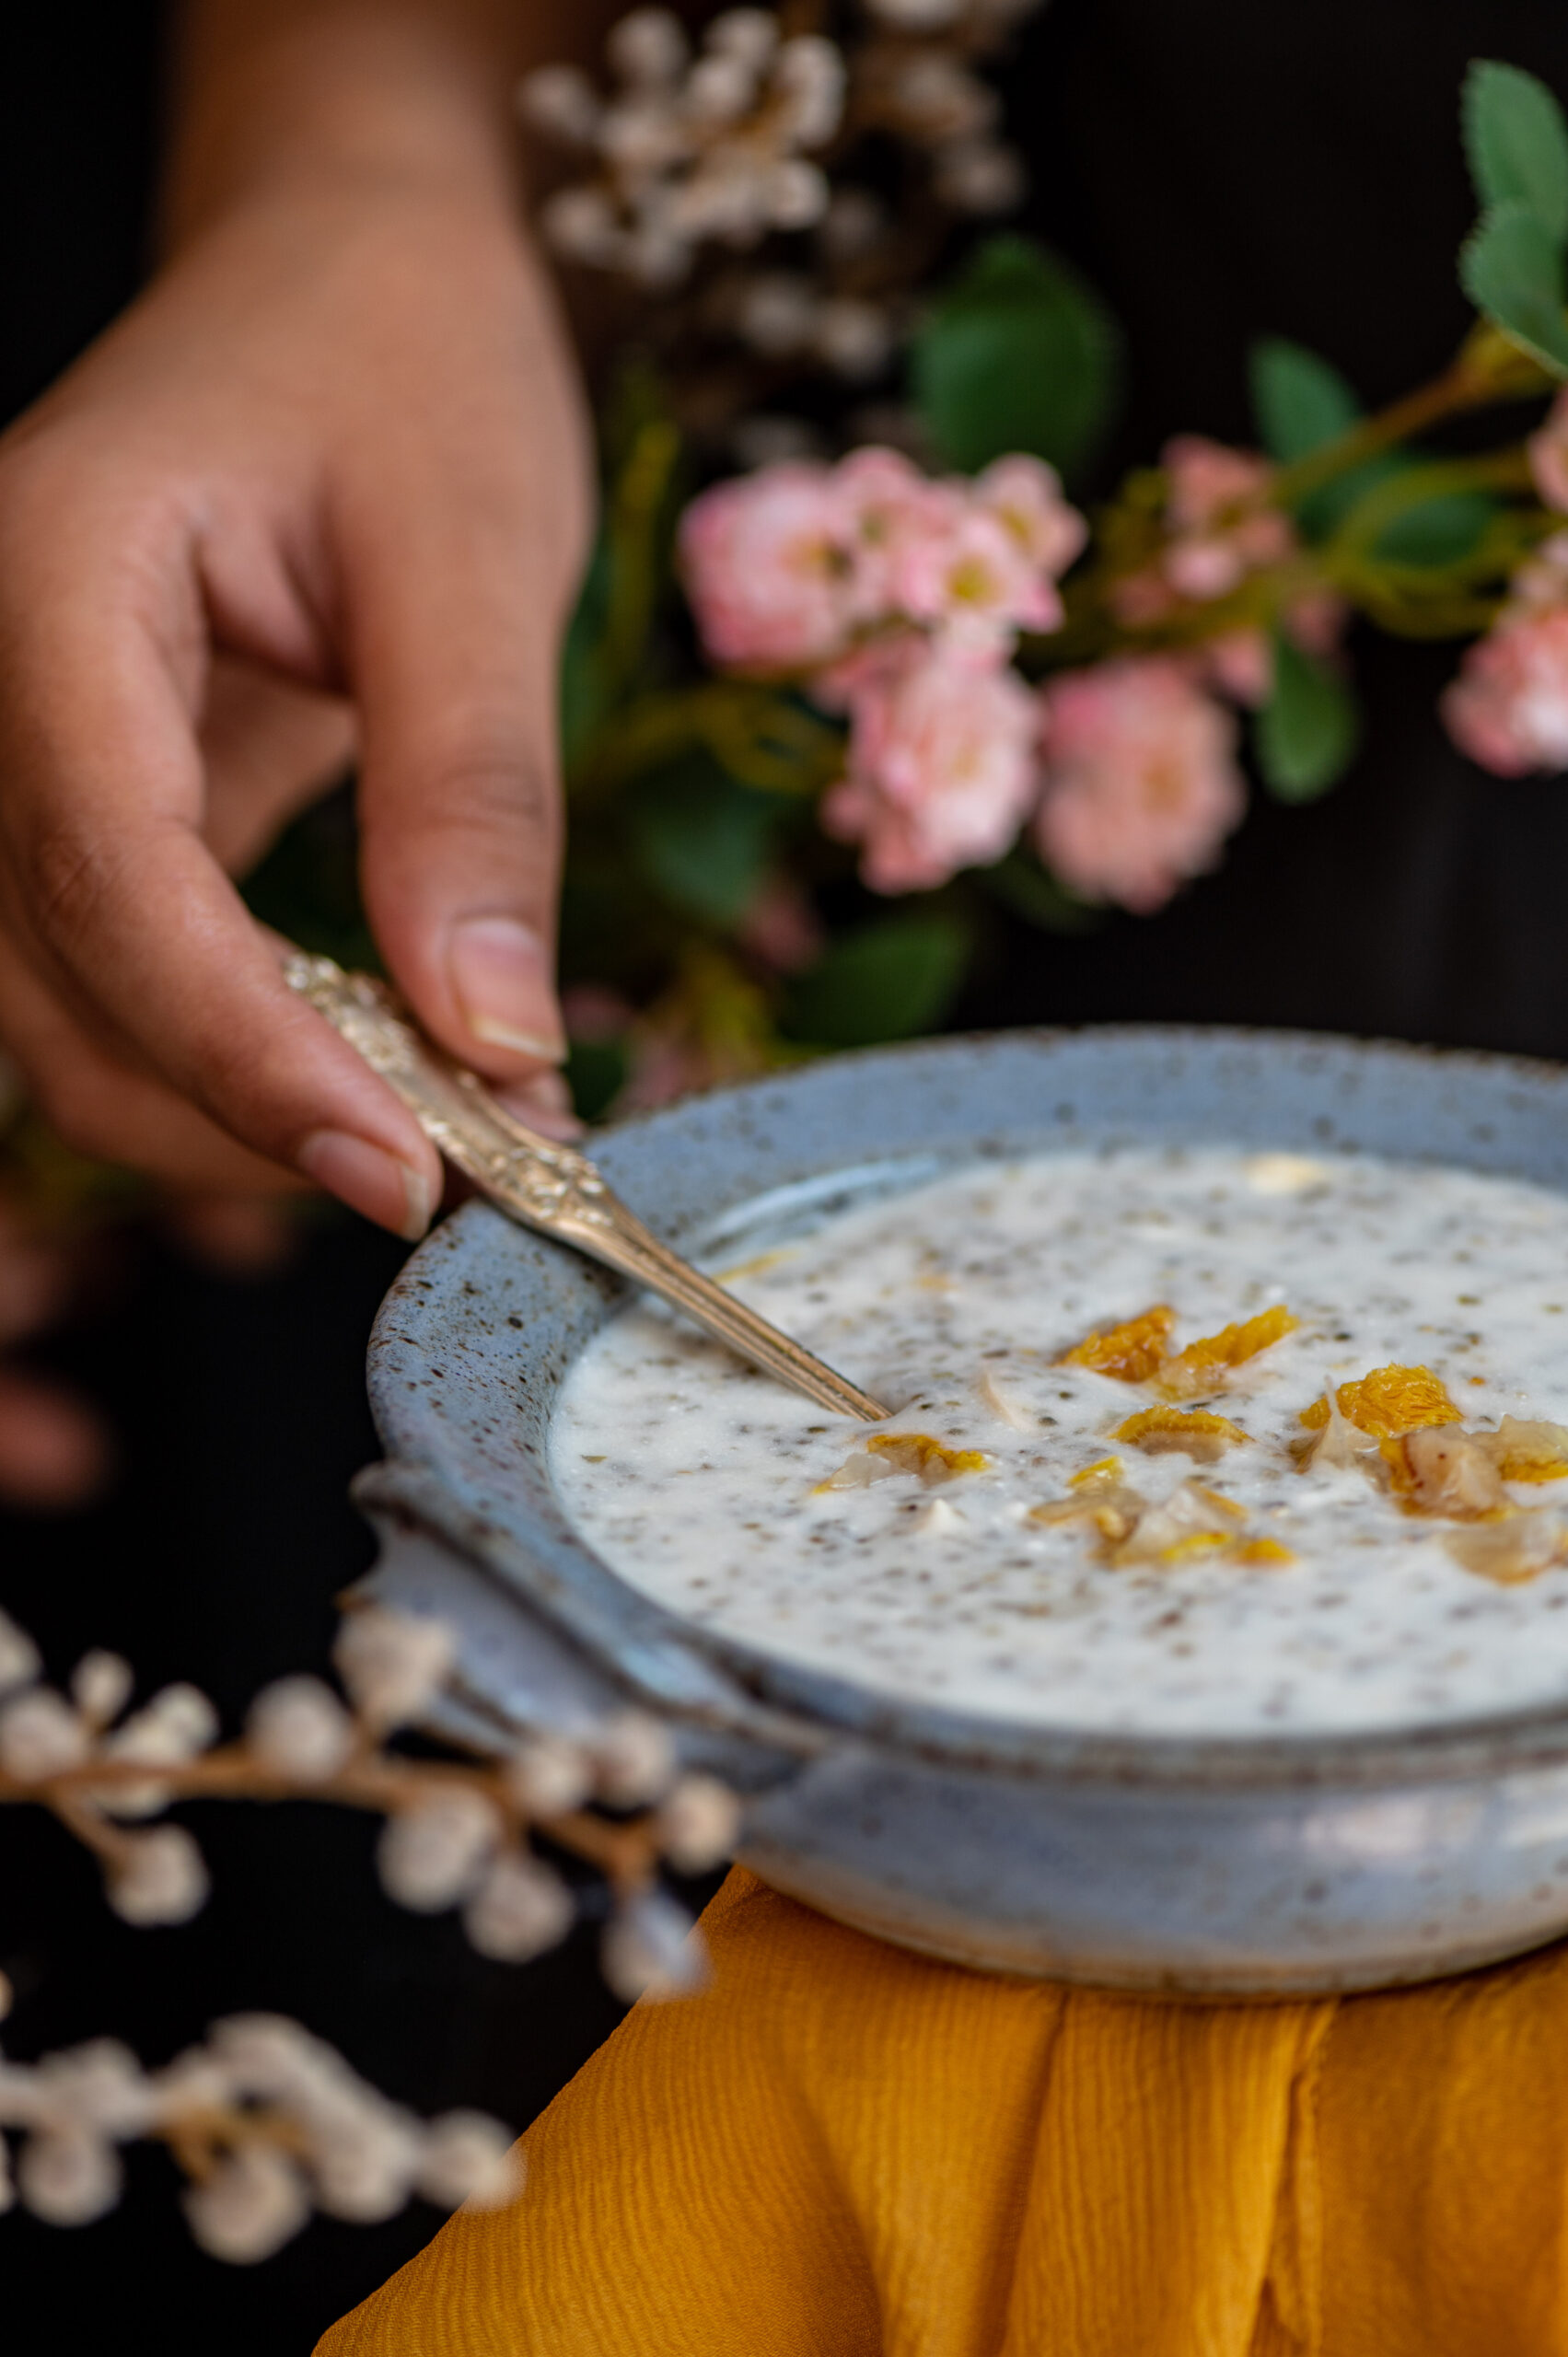
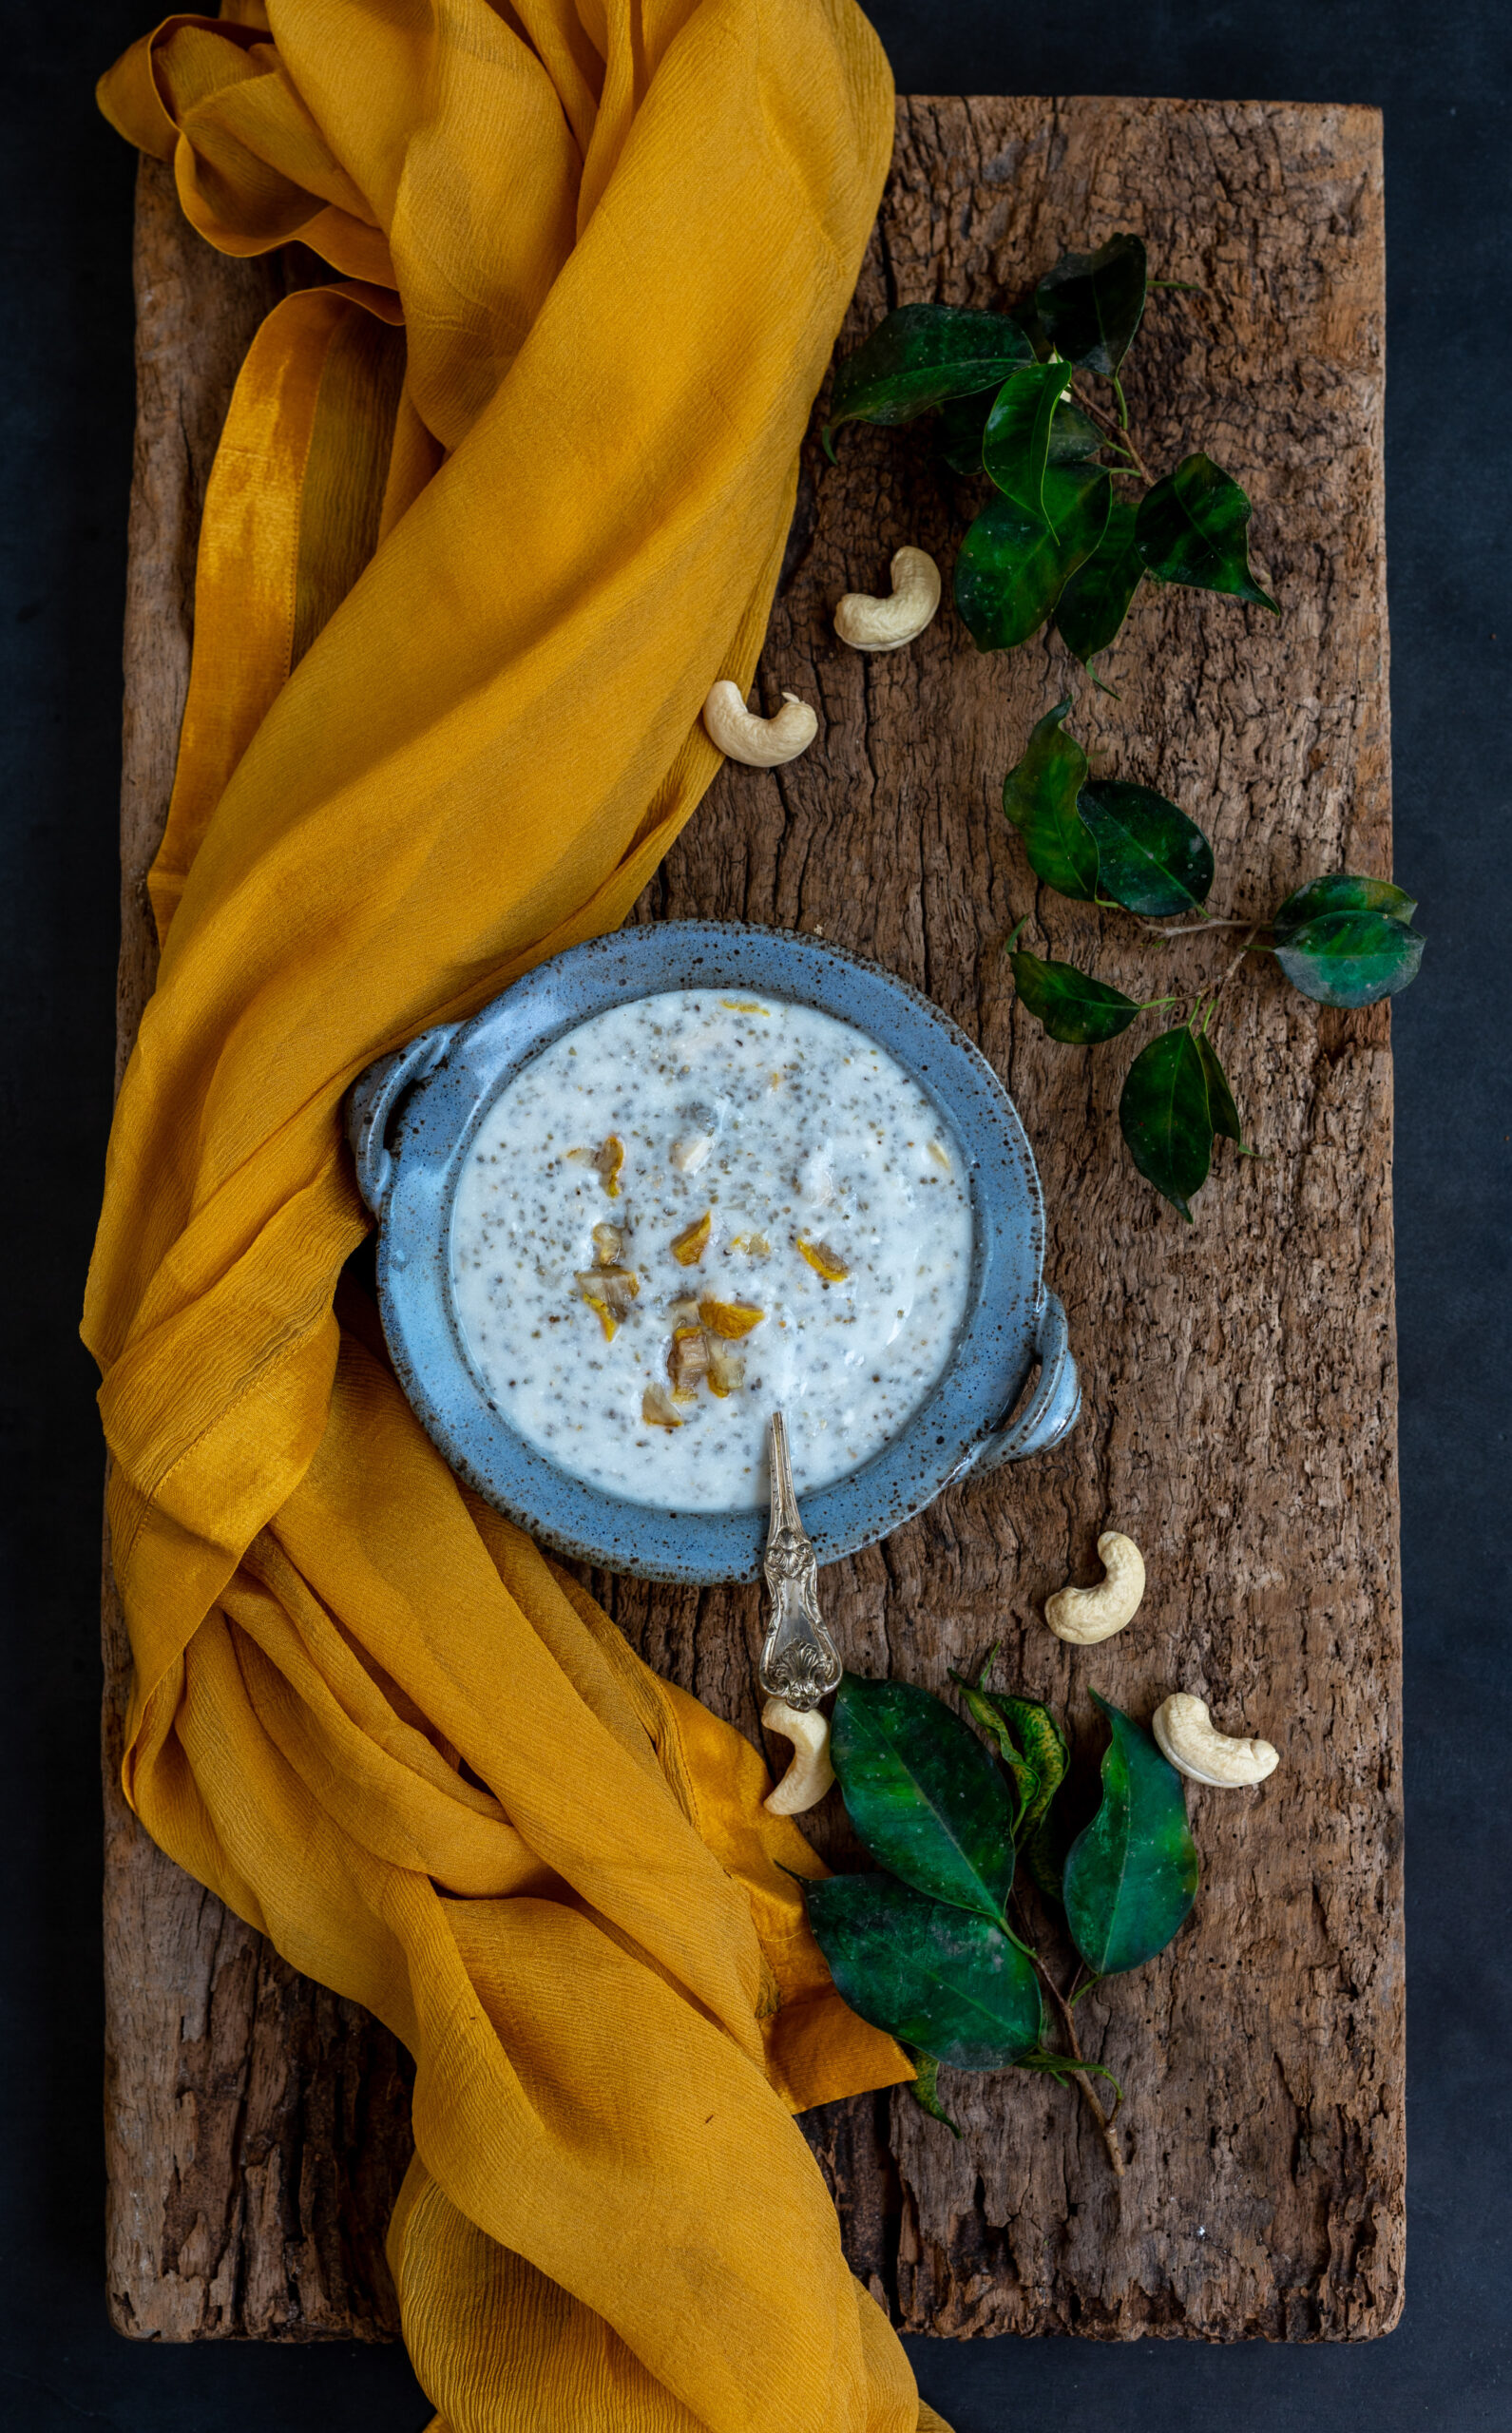
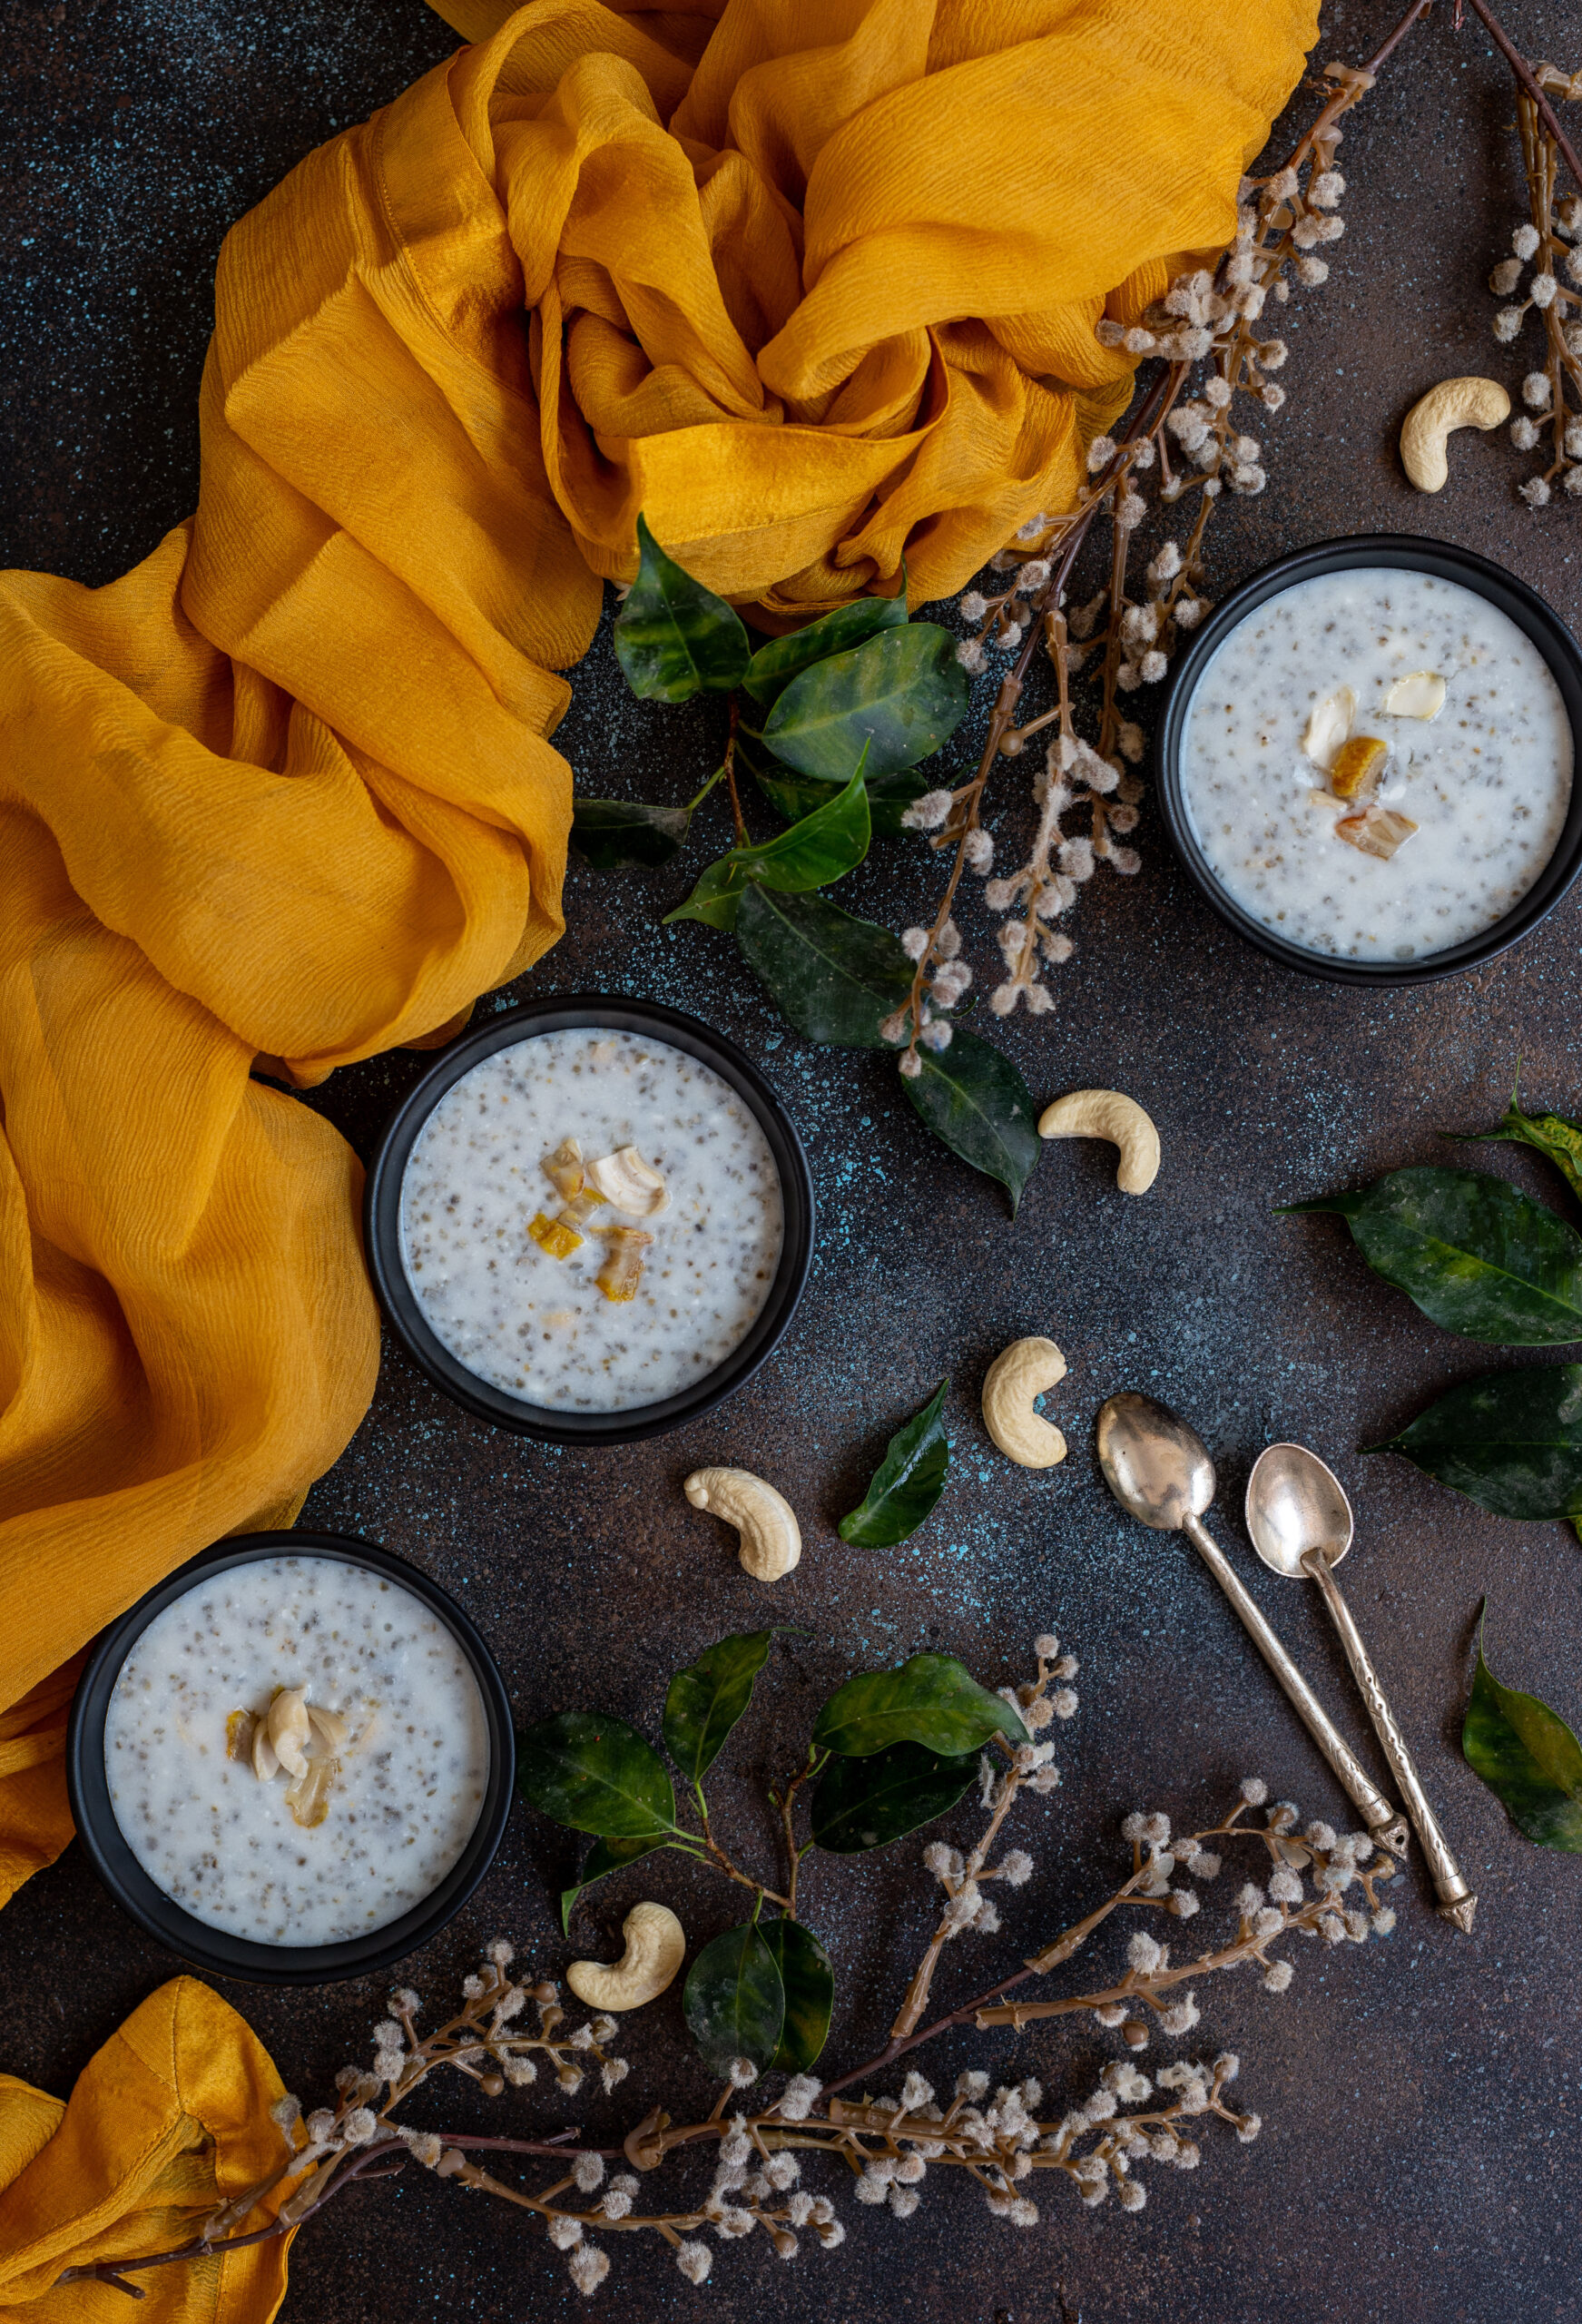
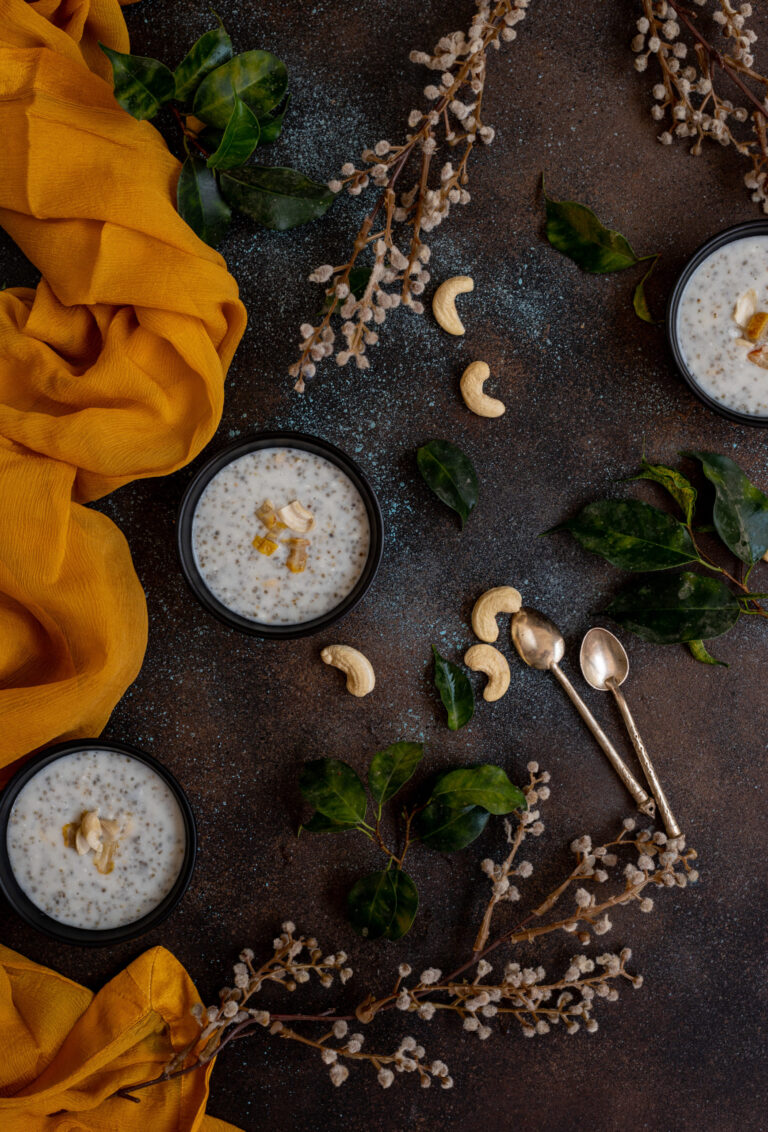
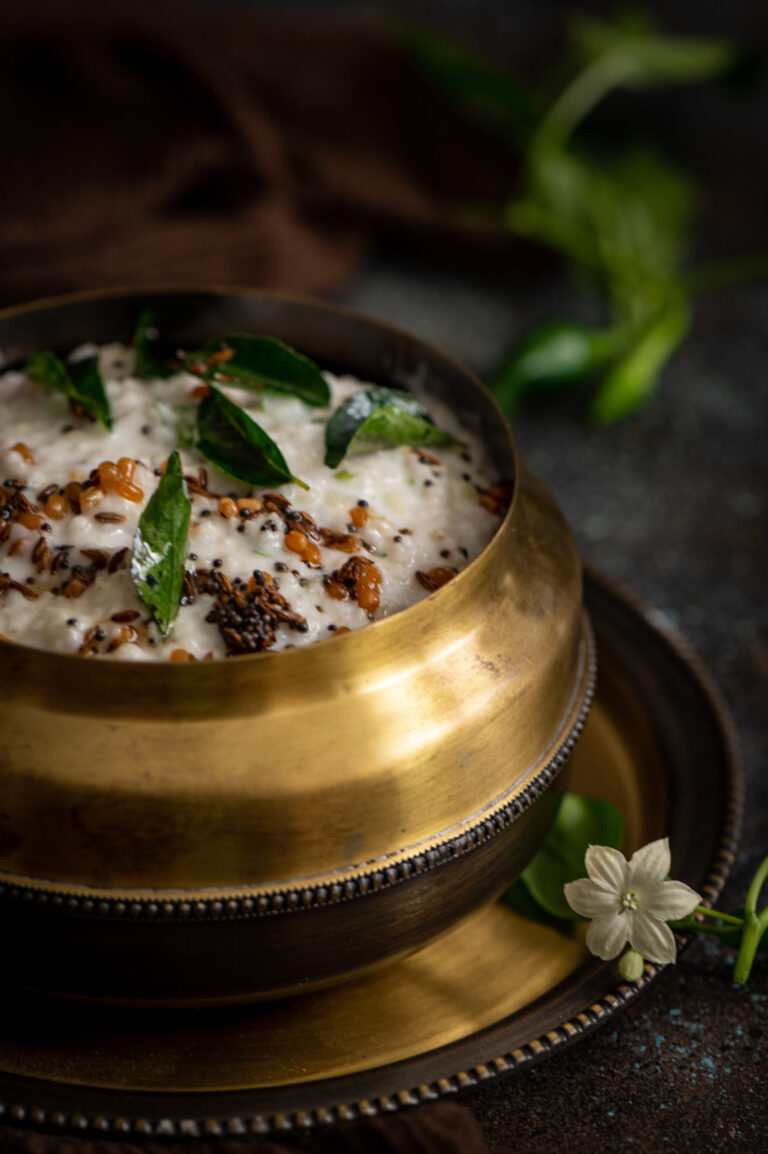
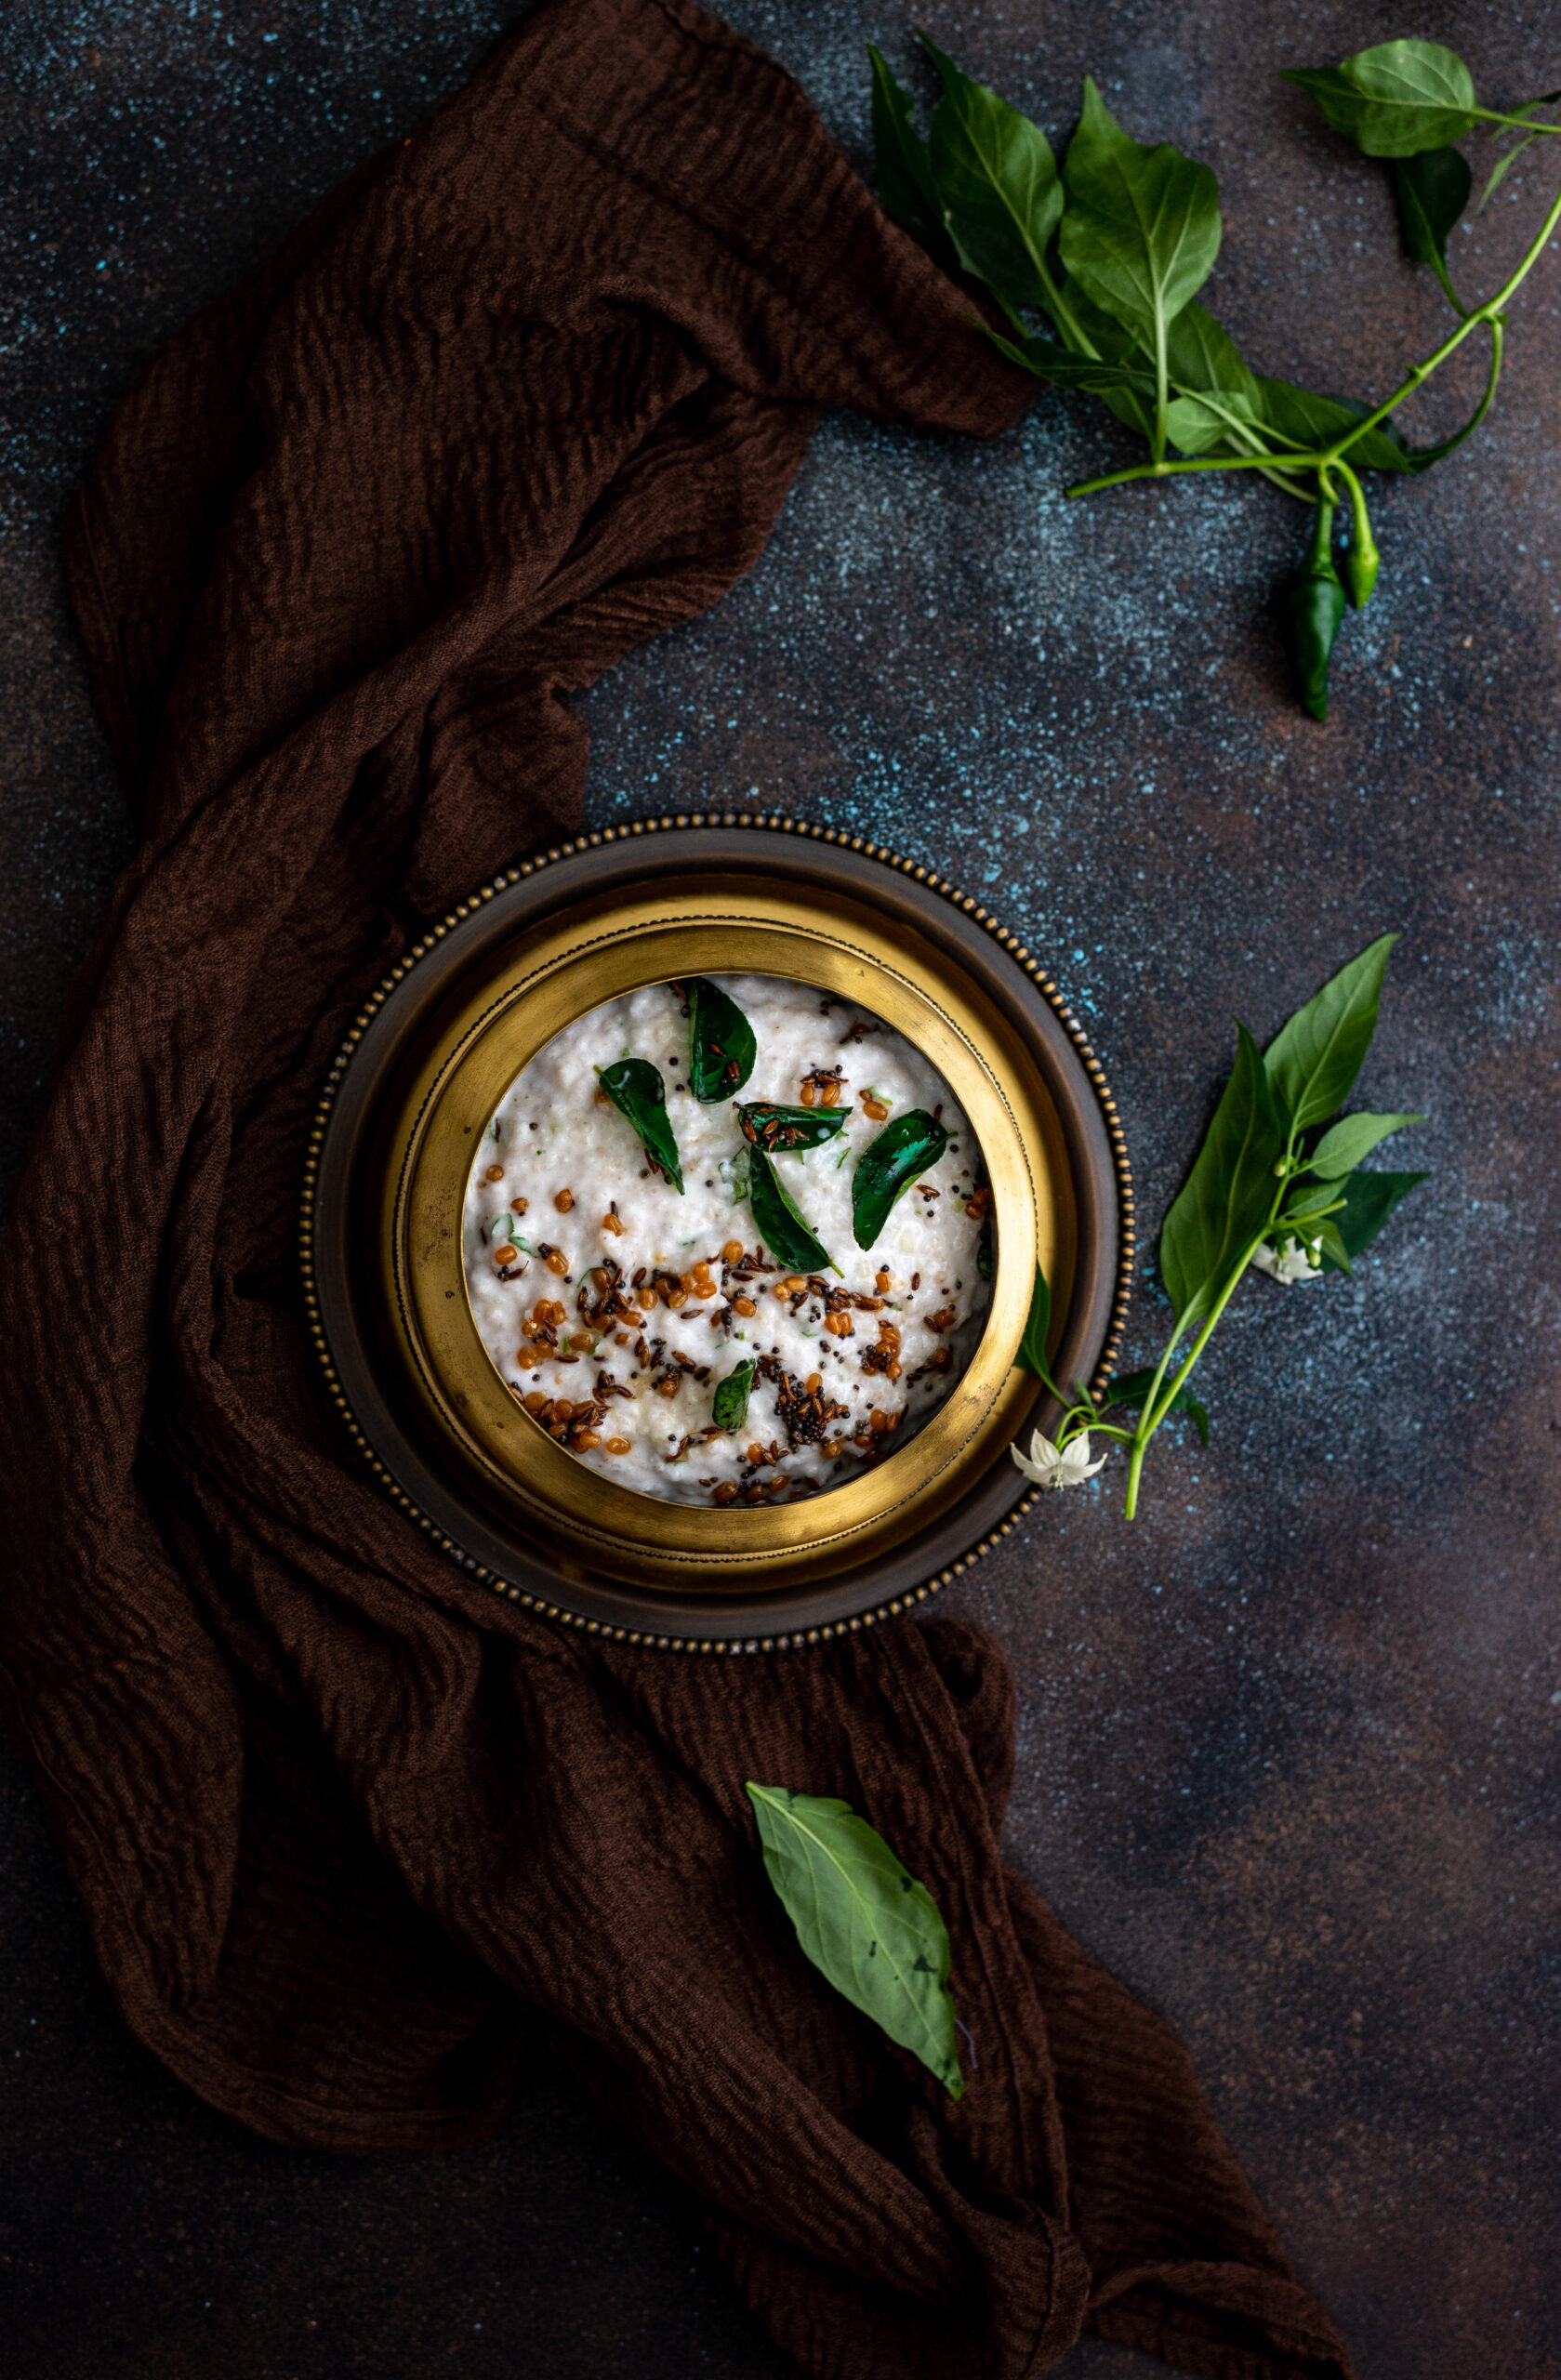
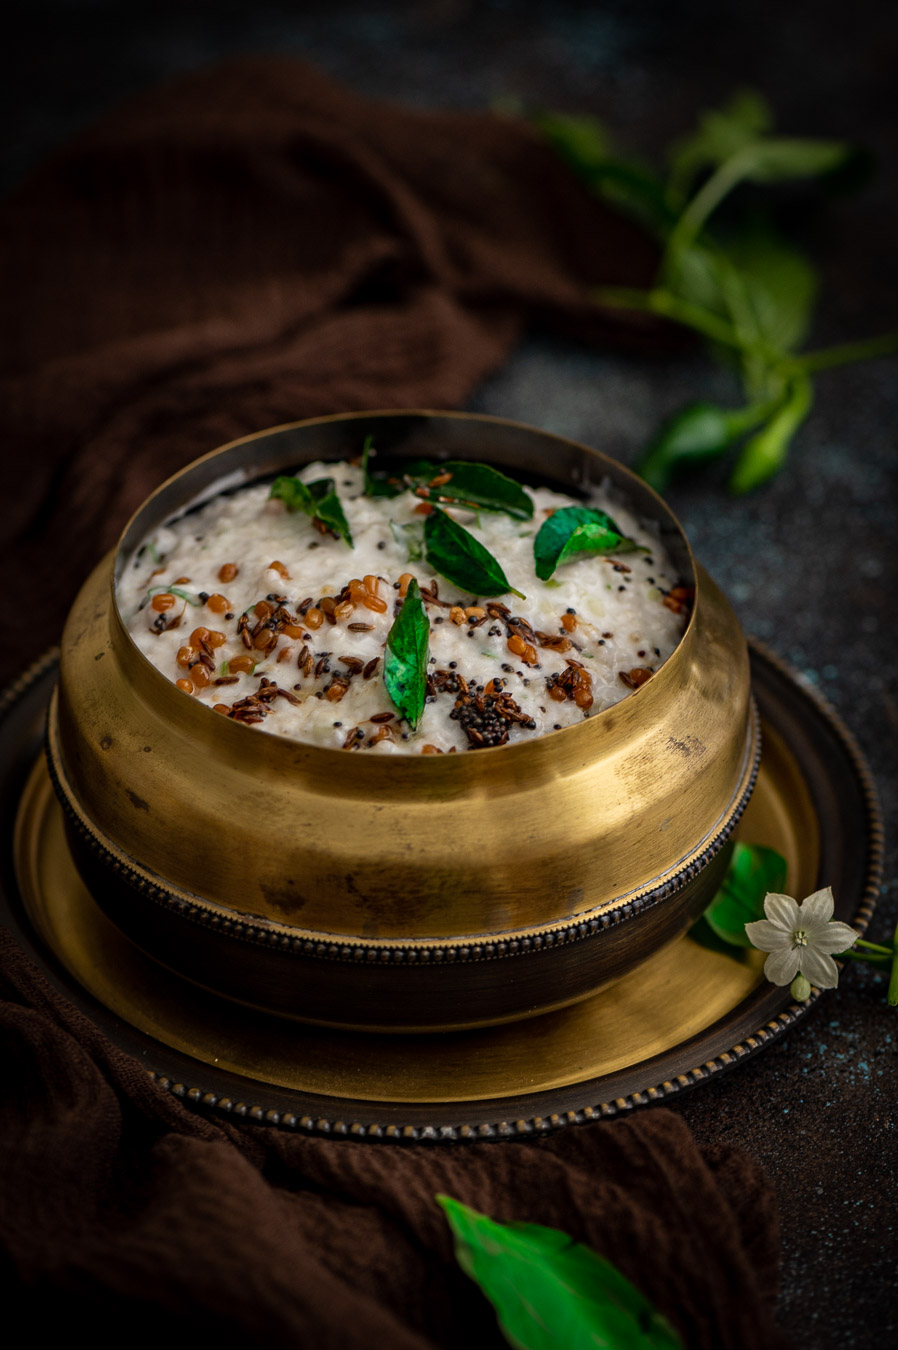
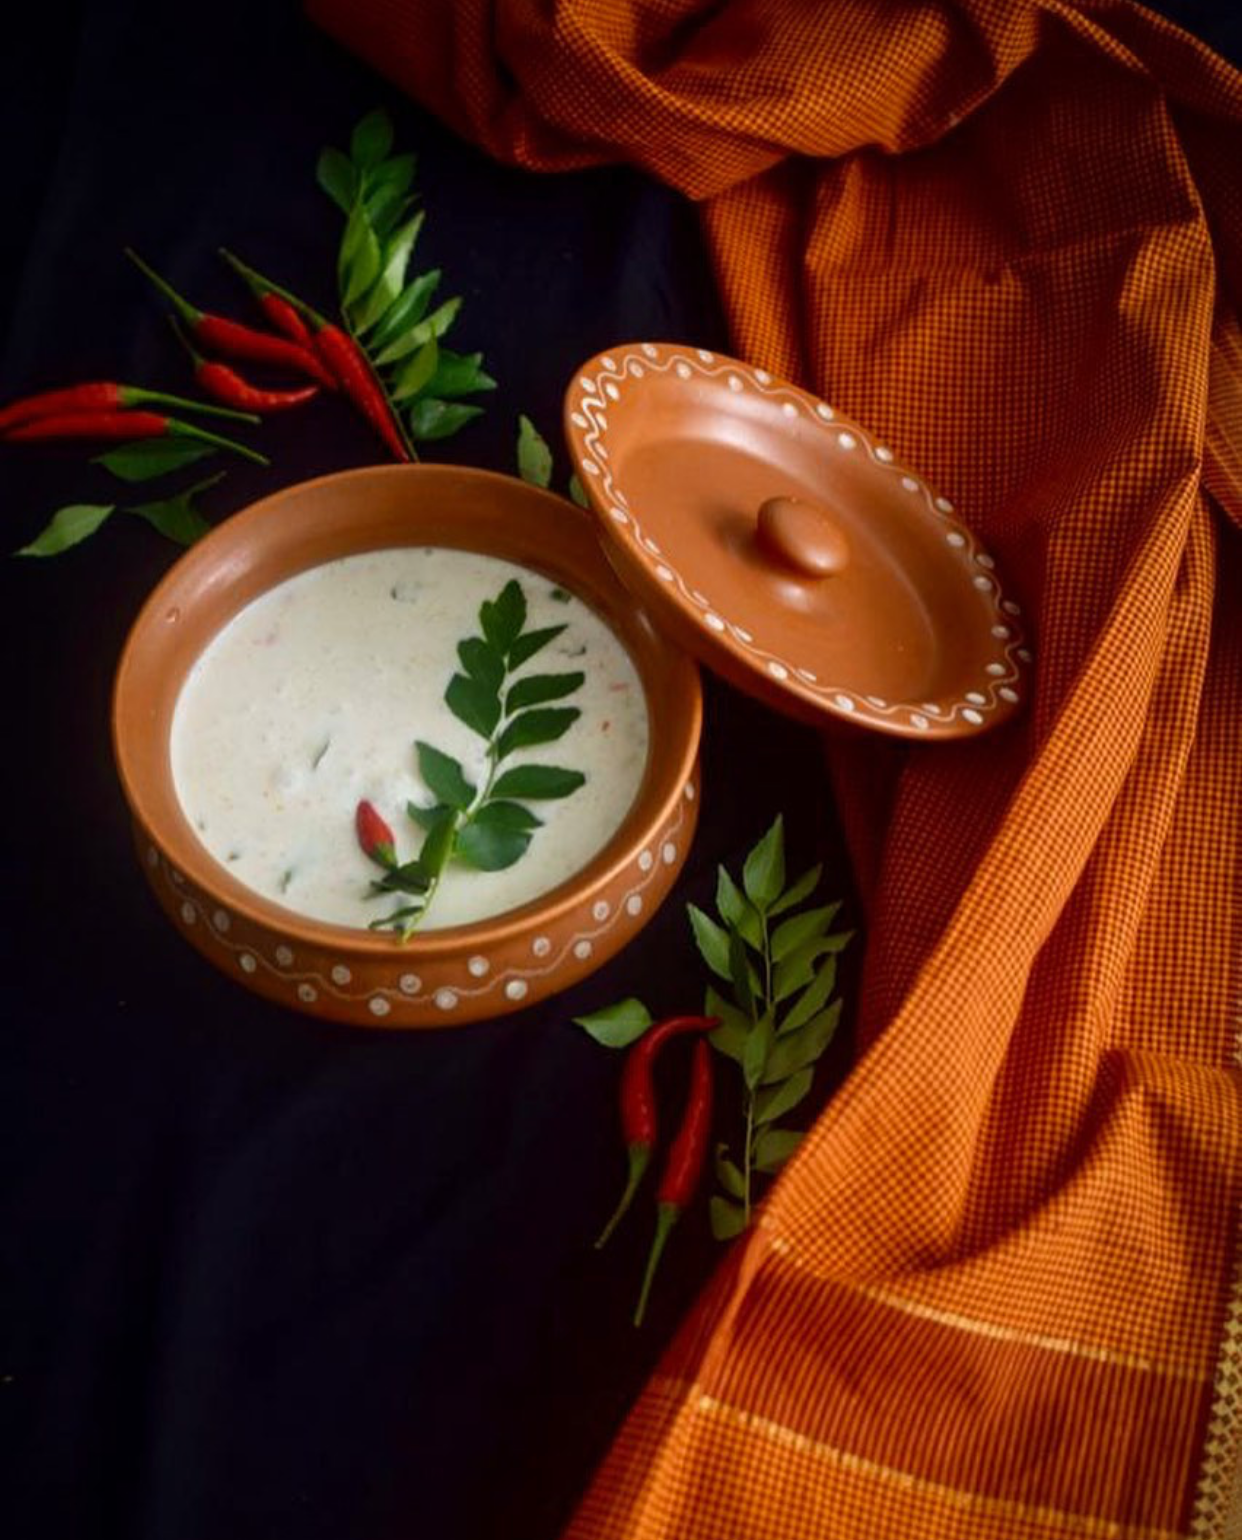
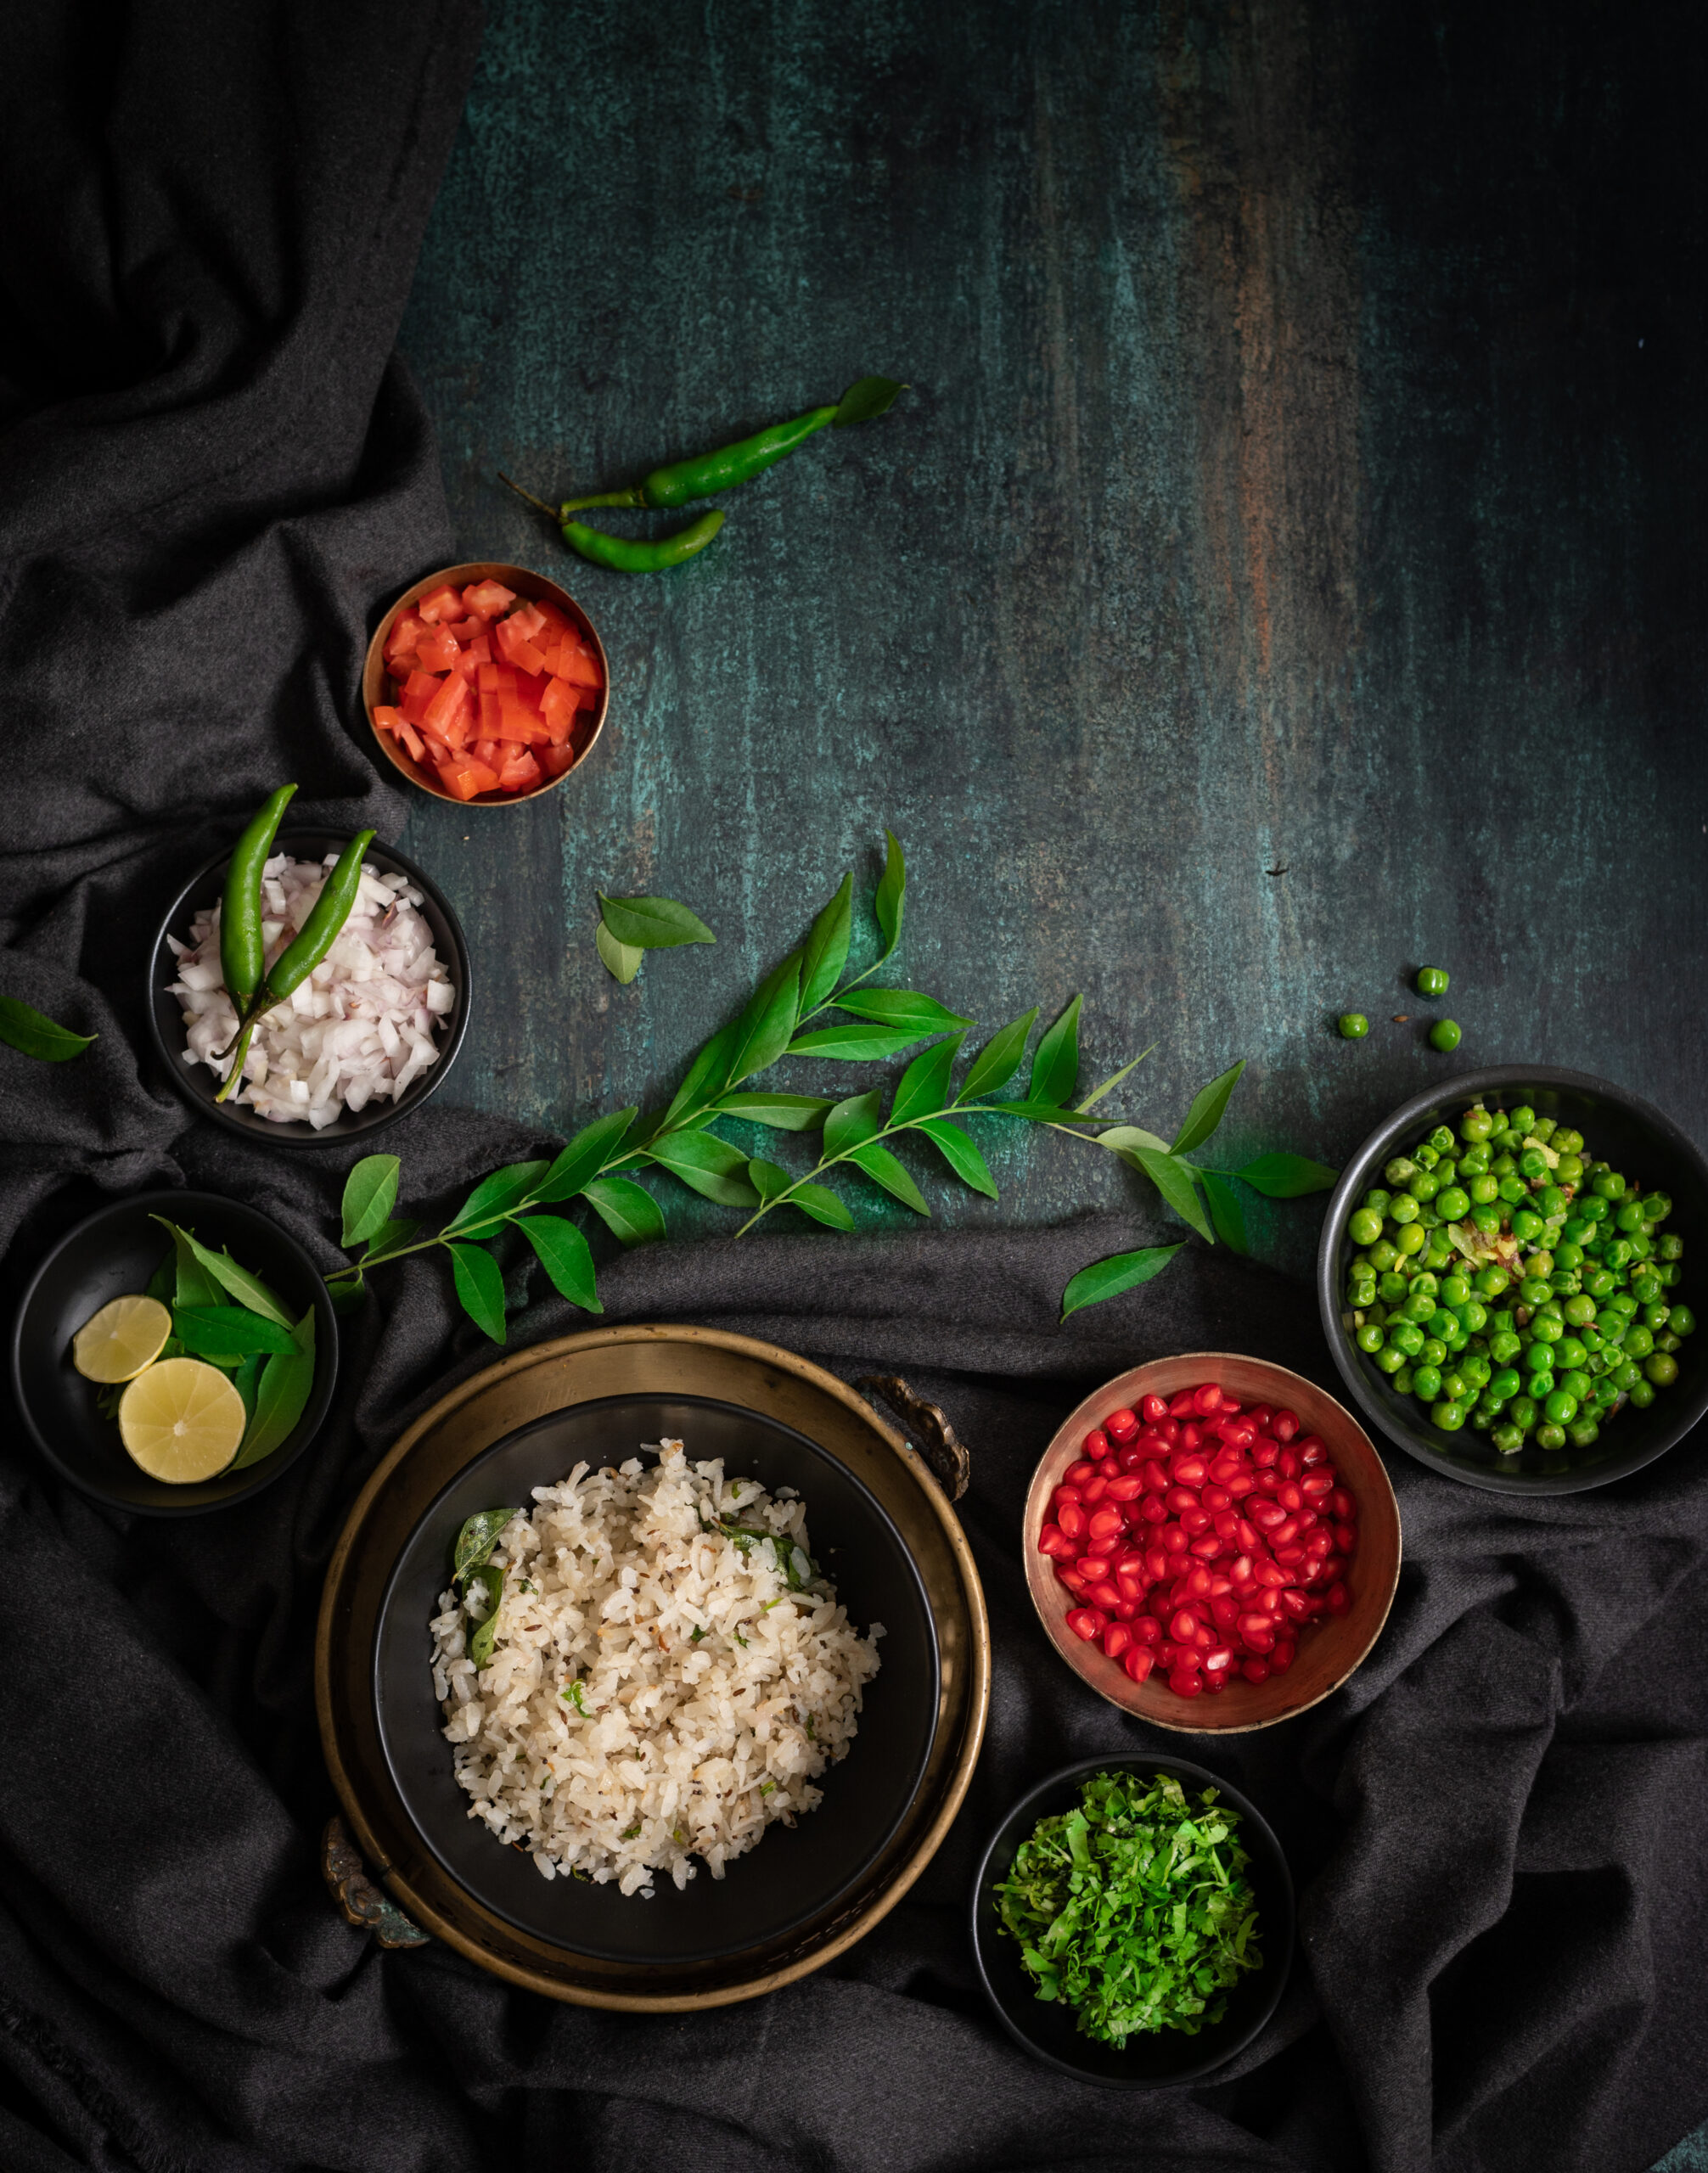
Thayirsadam is a typically Tamil dish, and translates literally to “curd rice”. It is exquisitely simple and accessible food, which is why it is eaten here on practically a daily basis at households of every background. Even though we are Gujaratis, as lifelong Chennaiites, it is also a go-to in our home. It’s among the comfort foods we reach for whenever we feel down, or when we come back tired from a long trip. It’s also ideal for the day after late night parties, when not much has been prepped for the day’s meals, other than the homemade yoghurt that we ensure is made nightly without fail.

I’ve spoken many times of my deep love for yoghurt ever since childhood, and of how I used to consume it even by mixing it into upma and in other unconventional combinations. My love for it is something I brought into my new home when I got married, and I made it a staple in this household too. It truly is the ingredient that I find most difficult to give up even as we as a family make further inroads into a vegan lifestyle. For a variety of reasons, ranging from wanting to eating healthier to having doubts about the quality and purity of store-bought milk to being moved by the plight of mistreated dairy cows, we have all been veering towards the vegan way. My struggle to at least consume less yoghurt, even if I can’t quite give it up, has made me explore healthy and conscious alternatives. It’s such an integral part of Indian cuisine that it’s not a matter of finding a simple substitute for one or two recipes. I have to match each replacement to the dish, and see how it fares in that unique combination.

I have also been trying to make vegan yoghurt at home. Many of my experiments have failed, but a few attempts have brought me some degree of success. However, as I have yet to perfect a recipe that I feel I can confidently share with you, I won’t do so for now. My fingers are crossed that a vegan homemade yoghurt recipe will one day be featured on this blog.

So for now, we will stick to store-bought vegan yoghurt. Coconut yoghurt is my preferred one for this dish. I love the flavour: simple, versatile and a little sweet. Coconut also takes on the flavour of whatever you add it to, while retaining its own standalone taste. I add a dash of lemon to it so as to evoke the slight sourness of dairy yoghurt.

In addition to trying to eat vegan more often, I am also going through a phase where I am cutting down carbs, which means white rice is something I avoid. This leads me back to a food category that I’m passionate about: millets. Millets have made many appearances on this blog due to my belief in their importance in terms of good health and eco-sustainability. If you haven’t already enjoyed the following recipes, I hope you’ll check out: my vegan chilli bowl starring kodo millet, Indian vegetable salad starring foxtail millet or some authentic local dishes that showcase how millets have always been eaten in this region, such as chakkara pongal and ragi kanji.

In this dish, I have used kodo millet, also known as “varugu” in Tamil. Millets are fibre-rich, which makes them more filling, as well as good for your digestive system. Kodo millet is a gluten-free alternative to rice that I enjoy as much for its taste as for its benefits in regulating blood sugar and cholesterol levels, and the boost in antioxidants that it gives too. For me, veganism is about healthy eating, and that remains the impetus behind many of my food choices.

I’ve always seen food as a vital component of living in alignment with nature. Many of you know that I also maintain a home garden with various daily ingredients, from lemongrass to coconuts to tomatoes. Green chillies are among them, and as I stepped out of my kitchen to pluck a fresh one for this vegan millet “thayirsadam”, some pretty white flowers on the plant caught my eye. I paused to admire them, and I loved being able to include them in the styling for my photoshoot. How special and gratifying it was, to have my abiding love for all things culinary, my intensifying passion for photography, and my reverent love for nature come together…

Vegan Millet “Thayirsadam”

(Yield: 3-5 cups)

50 grams kodo millet

160 grams coconut yoghurt

¼ cup water

2-3 tablespoons raw mango

1 tablespoon coriander leaves

1 tablespoon chopped cucumber

Salt to taste

A dash of lemon


Tempering:

1 tablespoon oil

¼ teaspoon mustard seeds

¼ teaspoon cumin seeds

1 green chilli finely chopped (optional)

A few curry leaves

Rinse and cook the kodo millet in 3-4 cups of water. This will take about 15 minutes. Allow to cool.

Once cooled, transfer the millet into a bowl. Add the coconut yoghurt, salt and water. Mix thoroughly. Next, add the cucumber, raw mango and coriander leaves. You may include your choice of crunchy ingredients to add more texture and taste to the dish. Sometimes I use pomegranates or grated carrots, either as a substitute for cucumber or along with it.

Now, add the dash of lemon.  Set aside.

For the tempering, heat the oil and then add the mustard and cumin seeds. Once they splutter, add the green chilli and curry leaves and immediately pour over the millet-yoghurt that was set aside.

Stir gently and refrigerate. Serve once slightly cooled again.

And there you have it: thayirsadam with neither thayir (curd) nor sadam (rice)! This vegan curd millet dish truly becomes a filling meal-in-a-bowl once you scoop in a spoonful of pickle on the side, and add a handful of some delicious, crispy banana chips to add more variety to your meal.
By the way, if you are a fan of curd rice in general, may I suggest that you also try my recipe for Gujarati masala curd rice? And if you’re a vegan who is looking for dairy-like but dairy-free desserts, my take on another Gujarati speciality, in the form of this vegan passion fruit shrikand, may be right up your alley!


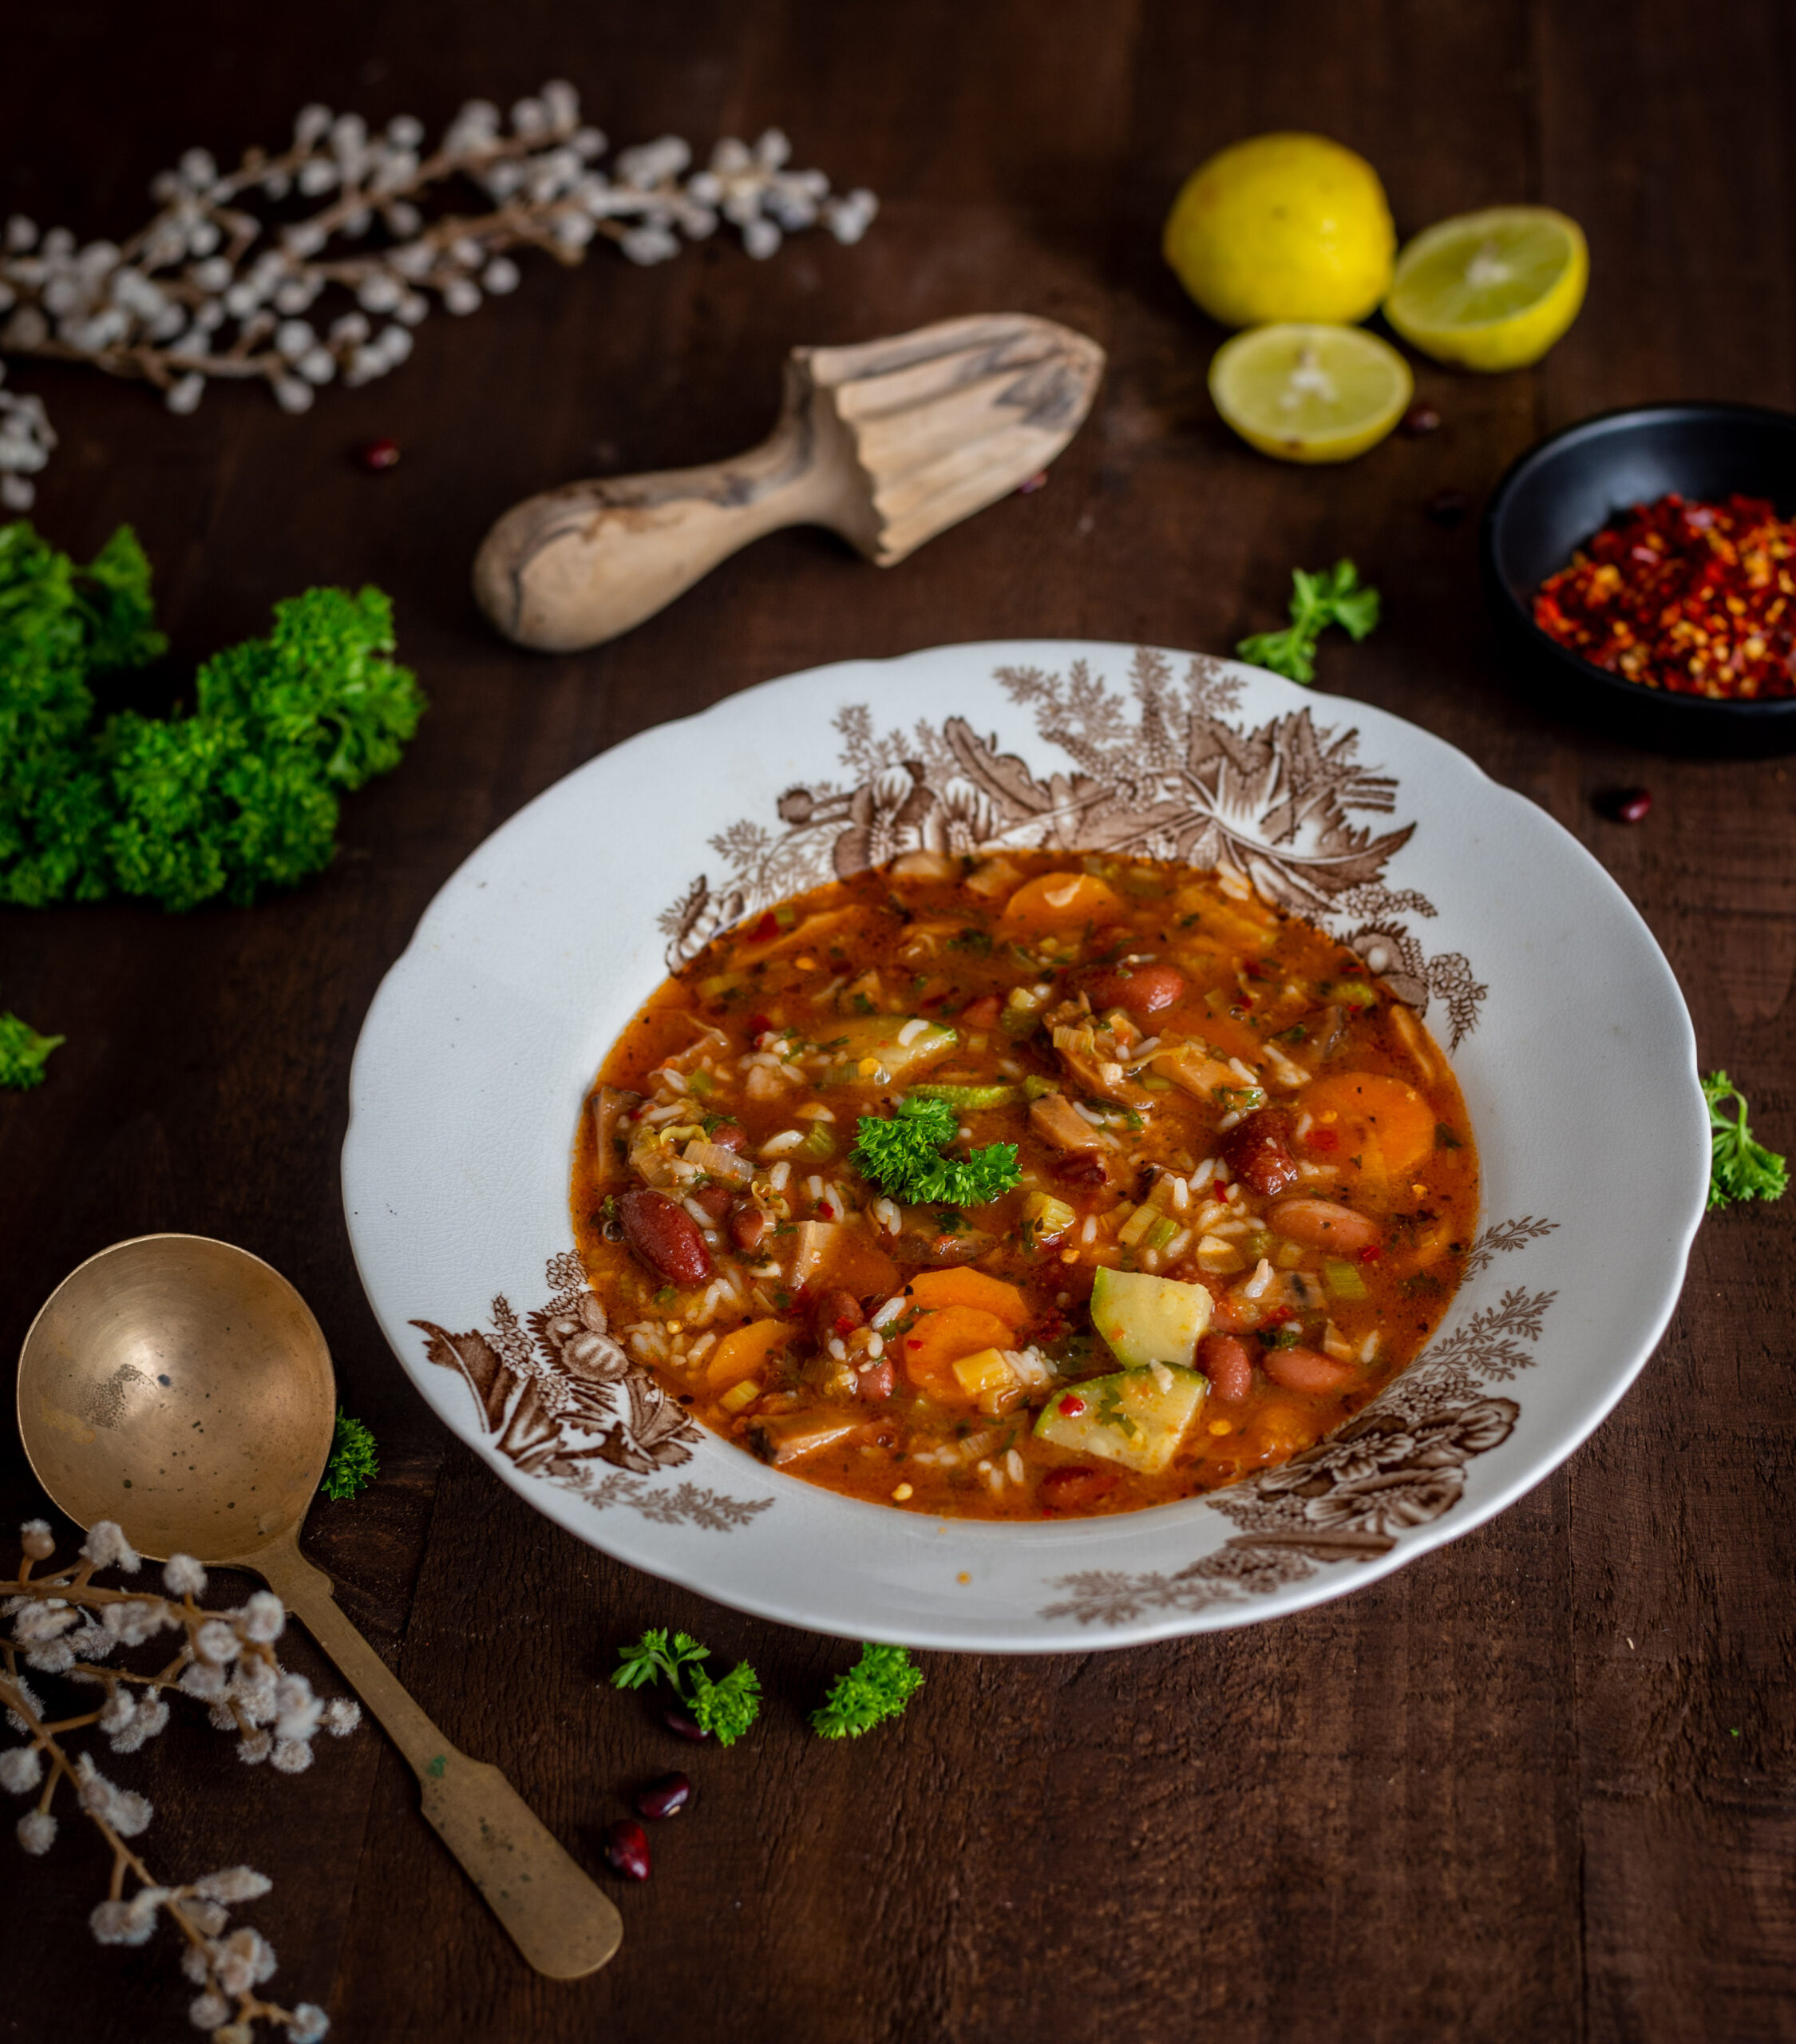
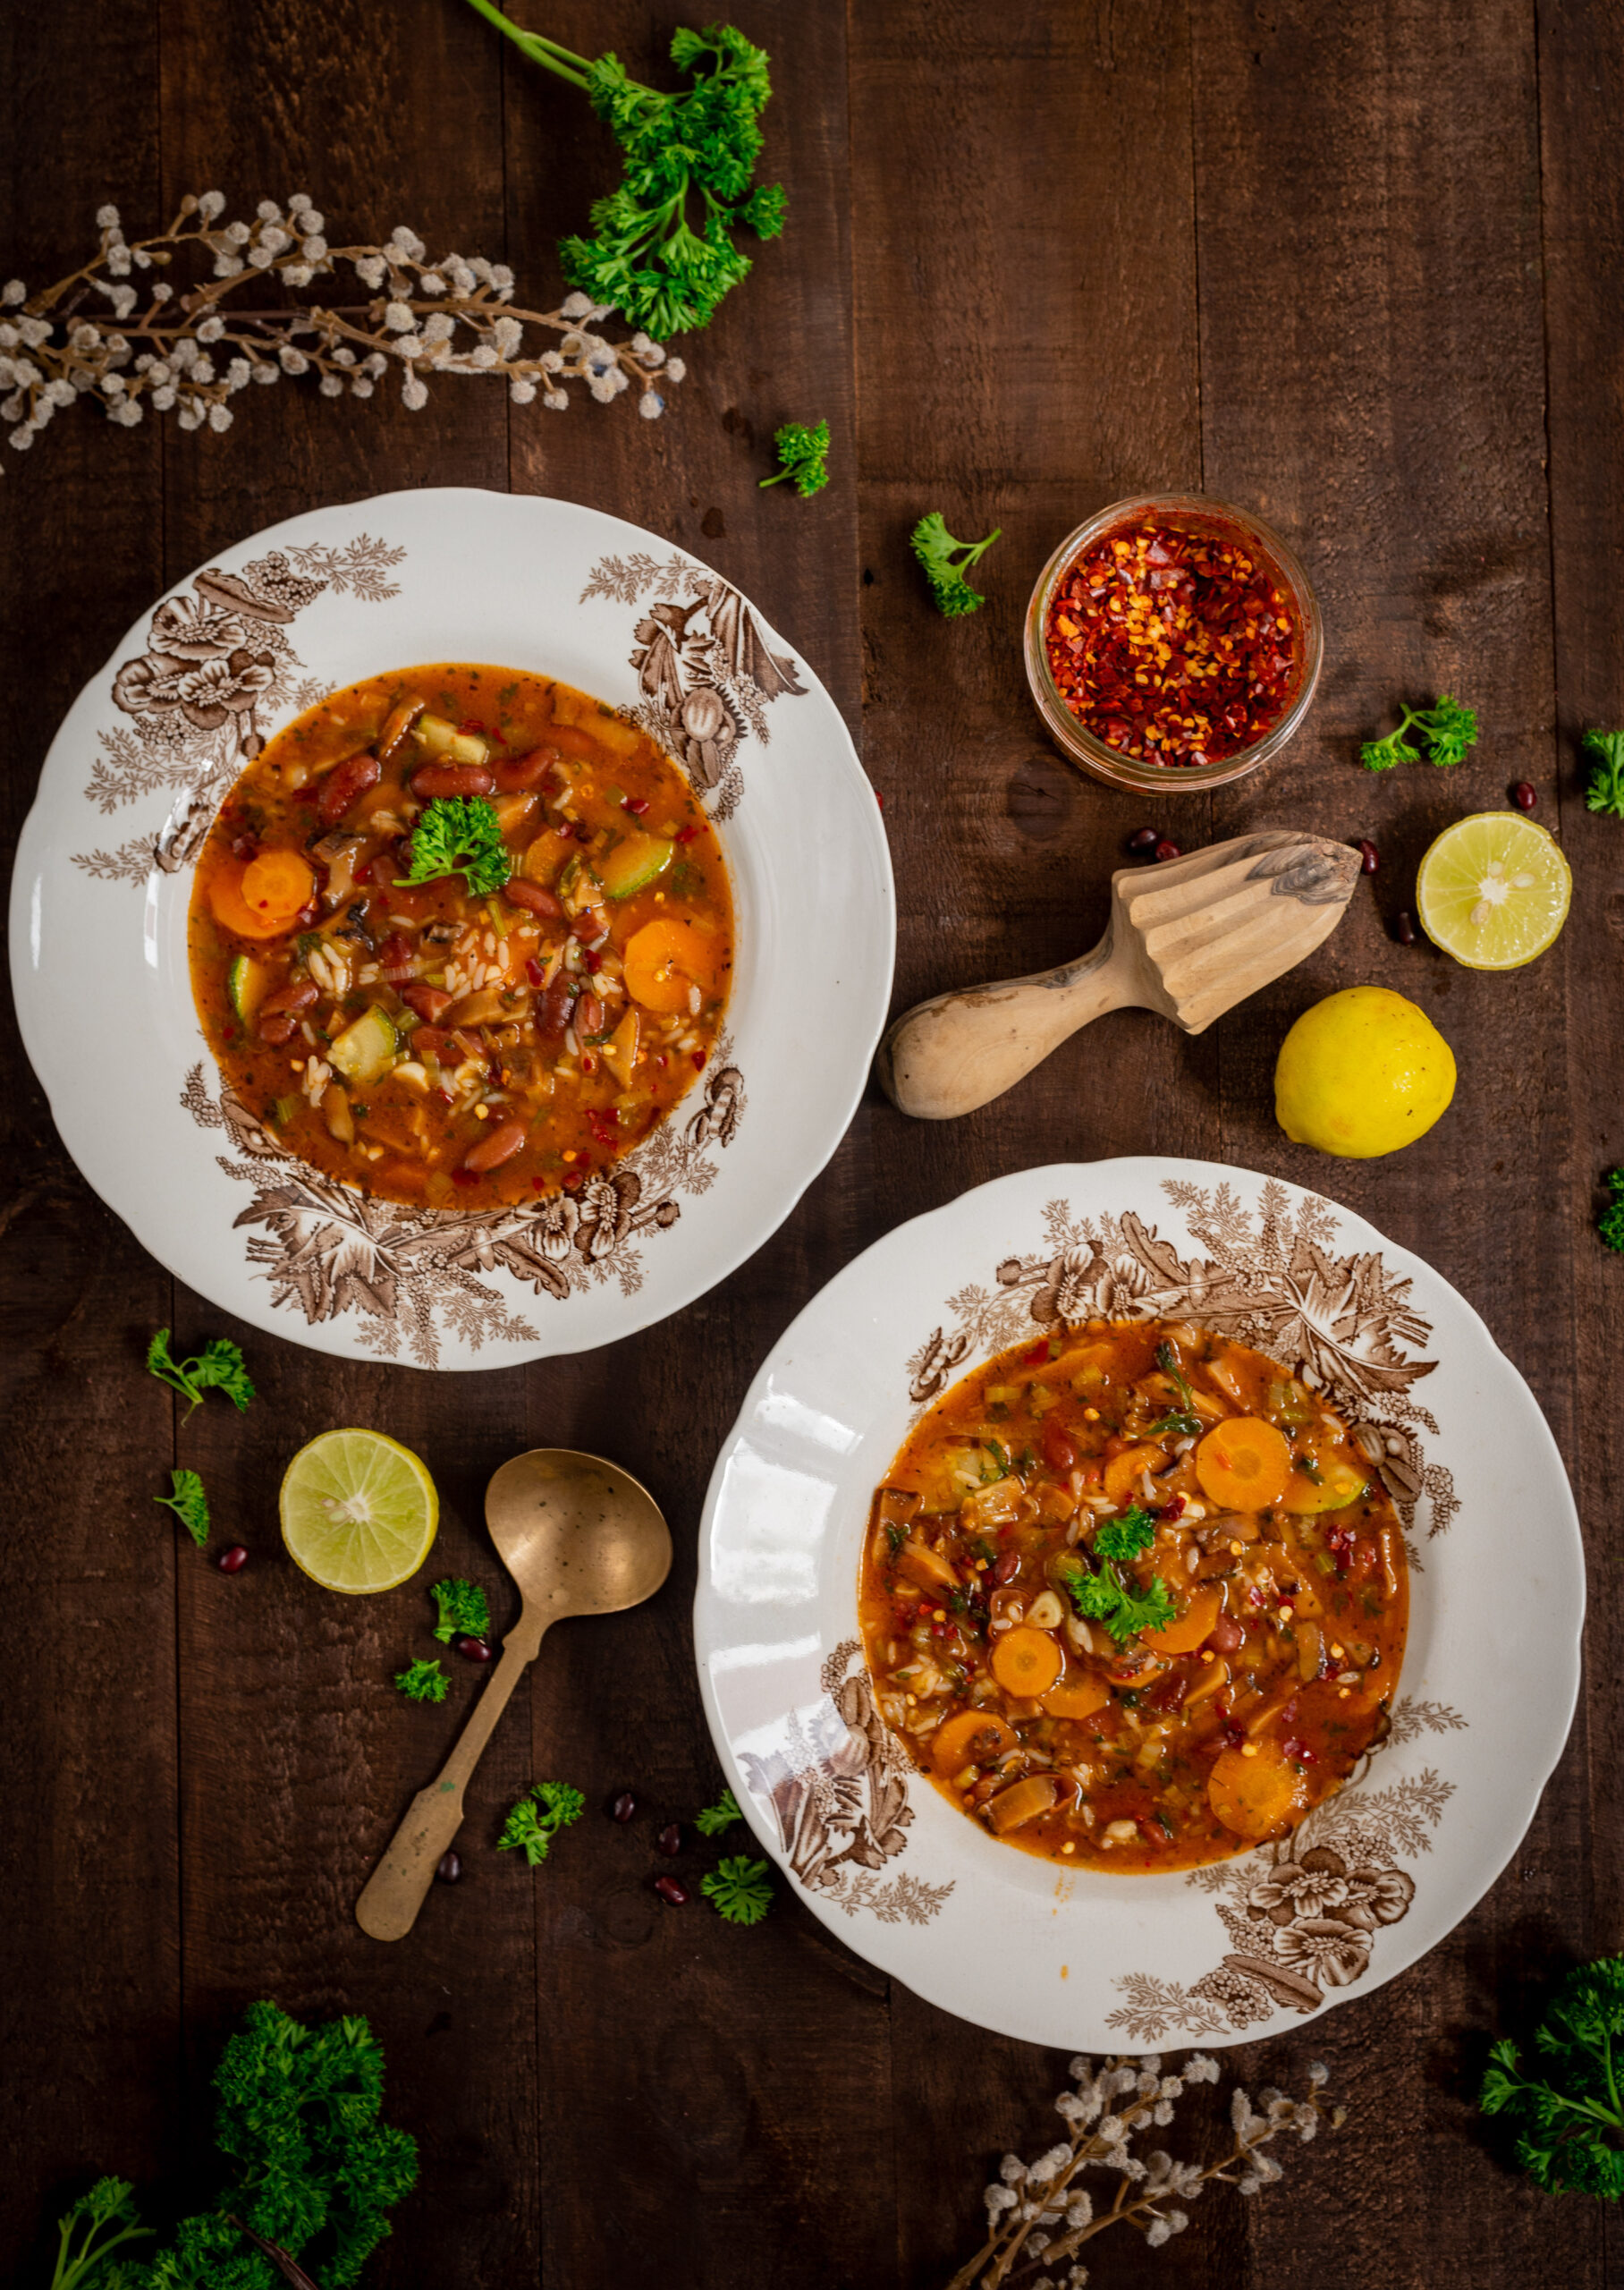
Minestrone is one of my favourite soups of all time, and the recipe was promised to you not once but twice, when I shared this sourdough toast post and this all-purpose tomato purée post some months ago. I think this is the perfect time to give you this one too, as the weather has turned cold even here in Chennai and we could all use a little more warmth.

This simple and nourishing soup is an Italian dish, but one which has changed through the centuries. It is believed that it has ancient origins, from before the Roman empire came into being, and that various trade influences led to more ingredients being incorporated to the base. Knowing that there is no one version of a strictly traditional minestrone makes me confident about sharing my version. It was a dish that I used to enjoy when I travelled abroad, but later started making at home too – a combination of wanting to be more self-sufficient, missing my travel experiences during lockdown, and a little bit of culinary FOMO. I now make it once or twice a week at home. Not only is it a very healthy dish, but it also helps to clear out excess vegetables in the fridge. This means it’s a great way to get the family to eat better. A big bowl of veggie-rich minestrone with some freshly-baked bread is a complete meal in itself. You can make it even more filling by adding quinoa, brown rice or pasta too.

Most minestrones that you may eat in Europe will contain borlotti beans (also known as cranberry beans) as their base, but these were in fact first cultivated in South America. This tells you that they must have been a later addition to the popular recipe, brought in during colonial times. This being the case, I am personally very happy to use any bean I have on hand. Here in India, we have a great variety. At home, we eat a different kind of bean daily – moong, channa and so on – as it suits our mostly vegetarian diets. For this recipe, I’ve chosen to use kidney beans as they are widely available everywhere. You can substitute them for your preferred local bean.

The secret to a great minestrone is in allowing a bit of the rind from Parmesan cheese to simmer in the soup as it cooks, which gives it a nice, nutty flavour. This plus the measured use of white wine retain the European-ness of the dish. Another ingredient that elevates it for me is my homemade tomato purée. A dollop of it makes a huge difference.

I’ve shared this recipe with various friends before, all of whom seem to love it just as much as we do at home. I hope that you will too. It’s very healthy, very tasty, and while it’s no ordinary vegetable soup, it’s just as easy to make.

Minestrone

(Yield: 2 large bowls/2 persons)


20 grams leek

25 grams celery

25 grams spring onions

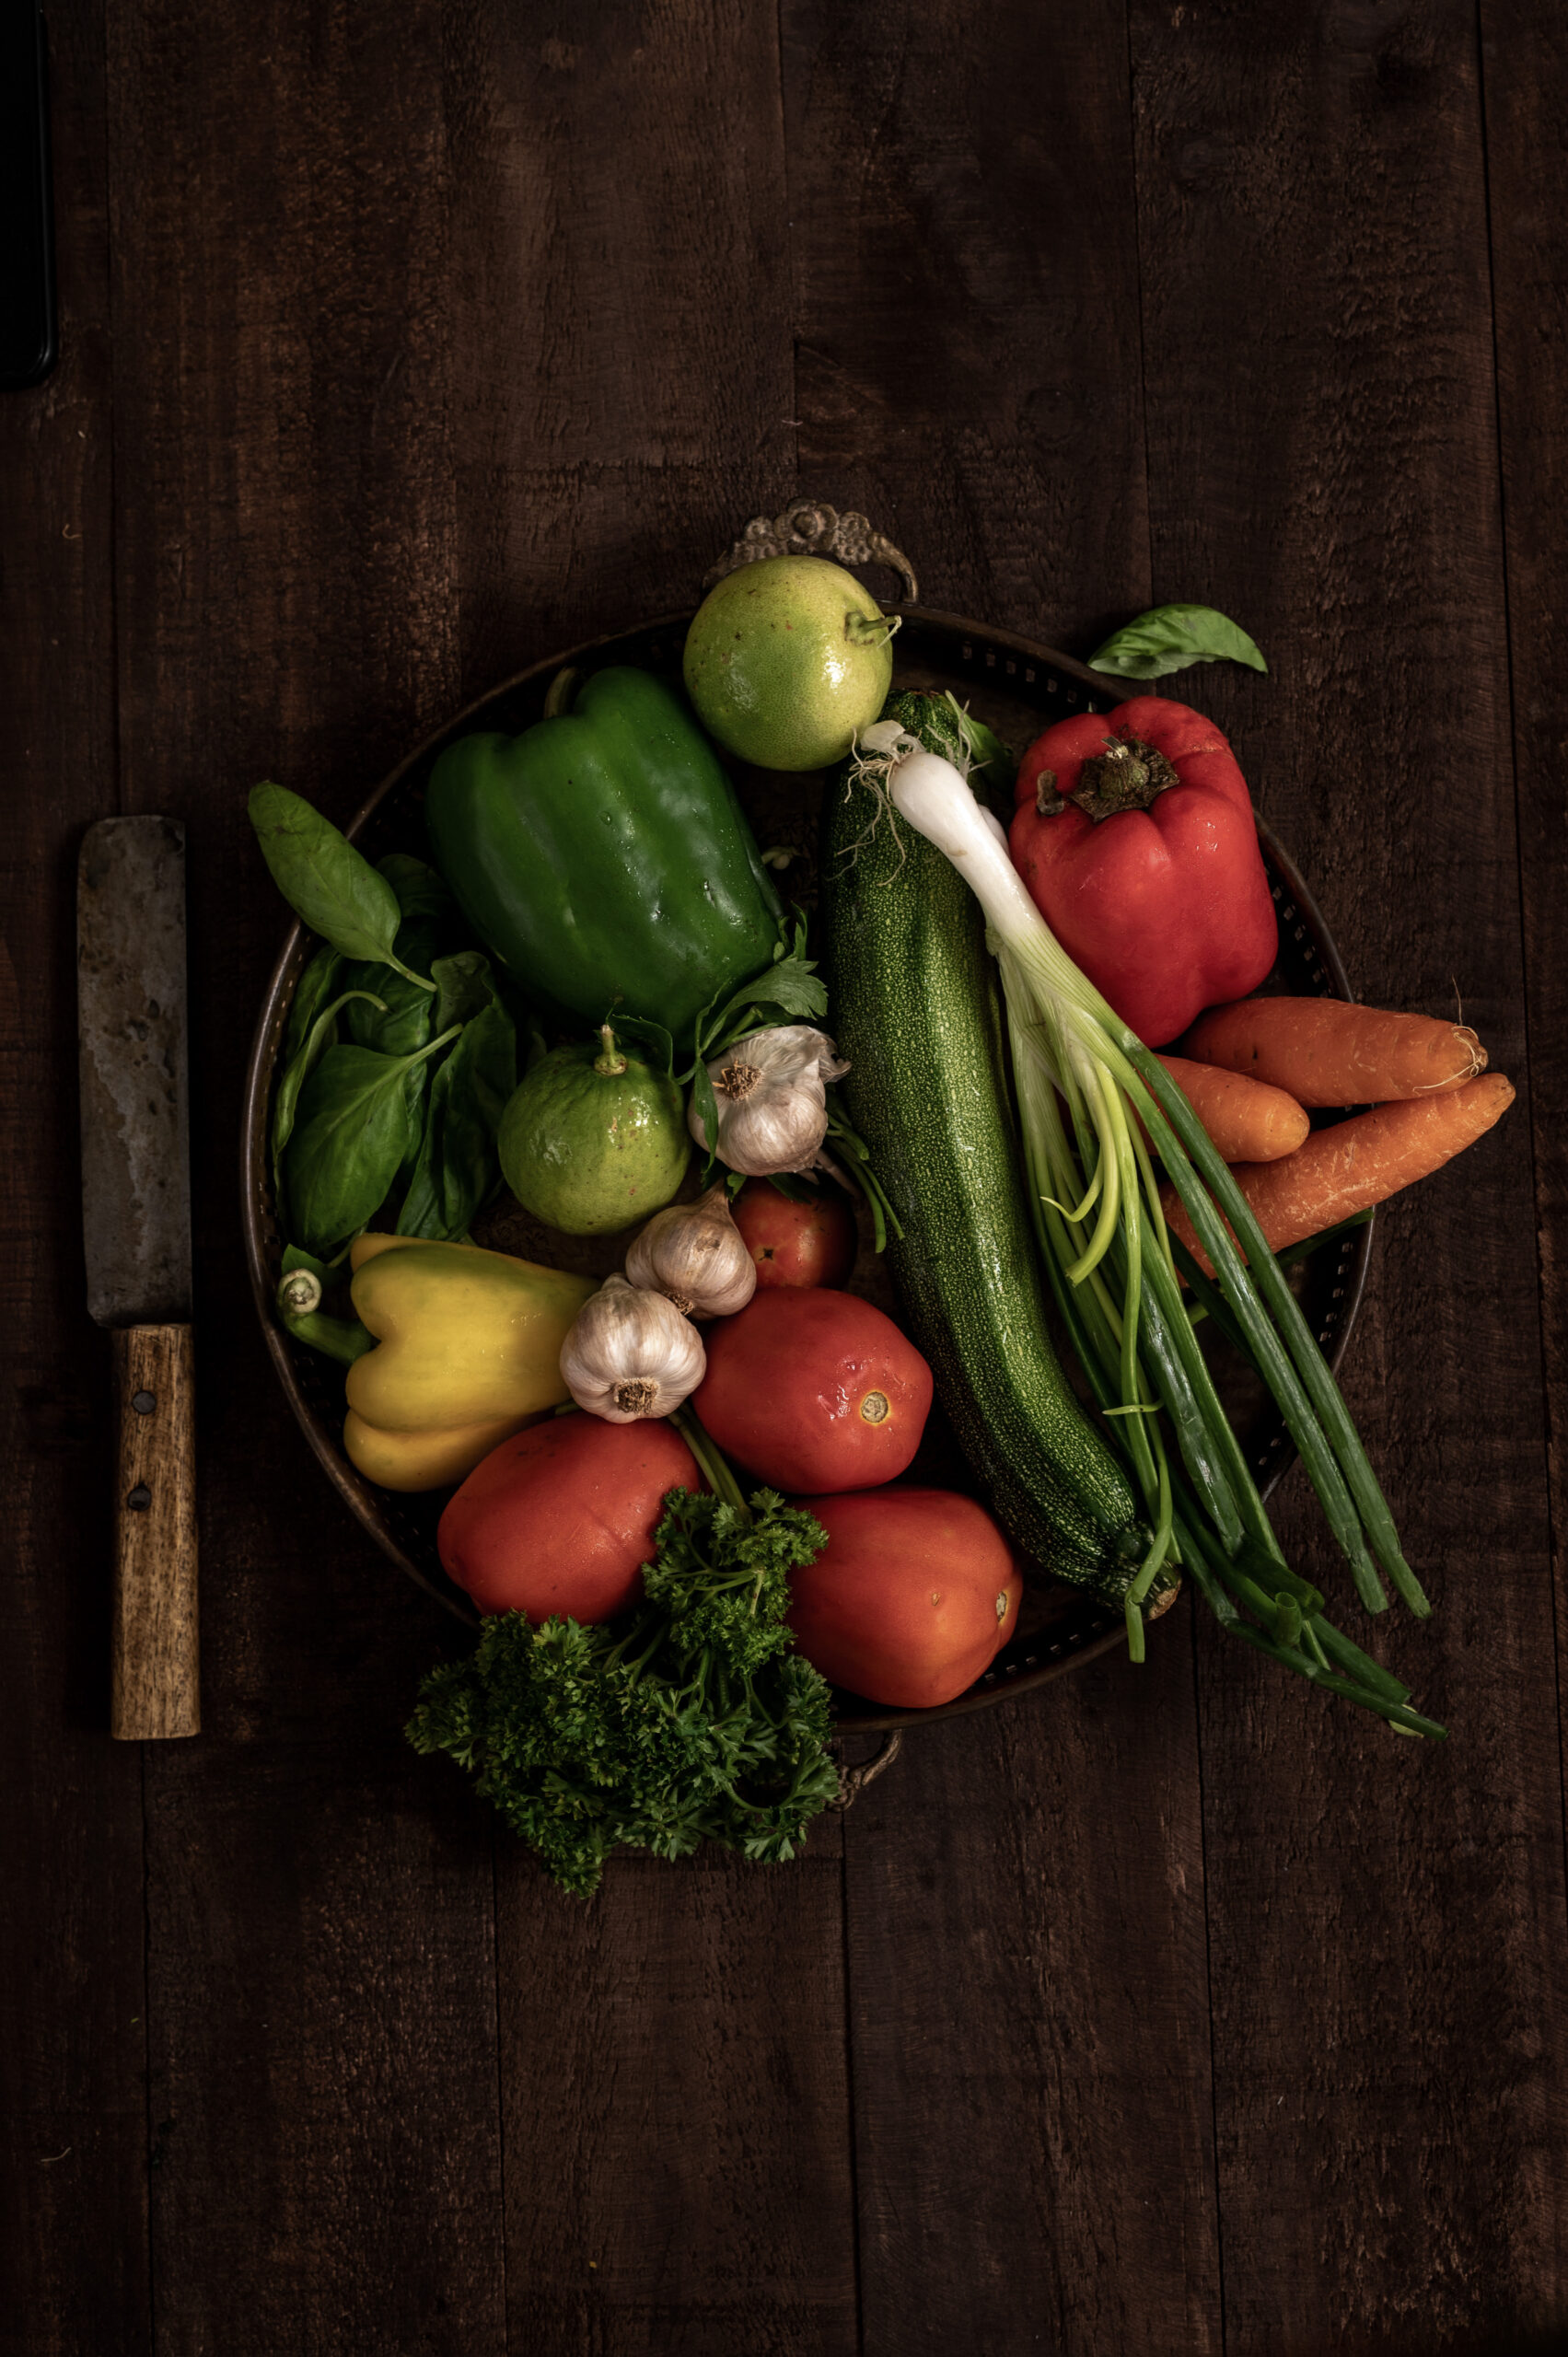
100 grams zucchini, carrot, mushroom

4 cloves garlic

2 tablespoons olive oil

3 tablespoons fresh chopped parsley

2 tablespoons fresh chopped basil

2 tablespoons tomato purée

75 grams boiled kidney beans

1 cube/2 cups vegetable stock (i.e. 2 cups of boiling hot water added to one organic cube)

2-3 tablespoons white wine

1 or 2-inch Parmesan rind

Pasta/brown rice/quinoa (optional)


Sauté the garlic cloves, leek, celery, spring onions, zucchini, carrot and mushroom for a few minutes.

Add the tomato purée to this and stir well.

Next, if you are using pasta or brown rice in this soup, add that as well.

Add the kidney beans and the freshly chopped herbs. Then, pour in the vegetable stock. Freshly-made stock is always best, but cubes will work well too. After this, add the Parmesan rind to the pot and let it impart its flavour to the soup.

Add the white wine and salt to taste. Be careful with the quantities of both. Just a little more wine than you need, and the whole soup is spoiled. The tomato purée already contains salt so you will need less of it than you think.

Finally, add some chilli flakes, and garnish with chopped parsley and spring onions, and a squeeze of lemon. Remove the Parmesan rind before serving.

Serve warm. This soup works beautifully as a side, and if you have added brown rice or pasta, it can become its own meal-in-a-bowl too. I often bake a garlic pull-apart roll to go with this. My kids are tempted as soon as they see that soft, fluffy pastry, straight from the oven and tantalizing them on the table, and it draws them to sit down with a freshly-made bowl of soup too.

I hope this lovely minestrone brings you much deliciousness this December, as this year winds down and we take stock (no pun intended) of all it has contained. I wouldn’t be surprised if it becomes prepared as often in your home as it is in mine. Try it, and tell me if that’s the case! As always, I love hearing from you.

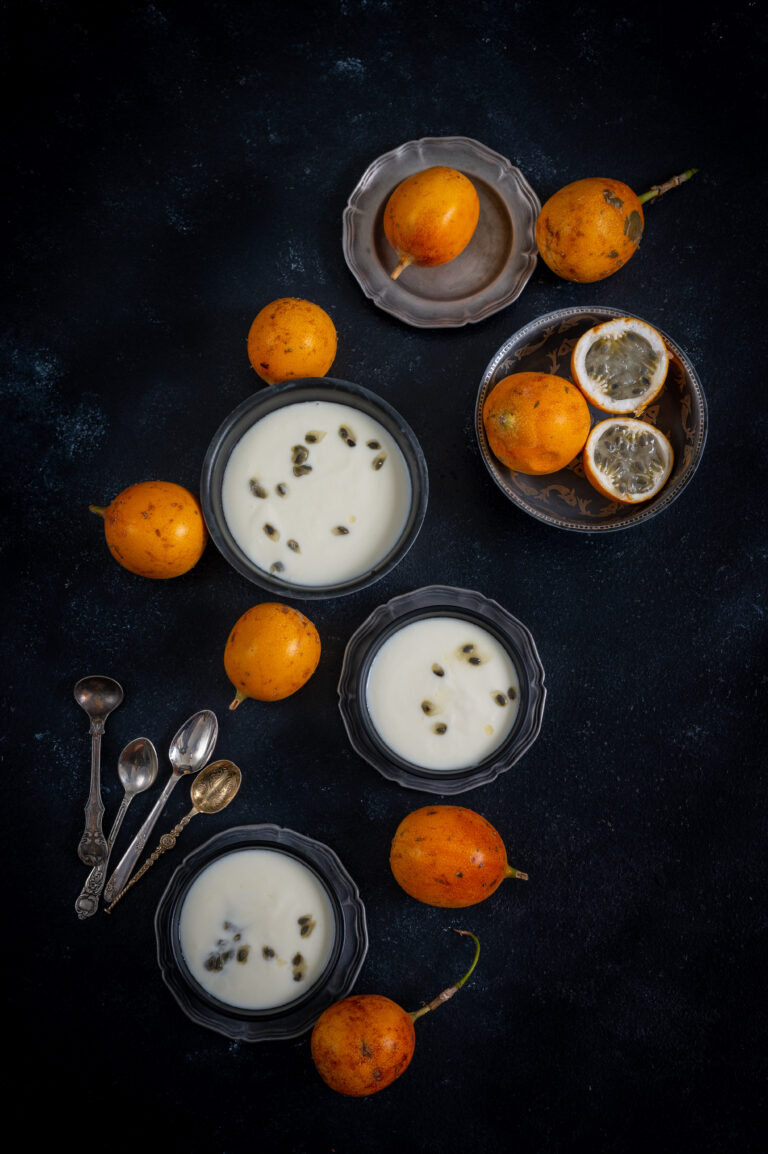
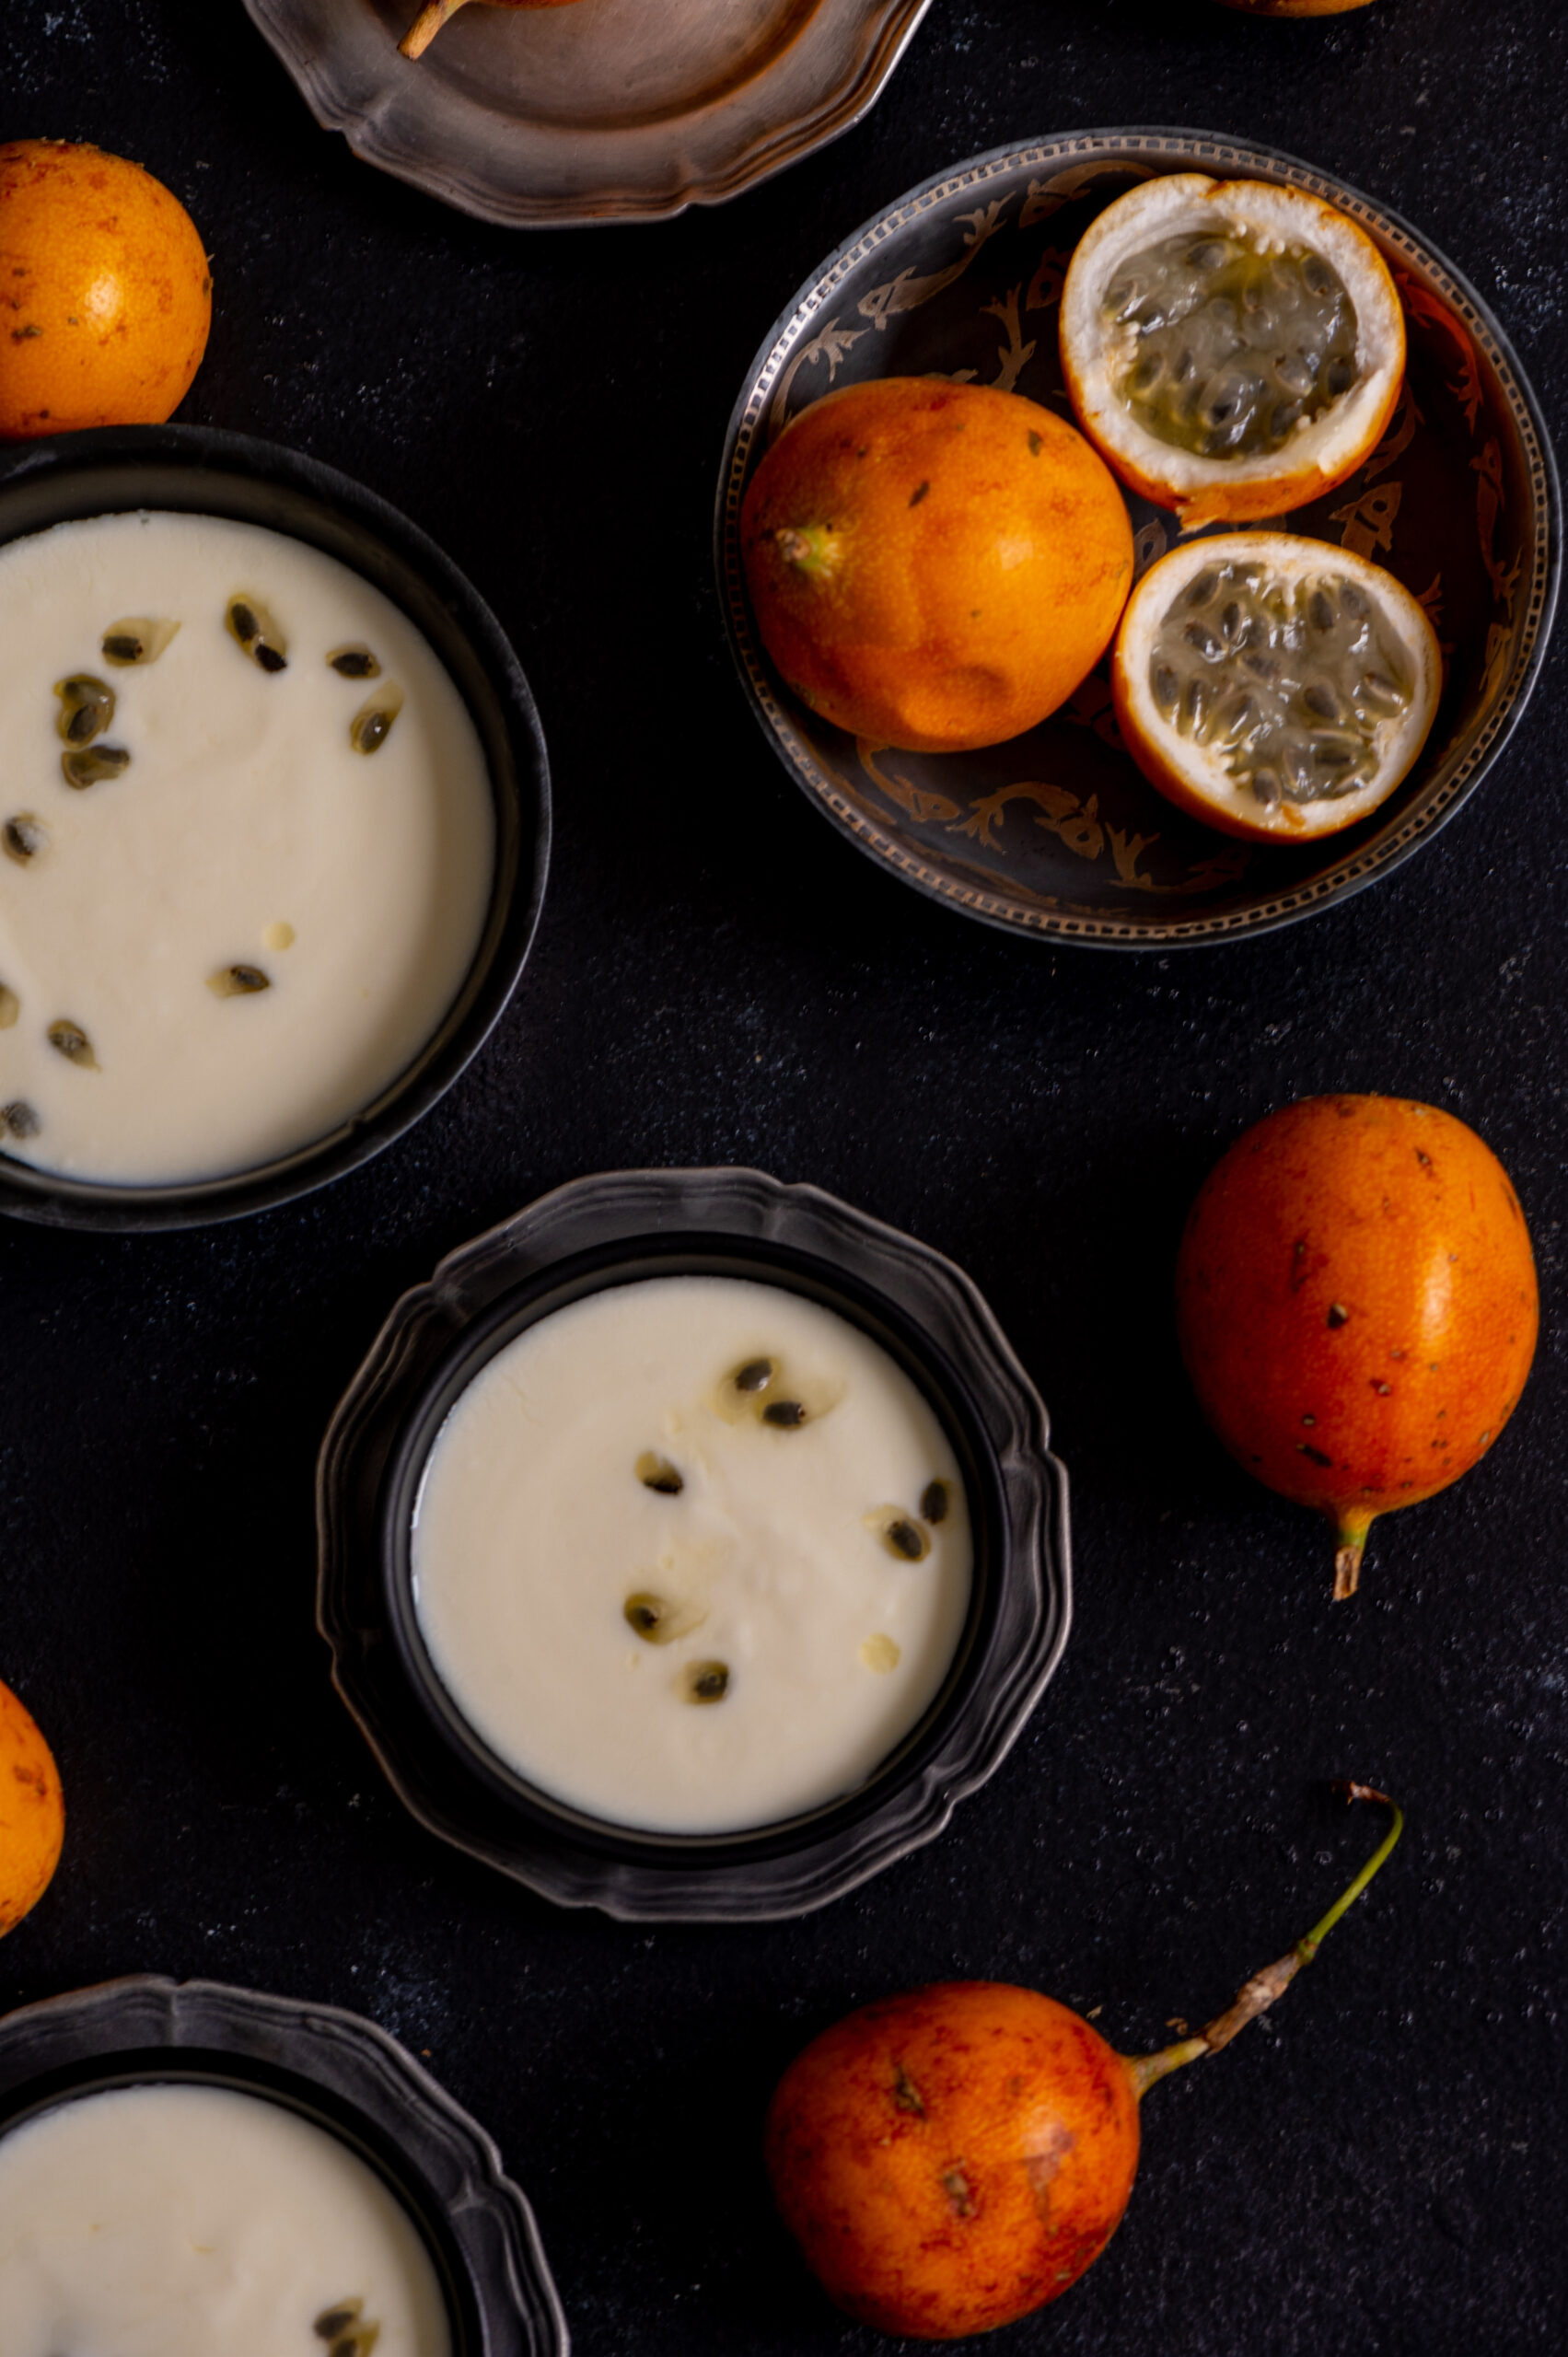
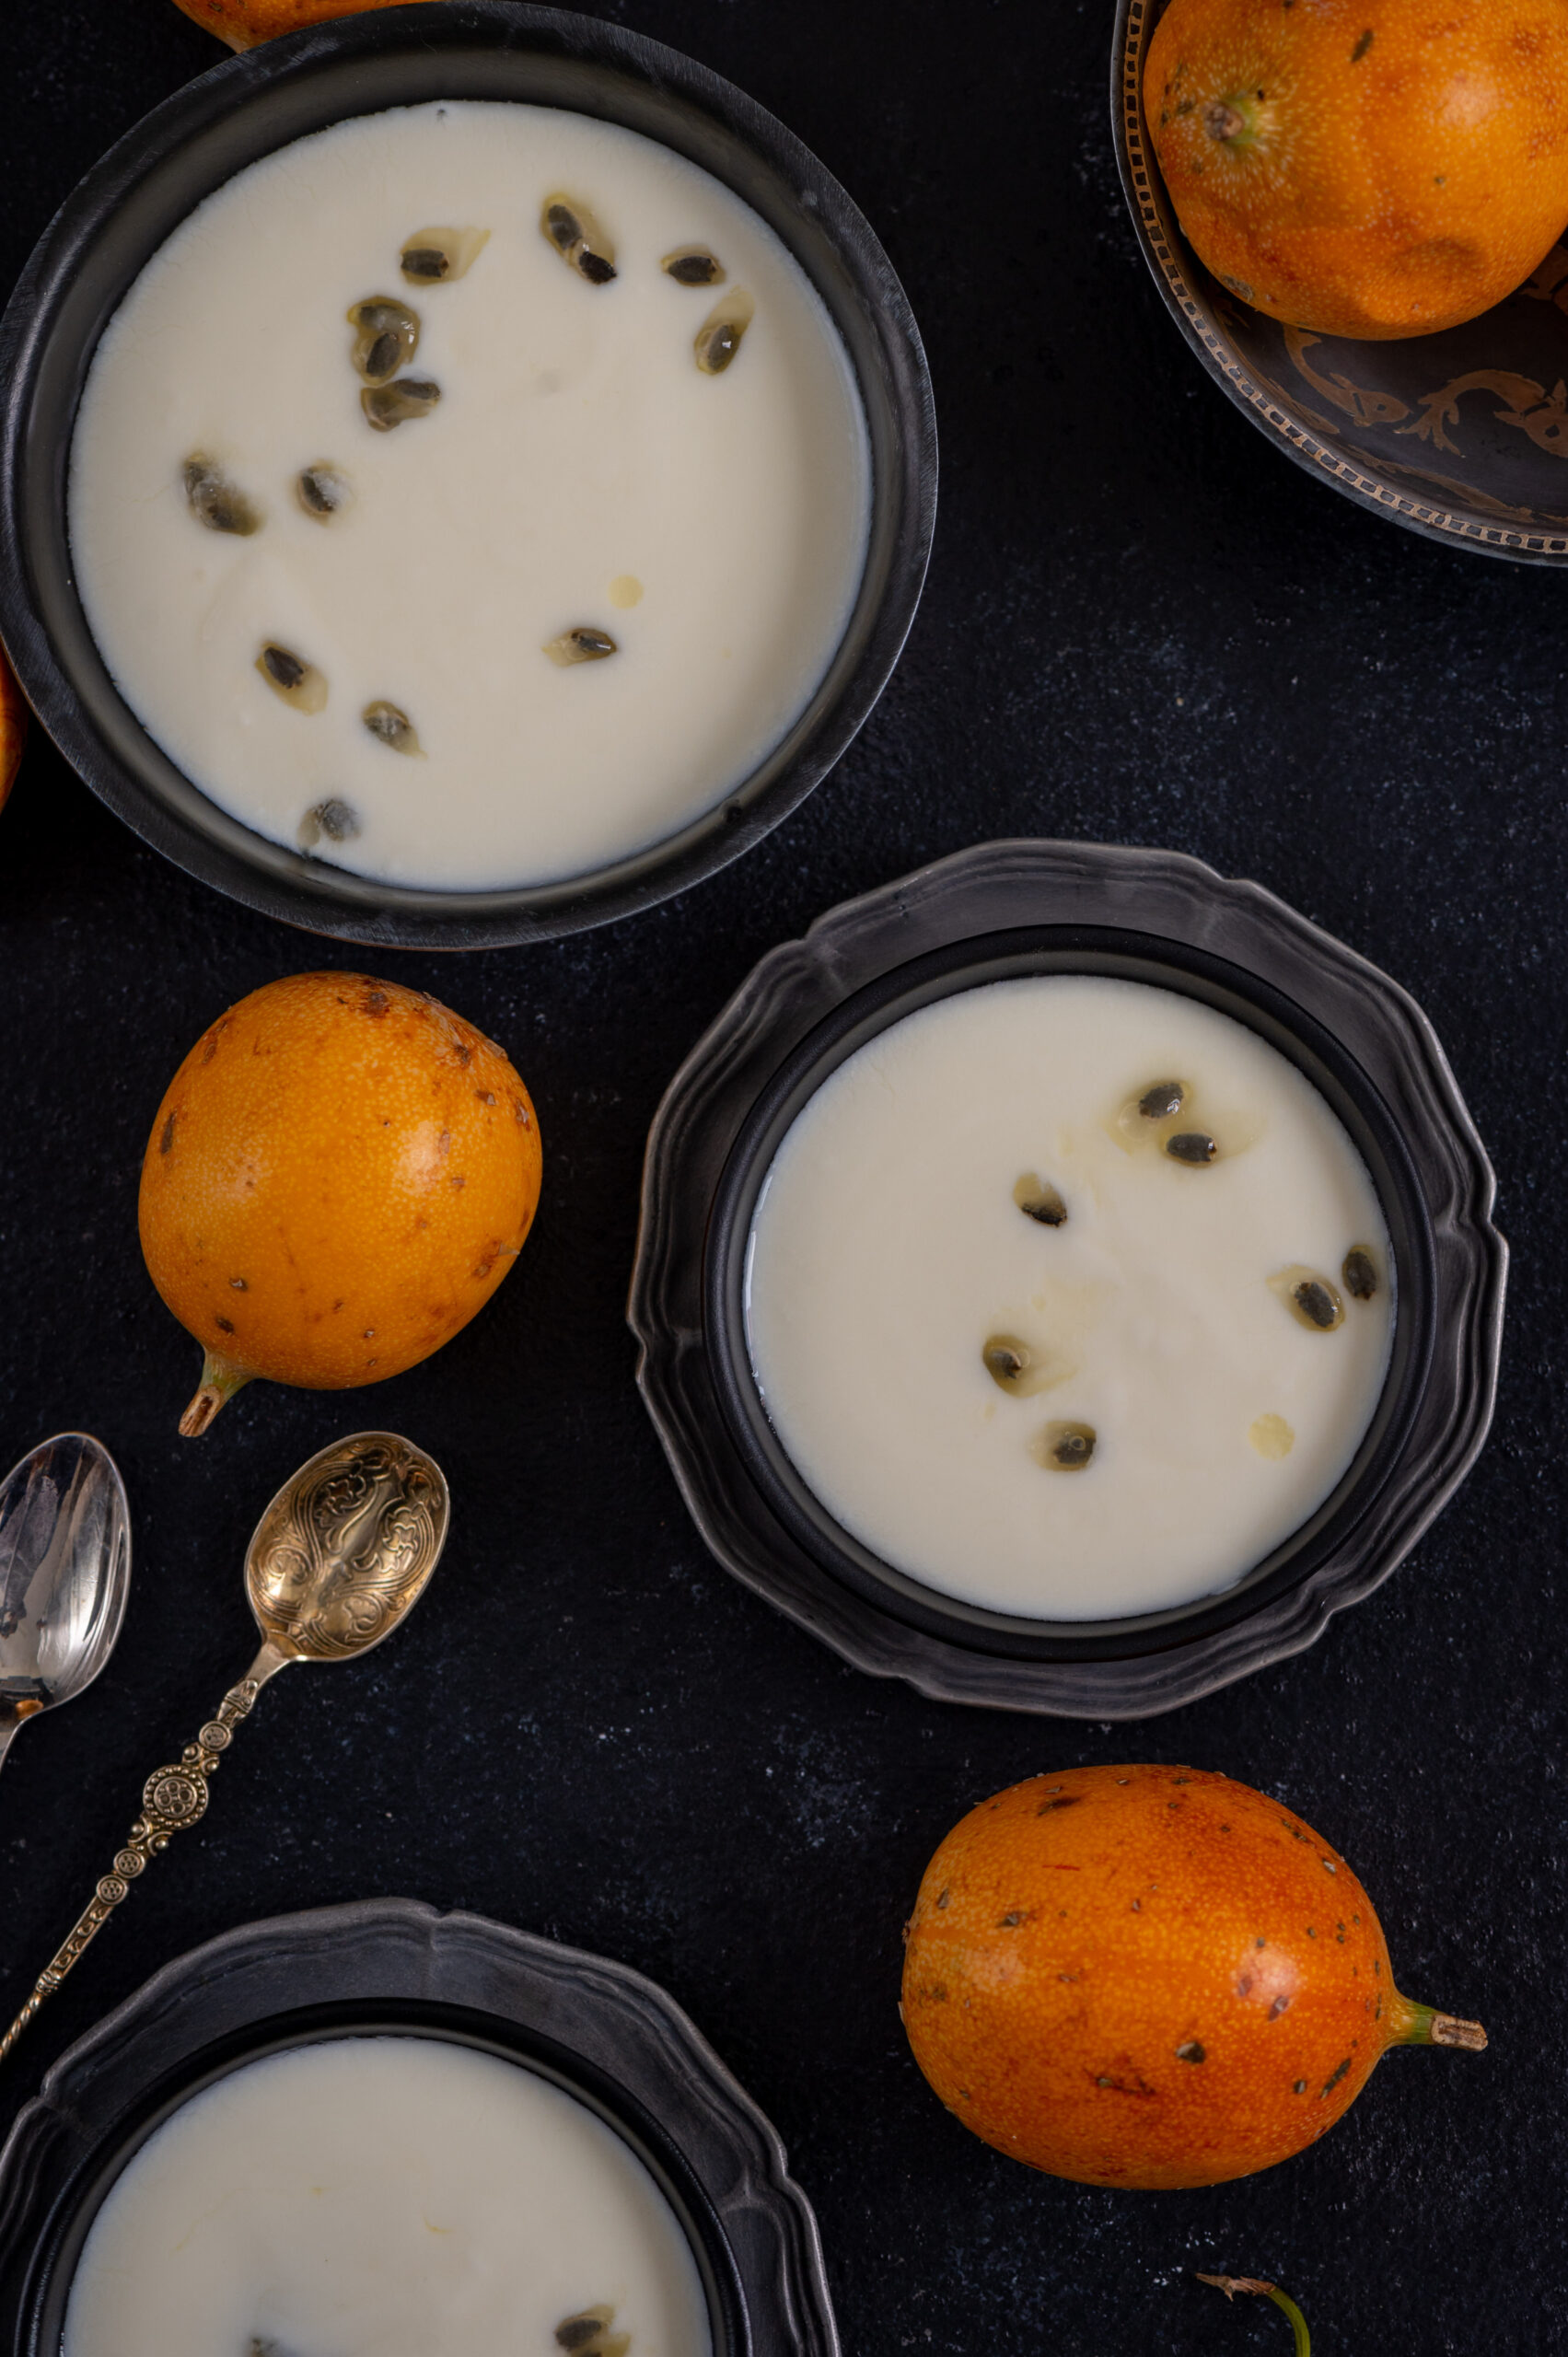
A friend and I were on a weekend getaway in the hills when another friend, who coincidentally had embarked on the same idea of a little escape to the same sleepy town, dropped by to visit us. We were enjoying each others’ company and trying to pep up the meal we would share, wanting to make it as fancy as possible with the simple but fresh ingredients at our disposal. There was a lot of yoghurt on hand, and perchance, some luscious passion fruit. Voilà, inspiration struck! We were quick to leap into action and put together a beautiful shrikhand for dessert, and even quicker to polish it off as we caught up on our conversation.

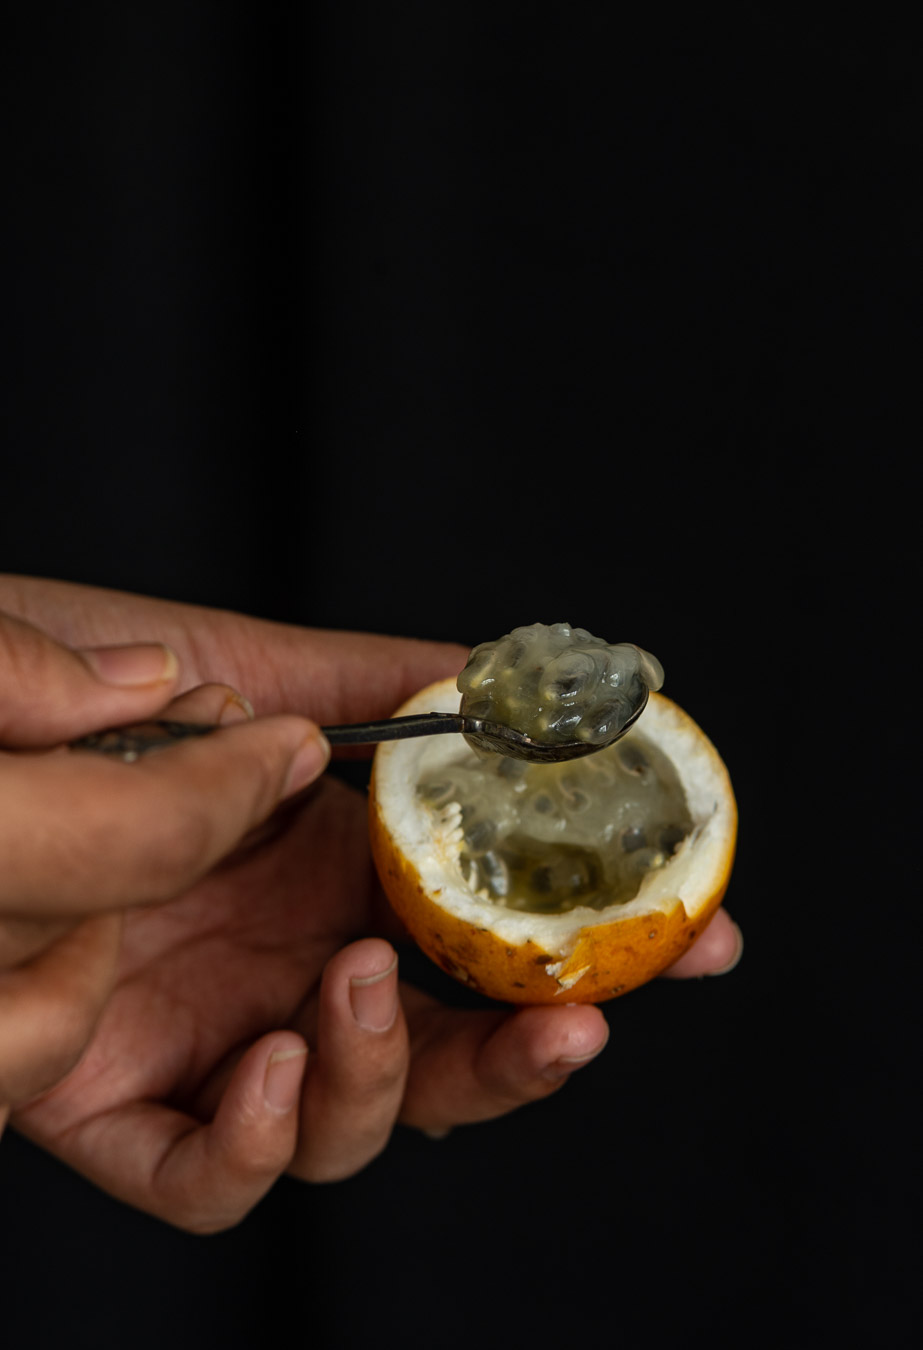
Both passion fruit and shrikhand have been celebrated on this blog before, and bringing them together felt like a lovely stroke of luck. Passion fruit always has a short season, so I suggest that you take advantage of the same and try this recipe as soon as you find the fruit. It truly is one of the most beloved fruits in my home, as you may remember from this recipe for a passion fruit salad dressing that I still make as often as possible. At the very least, sliced passion fruit or passion fruit juice is a daily feature whenever we’re able to get a fresh harvest.

While I had prepared this dish using dairy while on the getaway, once I got back home I tried it again in a vegan preparation. I had initially wanted to make a vegan version of the coconut pudding that was shared last week, but wasn’t able to do enough trials due to the festive rush. So this time, what I am sharing is a tried and tested vegan dessert, made with coconut yoghurt.

Quite like the sitaphal kheer that needs very little to enhance it, being so flavourful on its own, the passion fruit shrikhand too does not need the the usual frills of a typical or traditional shrikand. It doesn’t need saffron or slivers of almond or pistachio to elevate it. All I used was a little bit of cardamom. The focus is very much on the taste of the fruit, which happens to be quite sweet, and this means that you can cut down on the sugar quantity used in the dish.

Gujaratis take pride in our shrikhand, and it is even eaten as part of a main meal in a great combination known as shrikhand-poori (I’ve written many times on this blog about that famous Gujarati sweet tooth!). So while I don’t want to make an easy comparison to flavoured yoghurts you can get in supermarkets, I can definitely say after this experiment that it’s very easy to flavour your shrikhand too, using different kinds of fruits. It’s very easy to prepare overall, too. The best part of it is that being homemade, we know exactly what goes into it. A flavoured shrikhand is a healthy treat, and a fun and simple way to add a twist to this immensely popular Gujarati dish.


Vegan Passion Fruit Shrikhand

(Yield: 4-5 cups)

5 cups coconut yoghurt

½ cup icing sugar (substitute: ½ cup honey or maple syrup)

¼ teaspoon cardamom

Pulp of 2 passion fruits


Take a fine muslin cloth, put the 5 cups of coconut yoghurt into it and tie the cloth. Use plain yoghurt if you prefer a vegetarian rather than vegan version. Hang this yoghurt for about 2-3 hours or until all the whey drips out. You can use this whey to bind dough for rotis.

Then, put the yoghurt into a strainer and add the sugar to it. Sieve the yoghurt with the help of a spoon and collect it into a bowl. Add the cardamom powder and passion fruit pulp. Mix well.

You may garnish the bowl with a pinch more of cardamom and some lovely passion fruit seeds. Serve chilled.

While you can use almost any fruit as flavouring, there’s just something about a naturally sweet one such as passion fruit that brings this dessert together so beautifully. Do be sure to take advantage of the season for it.

We returned from our trip to the hills with lots of fruits, bringing bags of avocado and passion fruit back to our urban lives. The cooler climes really do have such an interesting variety of produce, and if you have access to these at the moment, I’d love for you to check out some other posts using peas, plums, strawberries and peaches. Fruits had been such an integral part of our meals on our getaway, and usually made up our entire breakfasts too. Given the nutrition quotient of this food category, I think I’m going to keep looking more deeply into bringing more fruits into more dishes, innovatively…

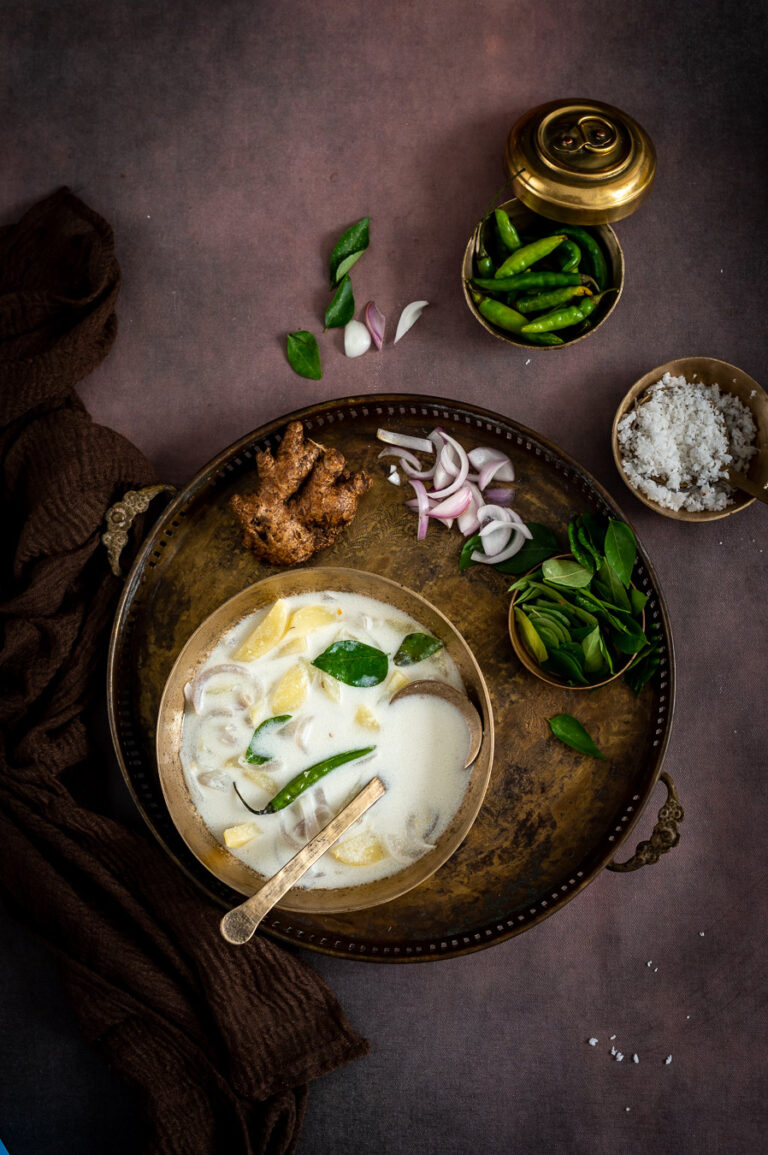
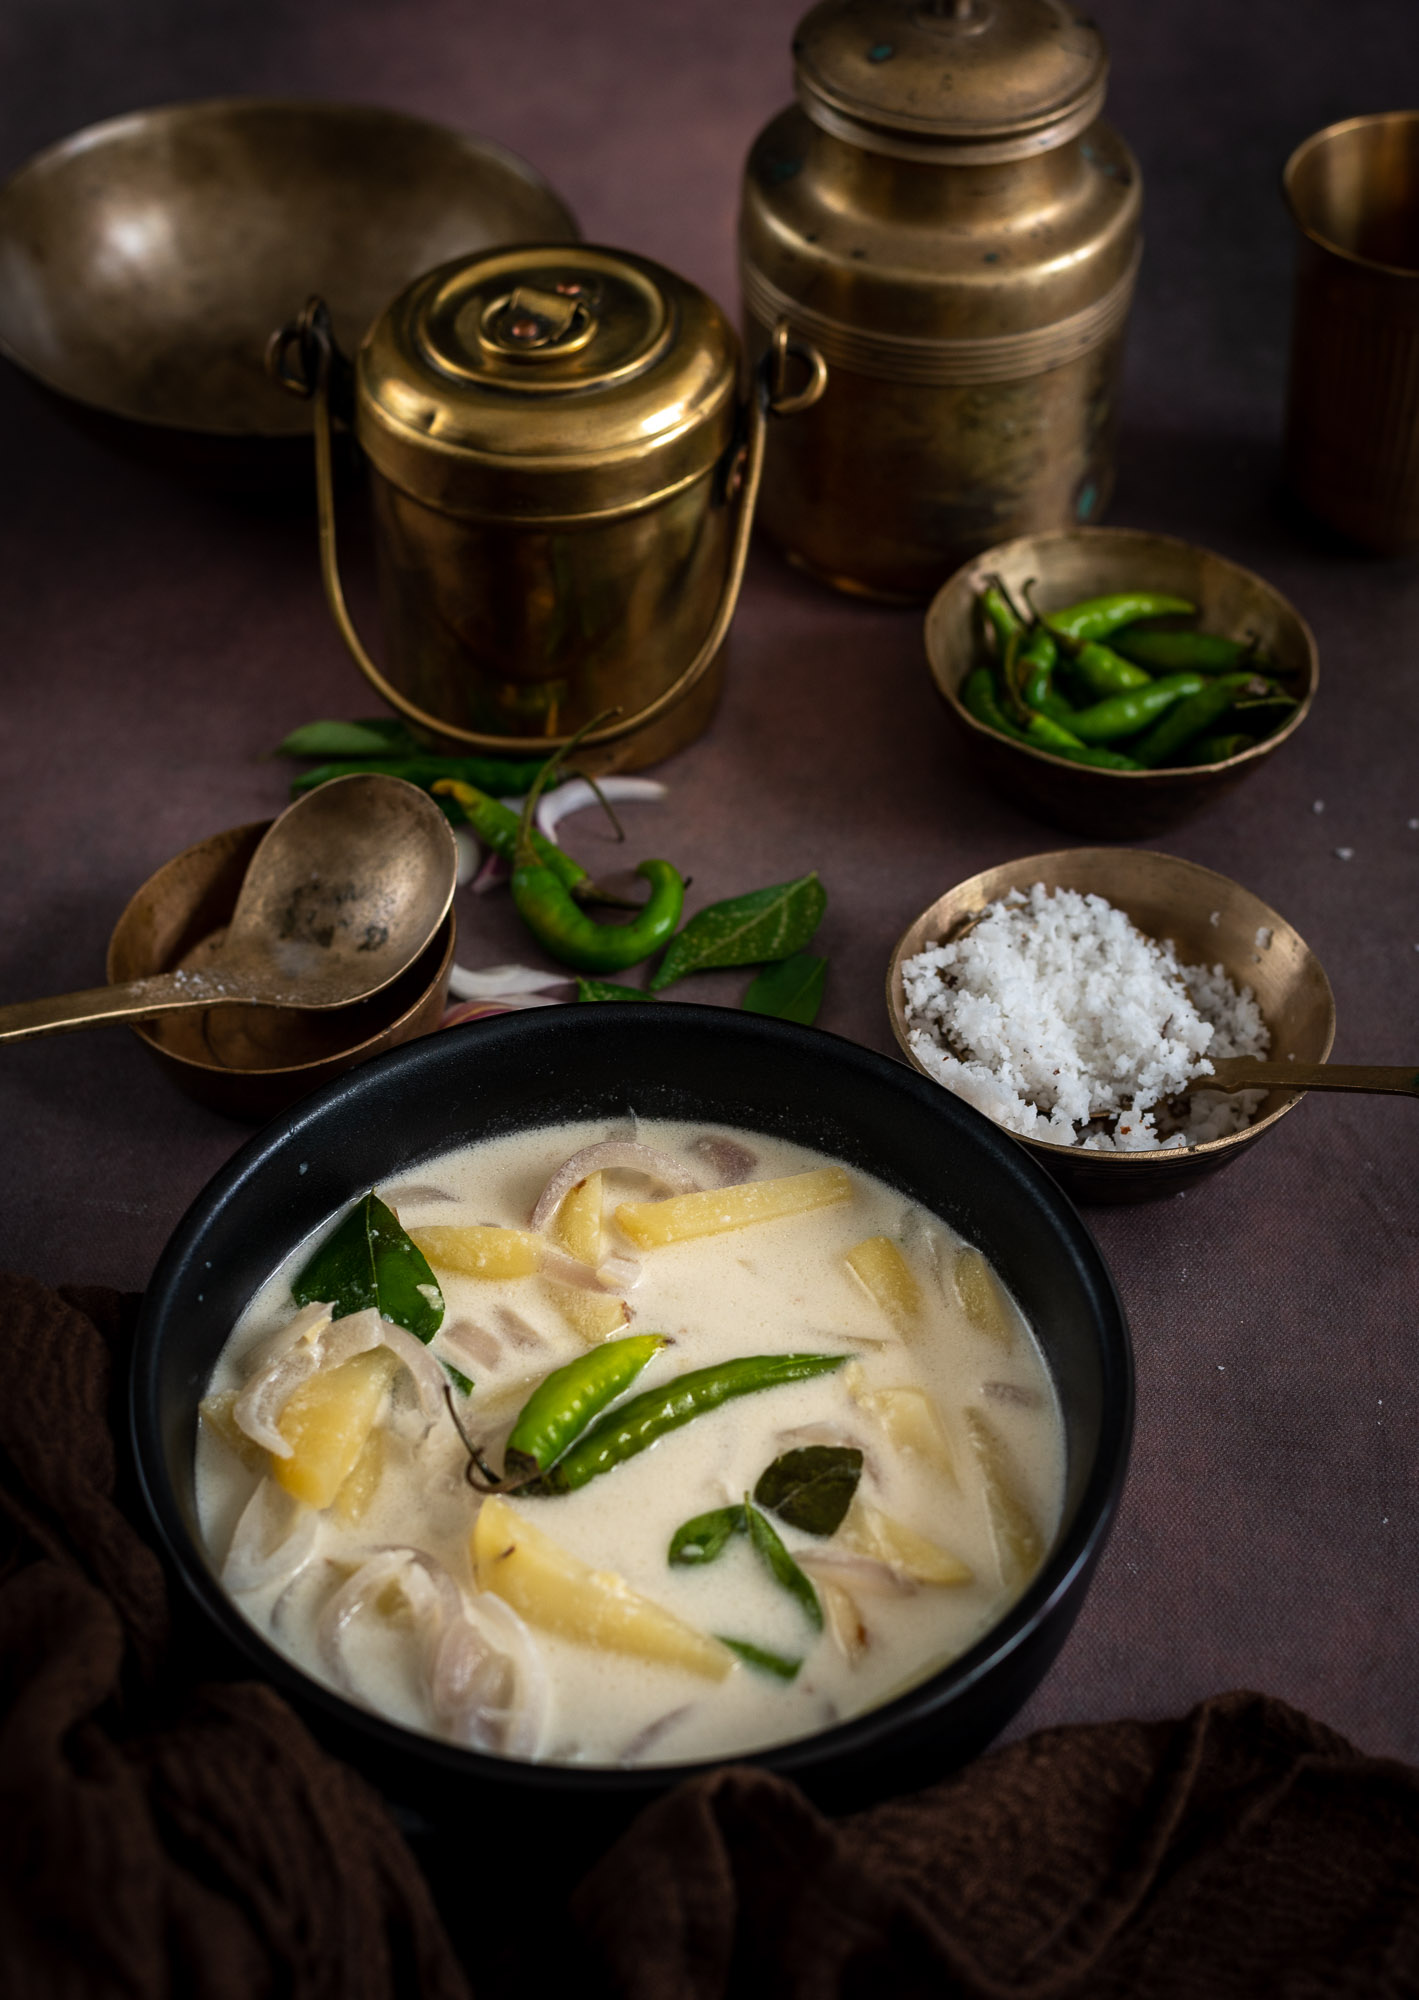
What is it about the food we taste while we are growing up that somehow, no matter how far we go, becomes the basis of our most important culinary memories? So it is for me and a very special coconut stew (or to be authentic, “ishtew”), which would be served at my friend Girija’s house. We met in the 8th grade and were neighbours, and her mother prepared wonderful Keralan fare. Her ishtew was the first I’d ever had, and fortunately for me, Girija learnt how to prepare it exactly the same way. I’m so delighted to share this love-filled, coconut milk-based deliciousness with you today, as part of the ongoing coconut series.

“Ishtew” is possibly the Malayalam-ised word for “stew”, which I suppose is what the British must have called this dish when they first encountered it. Or perhaps it’s the other way around, and it’s the English word that is derived from the Indian one? Made with vegetables or meat and warmly spiced, it is usually served alongside aapam, a kind of rice-and-coconut-milk pancake that is also known as hoppers. You can also have this coconut stew with rice, idly or dosa.

The only recipe I have for this dish is the one that Girija shared with me, and to me it’s absolutely the best one. As with any food item, there will be variations from kitchen to kitchen and community to community, and I know of many who prepare it in different ways. The core of this dish, as with most very popular and commonly consumed traditional ones, is that it is quite simple to prepare and uses ingredients that are easily available. Coconut, of course, is the star.

Girija and I were such tight friends as teenagers that it was a given that if I was not at my home, I could be found in hers, and vice versa. Decades later, we remain close, and now, whenever I visit her in Singapore, there is always a large bowl of coconut stew being prepared for me. The photo below is from a few years ago, from one of the times when she prepared it for me and I happened to have my camera on hand. Somehow, over the decades, it’s her stew – not even her mum’s – that is most vivid in my mind. We create new memories and reminisce about old ones whenever we enjoy a meal together, and I hope that this dish becomes a part of yours too.


Coconut Stew

(Serves 2-4 people)

50 grams onion

125 grams potato

20 grams ginger

A few curry leaves

2 teaspoons coconut oil

½ cup water

Salt to taste

One coconut


Cut the onion and potato into thick juliennes. Set aside.

This recipe requires two cups of fresh coconut milk – a first press cup, and a second press cup. Prepare the first press by grating the coconut flesh and grinding it in a blender with a ¼ cup of water. Strain this and set aside. The first press milk will be thick.

Now, repeat the process using the same grated coconut flesh – this will be the second press milk, and it will be thinner in comparison to the first press. Set aside.

Take the second press milk and boil the julienned potato and onion in it until they are soft. Ensure that you add the onions after the potatoes, as they cook faster. Add the ginger too. You can press down on the potatoes a little using a masher.

Once this is done, add the thick first press coconut milk to the pan. Add the curry leaves and coconut oil as well. Stir well. Your coconut stew is now ready to serve, and a plate of aapams, idlies or dosas will go perfectly with it.

This stew evokes for me one of my most cherished friendships, and so many childhood memories. Although Girija and I are in different countries at present, perhaps one of the many reasons she and her stew have been on my mind is because the lockdown this year has meant that meeting at home has become how most of us socialise now. Here in Chennai, my friends and I often discussed wanting to meet but felt it wasn’t safe to go out to restaurants like we had in the past. Instead, what we now do is something that we had quite rarely done in the past: meeting in each others’ homes over home-cooked meals. It’s so nice to get together this way, knowing that everyone is comfortable and care has been taken.

The lovely thing about old friendships is that even if we don’t see each other often, the bond is absolute. I truly feel relaxed and comfortable when I am with dear friends like Girija. It’s easy to put my feet up with her, and that is the kind of ease that can only come with knowing how much love is given and shared between oneself and another. That love speaks in the food that she cooks for me. We have an understanding that she cooks for me, and I cook for her. The “trade” for this Malayali coconut stew is always a Gujarati dal. Perhaps I will share that recipe some day soon too…

In the meanwhile, don’t forget to check out the previous posts in this coconut series: coconut podi and coconut oil. Stay tuned for a lovely Diwali dessert next weekend, to round the series off!

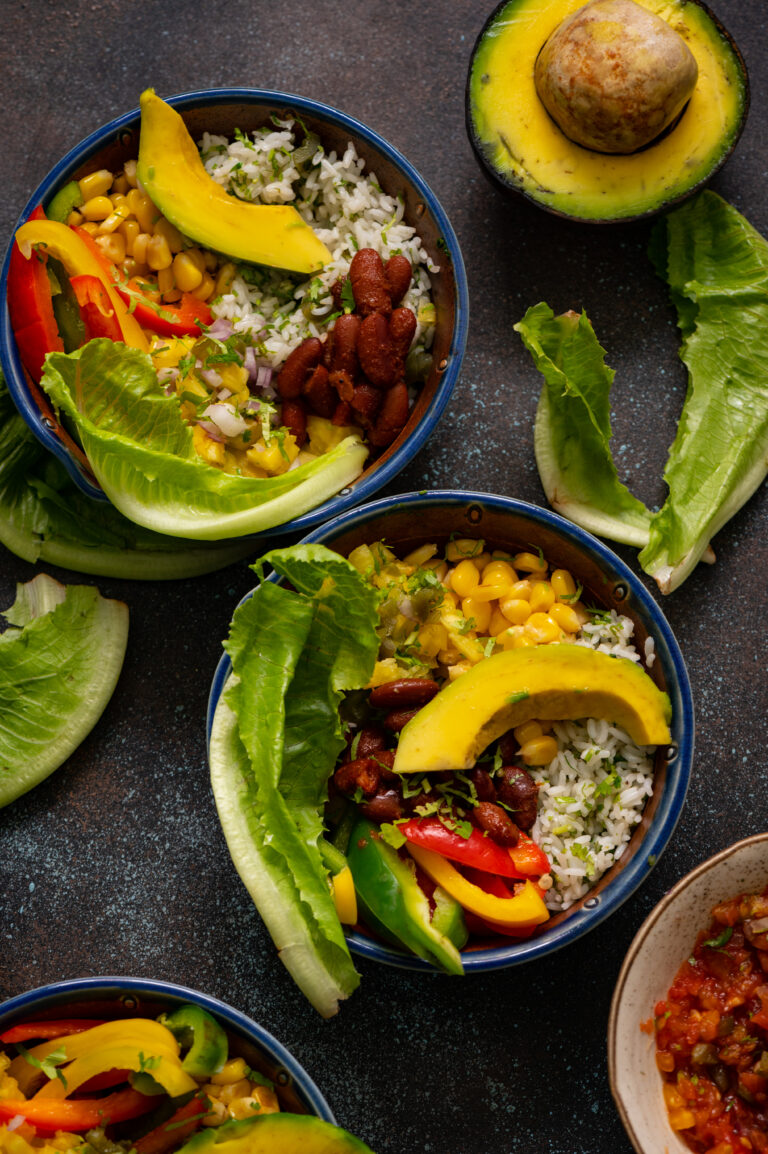
As promised, the Buddha bowl series now goes international, after the comfortingly familiar South Indian Buddha bowl. This is a Mexican-influenced Buddha bowl, and I’m making sure that you notice that I emphasise the word influenced.  My family enjoys Mexican-style cuisine very much, and I always end up making the more popular dishes, such as tacos, salsa, nachos and even my vegan take on chili, which you may remember from awhile back (this is a vegan recipe too). But over the years, whenever Mexican friends have visited my home, as much as they relish the meals I put together for them, they also tease me by saying that my style is Indian-Mexican, not authentic. I’m proud of this though. To me, fusion cuisine is all about feeling inspired and bringing different worlds together.

I’ve only spent one night in Mexico, en route to Cuba several years ago. That night, my family and I enjoyed dinner at a really nice restaurant, where we ordered a delicacy featuring black ants as a key ingredient. While I didn’t have a bite, my kids found the dish crunchy and tangy and very exciting. What to us was an adventurous dish was just local cuisine in another part of the world. Most of the Mexican food we had tried before was in the USA, and that too must have been one degree removed from authenticity. So to return to today’s Buddha bowl, let’s just say that it has a hint of Mexico, my culinary interpretation.

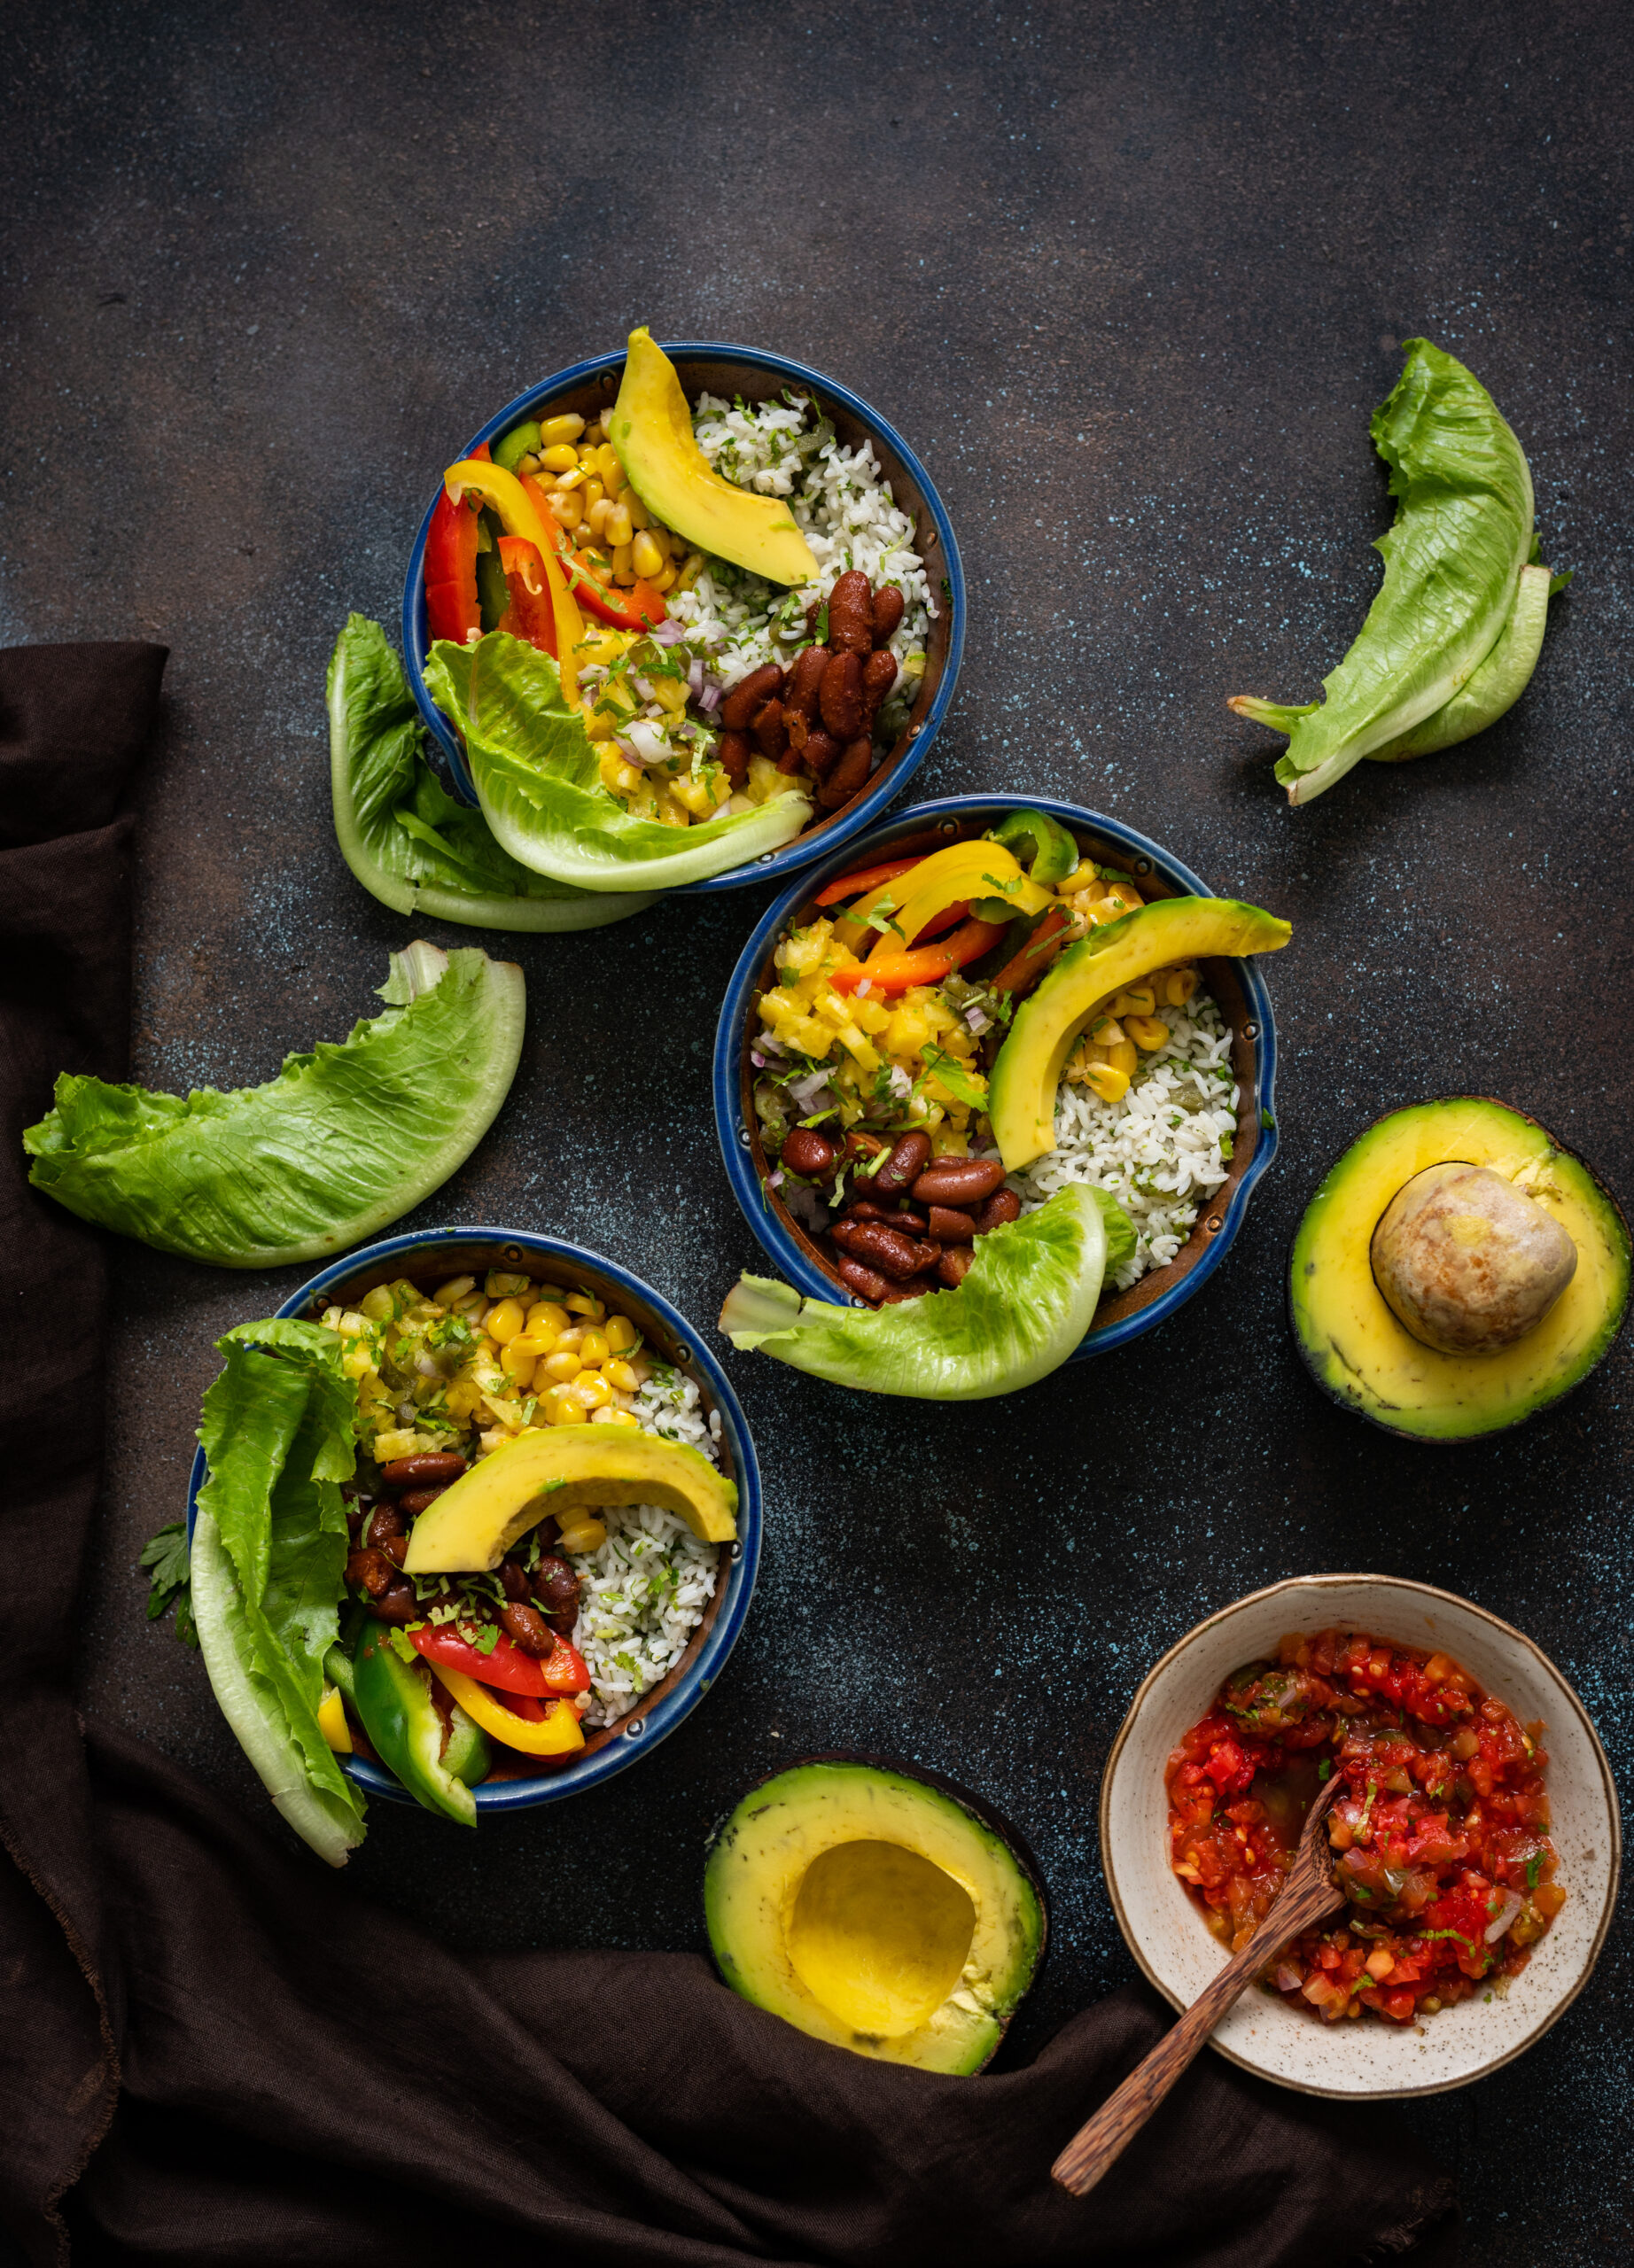
I often make this Mexican-influenced recipe for lunch, and the current abundance of avocados on the market is all the more reason to do so. These come from Karnataka, where the climate is conducive for their growth. Perhaps it’s because of my Macrobiotics background, but I feel that when all the ingredients in a dish are locally sourced, they tend to go together better. Aside from the fruit, the bowl contains cilantro rice, beans, vegetables and two types of salsa.

I was thinking about the term “Buddha bowl”, and although I know it’s a recently coined term, I believe I can imagine the thought process behind it. Could it be that it was because the Buddha carried a bowl for alms, and as he went from home to home, always received a motley combination of foods, just like the different components of this modern dish?

Carrying a bowl to seek food alms also exists in the Jain community, which many members of my family belong to. My sister, who lives in Mumbai, frequently has saintly women and men come to her home. They carry a bowl, called “patra”, and are supposed to graciously accept whatever is offered to them, although they can request a preferred quantity so that there is no wastage. The alms they receive are called “bhiksha”. Their arrival is considered a blessing, and whatever has been cooked at home that day will be shared with the monks, who are known as “Mahasatiji”. In the Stanakvasi sect of the Jain Shwetambari tradition, there is no idol worship, so the preaching of these monks is sacred and so is their presence. Whenever a Mahasatiji has come by while I’ve visited my sister, I’ve noticed that it feels like a special occasion. There is some protocol involved: the person offering alms needs to have bathed, there is some chanting, and then the Mahasatiji will bless the home before moving on to the next one, where the next person offering alms will look into the bowl and determine what to offer. If my sister had offered roti, for example, they will ensure they offer something that goes with it.

The Mahasatijis also ask for a teaspoon of chickpea flour, which they use to dry wash their patras. They won’t even waste this, as they will let this dry and eat it as well. They do not use soap due to the chemicals, and refrain from electricity too, so they take the stairs up six floors to my sister’s house. The tradition has many principles based on nature and doing no harm.

The patras themselves are made of natural wood, with lacquer, and I have seen them being sold as antiques as well. Perhaps I noticed this because I am always looking for interesting crockery and props for my photoshoots. What kind of vessels do you serve your Buddha bowls in? I’d love to know, as you try out more of this series.

Mexican-Influenced Buddha Bowl

(Serves 2)


Beans

½ cup beans (soaked overnight)

2 tablespoons tomato purée (find my recipe here)

Salt to taste

1 tablespoon olive oil

1 tablespoon chipotle cooking paste


Tomato salsa

2 tomatoes

Salt to taste

3 slices jalapeño

1 tablespoon cilantro

1 tablespoon finely chopped onion

1 tablespoon olive oil


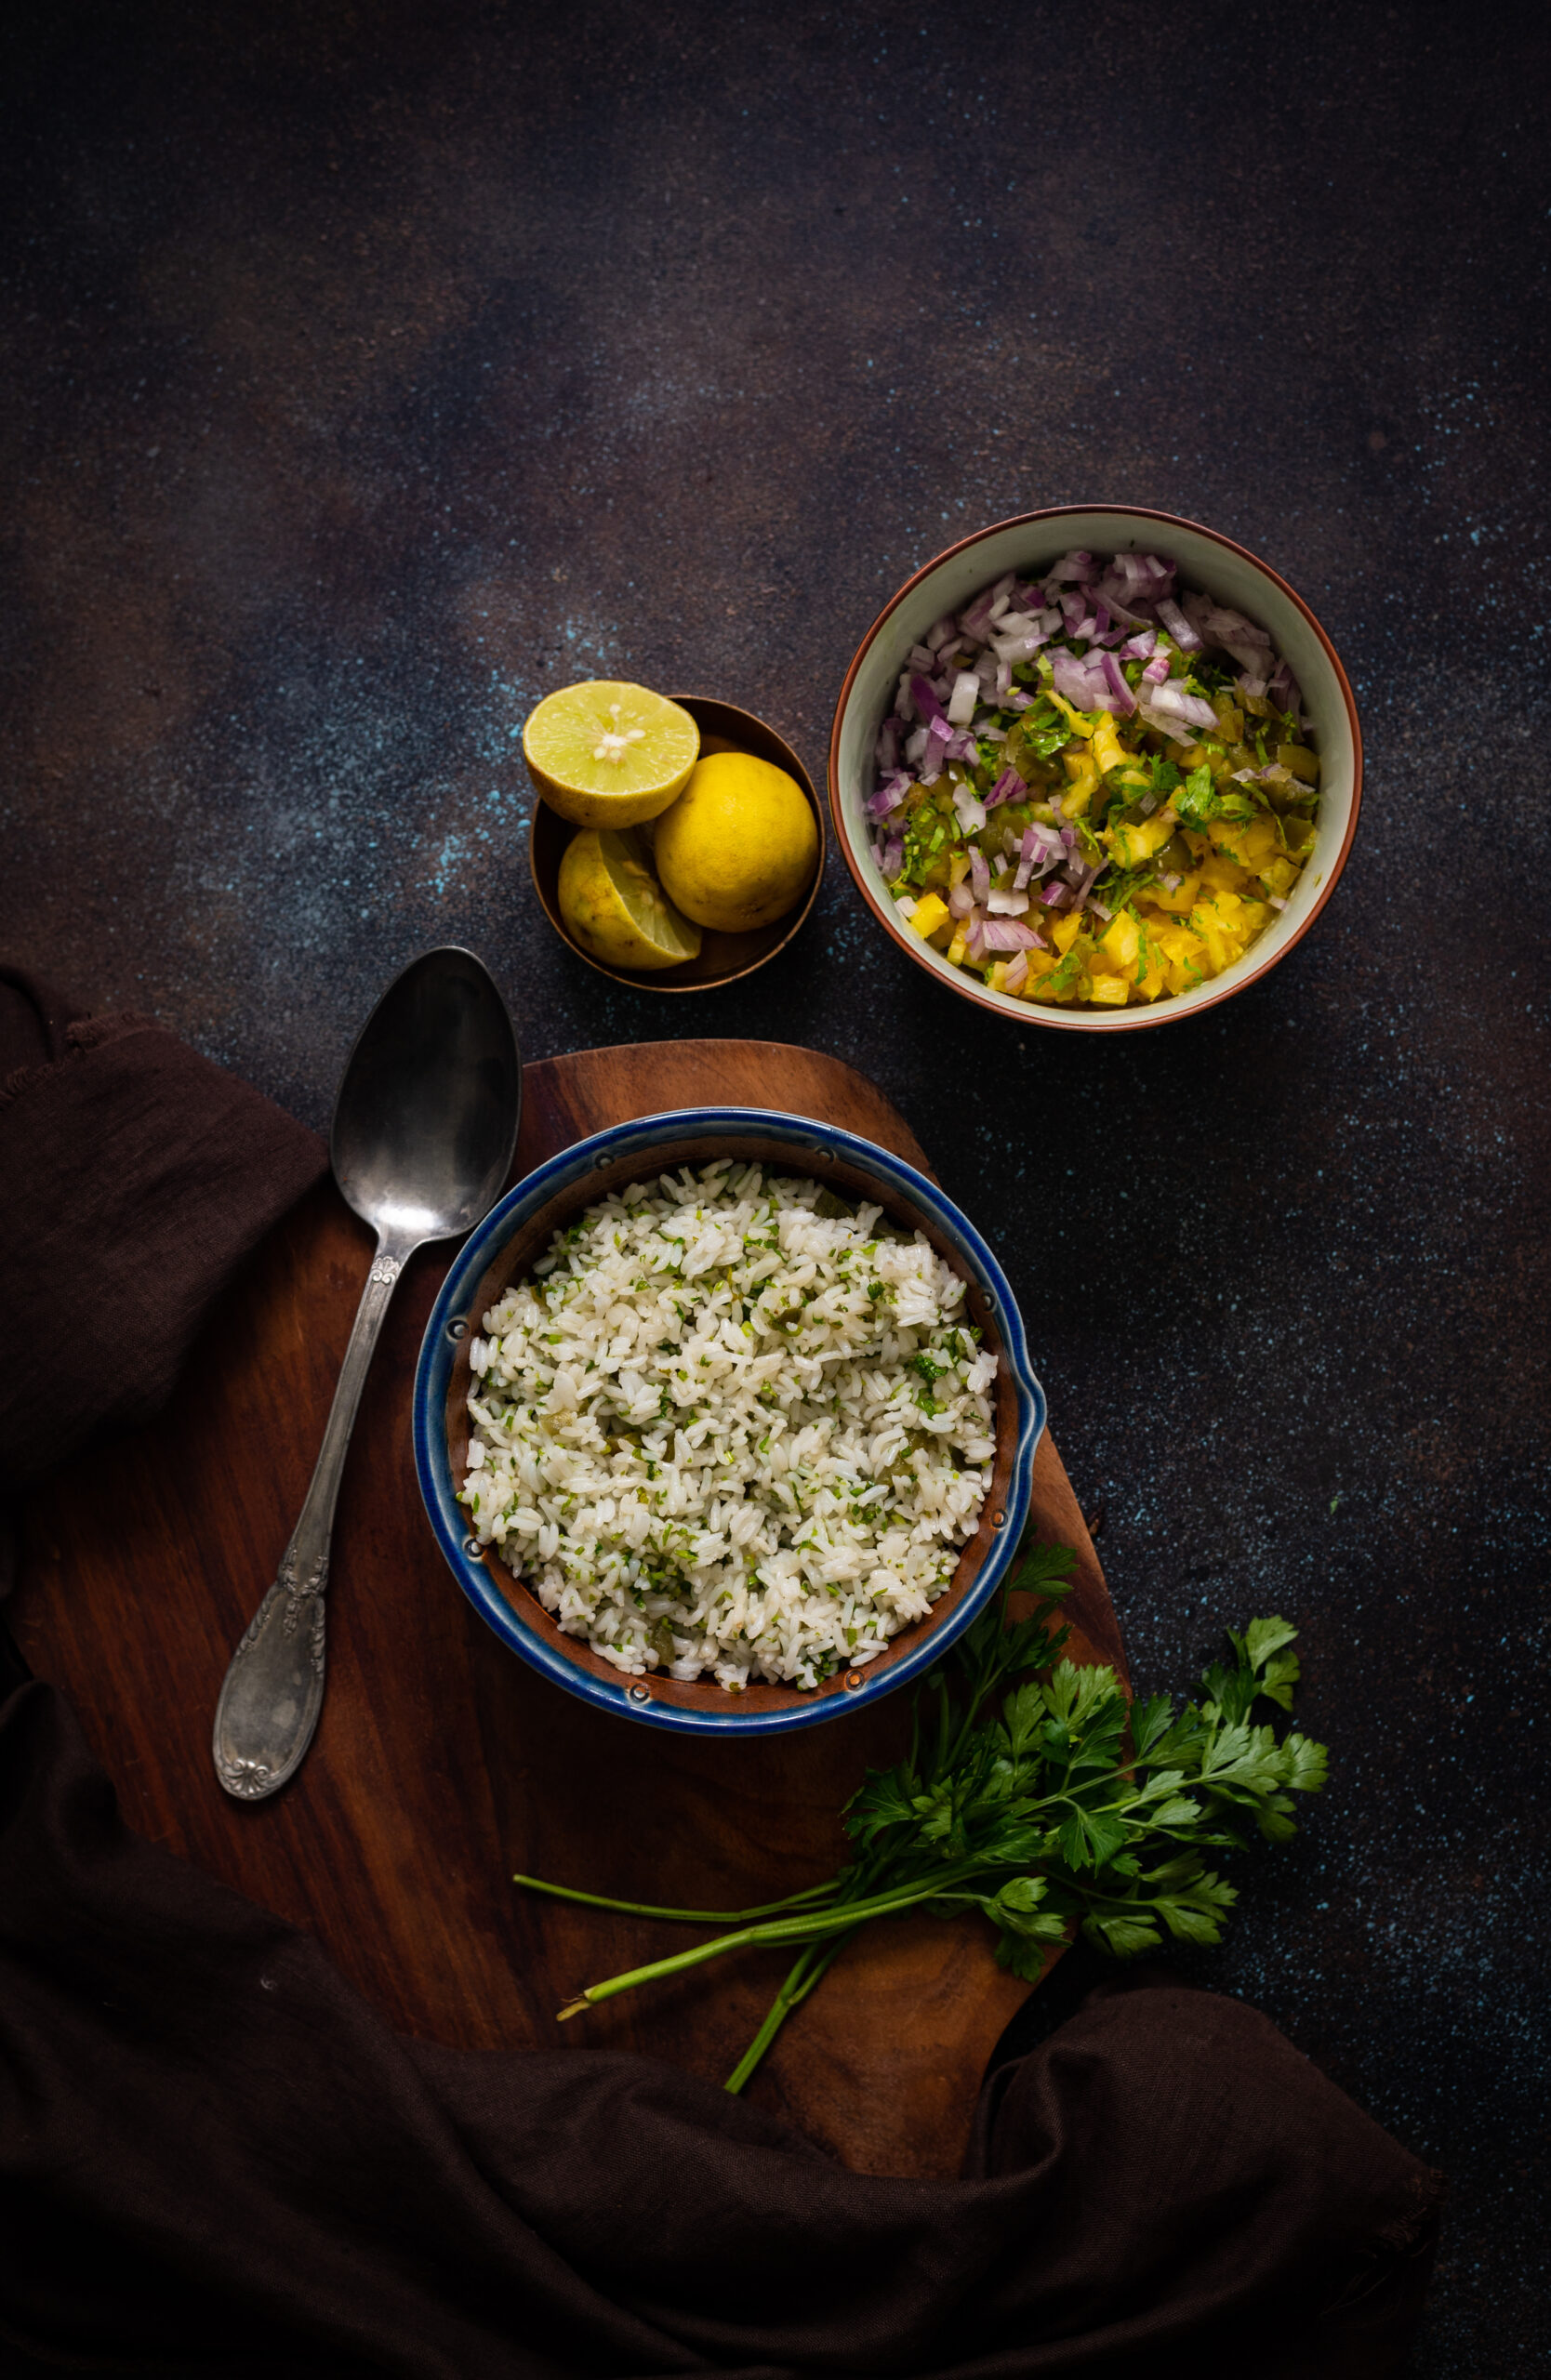
Pineapple salsa

2 cups finely chopped pineapple

2 tablespoons finely cut jalapeño

2 tablespoons cilantro

2 tablespoons finely cut onion

Salt to taste

Spicy red sauce


Cilantro Rice

1½ cups cooked rice

1 tablespoon oil

¼ cup finely cut cilantro

½ lemon

2 slices jalapeños

Salt to taste


Vegetables

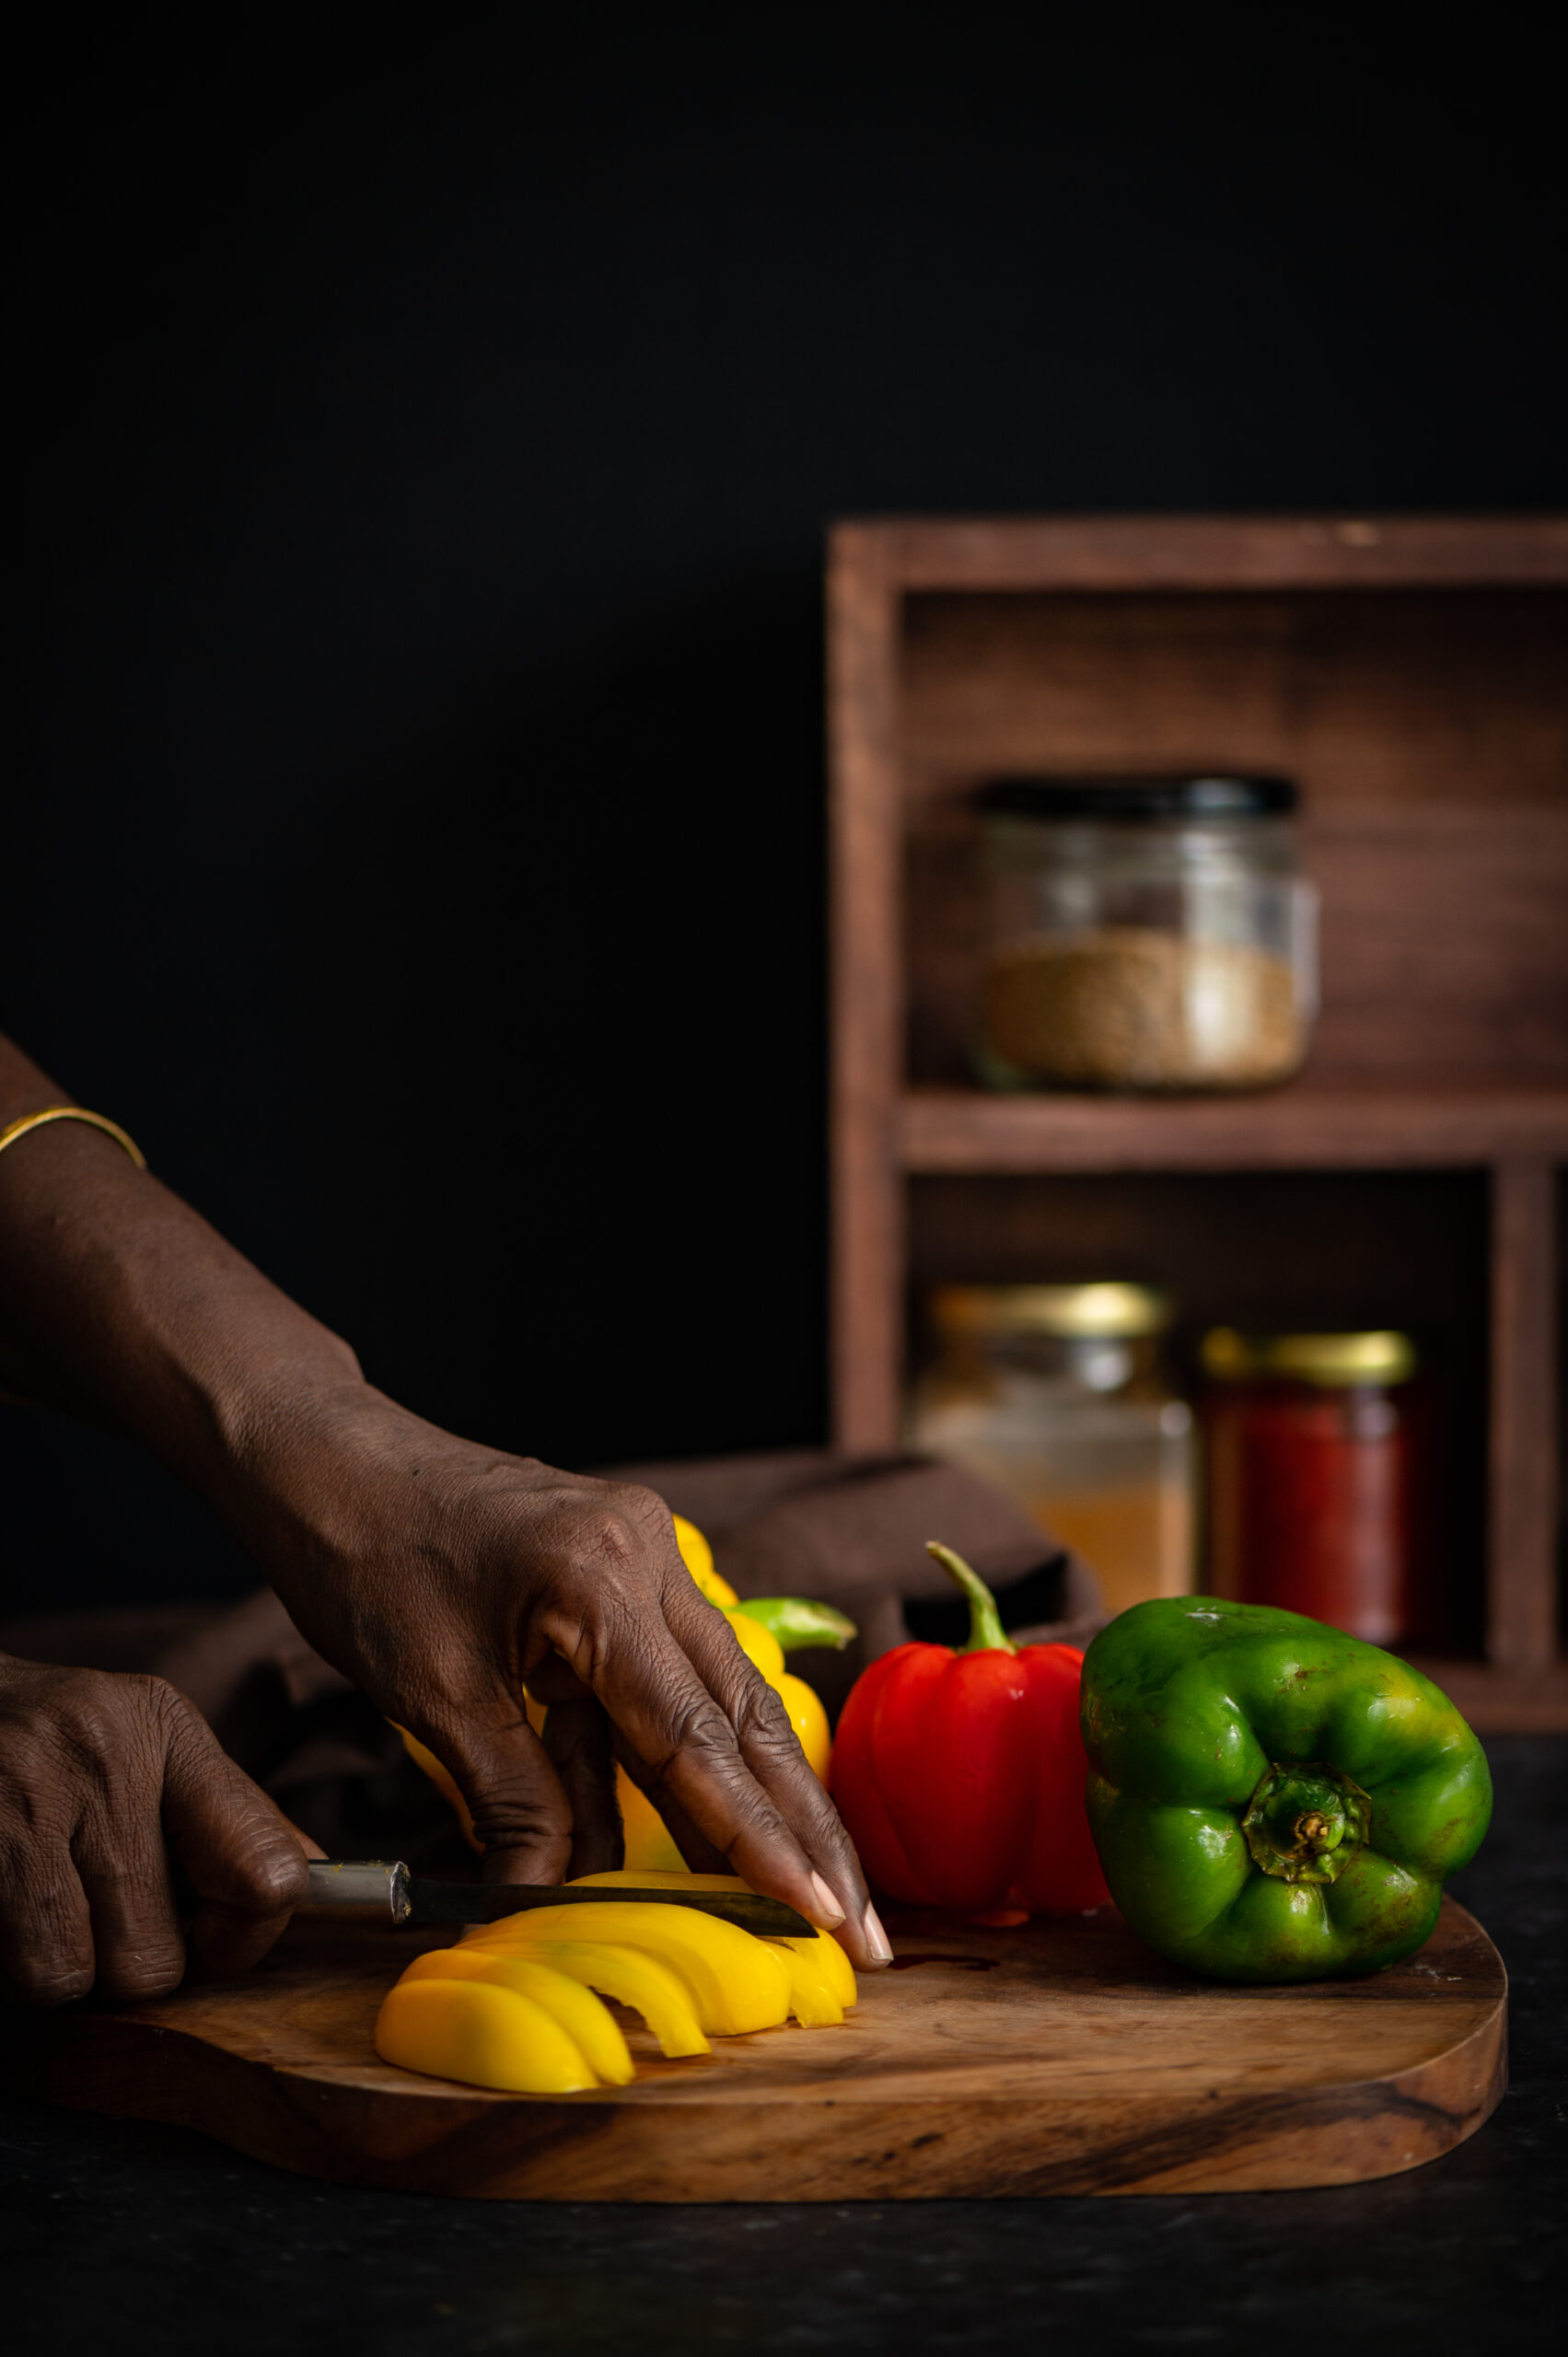
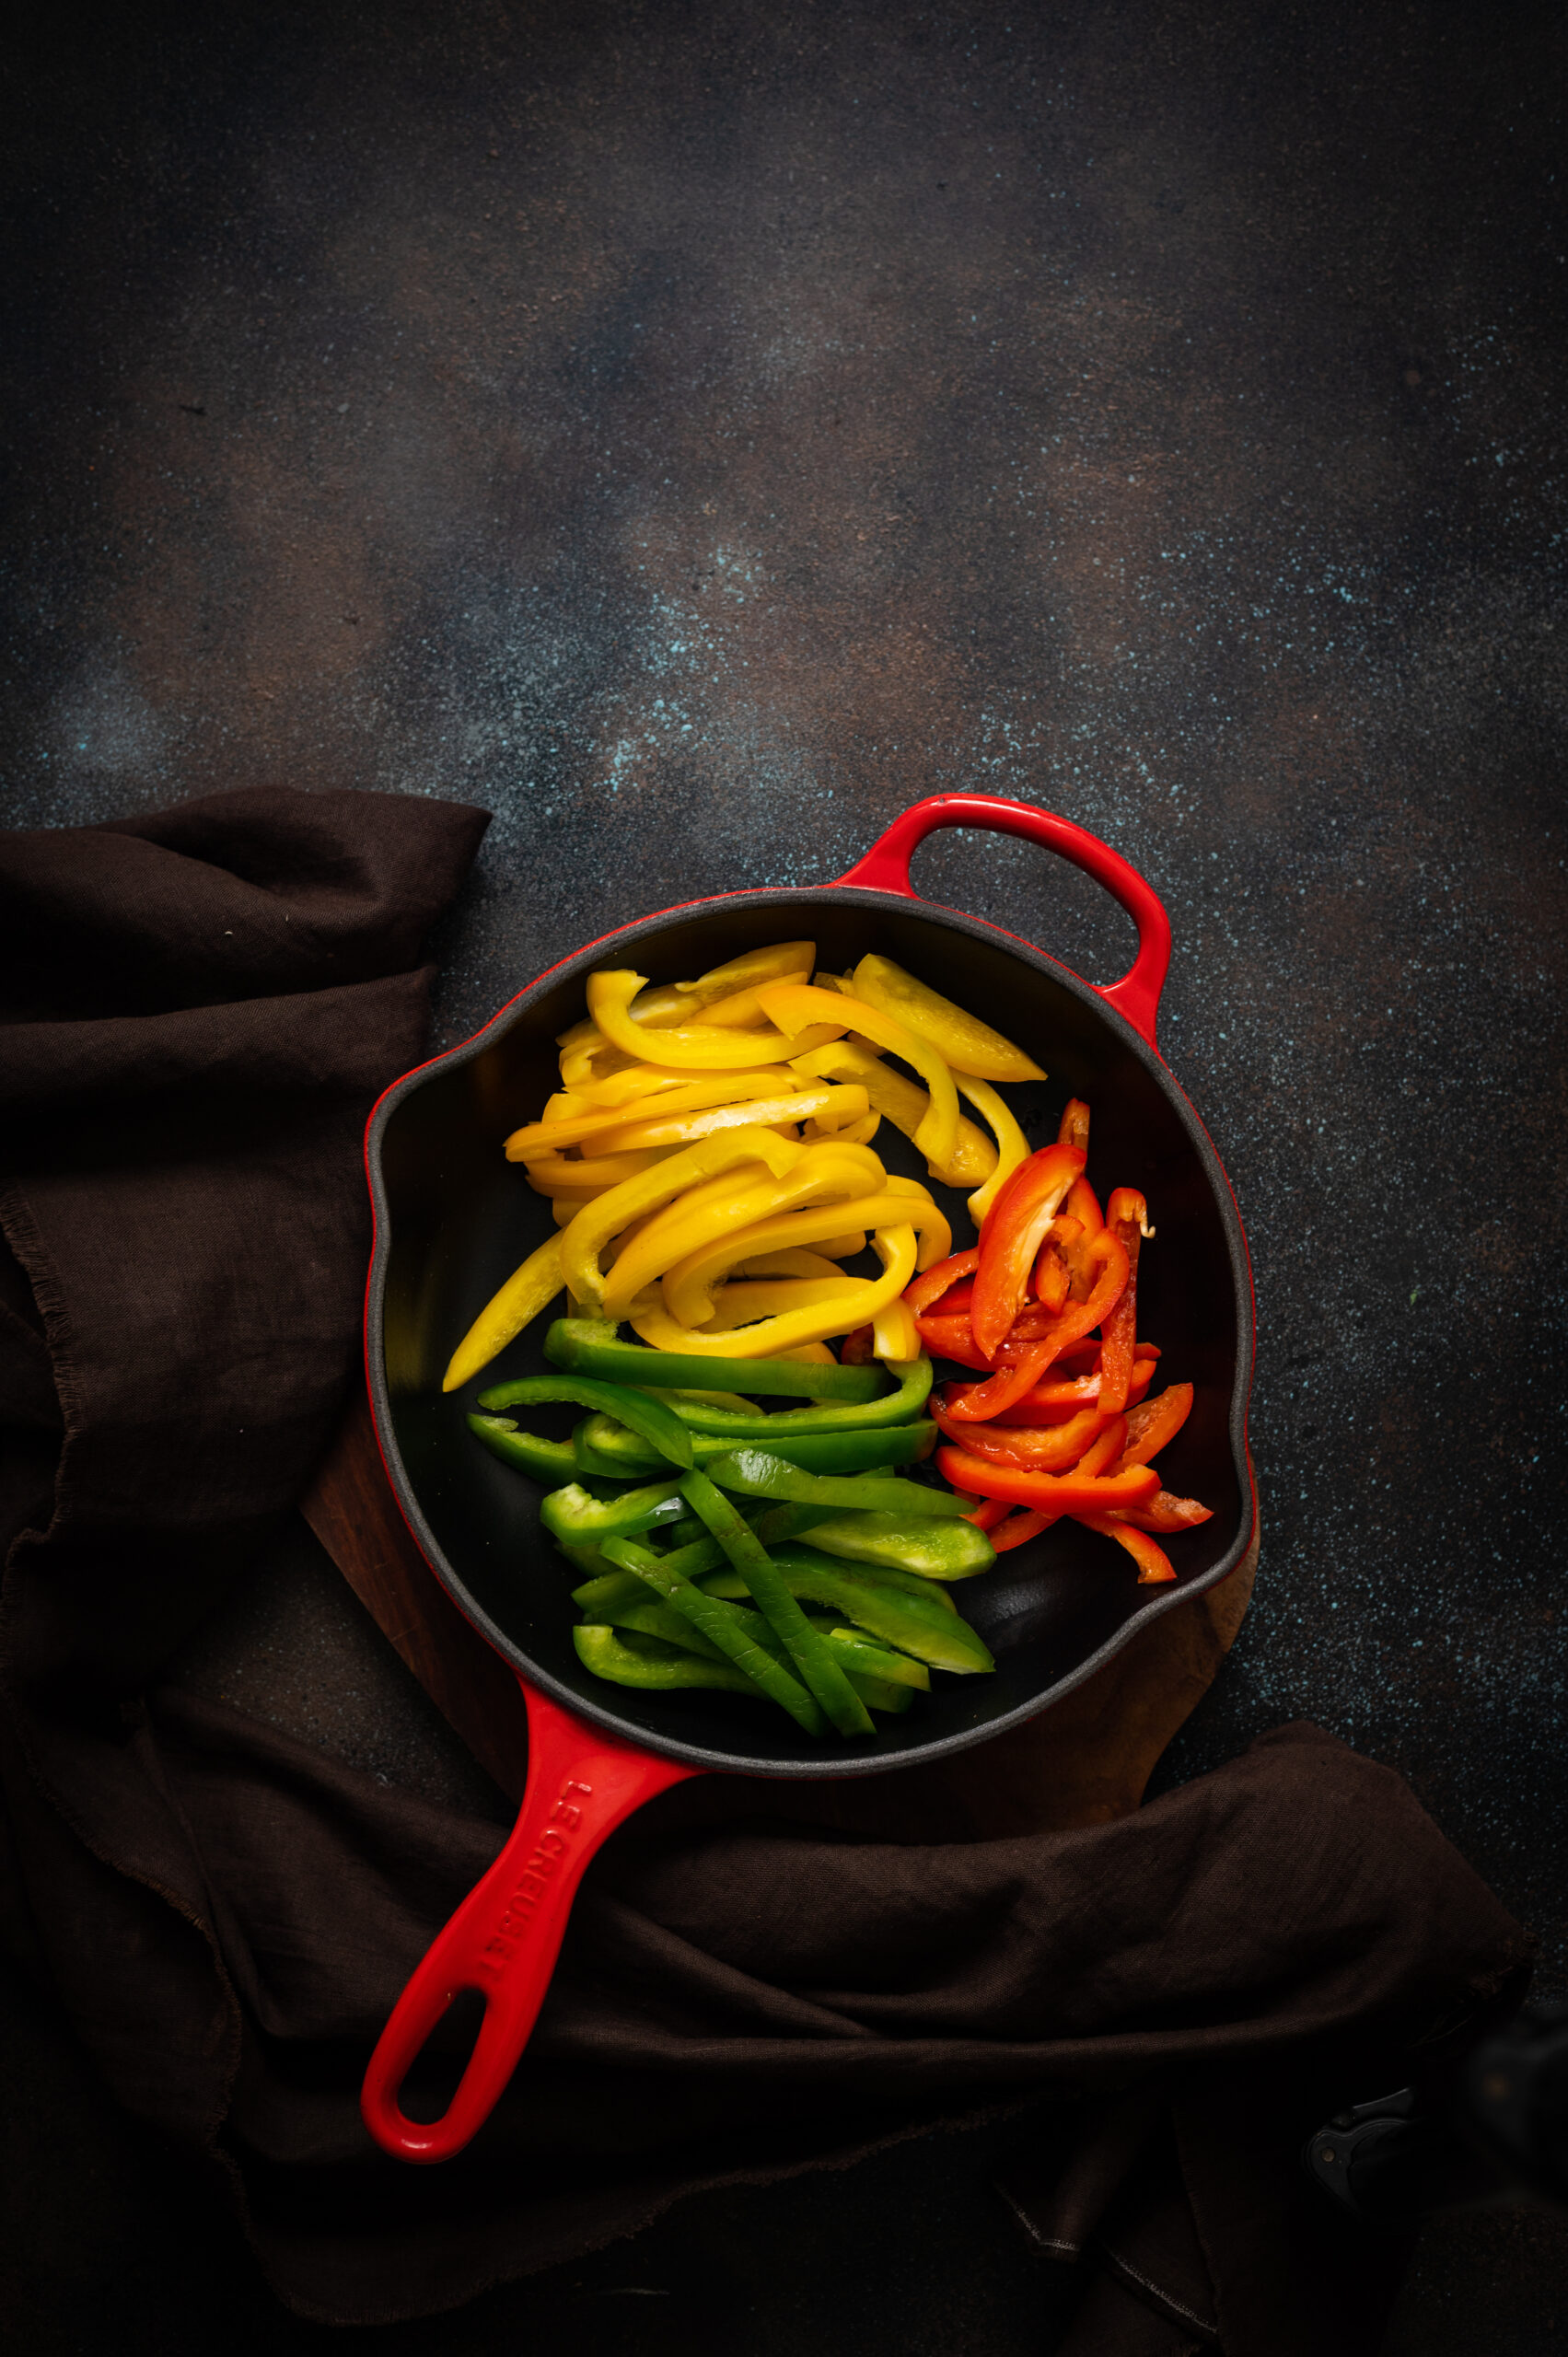
2 cups sliced bell peppers

1 cup whole corn

1 teaspoon oil

Salt to taste

Pinch pepper


Topping

1 avocado

Salt to taste

Olive oil to drizzle

A squeeze of lemon

Prepare each component, and keep them separate until you are ready to assemble and serve the bowl. Here is the method for the beans. First, pressure cook the beans in water. In a pan, add the oil. Now, add the purée, chipotle paste and salt. I used my fabulous all-purpose tomato puree, which you will surely find convenient to have on hand for many recipes too. Stir. Finally, add the beans. In order to make it in a slightly more gravy style, I added some of the water that I had kept aside.

Next, here are the methods for the two salsas. For the tomato salsa, begin by roasting the tomatoes directly in a low flame until the skins are charred. Peel the charred skins and chop finely. Combine all the ingredients together in a bowl. Mix well and refrigerate until use. For the pineapple salsa, simply combine all the ingredients in a bowl and mix well. Refrigerate until use as well.

Now, onto the cilantro rice. In a pan, sauté the rice in oil. Add all the other ingredients and stir on high until it all comes together. You can replace the rice with any grain of your choice.

The vegetables should be sautéed in oil on a pan, and seasoned with salt and pepper as you stir.

Assemble the different components in two medium-sized bowls and add the toppings. Make sure you slice the avocado just before serving, or it will lose colour. Remember what I said in the previous Buddha bowl post about the aesthetics of this serving style and feasting with the eyes first. This dish is best enjoyed warm. You may wish to sprinkle some crushed nacho chips on top for texture too, and I think my kids wouldn’t mind some authentic, crunchy black ants either, if we could find that recipe! As you can see, I’ve also added a bit of green salad on top, as I do love my veggies.

I mentioned earlier that there are avocados galore on the market now, so be sure to come back for the next post, where they will be a starring ingredient…

There are one-pot meals and meal-in-a-bowls to be found in cuisines all over the world, even though distinguishing them as a category is a relatively new idea. They’ve gained popularity among diners everywhere thanks to the Buddha bowl trend, which are comprised of a medley of attractively arranged (and usually nutritious) food items in a single bowl. I’ve had quite a few versions of these on my travels, and they’ve always motivated me to make them a regular part of my lifestyle. Now that we’ve all been at home for months, I’ve been bringing as many of these inspirations into my day-to-day cooking as possible. The Buddha bowl is among my favourites for its aesthetic appeal, health quotient and convenience. I’ve been making variants focused on different cuisines, and will share a few of them in the coming weeks. Let’s begin today with my South Indian-style Buddha bowl.

The Buddha bowl concept itself is a great one, and is based on putting together a compact and even portable meal which packs in lots of flavours and textures. You may be wondering what makes a Buddha bowl different from the thaalis we enjoy in India, in which a wide variety of dishes are served in their own separate containers, arranged around the central eating space of the plate. The answer is in the portion sizes. With thaalis, there’s a lot more space, and you tend to fill up that space and thus consume what you’ve filled it with too. A Buddha bowl is just one vessel, usually a bowl as per the name, but a plate will do as well. Thaalis are indulgent, whereas Buddha bowls take a minimalistic approach. The latter are closely tied to fitness for this reason. These days, with the necessity of watching what I eat in a smarter way as I grow older, I reach for them very often in the interest of health. I can attest that eating a Buddha bowl keeps you light on your feet. Whenever I have one for lunch, I feel active for the rest of the day. There is a bounce in my step and I feel revitalised, and find myself doing my photoshoots with more energy.

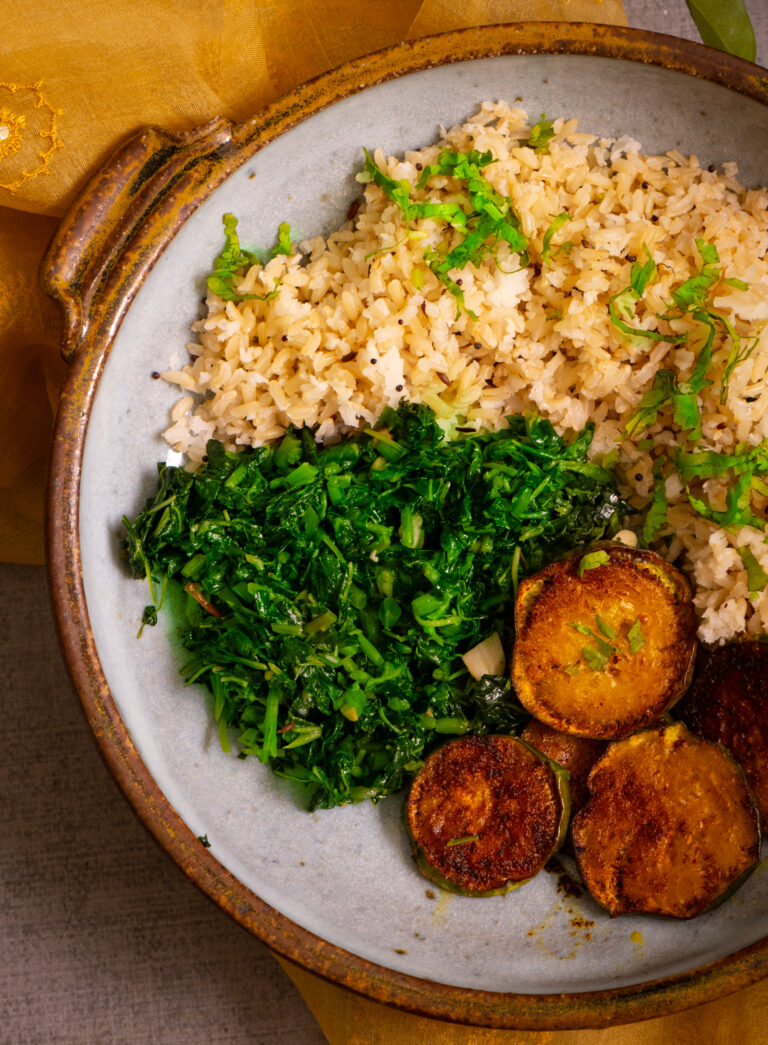
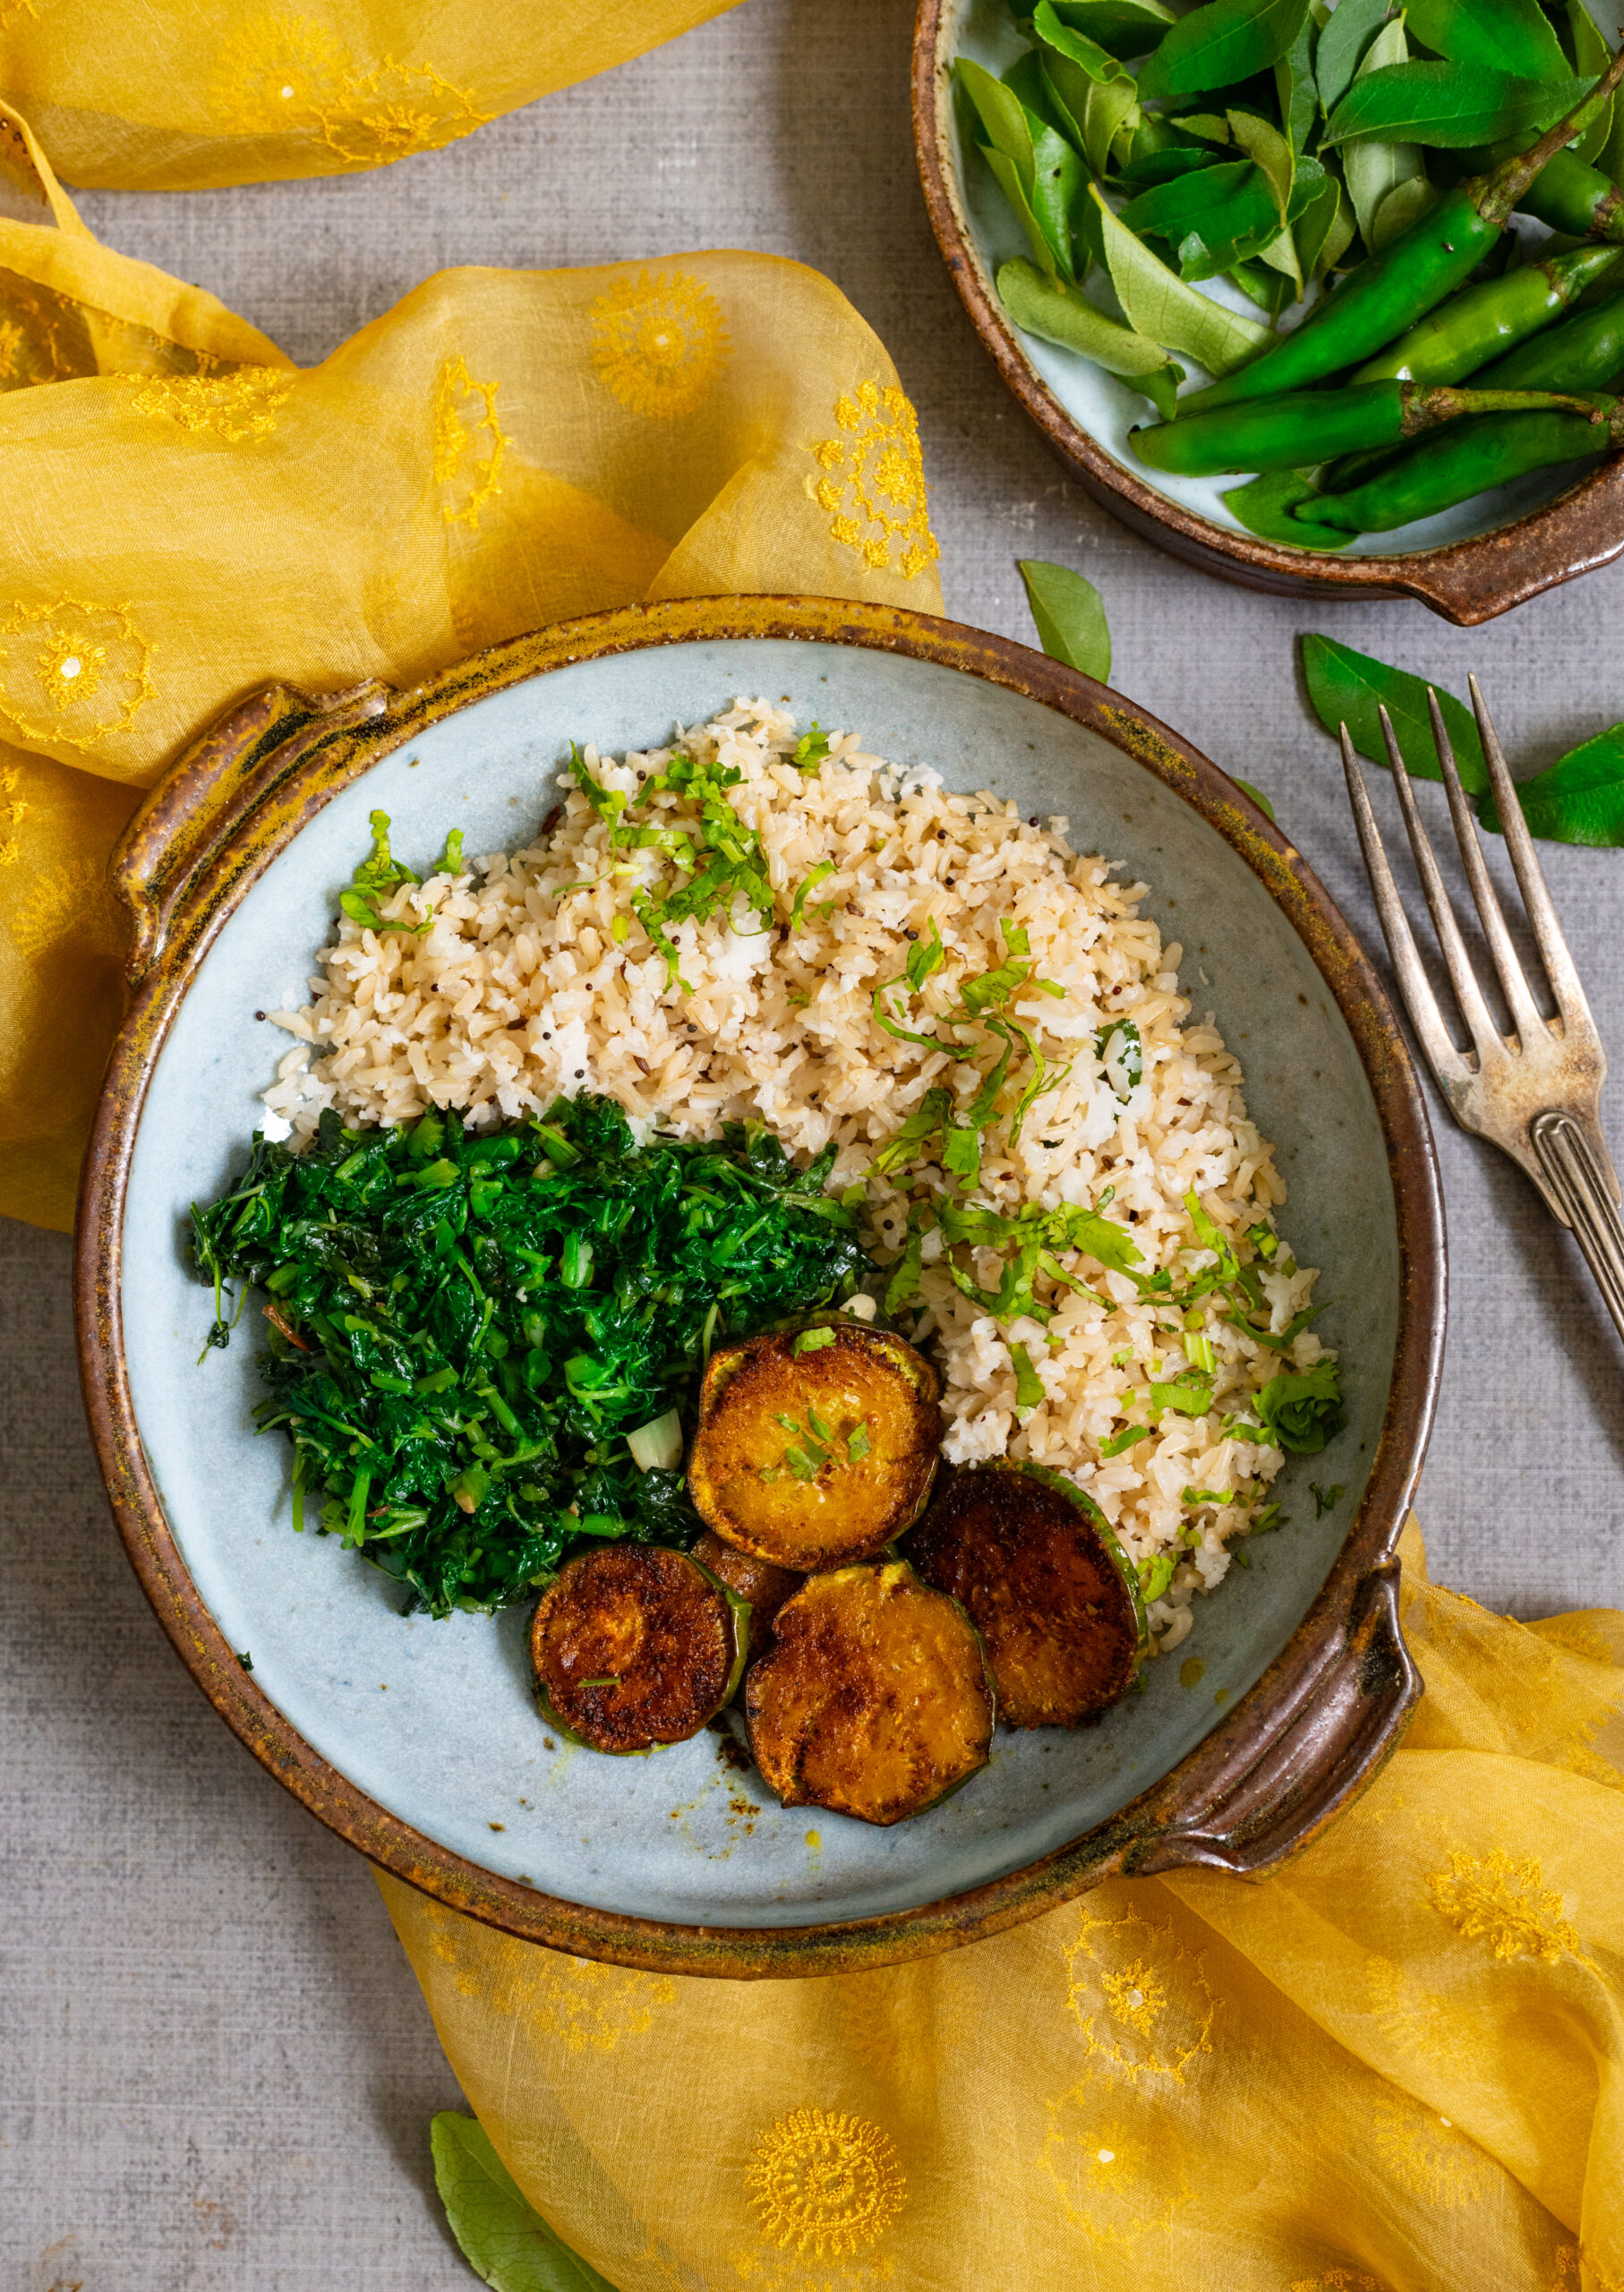
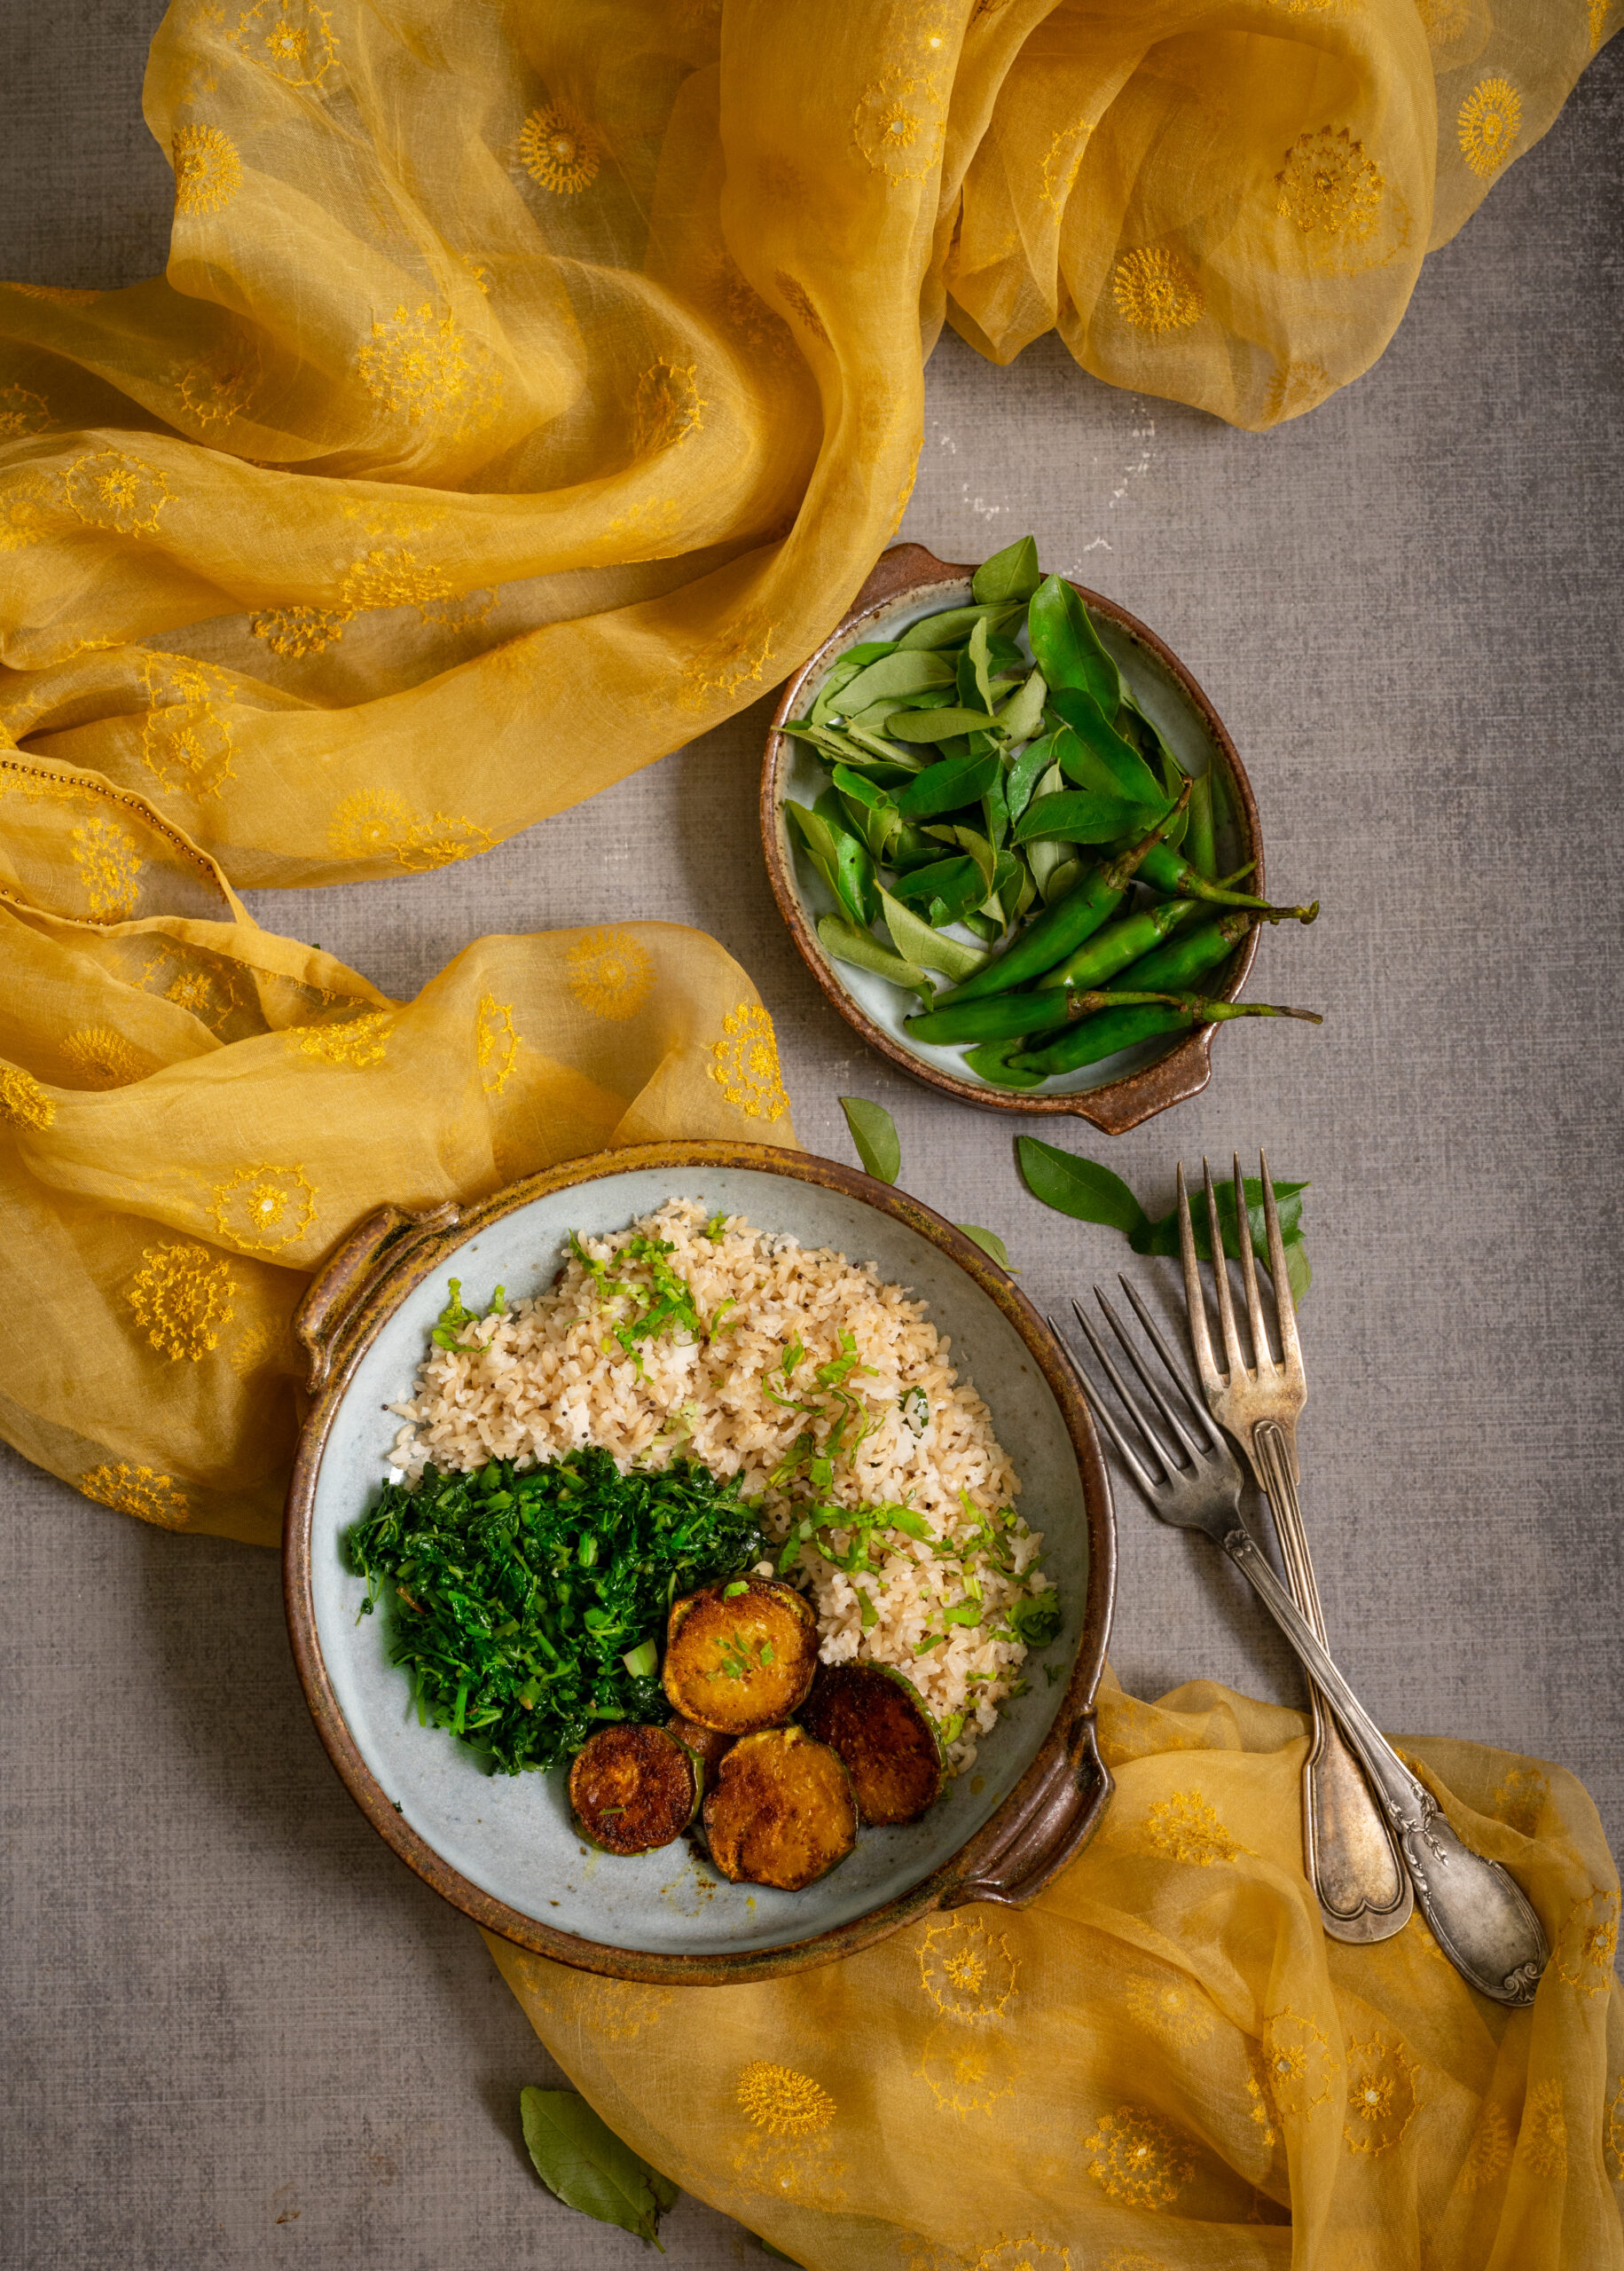
You can make carb-free variants if you like, but for me it’s simply about cutting down on the quantity of them while still getting the boost they give to my energy. Offsetting the carbs with a delicious load of greens is also key. This South Indian Buddha bowl contains the perfect combination of crispy eggplant, flavourful rice and nourishing, lightly-spiced greens. Every single dish-within-the-dish tastes wonderful, and they come together beautifully with their richness of textures and flavours.

I am a fan of healthy grains options, so I’ve used brown rice in this recipe. You can substitute this with white rice, if you prefer. As for the greens, here in South India we enjoy an incredible variety of spinach, including vendaya keerai, moringa, mollaraikeerai, sirikeerai and more. I have some kind or another every single day, and just happened to use mullakeerai in this recipe. It’s just very lightly seasoned with garlic, salt and dry red chilli and is very flavourful when eaten almost plain this way. We also get a variety of eggplants, from thin and long green ones to fat and purple ones, and while I don’t know all their names, you can use any that are available too. One of the beautiful things about this recipe is that it requires just the staples.

I always say that you eat with your eyes first, and the aesthetics of serving are very important to me not only as a photographer but equally as a culinary enthusiast. When you serve these diverse portions in a beautiful and well-proportioned bowl, the vessel looks full and the moment you see it, you get a sense of “Wow, I’m going to have a big meal.” You truly do feel satiated at the end of it, because your eyes have convinced your brain before your belly begins its work! Making a Buddha bowl as colourfully as possible also has health advantages, as you may remember from my post on eating the rainbow.

Speaking of what the eyes take in, initially, I had planned a photoshoot using South Indian brass crockery and props. I ultimately decided to go with an international look instead, to celebrate the global popularity of the Buddha bowl. As I discovered, there’s also another trick of the eye in this. You see, my daughter doesn’t always enjoy South Indian cuisine, but if I present it this way, she tucks in enthusiastically. It’s all about presentation, and how good you can make a dish look so that it will please the person who is going to eat it even before they’ve had a bite. Personally, I would also love eating this very same meal off of a banana leaf (yela saapad), as is tradition. That would change the experience of having it totally as well. But for now, I need the shot of energy that a Buddha bowl puts into my day, and I’ll carry on having it this way for a while!

South Indian Buddha Bowl

(Yield: 1 bowl)


Coconut rice

200 grams (approximately 2 cups) cooked brown or white rice

30 grams (2 tablespoons) grated coconut

4 curry leaves

1 tablespoon coconut oil

¼ teaspoon cumin seeds

¼ teaspoon mustard seeds

1 green chilli

Salt to taste


Greens

2 cups chopped and cleaned greens

1 teaspoon oil

2-3 garlic cloves

1 dry red chilli (optional, can be replaced with green chilli)

Salt to taste


Eggplant

10-12 slices of small eggplants

Salt to taste

¼ teaspoon turmeric

1 teaspoon coriander powder

¼ teaspoon cumin powder

1 tablespoon chickpea flour

2-3 tablespoons oil


Prepare each of the components separately. I’ll begin by sharing the method for the coconut rice. In a pan, add the coconut oil. Once it’s heated, add the cumin and mustard seeds. When the seeds splutter, add the curry leaves and green chilli. Next, add the freshly grated coconut. Sauté them all together for a few minutes and finally add the rice and salt. Stir until combined.

The following is the method for the pan-fried eggplant. On a plate, place the eggplant slices and sprinkle all the masala (including the chickpea flour) onto them, and gently massage them in by using your fingers. Allow the coated slices to sit for ½ an hour or more. If letting the tray sit for longer, then refrigerate it so that the eggplant doesn’t begin to give out water.

When you are ready to fry the eggplant, add the oil in a pan. Allow it to heat up, then gently place the round eggplant slices onto the hot oil. Allow them to turn golden on both sides on a medium flame, then cool.

Finally, here is the method to prepare the greens. Heat a kadai and add the oil to it. Once it’s hot, add the garlic and stir fry until the cloves change colour slightly. Now, add the chilli and then finally add the greens. Keep the flame at a medium level and sauté for a few minutes or until the greens turn a little tender. Do not overcook, as they release water and will change colour. Add the salt and stir well.

My daughter felt that this bowl was a little dry, and if you think so too, you can either add some yoghurt to it as a fourth component or make the spinach in a more gravy-like style if you prefer.

With all the components of the dish prepared, it now comes down to the assembly. Pick out a beautiful bowl and arrange the coconut rice, sautéed greens and pan-fried eggplant on it. Let your eyes feast first. Enjoy!

You may have noticed that my blog is also a kind of Buddha bowl, a mix-and-match that I put together from across categories. This is deliberate, because I want people from across age groups and from all over the world to enjoy my recipes. I always try to balance the traditional and the modern, and bring in all my varied experiences and learning – be they through travel, my training such as in Macrobiotics, my memories, or my experiments. I strive to keep up with the times, and I also strive to keep challenging myself. Thank you for coming along with me on my journey! There are a few more Buddha bowls in the next couple of stops. Any guesses where they might be inspired from?

The lovely thing about India is that on the levels of states, communities and right down to homes, the very same dish or category of dishes will be prepared with a unique twist. Whether they are delectable main courses or fun snacks or refreshing beverages, we have so much variety across our cuisines here, even when it comes to staples. They are also eaten in different ways, at different times of day. So it was a pleasant surprise when I encountered this tasty green peas dish, known as chura matar (literally – “poha and peas”), at the home of my very dear friend Vrinda in Jaipur one morning. Poha in and of itself is often a breakfast item, and the inclusion of peas (something I was not used to encountering in the morning meal) elevated it to a new high. What a great start to the day it was!

All breakfasts across India are healthy. I know some of you will disagree by bringing up something like the aloo parathas of Punjab, but there’s a simple reason why a heavy meal is eaten in the mornings. Days tend to be busy, and getting a proper boost of nutrition to tide a person through many hours is important. When you think about how this is especially true for those engaged in labour work, who may not be able to sit down for three square meals, the logic is evident. So whether that’s fried pooris or idlis made of rice flour, that first meal of the day is designed to go a long way. In Maharashtra and Gujarat, people often begin the day with poha, or flattened rice. It’s also an ingredient in special dishes like Diwali chevdo or the sweet dudh-poha made on Sharad Purnima. It’s eaten across the subcontinent, and is known here in Tamil Nadu as aval. I recall also having it steamed and topped with jaggery, as served by a friend I was visiting in Assam once.

Chura matar is a traditional dish from Uttar Pradesh, where the poha is deep-fried. Our version here is a healthier one, sautéing and steaming the poha rather than frying it. People from Uttar Pradesh may find this strange, but as a Gujarati raised in Tamil Nadu, my cultural influences are diverse and have an effect on my culinary choices too. Gujaratis also have a version of this dish, mixing the peas and poha – but when the vegetable is in season, you get so much of it that you may as well make it the star of its own dish and serve it separately too.  Green pea season in India usually takes place in November, and the markets are simply abundant with the vegetable then. However, they grow year-round, as you may remember from one of my recipes that fondly recalled the Ooty summers of my childhood, where peas were known as “English vegetable”. My memories of the Nilgiris aren’t the only ones that this ingredient rekindles. In fact, especially in this time of no travel, they make me miss the north of India in a big way. All my trips to Gujarat while I was growing up, and my later journeys to Rajasthan (such as when I visited the friend who shared this recipe with me) come back to me vividly when I eat this dish. I miss the exposure to a wide range of delicacies, and discovering so many new treats. It’s a pleasure to be able to evoke those experiences in my own kitchen.

Even though we are technically off-season at the moment, I am writing this now because I am missing Vrinda and craving her chura matar. It’s funny how food is sometimes connected to a person. A roti or puran poli always reminds me of my mother, who taught me how to make those dishes and enjoyed them too. A stir-fry always makes me think of my daughter, who loves them. We absolutely connect recipes to people.

I learned through Vrinda that the younger the pod, the more beautiful the flavour of the peas within it. There in Jaipur, these are called colloquially as “zero number” in the local markets, to indicate the smallness of their size. The best peas are harvested right at the beginning of the season, before they are fully grown.

We are fortunate in India to have easy access to fresh and affordable green peas, and in years past I’ve often frozen batches while the season is in full swing to use later. Even before peas became widely cultivated in India during the colonial era, we have always had our own lentils and legumes. You could think of them as being native versions of peas. Green toor dal or split pigeon peas, red rajma or kidney beans, green channa or chickpeas, and so many more make up this list. Steamed, salted, eaten plain or dressed up with different flavours, they make great pea substitutes too and work especially well in salads. The South Indian sundal is a favourite of mine.

Another food item that I freeze often are chutneys. I make large batches, then freeze them in small single use portions. I do this with my sweet, tangy date chutney and my green chutney, among other variants.  This chura matar is chutney-free, because it doesn’t need it, since the green peas add a soft texture to the medley of basic elements. But you may enjoy using it, so feel free to add some if you would like to.

Without further ado, here is the chura matar recipe that I’m sharing today. I would love to know what your own take on it is too. I keep saying the same thing over and over on this blog, but it’s true: every cook makes their own version. My kitchen has its flavours, as do yours. My hands have their own type of love, as do yours. There’s what I’ve been taught, and what I’ve been exposed to, and the same goes for you and your own experiences. But the one thing we all have in common? A passion for all things delicious!


Chura Matar

(Serves 2-3)


For the poha

70 grams / 1 cup raw poha (it will become 170 grams or 1½ cups after soaking)

50 grams / ½ cup finely chopped onions

¼ teaspoon mustard seeds

2 tablespoons oil

A few curry leaves

1 green chilli

Salt to taste

Juice of ½ lemon

1 teaspoon sugar (optional)


Peas

1 cup frozen peas

1 teaspoon oil

¼ teaspoon cumin seeds

½ teaspoon ginger paste

Salt to taste


Topping

Onions (finely chopped)

Tomatoes (finely chopped)

Coriander leaves (finely chopped)

A squeeze of lemon


First, rinse the poha under water and allow it to drain. If the poha is of the thin variety, draining alone will do. Otherwise, soak it for half an hour.

In a pan, add the oil. Once it has heated, add the mustard seeds and wait until they splutter.

Then, add the green chili and onions. Once they are golden, add the soft, soaked poha. Next, add the salt and sugar (if you are using it). Stir well on a slow flame, gently. Set aside.

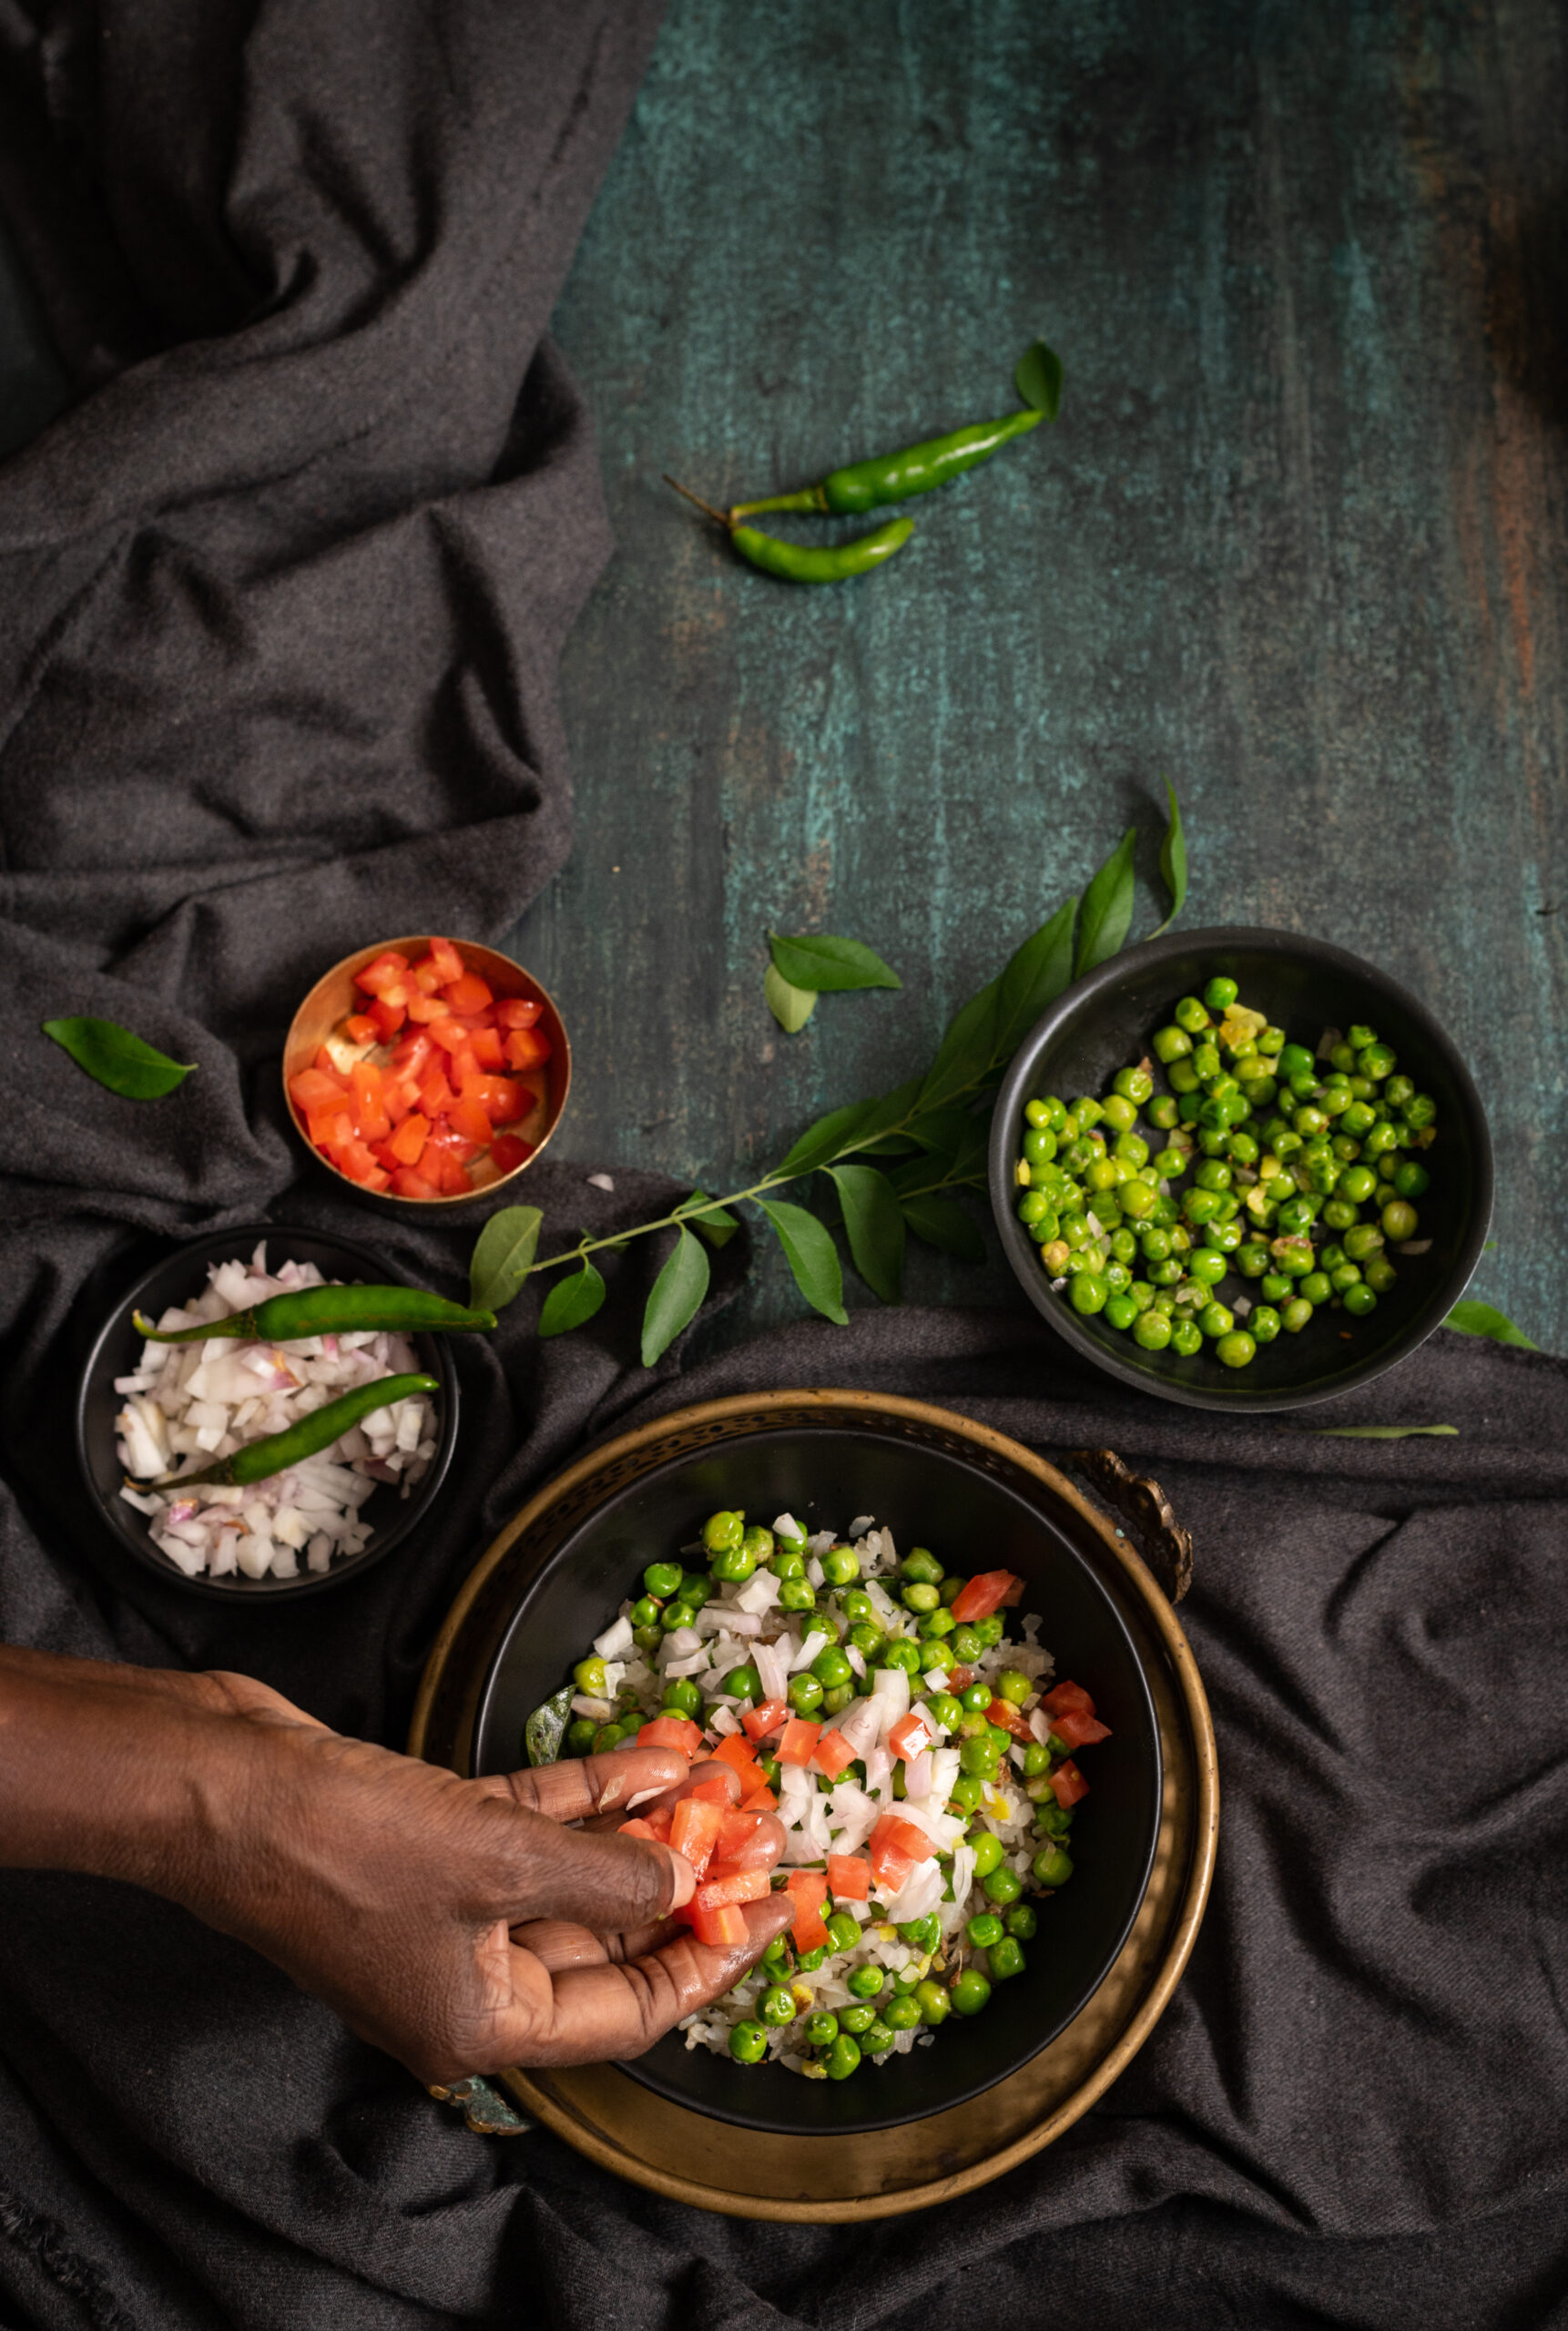
Now, prepare the peas. Add the oil in a pan and add the cumin seeds. Wait until they turn aromatic. Now add the ginger paste. Stir, and finally add the peas. If you are using frozen peas, make sure you allow them to cook long enough to turn soft. Set aside.

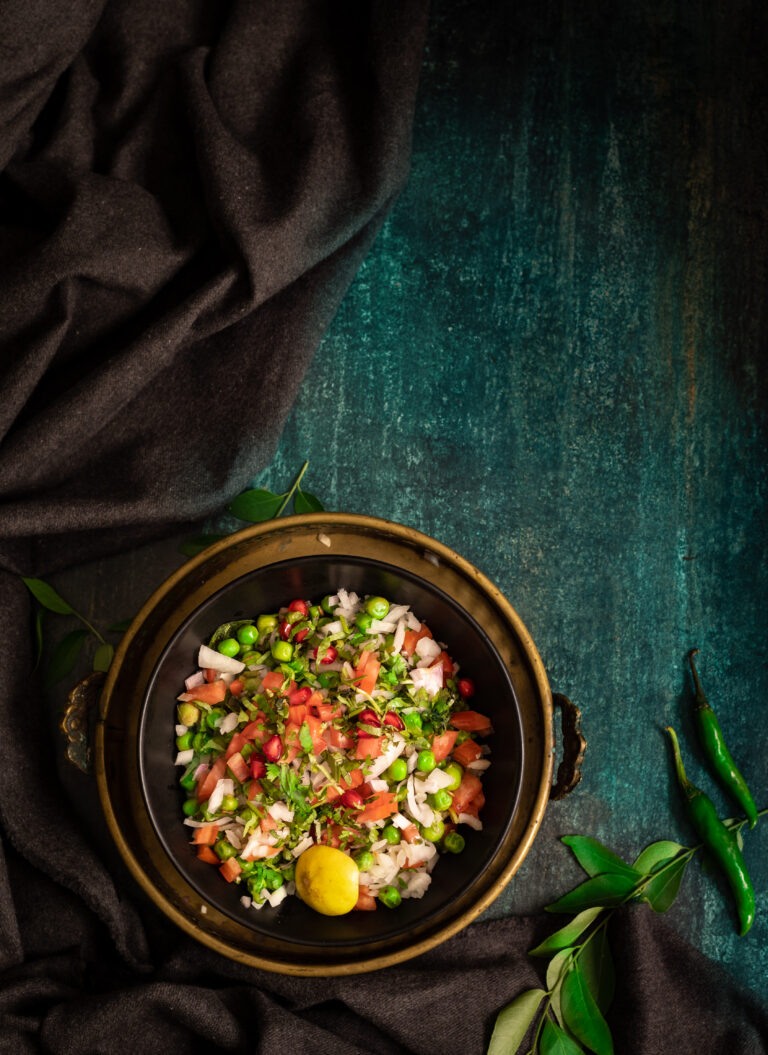
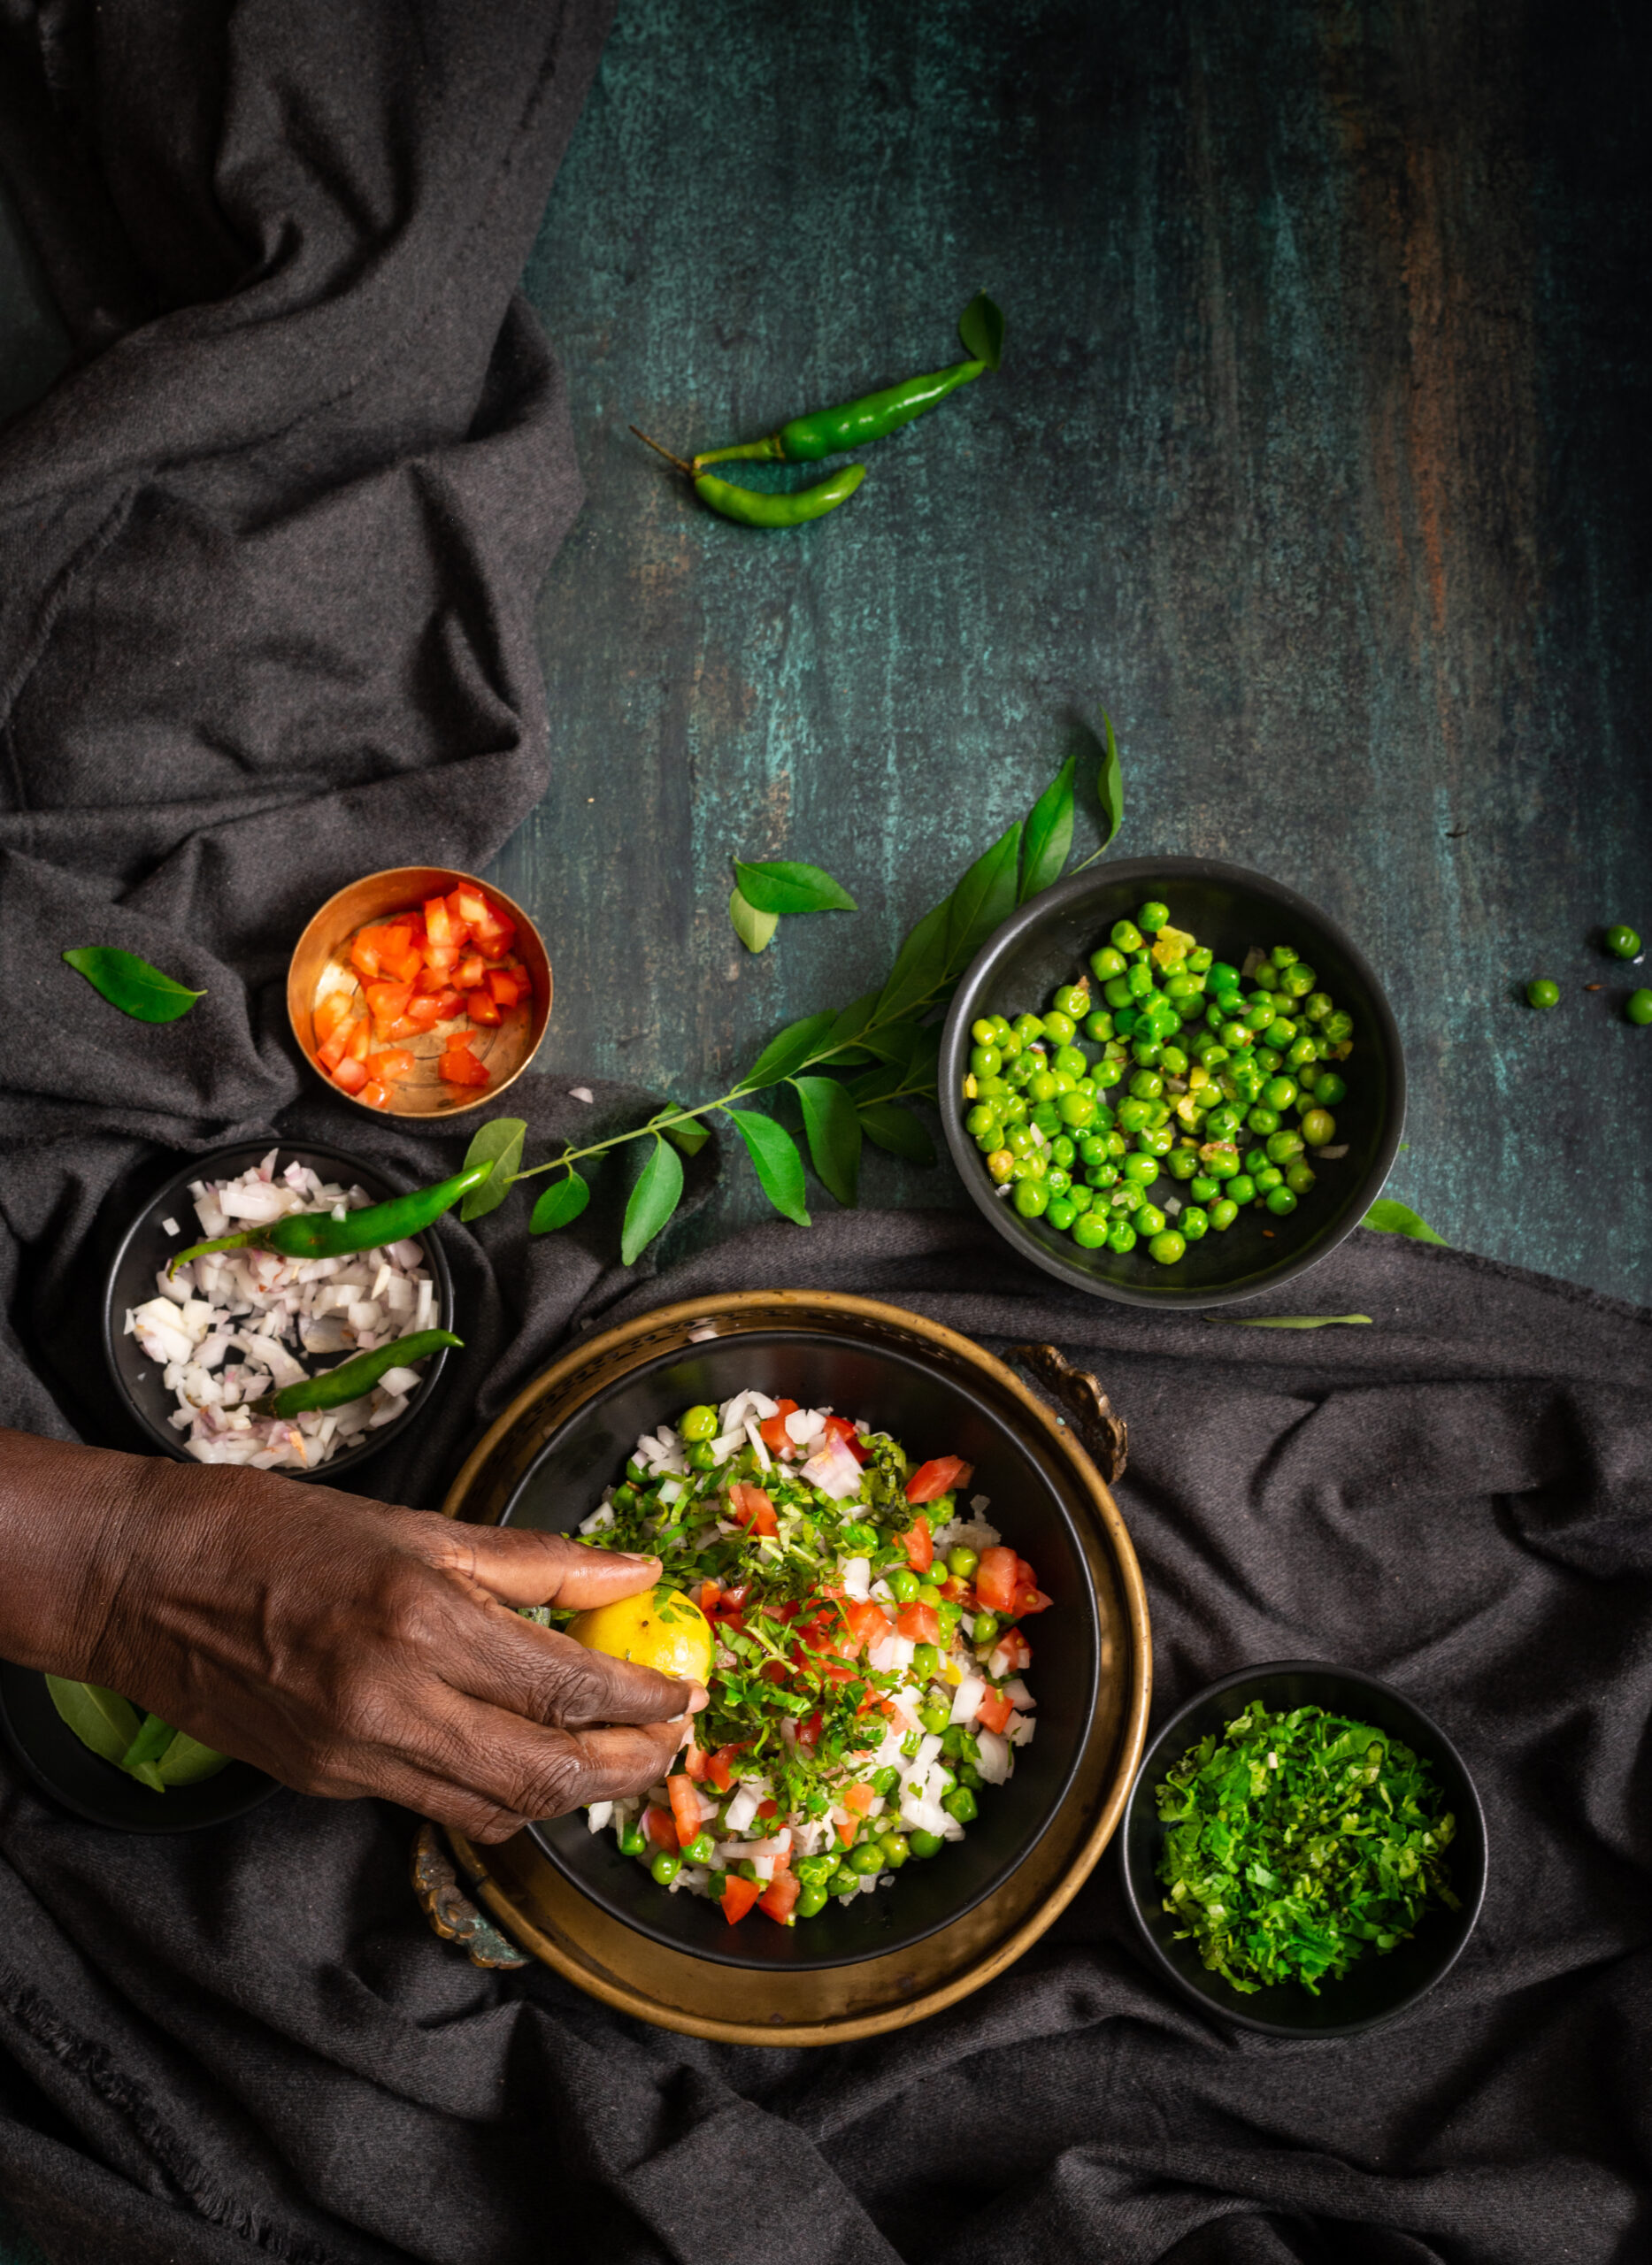
Use a shallow serving platter to assemble the dish. First, place the cooked poha as a layer. Over this, add the peas as a layer. Top this with the healthy garnish of freshly chopped onions, tomatoes and coriander leaves. Finish with a dash of lemon juice. Serve.

Now that remembering this fabulous chura matar has brought it into my repertoire, I envision making it for evening treats, as a filler between meals, and even as full meals (such as breakfast!). Do try this one out, and let me know what you think in the comments.

When it comes to any dish that I’m a novice at, I love making it as often as possible so that I can learn from each attempt. Novelty is part of the motivation, but improving my success rate is the real goal. The more you use your hands, the better you get at anything. For you, this may be true for one of your own creative passions, and for me this is all about baking and photography. This was certainly the case for me with sourdough. Those of you who’ve followed my sourdough journey through my Instagram Stories over the past couple of years will know how enthusiastically I’ve pursued working on it. Sourdough is all the rage everywhere at the moment, since the pandemic has made so many people  explorers in the kitchen, so it’s especially exciting for me to share this sourdough toast recipe today.

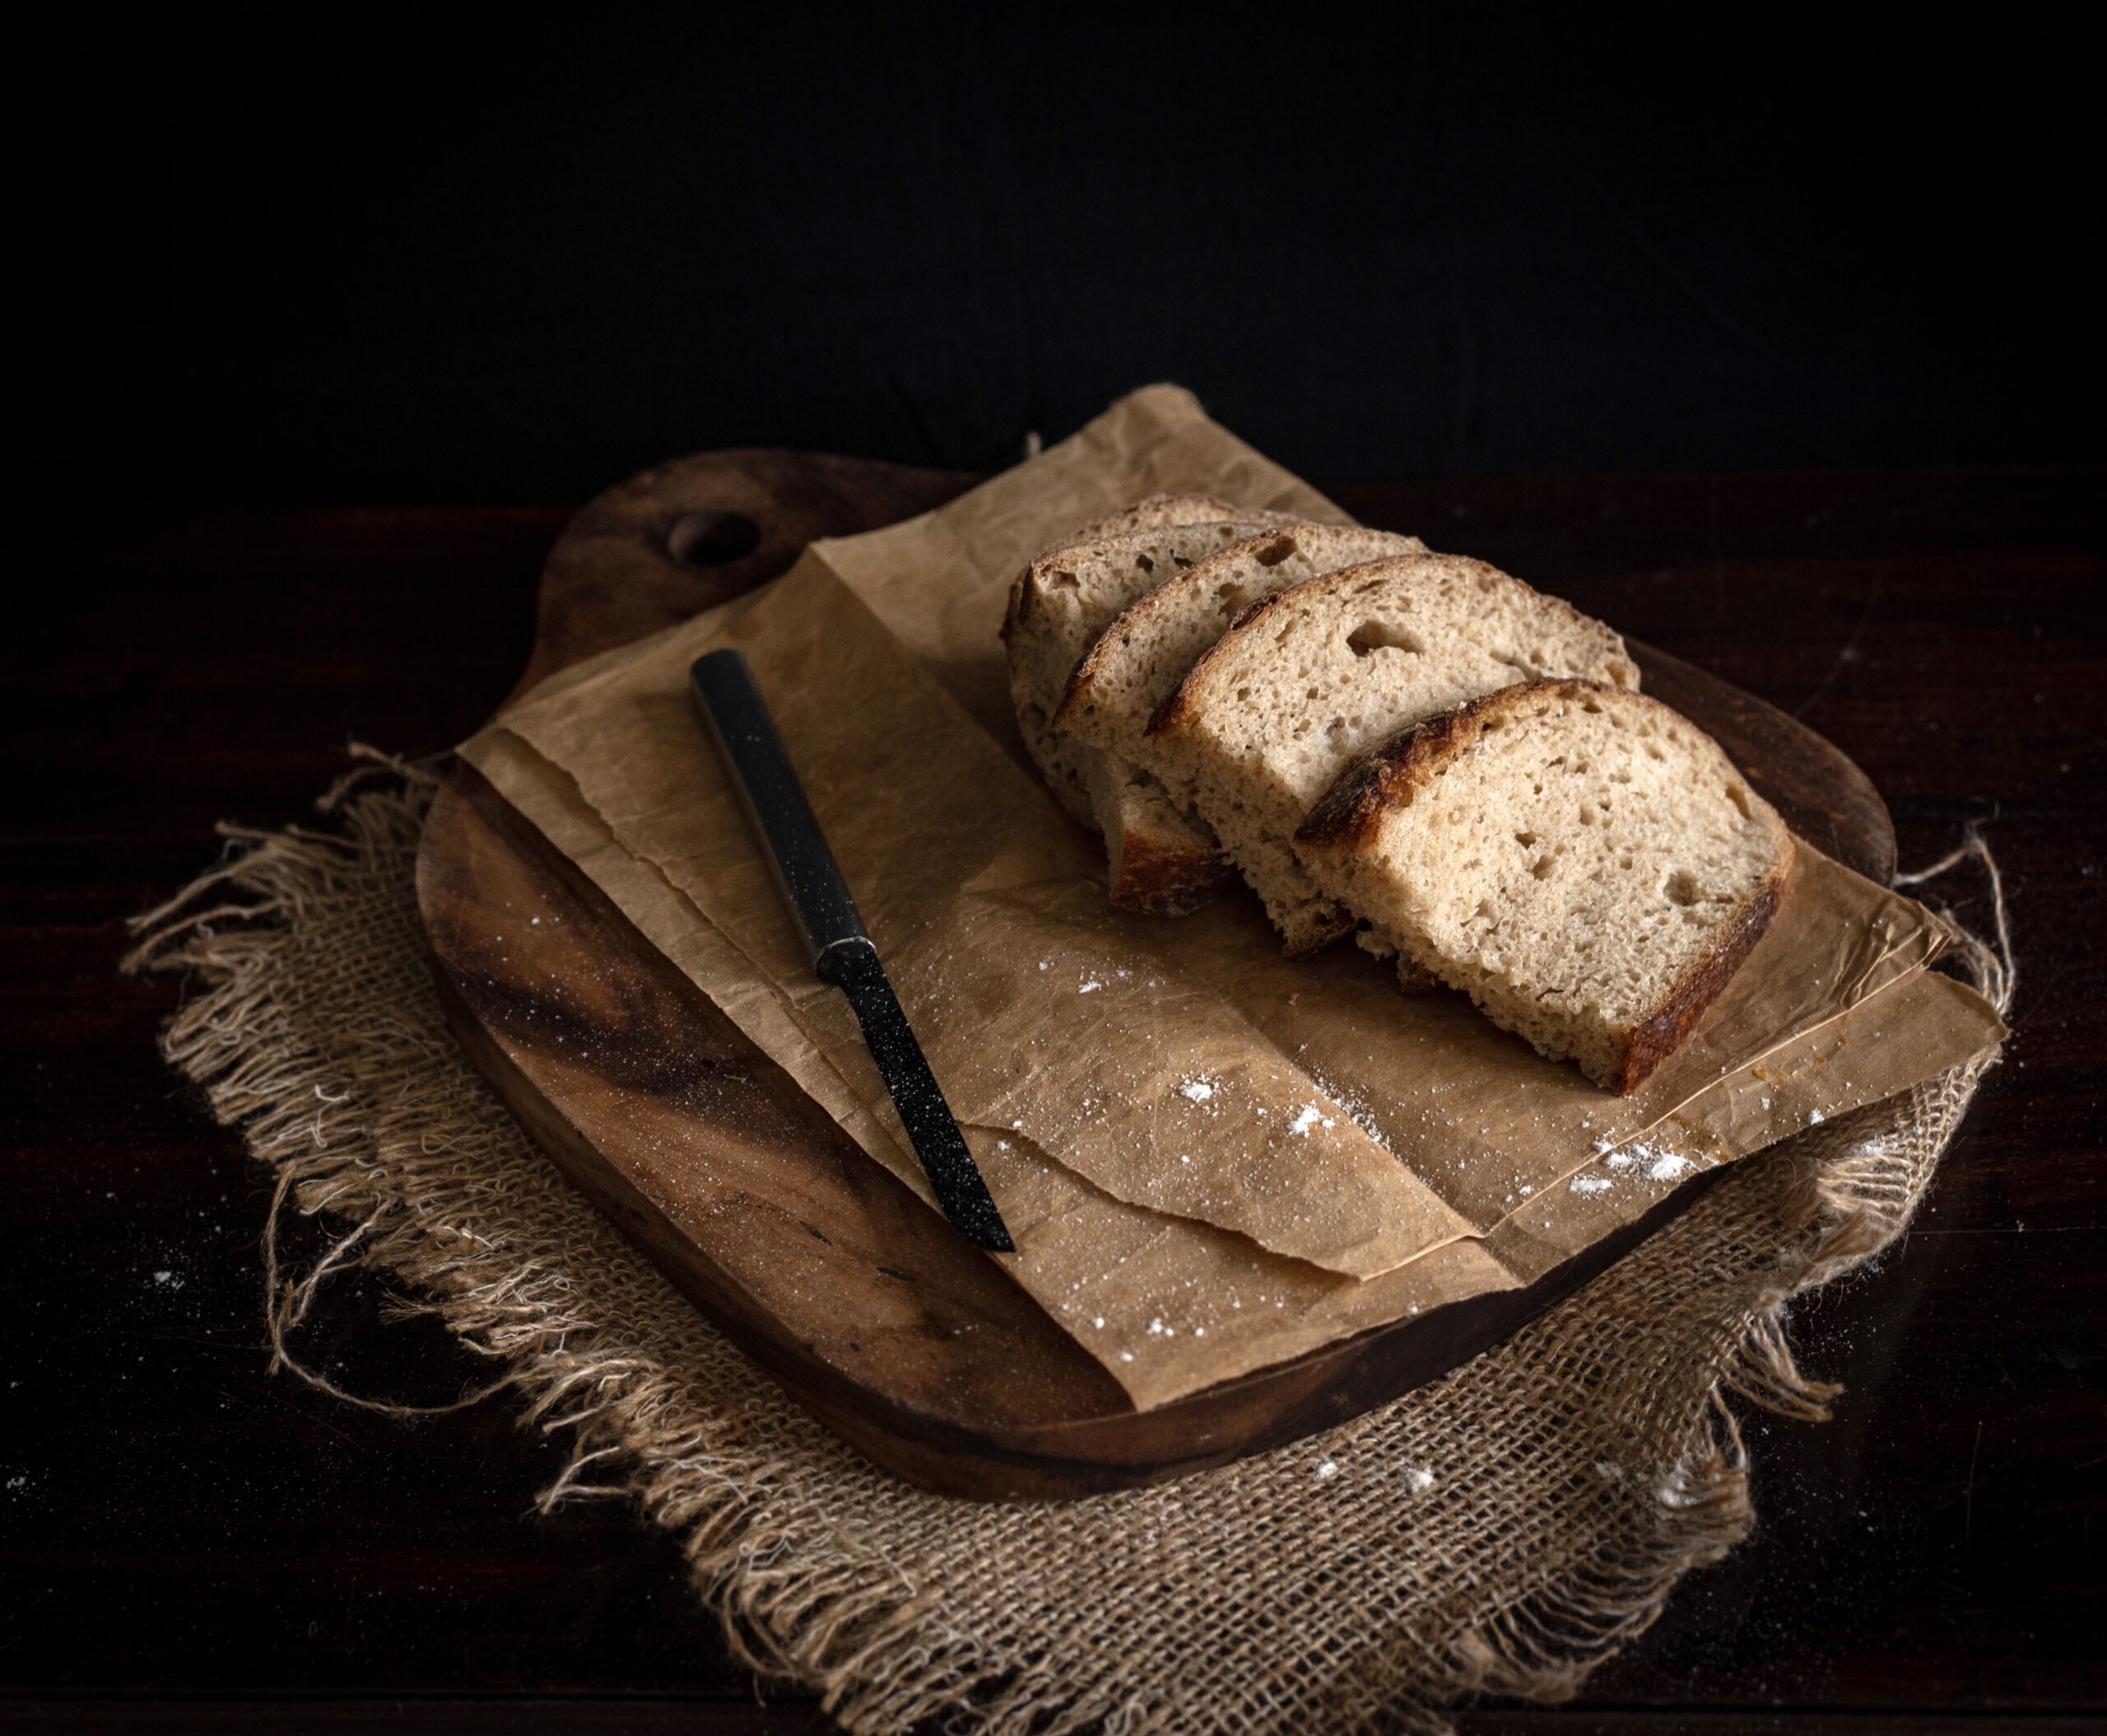
I bake sourdough every other day, and ever since I began doing this, my family doesn’t eat any other kind of bread. They prefer this natural variety to yeast-filled commercially-produced bread, and we use it in many ways. I make pizza bases, loaves and more all the time, and use them in main courses, sides (such as with a lovely minestrone soup, the recipe for which I promised you recently and will share soon) and snacks. At home, we are all very into daily exercise and healthy eating, so we have lots of one pot meals, and a slice of sourdough on the side is always nice. I find that this sourdough toast especially makes for a filling lunch, and that helps us reduce the number of heavy meals we have at supper time.

The idea of making a simple, yet fabulously delicious, sourdough toast came up during our planning for my husband’s birthday recently. This is not an innovative recipe as such, yet it’s one that suits the occasion of a celebration during lockdown. It’s a lovely appetizer using wholesome and easily available ingredients for a small celebration. We decided to have a picnic in our own garden, and I was thinking about which healthy dishes I could make to balance out the indulgence of the white cake I’d be baking when I came up with this idea.

Now, the white cake itself has a funny story behind it. You see, my husband adores the tea cake from the McRennett bakery, which many of us who grew up in Chennai will associate with childhood memories. As it happens, I can’t stand that cake, as it has a very strong vanilla essence smell. We have a running joke in the house that no matter what fabulous thing I have baking in the oven, my husband will say, “I’m going to get a McRennett cake!”, knowing it will tick me off. This year, I turned the joke on him by saying that I’d order him that tea cake for his birthday and not bake any of my own specialties. Secretly, I had a plan to prepare a cake that was inspired by his lifelong favourite, but which I would elevate with my own twists to a level that would make him forget the original. He must have gotten a whiff of my plan, because he said to me that if I could achieve the softness of the original, he wouldn’t mind trying mine. Well, I baked a lovely tea cake with real vanilla and pretty white icing (I rarely ice my cakes at re:store, so you know this was a special treat!) which he enjoyed very much… but it didn’t quite unseat the McRennett as his favourite!

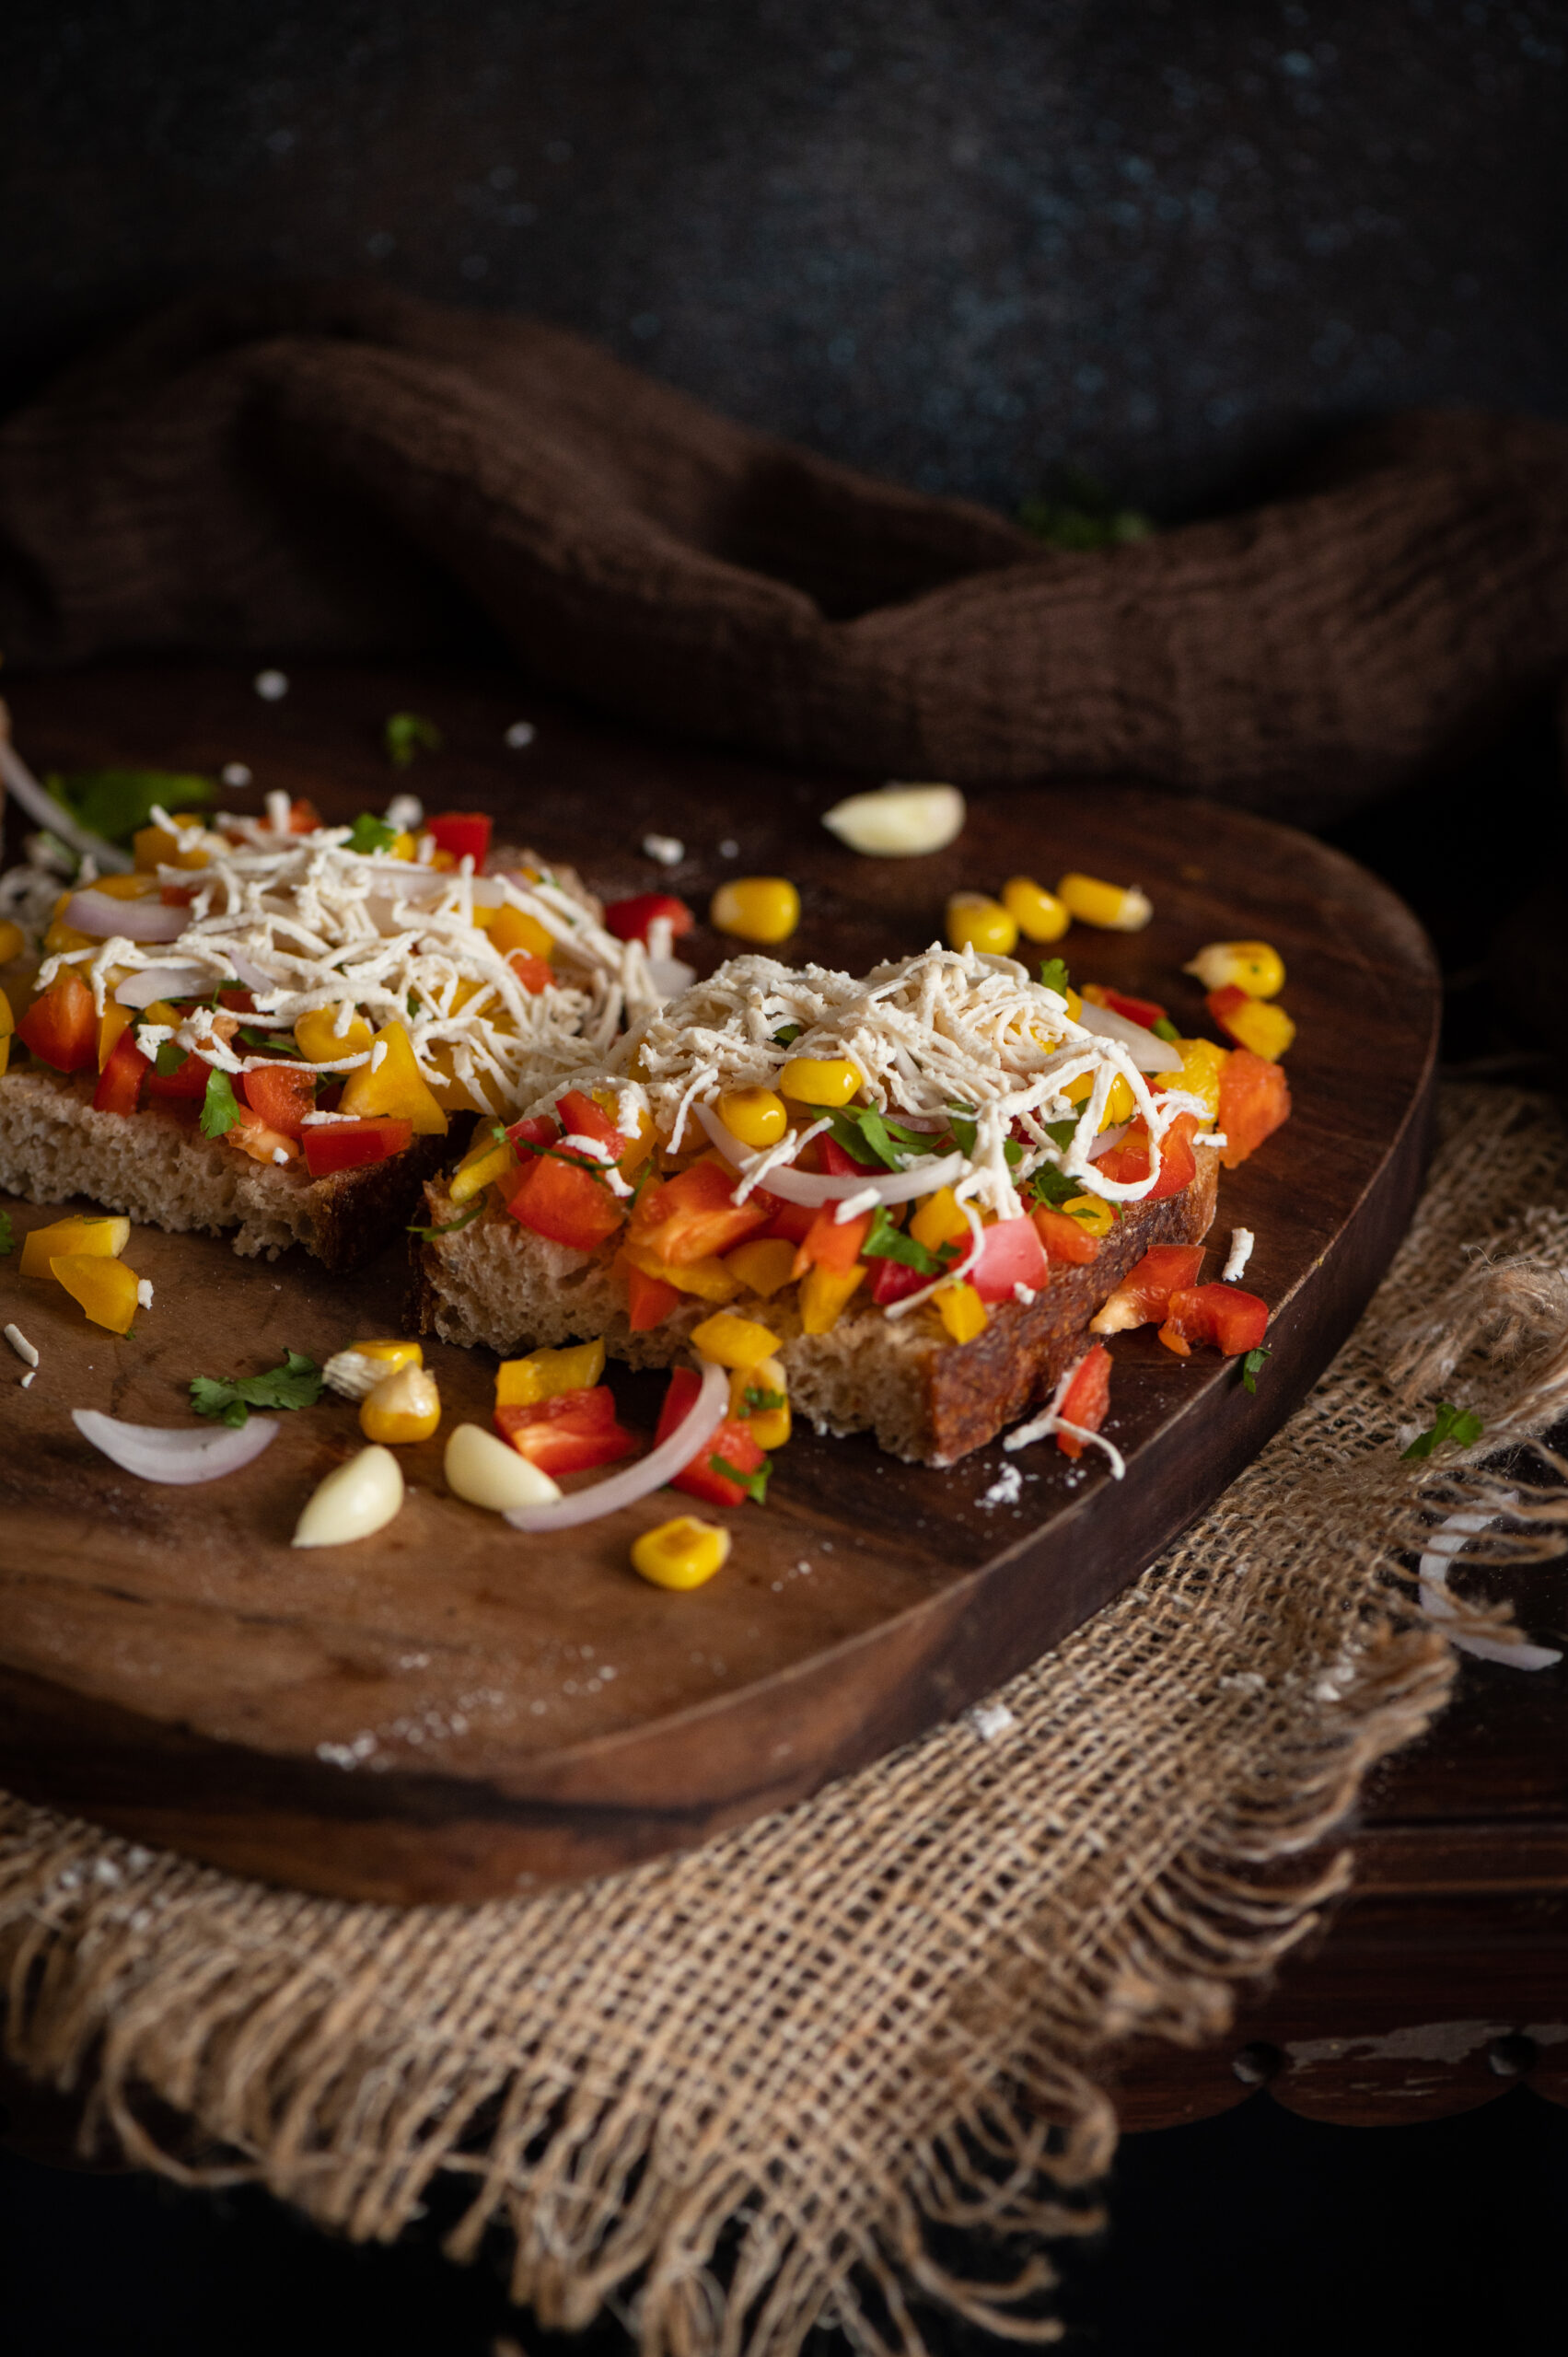
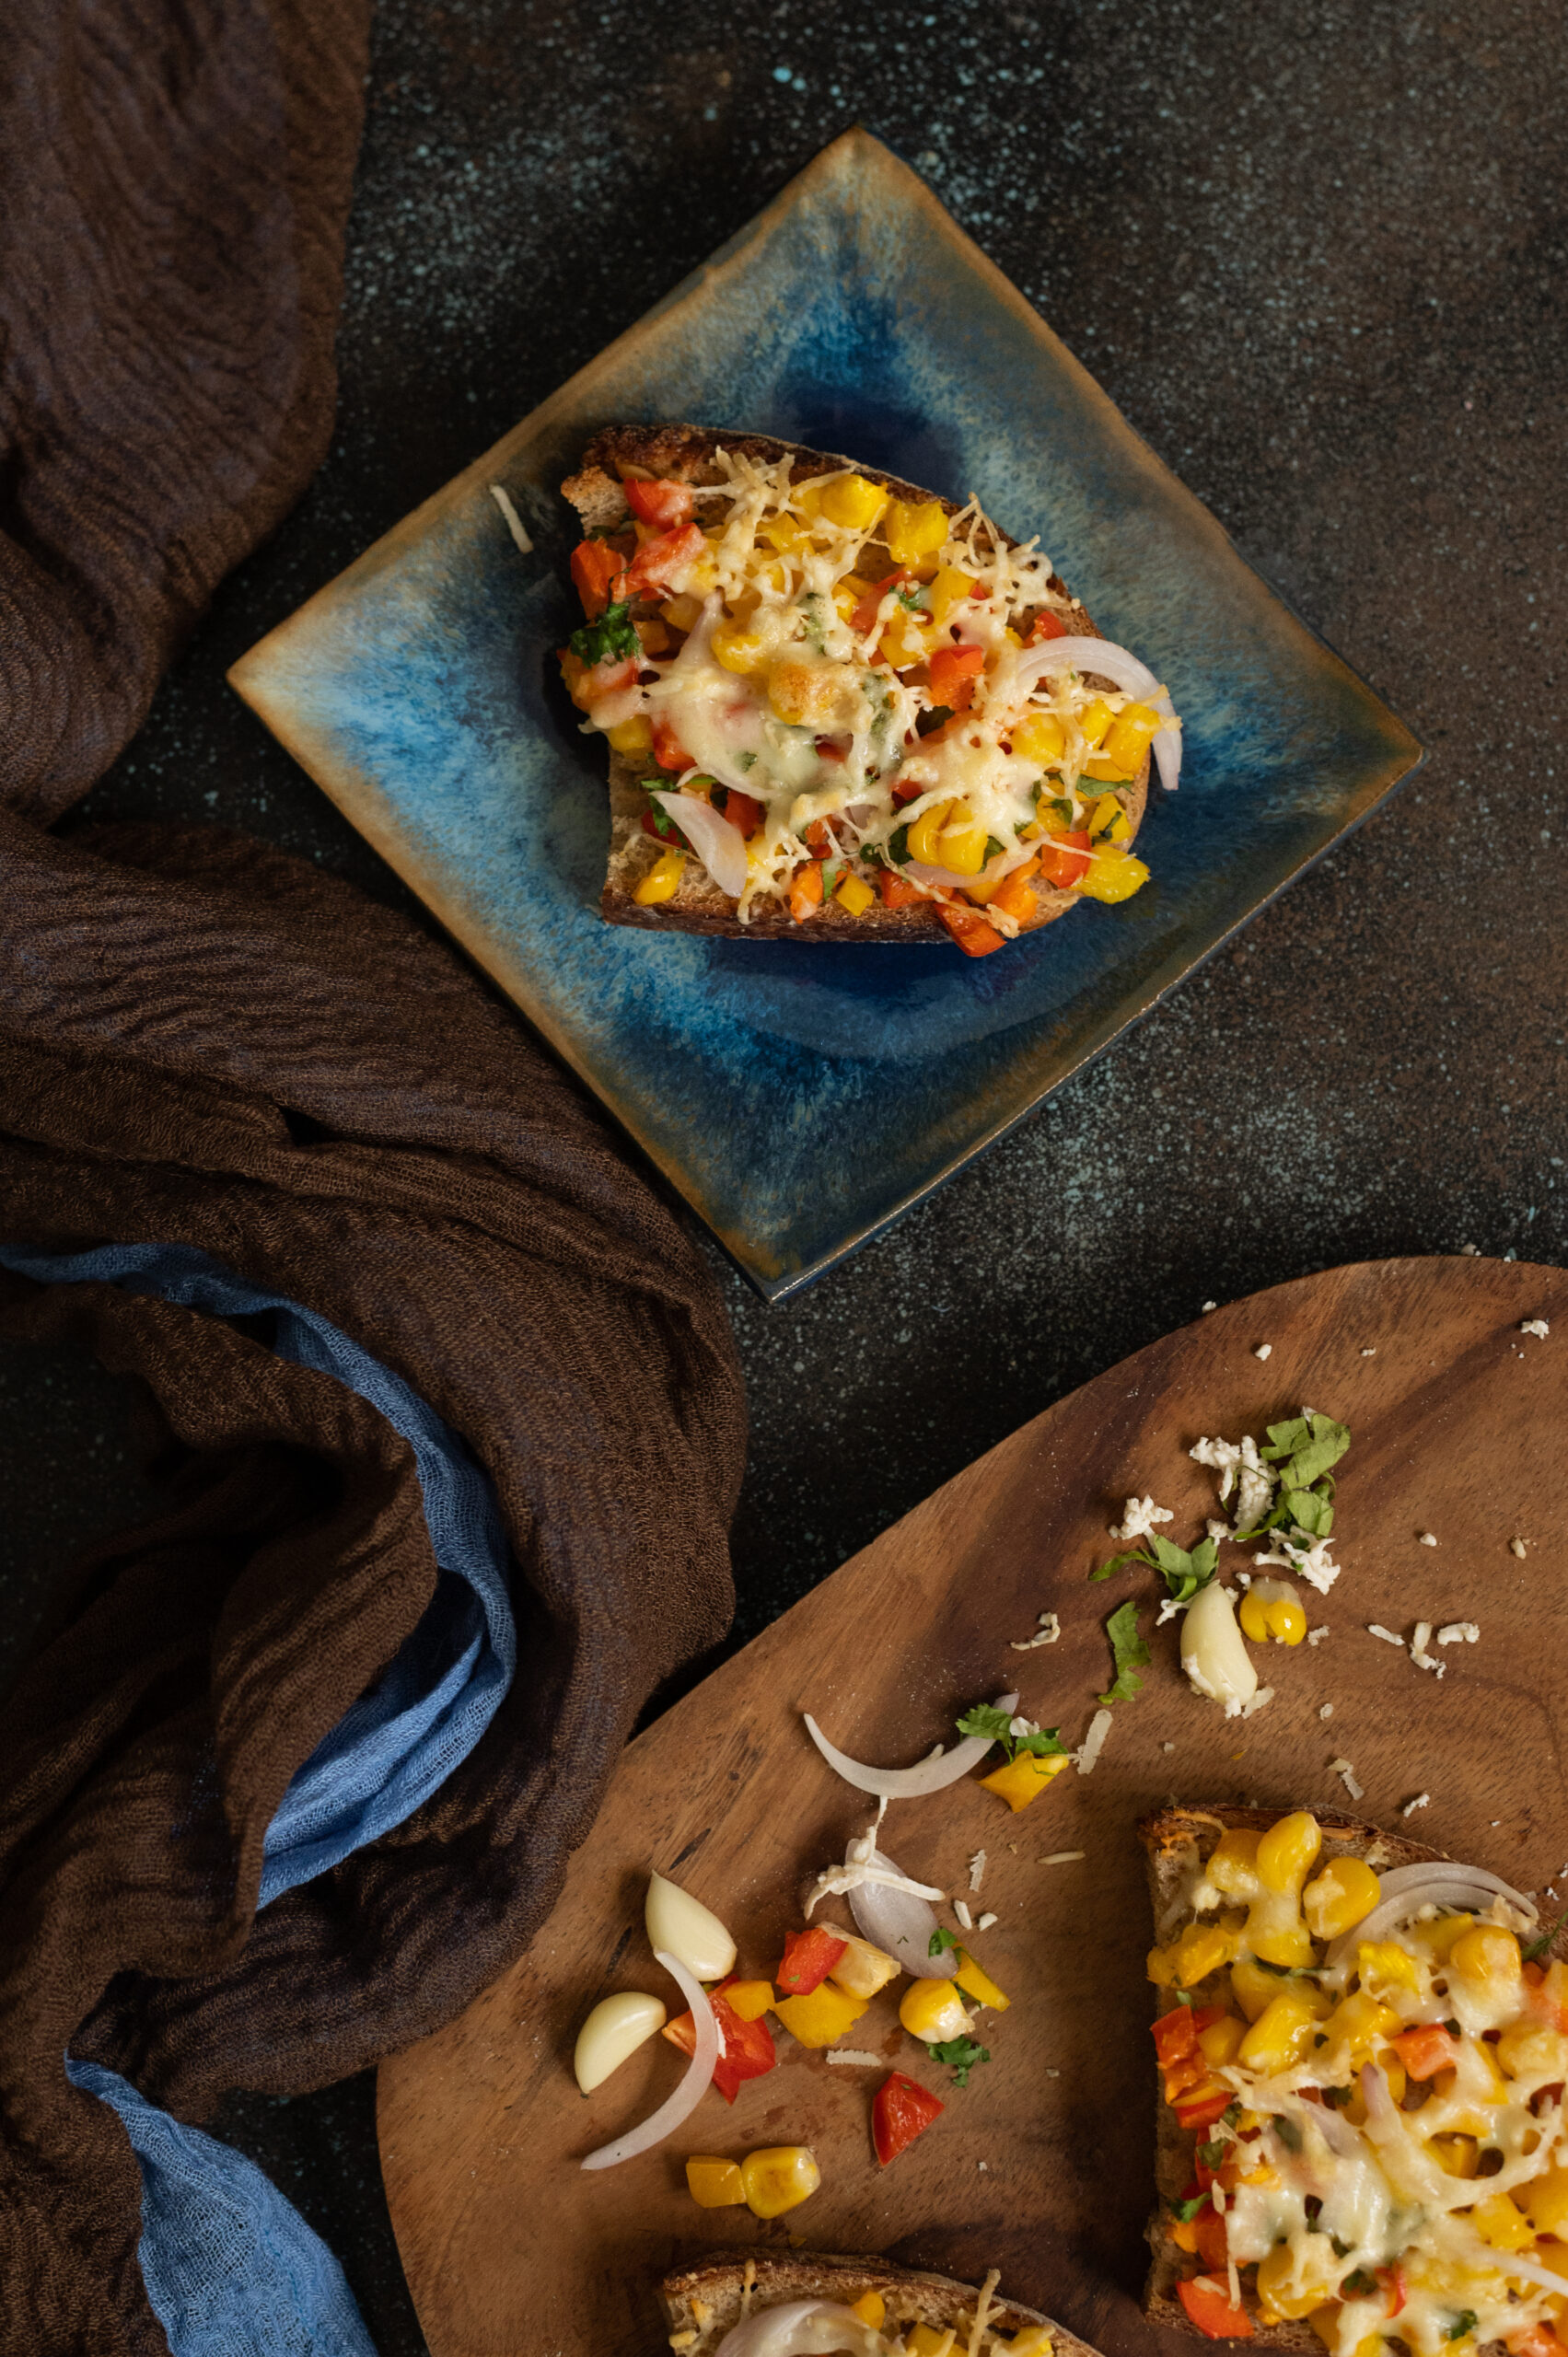
Oh well! At least I can safely say that this cheesy, spicy, garlicky sourdough toast was the hit of the picnic! I’ll always associate it with the memories of the fun we had that day, spending time together as a family in our garden. That’s the thing about food prep: when something is made to suit a particular need or occasion, the dish also gains meaning. Is it for a daily meal, is it for a special person, is it for an event? By thoughtfully planning the lockdown birthday picnic menu to feature a healthy but delicious snack like this, and making sure I prepared it in a way that was also special, the dish became impressed upon my memory and in my culinary repertoire.

Before I share the recipe, here’s a quick note on sourdough itself, just in case you’re curious about what it is. It’s the traditional, ancient way of making bread, which people around the world used for millennia before baker’s yeast was invented. It’s based on natural fermentation, with air pockets created by the same, and it rises beautifully. You can keep the starter going for ages, just like yoghurt. For me, it took a few miserable failures before I managed to get mine going. Before that, friends generously shared their own starters with me, which I fed and nurtured, but there’s a different kind of challenge and a sense of achievement when you’ve made your own. The learning is continuous, especially when you have to take into account variables like weather conditions. Sourdough maintenance is like plant maintenance.  Making sourdough in Chennai weather is a struggle, as the natural temperature is not really conducive, while air-conditioning dries out the starter. I’ve managed to make a few chips and freeze them just in case my sourdough dies on me, and I’ll need to start it all over again. In the meanwhile, we are truly enjoying the bounty of the current batch.

I am almost sure that foodies following this blog have either been making their own sourdough, or have access to a store-bought loaf, so I’ll jump right ahead to what you can do with it, rather than spend time on how to grow it. In case you don’t have it on hand, you can use white bread or any bread you like.

Cheesy, Spicy, Garlicky Sourdough Toast

(Yield: 4 slices)


4 slices toast

1 teaspoon oil

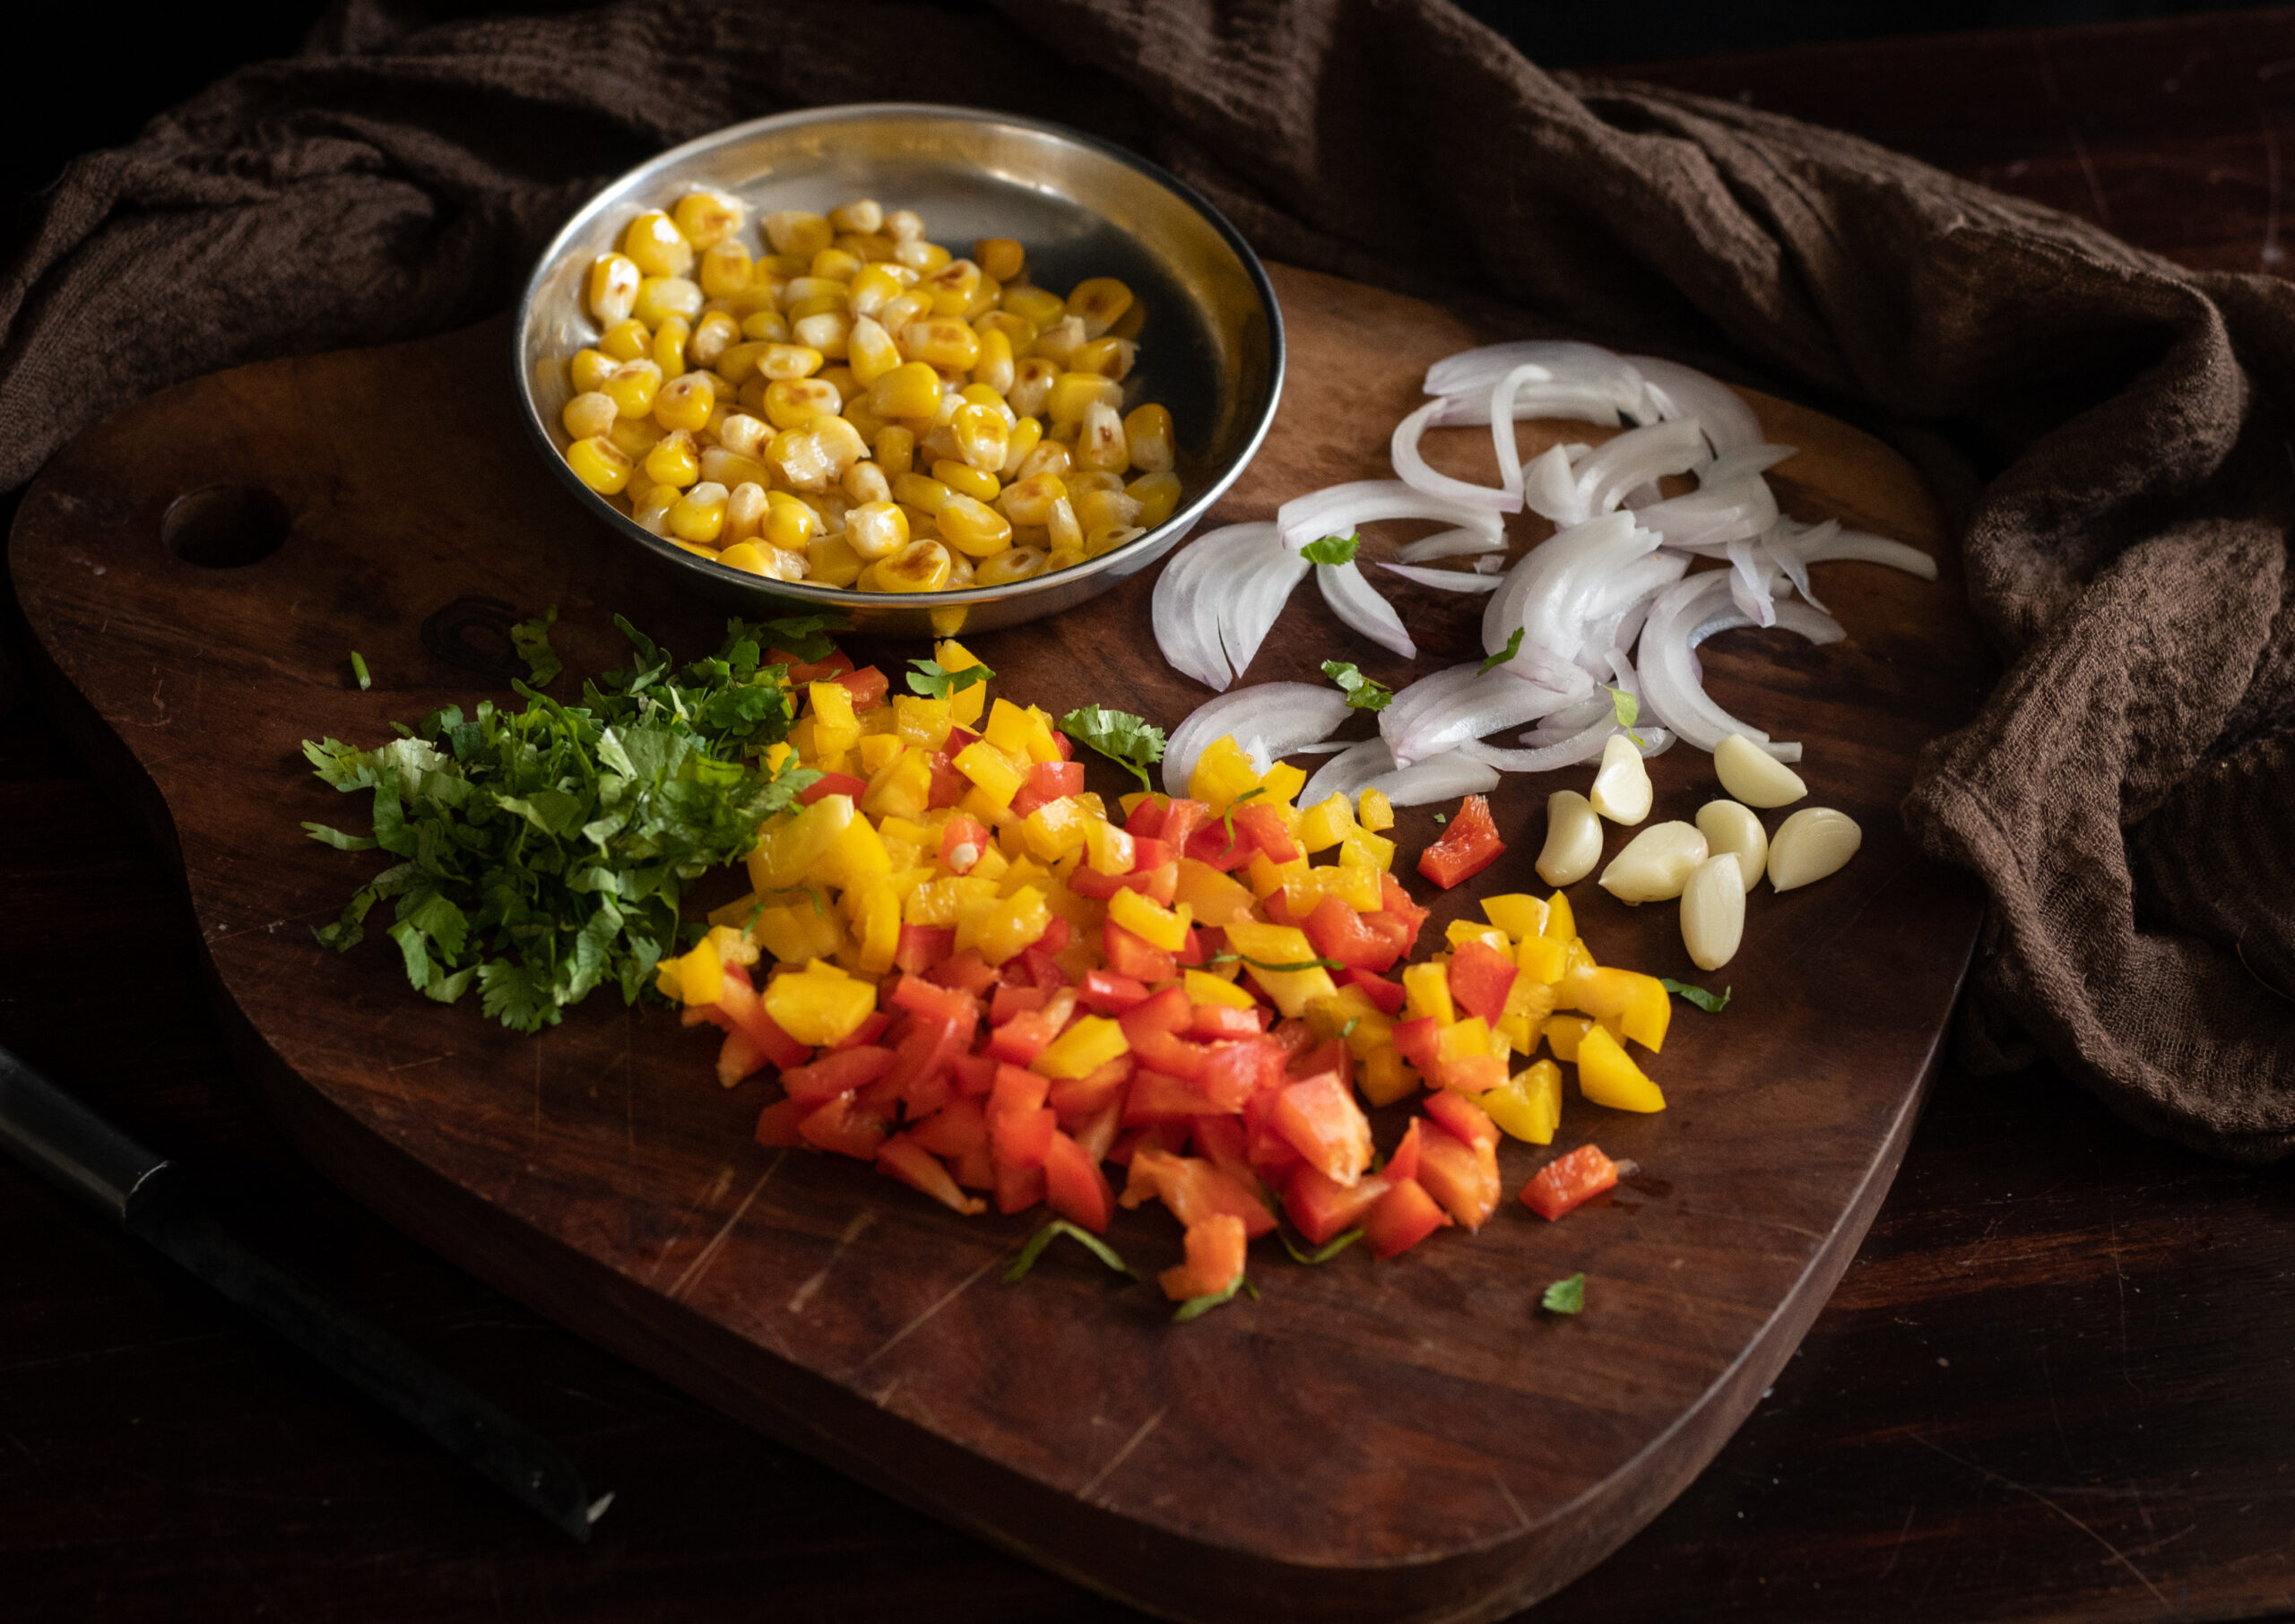
2 cups chopped vegetables (bell peppers, onions, garlic, coriander or parsley, cooked corn)

1 tablespoon chopped jalapeño peppers

¼ teaspoon grated ginger

Coriander chutney (alternative: pesto)

Salt to taste

Chili flakes

Butter as required

1 cup grated cheese (alternative: tofu/paneer)

Heat a pan and add the oil. Add the garlic and ginger, and then add the chopped vegetables. Stir-fry on a high flame. This mixture doesn’t take more than 5 minutes to sauté. Add the salt. Set aside. Allow to cool.

Prepare the slices of sourdough by buttering them lightly. Next, spread the coriander chutney (or pesto, if you prefer) over the butter.

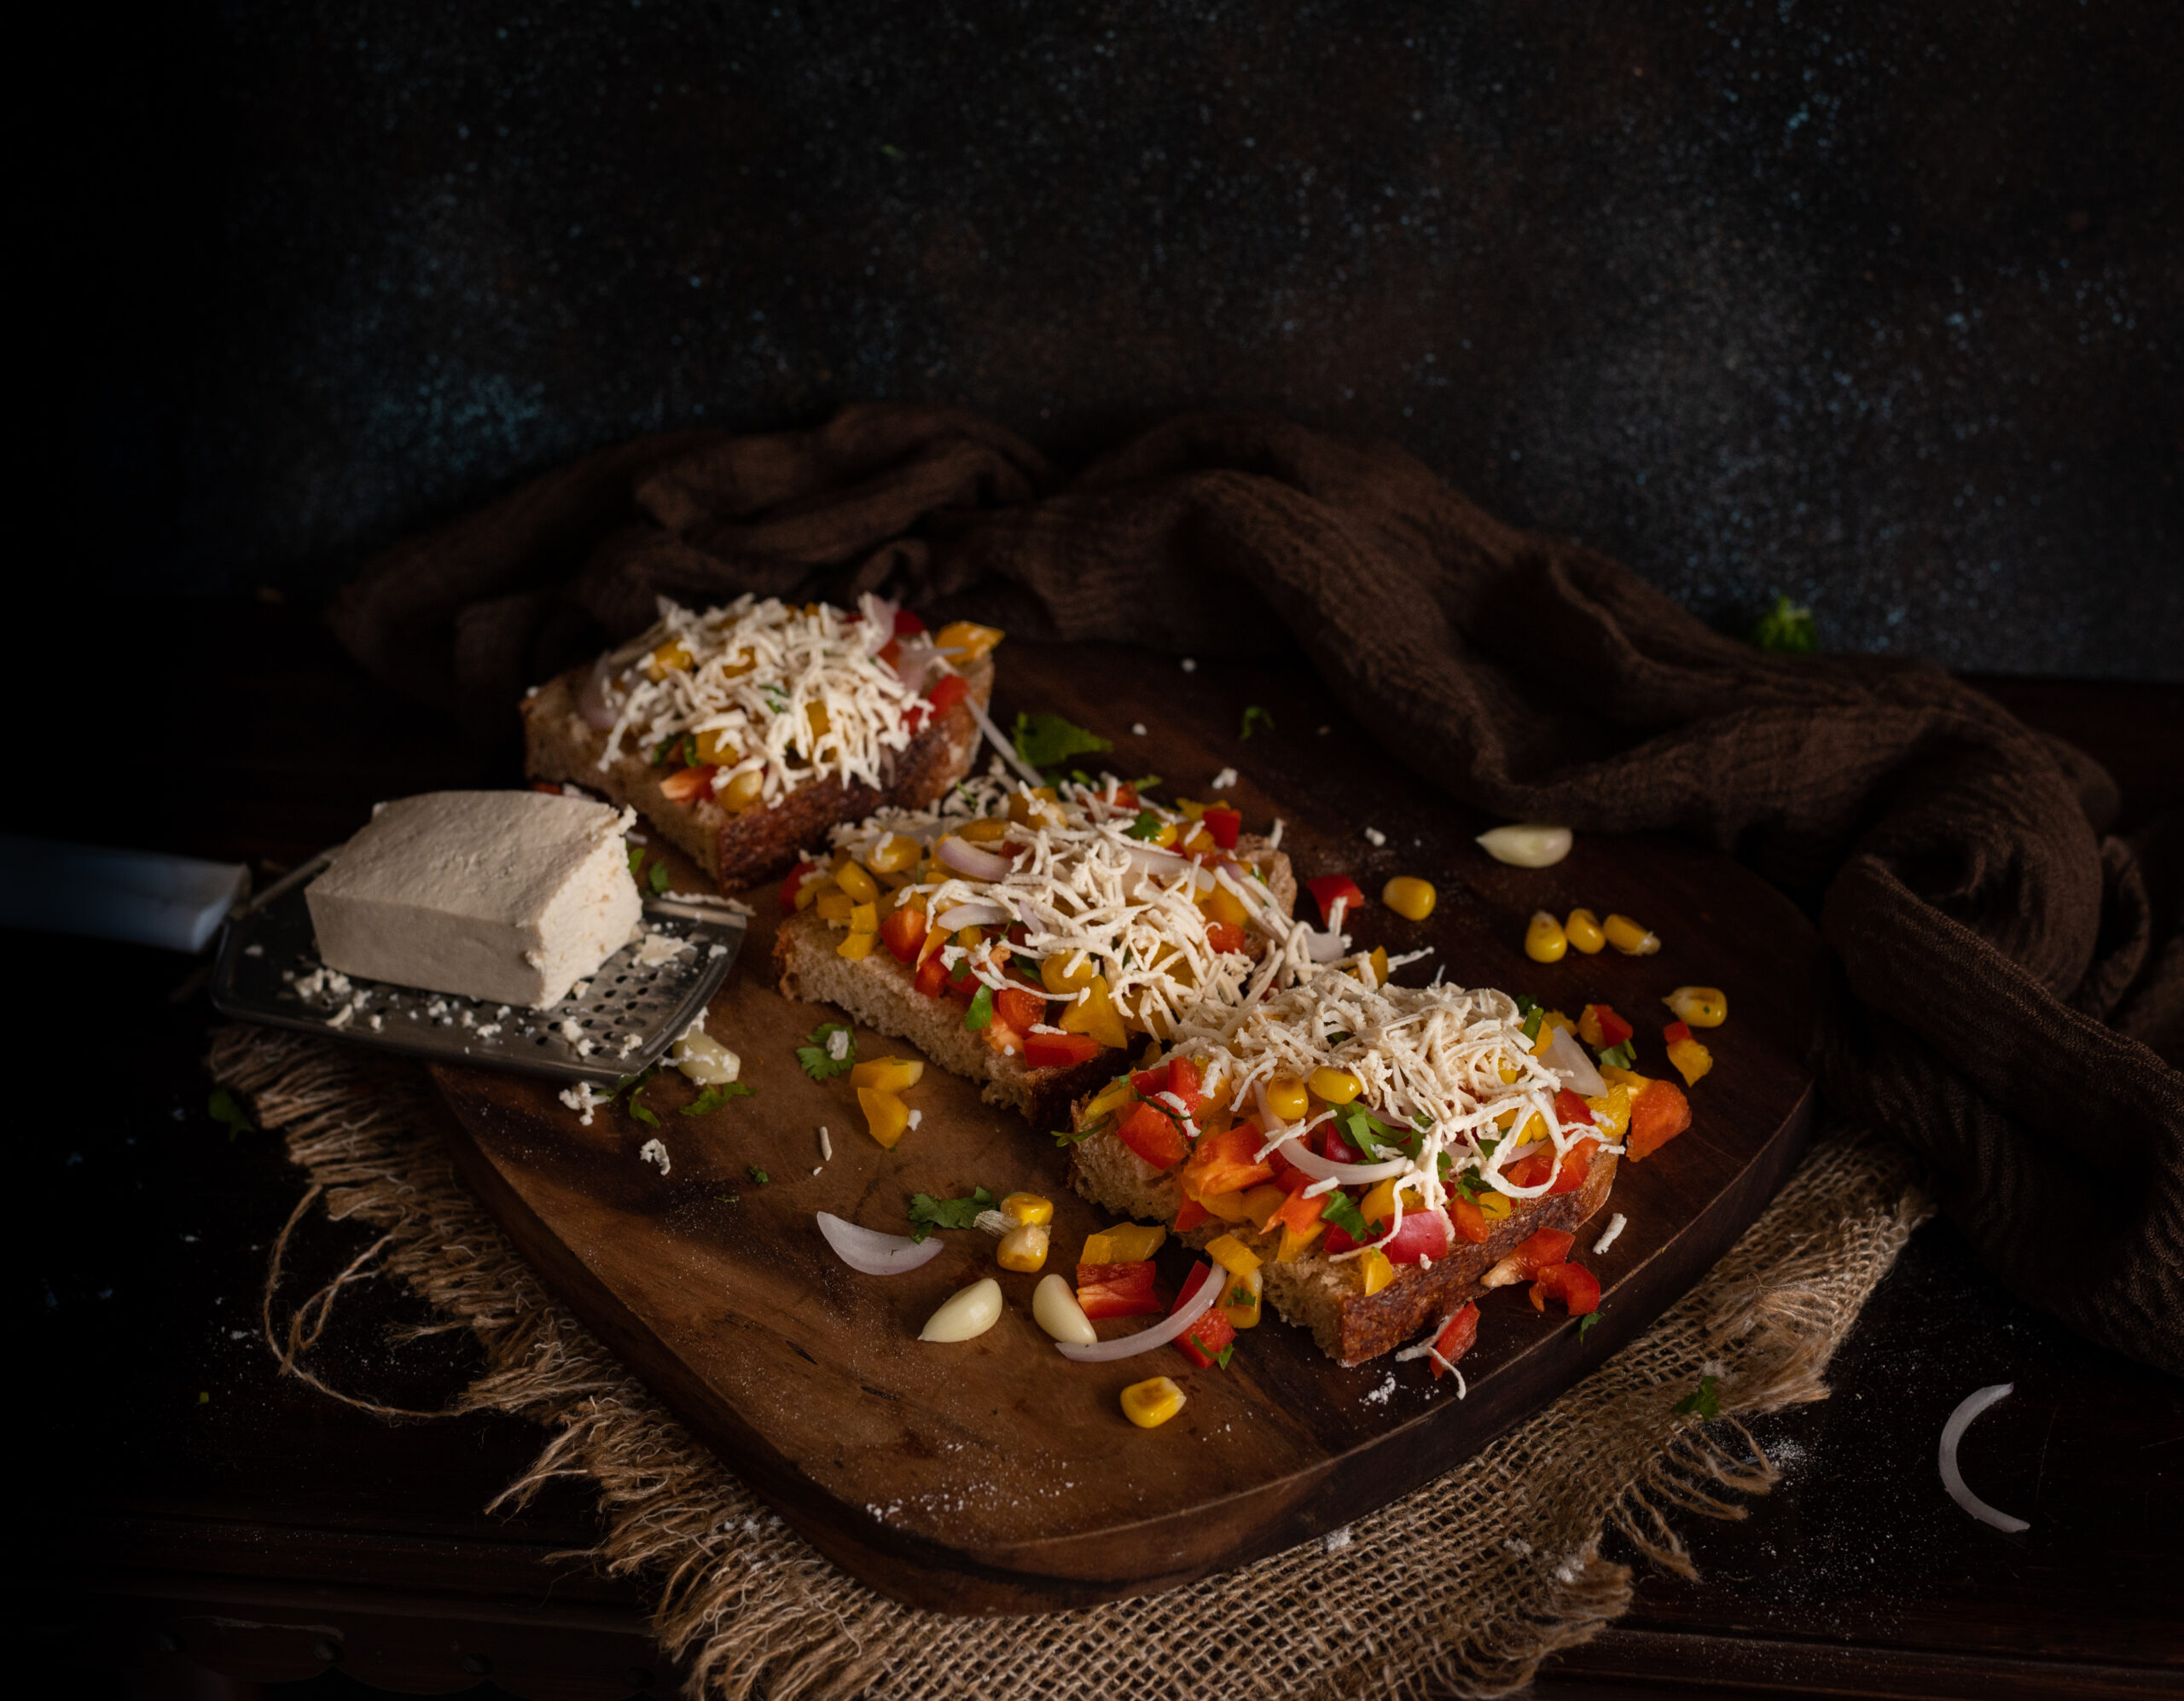
Now, add a heaped spoonful of vegetables over the chutney/pesto. Top this with grated cheese or tofu.

Place the bread in the oven and allow to toast/bake for about 10 minutes or until the cheese melts and the slice of sourdough turns golden underneath.

Remove the slices from the oven and sprinkle with the chili flakes. Serve warm.

This cheesy, spicy, garlicky sourdough toast called to mind a variety of toasts my family has enjoyed over the years. When I was growing up, my mum used to make a version of masala and mashed potatoes with toasted bread. My husband is an ardent fan of  Bombay toast, as you may remember. In lieu of either, my sourdough toast – rich in fresh vegetables – is healthier, without skimping on taste.

Feel free to substitute the vegetables or even the spices as per availability and preference. You may want to increase the quantity of some based on your taste as well (I’m personally a big fan of corn and bell peppers too). If you prefer to go vegan, just replace the butter with olive oil, and either tofu or paneer are tasty and healthy alternatives to cheese.

This version has become my go-to every time I feel like having a snack. When I’m done with my workout and feel peckish, I whip up a slice or two. I sometimes also have it drizzled with olive oil and a sprinkling of salt without adding the spices. Given the lockdown and the limited vegetables that are on hand on some days, I improvise the ingredients. No matter how I make it, it’s unbelievably tasty!

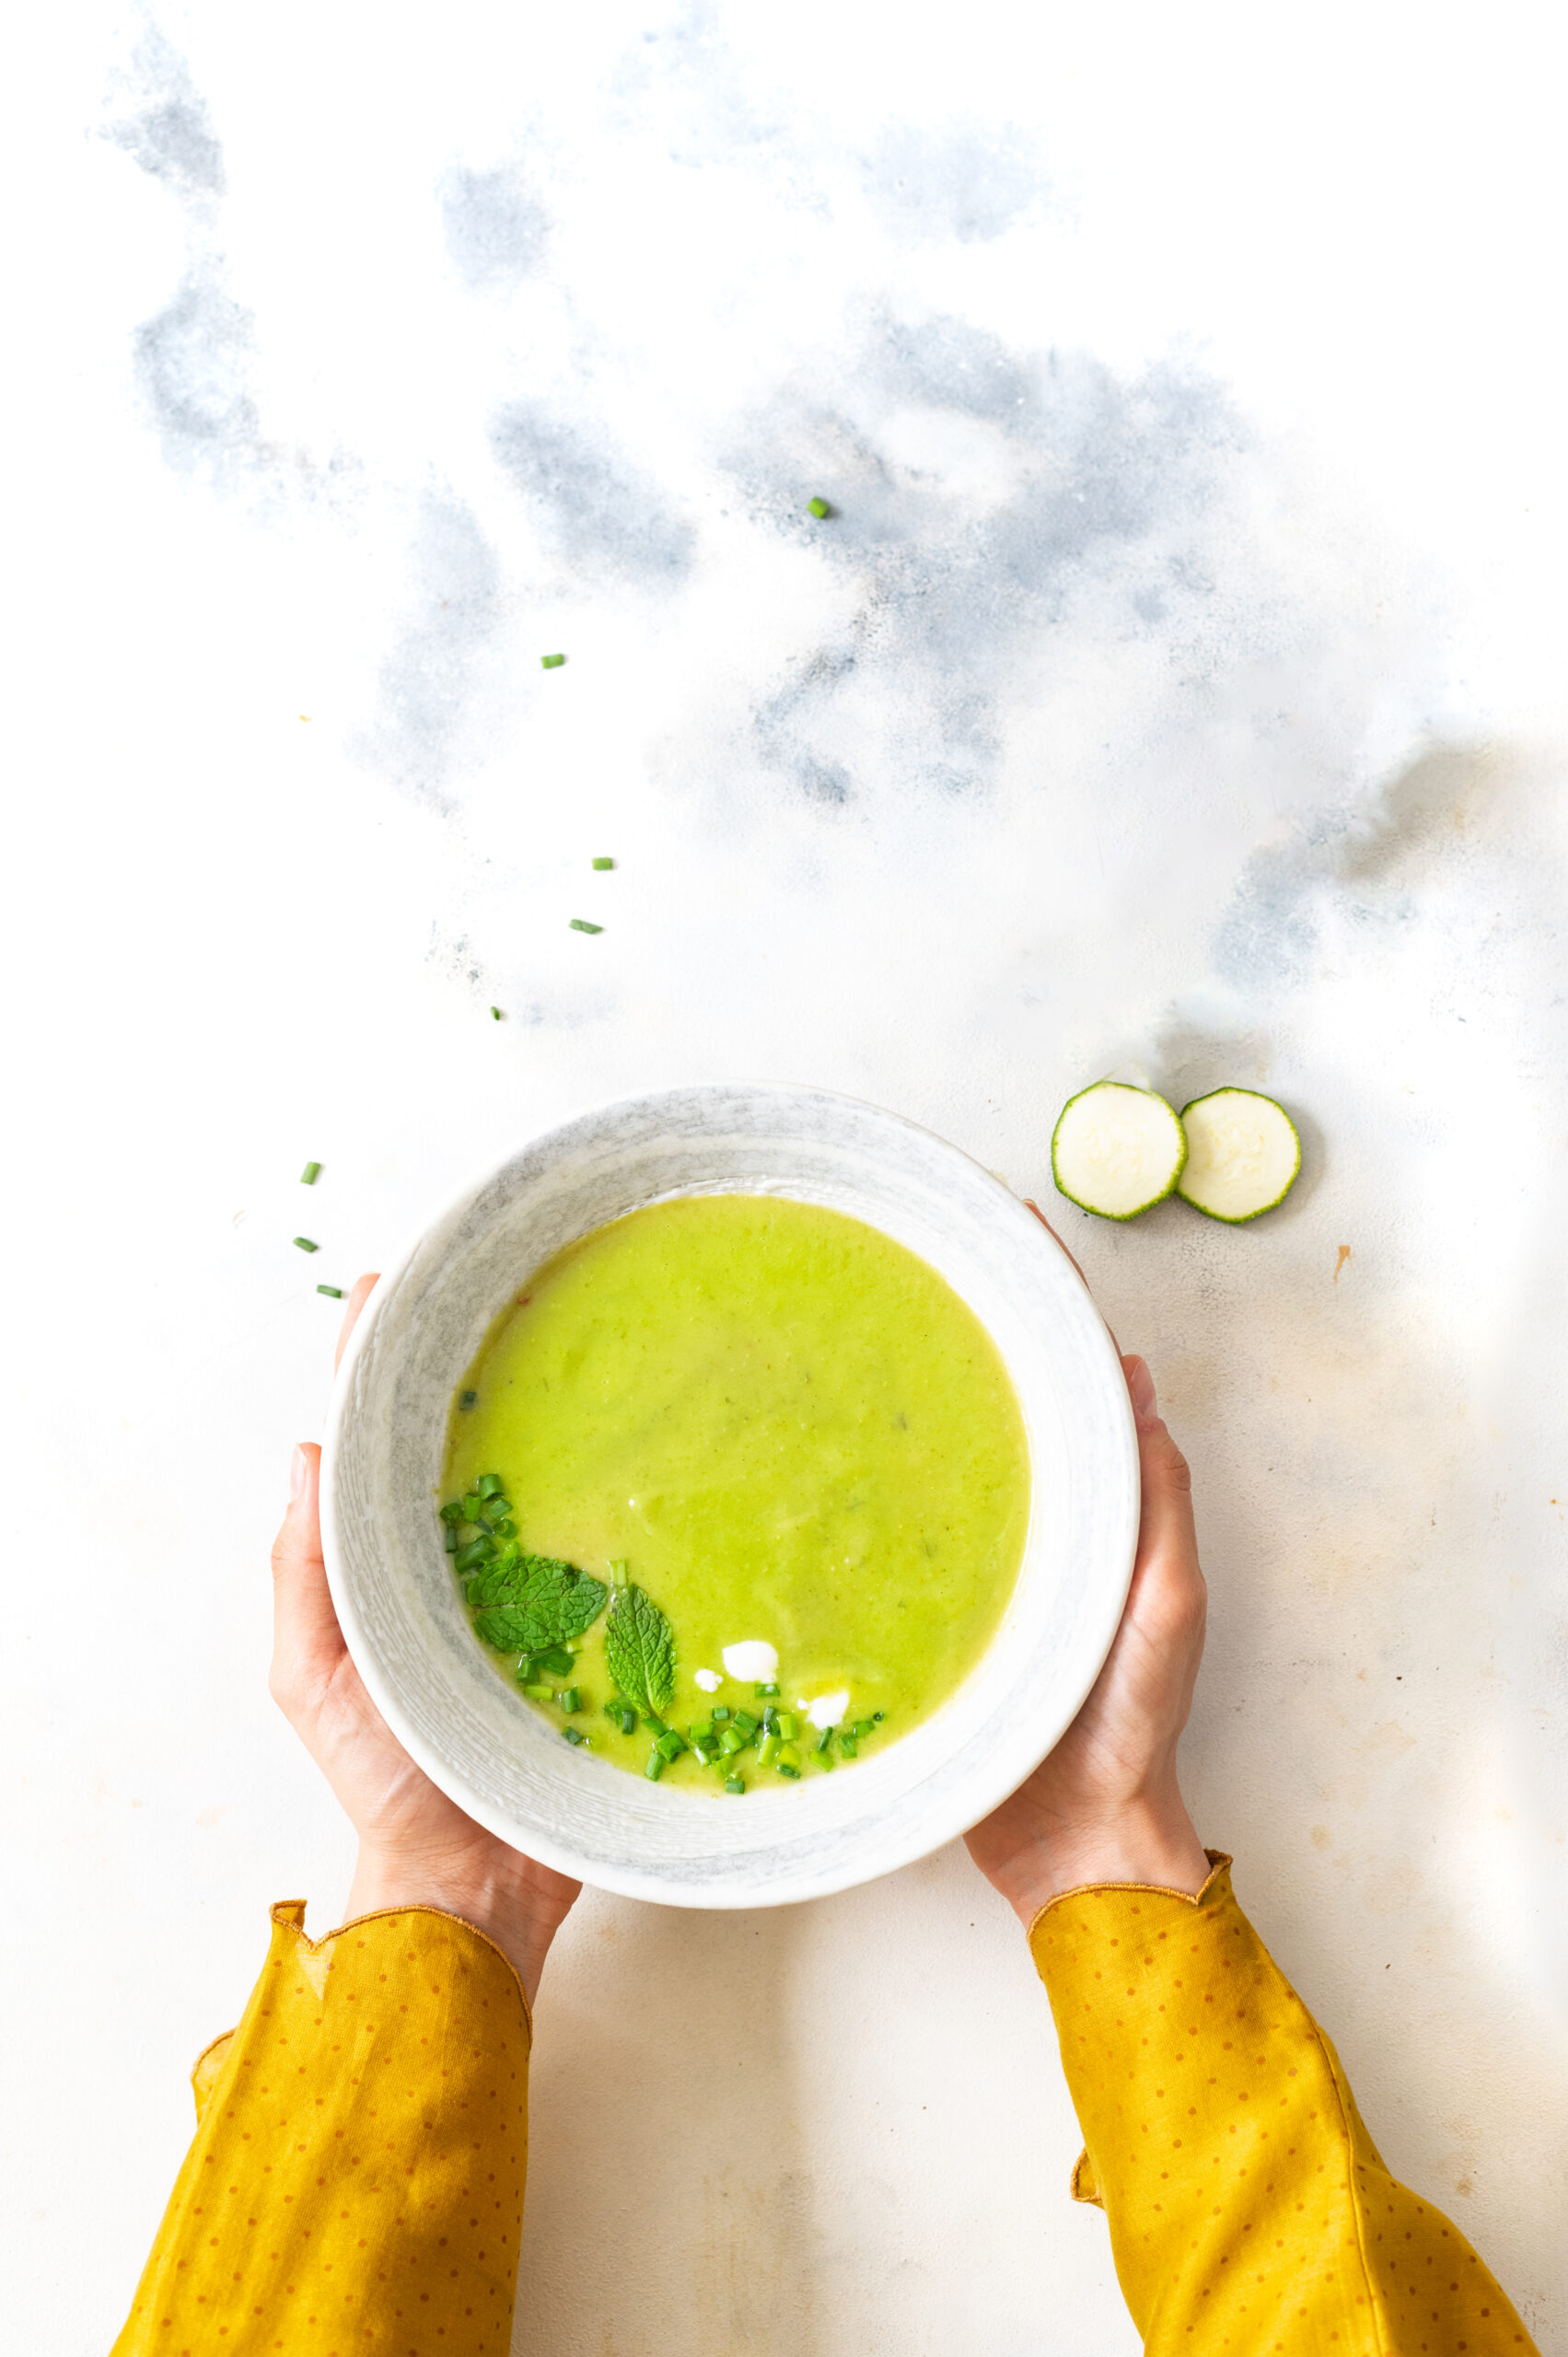
The first time that I tasted this sublime soup was when I was visiting a dear friend who was unwell at home. Valli Subbiah is an amazing person with an exceptional gift with kids, and even though she was feeling poorly, her hospitality was as gracious as ever. She offered us this simple, flavourful zucchini soup in mugs. At her place, what was served was more of a hot beverage than a soup, but I made it in a thicker consistency when I tried replicating it at home. Valli was sweet enough to share the recipe with me, and we are both happy to share it with you today.

I’m not a great fan of zucchini, so the fact that this dish captured my heart says a lot about how tasty it is. Since having this soup, I’ve been reading up about the vegetable (well, technically it’s a fruit – did you know?) and am delighted to have found a way to consume something that’s so good for us. It is excellent in supporting or easing menopause and post-menopausal health concerns, and is rich in fibre, folate, Vitamin C and a host of other nutrients.

Zucchini is native to South America, which naturally meant that European colonials began to export and cultivate it too. It’s a late addition to Indian markets, but it’s well-suited to our climes and has a fast growing period, which has made it become popular on our menus over the last decade. I certainly never had it while growing up, and am glad it’s so easily available now. Its novelty to us is revealed in the fact that we don’t have names for it in our own languages. If we are non-English speakers, we just call it “jukini” or “jugni”, in our Indian accents!

Despite the main ingredient being of foreign origin, the most interesting part of this recipe is the distinctly South Indian twist. I love the kick that curry masala gives this soup. It seasons the dish without overpowering the taste of the zucchini. I like dishes which can be subtly enhanced in this way, while retaining the basic flavours of ingredients. If you’re a fan of fusion cuisine, some of my other recipes in this category are here.

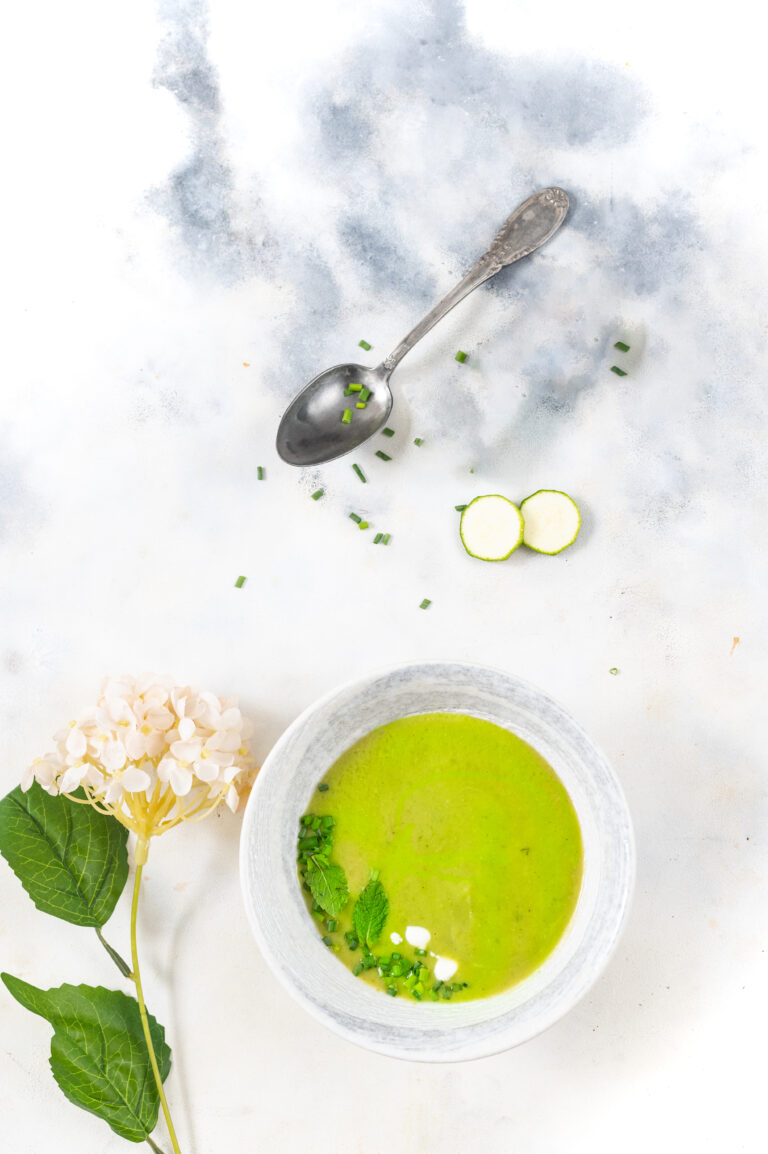
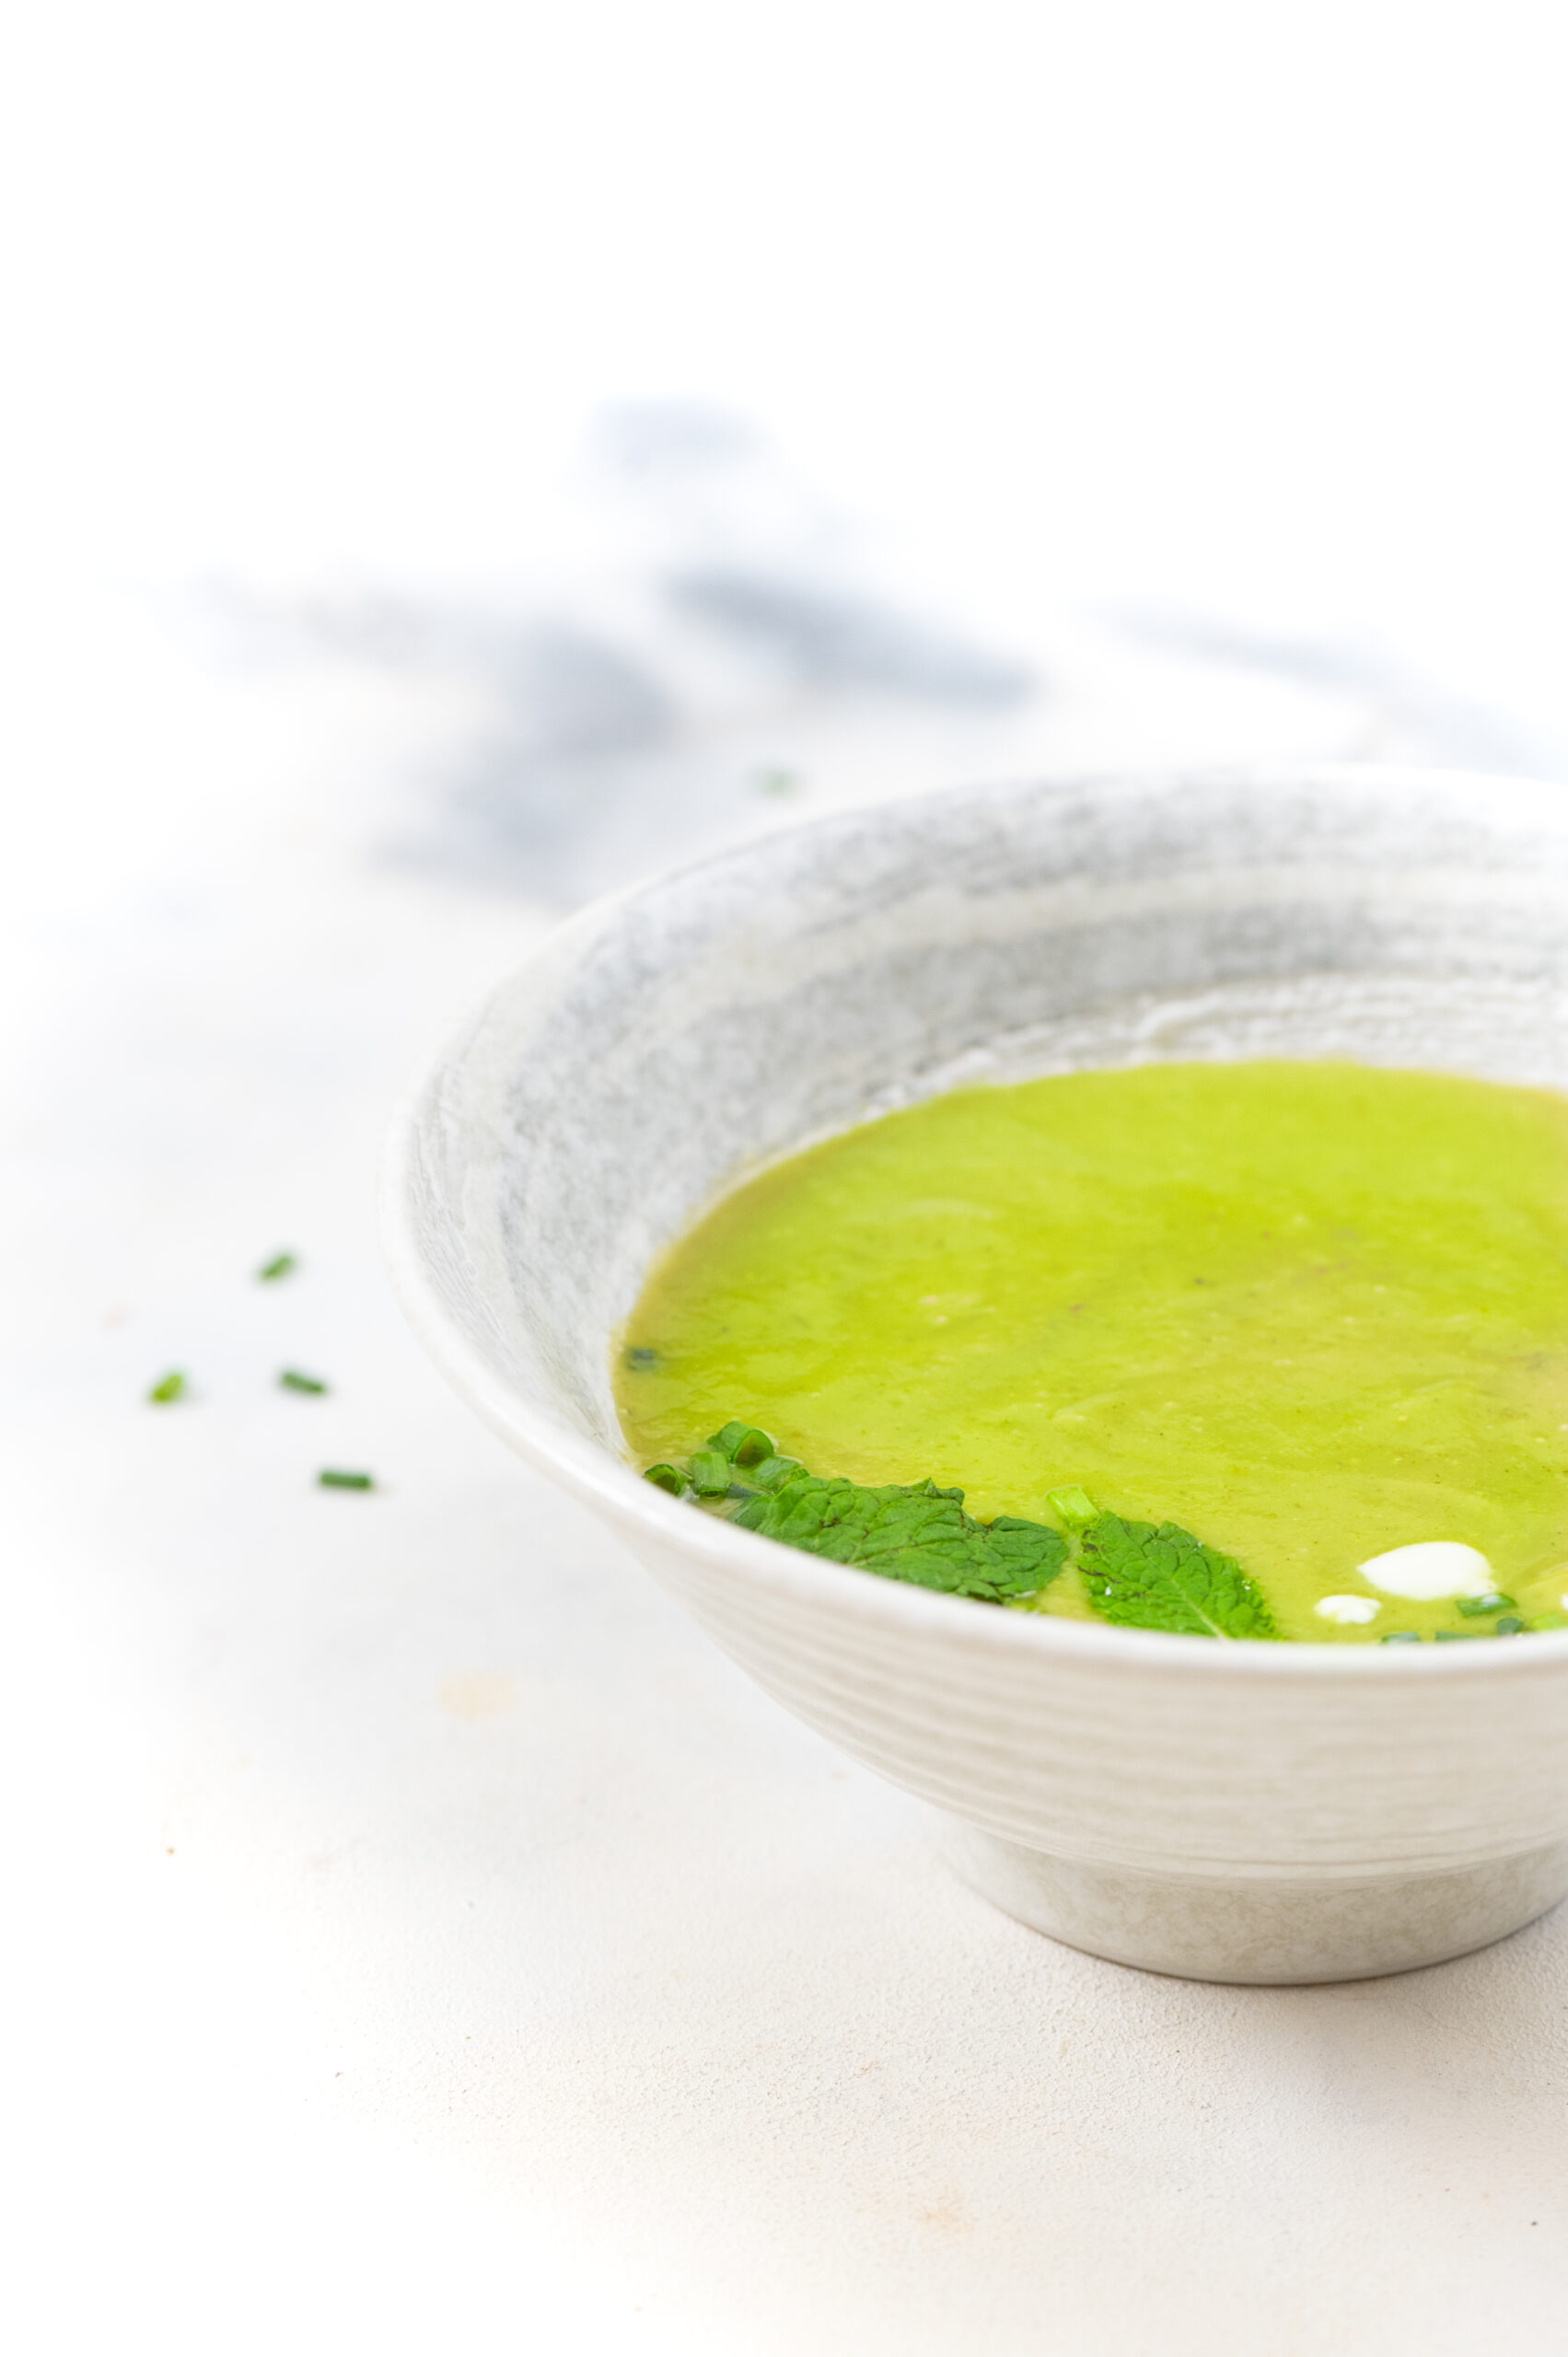
There are a few types of zucchinis available in Indian markets, and certainly even more abroad. I used the green one and decided to leave the skin on as it was very thin, and I wouldn’t be surprised to learn that it’s also good for you. The bitterness of vegetable skins is why people usually discard them, but it’s often the case that nutrients may be packed within. Besides which, leaving the skin on meant that the colour of my soup really popped. You know how I always say that food must please the eye first, which is why attractive plating is so important when you serve a meal.

The aesthetics are also important to me as a photographer. Most of you know that the dark and moody tones of the Dutch masters are my inspiration, and I try to replicate the visual effect of their paintings through my own Indian still life and culinary images. However, while doing the photoshoots for this recipe (yup, I did a few – I have fun playing with different looks and pursuing the perfect one), I decided to step out of my comfort zone and challenge myself by making white the key note. I was aiming to capture summer’s brightness in these images, and I enjoyed the result, even though deep, sombre tones will always be my big love. I’m curious to know what you think of this style. I’m always excited about new discoveries both in the kitchen at re:store and behind the camera at Nandi Shah Photography.

It’s birthday month right now at our household, with both my husband and I being June-born. But I’m off sugar for three weeks, and after the cake binge we had on this blog (therefore, at home as well!) recently, I wanted to think up something fun but healthy to share to celebrate. I’d never have imagined that zucchinis would be a part of it, but here we are. This surprisingly simply and surprisingly mood-uplifting zucchini soup really does make me feel like raising a mug or a bowl in a toast!


Zucchini Soup

(Yield: 2 servings)


200 grams chopped zucchini

30 grams shallots

2 – 3 cups hot water

Salt to taste

1 tablespoon olive oil

¼ teaspoon curry masala


Sauté the shallots in olive oil. Then, add the chopped zucchini and stir for a bit.

Next, add two cups of hot water and cover the pan with a lid. If you want the soup to be a little thin, or want to serve it as a beverage, use the third cup of water as well. As you can see from the photos, I personally prefer it thicker. Allow the vegetables to cook until they are tender.

Finally, add the curry masala and turn off the flame. Allow to cool just a little and blend. Serve the soup while it’s still warm.

Now that I’ve been swayed by the charms of the zucchini, I’m curious about other ways in which I might enjoy preparing it. I’ve heard that zucchini flower fritters are a fun snack, and that the flowers themselves are quite pretty, with yellow petals that brighten the plate. I haven’t seen them outside of photographs, but I’m certainly intrigued about getting my hands on some – both for the taste, and for the look! Another simple way to use the vegetable/fruit is to slice it up, roast it with a drizzle of olive oil, and serve it with a dip. A slightly more adventurous idea, but which is actually quite easy in preparation, would be zoodles. Made with a spiraliser and eaten either raw or cooked, zoodles are an ideal alternative to pasta for those who are on gluten-free diets. Do you have more ways to incorporate zucchini into your meals? Let’s chat in the comments.

I hope you’ll enjoy this simple and wonderfully spiced zucchini soup, and that it will taste just as extraordinary to you as it did to me the first time I had it at my friend Valli’s house. That day, as we sat around exchanging stories and sipping at this deliciousness, we all felt a little better about everything. Some food items and some friends just have that effect, don’t they? I know how important it is to bring comforting things into our lives at this time, and I hope that this recipe will be one of them. May good health return to us all on the planet, and with it, may we cherish our diversity and honour our oneness.

Osaman is a kind of thin broth made in Gujarati kitchens. It’s rather similar to rasam, although certain ingredients like tamarind are eliminated whereas other ingredients like jaggery are used. As I’ve said numerous times in other posts, every community and region in India will have its own variations on certain staples: rices, curries, dals and so on. With it being mango season here – in the country as well as on this blog! – this ripe mango rasam I shared a couple of years back was on my mind. That was when an idea struck: why not make the traditional osaman I had grown up with, but with a luscious, fruity twist?

Osaman is essentially made using the water that dal is boiled in, and served alongside the same dal in a meal. Inspired partly by mango rasam and partly by the Gujarati curry known as fajeto (which is similar to Tamil cuisine’s morkuzhambu), I blended some ripe mango into an osaman as a culinary experiment. The result was something delightful, and I’m excited to share it with you today. This mango osaman is my own recipe, bringing together various comforting influences into a single dish.

Despite being popular in Gujarati homes in the summer, the yoghurt-based fajeto is a heavier dish, and is not among my family’s favourites. They’ve been getting their dairy intake from this lovely lassi anyway, so this osaman was the perfect substitute, allowing me to bring mangoes into our lunch preparations in a new way as well. It’s been much appreciated, and I’m sure it will become a part of our regular meals over many mango seasons to come.

Ripe Mango Osaman

(Yield: Approximately 5 cups)


3½ cups water

1 cup ripe mango pulp

½ cup boiled toor dal

Juice of 1 lemon

Salt to taste

½ teaspoon turmeric powder

1 teaspoon cumin powder

1 teaspoon coriander powder

½ teaspoon red chilli powder

2 teaspoons jaggery

2 teaspoons ghee

½ teaspoon mustard seeds

½ teaspoon cumin seeds

1 teaspoon grated ginger

2 dry red chilies

A handful of finely cut coriander leaves

In a pot, add the dal, mango pulp and water. Mix well, using a hand blender.

Add the salt, cumin powder, coriander powder, jaggery, turmeric powder and grated ginger to the pot. Allow to boil for about five minutes so that the flavours come together nicely.

In a small pot, prepare the tadka (seasoning). Add ghee. Once it’s hot, add the mustard seeds, cumin seeds and dry red chillies. As soon as they begin spluttering, add the red chilli powder and immediately pour it over the hot osaman.

Squeeze some lemon juice over it, and garnish with coriander leaves and serve.

Just like rasam, this ripe mango osaman works beautifully both as a warm beverage and as an accompaniment to rice. I hope you’ll enjoy this Gujarati-Tamil fusion dish of mine. I’m simply thrilled to have one more recipe to make the most of my mango madness with!