Tag

dosa

Browsing

We entertain very often at home, or at least we used to – especially when our kids were growing up. With three kids, some friend or the other of theirs would invariably always be around, and I was constantly thinking of what to put on the table that would entice them all to eat well. Some idly and dosa batter, made from scratch as I shared in my previous post, would always be in the fridge, and I discovered many years ago that I could use it innovatively. Most children are attracted to waffles because of their aesthetic, and I found that presenting a dosa with veggies in this form was quite appealing to them. While it was not the sweet treat they were used to, they enjoyed the presentation itself – and dosas of course are always tasty, too.

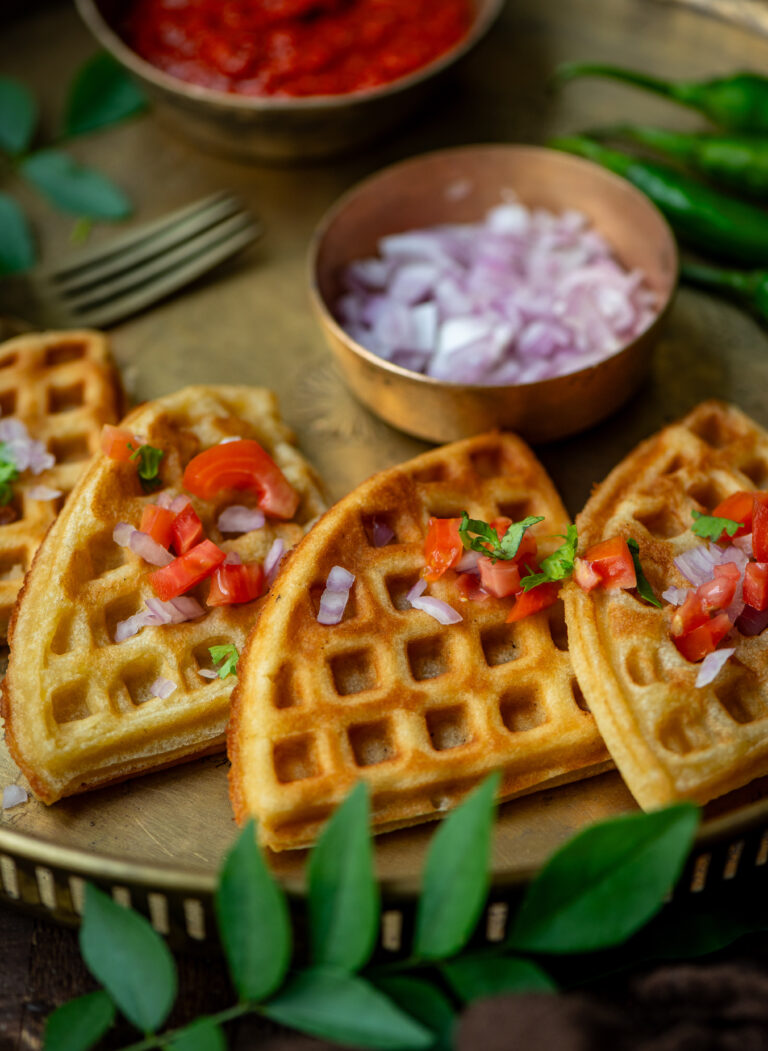
My last batch of dosa batter, which I prepared for my photoshoot for the previous recipe, inspired me to take my waffle iron out and return to this nostalgic favourite of the family’s. I recalled having made handvo with this device in the past too. I am sure that parents all over the world have similar recipes and tricks to keep their kids intrigued by food, while also eating nutritiously. I have always loaded my dosa waffles up with carrots, coriander and bell peppers, so that there is more goodness in every bite, and still do. They pair with any type of chutney that you would usually consume a regular dosa with, and I have quite a few options among those for you to explore on this blog as well.

I too enjoy how these dosa waffles present themselves, in attractive shapes that are just as good for a bit of novelty for your guests or for yourselves as they are to serve to children. They have started to become a dinner dish for us nowadays too, just for fun.

Speaking of fun, I must confess that I have a weakness for buying gadgets for the kitchen, and often have to control myself when it comes to these appliances. My latest affection has been for a Cuisinart food processor. I may have too many such items, but occasionally one of my now grown-up children will drop by and say “Hey, cool gadget”. Then, I’m happy to give them the device and downsize, knowing that I’ll be contributing to their own kitchens and culinary memories.  I fondly recall how the time when I first acquired a waffle iron was very exciting for me, and I enjoyed how it also doubles up as a sandwich maker. Then, I learnt it can make quirky dosas too!

While I share below a simple recipe for how I make dosa waffles, remember that you can experiment with ingredients of your choice. I think that if they are spiced right, they can even replace teatime sandwiches. They’re just as good for breakfast. And of course, I know for a fact that they are perfect to put in children’s lunchboxes to send them off to school with!
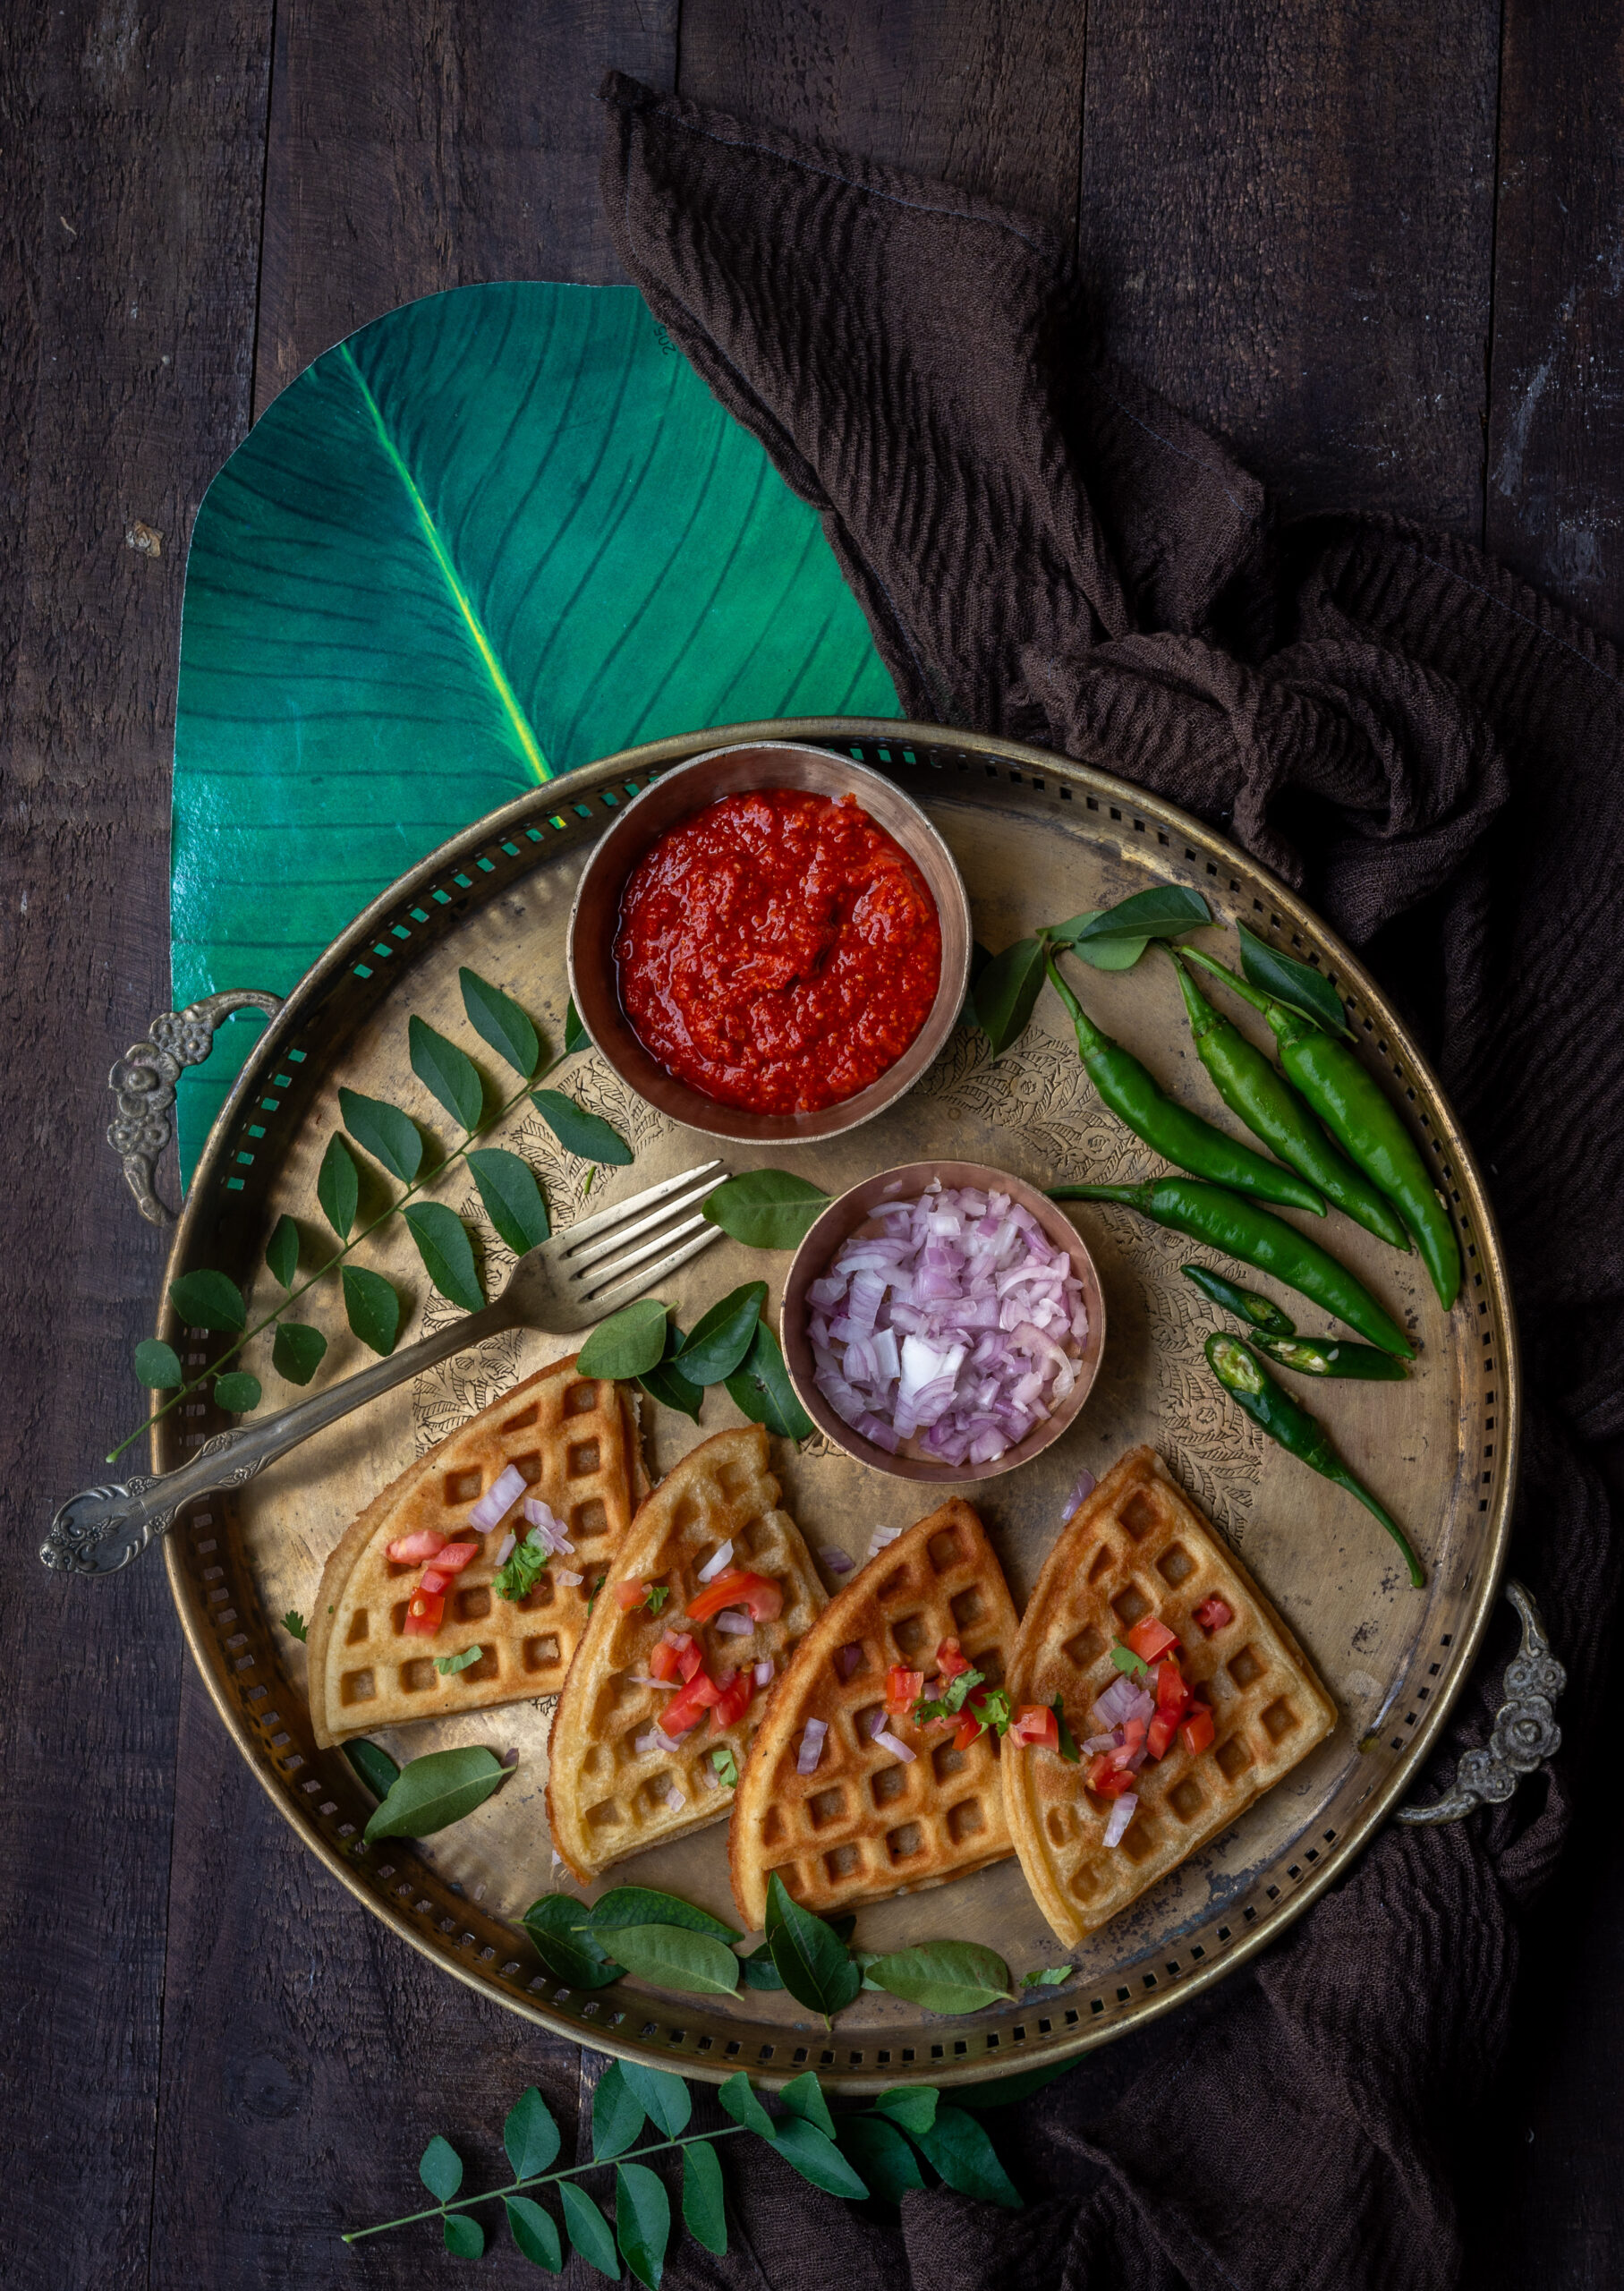
Dosa Waffles

(Serves 5)

4 cups dosa batter

½ cup grated carrots

2 tablespoons coriander leaves (finely chopped)

¼ cup chopped onions

A pinch of salt

1 green chilli (finely cut)

2 tablespoons green bell peppers (finely cut)

1 tablespoon oil

In a bowl, add all the ingredients and mix well.

Heat a waffle iron and drop a ladle full of batter in each section. The batter will spread. Use the waffle iron as per manufacturer instructions. Close gently.

Cook until golden. Serve your dosa waffles hot, with a chutney of your choice.

I hope the look of the waffles brings novelty to your mealtimes and brings a dash of innovation to your daily dosas!

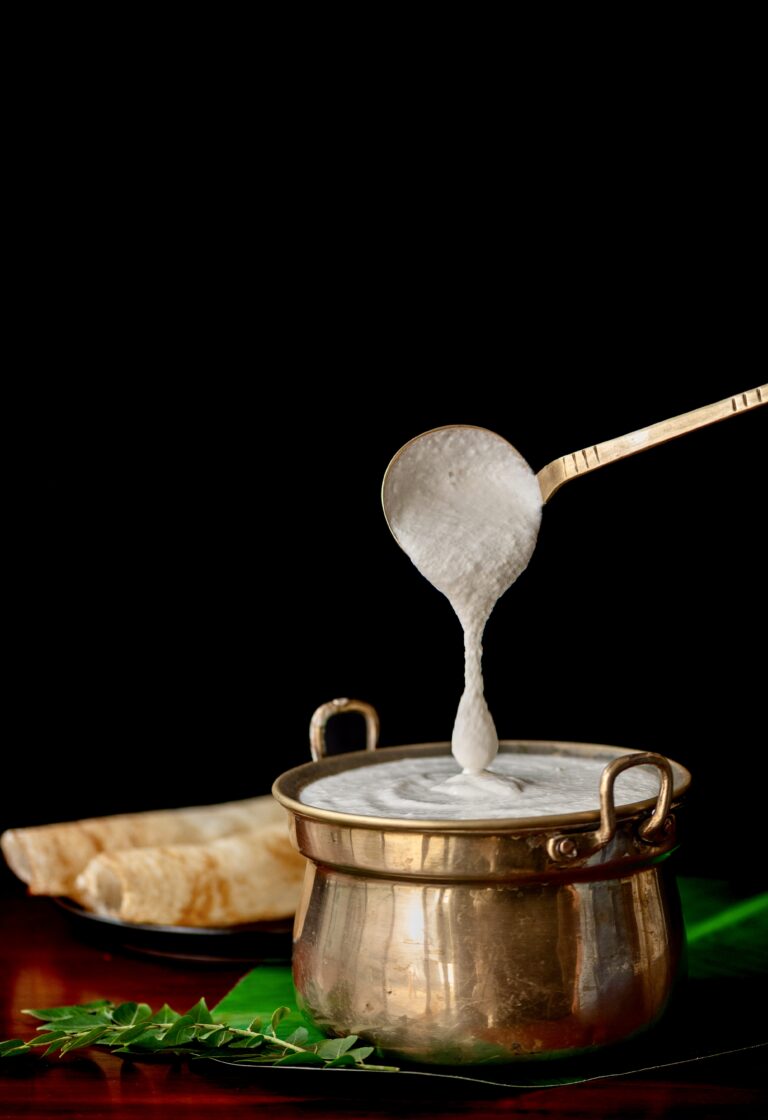
Growing up in Chennai, idly and dosa and other South Indian dishes were home food for us, comfort food alongside Gujarati dal and dhokla. Of course, home food – usually made from scratch – was the norm as there weren’t as many restaurants back then and going out to eat was a luxury. This applied even for staples and simple fare, which are now just as easily available as fine dining. While you can now buy dosa and idly batter at a drop of a hat, and the convenience is great, I still prefer to make it myself. This recipe is for those who, like me, would like the reassurance of knowing exactly what goes into every plate you serve yourself and your loved ones.

Dosa and idly batter is much easier to make than many think. It uses rice which has been boiled and processed in a mill after harvesting, which is sold as idly rice. It requires fermentation, and the humid temperatures in this region are conducive to that. You can use the same batter for kuzhi paniyaram, a kind of dumpling, too. In fact, when I was growing up, this is usually the order in which we consumed each batch: the first day was for idlys, the second for dosas and the last leftover batter was used up in kuzhi paniyarams.

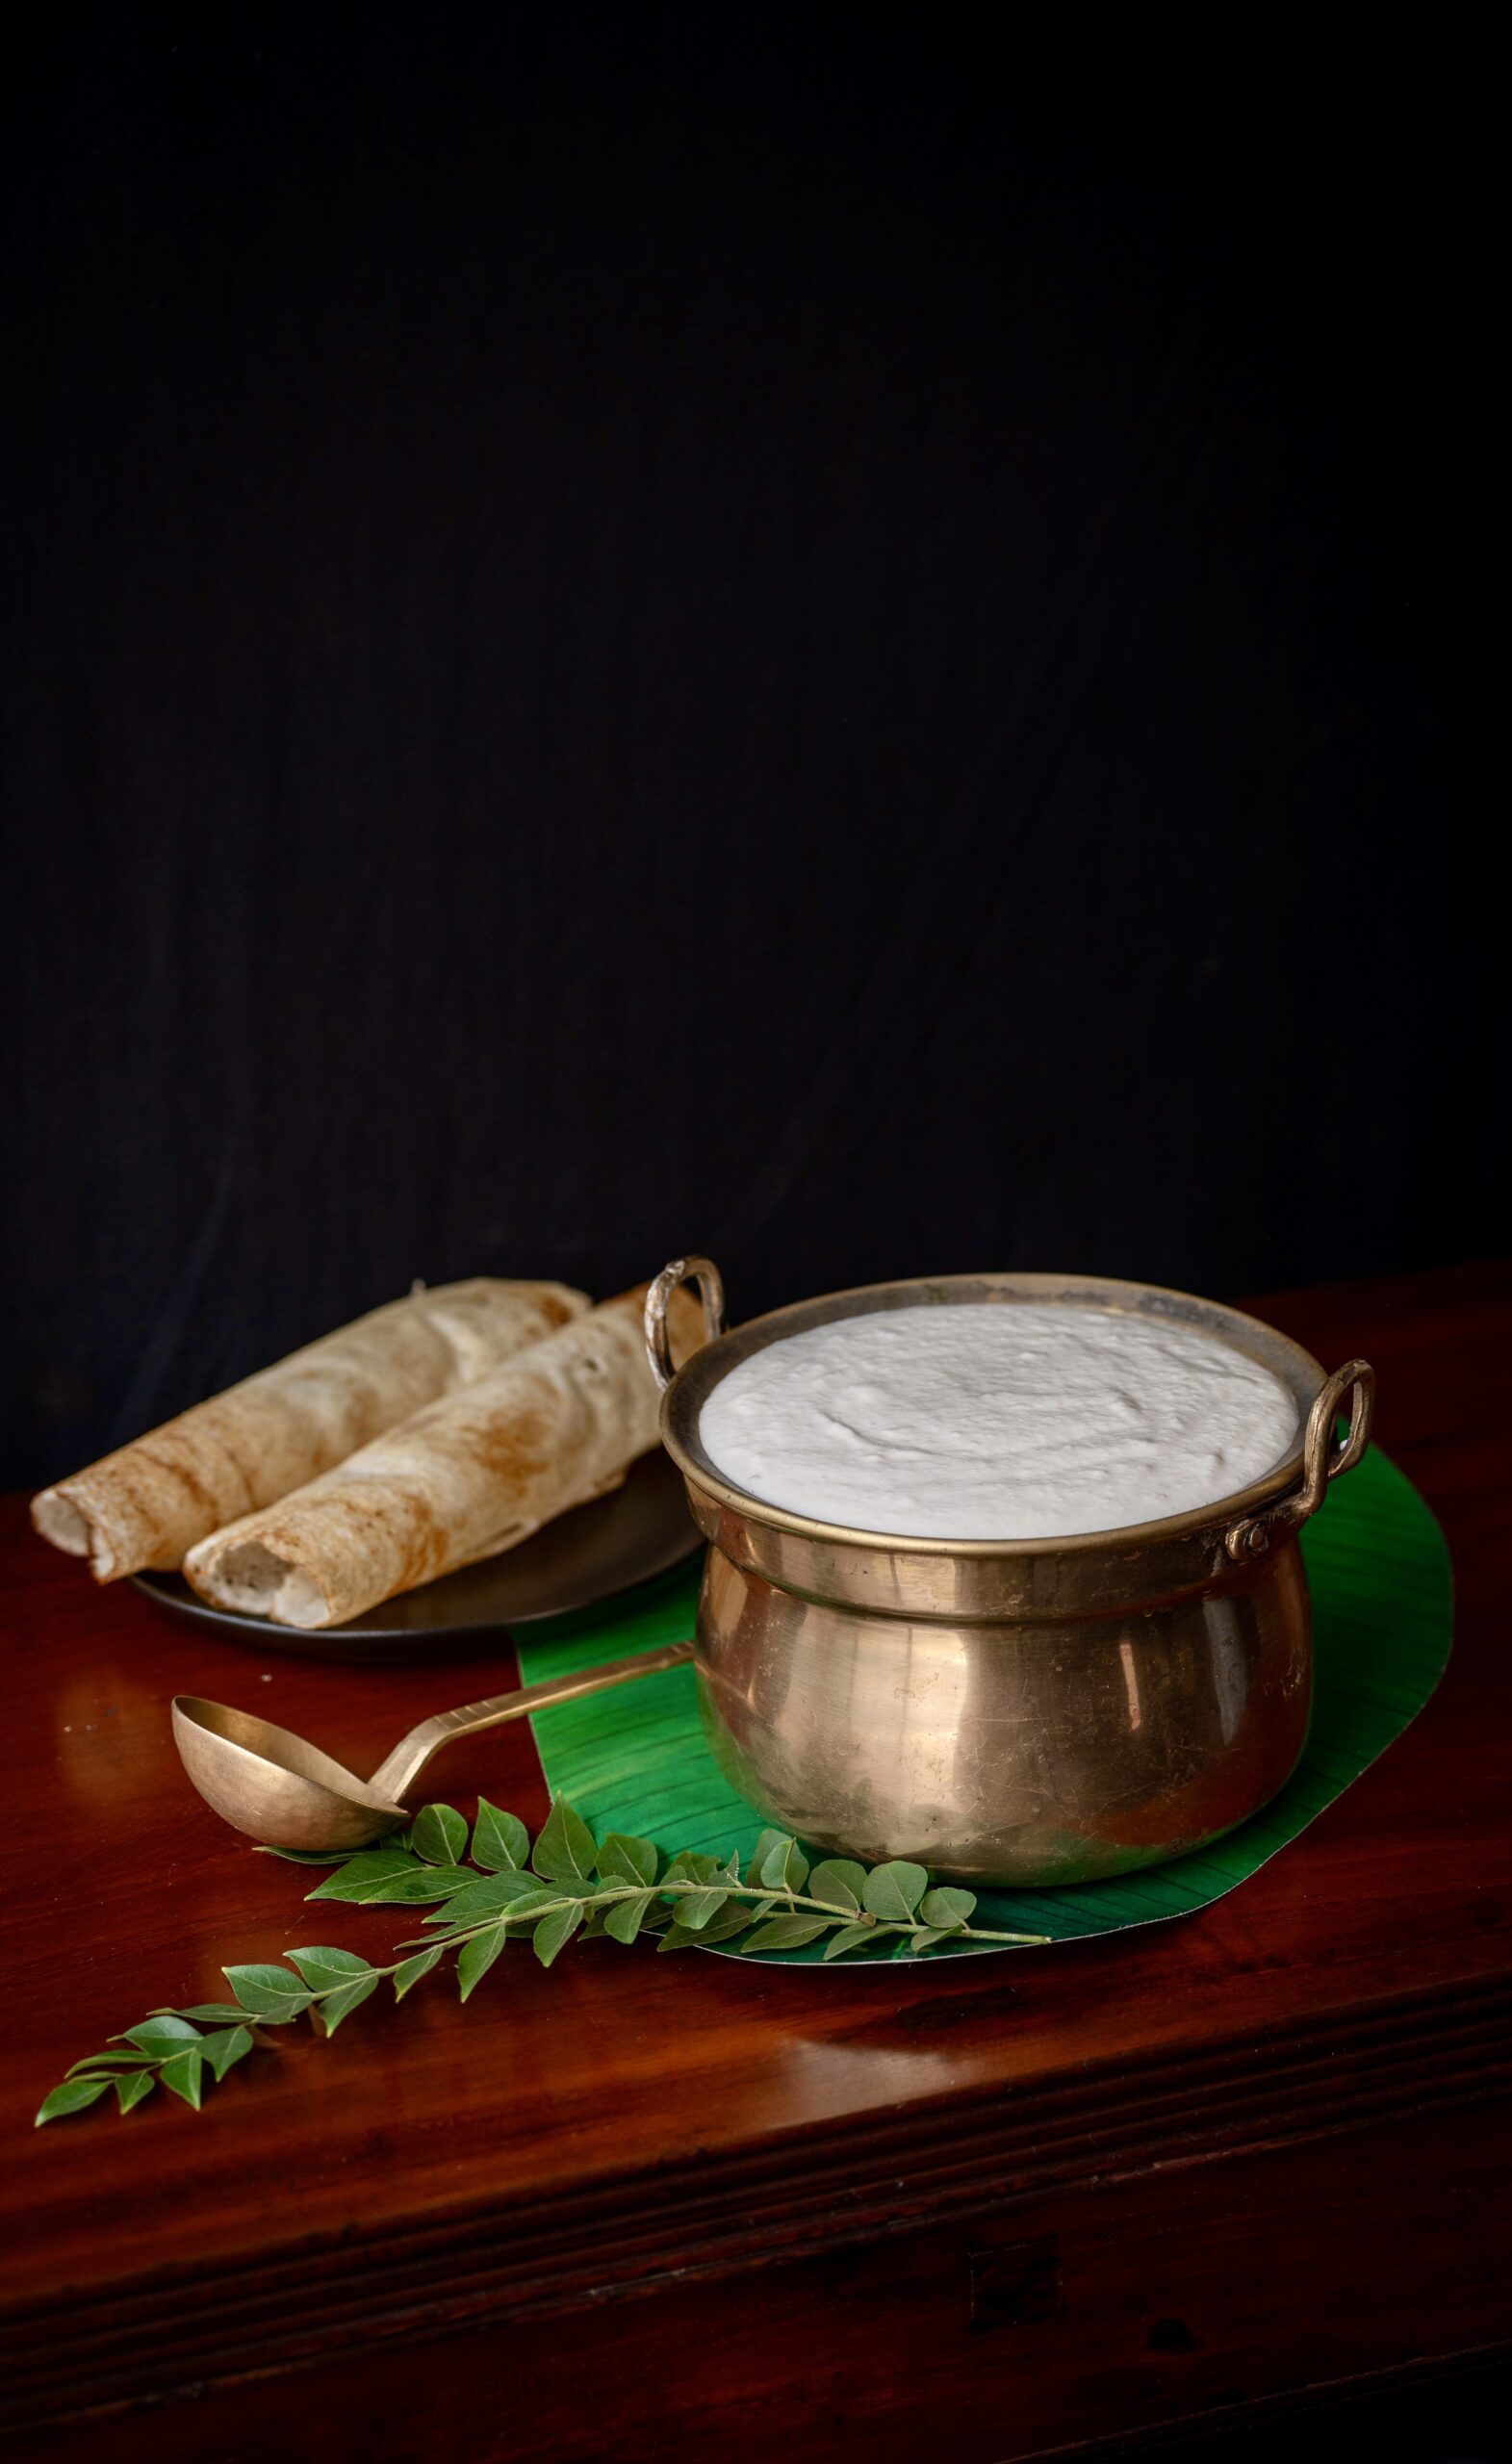
To this day, I find a special joy in waking up in the mornings and seeing that this batter has risen overnight, sometimes so high that it knocks the lid off the pot! That’s the sign of a great breakfast to come, although the delicious things you can prepare with this can be eaten at any time.

You can get fluffy, soft idlys and crispy dosas from the same batter. It’s all about the preparation method. In the recipe below, I share the method for making dosa, which is pretty straightforward and which pairs well with chutneys and sambars too. As for idlys, they are steamed; some people do this in a microwave, but I’m not a fan of that gadget and I love hot idlys from a traditional steamer with my preferred chutney or a sambar. The trick to them is to not beat the batter, as one does for a dosa, but to be gentle both while mixing and while dropping the batter into the tray. In the next post, I have a bit of a surprise, using the same batter. First, however, this is how you make the batter, and how you make a dosa!

Dosa & Idly Batter

(Serves: 6)

3 cups boiled rice

1 cup urad dal

2 teaspoon methi (fenugreek) seeds

2 + 2 cups water

Salt to taste

Wash and soak the rice, urad dal and the methi seeds separately for at least 6 hours or overnight. I recommend around 10 hours.

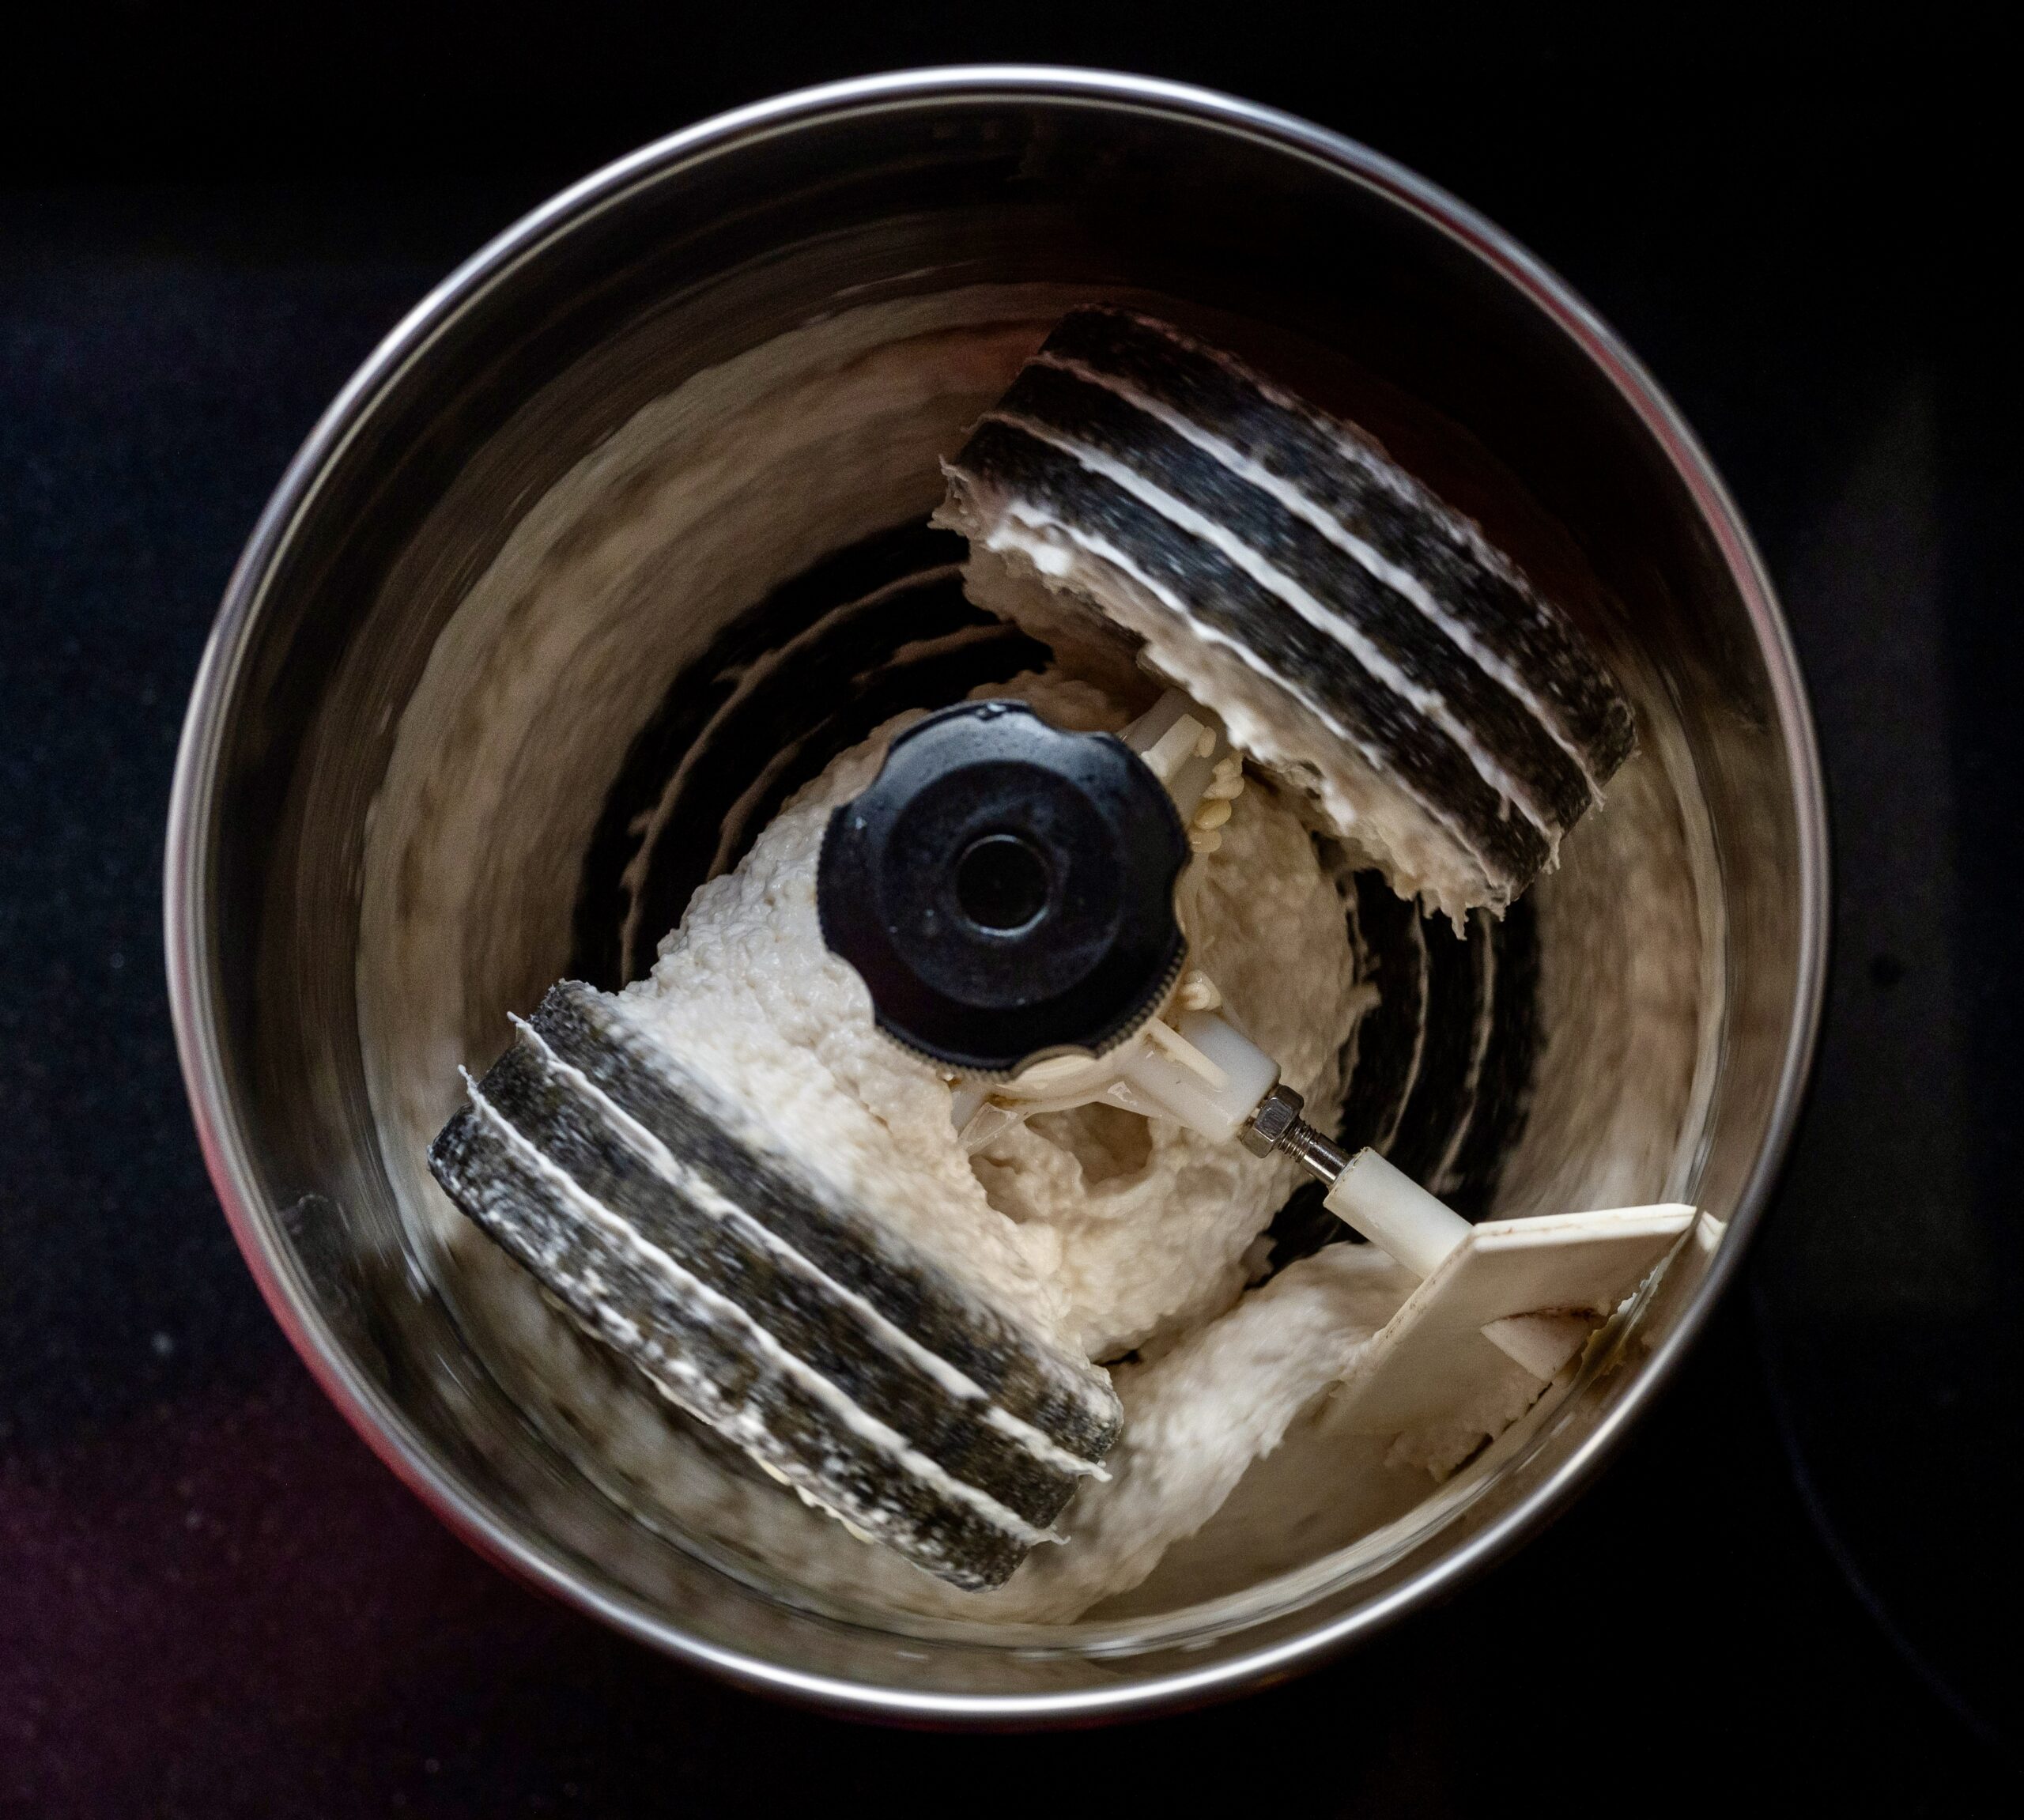
Dispose the soaking water. Add 2 cups of fresh water and grind the urad dal and methi seeds finely, using a wet grinder or blender. Set aside.

Now, grind the rice with 2 cups of fresh water until you get a fine consistency.

Pour the rice batter over the dal batter. Add salt and mix gently using your hands.

Cover in a big pot and allow to ferment. The size of the pot matters so that the batter has space to rise. Well-fermented batter doubles in quantity and is sour. When stored in the fridge between uses, it will remain fresh for 3-4 days.

Here are a few more tips: the trick behind making a batter that can yield both a crisp brown dosa and a soft white idly is the proportion of rice to lentils. To make dosas even crisper, add some poha or rice flakes to the batter while grinding. Some people also add rava. However, I personally feel that the use of a heavy iron pan and adequate ghee or oil contribute more to crispness than these other techniques. Use only parboiled or boiled rice to make dosas, and only husked urad dal. Adding fenugreek increases the fermentation and makes for a tastier dosa.

As I said earlier, you can use this for dosas, idlys and kuzhi paniyarams. Here is the method to prepare dosa, a South Indian crepe that is staple in this part of the world.

Remove the required quantity, and gently mix the batter with a steel spoon. Heat a cast iron pan or tava.

Once it is hot, sprinkle some water on the pan. When it sizzles, you know that it’s the right temperature. Take a ladle full of the batter and pour it into the centre of the pan. Gently, using a circular motion, spread the batter on the griddle, similar to making a crepe. Use a teaspoon of ghee or oil and spread drops of it onto the dosa.

Allow it to cook on high heat, until you see it turn golden at the bottom. Gently, with the help of a spatula, lift from the edges and flip for no more than a few seconds. Now fold the dosa and serve hot. Accompany it with sambar, chutney, curry or podi – the choice is yours.

I hope you’ll begin making your idly and dosa batter from scratch too. It’s an easy process, and I am sure you’ll enjoy both the preparation method as well as consuming the results!

I’m always trying to do something new with millets and bring them into everyday dining because they are healthy, seasonal and affordable. In South India, they were actually the ancient traditional staple, not rice or wheat as it is today, and so they can be said to be perfect for Macrobiotic diets here. Different varieties of local millets have featured on this blog in recipes past (I’ve linked to a few at the end of this post). Today, the star is ragi, which you may also know as finger millet, teff or kezhvaragu.

Ragi is rich in calcium, iron and antioxidants, as well as high in fibre. This means that its benefits include everything from weight control to skin rejuvenation to curing anaemia. A dry-season crop that tolerates many different kinds of soil, it is easy to cultivate. It features in a large variety of South Indian dishes, from Kerala puttu to Karnataka ragi mudde to the koozh that is offered to the Goddess in Tamil Nadu. It is also eaten everywhere from Vietnam to numerous countries in Africa, where it originated.

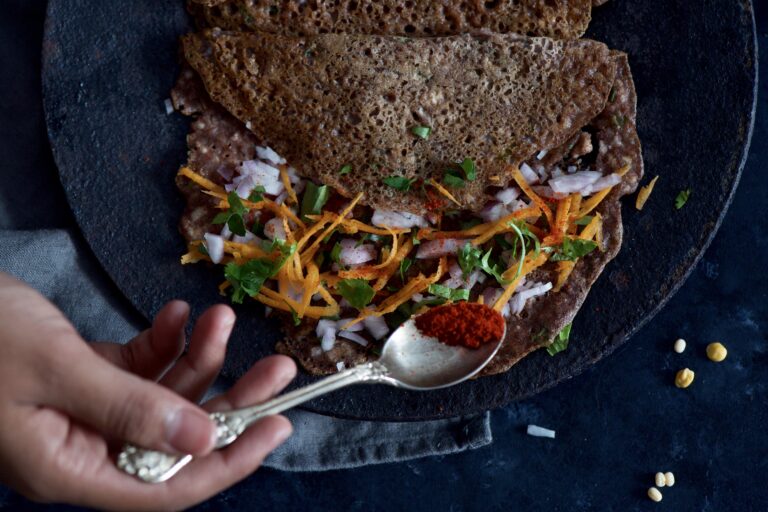
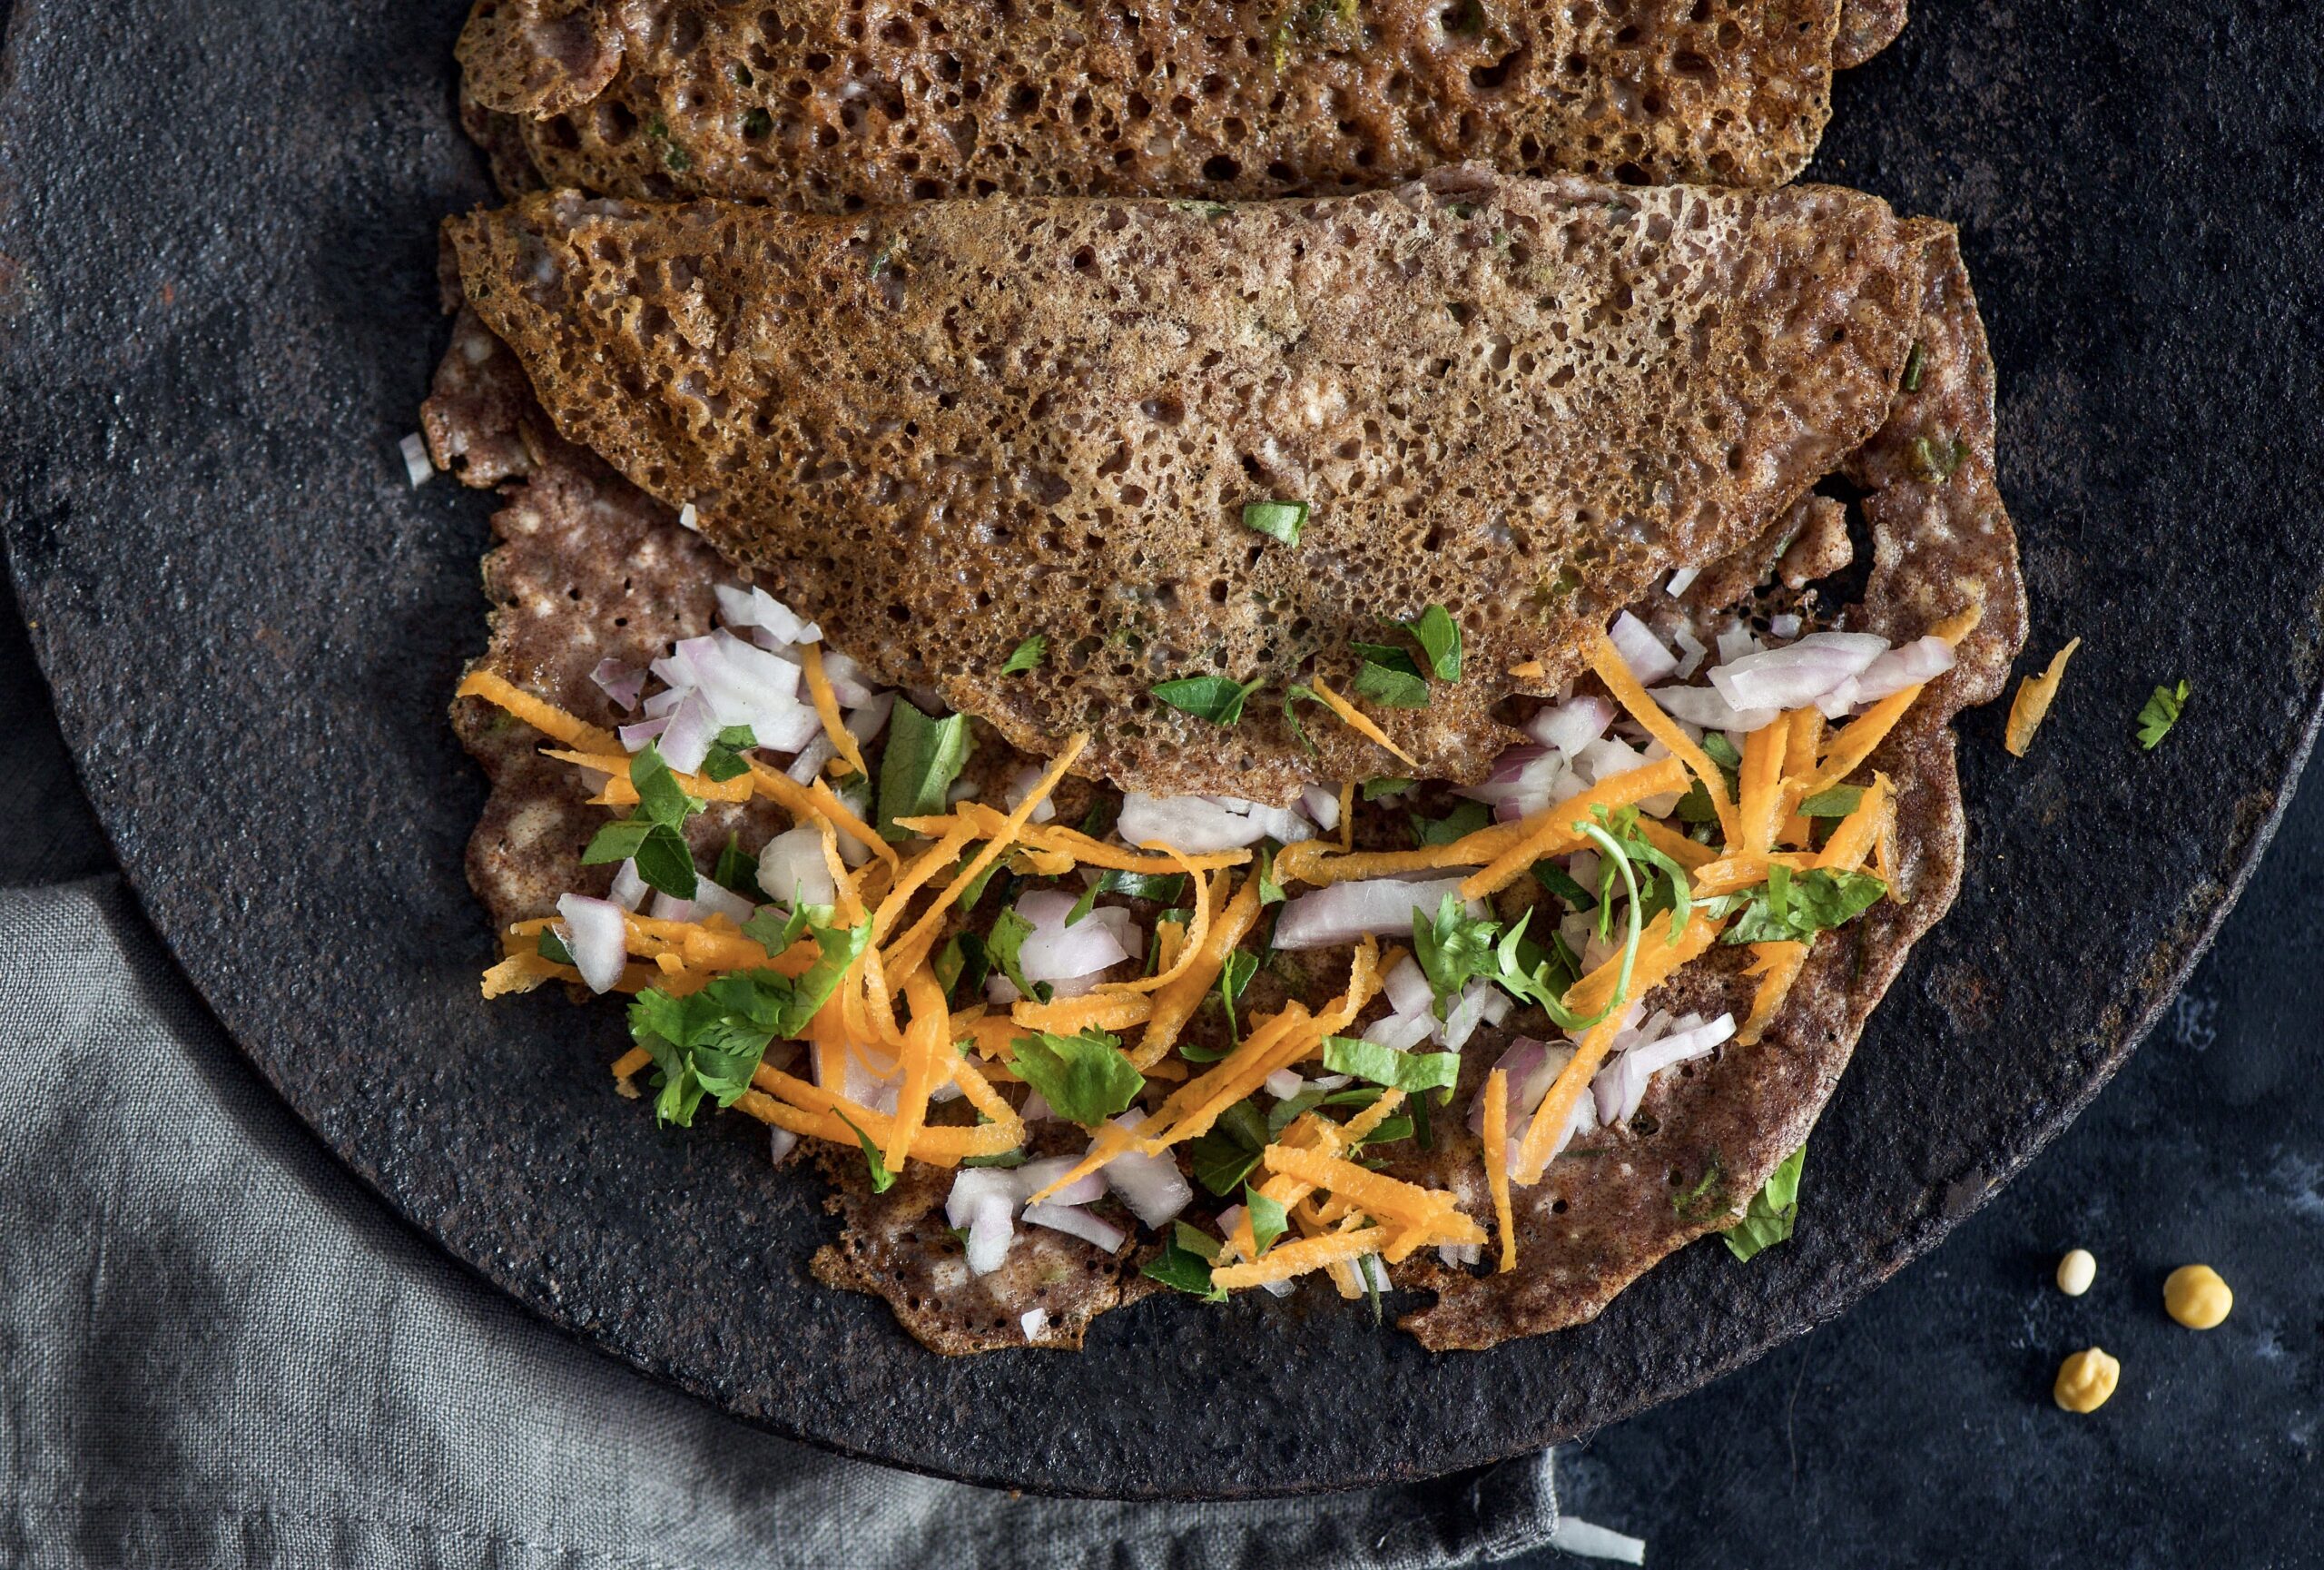
I want to share with you the recipe for ragi millet dosa. Dosa is a South Indian crepe, similar to chilla. It is popularly made with rice flour, which I substitute almost entirely with ragi millet. It’s always exciting to add your own twist to something traditional. That’s the challenge of cooking as well – you can’t just throw in something and hope it sticks. How do you combine flavours so they work well and complement one another? It may seem simple and obvious to take two South Indian staples – ragi millets and dosas – and put them together. But this is not so, because in the case of any millet dosa, it is not only a matter of ingredients. The main question is: will the crepe peel off beautifully? Ragi has a sticky consistency, which can make this tricky. As those of us who make dosas regularly know, certain ingredients are added or removed to facilitate this peeling. This is why I still use a little bit of rice flour in the batter. Rice flour both adds crispiness to the dosa, as well as enables it to peel off properly.

As I’ve mentioned in the past, I ensure that all my powders and flours are homemade, ground by a trusted small mill.  We grow both rice and ragi on our farm, so I know for sure that the ingredients in this dish, and any rice-based dishes eaten at home, are organic.

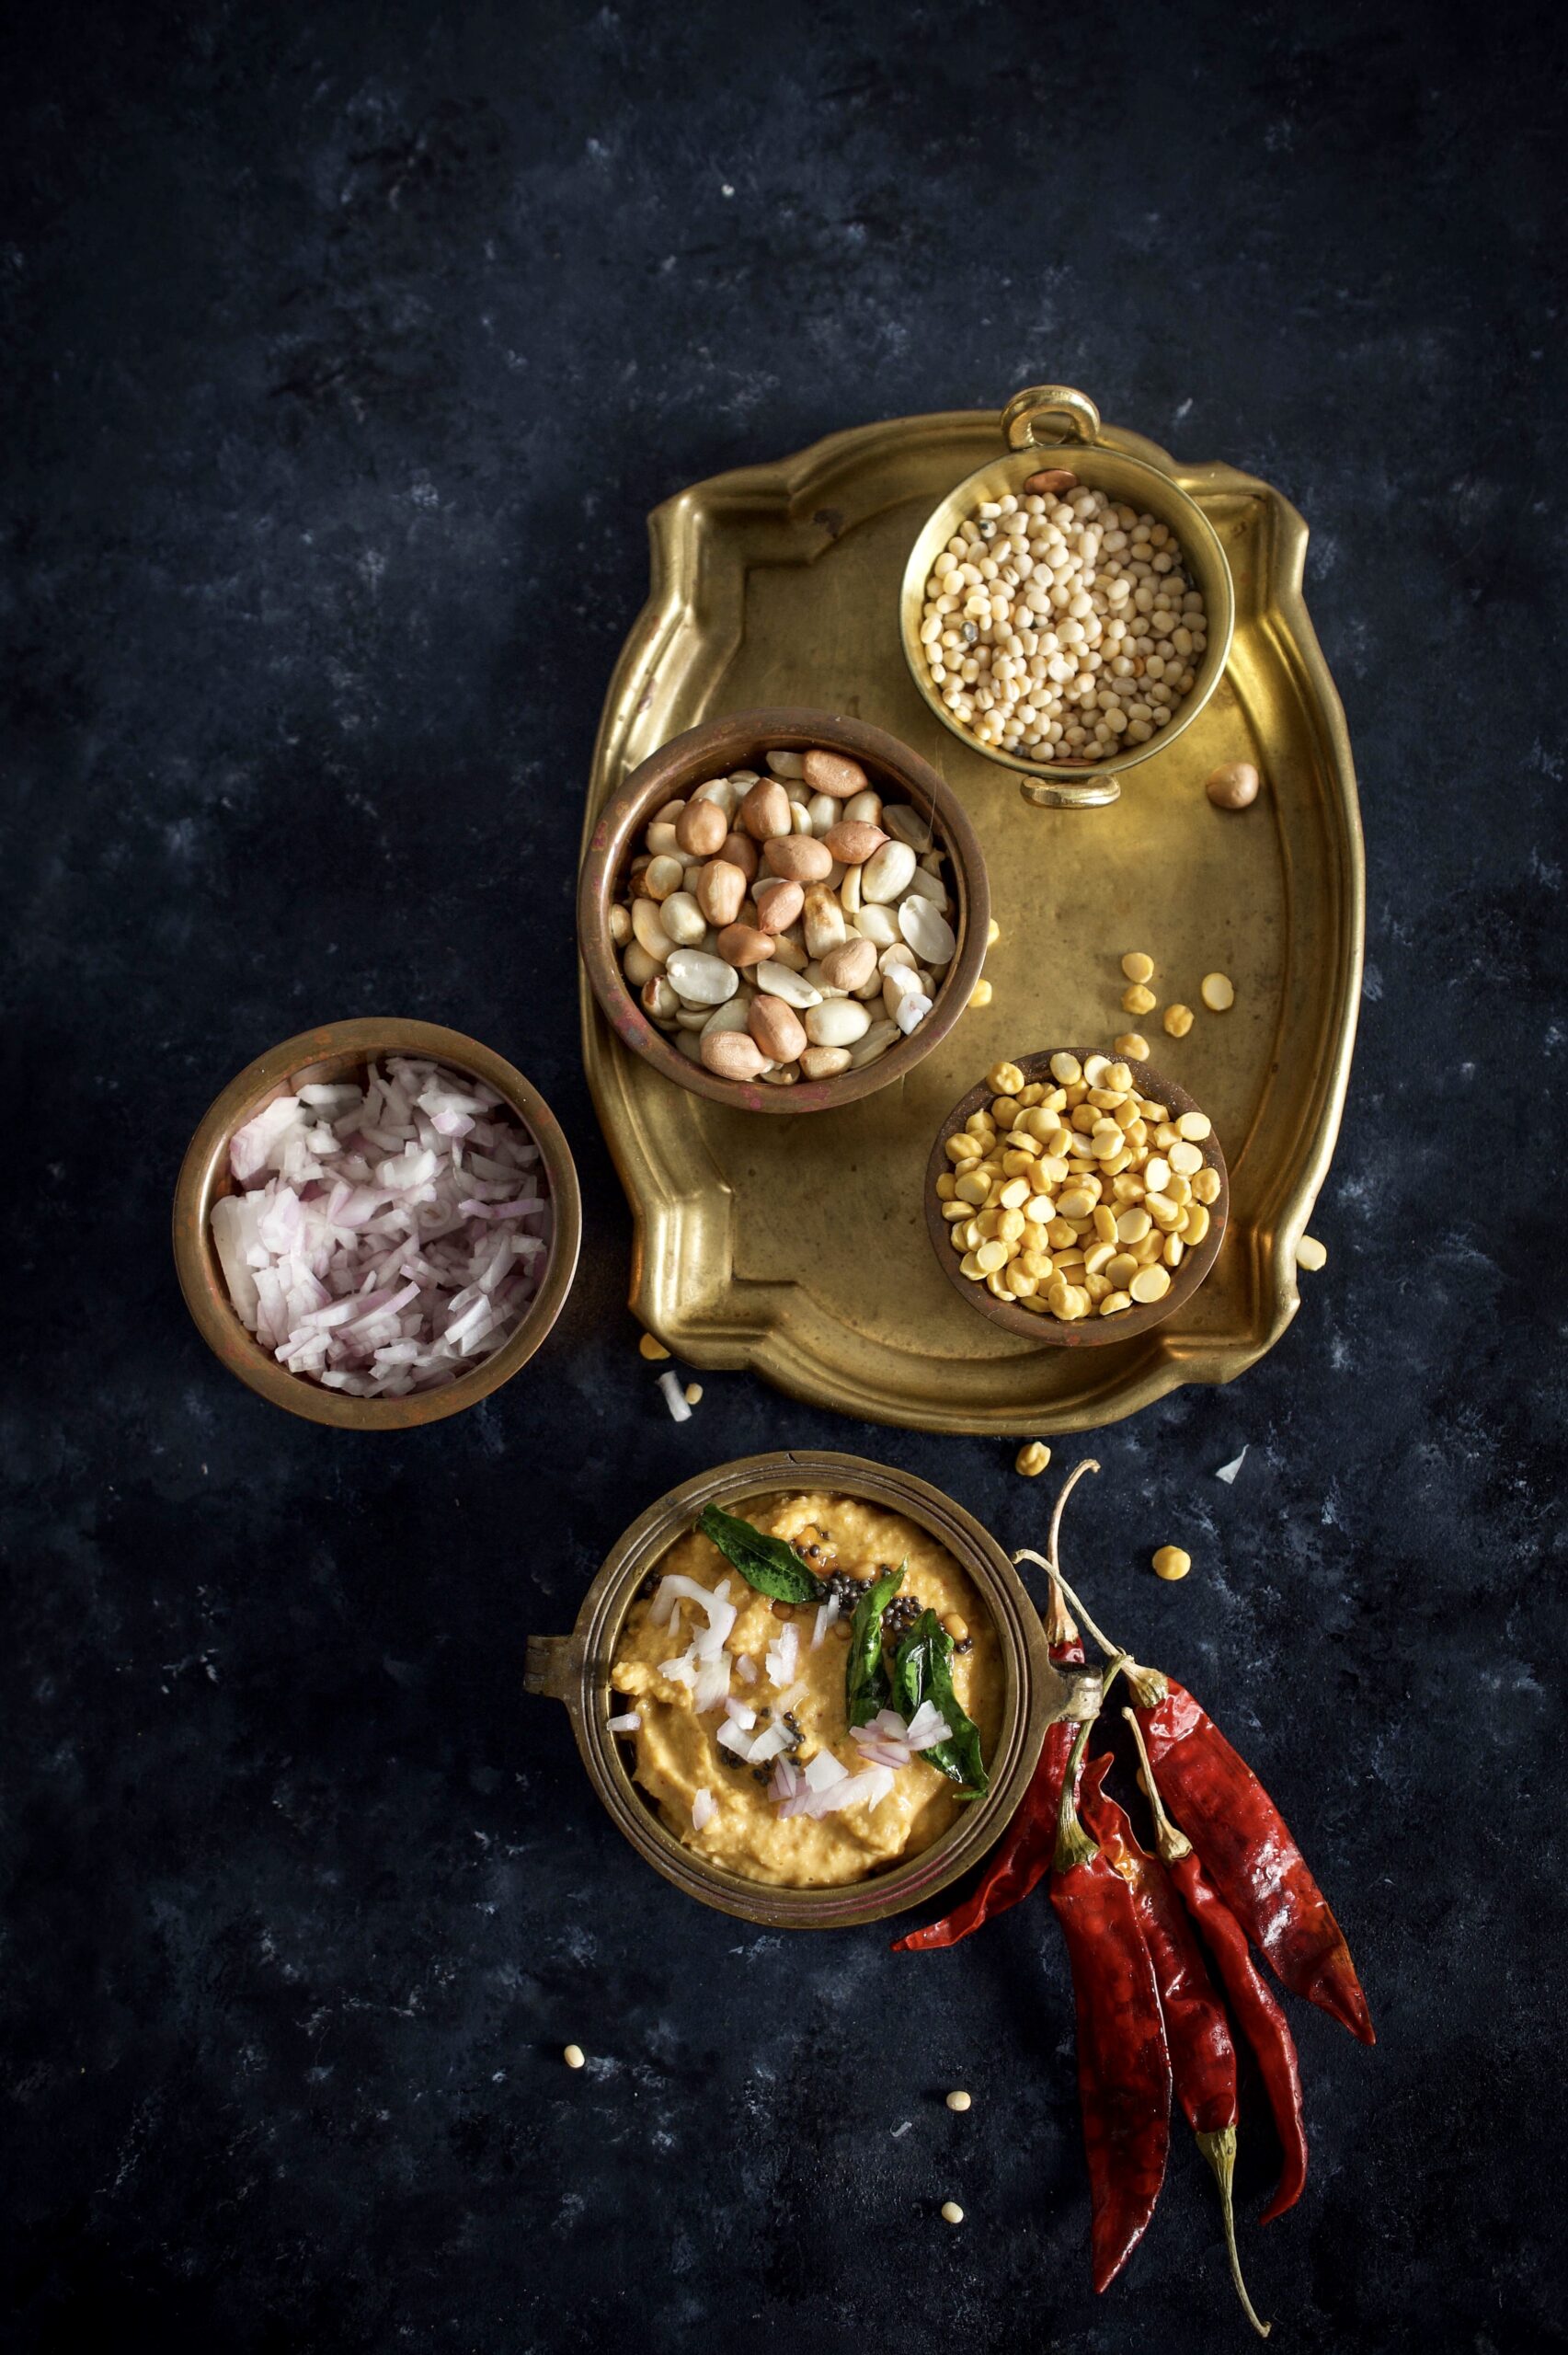
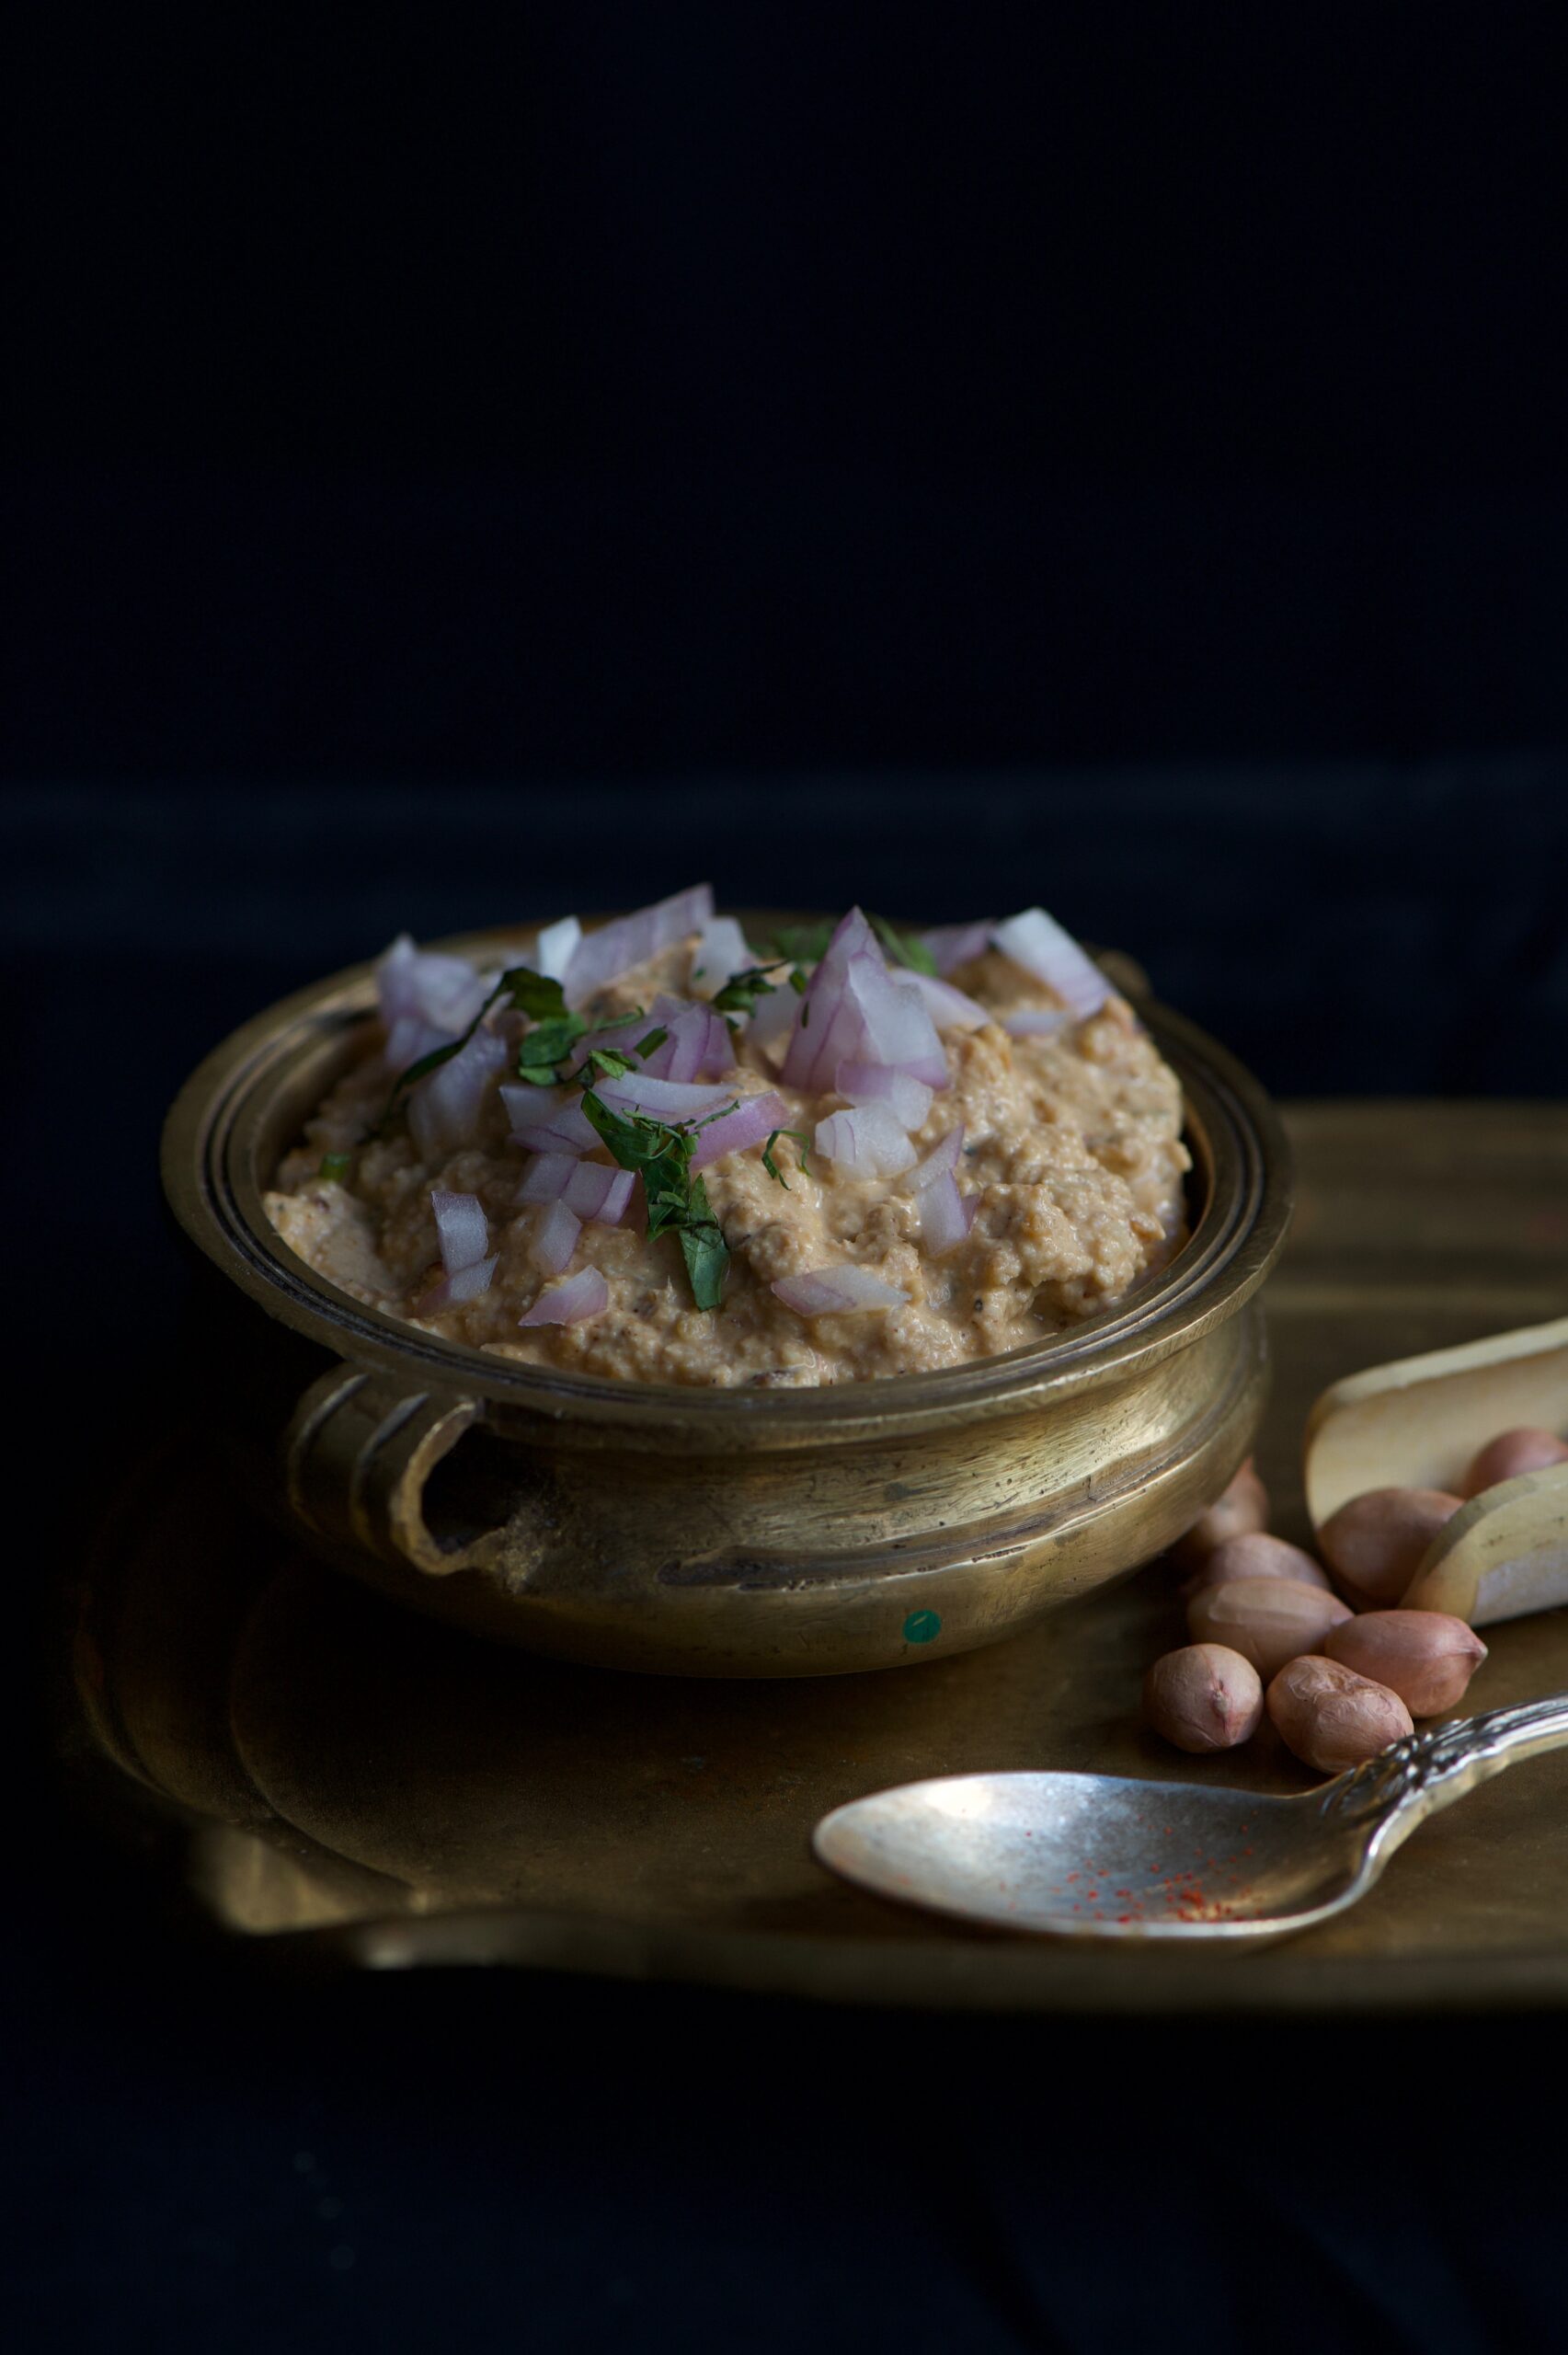
To come back to dosas and twists on the same – you can make your own variations of the dish below by adding vegetables to the crepe after it has been folded, or serving it with an assortment of chutneys. Here, I give you the recipe for a simple peanut chutney, which is a current favourite (peanuts are also grown on my farm). Ragi millet dosa is something I reach for often when I try to stay fit, and it’s always a satisfying meal.

Living in South India, dosa (or dosai) is something I’ve taken for granted. It really is a universally loved dish, as this story about my dog Coco will tell you. When she was pregnant years ago, she absolutely craved dosas! I would have one made especially for her every day, and she would simply refuse to eat it if it did not contain salt! My Coco is now sixteen years old and going strong, and the healthiest in my house since she eats fresh food every day. Now, her son Max also craves dosas, probably influenced by his mother’s taste during her pregnancy with him, and I always share mine with them both.


Ragi Millet Dosa

(Yield: 6 dosas)

Ingredients
½ cup ragi flour

1 tablespoon rice flour

1 teaspoon cumin

1 teaspoon paste of green chilli and ginger

1 tablespoon grated coconut

¾ cup water

1 tablespoon yoghurt

Finely chopped curry leaves

Finely chopped onions

Salt to taste

In a bowl, mix the ragi and rice flours in water until there are no lumps. Then add all the remaining ingredients. Stir until they all blend well together and become a smooth batter. Do not add too much water as this will make the batter too thin.

These dosas can either be prepared immediately, or the batter can be left to sit for about half an hour, letting the flavours blend more.

To fry a dosa is like frying any crepe. Add a few drops of oil on a heated iron griddle. Now lower the flame and pour 1 small cup of the batter onto the griddle, and spread it out in a circular motion until it is spread thin. Dot the edges with oil and increase the flame to high. Allow the dosa to turn dark on the edges, then flip over and allow to fry for a few minutes. Flip again once before you take it off the stove. Fold and serve with the peanut chutney, or a condiment of your choice.


Peanut Chutney

(Yield: 1 cup)

Ingredients

½ cup roasted peanuts

1 teaspoon channa dal

1 teaspoon udad dal

1½  teaspoons tamarind paste

1 teaspoon grated ginger

¼ cup water

2 red chilies

A sprig of curry leaves

A few drops of oil

Salt to taste


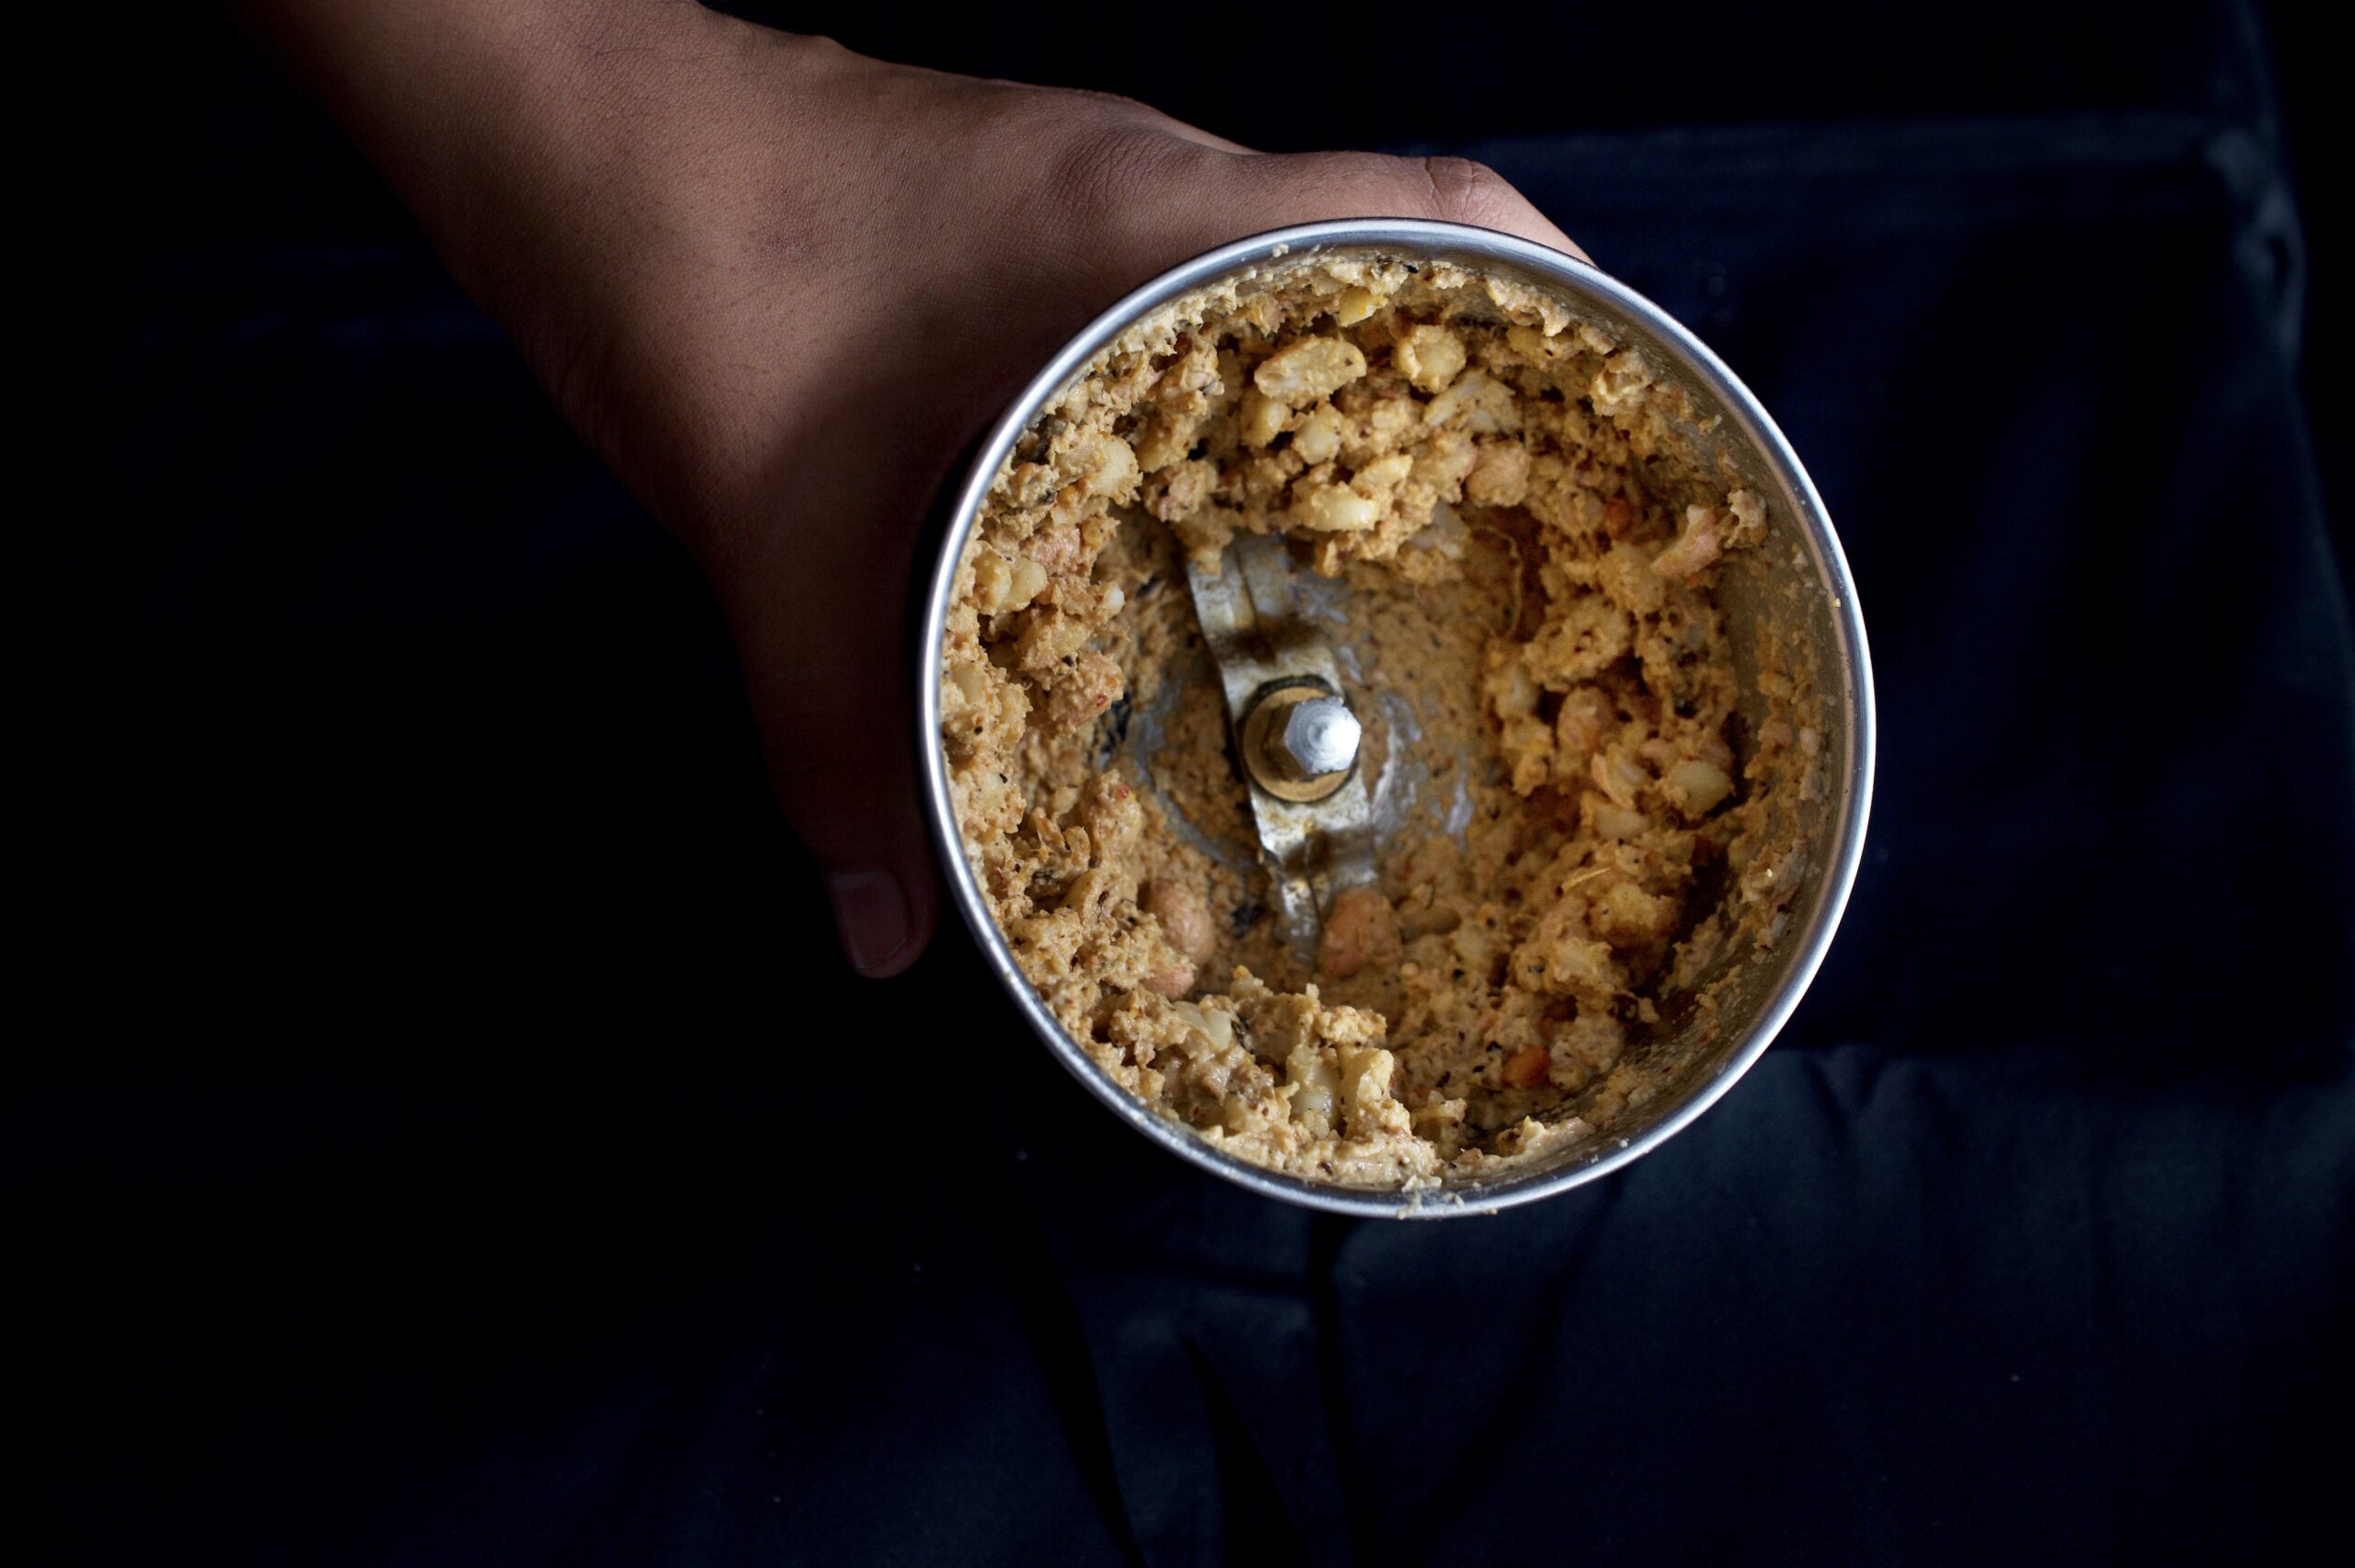
Sauté the dals in a few drops of oil. Once they turn golden, add the dals along with the peanuts and ginger in a blender. Blend until coarse.

Now, to temper the chutney. Put a few drops of oil in a pan and add the mustard seeds and cumin seeds. Wait till they splutter and then add the red chillies and curry leaves. When they have been coated in the hot oil, immediately pour the tempering over the chutney. It is now ready to be eaten as a dip with the crispy hot dosas.

I’m an evangelist when it comes to millets and truly believe in their ability to transform our unhealthy modern diets. This is why they have featured so many times on this blog. If you’re curious about more dishes that incorporate these simple and satisfying ingredients, do check out this tag and spend some time exploring my past recipes. Here are a few of my favourite selections from the same: little millet rice with beans poriyal, chakkara pongal and vegan chili.