Tag

dips

Browsing

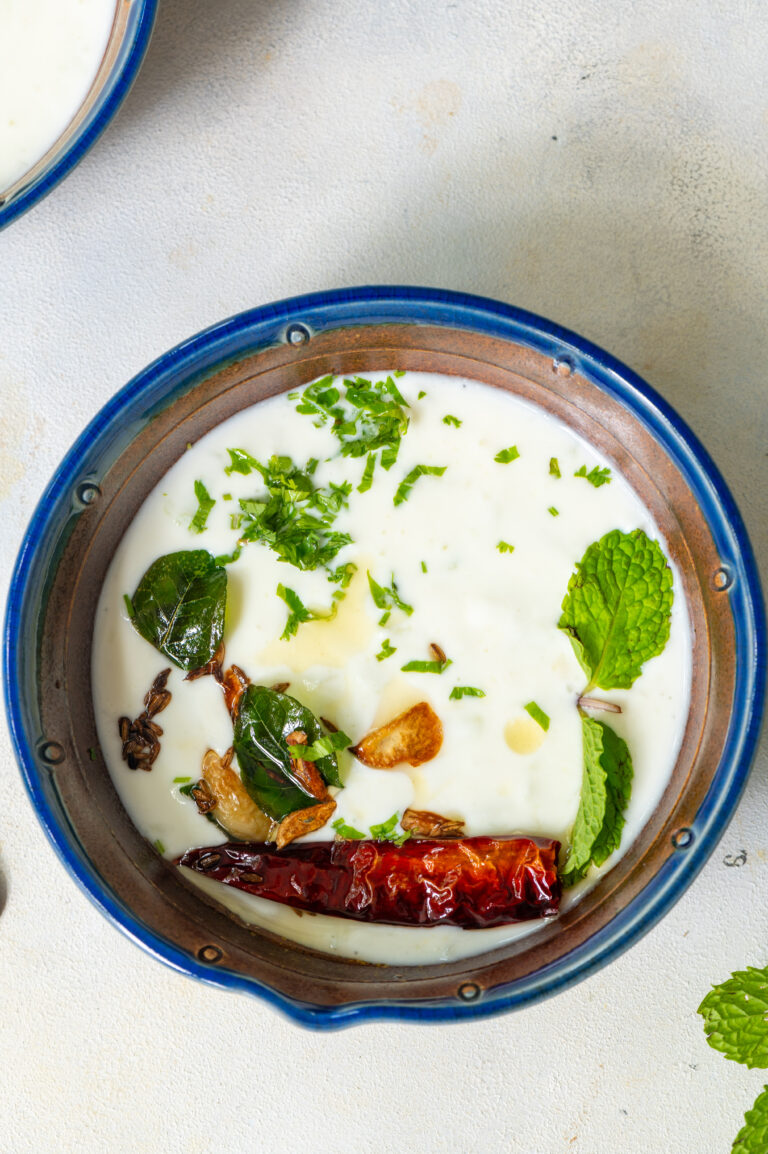
Yoghurt, curd, dahi – whatever you want to call it, this essential dairy product is a staple at home with every single meal. It has been this way for many years. When I was growing up, my family would tease me about my love for dahi. It was often joked, “She will even have dahi with bread!” It’s true: I loved it so much that I would eat it in any form. Nowadays, I am equally happy just having it plain, without accompaniments. Sometimes, it’s nice to dress the dahi up and enjoy its versatility, and that’s when a recipe like this cucumber raita gets made.

Later, once I moved into my marital home, I discovered that curd was not a big part of their meals. It began to be included because of me, and gradually it became a staple here as well. So much so that my entire extended family on both sides have another running joke about how dahi should be kept ready whenever I’m about to visit.

Truly, it’s a lifelong love. I have shared in the past that my love for curd is the key reason why the vegan lifestyle is a challenge for me, and for those of you who have mastered it, I hope you’ll explore the many vegan recipes I’ve shared.

Plain homemade curd is my go-to. Greek yoghurt and so on were unknown to me while I was growing up, although I have explored it since. I’m happy to say that my simple, traditional homemade curd literally travels the world. There is a Spanish family whom we are close with, and they visit us every year. Each time, they take back a little bit of curd culture from my kitchen so that they can make their own Indian dahi when they are back home. My friend used to ask me for the recipe each time to jog her memory, but over the last five years, I’ve been able to simply direct her to the method that I published here. You can make it too, and the technique is right here.

Coming to the raita, I’ve made mine a little more exciting. Traditional cucumber raita is a two-ingredient dish, but I’ve added some spices, some mint and some garlic. This brings out a medley of flavours. You may want to try your own variations. For instance, why not replace cucumber with beetroot and watch the dish change colour? It will add quite a bit of novelty, especially when you are entertaining.
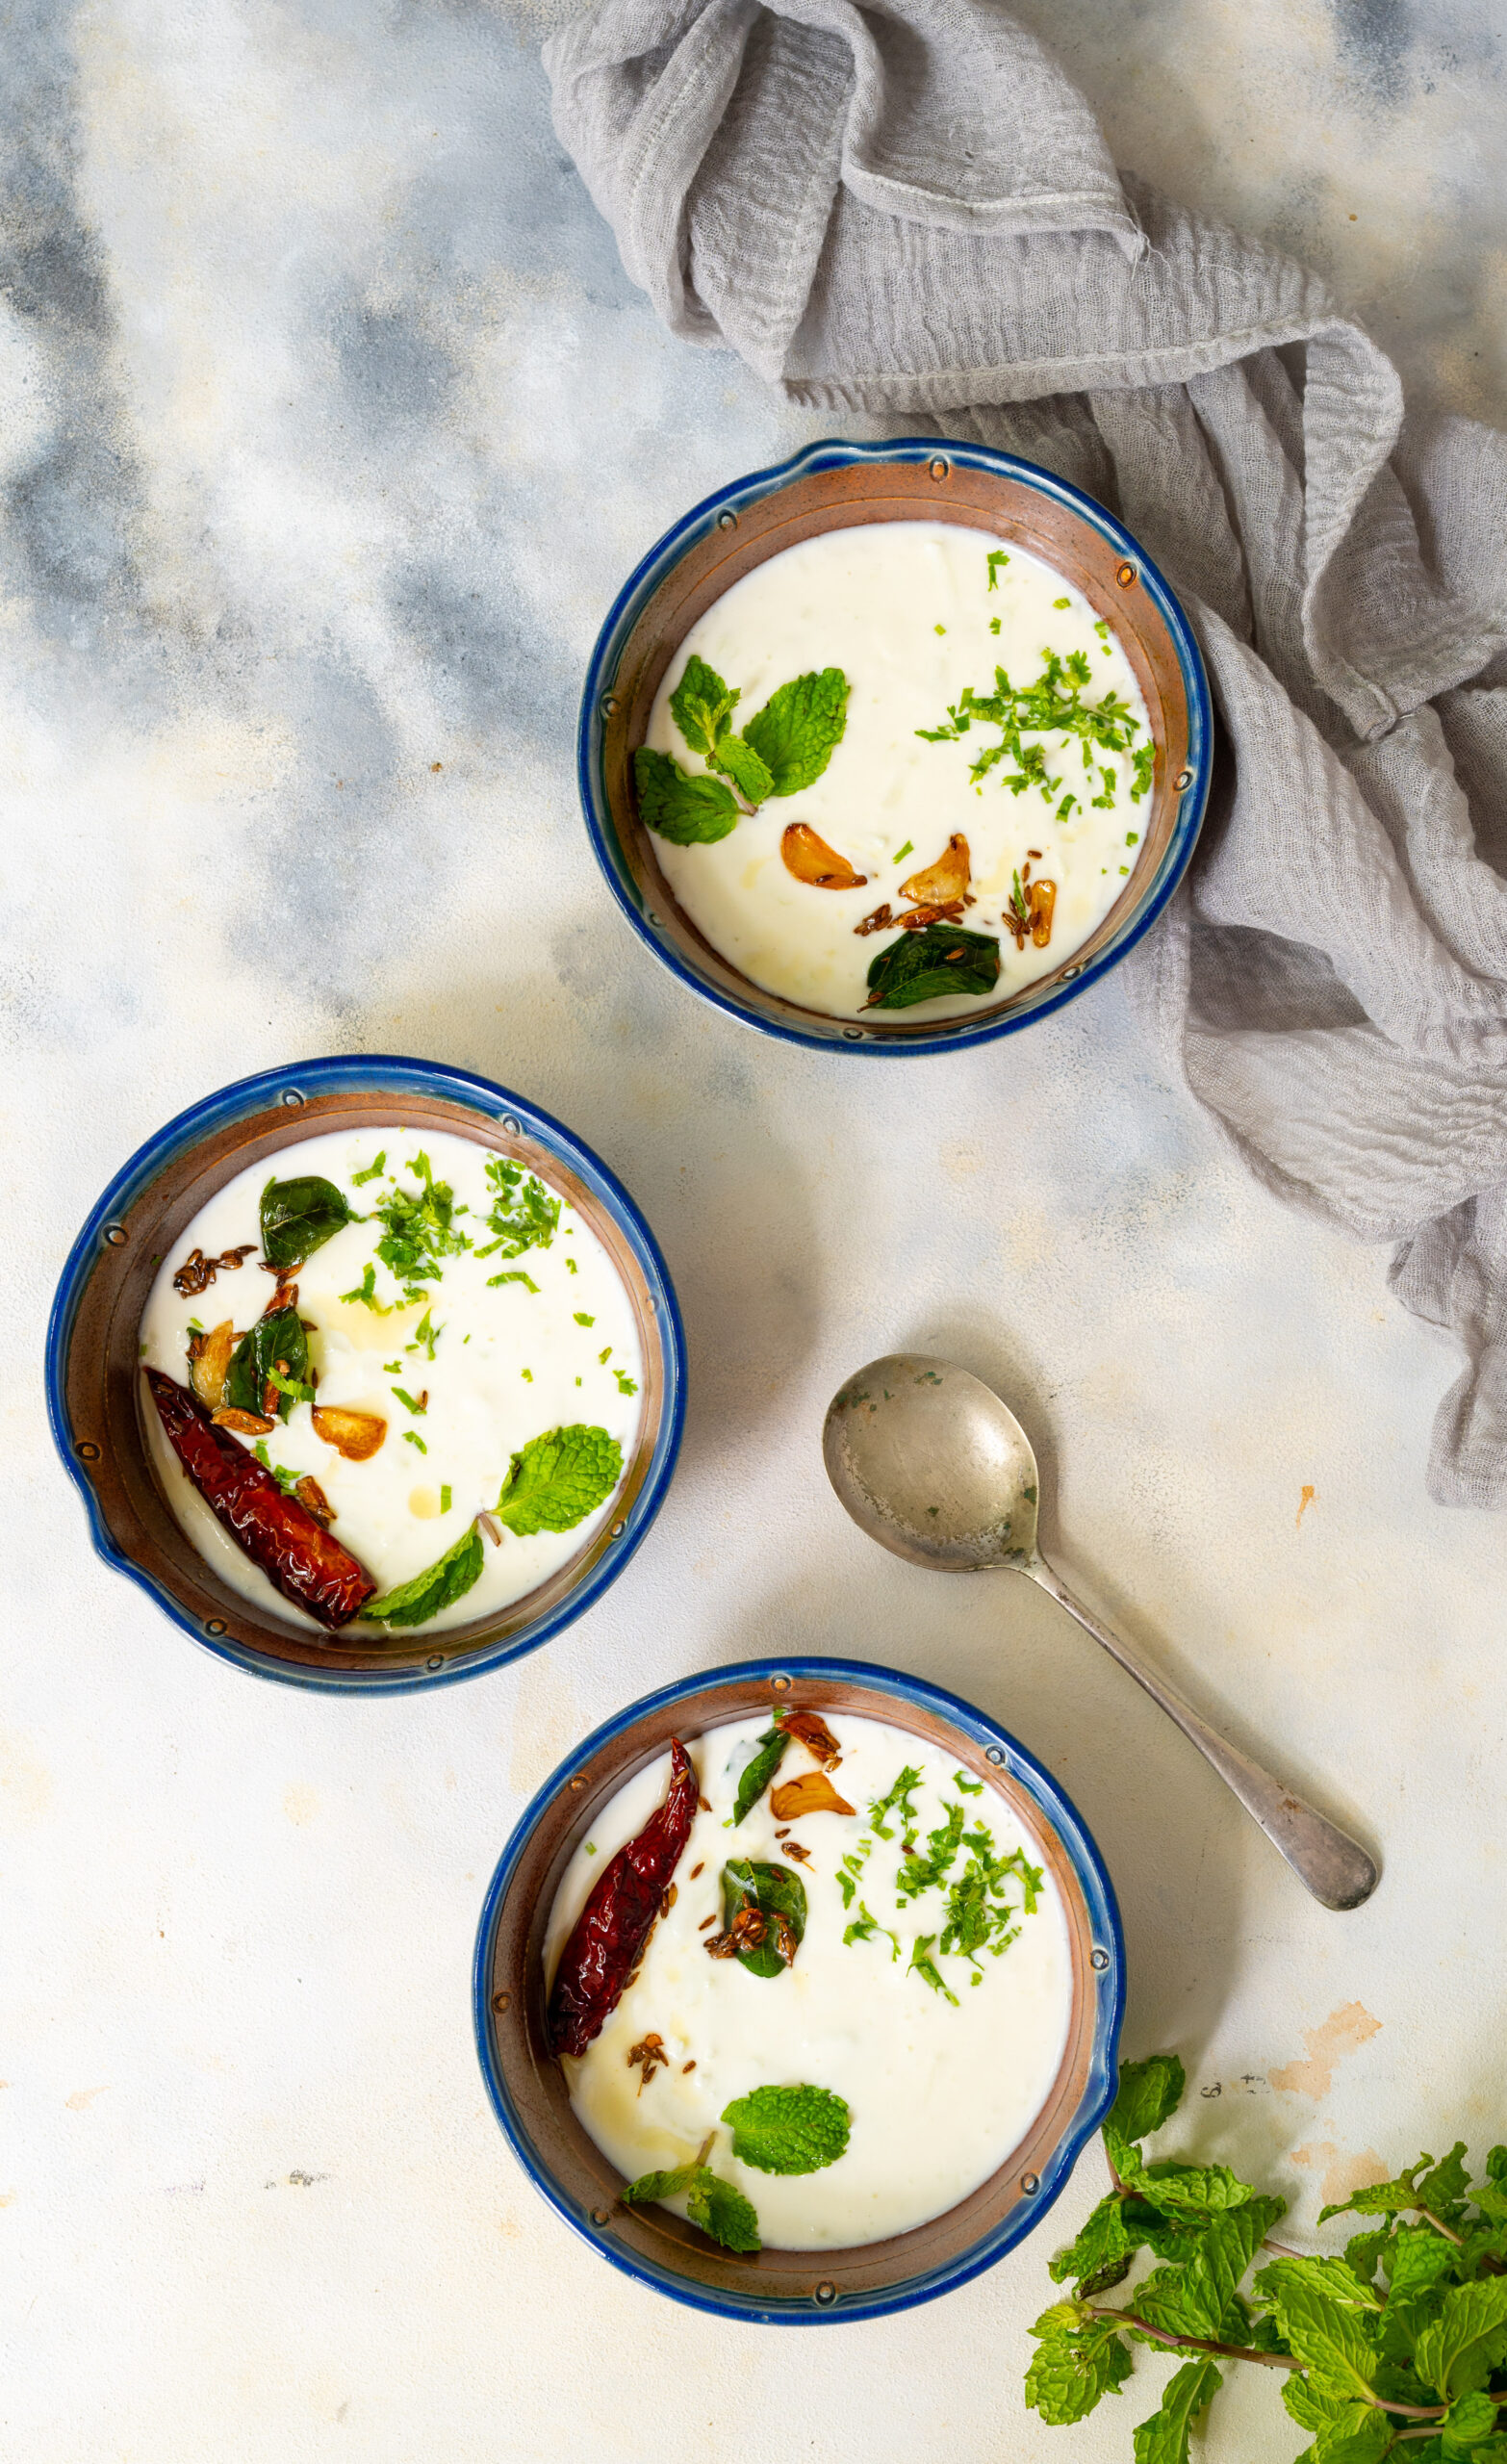
Cucumber Raita

(Serves 2-4)


1 cup grated cucumber

2 cups thick yoghurt

Salt to taste

2 teaspoons oil

½ teaspoon cumin seeds

A few curry leaves

2-3 pods garlic (cut lengthwise)

2-3 dried red chilies

Mint leaves (for garnishing)

Finely chopped coriander leaves (for garnishing)


A point to be noted is that you must be certain that the yoghurt is not sour. If you’re making it at home, follow the technique carefully to ensure this. If you are using it store-bought and find it slightly sour, adding a splash of milk will fix this.

In a bowl, grate the cucumber. Discard a little bit of the released water. Add the yoghurt and salt. Mix well.

In a hot pan, pour the oil to prepare the tempering. Add the cumin seeds to it. Then add the sliced garlic and allow these to turn golden. Once this is done, add the curry leaves.

Pour this tempering over the yoghurt. Garnish and allow to cool in the refrigerator.

As with all other raitas, this is meant to be served cold. It beautifully accompanies certain kinds of rice, such as biryanis, as well as Indian breads. I’ve also served it in a Lebanese spread, alongside pita bread and hummus. It’s quite versatile as a dip or side dish. If you enjoy this raita, why not try my banana-mustard raita too?
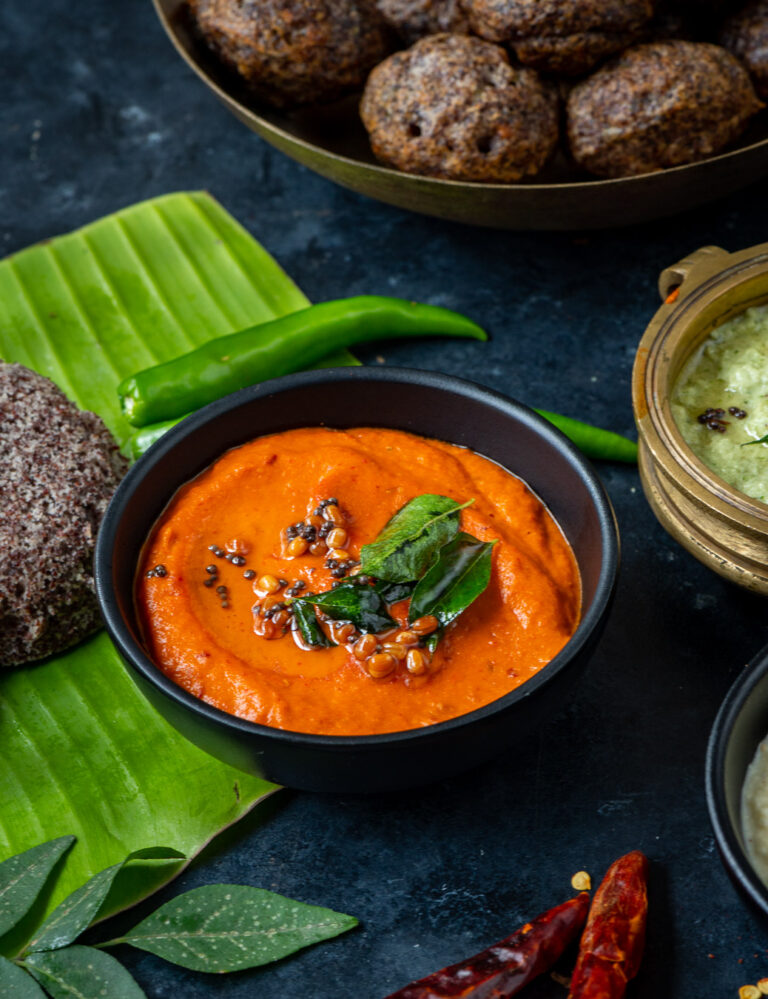
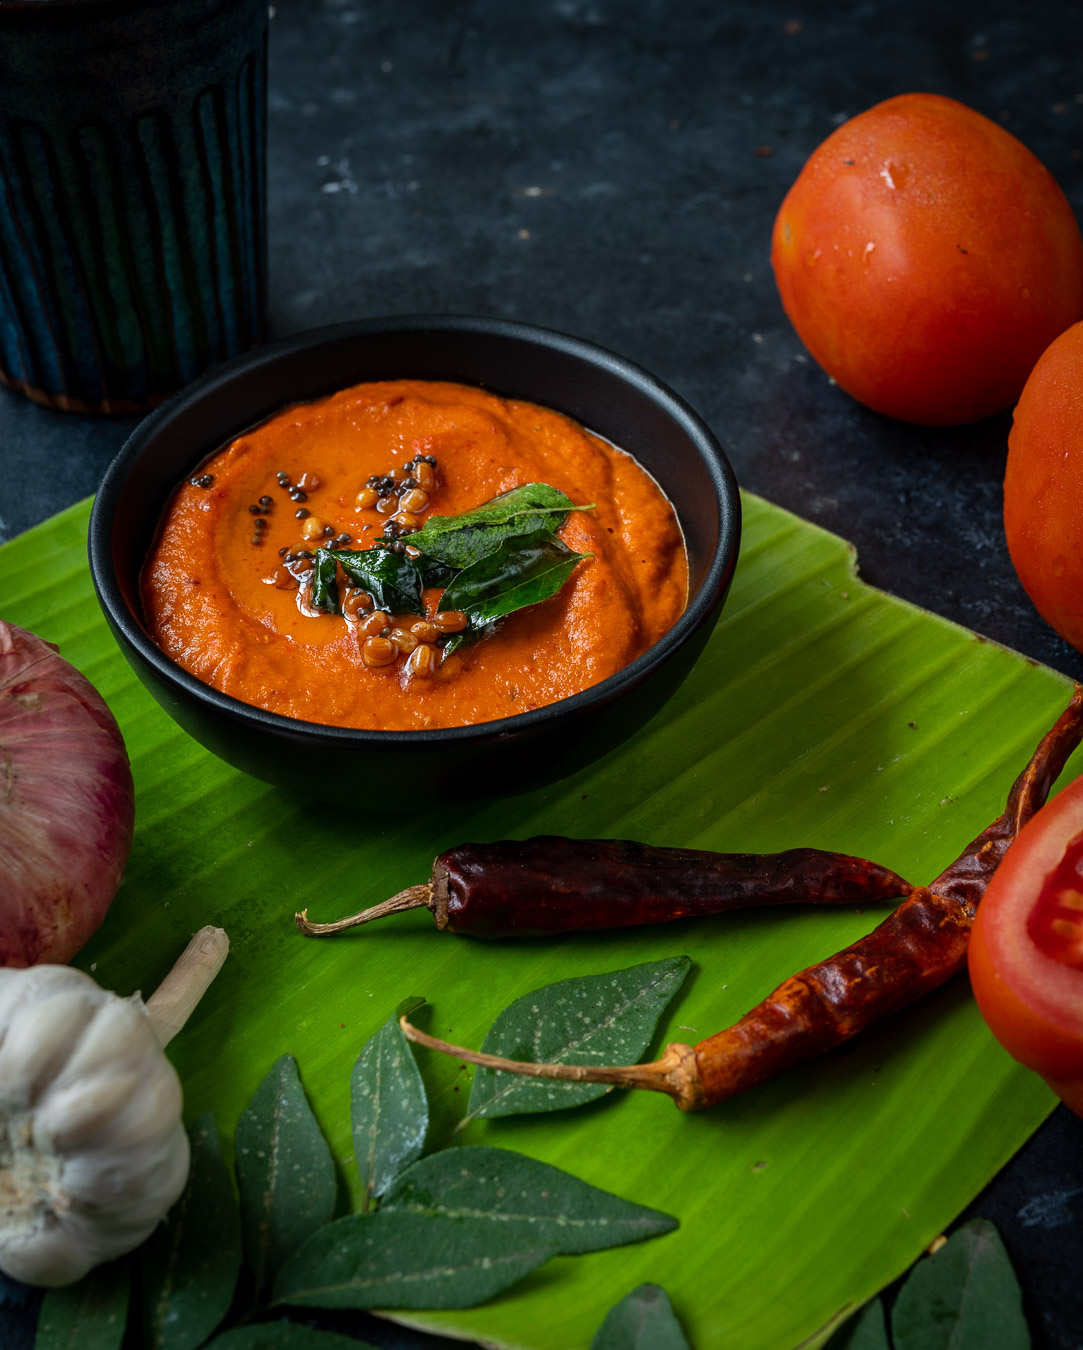
If you are ever in any South Indian restaurant, you will notice that they will offer you an abundance of chutneys. Each restaurant will be famous for its own twist on ginger, coconut, mango and so many other variations and options. Whenever such a range is available, I usually want to lick and taste them all, until I find one that I love. Then, I’ll stick with that for that particular restaurant – at least for that particular day. Across many such meals, I have discovered that my favourite at many places is tomato chutney, so of course I decided to make my own version at home too – and to share it with you.

This tomato chutney can be kept in your fridge for about a week, and it goes well with anything – from main staples like dosas and idlys to assorted savoury snacks.

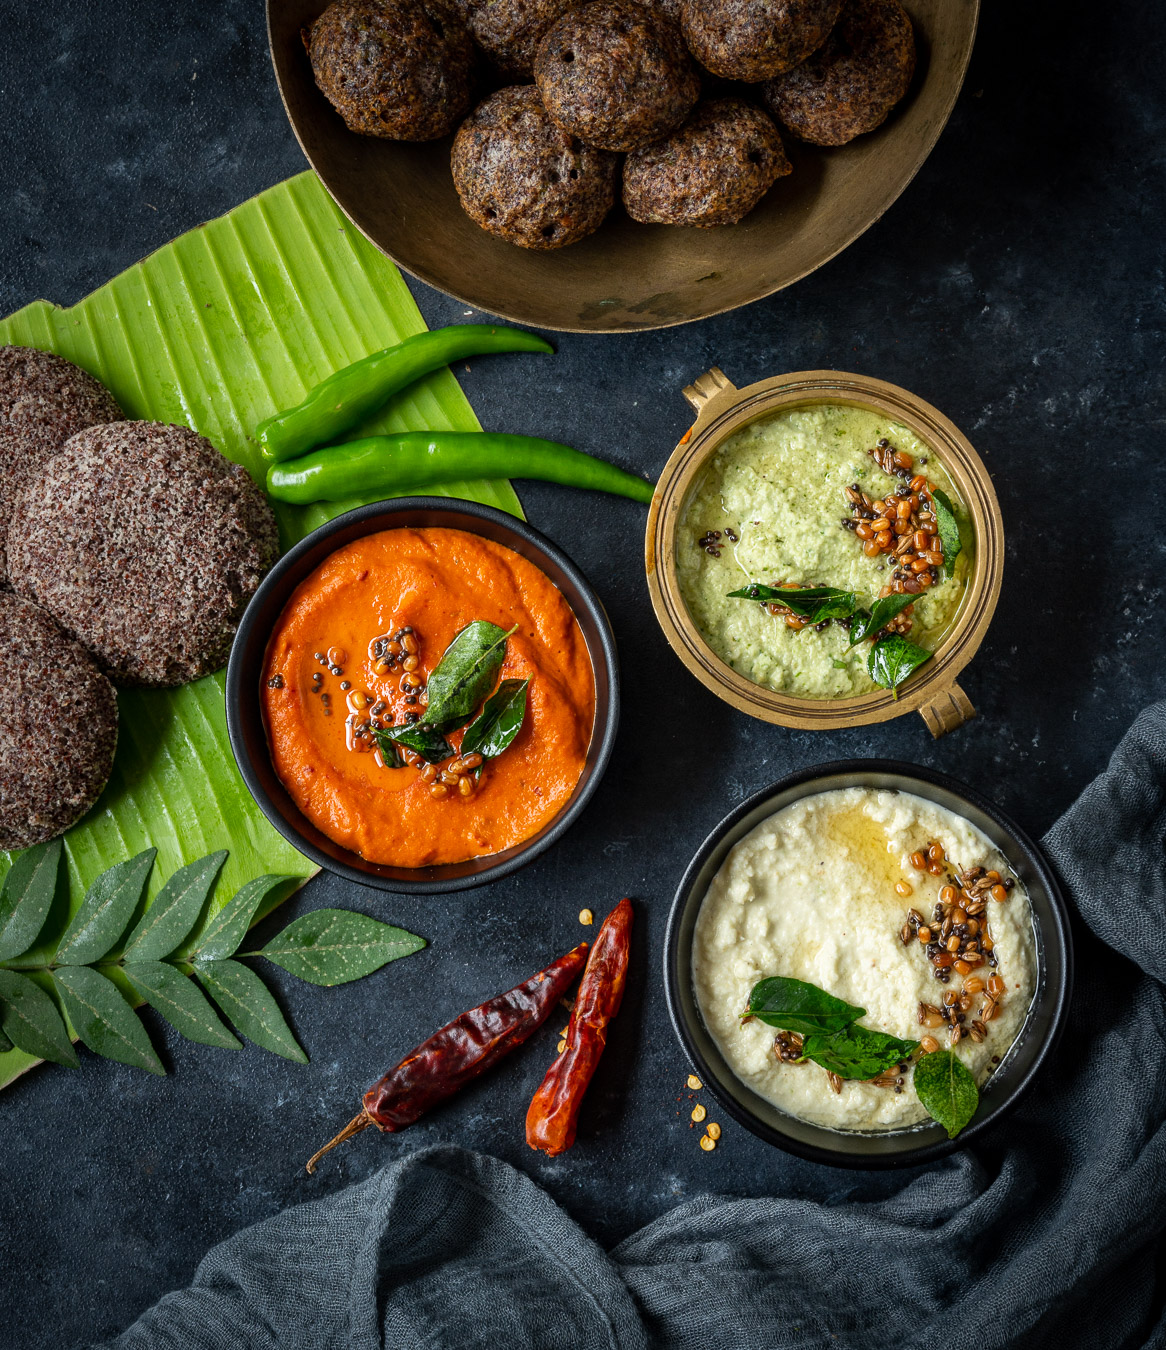
One thing I also like to do is to spread this chutney on the dosa itself, and it makes for an amazing flavour combination, along with the sesame oil used to fry the dosa and the ghee used as a topping. The dish looks so pleasing to the eye, is so appetizing, and is also healthy. Whenever I prepare a tomato chutney-laden dosa, it reminds me once again of the colourful plates at restaurants. Those red, green and white chutneys really change your perspective on just how delicious nutritious food can also look.

This in turn reminds me of a friend of mine whom I have learnt a lot from. She lives alone in a beautiful home, and at every single meal – whether or not she has visitors – she takes care to set a table properly. She places the crockery out along with crisp linen napkins and silverware. When one lives alone, one often takes things for granted. But not so with my friend, who pays attention to her meal and enjoys it the old-school way. No TV switched on, no carelessness. She cooks every single meal afresh and makes it a point to make it a pleasure.

Watching how she has chosen to live inspires me. We often rush through processes rather than pausing and being present. Yet what a difference it makes, especially as we get older, to truly enjoy and experience each moment.

Stop. Sit down. Look at the wonderful plate in front of you. See what the colours and flavours add to your life. If you plan to prepare such a plate soon, be sure to add this vibrant tomato chutney to it. I’m sure you’ll see and feel the difference it makes to the tastebuds, and to the mind.

Tomato Chutney

(Yield: 1 cup)

1 onion

2 tomatoes

3 dried red chilies

4-5 cloves garlic

2 tablespoons oil

1 piece ginger

1 teaspoon urad dal

Salt to taste

Water as required, enough to grind to a paste (I used 3-4 tablespoons)

Juice of ½ lemon


Heat a pan and add the oil. Add the garlic and urad dal and sauté.

Add the onions and dry red chilies. Sauté until the onions becomes translucent then add the tomatoes. Then, add the salt. Cook until the tomatoes are tender and their colour changes.

Now, add the water. Once the concoction cools considerably, blend with the lemon juice.

Store in a fridge for up to a week, using as an accompaniment to any dish of your choice. Enjoy!

For another tomato recipe that has multipurpose qualities, do check out my tomato purée recipe too!

For many years, a lovely lady named Hamsa has visited a few times a week, to conduct a chanting class for me. She teaches me Sanskrit scriptures like the Vishnu Sahasranamam and the Lalitha Sahasranamam. I’ve been chanting for the last fifteen years and it’s a source of immense solace for me. Hamsa is from Andhra Pradesh, a region known for its spicy cuisine, and it so happens that one of my favourite condiments comes from there. It’s a ginger chutney sweetened with a hint of jaggery, and I’m delighted to share the recipe for it with you today.

Before the pandemic, I was a frequent customer at a wonderful South Indian restaurant where an array of chutneys would be served. No matter how diverse the spread, I would always reach instantly for the ginger chutney, so much so that I’d even ask to have any leftovers of it packed to take back home and enjoy with the next meal. One day, as we were chatting after class, I asked Hamsa if she knew how to make that fabulous dish. I was thrilled to hear her say, casually, that she made it daily! Of course, she then kindly brought me some a couple of times, after which I asked that she teach me the recipe. I’m a hands-on learner and I wanted to watch her preparing the dish. So one day when she visited, she prepared it in my kitchen as I eagerly watched the process, and I’ve been making it happily ever since.

I believe that we all experience learnings from any person. It doesn’t matter who they are, or in what form the learning comes, but it enriches us just the same. This is something that’s so crucial for us to keep in mind at this difficult time for India. If we keep our eyes and our minds open, we will perceive that all of life itself is a learning, and that we are amidst so many ongoing lessons given what is happening is the country and the world. We are learning about what works and what doesn’t, and what has to change for a better future. In our personal lives and relationships, we are learning something every day about how to get through this crisis – seeing which relationships can withstand it and how, seeing sometimes that the problem isn’t the other person but us, and so much more. These are valuable learnings that we must carry forward.

I’m grateful to have learnt this recipe from Hamsa, to add to all the knowledge she has given me over the years spiritually. She doesn’t just teach me chants, but also talks about culture and ritual, deepening my understanding of the same. When I’m feeling down, she will often suggest a mantra that I can say to strengthen myself. This is advice that has kept me in good stead through my adversities.

I’m sharing the recipe for ginger chutney with you today along with a slice of my life. After I have completed my baking, cooking and exercise schedule in the morning, I always sit down to chant. I genuinely believe in prayer, and in the power of hope. I believe that as a human race we will come out of this darkness, and when I am in prayer, my conviction in this is at its strongest.

With the current lockdown in Chennai, I now take virtual classes from Hamsa daily. I can read Sanskrit, and one of the things I appreciate about her teaching style is that she is very particular about pronunciation. This takes me back to when I was a little girl in a convent school full of wonderful Irish nuns, who insisted on precision in handwriting and enunciation. The lovely Mrs. Martanda, my English teacher, would teach us the difference between the spoken words “vow” and “wow”, for example. She used the Wren and Martin grammar book and various dictionaries as teaching tools. That I am able to recall these details decades on is a testament to the influence a good teacher can have, in any aspect of life. As I said earlier: we learn something from someone, every day. We are all students, and we are all teachers.

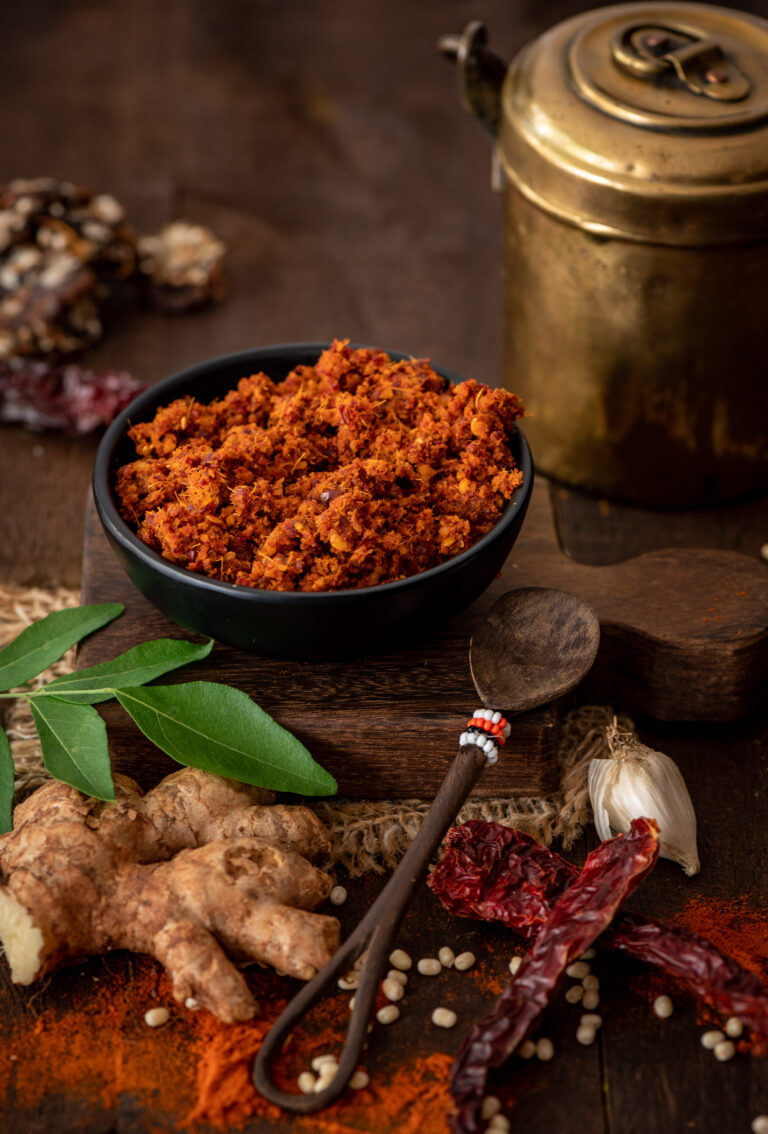
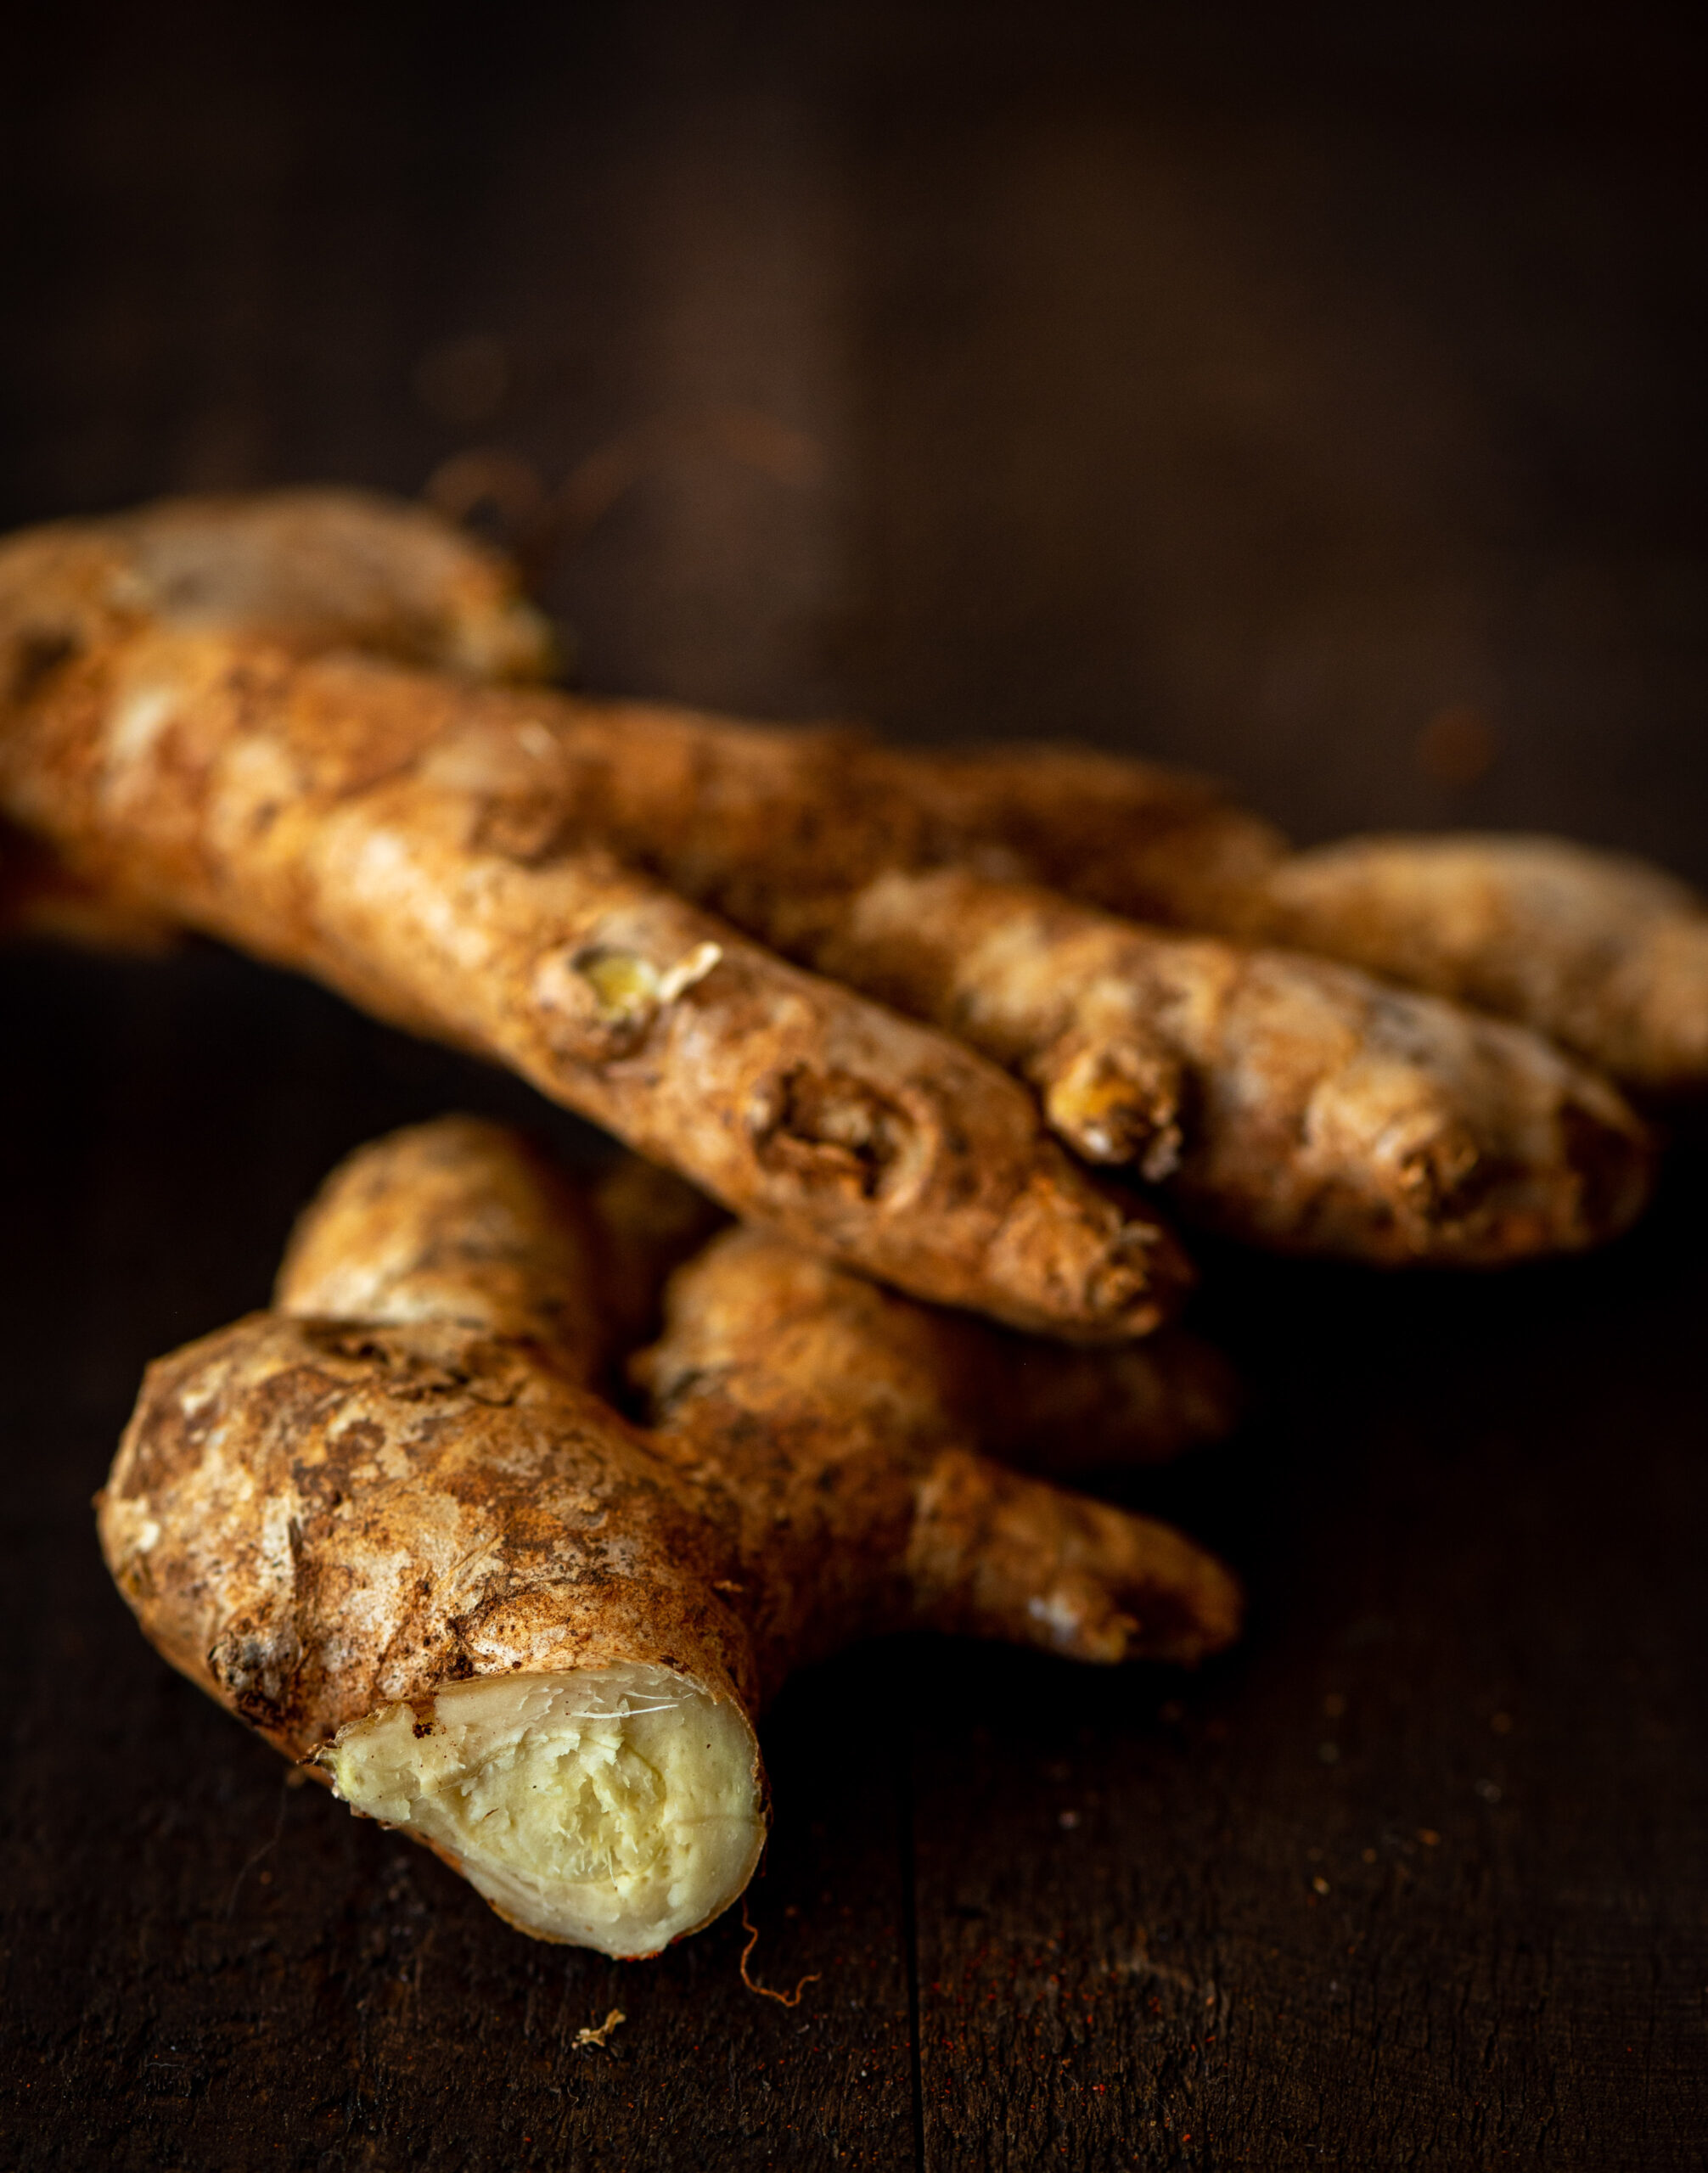
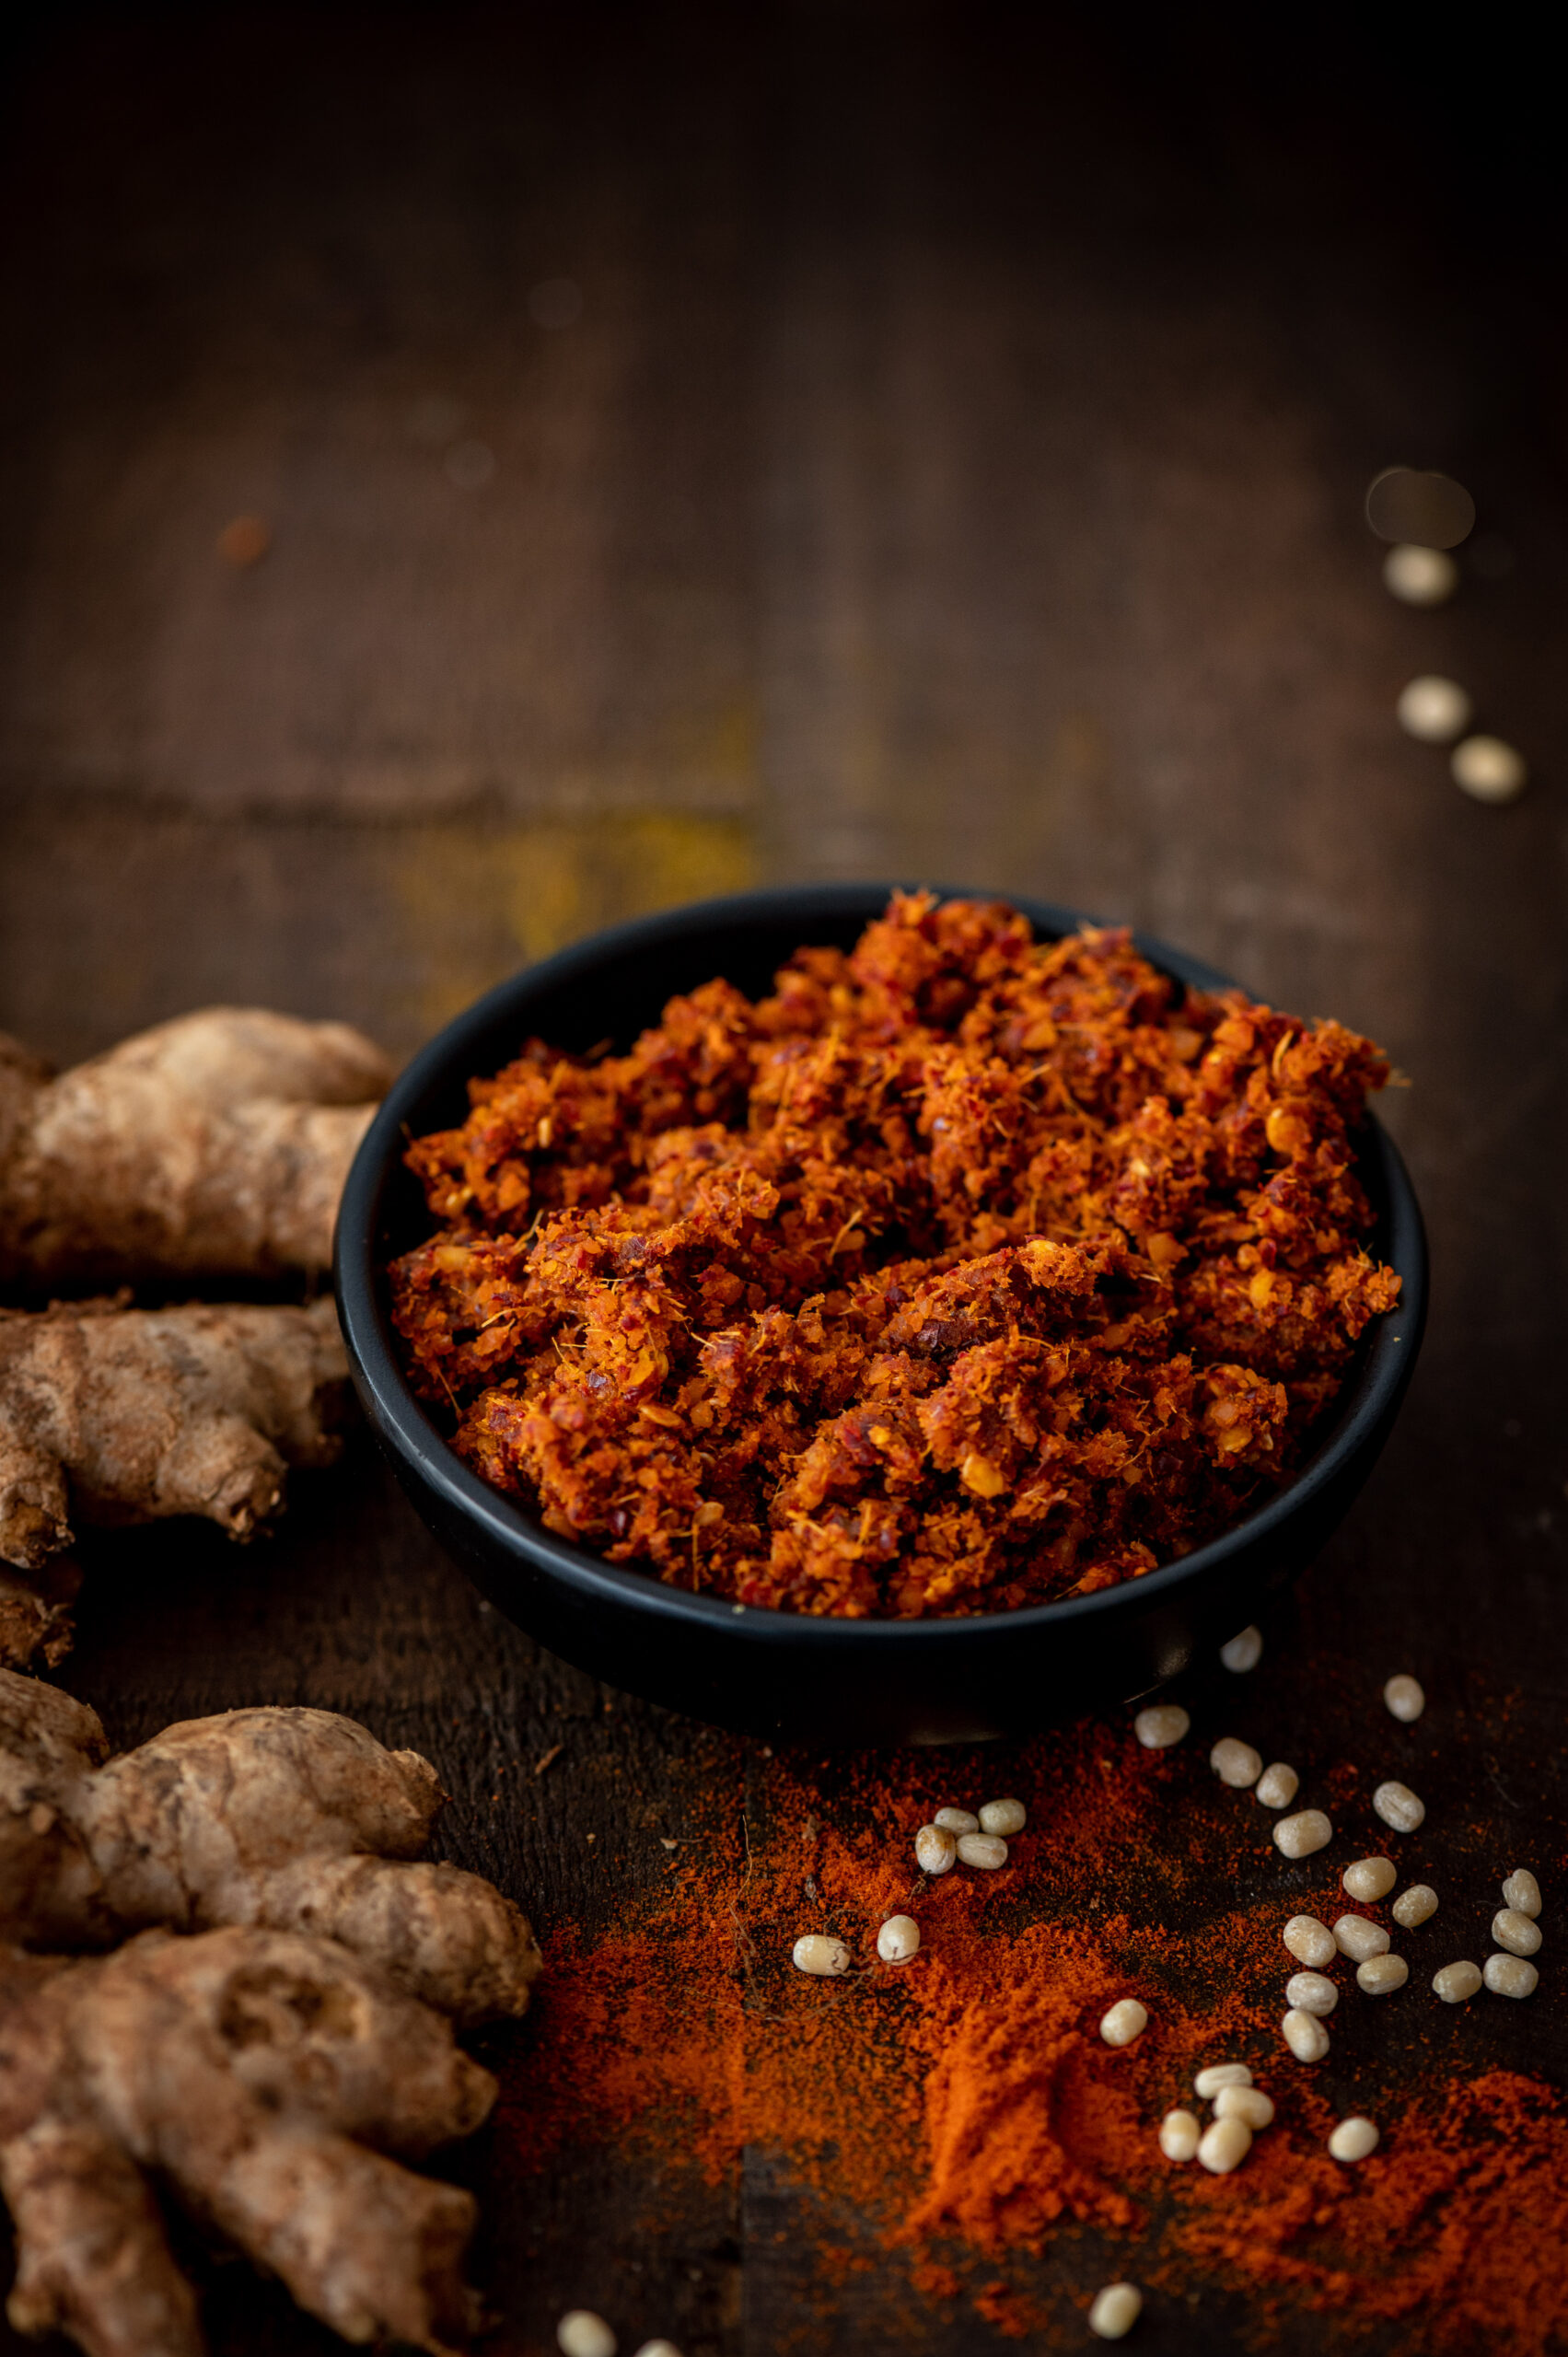
And so – I learnt this from Hamsa and I am now teaching it to you. It’s a brilliant ginger chutney made in the Andhra style. My version is drier than Hamsa’s, and I make it this way so that it lasts longer. It has a perfect combination of flavours – sweet jaggery, spicy red chilli and piquantly aromatic ginger, the last one being a particular favourite of mine. It’s so Indian, yet so doable in any part of the world, consisting of simple ingredients and a quick and easy process. In case you cannot source jaggery, try brown sugar or coconut sugar as a substitute. This ginger chutney lifts up the flavours of my Buddha bowls, my dhoklas, my dosas… it adds such a sumptuous taste to anything I pair it with.

Ginger Chutney

(Yield: 1 cup)

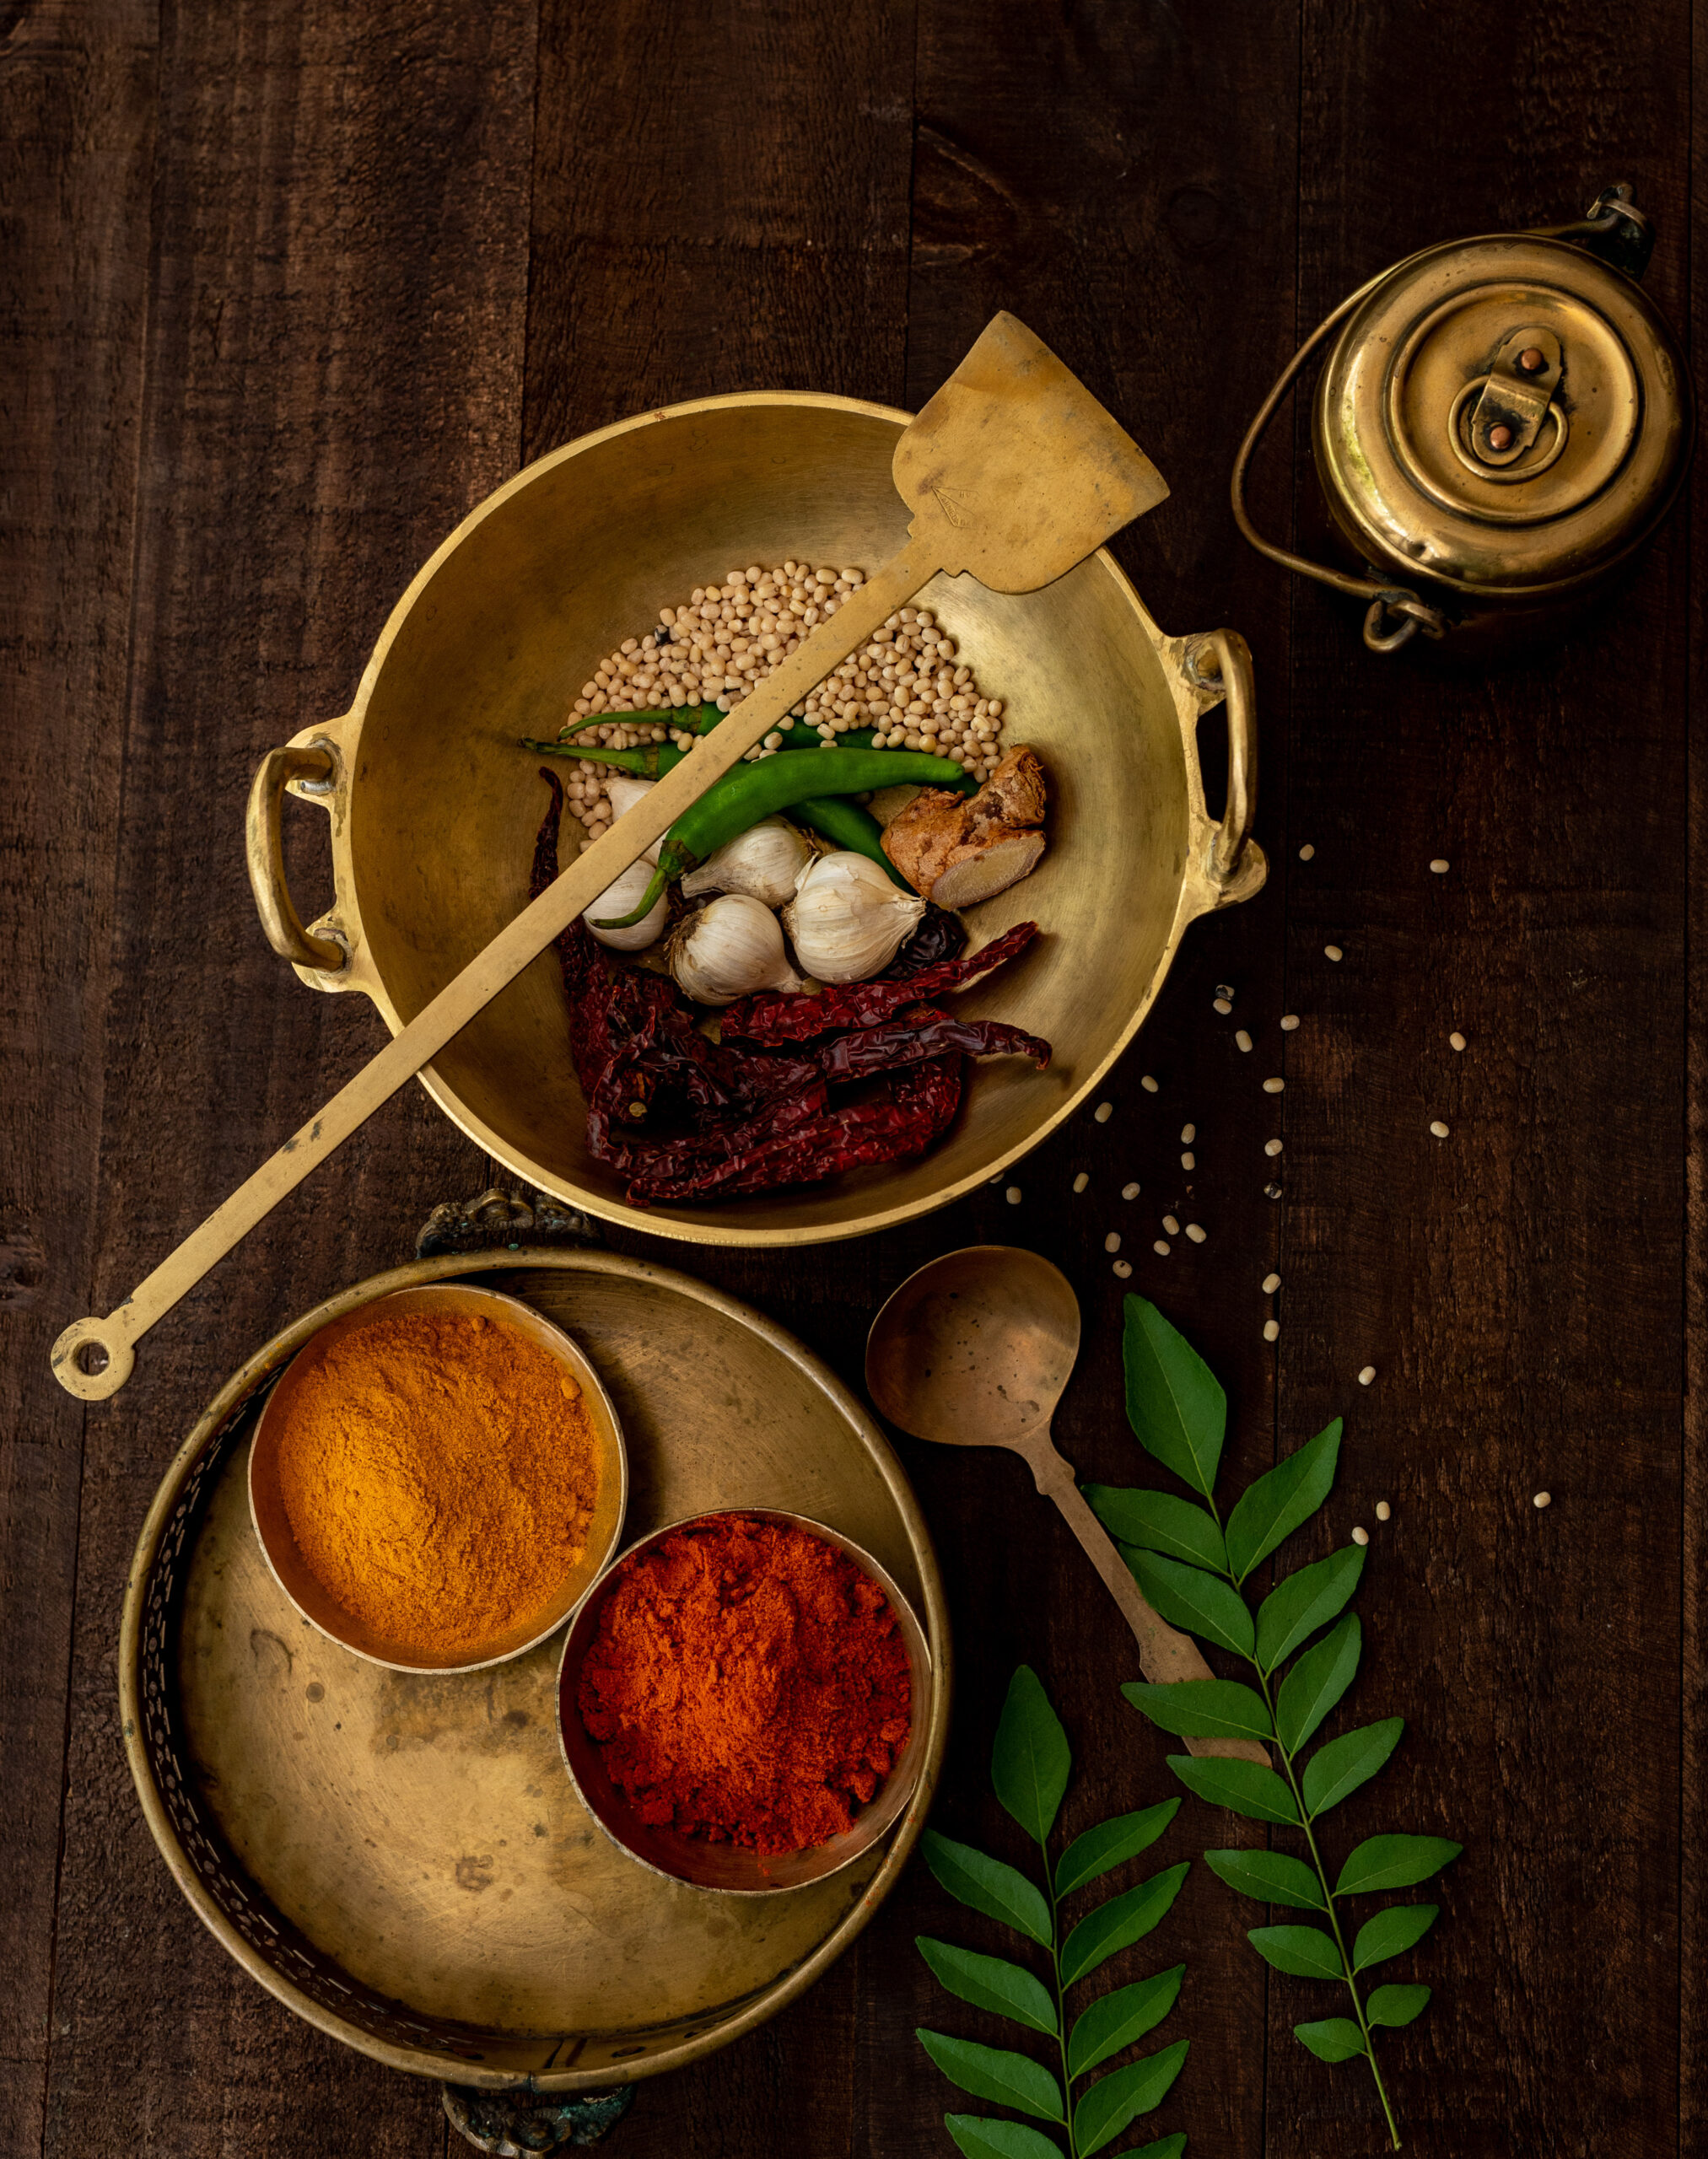
2 small cups washed, finely cut ginger

1 small (lime-sized) ball tamarind

8 dry red Kashmiri chillies

2 tablespoons urad dal

Salt to taste

2 teaspoons cumin seeds

2 tablespoons jaggery powder

2 tablespoons sesame oil


Add the oil to a pan. Dry roast all the ingredients – except the jaggery – until they all turn golden, on a medium flame. Finally, add the jaggery.

Allow to cool. Blend well together without adding any water. You can store this in the refrigerator for 10-15 days. As a dry chutney, it is inherently more long-lasting.

I’d love to know how you’ve been pairing the various dips I’ve been sharing. The previous two in this Indian condiments series were the Tamil-style raw mango thovayal and the Gujarati-style dry garlic chutney. In the past, I’ve also shared several fusion and Indian dips and condiments, all of which can be used creatively, and I hope you’ll be curious about exploring those too. Here they are: curry leaf and green chilli hummus, plum chutney, wood-apple chutney, coriander chutney and date chutney. Enjoy!

What did you think of the raw mango thovayal that I shared in my previous post? I hope it added a tangy kick to your meals, and if you used it in any offbeat ways (such as as a marinade, or in a fusion dish), I’d love to know. The next dish I’m sharing in this dip series is another recipe that could lend itself to versatile use too. It also has an interesting dry-to-wet storage solution built into its preparation, which you’ll learn about below. This lasun ki chutney (dry garlic chutney) is a Gujarati condiment, one that always existed in my childhood food experiences, and I know it is also made Maharashtra, which borders Gujarat.

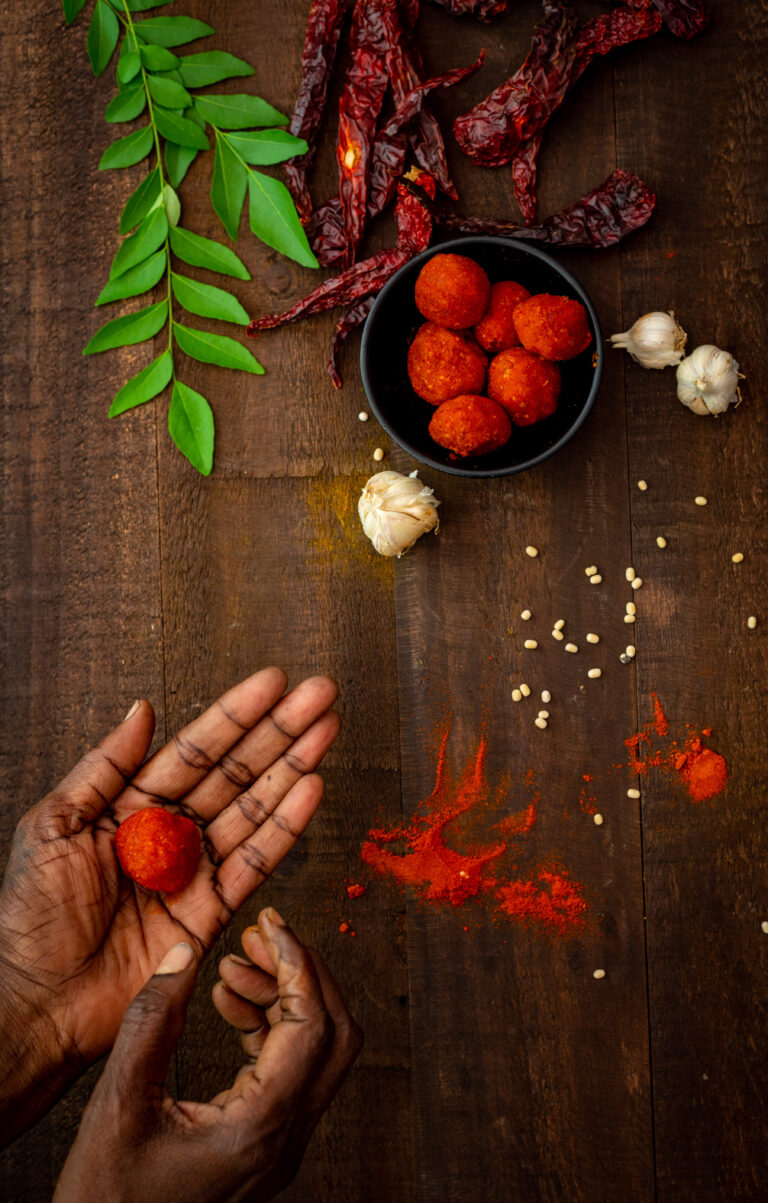
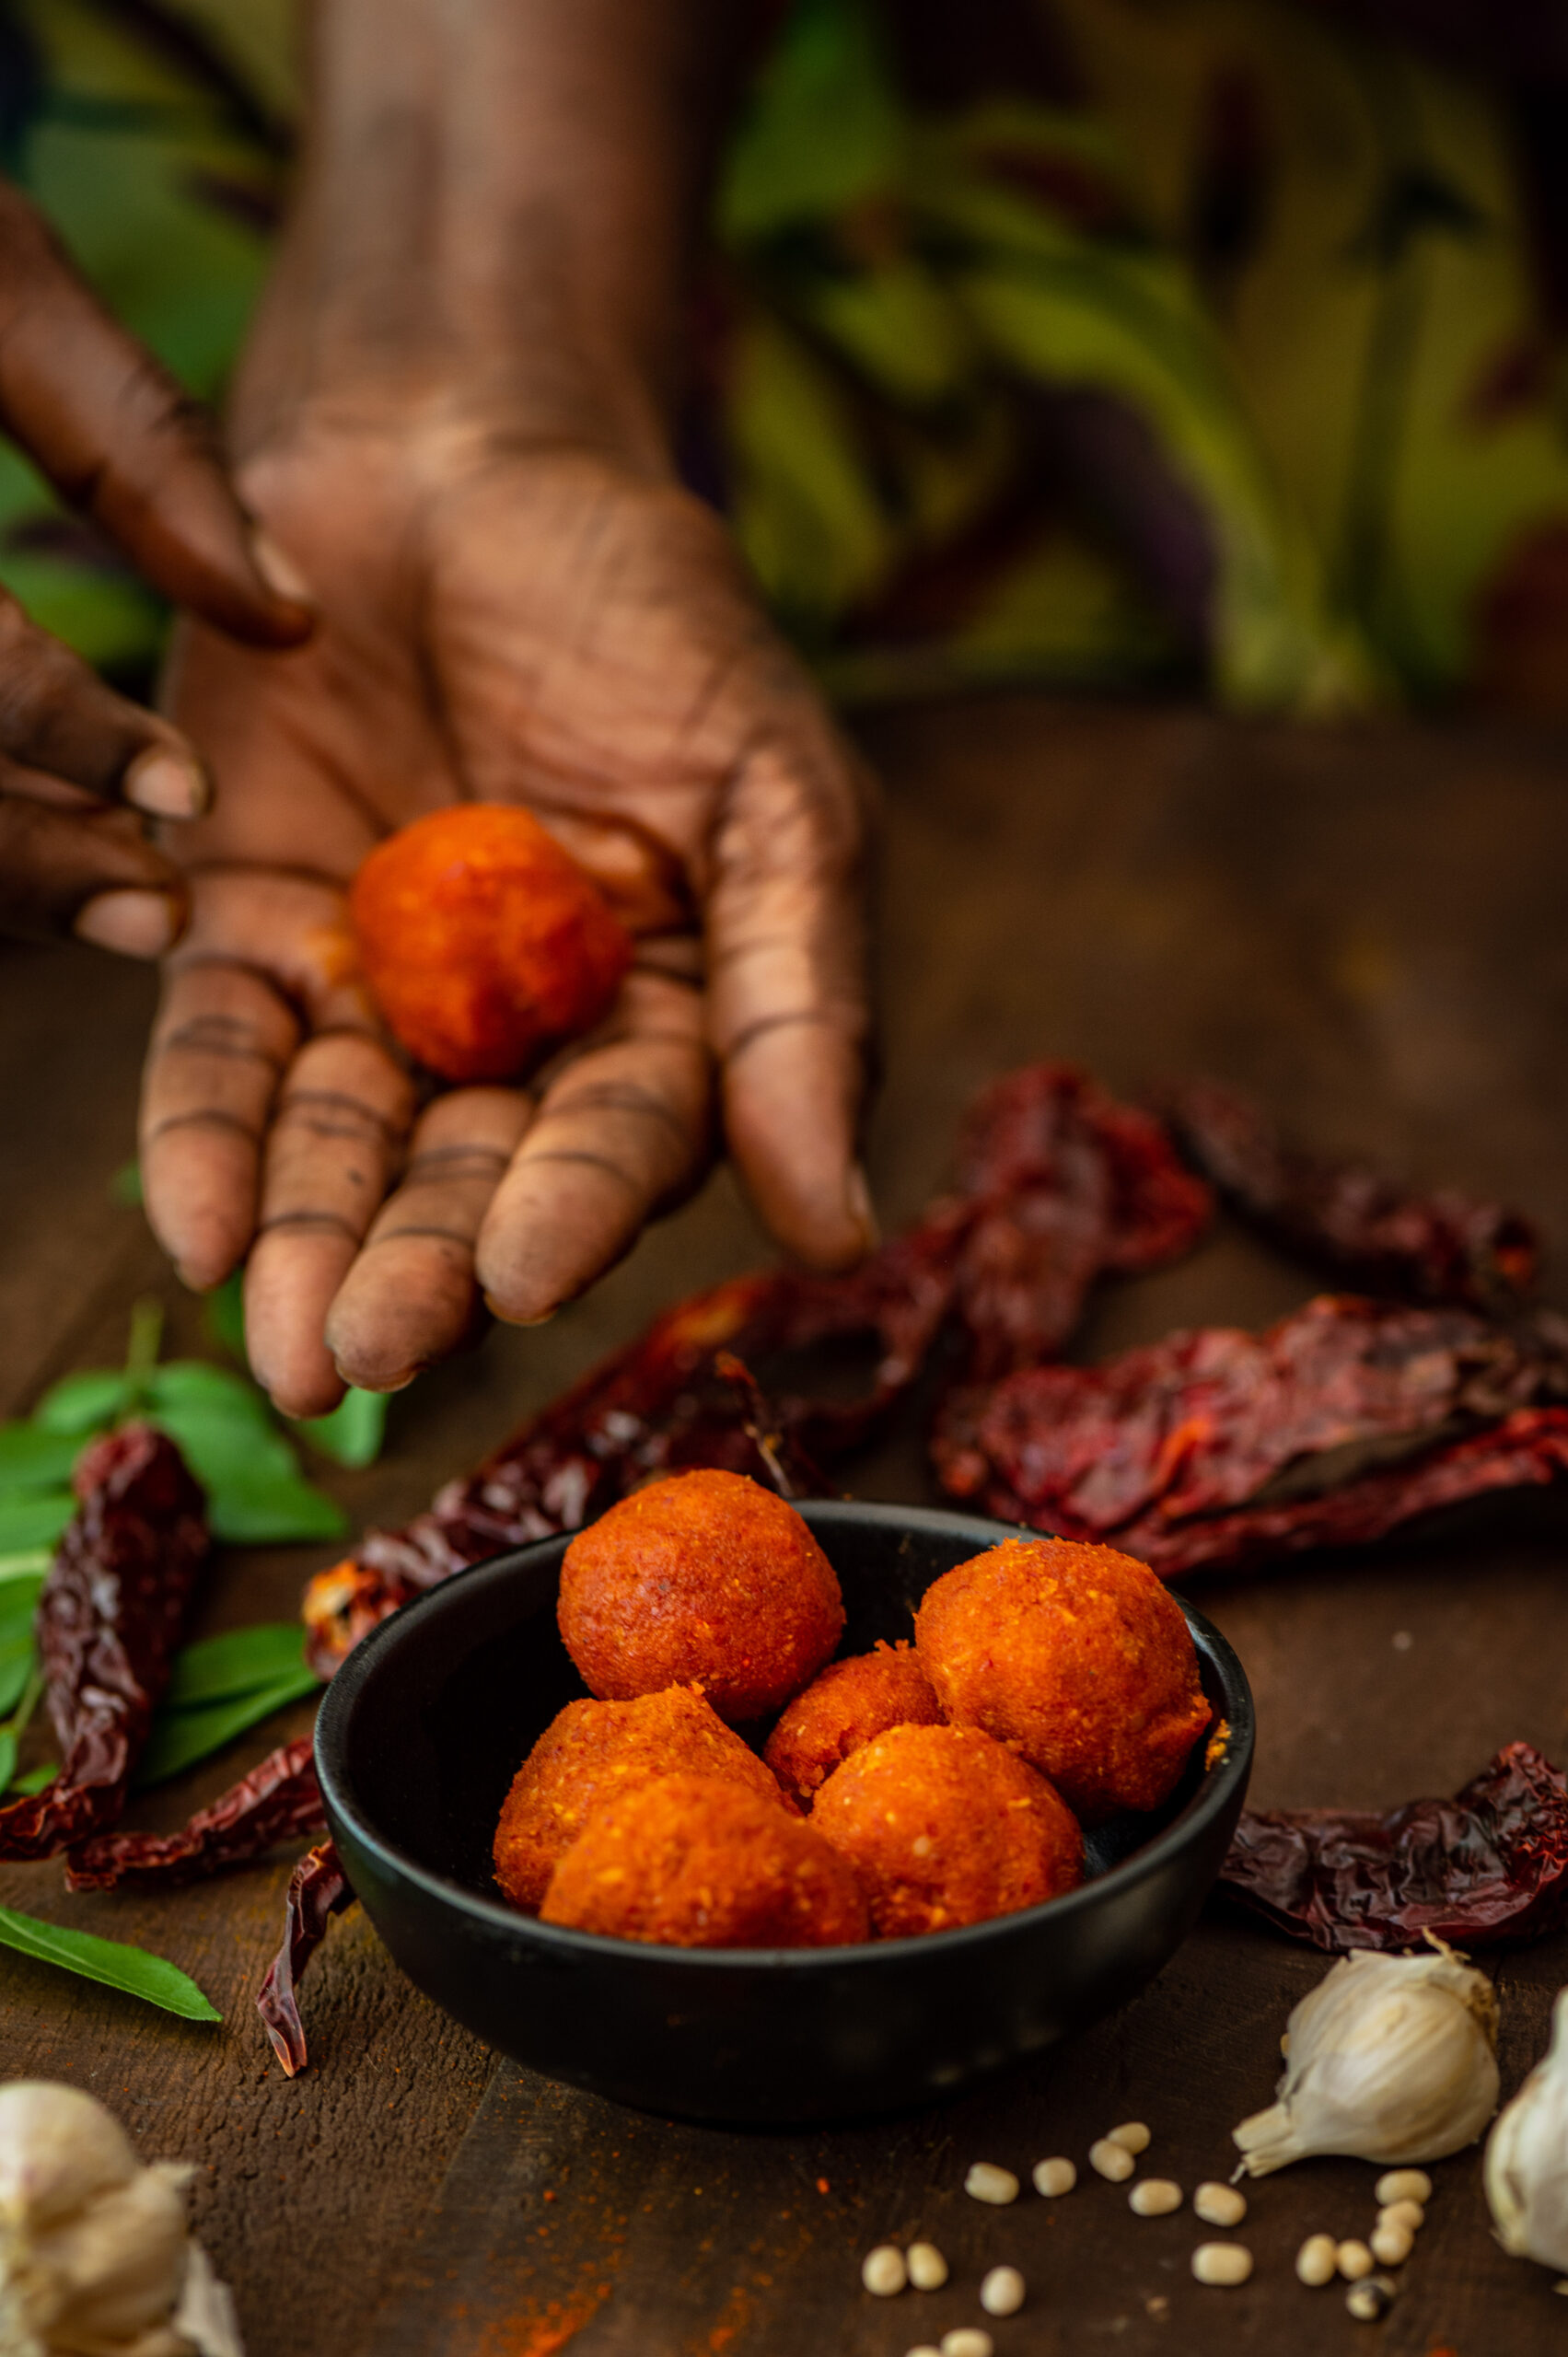
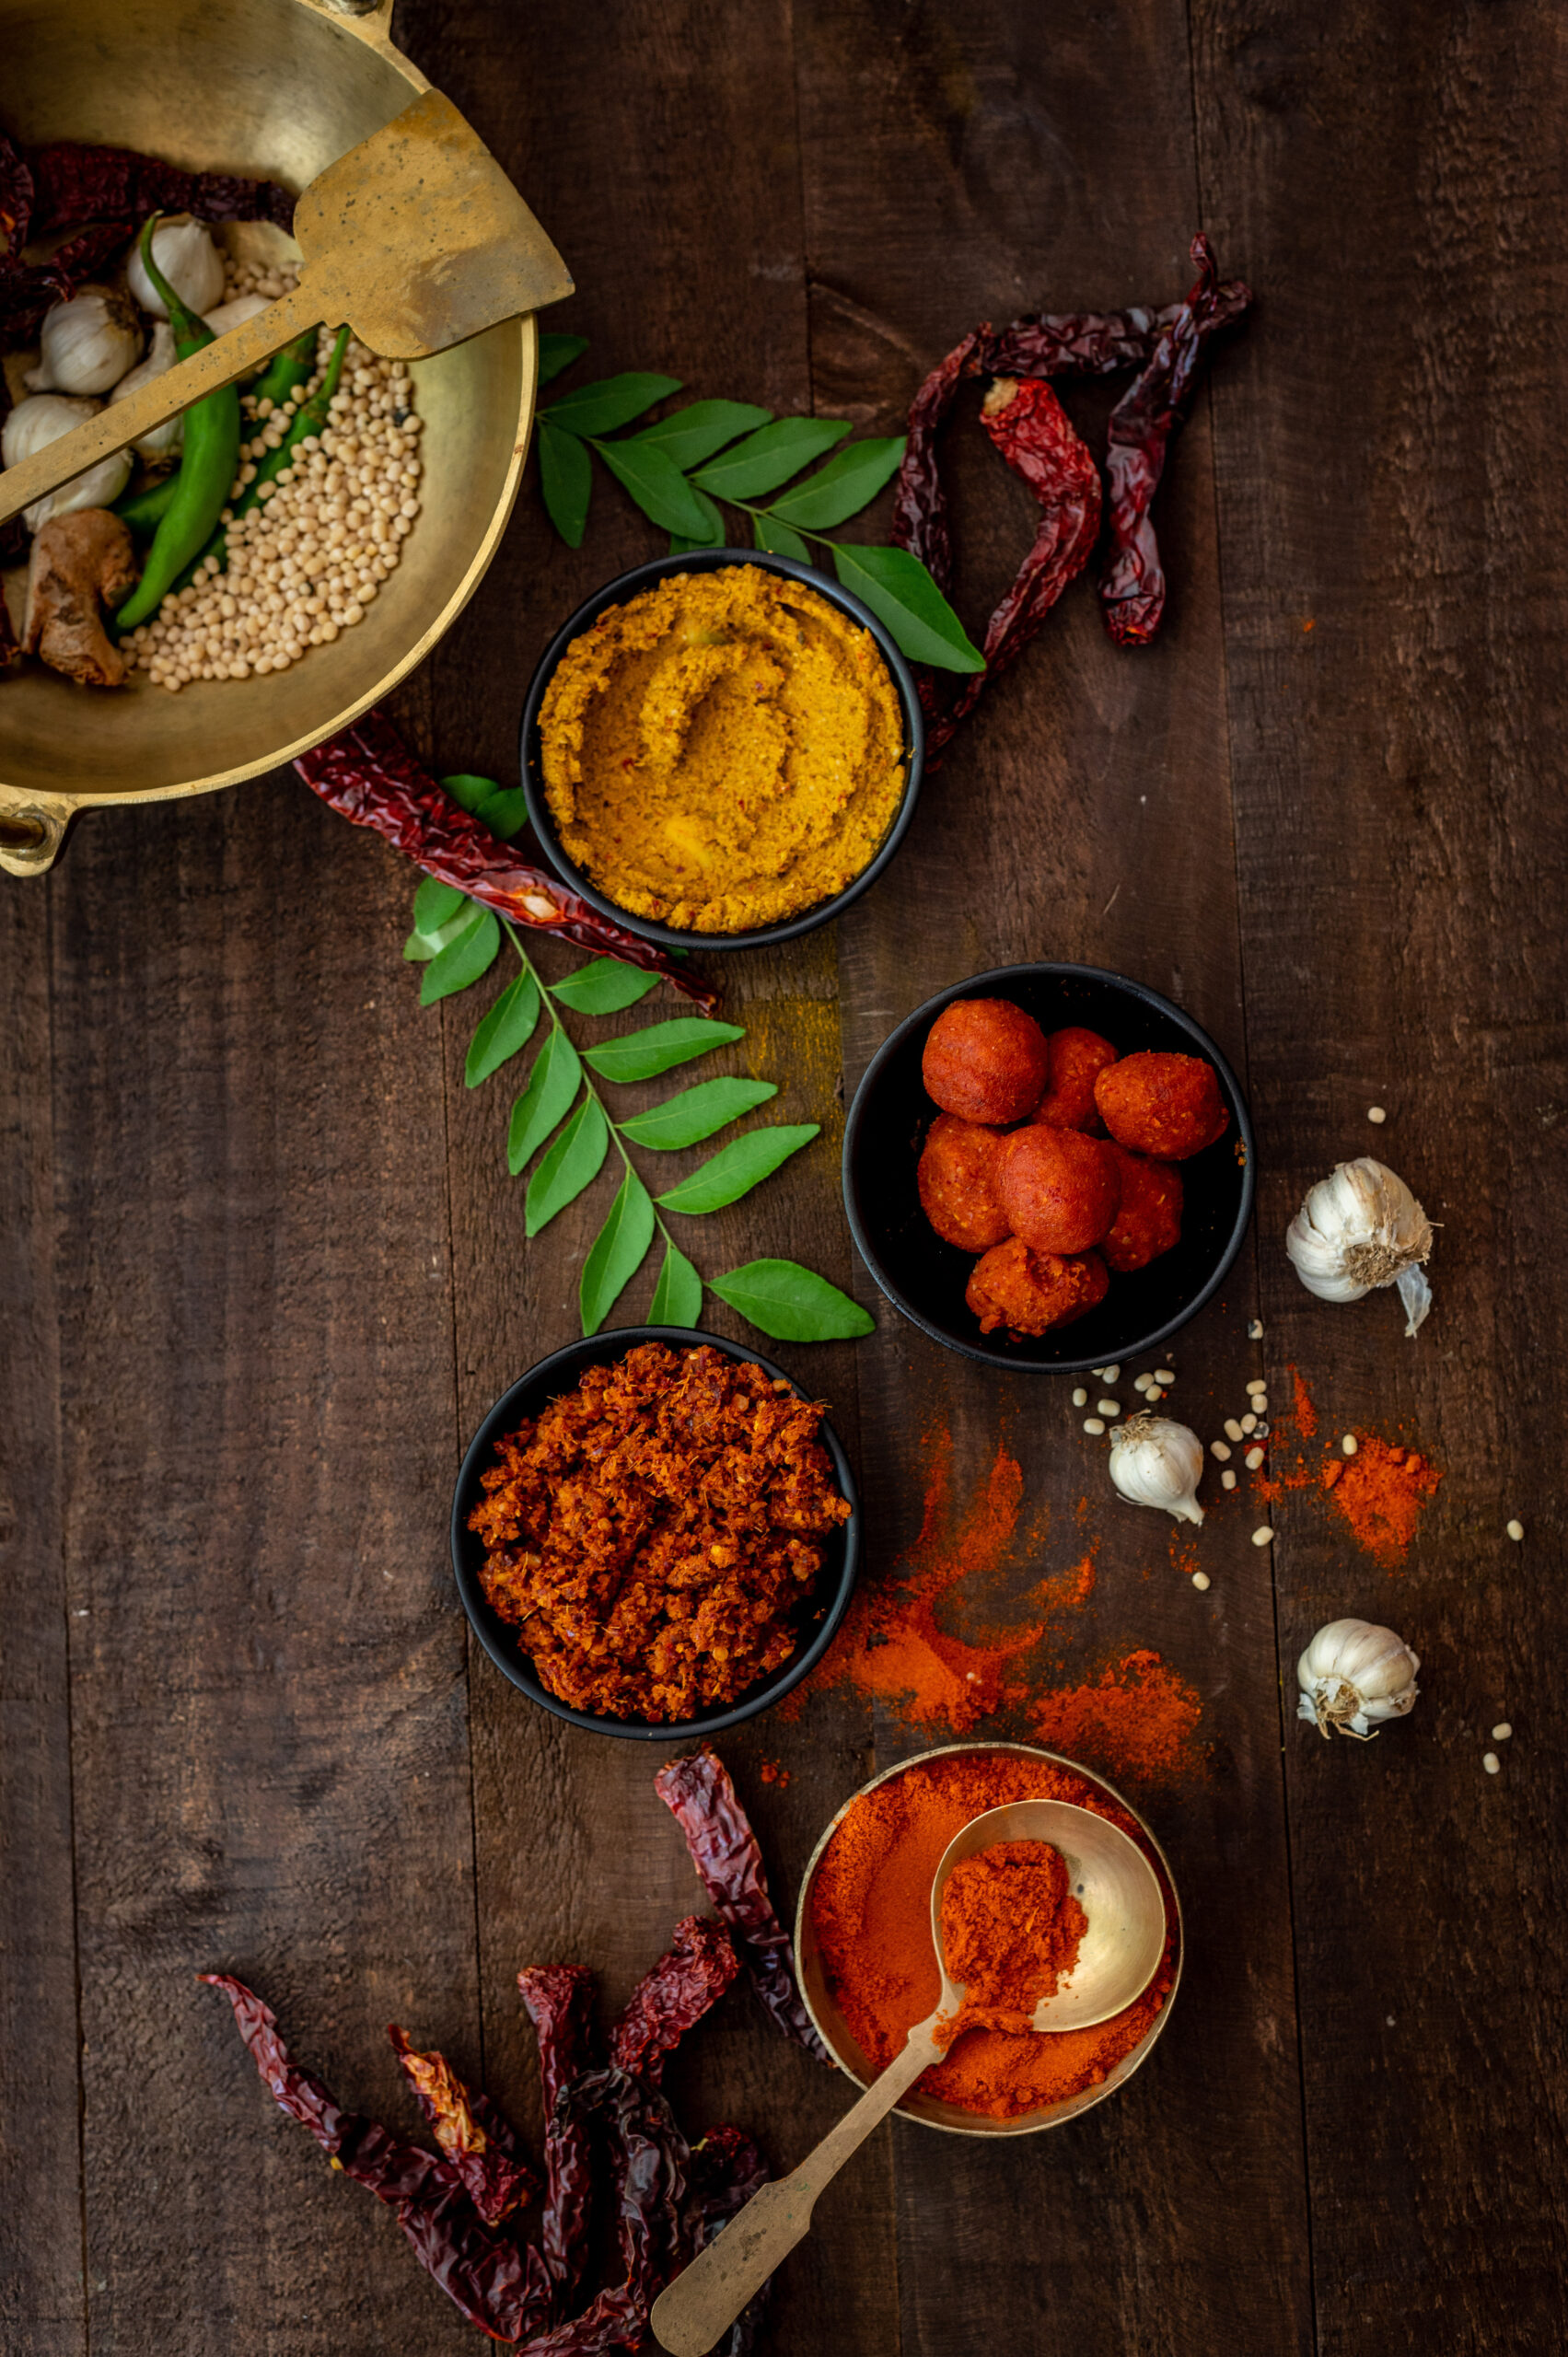
It is a dry garlic chutney with a fiery colour, and is made in a ball form that is supposed to last two or three days without refrigeration. This means it travels well, so it is often paired with the equally durable thepla on train journeys and so on. While I was growing up, my mother kept her lasun ki chutney in the fridge, which extended its shelf life a little further too. The concept is like this: it’s a dry chutney, made with minimal water, that is rolled into a ball and stored. Whenever one wants to consume it, one simply pinches some off, adds warm water, makes a paste and enjoys it as an accompaniment. Once water is added, it needs to be consumed immediately.

Aside from theplas, it is typically an accompaniment for bajra ki rotla, dhokla or handvo. Although we now enjoy it year-round, in concept it is the ideal winter condiment for more frugal meals. I am told that farmers in Gujarat typically consume it with bajra ka rotla, a flatbread made with pearl millet flour, in winters. Being very flavourful, it uplifts the thepla or other main staple without the need for other side dishes, especially when the harvest is scarce.

When I first started making lasun ki chutney, I began by making the soft version directly rather than the storable dry balls. I learnt the recipe for my grandfather, who came to live with us when he was 93 and absolutely had to have some of this lovely condiment at every meal. And at every meal, without fail, he would always say, “Garlic is very good for you.” He would sit on the floor and have a full Gujarati main course served to him, and he relished dipping his chapati into a bowl of ghee and eating it with lasun ki chutney. Perhaps because he reminded us every day that this is a nutritious dish, it grew on the rest of us too, and soon we began to have a side of spicy garlic chutney with most of our meals as well.

Garlic is indeed very good for us, and is well-known as an immune system booster, and as an ingredient that keeps blood pressure and cholesterol under control. It’s rich in antioxidants, manganese and fibre, among other nutritious elements. Plus – it’s delicious. Aromatic and pungent, it’s a pleasure for the senses.

That said, I would be remiss not to mention that there are communities that avoid garlic entirely as some believe that it affects the hormones in such a way as to charge us up and make us express our anger. If you do not eat garlic for this reason or any other, I’m afraid this recipe won’t suit you – and I hope you’ll explore the archives and find another one that does.


Lasun Ki Chutney

(Yield: 1 small cup)


10-12 cloves garlic

1 tablespoon toasted sesame seeds

4 Kashmiri red chillies (fried)

½ cup shredded coconut

1 tablespoon sesame oil

Salt to taste


Set aside all the ingredients, except the oil, in a food processor. In a flat pan, add the oil and once it has heated, pour the oil into the food processor along with the other ingredients. Make sure that you grind the mixture well. Your dry, coarse garlic chutney is now ready.

Now, make small balls and store them in the refrigerator. When you’re sitting down to a meal over the next few days, pinch off as much as you need, add warm water to make a paste, and enjoy. Have it with dhoklas or theplas, or even add it to Asian stir fries to spice them up, like I do. I’d love to know how you use it!

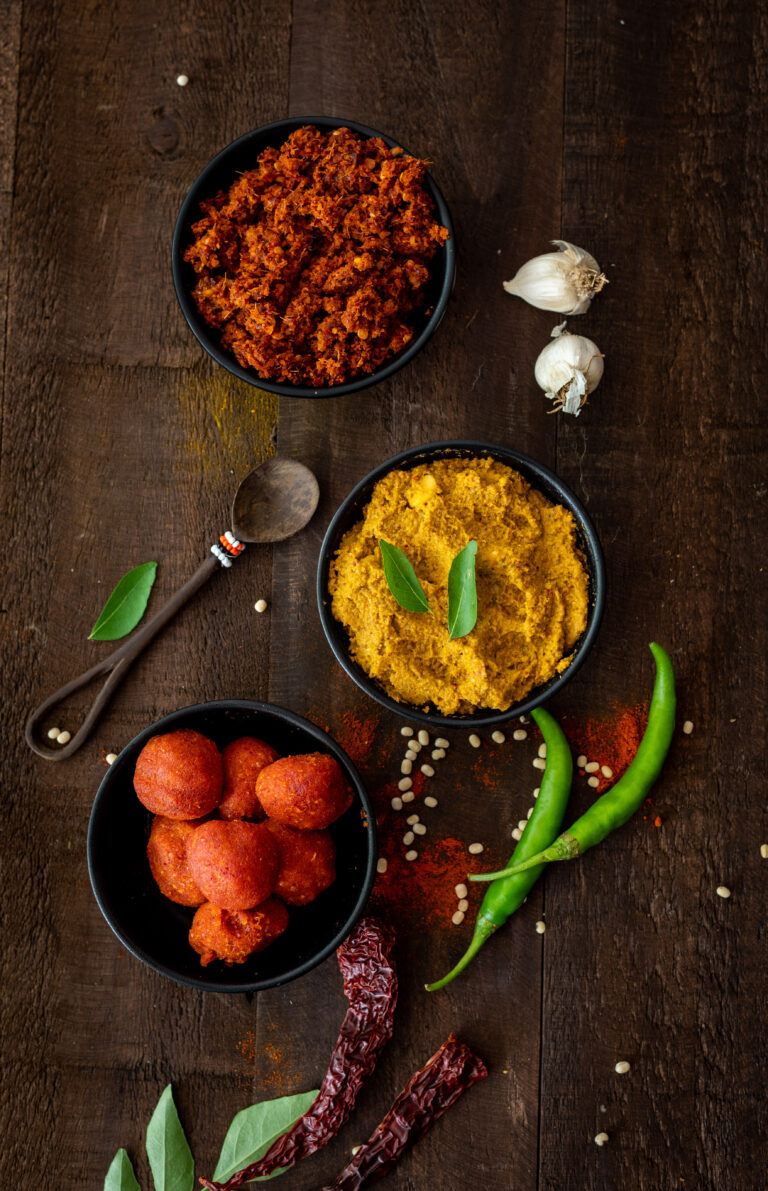
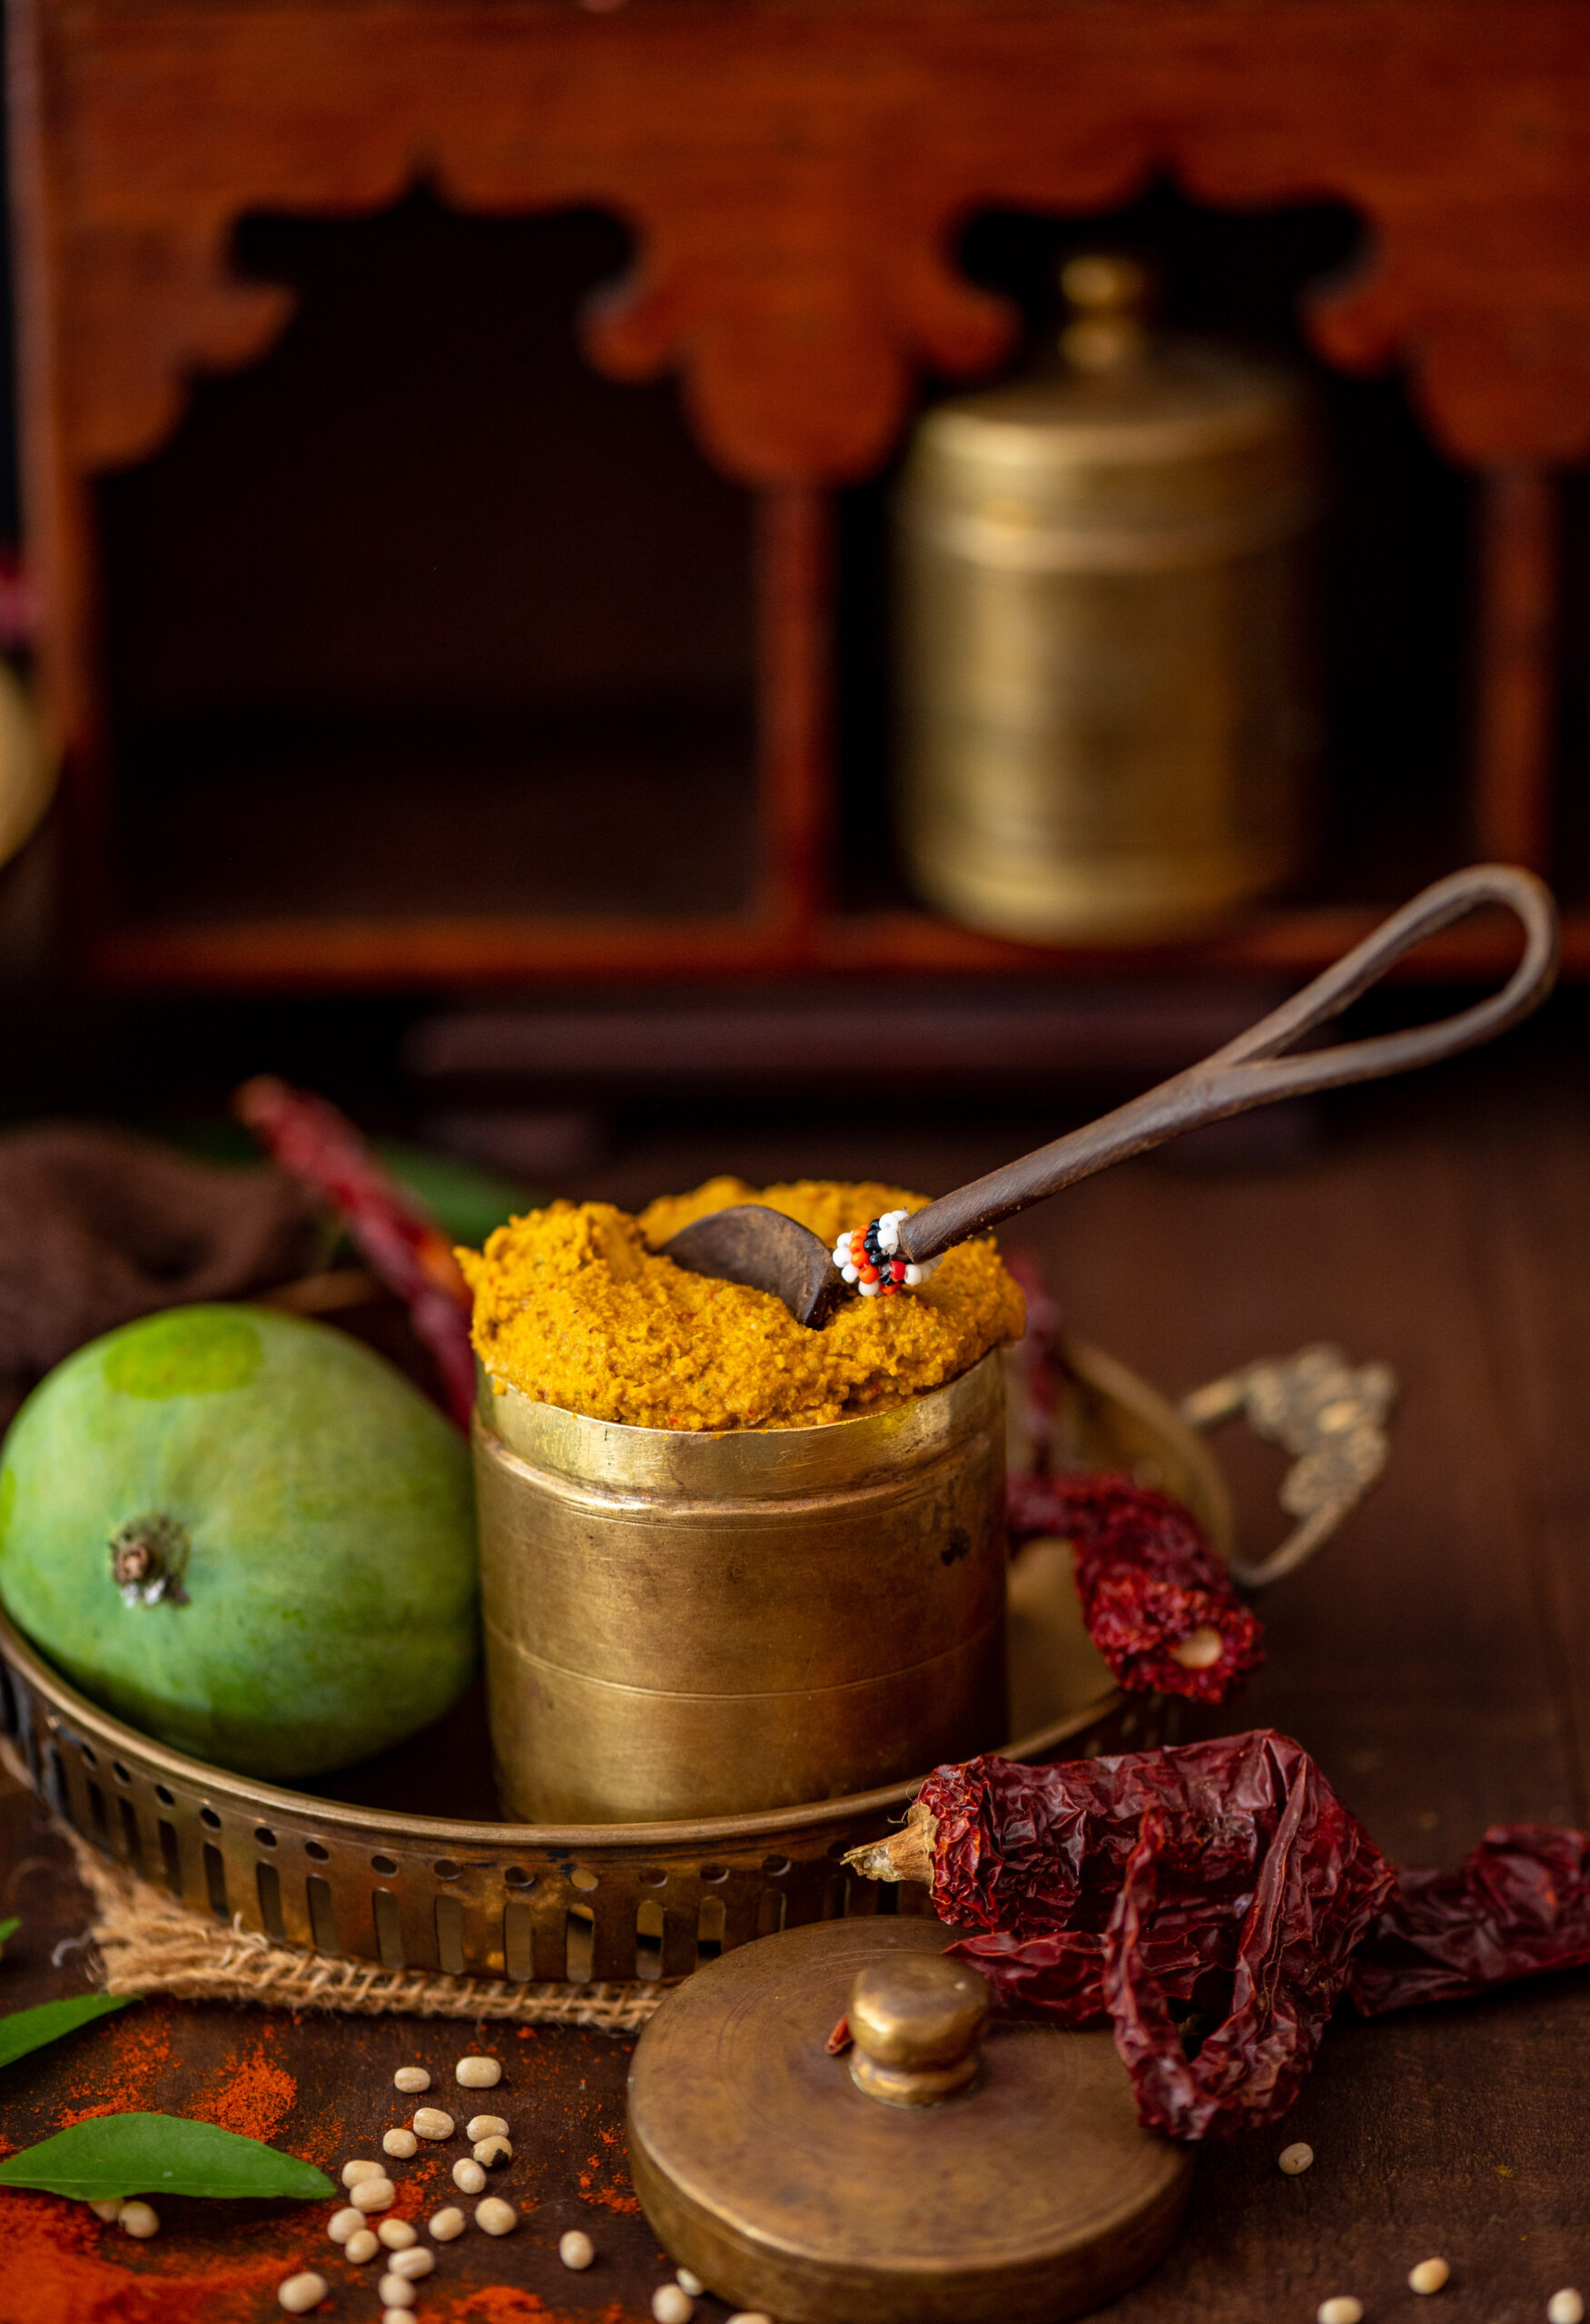
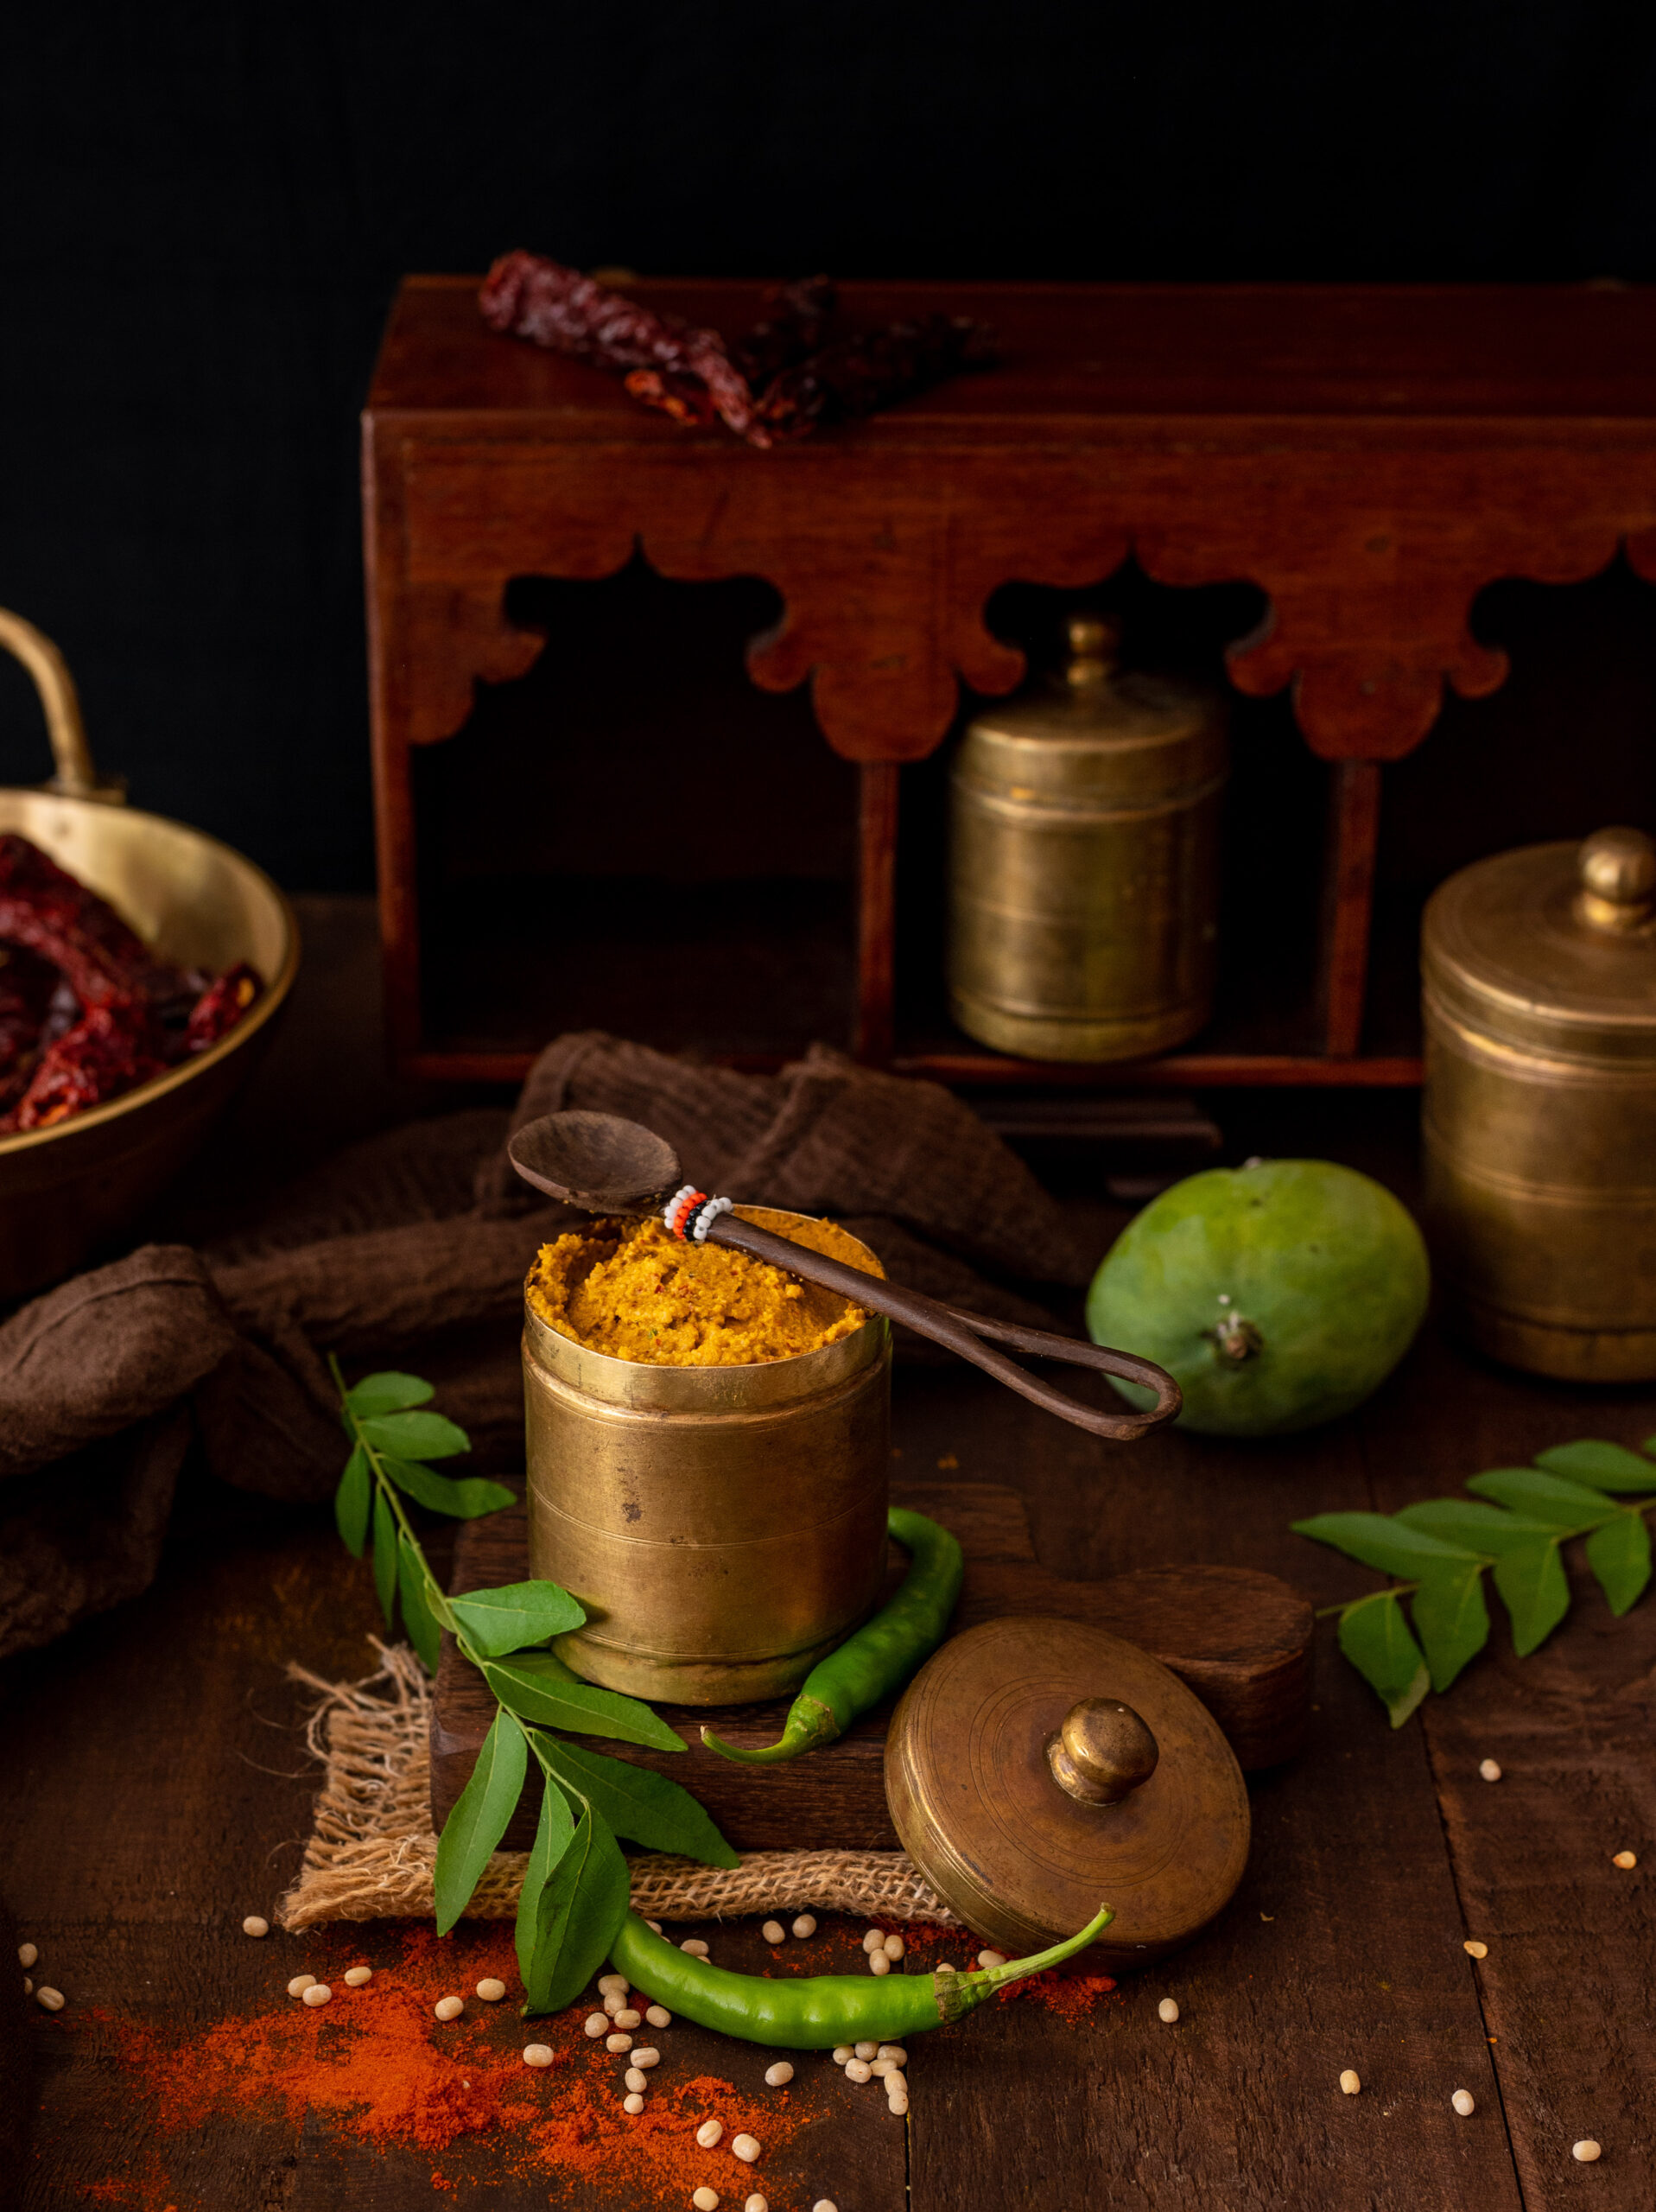
I’ll end this post by giving you a visual glimpse of the recipe that will round out this dip trilogy. In the photo below, you can see the raw mango thovayal and the lasun ki chutney – along with the forthcoming dish. Any guesses about what it is, or what its chief ingredient is?


This year’s mango series on my blog comes to a conclusion with a recipe that seamlessly leads into my next series: Indian dips and condiments. Call them chutneys, thovayals, sambals, pickles, relishes or by any name. They serve the purpose of enhancing a meal, and there are a huge range eaten across the subcontinent, often particular to certain communities. They tend to be heavy in spices and masalas so as to lend their strong flavours to otherwise mildly flavourful main dishes. It’s important to choose the right condiment, to complement rather than clash with the rest of the meal. Over the next few weeks, I’ll be sharing a selection of particularly tasty ones, which I hope you’ll enjoy pairing with mains of your choice. Today, I will be sharing the recipe for raw mango thovayal (or thogayal), a Tamil-style condiment that will elevate a variety of traditional and fusion meals.

I was born and brought up in Chennai, and I learnt Gujarati culinary traditions from my mother, who was also born and brought up in South India. She learnt her repertoire from her mother, who was raised in Gujarat but migrated, and who had replicated a menu that was as close to authentic as possible. However, it was also limited in terms of ingredient availability, as well as adapted to suit the climate here. This meant that certain winter vegetables consumed seasonally in Gujarat were not something my siblings and I, or indeed my mother and her own siblings, could have eaten growing up. There were certain recipes that I had no exposure to, and I am continuing to expand what I know about this cuisine. Many other food bloggers have provided inspiration, as has my sister, who lives in Mumbai and who learnt a multitude of dishes in the Gujarati Jain style from her mother-in-law. As you may know if you’ve been reading this blog for a while, I’ve also gained so much knowledge from my friends, who generously give their recipes not only to me, but encourage me to share them with my readers too.

Adaptability, resourcefulness and innovation are the traits of all good cooks everywhere, and a sense of culinary curiosity is what makes preparing everyday meals exciting. My own personal style is a medley of Gujarati cuisine, South Indian cuisines, Macrobiotics training, enthusiasm for veganism, travels aboard and growing up in a multi-cultural setting. As kids, while we ate Gujarati food at home, we also spent lots of time at the homes of our Tamil and Malayali neighbours (like Girija, whose mother made a brilliant ishtew) on practically a daily basis, thus enjoying a wonderful diversity of snacks and meals. My own children are now a third generation of Gujaratis who were raised in South India (I often jokingly say that their Tamil skills are better than their fluency in their mother tongue). If my own upbringing was multi-cultural, my children’s was even more so, and they have travelled and been exposed to even more of the world than I had by their age. Today’s generation and the generations to follow enjoy a blend of influences and experiences, and their food preferences reflect the same.

Coming back to thovayal, my recipe today is really a culmination rather than a combination of my own varied influences and experiences. It’s a raw mango thovayal made up of the memories of hundreds of meals at friends’ homes, prepared with simple ingredients that I happened to have in my garden and kitchen. In my home, this side dish is usually eaten with white dhokla (I’ll share a recipe for that soon). Dhokla is usually eaten with green chutney, but I prefer it with this thovayal, as the raw mango is a wonderful coolant for Chennai summers. Can you think of a more perfect example of a Gujarati-Tamil cultural melange?

Raw Mango Thovayal

(Yield: 1 cup)

1 cup cut, peeled raw mango

1 teaspoon cumin seeds

2 teaspoons urad dal

2 green chillies

2 dry red chillies

6-10 curry leaves

3 tablespoons fresh coriander leaves

½ cup coconut

2 tablespoons roasted gram (optional/alternative: peanuts)

2 teaspoons groundnut oil or sesame oil

Salt to taste


You can make thovayal with a variety of bases, simply replacing the raw mango. Coconut is popularly used as a base, for example. I use green chillies in mine so that the thovayal retains a refreshing green colour, but you could use garlic for the spice quotient instead.

To prepare this recipe, simply add all the ingredients together in a mixer jar and blend coarsely. Add no more than 3-4 tablespoons of water when you do so.

The thovayal will be of a thick consistency, comparable to a chutney. It can be stored in the refrigerator for 4-5 days.

Enjoy it as a condiment with any meal of your choice (do let me know in the comments how you pair it, please!). I think it could also work as an excellent marinade for chicken, or if added to roasted potatoes to enhance their flavour. It all comes down to your creativity.

I hope you’ve been making the most of the mango season through the wide range of recipes I’ve shared here that celebrate the fruit in both raw and ripe forms. In case you want to catch up, this is the big list of the delicious mango dishes I’ve posted over the years: vegan raw mango dal, raw mango rice, mango twist, mango osaman, mango lassi, mango salad, sweet and spicy mango pickles, ripe mango rasam and curry leaf and raw mango cooler. Here’s to many more seasons of culinary plenitude!

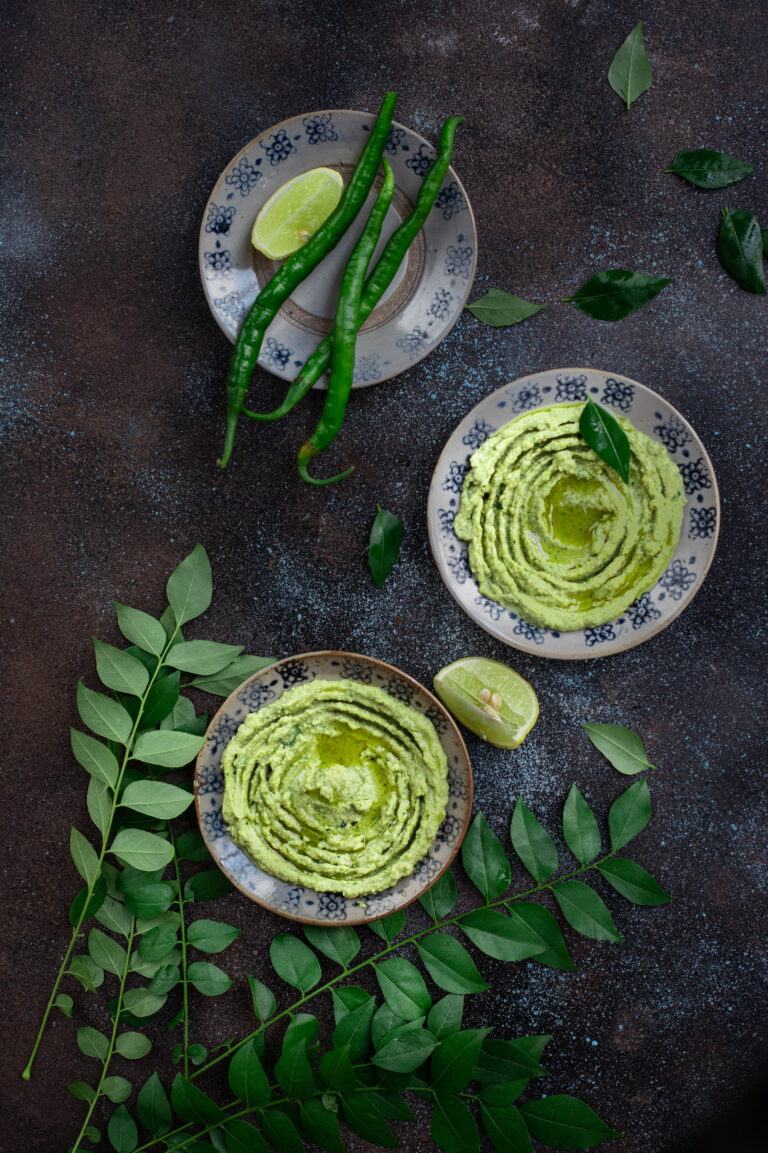
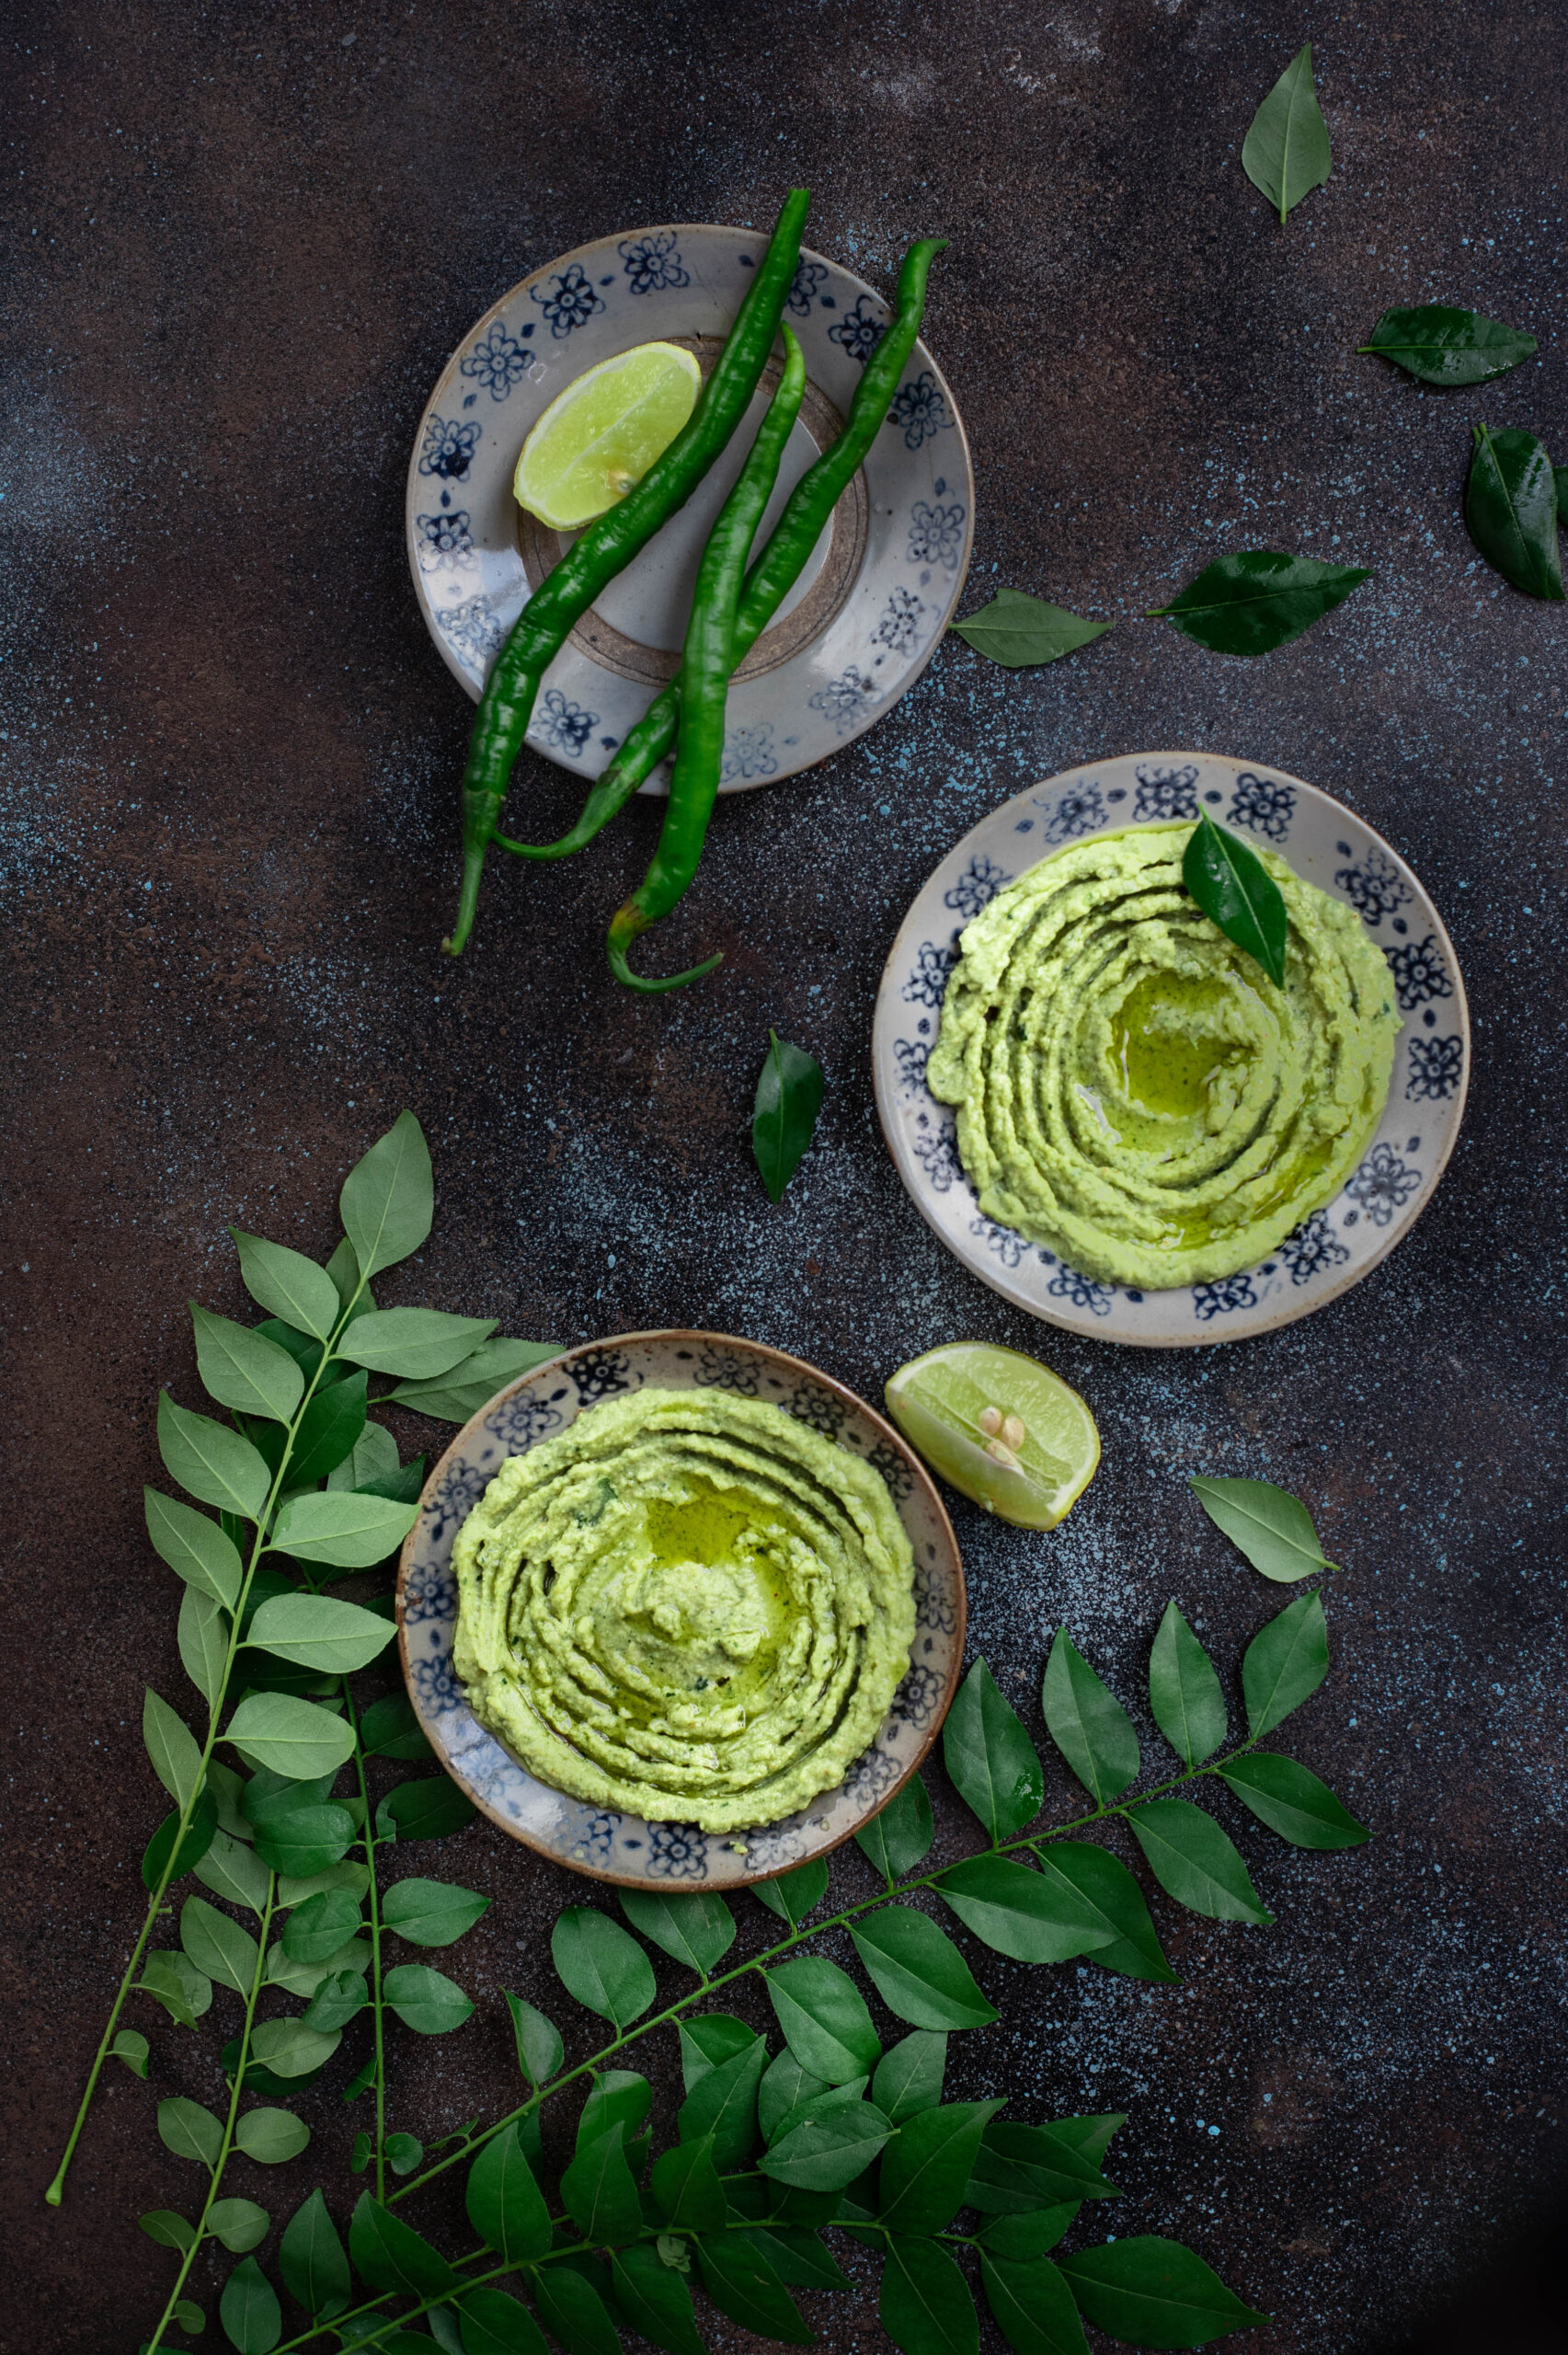
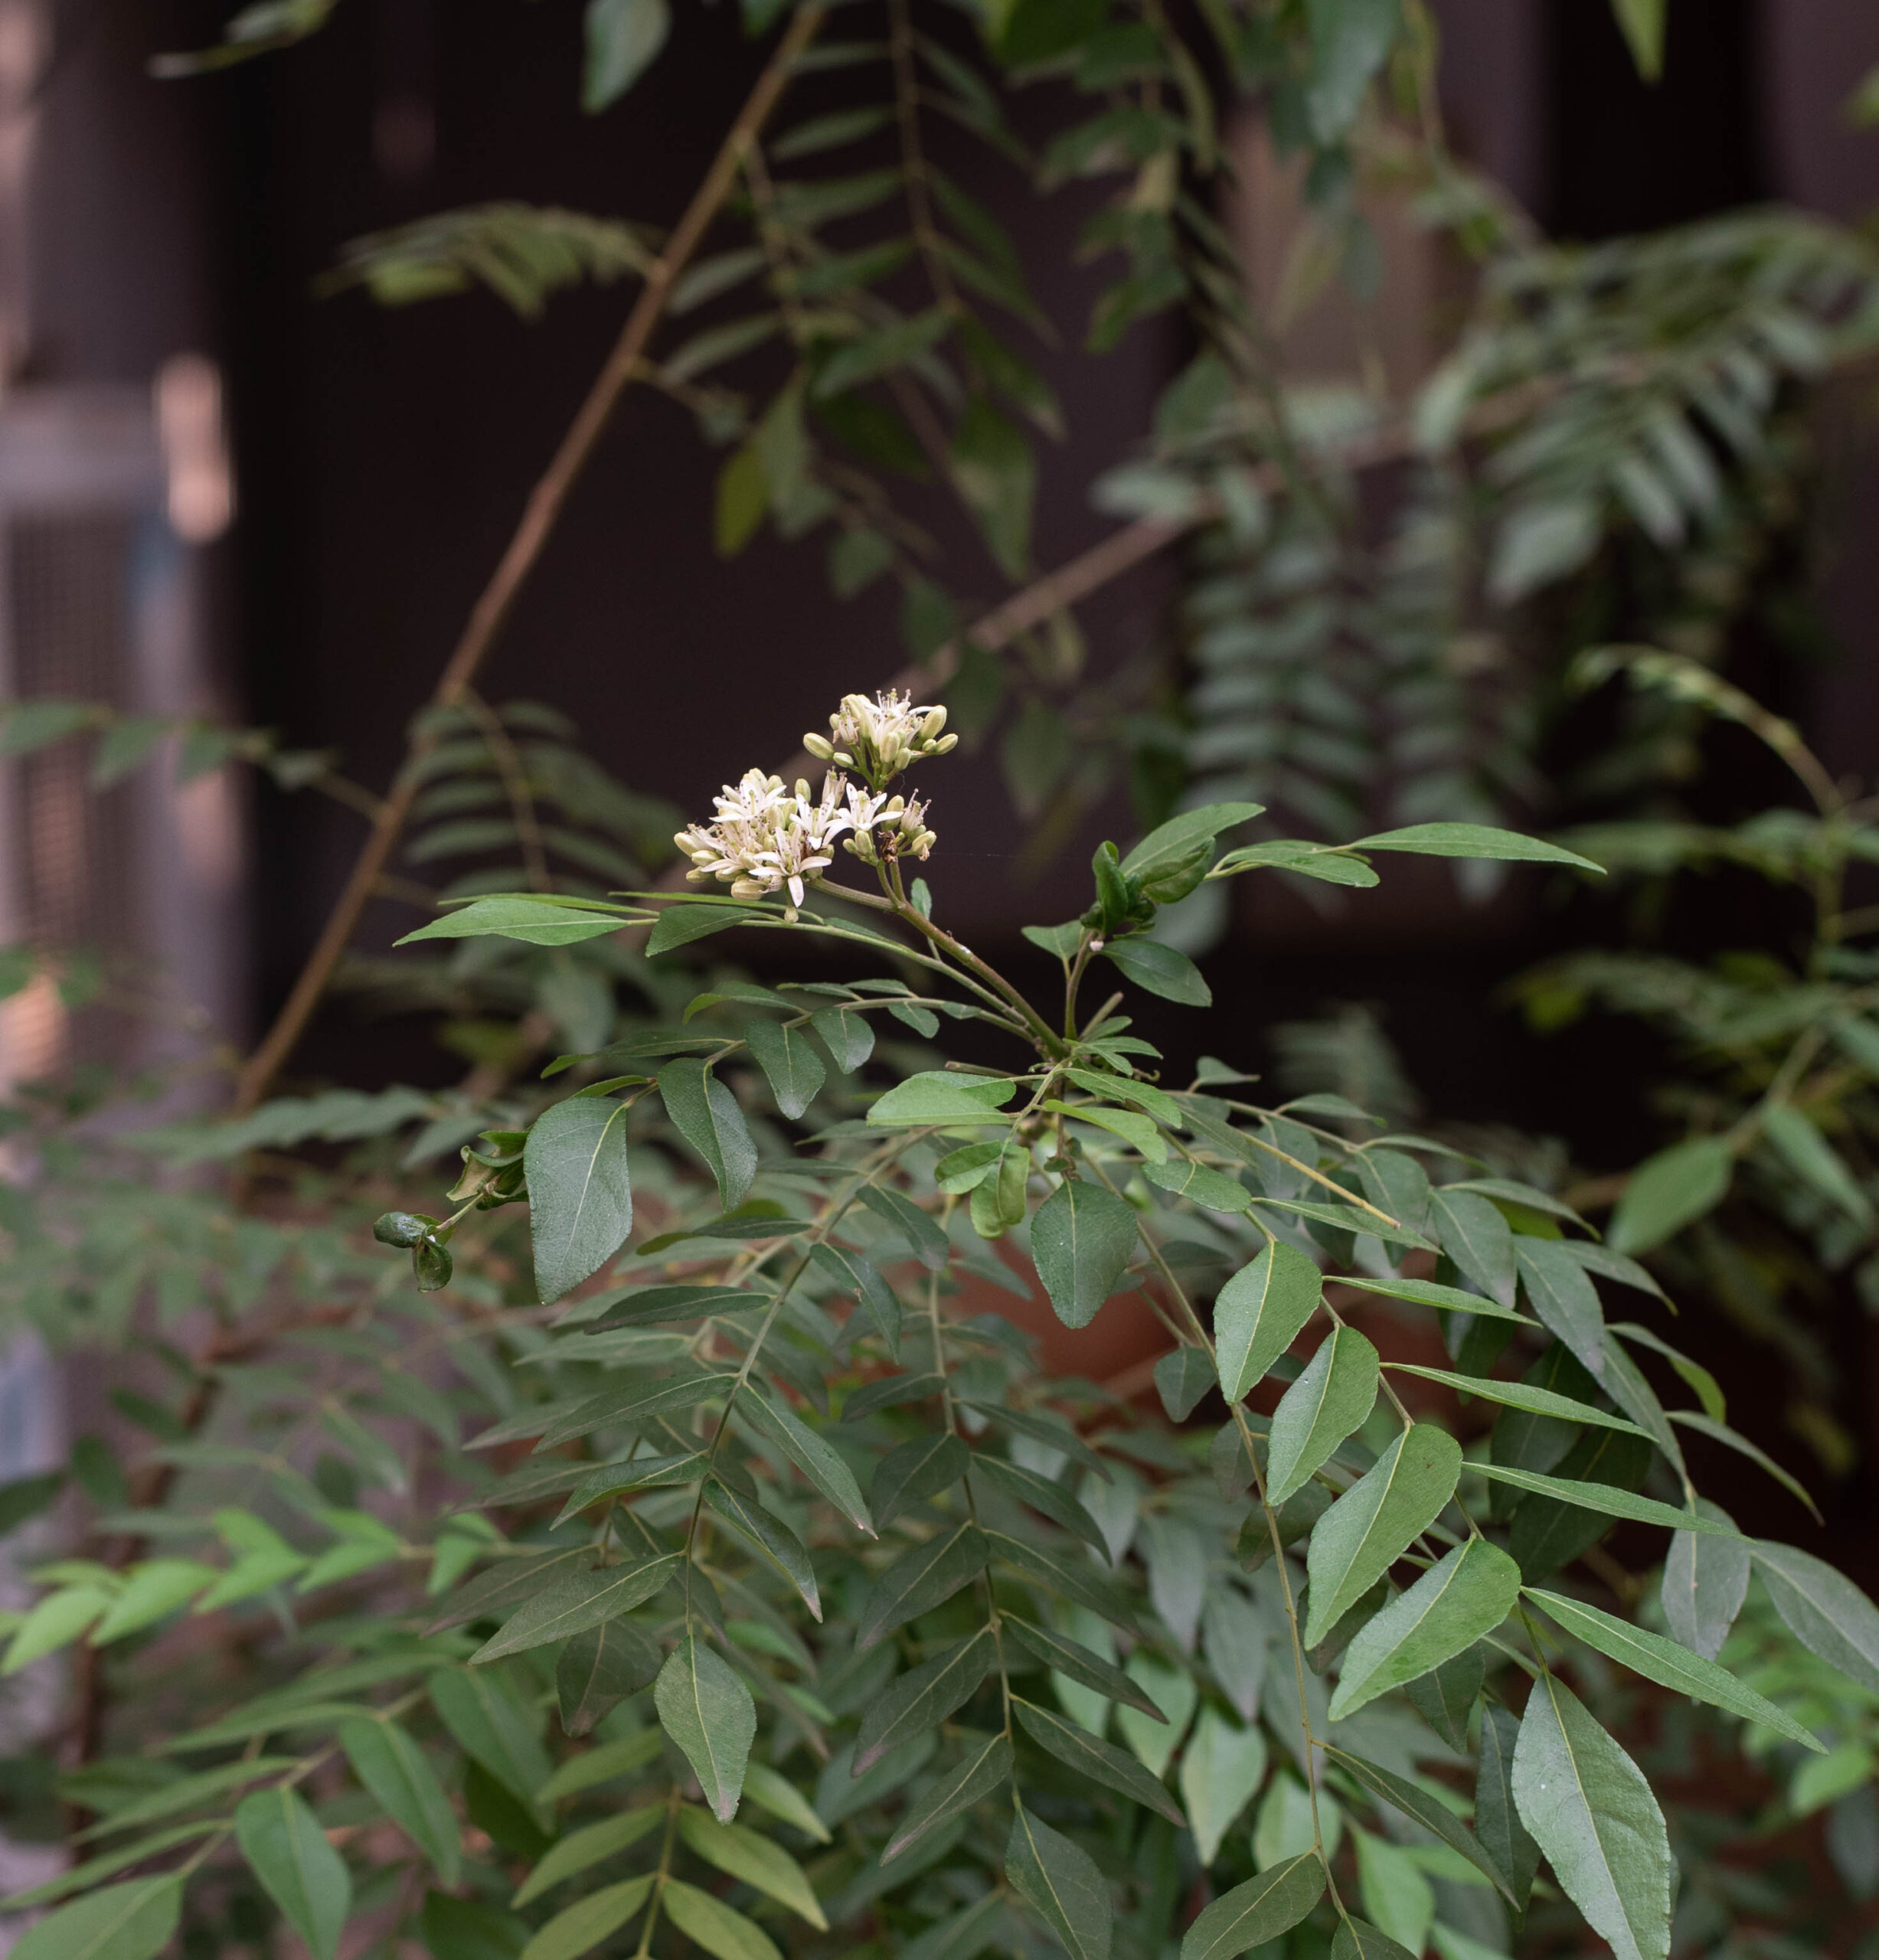
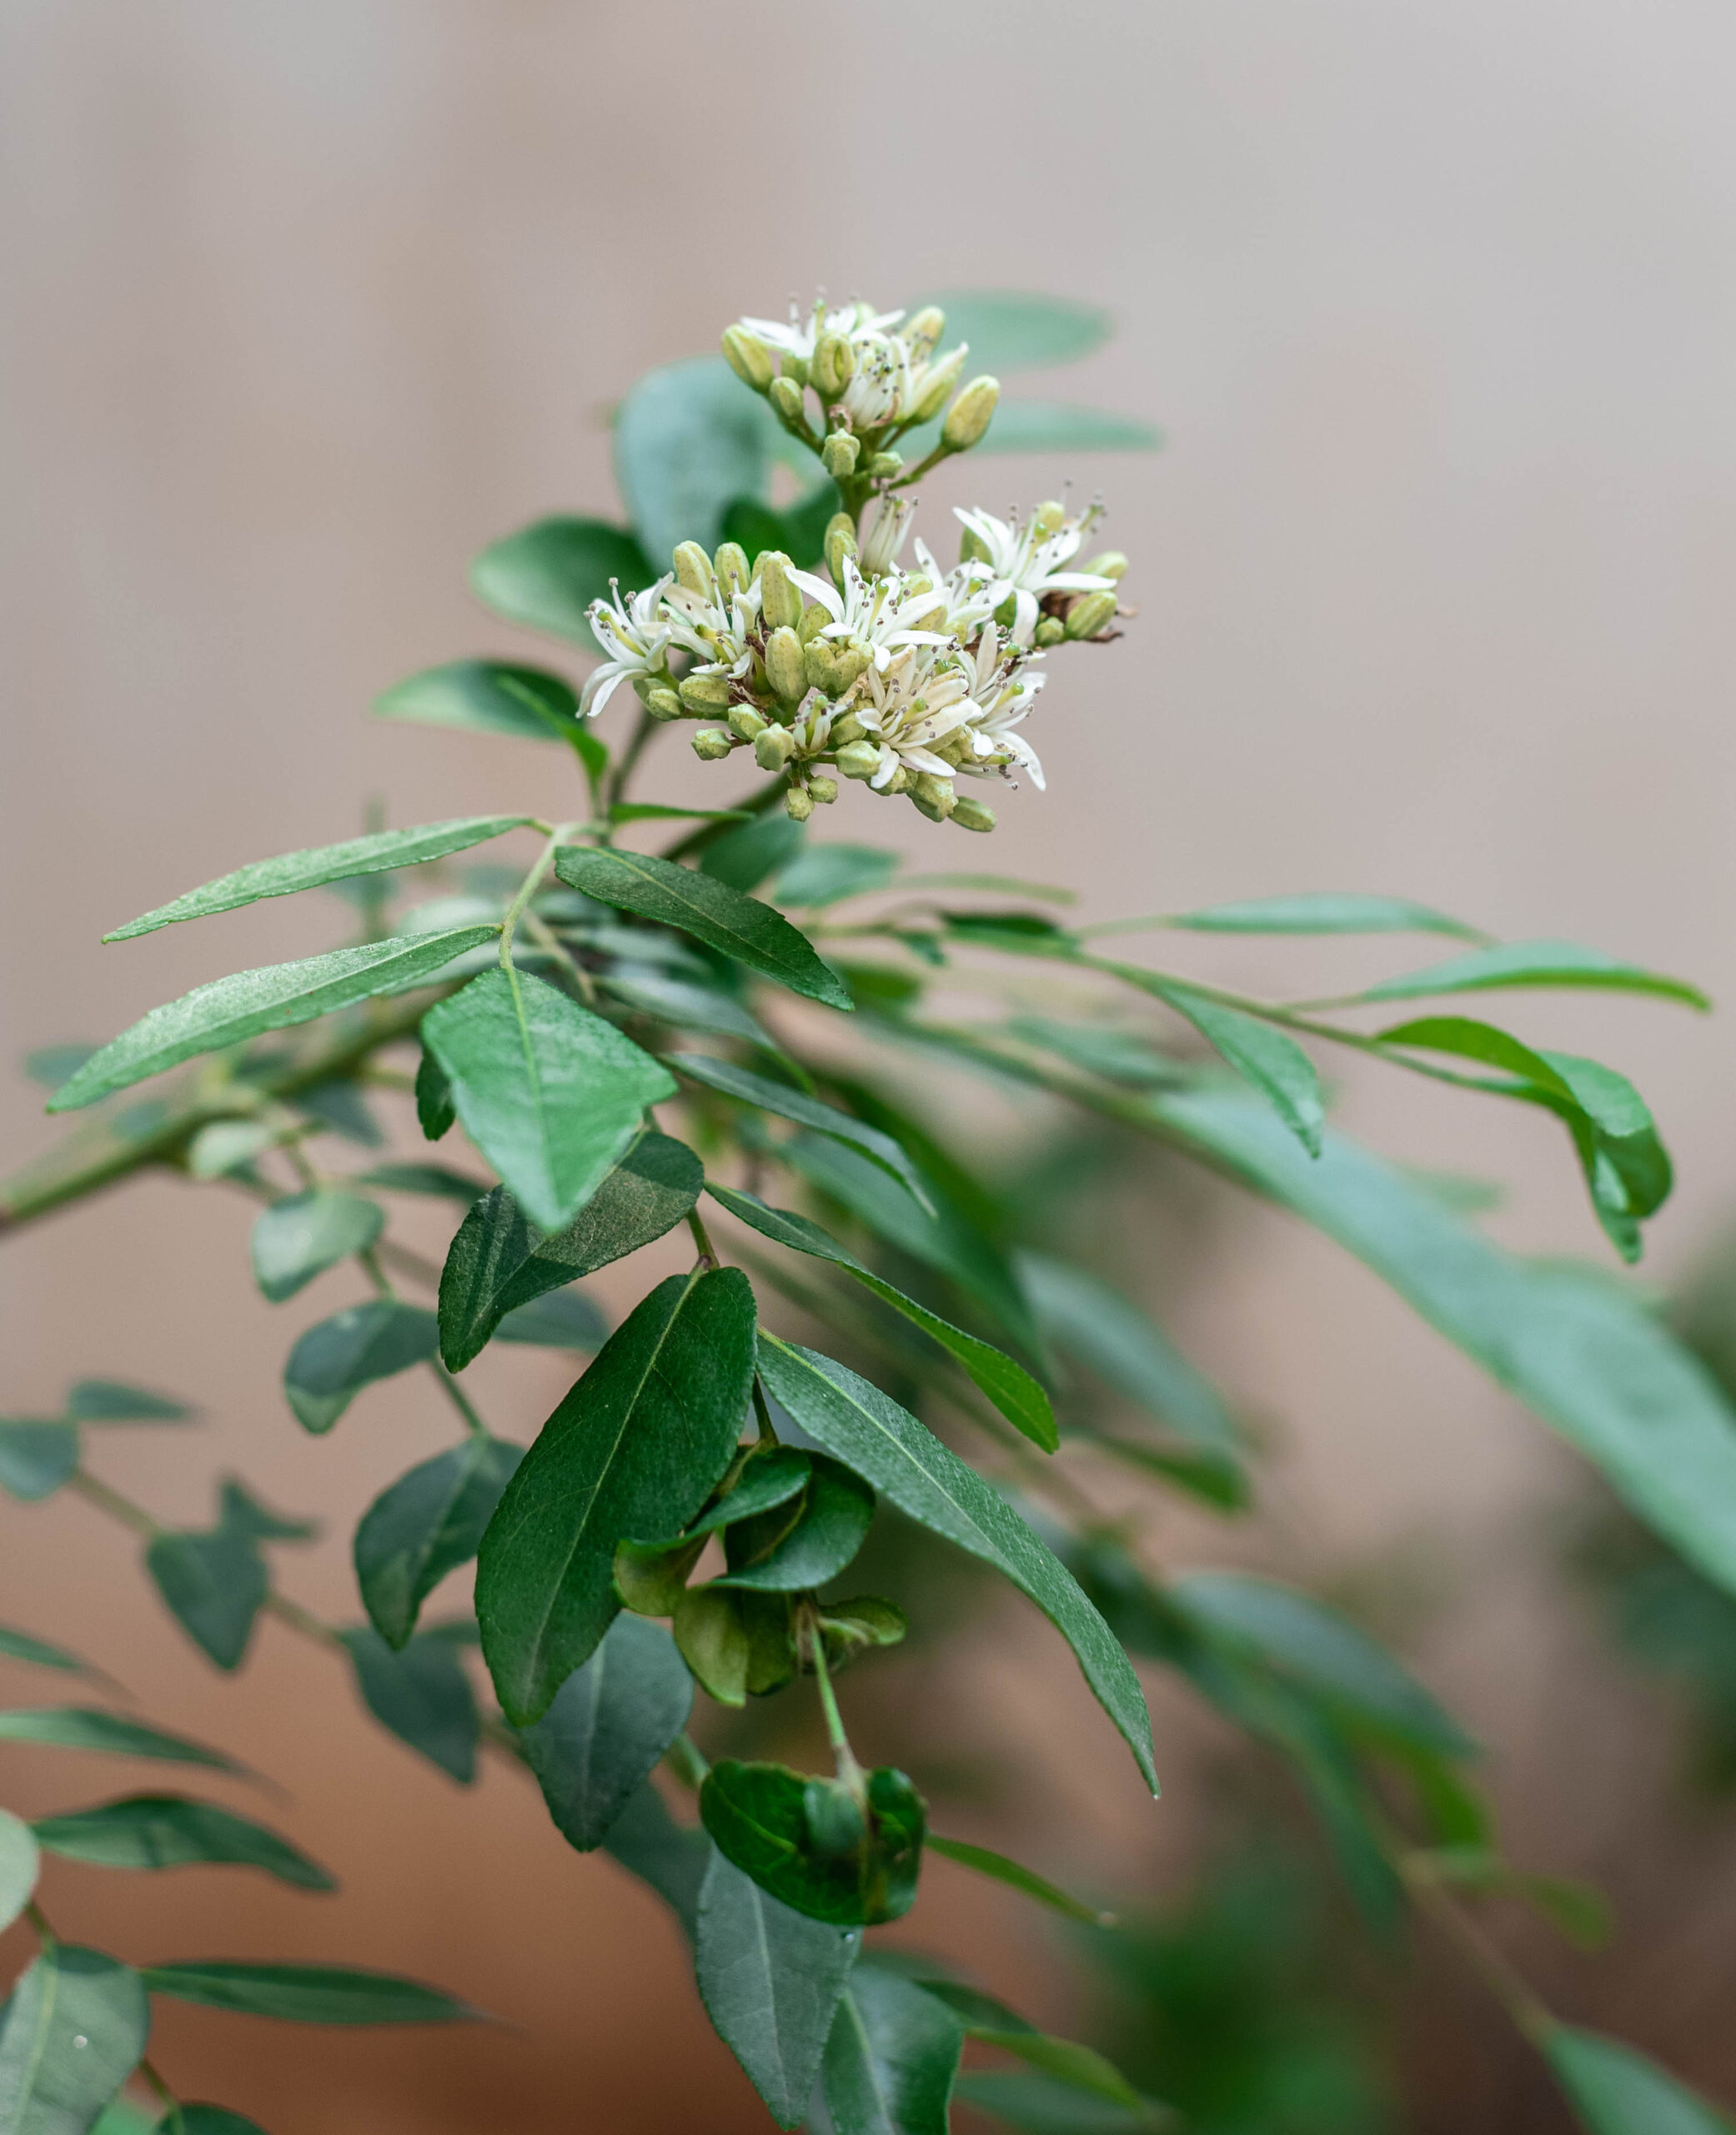
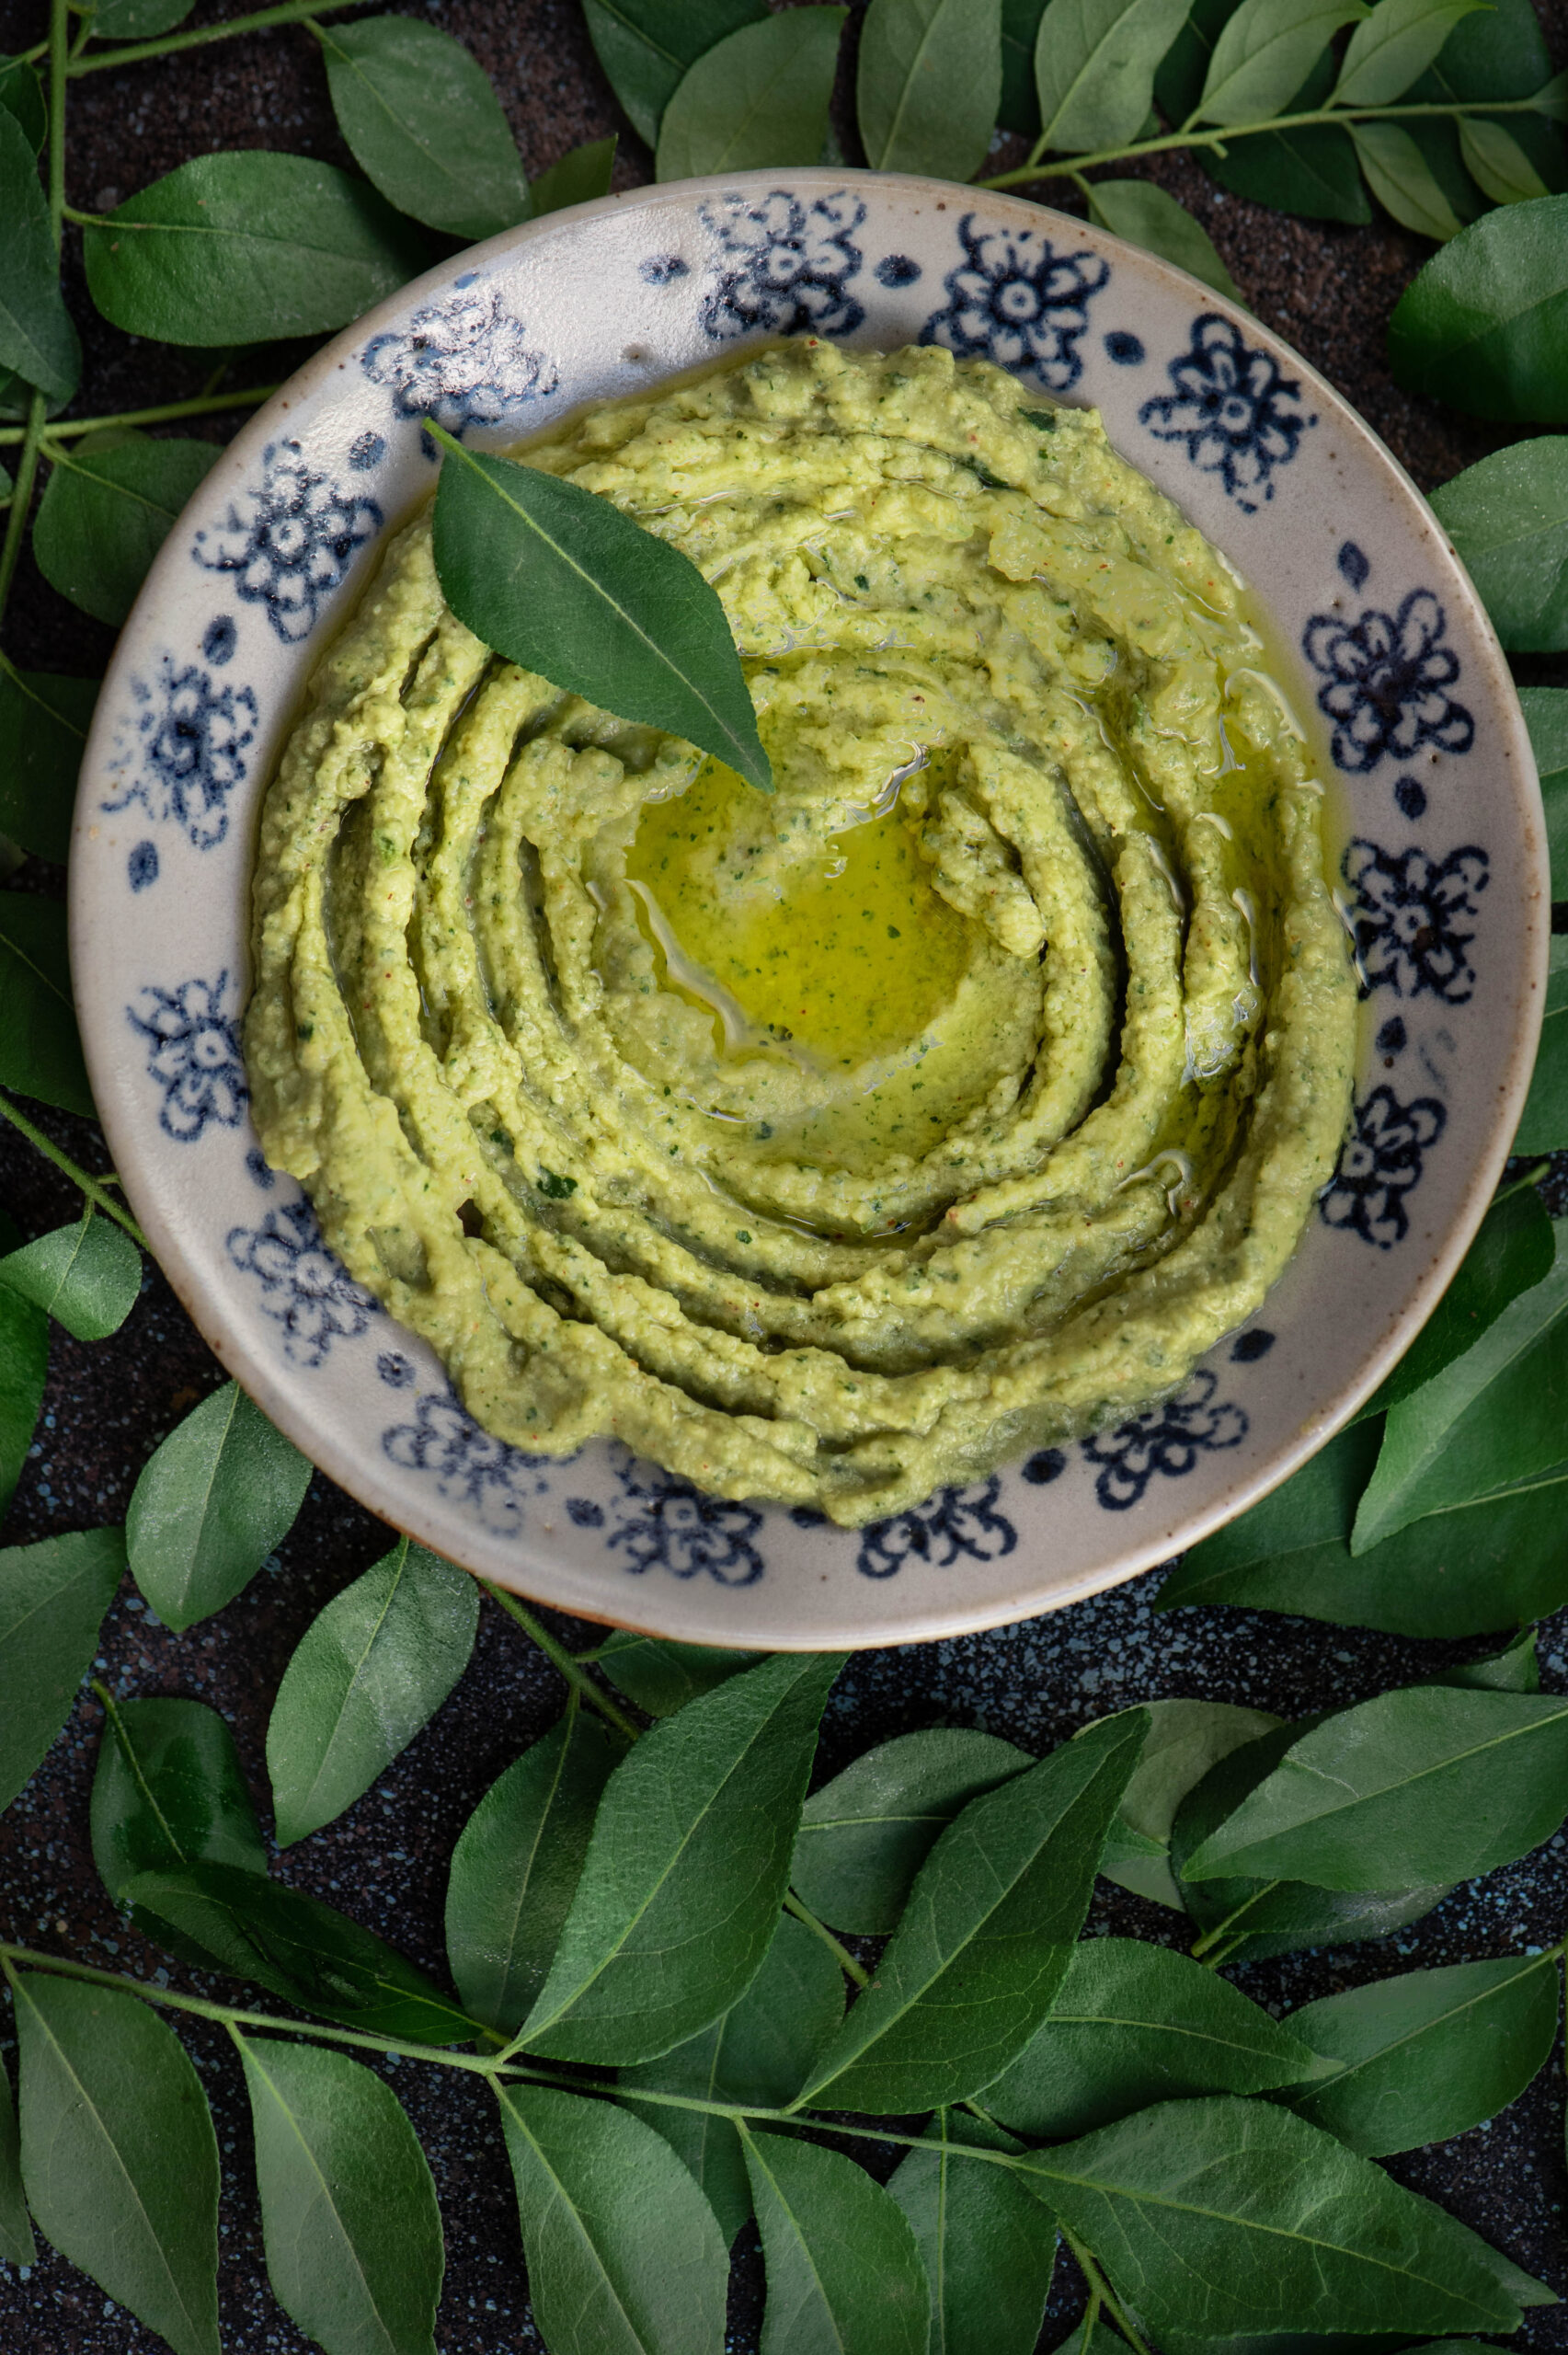
With the festival of Navaratri coming up, when chickpeas are served to guests in many homes in a simple dish called sundal, I had the humble legume on my mind once again. Only this time, I felt inspired to pair it with another ingredient that’s an essential in every South Indian home: the curry leaf. With the occasional rains we are enjoying in Chennai at the moment, my curry leaf bush has been in full bloom. And when I have so much in my garden or farm, you know that it usually tends to go straight into my kitchen. I took these two local ingredients and put them together in a fusion dish: curry leaf and green chilli hummus.

Hummus is a Middle Eastern dish that is a part of daily cuisines in that part of the world, and is usually eaten with breads. It’s also popular everywhere as a party snack, a perfect dip for everything from sliced vegetables to skewered meat. I’ve tasted a lot of beetroot hummus, so I knew that the basic puree lends itself well to flavourings. That’s when my curry leaves caught my eye.

Also known as “sweet neem”, curry leaf is an ingredient that we almost take for granted in our Indian kitchens. Tempered or fresh sprigs are thrown into curries, the powder is eaten with rice, and so on. It adds flavour to so many dishes that it’s just a ubiquitous part of our cooking. With a range of health benefits, including antioxidant and anti-diabetic properties, it’s no wonder that our ancestors incorporated it into as many meals as they could.  Now that I grow curry leaves in my own home, I have been learning a little about the plant too. Did you know that the tiny berries, which are not used in cooking, are actually high in Vitamin C – but that their seeds are poisonous?

Long ago, my hummus attempts would be so mediocre that a good friend would send me tubs as I so enjoyed the dish. Over time, I learned how to make it and stopped depending on those shipments, just as I stopped depending on store-bought cakes and even began to experiement with homegrown ingredients. Trial and error is the key to learning, and by studying different recipes and adding my own touches, I finally arrived on a version I loved.

The main ingredient in hummus is the humble chickpea, which is a staple not only in the Middle East but all over India in its many forms. It’s eaten boiled for a healthy snack, powdered and roasted and used as a binder, and known by so many names – puttukadalai, chana dal, kabuli (did this come to us by way of Kabul, I wonder?), chole and so on. Abroad, you may know this legume as garbanzo beans. The darker variants have a higher iron content, while the chana dal I use for thus hummus is rich in protein and fibre, thus filling you quickly and also aiding weight loss. It is known to lower cholesterol and diabetic risk, and also has high zinc and folate content.

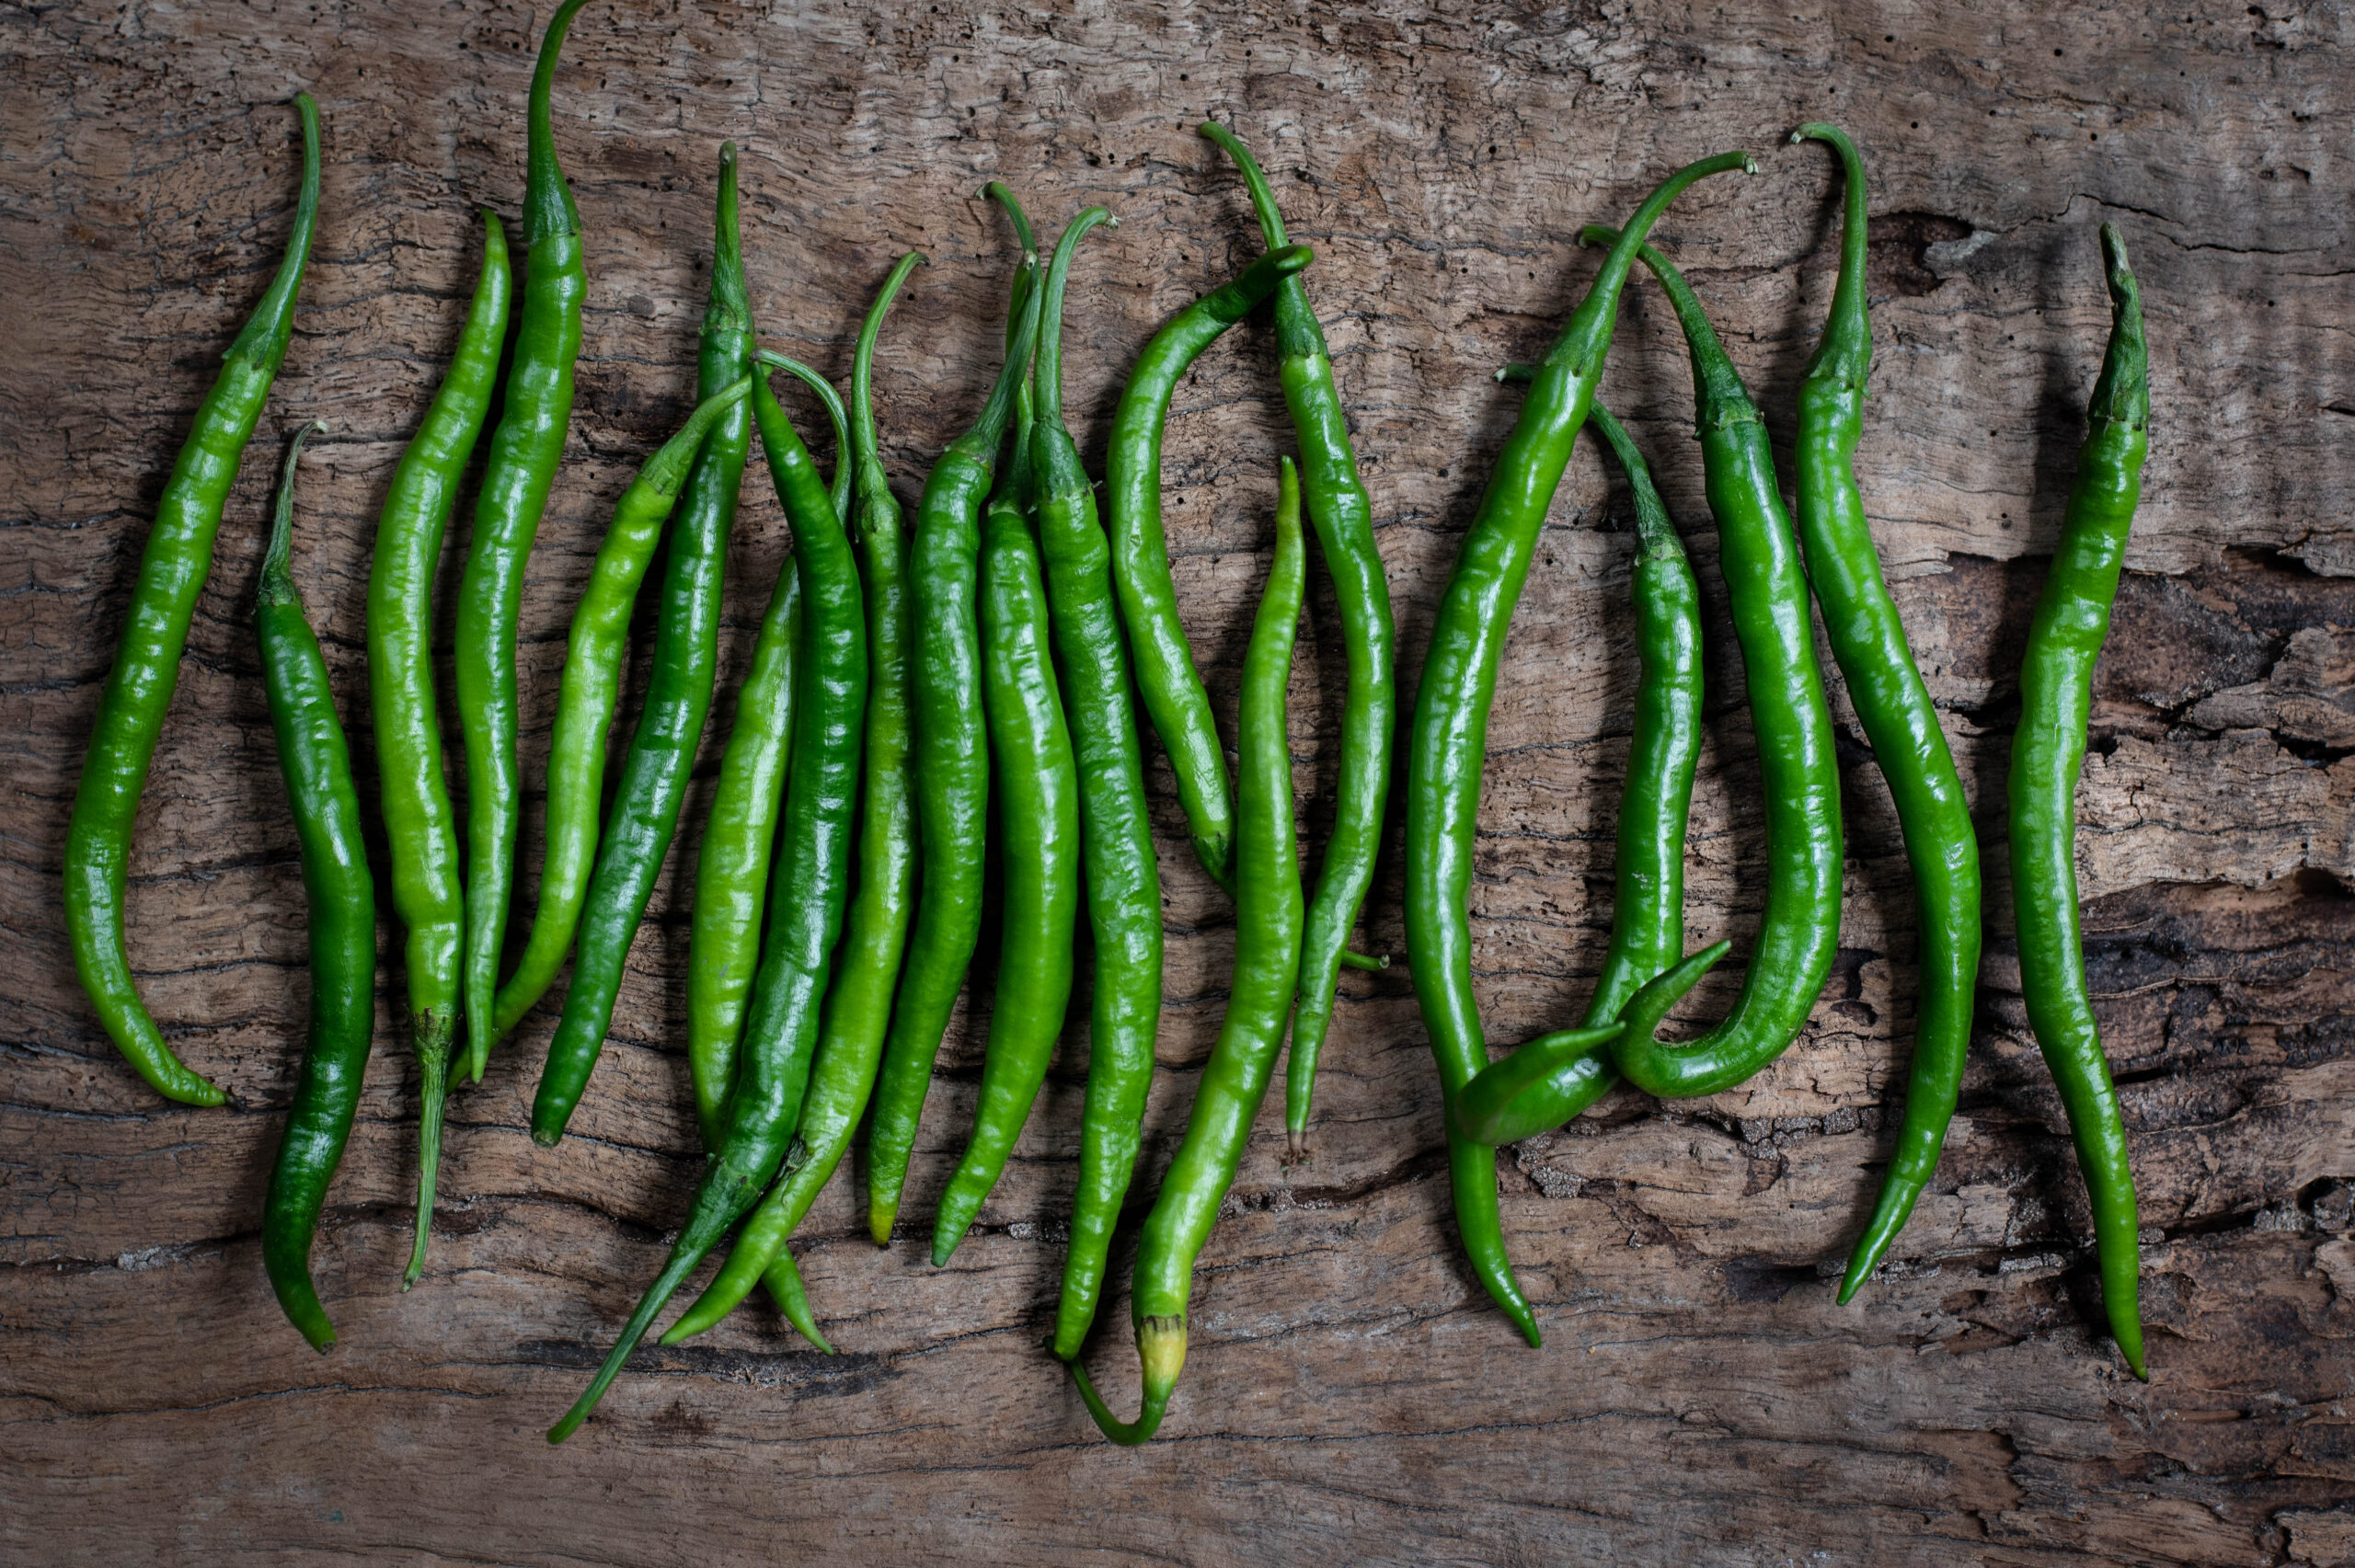
The traditional hummus has a bland, though satisfying, taste. I thought of how I could kick it up a notch. That’s when I decided to add the equally ubiquitous green chilli, which is rich in Vitamin C, great for digestion – and very piquant!

Tahini, which is made of ground white sesame, and olive oil round out the Middle Eastern flavours. Fortunately, these are widely available at good supermarkets in India and other countries. I used some wonderful olive oil I picked up in Portugal recently, which will be featuring in my blog soon.

The day after I made this curry leaf and green chilli hummus at home, I went to Goa and to my delight, my good friend the designer Wendell Rodricks served the very same dish in his home! I squealed! The coincidence was just too thrilling, and I wanted to share my recipe immediately, so you too can serve it soon.

Curry Leaf & Green Chilli Hummus

(Yield: 1 bowl)


Ingredients

1¼ cups cooked/boiled chickpeas

3-4 garlic cloves

1 tablespoon tahini

2 tablespoons lemon juice

½ teaspoon salt

¼ cup olive oil

1 cup washed curry leaves

1 green chilli

Water


In a blender, add the curry leaves and green chilli with 2 tablespoons of water. Blend until you get a smooth paste. Keep aside.

Next, blend the soft cooked chickpeas along with garlic, tahini, salt, half the olive oil and lemon juice.  Blend well until the paste is smooth and looks creamy.

Now, add the blended curry leaf paste to the creamy chickpeas and whir once again until it all mixes well. Adjust the salt and lemon quantities to suit your taste.

If you feel it needs to be creamier, add more water or olive oil to the blend, until it achieves a dip-like consistency.

The curry leaf hummus is now ready to serve. You can have it the traditional way, with flatbreads, whether that’s the Middle Eastern pita or the North Indian naan. Or some healthy quinoa chips, for a wholesome snack. Crunchy vegetables like carrot or celery sticks, toasties, or rice crisps (to keep that South Indian sensibility) are also excellent accompaniments. With a mildly yet surprisingly flavourful curry leaf hummus like this – it’s the dip that’s the main dish, not the accompaniment!

And if you just can’t get enough of that flavour, why not try my curry leaf and raw mango cooler as well?