Tag

desserts

Browsing

Christmas was always a very special occasion in our home when my children were growing up. They would be so excited about setting up the Christmas tree, going shopping to find beautiful decorative ornaments, and simply enjoying the festive atmosphere. While Diwali always held its own importance as as our main religious event, Christmas was something we enjoyed as pure celebration. We had our own little Christmas traditions, and as the kids started leaving home, these slowly disappeared. But this year, for the first time in a while and with nothing but this pandemic to credit for it, we are all at home together. And once again, Christmas feels just like it used to, full of camaraderie and deliciousness – except, now that my kids are adults, we’re all raising toasts together. The beverage we’re clinking glasses with? This orange-kissed, boozy hot chocolate!

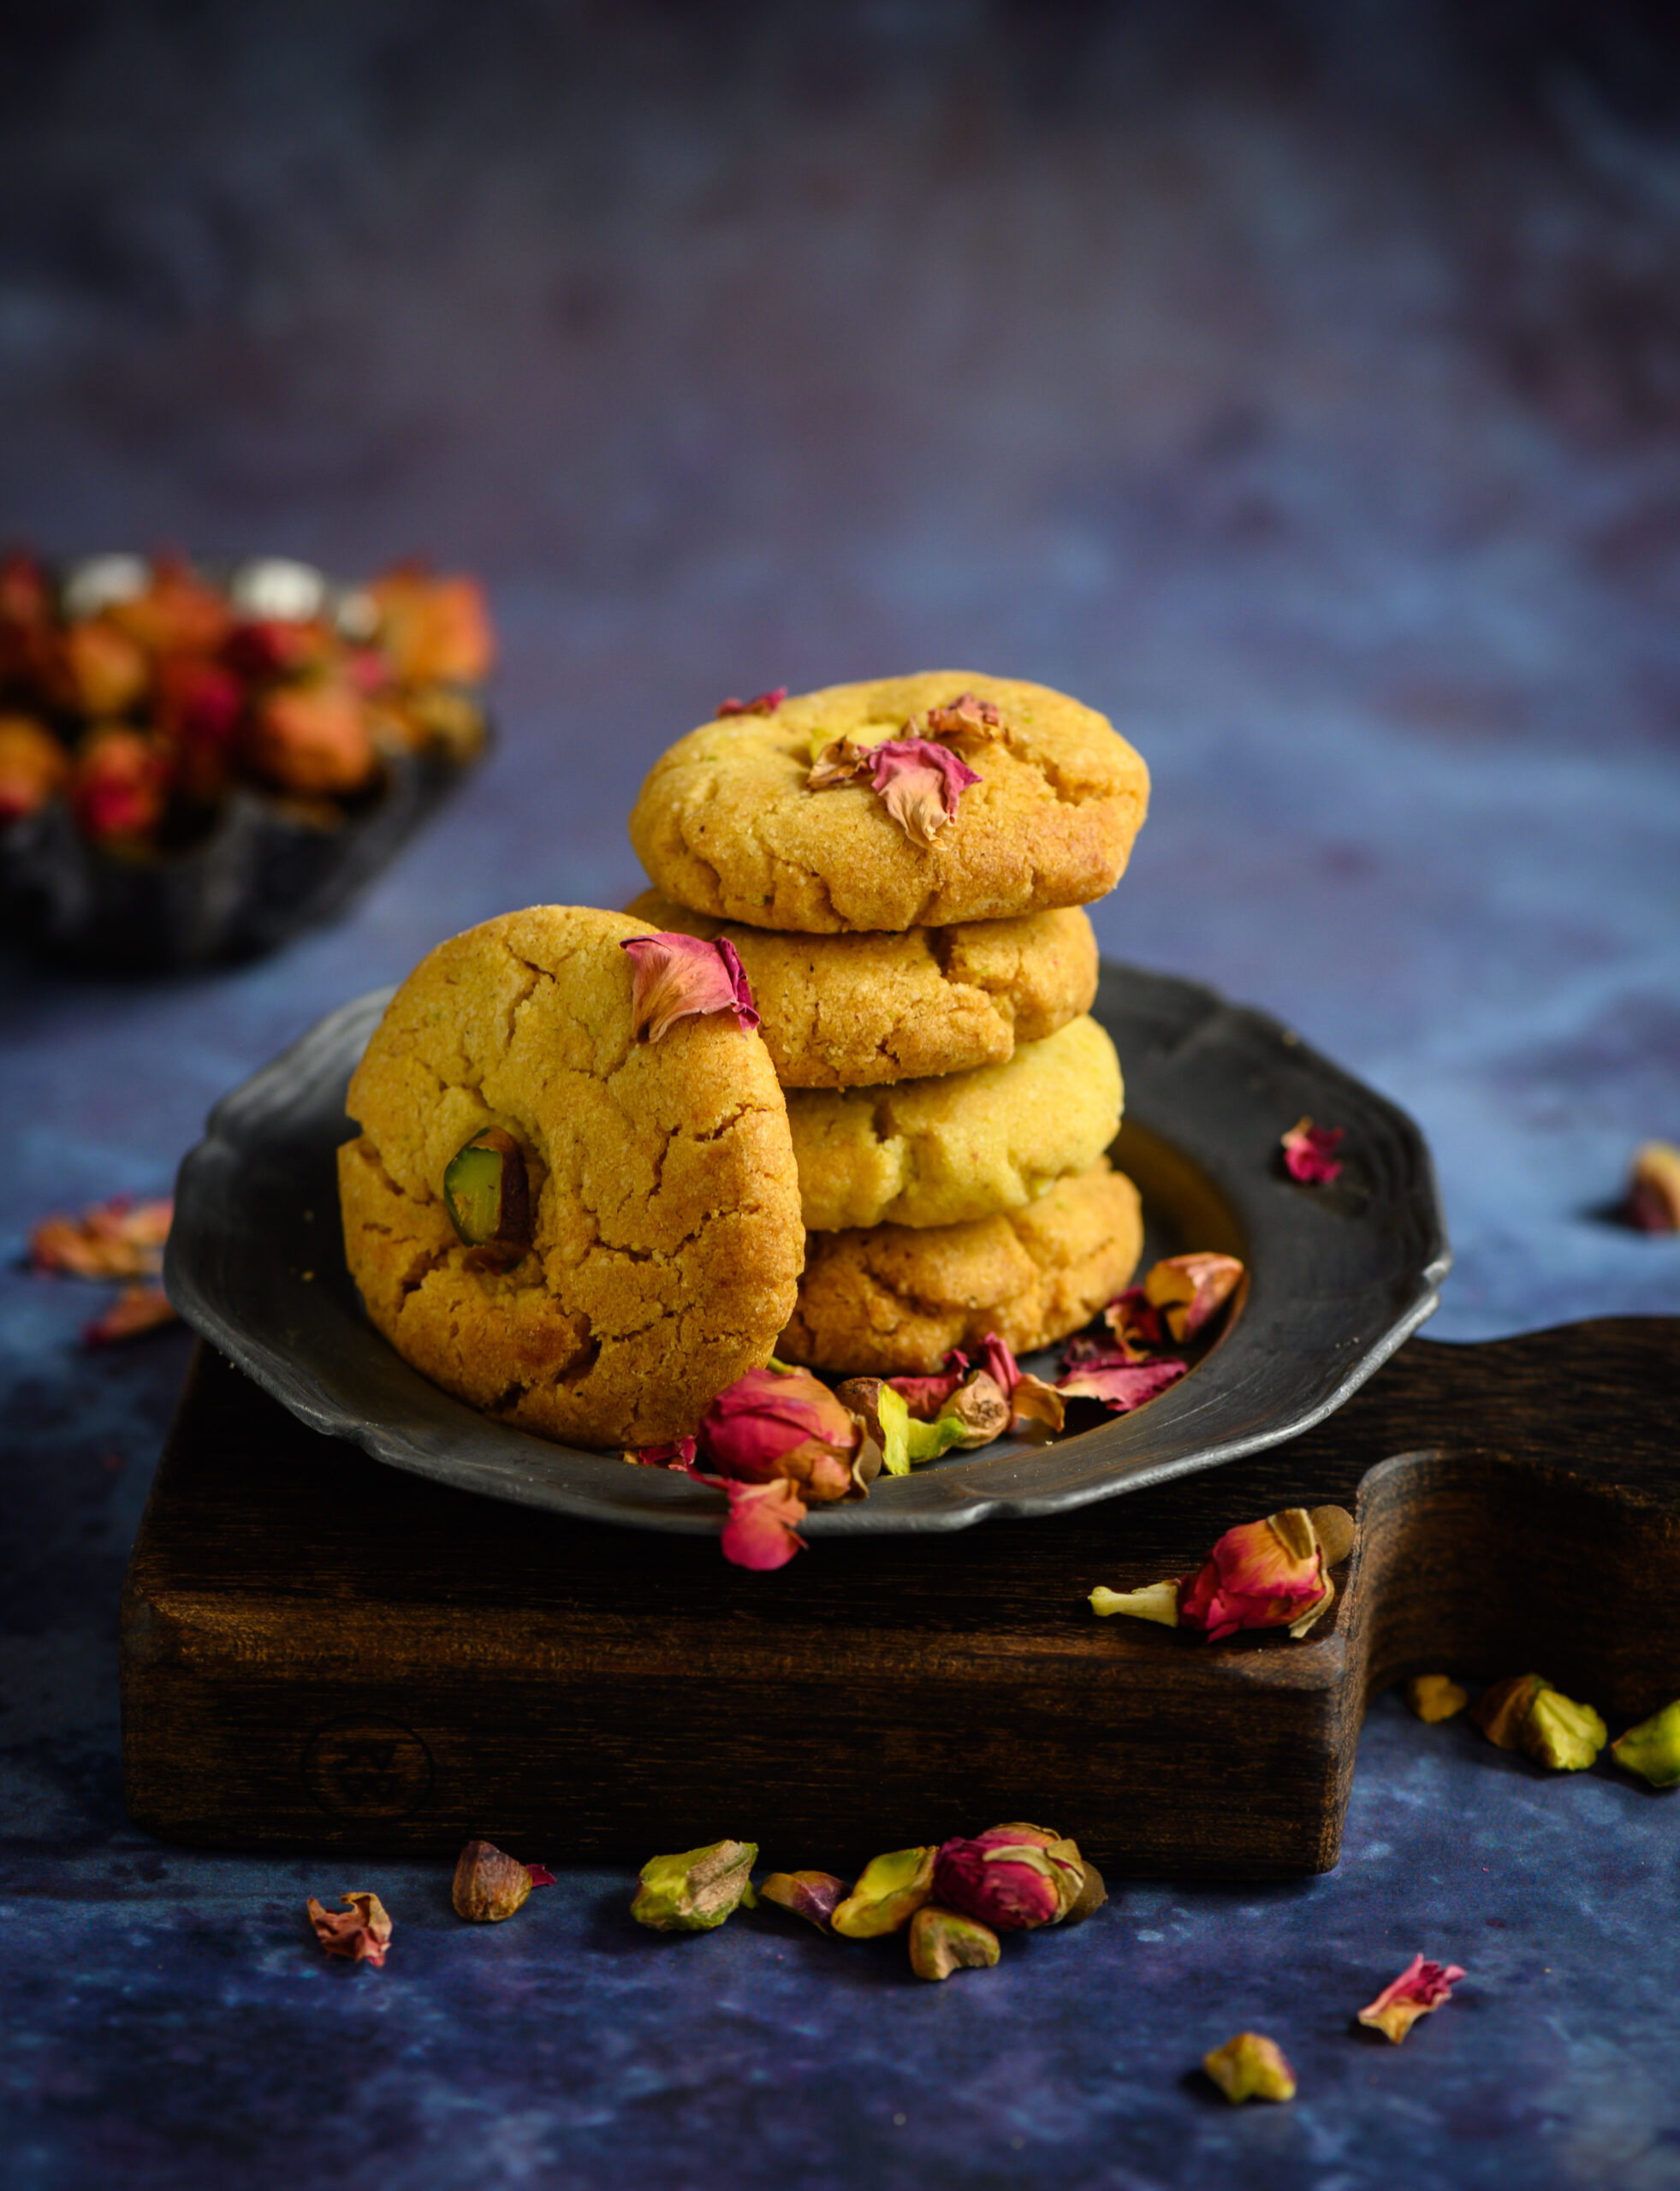
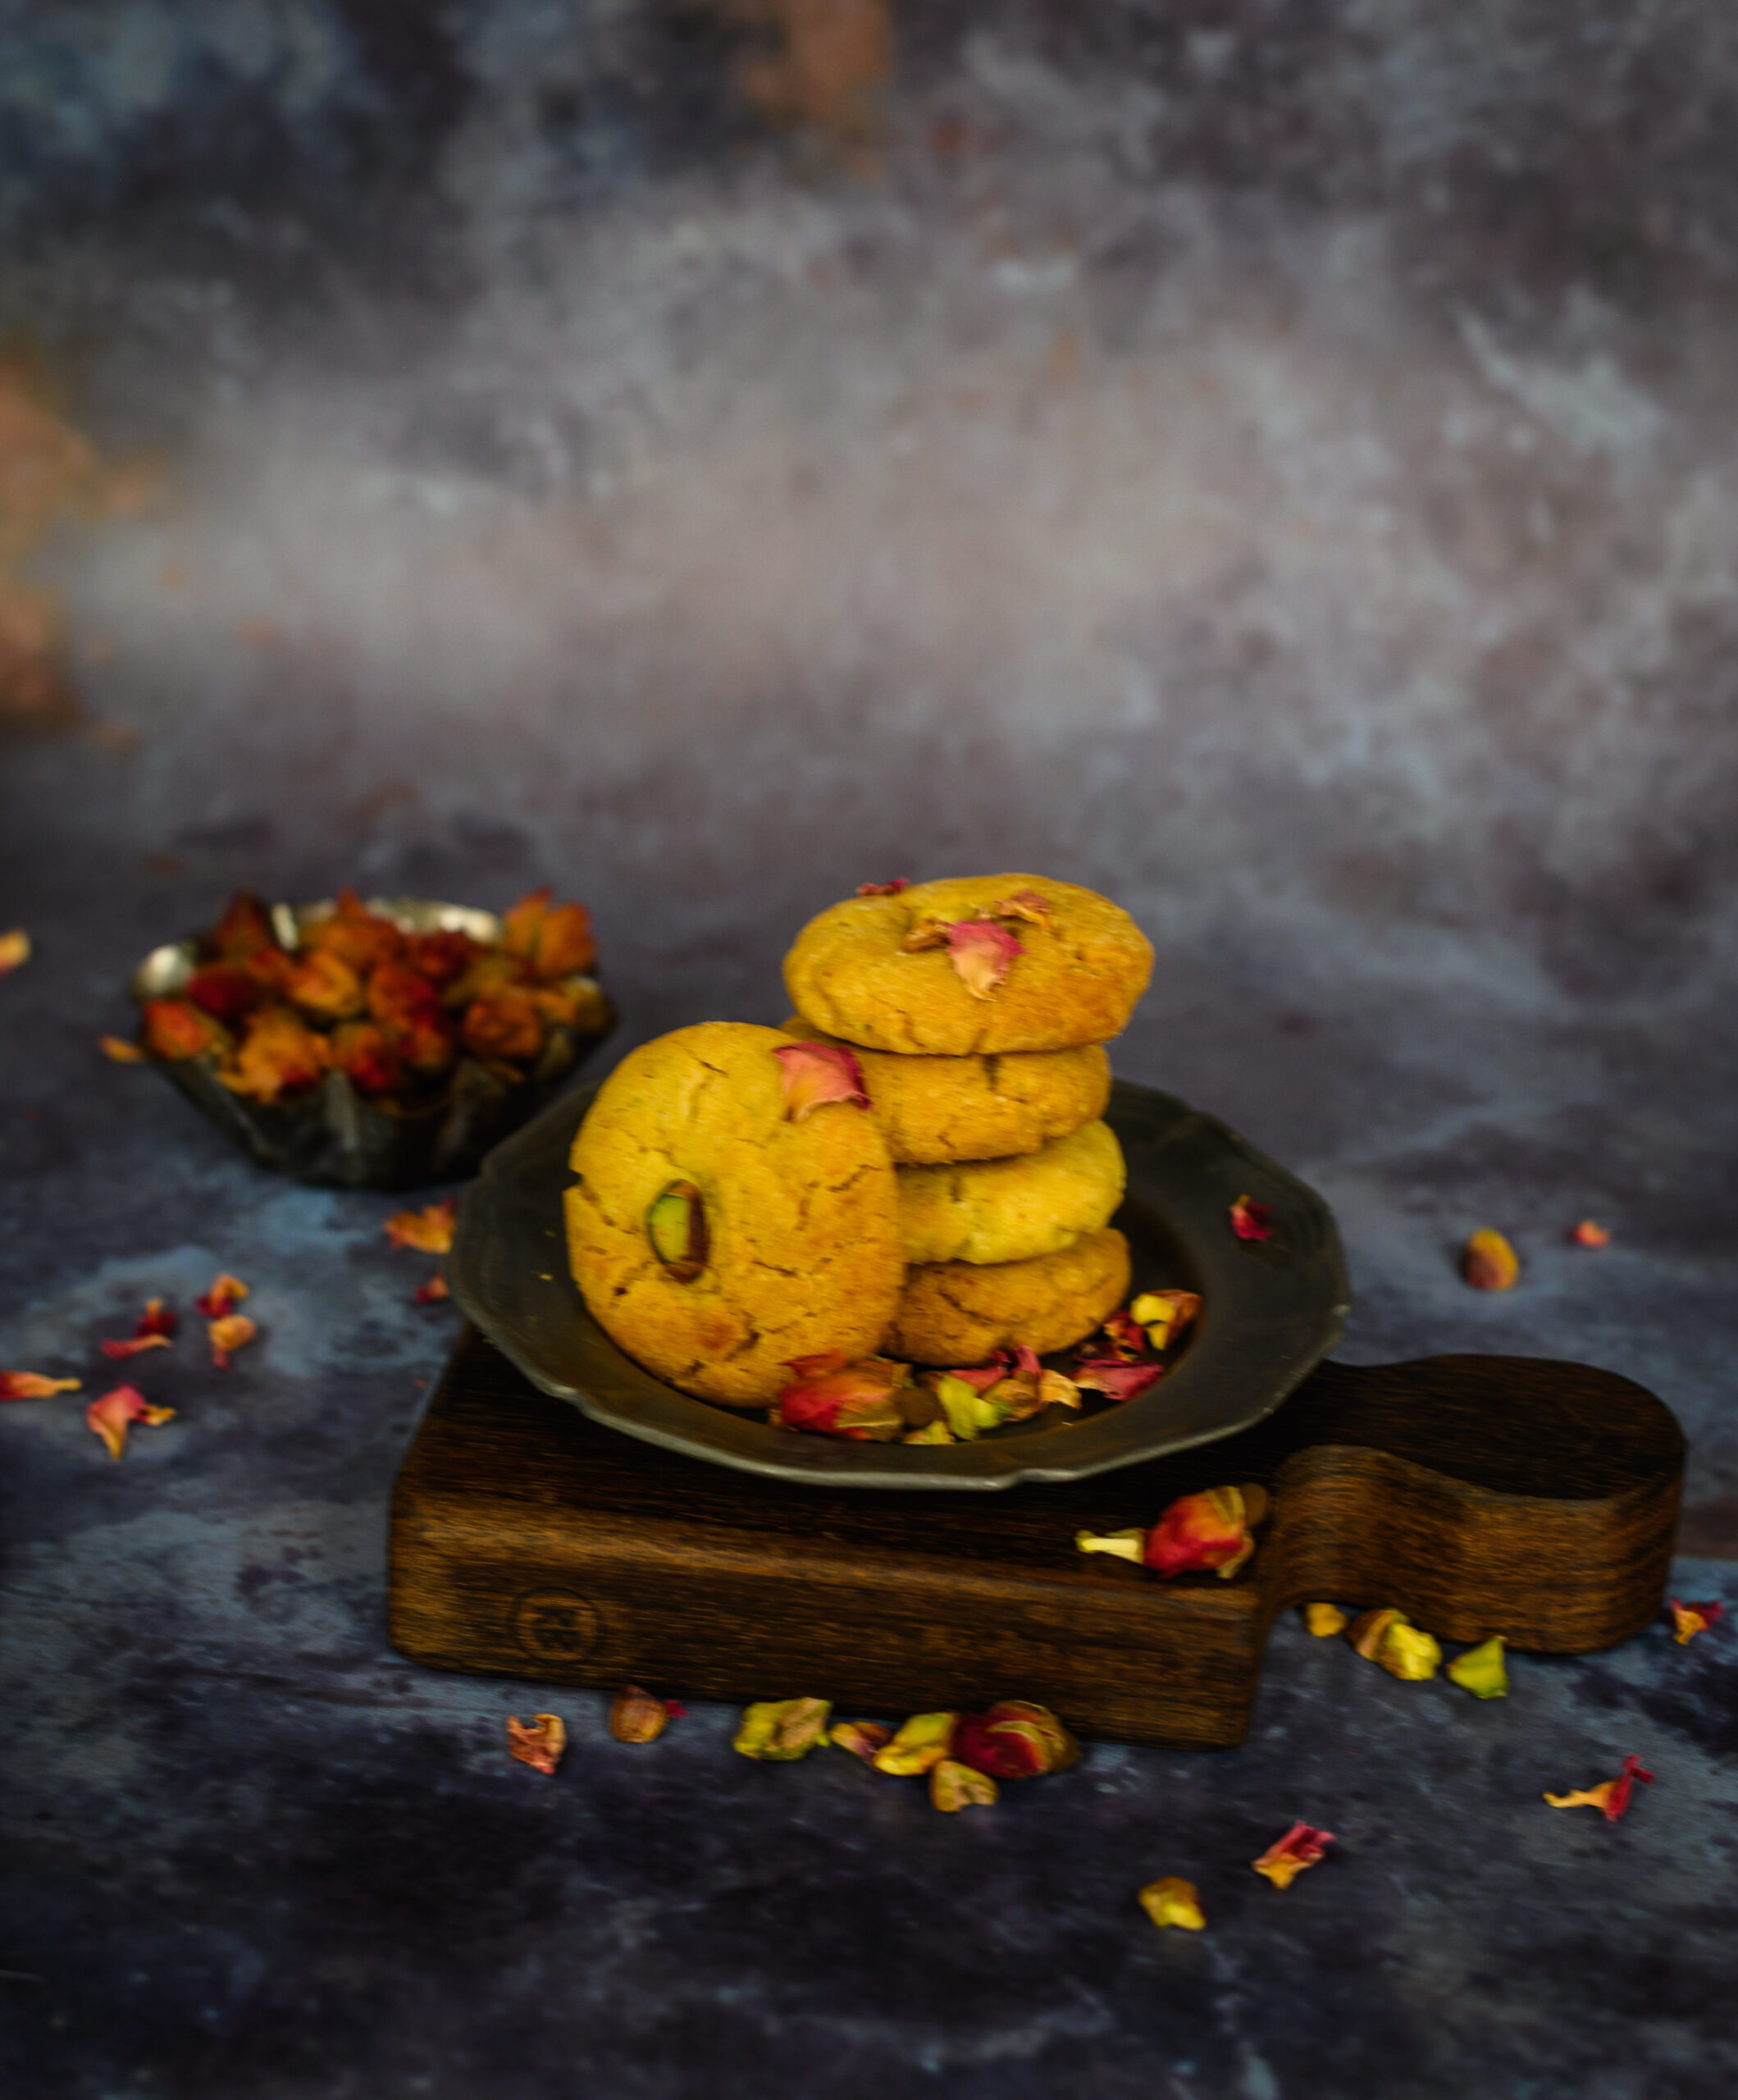
There are scores of recipes for hot chocolate all over Instagram this time of year. But this is my version, and I can assure you that it’s absolutely delicious. I first tried hot chocolates like this one abroad, but these days you not only find excellent brands here in India but also have homegrown confectioners who work with small-scale farmers, are eco-conscious and create locally-made chocolates of a high quality. You can use the dark chocolate of your preference for this recipe.

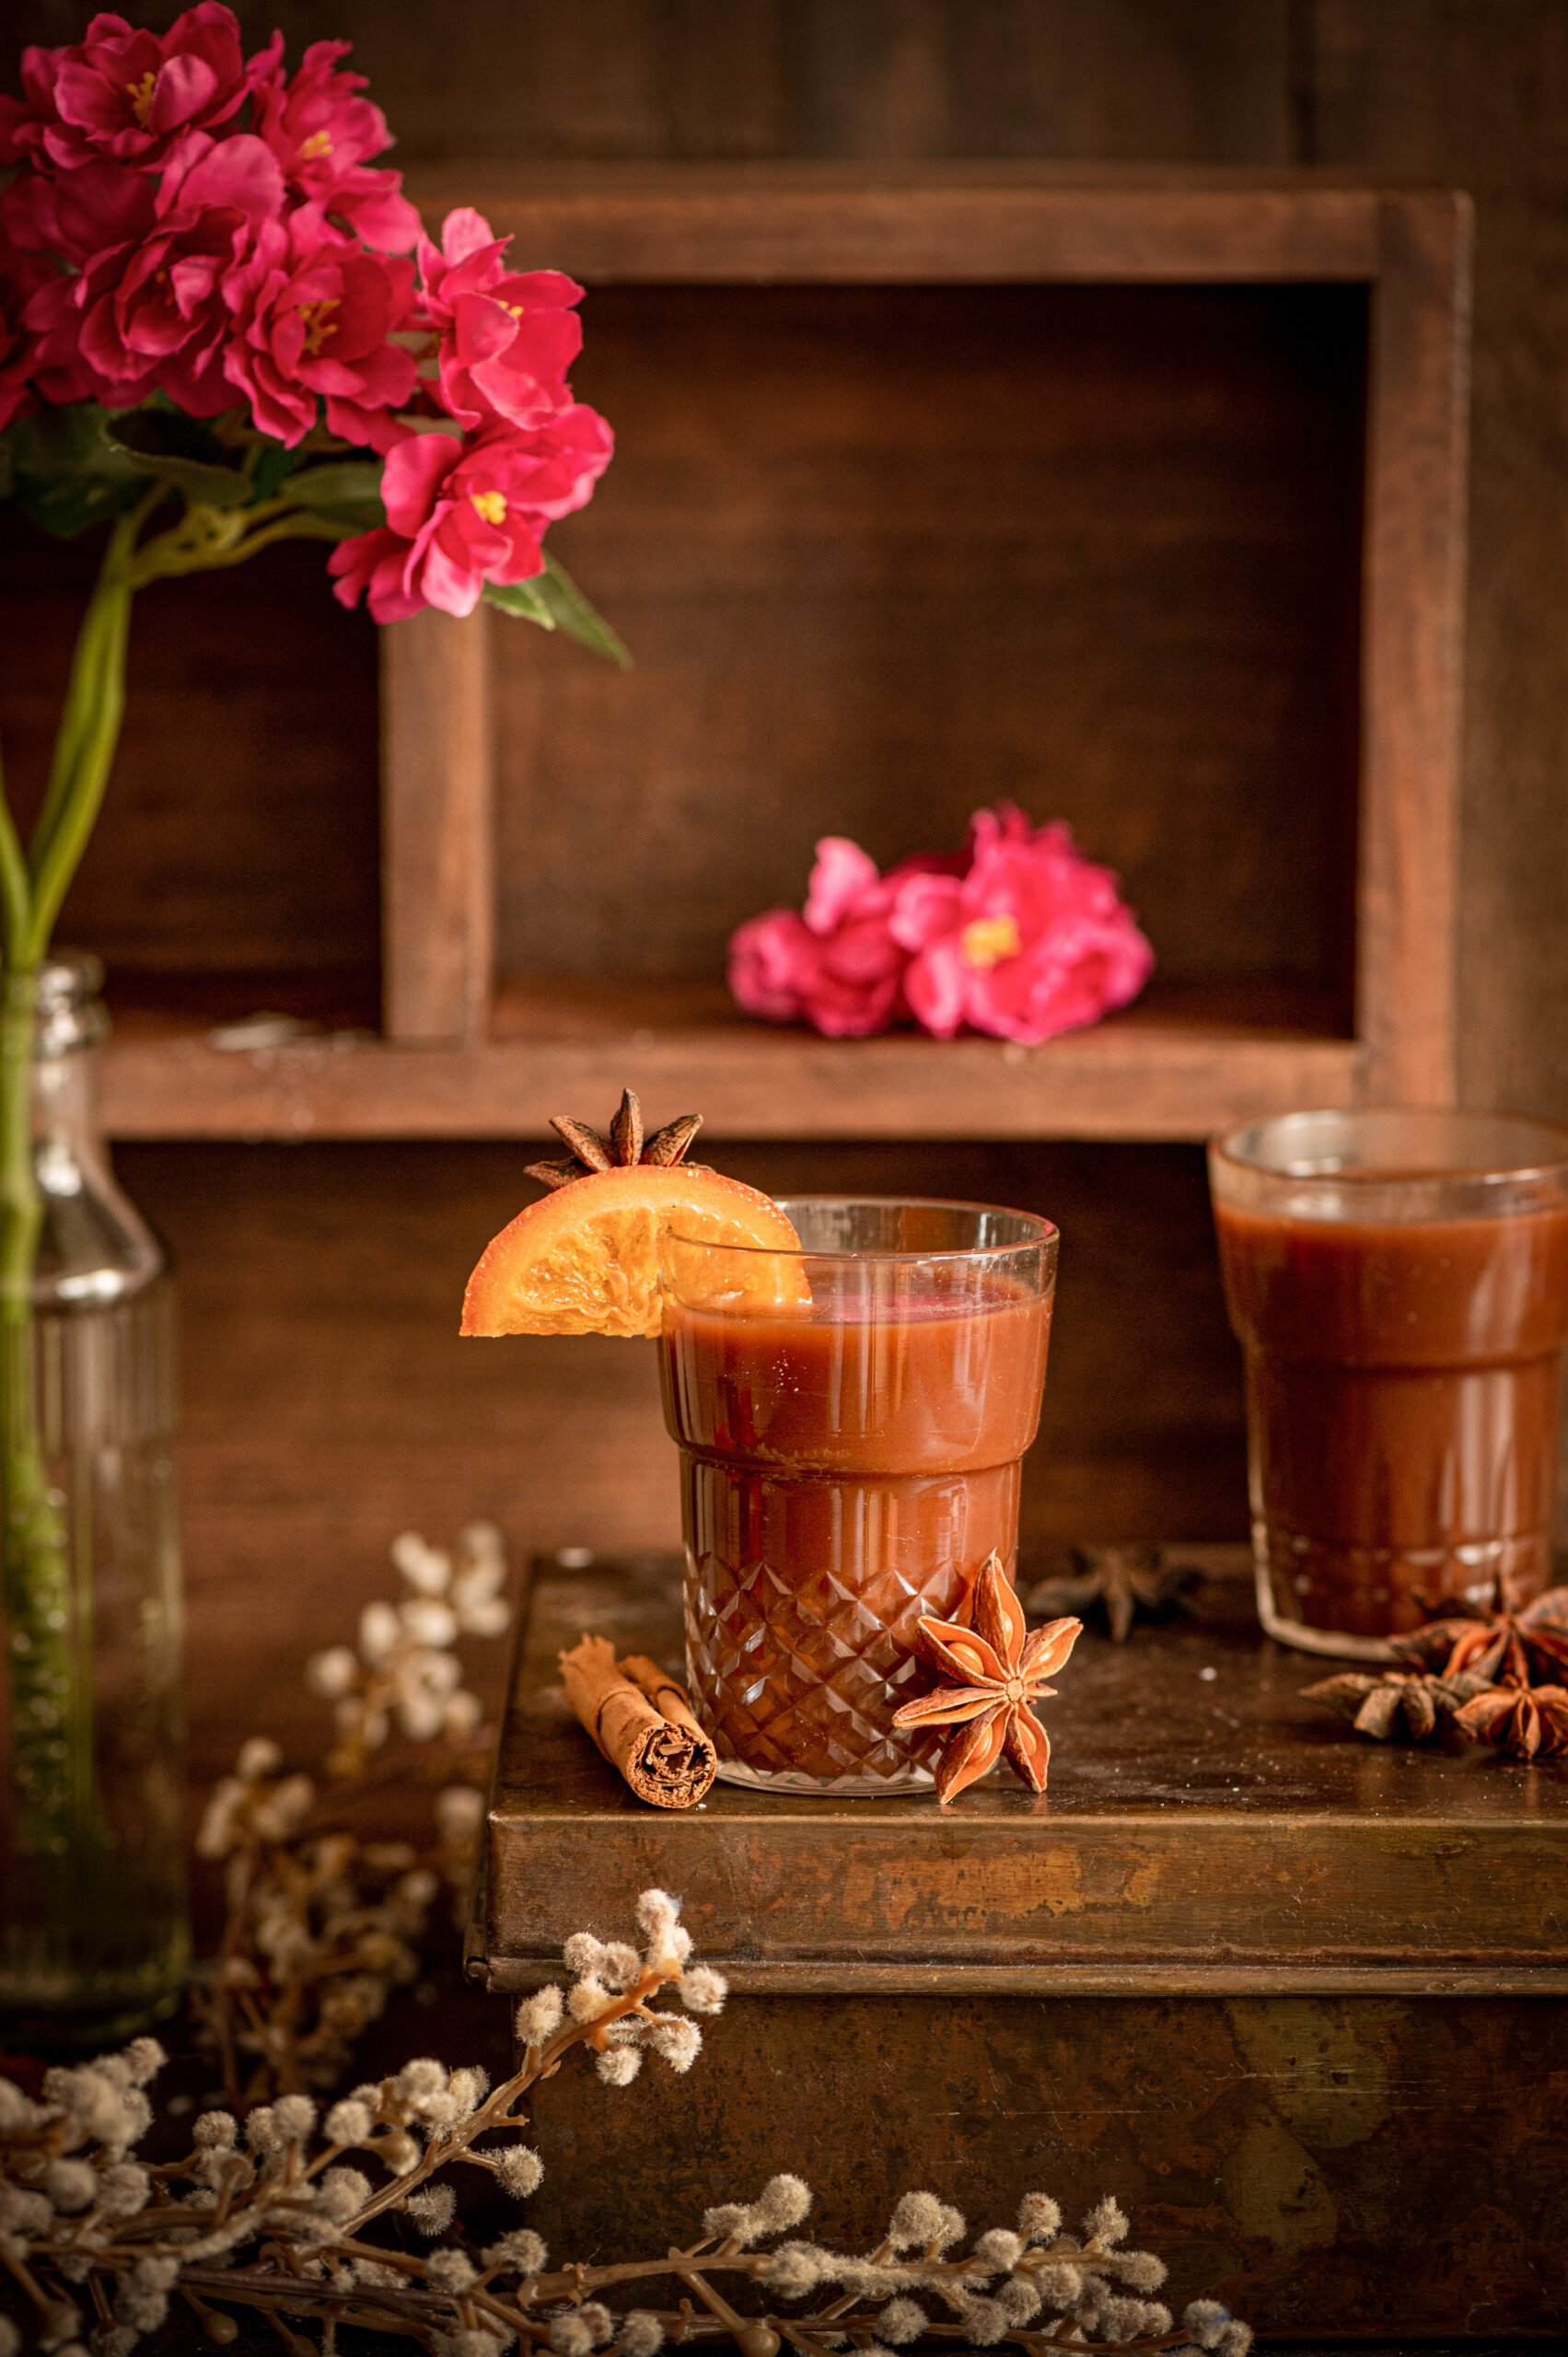
The booze quotient here comes from Cointreau. A French liqueur containing bitter orange peels, it adds a wonderful citrusy kick to the beverage. While I’ve used whole milk, you can try this recipe with almond or coconut milk too – let me know what you think of the results, if you do? You can also play around with the liqueur, perhaps substituting a mint-based one or some other flavour. But for me, chocolate-orange is an unbeatable combination, and that’s why this is my favourite version of this festive drink.

Every day during this pandemic, we’ve been drinking tonics that boost our immunity: warm turmeric, herbal anti-sniffle concoctions and more. I’m sure you’ve been doing the same at home. Hot chocolate – hot, boozy chocolate, to be accurate – is a nice change! The weather in Chennai has also been changing for the better, and there’s a nice nip in the air and the season of heavy rains has passed. This is such a lovely and appropriate dessert for this time of year, especially as we reflect on all that has passed and all that is to come.

The theme of hope is on my mind constantly of late. I believe hope is what separates us from others in the animal kingdom, and is the only thing that has kept and still keeps us going through the pandemic. “Hope, gratitude and good health” is truly going to be our mantra for the coming year. I wish for you that all three are in abundance always.

The lockdowns in various parts of the world have taught us all so much. We have changed and we have learned. We’ve understood what bears meaning, and what doesn’t. For me, one of the most important learnings is that Nature rules us all. We have to be mindful and respectful of the health of the planet and the co-existence of all living things. Our interconnectivity has never been clearer than through the spread of the pandemic. I believe that now that we have seen this, we must change our individual habits. I also believe that it is never too late to start doing so. Even though the planet is on the brink of climate collapse, we can still do our part to contribute to its healing. I have hope. I have hope that hope itself, combined with a strong sense of responsibility, can save us.

Just look at how much we have overcome already. We are no longer scared and confused. We’ve figured out how to cope, and we’ve also been able to bring little rays of sunshine back into life.

The beginning of a new year usually inspires optimism, but this year I’m feeling it all the more. I truly feel like I’m seeing everything in a fresh light, and I am looking forward to good things to come

It so happens that even our home has also undergone a bit of a transformation, and has been repainted and rejuvenated. It’s also our wedding anniversary in late December, so there’s a double reason to celebrate. We have had decades together, with all the ups and downs, and thick phases and thin ones, that such a duration invariably brings. It has been a beautiful journey, and has contained so much. I hope that you too have something to toast as this year winds down.


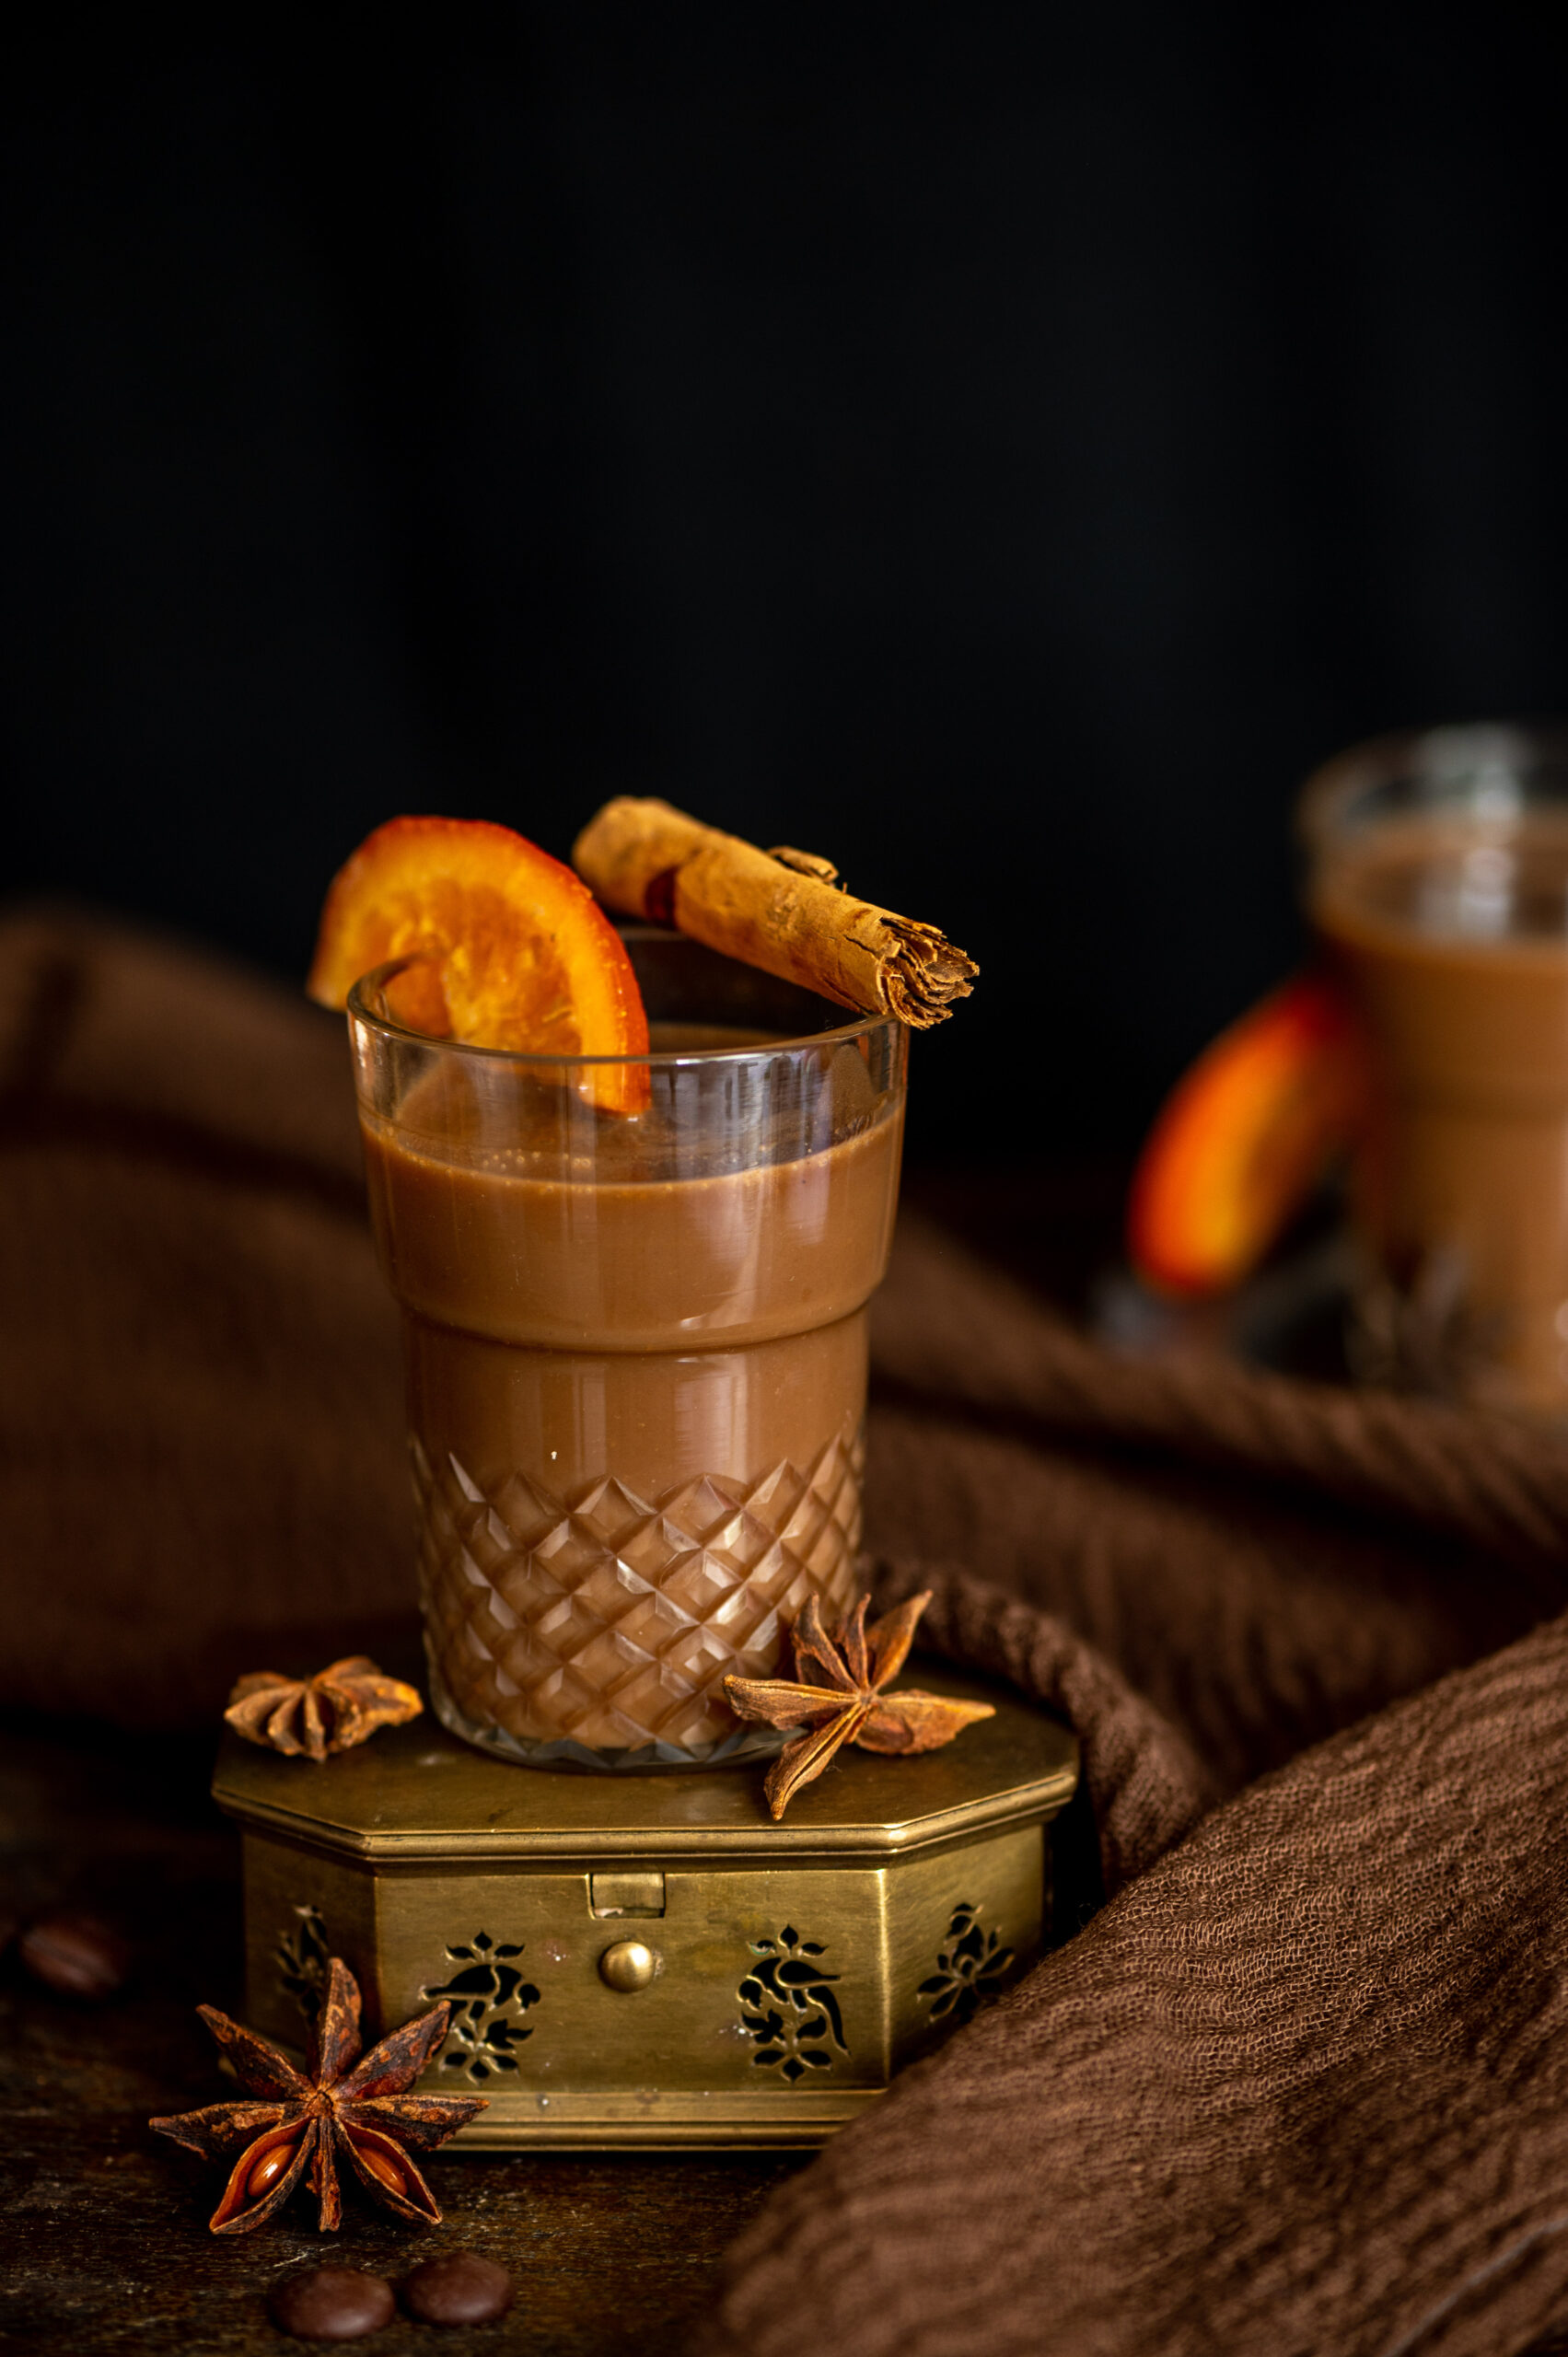
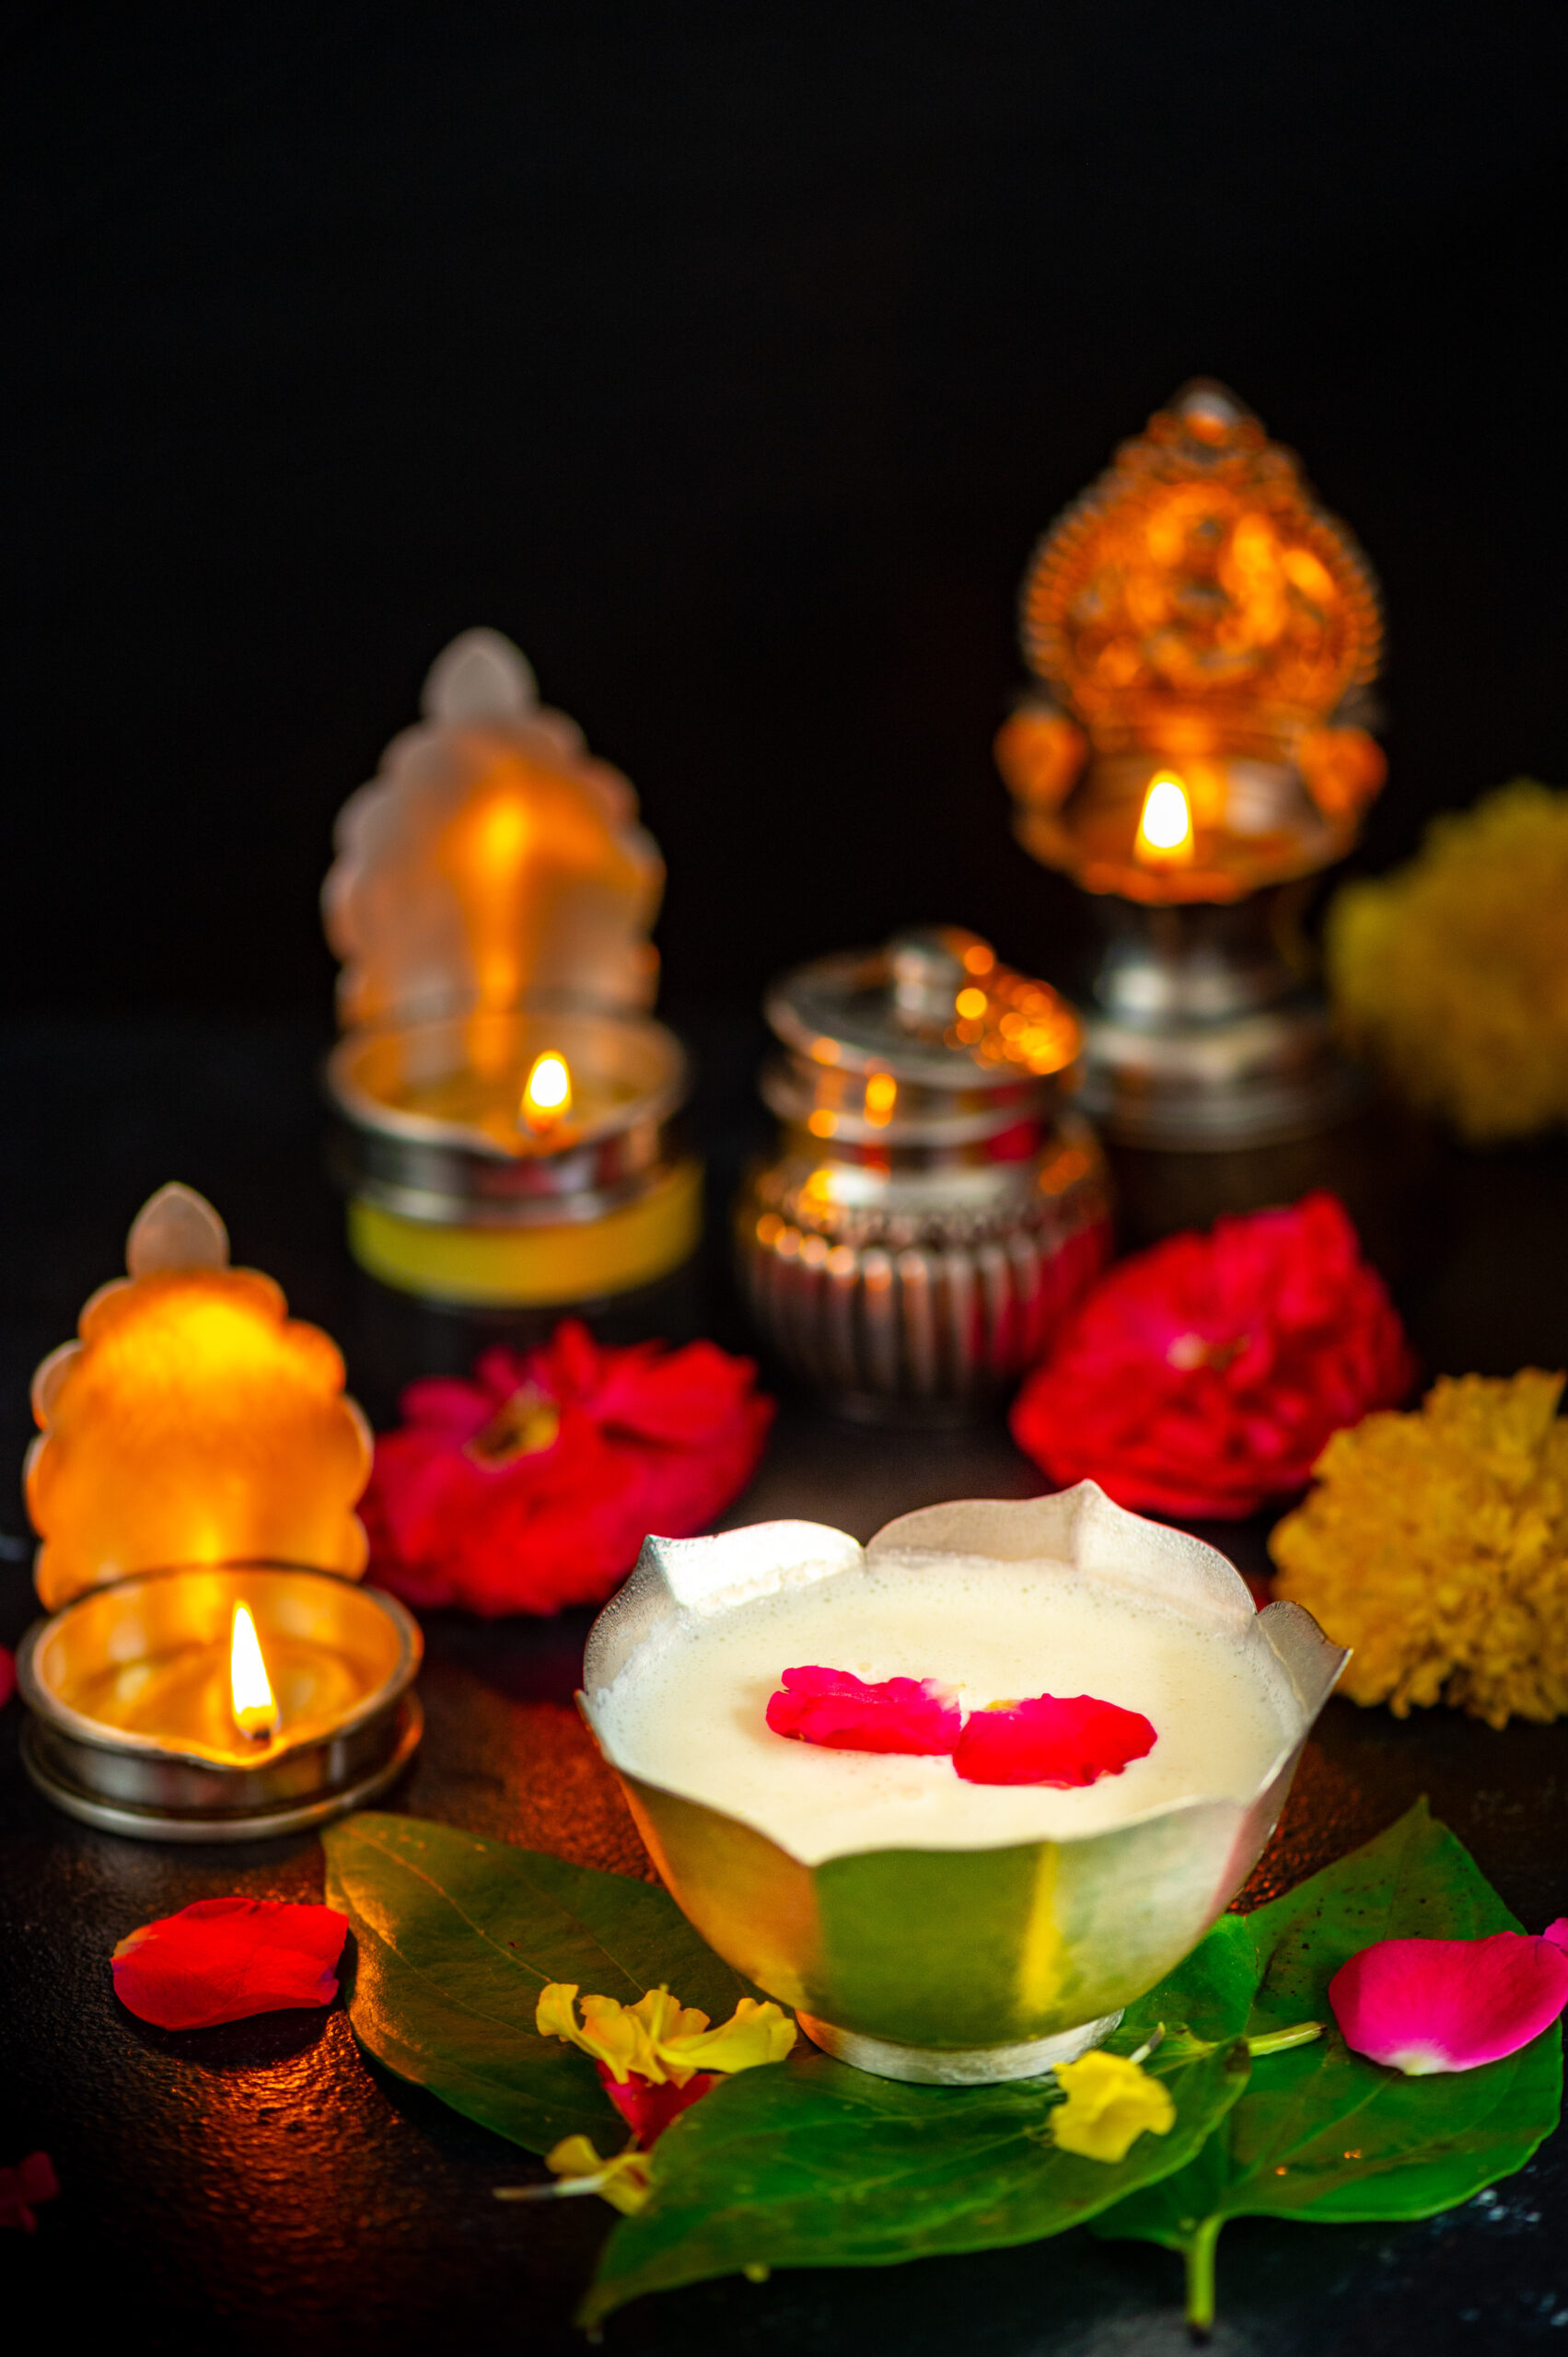
Boozy, Orange-Kissed Hot Chocolate

(Yield: Serves 2)


1 ½ cups whole milk

¼ cup cream

75 grams dark chocolate

1 tablespoon cocoa powder

1 teaspoon corn flour

¼ teaspoon vanilla extract

1 tablespoon sugar

1 star anise

1 tablespoon Cointreau


Garnish options (pick any, or all!)

Dried or candied orange slice

Cinnamon stick

Whipped cream

Caramel sauce


In a ¼ cup of milk, add the corn flour and whisk until the mixture is smooth.

Add the remaining milk and cream to this and stir. The cream is optional, depending on your tastes. Vegans – you may replace the milk with almond milk, and eliminate the cream. Next, add the cocoa powder and mix it all up.

In a heavy bottomed pot, place the concoction on a low flame and stir constantly.

You can now add the star anise. Do not allow the milk to boil, but once it is heated up, turn off the flame and then add the chocolate, sugar and cinnamon powder. We like our boozy hot chocolate only lightly sweetened so I use just a tablespoon of sugar, but you may double this quantity if you prefer. Stir constantly at this time, making sure the chocolate melts and the milk turns silky smooth.

Add the Cointreau. Use more liqueur if you want to make it boozier. Garnish as you wish to and serve immediately.

I believe that thoughtful portion sizes are very important, both aesthetically and as well as in terms of what is good for us. I always say that the eye feasts first, and I knew this from a culinary perspective even before I understood it as a photographer. Serve this beverage in small cups or glasses. It’s a heavy, filling drink that keeps you warm and cozy and you will not need a whole mug of it to enjoy it. What a perfect symbol for the year that has ended too, which has taught us all to be grateful for the little things. Look more closely at what you have, rather than take it for granted, and you will cherish it all the more.

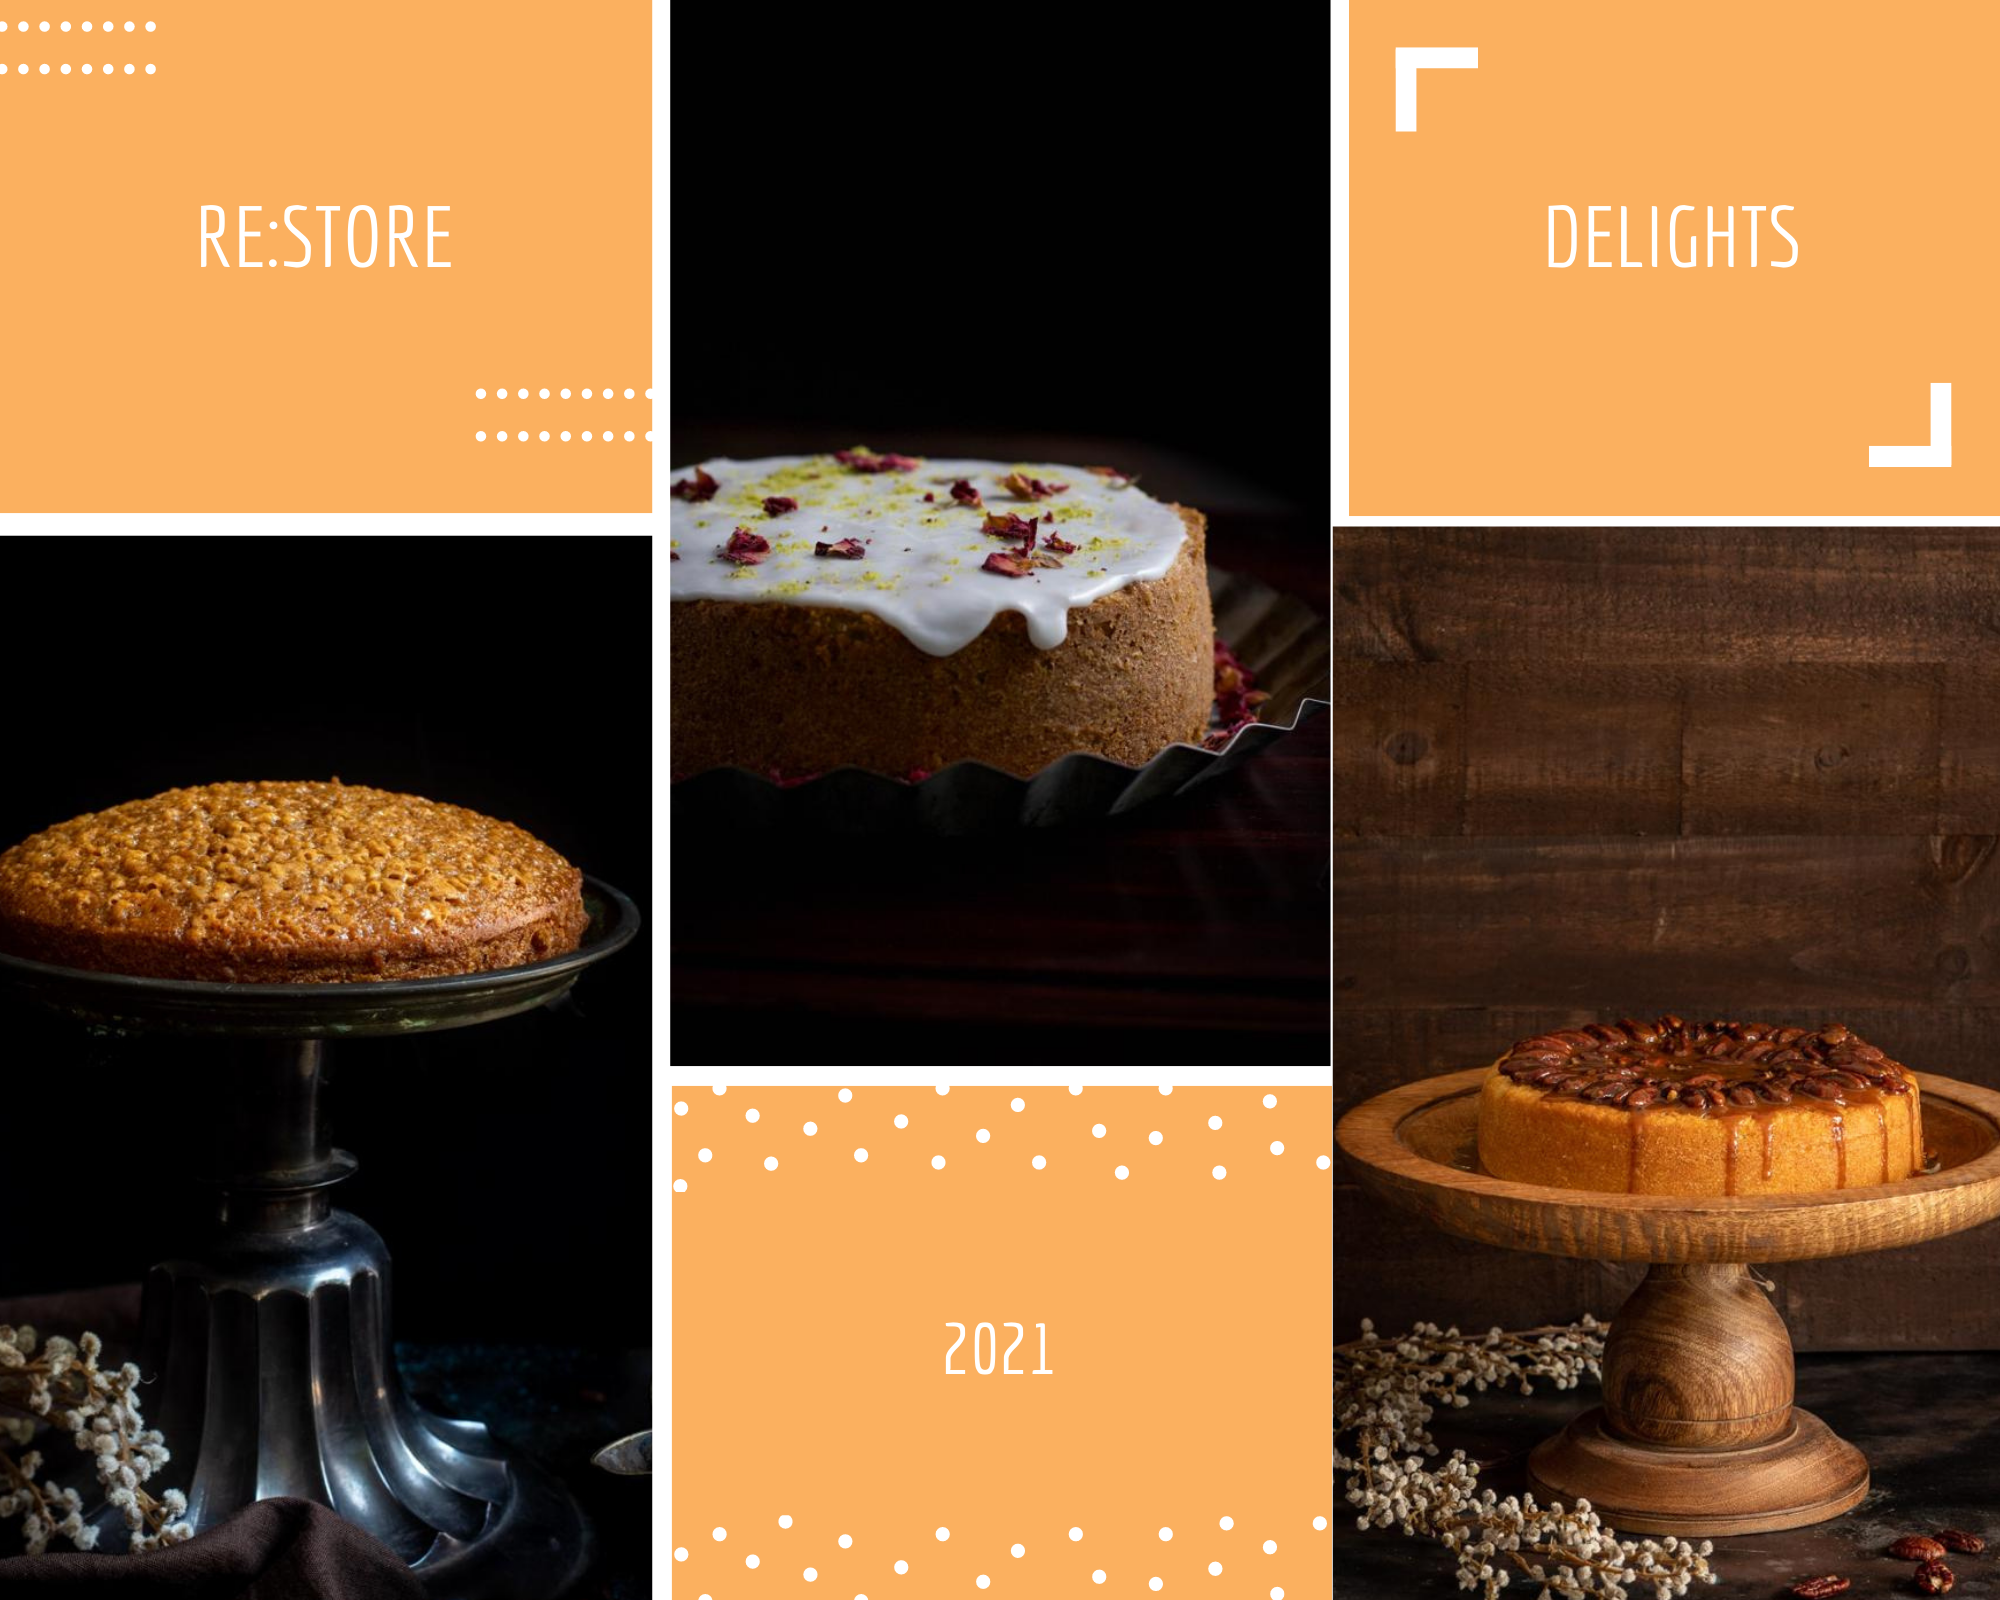
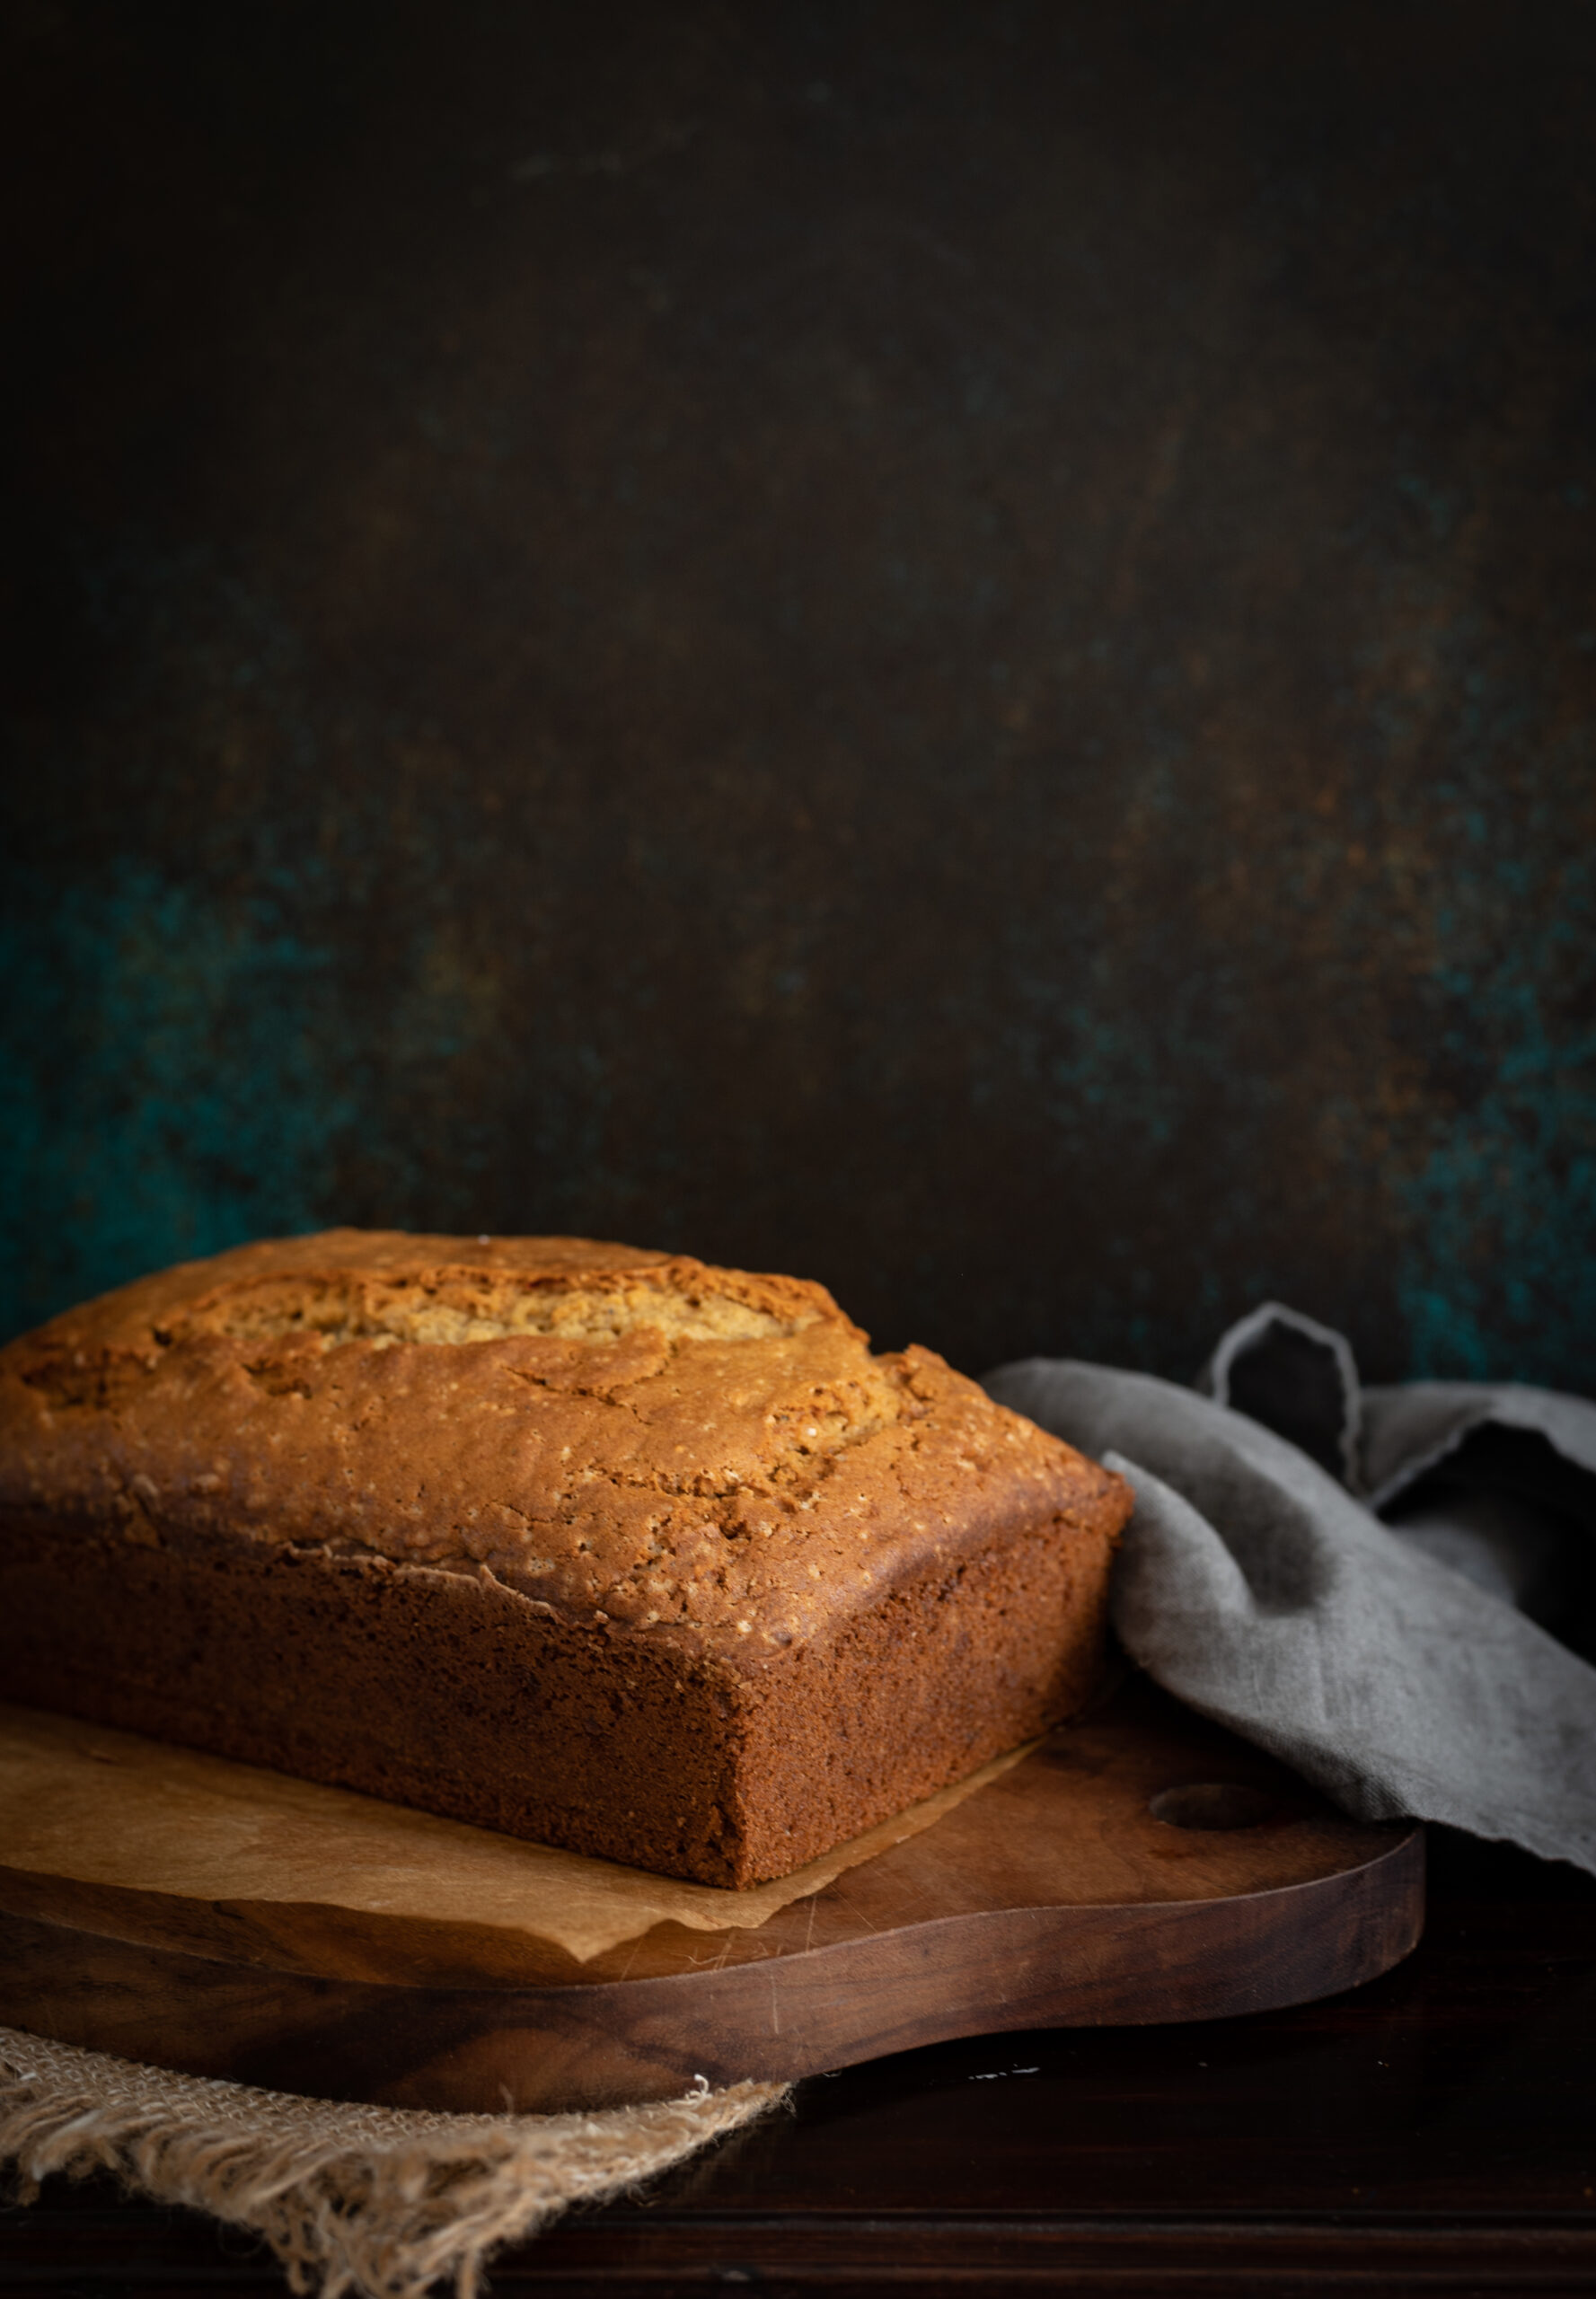
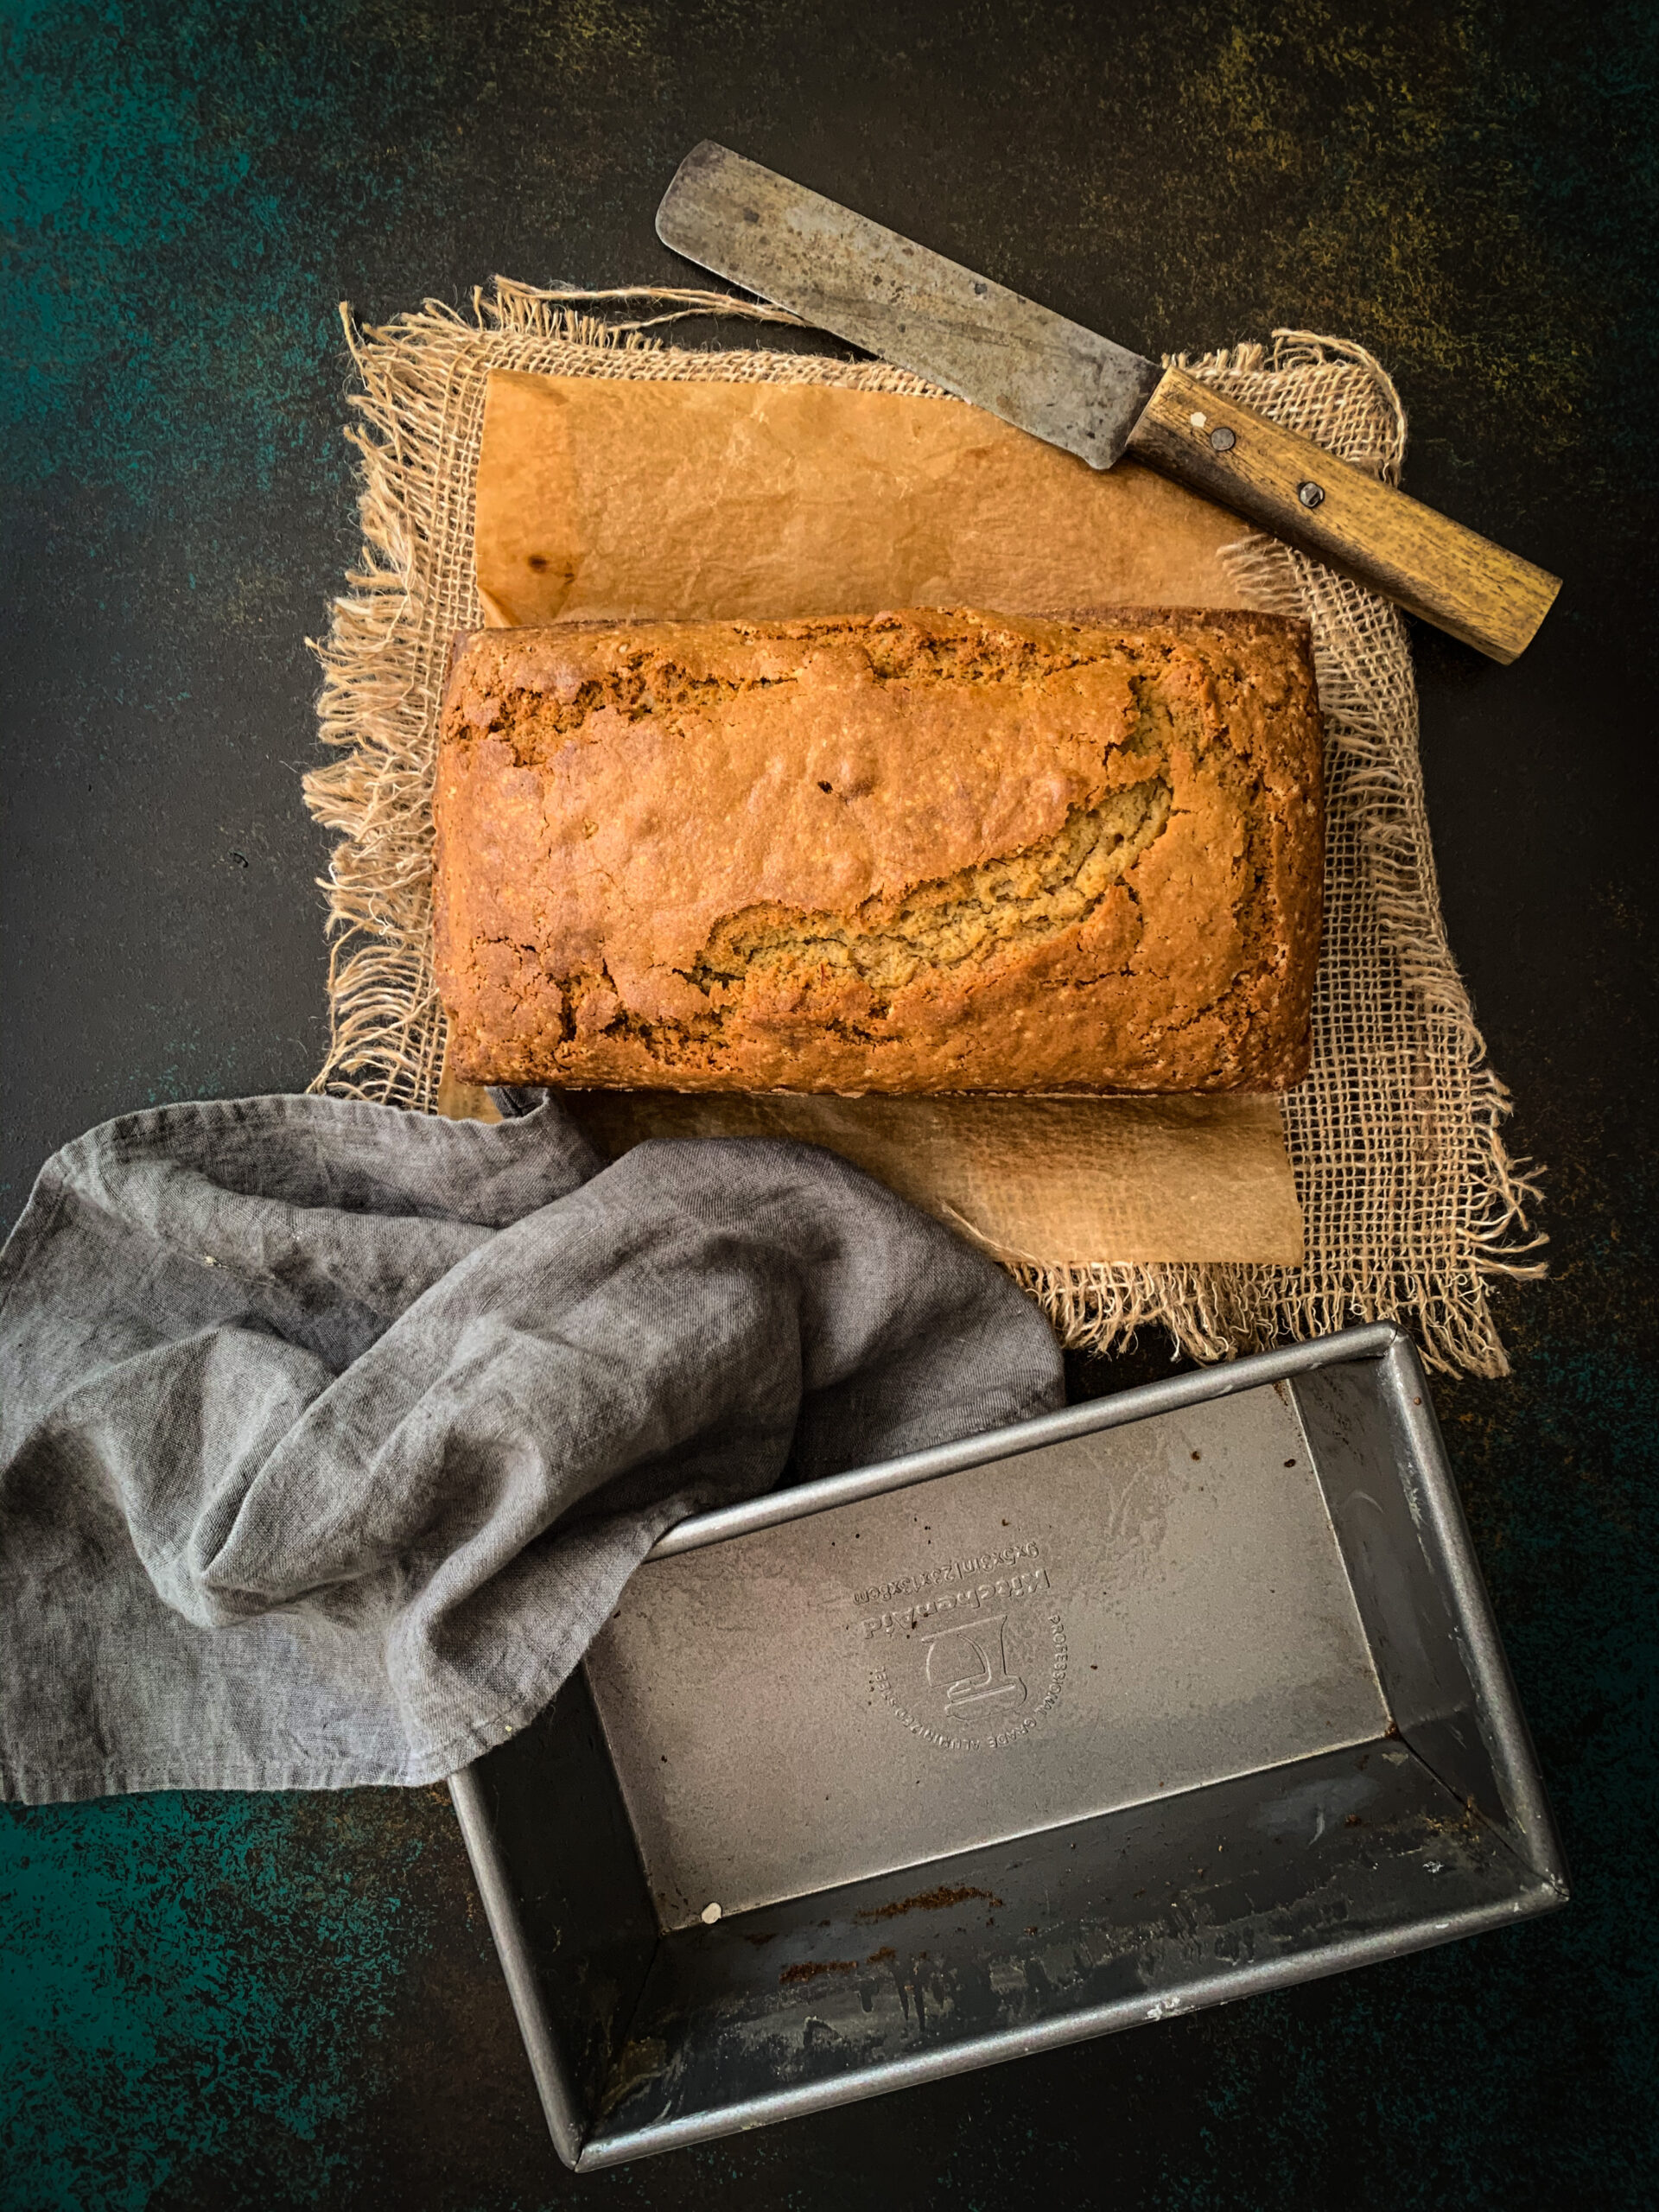
I am cherishing having my family around, and having the joy of my work to keep me busy. The re:store kitchen is always especially busy and beautifully aromatic at this time of year as I bake an array of goodies for the year-end festivities. I would love to bring some deliciousness and warmth to your home as well. If you are in Chennai, please take a look at my product catalogue  and see if anything catches your fancy. May I draw your eye to the almond cakes, available in a range of flavours and with an eggless option, to complement this wonderful beverage? Or how about my latest addition to the menu: a caramel-pecan cake that simply uplifts everything through its sweetness? I can’t wait to hear from you, and to place something special into the oven for you and your loved ones…

A friend and I were on a weekend getaway in the hills when another friend, who coincidentally had embarked on the same idea of a little escape to the same sleepy town, dropped by to visit us. We were enjoying each others’ company and trying to pep up the meal we would share, wanting to make it as fancy as possible with the simple but fresh ingredients at our disposal. There was a lot of yoghurt on hand, and perchance, some luscious passion fruit. Voilà, inspiration struck! We were quick to leap into action and put together a beautiful shrikhand for dessert, and even quicker to polish it off as we caught up on our conversation.

Both passion fruit and shrikhand have been celebrated on this blog before, and bringing them together felt like a lovely stroke of luck. Passion fruit always has a short season, so I suggest that you take advantage of the same and try this recipe as soon as you find the fruit. It truly is one of the most beloved fruits in my home, as you may remember from this recipe for a passion fruit salad dressing that I still make as often as possible. At the very least, sliced passion fruit or passion fruit juice is a daily feature whenever we’re able to get a fresh harvest.

While I had prepared this dish using dairy while on the getaway, once I got back home I tried it again in a vegan preparation. I had initially wanted to make a vegan version of the coconut pudding that was shared last week, but wasn’t able to do enough trials due to the festive rush. So this time, what I am sharing is a tried and tested vegan dessert, made with coconut yoghurt.

Quite like the sitaphal kheer that needs very little to enhance it, being so flavourful on its own, the passion fruit shrikhand too does not need the the usual frills of a typical or traditional shrikand. It doesn’t need saffron or slivers of almond or pistachio to elevate it. All I used was a little bit of cardamom. The focus is very much on the taste of the fruit, which happens to be quite sweet, and this means that you can cut down on the sugar quantity used in the dish.

Gujaratis take pride in our shrikhand, and it is even eaten as part of a main meal in a great combination known as shrikhand-poori (I’ve written many times on this blog about that famous Gujarati sweet tooth!). So while I don’t want to make an easy comparison to flavoured yoghurts you can get in supermarkets, I can definitely say after this experiment that it’s very easy to flavour your shrikhand too, using different kinds of fruits. It’s very easy to prepare overall, too. The best part of it is that being homemade, we know exactly what goes into it. A flavoured shrikhand is a healthy treat, and a fun and simple way to add a twist to this immensely popular Gujarati dish.


Vegan Passion Fruit Shrikhand

(Yield: 4-5 cups)

5 cups coconut yoghurt

½ cup icing sugar (substitute: ½ cup honey or maple syrup)

¼ teaspoon cardamom

Pulp of 2 passion fruits


Take a fine muslin cloth, put the 5 cups of coconut yoghurt into it and tie the cloth. Use plain yoghurt if you prefer a vegetarian rather than vegan version. Hang this yoghurt for about 2-3 hours or until all the whey drips out. You can use this whey to bind dough for rotis.

Then, put the yoghurt into a strainer and add the sugar to it. Sieve the yoghurt with the help of a spoon and collect it into a bowl. Add the cardamom powder and passion fruit pulp. Mix well.

You may garnish the bowl with a pinch more of cardamom and some lovely passion fruit seeds. Serve chilled.

While you can use almost any fruit as flavouring, there’s just something about a naturally sweet one such as passion fruit that brings this dessert together so beautifully. Do be sure to take advantage of the season for it.

We returned from our trip to the hills with lots of fruits, bringing bags of avocado and passion fruit back to our urban lives. The cooler climes really do have such an interesting variety of produce, and if you have access to these at the moment, I’d love for you to check out some other posts using peas, plums, strawberries and peaches. Fruits had been such an integral part of our meals on our getaway, and usually made up our entire breakfasts too. Given the nutrition quotient of this food category, I think I’m going to keep looking more deeply into bringing more fruits into more dishes, innovatively…

And so, the coconut series comes to a sweet finish with a dessert, just in time for Diwali! The first time that I had this coconut pudding was at a friend’s potluck, a long time ago. I had not yet started re:store then or become known for my baking, and so my standard contribution was always some kind of traditional Gujarati fare, like a kachori or a dal dhokli. Each of us would bring something, and we would partake in a lovely and diverse feast together. It was at one such gathering that I first encountered this sublime coconut pudding. Whose preparation it was, and at whose house, blurs in my mind. Every one of the posts in this series (podi, oil and stew) has involved the inspiration of one or several friends of mine, and while I wish I could recall exactly who inspired this one, I can say with certainty that my friendships were a big part of it too.

Despite forgetting the other details, I still remember vividly that first coconut pudding itself. It looked very pleasing to the eye, giving off a sense that it would be cool and refreshing. The first spoonful confirmed my expectations. It was just fabulous, and tasted so light. I can recall that it was summer at the time, but the elements and sensations of the dish are the same no matter when in the year you have it. It is simply a delight.

Every Diwali, I usually prepare the ghugra that my mother taught me, as well as boondi. This year, given the circumstances, I wanted to create something lighter, something that would not only have a subtle flavour but would also feel more breezy overall. I also wanted something that would be consumed quickly, given that we cannot have guests for days on end as we usually do. The coconut pudding was perfect on all counts. With the exception of the ceremonial laapsi, there are no other sweets at home for Diwali this year.

But rest assured that we are, finally, in a celebratory mood, and I hope very much that you are too. I have had an instinct for a while now that November would be the turning point when things would begin to get better. The news of Joe Biden being elected the next President of the USA seems to usher the good times in, and as I have American family members, the feeling of hope is quite close to home. Moreover, our Gujarati New Year is also around the corner. This time of year is always a new chapter for us, and the number of lovely traditional dishes I’ve linked from my native cuisine in this post also honours the same.

To return to the uplifting and delicious star of our Diwali this year, this coconut pudding… While I can’t remember who brought this dish to the potluck where I fell in love with it, or who shared their recipe with me afterwards, I’ve been making it for years. You may recall an earlier rendition, with chia seeds, here. This is a different version, and the twist here is rose – re:store’s most preferred flavour, as many of you who have made orders with me know. Somehow, a rose represents so many things at once: love, coolness, fragrance, birth, death, celebration and more. It is a universal symbol, and a timeless flavour. One of the things I love most about roses is that they are locally available and very accessible. It’s so easy for me to bring that aroma and those soft petals into my day.


Coconut Pudding

(Yield: Serves 4-6)

1 cup condensed milk

½ cup cream

1½ cups coconut milk

11 grams agar agar

¾ cup water

1½ tablespoons rose water


Place a saucepan with the water and the agar agar on a double boiler. Stir until the agar agar melts and becomes translucent. Cool and strain.

The method for this dish is quite simple, but agar agar – which is a vegetarian substitute for gelatin – is a bit tricky to work with. If required, add another cup of water while melting it.

Making sure that all the other ingredients are at room temperature, mix them well together. Add the strained agar agar at the end. Pour into cups or moulds.

Leave to set in the refrigerator, and serve chilled. I hope that this dish uplifts your mood as much as it does mine.

I am lighting a lamp this Diwali to wish you all the best for a hopeful and healthy 2021. Even though we have not yet become able to open our homes in the ways we used to, let us open our hearts even wider to make up for it. May the festive season bring you and your family joy!

Many of you know that I picked up the camera because of re:store. What began with taking product shots and creating images for the blog grew into a deep love of food styling and photography, gradually becoming a major component of my work. Cooking and photography are my twin passions, and I have dedicated myself to both through challenging myself, studying and learning, and lots of trial and error. Despite knowing the amount of effort it takes to get really good at something, like anyone in today’s era, I also get excited about attractive new creative forms. I’ll see some interesting content that someone else has shared, and go, “OMG, I have to do this!” So it was with stop motion video. Having seen some charming stop motion videos online, I made it my mission to produce a couple for re:store.

Tada! Here is the first: some cute, classic chocolate cupcakes. Do click on the link to watch the video on Instagram.

Let me tell you, that one minute of fun was a whole day’s work! I’m so glad that I had a friend’s daughter, Anushka, to work with me on the technical aspects. What this experience has taught me is that it isn’t about learning 75 different things, but being able to focus on the handful that one is really drawn to, so as to become good at those. There are so many eye-catching possibilities out there today, but I can’t manage them all, and neither should I aim for that. I need to give myself time to get through one learning, and let it naturally lead to the next one. This dilemma or distraction I had, about whether or not to begin studying stop motion video production, ultimately reminded me that this is how my businesses have grown from inception anyhow. Step by step, following a logical flow of studying, experience and growth, and knowing when to accept help. Doing the next best thing of delegation and collaboration helps me focus on what I am good at, and what is in my control.

Authenticity is a really important part of this blog, and all my work at re:store and at Nandi Shah Photography. Every recipe I share is something that I enjoy, and have prepared, served and eaten multiple times before I decide to showcase it. These are my recipes, containing my touch. For every shoot, I cook, style, photograph and edit everything myself. There’s a lot of love and attention that goes into each post, and there’s already a lot on my hands. In addition to my work, the current scenario has me responsible for the well-being of an entire household, including geriatric family members, and I must use any spare time I have from those responsibilities thoughtfully.

Still, I’m glad I indulged my curiosity about stop motion videos. I deliberated over what recipes would look good in this format, and these chocolate cupcakes were one of two (a different one will be coming up next weekend, so stay tuned for that as well). Even though it’s not a technical skill I want to learn for myself anymore, I enjoyed the process – having company, laughing, joking, learning more things about my camera, and of course, making the cupcakes and enjoying them with tea once the production was all done.

Subsequently, I baked these chocolate cupcakes all over again for the photoshoot for this blog. That was a separate endeavour, and I felt right back at home, doing what I love to do (and striving to better my best each time).

In addition to how they’re perfect for cute videos, I feel like although I’ve shared a variety of baked goods here before, I haven’t done any cupcakes. I also wanted to share something sweet, after several main courses. These classic chocolate cupcakes are a popular product that we get a lot of orders for, but I thought I’d share the recipe for those who want to try them out at home as well, in the spirit of spreading joy in this time.


Chocolate Cupcakes

(Yield: 12-15 cupcakes)


Cupcakes

1½ cups flour

½ cup cocoa powder

1 cup granulated sugar

¾ teaspoon baking soda

¼ teaspoon salt

⅓  cup oil

½ teaspoon vanilla extract

1 egg

¾ cup buttermilk


Frosting

1 cup unsalted butter at room temperature

3 cups icing sugar (and a little extra, if required)

A pinch of salt

2 tablespoons fresh cream

1 teaspoon vanilla extract


Preheat the oven to 180° for 20 minutes. Prepare the cupcake pans with liners.

First, prepare the dry mixture. Whisk the flour, cocoa powder, baking soda and salt together in a bowl. Set aside.

Now, prepare the wet mixture. Whisk the sugar, oil, egg and vanilla extract together.

Mix the flour mixture and the milk, alternating them, into the wet mixture. Beat them all together until the batter achieves a smooth consistency.

Scoop the batter into the prepared pans. Fill the liners to a ¾ level so that the batter has room to rise. If you’re fairly new to baking, you may want to check out this recent post of mine, which has a primer with tips you may find very useful.

Bake for about 20 minutes, or until a skewer comes out clean. Allow to cool, then top with frosting.

To prepare the frosting, beat the butter until it turns fluffy. Now, add the icing sugar and stir with a spoon. Be gentle, or else you will have the icing sugar dust all over. Once the two have come together, beat well. Add the salt and vanilla extract and beat for approximately another two minutes. If the butter cream is thick and difficult to spread, then add the cream a teaspoon at a time.

As I said earlier, these cupcakes are actually a part of our menu and one of our fastest-moving products. At re:store, we avoid artificial sweeteners that contain harmful chemicals, switching them out for natural or unprocessed ones, and use good old-fashioned ingredients (eggs, butter, oil and cake flour for instance – the basic elements of a cake)  of the best quality available locally. If you’re in Chennai and would like a fresh batch of these cupcakes from the re:store kitchen, especially with the festive season coming up, we’re just a phone call away. They’re delectable at tea-time, and ideal for gifting. As you can see again in the stop motion video, we give a lot of importance to packaging and the finished look of each product.

I’m currently very busy in the kitchen, and happily so, conducting trials for more delicious goodies, and am so looking forward to expanding the product list. Do stay tuned for some lovely new treats from re:store in the coming months, as well as new recipes on this blog as always!

Lassi is an extremely popular and very effective Indian beverage, a coolant that’s popular in the summer months. Being yoghurt-based, it not only reduces the heat in the body but is also rich in probiotics. Naturally, the classic mango lassi had to find a place in my ongoing mango series here on the blog!

This wonderful, lip-smackingly good mango lassi doubles as a dessert. The natural sweetness of the fruit is enhanced by the use of honey (or a sweetener of your choice). I like a flavourful lassi, so a little cardamom and a sliver of ginger go into mine as well.

Some wonder whether mangoes, which are known to be a “heaty” fruit, can really be eaten so much during the summer, despite this being the season when they are most delicious. I’d like to share a very interesting Ayurvedic technique that I came across. It seems that by simply soaking the fruit in water for at least half an hour before consumption, the heat is depleted from it. Mixing it with yoghurt as one does with this lassi also neutralises the heat.

Yoghurt in India is usually homemade, and dairy is consumed regularly. Chaas, also known as buttermilk, was a daily drink for us when we were growing up, as our mother insisted that we always had it after lunch. Lassi is a more indulgent dairy drink that has the same beneficial effects. It can be had salty or sweet, and flavoured in many ways. As a child, I enjoyed a watery lassi best. An excellent savoury variant uses ginger, green chilli, mint, coriander and salt. As for the best sweet variant, well, the recipe is below!


Mango Lassi

(Yield: 2 servings)

½ cup peeled & cut Alphonso mango

½ cup plain yoghurt

¼ cup plain milk

1 cup water

A pinch of salt

1 heaped teaspoon sugar or honey

¼ teaspoon cardamom powder

½ teaspoon grated ginger

A few mint leaves

Blend all the ingredients together, except the mint leaves. Adjust the water quantity based on your requirement. If you prefer a thick lassi, use less. Or use more to thin it according to your preference.

Top with ice and serve with the mint leaves as a garnish. Sliced nuts or saffron also work well as garnishing options.

Mango season will continue on this blog, and hopefully in the world too, and I have a variety of innovative dishes I’m excited about sharing with you soon. So do stay tuned for more fruity deliciousness to come!

I usually brainstorm my forthcoming posts ahead of time, thinking about everything from which ingredient will be in season to when I might be able to set up my photoshoots to upcoming special occasions, and much more. I had been keeping this refreshing citrus bundt cake in mind for later on, but the number of calls and personal messages I received after the last few cake posts have inspired me to bring it out ahead of schedule. Nothing puts a smile on people’s faces like a cake, and perhaps it’s no surprise that it seems like everyone is on a baking spree right now. This delicious cake will add to your repertoire beautifully.

You may remember my lemon poppy cake with Meyer lemons from a few years ago. This citrus bundt cake has similar flavours and uses the same pan shape too. The pans I use have been collected either from my travels, or because my friends always know that the best gifts for me are functional and beautiful objects that I can use in my kitchen.

In this recipe, I used Indian limes, locally sourced of course, and you may wish to use oranges or lemons instead. You can play around with the citrus note based on what you have available in your pantry. I always have an eye on the health quotient of ingredients, and the boost of vitamin C, which replenishes the immune system, is most welcome at this time. Citrus fruits also have a way of livening up any meal because of their vibrant colours (using them in this recipe will not give you the same vivid hues, but the taste will amply make up for it), and it was a pleasure to shoot this cake – and just as much of a pleasure to bite into a slice. The attractiveness of the bundt shape, the delicious flavour and the nutritional value came together to represent hope and positivity to me, and I believe you’ll experience the same uplifting spirit when you take it out of the oven.

This period is giving so many of us an opportunity to do some of the things we always dreamt of pursuing but never really had the time to. We are exploring new possibilities. Most of us are discovering that we are actually very good at whatever we’ve been trying our hand at, because it comes from a place of passion, and is motivated by the desire to do something different that changes life for the better.

As we grow as people, learning new skills and exploring new talents, I feel that many of us are also realising just how much we have abused and polluted our planet. I’ve had so many conversations recently about exactly this, and I have faith that we will come together to make a kinder world. We’re learning the hard way, but understanding so much more now collectively that it will surely yield a brighter future.

Speaking of brightness, that’s exactly what a good bundt cake brings to the table. When my family and I, who are enjoying lockdown together, gather at 5 o’clock each evening for a chat and some tea, this lovely cake is the perfect response to our peckishness. By the way, speaking of the new experiments people are trying out reminds me – it’s my husband who’s frequently been making the tea these days!

When I took this warm cake out of the oven the other day, the whole house had the lovely fragrance of lime lingering everywhere. While the cake cooled, every member of my family chipped in to help in some way. My husband put a pot of tea on the stove, my daughter modelled and posed for my photoshoot, and my son started the cleaning up. My dog Max, of course, was all over the place as usual, eager for cuddles (and a bite of cake, if we weren’t careful!). The beautiful, vibrant laburnum flowers – locally known as konrai – I was lucky to find to style my photos with also brightened the mood.

Like every meal we’ve eaten together in these weeks, this beautiful citrus bundt cake also brought us together. This very moist, very tender cake was a ray of sunshine, and affirmed the choice I’ve been making every day to make the very best of this time.

Citrus Bundt Cake

(Serves 5)

Ingredients:

2¾ cups all-purpose flour

2 cups granulated sugar

2 teaspoons baking powder

½ teaspoon salt

3 tablespoons cornflour

1 cup unsalted butter (at room temperature)

½ cup whole milk

¼ cup thick non-sour yoghurt

¼ cup freshly squeezed lime juice

4 eggs

2 tablespoons lime zest

1 teaspoon vanilla extract


Frosting:

1 cup icing sugar

1 teaspoon lime zest

3 teaspoons lime juice

Before I begin sharing the method for making this cake, I thought I would share a few tips. I know that many of you have taken to baking for the first time, and certain things that experienced bakers take for granted haven’t yet become forces of habit for you. So here are some simple guidelines that will go a long way towards making sure that your kitchen experiments and studies turn out much more satisfyingly.

Firstly – always make sure that the baking powder and all other ingredients are fresh and have not crossed the expiry date. It’s best to use all ingredients at room temperature, unless otherwise specified.

Now, about the role of sifting when preparing the flour. Always sift all the dry ingredients together, unless otherwise specified. This will incorporate some air into the flour and gives you a second chance to remove unwanted ingredients. Sifting adds volume to your cake and makes it light and airy.

Creaming the butter and the sugar together has the same effect, incorporating air into the mixture so that you have a nice, fluffy cake. If done right, creaming will change the colour to an almost ivory shade.

Once wet ingredients are added, be careful to not over-mix. Doing so will increase gluten formation, which is not good for the cake.

Always measure quantities by adding the ingredients into a measuring cup. As a hygiene measure, do not dip the cup into the ingredient jar.

Preheating the oven before baking is important. If this step is skipped, the cake may not rise and may sink in the centre.

Always grease the baking tin and line it with parchment paper, as this helps to easily remove the cake when it’s done.

Always place the tin on the middle rack of the oven. This will ensure that heat is evenly distributed over both the top and the bottom of the cake.

To ensure that your cake is baked to perfection, there’s a simple test that all bakers use. Insert a skewer and pull it out. If it comes out clean, the cake is done. If it comes out with clumps, it needs to bake for longer. Another sign of a cake being finished is that you may notice it receding from the sides of the tin. Finally, when you press the top of the cake gently, it should spring back.

It’s best to leave a cake in its tin to cool once out of the oven. This will take about 15 minutes. Then, turn it onto a cooling rack.

Now that these basic-but-brilliant tips have been shared with you, I must stress once again (as I did here, in this recipe for classic chocolate cake) that baking is a science. Follow the method to a T and you won’t fail. Remember to have fun!

Shall we move on to the recipe for this citrus bundt cake?

Preheat oven to 180°C.

Grease a bundt pan generously with butter and dust with flour. Refrigerate for about ½ hour. If you prefer using a regular cake tin, then use a 9” tin. Grease and line with parchment paper. You do not need to refrigerate this.

In a bowl, sift all the dry ingredients (except the sugar) together.

Put the butter in a bowl and cream it. To this, add the lemon zest and the sugar. Continue creaming the mixture. One at a time, add the eggs, making sure to incorporate each one well before adding the next.

In another bowl, add the lime juice and vanilla extract to the milk. Mix.

Now, slowly add the dry flour and the wet milk mixture into the creamed butter mixture, alternating each. Mix gently as you add. Once all the flour and the milk mixture have been included, add the thick non-sour yoghurt. Fold gently.

Pour this batter into the greased cake tin and bake for approximately 45 minutes.

Oven temperatures vary, so at 35 minutes, insert a skewer and do the test described earlier. As a rule of thumb, if the cake looks like it will jiggle if you move it, it needs more time.

Once baked, remove the pan from the oven and cool for 15 minutes. Then, turn the cake onto a wire rack.

Once the cake has completely cooled, mix the frosting ingredients together well. Pour this over the cake immediately.

Like all re:store cakes, this too is only very lightly sweet. The tanginess of the limes enlivens the tastebuds, and brings a boost of good energy your way. It can last a few days when stored in a refrigerator, and retains its moistness as well. Remember that you may use any citrus fruit that you please, and don’t let not having a bundt pan stop you from using a regular one. I’ve relied on my trusty local limes, which are used extensively in Indian cuisine. If you’re a fan of this zesty acidic fruit, you may also enjoy this rejuvenating drink that’s just perfect for the summer. Don’t forget to also check out this bounty of cake recipes I’ve shared on this blog, from this eggless whole-wheat saffron and cardamom cake to this exquisite vegan lavender cake and more!

With my kids being at home with me during the lockdown, I’ve found myself baking even more than usual – which is saying a lot! I’ve been enjoying this process, and as always I can’t help but reach out for my camera to challenge myself and indulge my creative side. With every new image of a cake that I post on Instagram, a flood of messages comes in, mostly from people asking for recipes. I’m so thankful to each and every one of you who enjoys my posts and I’m thrilled to share this recipe with you today.

The joke in the house is that I won’t share my cake recipes with my kids unless they bake along with me, which they rarely do. I’ve decided to make an exception as April happened to be my son’s birthday month, and I want to spread some happiness during what is a challenging time for all of us. This classic-style chocolate cake recipe is my gift to my son, to make use of when he returns to his city eventually, so he can remember all the bonding moments we shared together in these last few months. I am just as delighted to share it with you. As someone who took her first step into the world of entrepreneurship through the world of baking, I know just how much pleasure and empowerment and sheer comfort the process can bring. I hope you experience that delight today.

This chocolate cake is a repeat order in my house, so to speak, because it is my son’s favourite. Every single time I bake it, he relishes a generous slice and says, “Mom, today’s cake is the best one I’ve had in 27 years!” Every single time! Such appreciation truly makes my day. I’ve also noticed how there’s just something about cakes in particular that have such an uplifting effect. Perhaps that really is why they’re such a vital element of celebrations.

What I am sharing today is a no-fail or foolproof recipe. What’s lovely about it is that it is not very heavy, being oil-based. This also makes it very moist. It has a lovely, deep and rich colour which comes courtesy of the coffee powder used. The coffee powder enhances the cocoa flavour, and doesn’t impart even a whiff of its own flavour into the cake. Don’t be perturbed by it. This will not turn out to be a coffee cake. Follow the simple recipe step by step, and you’ll achieve a chocolate cake that is not cloyingly sweet, tastes absolutely delicious, and that you’ll no doubt bake over and over.


I hope that all of you baking for the first time because of the resultant free time due to the lockdown will also find the same comfort and satisfaction in it that I do. There are two things I’d like to share with beginner bakers. Firstly, I get a lot of questions about ingredient substitutes and shortcuts that go something like: “I don’t have baking powder; can I still bake a cake? How about without an oven?” My answer to them all is straightforward: baking is a science. It’s all about formulas and proportions. Once you’ve understood that, you can tweak ingredients, explore different flours and powders, and experiment. Until then, don’t start off on the wrong footing. Baking isn’t like cooking. It isn’t like replacing chilli powder with another spice. Every part of the process and every ingredient involved has a role to play when it comes to the final product of a cake.

Which brings me to the second major tip I have for beginner bakers: patience is key. If you’re in a hurry to see the end of the cake, it won’t happen! Enjoy the process.

I know that more people are binging on sweet treats now more than ever, so I’ll let you in on one more secret from the re:store kitchen. The key to moderation is not making less, it’s sharing more! A neighbour once asked my son, “Your mother bakes every day; how come you’re all so trim?” That’s because everything I put into the oven is split into many portions. For instance, whenever I bake this chocolate cake, everyone from family members to our household staff to our neighbours gets a slice. There’s a different quality of delight that comes when everyone partakes. Rest assured, there are never leftovers. It’s wonderful to bring that bit of sweetness into everyone’s day.

To my son: I hope this recipe travels with you through your life. Spending your birthday with the family, despite lockdown, was a beautiful occasion for us. Dressing up, dining together, cutting a cake, and bonding – we have been creating memories to cherish. I initially thought that we’d get on each others’ nerves, but I’m glad to be experiencing the opposite. We’re learning so much from each other about sharing and caring. Up until now, everyone was living in their own cities and doing their own thing, and sometimes I felt scared that I would be alone when I most needed it. Instead, the joy we’ve experienced in this time through being together reassures me of all the love that I have in my life.


Classic Chocolate Cake

(Serves 5)

Ingredients:

250 grams all purpose flour

85 grams unsweetened cocoa powder

400 grams powdered sugar

2 teaspoons baking powder

1 teaspoon baking soda

1 teaspoon salt

1 teaspoon coffee powder

120 ml oil

240 ml milk

2 tablespoons white vinegar

2 eggs

1 teaspoon vanilla essence

240 ml hot water


Butter icing:

150 grams unsalted butter at room temperature

400 grams icing sugar

¾ cup cocoa powder

1 teaspoon vanilla essence

A few drops of milk, if needed


Preheat the oven to 170°C. Prepare two 8’ cake tins by greasing the tins and dusting them with flour. Line the bases with parchment paper. The parchment paper helps release the cakes easily from the tins, after baking. Two tins are used as this allows you to put a layer of chocolate icing between them.

In a bowl, add the milk (at room temperature) and the vinegar. This is called buttermilk. Set aside.

Sift the dry ingredients together: flour, cocoa powder, salt, sugar, baking soda and baking powder.

In another bowl, add the eggs, oil, buttermilk and vanilla essence and mix them together.  If you’d like to, you can use orange or mint essence instead of the vanilla to give the cake a different flavour.

Now, add this wet mixture to the dry mixture and fold well, making sure there are no lumps. Do not over-beat. Next, add the coffee powder to the hot water to create a slightly thin liquid. Add this to the cake mixture too.

Now, pour the batter evenly into the prepared tins and bake for 30-40 minutes, or until a skewer comes out clean when you insert it.

Remove the tins from the oven and allow them to cool for 10-15 minutes. When cooled, flip the cake tins, remove the parchment paper and cool the cakes on a rack. Then, flip them back again (top side up).

While the cakes are cooling, prepare the icing. Stir the butter and dry ingredients with a spoon first, otherwise you’ll have the cocoa powder and sugar flying out of the bowl. Add the cocoa powder and vanilla essence, and slowly add the icing sugar until the mixture reaches a spreadable texture. Only once the mixture has been partially incorporated should you use a handheld blender. Beat until creamy. If required, add milk to achieve the consistency you desire. Store in the refrigerator.

Once the cakes have cooled to room temperature, you can frost and layer them to form a single cake. Here’s a video of the frosting – tempting, isn’t it?

Level the tops of both cakes with a sharp knife, until they are flat and even. Place one layer on a cake stand. Frost the top, and then gently place the second layer over it. Now, frost the top of this as well. If you have any kind of toppings on hand that you’d like to use, such as confectionery or fruit, go ahead and decorate the cake as you wish.

The trick to making clean slices lies in a half hour of refrigeration after frosting, so don’t skip this step before you serve it.

At a time like this, I believe that sharing something uplifting and refreshing is the need of the hour, and I could think of no better recipe that would do that than this beautiful chocolate cake. We should all remain in positive spirits, hoping and praying for the best and resisting feeling pulled down. I want you to feel good when a notification about a new post from me arrives. So I want you to tell me: what are some recipes you’d like to see on the blog in future? Looking forward to hearing your wishes in the comments!

For as long as I’ve been cooking, I have woken up every morning wondering what new dish I might try in my kitchen. This hasn’t changed at all during this lockdown. I’m still starting each day by planning what I can prepare. Of course, as all of you are no doubt experiencing too, there’s an extra step of having to be especially creative so as to maximise available ingredients since grocery shopping is more infrequent now. Still, I believe that we must always eat well, as much as we can. Desserts are still on my mind – sometimes the thought I start my day with is: a sourdough-based dish, or a cake? The other day, I picked baking a cake – a whole-wheat saffron and cardamom cake to be precise – and I’m glad to share the recipe with you today.

Teatimes at home now have a whole new vibe. I usually have my tea alone, but with everyone at home all day at the moment, they have become a special bonding experience. This is why a cake made all the more sense to me, as an accompaniment to our cuppas and conversations. With the re:store kitchen on hiatus along with so many other food and beverage enterprises in the city, I also missed baking on a daily basis. Going through my blog, I realised that in these three and a half years, I have shared no more than four cake recipes with you. Given that they are my signature product, I felt that there’s no time like the present to give you another one.

Like most of re:store’s baked goods, this whole-wheat cake is mildly sweet, with no icing. The cardamom and saffron add a faint but wonderful whiff of Indian-ness to it. An added benefit is that it’s eggless – perfect for vegetarians, and in case you’re running out of eggs at the moment. It’s a very easy cake to prepare, as well. Baking cakes always involves a simple formula, as I reminded my niece when she attempted one of the recipes I shared earlier. If you follow the basic principles carefully, they reliably turn out perfect. This one, I can assure you, is not only easy to make but also very tasty.

Earlier, I enjoyed making this cake using mini loaf tins. For a change, this time I baked the cake in a regular-sized loaf tin, selecting it from the pans which I have collected over time. This tin shape makes the cake especially cute, and it comes out in the perfect size to slice up. The portions are ideal for a family of five at teatime. Ours is 5+1 at the moment, including my dog Max – who always reminds us that we better eat up our share quickly, before he gobbles it up!

If cardamom and saffron aren’t available in your kitchen right now, this recipe will work equally well with lavender or even some mild lemon zest. The choice is yours. Feel free to experiment with flavours (and be sure to let me know in the comments later what you decided to do). Happy baking!

Whole-Wheat Saffron/Cardamom Cake

(Serves 5)

180 grams whole-wheat flour

185 grams white powdered sugar

2 tablespoons brown sugar

½ teaspoon cardamom powder

5-10 strands saffron

65 grams soft butter

1 teaspoon baking soda

¼ teaspoon salt

240ml whole milk

Preheat the oven to 180°C.

Prepare a loaf tin by greasing the tin and lining it with parchment paper.

Remove a ¼  cup of milk from the 240ml, keeping the rest aside. Soak the saffron strands in this for half an hour or until colour rises.

In another bowl, add all the dry ingredients and mix them together well. Then, add the wet ingredients one by one and mix again.

Pour the batter into the loaf tin and place it in the oven. Allow to bake for 30 – 40 minutes or until a skewer comes out clean.

Toward the end of the baking process, you may notice that the cake acquires a darker colour on top. This is due to the brown sugar. If you prefer, you may cover the cake loosely with parchment paper while it bakes, to avoid excess browning.

Let it cool slightly, then remove the still-warm loaf and slice it up for serving. The lovely thing about this cake is that it needs no icing or any kind of topping, and responds well to a variety of flavourings. It has a nice rustic look, and tastes perfectly moist and delicious all on its own. The perfect accompaniment is a cup of tea – along with a pleasant conversation…

I hope you’ll enjoy this recipe, and that it adds a hint of sweetness and sparkle to this challenging time!

The revival of traditional ingredients and culinary methods is something very close to my heart, and you may have noticed this passion in everything from the cookware you see in my photographs to the recipes I’ve shared on this blog over the years. This is also the reason why I celebrate so many festive occasions, and believe in passing on traditions to my children, be they cultural (such as certain Diwali or raksha bandhan rituals) or sentimental (such as heirloom recipes). This return to a time-honoured way of life is very valuable to us. It was in this spirit that I accepted the opportunity to create a recipe over the Pongal festival for a special feature in The Hindu. Although Pongal has now passed, any time is a good time to try something delicious, and I hope you’ll like this recipe for traditional South Indian red rice and jaggery pongal.

When I discovered an organic store in Chennai, Spirit of the Earth, I really enjoyed looking at the hundreds of varieties of locally produced rice from around India. I especially love black rice, which has a nutty flavour and appealing colour as well as being nutrient-rich. As someone with Vitamin B12 deficiency, it provides a source of iron that I’m glad to incorporate into my diet frequently. It’s also a very versatile grain, and I enjoy using it in dessert, specifically in Thai-inspired sticky rice with mango pudding. The red rice varieties were also very intriguing to me, and one of them is the key ingredient of this recipe.

Having experimented with growing organic produce on our farm over several seasons now, I now truly understand why turning away from chemical-heavy and industrialised agriculture is good for us. What we do is on a small scale, and mostly for our own sustenance, although we do sell to selected organic stores as well. We cultivate traditional varieties of fruit, flower and produce, and the only kinds of rice and millets we usually eat at home are from our own fields. Among the produce we grow are: ragi, green moong, black rice, barnyard millet, samai and thinnai. Even taste-wise, I find that hybrid varieties of fruit simply don’t taste as sweet. The sight of blossoms like the manoranjitha, which I grew up with but hardly find in Chennai anymore, warms the heart.

It is deeply meaningful to me to be able to provide all these forms of a sense of belonging to my children, who are grown up and live in different parts of the world. They know that they have a home to return to, which will be filled with love and tradition, where meals will be served with ingredients we have carefully cultivated ourselves. When they are not here, they have the recipes on this blog, which will teach them (no matter what time zone they’re in!) how to whip up their favourite comfort foods for themselves. This was one of my core reasons for beginning this blog. While it may look like a motley collection of recipes, that is only because I want it to speak to many generations and tastes, and span influences that reflect all our travels and dreams. We are all multi-taskers with many interests, which is why I keep things varied.

Beginning with my love of cooking for others, I then also started taking photographs. After early trials and errors, I attended workshops to hone my skills, and practiced hard. I think the results of these efforts will be clear even if you look back at old posts. I am proud to have come a long way since then, and especially that I took the step to establish Nandi Shah Photography in 2019. I think it’s still early enough in the year to share again this calendar, which showcases the combination of two of my great loves: baking and photography.

Another very important component of this blog is the health aspect, and whether it’s vegan, Macrobiotic or simply a smarter ingredient substitute, I am always on the look-out for how to create the most nutritious recipes. This red rice and jaggery pongal checks all the boxes here.

Pongal is a traditional South Indian rice porridge, and red rice is a perfect substitute for white rice. I like using Onamatta rice in this recipe as it has a beautiful fragrance. It also tends to cook faster and is a soft rice variety. Originating in Kerala, it is also known as Rosematta rice. A highly nutritious and filling grain, it keeps you full for a long time, making it an ideal appetite-curbing dish during dieting or fasting. I find that red rice also has a way of uplifting the flavours of local vegetables and dhal. It tastes delicious with palm jaggery, which is great sweetener. I’ve had the opportunity to see it being made as well, and I highly encourage it as a sugar substitute. Jaggery has long been the traditional sweetener in Tamil Nadu cooking, and I believe that ancient pongal varieties would have also been made with millets and older grains.

What I am sharing today is a traditional recipe, relished for centuries. You’ll see why when you taste it.


Red Rice & Jaggery Pongal

(Yield:  3-4 cups)

½ cup red rice

½ cup jaggery

6-8 cashews

2 tablespoons mung dal

2 ½ cups water

3 + 1 tablespoons ghee

1 pinch of cardamom powder

1 handful of raisins


Roast the cashews in a ½ teaspoon of ghee. Add the raisins and roast until they bubble up. Set aside.

Roast the mung dal in a ½ teaspoon of ghee until it releases an aroma. Now, add the cleaned and washed Onamatta rice to it. Add water and allow the rice and dal to cook until tender in a pressure cooker on a medium flame.

In a pan, add ghee. Now, add the palm jaggery. It will begin to melt in a few minutes. Then, add the rice mixture and blend well.

Add the cardamom powder, raisins and cashews, mix well and top it off with a drizzle of ghee before serving.

Preparing a traditional dish like this, no matter when, always has a comforting feeling to it. I truly believe in the adage “We are what we eat.” Food has a unique way of expressing this. Four generations of my family have lived in South India now, and it’s a part of who we are. This red rice and jaggery pongal is a beautiful way for me to honour that connection, as well as my personal appreciation for all things organic. I’d love to know what you think when you try it out!


When we were growing up, our mother once decided to take a Western baking class to expand her repertoire in the kitchen. As children, we adored the pastries, cakes and short eats our mother learned to bake there. In those days, embarking on such a class was considered quite unusual and therefore very progressive in Chennai, and in other parts of India. In the hill stations, there would always be families who had learned recipes from the British chefs, so they knew how to bake. In the cities, Western food was available only at clubs, and made by chefs who themselves would have studied under foreigners. For an average homemaker to go out and educate herself in Western cooking was a rare thing. Now, thinking back on how uncommon it was, I admire her all the more.

Mum was always very curious. She always wanted to know how food had been prepared, and never felt any embarrassment about enquiring on the same. She would just ask nicely, and people were often forthcoming about how a particular dish was made. In this way, she picked up a wide range of recipes, and became a master in the kitchen. I’m sure that this trait is something I’ve inherited from her, and I am always eager to keep learning, just as she did.

Our mother attending this baking course opened up so many snacking and celebration possibilities for us. There, she learned not only Western-style cakes and pastries, but various other types of baked goods as well. Among them was nan khatai, a kind of shortbread biscuit that originated in the Indian subcontinent. Nan khatai has an especially interesting story behind it. It is believed that a Dutch couple ran a bakery in 16th century Surat, a Gujarati seaport which had many traders and expats. This establishment was inherited by a Parsi gentleman when the Dutch left the country, but he found no takers for their cakes and bakes. To his surprise, the locals seemed to enjoy the dried, old bread most of all. The legend is that he decided to simply sell dried bread, which gave rise to this particular recipe. A similar biscuit is eaten in Afghanistan and Iran, where it is known as kulcha-e-khatai.

I remember carrying boxes of nan khatai on the train whenever I visited cousins or relatives, homemade gifts from my mother. I enjoy continuing the tradition of taking homemade dishes as gifts when I visit friends nowadays.

This nan khatai is neither Surat-style, nor what my mother was taught at her baking class, nor her own improvisation (the original uses wheat flour; she added a bit of besan or chickpea to hers). It is, of course, re:store-style – loaded with delicious flavours I love to use in the kitchen. Soft and crisp at the same time, this pistachio and rose nan khatai a real treat. Its fusion of cultures and influences makes me feel it’s ideal for an Indian Christmas. As an eggless baked treat, it’s also perfect for vegetarians.


Pistachio & Rose Nan Khatai

(Yield: 25 pieces)

100 grams powdered sugar

80 grams ghee (clarified butter) at room temperature

100 grams maida

25 grams pistachio meal

½ teaspoon baking soda

1 teaspoon baking powder

2 tablespoons semolina

60 grams chickpea flour (besan)

½ teaspoon cardamom powder

A few strands of saffron, soaked in 1 teaspoon rose water

2 teaspoons yoghurt

½ teaspoon pistachio extract

Rose water (if required)


Pre-heat the oven to 160°C.

Add all the dry ingredients together, sift and set aside.

With a hand blender, beat the ghee and sugar together until the mixture is light and fluffy. Now add the yoghurt, pistachio extract and saffron. Mix gently.

Next, add the dry ingredients to the mixture. Use your hands to bring it all together. It will be a soft dough. If required, add 1 teaspoon of rose water to bind it better.

In a baking tray, lay out small rolls of the dough and top each with a slice of pistachio. Make sure there is space between the rolls to give them room to bloom. Bake for approximately 15 minutes, depending on the oven type.

Remove from the oven and allow to cool.

Your re:store-style nan khatai is ready to serve, just in time for the year-end festivities! This Western-but-Asian biscuit is delightful with tea. Isn’t it amazing how much history and how many cultures one little biscuit can contain? Aromatic thanks to the rose water and extra crunchy thanks to the pistachio, I am sure you’ll find it as addictive as I do. Here’s wishing you and your family a wonderful Christmas. I hope a batch of pistachio and rose nan khatai will be baking in your oven soon – let me know what you think of it!