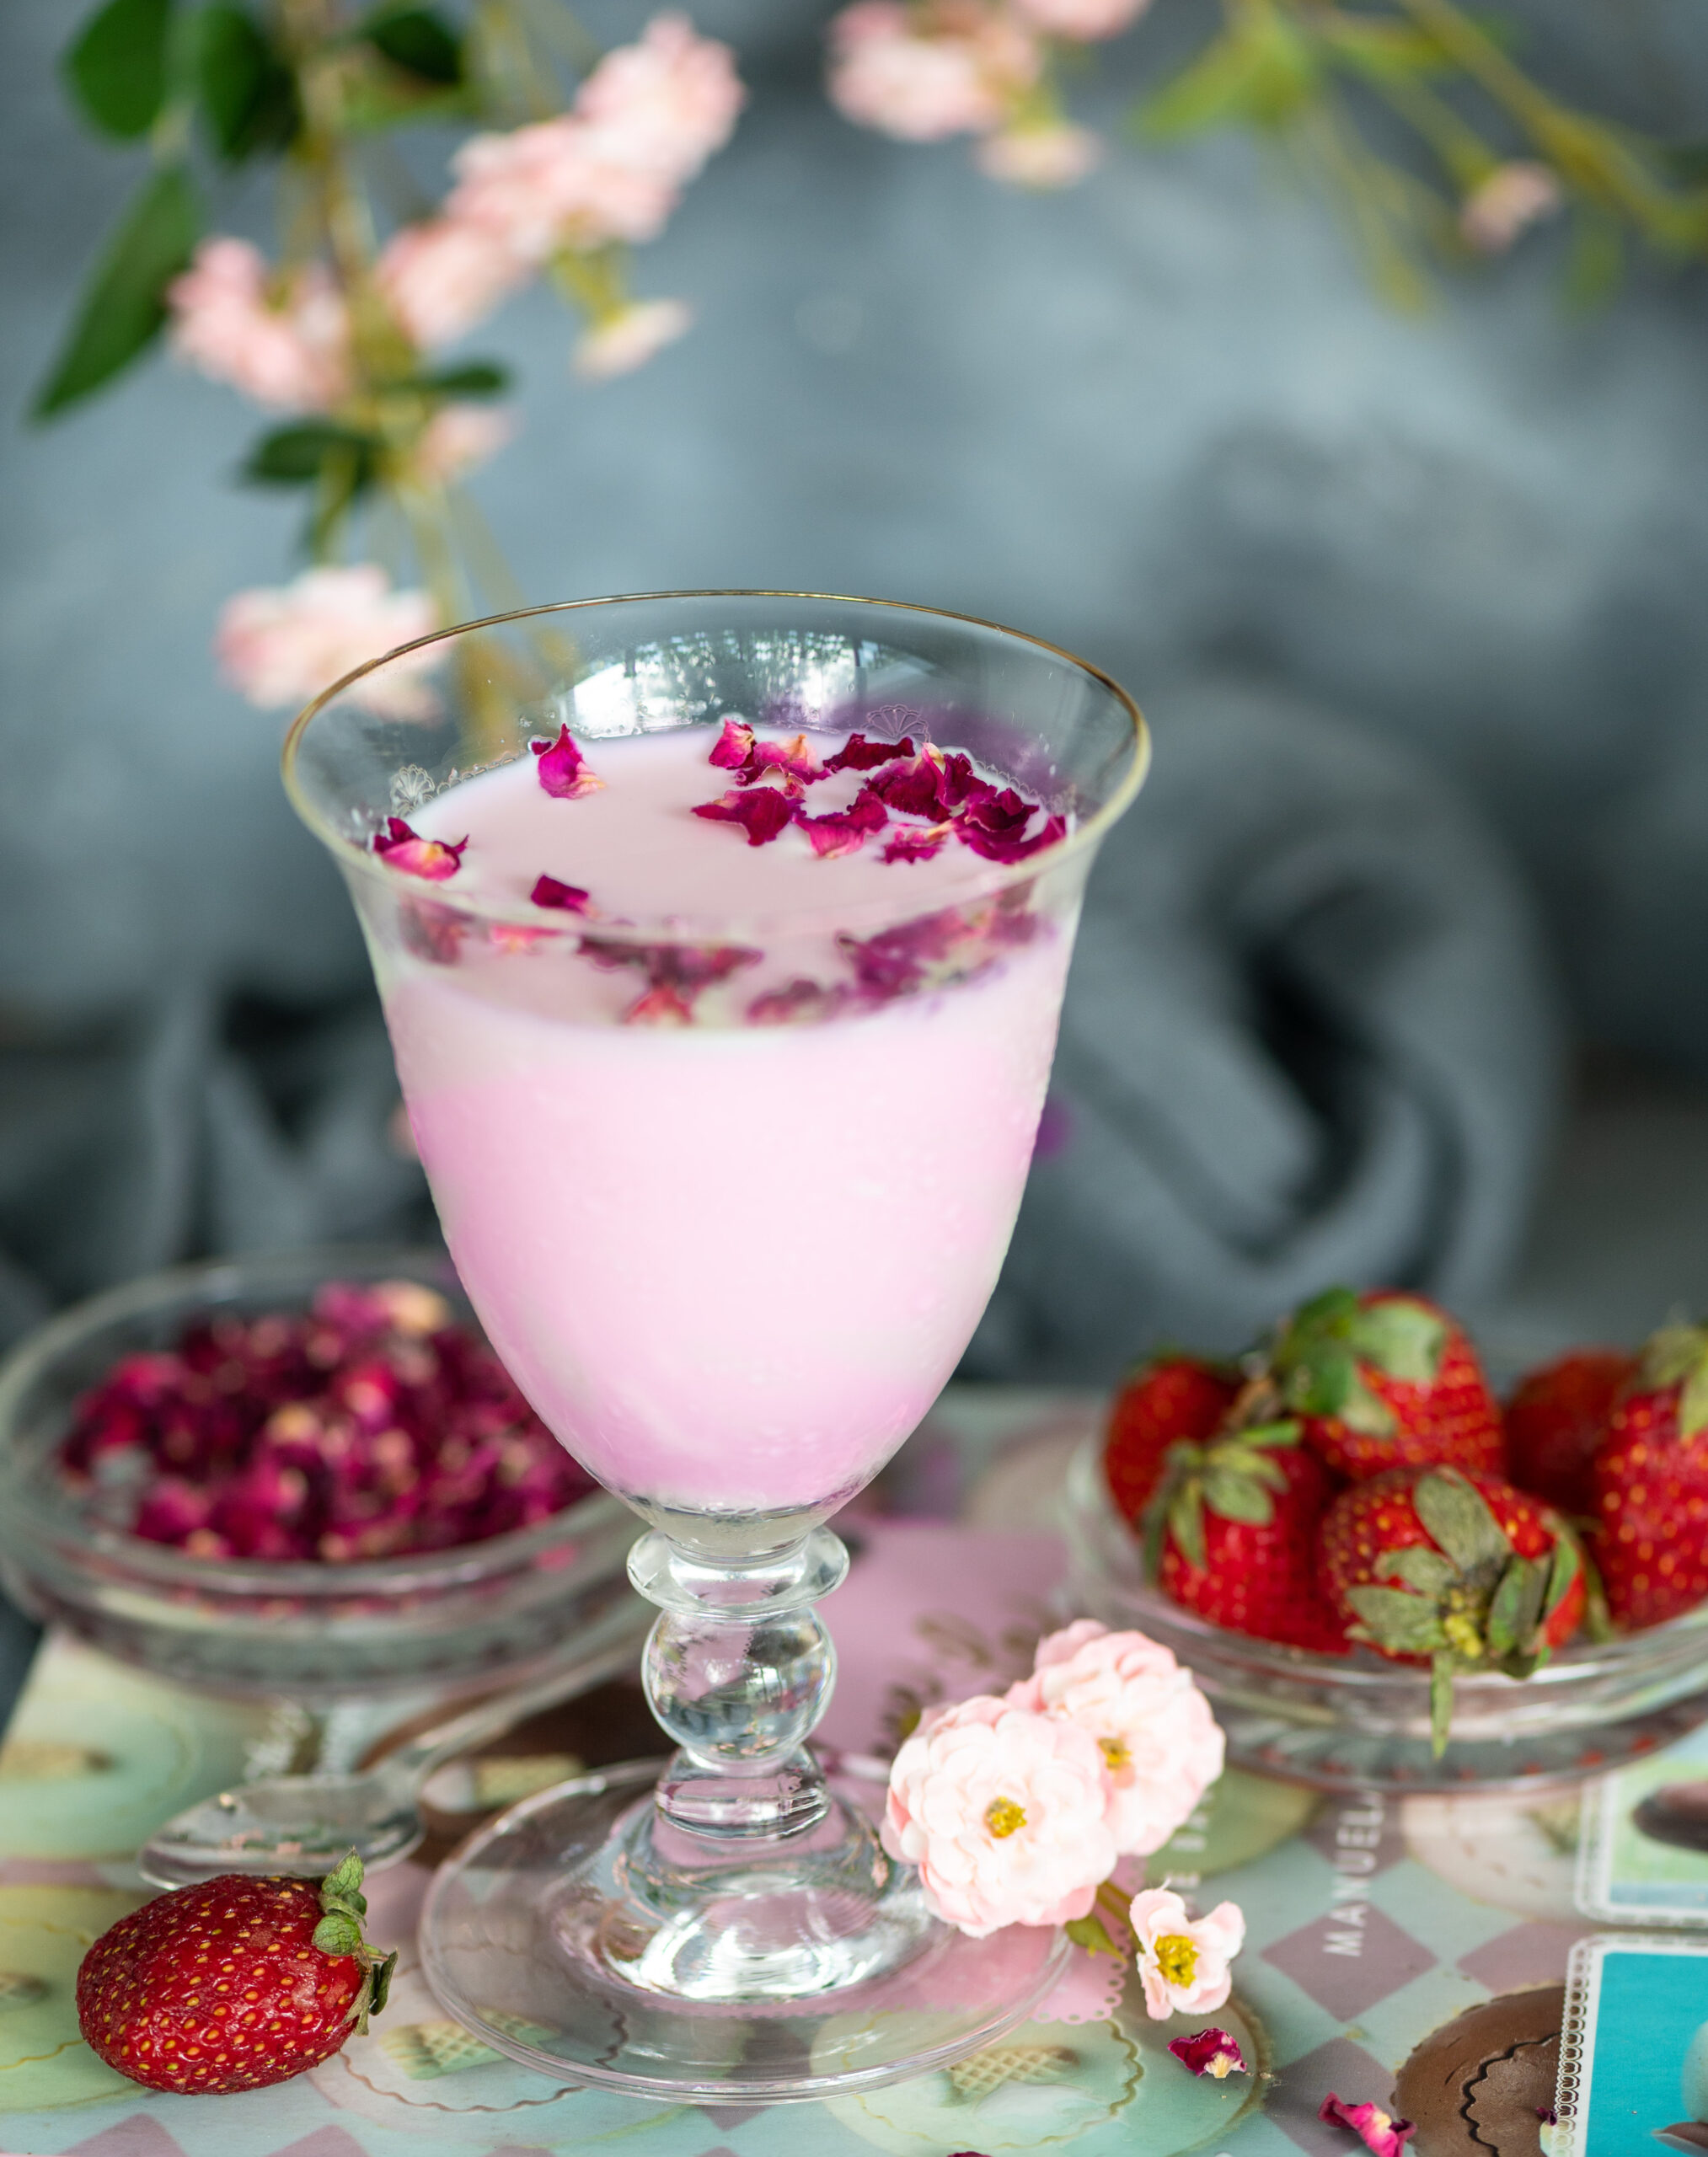
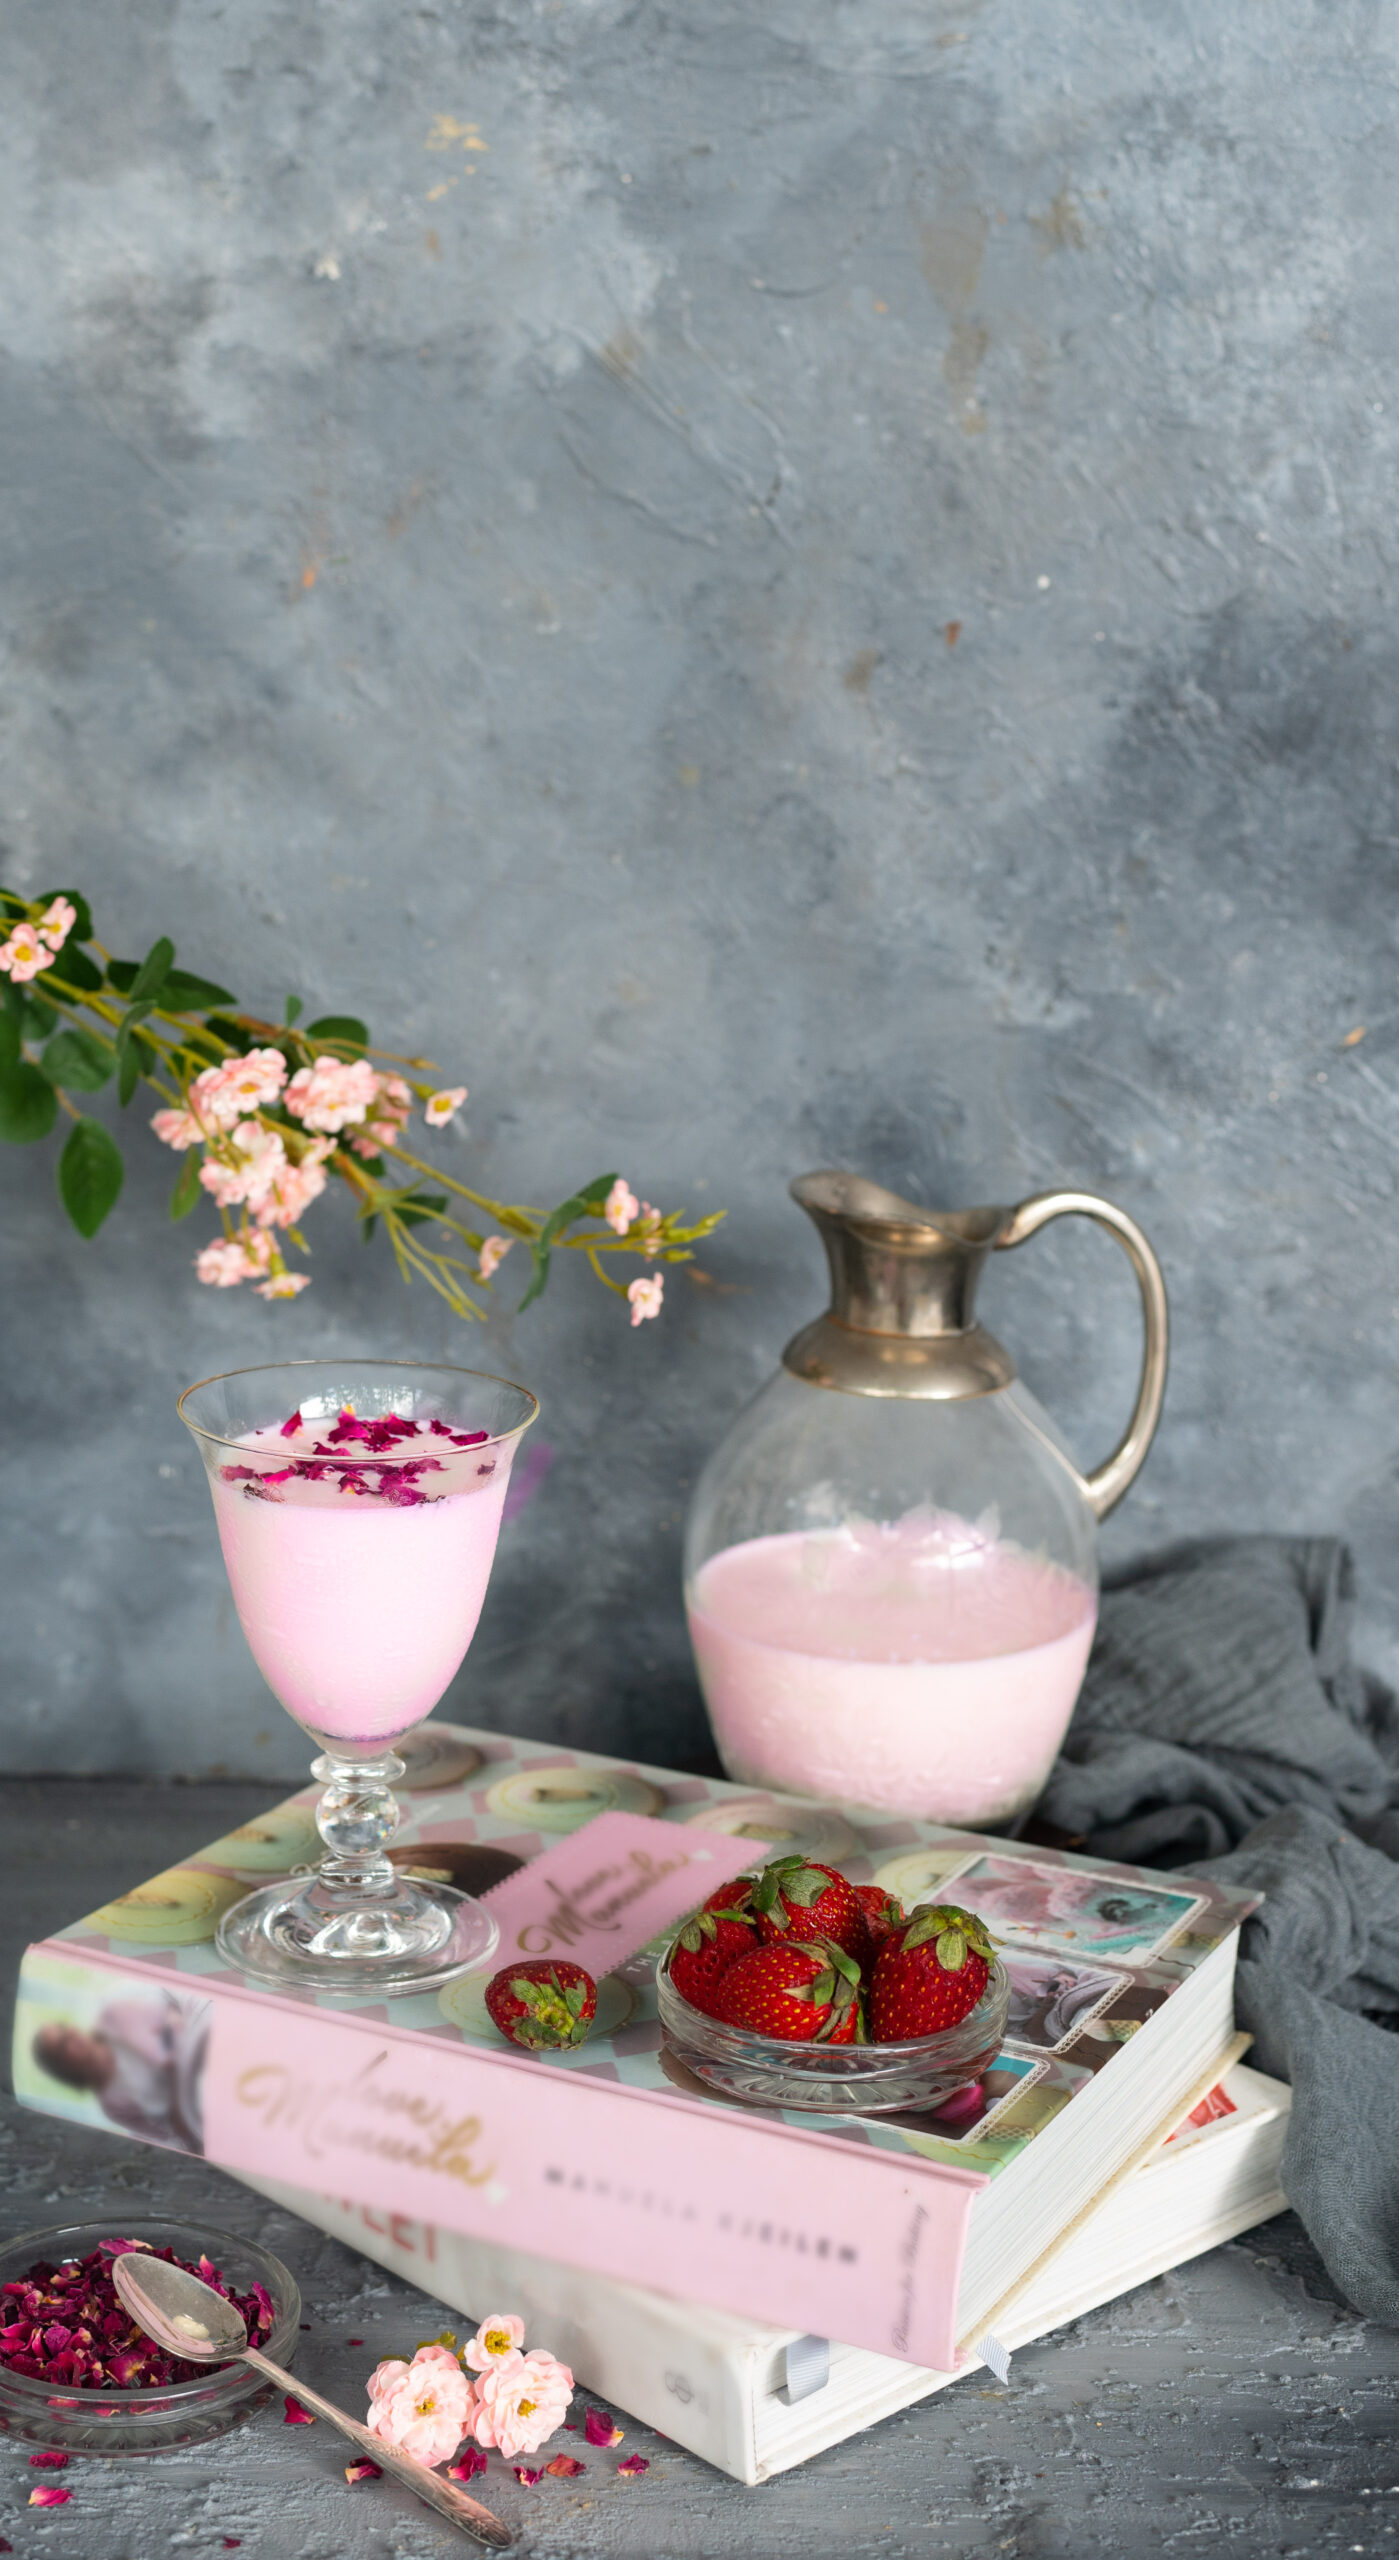
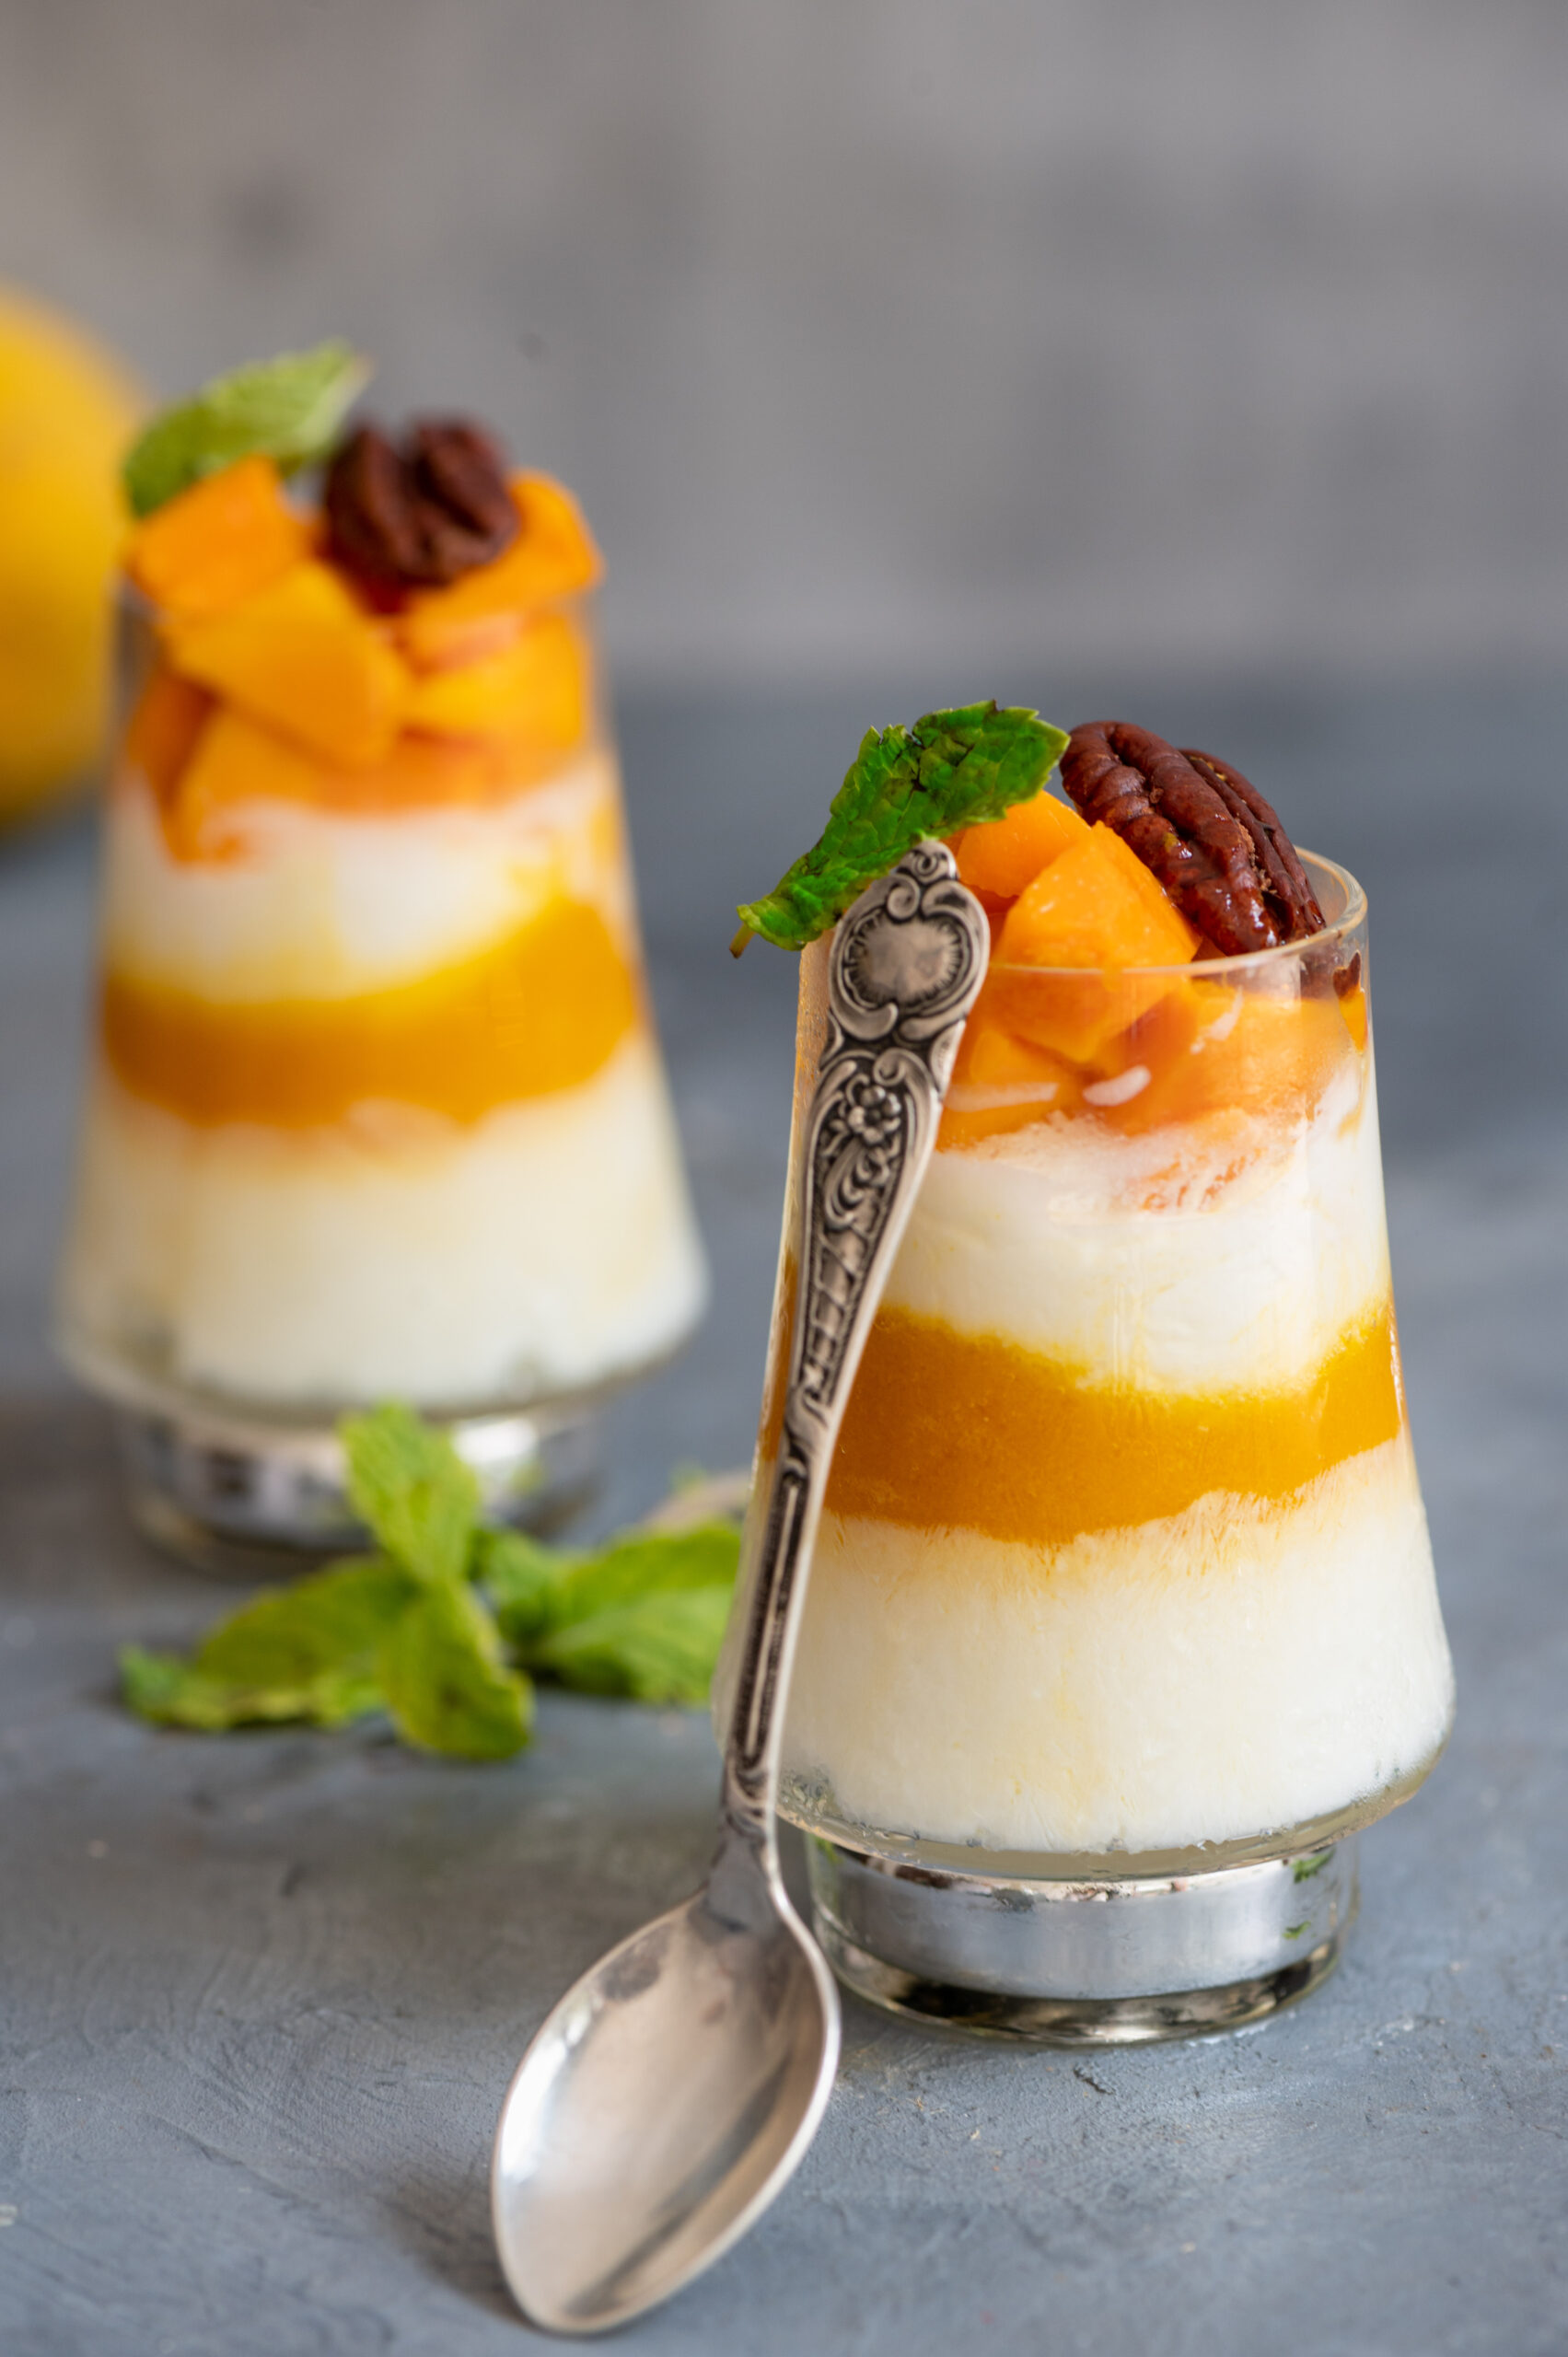
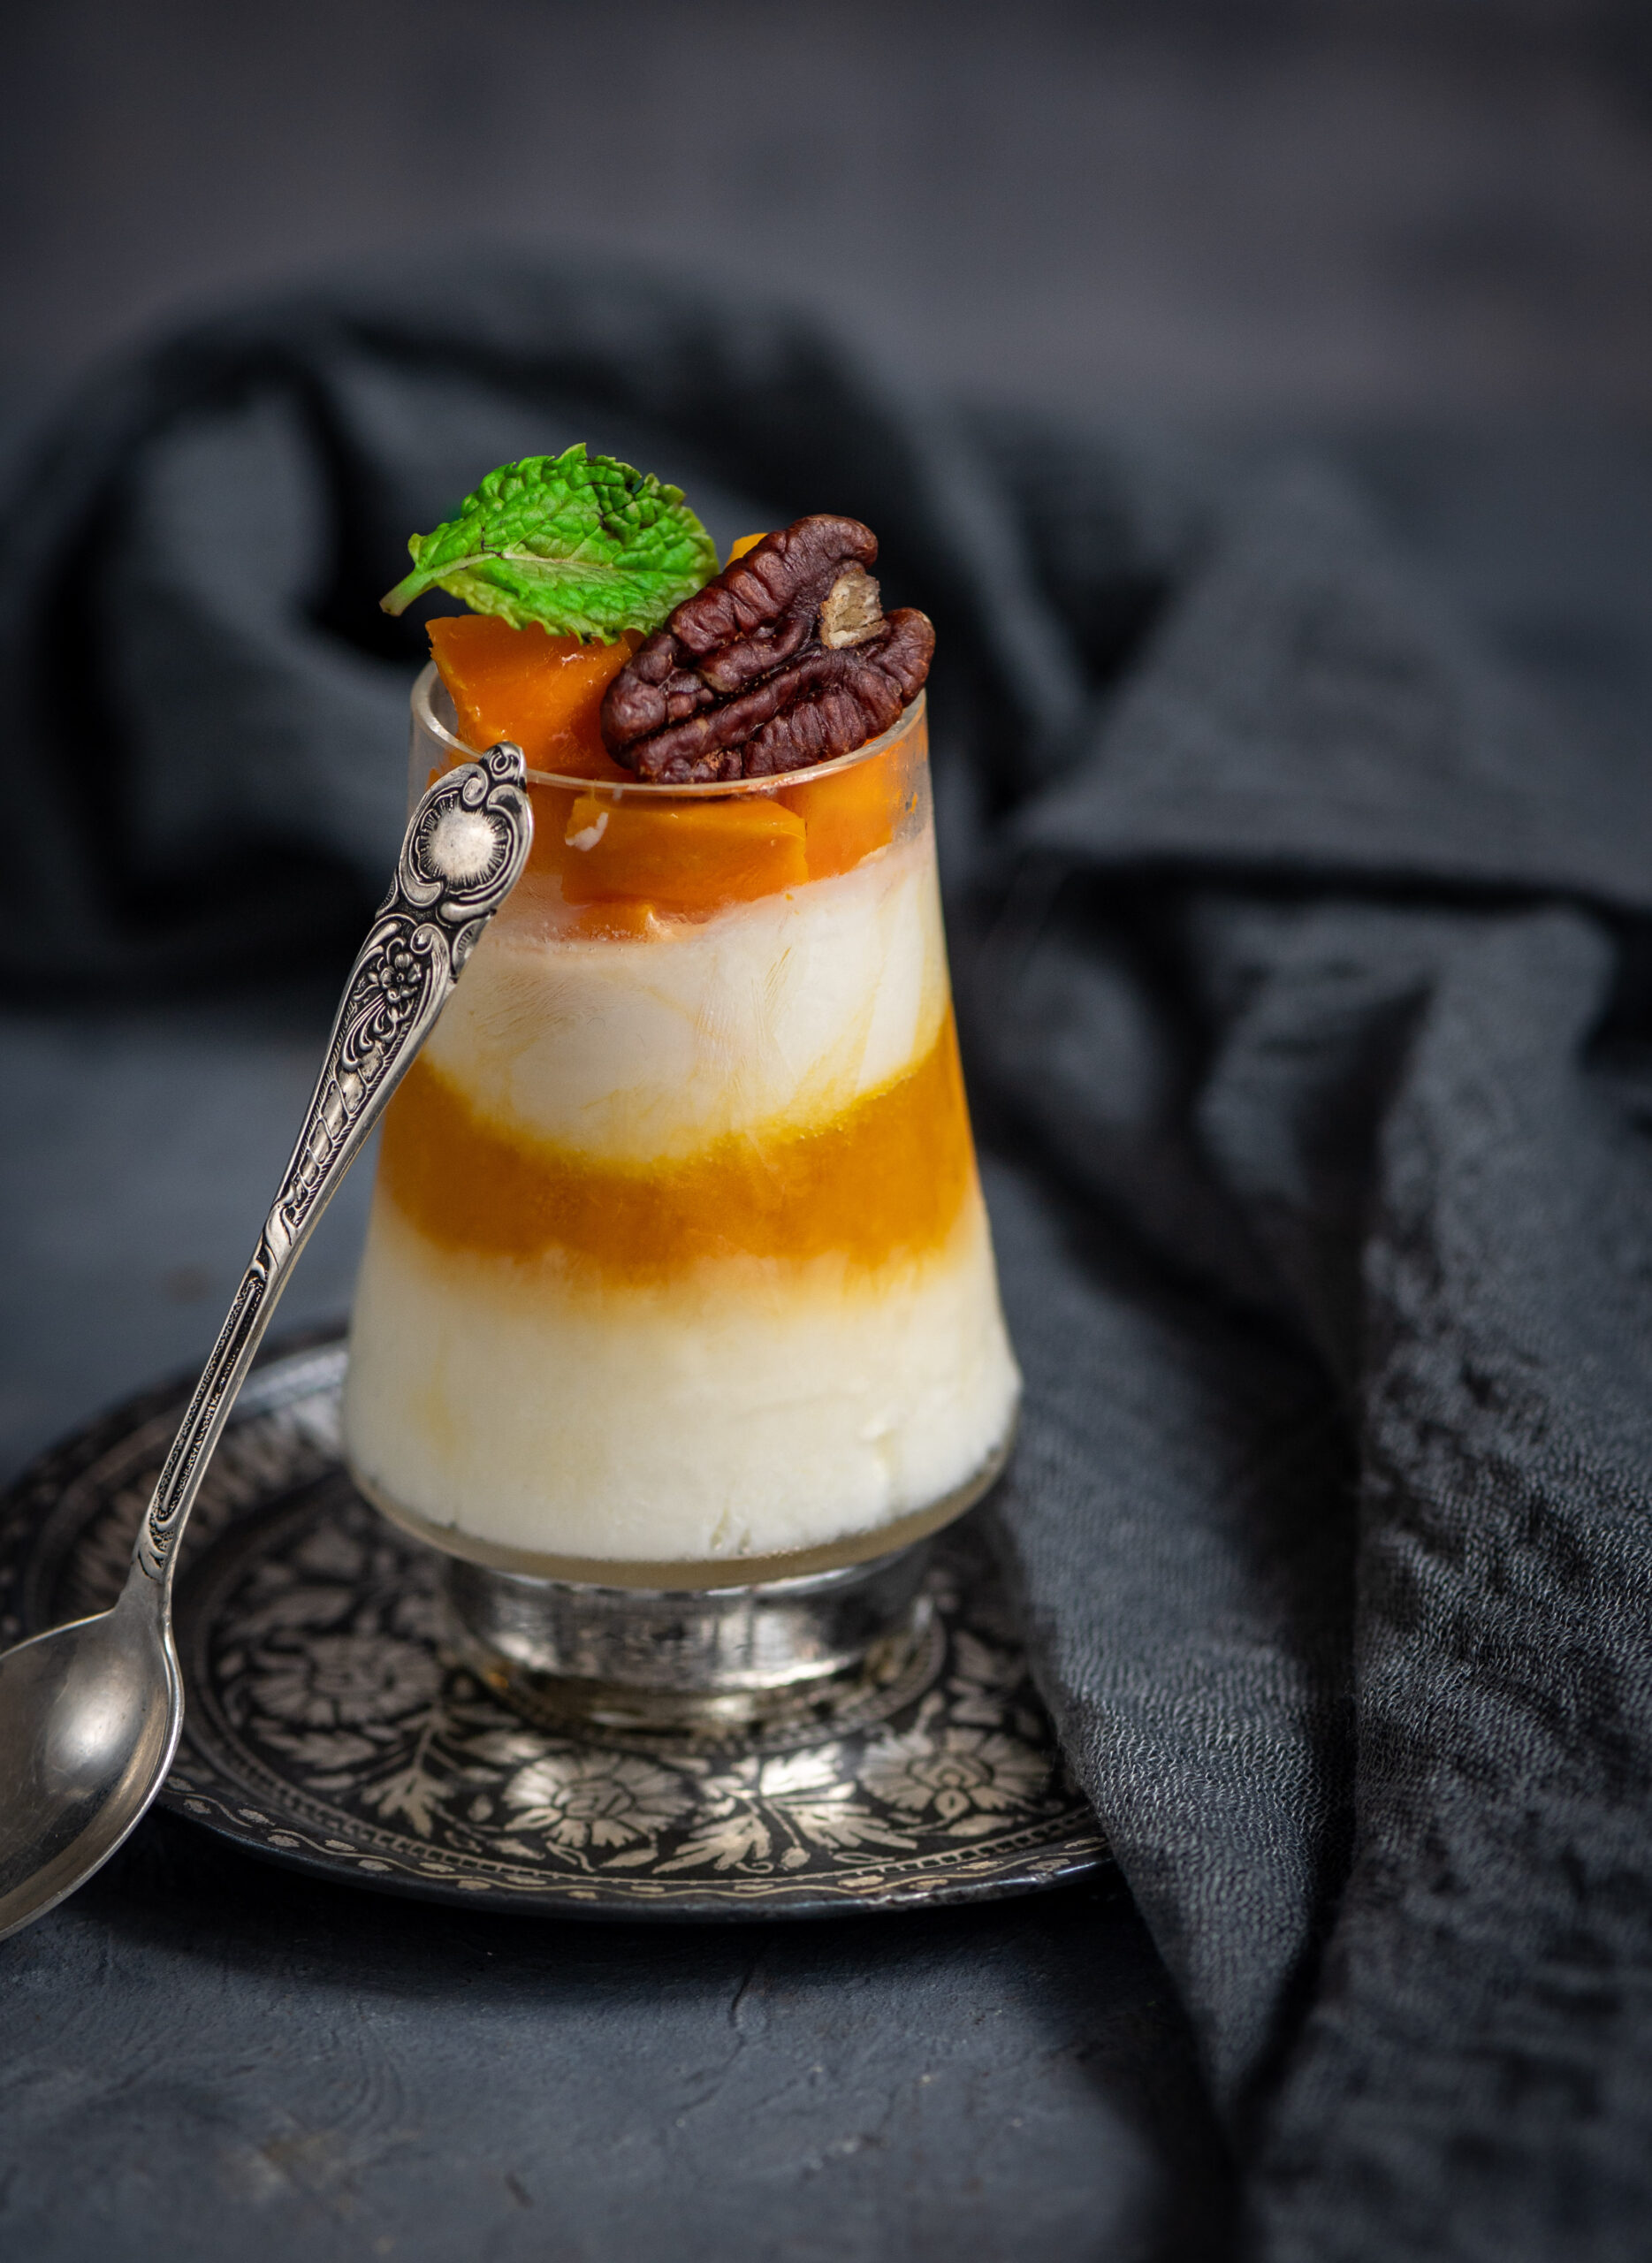
Milk plays a very central role in most communities in India. This is evident when it comes to cuisine, where dairy ingredients like ghee, paneer (known as cottage cheese in the West) and milk itself are crucial components of many dishes. Milk also has religious significance, such as in Hinduism wherein idols of deities are bathed in milk and then offered specially-prepared sweets which often contain the same. In South India, where I live, other than Deepavali or Diwali the big festival is Pongal, when milk is boiled and allowed to spill over the pot as a sign of abundance, a good harvest and new beginnings. Milk therefore can be considered auspicious or even sacred. With Diwali just days away, a milk sweet is thus a must on this blog. This year, I have chosen to share with you the recipe for rabdi. Rabdi is essentially a form of thickened milk, not to be confused with condensed milk.
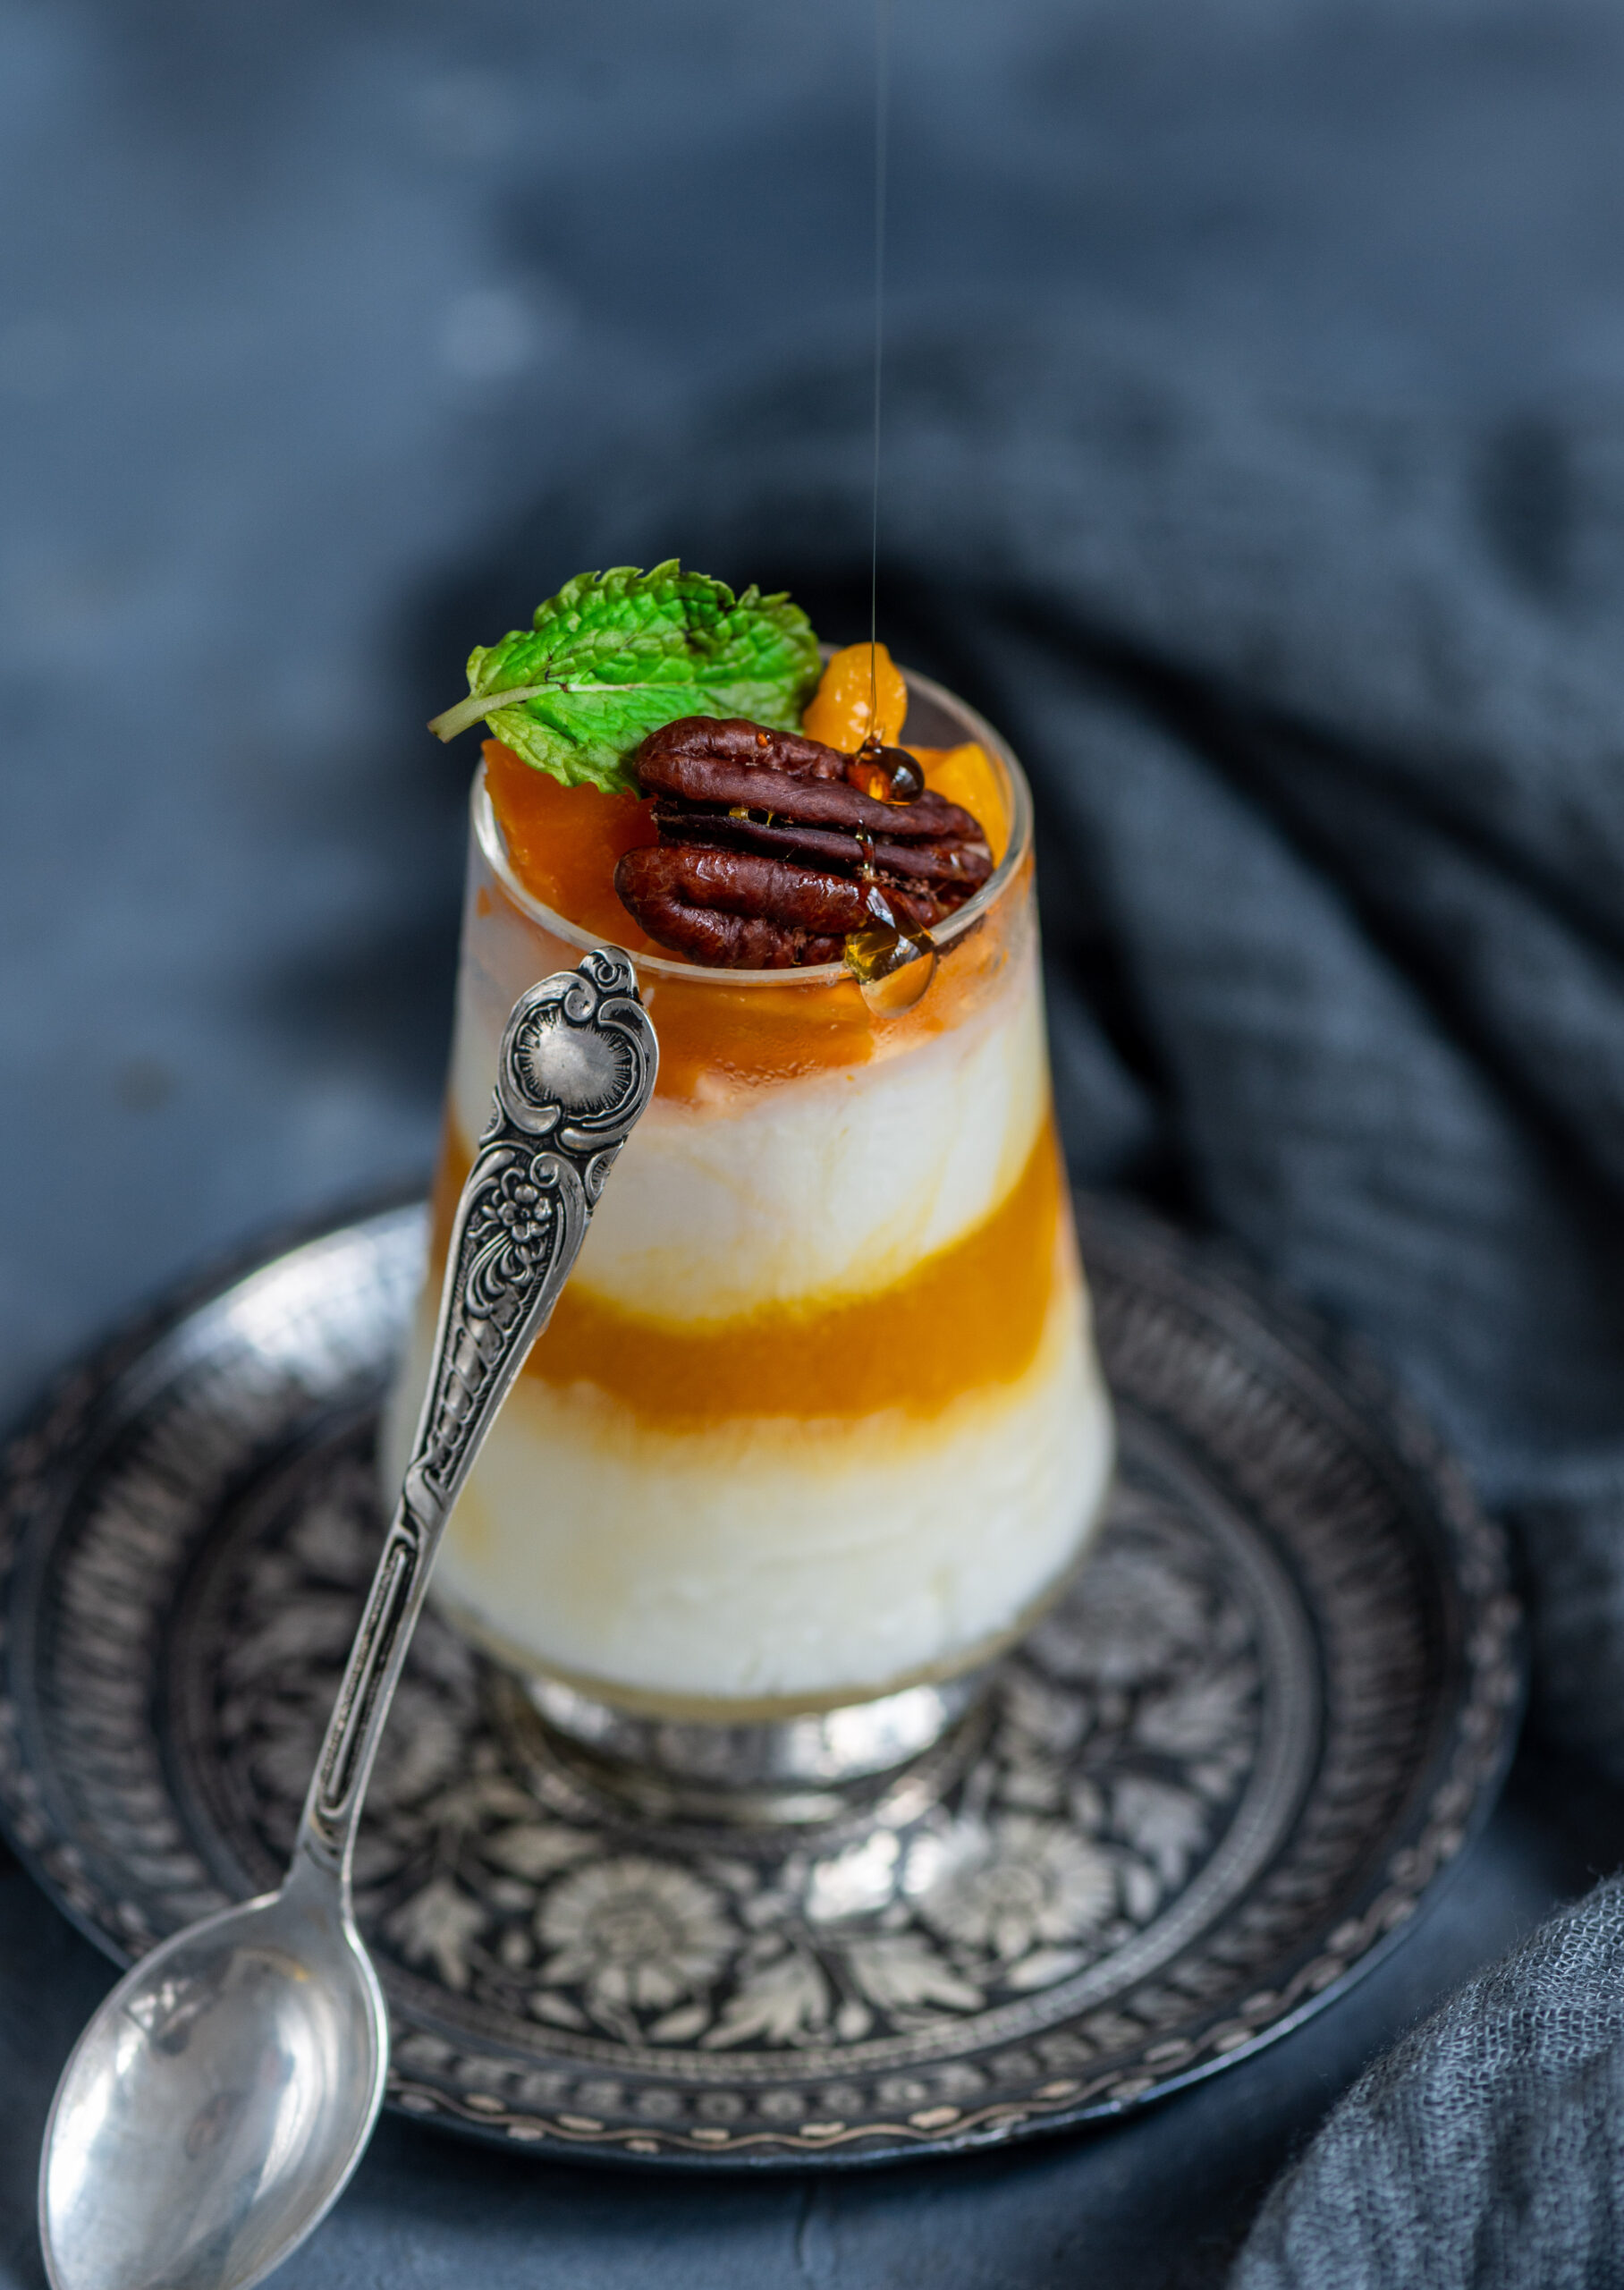
In the past, I have mentioned various kinds of kheers on this blog, including orange kheer, sitaphal kheer and rose-coconut kheer. Rabdi is a similar dish, and you may also hear it being called by the name rabri. It is also difficult to differentiate between rabdi and basundi. There is a vast array of milk-based desserts in the subcontinent, and sometimes they may resemble each other in look, preparation or taste.
As you may know, over the last few years I’ve increasingly taken a vegan approach to my diet, and many recipes I’ve shared here attest to the same. Being vegan in India is certainly a bit of a challenge because dairy is a big part of our cuisine, as mentioned before. We also have certain conditioned ideas about the importance of it, such as how children are forced to drink milk as it is believed to give them good health and strength, or even how drinking chai is a kind of milestone. I remember how when I first got married and started drinking chai, I started to feel like “Now, I am an adult”. All this aside, my personal struggle is not with milk, ghee, paneer or milk sweets at all but with yoghurt. I just can’t seem to give that up. Anyhow, more on that later, as I continue on my adventures on the vegan path.
For now, since I still consume dairy, I’m going to do so by reflecting on what it means on a day like Diwali, when it is such a big part of our food and our rituals.
Actually, it is important in my family on more than just a festive occasion such as Diwali, but every day. You see, I grew up with a precious statue of Balagopal, the baby version of Lord Krishna. This statue has been in my family for generations. He was gifted to my great-grandmother by a priest, then looked after by my grandfather, then my parents, and now my 91-year old father. My father has found it difficult to keep up with the seva, or rituals, and I imagine that I will welcome Balagopal in my own home in due time.
We have elaborate customs to worship him, which must be performed throughout the day. He must be treated like a child of the home: he must be bathed, fed, dressed, sung to, played with, and put to bed – until the following morning, when it must all be done all over again. There are seasonal rituals too. In summer, he is given water in a tiny pot and cooled with a tiny khus khus (vetiver) fan. In winters, he is dressed in warming velvet and fragranced with attar.
To me, these rituals are an exemplary way to follow traditions that inculcate discipline, respect, humility and generosity, as well as a daily practice of celebration and joy. I am sure that when he does come to my home, his welcome will be a very big affair. I am waiting to receive him. I have taken the advice of elders in the family who tell me that I should do the best seva I can, but that I cannot miss a day. He can never be abandoned or ignored, just like my child.
I am a big believer in “to each their own”. People look at or don’t look at God, do or don’t have spiritual leanings, and come from different religions with their own systems. They are all valid to me. For myself, I see Balagopal as an important legacy, one I want to continue for the sake of both of my elders and my children.
Now, the sweetest part of all this: Balagopal loves milk, according to the myths. So he is often offered a milk-based treat, such as rabdi. So it is sure to be among my offerings to him. It can also be among your own festive delights. Both these thoughts give me joy.
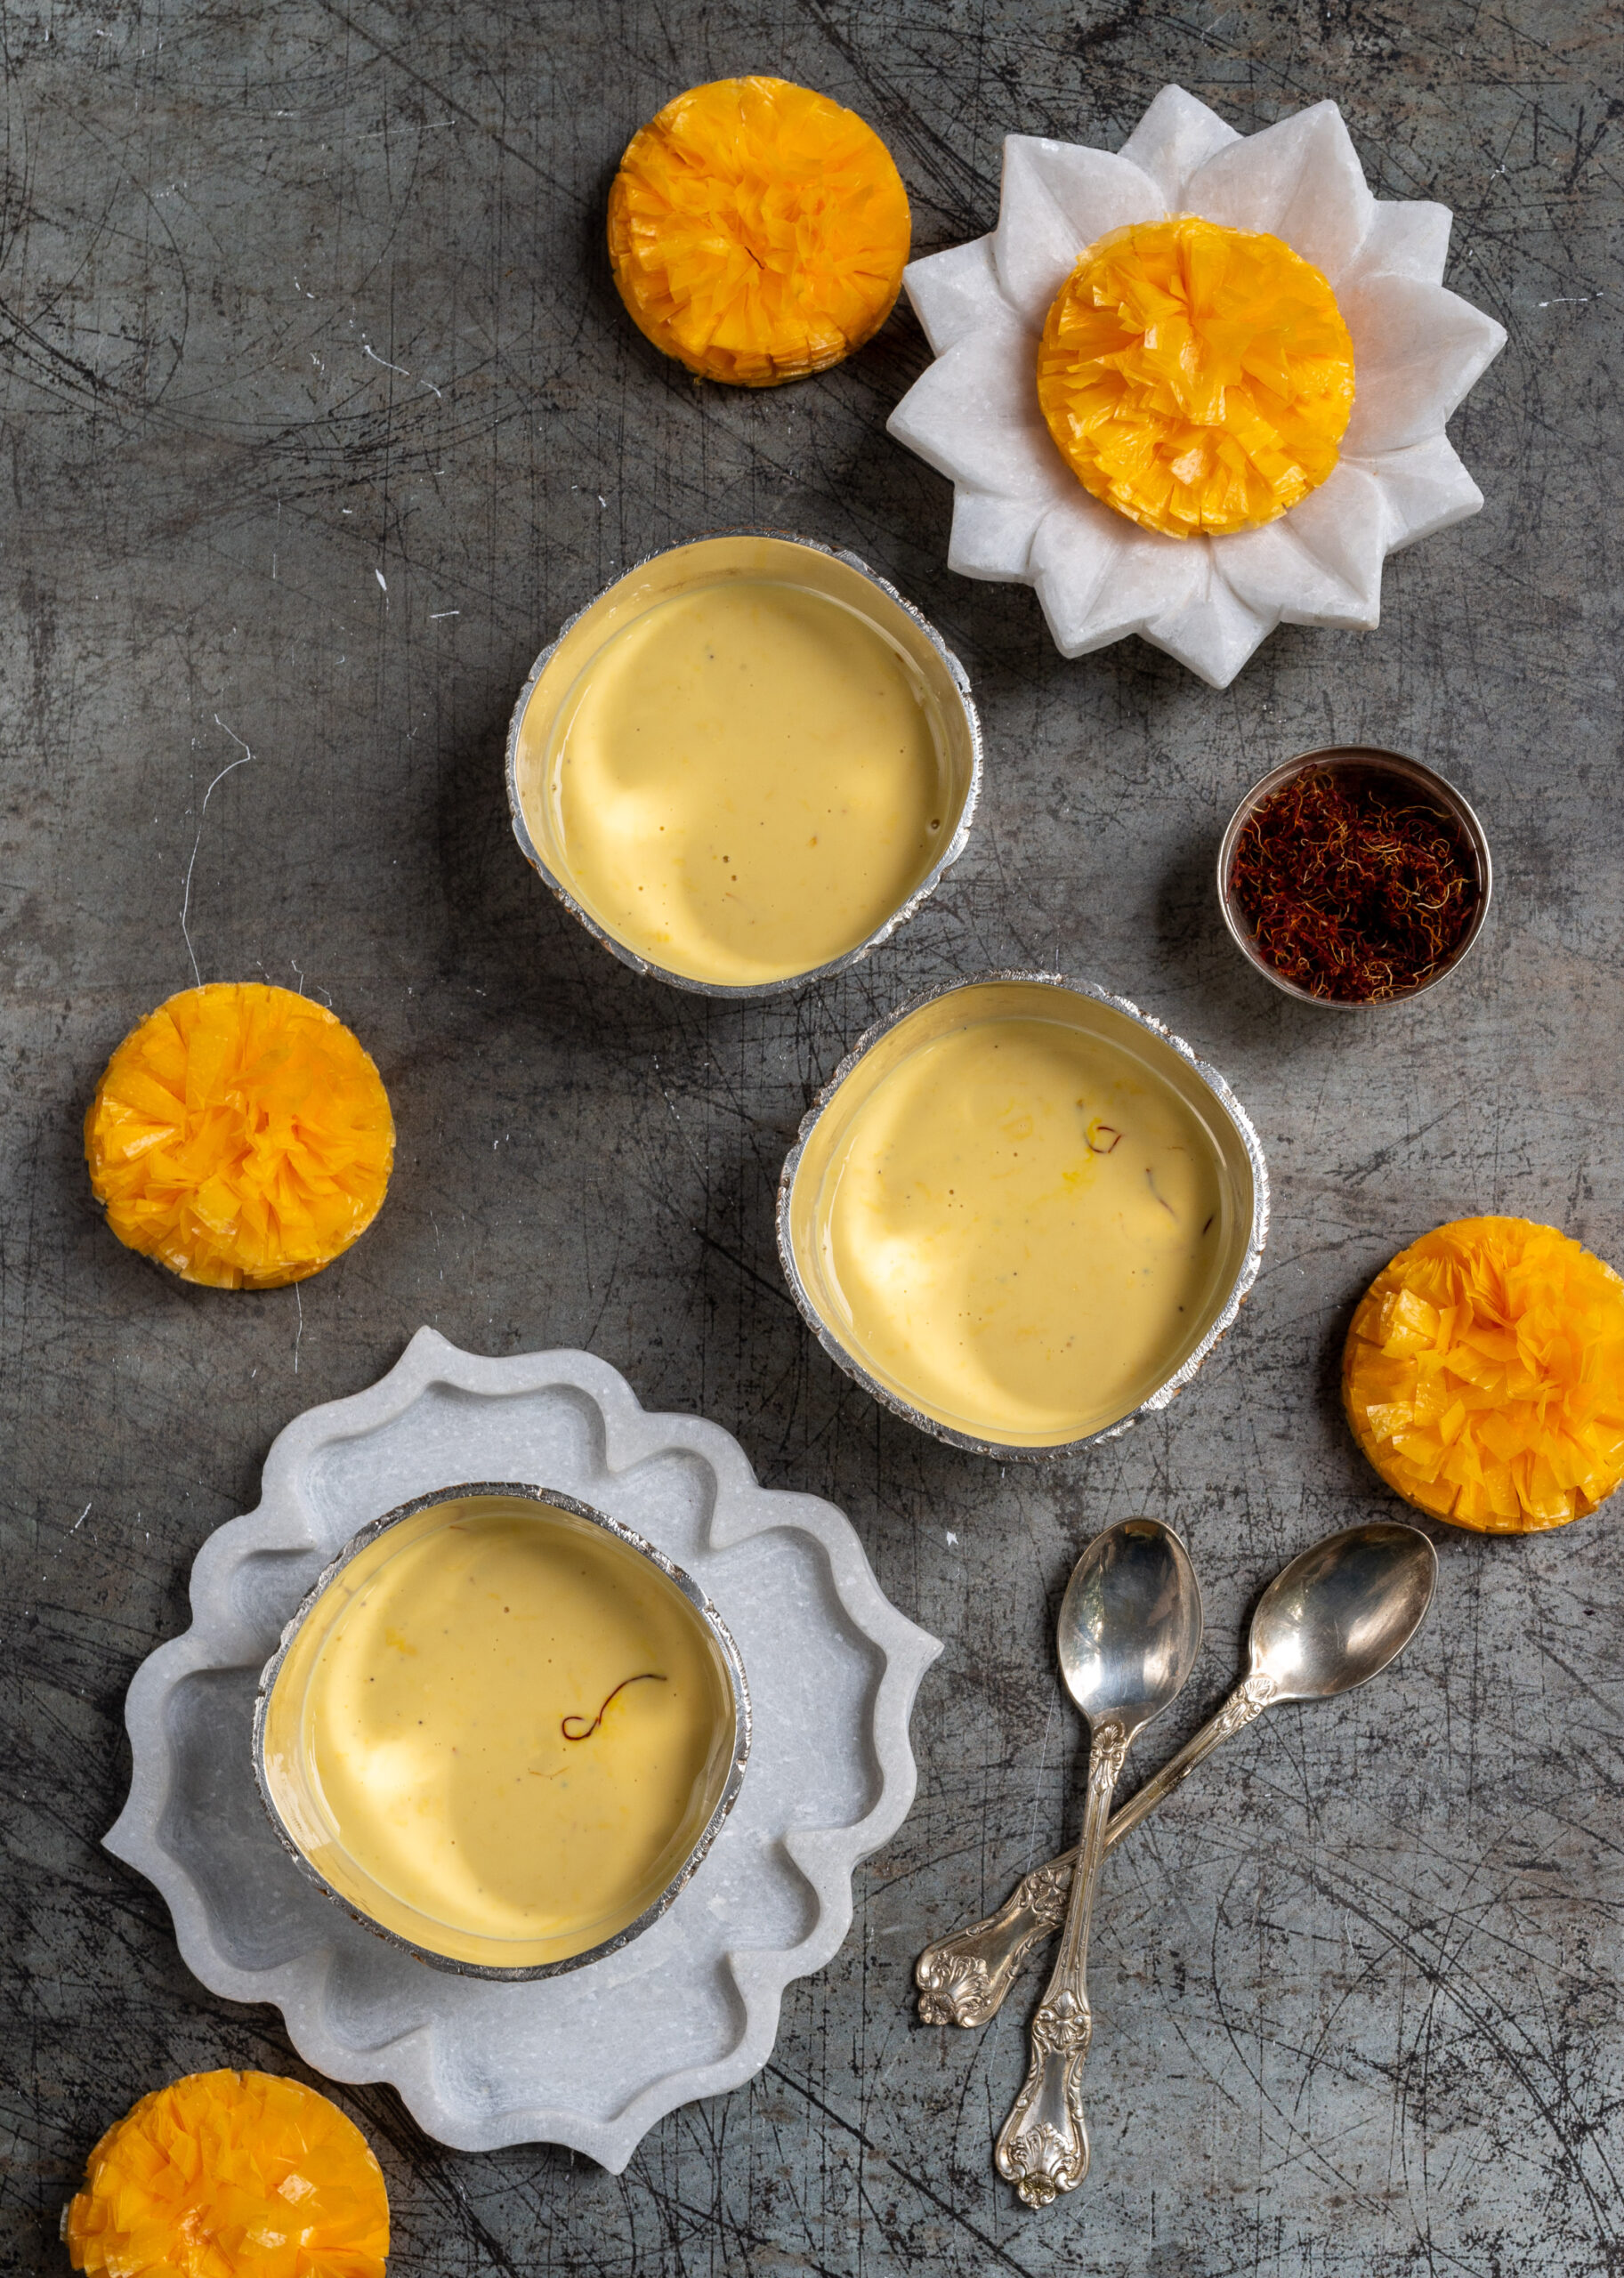
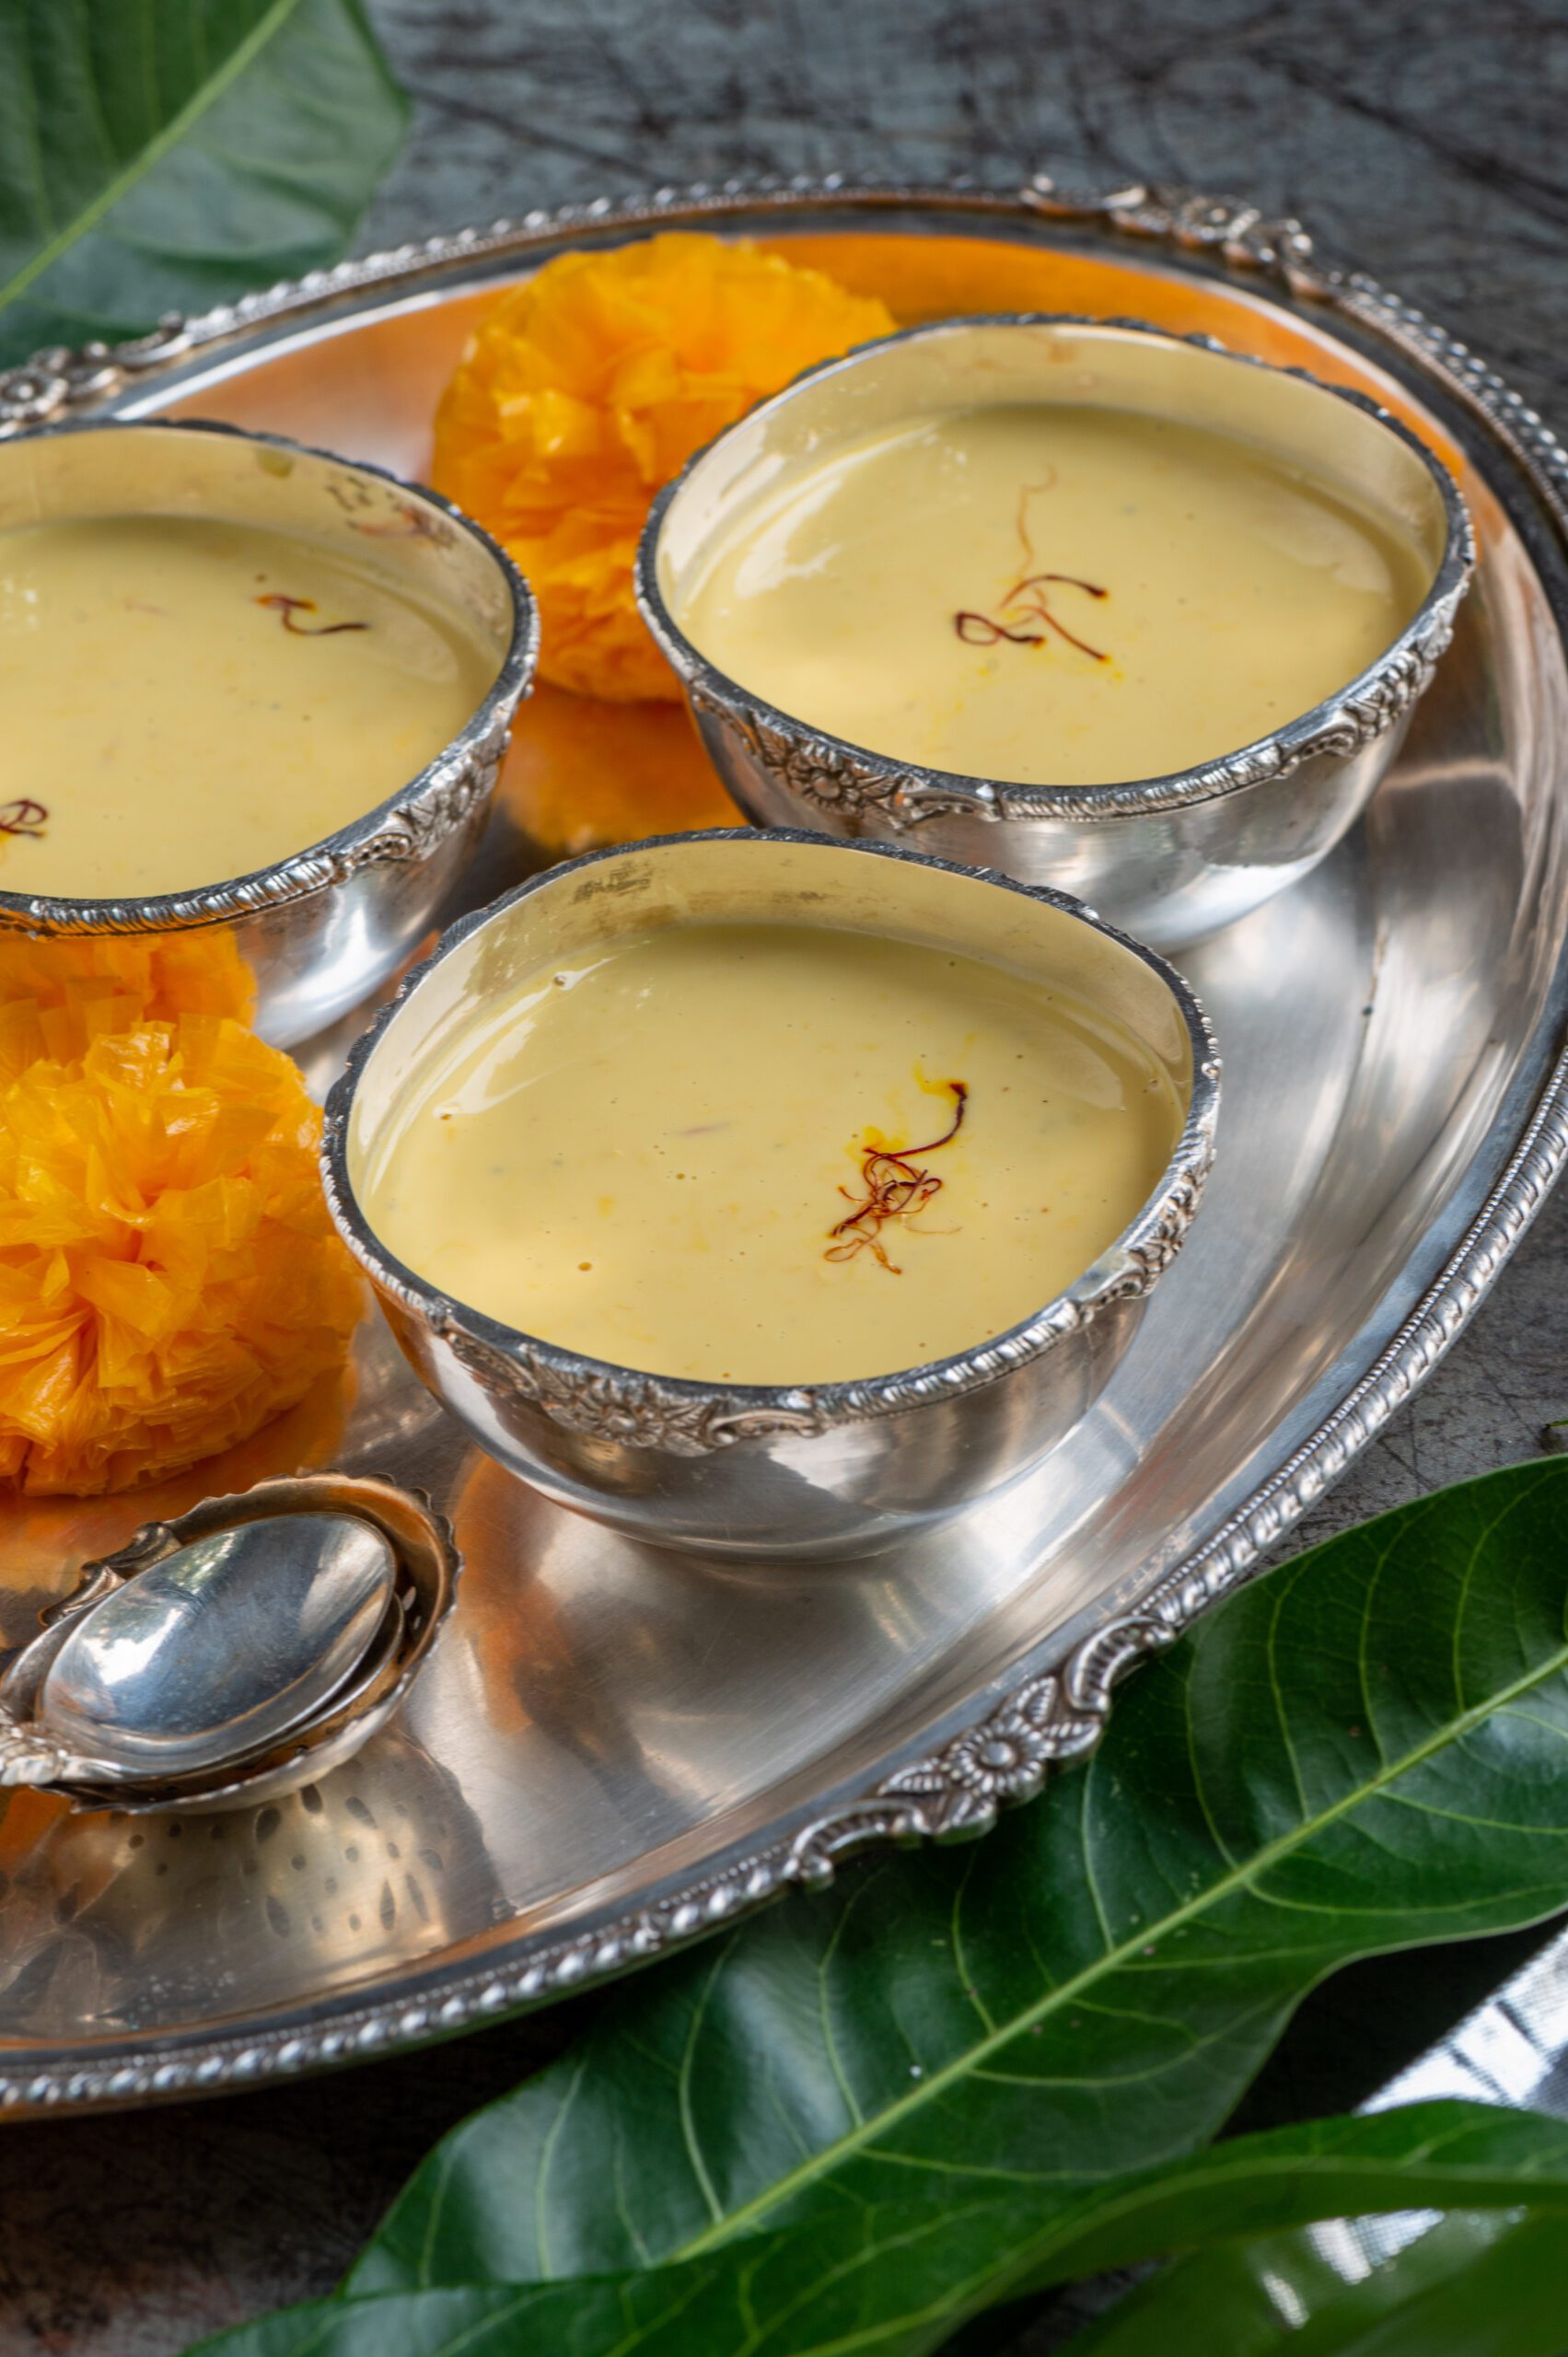
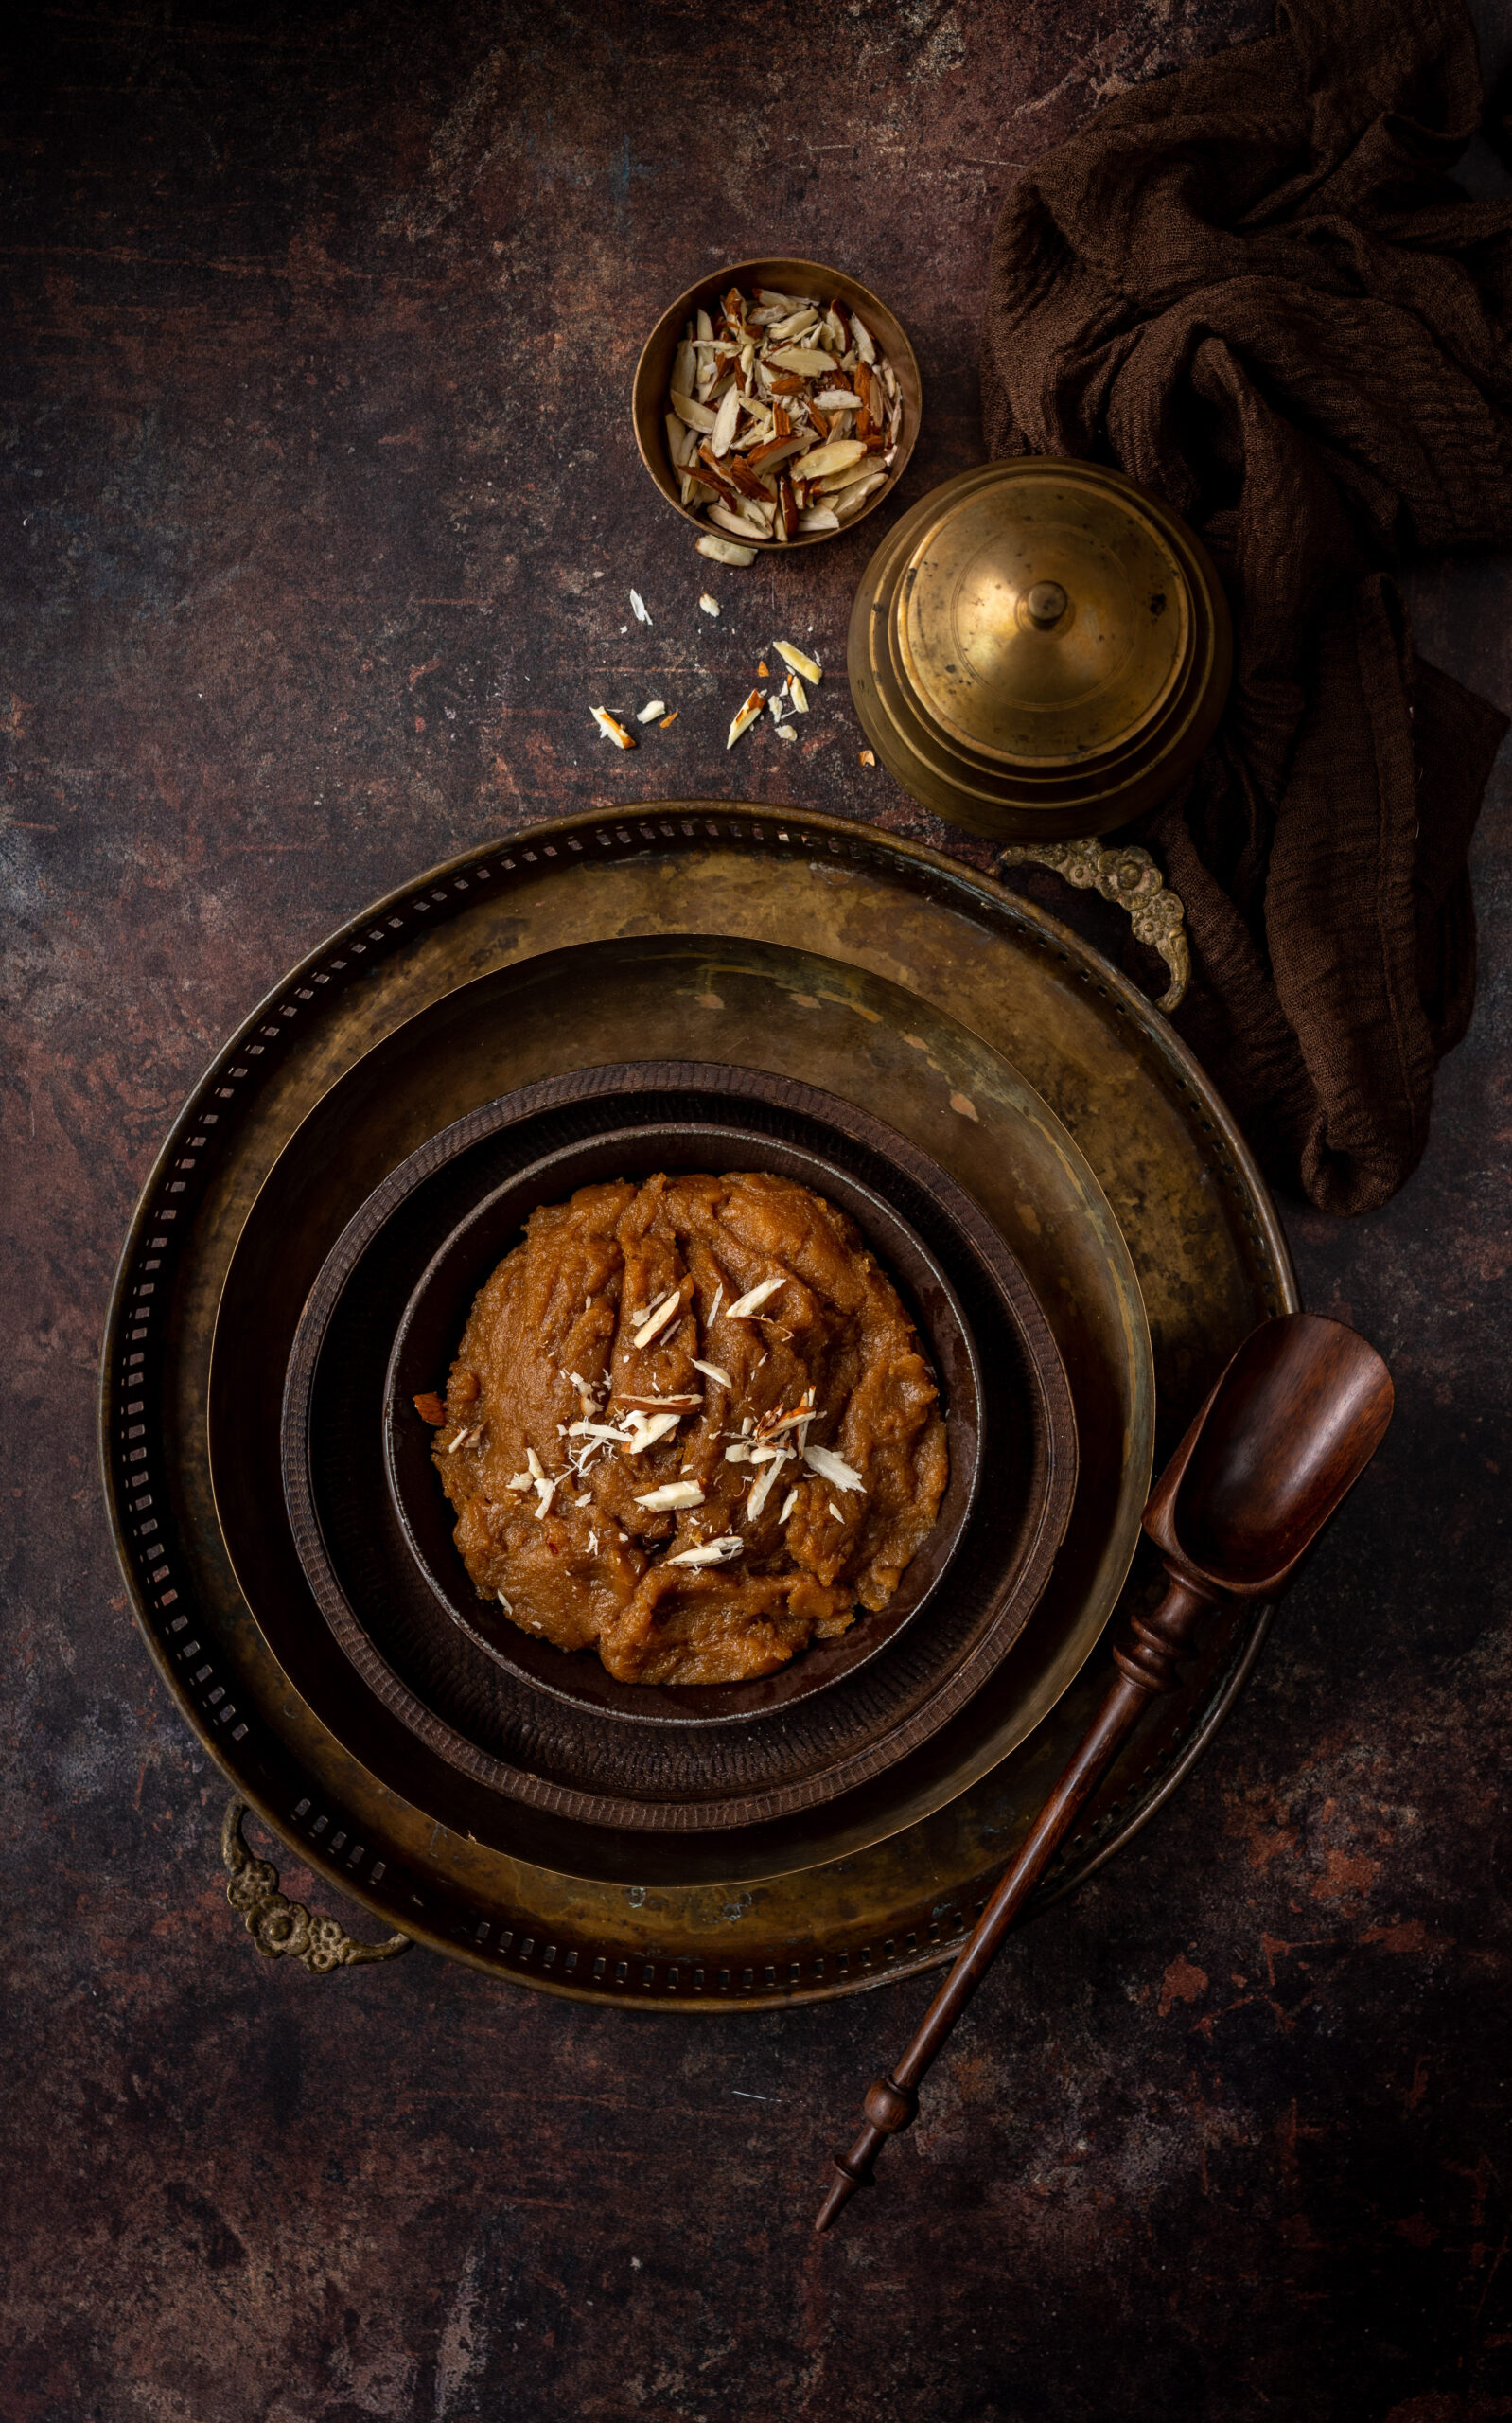
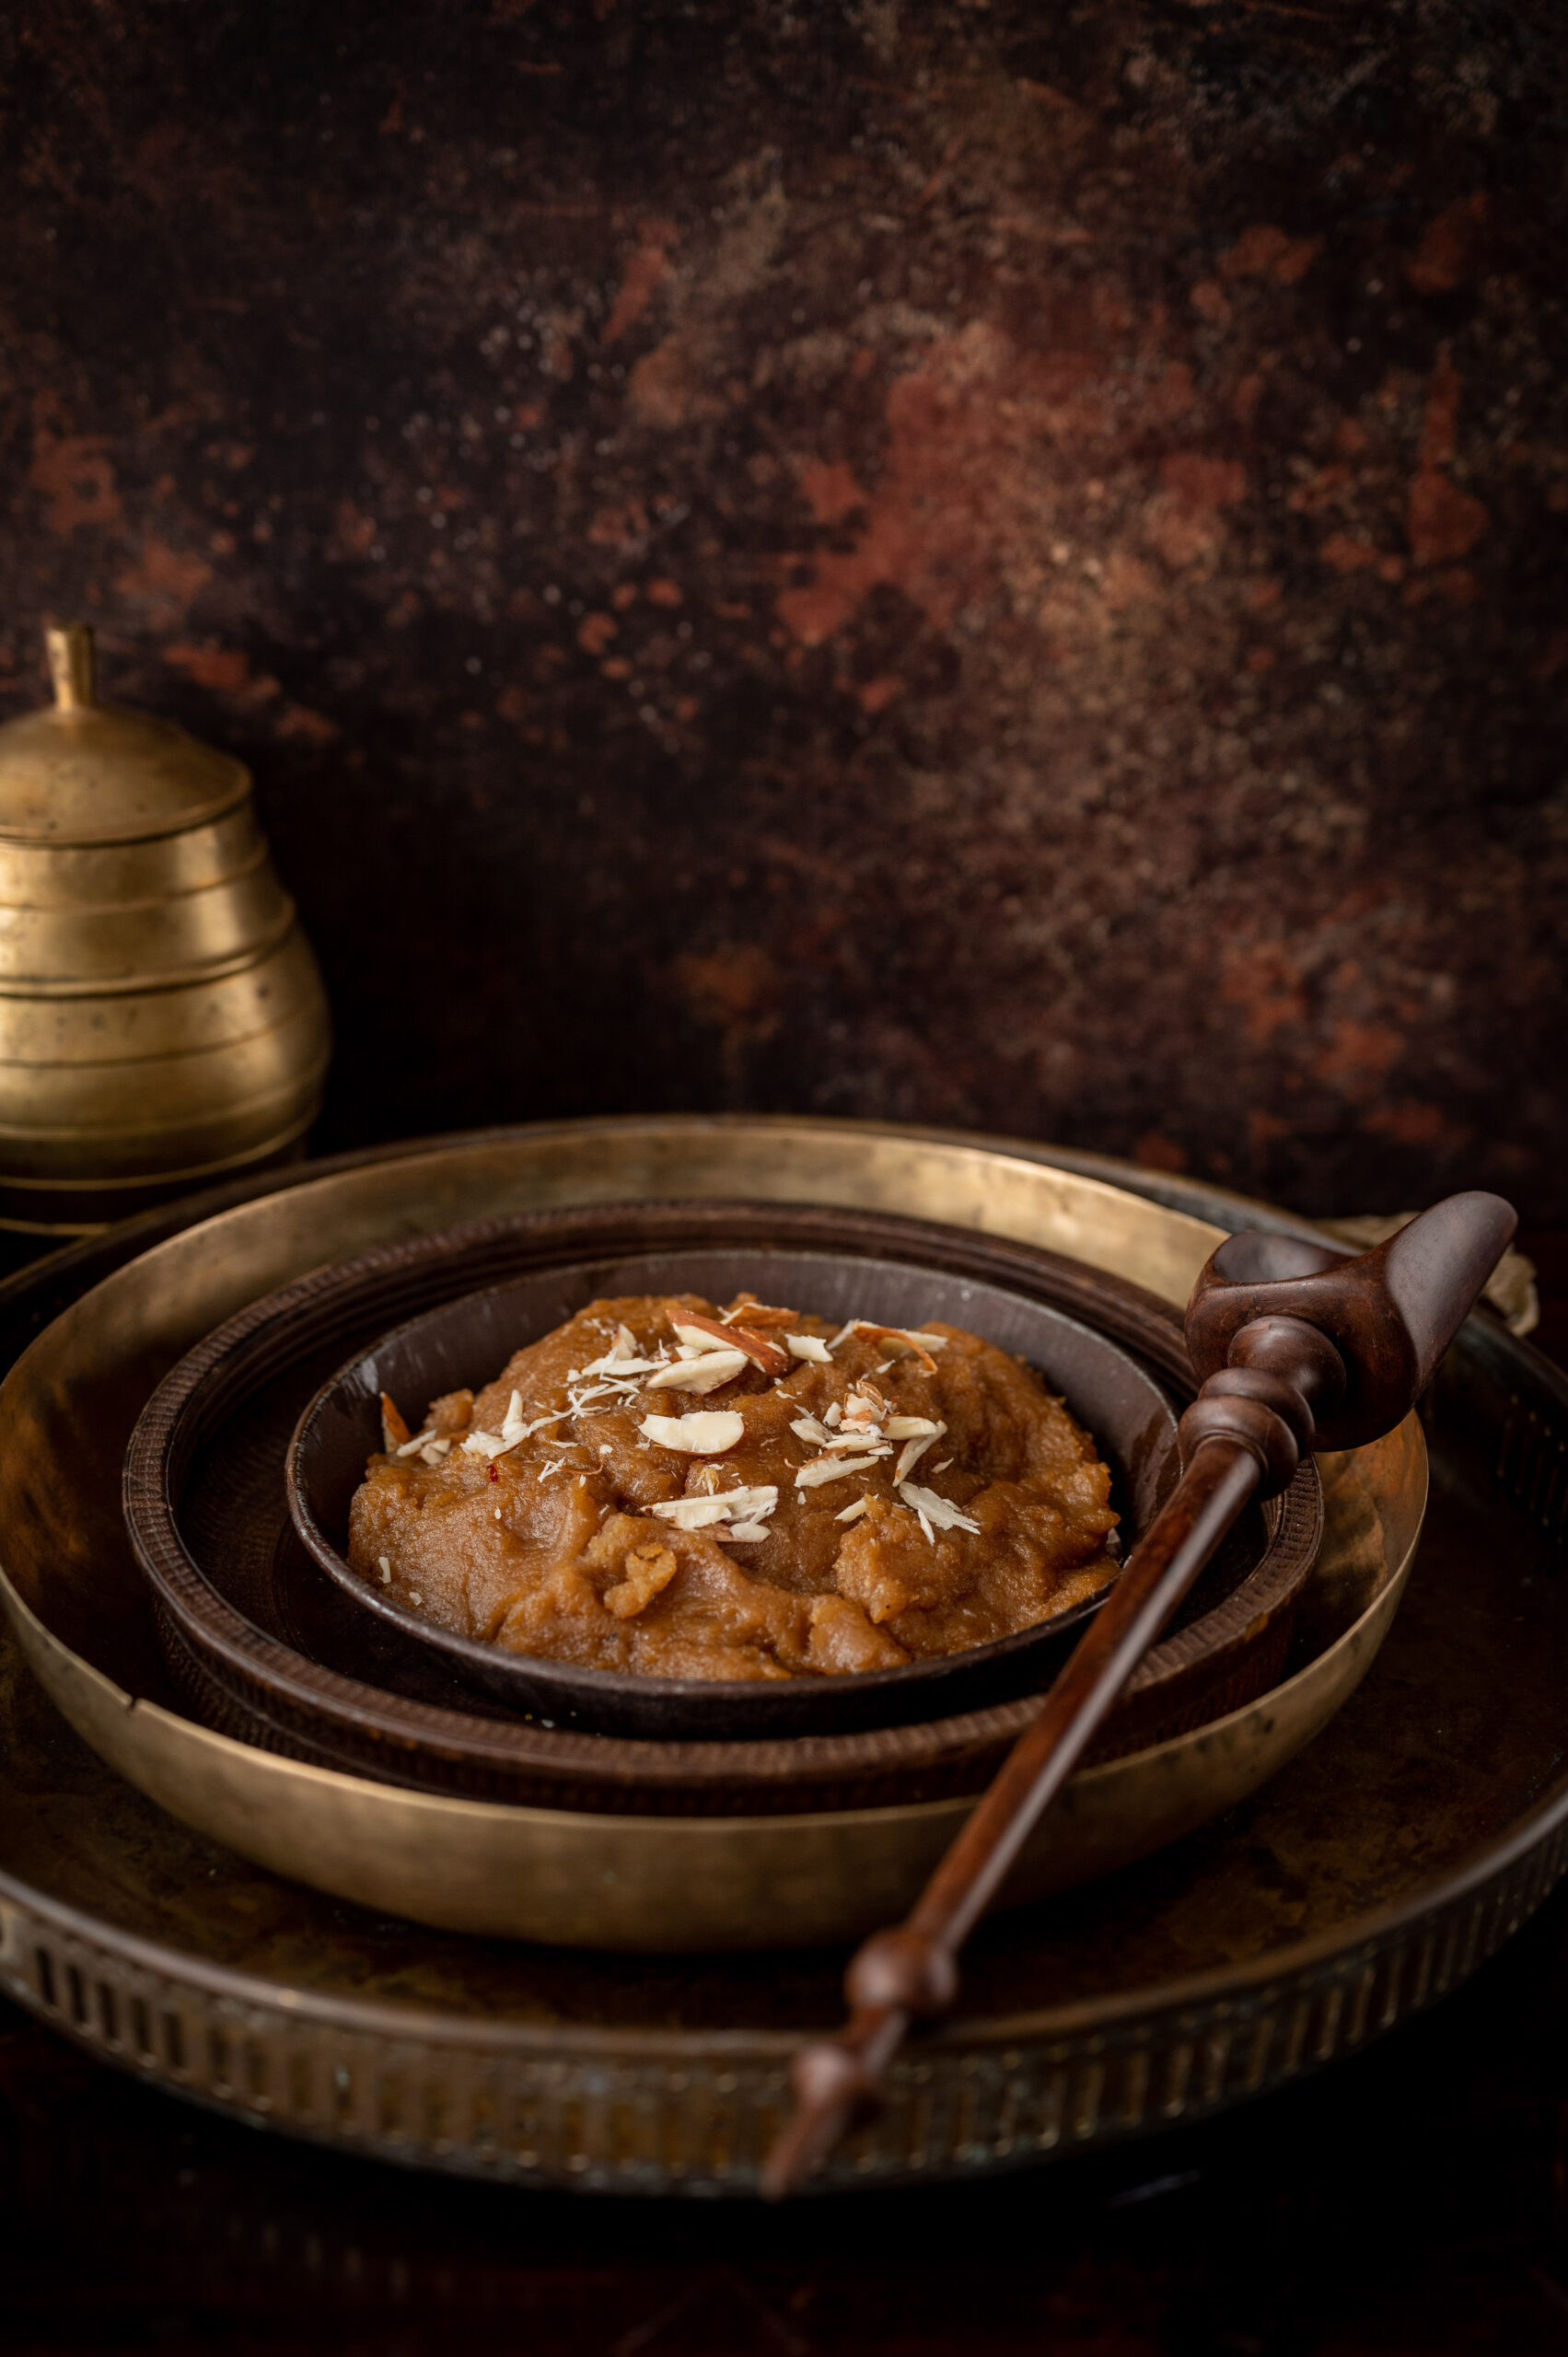
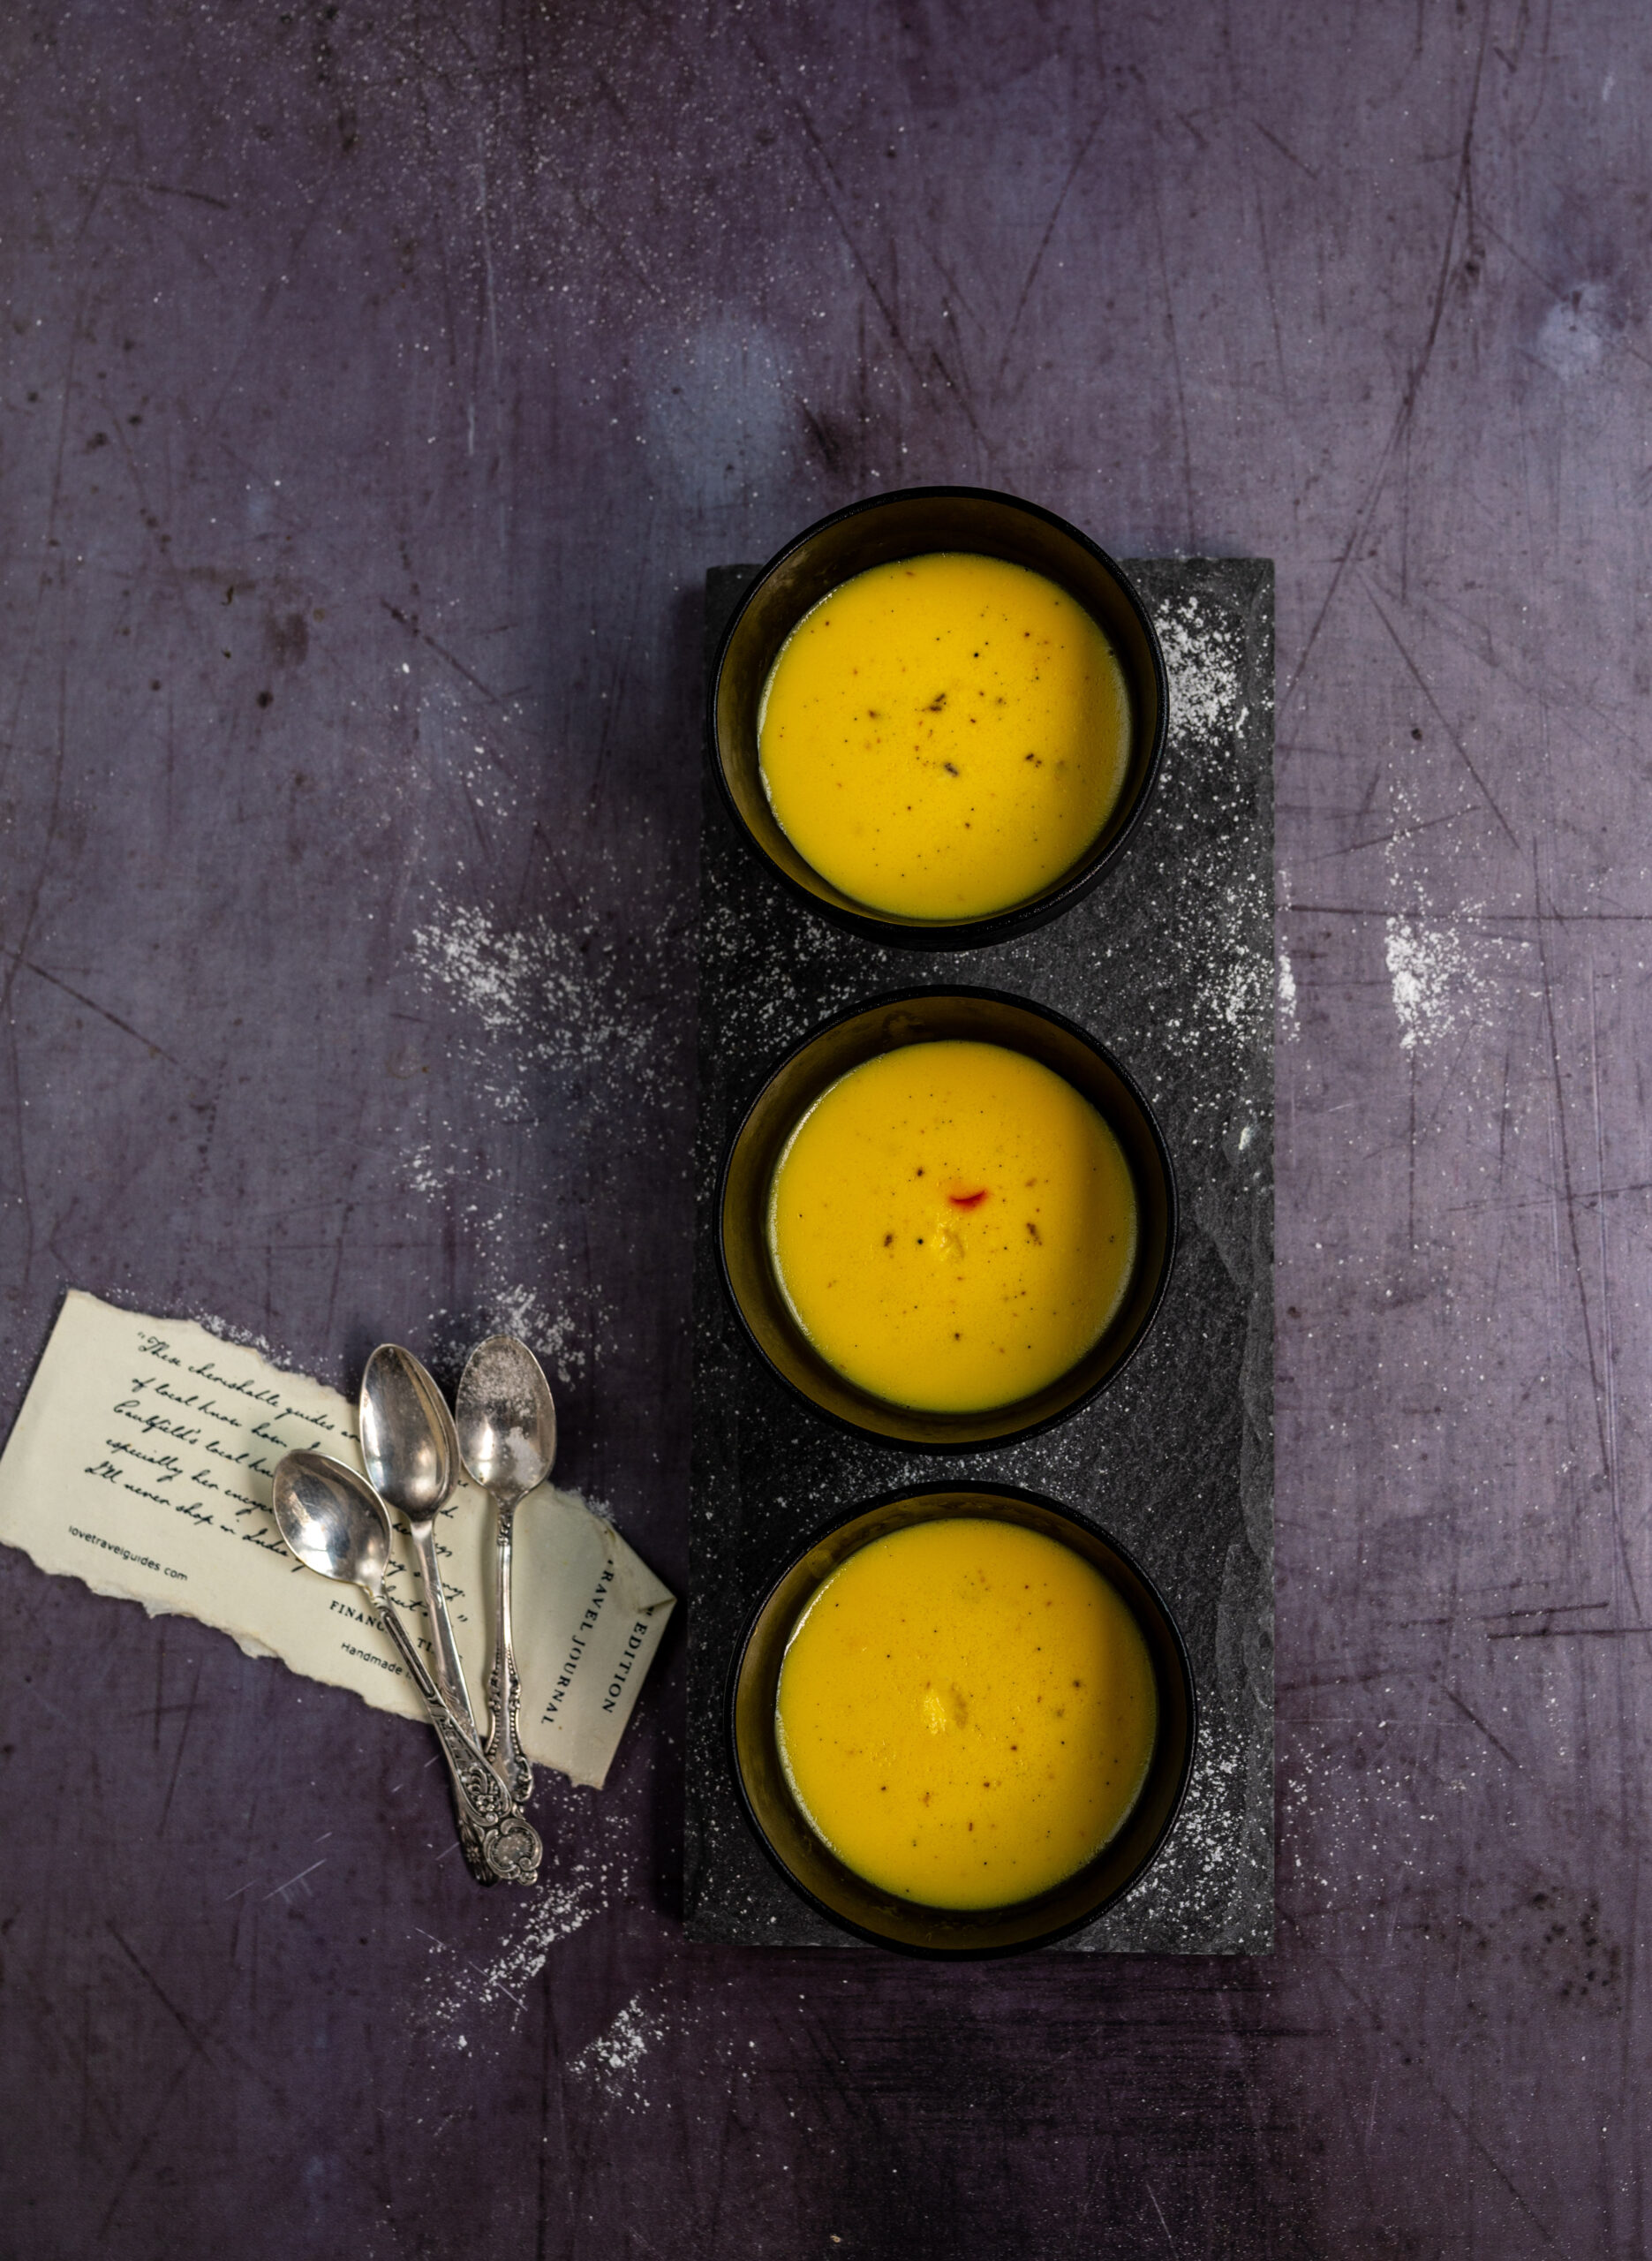
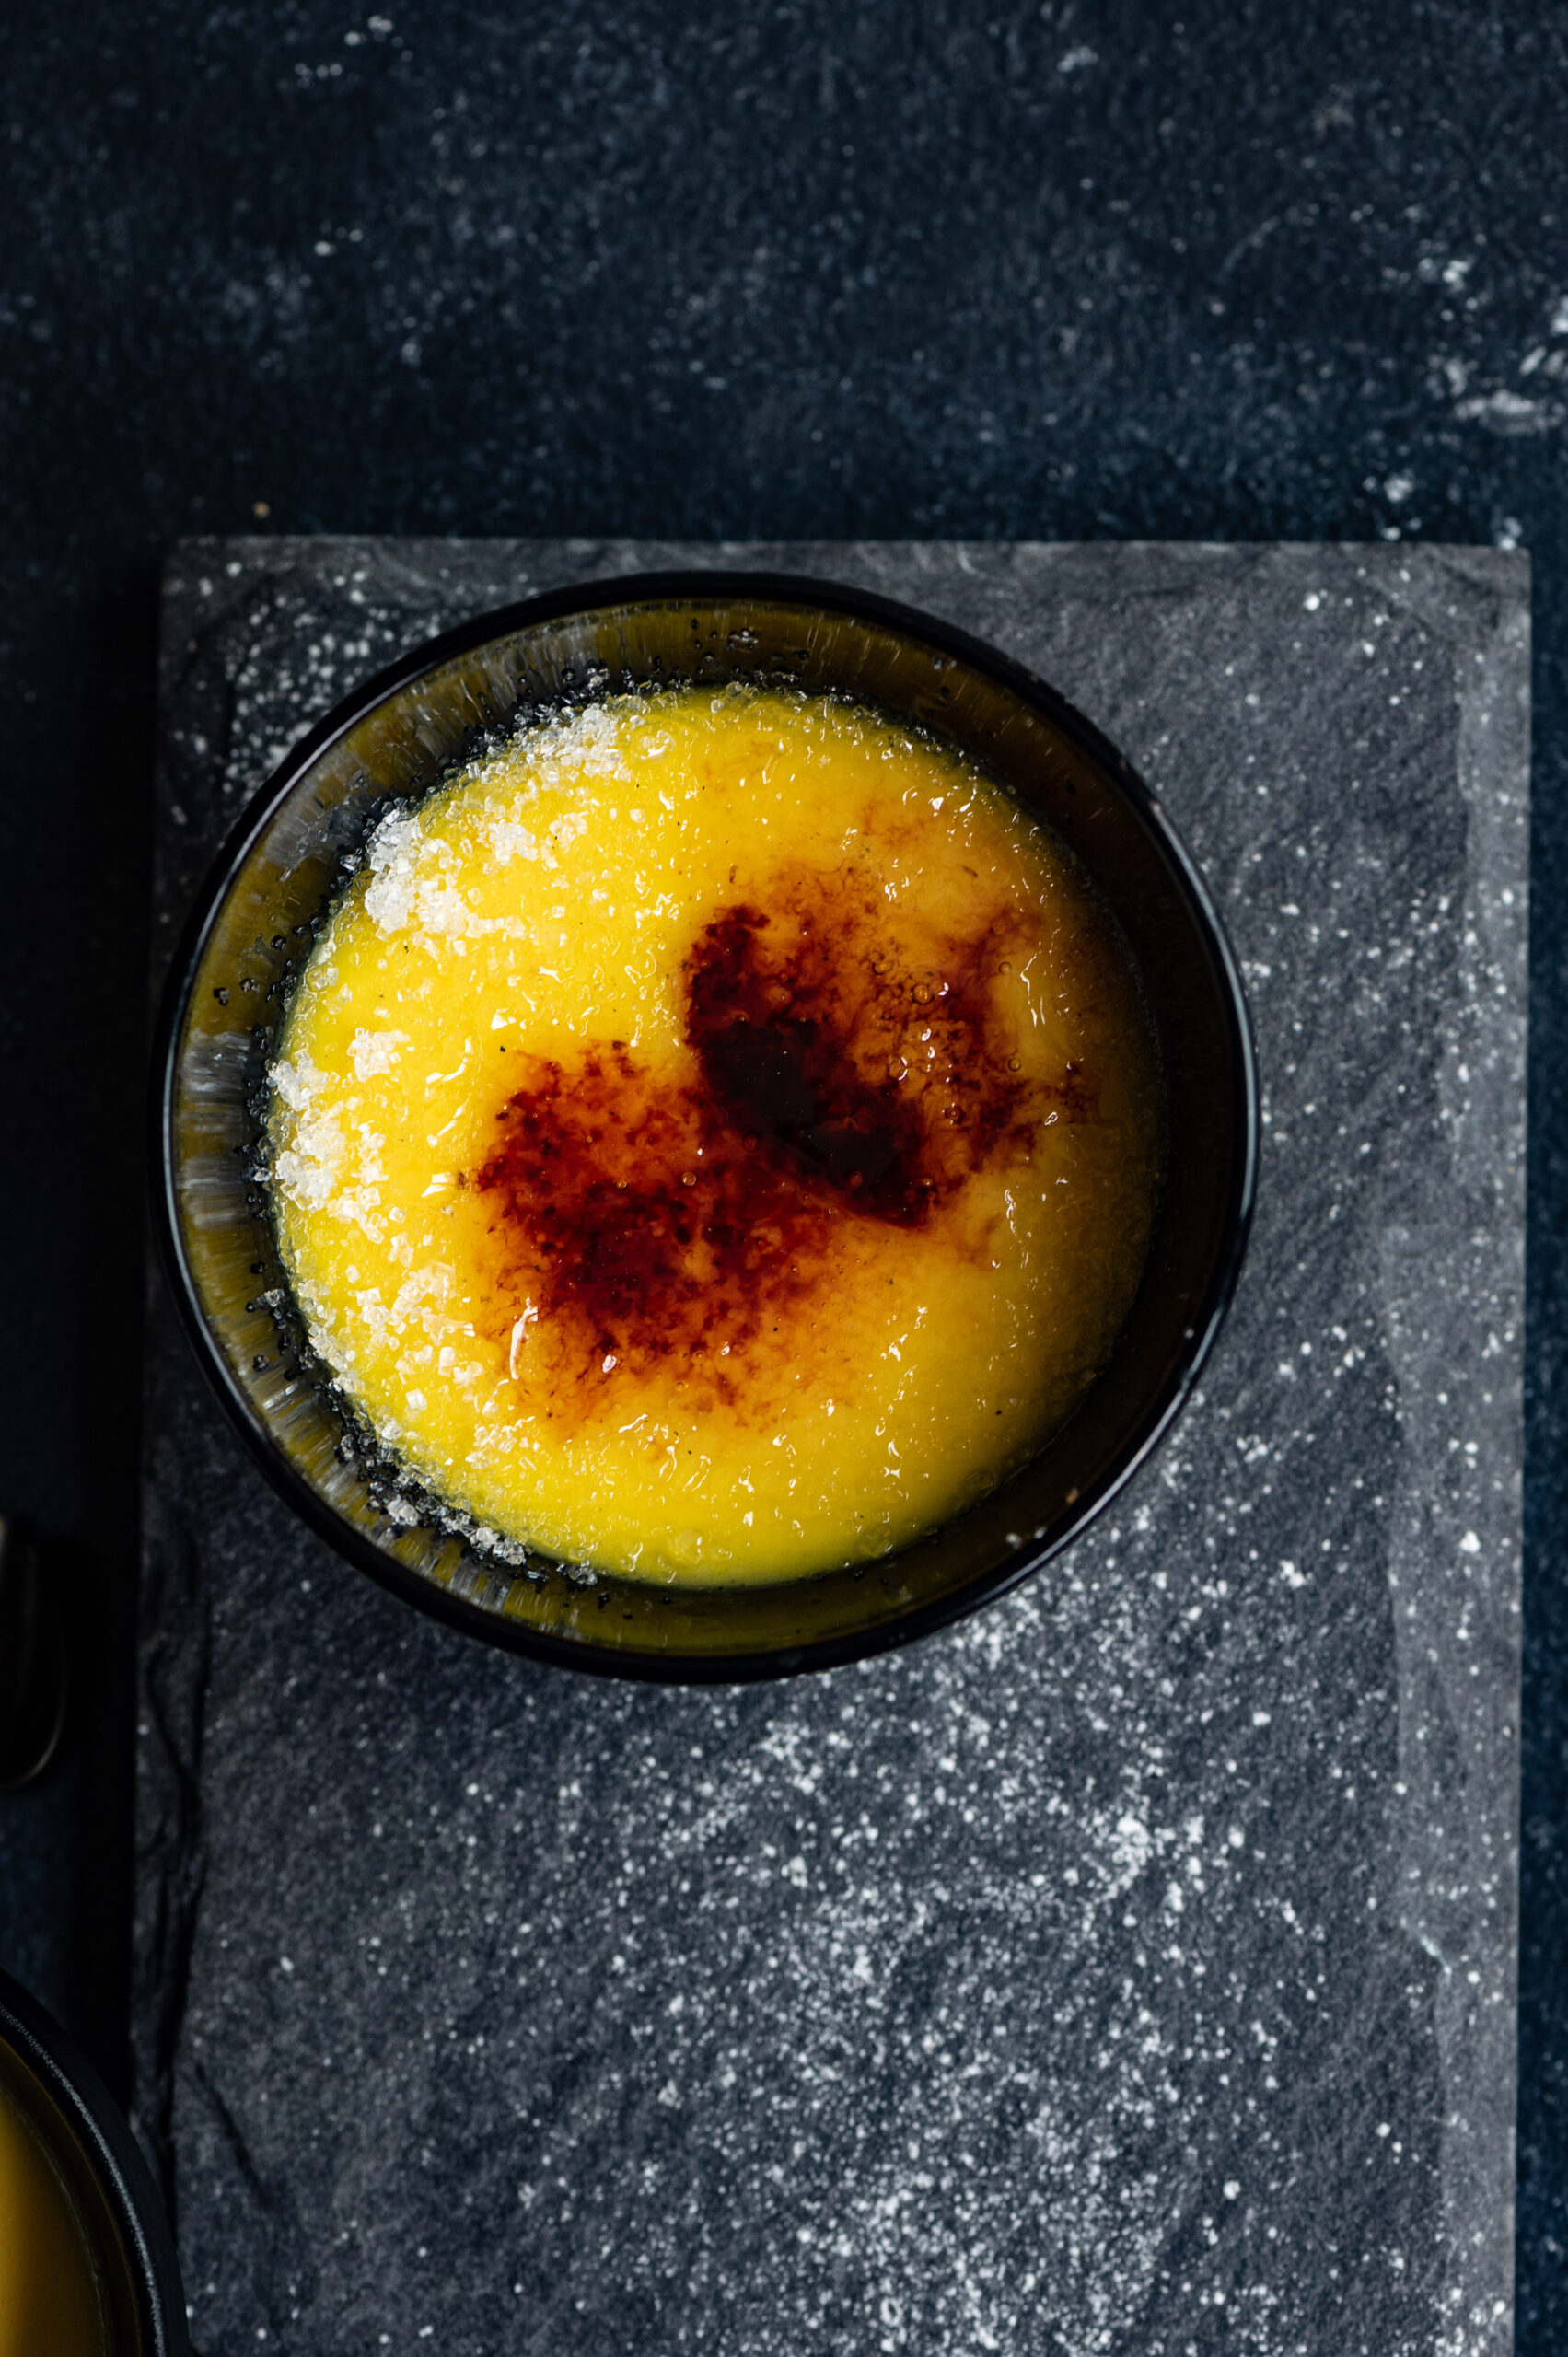
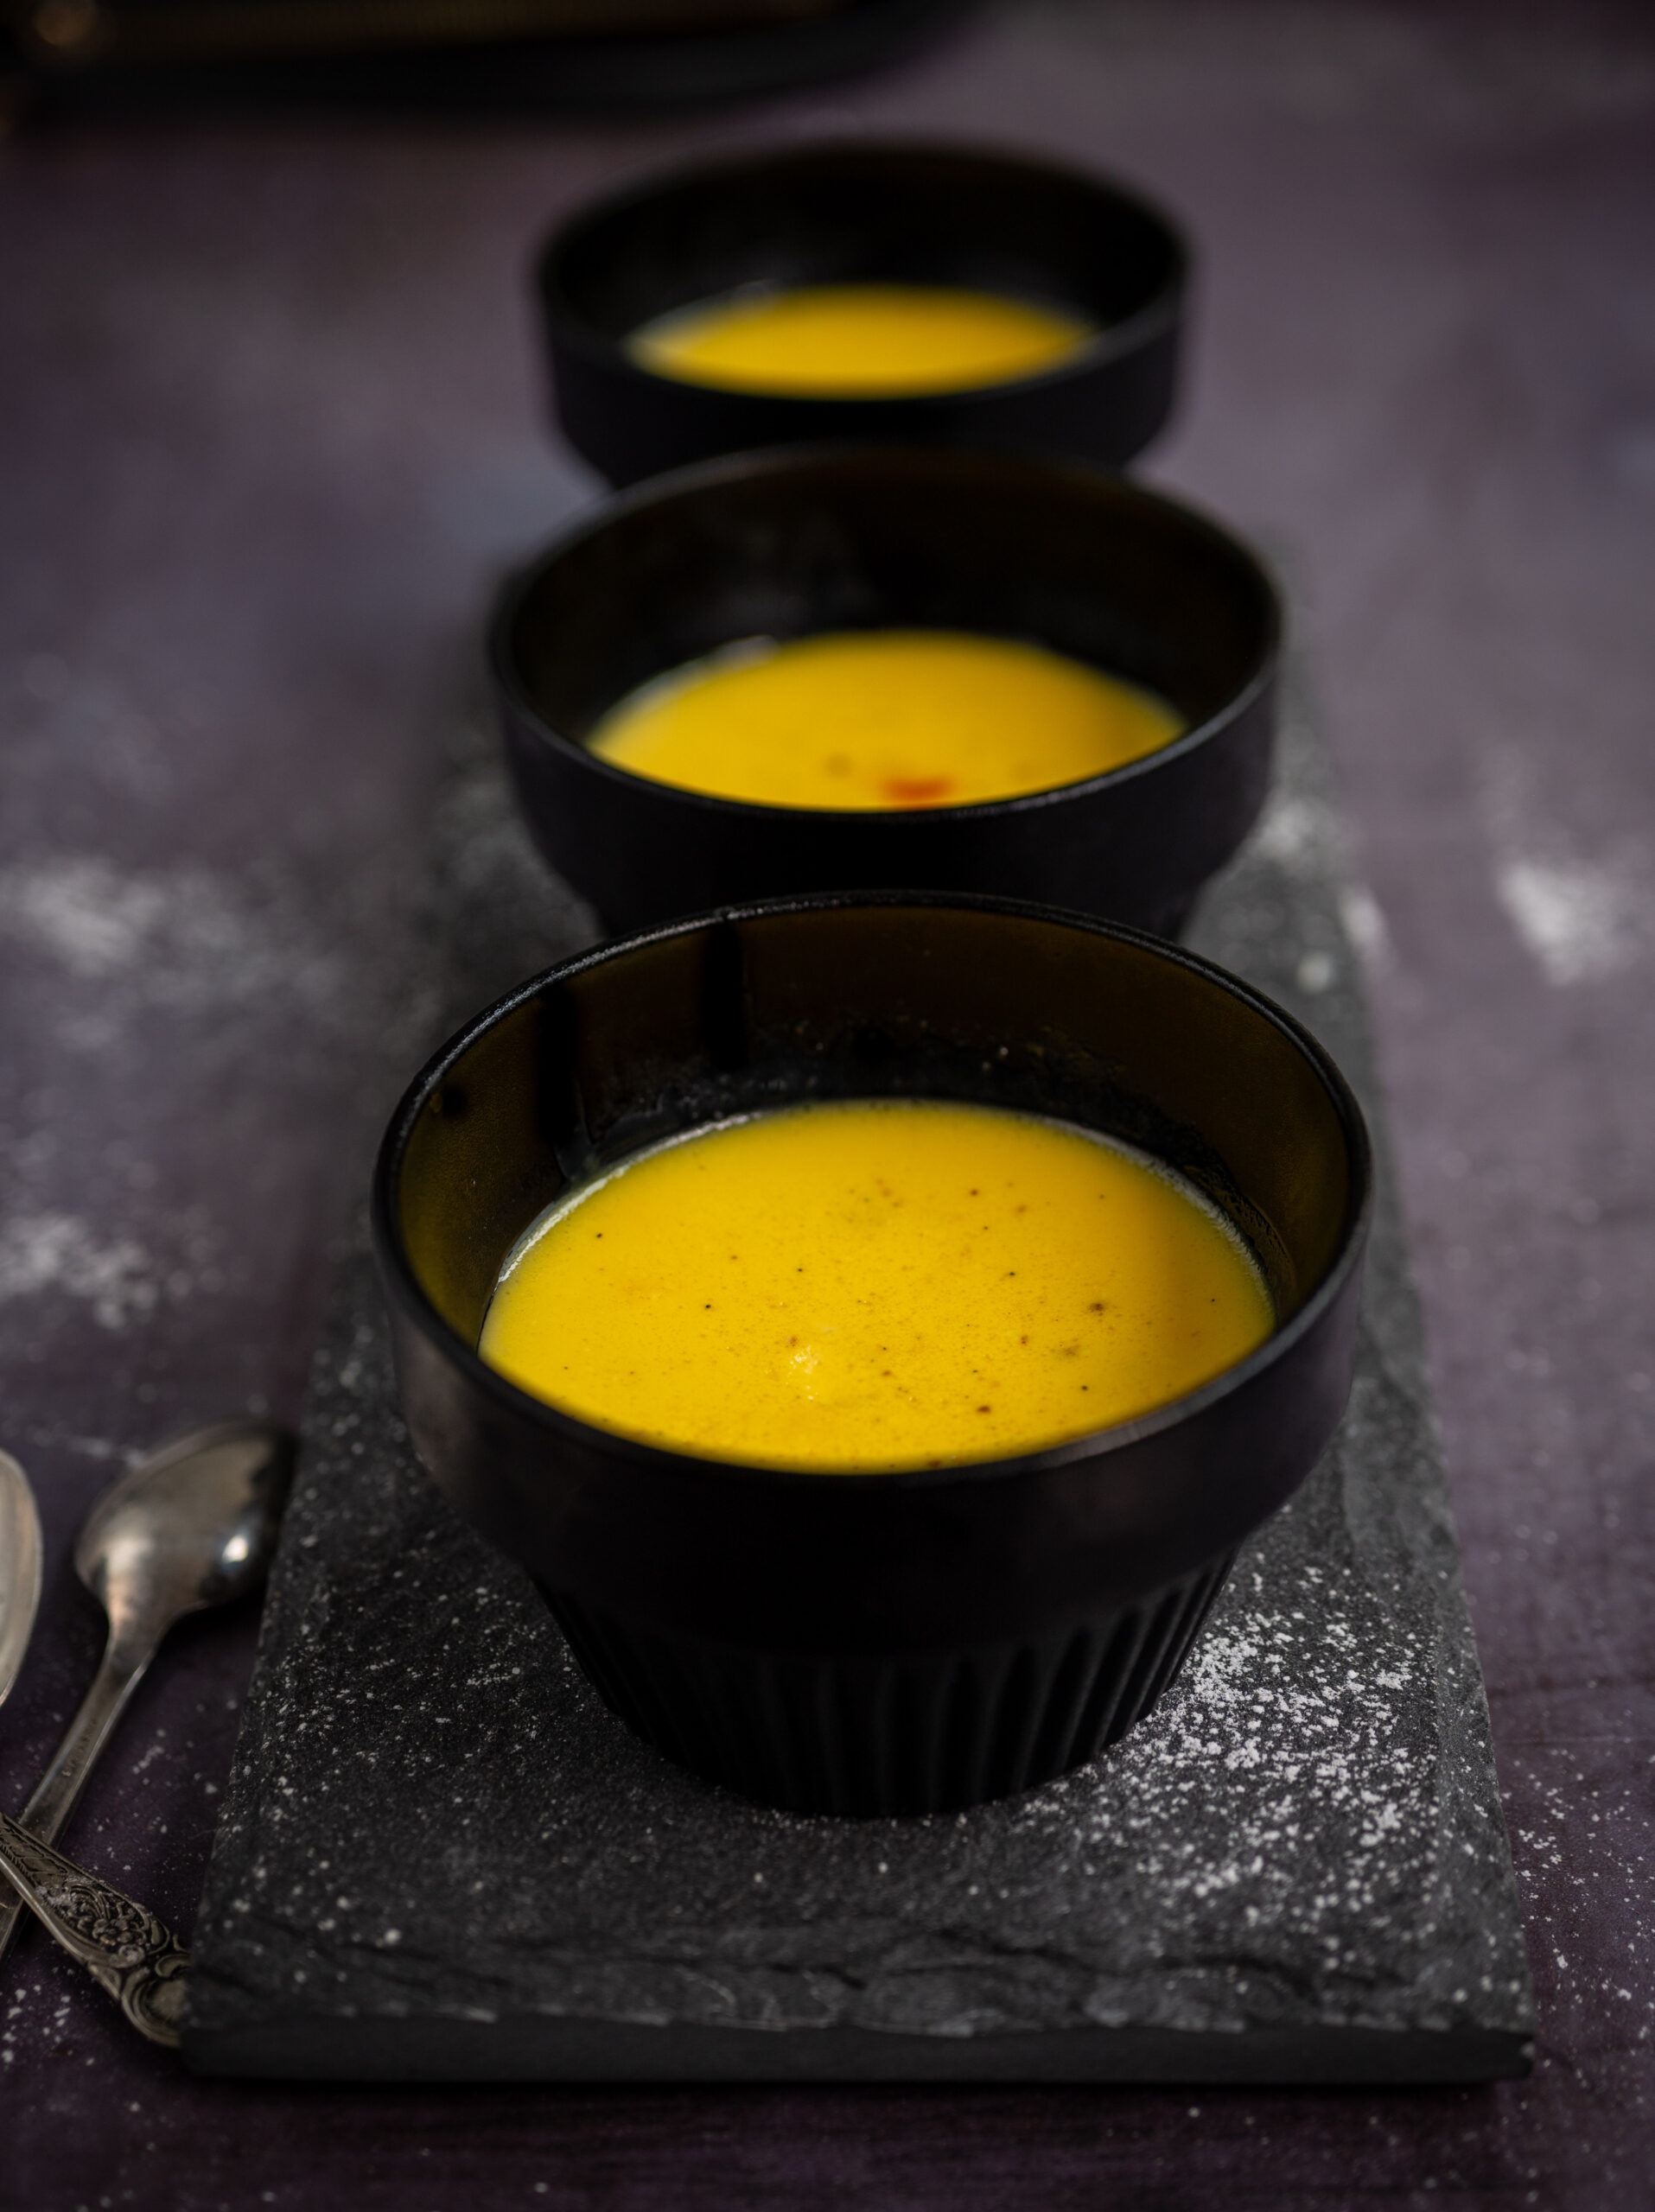
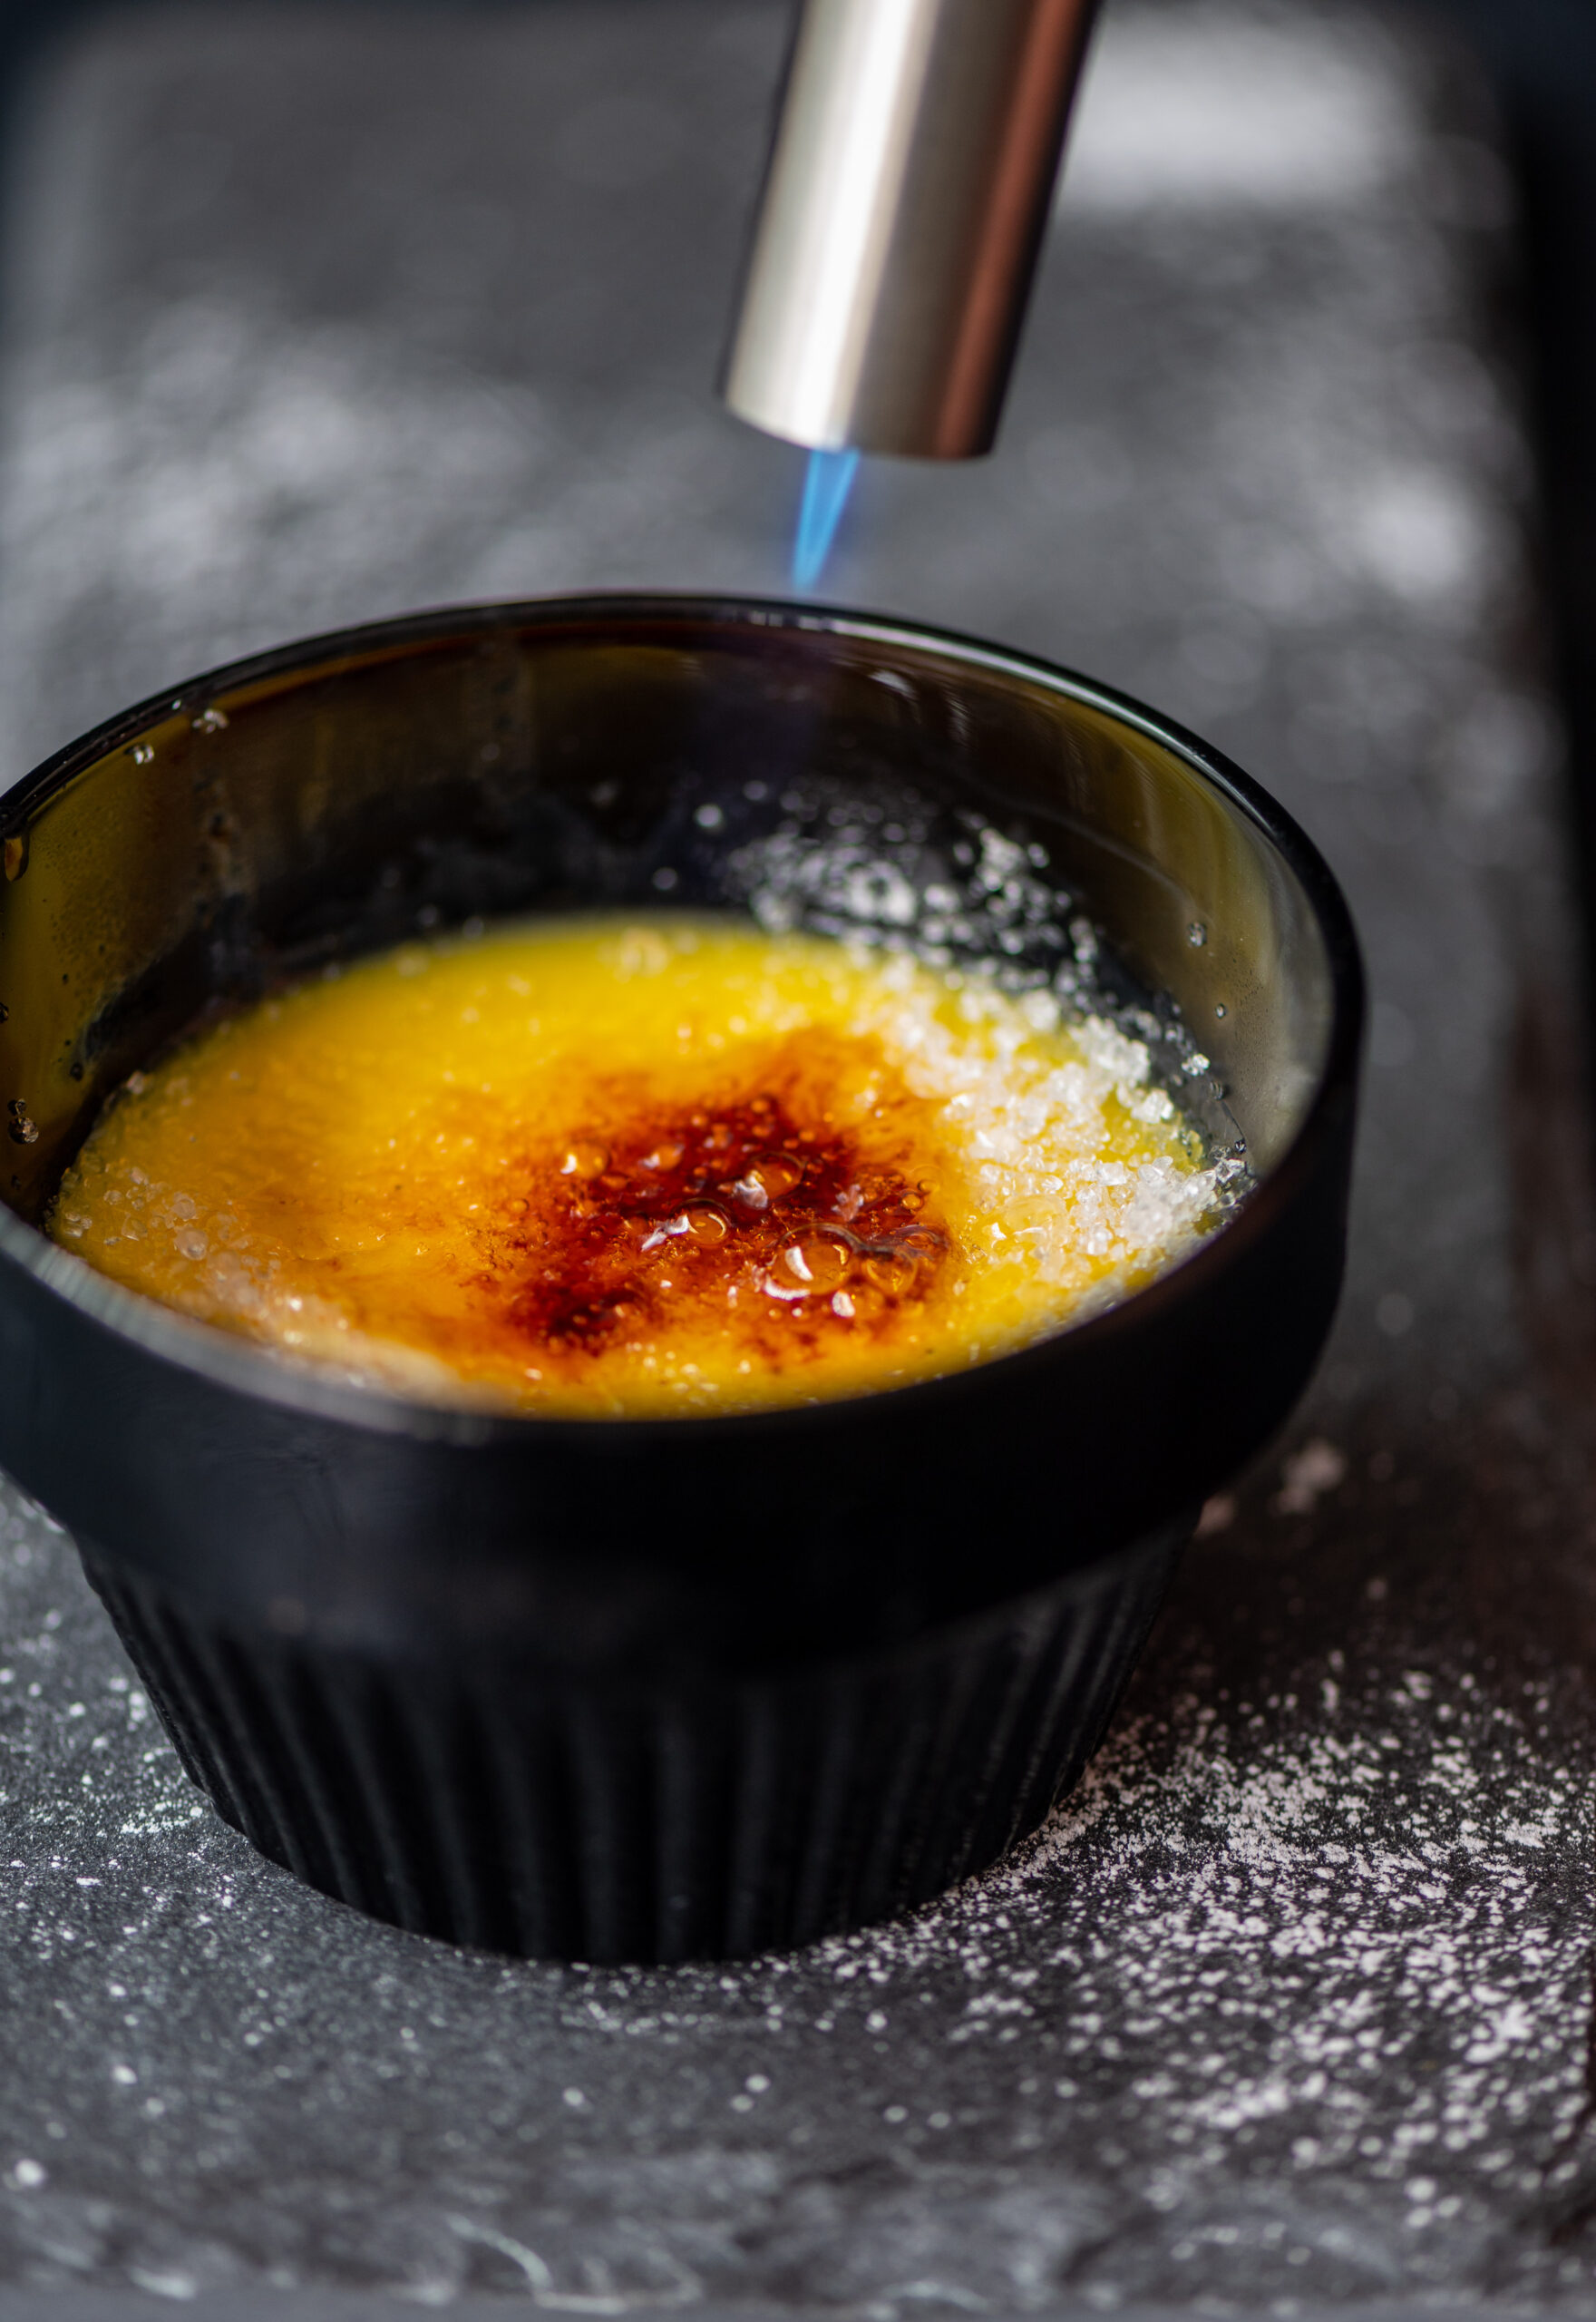
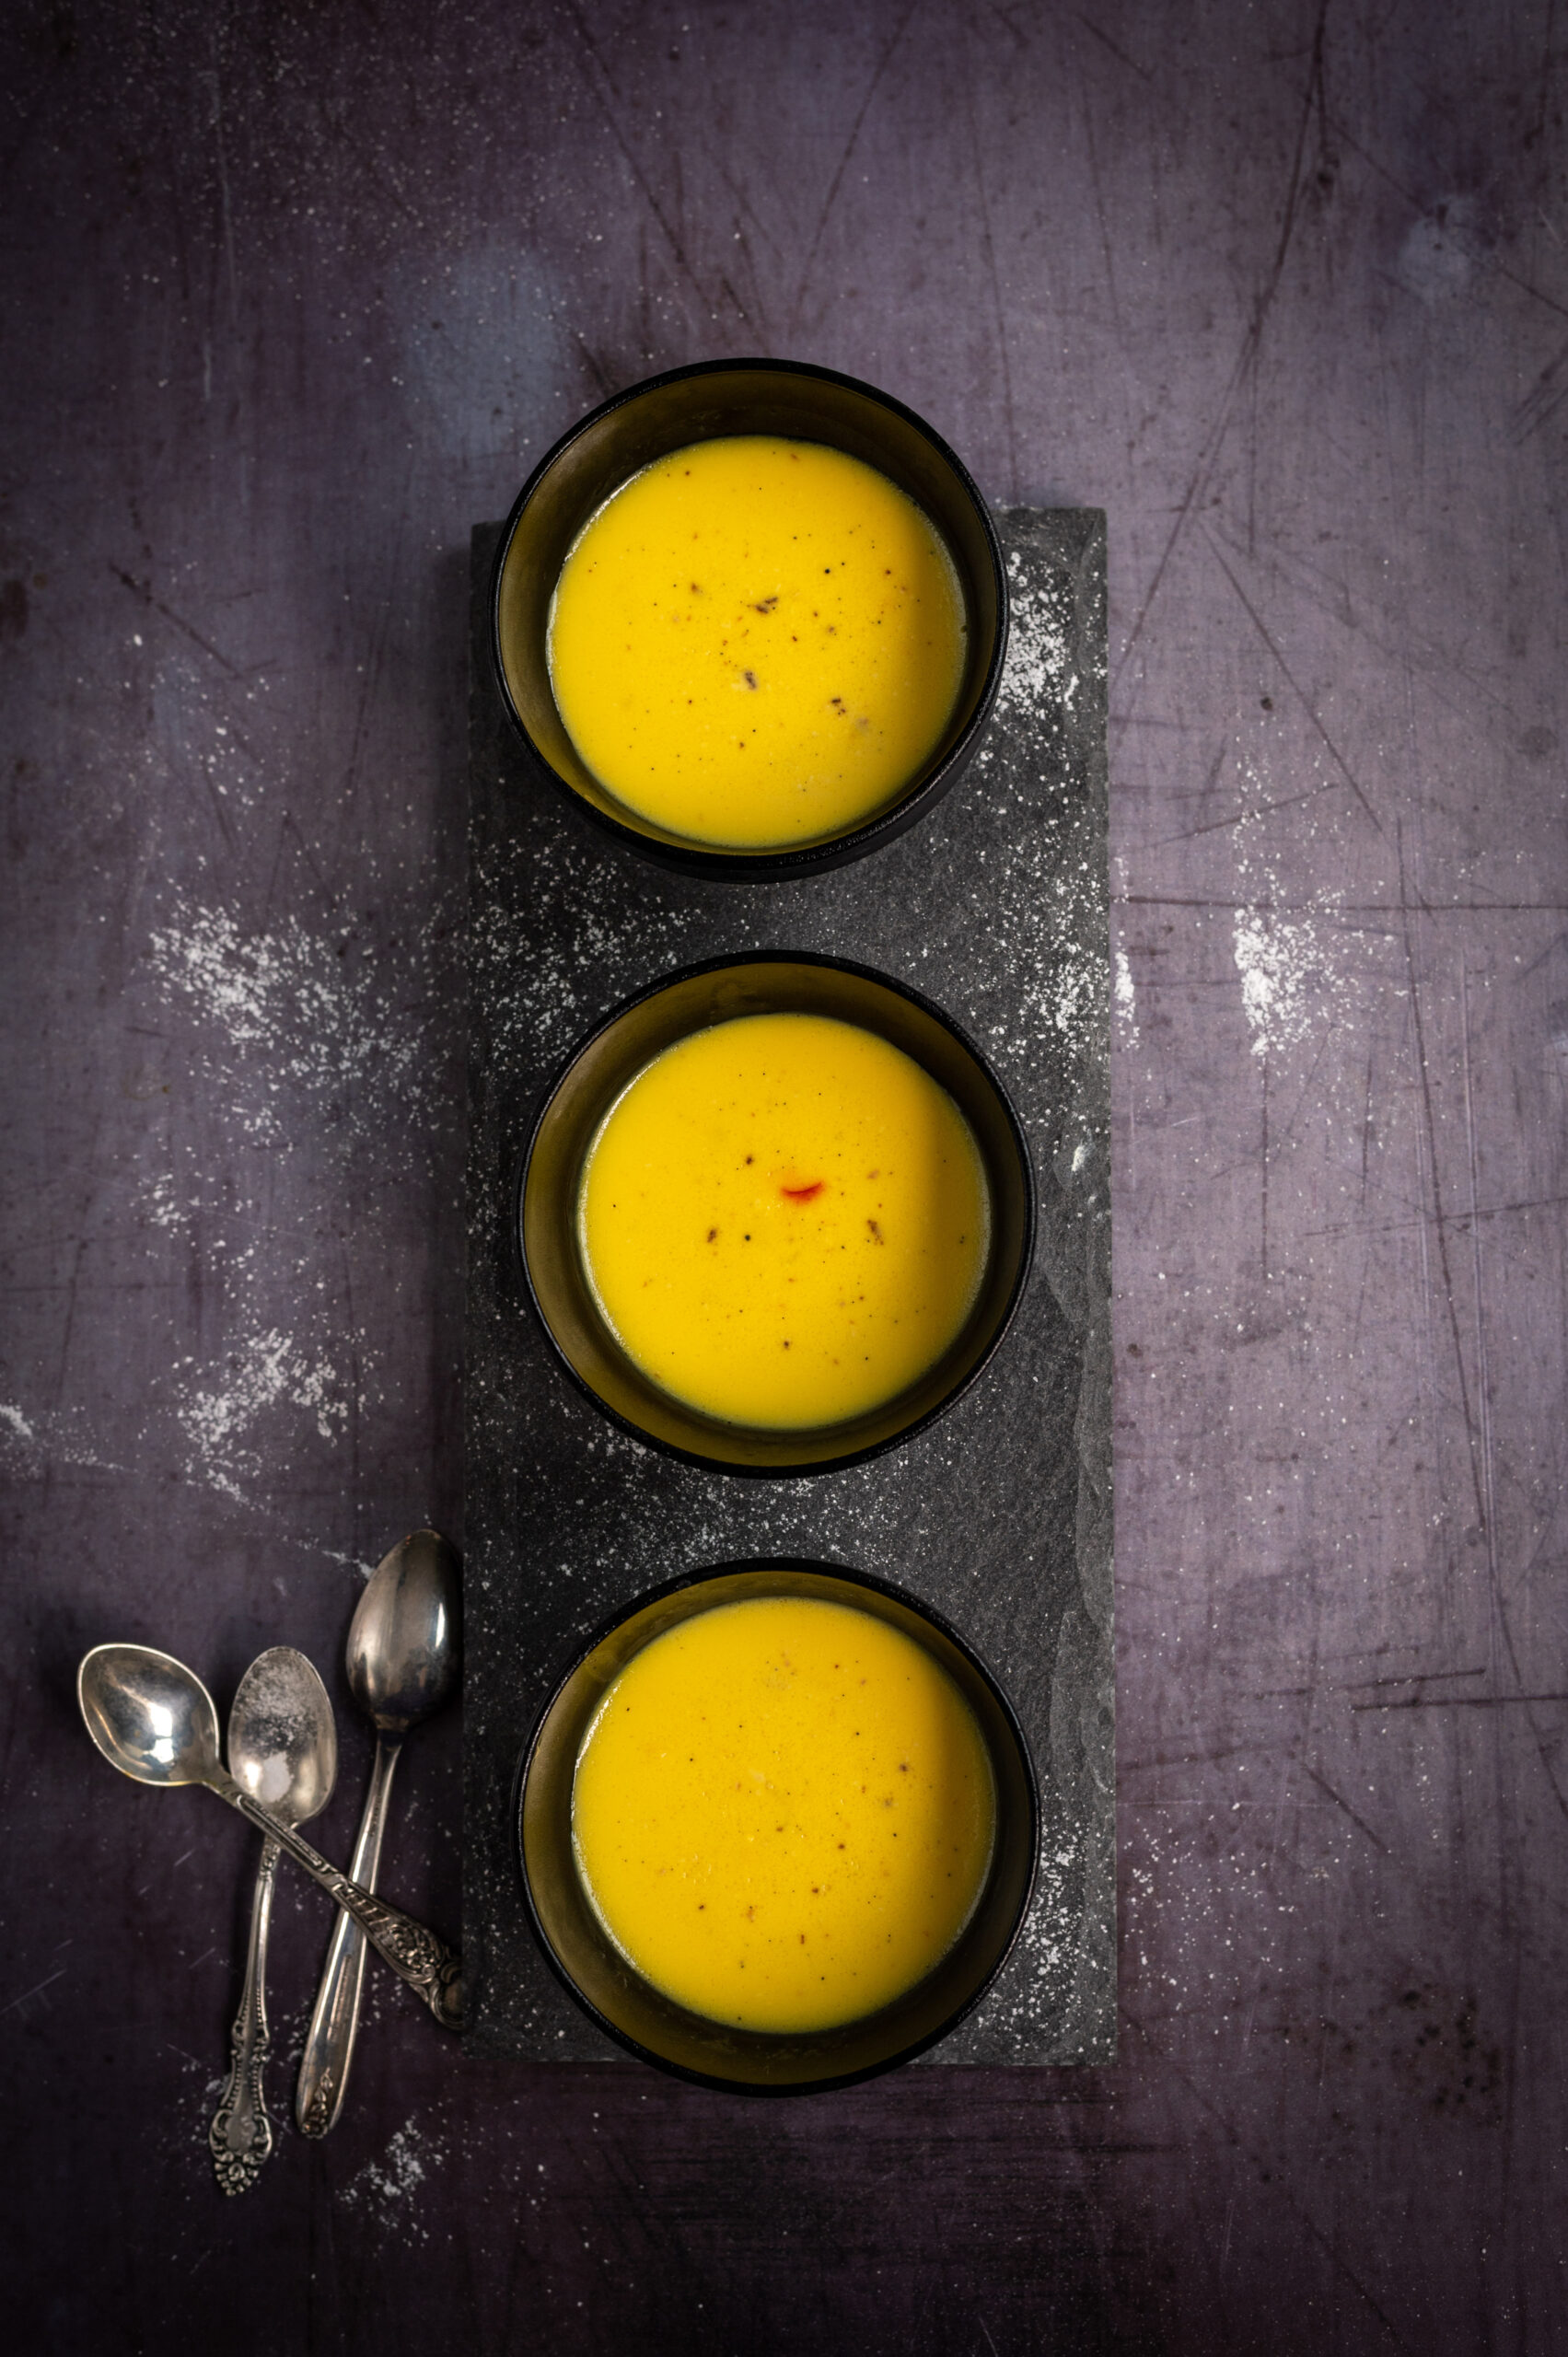
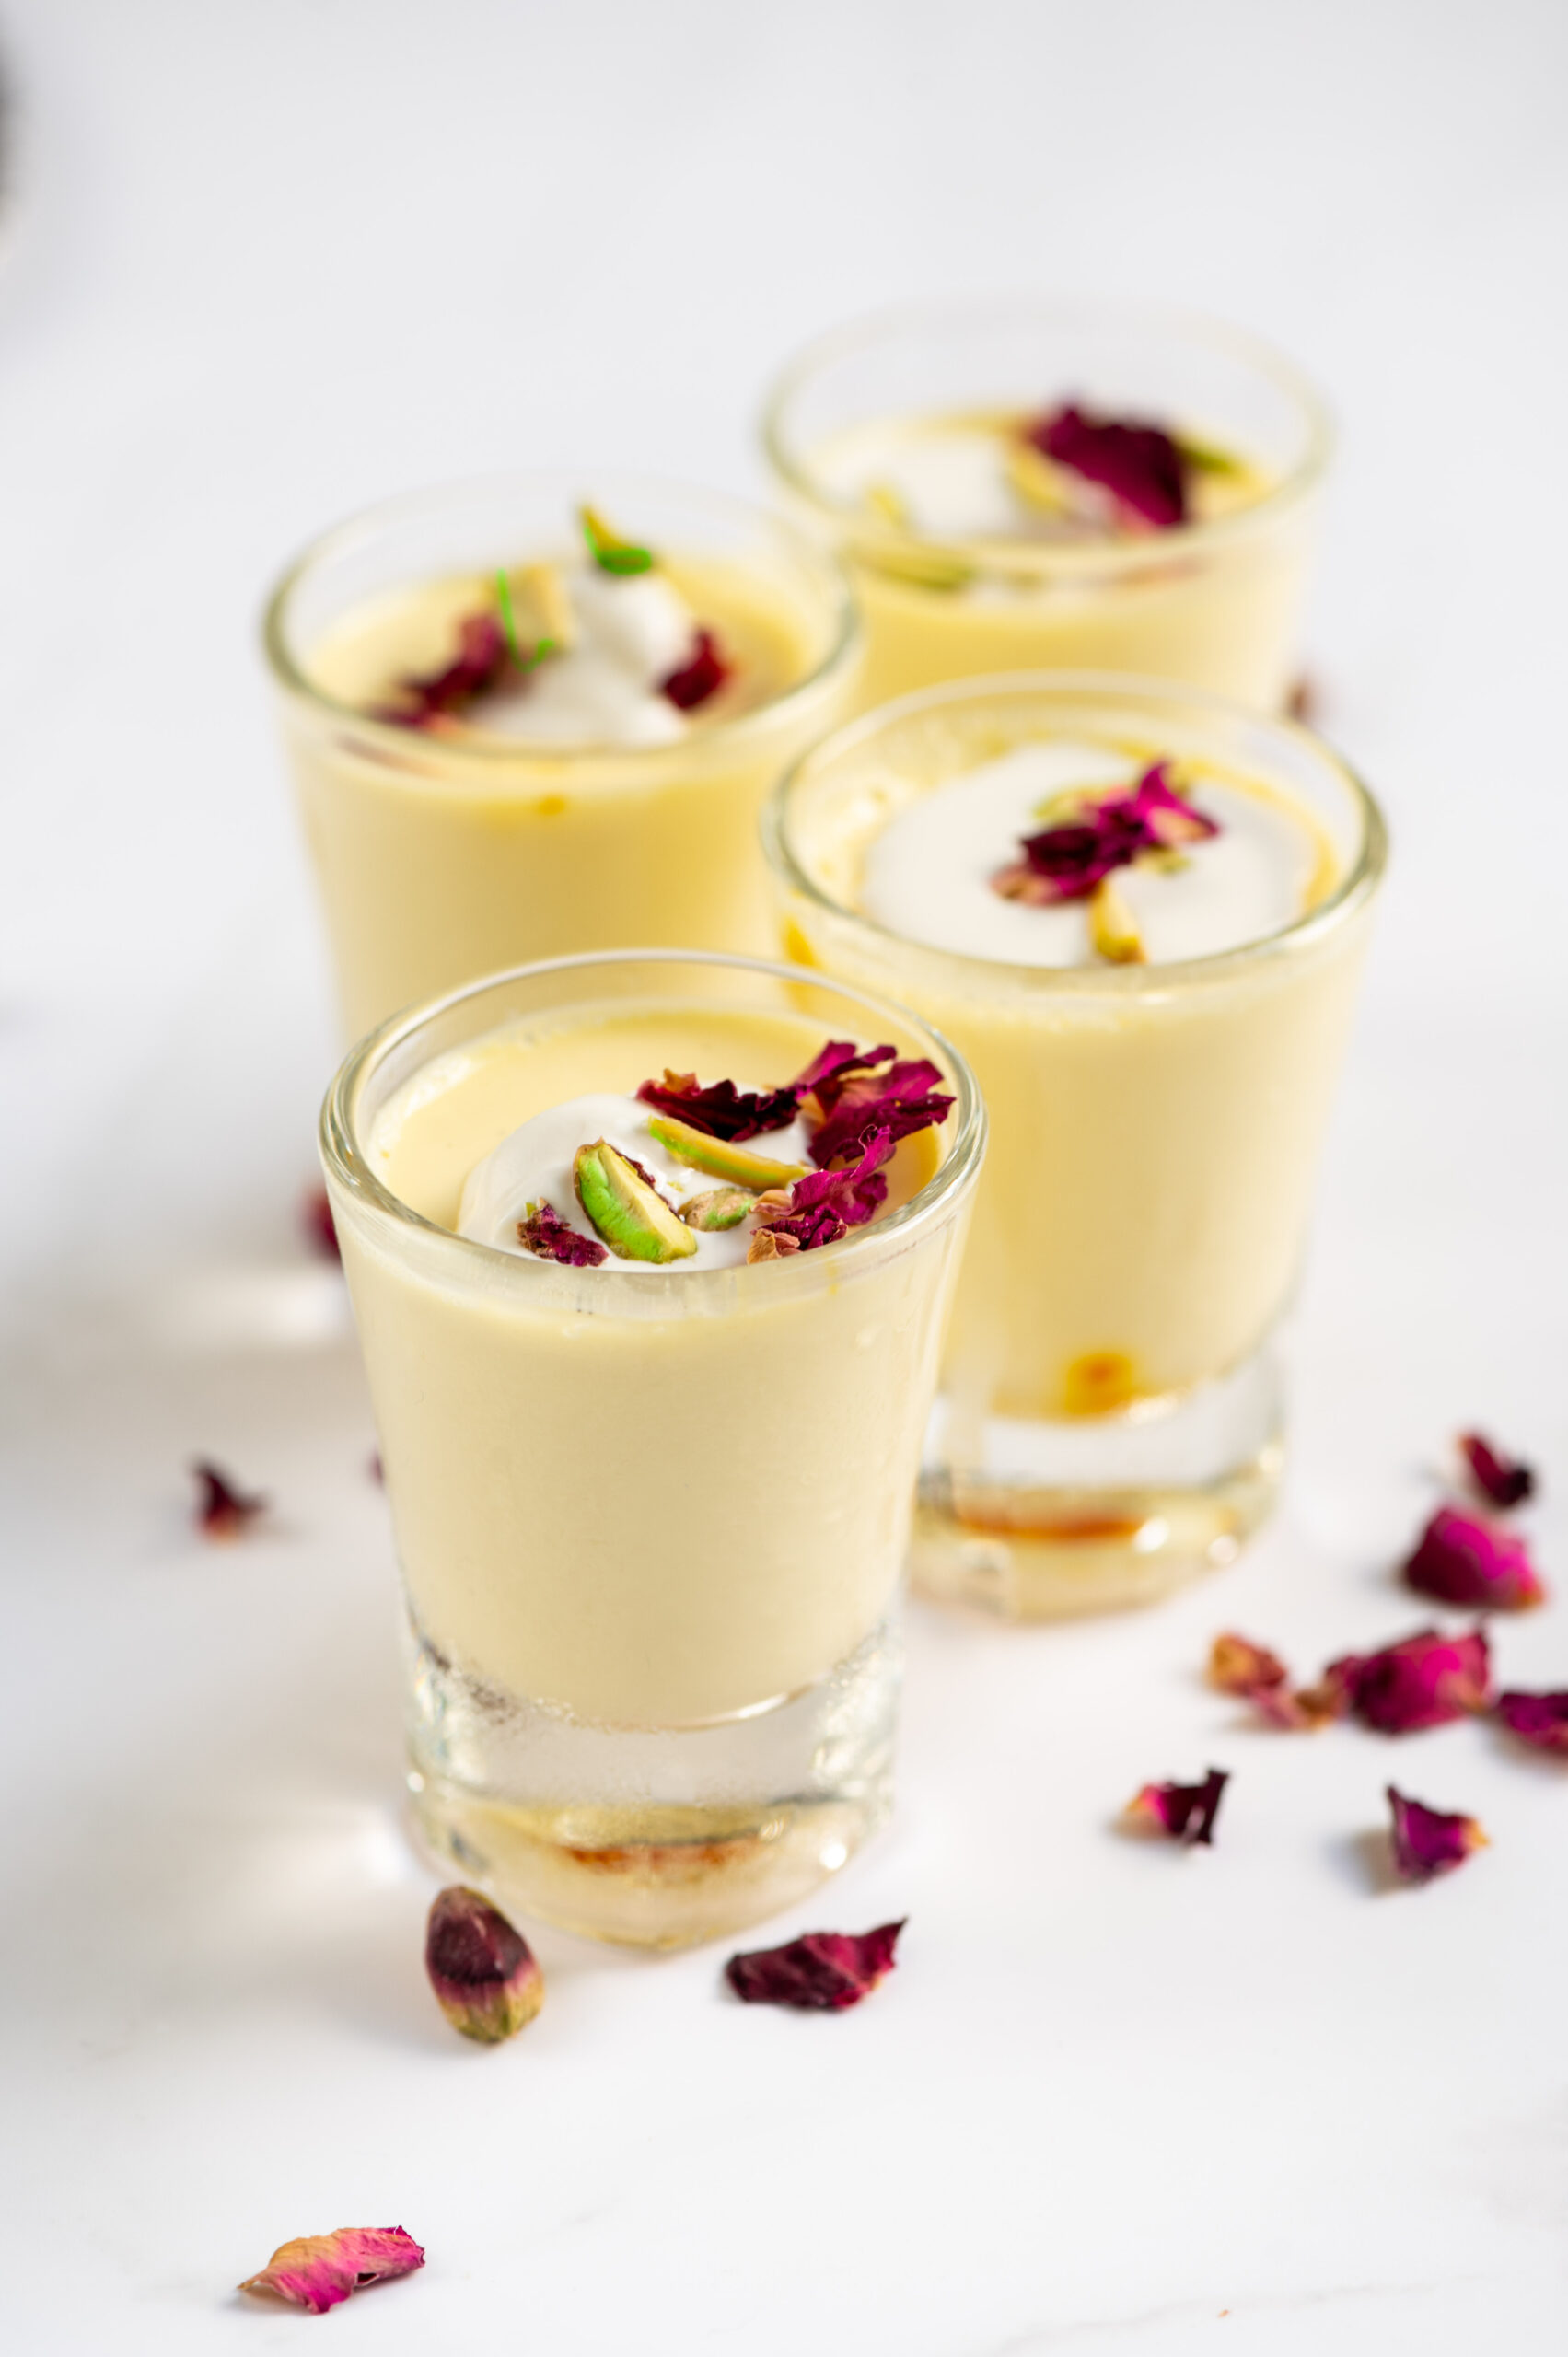
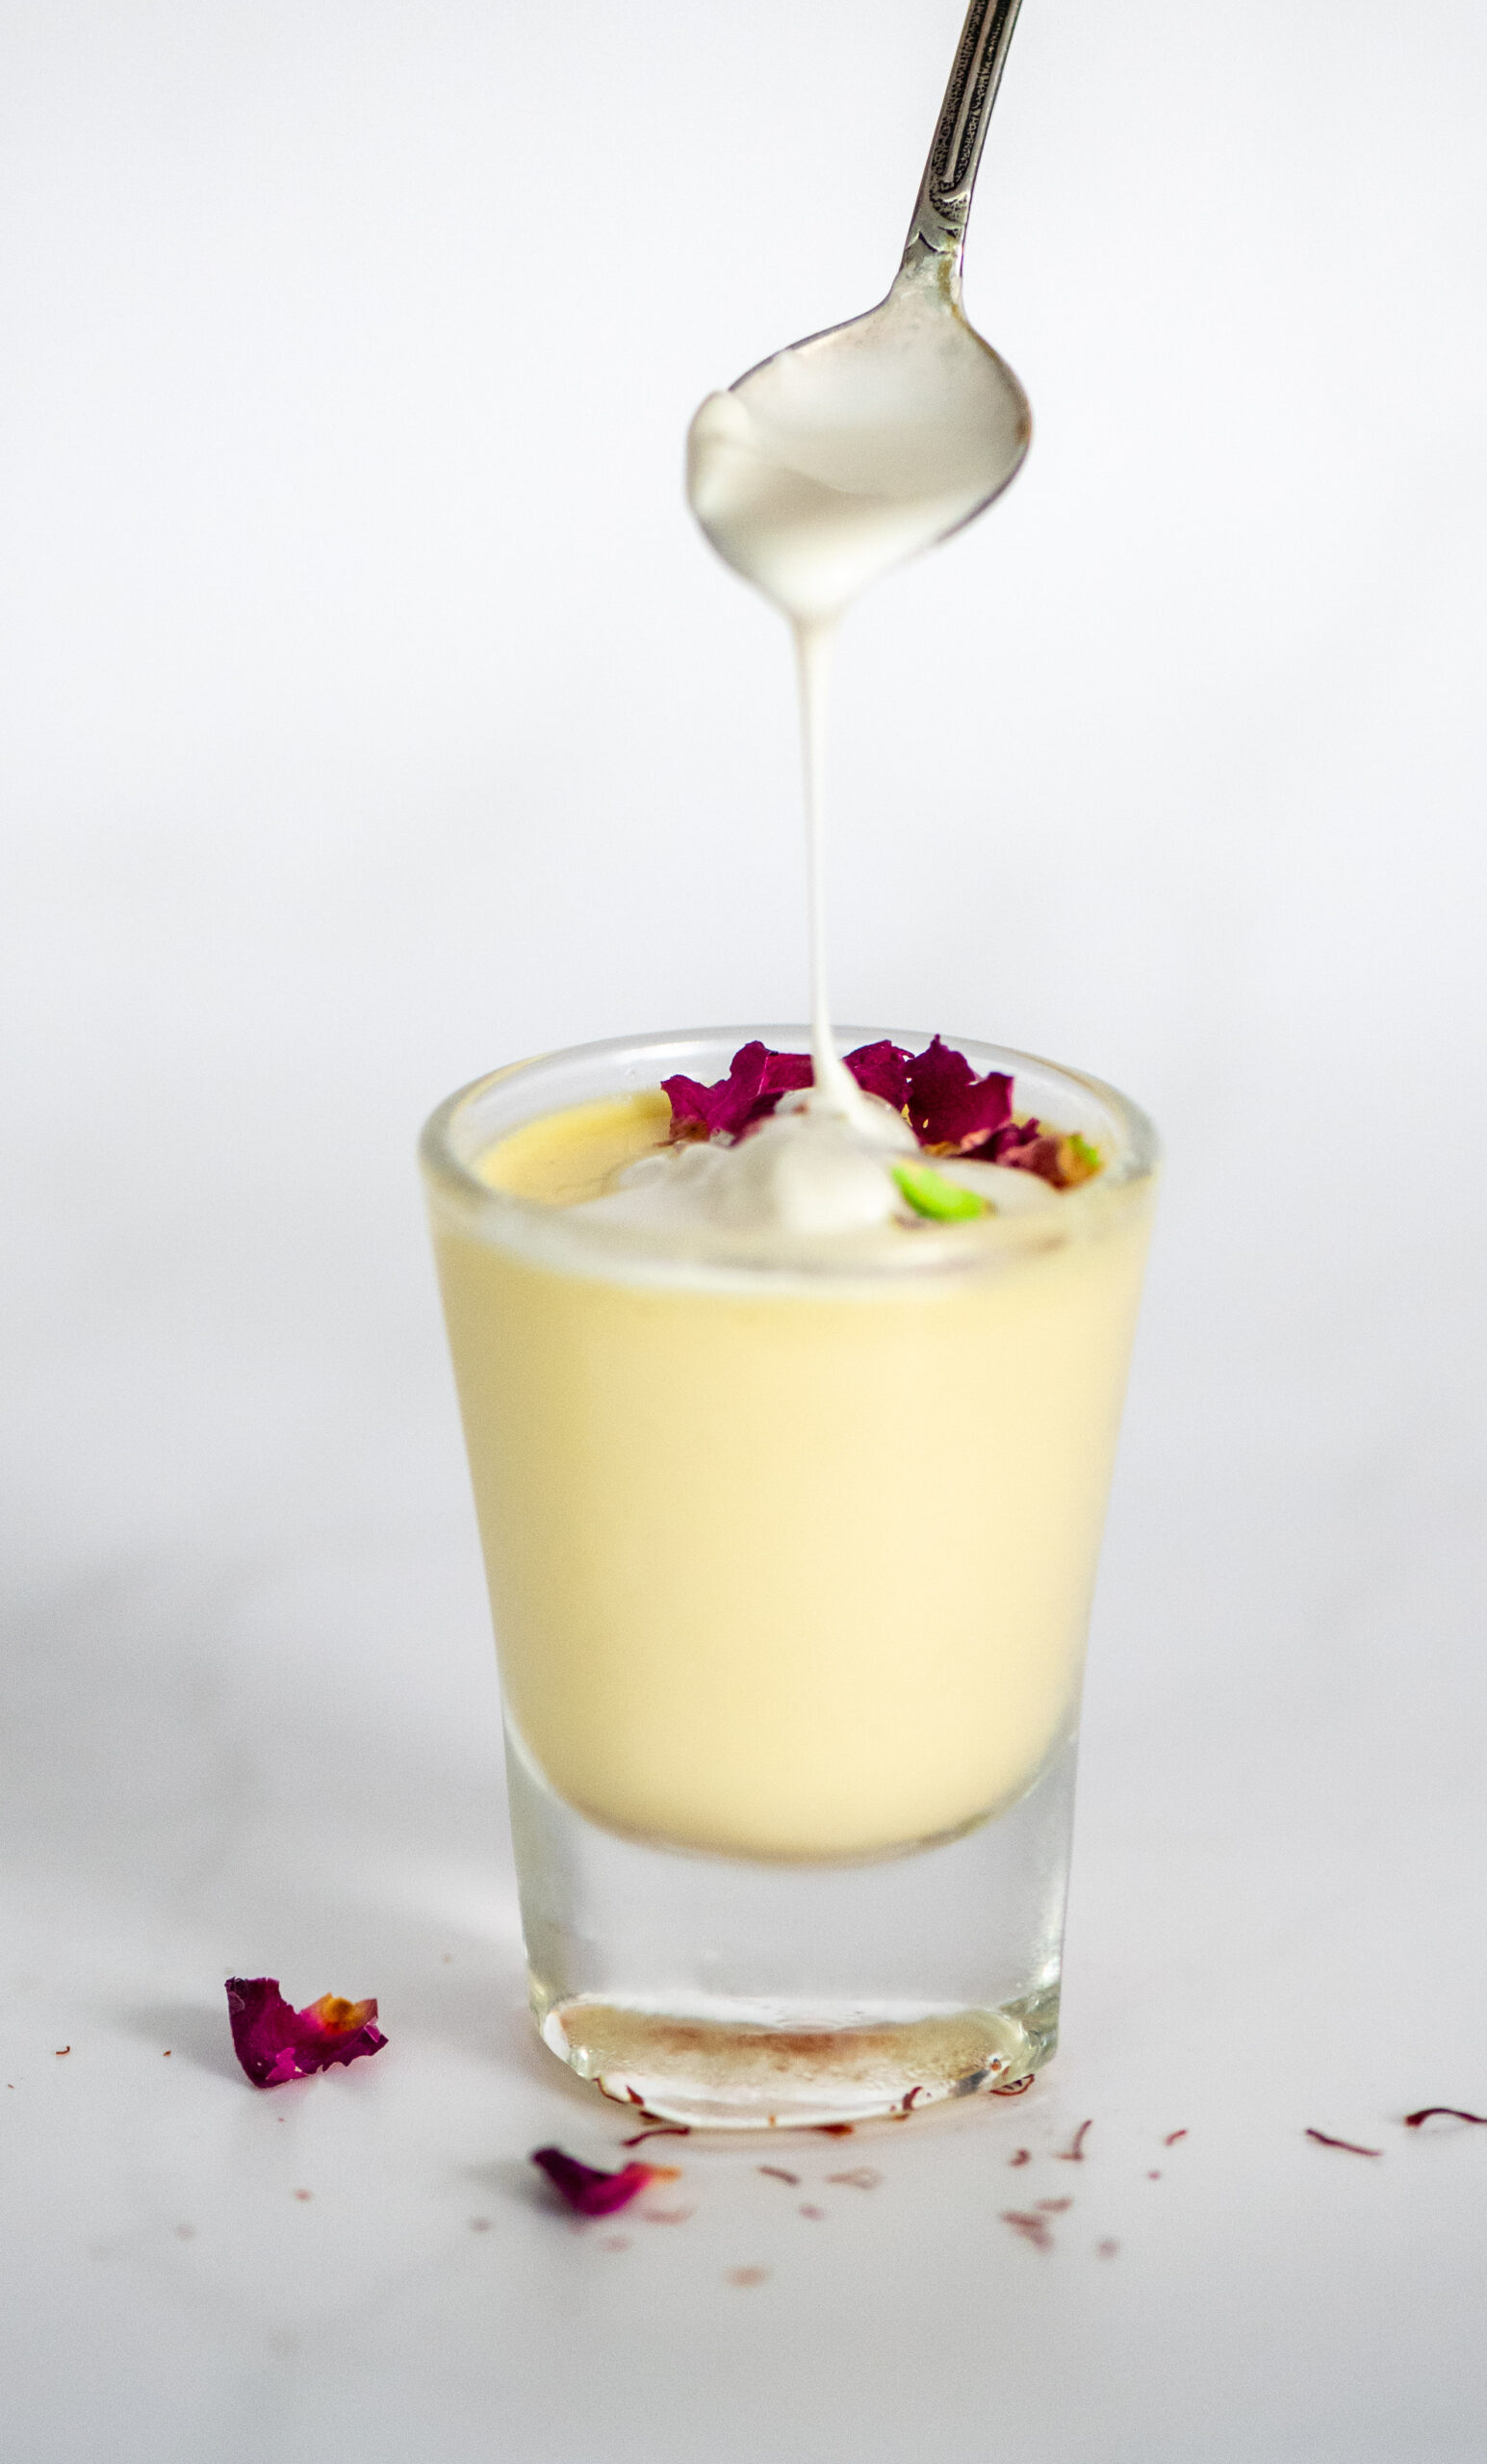
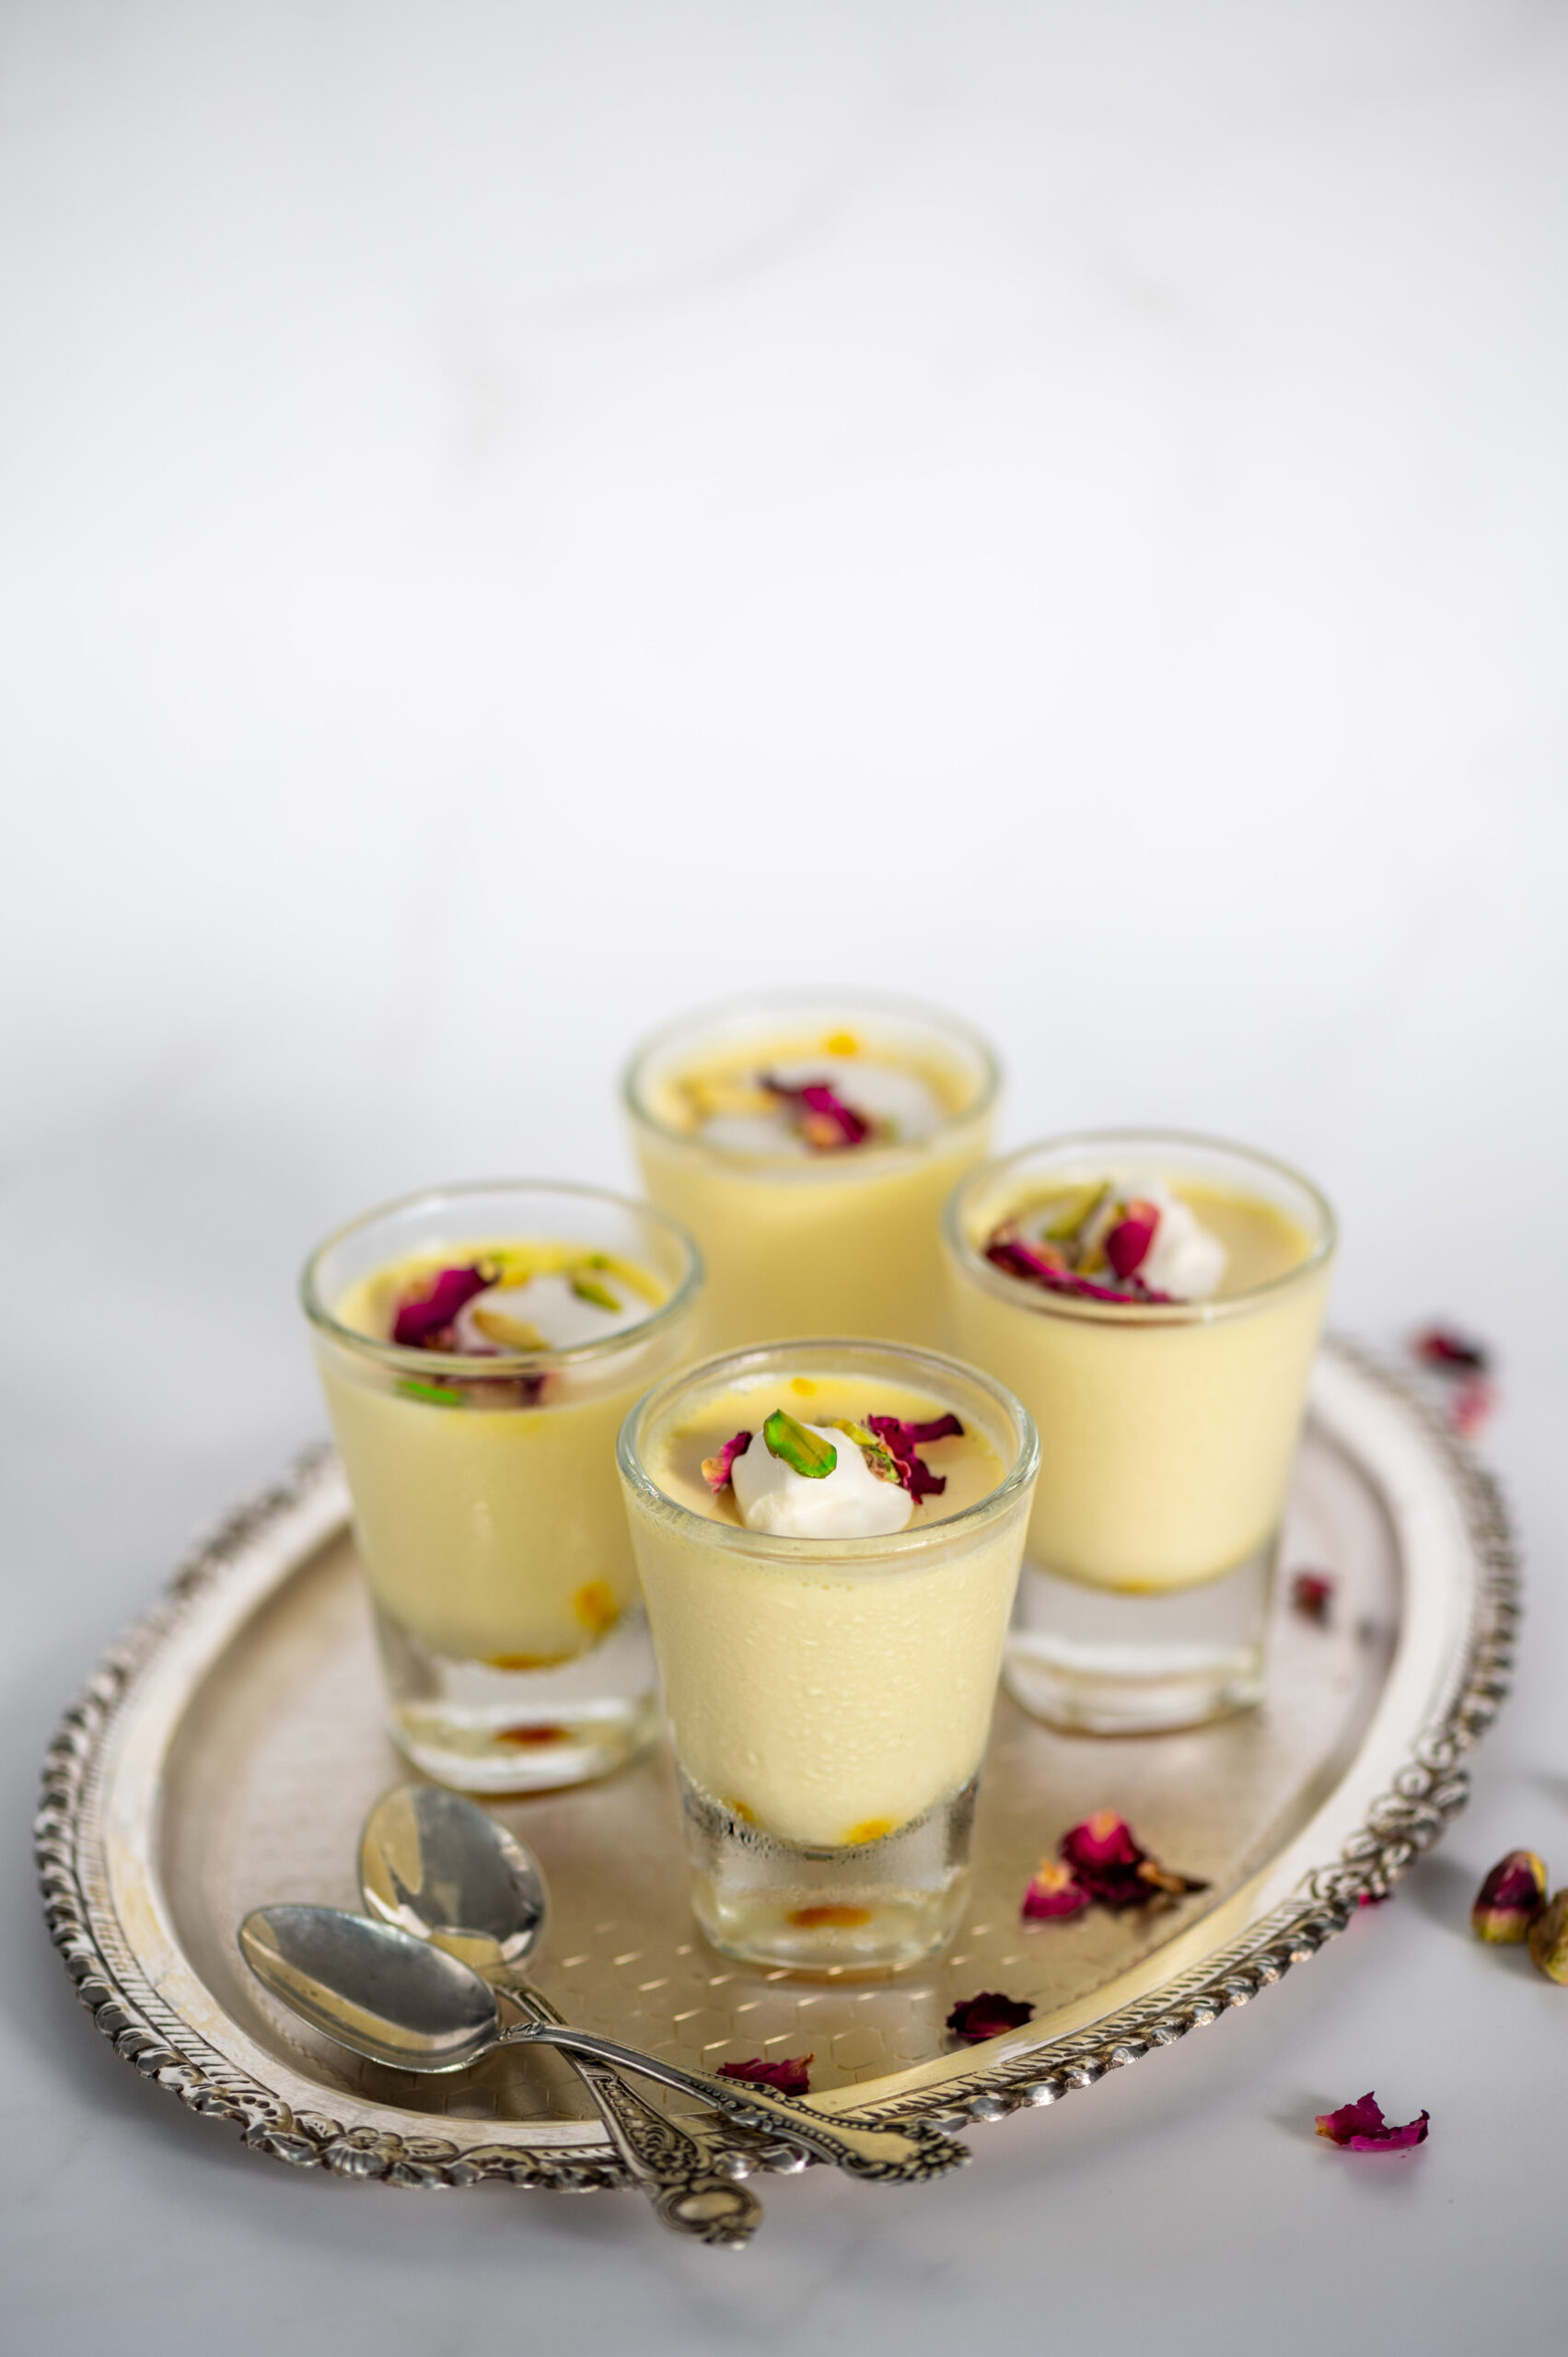
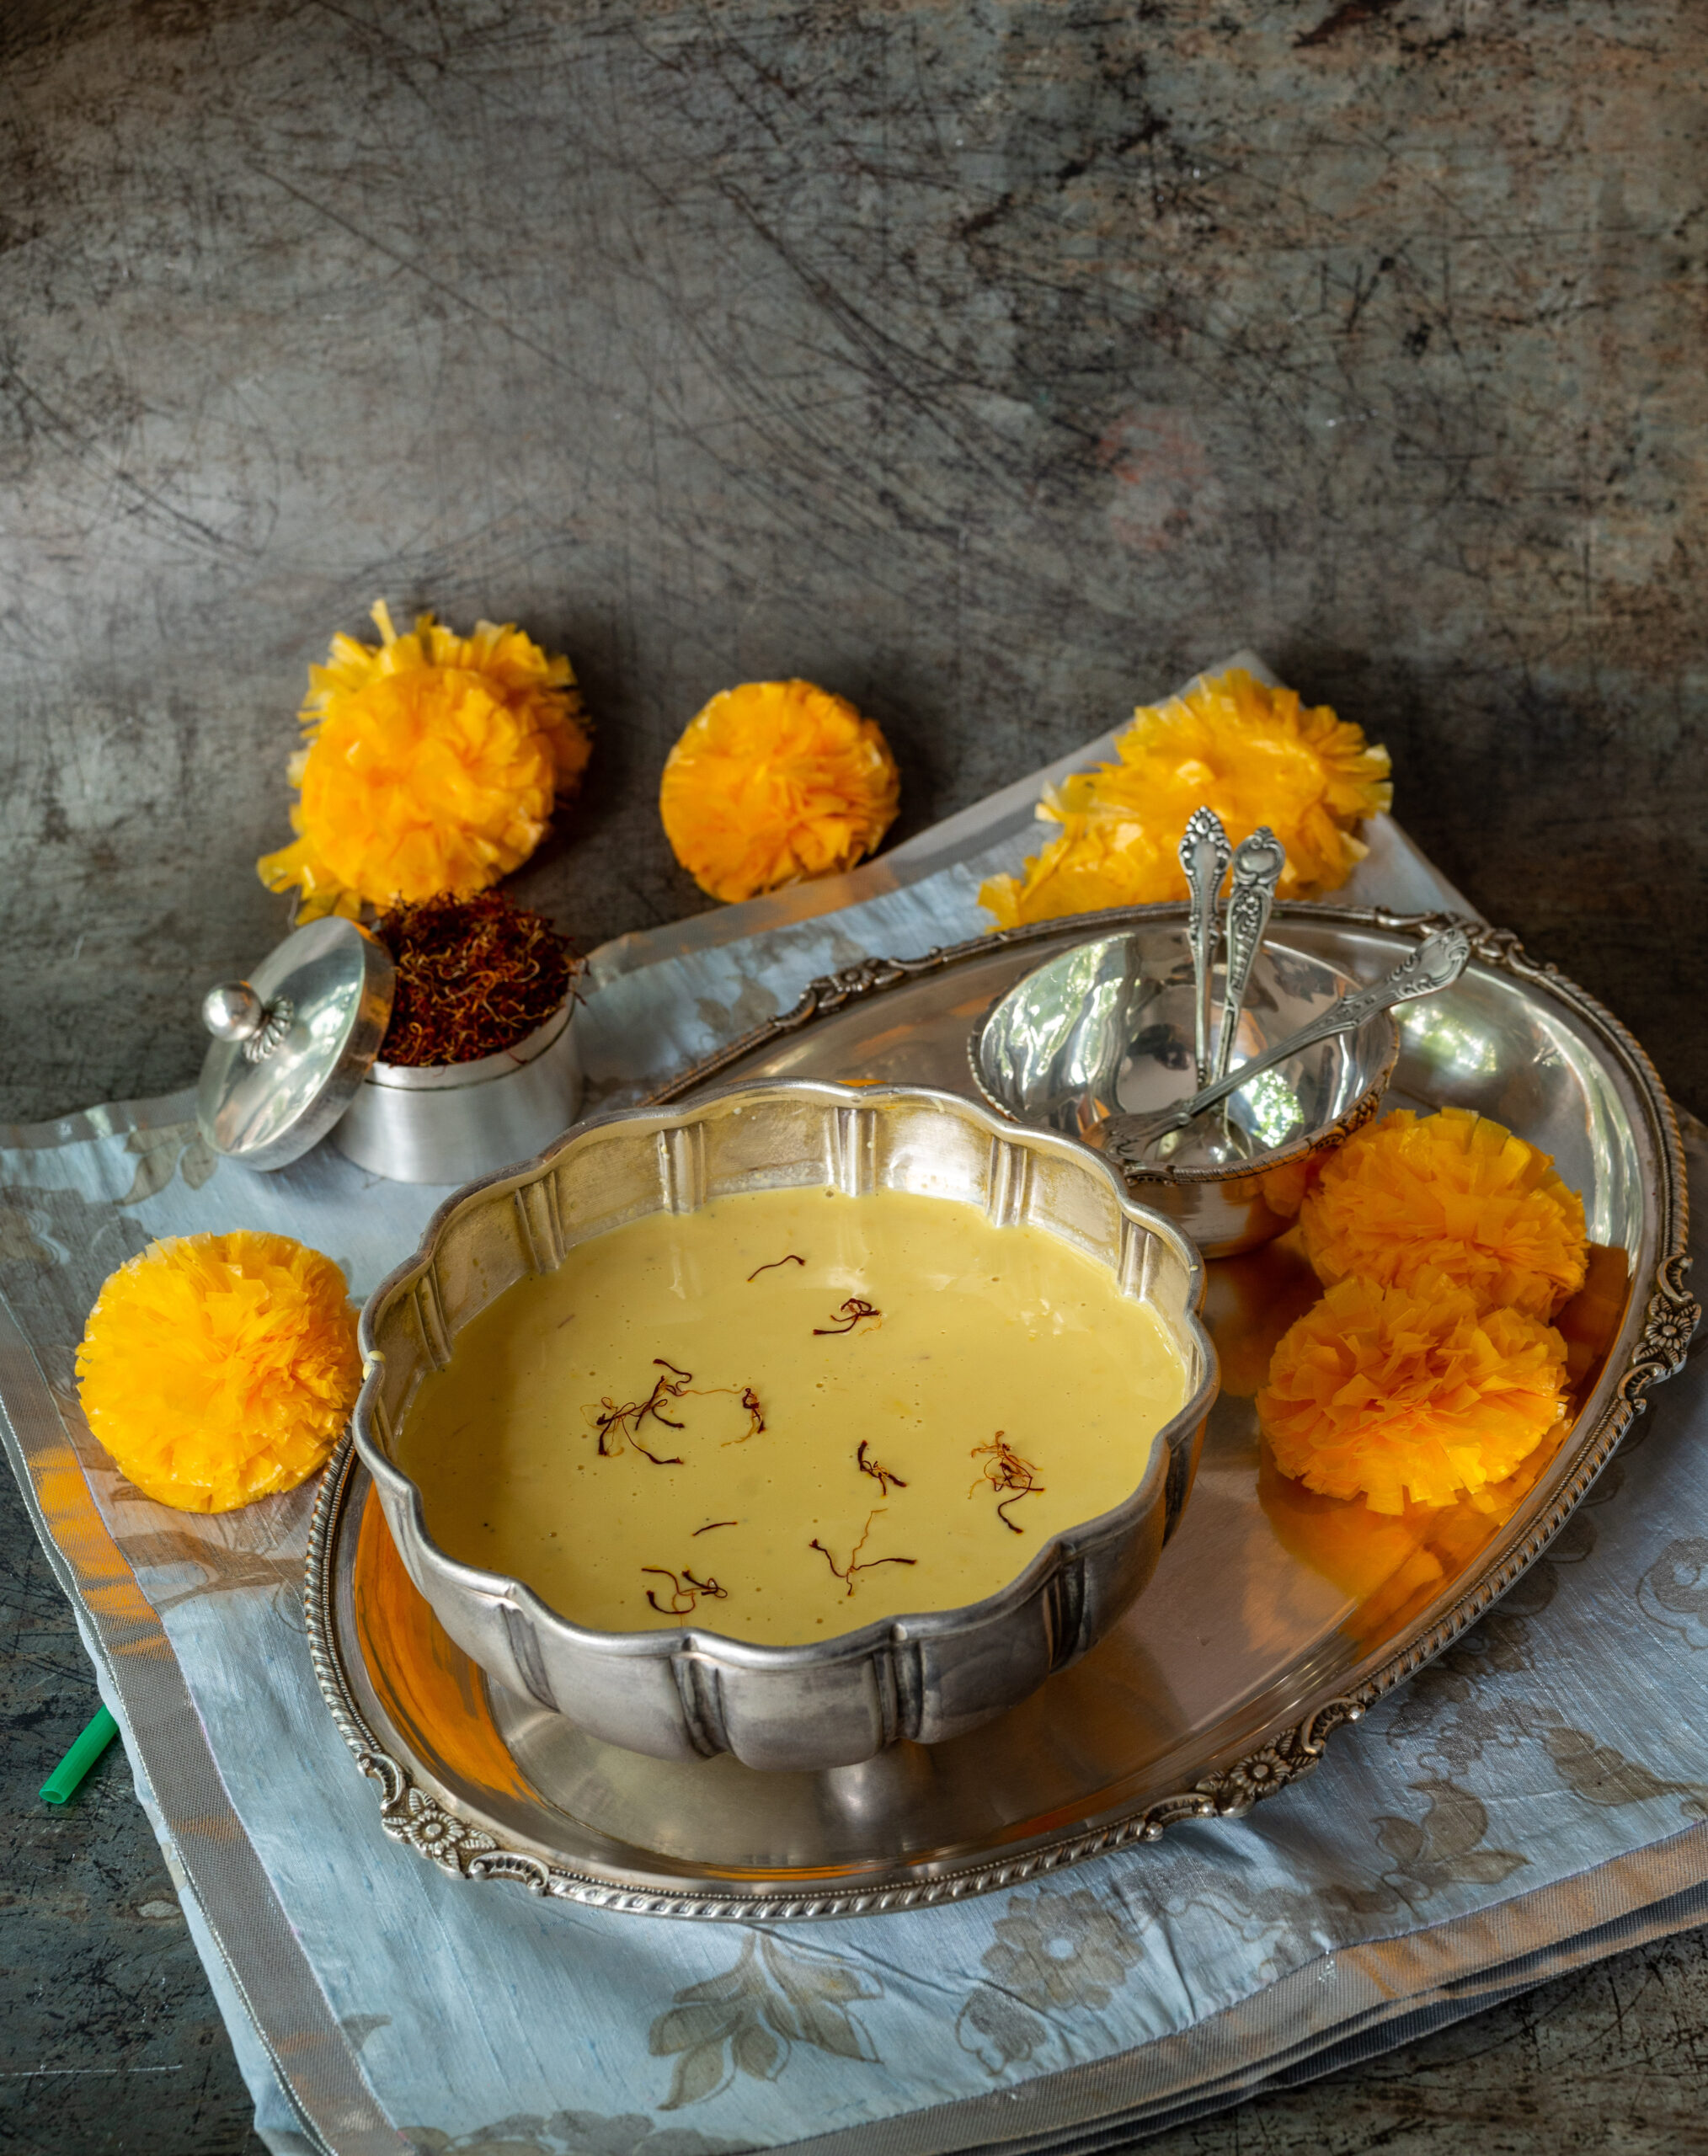
Rabdi
(Serves: 4)
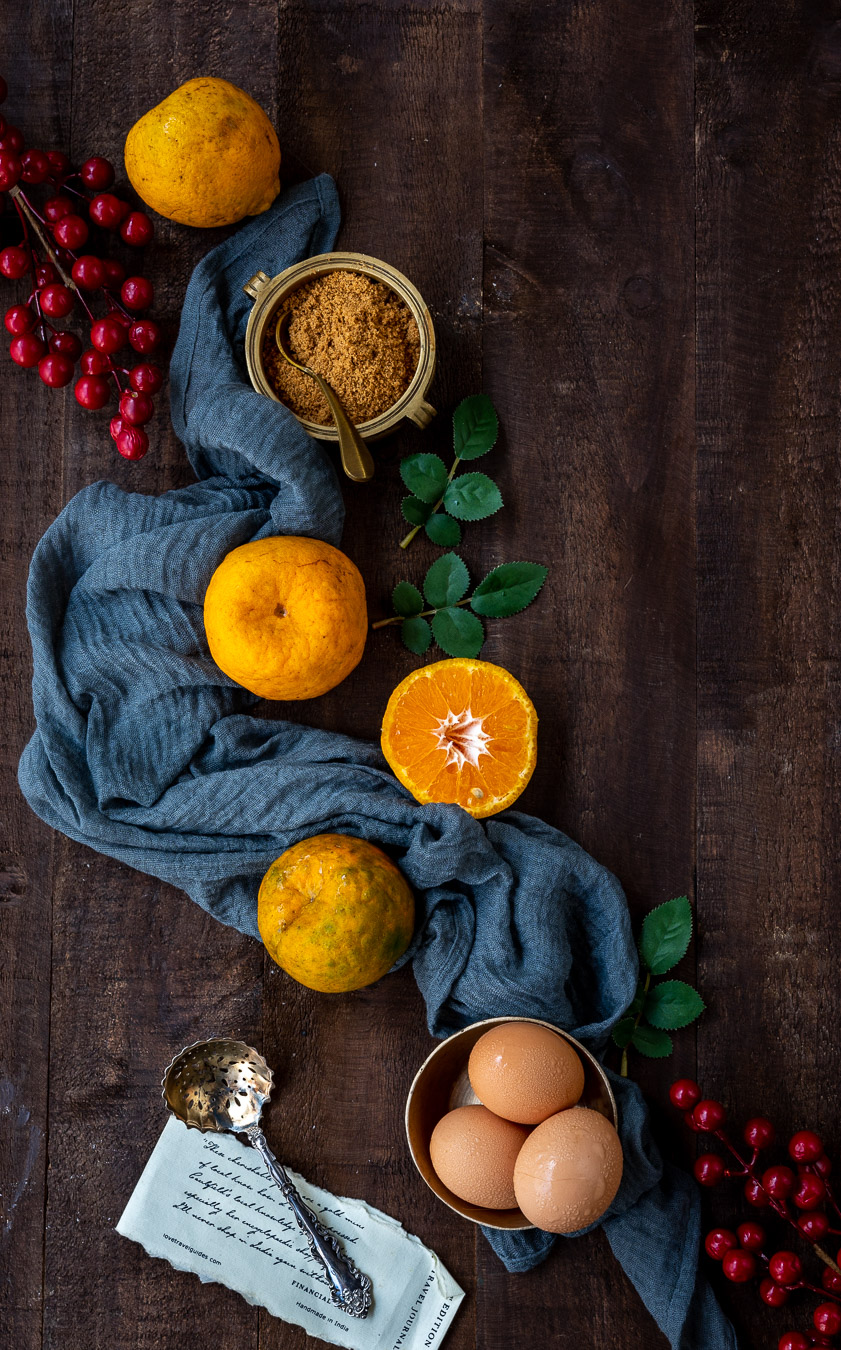
2 litres milk
1 cup sugar
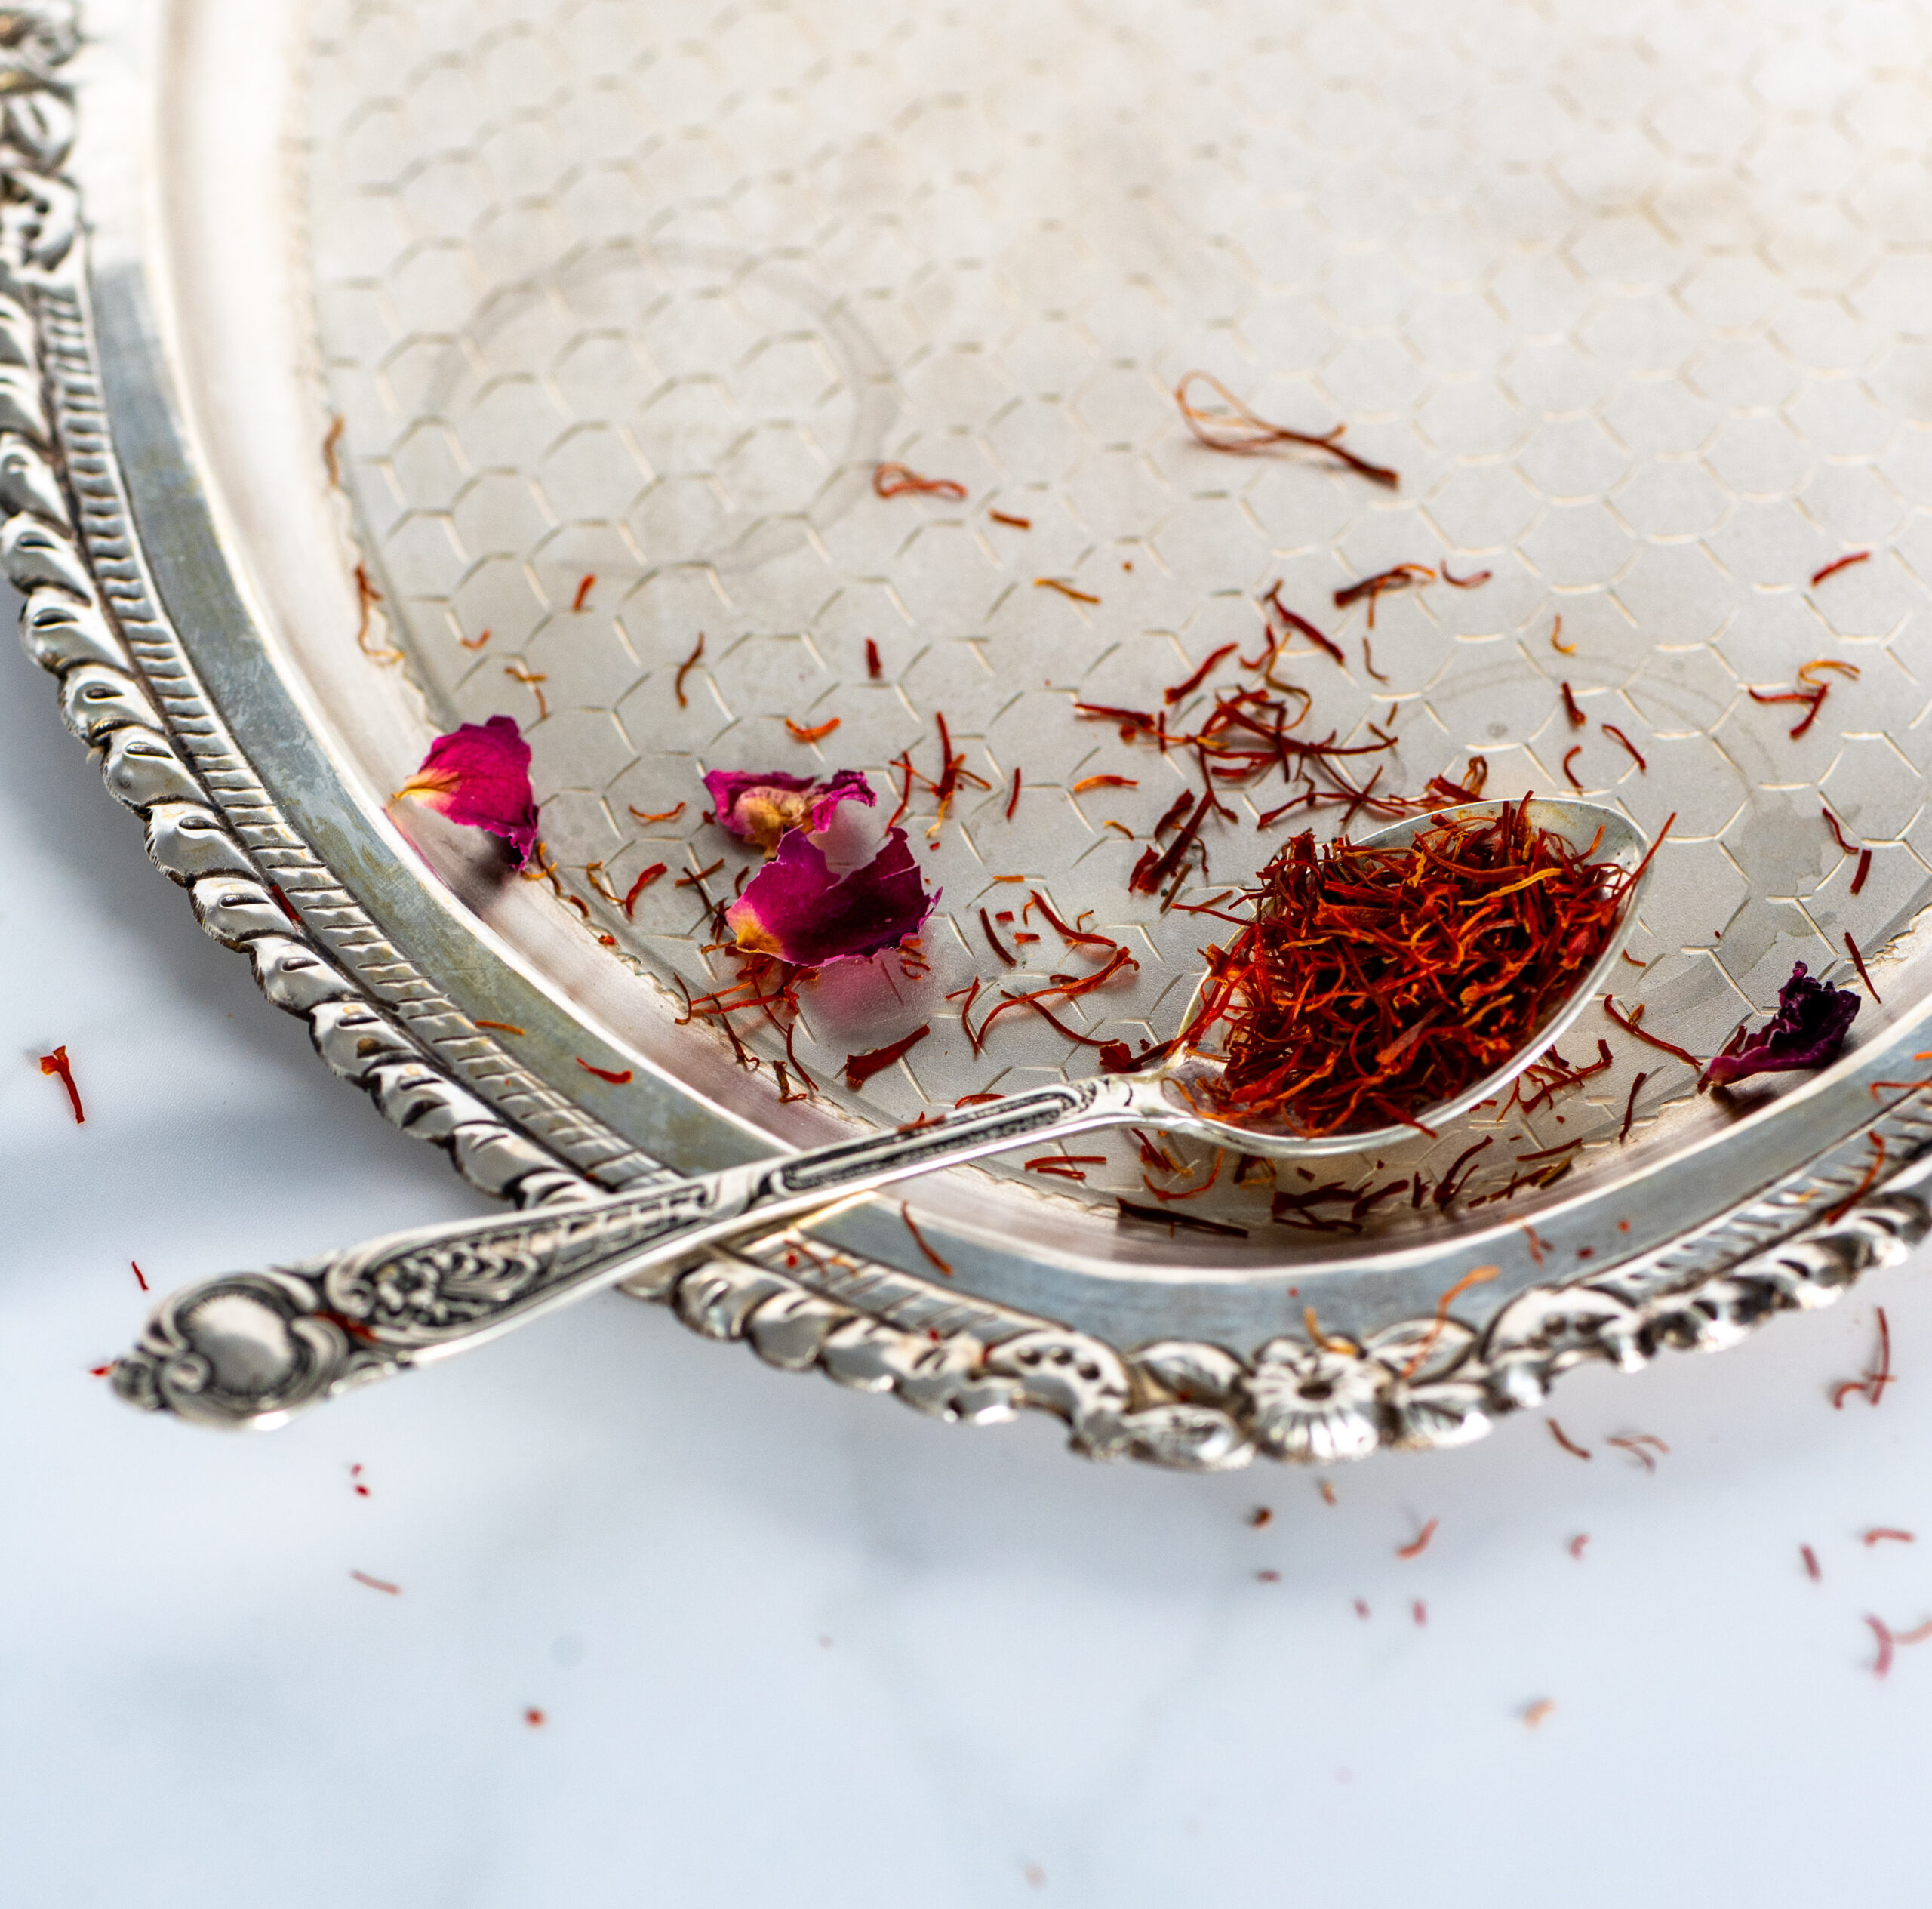
¼ teaspoon saffron strands
¼ teaspoon cardamom powder
In a heavy-bottomed pot, boil the milk on a low flame. Keep stirring to make sure it does not stick at the bottom of the pot. Do this until the milk has reduced to almost half the quantity. This will take about an hour.
When the milk is noticeably thick, add the sugar and saffron. Continue to stir constantly. Finally, add the cardamom powder. Stir and take the pot off the flame.
Cover with a lid and allow to cool until it has reached room temperature. Then, refrigerate.
Rabdi can be eaten either cold or warm, and I hope it will bring some sweetness to your festivities this year. In many communities, these go on for about a week, with something special eaten every day. If you’re looking for more recipes to make your Diwali delicious, do explore my blog archives. Let me point you toward the recipes for laapsi, chevdo and sweet ghugras to begin with. Enjoy!