Tag

cupcakes

Browsing

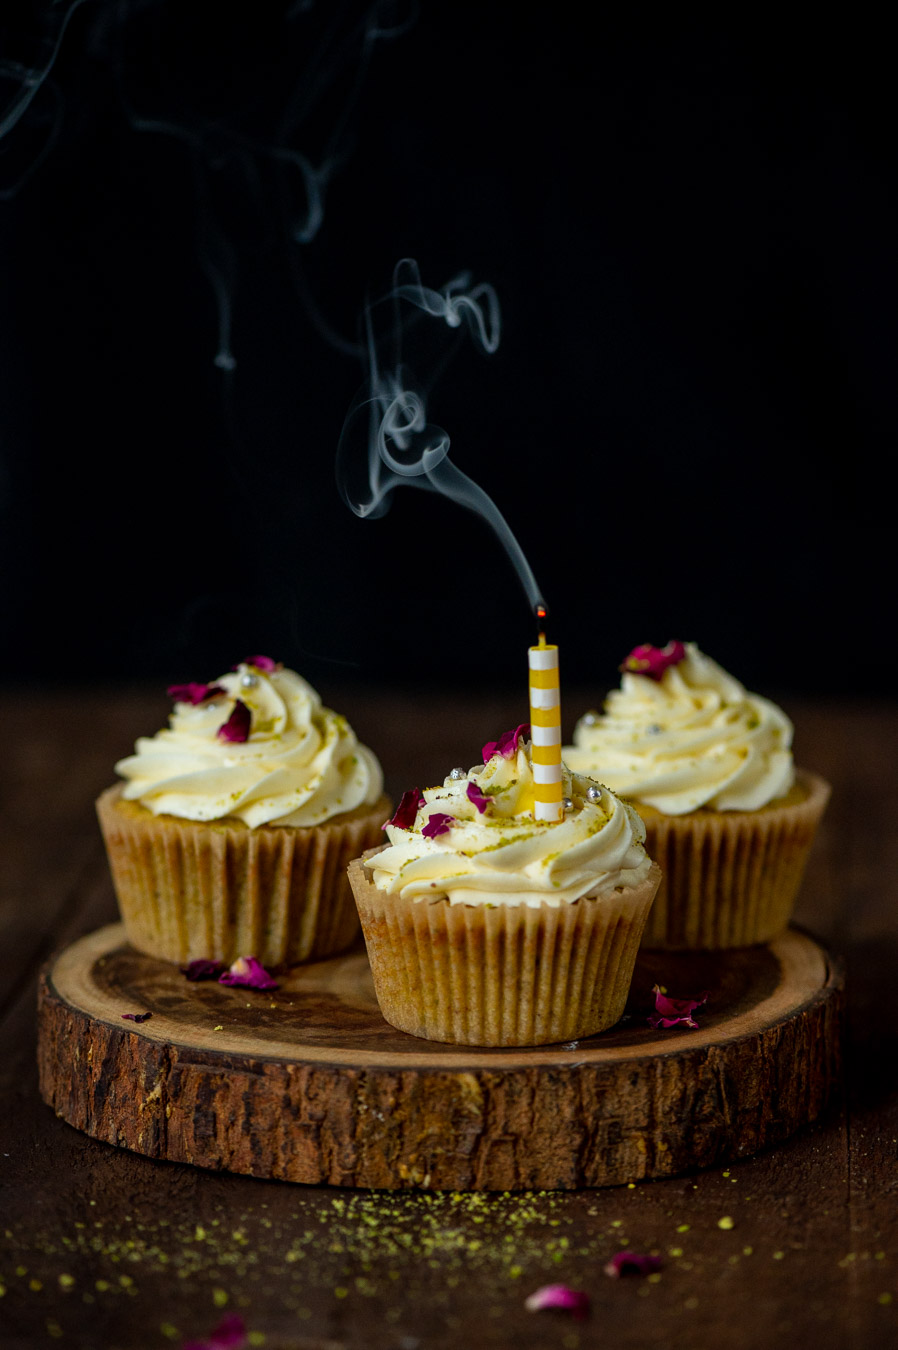
When I was growing up – and perhaps when you were too – cupcakes were a treasured treat. We all looked forward to birthdays because that was when we could visit each other’s’ homes and enjoy them. More often than not, our mothers were the bakers. Today, cupcakes convey memories of a special, and simpler, time. Despite the assortment of goodies that are now easily available, I still feel that homemade cupcakes are a very sweet but almost forgotten gift, especially during festive occasions. To me, they taste of nostalgia and celebration.

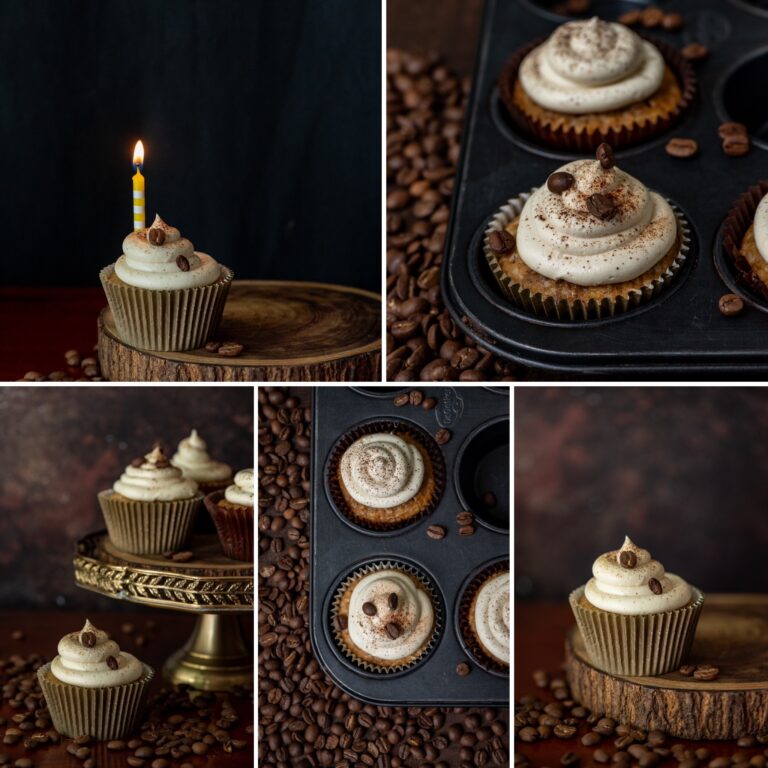
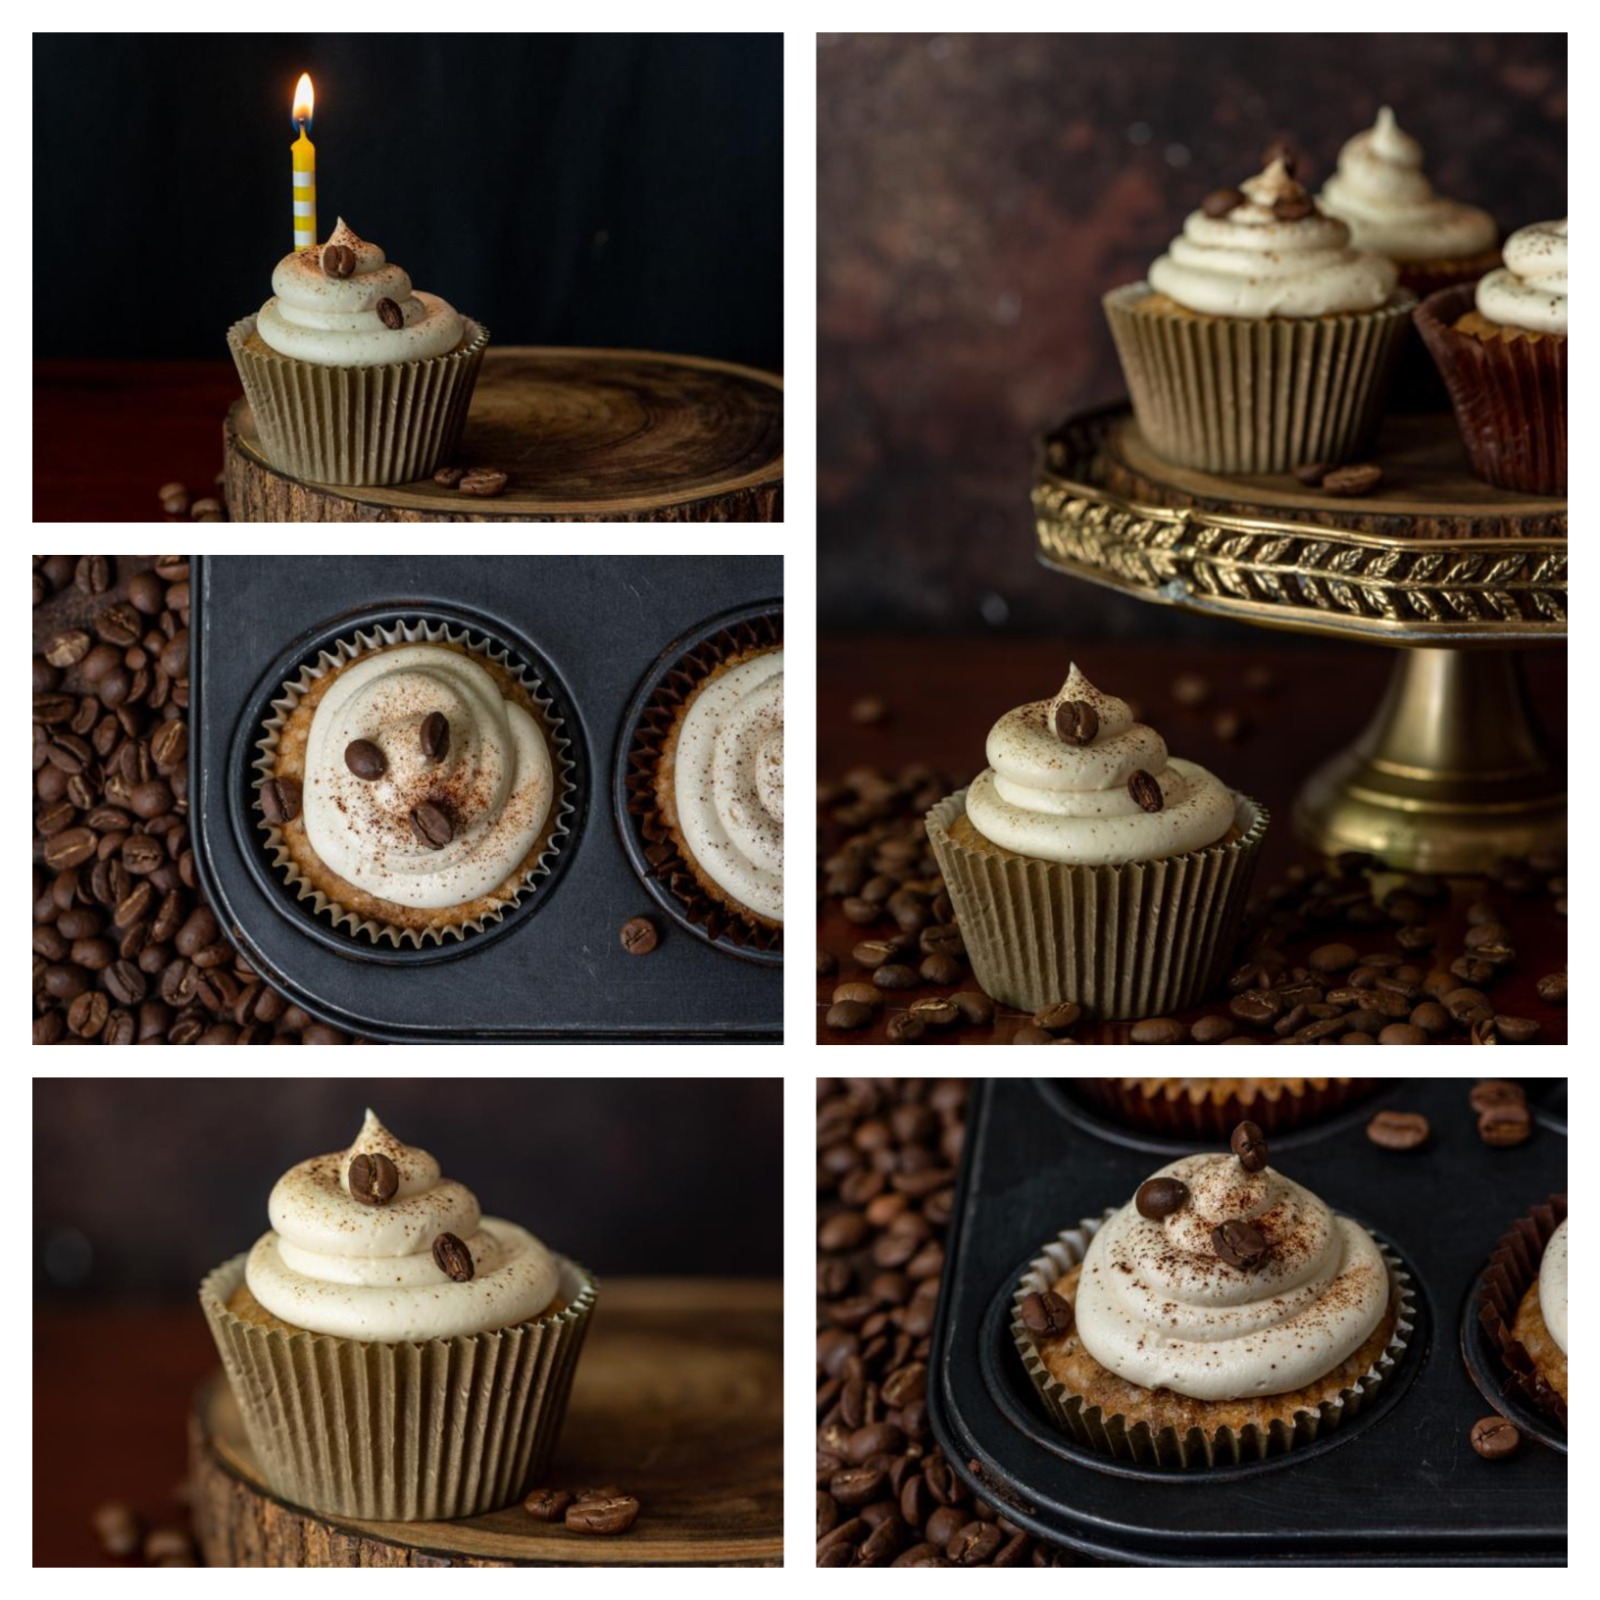
Even though I regularly bake cupcakes alongside various other delights for my customers at re:store, as we have now reached the 7th anniversary of this blog, I wanted to do a little more. So, I thought that I would give away a cherished recipe of mine, as a gesture of gratitude for your warmth and support. Here is the recipe for coffee cupcakes, the very same recipe that I use in my work.

My coffee cupcake recipe emerged as a response to a craving I had for something with a tiramisu flavour. While I have opted to use a simple buttercream frosting, you can try this out with mascarpone in order to elevate that tiramisu influence. You can also replace coffee with a different flavour altogether. Here’s another suggestion: include some maple syrup and adjust the sugar quantity accordingly, and the taste will change too. Have fun with how you use this recipe as a base!

I love making my cupcakes bite-sized, and just right. They are not too sweet, yet they conjure up such sweet memories. Here’s hoping to make many more: more gorgeous cupcakes and more great memories too!

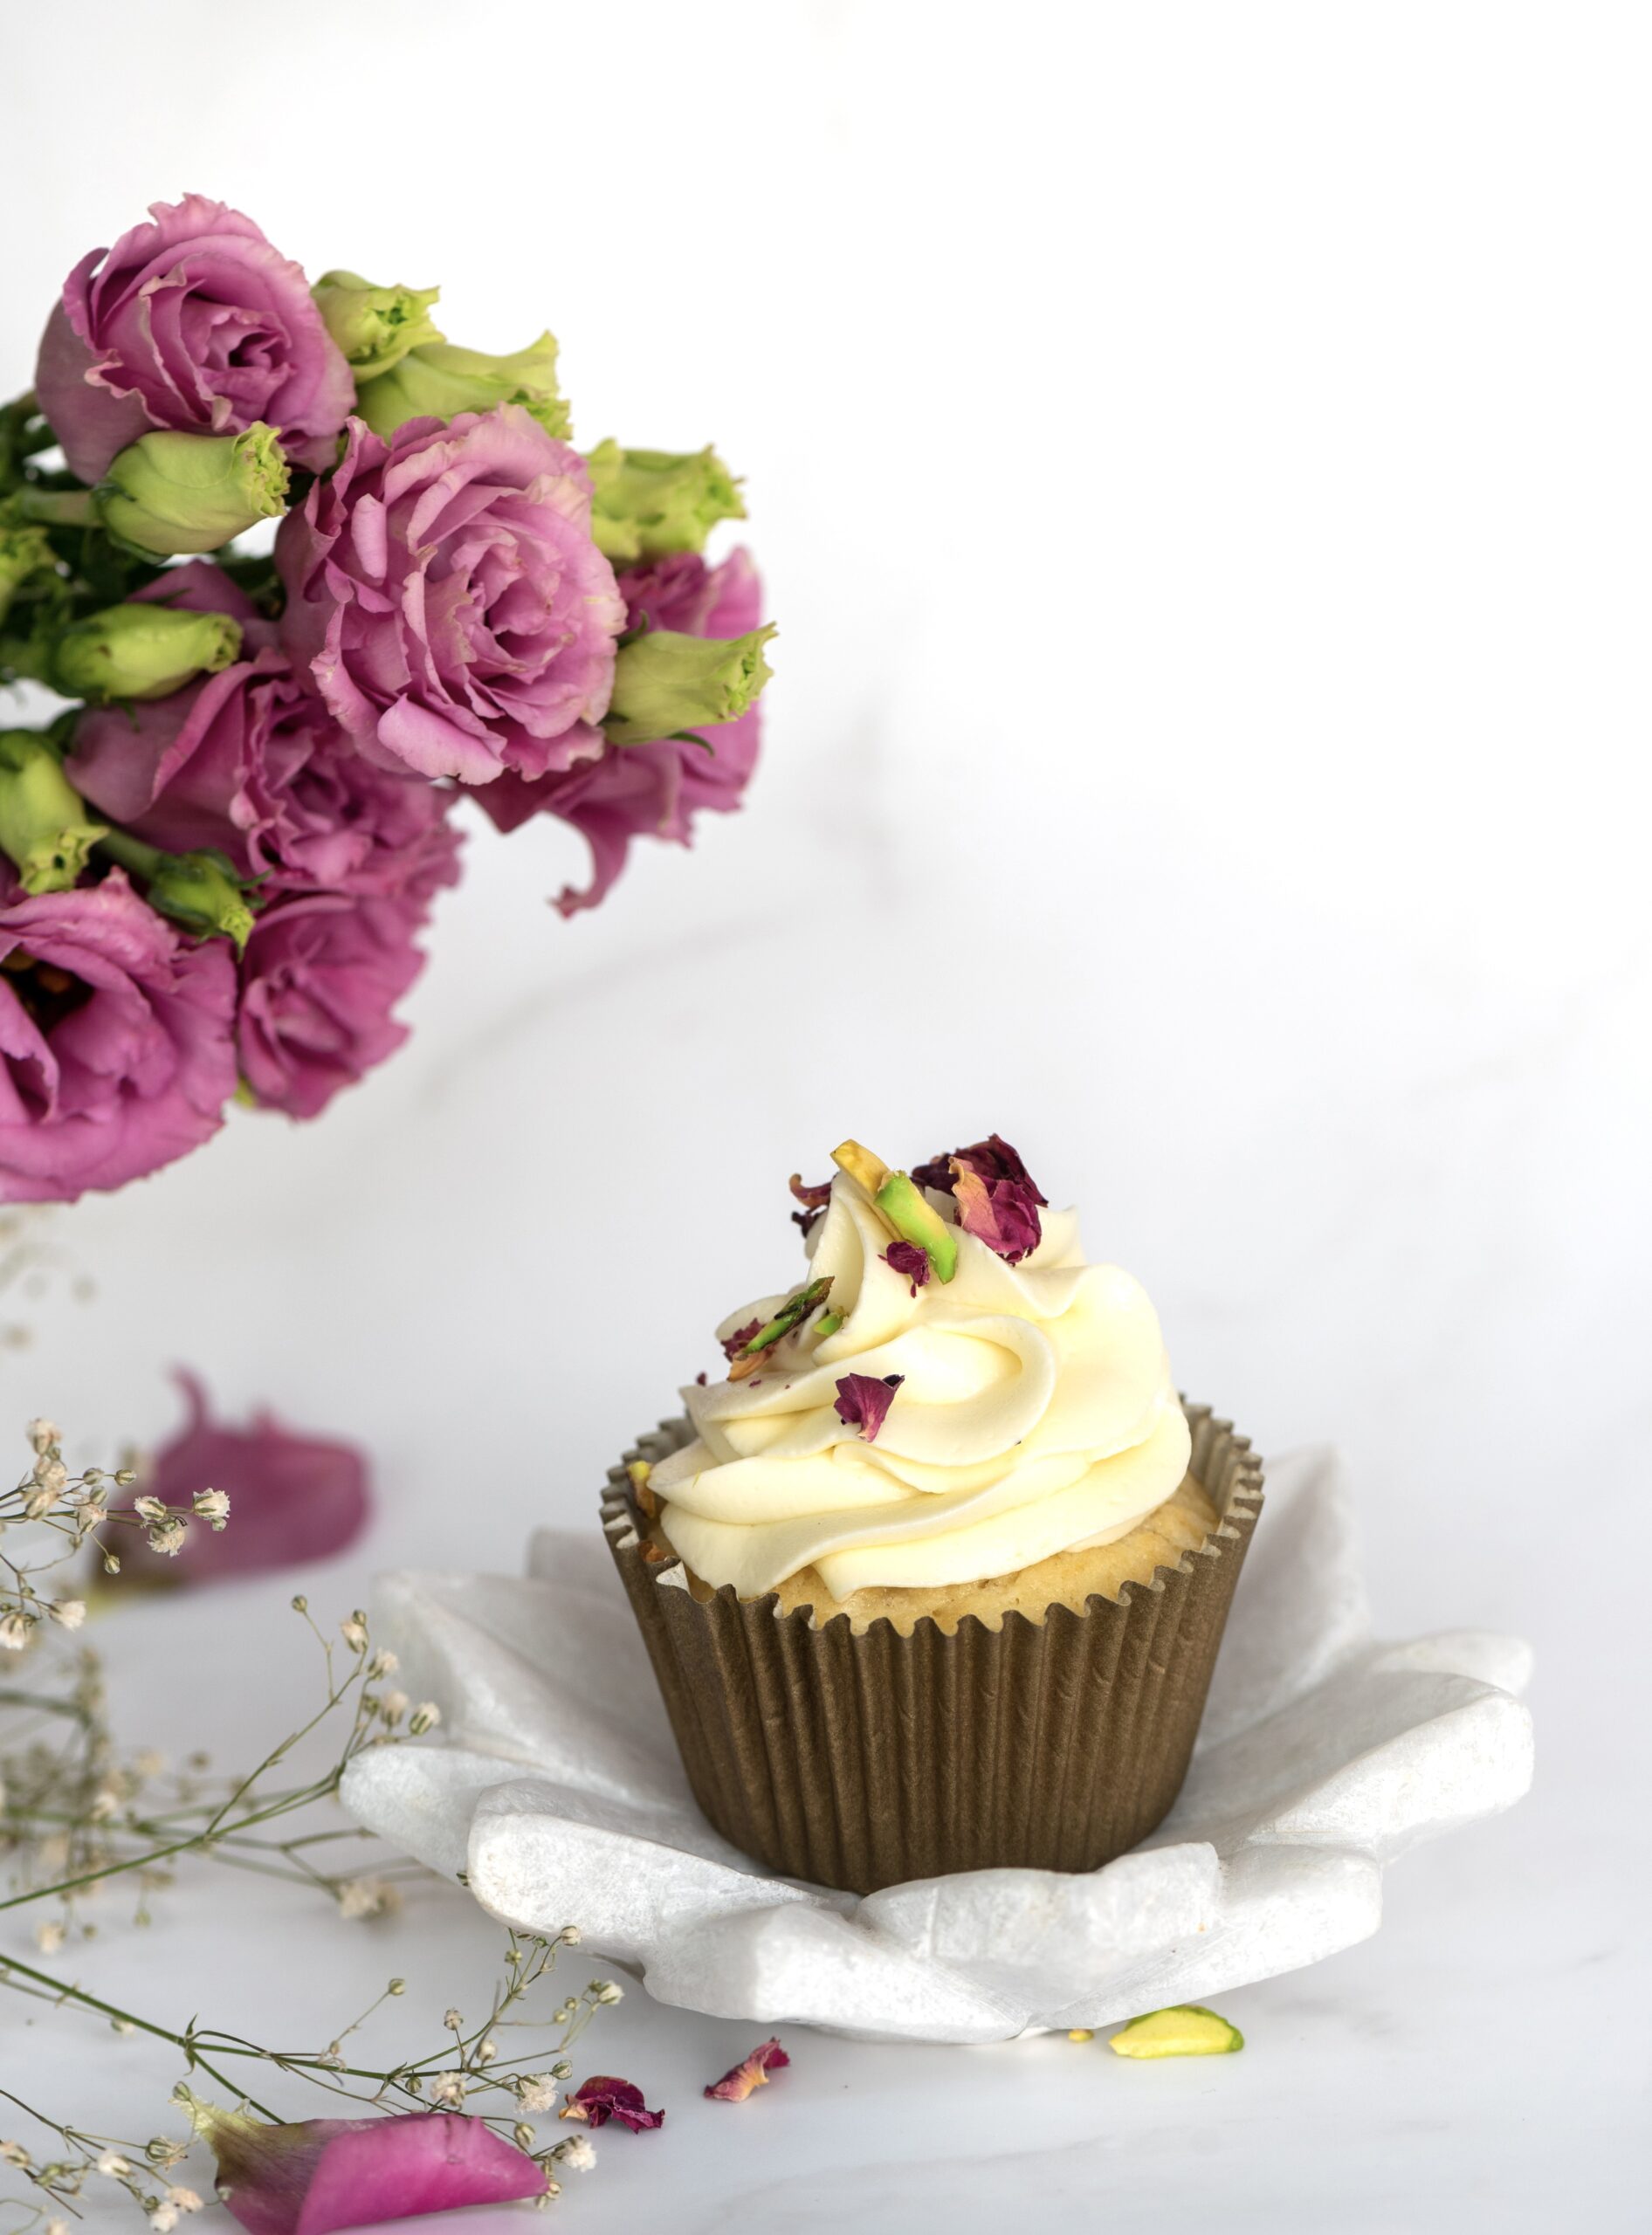
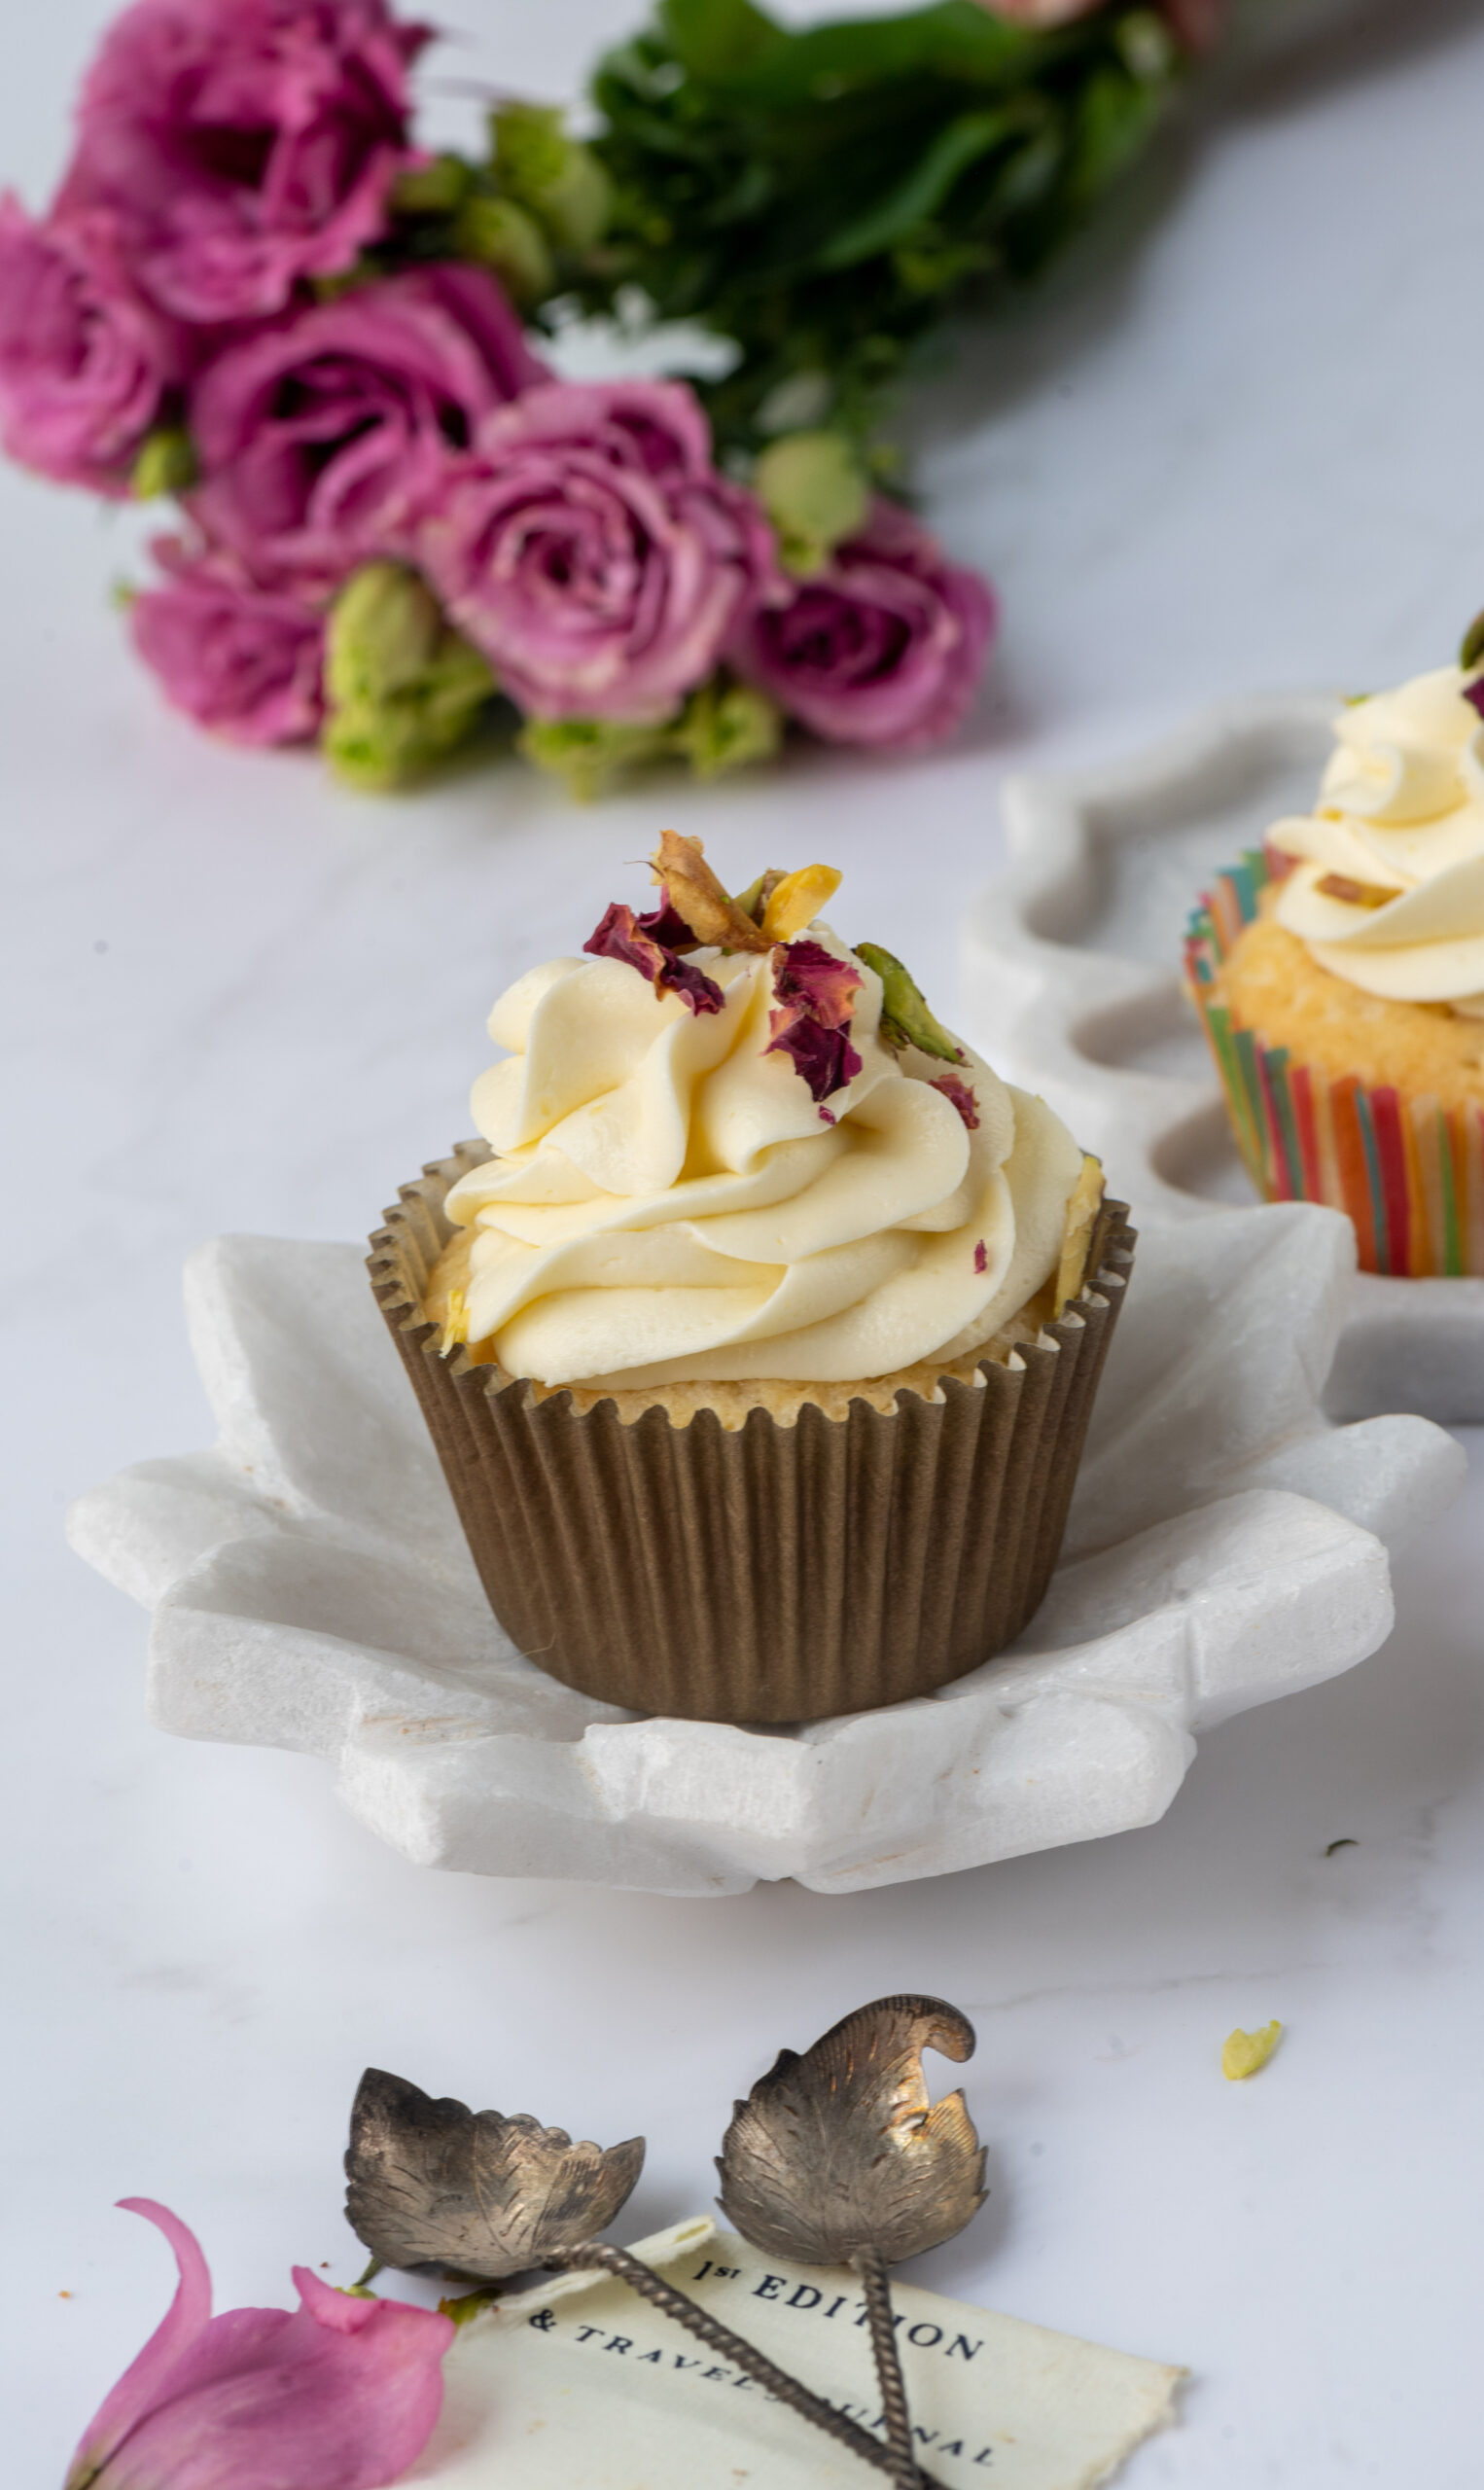
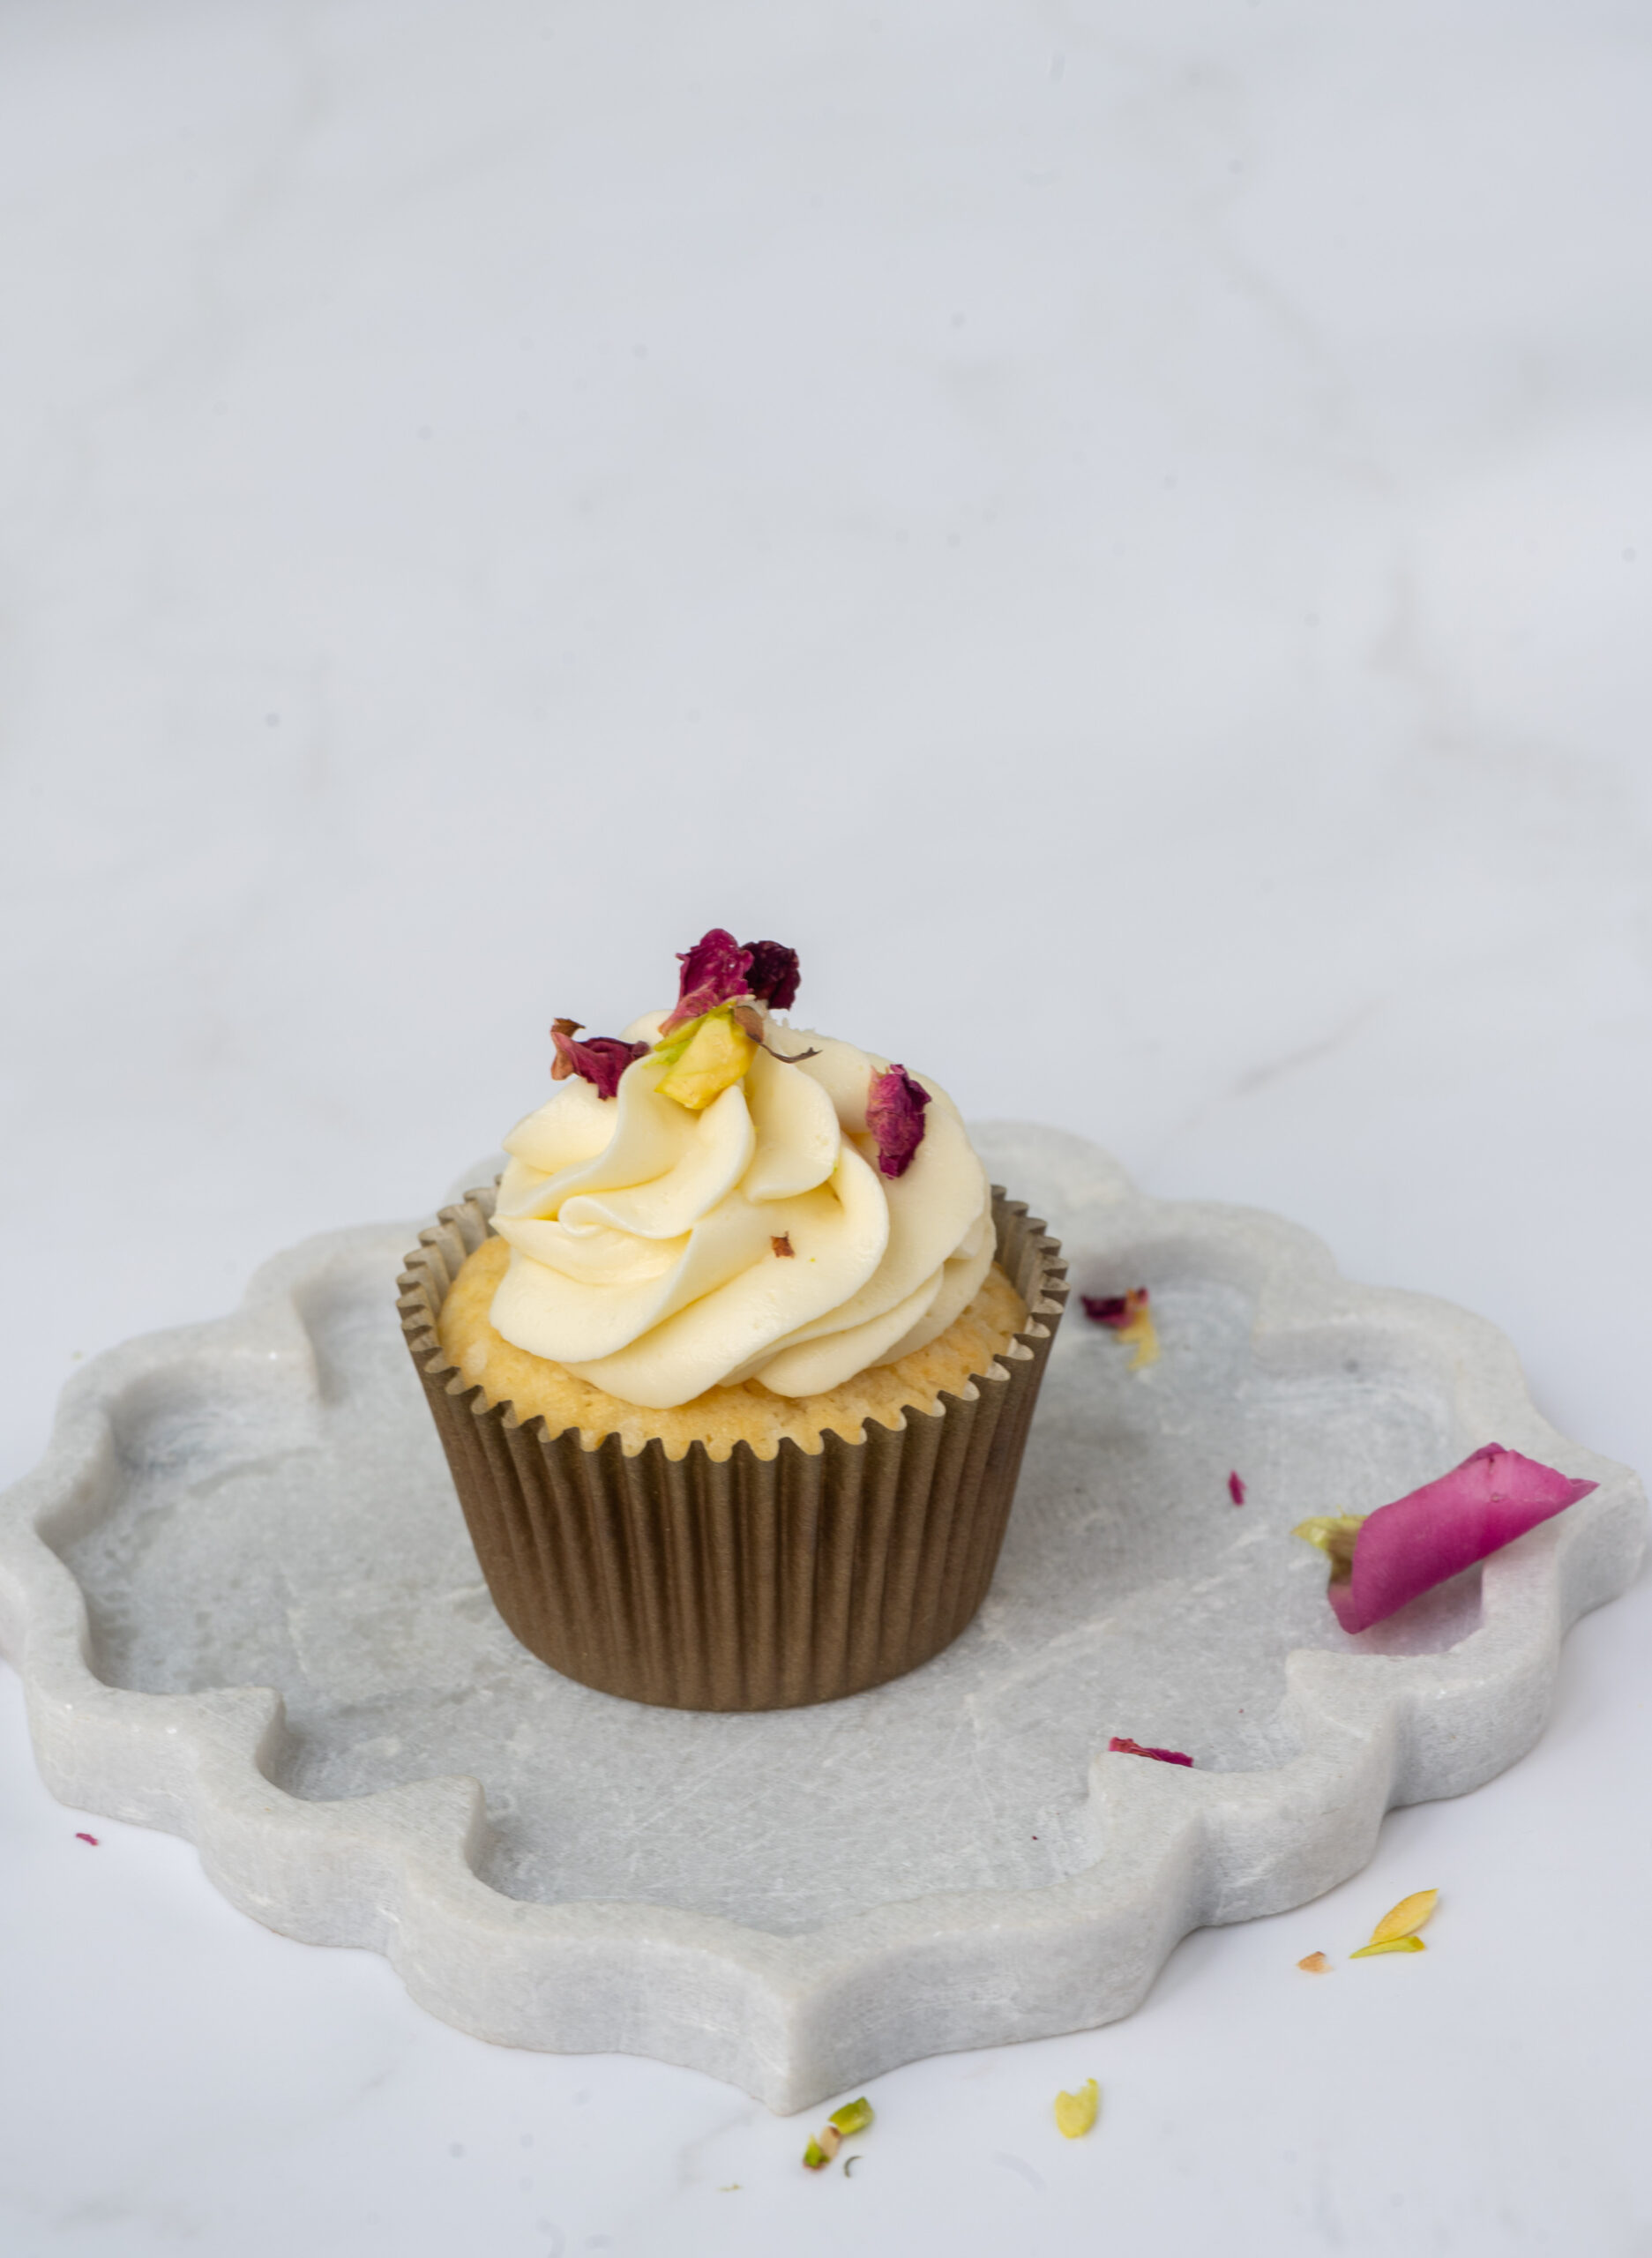
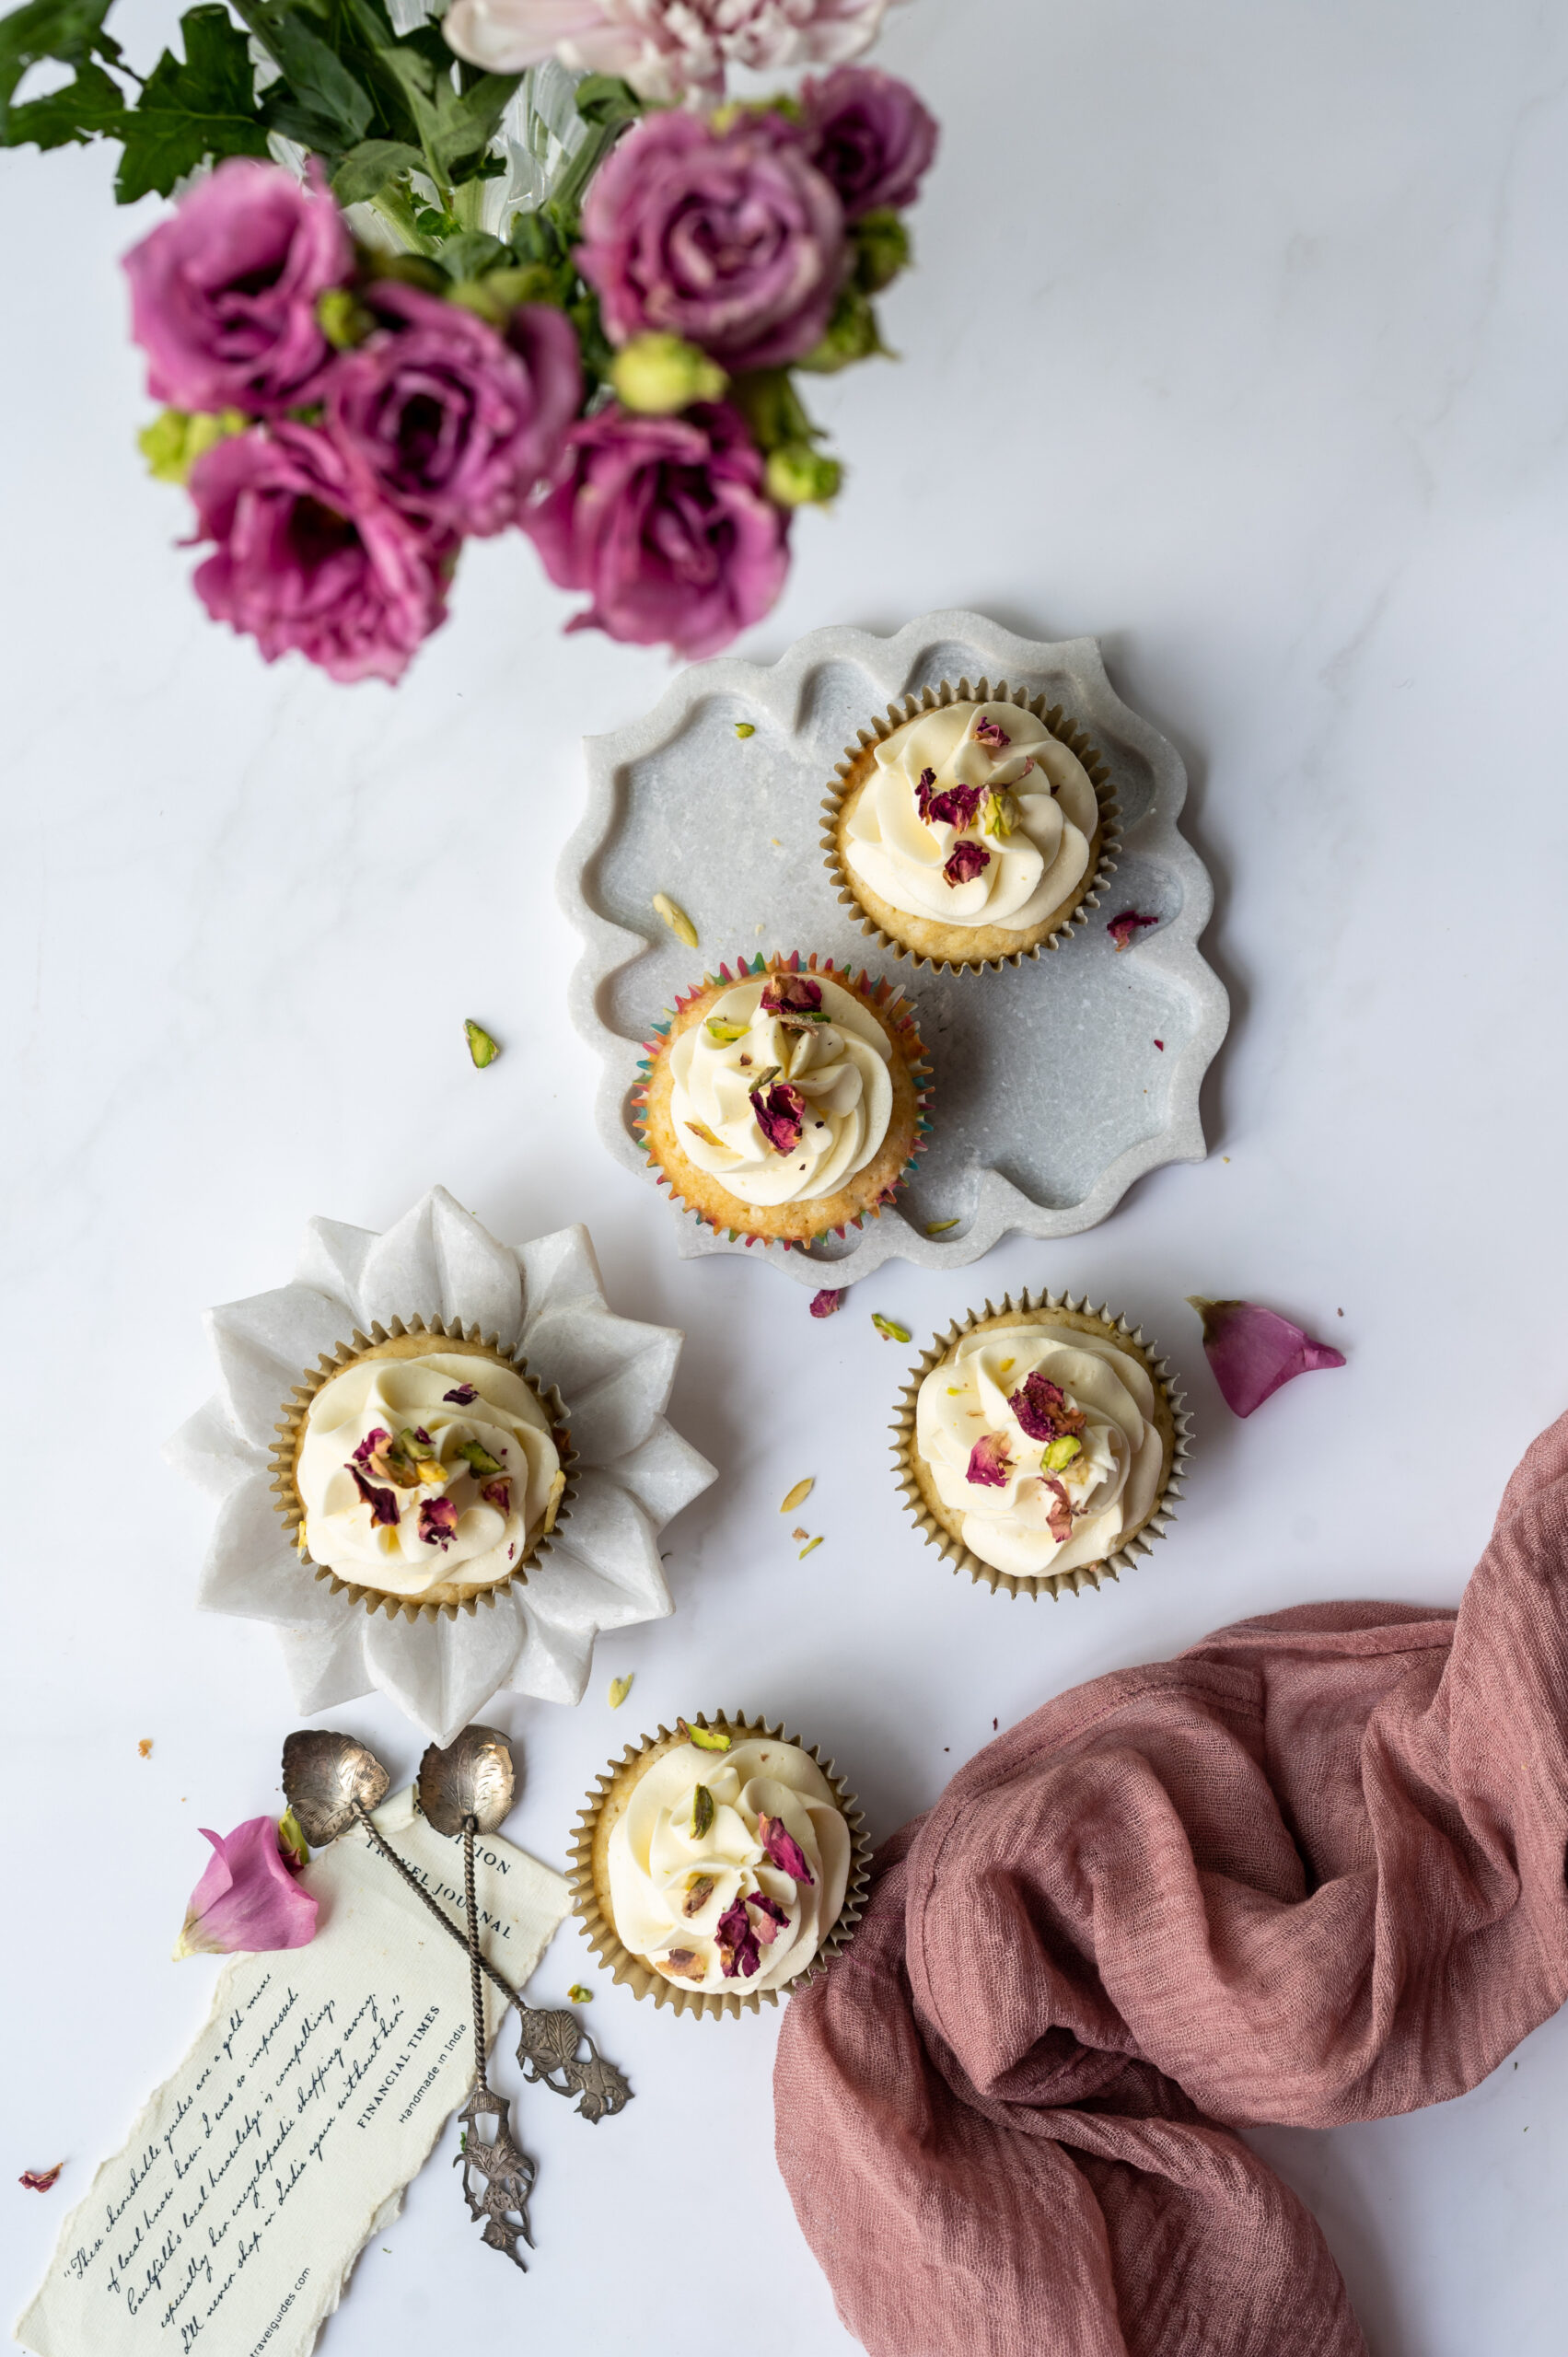
Below are a few images of some of the cupcakes that are available at re:store. I hope that they give you some inspiration – either to prepare your own, or to drop me a line. If you are in Chennai and you’d like me to bake something for you, you know how to reach me.


Coffee Cupcakes

(Yield: 12 pieces)

185 grams all-purpose flour

1 teaspoon baking powder

1 teaspoon instant coffee powder

1 pinch salt

110 grams room temperature butter

200 grams granulated sugar

2 eggs

1 teaspoon vanilla extract

½ cup whole milk


Frosting

1 cup unsalted butter

Fresh cream as required

4-5 cups sifted icing sugar

1 teaspoon coffee powder


Preheat the oven to 170° C.

Line the cupcake tray with liners. Set aside.

In a bowl, sift all the dry ingredients together.

In a mixer bowl, add the butter and the sugar and beat for a couple of minutes or until the mixture is light and fluffy. Add the eggs one at a time, scraping down the sides of the bowl. Alternating them, add the milk and flour in two batches and mix gently. Do not over mix once the flour is added.

Now, divide the batter into the liners, filling them up to a 23 level.

Bake for 12-15 minutes or until the skewer comes out clean.

Remove and cool on a wire rack.


To make the frosting: mix the butter, cream and coffee powder. Add the icing sugar in batches and mix gently, making sure the icing sugar does not fly around. Add enough to make the frosting such that it holds up. Beat well into a smooth consistency.

Using a piping nozzle, ice the cupcakes and keep cool until serving. Refrigerate to preserve longer.

My older son loves my coffee cupcakes and asks me for some whenever he visits. He recently came home after a few months, which is a long time for us, and I baked some for him. From being a childhood favourite to becoming a treat that connects me to my own children, cupcakes and I have had a long journey. Those of you who have been with me since the start at re:store have had a long journey with me too, and I hope it’s been a delicious one. Thank you for being here.
There is an abundance – maybe even an overdose! – of coconuts in my garden, as I have shared many times before. There are so many recipes on this blog that attest to this. From coconut oil (which I’ve made this year too, making use of the intense summer sun) to coconut pudding to coconut stew to coconut podi to rose-coconut kheer… and the list goes on. As much as we love the ingredient at home, we sometimes have so much of it that we don’t know what to do with it. Coconut milk is especially crucial to utilise soon, as it can go bad quickly. The need to use up a big, fresh batch, especially given the effort of straining it, was what gave me the idea for today’s post: coconut cupcakes.

But really, far from just being a way to make sure that an ingredient doesn’t spoil, these cupcakes are quite a treat in and of themselves. A note for my vegan readers: while yummy coconut milk is used in lieu of dairy, this is not an eggless recipe. For you, I recommend that you check out my vegan lavender cake recipe. If you’ve had some practice with baking, you should be able to put the two recipes together and tweak as needed so that you can prepare this coconut cupcake the vegan way.

If you are a first-time baker, I would suggest that you familiarise yourself with this recipe for citrus bundt cake first, which has an introductory guide for beginners. Assuming that you have the basics in place, here are a few more simple tips as general reminders.

Firstly, a pretty simple one: prepare the trays and line them while the oven is preheating to save time later.

Now, for some serious techniques and tricks… I’ve heard many people complain that the cupcake liner opens up during the baking process. I bake pretty much daily, especially for re:store orders, so I have confidence that mine won’t. Perhaps that confidence aka positive thinking goes a long way, but I feel that way in the first place because I’ve mastered the secret: too much butter or fat is what causes the liner to open up. Be careful about following quantities in a recipe to a tee, and this won’t happen.

As for that dome that forms on top of cupcakes sometimes, this can be avoided if you fill only 23 of the liner with batter.

To go back to the subject of ingredients: ensure that they are all at room temperature when you start, so that they bake evenly.

Even though you only ice a cupcake after it has completely cooled, I’ve found that it makes sense to prepare the icing while the trays are in the oven. The secret to smooth, silky icing relies on two things: you must sift the icing sugar first (do this for cocoa powder too, for other baked goods that have it). and you must beat the butter until it’s fluffy. These two factors – sifting and beating properly – make all the difference in the final texture of the icing.

Before we move on to the recipe and method for these coconut cupcakes, I want to invite you to check out and follow my Instagram, if you haven’t already. I’ve recently started sharing reels, in order to keep up with the latest trends on the platform. I have even attended a class to learn how to do this. While I’m confident with photography and the camera, the process for videos is very different. I hope you like the reels I’ve been sharing, including one of this recipe. Please give me your suggestions on how to make them better, and as always, do drop me a comment if you enjoyed this recipe or any other. I love hearing from you!

Coconut Cupcakes

(Yield: One dozen)


Cupcake

175 grams flour

120 grams unsalted butter (room temperature)

1 teaspoon baking powder

¼ teaspoon salt

2 eggs

½ teaspoon vanilla extract

190 grams granulated sugar

120 ml coconut milk

½ cup shredded coconut


Butter Frosting

4-5 cups icing sugar (sifted)

1 cup unsalted butter

A pinch of salt

Fresh cream (as required)

¼ teaspoon vanilla extract

Preheat the oven to 160°. Line a cupcake pan with liners. Set aside.

Sift the dry ingredients (the salt, flour and baking powder) and set aside.

In a mixing bowl, add the butter and beat it until it is light and fluffy. Then, add the sugar and beat again. Scrape down the sides of the bowl, making sure the mixture has been well beaten for about 3 minutes.

Add the eggs one at a time, beating between each addition.

Add the dry ingredients and the wet ingredients one by one alternately, mixing only until combined.

Finally, add the shredded coconut to the batter, and use a spatula to bring all the ingredients together.

Using a scoop, divide the batter into the liners. Bake for 15 minutes or until a toothpick comes out clean.

Allow to cool in the pan for 5 minutes and then remove gently onto a wire rack.

To prepare the butter icing, beat the butter and the salt well with an electric blender. Add half the icing sugar and beat again, then add the remainder. When using the electric blender, ensure the sugar doesn’t fly out of the bowl.

Add the cream, in your preferred quantity, and ensure that the butter cream is at a consistency that is thick enough to pipe.

Pipe the icing onto the cupcakes, and garnish as you’d like before serving. Then, all the work of baking and icing done, there is nought to do but to enjoy watching these delicious coconut cupcakes disappear – which they do quite quickly in my home, and most likely in yours too – and make sure that you grab one for yourself before they do!

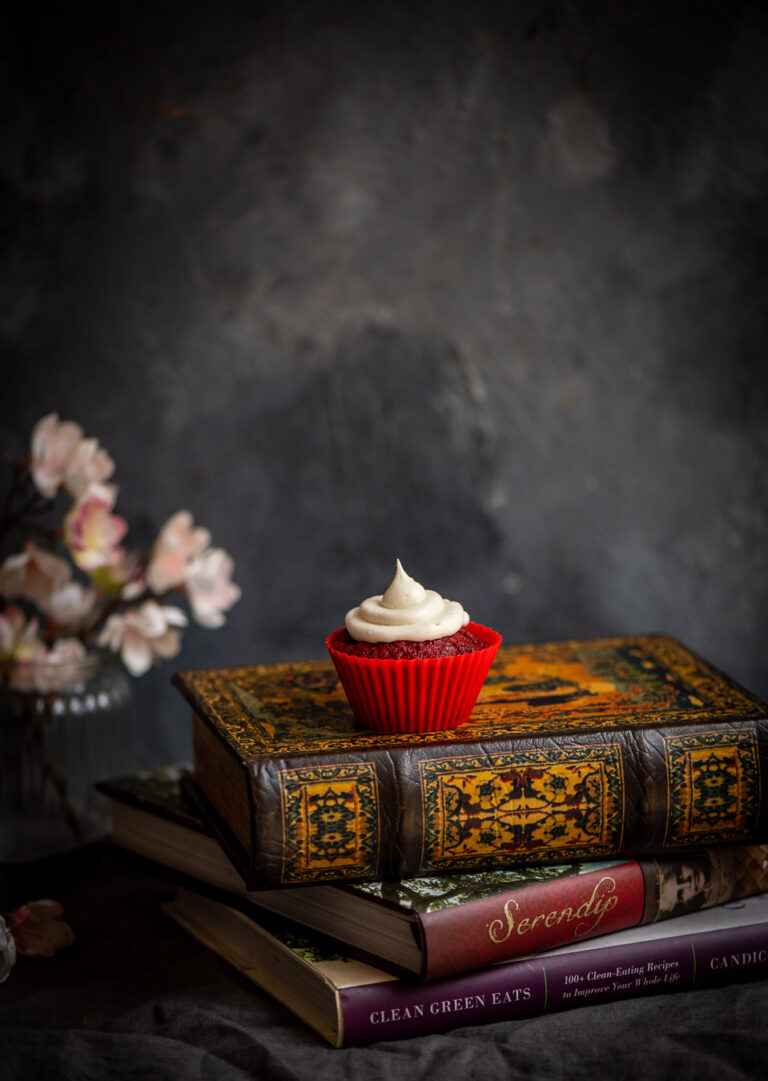
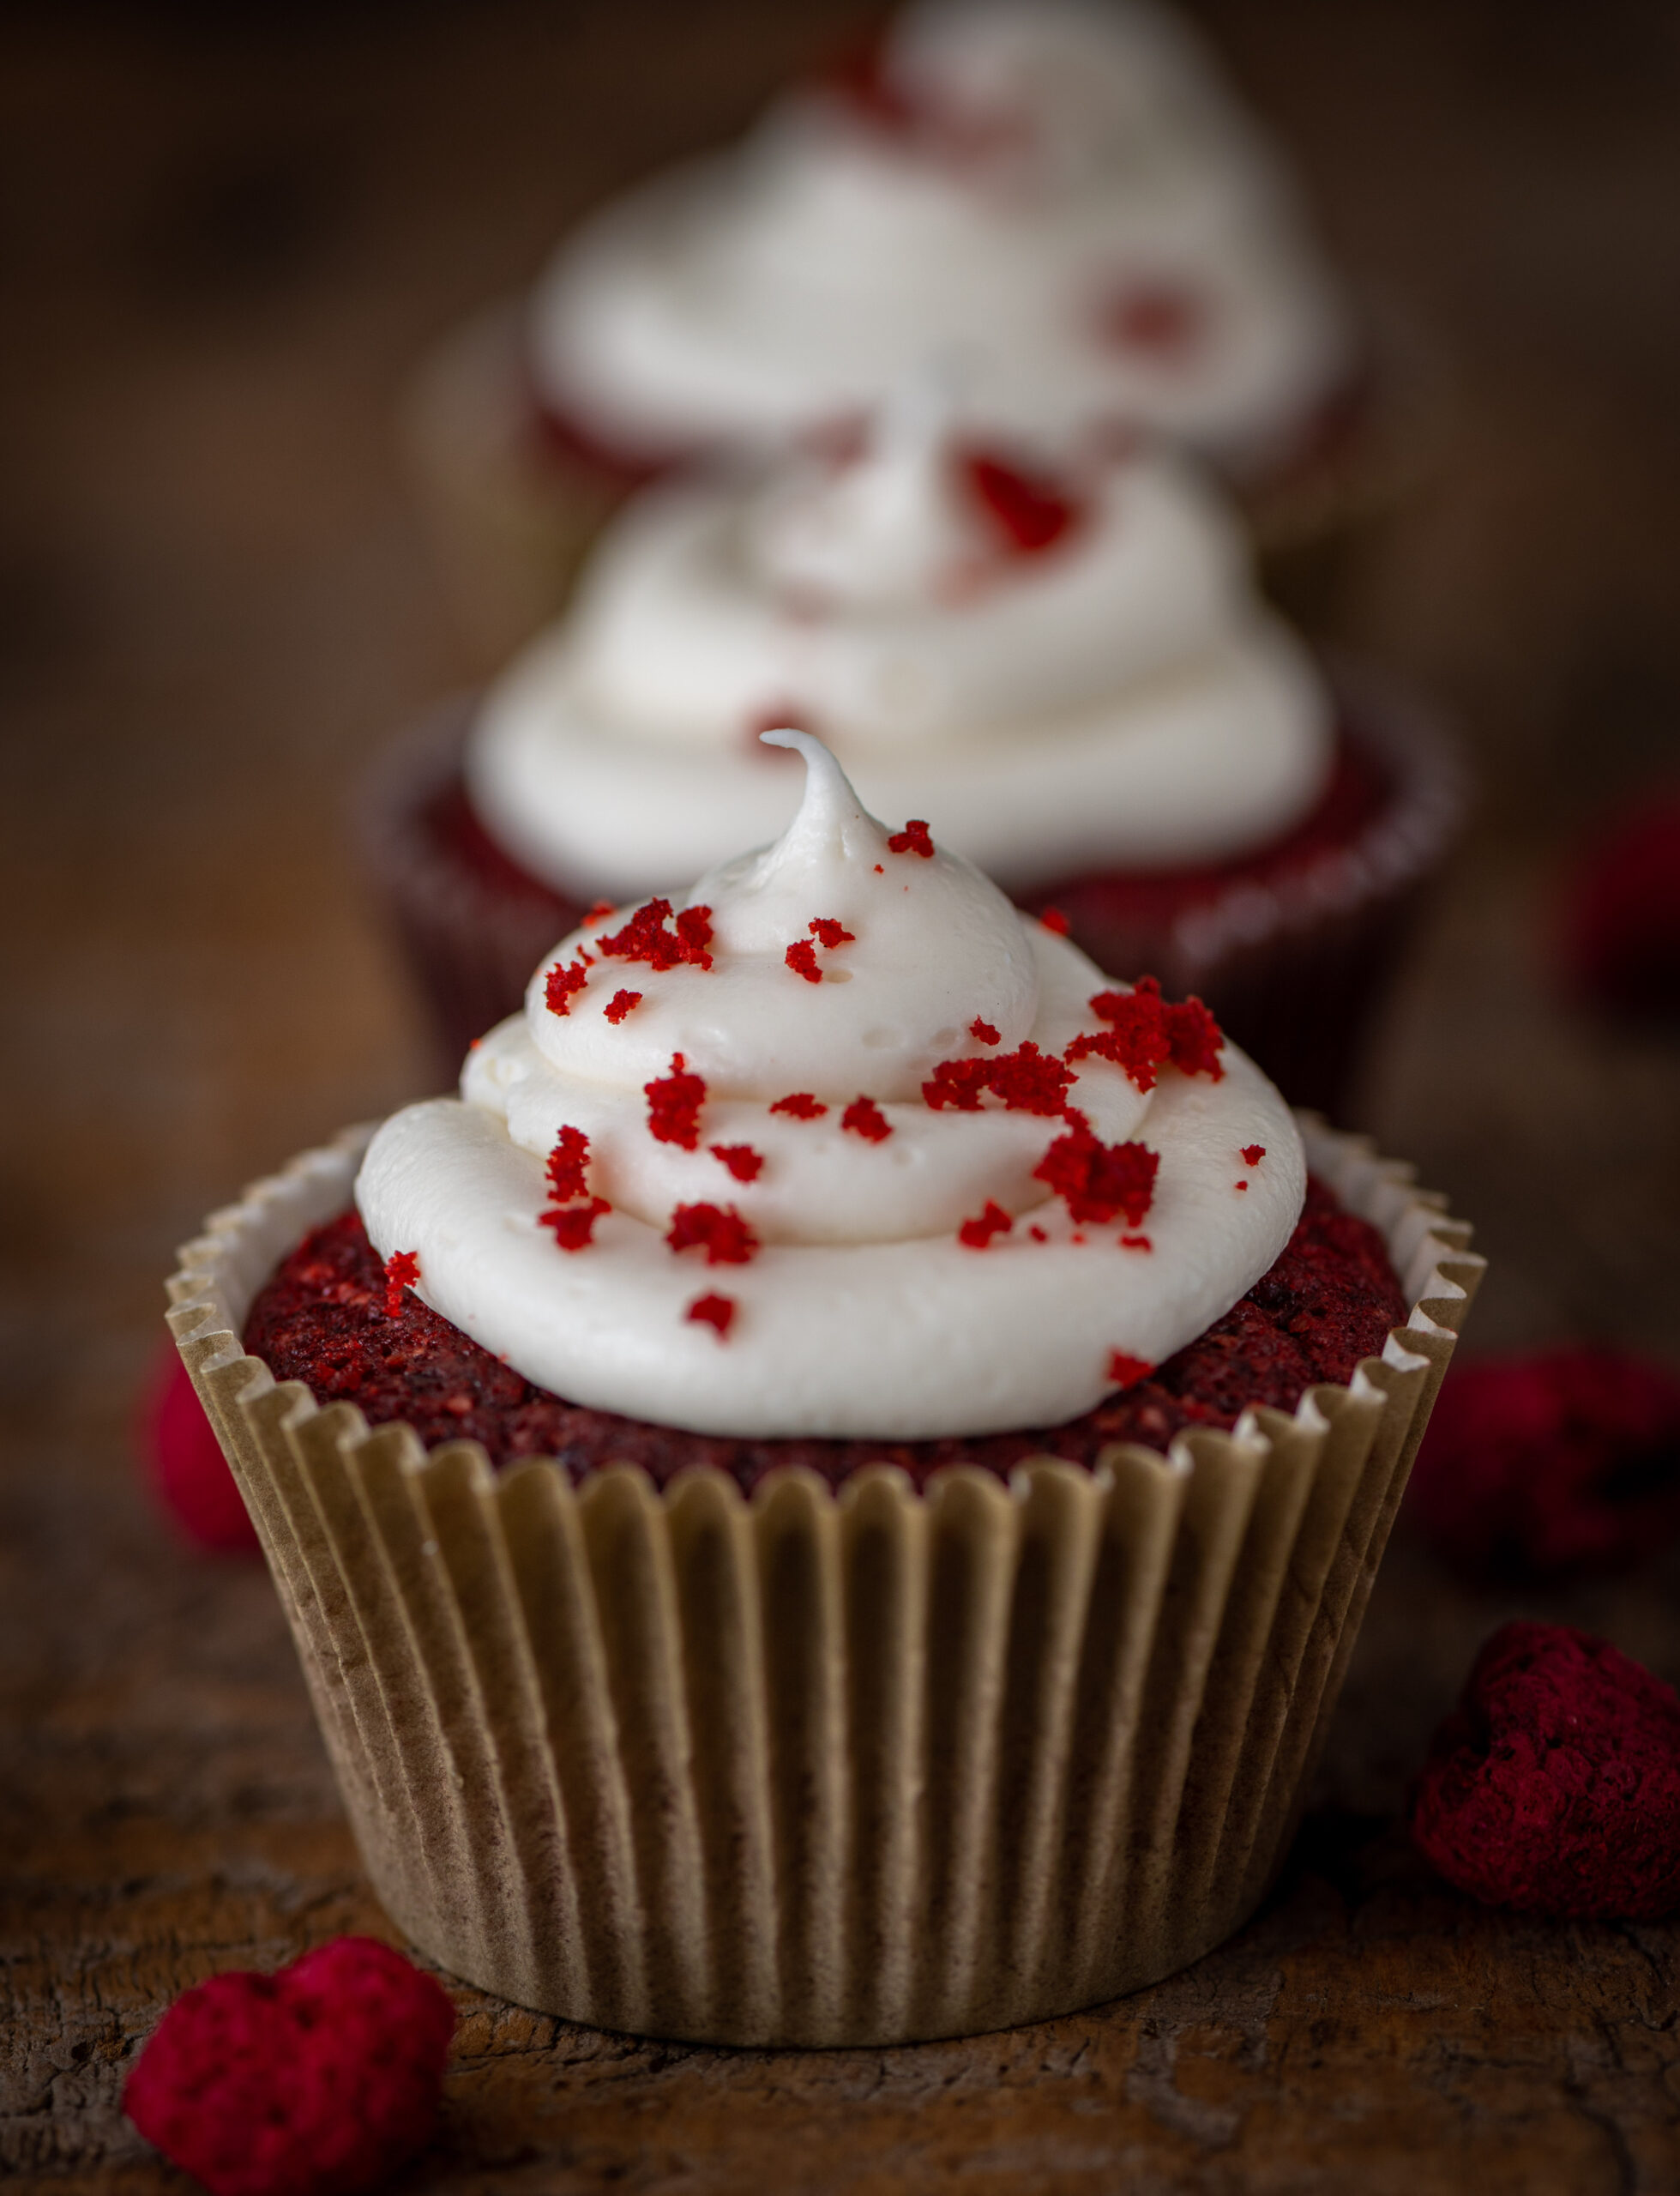
I don’t believe in Valentine’s Day. That’s the reason why you’ve never seen the occasion observed on this blog with a special recipe, even though you know that love is the key ingredient in every dish I create! This year is different, however. The COVID-19 pandemic had brought all my children back home for the first time in ages. Despite all else, it gave us the rare opportunity of being able to have almost a year of each other’s constant company, that too with everyone working from home. Then, right on the cusp of Valentine’s Day, all three of them flew off again, returning to the respective cities in which they are based. I am experiencing all the emotions of having an empty nest, and I need to express them through the way I know best. So here I am in my kitchen, feeling wistful as I lay the ingredients out for some very special cupcakes. This post is a valentine in red velvet, a symbol of a mother’s love.

Through the many months that my kids were back home, they would ask for “a special cake” every other day. Red velvet was one of their favourites in this category, but it was rarely baked at home during the pandemic. I am extremely particular about the ingredients I use, and not being able to source the particular brand of red colouring I prefer meant that this was off the repertoire. As you must have noticed too, accessibility to goods had finally returned to a normal standard here in Chennai, and a beautiful bottle of red colouring now sits on my shelf, ready to bring vibrance to these Valentine’s Day cupcakes.

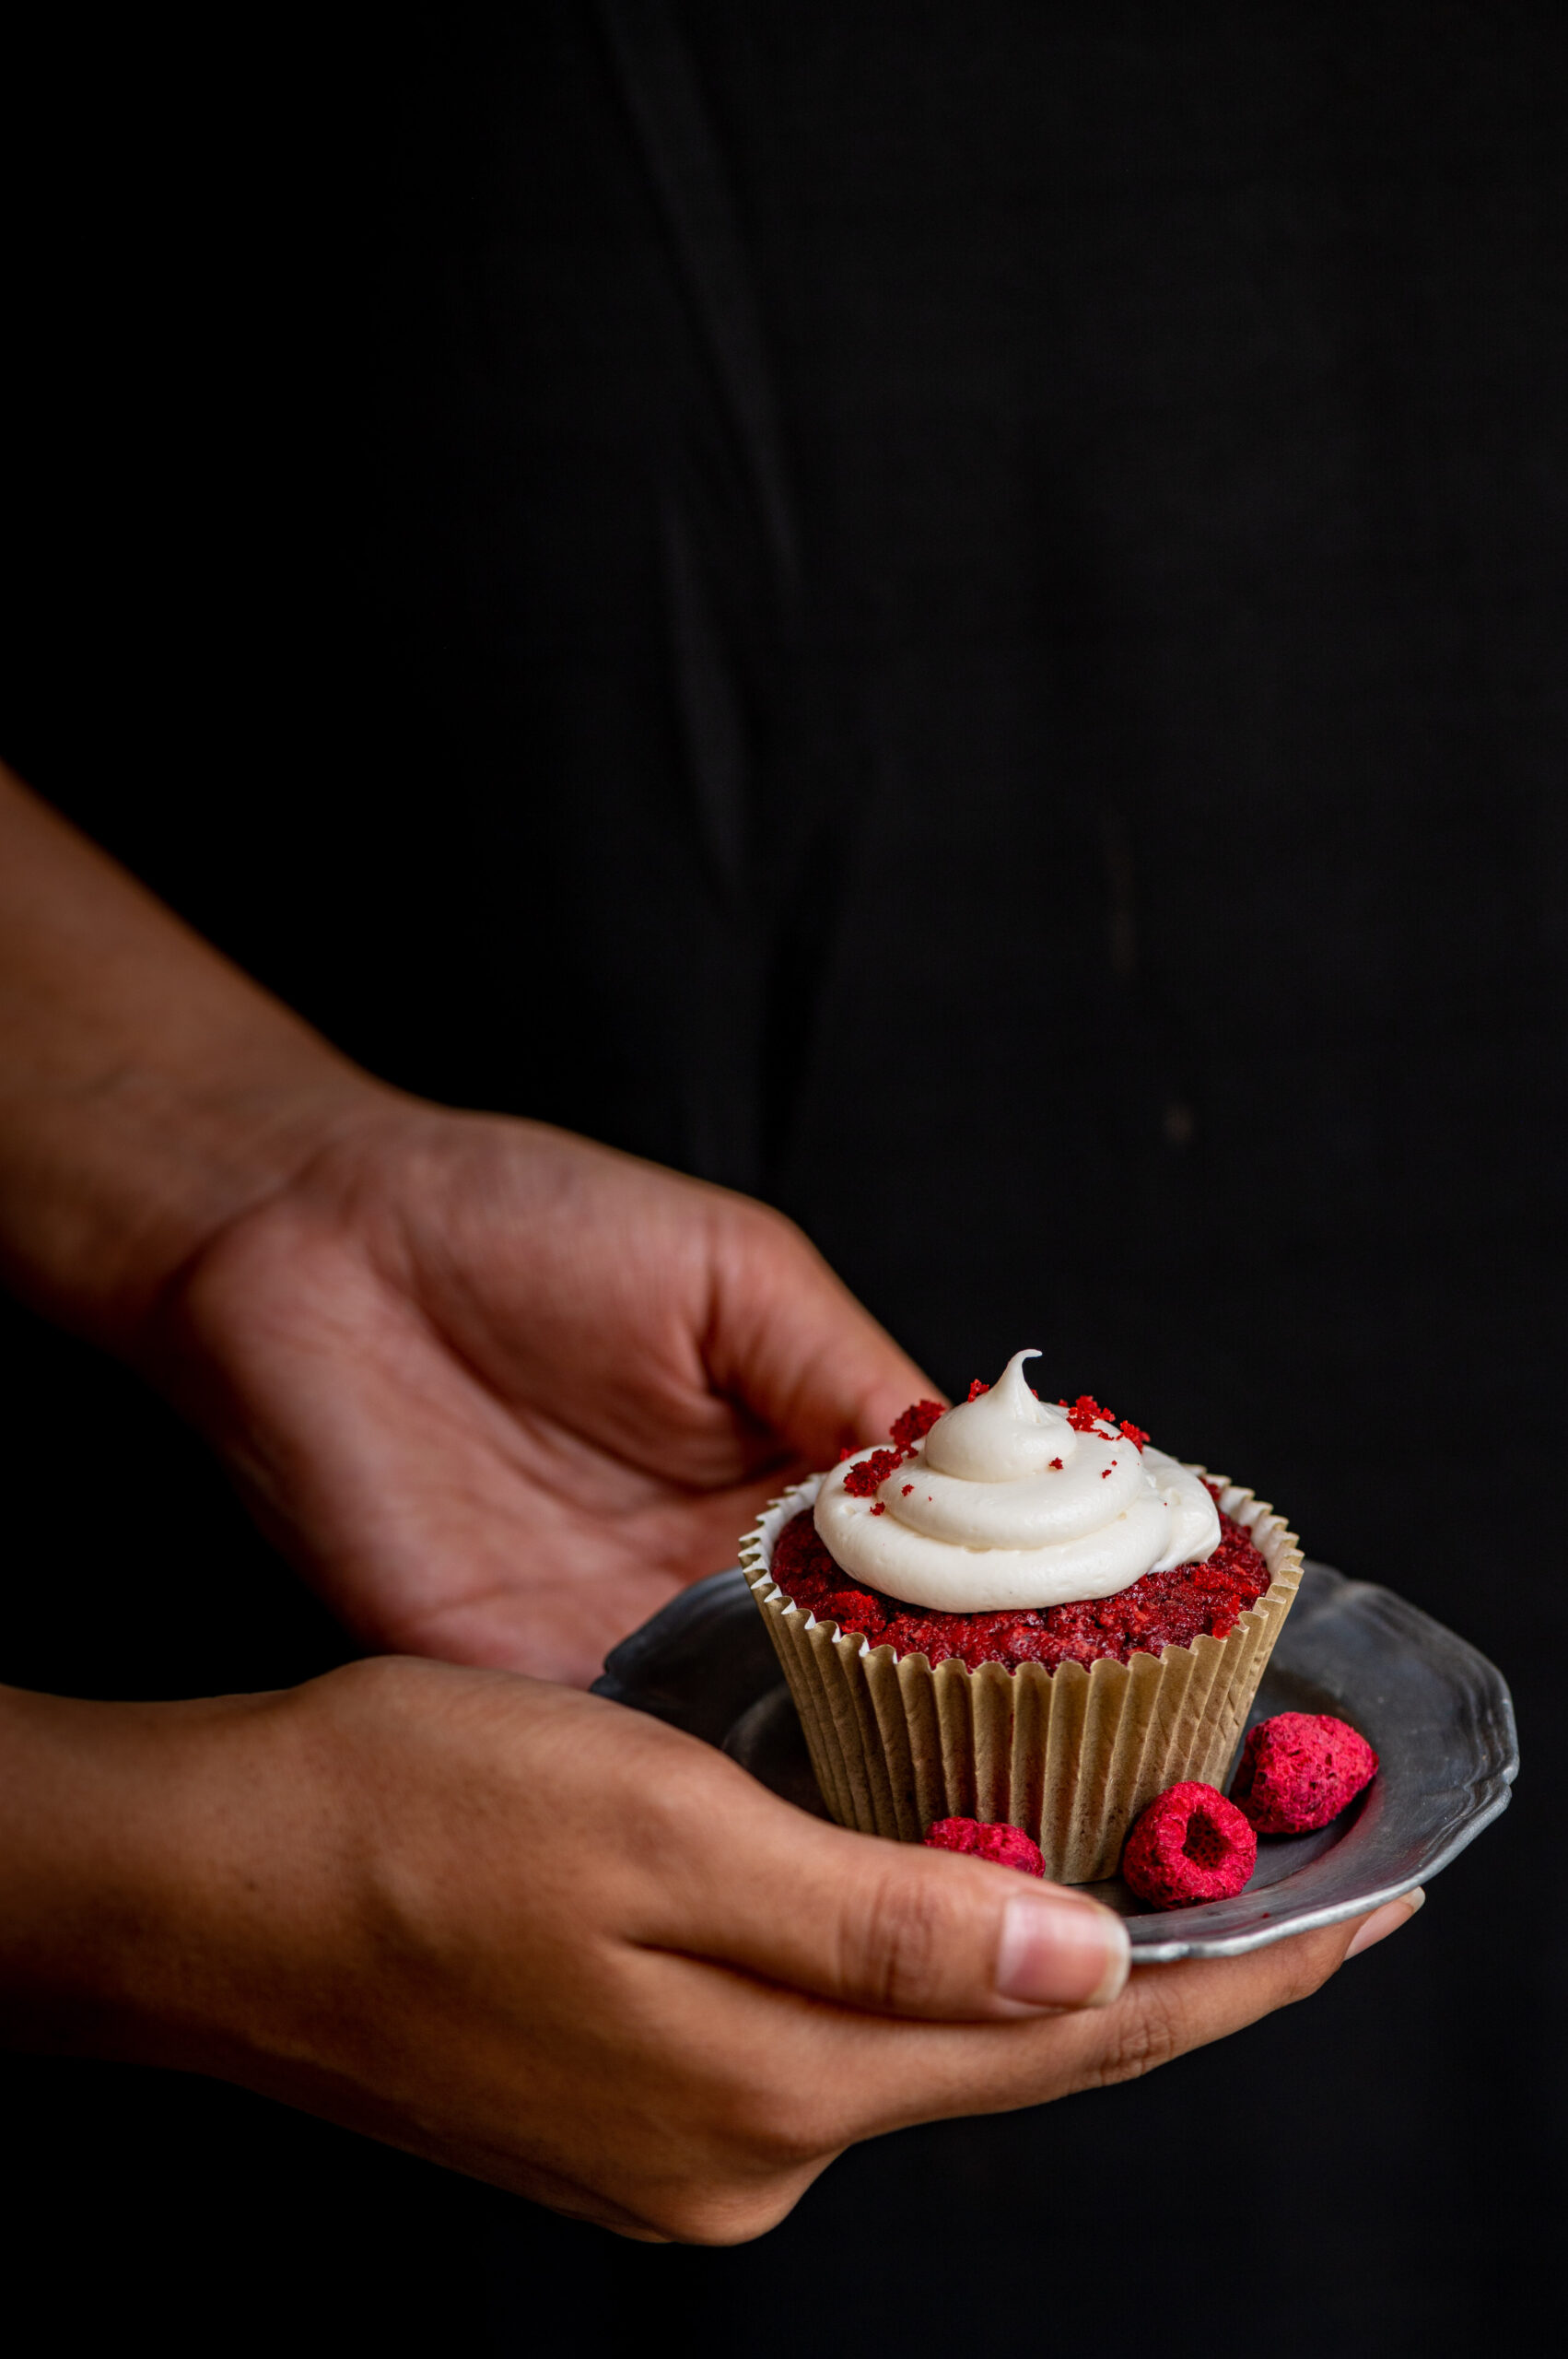
This one is for my youngest, my daughter, whose hands modelled for my photoshoots through the year. If she wasn’t up for it, I would threaten to withhold a slice of the day’s cake from her, which always did the trick. I often joke with her that my recipes are my prized heirlooms, but it is no joke at all that one of the reasons I compile them this way has always been for my children. My daughter is an excellent baker, and was in fact the one who inspired me to become one too, but she is also a busy young woman and rarely bakes these days. I hope she reaches for this recipe, the next time that she does.

This one is for my second son, my unofficial marketing man, who is so proud of my work and never fails to put a good word in for his mother’s cakes no matter where he goes. He doesn’t cook, unfortunately, but I hope he will pick up this wonderful activity some day. If that day comes, there is an archive right here for anything his heart or his tummy desire.

This one is for my elder son, my partner in the business and a valuable critic whose opinion matters to me very much. He loves cooking, and has just as much of culinary inquisitiveness as I do, and I hope that this recipe becomes a keeper for him.

This one is also for you. I know that many other parents who had their grown kids return and stay unexpectedly last year have felt or are feeling the same pangs that I am. I hope that baking these scrumptious cupcakes will offer you some comfort too. For me, what I noticed is that in the past – when they were away for their education or their work – these pangs were not as intense. They were adults with their own routines, just as I had mine, and I was used to seeing them at only certain occasions. But having this one year that felt like it was just dedicated to family, to catching up with each other on a deeper level, to reinforcing the values we instilled in them and live by… It was a very different experience. Perhaps you can relate to this too.

One day, hopefully sooner than later, when the world fully opens up again, I look forward to jetting off to see my three valentines just as often as always. If ever you bump into me at an airport, carrying big boxes in my hand luggage, you will know what’s in them. My precious baked goods are making their way with me to my children and their friends. Until then, and for long after, this recipe will always be here for them, whenever they want to recreate for themselves the taste of my love.

Red Velvet Cupcake

(Yield: 12 cupcakes)

For the cupcakes:

1 ¼ cups maida

3 tablespoons corn flour

2 tablespoons unsweetened cocoa powder

1 cup sugar

¼ teaspoon salt

½ teaspoon baking soda

¼ cup oil

¼ cup unsalted butter

1 tablespoon red food colouring

¾ cup whole milk (room temperature)

1 tablespoon (+ ½ teaspoon) vinegar

1 egg

1 teaspoon vanilla extract

For the cream cheese frosting:

1 cup cream cheese (room temperature)

¼ cup butter

2 cups icing sugar

¼ teaspoon vanilla extract

To prepare the red velvet cake cupcakes, preheat the oven to 170°C. Prepare 12 cupcake liners in the pans. You may want to check out this comprehensive introduction to baking, if you need to.

In a bowl, mix and sift together all the dry ingredients – flours, salt, baking soda and cocoa powder. Set aside.

In another bowl, add the milk and 1 tablespoon of vinegar and set aside. This becomes buttermilk.

In a large mixing bowl, use an electric mixer to cream together the butter and sugar on medium speed for 4-5 minutes, until the mixture is light and fluffy. Add the egg, and beat it in well. Next, add the oil, red food colouring, vanilla extract and the remaining ½ teaspoon of vinegar.

Add in the blended dry ingredients from the first bowl a little at a time, alternating them with the prepared buttermilk. Do not over-mix, and be very gentle.

Distribute the cake batter into the lined pans evenly. Bake for 15-18 minutes or until a skewer comes out clean. Remove the pans from the oven and cool on a wire rack.

To make the cream cheese frosting, use an electric mixer to beat the cream cheese until it is smooth. Add the butter and mix until the two are well-combined and smooth. Then, add the powdered sugar and vanilla extract, making sure the sugar doesn’t fly around. Beat until fluffy. There may be quantity variants based on the brand of sugar used, so add more or less to suit your requirement or until the icing is stiff enough.

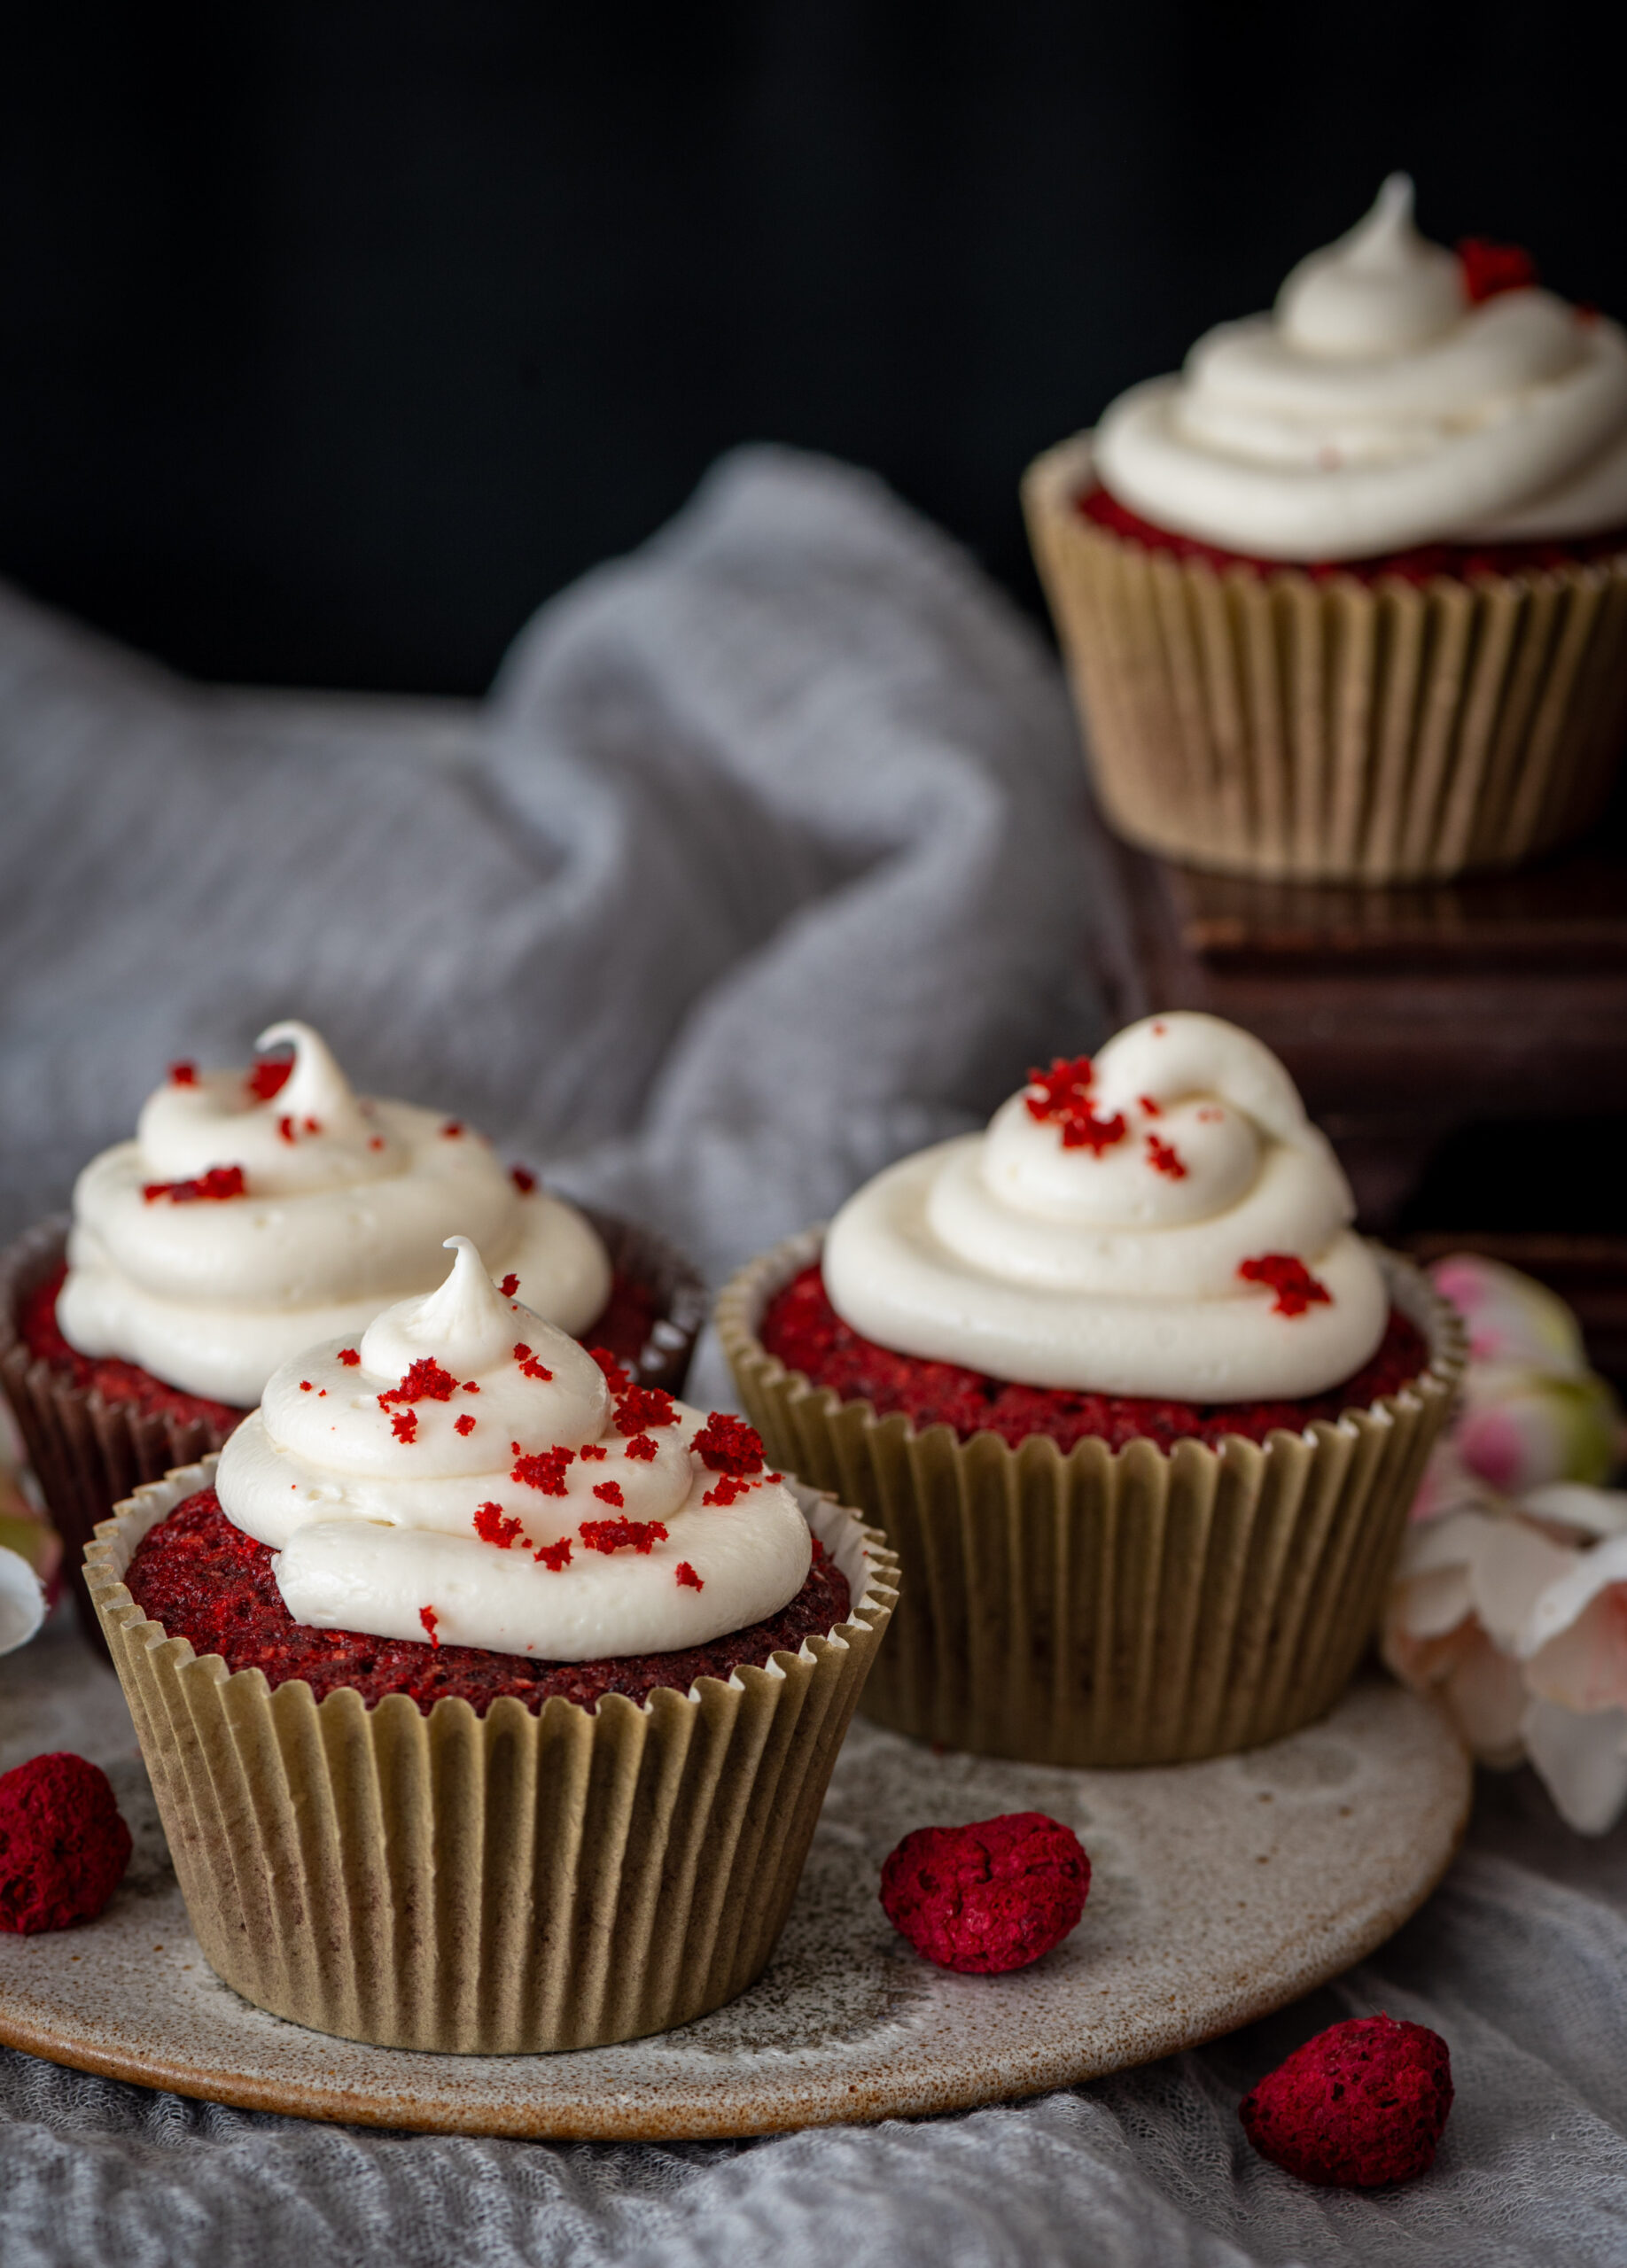
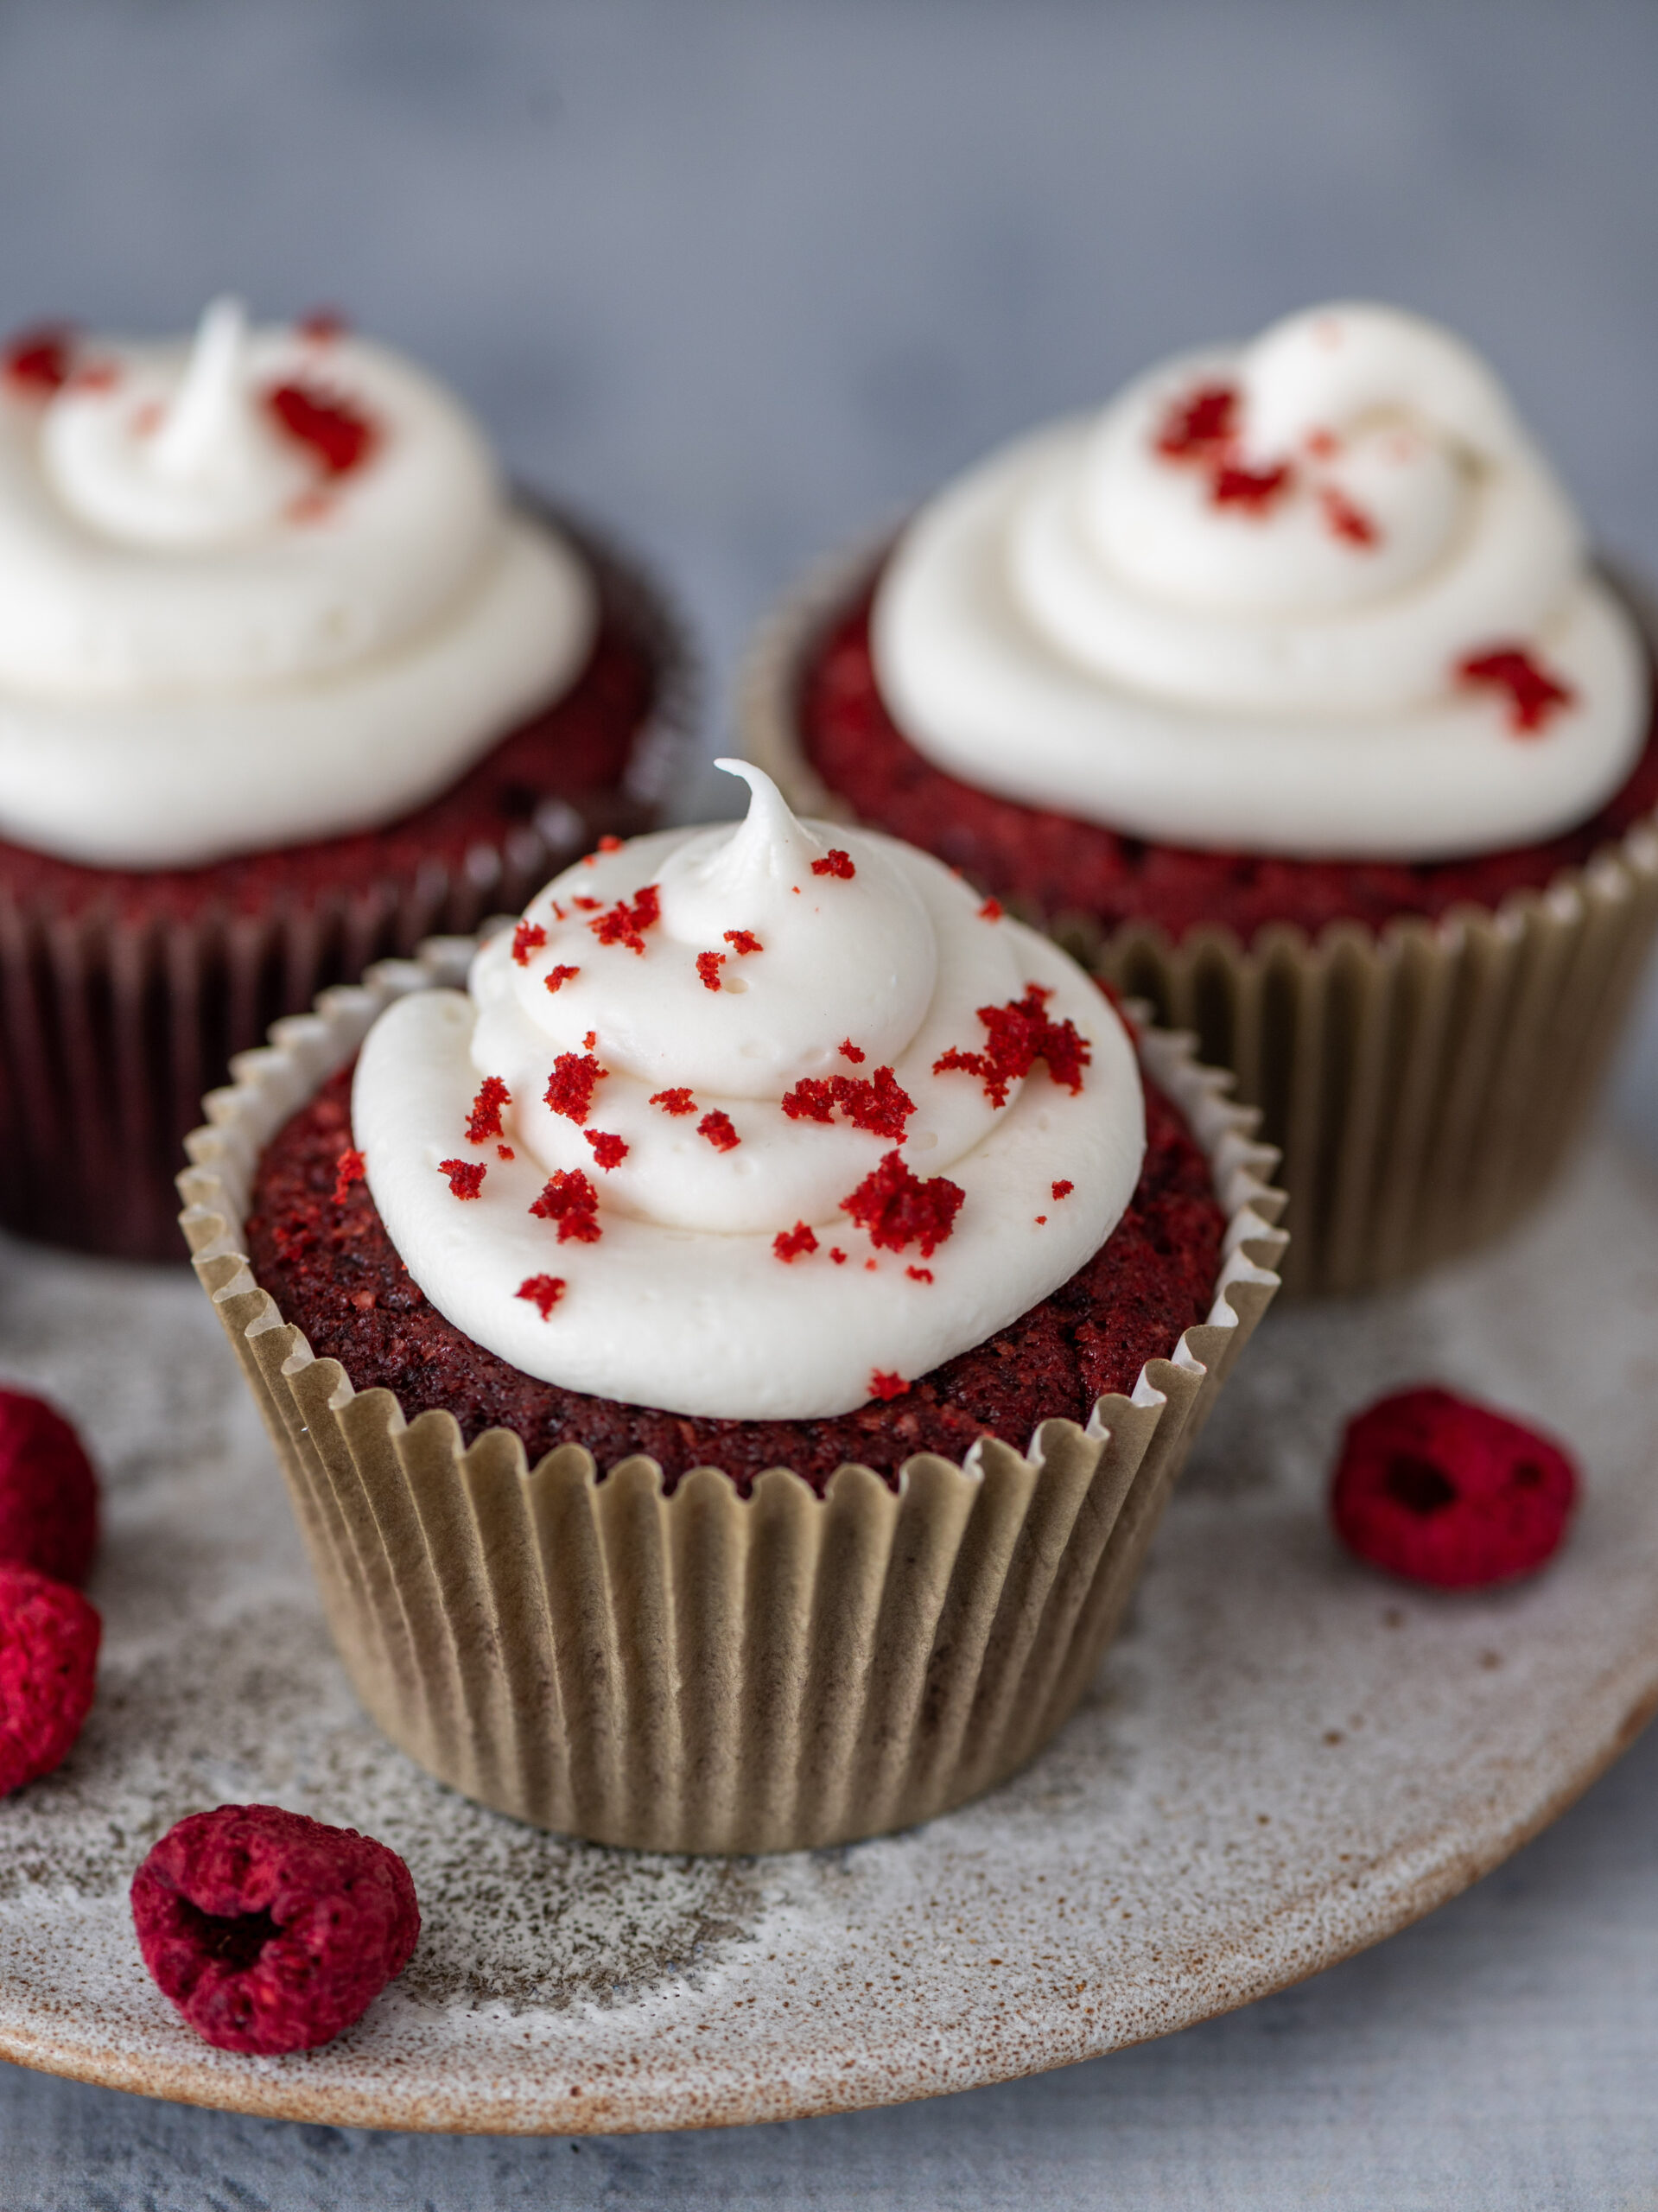
Top the cooled cupcakes with a swirl of cream cheese frosting, and garnish with sprinkles for a celebratory touch.

This recipe has a generous yield quantity and is meant to be shared. I hope that you will enjoy these sweet delights with those who are most precious to you, during some cherished moments together. I’ve given the recipe away simply as a gesture of joy and camaraderie, but it is also on the re:store menu. If you’d prefer to order some red velvet cake or cupcakes from me, or perhaps any other delectable item from my array of goodies, please drop me a note. The pantry is fully stocked, the kitchen is thriving with scents and flavours, the house is quiet now – and I would simply love to bake for you!

Many of you know that I picked up the camera because of re:store. What began with taking product shots and creating images for the blog grew into a deep love of food styling and photography, gradually becoming a major component of my work. Cooking and photography are my twin passions, and I have dedicated myself to both through challenging myself, studying and learning, and lots of trial and error. Despite knowing the amount of effort it takes to get really good at something, like anyone in today’s era, I also get excited about attractive new creative forms. I’ll see some interesting content that someone else has shared, and go, “OMG, I have to do this!” So it was with stop motion video. Having seen some charming stop motion videos online, I made it my mission to produce a couple for re:store.

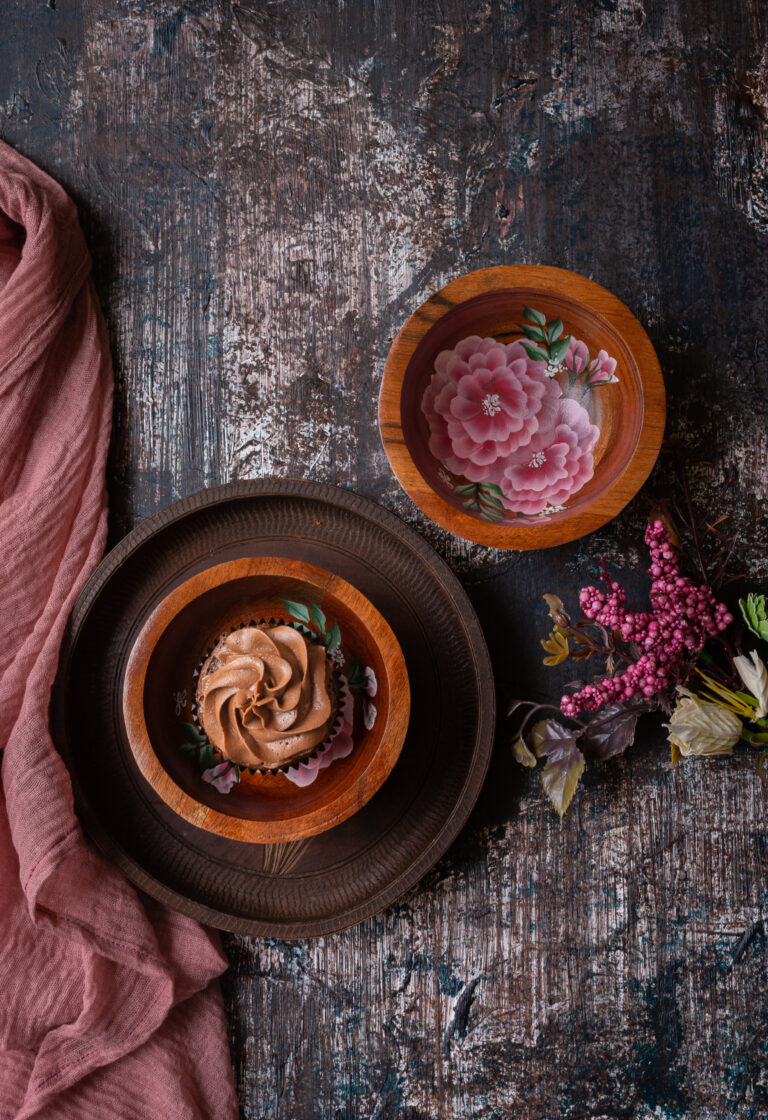
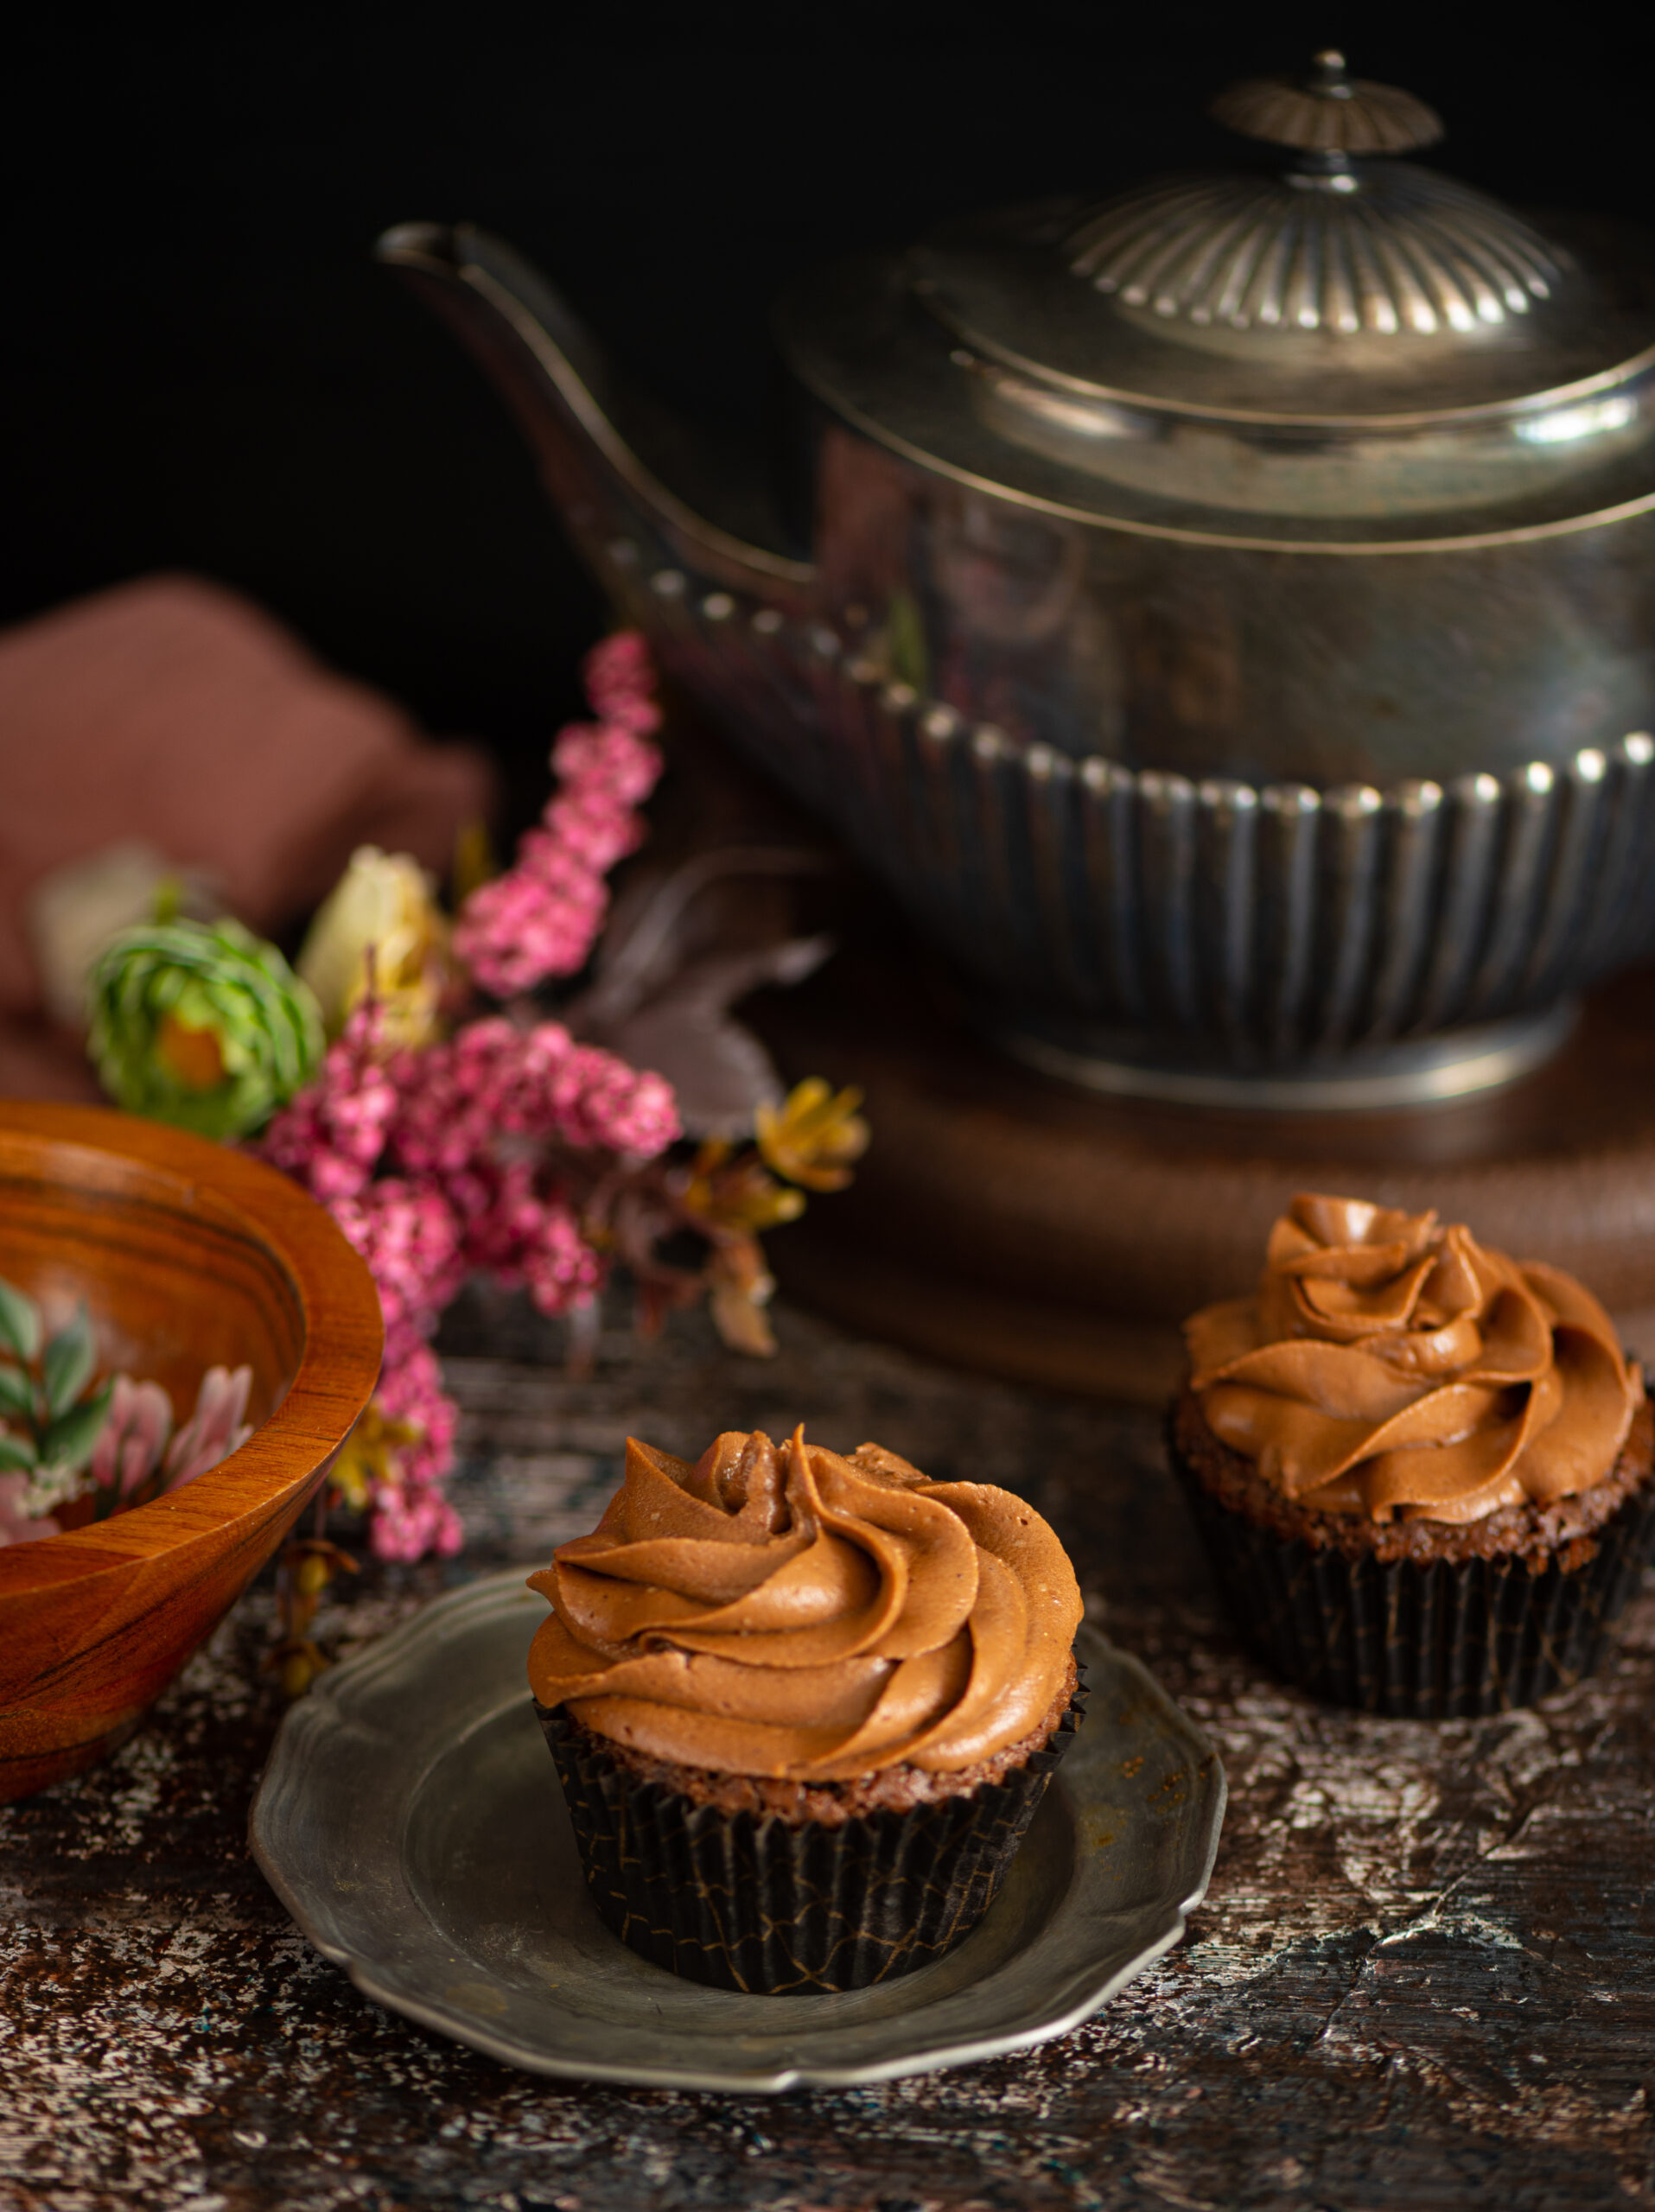
Tada! Here is the first: some cute, classic chocolate cupcakes. Do click on the link to watch the video on Instagram.

Let me tell you, that one minute of fun was a whole day’s work! I’m so glad that I had a friend’s daughter, Anushka, to work with me on the technical aspects. What this experience has taught me is that it isn’t about learning 75 different things, but being able to focus on the handful that one is really drawn to, so as to become good at those. There are so many eye-catching possibilities out there today, but I can’t manage them all, and neither should I aim for that. I need to give myself time to get through one learning, and let it naturally lead to the next one. This dilemma or distraction I had, about whether or not to begin studying stop motion video production, ultimately reminded me that this is how my businesses have grown from inception anyhow. Step by step, following a logical flow of studying, experience and growth, and knowing when to accept help. Doing the next best thing of delegation and collaboration helps me focus on what I am good at, and what is in my control.

Authenticity is a really important part of this blog, and all my work at re:store and at Nandi Shah Photography. Every recipe I share is something that I enjoy, and have prepared, served and eaten multiple times before I decide to showcase it. These are my recipes, containing my touch. For every shoot, I cook, style, photograph and edit everything myself. There’s a lot of love and attention that goes into each post, and there’s already a lot on my hands. In addition to my work, the current scenario has me responsible for the well-being of an entire household, including geriatric family members, and I must use any spare time I have from those responsibilities thoughtfully.

Still, I’m glad I indulged my curiosity about stop motion videos. I deliberated over what recipes would look good in this format, and these chocolate cupcakes were one of two (a different one will be coming up next weekend, so stay tuned for that as well). Even though it’s not a technical skill I want to learn for myself anymore, I enjoyed the process – having company, laughing, joking, learning more things about my camera, and of course, making the cupcakes and enjoying them with tea once the production was all done.

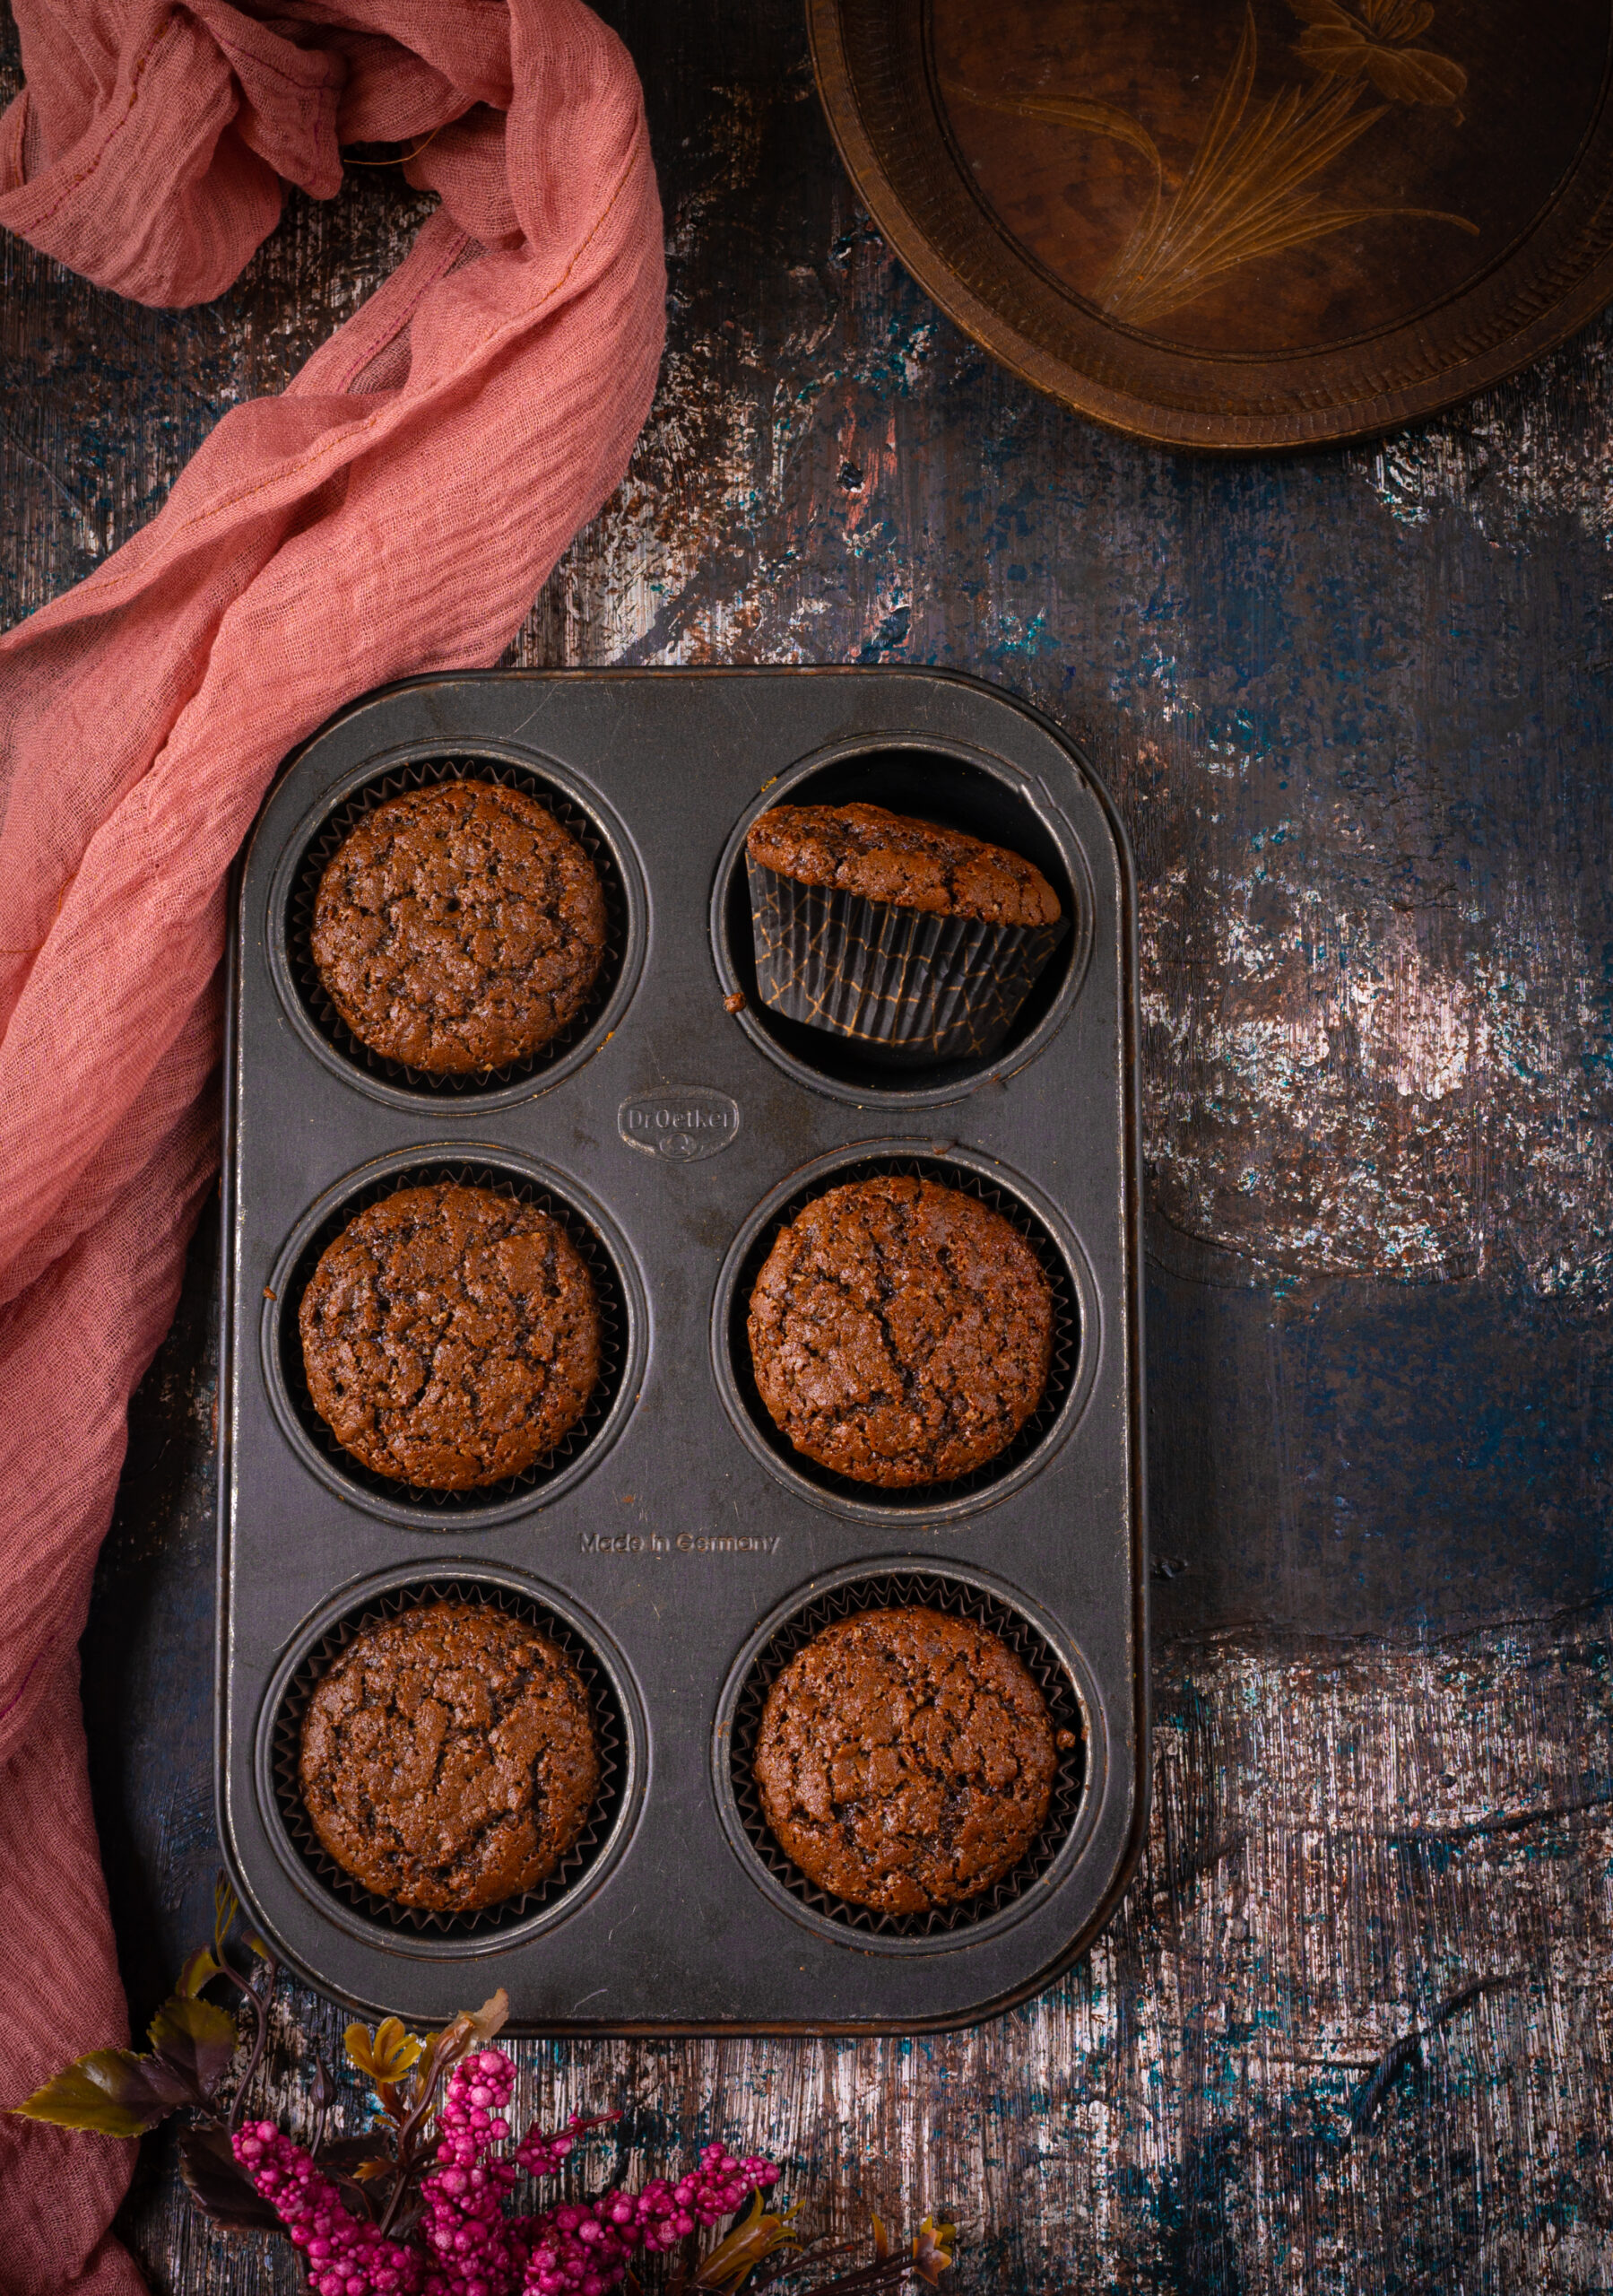
Subsequently, I baked these chocolate cupcakes all over again for the photoshoot for this blog. That was a separate endeavour, and I felt right back at home, doing what I love to do (and striving to better my best each time).

In addition to how they’re perfect for cute videos, I feel like although I’ve shared a variety of baked goods here before, I haven’t done any cupcakes. I also wanted to share something sweet, after several main courses. These classic chocolate cupcakes are a popular product that we get a lot of orders for, but I thought I’d share the recipe for those who want to try them out at home as well, in the spirit of spreading joy in this time.


Chocolate Cupcakes

(Yield: 12-15 cupcakes)


Cupcakes

1½ cups flour

½ cup cocoa powder

1 cup granulated sugar

¾ teaspoon baking soda

¼ teaspoon salt

⅓  cup oil

½ teaspoon vanilla extract

1 egg

¾ cup buttermilk


Frosting

1 cup unsalted butter at room temperature

3 cups icing sugar (and a little extra, if required)

A pinch of salt

2 tablespoons fresh cream

1 teaspoon vanilla extract


Preheat the oven to 180° for 20 minutes. Prepare the cupcake pans with liners.

First, prepare the dry mixture. Whisk the flour, cocoa powder, baking soda and salt together in a bowl. Set aside.

Now, prepare the wet mixture. Whisk the sugar, oil, egg and vanilla extract together.

Mix the flour mixture and the milk, alternating them, into the wet mixture. Beat them all together until the batter achieves a smooth consistency.

Scoop the batter into the prepared pans. Fill the liners to a ¾ level so that the batter has room to rise. If you’re fairly new to baking, you may want to check out this recent post of mine, which has a primer with tips you may find very useful.

Bake for about 20 minutes, or until a skewer comes out clean. Allow to cool, then top with frosting.

To prepare the frosting, beat the butter until it turns fluffy. Now, add the icing sugar and stir with a spoon. Be gentle, or else you will have the icing sugar dust all over. Once the two have come together, beat well. Add the salt and vanilla extract and beat for approximately another two minutes. If the butter cream is thick and difficult to spread, then add the cream a teaspoon at a time.

As I said earlier, these cupcakes are actually a part of our menu and one of our fastest-moving products. At re:store, we avoid artificial sweeteners that contain harmful chemicals, switching them out for natural or unprocessed ones, and use good old-fashioned ingredients (eggs, butter, oil and cake flour for instance – the basic elements of a cake)  of the best quality available locally. If you’re in Chennai and would like a fresh batch of these cupcakes from the re:store kitchen, especially with the festive season coming up, we’re just a phone call away. They’re delectable at tea-time, and ideal for gifting. As you can see again in the stop motion video, we give a lot of importance to packaging and the finished look of each product.

I’m currently very busy in the kitchen, and happily so, conducting trials for more delicious goodies, and am so looking forward to expanding the product list. Do stay tuned for some lovely new treats from re:store in the coming months, as well as new recipes on this blog as always!