Tag

coriander

Browsing

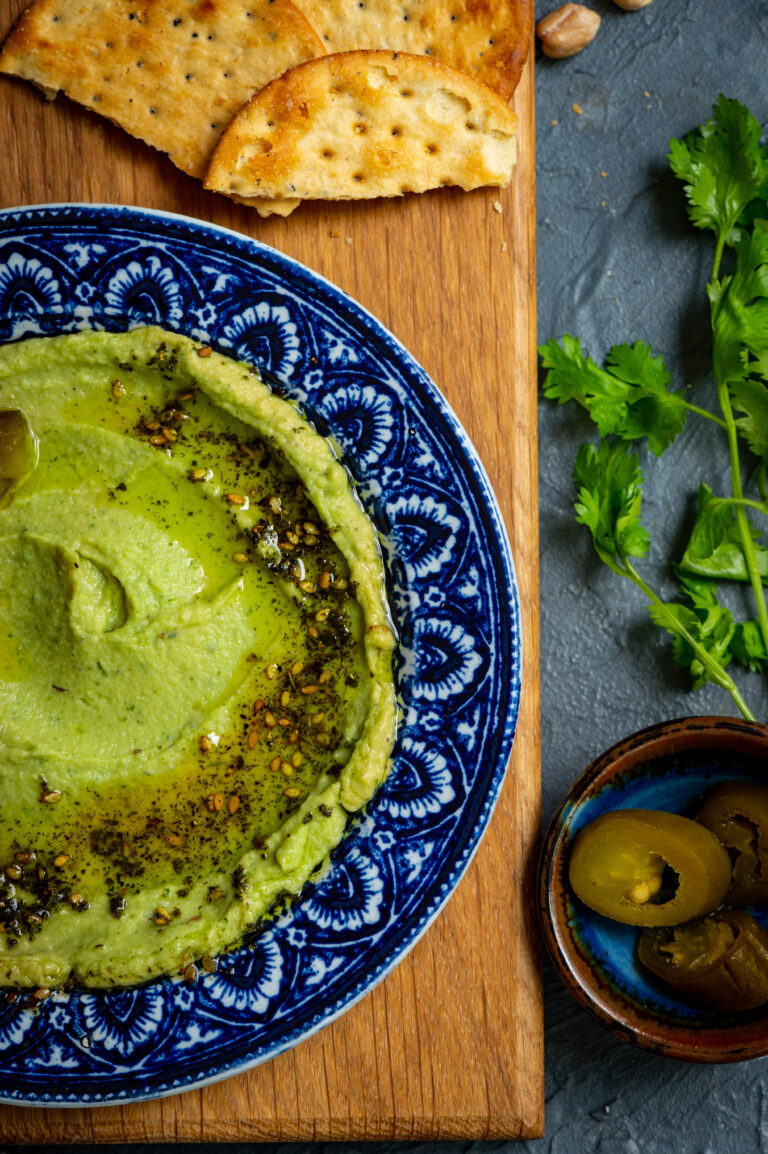
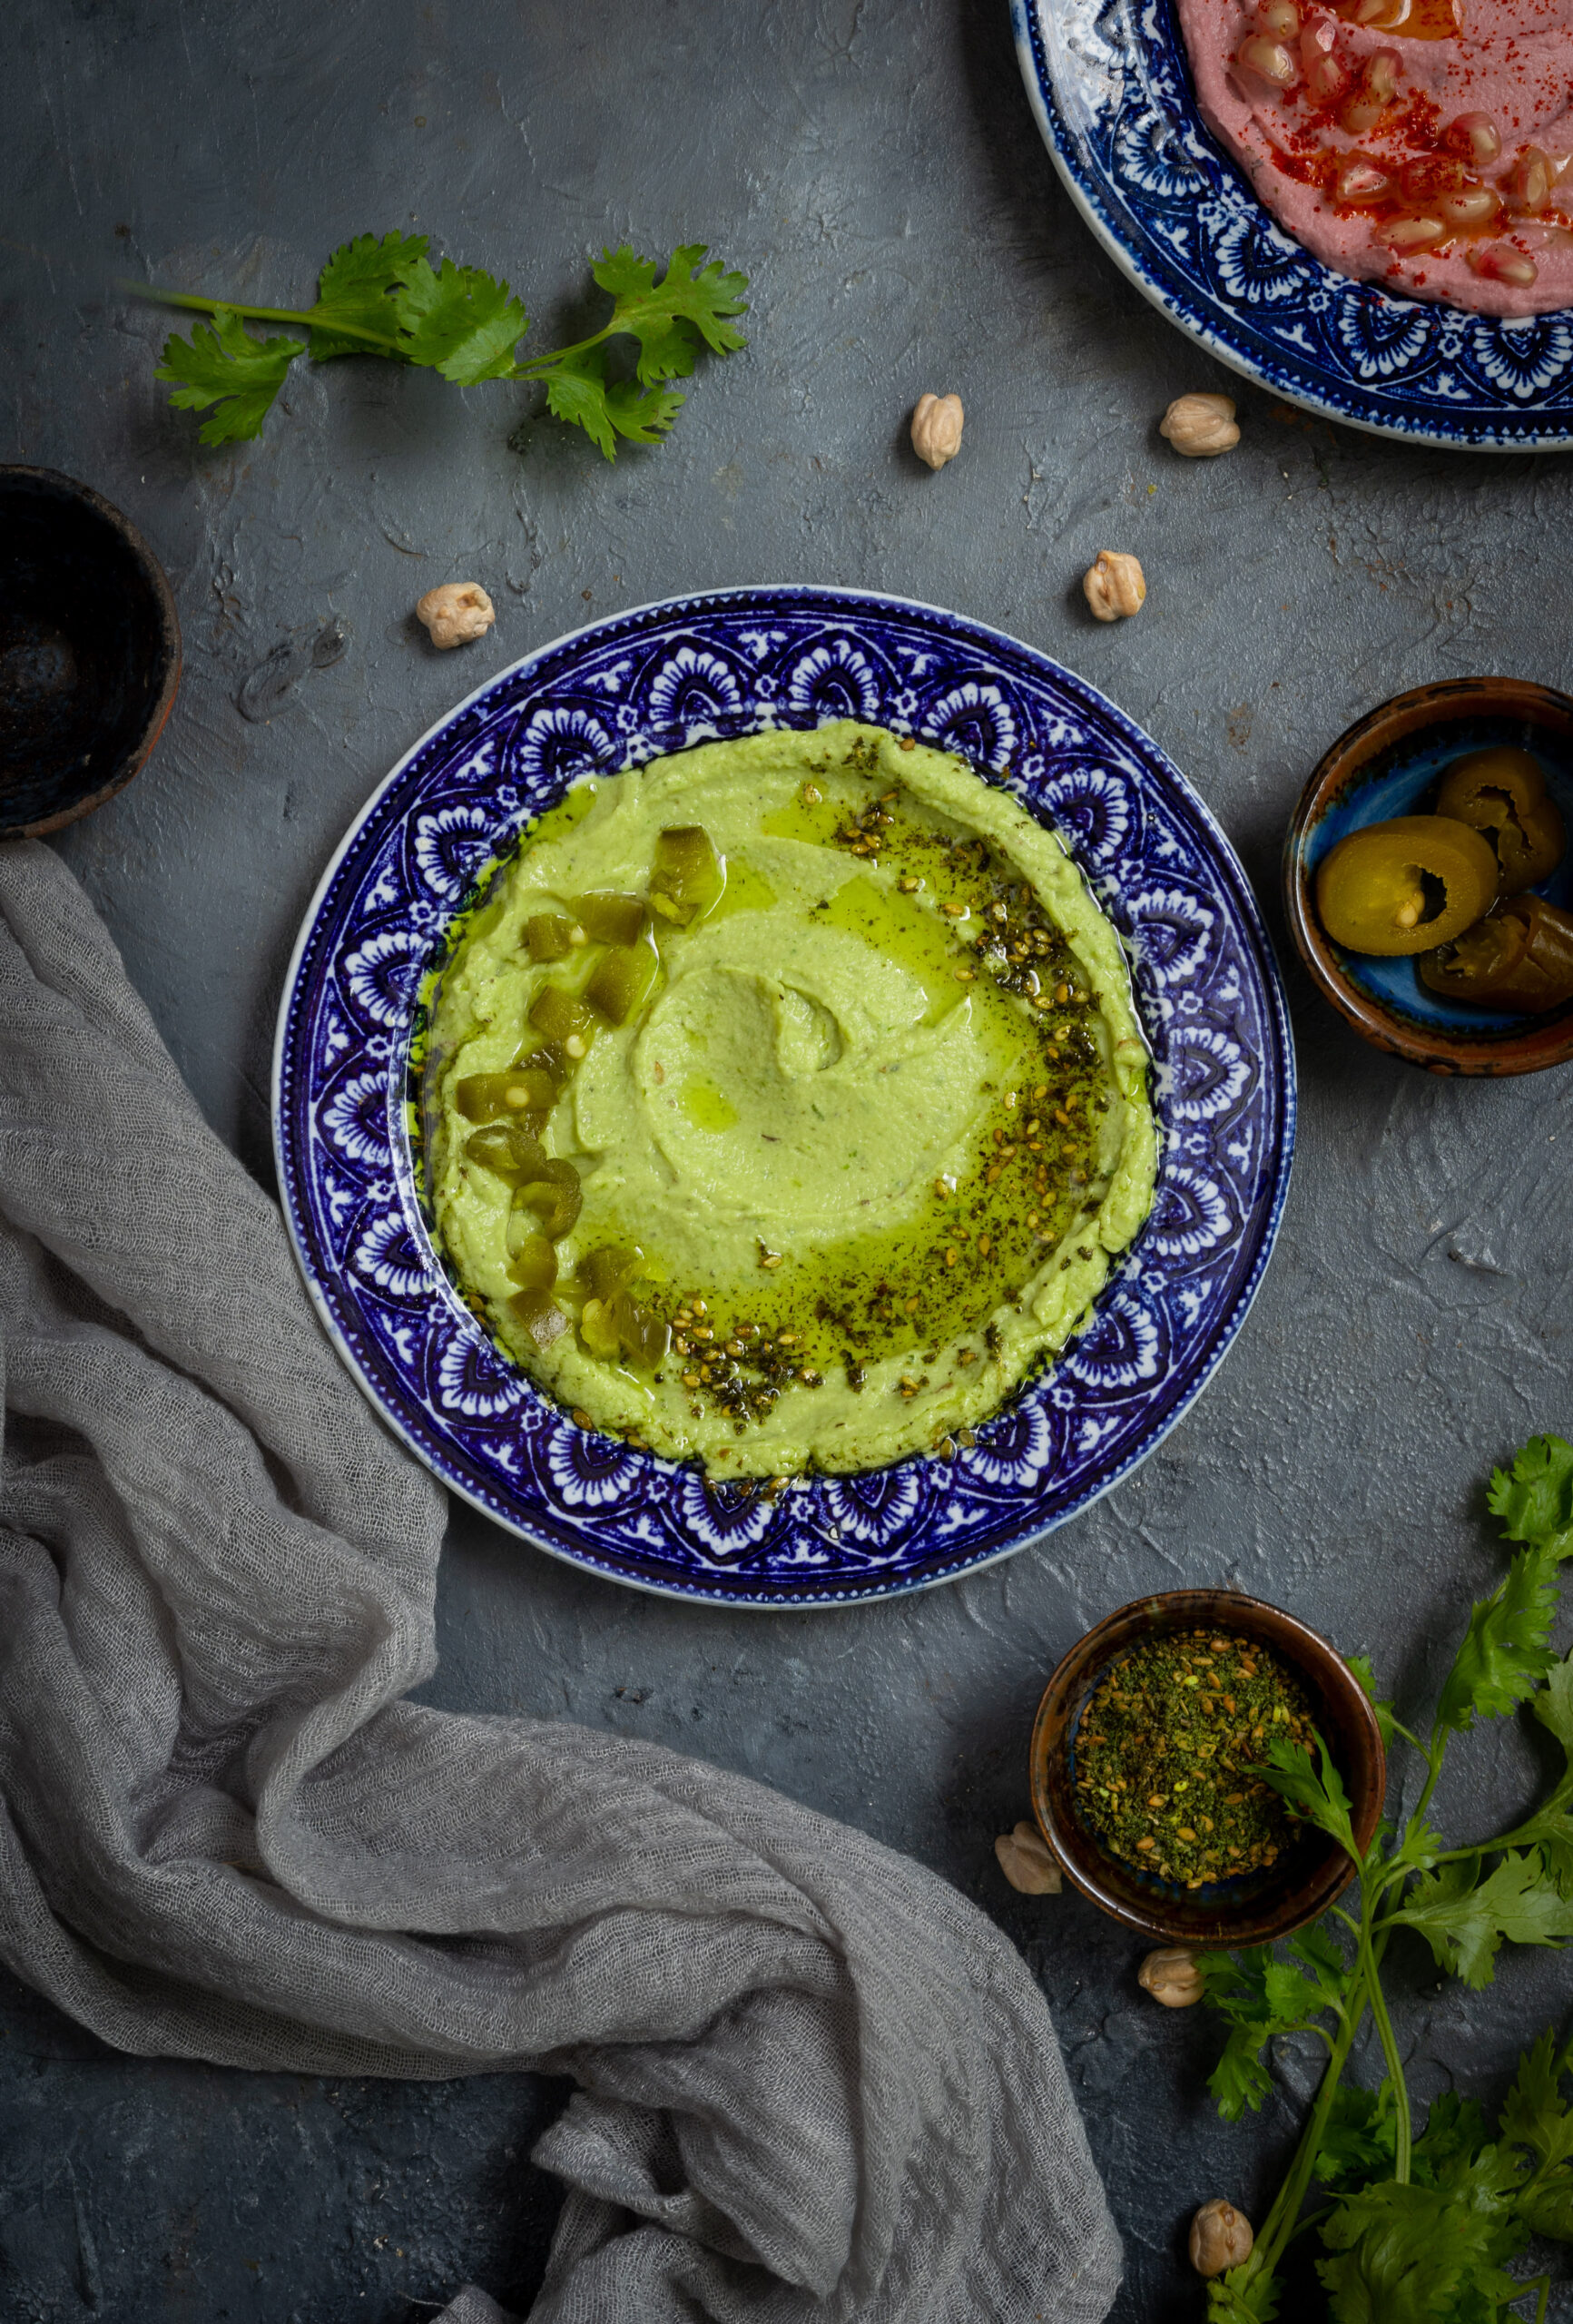
These days, we seem to be entertaining quite a bit at home. This is partly because our kids are all grown up and live in other cities. As parents, we feel proud of their achievements and love it when they visit, but we are also filling up our “empty nest” with friends and socialising as a couple. With people dropping by on a frequent basis, I try to make sure that a steady repertoire of healthy snacks, that are also good-looking and good-tasting, are easily whipped up. This beautiful pistachio-green coriander hummus hits the right spot in terms of its visual appeal, its nutrition quotient as well as its deliciousness.

Hummus originates in the Middle East and I make some whenever I prepare my versions of Lebanese dishes such as pita bread and falafels. It’s quite a favourite at home, and we are currently in an obsessed phase (do you have this habit too – of enjoying a dish so much that you just have to keep having it till you get tired of it and move on to the next big addiction?), so I’m making lots and lots of it.

The idea came to me after noticing colourful hummus varieties such as beetroot hummus, which comes out in a pretty pink. I wanted to use an Indian ingredient as a major one, and coriander seemed perfect. I had explored a curry leaf and green chilli hummus quite a while back too, which has a similar concept.

This dish contains one more surprise ingredient from our local backyards that you’re sure to love, and which you may remember from a recent recipe! If you guessed moringa, you are right. The powder is easy and quick to make, and I like to sprinkle a bit over the hummus to boost its healthiness, as well as to deepen the colour. I’ll probably try out a moringa hummus soon.

Hummus is truly simple to make, and the method for most varieties is more or less the same. In my family, different members have their own preferred type – curry leaf, beetroot, coriander, etc – so I am constantly whipping up some version of this dish and can assure you that it’s a basic recipe. In fact, it is quite easy to replace the coriander with other vegetables. You can see in the photographs that I’ve done a beetroot one too, using roasted beets. That one is more colourful than flavourful, but it is good for novelty in presentation. Guests love pretty snacks, remember?

Chickpeas are the core ingredient, and they are available abundantly in India so I don’t have to resort to the canned ones, although those will work just as well if they’re what you have on hand. I do the traditional method of soaking, boiling and so on – which is very familiar from so many Indian dishes. It’s funny: my cook at home, who is not well-versed in foreign cuisines, calls any kind of hummus “channa ka chutney” (“chickpea chutney”). He is not far from the truth! Several of the ingredients really do feel rather local, and are certainly used in Indian cuisines.

That said, despite its seeming Indian-ness, I was not exposed to hummus while growing up either. I discovered through my travels and culinary explorations that it’s a fantastic starter. It is healthy, tasty, simple to make and versatile in its usage as a dip. Despite the high summer temperatures at the moment, it keeps well in the fridge for at least a week.
Coriander Hummus

(Yield: 1 portion)

¼ cup chickpeas

Water (to soak and to boil)

2 tablespoons tahini

½ cup coriander leaves

Salt to taste

3 pods garlic

2 tablespoons olive oil

1 tablespoon chopped jalapeños


Soak the chickpeas overnight in sufficient water. Once soaked, they will have enlarged in size to almost 1 cup. Strain them.

Boil the chickpeas in fresh water in a pressure cooker with sufficient water, until tender to the touch. This will take about six whistles.

Once boiled, strain the chickpeas from the hot water. Set the water aside. This is called aquafaba. Aquafaba, boiled chickpea water, becomes an ingredient of its own with varied uses including as an egg substitute!

In a blender, add the tahini, salt, jalapeños, coriander leaves and garlic. Blend coarsely.

Next, add the boiled chickpeas. Now, add as much aquafaba as required to help blend the mixture once again until you have a creamy texture.

Spread the hummus onto a flat dish. Garnish with olive oil and any toppings of your choice. If you have za’tar, a spice combination commonly used in Middle Eastern cooking, you could sprinkle some. As I mentioned earlier, moringa powder is my preferred substitute.

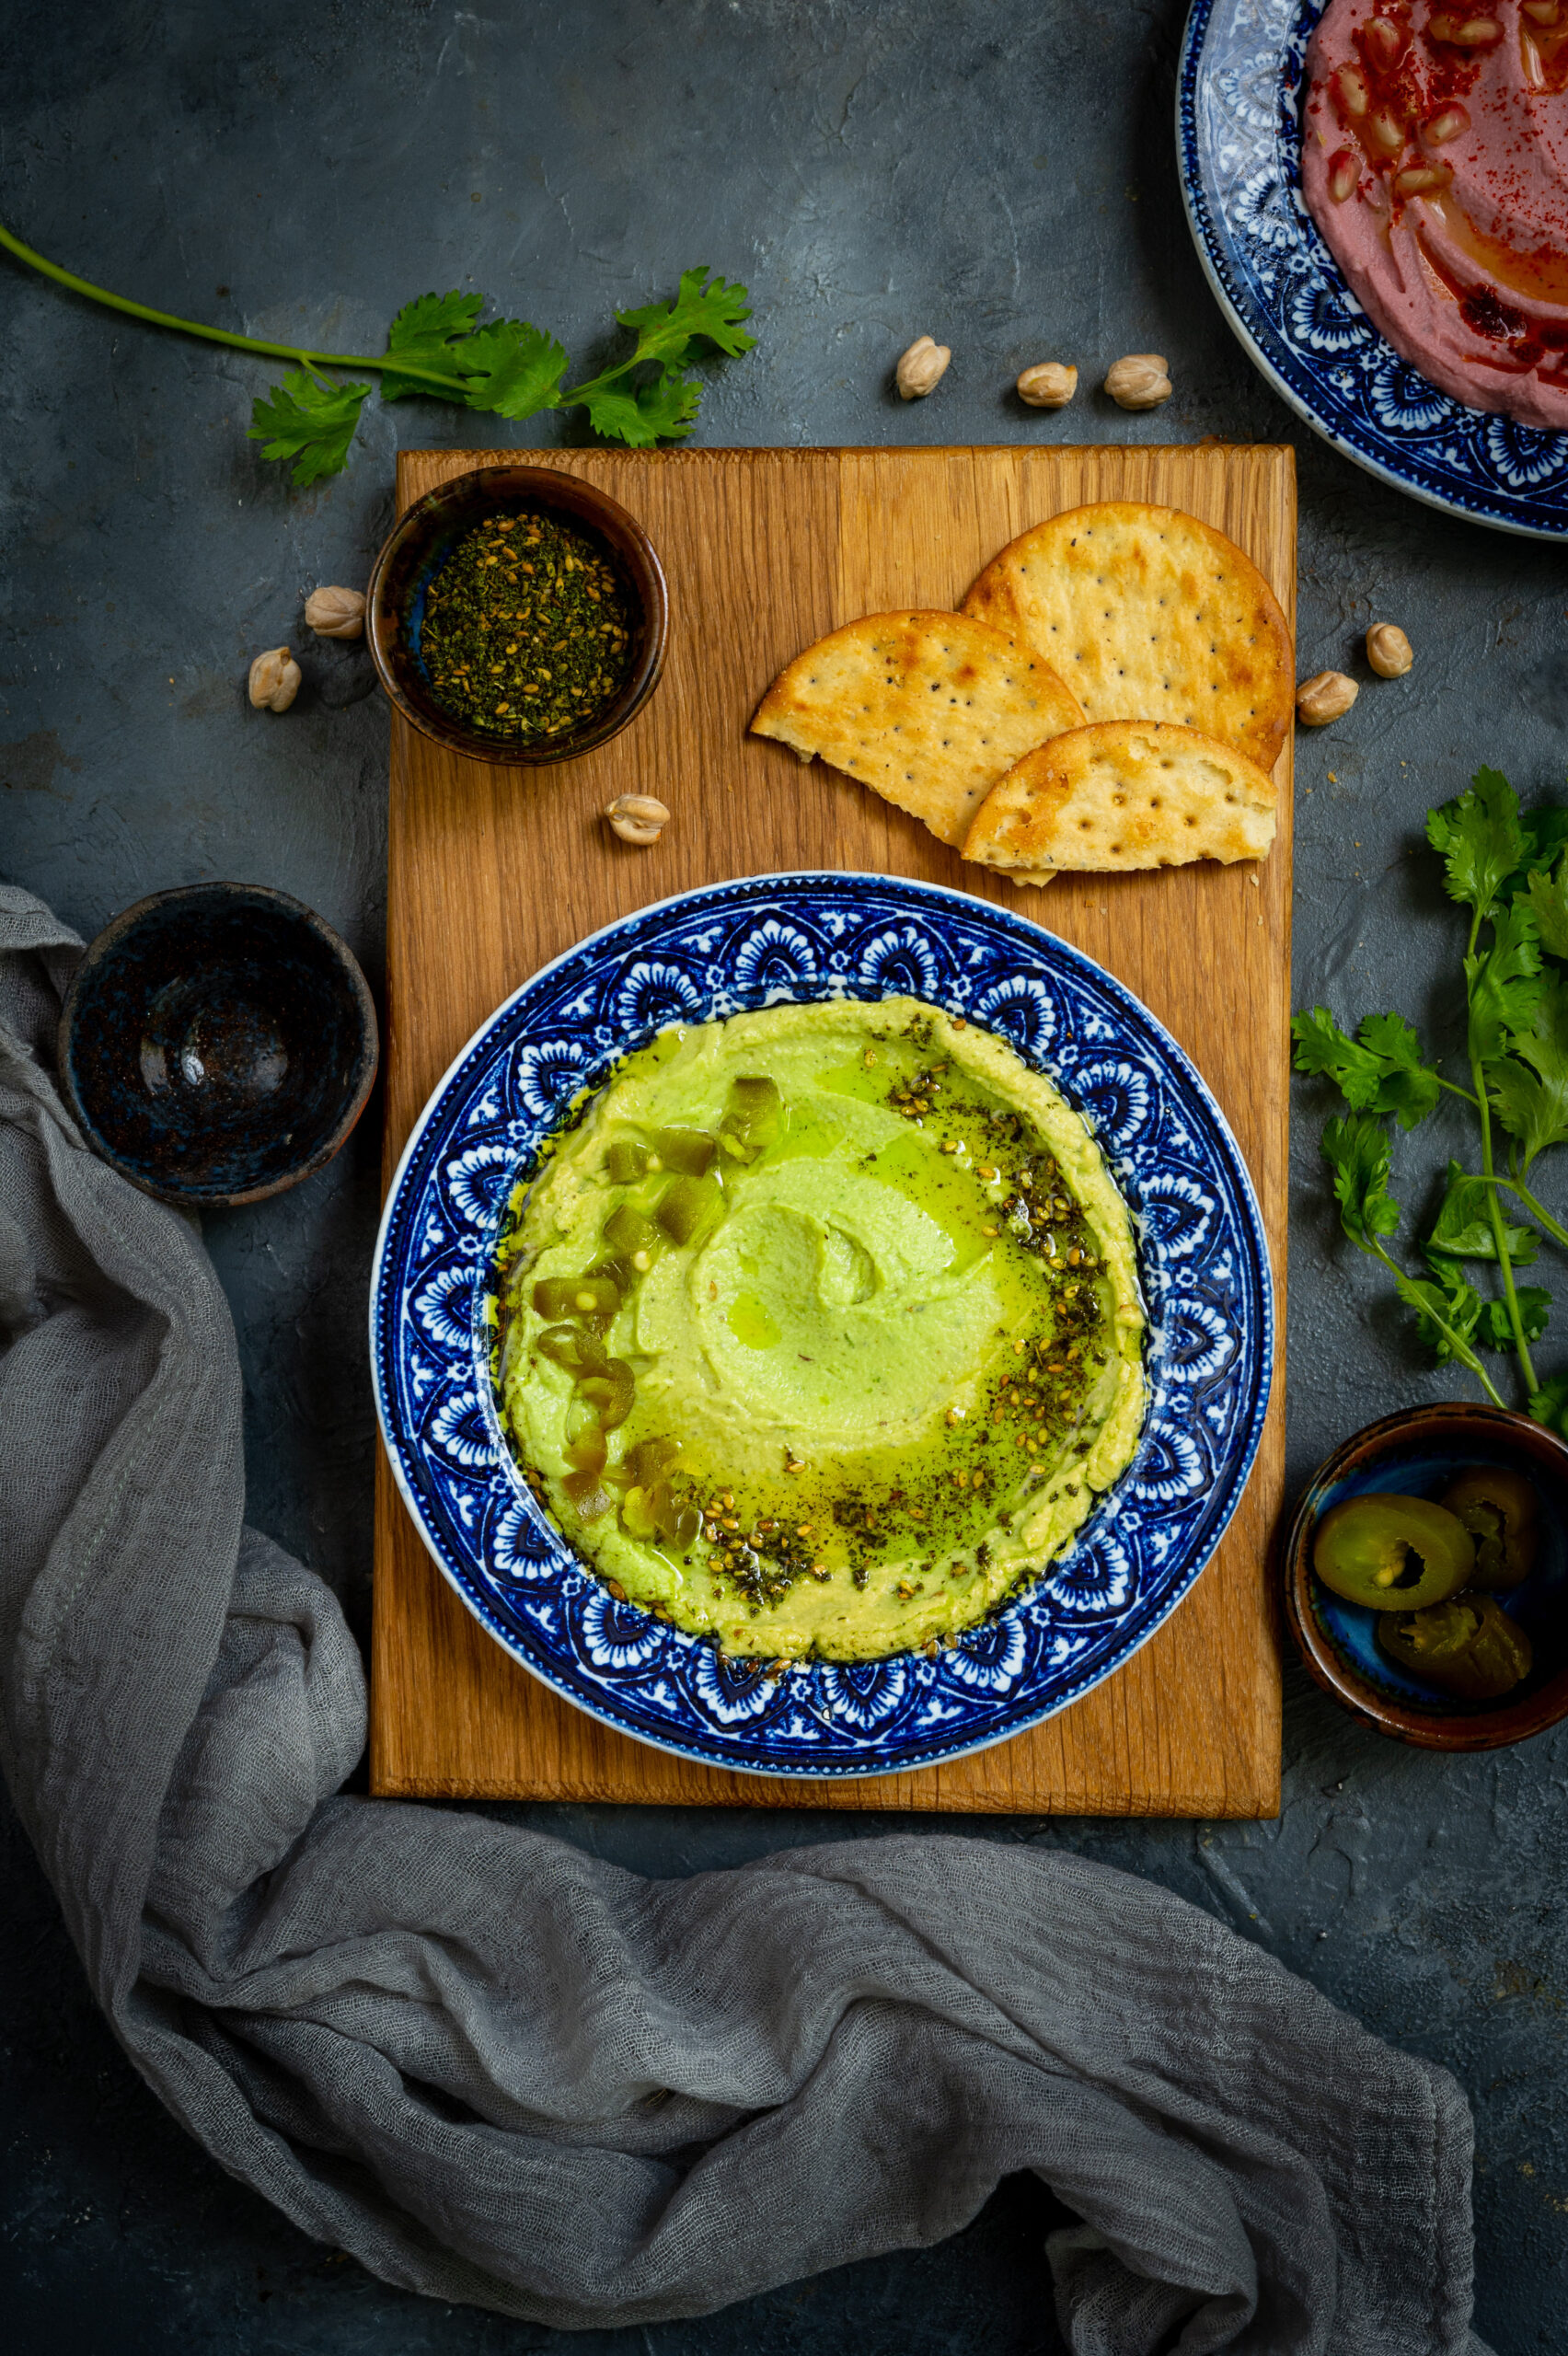
Your coriander hummus is now ready to serve. Eat it with the accompaniments of your choice. It goes perfectly with chips, vegetable sticks, apple slices, pita bread, falafels and more.

As I said earlier, you can swap out the coriander for other kinds of vegetables. You can also use sprinklings of different condiments or flavours. Let your imagination go wild – this is a basic, safe dish that responds well to play. Thinking out loud, a hint of mint could also be a nice flavour contrast. Maybe I’ll try that next time. Or maybe you can, and if so I hope you’ll let me know what the results are like?
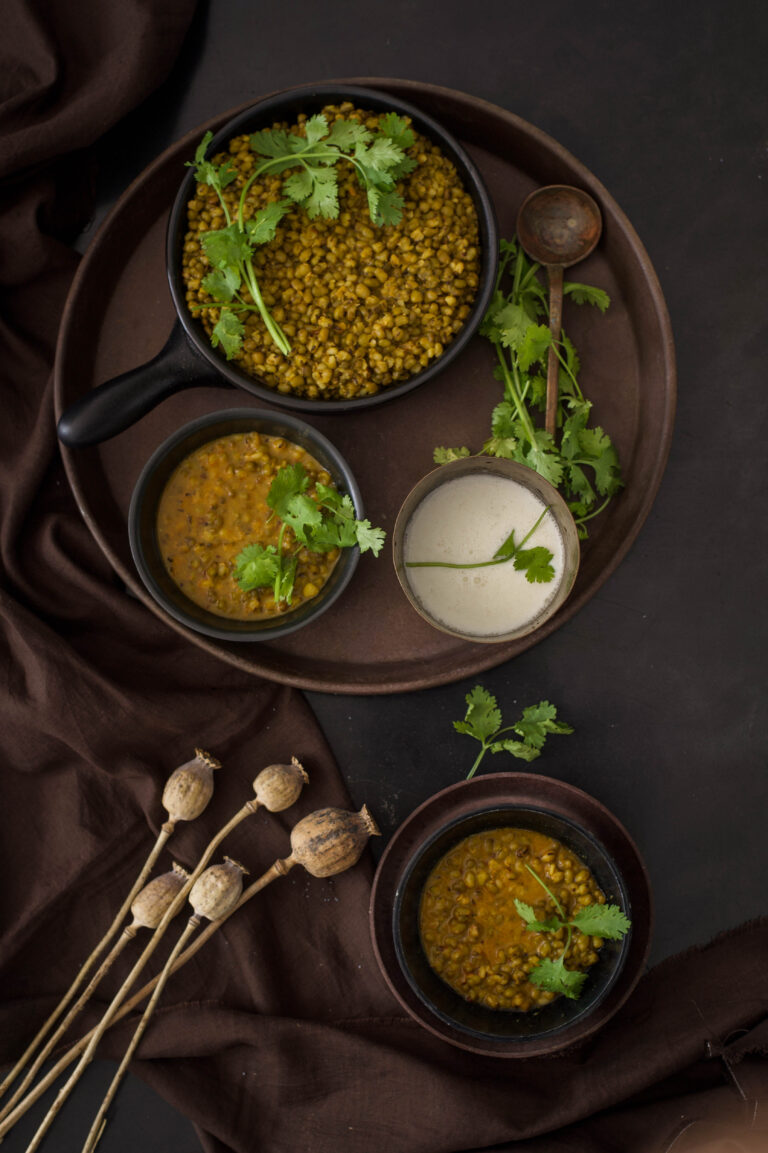
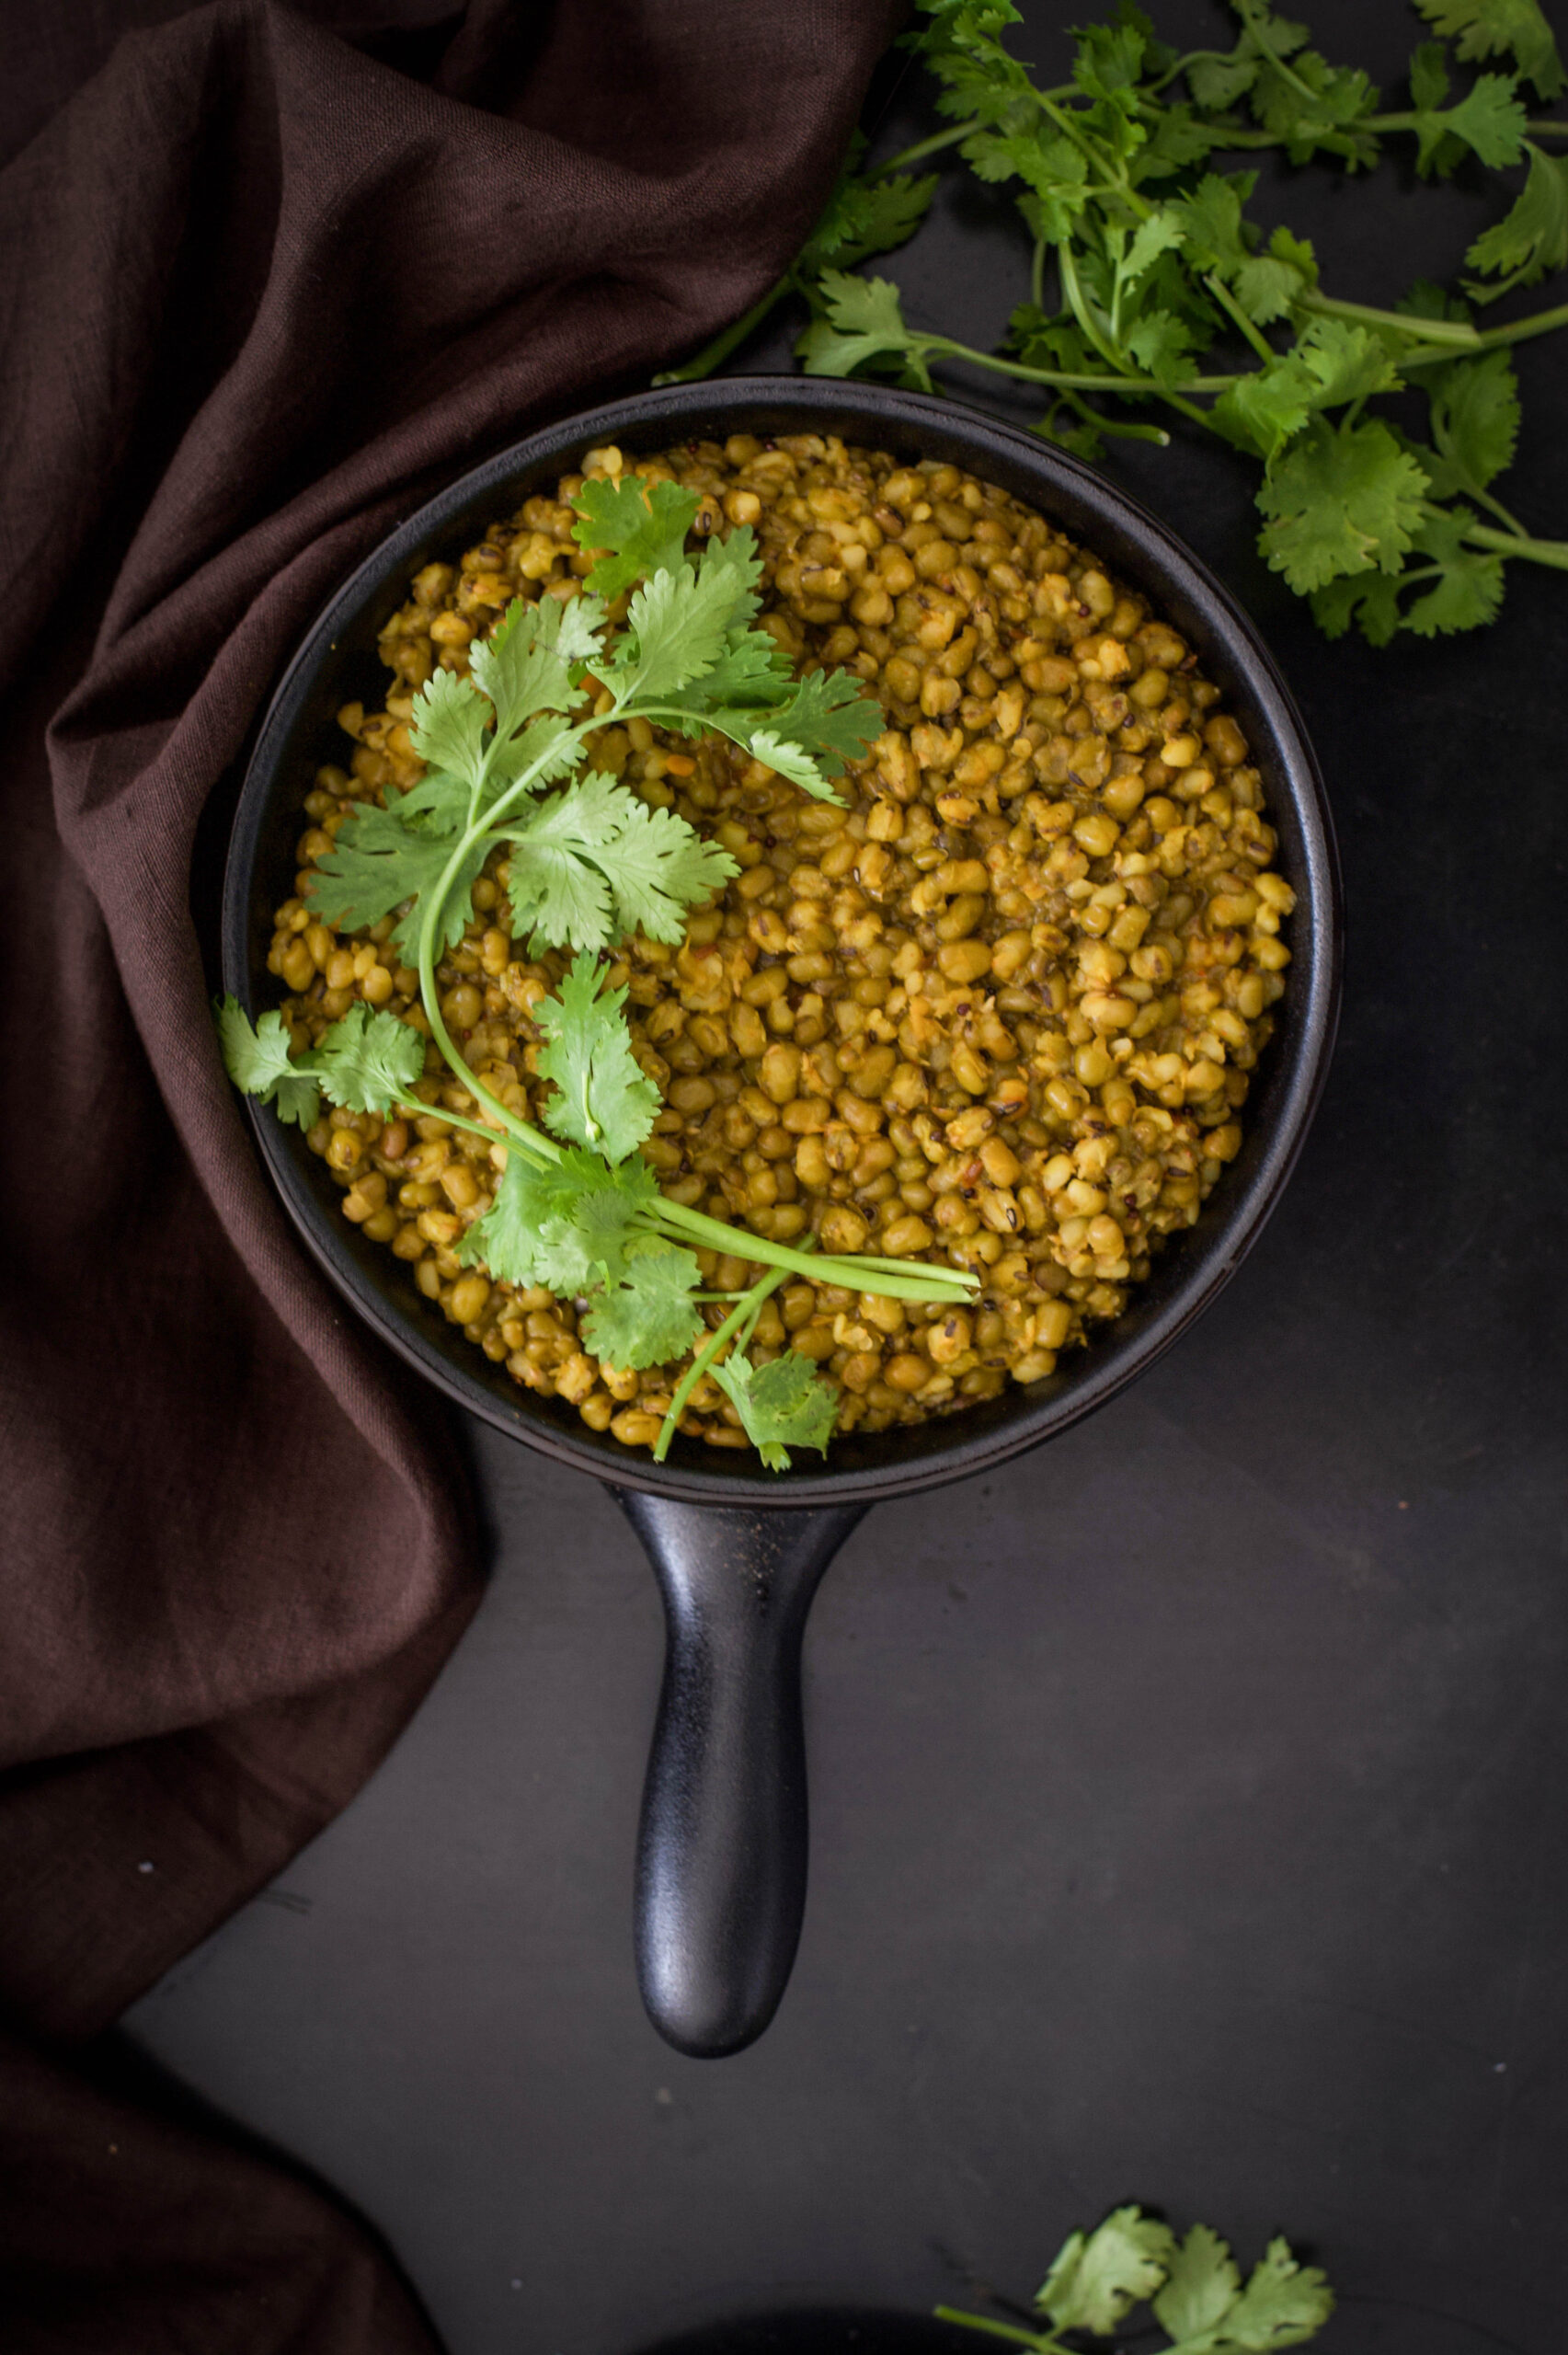
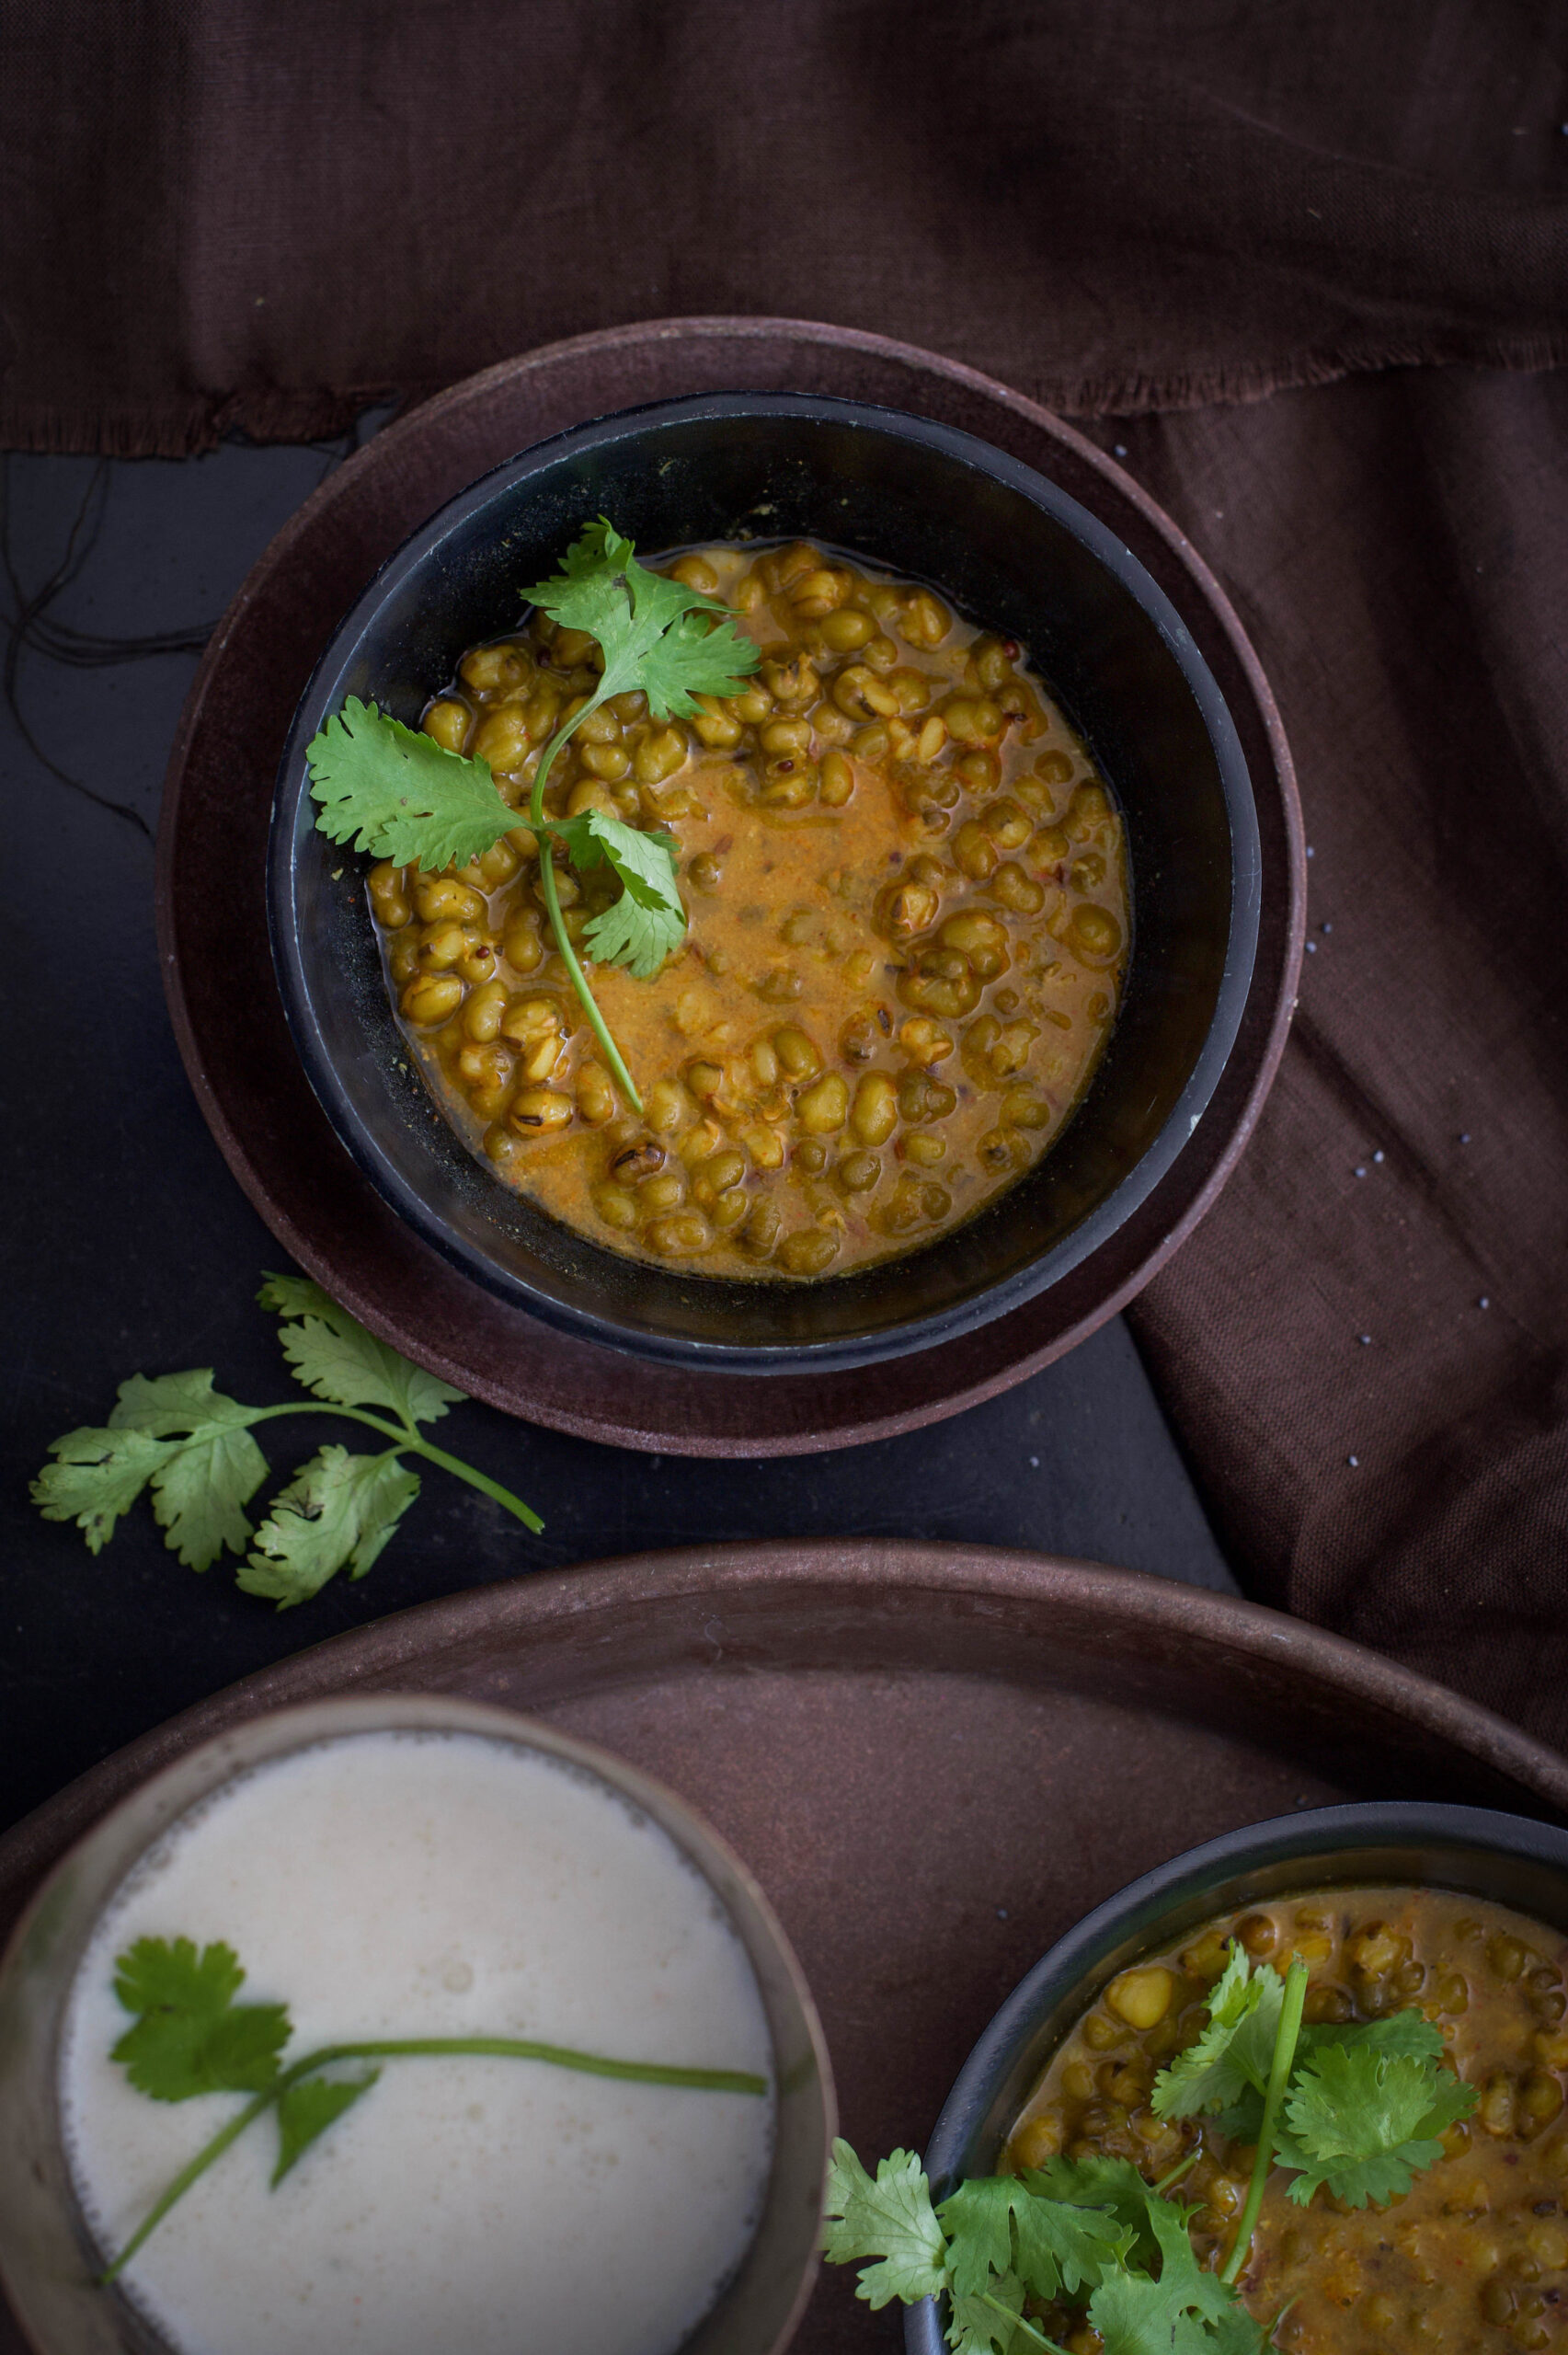
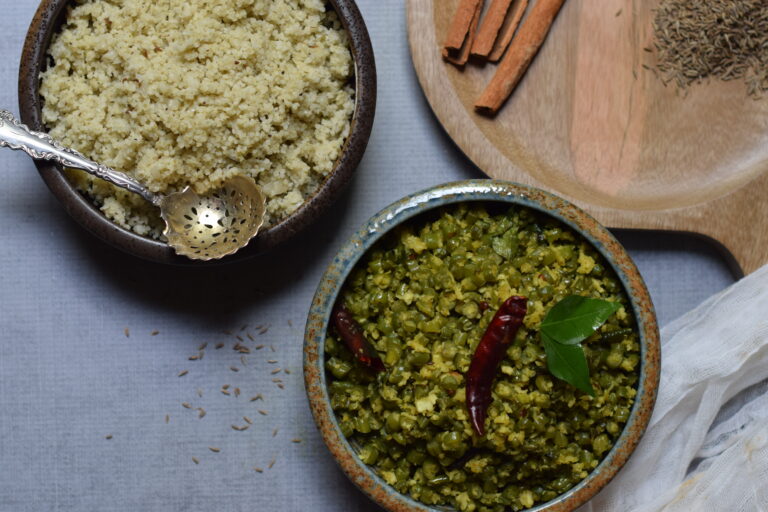
The lovely, versatile mung bean (also known as moong and green gram) found pride of place in one of my recent recipes for a street food-inspired snack, green moong bhel. If you tried your hand at that, its taste will be familiar to you even if you didn’t grow up eating it. The beauty of mung is that it can be in everything from a simple Sri Lankan breakfast to creamy desserts relished in South East Asia. Here in India, a Gujarati staple known as khatta mung is something I make quite often. It’s a particular go-to dish when I feel like I need to keep my weight in check, or to just bring a healthier balance into my meals. While it’s traditionally enjoyed with rotis or rice, I like to have it as a meal-in-a-bowl. Think of it as one more variant of an Indian salad, perhaps inspired by a more flavourful compact meal.

There’s a particular reason why khatta mung and other mung-based dishes are Gujarati staples. That’s because the humble mung bean is regarded as auspicious in my culture, and is even used in housewarming and other special ceremonies. It is a symbol of health, but is also affordable and accessible – so any family can have it. It is also of importance to Jainism, especially when devotees break their nine-day fasts. The very first thing that they consume upon doing so is a sip of mung water. Not only is it high in protein and energy-restoring, it also does not shock the stomach after the fasting period. You could think of mung as a traditional protein powder, accomplishing what modern glucose drinks do. Mung, both whole and split, is also consumed widely for every day meals, and some other classic dishes include mung dhokla (wholesome, steamed savoury cakes) and pesseretta (which is a crepe like a dosa).

“Khatta” literally means “sour”, and indicates the use of yoghurt in the dish. Yoghurt can be removed from the ingredients if you wish to make it vegan-style. There will not be much difference in the taste, especially if you add a twist of lemon for the tang. As with all Gujarati dishes, there is an interplay of sweetness and sourness in khatta mung, so I always add a hint of jaggery too. It lifts the saltiness of the dal and improves the flavours overall. Some people add garlic, onions and various condiments, but I personally feel that the more basic the dish is, the better it tastes. You’ll find that the spices remain the same for most dishes, but palates differ from family to family. I prefer simplicity, so that the original flavours are maintained and not doused with additives. Have you noticed how people today seek out cookbooks on how to simple eating and healthy cuisines, without recognising that that’s what was happening in their own kitchens growing up? As always, the unfussiness of my mother’s cooking style is what inspires my own work, although I am always curious and glad to learn – and always, to share what I learn as well.


Khatta Mung

(Yield: 3-5 cups)

Ingredients

½ cup whole moong dal

2+2 cups water

Salt to taste

1 teaspoon cumin powder

1 teaspoon dhaniya powder

¼ teaspoon turmeric

1 teaspoon jaggery

½ teaspoon chili powder

1 teaspoon ghee

¼ teaspoon mustard seeds

¼ teaspoon cumin seeds

2 tablespoons yoghurt

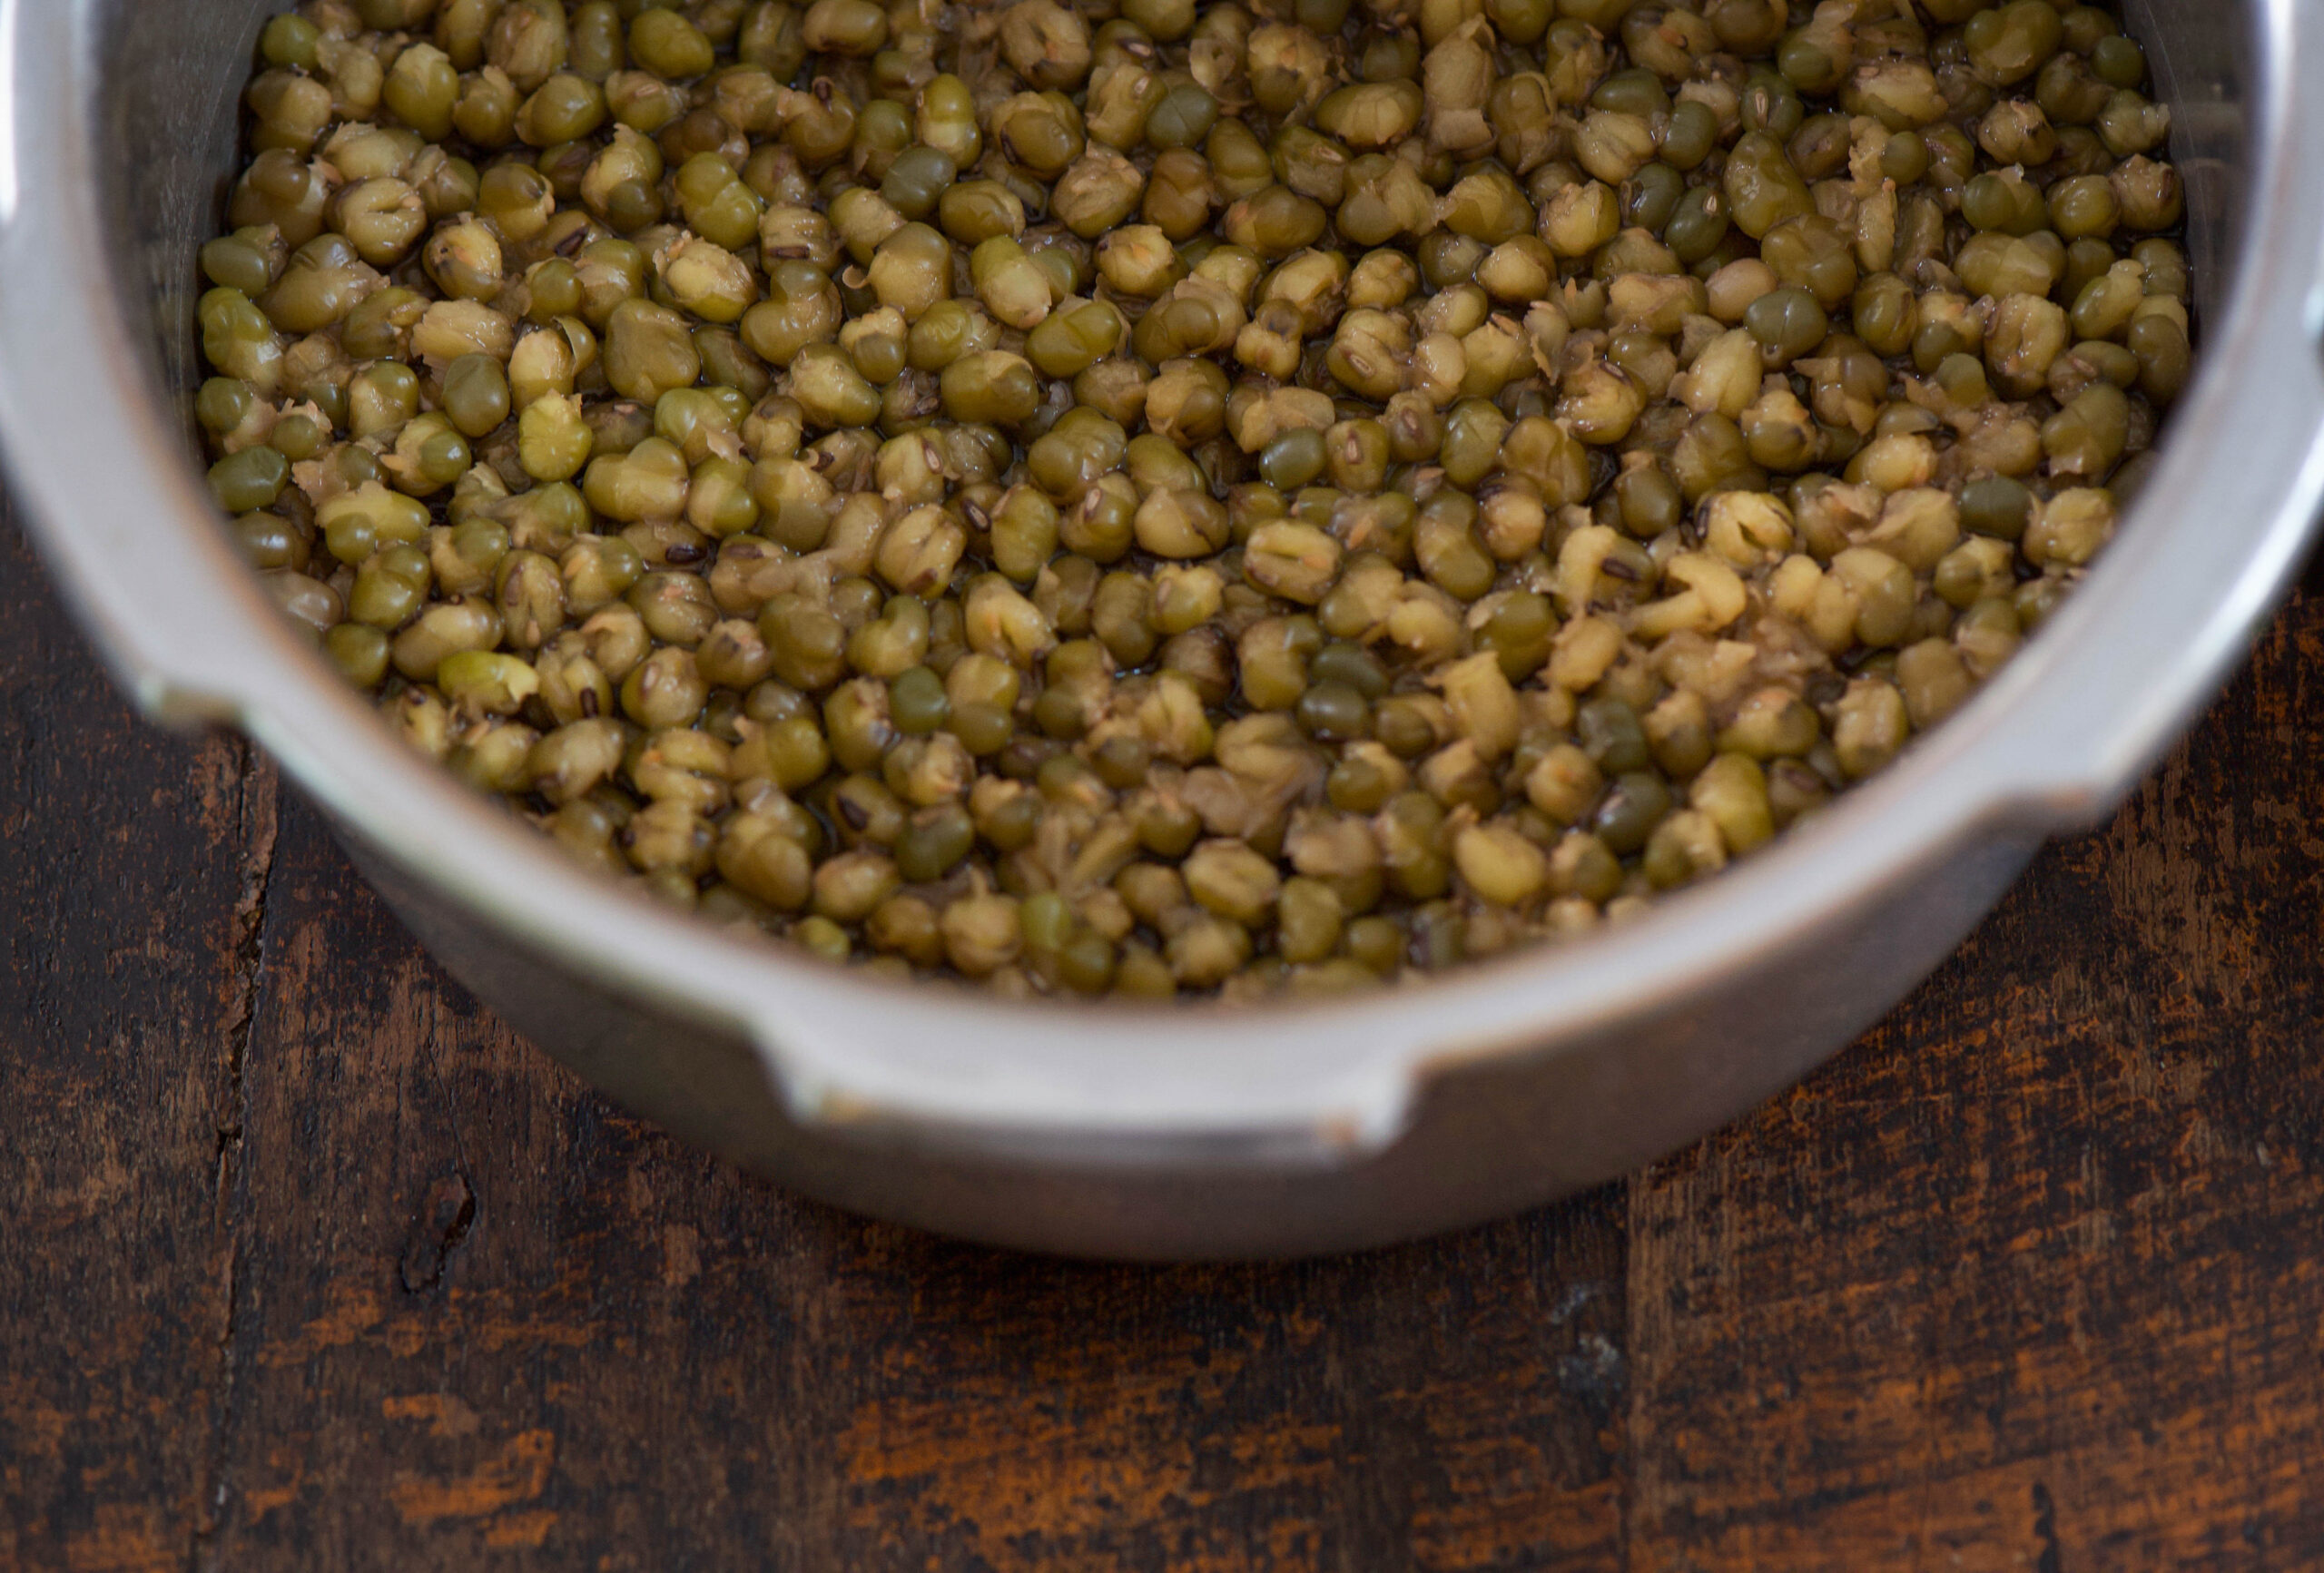
Soak the moong dal in water for an hour. Then, pressure cook the dal with 2 cups of water until the lentils are soft to the touch. Meanwhile, beat the yoghurt until it resembles a fine paste.

Empty the cooked dal into a pot and add the turmeric, water, salt, jaggery, yoghurt, cumin powder and dhaniya powder. Now, allow to boil for 7-10 minutes until all the flavours blend well.

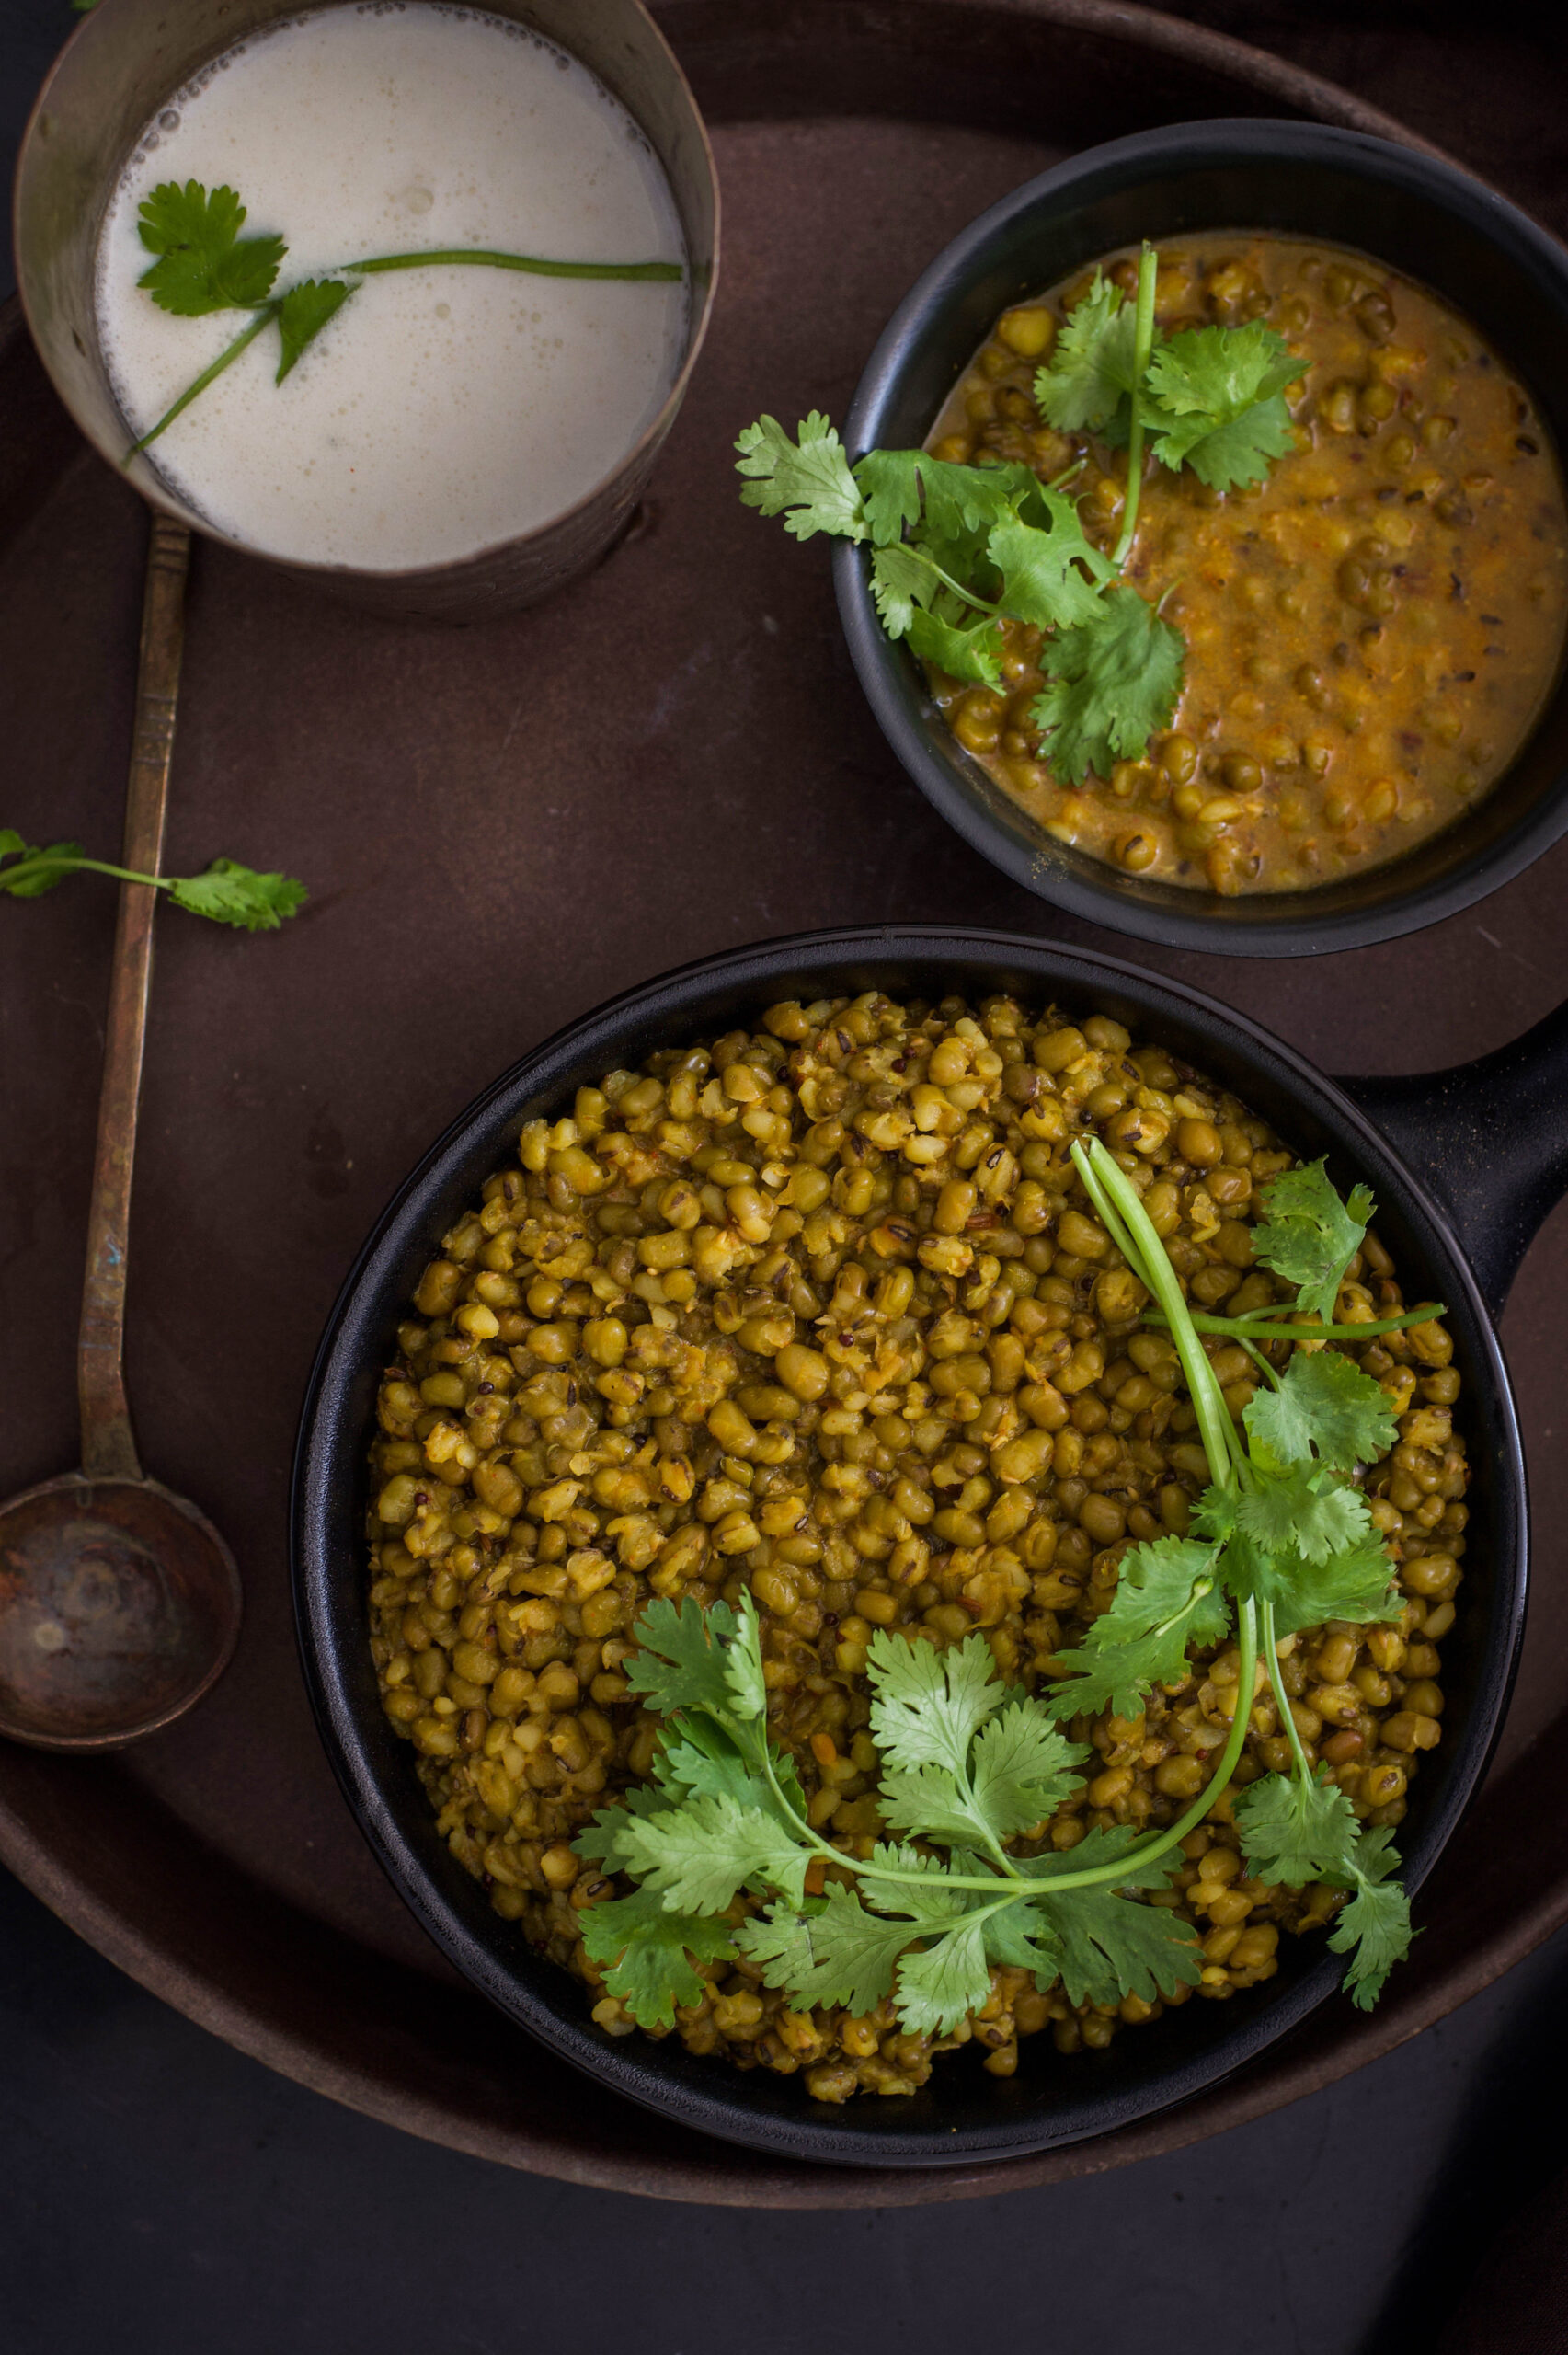
In a small tempering pan, add the ghee. Once the ghee is hot, add the whole cumin and mustard seeds. They will splutter. Add the chilli powder and stir. Immediately, pour the sizzling tempering into the mung dal. Garnish with finely chopped coriander leaves. It is now ready to serve. You may eat it with rice, rotis and other kinds of breads – or even just by itself, a delicious and filling meal-in-a-bowl.

I like this spiced up version of the standard healthy meal-in-a-bowl which is usually comprised of millets, grains or legumes because it is flavourful without compromising on nutrition. And in true Gujju style, the hint of sweetness from the jaggery makes the whole pot irresistible! I like to finish mine off with a glass of fresh buttermilk… So filling, so heartening.

We don’t believe in wasting food in India. What had once been a pragmatic necessity – there could be no leftovers, because there were no fridges! – has settled into cultural practice. Respect for food is also an important part of our culture, so you’ll find that most families, regardless of economic background, will try their best to never let a meal go to waste. From practical concerns like the lack of cold storage or having to be sparing with expenses, a whole sub-genre of cuisines was developed. Dishes that exist because of other dishes – and which some say taste even better in the second round.

The traditional Gujarati lunch is known as a thaali, and comprises of rice, rotli, dal and a vegetable. This is the basic variant – to this, some may add a sweet or a second vegetable as a staple. If there was a sufficient amount of dal and rotli left over from lunch, you could be sure that dinner that evening would be dal dhokli.

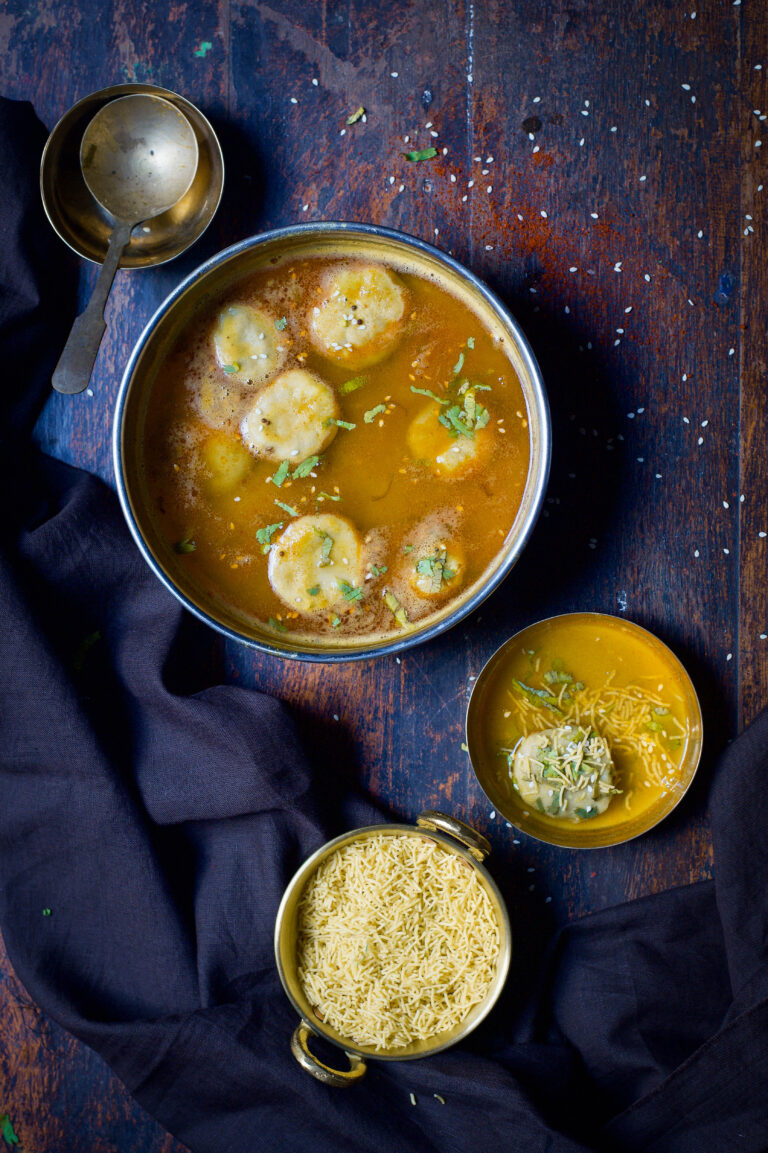
Dal dhokli is a meal in a bowl, a stew-like dish. To make it using leftovers, simply tear the rotli into pieces, add it to the daal and heat them up. What I’d like to share with you today, however, is a from-scratch variation on the classic.

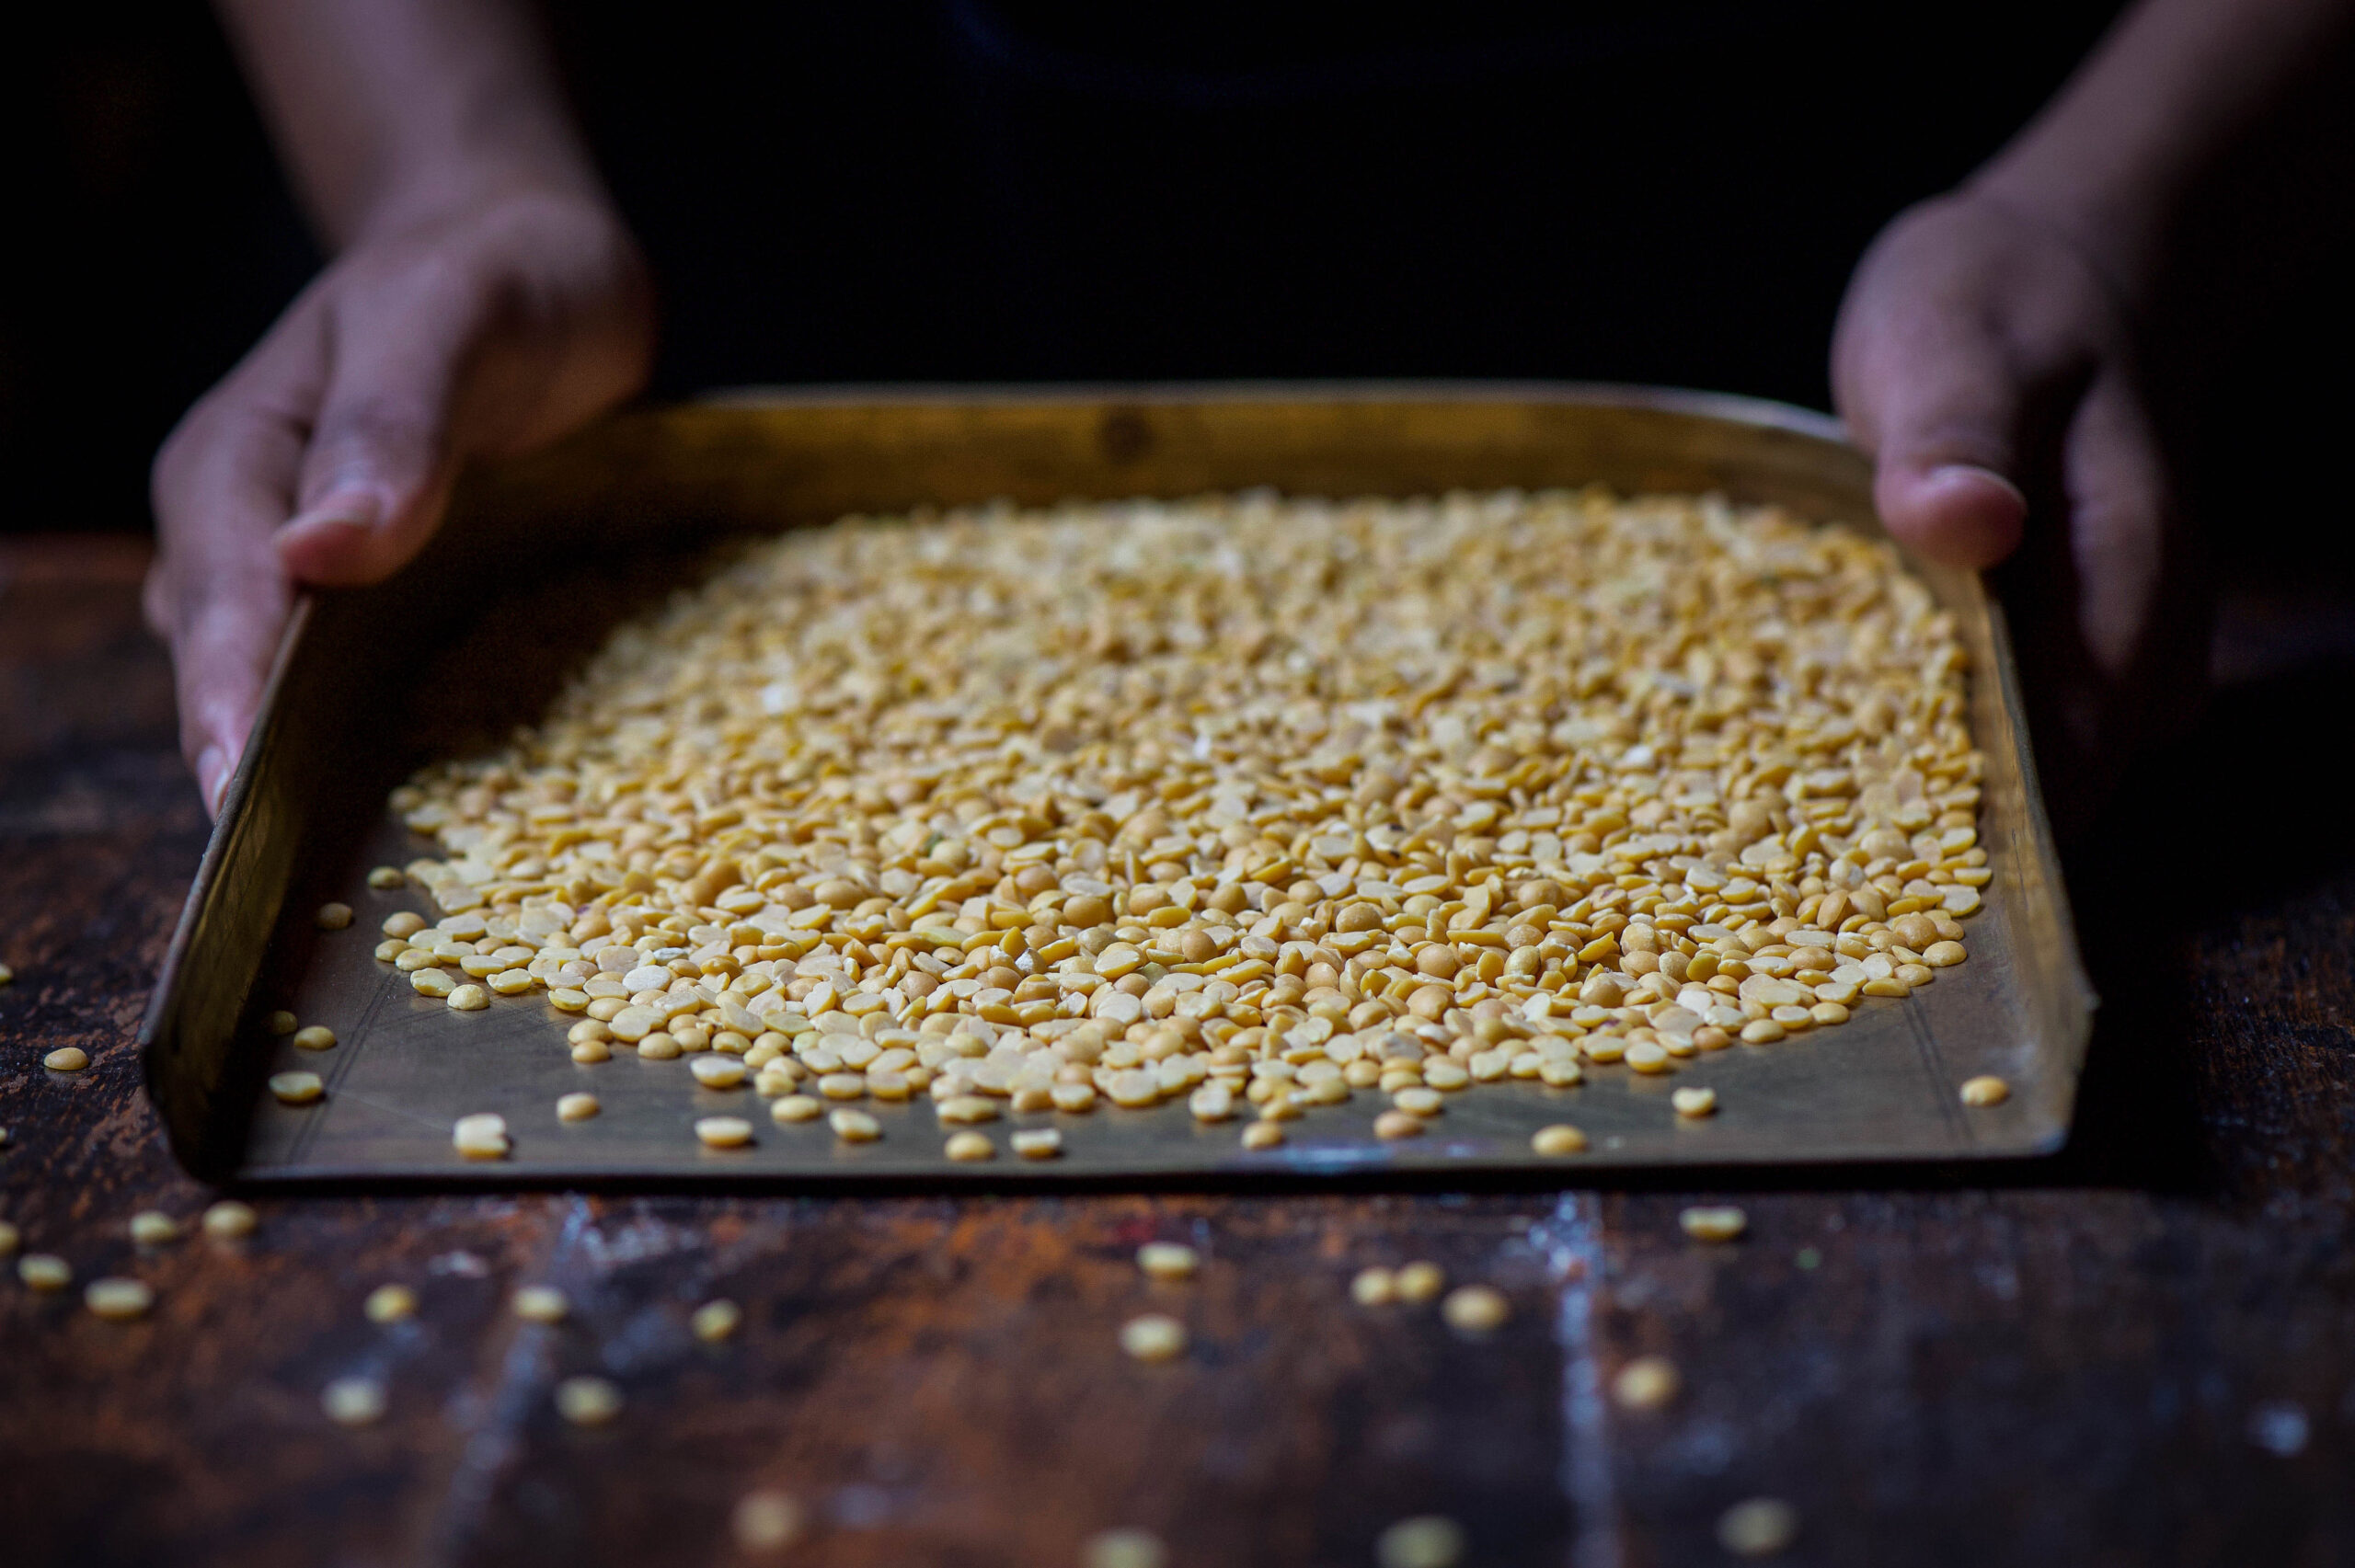
“Dal” (or “daal”/”dhal” if you prefer) is a catch-all term for split pulses, which are notably protein-rich and therefore a vital part of vegetarian diets in India. Lentils and legumes have made several appearances on this blog, such as rajma in this vegan chilli recipe and  green moong in this street food-inspired chaat recipe. For this re:store style dal dhokli recipe, the dal I’ve used is the popular toor dal, also known as pigeon pea. Toor dal is available year-round, while some other dals are eaten seasonally, such as the heavier channa and urad dals in winter. It’s the main ingredient of sambar, which makes it a staple in South Indian kitchens, and is known as thuvaram paruppu in Tamil.

My version of dal dhokli, made fresh and with a stuffing, is what my sister calls “Indian ravioli”. Despite this chic comparison, it is made of the simplest ingredients – accessible, affordable and always familiar.


Dal Dhokli

(Yield: 3-5 servings)

Ingredients

Dal

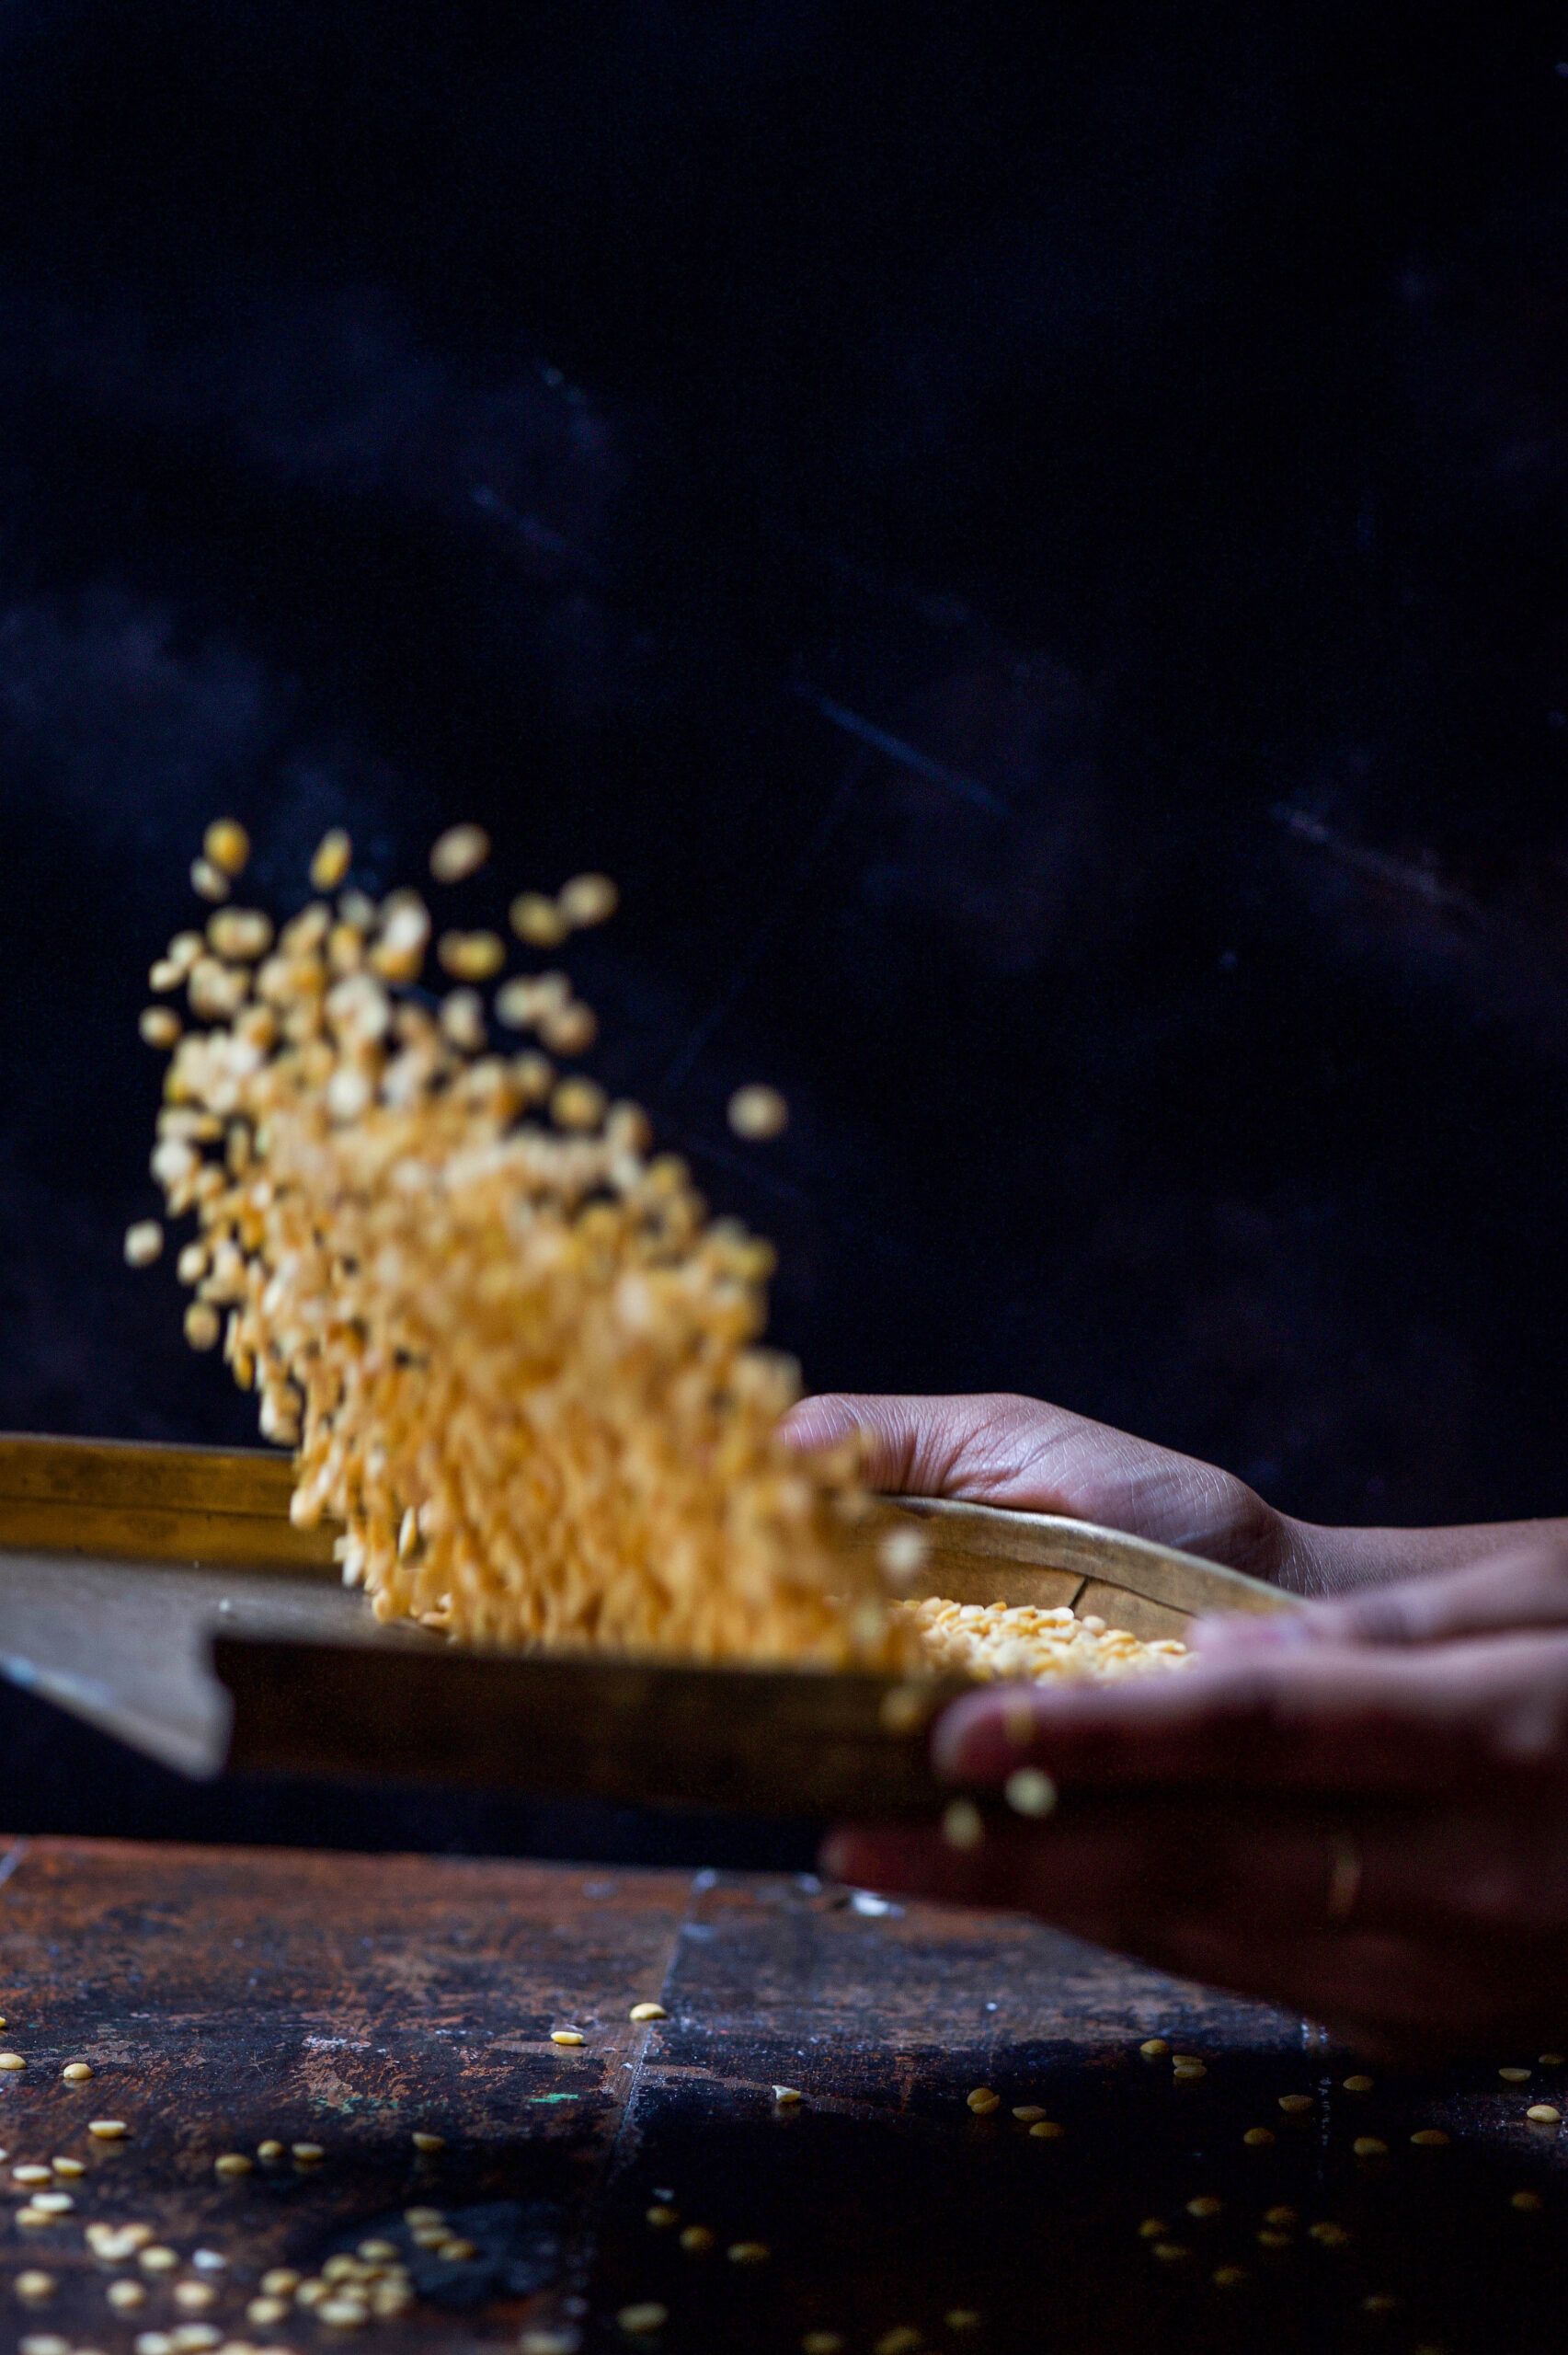
¼  cup dal
4-5 cups water
2 teaspoon cumin powder
¼ teaspoon turmeric powder
1 teaspoon coriander powder
½ teaspoon cumin seeds
Approximately 1 tablespoon jaggery
Juice of 1 lemon
Finely chopped coriander leaves
2 tablespoons peanuts
1 tablespoon ghee
¼ teaspoon mustard seeds
A pinch of asafoetida
Salt to taste


Wheat flour dough

½ cup wheat flour
1 tablespoon oil
2-4 tablespoons water
A pinch of salt


Green peas filling

1 cup green peas
1 teaspoon oil
1 tablespoon grated coconut
¼ teaspoon garam masala
Salt to taste


Cooking my ravioli-style daal dhokli requires the preparation of three items – dal, pastry dough and pea stuffing – followed by their assembly. Please note the separate ingredients for each part, above.

Make a dough with all ingredients listed for the same. It will be a little tight to the touch and smooth. Keep aside.

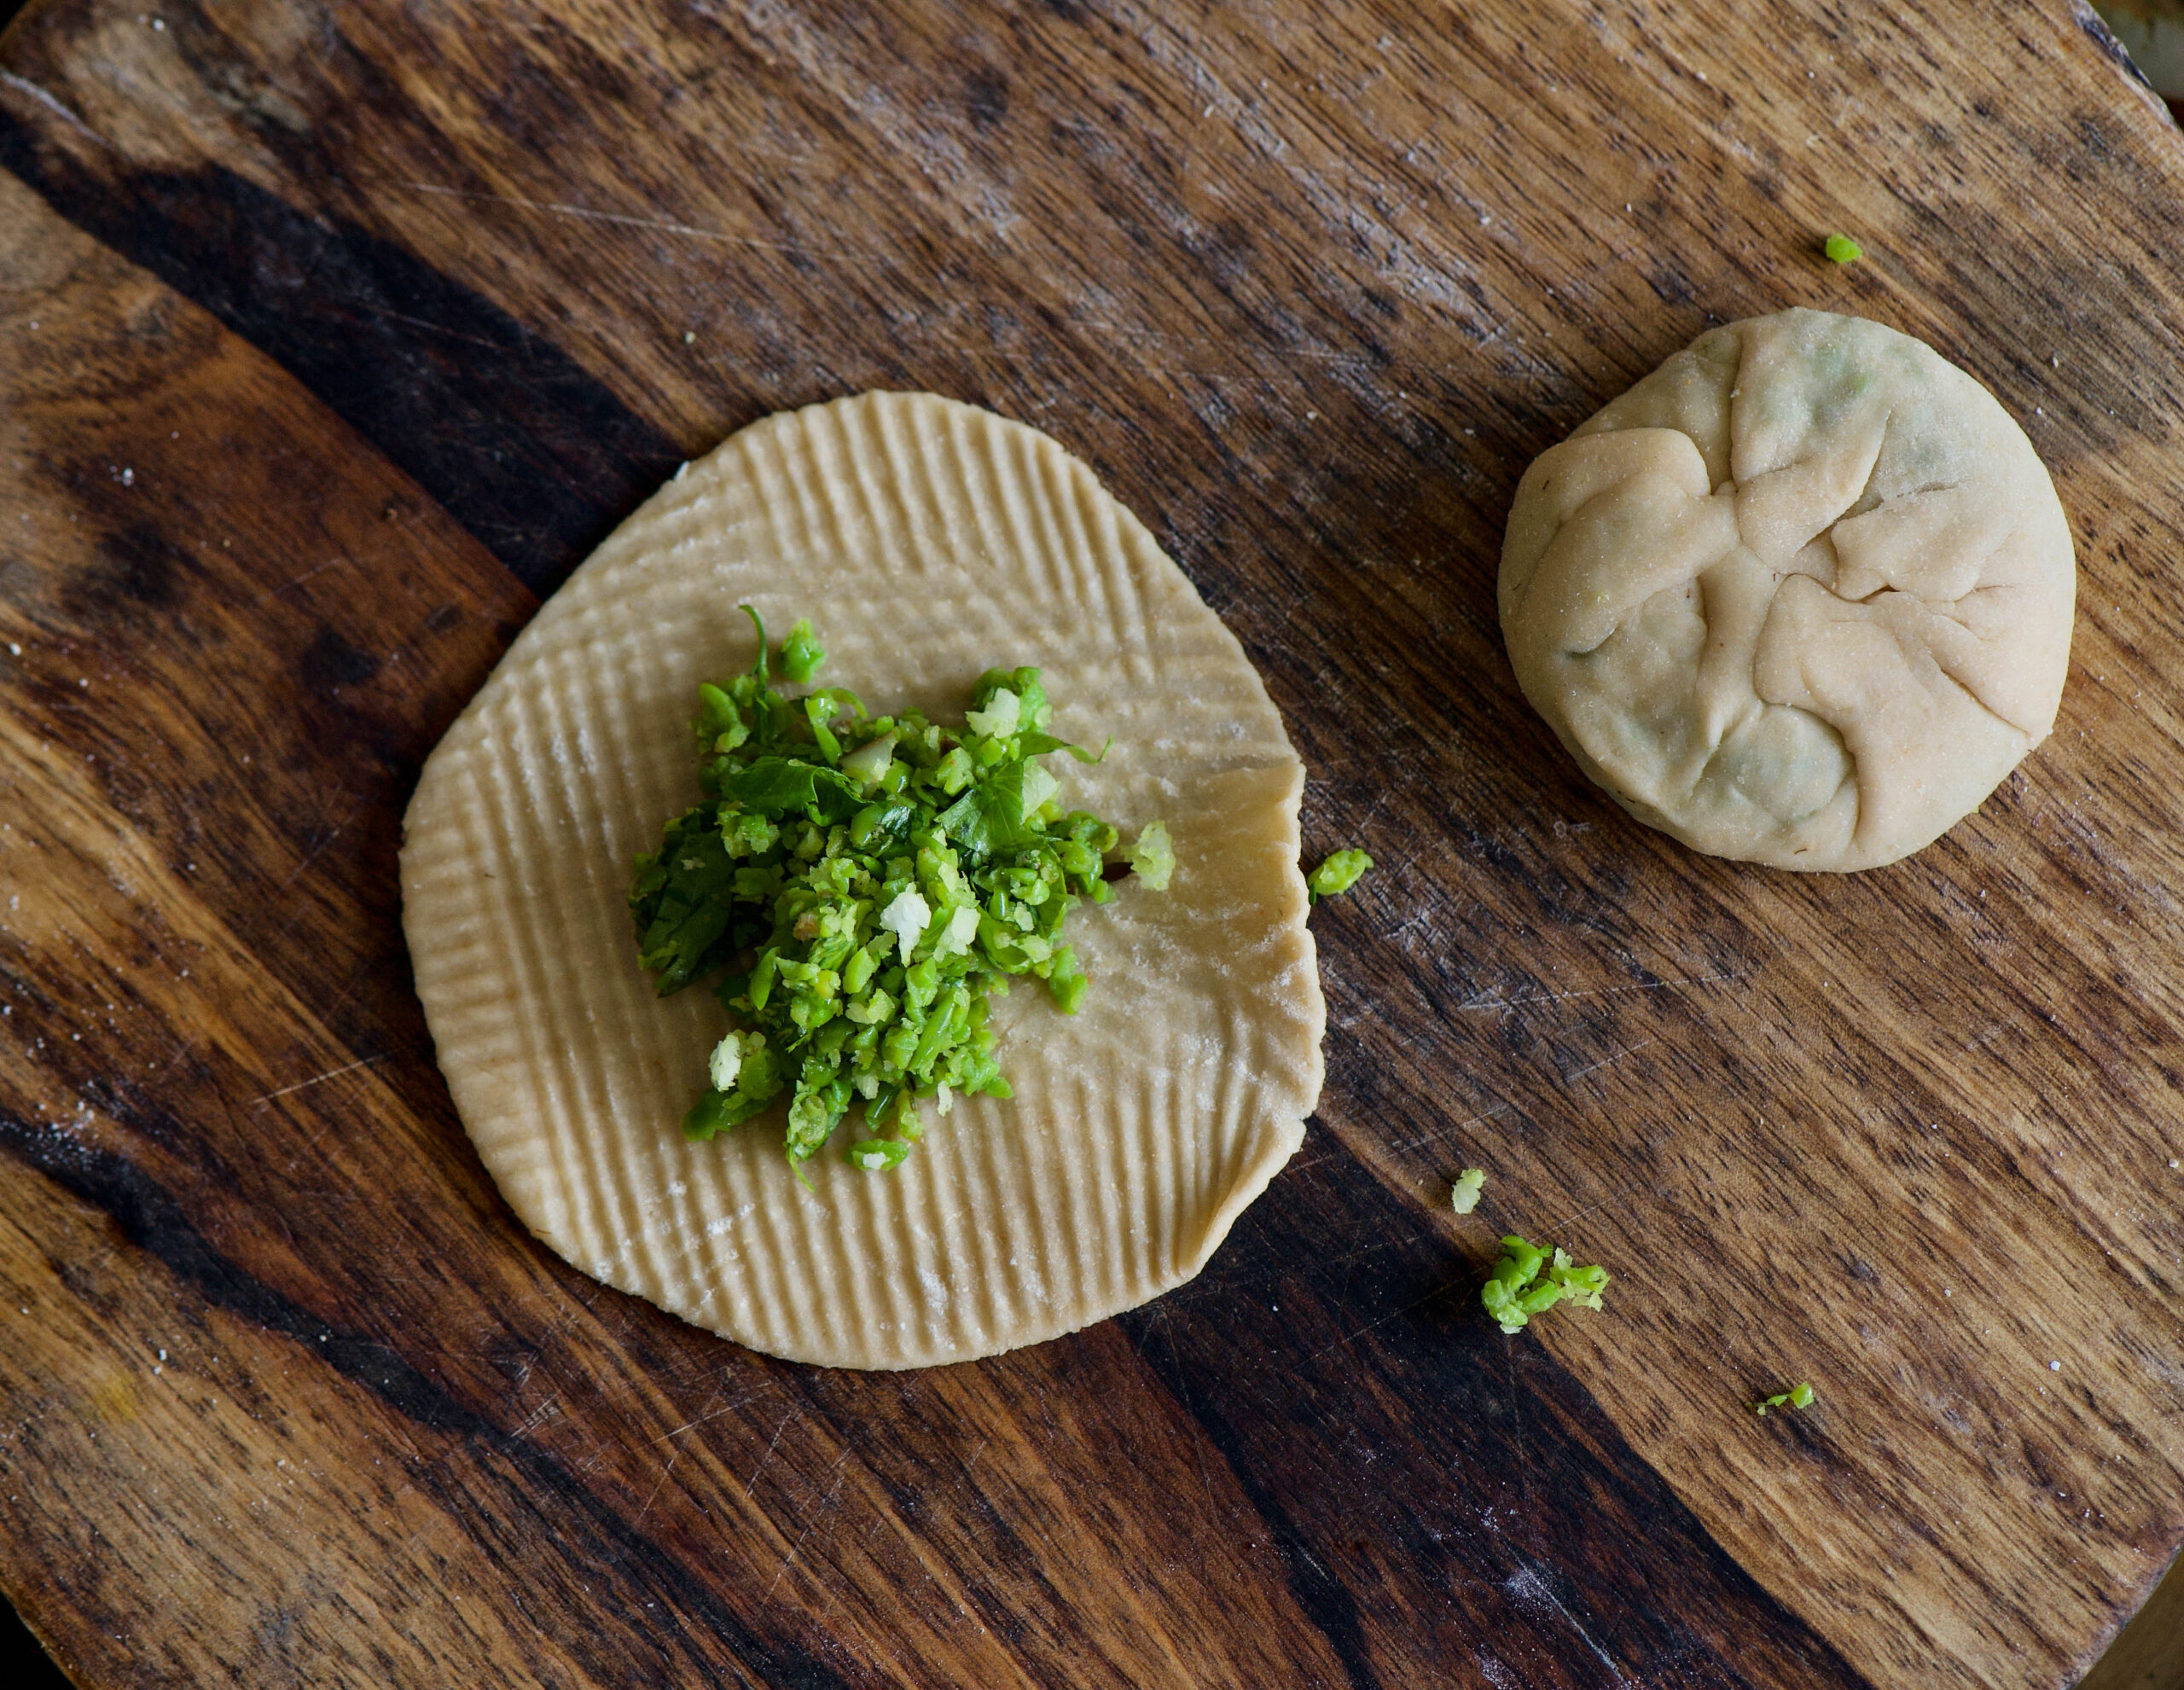
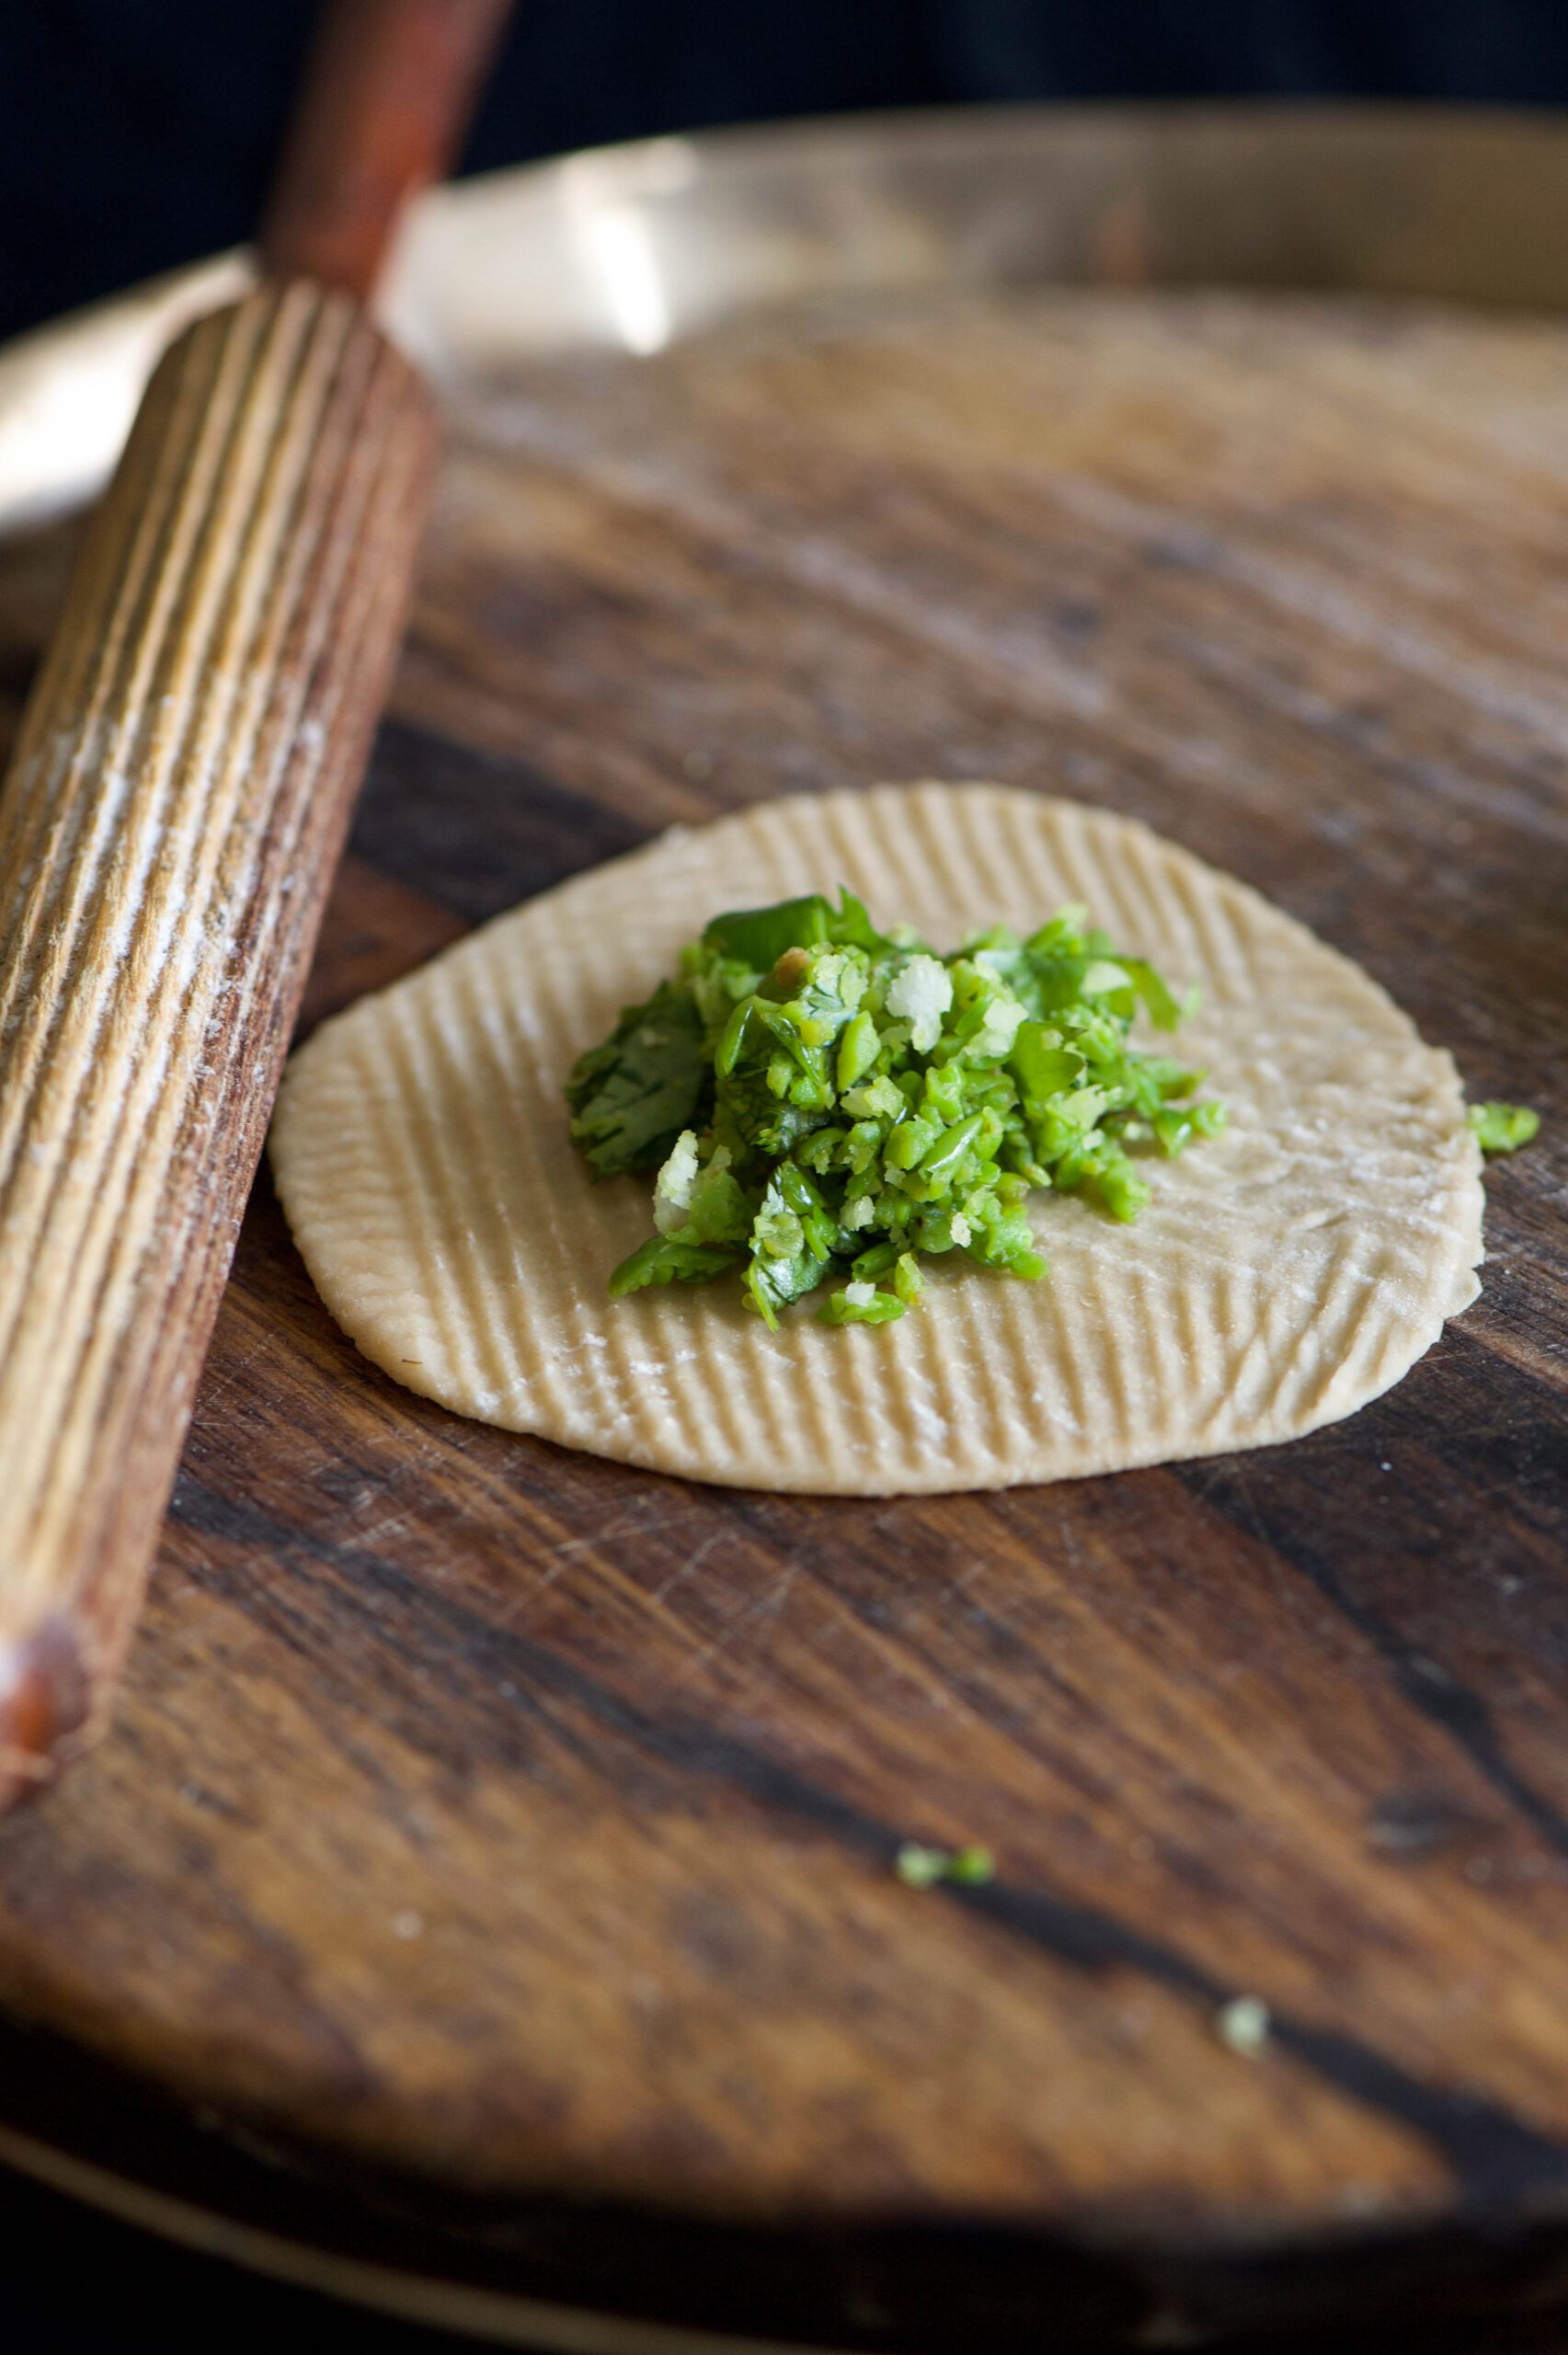
Crush the green peas partially. In a hot pan, pour the oil then add the crushed green peas. Stir the peas on a medium flame so that they do not stick to the bottom. Add the salt and masala and stir for 3-4 minutes. Now switch off the flame and finally add the coconut. Stir gently and keep aside to cool.

Roll out the dough into small discs. Do not make them too thin as they may tear while cooking. Take a spoonful of the green peas filling and place it at the centre of the disc. Join the edges together and once sealed, roll it gently into a flat round. Essentially, what you’re making is a kachori, a South Asian fried pastry. For a more detailed explanation about how to fold this pastry, with a video demo, see my earlier post here. Prepare all the kachoris and set them aside.

To make the dal, add the lentils and 2 cups of water in the pressure cooker and boil until soft. Allow to cool, then mash the dal. Now add 2 cups of water as well as the cumin powder, coriander powder, turmeric powder and salt to the dal. Allow to boil for approximately 5 minutes. Then add the jaggery and peanuts, letting the flavours blend, simmering on a medium flame. Stir occasionally.

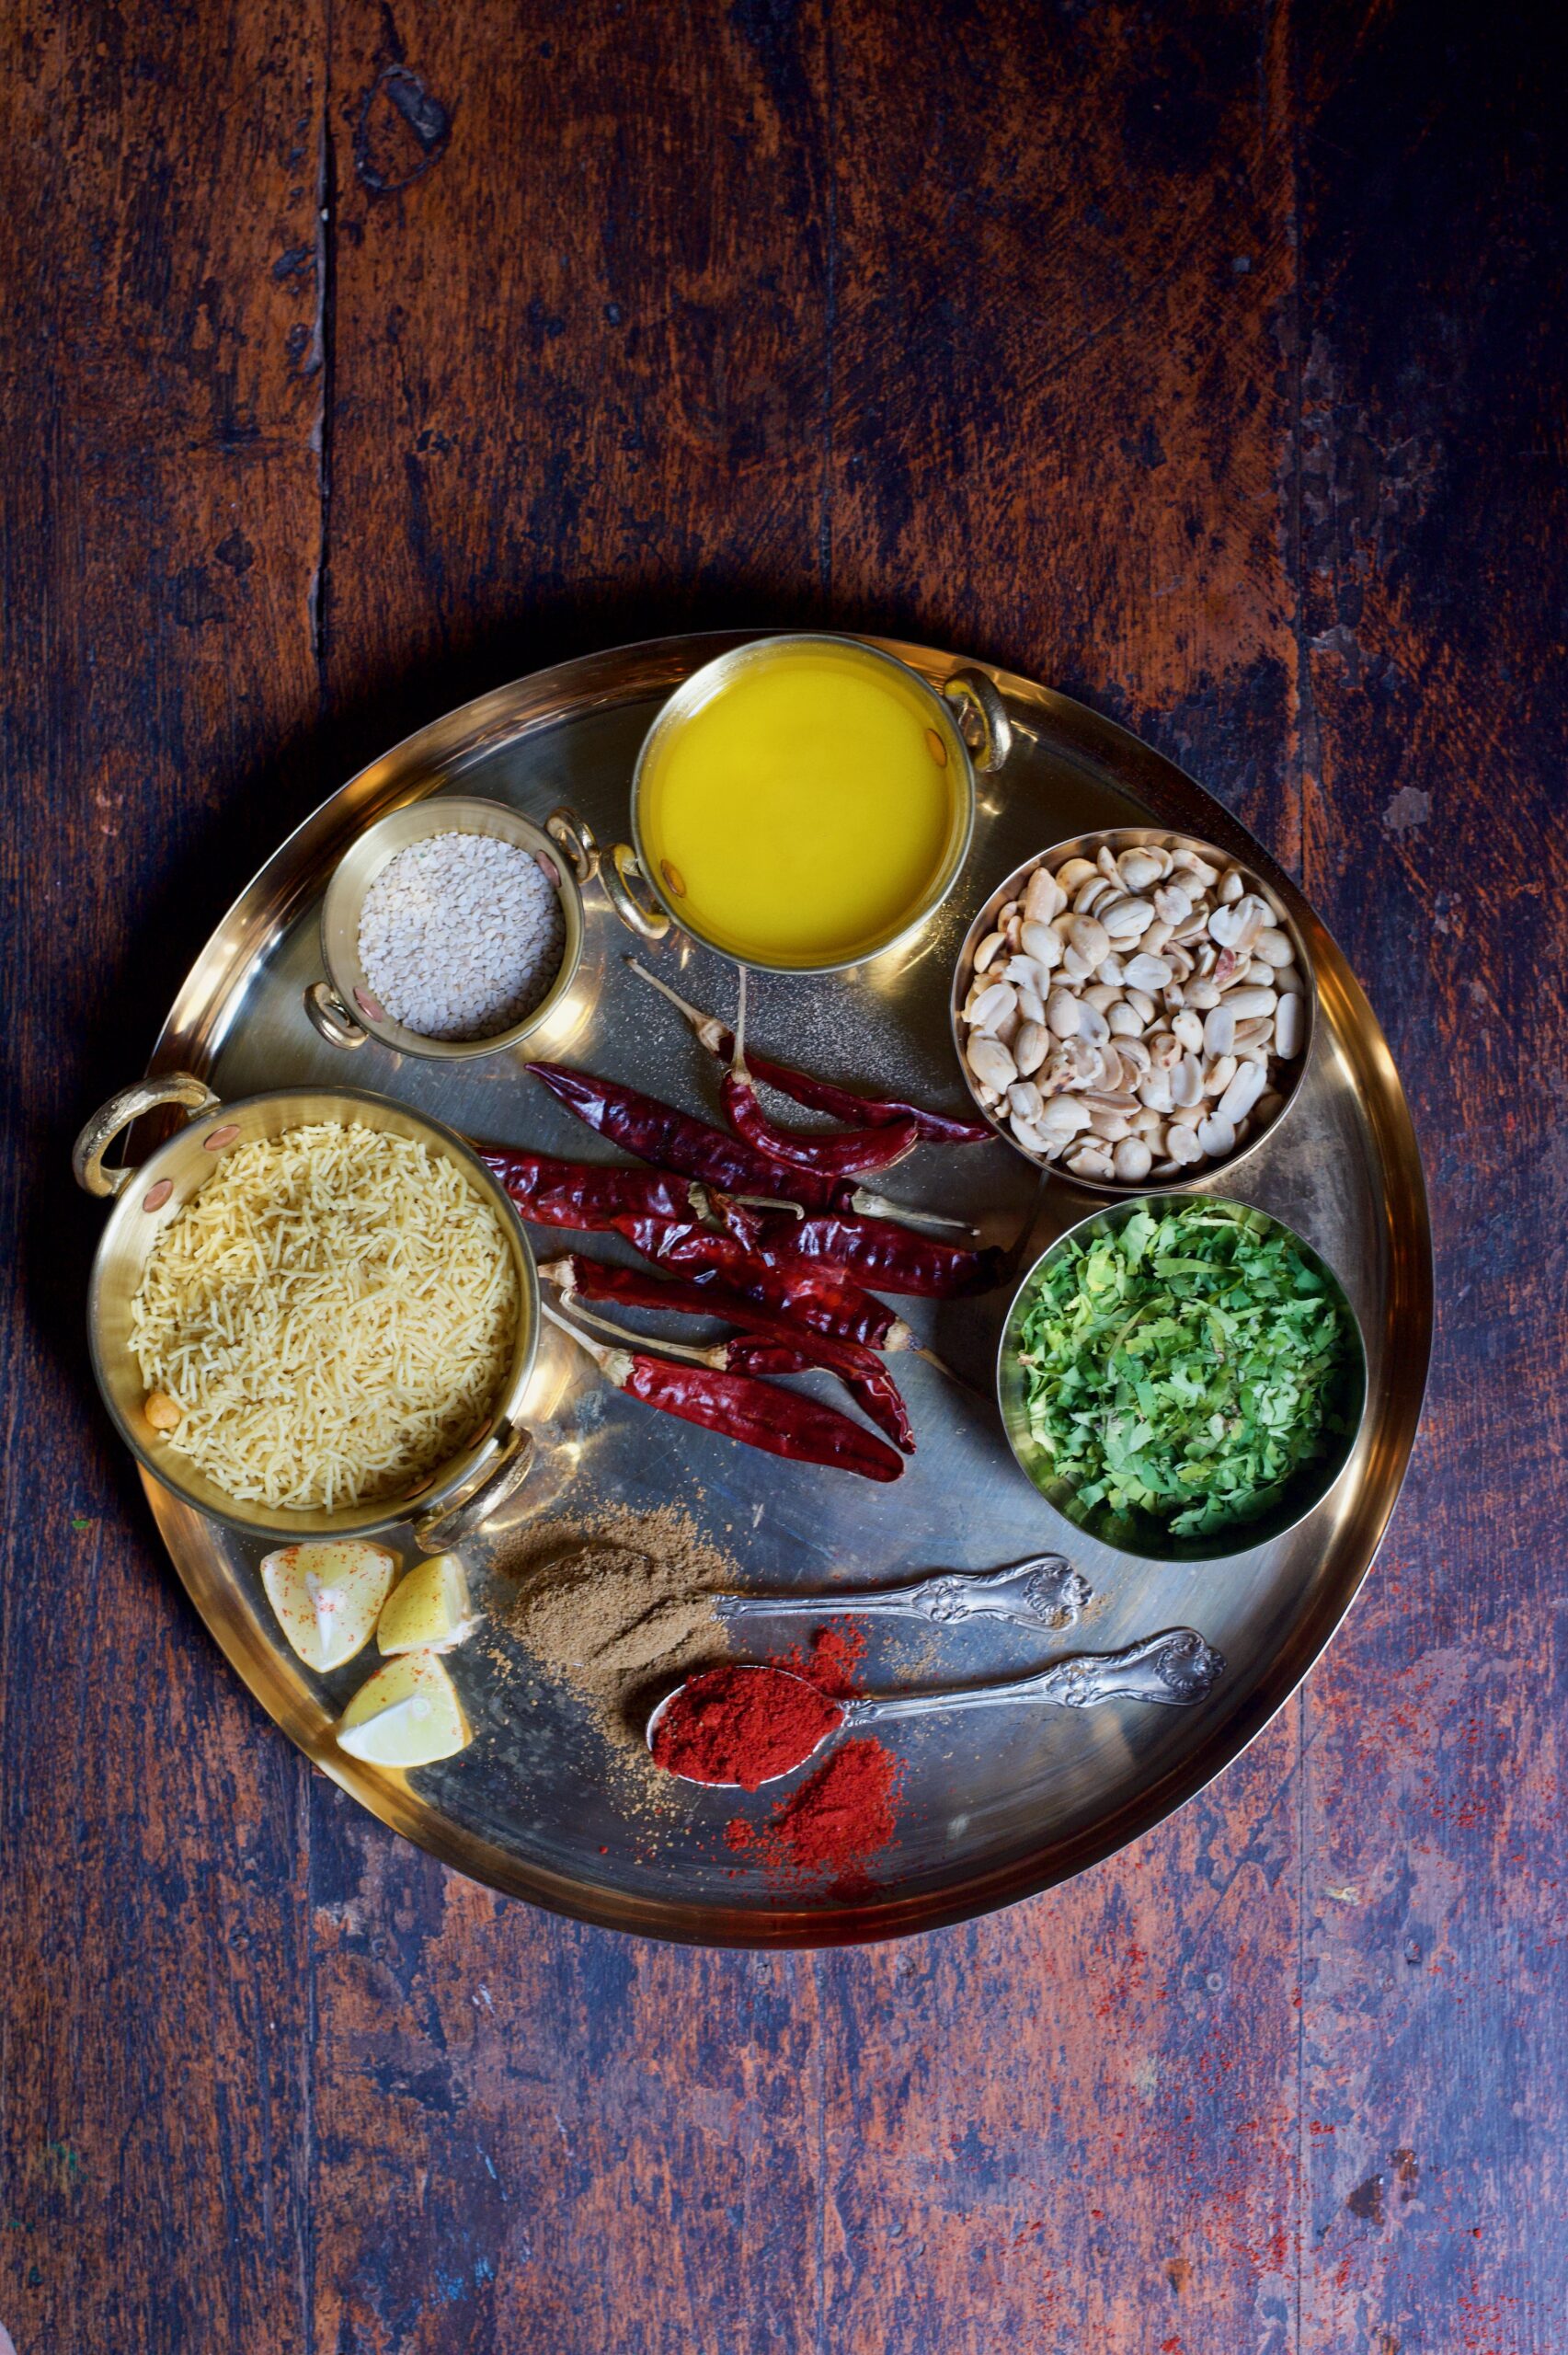
As you do this, add ghee or oil to a small pan to lightly fry the mustard and cumin seeds. Once they start to splutter, add the asafoetida and immediately pour the sauté into the dal and stir.

The dal will be boiling by now. Make sure the flame remains on medium, and begin to gently introduce the kachoris into the dal. Once they are added, carefully stir. Allow to cook for 10-15 minutes.

Turn off the flame. Garnish with coriander leaves. You may also wish to add a sprinkling of something crunchy, such as finely chopped nuts. Serve while hot, as it is best enjoyed that way.

Many of you may have grown up eating dal dhokli at home, and I’d love to hear what you think of this modern twist, re:store style and ravioli inspired!

This post is the first of a three-part series on Gujarati dishes that are traditionally made from leftovers. Stay tuned for a sweet follow-up in a fortnight…

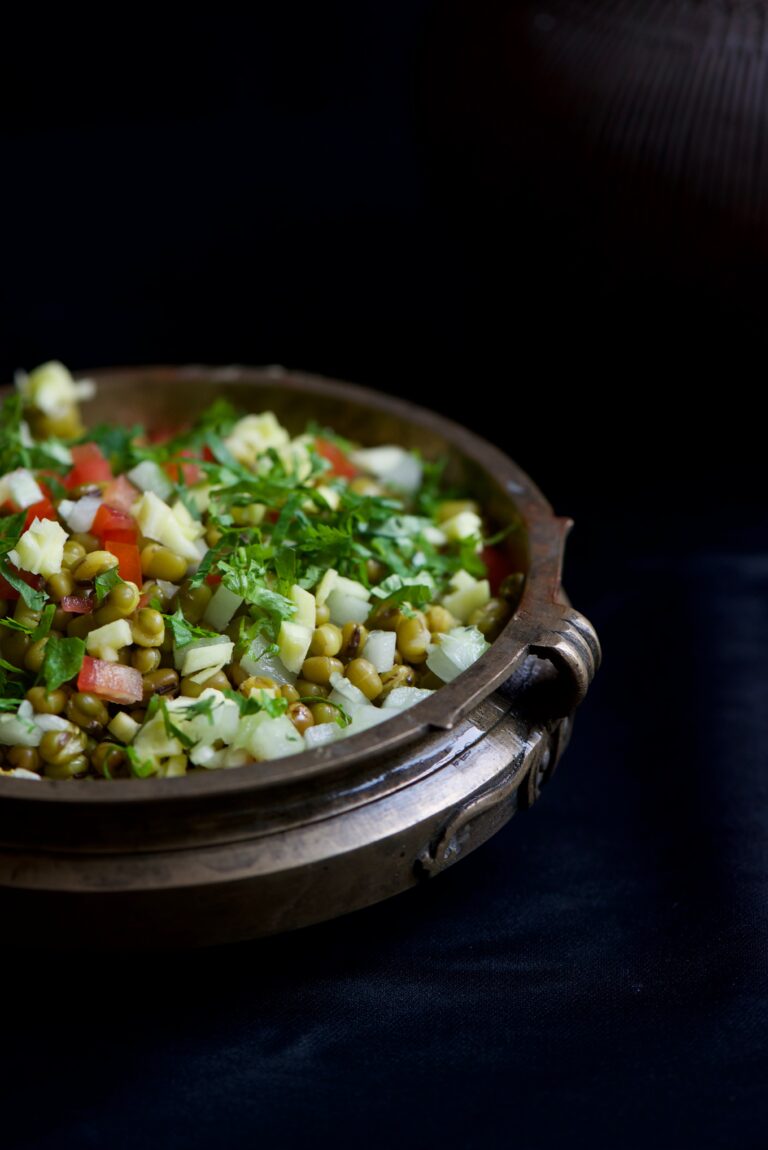
When it comes to Indian street food, the first and last word is always “chaat”. Yes, the vendors of sundal and cotton candy on my beloved Marina Beach will put up a fight, but when it comes to tastes savoured throughout India, chaat wins hands down. Chaat is a catch-all term, and extends from fried breads like pav bhajji to pastries called puris, filled with everything from potato to spiced water. Among the popular ones is bhel, also known as bhel puri.

Bhel is usually made with puffed rice as the main ingredient. As I’m always trying to make all the food we enjoy healthier, without compromising on taste, I substituted the puffed rice for the humble and very nutritious mung bean, also known as green gram or moong.


Moong is a versatile legume, used extensively in Asian cuisines. It can be eaten sweetened as a filling in pastries like mooncakes, stir-fried with vegetables, soaked and softened into a dal, ground into paste for crepes like dosa, and even made into noodles once starched. Moong beans are high in protein, low in carbs as compared to other legumes and pulses, and rich in antioxidants, phytonutrients and fibre. Unlike various other kinds of beans, they are also easy to digest, meaning you won’t feel bloated after eating them.

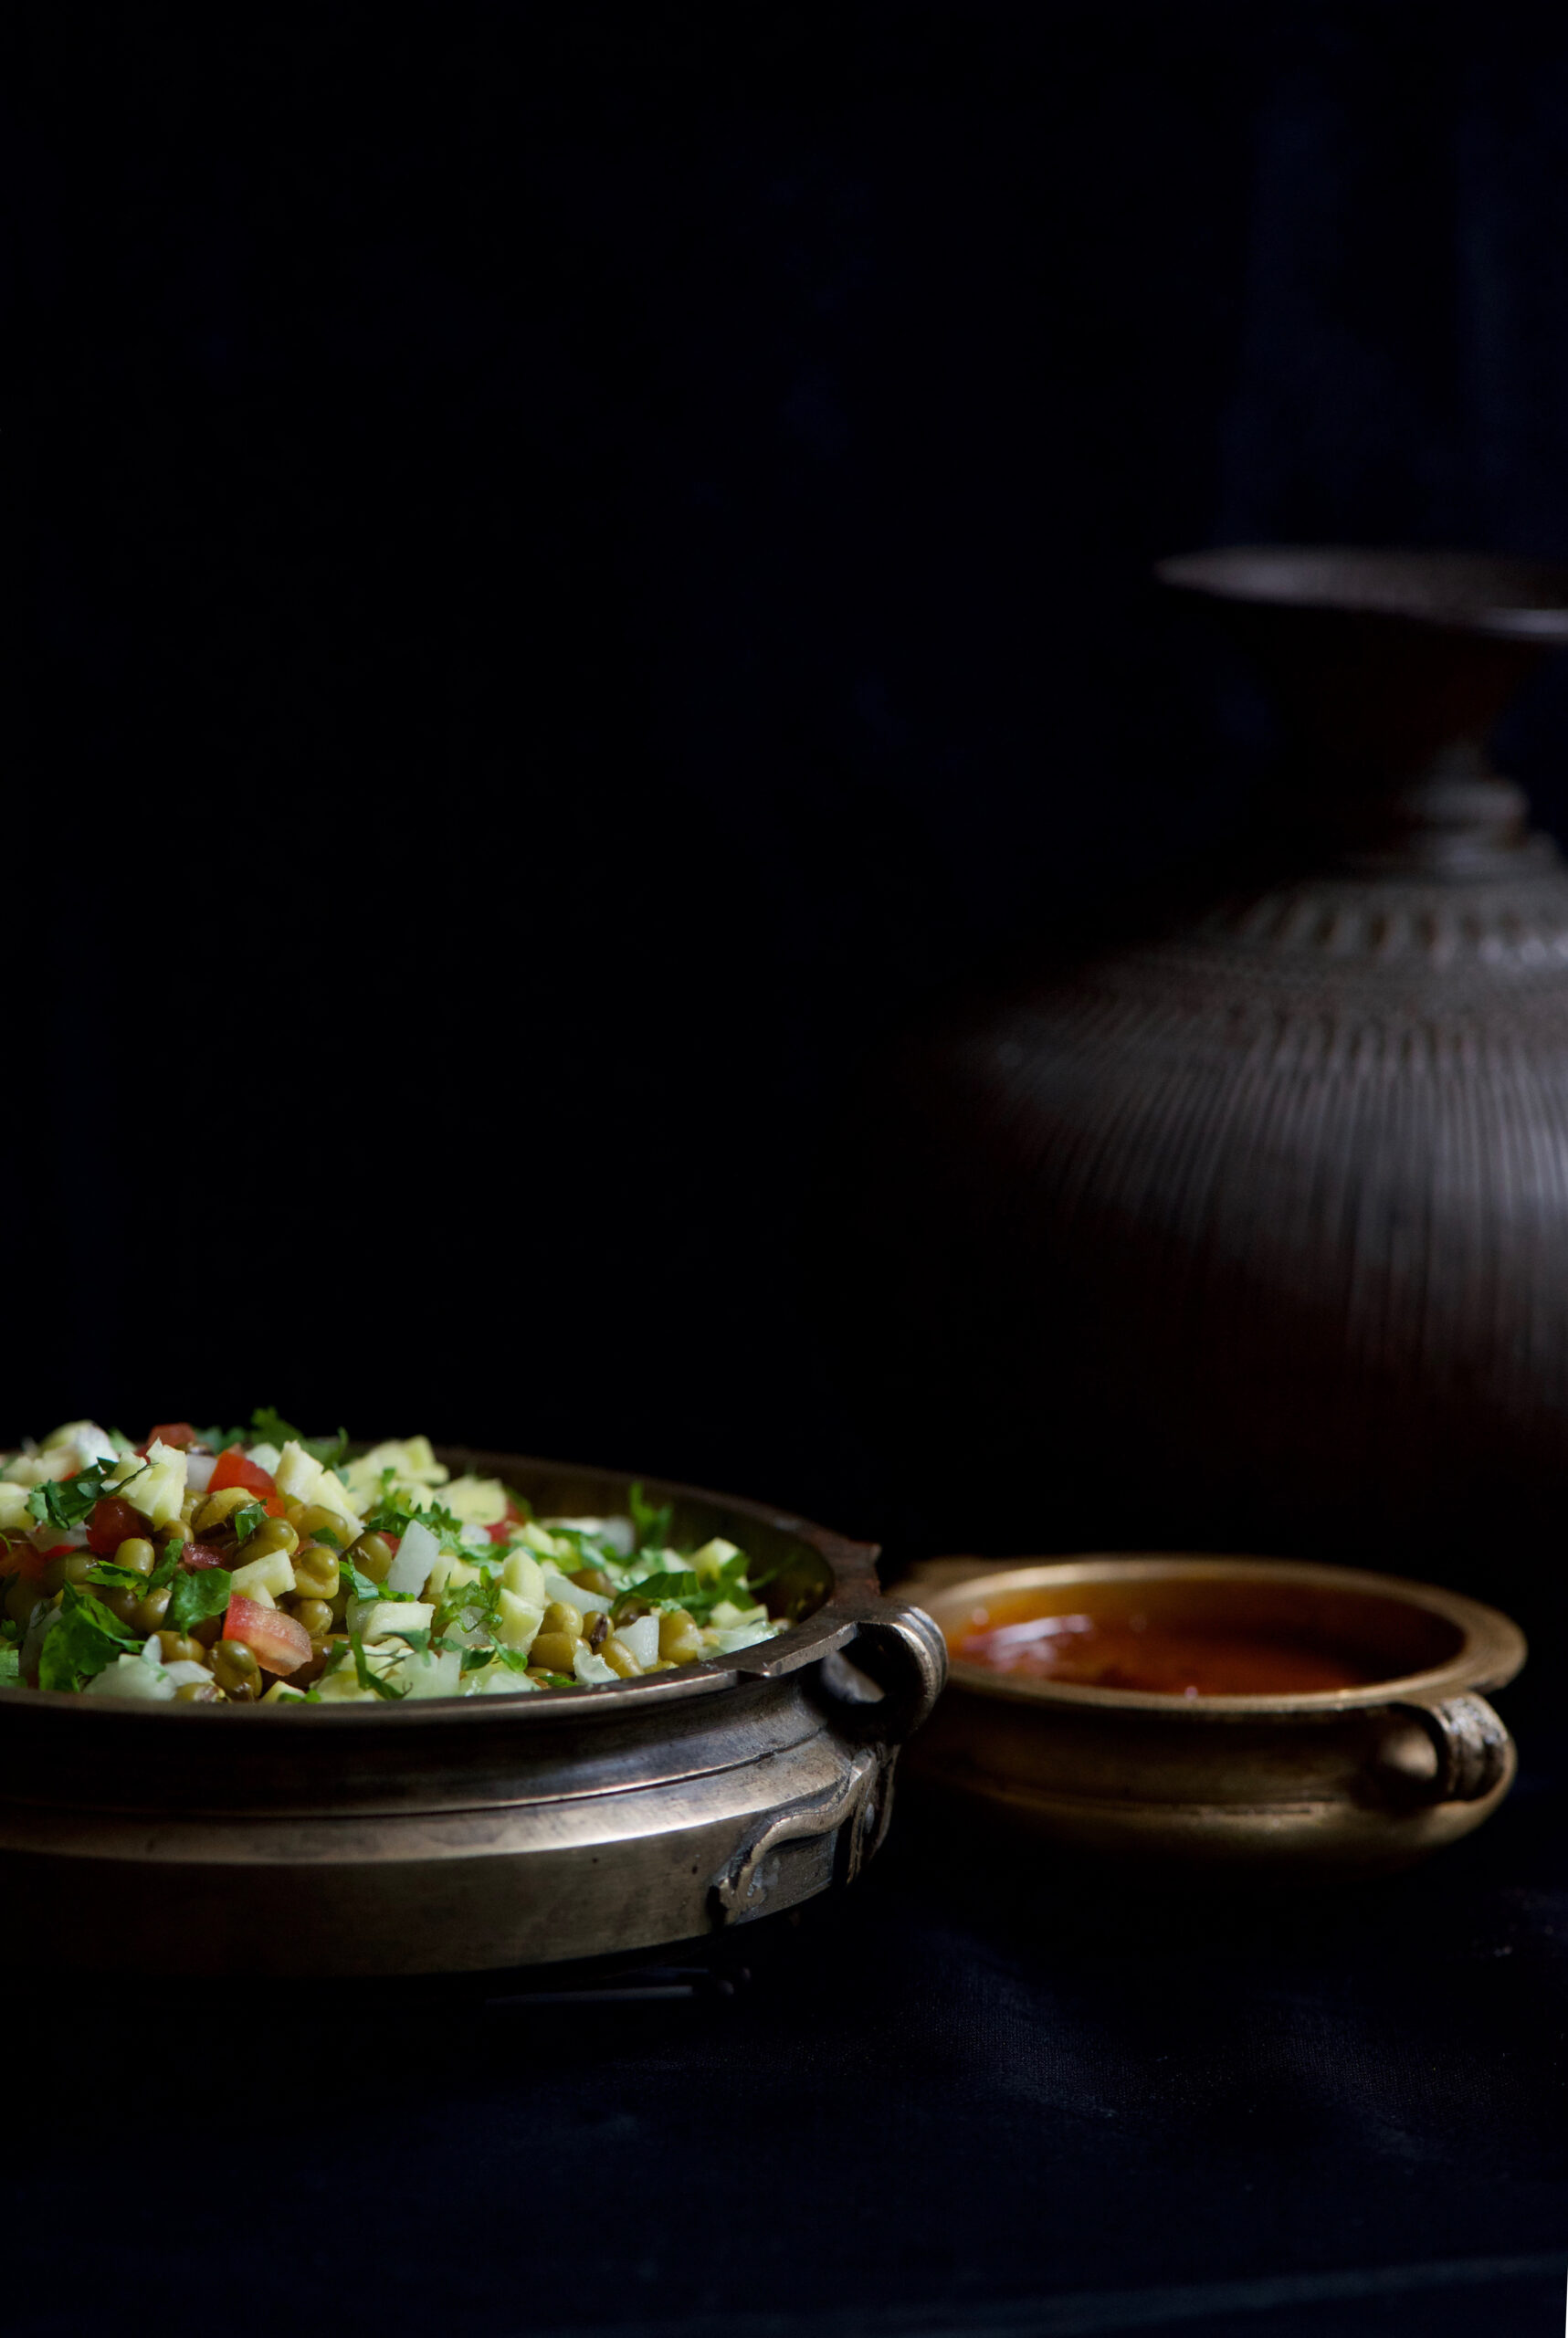
This Green Moong Bhel brings the tanginess of authentic streetside chaat, thanks to a blend of two chutneys, to the wholesomeness of mung beans. Like all chaat, it’s an anytime dish – and like all chaat, once you’ve enjoyed it, you’ll always have a craving for it.


Green Moong Bhel

Ingredients
Bhel (Yield – 4-5 small cups)

½ cup moong beans
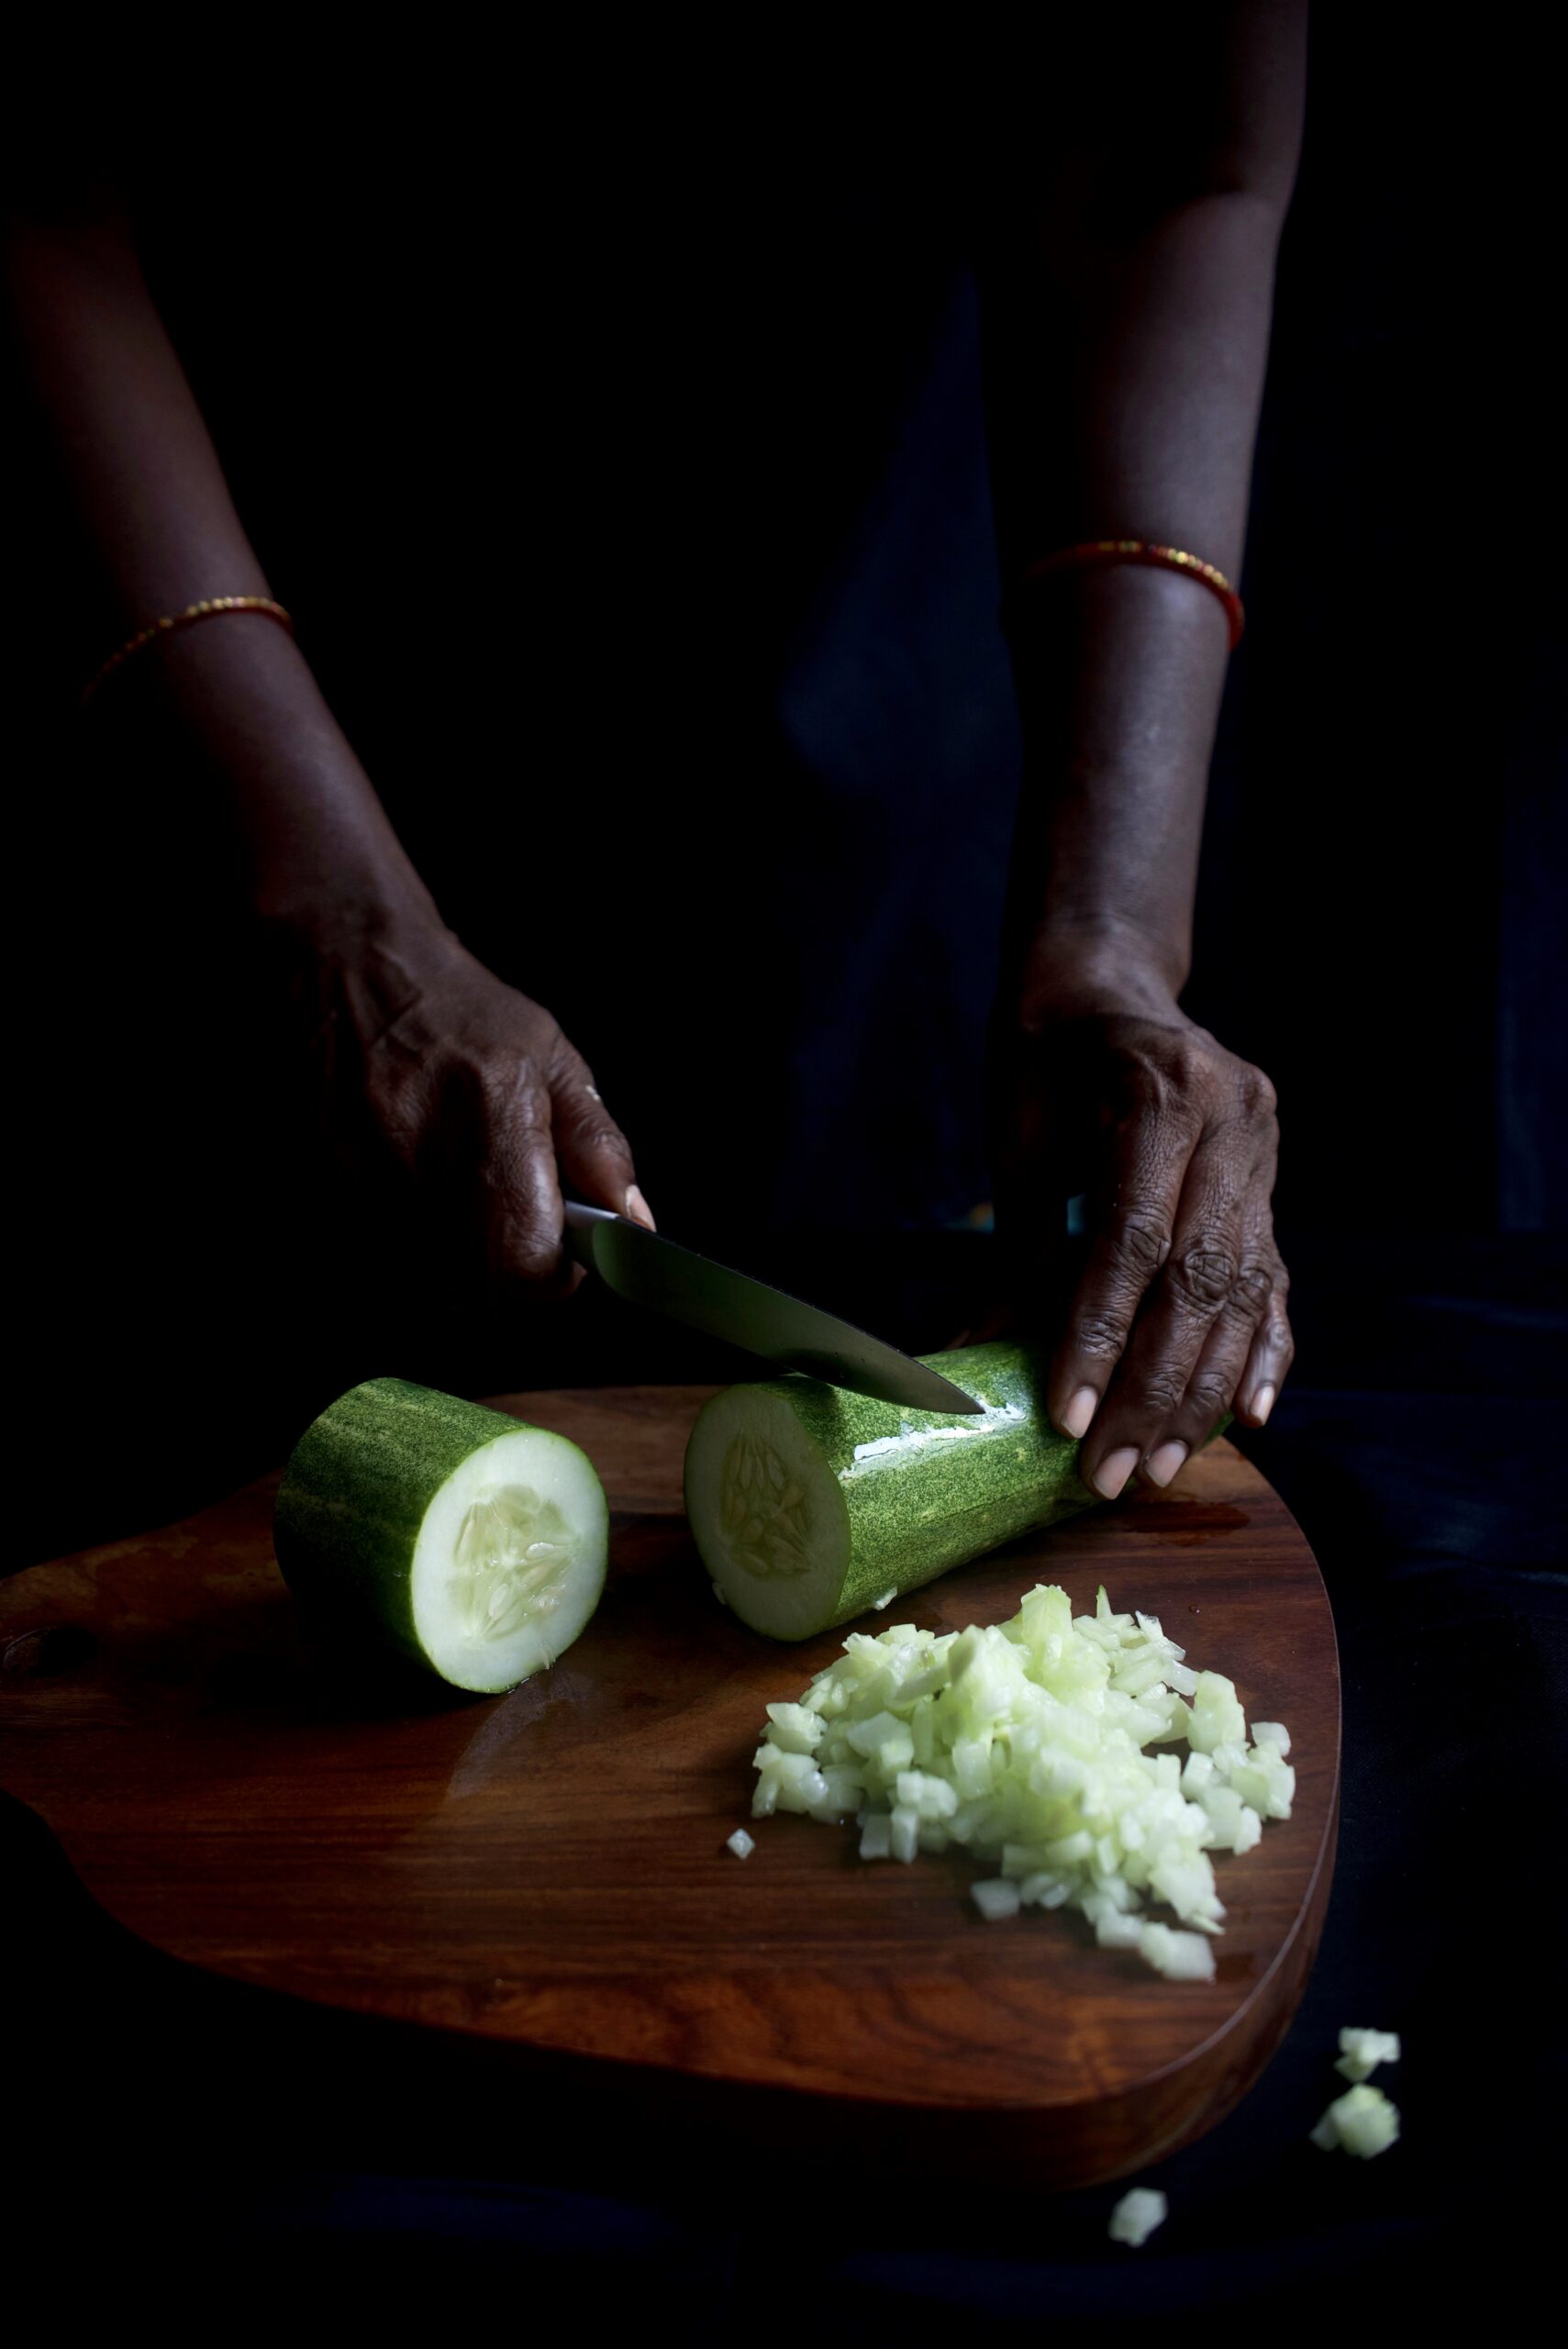
½ cup finely cut cucumber
¼ cup finely cut onions
¼ cup cut tomatoes
¼ cup cut raw mango
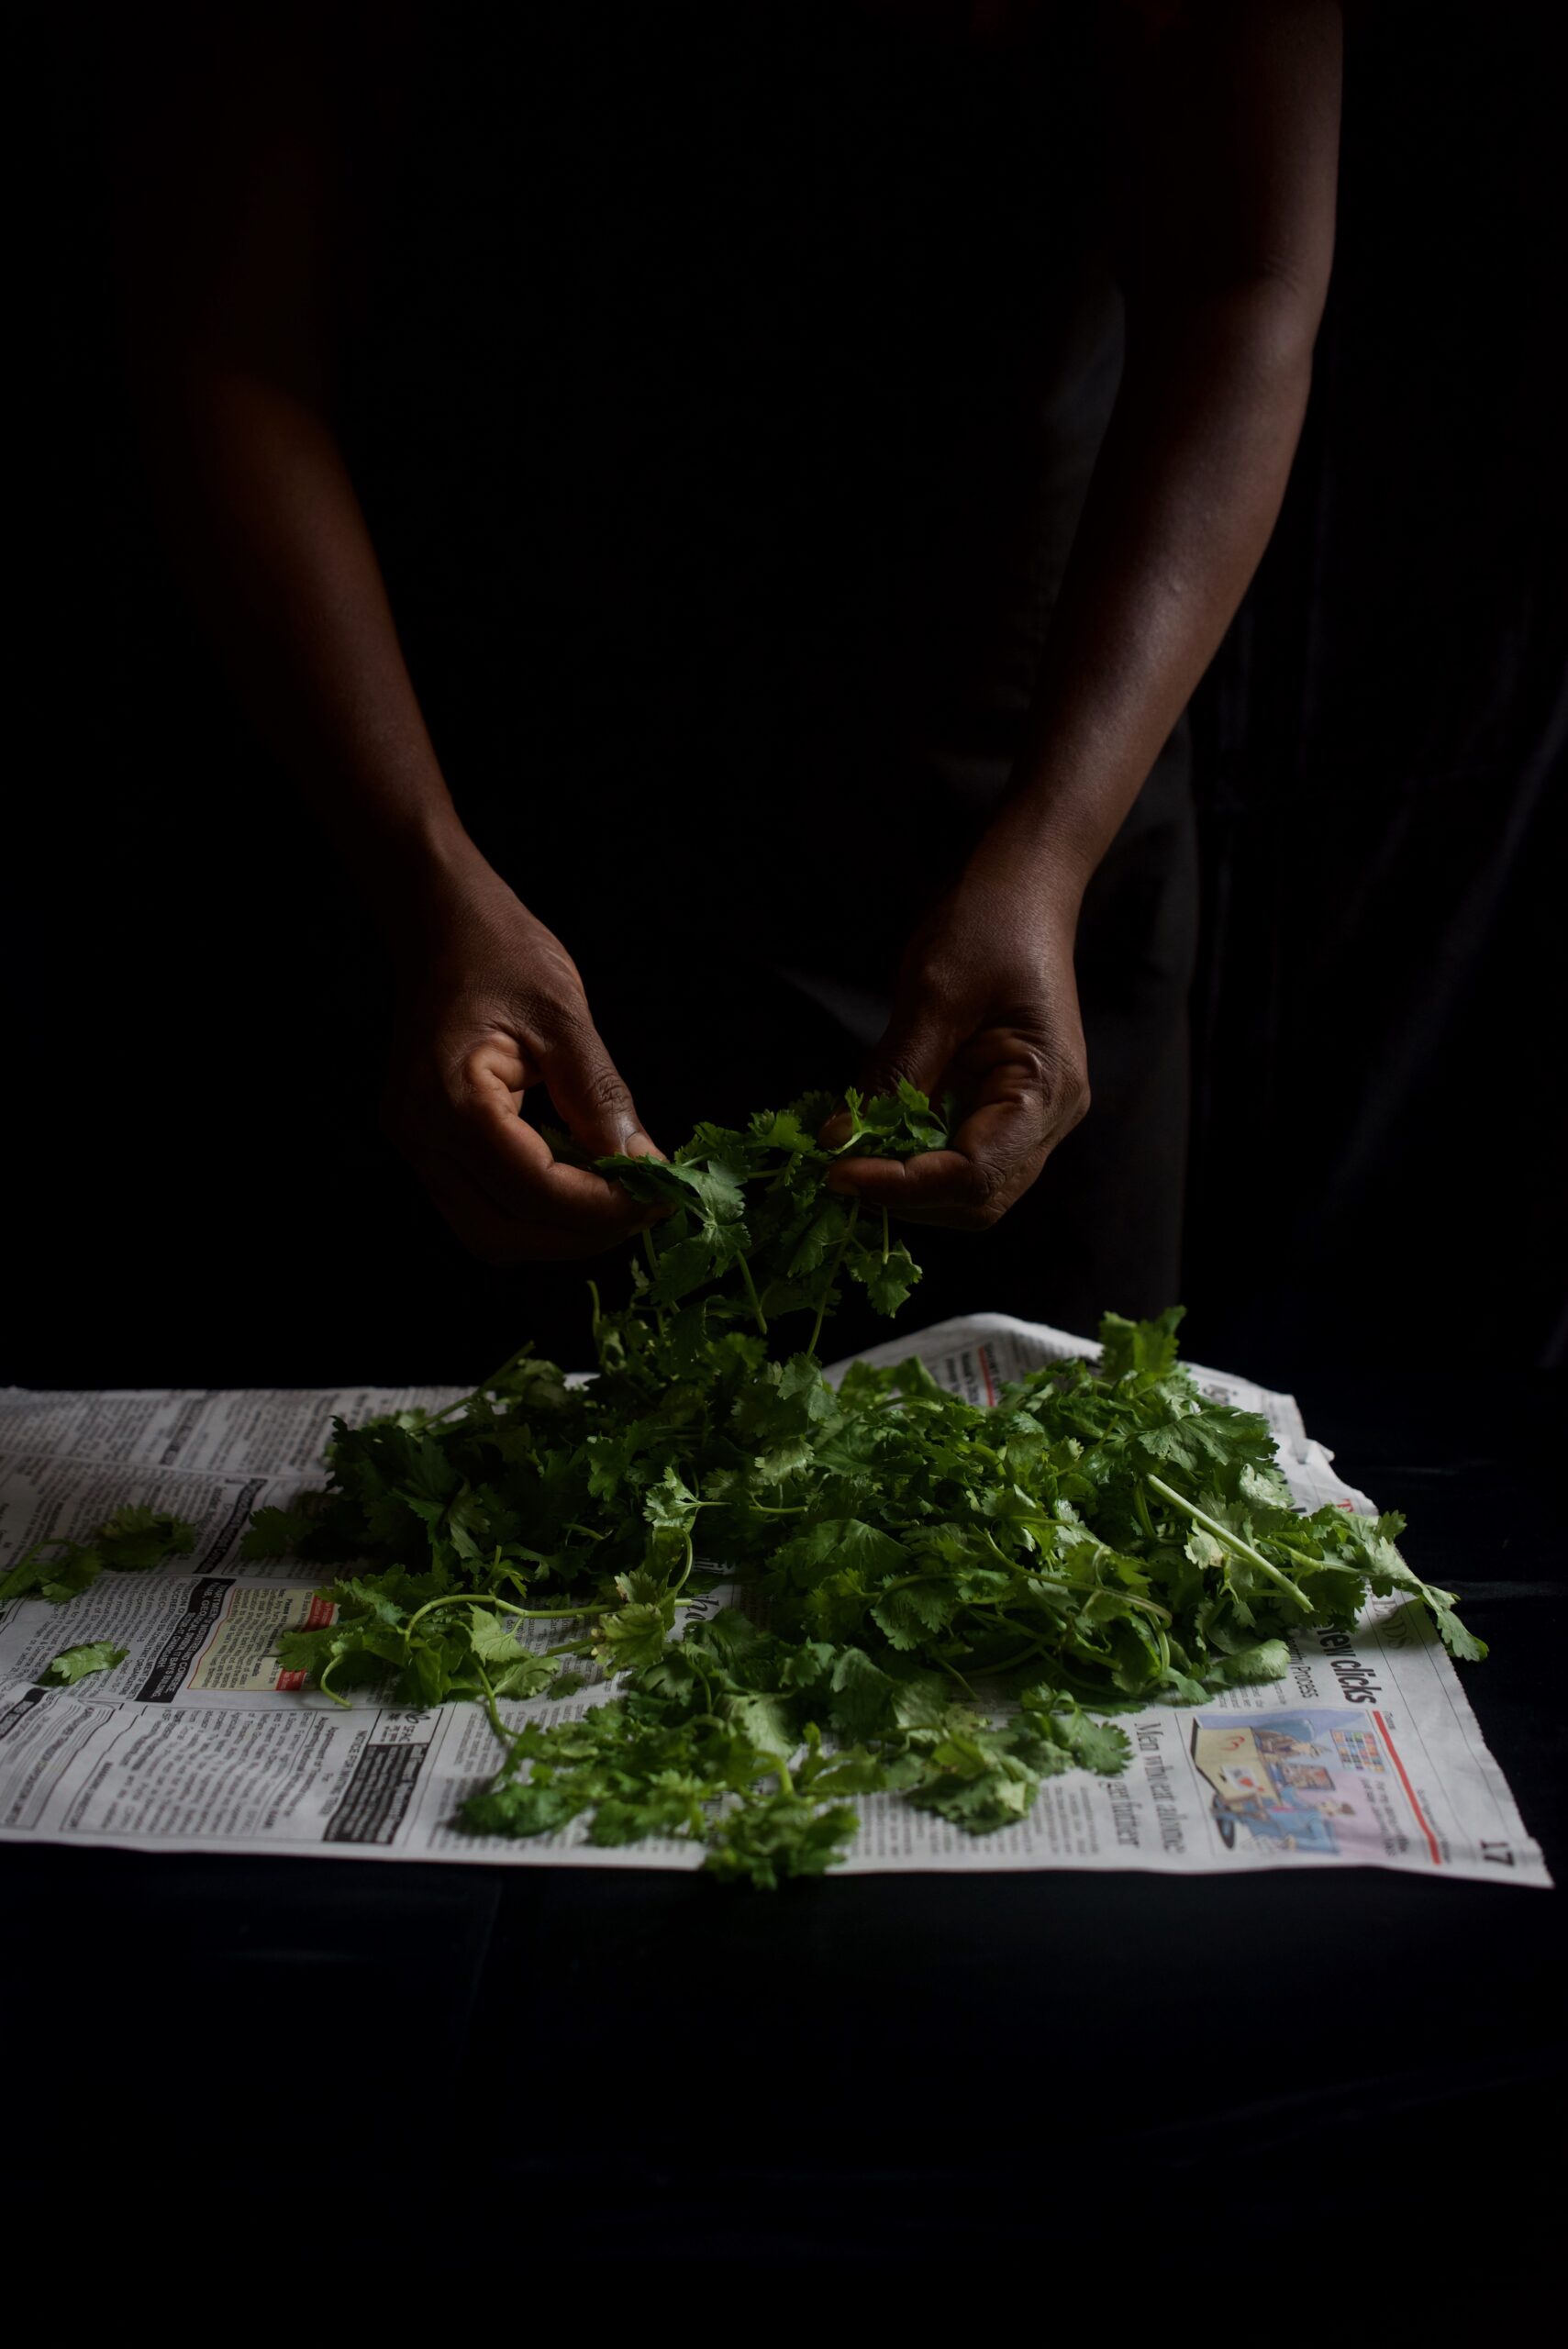
¼ cup finely chopped coriander leaves
¼ teaspoon roasted cumin powder
3 cups water
Salt to taste

Date Chutney (Yield: 3 Cups)

1 cup jaggery
1 cup chopped dates
1 cup tamarind
¼ cup sugar
1½ + 1 + 1 cups water
2 teaspoons roasted cumin powder
1 teaspoon black salt
¼ teaspoon chilli powder
Salt to taste

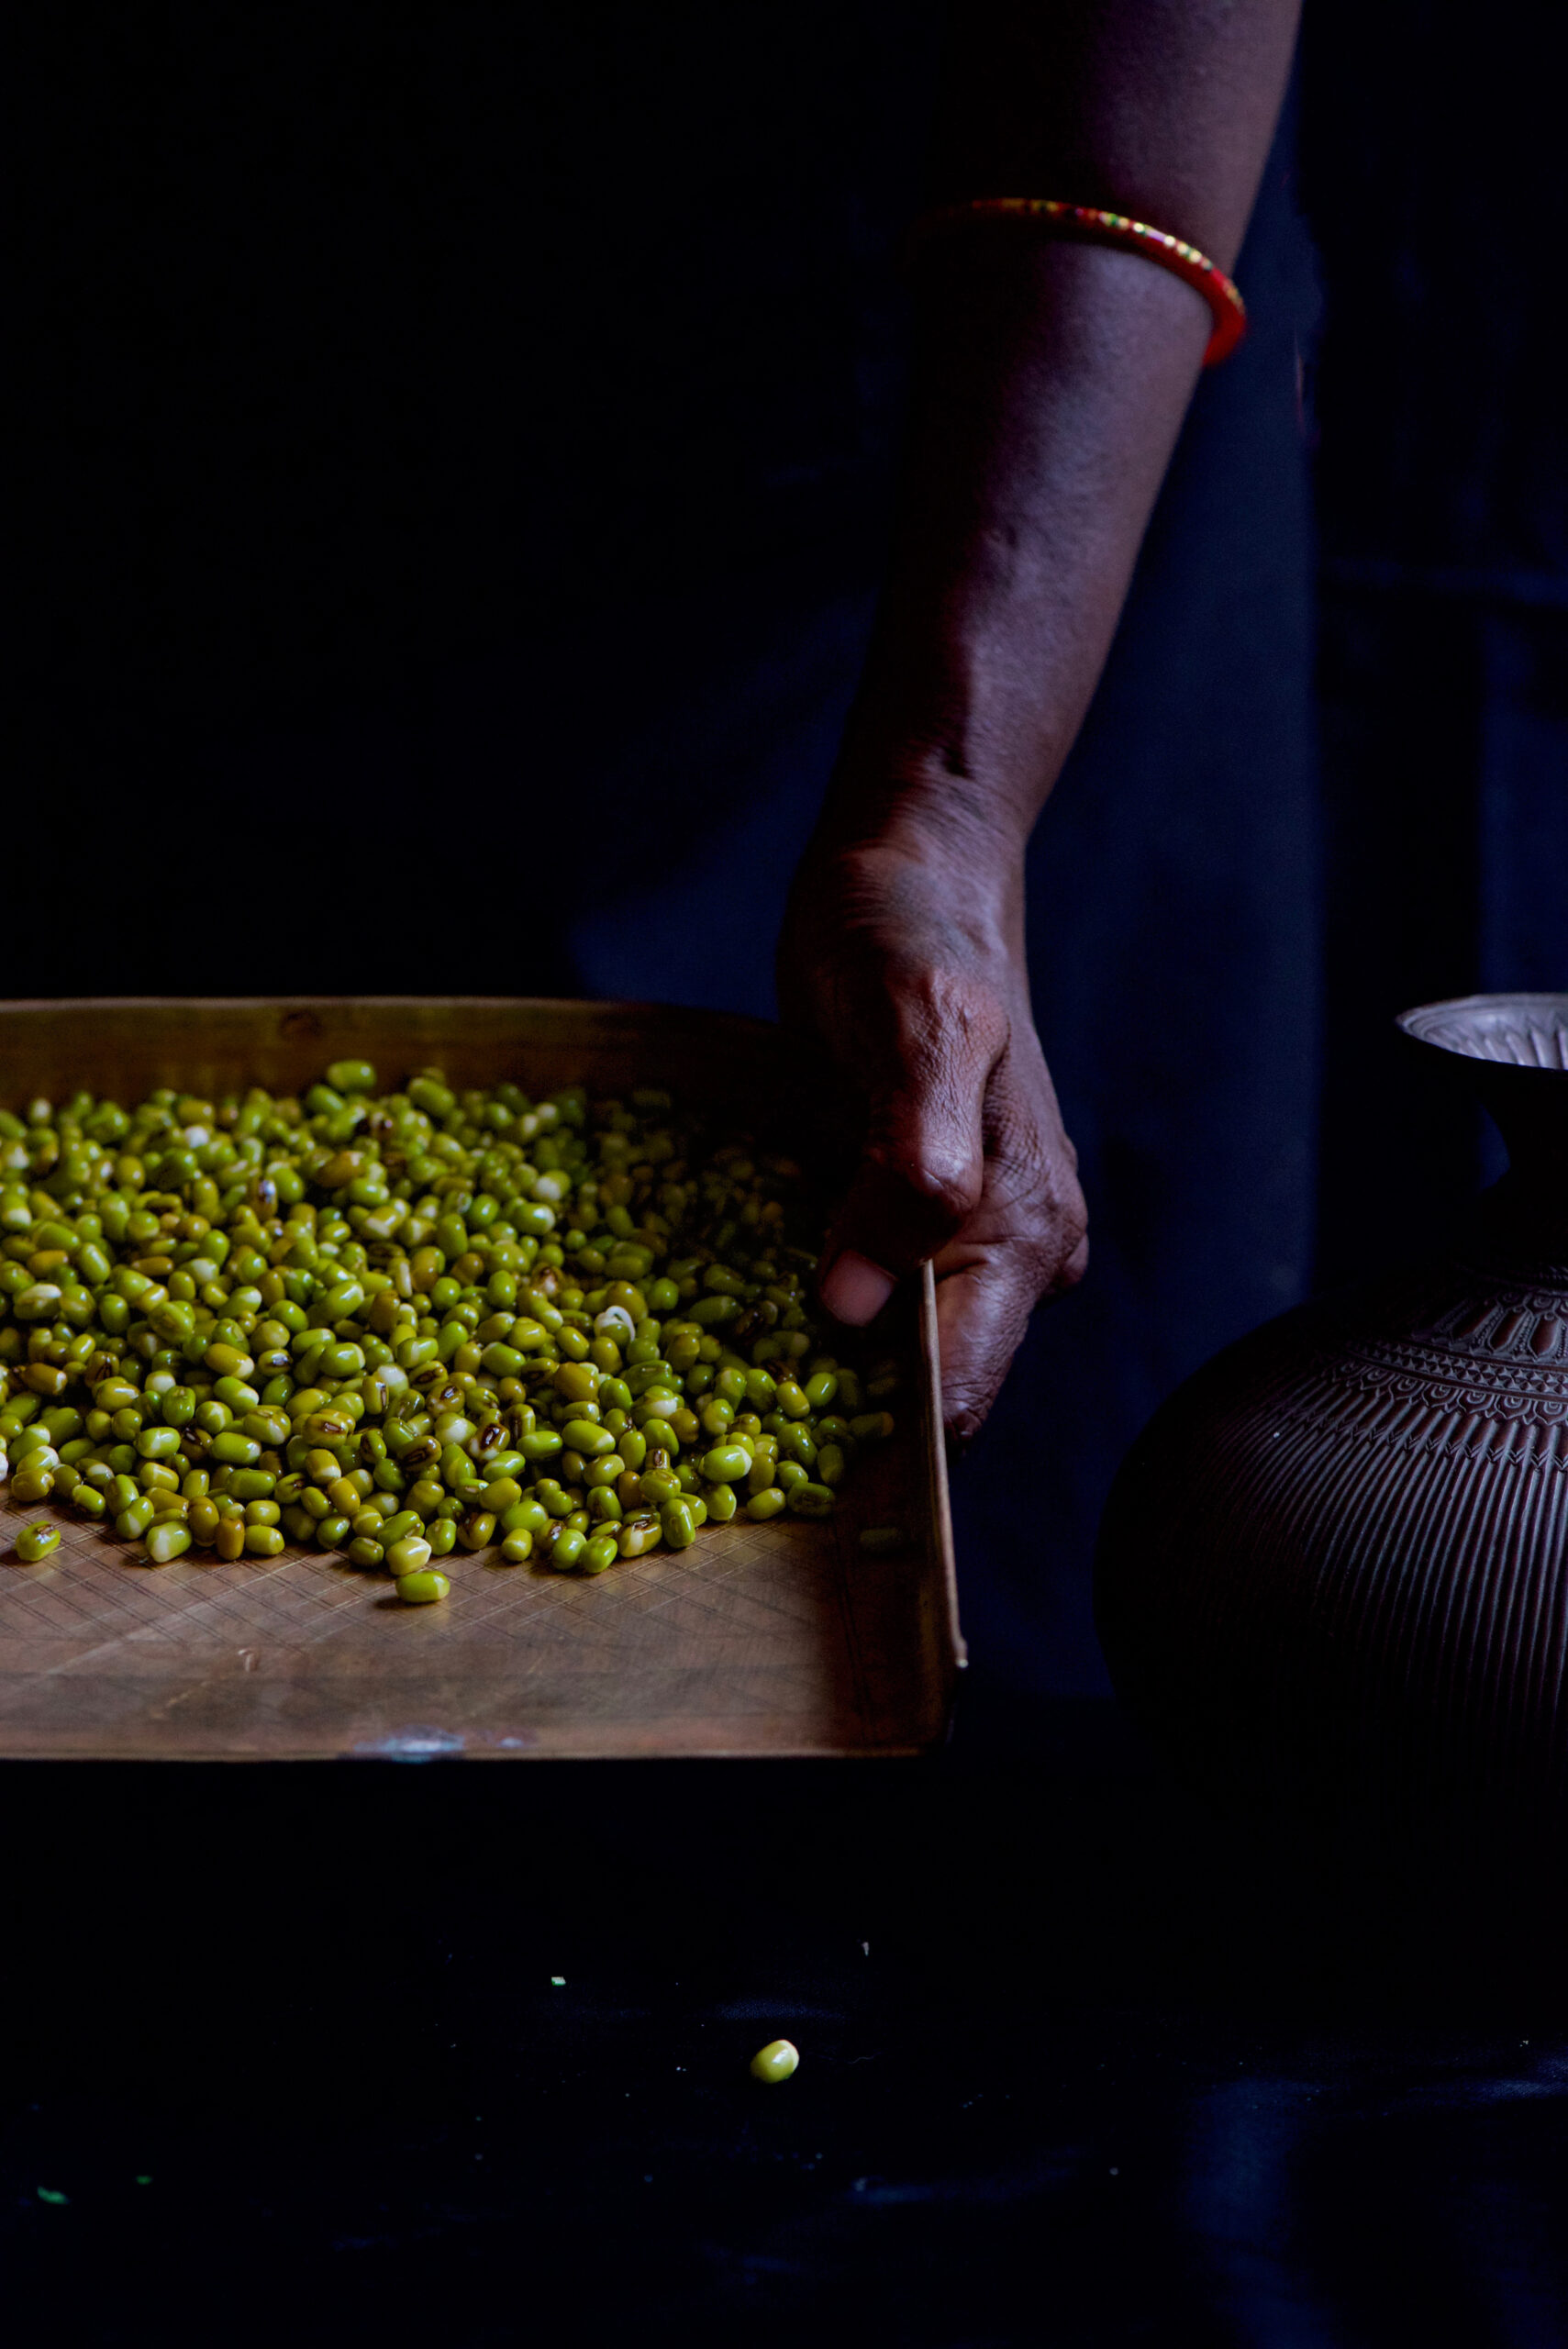
Soak the moong beans overnight, or for 6-8 hours. They will triple in size when they have been well-soaked.

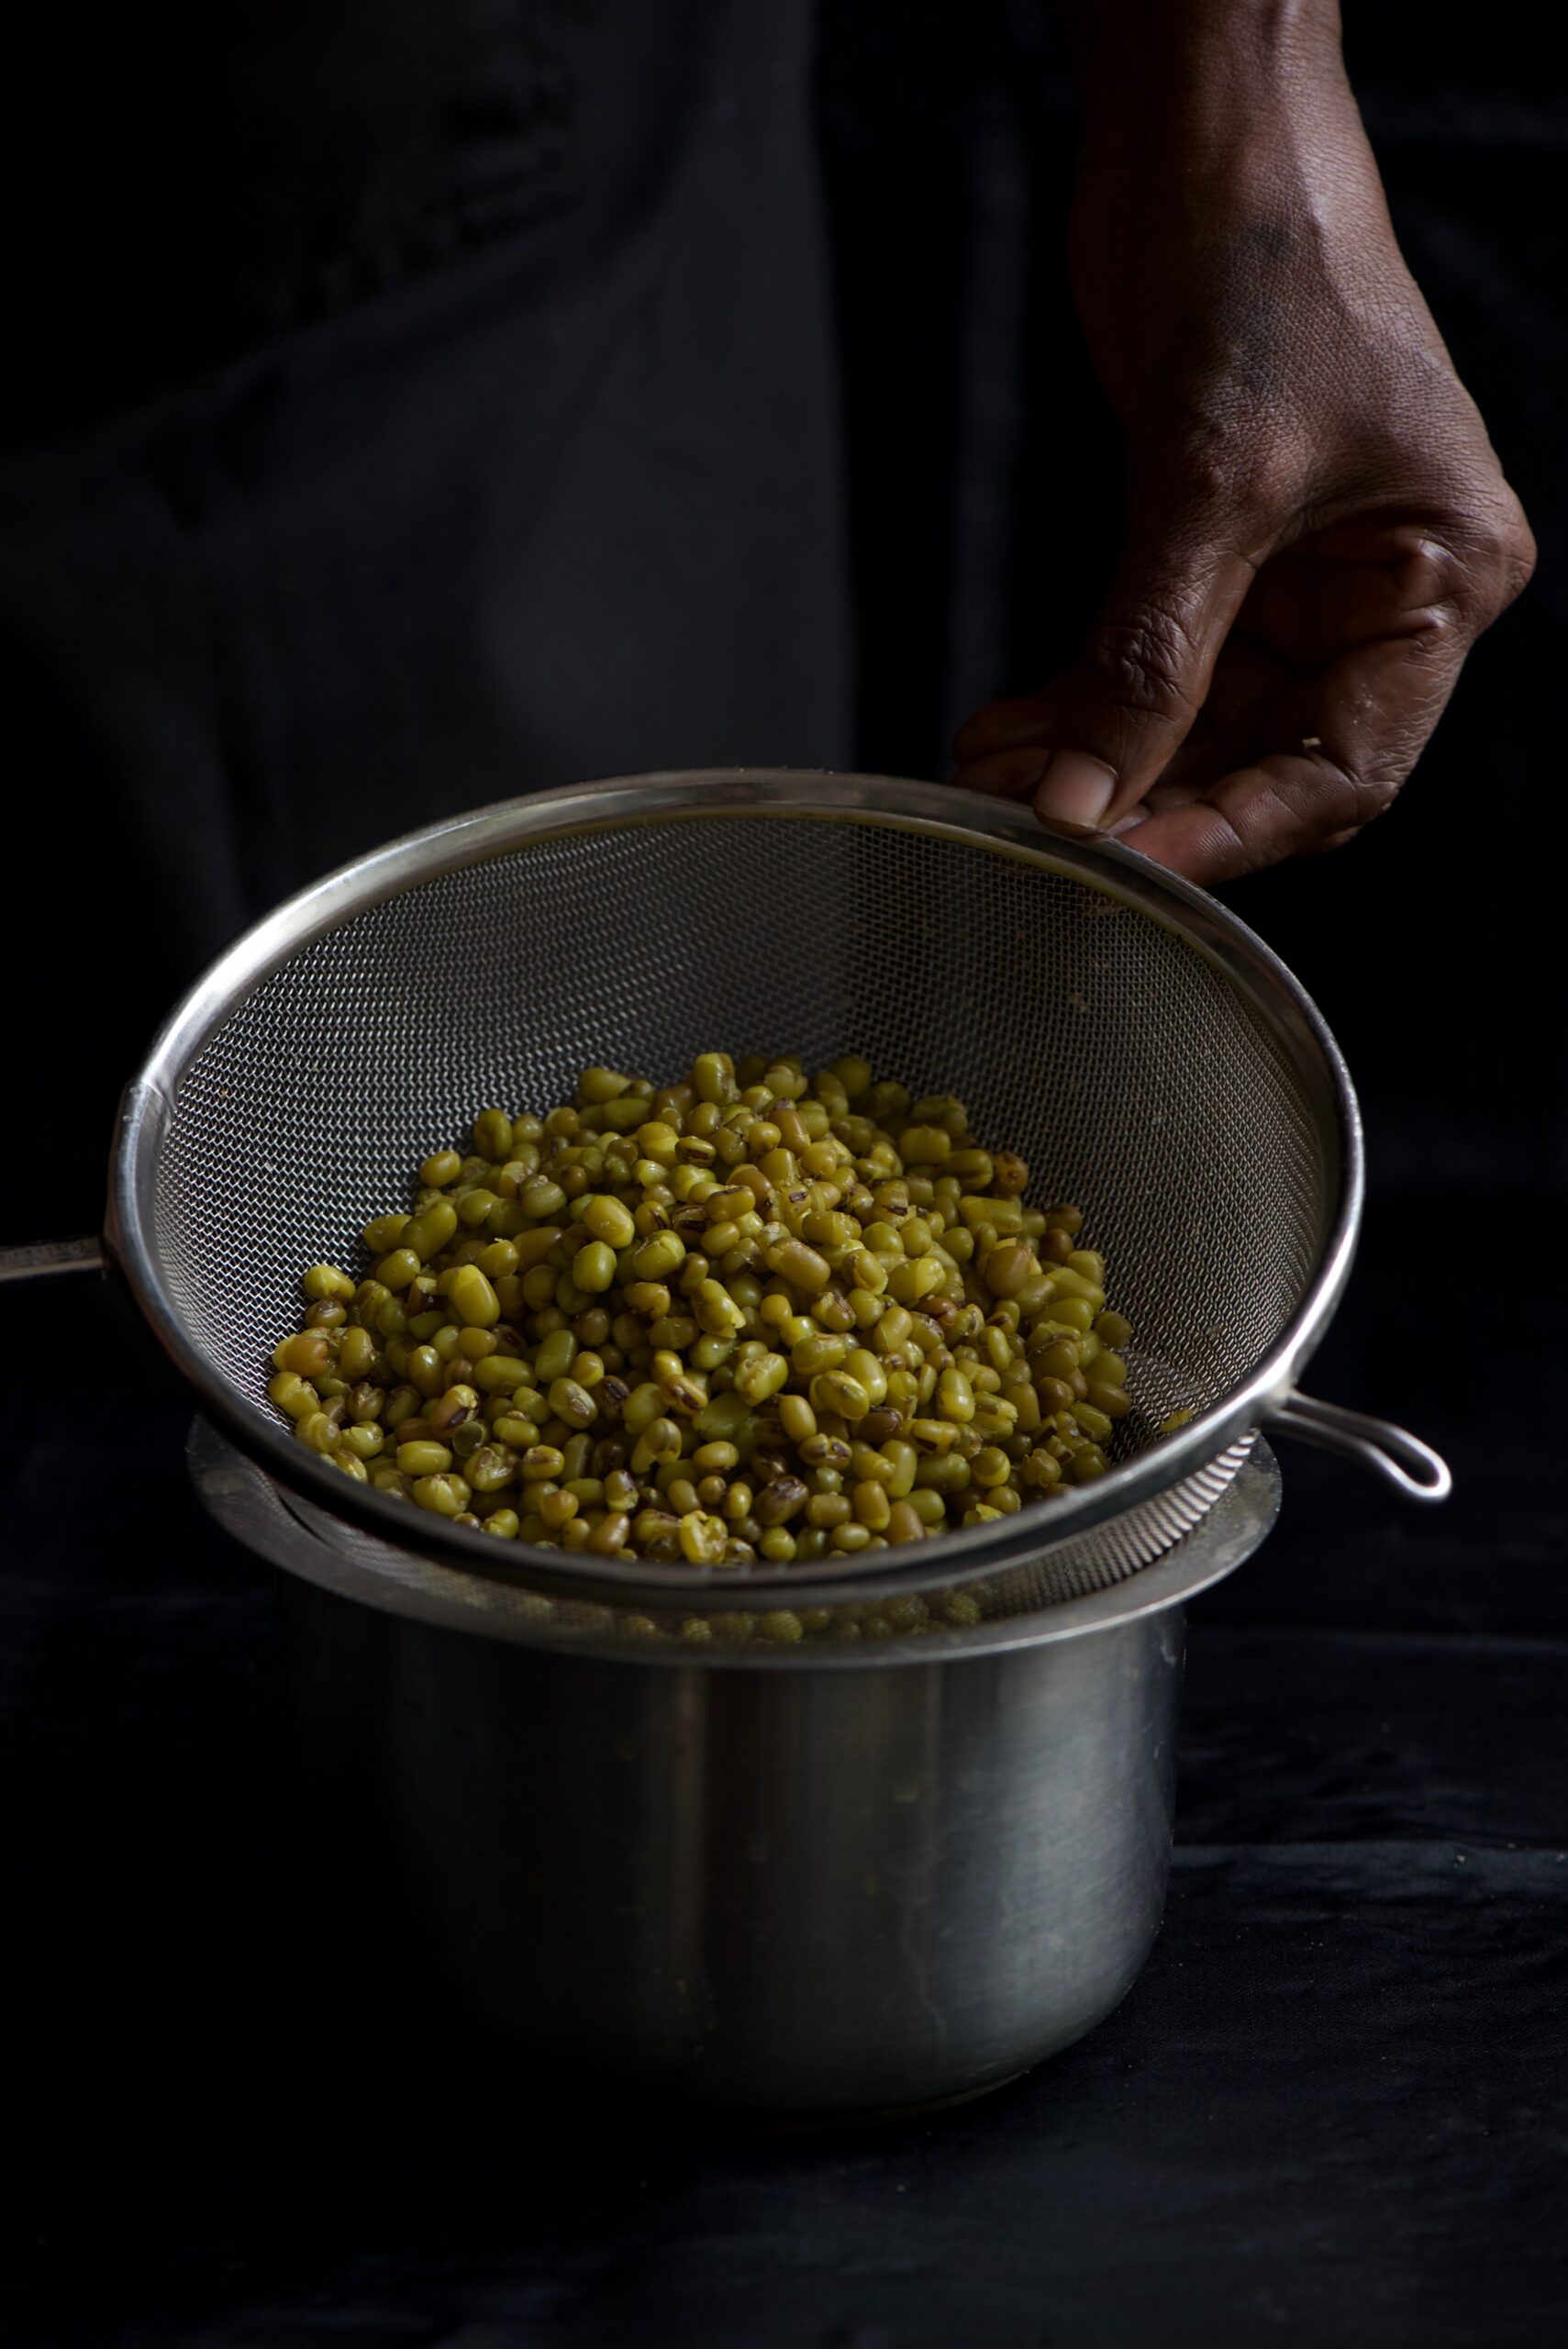
On a medium flame, add 3 cups of water, ¼ teaspoon of salt and a pinch of turmeric to the beans and allow to cook. This will take 15-20 minutes. The beans should be soft to the bite.


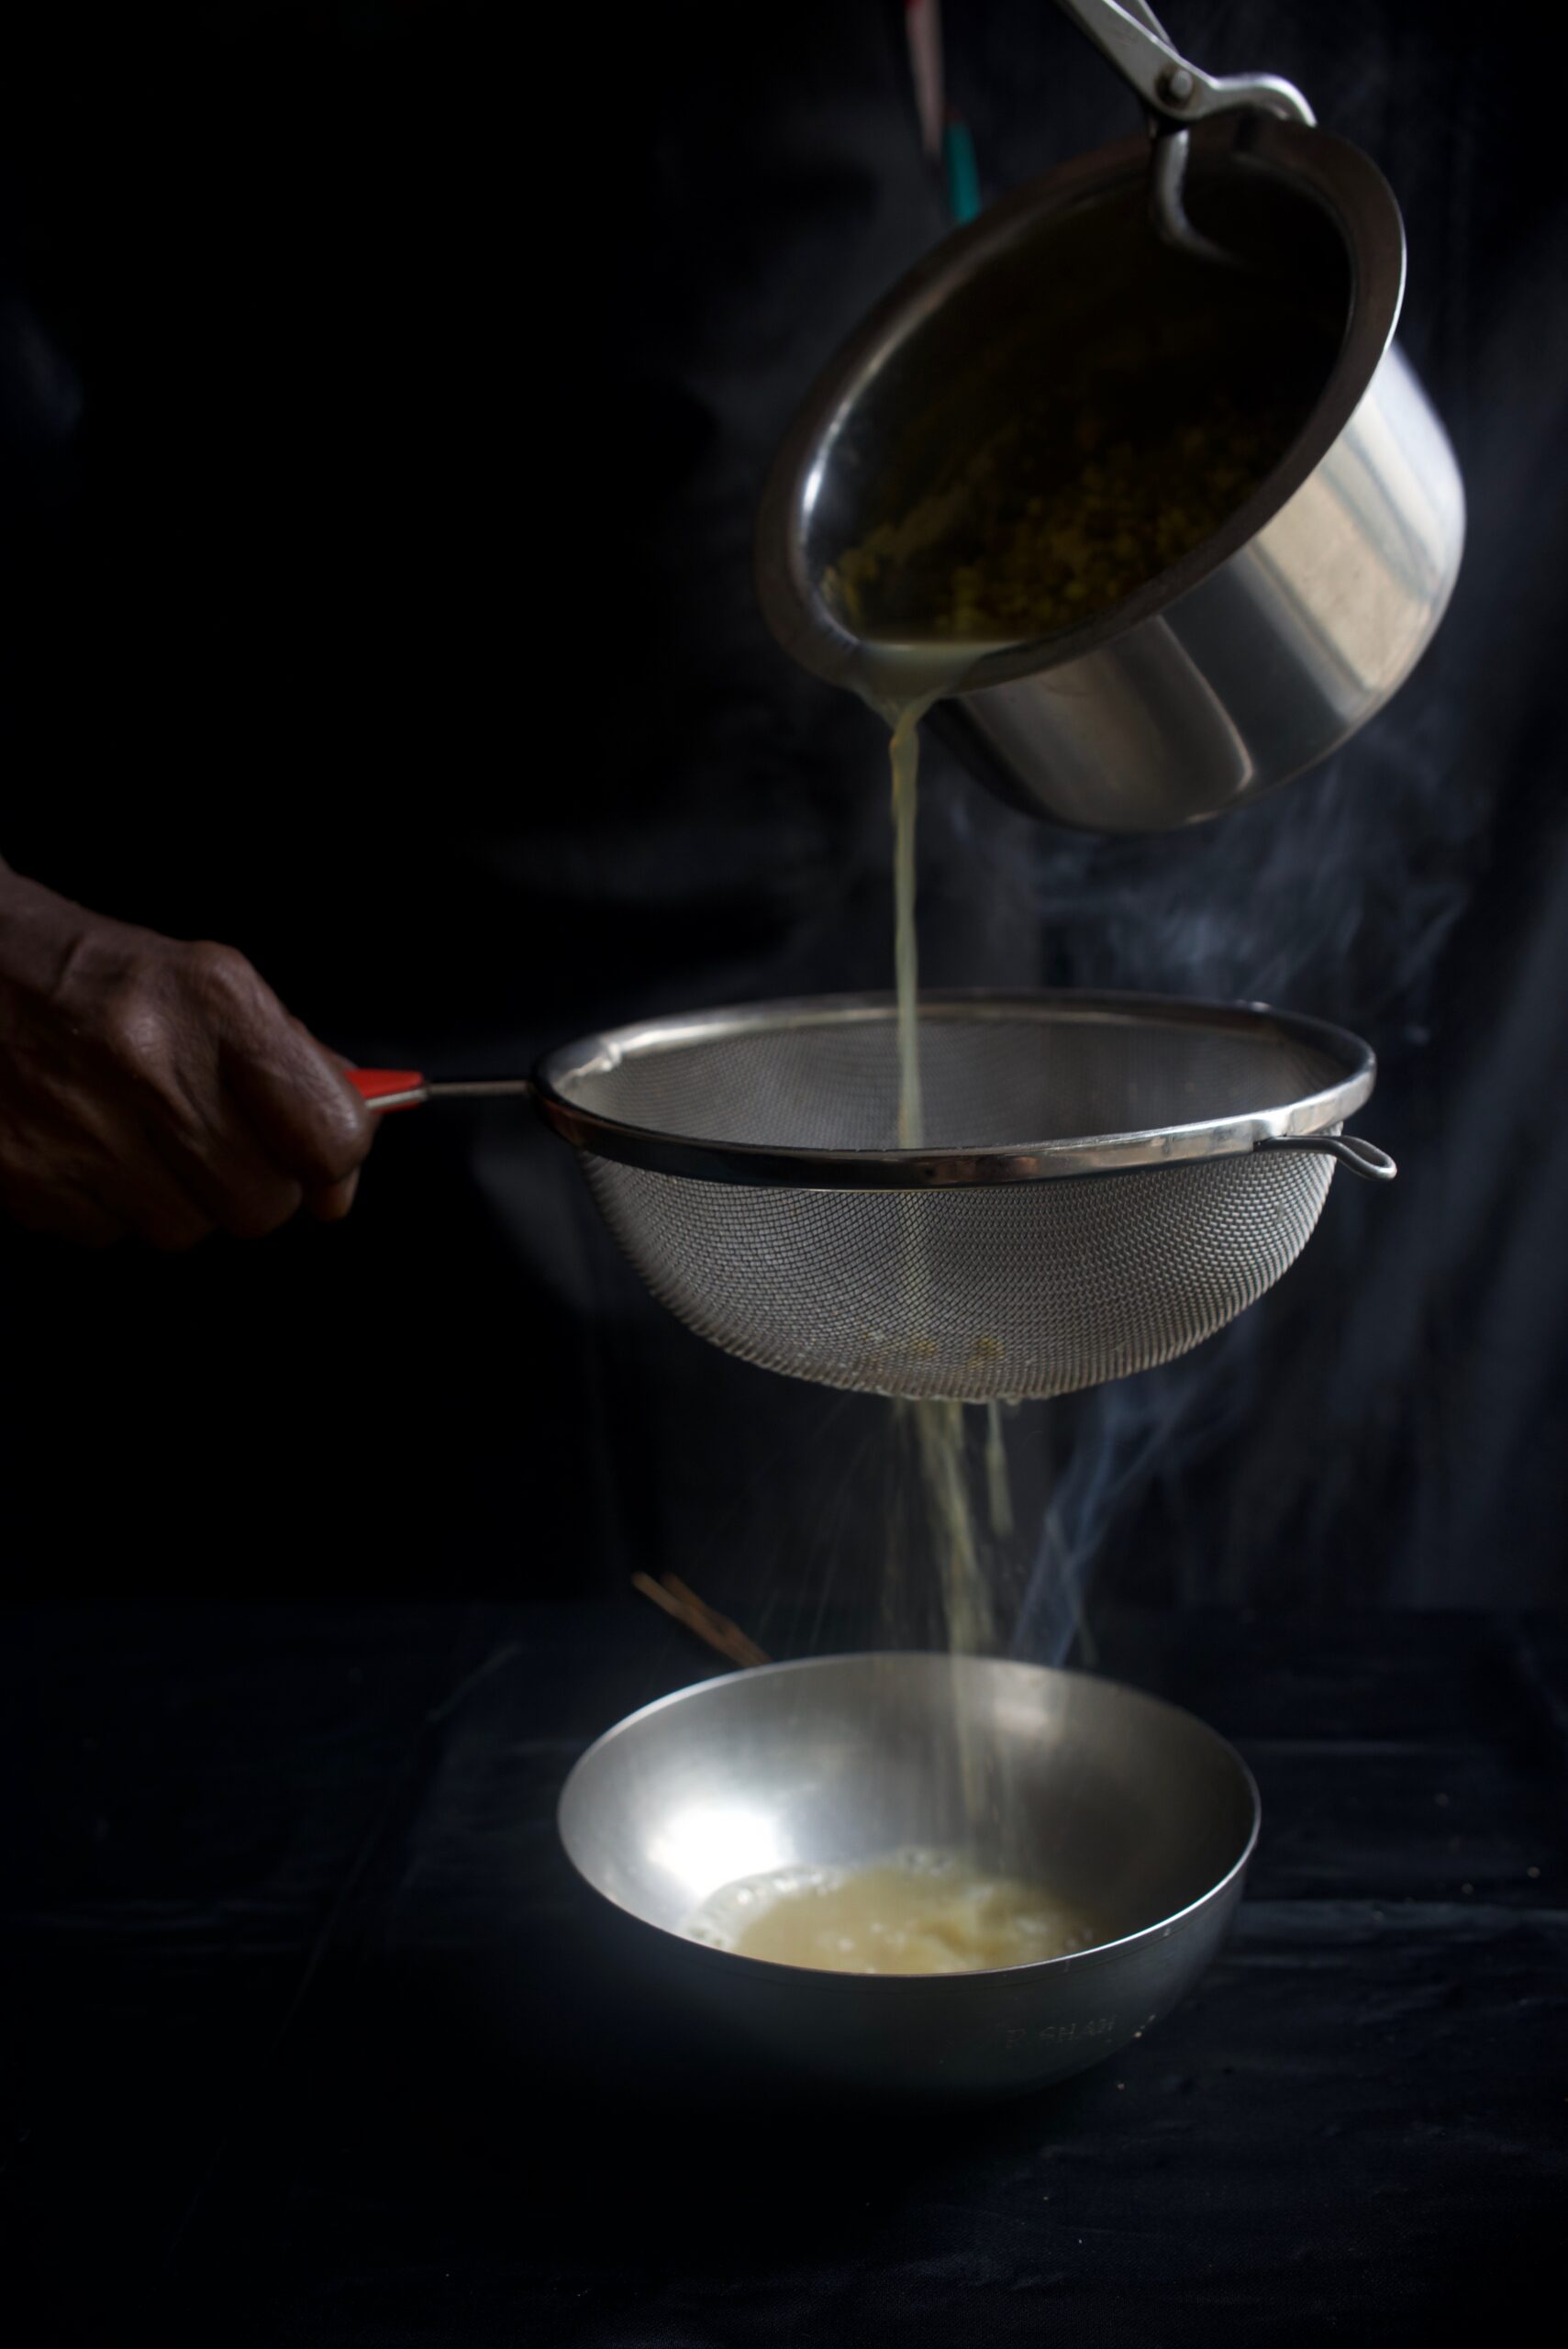
Strain the beans and allow them to cool.


In the meantime, put all the cut vegetables and the raw mango into a bowl. You can add any vegetables of your choice, whatever you find handily available, and increase or decrease the quantities to your preference. My selection here is a very typically “chaat” selection of fresh, affordable local produce. Keep aside some coriander for garnishing.


To this bowl of vegetables and fruit, add two chutneys. You can find the green coriander chutney recipe here (if you’re on a health kick, try not to get distracted by the banana-methi fritters recipe!). It’s an extraordinary simple just-blend-it-chutney, and you can use it in versatile ways.

The date chutney requires just a few more steps. Soak the jaggery, chopped dates, tamarind and sugar in 1½ cups of water for at least half an hour. Then blend this very well with 1 cup of warm water. Sieve the mixture to remove any sediments. Now, add the roasted cumin powder, black salt, chili powder and salt, as well as an additional cup of water, and boil for approximately 15 minutes. You will notice the mixture thickening, and you can adjust this to the consistency you desire by adding more water. This recipe yields a generous three cups of date chutney. Use only as much as you need for the green moong bhel dish, then save the rest in the fridge.

Blend 2 teaspoons each of the two chutneys into the bowl of cut vegetables and raw mango. Then add all the spices as well as the cooled moong beans to the bowl. Mix all the ingredients together nicely, making sure the chutneys coat them well.

Now, serve the green moong bhel in smaller bowls, garnishing with the coriander leaves. I often like to add a bit of crunch on top too, such as crushed peanuts, pomegranate, fried crisps or the puffed rice that is reminiscent of traditional chaat.

You can put this healthy snack on the list along with sundal, pea-pomegranate kachoris, sweet ghugras and, of course, banana-methi fritters and enjoy it with some piping hot chai or coffee. Or have it as an alternative to salad or quinoa, and enjoy a big bowl as a full breakfast or a light lunch. As simple as the dish looks, it’s absolutely loaded with flavours. Healthy can taste so good, sometimes!


If you’ve been following my blog, you’d have noticed that despite my quintessentially Gujarati sweet tooth, my culinary adventures are often based on healthy eating. I hardly ever reach for a fried item first, but these banana-methi fritters are a part of our wide kitchen repertoire at home during Diwali. Perhaps one just can’t feel guilty about indulgence when it comes to special occasions! The festive season isn’t far away, so you may want to try your hand at these fritters and see if you’d like to share them with your friends and family too this year.

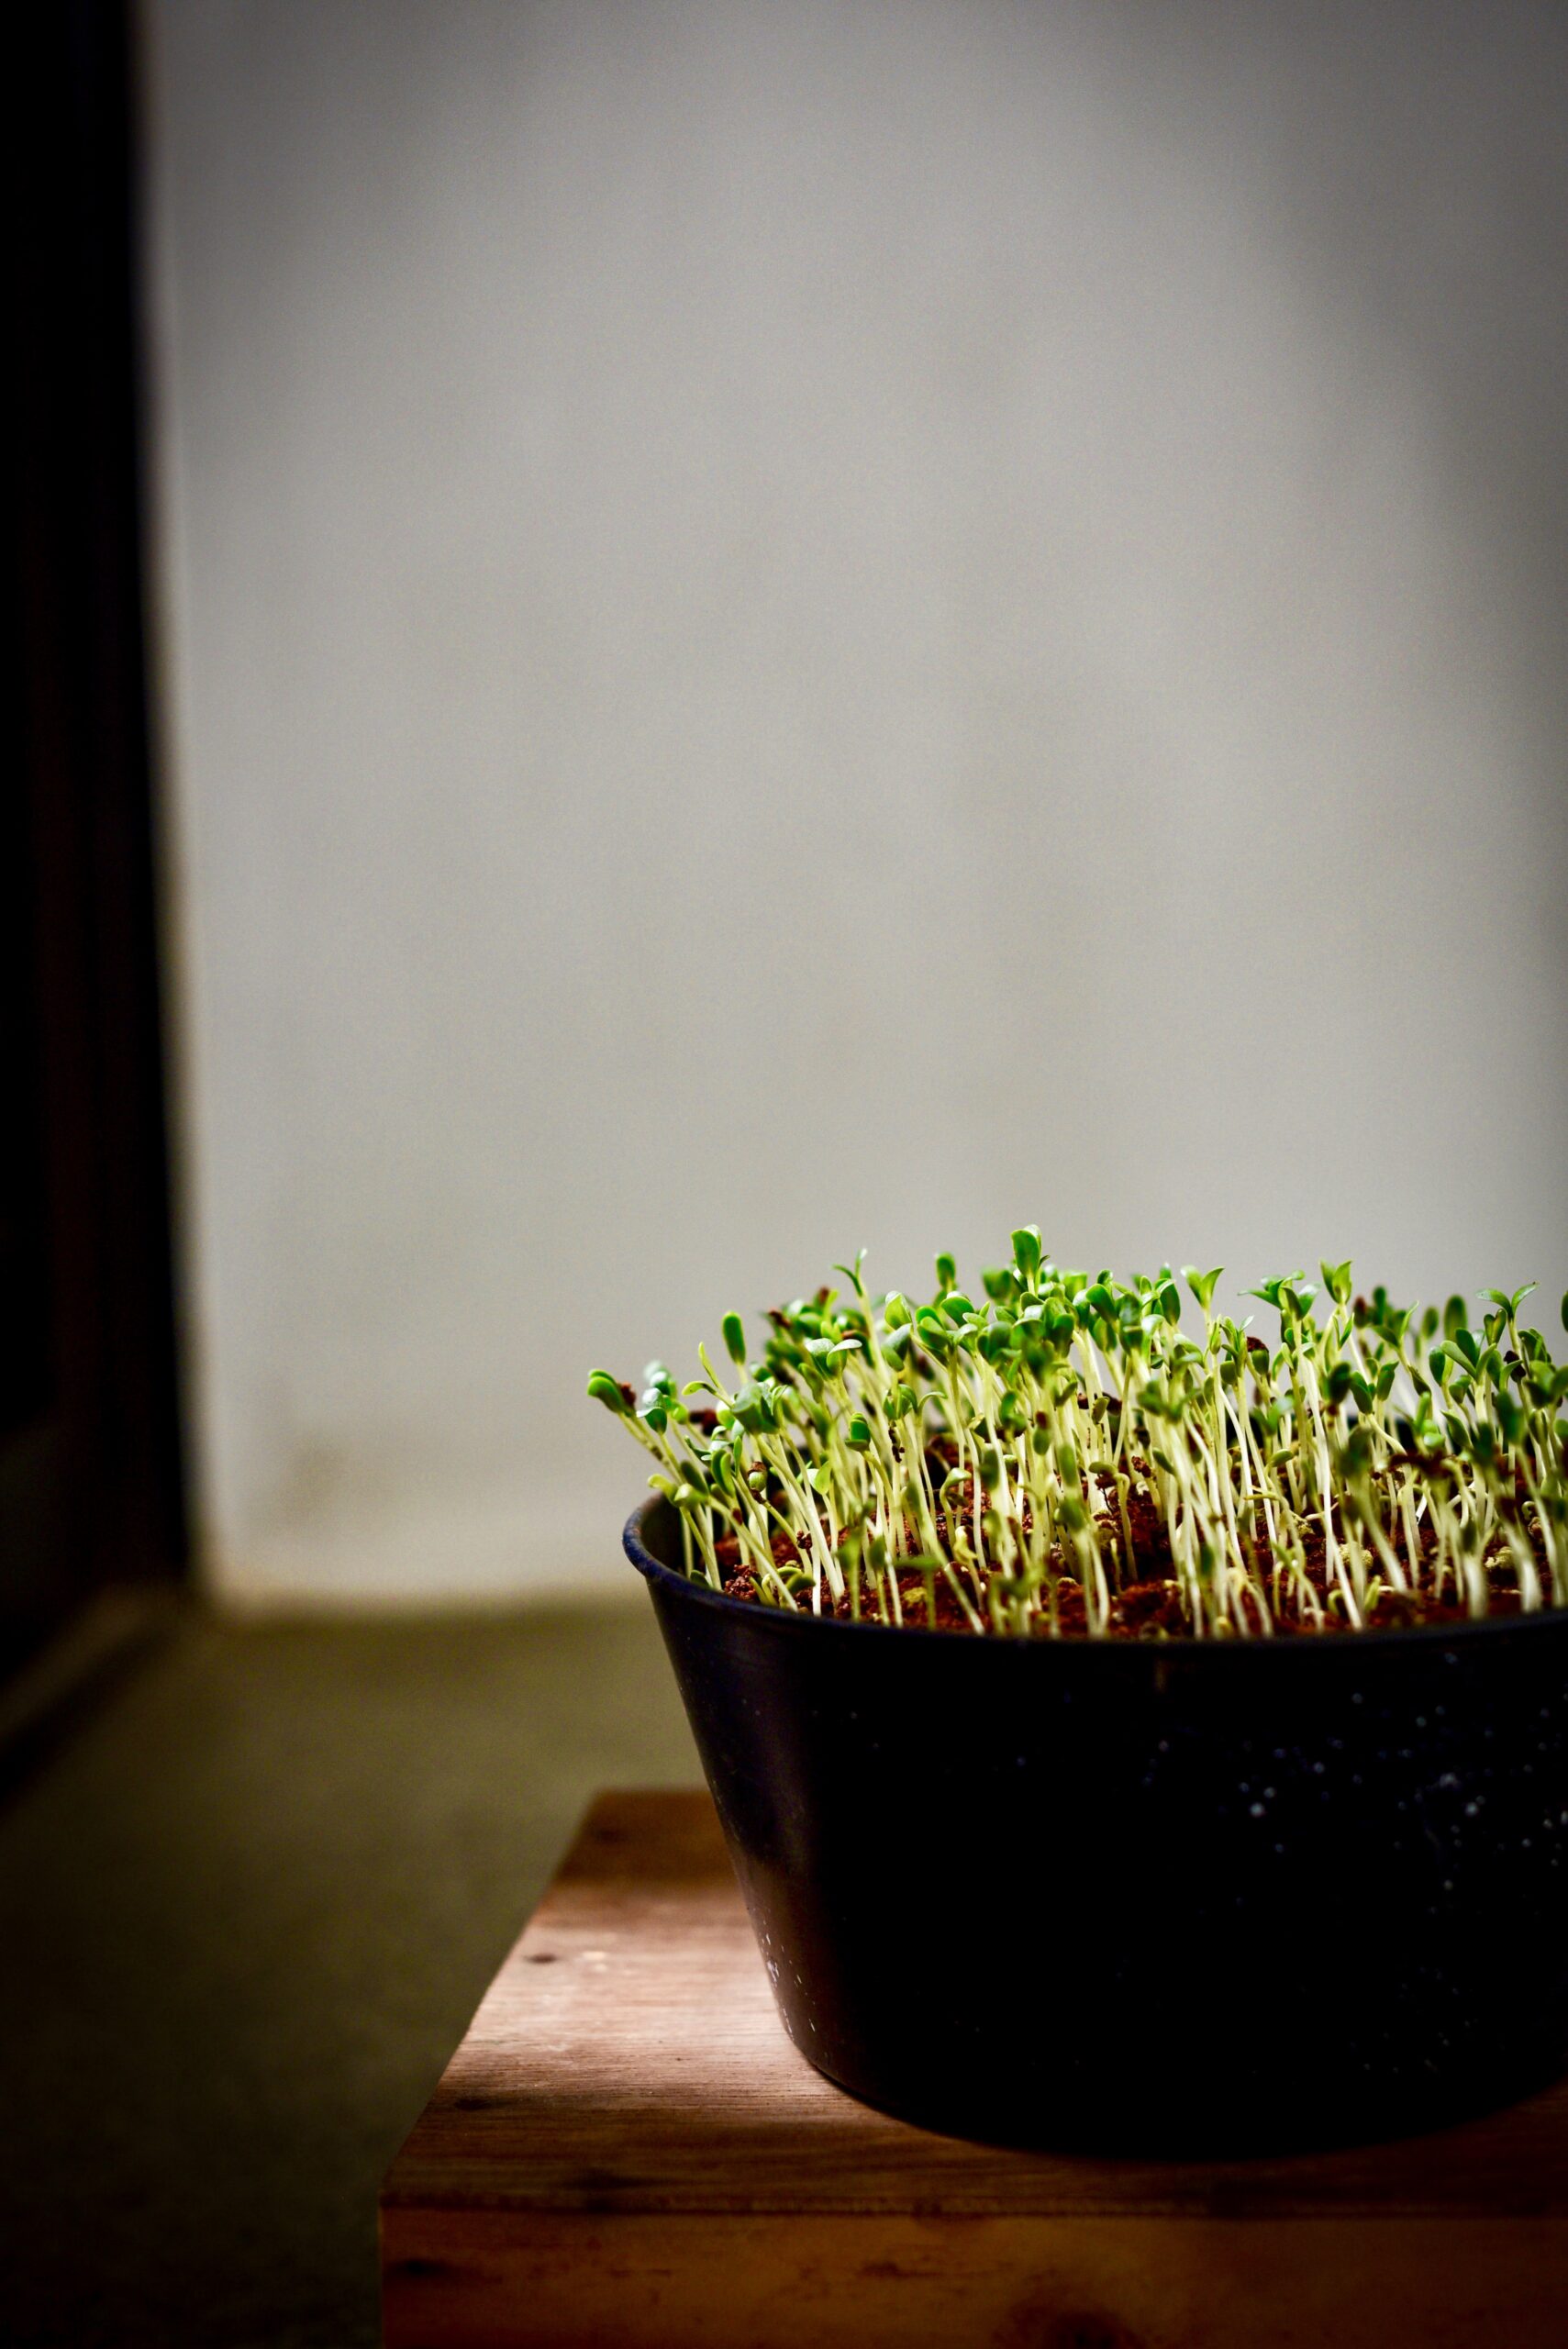
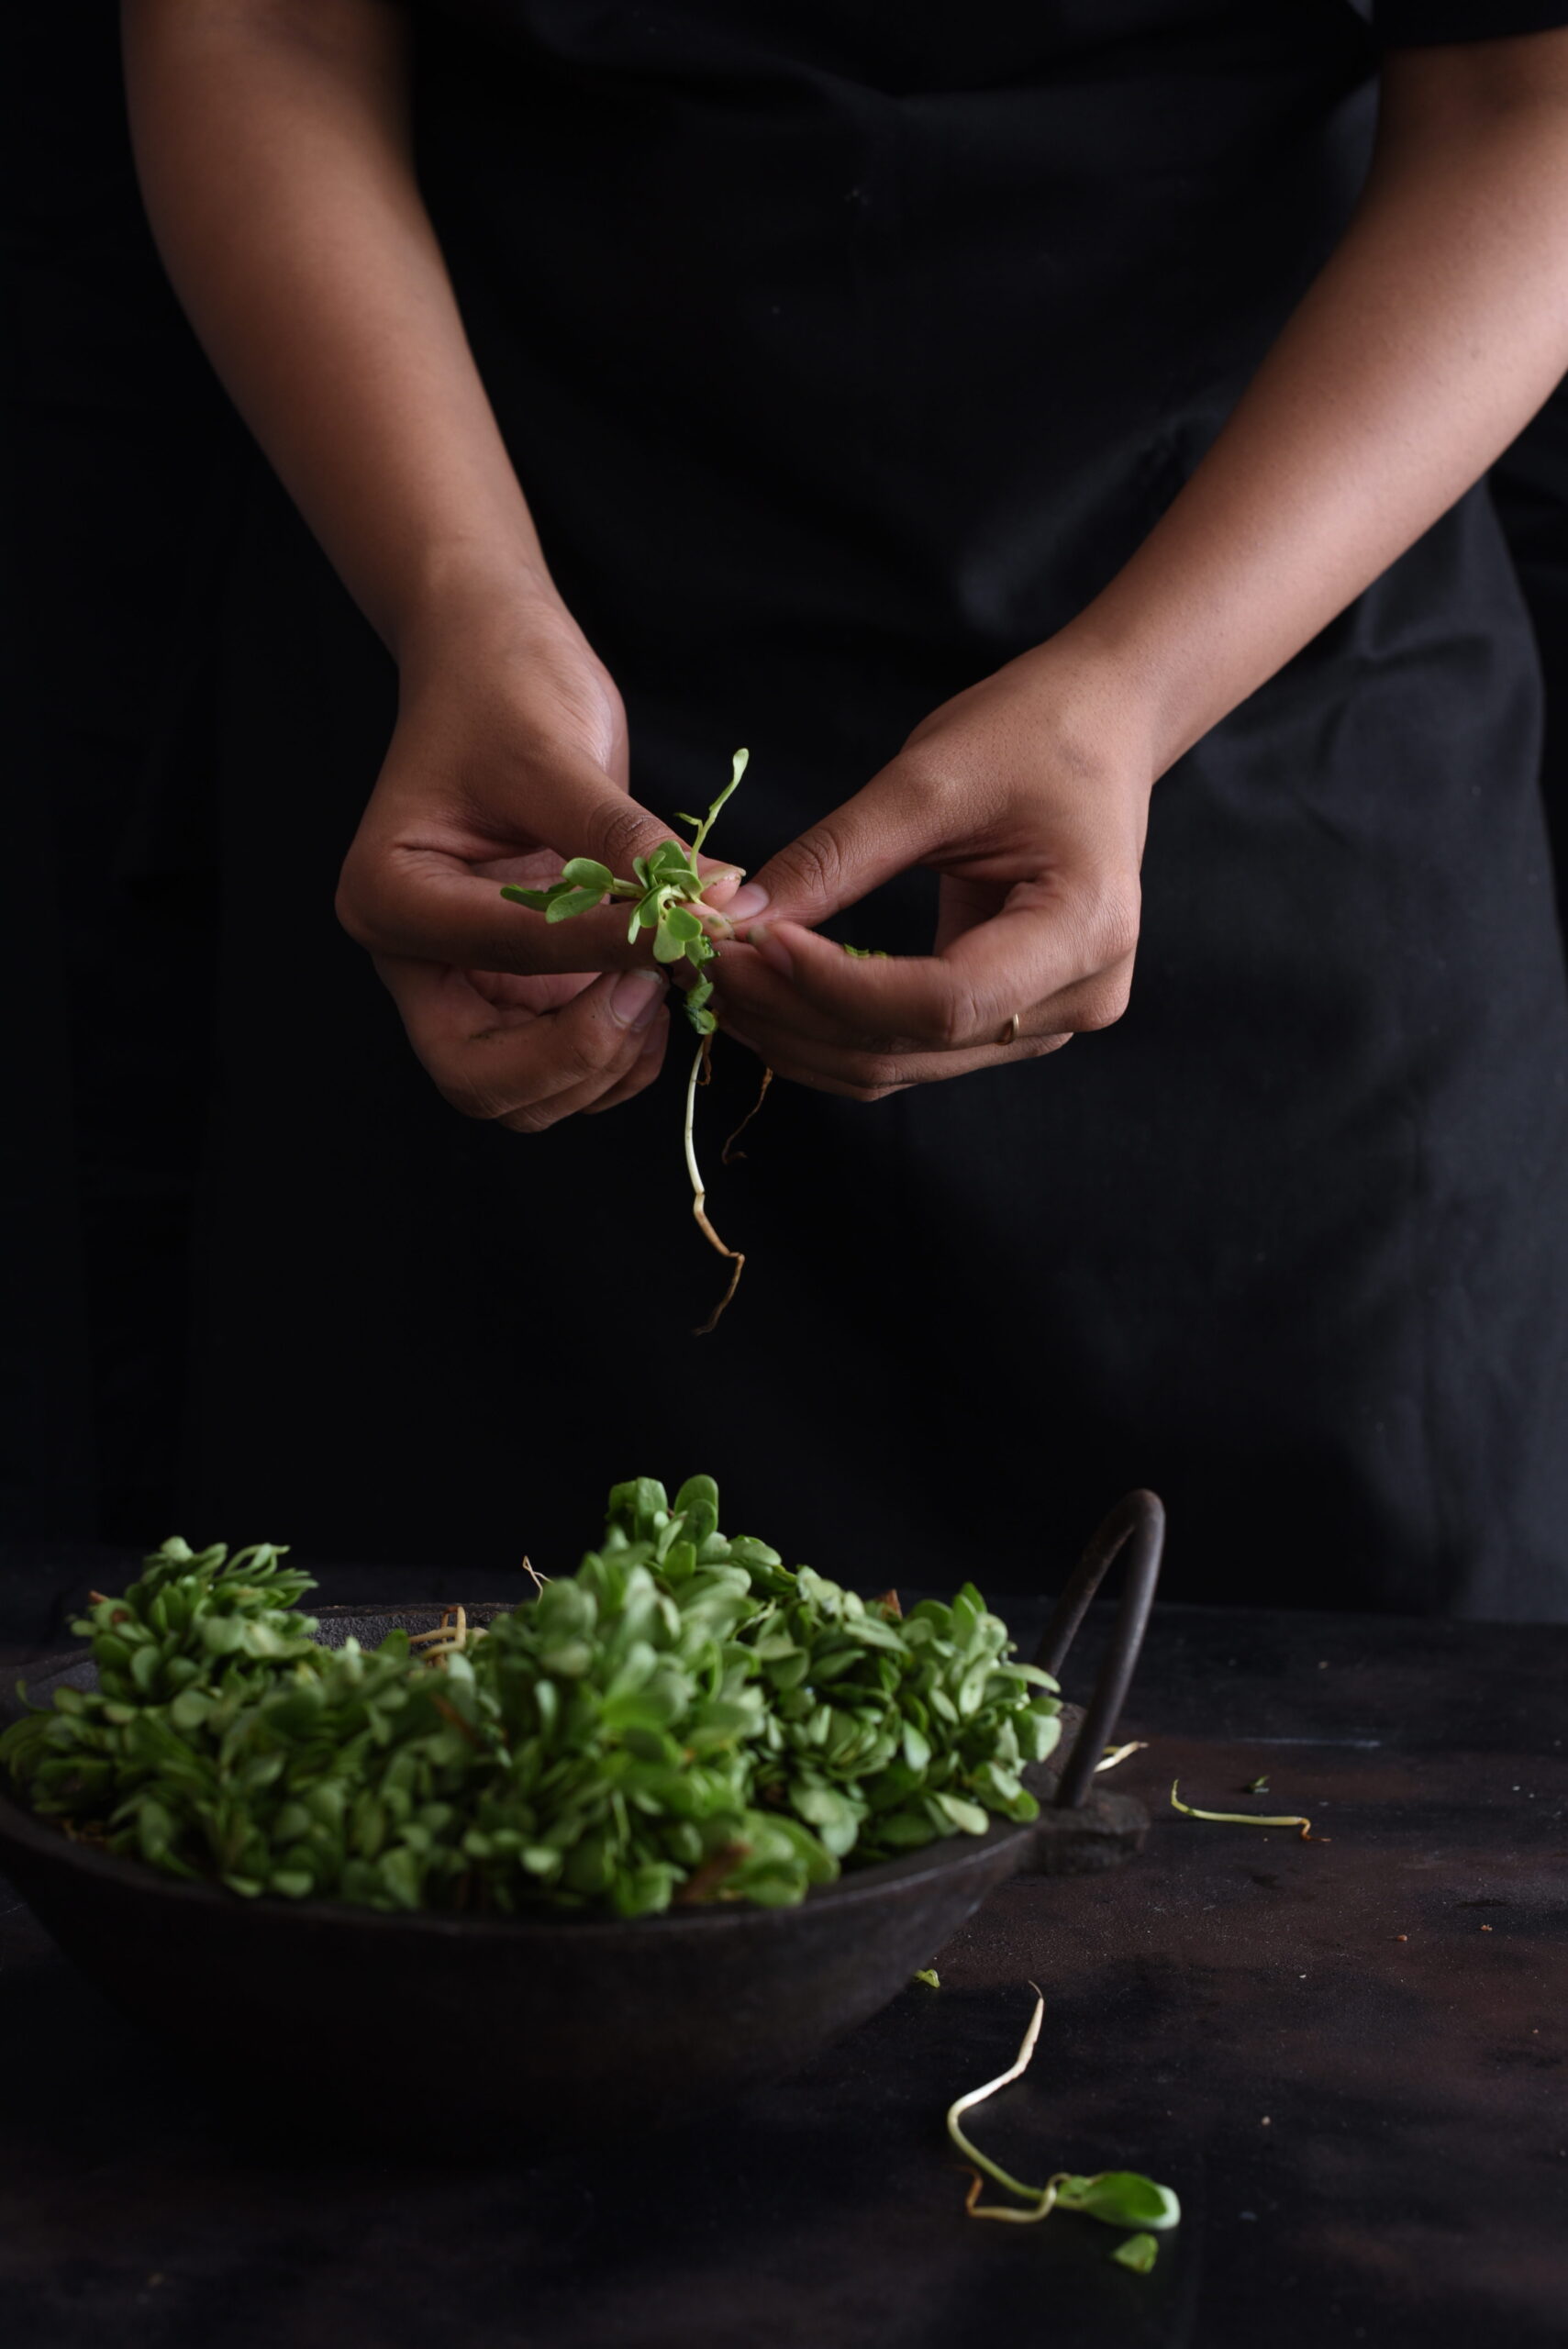
Growing methi (known in English as fenugreek, and in Tamil as vendeyakeerai for the leaves and vendeyam for the seeds) is as easy as throwing a few seeds in the soil and allowing them to sprout in a matter of days. This is why I can use freshly-plucked methi leaves for so many of my dishes. Alongside tulsi, lemongrass and numerous herbs, fruits and vegetables, it flourishes right in my home. Whether it’s a traditional Indian staple or a salad (Chennai’s weather makes fresh lettuce difficult to find in the city sometimes, and I love experimenting with healthy substitutes), these pretty greens are a familiar ingredient in the re:store kitchen.

Methi has an array of health benefits. Among them, it helps improve digestion, tackle respiratory allergies, cure anaemia, and lower cholesterol and blood sugar levels (which is why it is used in diabetes management). Due to its high estrogen content, it even helps lactating mothers in the production of milk – I remember being given lots of methi laddoos after giving birth. In addition to these benefits, methi is also known to have a beautifying effect on the hair and skin when used in a paste form as a mask or conditioner.

I’m telling you all this to put a healthy spin on the recipe below – which is a fried indulgence!

The other ingredient in this spicy, crispy snack I’m about to share with you hardly needs to be promoted on the basis of health, because it is so very sweet and tasty. That filling, versatile, portable and very nutritious fruit – the banana! It just so happens that bananas are rich in potassium, fibre, antioxidants and share blood sugar-lowering, cholesterol-management and overall wellness-boosting benefits with methi.

Hundreds of banana varieties are grown in India through the year, and with Tamil Nadu being the source of 23% of the country’s supply, we really have our pick of the fruit here. In fact, the banana tree is auspicious in many Indian cultures, and has a place in wedding and fertility rituals. Similar to the coconut, its various parts have many uses. The banana flower, known as vazhaipoo, is diced and eaten in Tamil cuisine – and traditionally, South Indian food is always served on a banana leaf.

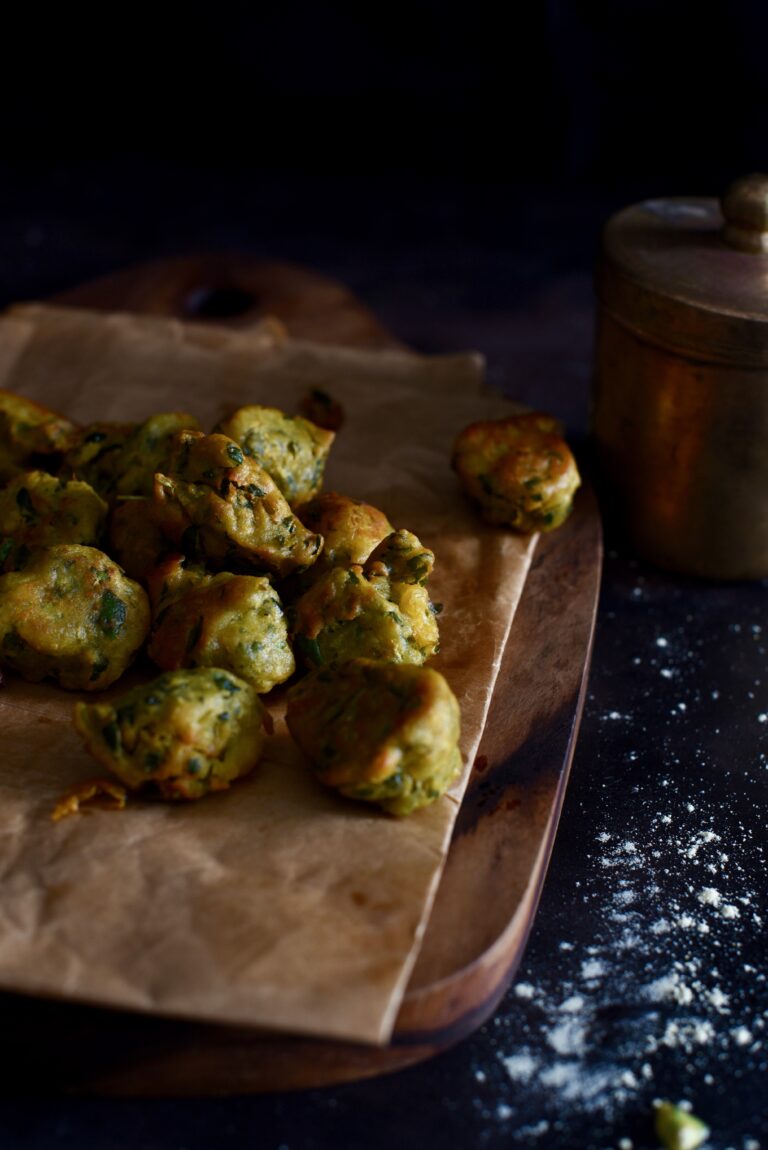
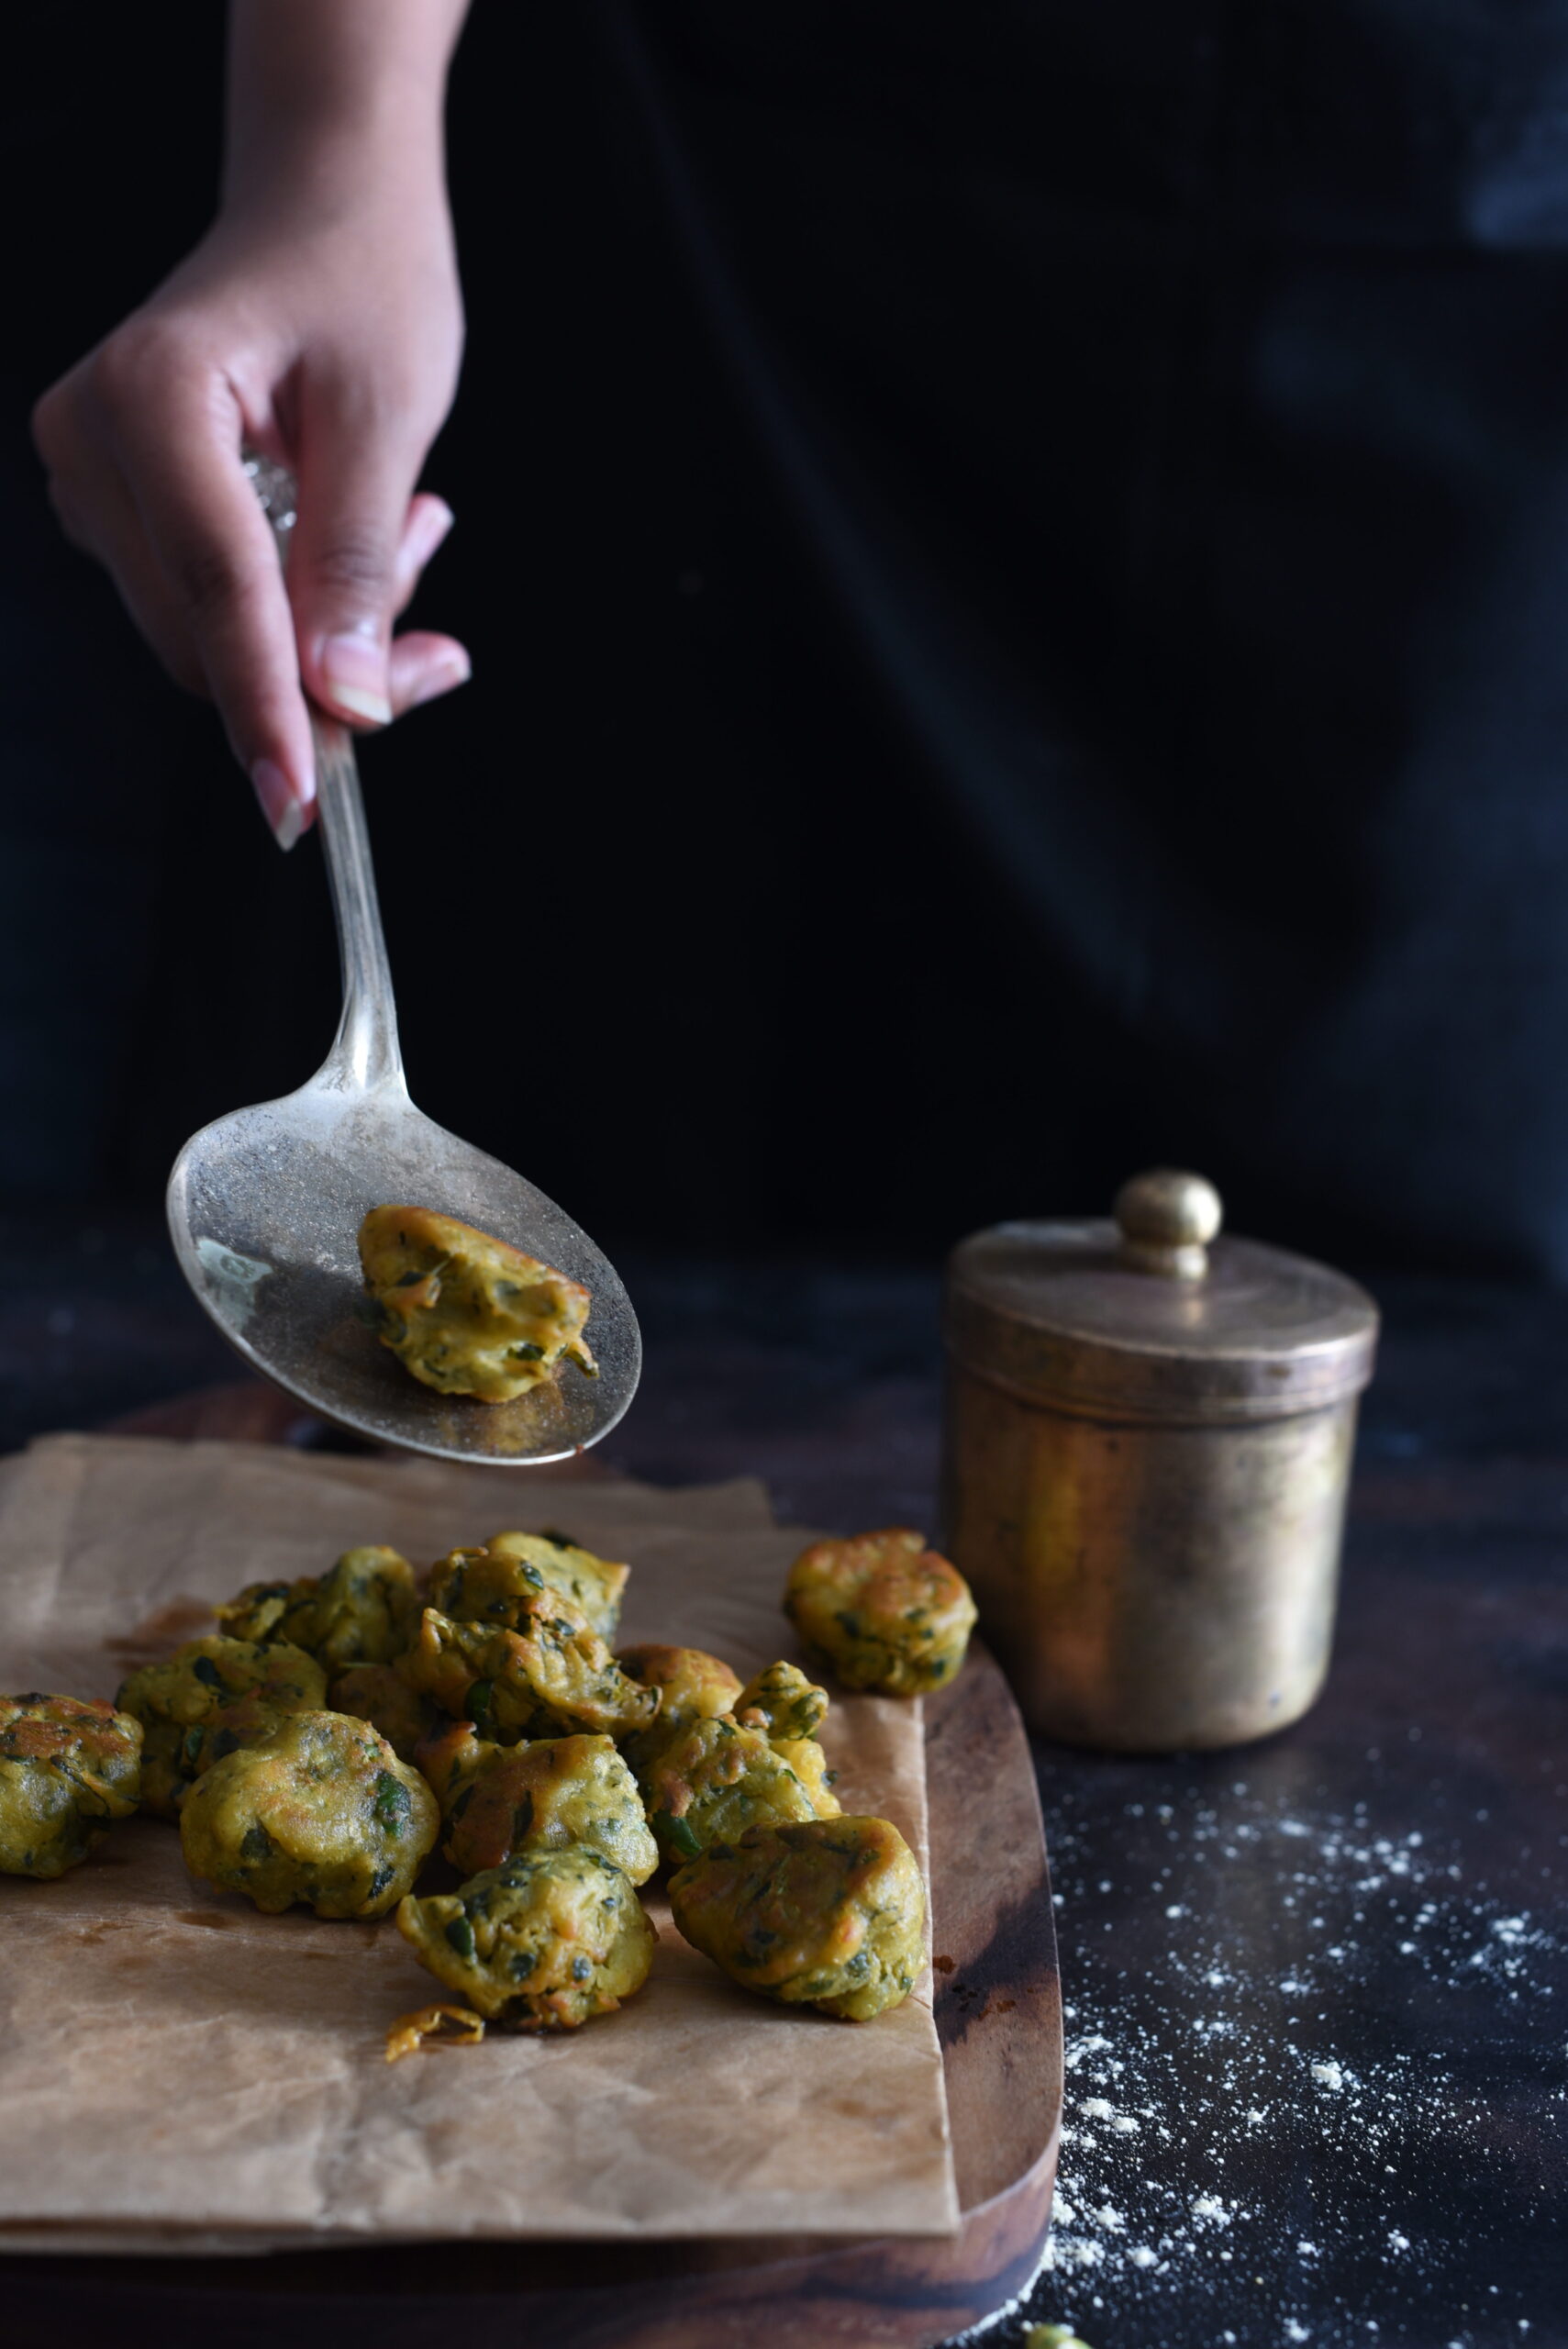
So we have here two key ingredients so nourishing that you can forget you’re chomping on fried deliciousness. Without further ado, here are my banana-methi fritters, served with a green coriander chutney.


Banana-Methi Fritters With Green Coriander Chutney

(Yield: 20-25 small fritters)

Fritters
¾ cup chickpea flour
¾ teaspoon salt
¼ teaspoon turmeric
½ teaspoon cumin powder
1 teaspoon grated ginger
1 finely chopped green chilli or 1 teaspoon chilli ginger paste
¾ cup methi leaves, washed and finely chopped
½ cup ripe banana, pulped or finely chopped
2 cups of oil + 1 tablespoon hot oil
¼ cup water

Chutney

1 cup coriander leaves, washed and finely chopped
1 green chilli
1 tablespoon peanuts
1 teaspoon lemon juice
2-3 tablespoons water
1 generous slice raw mango (optional)
Salt to taste

In a mixing bowl, add the flour, salt, turmeric, cumin, grated ginger and green chilli and mix. To this, add the banana and the methi leaves. Mix them well with your hands, adding enough water to make a paste-like consistency. Allow this batter to sit for a minimum of half an hour.

Heat the 2 cups of oil. Add 1 tablespoon of hot oil to the batter. The hot oil in the batter helps make the fritters soft. Blend well with your hands.

The remaining oil should be in a pan on the stove, and you can check its heat by adding just a drop of the batter into the oil to see if it sputters. If it does, the oil is ready. Lower the flame and add small spoonfuls of batter into the oil.

Keep the flame low and allow the fritters to fry well. Once the fritters have cooked on one side, flip them over using a butter knife. At this point, you may increase the flame slightly then lower it again, ensuring that the oil doesn’t get so hot that the fritters burn and blacken. You want them to be fried to a golden colour on both sides. Once this colour is achieved, remove the fritters from the stove and drop them onto an absorbent paper to remove excess oil.

Serve hot. I like to complement these crispy banana-methi fritters with a green coriander-based chutney. For this, I use coriander, green chilli, ginger, peanuts, salt, lemon juice and water, usually with a generous slice of raw mango. Simply blend all the ingredients together well in a mixer-grinder. The result is a flavourful chutney that perfectly accompanies the fried fritters.

Between the sweetness of the banana, the bitterness of the methi and the tangy kick of the chutney, you won’t be able to stop at just one! Try it for yourself and see. Let me know what you think in the comments.

Having lived in Tamil Nadu my whole life, the traditional local cuisine has always been a part of me. Millets were a staple in ancient times, replaced more recently by rice and wheat. Unlike what most contemporary nutritionists believe, Macrobiotics suggests that rice, in moderation, does not have negative effects on health. Adding millets into one’s diet, as a healthy alternative or addition to rice, can boost the health quotient without compromising on taste. More importantly, millets are gluten-free, offering a great solution for those who are gluten intolerant.

Nowadays, the health-conscious hark on about quinoa, which is a great superfood –  however, it is not native to India. They tend to ignore the affordable local millets, which offer the same (if not a greater) amount of nutrition and could themselves be superfoods!

There are always beautiful things that we learn from our parents, grandparents and in-laws. The kitchen is one such space of knowledge shared and passed on. When I got married into the family (in India, due to the joint family system – one marries families, not individuals!) I had the chance to learn more than I had imagined. My mother-in-law is an educated woman who enjoys cooking, and coming from different regions of the country, she and I had different styles and methods. We would often argue about how my family would make a dish a particular way, while she would insist that her family’s recipe was better. So it was with her kachoris, a delicious regional variant of the internationally-ubiquitous samosa.