Tag

cooking

Browsing

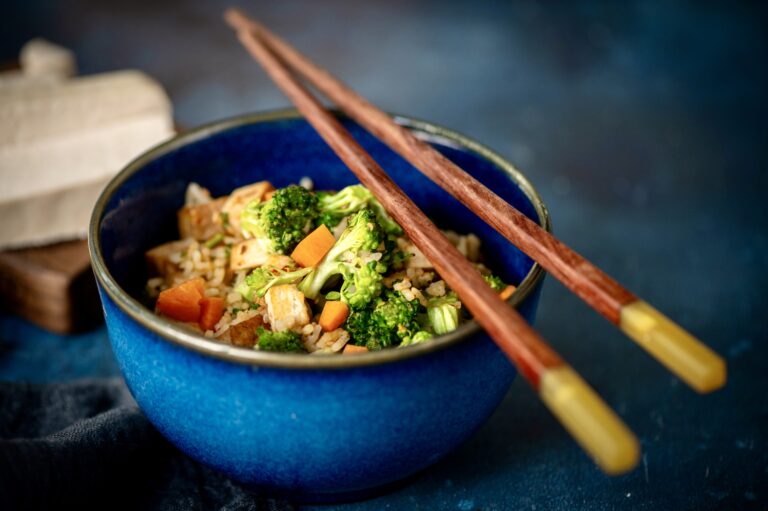
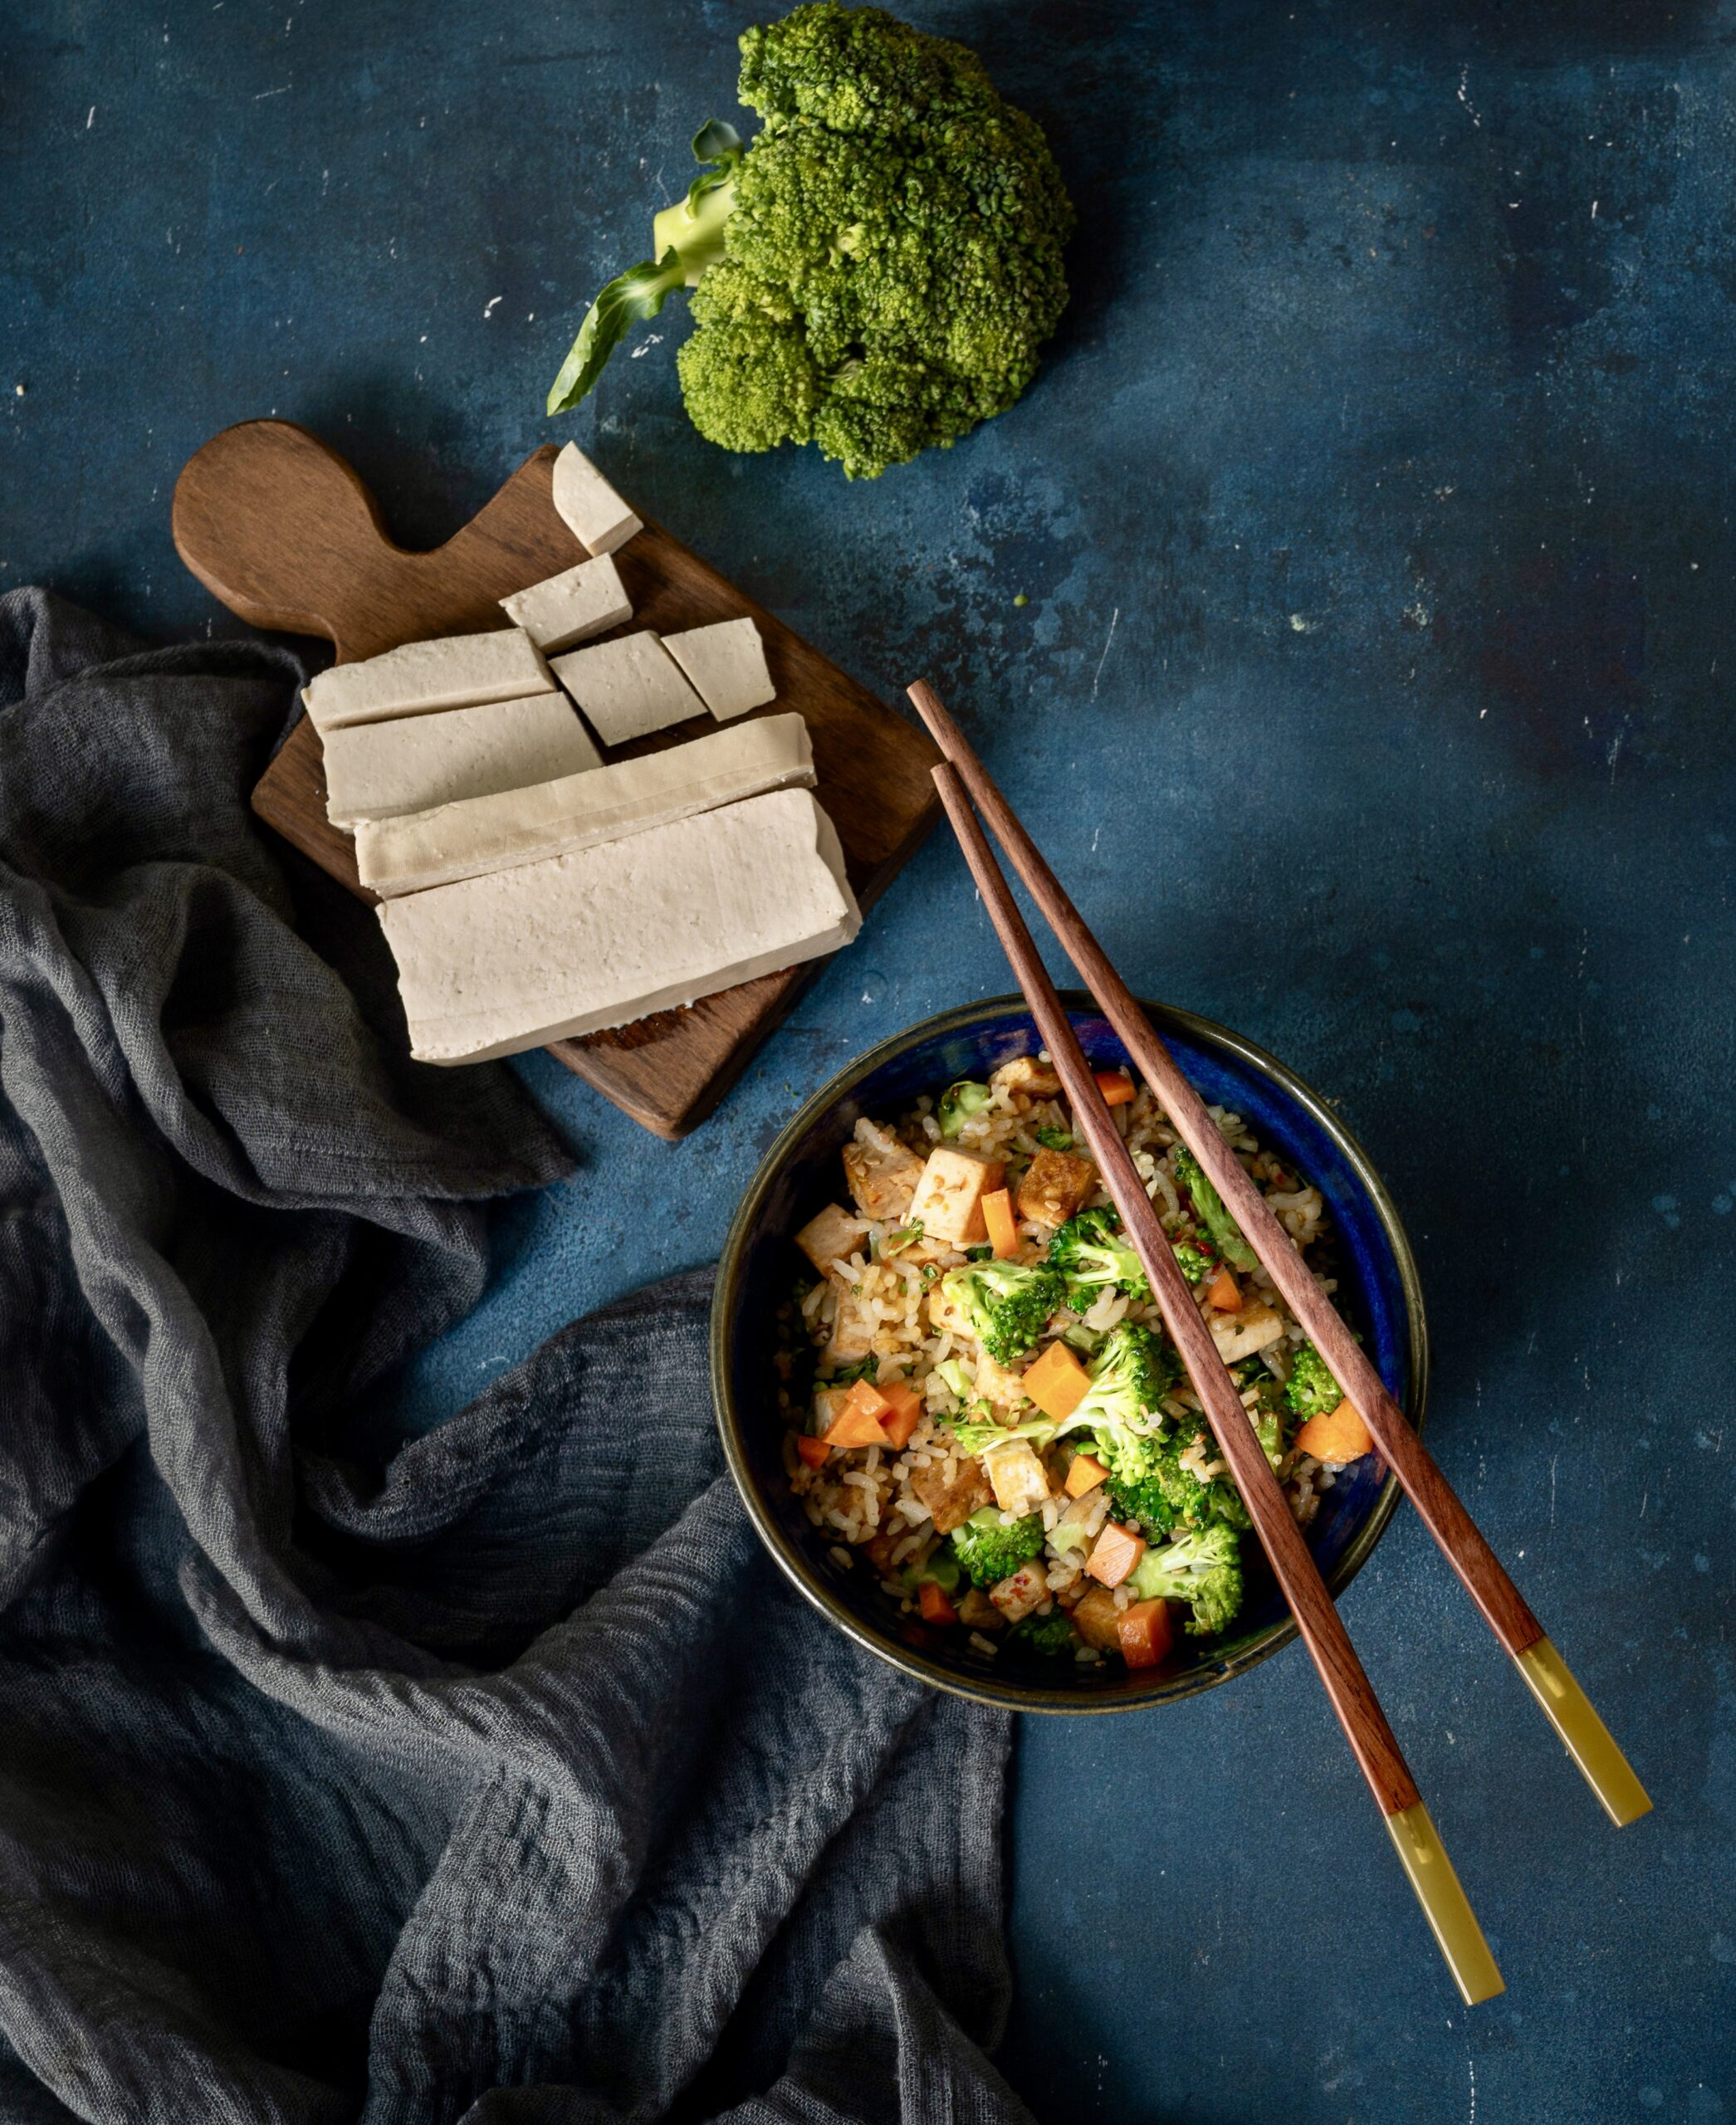
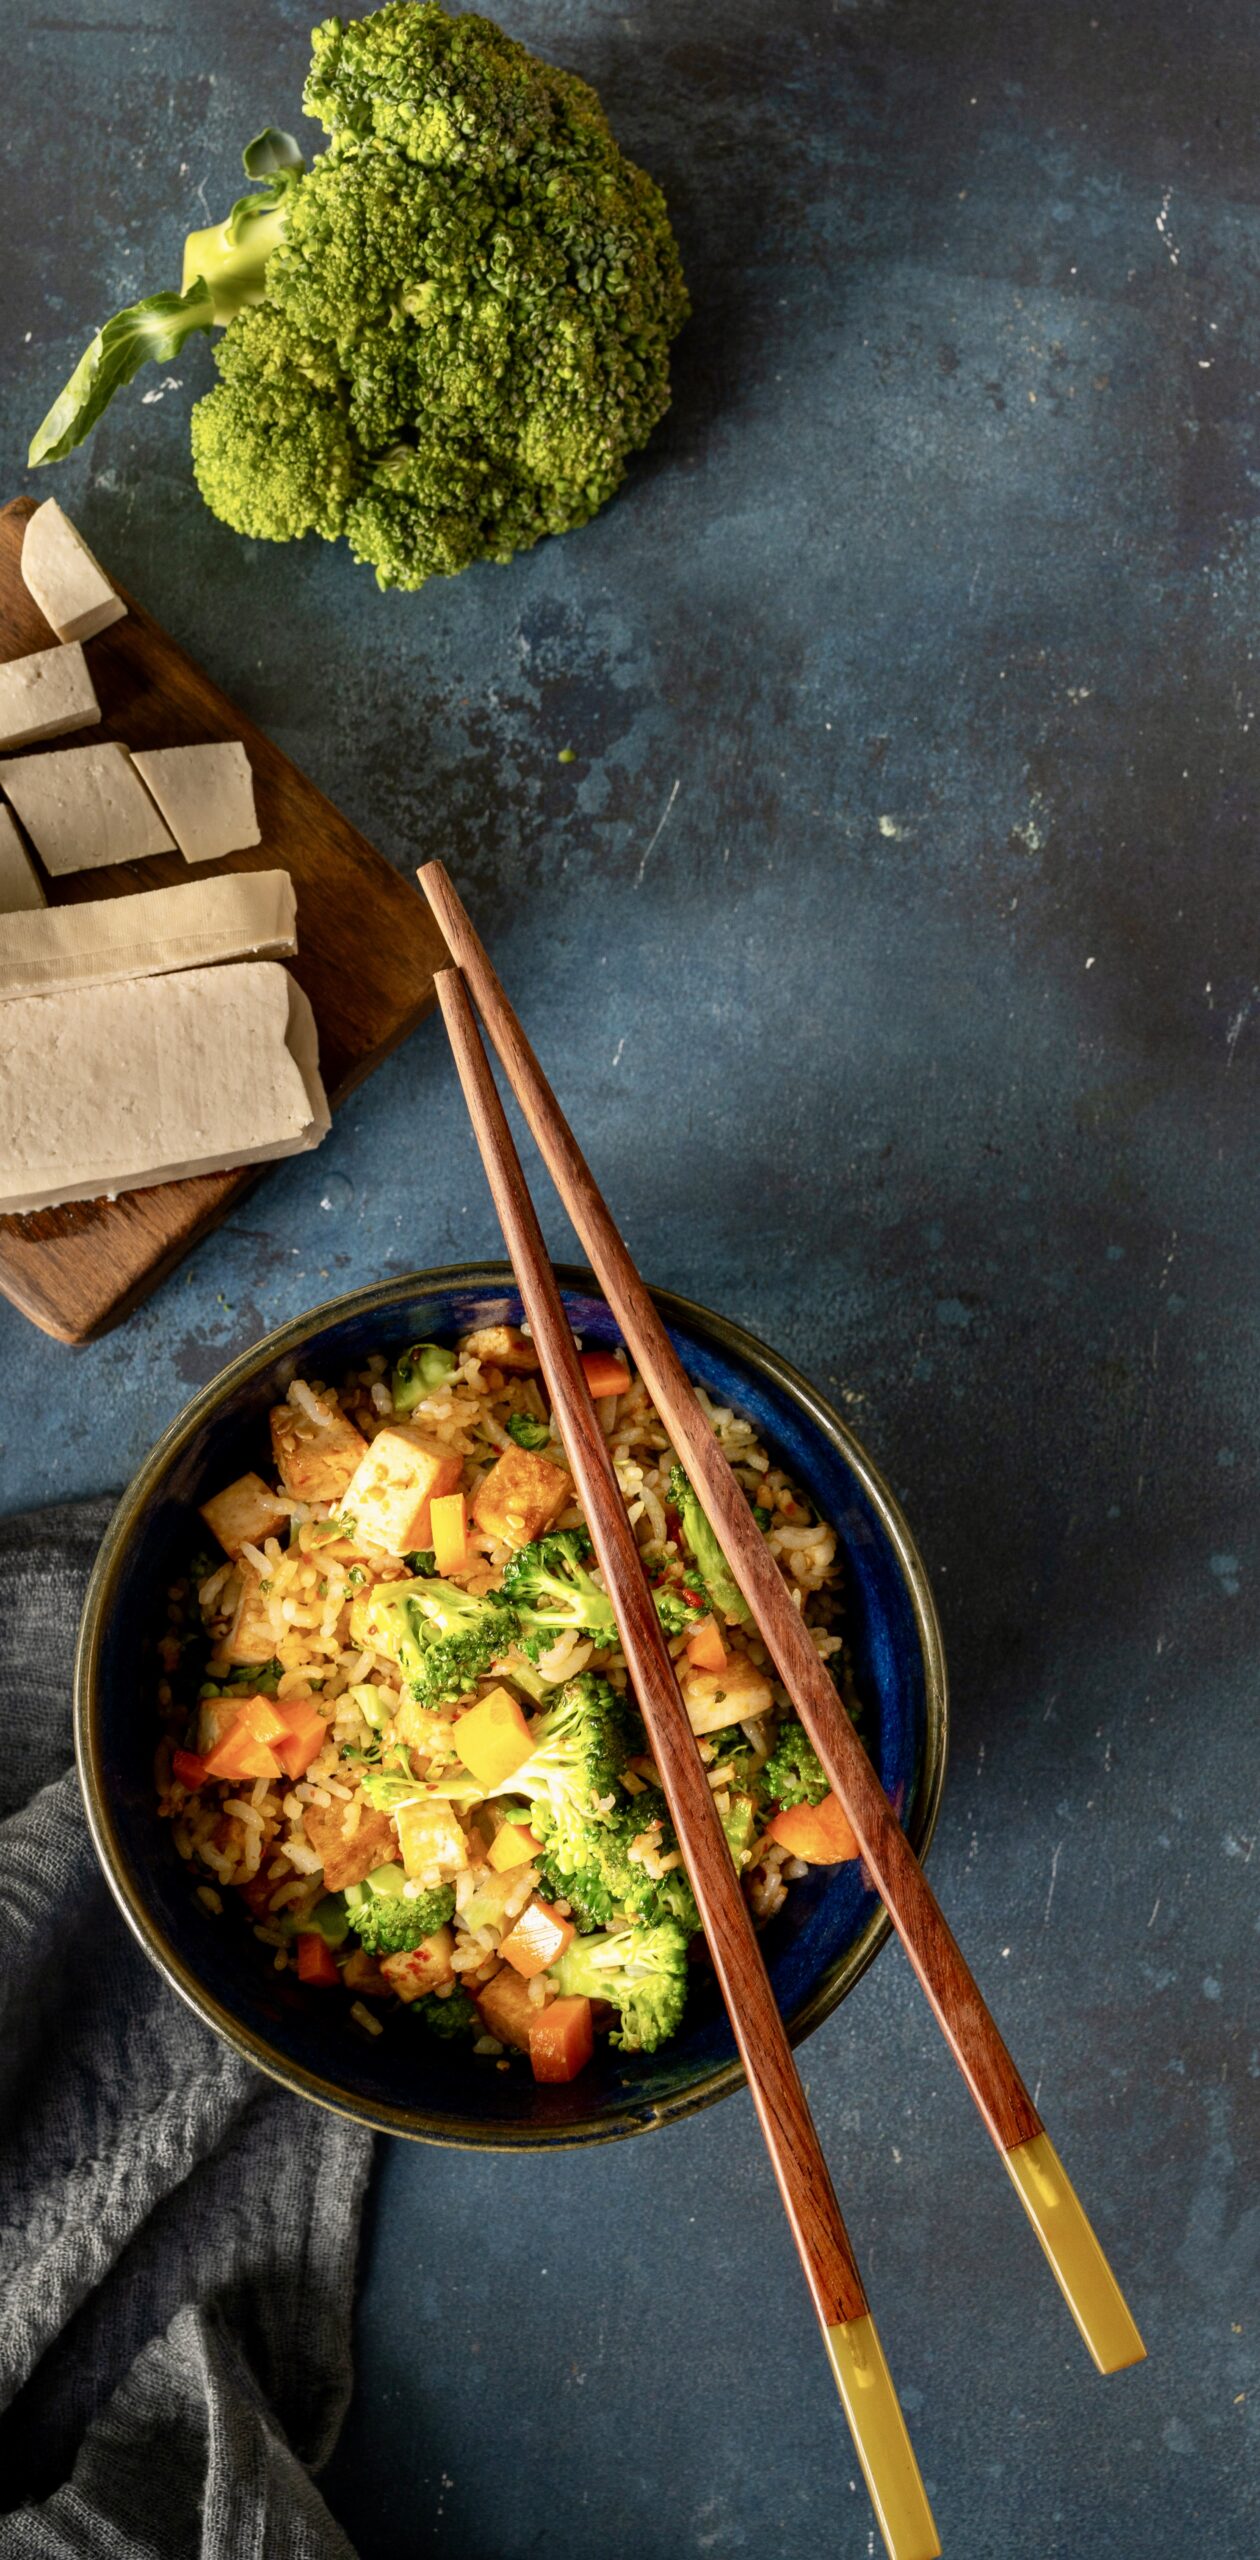
As I’ve gotten older, the importance of increasing my protein intake has become a big part of how I plan my meals. In fact, making this a habit from when one is young can have more benefits, but as they say, better late than never. If you, like me, are on a similar health journey, and especially if you consume a vegetarian diet, this tofu broccoli rice will make an excellent addition to your repertoire.

Bringing an adequate amount of protein into our meals is not that simple, which is why I will not make any major claims about what this dish may do for you. Speaking about protein is trendy on social media right now, but the truth is that no one can give you the actual numbers and amounts other than a good nutritionist, whom you work with directly. I have been guided by one who has helped me determine my individualized protein needs based on a variety of factors and who has made sure that I have upped my consumption. I have since become much more aware in general about how to ensure I get enough.

The shift is quite a difficult shift for us, as Indians, because it has been ingrained in us for centuries that rice or roti must be the main course of every meal. Carbs form the centre of every traditional plate. I would actually suggest that we make a departure from what is traditional here and instead take inspiration from youngsters. I can see how the next generation is much more conscious about their eating habits and are choosing to change the composition of their daily thalis. It is not as straightforward as just throwing in an ingredient. Rather, it’s about tweaking all the components of the meal, and the specific portions. So, while this dish contains rice, it highlights the tofu, which gives us protein, and the broccoli, which gives us fibre. When I prepare it, I include 30% tofu, 30% broccoli and 40% rice, rather than 60% rice as I would have in the past. These small adjustments are a great way to start incorporating larger amounts of protein into our regular cooking.

I would also have used paneer rather than tofu earlier, and I include myself when I say that getting Indians to shift from paneer to tofu is another challenge in itself! Paneer is always regarded as the ultimate dish at a vegetarian table. The Indian reverence for milk plays a part, but so does the fact that the higher fat content in paneer does make it tastier. Still, tofu is a fantastic replacement, and the trick is to cook it separately, adding specific flavours to it, as I’ll describe in the method below.

In addition to tofu, soyabean chunks and tempeh are also great protein-boosting vegetarian options. Nowadays, I can vouch for excellent organically produced soya on the market, and also that there is quite a variety of brands available.

This tofu broccoli rice is bursting with goodness already, but you can also turn it into a Buddha bowl by adding a few more ingredients. You can also check out the archives for some more ideas on how to put together a well-rounded meal-in-a-bowl.
Tofu Broccoli Rice

(Serves 2)

1 cup broccoli

1 cup tofu

½ cup cooked rice

1 teaspoon soya sauce

1 teaspoon sesame seeds

1 tablespoon sesame oil

Salt to taste

½ teaspoon chilli paste

A handful of mint leaves

½ cup chopped carrot

Add oil to a pan. Once it has heated, add the sesame seeds. Now, add the tofu and allow the pieces to turn golden on both sides. Add the soya sauce. Stir and set aside.

Using the same pan, add the broccoli and the carrots and allow these to cook for a few minutes, like a stir fry. Add the tofu to the pan again, as well as the cooked rice. Add salt to taste. Remember that soya sauce is already salty, so be careful to adjust the quantity you use accordingly.

Mix well and serve hot. I have added mint leaves and chopped carrots as a garnishing, and to bring more colour to the dish.

As always, I encourage you to use my recipe as a base on which to design your own. I often reiterate about using up what’s already in your fridge or your pantry, so feel free to replace broccoli with another vegetable or even several other vegetables. As for the rice, here’s a tip: fried rice always tastes best when it has been cooked the previous day, chilled, then stir-fried.

Of course, you may want to replace rice altogether with quinoa or another grain. Personally, I have gone with small grain white rice as I find it quite flavourful and believe it works well with tofu. In my mind, the two ingredients are associated with South East Asia and certain travels and experiences there. Bringing them together feels intuitive to me. Food is often like that, is it not? Even when fulfilling our nutritional requirements, we can also fulfil our nostalgic meanderings, and of course, our cravings too.
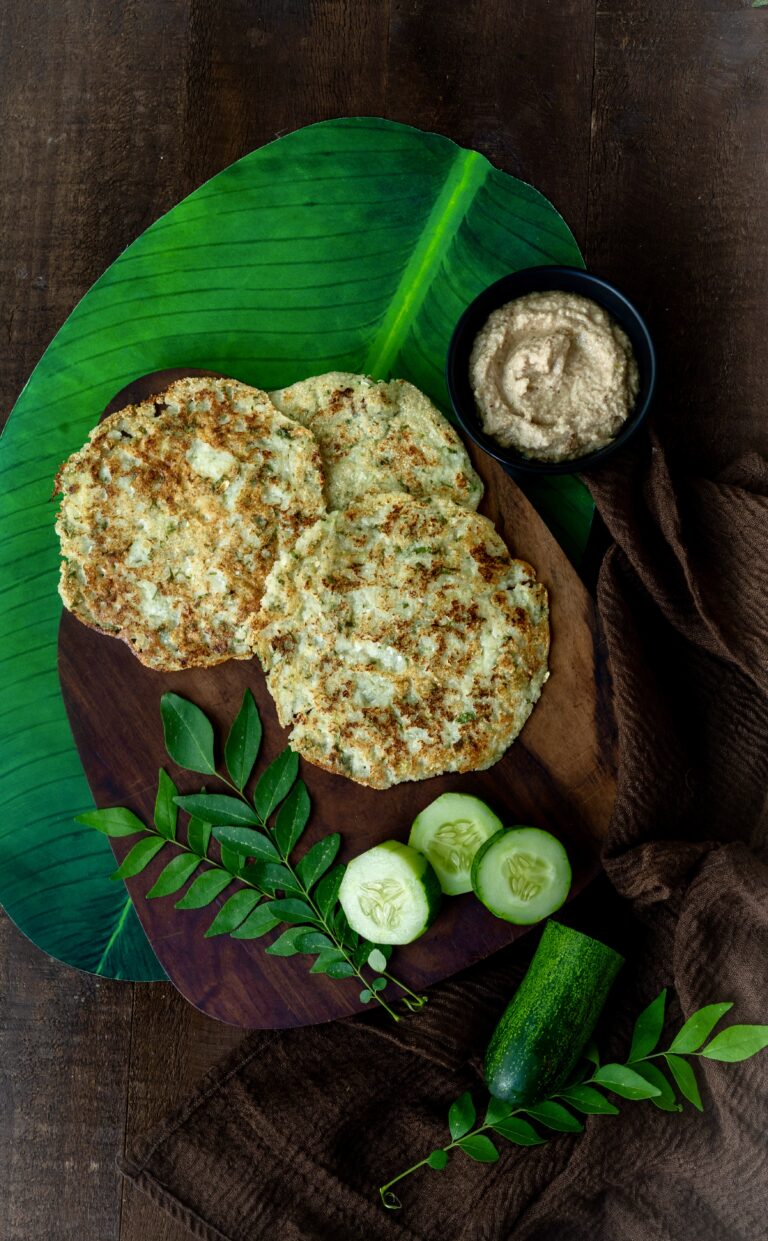
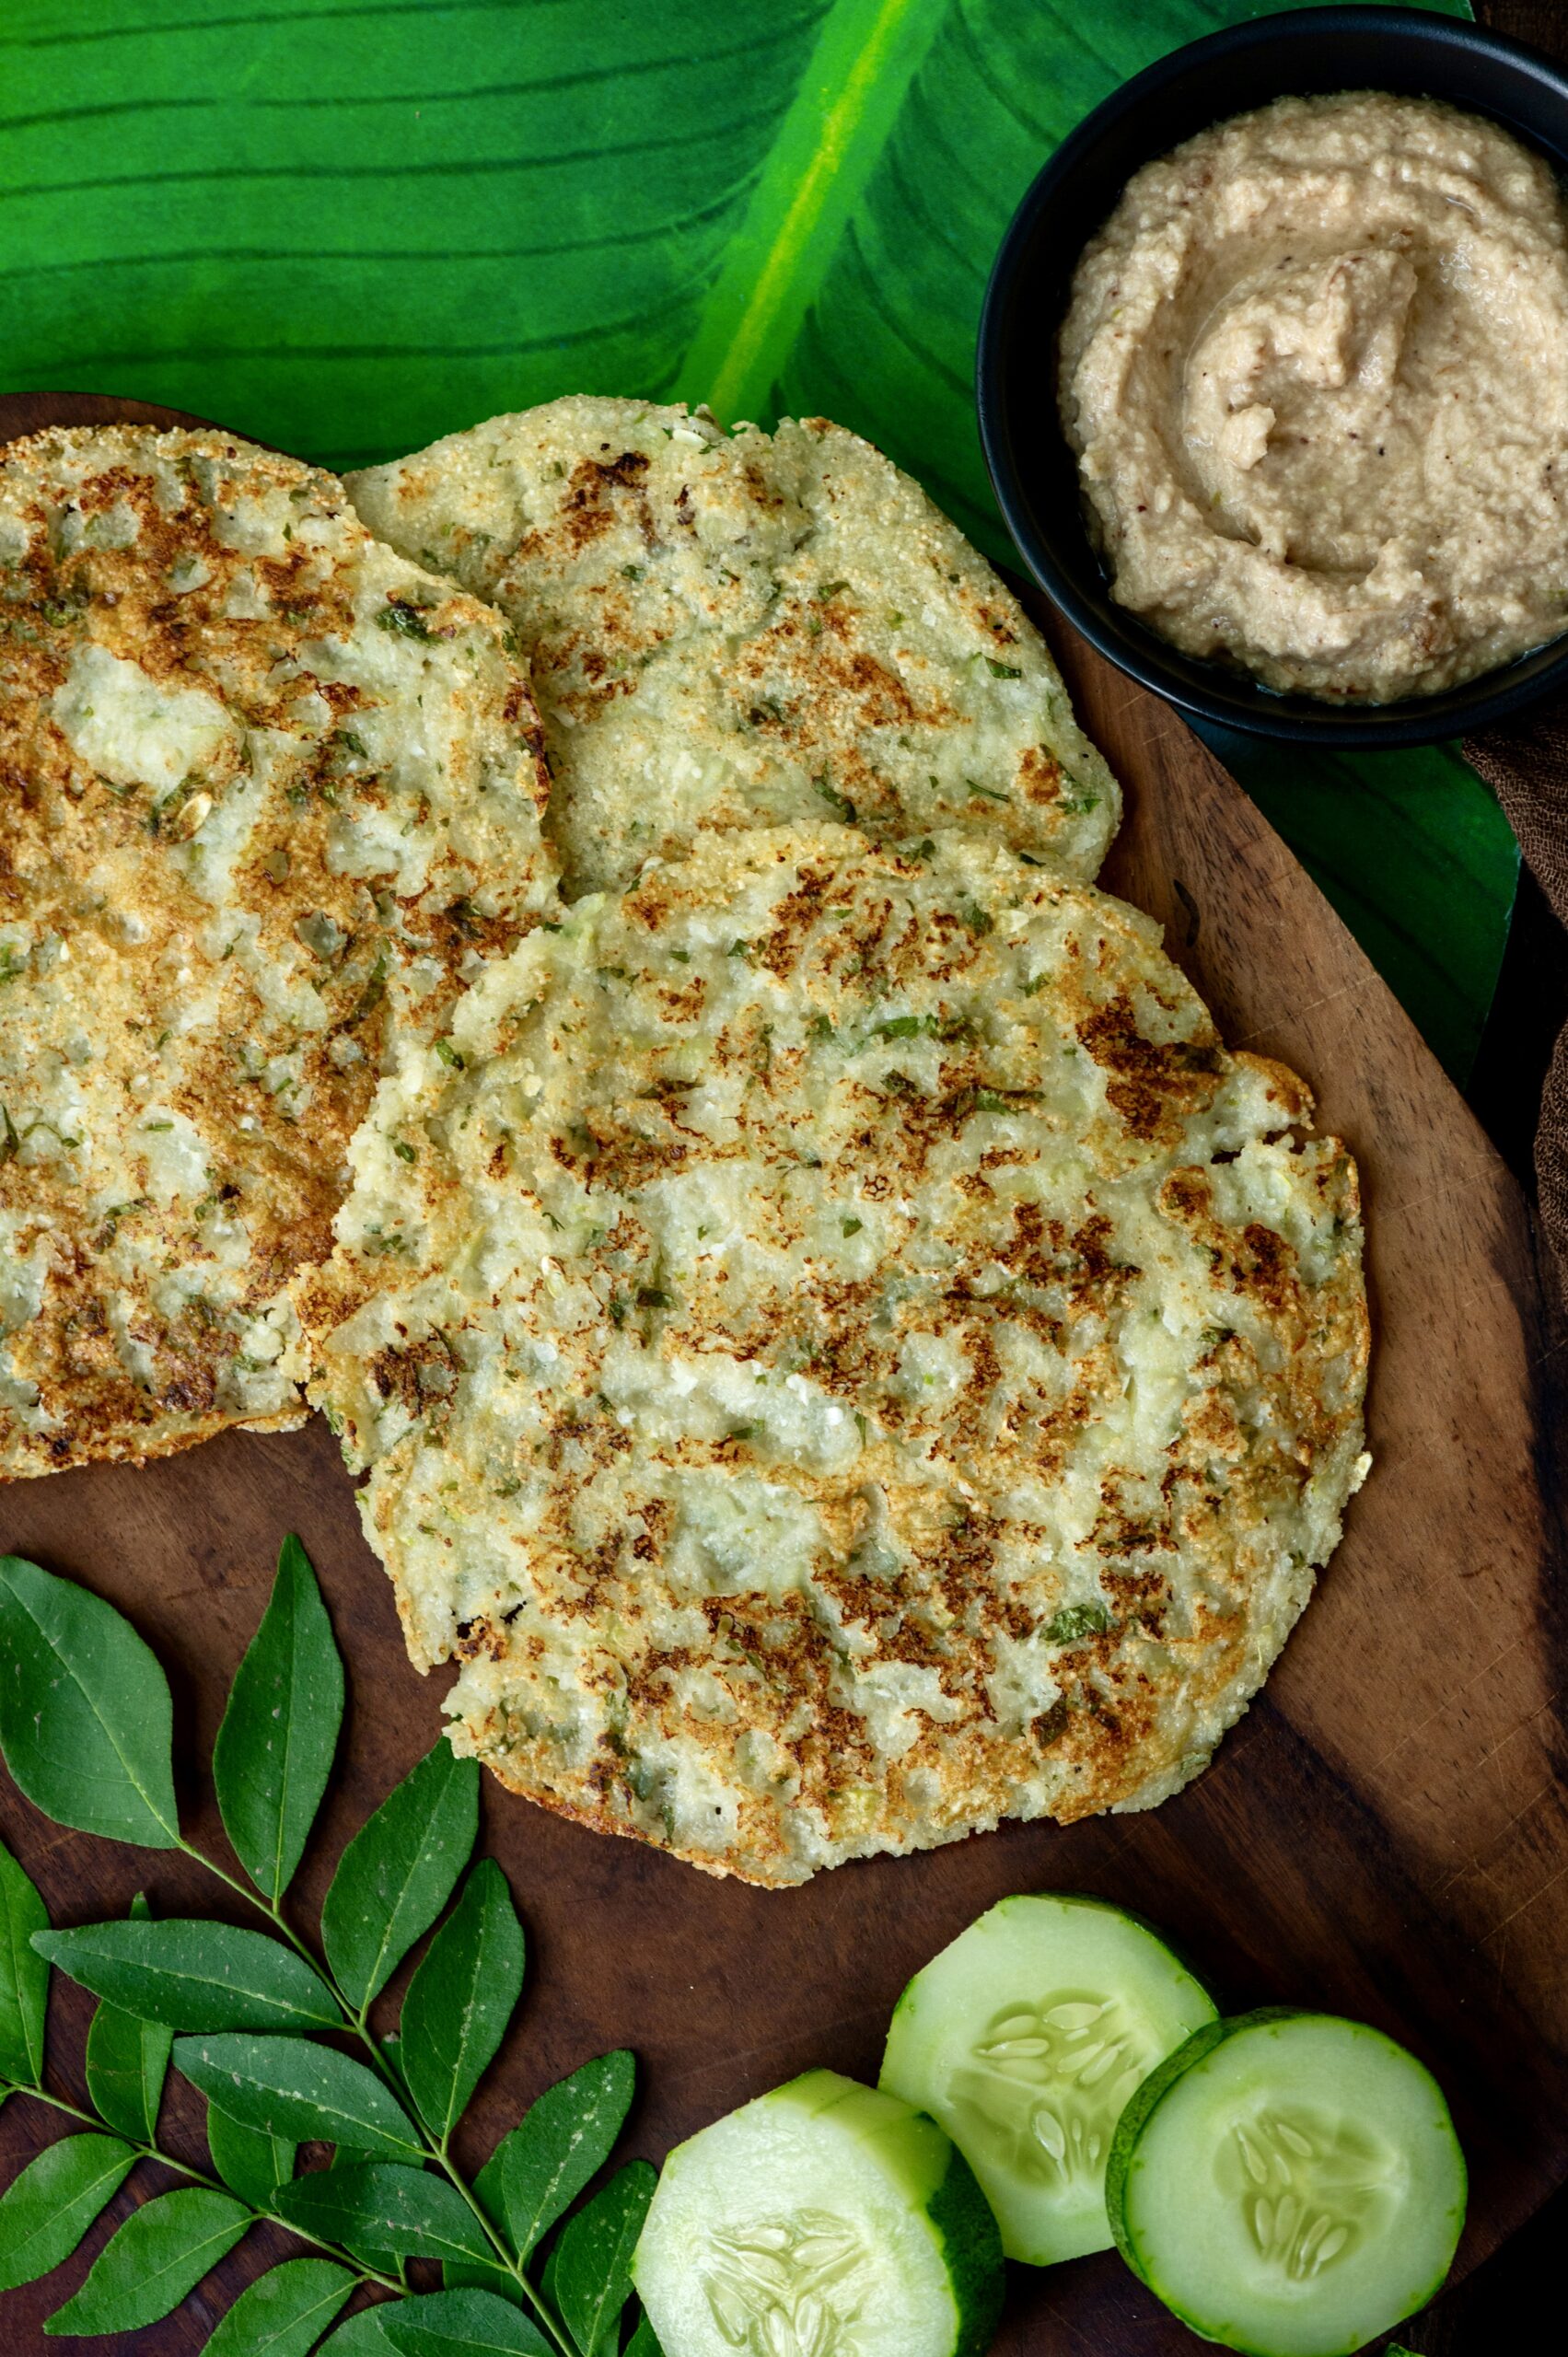
I would describe a doddaka as being a kind of cross between a dosa and a roti, and some version of it exists in numerous cultures in India, including in Goa, Karnataka, Maharashtra and even Gujarat (my mother-in-law used to make that version). As with both dosas and rotis, numerous variations in preparation exist. I experienced a lovely bottle gourd doddaka a few months ago, and even though I’ve been travelling a lot this year and haven’t spent as much time cooking, I keep thinking about it. So I decided the other day to try out the recipe myself. It came out well, and as always, I wanted to share the deliciousness with you too.

I encountered this bottle gourd doddaka while we were zipping around in the lead-up to my son’s wedding a couple of months ago. We had not wanted to invite people digitally, and felt that the effort of the time-honoured Indian custom – of personally visiting people and inviting them – was well worth it. On one such visit, we went to meet a Kannadiga friend of ours. Our friend’s elderly mother was present at their home. It turned out that she is a reader of this blog, and we spent time chit-chatting about food and photography.

It had been a long and exhausting day, and we had arrived at their home at almost 7.30pm, which is beyond my dinner time, and at some point during the visit we were offered a meal. Our friend’s mother made us some hot, crispy bottle gourd doddaka – and from then on, the conversation stopped being about my cooking and became about hers. It tasted marvellous, and I thought it was quite interesting from a culinary perspective too. I enjoyed it thoroughly. When I think of that evening, I remember feeling like I was at home. That was truly a comfort food experience in every way.

Whenever I go somewhere and try out a new dish, I am curious – to the point of being painful, according to my children – about how to prepare it. I will immediately want to find out what the cook did, why they did it, and how they did it. Usually, I will then try to add my own twist as well. This is not always necessary. With this traditional Kannada doddaka for example, I thought the original recipe – as shared by our friend’s mother – was just perfect, and I didn’t feel the need to change it at all.

Isn’t it beautiful how you sometimes meet a person in passing and then strike up a conversation with them that just stays with you in some way? To me, the fact that I have a recipe from that evening, and will probably always think of that family and their home when I make it, really means a lot.

Bottle Gourd Doddaka

(Yield: 8 pieces)

1 cup rawa

½ cup coconut grated

¾ cup thick curd

1 cup water

½ cup grated bottle gourd (substitute: cucumber)

Salt to taste

1 teaspoon green chilli + ginger paste

¼ cup chopped coriander leaves

Oil for cooking


In a bowl, add all the ingredients and mix well. Set aside. Adjust the water quantity as required – keep the batter thick yet of a pouring consistency.

Heat a griddle and add a few drops of oil. Now, pour a ladle full of the batter onto this. You will see that it spreads by itself. Allow the doddaka to cook on a low or medium flame, making sure it does not get burnt. Flip and allow to cook on both sides until well done. Continue to prepare more doddakas with the remaining batter.

Serve with a chutney of your choice. I have a range of these that you can explore, and I hope you’ll find a few in the archives that you like and can mix and match with various dishes. As this bottle gourd doddaka has quite a bit of flavour already, it can also be eaten plain if you prefer.

As you would have noticed in the ingredients, I have suggested cucumber as a substitute for bottle gourd. Both are water-based vegetables that grow through the year in South India, where we have no seasons other than summer, summer and more summers – and some monsoons. Thus, they are ideal for staying hydrated. Bottle gourd in particular doesn’t have much flavour by itself, and takes on the flavour of whatever you add to it (which makes it perfect for sneaking into soups for fussy kids). Nutrition and hydration together are an excellent combo, and when you add taste to it – as you do with a doddaka – it’s unbeatable.

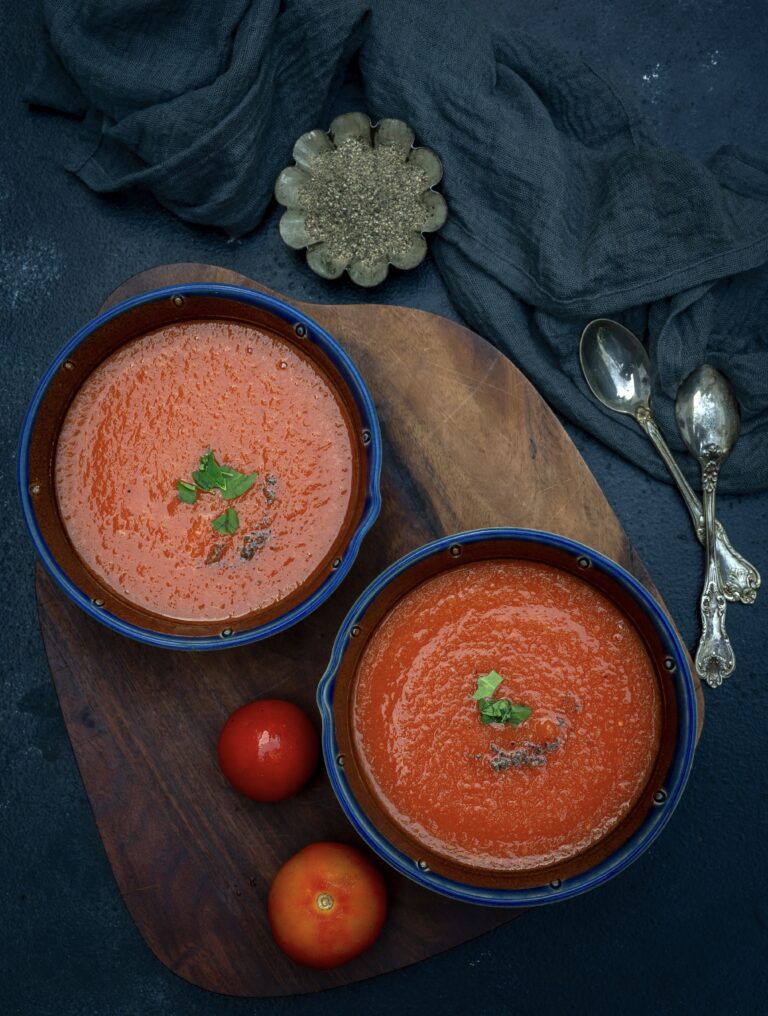
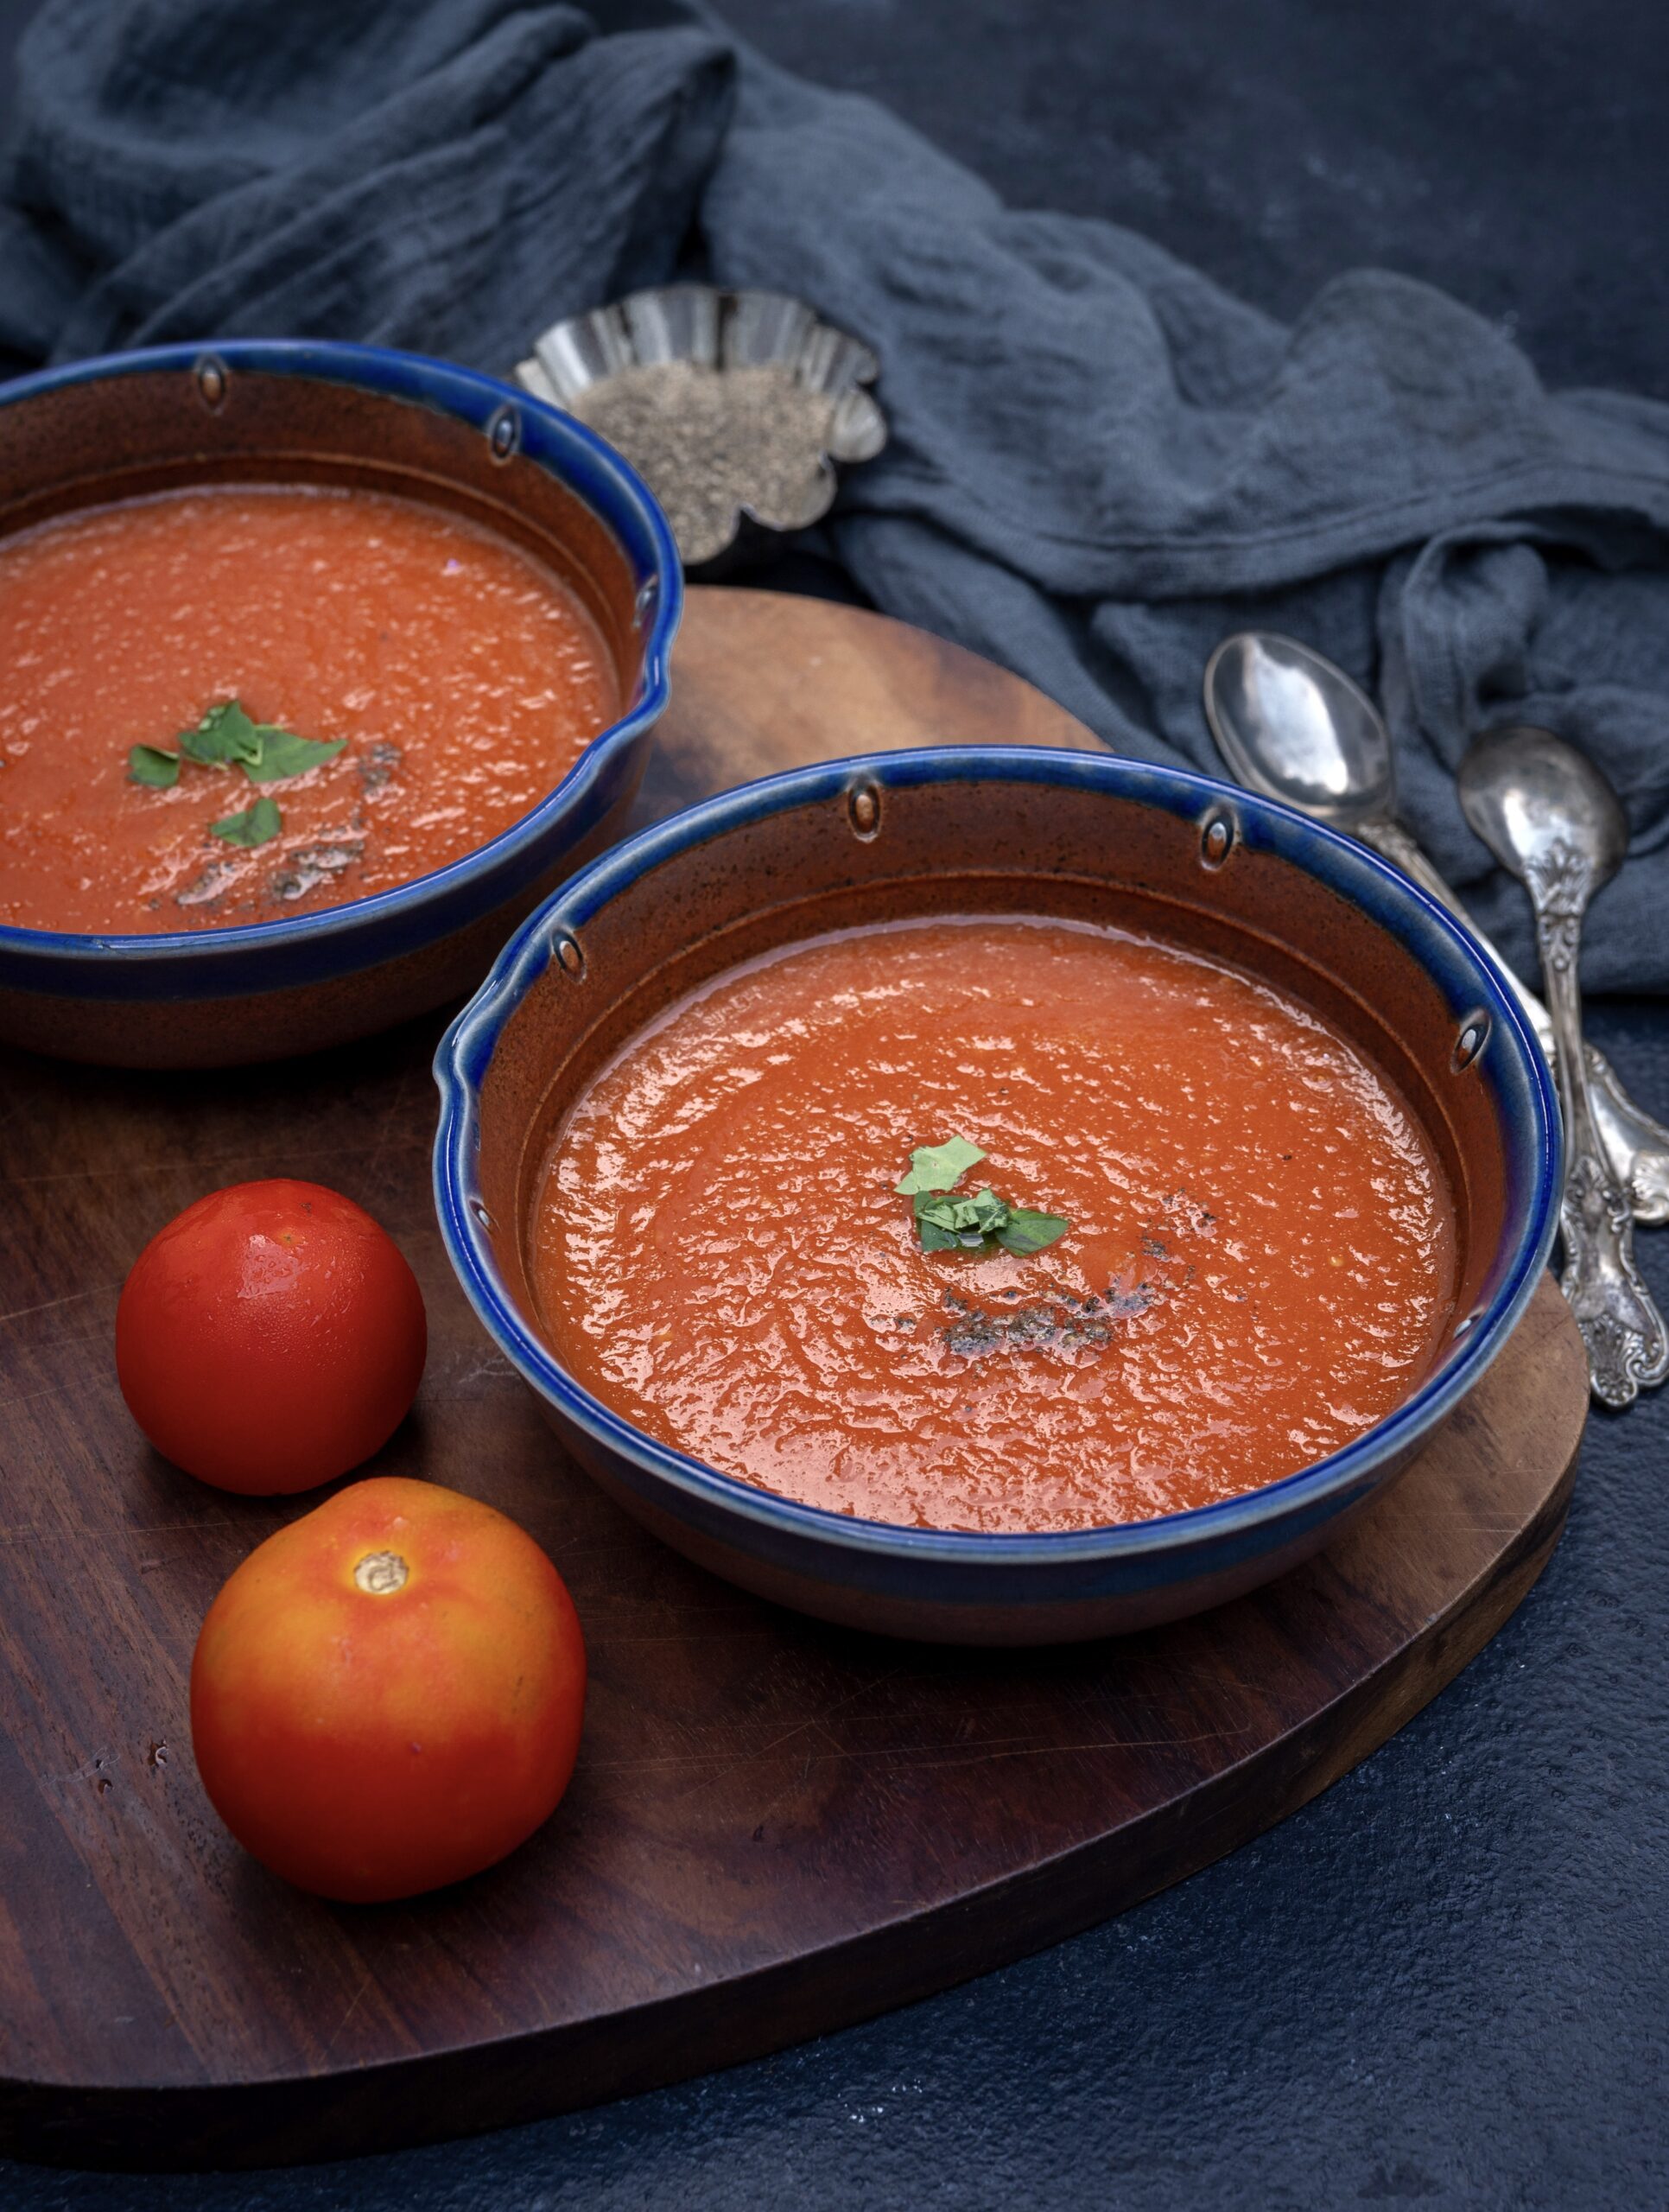
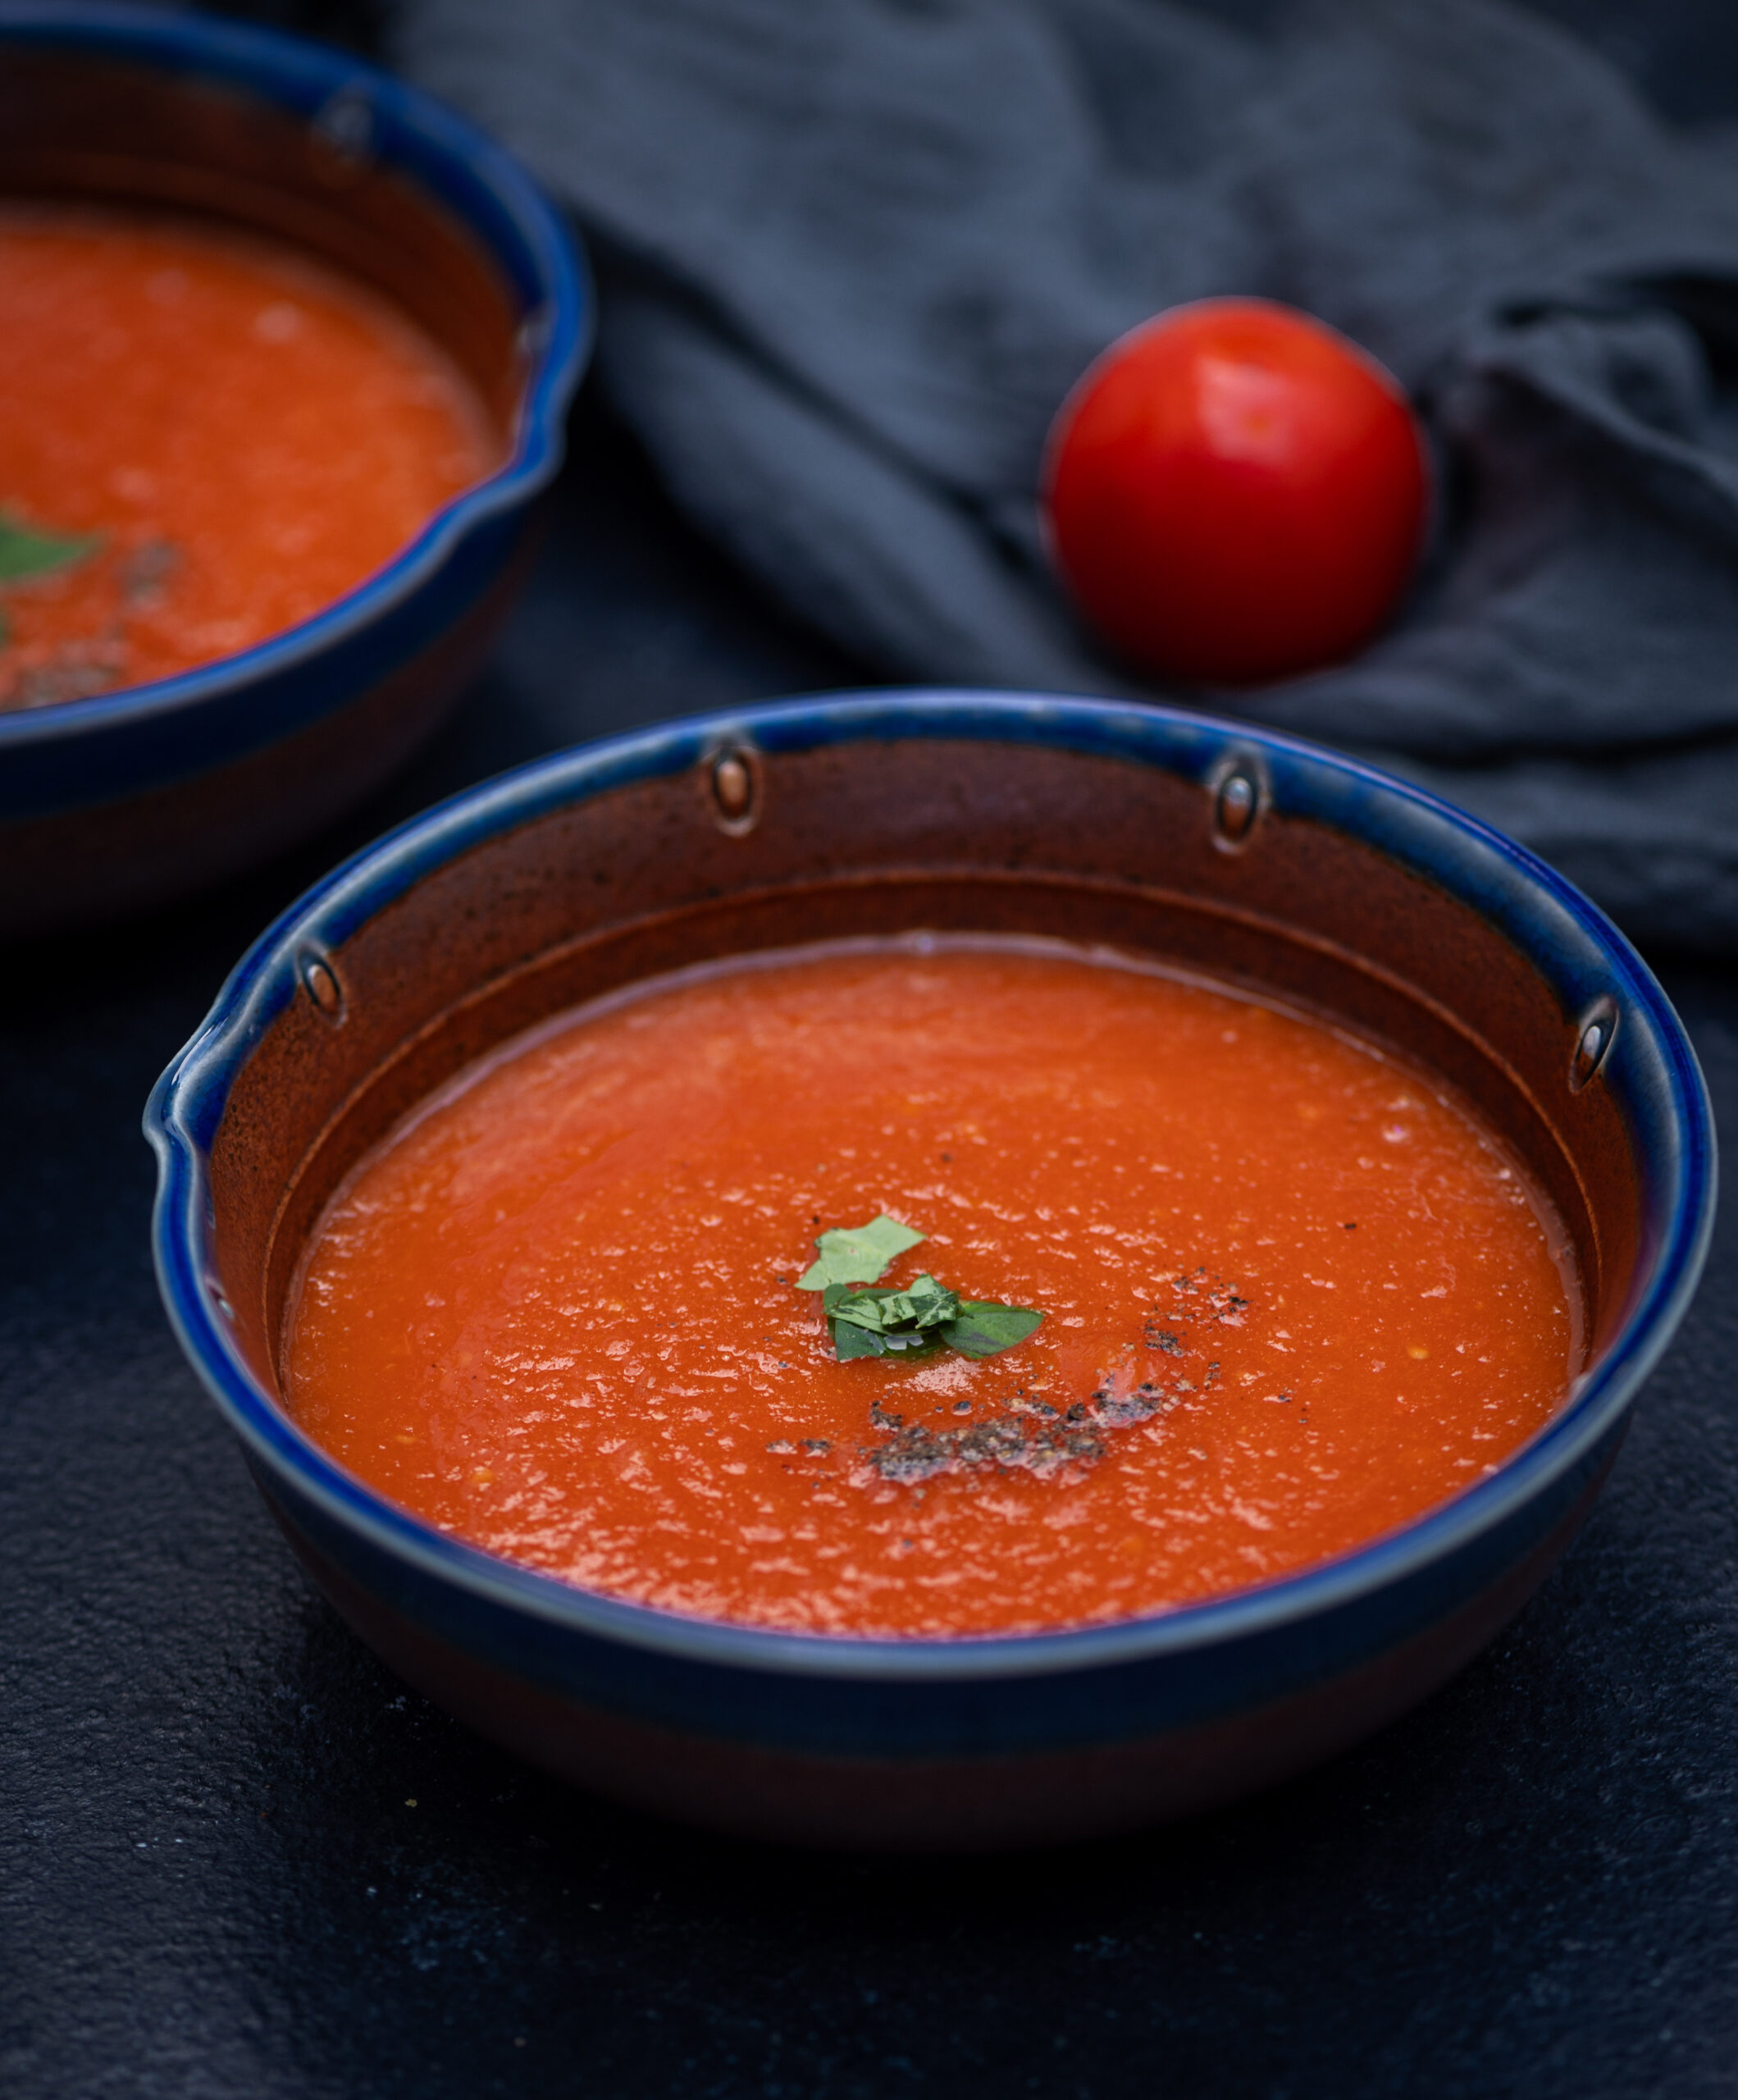
Tomato soup is a staple among the variety of soups, and every single person I know has their own method. Each has their own recipe, with a distinct taste and particular flavourings – these could be Indian, Italian, Mexican or so on. At the end of the day, it’s their own favourite version of tomato soup, and this one – roasted tomato soup – happens to be mine.

Tomato soup is often a comfort soup to many, especially when one is ill or at home alone and therefore cooking lightly. But it is also ideal for when one wants to entertain and offer something homely to guests.

In that sense, it’s both familiar and versatile. You can dress it up or dress it down, depending on the occasion. You can also decorate it through garnishing and plating, and present it well. While it works just fine on its own, it can be an appetizer or had as or with an accompaniment. I like to have it alongside some kind of toast.

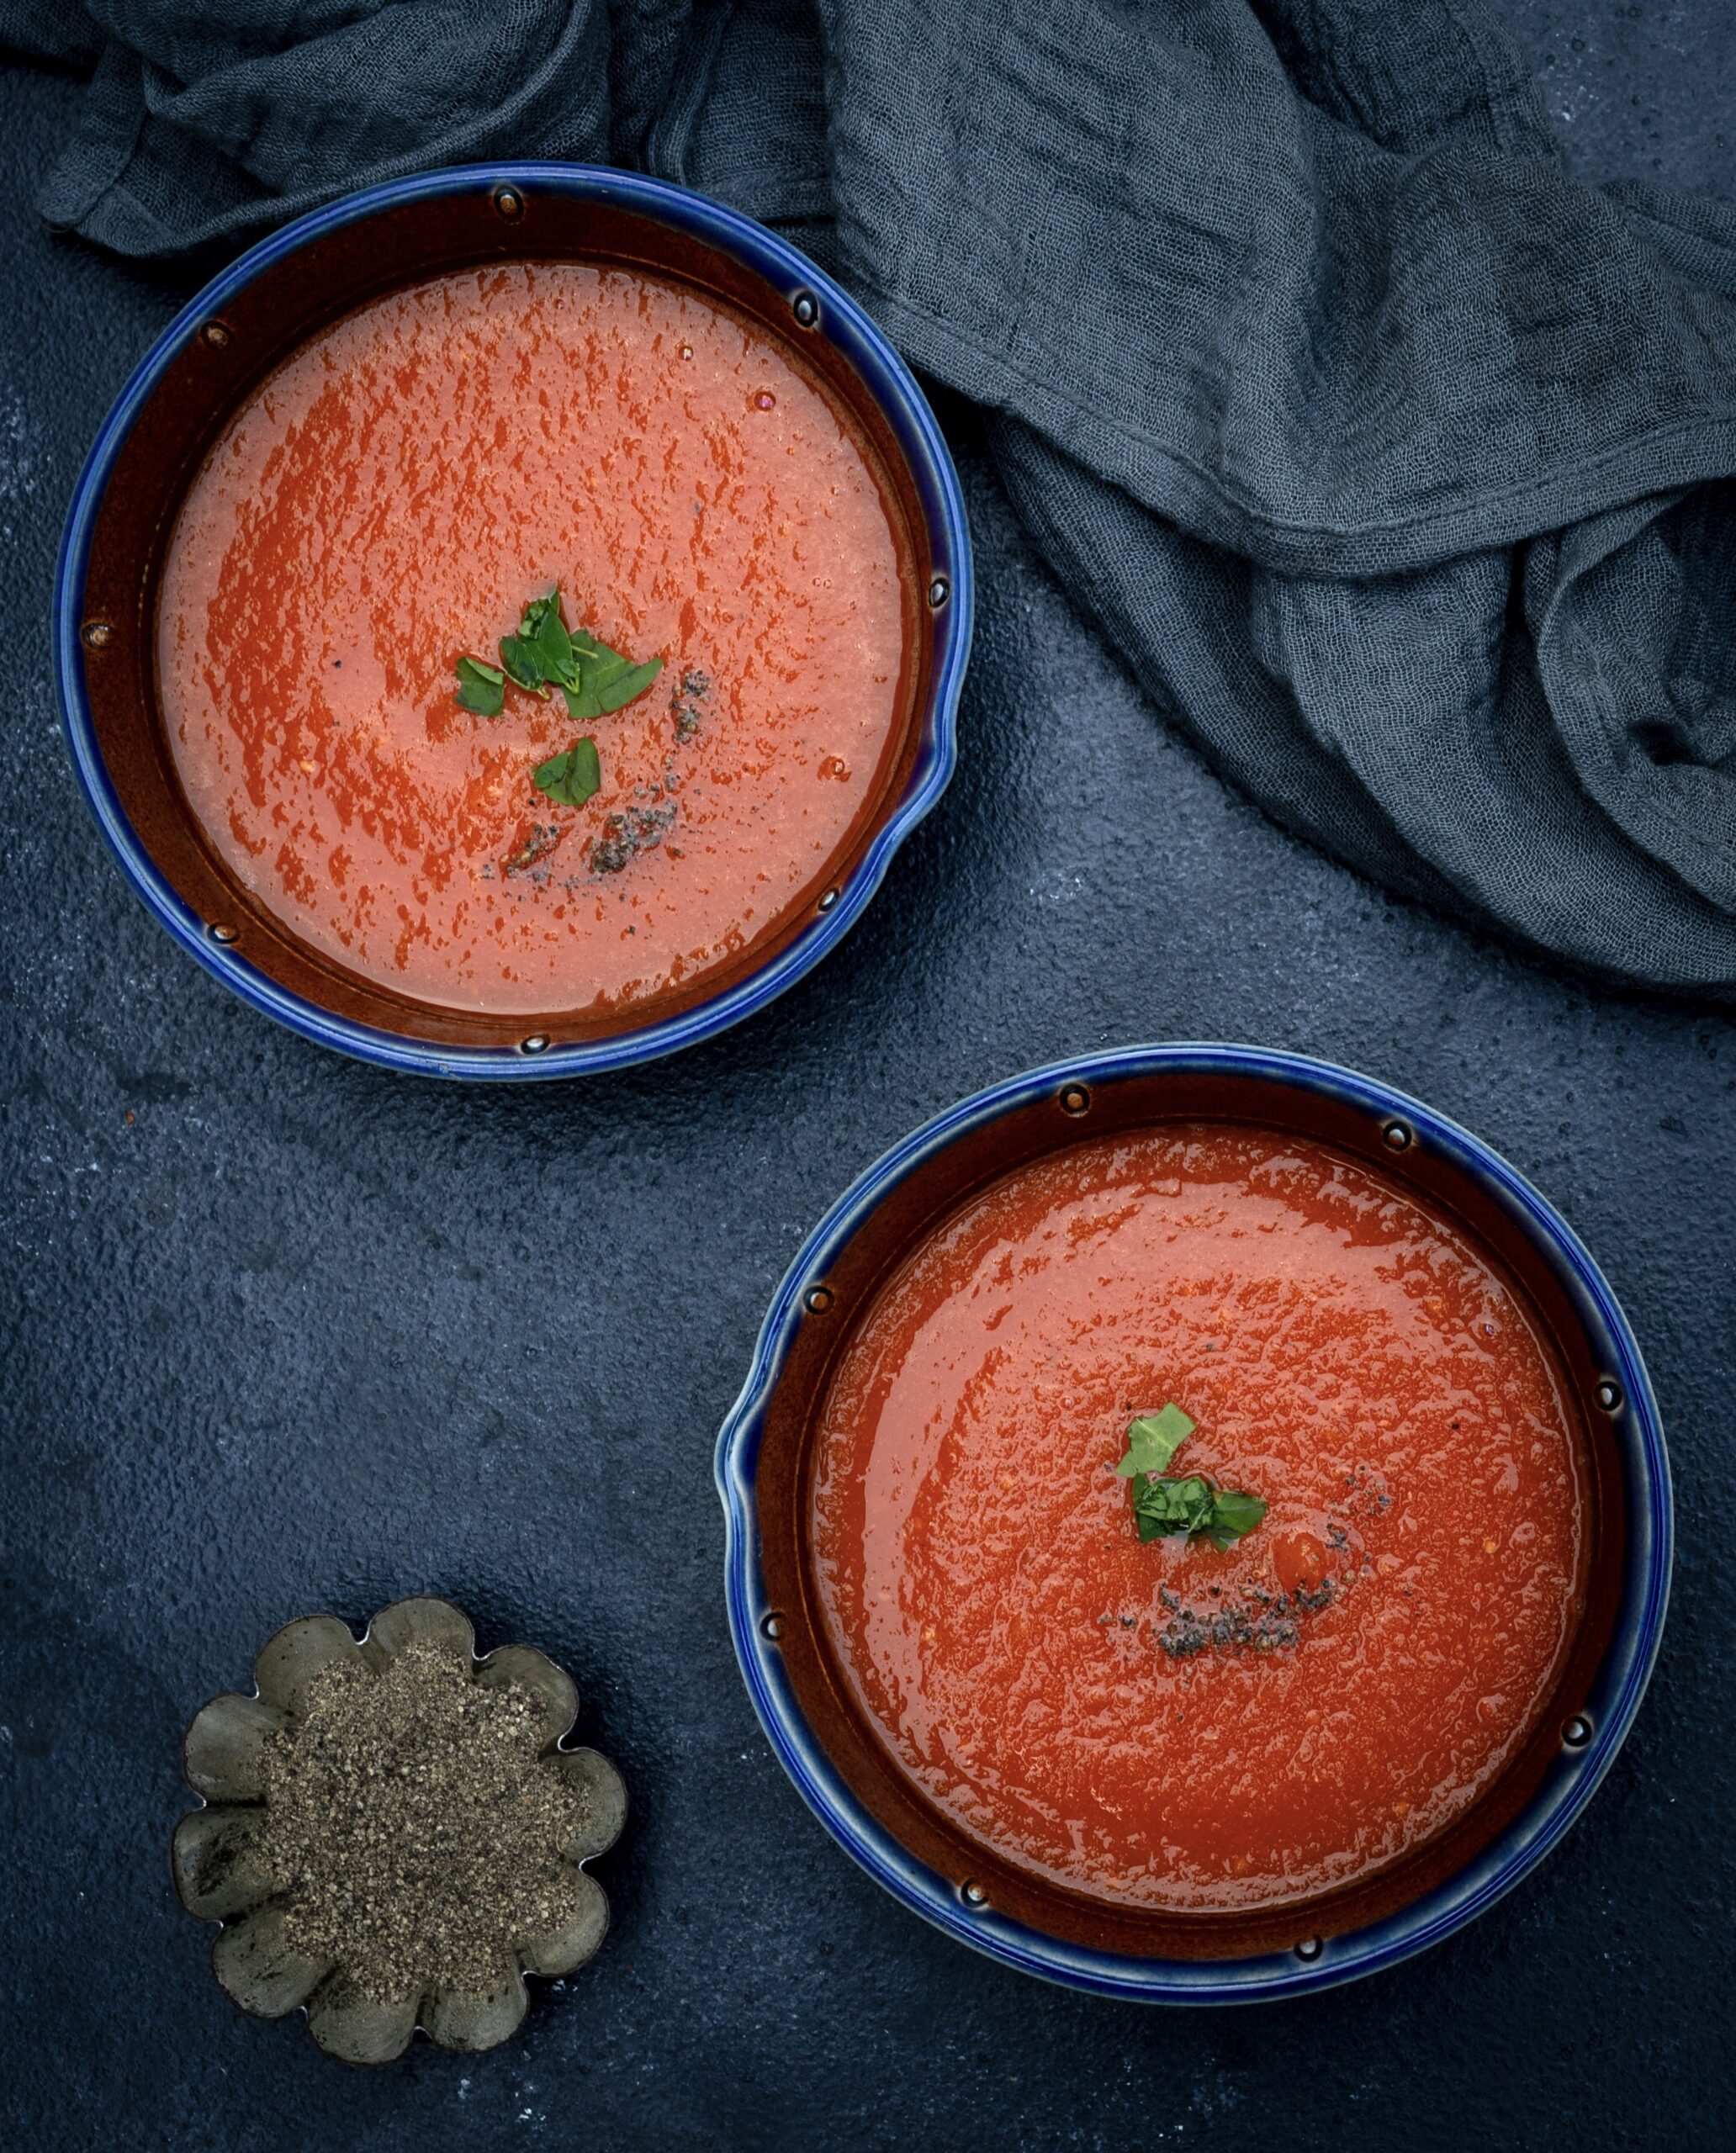
In terms of spices, I like to keep mine simple: salt and pepper are enough, and a dash of lime before serving adds more flavour. You may wish to add rosemary or some Italian herbs to season it, if you prefer. The secret to the taste in my recipe is that the tomatoes are roasted first. The roasting adds a really nice flavour to the soup, versus steaming or boiling. The colour itself is very inviting and looks lovely on a table setting.

Speaking of colour, there was a little trick I used to do with this tomato soup when my kids were growing up. While I retained the tomatoes as a base, I always added some kind of gourd (many are commonly grown in South India, and I tended to use a ridge or bottle gourd most often) or else a carrot to the soup. Both would blend in invisibly; in fact, the carrot would heighten the colour. This was how I got my children to eat even more vegetables than they knew they were consuming. Nowadays, they have become discerning adults, so I focus more on the flavours and presentation when serving them this dish, rather than on disguising nutritious ingredients! So red bell peppers are included instead, which flavour the soup nicely alongside the simple spices.

As for me, tomato soup was also a part of my growing years. What was interesting was that my mother used to make it with a food mill, by hand. We didn’t have a blender then, and soups themselves were an unfamiliar item and more exciting as a result. I can still remember watching her sitting down with the food mill to prepare the soup. It had its own fantastic flavour. In fact, she also used to make tomato ketchup at home, which I did for a long time as well. I may share that recipe soon too.

In the meanwhile, here’s my own warming and tasty take on the quintessential tomato soup.

Roasted Tomato Soup

(Serves 2)

1 red bell pepper

4 medium size tomatoes

Salt to taste

2 cloves garlic

¼ teaspoon black pepper powder

Garnishing of your choice


On an open flame, place the tomatoes and bell pepper in turn and roast them until charred.

Place these aside in a dish and allow them to cool.

Once they have cooled, remove the charred skin using your fingers.

Roast the garlic in a drop of oil. Add it to the blender along with the roasted tomatoes and bell pepper. Blend until you get a thick purée.

Pour the mixture into a pot and add a little water to the desired consistency. Add salt and pepper. Boil.

When ready to serve, add a dash of lime and garnish as you’d like to – perhaps with fresh cream or more pepper.

I hope you’ll enjoy this delicious roasted tomato soup. It’s perfect all year round, and is nourishing as well as soothing. Don’t forget to sneak in some extra vegetables – ones that don’t adjust the colour much – if you’re serving it to little ones!


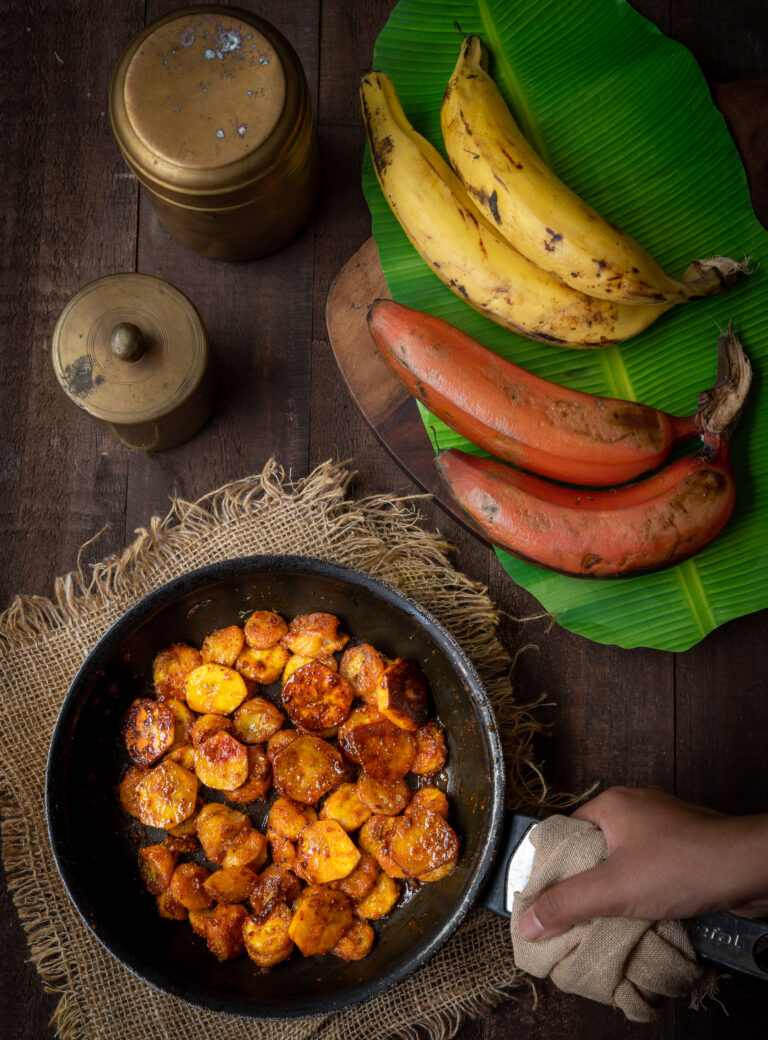
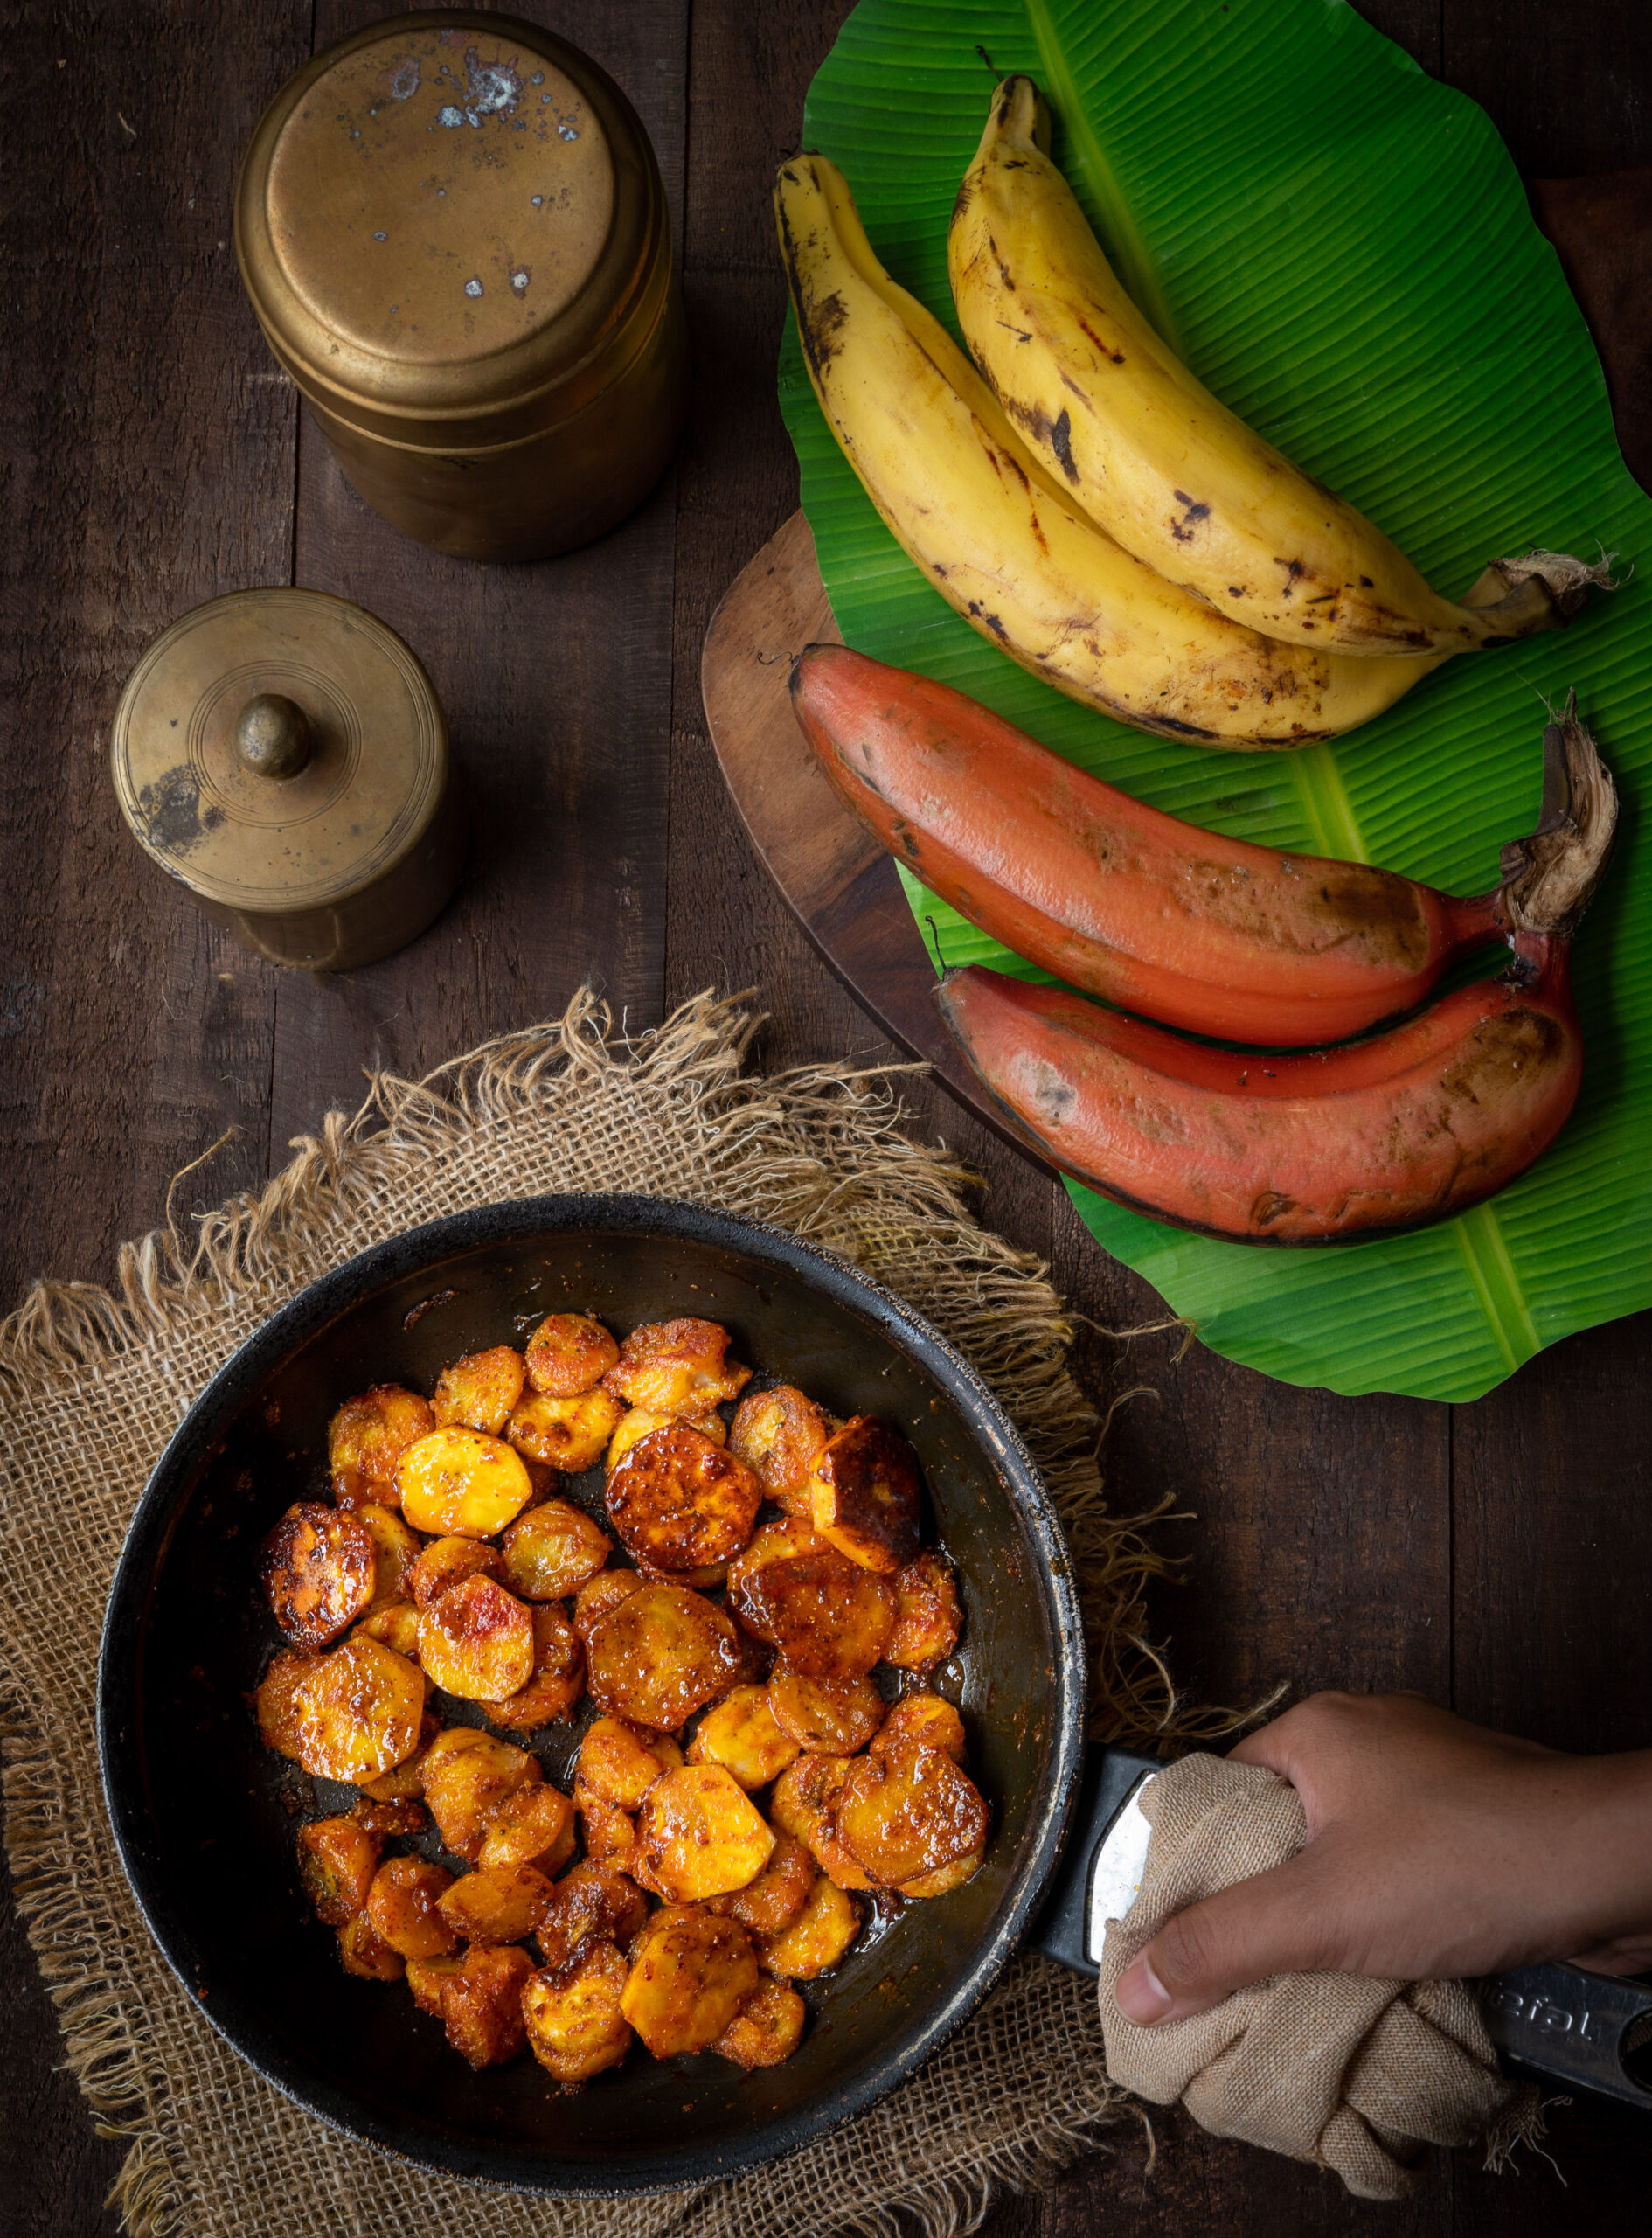
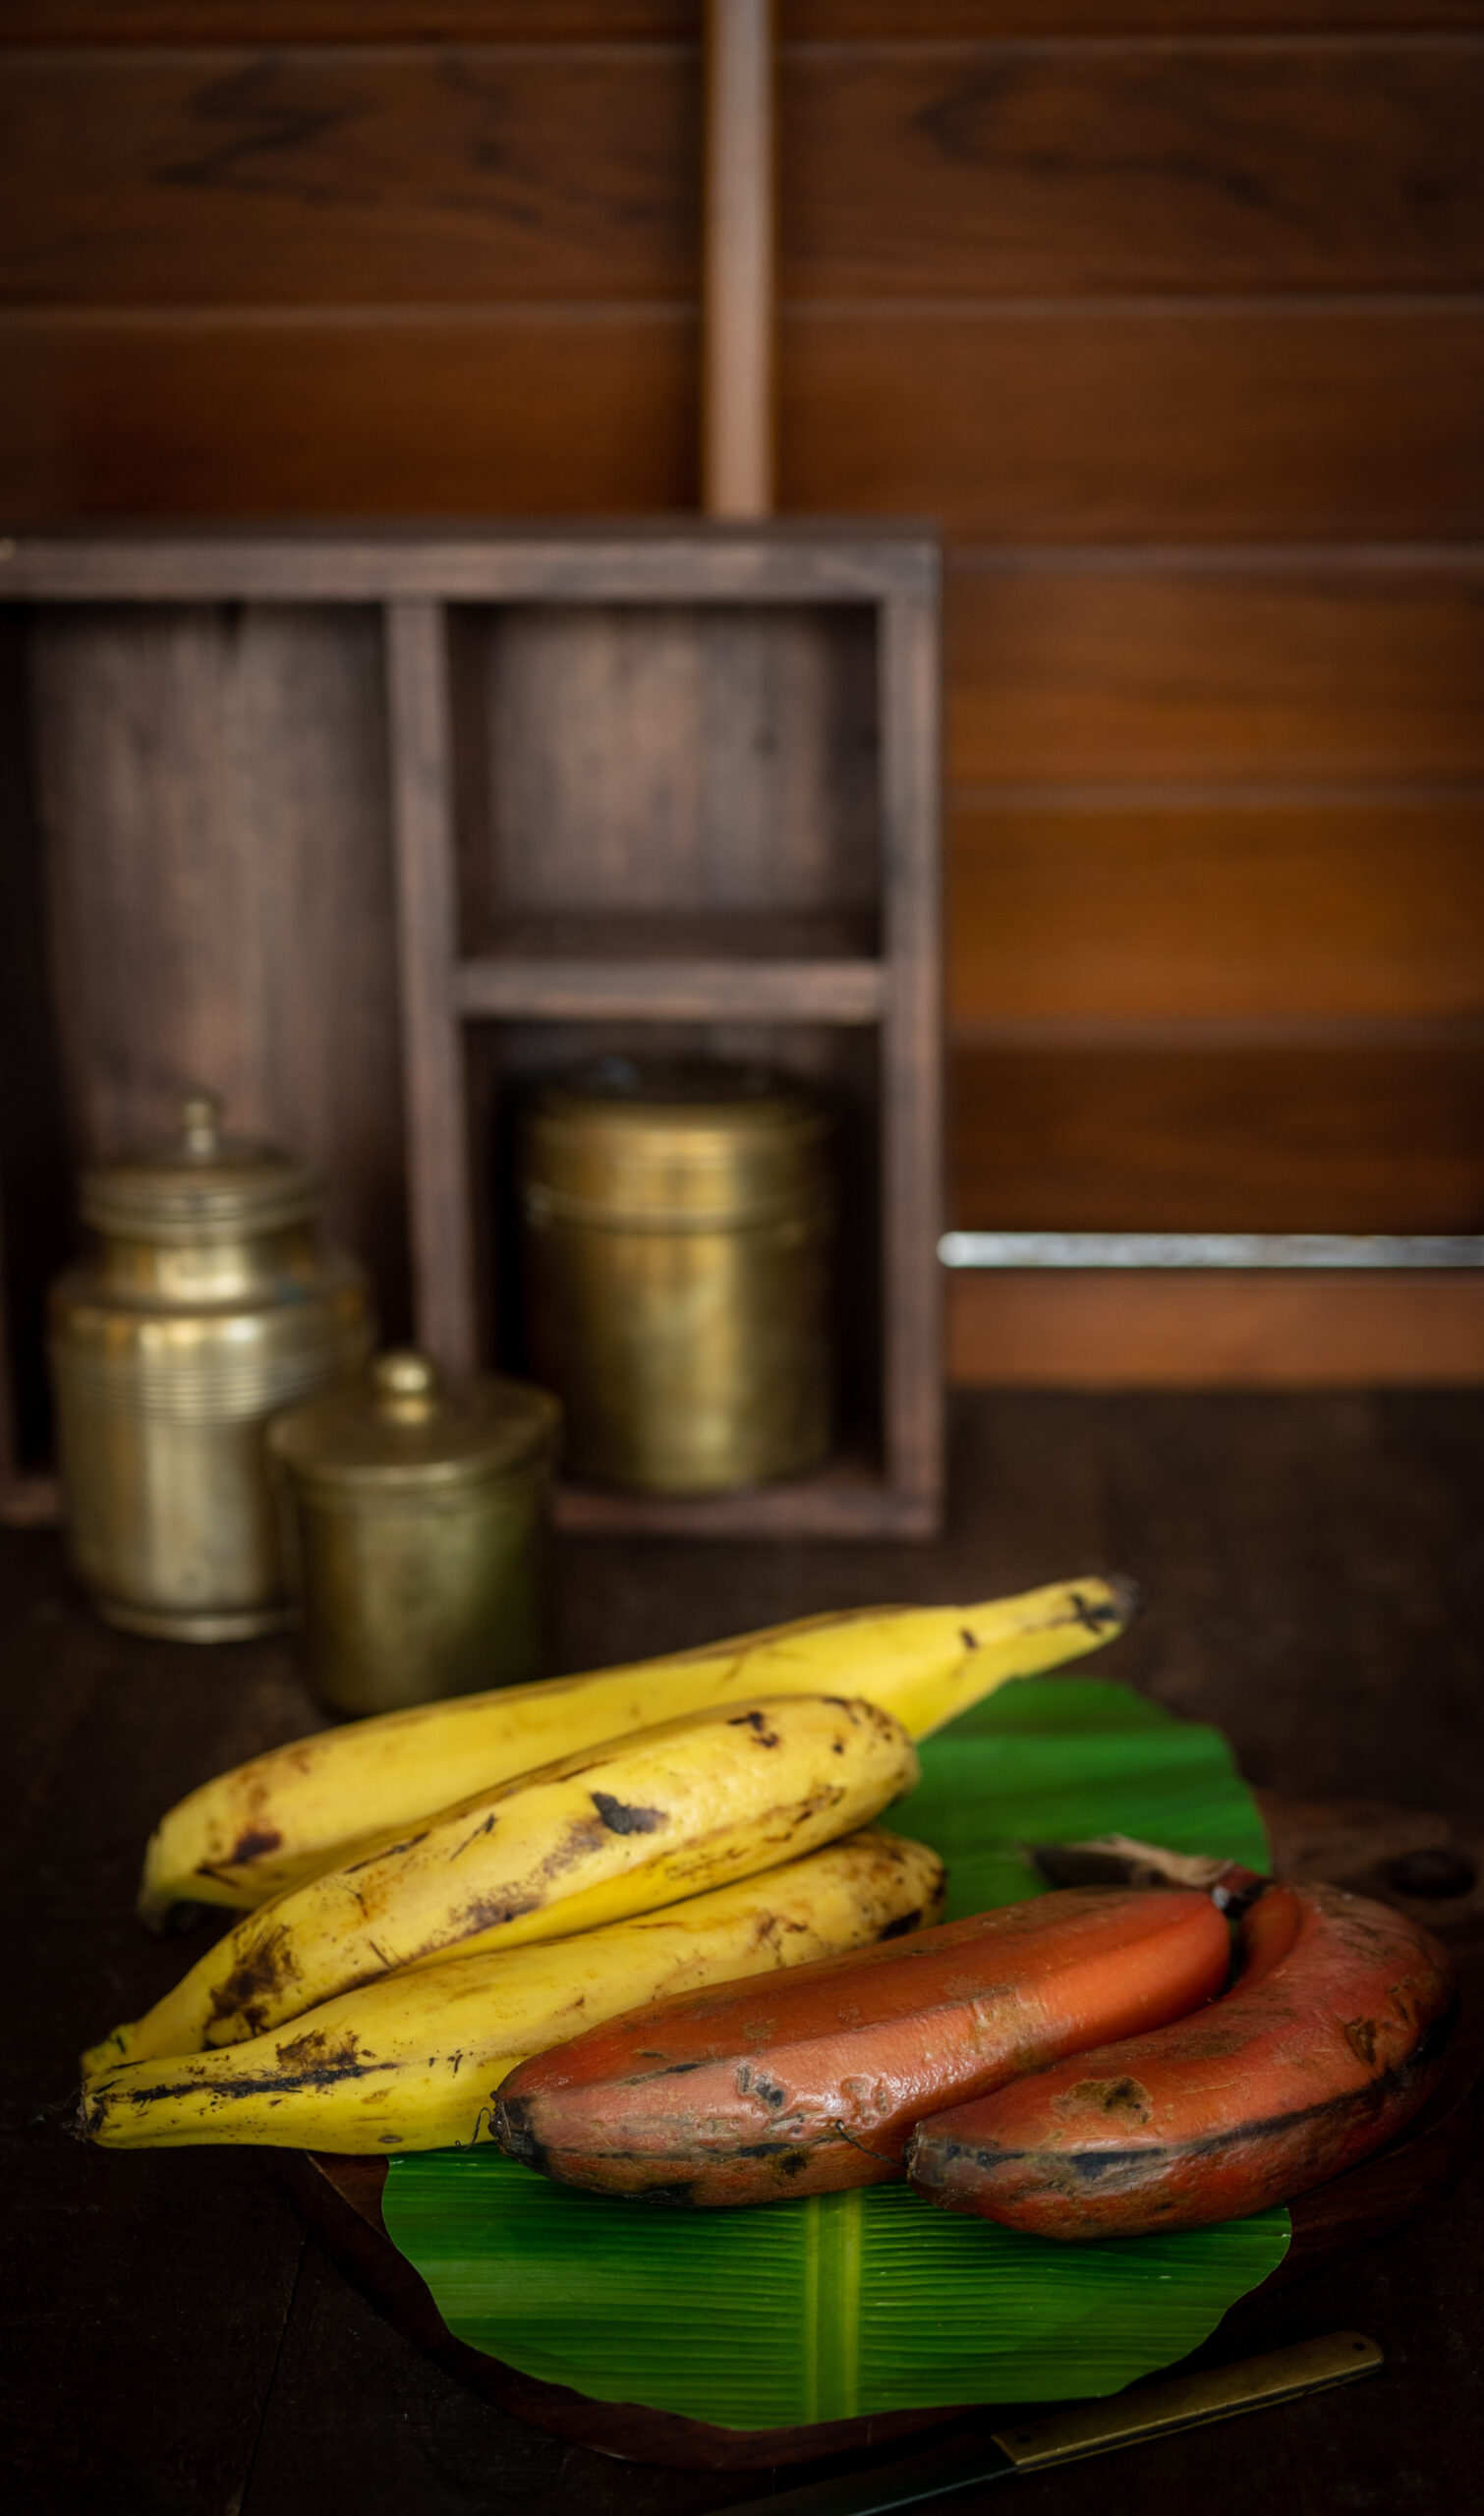
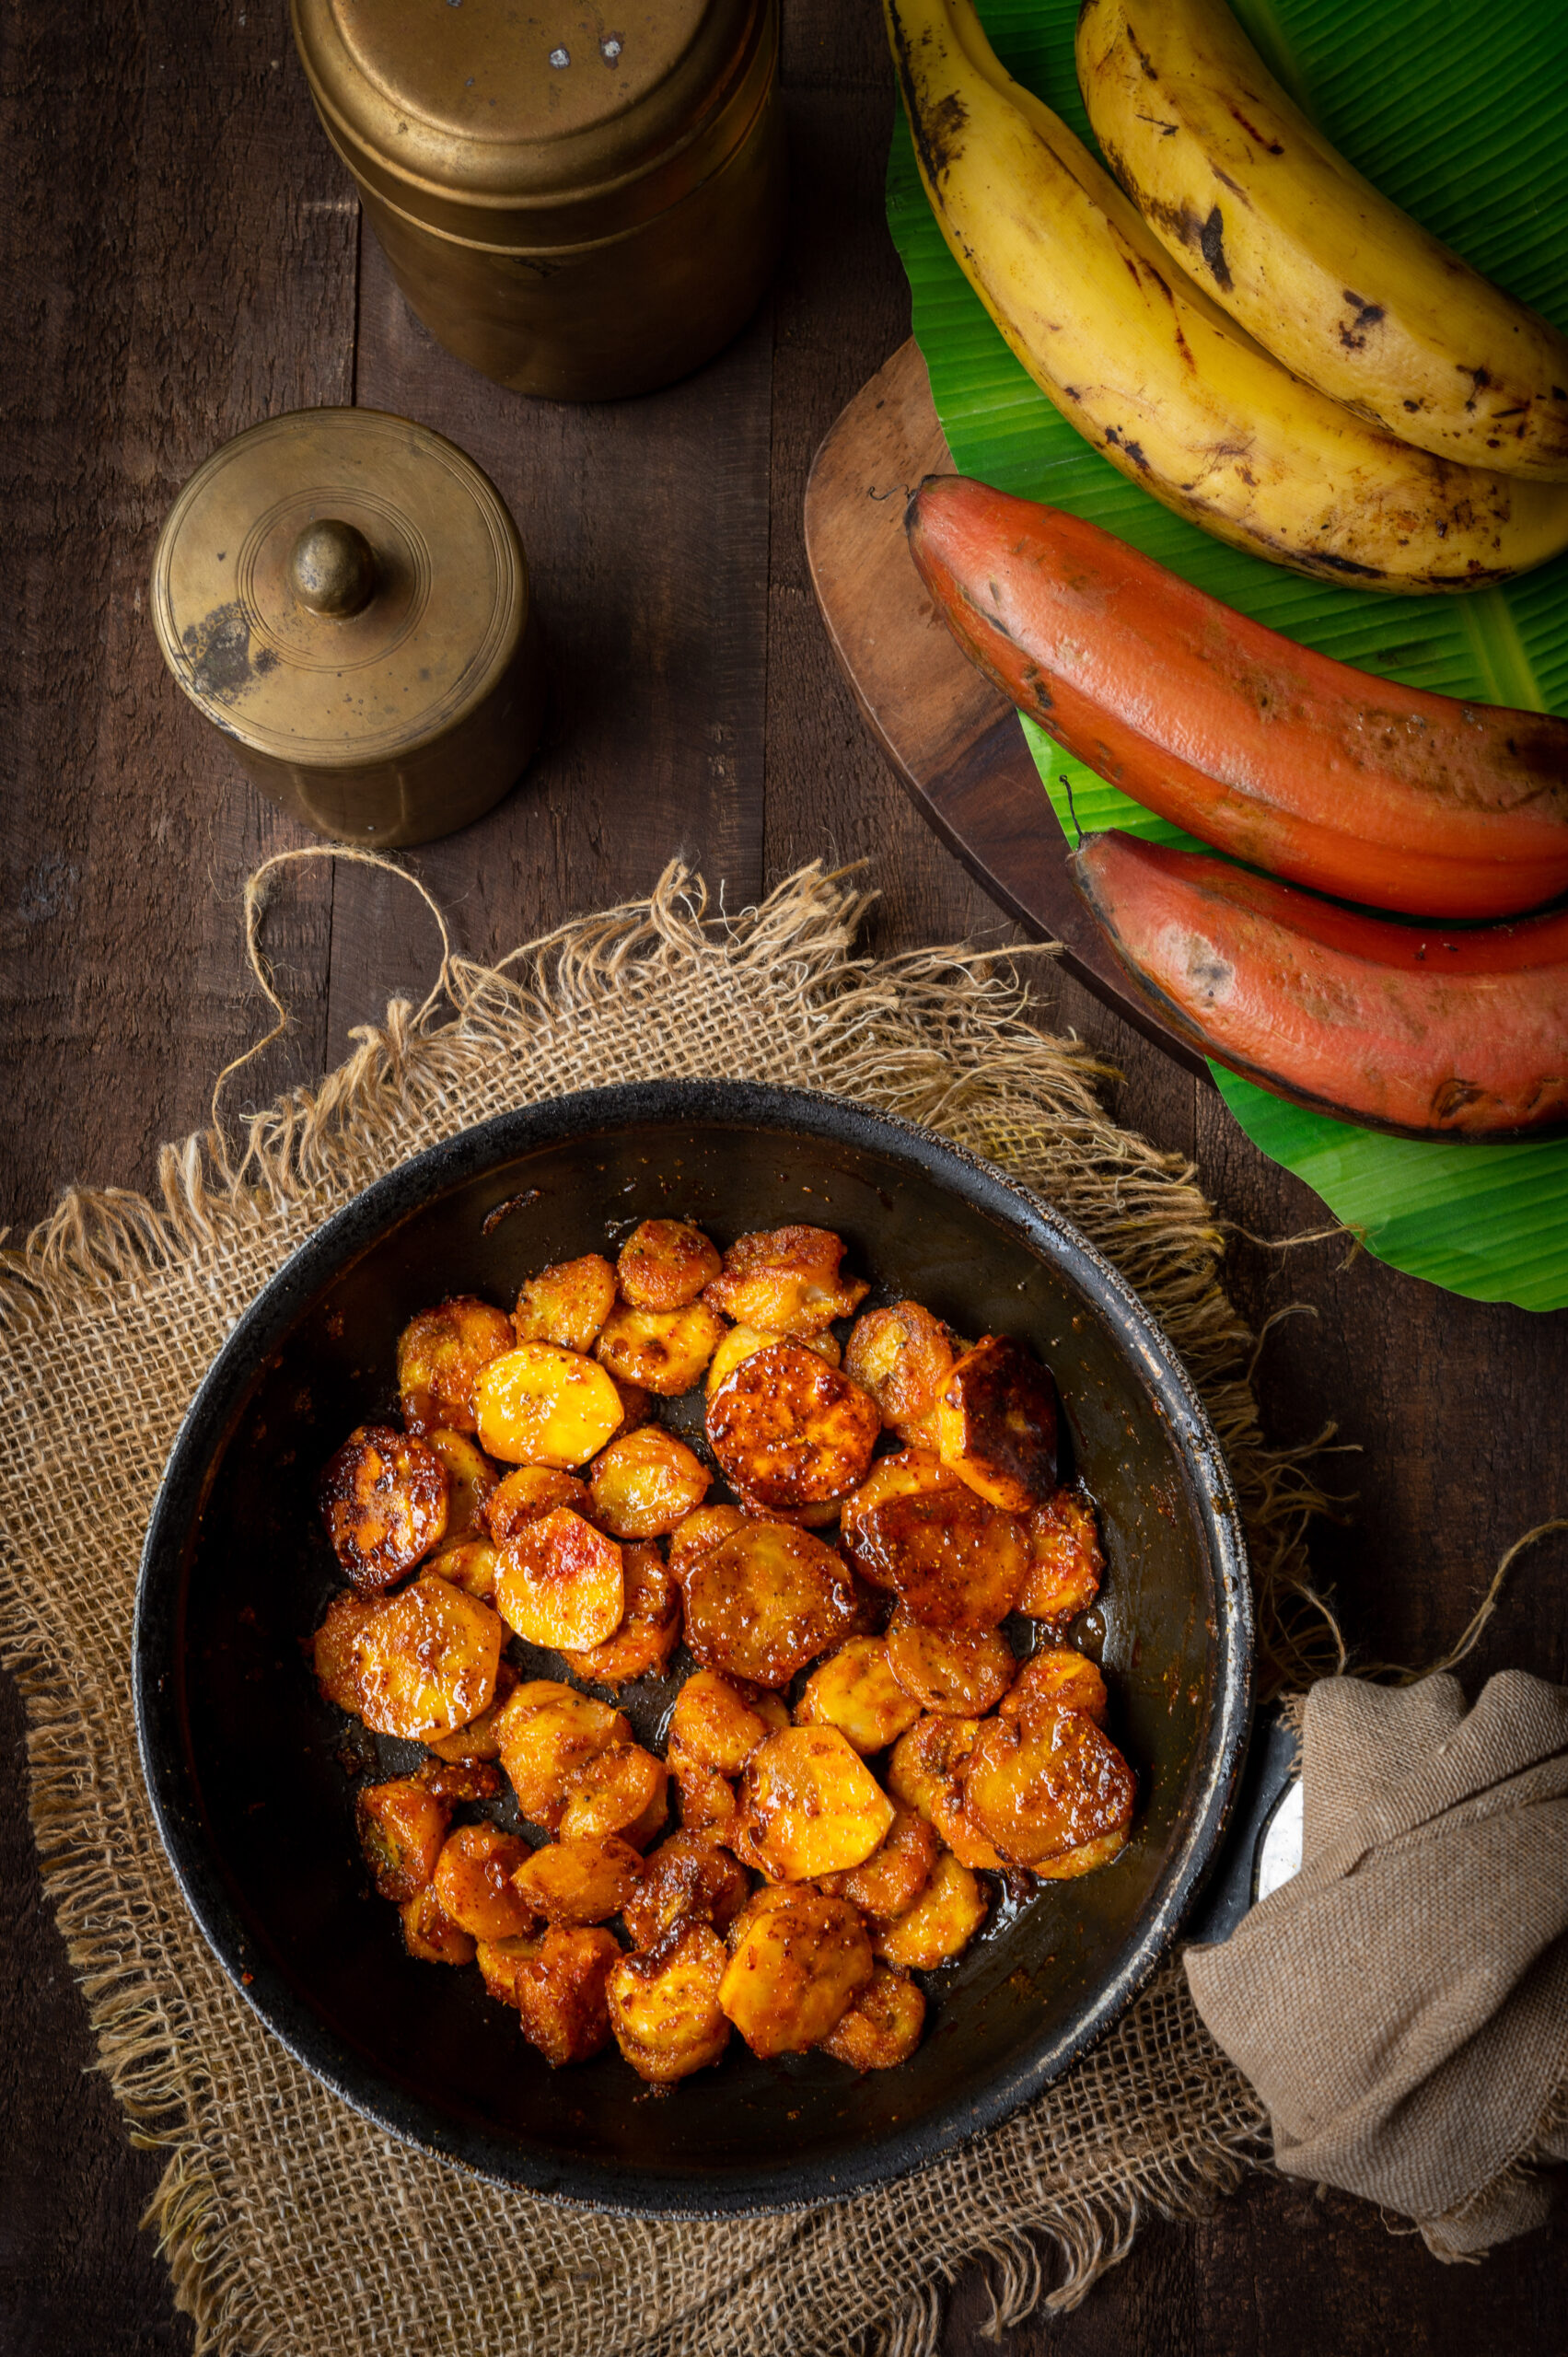
I am visiting Kerala at the moment. Being in God’s own country, as this state is often called, has been a great experience. This is because Nature can be very inspiring. There is barely a single dry leaf anywhere – it is that beautiful. The lush greenery is all around, everywhere I go: mangoes hanging over the backwaters or down to the ground, coconuts, and plenty of banana varieties. The bananas called to mind some recipes that I really enjoy, including this delicious Gujarati dish named kela nu shaak.

Kela nu shaak is very popular among Gujarati Jains during fasting periods, when they may avoid greens. Thus, this savoury dish works as a vegetable substitute, and is eaten along with chapatis. That is, it is basically a banana subzi (“subzi” being the term for vegetable dishes). But it really is so delicious that it is a regular staple in the cuisine even beyond fasts. It goes quite well with other savoury dishes like kadhi, as well as various vegetable accompaniments too.

It was a dish my husband grew up eating, so it counts among his comfort foods and makes regular appearances in my cooking too as a result. It is really quite simple: the bananas are sautéed in ghee, and a few spices are added. I like to make it in a non-stick or iron pan, adding a little jaggery which turns crispy and golden at the bottom, almost caramelized. I find that this is a great way to lift the flavours of the dish.

If you don’t know what to do with overripe bananas, kela nu shaak is the dish for you. As you know, when they ripen the whole bunch does at once, so you may have quite a bit of fruit that doesn’t taste as good eaten raw. If you prefer something sweet instead, this banana bread recipe that I shared a while back is ideal.

I will be carrying back with me a few varieties of Kerala bananas, and it will be interesting to see the differences in flavours and the kinds of dishes they lend themselves well to. I will certainly share my findings with you once I get a good sense of how to use them. As for kela nu shaak, any of the usual green or yellow bananas that you have access to will do.

Kela Nu Shaak / Banana Subzi

(Yield: Serves 2)

5 small ripe bananas

1 tablespoon ghee

½ teaspoon jeera (cumin) seeds

½ teaspoon mustard seeds

Salt to taste

¼ teaspoon turmeric powder

½ teaspoon chilli powder

½ teaspoon dhaniya (coriander) powder

½ teaspoon jeera powder

2 tablespoons jaggery


Peel and slice the bananas. Set aside.

In a non-stick pan, add the ghee. Once it’s heated, add the cumin and the mustard seeds.

Wait for them to splutter, then add the sliced bananas.

Move the bananas around on the pan a little bit without mixing too much, and allow the slices to cook on both sides, flipping at intervals until lightly brown.

Now, add the spices and the salt. Mix very gently until the slices are coated. Next, add the jaggery.

Allow to cook on a low flame, making sure the jaggery doesn’t burn.

Once the bananas has turned golden and the jaggery has almost caramelized, turn off the flame. Your kela nu shaak is ready to serve. Enjoy hot, with chapatis.

I hope you will enjoy this savoury use of a sweet fruit!

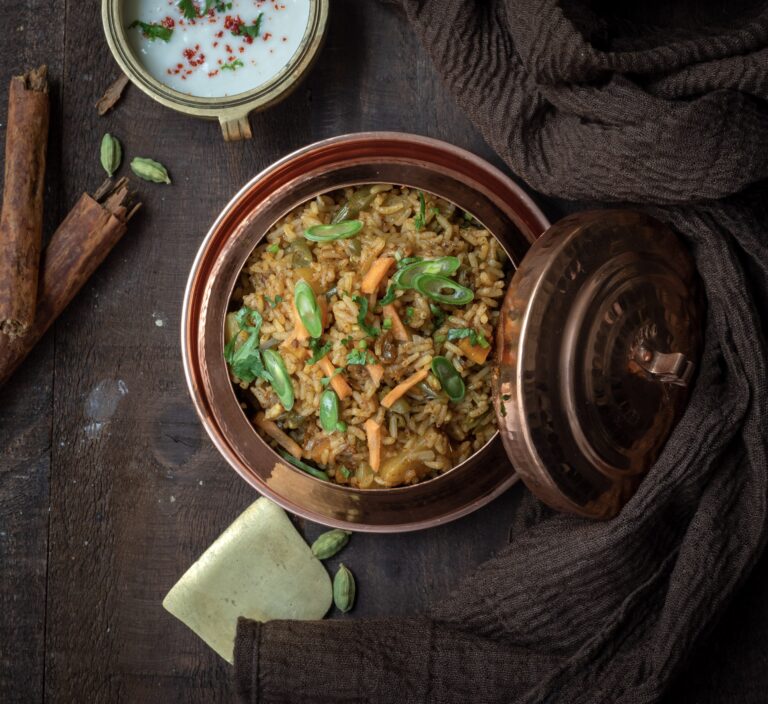
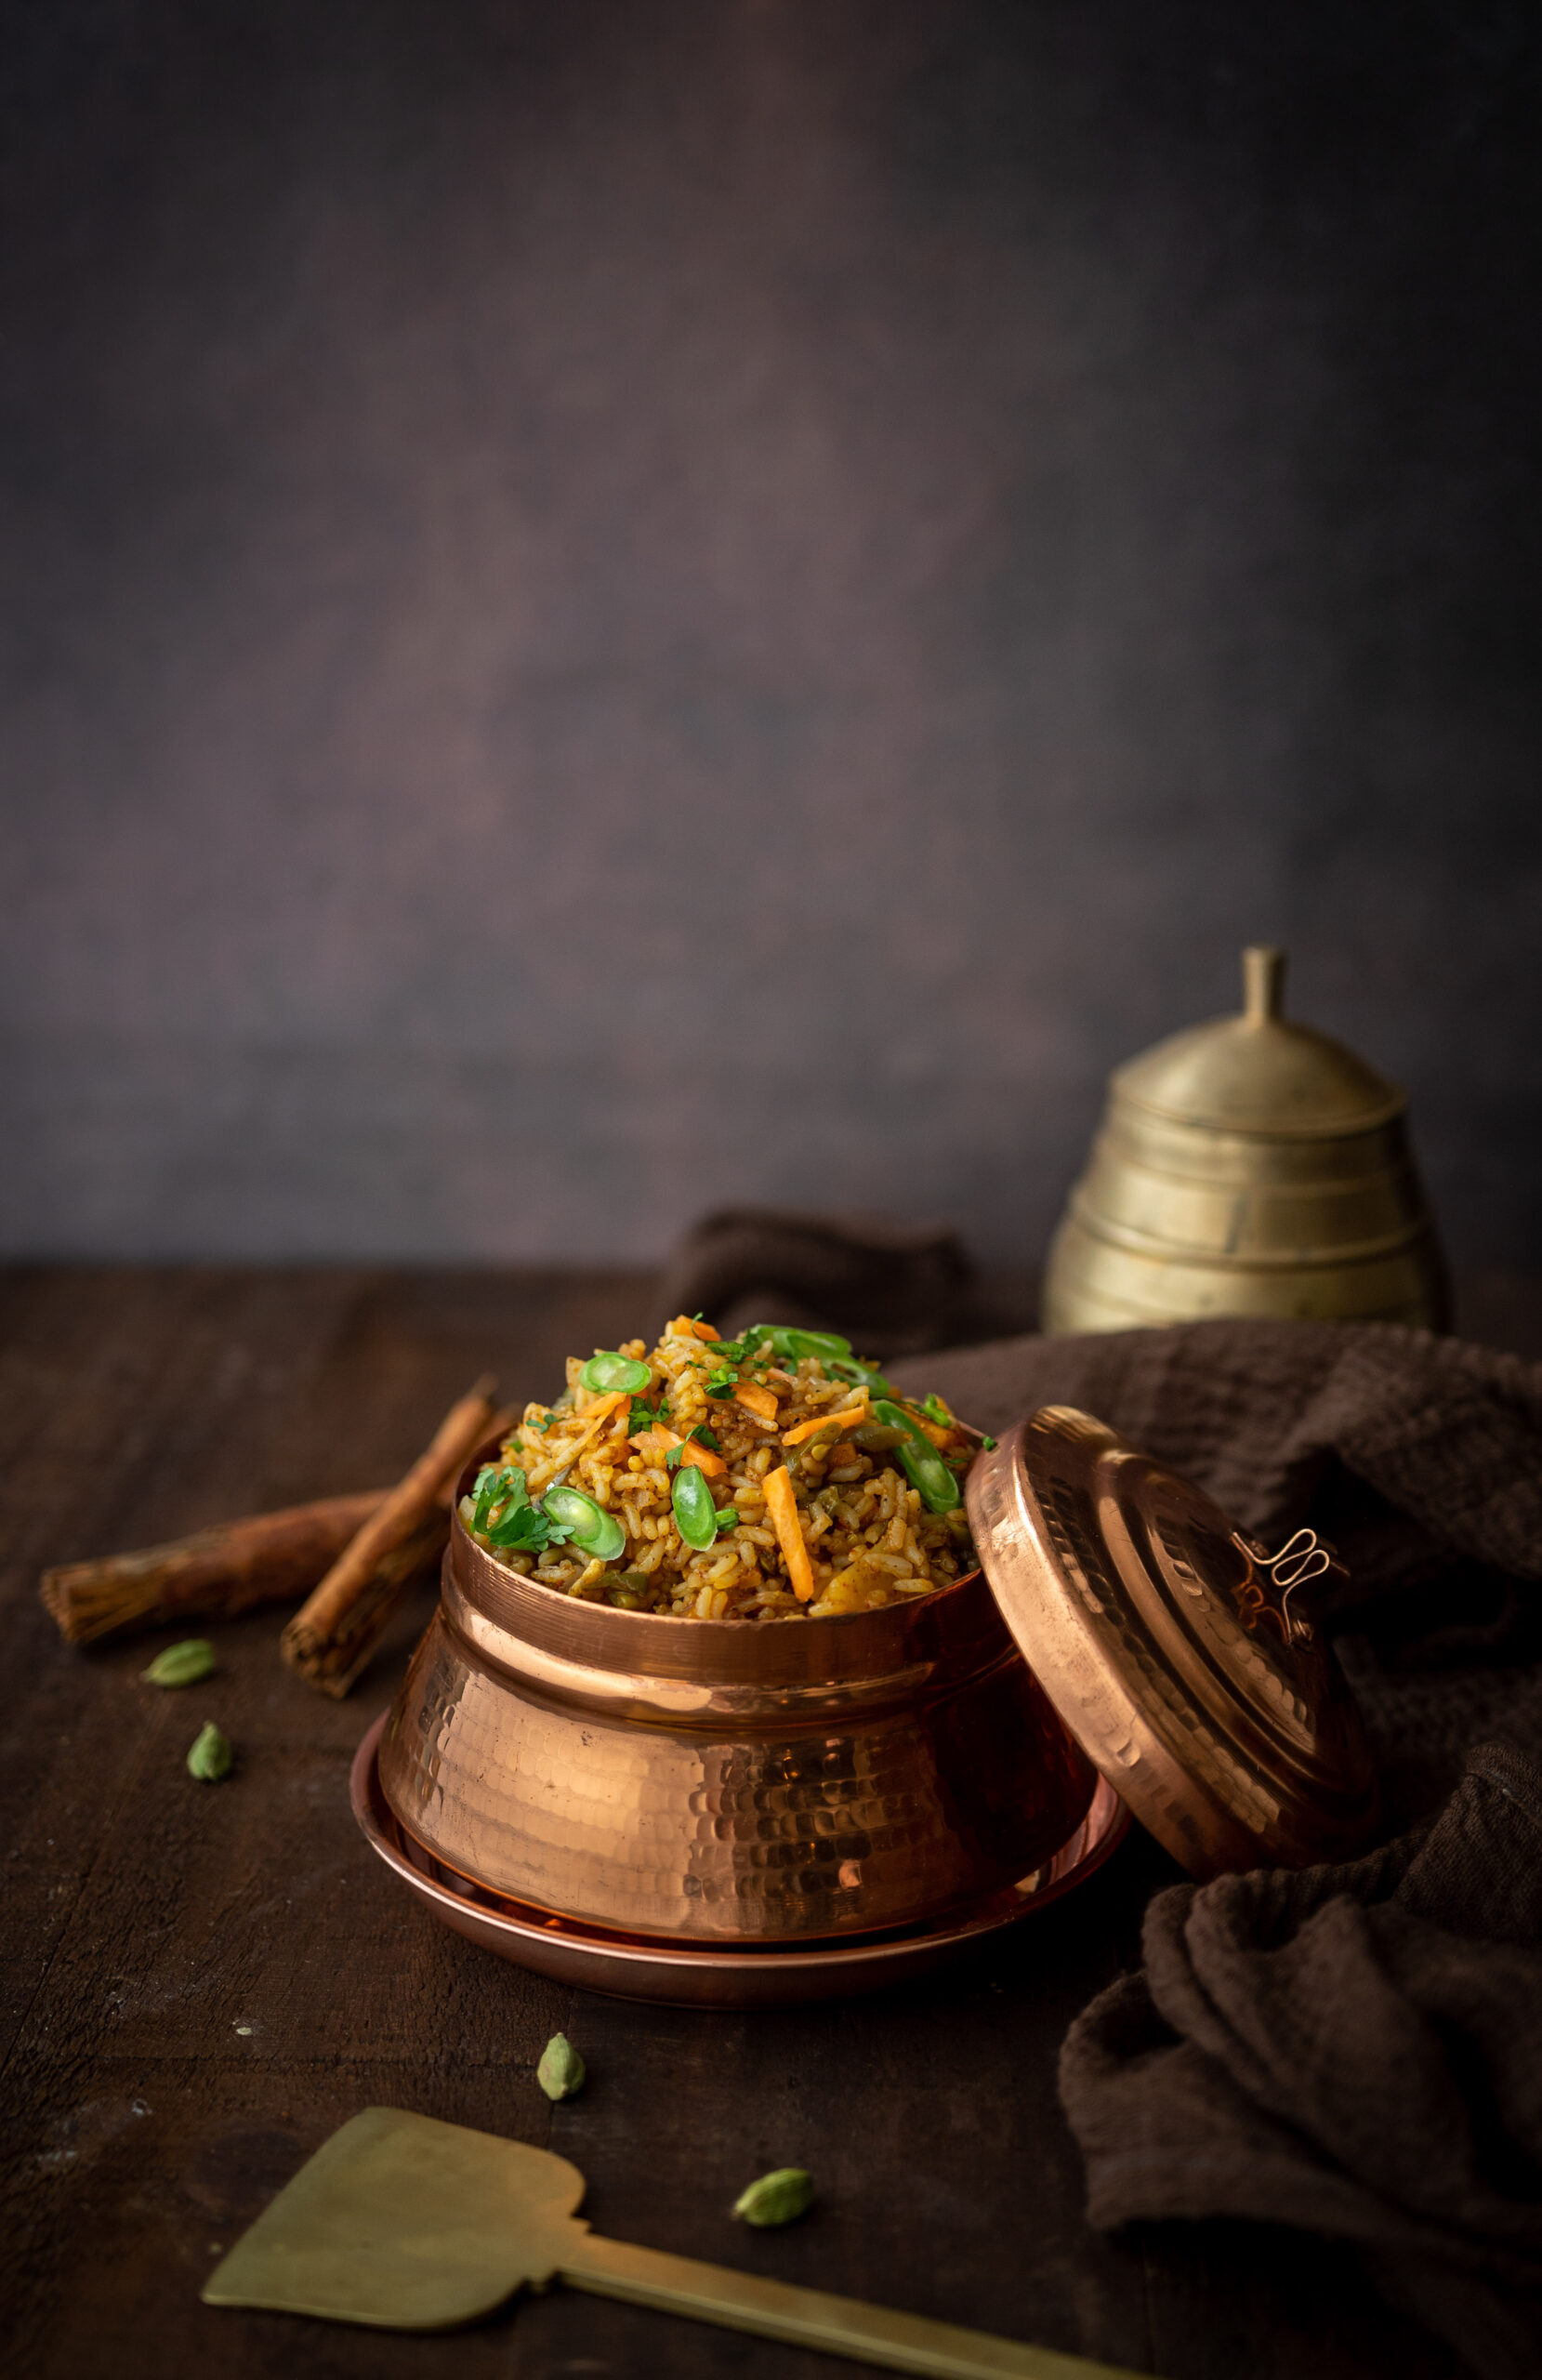
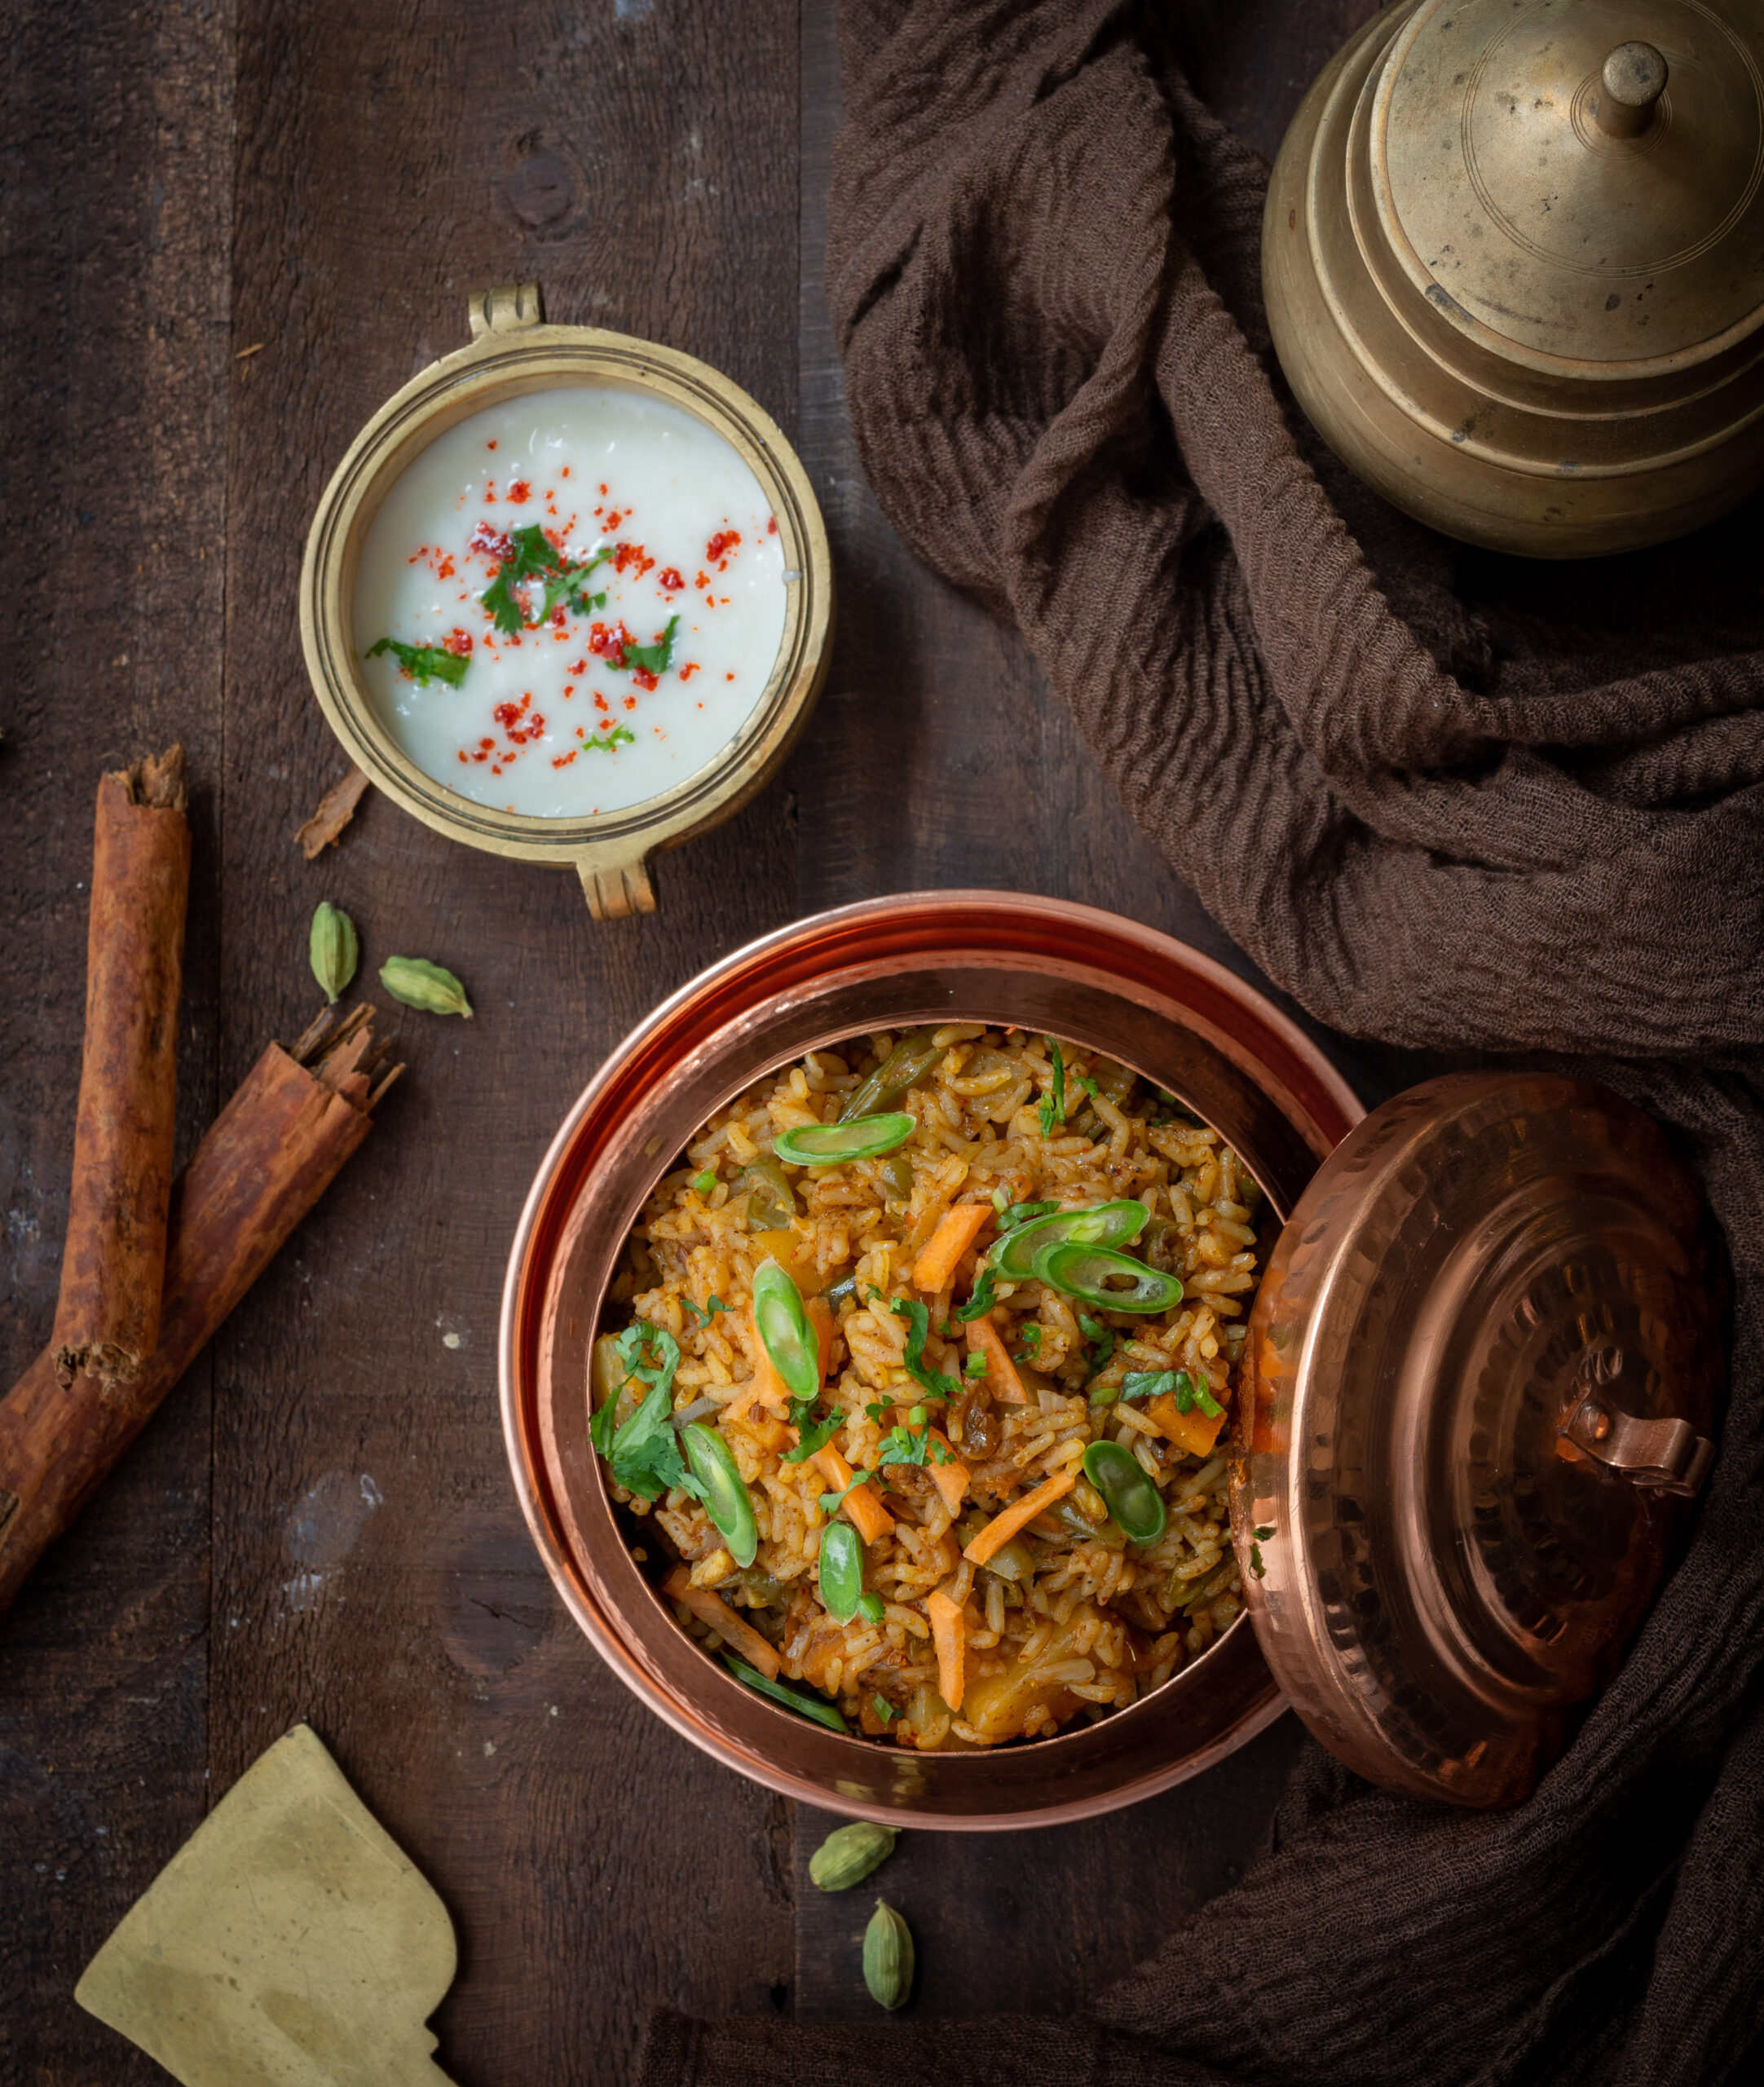
When my children were growing up, they were really fond of biryani. Biryani is a speciality in India. It is basically a type of rice, loaded with flavours, aromas and vegetables and/or meat. The specific ingredients included will be based on what is locally available, as well as preferences unique to a community – and it is made by many different communities, each in their own styles. By and large, the authentic method of preparing a fragrant biryani loaded with spices came with the Mughals, and trickled into other cuisines. The dish may even have other names in some parts of the country. We are fluid here when it comes to biryani, and it is very much a pan-Indian dish or dish category. A real biryani takes time, effort and skill – but I’ve perfected the recipe for an easy biryani that tastes very good, smells just as lovely and requires the above three elements only minimally!

So here’s the truth: I never really did know how to make biryani when the kids were younger. So I always resorted to this easy and quick method. I feel that this is essentially a masala rice in preparation, but it comes close in flavour and scent to authentic biryani.

However, as my children grew and started eating around the world, they got smarter and were quick to spot when my masala rice was being passed off as a biryani. So I in turn learned how to make real biryani too. That, however, is a long process. The traditional method varies both in its ingredients as well as its cooking. Today, I have opted to share a simple method for an easy biryani instead. While I have kept it vegetarian, you can add meat at the same time in the method that I add the veggies. All else remains the same in the recipe.

When I began to share recipes on this blog some years ago, one of the essential ideas that went behind its conception was that it should appeal to young adults. Whether they were off at university, or were newly-wed and starting a family of their own, I wanted to offer recipes that they could pull off with ease. So I like to present dishes that require accessible ingredients, and simple methods. While I do enjoy sharing exotic or more complex fare here too, and I quite often throw in traditional recipes that keep my readers connected to their roots, I do keep adaptability and time-efficiency in mind most of the time. I know this particular easy biryani recipe fits the criteria because it’s the version that I myself still keep making when I visit my kids in other locations, and encourage them to cook when they’re on their own too.

So, now that I’ve shared one of the core motivations behind how I come up with my recipes, let me also say: I hope this blog has served many. Feel free to leave comments on what else you’d like to see here or what you would like to know about the culinary realm, especially if you’ve just started your journey in the kitchen.

Easy Biryani

(Yield: Serves 2)

2 tablespoons ghee

1 bay leaf

2 cloves

1 teaspoon cumin seeds

1 cardamom

2-3 garlic cloves

½ cup chopped onions

2 cups chopped vegetables (beans, carrot, peas, potato)

1 tablespoon tomato purée

1½ cups water

1 cup rice

Salt to taste

2 teaspoons garam masala

2 teaspoons dhaniya/jeera powder

¼ teaspoon turmeric

Coriander and mint leaves (to garnish)


Rinse and pick the rice and set it aside.

Heat the ghee in a saucepan or pressure cooker. To this, add the bay leaf, cumin, cloves and cardamom. Once they have heated, add the garlic and sauté for a few seconds. Then, add the onions and the remaining vegetables. If you are using meat, add it now as well. Sauté on a medium or high flame.

Now, add the tomato purée. Stir for a few minutes.

Then, add the rice and the water. Add the remaining masala and close the lid of the pressure cooker or cover the saucepan. Allow to cook for no more than 2 whistles or until the rice is tender to the touch, but not too soft. Turn off the flame.

Once it has cooled, open the lid. Sprinkle with coriander leaves and mint leaves. Cover again for some time.

Serve while still hot. Biryani is usually accompanied with raita. Here is a fancier version of this curd side dish, if you’d like to try it out.

I hope you’ll enjoy this delicious, fragrant and flavourful biryani, and I also hope that you find it very easy to make!

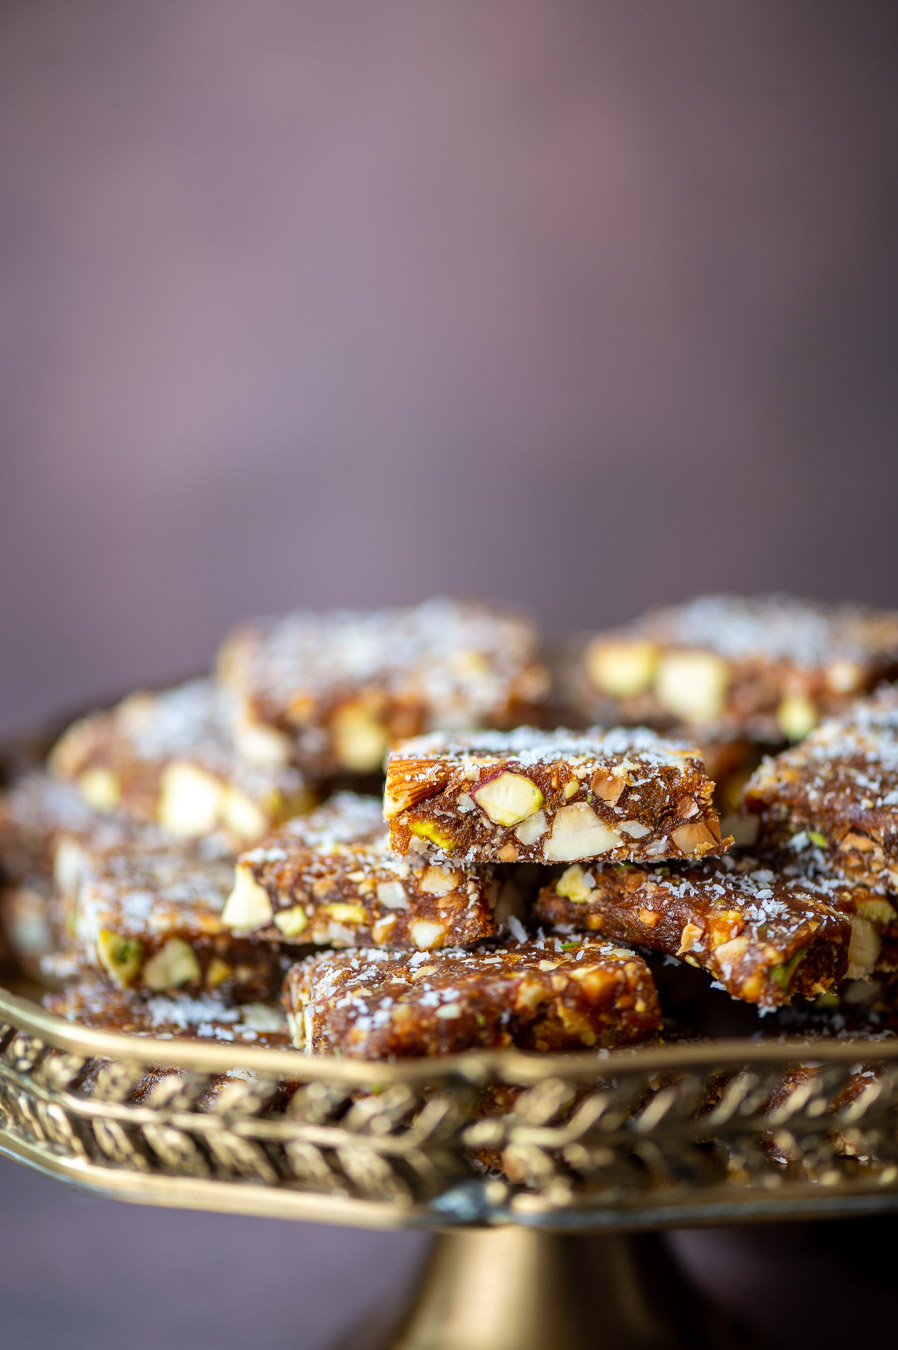
(above: re:store’s almond brittle)

(above: re:store’s date squares)

(above: re:store’s fig rolls)

(above: re:store’s chocolate cupcake)

Maintaining a standard of quality that is always up to the mark is very important to us at re:store.

Everything that is prepared in the re:store kitchen is exactly what my own family eats, and I put the same amount of care and effort into preparing it. In fact, when one of my kids comes home to visit, I always pack them a parcel of re:store goodies (sugar-free, as well as some with sugar) when they go back. The date squares, almond brittle and fig rolls are perfect for this, as they are travel-friendly and keep for a while. And when my kids are here at home, they regularly enjoy many of the re:store cake varieties too.

Before I introduce any new product, I put in a lot of research, conduct several trials, and get as much feedback as I can from friends and family. Only after that will I offer it to my clients. You can see the current product list here. I really look forward to your orders in the coming year and beyond.

As I said, quality is everything at re:store, as it is with everything else in life too. That’s the thought I am going into 2023 with.

My wish for us all is for good health. I can see that ever since the pandemic began, food has become a major focus for many. People have come to accept that what we consume can be the cause or the prevention of many illnesses. That said, let us not body-shame or take medications to change our bodies. Let us instead reflect on how food can be the source of our overall well-being. Let us also consider traditional and seasonal ways of eating, as passed down in one’s community or location. Let food be what helps us resolve issues.

I’m not denying that we need our indulgences, yet I believe – especially through the creation of my baked goods and confectionery at re:store – that even these can be nourishing and clean.

Wishing us all a healthy and delicious year ahead!

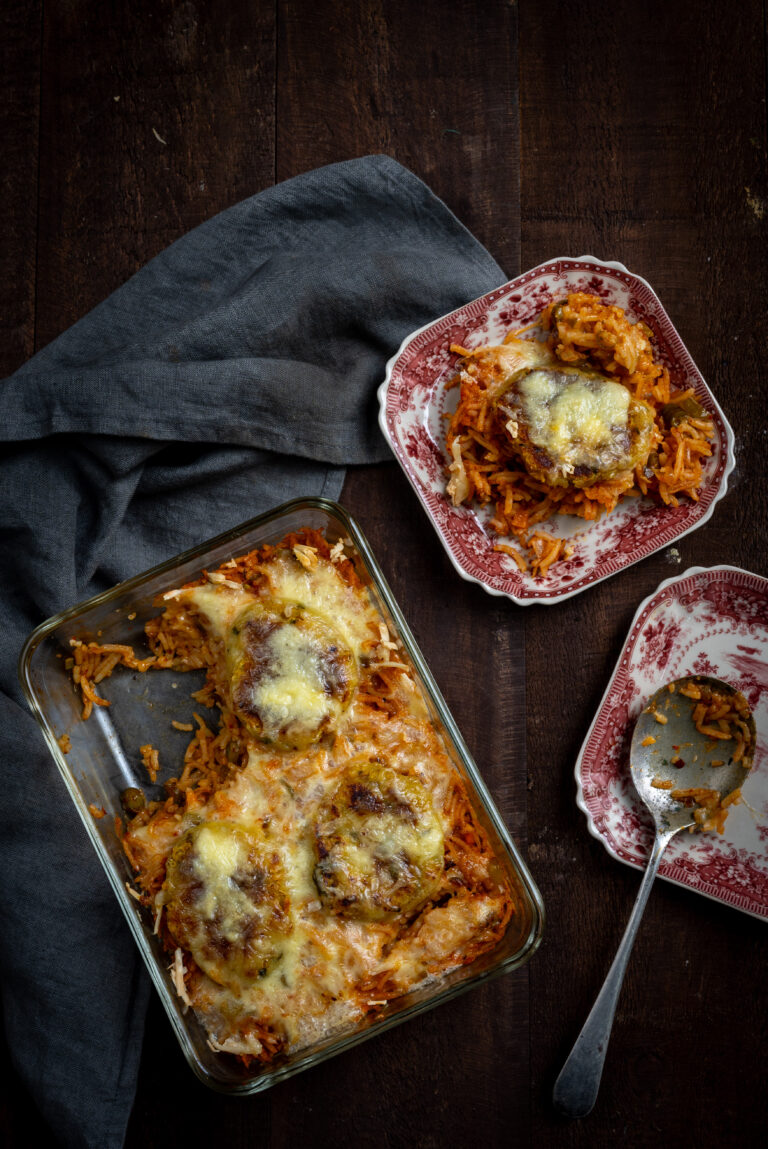
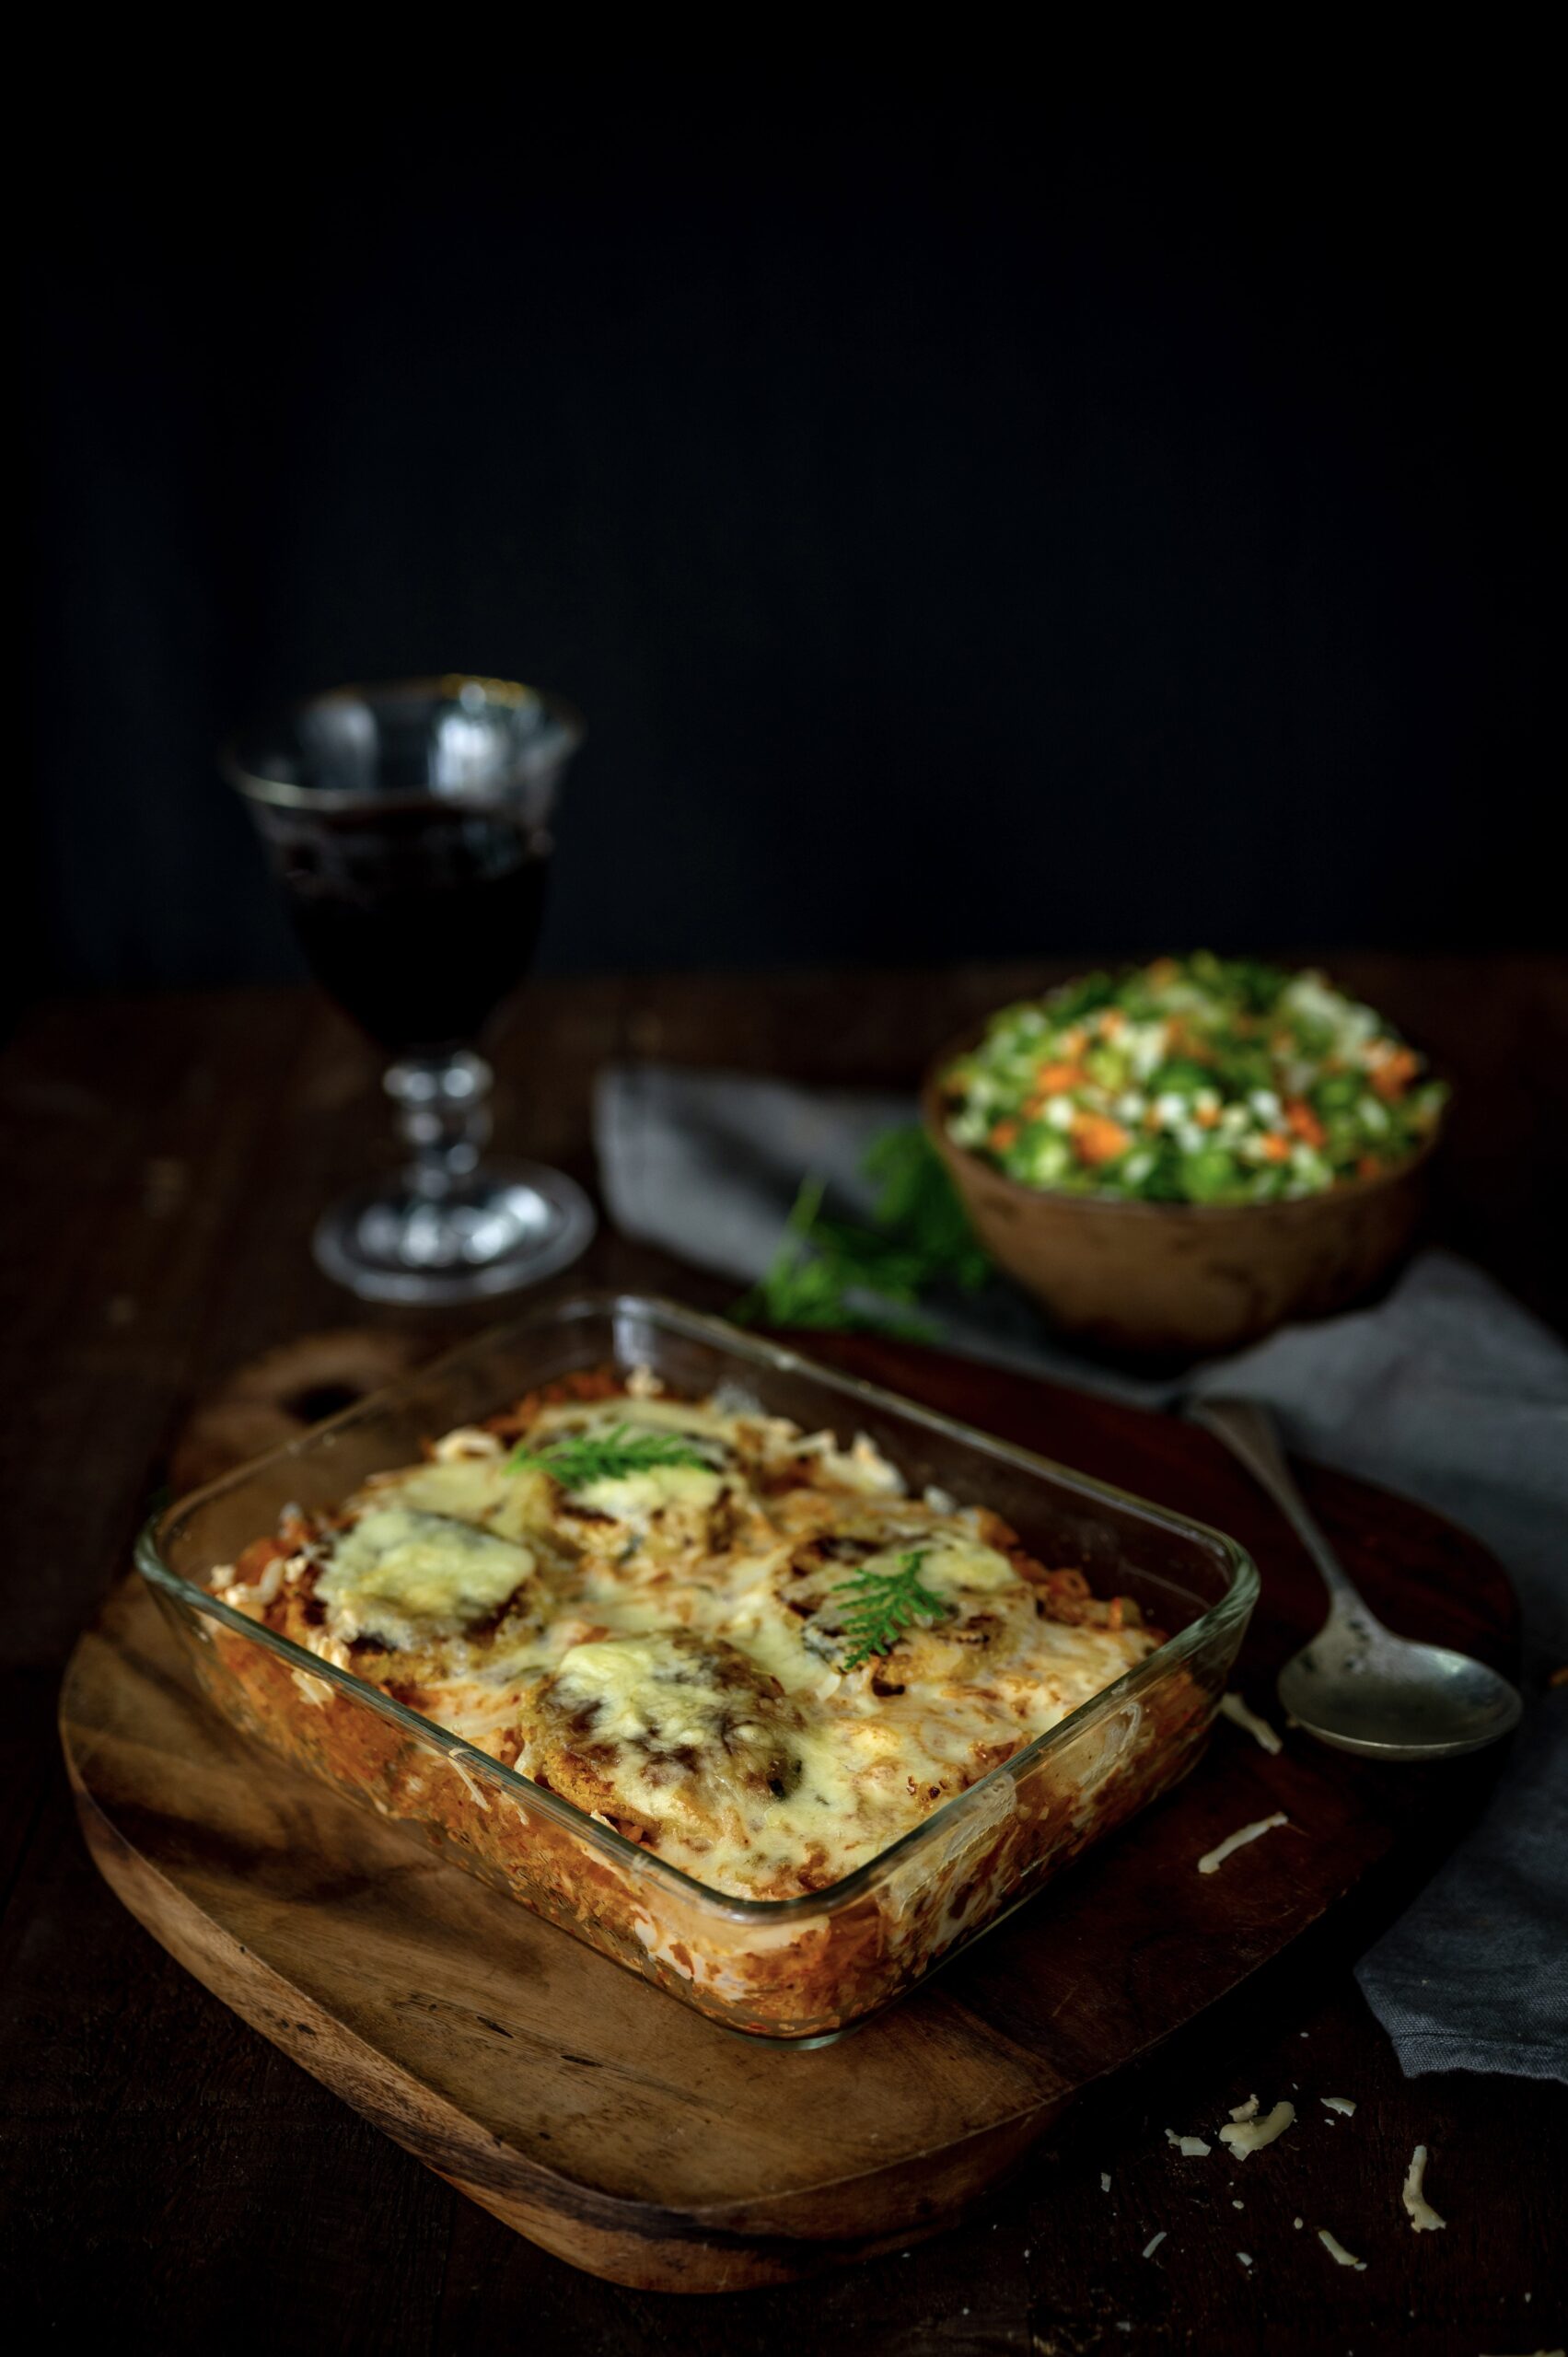
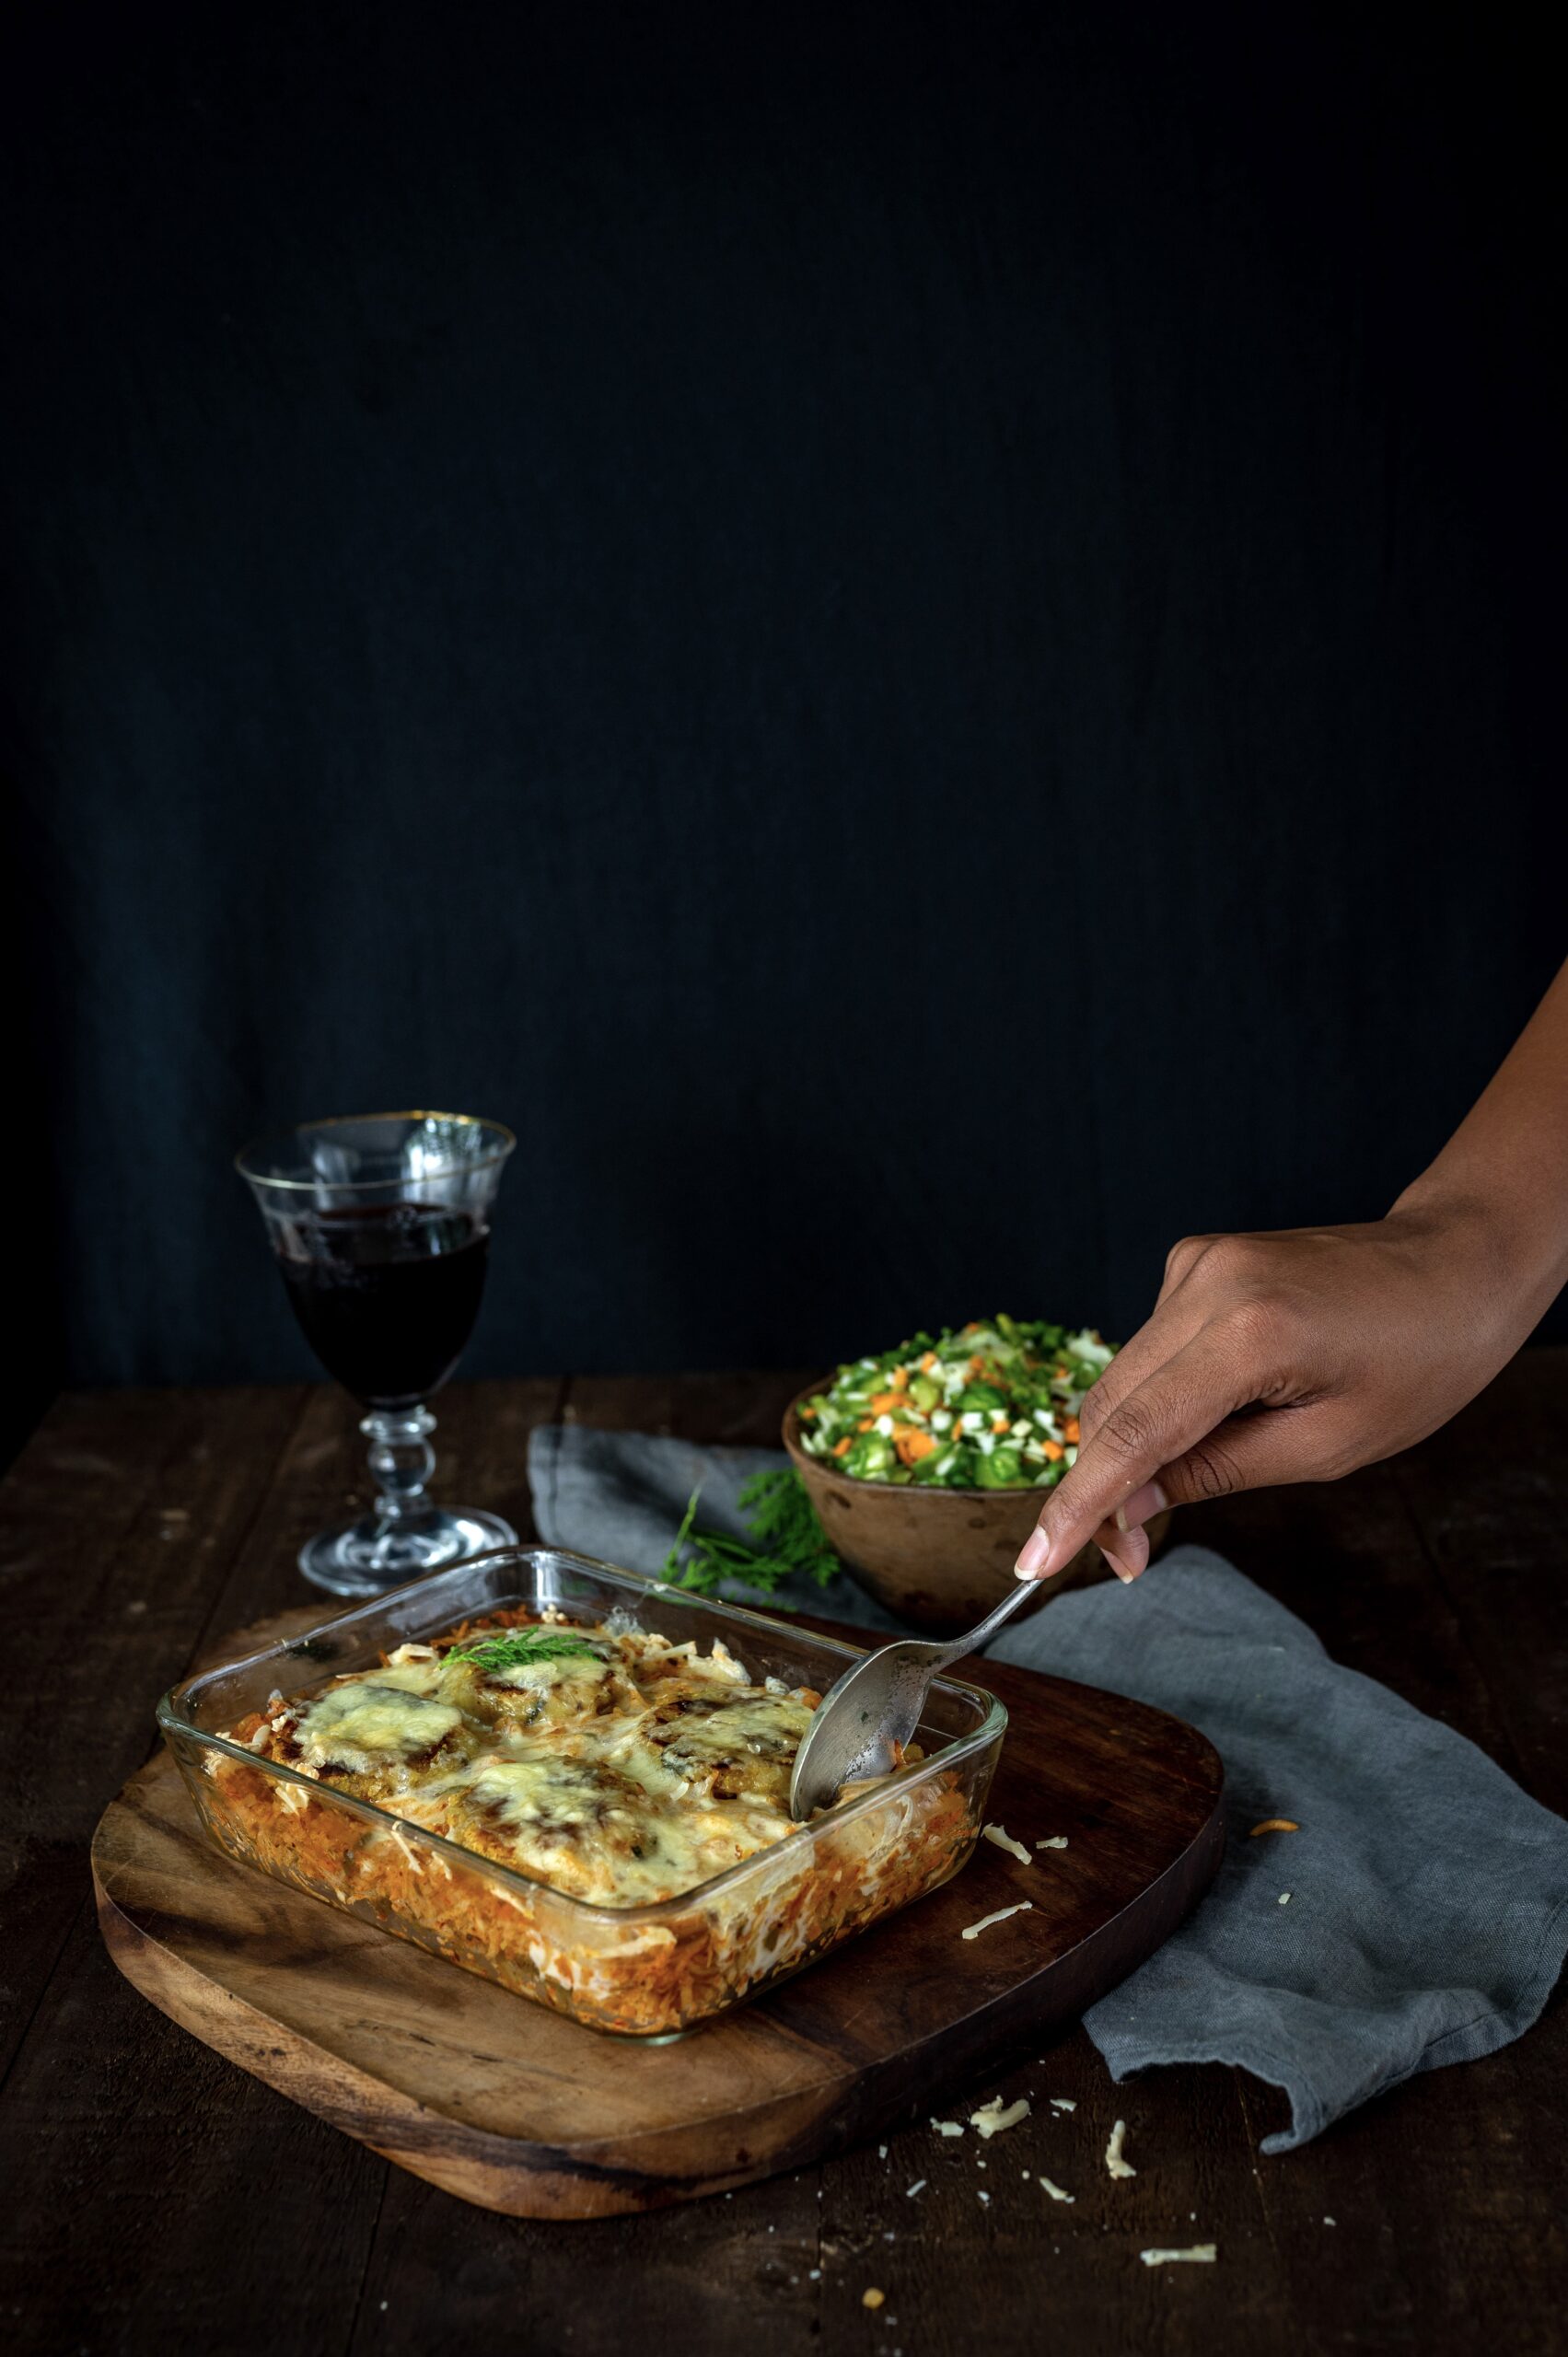
Do you remember my thepla tacos, a dish that uses Gujarati flatbreads in place of traditional tacos in a fun Indo-Mexican fusion? I hope you tried those out and enjoyed them just as much as we do, but here’s something I didn’t tell you: I also make Mexican-style tacos. Regular tacos, that is, without any multi-cuisine flair. There was a time when I took great pride in those tacos, and they do remain very popular with my kids and their friends. But one day, one of my own friends came over, had a taste, and said: “This is an Indian version of a taco”. I must confess that that hit me quite hard, as I had thought that I made the best tacos this side of the world! I decided to take it in stride, and that was when I began exploring the fusion version. However, I never stopped making my Mexican, or maybe Mexican-inspired, tacos either (perhaps I’ll share that recipe in future). Whenever I do, I serve them alongside Mexican rice.

Yes, this too may be Mexican rice in my style, but the secret to it is using ingredients from the original version. I use a chilli powder called chipotle (which is also available in paste form). It adds a distinct, smoky flavour to the rice. You can source it quite easily from various online retailers in India. Jalapeño, another Mexican pepper that is quite widely available here as well, also kicks up the authenticity quotient further.

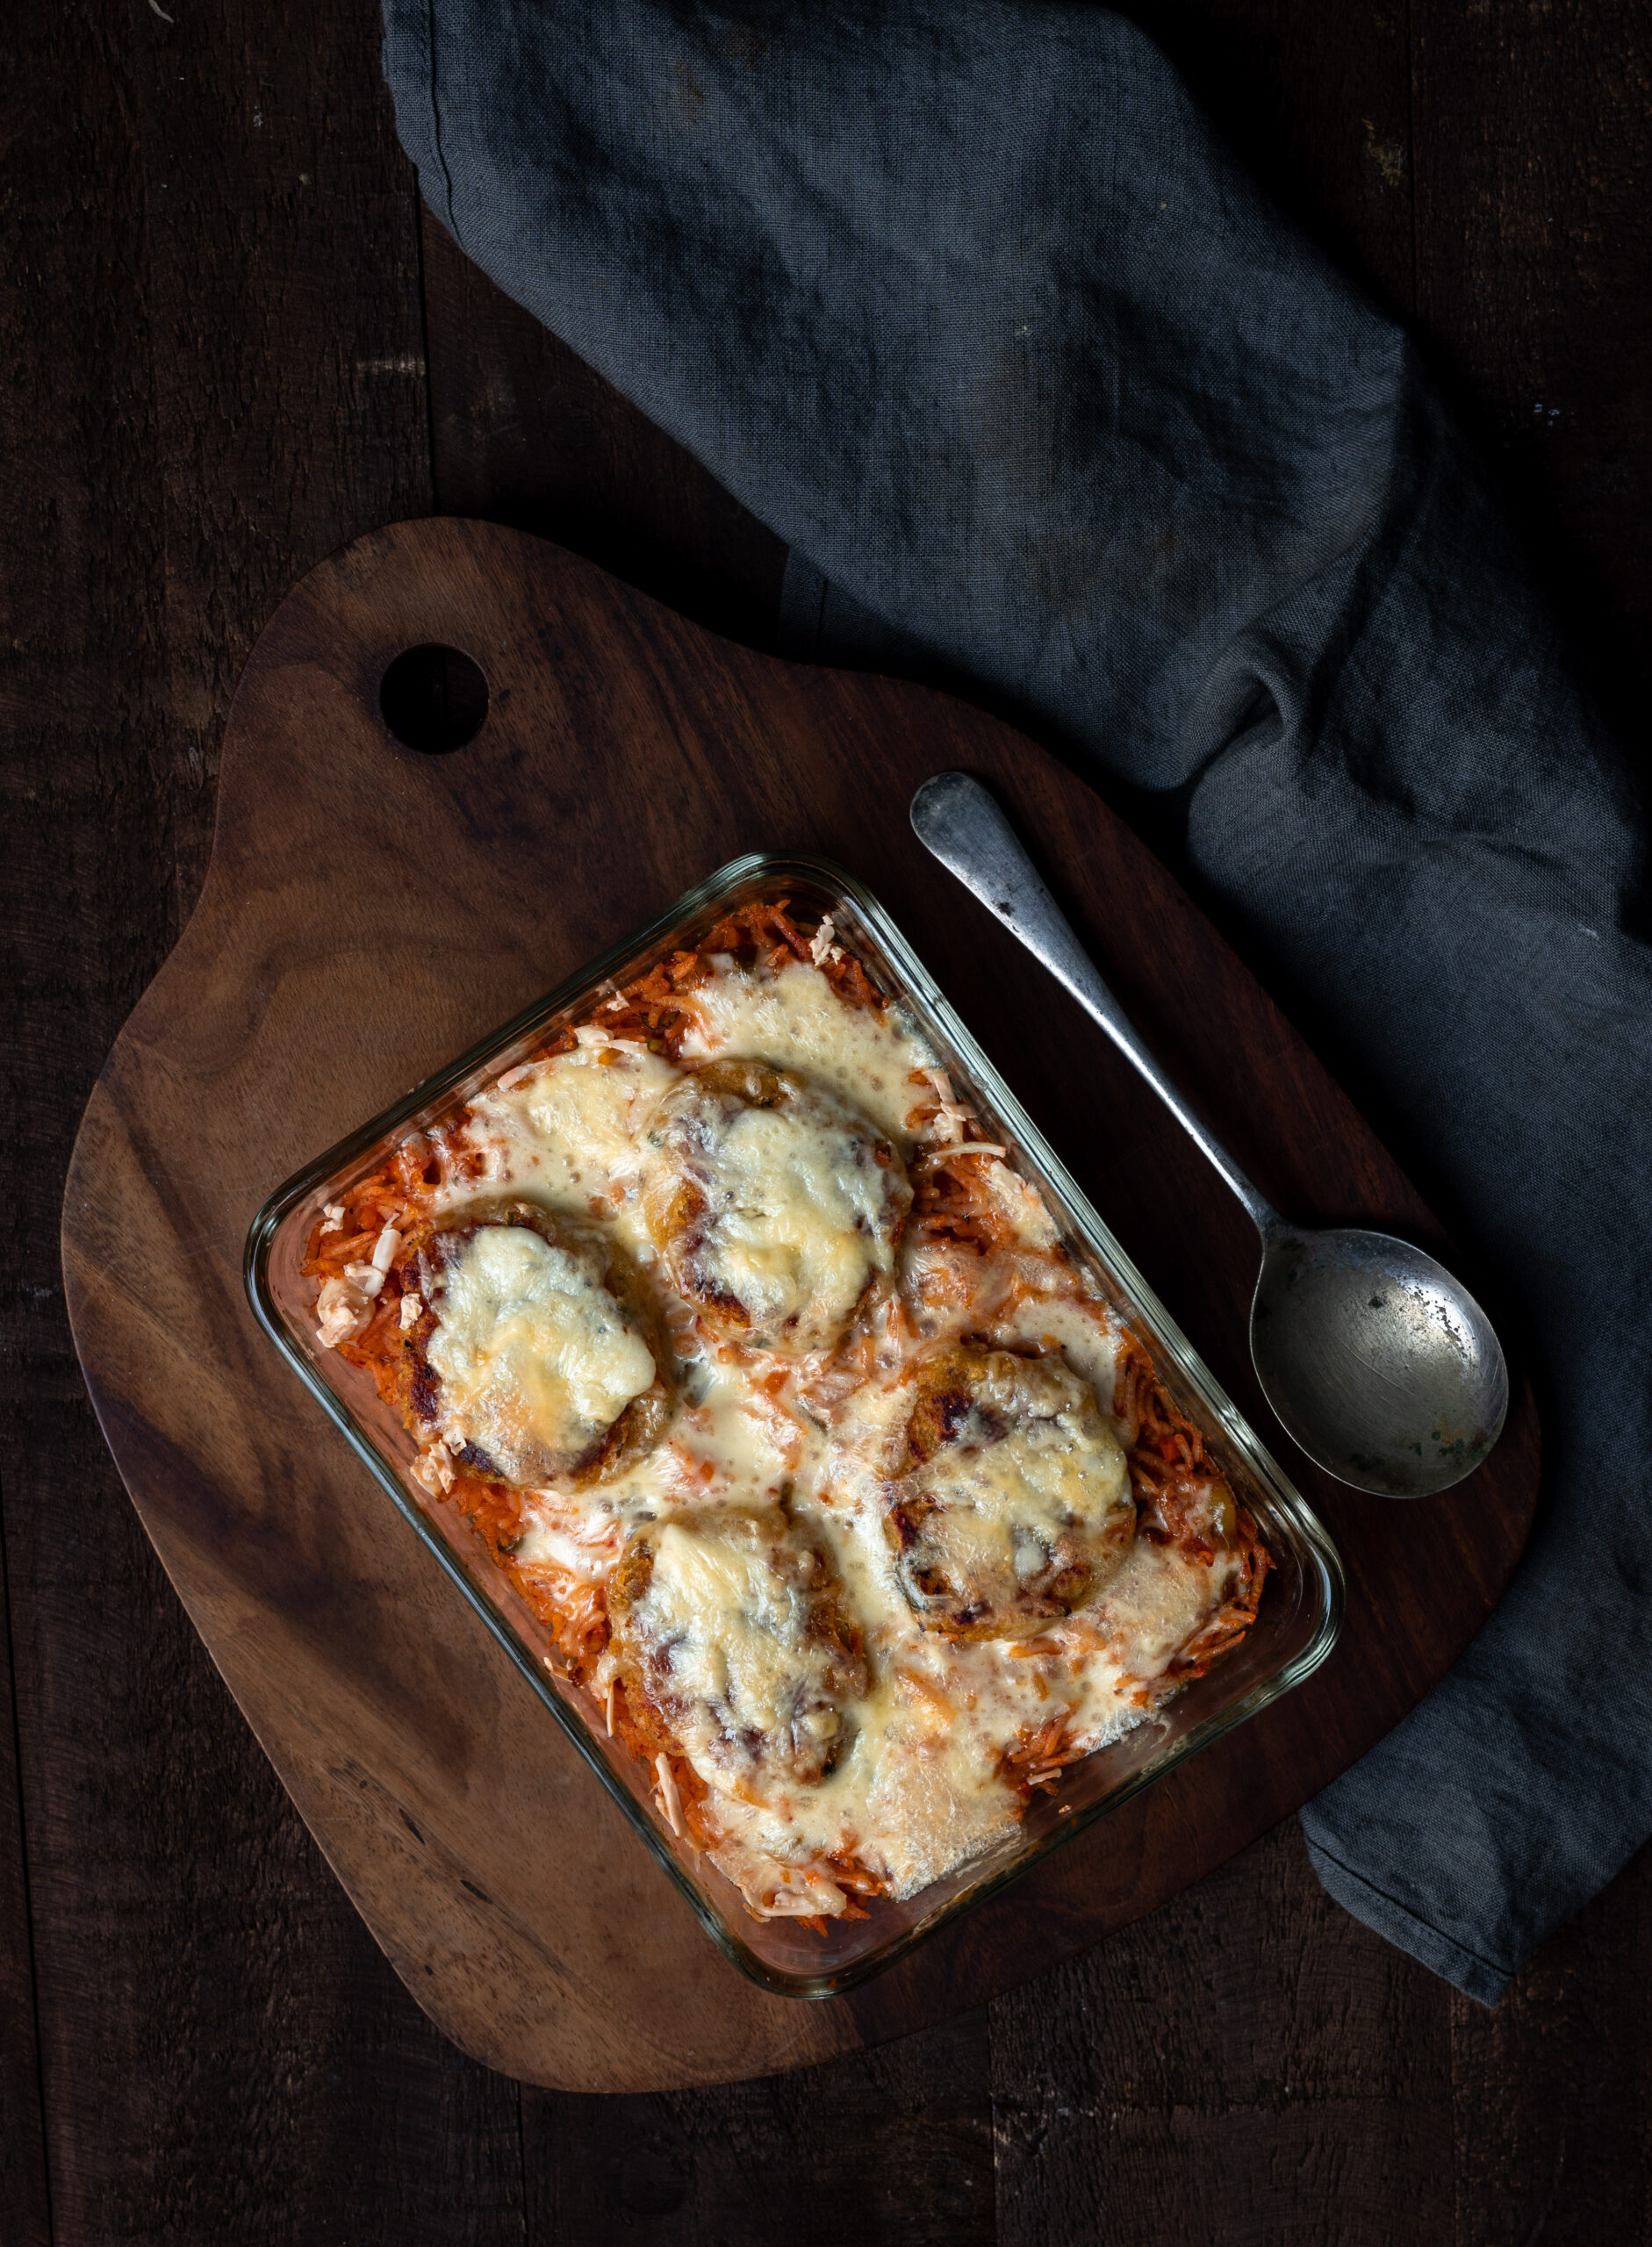
However, I do add my own twist. I make very thin, little potato patties and place them on top of the rice. I grate some cheese on top and then bake it. This adds something distinctive to the dish. After all, cooking is all about each person bringing their own unique sensibility to the recipe, contributing to it in some way. You will notice how I always encourage you to play around with the recipes I post here (except when it comes to the science of baking). I share my recipes with you so that you can expand on them, and make them in your own way.

My love for Mexican rice began long before I ever travelled to Mexico, and that was because of a recipe, too.

The legendary Tarla Dalal came out with cookbooks in India long before the Internet made it possible to find any recipe with a few clicks. They were very coveted, and were in high demand as birthday gifts. I recall photocopying specific pages for friends, and asking friends if I could borrow theirs to do the same for particular recipes. They really were all the rage, and spanned a number of global cuisines: among them Chinese food, chaat – and you guessed it – Mexican food. That was where I first encountered Mexican rice. Back then, chipotle and so on were not available here, so I made do with my own spices, learning and tweaking along the way.

I received many cookbooks in Tarla Dalal’s series during my early 20s, and I still keep them on my shelves to this day. The pages have turned a pale yellow but they are among my prized possessions, and I still love to riffle through them. Mine are full of bookmarks: a scrap of paper, an invitation card, a greeting card. It is so lovely to hold these books and browse through them again because I’ll suddenly discover a postcard from 1985 or a note from 1992 and take a little trip down memory lane. With such precious sentiments involved, I hardly care if this is real Mexican rice or not – it’s mine, full of the flavours of my life.

Mexican Rice

(Yield: Serves 2)


2 tablespoons finely chopped onions

1 teaspoon chopped garlic pods

1-2 teaspoons jalapeños

1 teaspoon oil

½ cup uncooked rice

1 cup finely chopped vegetables

2 cups hot vegetable stock (liquid)

Salt to taste

2 tablespoons Mexican chipotle powder

2 tablespoons tomato purée


Optional:

Potato patties

Cheese


Sauté the onions, garlic, jalapeños and vegetables in oil. Add the uncooked rice to it. Stir and roast for a minute.

Then, add the vegetable stock, salt and Mexican chipotle. Mix and cover. Allow to cook gently on a low flame until the liquid evaporates and or the rice is cooked. Make sure the rice is not over-cooked as it requires some baking later.

Once the rice has cooked enough, empty it into a baking dish. Level it. This is the point where I place my potato patties or cutlets on top and sprinkle them with cheese. You can avoid this if you want a more authentic version. Or you could let me know if you want the potato patty recipe as well?

Bake for 15 minutes at 160°, or until the cheese melts. Serve hot.

I hope this Mexican rice – a dish I first encountered by travelling through a cookbook – brings you much joy, and helps you create some happy memories too!

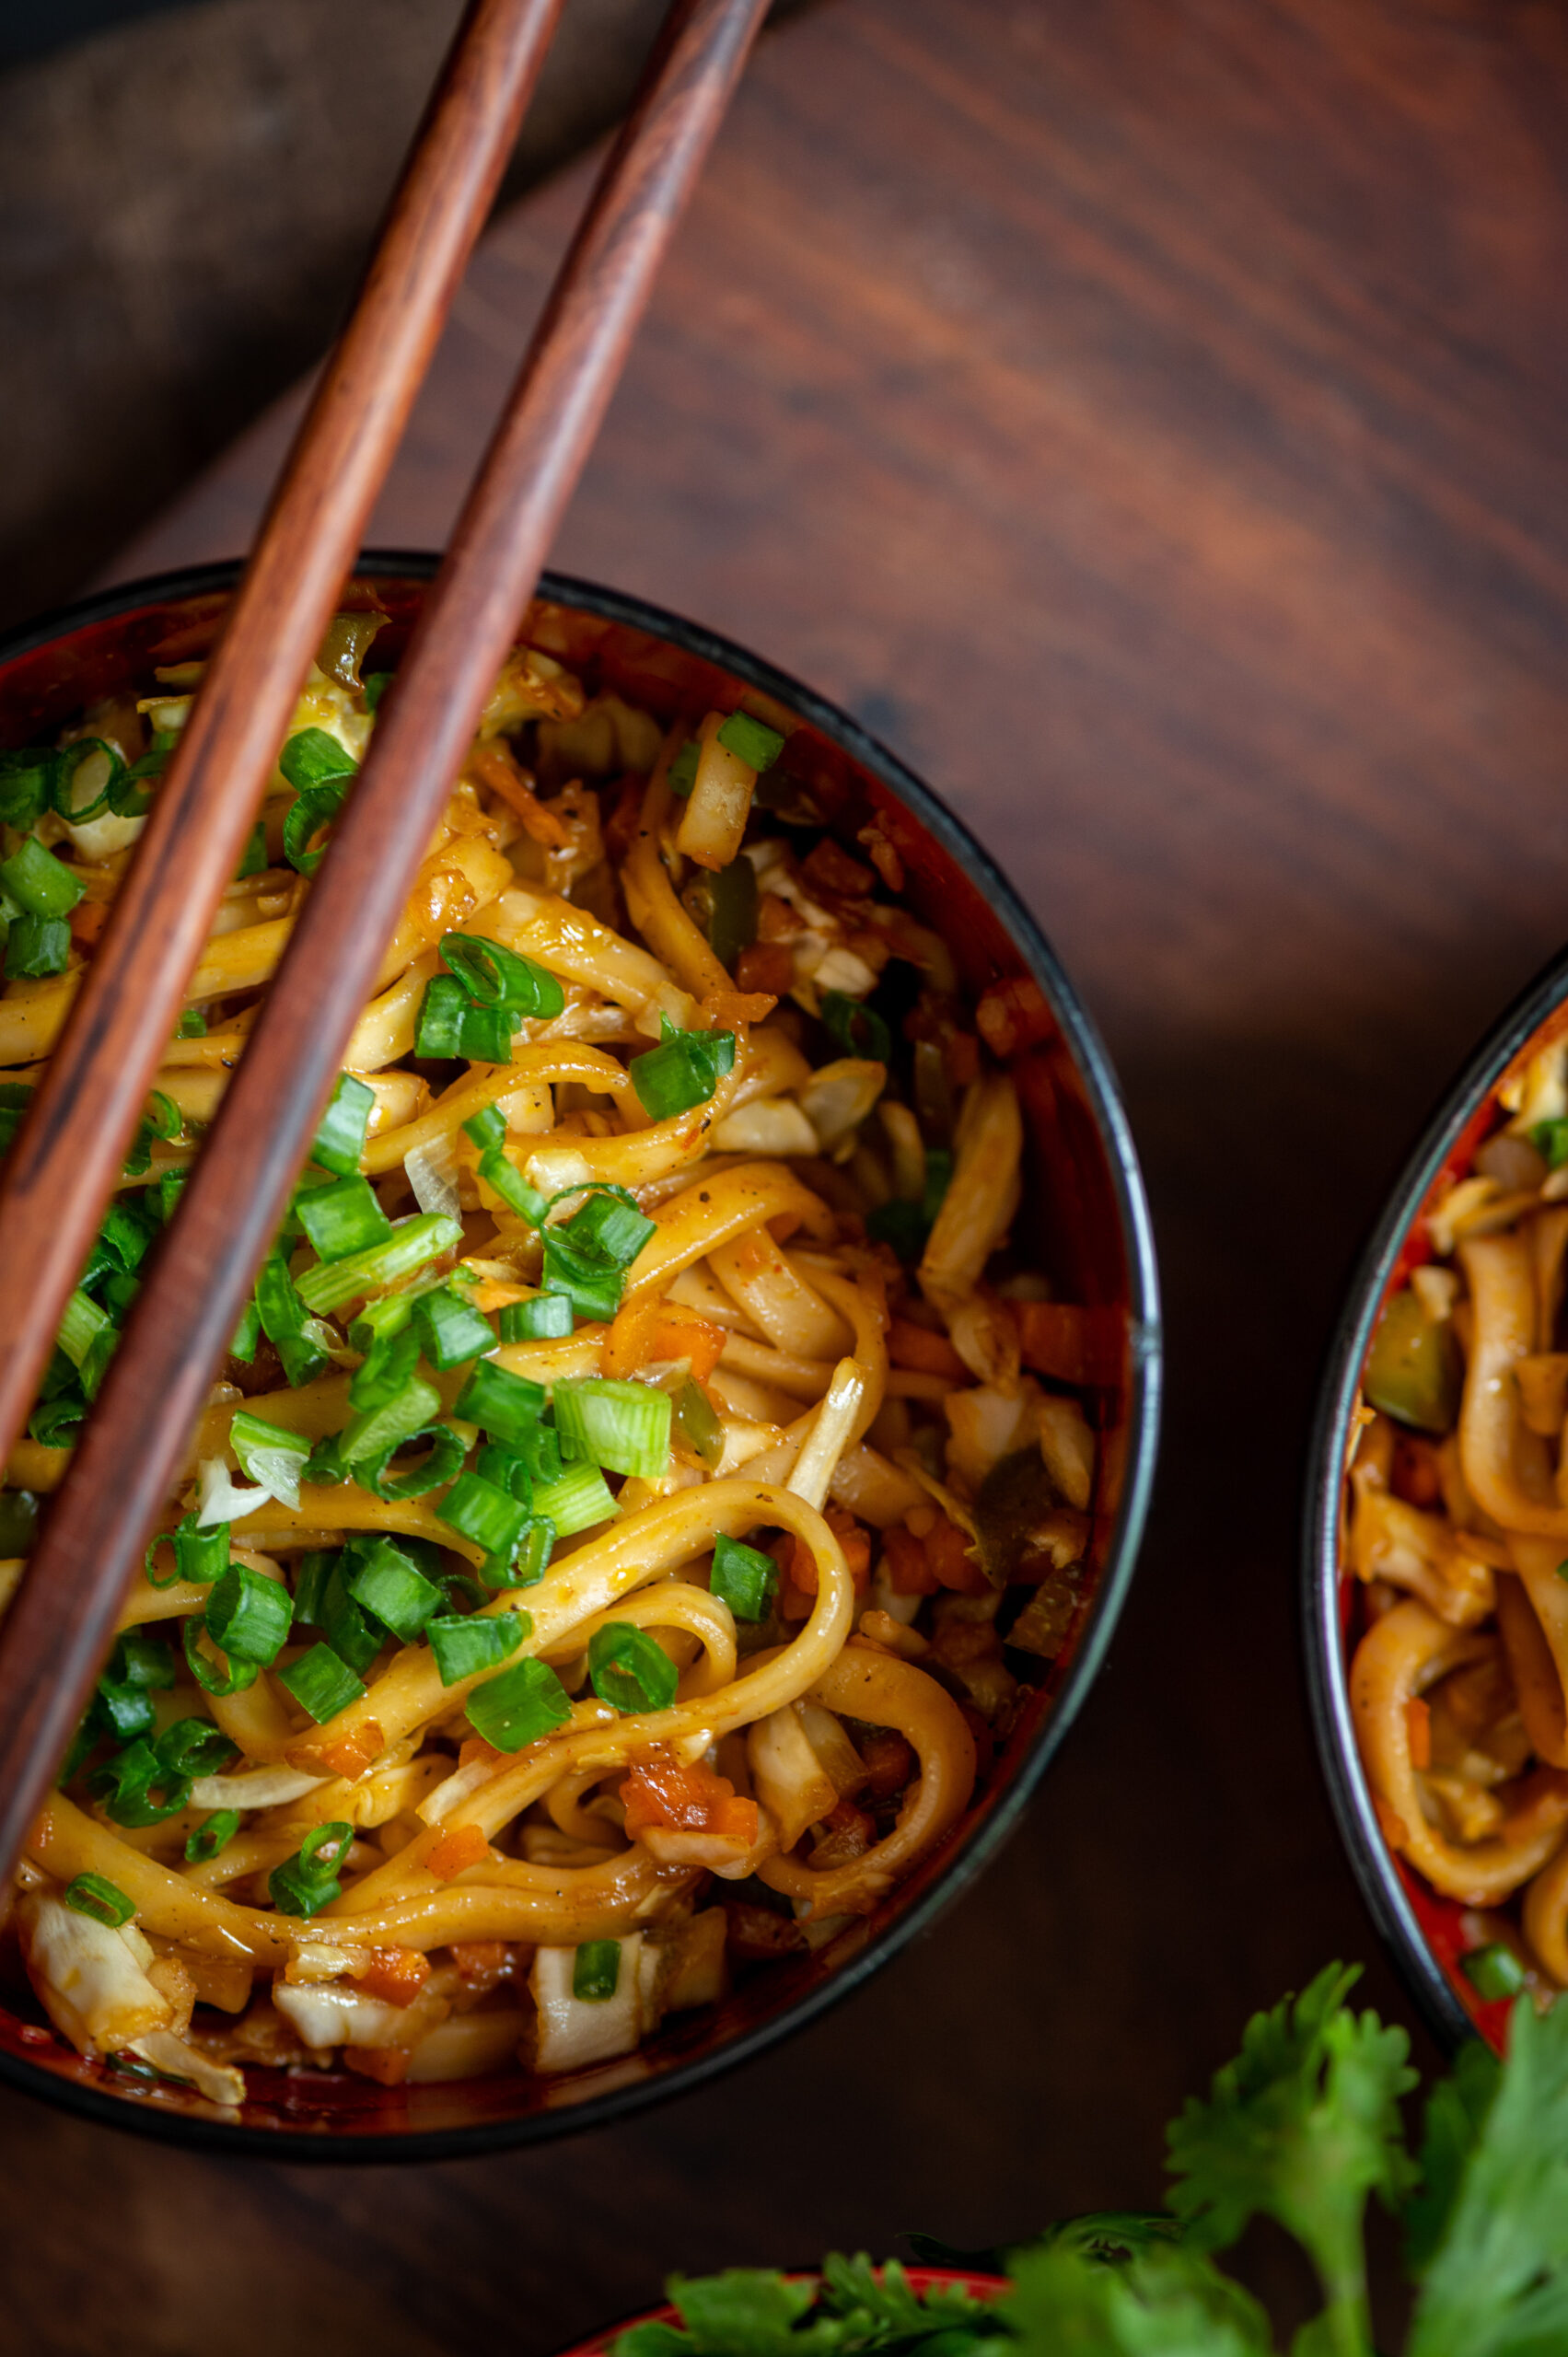
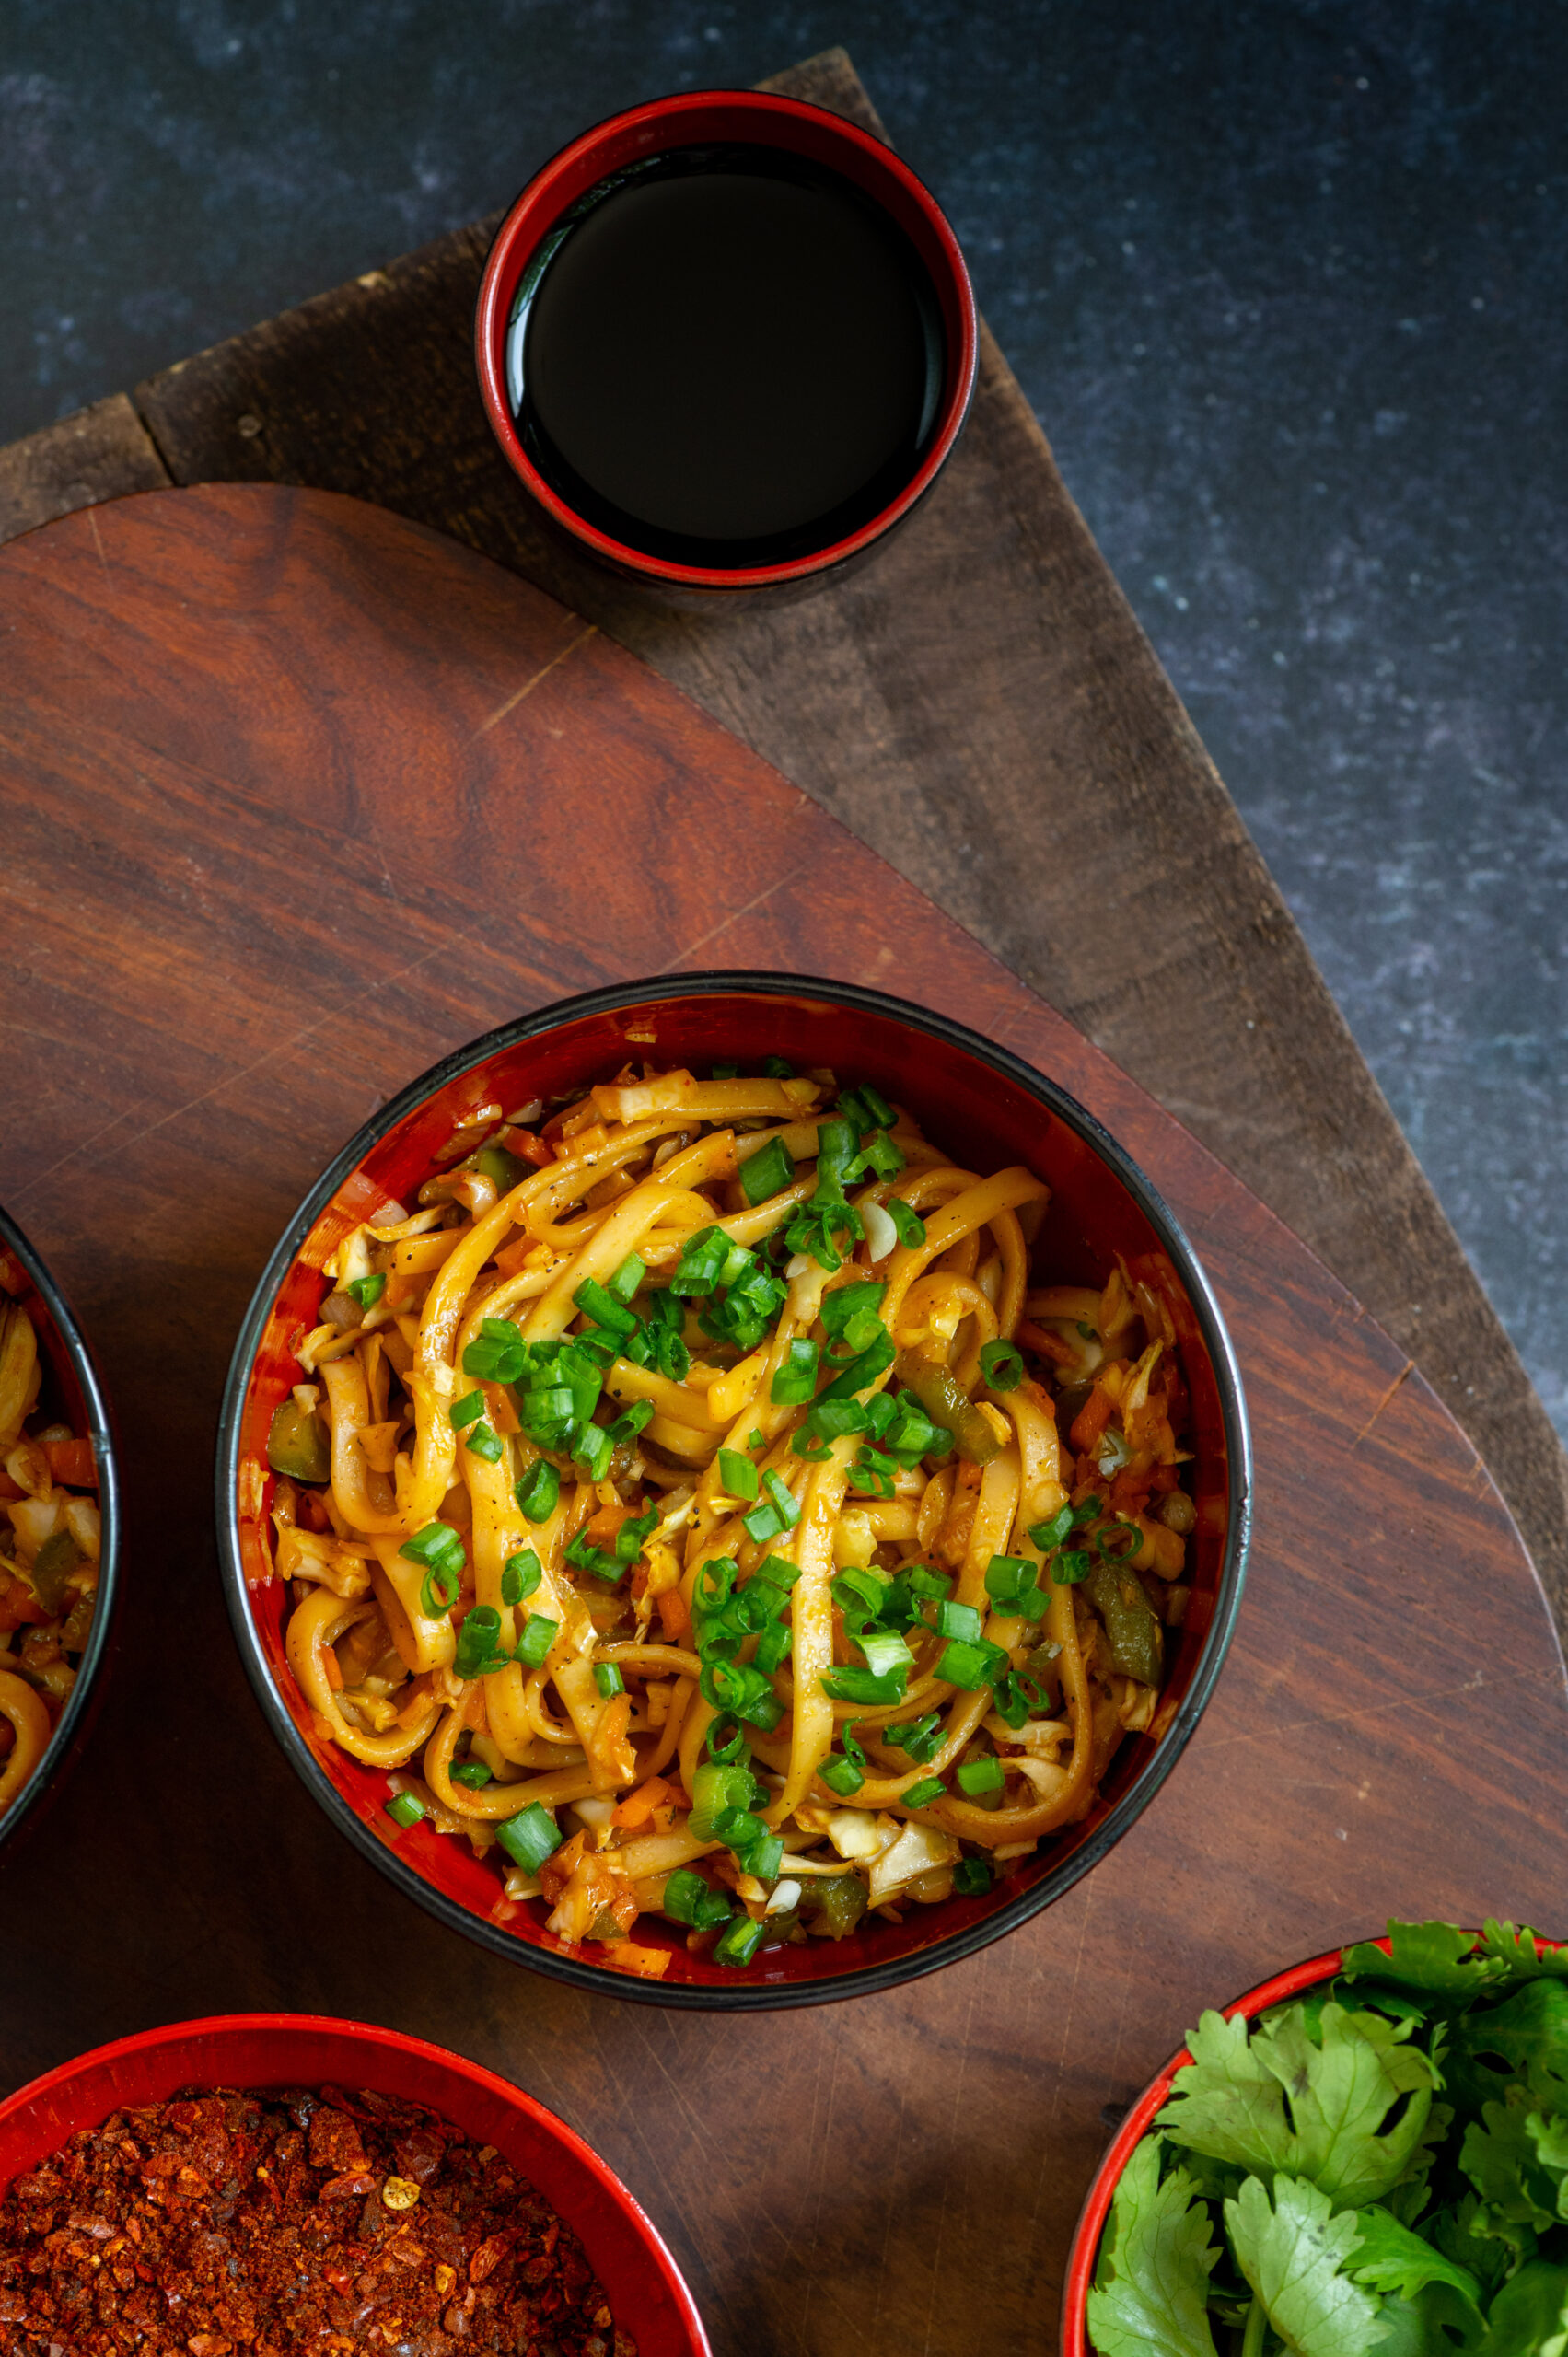
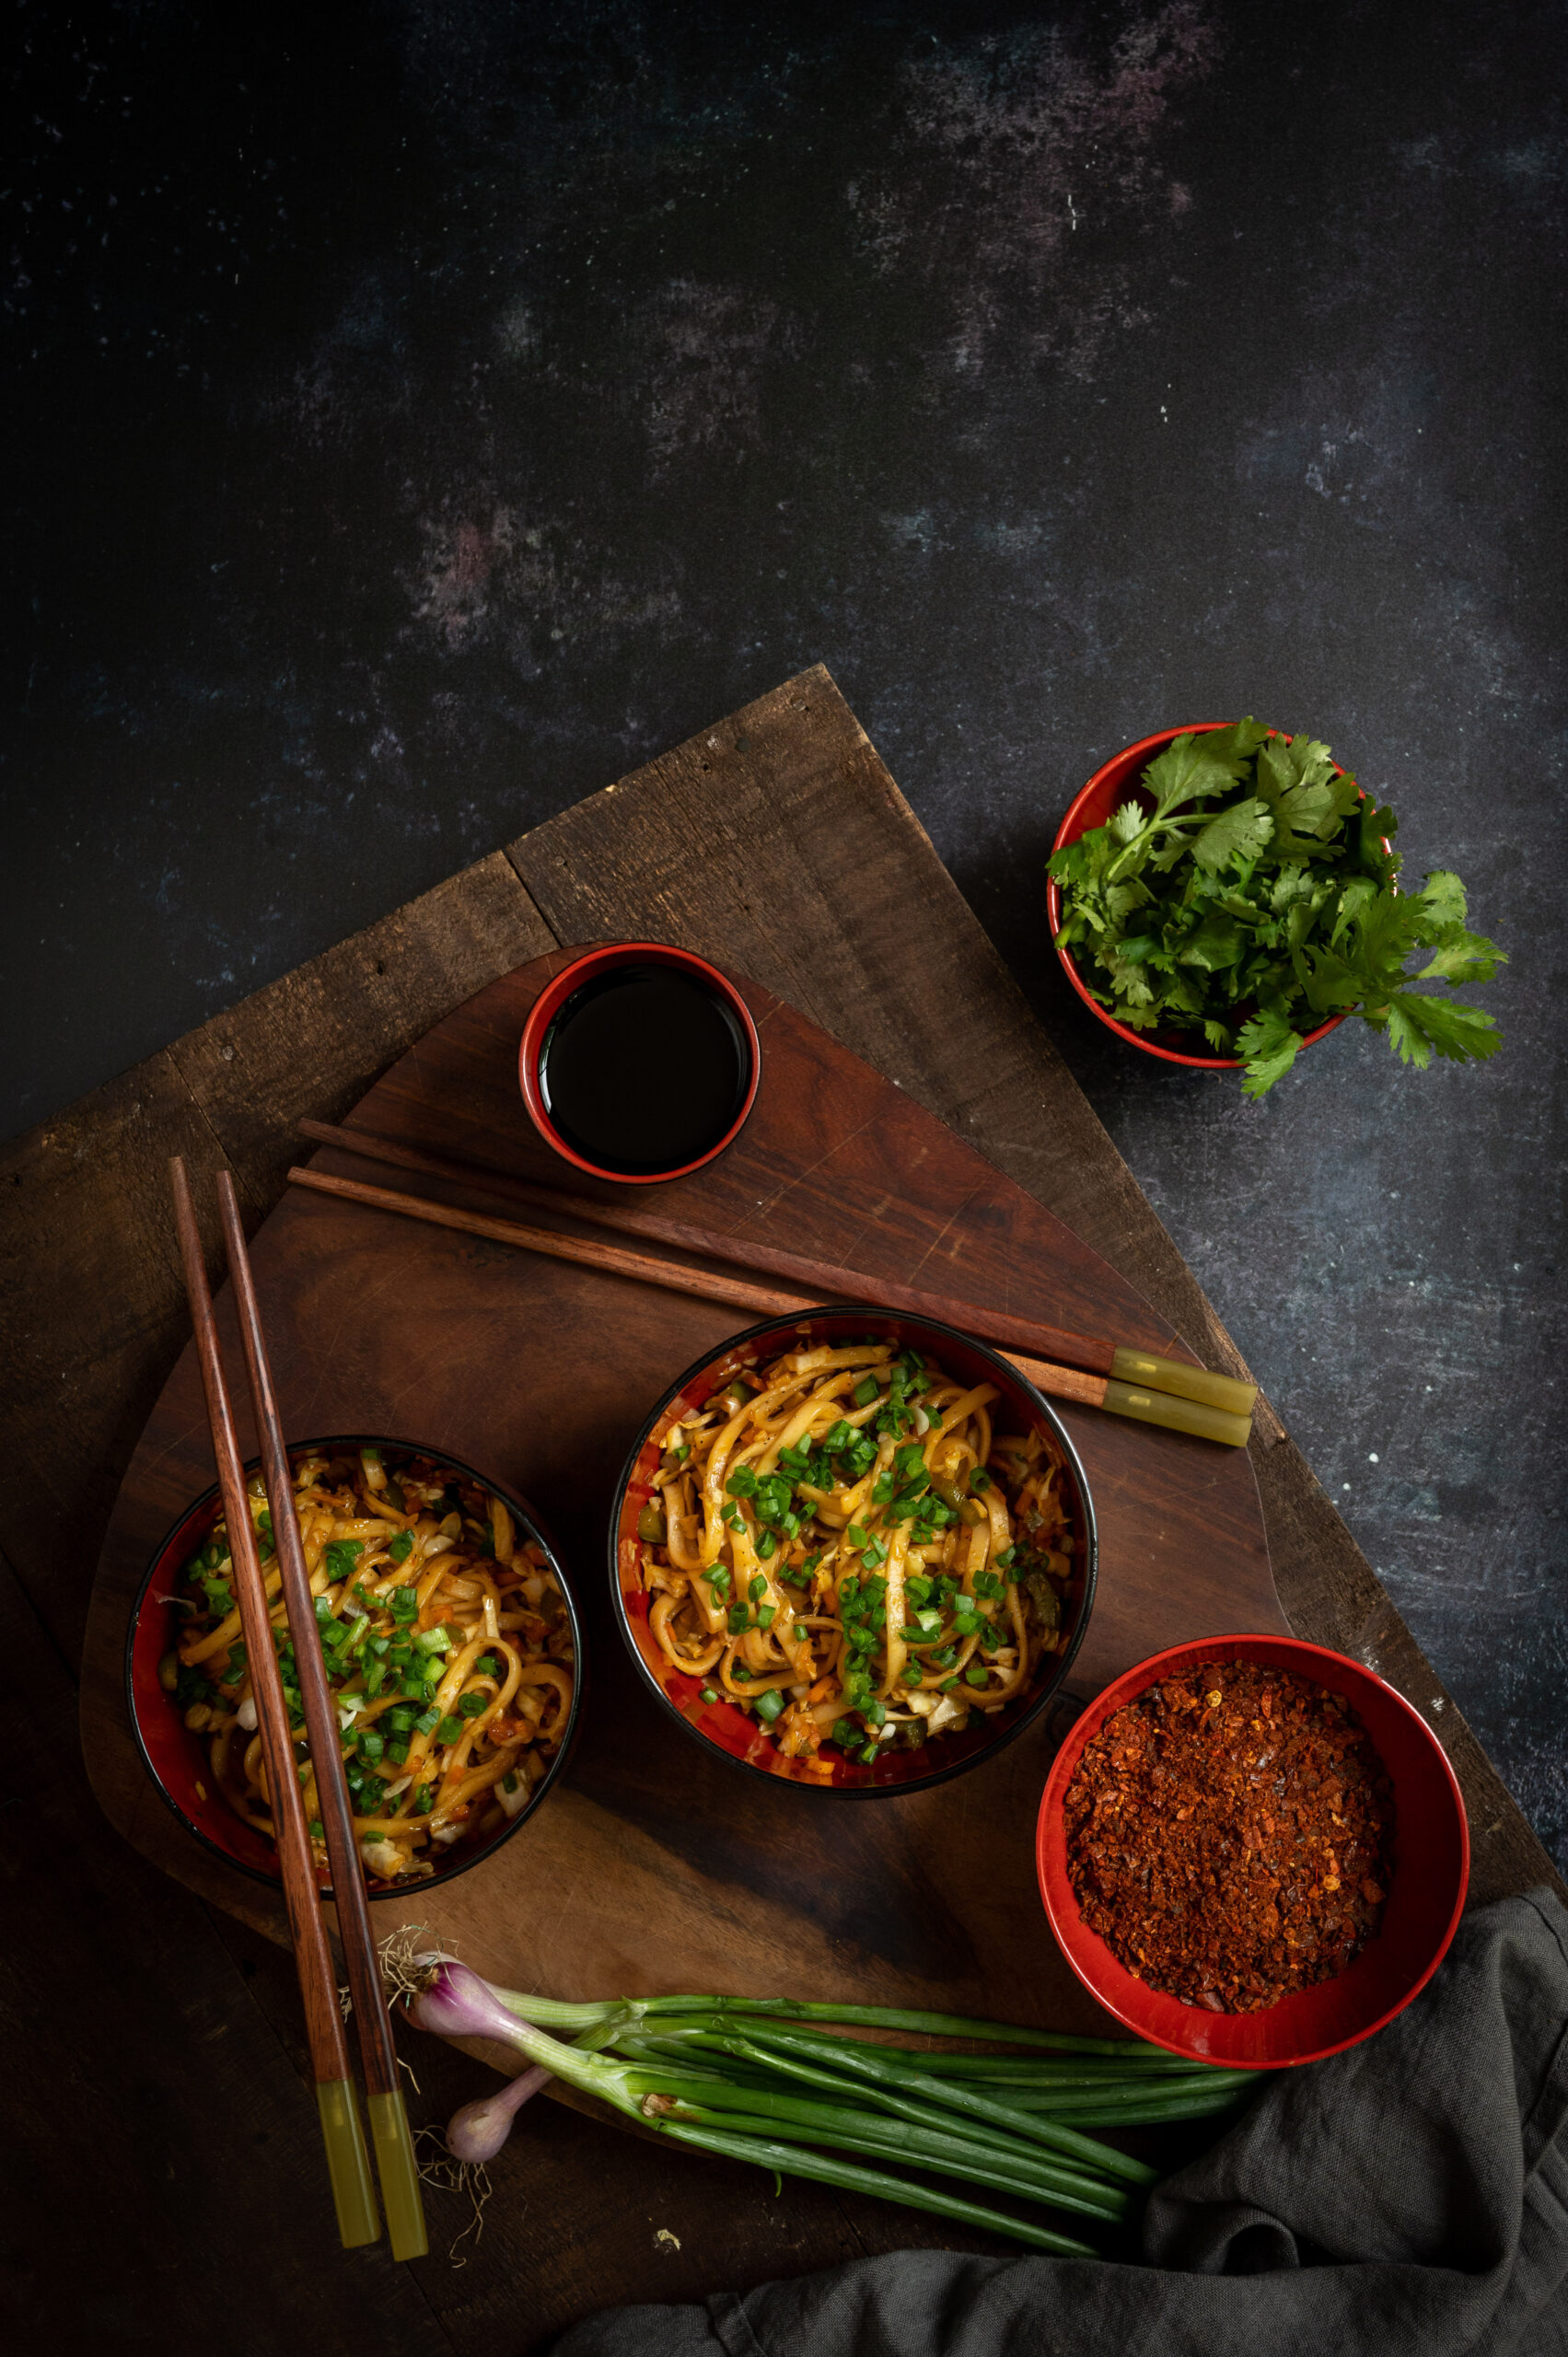
I hope you aren’t bored of hearing about how I’ve been increasing my intake of vegetables and proteins, but I know that many people are doing the same and would appreciate more recipes. This vegetable udon noodles preparation, which I sometimes add eggs to (especially for boosting that protein quotient), fulfills this need – and fulfills my cravings too. It is an Asian-inspired dish, and a meal in a bowl by itself.
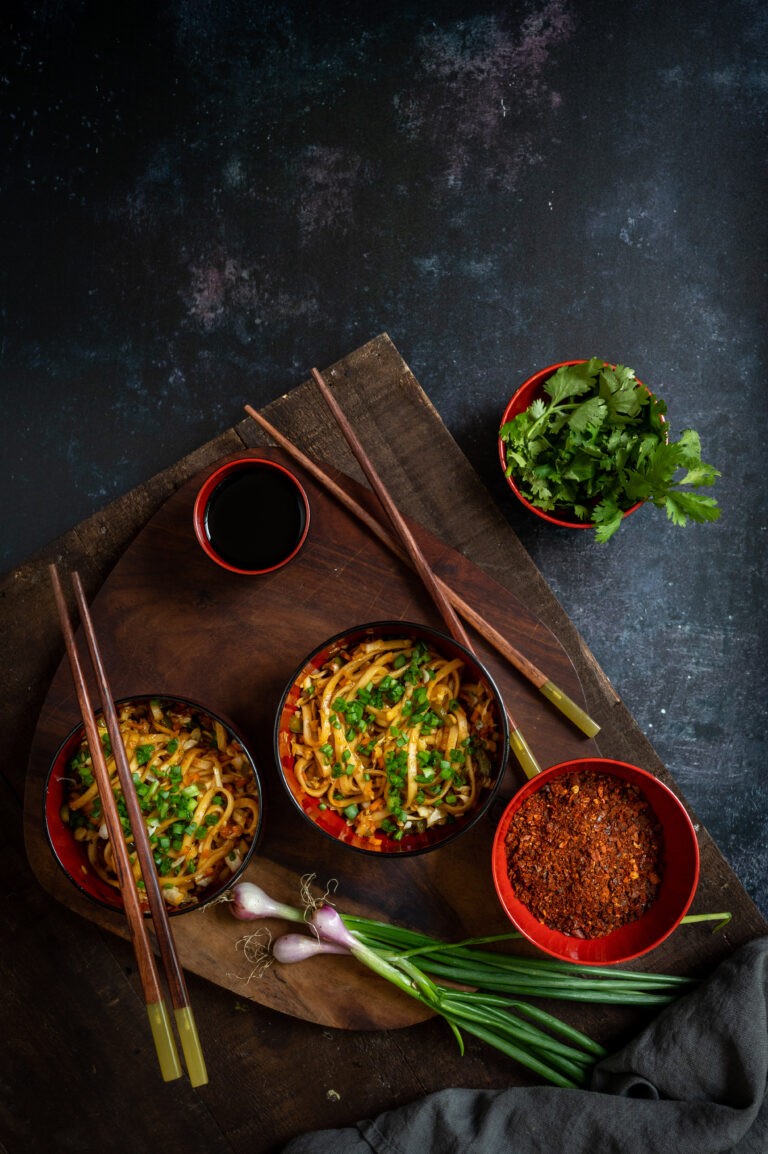
This dish is a great way to consume vegetables that are in the fridge that you may not use up otherwise. It is a highly adaptable dish in so many ways. For instance, while I have used the traditional soy sauce, you may wish to swap it out for Indian masalas and spices that suit your palate.

I prefer to have early dinners, and am done with my meals by 7pm. This is so that there is sufficient time to digest before bed, as recommended by health experts, which means that I can have carbs in the evening with less guilt. This delicious dish, absolutely bursting with flavours and equally nutritious, is something I love to eat for dinner.

Certain things are non-negotiable for me when it comes to food. The quality of the oil I use is one thing. Another important choice is that I get my vegetables from good, clean sources, and buy organic as much as possible. When I go on drives outside the city, I always enjoy the lush beauty of the farms and gardens – so green, so gorgeous, so perfect. Yet, I have seen them being sprayed by chemicals too. Education about toxicity is so important for us all, whether as consumers or as farmers.
I am also conscious of consumption, and try to make use of everything that is in my kitchen. I see this is not just a cost-smart practical habit, but a mindful one. Food is so easily hit by any external factor. Whether that is war, climate change or excessive or minimal rains in a particular season, what we eat is affected first.

All this said, it is true that organic ingredients don’t come cheap, but I believe we must make good choices within what we can afford. We can also cultivate some ingredients ourselves. Whether we have ample backyards or terraces or compact kitchen gardens, we can all grow a little bit of what goes into our pots and pans. Staples like coriander and green chillies are ideal. You can also grow herbs and condiments, like lemongrass. This is something I do at home, and want to learn to do more of. That’s the thing about living mindfully and caring about sustainability – it’s not like you finish a degree and you know everything about the subject, you constantly have to adapt to changes in the world. Personally, I love to learn and to keep growing – including literally growing my own food where possible!

Udon Noodles

(Yield: Serves 2)


1½ to 2 cups chopped vegetables (capsicum, carrots, beans, spring onions, cabbage)

1 cup cooked udon noodles

1 tablespoon garlic (finely chopped or grated)

1 teaspoon ginger-garlic paste

1 pinch black pepper

Salt to taste

2 tablespoons soy sauce

1 teaspoon chilli oil

1 teaspoon chilli flakes

1 teaspoon rice vinegar

1 teaspoon mirin


In a non-stick pan, heat 1 ½ tablespoon sesame oil. Add ginger-garlic paste and sauté till it is fragrant. Add the vegetables, sauté and cook. Cover with a lid till it’s al dente.

Add the cooked noodles into the stir fried vegetables. Add pepper, salt, soy sauce, chilli oil, rice vinegar, mirin and chilli flakes. Stir until all the spices and ingredients come together.

Serve hot, and take in all the delicious flavours. If you enjoyed this dish, you may also enjoy this Asian stir fry. Do give both a try and let me know what you think!

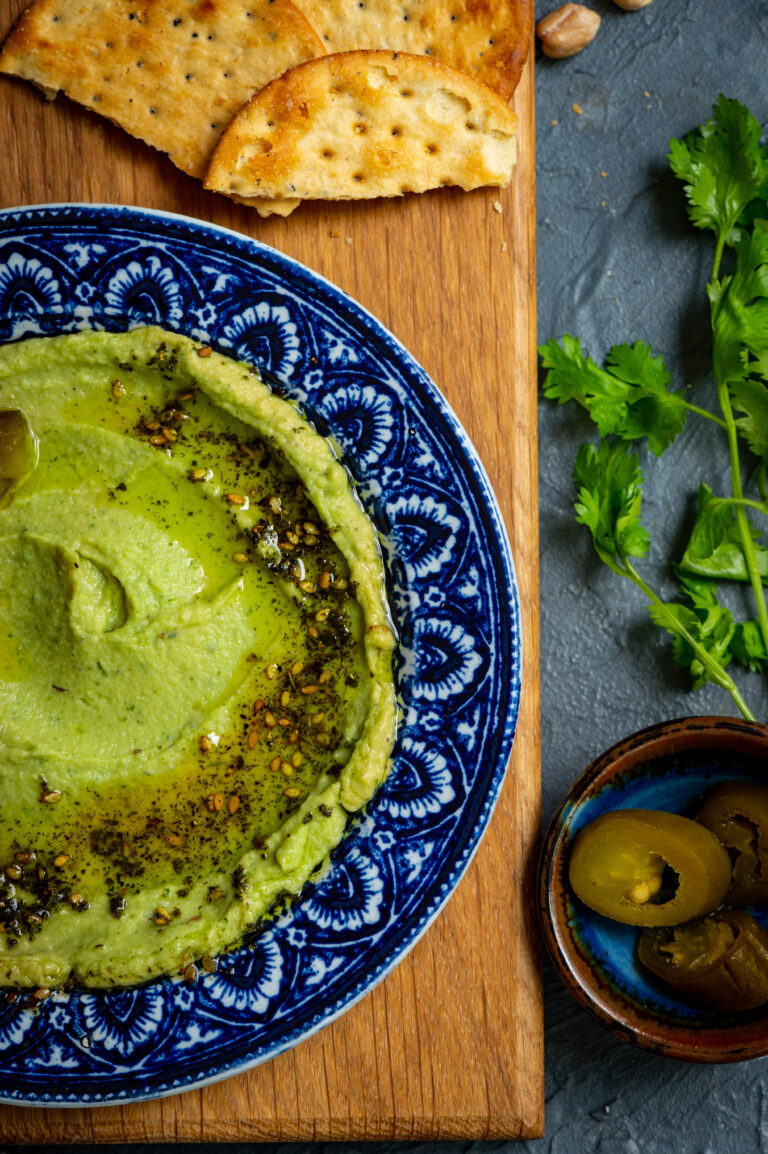
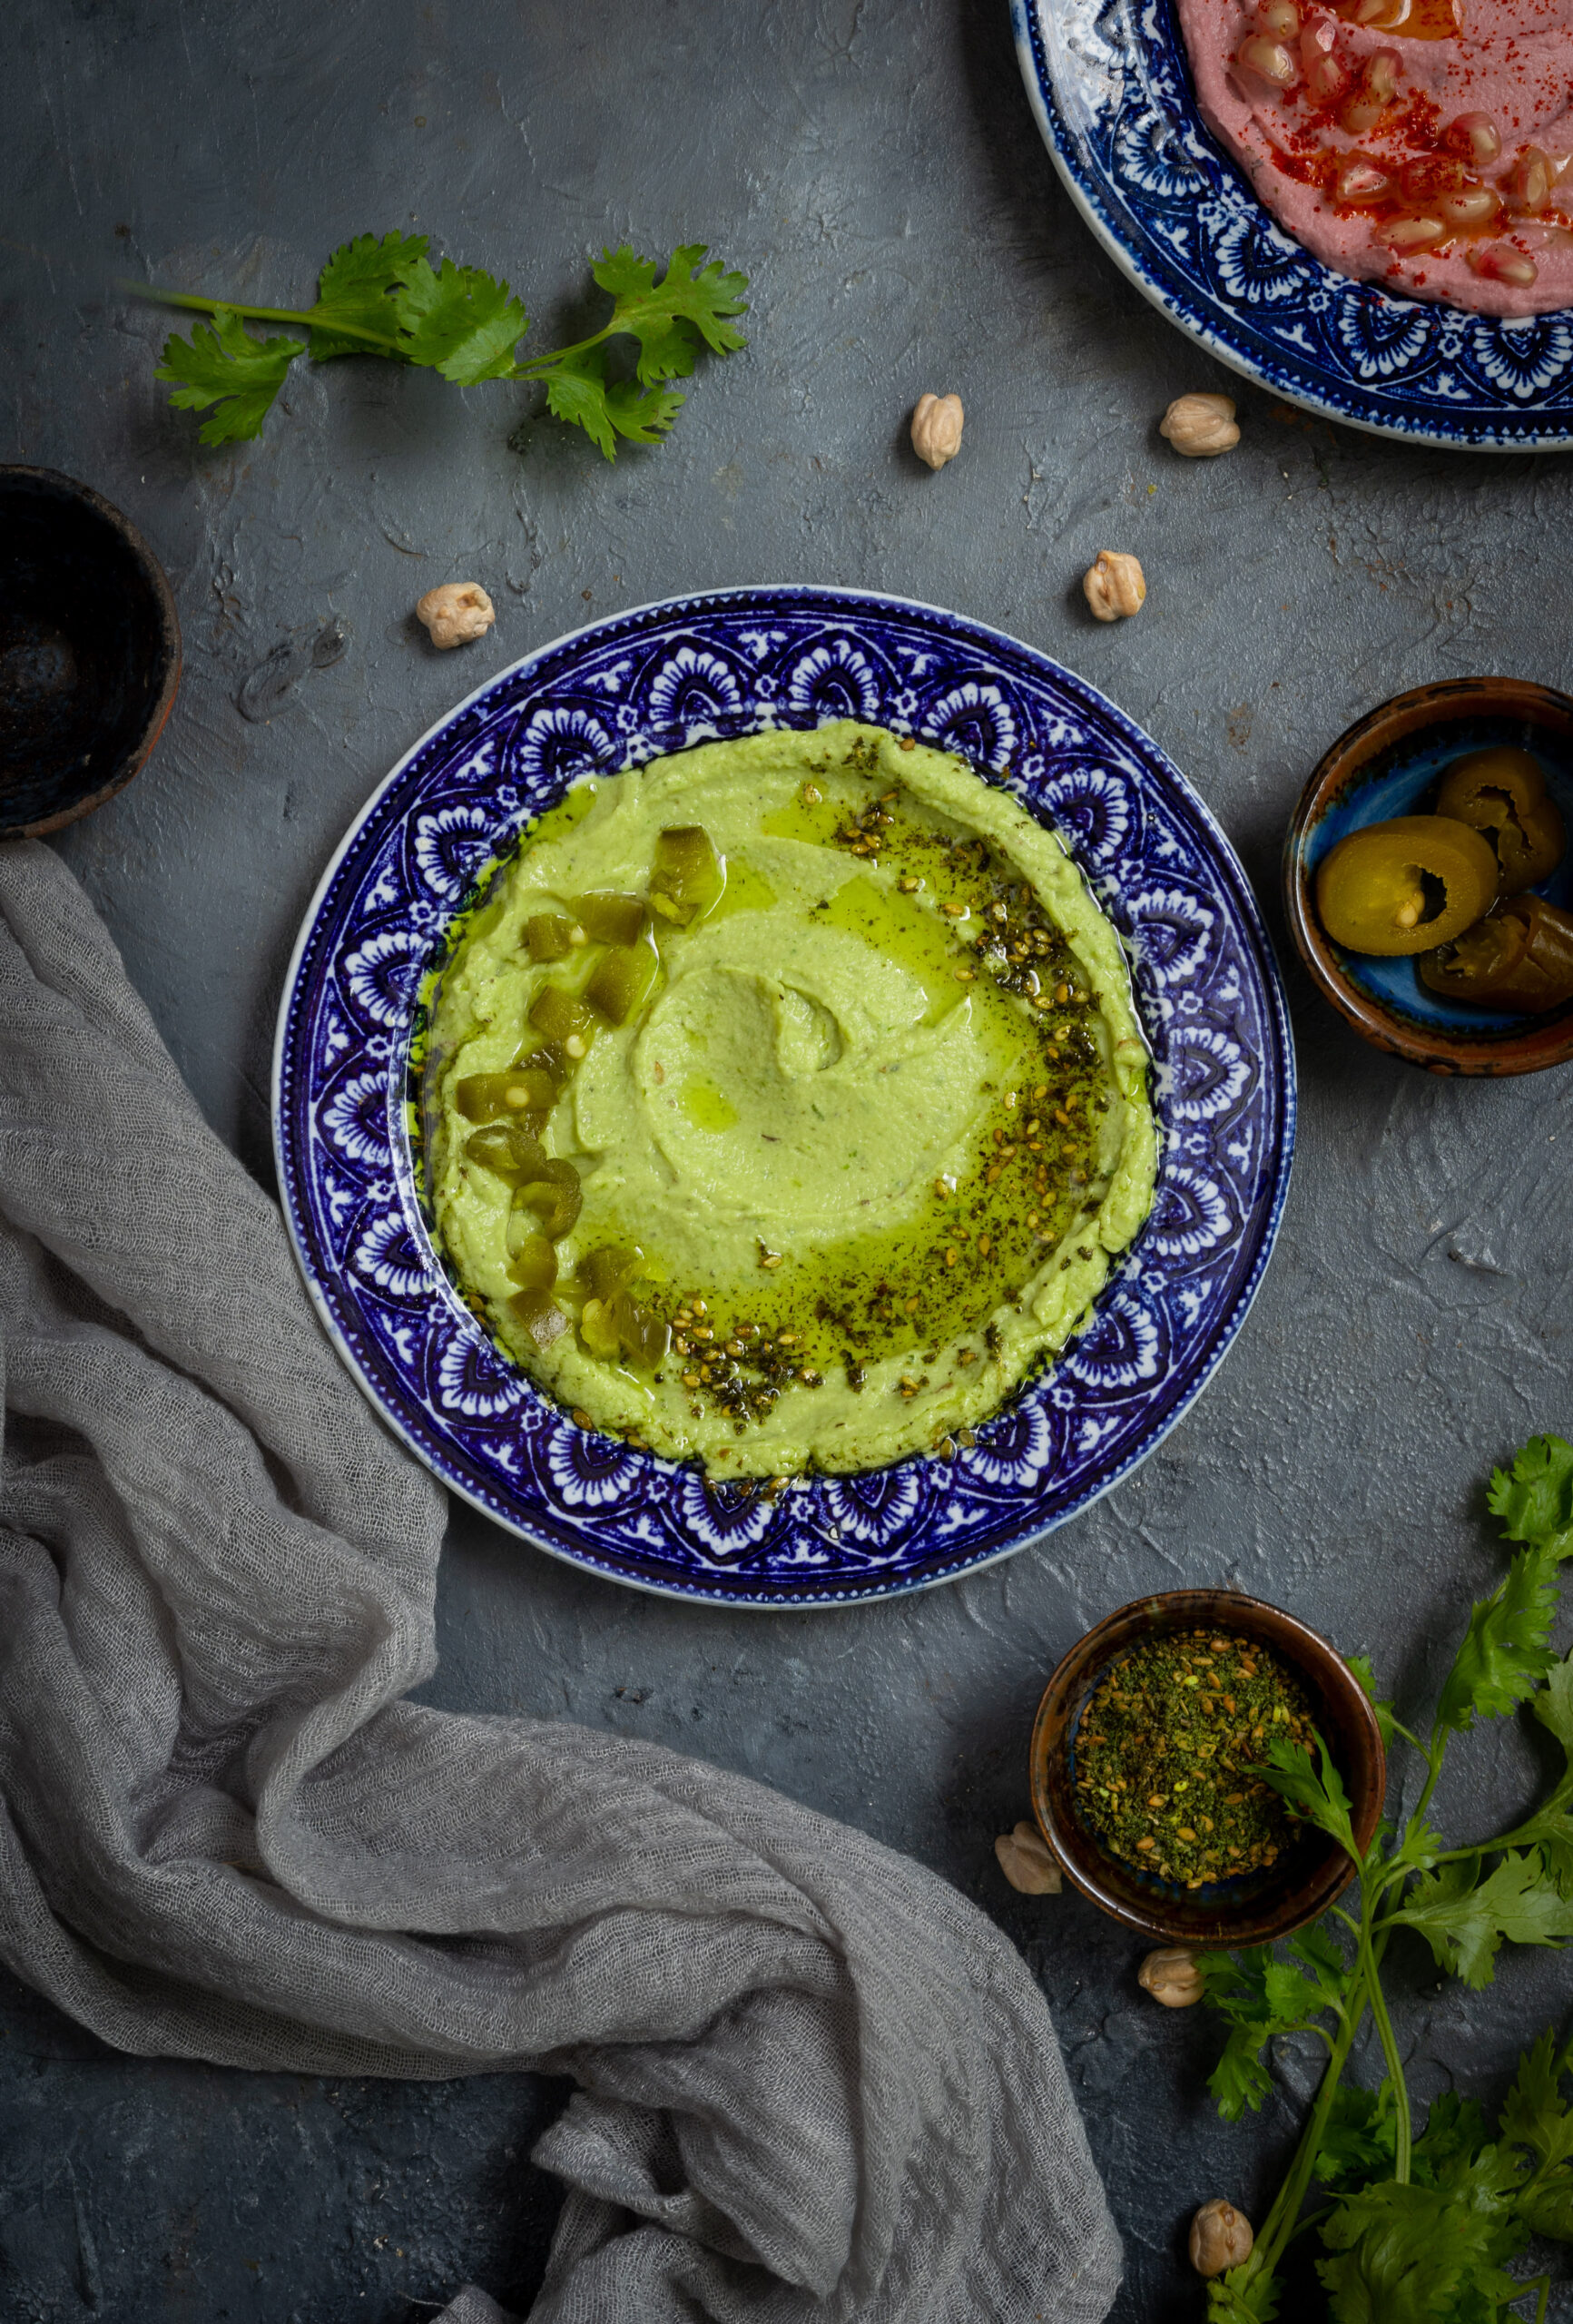
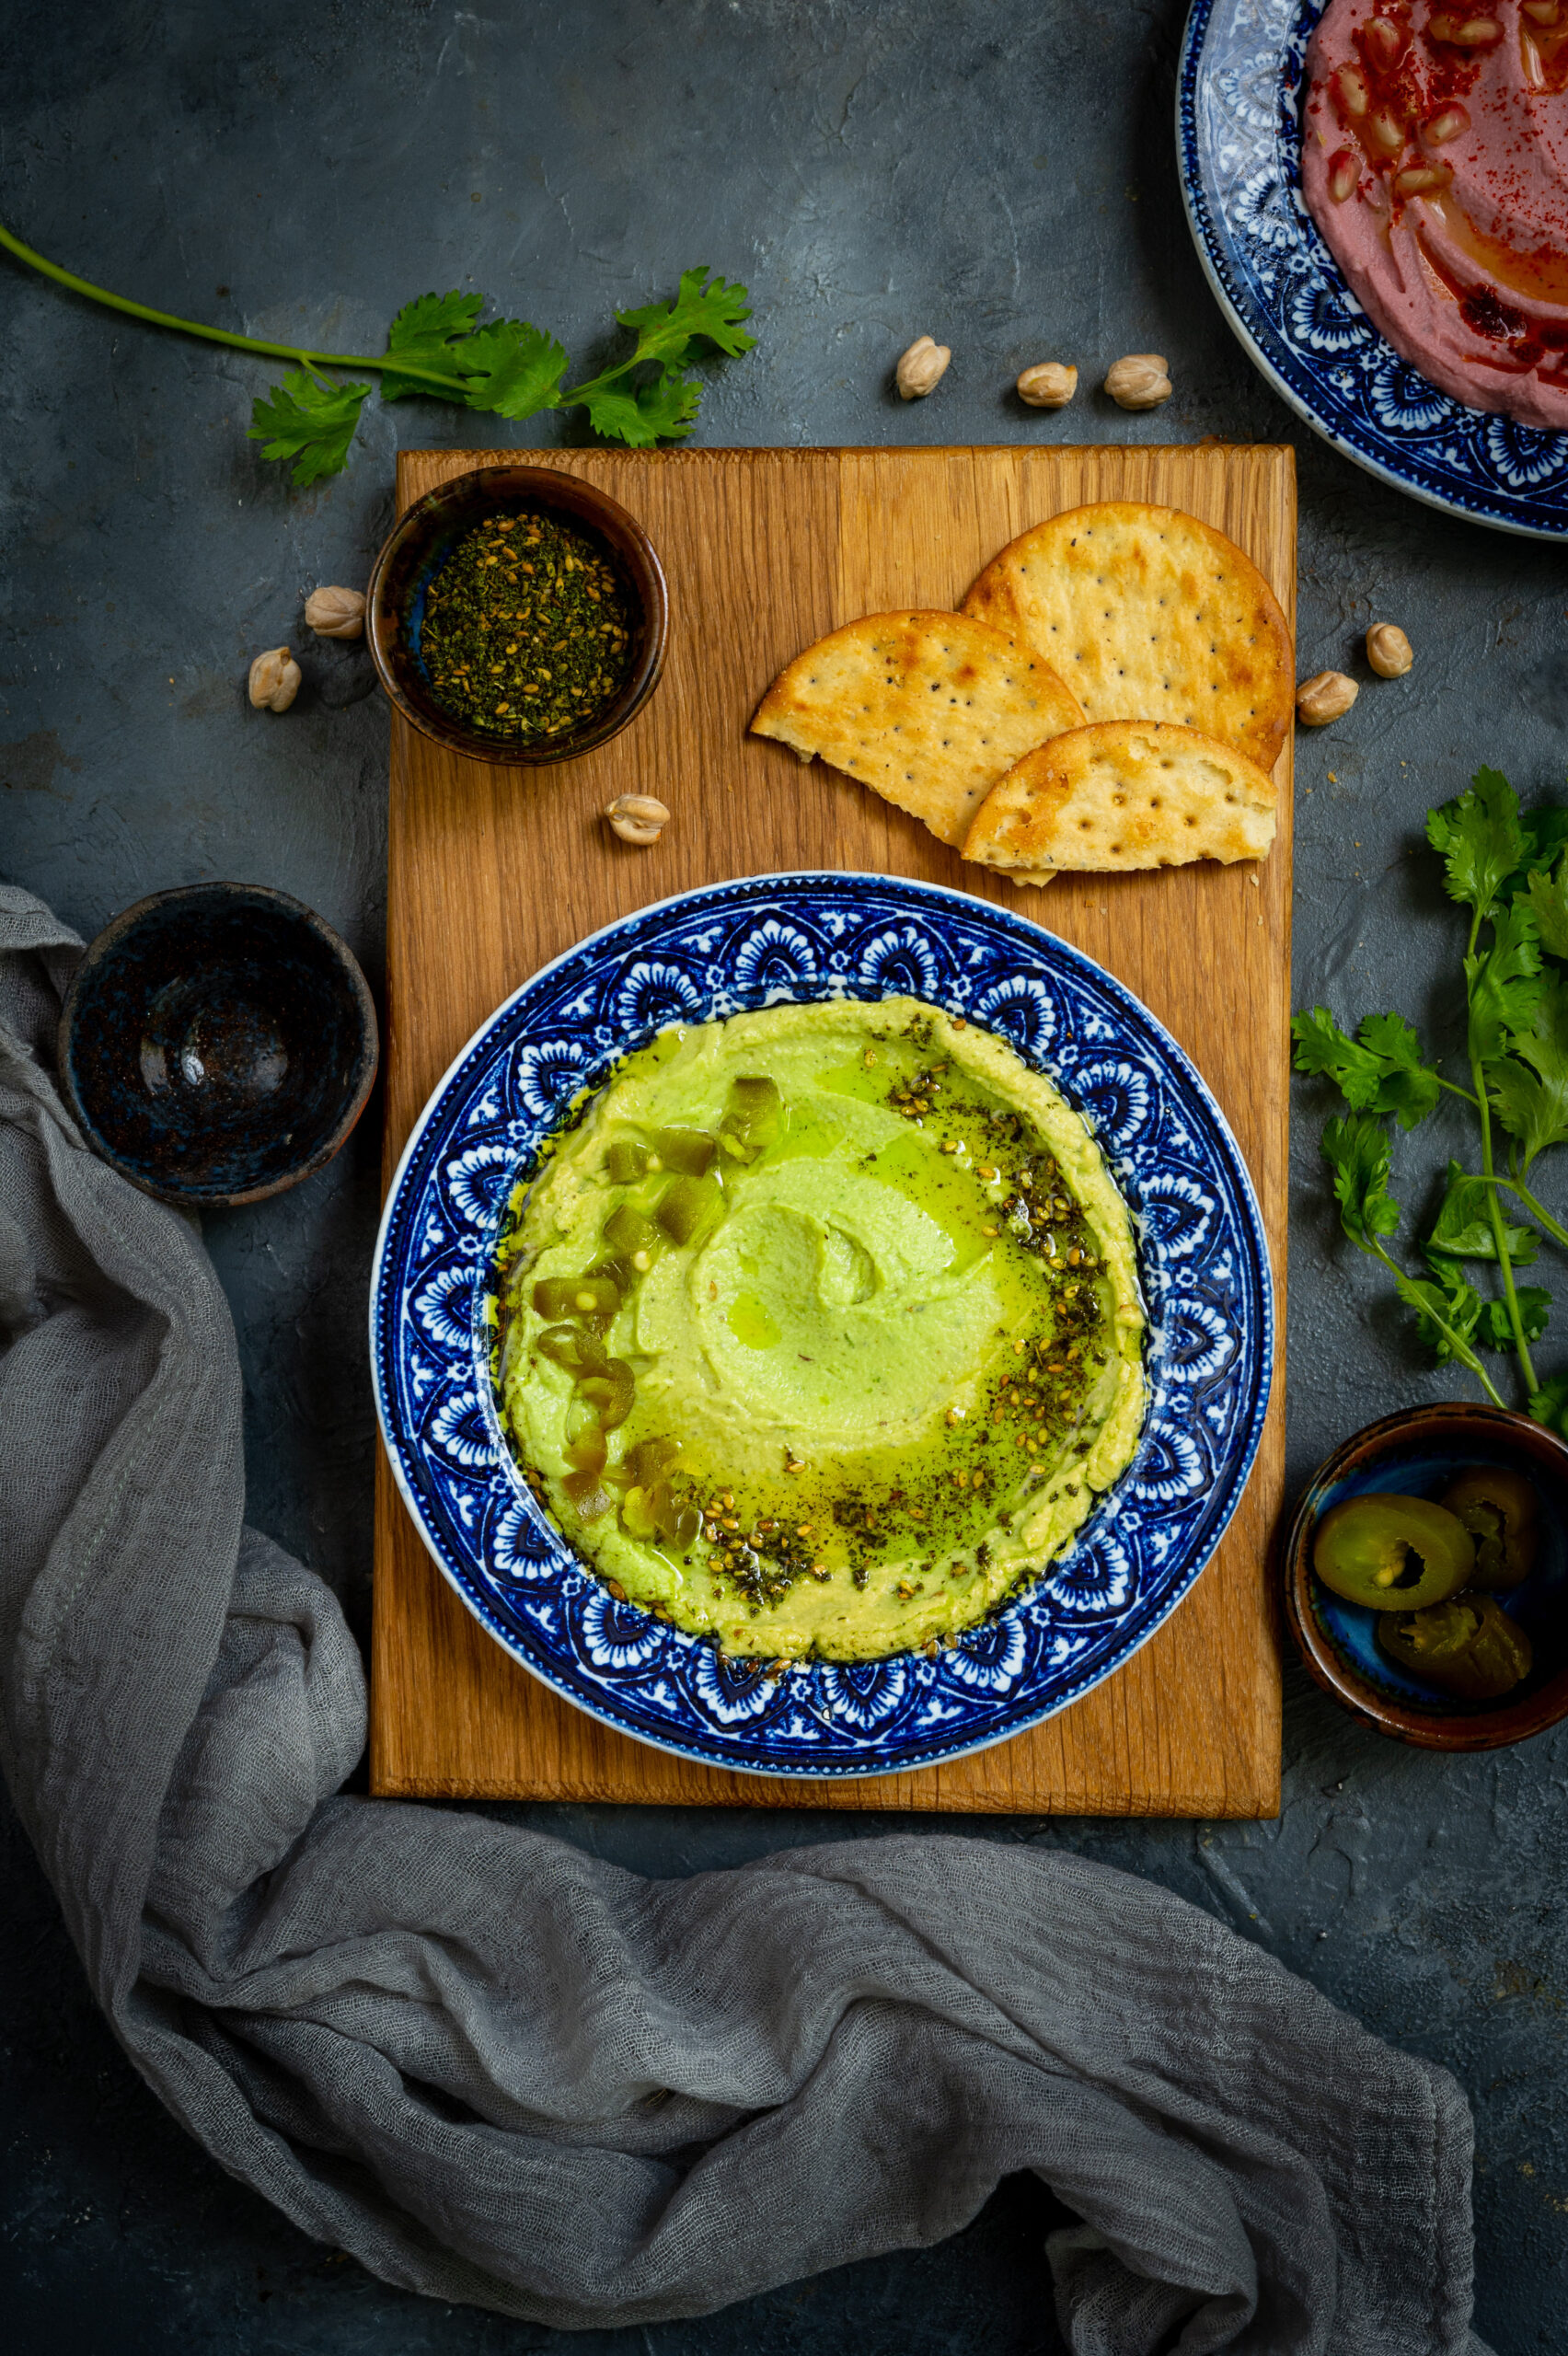
These days, we seem to be entertaining quite a bit at home. This is partly because our kids are all grown up and live in other cities. As parents, we feel proud of their achievements and love it when they visit, but we are also filling up our “empty nest” with friends and socialising as a couple. With people dropping by on a frequent basis, I try to make sure that a steady repertoire of healthy snacks, that are also good-looking and good-tasting, are easily whipped up. This beautiful pistachio-green coriander hummus hits the right spot in terms of its visual appeal, its nutrition quotient as well as its deliciousness.

Hummus originates in the Middle East and I make some whenever I prepare my versions of Lebanese dishes such as pita bread and falafels. It’s quite a favourite at home, and we are currently in an obsessed phase (do you have this habit too – of enjoying a dish so much that you just have to keep having it till you get tired of it and move on to the next big addiction?), so I’m making lots and lots of it.

The idea came to me after noticing colourful hummus varieties such as beetroot hummus, which comes out in a pretty pink. I wanted to use an Indian ingredient as a major one, and coriander seemed perfect. I had explored a curry leaf and green chilli hummus quite a while back too, which has a similar concept.

This dish contains one more surprise ingredient from our local backyards that you’re sure to love, and which you may remember from a recent recipe! If you guessed moringa, you are right. The powder is easy and quick to make, and I like to sprinkle a bit over the hummus to boost its healthiness, as well as to deepen the colour. I’ll probably try out a moringa hummus soon.

Hummus is truly simple to make, and the method for most varieties is more or less the same. In my family, different members have their own preferred type – curry leaf, beetroot, coriander, etc – so I am constantly whipping up some version of this dish and can assure you that it’s a basic recipe. In fact, it is quite easy to replace the coriander with other vegetables. You can see in the photographs that I’ve done a beetroot one too, using roasted beets. That one is more colourful than flavourful, but it is good for novelty in presentation. Guests love pretty snacks, remember?

Chickpeas are the core ingredient, and they are available abundantly in India so I don’t have to resort to the canned ones, although those will work just as well if they’re what you have on hand. I do the traditional method of soaking, boiling and so on – which is very familiar from so many Indian dishes. It’s funny: my cook at home, who is not well-versed in foreign cuisines, calls any kind of hummus “channa ka chutney” (“chickpea chutney”). He is not far from the truth! Several of the ingredients really do feel rather local, and are certainly used in Indian cuisines.

That said, despite its seeming Indian-ness, I was not exposed to hummus while growing up either. I discovered through my travels and culinary explorations that it’s a fantastic starter. It is healthy, tasty, simple to make and versatile in its usage as a dip. Despite the high summer temperatures at the moment, it keeps well in the fridge for at least a week.

Coriander Hummus

(Yield: 1 portion)

¼ cup chickpeas

Water (to soak and to boil)

2 tablespoons tahini

½ cup coriander leaves

Salt to taste

3 pods garlic

2 tablespoons olive oil

1 tablespoon chopped jalapeños


Soak the chickpeas overnight in sufficient water. Once soaked, they will have enlarged in size to almost 1 cup. Strain them.

Boil the chickpeas in fresh water in a pressure cooker with sufficient water, until tender to the touch. This will take about six whistles.

Once boiled, strain the chickpeas from the hot water. Set the water aside. This is called aquafaba. Aquafaba, boiled chickpea water, becomes an ingredient of its own with varied uses including as an egg substitute!

In a blender, add the tahini, salt, jalapeños, coriander leaves and garlic. Blend coarsely.

Next, add the boiled chickpeas. Now, add as much aquafaba as required to help blend the mixture once again until you have a creamy texture.

Spread the hummus onto a flat dish. Garnish with olive oil and any toppings of your choice. If you have za’tar, a spice combination commonly used in Middle Eastern cooking, you could sprinkle some. As I mentioned earlier, moringa powder is my preferred substitute.

Your coriander hummus is now ready to serve. Eat it with the accompaniments of your choice. It goes perfectly with chips, vegetable sticks, apple slices, pita bread, falafels and more.

As I said earlier, you can swap out the coriander for other kinds of vegetables. You can also use sprinklings of different condiments or flavours. Let your imagination go wild – this is a basic, safe dish that responds well to play. Thinking out loud, a hint of mint could also be a nice flavour contrast. Maybe I’ll try that next time. Or maybe you can, and if so I hope you’ll let me know what the results are like?

If you’ve been using my recipes for awhile, you may already be quite experienced with kheer, having tried out sitaphal kheer, rose-coconut kheer and even kheer poori. So this orange kheer should be a nice, fresh twist on a milky Indian dessert that I hope you’ve been loving.

When I first heard of orange kheer and then tasted it for myself, I was a bit surprised. I had always assumed that citrus would separate the milk and ruin the dish, so when my mother-in-law brought it out for her meal once in the early days of my marriage, I was incredulous at first, and then very impressed. The trick is to have two distinct cooling periods, thus ensuring that the milk has already set before the orange is introduced and combined. When you make it this way, you can quite confidently add quite a lot of orange, which I do – fruit segments, fruit juice and even a fruit cup.

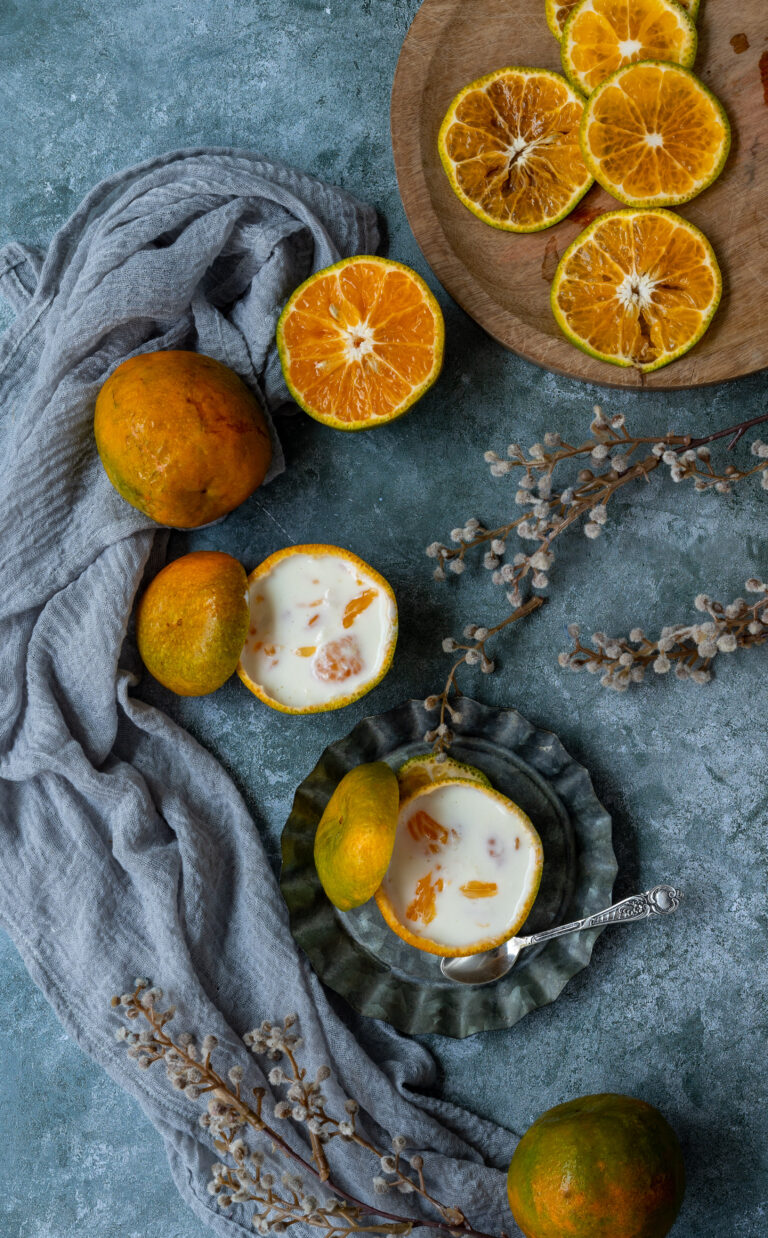
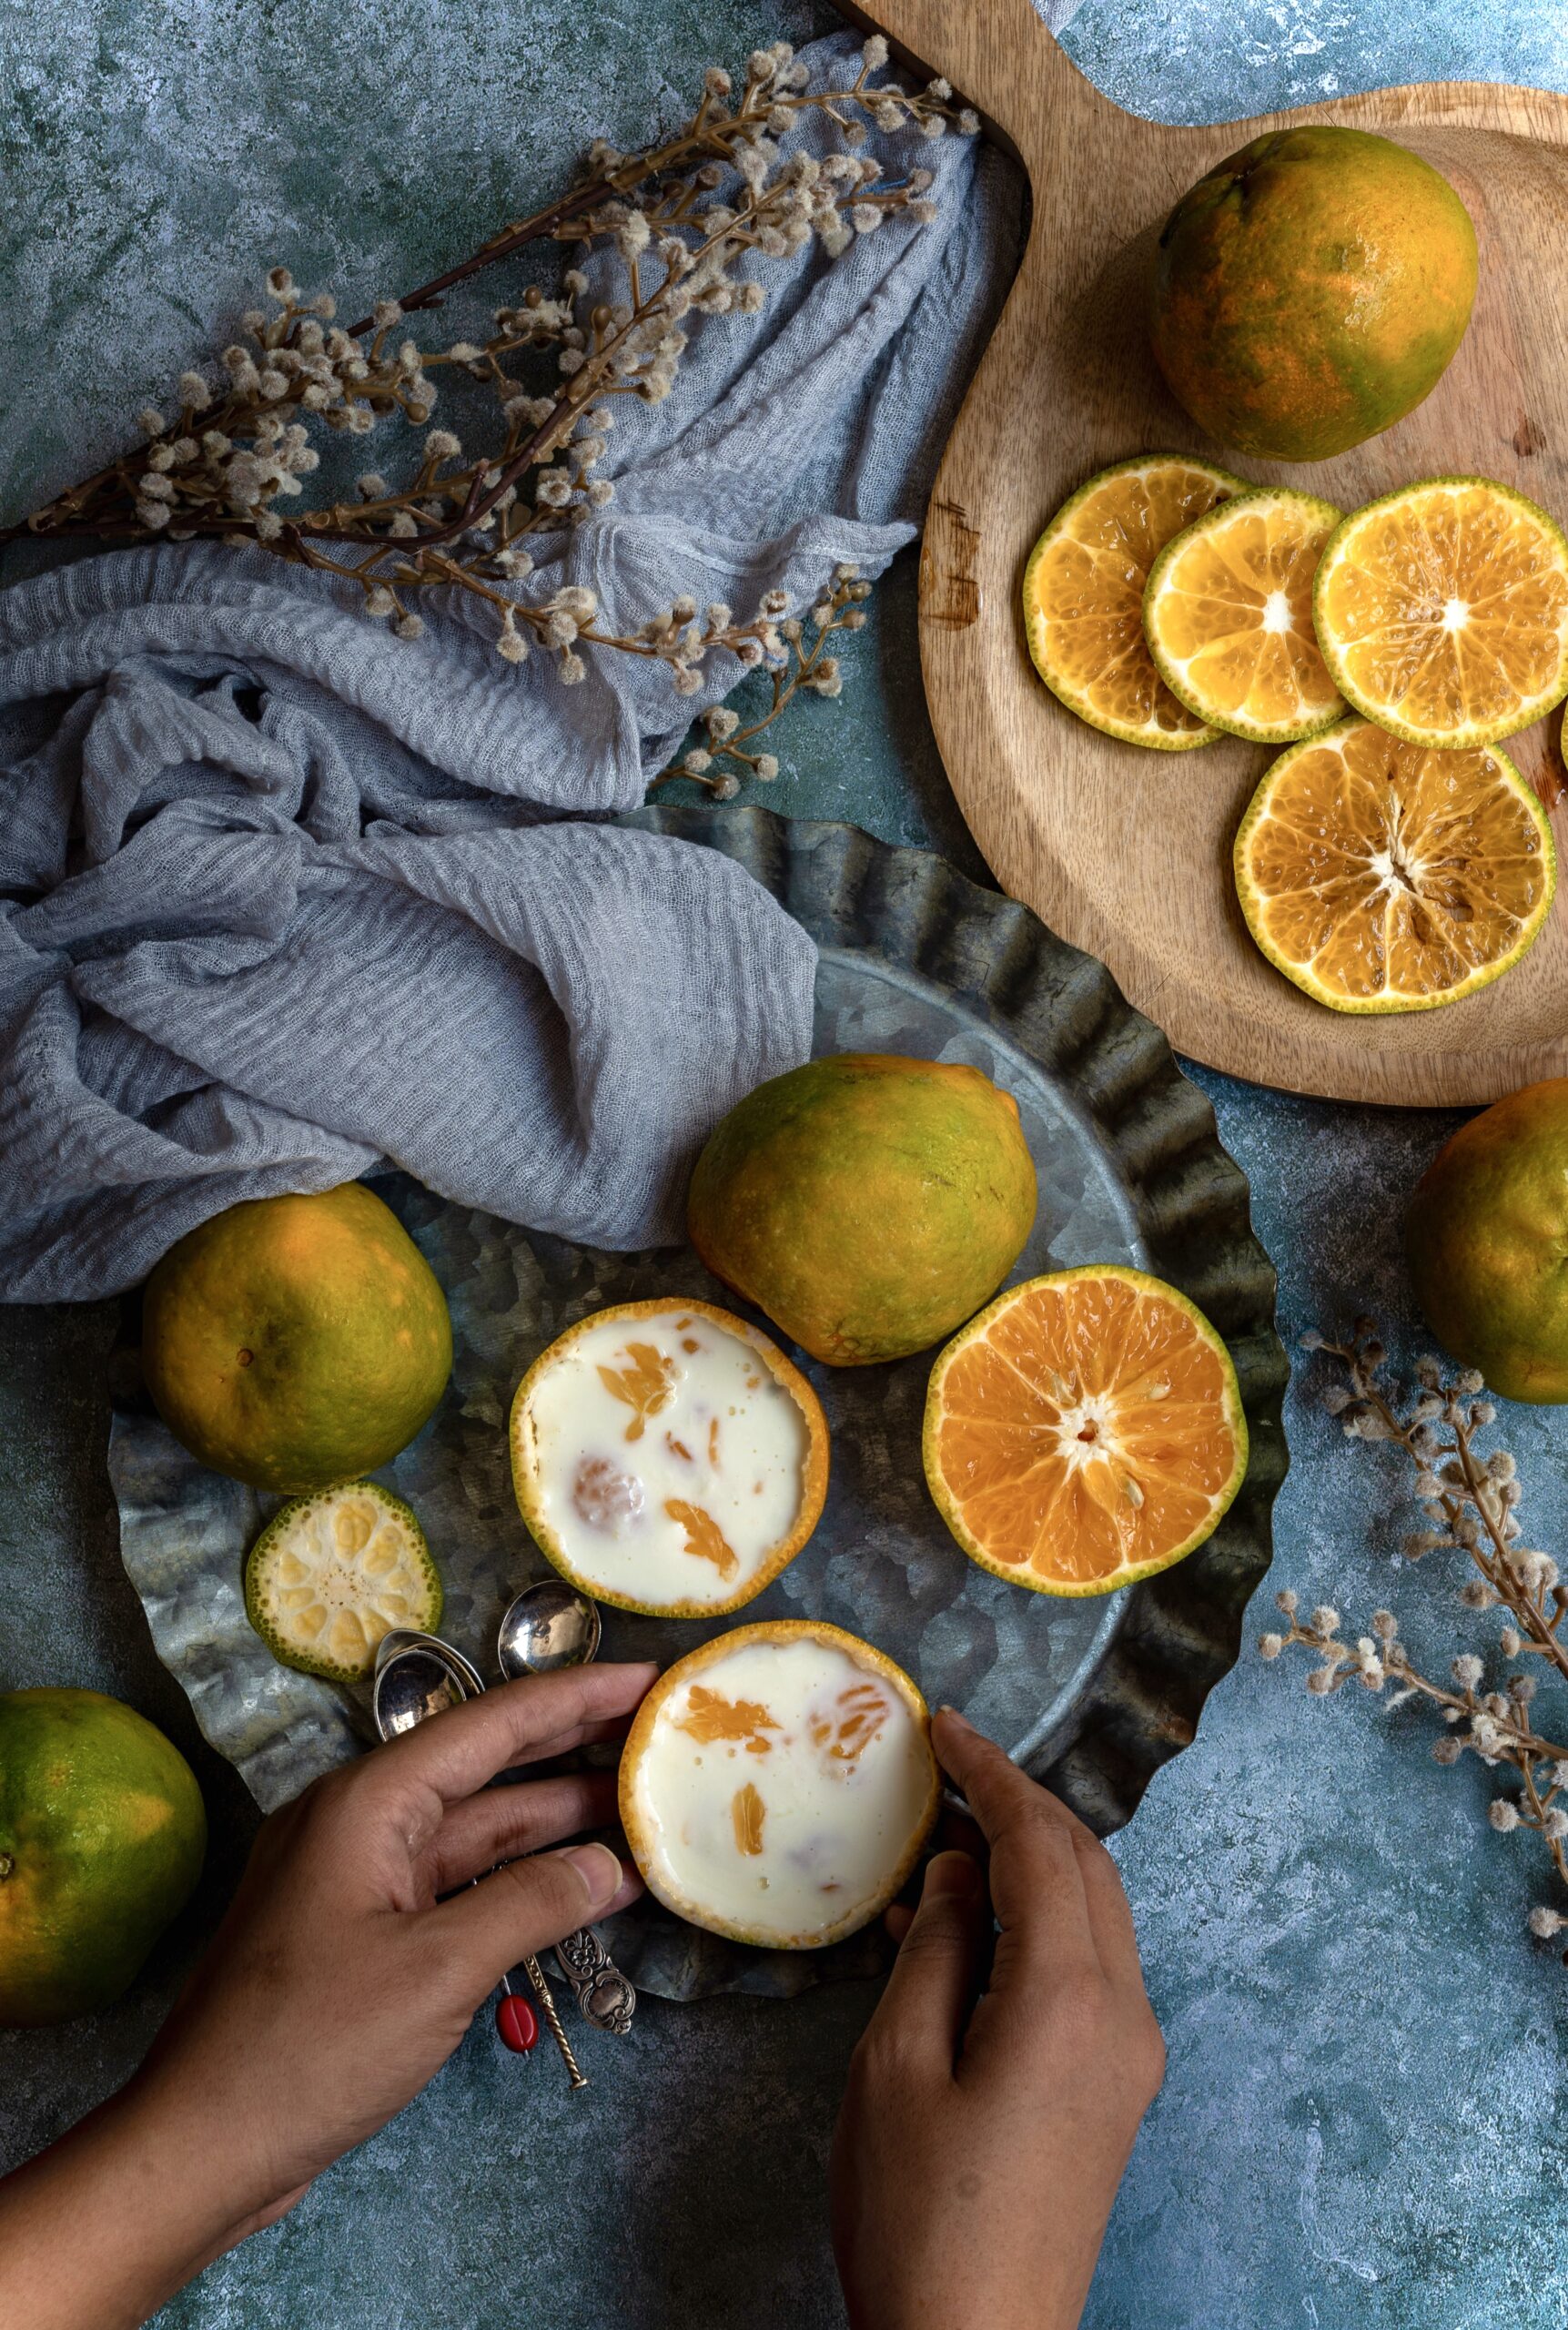
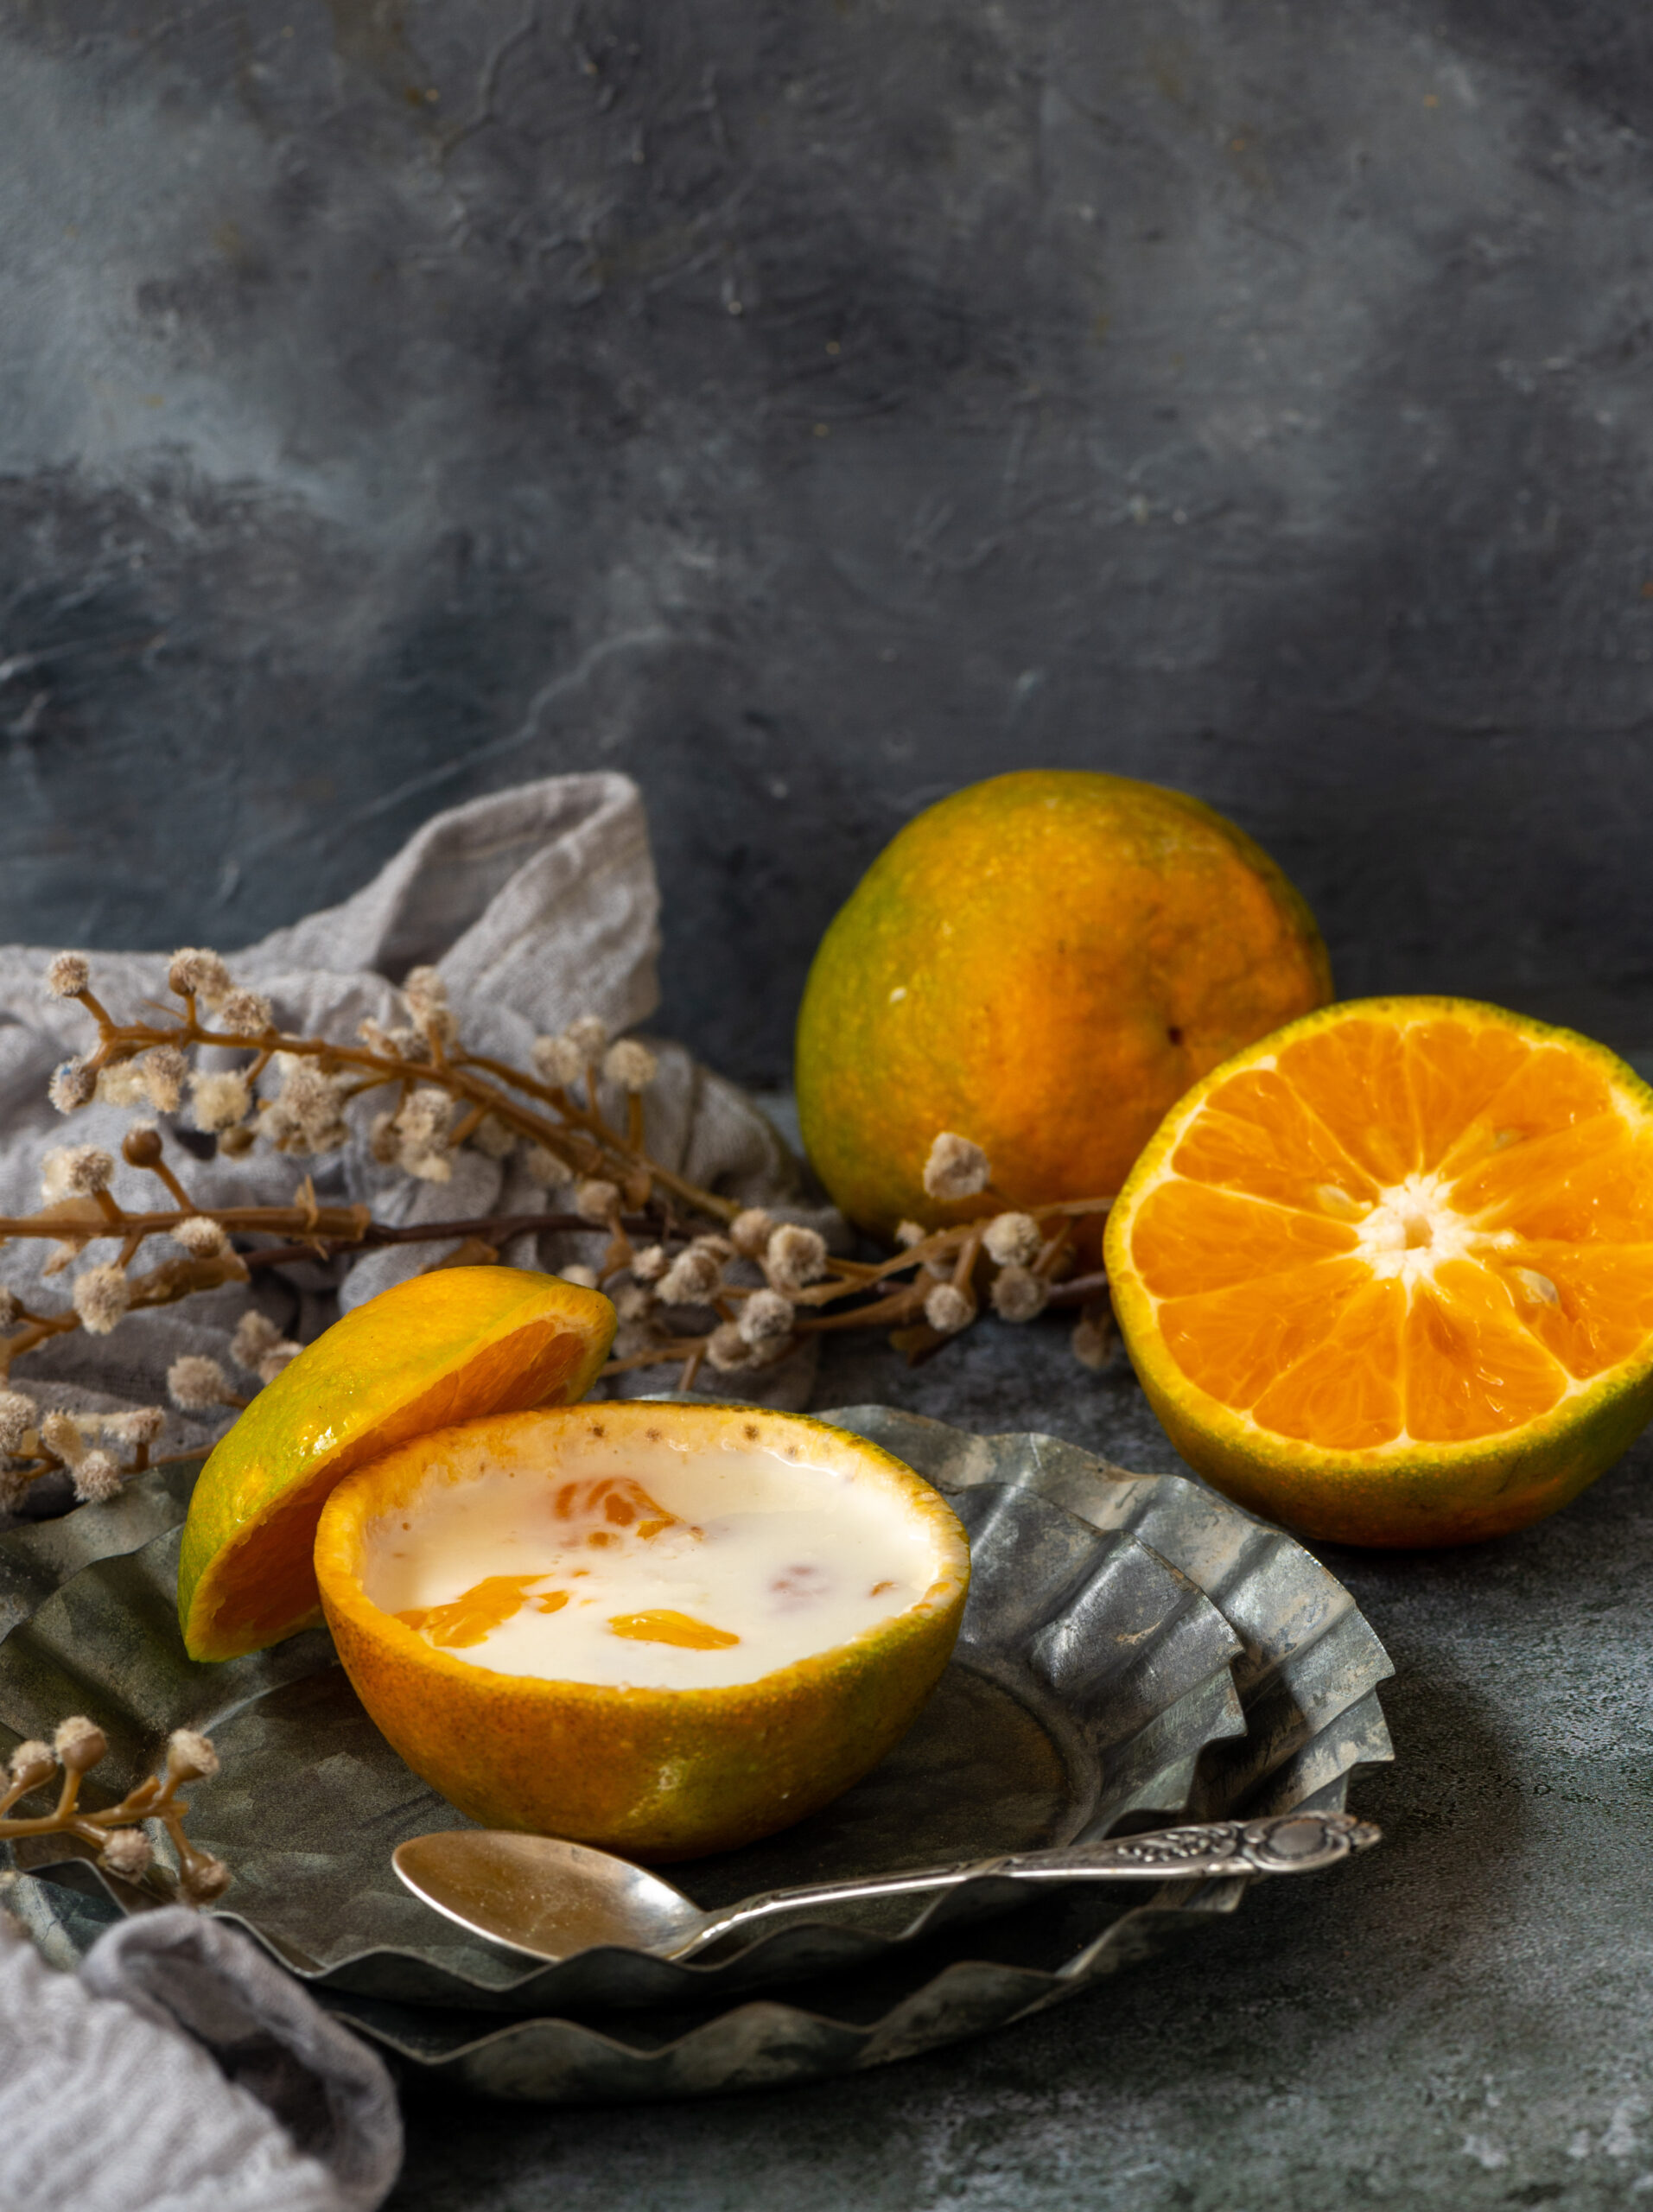
The fruit cups – using hollowed-out orange peels to serve the dessert – were my innovation on my mother-in-law’s recipe. I suggested this idea to her after first eating her orange kheer. We found that it further enhances the experience as this style of serving makes it all the more fragrant. Of course, you also save on clean-up time afterwards. Neither do you waste water doing the dishes, making it a creative and eco-friendly choice as well.

I recently made this orange kheer after several years, much to my mother-in-law’s delight. She asked for a second helping, and she reminded me that it had been my father-in-law’s favourite. A flood of memories came back to her, and she appreciated the sentimental value of the dish very much. Watching her delight made me think yet again of how food truly is emotional, and has such a nostalgic quality. This isn’t something that we food bloggers say just for fun – when something beautiful like this is evoked in a person as they eat, the evidence is clearly seen.

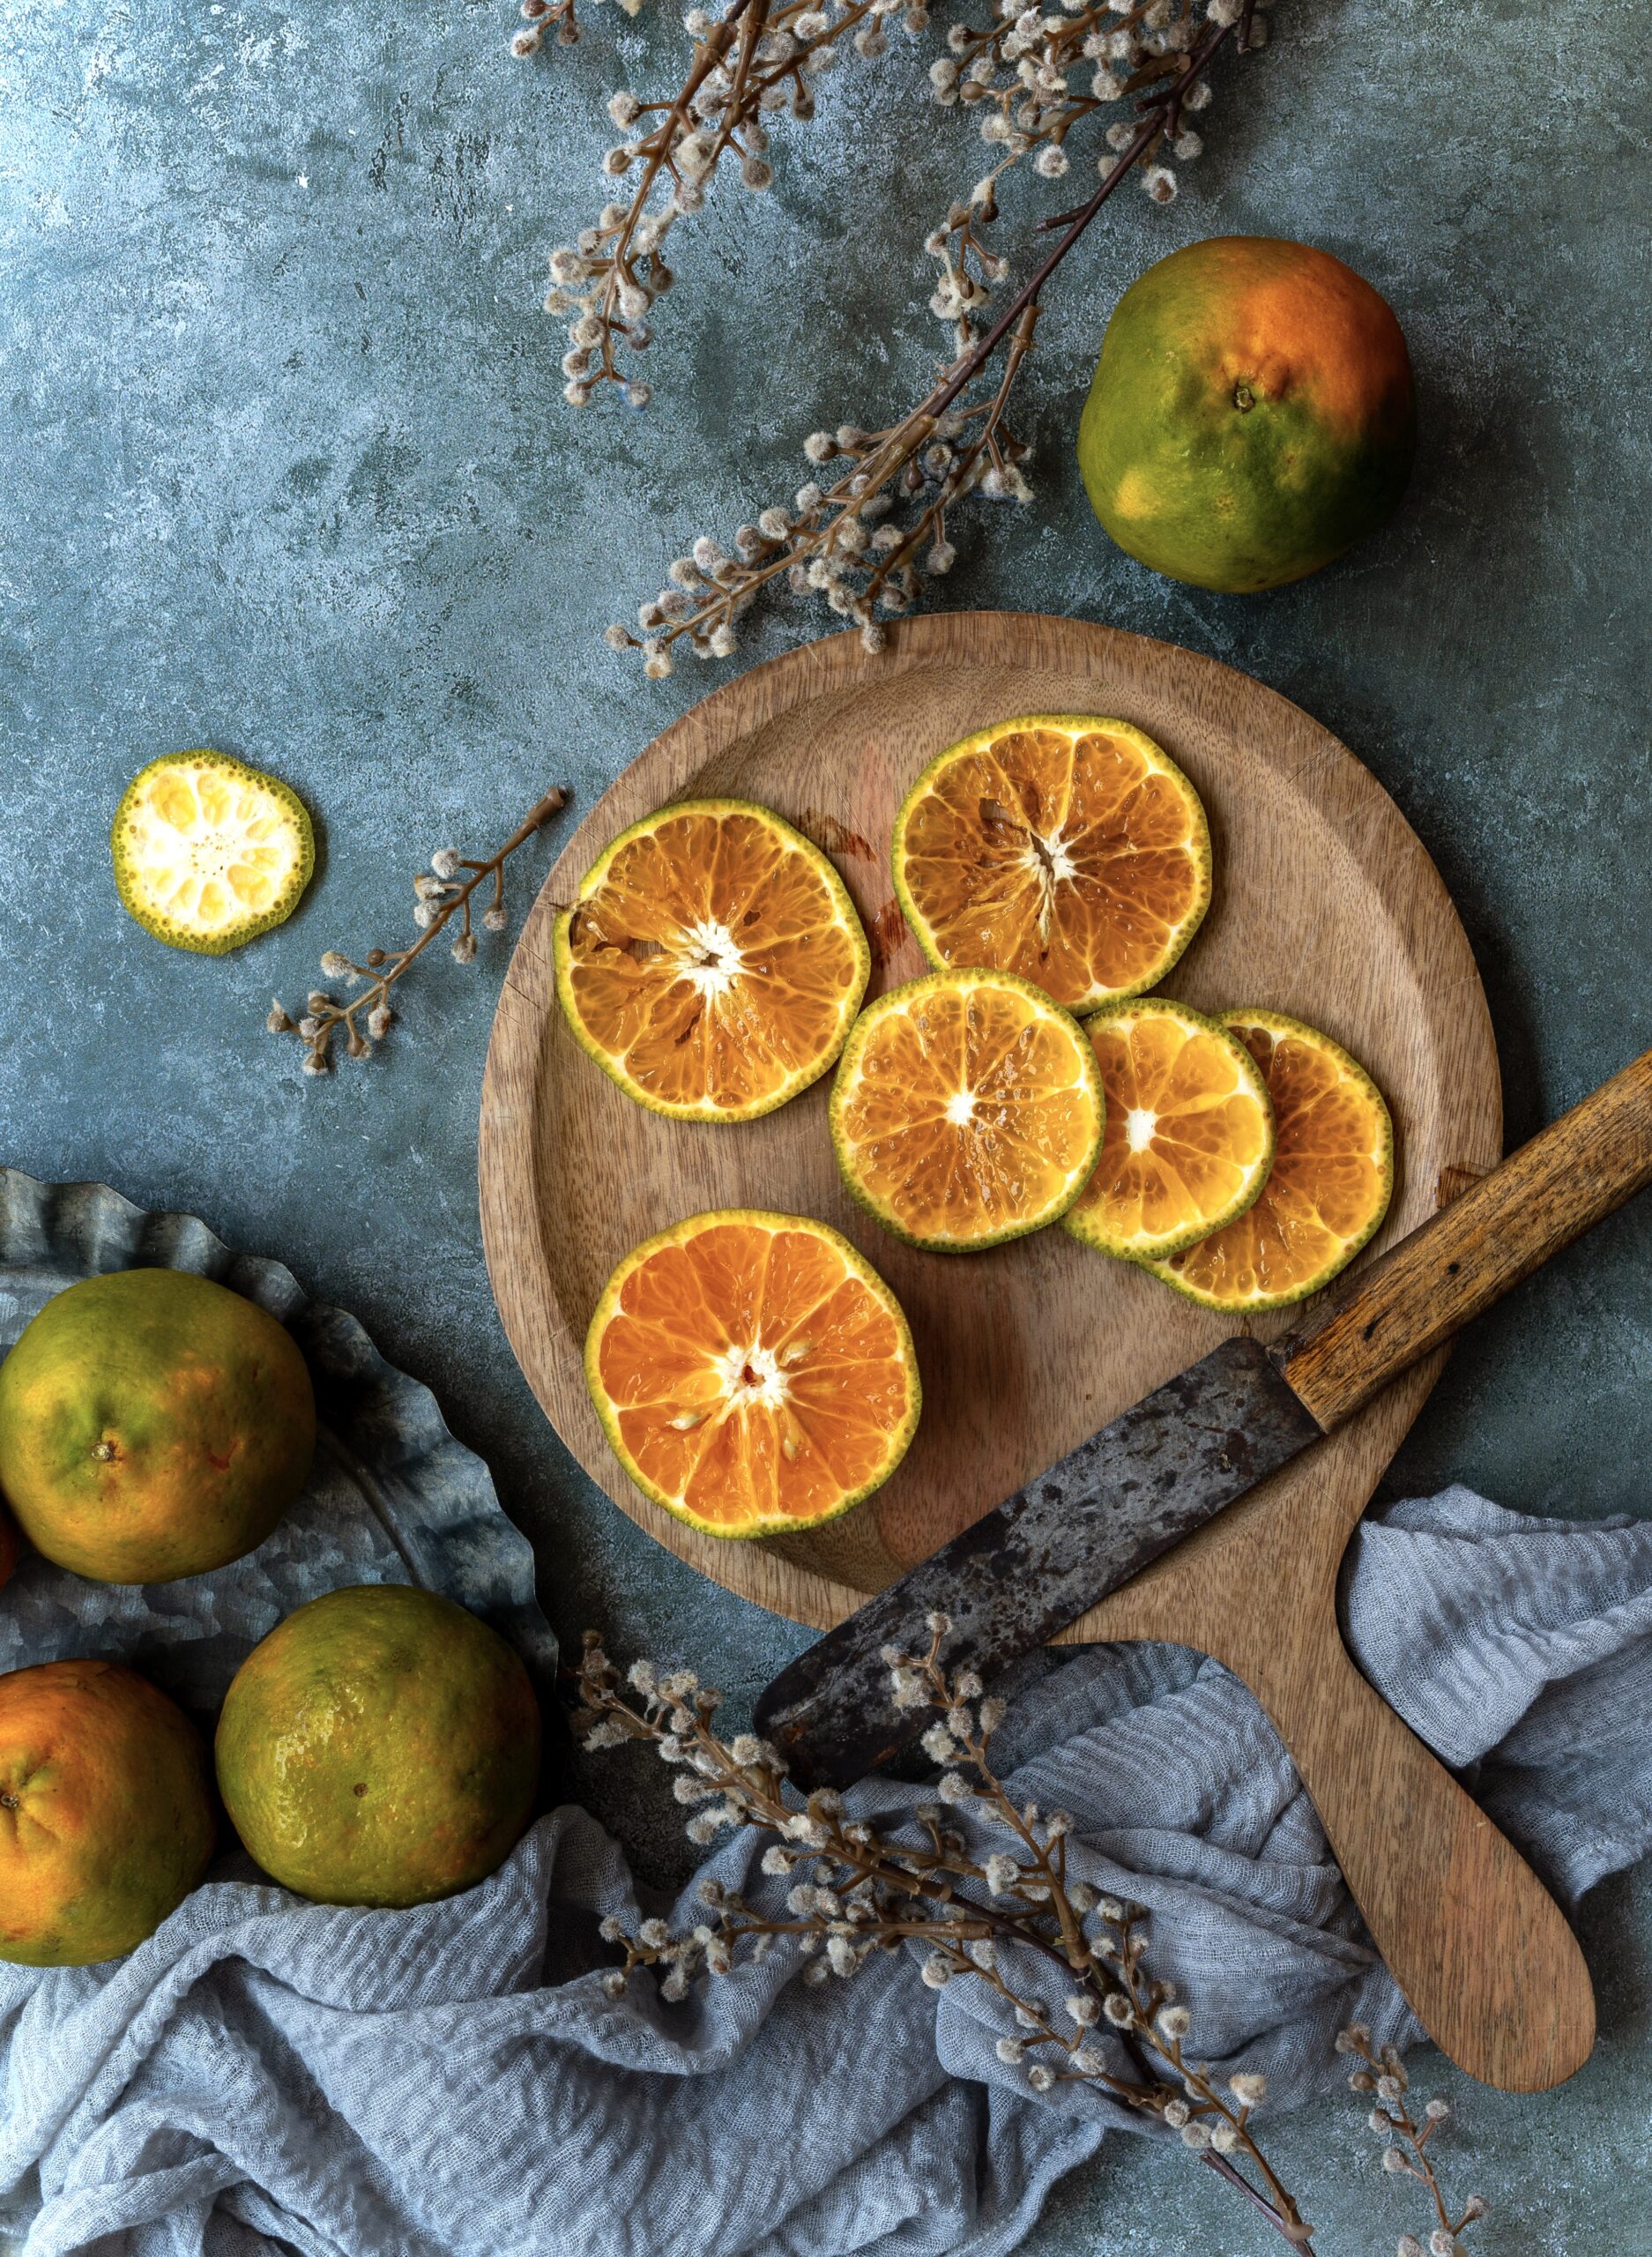
My late father-in-law was diabetic, so we ensured that the sugar quantity in this dessert was always low, so that he could enjoy more of it. I generally avoid using too much artificial sweetening or sugar in my cooking anyway, so this low-sugar version fit nicely into my overall culinary approach, and I retained the recipe. The natural sweetness of the fruit also comes through. Oranges are currently in season, and I used the Nagpur variety which is especially flavourful at this time.

It’s so fitting that a sweet dessert like this inspires such sweet memories. I hope you’ll enjoy it just as much as my family does.


Orange Kheer

(Yield: 4-5 servings)


1 litre milk

Segments of 2 oranges

Juice of 1 orange

12 cup sugar

3 oranges (for cups)

Boil the milk on a medium-low flame, for roughly an hour, until it has reduced to 13. Stir frequently, making sure it does not stick to the bottom. The milk will be thick.

Once it has reduced, add the sugar and stir well. Take off the flame, cover and set aside to cool. Then, refrigerate for 2 hours.

Once it has cooled, remove from the fridge and add the orange segments and orange juice. The juice is optional, but elevates the overall flavour quite a bit. If you have some orange blossom extract on hand, go ahead and add a few drops too. Stir and put back into the refrigerator until cooled again.
When you are ready to serve this dish, you can either do so with your regular bowls, or else try my method of using the orange peel. To create the orange peel cups, cut each orange into half. Scoop out the flesh, being careful not to damage the peel. Set the segments aside for later. Pour the cooled kheer inside. Garnish if you’d like to (toasted pistachio can be a nice touch) and enjoy!

This is a cheerful dessert, as orange simply has that quality of boosting the mood. The aroma and the taste come together beautifully. I wouldn’t be surprised if, like my mother-in-law did today, you’ll be reaching out for a second helping too.