Tag

coconut

Browsing

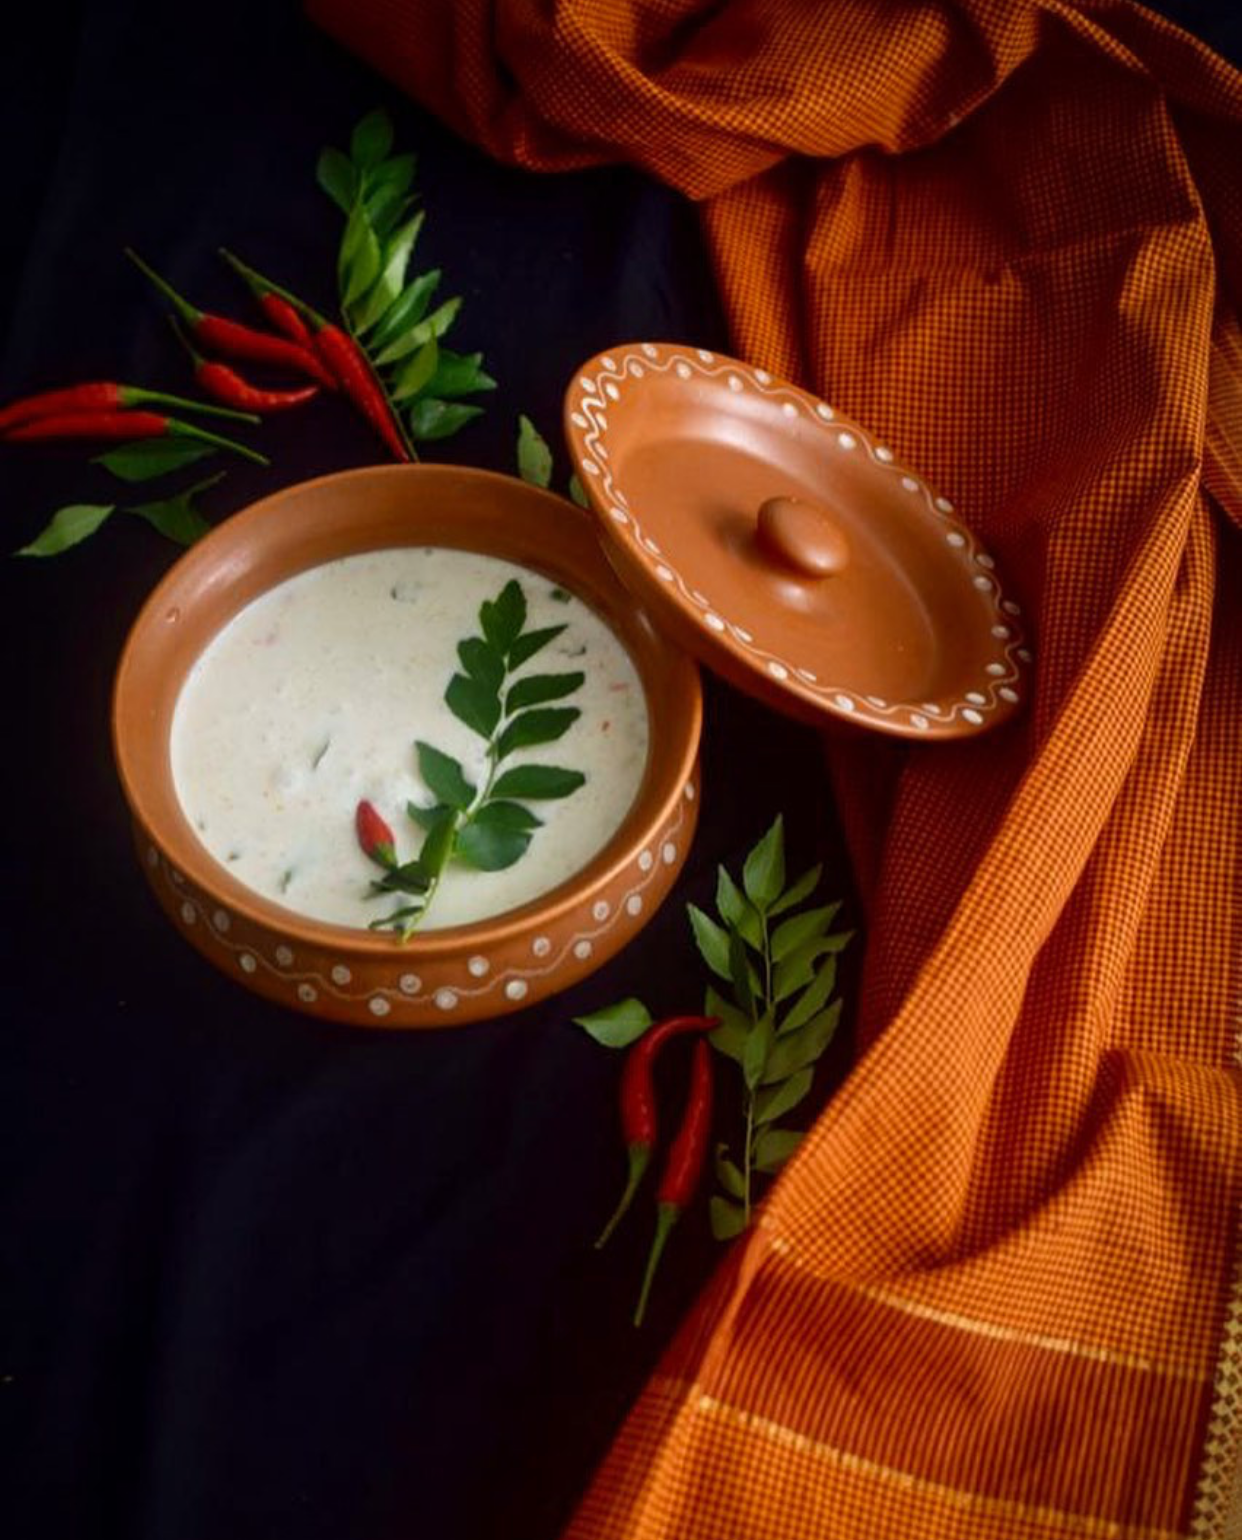
As I mentioned a few posts ago, we have a new addition to our family: a daughter-in-law, as one of my sons is getting married. There is newness all around me right now: a new year, with new changes and new surprises. There is a lot of mutual love and acceptance, but there is also a great deal of learning – both on a personal level as well as in the form of new experiences. This is true for every one of us at this time, as the family expands and we adjust to that expansion, even if joyfully. This coconut chutney, which has a twist, comes from my daughter-in-law’s culture in Coorg, South India. It is a delicious take on a classic, and we love it so much that it has now become the only kind of coconut chutney that we make at home.

I have shared a wide range of chutneys on this blog: from peanut chutney to plum chutney, and much in between. Despite also sharing a variety of coconut posts over the years, the two had not come together so far. So I’m thrilled to share this less-than-typical, and very tasty, coconut chutney. The method is exceptionally simple, and if you already have a standard coconut chutney in your own repertoire, you will find this an easy upgrade.

I would love to share more recipes from Coorg as I myself begin learning more over the coming years. I hope you’ll enjoy doing so alongside me, too.

As I said earlier, the learnings are myriad. Becoming a mother-in-law is a whole new chapter of my life. I am sure it won’t always be easy, but I look forward to a lot of togetherness. I hope to apply all the lessons I have learned over the decades about open-mindedness, warmth and sincerity. When I think of my kids and how I have accepted their loveliness and their quirks both, and how they have also been welcomed by so many, I know that we can all find it in our hearts to grow together. I wish also that we can be caring and thoughtful towards each other in the world at large, and instil harmony everywhere.

It’s about accepting differences, of course, but it’s also about celebrating them. I can think of no better way to do this than through food. So without further ado, here is a Coorg-inspired coconut chutney to usher in bright times for us all!
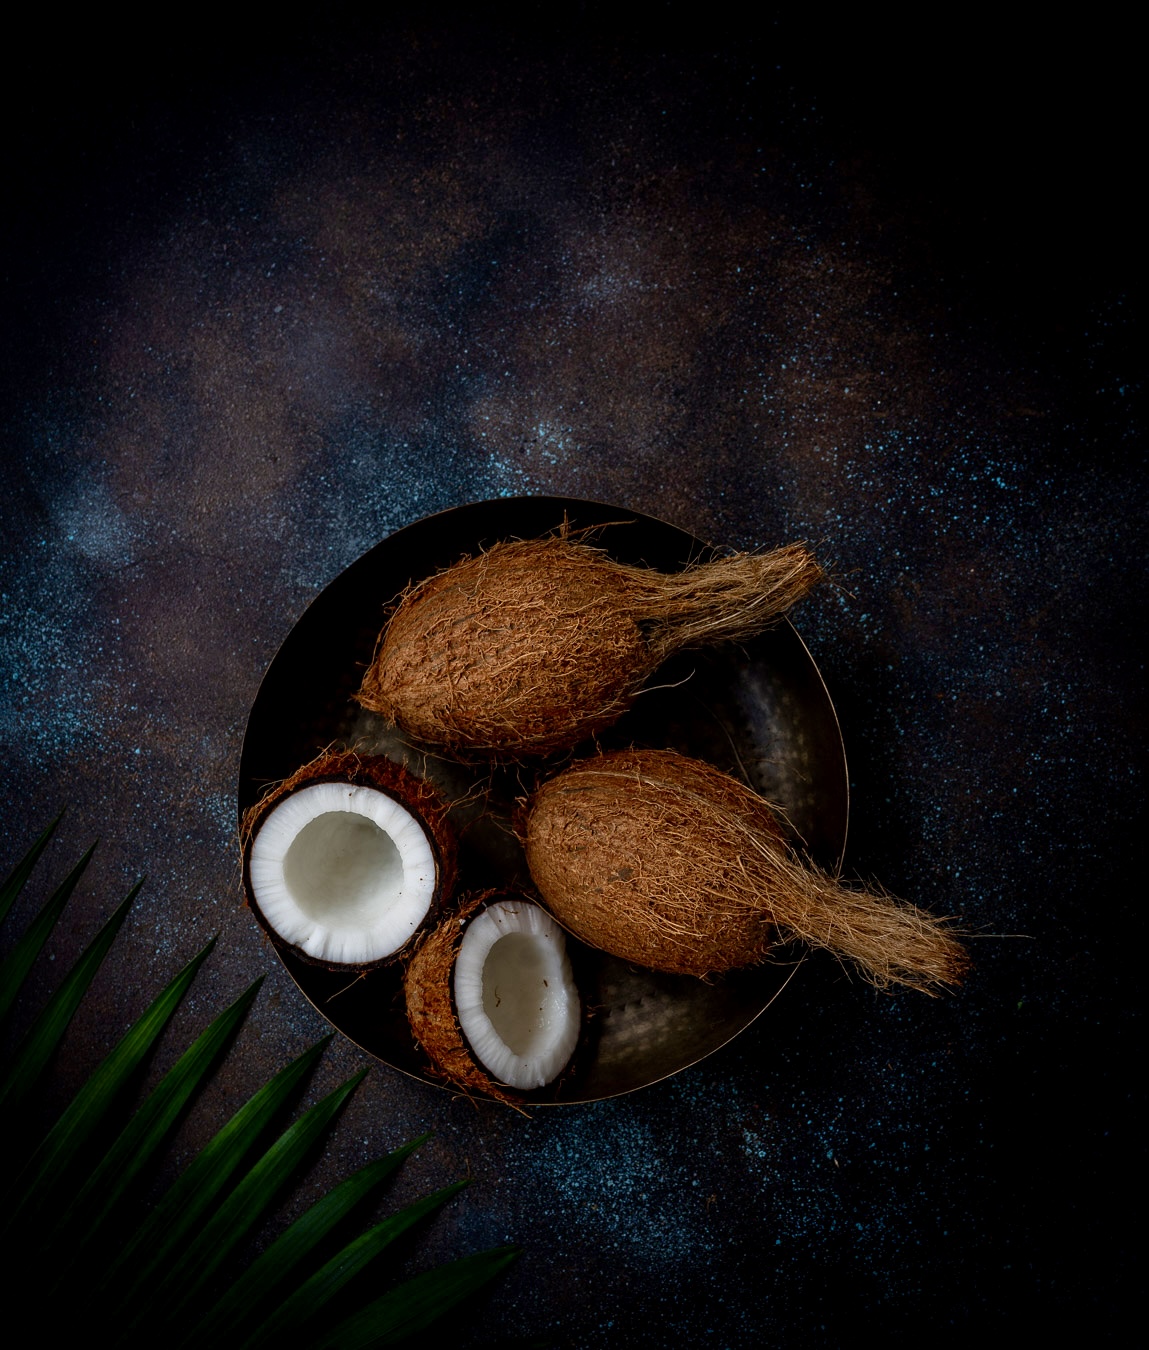
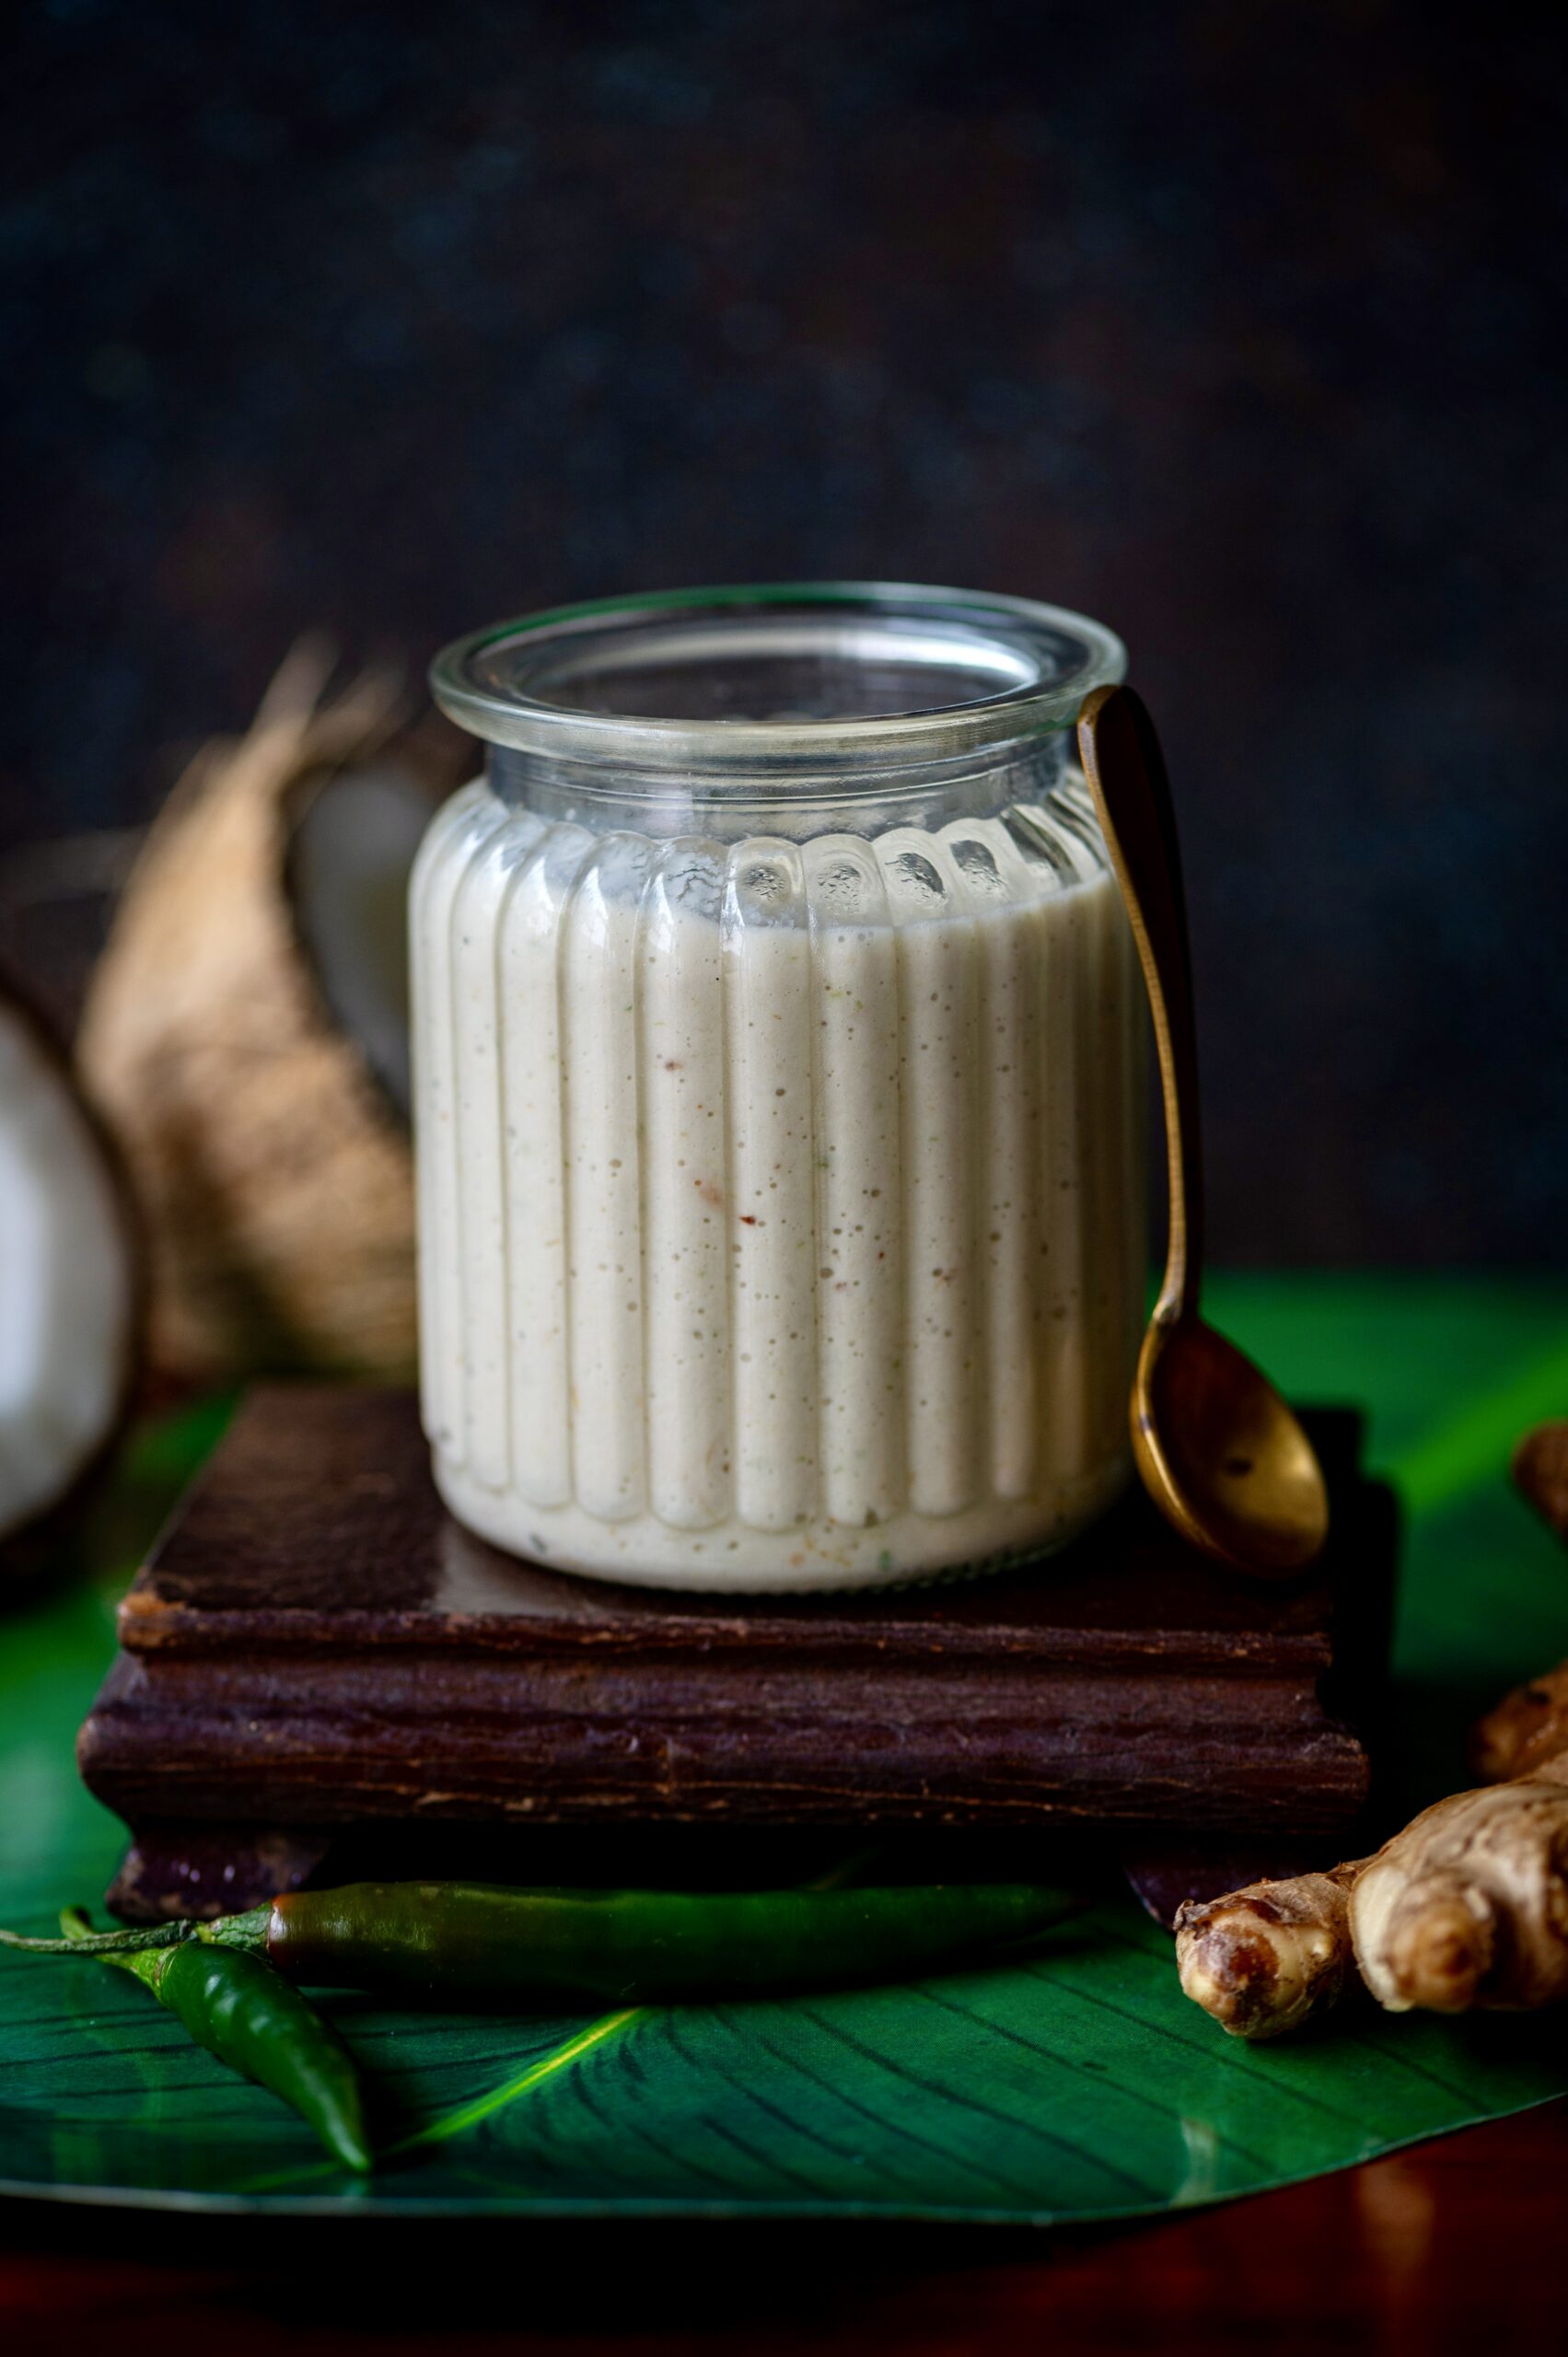
Coorg-Inspired Coconut Chutney

(Yield: 1 cup)

½ cup grated coconut

Marble-sized tamarind pulp (soaked)

2 green chillies

A small piece of ginger

2 tablespoons water

Sugar to taste

Salt to taste

In a blender, add all the above ingredients and blend to a smooth texture. If you require the consistency to be thinner, add more water.

That’s it. Now that your chutney is ready, serve with dosa or idly. Stay tuned for upcoming posts on preparing the batter for these, as well as a special and fun way to enhance your dosa experience!
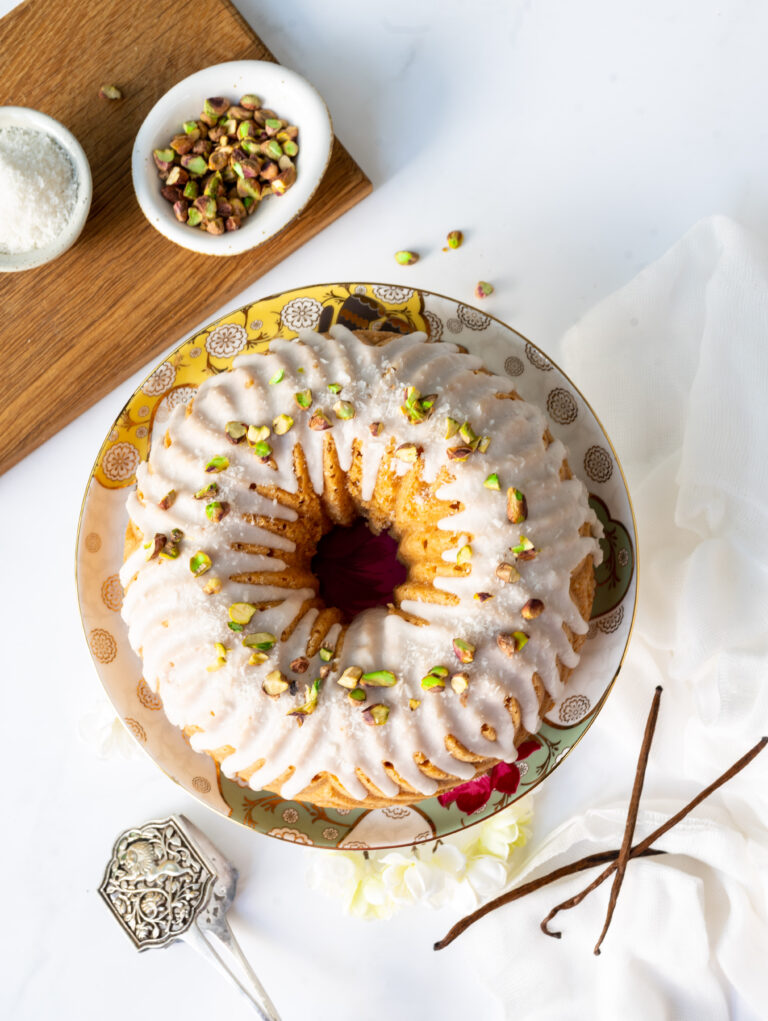
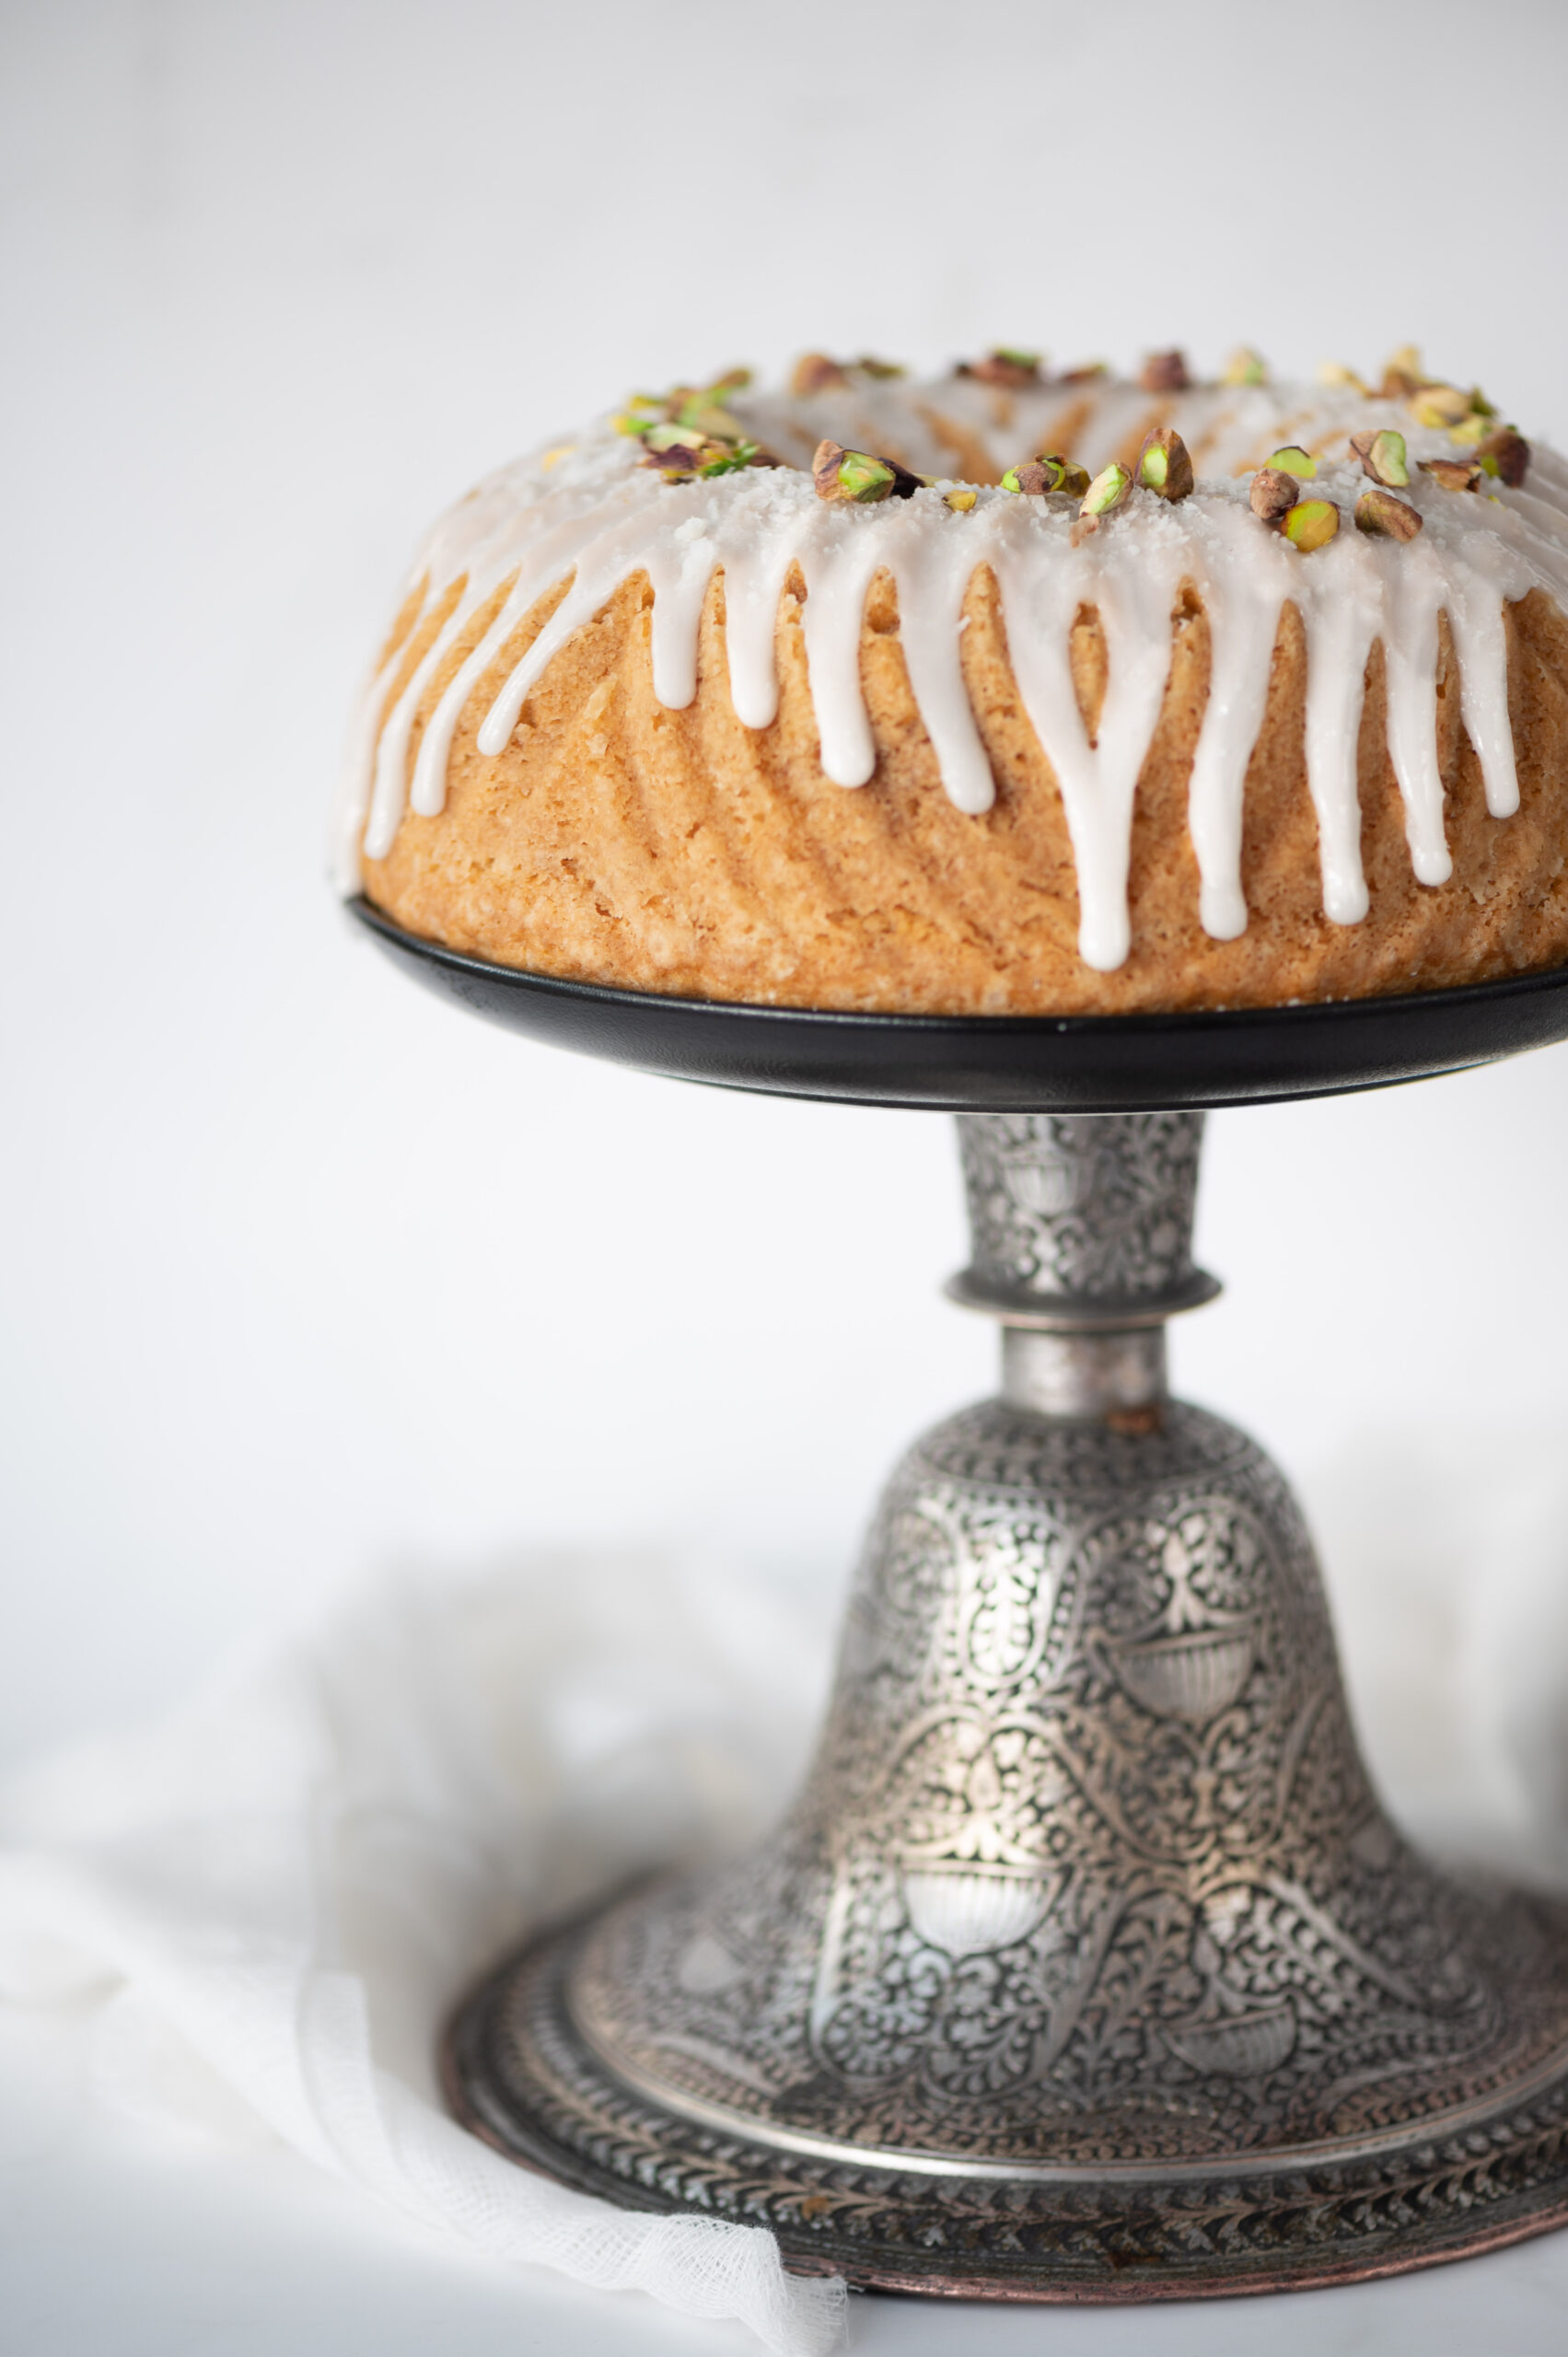
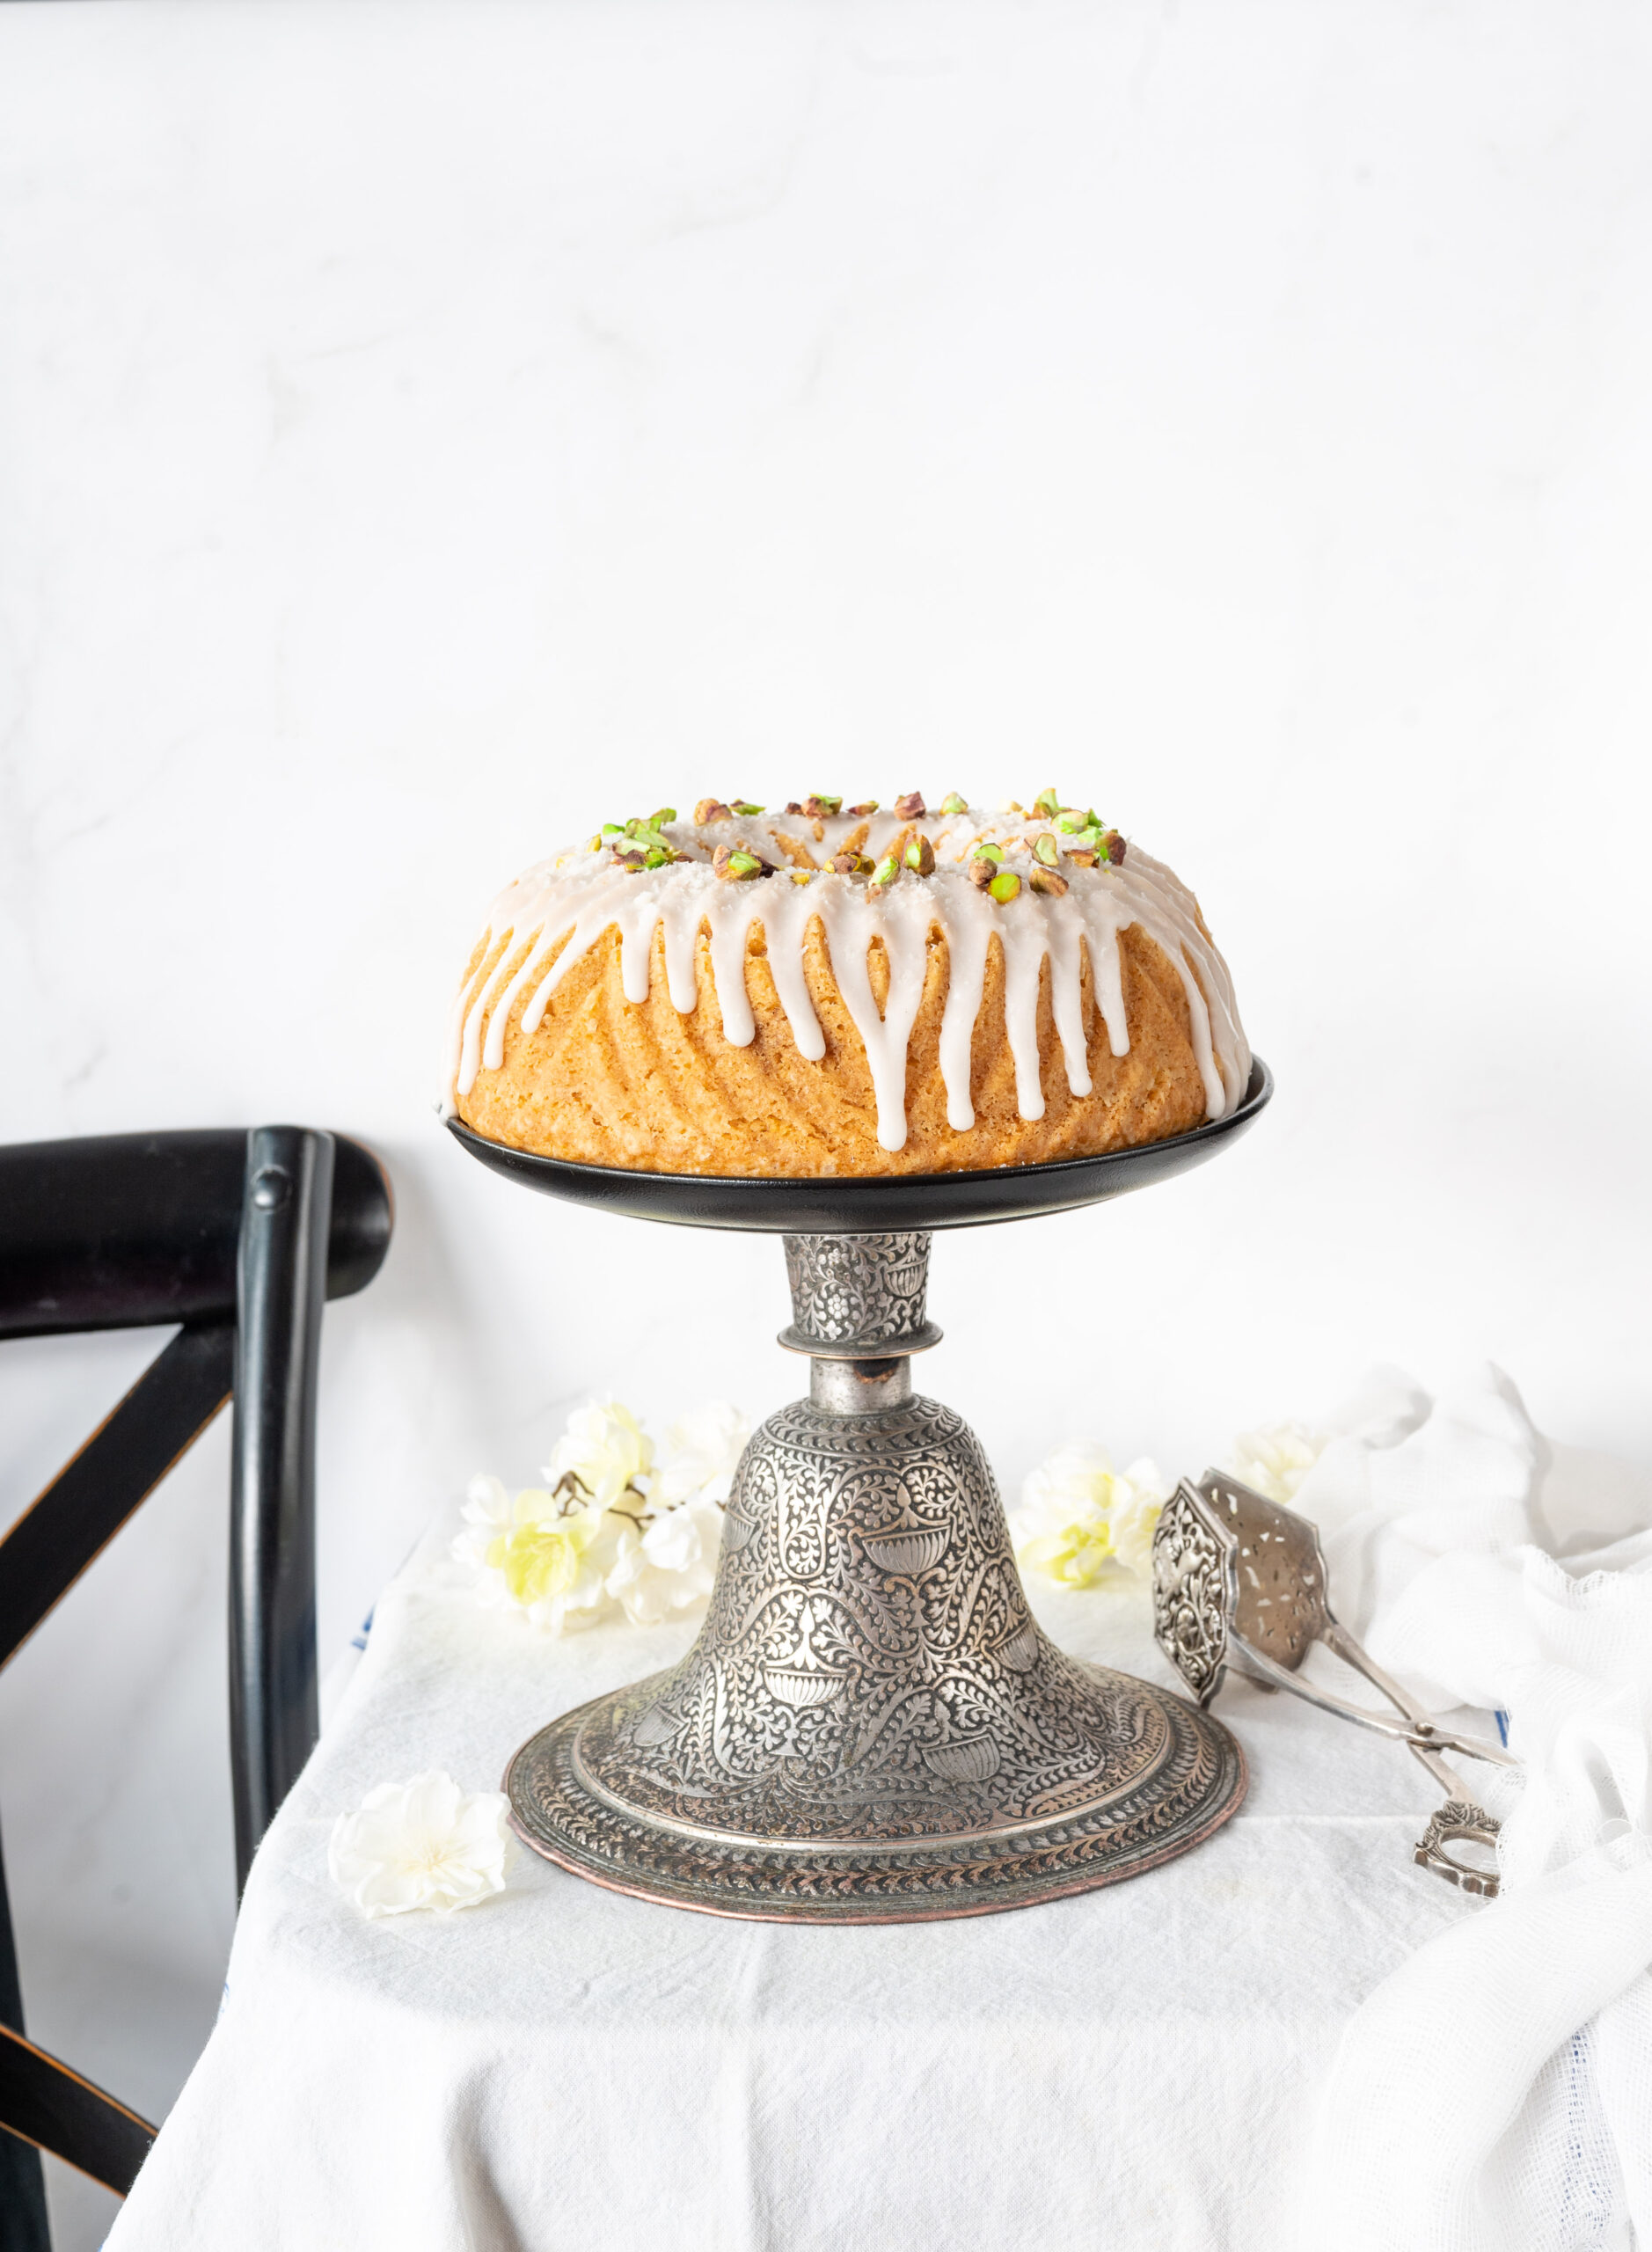
After many travels, I have finally been back home and quite gladly too. It has been lovely to just relax, and be right where I want to be. I was recently struck by something that Michelle Obama said in The Light We Carry, her interview with Oprah Winfrey: “Home is where Barack is”. These words were so sweet, and in some ways resonated for me too. I realised when I heard this line that I had been missing my husband while I was away. He may not be the president of a country, but he is certainly the president of this house. We were watching the interview together on a Sunday evening, and with those loving thoughts in my mind I set about baking for us as I often do on weekends – and the result that day was this vanilla coconut bundt.

A cake like this goes so well with this hot summer weather. It is extremely flavourful, and all the ingredients are easily available. The coconut grows in my own backyard, as I’ve said umpteen times before, and I thought it would be great not just seasonally but also as a fitting finish to this All Things Tropical recipe series I’ve recently shared.

A bundt is a kind of sponge cake or tea cake, and keeps for a bit longer. That’s one of the good things about it. We try to control ourselves by not eating half the cake in one go, and these days it’s keeping us happy over a few days for sure. I must admit that this may be because the kids are away, which is a bit of a sore topic for me. I never actually felt that empty nest problem when they went off to study. But I feel it now, now that they are in their late 20s and have their own lives as adults, their own worlds of friends and family. It is similar for my husband too. So small things like this vanilla coconut bundt cake cheer us up.

Speaking of our children’s generation and ours, and to return to Michelle Obama’s very impressive accomplishments and sentiments – I suppose it also has to do with age. When you are younger, you want to do everything – you want to achieve so much, you want to build empires, you want to make a name for yourself. But there comes a time in your life when all you really want, once you have met all your ambitions, is to spend time with your loved ones. Your partner first and foremost, and then the rest of your family. My husband and I now feel able to make time for each other despite our busy schedules. We come home to each other, and to treats like this recipe. This vanilla coconut bundt can pep up any evening and in my opinion can impress the president too – of a country, or at any rate of a home!
Vanilla Coconut Bundt

(Yield: Serves 6-8)


250 grams soft unsalted butter

225 grams granulated sugar

2 teaspoons vanilla extract

2 whole eggs

250 grams all purpose flour

½ teaspoon baking soda

1½ teaspoons baking powder

¼ teaspoon salt

¾ cup desiccated coconut

1 cup coconut cream

½ cup fresh cream


Preheat the oven to 160°C.

Grease and dust the bundt pan well. Set aside.

Add the flour, baking powder, baking soda and salt and sieve. Set aside.

In a bowl, add the butter, sugar and vanilla extract. Blend well until fluffy.

Now, add the eggs and beat well until incorporated. Next, add the flour mixture and fold gently. Then, add the coconut cream and desiccated coconut. Fold until it all comes together.

Spoon the mixture into the bundt pan and bake for 45 minutes or until a toothpick comes out clean. Then, remove from the oven and allow to cool for 15 minutes.

Upturn the bundt pan and tap gently. Remove the pan. Allow the cake to cool completely before you drizzle the fresh cream on top. Your beautiful vanilla coconut bundt is now ready to serve.

The bundt has made a couple of appearances on this blog before, such as this citrus bundt cake and this lemon poppy bundt cake. If you enjoy this style of cake, you may want to explore those recipes too.

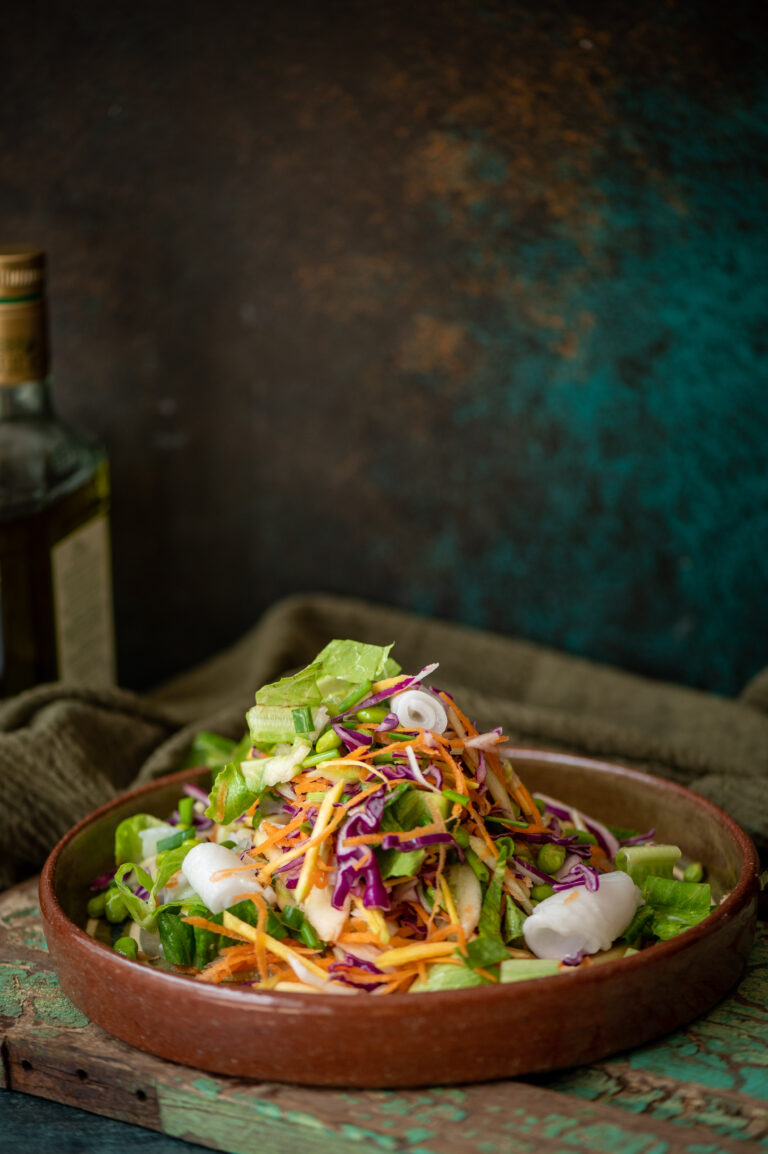
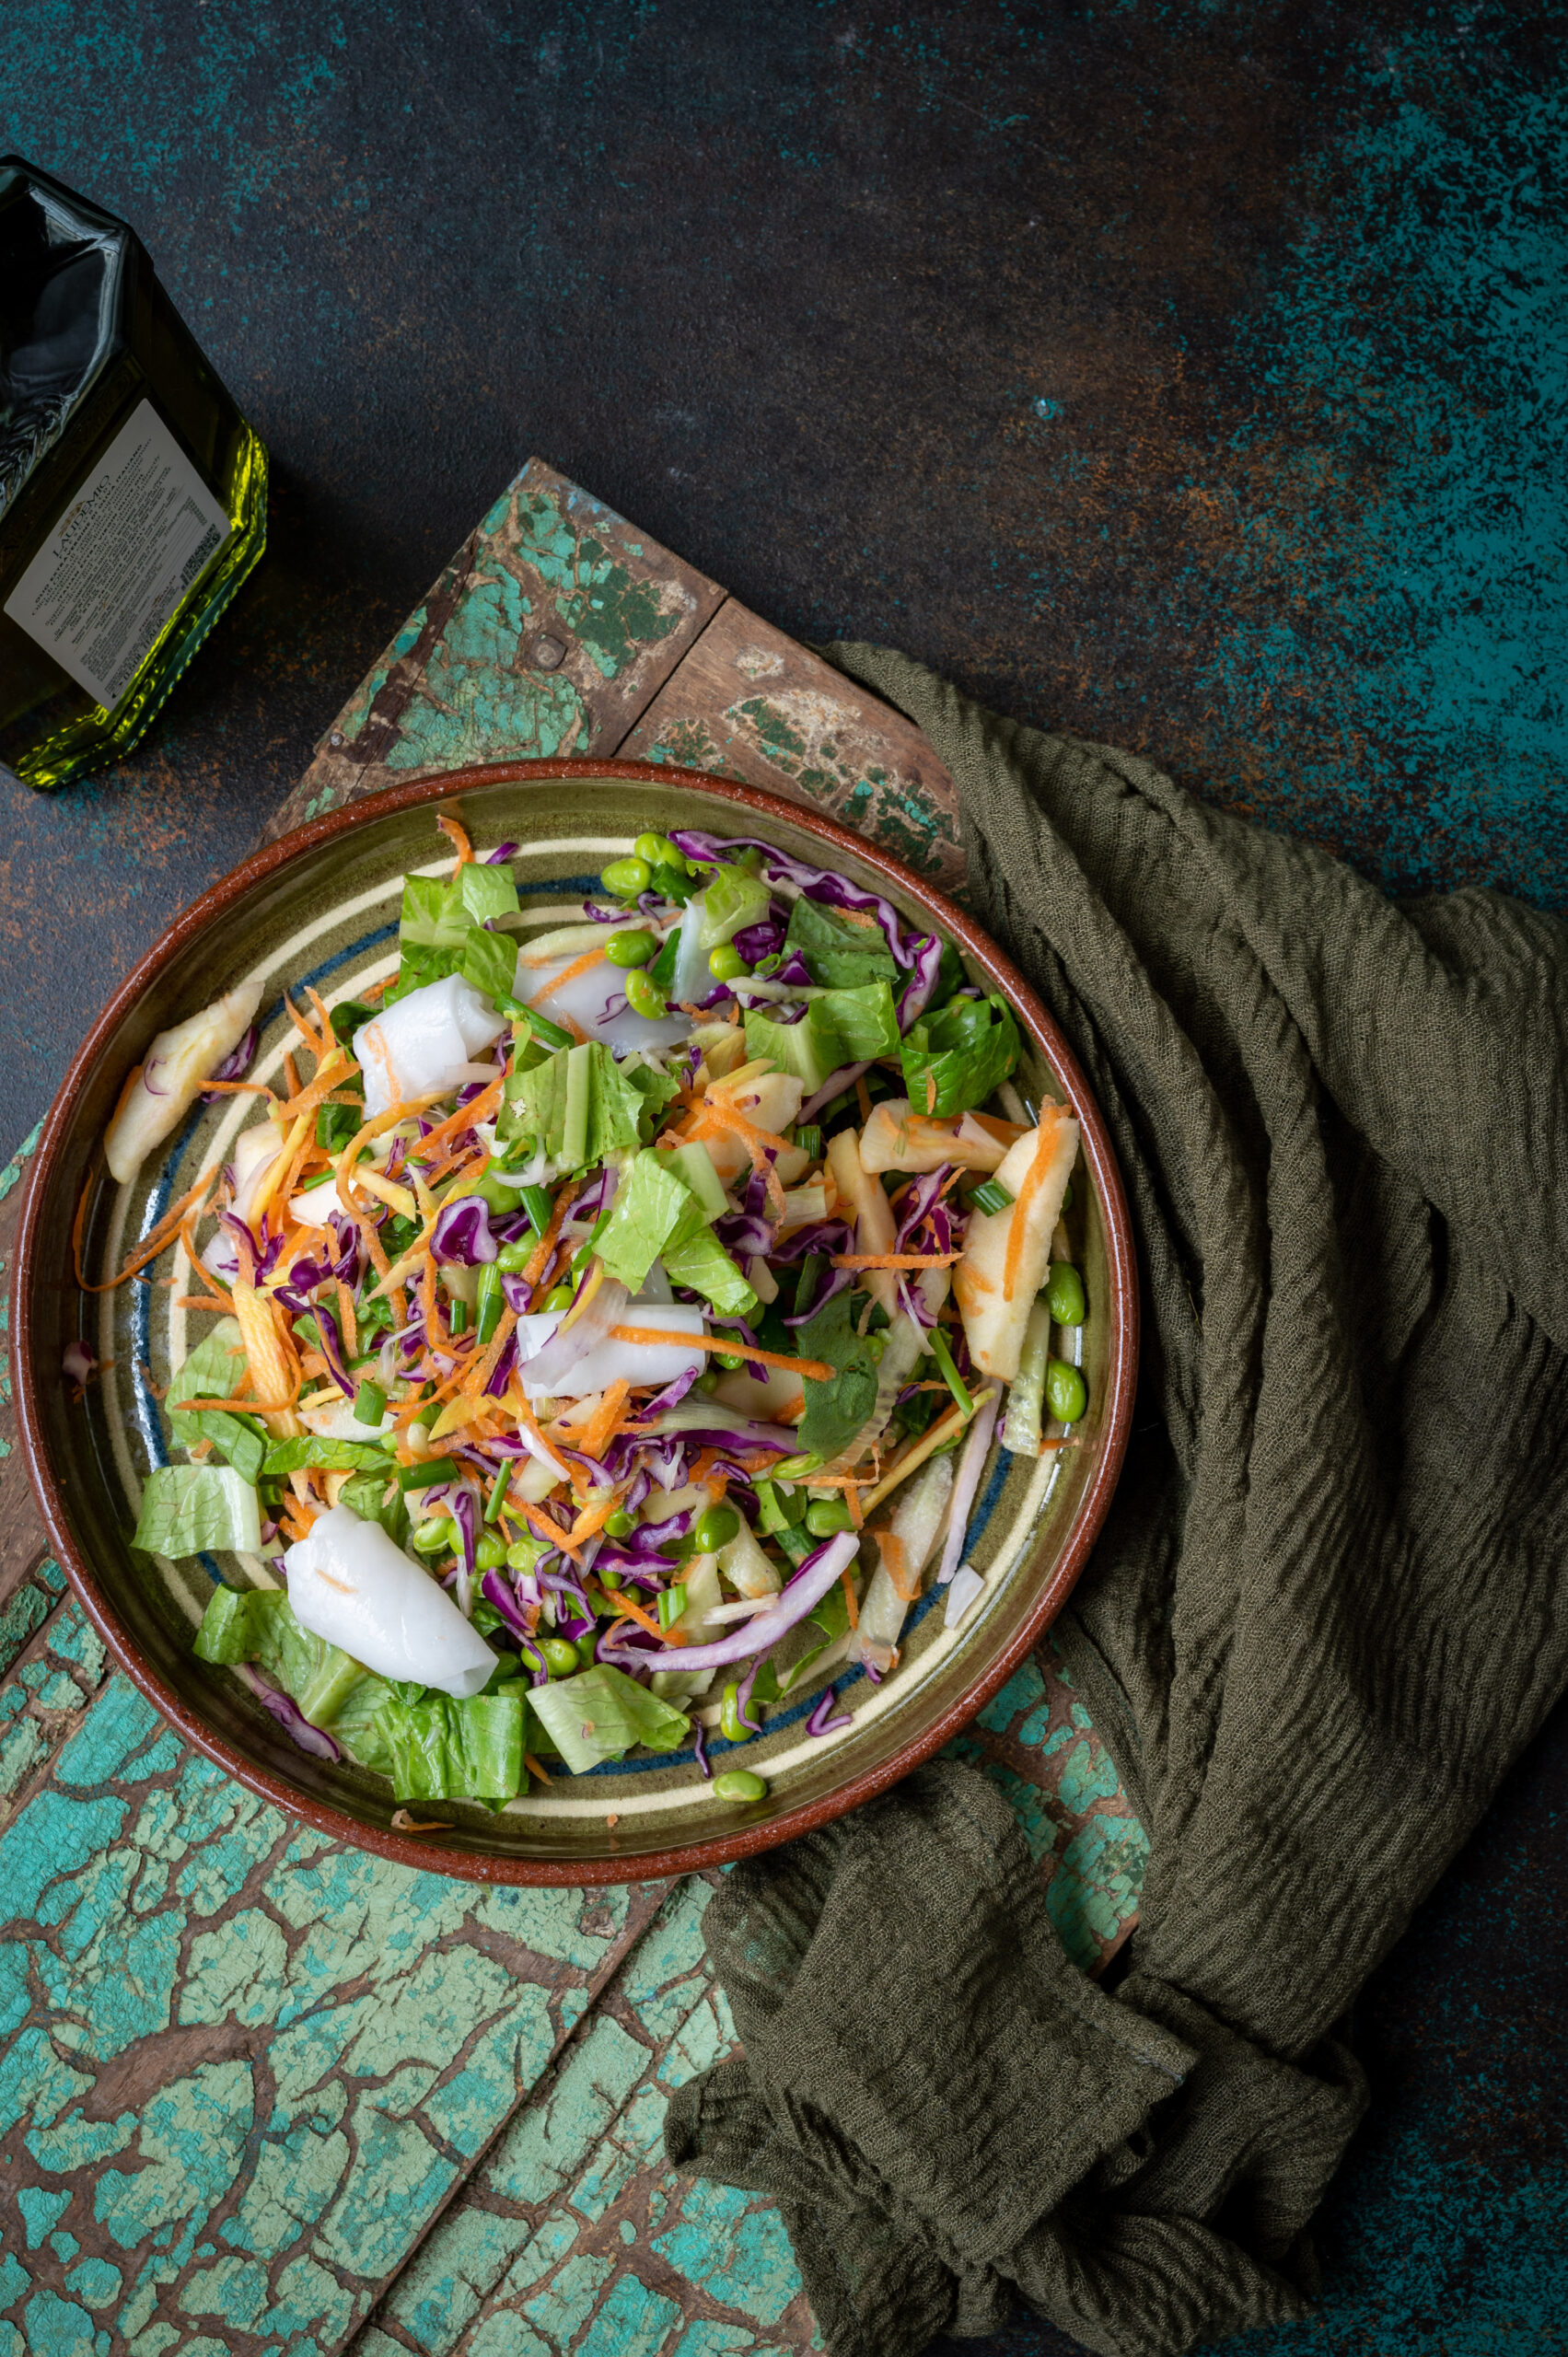
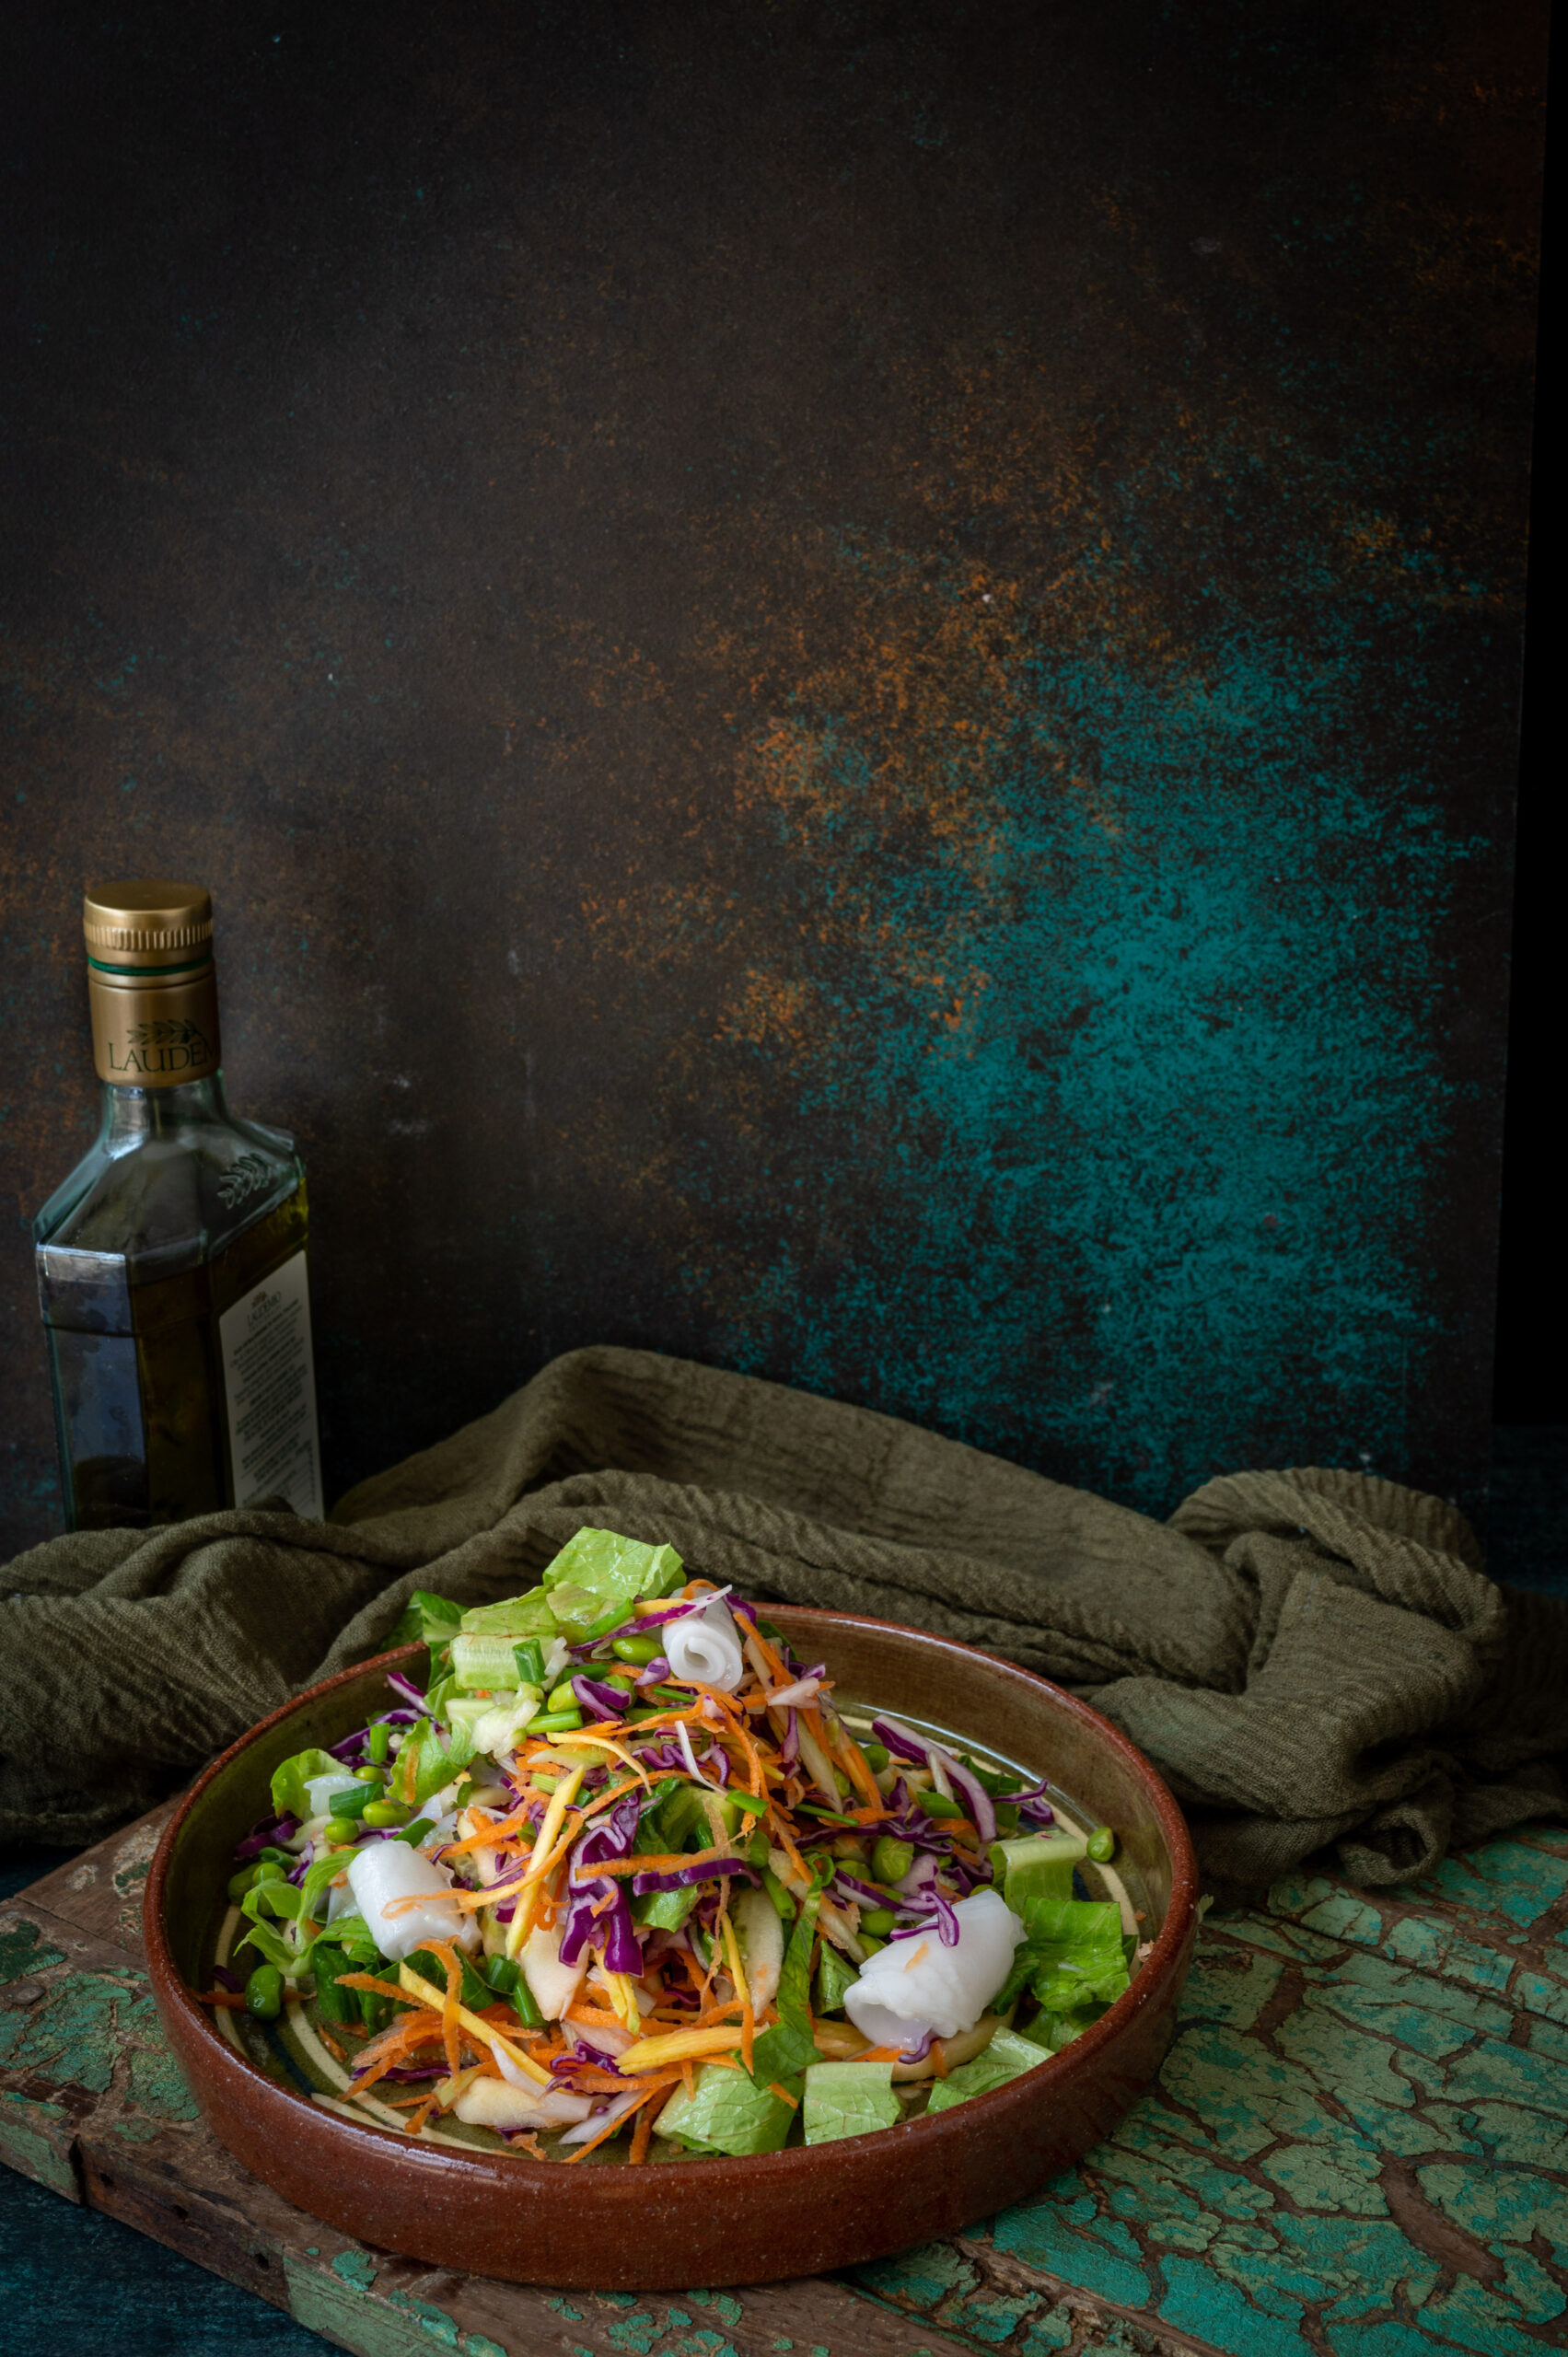
Last week, I shared the recipe for eggless rose-coconut mousse, and the coconut theme continues with this tender coconut salad. At home, generally, a good salad is the star of most of our meals. Slowly, the staples of rice and roti have moved aside and given way to a salad as the base, and bigger servings of the same. Also, all of us have experimented with intermittent fasting and so on at home, and breaking the fast with a bowl of salad is a sensible choice. This means that salads feature in most of our meals, which also means that I try to be as creative as possible to maintain novelty in what I serve. This recipe is one I came up with as I wanted to use up some of the abundance of coconuts in my backyard.

When concocting a salad, I just eyeball the recipe more often than not. I put in whatever I feel will work. The ingredients that are in my kitchen, their seasonal availability and my own mood also determine what gets prepared. Those who help me in the kitchen are also aware of this, so we all pretty much just put into our salads whatever we feel like. It turns out tasty every time, and there is a reason for this.

The reason is that there is a pattern when it comes to salads, even when it appears to just be a bunch of ingredients thrown together. It is as follows. First, you add some kind of lettuce leaf. Then, some kind of protein. I tend to use lots of nuts and seeds, and if you’re a meat eater then roast chicken slices or such will work great. Raw vegetables come next. I also like to add something sweet like raisins, sliced apples or orange segments; these lift up the salad, in a very healthy way. Occasionally, to turn the salad into a complete meal in a bowl, I add a grain like quinoa, barley or millet. While I don’t do this too often, a bit of crispiness, such as crushed chips, can also add texture. The trick is that the proportions of each should be appropriate, and the combinations should be complementary.

As for the dressing, it’s usually based on whatever is there when I open the fridge: juice of lime, juice of half an orange, a dollop of almond butter… There are so many options.

To me, a salad never fails to please. Today, I’ve made coconut the hero – perfect for the summer. It’s important that the coconut is very tender, as the soft flesh is much better in this preparation than the hard pieces.

Tender Coconut Salad

(Yield: Serves 3-4)


1 cup tender coconut meat

¼ cup raw mango

½ cup red cabbage

½ cup spring onions with the greens

½ cup grated carrot

A few healthy lettuce leaves

½ cup edamame (or any other beans)

A few caramelized walnuts

1 small apple, sliced

½ cup long slices of cucumber


Dressing

1 teaspoon olive oil or coconut oil

Salt to taste

2 pinches of pepper

1 teaspoon honey

Juice of 1 lemon

½ teaspoon sriracha


Add all the raw ingredients to a bowl.

Separately, mix all the dressing ingredients and stir. When I make it during raw mango season, I like to add a bit of that too – to give a boost of Vitamin C and a nice tang, as well as increasing the tropical feel.

Before serving, pour the dressing over the raw ingredients and mix gently until all of them are well coated.

Your tender coconut salad is ready: as simple as that! I hope you’ll enjoy it. Don’t forget to explore more of my salad recipes too.

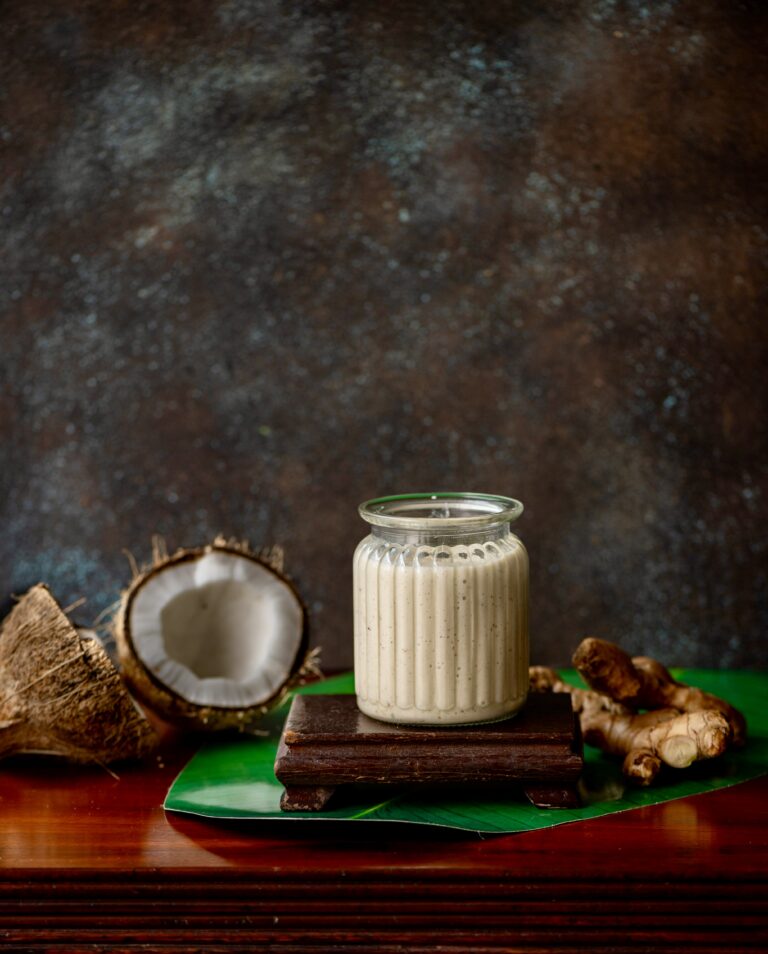
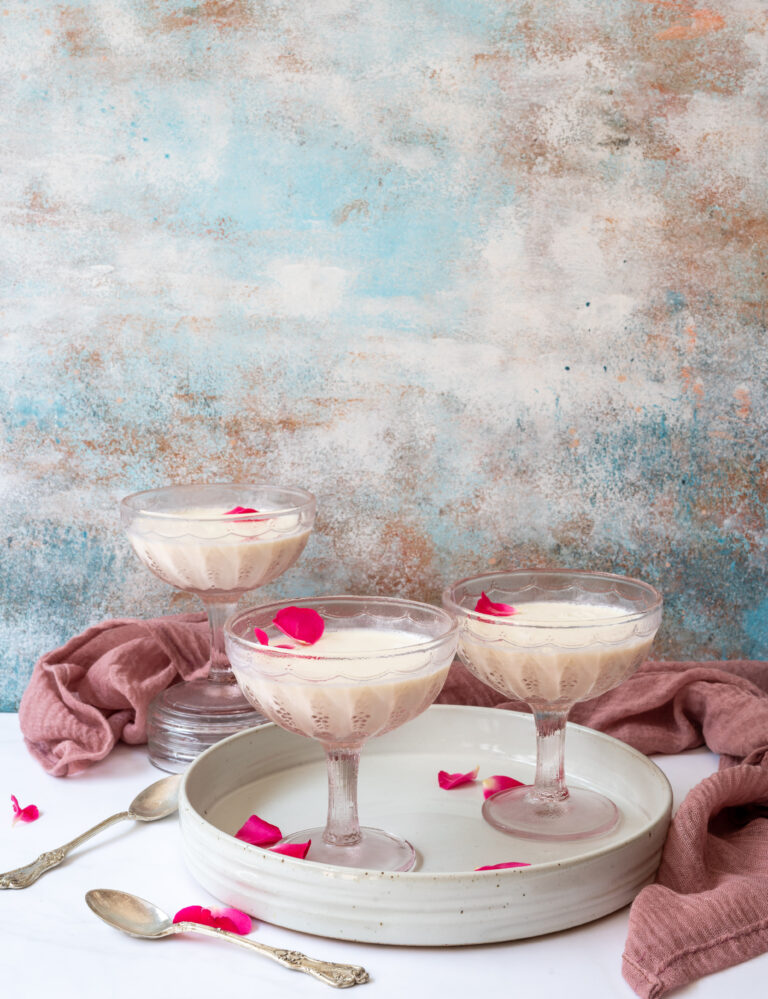
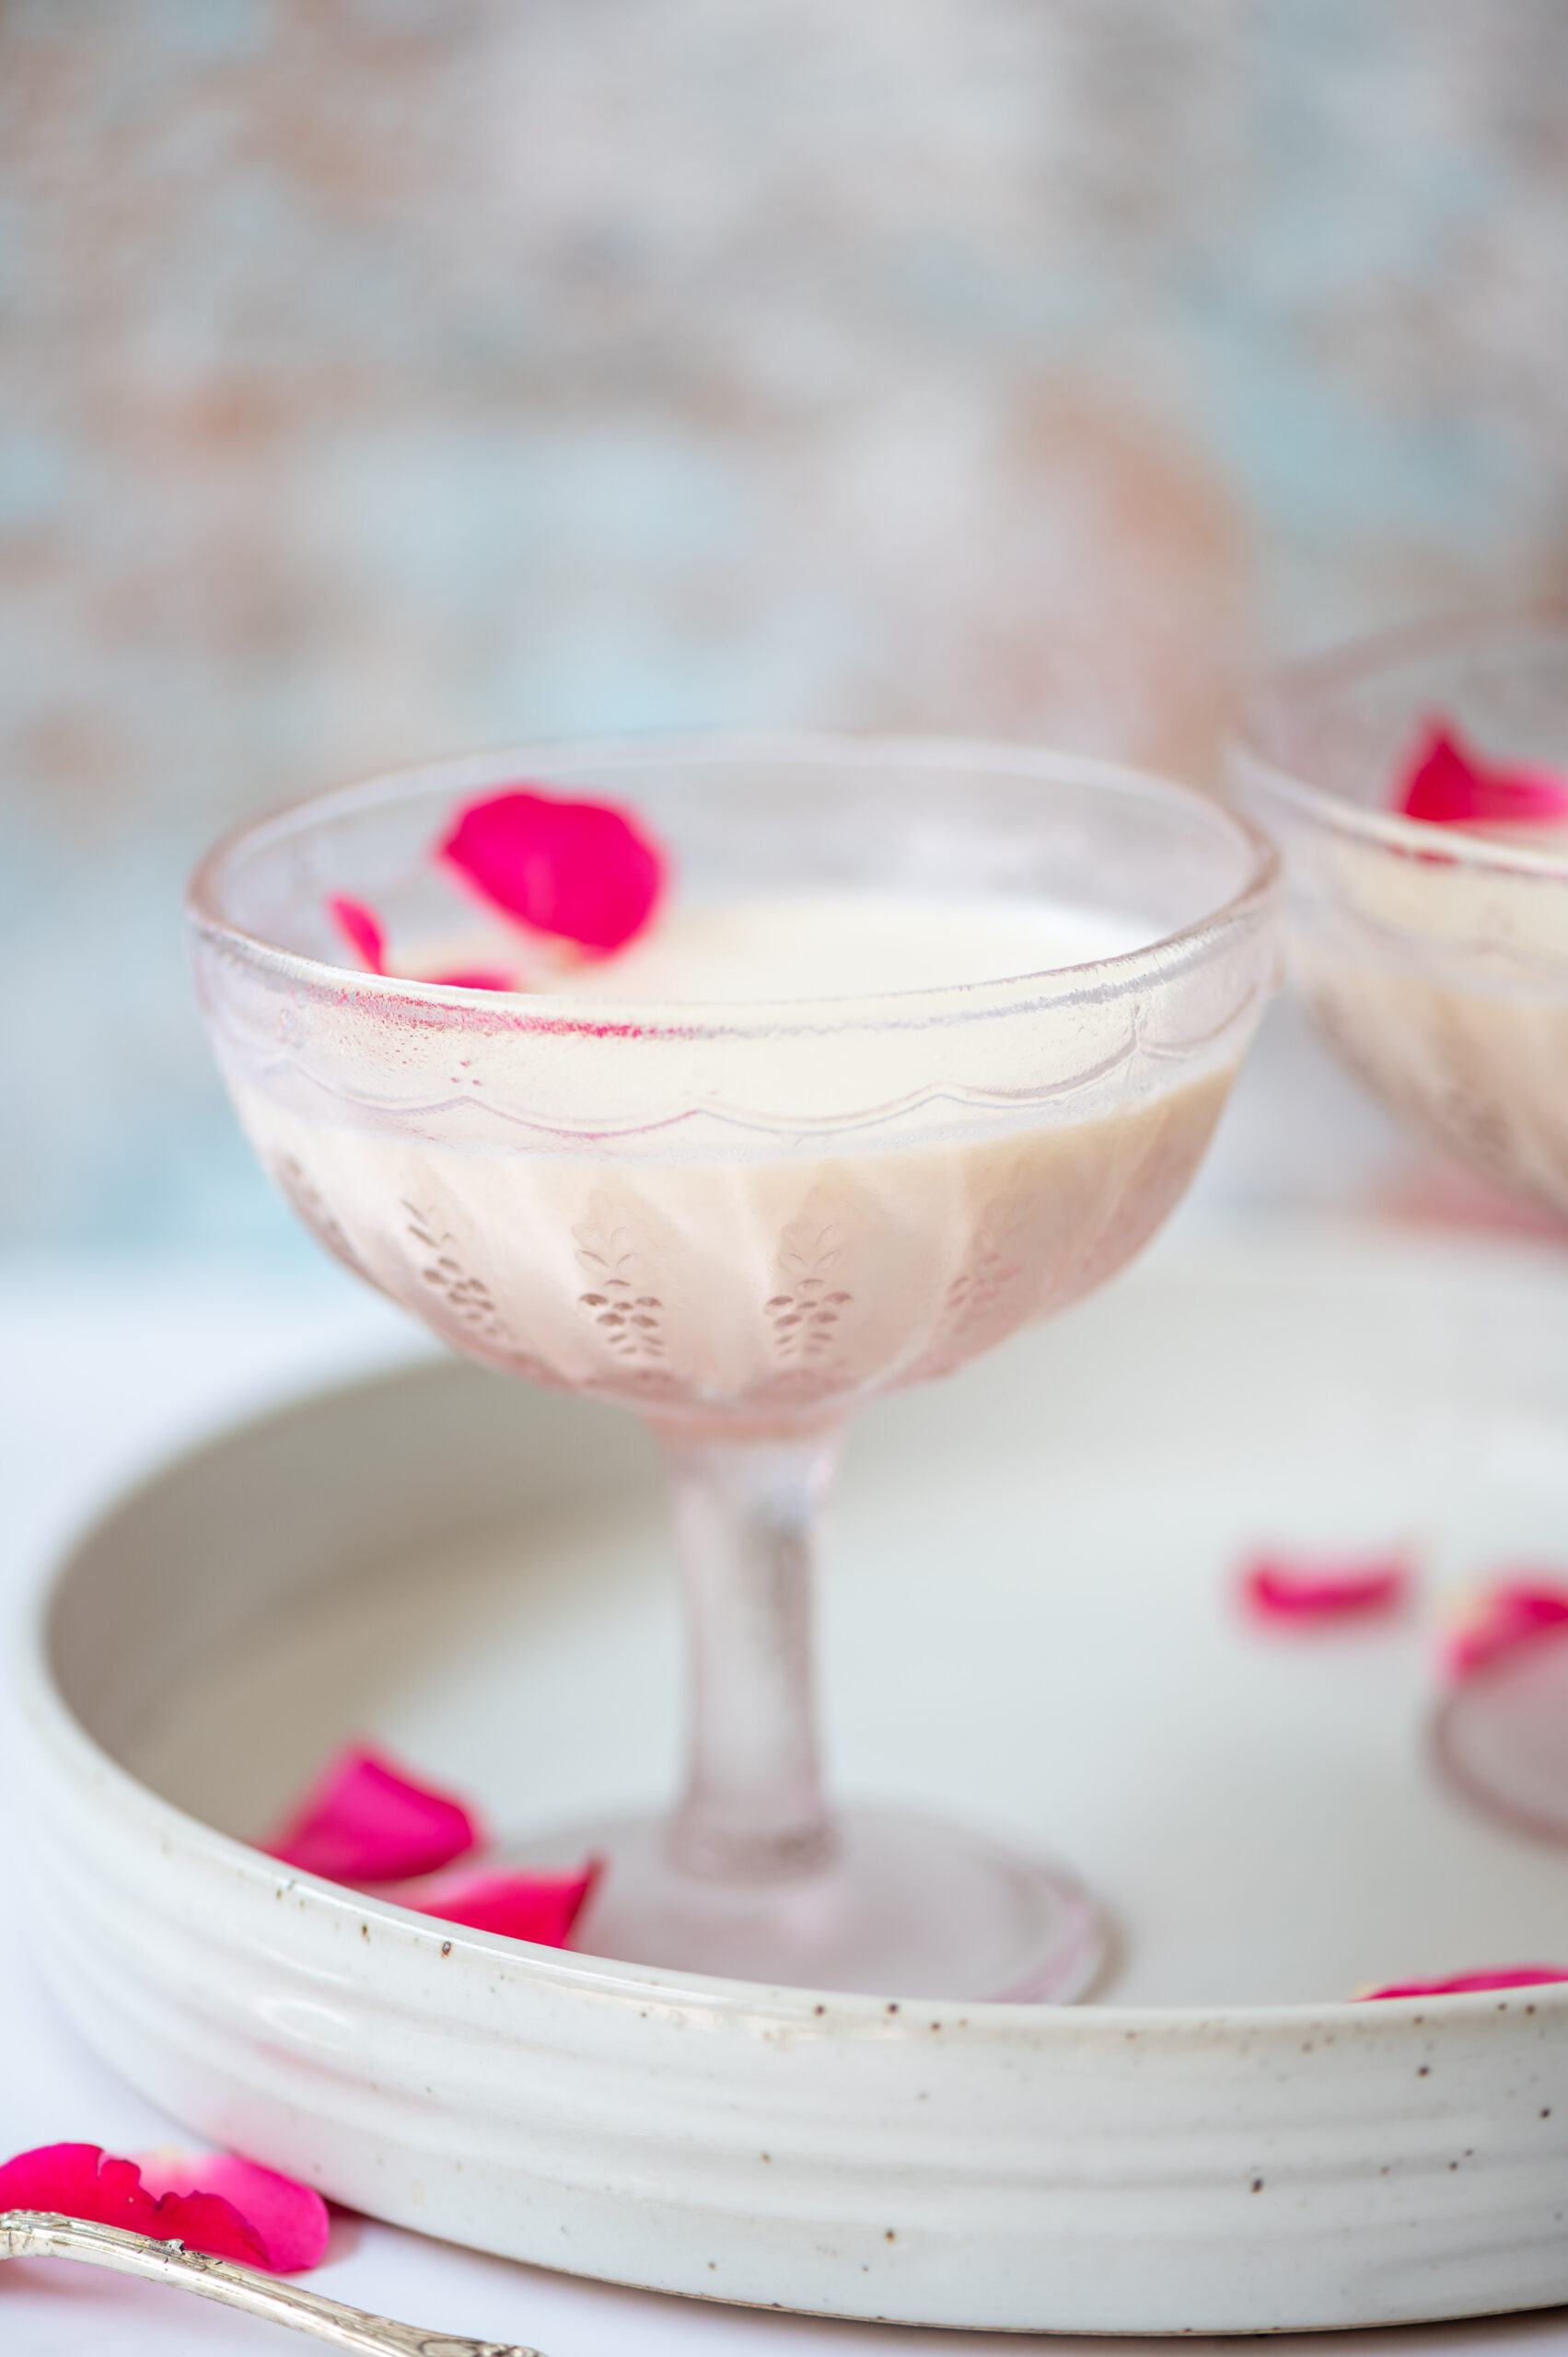
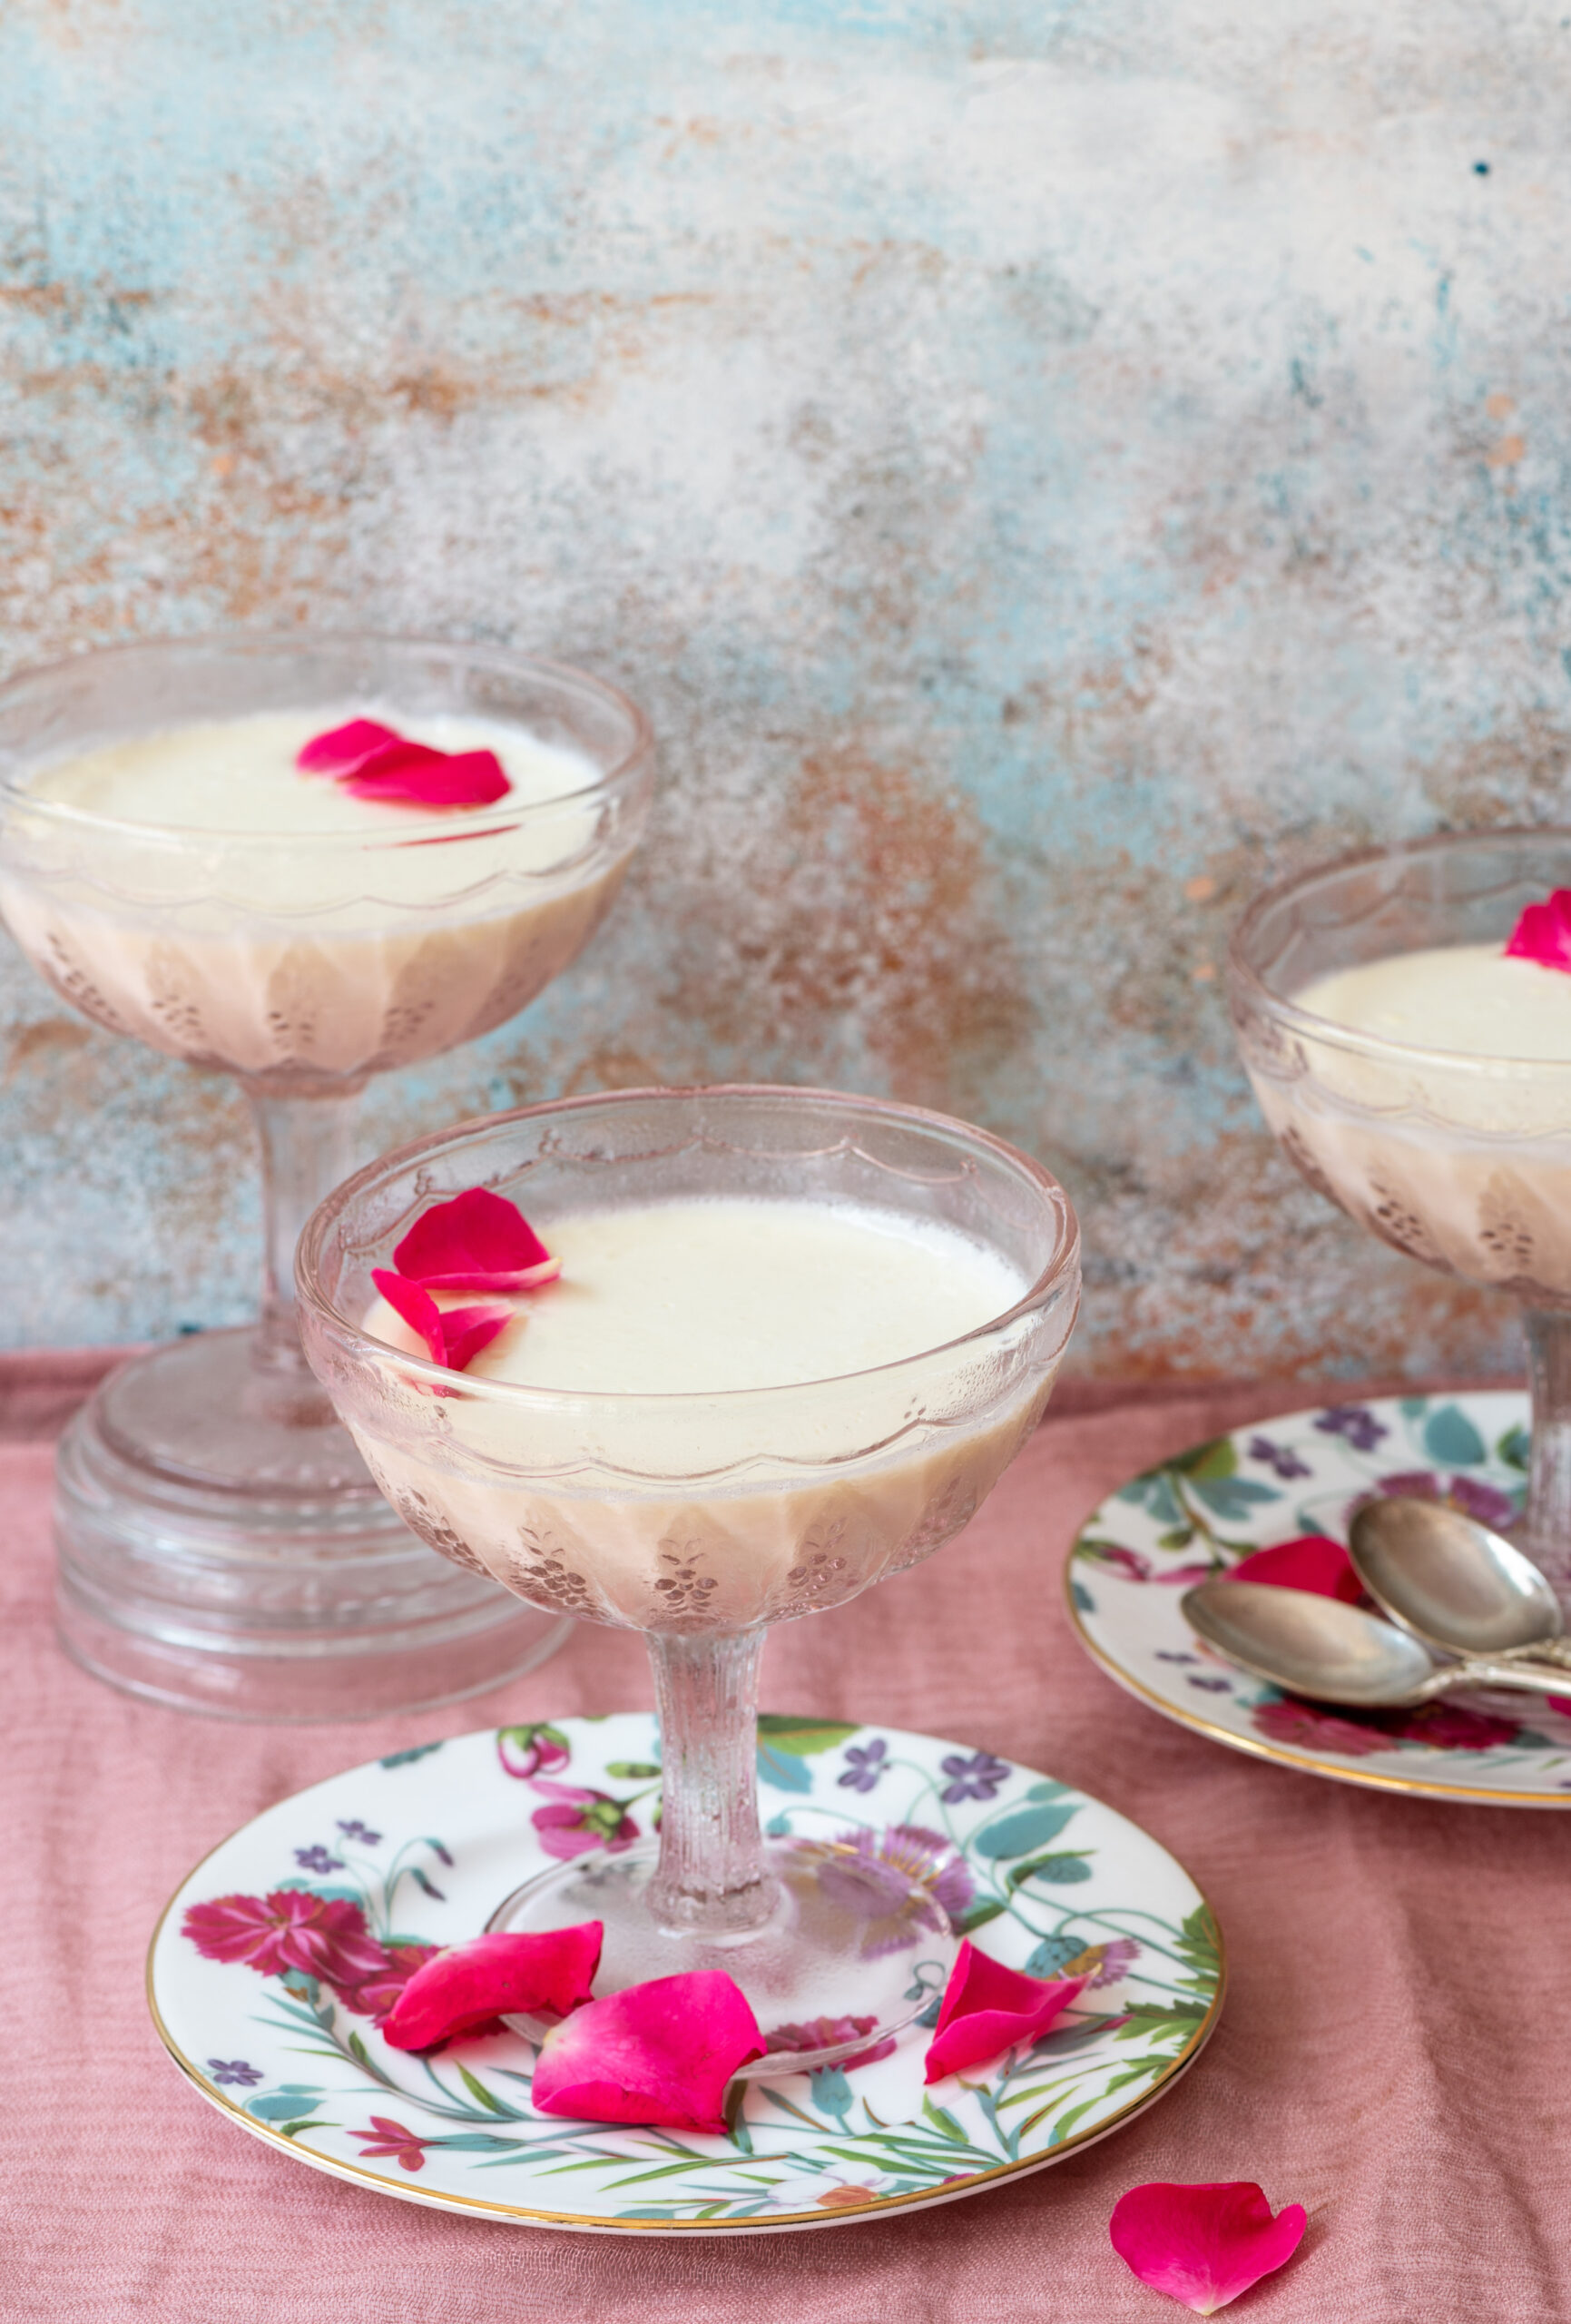
Every summer, at least once, I simply have to make coconut mousse. It is a light, airy, faintly sweet eggless dessert, which also makes it perfect for some of the entertaining that I do. I have many friends and relatives who are vegan or vegetarian, or who don’t like eggs. What’s also nice about it is that I can prepare it and put it in the fridge and theoretically it will last for a few days (of course, it disappears quite fast). To me, this eggless rose-coconut mousse is the perfect Indo-Western dessert.

In addition to the tropical taste of coconut, I also use a hint of rose, which makes it a kind of fusion dish. As a mousse or pudding of sorts, it is Continental in form but the flavours are more Indian to me. I have to admit that the first time I made it, I used less agar agar and it turned out almost like a kheer or a payasam. This is not to say that that didn’t work – it was delicious too. The consistency of the mixture determines what you can name the dish. I have used fresh, tender coconut meat, but you can also use grated coconut or coconut cream to thicken it.

I also very quickly realised that you can make a mousse with any kind of fruit puree, as long as you add agar agar and use flavours that complement each other, such as coconut and rose. If you aren’t a fan of these flavours, you can substitute them. Try saffron instead, or lavender perhaps. Maybe make it with a different ingredient each time, and play around with the garnishing too. I like to make this in individual cups as it feels more personalised, but you can also just put it all in one bowl and scoop out from it. Alternately, put it in a bowl with a lovely shape and upturn it once it has set.

The first time I tasted coconut mousse was at a very dear friend’s home, and she kindly shared the recipe. As you may know from several earlier recipes, summers mean an abundance of coconuts in my home thanks to the trees in the backyard, so I made this a part of my annual repertoire ever since. Looking at the trees always reminds me of how when we were growing up, our household staff would shave off the leaves, gather the stalks, and make a broom. How simply we used what was in our surroundings. Every part of the coconut tree was used. The image of her crafting the broom comes to me whenever I talk about homegrown coconuts. This also reminds me that it’s that time of year for me to make cold-pressed coconut oil too.

Eggless Rose-Coconut Mousse

(Yield: Serves 6)

1 can condensed milk

1 cup fresh cream

1½ cups fresh coconut milk

1 cup whole milk

10 grams agar agar

½ cup boiling water

1 cup tender coconut meat (finely cut or blended)

2 teaspoons rosewater

In a bowl, add the boiling water and then add the agar agar. Stir and allow to melt. Set aside.

In a large bowl, add the condensed milk, fresh cream, coconut milk and whole milk. Stir.

Strain and add the agar agar with the milk mixture. Add the coconut meat and rose water. Mix it all gently, using a hand blender.

Pour into the desired bowls and refrigerate overnight.

Serve cold.

This marvellous dessert is really so refreshing – perfect for summer and rich with tropical flavours. If you’d like to explore more of my dessert recipes, do check out a selection here!

There is an abundance – maybe even an overdose! – of coconuts in my garden, as I have shared many times before. There are so many recipes on this blog that attest to this. From coconut oil (which I’ve made this year too, making use of the intense summer sun) to coconut pudding to coconut stew to coconut podi to rose-coconut kheer… and the list goes on. As much as we love the ingredient at home, we sometimes have so much of it that we don’t know what to do with it. Coconut milk is especially crucial to utilise soon, as it can go bad quickly. The need to use up a big, fresh batch, especially given the effort of straining it, was what gave me the idea for today’s post: coconut cupcakes.

But really, far from just being a way to make sure that an ingredient doesn’t spoil, these cupcakes are quite a treat in and of themselves. A note for my vegan readers: while yummy coconut milk is used in lieu of dairy, this is not an eggless recipe. For you, I recommend that you check out my vegan lavender cake recipe. If you’ve had some practice with baking, you should be able to put the two recipes together and tweak as needed so that you can prepare this coconut cupcake the vegan way.

If you are a first-time baker, I would suggest that you familiarise yourself with this recipe for citrus bundt cake first, which has an introductory guide for beginners. Assuming that you have the basics in place, here are a few more simple tips as general reminders.

Firstly, a pretty simple one: prepare the trays and line them while the oven is preheating to save time later.

Now, for some serious techniques and tricks… I’ve heard many people complain that the cupcake liner opens up during the baking process. I bake pretty much daily, especially for re:store orders, so I have confidence that mine won’t. Perhaps that confidence aka positive thinking goes a long way, but I feel that way in the first place because I’ve mastered the secret: too much butter or fat is what causes the liner to open up. Be careful about following quantities in a recipe to a tee, and this won’t happen.

As for that dome that forms on top of cupcakes sometimes, this can be avoided if you fill only 23 of the liner with batter.

To go back to the subject of ingredients: ensure that they are all at room temperature when you start, so that they bake evenly.

Even though you only ice a cupcake after it has completely cooled, I’ve found that it makes sense to prepare the icing while the trays are in the oven. The secret to smooth, silky icing relies on two things: you must sift the icing sugar first (do this for cocoa powder too, for other baked goods that have it). and you must beat the butter until it’s fluffy. These two factors – sifting and beating properly – make all the difference in the final texture of the icing.

Before we move on to the recipe and method for these coconut cupcakes, I want to invite you to check out and follow my Instagram, if you haven’t already. I’ve recently started sharing reels, in order to keep up with the latest trends on the platform. I have even attended a class to learn how to do this. While I’m confident with photography and the camera, the process for videos is very different. I hope you like the reels I’ve been sharing, including one of this recipe. Please give me your suggestions on how to make them better, and as always, do drop me a comment if you enjoyed this recipe or any other. I love hearing from you!

Coconut Cupcakes

(Yield: One dozen)


Cupcake

175 grams flour

120 grams unsalted butter (room temperature)

1 teaspoon baking powder

¼ teaspoon salt

2 eggs

½ teaspoon vanilla extract

190 grams granulated sugar

120 ml coconut milk

½ cup shredded coconut


Butter Frosting

4-5 cups icing sugar (sifted)

1 cup unsalted butter

A pinch of salt

Fresh cream (as required)

¼ teaspoon vanilla extract

Preheat the oven to 160°. Line a cupcake pan with liners. Set aside.

Sift the dry ingredients (the salt, flour and baking powder) and set aside.

In a mixing bowl, add the butter and beat it until it is light and fluffy. Then, add the sugar and beat again. Scrape down the sides of the bowl, making sure the mixture has been well beaten for about 3 minutes.

Add the eggs one at a time, beating between each addition.

Add the dry ingredients and the wet ingredients one by one alternately, mixing only until combined.

Finally, add the shredded coconut to the batter, and use a spatula to bring all the ingredients together.

Using a scoop, divide the batter into the liners. Bake for 15 minutes or until a toothpick comes out clean.

Allow to cool in the pan for 5 minutes and then remove gently onto a wire rack.

To prepare the butter icing, beat the butter and the salt well with an electric blender. Add half the icing sugar and beat again, then add the remainder. When using the electric blender, ensure the sugar doesn’t fly out of the bowl.

Add the cream, in your preferred quantity, and ensure that the butter cream is at a consistency that is thick enough to pipe.

Pipe the icing onto the cupcakes, and garnish as you’d like before serving. Then, all the work of baking and icing done, there is nought to do but to enjoy watching these delicious coconut cupcakes disappear – which they do quite quickly in my home, and most likely in yours too – and make sure that you grab one for yourself before they do!

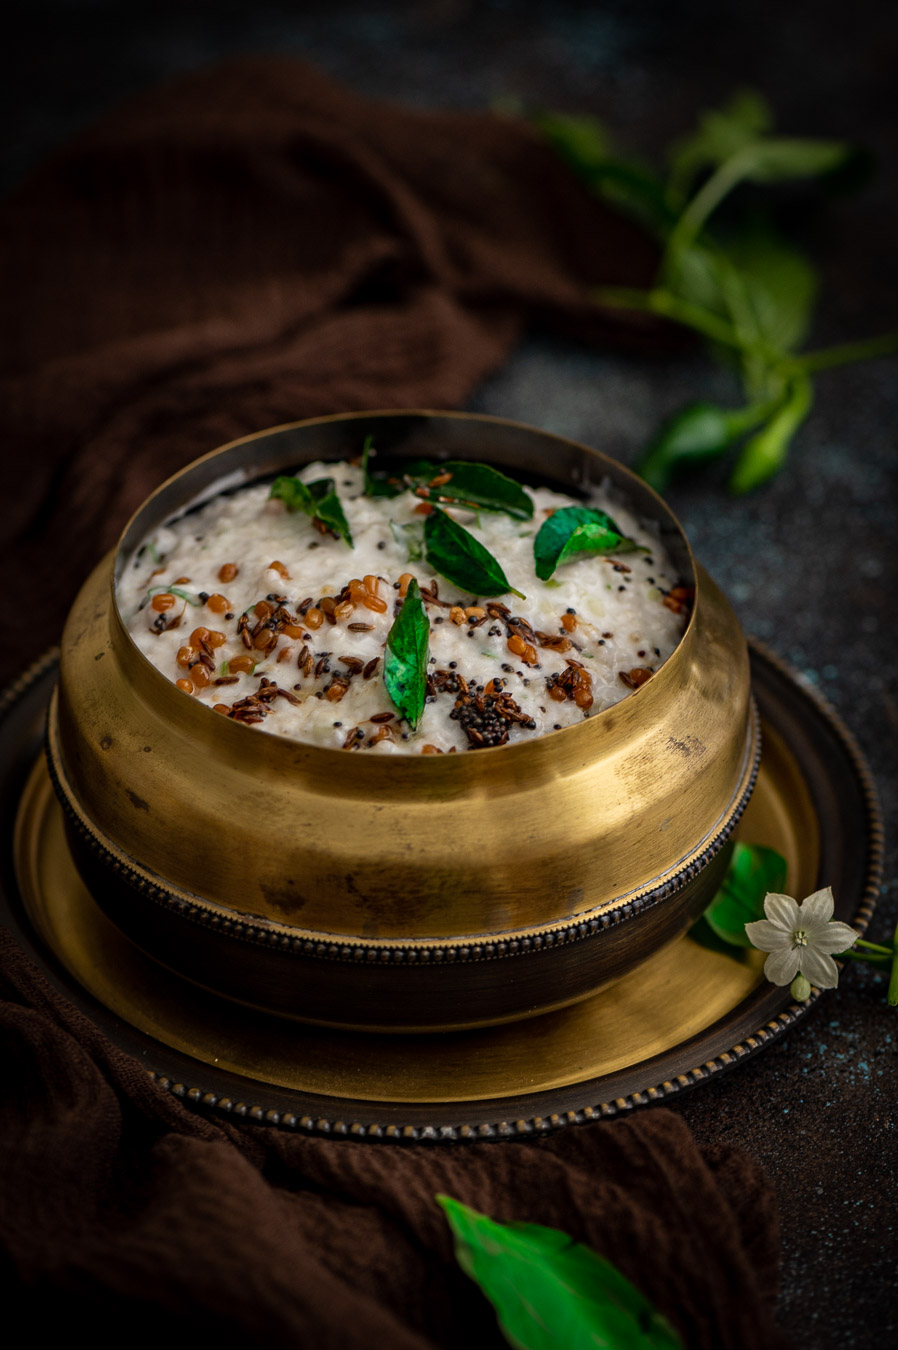
Thayirsadam is a typically Tamil dish, and translates literally to “curd rice”. It is exquisitely simple and accessible food, which is why it is eaten here on practically a daily basis at households of every background. Even though we are Gujaratis, as lifelong Chennaiites, it is also a go-to in our home. It’s among the comfort foods we reach for whenever we feel down, or when we come back tired from a long trip. It’s also ideal for the day after late night parties, when not much has been prepped for the day’s meals, other than the homemade yoghurt that we ensure is made nightly without fail.

I’ve spoken many times of my deep love for yoghurt ever since childhood, and of how I used to consume it even by mixing it into upma and in other unconventional combinations. My love for it is something I brought into my new home when I got married, and I made it a staple in this household too. It truly is the ingredient that I find most difficult to give up even as we as a family make further inroads into a vegan lifestyle. For a variety of reasons, ranging from wanting to eating healthier to having doubts about the quality and purity of store-bought milk to being moved by the plight of mistreated dairy cows, we have all been veering towards the vegan way. My struggle to at least consume less yoghurt, even if I can’t quite give it up, has made me explore healthy and conscious alternatives. It’s such an integral part of Indian cuisine that it’s not a matter of finding a simple substitute for one or two recipes. I have to match each replacement to the dish, and see how it fares in that unique combination.

I have also been trying to make vegan yoghurt at home. Many of my experiments have failed, but a few attempts have brought me some degree of success. However, as I have yet to perfect a recipe that I feel I can confidently share with you, I won’t do so for now. My fingers are crossed that a vegan homemade yoghurt recipe will one day be featured on this blog.

So for now, we will stick to store-bought vegan yoghurt. Coconut yoghurt is my preferred one for this dish. I love the flavour: simple, versatile and a little sweet. Coconut also takes on the flavour of whatever you add it to, while retaining its own standalone taste. I add a dash of lemon to it so as to evoke the slight sourness of dairy yoghurt.

In addition to trying to eat vegan more often, I am also going through a phase where I am cutting down carbs, which means white rice is something I avoid. This leads me back to a food category that I’m passionate about: millets. Millets have made many appearances on this blog due to my belief in their importance in terms of good health and eco-sustainability. If you haven’t already enjoyed the following recipes, I hope you’ll check out: my vegan chilli bowl starring kodo millet, Indian vegetable salad starring foxtail millet or some authentic local dishes that showcase how millets have always been eaten in this region, such as chakkara pongal and ragi kanji.

In this dish, I have used kodo millet, also known as “varugu” in Tamil. Millets are fibre-rich, which makes them more filling, as well as good for your digestive system. Kodo millet is a gluten-free alternative to rice that I enjoy as much for its taste as for its benefits in regulating blood sugar and cholesterol levels, and the boost in antioxidants that it gives too. For me, veganism is about healthy eating, and that remains the impetus behind many of my food choices.

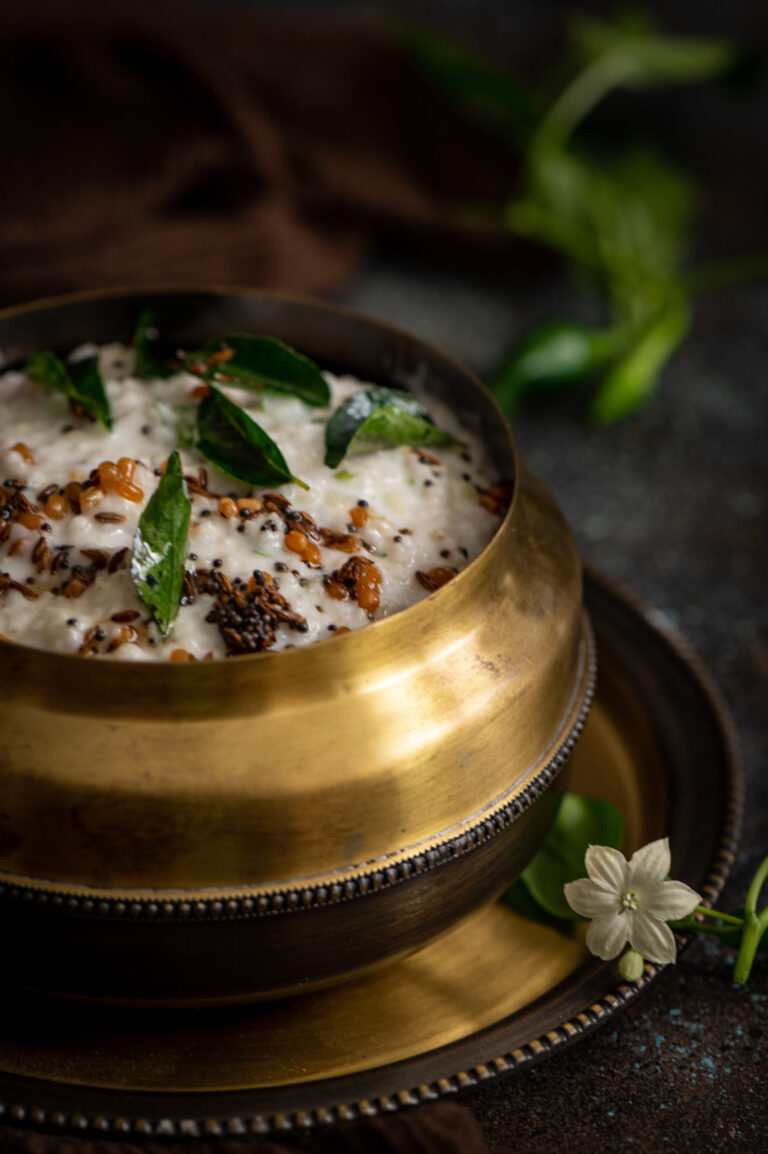
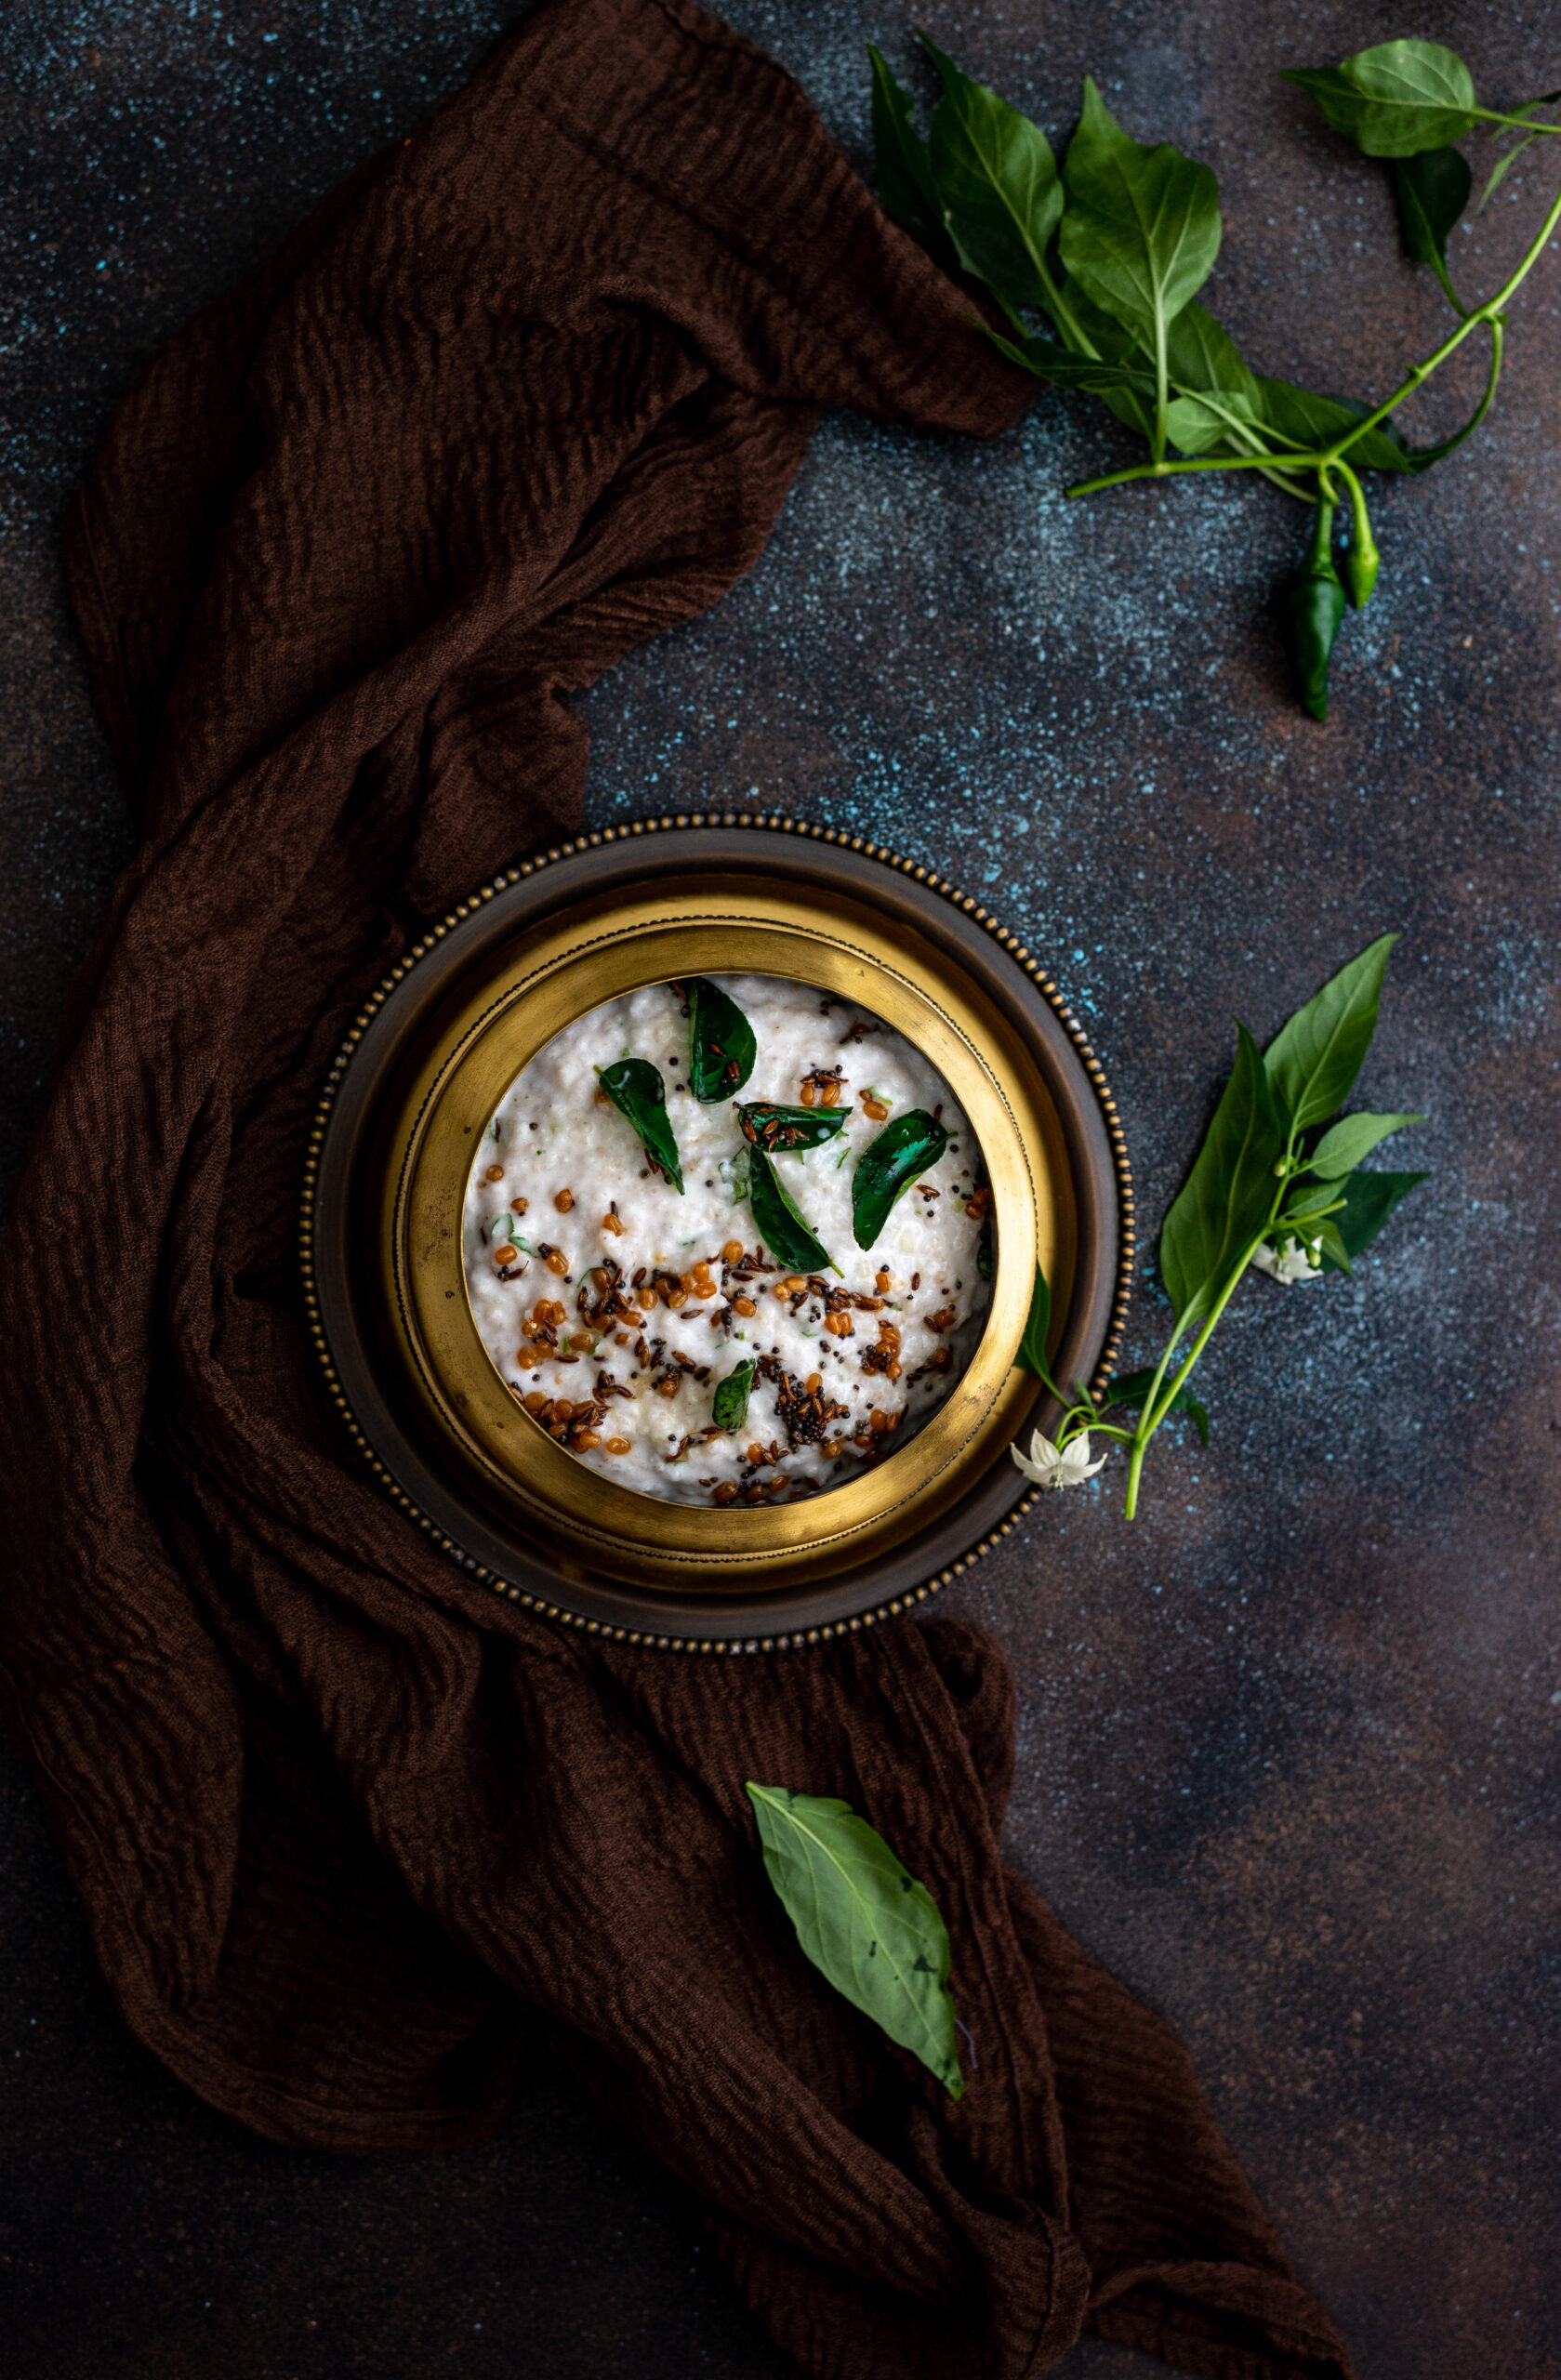
I’ve always seen food as a vital component of living in alignment with nature. Many of you know that I also maintain a home garden with various daily ingredients, from lemongrass to coconuts to tomatoes. Green chillies are among them, and as I stepped out of my kitchen to pluck a fresh one for this vegan millet “thayirsadam”, some pretty white flowers on the plant caught my eye. I paused to admire them, and I loved being able to include them in the styling for my photoshoot. How special and gratifying it was, to have my abiding love for all things culinary, my intensifying passion for photography, and my reverent love for nature come together…

Vegan Millet “Thayirsadam”

(Yield: 3-5 cups)

50 grams kodo millet

160 grams coconut yoghurt

¼ cup water

2-3 tablespoons raw mango

1 tablespoon coriander leaves

1 tablespoon chopped cucumber

Salt to taste

A dash of lemon


Tempering:

1 tablespoon oil

¼ teaspoon mustard seeds

¼ teaspoon cumin seeds

1 green chilli finely chopped (optional)

A few curry leaves

Rinse and cook the kodo millet in 3-4 cups of water. This will take about 15 minutes. Allow to cool.

Once cooled, transfer the millet into a bowl. Add the coconut yoghurt, salt and water. Mix thoroughly. Next, add the cucumber, raw mango and coriander leaves. You may include your choice of crunchy ingredients to add more texture and taste to the dish. Sometimes I use pomegranates or grated carrots, either as a substitute for cucumber or along with it.

Now, add the dash of lemon.  Set aside.

For the tempering, heat the oil and then add the mustard and cumin seeds. Once they splutter, add the green chilli and curry leaves and immediately pour over the millet-yoghurt that was set aside.

Stir gently and refrigerate. Serve once slightly cooled again.

And there you have it: thayirsadam with neither thayir (curd) nor sadam (rice)! This vegan curd millet dish truly becomes a filling meal-in-a-bowl once you scoop in a spoonful of pickle on the side, and add a handful of some delicious, crispy banana chips to add more variety to your meal.

By the way, if you are a fan of curd rice in general, may I suggest that you also try my recipe for Gujarati masala curd rice? And if you’re a vegan who is looking for dairy-like but dairy-free desserts, my take on another Gujarati speciality, in the form of this vegan passion fruit shrikand, may be right up your alley!


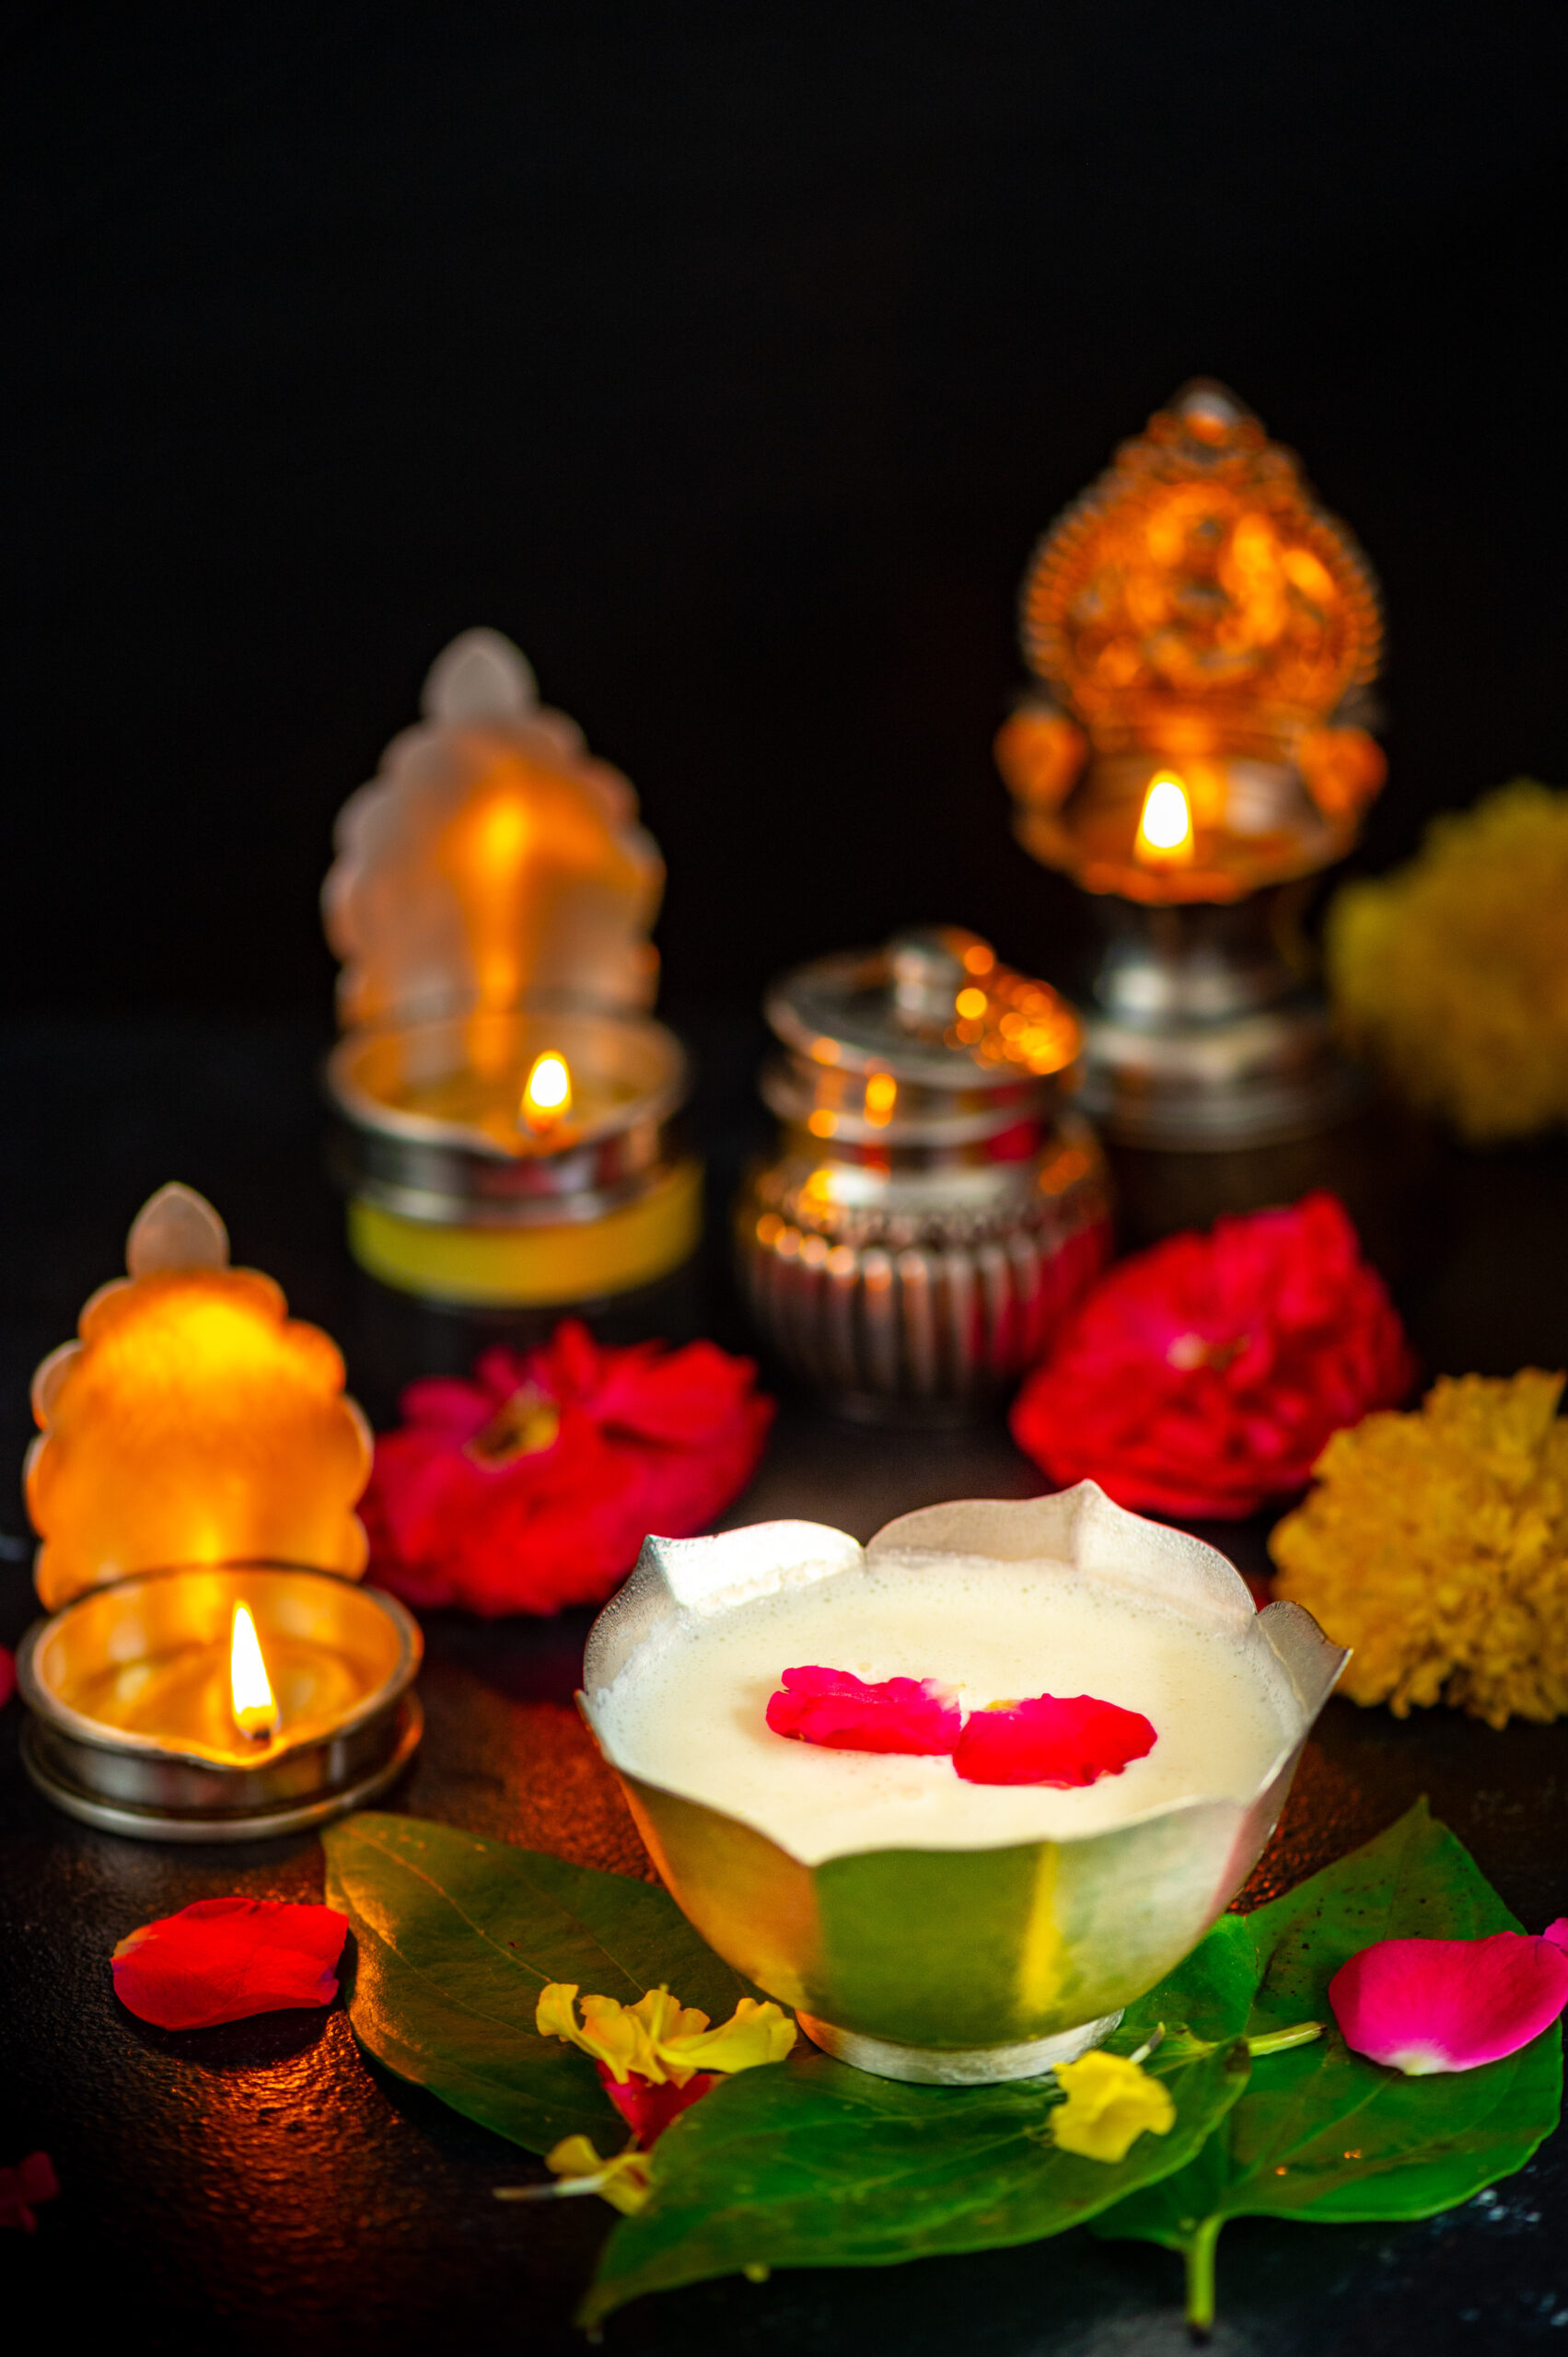
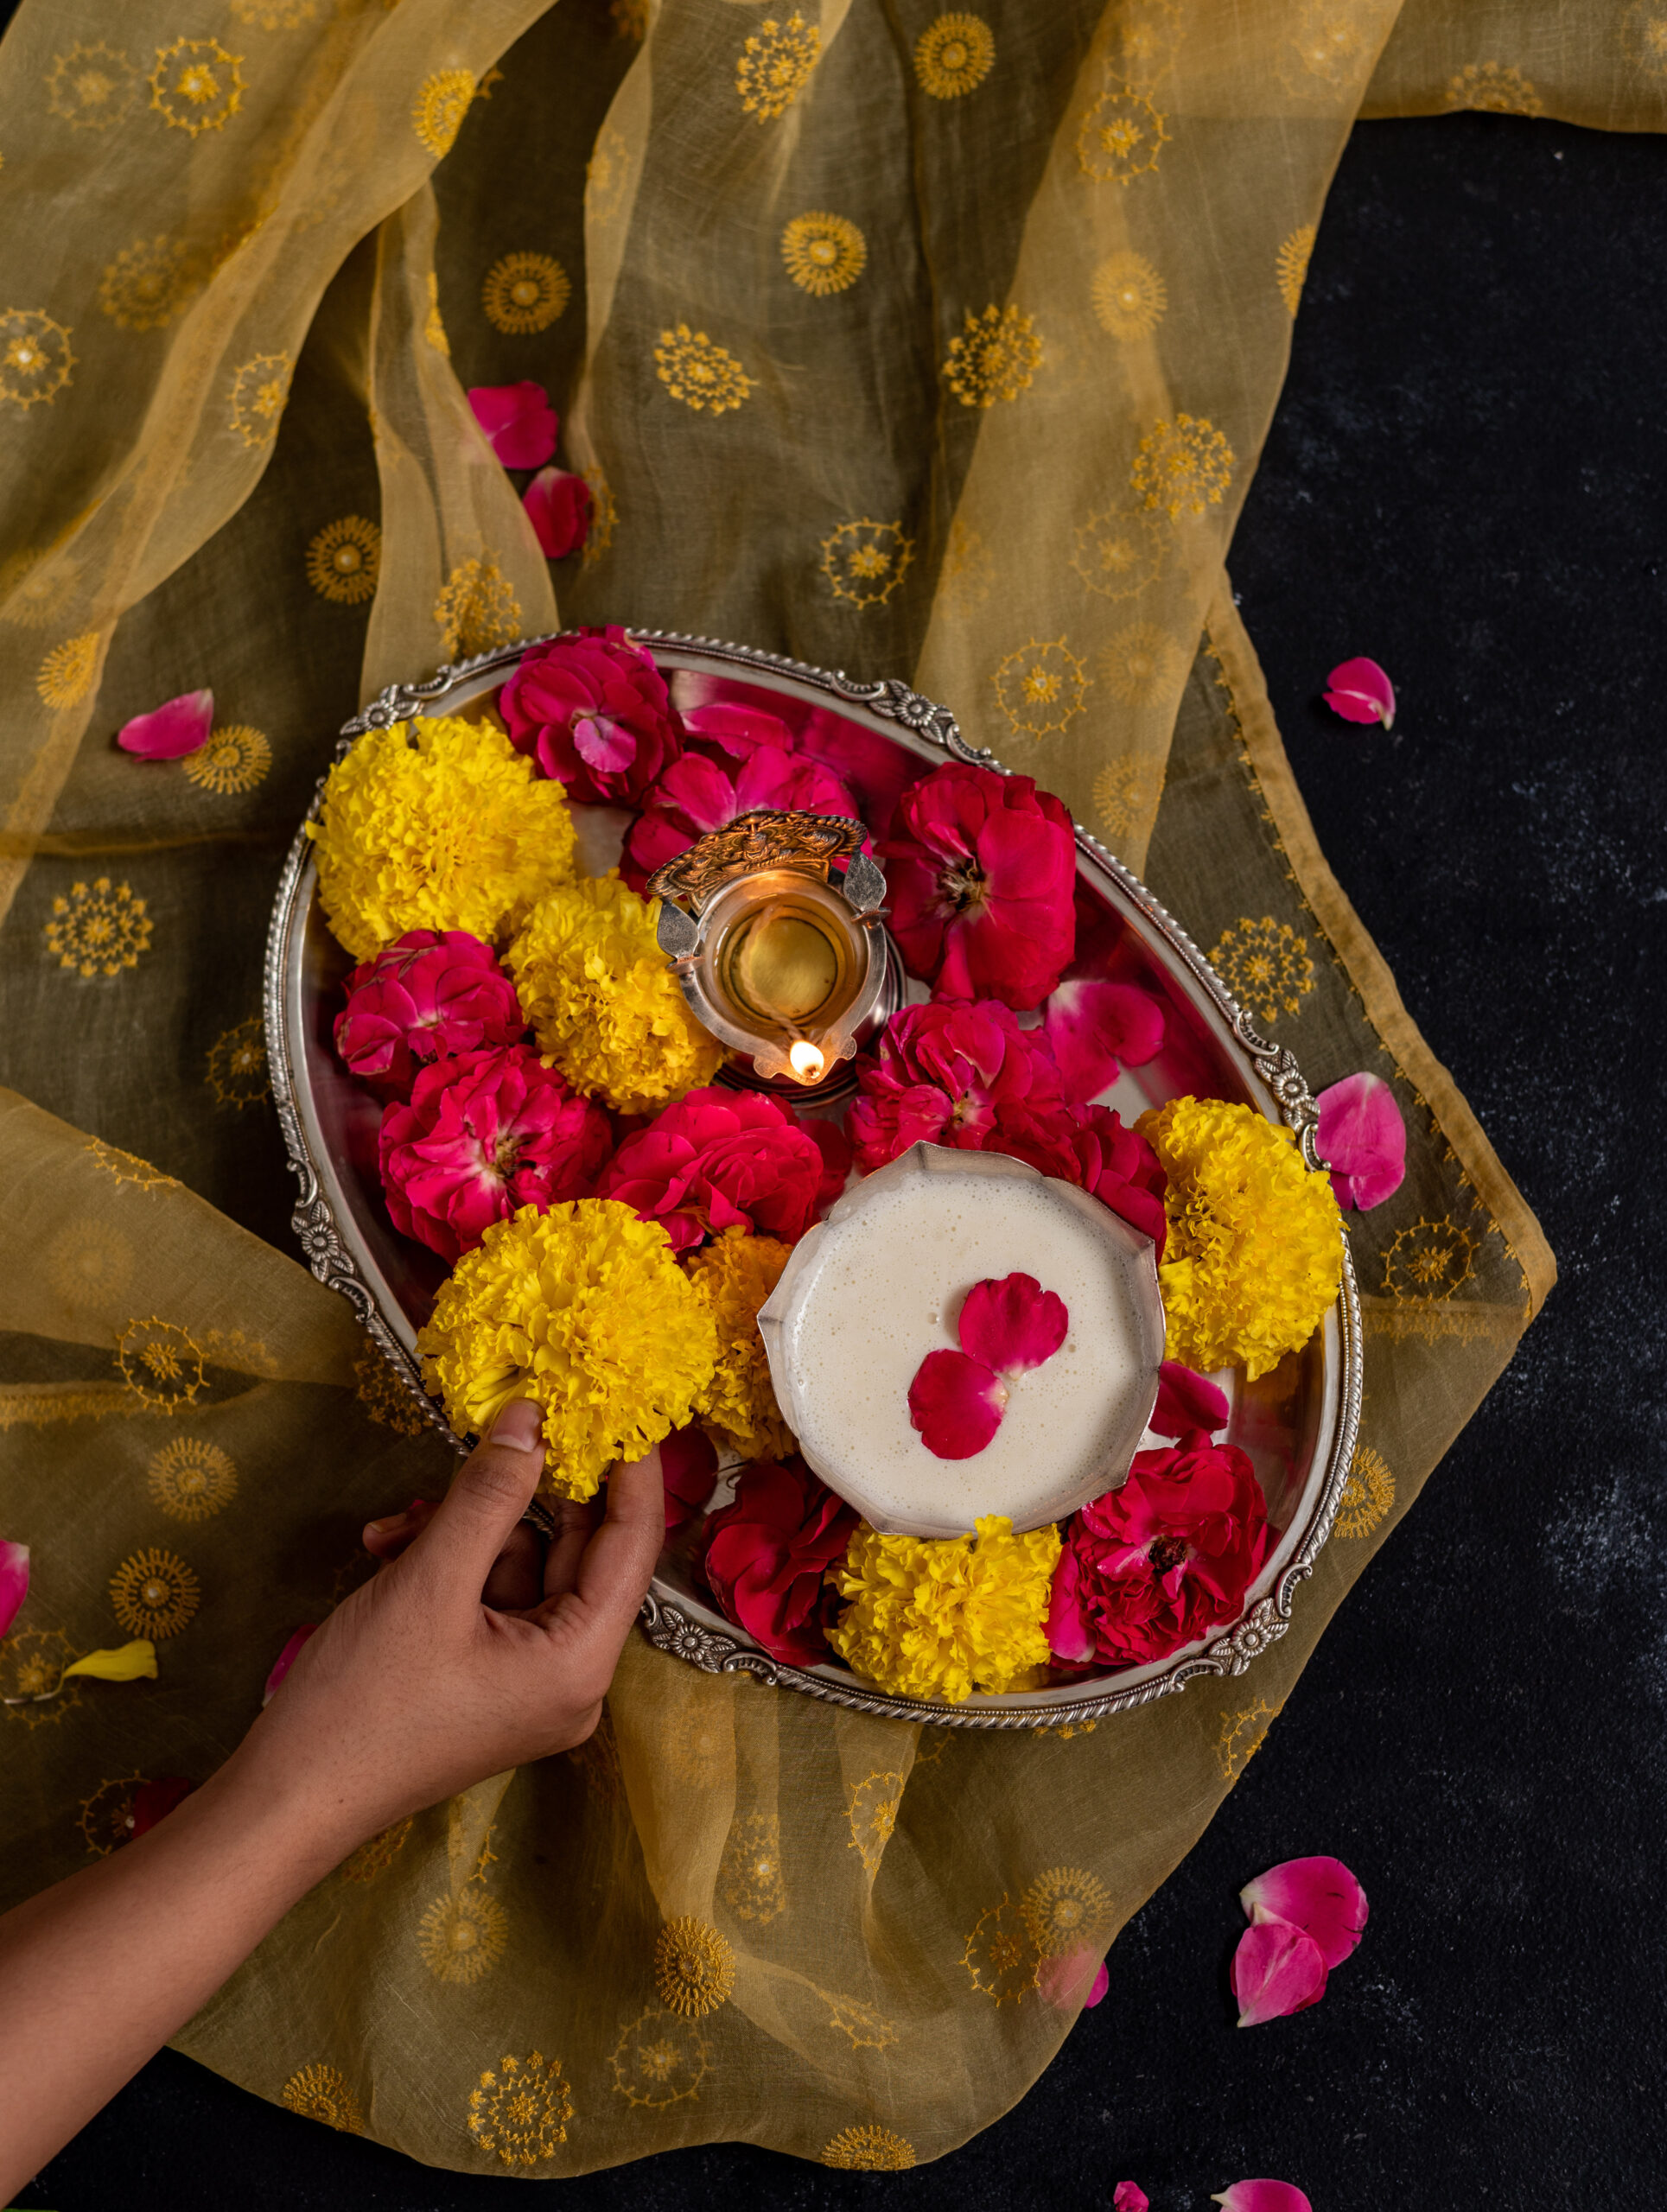
And so, the coconut series comes to a sweet finish with a dessert, just in time for Diwali! The first time that I had this coconut pudding was at a friend’s potluck, a long time ago. I had not yet started re:store then or become known for my baking, and so my standard contribution was always some kind of traditional Gujarati fare, like a kachori or a dal dhokli. Each of us would bring something, and we would partake in a lovely and diverse feast together. It was at one such gathering that I first encountered this sublime coconut pudding. Whose preparation it was, and at whose house, blurs in my mind. Every one of the posts in this series (podi, oil and stew) has involved the inspiration of one or several friends of mine, and while I wish I could recall exactly who inspired this one, I can say with certainty that my friendships were a big part of it too.

Despite forgetting the other details, I still remember vividly that first coconut pudding itself. It looked very pleasing to the eye, giving off a sense that it would be cool and refreshing. The first spoonful confirmed my expectations. It was just fabulous, and tasted so light. I can recall that it was summer at the time, but the elements and sensations of the dish are the same no matter when in the year you have it. It is simply a delight.

Every Diwali, I usually prepare the ghugra that my mother taught me, as well as boondi. This year, given the circumstances, I wanted to create something lighter, something that would not only have a subtle flavour but would also feel more breezy overall. I also wanted something that would be consumed quickly, given that we cannot have guests for days on end as we usually do. The coconut pudding was perfect on all counts. With the exception of the ceremonial laapsi, there are no other sweets at home for Diwali this year.

But rest assured that we are, finally, in a celebratory mood, and I hope very much that you are too. I have had an instinct for a while now that November would be the turning point when things would begin to get better. The news of Joe Biden being elected the next President of the USA seems to usher the good times in, and as I have American family members, the feeling of hope is quite close to home. Moreover, our Gujarati New Year is also around the corner. This time of year is always a new chapter for us, and the number of lovely traditional dishes I’ve linked from my native cuisine in this post also honours the same.

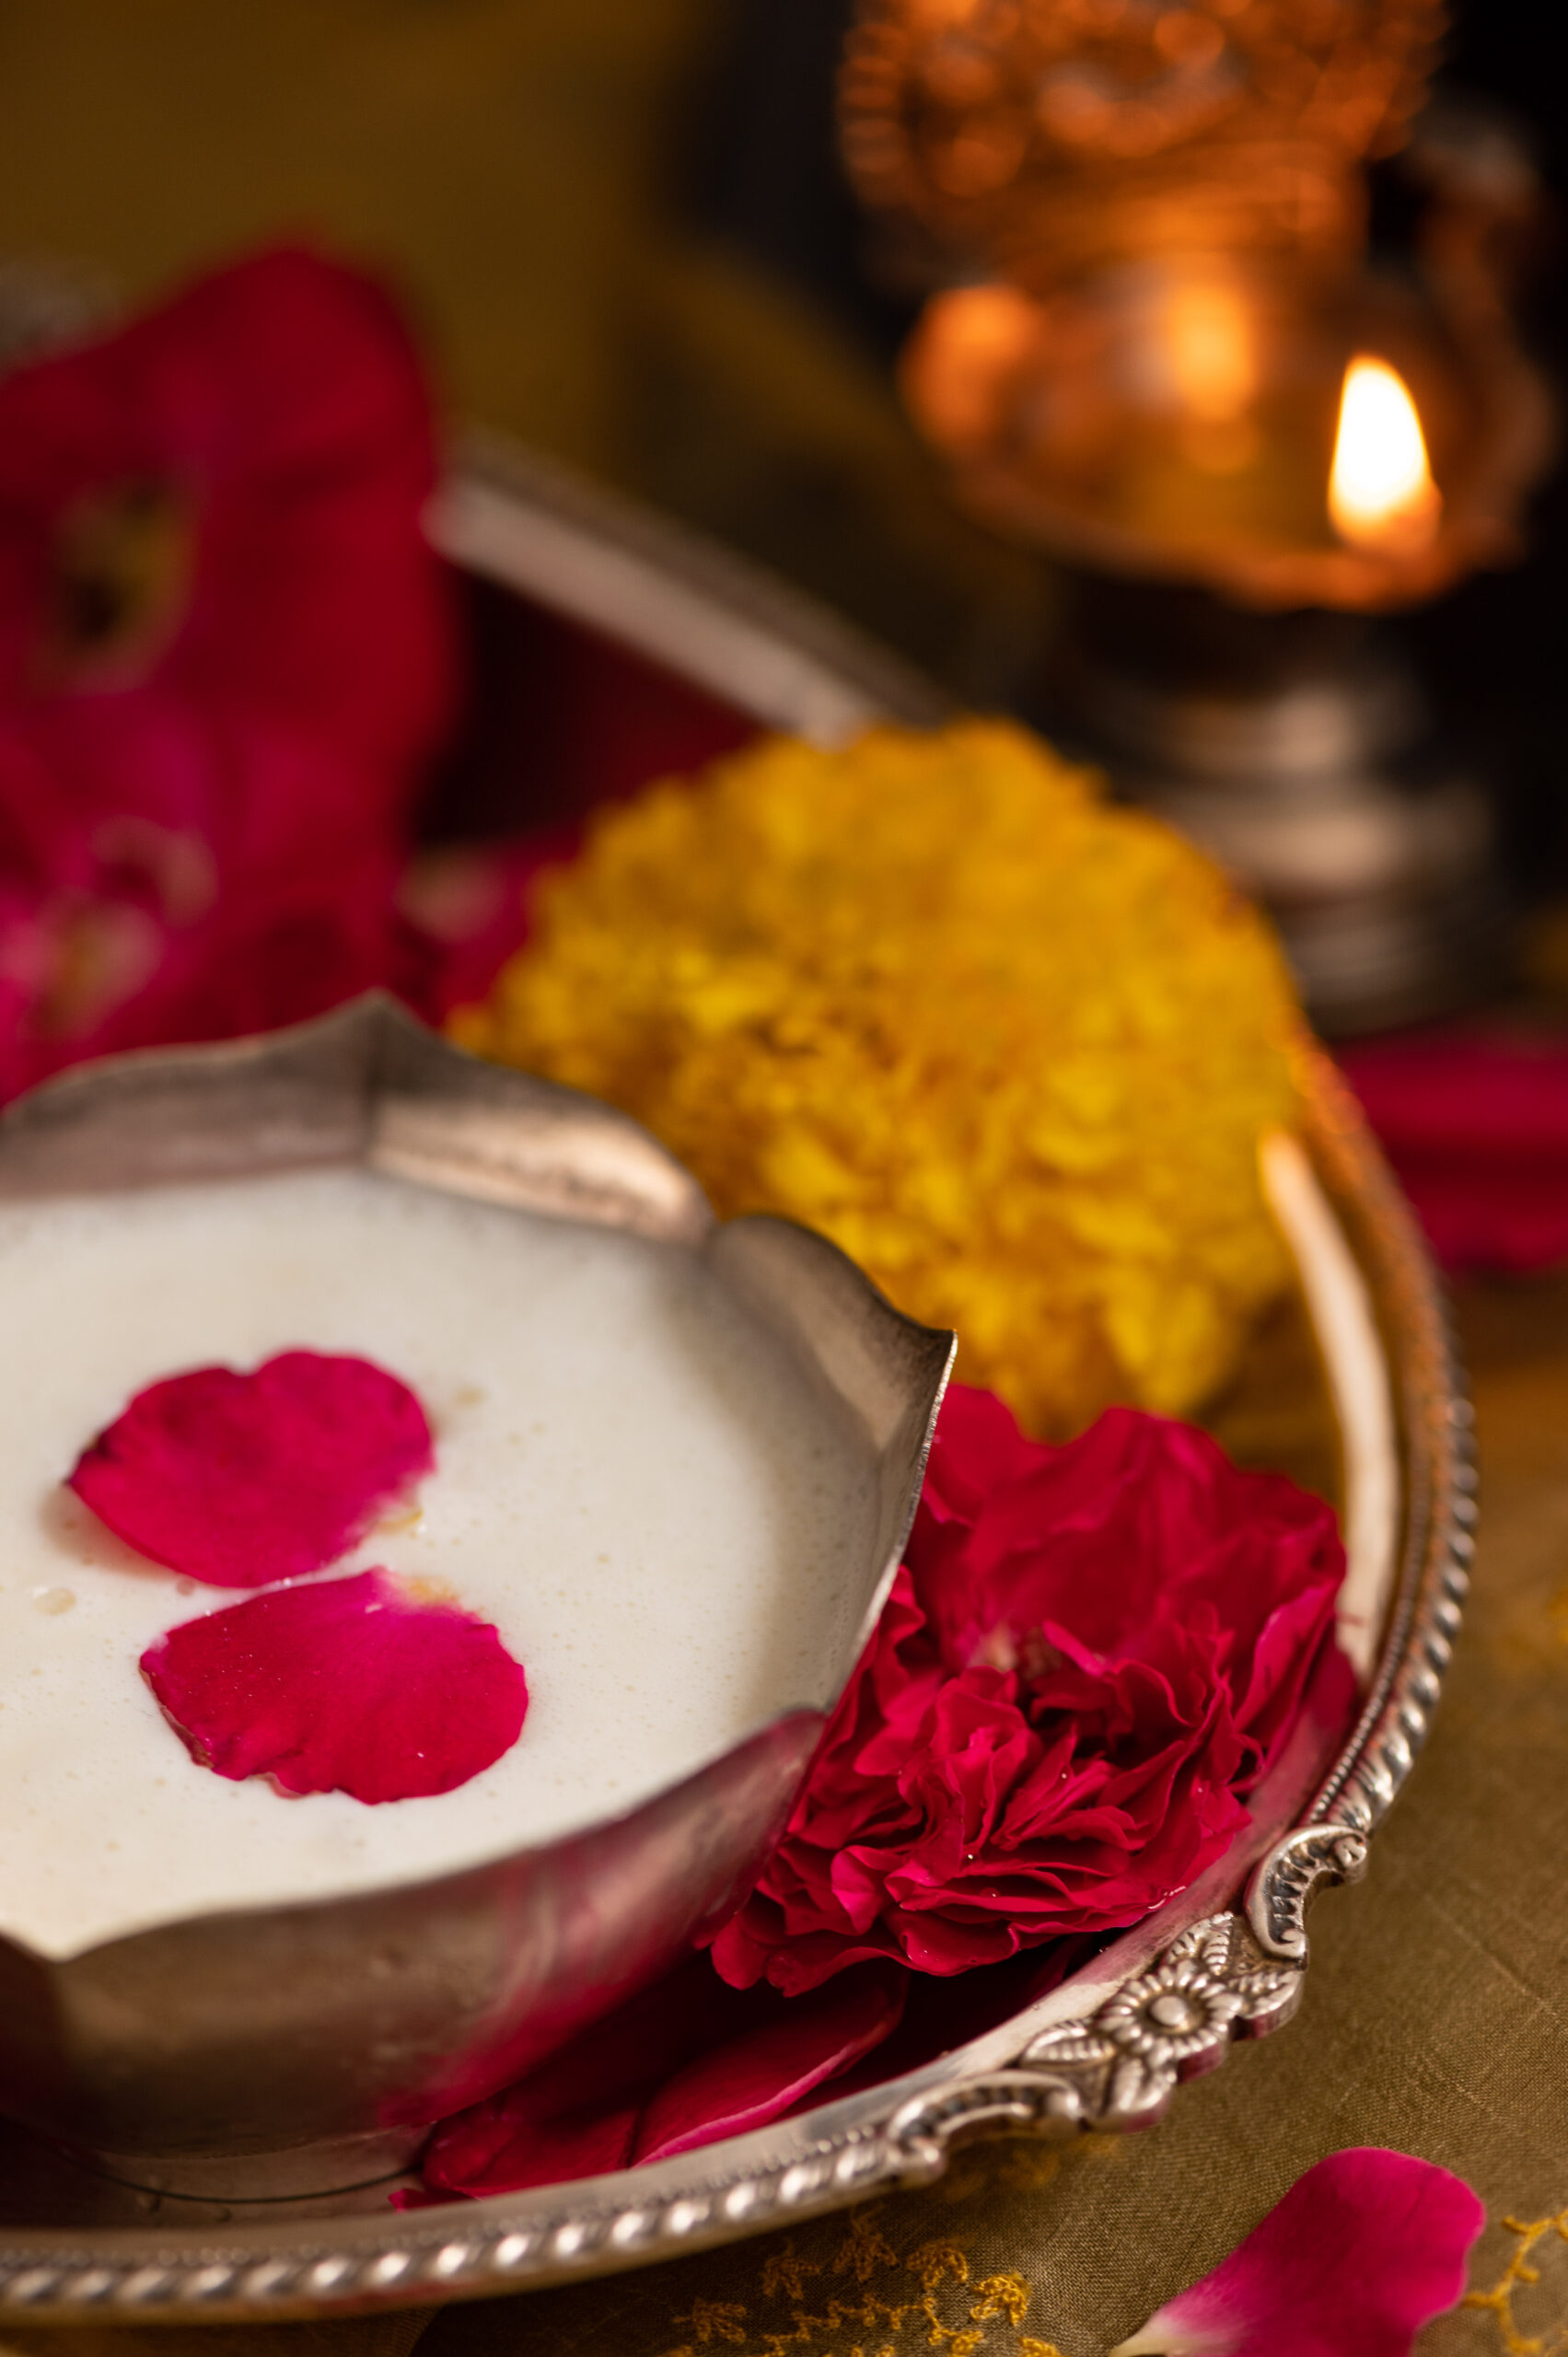
To return to the uplifting and delicious star of our Diwali this year, this coconut pudding… While I can’t remember who brought this dish to the potluck where I fell in love with it, or who shared their recipe with me afterwards, I’ve been making it for years. You may recall an earlier rendition, with chia seeds, here. This is a different version, and the twist here is rose – re:store’s most preferred flavour, as many of you who have made orders with me know. Somehow, a rose represents so many things at once: love, coolness, fragrance, birth, death, celebration and more. It is a universal symbol, and a timeless flavour. One of the things I love most about roses is that they are locally available and very accessible. It’s so easy for me to bring that aroma and those soft petals into my day.


Coconut Pudding

(Yield: Serves 4-6)

1 cup condensed milk

½ cup cream

1½ cups coconut milk

11 grams agar agar

¾ cup water

1½ tablespoons rose water


Place a saucepan with the water and the agar agar on a double boiler. Stir until the agar agar melts and becomes translucent. Cool and strain.

The method for this dish is quite simple, but agar agar – which is a vegetarian substitute for gelatin – is a bit tricky to work with. If required, add another cup of water while melting it.

Making sure that all the other ingredients are at room temperature, mix them well together. Add the strained agar agar at the end. Pour into cups or moulds.

Leave to set in the refrigerator, and serve chilled. I hope that this dish uplifts your mood as much as it does mine.

I am lighting a lamp this Diwali to wish you all the best for a hopeful and healthy 2021. Even though we have not yet become able to open our homes in the ways we used to, let us open our hearts even wider to make up for it. May the festive season bring you and your family joy!

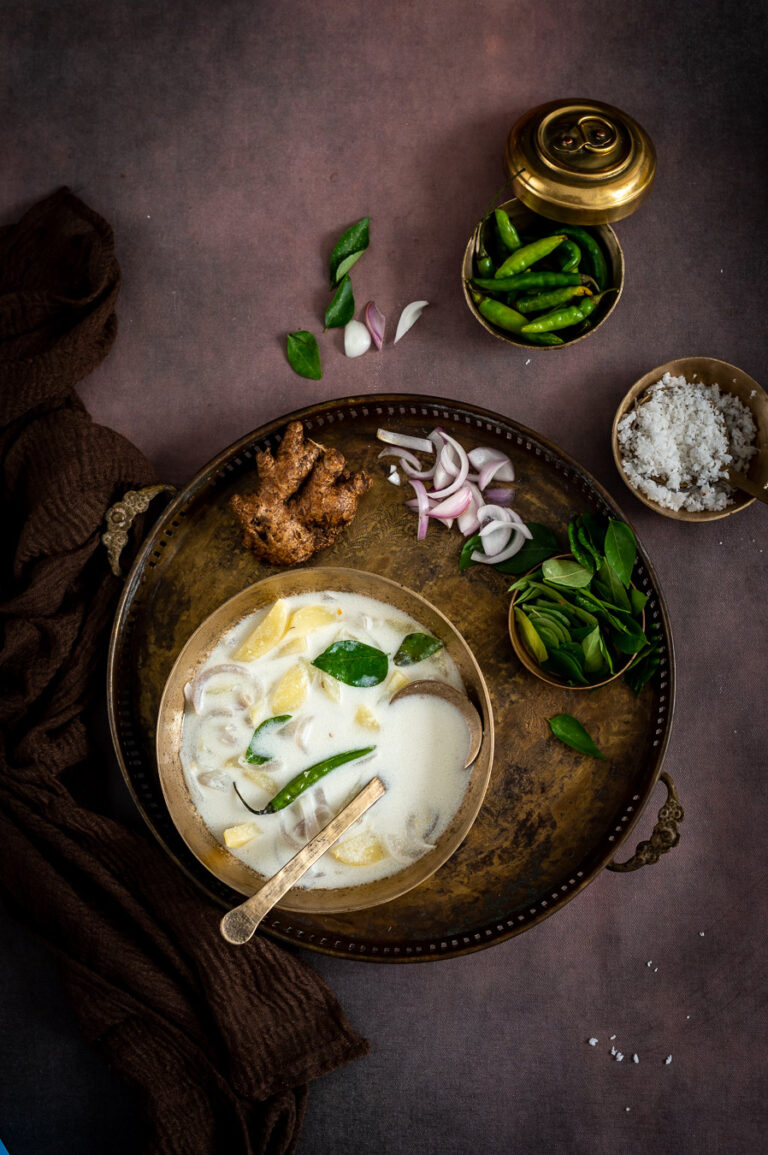
What is it about the food we taste while we are growing up that somehow, no matter how far we go, becomes the basis of our most important culinary memories? So it is for me and a very special coconut stew (or to be authentic, “ishtew”), which would be served at my friend Girija’s house. We met in the 8th grade and were neighbours, and her mother prepared wonderful Keralan fare. Her ishtew was the first I’d ever had, and fortunately for me, Girija learnt how to prepare it exactly the same way. I’m so delighted to share this love-filled, coconut milk-based deliciousness with you today, as part of the ongoing coconut series.

“Ishtew” is possibly the Malayalam-ised word for “stew”, which I suppose is what the British must have called this dish when they first encountered it. Or perhaps it’s the other way around, and it’s the English word that is derived from the Indian one? Made with vegetables or meat and warmly spiced, it is usually served alongside aapam, a kind of rice-and-coconut-milk pancake that is also known as hoppers. You can also have this coconut stew with rice, idly or dosa.

The only recipe I have for this dish is the one that Girija shared with me, and to me it’s absolutely the best one. As with any food item, there will be variations from kitchen to kitchen and community to community, and I know of many who prepare it in different ways. The core of this dish, as with most very popular and commonly consumed traditional ones, is that it is quite simple to prepare and uses ingredients that are easily available. Coconut, of course, is the star.

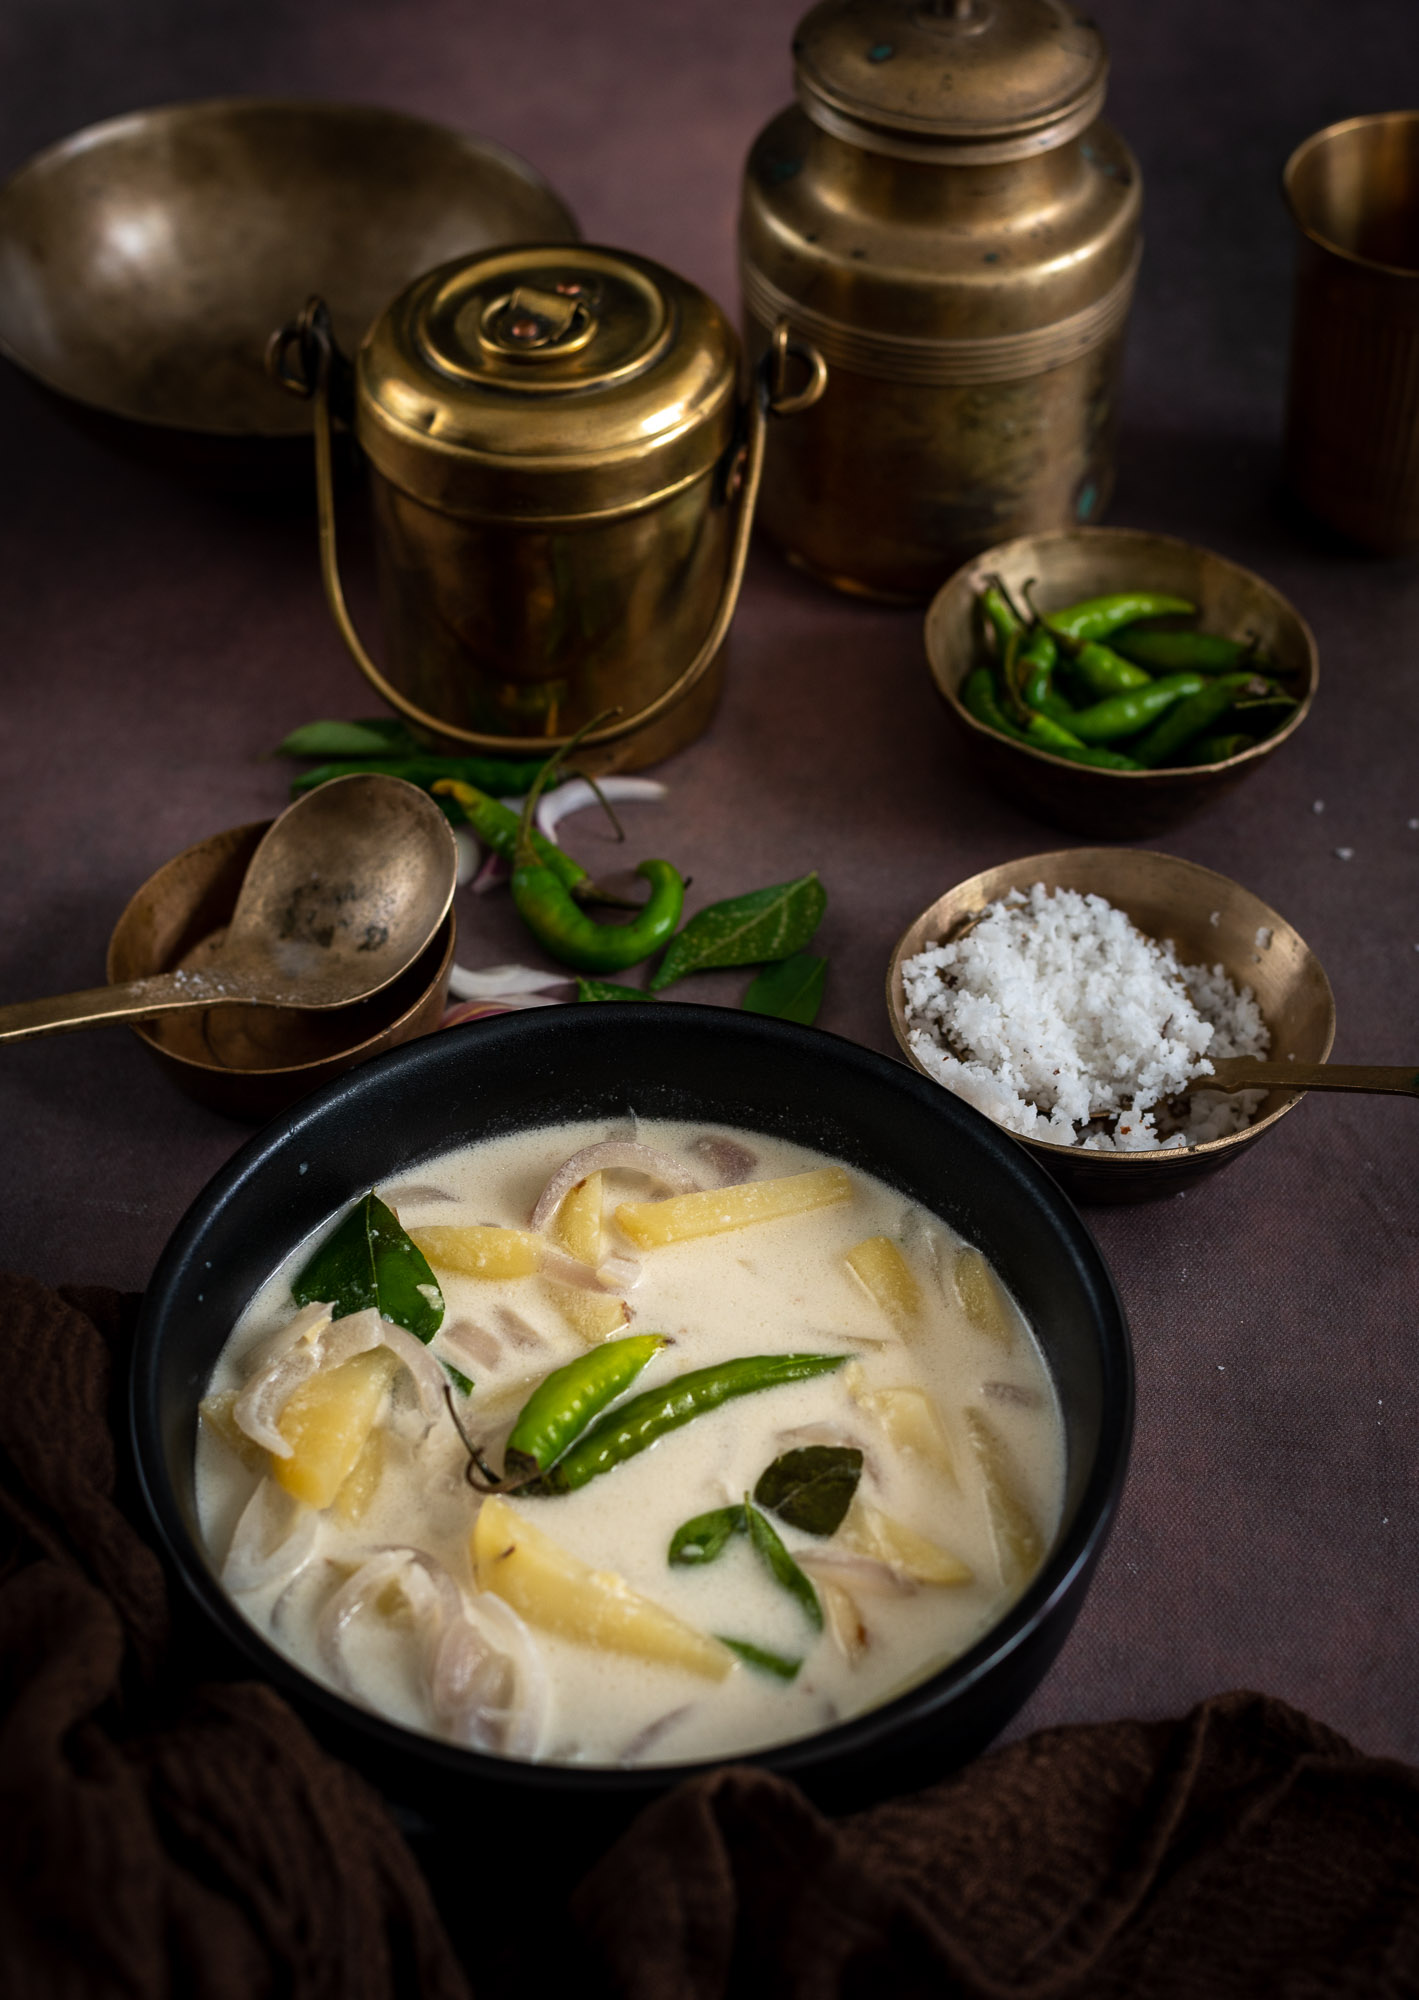
Girija and I were such tight friends as teenagers that it was a given that if I was not at my home, I could be found in hers, and vice versa. Decades later, we remain close, and now, whenever I visit her in Singapore, there is always a large bowl of coconut stew being prepared for me. The photo below is from a few years ago, from one of the times when she prepared it for me and I happened to have my camera on hand. Somehow, over the decades, it’s her stew – not even her mum’s – that is most vivid in my mind. We create new memories and reminisce about old ones whenever we enjoy a meal together, and I hope that this dish becomes a part of yours too.


Coconut Stew

(Serves 2-4 people)

50 grams onion

125 grams potato

20 grams ginger

A few curry leaves

2 teaspoons coconut oil

½ cup water

Salt to taste

One coconut


Cut the onion and potato into thick juliennes. Set aside.

This recipe requires two cups of fresh coconut milk – a first press cup, and a second press cup. Prepare the first press by grating the coconut flesh and grinding it in a blender with a ¼ cup of water. Strain this and set aside. The first press milk will be thick.

Now, repeat the process using the same grated coconut flesh – this will be the second press milk, and it will be thinner in comparison to the first press. Set aside.

Take the second press milk and boil the julienned potato and onion in it until they are soft. Ensure that you add the onions after the potatoes, as they cook faster. Add the ginger too. You can press down on the potatoes a little using a masher.

Once this is done, add the thick first press coconut milk to the pan. Add the curry leaves and coconut oil as well. Stir well. Your coconut stew is now ready to serve, and a plate of aapams, idlies or dosas will go perfectly with it.

This stew evokes for me one of my most cherished friendships, and so many childhood memories. Although Girija and I are in different countries at present, perhaps one of the many reasons she and her stew have been on my mind is because the lockdown this year has meant that meeting at home has become how most of us socialise now. Here in Chennai, my friends and I often discussed wanting to meet but felt it wasn’t safe to go out to restaurants like we had in the past. Instead, what we now do is something that we had quite rarely done in the past: meeting in each others’ homes over home-cooked meals. It’s so nice to get together this way, knowing that everyone is comfortable and care has been taken.

The lovely thing about old friendships is that even if we don’t see each other often, the bond is absolute. I truly feel relaxed and comfortable when I am with dear friends like Girija. It’s easy to put my feet up with her, and that is the kind of ease that can only come with knowing how much love is given and shared between oneself and another. That love speaks in the food that she cooks for me. We have an understanding that she cooks for me, and I cook for her. The “trade” for this Malayali coconut stew is always a Gujarati dal. Perhaps I will share that recipe some day soon too…

In the meanwhile, don’t forget to check out the previous posts in this coconut series: coconut podi and coconut oil. Stay tuned for a lovely Diwali dessert next weekend, to round the series off!

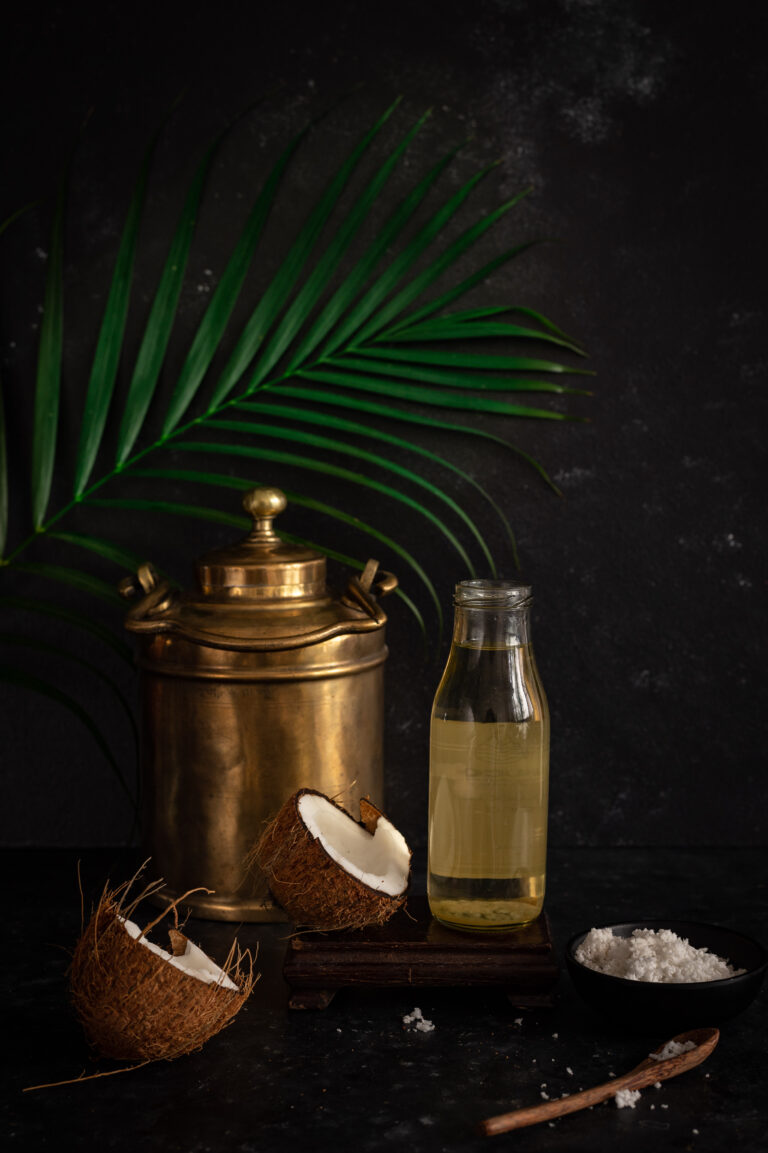
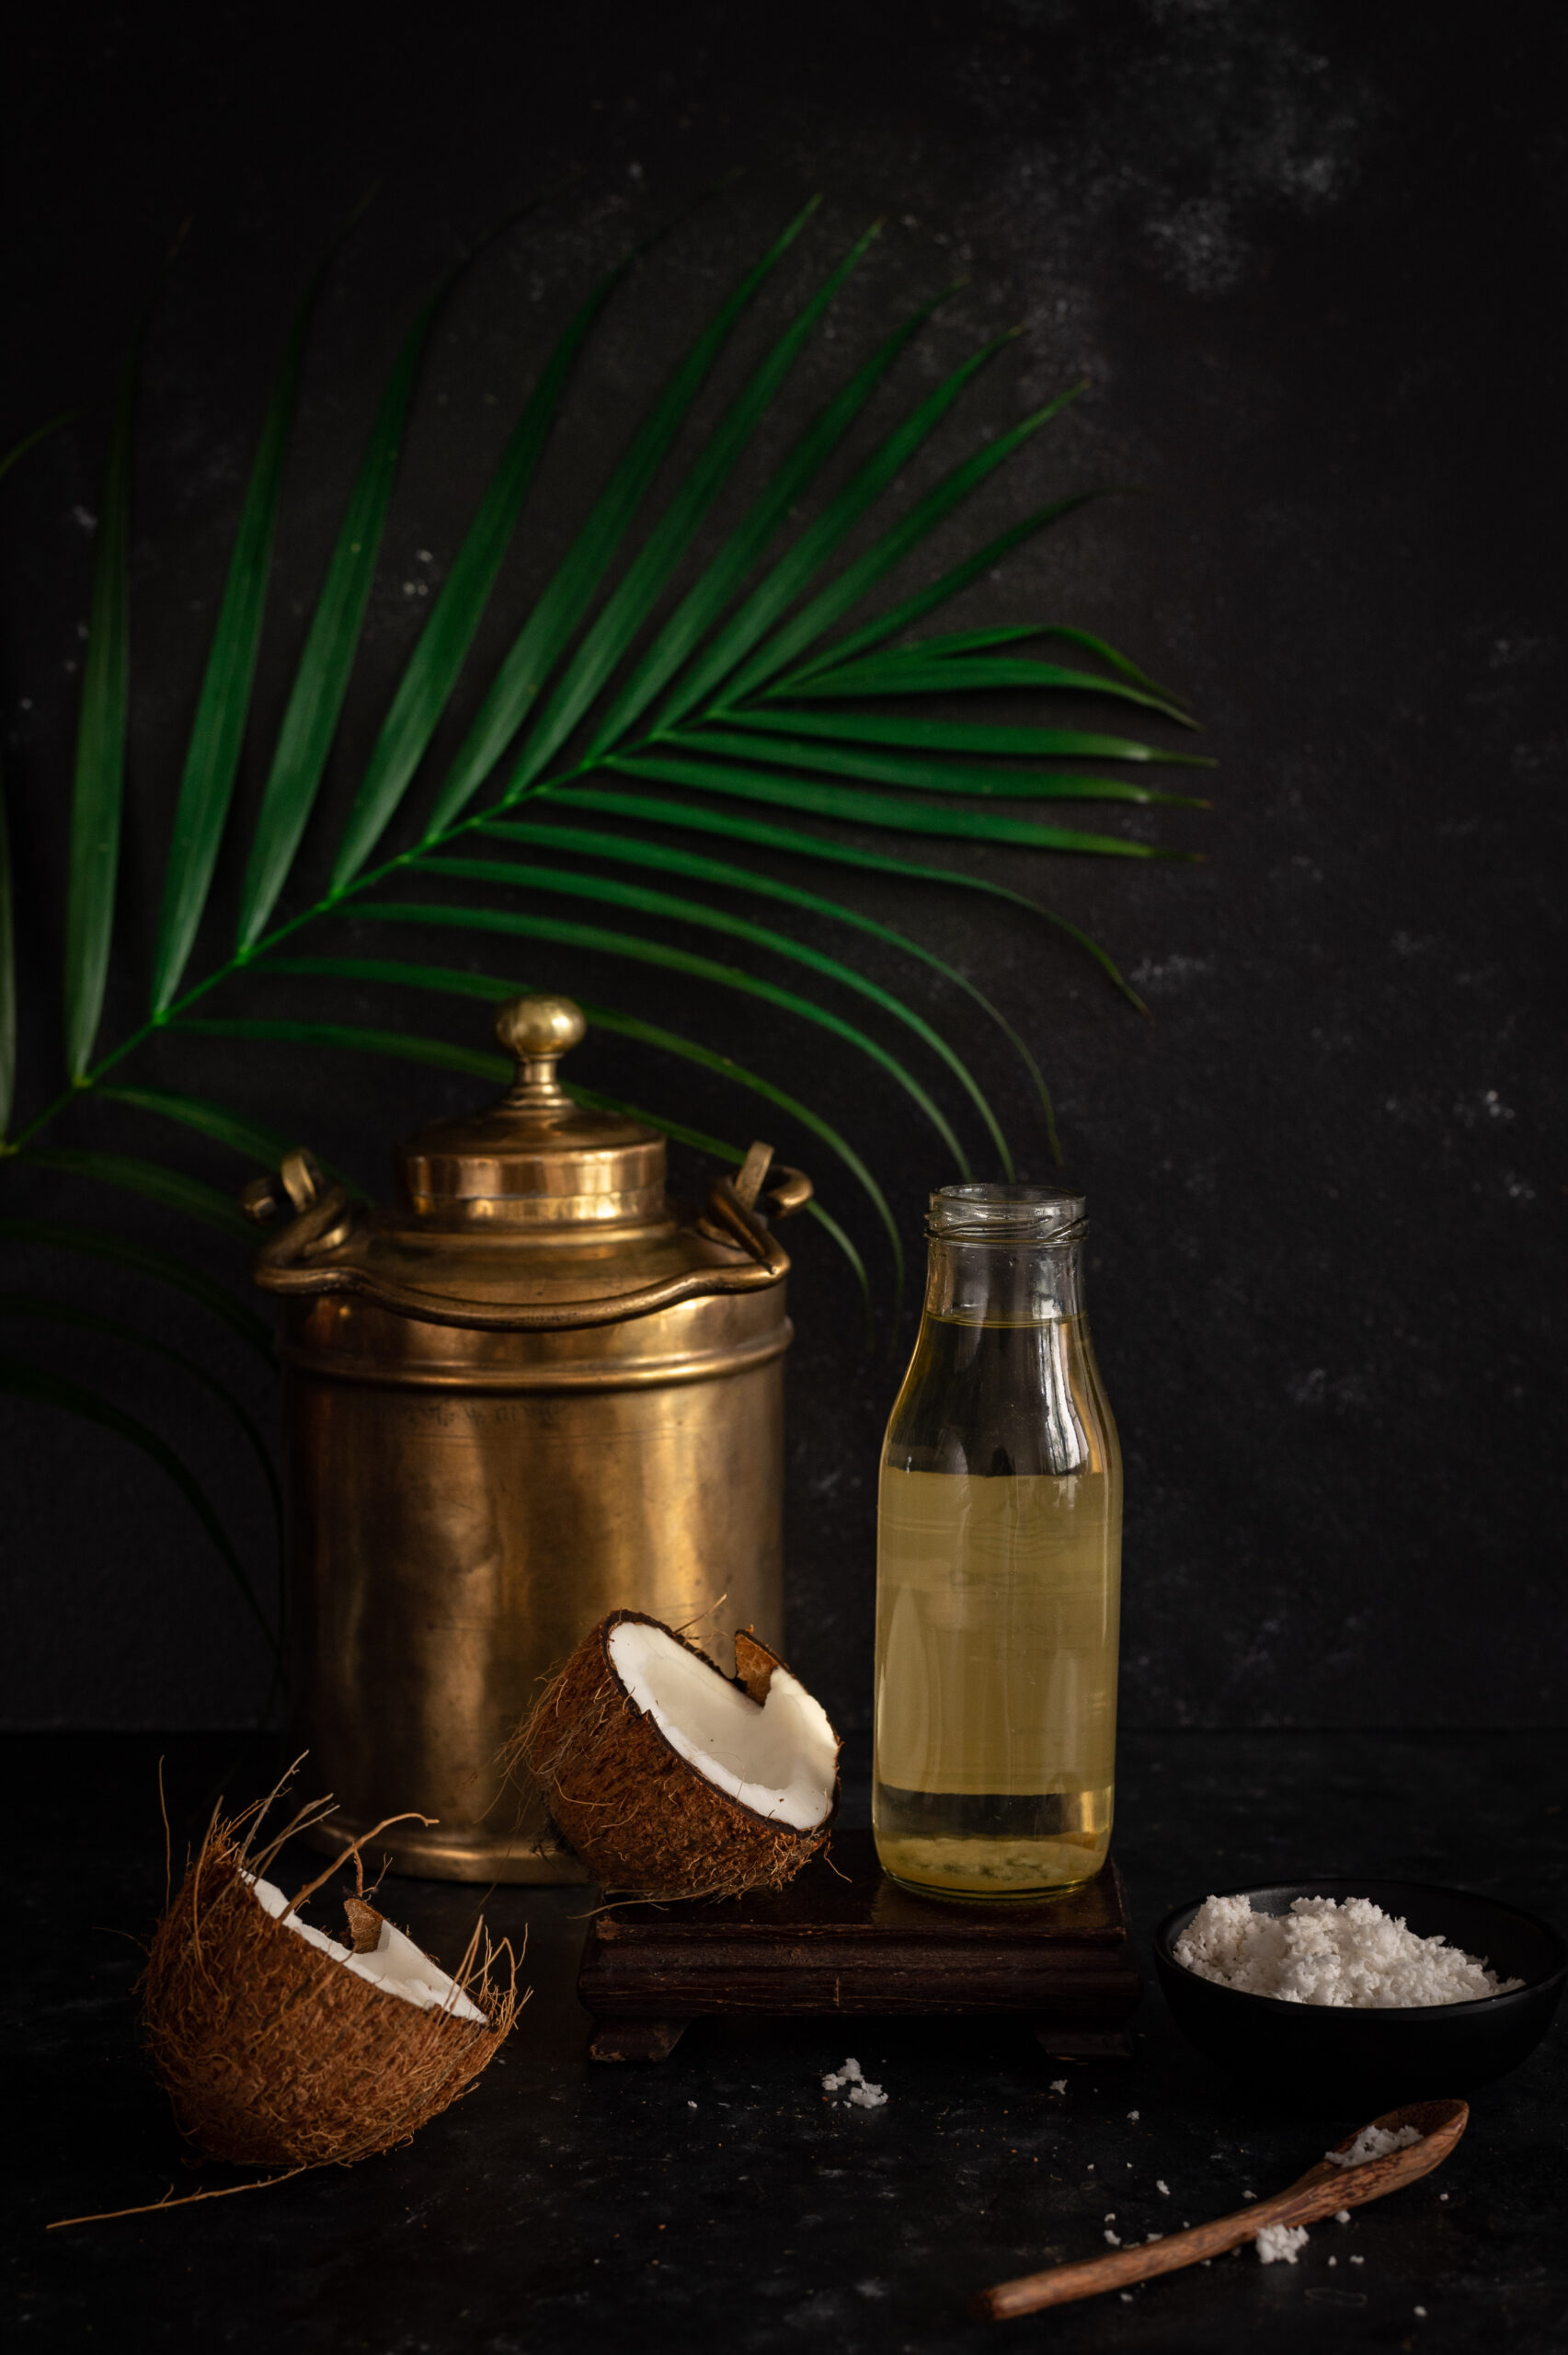
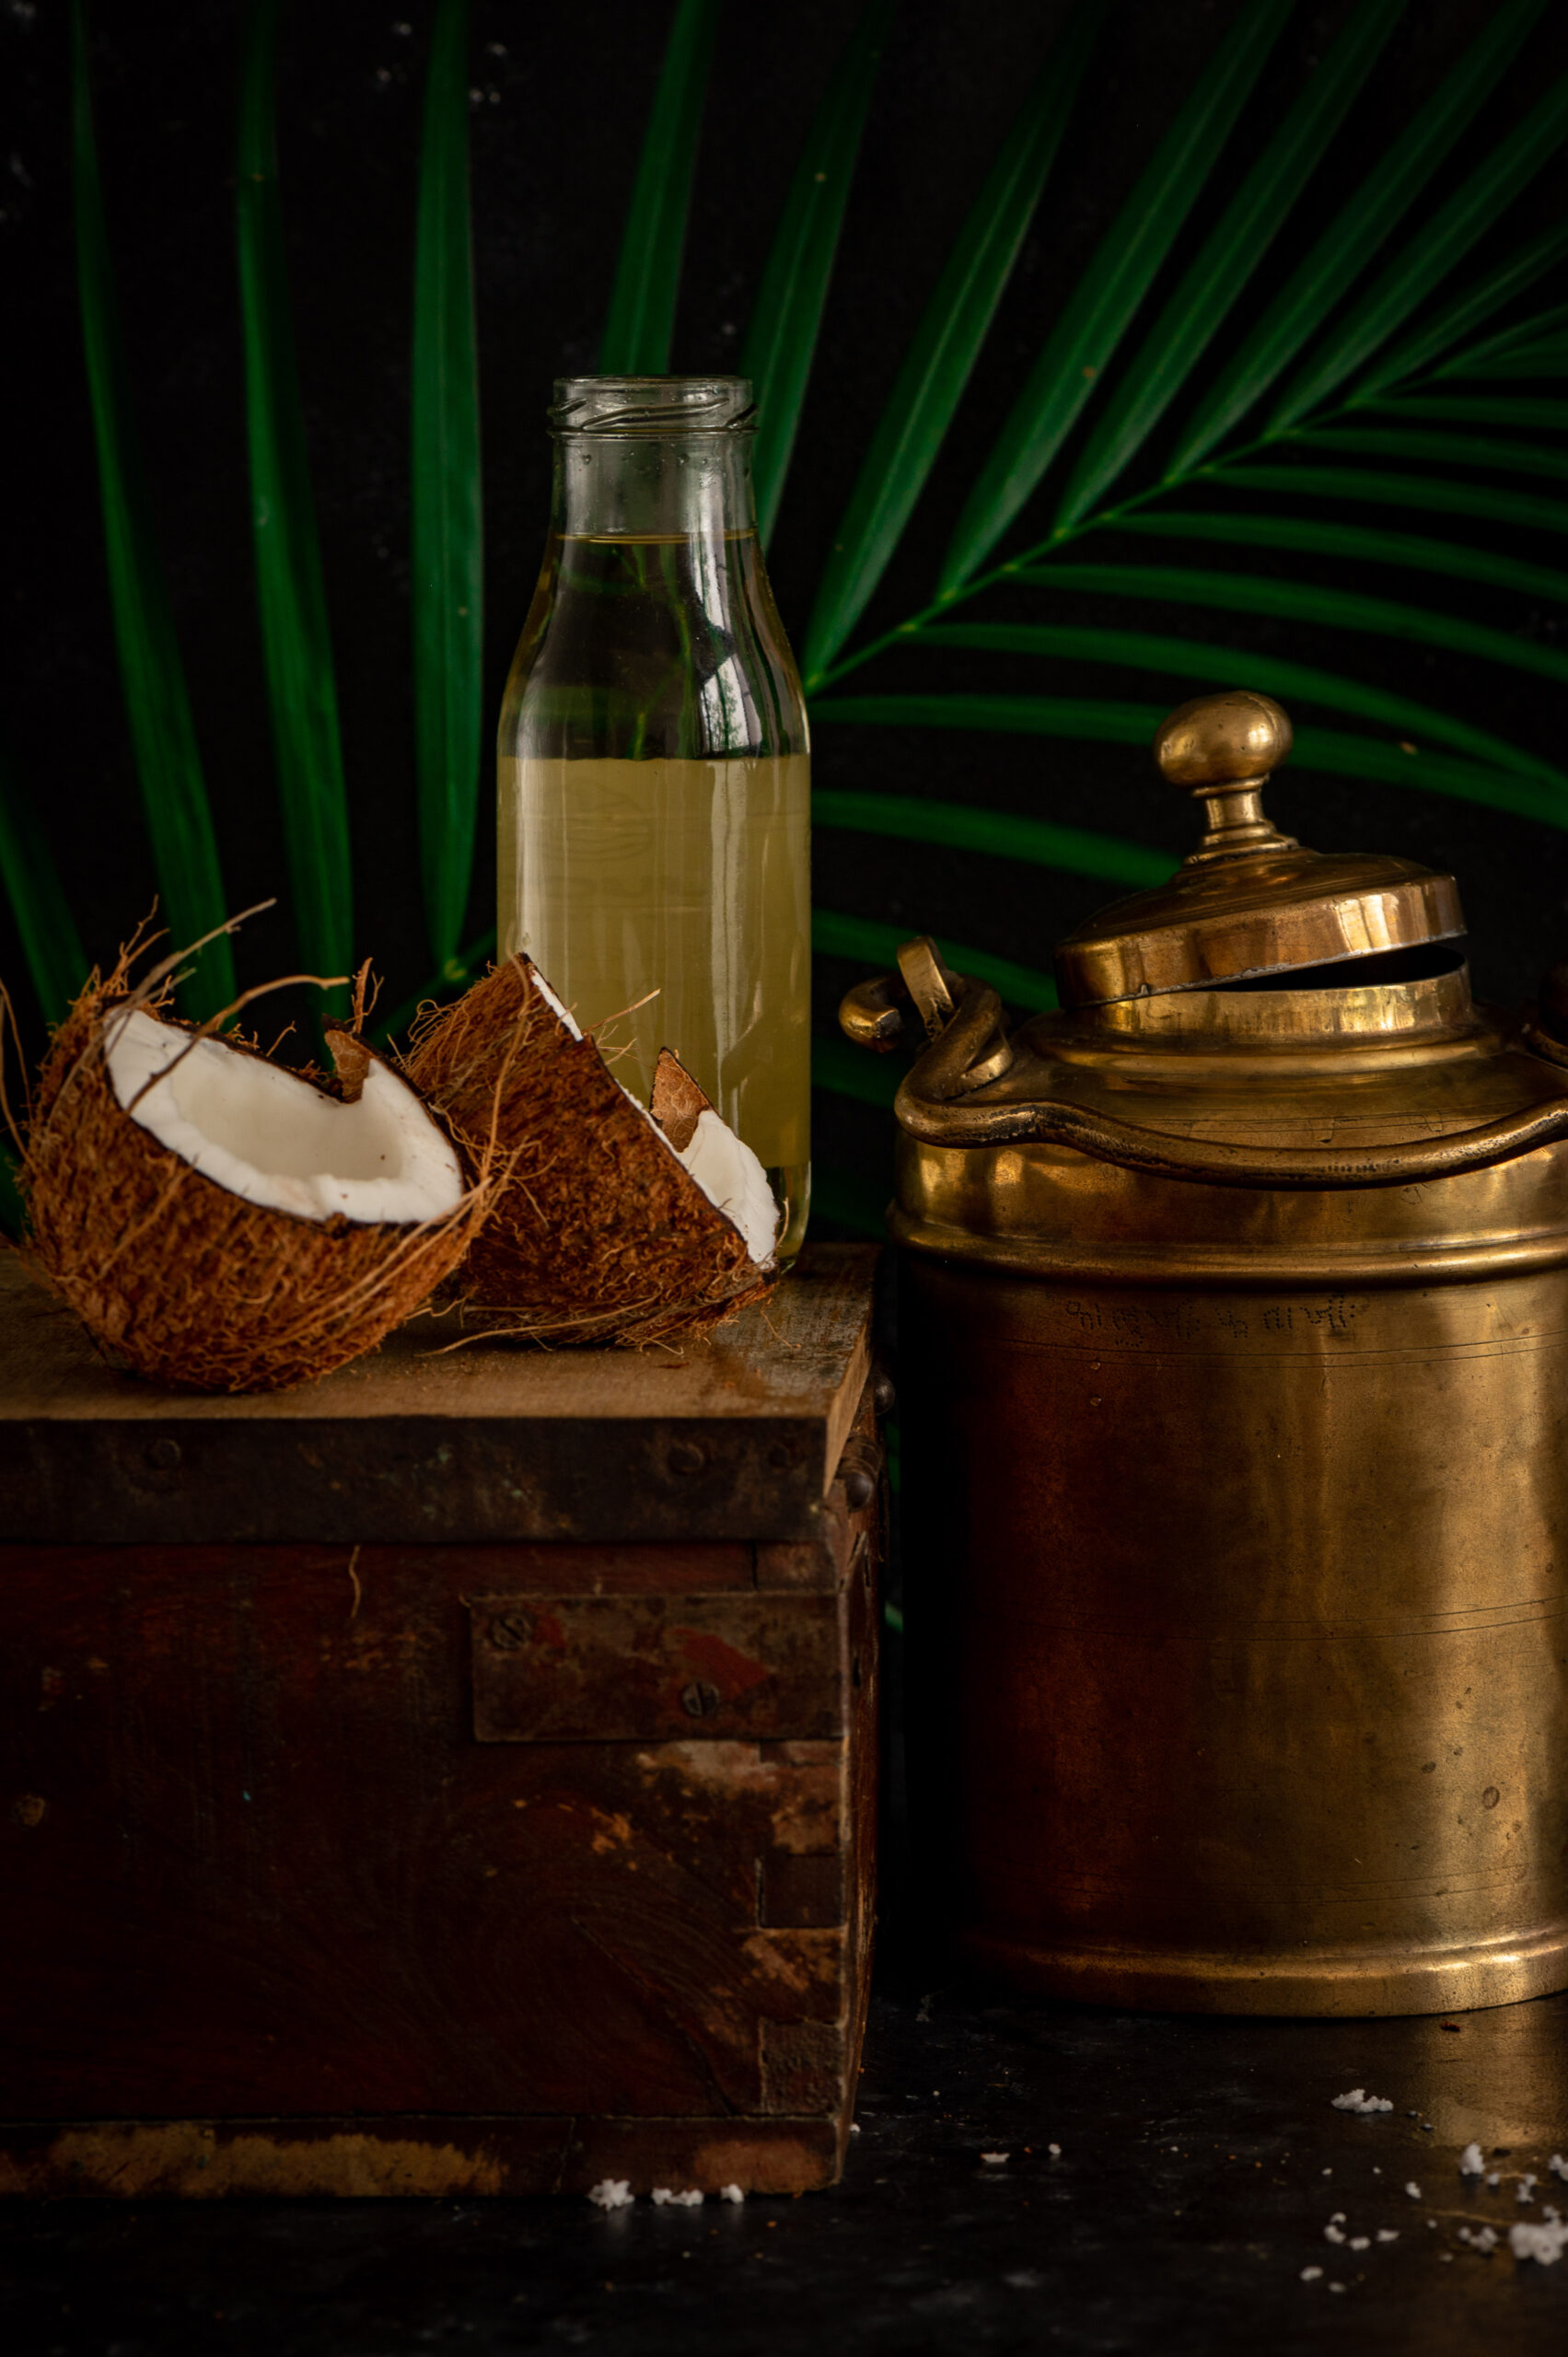
The coconut series continues with something a little different this time: coconut oil! Yes, the oil that most of us are used to purchasing can indeed be made not just at home, but even in a city like Chennai, as long as you have coconut trees around. With about a dozen coconut trees at home, and a reliable coconut harvester who was willing to visit, I collected a big batch of coconuts and embarked on my next adventure.

I’m going through a phase where I feel like I want to learn everything there is to know about food and cooking. Nowadays, when I hear about someone making a special jam or baking a new kind of cake, I experience FOMO (“fear of missing out”). Maybe this comes from having been very naughty as a child, and never focusing on my studies then – at least, that’s what I jokingly say to my kids each time they’re surprised to hear that I’ve taken up a new course or have signed up for some workshop. But I believe in challenging myself and growing. I want to be more self-reliant, and discover new things. Even though it’s impossible to truly learn, let alone master, every single possible recipe or method out there, I feel an urge to try. So when my friend Sujata told me that she had successfully made her own coconut oil, I immediately went, “OMG, I want to do this too!” My motivation was perfectly-timed, as the trees were ripe for harvest just then.

Coconut oil is only one of the many ways that the different parts of the bountiful coconut tree can be used. As I create this series for the blog, I’ve been reflecting on the versatility of the tree in its entirety, even though I’m personally only using its fruits. For instance, I recall how when I was growing up, there was a lady who would come home sometimes, take a knife, sit outside with some coconut tree fronds and use a knife to craft a broom (“thodapam” in Tamil) whenever a new one was needed. I’d watched this process many times over the years. Wherever the tree grows, the shells are used as utensils and even as a charcoal replacement, the husks to fashion ropes out of, the leaves in weaving and thatching, the flowers in herbal medicine, and so on. The edible flesh and water aren’t the only good things to come from this amazing tree.

What follows is more of a method than a recipe as such, and what is produced as a result will be a beautiful and versatile ingredient that you can use in everything from food to beauty essentials. Coconut oil is a staple in South India, used for everything from improving hair health to daily frying needs. It’s also something that has attracted the attention of beauty and health enthusiasts internationally. The latest trend I’ve read about is to have a spoonful of pure coconut oil in the mornings, as this is said to be good for the brain. What I will do in this post is walk you through my own process of preparing coconut oil, and my learnings from the same.

In order to prepare your own coconut oil, you’ll need: coconuts, access to a cold pressery, and space to sun-dry. There are many places in Chennai that do cold-pressing, and it should be possible for you to find a unit near you wherever you are.

The first step is to harvest the coconuts, of course. Then, they are peeled and chopped into smaller pieces (they will need to be small enough to feed to the cold pressing unit). The flesh is left to sun-dry for between four and seven days, depending on the coconut. You will know that it’s done when you press it with your thumb and it releases a little bit of oil.

Next, the dried pieces are sent to the cold pressery. I wanted to supervise the process to ensure that there was no dilution of any sort. The unit where I had my coconut oil made used a lovely old machine made of wood and canvas. I put in about 20 kilos of coconuts and got back about about half as much in raw oil.

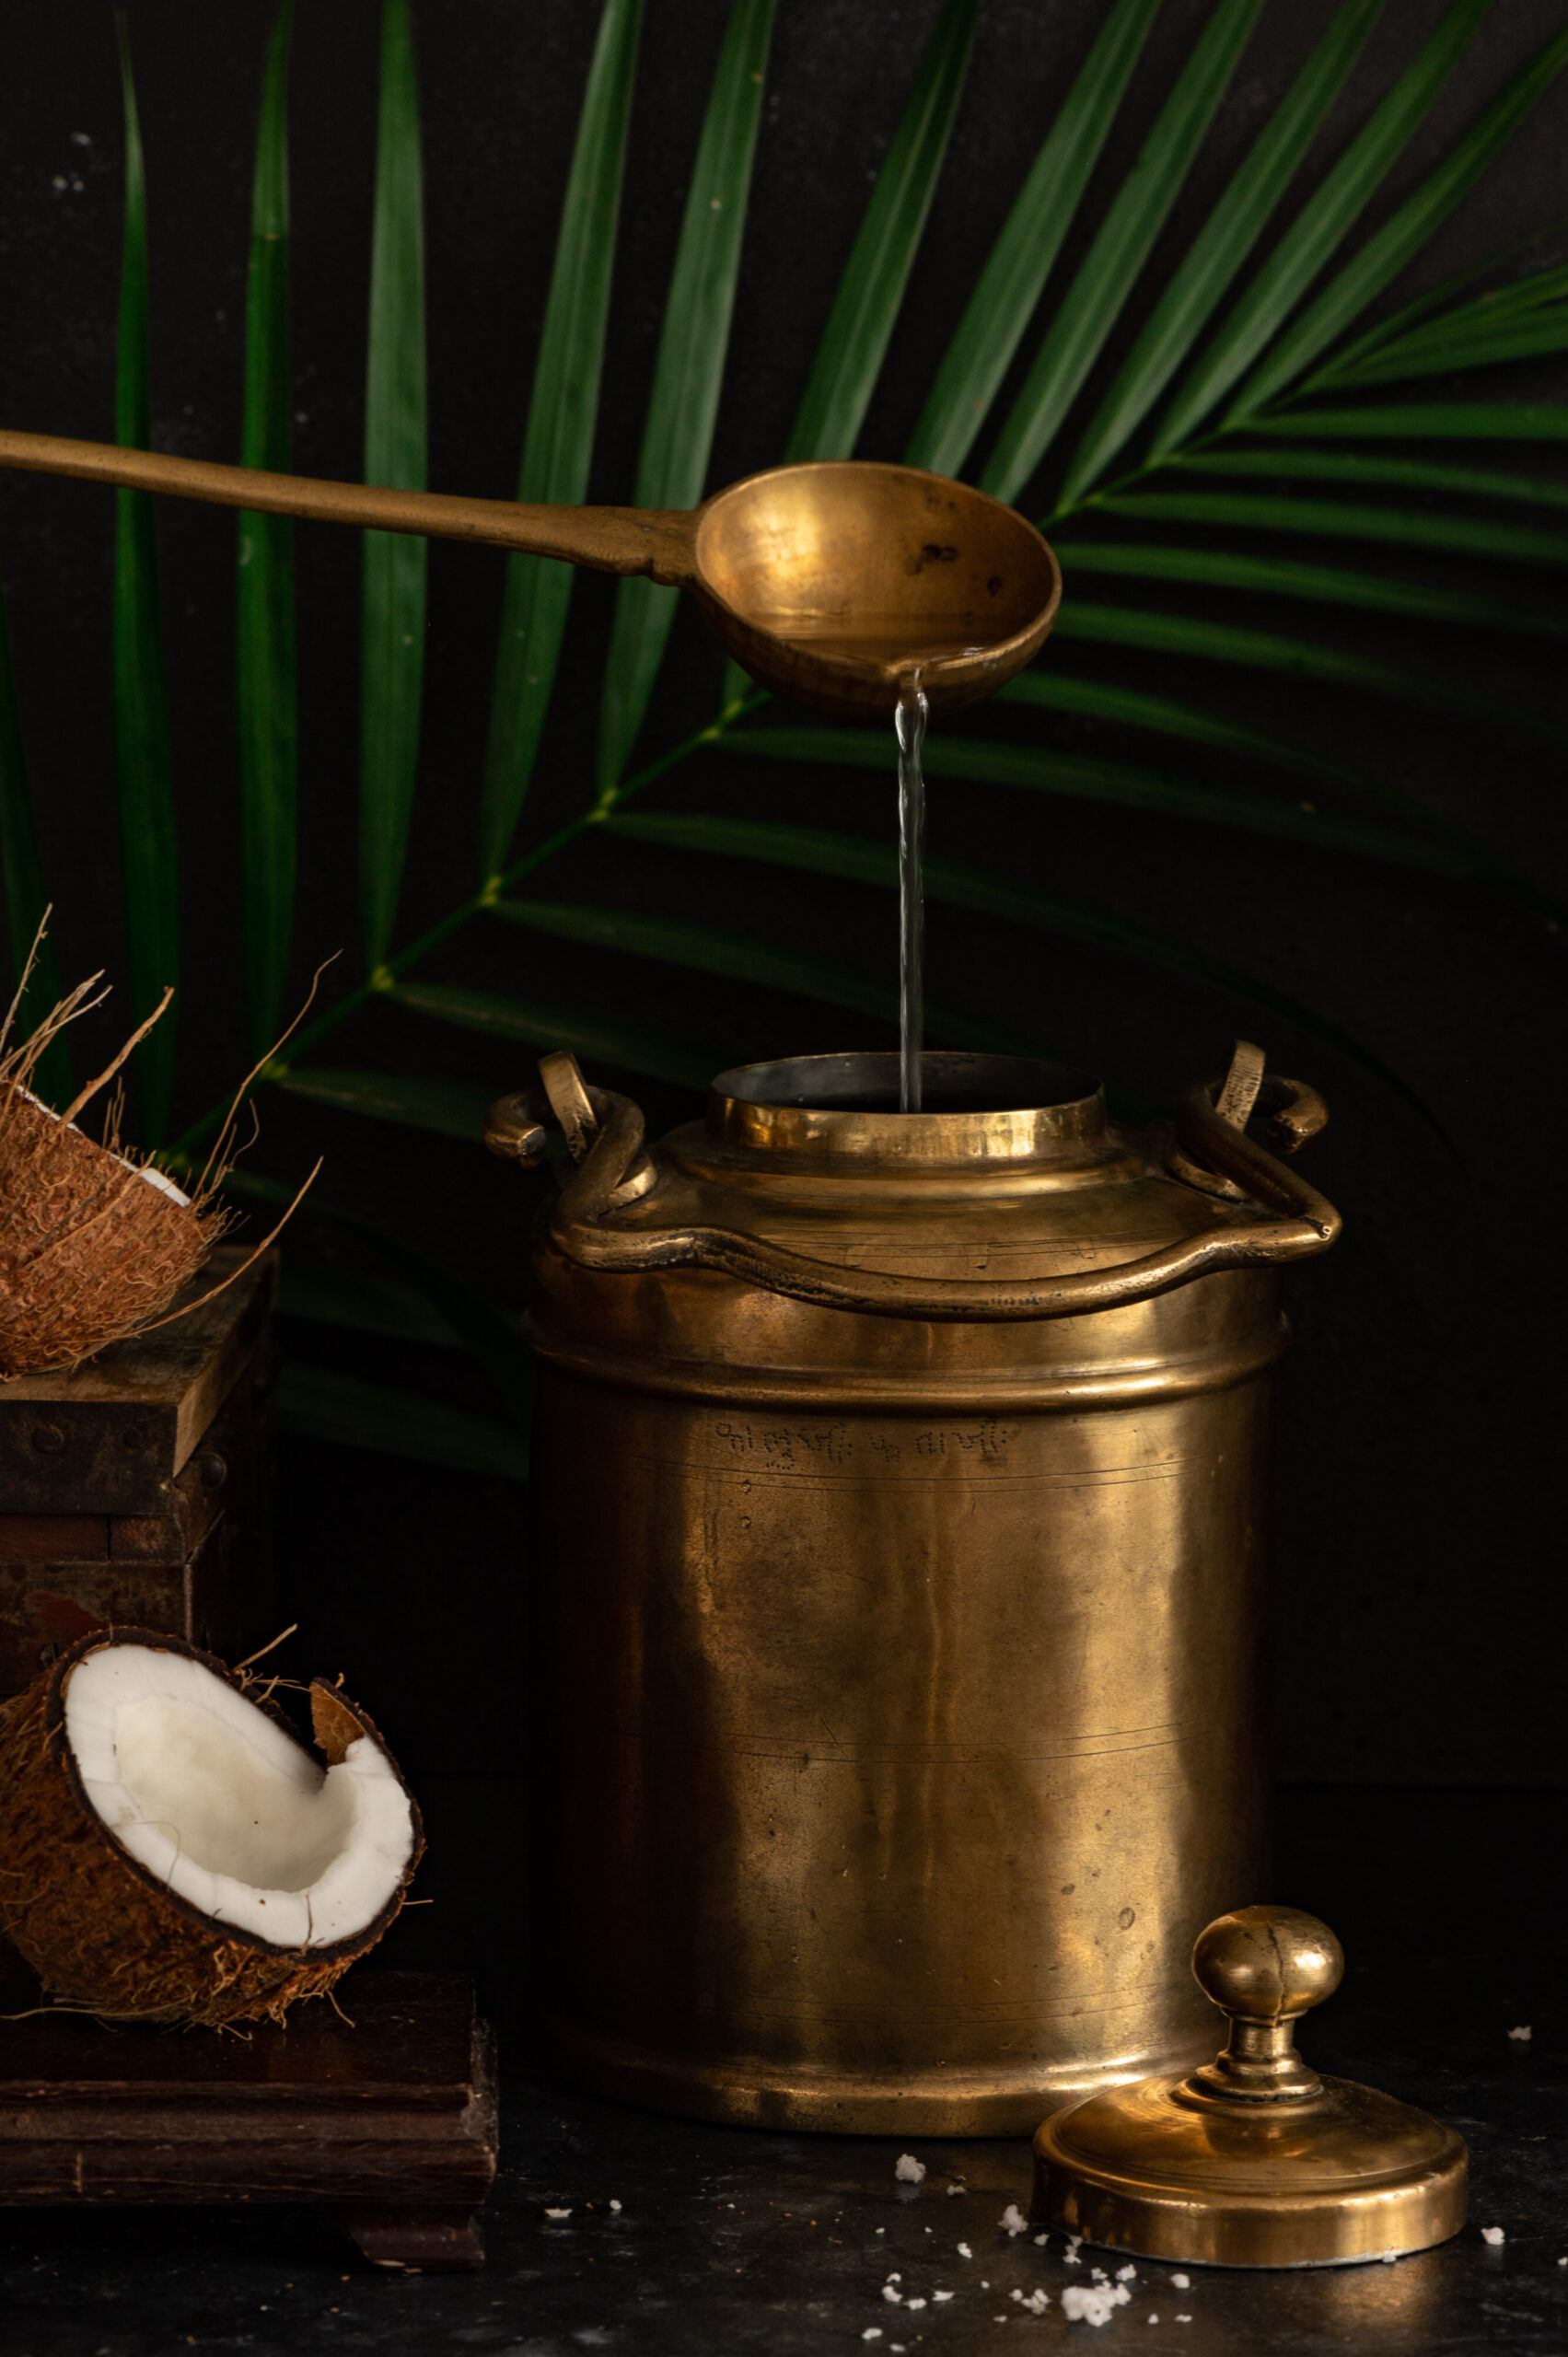
The process doesn’t end there, however. This huge container of oil I came home with then had to be dried again, so that residual moisture from the coconut flesh gets evaporated. What you have to do at this stage is to pour it out into flat pans, and allow these to dry in the sun for anywhere between three and five days. You will know that it is done when all the dust particles settle at the bottom, and the raw smell goes away. This being my first time making my own oil, I was not sure whether the final product was less fragrant than the store-bought versions because I hadn’t let the coconut pieces dry long enough, or simply because they were free of artificial additives. Either way, once the oil completed the drying stage, it was ready to use. I couldn’t help but marvel at the result.

And there you have it: coconut oil that you can be sure is free of contamination, preservatives or any other issue that may come with commercially-produced brands. I can’t tell you what a delight it is to have your very own cold-pressed coconut oil. That’s something that you must experience for yourself, and if you can, please do.

Embarking on this little adventure was very rewarding for me, but the thing about my FOMO and subsequent hunger to do more is that sometimes experiments don’t turn out as expected. Whenever this happens, I always tell myself that it’s okay, and that I can focus on what I know I do well and can take pride in. For instance, expanding my repertoire of cakes is something that I am really keen to do, and I’m constantly exploring new recipes and whipping up trial batches. You may have seen the new additions I made to the menu recently, and it’s been really wonderful to prepare your orders for this festive season too.

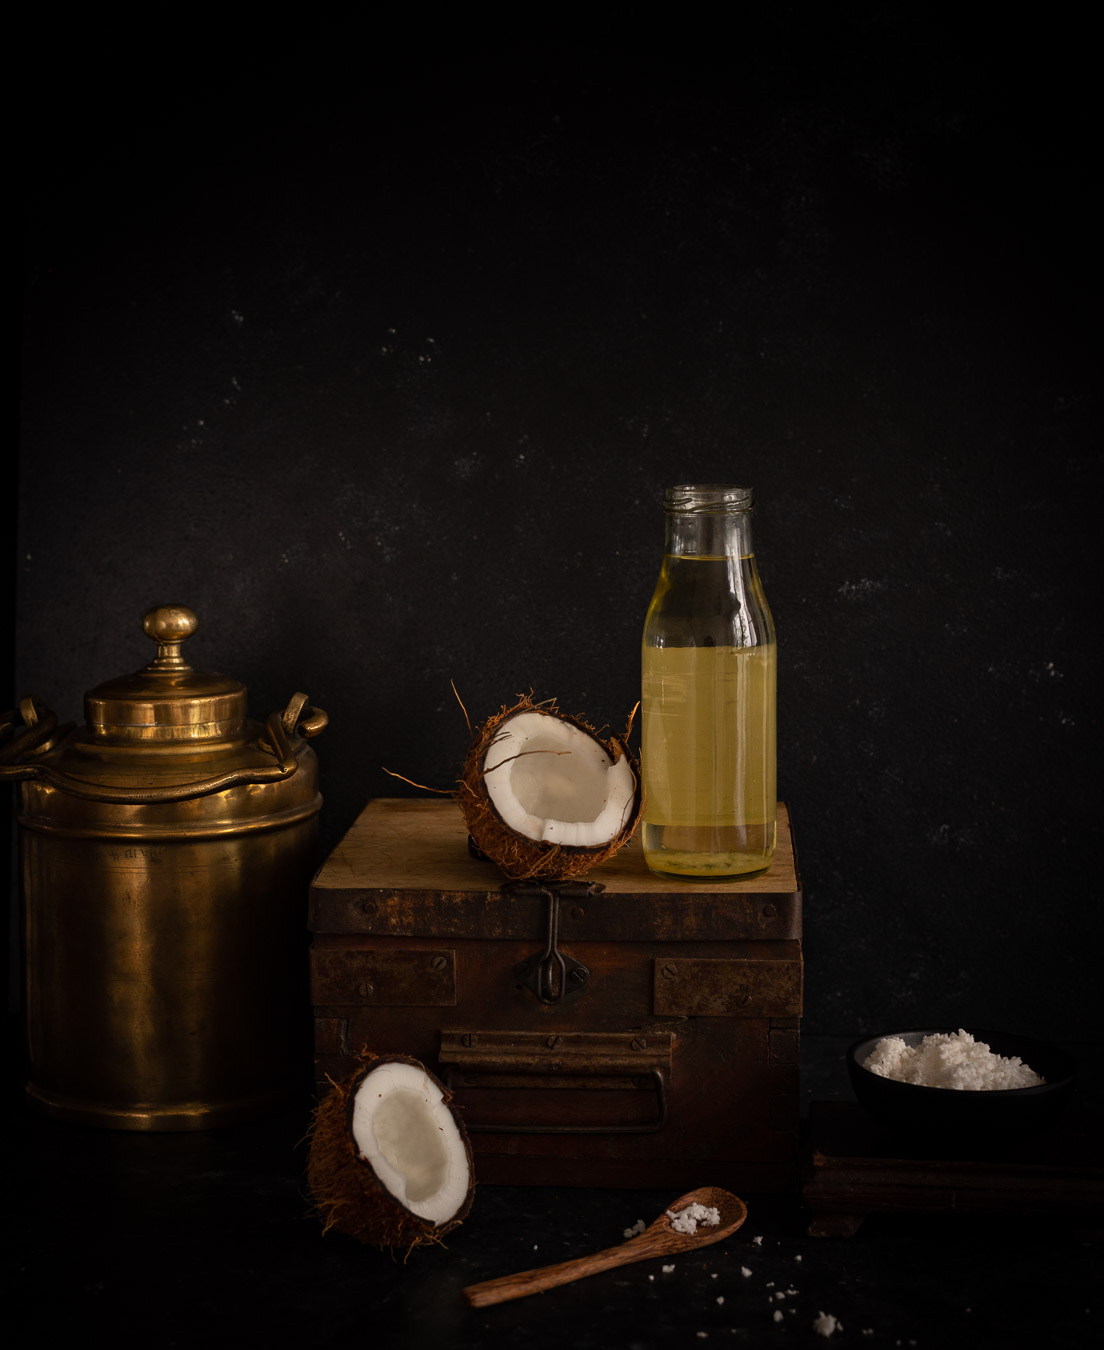
I would even go as far as to say that I like to show off a little with each successful experiment, but when I share how I did it, I pass on that sense of achievement to you. It’s so exciting to have something that is all handmade, and made to order just for you. I’ve been sharing the oil from my coconut trees with very dear friends in glass jars, so in addition to being used at home both in cooking and in grooming, they’ve also become perfect for gifting this year.

I’d love to know if you try out preparing your own coconut oil based on my own experiment here. I’d also love to know how you use it. I am sure that you will find, as I have, that making your own batch of coconut oil is worth its weight in gold.

I’ve spoken often about how I love growing many of my own ingredients, whether at home or on our farm. I’m excited about sharing this new series about one that is a staple in so many dishes here, and which I’m fortunate to have a lovely homegrown supply of. That hero ingredient is the coconut, and over the next few weeks I’ll be sharing several recipes that star it. We have our own coconut trees in the backyard, and I am always looking for ways to put the yield to use. The coconut climber came by recently, to harvest the trees, and from this abundance of crop I’m making as many things as I can. For any recipe at all that calls for coconut, I use a fresh one. Even coconut milk is squeezed at home.

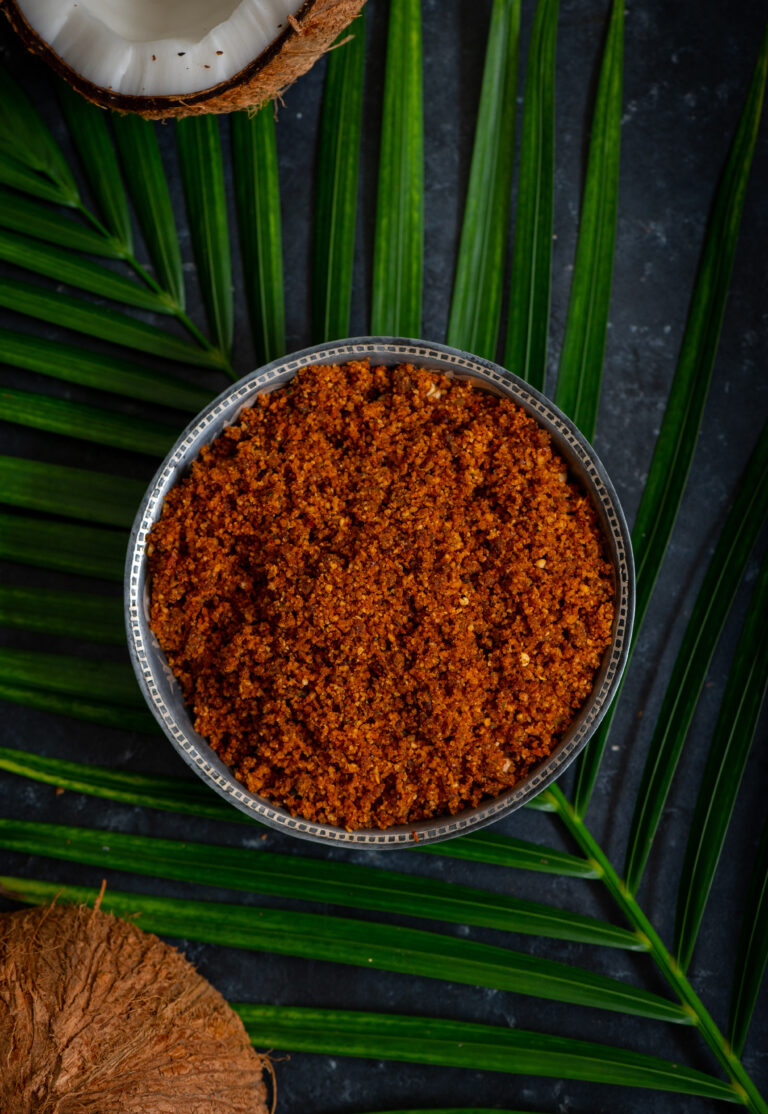
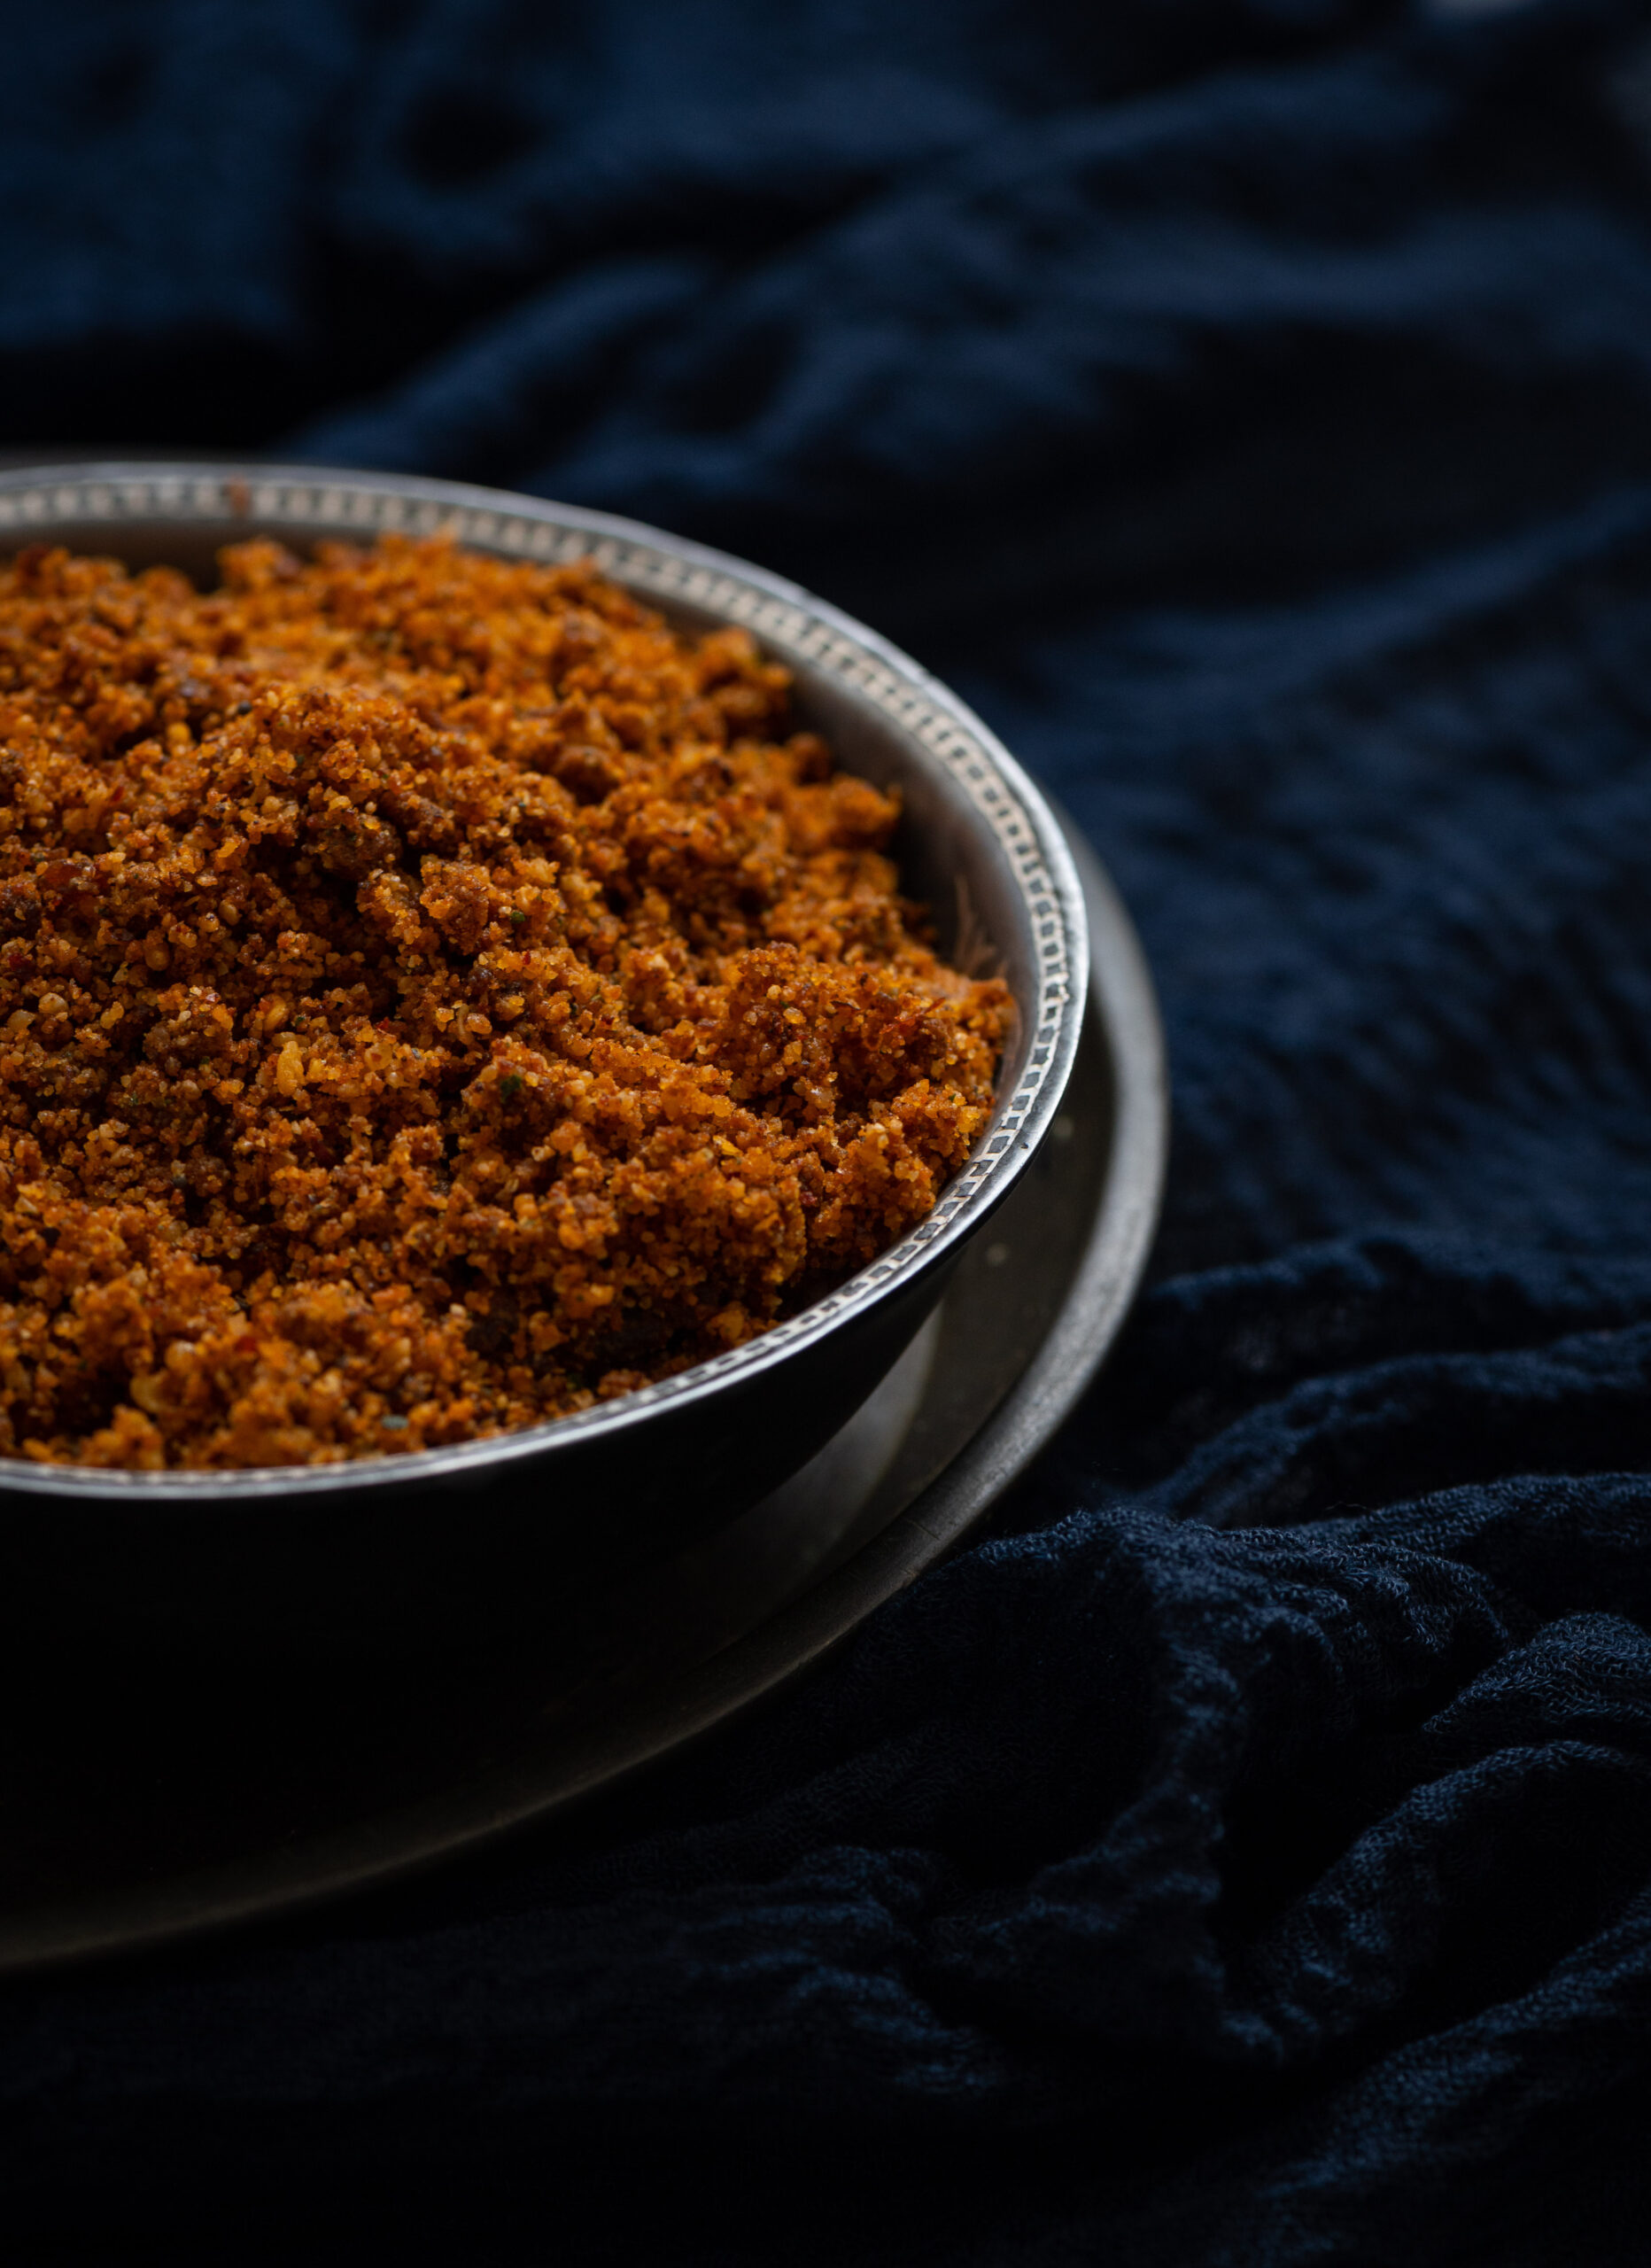
Kicking off this series is a condiment, coconut podi. Condiments are popular across Indian cuisines, and South India has a fair share. Dry podis (“podi” means “powder” in Tamil) and wet chutneys, as well as semi-wet, semi-dry variations are made using a variety of spices, dals and ingredients like curry leaves, raw mangoes and more. The idli podi, for instance, is made to last long. Coconut is not an ingredient that can be be kept for that long, so this one has a shorter shelf life. But I can almost guarantee that you’ll reach out so often for it that your stock won’t expire. If made correctly, this coconut podi remains fresh for around 3-4 weeks, stored at room temperature.

One of the reasons why I was especially keen to make a coconut condiment is that I personally love the Sri Lankan sambol, and wanted to see if I could make a vegetarian version of sorts. While sambol uses seafood, I feel this recipe is similar. Like sambol, this podi is not a finely-ground one, and has many tiny coconut pieces. My friend Akila also encouraged me to try this experiment out, and she was happy to share her own basic coconut podi recipe. I’m always aware that different communities and families have their own ways of making the same recipe.

With Akila’s recipe as a base, layered with things I learnt from other recipes I’ve tastes over the years, and finally through speaking with various families to retain some kind of local authenticity, I added my own touches: tamarind and curry leaves.

While I was growing up, we often ate some kind of podi mixed with ghee and rice. It was the perfect impromptu go-to in case the day was too busy to prepare a curry or a dal, and I still reach out for this for the same reason. This podi is also delicious with a bit of ghee and a dosa, or to add flavour to yoghurt. One of the great things about any podi is that it tends to be easy to carry to work, since it won’t cause a mess or have a strong smell in one’s lunch carrier, whereas a curry might.

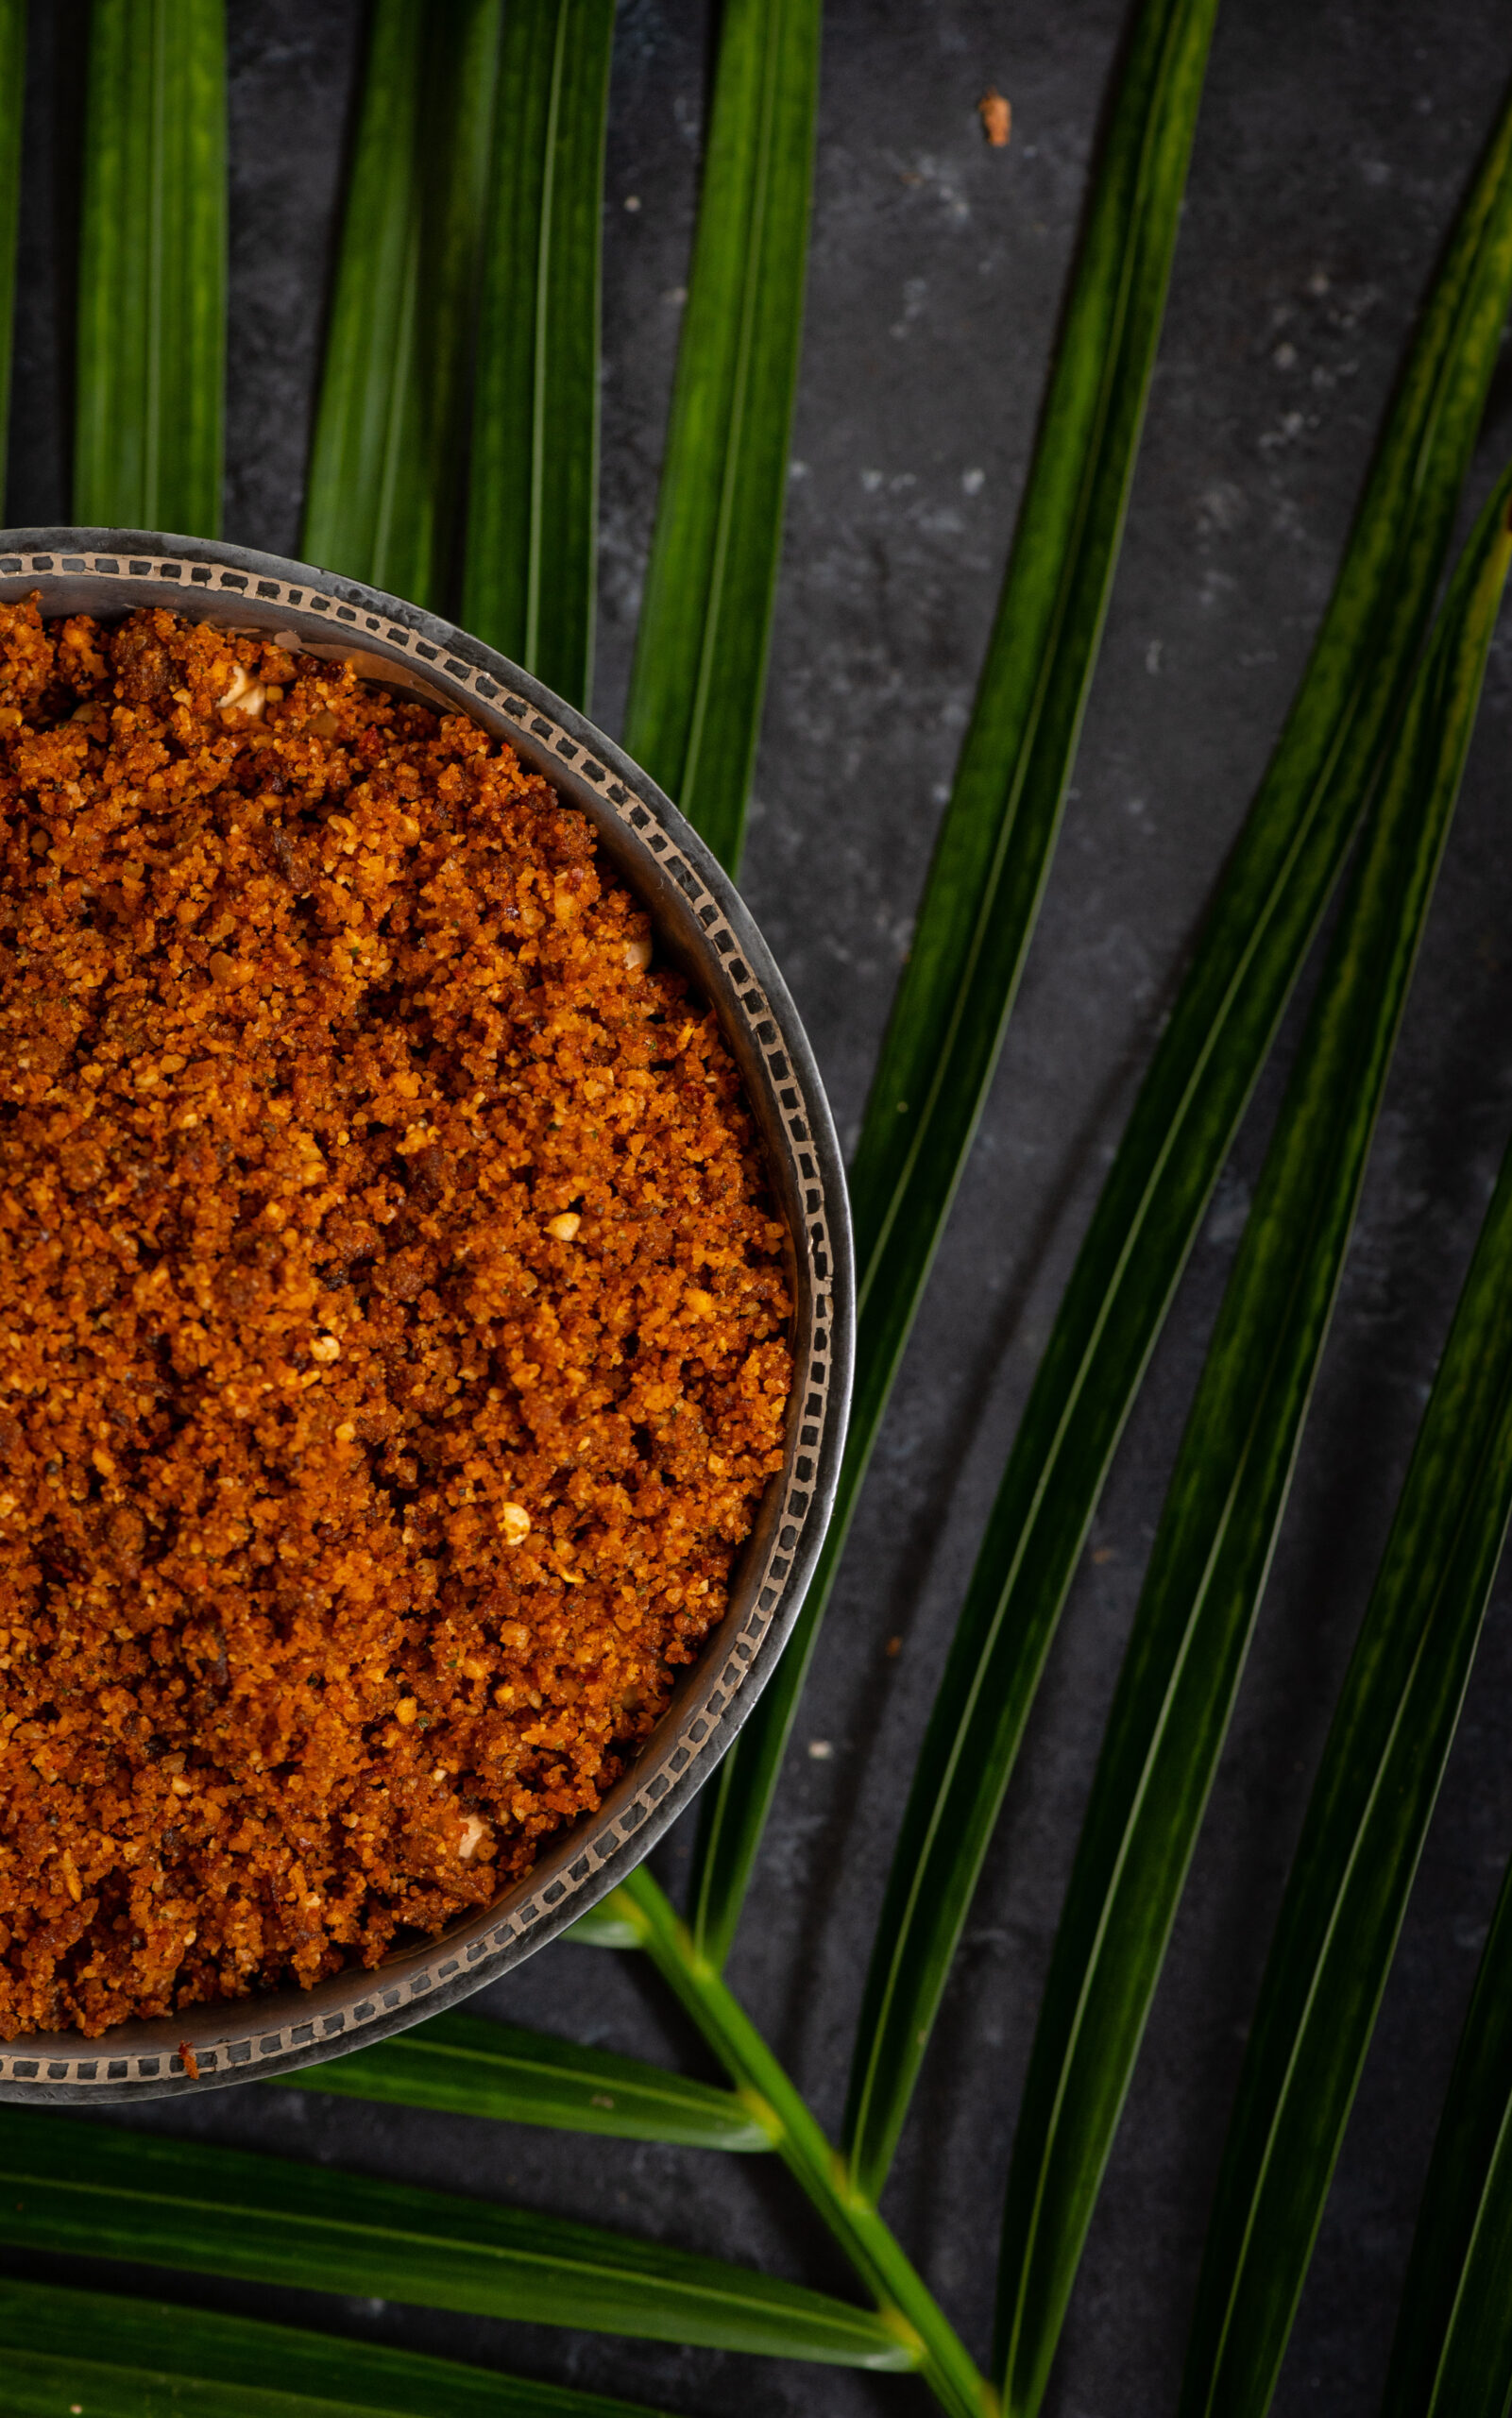
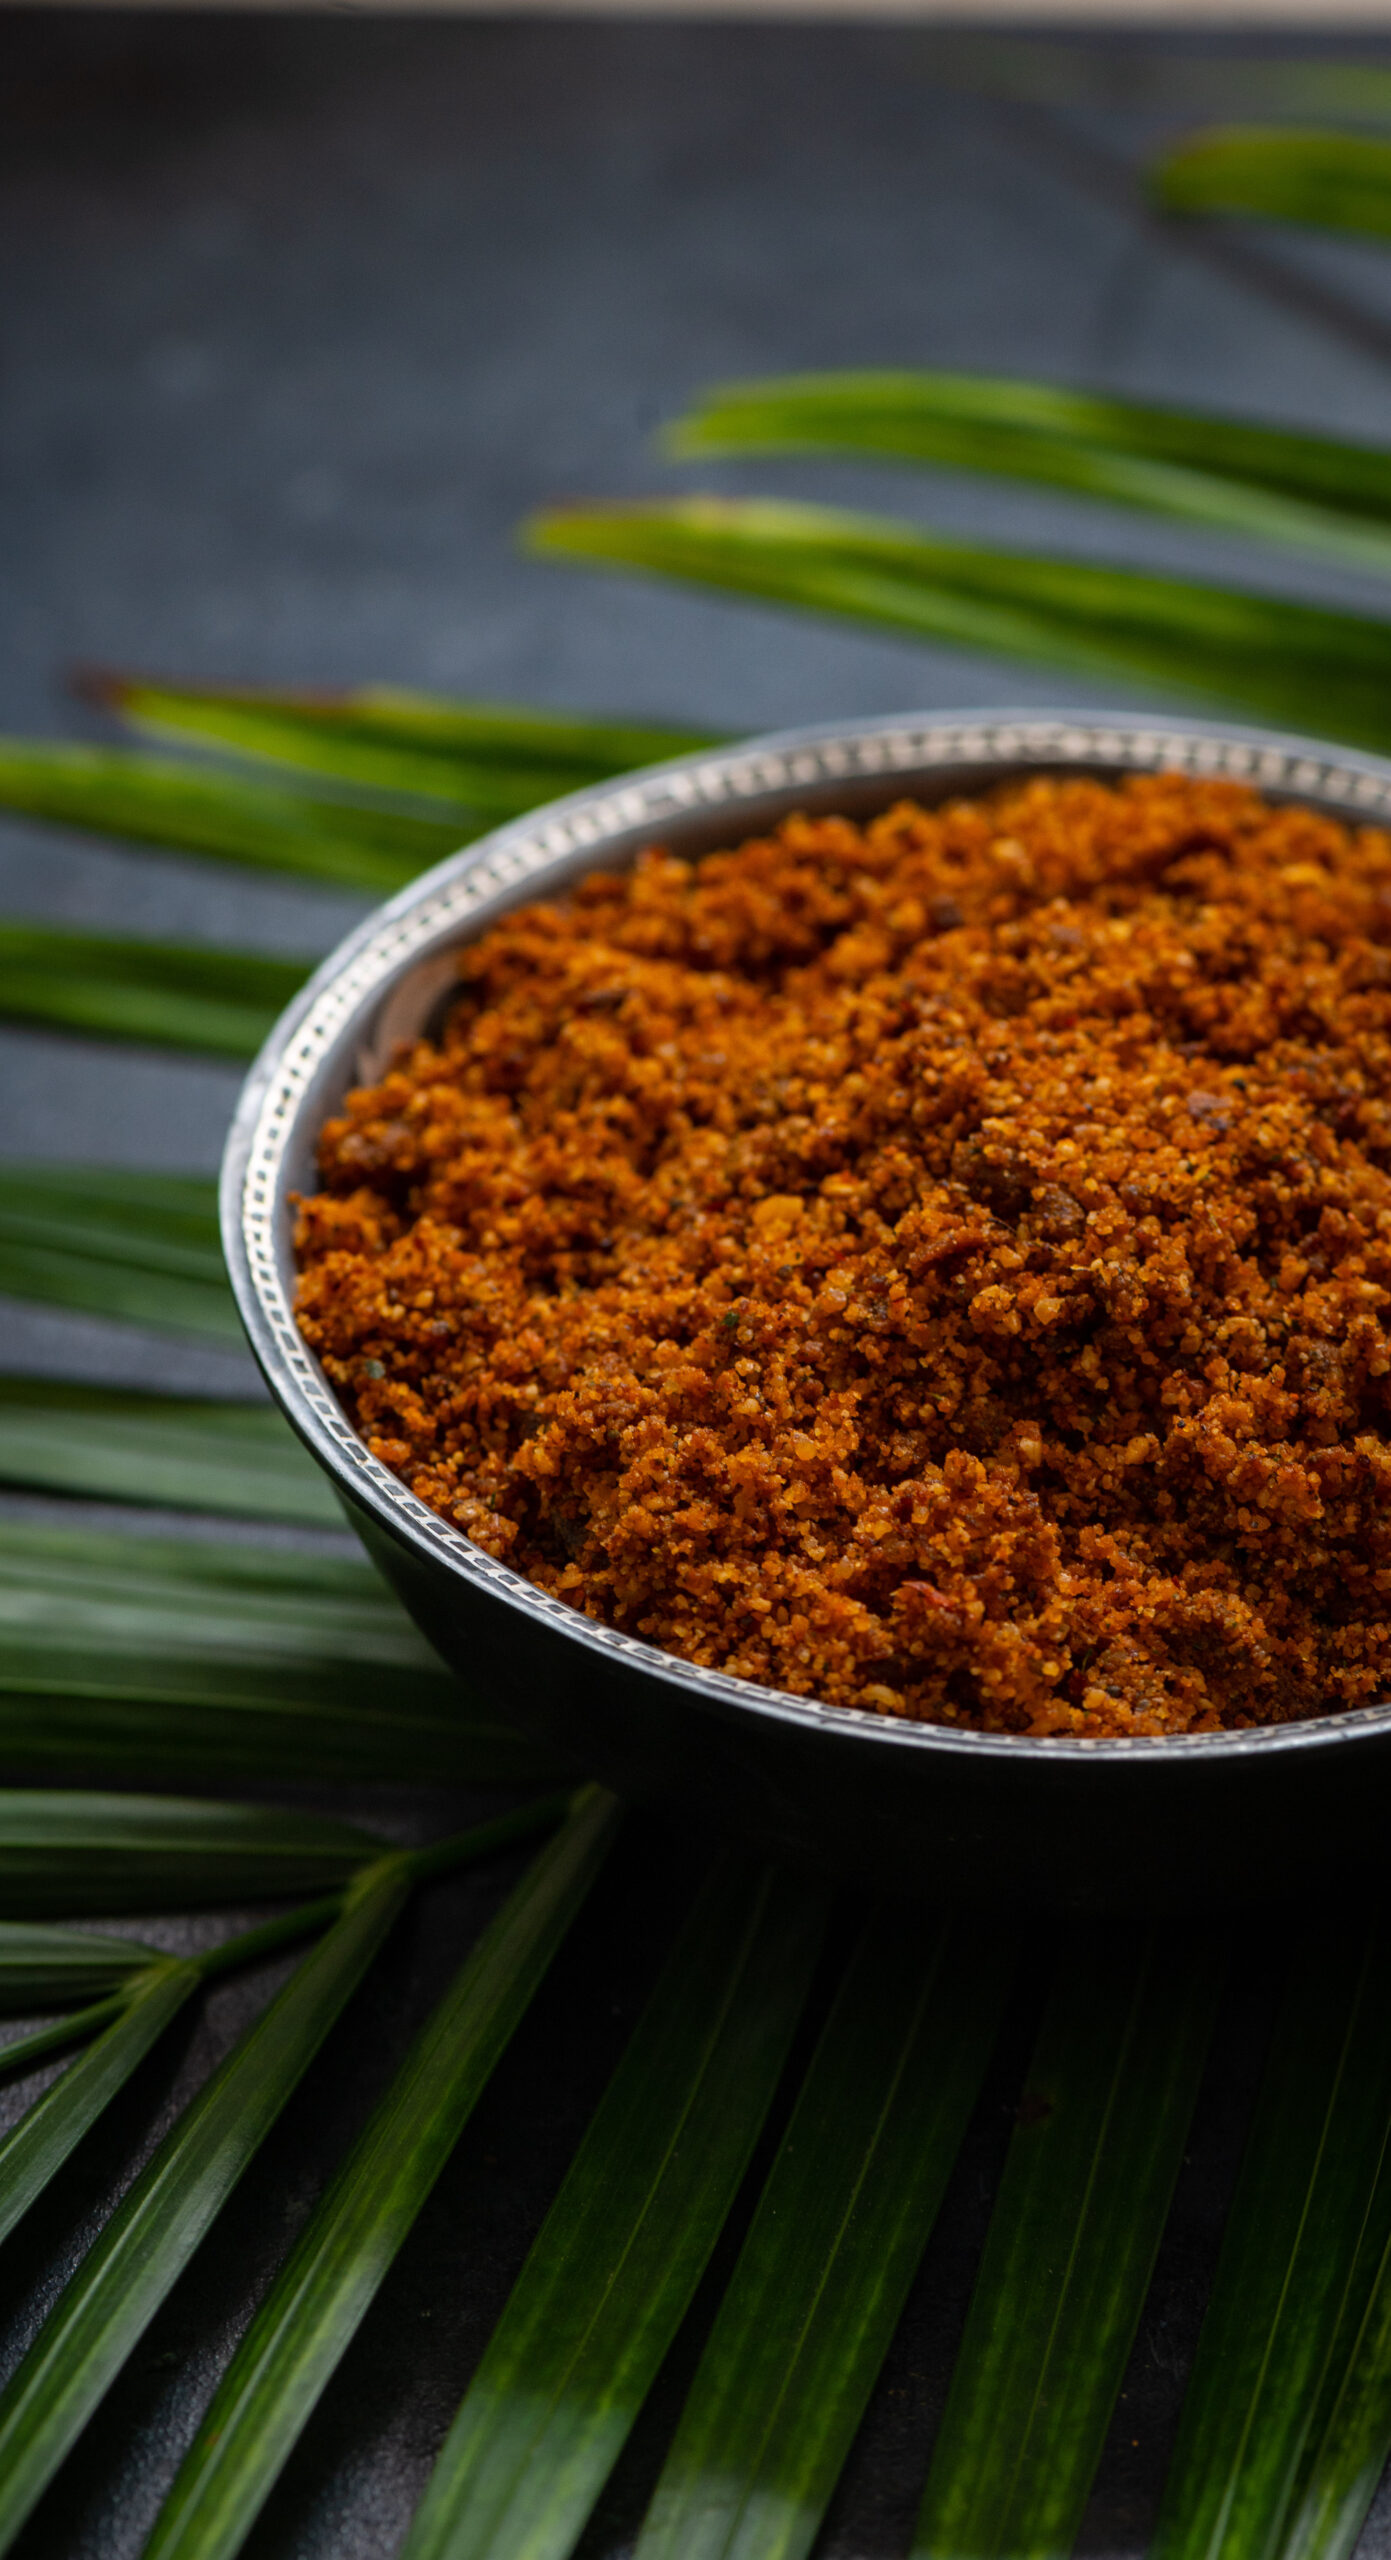
It smells divine as it roasts, however. The morning that I made this coconut podi, using those freshly-harvested coconuts, my whole home was filled with the most beautiful aroma as it was being prepared. Everyone wanted to have it for breakfast, immediately, lured by that fragrance. I wonder if the same thing will happen in your home!

Coconut Podi

(Yield: 2 cups)

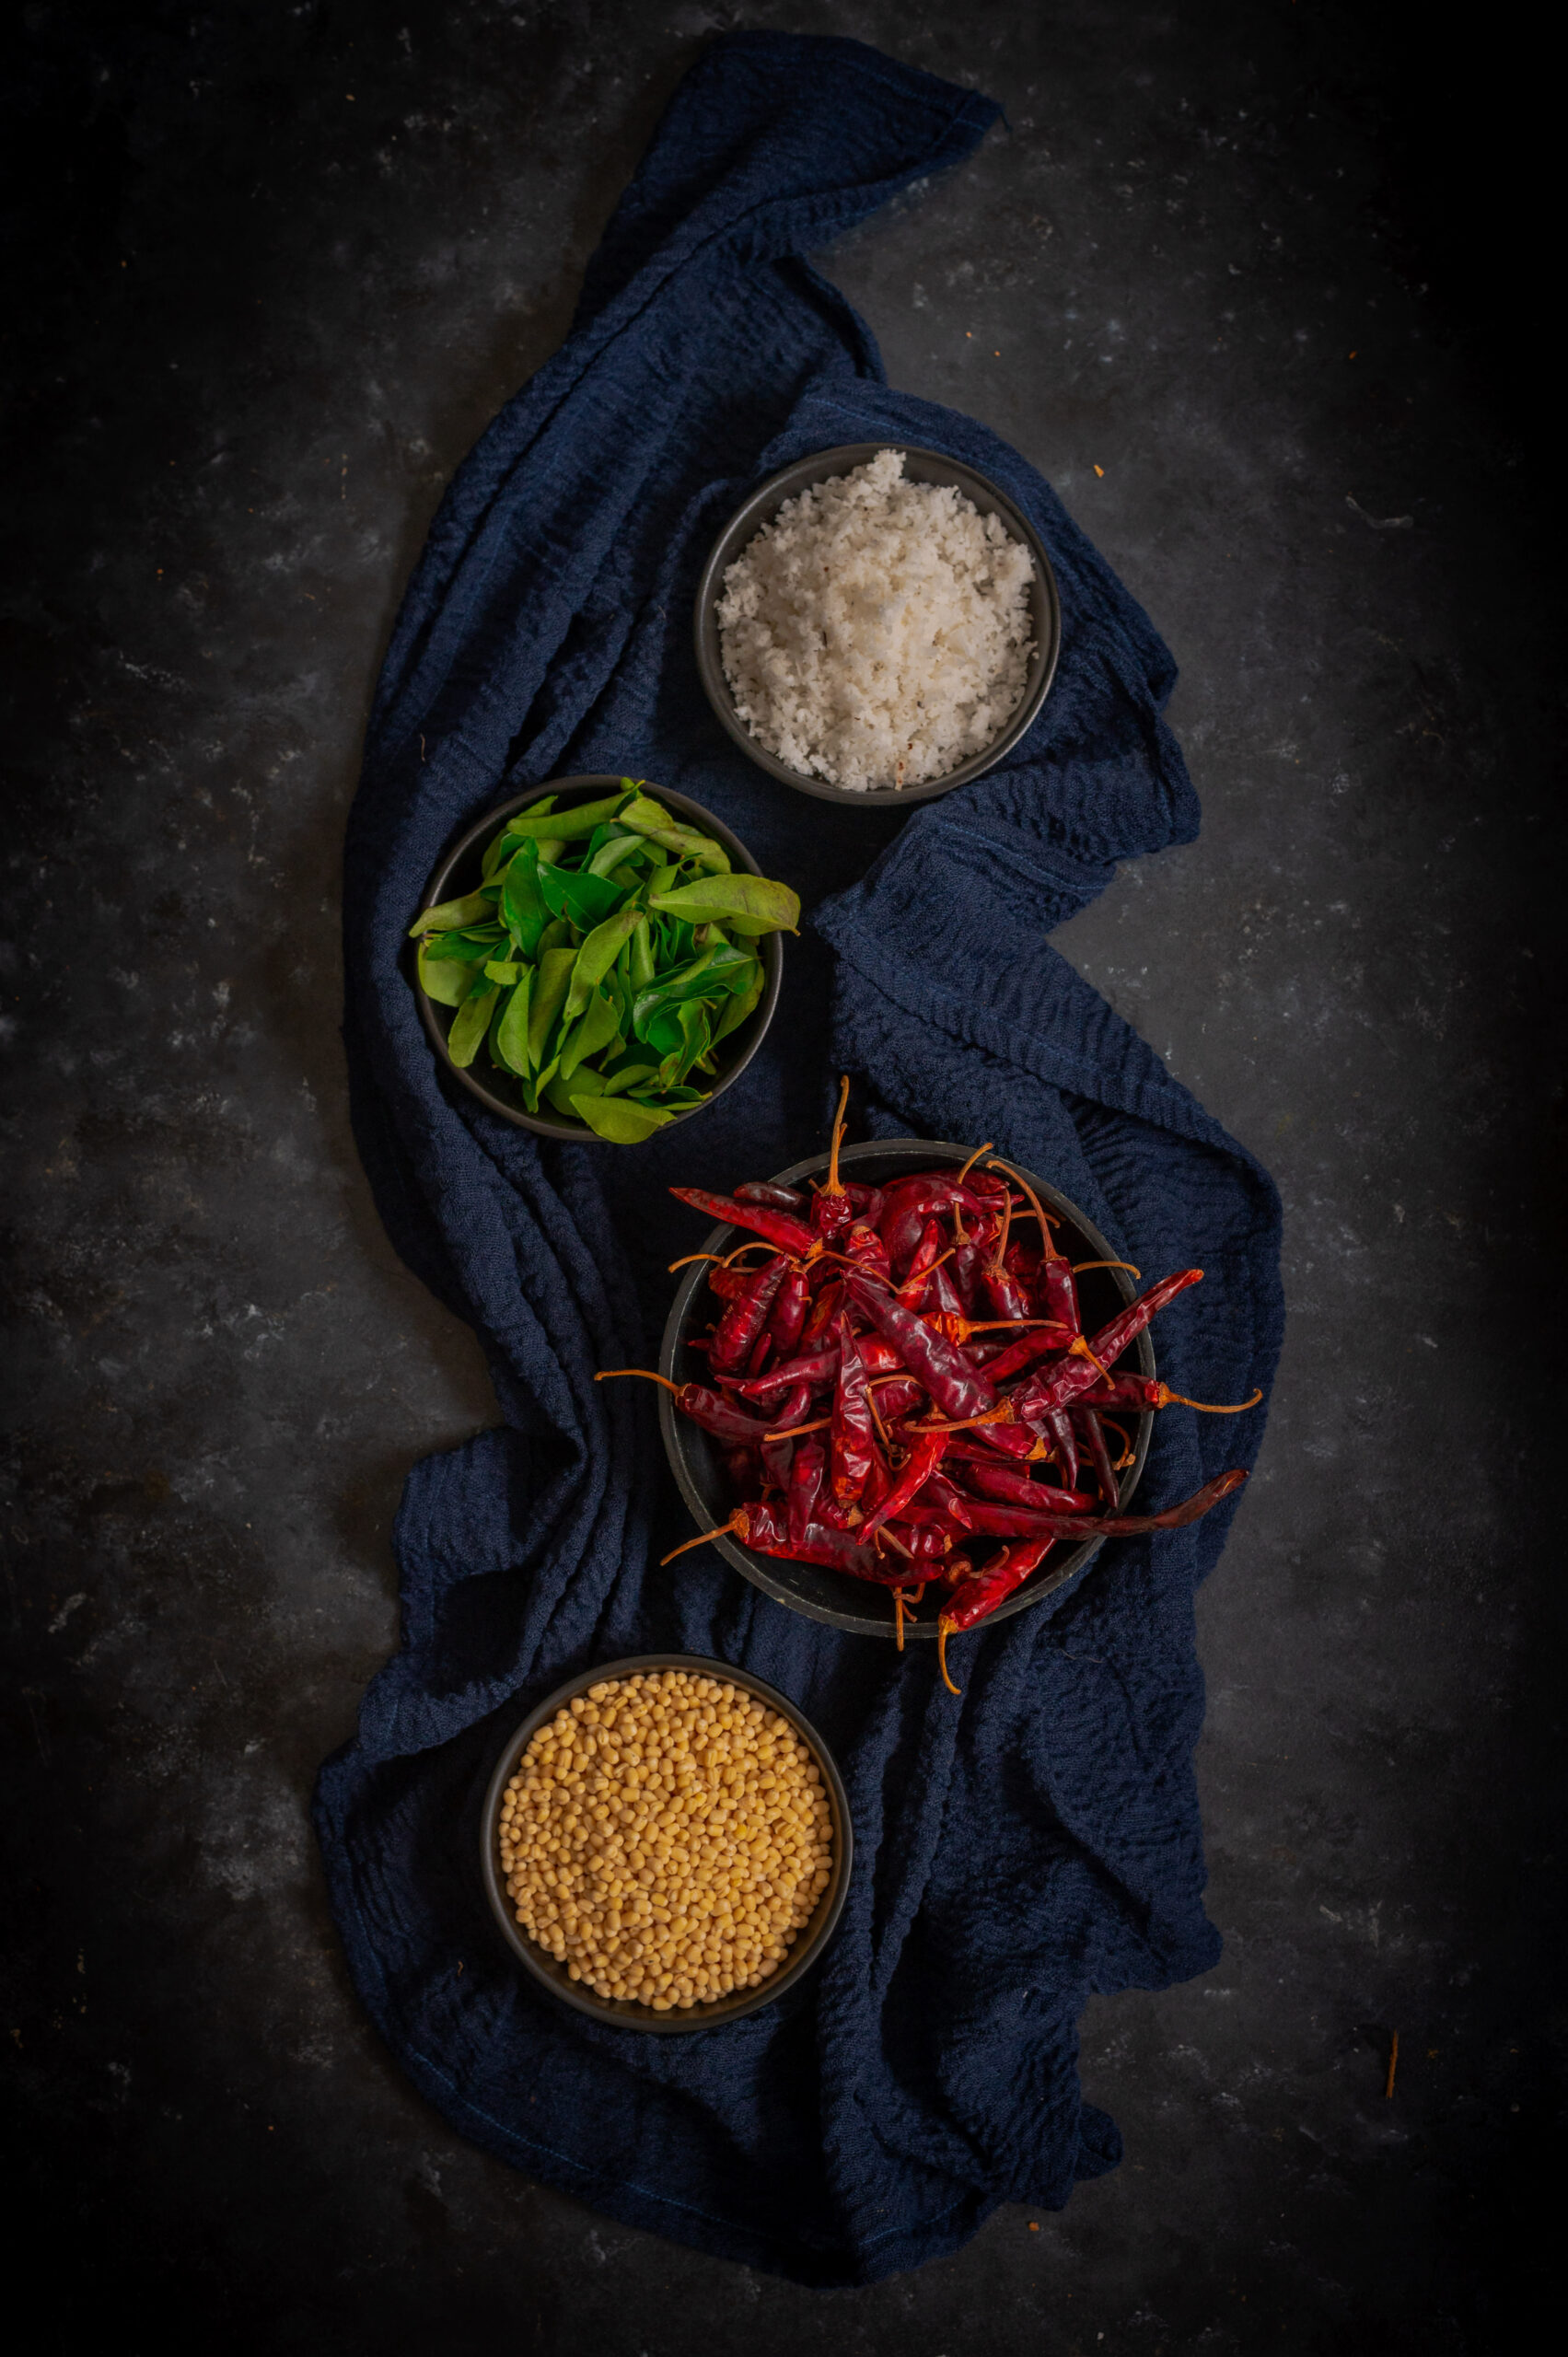
1 cup fresh coconut (shredded)

2 tablespoons urad dal

2 teaspoons sesame oil

¼ teaspoon asafoetida

2 -3 dry red chillies

¼ teaspoon mustard seeds

Salt to taste

6-8 curry leaves

1 marble-sized ball of tamarind


Add oil to a pan. Once it has heated, add the asafoetida, urad dal, mustard seeds, tamarind, red chillies and curry leaves.  Roast until the urad dal turns golden. Set aside.

In the same pan, dry-roast the coconut on a low flame, using just a few drops of oil, until it turns reddish in colour. Set aside.

Use a spoon to remove only the urad dal from the earlier mixture. Coarsely blend the remaining ingredients together, adding salt. Use a blender, and keep it at room temperature. Once a coarse blend is achieved, add the urad dal and blend everything again. The reason for adding the dal only at the end is so that there is a bit of crunch in the podi. You’ll see what I mean when you taste it!

You may also want to add just a pinch of jaggery to this recipe, if you’d like to enhance the flavour with some sweetness. That was an element I used in some trials of mine, and ultimately eliminated from my final version. If you’d like to, you can eliminate the curry leaves too. It all depends on what combination of spice, sweetness and tang (which comes in this case from tamarind) you most enjoy.

Store at room temperature, and enjoy with dosa, idly, rice, roti or any combination you prefer.

Over the next few weeks, I’ll be sharing more coconut-ty goodies, from anytime staples to festive specials. Please do subscribe to this blog, so that you’ll know as soon as a new post goes up! Don’t forget to let me know in the comments what you think of the recipes, too. As always, I love hearing from you about how you’ve translated my recipes to suit your own tastes!