Tag

chickpeas

Browsing

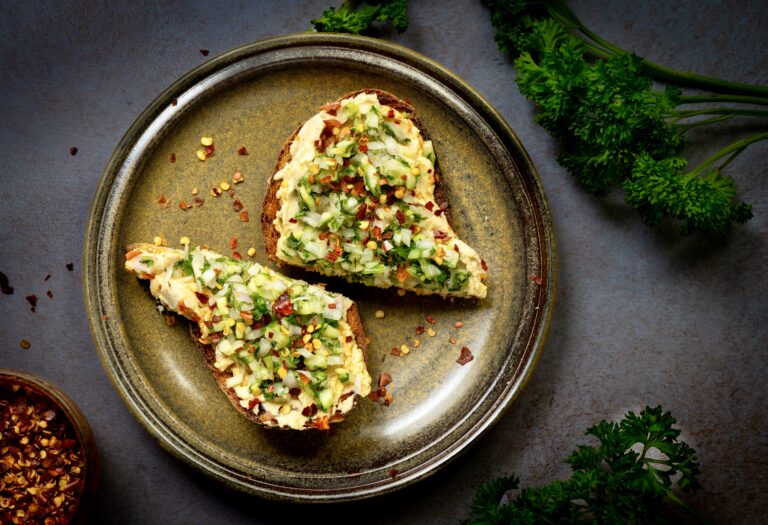
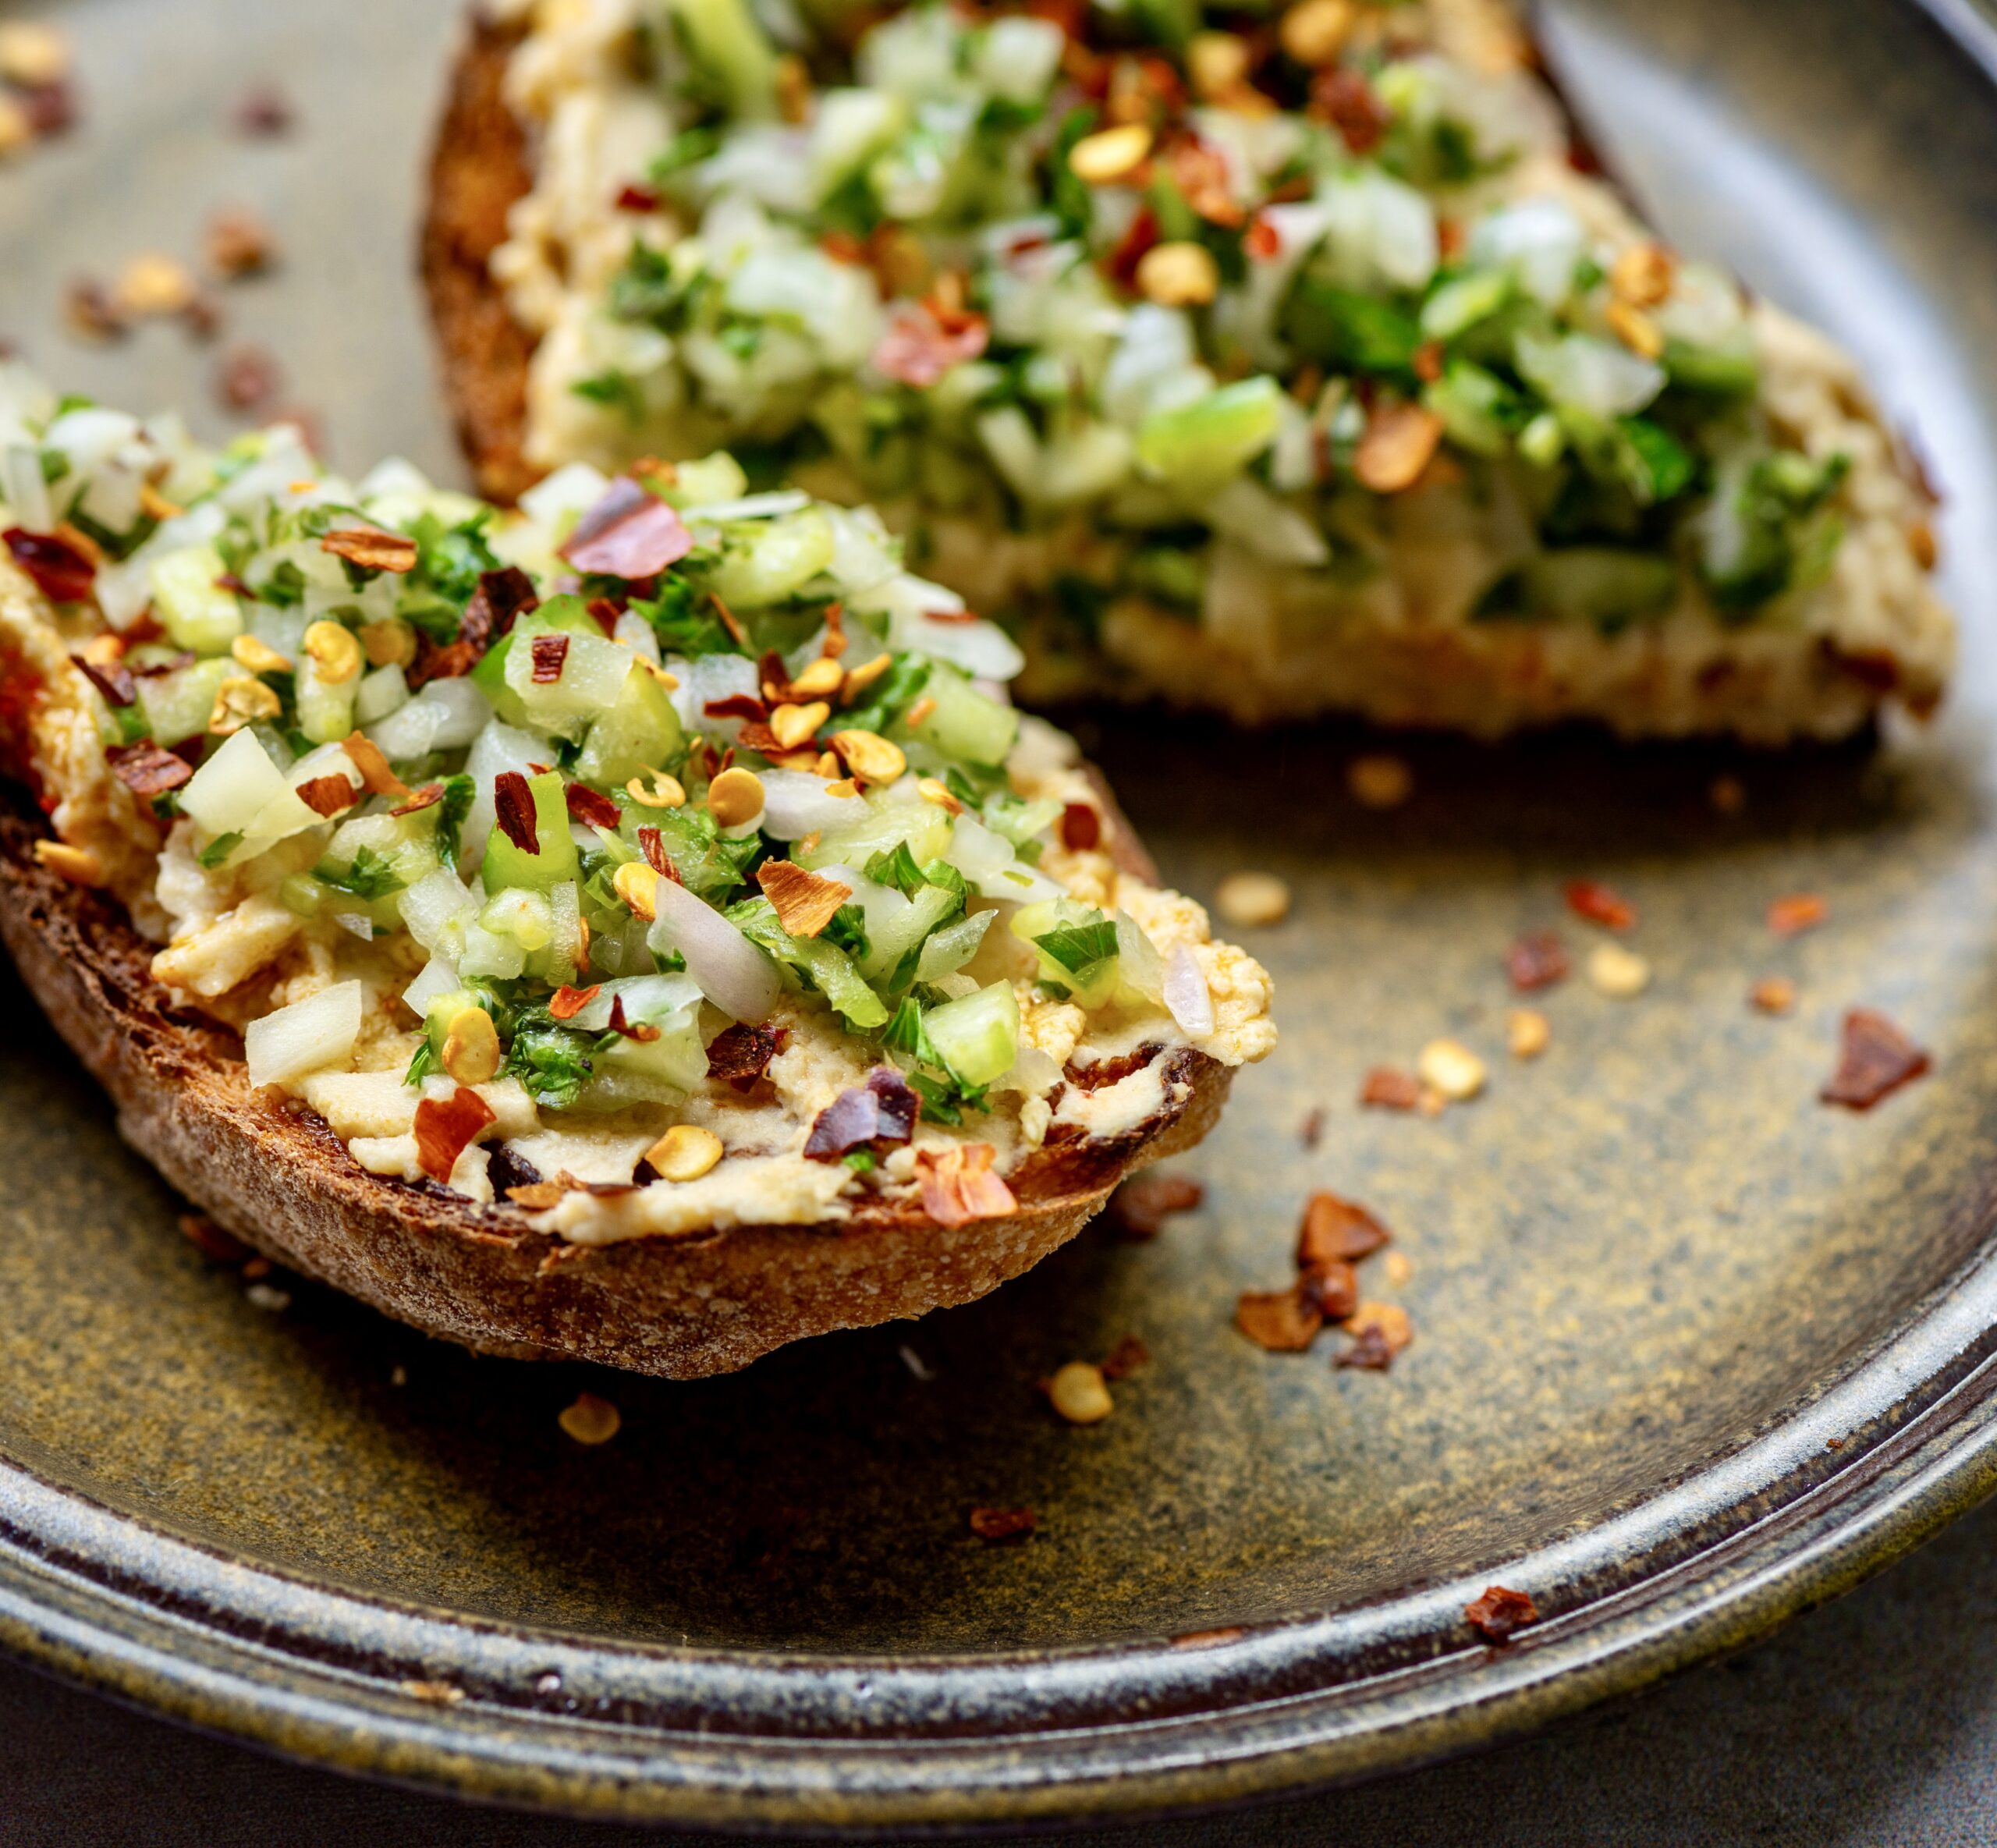
Trying to incorporate a lot of protein into my meals is how this hummus toast loaded with veggies came into being. It’s just perfect for right after my workout, when I’m most hungry. Putting it together is easy on mornings when there has been hummus and pita bread at home for dinner the previous evening. The leftover hummus is put to good use with this lovely toast, or else eaten as a snack with fruit later in the day.

Hummus originated in West Asia and is a versatile dish which utilises protein-rich chickpeas. I have shared two very appetizing hummus recipes on this blog so far. If you would like to make the hummus rather than buy it, you could choose from this coriander hummus or this curry leaf and green chilli hummus. For a plain and basic hummus, just eliminate the flavouring ingredients from the recipe.

The boost of protein aside, another reason why I enjoy this hummus toast with veggies as my morning meal is probably because of the novelty factor. It is so different from the kind of breakfasts that I grew up with, and I often find myself dreaming about travels past and future when I prepare something from another cuisine. Instagram also inspires me, and I love learning about dishes from everywhere, and figuring out how to fit them into my repertoire at home.

While authentic Indian breakfasts are absolutely wonderful, and traditionally wove the logic of seasonality into them, they also tend to be carb-heavy. I am not trying to find fault with them at all, for I understand that they were primarily designed for people from historical periods when everyone needed to labour a lot more, and usually had much less to consume or choose from. But as we move with the times, we need to adjust these diets to suit our contemporary needs. Now, for our present lifestyles, we need fewer carbohydrates and much more protein. I still remain an advocate of Indian cuisine, but I am equally a believer in adapting, evolving and exploring!

You can use any chopped salad as a topping for this toast, although I’ve suggested my preferred ingredients below. I’d also like to share a tip about cutting vegetables. In the morning, I make sure that my vegetables are finely chopped because I have a tendency to gobble breakfast up as quickly as possible post-workout. Knowing this about myself means that I not only cut my vegetables in a certain way at that time, but also that I cut them differently for my lunch preparations. When cooking for the afternoon meal, the vegetable slices are always larger in size, so that I take my time to chew them properly and digest them better. Small changes like these make us more mindful about both cooking and eating. It’s all about calibrating our choices so that they suit us well.

Hummus Toast With Veggies

1 slice sourdough bread
2 tablespoons hummus
Salad (as per recipe below, or make your own)
1 tablespoon olive oil

Veggies
¼ cup parsley (finely chopped)
¼ cup coriander leaves (finely chopped)
¼ cup cucumber (finely chopped)
2 tablespoons onions (finely chopped)
Salt to taste

Toast a slice of sourdough bread. Add the dollop of hummus and spread it over the toast.

Put all the finely chopped salad ingredients in a bowl and mix.

Sprinkle the salad over the hummus on toast. Finally, drizzle some olive oil. Your hummus toast with veggies is now ready to be enjoyed.

I have shared many toasties here on this blog. You probably know that I am a big fan of sourdough, based on how often I have used it in recipes here. It tastes fantastic on the day it is baked but turns hard by the following day, which is when it becomes ideal for toasties. So this hummus on toast with veggies joins that list too, bringing more pep – and of course, more protein – into my mornings, and hopefully yours too!

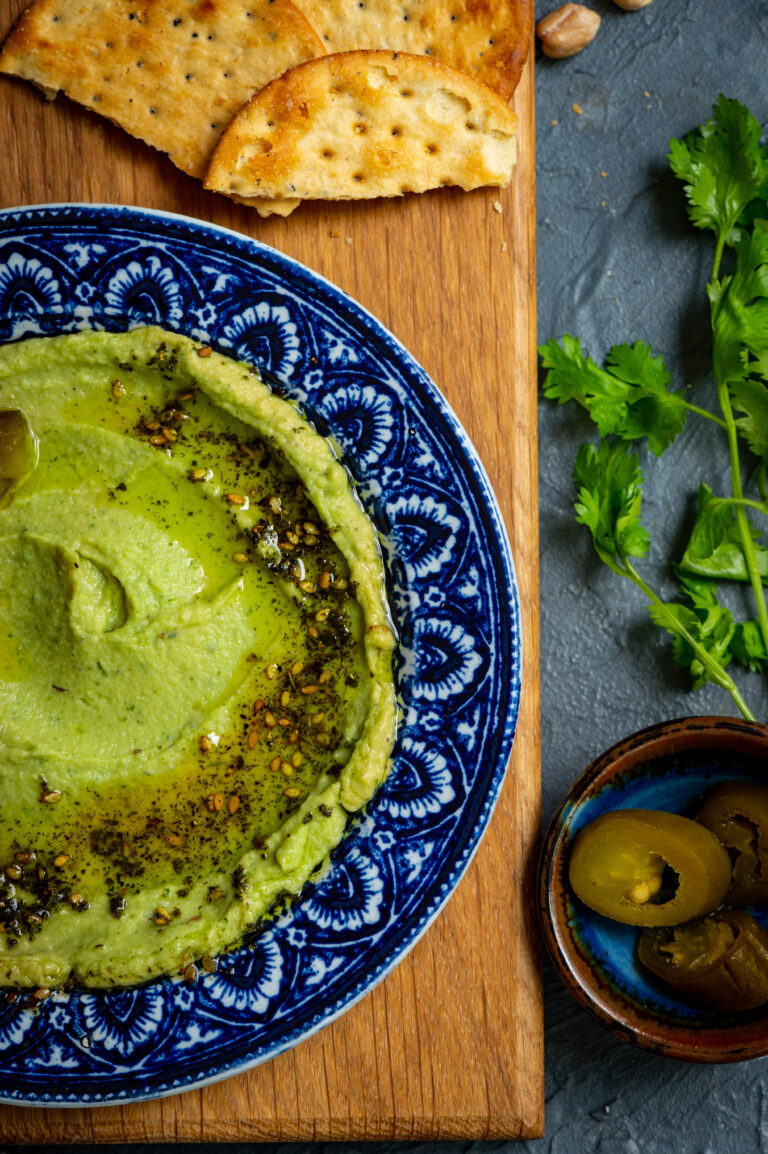
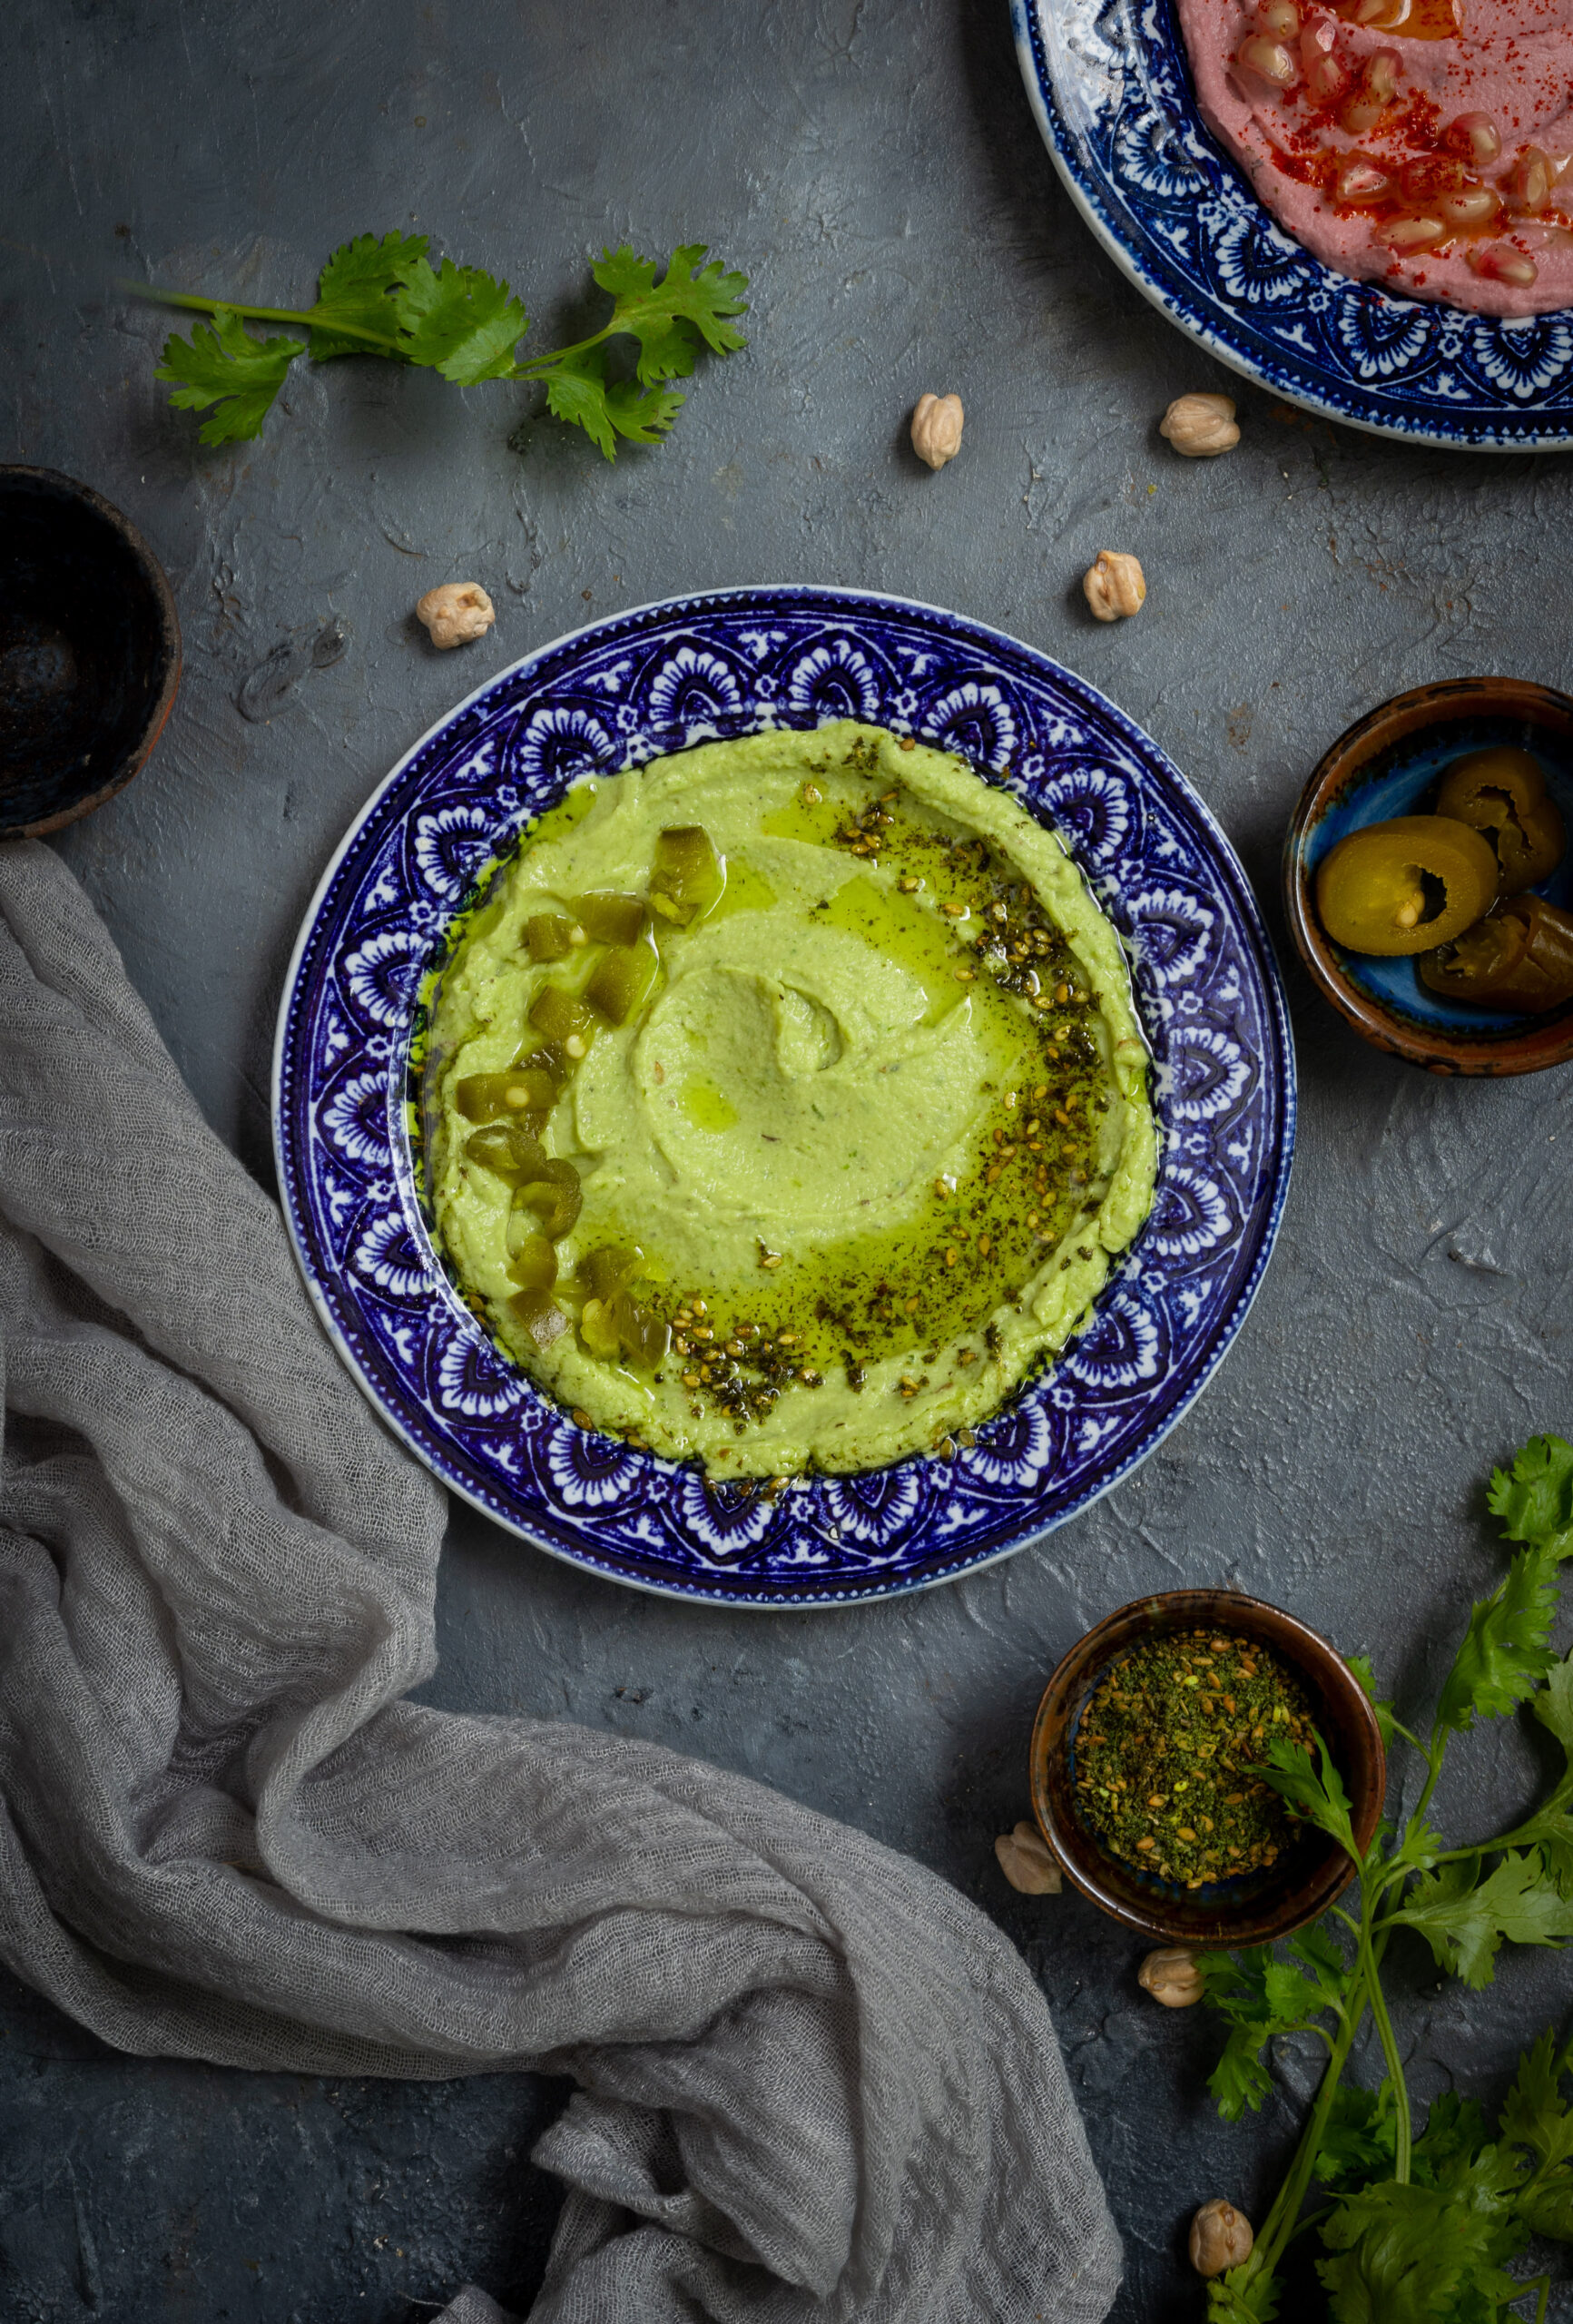
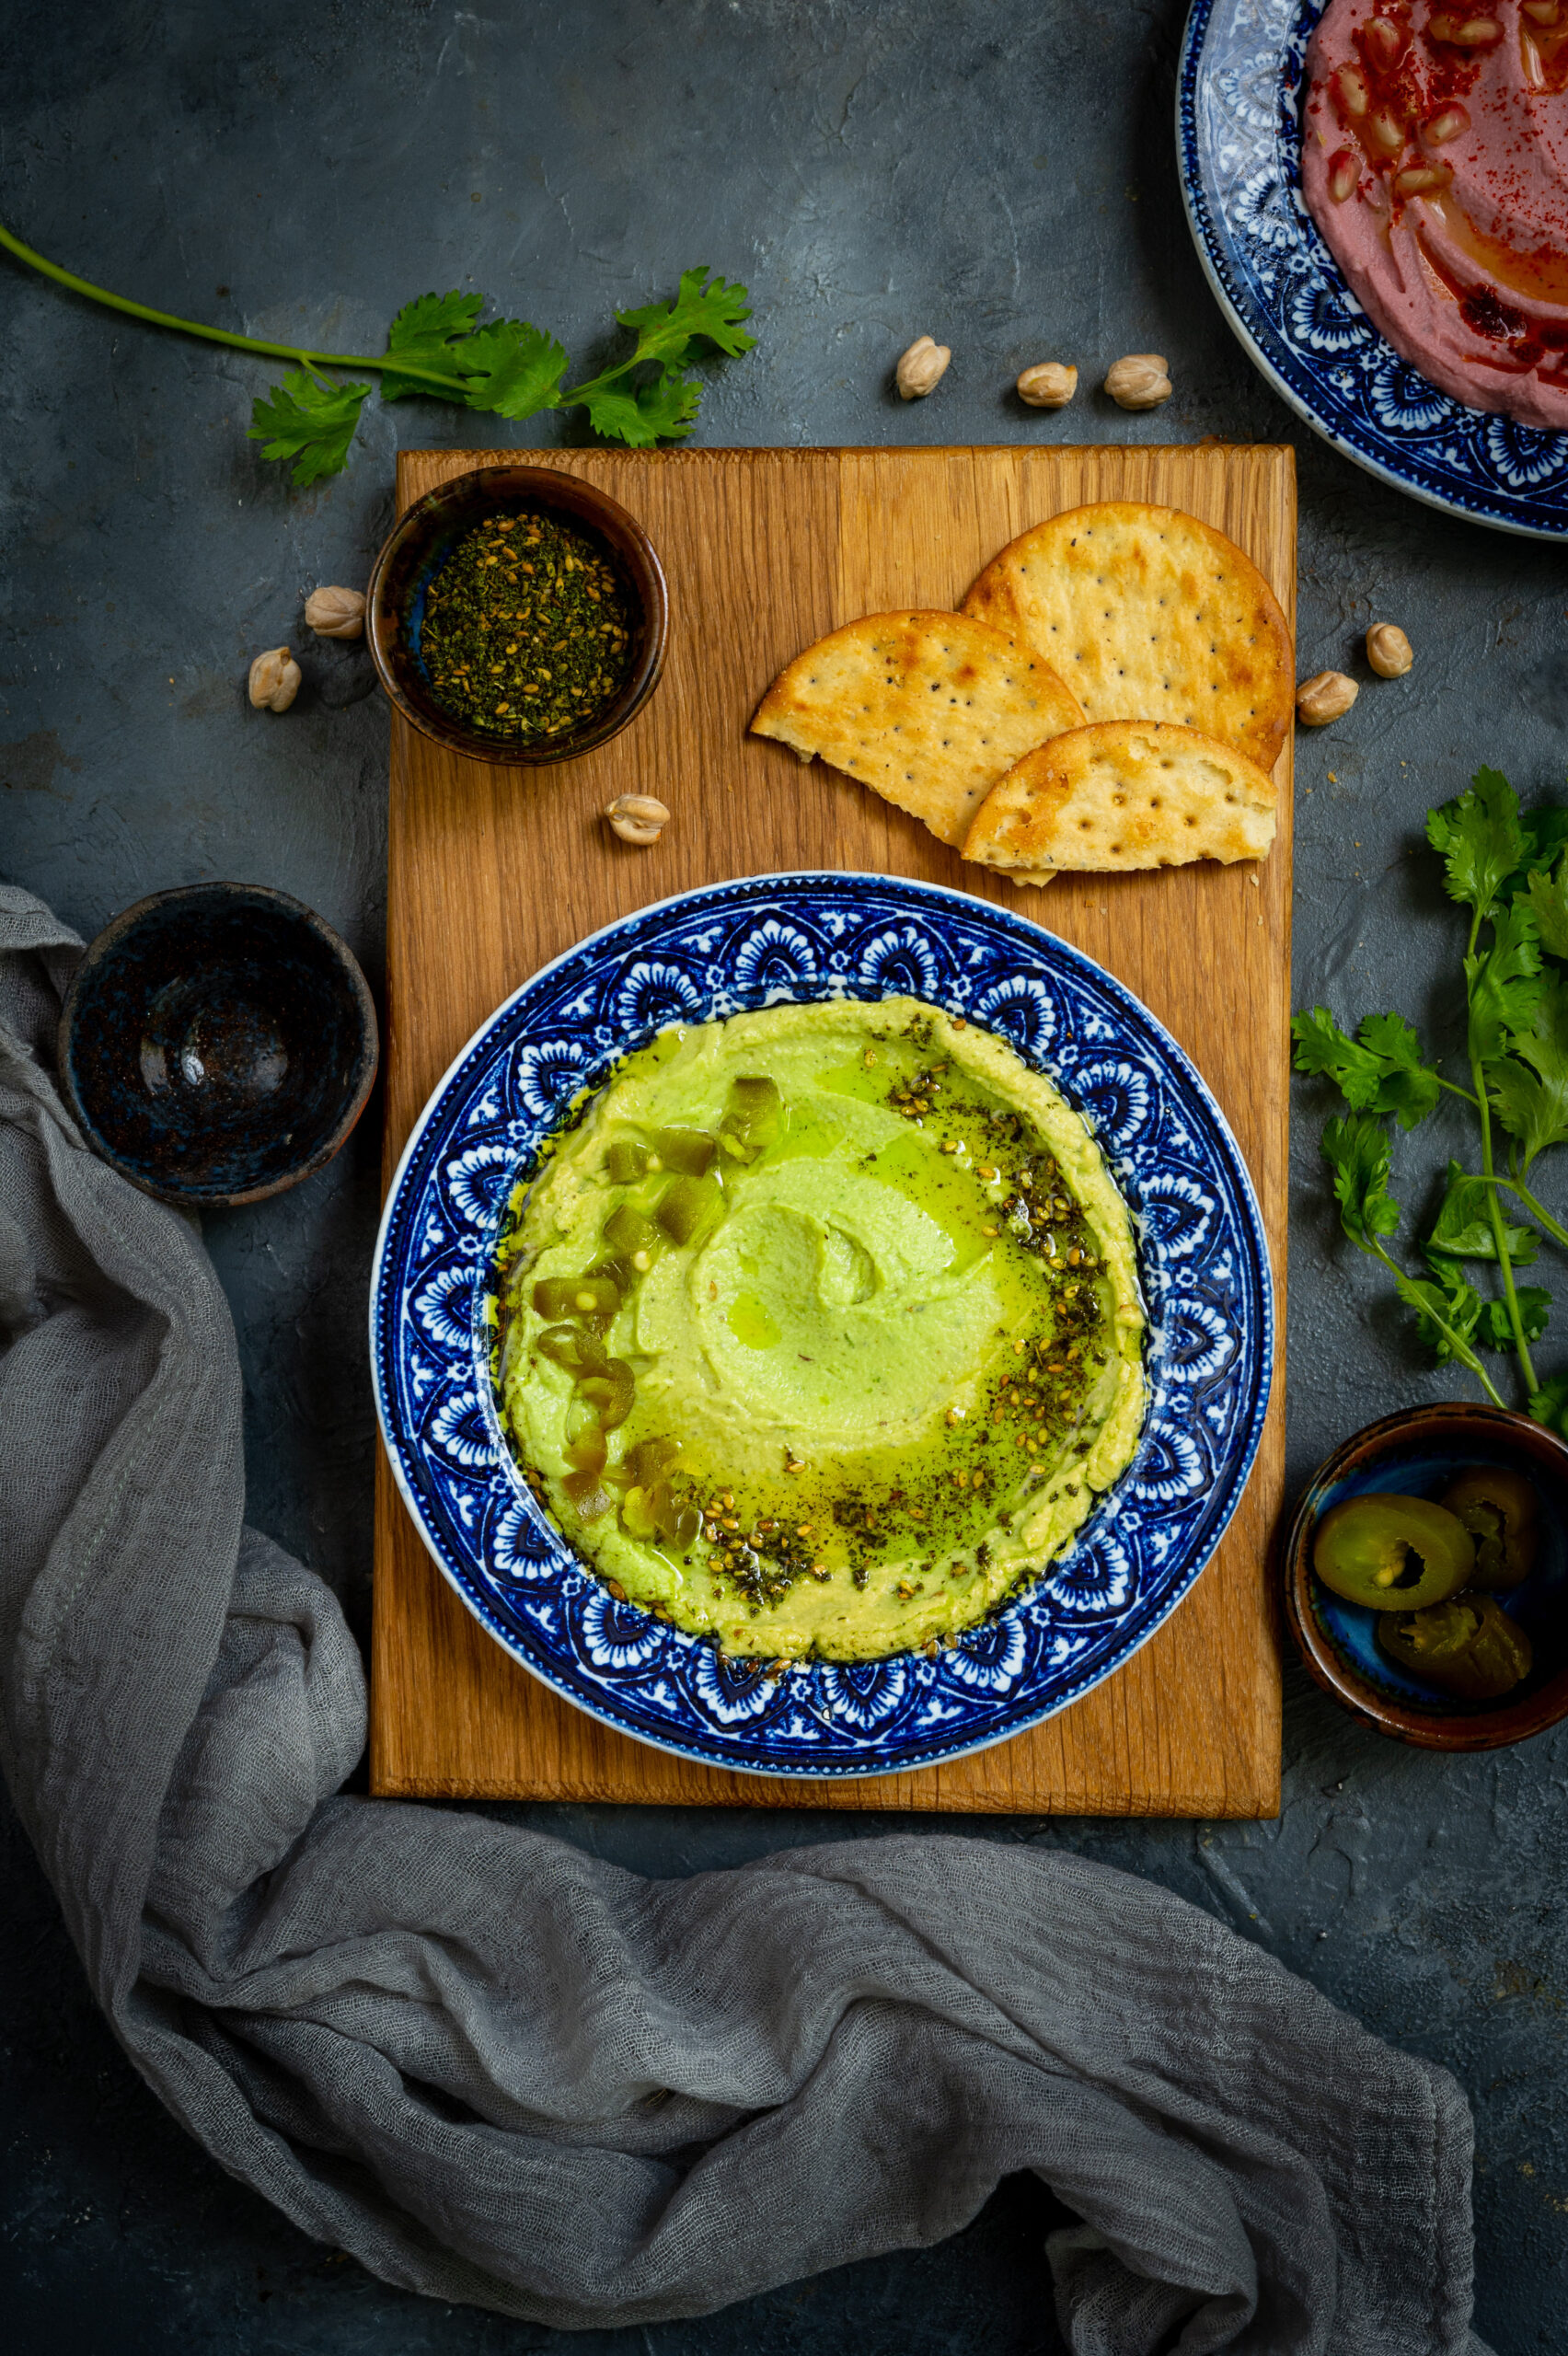
These days, we seem to be entertaining quite a bit at home. This is partly because our kids are all grown up and live in other cities. As parents, we feel proud of their achievements and love it when they visit, but we are also filling up our “empty nest” with friends and socialising as a couple. With people dropping by on a frequent basis, I try to make sure that a steady repertoire of healthy snacks, that are also good-looking and good-tasting, are easily whipped up. This beautiful pistachio-green coriander hummus hits the right spot in terms of its visual appeal, its nutrition quotient as well as its deliciousness.

Hummus originates in the Middle East and I make some whenever I prepare my versions of Lebanese dishes such as pita bread and falafels. It’s quite a favourite at home, and we are currently in an obsessed phase (do you have this habit too – of enjoying a dish so much that you just have to keep having it till you get tired of it and move on to the next big addiction?), so I’m making lots and lots of it.

The idea came to me after noticing colourful hummus varieties such as beetroot hummus, which comes out in a pretty pink. I wanted to use an Indian ingredient as a major one, and coriander seemed perfect. I had explored a curry leaf and green chilli hummus quite a while back too, which has a similar concept.

This dish contains one more surprise ingredient from our local backyards that you’re sure to love, and which you may remember from a recent recipe! If you guessed moringa, you are right. The powder is easy and quick to make, and I like to sprinkle a bit over the hummus to boost its healthiness, as well as to deepen the colour. I’ll probably try out a moringa hummus soon.

Hummus is truly simple to make, and the method for most varieties is more or less the same. In my family, different members have their own preferred type – curry leaf, beetroot, coriander, etc – so I am constantly whipping up some version of this dish and can assure you that it’s a basic recipe. In fact, it is quite easy to replace the coriander with other vegetables. You can see in the photographs that I’ve done a beetroot one too, using roasted beets. That one is more colourful than flavourful, but it is good for novelty in presentation. Guests love pretty snacks, remember?

Chickpeas are the core ingredient, and they are available abundantly in India so I don’t have to resort to the canned ones, although those will work just as well if they’re what you have on hand. I do the traditional method of soaking, boiling and so on – which is very familiar from so many Indian dishes. It’s funny: my cook at home, who is not well-versed in foreign cuisines, calls any kind of hummus “channa ka chutney” (“chickpea chutney”). He is not far from the truth! Several of the ingredients really do feel rather local, and are certainly used in Indian cuisines.

That said, despite its seeming Indian-ness, I was not exposed to hummus while growing up either. I discovered through my travels and culinary explorations that it’s a fantastic starter. It is healthy, tasty, simple to make and versatile in its usage as a dip. Despite the high summer temperatures at the moment, it keeps well in the fridge for at least a week.

Coriander Hummus

(Yield: 1 portion)

¼ cup chickpeas

Water (to soak and to boil)

2 tablespoons tahini

½ cup coriander leaves

Salt to taste

3 pods garlic

2 tablespoons olive oil

1 tablespoon chopped jalapeños


Soak the chickpeas overnight in sufficient water. Once soaked, they will have enlarged in size to almost 1 cup. Strain them.

Boil the chickpeas in fresh water in a pressure cooker with sufficient water, until tender to the touch. This will take about six whistles.

Once boiled, strain the chickpeas from the hot water. Set the water aside. This is called aquafaba. Aquafaba, boiled chickpea water, becomes an ingredient of its own with varied uses including as an egg substitute!

In a blender, add the tahini, salt, jalapeños, coriander leaves and garlic. Blend coarsely.

Next, add the boiled chickpeas. Now, add as much aquafaba as required to help blend the mixture once again until you have a creamy texture.

Spread the hummus onto a flat dish. Garnish with olive oil and any toppings of your choice. If you have za’tar, a spice combination commonly used in Middle Eastern cooking, you could sprinkle some. As I mentioned earlier, moringa powder is my preferred substitute.

Your coriander hummus is now ready to serve. Eat it with the accompaniments of your choice. It goes perfectly with chips, vegetable sticks, apple slices, pita bread, falafels and more.

As I said earlier, you can swap out the coriander for other kinds of vegetables. You can also use sprinklings of different condiments or flavours. Let your imagination go wild – this is a basic, safe dish that responds well to play. Thinking out loud, a hint of mint could also be a nice flavour contrast. Maybe I’ll try that next time. Or maybe you can, and if so I hope you’ll let me know what the results are like?

When we were growing up, our mother once decided to take a Western baking class to expand her repertoire in the kitchen. As children, we adored the pastries, cakes and short eats our mother learned to bake there. In those days, embarking on such a class was considered quite unusual and therefore very progressive in Chennai, and in other parts of India. In the hill stations, there would always be families who had learned recipes from the British chefs, so they knew how to bake. In the cities, Western food was available only at clubs, and made by chefs who themselves would have studied under foreigners. For an average homemaker to go out and educate herself in Western cooking was a rare thing. Now, thinking back on how uncommon it was, I admire her all the more.

Mum was always very curious. She always wanted to know how food had been prepared, and never felt any embarrassment about enquiring on the same. She would just ask nicely, and people were often forthcoming about how a particular dish was made. In this way, she picked up a wide range of recipes, and became a master in the kitchen. I’m sure that this trait is something I’ve inherited from her, and I am always eager to keep learning, just as she did.

Our mother attending this baking course opened up so many snacking and celebration possibilities for us. There, she learned not only Western-style cakes and pastries, but various other types of baked goods as well. Among them was nan khatai, a kind of shortbread biscuit that originated in the Indian subcontinent. Nan khatai has an especially interesting story behind it. It is believed that a Dutch couple ran a bakery in 16th century Surat, a Gujarati seaport which had many traders and expats. This establishment was inherited by a Parsi gentleman when the Dutch left the country, but he found no takers for their cakes and bakes. To his surprise, the locals seemed to enjoy the dried, old bread most of all. The legend is that he decided to simply sell dried bread, which gave rise to this particular recipe. A similar biscuit is eaten in Afghanistan and Iran, where it is known as kulcha-e-khatai.

I remember carrying boxes of nan khatai on the train whenever I visited cousins or relatives, homemade gifts from my mother. I enjoy continuing the tradition of taking homemade dishes as gifts when I visit friends nowadays.

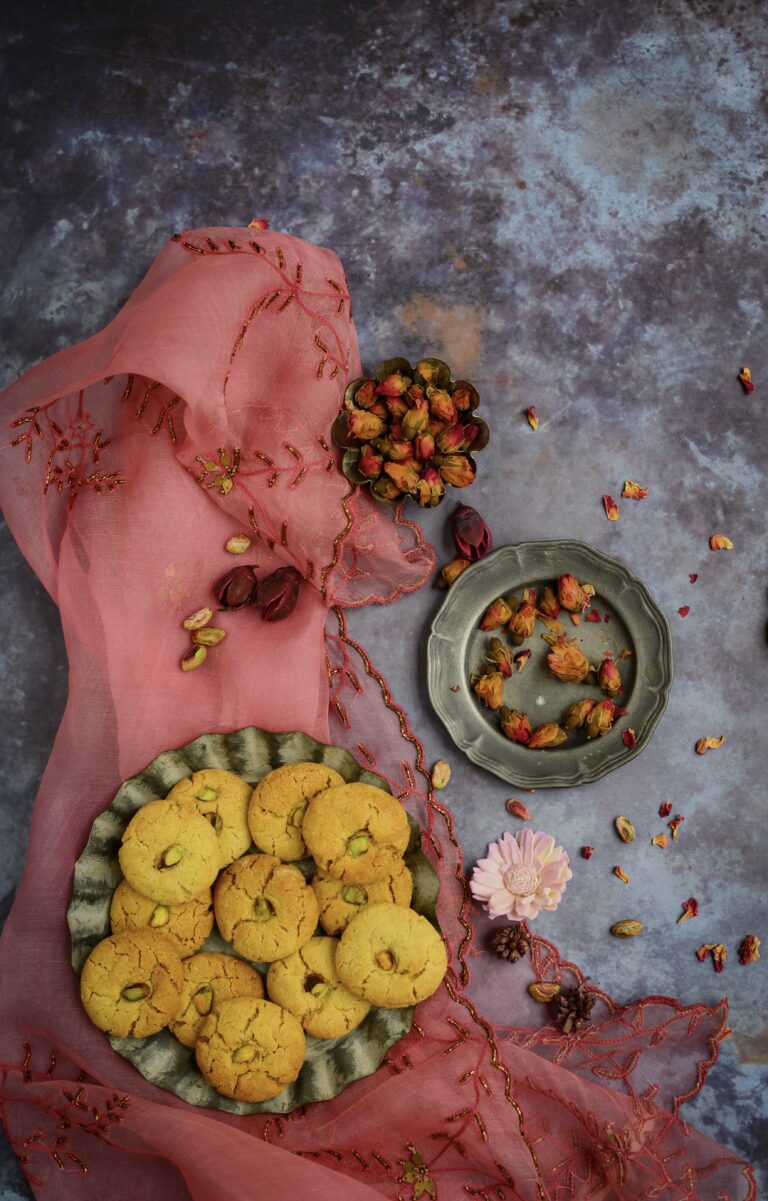
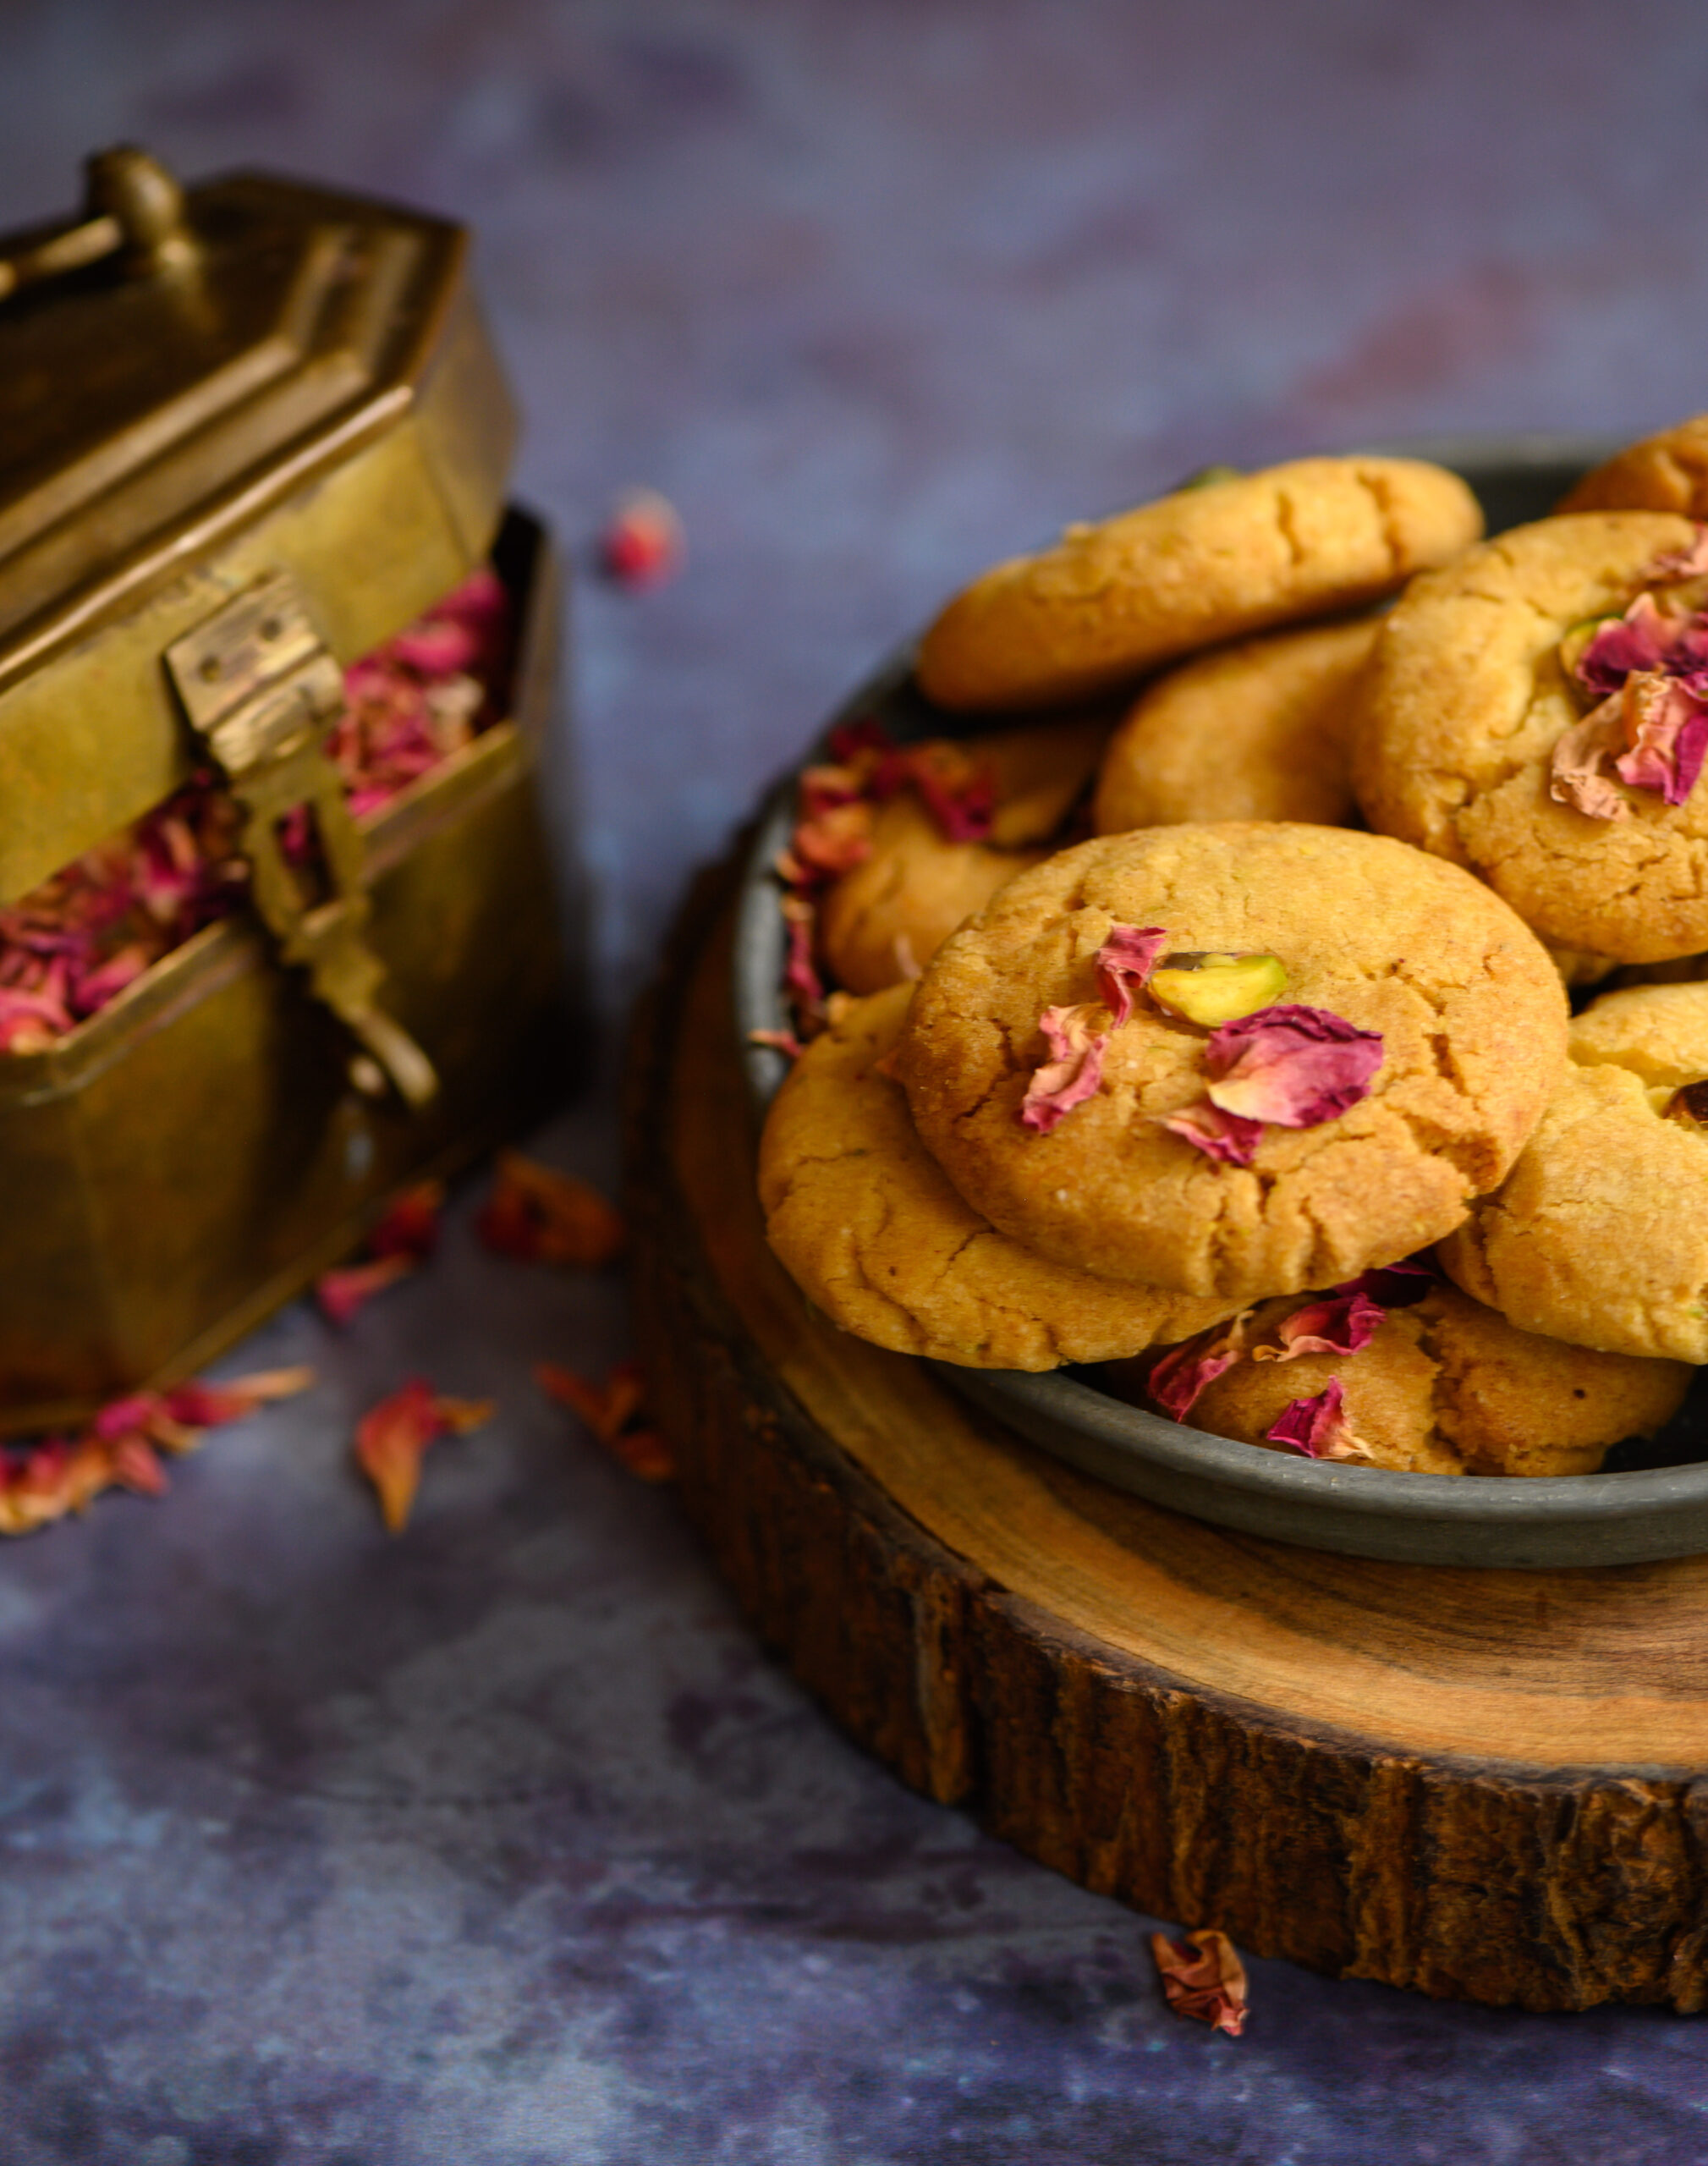
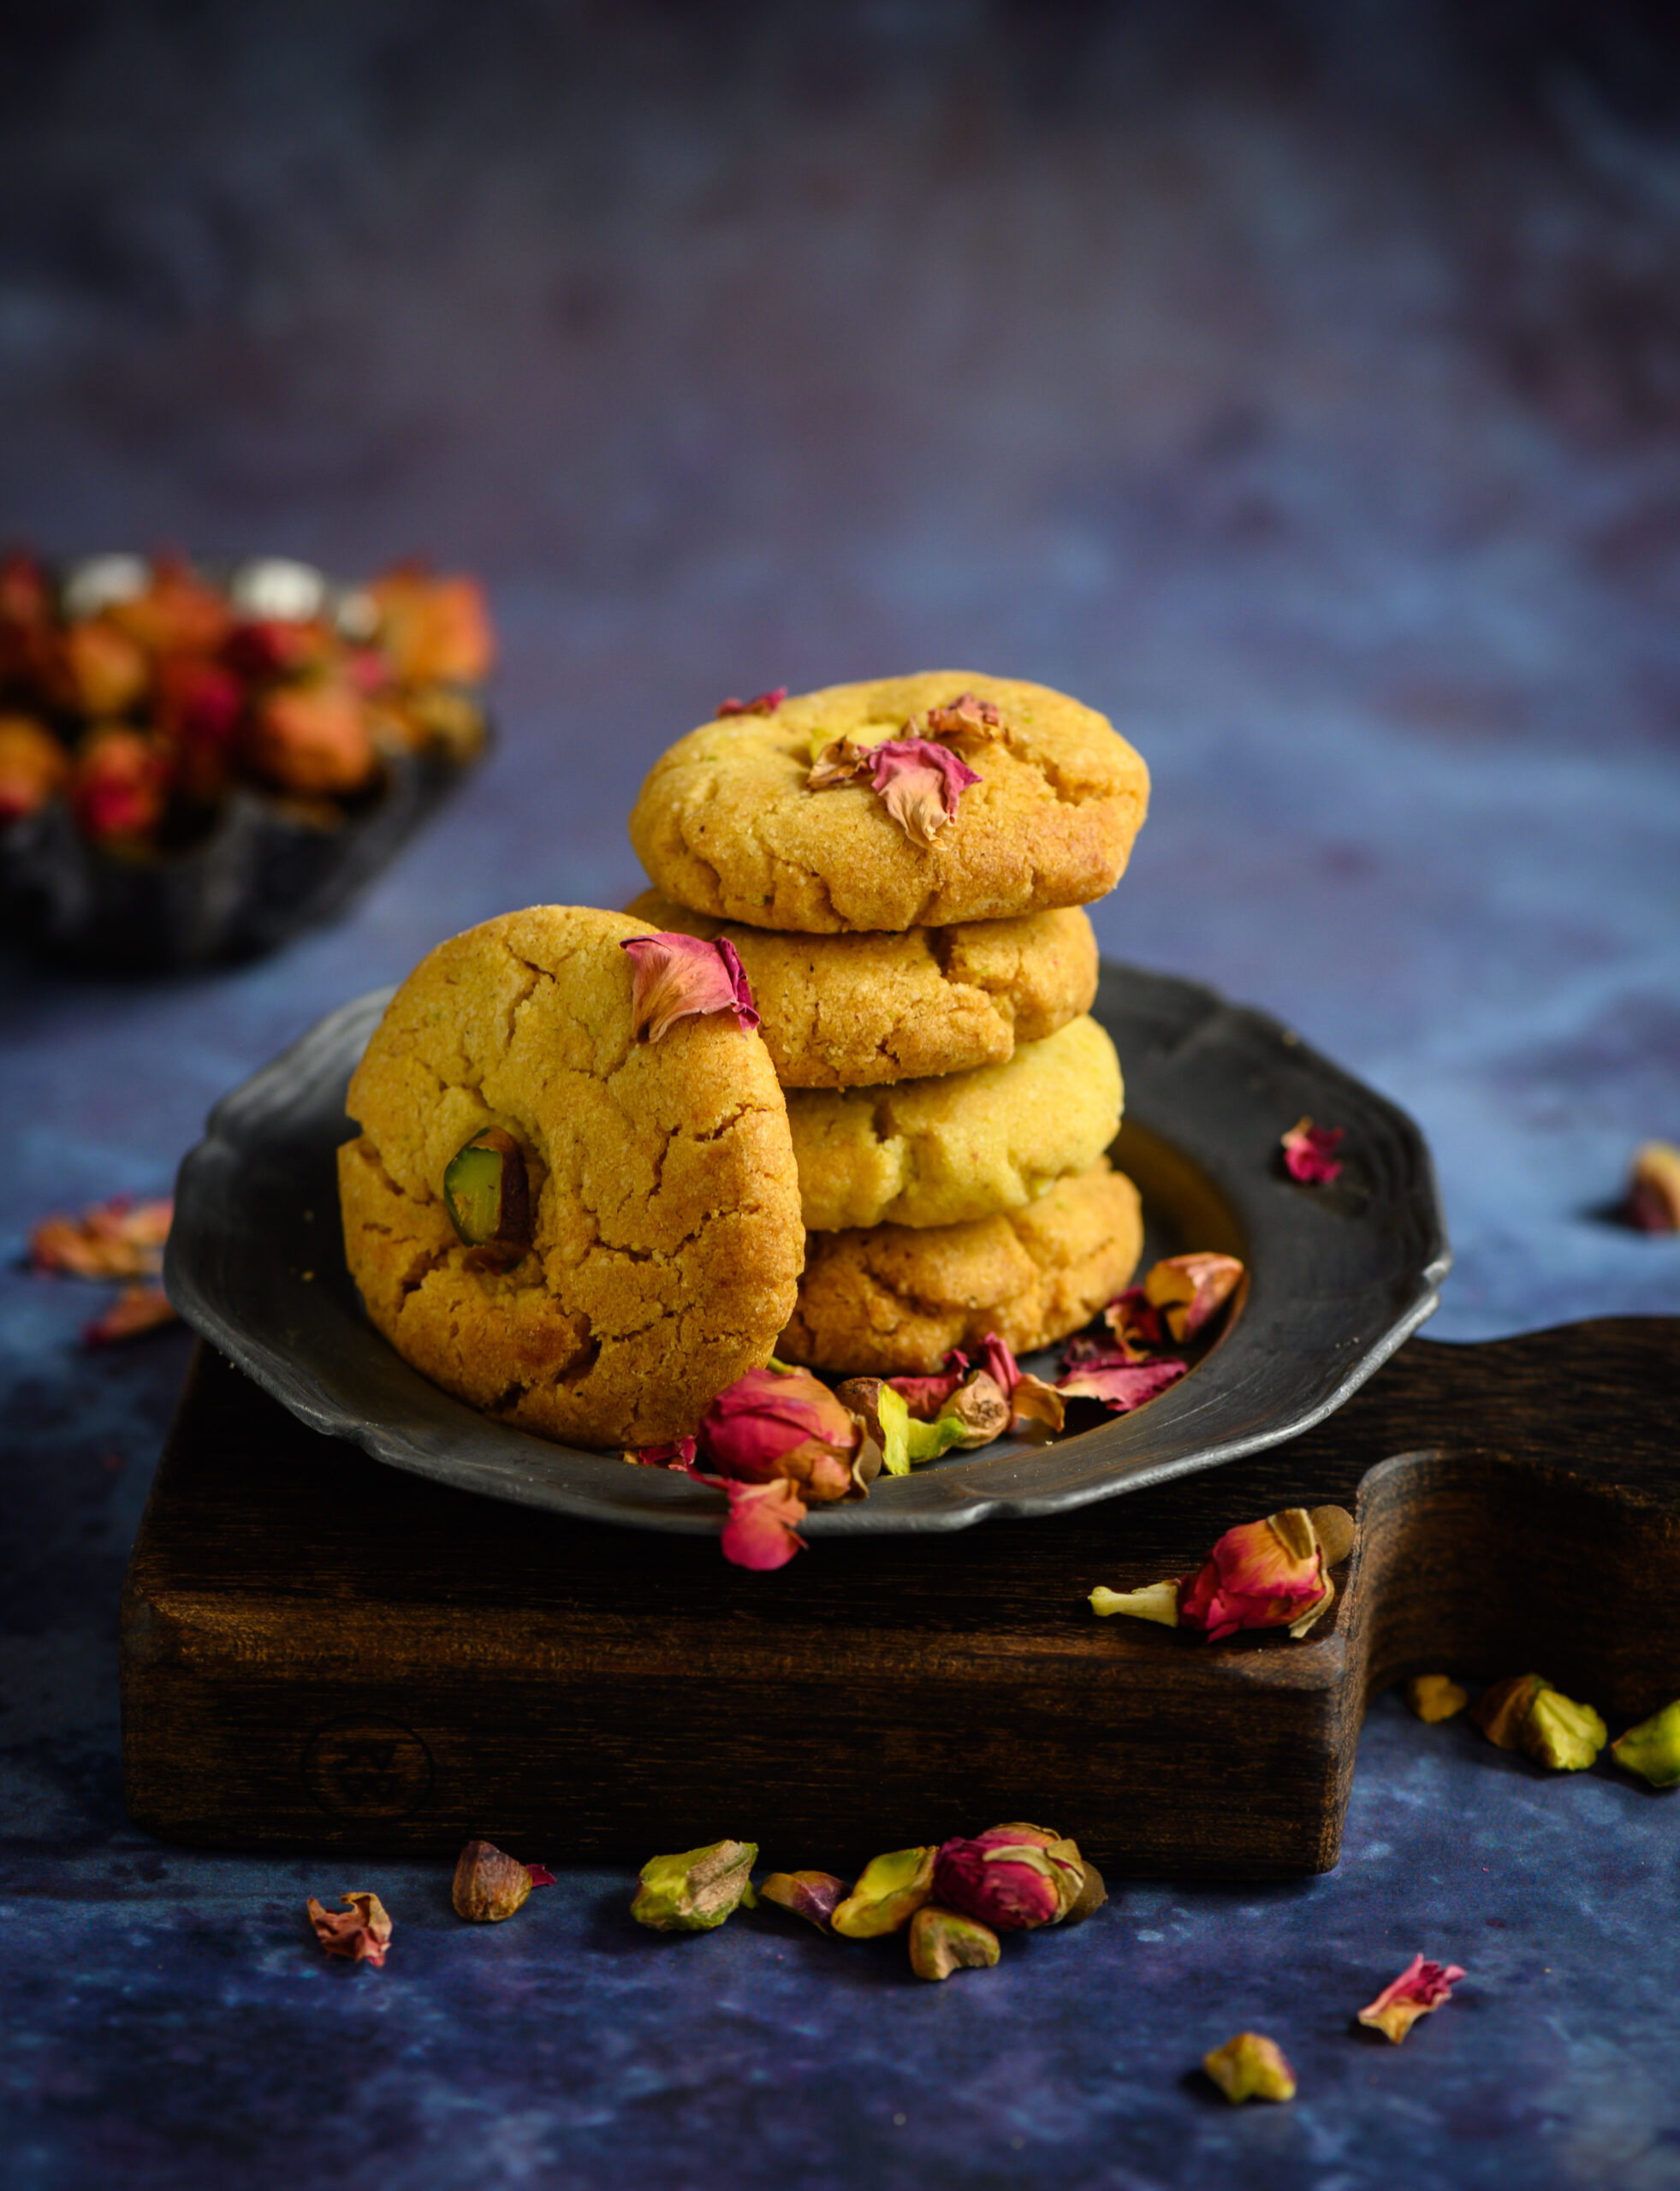
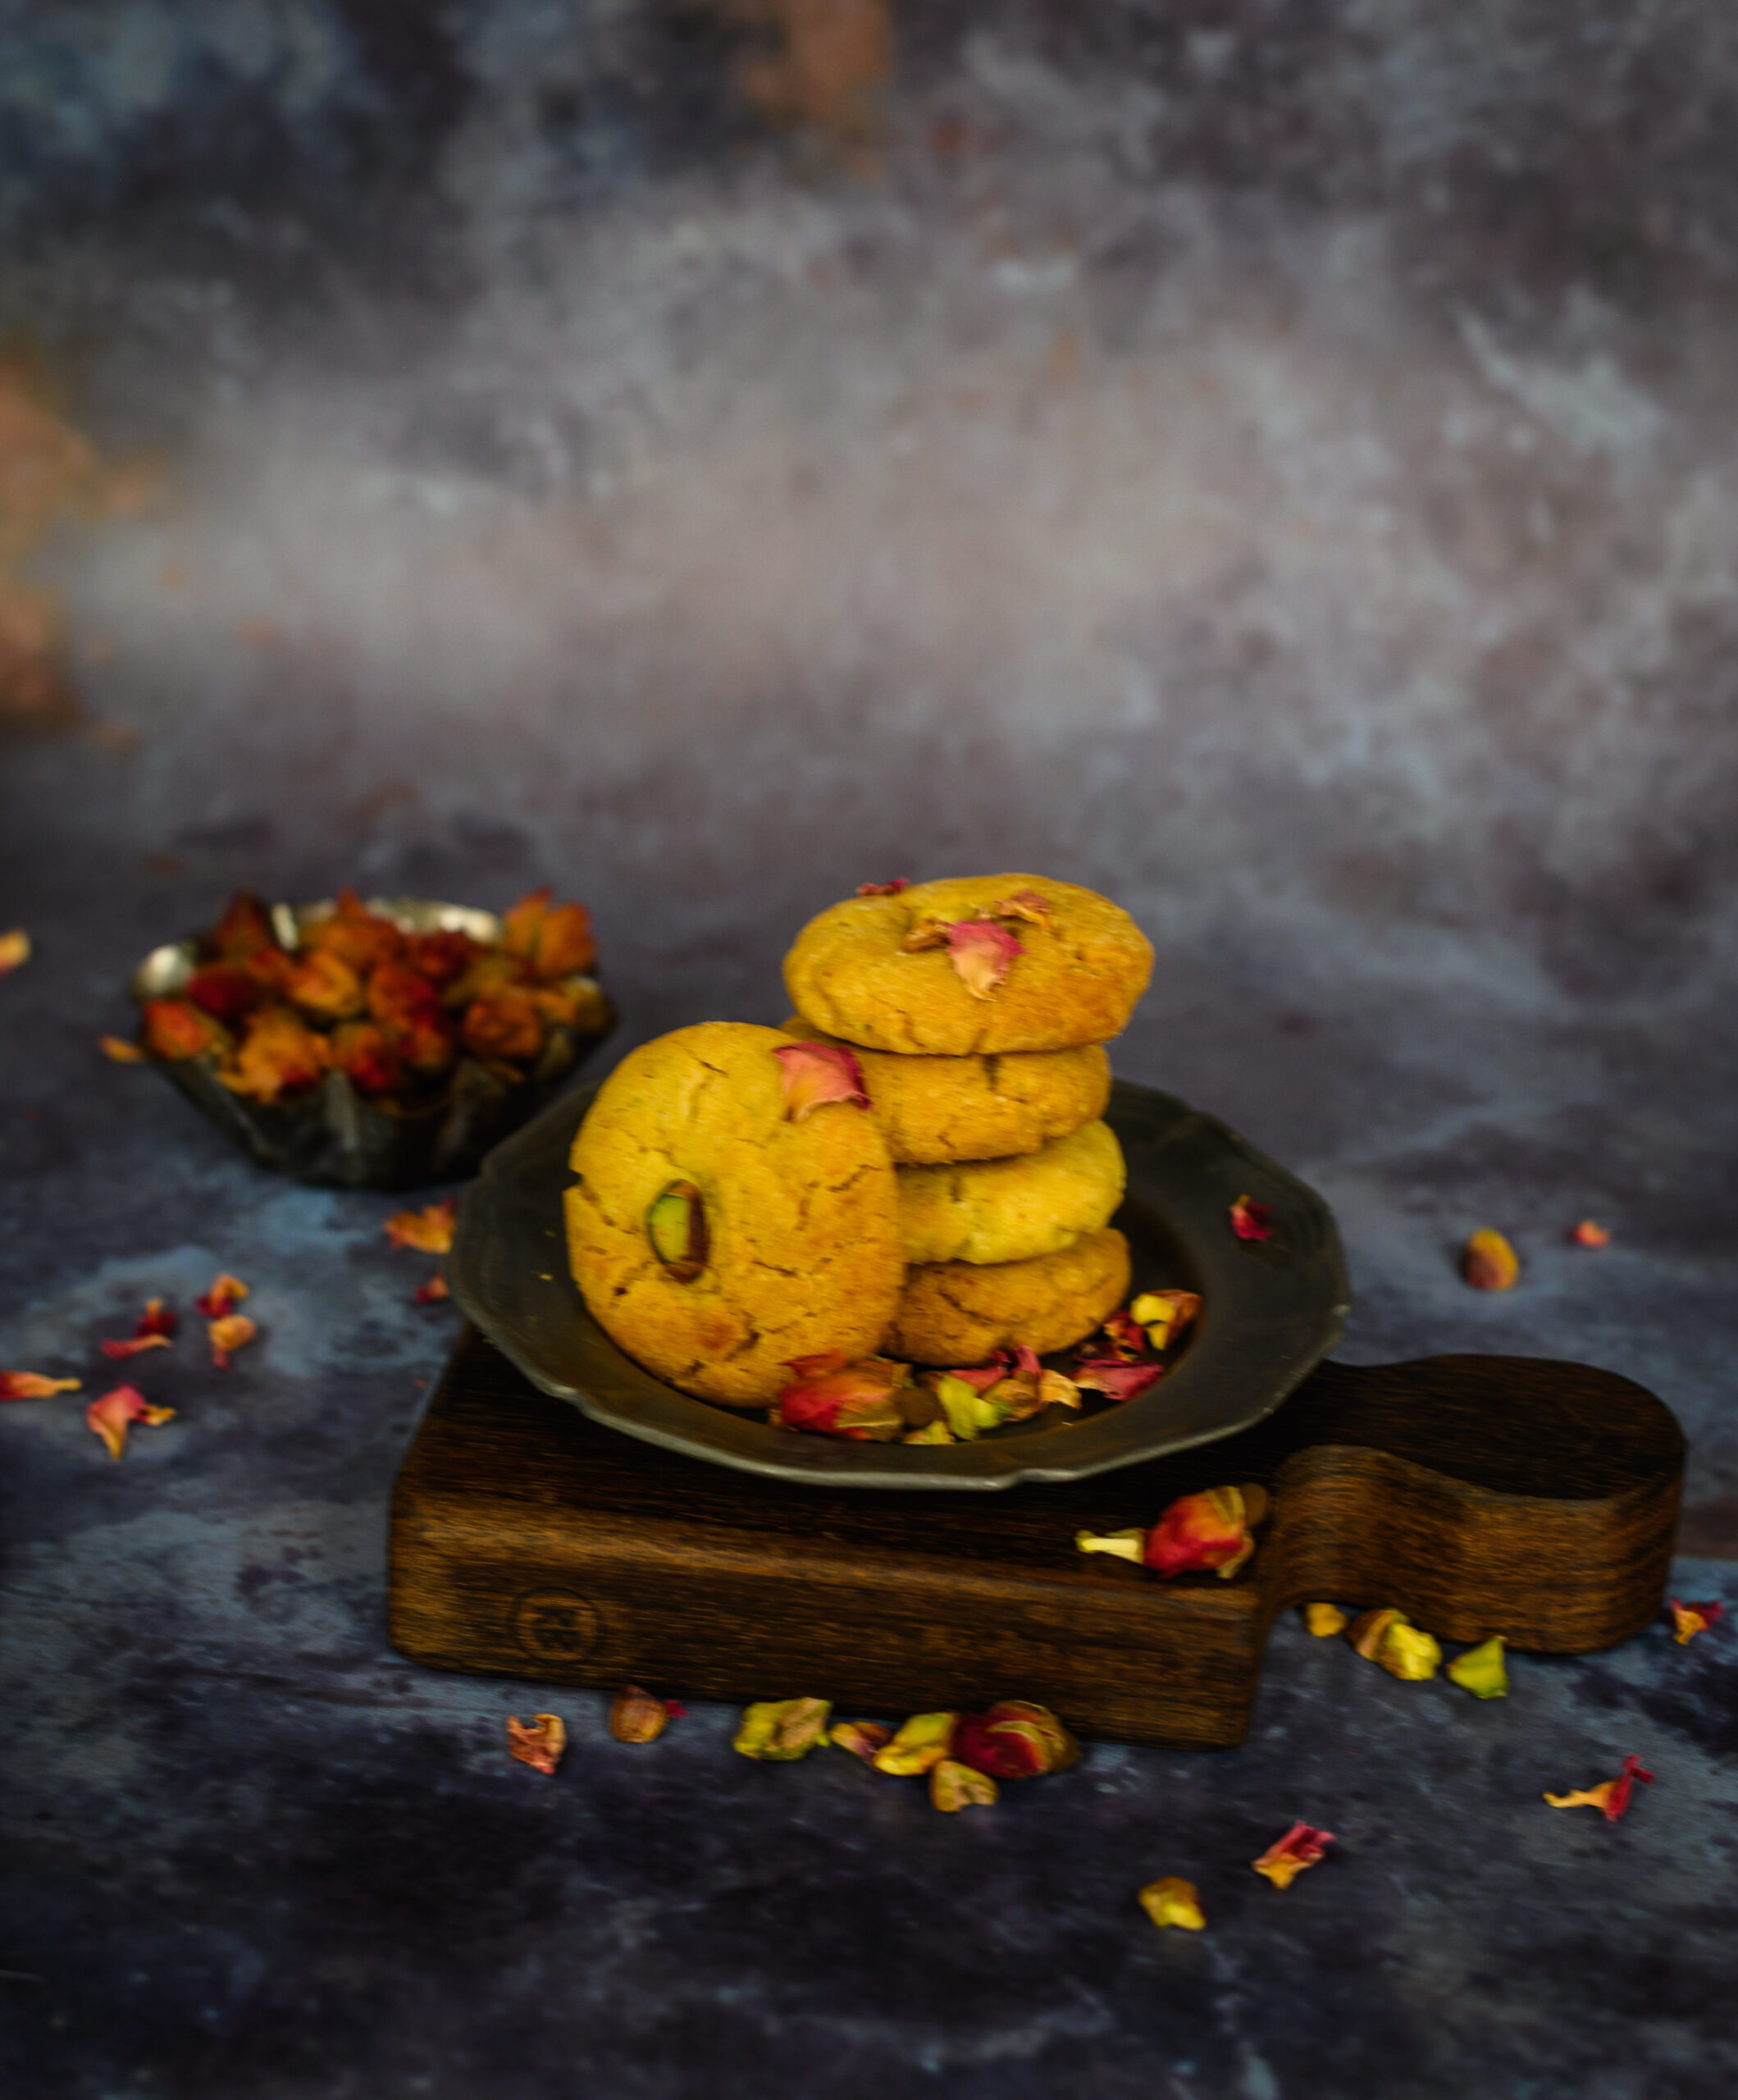
This nan khatai is neither Surat-style, nor what my mother was taught at her baking class, nor her own improvisation (the original uses wheat flour; she added a bit of besan or chickpea to hers). It is, of course, re:store-style – loaded with delicious flavours I love to use in the kitchen. Soft and crisp at the same time, this pistachio and rose nan khatai a real treat. Its fusion of cultures and influences makes me feel it’s ideal for an Indian Christmas. As an eggless baked treat, it’s also perfect for vegetarians.


Pistachio & Rose Nan Khatai

(Yield: 25 pieces)

100 grams powdered sugar

80 grams ghee (clarified butter) at room temperature

100 grams maida

25 grams pistachio meal

½ teaspoon baking soda

1 teaspoon baking powder

2 tablespoons semolina

60 grams chickpea flour (besan)

½ teaspoon cardamom powder

A few strands of saffron, soaked in 1 teaspoon rose water

2 teaspoons yoghurt

½ teaspoon pistachio extract

Rose water (if required)


Pre-heat the oven to 160°C.

Add all the dry ingredients together, sift and set aside.

With a hand blender, beat the ghee and sugar together until the mixture is light and fluffy. Now add the yoghurt, pistachio extract and saffron. Mix gently.

Next, add the dry ingredients to the mixture. Use your hands to bring it all together. It will be a soft dough. If required, add 1 teaspoon of rose water to bind it better.

In a baking tray, lay out small rolls of the dough and top each with a slice of pistachio. Make sure there is space between the rolls to give them room to bloom. Bake for approximately 15 minutes, depending on the oven type.

Remove from the oven and allow to cool.

Your re:store-style nan khatai is ready to serve, just in time for the year-end festivities! This Western-but-Asian biscuit is delightful with tea. Isn’t it amazing how much history and how many cultures one little biscuit can contain? Aromatic thanks to the rose water and extra crunchy thanks to the pistachio, I am sure you’ll find it as addictive as I do. Here’s wishing you and your family a wonderful Christmas. I hope a batch of pistachio and rose nan khatai will be baking in your oven soon – let me know what you think of it!

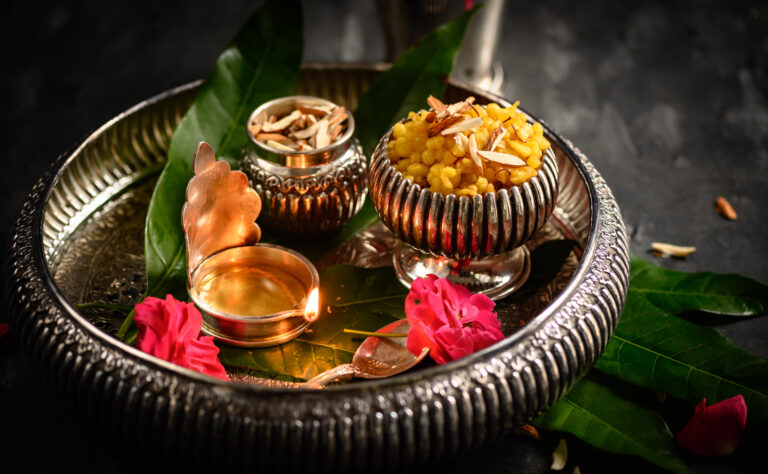
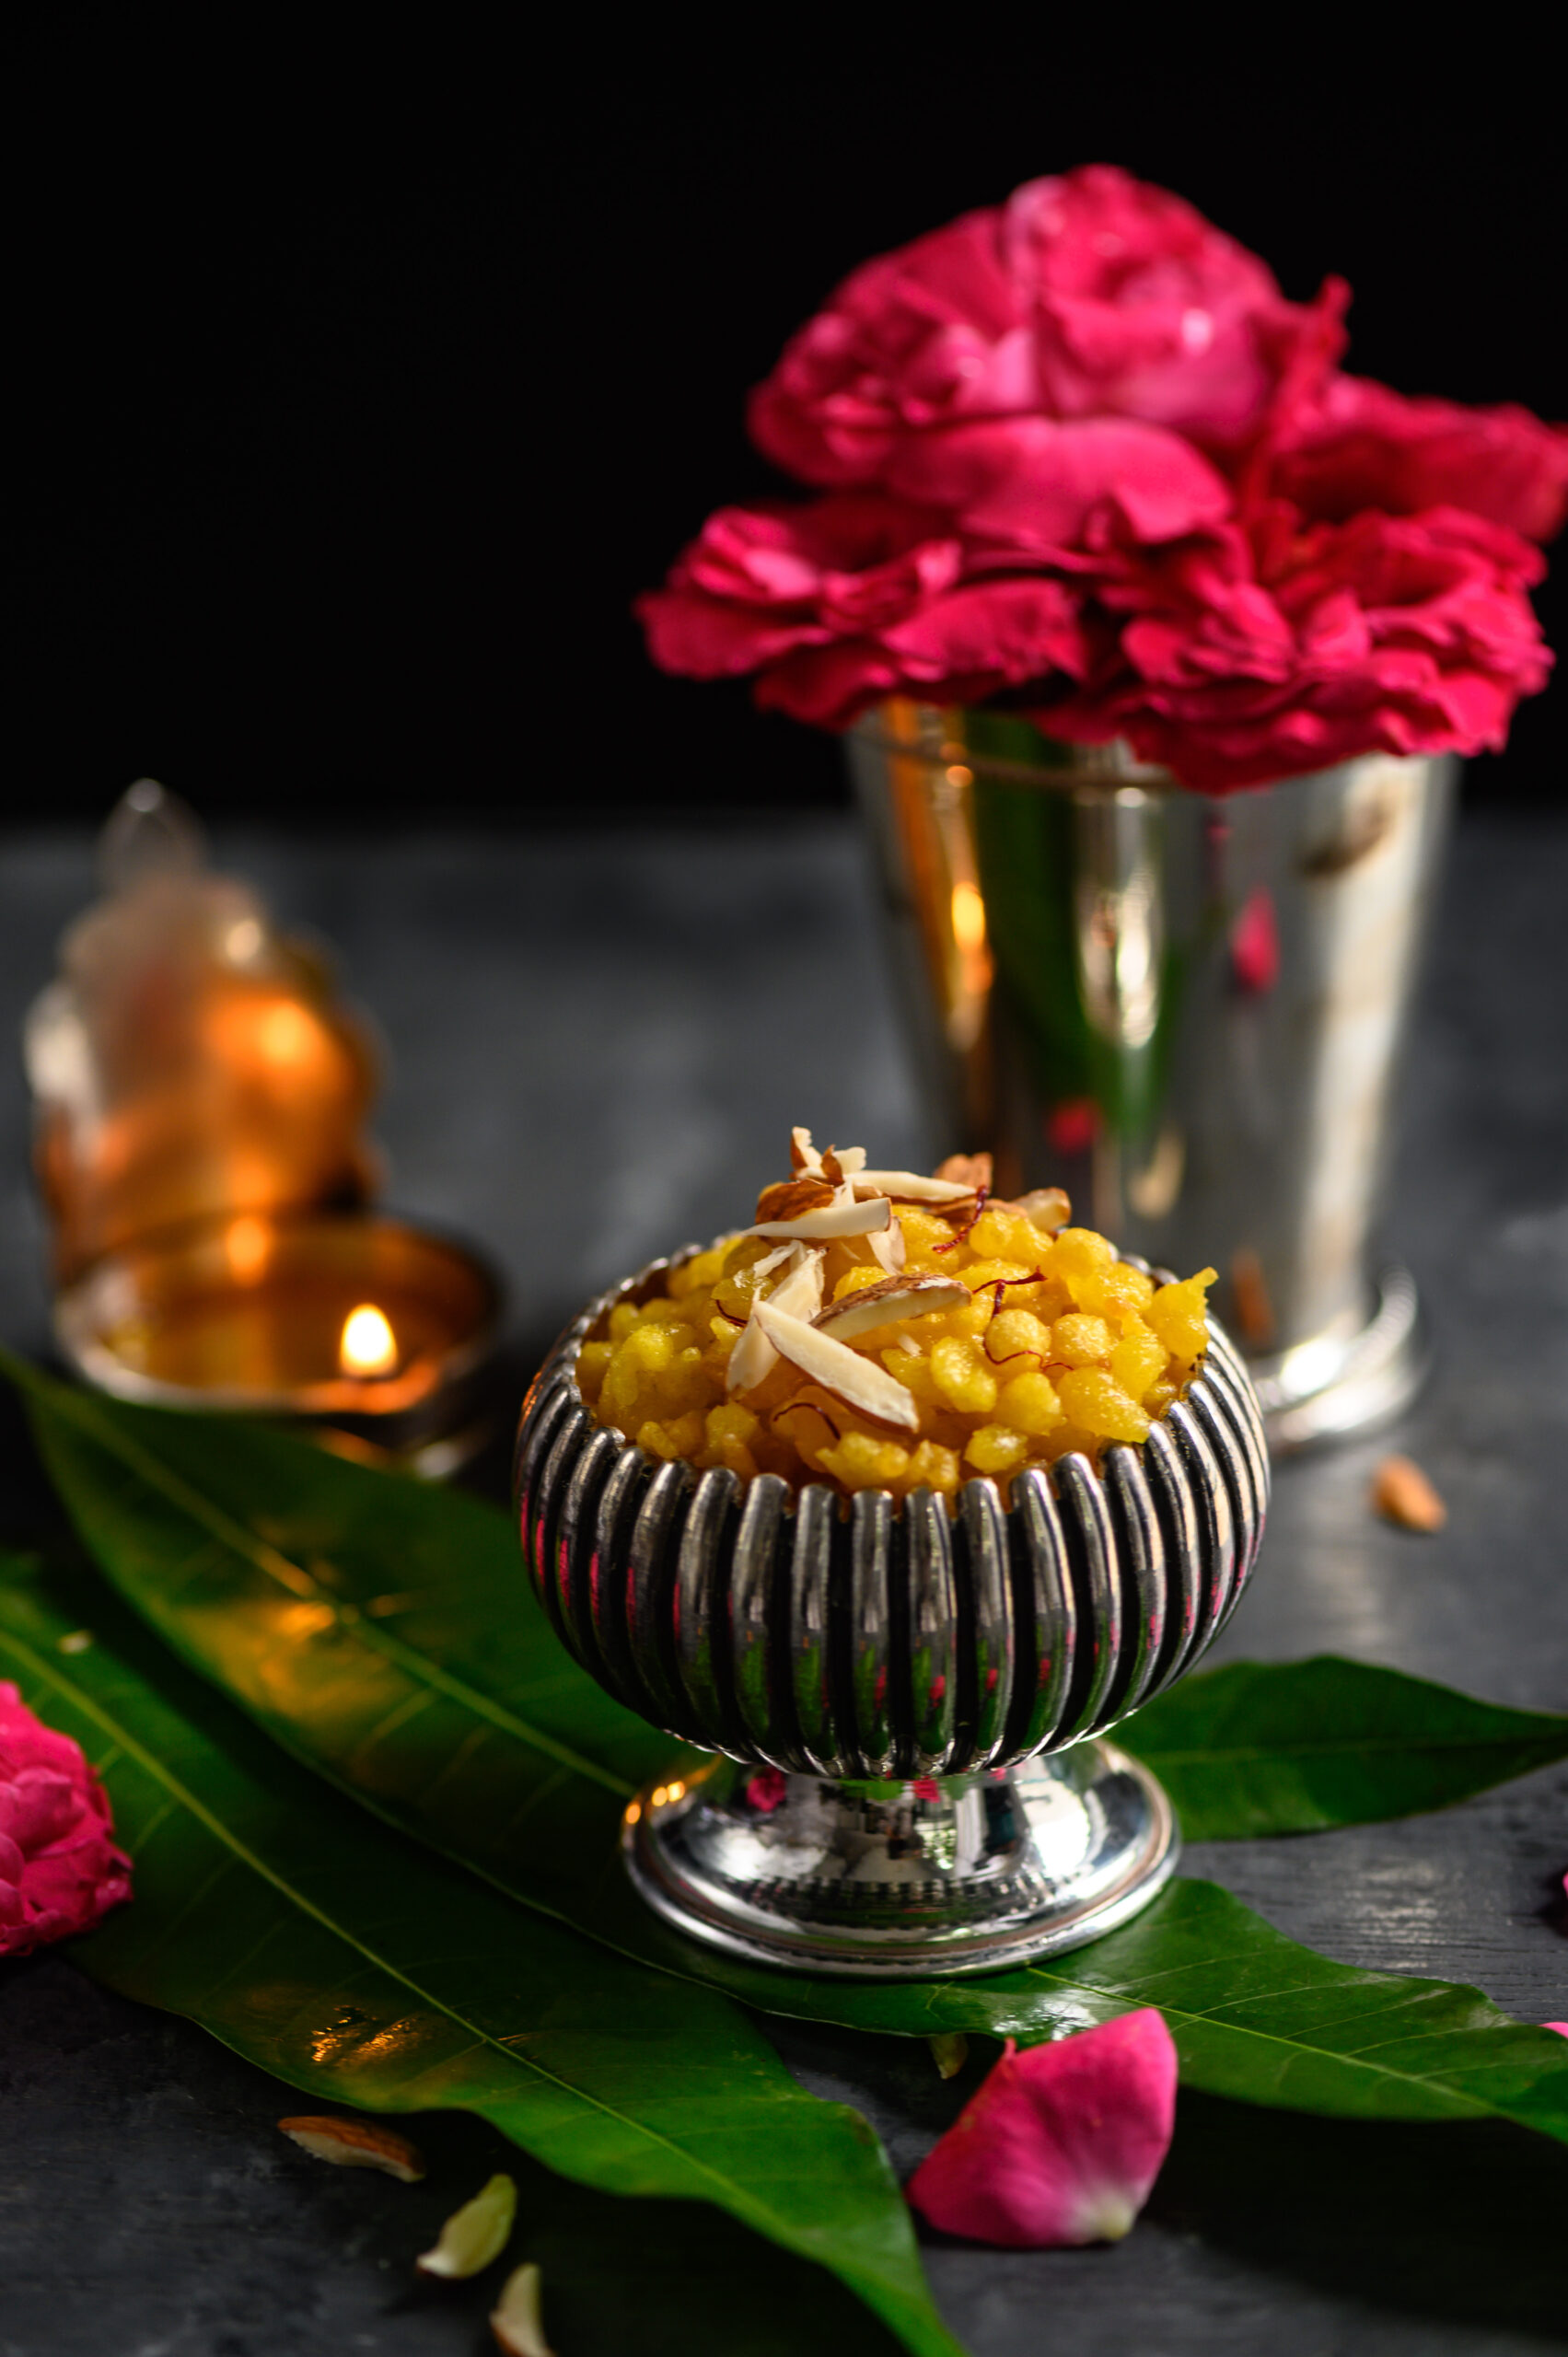
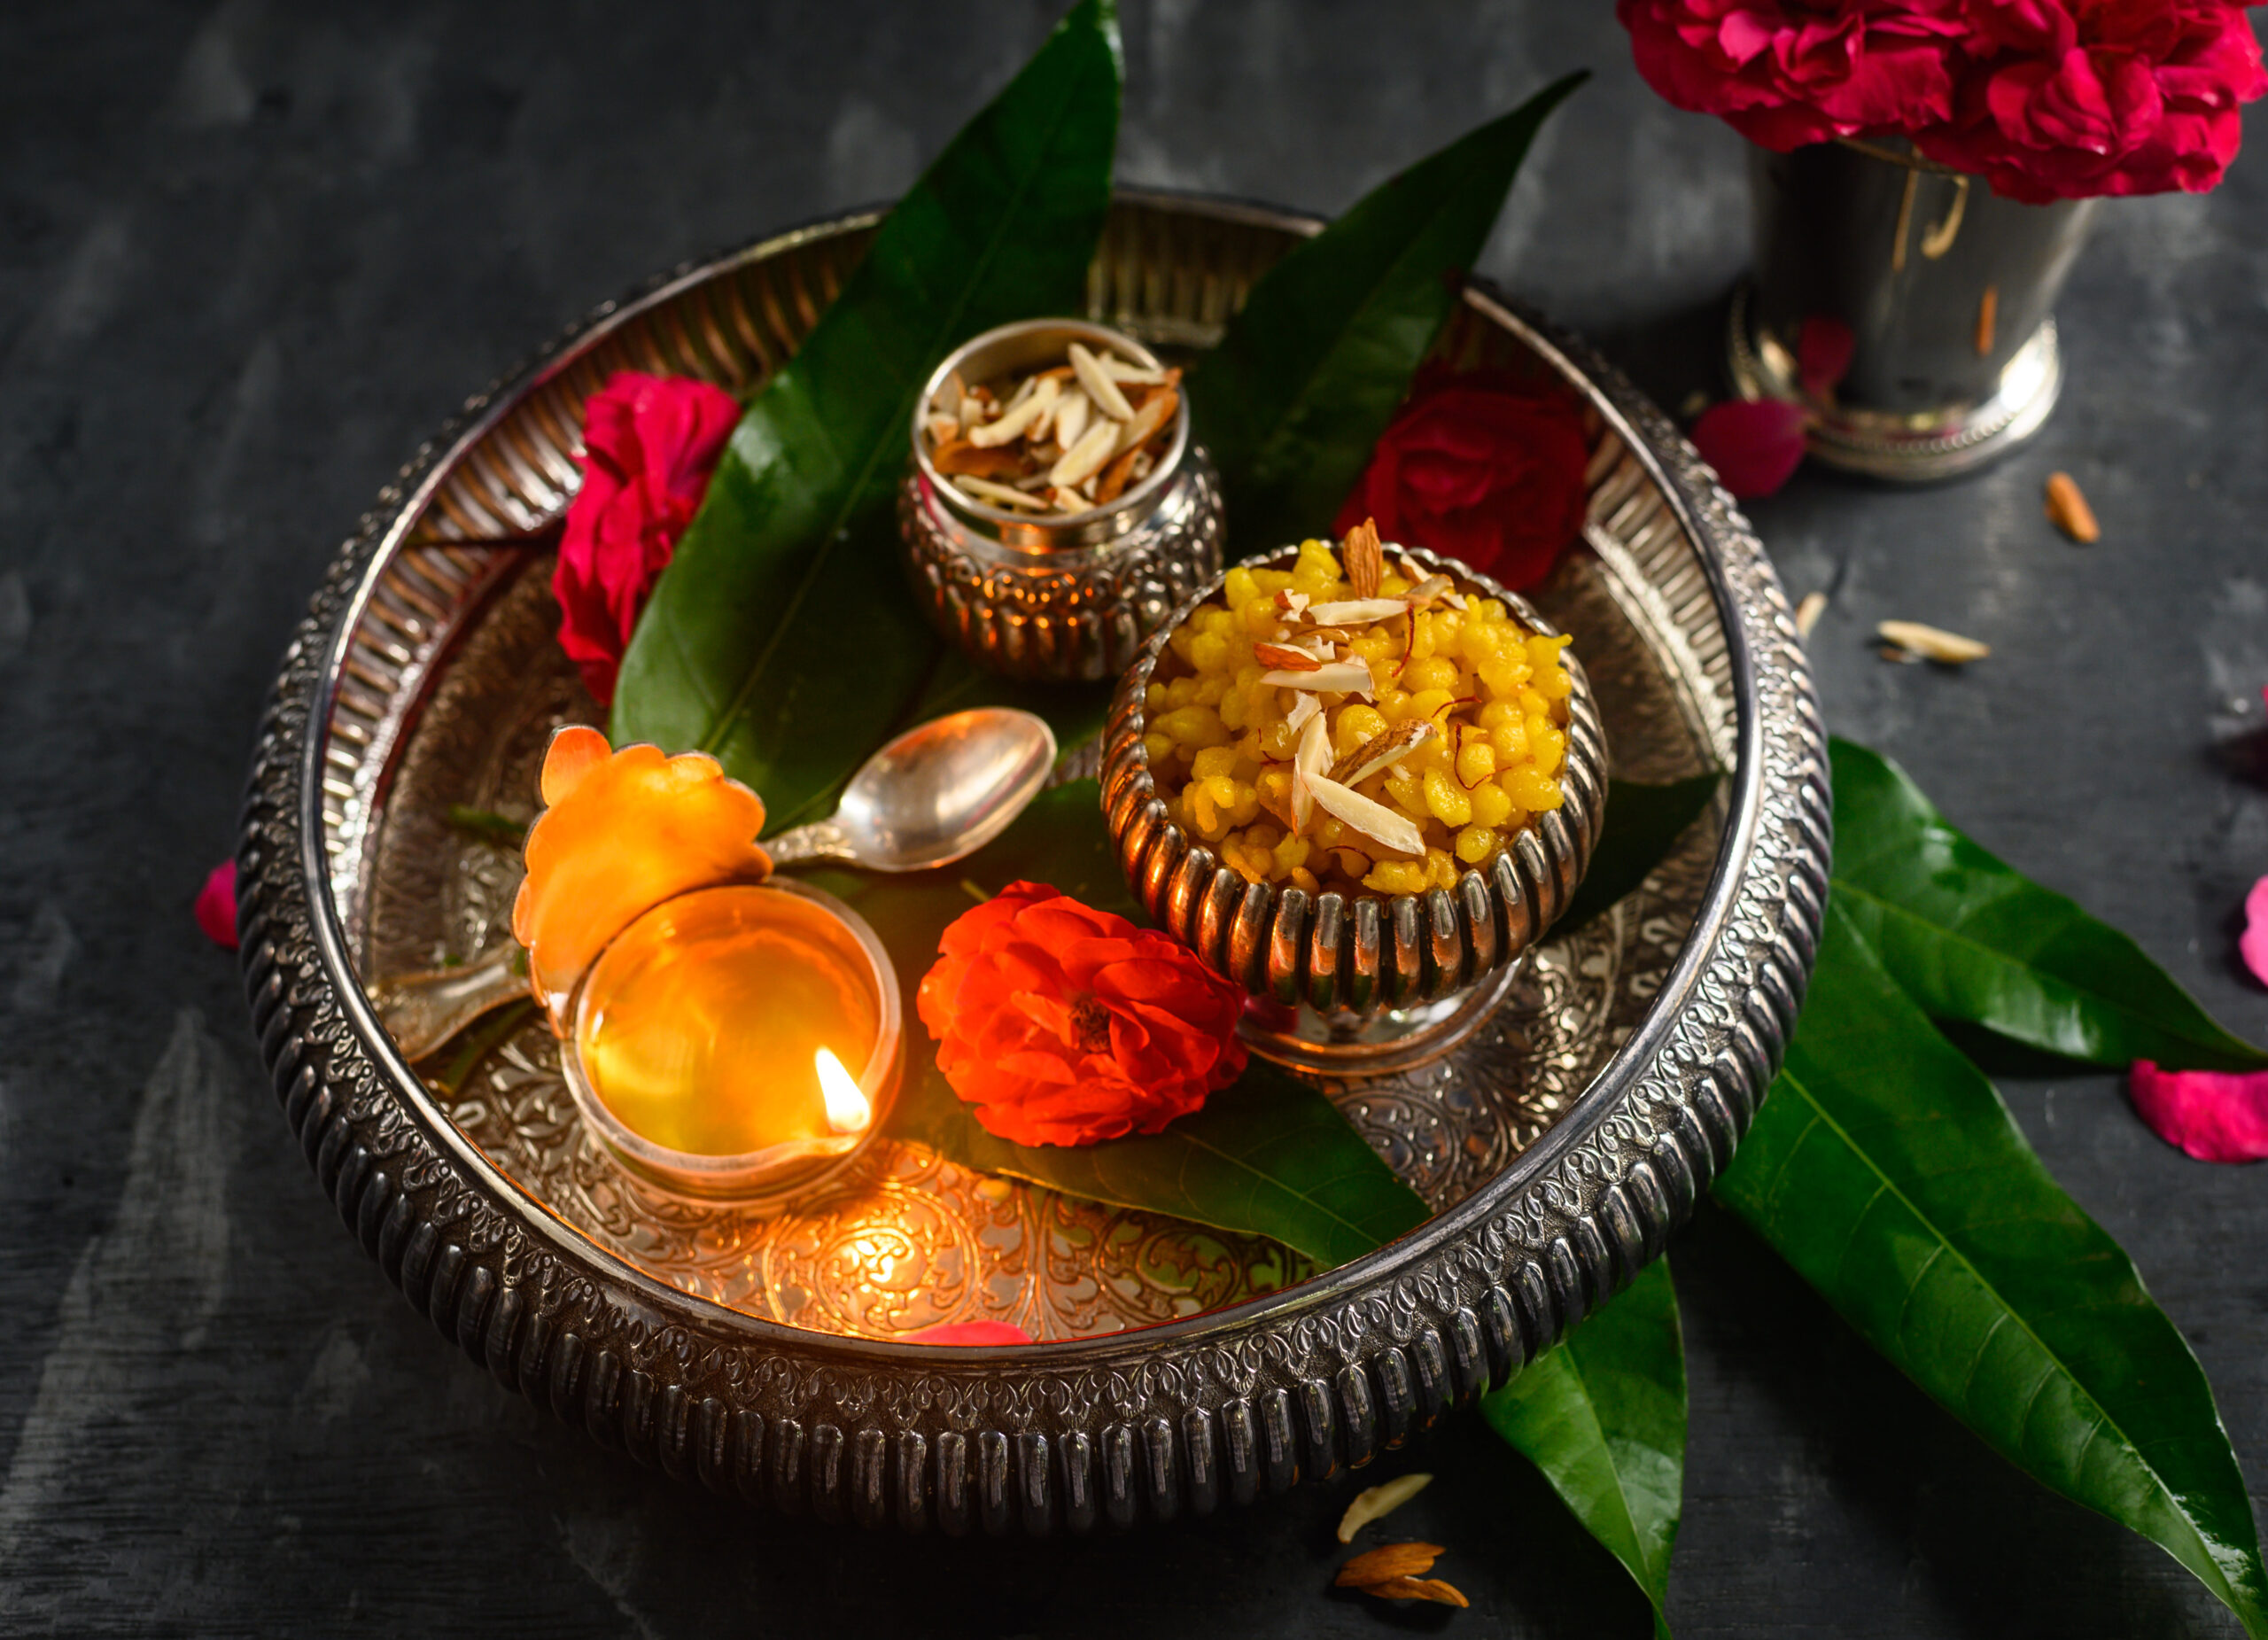
This Diwali, in so many homes across India (and in Indian homes across the world), sweets are going to be the star of the celebrations. Among several I am preparing is the sweet boondi, which I only learned how to make recently. Much to my surprise, it was an almost effortless process. Originating from Rajasthani cuisine and also popular in Bengal, boondi is essentially fried balls of chickpea batter, submerged in sugar syrup. It is certainly an indulgence, but that’s what festive seasons are for, aren’t they?

My sister has become my culinary teacher of late, and I was staying with her for a few weeks while having my sciatica treated. You may have noticed that I had been lying low on Instagram for awhile, and that was the reason why. I believe that illnesses have a mind-body connect, and my body forced me to destress through this one. The best advice that anyone gave me was that I needed to enjoy my downtime. I spent my recuperation reading, catching up with films, taking it easy, doing mild exercises which were a far cry from my frantic and intensive gym regimen, and just breathing. We have to remind ourselves to slow down and savour the moment. For those of you watching your diet over the holidays, you know exactly how it feels to let yourself enjoy just one sweet. That’s the kind of slowing down and savouring that I am talking about.

Staying with my sister gave me a chance to watch her working in her kitchen daily, and to pick up so many techniques and recipes from her. Among them was this sweet boondi. Like many people, I had consumed it innumerable times without ever attempting to make it myself.

Boondi is made in different sizes. The tiny one is called “motichoor”, for “moti”, meaning pearl. This recipe can be considered medium-sized. I recall enjoying the large, laddoo version of this sweet as a child (“motichoor laddoo”, in which many small balls are rolled together to make one big one). Another way to make this sweet is to flatten out the batter on a dish and cut it into squares, which are then fried and dipped in sugar syrup just like all the variants.

These days, with the proliferation of sweet stores, I find that many people reach out to purchase a whole range of treats without any idea of how easy they are to make. The soft sandesh that I recently shared on this blog was a perfect example of this. Some of my friends told me after reading the post that they had no idea that an item they had always considered fancy and difficult to make was in fact extremely straightforward and required so few ingredients. We often have the impression that just because something is available for purchase in stores and at restaurants, it cannot be prepared at home. This sweet boondi is similar. Let me assure you that as long as you master the consistency of the batter and the syrup syrup, you’ll be able to whip it up in your own kitchen in no time. The process is quick and easy, not as long-drawn and elaborate as you may have imagined.

Unlike perishable milk sweets, this dish will keep for a few more days – but I guarantee you that you won’t have proof of that. It’s far too irresistible. Place it on the table and just watch it disappear!


Sweet Boondi

(Yield: approximately 3 cups)

1 cup chickpea flour

¾ cup water

1 cup sugar + ½ cup water

¼ teaspoon saffron + 1 teaspoon water

½ cup sliced almonds


The trick is to get the consistency of the batter just right, so that it drips into the oil properly as it fries. After this, the next trick is to have perfectly-made sugar syrup is key. I was so tempted to flavour mine with rosewater, given that rose is an ingredient I reach for so frequently that it’s one of re:store’s signature twists. But I refrained, choosing to go for a traditional spice instead. The saffron in this sweet adds a subtle fragrance and flavour to it.

In a bowl, mix the chickpea flour with water. It needs to be almost like an idly batter or pancake batter consistency. Only if you have the consistency right will the boondi drop into beautiful dots.

In another bowl, add the sugar and ½ cup water. In a medium flame, stir the sugar and water slightly for about 10 minutes until it becomes thicker, but not too thick. Allow to cool slightly and add the soaked saffron so the sugar expands in an orange colour.

Heat ghee in a frying pan on a medium flame. Once the ghee is hot, drop the batter through a sieve so that it falls in tiny droplets into the hot ghee. See the video below for the method.

Fry the droplets for a few minutes, making sure it doesn’t turn colour. Now, strain the drops from the hot ghee and add them into the warm sugar syrup. Fry all of the batter this way. As you drop the boondi into the syrup, it will soak up the syrup.

Garnish with sliced almonds or pistachio, or to give it a festive look, decorate with silver leaf/varak. Your sweet boondi is now ready to serve.

If you prefer this boondi in laddoo form, then the sugar syrup needs to be thicker so that you can pick up the boondi and roll it into balls between your palms.

When it comes to snacks, my most favourite combinations are both sweet and savoury. I love having this sweet boondi with the crunchy, spicy poha roast mix. Over Diwali, I feel like I consume endless bowls of the two together, with their medley of textures and tastes.

You may have noticed that the majority of recipes I share are for dishes I have some emotional connect with, especially from my childhood. This sweet boondi is one with which I have no such nostalgic attachment, but for me festivals and food are not just about the past. Each dish, each festivity, is a chance for new experiences. We create new memories this way, which may eventually become sentimental in their own way. As we celebrate this Diwali, I wish for you that the year to come contains all the sweetness of this dish. I hope it will be a part of the precious bonds that you are building over your dining table, too.

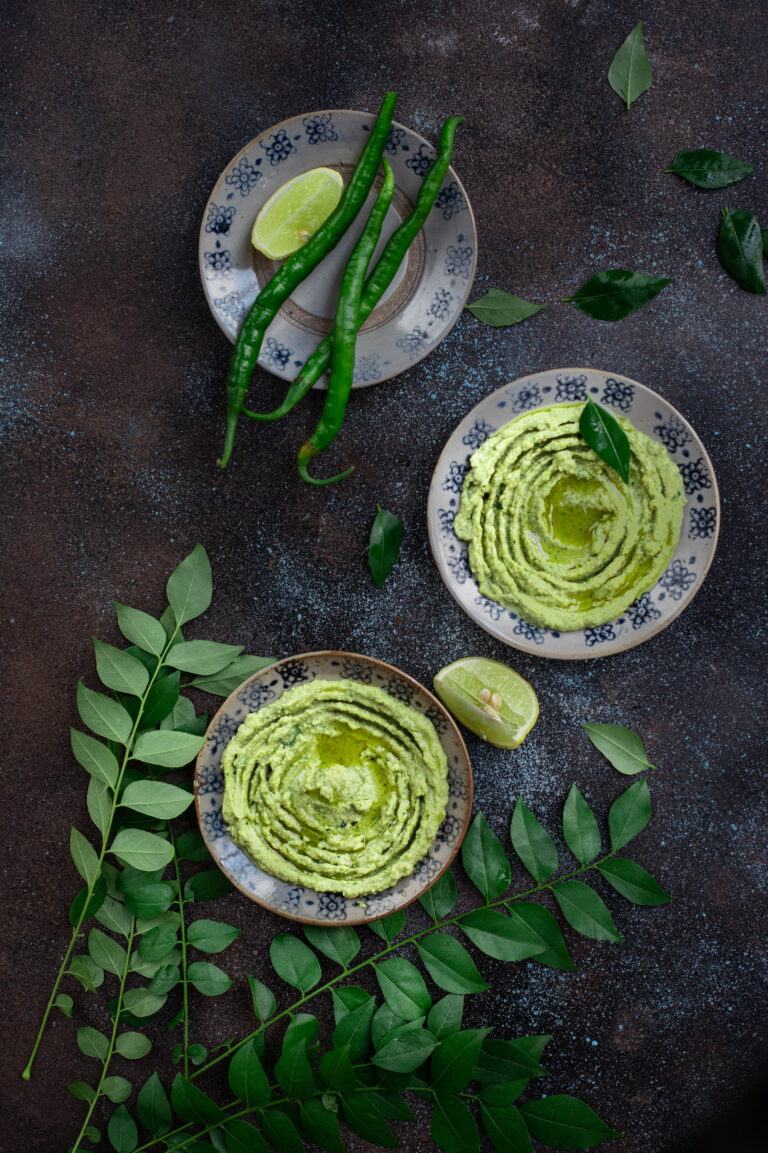
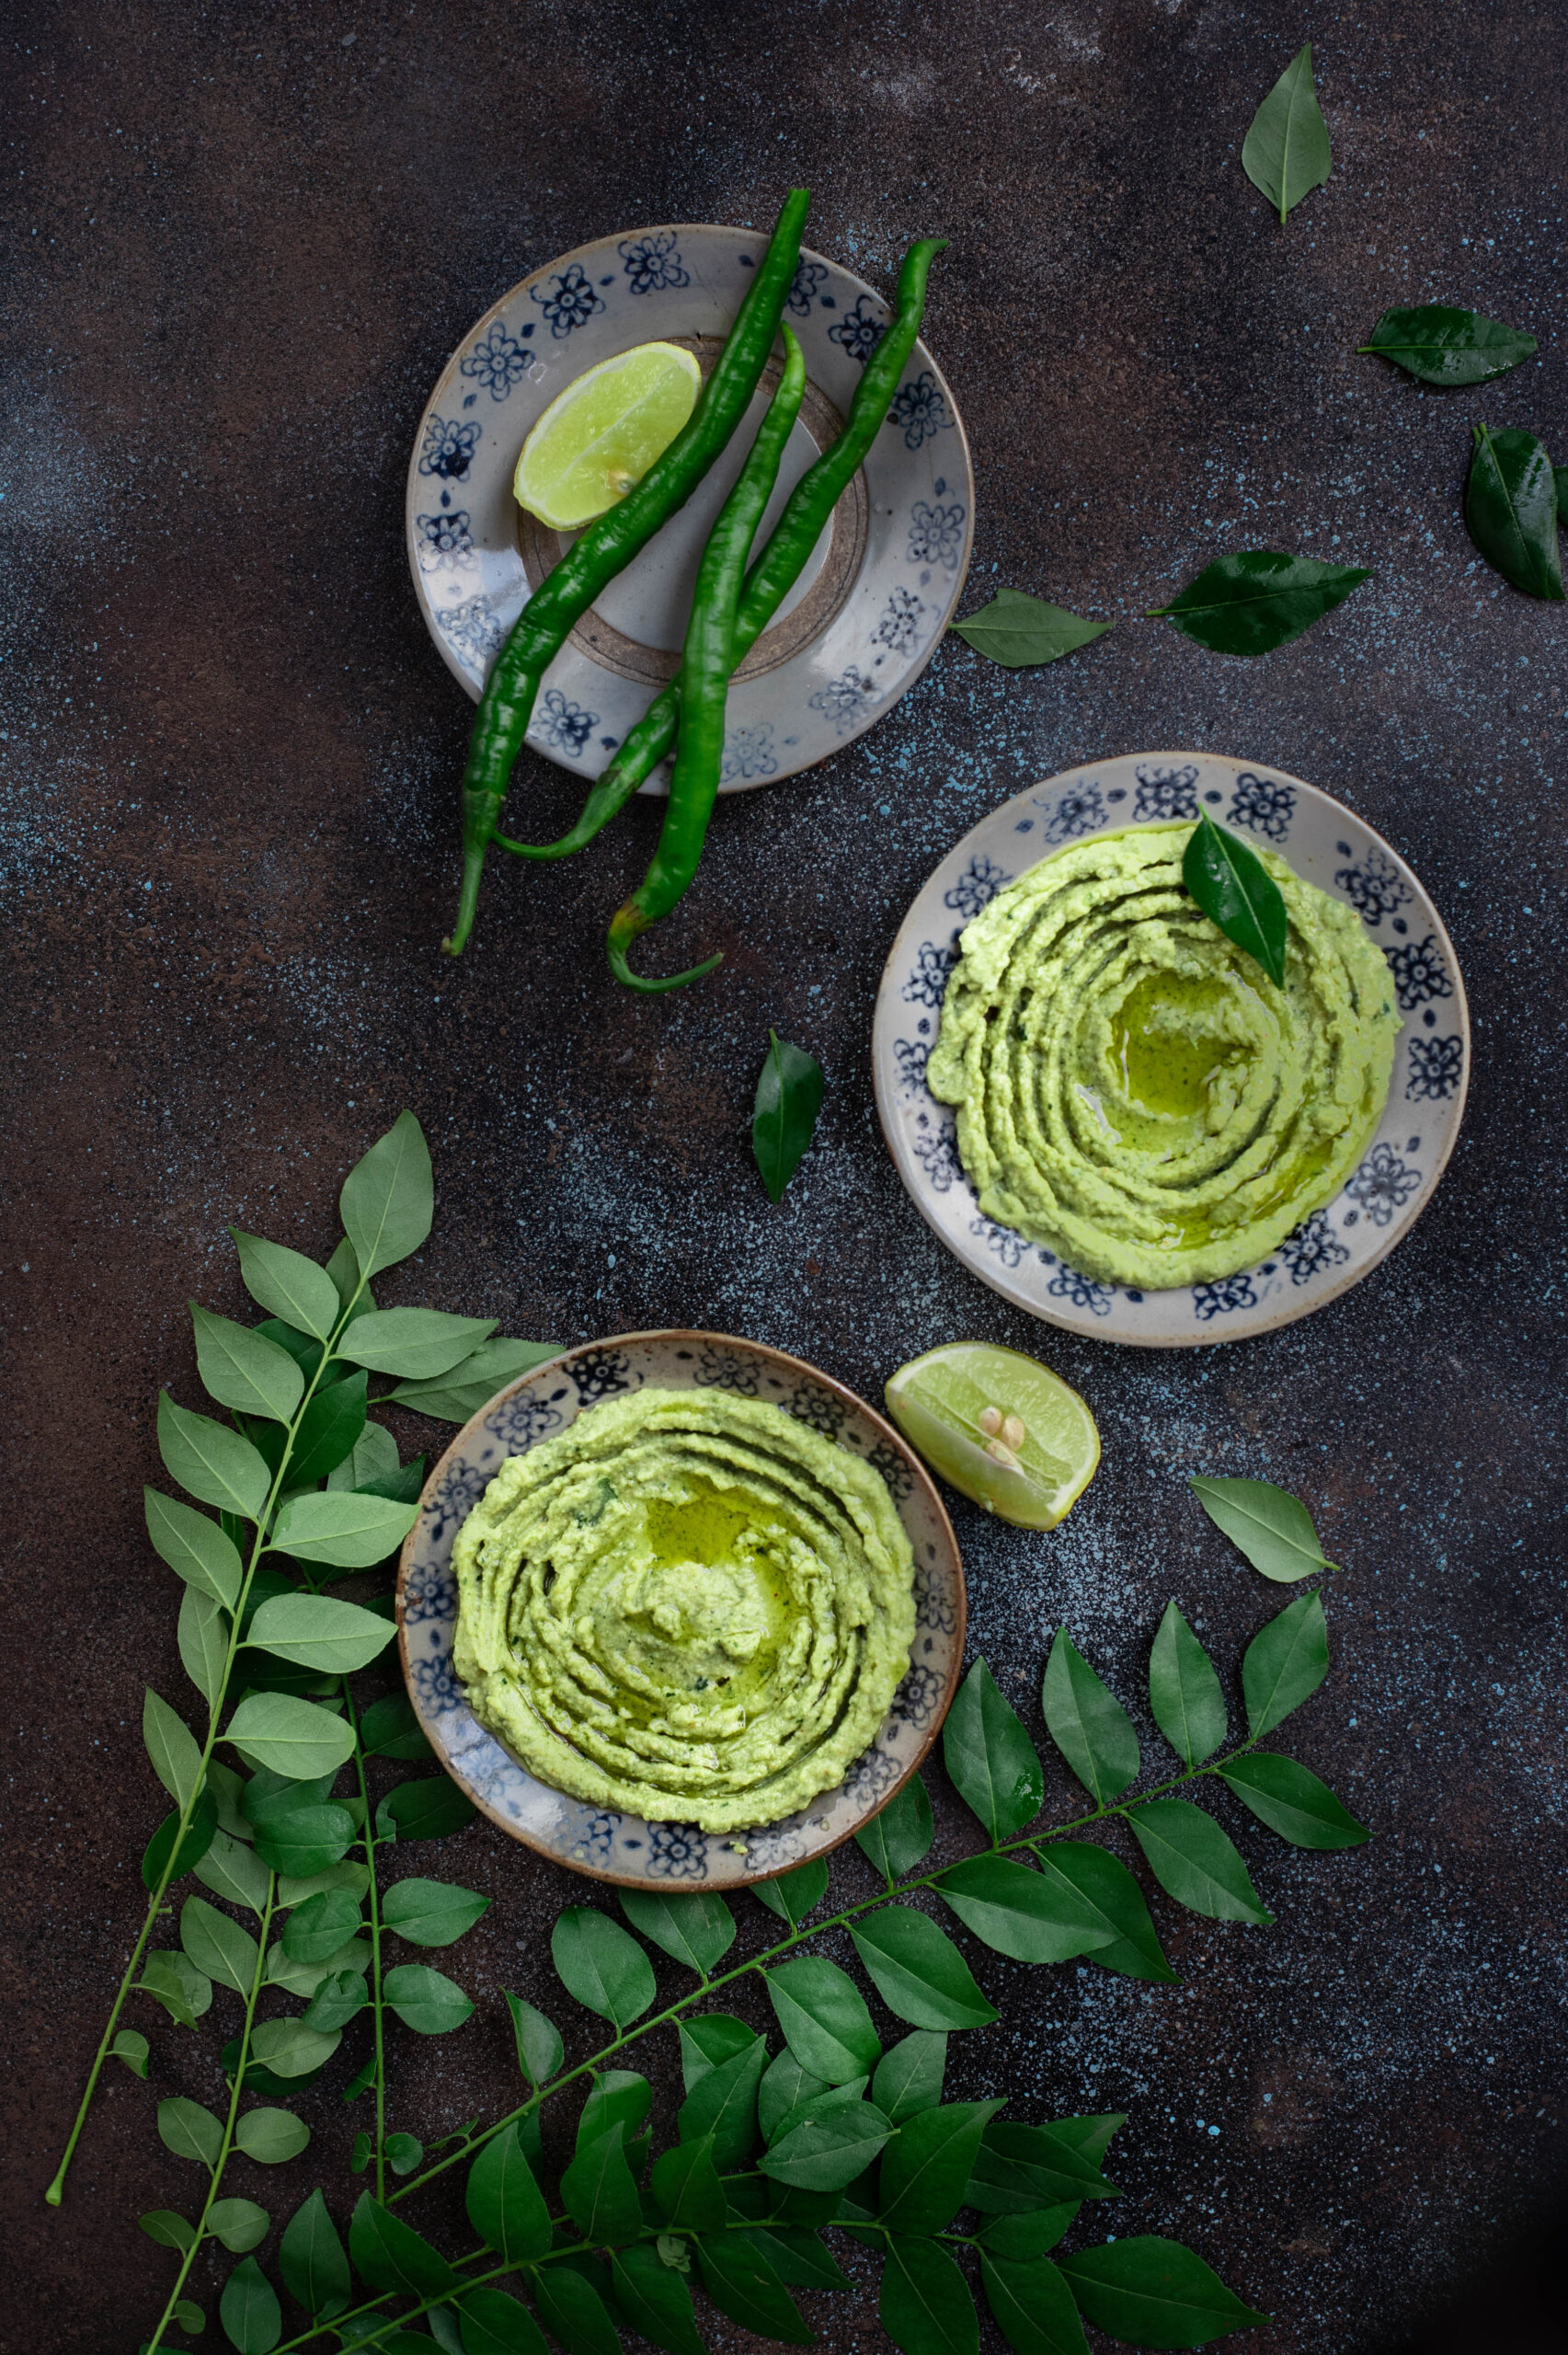
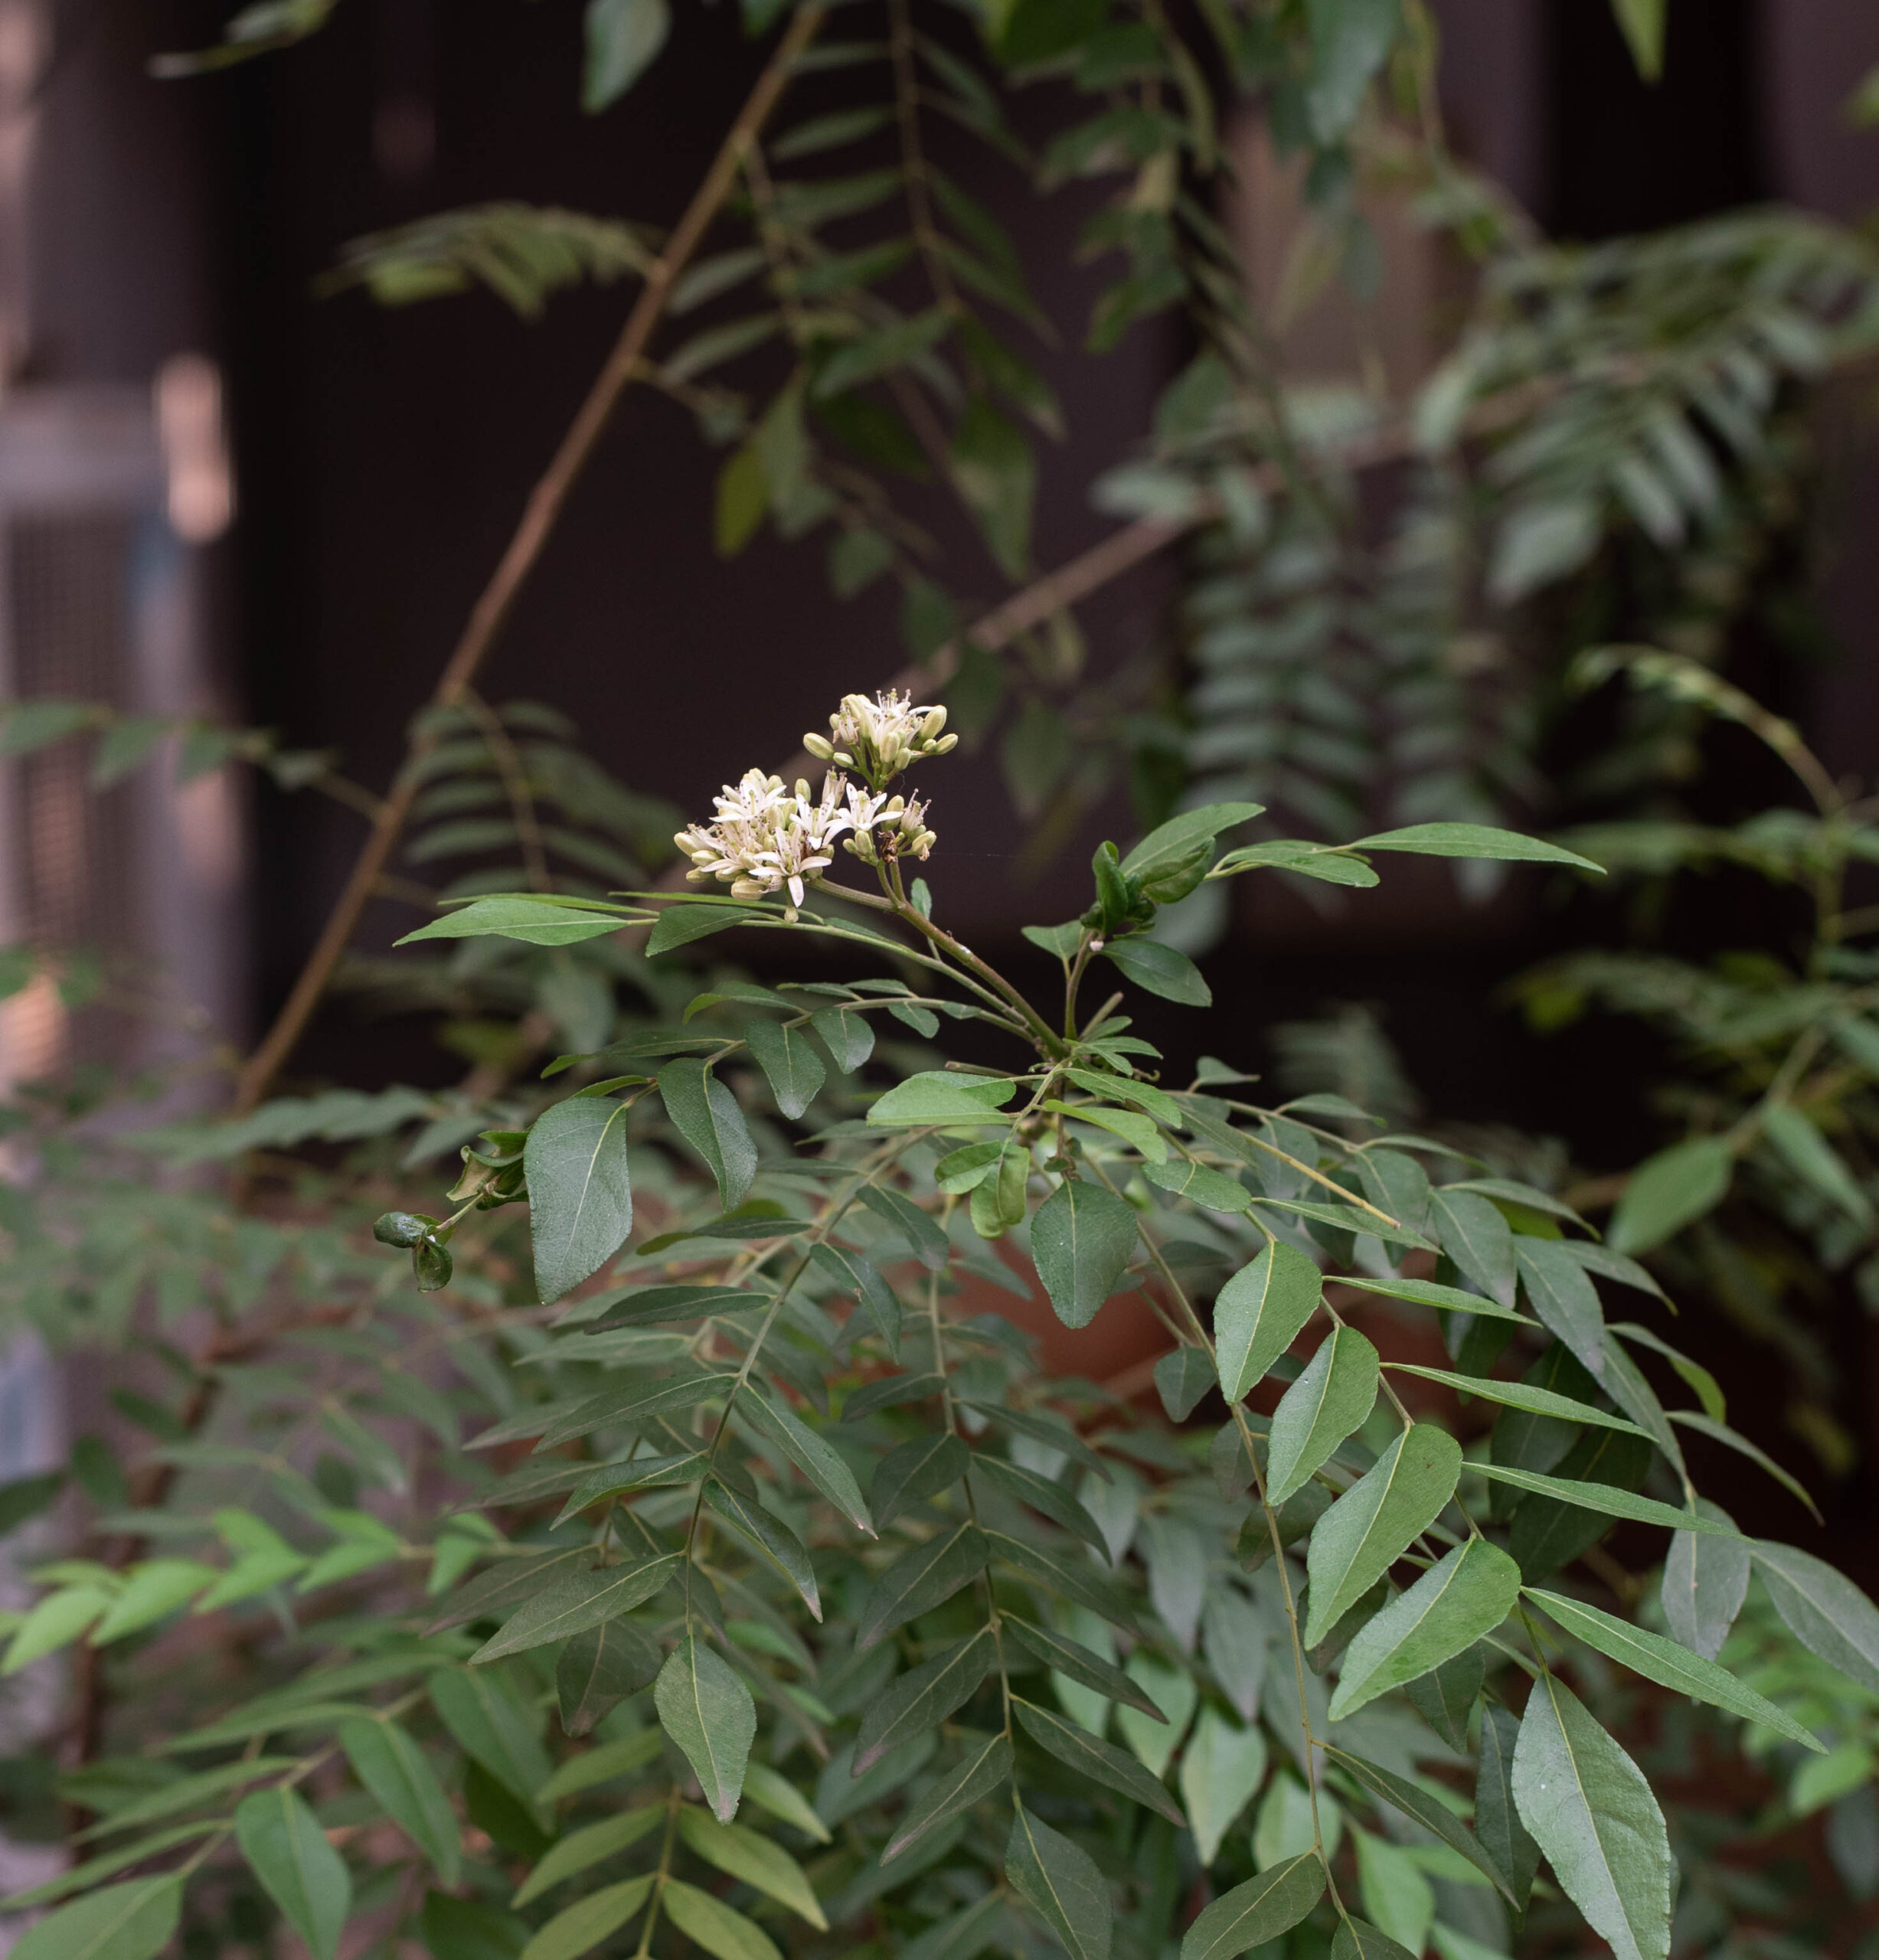
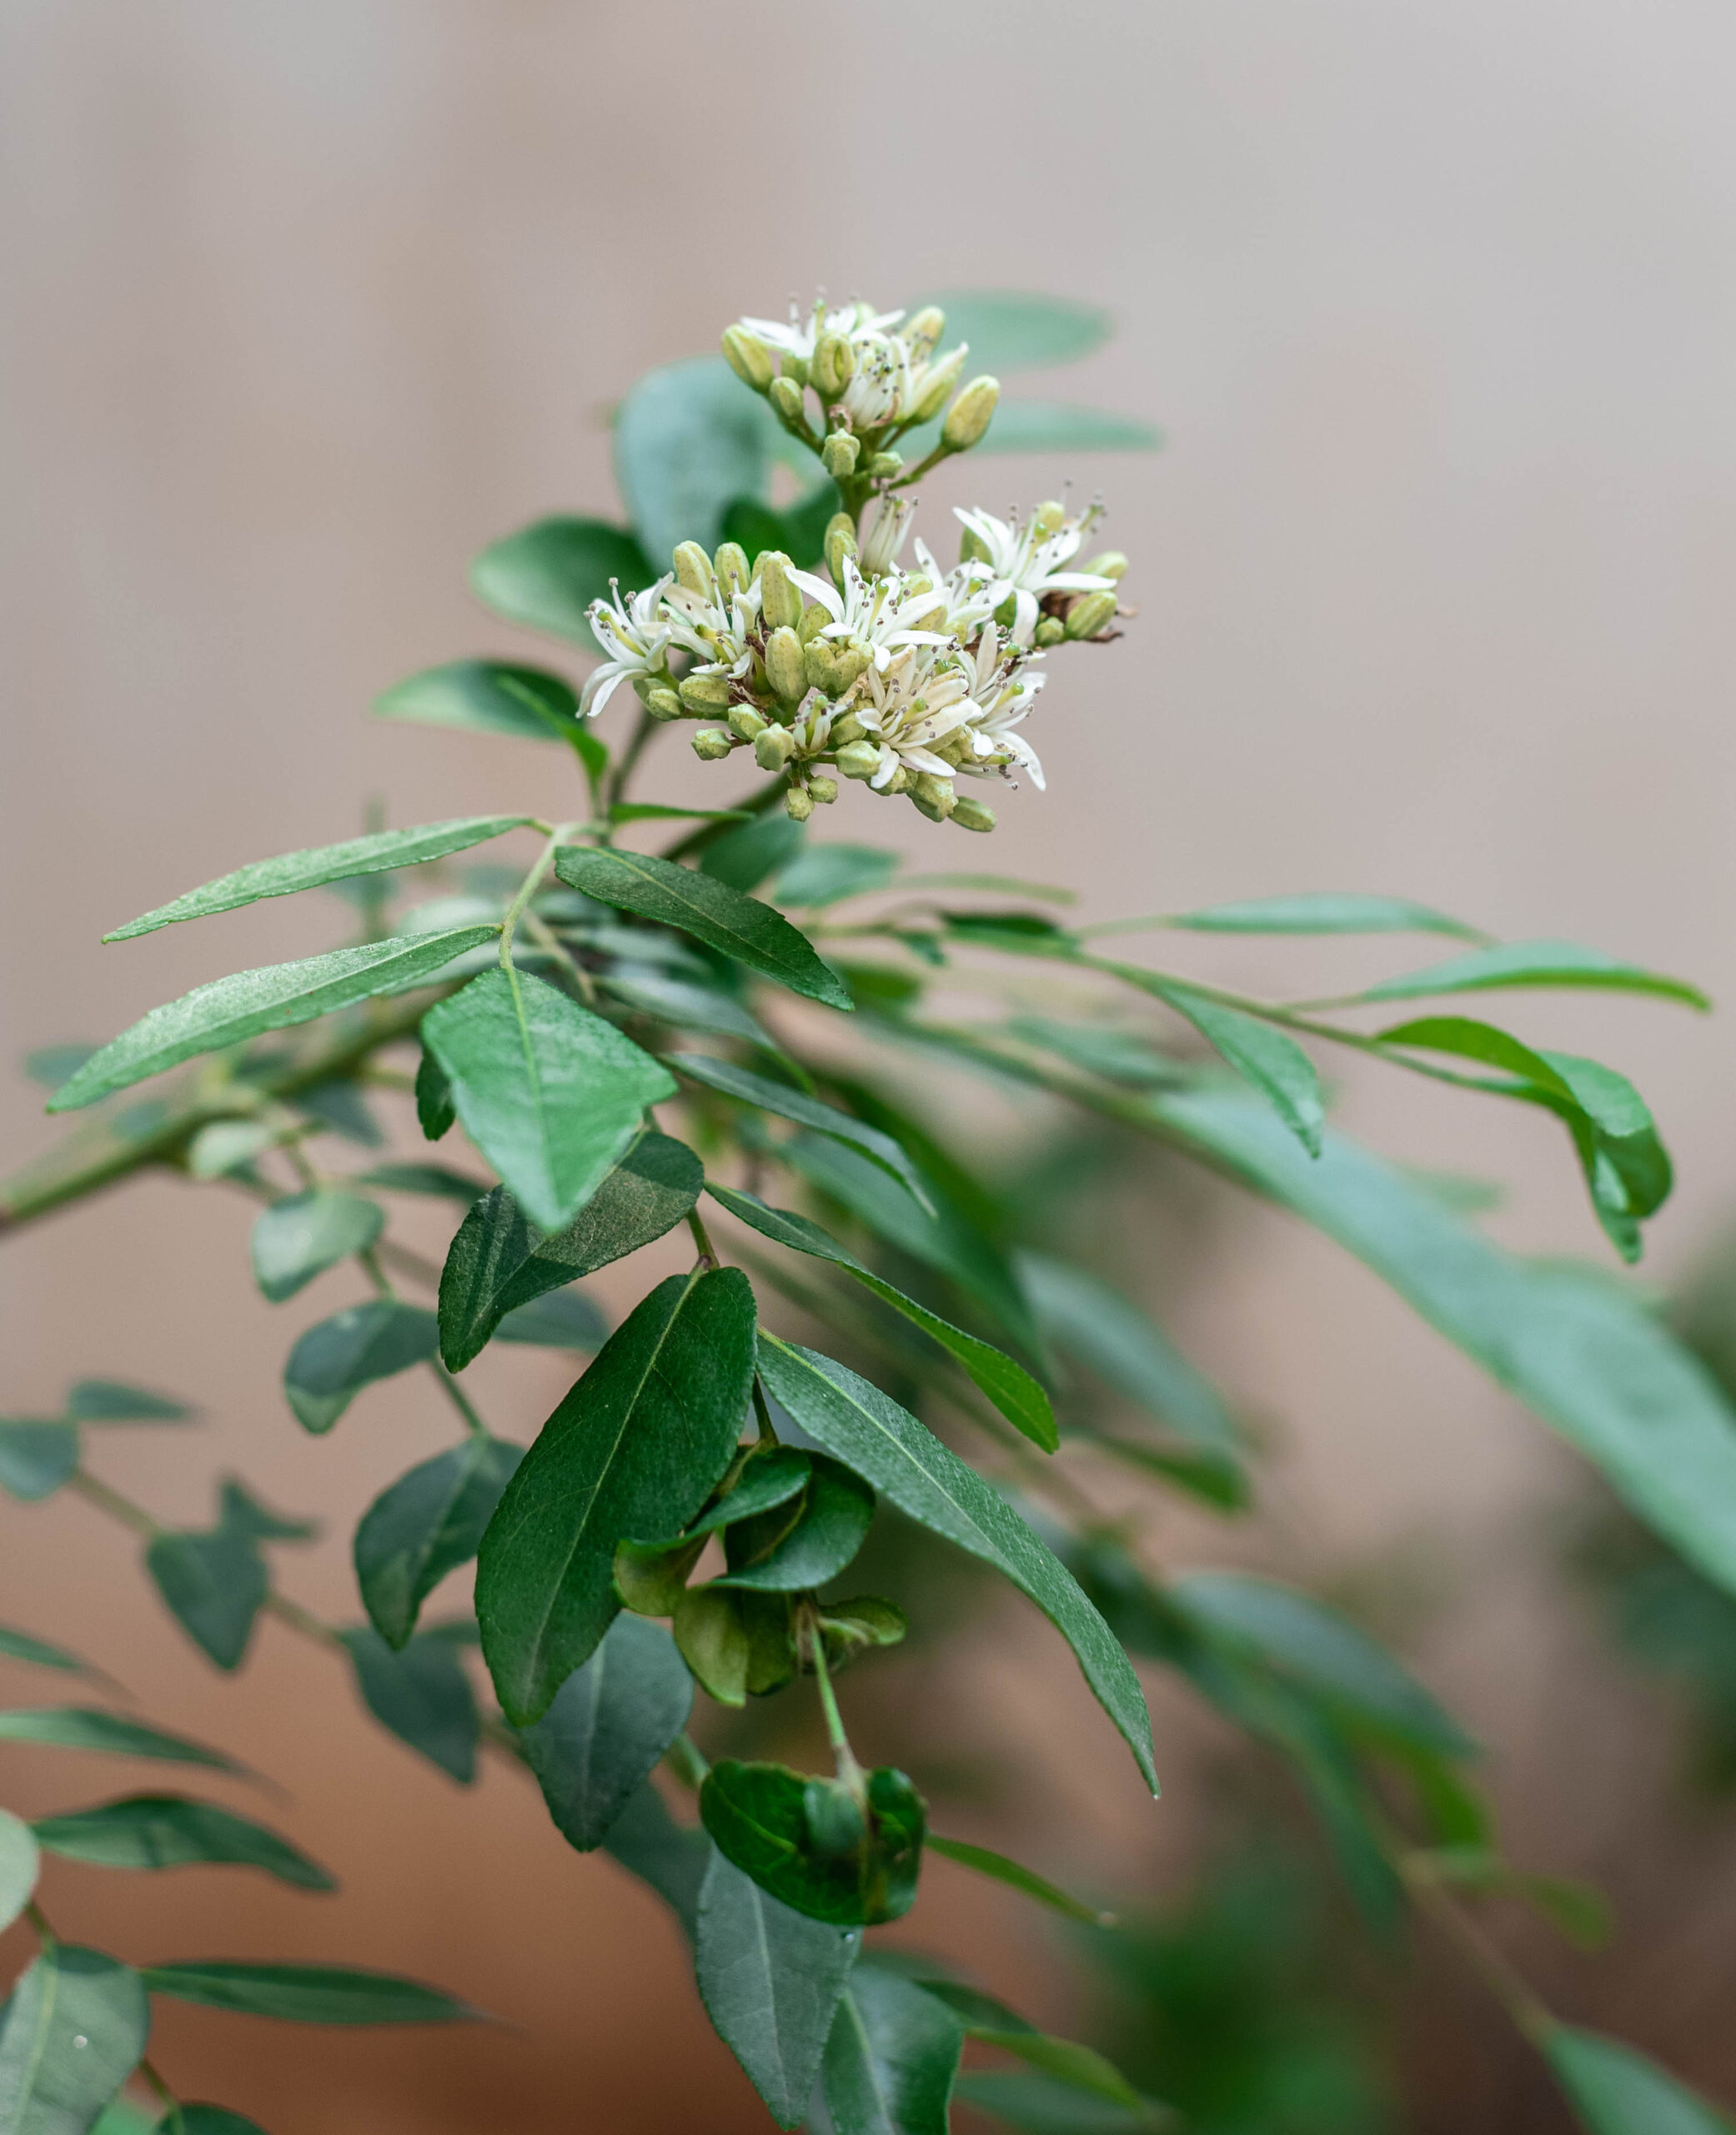
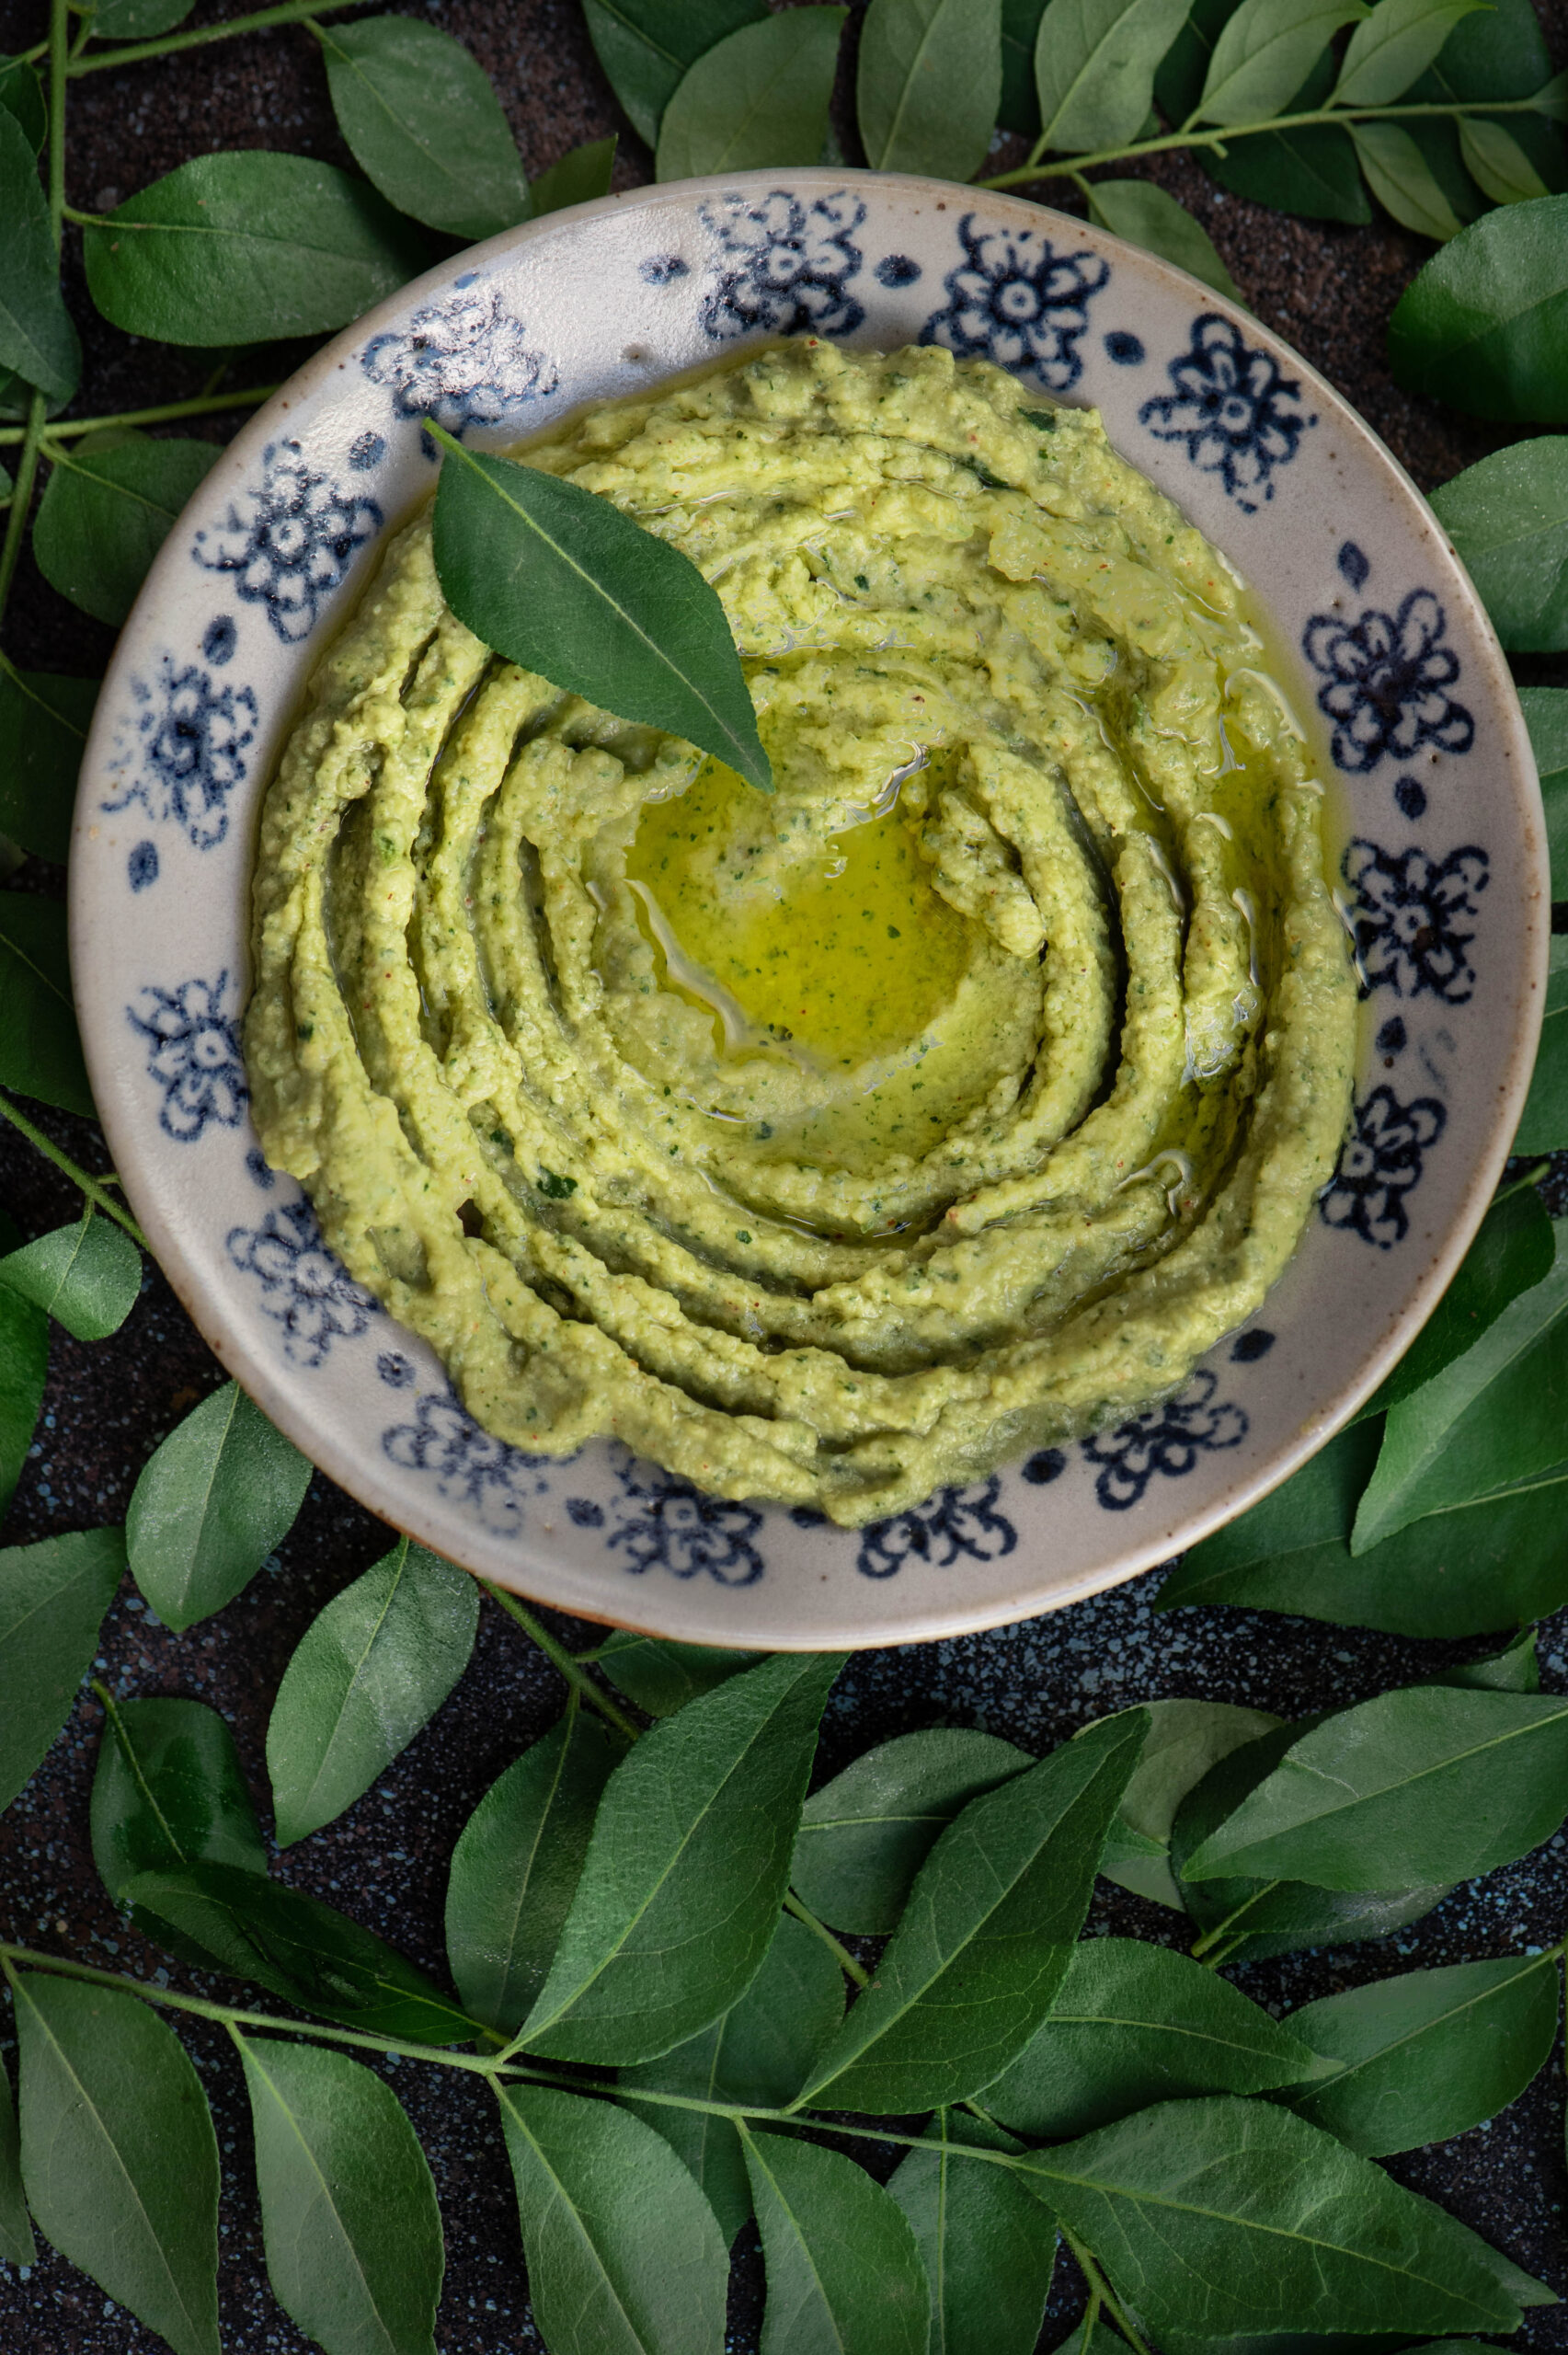
With the festival of Navaratri coming up, when chickpeas are served to guests in many homes in a simple dish called sundal, I had the humble legume on my mind once again. Only this time, I felt inspired to pair it with another ingredient that’s an essential in every South Indian home: the curry leaf. With the occasional rains we are enjoying in Chennai at the moment, my curry leaf bush has been in full bloom. And when I have so much in my garden or farm, you know that it usually tends to go straight into my kitchen. I took these two local ingredients and put them together in a fusion dish: curry leaf and green chilli hummus.

Hummus is a Middle Eastern dish that is a part of daily cuisines in that part of the world, and is usually eaten with breads. It’s also popular everywhere as a party snack, a perfect dip for everything from sliced vegetables to skewered meat. I’ve tasted a lot of beetroot hummus, so I knew that the basic puree lends itself well to flavourings. That’s when my curry leaves caught my eye.

Also known as “sweet neem”, curry leaf is an ingredient that we almost take for granted in our Indian kitchens. Tempered or fresh sprigs are thrown into curries, the powder is eaten with rice, and so on. It adds flavour to so many dishes that it’s just a ubiquitous part of our cooking. With a range of health benefits, including antioxidant and anti-diabetic properties, it’s no wonder that our ancestors incorporated it into as many meals as they could.  Now that I grow curry leaves in my own home, I have been learning a little about the plant too. Did you know that the tiny berries, which are not used in cooking, are actually high in Vitamin C – but that their seeds are poisonous?

Long ago, my hummus attempts would be so mediocre that a good friend would send me tubs as I so enjoyed the dish. Over time, I learned how to make it and stopped depending on those shipments, just as I stopped depending on store-bought cakes and even began to experiement with homegrown ingredients. Trial and error is the key to learning, and by studying different recipes and adding my own touches, I finally arrived on a version I loved.

The main ingredient in hummus is the humble chickpea, which is a staple not only in the Middle East but all over India in its many forms. It’s eaten boiled for a healthy snack, powdered and roasted and used as a binder, and known by so many names – puttukadalai, chana dal, kabuli (did this come to us by way of Kabul, I wonder?), chole and so on. Abroad, you may know this legume as garbanzo beans. The darker variants have a higher iron content, while the chana dal I use for thus hummus is rich in protein and fibre, thus filling you quickly and also aiding weight loss. It is known to lower cholesterol and diabetic risk, and also has high zinc and folate content.

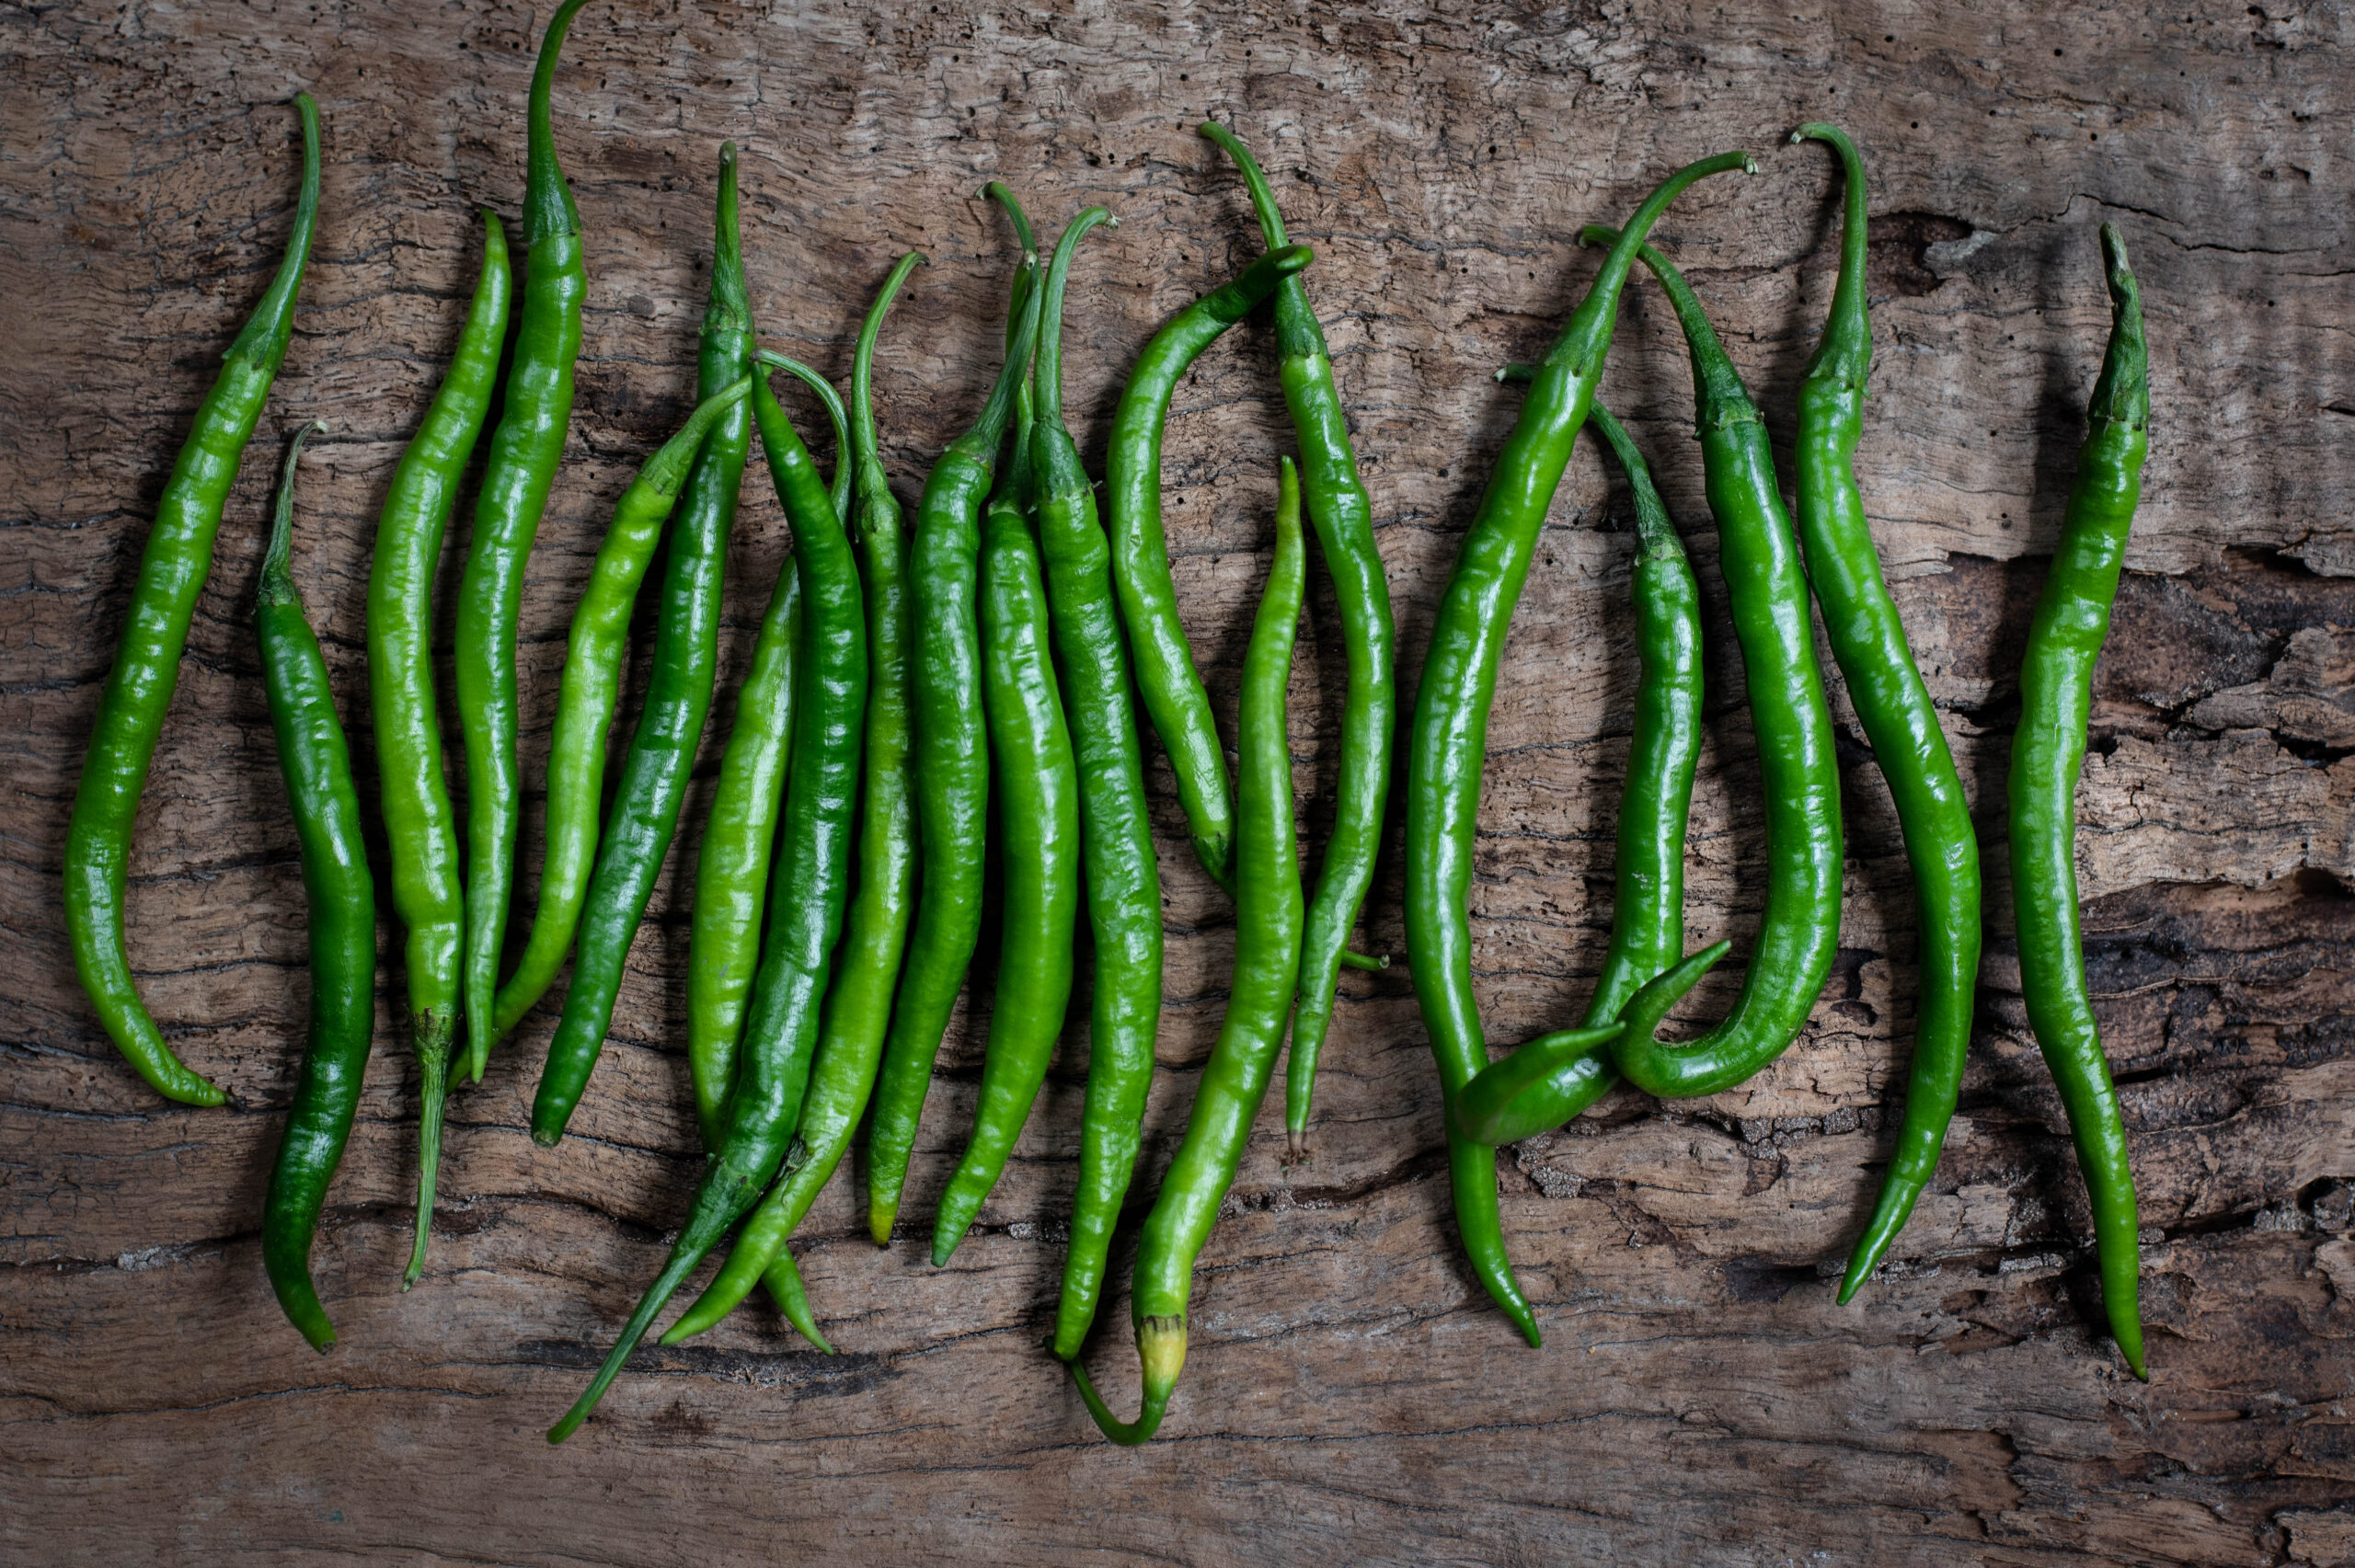
The traditional hummus has a bland, though satisfying, taste. I thought of how I could kick it up a notch. That’s when I decided to add the equally ubiquitous green chilli, which is rich in Vitamin C, great for digestion – and very piquant!

Tahini, which is made of ground white sesame, and olive oil round out the Middle Eastern flavours. Fortunately, these are widely available at good supermarkets in India and other countries. I used some wonderful olive oil I picked up in Portugal recently, which will be featuring in my blog soon.

The day after I made this curry leaf and green chilli hummus at home, I went to Goa and to my delight, my good friend the designer Wendell Rodricks served the very same dish in his home! I squealed! The coincidence was just too thrilling, and I wanted to share my recipe immediately, so you too can serve it soon.

Curry Leaf & Green Chilli Hummus

(Yield: 1 bowl)


Ingredients

1¼ cups cooked/boiled chickpeas

3-4 garlic cloves

1 tablespoon tahini

2 tablespoons lemon juice

½ teaspoon salt

¼ cup olive oil

1 cup washed curry leaves

1 green chilli

Water


In a blender, add the curry leaves and green chilli with 2 tablespoons of water. Blend until you get a smooth paste. Keep aside.

Next, blend the soft cooked chickpeas along with garlic, tahini, salt, half the olive oil and lemon juice.  Blend well until the paste is smooth and looks creamy.

Now, add the blended curry leaf paste to the creamy chickpeas and whir once again until it all mixes well. Adjust the salt and lemon quantities to suit your taste.

If you feel it needs to be creamier, add more water or olive oil to the blend, until it achieves a dip-like consistency.

The curry leaf hummus is now ready to serve. You can have it the traditional way, with flatbreads, whether that’s the Middle Eastern pita or the North Indian naan. Or some healthy quinoa chips, for a wholesome snack. Crunchy vegetables like carrot or celery sticks, toasties, or rice crisps (to keep that South Indian sensibility) are also excellent accompaniments. With a mildly yet surprisingly flavourful curry leaf hummus like this – it’s the dip that’s the main dish, not the accompaniment!

And if you just can’t get enough of that flavour, why not try my curry leaf and raw mango cooler as well?

What’s the go-to dish in your home when you don’t want to think about what to make? For me it is the chilla, and it was also my mother’s staple dish. Once I began to cook, I saw that it was not a lack of inspiration but ease that makes certain dishes a part of cooking-on-default mode. Whether the dish in question is idli, upma, macaroni – or in my case, chilla – it’s something you’re so good at that you don’t even have to spend a moment mulling it.

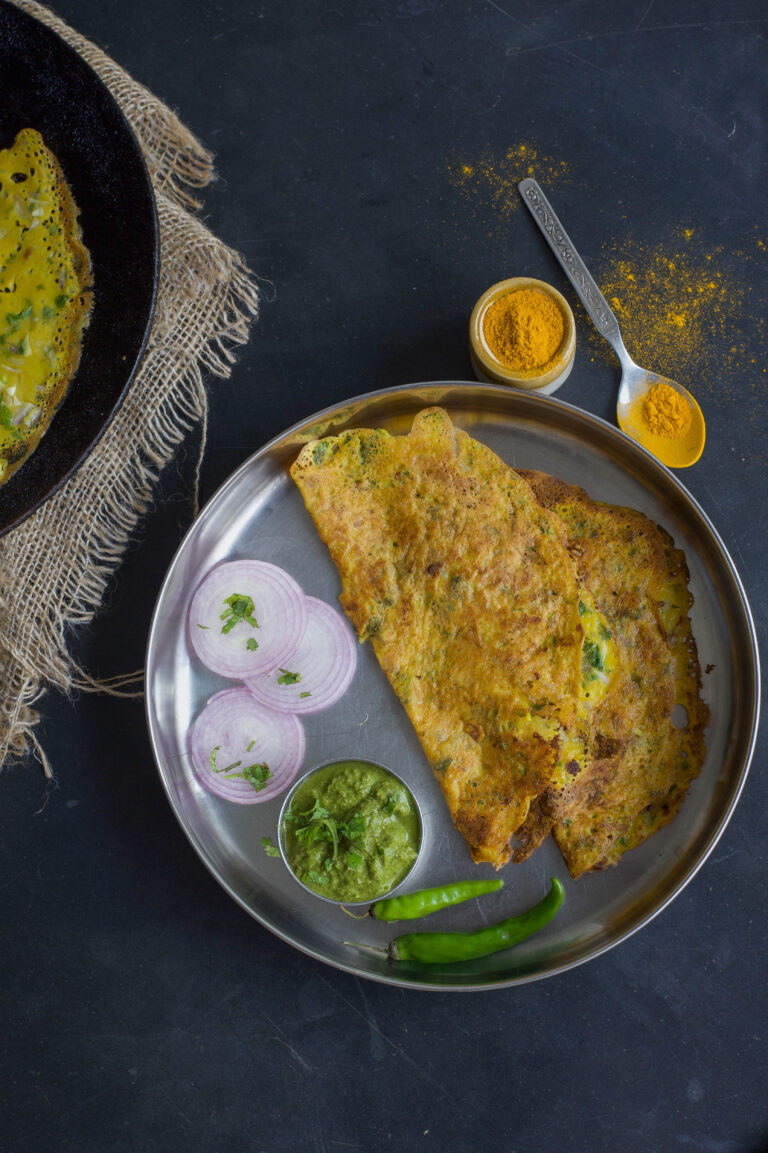
Chilla was what we had for dinner whenever my mother was busy or tired, or if we were in a post-festive feasting slump. Chilla is a kind of crepe, made with powdered pulses and flavoured with vegetables and spices. Like all staples, each cook will have her own variations – and her family will definitely grow up on the same. My mother made two: a moong dal chilla and a sweetened variant. The deal was that only if I ate the savoury one would I be given the sweet one – which itself was quite healthy, considering it was made of jaggery and whole wheat.

Instead of moong dal, which is most often used, I prefer to make savoury chillas using chickpea flour, also known as besan. I love chickpeas because they are so versatile and so easily accessible – they’re found everywhere from Mexico to Lebanon (hummus!) to right here in India, and have been cultivated by humans for at least 7,500 years. The many names this humble and popular legume has attests to this fact: Bengal gram, garbanzo bean, channa and Egyptian pea are but some. Did you know that in the 1700s, a German writer brewed them to drink instead of coffee, and Germany cultivated them for the same purpose during World War 1?

Chickpeas are widely loved as a healthy ingredient, for they are rich in protein, which is one reason why they are so popular with vegans.

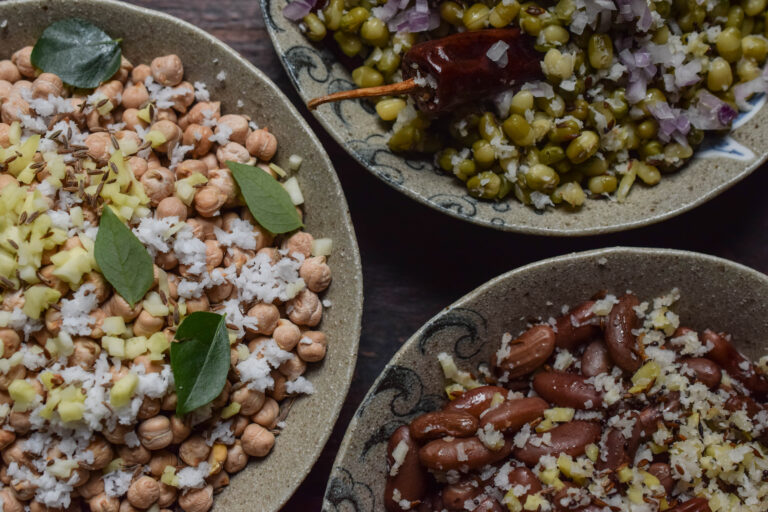
In Indian cuisine, chickpeas are eaten whole in dishes such as sundal, a fun salad that is popular on Chennai’s beaches, and in dough form to make the pastry for fried goodies like fritters, among other variations. The ingredient works perfectly in both sweet and savoury items, and is also a thickening agent like cornflour or agar-agar.

I now have great respect for the humble chickpea, but it must be said: growing up, I’d argue with my mother about having to eat it. My reasoning was that: since I used powdered chickpea to wash my face (it exfoliates the skin gently and is an ancient beauty treatment), I should not also have to consume it!

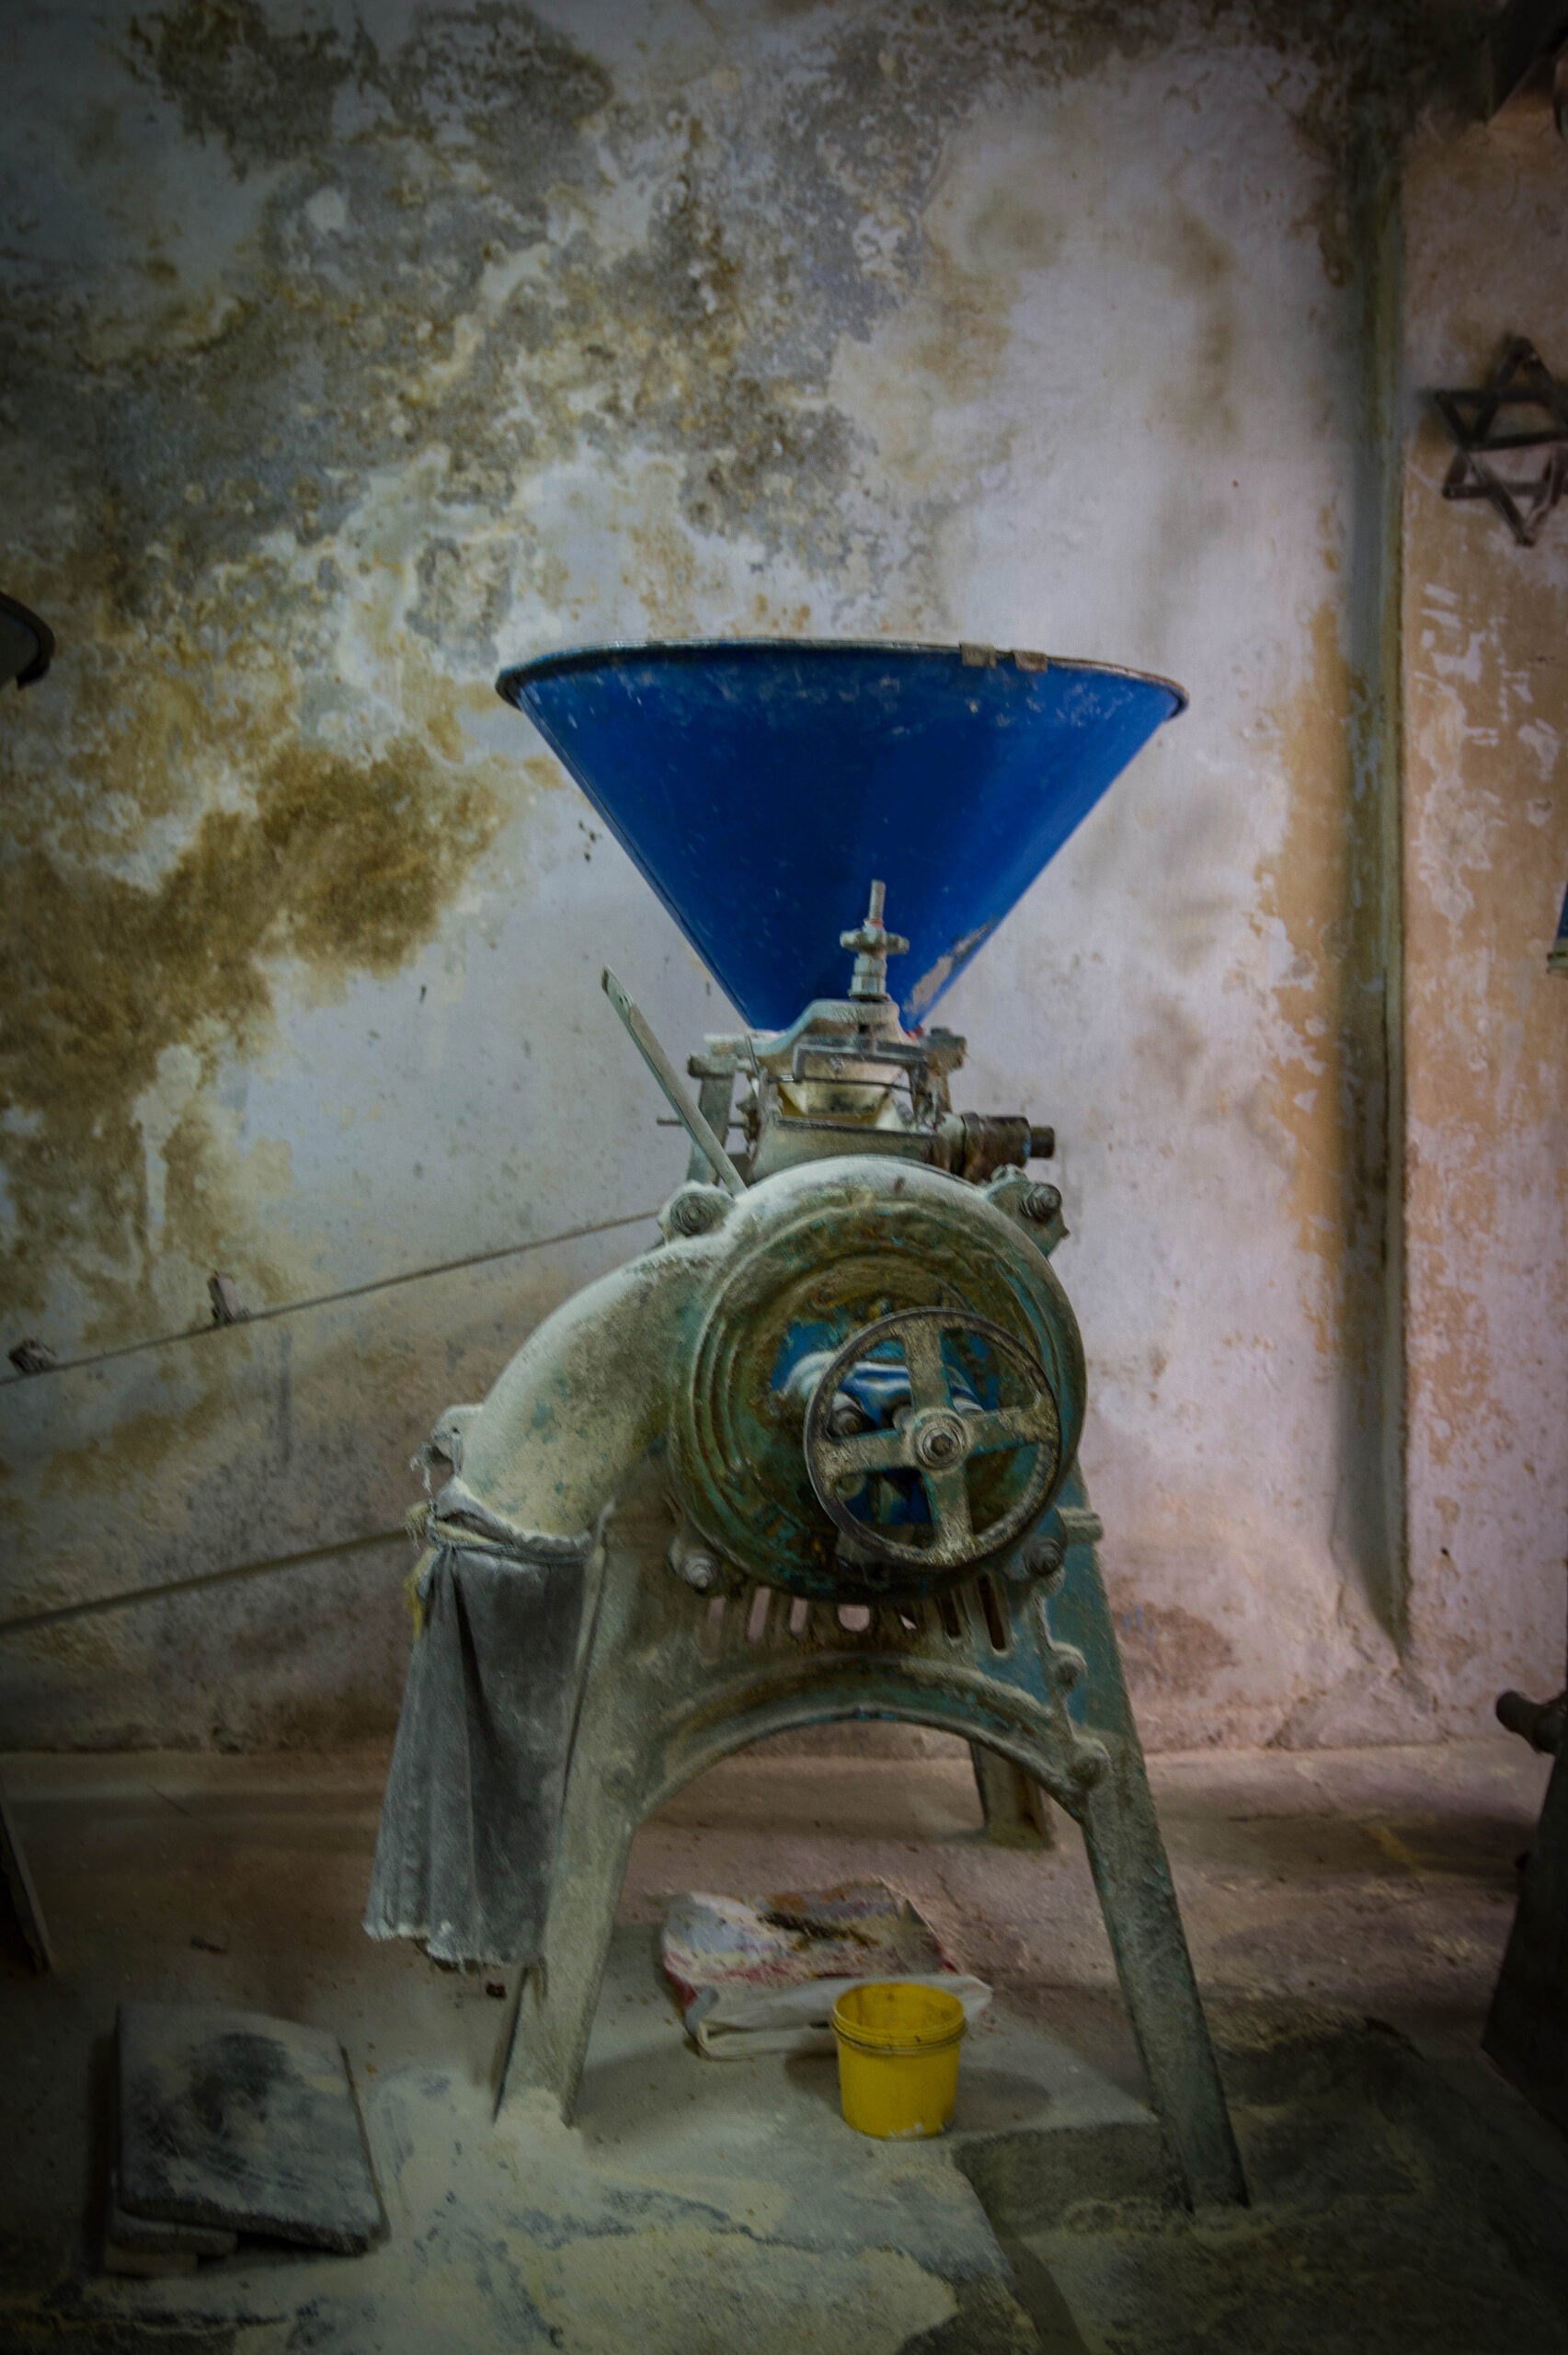
Of course, I love to have my ingredients be made or processed at home as much as possible, and by “home” in this case I mean Arumugam Chettiar’s quaint flour mill. Established in 1939, the mill uses a 10hp machine, with two grinding plates, that was imported from England by his grandfather. These machines are no longer available, and what you get now are pulverisers. But there’s nothing like old-fashioned, time-honoured methods when it comes to food. Along with chilli, ginger and other dry powders, I buy channa dal and have it ground to make chickpea powder.

 

I’m going to share both the recipes for savoury and sweet chilla with you, so that you can strike a version of my deal with my mother – whether that’s with your own kids, or just your diet plan!


Chilla – Savoury

(Yield – 4-5 crepes)

Ingredients
1 cup chickpea flour

2 cups water

½ teaspoon cumin powder

½ teaspoon grated ginger and garlic paste

½ cup finely chopped fenugreek (methi) leaves

½ teaspoon salt

Blend the water with the chickpea flour until there are no lumps. Add the salt, turmeric, cumin powder, grated ginger and garlic paste and fenugreek leaves, and mix the batter well. The consistency should be a little thicker than crepe batter.

Fenugreek in batter may remind you of theplas, one of the many types of Indian breads. A note about the ingredient: most people soak fenugreek leaves in water with salt, to remove the bitterness. This is something I don’t like to do because I don’t see why the flavour should be removed. With regards to these chillas especially, the taste of the savoury one is offset by the sweet one beautifully.

You may replace the fenugreek with another spinach available to you, or even with finely chopped vegetables like onions, grated carrots, bell peppers or coriander leaves.

Heat an iron griddle or a non-stick skillet and pour a few drops of oil on it. I make both my savoury and sweet chillas on an iron pan. Mine is a seasoned one, hence it does not stick. But if you do not have one, use a non-stick vessel.

Wait till the skillet is hot, then turn the flame down. This is a delicate moment, because if the batter falls on a too-hot pan, it will spread unevenly. My trick for this is that when the skillet is very heated, I sprinkle a little water on it and allow it to sizzle. This cools it down just enough so that I can pour the batter.

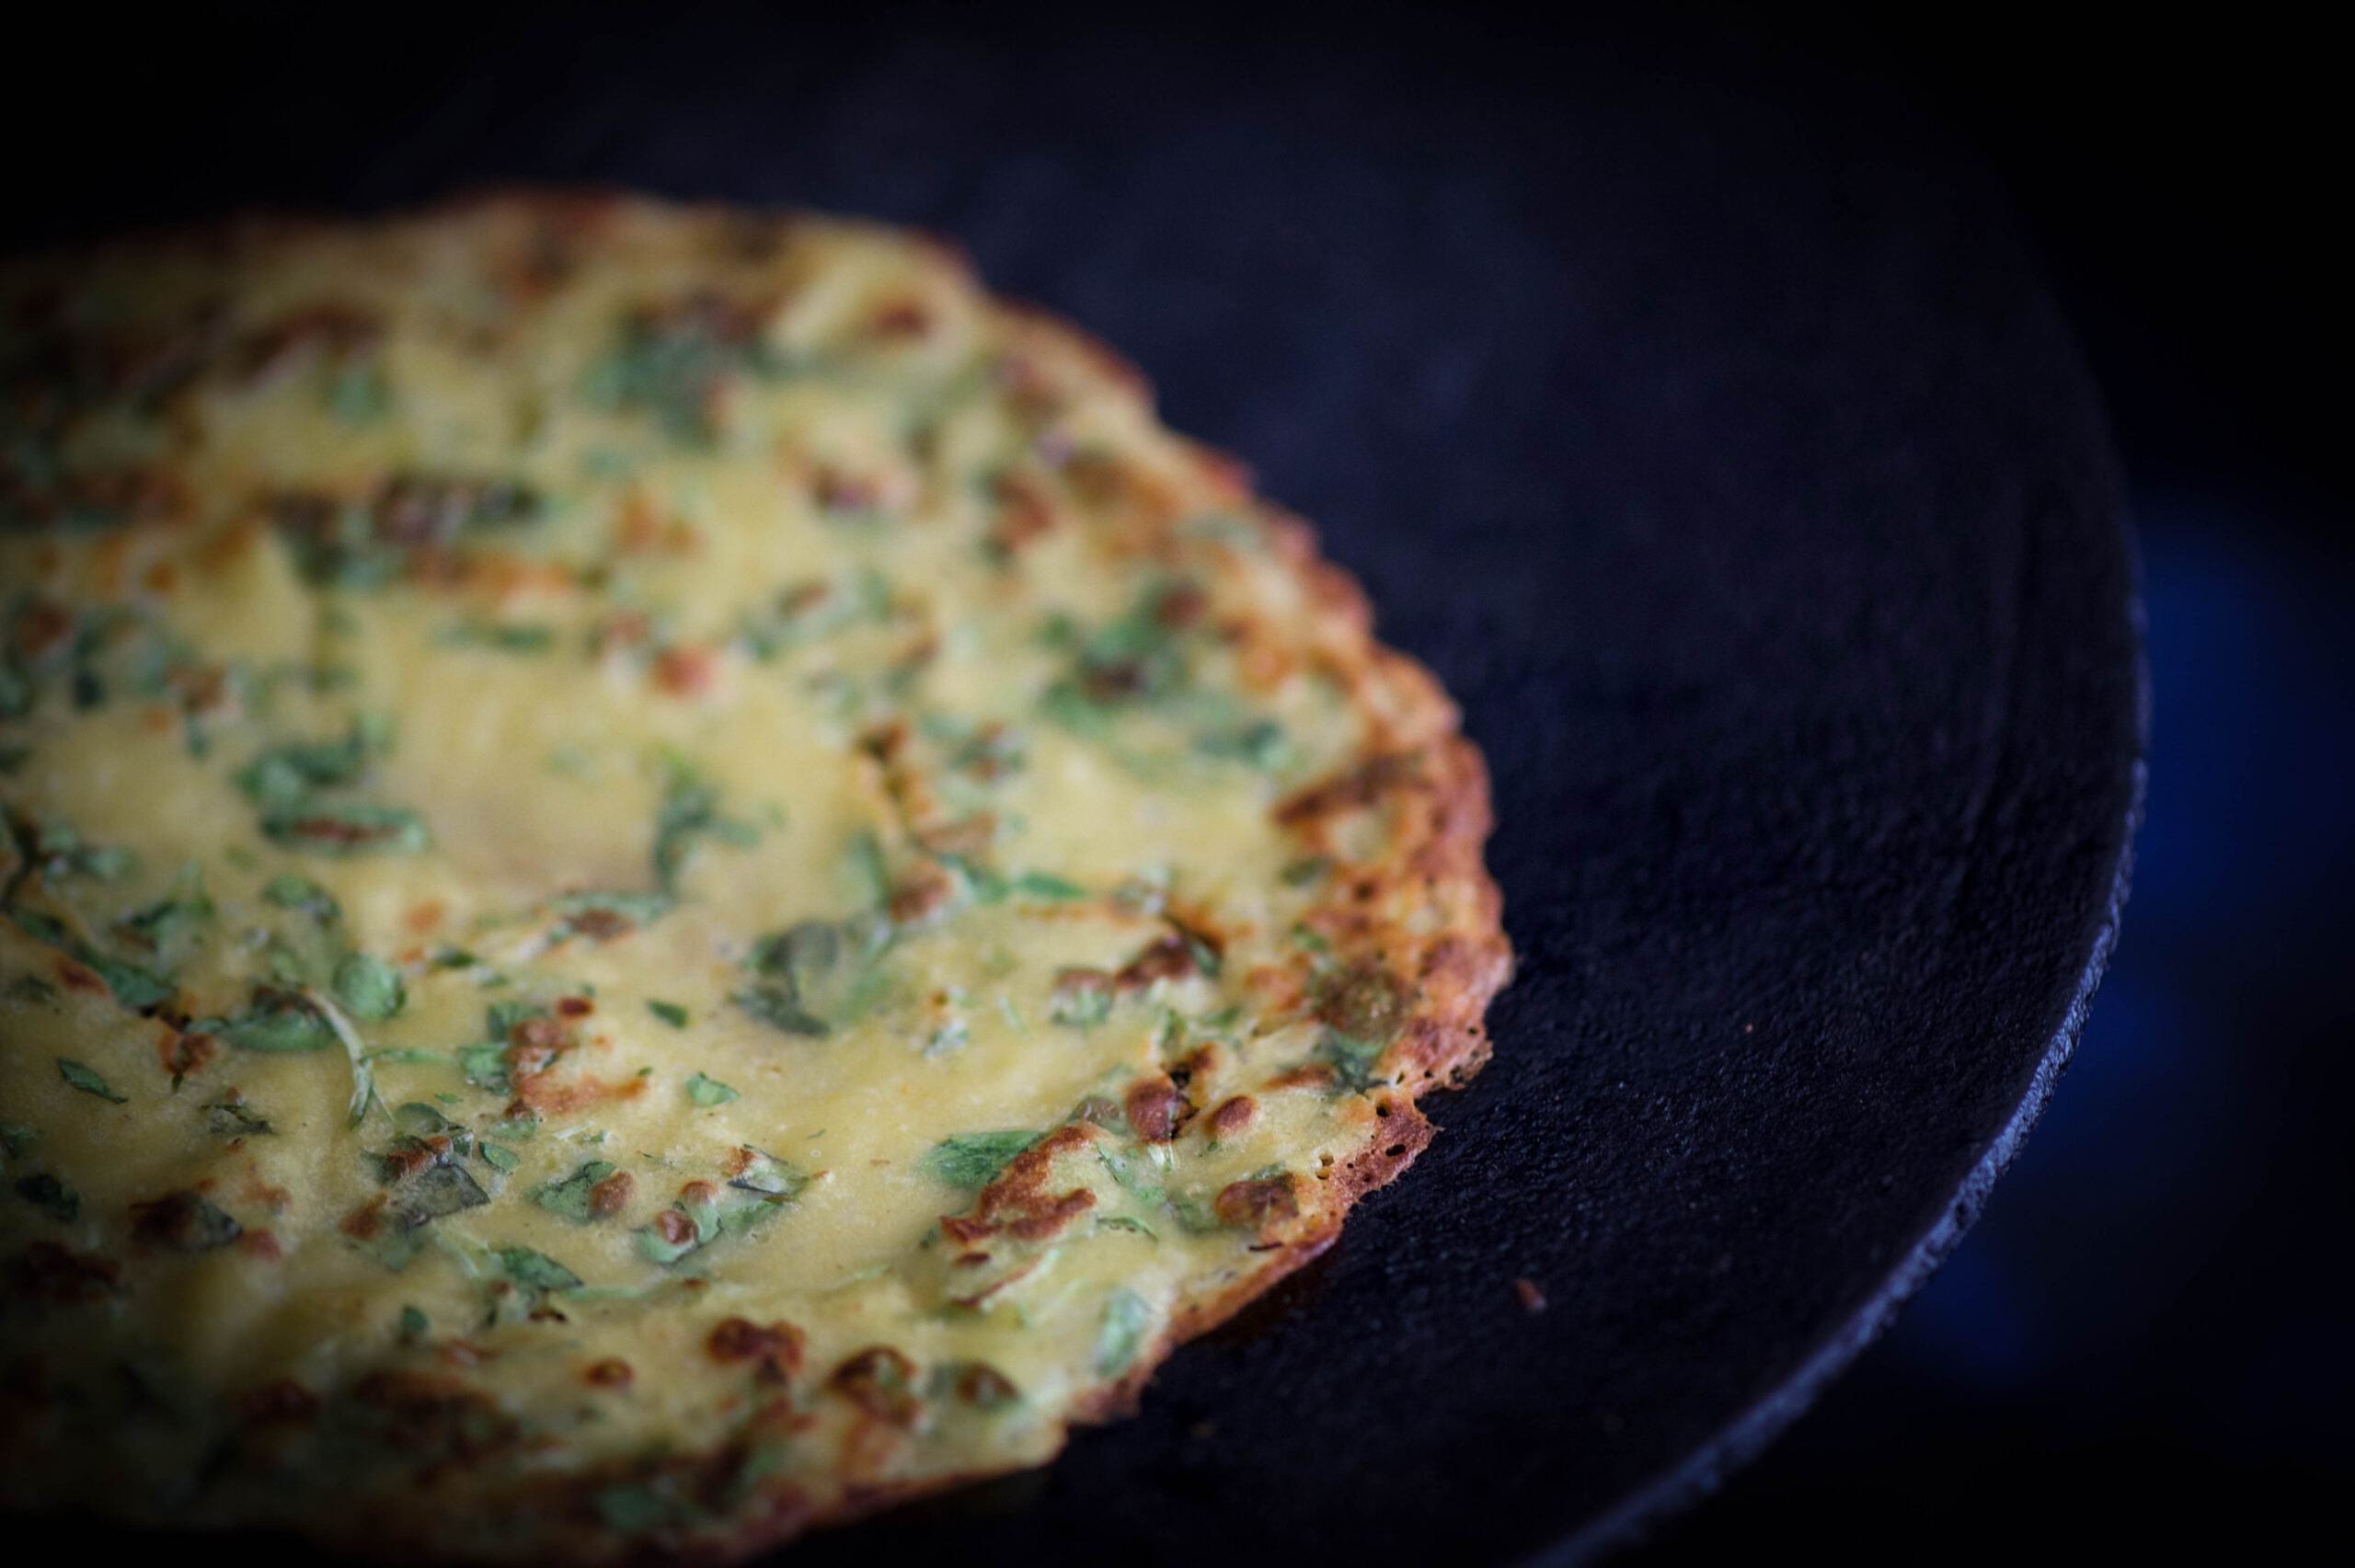
Spoon the batter onto the skillet. Spread it in a circular motion, much like you would a regular crepe. The video below gives you a look at the technique, if you’re unfamiliar with it. For those who make dosas, you will already be experts at this.

As the chilla fries, drizzle a few drops of oil around (not on) it, so that it can be removed easily. Increase the flame. You will know when it’s ready to be flipped when the edges begin to rise and turn golden. Do not attempt to flip the chilla earlier, as it will tear.

Using a spatula, flip the chilla and allow its other side to cook as well. Both sides should be a lovely golden colour before you take it off the skillet.

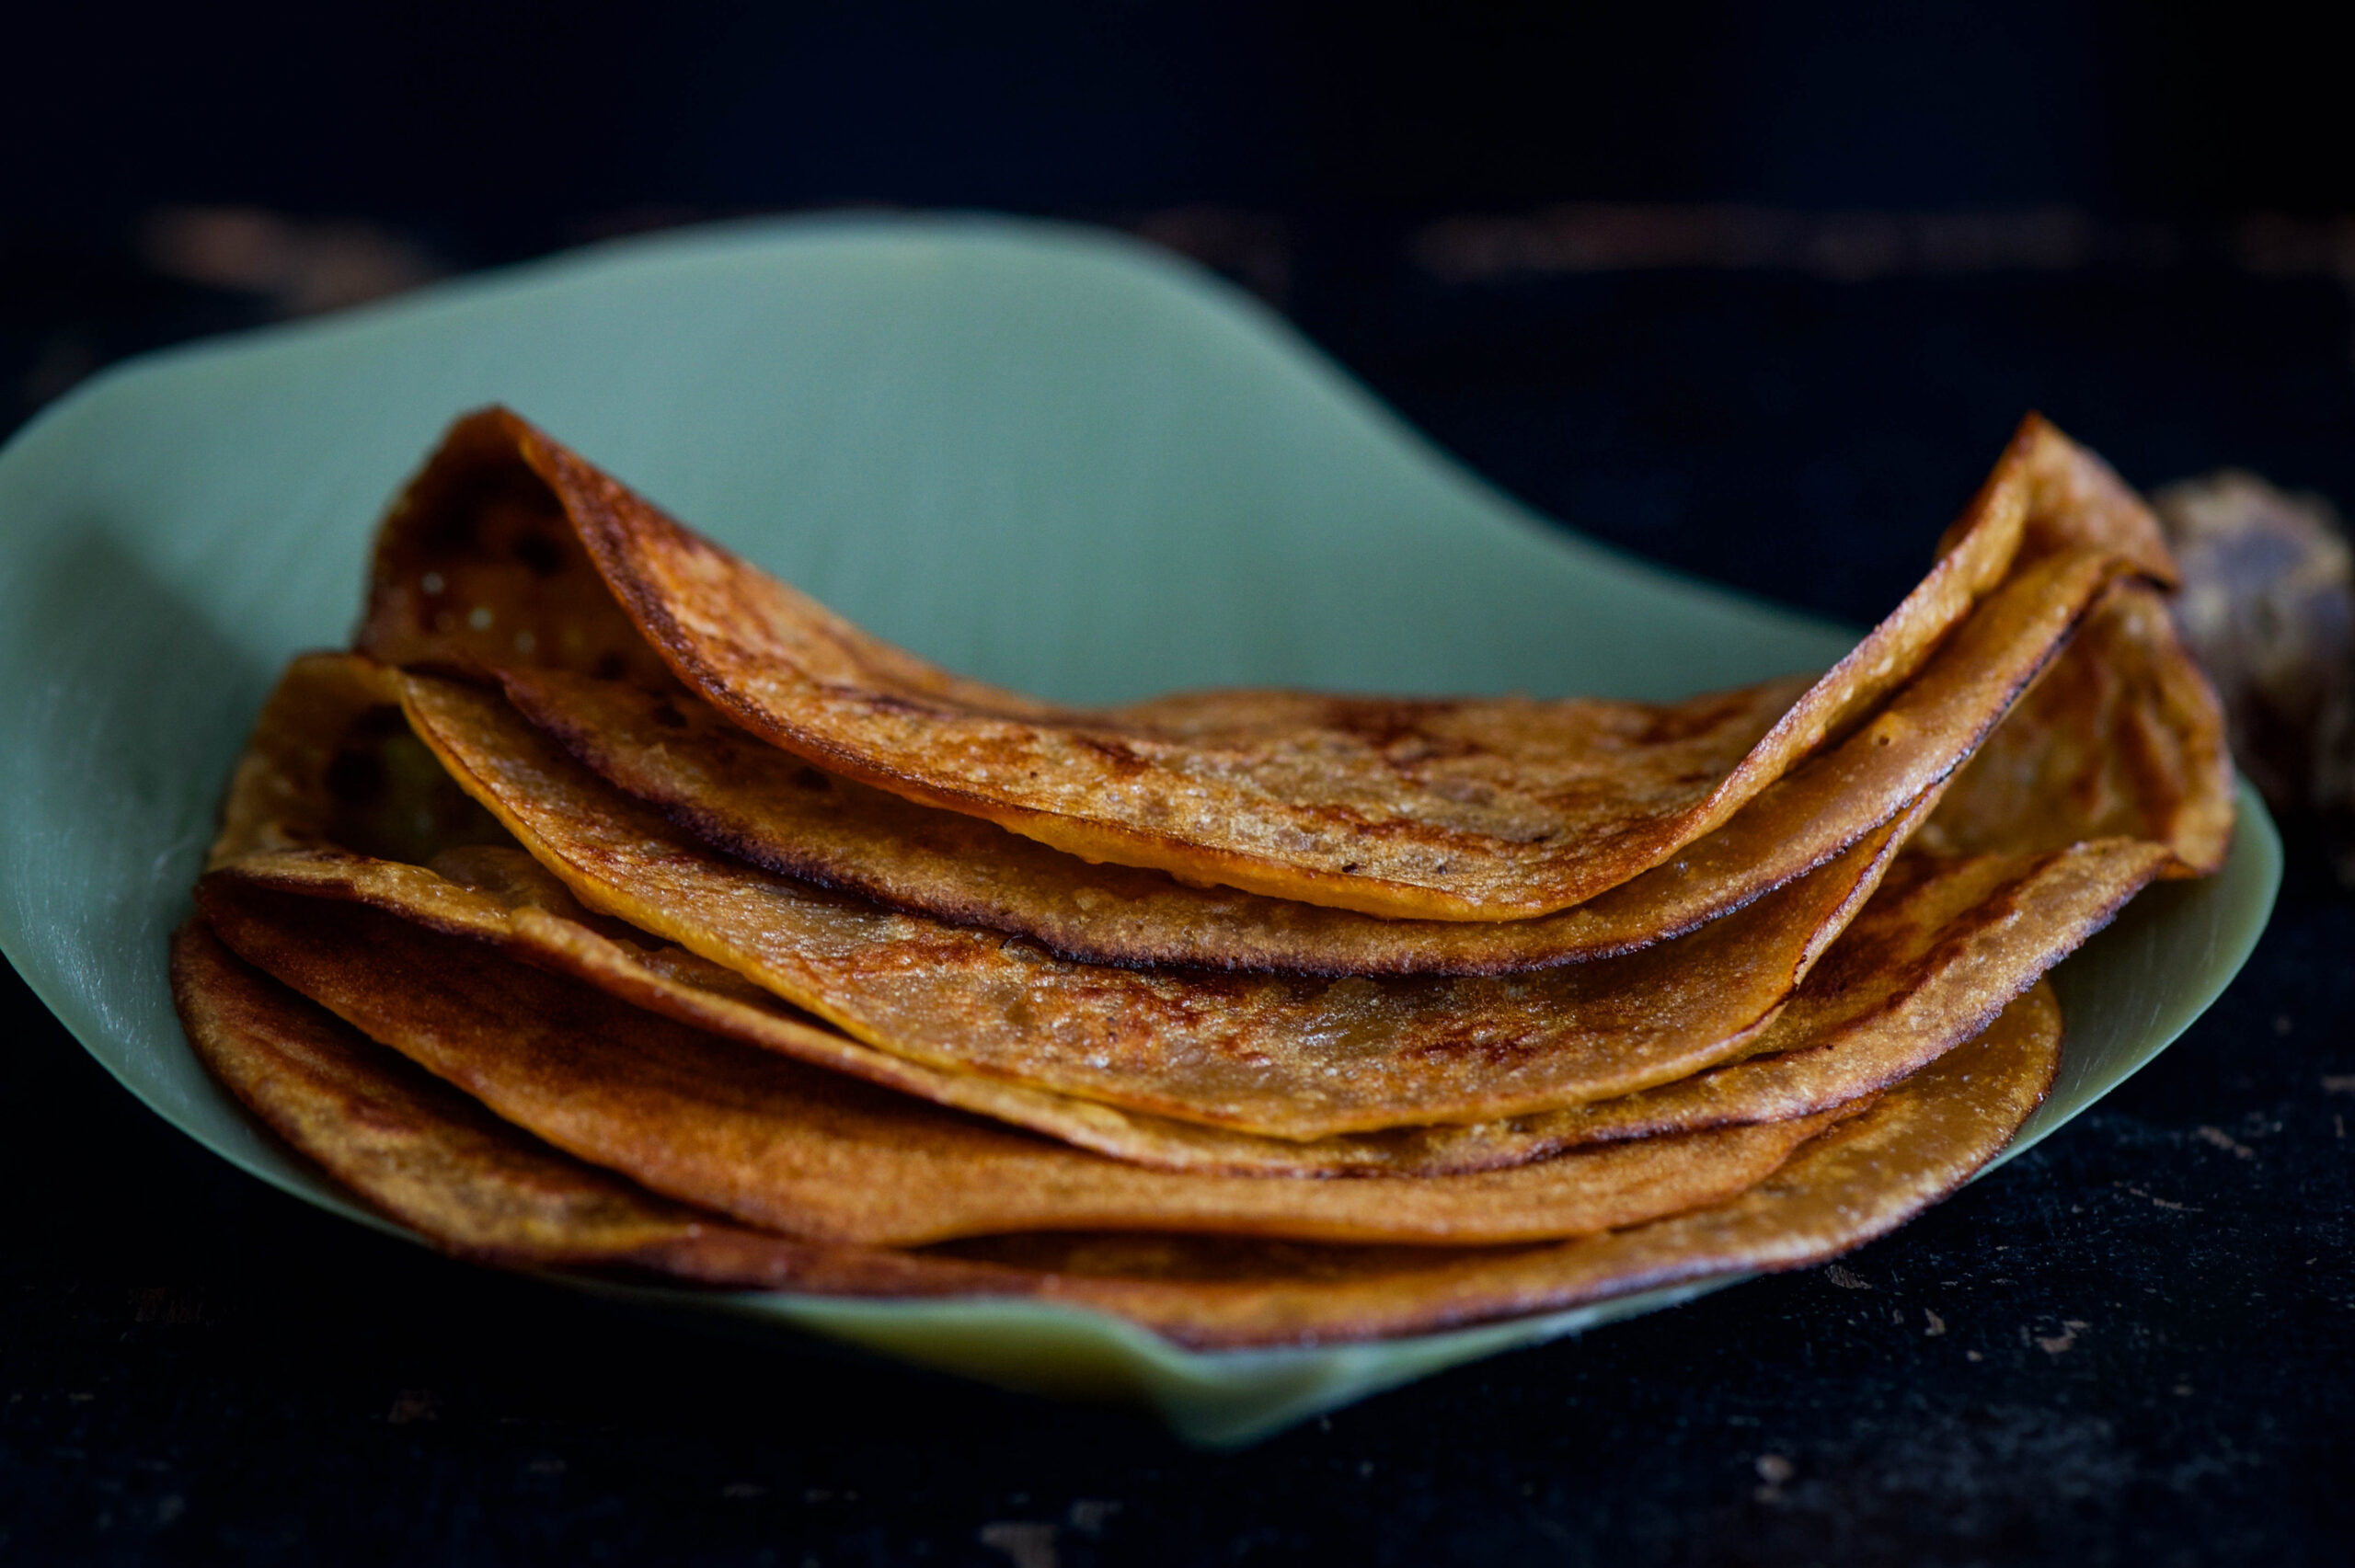
Then make the next one, and so on, until you have enough. Fold each chilla in half and serve with green chutney or date chutney, both of which I’ve shared recipes for earlier on this blog. I also top these savoury chillas with finely chopped vegetables, with gives the health factor an extra boost, and makes them even more filling. Just a couple will give you a light but complete meal – provided you’re able to stop eating them, that is!


Chilla – Sweet

(Yield – 5 small crepes)

Ingredients
1 cup whole wheat flour
½ cup jaggery
1 ½ cup water
1 teaspoon ghee per crepe (oil for a vegan option)

Warm the water a little and allow the jaggery to melt into it. Stir well until all the lumps are removed.

Wait till the jaggery-infused water has cooled, then strain it so the sediments are removed.

To this, add the whole wheat flour and blend it so it’s a little thicker than regular crepe batter. You may have to adjust the quantity of water added to make it just the right consistency.

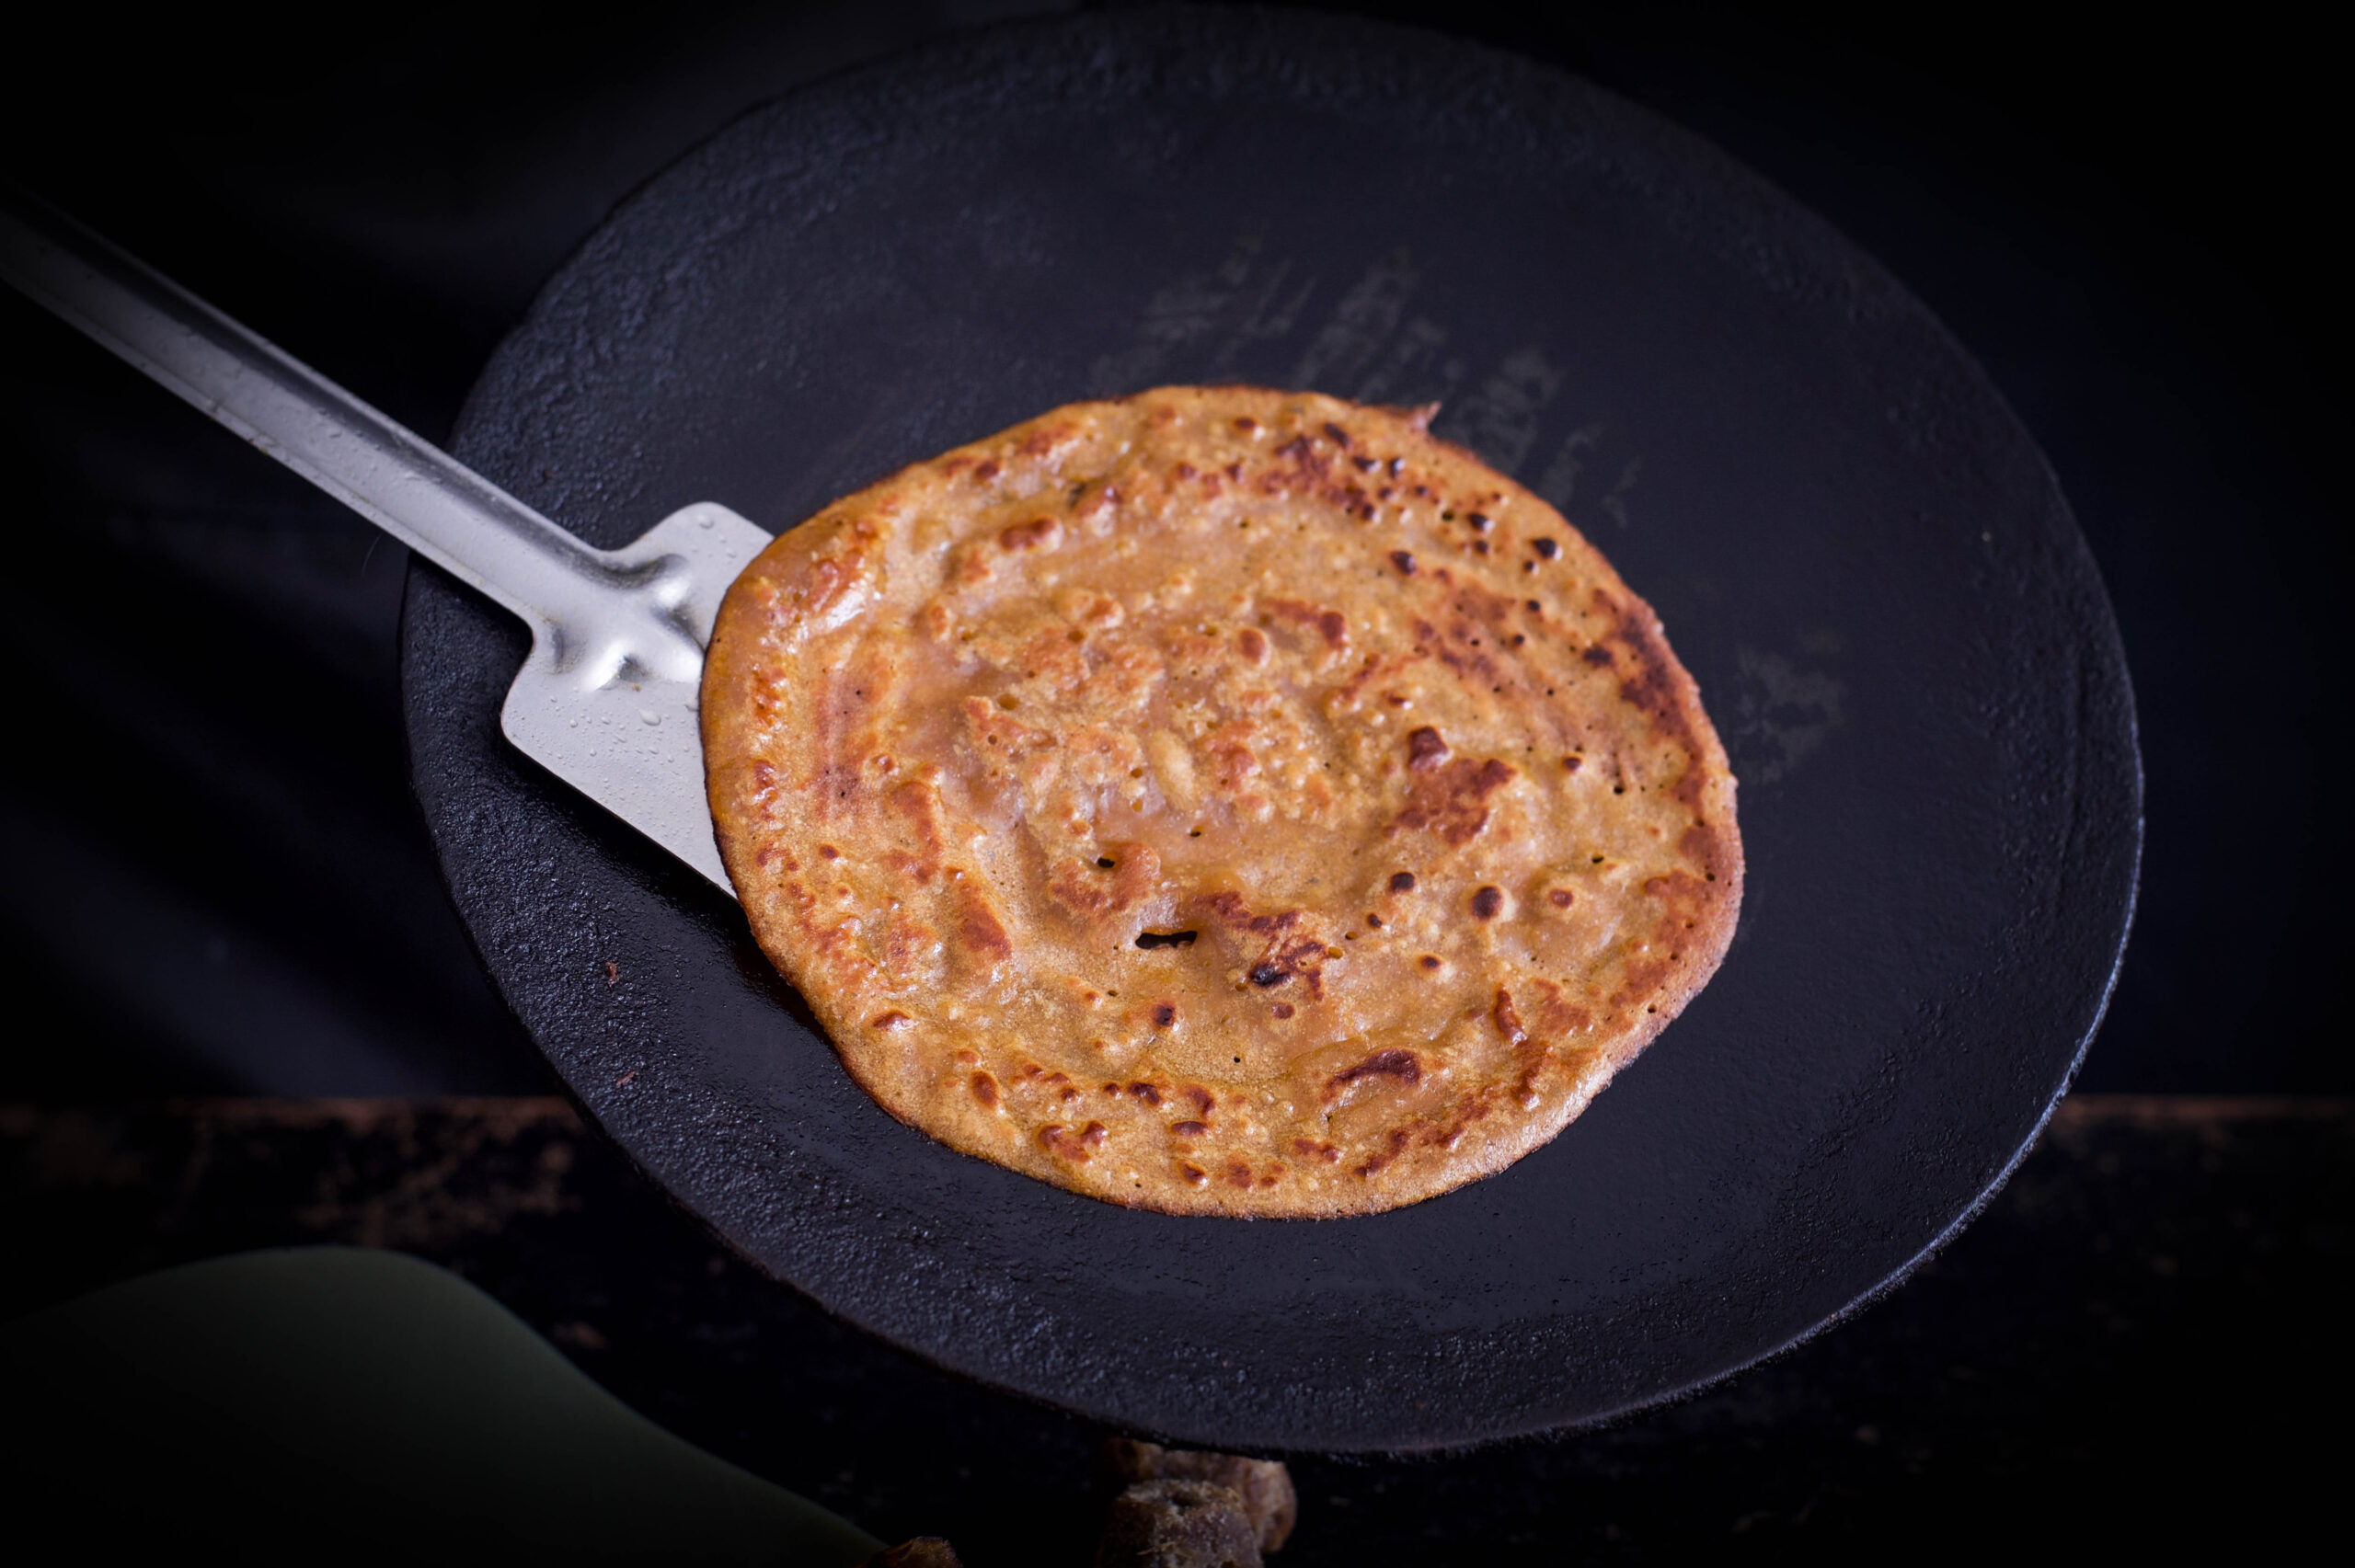
Now, pour a drop of ghee or oil on a non-stick skillet. When it is hot, lower the flame. Start spooning out about half the batter onto the skillet, in small and well-spaced quantities. These sweet chillas are ideally dessert, so they are smaller than the savoury chillas.

Using a circular motion with the spoon, make small crepes on the skillet (as shown in the video above). Keep the flame on medium, so as to ensure that the chillas don’t burn. When one side has begun to turn golden, flip it over. Both sides will be thoroughly cooked in about 2-3 minutes.

The process of frying the sweet chilla is almost identical to making the savoury one, so do refer to the above recipe for more extensive notes and tips. They do not need to be served with an accompaniment.
These delicious chillas are very much comfort food to me, and I hope they find the same place in your cooking repertoire. The sweet ones are especially popular with kids, and as I said earlier – if they crave it, offer it to them as a reward for eating the savoury one!

I’ve come to understand that most Indian palates require something sweet and something savoury in order to feel satisfied. Life is all about both the sweet and the savoury isn’t it? And sometimes, like in the fenugreek-flavoured chilla, a hint of the bitter too. But that’s why the order of eating makes such sense: after everything else, one is always assured of sweetness.
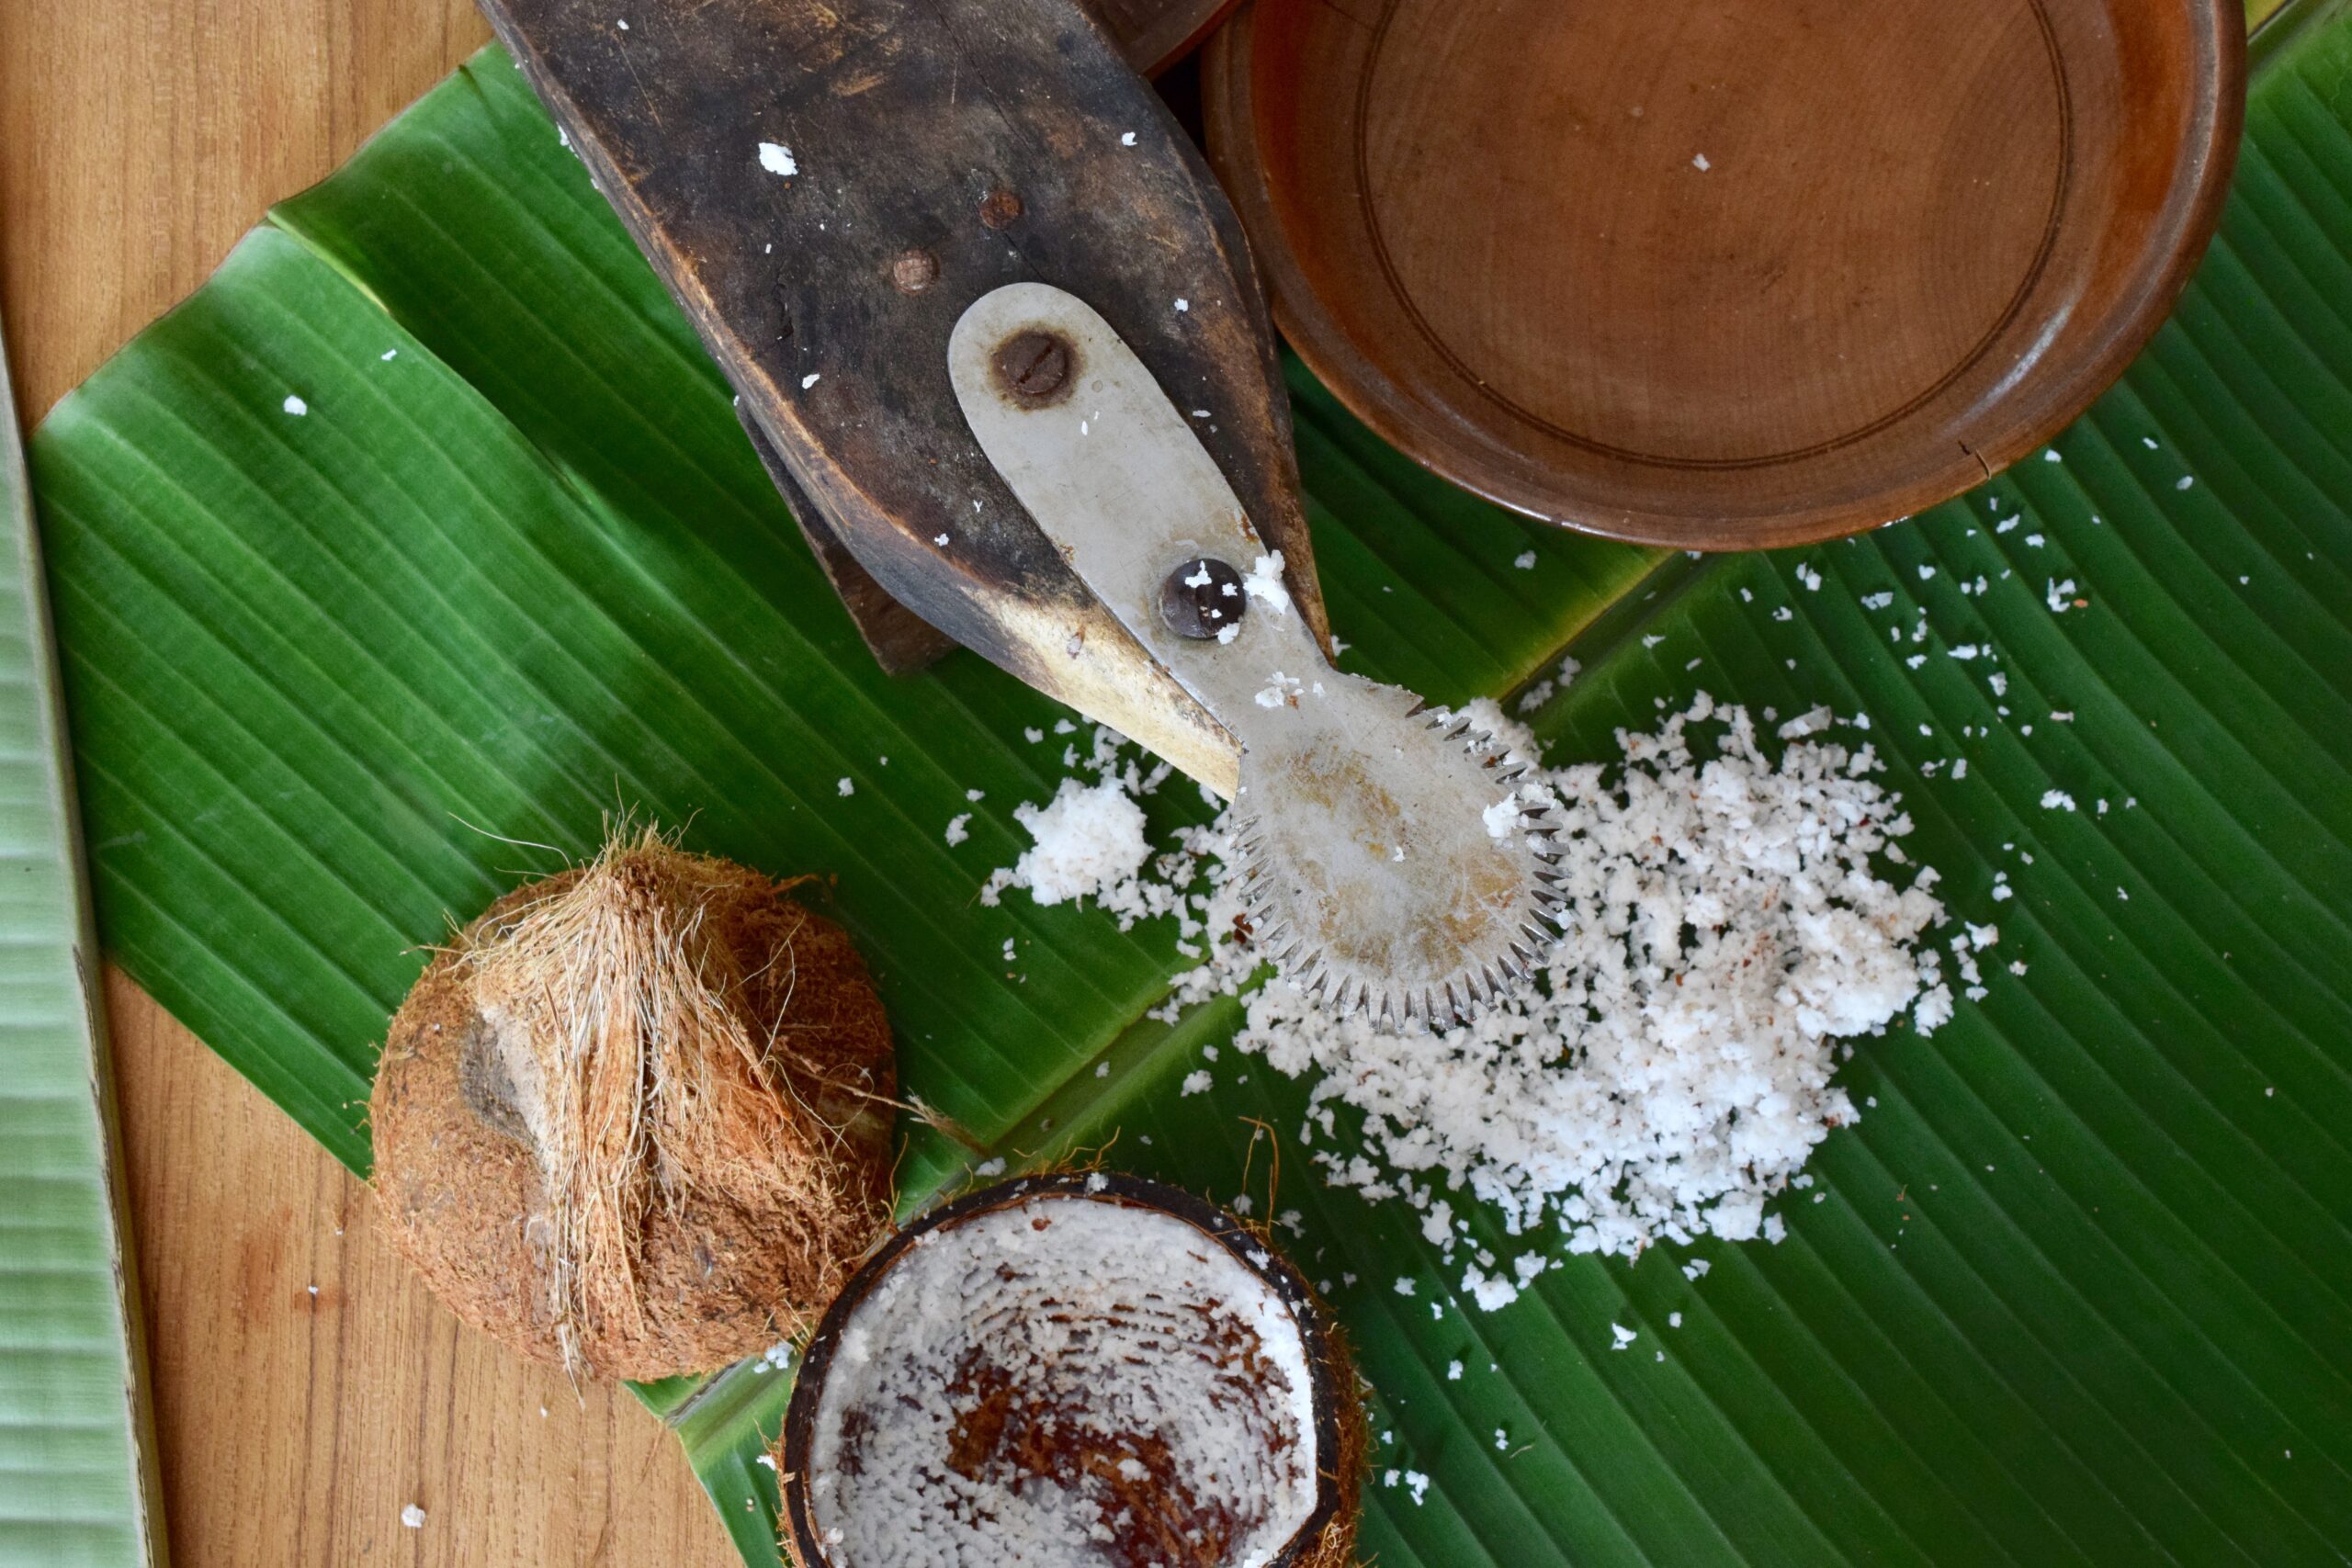
What is the most descriptive collective noun for coconuts? A cluster? A clump? A crowd? None of them quite sufficed for the copious numbers I found myself with! With five thriving trees in my garden, dangerously dropping their heavy drupes at any given moment, I responded to this abundance in the best way I know how: by bringing them into my kitchen.

So I hired a nimble man to climb up the trees to cut most of the coconuts down, and then we segregated them into tender ones, which yielded nutritious coconut water, and ripe ones with flesh that could be shaved. One of my coconut trees is also the site of an experiment of mine. I have a little basket on a lovely pulley system which takes pieces of papaya up to a nice altitude for the parrots that often flit about. It took a while to convince them that this odd contraption was actually a friendly gesture, but as with people and animals both – at the end of the day, appetite always wins!

restore shaved coconut

The shaved coconuts found themselves in many of my recipes: from coconut rose cupcakes (which you can order here if you’re in Chennai) to sweet-savoury kachoris (which you can make in your own kitchen, with my recipe here) and more. And in the late afternoons, those pristine white shavings of coconut were perfect for a local lentil dish: sundal.