Tag

Chennai

Browsing

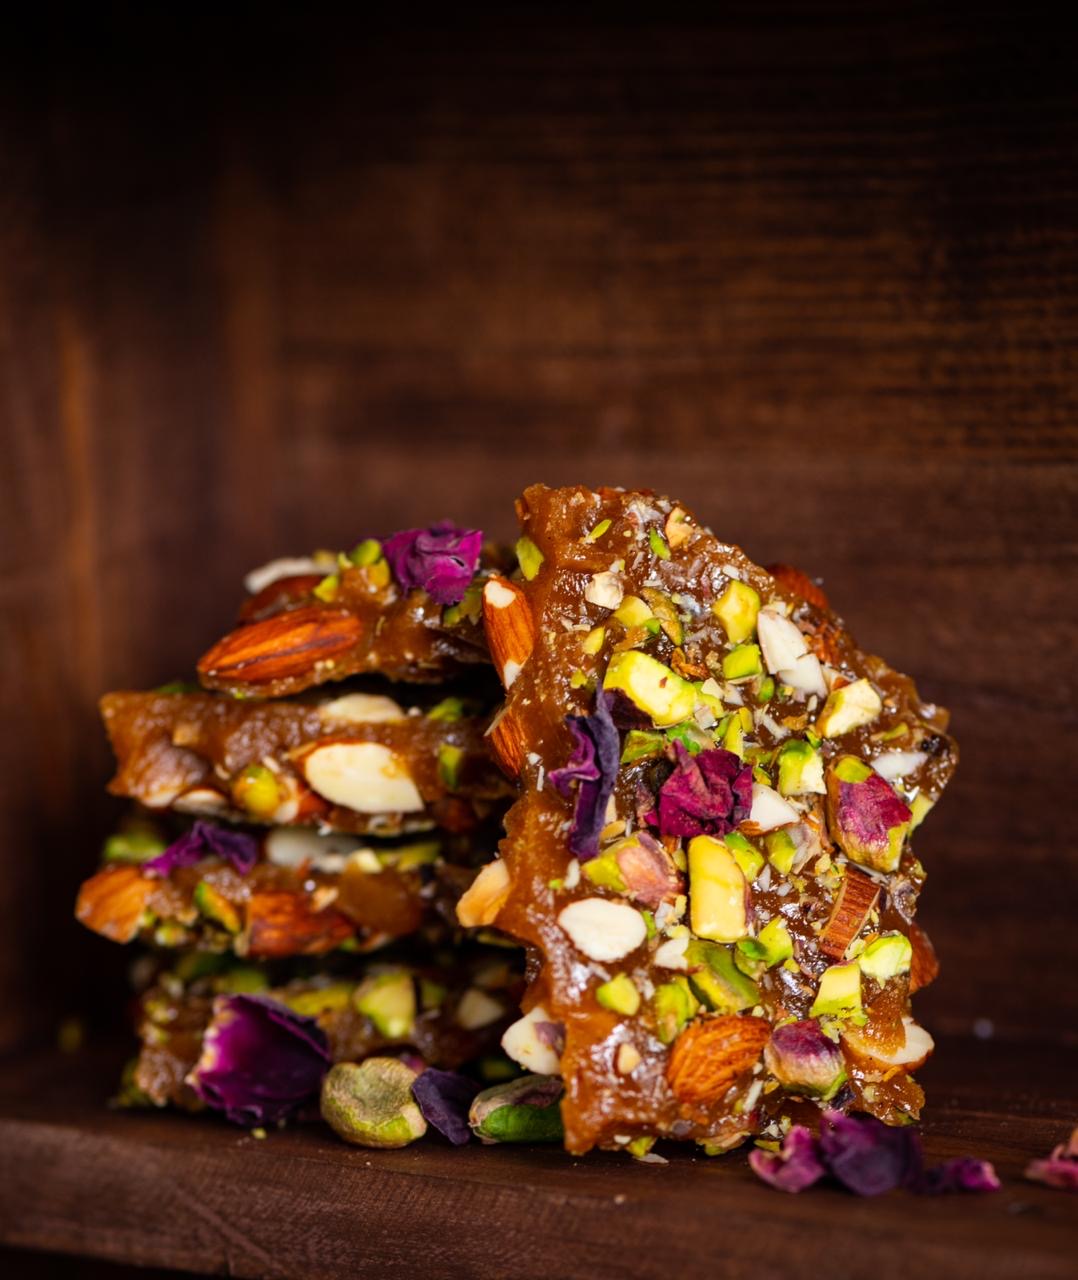
(above: re:store’s almond brittle)

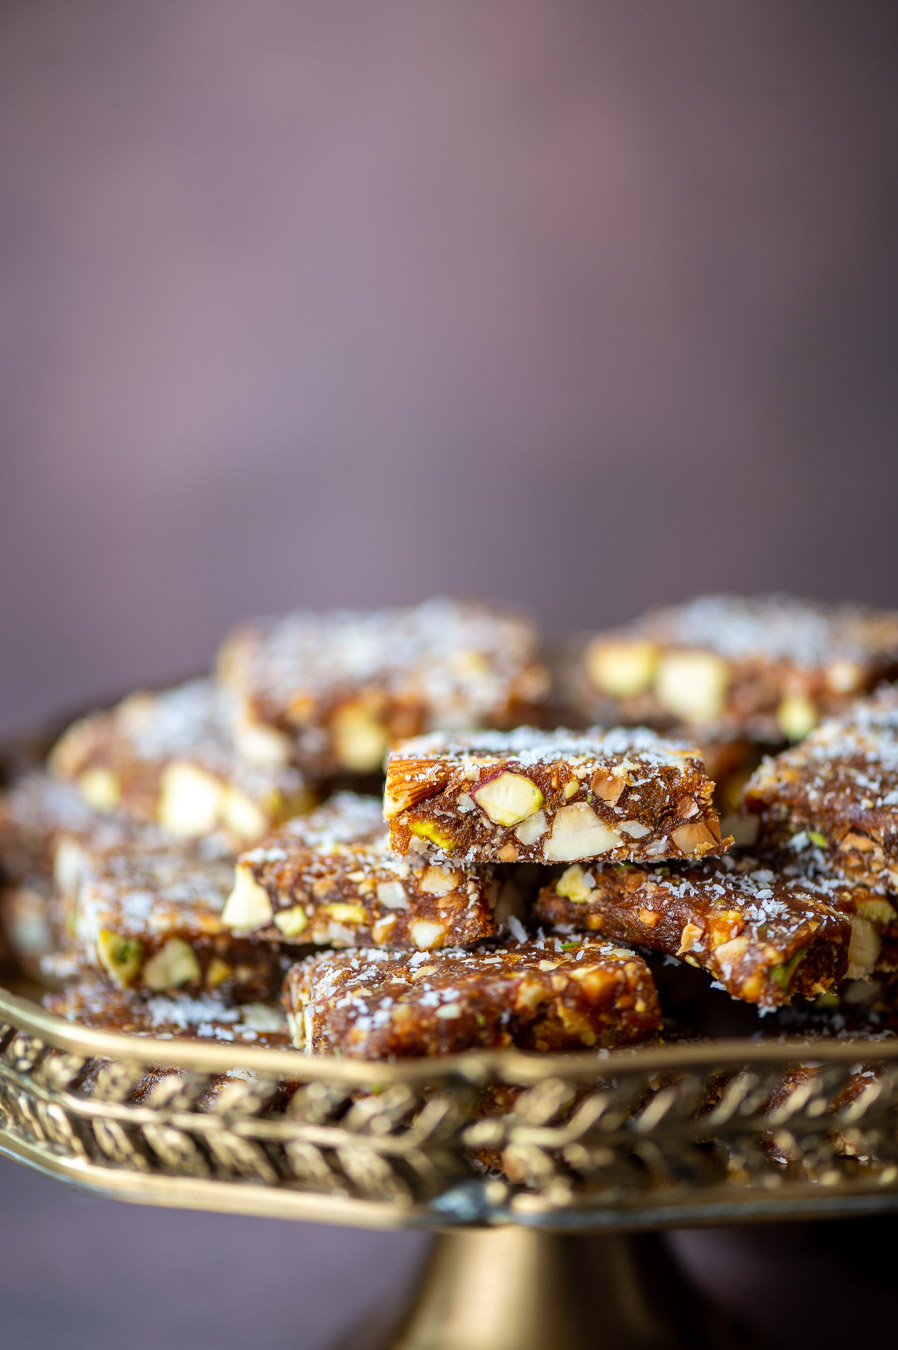
(above: re:store’s date squares)

(above: re:store’s fig rolls)

(above: re:store’s chocolate cupcake)

Maintaining a standard of quality that is always up to the mark is very important to us at re:store.

Everything that is prepared in the re:store kitchen is exactly what my own family eats, and I put the same amount of care and effort into preparing it. In fact, when one of my kids comes home to visit, I always pack them a parcel of re:store goodies (sugar-free, as well as some with sugar) when they go back. The date squares, almond brittle and fig rolls are perfect for this, as they are travel-friendly and keep for a while. And when my kids are here at home, they regularly enjoy many of the re:store cake varieties too.

Before I introduce any new product, I put in a lot of research, conduct several trials, and get as much feedback as I can from friends and family. Only after that will I offer it to my clients. You can see the current product list here. I really look forward to your orders in the coming year and beyond.

As I said, quality is everything at re:store, as it is with everything else in life too. That’s the thought I am going into 2023 with.

My wish for us all is for good health. I can see that ever since the pandemic began, food has become a major focus for many. People have come to accept that what we consume can be the cause or the prevention of many illnesses. That said, let us not body-shame or take medications to change our bodies. Let us instead reflect on how food can be the source of our overall well-being. Let us also consider traditional and seasonal ways of eating, as passed down in one’s community or location. Let food be what helps us resolve issues.

I’m not denying that we need our indulgences, yet I believe – especially through the creation of my baked goods and confectionery at re:store – that even these can be nourishing and clean.

Wishing us all a healthy and delicious year ahead!

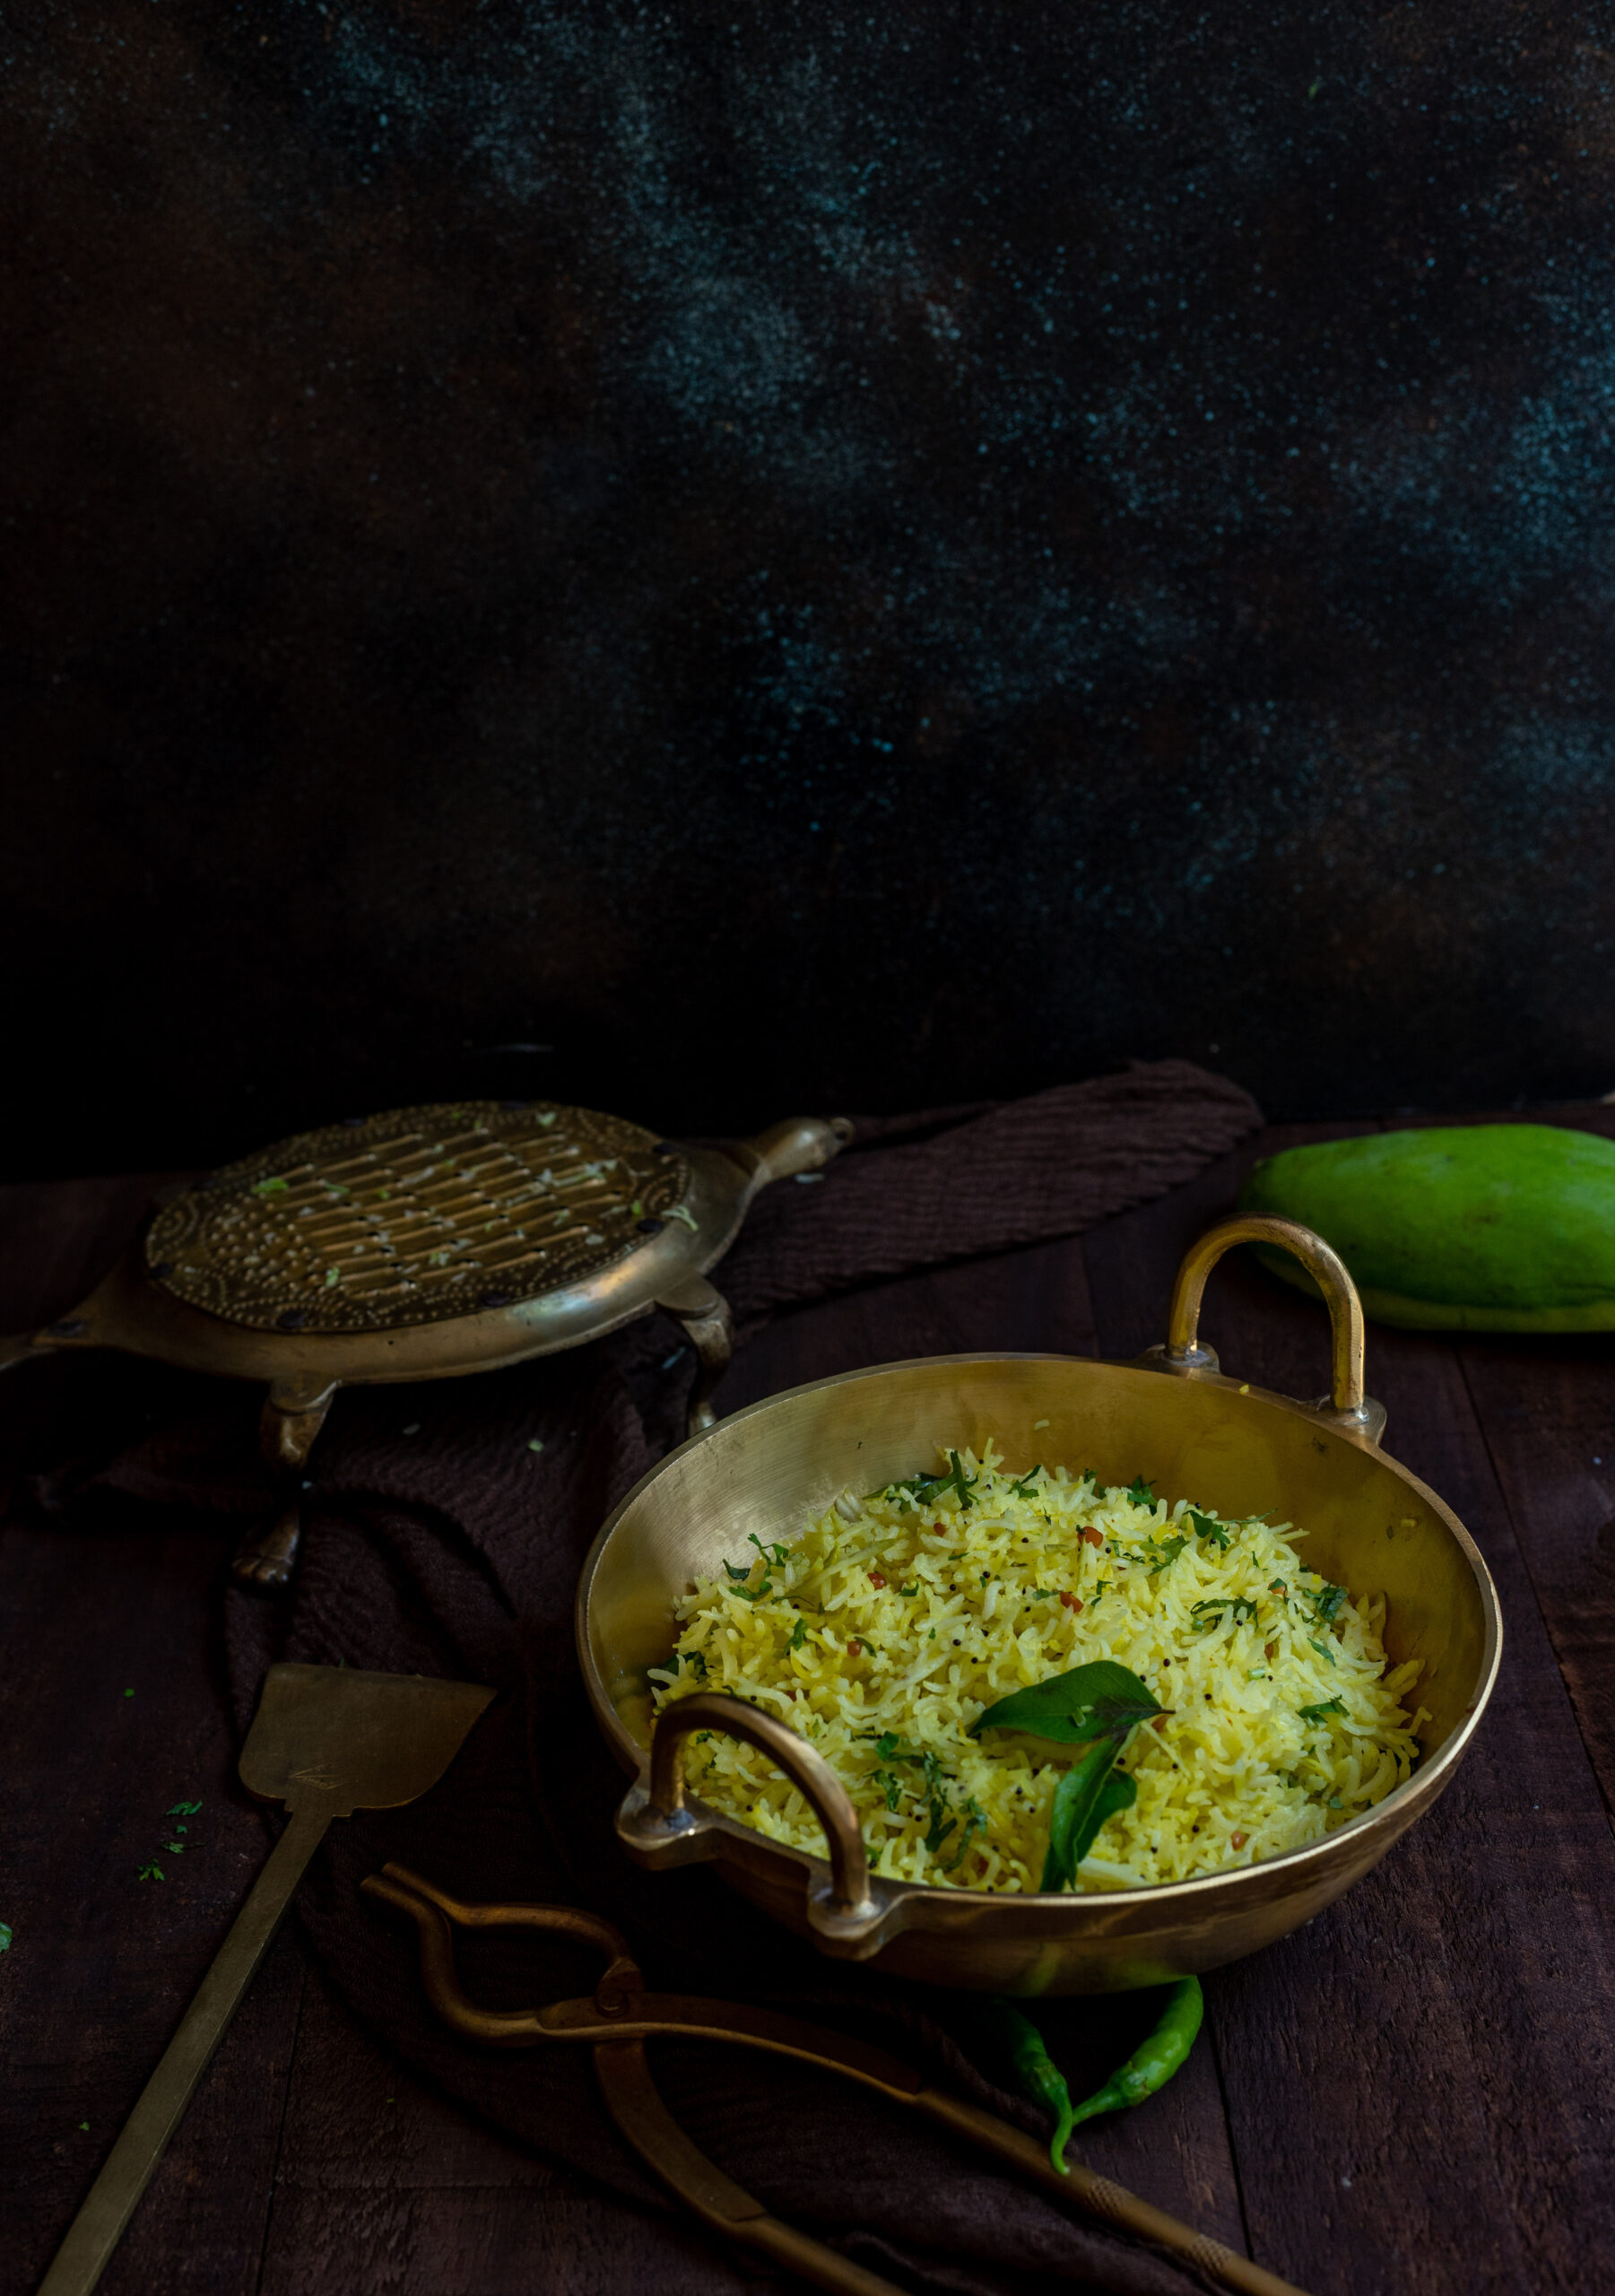
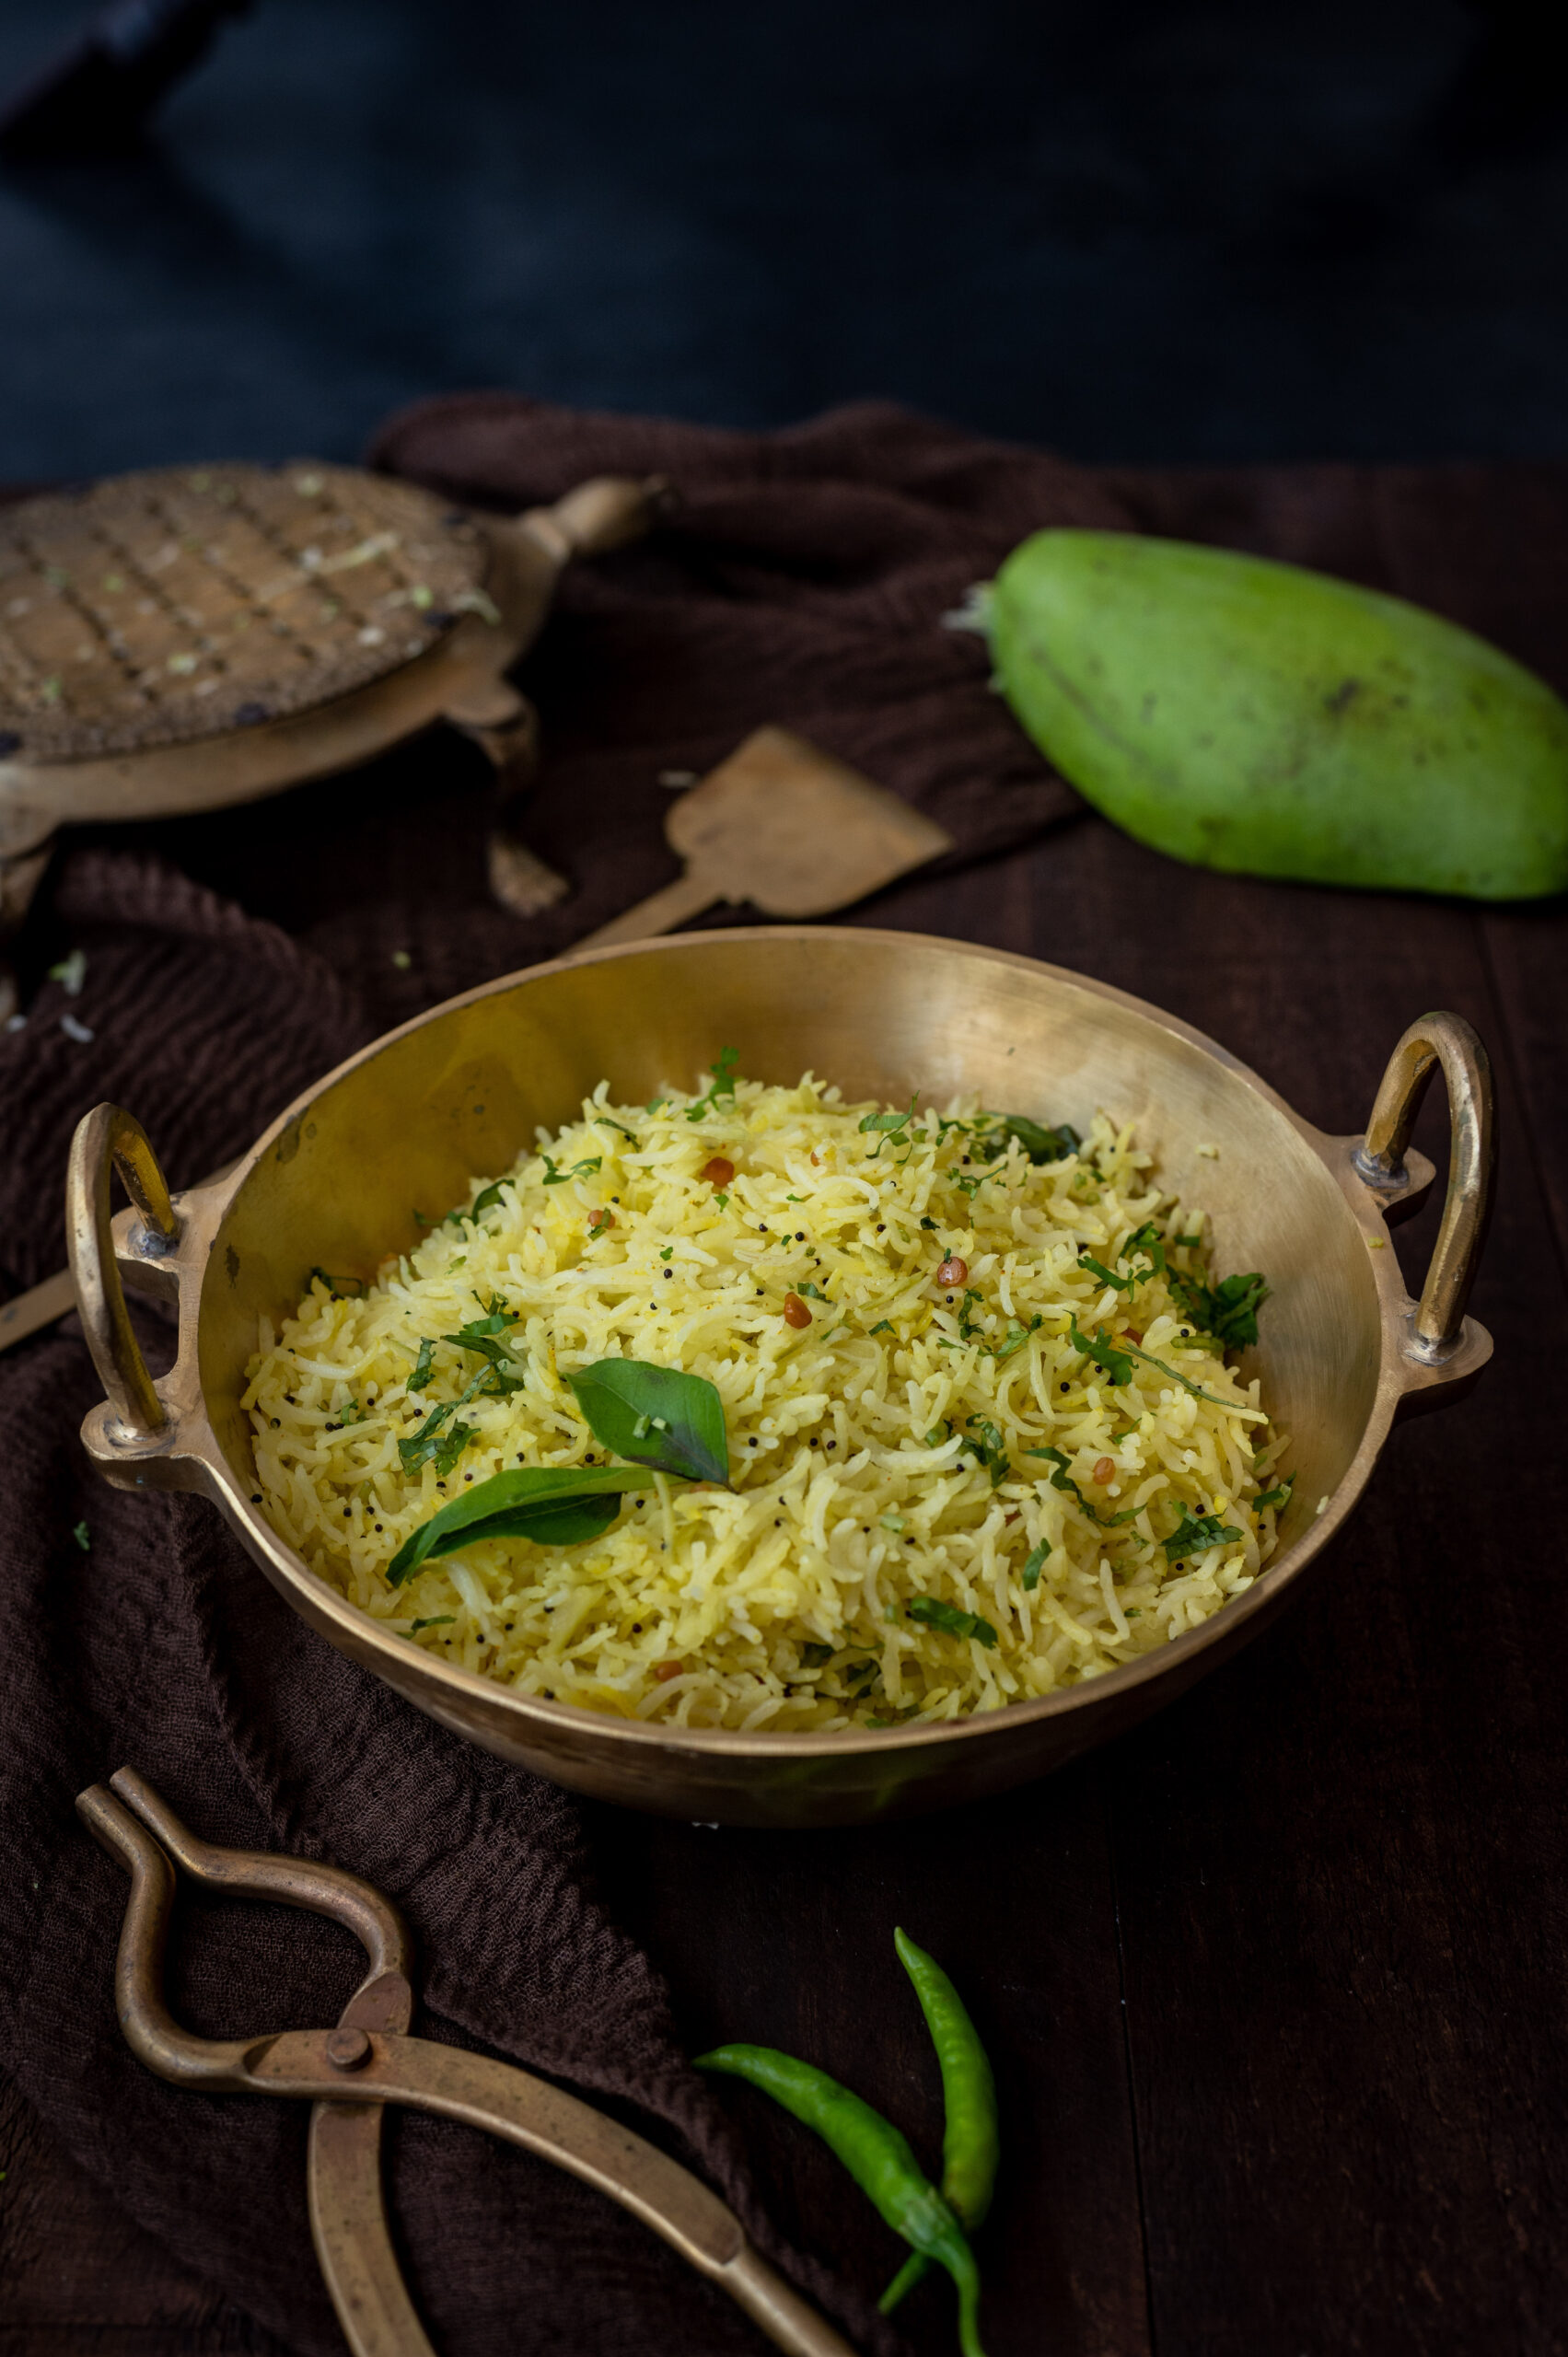
We have mango trees in the back garden, and every summer I seek out new ways and means to utilise their bounty. This season, I’ve made aamchur – dry mango powder prepared by washing the fruit slices, drying them, then powdering them. It works in cooking as a lime substitute, and is just as healthy and as rich in Vitamic C. I’ve made pickles, and if you’re keen to do the same, you can take your pick of either sweet or spicy kinds from the recipes I shared in this post. I’ve made desserts, like the easy and very satisfying mango twist that I shared last week. Then, I thought – why not make a rice dish with some mangoes, too?

Coconut rice was one of the components of the South Indian Buddha bowl recipe, and this raw mango rice has a similar concept. It’s also like spinach rice, curry leaf rice or any other rice preparation that infuses the flavours of a particular ingredient. It’s interesting how we efficiently and creatively play up staples like rice as well as rotis through simple ways to elevate the basics. Seasonal flavourings are especially popular, just as it is with the recipe I am sharing today.

What I have growing at home are killimooku mangoes, known for their distinctive parrot-beak shape, as described in this raw mango cooler recipe. To my friends and readers around the world – did you know that every single kind of mango has its own flavour? My mother taught me how to select mangoes when I was very young, so I’m adept at differentiating between many of the popular variants on the market at the moment (although India has so many types of mangoes that to tell them all apart would truly be a kind of expertise!). My personal favourites are sweet, juicy ones – specifically the Ratnagiri Alphonso grown in Maharashtra (the state shares a common border with Telangana, where the slightly different Andhra Alphonsos are grown) and the Banagapalli grown in Andhra Pradesh’s Kurnool district, which can come in such large sizes that a single mango can sometimes suffice as an entire meal. Today, however, I’m reaching for what is literally in my backyard. The killimooku is not very sour, but neither is it sweet. It carries a lovely tang that truly uplifts the taste of rice.

This raw mango rice is both easy to prepare and highly adaptable. It travels well, so it’s perfect to pack for a day trip. It can be eaten plain, so you won’t even have to worry about any spills from the accompaniments. It can also work quite well in a Buddha bowl. I presume, based on the flavour palate, that it can be matched exquisitely with a fish curry, and I’d love to hear from those of you who enjoy seafood about how this recipe works in such a meal.

I made a large pot of this over the weekend and it was consumed quite quickly at home, with my family eating it plain, with rasam, with a potato roast and so on. The idea came to me because I saw a few raw mango rice posts on Instagram recently, and realised that I hadn’t made this dish in years. I did recall that it was something we ate now and then while we were growing up, so I knew that my sister would almost certainly have our mother’s preparation in her repertoire. She lives in Bombay, whereas I am based in Chennai, and we often do recipe exchanges, wherein I share Tamil styles like kootu and poriyal with her and she pulls out authentic Gujarati dishes for me. Together, we create quite an eclectic menu. Then again, I’ve also eaten raw mango rice as part of the sumptuous banana leaf service at South Indian weddings too, so perhaps – just like the mango – we can consider this a quintessentially Indian dish!

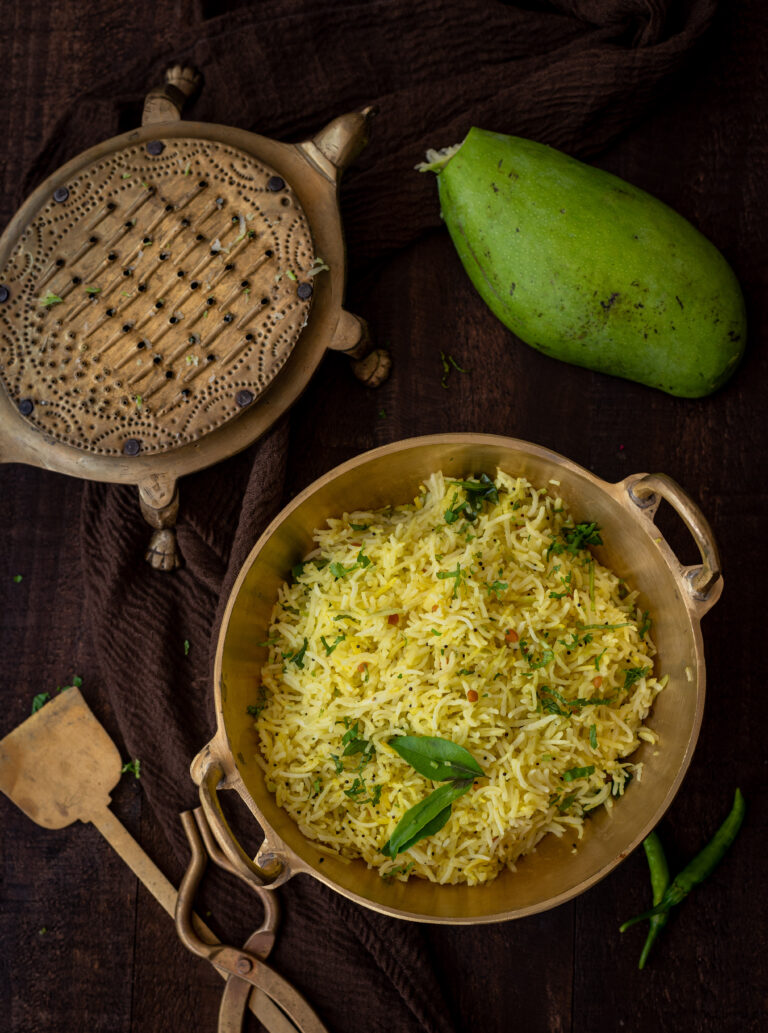
Raw Mango Rice

(Yield: Serves 2)

½ tablespoon oil

½ teaspoon channa dal

½ teaspoon urad dal

½ teaspoon mustard seeds

1 green chilli (sliced)

A few curry leaves

½ teaspoon turmeric powder

2 cups cooked rice

1 cup raw mango (grated)

Salt to taste

A pinch of asafoetida

Coriander leaves (to garnish)


Heat a kadai and add the oil. Once it has heated, add the channa dal and the urad dal. Allow them to turn golden, and then add the mustard seeds. Once they begin to splutter, add the asafoetida, curry leaves and green chilli.

Next, add the rice and the turmeric, along with salt to taste. Mix gently. Once it has all come together, turn off the flame. Finally, add the grated mango and mix once again. If you only have access to sour mangoes, rather than the delicately sweet-sour killimooku variant that I have used, use a smaller quantity than listed above.

Garnish with coriander leaves and serve hot with the accompaniments of your choice, or plain and simple. As I said earlier, I’m very curious to know how you’ll pair this rice, and I would simply love to hear about it from you in the comments!

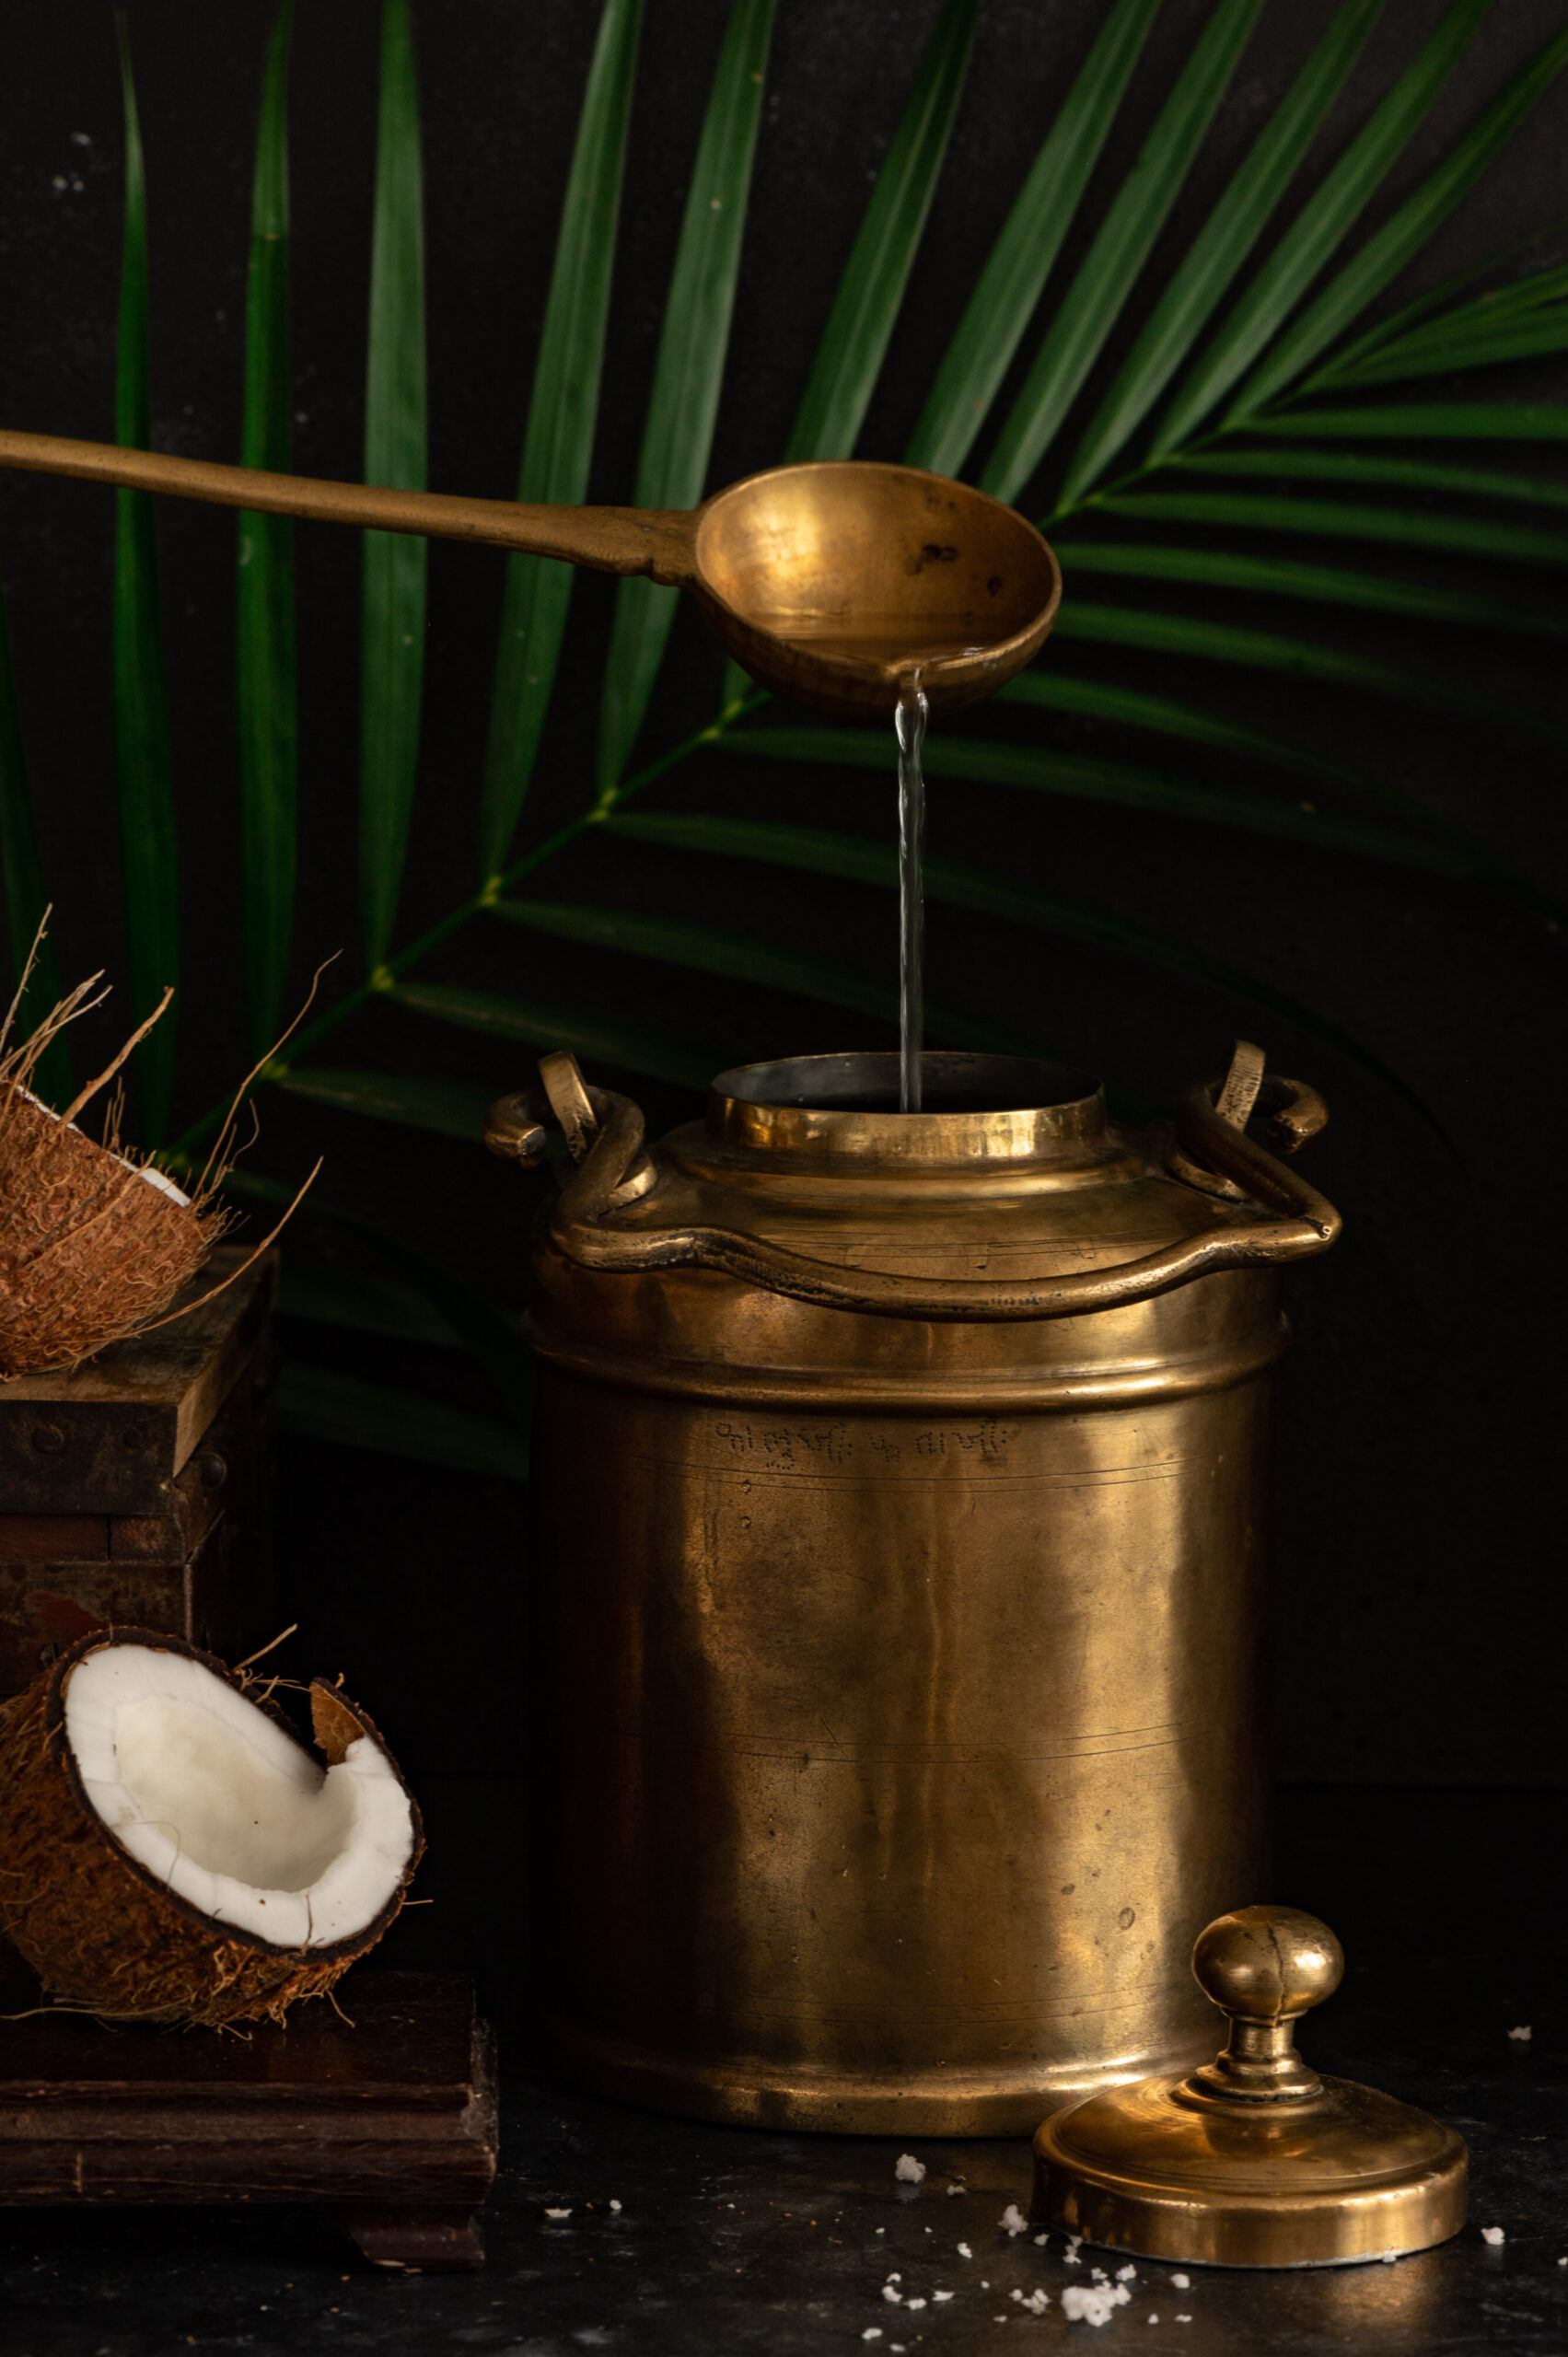
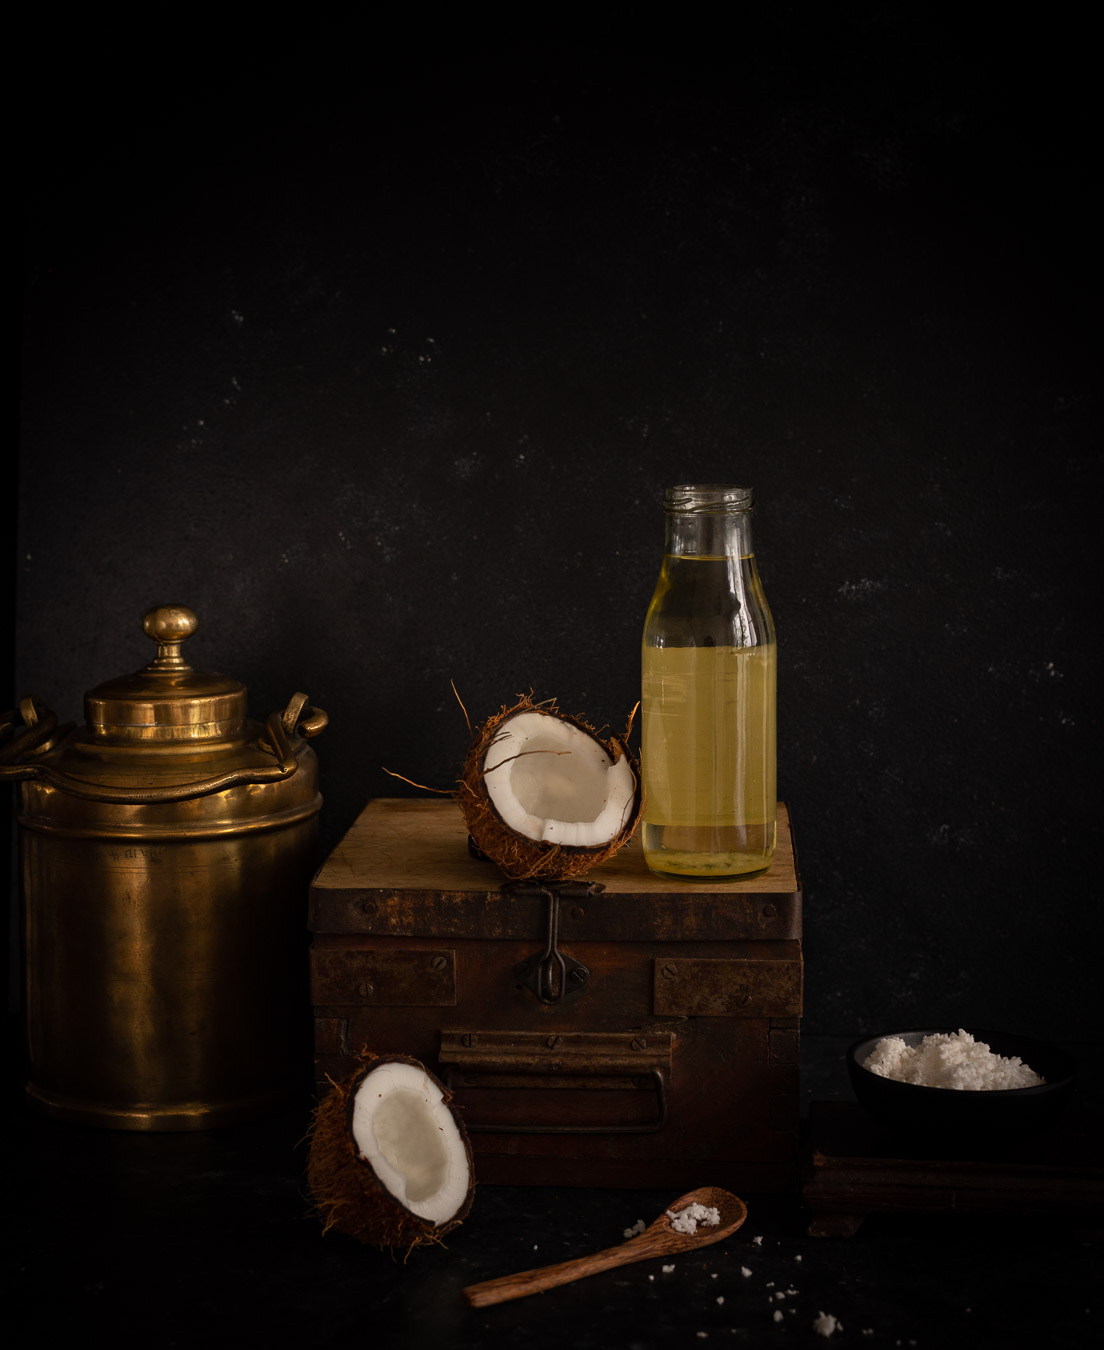
I am delighted to share that a selection of my photographs will be showcased at Apparao Galleries’ latest exhibition, entitled Garden of Eden. These photographs are from my still life series of dark and moody compositions that celebrate Indian brassware. If you are in Chennai, please visit Asvah 24 at 4/24, Beach Road, Sri Kapaleeswarar Nagar, Neelankarai between February 1st and February 3rd 2021 to enjoy the exhibition.

This is my second public exhibition, following the inclusion of my work at Apparao Galleries’ showcase at the IDINDIA2020 design fair in Okhla, Delhi. I couldn’t be happier with how Nandi Shah Photography is growing, and I am deeply grateful for your encouragement and support.

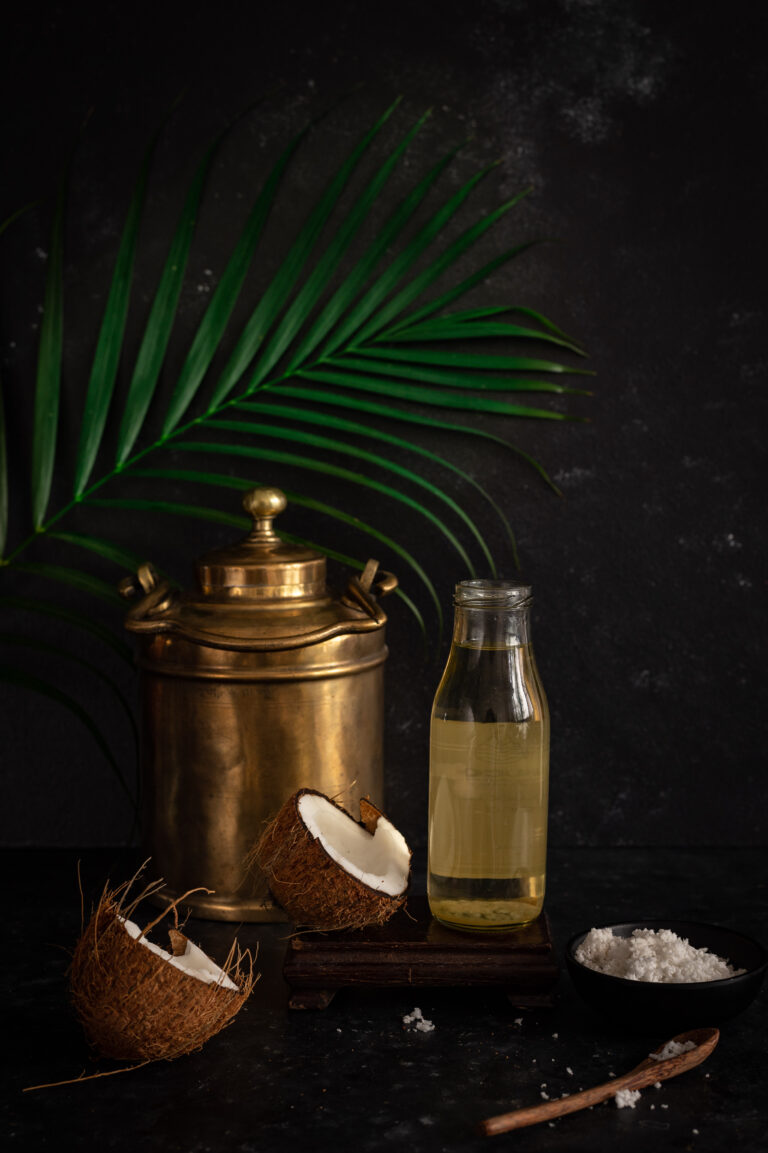
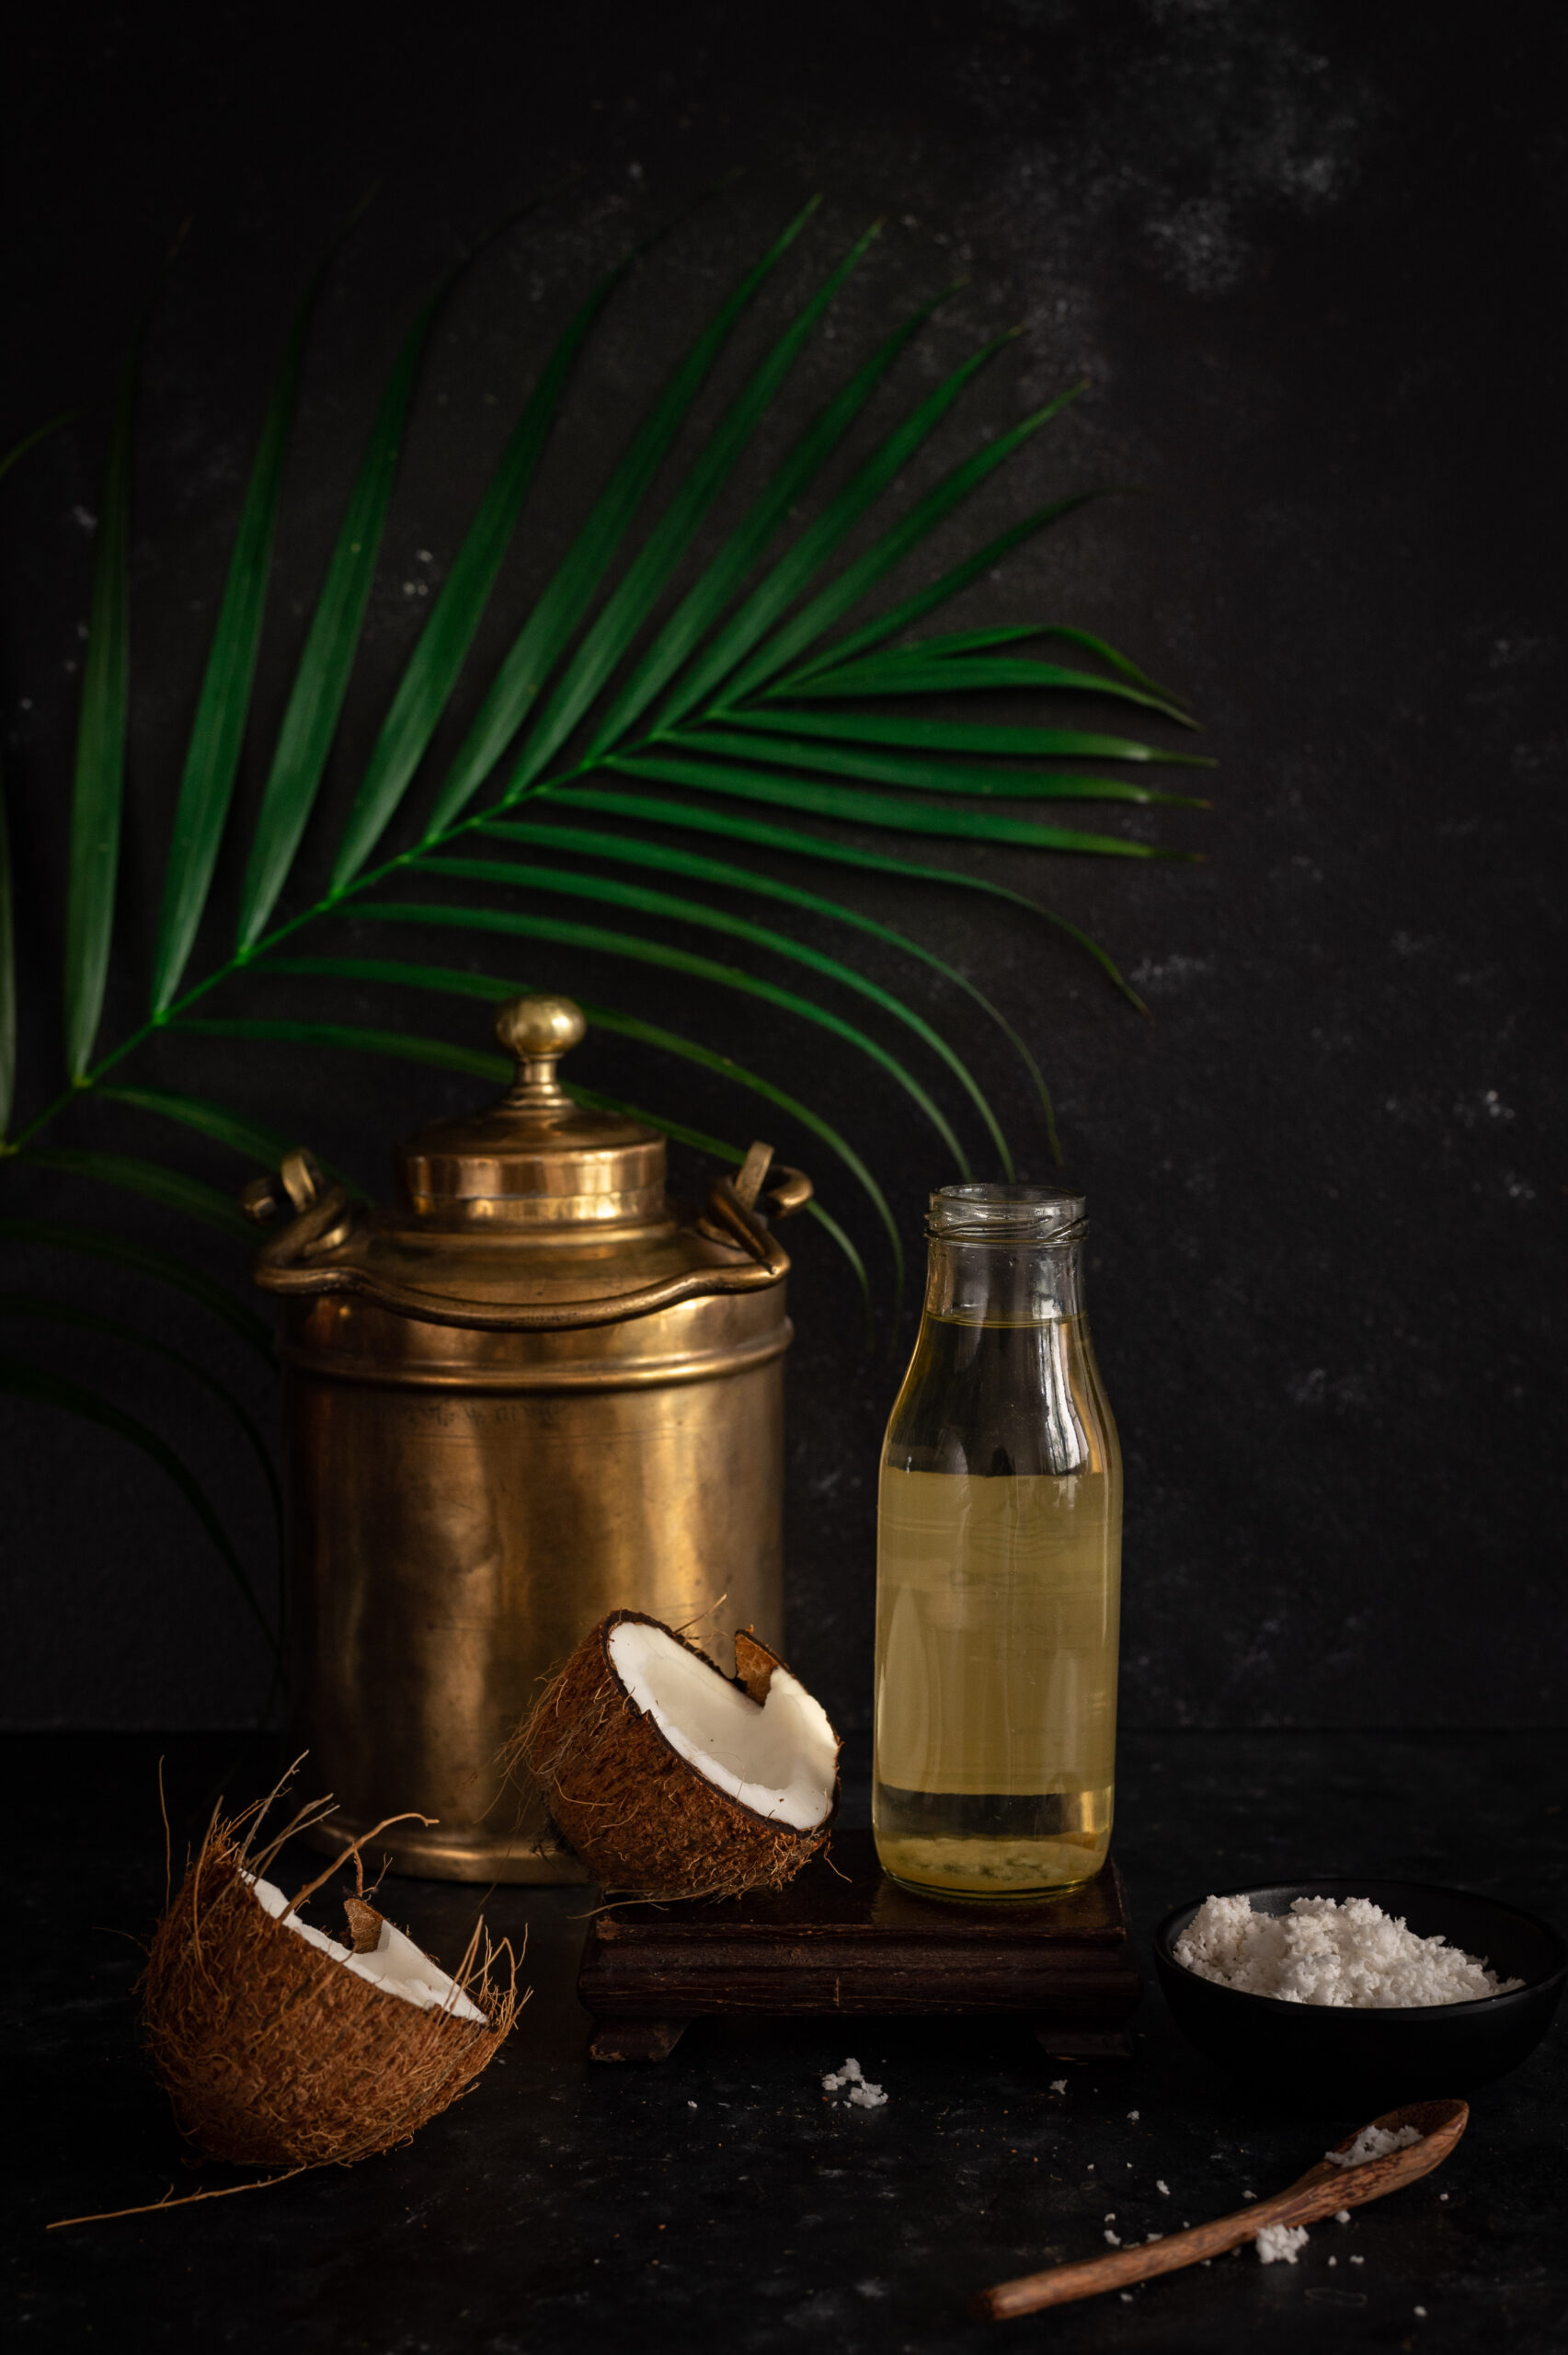
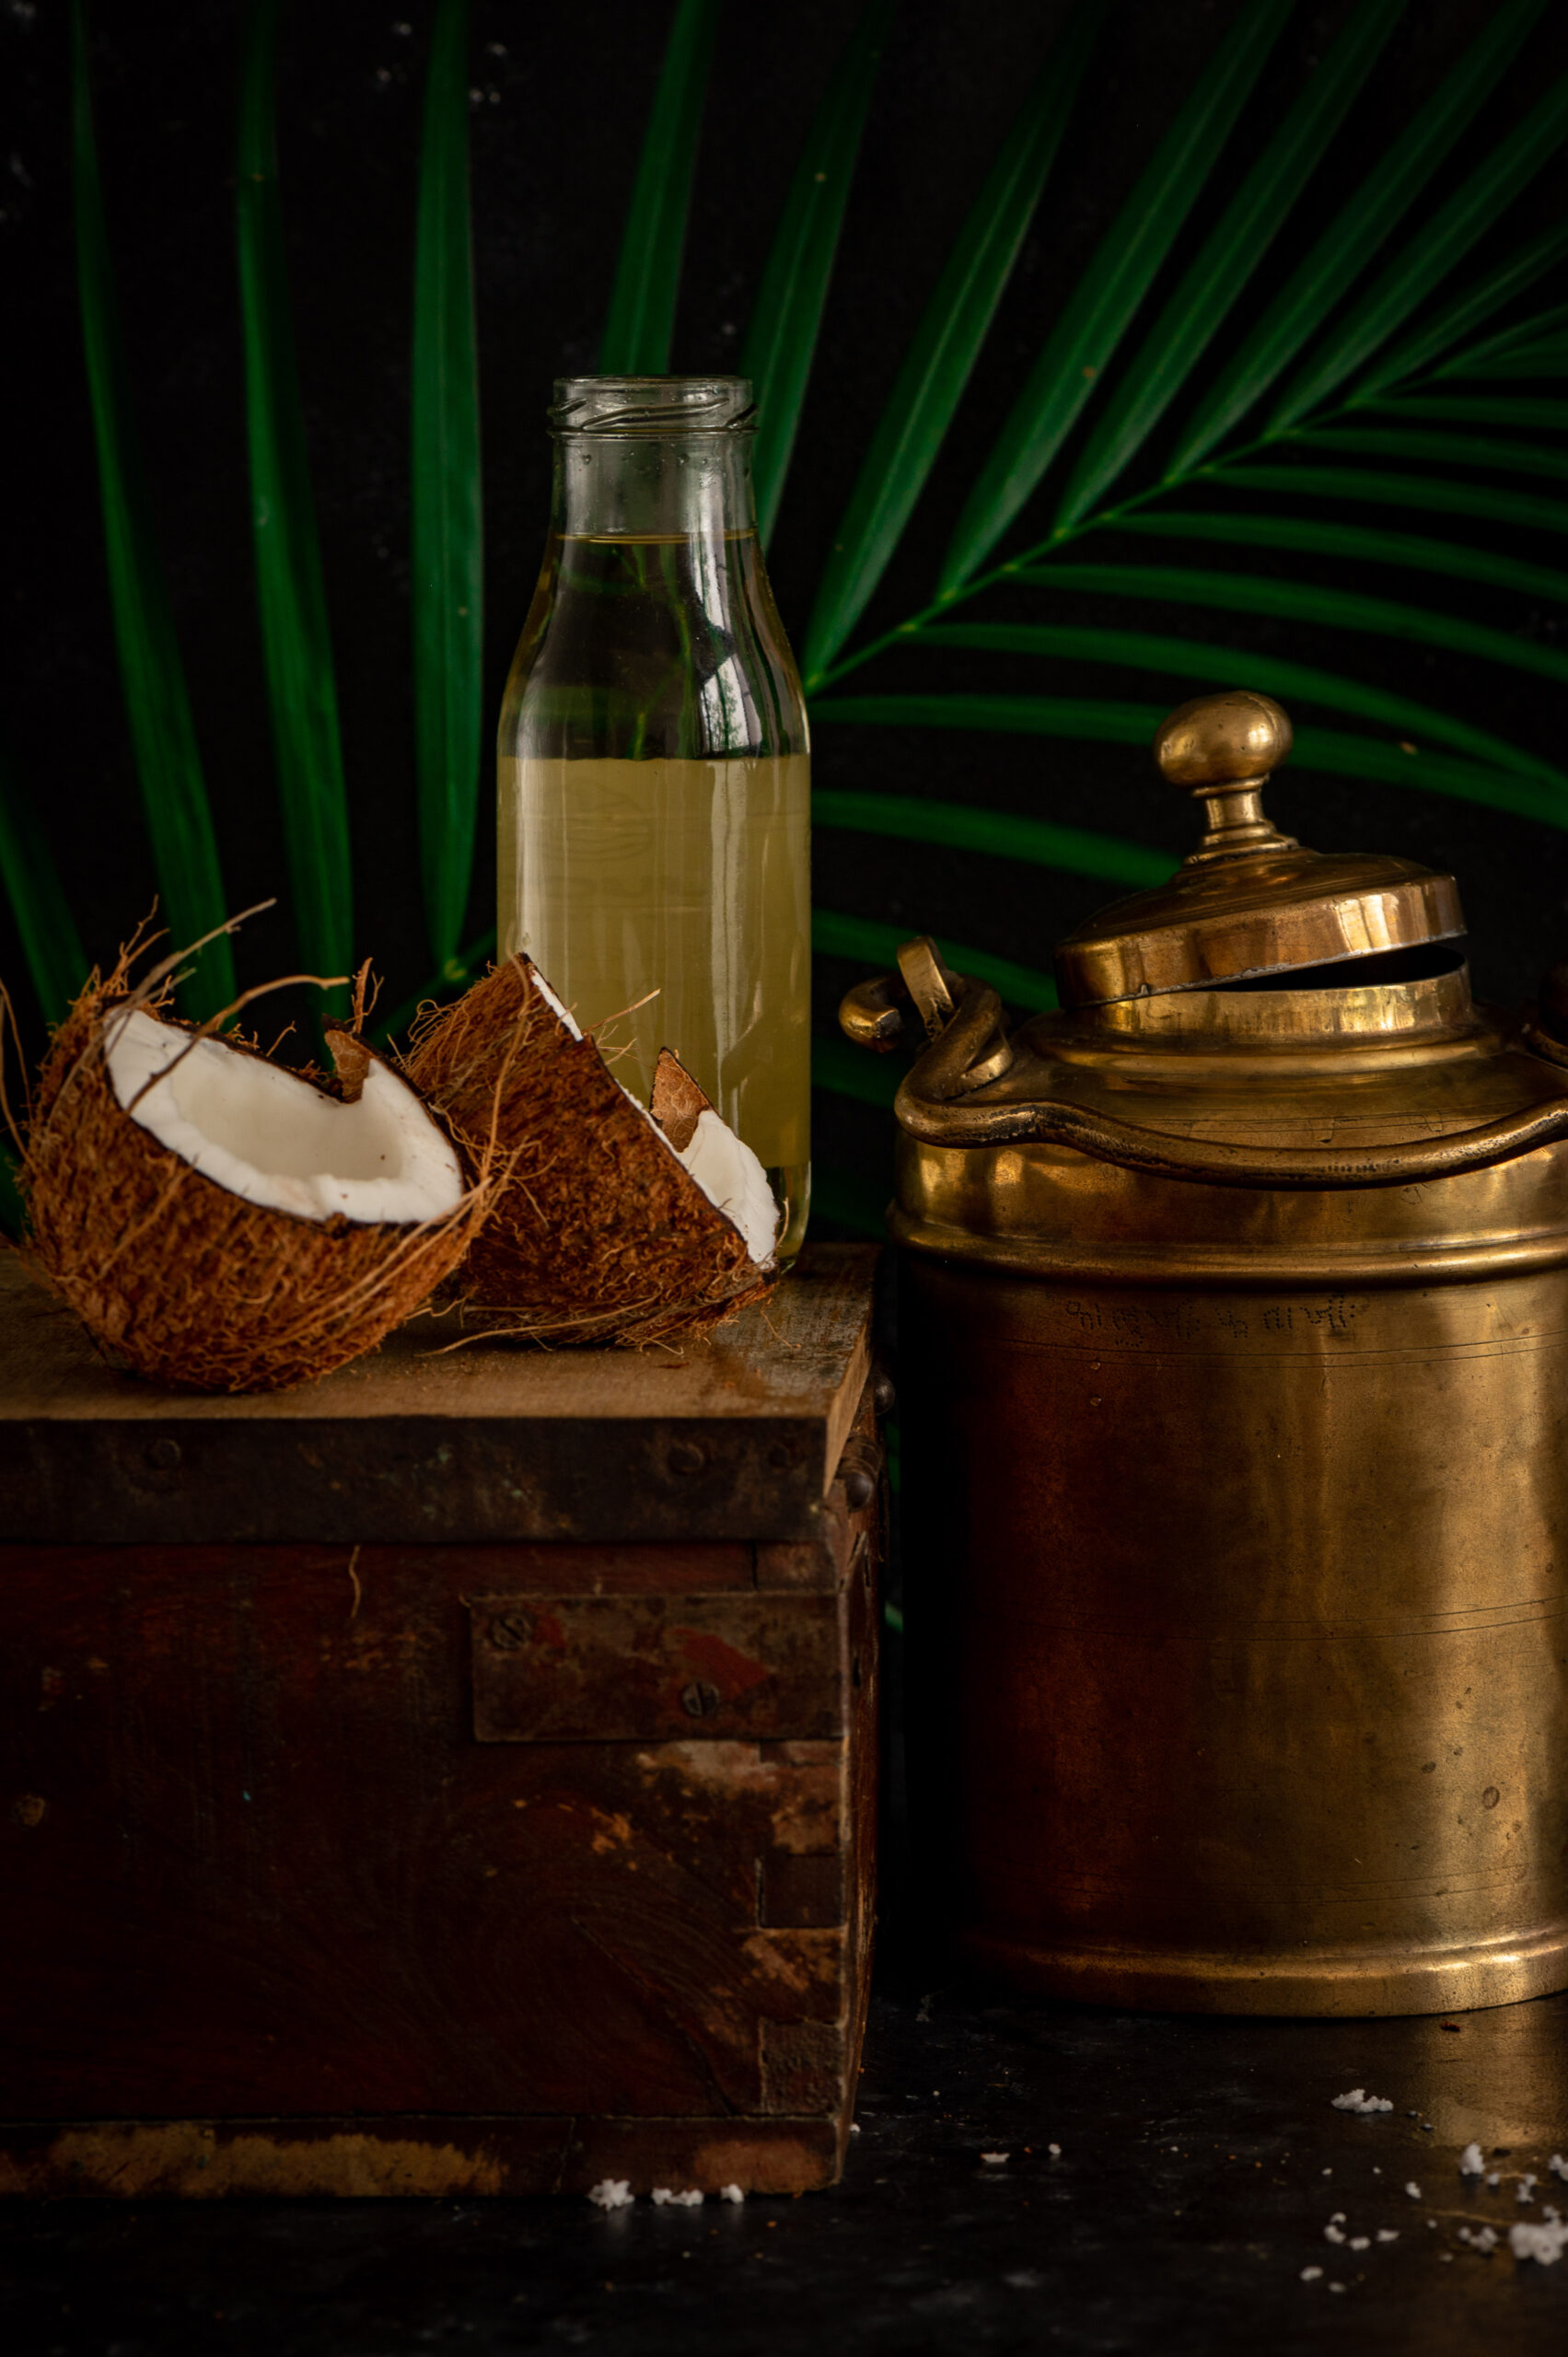
The coconut series continues with something a little different this time: coconut oil! Yes, the oil that most of us are used to purchasing can indeed be made not just at home, but even in a city like Chennai, as long as you have coconut trees around. With about a dozen coconut trees at home, and a reliable coconut harvester who was willing to visit, I collected a big batch of coconuts and embarked on my next adventure.

I’m going through a phase where I feel like I want to learn everything there is to know about food and cooking. Nowadays, when I hear about someone making a special jam or baking a new kind of cake, I experience FOMO (“fear of missing out”). Maybe this comes from having been very naughty as a child, and never focusing on my studies then – at least, that’s what I jokingly say to my kids each time they’re surprised to hear that I’ve taken up a new course or have signed up for some workshop. But I believe in challenging myself and growing. I want to be more self-reliant, and discover new things. Even though it’s impossible to truly learn, let alone master, every single possible recipe or method out there, I feel an urge to try. So when my friend Sujata told me that she had successfully made her own coconut oil, I immediately went, “OMG, I want to do this too!” My motivation was perfectly-timed, as the trees were ripe for harvest just then.

Coconut oil is only one of the many ways that the different parts of the bountiful coconut tree can be used. As I create this series for the blog, I’ve been reflecting on the versatility of the tree in its entirety, even though I’m personally only using its fruits. For instance, I recall how when I was growing up, there was a lady who would come home sometimes, take a knife, sit outside with some coconut tree fronds and use a knife to craft a broom (“thodapam” in Tamil) whenever a new one was needed. I’d watched this process many times over the years. Wherever the tree grows, the shells are used as utensils and even as a charcoal replacement, the husks to fashion ropes out of, the leaves in weaving and thatching, the flowers in herbal medicine, and so on. The edible flesh and water aren’t the only good things to come from this amazing tree.

What follows is more of a method than a recipe as such, and what is produced as a result will be a beautiful and versatile ingredient that you can use in everything from food to beauty essentials. Coconut oil is a staple in South India, used for everything from improving hair health to daily frying needs. It’s also something that has attracted the attention of beauty and health enthusiasts internationally. The latest trend I’ve read about is to have a spoonful of pure coconut oil in the mornings, as this is said to be good for the brain. What I will do in this post is walk you through my own process of preparing coconut oil, and my learnings from the same.

In order to prepare your own coconut oil, you’ll need: coconuts, access to a cold pressery, and space to sun-dry. There are many places in Chennai that do cold-pressing, and it should be possible for you to find a unit near you wherever you are.

The first step is to harvest the coconuts, of course. Then, they are peeled and chopped into smaller pieces (they will need to be small enough to feed to the cold pressing unit). The flesh is left to sun-dry for between four and seven days, depending on the coconut. You will know that it’s done when you press it with your thumb and it releases a little bit of oil.

Next, the dried pieces are sent to the cold pressery. I wanted to supervise the process to ensure that there was no dilution of any sort. The unit where I had my coconut oil made used a lovely old machine made of wood and canvas. I put in about 20 kilos of coconuts and got back about about half as much in raw oil.

The process doesn’t end there, however. This huge container of oil I came home with then had to be dried again, so that residual moisture from the coconut flesh gets evaporated. What you have to do at this stage is to pour it out into flat pans, and allow these to dry in the sun for anywhere between three and five days. You will know that it is done when all the dust particles settle at the bottom, and the raw smell goes away. This being my first time making my own oil, I was not sure whether the final product was less fragrant than the store-bought versions because I hadn’t let the coconut pieces dry long enough, or simply because they were free of artificial additives. Either way, once the oil completed the drying stage, it was ready to use. I couldn’t help but marvel at the result.

And there you have it: coconut oil that you can be sure is free of contamination, preservatives or any other issue that may come with commercially-produced brands. I can’t tell you what a delight it is to have your very own cold-pressed coconut oil. That’s something that you must experience for yourself, and if you can, please do.

Embarking on this little adventure was very rewarding for me, but the thing about my FOMO and subsequent hunger to do more is that sometimes experiments don’t turn out as expected. Whenever this happens, I always tell myself that it’s okay, and that I can focus on what I know I do well and can take pride in. For instance, expanding my repertoire of cakes is something that I am really keen to do, and I’m constantly exploring new recipes and whipping up trial batches. You may have seen the new additions I made to the menu recently, and it’s been really wonderful to prepare your orders for this festive season too.

I would even go as far as to say that I like to show off a little with each successful experiment, but when I share how I did it, I pass on that sense of achievement to you. It’s so exciting to have something that is all handmade, and made to order just for you. I’ve been sharing the oil from my coconut trees with very dear friends in glass jars, so in addition to being used at home both in cooking and in grooming, they’ve also become perfect for gifting this year.

I’d love to know if you try out preparing your own coconut oil based on my own experiment here. I’d also love to know how you use it. I am sure that you will find, as I have, that making your own batch of coconut oil is worth its weight in gold.

This year is one during which the festive season is probably going to be a little different than it usually is. This means that every special occasion is all the more precious, and I know you’ll be choosing the treats and goodies you’ll share with your family with extra care. With this in mind, I’ve been working hard in the kitchen, conducting trials and perfecting new products to add to the re:store menu.

I’m delighted to share that in addition to all your favourites, re:store now has: luscious Persian love cake, addictive almond brittle, charming red velvet cake, and finally, the outstanding sugar-free hazelnut date protein balls (an upgrade on a bestseller you may be familiar with).

I hope you’ll drop me a line with your orders soon. re:store is based in Chennai, but muesli deliveries have been made all over the country and beyond. Please take a look at the complete list of products on the re:store menu and get in touch. I look forward to helping you make your celebrations sweeter!

With the summer being as harsh as it is, keeping hydrated should be at the top of our list of nutrition priorities. While water goes a long way, imbibing different beverages with beneficial properties both gives us our required quota, and also keeps things creative in the kitchen! In my quest for new recipes, I often find myself turning to older ones, especially ones I took for granted while growing up. This barley lime drink is one such.

I’m a great believer in “grandmother’s remedies”, those old forms of healing that some people just have a great sense for. My mother always just knew what was good for us. She could simply look at an ingredient and know whether it was cooling or heating, or what its healing uses were. Her intuition was similar to the system of Ayurveda, which uses as one of its main principles the idea that some foods are cooling for the body, and some are heating.

During the summer months, we often drank barley lime. I later learned that one reason for this was because we used to run around climbing the neighbours’ trees, getting our knees scraped, plucking and eating the mangoes. Mangoes are famous for having a heating effect on the body, so barley lime was served to counter and balance this, since our mother knew we were having mangoes in excess every summer! You may be interested to know that raw mango, on the contrary, is cooling. Which is why it was the star of this post a couple of summers ago.

The goodness of barley was something I never thought about, except when I remembered how often our mother would feed my sister and I glasses of barley lime, even beyond the summers. The two of us were considered weaklings. Because she was worried that no one would marry us eventually, sometimes it was like our mother’s goal in life was to fatten us up. Interestingly, barley is actually good for weight loss. The intent behind this drink was good health, translated simply into putting on weight for scrawny kids, when in fact what it does is to provide a range of impressive benefits. These include: lowering cholesterol, balancing blood sugar and gut bacteria and helping to heal asthma and anaemia and numerous other common conditions (cue: “weaklings!”). Because I work so often with millets and organic produce, it was no surprise to learn about the bevy of benefits barley gives us. Barley is a cereal, and was one of the first domesticated grains, with a history that can be traced to the Nile region. North and Northwest India are huge producers of it, and it is known as “jau” in Hindi.

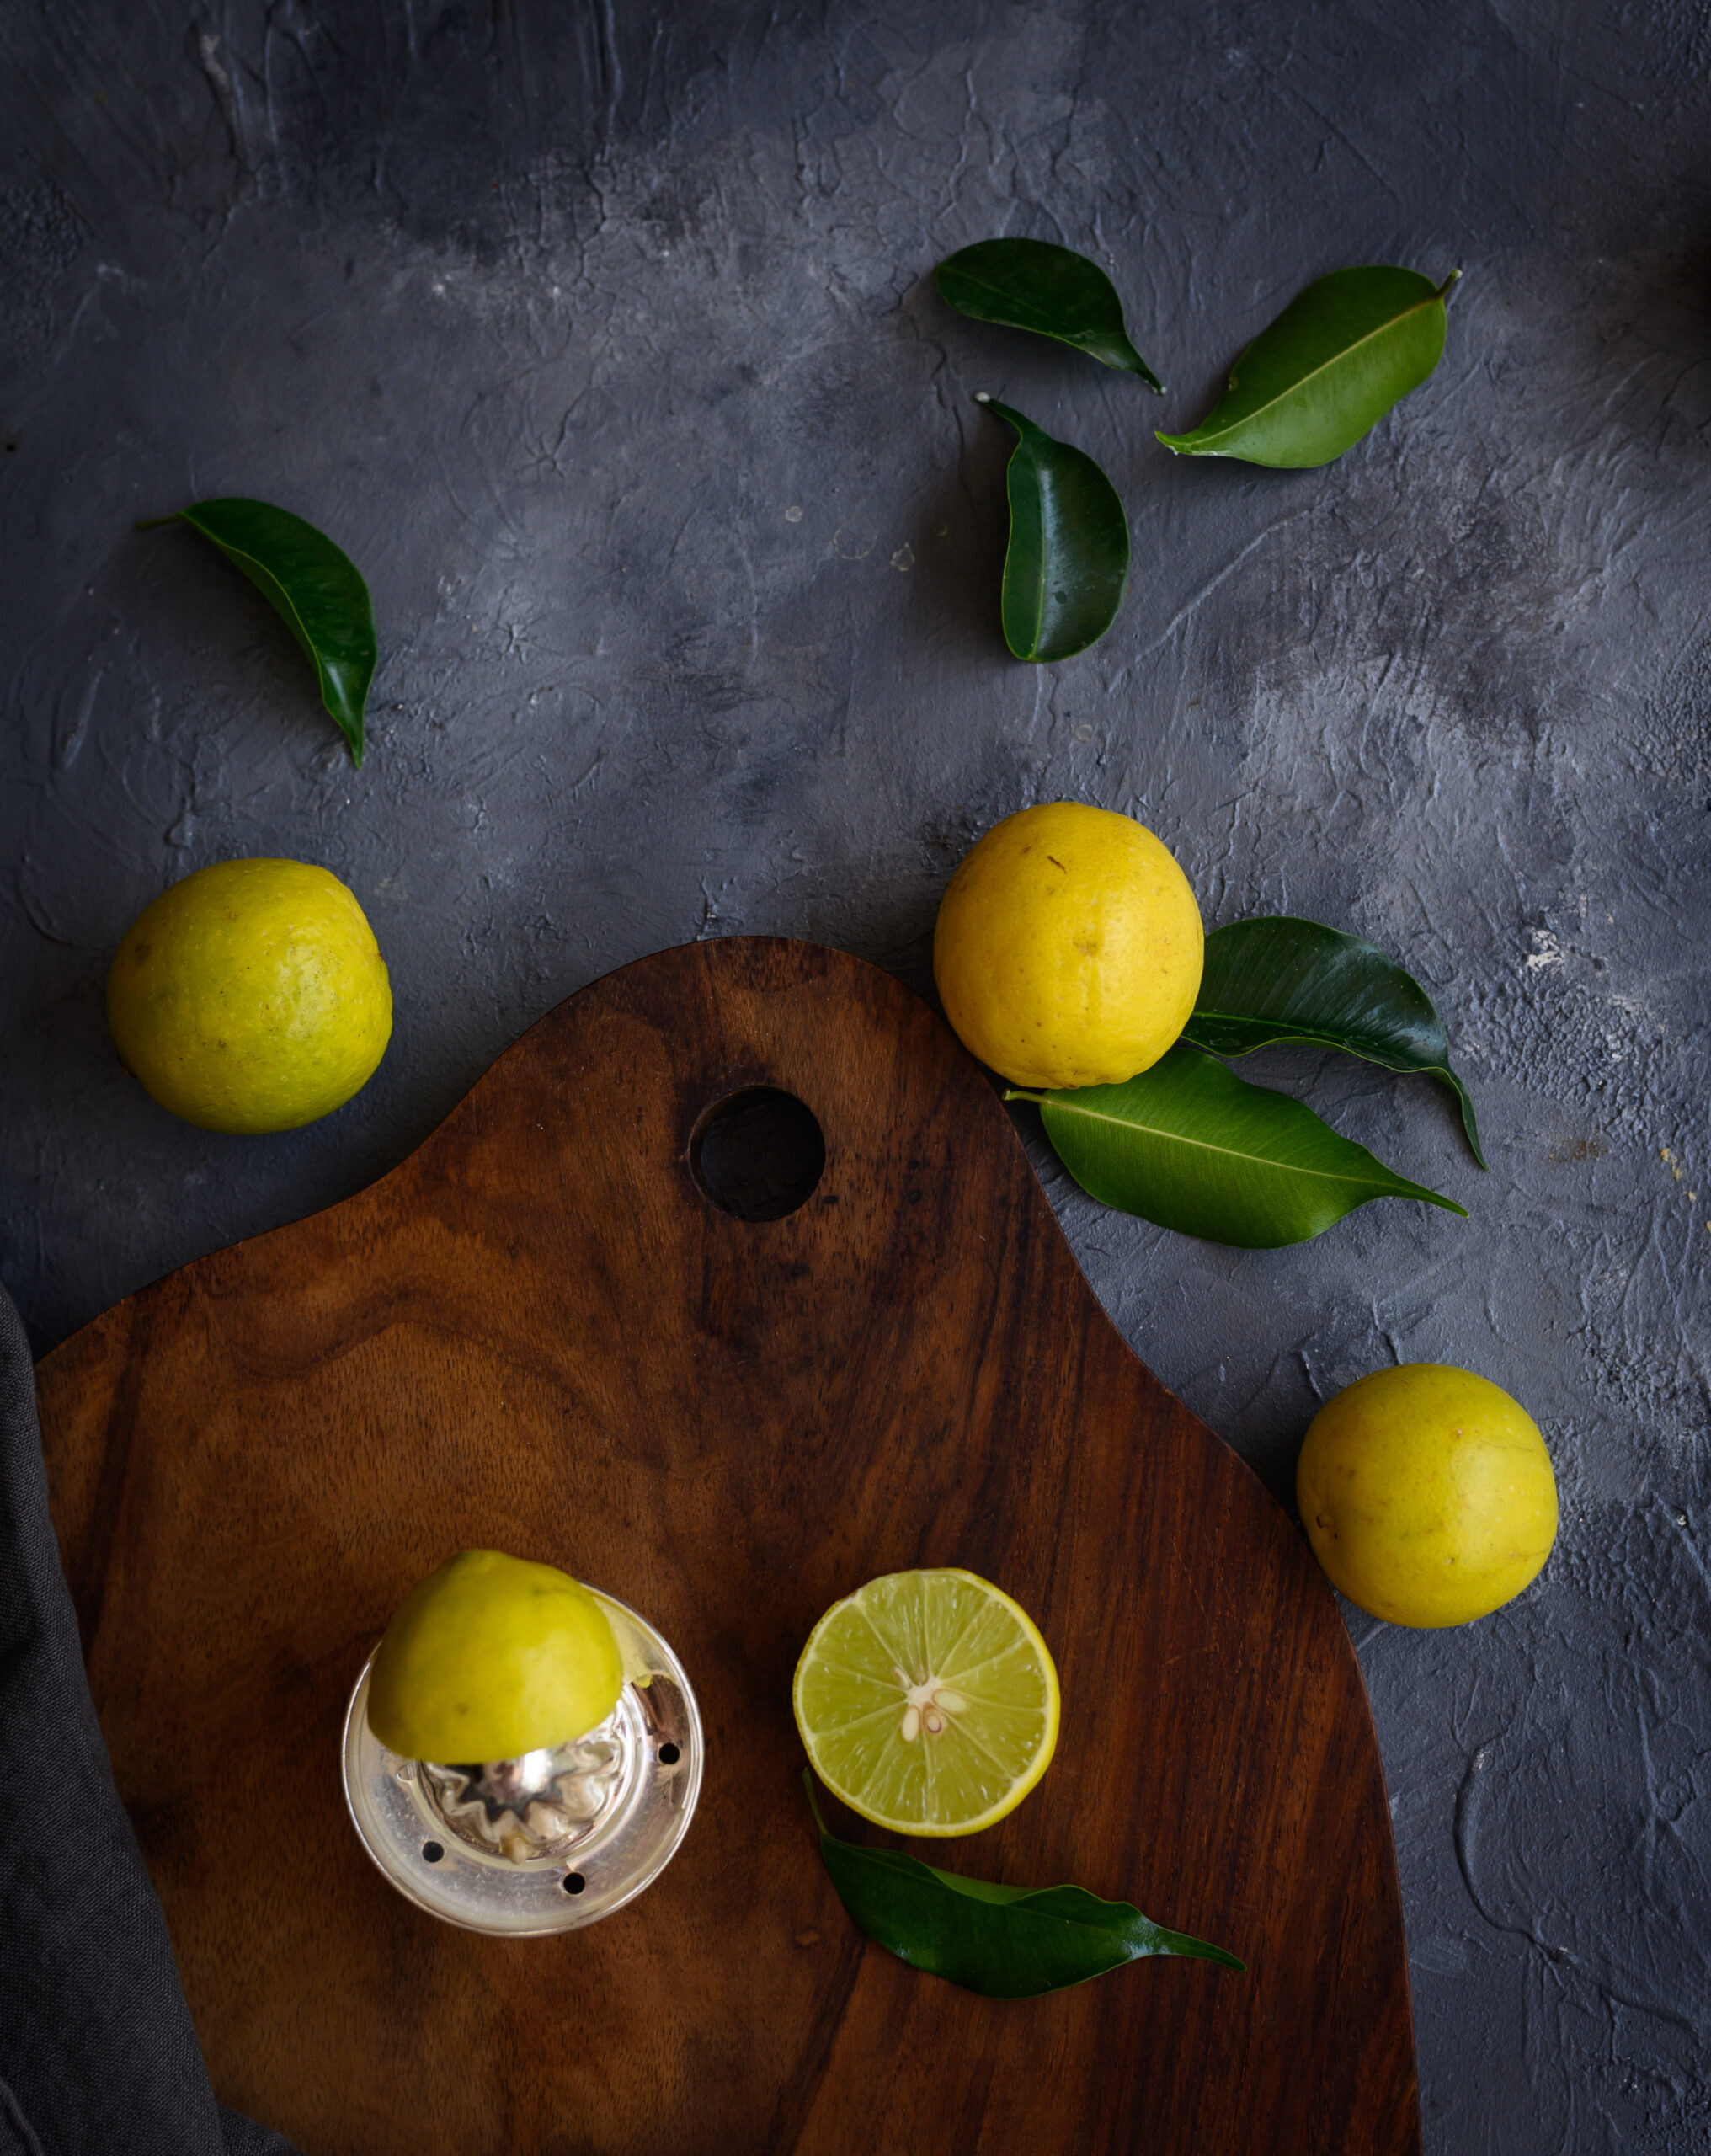
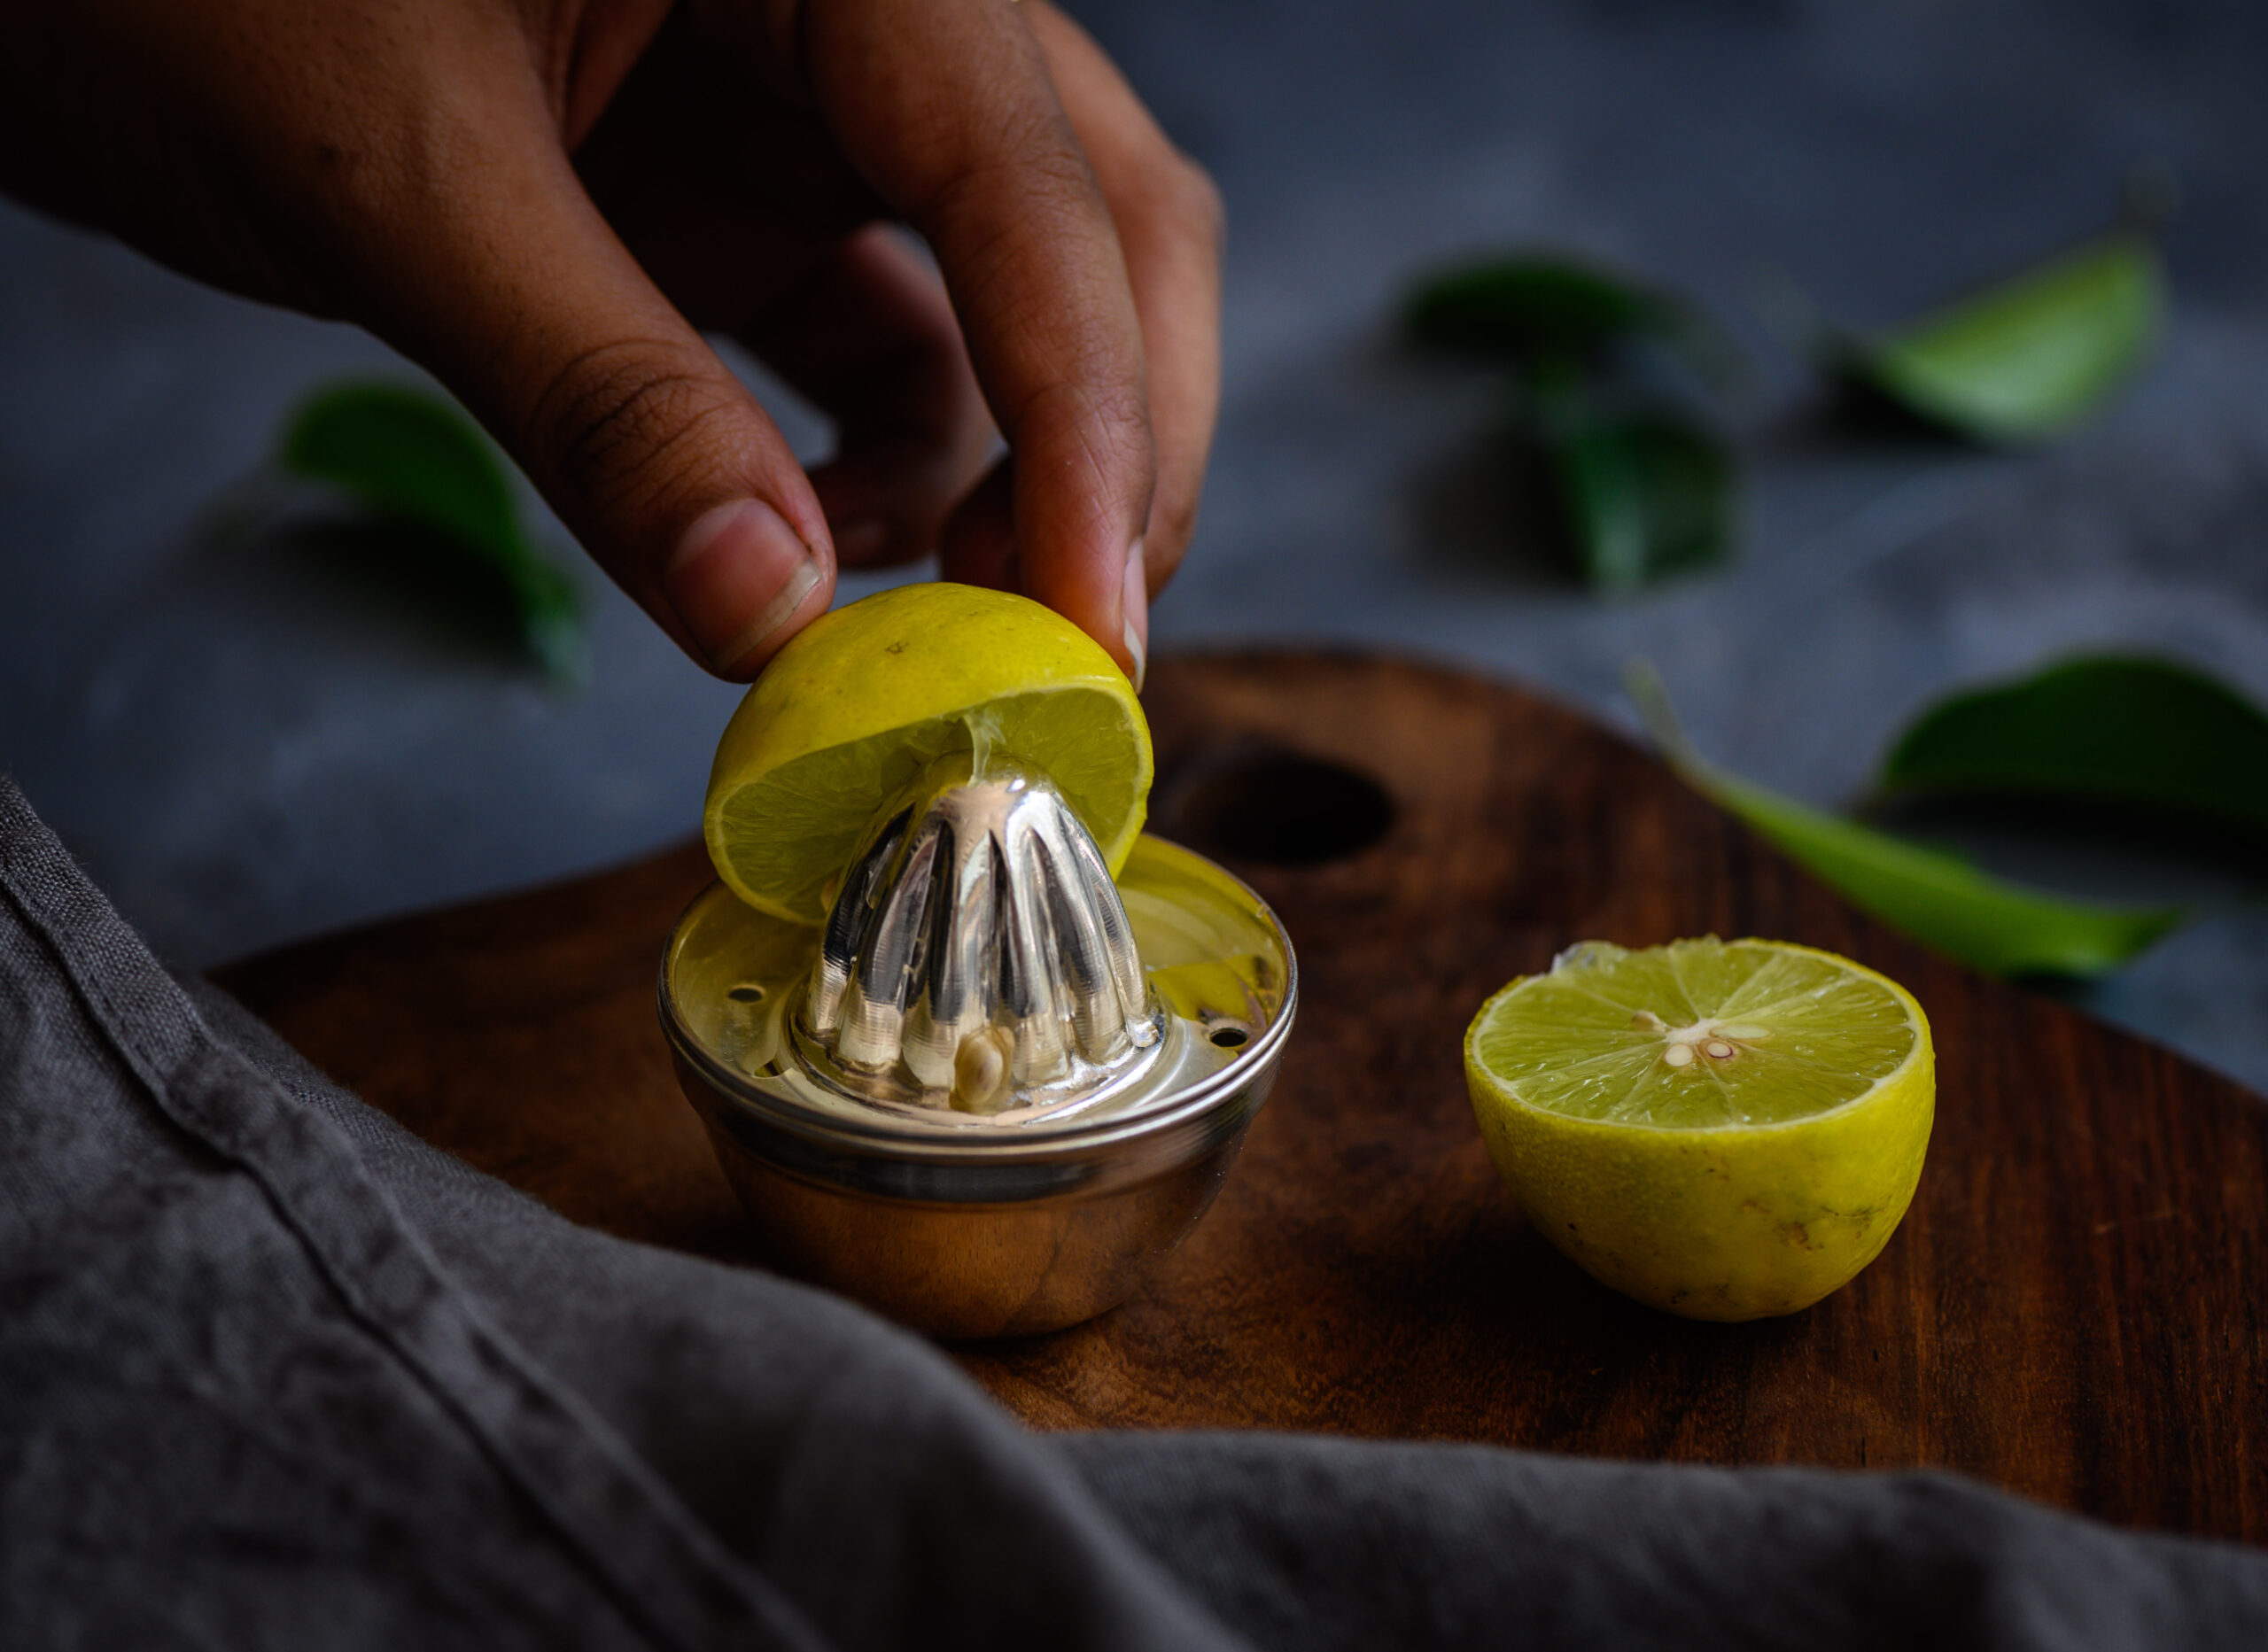
The other chief ingredient in this drink is the wonderfully versatile citrus fruit known as the lime. While a barley lemon drink is what you may be familiar with in many parts of the world, here in South India we usually reach for the ubiquitous lime as a substitute for all recipes that call for lemon. So much so that we often call the fruit itself “lemon”! Lime is a vital part of our cuisines, and also important in religious ceremonies. It has a powerful tangy flavour as well as a pleasing aroma, which influence any dish it’s used in. Lime is very good for digestion, thanks to its high acidity, and it complements barley’s beneficial properties such as improved respiratory function and weight management.

Both barley water and lime water are considered easily affordable, nutrient-rich beverages. So imagine what a super-boost combining the two provides. In these months of constant dehydration, a glass of barley lime makes me feel so thankful for my mother’s wisdom in the kitchen, which has kept my energy going to this day.

Barley Lime Drink

(Yield: 4-5 glasses)


½ cup barley

2 teaspoons sugar or honey

A pinch of salt

2 tablespoons lime juice

A few sprigs mint leaves


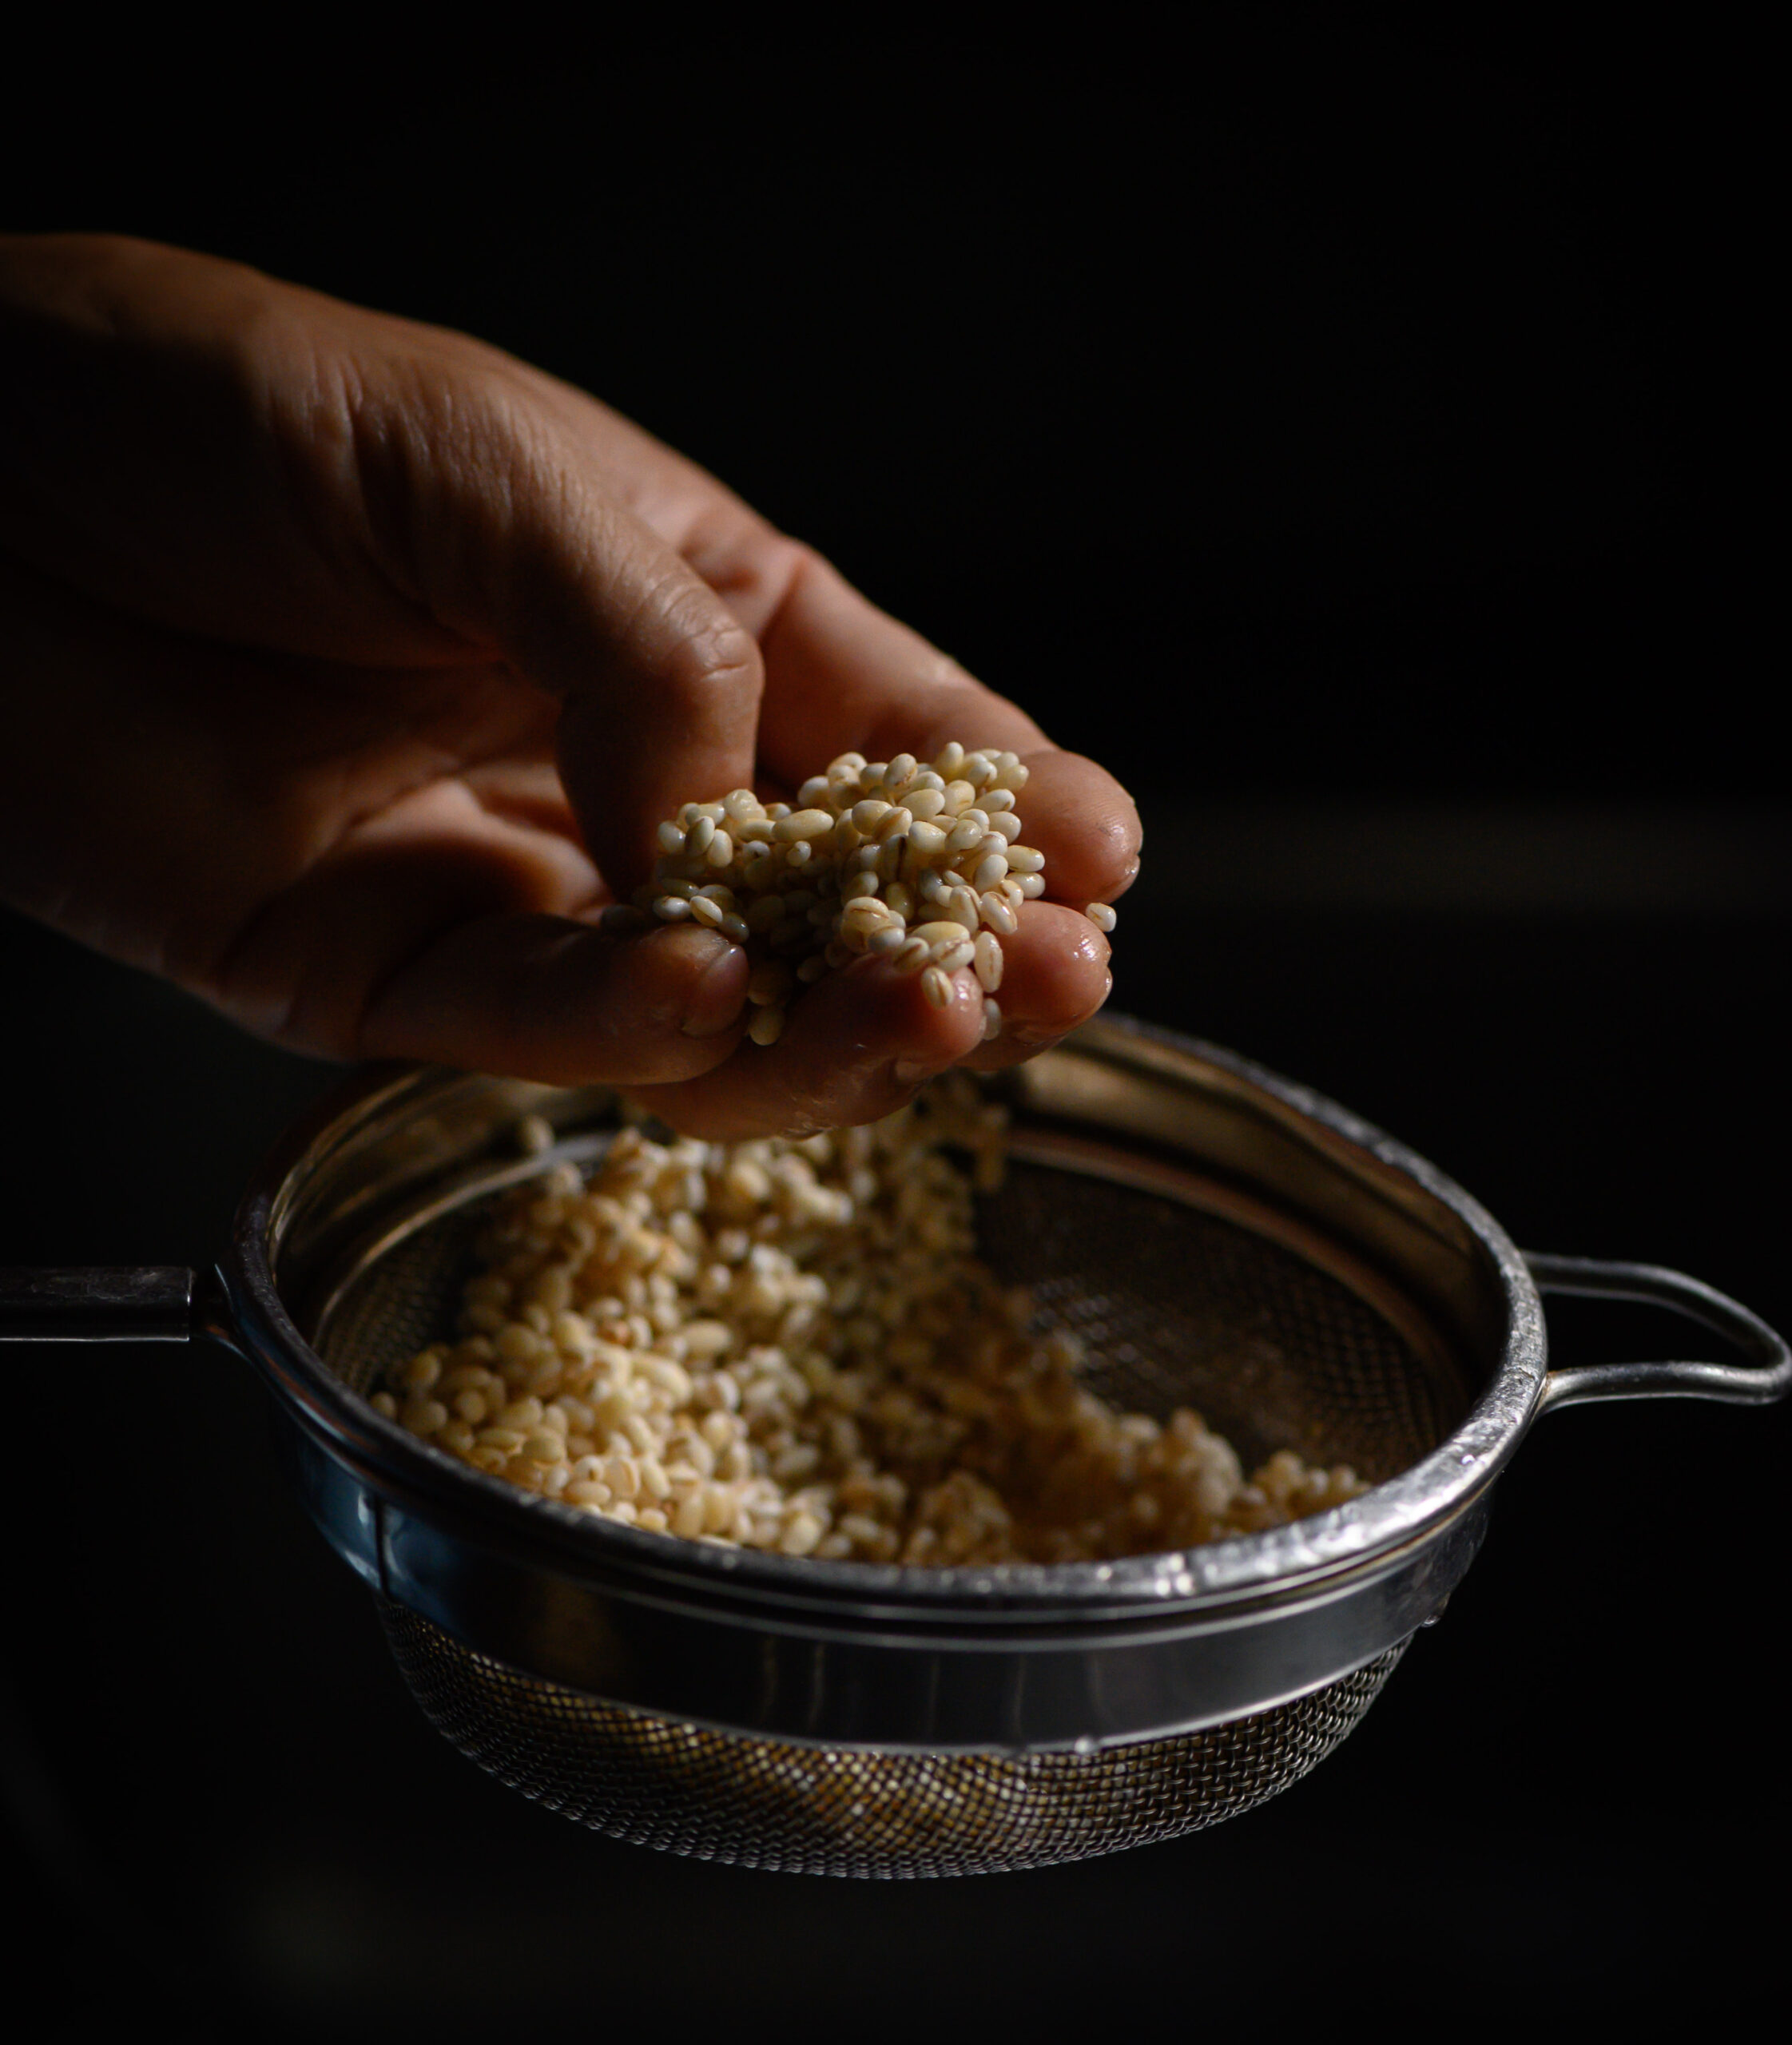
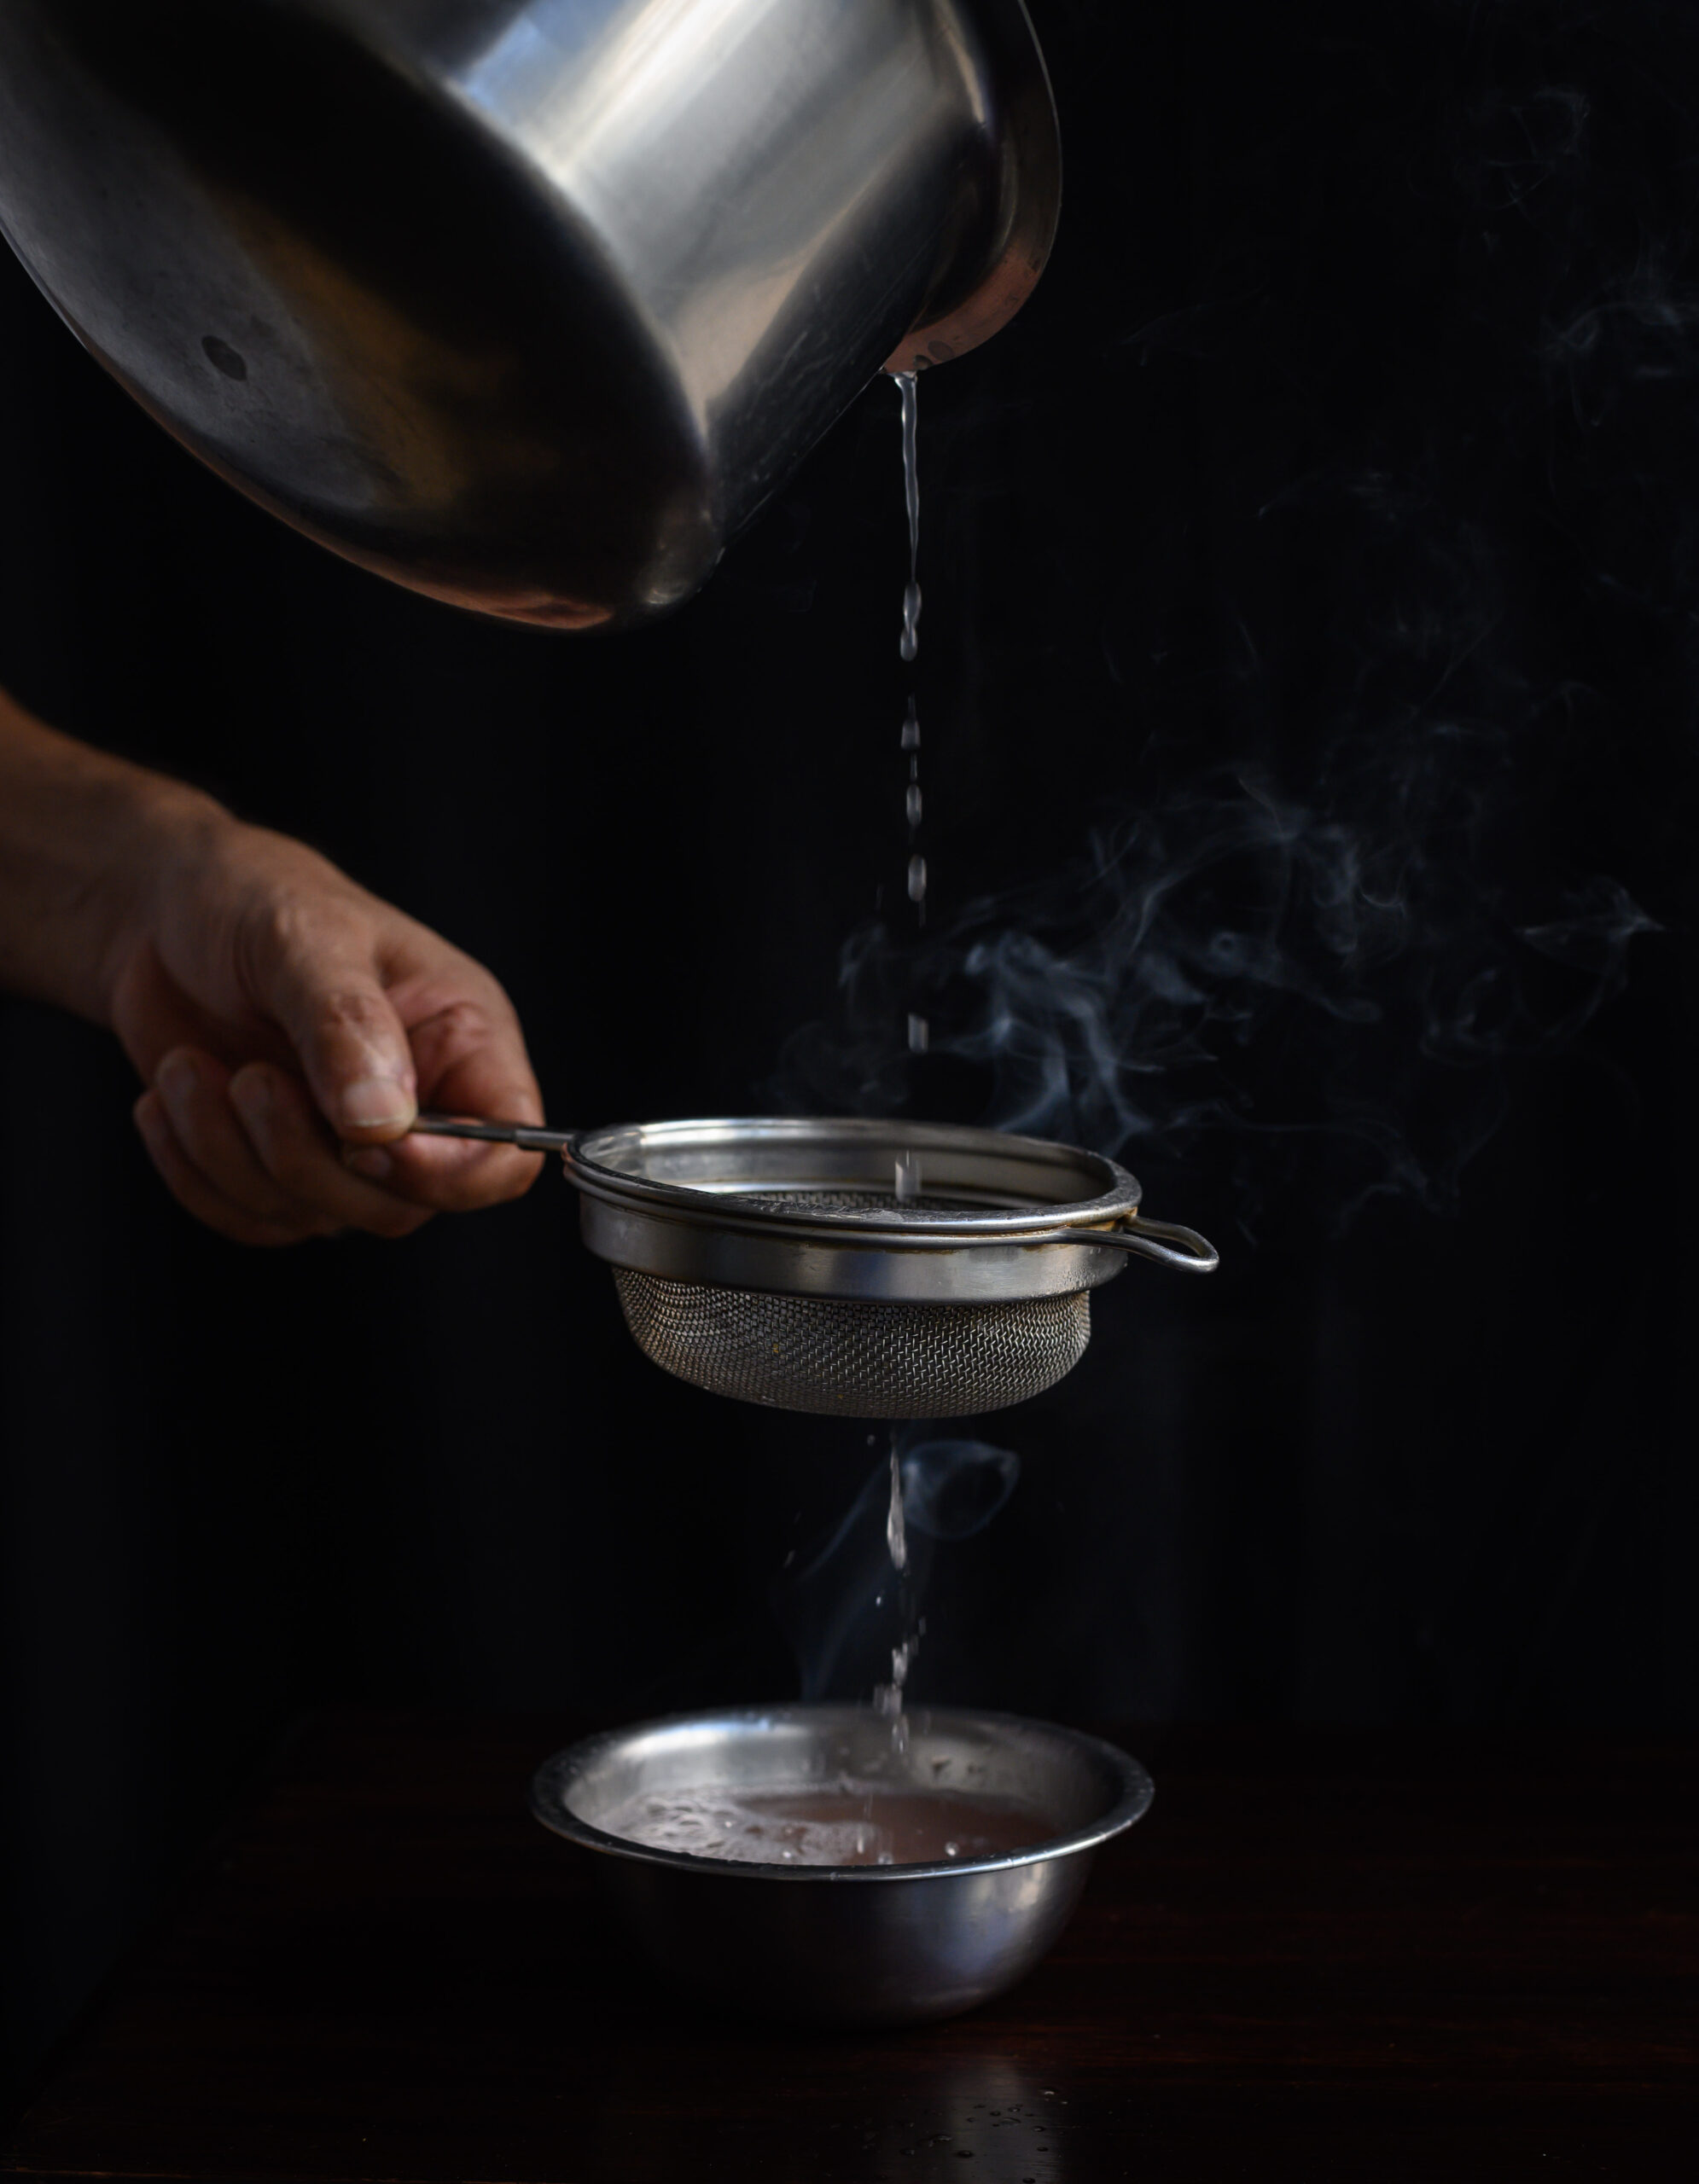
Pick and rinse the barley. Place it in a pot and add 6 cups of water. Allow to boil for about 12 minutes. Strain the water and discard the barley.

Allow the barley water to cool, and simply add the remaining ingredients. You may adjust the quantity of the ingredients to suit your taste. If you prefer it to be sweeter, you may add more sugar or increase the quantity of honey.

Keep the barley lime drink in the refrigerator. Serve chilled, garnished with mint leaves, and with extra ice if you prefer.

This anti-weakness, health-boosting beverage from my childhood has now become an elegant refreshment which I serve to my guests during this hot summer. I also frequently make a range of other chilled drinks, such as spiced buttermilk with homemade yoghurt, rose sherbet, and of course, my curry leaf and raw mango cooler. How are you keeping cool? I’d love to know in the comments.

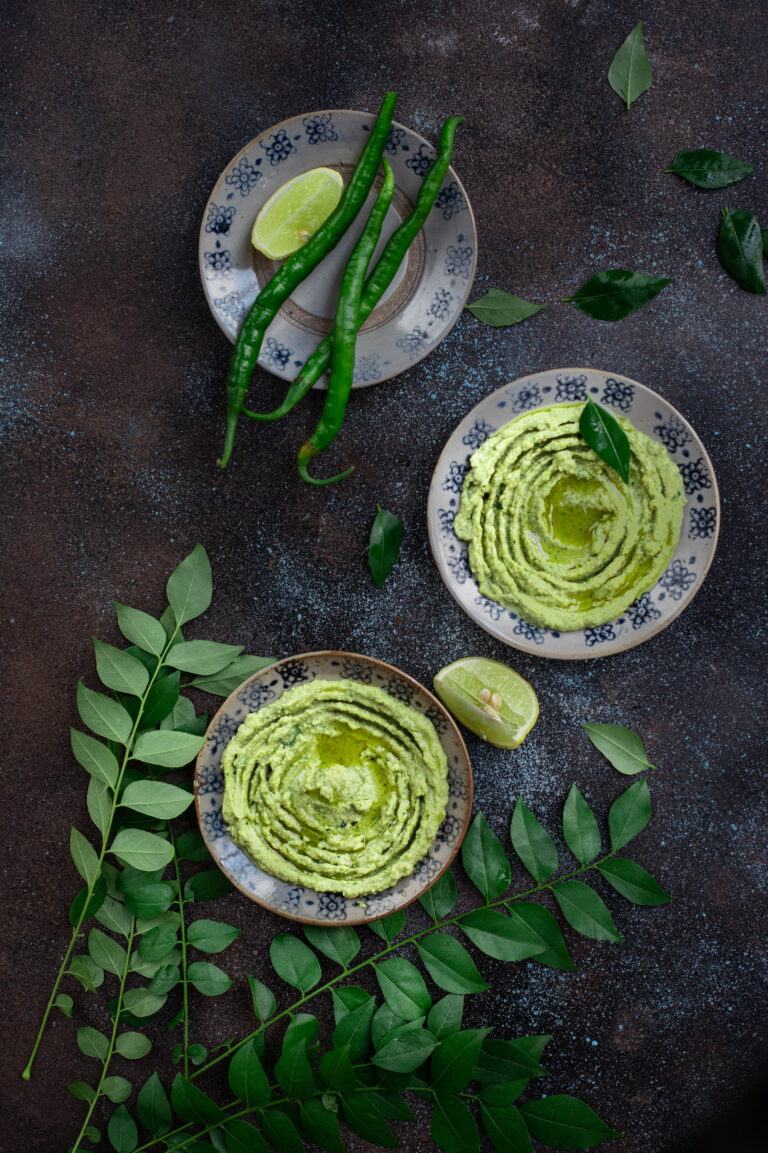
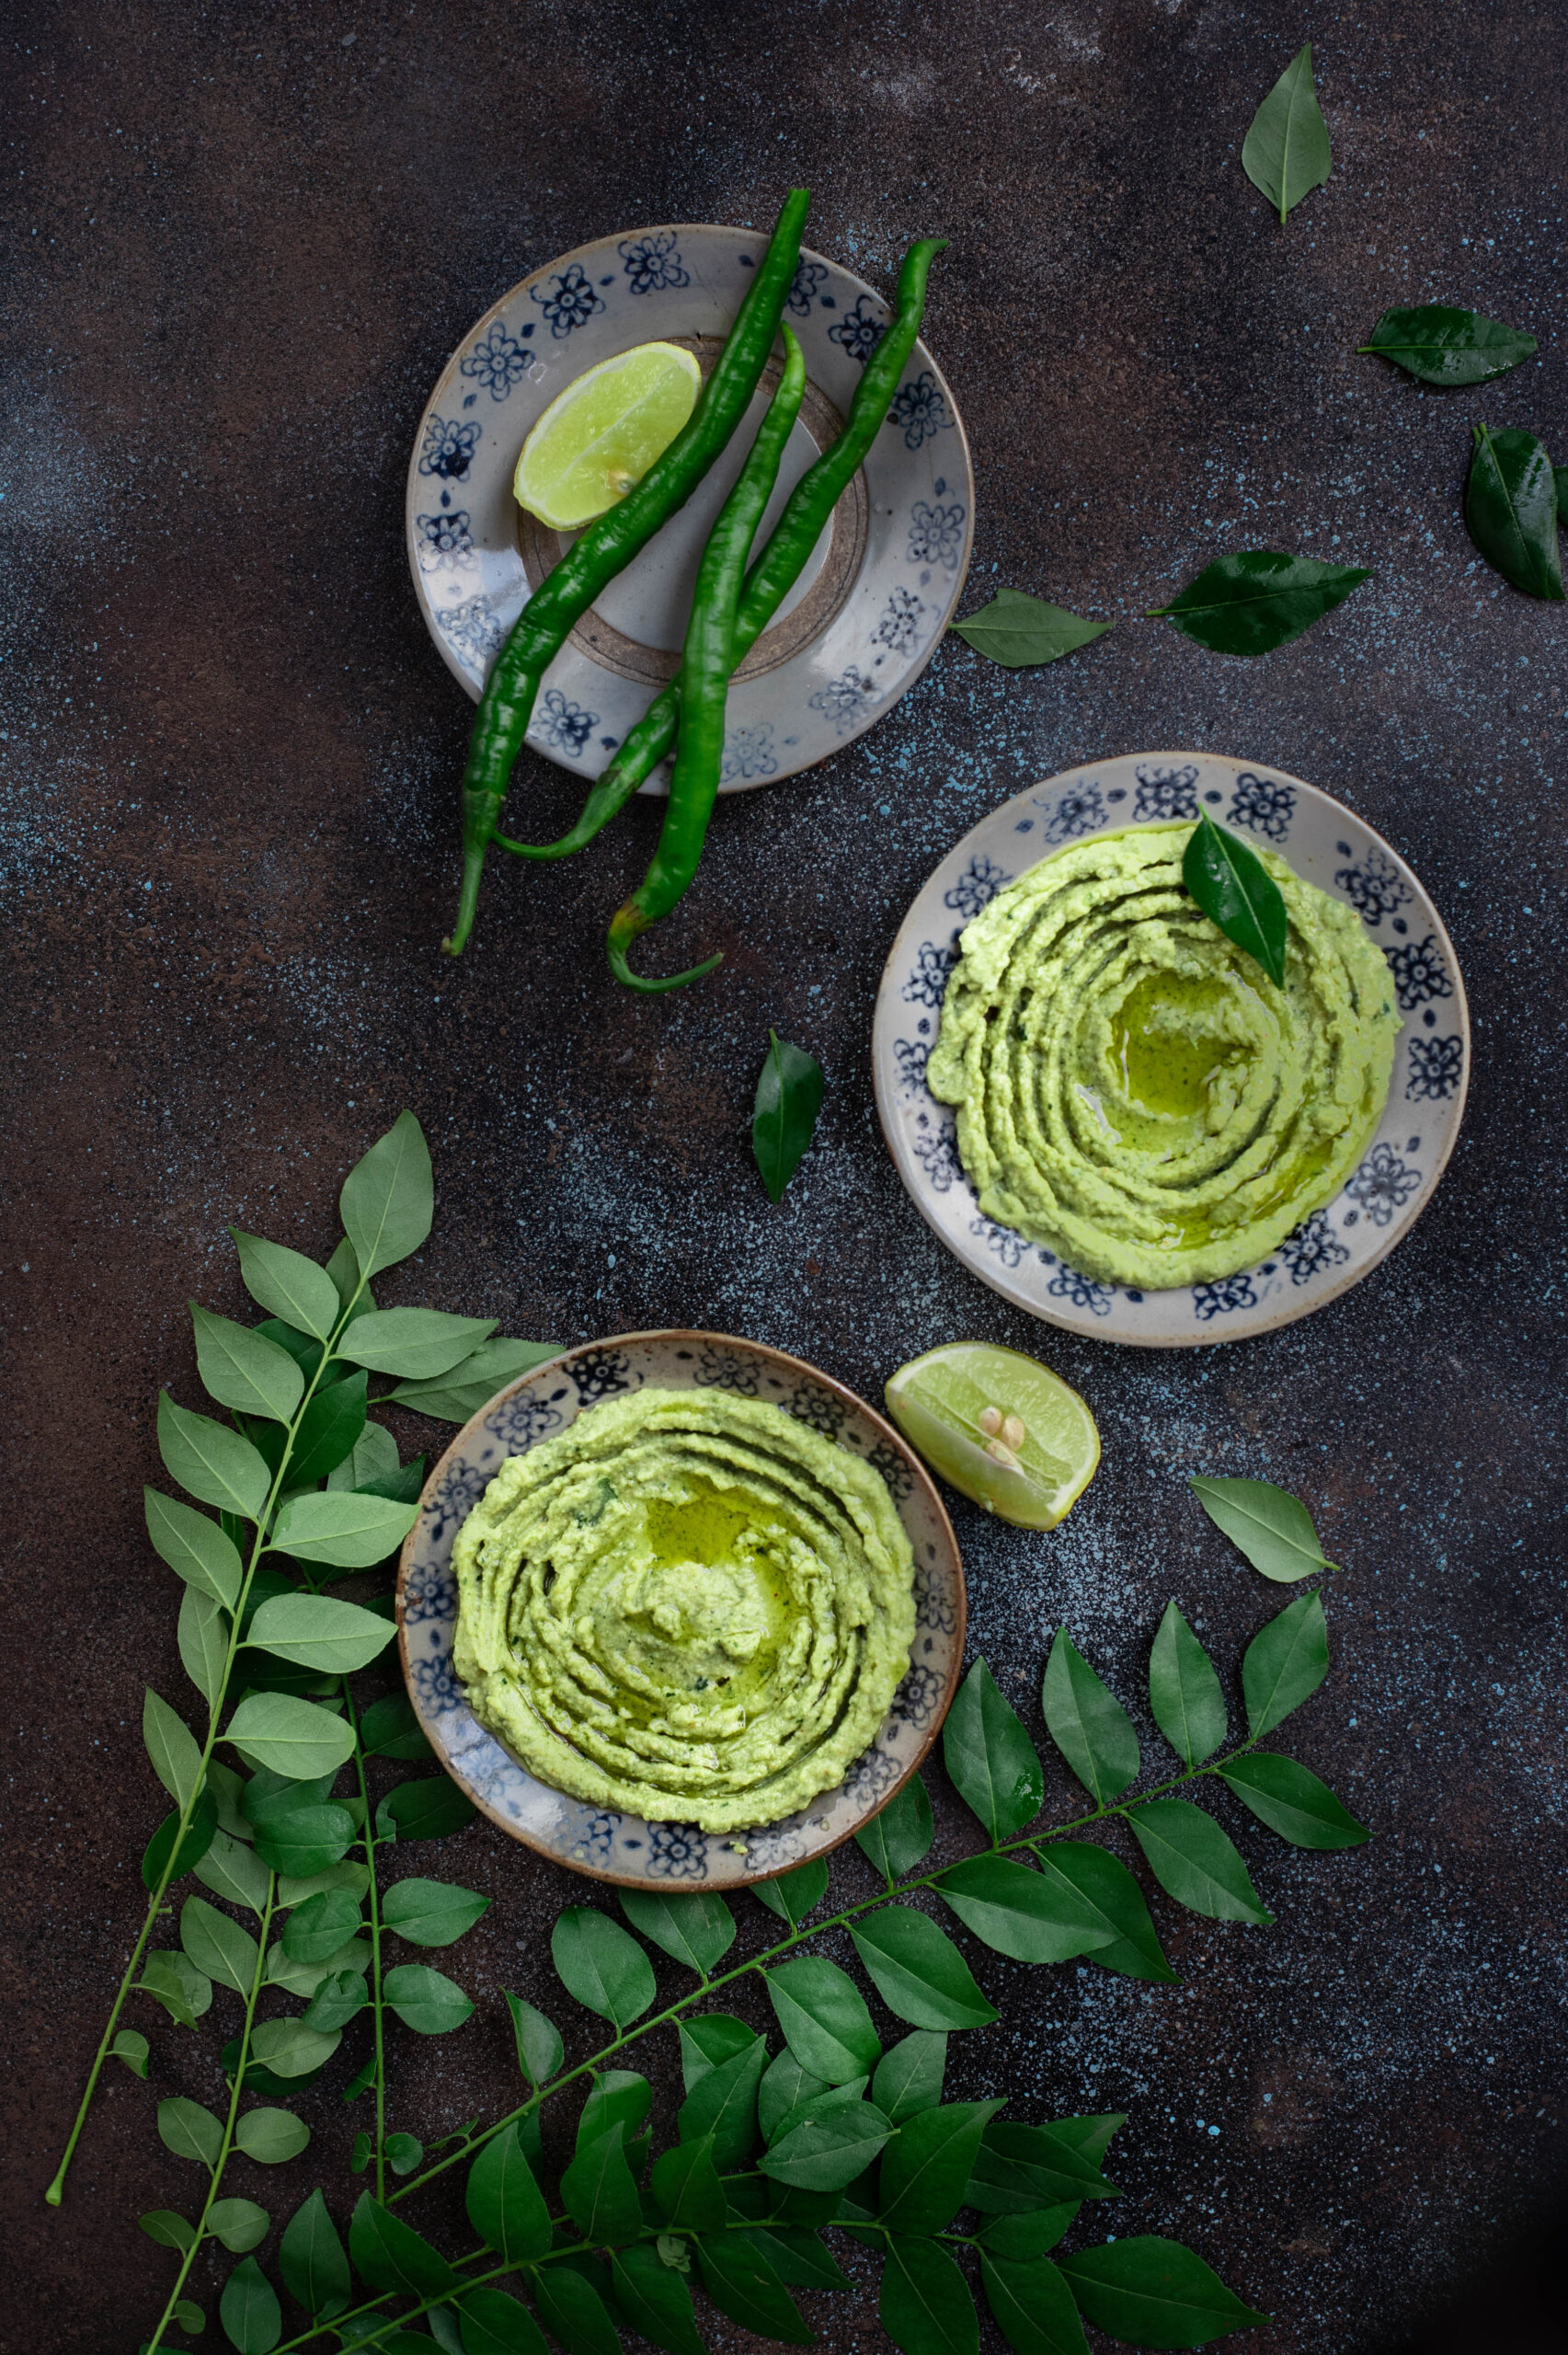
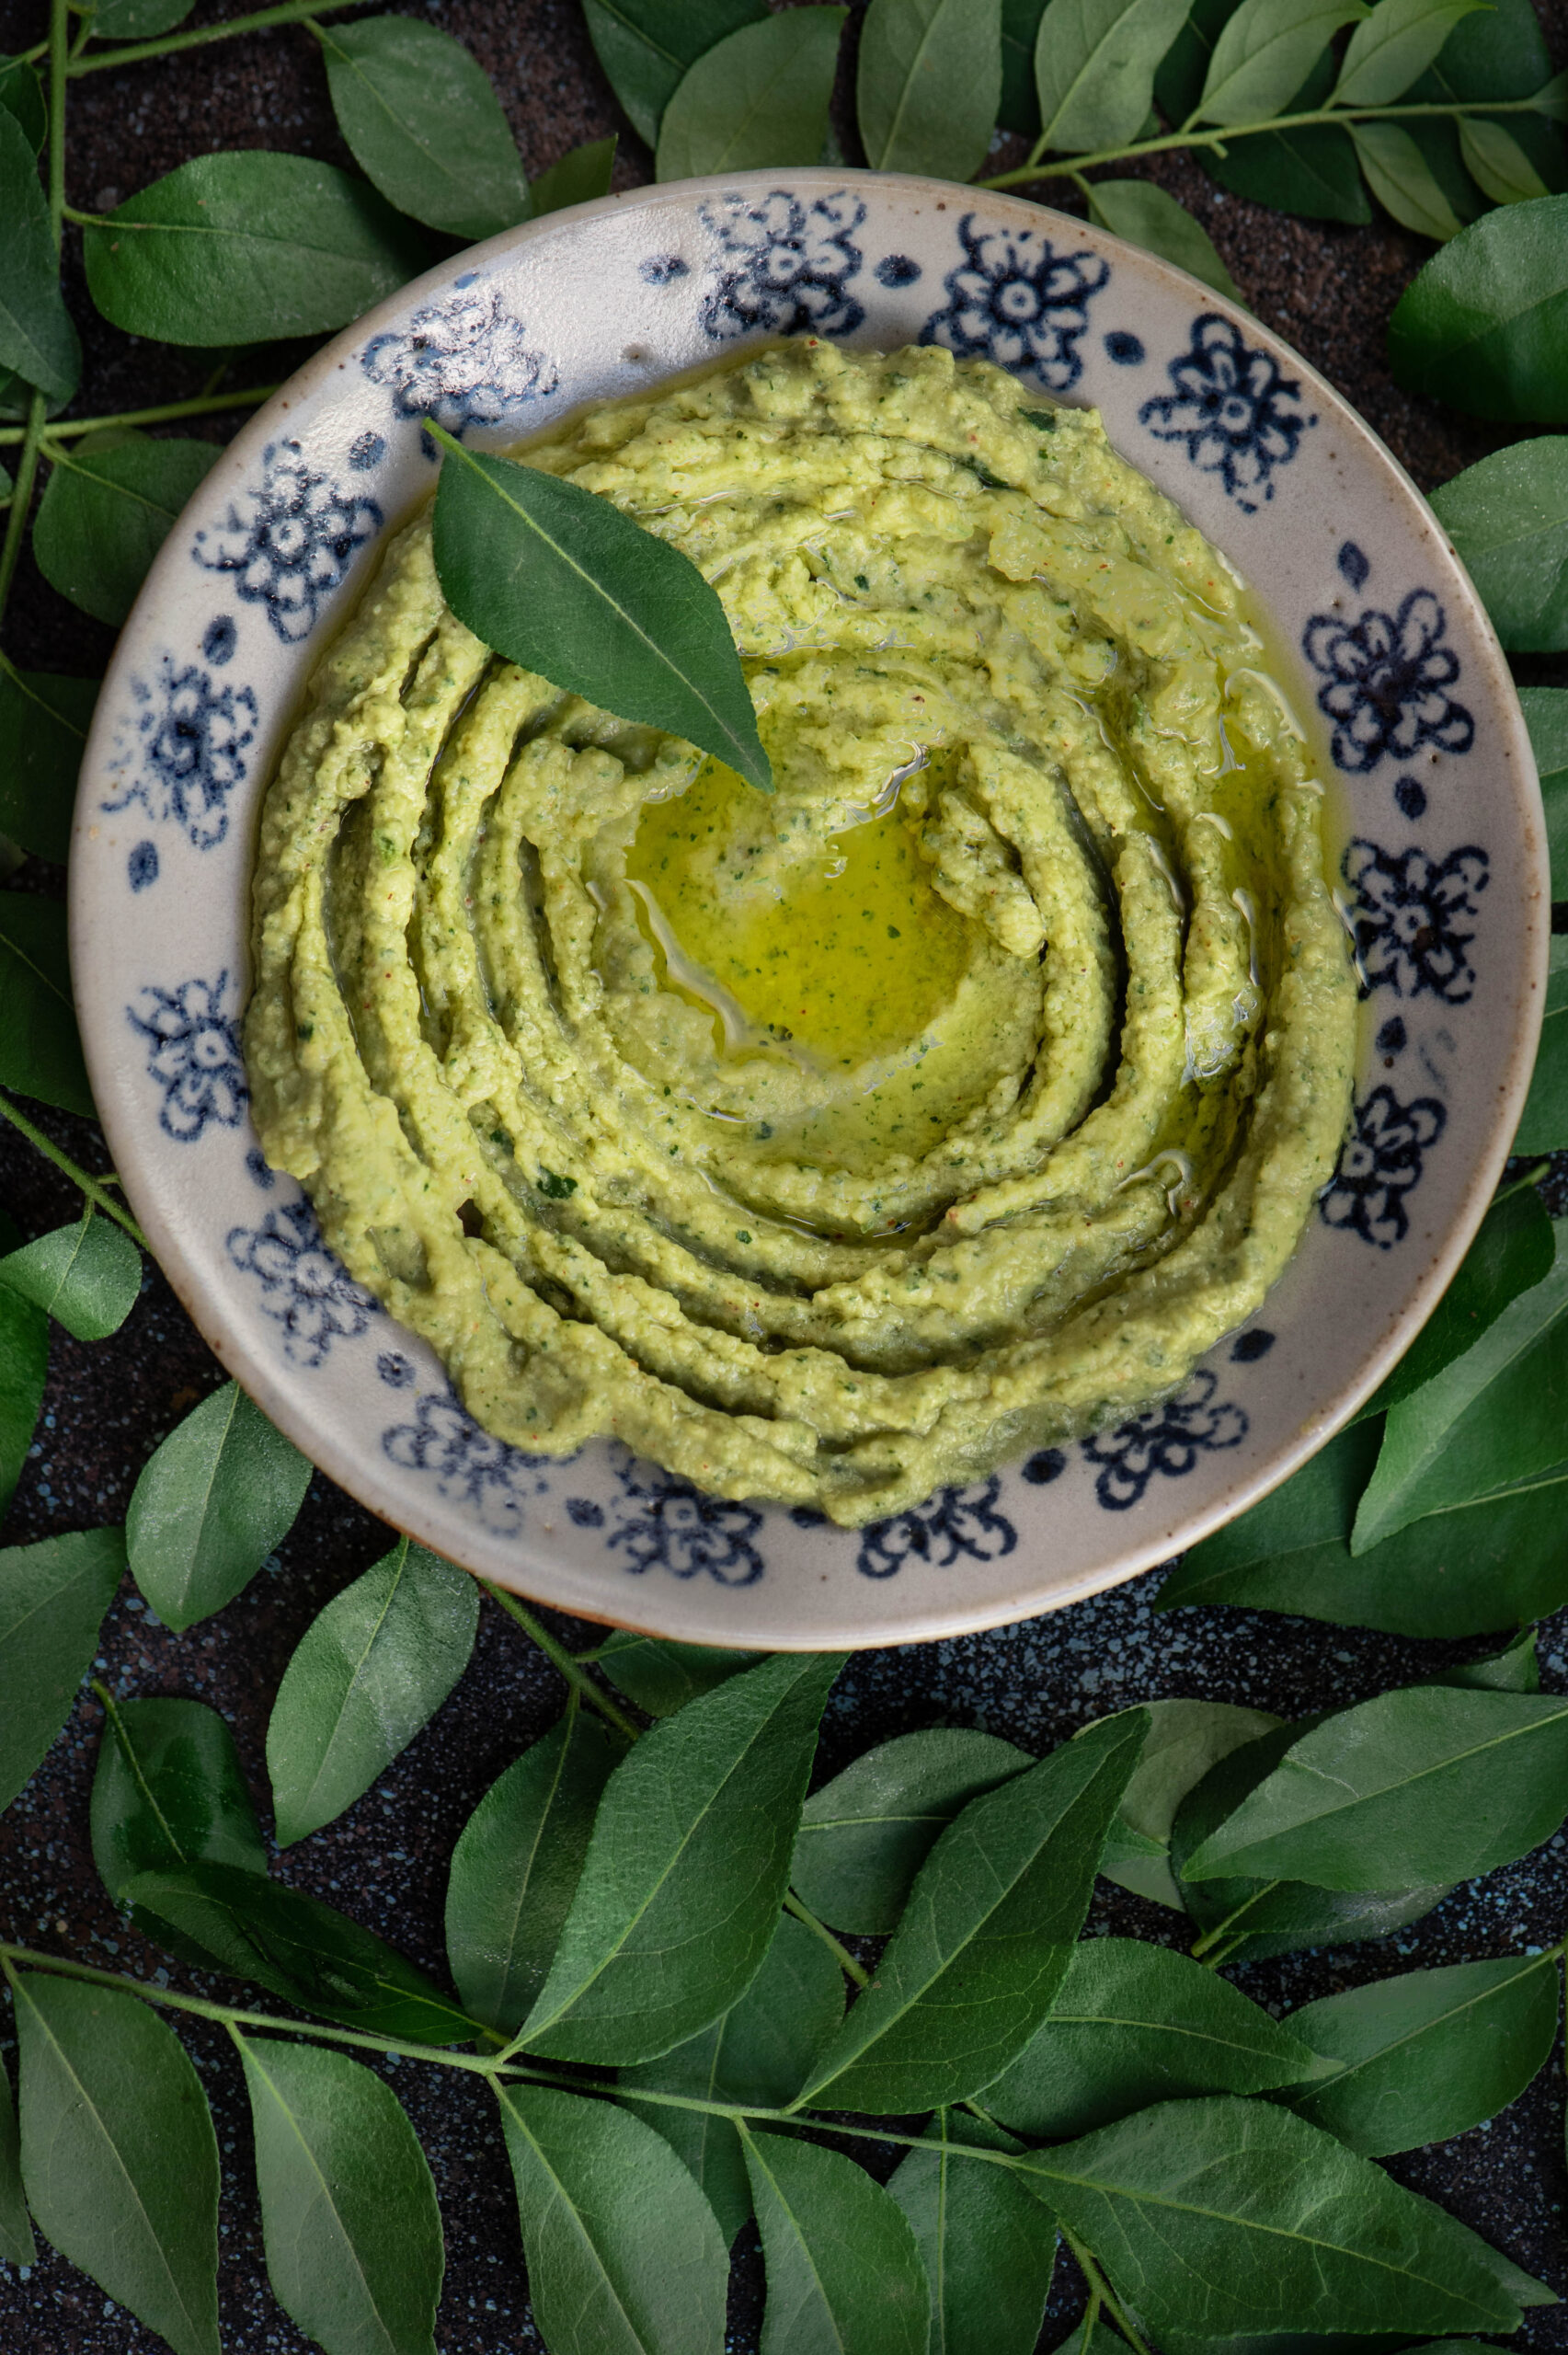
With the festival of Navaratri coming up, when chickpeas are served to guests in many homes in a simple dish called sundal, I had the humble legume on my mind once again. Only this time, I felt inspired to pair it with another ingredient that’s an essential in every South Indian home: the curry leaf. With the occasional rains we are enjoying in Chennai at the moment, my curry leaf bush has been in full bloom. And when I have so much in my garden or farm, you know that it usually tends to go straight into my kitchen. I took these two local ingredients and put them together in a fusion dish: curry leaf and green chilli hummus.

Hummus is a Middle Eastern dish that is a part of daily cuisines in that part of the world, and is usually eaten with breads. It’s also popular everywhere as a party snack, a perfect dip for everything from sliced vegetables to skewered meat. I’ve tasted a lot of beetroot hummus, so I knew that the basic puree lends itself well to flavourings. That’s when my curry leaves caught my eye.

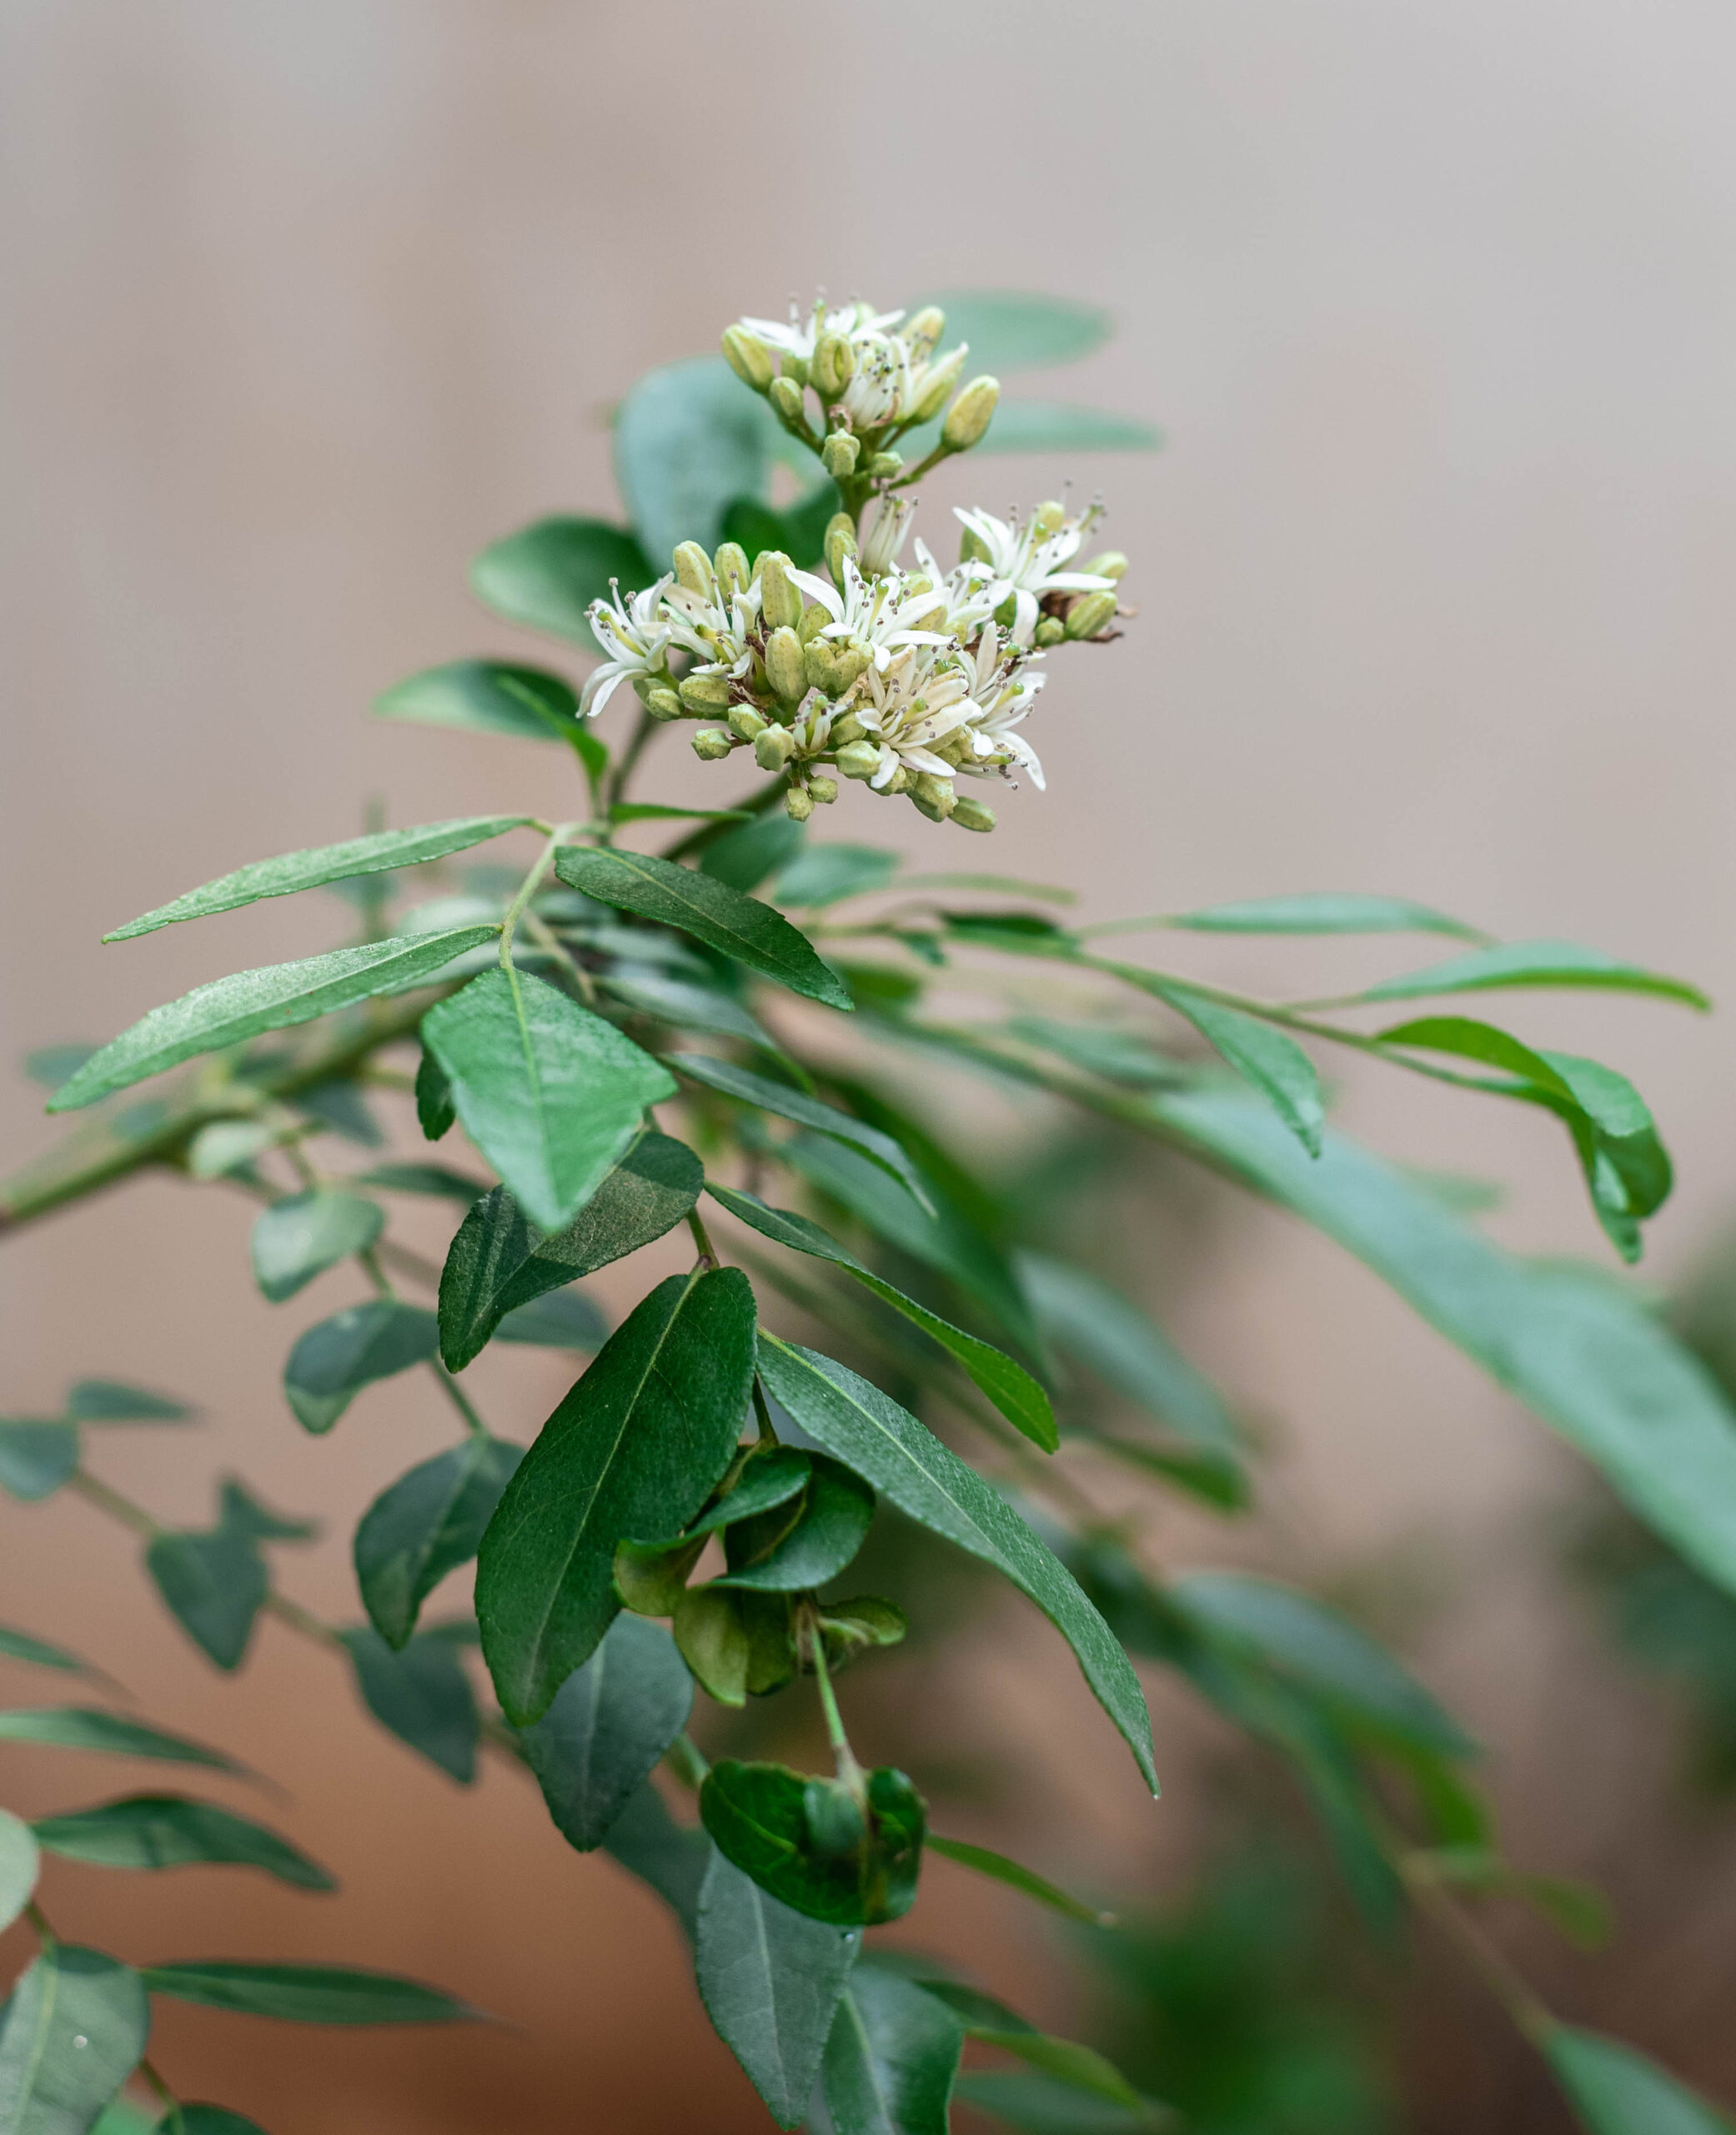
Also known as “sweet neem”, curry leaf is an ingredient that we almost take for granted in our Indian kitchens. Tempered or fresh sprigs are thrown into curries, the powder is eaten with rice, and so on. It adds flavour to so many dishes that it’s just a ubiquitous part of our cooking. With a range of health benefits, including antioxidant and anti-diabetic properties, it’s no wonder that our ancestors incorporated it into as many meals as they could.  Now that I grow curry leaves in my own home, I have been learning a little about the plant too. Did you know that the tiny berries, which are not used in cooking, are actually high in Vitamin C – but that their seeds are poisonous?

Long ago, my hummus attempts would be so mediocre that a good friend would send me tubs as I so enjoyed the dish. Over time, I learned how to make it and stopped depending on those shipments, just as I stopped depending on store-bought cakes and even began to experiement with homegrown ingredients. Trial and error is the key to learning, and by studying different recipes and adding my own touches, I finally arrived on a version I loved.

The main ingredient in hummus is the humble chickpea, which is a staple not only in the Middle East but all over India in its many forms. It’s eaten boiled for a healthy snack, powdered and roasted and used as a binder, and known by so many names – puttukadalai, chana dal, kabuli (did this come to us by way of Kabul, I wonder?), chole and so on. Abroad, you may know this legume as garbanzo beans. The darker variants have a higher iron content, while the chana dal I use for thus hummus is rich in protein and fibre, thus filling you quickly and also aiding weight loss. It is known to lower cholesterol and diabetic risk, and also has high zinc and folate content.

The traditional hummus has a bland, though satisfying, taste. I thought of how I could kick it up a notch. That’s when I decided to add the equally ubiquitous green chilli, which is rich in Vitamin C, great for digestion – and very piquant!

Tahini, which is made of ground white sesame, and olive oil round out the Middle Eastern flavours. Fortunately, these are widely available at good supermarkets in India and other countries. I used some wonderful olive oil I picked up in Portugal recently, which will be featuring in my blog soon.

The day after I made this curry leaf and green chilli hummus at home, I went to Goa and to my delight, my good friend the designer Wendell Rodricks served the very same dish in his home! I squealed! The coincidence was just too thrilling, and I wanted to share my recipe immediately, so you too can serve it soon.

Curry Leaf & Green Chilli Hummus

(Yield: 1 bowl)


Ingredients

1¼ cups cooked/boiled chickpeas

3-4 garlic cloves

1 tablespoon tahini

2 tablespoons lemon juice

½ teaspoon salt

¼ cup olive oil

1 cup washed curry leaves

1 green chilli

Water


In a blender, add the curry leaves and green chilli with 2 tablespoons of water. Blend until you get a smooth paste. Keep aside.

Next, blend the soft cooked chickpeas along with garlic, tahini, salt, half the olive oil and lemon juice.  Blend well until the paste is smooth and looks creamy.

Now, add the blended curry leaf paste to the creamy chickpeas and whir once again until it all mixes well. Adjust the salt and lemon quantities to suit your taste.

If you feel it needs to be creamier, add more water or olive oil to the blend, until it achieves a dip-like consistency.

The curry leaf hummus is now ready to serve. You can have it the traditional way, with flatbreads, whether that’s the Middle Eastern pita or the North Indian naan. Or some healthy quinoa chips, for a wholesome snack. Crunchy vegetables like carrot or celery sticks, toasties, or rice crisps (to keep that South Indian sensibility) are also excellent accompaniments. With a mildly yet surprisingly flavourful curry leaf hummus like this – it’s the dip that’s the main dish, not the accompaniment!

And if you just can’t get enough of that flavour, why not try my curry leaf and raw mango cooler as well?

This is something I’ve never done before – sharing the recipe for a dish I’ve recently added to the re:store menu – but this cake is so divine that I can’t help but want to shout about it from the rooftops! Despite my interest in healthy eating, I’ve never really been one for vegetable-based cakes. But this carrot-ginger cake is simply outstanding. From the moment I took my first attempt out of the oven, I was stunned. And every slice since has simply vanished in a matter of hours in my home, and from the re:store kitchen. And for all the love you, my well-wishers and friends, have shown me, this recipe is just a small gesture of gratitude.

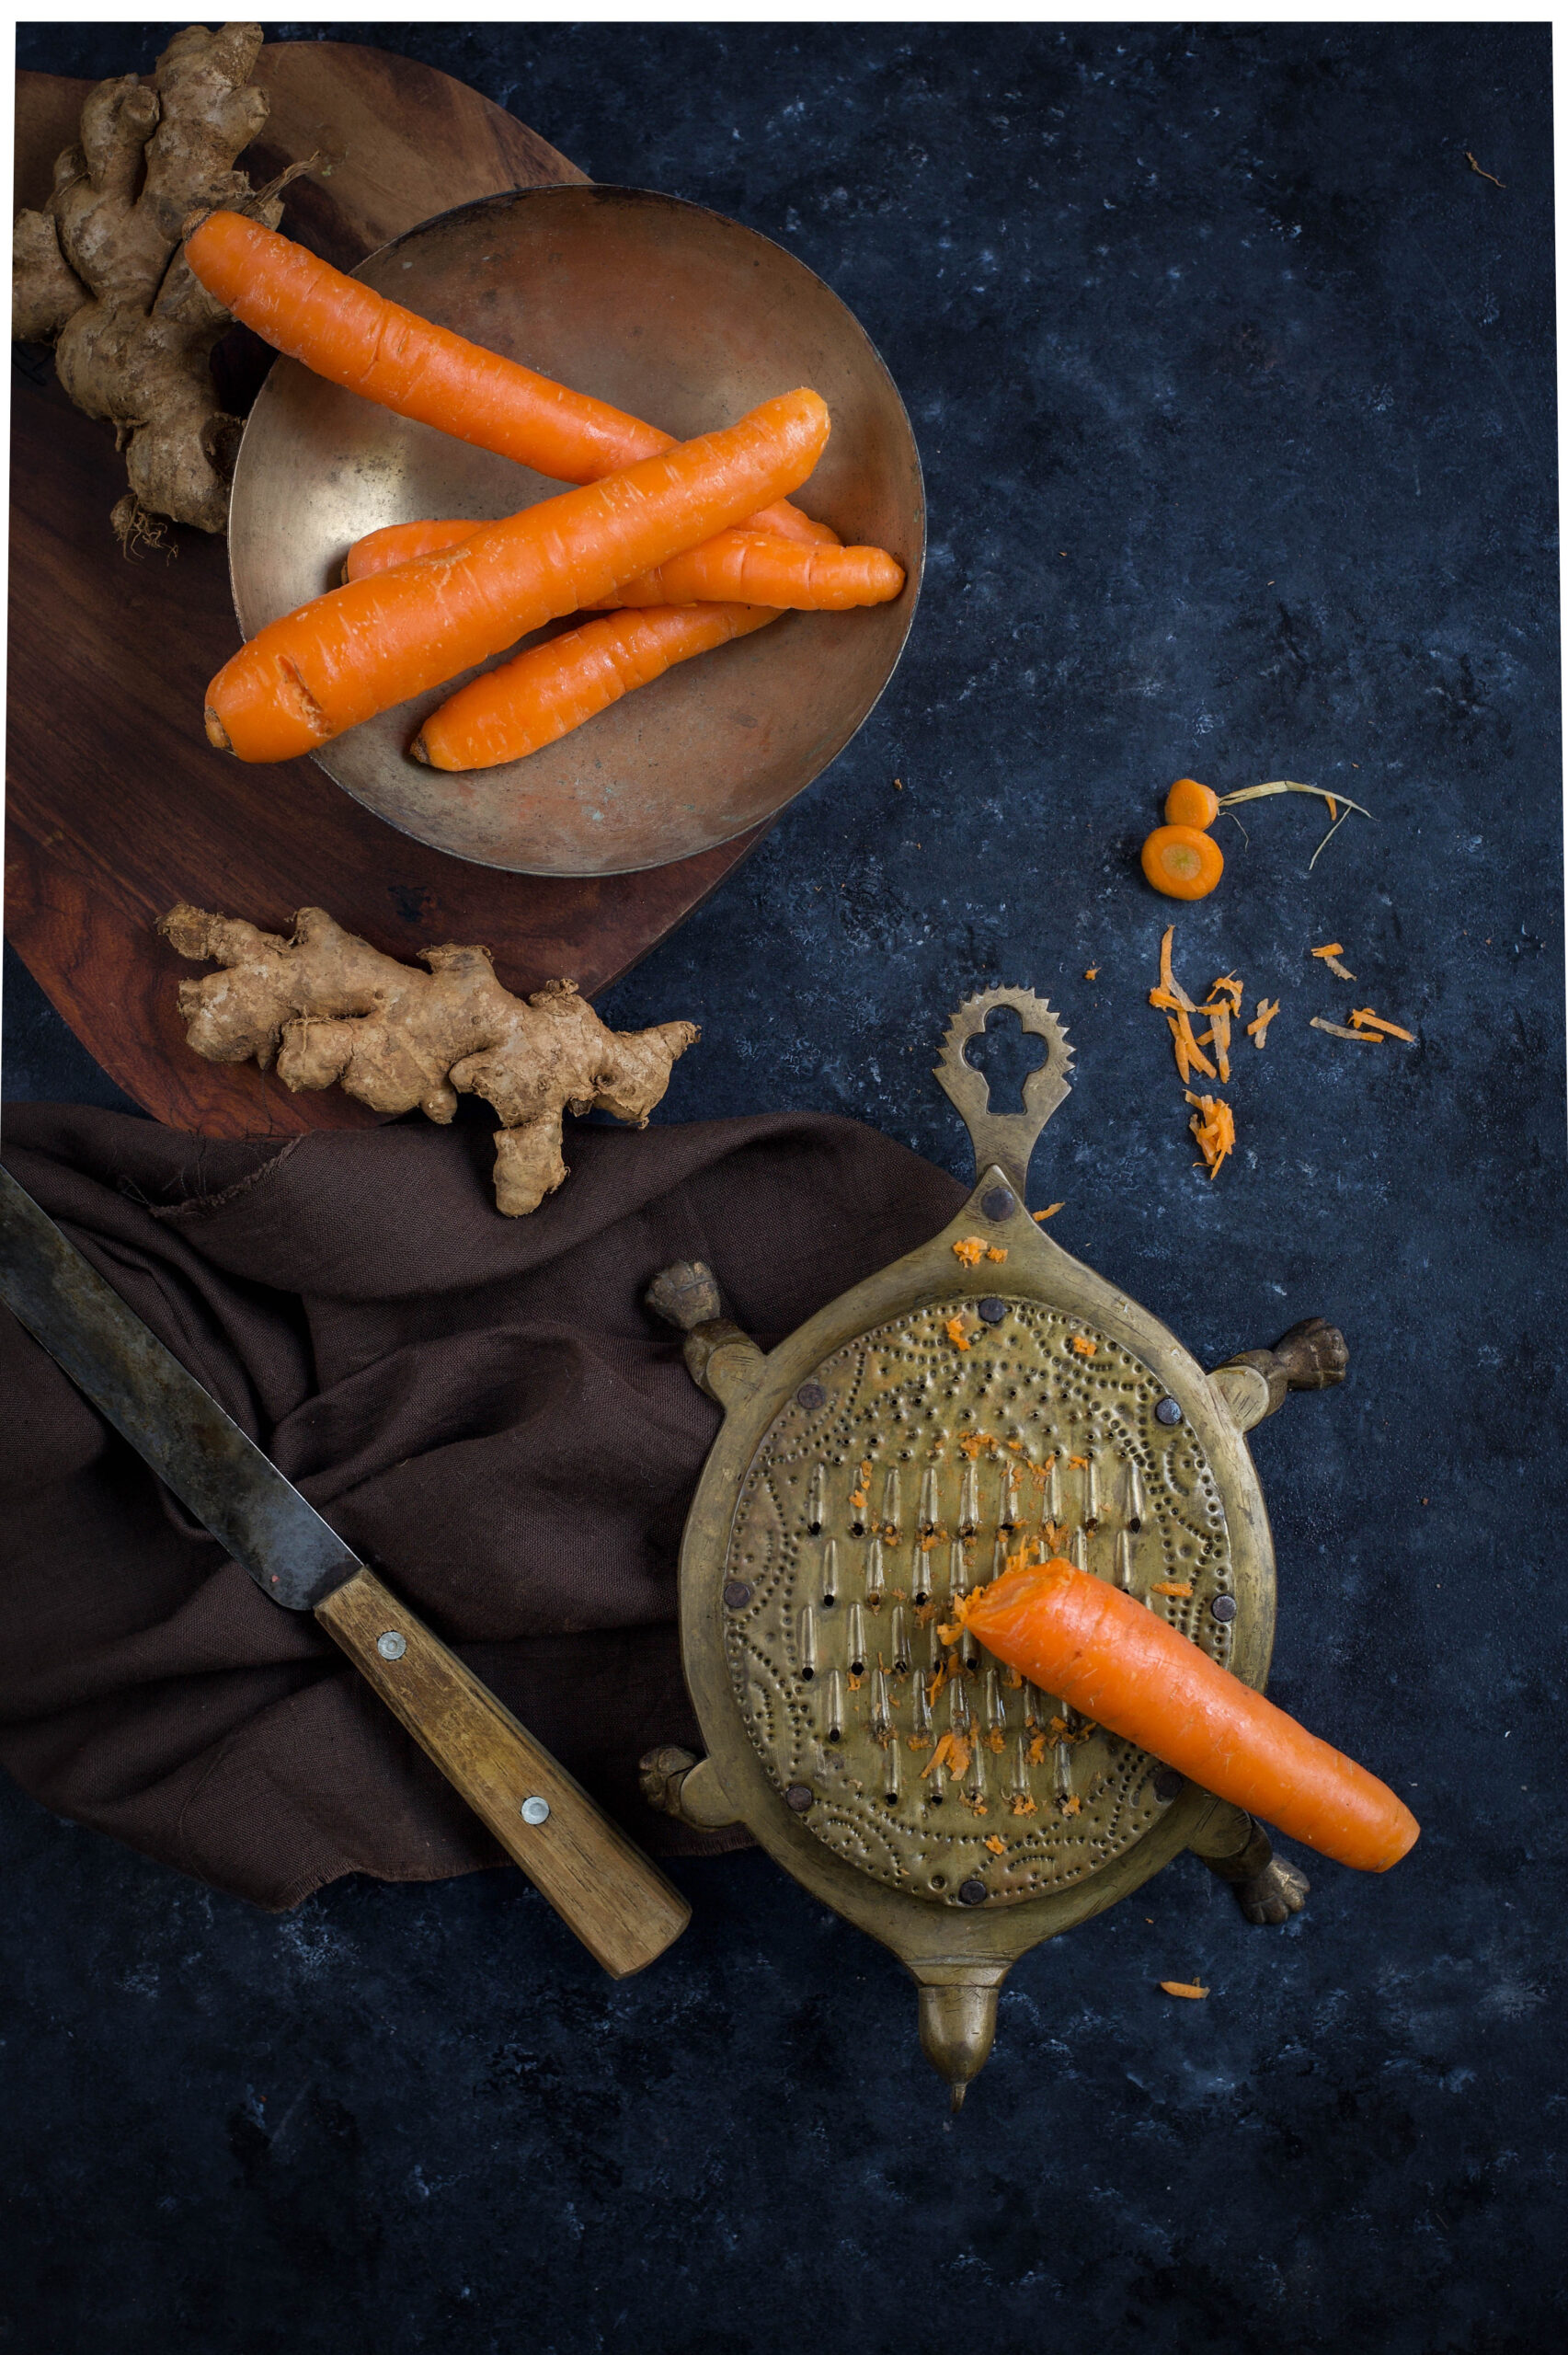
I am always on a quest for perfection, and to me there are four types of cakes that every baker should master: chocolate, vanilla, vegan and carrot. These are the basics, and over the years I have strived to do better and better with each kind. Flavour-wise, there are many ways to innovate on these basics and tweak them to suit your palate. My friends Michael and Sujata’s cook once shared a carrot cake recipe which used pineapple and coconut, for instance. That was what I used to bake until I found my own way of literally spicing it up. When I melded the zesty taste of ginger into what I’d use to think of as the somewhat boring carrot cake, I knew I had hit gold.

Ginger is the rhizome of a flowering plant by the same name, and is widely used in Indian cuisine for its fragrance, spiciness and health benefits. It was one of the first spices that Europeans imported, so world cuisines have also used it for centuries. It is great for treating nausea and appetite loss, has anti-inflammatory properties, and is believed to lower blood sugar and to help reduce the risk of heart disease.  For this cake, I used stem ginger soaked in sugar syrup as well as freshly grated ginger.

Carrot, like ginger, is also an edible root – and it is an extremely popular vegetable in Western cuisine. In India, it is added to salads, stir-fries (known as poriyal in Tamil) and even a milk dessert called gajar ki halwa. It also has a range of health benefits, including better eyesight and lowered cholesterol, and is a source of potassium, antioxidants, vitamins and fibre.

Two nourishing ingredients – and one delicious dessert. This cake is so appetizing that icing is completely optional! Also, it is lactose-free, which means that those of you with dairy allergies can indulge without stress!

Irresistible Carrot-Ginger Cake

Ingredients
1 cup brown sugar
1 cup plain flour
2 eggs
1 teaspoon baking powder
1 teaspoon baking soda
¼ teaspoon salt
⅔ cup vegetable oil
1 ½ cups grated carrots
½ cup sweet ginger in syrup (substitute: ½ teaspoon dry ginger powder)
½ cup chopped walnuts
1 teaspoon grated fresh ginger

Grease an 8’ inch square pan and line with butter paper. Dust with flour.

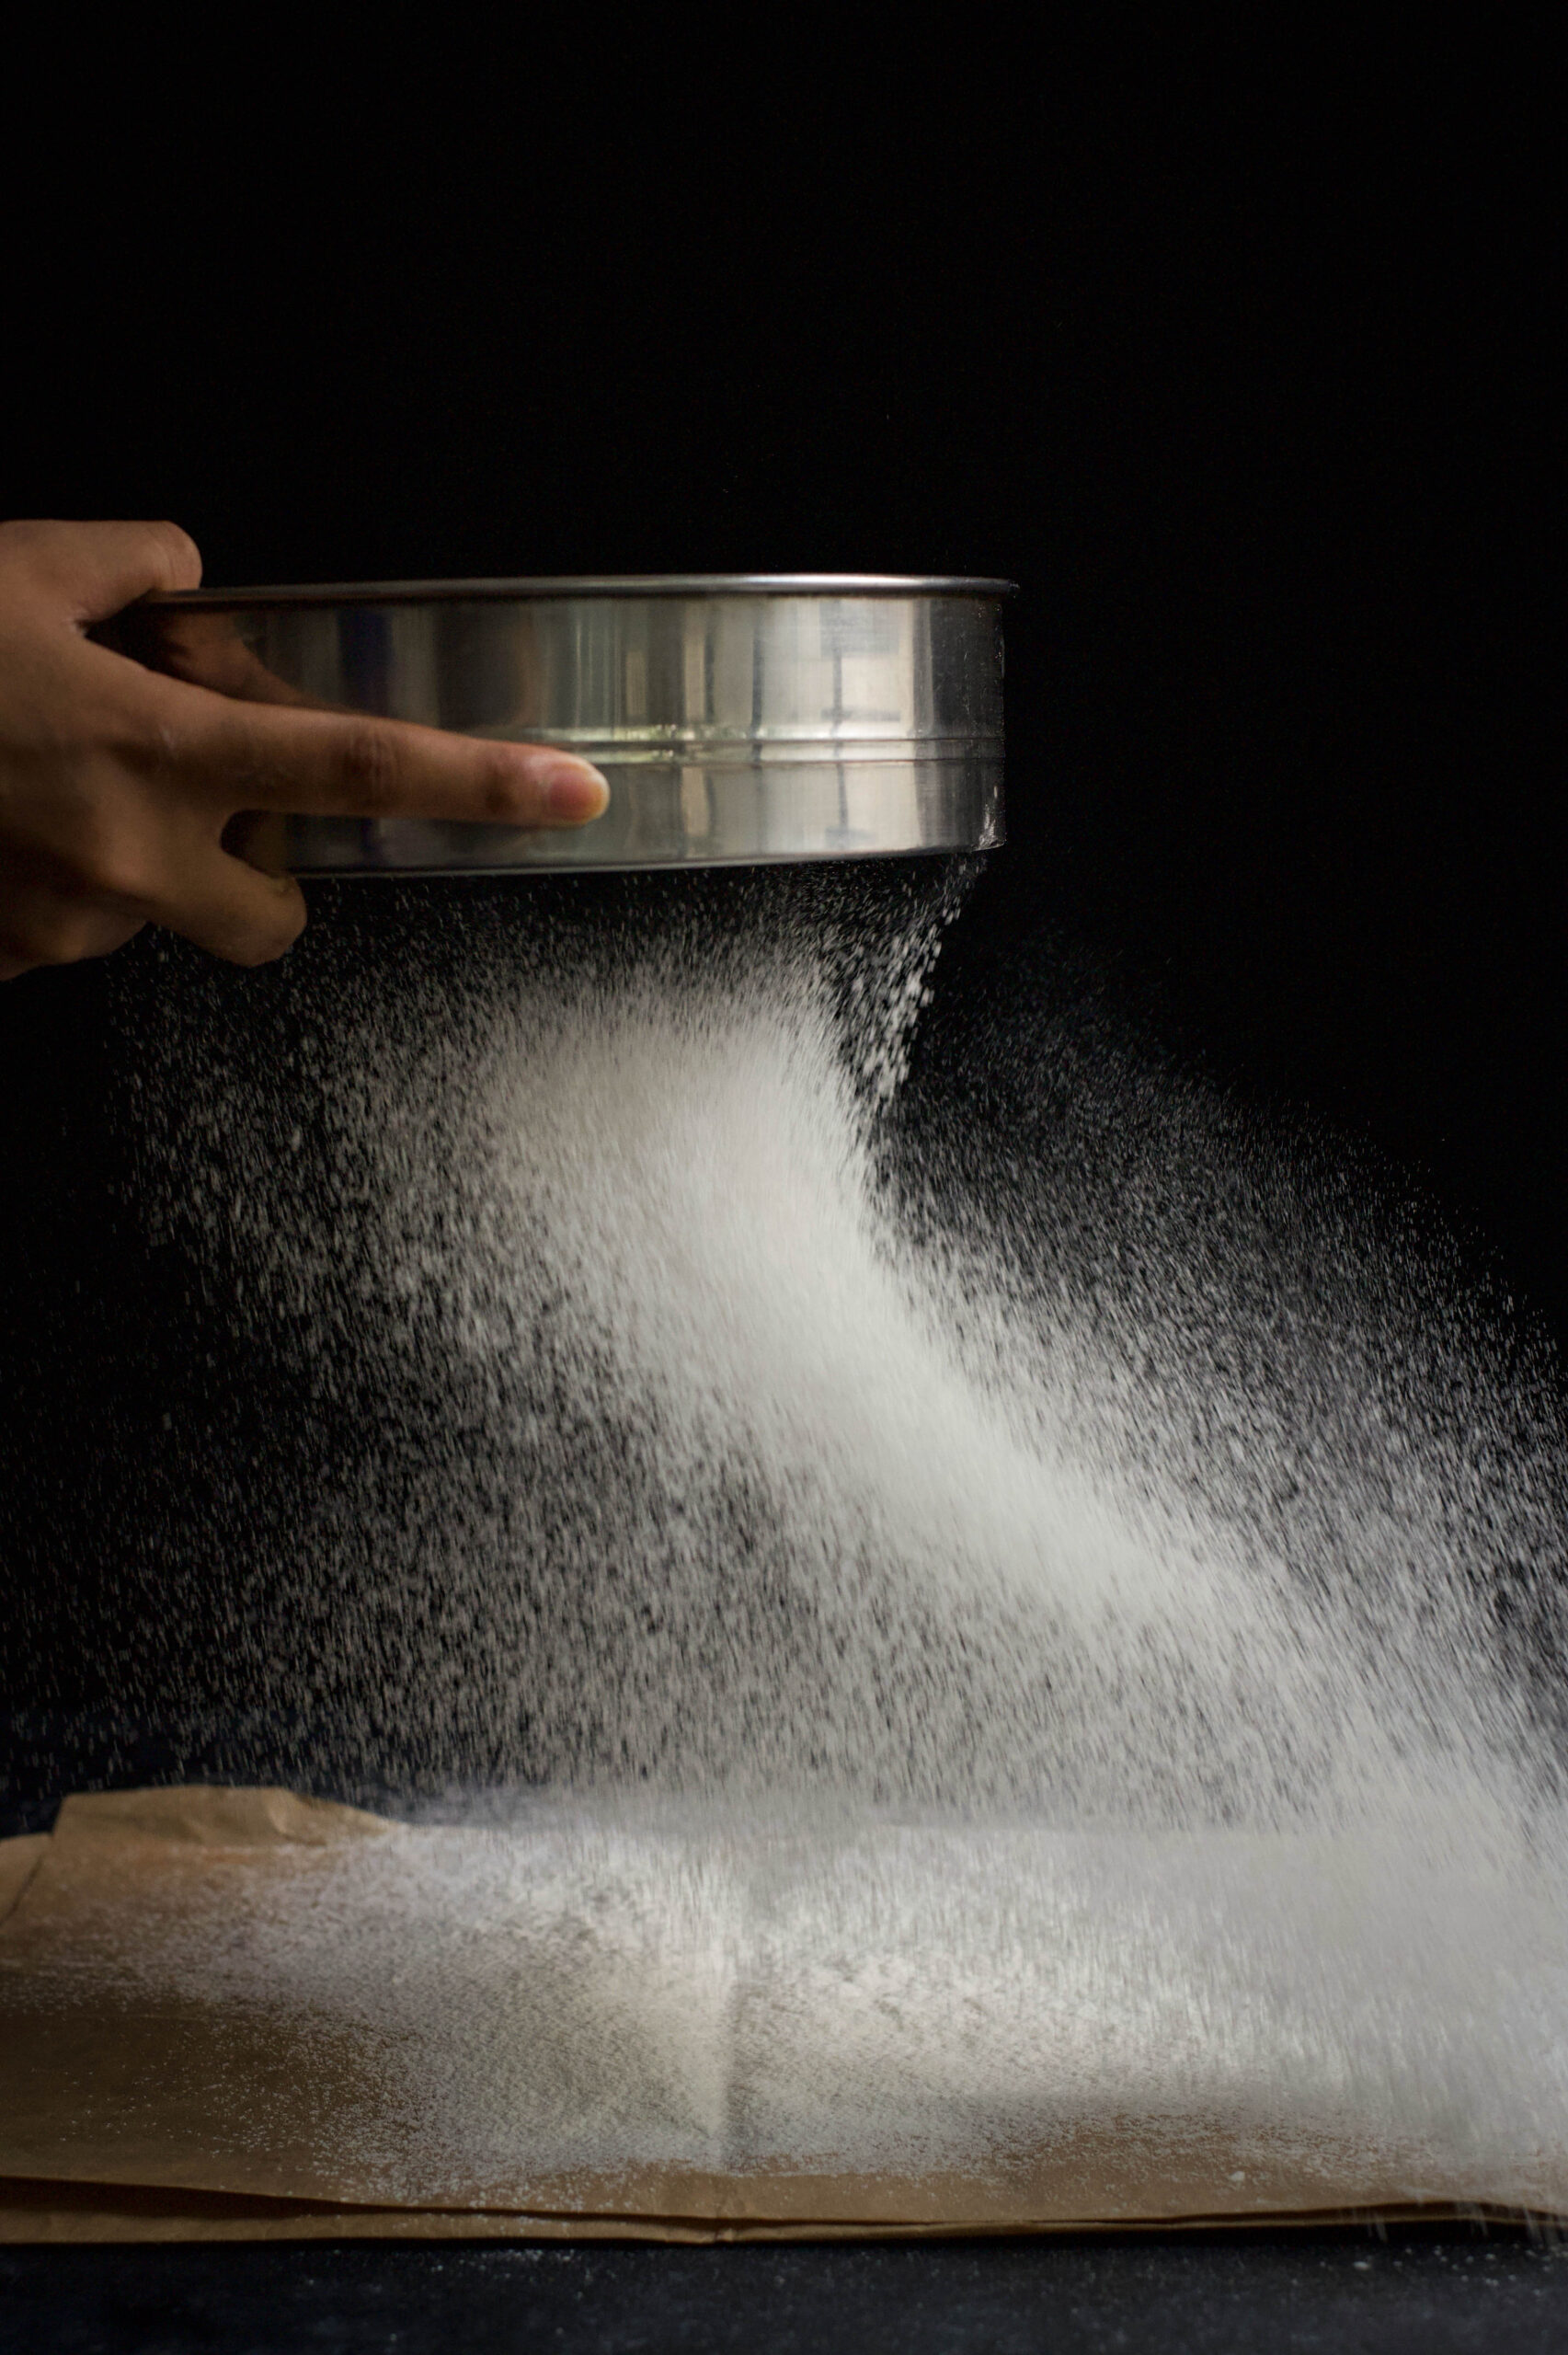
Sift the flour along with the soda, baking powder and salt – as well as the ginger powder if you’ve opted to use it. Set aside.

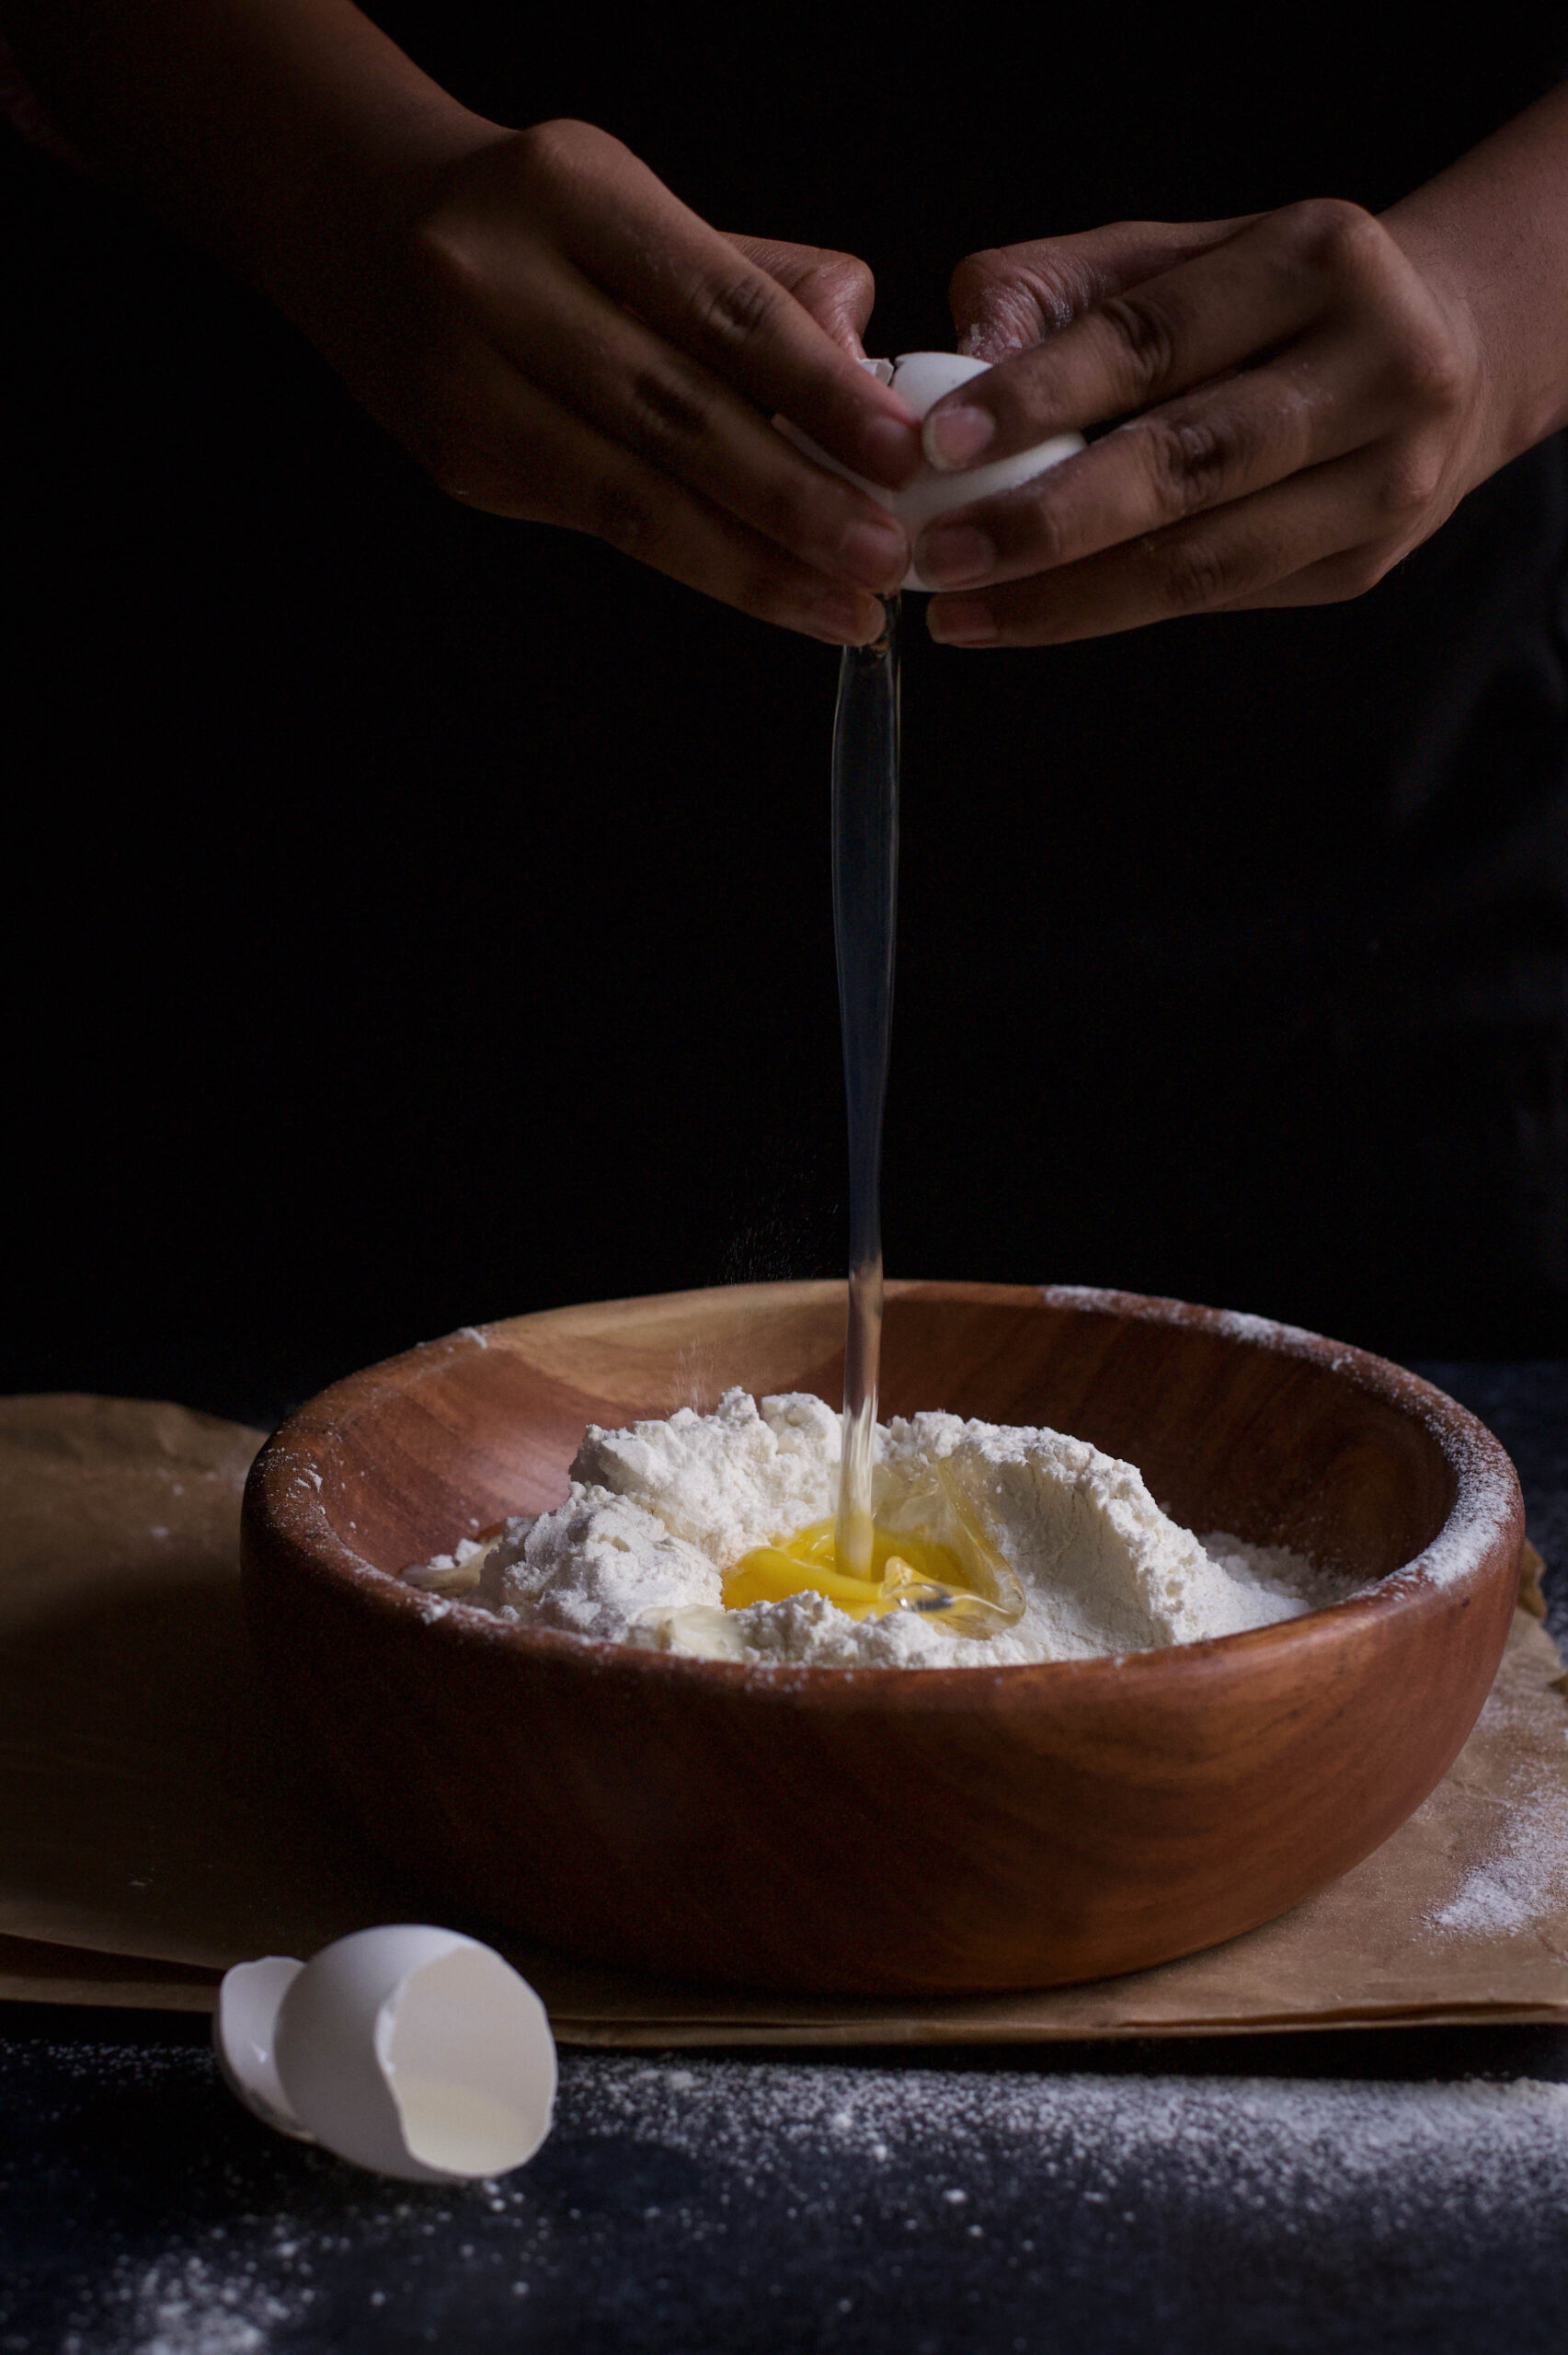
Combine the eggs, oil, sugar and flour until well-mixed. Now add the carrots, fresh ginger and walnuts to the mixture.

Pour this batter into the prepared tin. Bake for about 45 minutes to an hour, until the tooth pick comes out clean.

Once baked, allow to cool. Turn onto a wire rack.

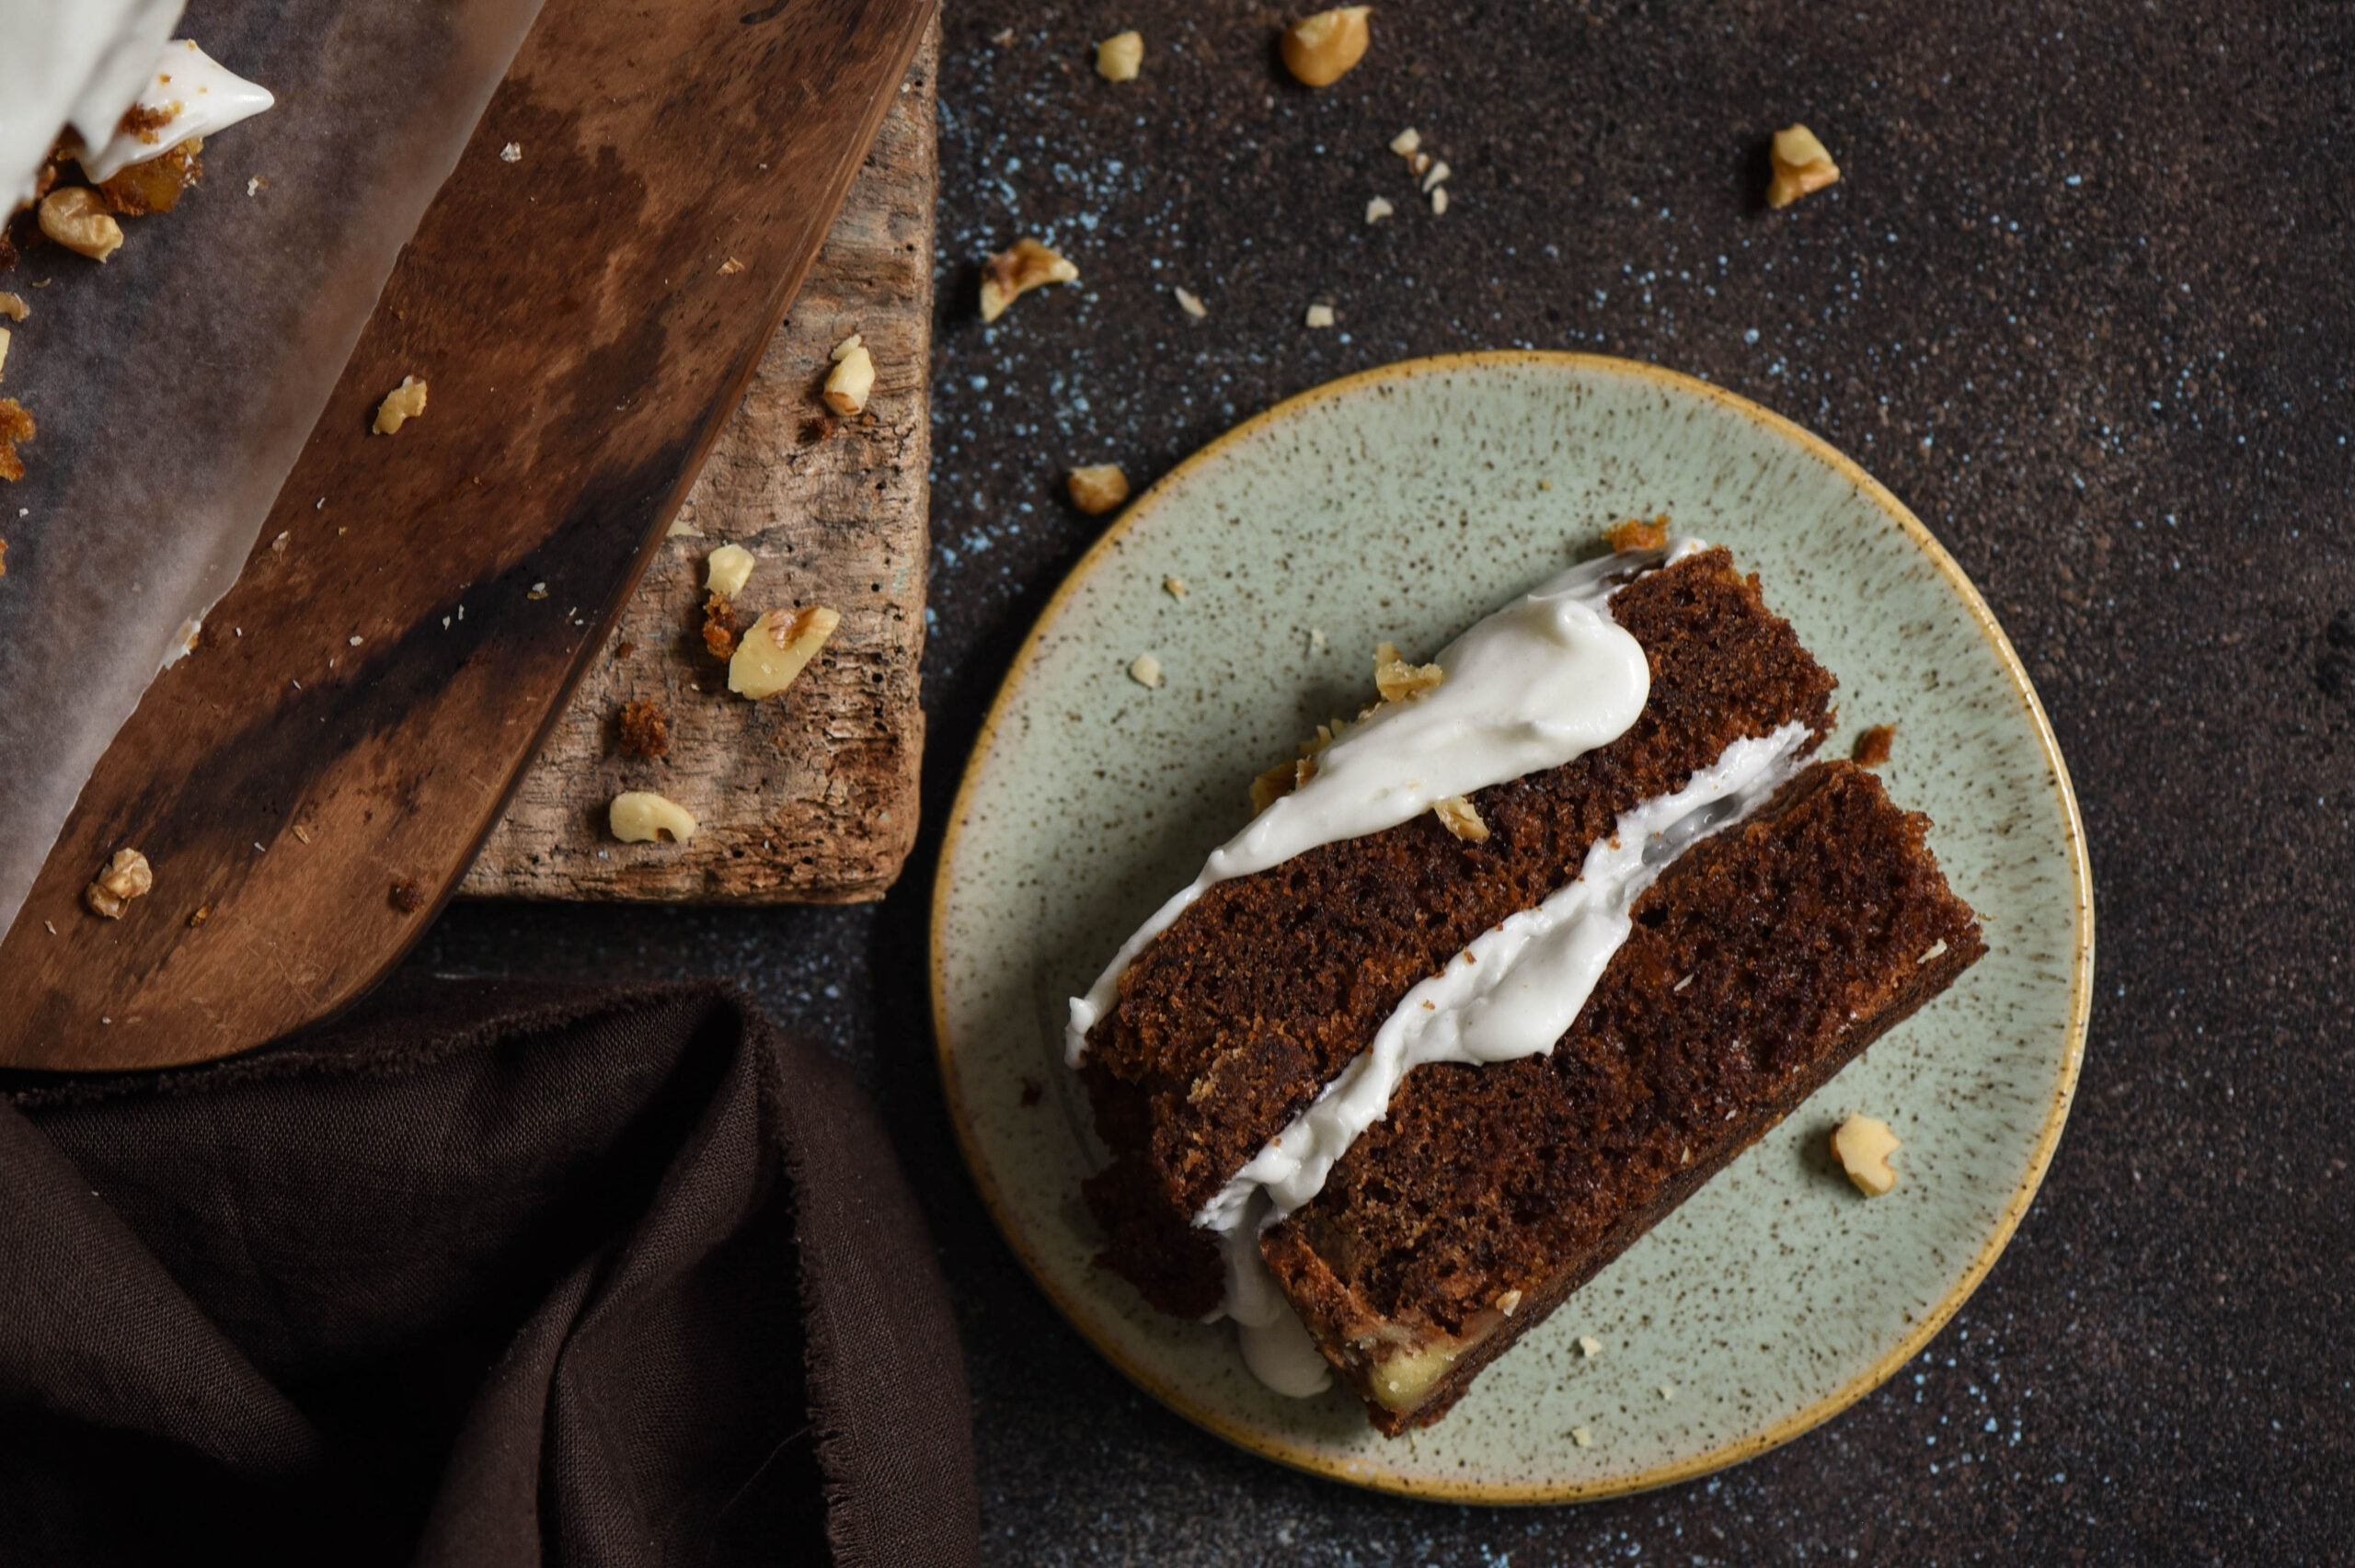
As I said earlier, icing is completely optional. But if you’d like the extra sweetness, or just the visual effect, decorate with the cream cheese frosting that is traditionally paired with carrot cakes. It has a slight tang to it, and lifts the flavours nicely.

Serve – and prepare to watch the slices simply vanish from their plates. This carrot-ginger cake is irresistible. Don’t take my word for it. Try it out yourself, or if you’re in Chennai, buzz me and put in your order!

Come summer, every family in India uses the mango in their daily cooking. It can be found in literally every dish: dals, sabzis (cooked with vegetables), pickles, curries, desserts and more. Everybody wants to get creative with the mango, and why not? With 1,500 varieties said to grow in the country, each one sweeter than the other, we are rightly proud of the fruit and look forward to the season eagerly. The different varieties have such beautiful names too: the neelam in Gujarat, the alphonso in Maharashtra and the nectar-sweet imam pasand of South India are but some. While we are unfortunate to not have the pleasure of berries here, the mango more than makes up for it.

Mangoes are popular globally, though they originated in the Indian subcontinent, and are cultivated everywhere from Andalusia to the Caribbean. They are the national fruit of three countries (India, Pakistan and the Philippines) and the national tree of Bangladesh. I have yet to meet a single person who doesn’t like mangoes!

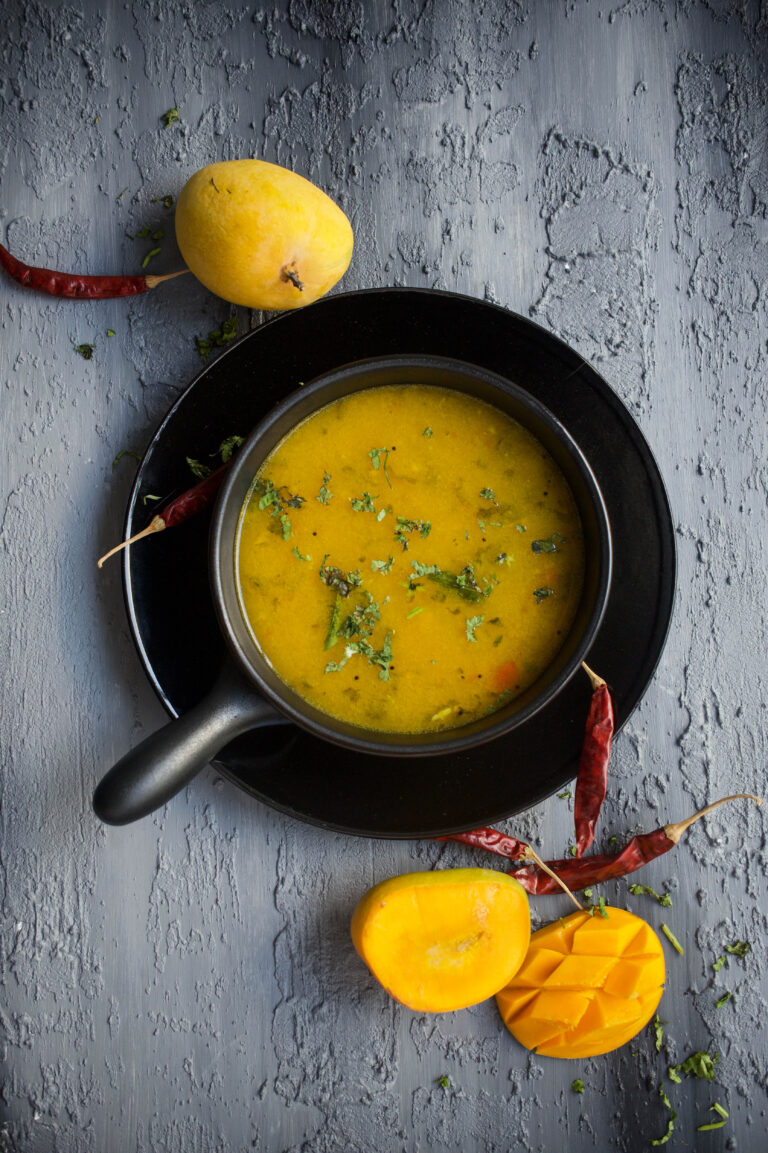
Even if it wasn’t my national fruit, I would consider it a star among fruits. And it’s the star of a recipe my family has been simply loving this summer: mango rasam. Rasam is a thin, spicy South Indian soup which is usually eaten with rice or consumed as a beverage. This mango rasam is a seasonal staple, and is similar to the fajeto, which is also a staple in the typical Gujarati thaali in summers. A summer thaali comprises of layered rotli, a vegetable, dal, buttermilk, aamras or mango pulp in a bowl, raw mango pickle and fajeto. You’ll notice that half the plate is filled with mango in some form! After such a big fat meal, a siesta is also a part of the traditional lunch!

As you may know, I am all about growing my own produce, and this season I am happy to say I’ve been plucking mangoes in my own backyard. You really have to nurture your garden with love and care, and I am a big believer in spending time there, talking to the plants. They do respond, as I have seen for myself. I have learned how to tend to two variants, the killimooku, so named because it is shaped like a parrot’s beak, and the sindura, which is so sweet it is also known as the honey mango. Looking after these trees is an ongoing process. A few months ago, I used a neem spray to prep them for the harvest season, and learned from an organic farmer how to dig a pit a few feet away from the main trunk and fill it with mulch. Dried leaves, coconut husk, a little soil and other compost ingredients decay into fertiliser, giving the tree nourishment. These methods have really worked, as the bounty of fruit from my garden have proved. I knew a couple of months ago when I saw the young, tender leaves come out that the harvest this year would be good. And so it is.

I was making aamras when the idea for mango rasam came to me. As I squeezed the mango pulp and put the seeds in water, I recalled how my mother – who taught me how to never waste food – uses this water to make fajeto. I decided to make it the South Indian way, with garlic and curry leaves. These are not used in the Gujarati version, which utilises yoghurt.


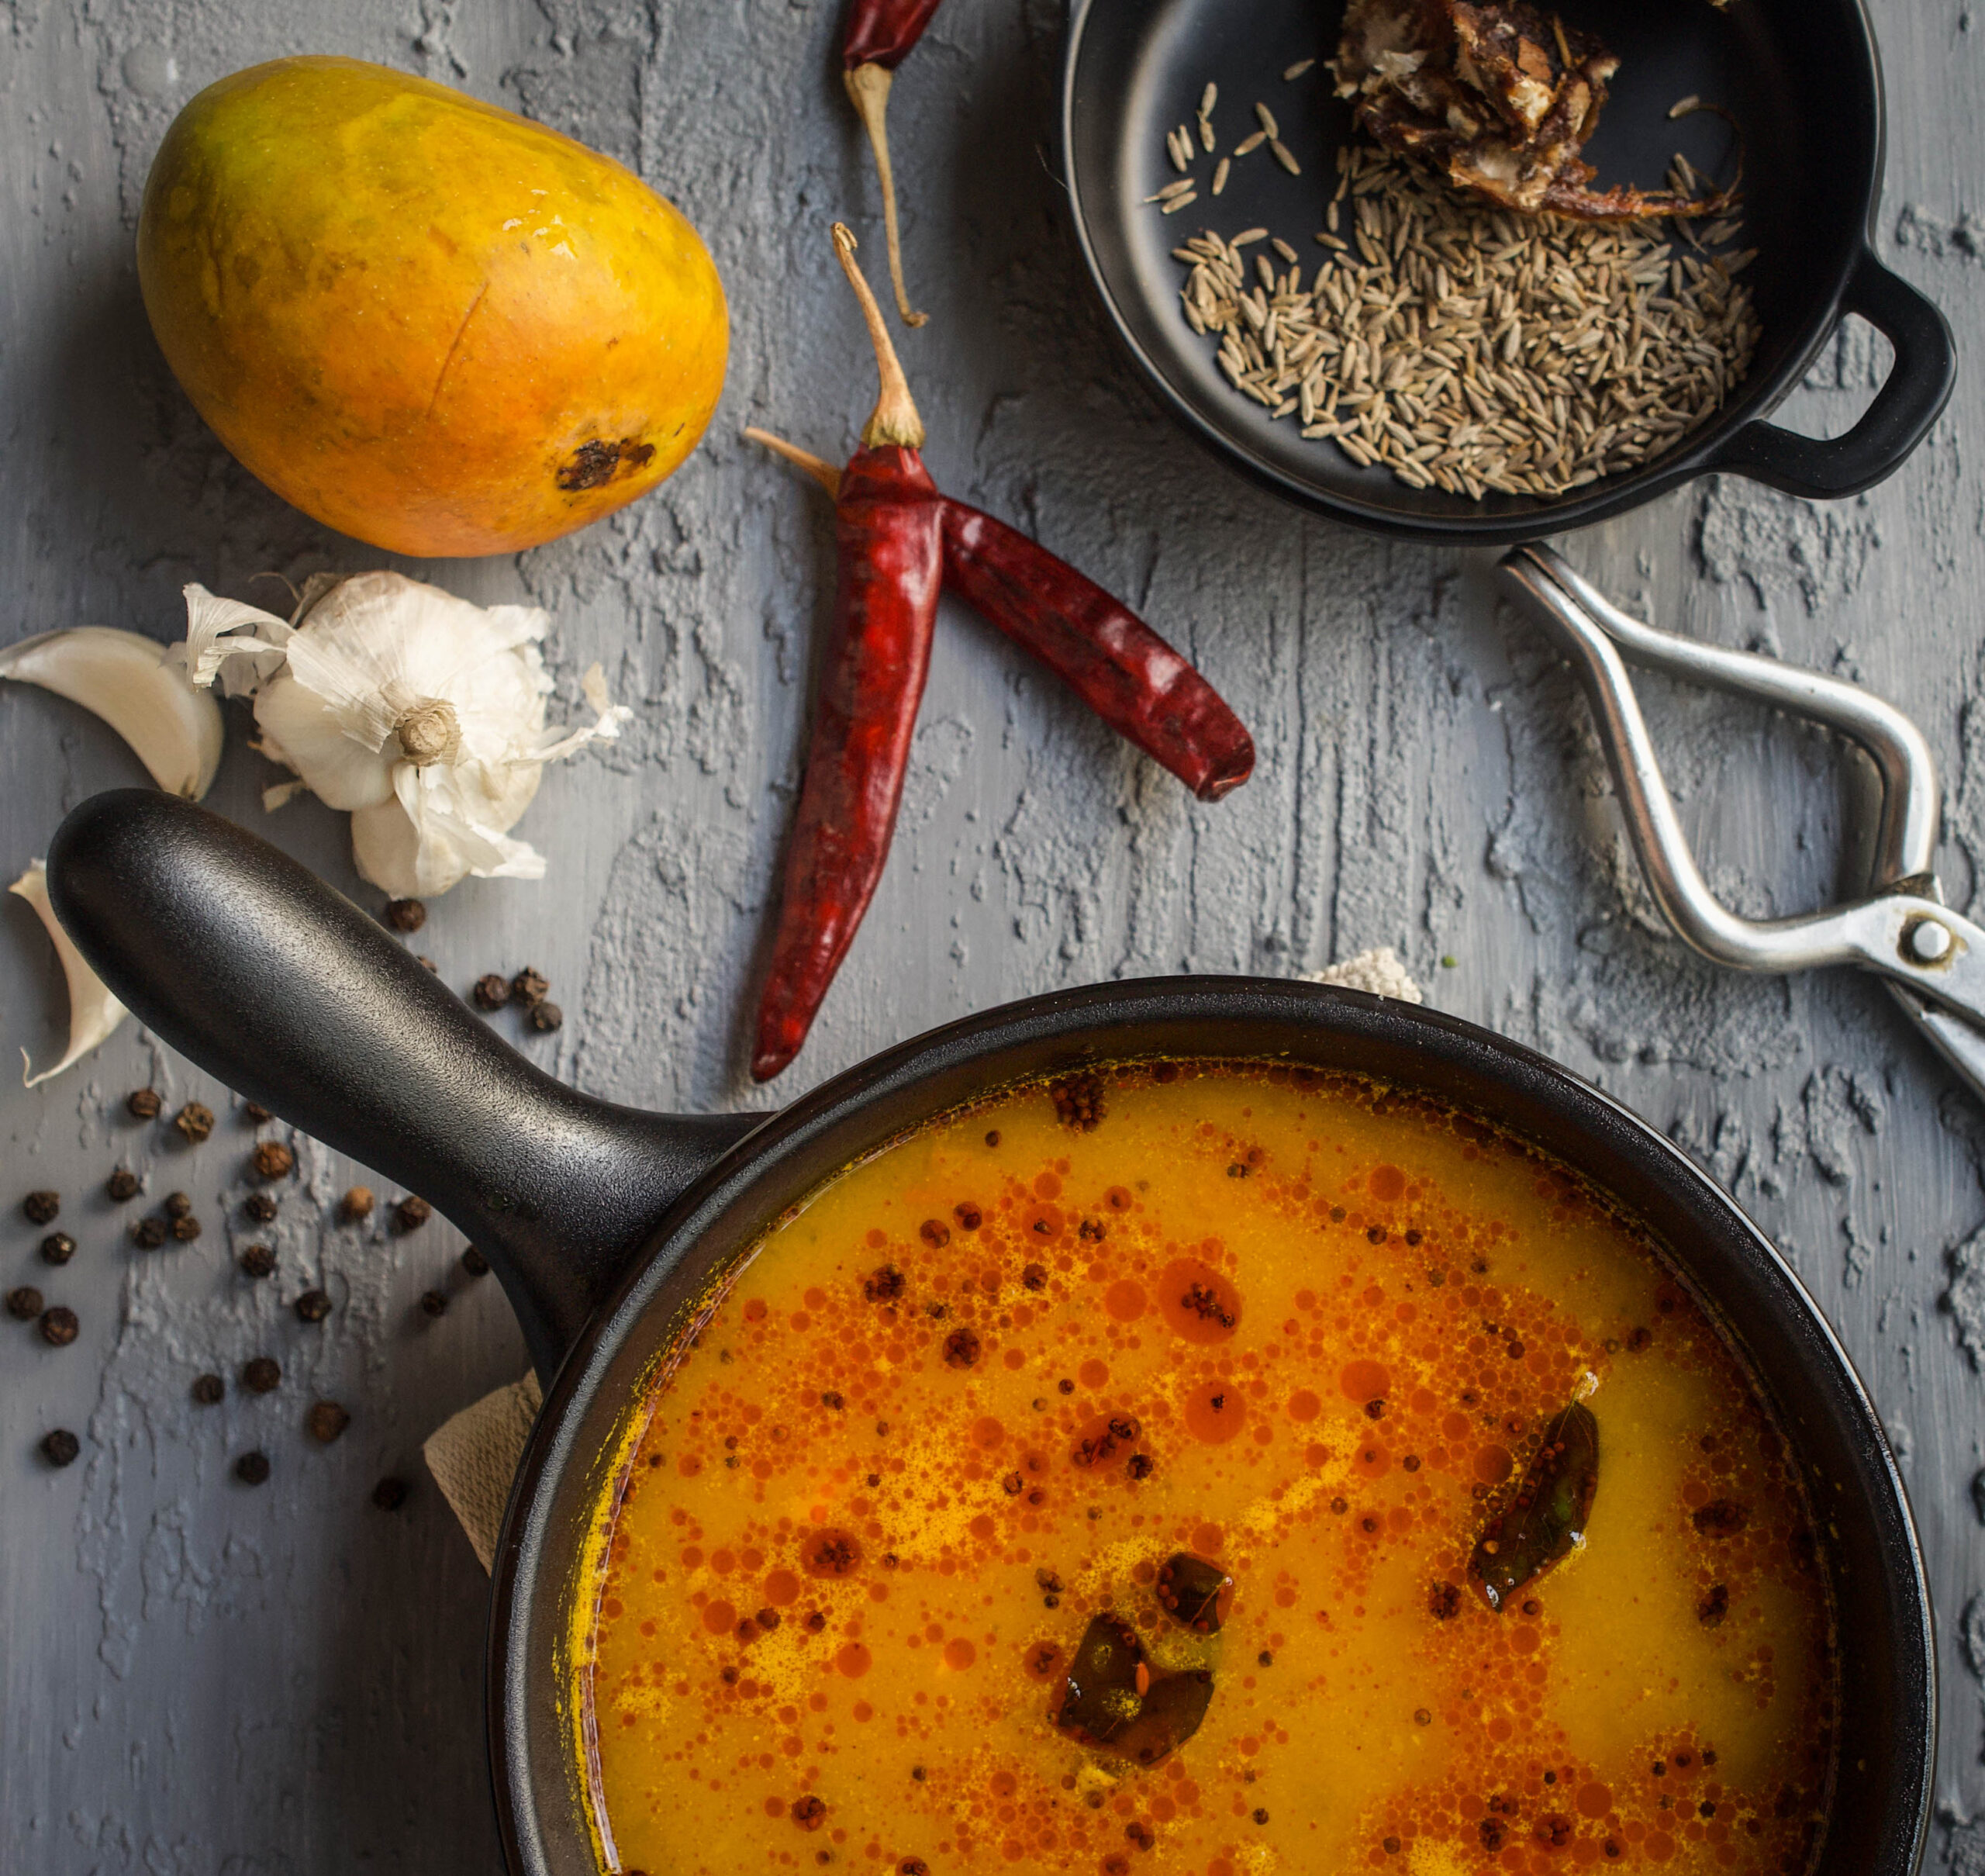
Ripe Mango Rasam

(Yield: 3-4 cups)

Ingredients
Rasam

½ cup ripe mango pulp

½ cup cooked, boiled and mashed toor dal

2 cups water

1 crushed tomato

2 teaspoons cumin seeds

1 teaspoon black pepper

2 dried red chilies

4 cloves garlic

¼ inch piece of ginger

1 tablespoon tamarind pulp

Salt to taste

Sauté
1 teaspoon oil

¼ teaspoon mustard seeds

A few curry leaves

A pinch of asafoetida


In a pot, mix and stir the mango pulp and dal. I have used the alphonso variant, but you can use any ripe mango. Add the water.  Now add the salt, turmeric, asafoetida, crushed tomato and tamarind pulp.

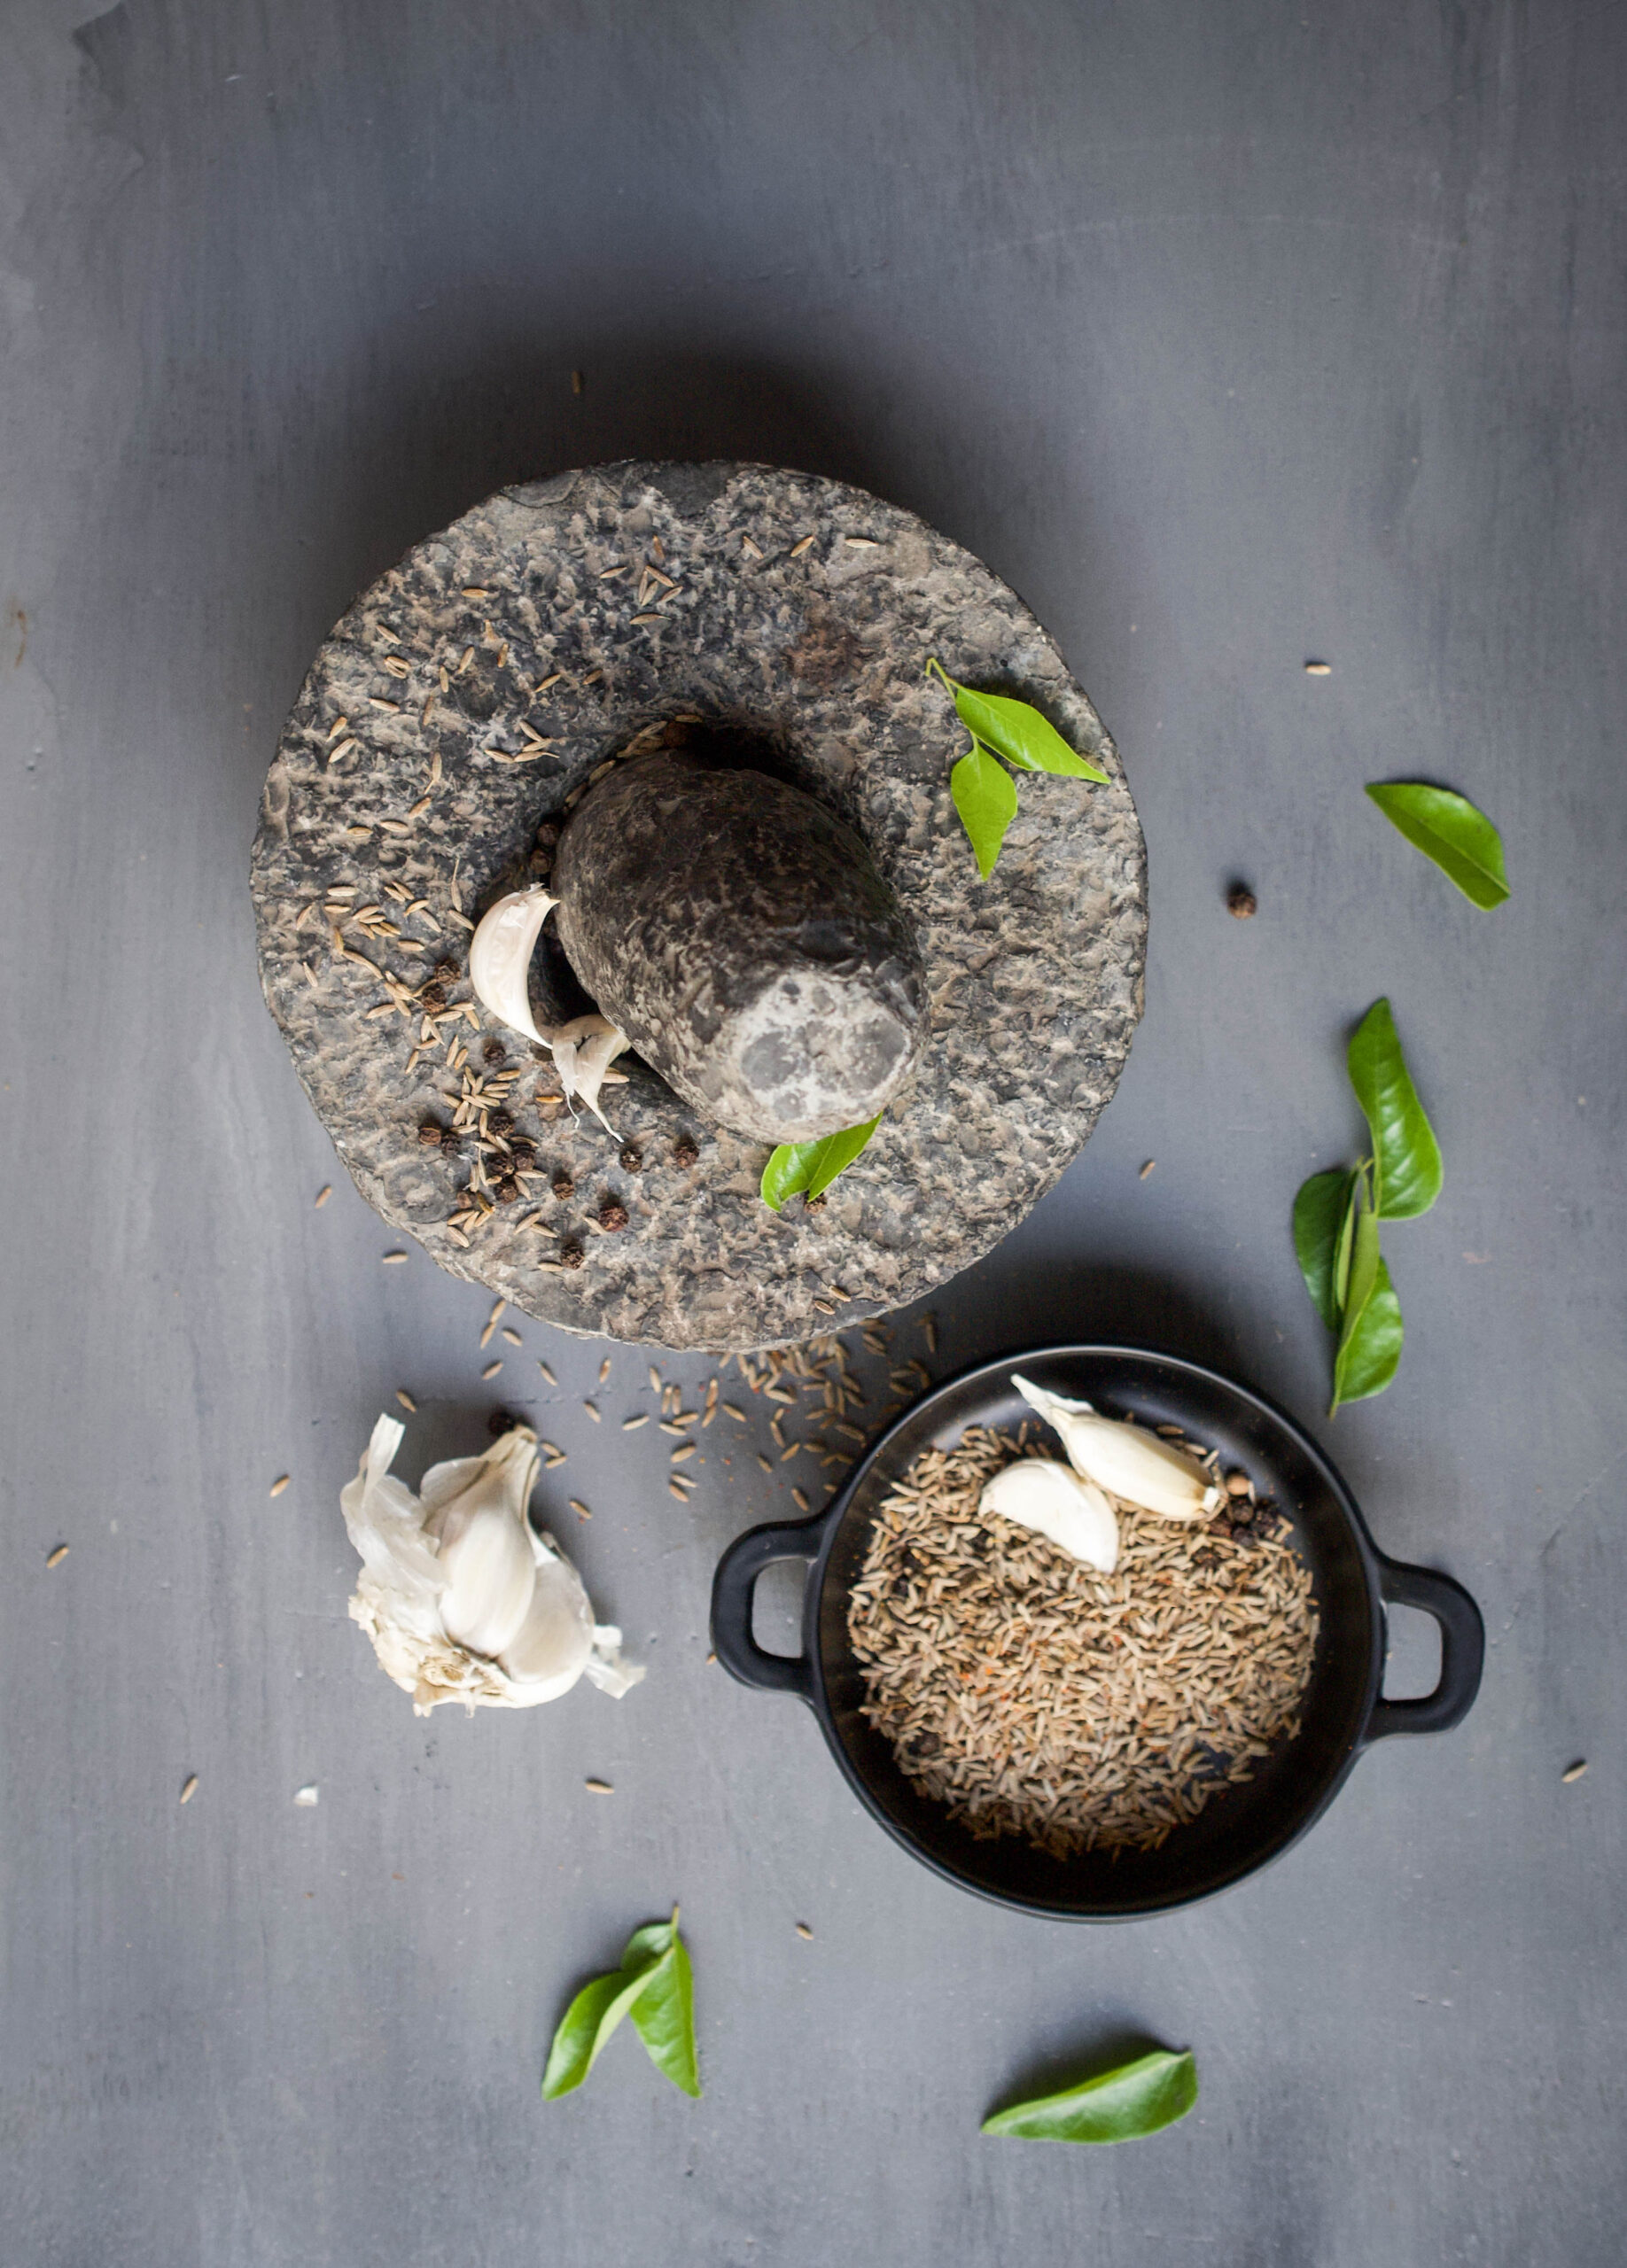
Crush the cumin, ginger, garlic and black pepper coarsely together. Now add this to the mango pulp mix. Place on the stove and allow to boil for approximately 10 minutes. Do not allow it to over-boil – take it off the stove a minute after it starts to bubble.

Separately, heat the oil. Once it’s hot, add the mustard seeds. When they splutter, add the curry leaves. Finally, pour this sauté into the pot of boiled rasam. Serve hot with rotlis or rice.

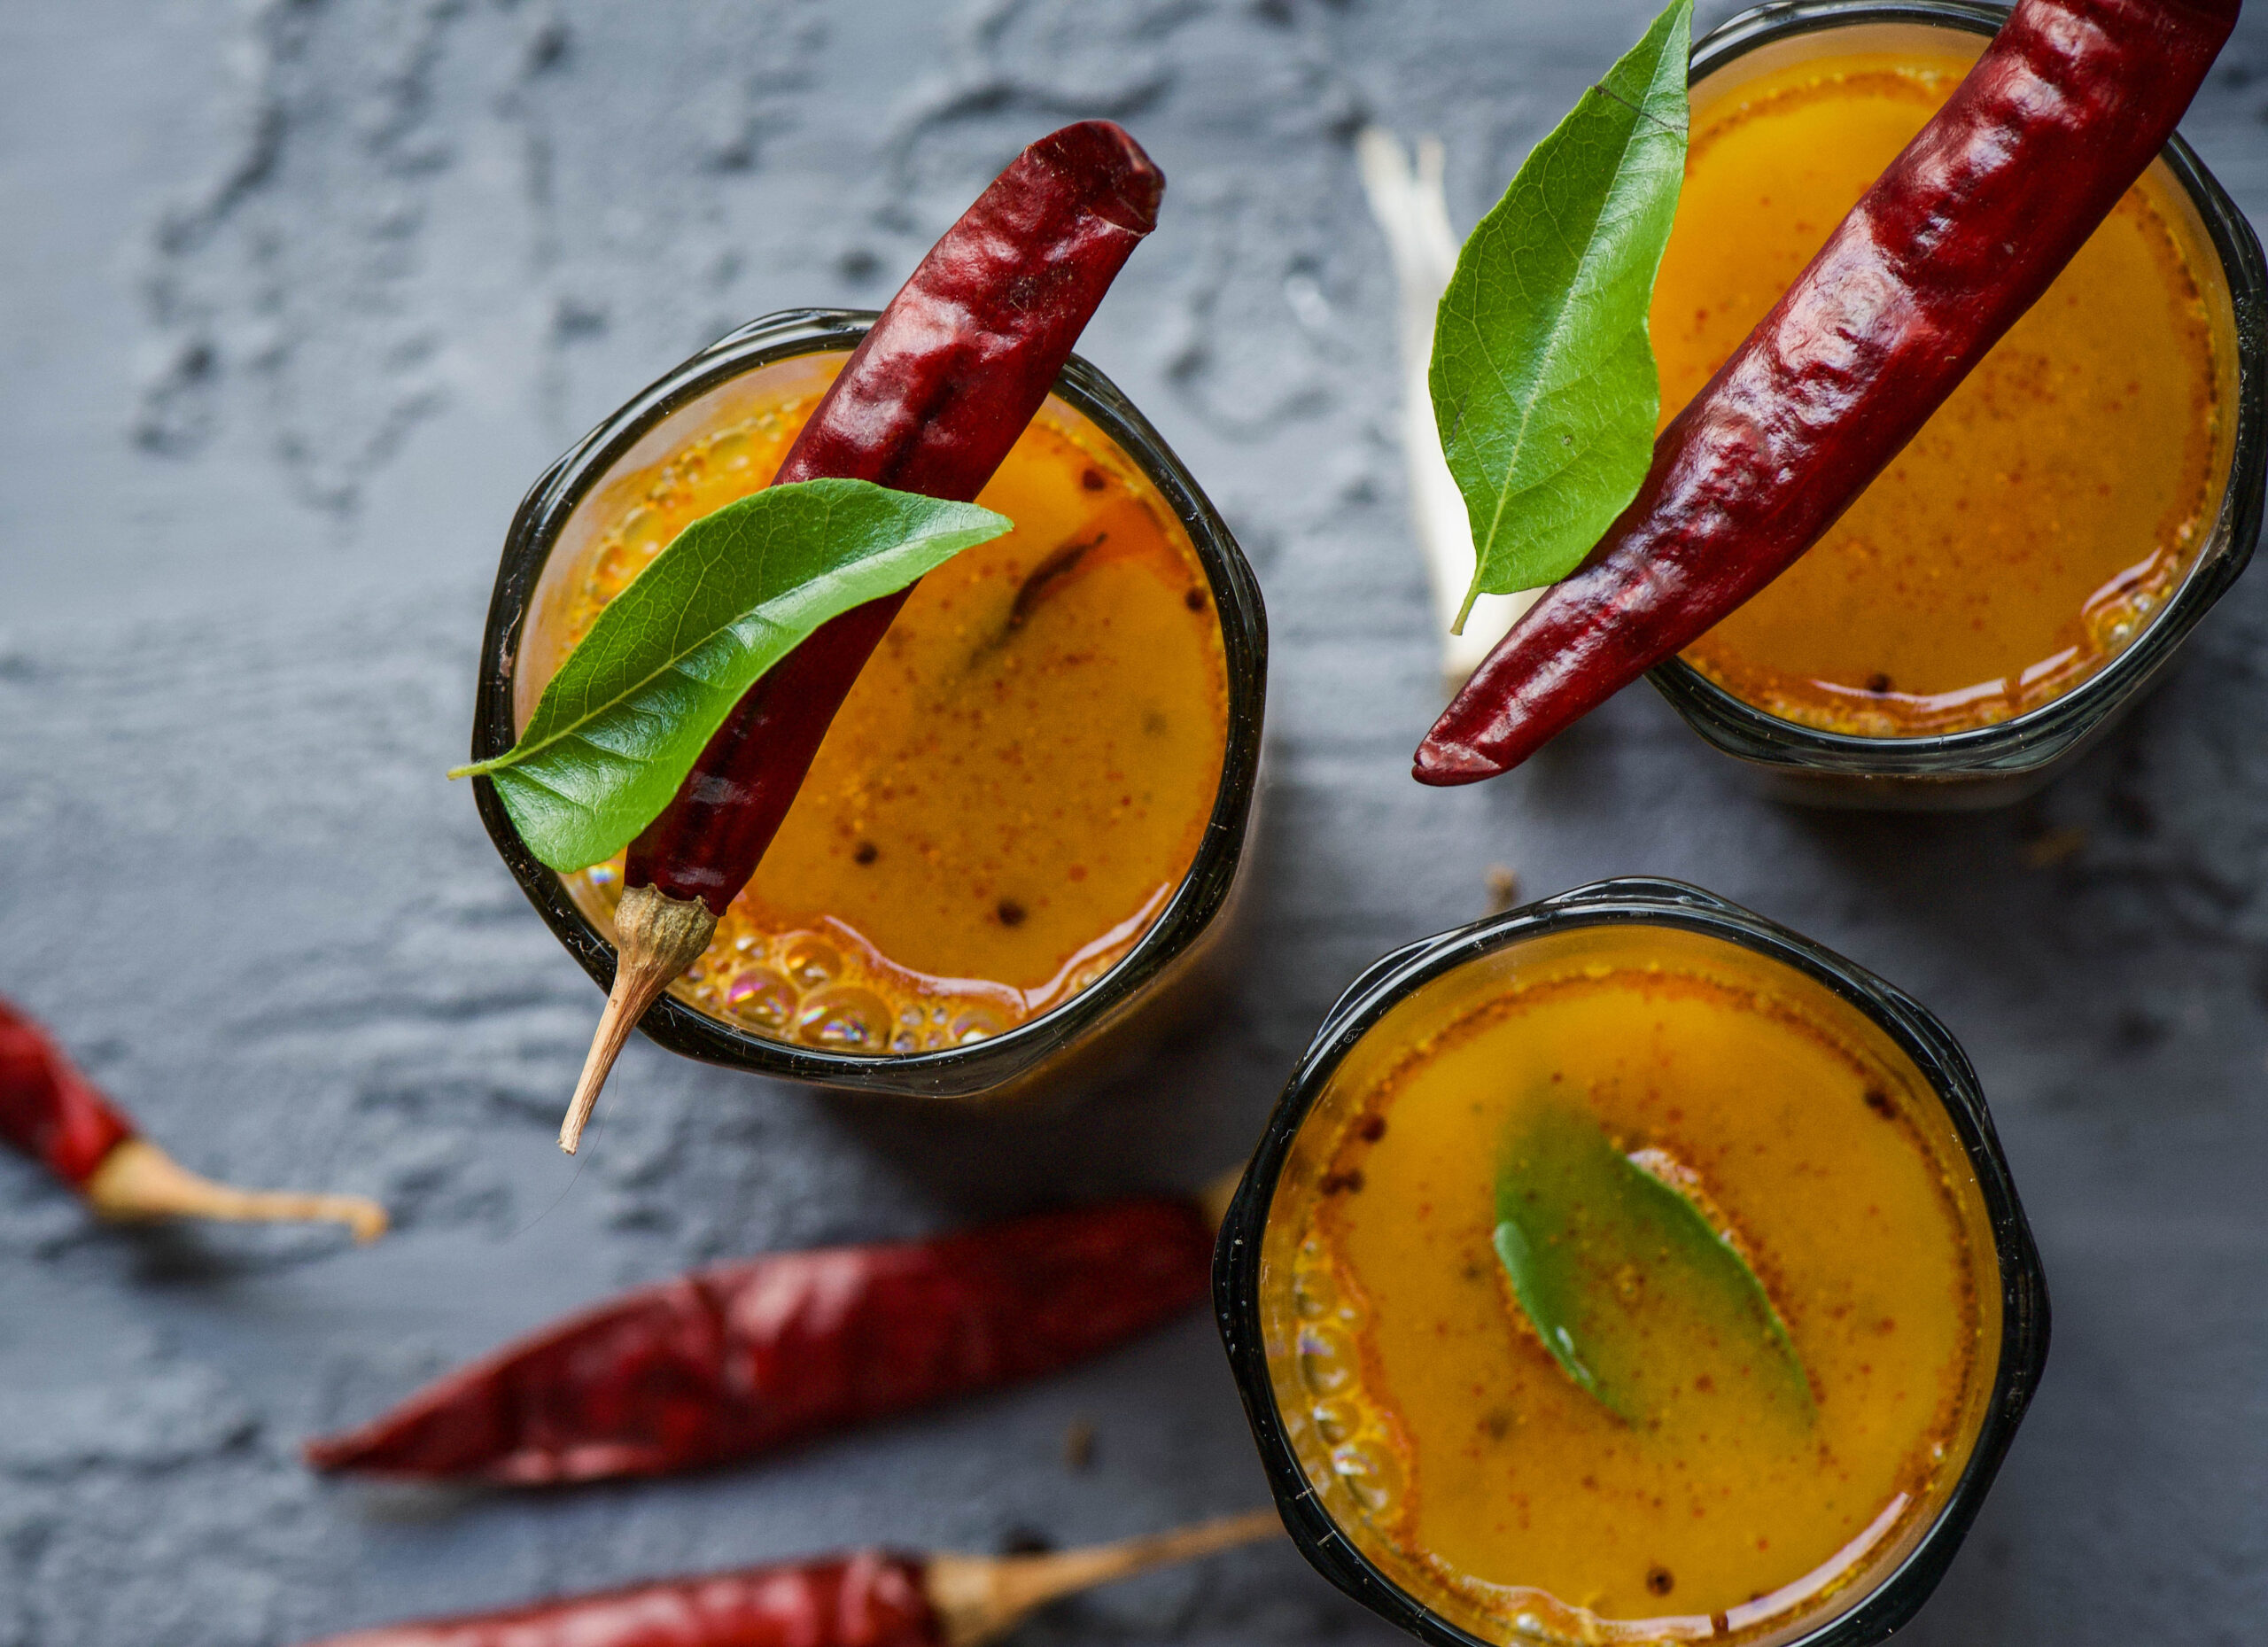
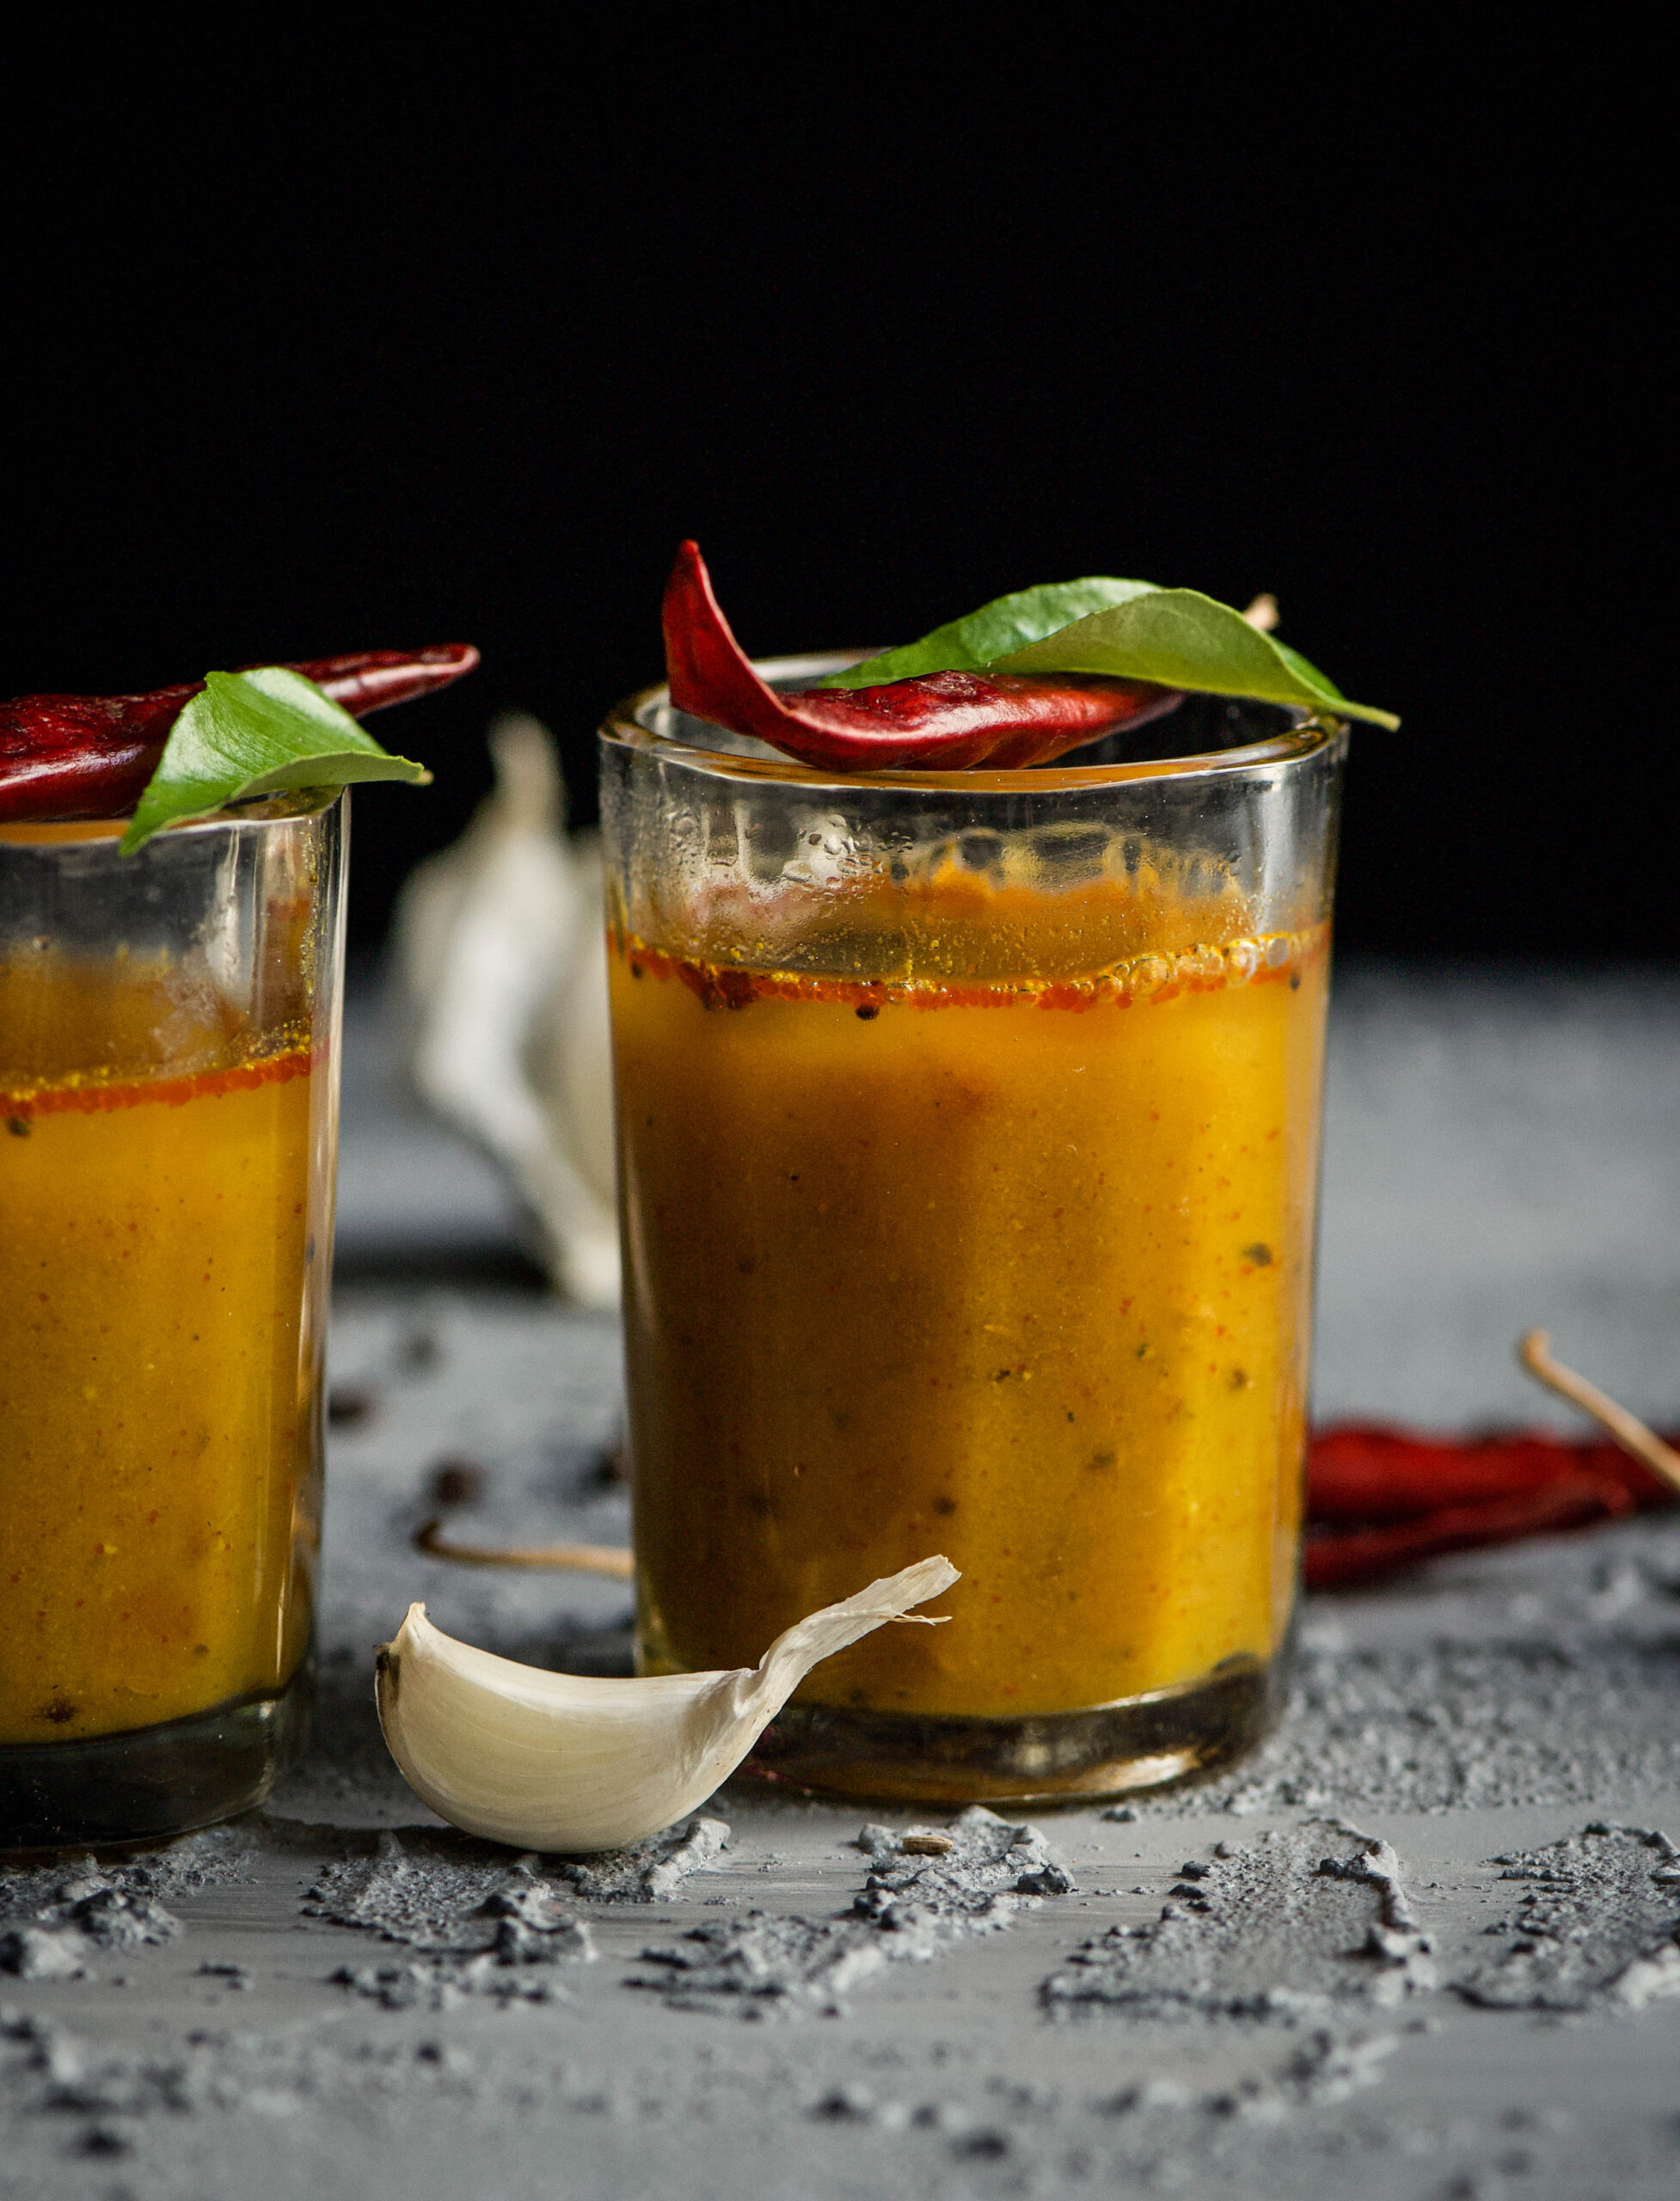
Look at that colour – simply irresistible. Every time I set up a photoshoot, I am dying to finish it so that I can eat whatever I’ve been shooting! All the more so when it’s something that should be eaten hot, like this rasam. There’s a particular joy in the question of whether to eat a little, then shoot, or shoot first and eat later. As I was pouring this vibrant, fragrant rasam into the vessel and styling it for my shoot, I decided I would wait. This time, anyway!


I must have yoghurt with every single meal – a meal is never complete without it, and I am never full! I have tried over the years to go vegan and all that jazz but my love for yoghurt makes this impossible. I can give up milk, but yoghurt? Never. In fact, I loved it so much as a child that my mother had to ration it – she restricted me to a single cup per meal. But how I loved that one cup!

In South India, we take our yoghurt seriously. It has to be perfect – it should not be too sour, it should not have a thin film on top, and it should be smooth not broken. This is how it must be served at the table – and you can be assured that it is served at every table.

I have a friend in Barcelona who visits me each year and takes back a little bit of the yoghurt culture as a starter to make her own. The temperature, quantity of culture and the quality of the milk are very important. Yet, somehow, yoghurt is also very simple to make, which is why it is made in households every single day without fail. I wish sourdough was as easy to make. If you follow me on Instagram, you’d have seen my attempts and adventures at sourdough on my Instastories!
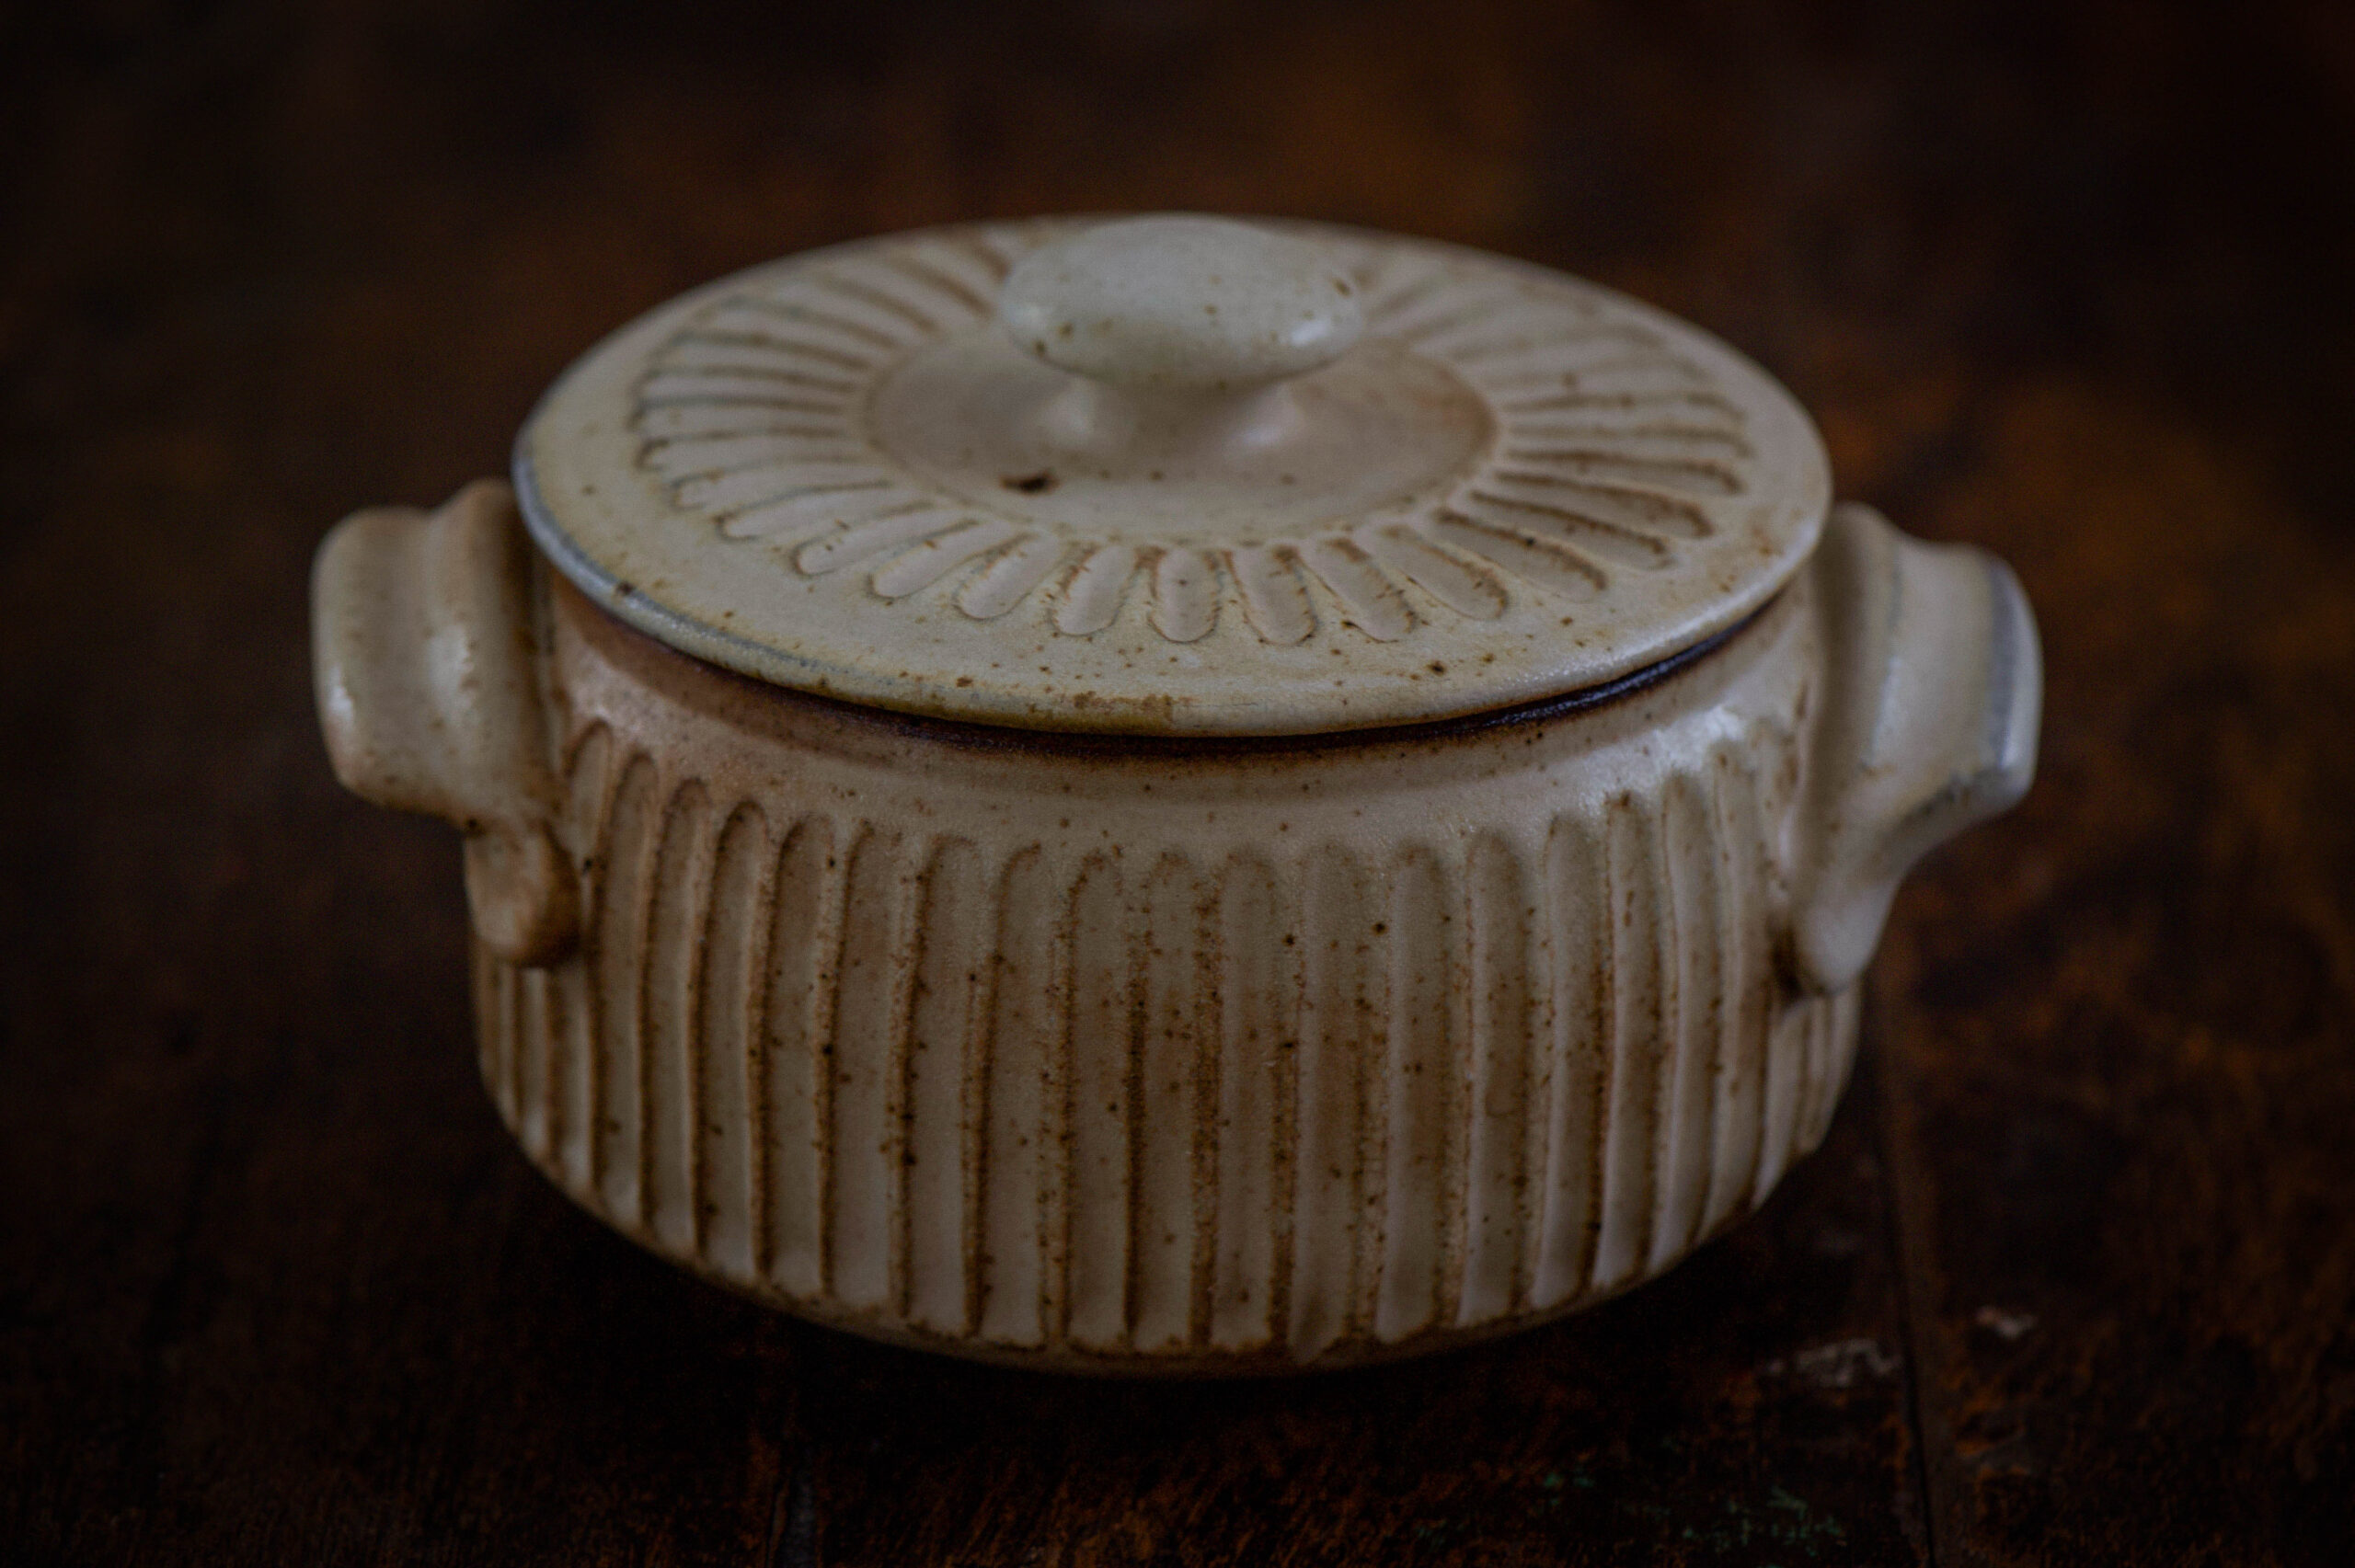
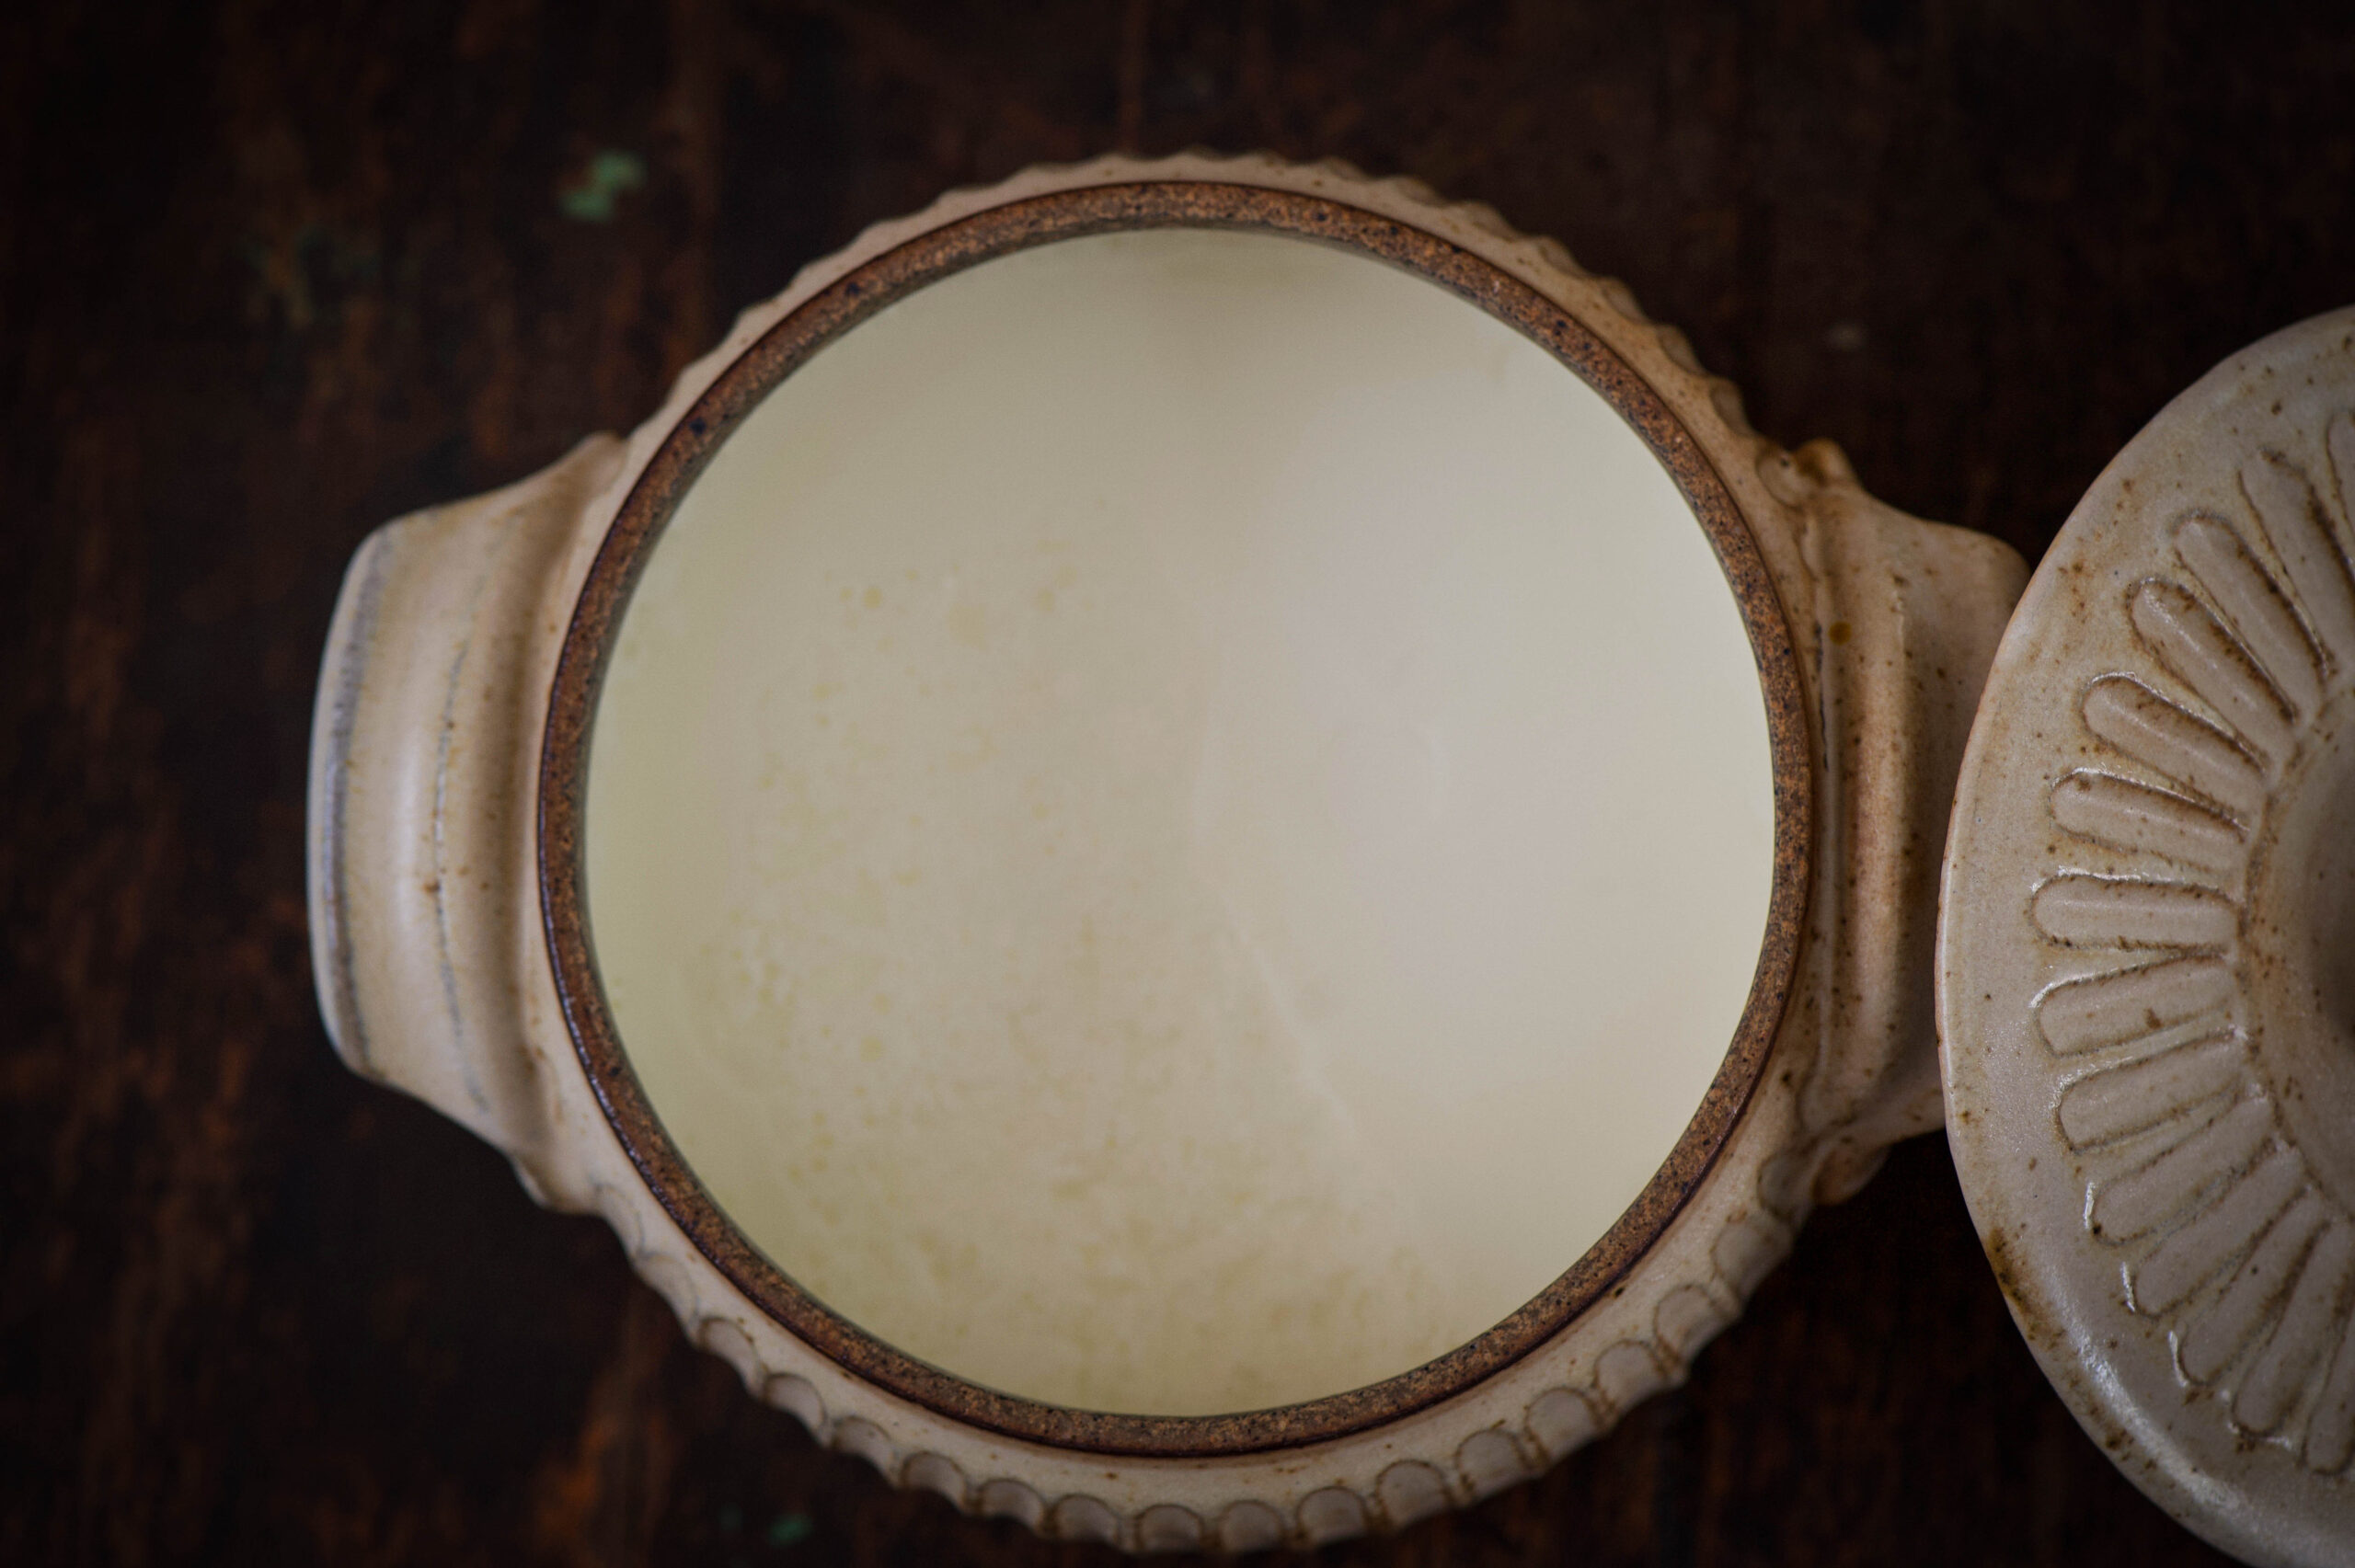
Traditionally, in my home, we set the yoghurt in an earthenware or stoneware pot. I set it both in the mornings and in the evenings, so that we have it fresh at both lunch and dinner. Yoghurt usually sours within a day, so it is one of the ingredients that is often used in leftover-based dishes. Refrigeration can prolong this slightly.

It sets faster in the summers, within 5 to 6 hours. In cooler months, if you set it just before bed, you will certainly be able to have it first thing in the morning. But be warned that these standards are for my climate, here in India. When I visited my son in New York last winter, he had a craving for homemade yoghurt. In the depths of icy November, it took two whole days to set!

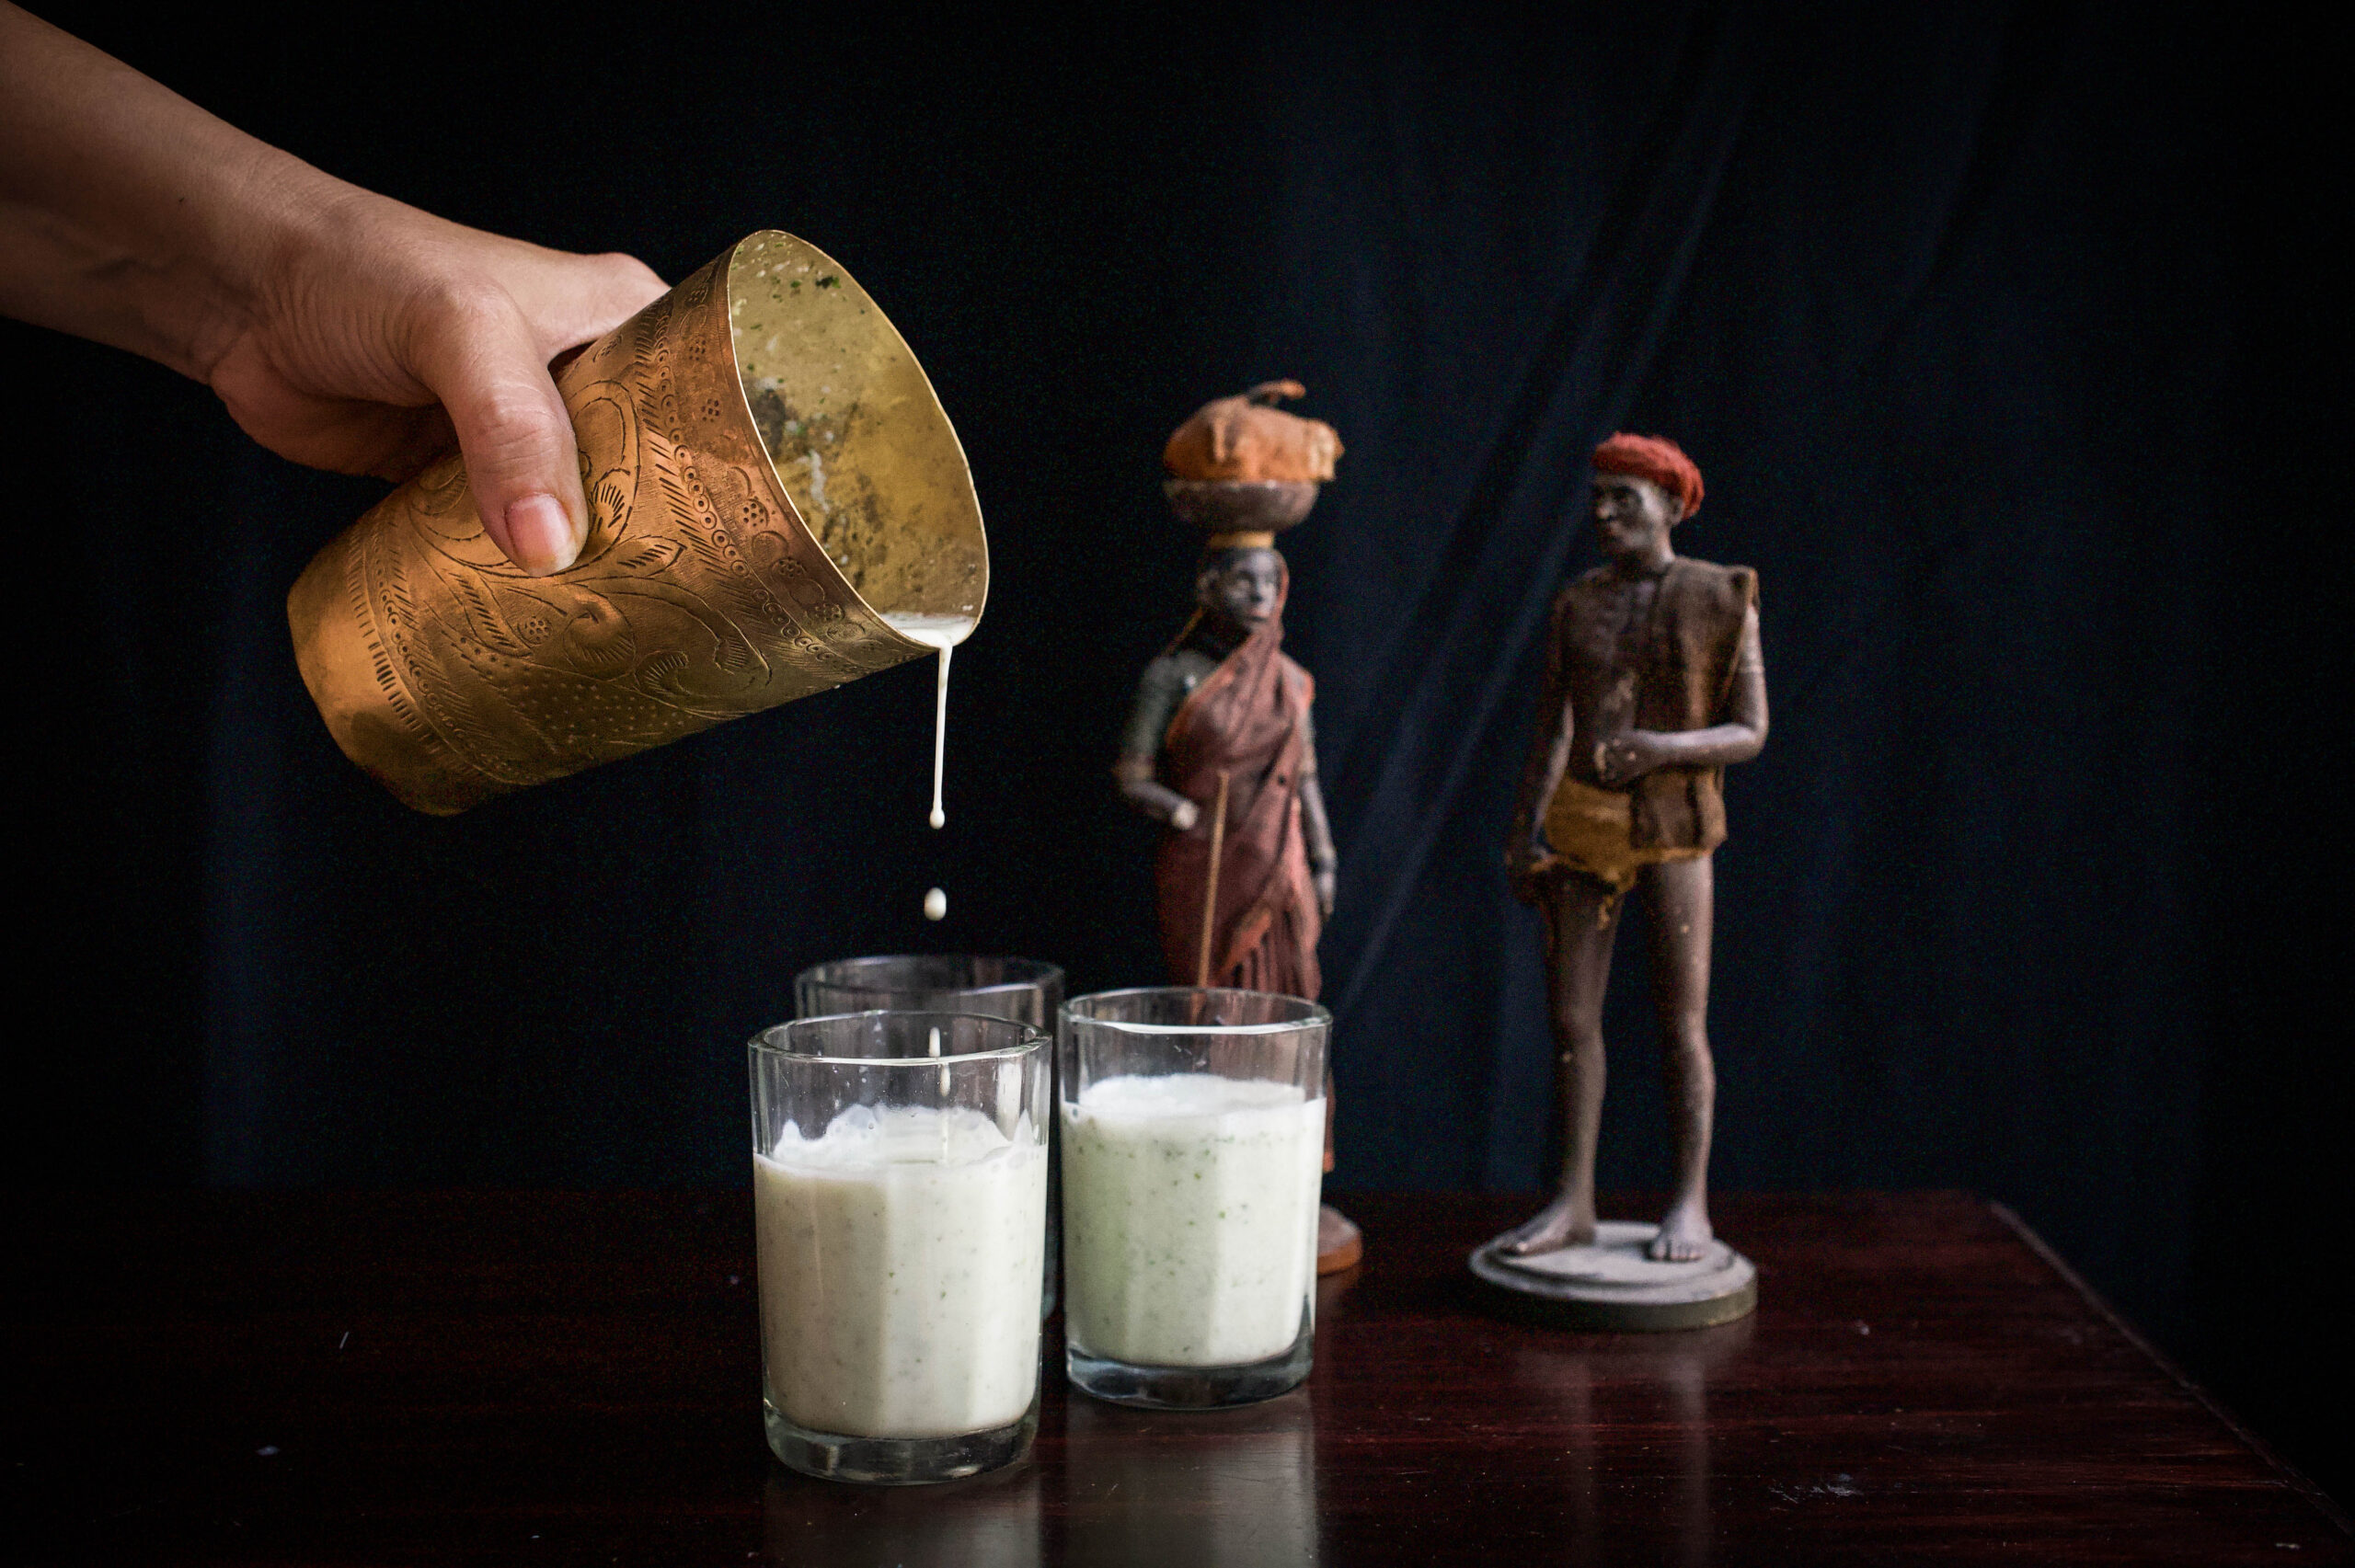
So many of my summer stories revolve around my grandparents’ home in Vijayawada. If you went down memory lane with me and my aunt’s rose sherbet or their vetiver-scented curtains which inspired my chia pudding, here is one more from my childhood memories to enjoy: spiced buttermilk. It is a flavour I remember from those summers with my cousins, when we would each be given 25 paisa to go buy ourselves a treat. Someone would get soda, someone would get raw mango slices… My favourite was guava, but buttermilk was what we were always encouraged to have, for its health benefits. What I’ll share with you today is my friend Anandhi’s recipe, made with her guidance. Its core ingredient is homemade yoghurt.

Both yoghurt and buttermilk are great for digestion, and have a cooling effect on the body, which is why they are summer essentials. If you love your dairy like I do – with apologies to my vegan and lactose-intolerant friends! – you’ll absolutely love being able to switch from store-bought yoghurt. After a while, setting it becomes a habit, and it’s always so delicious when it’s fresh.


Spiced Buttermilk

(Yield: Approximately 5 glasses)


Ingredients

1 cup yoghurt

1 teaspoon roasted cumin powder

1 teaspoon grated ginger

1 tablespoon finely chopped coriander leaves

1 finely chopped green chilli

Salt to taste

3 cups water

A dash of lemon

1 pinch asafoetida (optional)
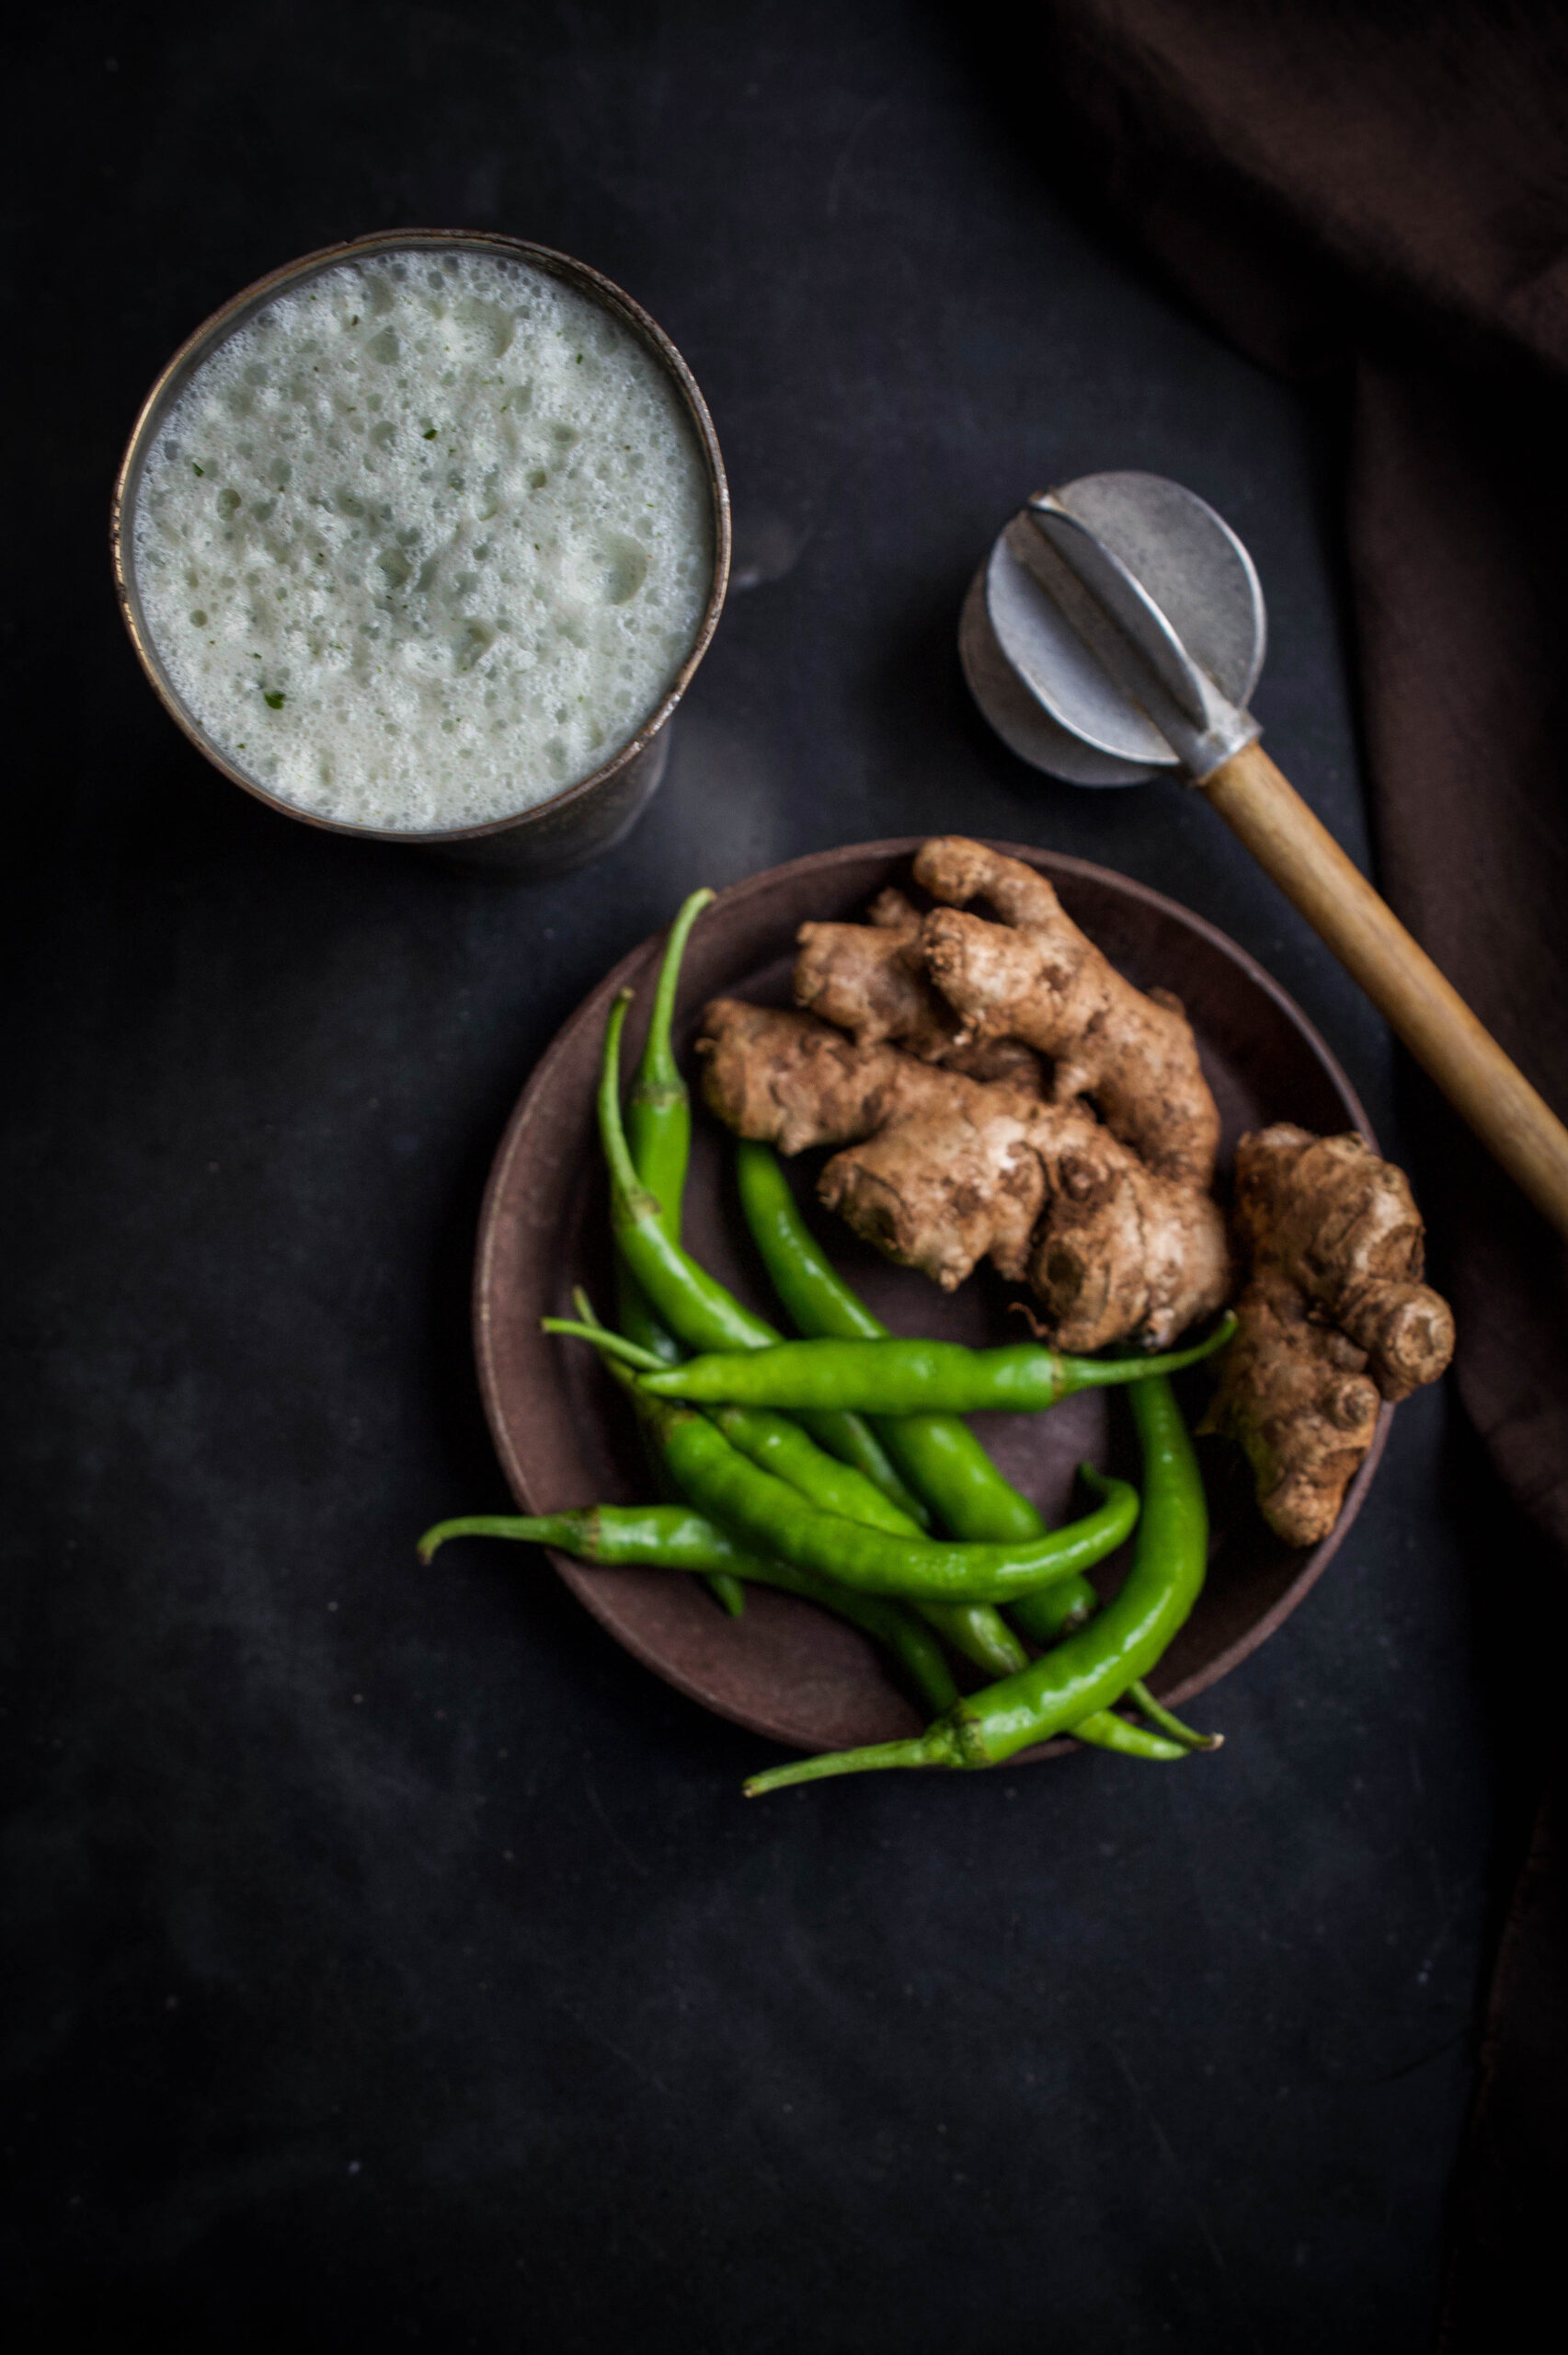
In a blender, add all the ingredients, except the water, and whir until everything is well blended. Now add the 3 cups of water. You can adjust the consistency by increasing or reducing the quantity of water to your preference. The dash of lemon gives you a little spring of energy, and the spices add such delicious flavours to the drink. Serve immediately.

Known for its probiotic properties, buttermilk acts as a coolant in the summer months, especially when eating heat-inducing mangoes is a full time pleasure!



Homemade Yoghurt

As I said earlier, setting yoghurt is both very delicate and very easy. To set the yoghurt, the temperature of the room, the temperature of the milk and the quantity of the starter are all very important in order for the yoghurt to be plain and not sour.

In India, where summers are very hot, I add a ¼ teaspoon of starter yoghurt to a bowl and pour room temperature milk into it. I then cover it with a lid and set it aside for 5-6 hours. Do the same if you are working in a similar climate. After the stated time, open the lid and see that the milk is set and rather tight when moved a little. Now refrigerate. Serve whenever you please.
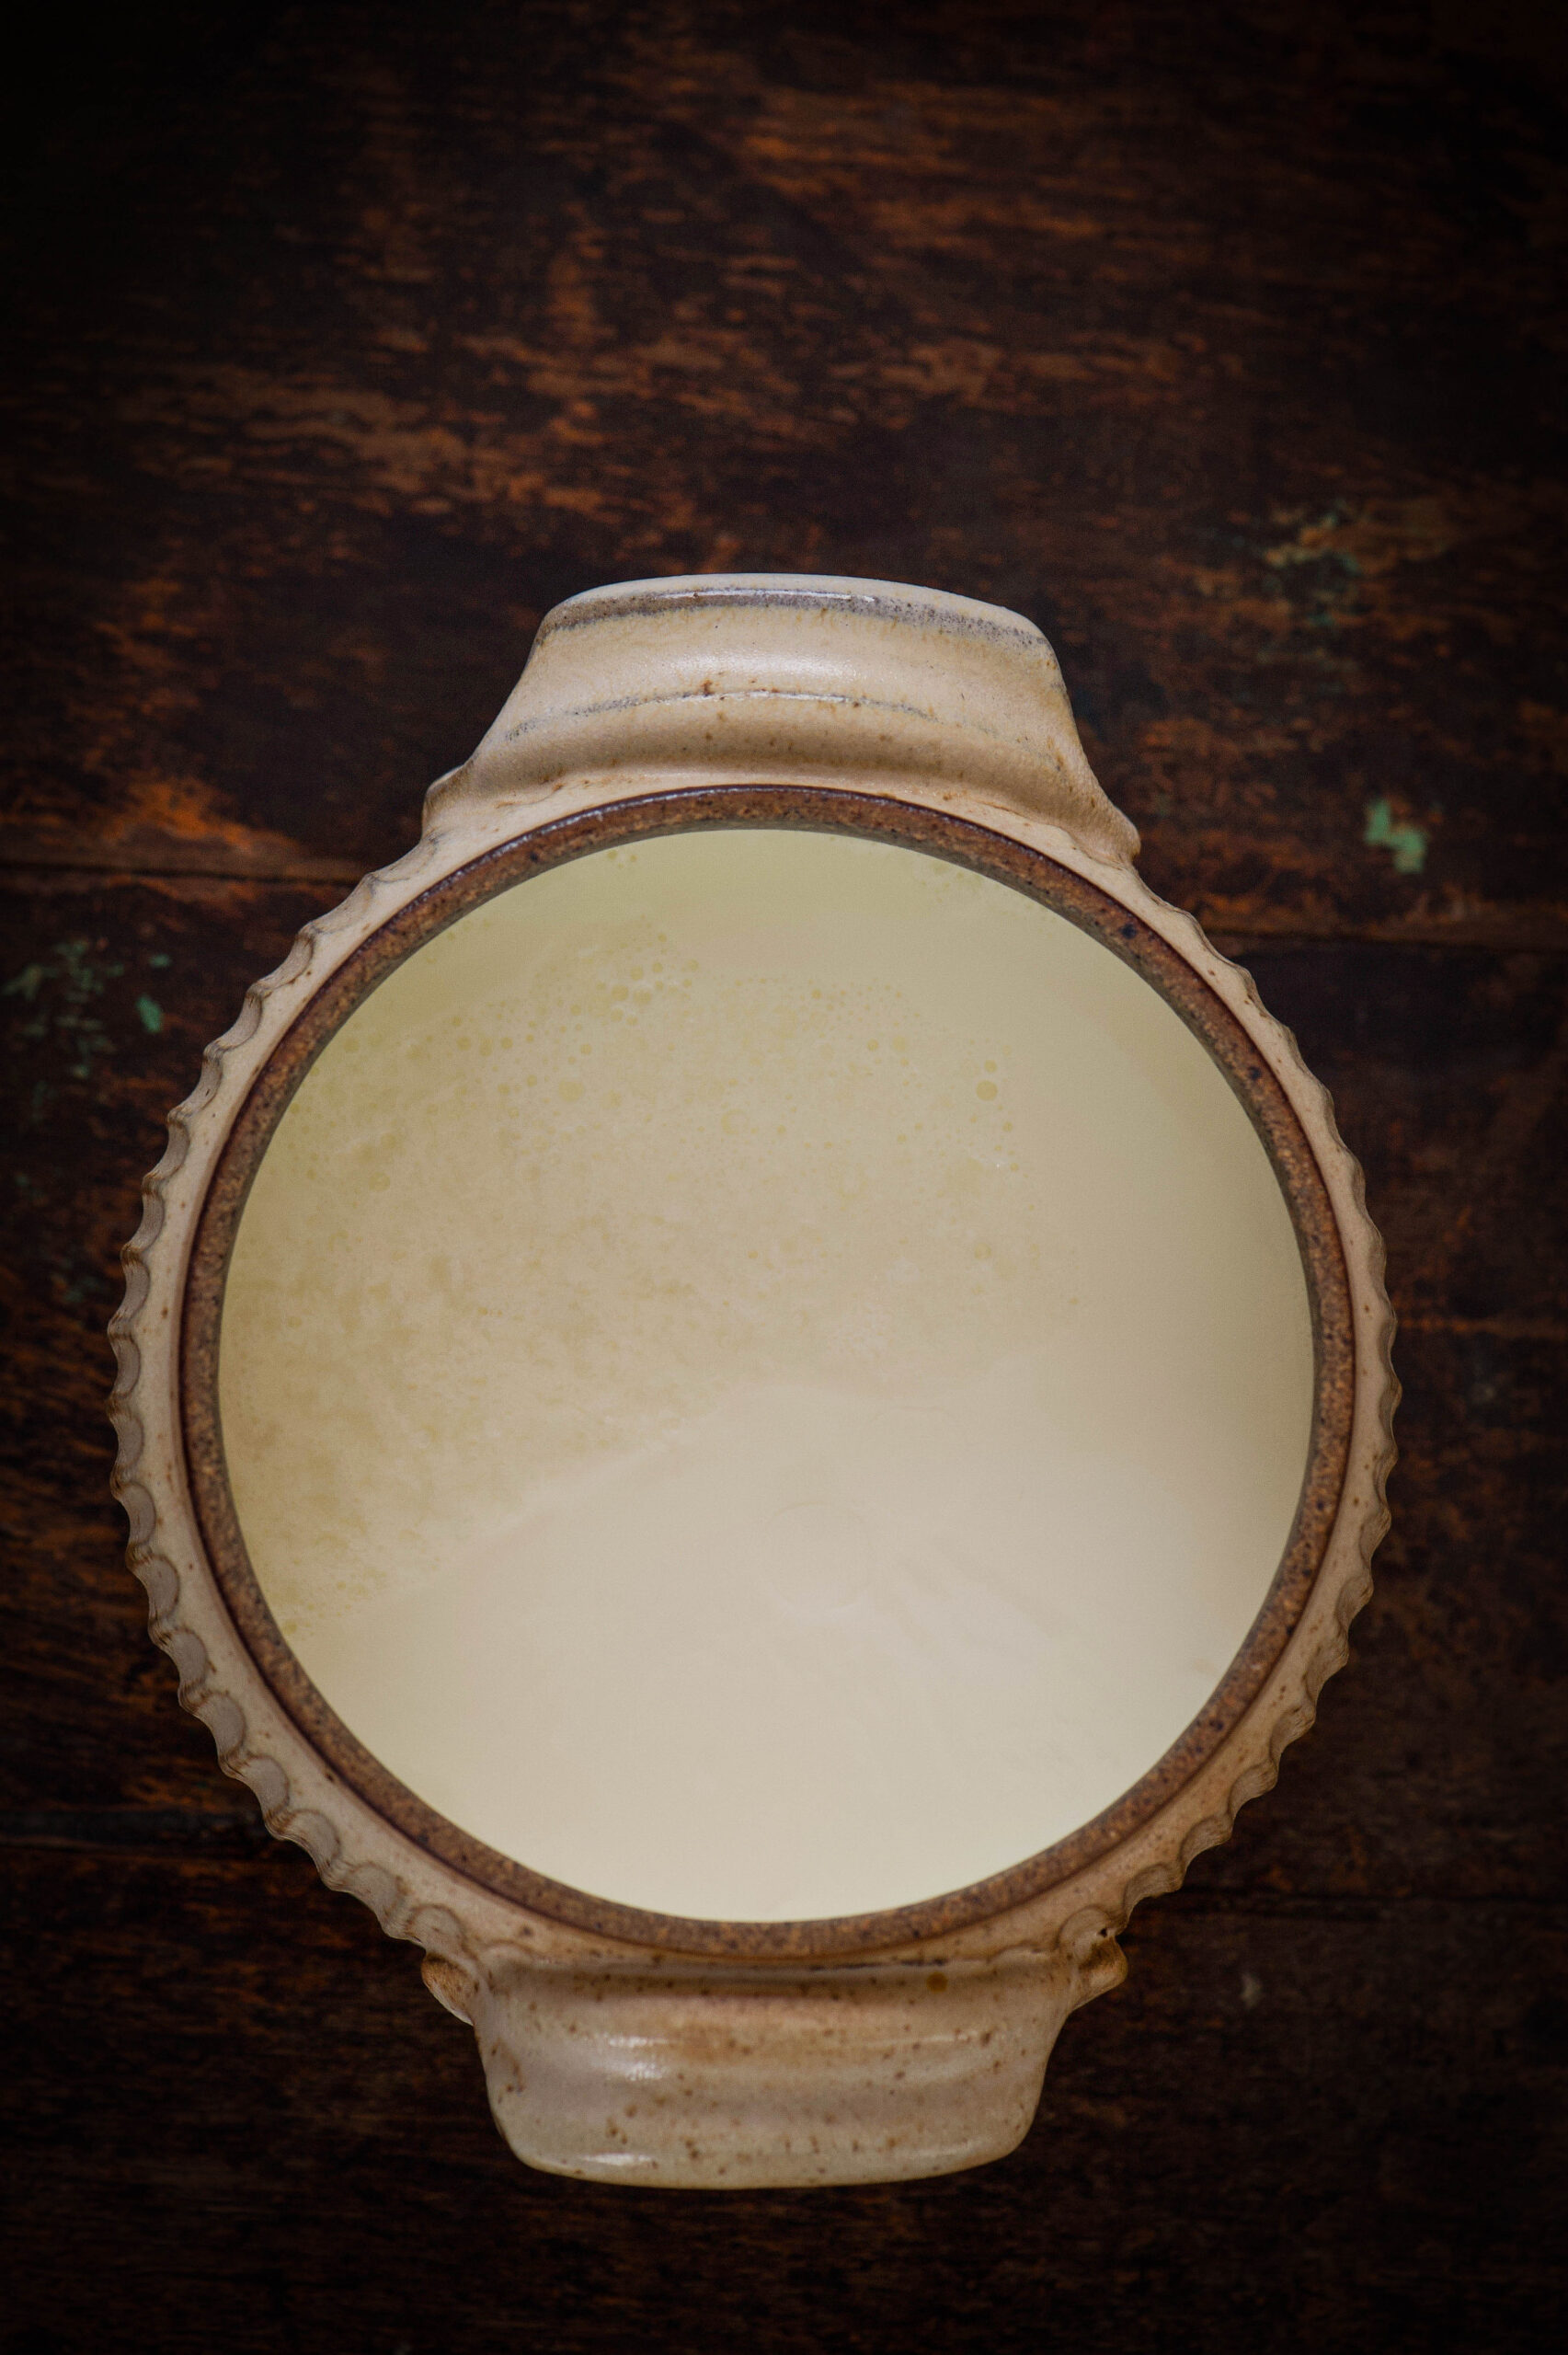
During the winters, warm the milk and increase the quantity of the starter to ½ or even 1 teaspoon. Cover, and keep in a warm place for 10-12 hours or until set.

I am not a fan of sour yoghurt so refrigerating it once set is key, so it stays fresh for longer.

I’d much rather make my own yoghurt at home, where I know what exactly goes into it, as I’m always cautious about my food as far as possible.

This is the yoghurt I use when making buttermilk, as well as my regular accompaniment to my major meals. Yoghurt with rice, yoghurt with rotli, and of course, yoghurt with re:store’s bestselling muesli. It goes so well with everything, in my opinion!

I’d love to hear in the comments about how you’re keeping cool this summer!