Tag

cake

Browsing

I’ve spoken often of how, just a few years ago, my daughter baked a chocolate cake for the family which was a turning point in my life. It was the best cake I had ever eaten, and I remember watching her as she made it. She was in good spirits, and hummed and sang while she was gathering the ingredients and lining them up in front of her. Then, she happily pulled out a recipe and began with such lightness and joy. Watching her, I thought to myself: “I’ve tried baking for so many years. I must try again with the same spirit my daughter has.” The first bite of the cake that came out of the oven was the last push of encouragement I needed. I set my mind to it: I would learn to bake with joy. I spent the next month baking the exact same cake every single day, tweaking the method and learning with each effort, until I too fell into a happy, humming rhythm. And the rest, as they say, was history…

My daughter is a big part of the recipe I am sharing today, but it’s not just because of that life-changing chocolate cake (which you can order right here if you are in Chennai). Rather, it’s because of one of the many dishes she introduced me to when she was studying for her Bachelor’s in Boston. Whenever I would visit her, she would always take me to interesting new places to try out delicious cuisines and treats that never failed to inspire me. It was in one such café that I tasted madeleines for the first time. They were pistachio ones, and you know I love pistachio (of course, a pistachio cake also sits prettily on the re:store product list).

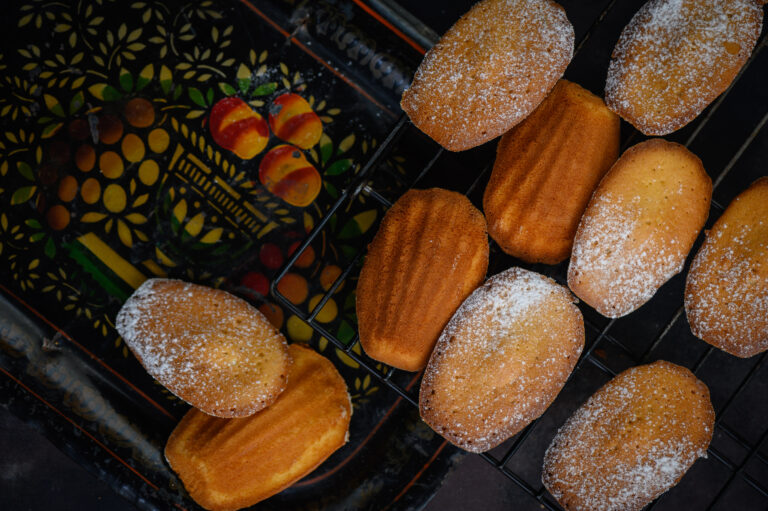
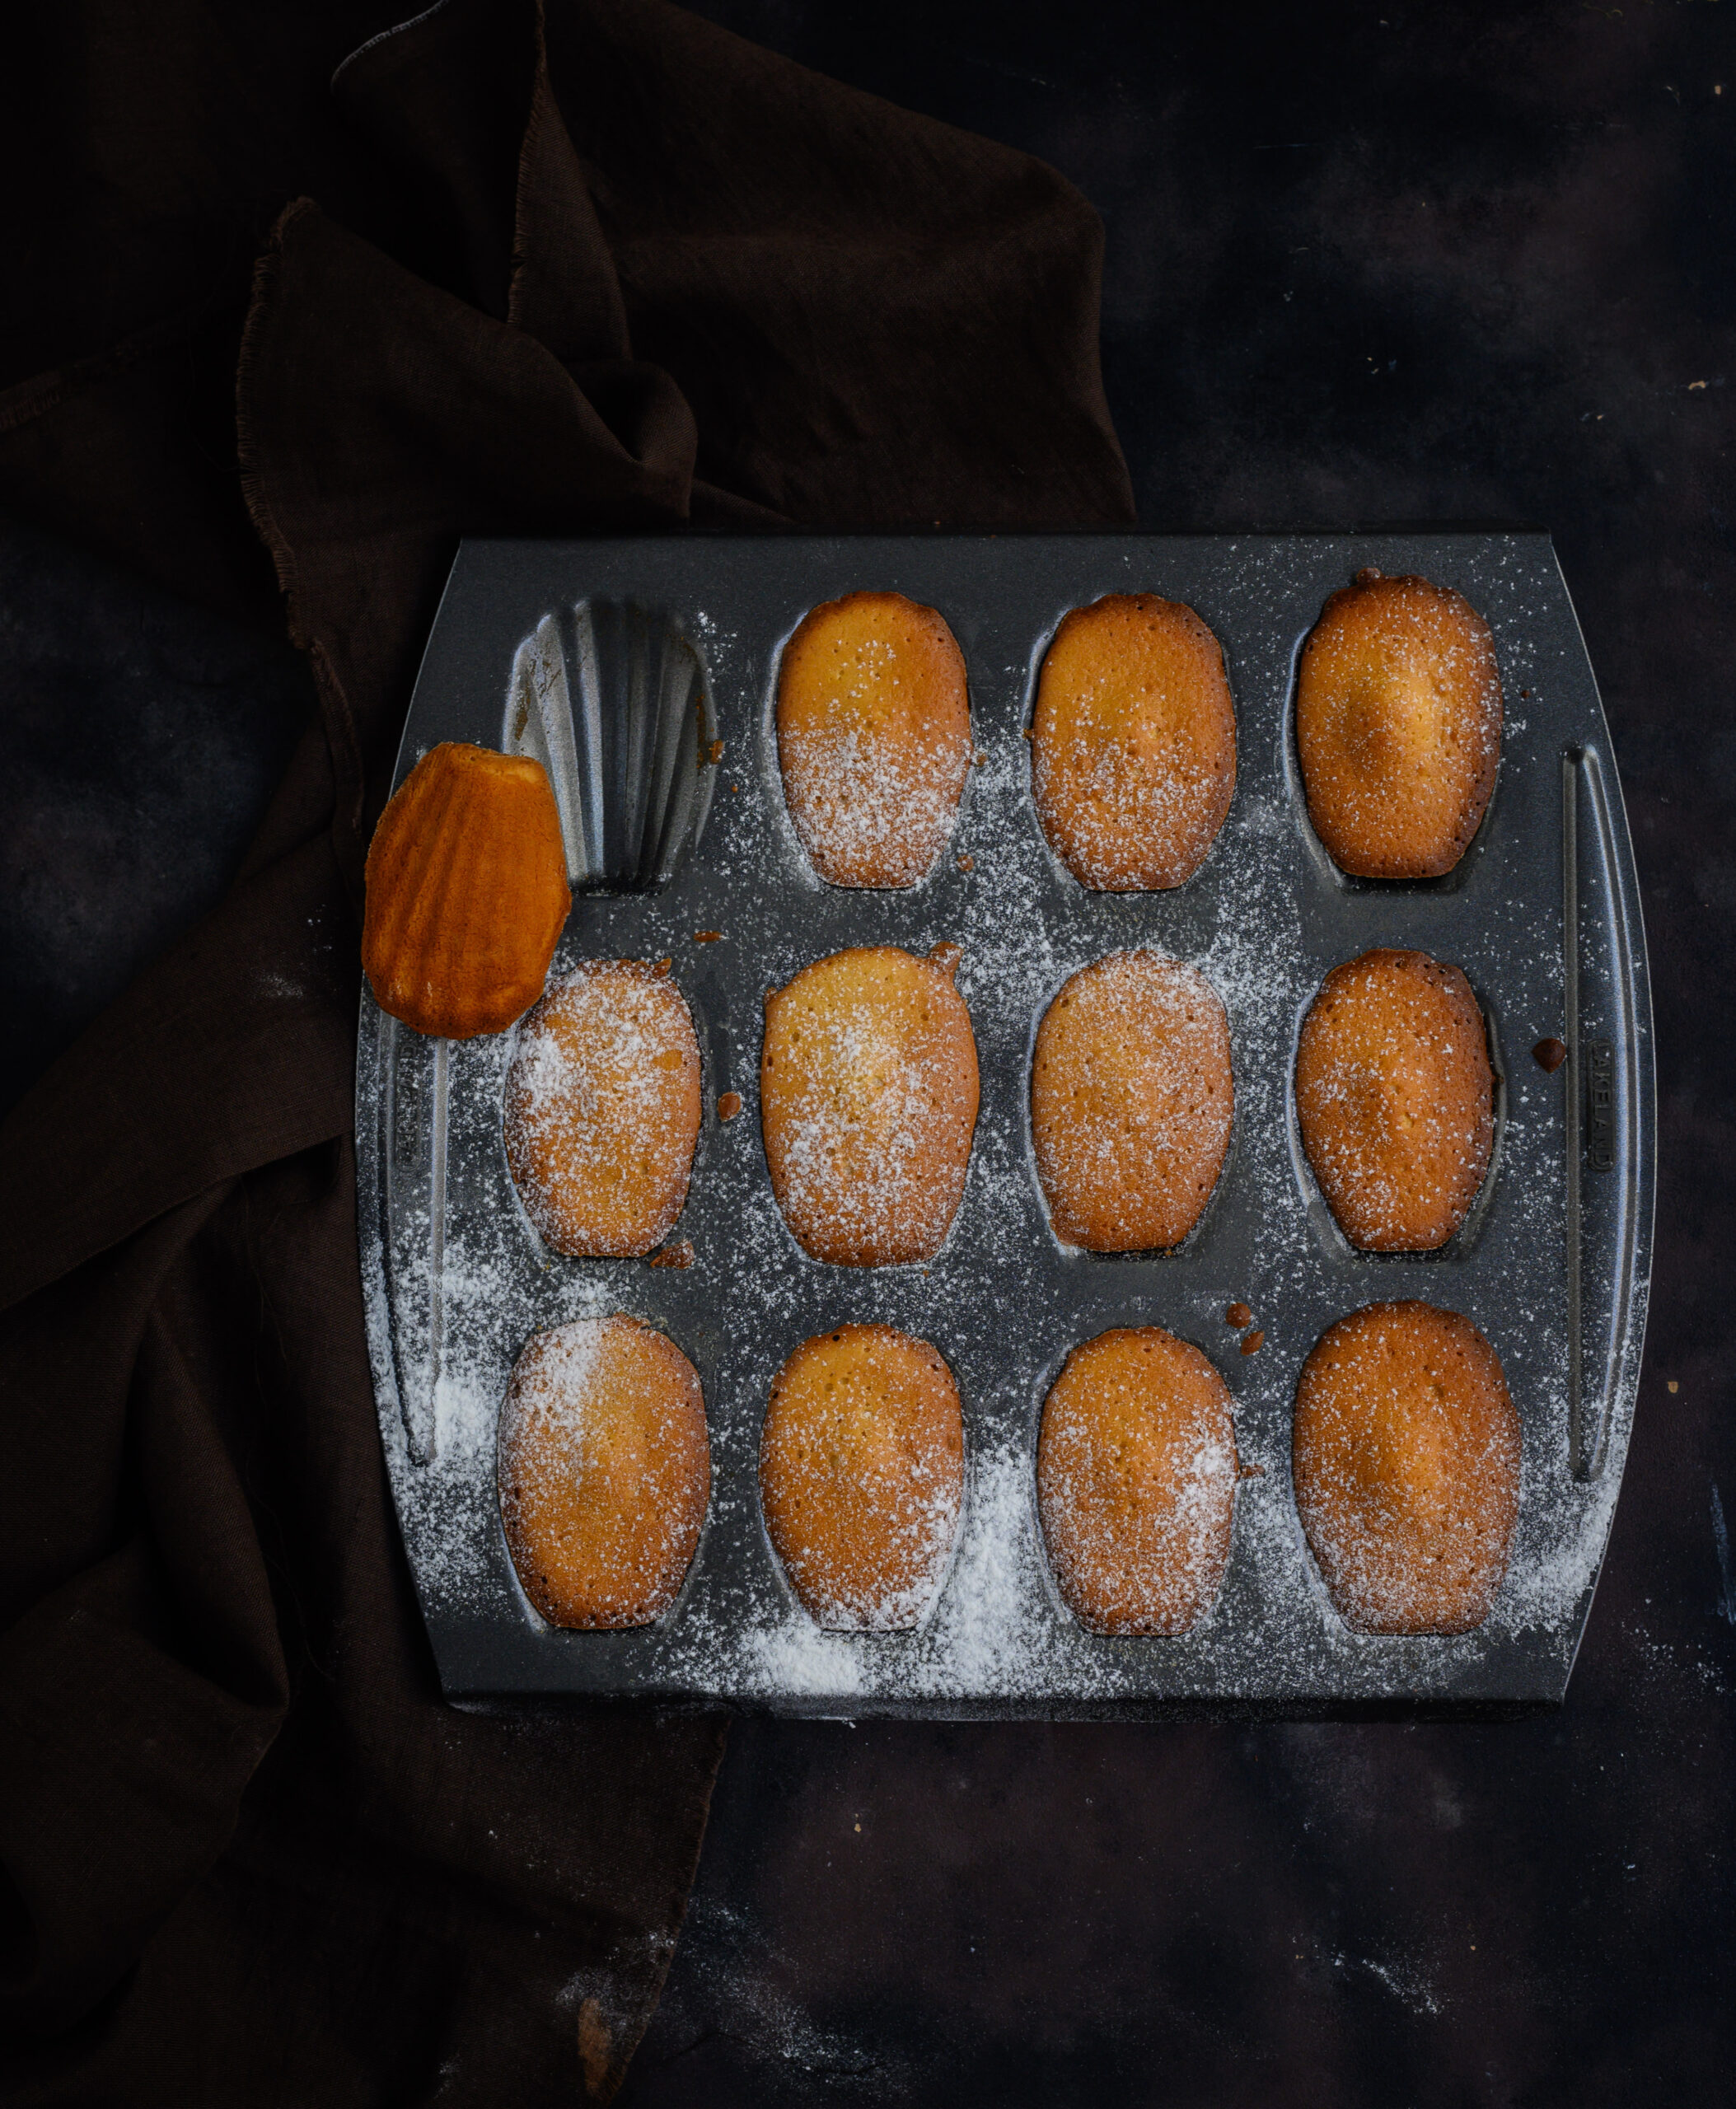
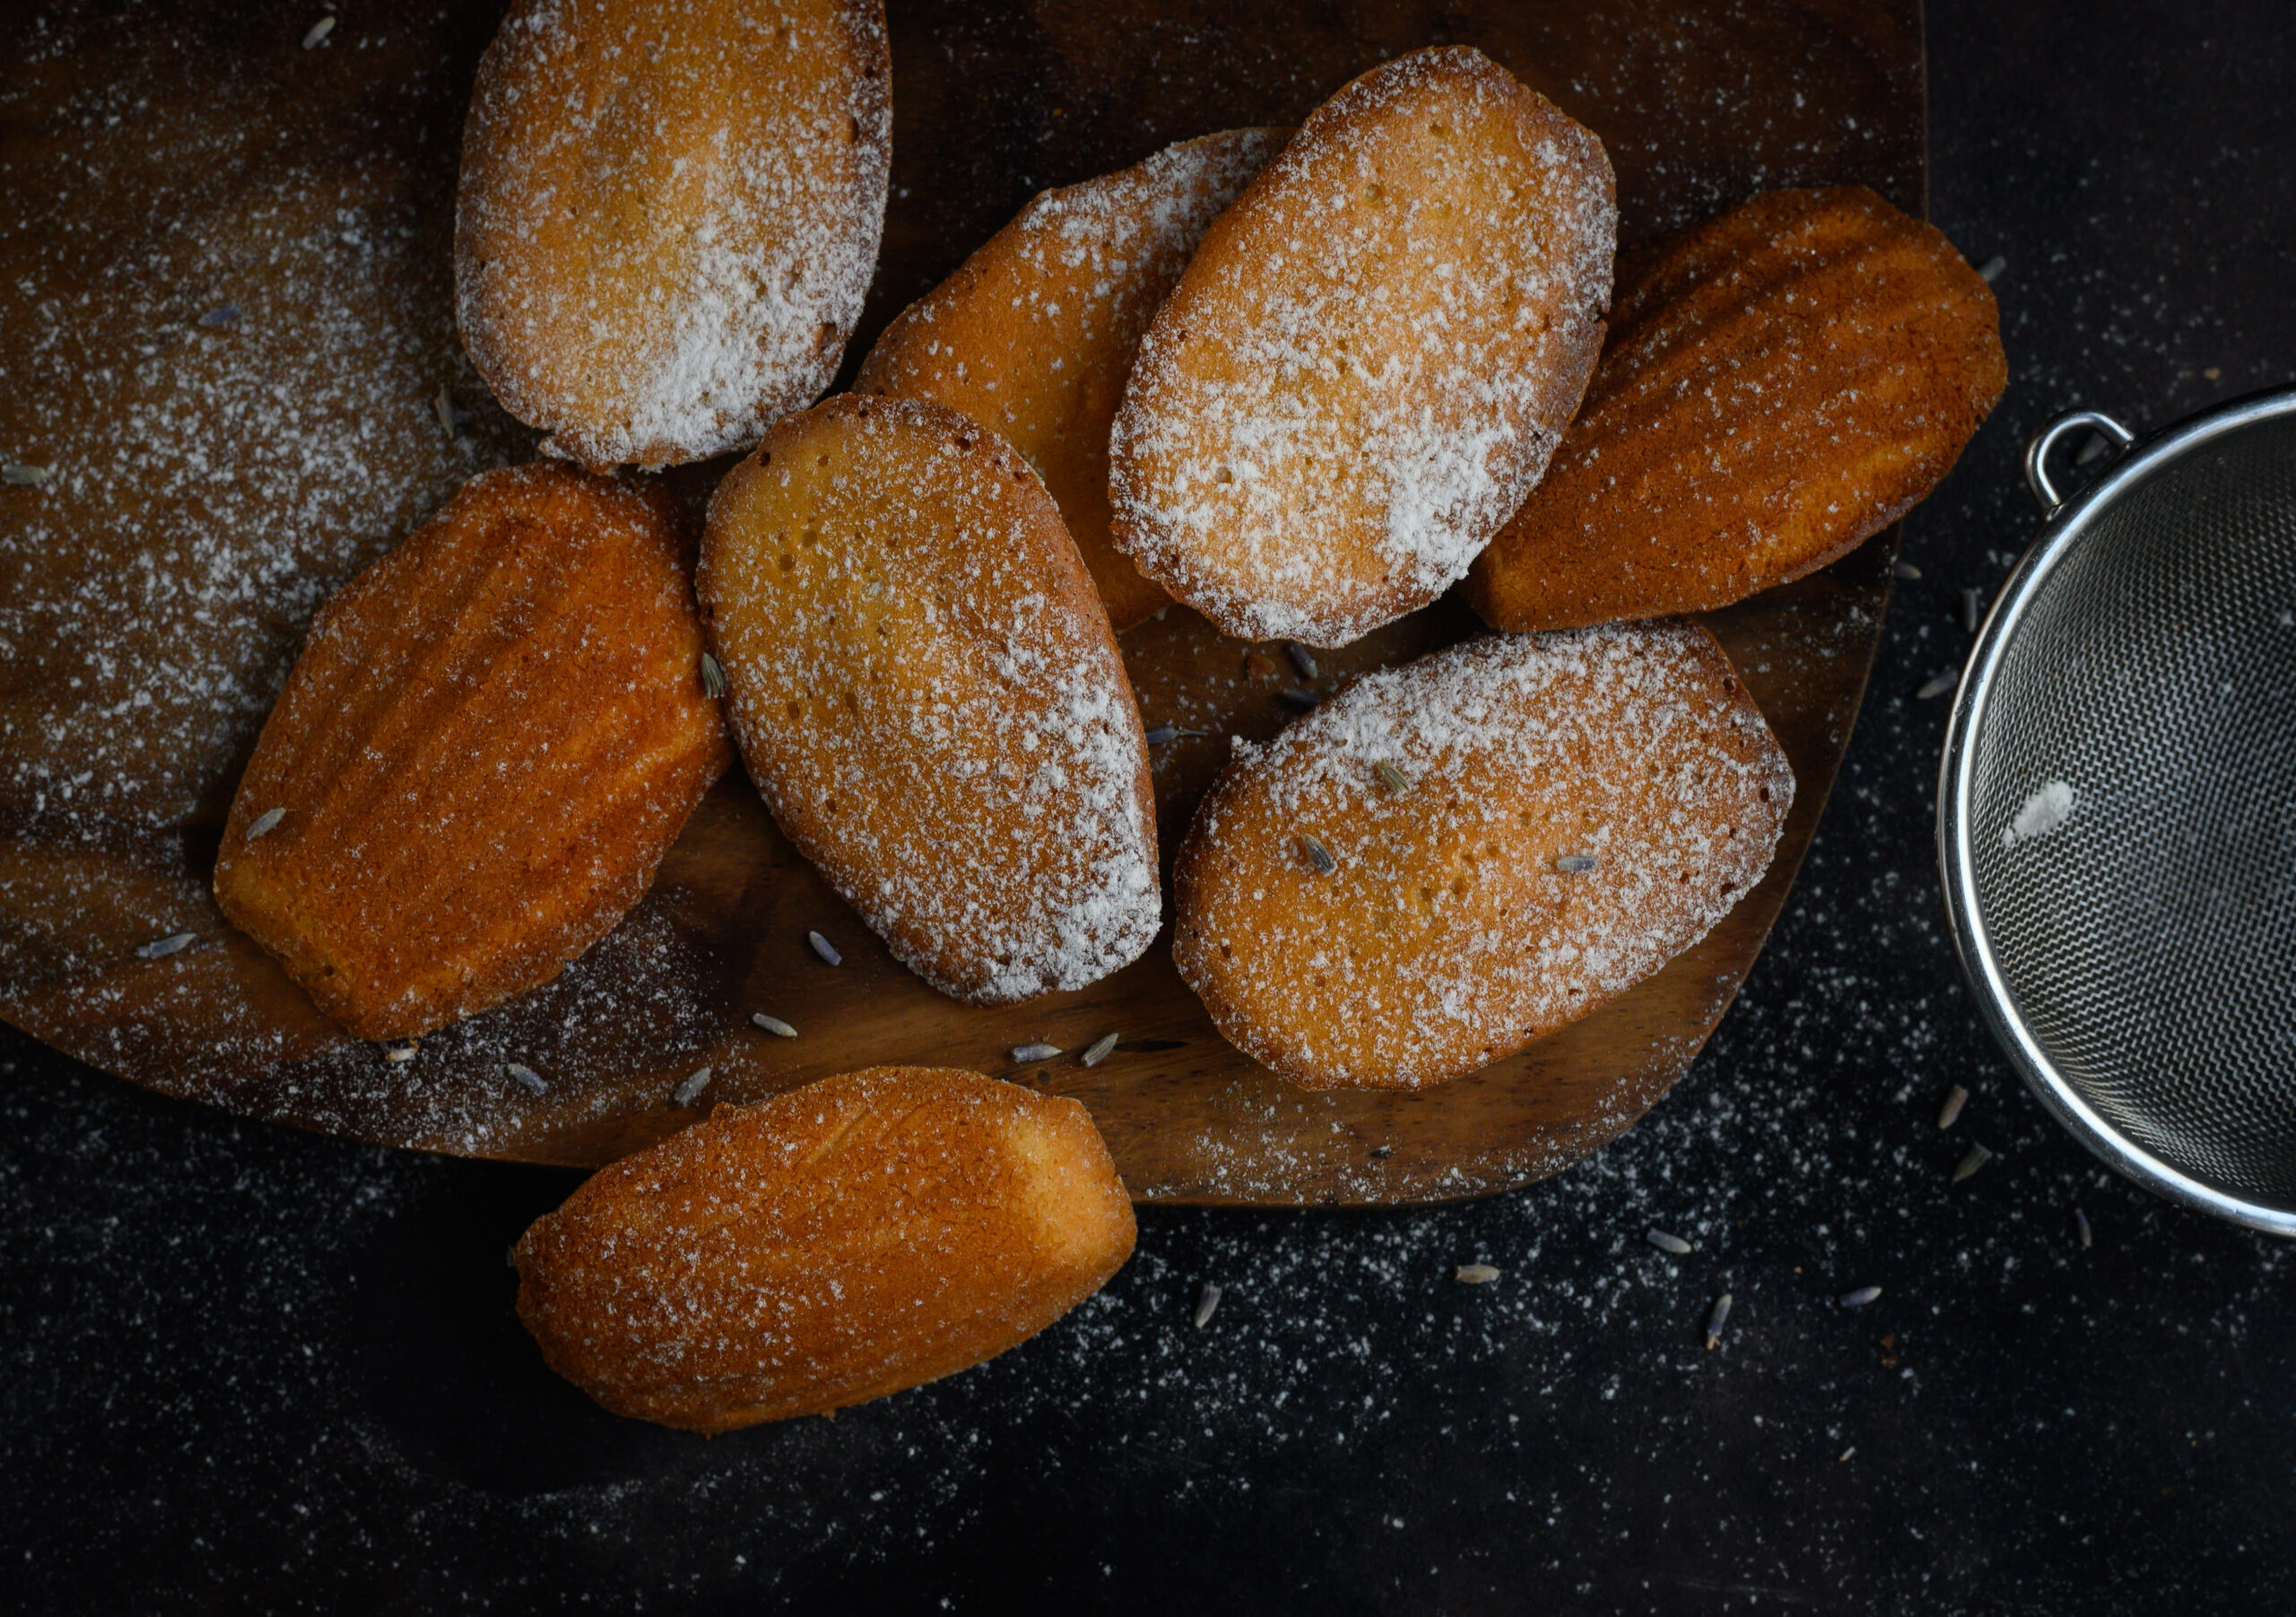
Madeleines are a kind of basic sponge cake which are made in a shell-like shape (you can find trays for this in most baking stores). They are widely regarded as being of French origin, and an English version with jam, desiccated coconut and cherries is also popular. But to me, it’s the Spanish madeleine that captured my heart. You see, some time before being introduced to the sweet treat in Boston, we had gone to Spain, where I first heard of the little sponge cake. It was the loveliness of the trip itself which gave its local version a sentimental value for me, even though it wasn’t until later that I got a chance to eat it.

It was an experience of a lifetime to be in Santiago de Compostela, in Spain’s Galician region, on the holy day of Palm Sunday. We had been delayed and had missed our connecting flight, so we were surprised to find we had made it in time for the services. And even better, we had somehow wound up in the front row. Here, we had a wonderful view of a special ritual that only takes place on special occasions. Enormous incense holders known as botafumeiro are swung across the expanse of the church and back, filling the environment with scent, smoke and a feeling of divine grace.  The effect of the smoke in that beautiful cathedral, amidst the chants and prayers, was surreal.

Heading back to the exquisite Hostal dos Reis Católicos, which dates back to 1486 and is thought to be the most beautiful hotel in Europe, I gathered these new memories together. Somewhere on this trip was where I learned how the humble madeleine is related to the grandeur of a Spanish cathedral, and that’s how I think of it, no matter where I eat it. You see, Santiago de Compostela is the culminating point of the Camino de Santiago pilgrimage route. In the Spanish origin story of the recipe I am sharing today, a medieval chef named Madeleine used to make these little shell-shaped delights to feed the pilgrims there. The treats took on her name.

Short or long, pilgrimages are all metaphors for our own life as we pursue our dreams and life’s mission. To me, my own pilgrimage is a journey of delighting people through food which appeals to every sense. From the tastebuds to the memory centres, and everything in between. These sweet madeleines are a perfect example – and yes, they are made with joy!
Madeleines

(Yield: 12 madeleines)

90 grams flour

¾ teaspoon baking powder

100 grams unsalted butter

65 grams sugar

2 eggs

1 teaspoon vanilla extract

½ teaspoon lavender seeds

2 teaspoons maple syrup

2 teaspoons milk

Powdered sugar for dusting
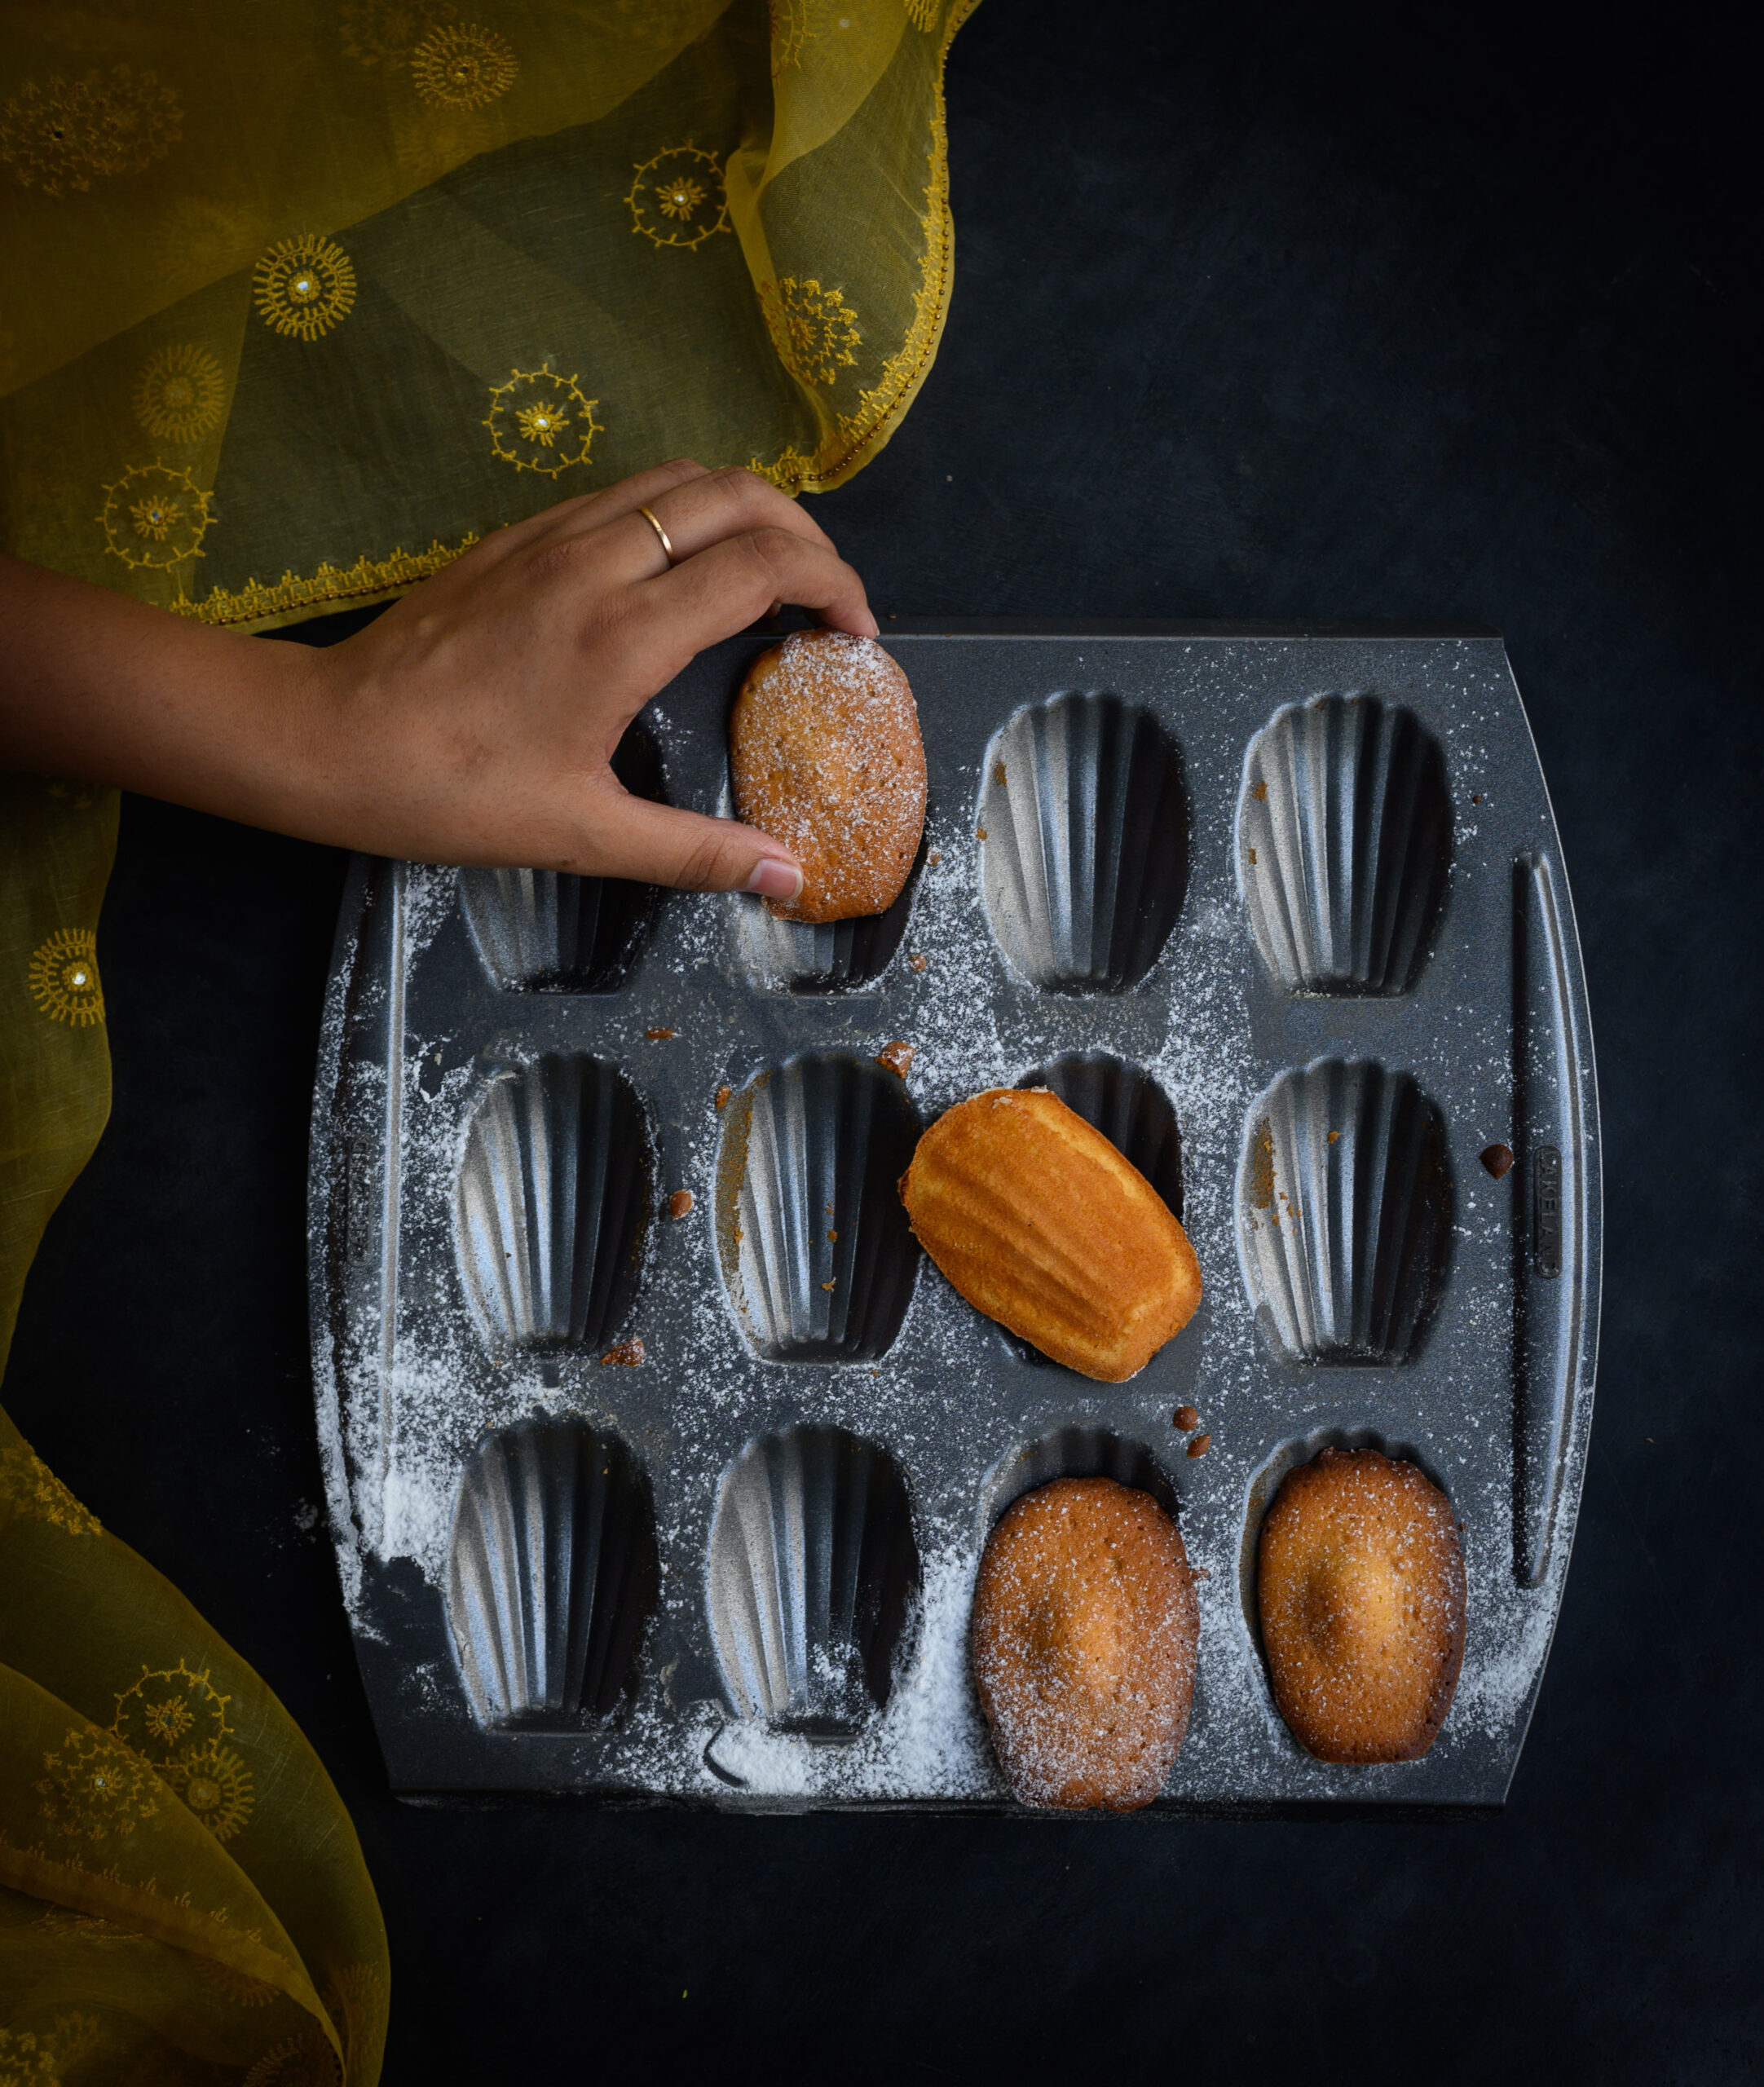
The basic madeleine recipe is simple and elegant and I have done little to change it but sweeten it further using maple syrup. I also added a little re:store flourish in the form of one of my favourite ingredients – lavender, the subtle hint of which always lightens up my mood.

Prepare a madeleine pan by buttering and dusting it.

Whisk all the dry ingredients together. Carefully melt the butter in a pan, on a medium flame, until it turns brown.

Place the sugar in a bowl and mix it. Add the eggs one at a time and beat well.

Now, add the vanilla extract, the lavender seeds and the maple syrup. Whisk well until the mixture is perfectly blended.

Now, add the remaining dry ingredients. Once all the ingredients are well incorporated, add the butter in slowly, using just a small quantity at a time. Then, stir in the milk.

Now that you have made the batter, divide it into the moulds of the madeleine tray and allow it to cool in the refrigerator for 15 minutes. In the meantime, preheat the oven at 160 °C.

Remove the tray from the refrigerator and place it directly into the oven. Depending on what kind of oven you use, bake for 10-15 minutes.

Once the baking is done, remove the tray from the oven. Upturn it and watch as the beautiful madeleines fall out. Dust them with powdered sugar and store in a dry container. That is, if you don’t serve them immediately. Chances are, you won’t be able to resist.

These delicious madeleines are a perfect tea-time snack, so brew yourself a pot of your favourite as you enjoy the scent of baking still lingering in your kitchen.

I love ruminating over tea, as I sit with Max and enjoy a little me-time. It was on one such day that I dreamt up this post as well. And I especially like having a little sweet treat to go with my beverage. How about you? Please be sure to let me know what tasting these madeleines inspires in you!
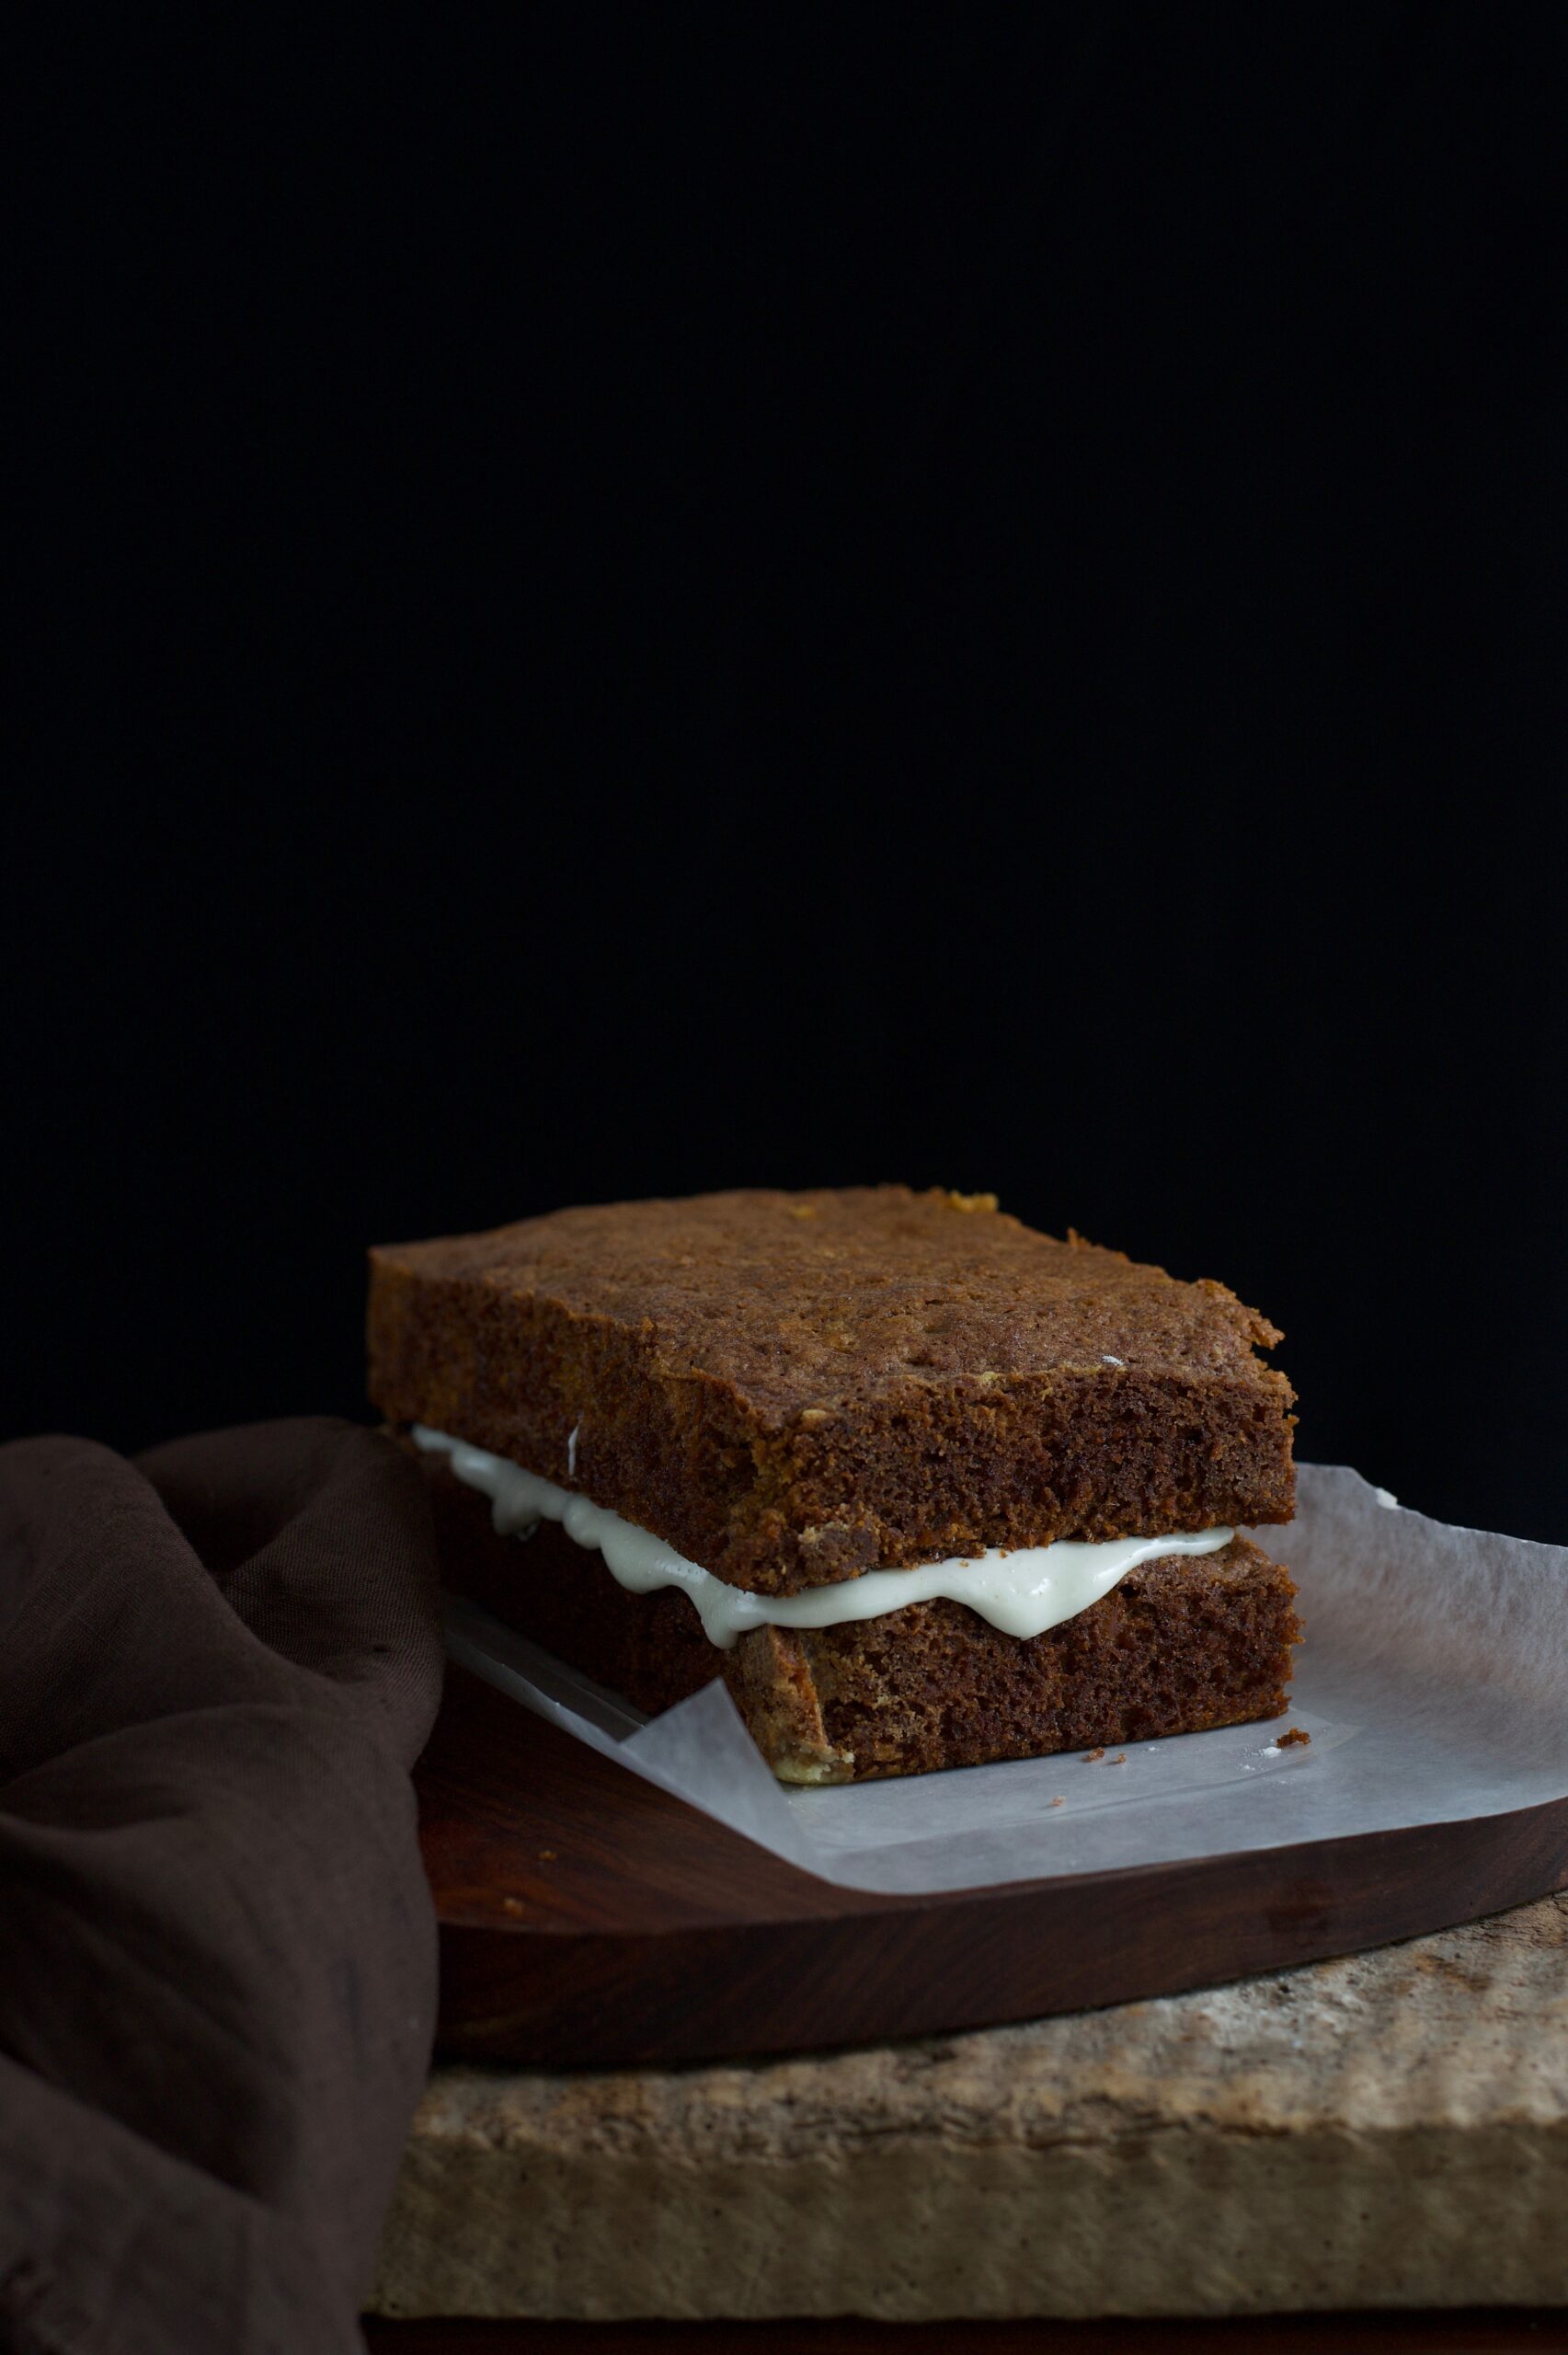
This is something I’ve never done before – sharing the recipe for a dish I’ve recently added to the re:store menu – but this cake is so divine that I can’t help but want to shout about it from the rooftops! Despite my interest in healthy eating, I’ve never really been one for vegetable-based cakes. But this carrot-ginger cake is simply outstanding. From the moment I took my first attempt out of the oven, I was stunned. And every slice since has simply vanished in a matter of hours in my home, and from the re:store kitchen. And for all the love you, my well-wishers and friends, have shown me, this recipe is just a small gesture of gratitude.

I am always on a quest for perfection, and to me there are four types of cakes that every baker should master: chocolate, vanilla, vegan and carrot. These are the basics, and over the years I have strived to do better and better with each kind. Flavour-wise, there are many ways to innovate on these basics and tweak them to suit your palate. My friends Michael and Sujata’s cook once shared a carrot cake recipe which used pineapple and coconut, for instance. That was what I used to bake until I found my own way of literally spicing it up. When I melded the zesty taste of ginger into what I’d use to think of as the somewhat boring carrot cake, I knew I had hit gold.

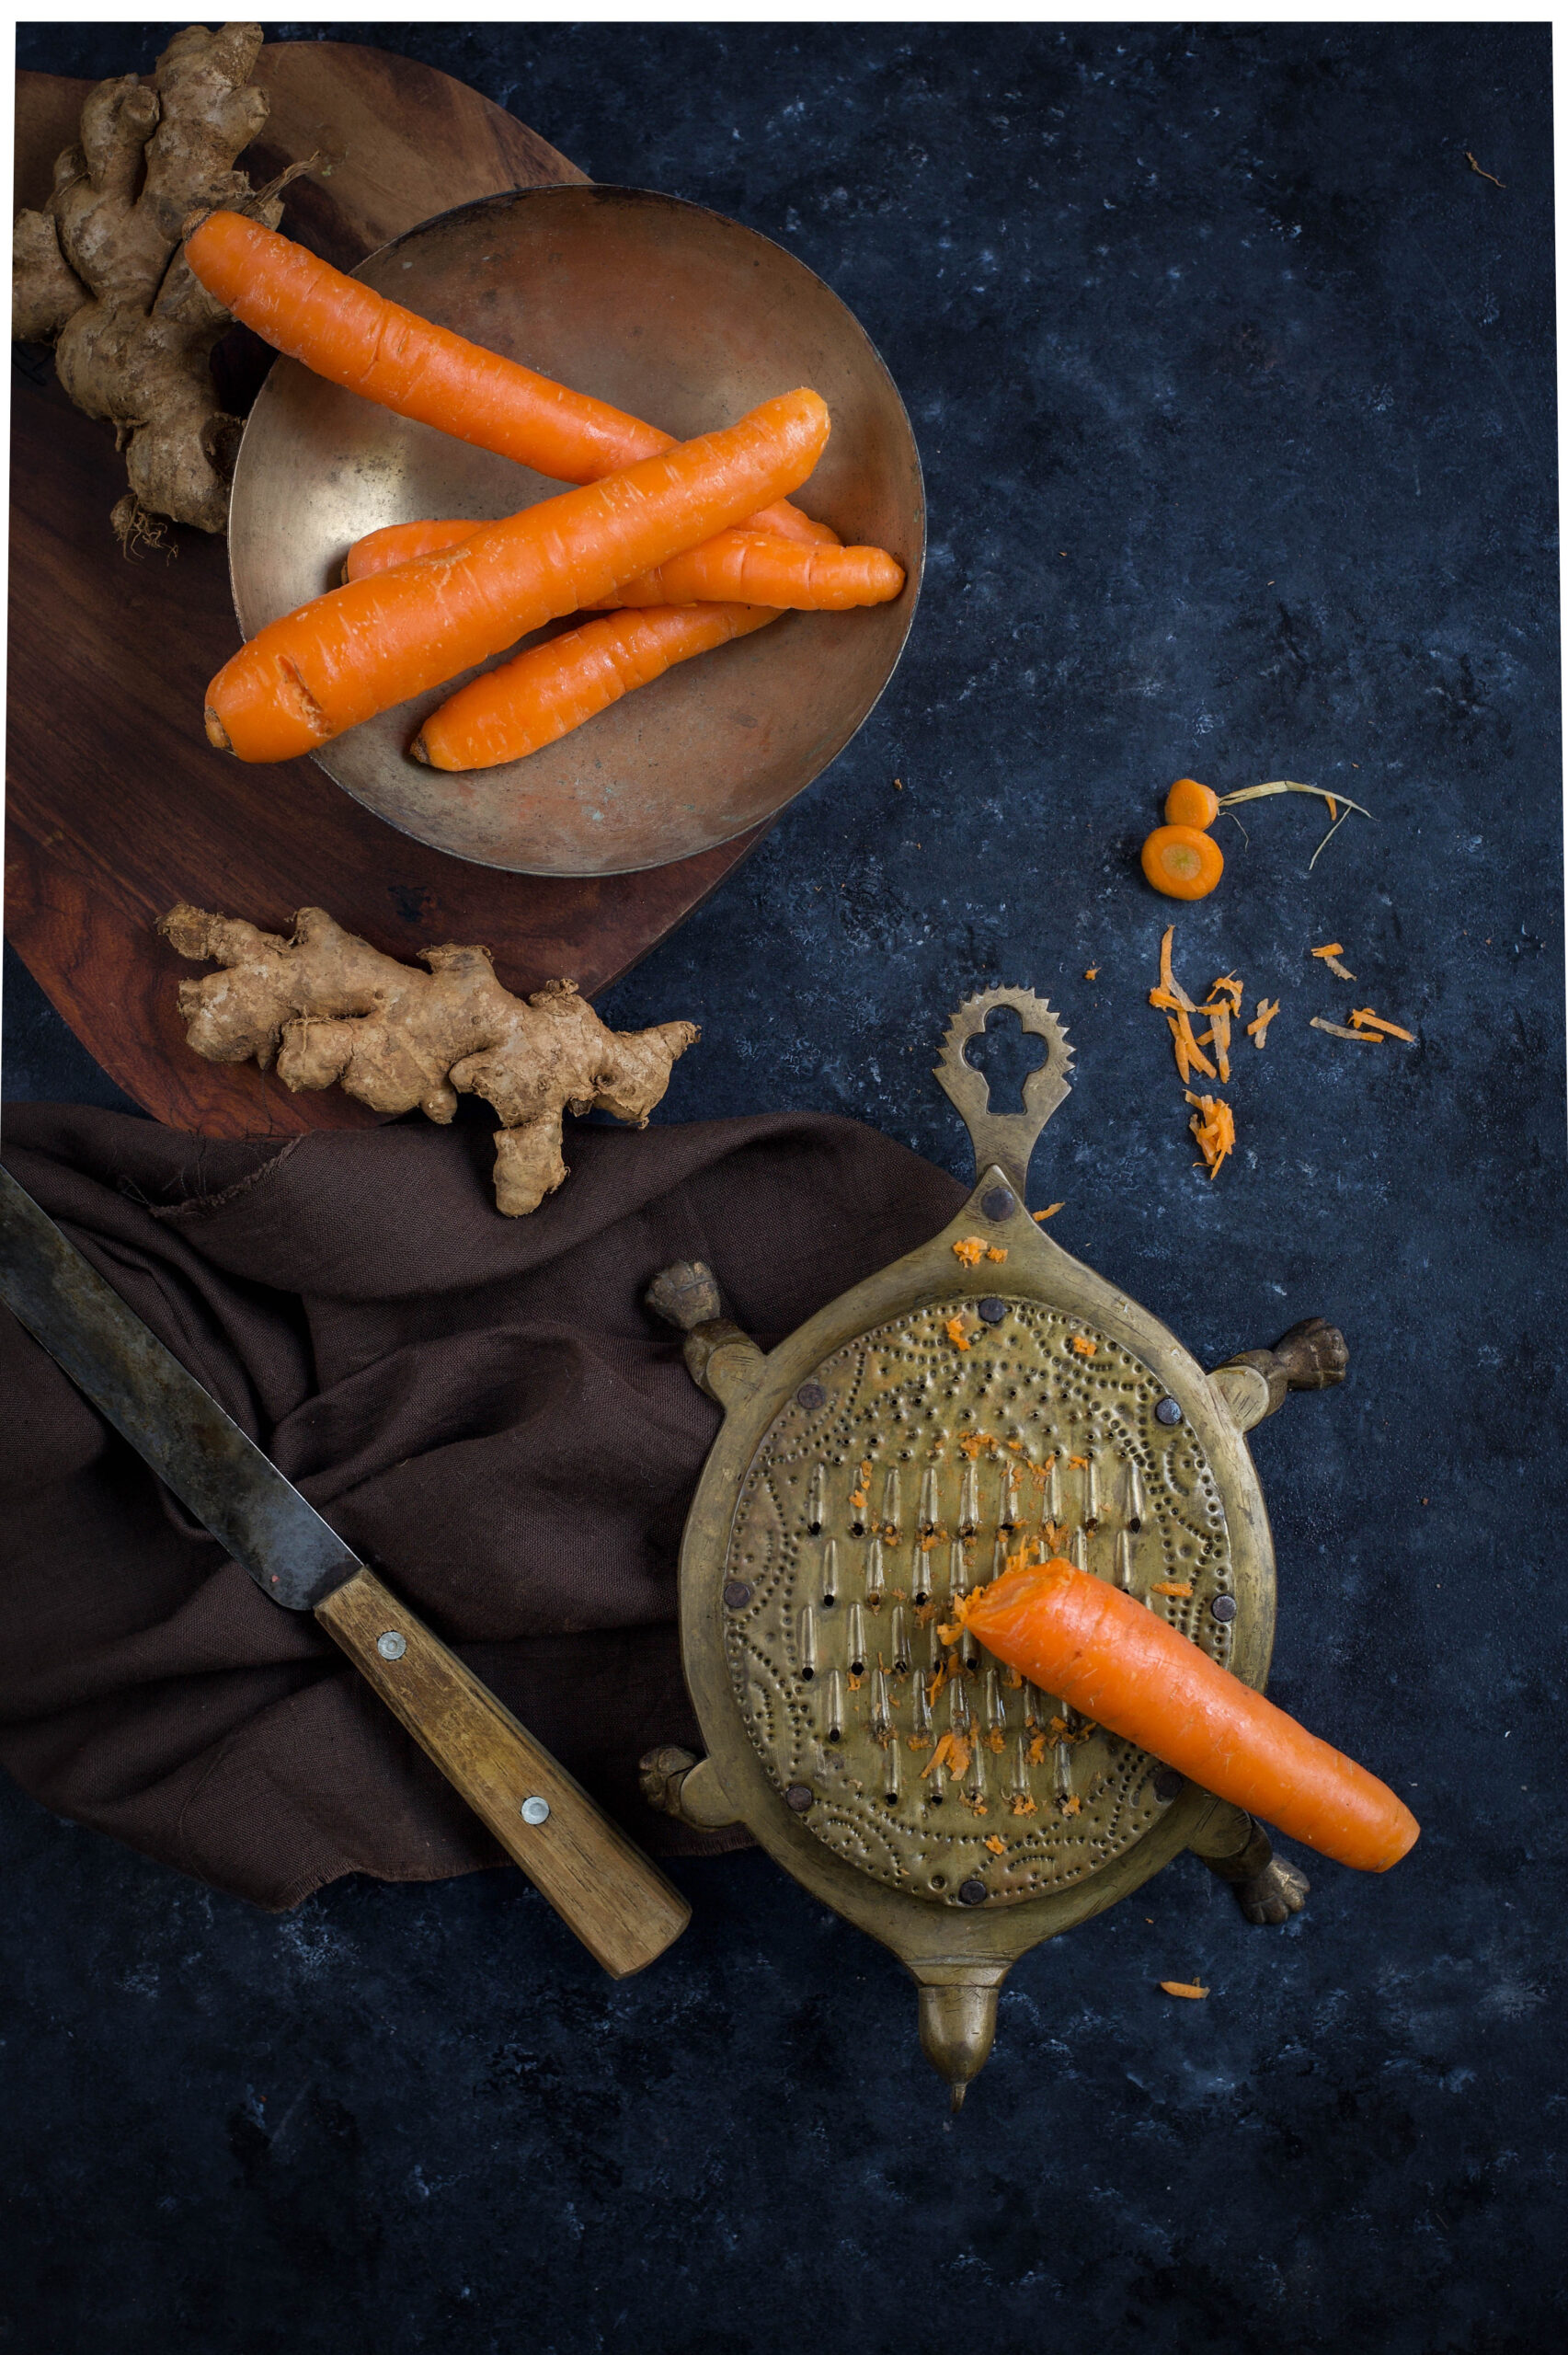
Ginger is the rhizome of a flowering plant by the same name, and is widely used in Indian cuisine for its fragrance, spiciness and health benefits. It was one of the first spices that Europeans imported, so world cuisines have also used it for centuries. It is great for treating nausea and appetite loss, has anti-inflammatory properties, and is believed to lower blood sugar and to help reduce the risk of heart disease.  For this cake, I used stem ginger soaked in sugar syrup as well as freshly grated ginger.

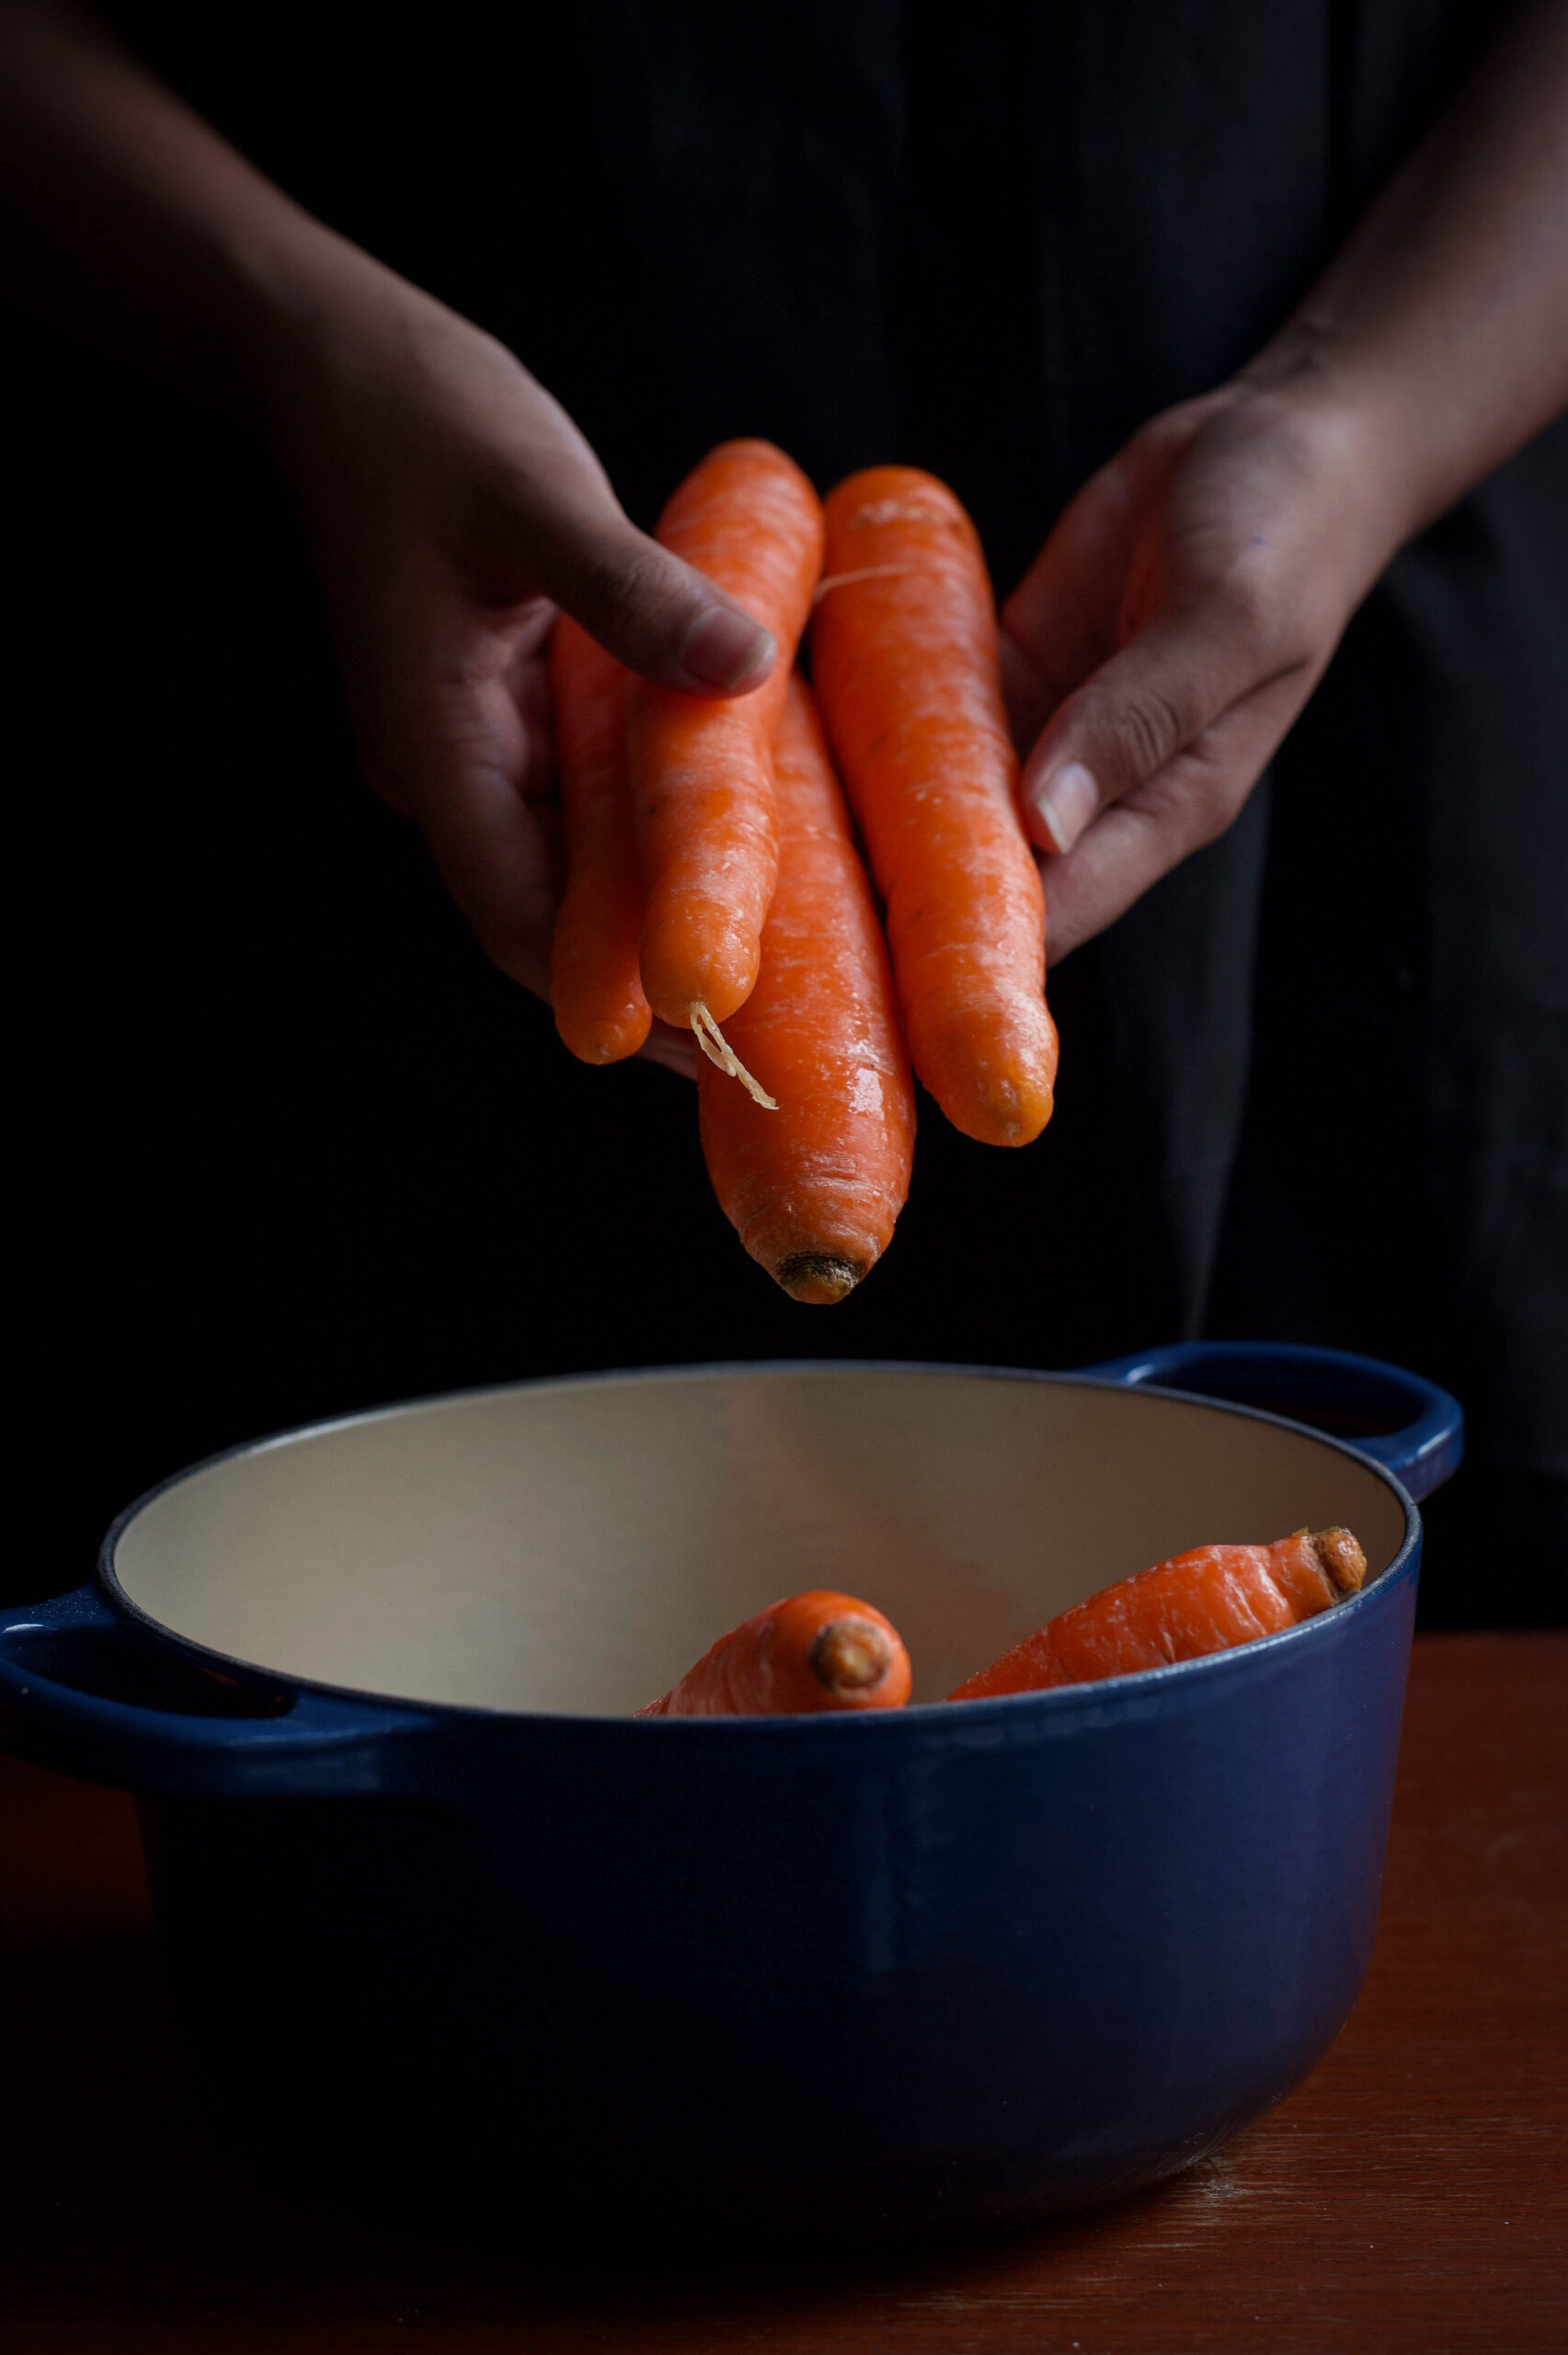
Carrot, like ginger, is also an edible root – and it is an extremely popular vegetable in Western cuisine. In India, it is added to salads, stir-fries (known as poriyal in Tamil) and even a milk dessert called gajar ki halwa. It also has a range of health benefits, including better eyesight and lowered cholesterol, and is a source of potassium, antioxidants, vitamins and fibre.

Two nourishing ingredients – and one delicious dessert. This cake is so appetizing that icing is completely optional! Also, it is lactose-free, which means that those of you with dairy allergies can indulge without stress!

Irresistible Carrot-Ginger Cake

Ingredients
1 cup brown sugar
1 cup plain flour
2 eggs
1 teaspoon baking powder
1 teaspoon baking soda
¼ teaspoon salt
⅔ cup vegetable oil
1 ½ cups grated carrots
½ cup sweet ginger in syrup (substitute: ½ teaspoon dry ginger powder)
½ cup chopped walnuts
1 teaspoon grated fresh ginger

Grease an 8’ inch square pan and line with butter paper. Dust with flour.

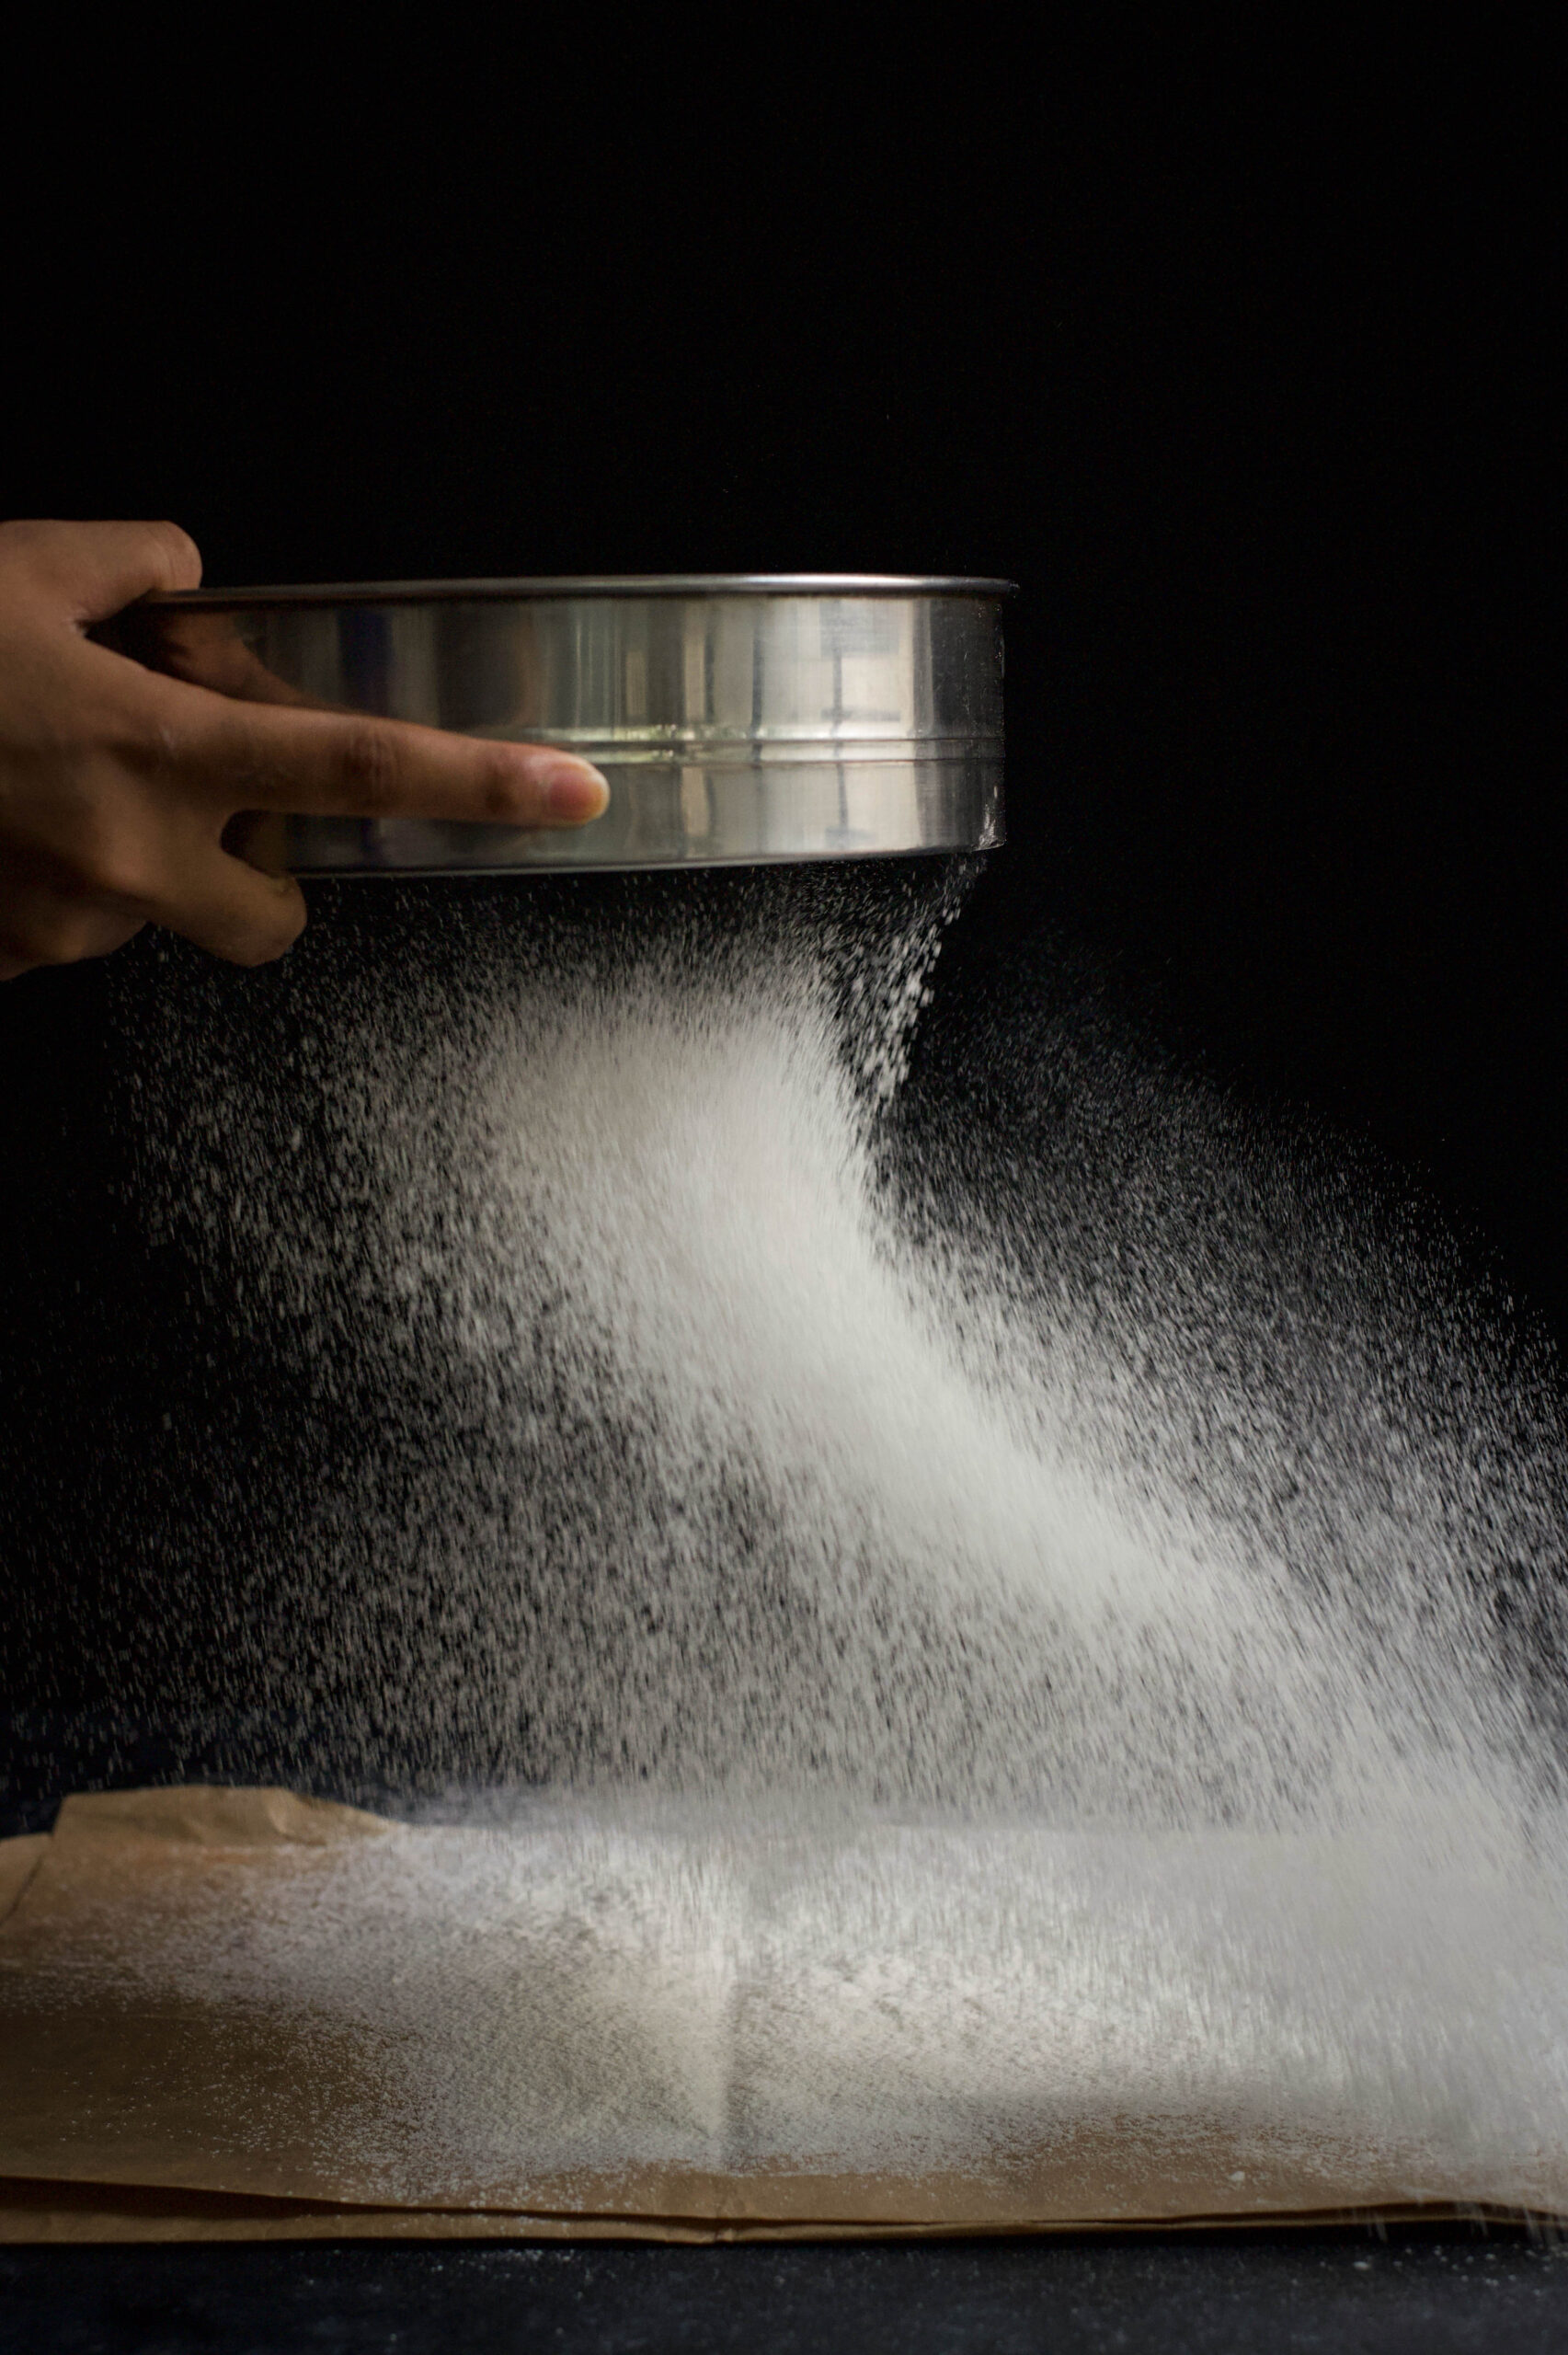
Sift the flour along with the soda, baking powder and salt – as well as the ginger powder if you’ve opted to use it. Set aside.

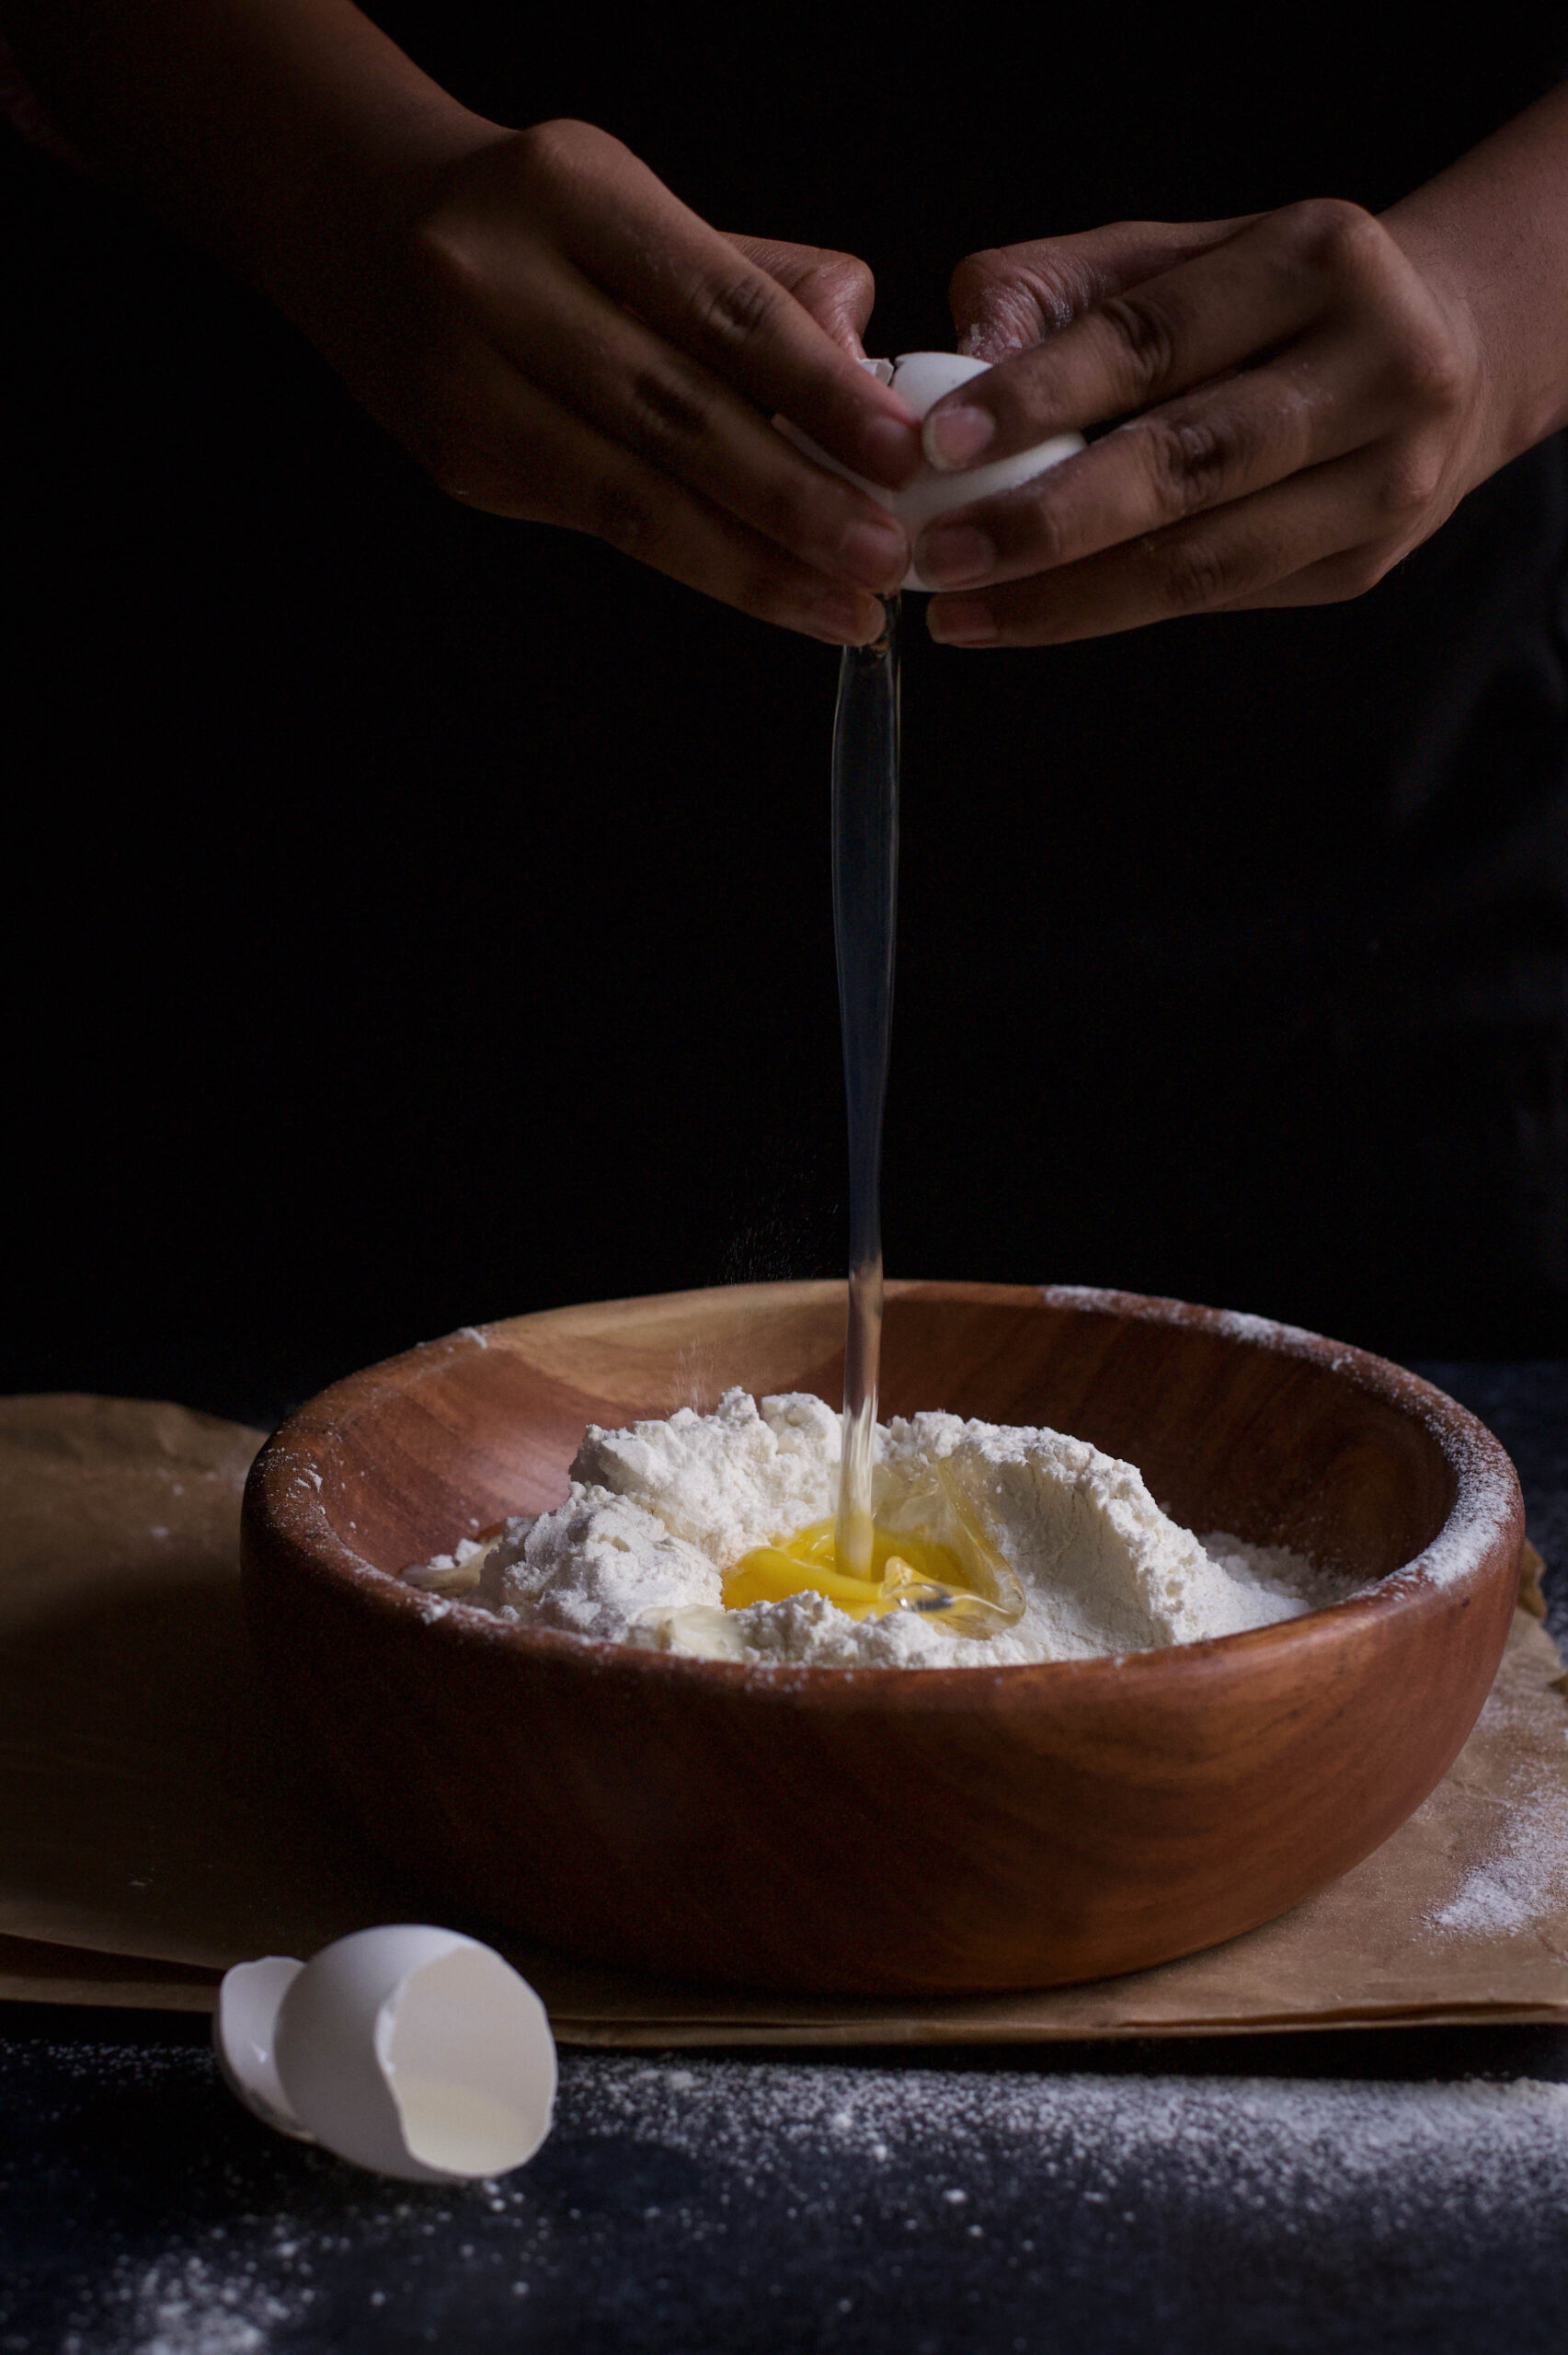
Combine the eggs, oil, sugar and flour until well-mixed. Now add the carrots, fresh ginger and walnuts to the mixture.

Pour this batter into the prepared tin. Bake for about 45 minutes to an hour, until the tooth pick comes out clean.

Once baked, allow to cool. Turn onto a wire rack.

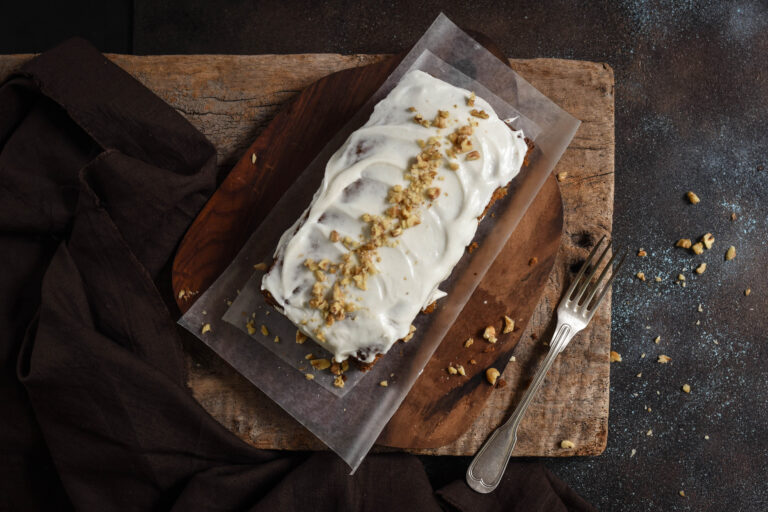
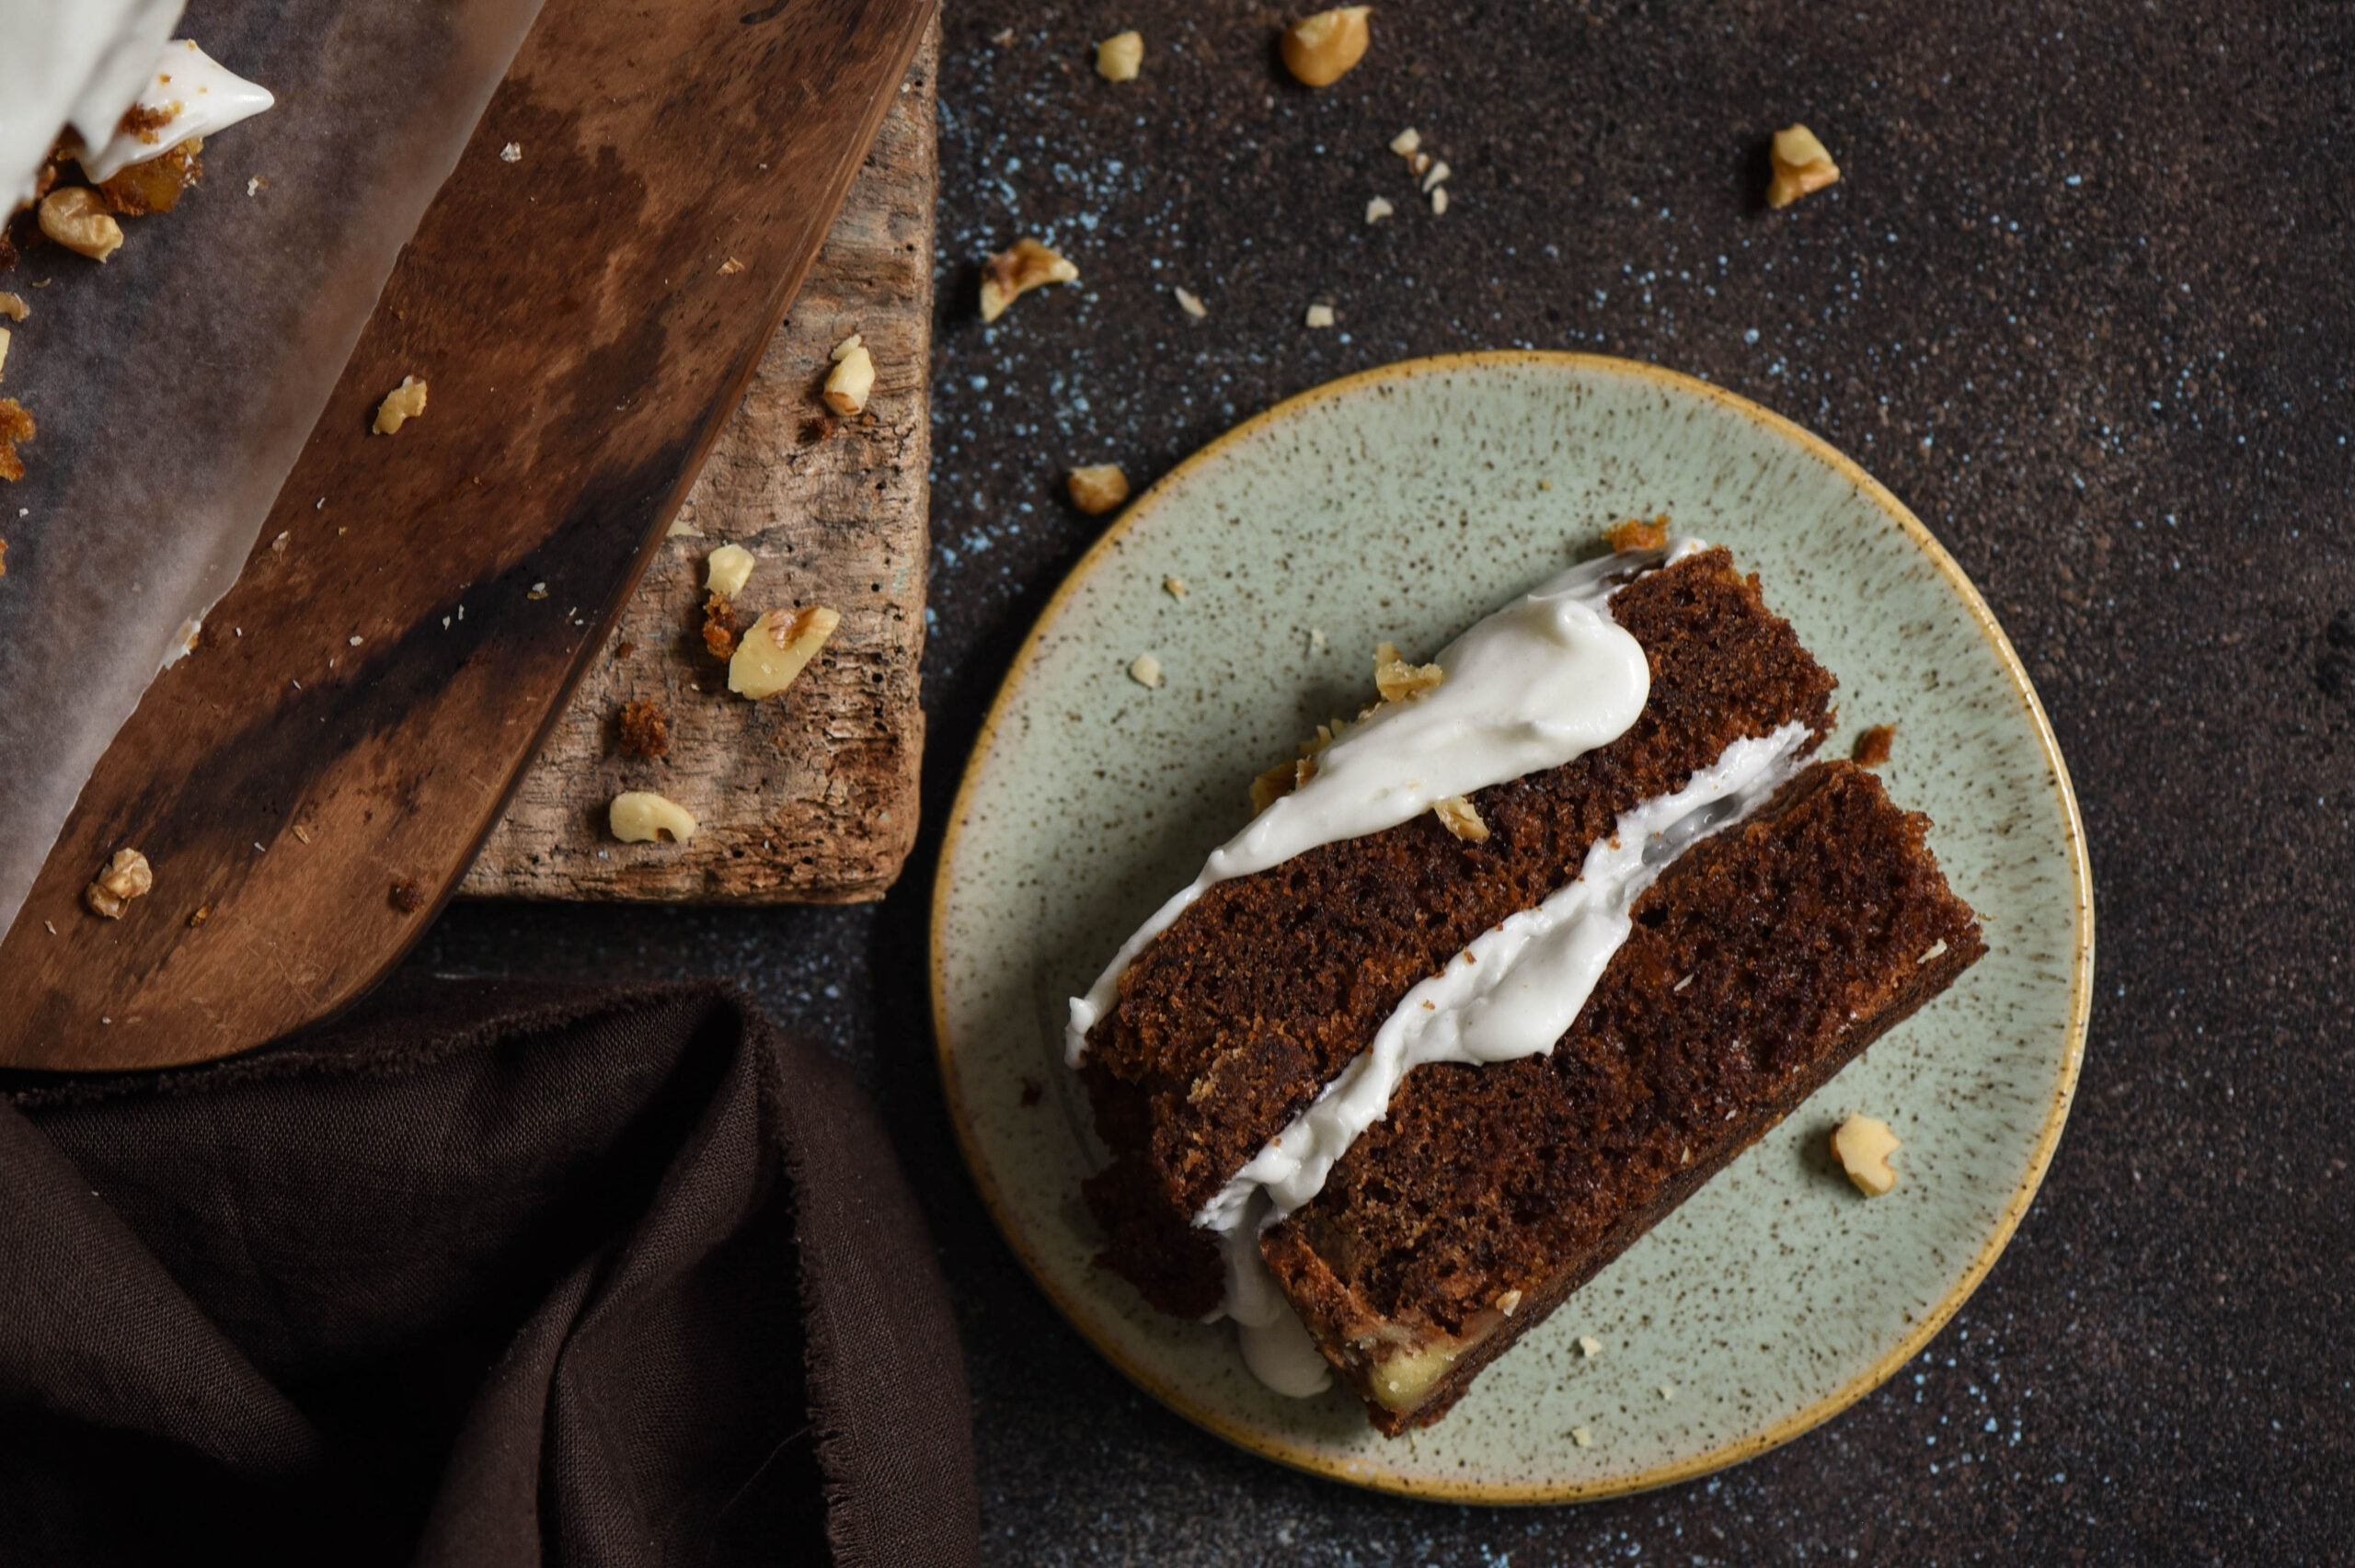
As I said earlier, icing is completely optional. But if you’d like the extra sweetness, or just the visual effect, decorate with the cream cheese frosting that is traditionally paired with carrot cakes. It has a slight tang to it, and lifts the flavours nicely.

Serve – and prepare to watch the slices simply vanish from their plates. This carrot-ginger cake is irresistible. Don’t take my word for it. Try it out yourself, or if you’re in Chennai, buzz me and put in your order!

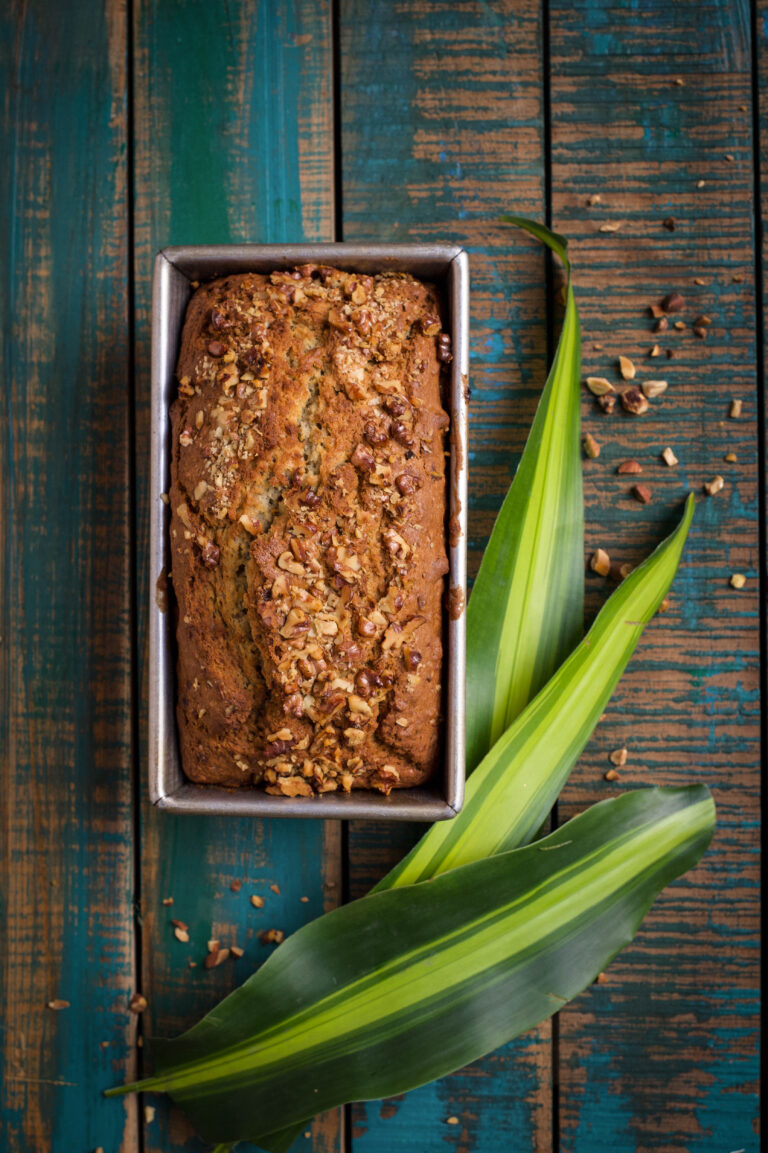
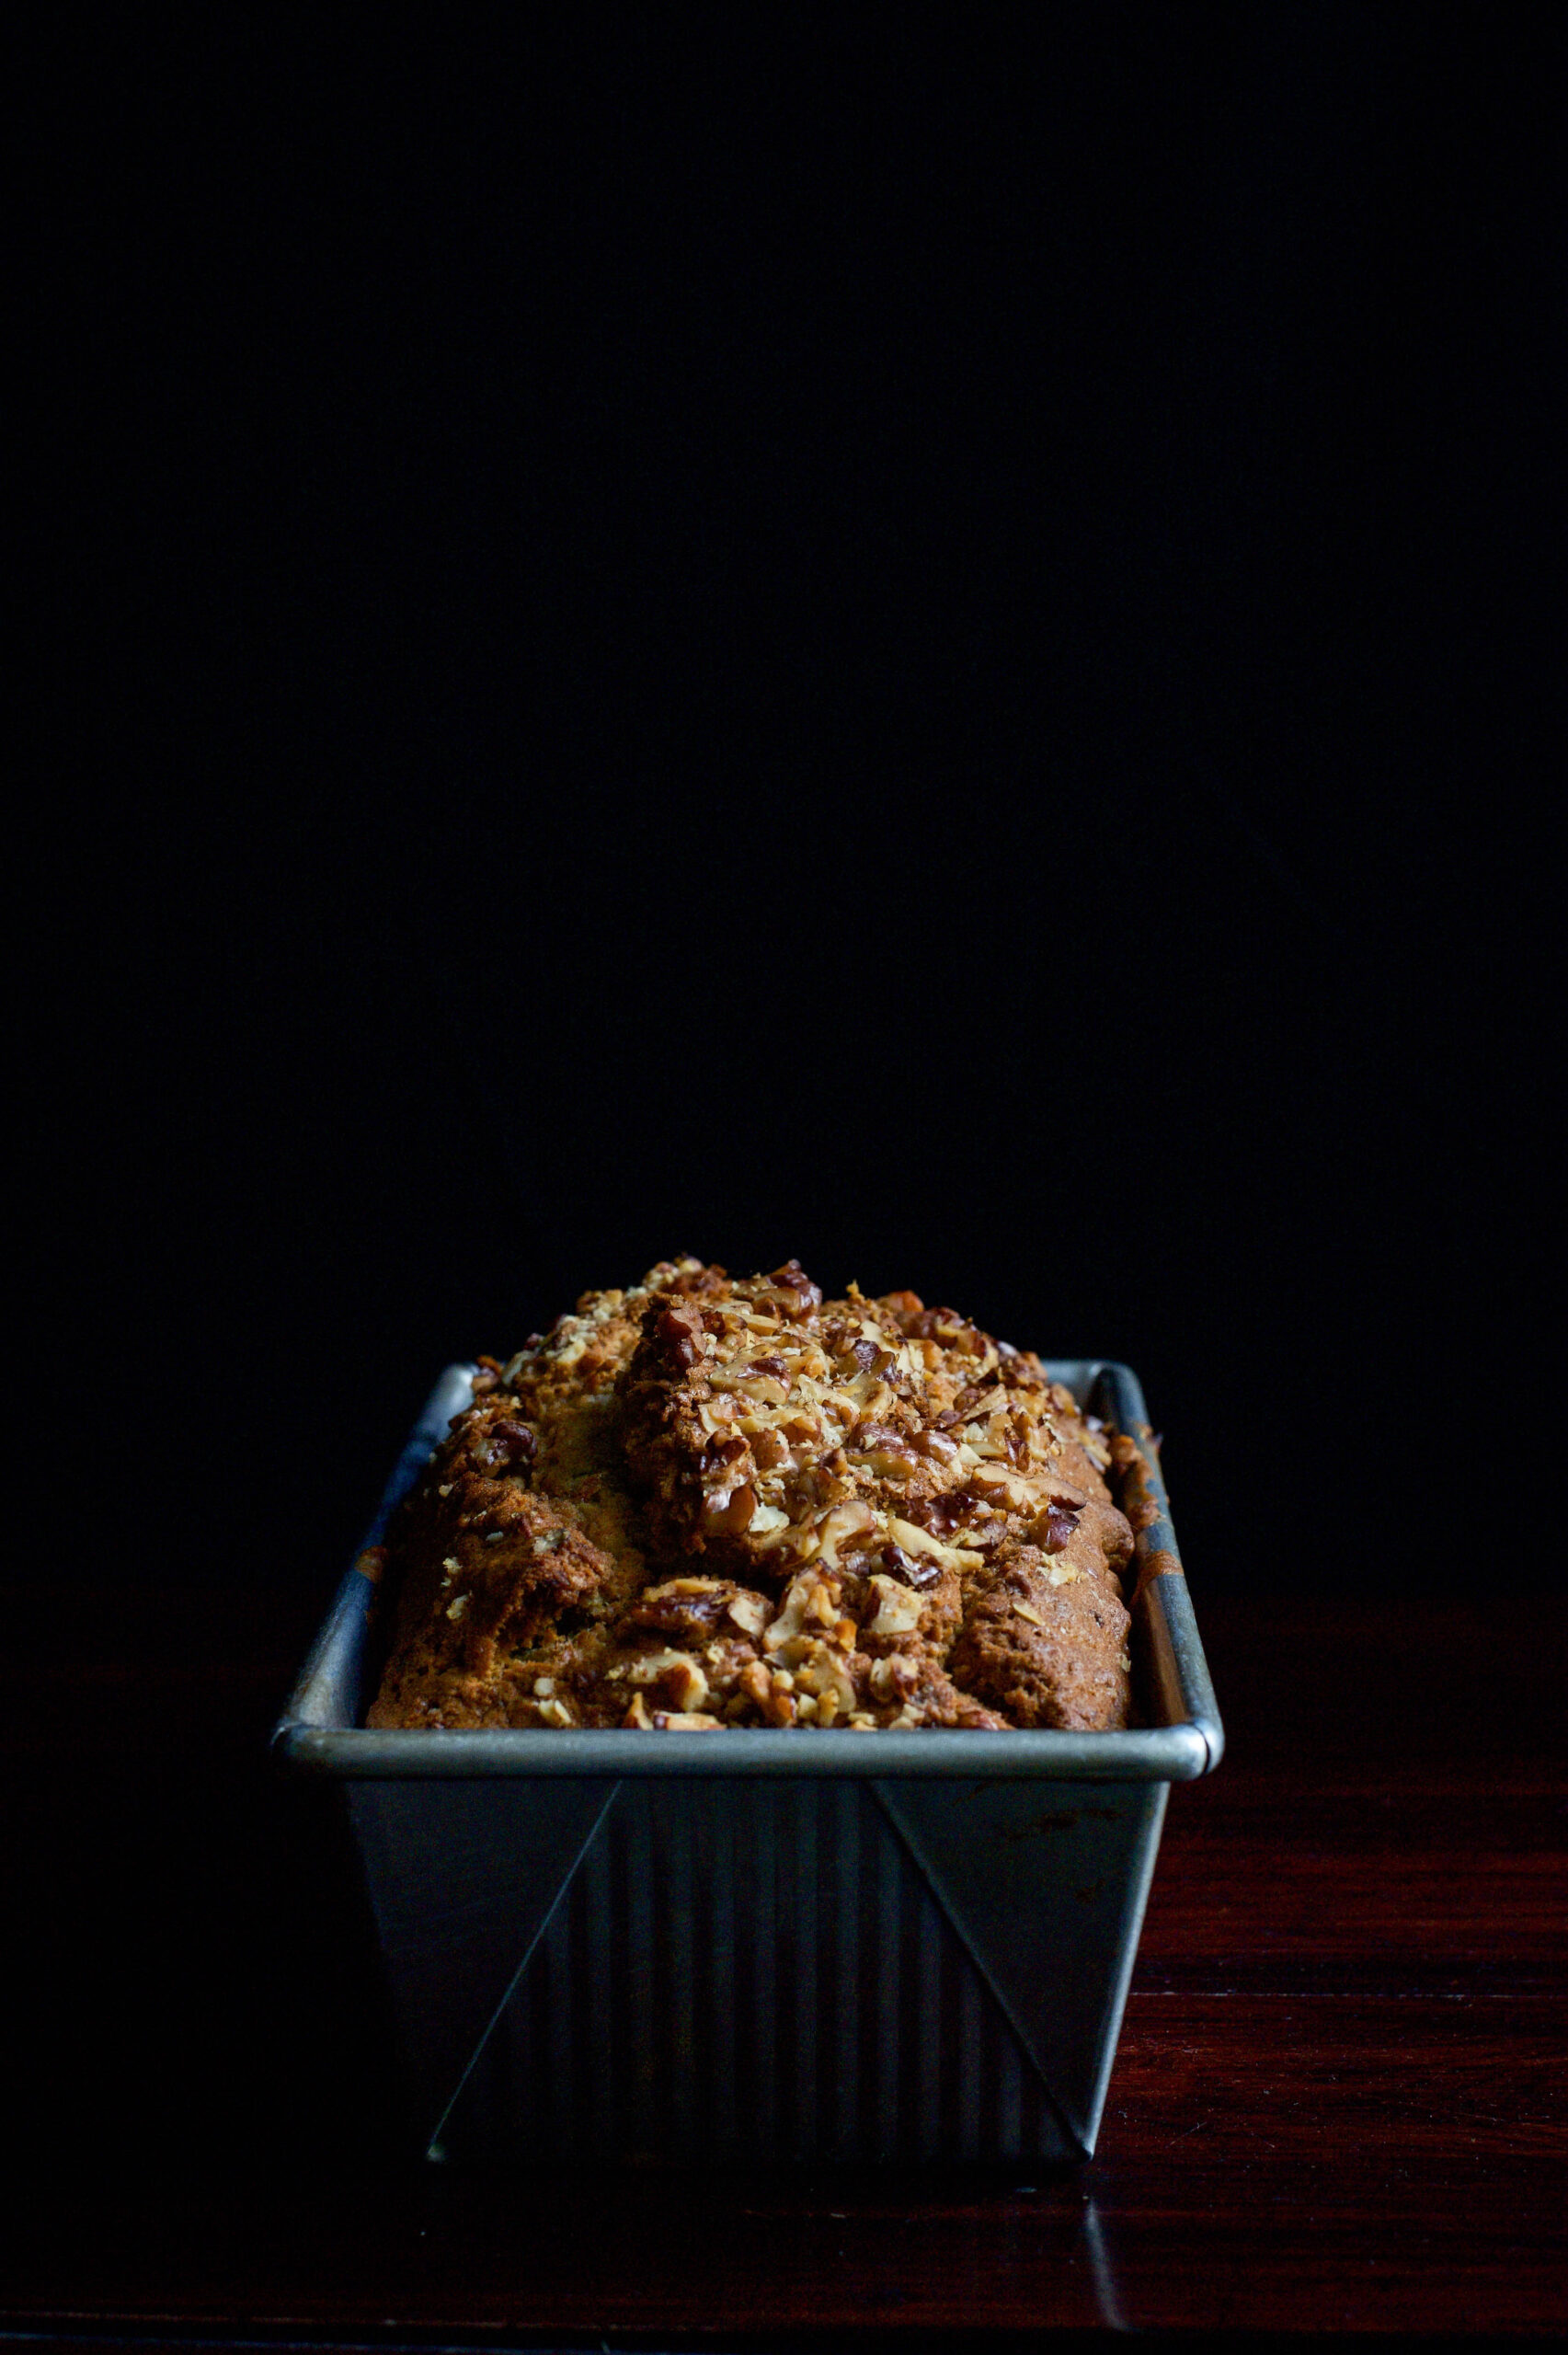
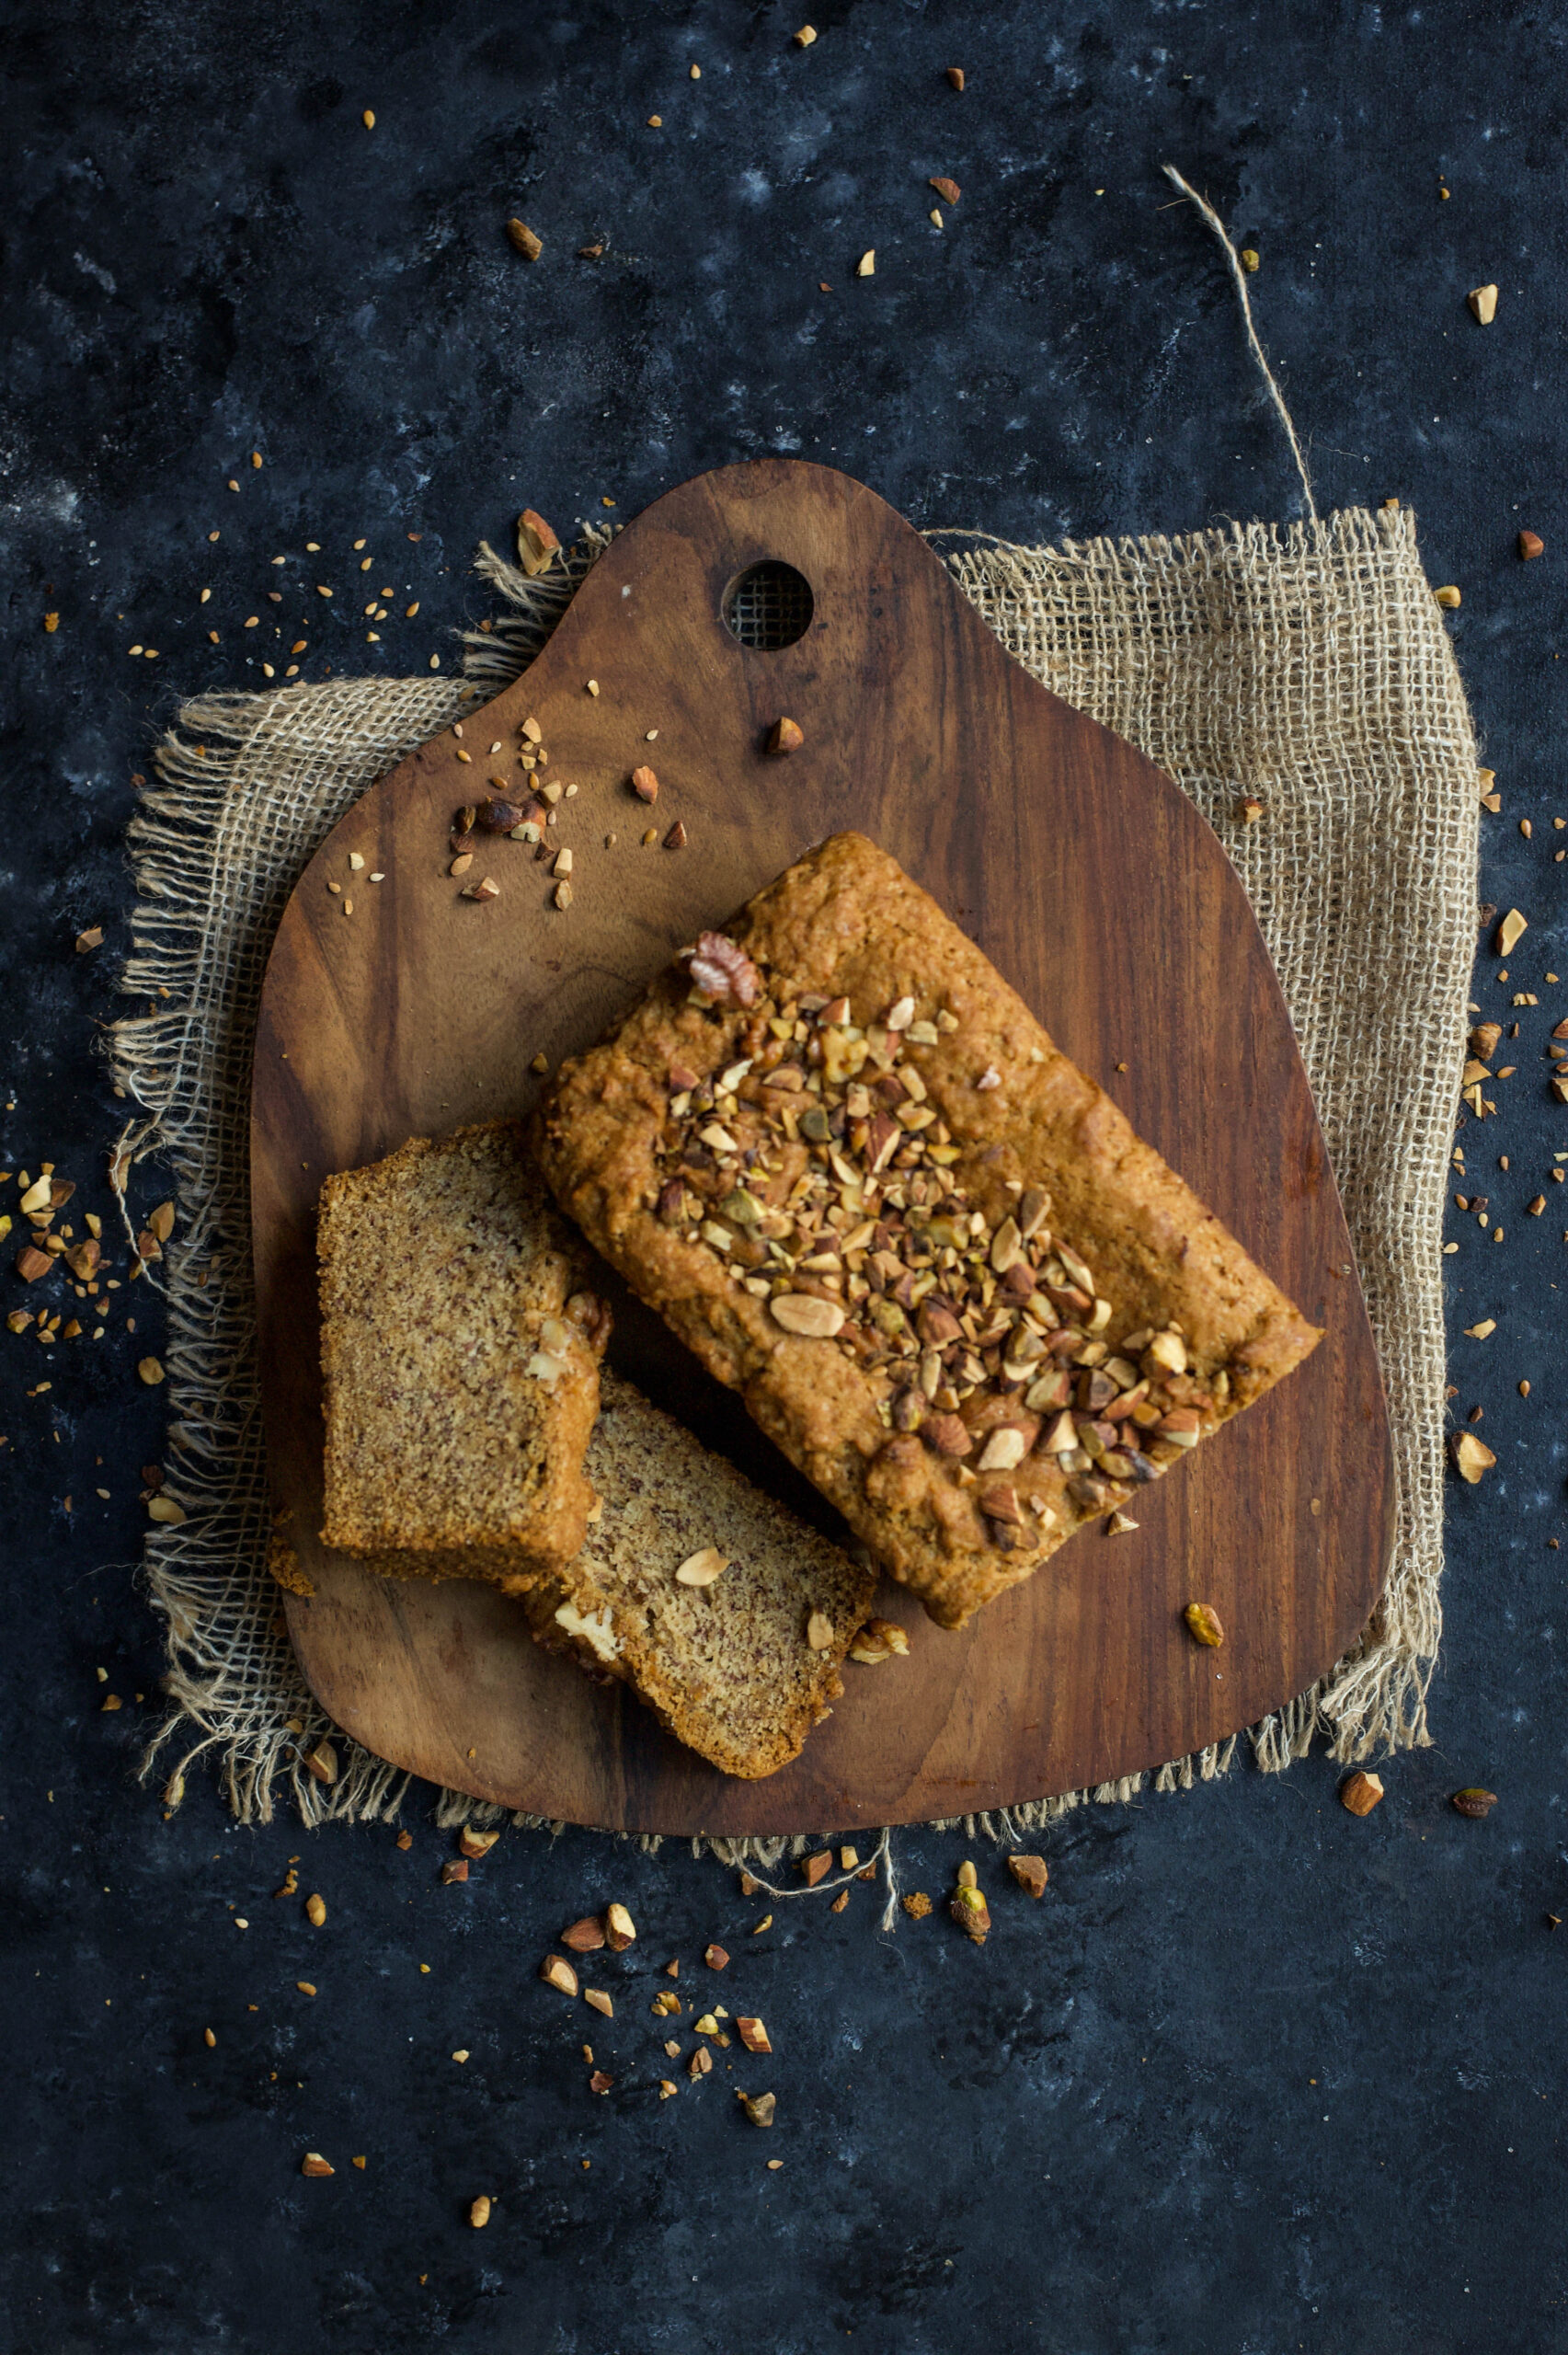
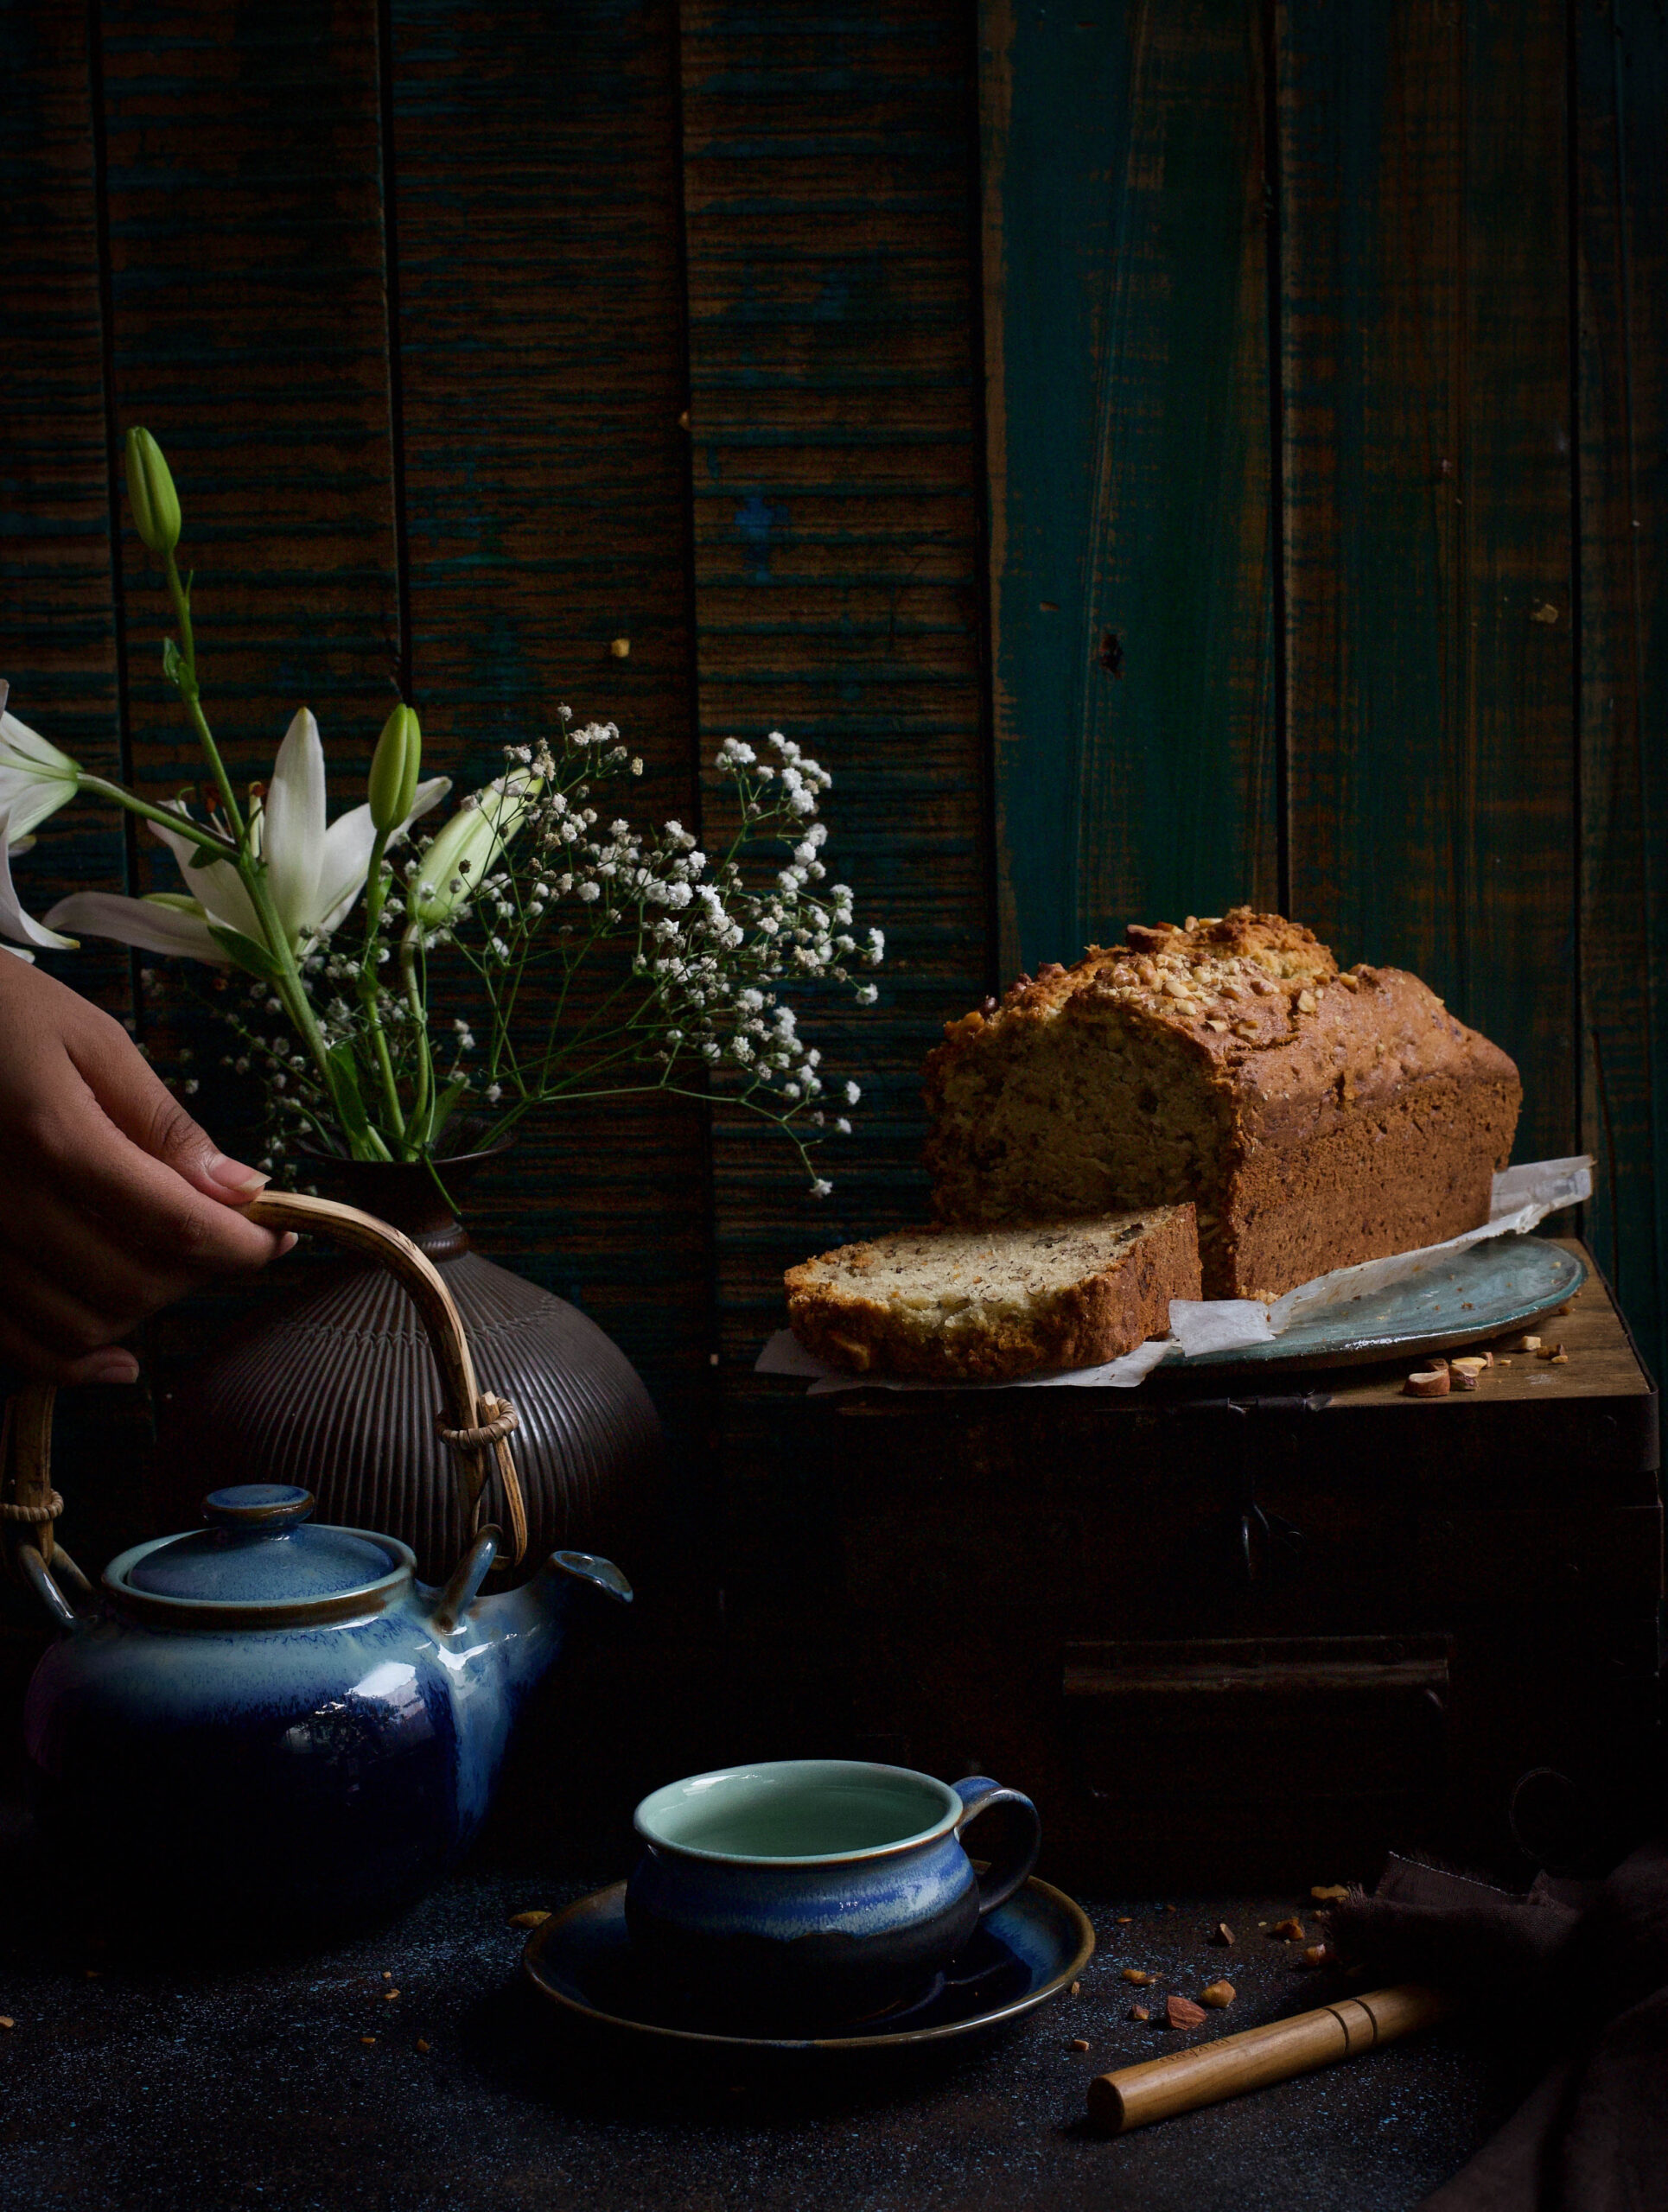
June is my birthday month, which means one word, and a very special one for re:store at that: CAKE! As I mentioned in an earlier post, my mother once attended a baking course at a catering institute in Chennai when my siblings and I were still in school. For an entire month, she’d bring home the most delectable samples. We couldn’t wait to get home and eat them! The smells and memories of that adventurous time when she started making all these new desserts for us are still with me, and a huge part of the inspiration behind re:store. During that course was when my mother had started to maintain a cherished notebook of baking recipes, which was gifted to me eventually. One of those recipes is what I’ve pulled out for you today – banana bread.

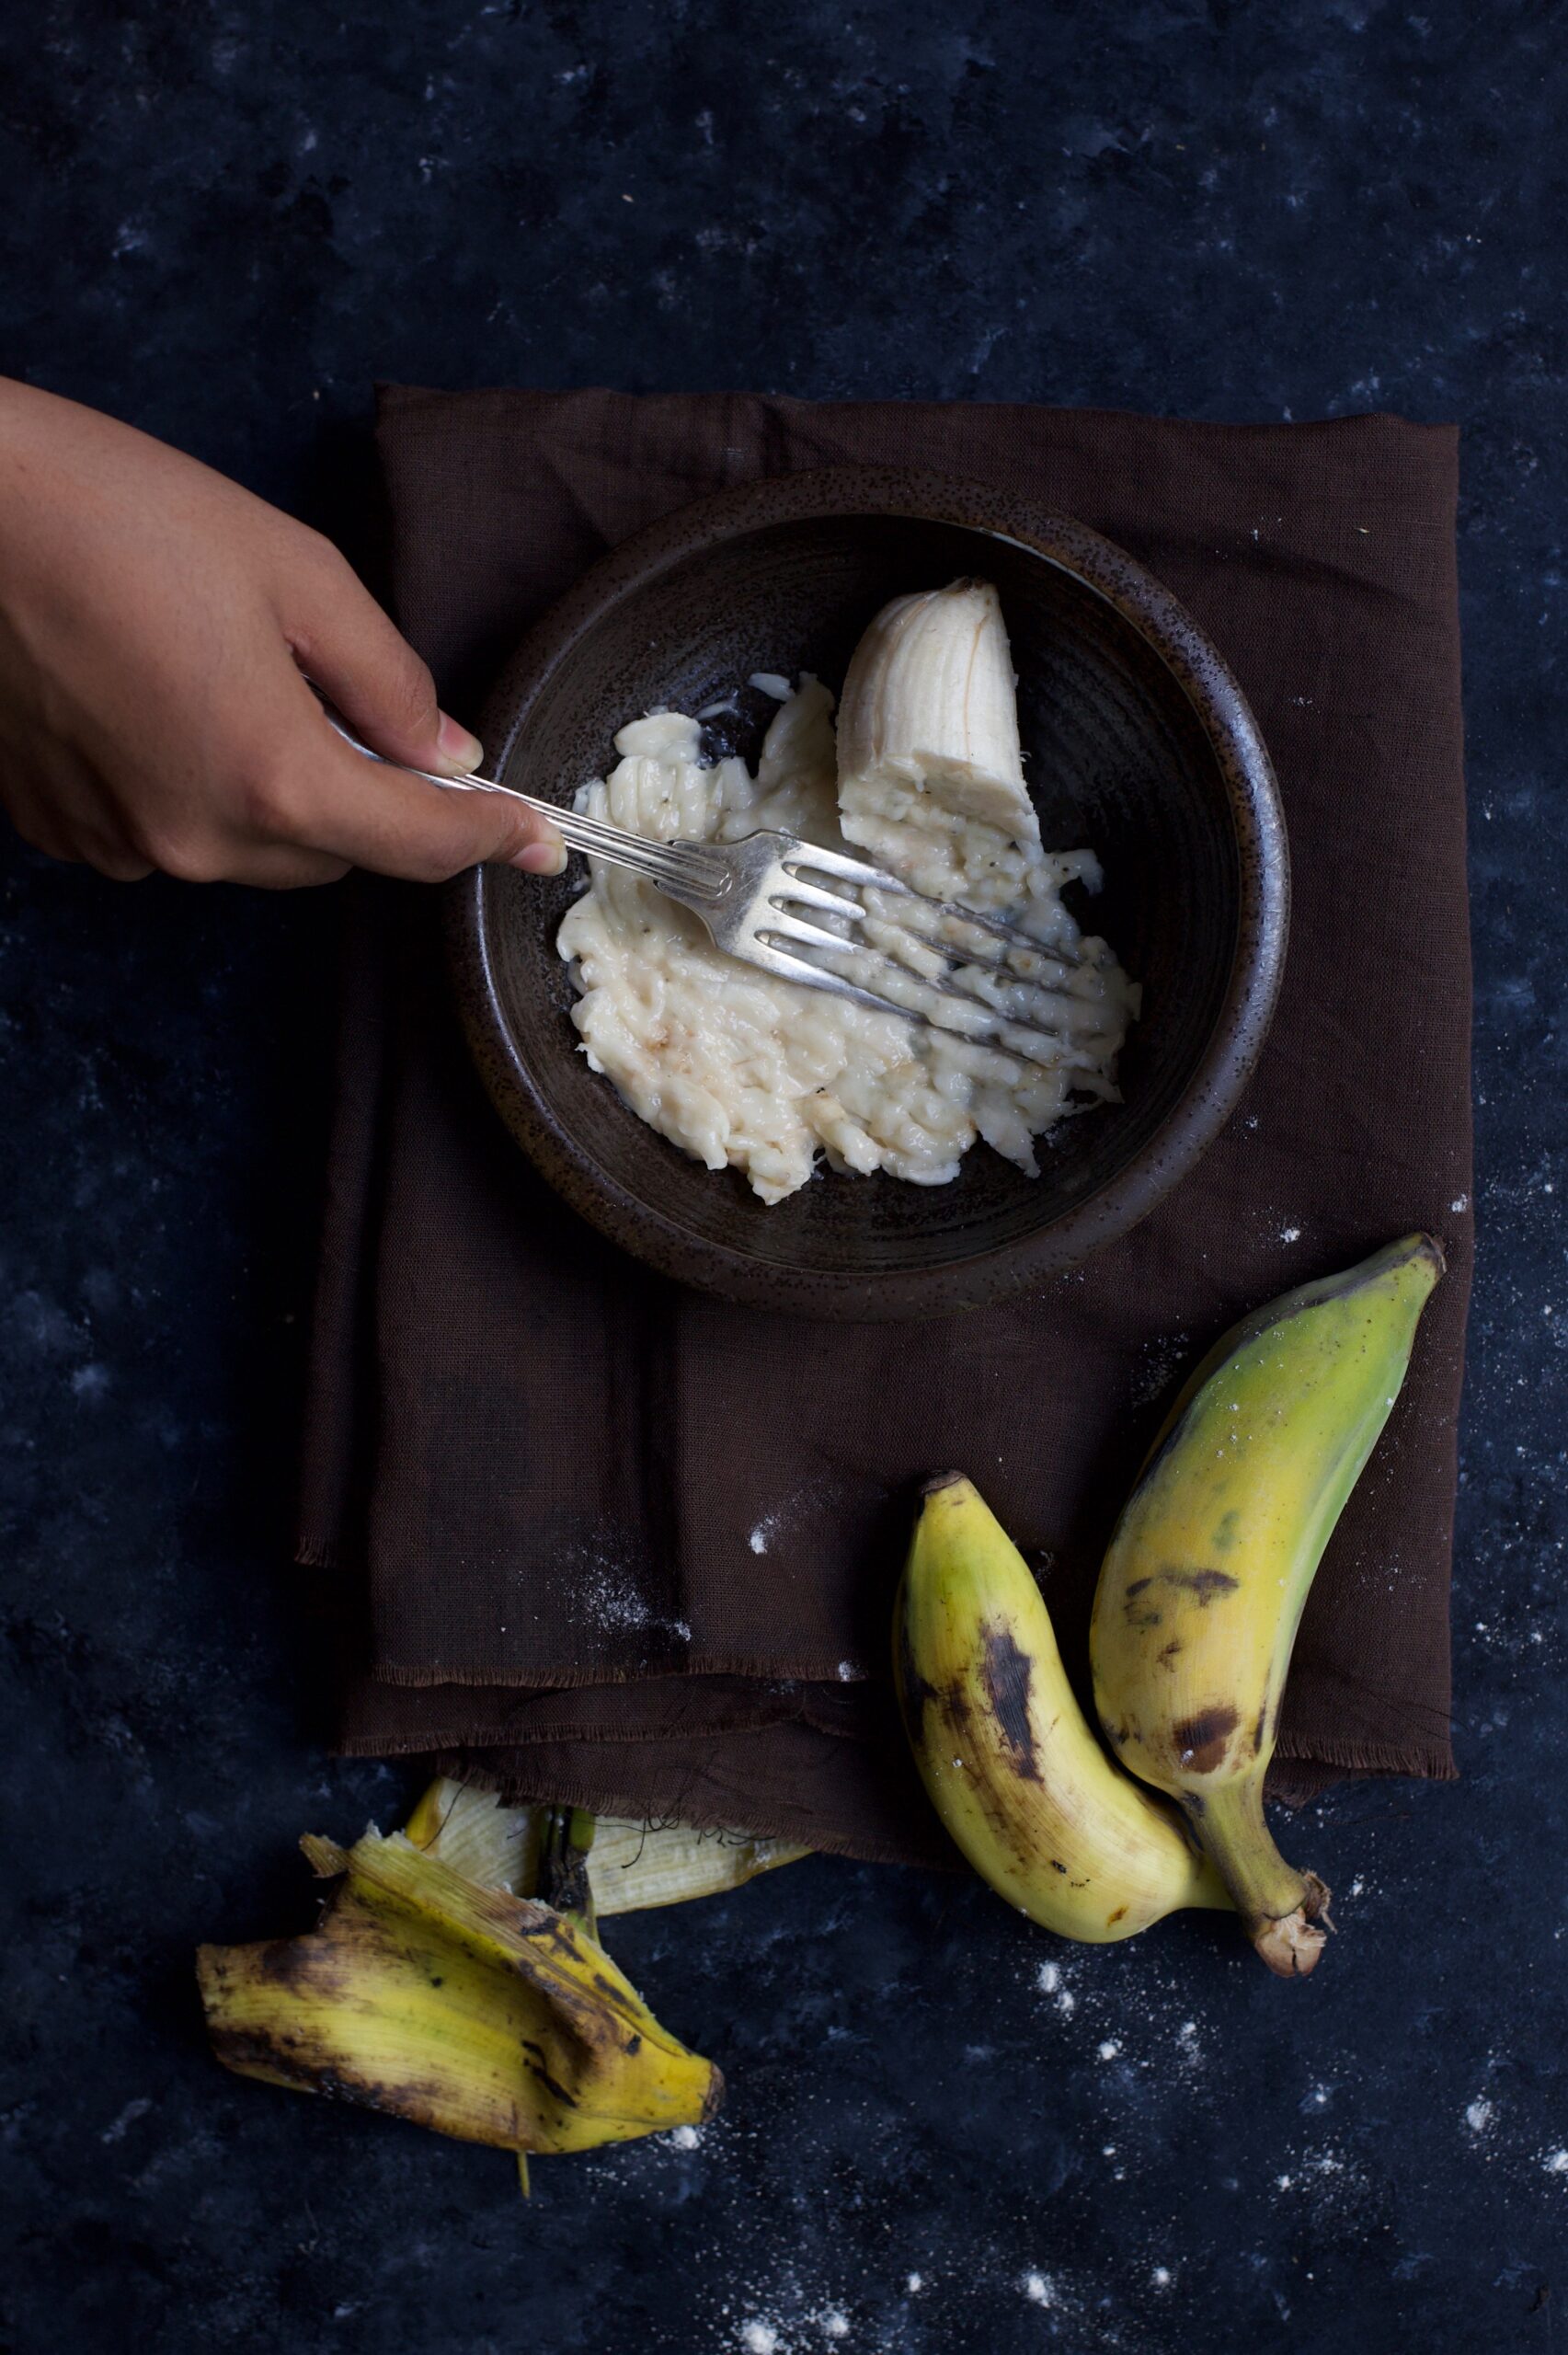
Growing up, I was not a great fan of the extremely nutritious banana, so this was a great way to make sure I ate it. Bananas have been proven to dramatically reduce the risk of heart disease, thanks to being packed with potassium. They improve the digestive system and are said to be beneficial for everything from asthma to weight loss. They are carb-rich, so they boost energy quickly. They are also naturally sweet, which means any dessert you put them in requires less sugar.

Lately I’ve been nostalgic about my growing years and it led me to dig out some old photos from back then. Here are two: an old studio portrait of my mother, who as you know inspires most of my work, and a shot of me from my teenage years by my dear friend Rags Raghavan, who has taught me a great deal about using the camera. Looking at the portrait of my mother, I feel grateful for how re:store has grown from my imagination into what it is today. My mother was in her 20s when it was taken and was about to be married. She went on to become my first, most important culinary mentor, and still is to this day. I remember days spent after school helping with chores in the kitchen; back then I didn’t realize the values I imbibed would be such an important part of me and my journey with re:store. Many of my cooking methods are identical to those of my mother’s kitchen. Grow your herbs yourself, never waste a morsel, always feed and care for staff, and a bunch of other values and tips. Even today, I pester my mother for traditional Gujarati recipes on my weekly visits, and she happily obliges.

Nowadays, I take so many photos digitally, carefully styling and selecting the best ones. Back then, we had manual cameras, with film rolls that had to be brought from abroad. You couldn’t edit those pictures, and you could not take so many either. My first film camera was a gift from my father-in-law, and my kids and family were my first subjects. I still have a soft spot for the old photography methods. They feel authentic to me in a way that I still try to replicate somehow in my modern shoots.

More than being commercially successful, what matters to me is that I am passionate about what I do. I enjoy styling my shoots so much. I am proud to say I work with pleasure!

Food and photography are two sides of re:store, and two big parts of my heart. So without further ado, here’s my birthday gift to you…


Birthday Banana Bread

(Yield: 1 loaf)

Ingredients

150 grams unsalted butter

200 grams sugar

3 eggs

110 ml buttermilk

3 bananas

1 teaspoon baking soda

½ teaspoon salt

¼ teaspoon cinnamon

350 grams flour

100 grams walnuts


Prepare a 10′ loaf tin, by buttering and dusting with flour.

Beat the butter and sugar until light and creamy. Add the eggs one at a time, beating well after every addition. Once the eggs have been blended well, add the bananas and buttermilk.

Sift the flour, baking soda, cinnamon and salt. Fold into the batter. Now add half the broken walnuts as well.

Using a spatula, blend the batter well once more, then spoon it all into the loaf tin.

Take the remaining finely chopped walnuts and sprinkle on top to decorate.

Bake for 45 minutes to an hour, until a skewer comes out clean when inserted.

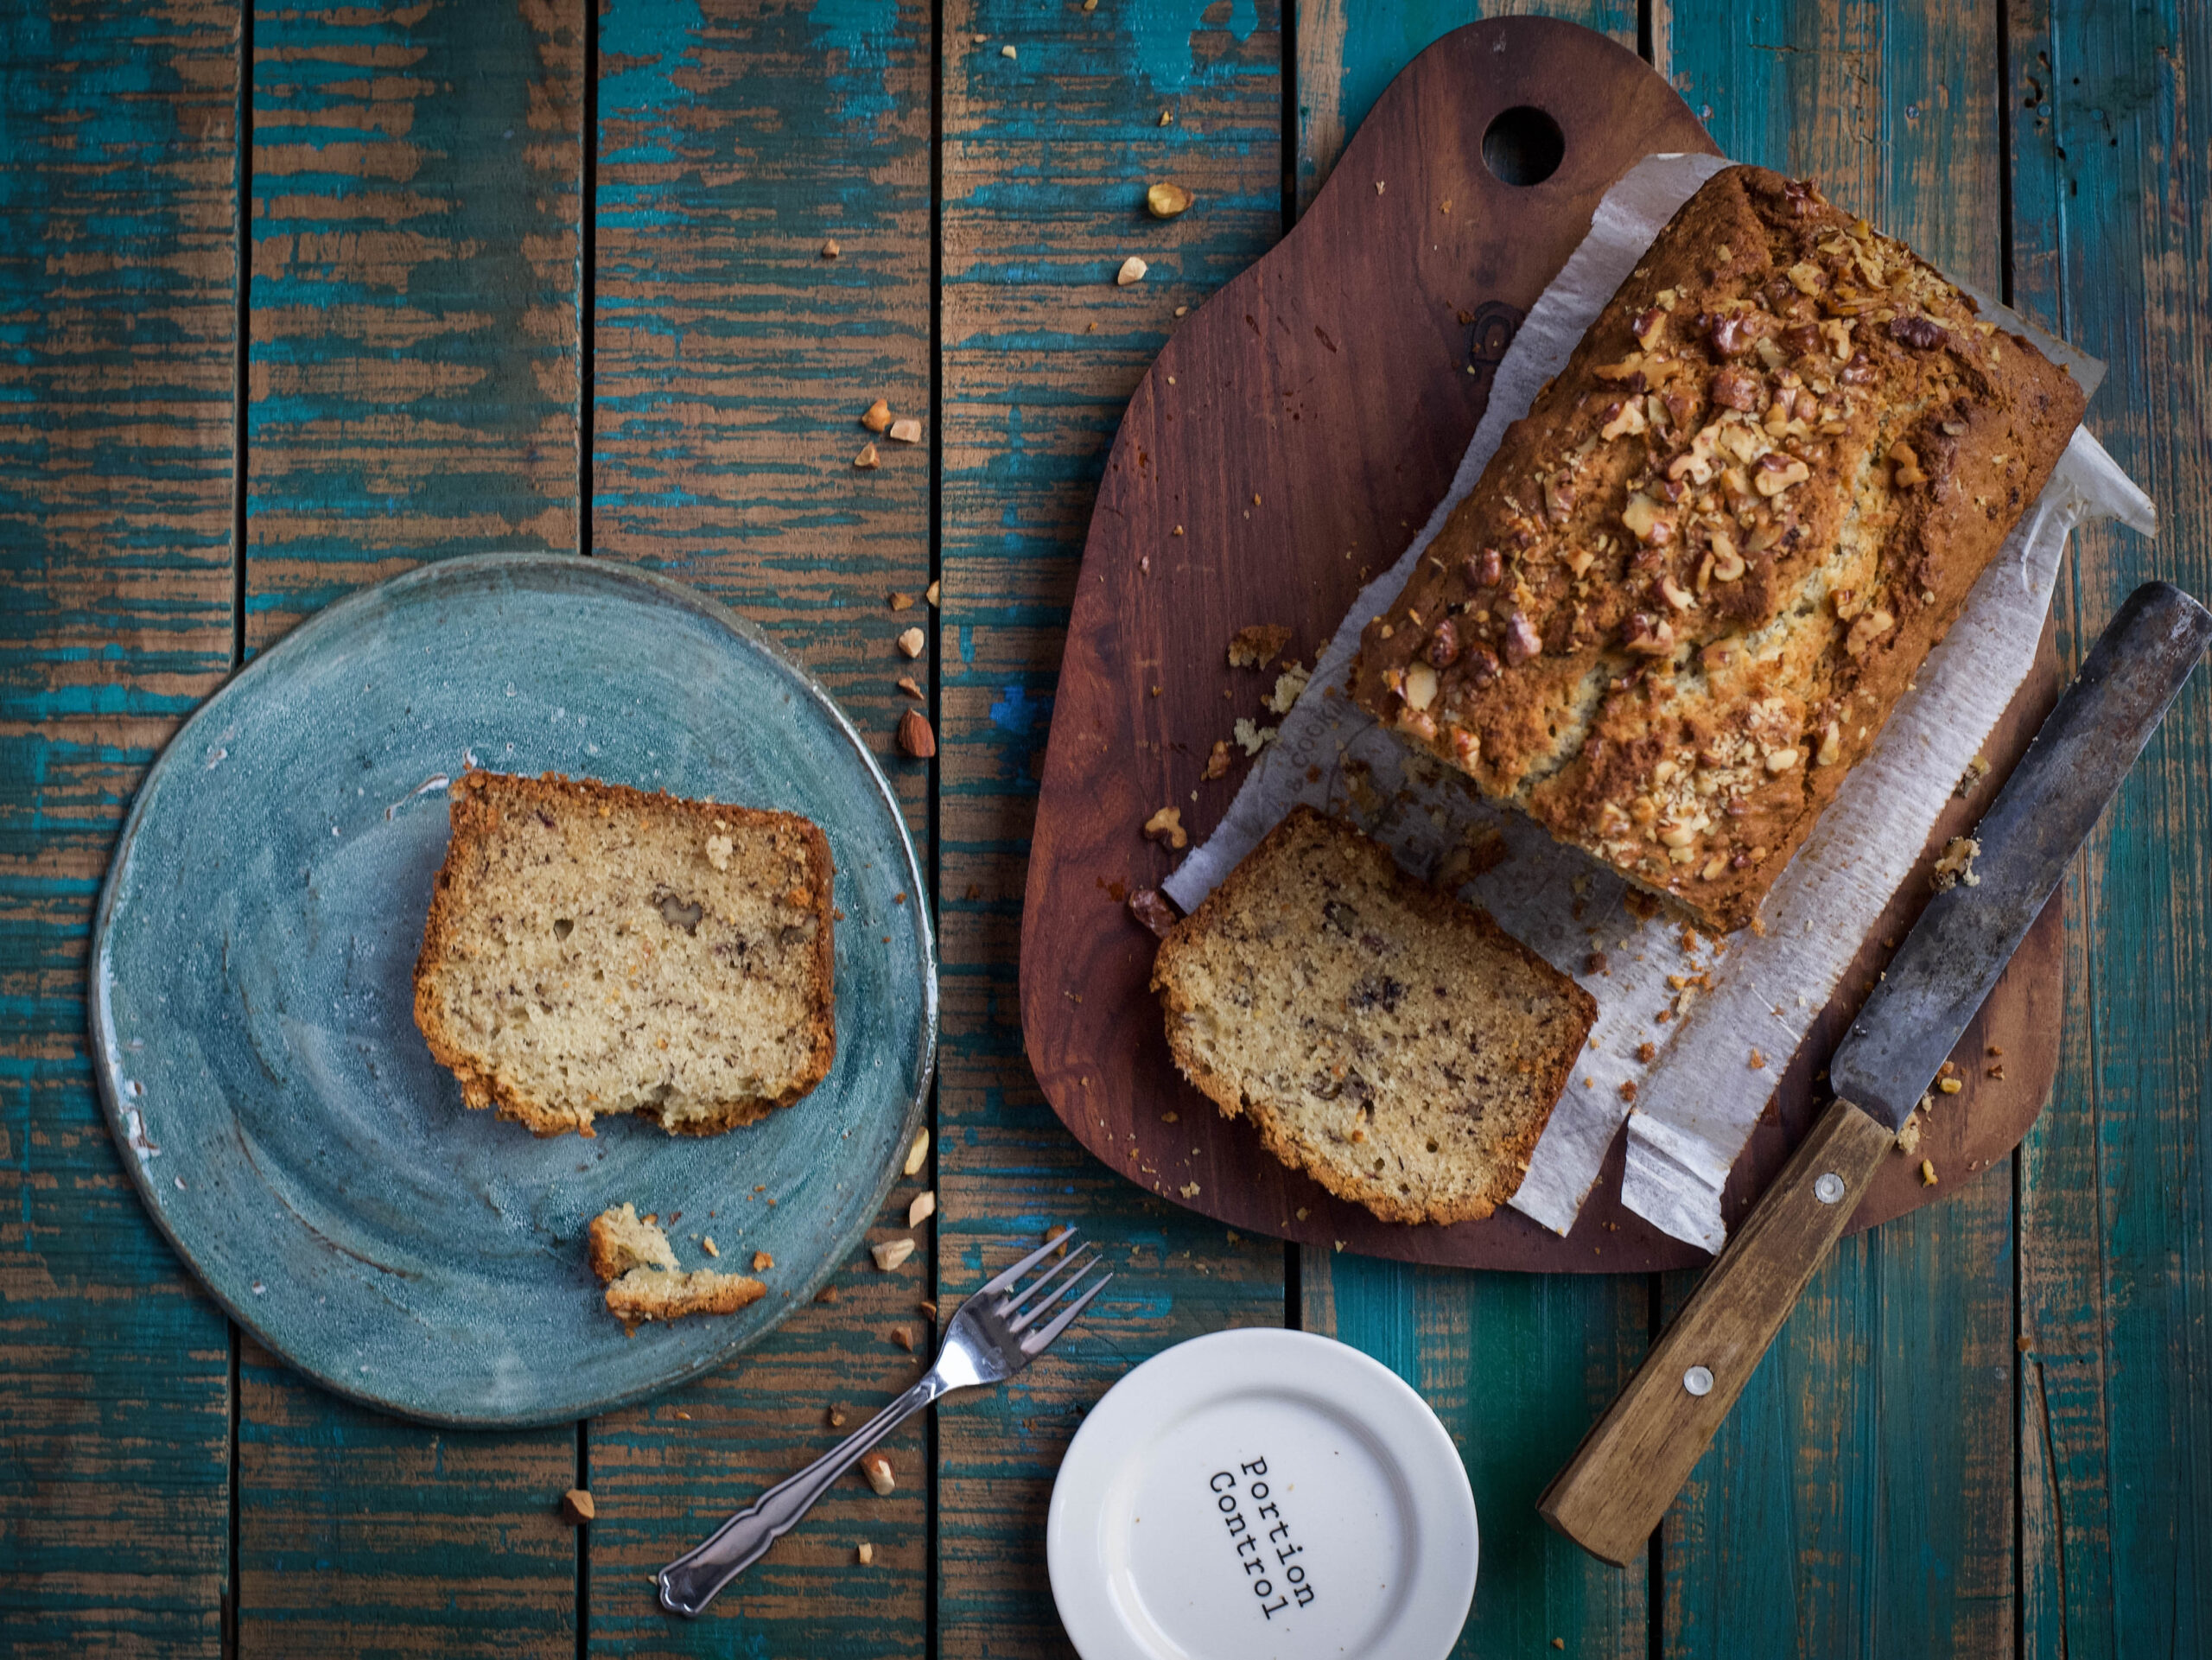
Allow to cool and remove from tin. Slice and serve with a hot beverage of your preference.

I’ve chosen to share this banana bread recipe with you because while it’s a cake, it’s also one of the healthier desserts you can have. If, like me, you have an eye on your fitness, you certainly won’t feel like you’ve cheated on your diet plan. If you’re a fan of banana and looking for something slightly more decadent, try the deep-fried deliciousness of my banana-methi fritters!

I always think of the recipes on this blog as a gift for those who live far away from my kitchen – if you can’t treat yourself to one of my homemade cakes, you can at least try to make it yourself!