Tag

cake

Browsing

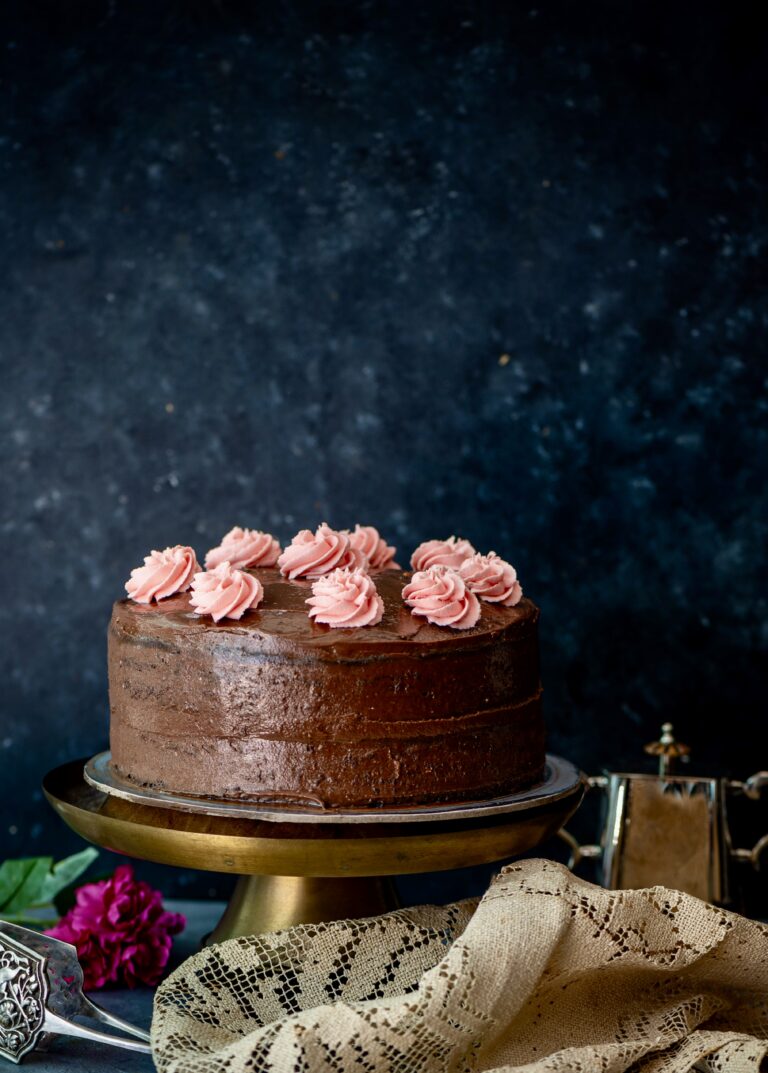
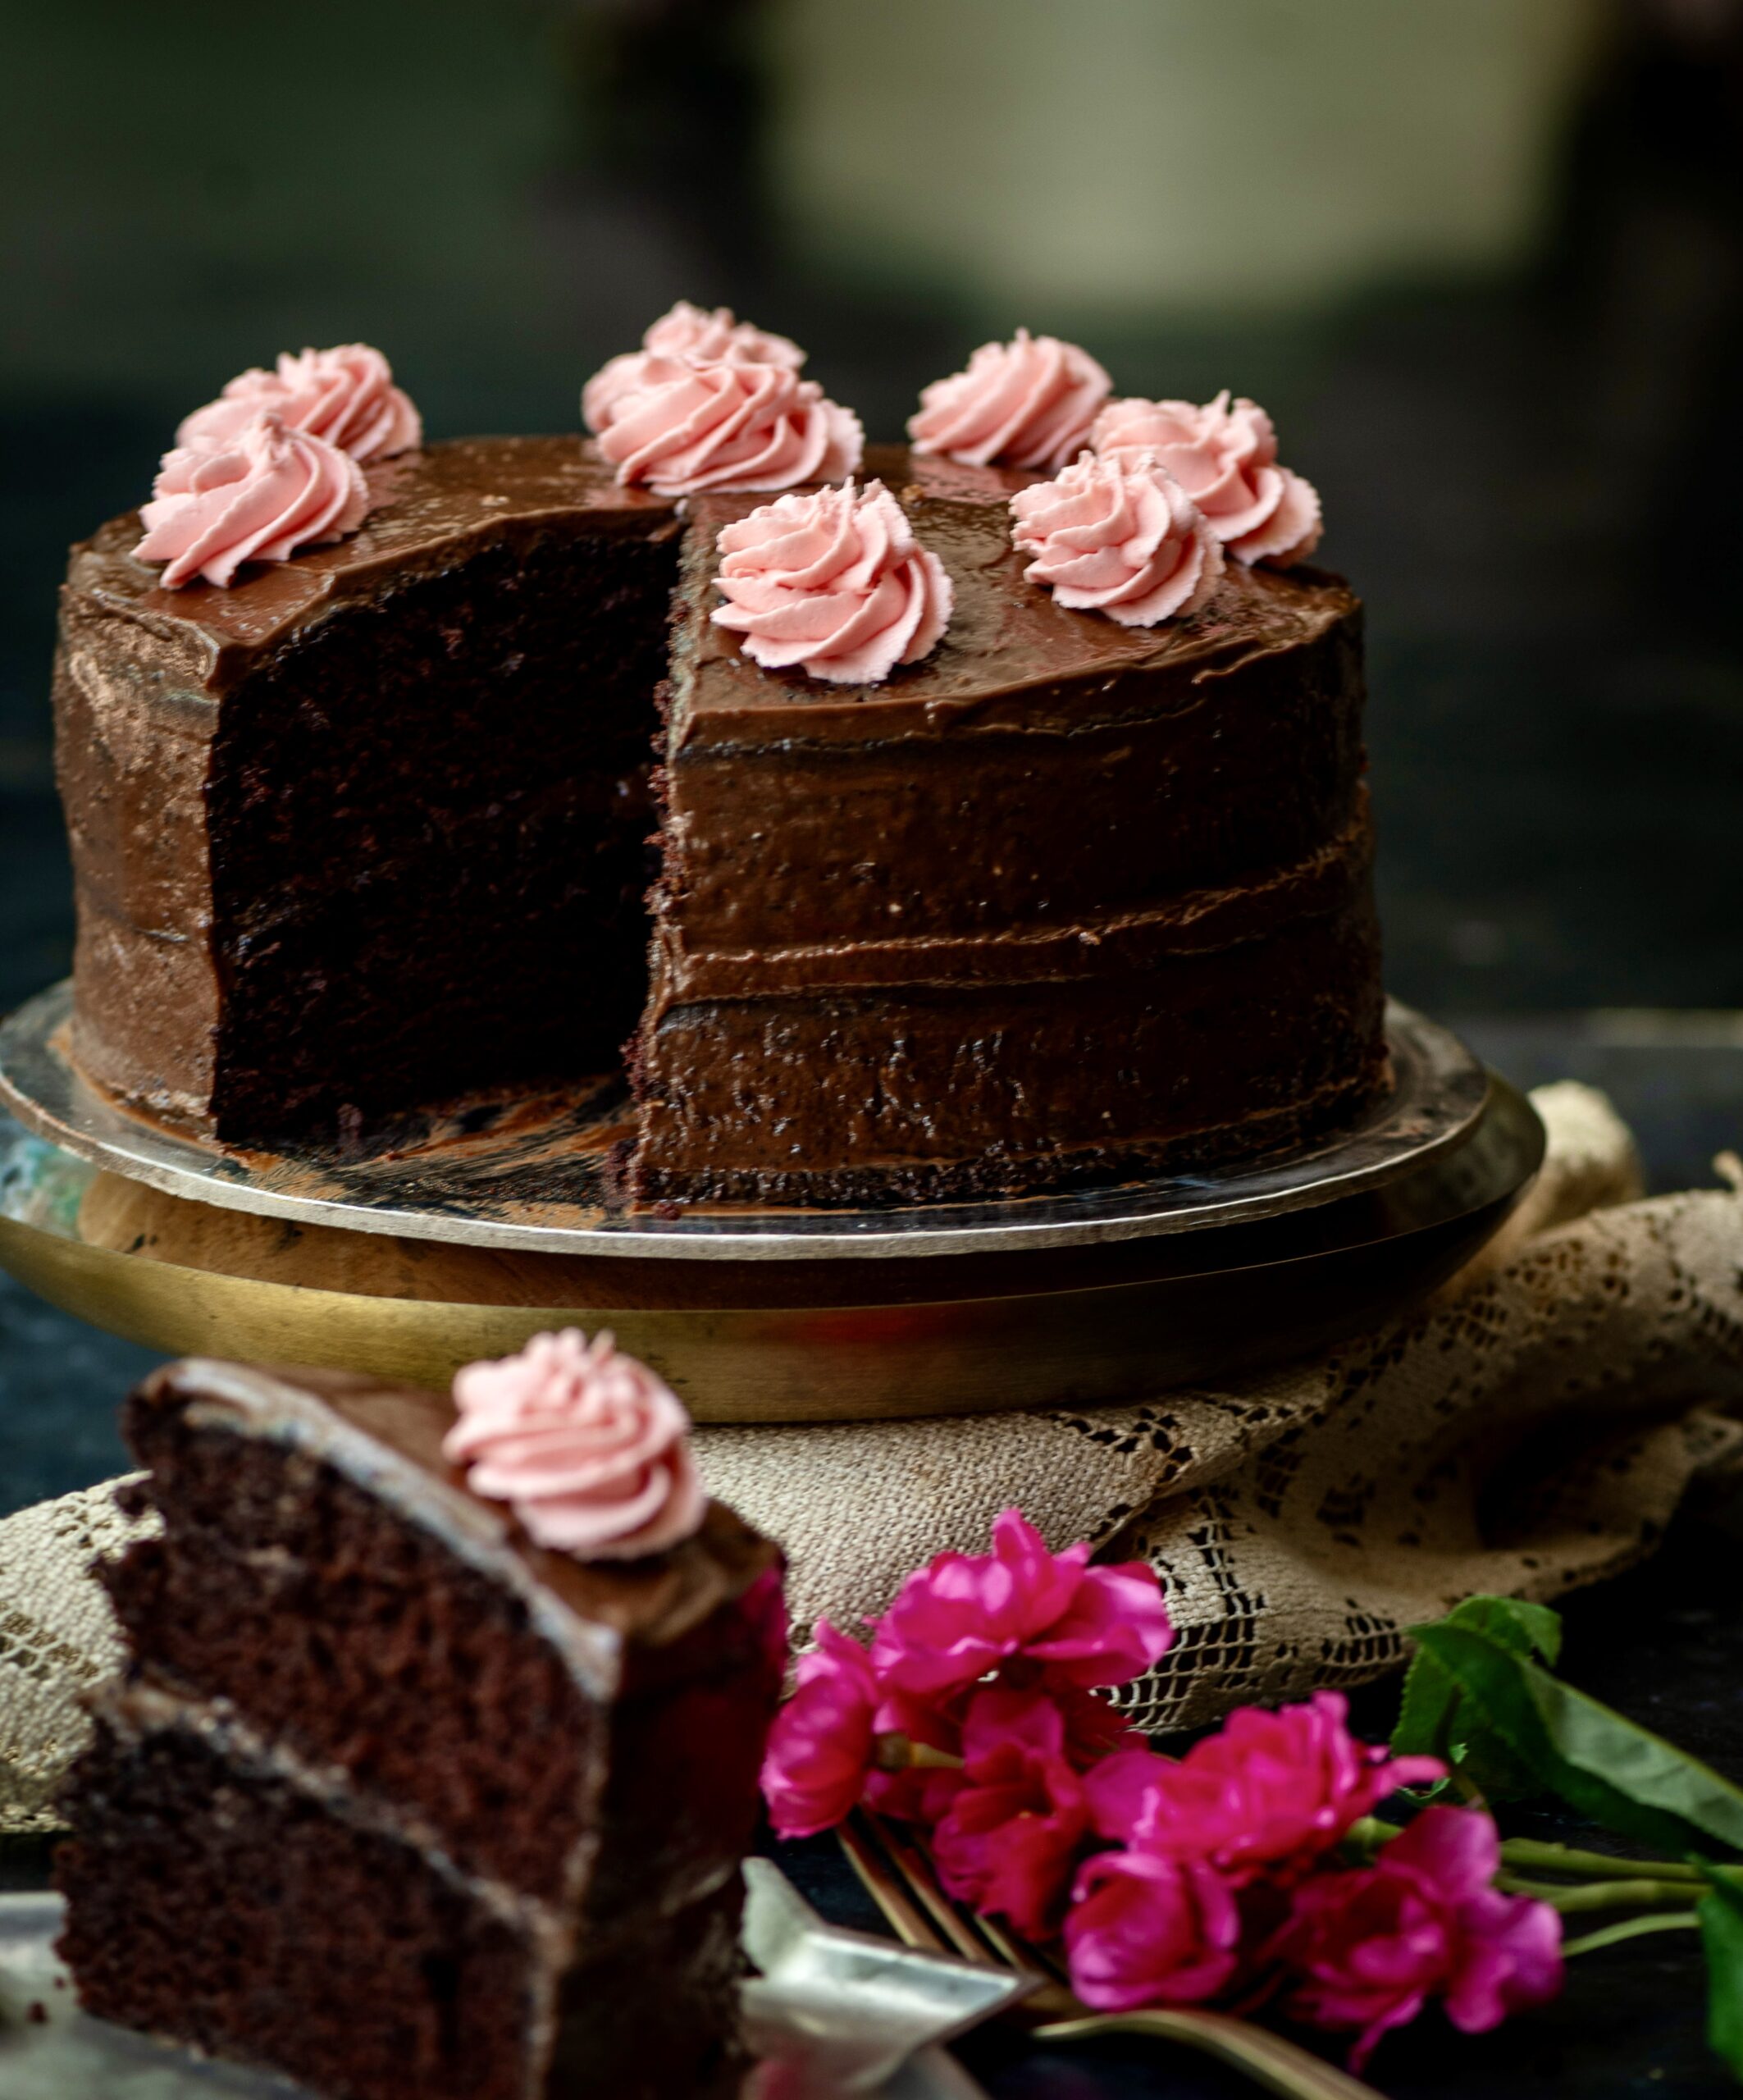
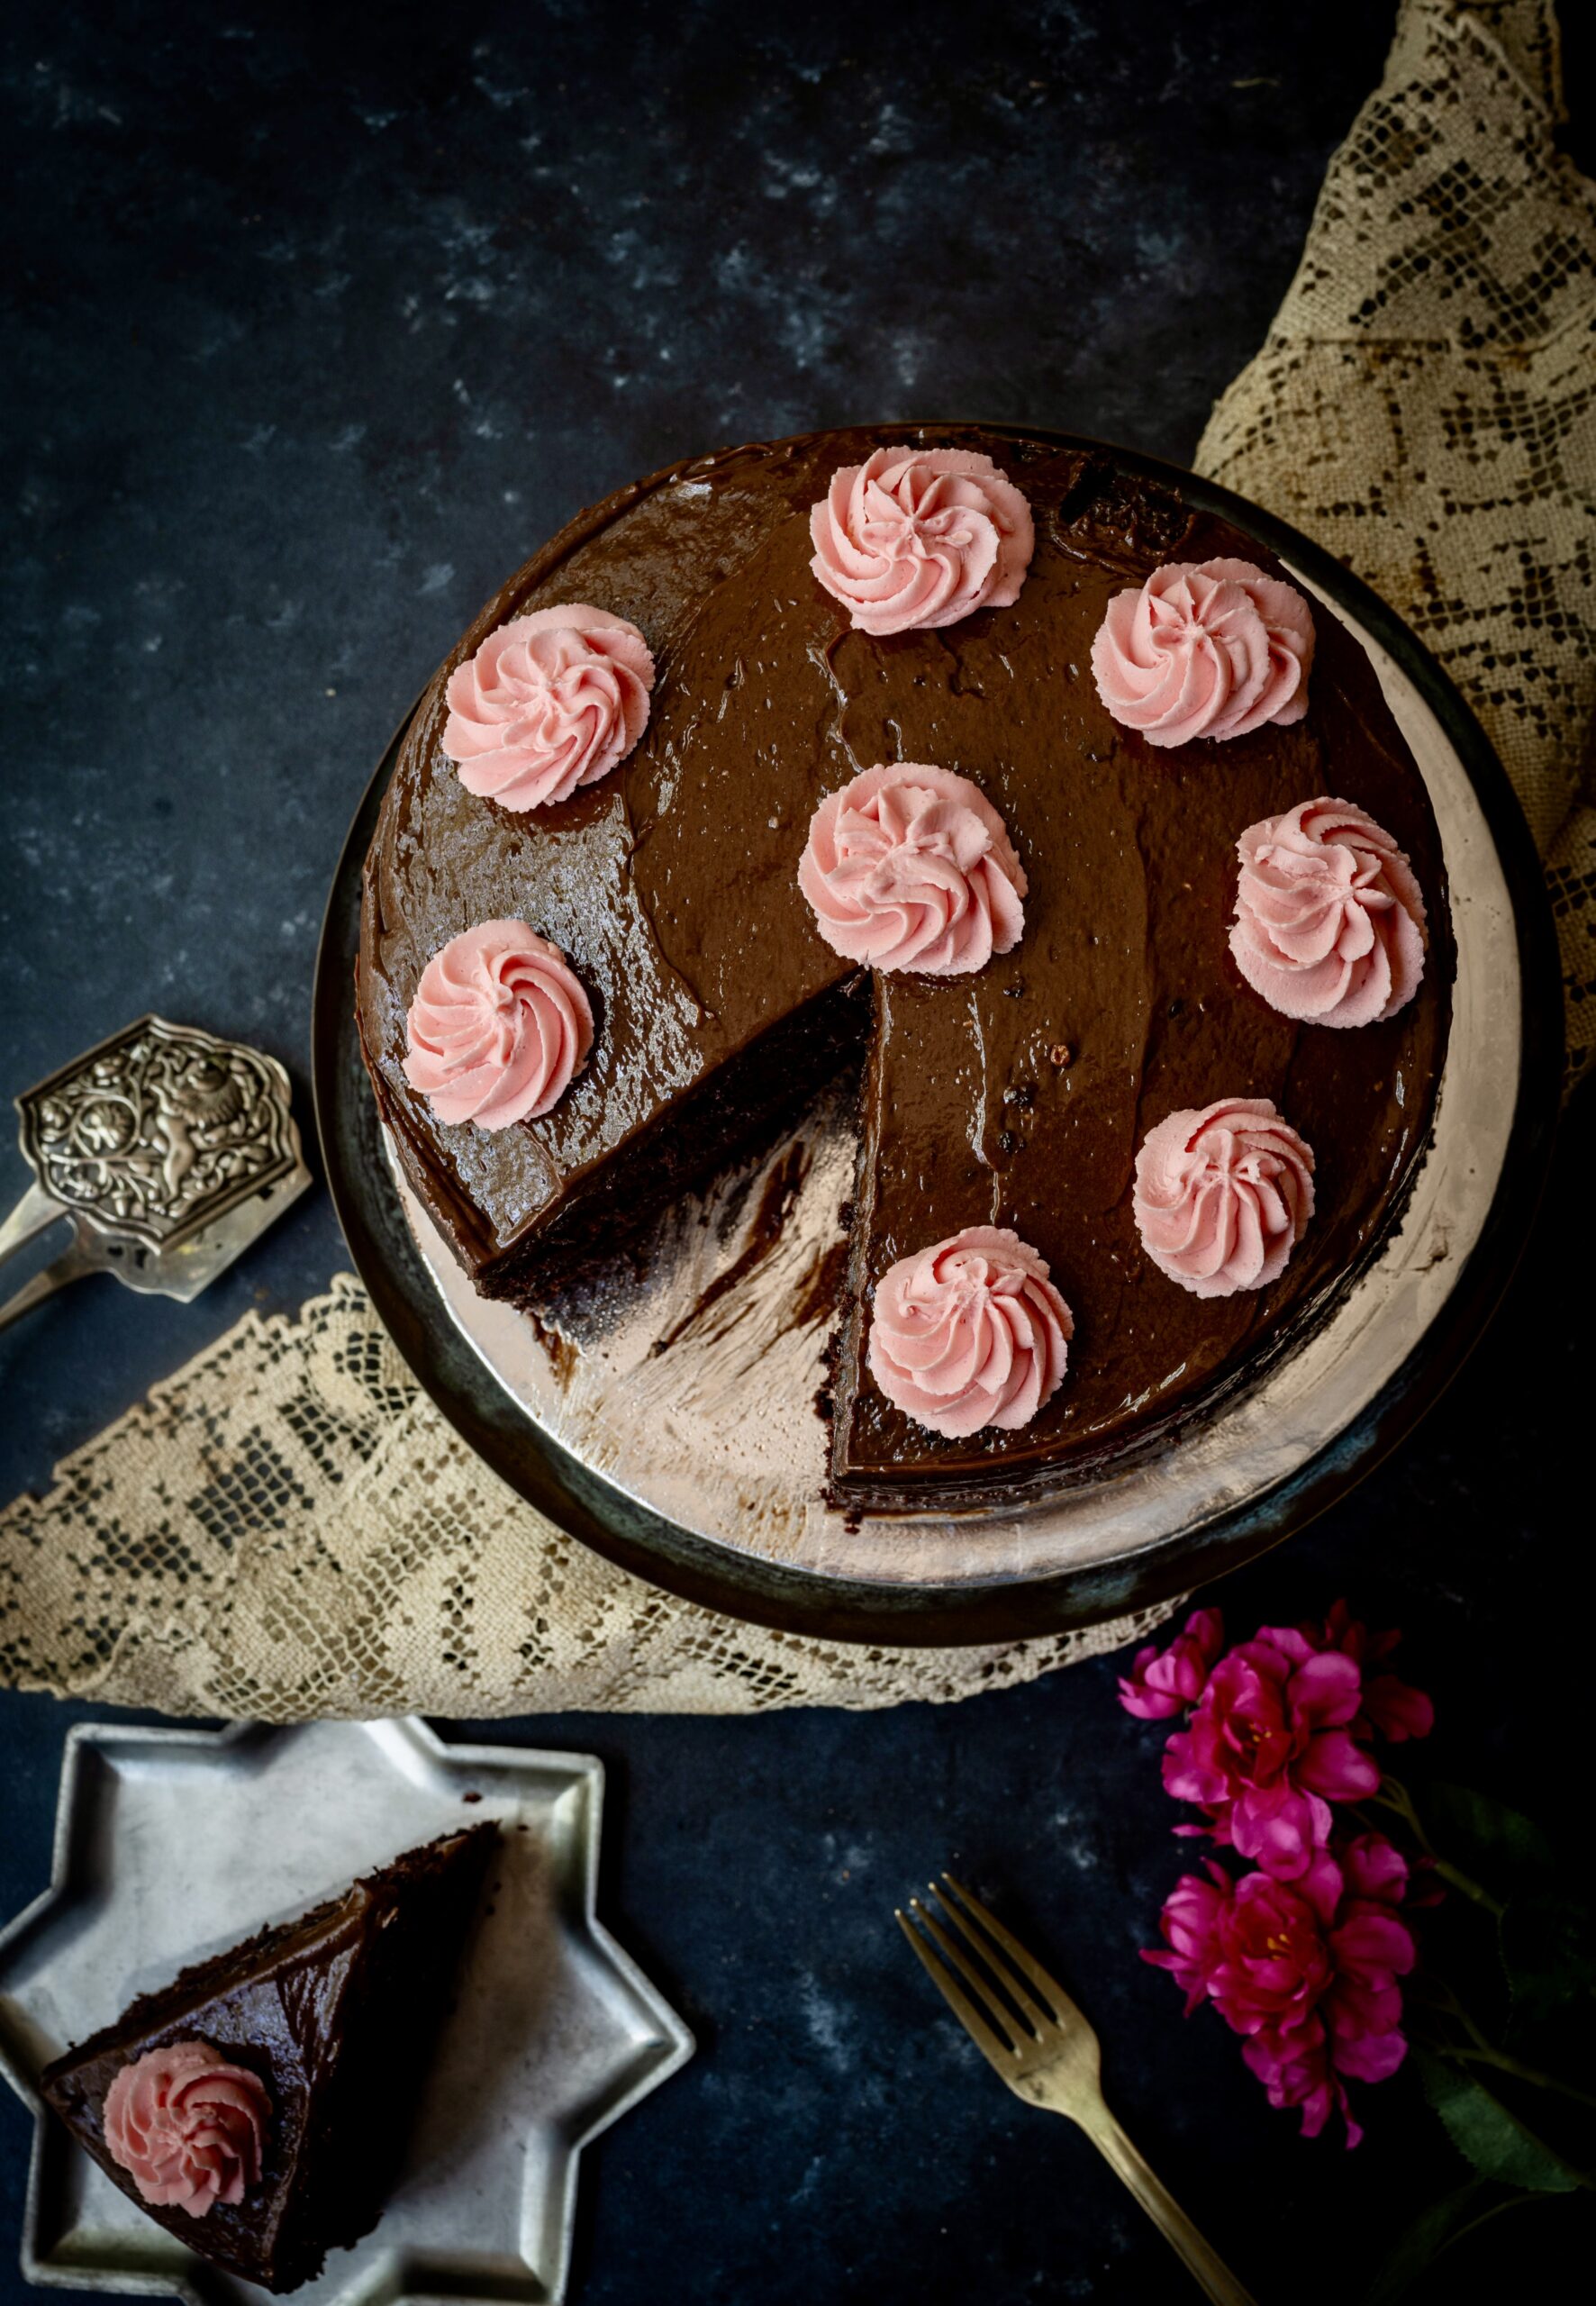
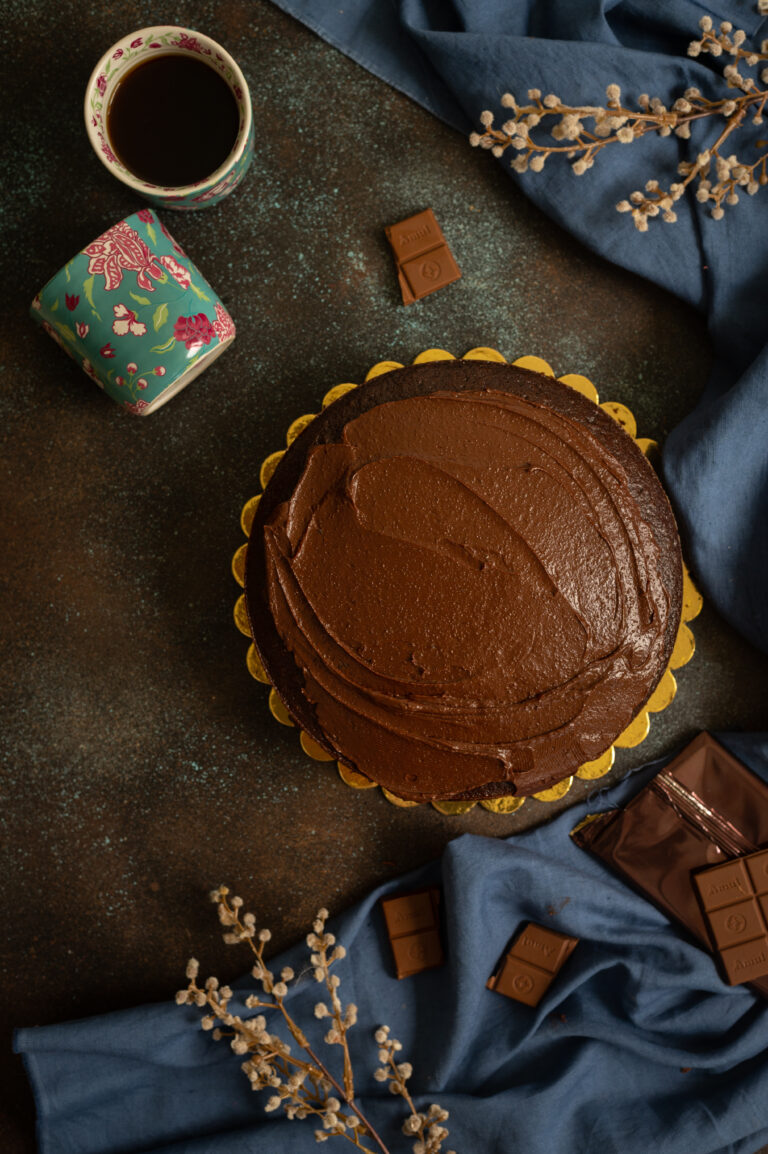
My children are all grown up and all of them live away from me, so every time they come to visit, I always try to think of what they will enjoy eating during their stay. One of my sons loves chocolate cake, so this particular treat is the welcome home dish that I currently have in the oven, ahead of his next arrival. It looks so beautiful that I couldn’t resist picking up the camera – and subsequently came the idea of sharing the recipe with you too.

Before I began to bake, many years ago now, we would often order from a friend of ours who used to bake from her home in Chennai too. Hers was one of the most fantastic chocolate cakes we had ever tasted, and it remains the benchmark for us all. It served as my inspiration too, when I became a baker myself.

Creating this recipe of my own was the result of many trials, exploring recipes from across cookbooks and the Internet, tweaking them based on my taste and my experience. Eventually, I formed a chocolate cake recipe that hit the spot, and became a personal benchmark. While my almond cakes are the most popular among customers (hyperlink), it’s this chocolate cake that is my own family’s favourite.

When I think about the experiments that lead toward this recipe, and indeed many others, I feel grateful for my blogger and Instagram friends and the accounts I have followed over the years who inspired me – both in terms of food and in terms of photography.

But there are many things that I have been contemplating lately about the world of food blogging and how it is changing. Now that re:store’s own online presence is over seven years old, I am able to observe and comment on the vast shifts that have taken place in this time and I wonder about what is still to come. For instance – many of the people whose work I used to look forward to no longer post, or sometimes have even disappeared altogether. Even though new bloggers have come up, some equally fantastic, there was a sense of community in the past that is less experienced today. It all feels different now, both as a creator and as someone who enjoys the content. I wonder if you feel similarly, or if you have other thoughts?

Then, there is the dominance of reels. Food photography as a genre is dwindling, and to be honest I don’t see the kind of aesthetic that I used to love exploring online and which challenged me to keep growing as a photographer too. While I respect reels as their own format, they are not for me. Even as photography loses popularity, I pick up my camera time and again because it is an artform that I am passionate about, and because in certain ways I would define myself as being old school – especially in the sense that I believe that if the going is good, keep going.

The going is good, so to speak, when it comes to photography. I am just as enthused and as inspired as ever as a photographer, and some of you may know that my explorations in this medium go beyond shooting for this blog. I also work with still life and nature themes, and I’ve been fortunate to have received gallery support for the same, and I sometimes accept commercial commissions too.

I still approach every kind of shoot with my old and faithful Nikon and the lenses I’ve used all these years, and remain perfectly happy with the outcomes. I don’t intend to go in for an upgrade because I know I don’t need to. Although I love finding new appliances for the kitchen, somehow with photography the tried and tested just works for me. I like to think that my not constantly seeking out new technology helps reduce my personal impact on landfills. None of us is perfect and none of us is going to avoid creating waste, but being mindful about our consumer choices is something that is in our hands.

And when it comes to something that is literally in my hands – my camera – I really don’t want to let go of the instrument that has brought me so much creativity and joy. I will also say that I sometimes feel disturbed when people say, “Oh your photographs are so nice – you must have a good camera”. I do, but there is so much more to this artform than just the device. Even as trends move away from it, I continue to learn and to grow within it.

So yes: the world, and not just the world of food blogging, is always changing – but we can have some constants, too. A decadent chocolate cake will almost without fail please anyone, for instance. In that sense, this is a timeless dish, and I hope you’ll enjoy my version of it.

Chocolate Cake

(Serves 5-6)

2 cups sugar
1¾ cups all-purpose flour
1 cup cocoa powder
1 teaspoon baking powder
2 teaspoons baking soda
1 teaspoon salt
2 eggs
1 cup buttermilk
1 cup hot water
1 tablespoon instant coffee
½ cup oil
1 teaspoon pure vanilla extract

Preheat oven to 170°. Prepare two 8’ cake tins by greasing, lining and dusting the pans.

Sift the flour, cocoa powder, baking soda, baking powder and salt – thus combining the dry ingredients. Add sugar.

Separately, add hot water to the coffee powder. Keep aside.

Using a hand blender, mix the eggs, vanilla extract, oil and buttermilk. You can make buttermilk at home by adding a tablespoon of white vinegar to a cup of room temperature milk, and allowing it to sit for 15 minutes before usage.

Add the dry ingredients to the wet ones and mix well.

Add the hot coffee to this mixture now. The batter will be a little runny. Avoid over beating.

Pour this batter into the two tins equally and bake for 30-35 minutes or until a skewer comes out clean. After the cakes sit for 15 minutes, turn them onto a tray and allow to cool completely. Decorate with chocolate icing.

If you’re new to all this and would like a little primer or refresher to the basics of baking, check out this citrus bundt recipe with lots of tips.

As I said earlier, this recipe is really the best one I know for the classic chocolate cake. I wonder how it will compare with ones you have made or tasted. I do hope you’ll enjoy it just as much as we do!

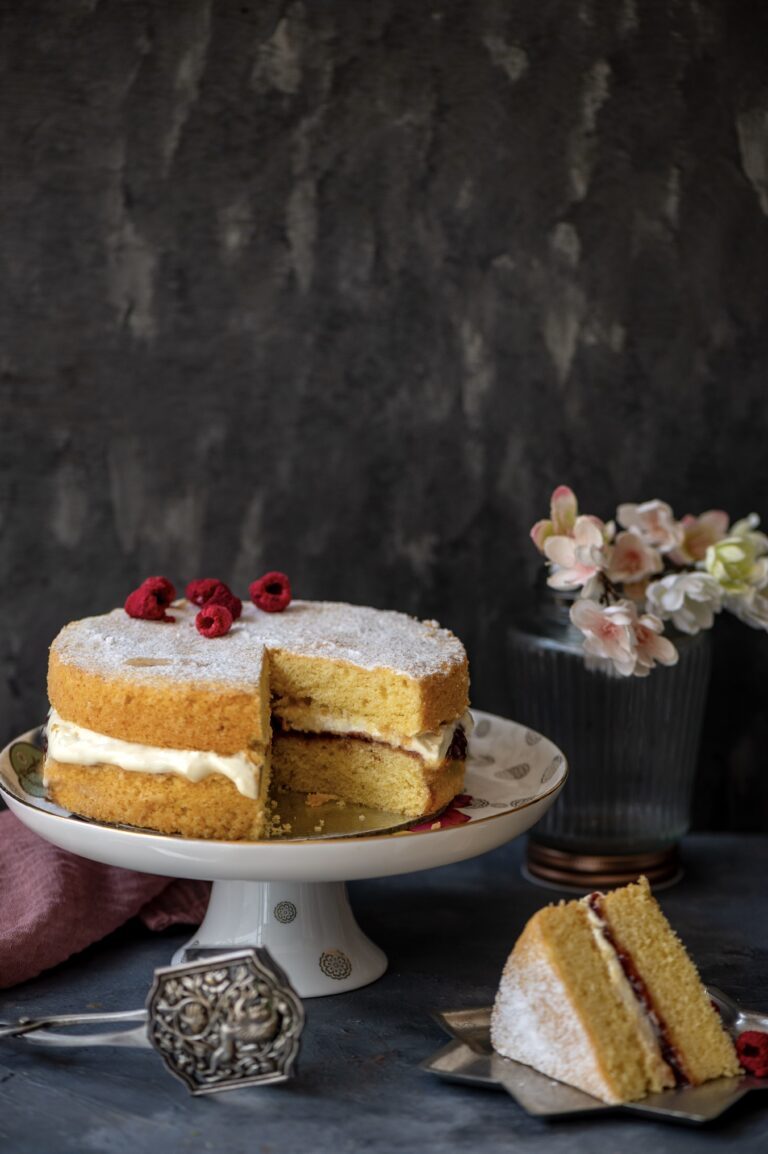
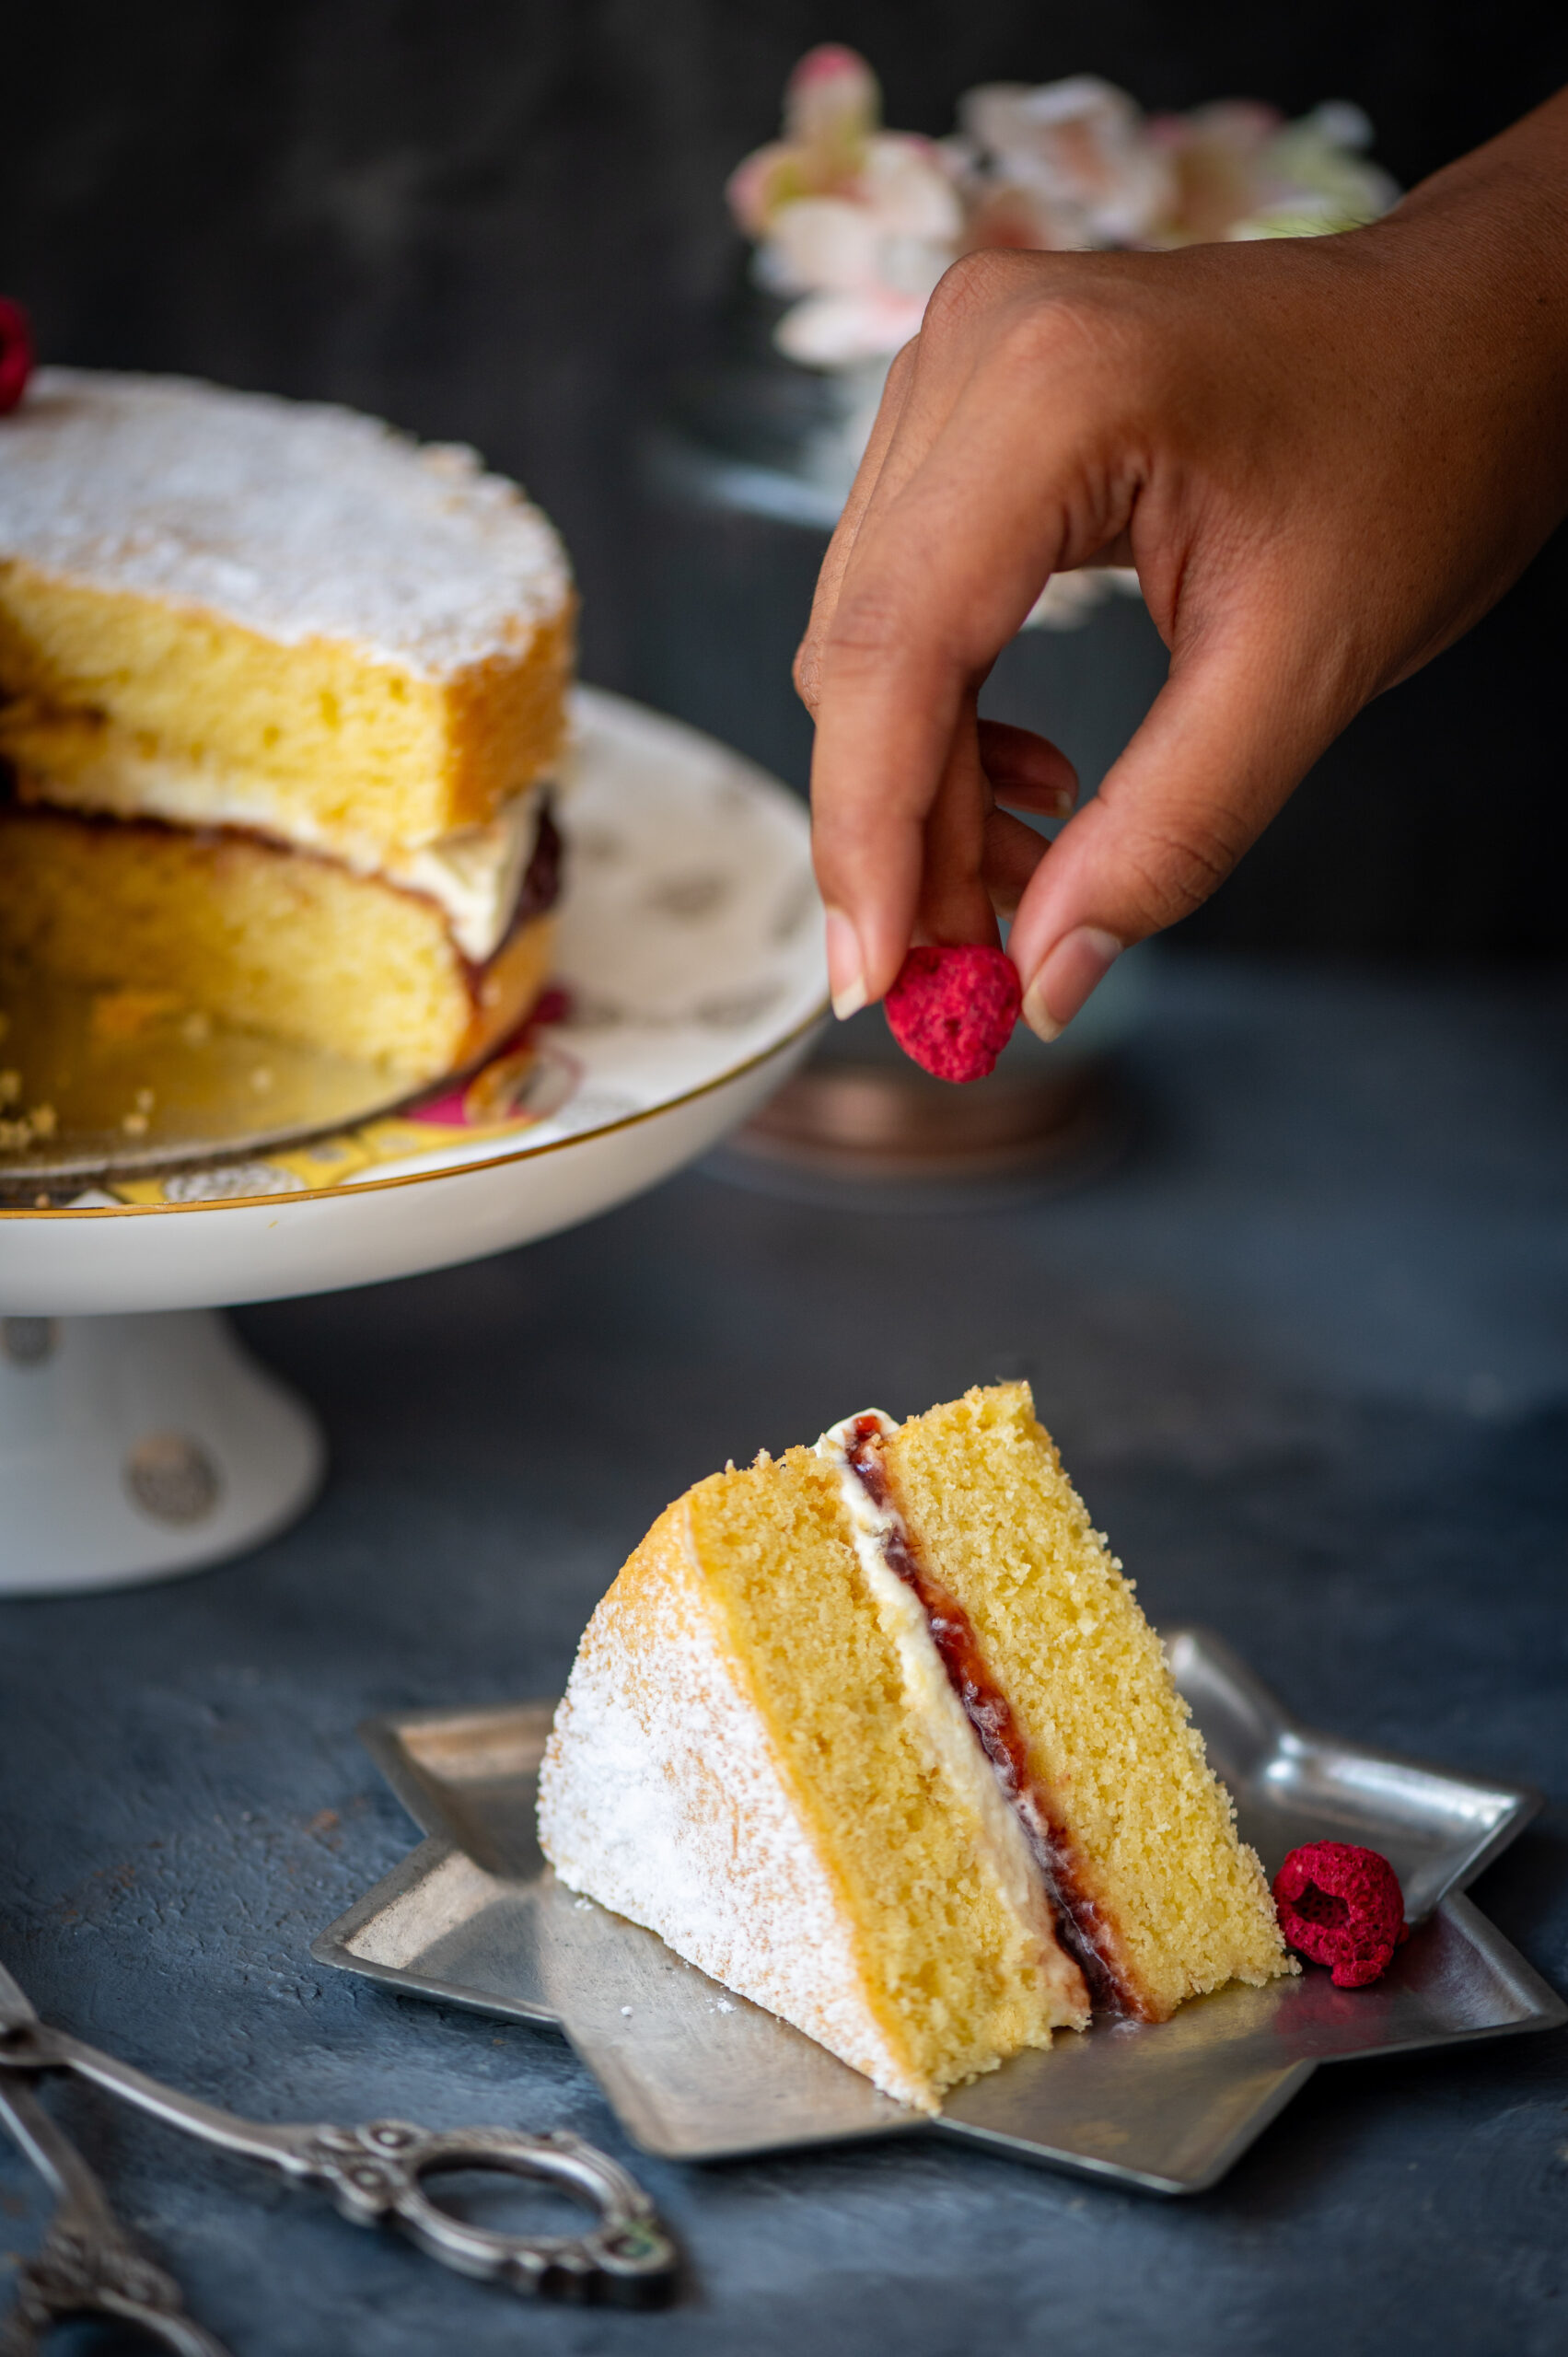
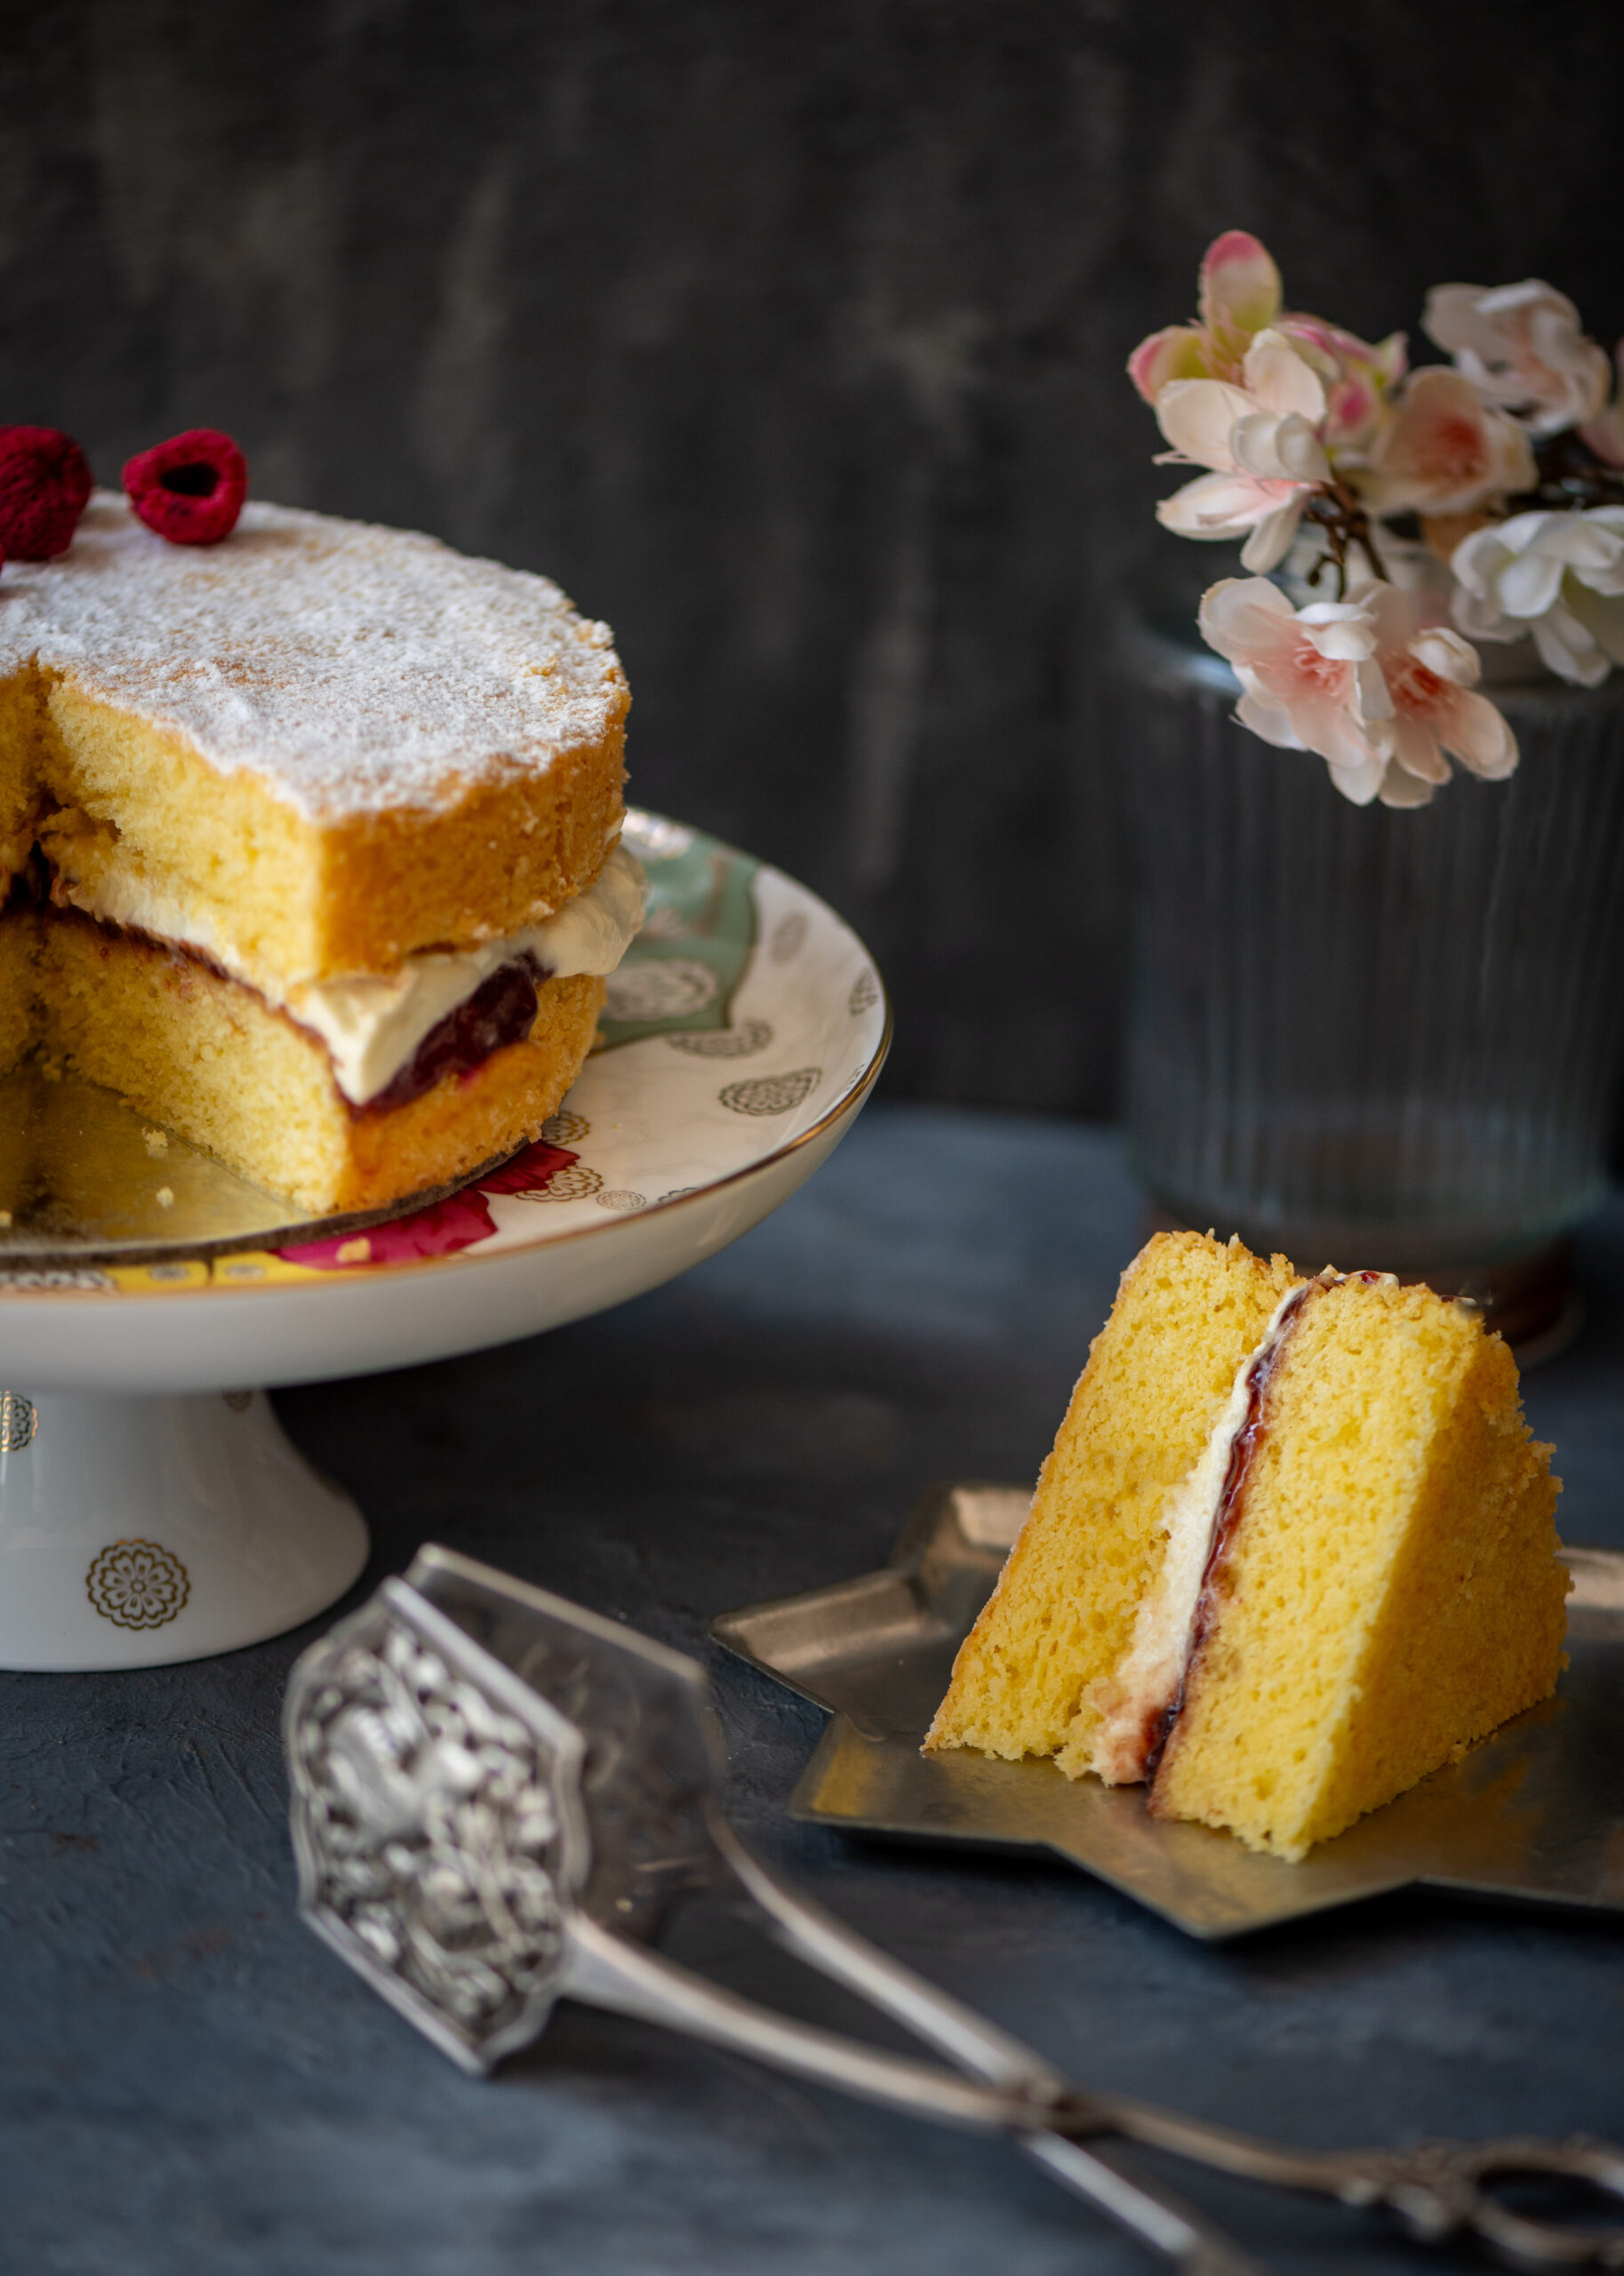
There are elaborate ways of making a Victoria sponge cake, but after various experiments, I came to realise that an easier method makes for a very satisfying dessert indeed. While it has a fancy name (it is called this because it was the favourite dessert of the British Queen Victoria), in truth the Victoria sponge cake is itself actually one of the simpler variations of the sponge cake. It consists of two layers, between which cream and berries are sandwiched. It’s a lighter cake, ideal for the summer, and I’m delighted to share the recipe with you.

It certainly wasn’t only Queen Victoria’s favourite. I think my mother enjoyed baking it too, as much as I enjoyed eating it, and it was often the special treat when we came home on some days, like birthdays. I can’t help but repeat myself, as I have so many times over the years, but my mom was my first teacher in the realm of the kitchen and my inspiration in all my culinary adventures – whether that’s cooking, exploring cuisines, food studies, eating mindfully or crafting this blog. She has been gone for a few years now, and nowadays I think often about how we as children both little and grown-up take our moms for granted. All those times when they call and we say, “Sorry, I don’t have time” – and all the regrets, later on… If your mother is still in your life, do try and spend more time with her. Take it from me, as someone who misses hers a lot.

Missing my mom also means reminiscing about all the food she made for us over the years, and returning to those experiences in my own kitchen. This Victoria sponge cake is obviously one such experience for me, for the scent in particular brings her to mind vividly. My mother’s handwritten cookbook contained a recipe for Victoria sponge cake. To me, the cookbook even smelled of this cake, so I have a strong association between it and my memories both of my childhood and of my mother herself.

Perhaps my kids will also associate certain dishes and their aromas with me. On Sundays, when they’re visiting, they invariably ask me what I plan to bake for them that day. During the week, they will claim to be on diets and refuse the many goodies that pop into my oven on a daily basis, especially as I’m always baking for customers. But come Sunday, come the demands for baked deliciousness. This Sunday, I’ve already anticipated this request. Guess what I’ll be preparing for them?

I said earlier that one of the key components of a Victoria sponge cake is the use of berries. Seasonal ones are ideal. For mine, I have used a strawberry jam that a dear friend makes at home every year from fruit grown in her backyard. It’s the only strawberry jam we consume. It really is the best there is, and we are lucky to have it.

Simple Victoria Sponge Cake

(Serves: 6-8)

150 grams self-raising flour

150 grams unsalted butter

150 grams powdered sugar

3 eggs

½ teaspoon vanilla extract

2-3 tablespoons strawberry jam

½ cup butter cream


Preheat the oven to 170°. Prepare two 8-inch tins by greasing the edges and dusting with flour. Set aside.

In a bowl, add the butter and sugar. Beat until light and fluffy. Next, add the eggs one at a time, making sure to beat well each time. Add the vanilla extract and beat again.

Sieve the flour and add it to the mixture. Fold the mixture and divide the batter into the two tins equally. Each of these will be one layer of the Victoria sponge cake.

Bake for 25 minutes or until the cake layers turns golden. Then, remove them from the oven and allow to cool.

To assemble the Victoria sponge cake, apply strawberry jam generously on top of one layer. Over this, apply butter cream generously as well. Now, gently place the other layer on top of the first. Sprinkle some powdered sugar over the top.

Your Victoria sponge cake is now ready to be eaten. Slice and enjoy the delicious flavours of berries, cream and cake coming together. The cake can be stored in the fridge and enjoyed over a few days – or shared immediately with the whole family, the way I love to do.

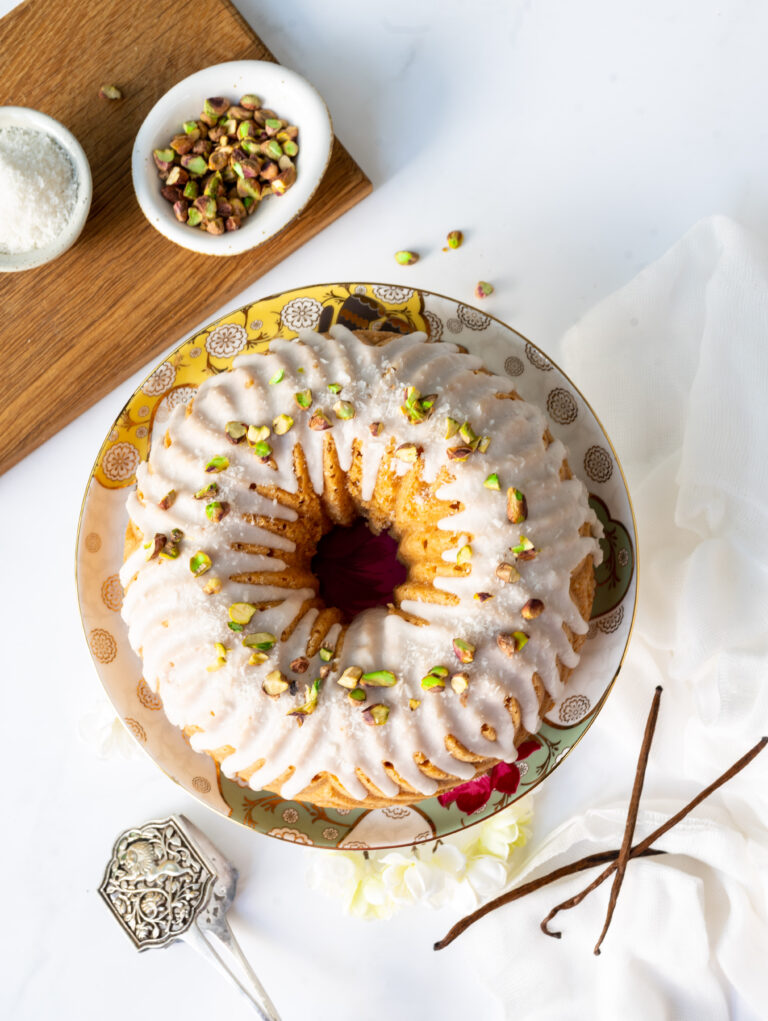
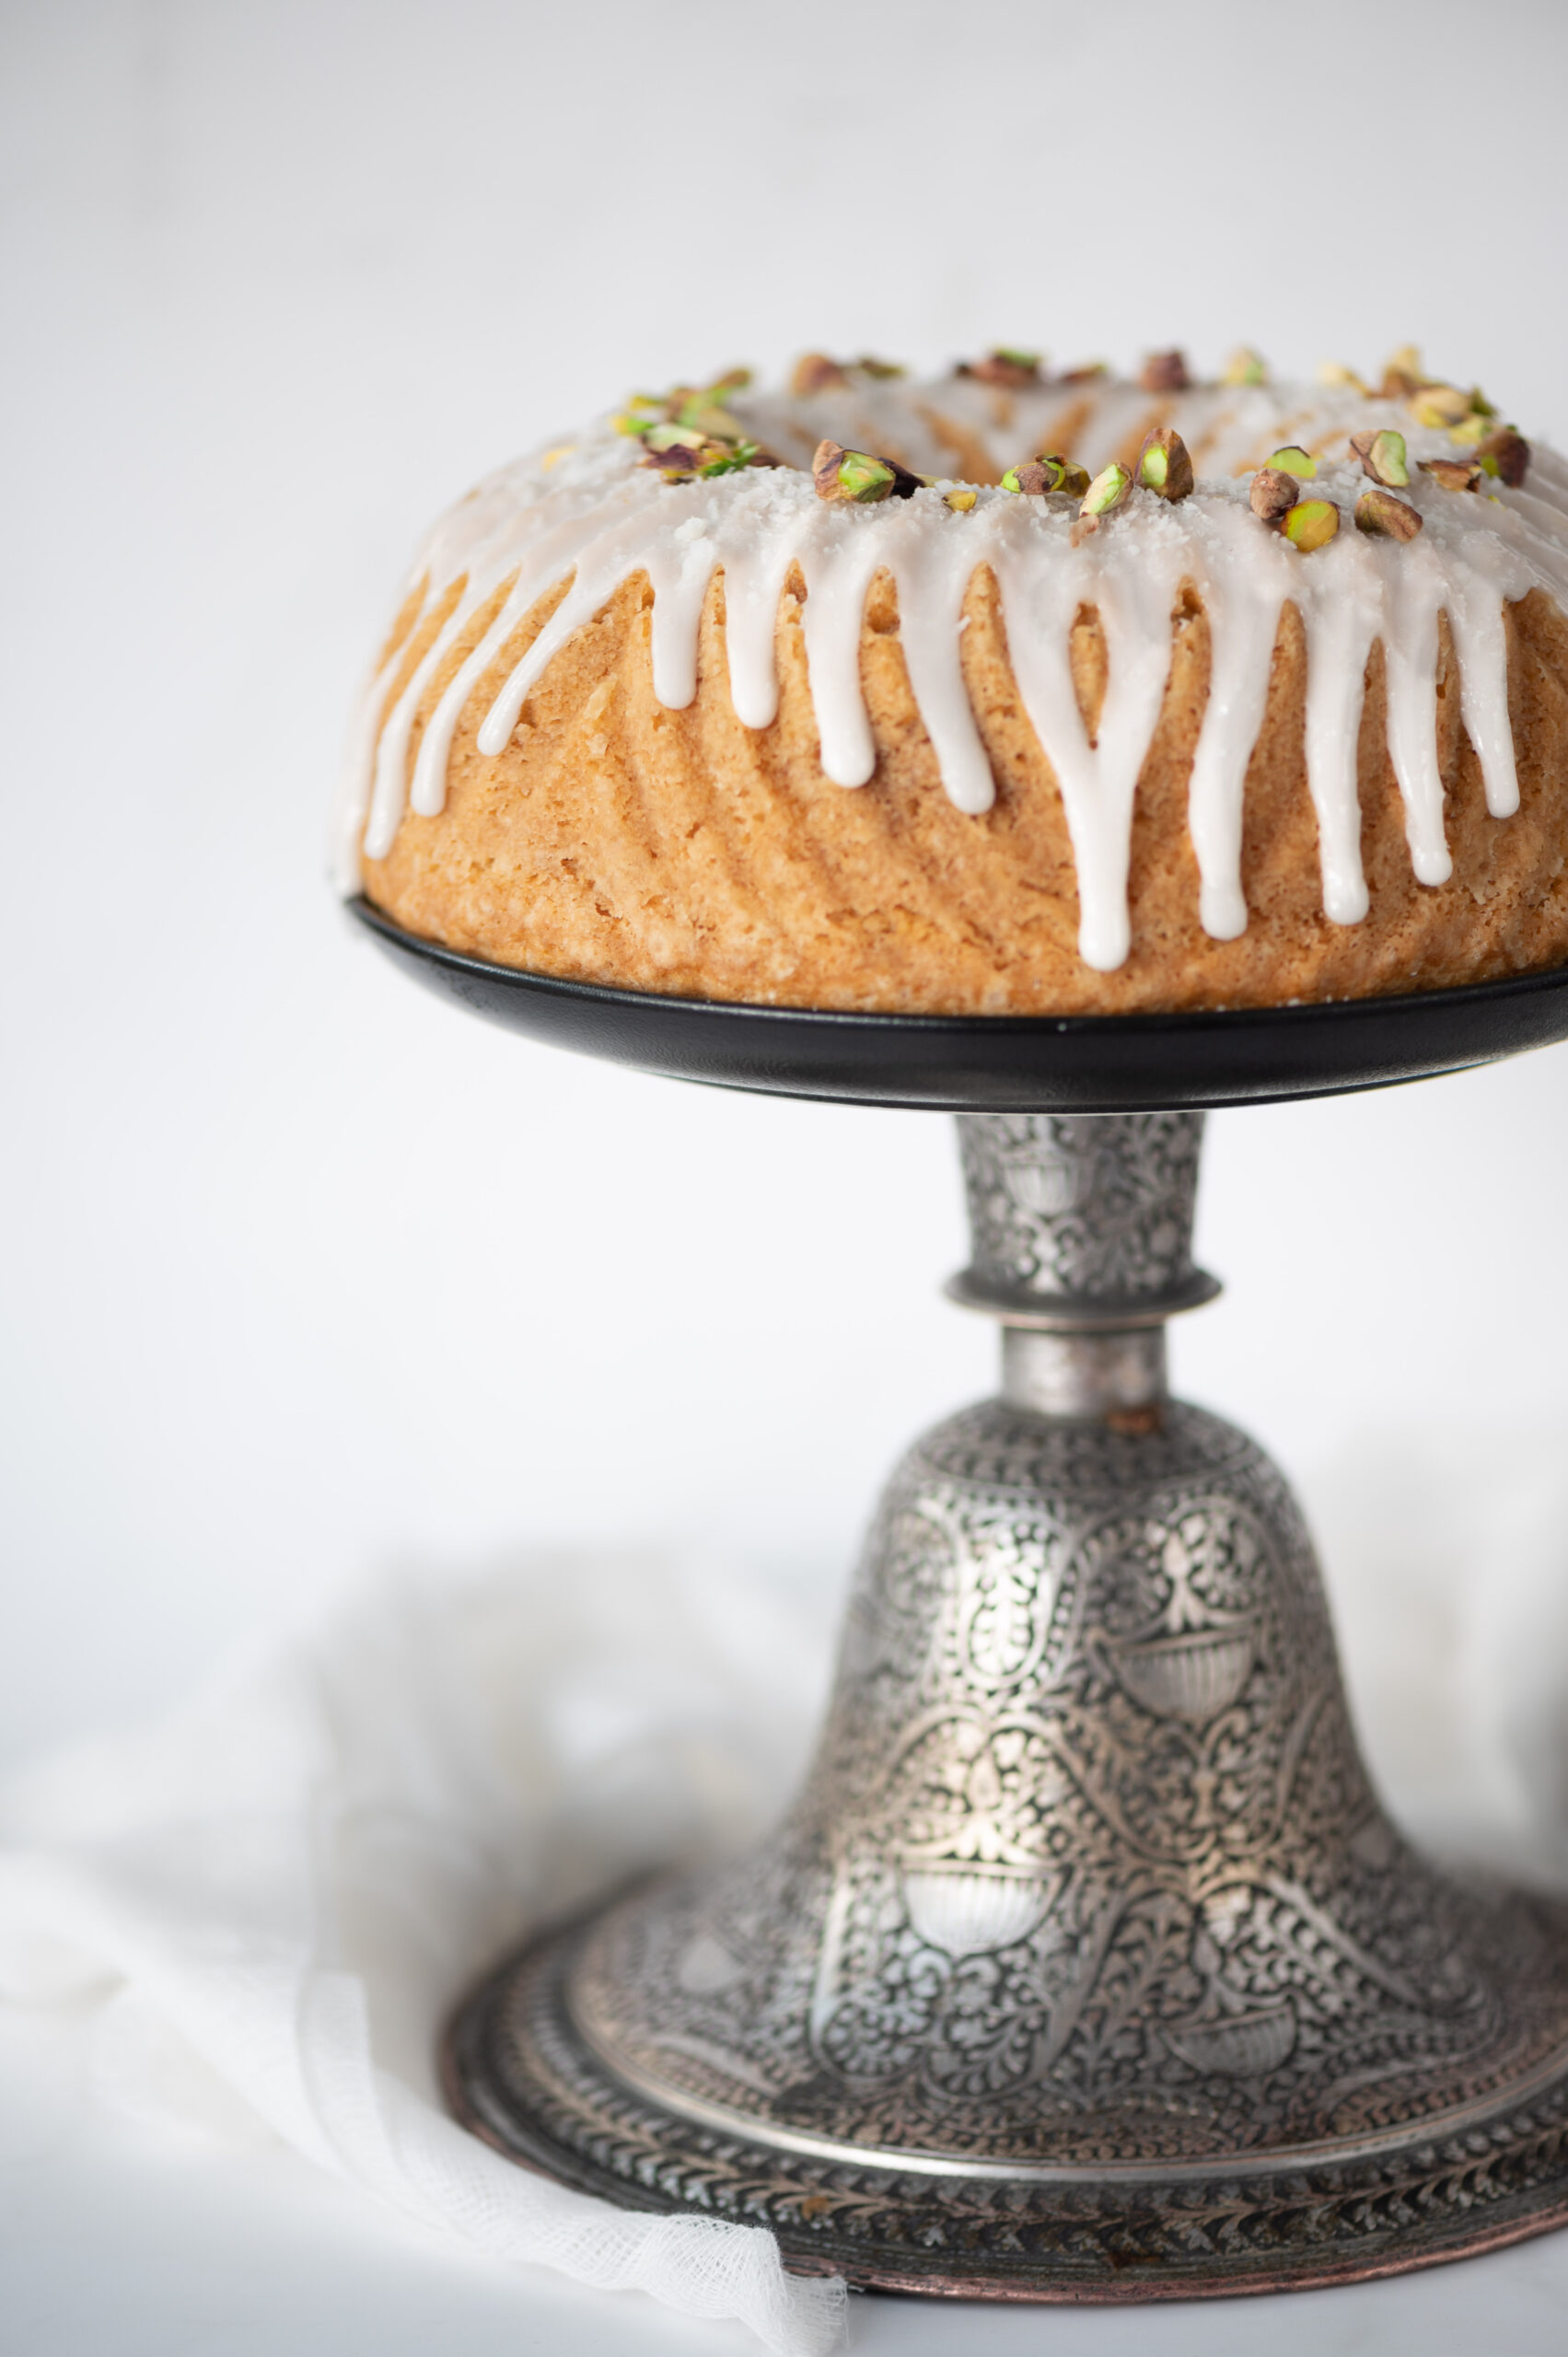
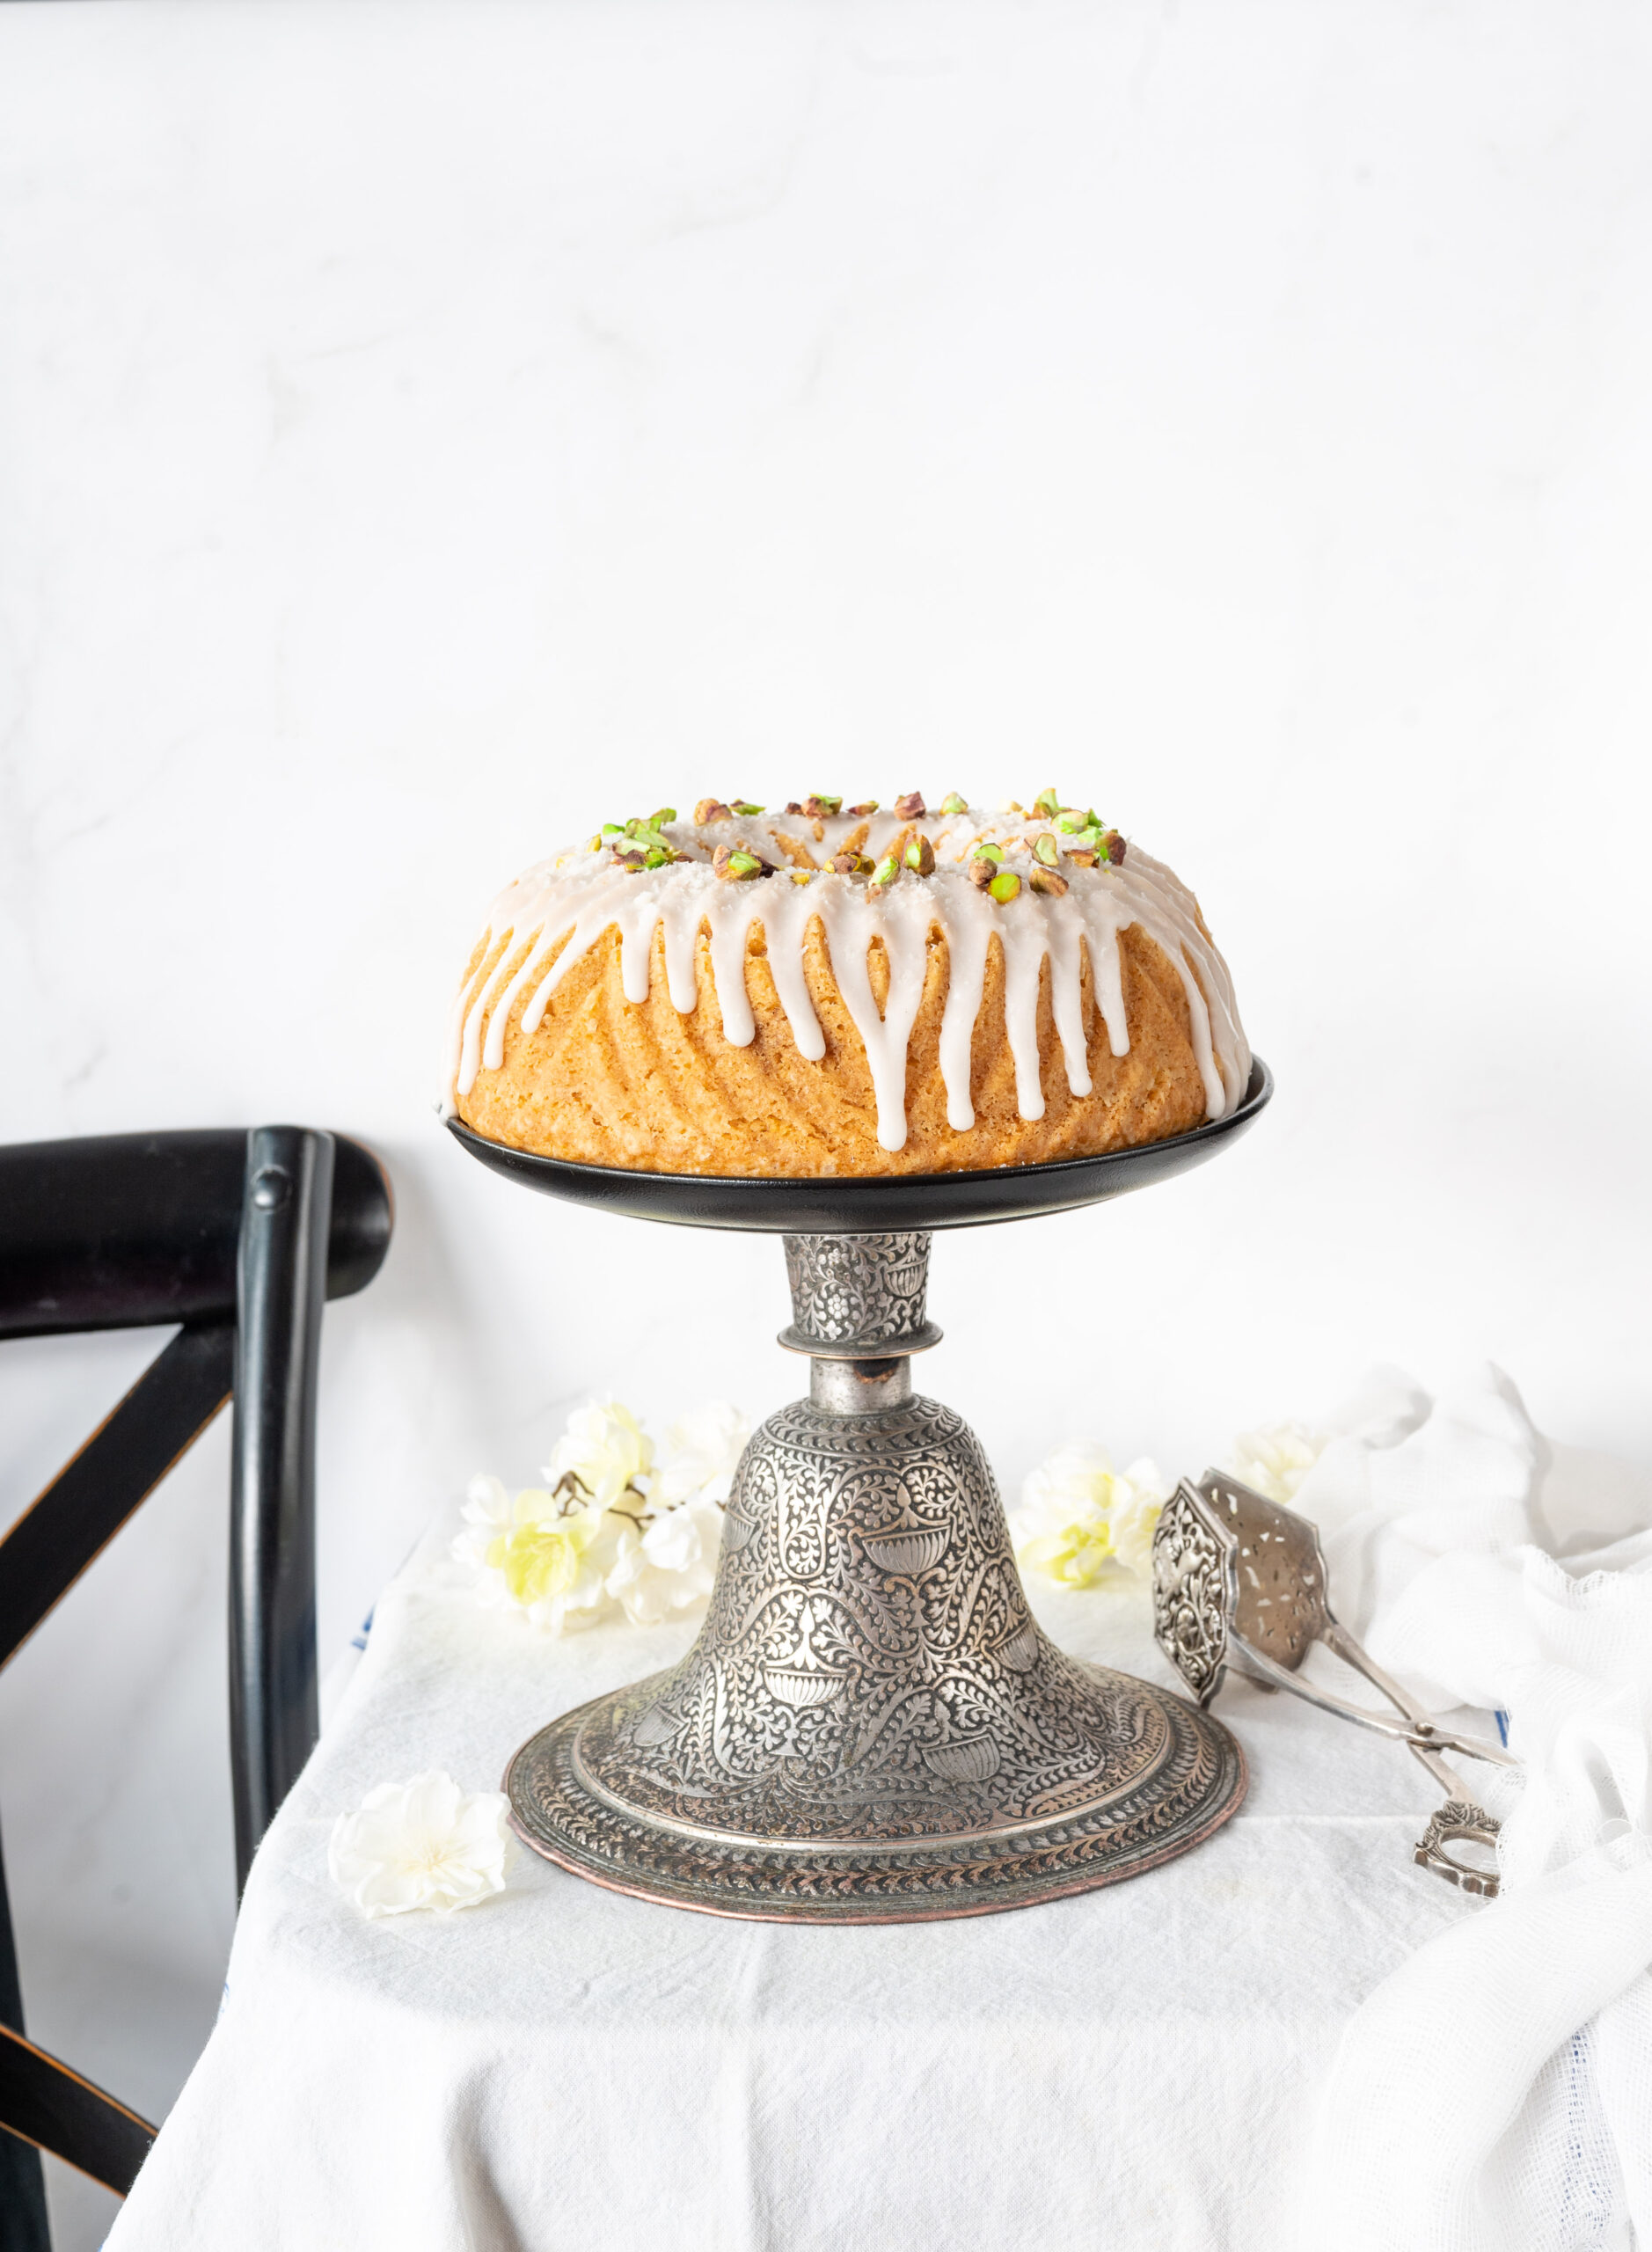
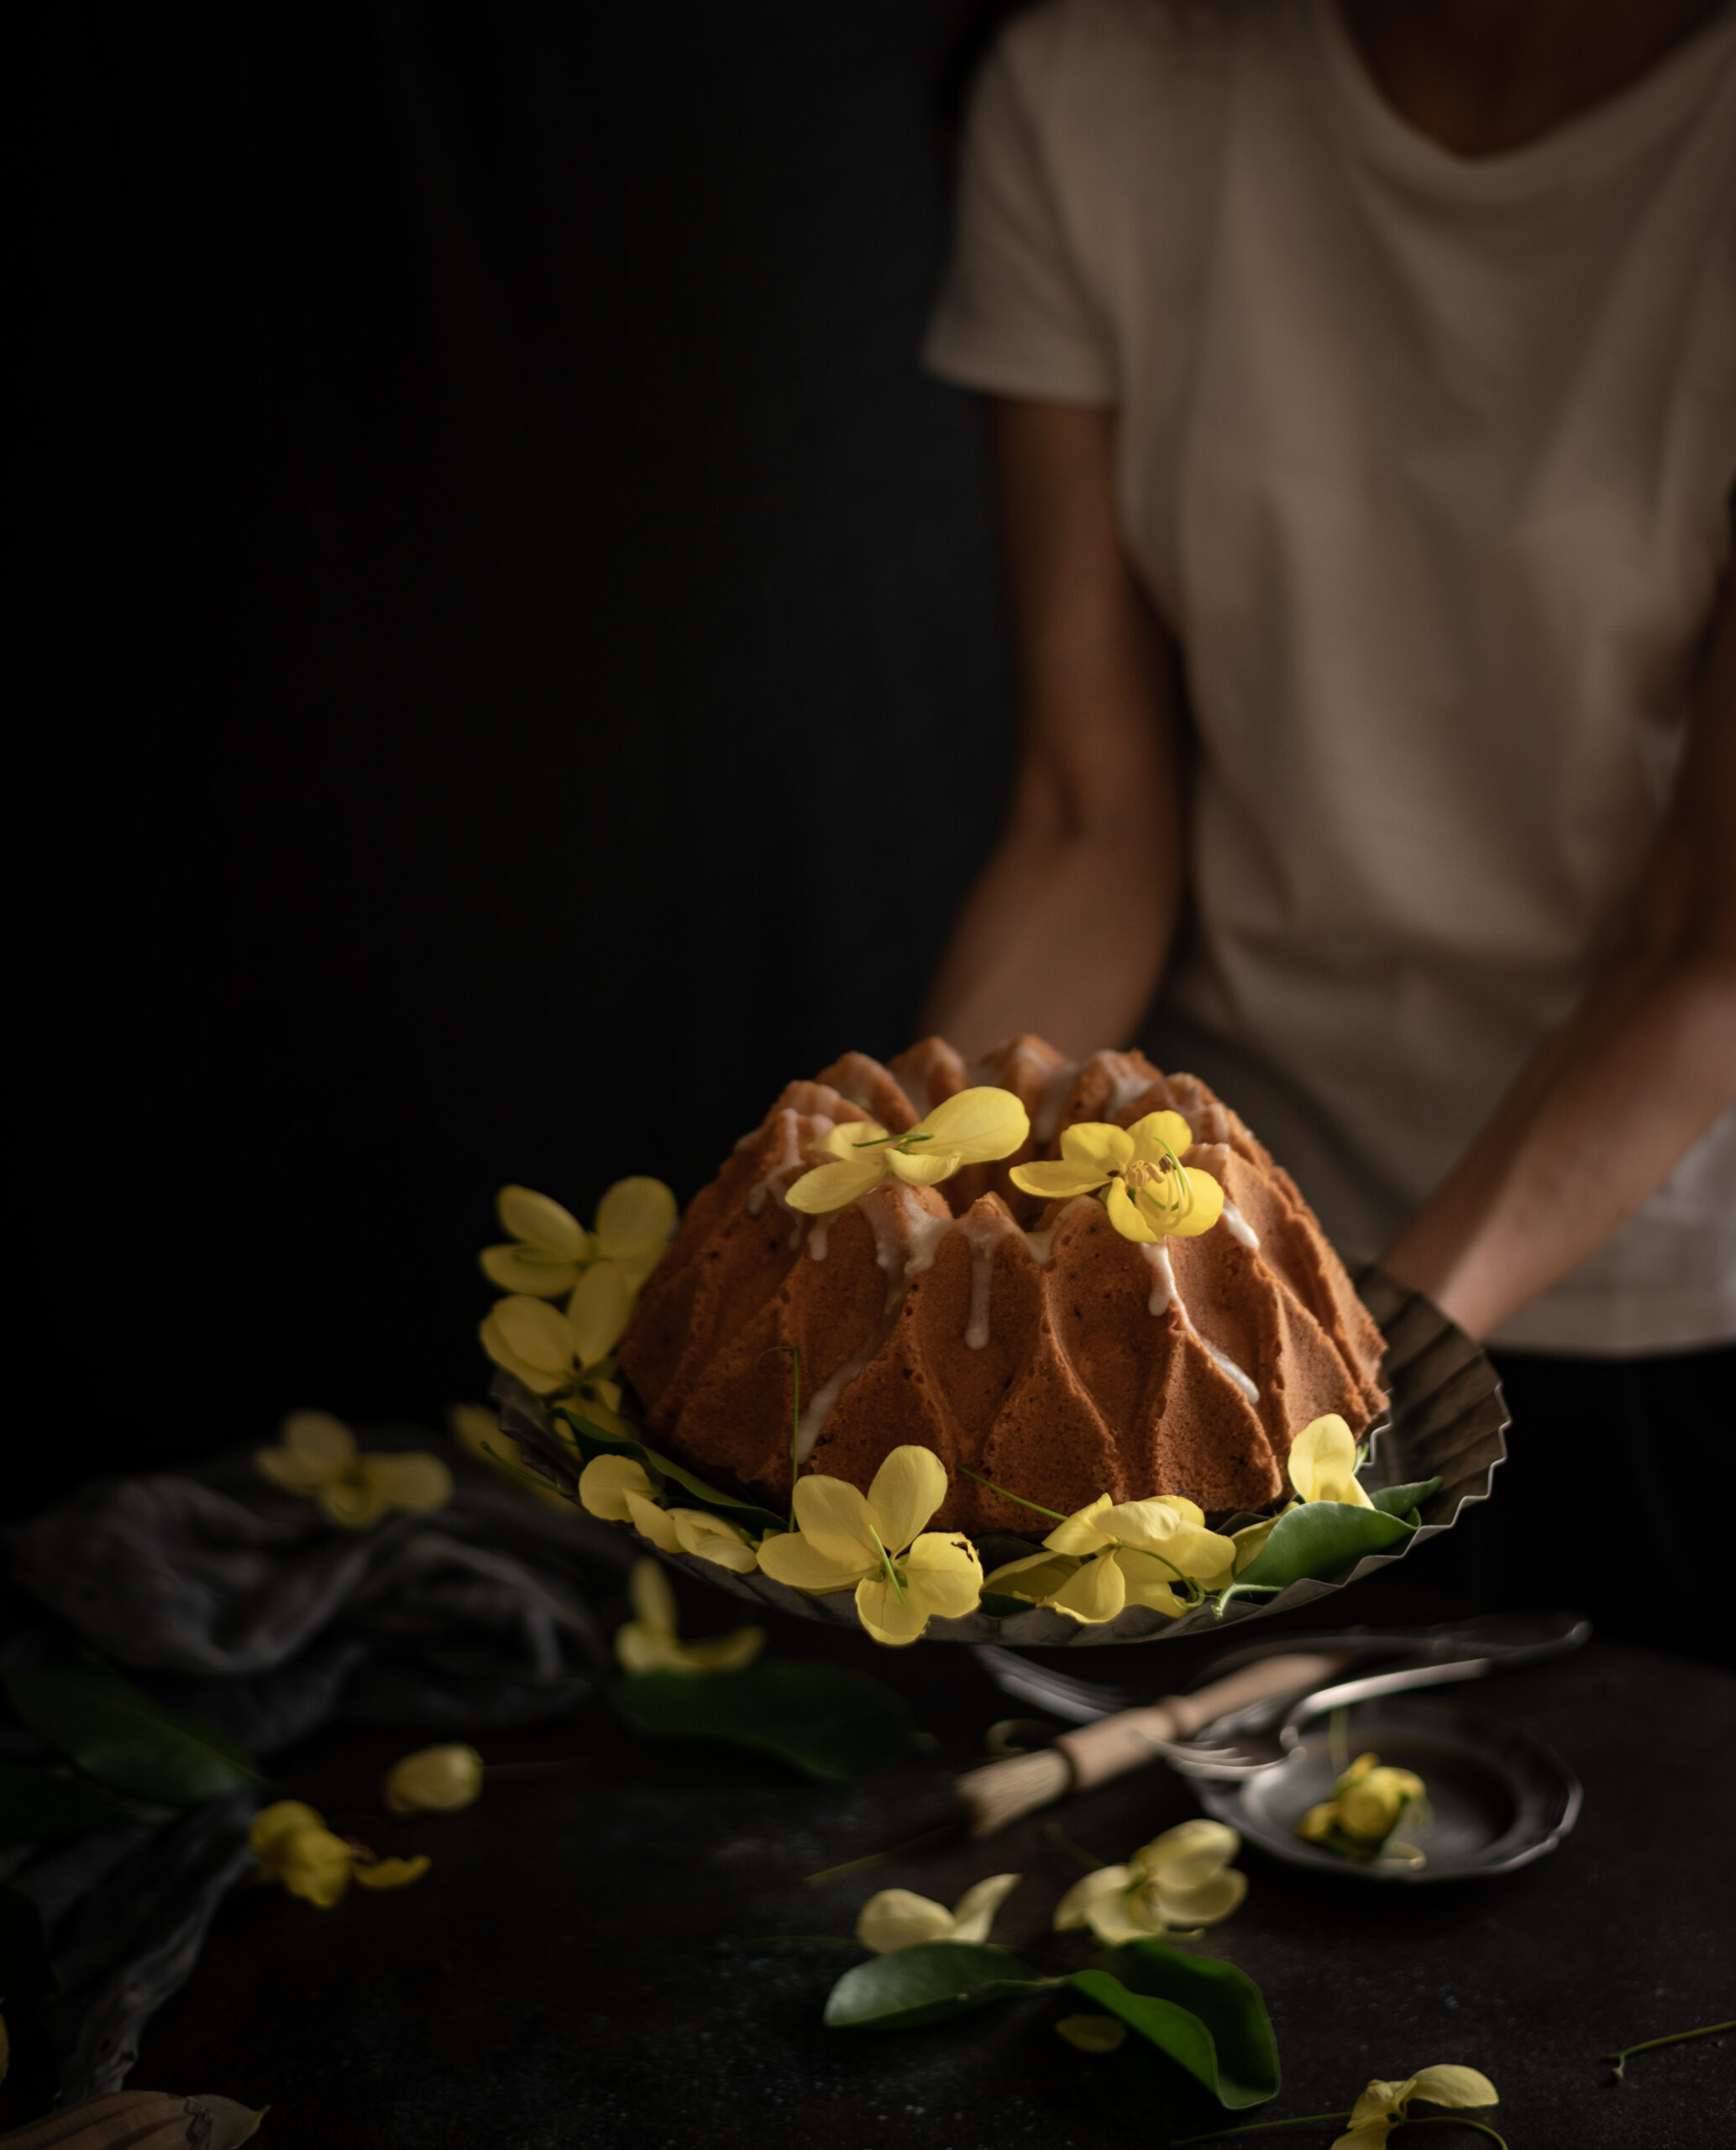
After many travels, I have finally been back home and quite gladly too. It has been lovely to just relax, and be right where I want to be. I was recently struck by something that Michelle Obama said in The Light We Carry, her interview with Oprah Winfrey: “Home is where Barack is”. These words were so sweet, and in some ways resonated for me too. I realised when I heard this line that I had been missing my husband while I was away. He may not be the president of a country, but he is certainly the president of this house. We were watching the interview together on a Sunday evening, and with those loving thoughts in my mind I set about baking for us as I often do on weekends – and the result that day was this vanilla coconut bundt.

A cake like this goes so well with this hot summer weather. It is extremely flavourful, and all the ingredients are easily available. The coconut grows in my own backyard, as I’ve said umpteen times before, and I thought it would be great not just seasonally but also as a fitting finish to this All Things Tropical recipe series I’ve recently shared.

A bundt is a kind of sponge cake or tea cake, and keeps for a bit longer. That’s one of the good things about it. We try to control ourselves by not eating half the cake in one go, and these days it’s keeping us happy over a few days for sure. I must admit that this may be because the kids are away, which is a bit of a sore topic for me. I never actually felt that empty nest problem when they went off to study. But I feel it now, now that they are in their late 20s and have their own lives as adults, their own worlds of friends and family. It is similar for my husband too. So small things like this vanilla coconut bundt cake cheer us up.

Speaking of our children’s generation and ours, and to return to Michelle Obama’s very impressive accomplishments and sentiments – I suppose it also has to do with age. When you are younger, you want to do everything – you want to achieve so much, you want to build empires, you want to make a name for yourself. But there comes a time in your life when all you really want, once you have met all your ambitions, is to spend time with your loved ones. Your partner first and foremost, and then the rest of your family. My husband and I now feel able to make time for each other despite our busy schedules. We come home to each other, and to treats like this recipe. This vanilla coconut bundt can pep up any evening and in my opinion can impress the president too – of a country, or at any rate of a home!
Vanilla Coconut Bundt

(Yield: Serves 6-8)


250 grams soft unsalted butter

225 grams granulated sugar

2 teaspoons vanilla extract

2 whole eggs

250 grams all purpose flour

½ teaspoon baking soda

1½ teaspoons baking powder

¼ teaspoon salt

¾ cup desiccated coconut

1 cup coconut cream

½ cup fresh cream


Preheat the oven to 160°C.

Grease and dust the bundt pan well. Set aside.

Add the flour, baking powder, baking soda and salt and sieve. Set aside.

In a bowl, add the butter, sugar and vanilla extract. Blend well until fluffy.

Now, add the eggs and beat well until incorporated. Next, add the flour mixture and fold gently. Then, add the coconut cream and desiccated coconut. Fold until it all comes together.

Spoon the mixture into the bundt pan and bake for 45 minutes or until a toothpick comes out clean. Then, remove from the oven and allow to cool for 15 minutes.

Upturn the bundt pan and tap gently. Remove the pan. Allow the cake to cool completely before you drizzle the fresh cream on top. Your beautiful vanilla coconut bundt is now ready to serve.

The bundt has made a couple of appearances on this blog before, such as this citrus bundt cake and this lemon poppy bundt cake. If you enjoy this style of cake, you may want to explore those recipes too.

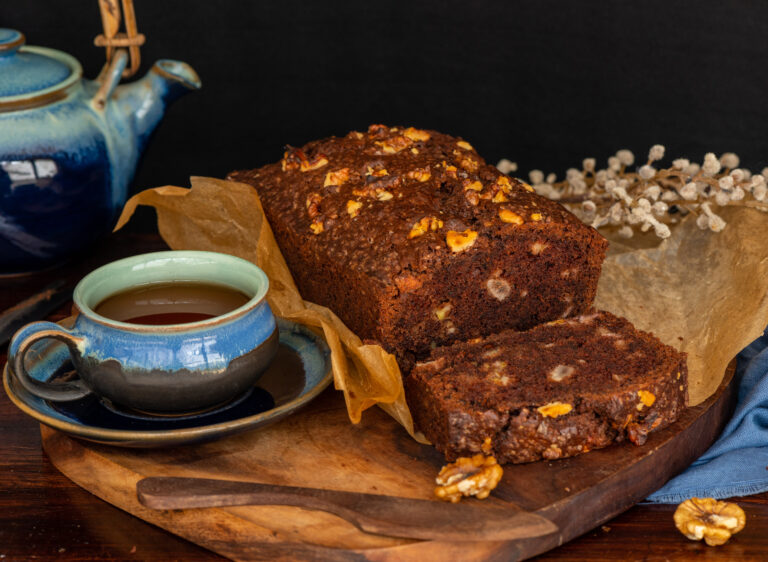
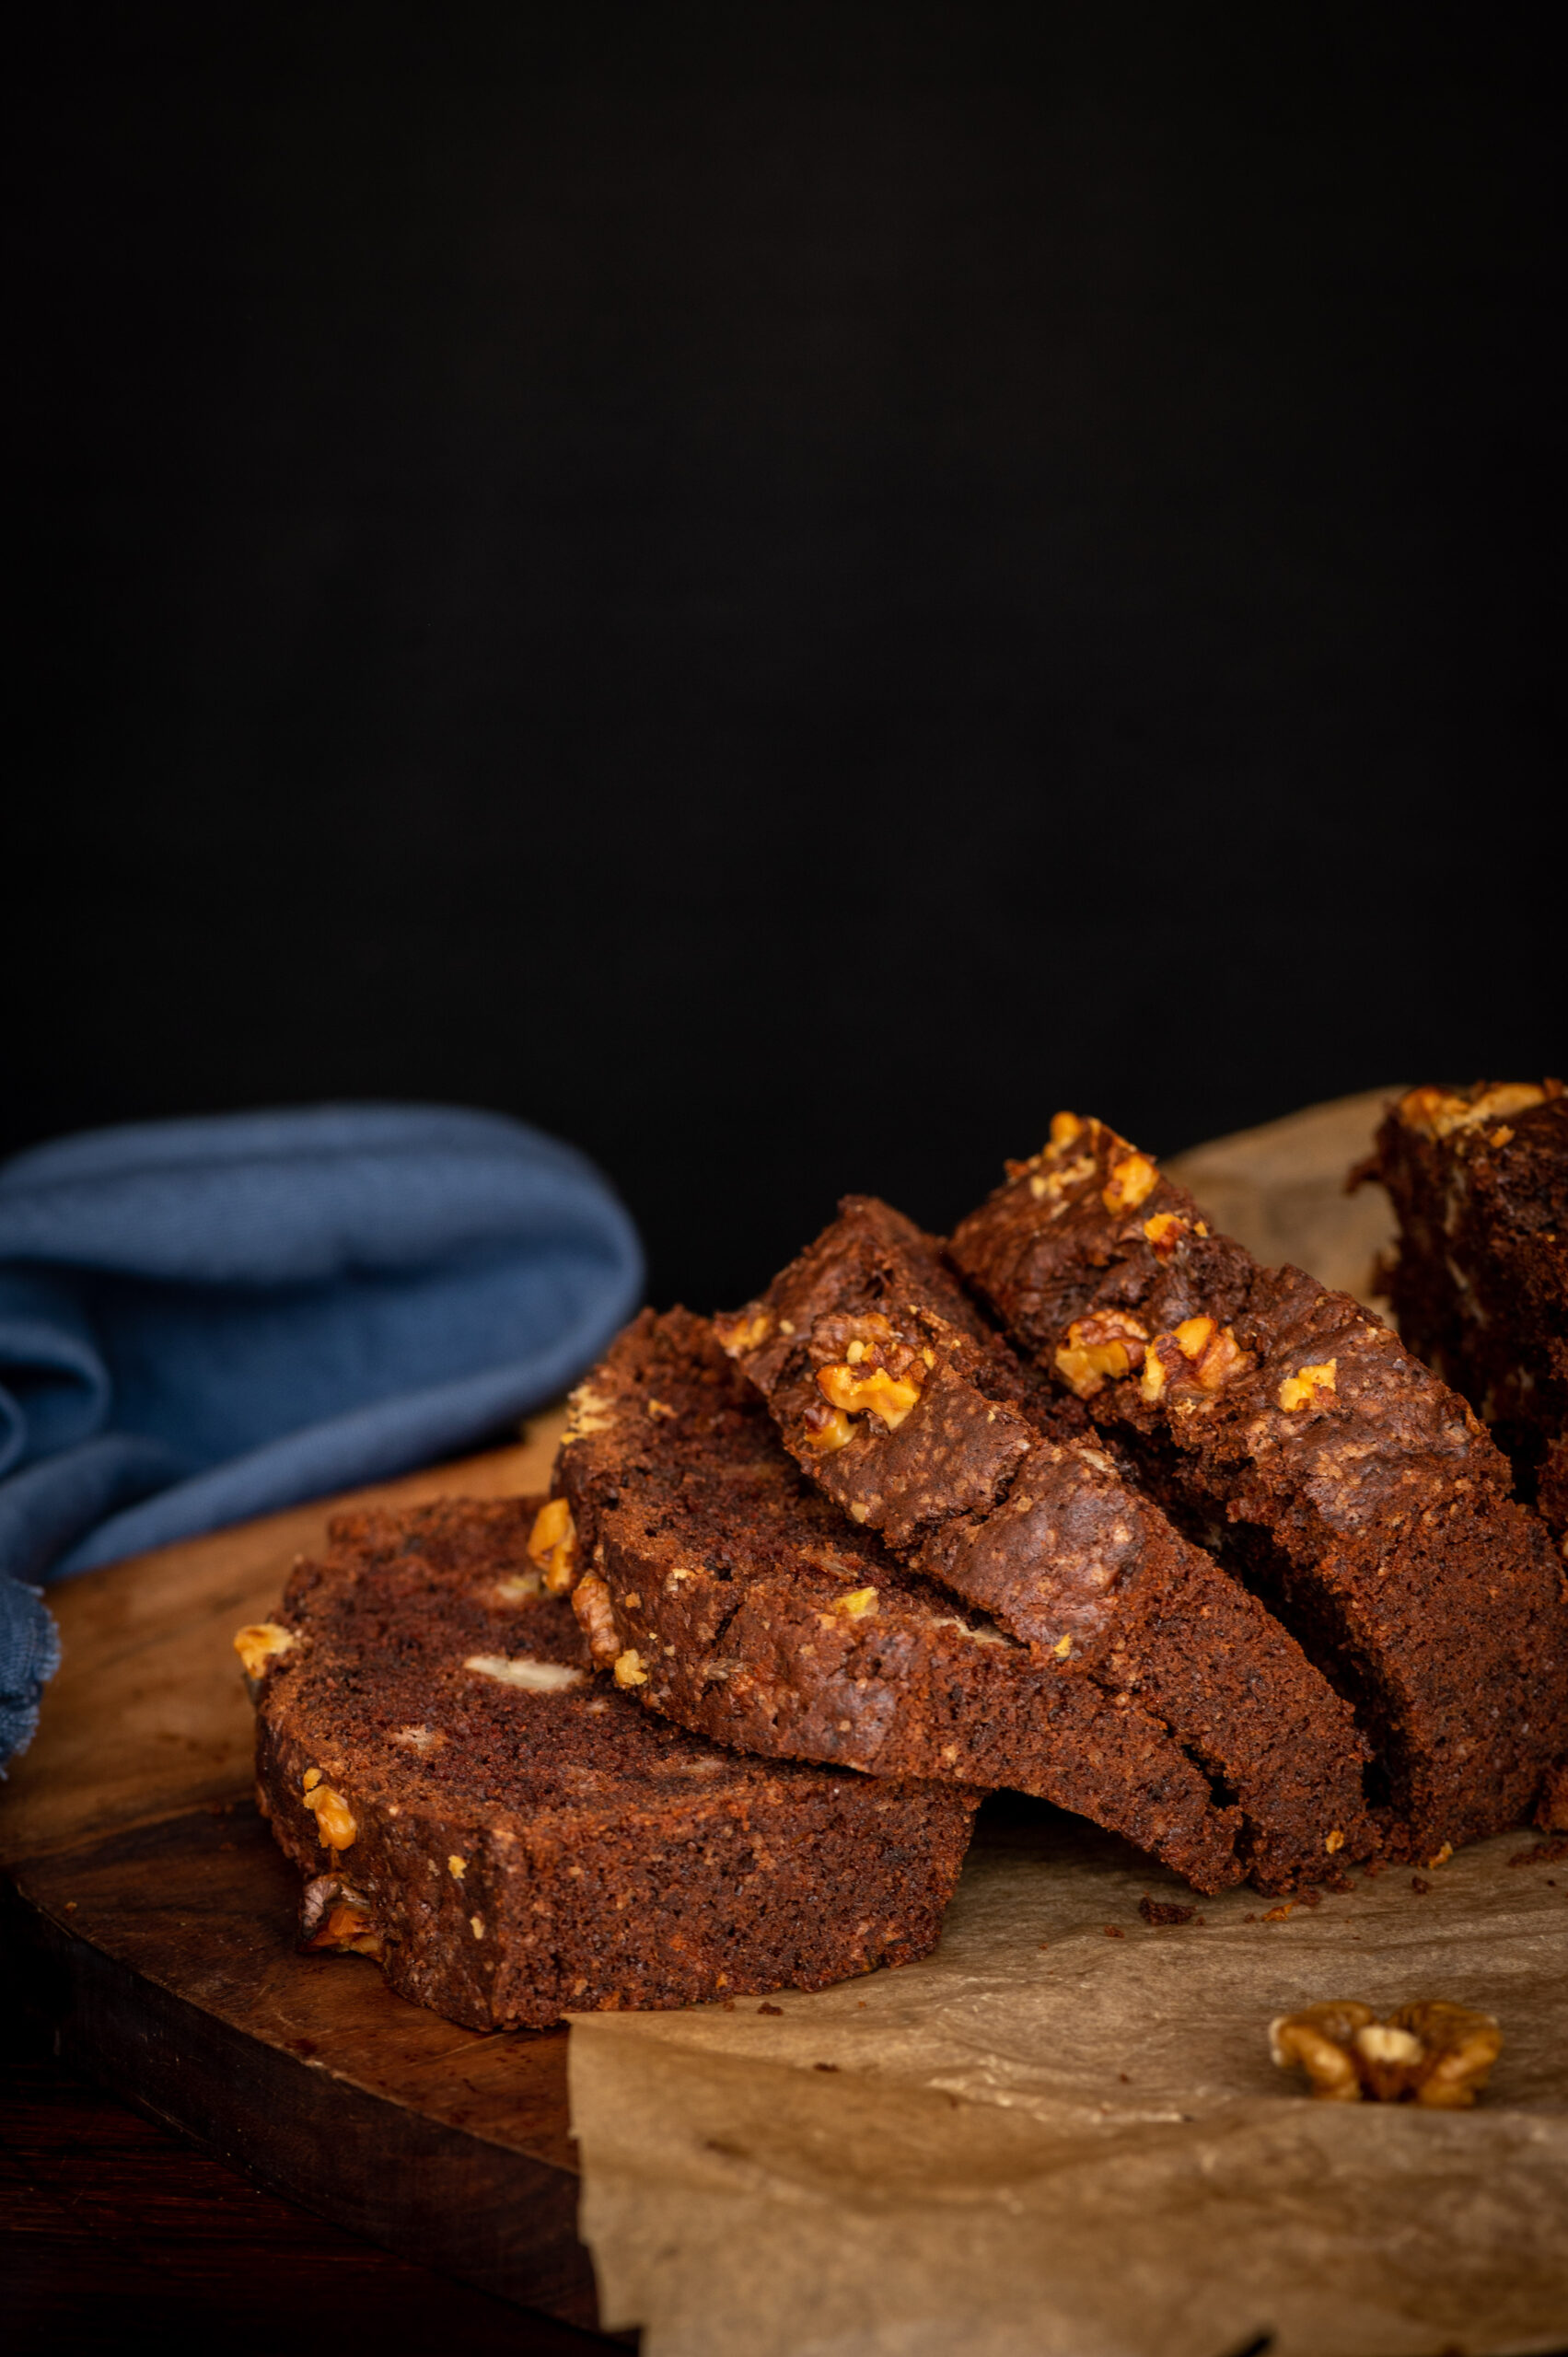
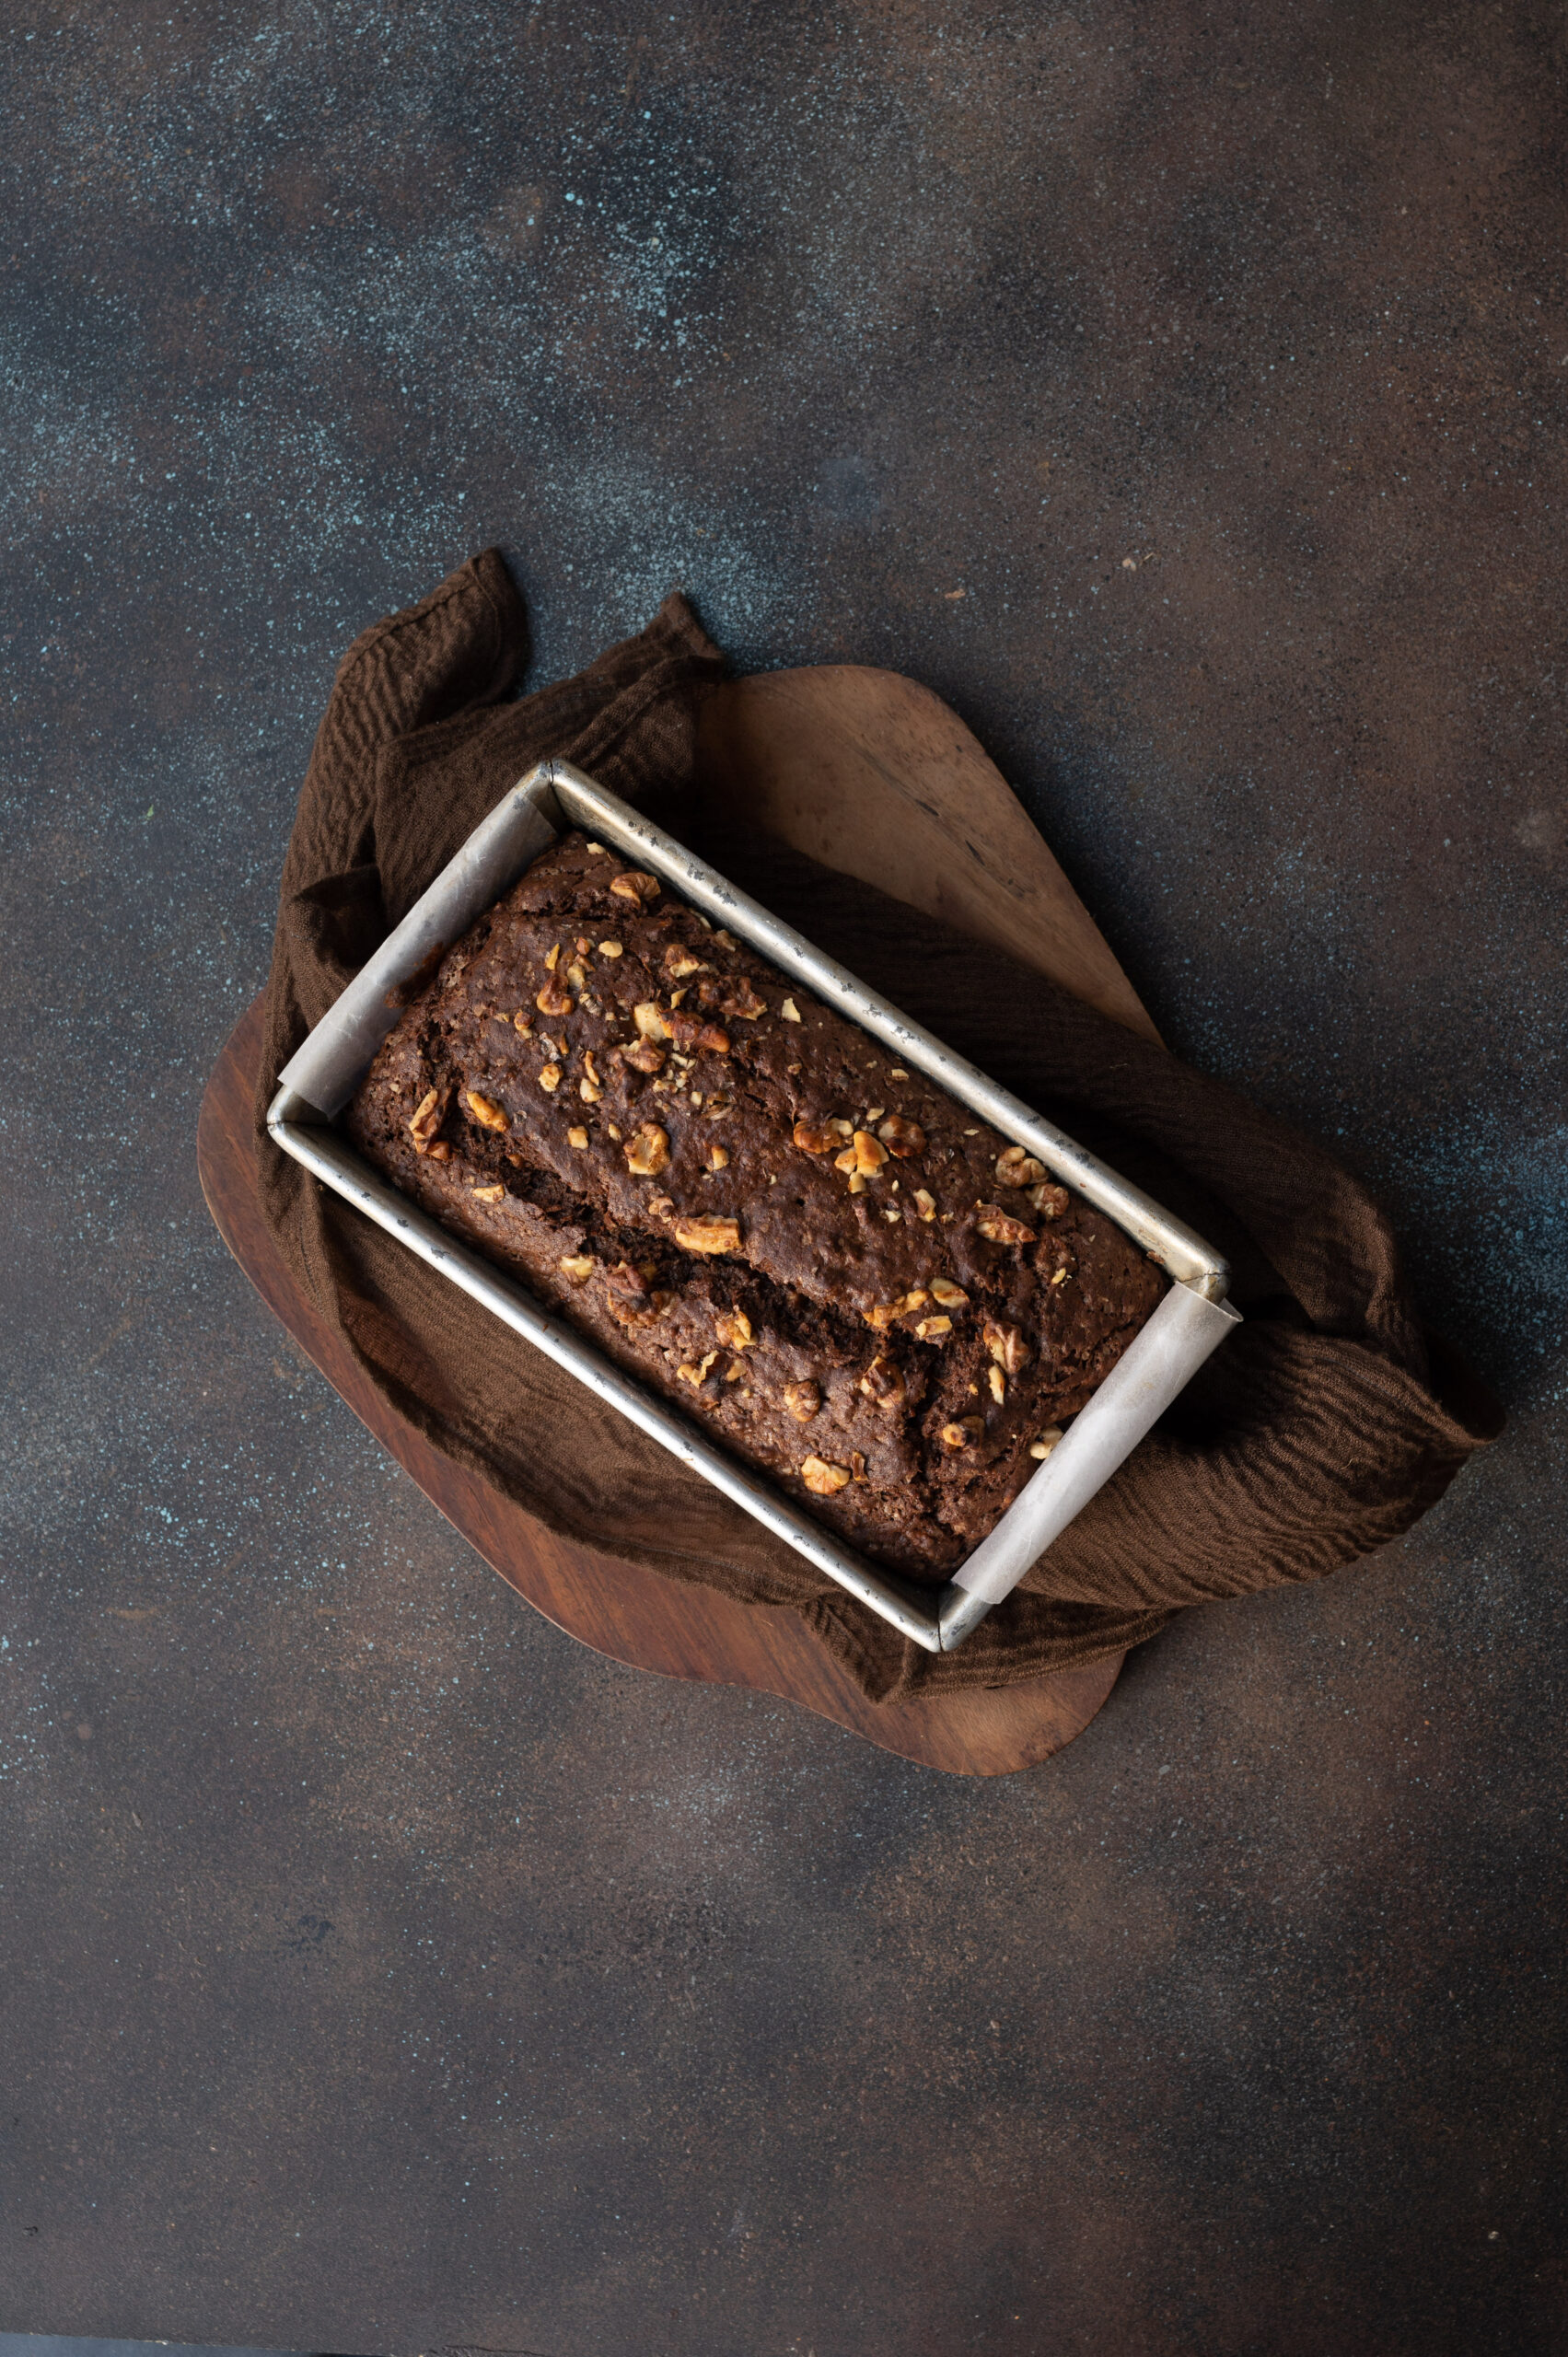
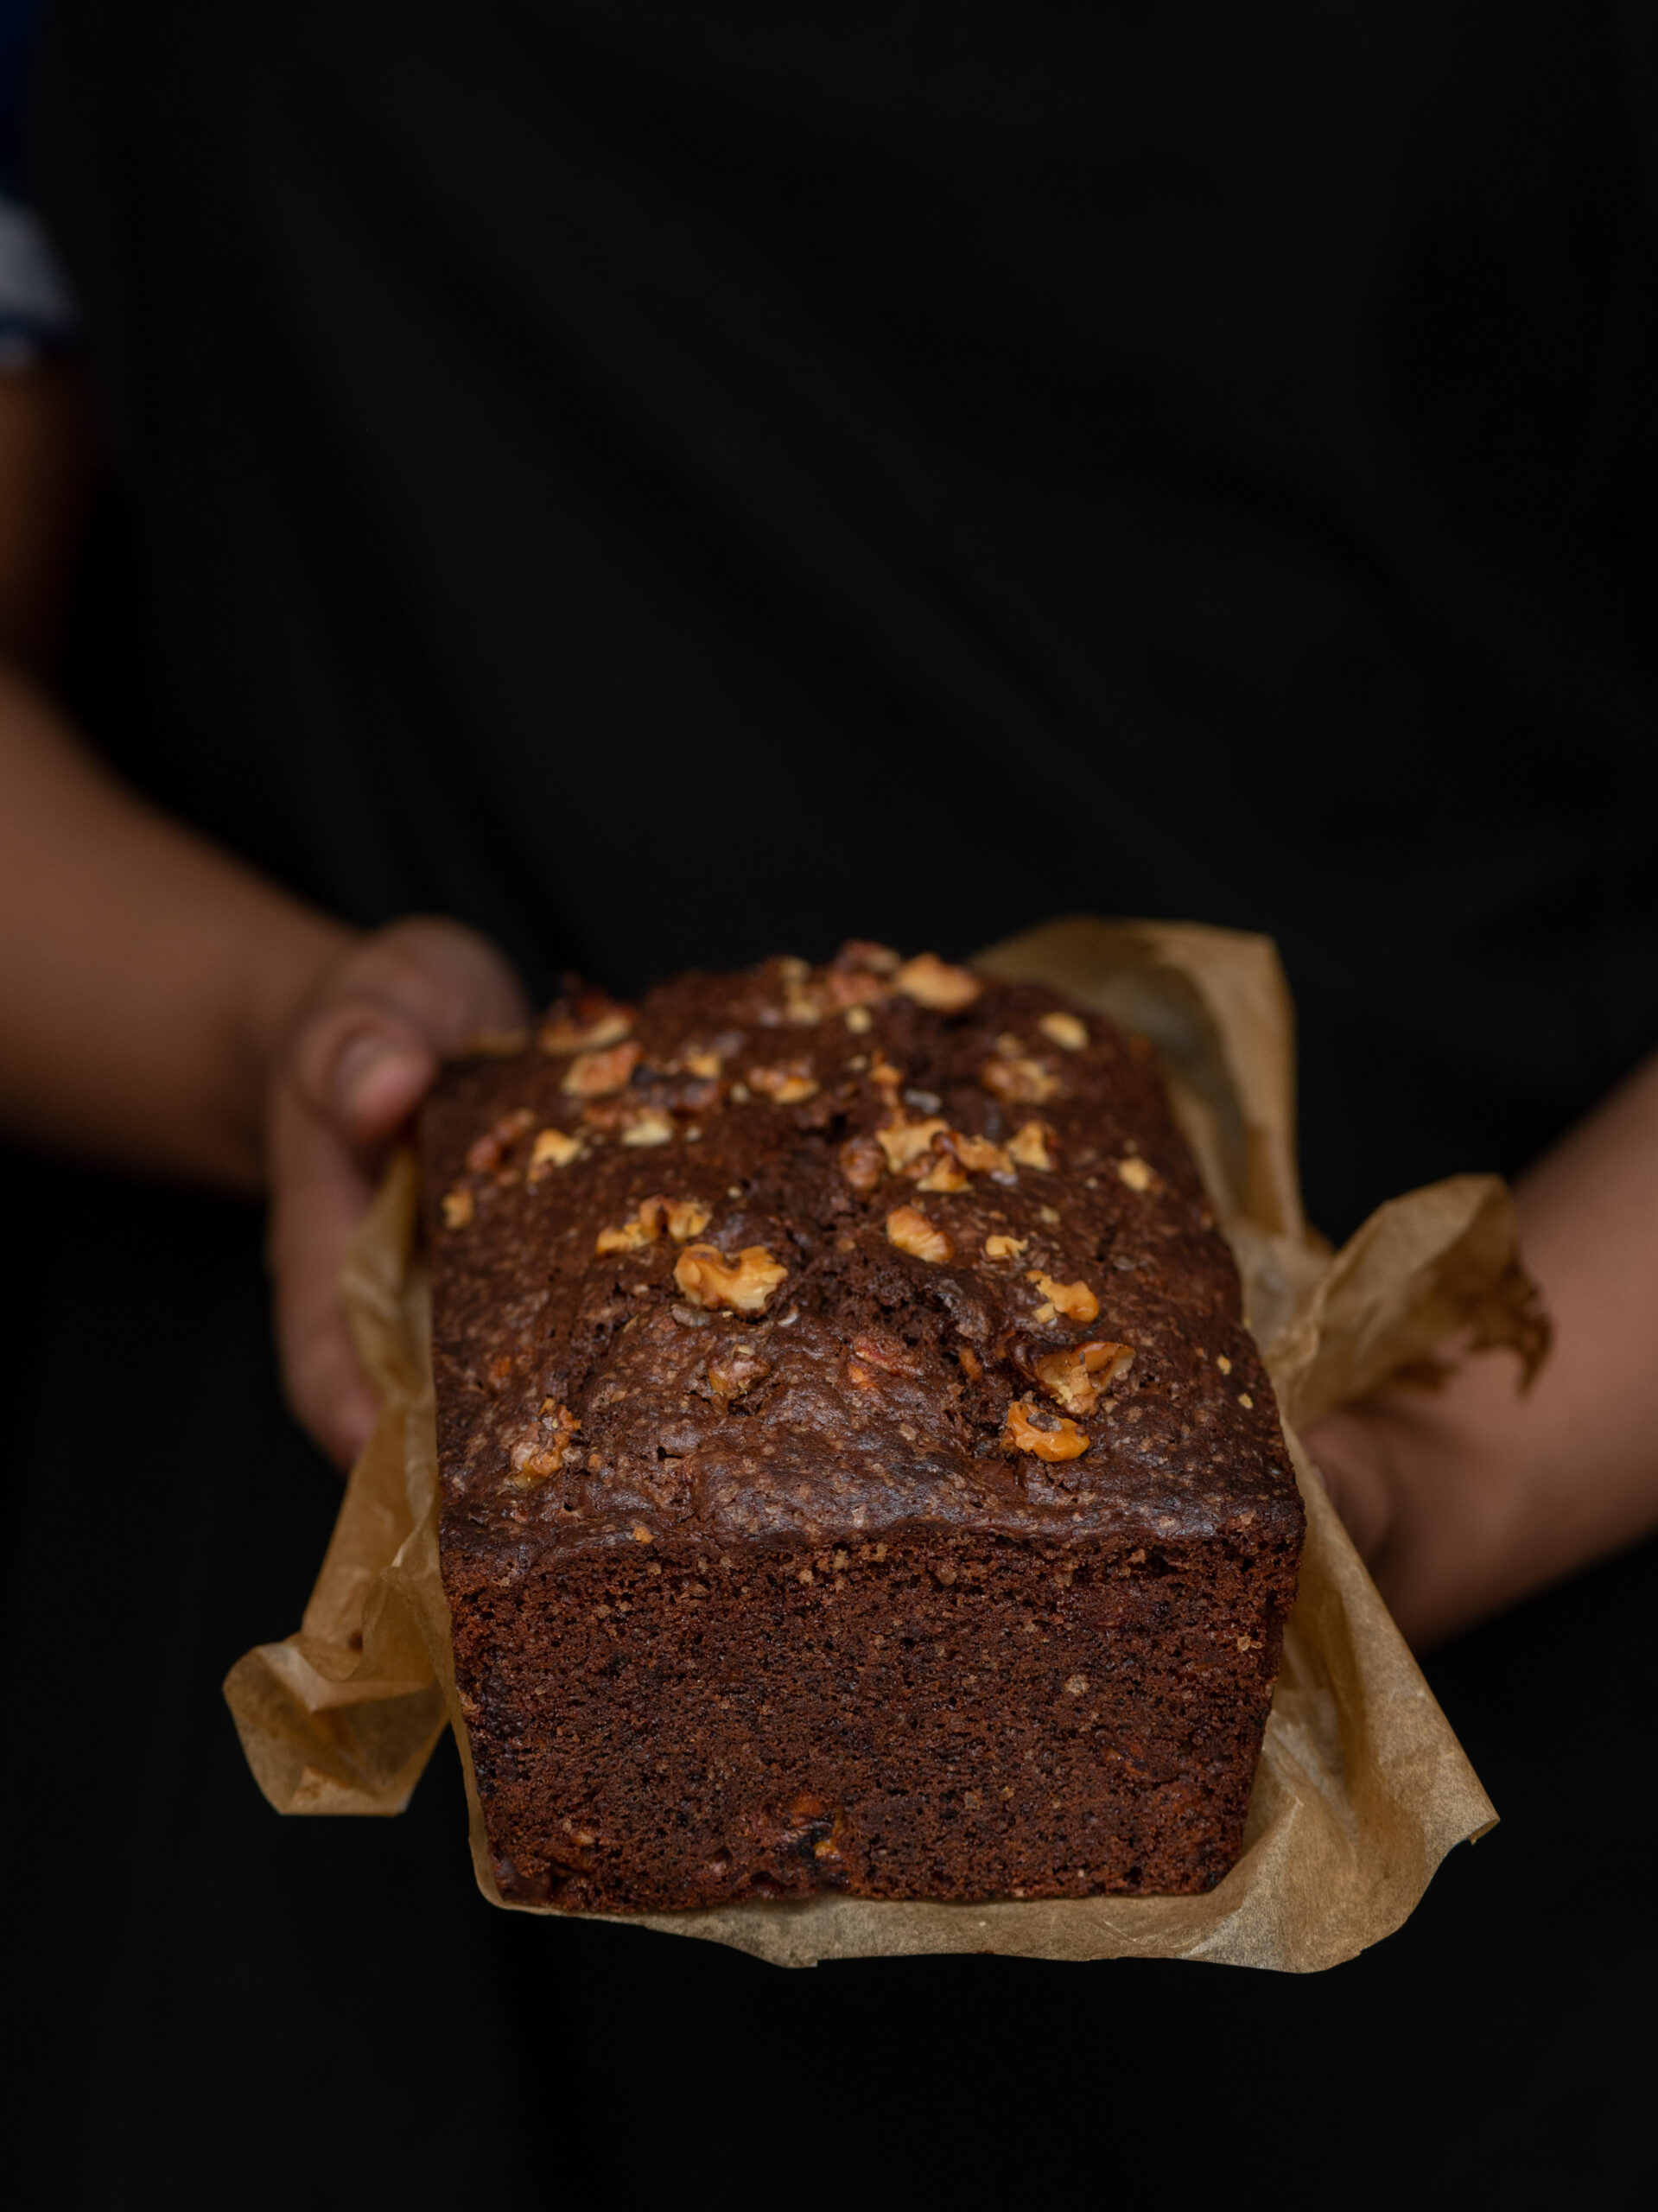
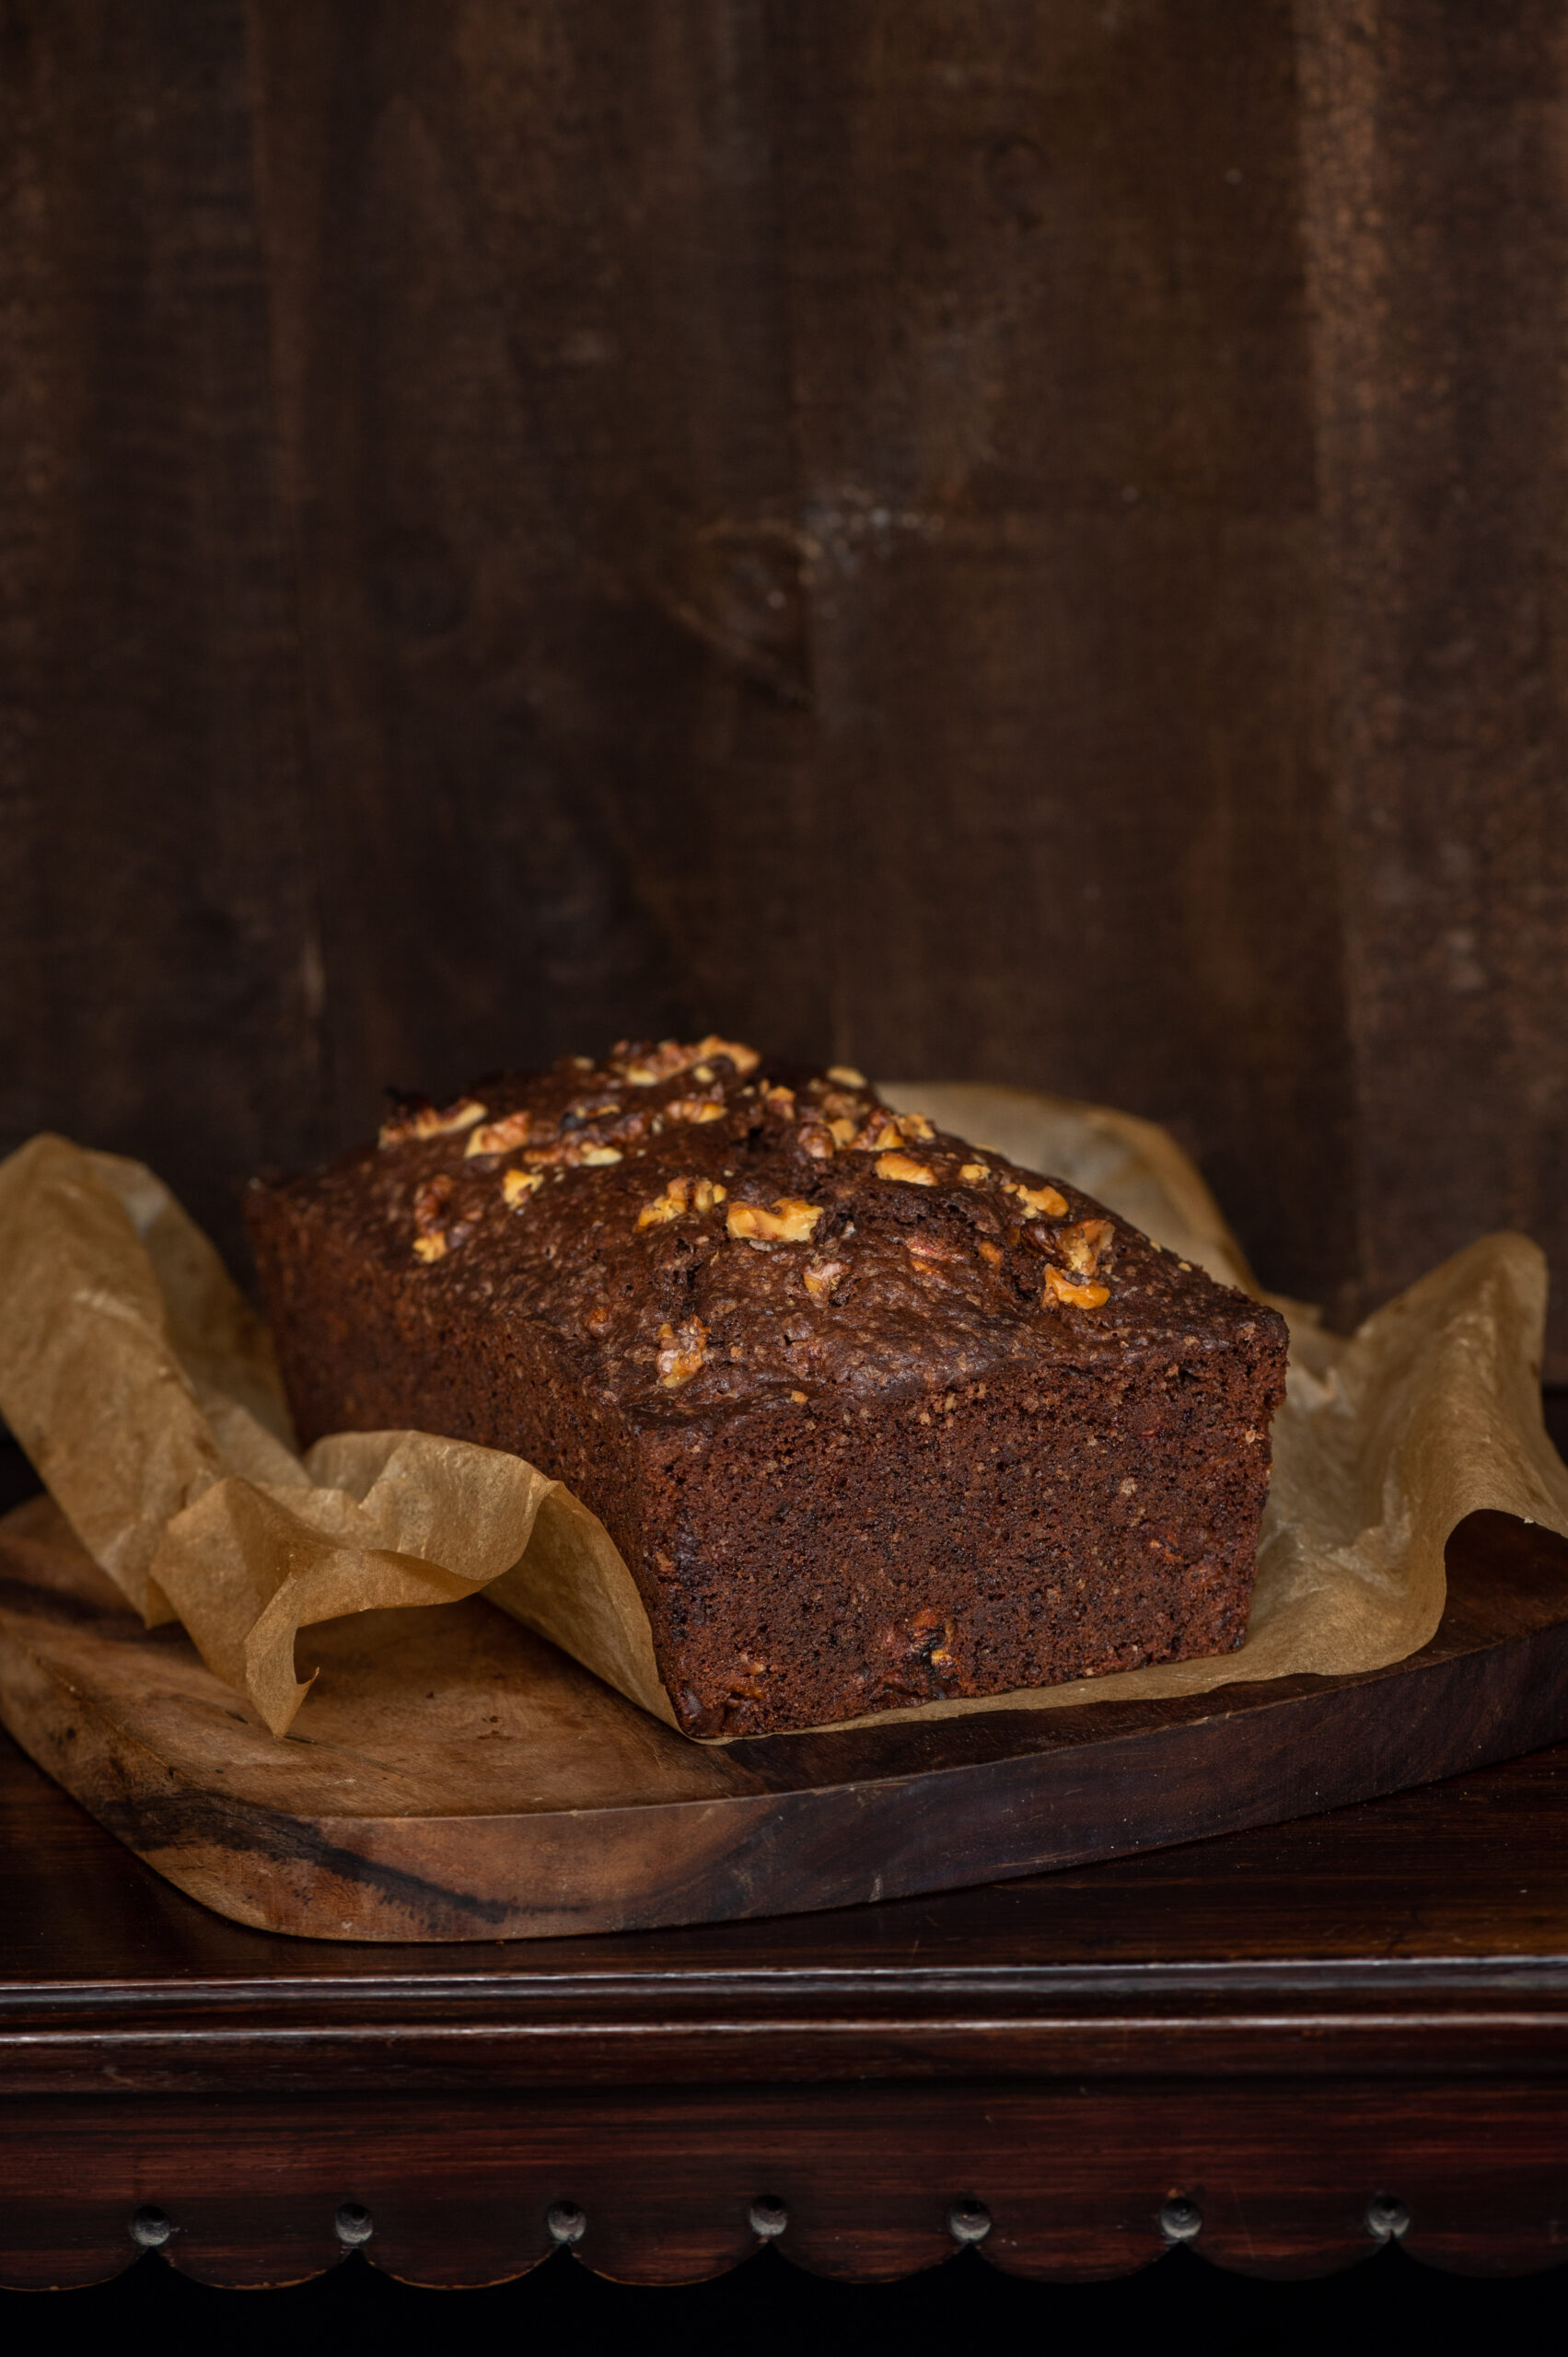
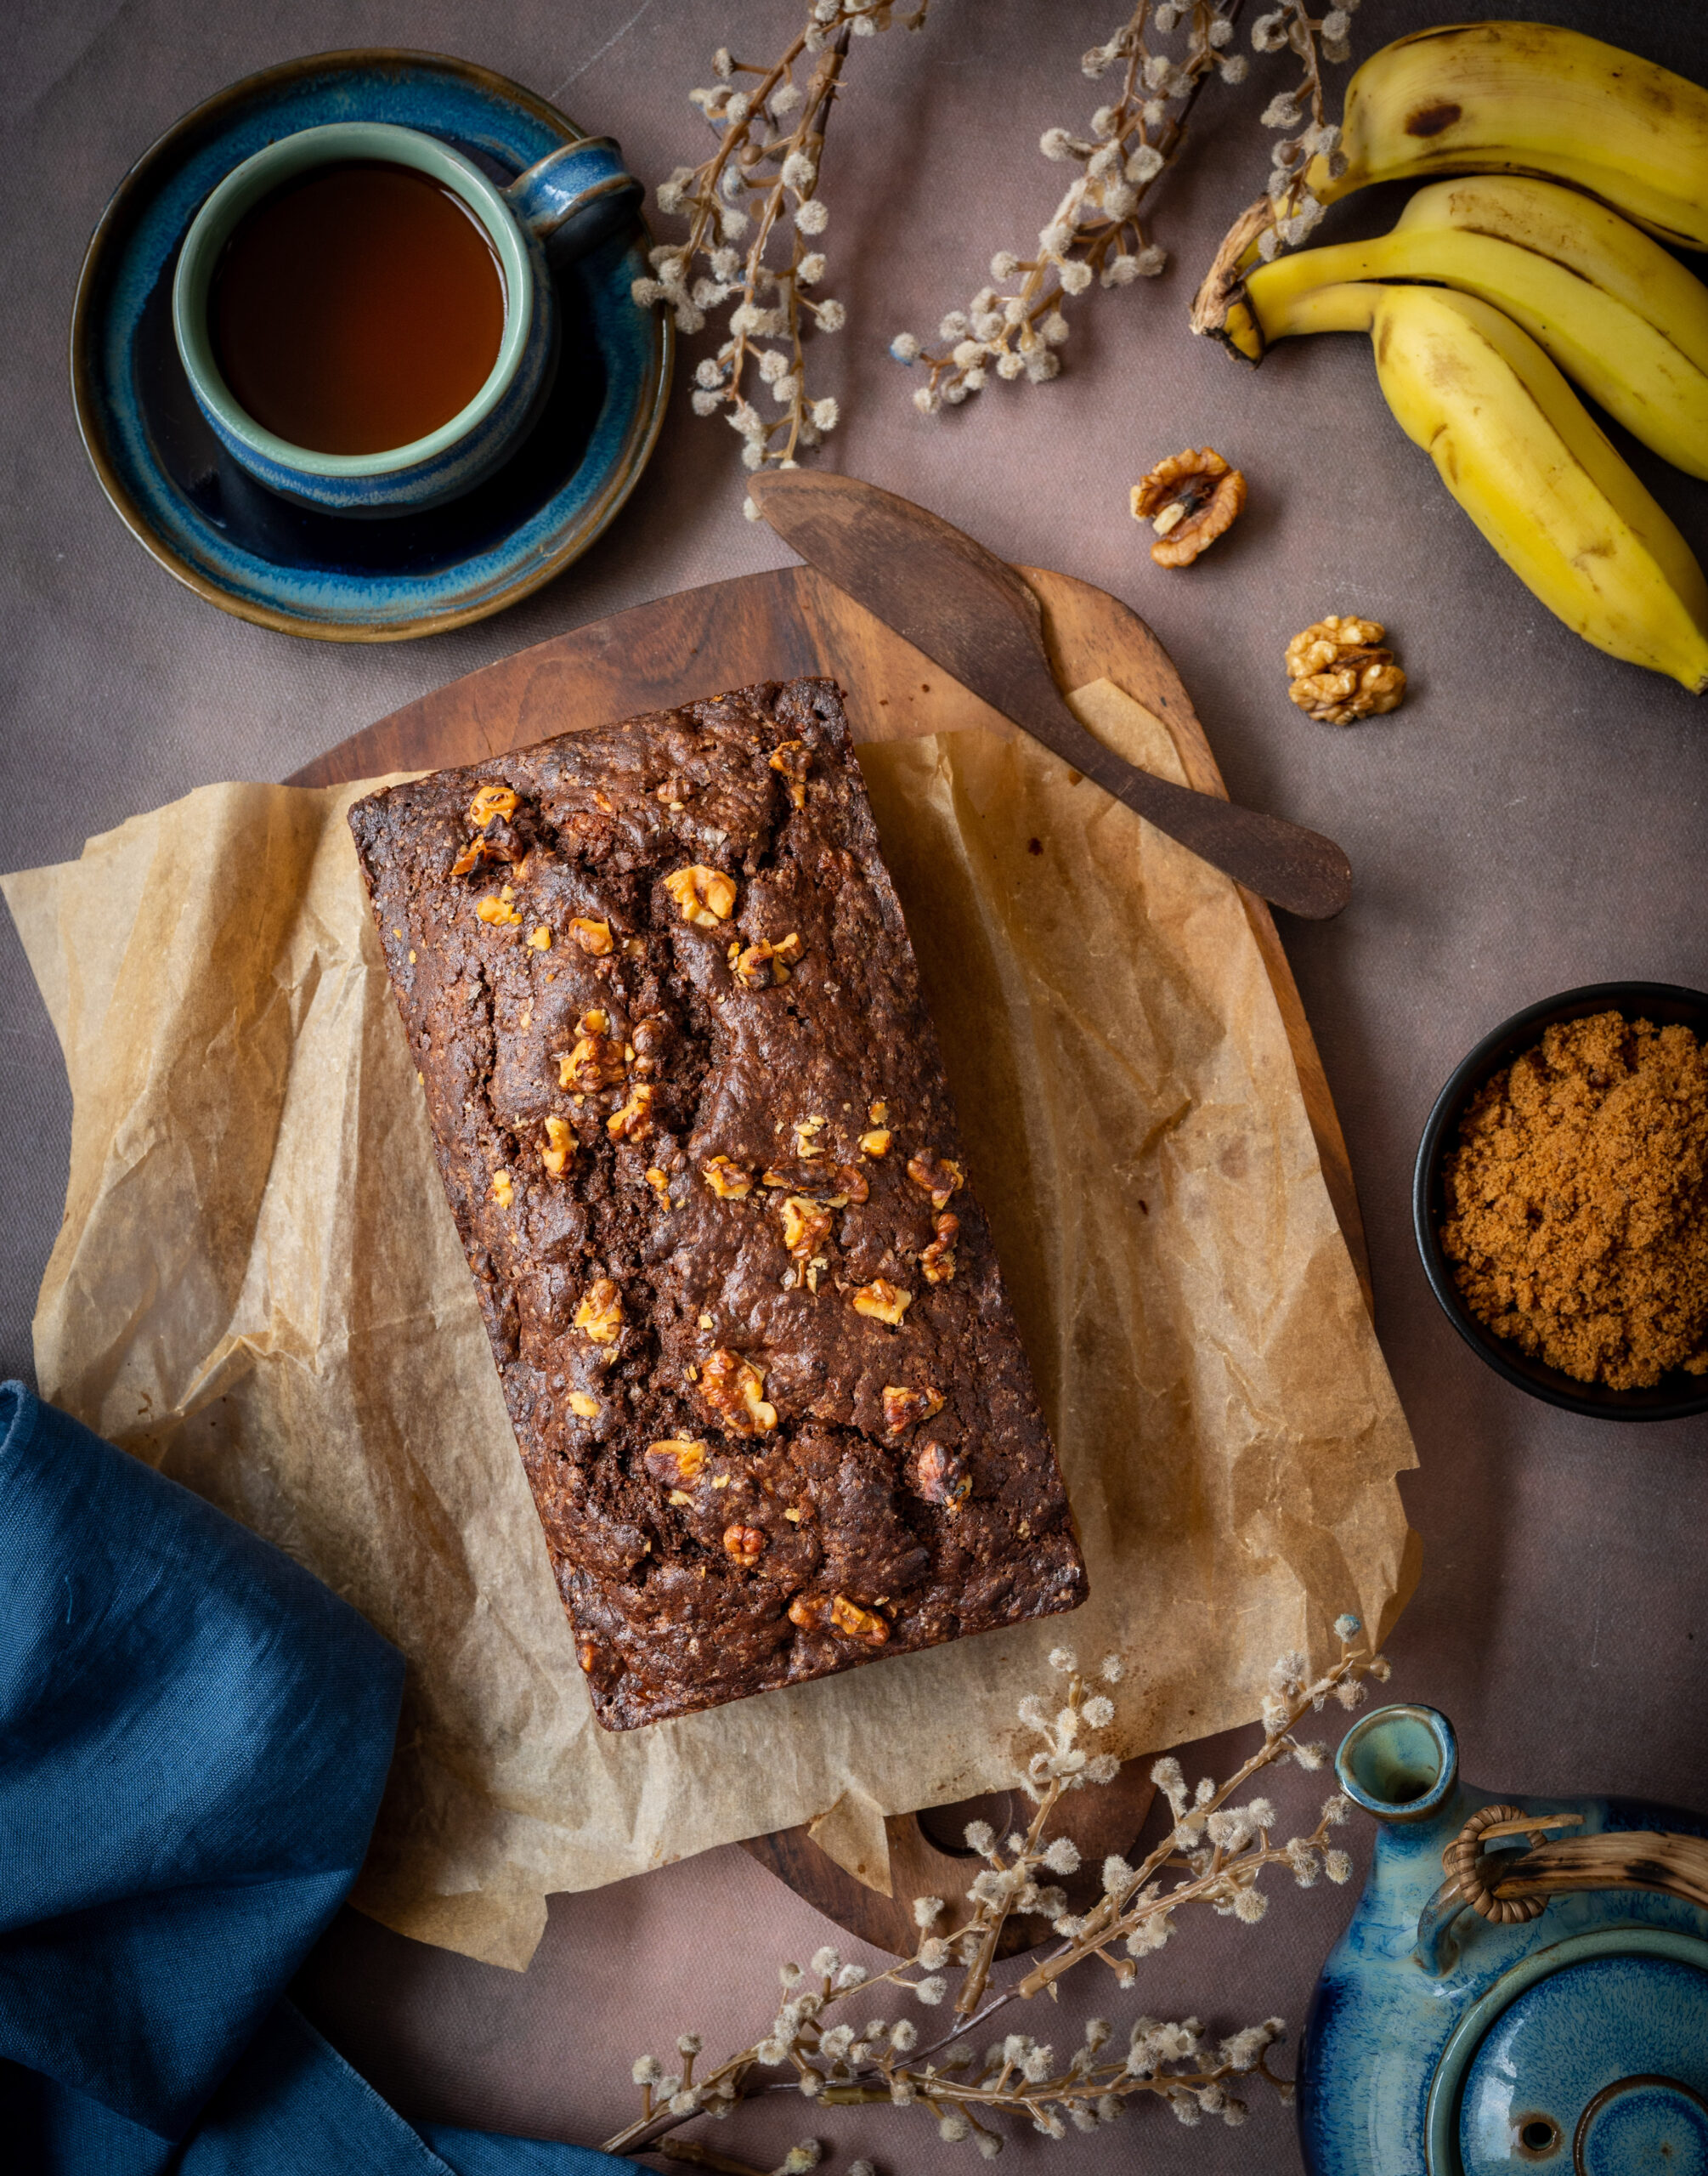
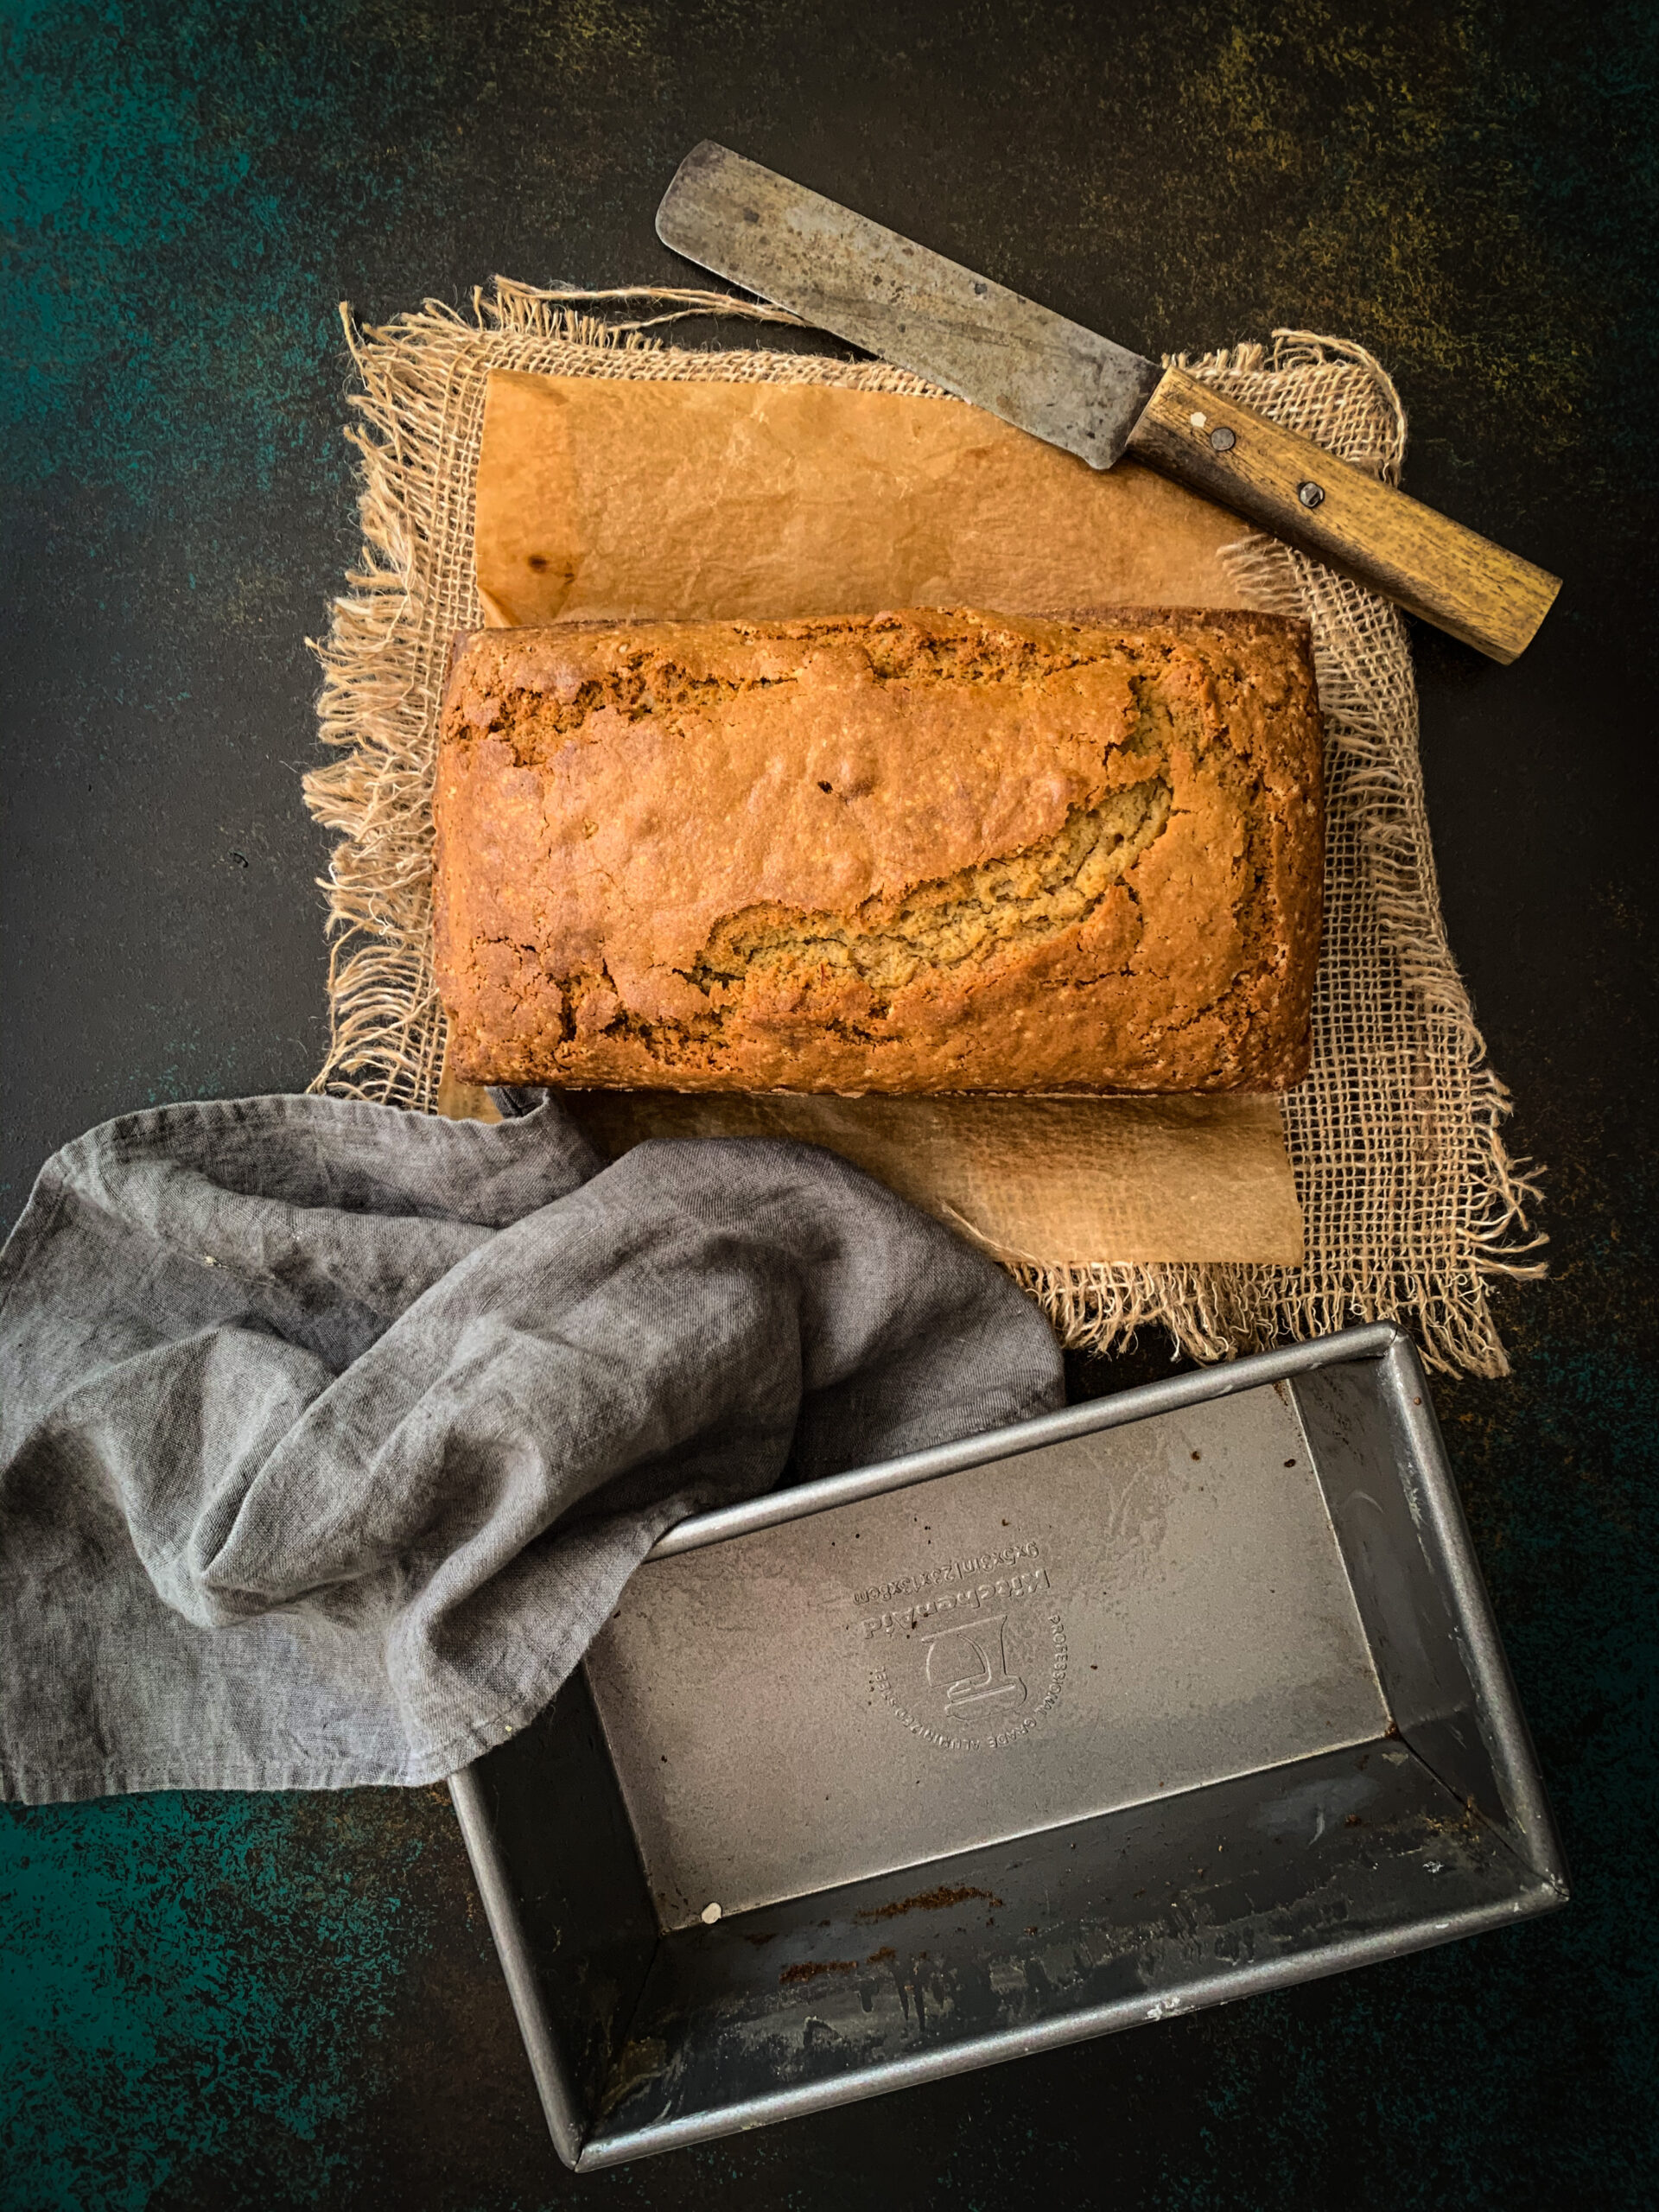
I shared a banana bread recipe with you a few years ago, which I hope you enjoyed. I encourage you to try it out too, if you have not already. I more recently began experimenting with a chocolate-banana combination, and this new version of deliciousness is what I’d like to share with you today. This banana chocolate loaf is not just an upgrade, but an entirely new recipe. As I’ve shared before, especially in this post, baking is a science, so please do go through the ingredients and method step by step when you prepare it, even if you are familiar with my earlier banana bread.

My first trial for this recipe didn’t include chocolate at all. The thought process behind it was that as I am not a fan of raw bananas, but appreciate the fruit’s amazing nutritional qualities, baking it into another cake was a fun way to incorporate it into my diet. After all, Indian meals often end with a banana, eaten for its digestive benefits, so why not end with a banana cake?

Keeping the health quotient in mind, as I have introduced chocolate into this cake, I have been mindful about its sugar quotient. I have chosen to use dark chocolate pellets, which are less sweet. I have also used brown sugar in a reduced quantity since the flavour of the banana already imparts the dish with natural sweetness. You may wish to substitute the same with jaggery powder, if you prefer. You will notice that this one also has a special ingredient, something that gives it a different zing from the earlier banana cake recipe.

I absolutely must have something to munch on along with my tea or coffee in the late afternoons, and this banana chocolate cake or my date cake (a favourite among re:store clients too) are what I find myself reaching out for often lately.

In fact, one of the best things about this banana chocolate loaf is that it packs and travels very well, which means I’ve gotten my fix of it even when I’ve not been at home. Recently, I made a trip with a dear childhood friend, and this treat was our companion for the first few days. Even though we were seeing each other after a long time, we picked up where we left off with ease. That’s how it usually is with childhood friends, isn’t it? You just catch up, and the happy memories from decades ago flood back afresh, and renew the bond quickly. The same thing happens with food, too. That’s why it is said that food is emotional: it helps one express and relive one’s memories, attachments and experiences.

I baked and carried this beautiful banana chocolate loaf with me on that holiday with my childhood friend. We travelled everywhere by train and by road, and enjoyed bites of this cake in the English countryside whenever we stopped to take in the scenery. Our afternoon tea in charming little villages had the requisite freshly-made traditional scones and clotted cream, of course, and I hope to master the recipe for that sometime. But my banana chocolate loaf was also present, loving parcelled and equally lovingly shared, and to me it was just as delicious as our authentic holiday treats.

Banana Chocolate Loaf

(Yield: 9 inch loaf)


175 grams maida

20 grams cocoa powder (unsweetened)

¼ teaspoon salt

1 teaspoon baking soda

½ teaspoon cinnamon

1 cup brown sugar

2 eggs

120 grams butter

1¼ cups very ripe bananas (mashed)

1 teaspoon vanilla extract

13 cup yoghurt and cream (mixed)

½ cup chocolate chips

¼ cup broken walnuts (for garnishing)

Preheat the oven at 160°-170° and grease and dust a 9-inch loaf pan.

In a bowl, sift the dry ingredients well. Set aside.

In another bowl, beat the butter and sugar well, scraping down sides and making sure they’re all mixed well. Now, add the eggs one by one and continue beating. Next, add the mashed bananas and vanilla extract and beat slightly.

Now, add the cream and yoghurt mixture and beat again. Next, add the dry ingredients as well as some of the walnuts and all the chocolate chips. Fold over lightly.

Pour the batter into the loaf tin and sprinkle the remaining walnuts on top.

Bake for about 30-40 minutes or until a skewer inserted comes out clean.

Rest the loaf in the tin for 10-15 minutes. Then, upturn and remove from the tin. Allow to cool.

Your banana chocolate loaf is now ready to be sliced and served. I do hope you’ll enjoy this recipe, and that you’ll make some special memories with it just like my friend and I did on our travels recently. Whenever I share cake recipes, it’s so that more people can enjoy the pleasure of baking, and I encourage you to try them out for yourself. But if you would rather have me whisk a cake up for you, I’m always happy to do so too. Just drop me a line!

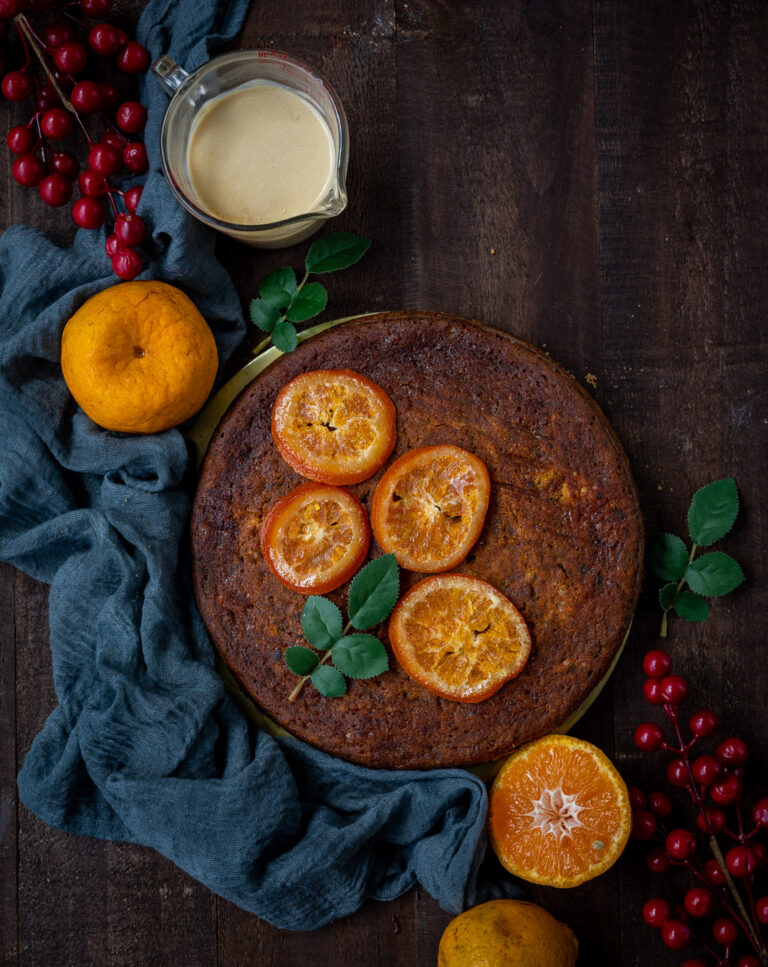
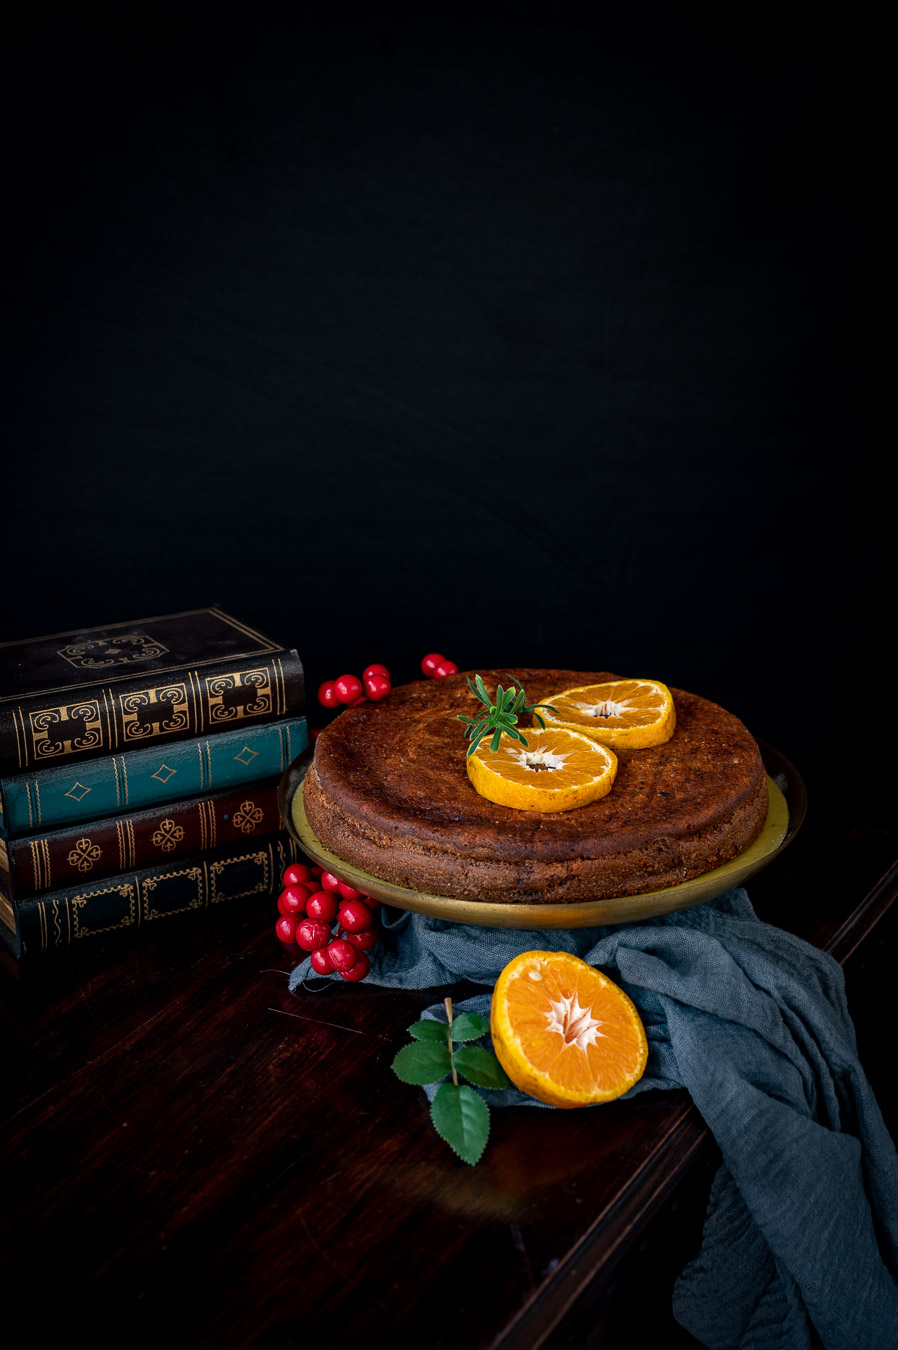
A merry, merry Christmas to all of you who celebrate! Whether you are reading this post on that auspicious day or a little later, I hope that your home and your heart are both filled with all good things. Christmas is a time of feasting and of special delicacies, and as I prepared many re:store orders in the past few weeks, I gave a little thought to what I might want to serve at my own table during the festivities. As you may recall from the last few posts, travels to Europe are brightening my thoughts these days. A delicious dessert that I’ve eaten many times in the U.K. came to mind too on these memory-lane wanderings. That would be this date and orange cake, and I am sharing the recipe for it with you today.

My introduction to date and orange cake was through the commercial versions that are widely available in supermarkets in the U.K. They come in individual portions, in cups, just right for a quick dessert or a tea-time snack for one. I loved them, and I always wondered how much fresher the homemade rendition may be. Somehow, I didn’t have the chance to experience a homemade date and orange cake during any of my visits to the U.K., but I fondly recall baking some right here in Chennai when a group of us from school met after many years at one of our homes. As the baker in our friend group, I was placed in charge of dessert. I made individual portions of date and orange cake, in line with my London memories, and we all enjoyed them very much.

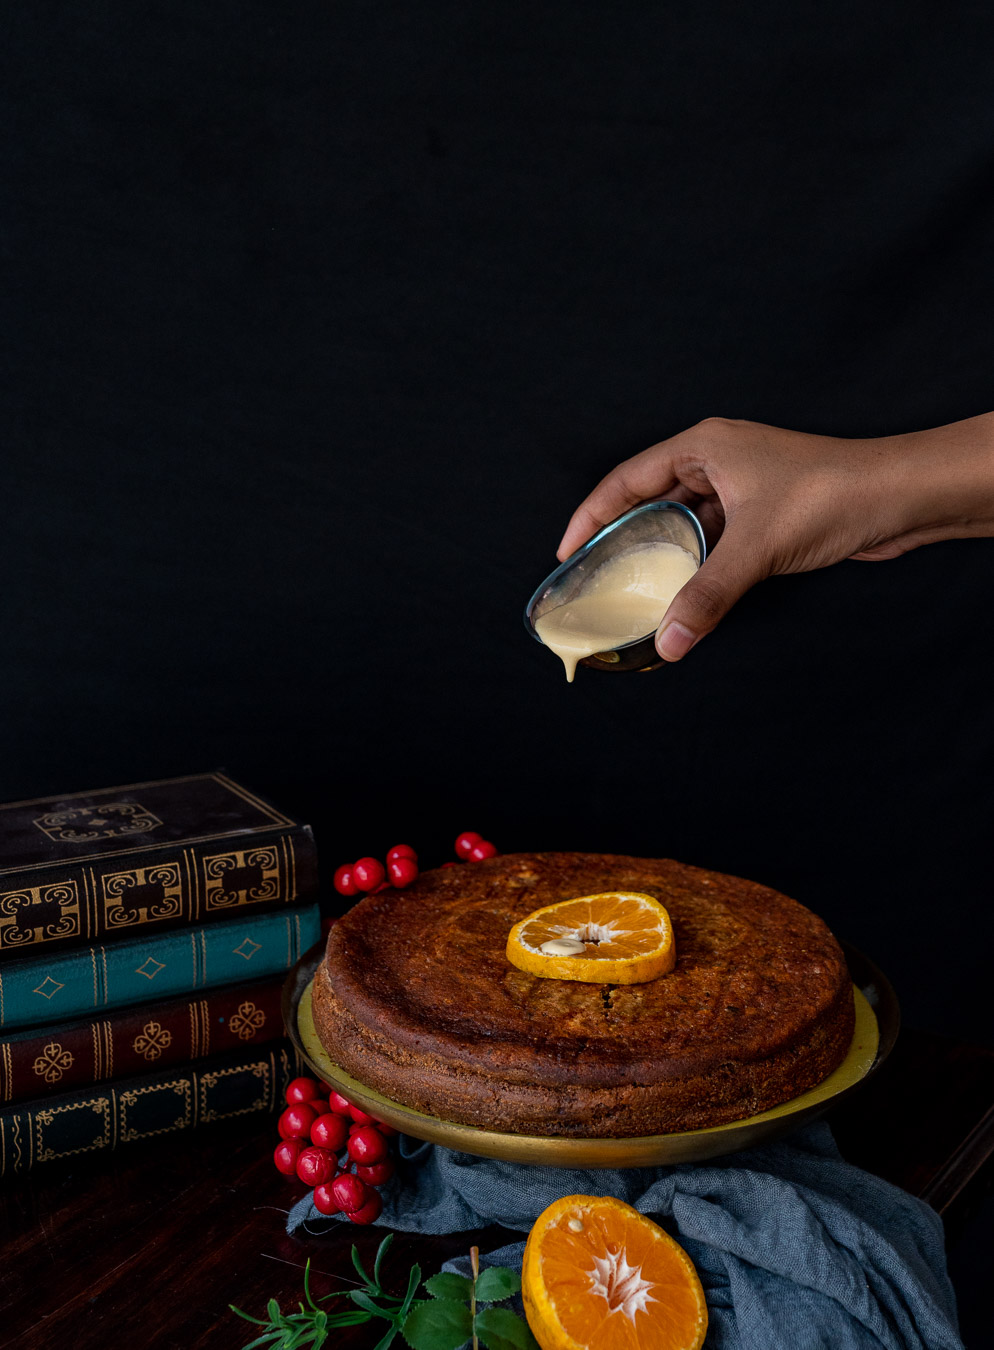
This week, I set about recreating that dessert again, realising that I don’t bake it often enough. As I am fortunate to have many people to share it with – loved ones, family and of course, you – I decided to bake a whole cake, serving the sauce drizzled on top as well as on the side.

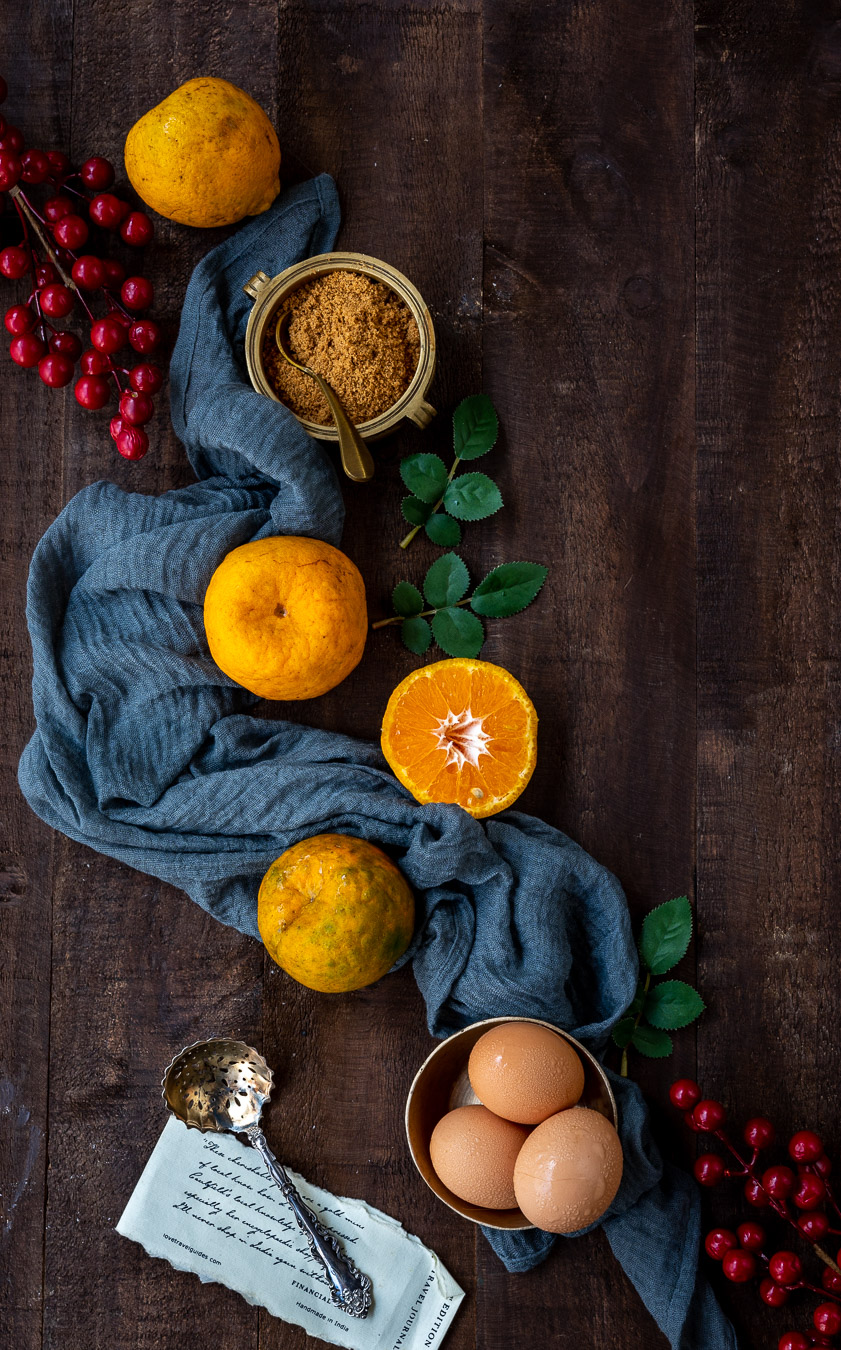
I also decided to up the festive quotient a bit by adding a little Grand Marnier orange liqueur to the mix, which helps put us into the happy, grateful mood that this time of year is all about. I had some lovely serendipities in terms of the other ingredients as well. I get many orders for date squares, in general but especially when there are gifting needs, so I had a whole lot of dates in my kitchen. Plus, it’s orange season in Nagpur, so some of India’s best citrus fruits are on hand as well. These tend to be a staple in the house, and it was nice to put them to special use, in this wonderful cake that brings the year to a gentle close.

Date & Orange Cake

Cake

200 grams chopped dates

2 cups water

125 grams maida

2 eggs

150 grams butter (unsalted)

90 grams brown sugar

1 tablespoon baking powder

1 teaspoon baking soda

¼ teaspoon salt

1 teaspoon vanilla extract


Topping

1 teaspoon freshly squeezed orange juice


Sauce

2 tablespoons butter (room temperature)

¼ cup sugar

½ cup cream

1 tablespoon orange juice

¼ teaspoon orange extract

1 teaspoon Grand Marnier (optional)

Pre-heat the oven to 170°C for 20 minutes.

Prepare a 9-inch baking tin by greasing the edges and dusting with flour. Set aside.

Boil the dates along with the water, stirring until the dates become soft. You could use a hand blender and slowly mush them. Then, add the baking soda. The mixture will bubble up.

Combine and sieve all the dry ingredients except the baking soda. Set aside.

In a mixer bowl, cream the butter and sugar for approximately 3 minutes. Now, add the eggs and while stirring, slowly add the vanilla extract. Make sure the ingredients are well-incorporated by scraping down the sides occasionally. Then, gently add all the dry ingredients to the bowl, making sure the flour doesn’t fly around. Next, add the tender date mixture. Using a spatula, fold it all together. Pour into the prepared baking tin.

Bake for 30 minutes or until a skewer comes out clean.

In the meantime, prepare the sauce. In a pan, add the butter, salt, sugar and cream. Allow to boil while stirring. Once combined, add the orange extract and vanilla extract. Drizzle in the Grand Marnier for that festive and indulgent touch.

Once the cake is ready, top with the orange juice and spoon the sauce on top, saving some to serve on the side if you wish. You may give it a light dusting of cinnamon for more flavour, and add fresh cream as well for extra decadence.

Serve with a seasonal beverage of your choice. This boozy, orange-kissed hot chocolate may just be the perfect accompaniment, with more citrusy liqueur to really play up that zest.

To all my dearest friends and lovely readers, I want to take this opportunity to remind you that it is the festive season, and so it is a time to treat ourselves. Especially during these uncertain times, we must celebrate and give thanks for what we have. Let’s not lose out on joy by counting calories, at least this week (that, after all, are what New Year’s resolutions are for!).

As another year dawns, let me also take the opportunity to wish you all good health and happiness. I am reflecting at the moment on how we are each responsible for making this world a better place to live in. How we treat people and how we treat the planet are equally important. We are at a crucial point where we may lose the planet’s good health, and the pandemic we are still in is a reminder of how closely linked we are to Earth, as well as to each other. Let us heal together and return to safety, putting the worst behind us. I look forward to the way that food will continue to connect us all, and eagerly anticipate sharing many more dishes from my kitchen with you too.

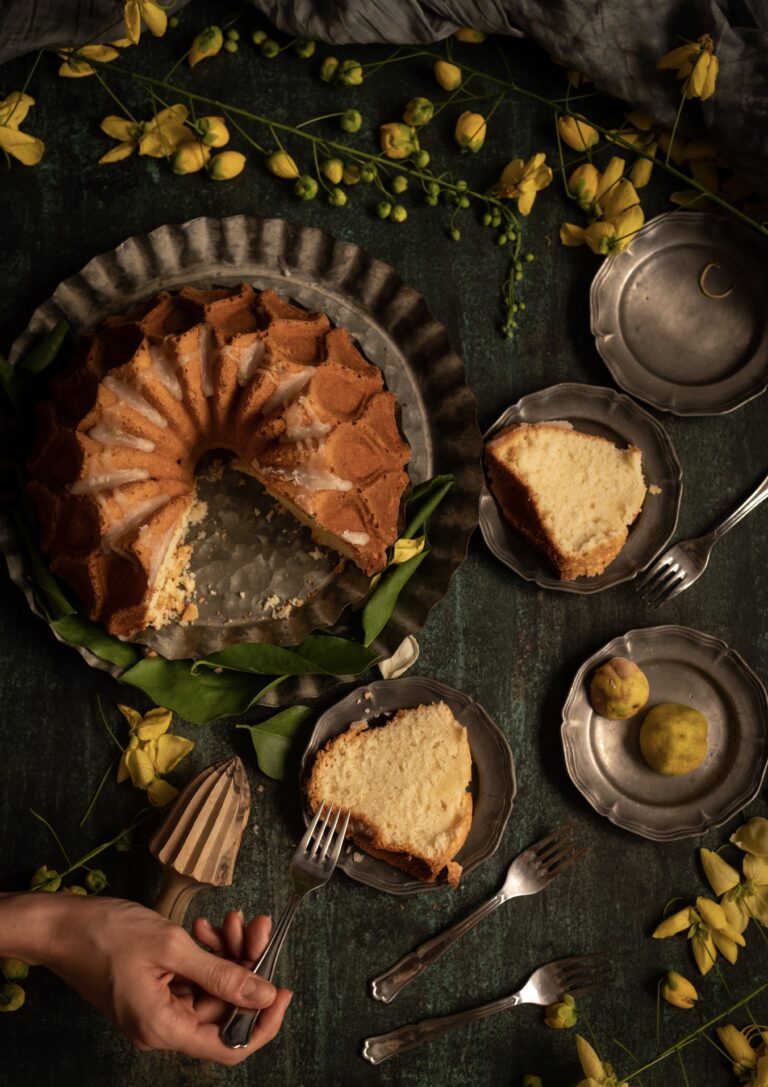
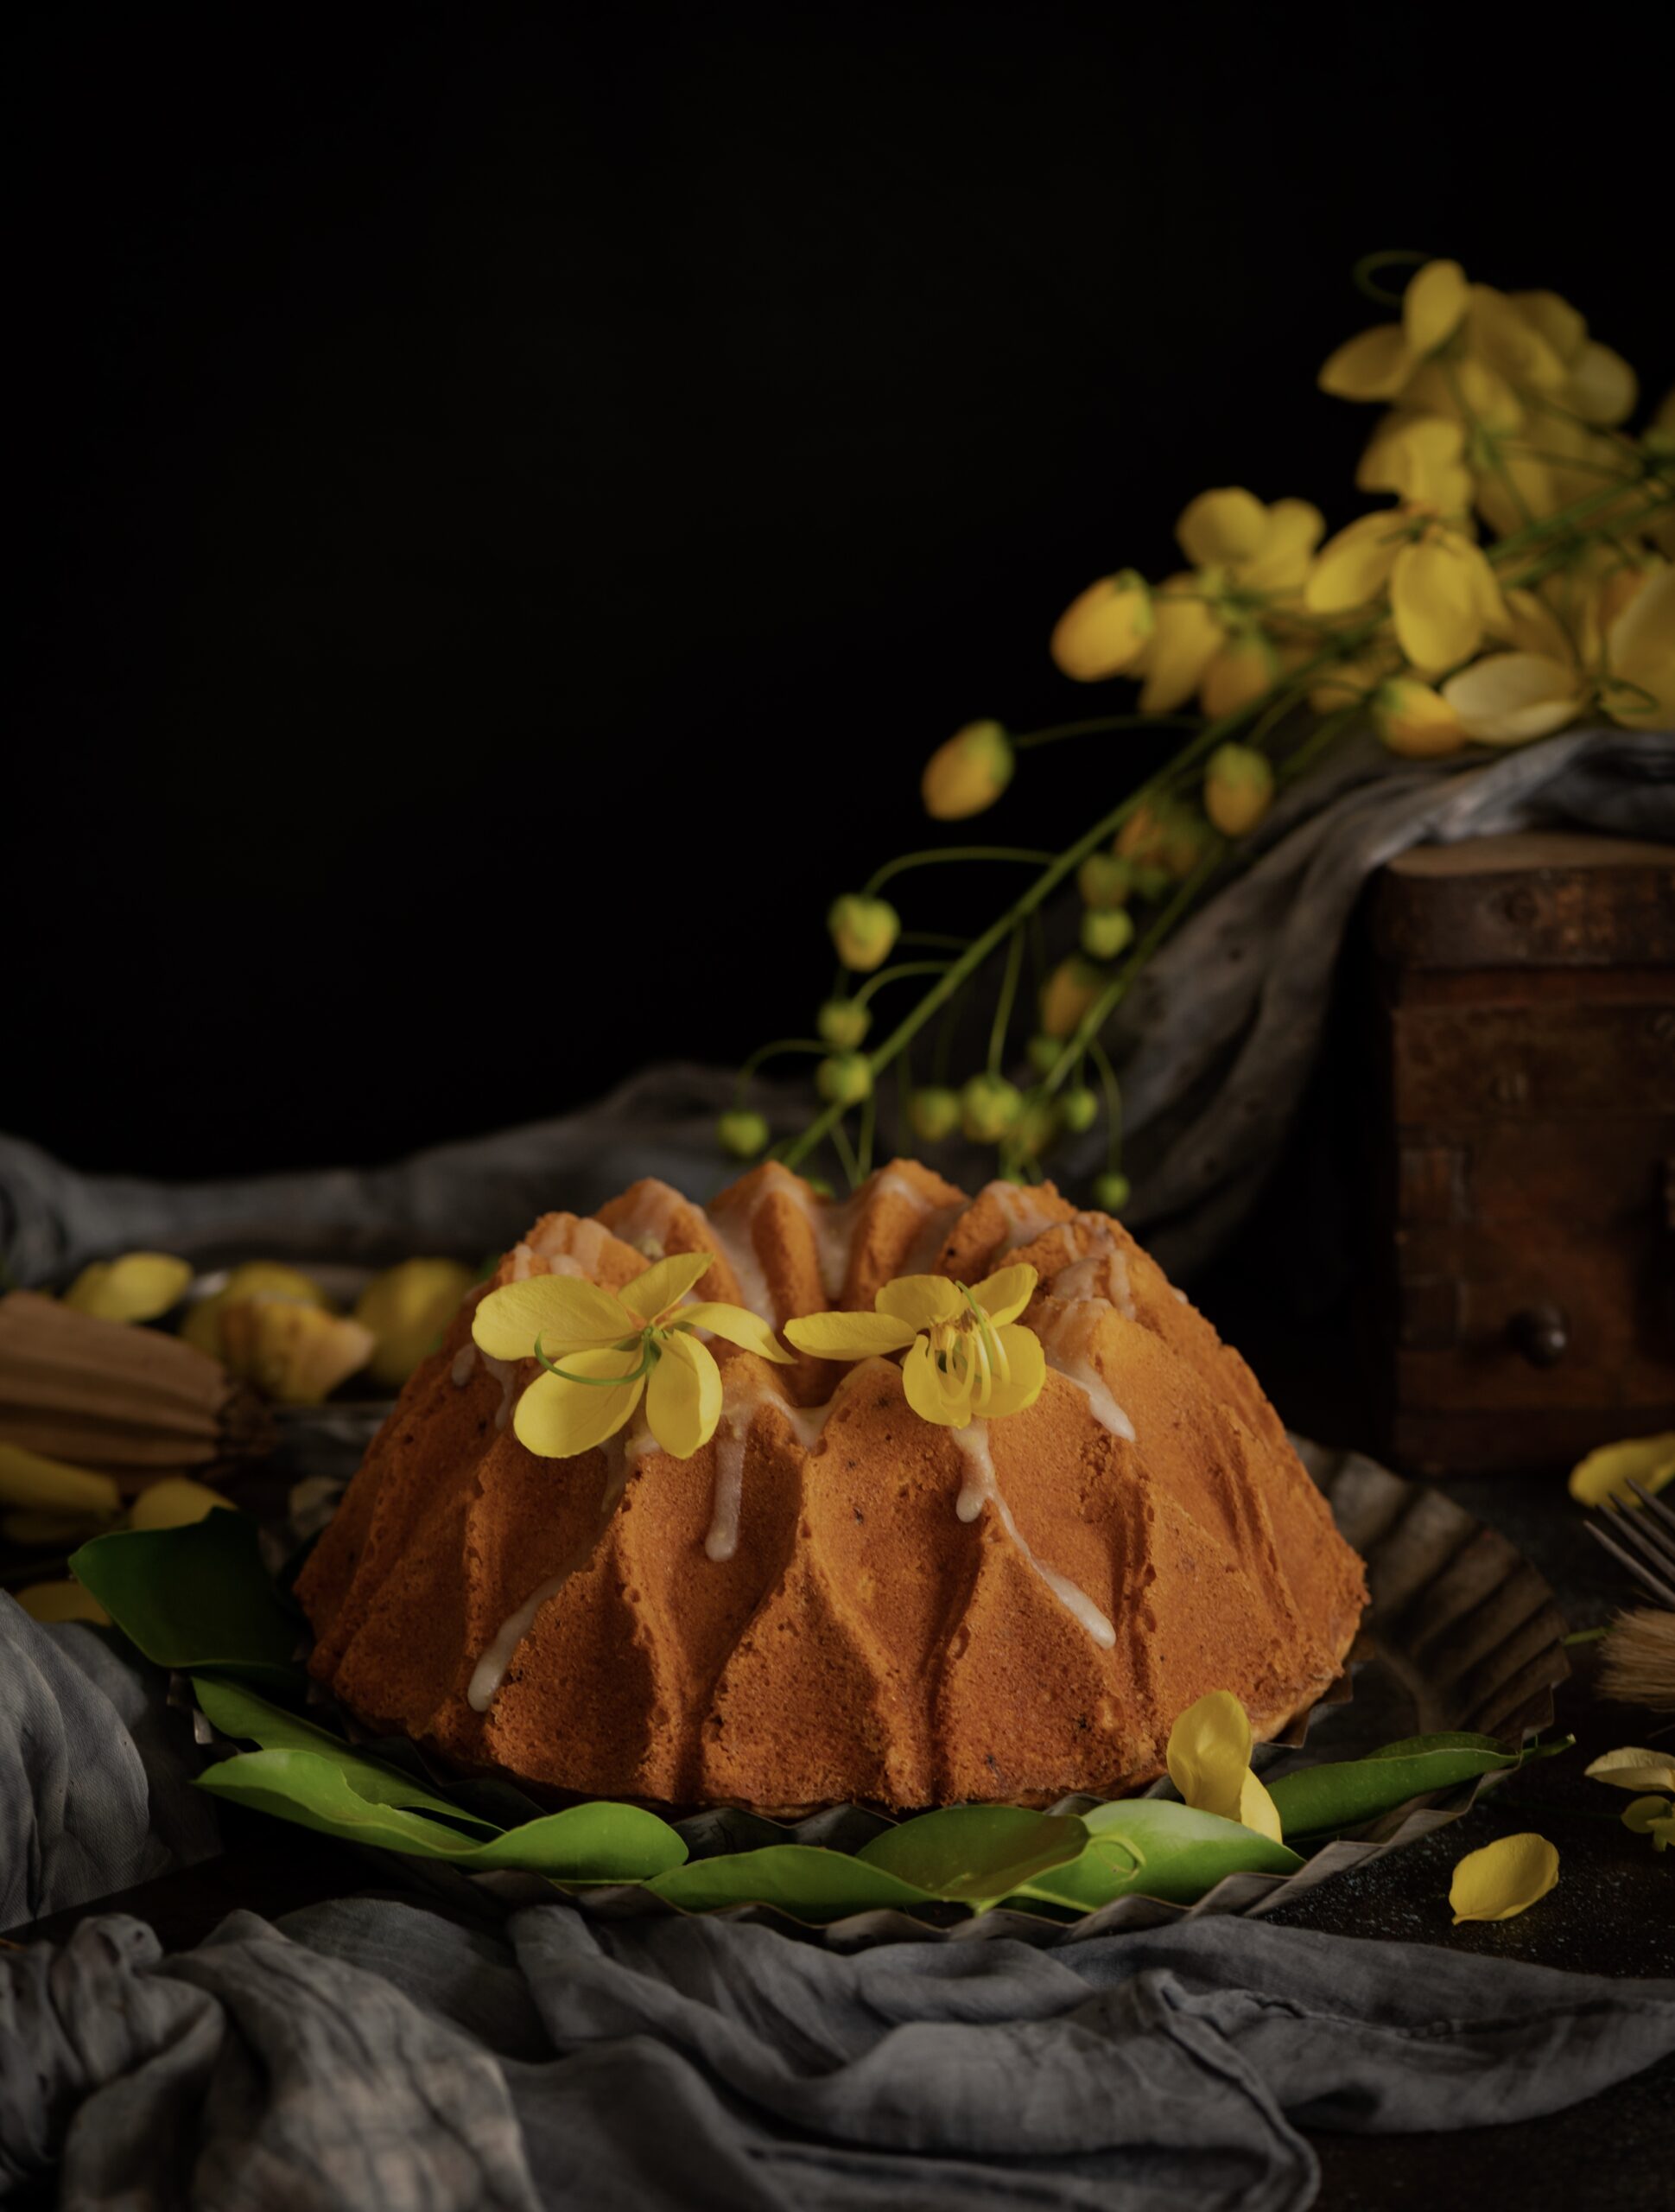
I usually brainstorm my forthcoming posts ahead of time, thinking about everything from which ingredient will be in season to when I might be able to set up my photoshoots to upcoming special occasions, and much more. I had been keeping this refreshing citrus bundt cake in mind for later on, but the number of calls and personal messages I received after the last few cake posts have inspired me to bring it out ahead of schedule. Nothing puts a smile on people’s faces like a cake, and perhaps it’s no surprise that it seems like everyone is on a baking spree right now. This delicious cake will add to your repertoire beautifully.

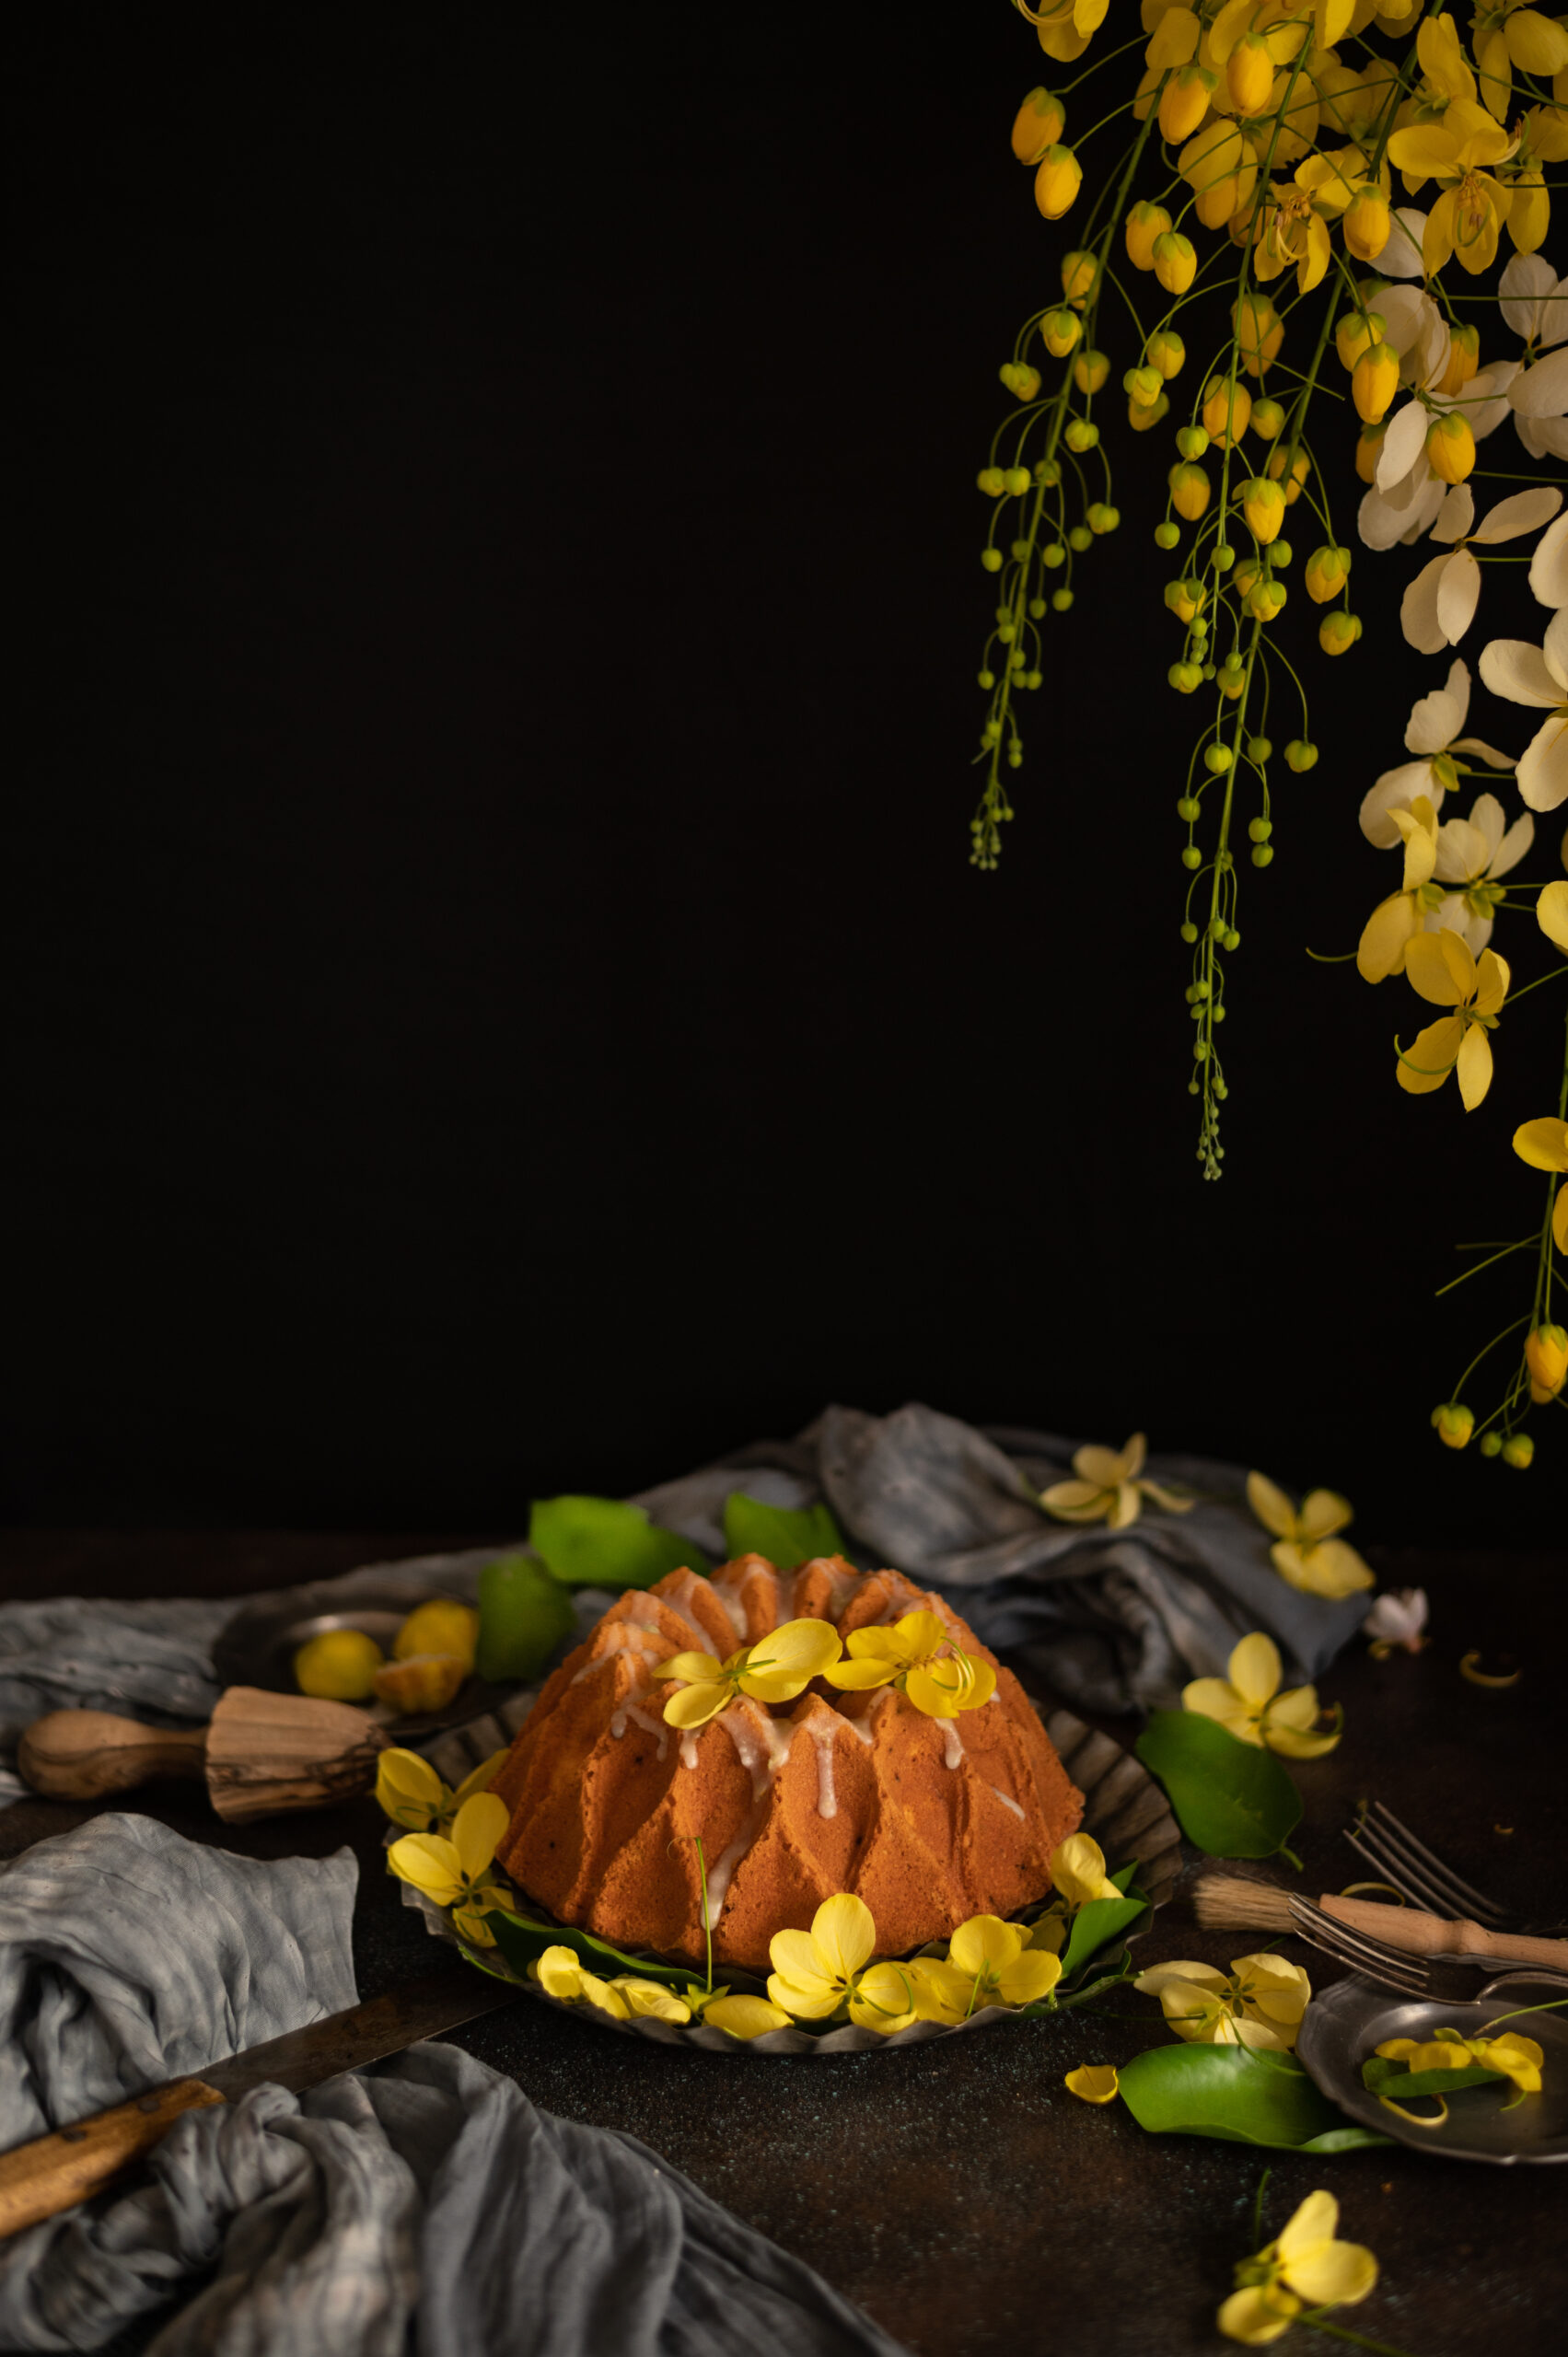
You may remember my lemon poppy cake with Meyer lemons from a few years ago. This citrus bundt cake has similar flavours and uses the same pan shape too. The pans I use have been collected either from my travels, or because my friends always know that the best gifts for me are functional and beautiful objects that I can use in my kitchen.

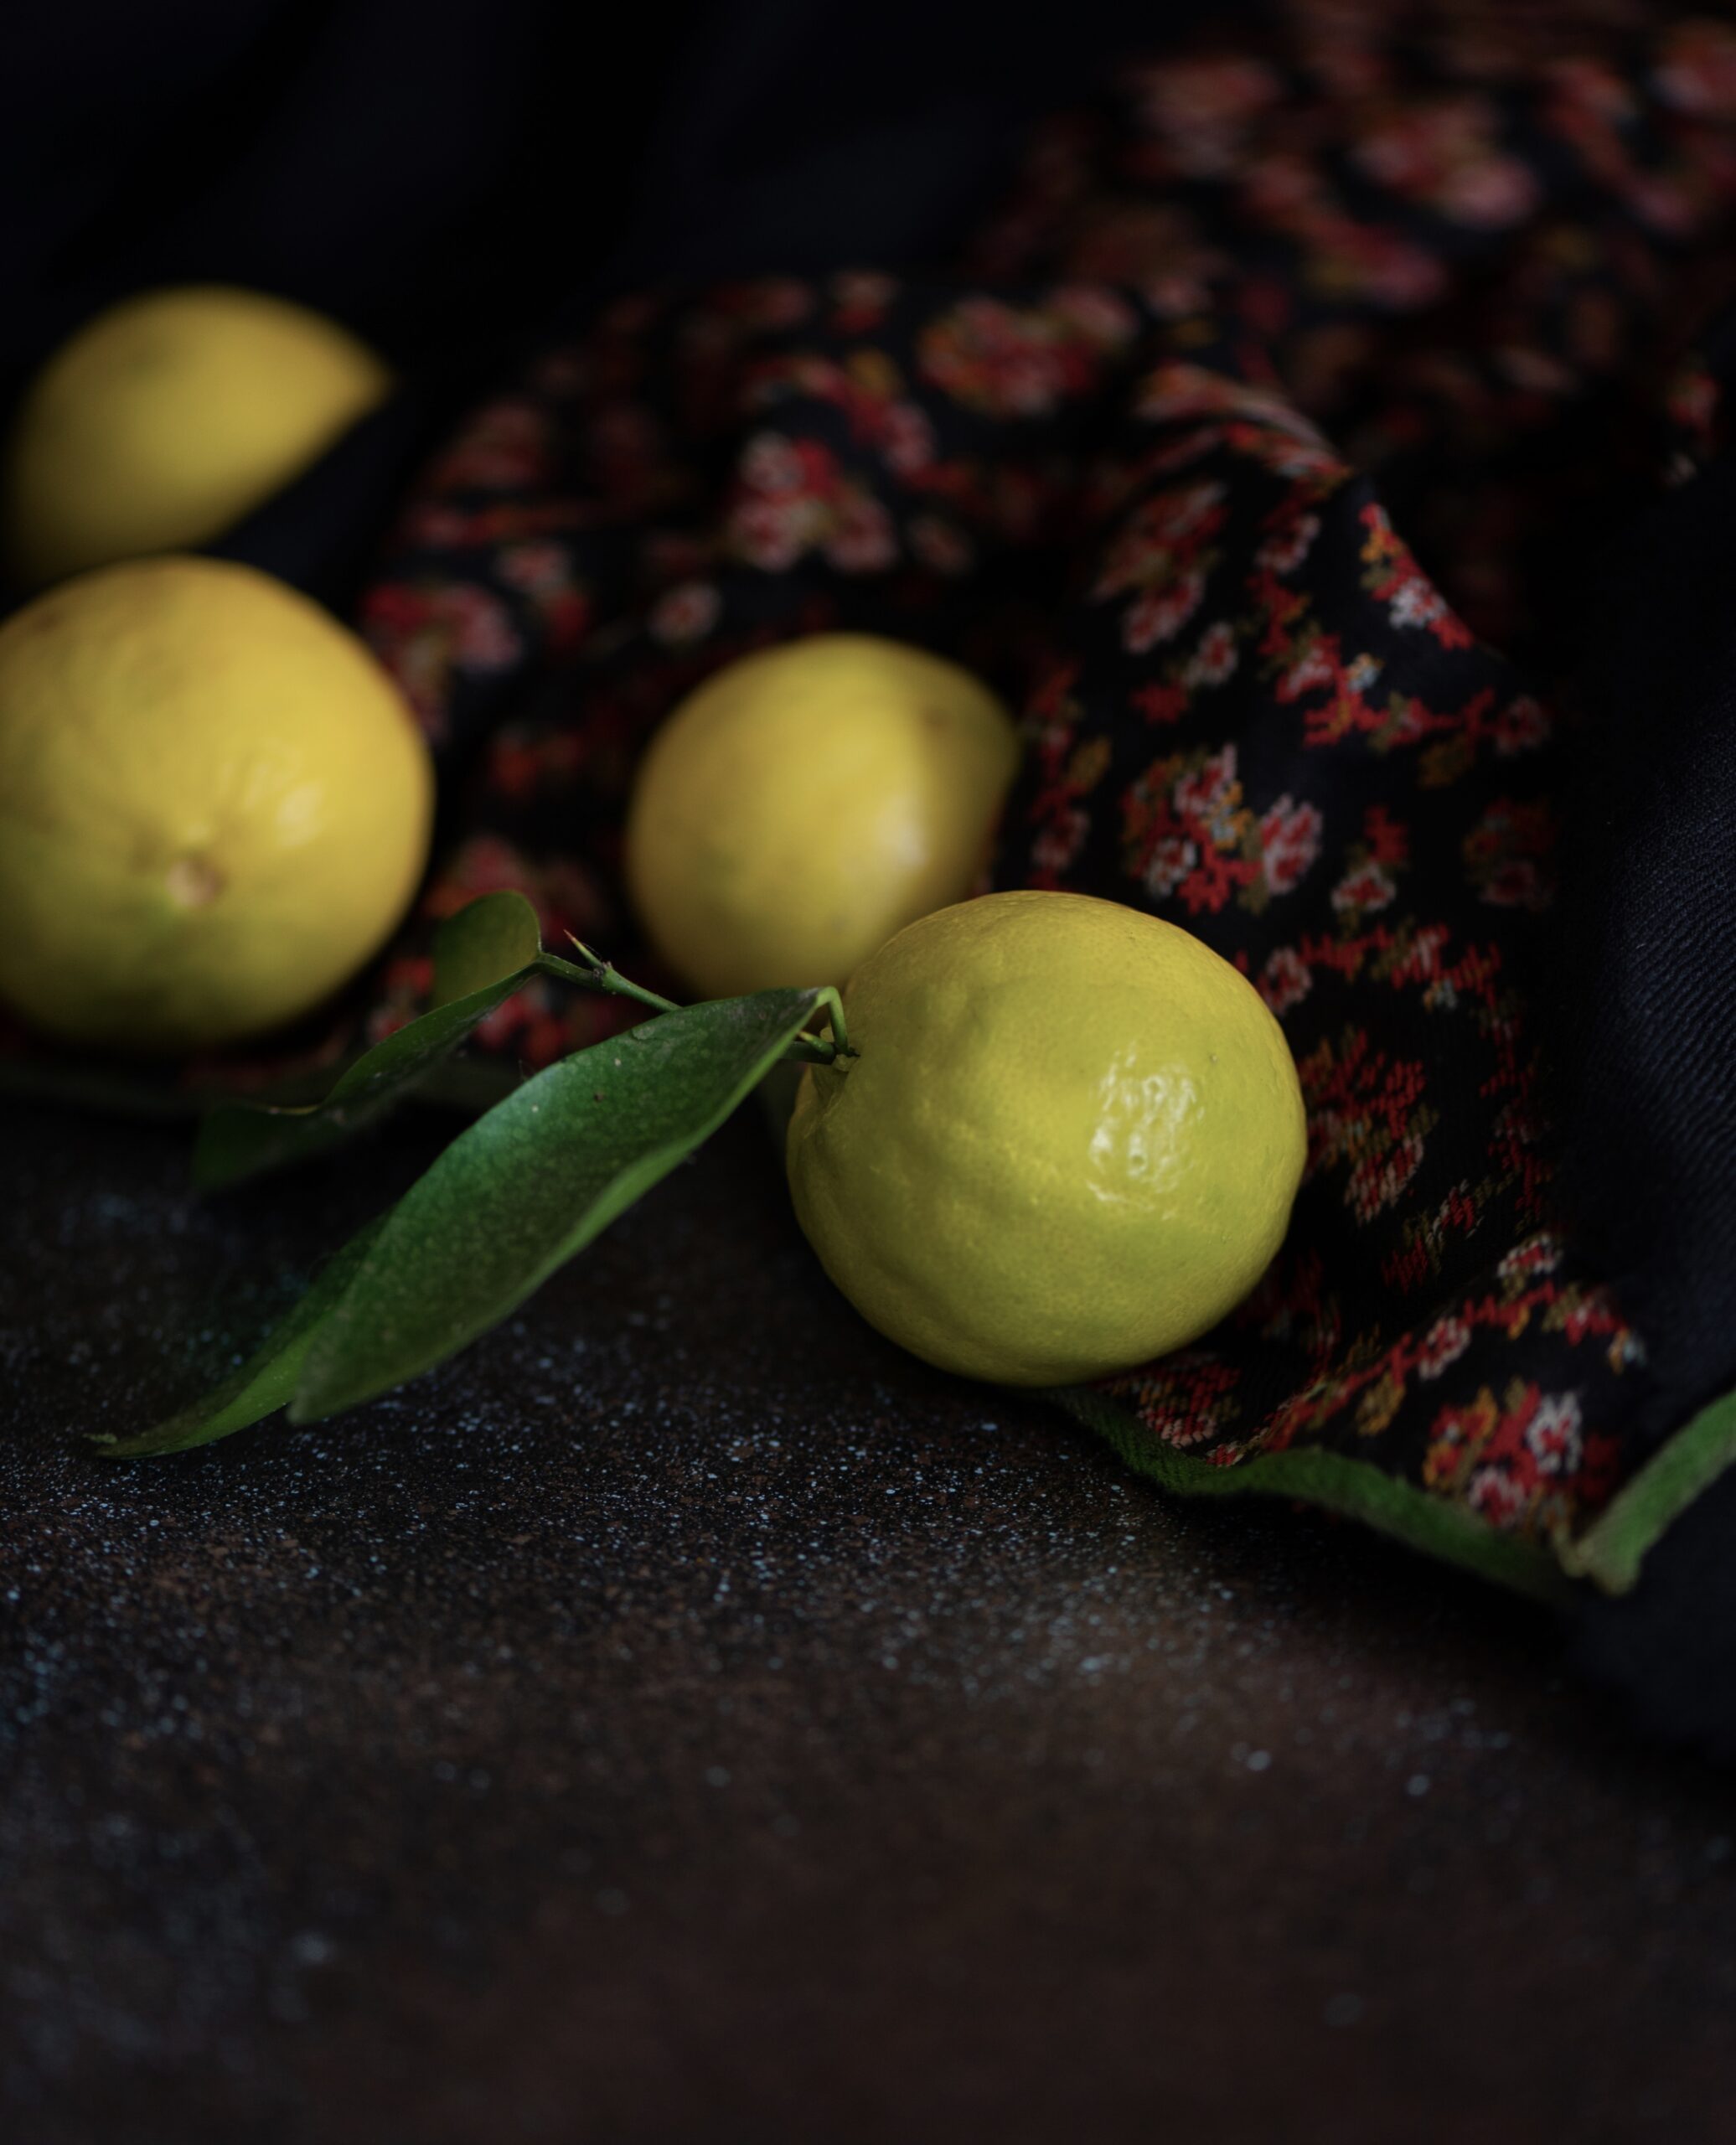
In this recipe, I used Indian limes, locally sourced of course, and you may wish to use oranges or lemons instead. You can play around with the citrus note based on what you have available in your pantry. I always have an eye on the health quotient of ingredients, and the boost of vitamin C, which replenishes the immune system, is most welcome at this time. Citrus fruits also have a way of livening up any meal because of their vibrant colours (using them in this recipe will not give you the same vivid hues, but the taste will amply make up for it), and it was a pleasure to shoot this cake – and just as much of a pleasure to bite into a slice. The attractiveness of the bundt shape, the delicious flavour and the nutritional value came together to represent hope and positivity to me, and I believe you’ll experience the same uplifting spirit when you take it out of the oven.

This period is giving so many of us an opportunity to do some of the things we always dreamt of pursuing but never really had the time to. We are exploring new possibilities. Most of us are discovering that we are actually very good at whatever we’ve been trying our hand at, because it comes from a place of passion, and is motivated by the desire to do something different that changes life for the better.

As we grow as people, learning new skills and exploring new talents, I feel that many of us are also realising just how much we have abused and polluted our planet. I’ve had so many conversations recently about exactly this, and I have faith that we will come together to make a kinder world. We’re learning the hard way, but understanding so much more now collectively that it will surely yield a brighter future.

Speaking of brightness, that’s exactly what a good bundt cake brings to the table. When my family and I, who are enjoying lockdown together, gather at 5 o’clock each evening for a chat and some tea, this lovely cake is the perfect response to our peckishness. By the way, speaking of the new experiments people are trying out reminds me – it’s my husband who’s frequently been making the tea these days!

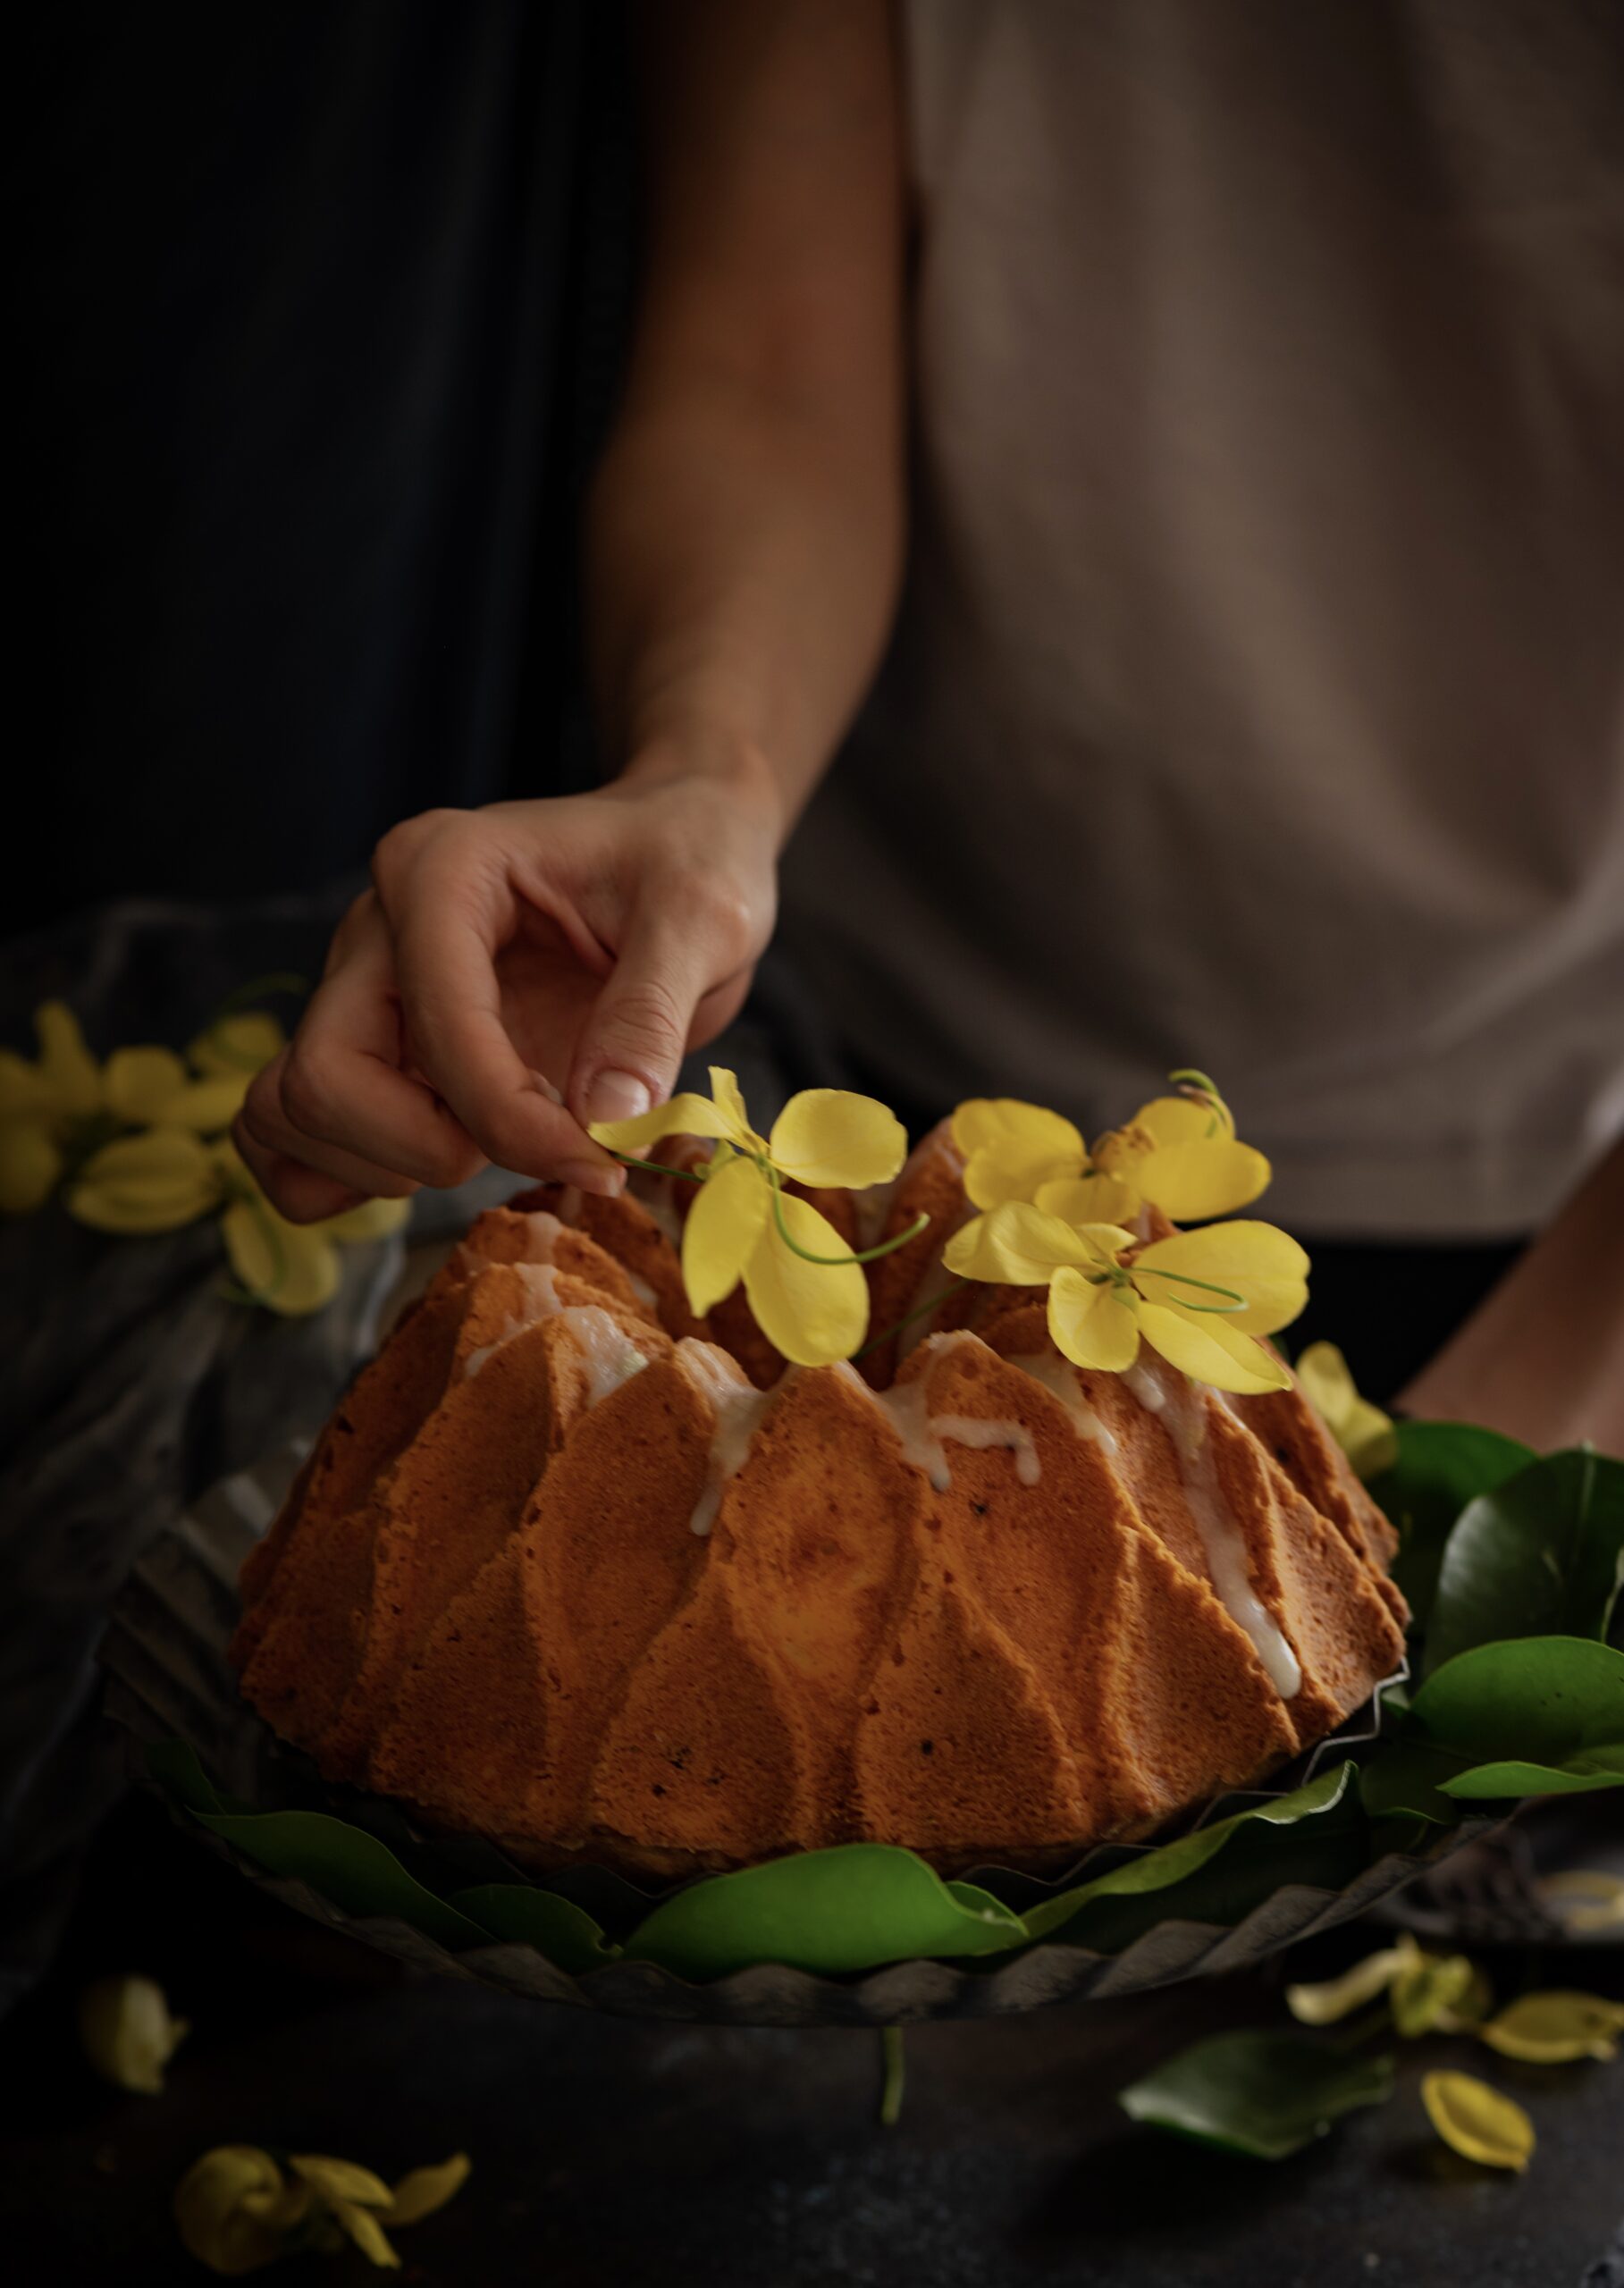
When I took this warm cake out of the oven the other day, the whole house had the lovely fragrance of lime lingering everywhere. While the cake cooled, every member of my family chipped in to help in some way. My husband put a pot of tea on the stove, my daughter modelled and posed for my photoshoot, and my son started the cleaning up. My dog Max, of course, was all over the place as usual, eager for cuddles (and a bite of cake, if we weren’t careful!). The beautiful, vibrant laburnum flowers – locally known as konrai – I was lucky to find to style my photos with also brightened the mood.

Like every meal we’ve eaten together in these weeks, this beautiful citrus bundt cake also brought us together. This very moist, very tender cake was a ray of sunshine, and affirmed the choice I’ve been making every day to make the very best of this time.

Citrus Bundt Cake

(Serves 5)

Ingredients:

2¾ cups all-purpose flour

2 cups granulated sugar

2 teaspoons baking powder

½ teaspoon salt

3 tablespoons cornflour

1 cup unsalted butter (at room temperature)

½ cup whole milk

¼ cup thick non-sour yoghurt

¼ cup freshly squeezed lime juice

4 eggs

2 tablespoons lime zest

1 teaspoon vanilla extract


Frosting:

1 cup icing sugar

1 teaspoon lime zest

3 teaspoons lime juice

Before I begin sharing the method for making this cake, I thought I would share a few tips. I know that many of you have taken to baking for the first time, and certain things that experienced bakers take for granted haven’t yet become forces of habit for you. So here are some simple guidelines that will go a long way towards making sure that your kitchen experiments and studies turn out much more satisfyingly.

Firstly – always make sure that the baking powder and all other ingredients are fresh and have not crossed the expiry date. It’s best to use all ingredients at room temperature, unless otherwise specified.

Now, about the role of sifting when preparing the flour. Always sift all the dry ingredients together, unless otherwise specified. This will incorporate some air into the flour and gives you a second chance to remove unwanted ingredients. Sifting adds volume to your cake and makes it light and airy.

Creaming the butter and the sugar together has the same effect, incorporating air into the mixture so that you have a nice, fluffy cake. If done right, creaming will change the colour to an almost ivory shade.

Once wet ingredients are added, be careful to not over-mix. Doing so will increase gluten formation, which is not good for the cake.

Always measure quantities by adding the ingredients into a measuring cup. As a hygiene measure, do not dip the cup into the ingredient jar.

Preheating the oven before baking is important. If this step is skipped, the cake may not rise and may sink in the centre.

Always grease the baking tin and line it with parchment paper, as this helps to easily remove the cake when it’s done.

Always place the tin on the middle rack of the oven. This will ensure that heat is evenly distributed over both the top and the bottom of the cake.

To ensure that your cake is baked to perfection, there’s a simple test that all bakers use. Insert a skewer and pull it out. If it comes out clean, the cake is done. If it comes out with clumps, it needs to bake for longer. Another sign of a cake being finished is that you may notice it receding from the sides of the tin. Finally, when you press the top of the cake gently, it should spring back.

It’s best to leave a cake in its tin to cool once out of the oven. This will take about 15 minutes. Then, turn it onto a cooling rack.

Now that these basic-but-brilliant tips have been shared with you, I must stress once again (as I did here, in this recipe for classic chocolate cake) that baking is a science. Follow the method to a T and you won’t fail. Remember to have fun!

Shall we move on to the recipe for this citrus bundt cake?

Preheat oven to 180°C.

Grease a bundt pan generously with butter and dust with flour. Refrigerate for about ½ hour. If you prefer using a regular cake tin, then use a 9” tin. Grease and line with parchment paper. You do not need to refrigerate this.

In a bowl, sift all the dry ingredients (except the sugar) together.

Put the butter in a bowl and cream it. To this, add the lemon zest and the sugar. Continue creaming the mixture. One at a time, add the eggs, making sure to incorporate each one well before adding the next.

In another bowl, add the lime juice and vanilla extract to the milk. Mix.

Now, slowly add the dry flour and the wet milk mixture into the creamed butter mixture, alternating each. Mix gently as you add. Once all the flour and the milk mixture have been included, add the thick non-sour yoghurt. Fold gently.

Pour this batter into the greased cake tin and bake for approximately 45 minutes.

Oven temperatures vary, so at 35 minutes, insert a skewer and do the test described earlier. As a rule of thumb, if the cake looks like it will jiggle if you move it, it needs more time.

Once baked, remove the pan from the oven and cool for 15 minutes. Then, turn the cake onto a wire rack.

Once the cake has completely cooled, mix the frosting ingredients together well. Pour this over the cake immediately.

Like all re:store cakes, this too is only very lightly sweet. The tanginess of the limes enlivens the tastebuds, and brings a boost of good energy your way. It can last a few days when stored in a refrigerator, and retains its moistness as well. Remember that you may use any citrus fruit that you please, and don’t let not having a bundt pan stop you from using a regular one. I’ve relied on my trusty local limes, which are used extensively in Indian cuisine. If you’re a fan of this zesty acidic fruit, you may also enjoy this rejuvenating drink that’s just perfect for the summer. Don’t forget to also check out this bounty of cake recipes I’ve shared on this blog, from this eggless whole-wheat saffron and cardamom cake to this exquisite vegan lavender cake and more!

With my kids being at home with me during the lockdown, I’ve found myself baking even more than usual – which is saying a lot! I’ve been enjoying this process, and as always I can’t help but reach out for my camera to challenge myself and indulge my creative side. With every new image of a cake that I post on Instagram, a flood of messages comes in, mostly from people asking for recipes. I’m so thankful to each and every one of you who enjoys my posts and I’m thrilled to share this recipe with you today.

The joke in the house is that I won’t share my cake recipes with my kids unless they bake along with me, which they rarely do. I’ve decided to make an exception as April happened to be my son’s birthday month, and I want to spread some happiness during what is a challenging time for all of us. This classic-style chocolate cake recipe is my gift to my son, to make use of when he returns to his city eventually, so he can remember all the bonding moments we shared together in these last few months. I am just as delighted to share it with you. As someone who took her first step into the world of entrepreneurship through the world of baking, I know just how much pleasure and empowerment and sheer comfort the process can bring. I hope you experience that delight today.

This chocolate cake is a repeat order in my house, so to speak, because it is my son’s favourite. Every single time I bake it, he relishes a generous slice and says, “Mom, today’s cake is the best one I’ve had in 27 years!” Every single time! Such appreciation truly makes my day. I’ve also noticed how there’s just something about cakes in particular that have such an uplifting effect. Perhaps that really is why they’re such a vital element of celebrations.

What I am sharing today is a no-fail or foolproof recipe. What’s lovely about it is that it is not very heavy, being oil-based. This also makes it very moist. It has a lovely, deep and rich colour which comes courtesy of the coffee powder used. The coffee powder enhances the cocoa flavour, and doesn’t impart even a whiff of its own flavour into the cake. Don’t be perturbed by it. This will not turn out to be a coffee cake. Follow the simple recipe step by step, and you’ll achieve a chocolate cake that is not cloyingly sweet, tastes absolutely delicious, and that you’ll no doubt bake over and over.


I hope that all of you baking for the first time because of the resultant free time due to the lockdown will also find the same comfort and satisfaction in it that I do. There are two things I’d like to share with beginner bakers. Firstly, I get a lot of questions about ingredient substitutes and shortcuts that go something like: “I don’t have baking powder; can I still bake a cake? How about without an oven?” My answer to them all is straightforward: baking is a science. It’s all about formulas and proportions. Once you’ve understood that, you can tweak ingredients, explore different flours and powders, and experiment. Until then, don’t start off on the wrong footing. Baking isn’t like cooking. It isn’t like replacing chilli powder with another spice. Every part of the process and every ingredient involved has a role to play when it comes to the final product of a cake.

Which brings me to the second major tip I have for beginner bakers: patience is key. If you’re in a hurry to see the end of the cake, it won’t happen! Enjoy the process.

I know that more people are binging on sweet treats now more than ever, so I’ll let you in on one more secret from the re:store kitchen. The key to moderation is not making less, it’s sharing more! A neighbour once asked my son, “Your mother bakes every day; how come you’re all so trim?” That’s because everything I put into the oven is split into many portions. For instance, whenever I bake this chocolate cake, everyone from family members to our household staff to our neighbours gets a slice. There’s a different quality of delight that comes when everyone partakes. Rest assured, there are never leftovers. It’s wonderful to bring that bit of sweetness into everyone’s day.

To my son: I hope this recipe travels with you through your life. Spending your birthday with the family, despite lockdown, was a beautiful occasion for us. Dressing up, dining together, cutting a cake, and bonding – we have been creating memories to cherish. I initially thought that we’d get on each others’ nerves, but I’m glad to be experiencing the opposite. We’re learning so much from each other about sharing and caring. Up until now, everyone was living in their own cities and doing their own thing, and sometimes I felt scared that I would be alone when I most needed it. Instead, the joy we’ve experienced in this time through being together reassures me of all the love that I have in my life.


Classic Chocolate Cake

(Serves 5)

Ingredients:

250 grams all purpose flour

85 grams unsweetened cocoa powder

400 grams powdered sugar

2 teaspoons baking powder

1 teaspoon baking soda

1 teaspoon salt

1 teaspoon coffee powder

120 ml oil

240 ml milk

2 tablespoons white vinegar

2 eggs

1 teaspoon vanilla essence

240 ml hot water


Butter icing:

150 grams unsalted butter at room temperature

400 grams icing sugar

¾ cup cocoa powder

1 teaspoon vanilla essence

A few drops of milk, if needed


Preheat the oven to 170°C. Prepare two 8’ cake tins by greasing the tins and dusting them with flour. Line the bases with parchment paper. The parchment paper helps release the cakes easily from the tins, after baking. Two tins are used as this allows you to put a layer of chocolate icing between them.

In a bowl, add the milk (at room temperature) and the vinegar. This is called buttermilk. Set aside.

Sift the dry ingredients together: flour, cocoa powder, salt, sugar, baking soda and baking powder.

In another bowl, add the eggs, oil, buttermilk and vanilla essence and mix them together.  If you’d like to, you can use orange or mint essence instead of the vanilla to give the cake a different flavour.

Now, add this wet mixture to the dry mixture and fold well, making sure there are no lumps. Do not over-beat. Next, add the coffee powder to the hot water to create a slightly thin liquid. Add this to the cake mixture too.

Now, pour the batter evenly into the prepared tins and bake for 30-40 minutes, or until a skewer comes out clean when you insert it.

Remove the tins from the oven and allow them to cool for 10-15 minutes. When cooled, flip the cake tins, remove the parchment paper and cool the cakes on a rack. Then, flip them back again (top side up).

While the cakes are cooling, prepare the icing. Stir the butter and dry ingredients with a spoon first, otherwise you’ll have the cocoa powder and sugar flying out of the bowl. Add the cocoa powder and vanilla essence, and slowly add the icing sugar until the mixture reaches a spreadable texture. Only once the mixture has been partially incorporated should you use a handheld blender. Beat until creamy. If required, add milk to achieve the consistency you desire. Store in the refrigerator.

Once the cakes have cooled to room temperature, you can frost and layer them to form a single cake. Here’s a video of the frosting – tempting, isn’t it?

Level the tops of both cakes with a sharp knife, until they are flat and even. Place one layer on a cake stand. Frost the top, and then gently place the second layer over it. Now, frost the top of this as well. If you have any kind of toppings on hand that you’d like to use, such as confectionery or fruit, go ahead and decorate the cake as you wish.

The trick to making clean slices lies in a half hour of refrigeration after frosting, so don’t skip this step before you serve it.

At a time like this, I believe that sharing something uplifting and refreshing is the need of the hour, and I could think of no better recipe that would do that than this beautiful chocolate cake. We should all remain in positive spirits, hoping and praying for the best and resisting feeling pulled down. I want you to feel good when a notification about a new post from me arrives. So I want you to tell me: what are some recipes you’d like to see on the blog in future? Looking forward to hearing your wishes in the comments!

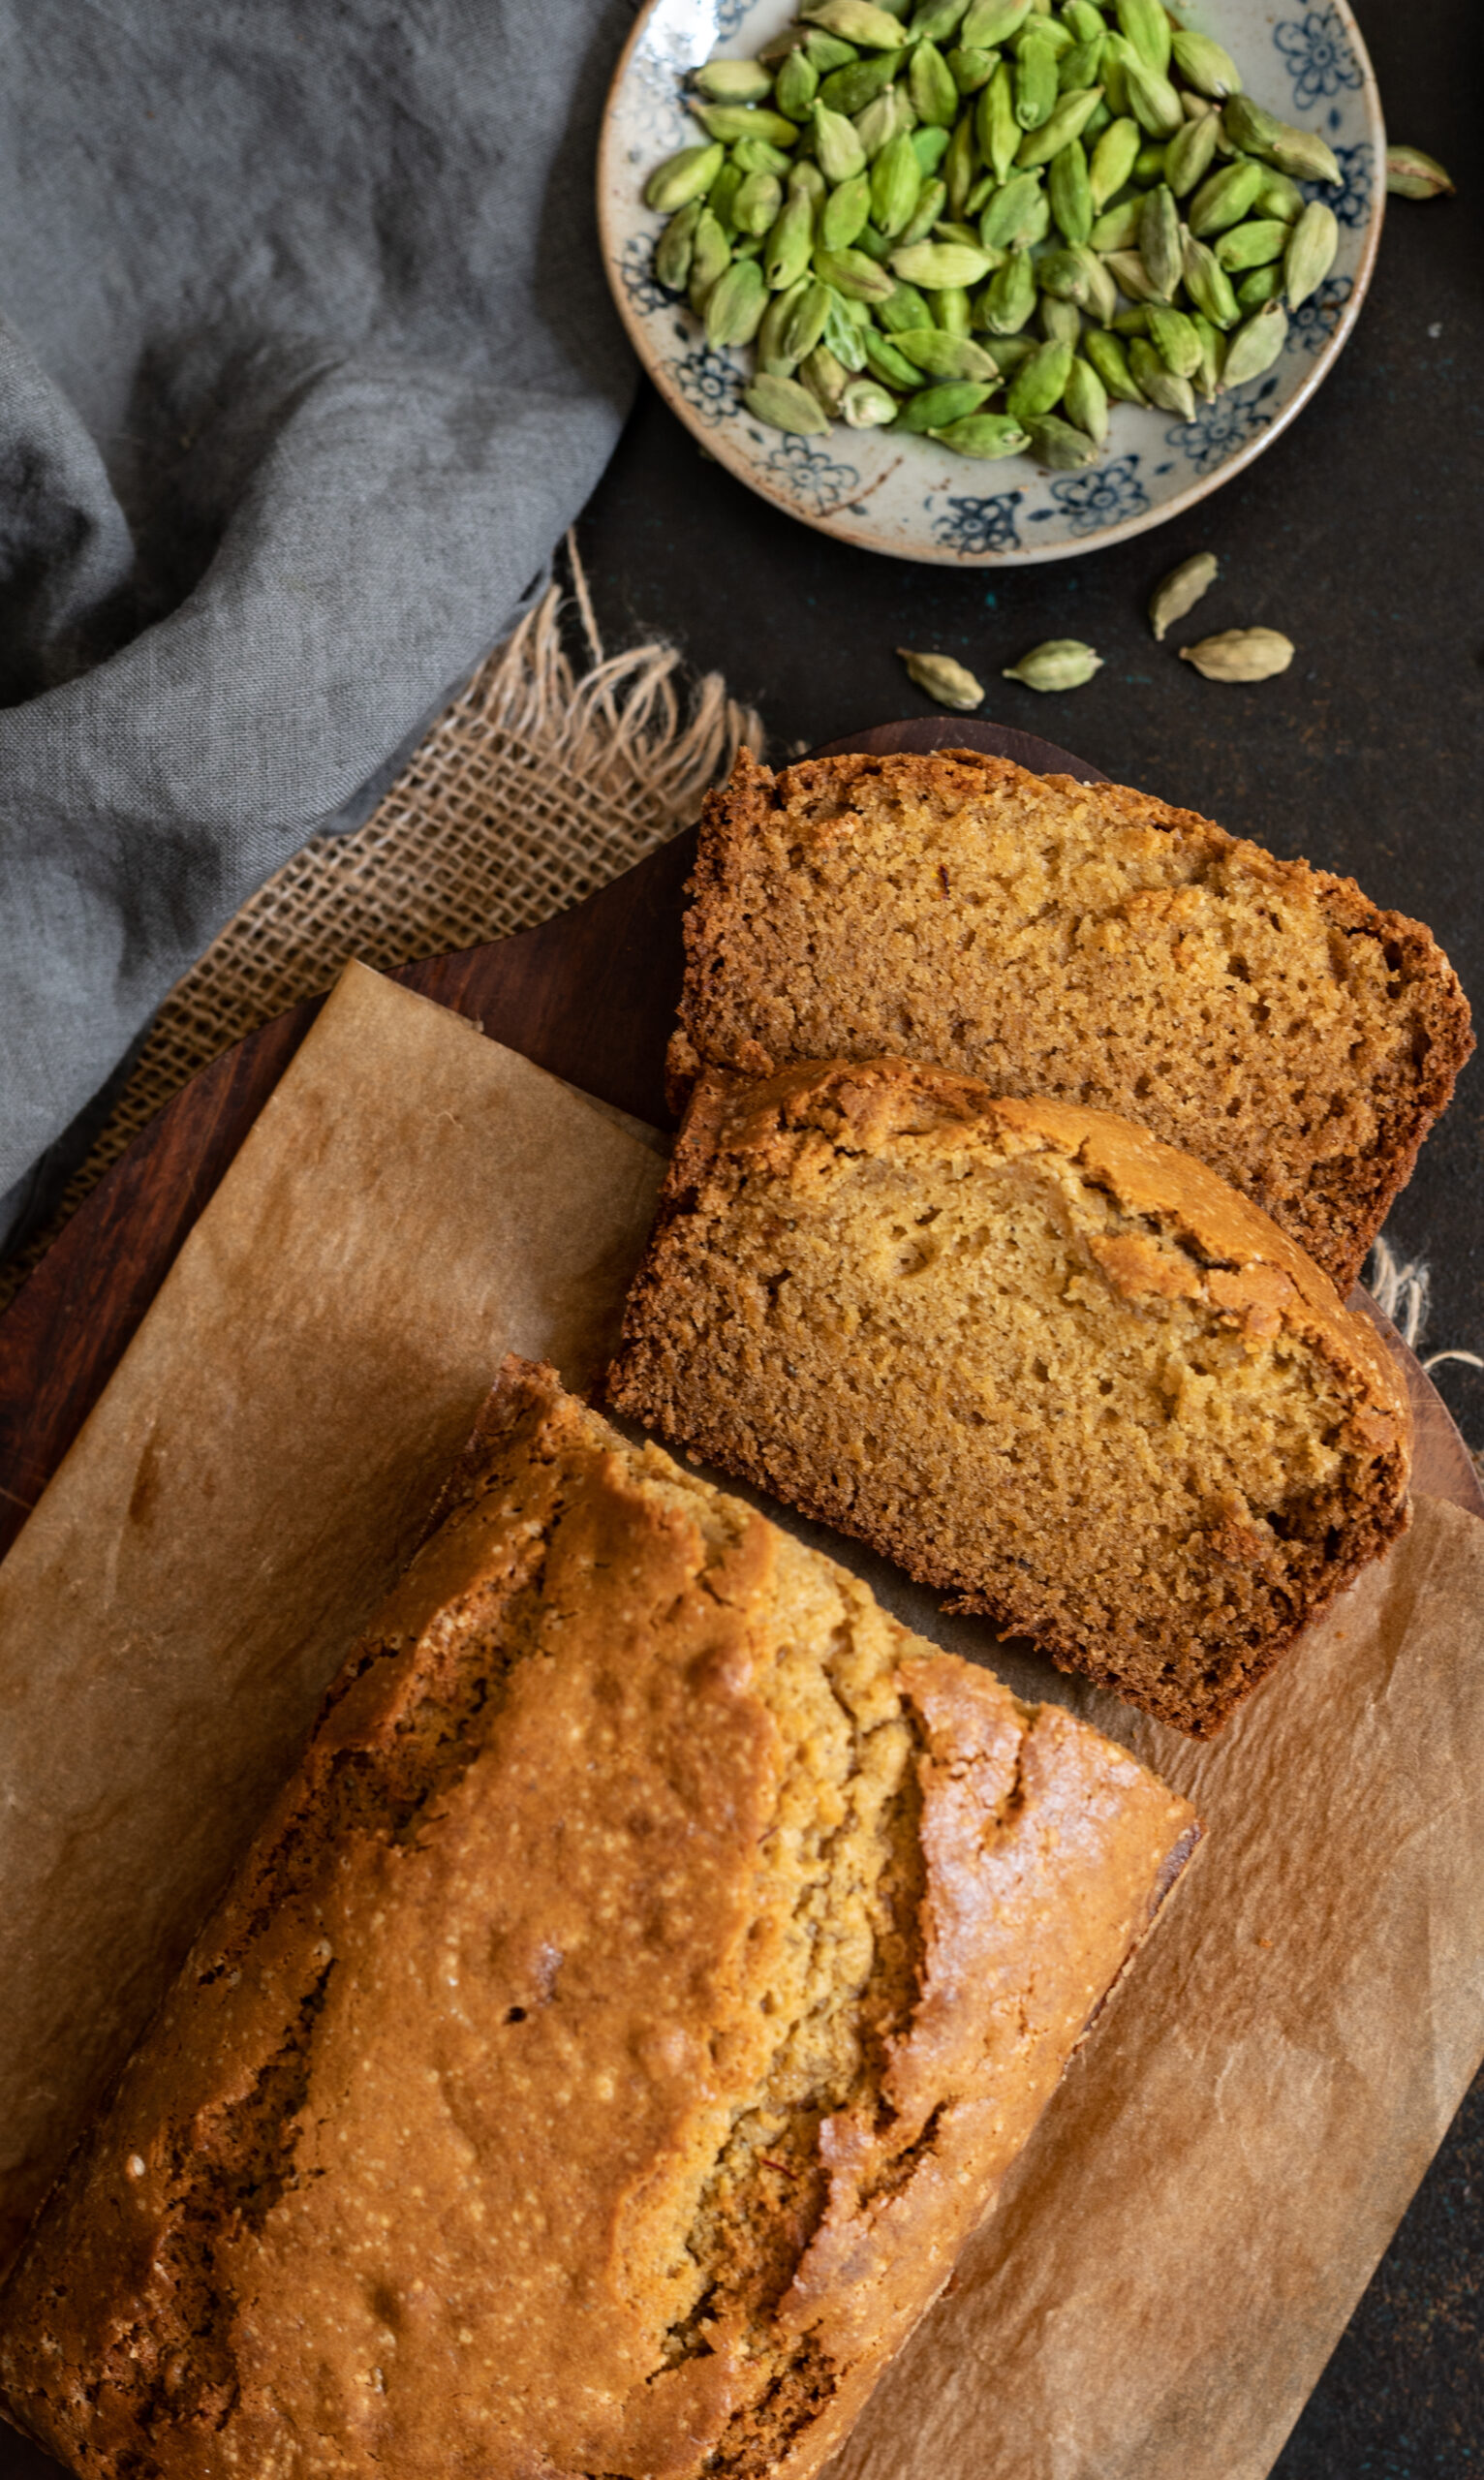
For as long as I’ve been cooking, I have woken up every morning wondering what new dish I might try in my kitchen. This hasn’t changed at all during this lockdown. I’m still starting each day by planning what I can prepare. Of course, as all of you are no doubt experiencing too, there’s an extra step of having to be especially creative so as to maximise available ingredients since grocery shopping is more infrequent now. Still, I believe that we must always eat well, as much as we can. Desserts are still on my mind – sometimes the thought I start my day with is: a sourdough-based dish, or a cake? The other day, I picked baking a cake – a whole-wheat saffron and cardamom cake to be precise – and I’m glad to share the recipe with you today.

Teatimes at home now have a whole new vibe. I usually have my tea alone, but with everyone at home all day at the moment, they have become a special bonding experience. This is why a cake made all the more sense to me, as an accompaniment to our cuppas and conversations. With the re:store kitchen on hiatus along with so many other food and beverage enterprises in the city, I also missed baking on a daily basis. Going through my blog, I realised that in these three and a half years, I have shared no more than four cake recipes with you. Given that they are my signature product, I felt that there’s no time like the present to give you another one.

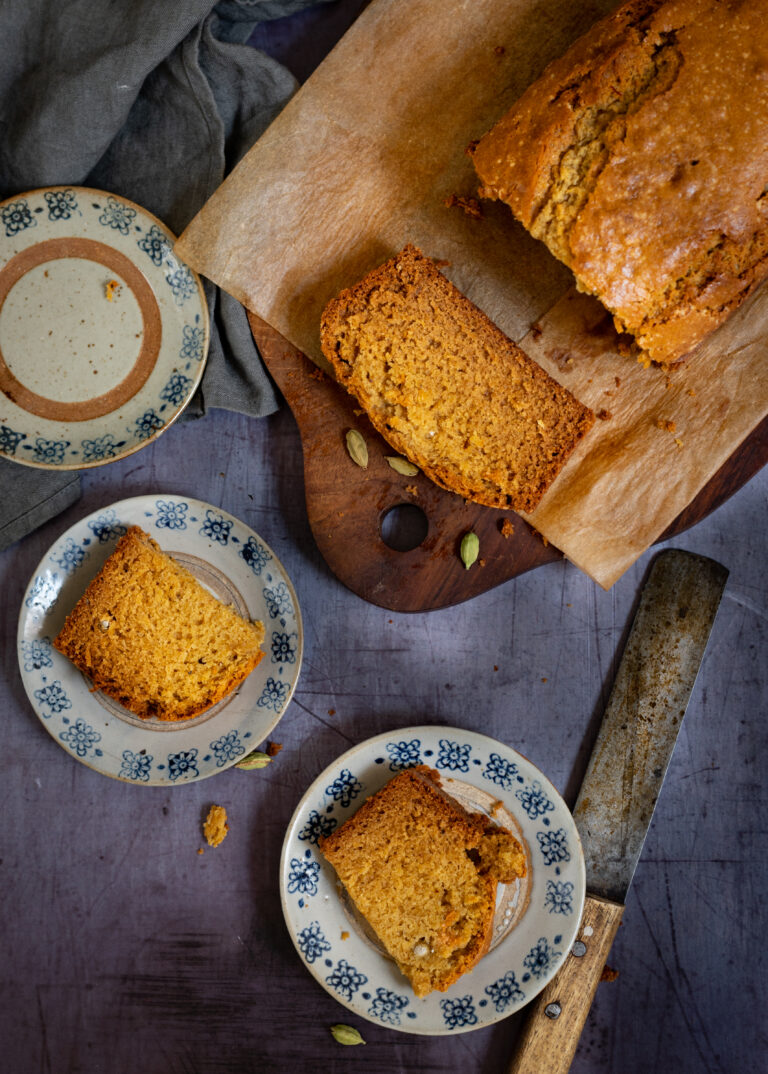
Like most of re:store’s baked goods, this whole-wheat cake is mildly sweet, with no icing. The cardamom and saffron add a faint but wonderful whiff of Indian-ness to it. An added benefit is that it’s eggless – perfect for vegetarians, and in case you’re running out of eggs at the moment. It’s a very easy cake to prepare, as well. Baking cakes always involves a simple formula, as I reminded my niece when she attempted one of the recipes I shared earlier. If you follow the basic principles carefully, they reliably turn out perfect. This one, I can assure you, is not only easy to make but also very tasty.

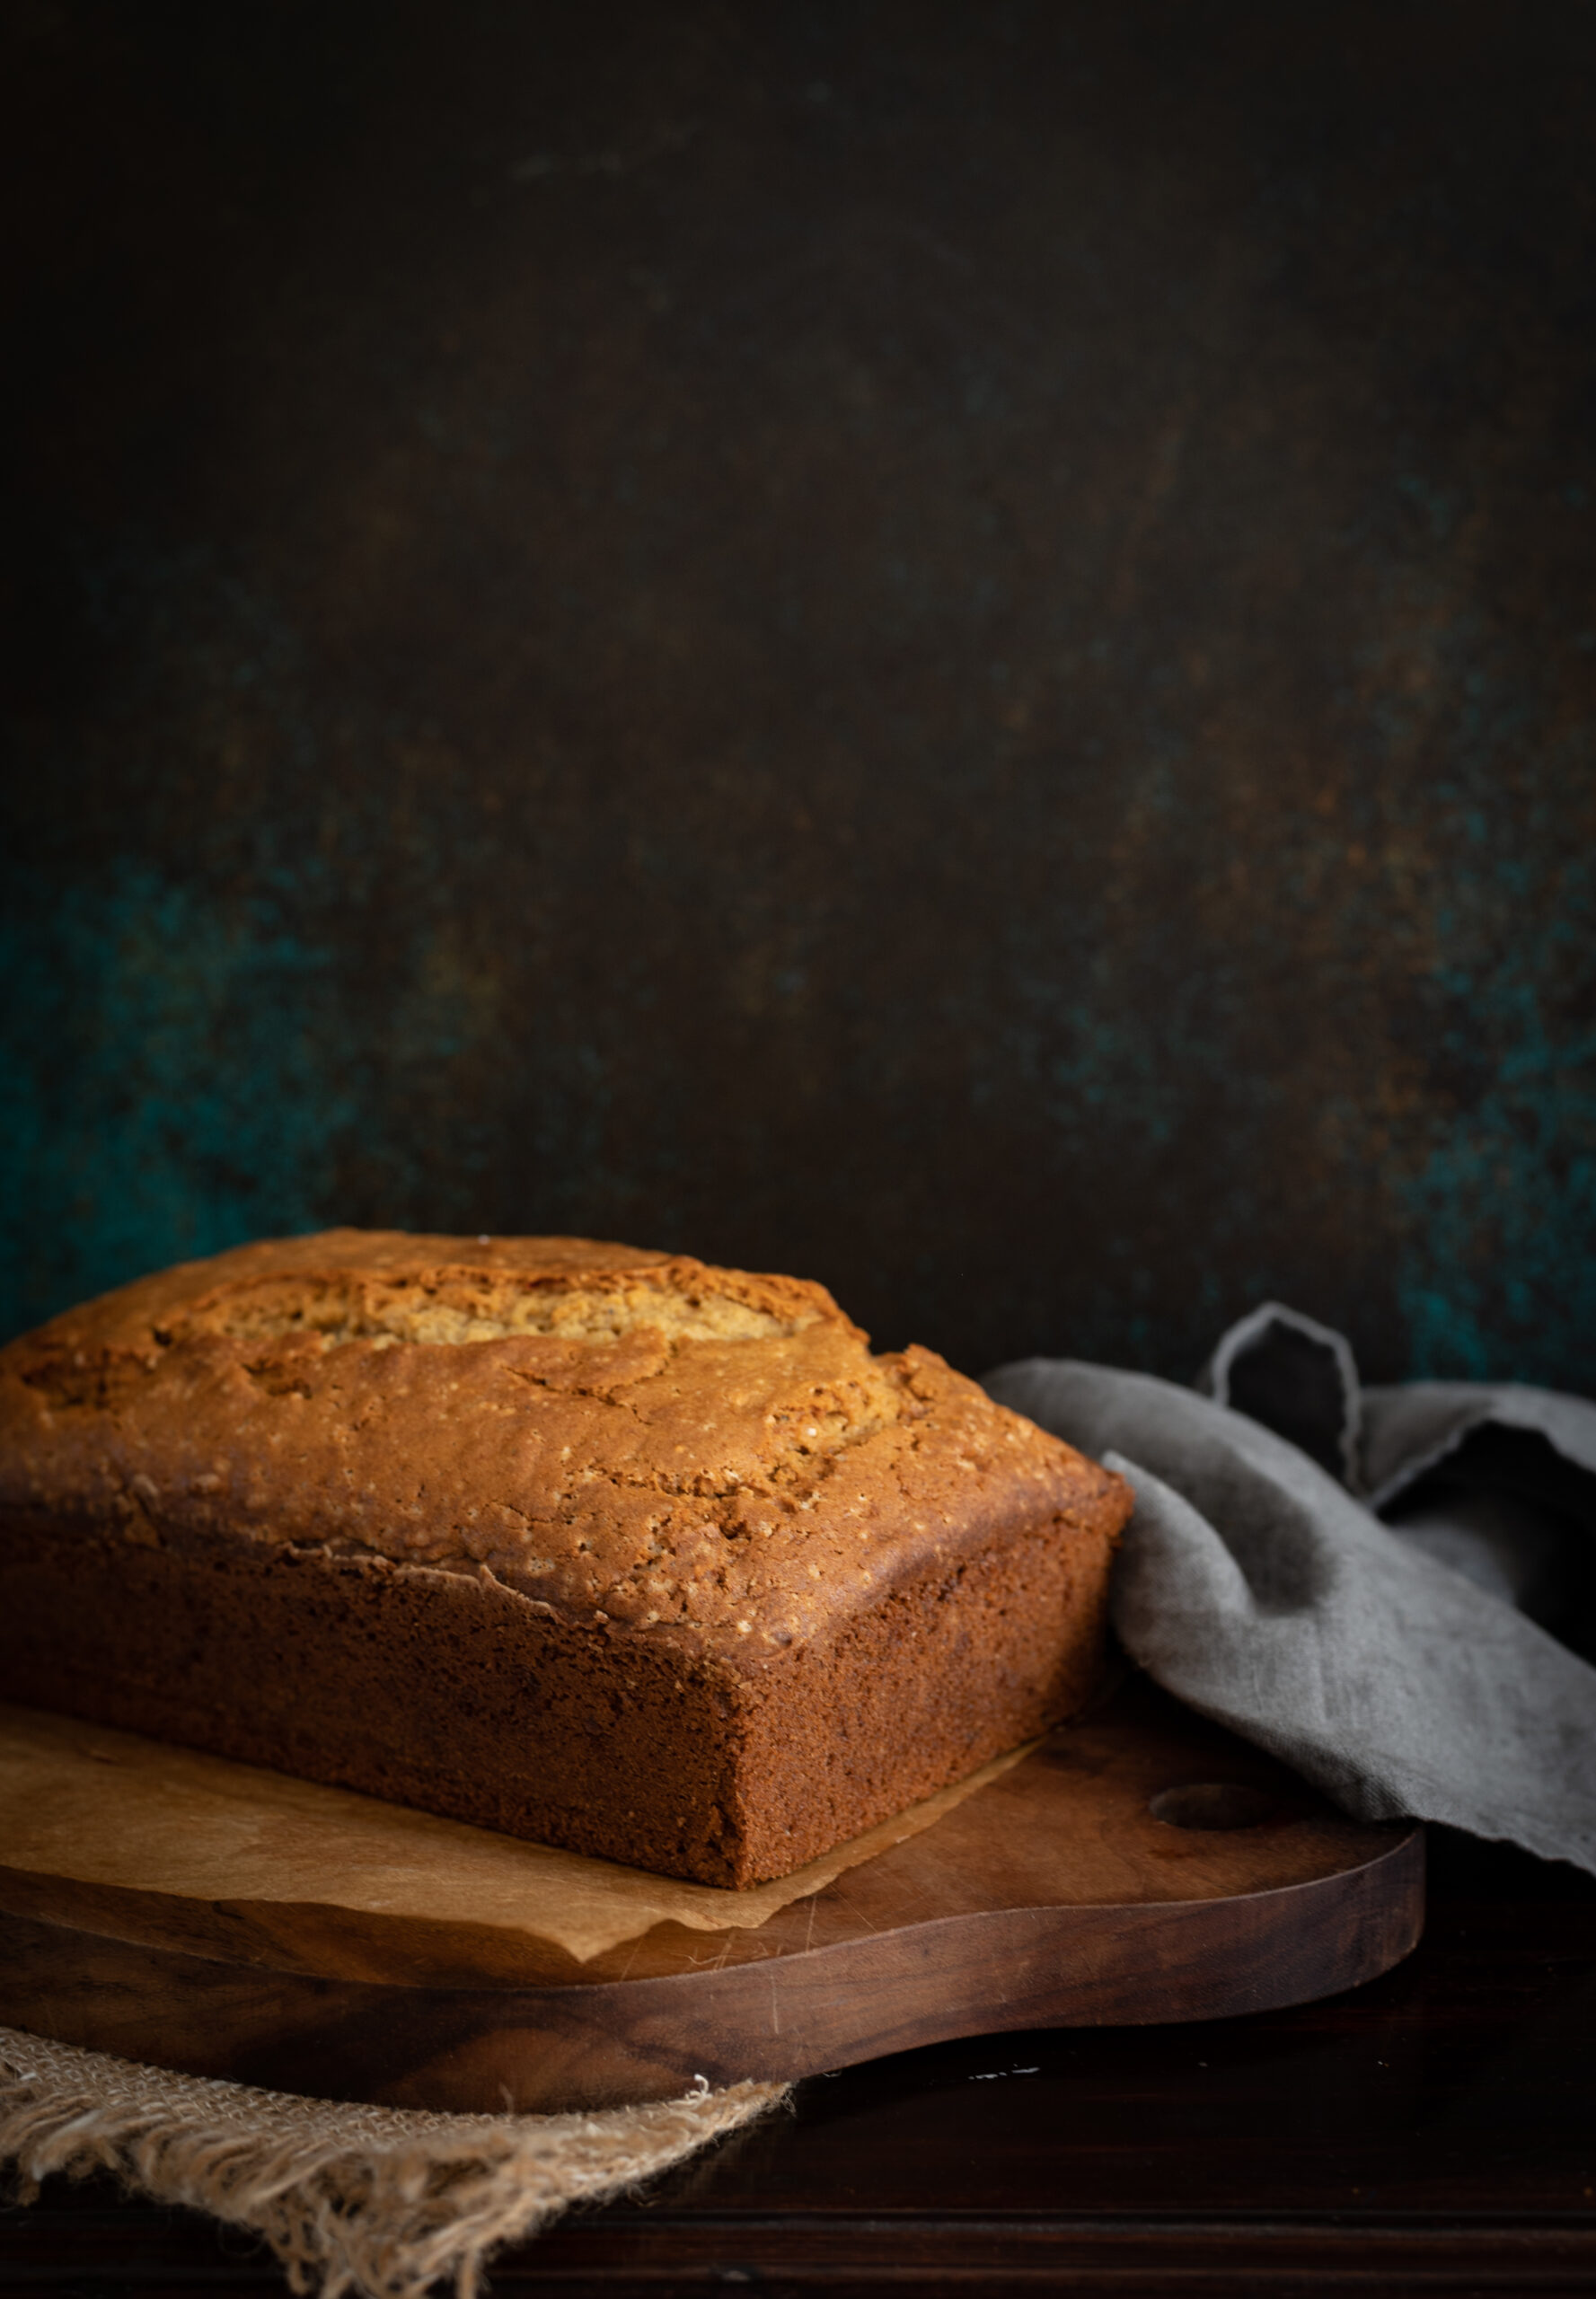
Earlier, I enjoyed making this cake using mini loaf tins. For a change, this time I baked the cake in a regular-sized loaf tin, selecting it from the pans which I have collected over time. This tin shape makes the cake especially cute, and it comes out in the perfect size to slice up. The portions are ideal for a family of five at teatime. Ours is 5+1 at the moment, including my dog Max – who always reminds us that we better eat up our share quickly, before he gobbles it up!

If cardamom and saffron aren’t available in your kitchen right now, this recipe will work equally well with lavender or even some mild lemon zest. The choice is yours. Feel free to experiment with flavours (and be sure to let me know in the comments later what you decided to do). Happy baking!

Whole-Wheat Saffron/Cardamom Cake

(Serves 5)

180 grams whole-wheat flour

185 grams white powdered sugar

2 tablespoons brown sugar

½ teaspoon cardamom powder

5-10 strands saffron

65 grams soft butter

1 teaspoon baking soda

¼ teaspoon salt

240ml whole milk

Preheat the oven to 180°C.

Prepare a loaf tin by greasing the tin and lining it with parchment paper.

Remove a ¼  cup of milk from the 240ml, keeping the rest aside. Soak the saffron strands in this for half an hour or until colour rises.

In another bowl, add all the dry ingredients and mix them together well. Then, add the wet ingredients one by one and mix again.

Pour the batter into the loaf tin and place it in the oven. Allow to bake for 30 – 40 minutes or until a skewer comes out clean.

Toward the end of the baking process, you may notice that the cake acquires a darker colour on top. This is due to the brown sugar. If you prefer, you may cover the cake loosely with parchment paper while it bakes, to avoid excess browning.

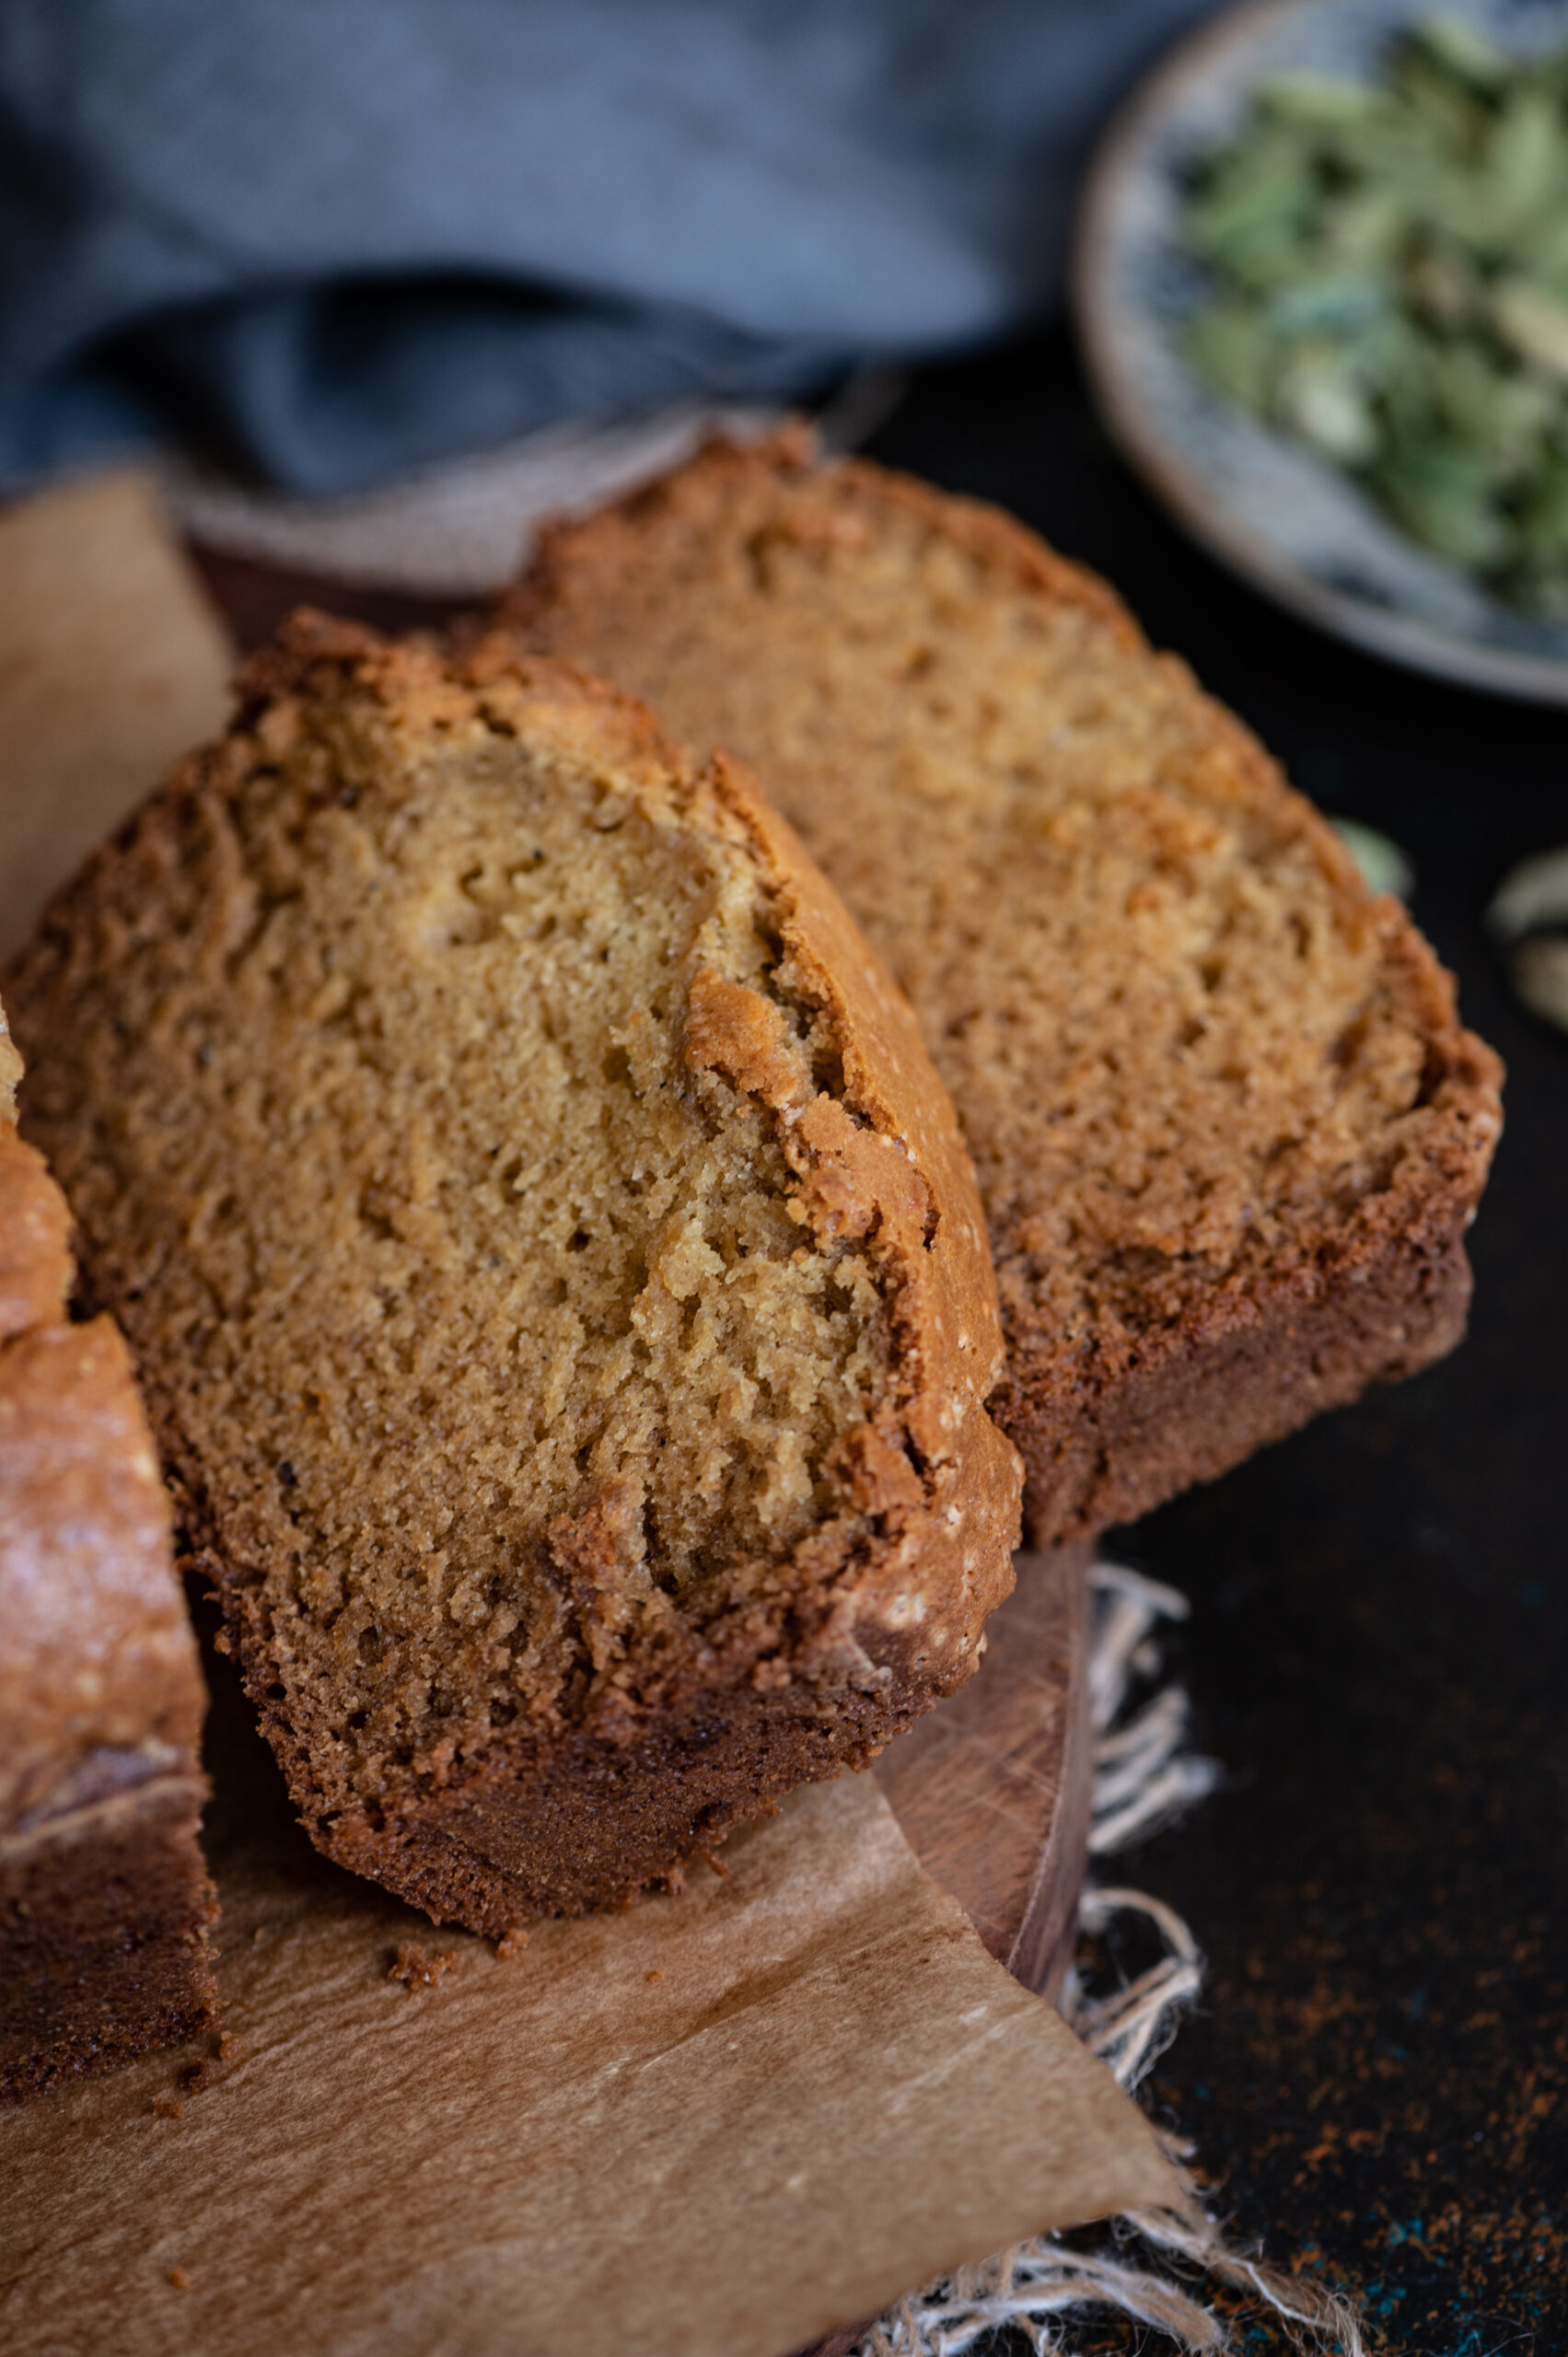
Let it cool slightly, then remove the still-warm loaf and slice it up for serving. The lovely thing about this cake is that it needs no icing or any kind of topping, and responds well to a variety of flavourings. It has a nice rustic look, and tastes perfectly moist and delicious all on its own. The perfect accompaniment is a cup of tea – along with a pleasant conversation…

I hope you’ll enjoy this recipe, and that it adds a hint of sweetness and sparkle to this challenging time!

The beauty that we see all around us, we take for granted. This is why I love flower exhibitions, which put that beauty at the centre and let us appreciate it fully. Flowers represent inner peace to me. Amongst other things, the Chelsea Flower Show, was on my wishlist. And I recently had that dream fulfilled. It was like the experience of so many flower market visits, multiplied.

One of my favourite things to do in London is to wake up early and go to the flower market, which I enjoy just as much as I do a flea market or an antique market. It was a dear friend who first took me to the Columbia Street Market, which soon became one of my favourite London experiences. It begins with a coffee at any of the quaint shops alongside the flower sellers, sipping leisurely while watching them set up their stalls. They bring their fresh flowers in and I watch them at work while I have my coffee, which is always so lovely and which sets off the mood. I could sit there all day, between the taste of the coffee and the sight of the blossoms.

Amidst the abundance of peonies and a variety of English greens, I was taken aback to see a jasmine plant in a pot. It was simply laden with flowers which reminded me of the oosi malli back home. I was surprised to see it blossoming when the climate was not conducive for it, and it gave me fresh inspiration to continue working in my own gardens. I was reminded of my own home and the manoranjithas I’m trying to revive. The dedication of those London florists, and the sheer variety of flowers they cultivate, are lessons to inspire us to look at the diversity and beauty that exists around us.


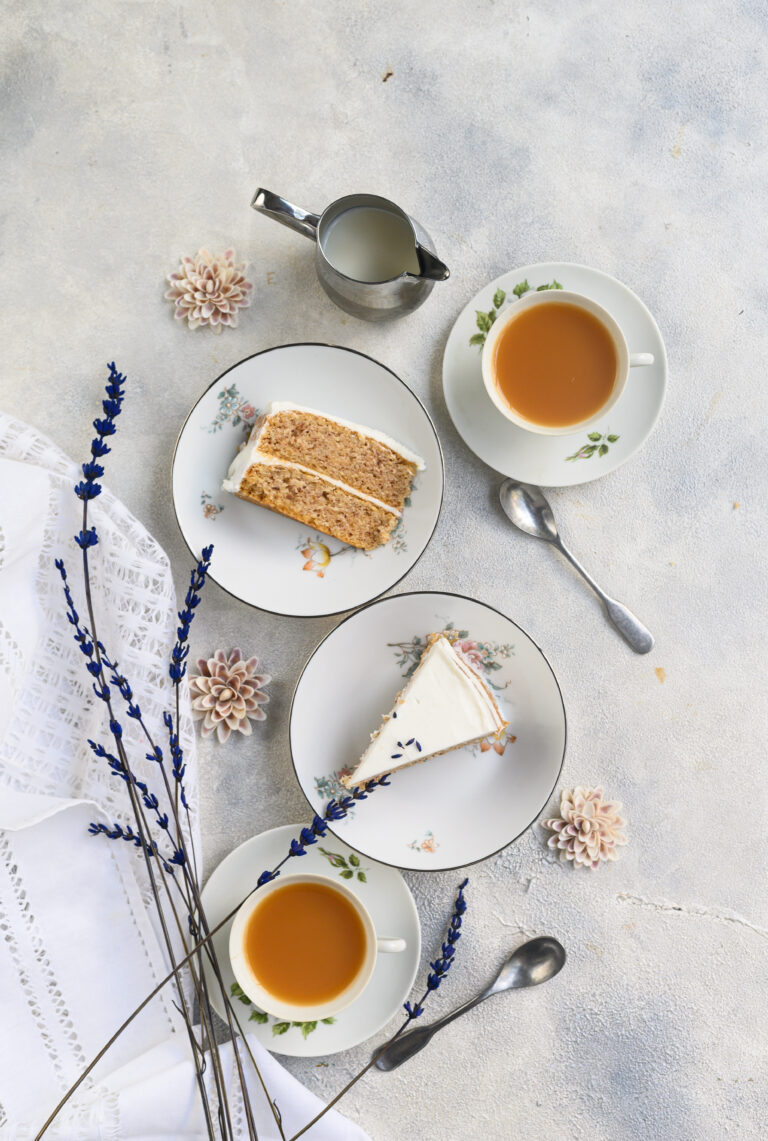
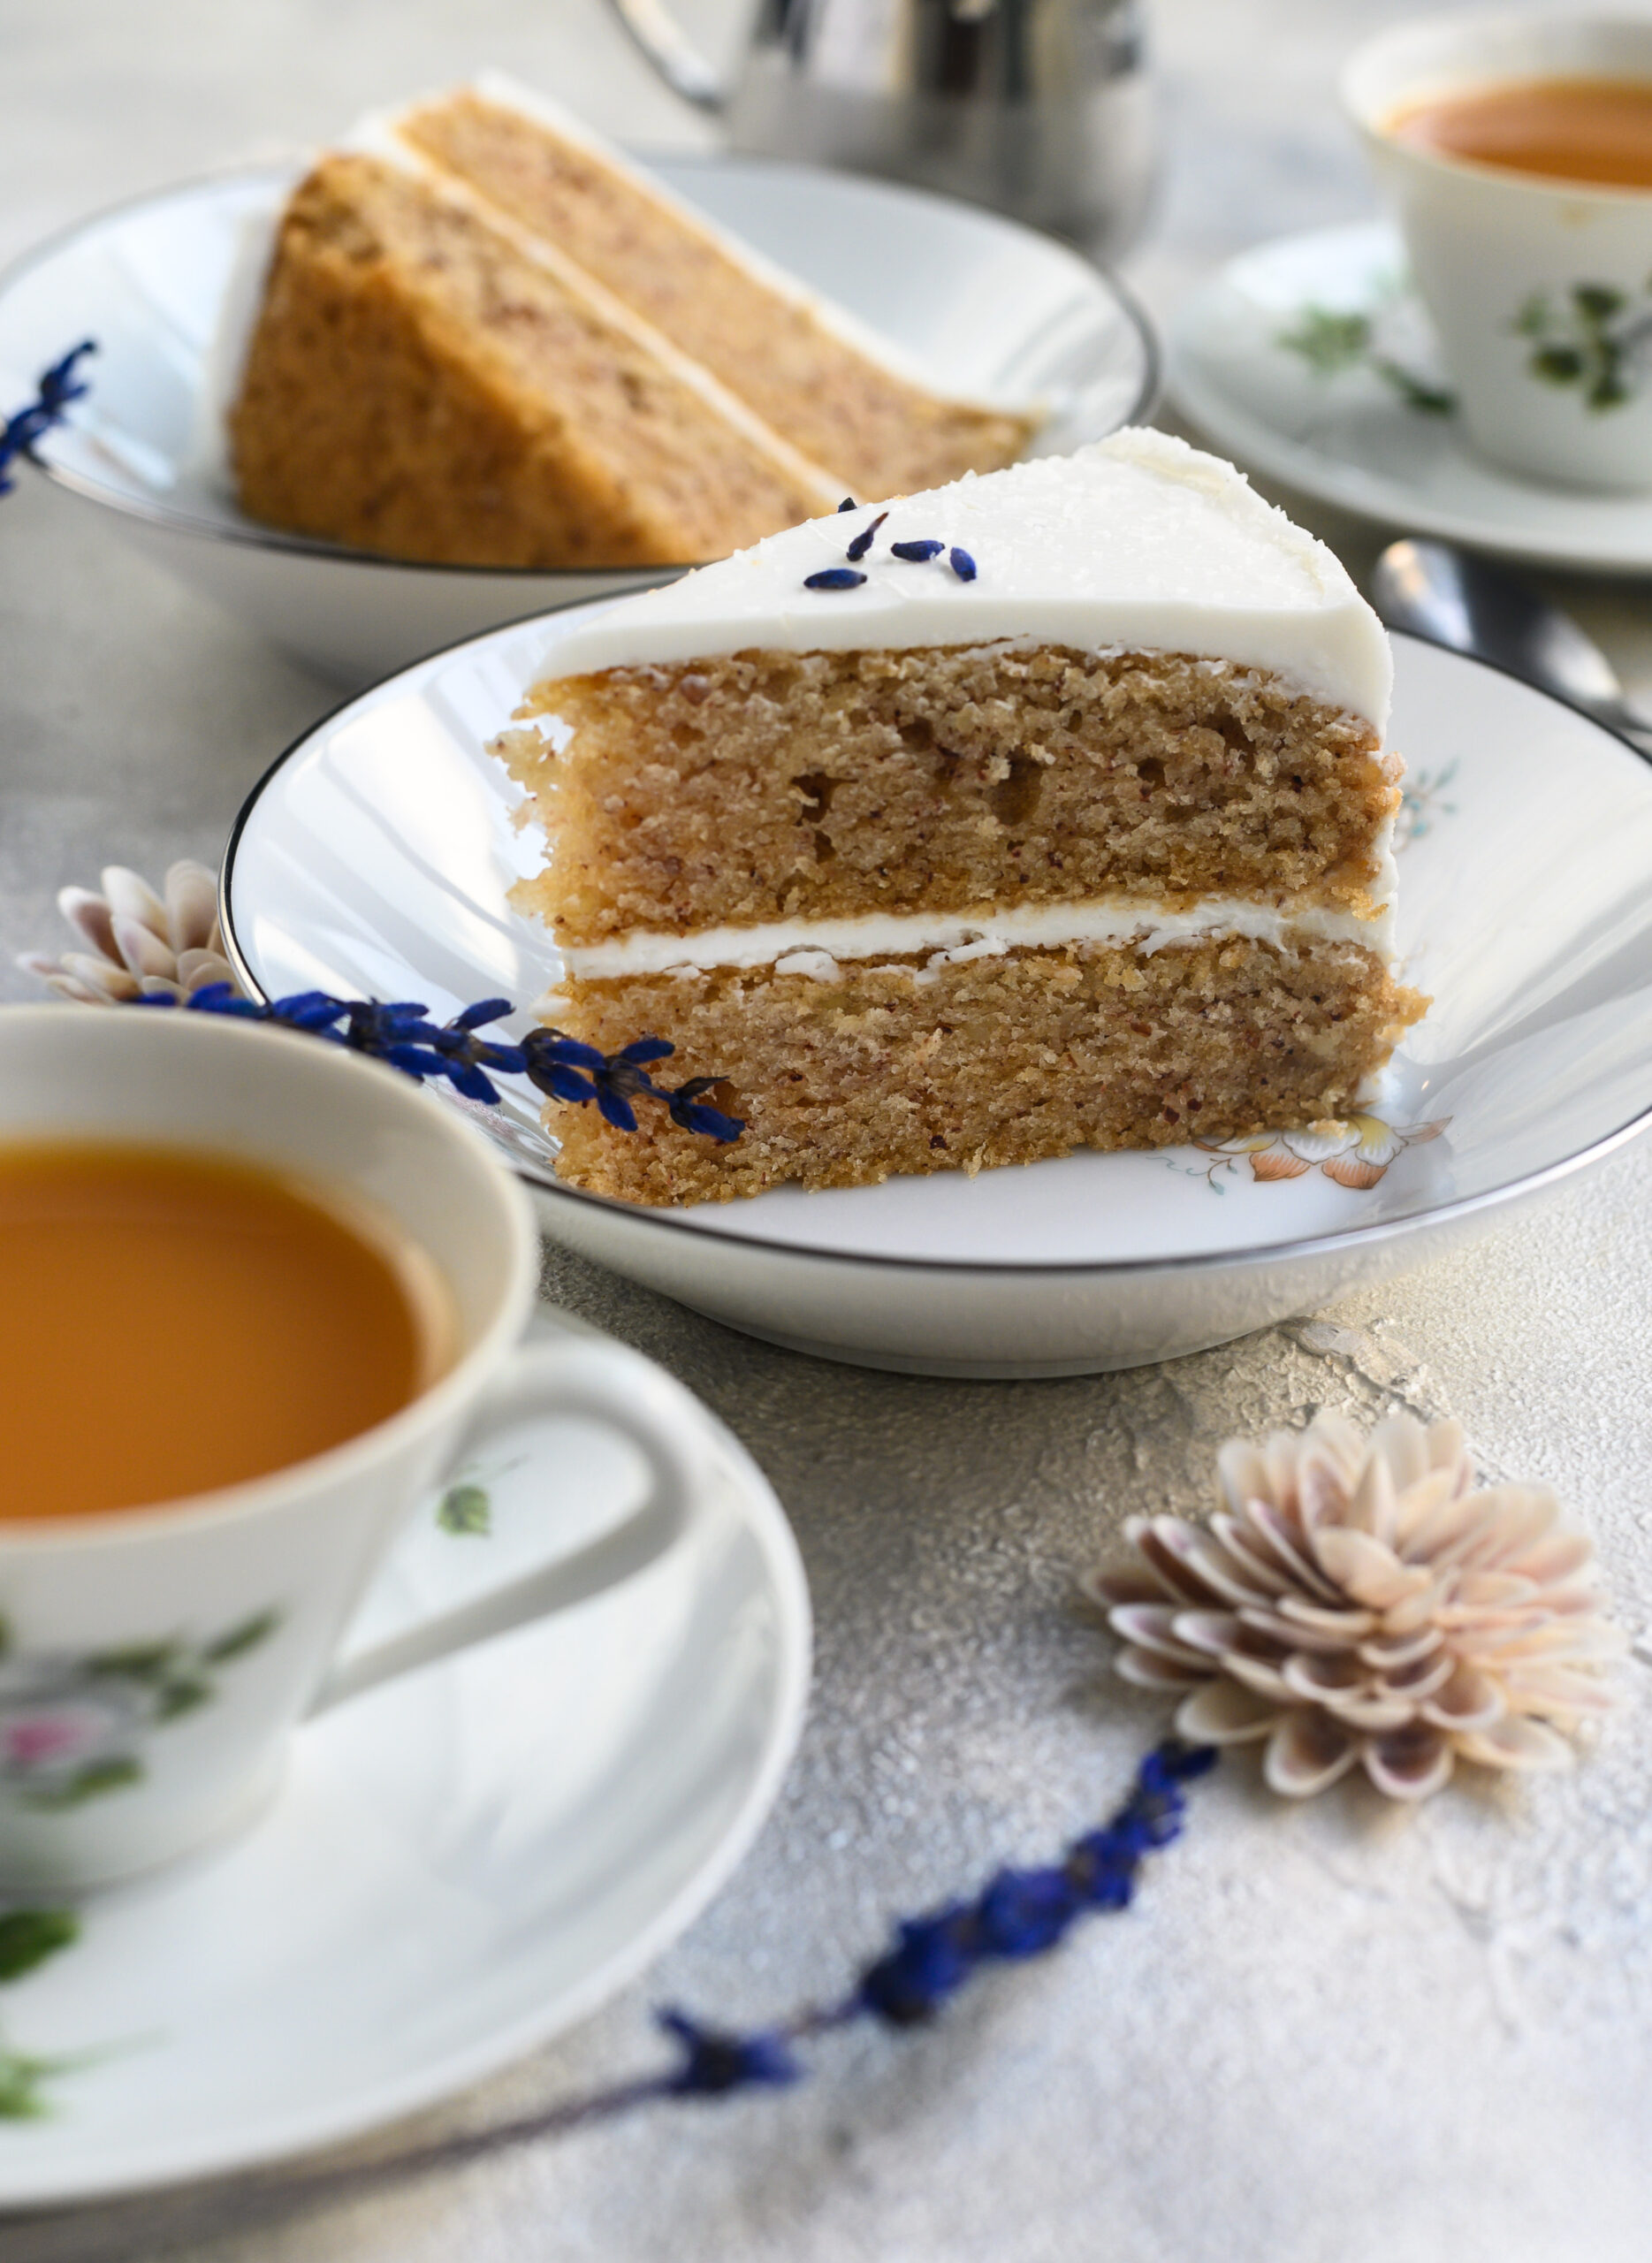
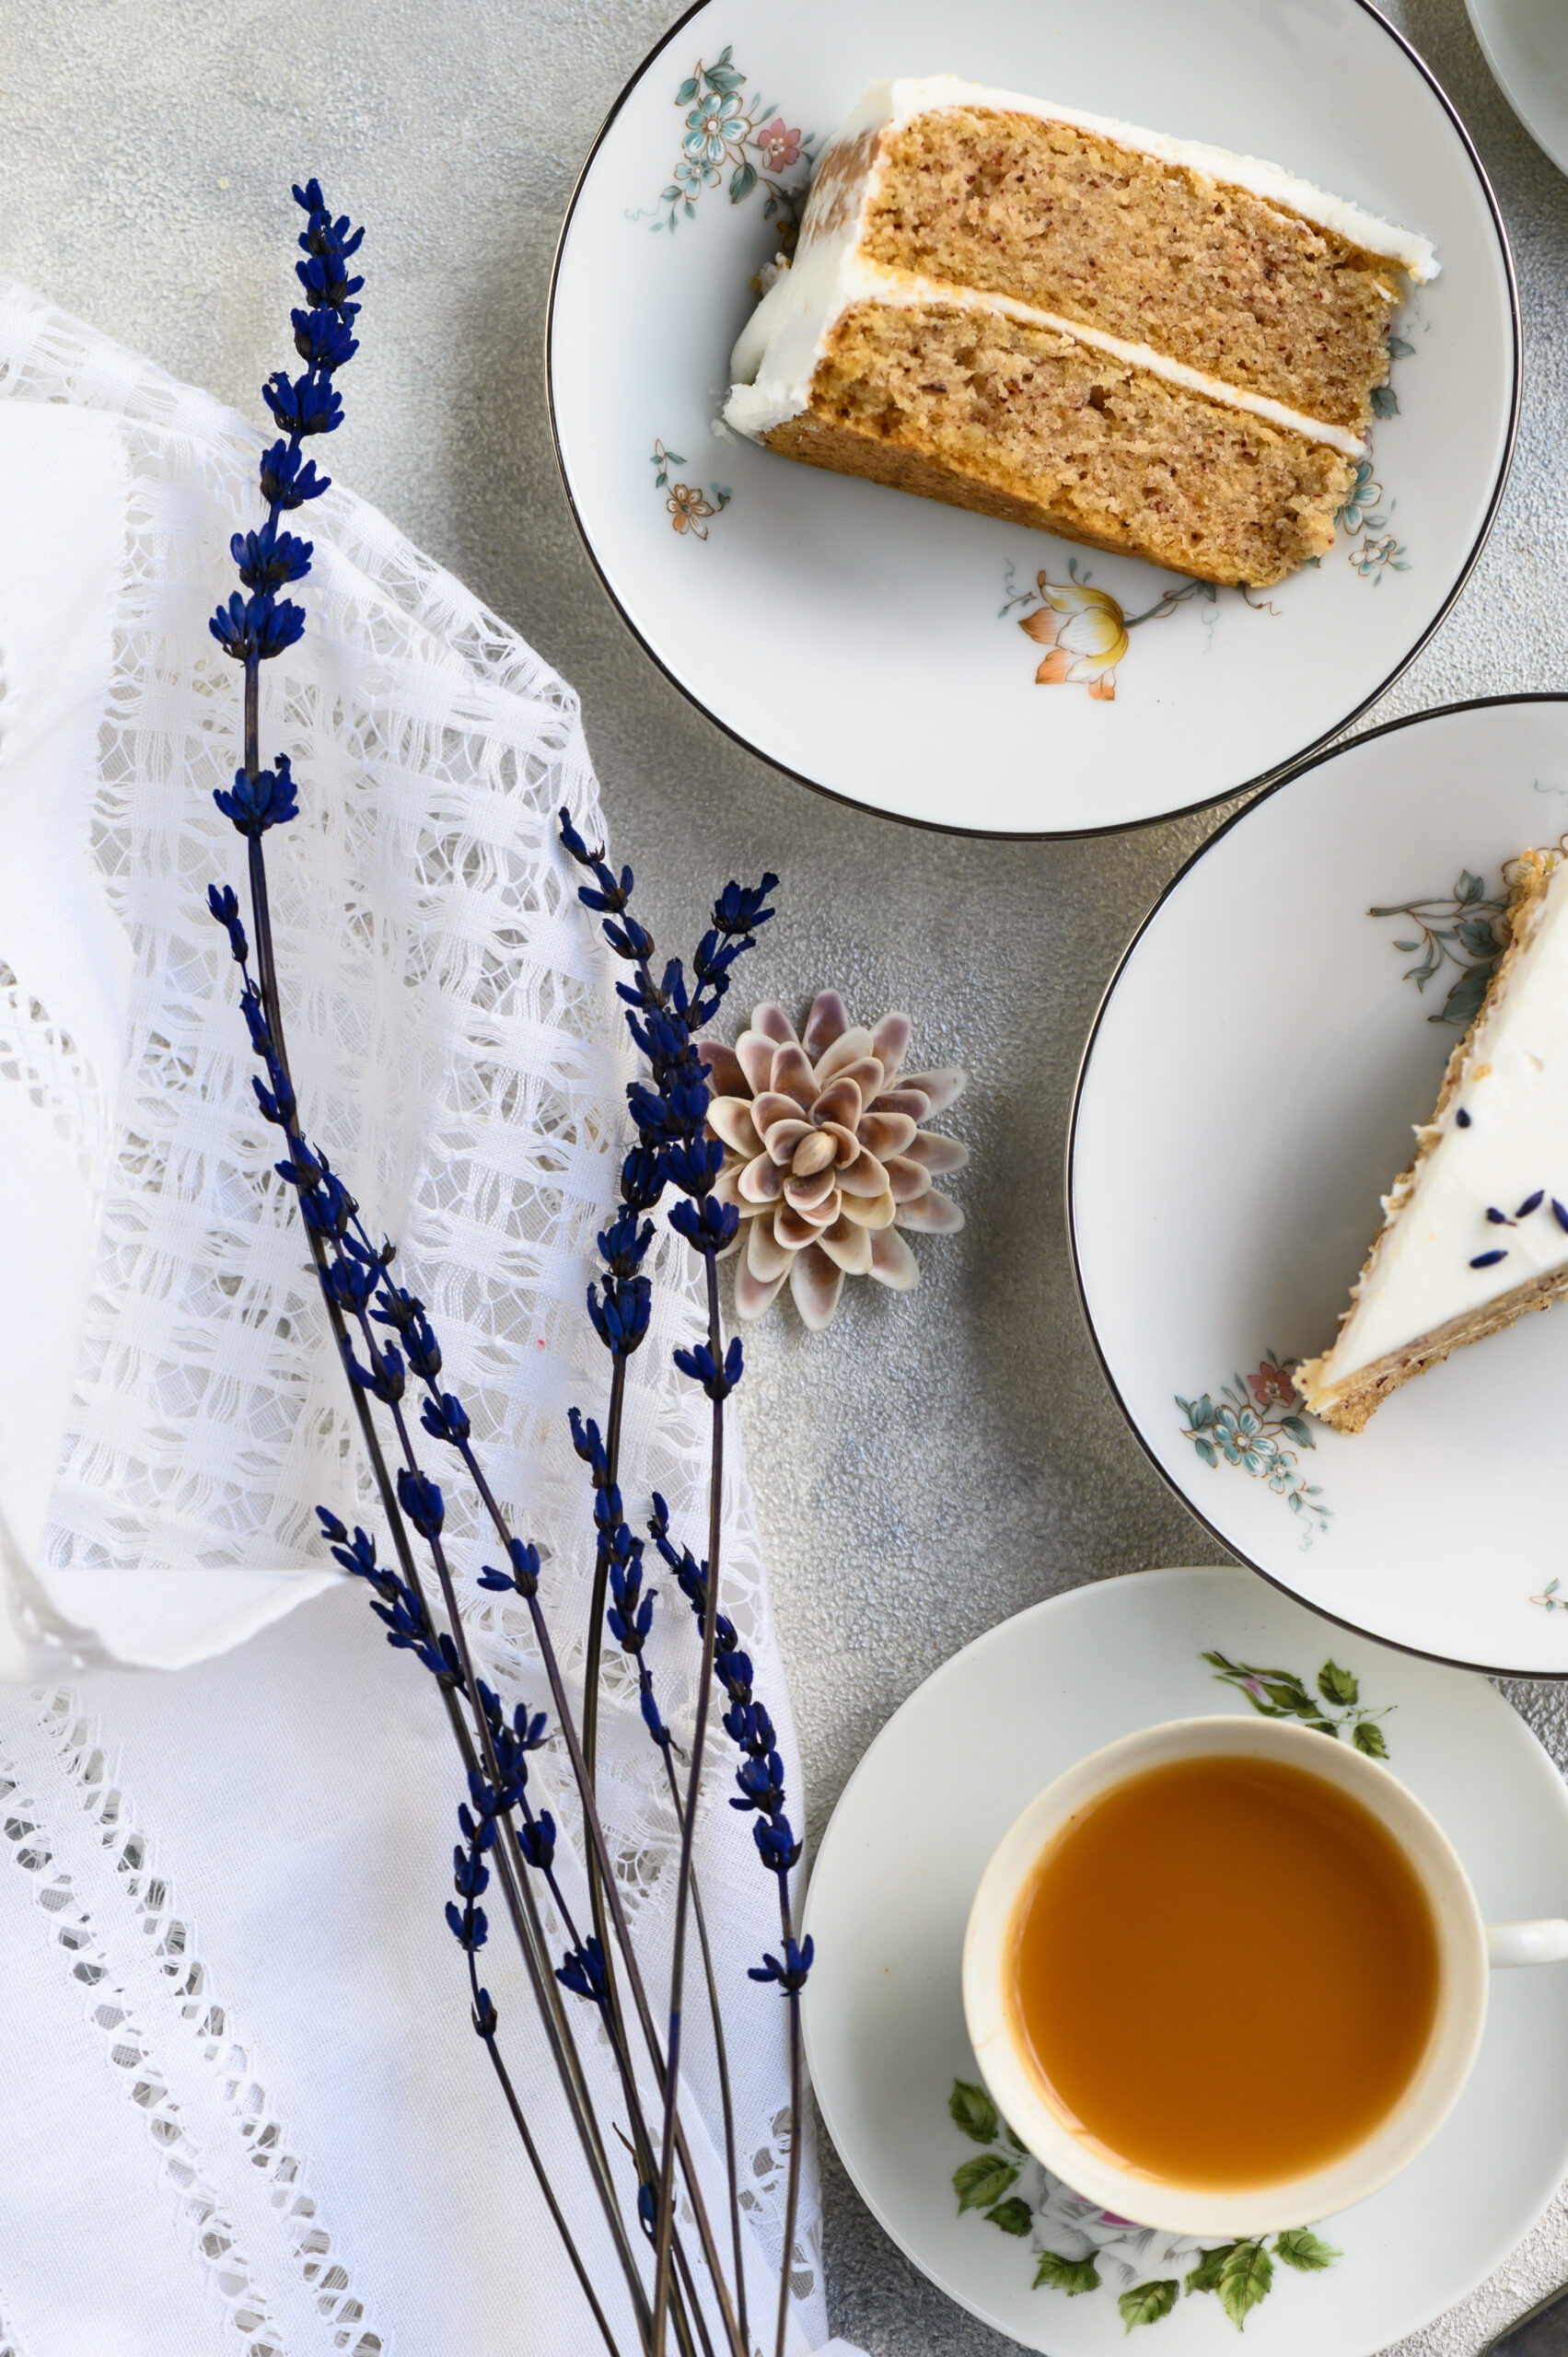
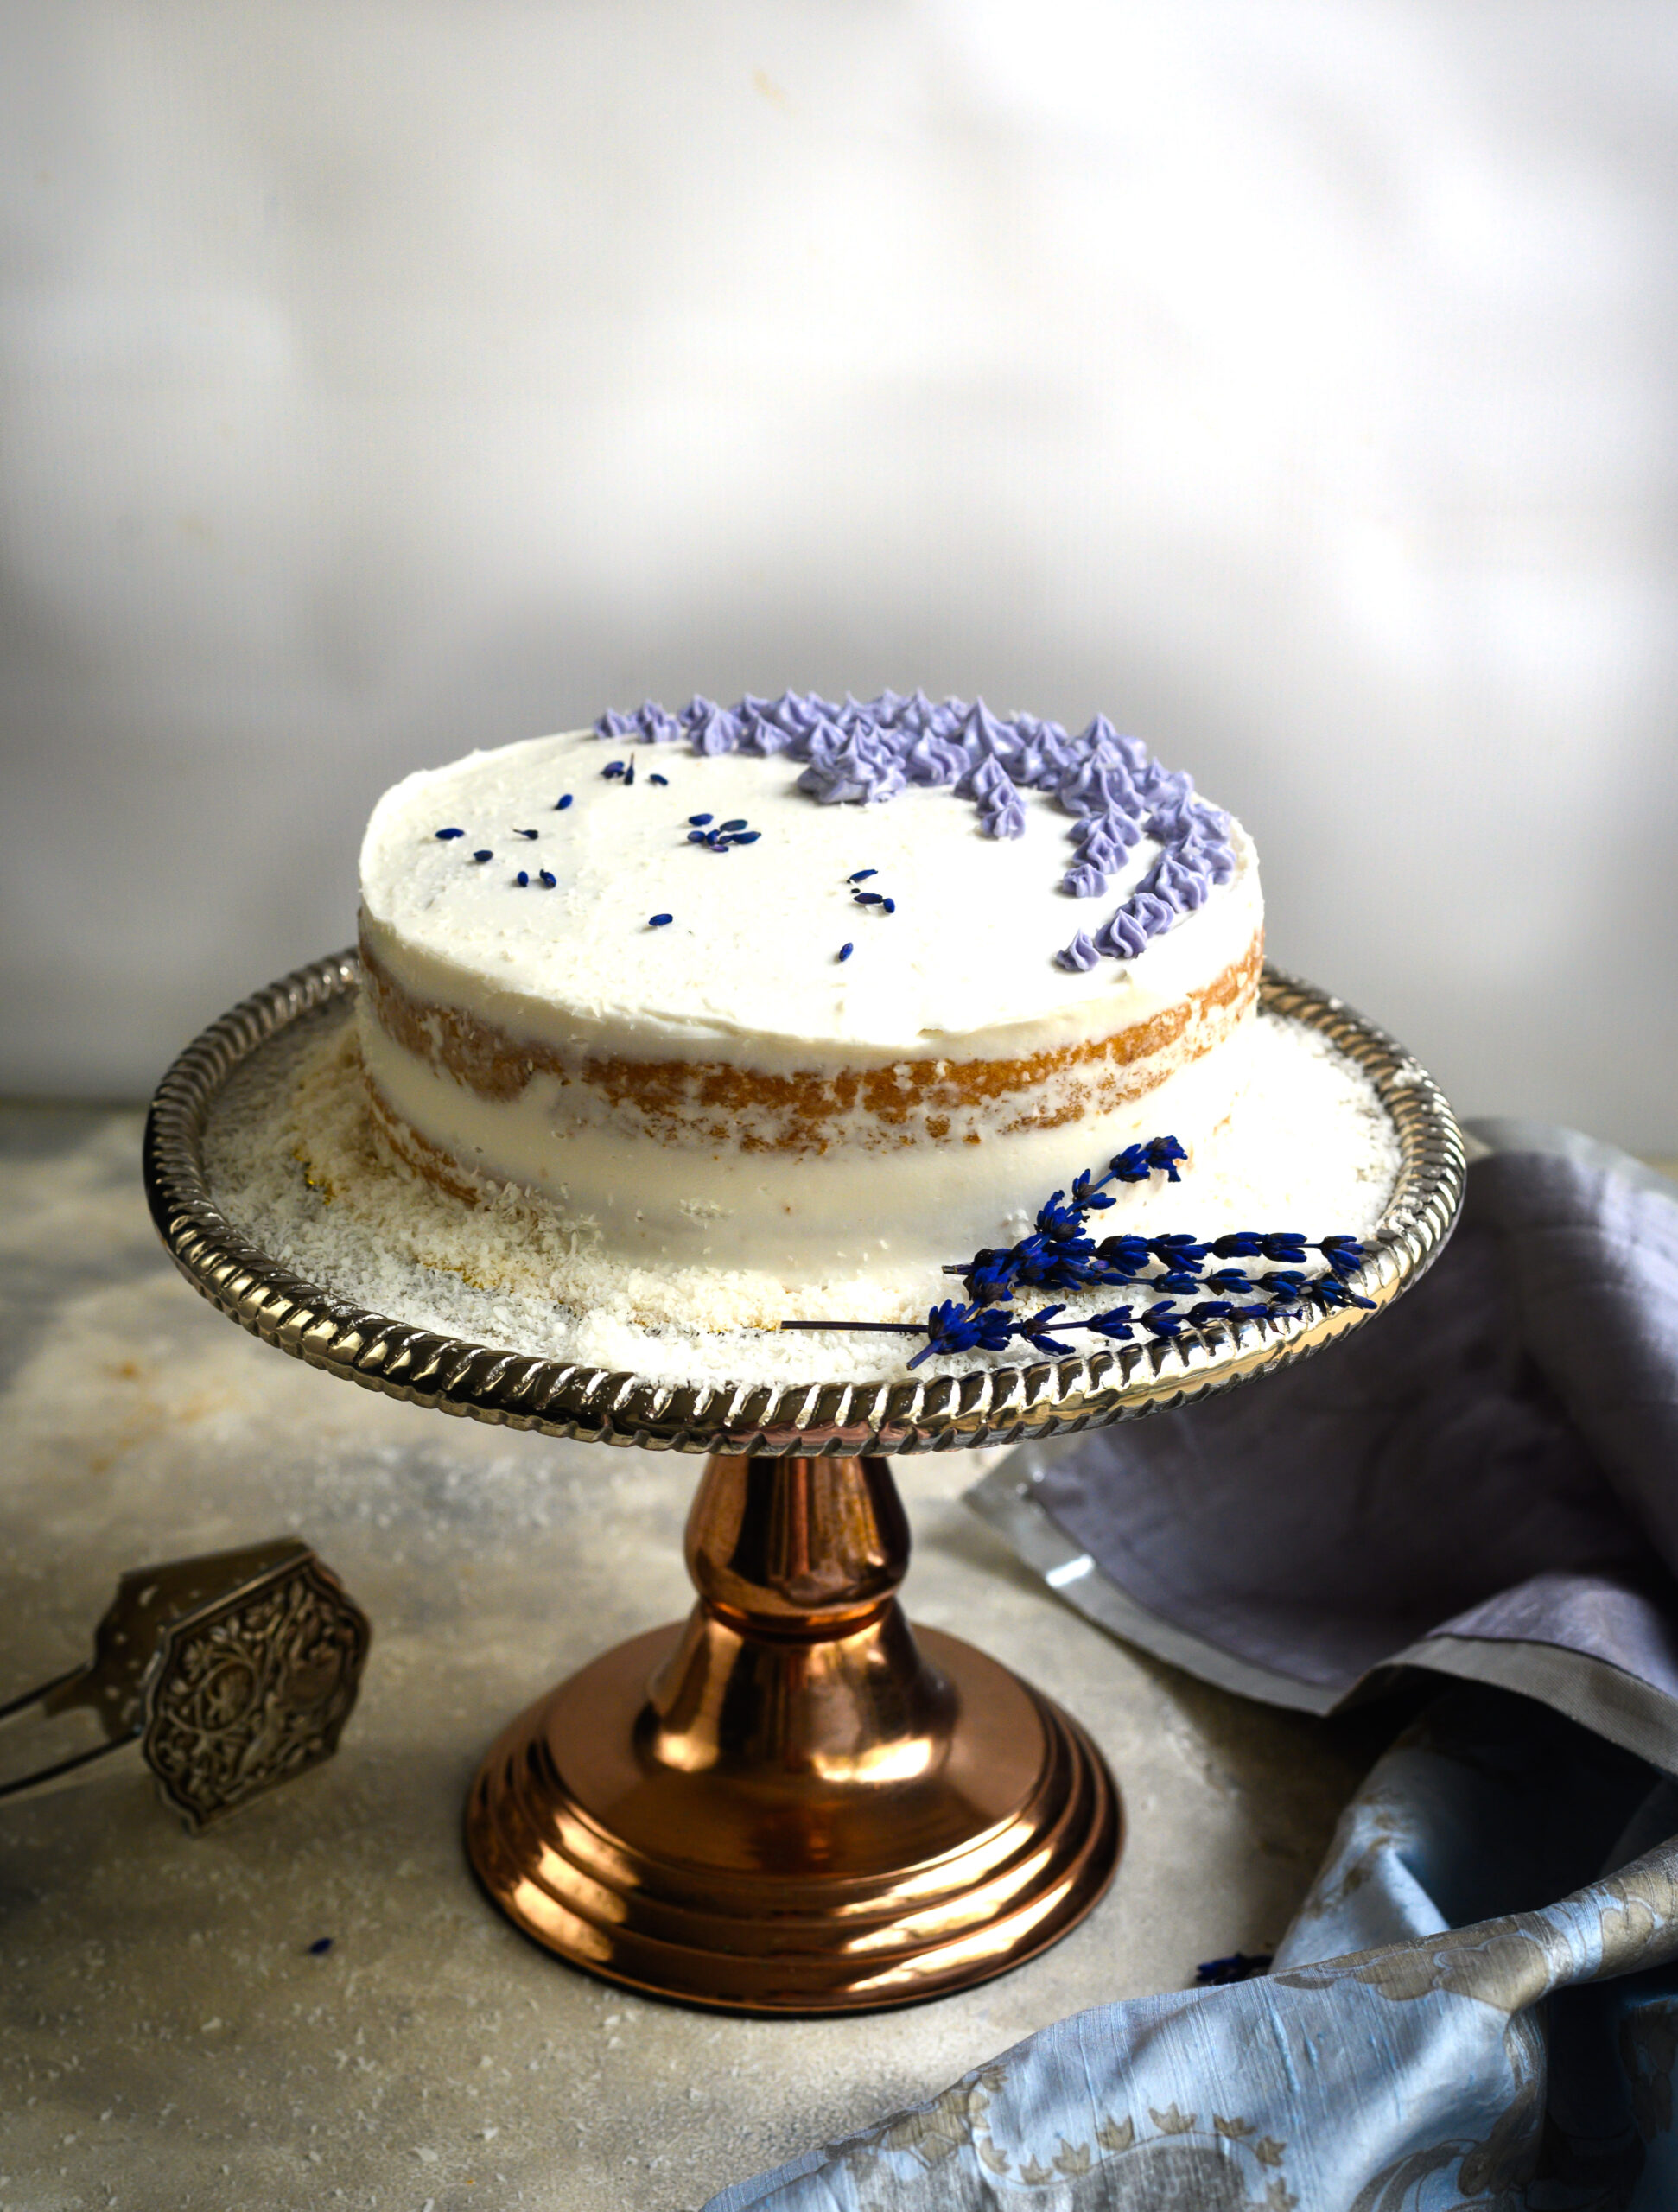
Sitting in one such market not long ago, taking impromptu images on my iPhone camera, my eyes were wandering around looking for those flowers which were dried, so I could carry them back with me. This was when this exquisite batch of lavender caught my attention. Since I brought this beautiful lavender back with me, my entire home is carrying its fragrance and I’d do anything to keep it lasting. If there was a way I could capture its fragrance, I’d easily share it with you. But since I can’t, this vegan lavender cake with coconut icing is the next best thing.

As you may know, lavender is one of the flowers/ingredients that most inspires me, and you may have enjoyed several of my previous recipes featuring it. Some of my experiments have yielded such delights as this lavender shrikand and this vegan lavender panna cotta.

This cake is made for the vegan palette. Veganism is becoming increasingly popular, and rightly so. Among other reasons, the treatment of animals to procure ingredients for non-vegan meals is a big factor as to why people choose it. I am increasingly becoming aware of veganism and trying to include it in my food journey, and you can see several of my recipes here.

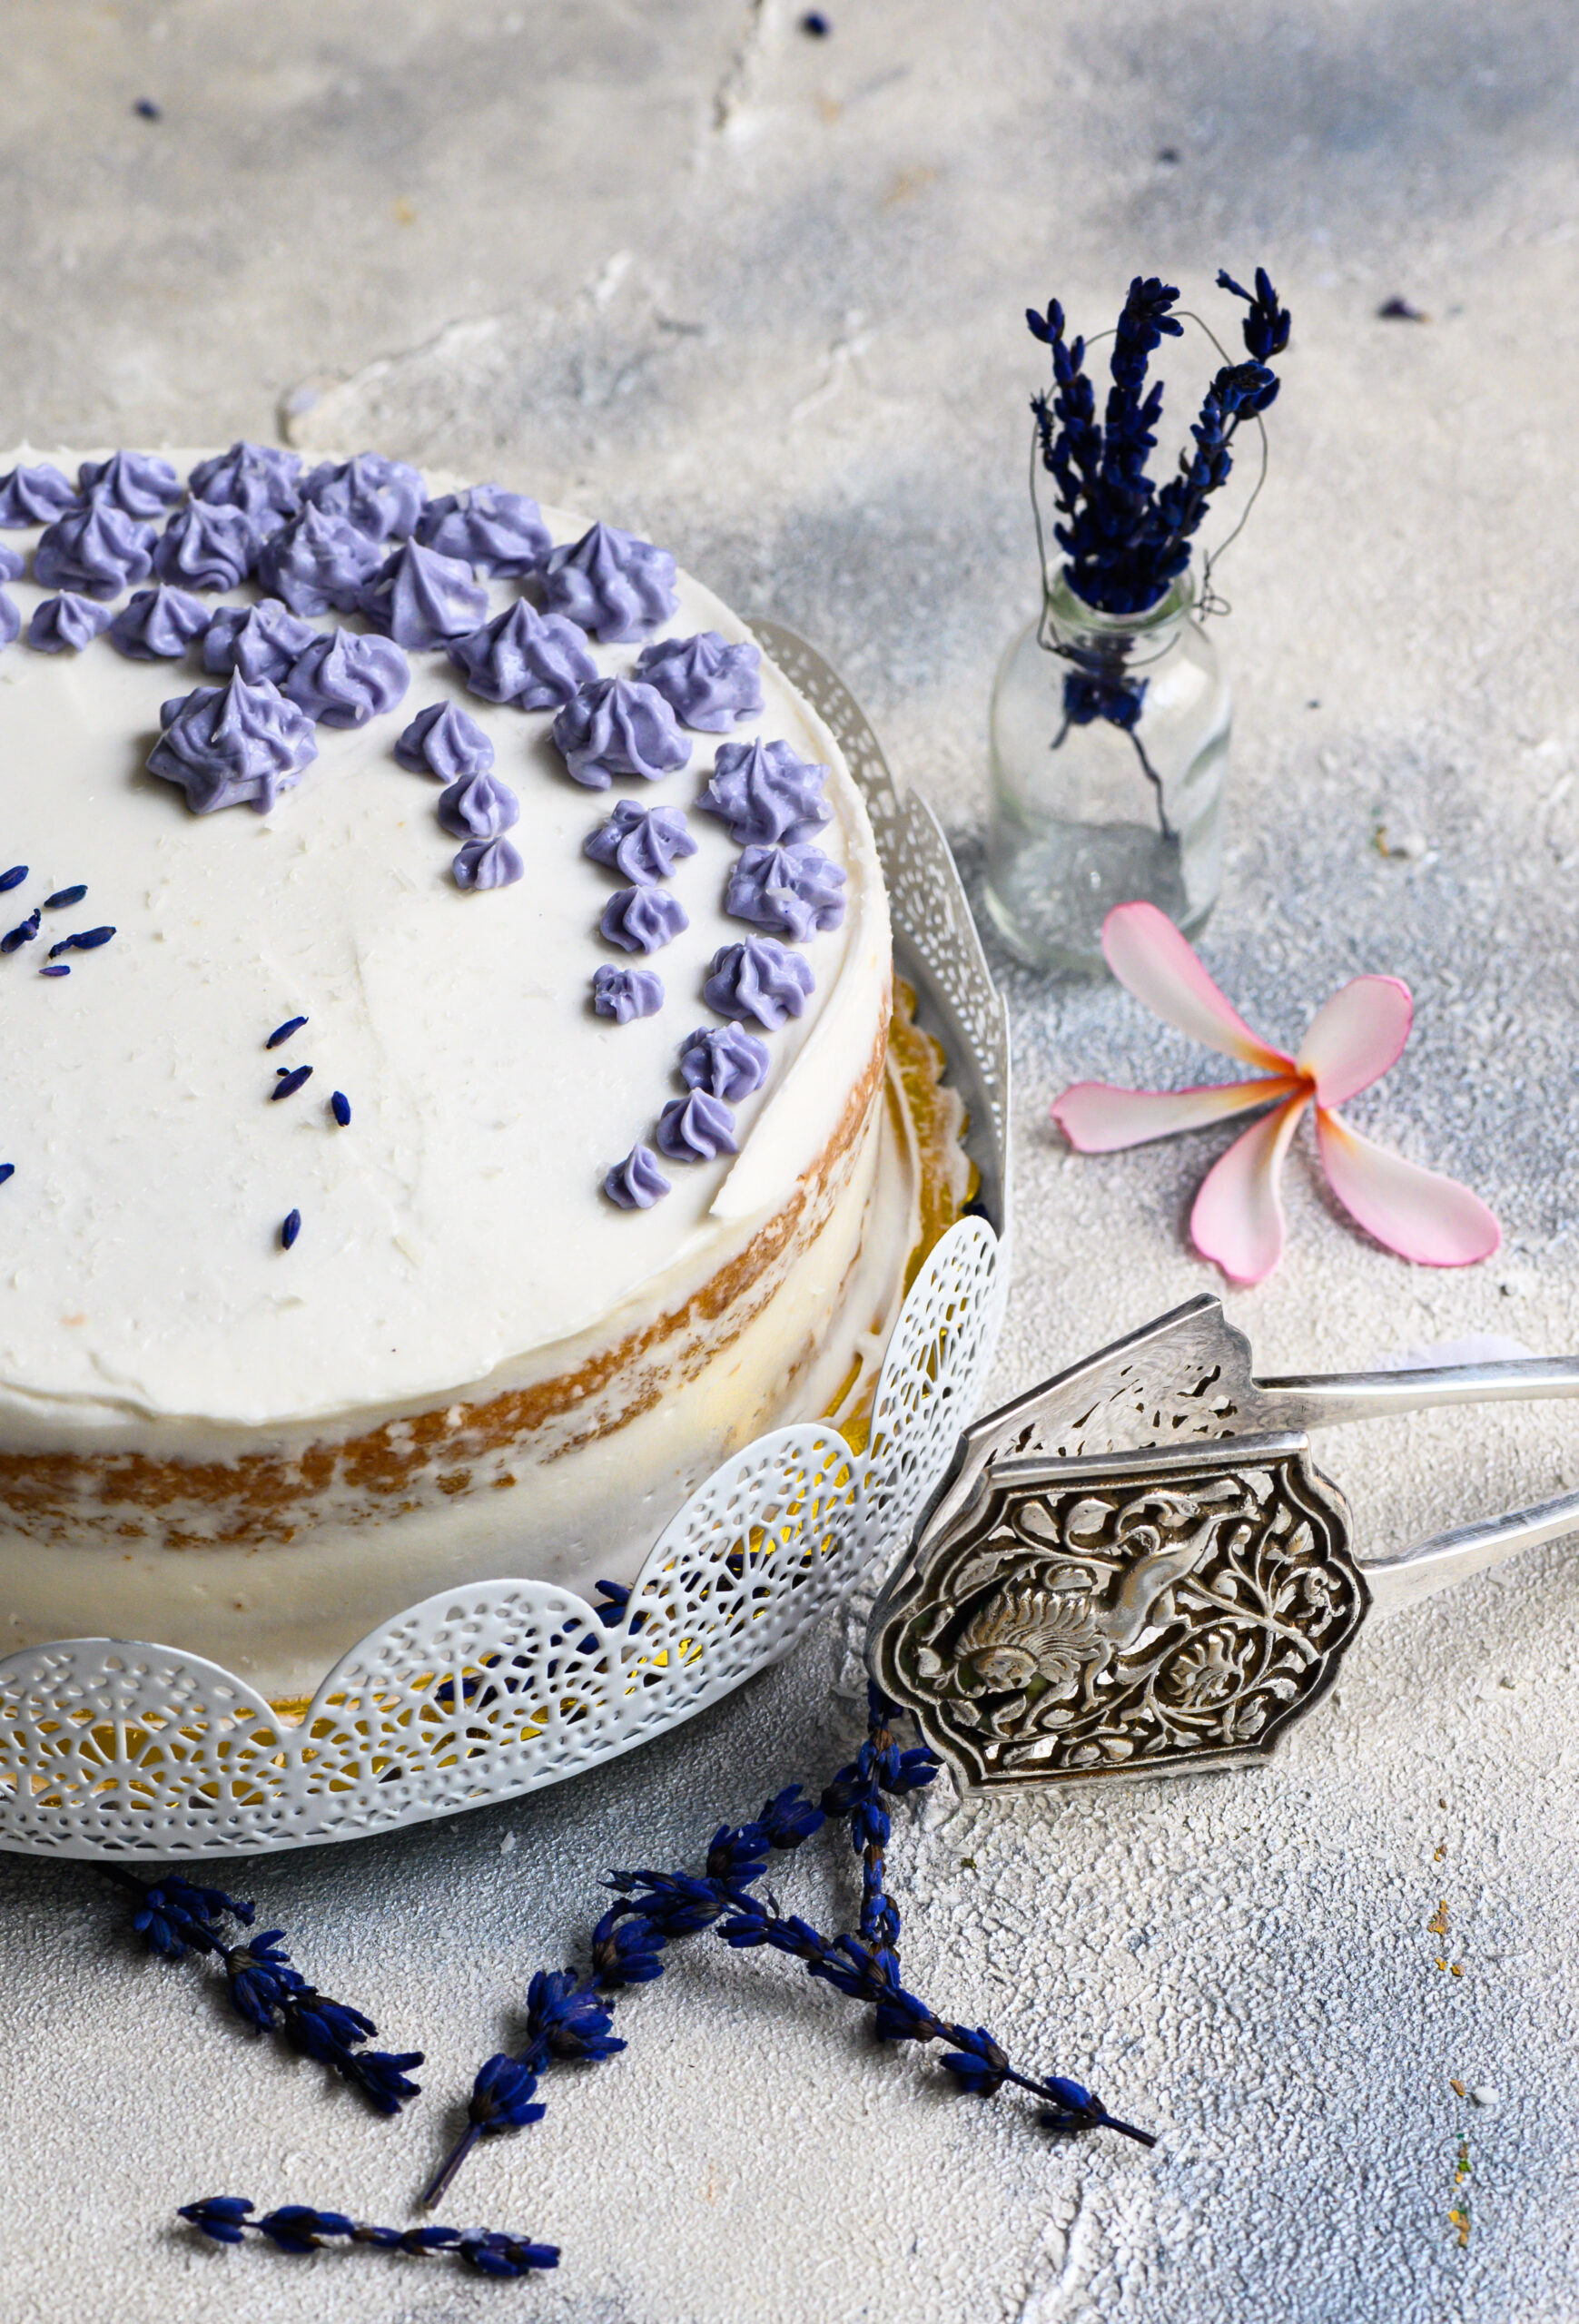
Vegan Lavender Cake

Cake:

190 grams flour

30 grams desiccated coconut

200 grams sugar

1 teaspoon baking soda

¼ teaspoon salt

1 cup coconut milk

2 teaspoons vanilla extract

80ml sunflower oil

1 tablespoon apple cider vinegar

½ teaspoon lavender


Icing:

400 grams icing sugar

40 grams vegan butter or margarine

2 teaspoons coconut milk

1 teaspoon vanilla extract


Decoration:

¼ cup desiccated coconut

I’ve talked so often about the pleasure of baking that whenever I share a recipe like this – something from the re:store menu – it makes me happy to know that you can have that same experience of the joy of preparation, not just the satisfaction of the final product!


Preheat the oven to 160°C. Grease and dust two 7’ cake tins and line them.

Sift the flour.

Add all the dry ingredients – flour, desiccated coconut, lavender, baking soda and salt – into a bowl and whisk. Now add the sugar. Keep aside.

Now, put all the wet ingredients – coconut milk, oil, vanilla extract and vinegar – in a separate bowl, blend, then add these to the dry mixture.

Whisk the wet and dry ingredients together gently. Once you have a batter, divide it equally between the 2 cake tins.

Bake both tins for approximately 30 minutes or until a tooth pick comes out clean.

Allow to cool for 10 minutes before removing the cakes onto a cooling rack. Once they have cooled completely, they are ready to be decorated with icing. So it’s best to make this as they cool.

This vegan lavender cake is garnished with a coconut milk icing. In a mixer, add the butter, vanilla extract and sugar. Beat on a low speed. Slowly, increase the speed and add the coconut milk carefully. Add only as much as required, and make sure that the mixture is spreadable. Adjust the coconut milk or sugar quantities as required to ensure this.

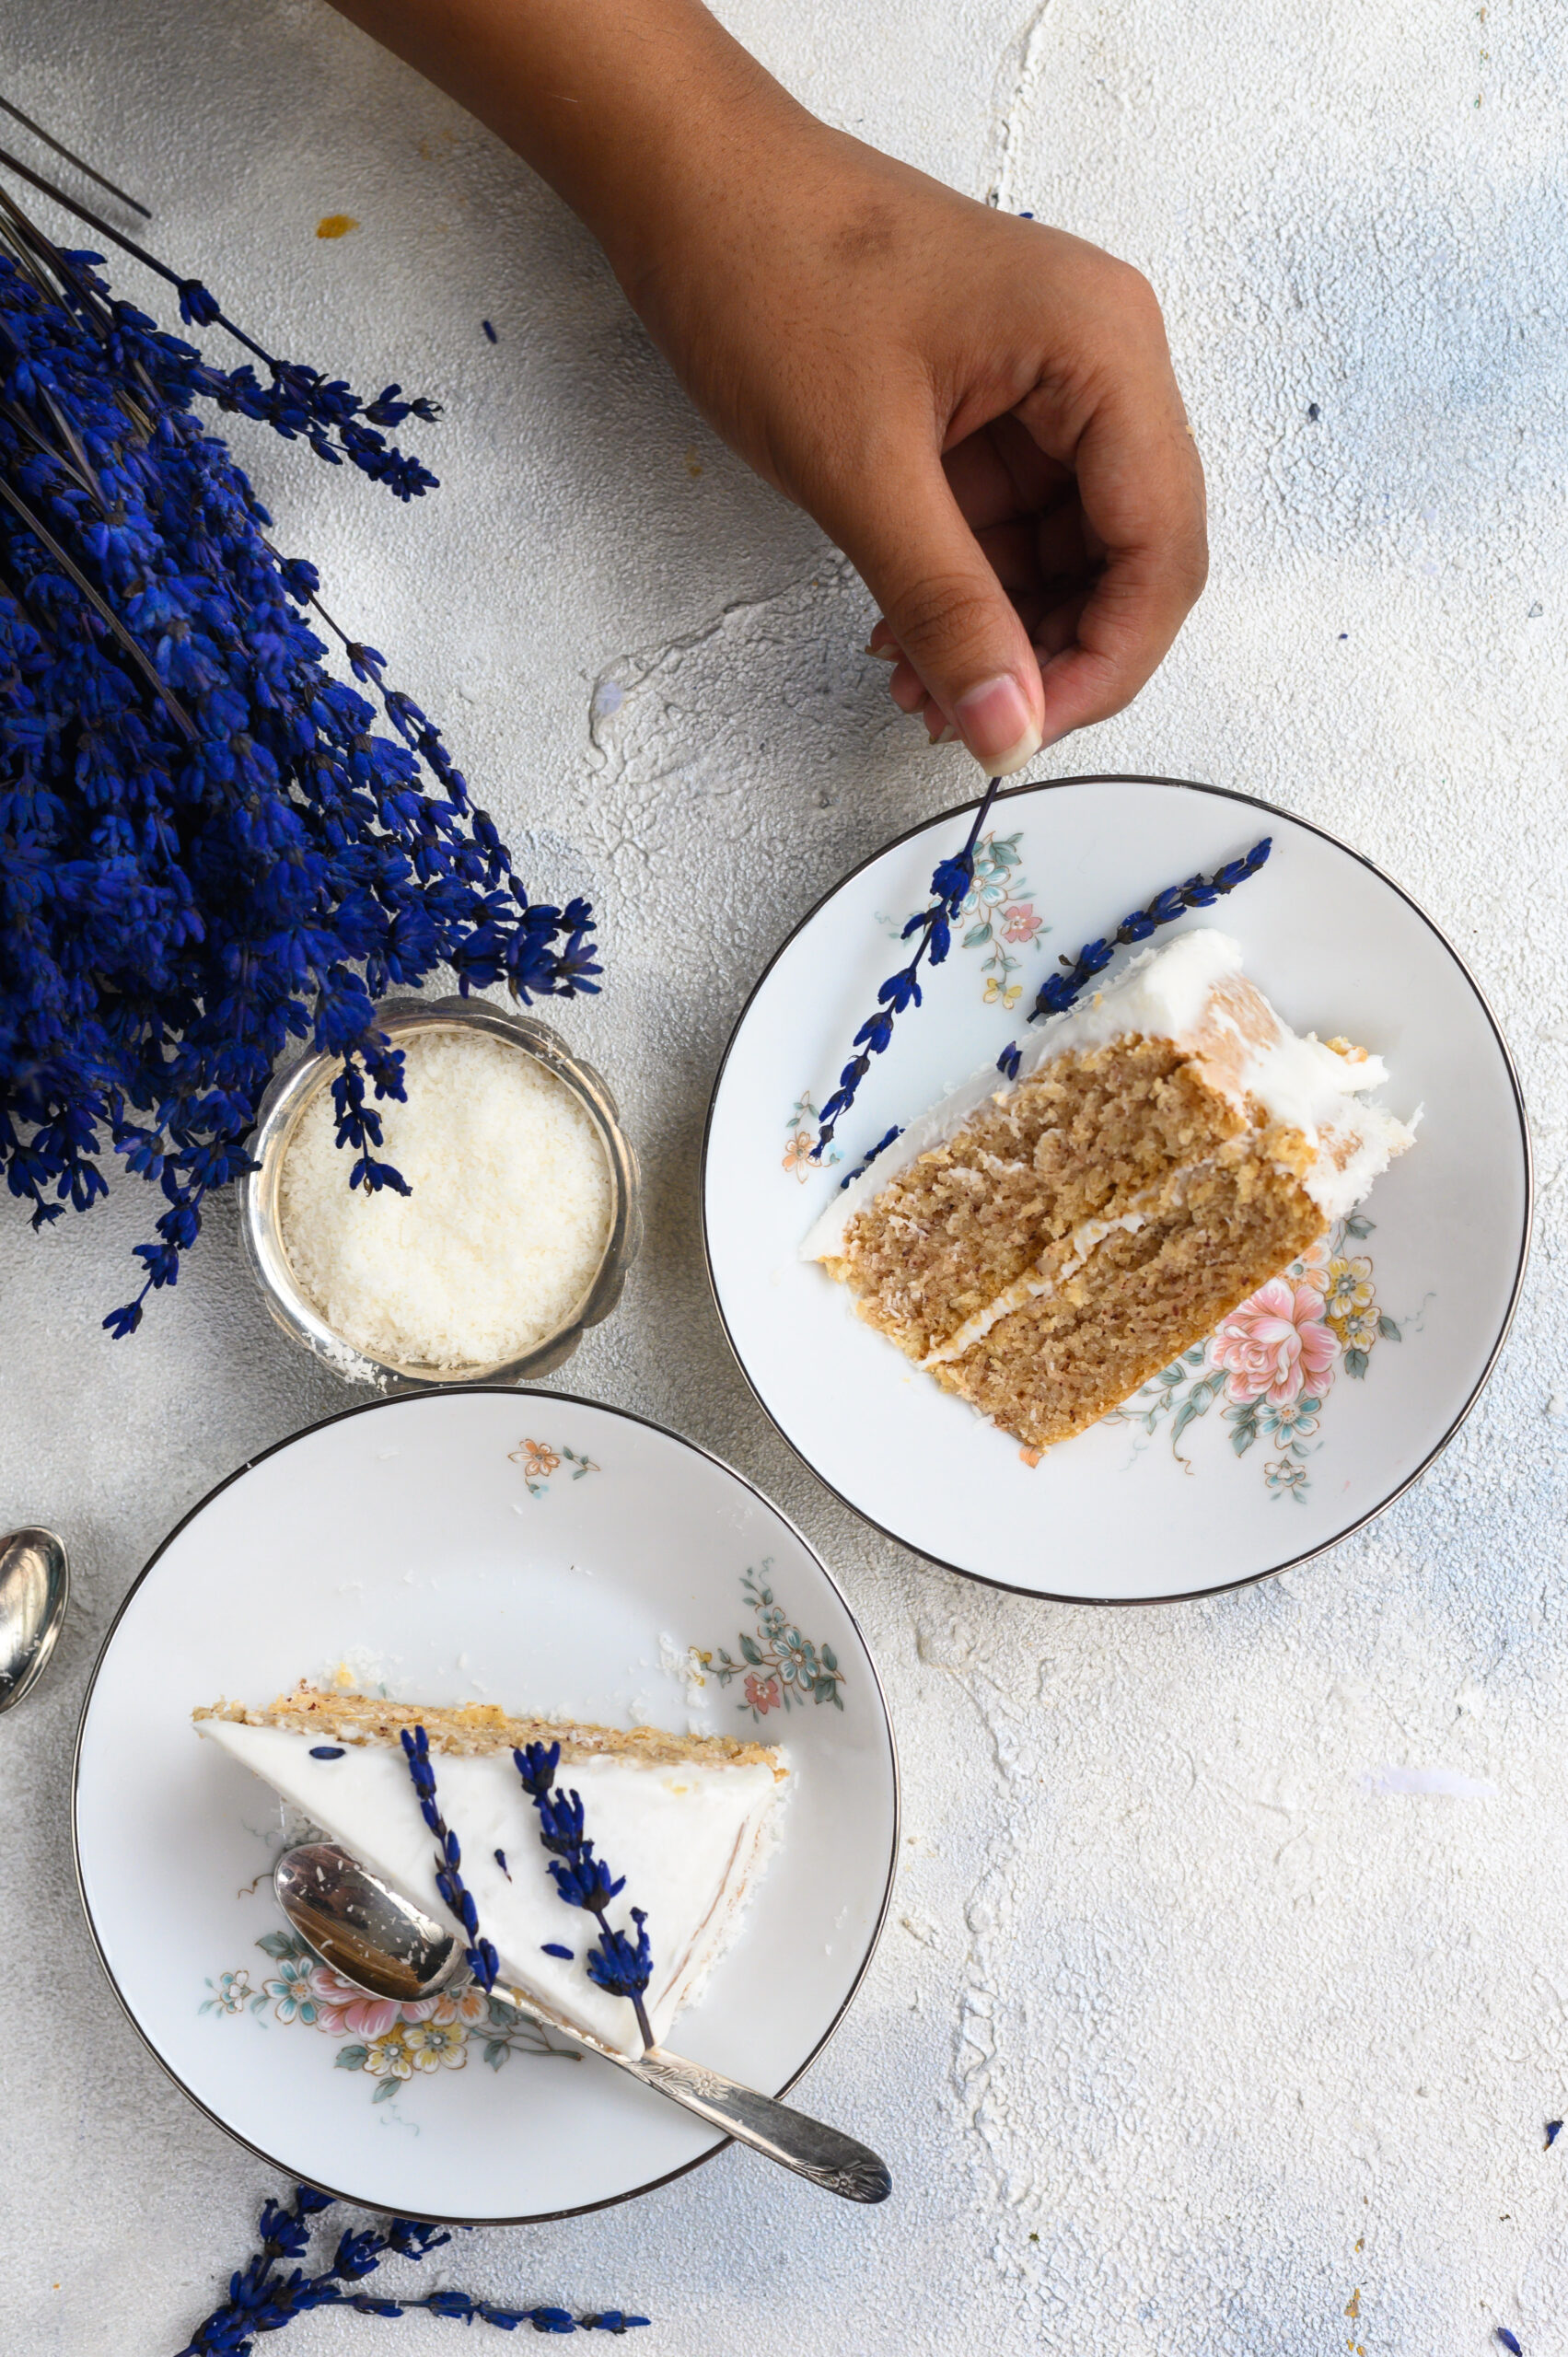
Place one of the cakes on a base and apply half the icing on top of it. Sprinkle 1 tablespoon of the desiccated coconut, then place the second cake on top of this to form a layer.

Ice the top generously and sprinkle the remaining desiccated coconut. Decorate as desired. A good presentation makes for a tasty cake too. As I always say, the eye tastes before the mouth does, and using attractive serving ware and garnishings can really enhance the experience.

As is most often the case, I decided on this recipe based on the ingredients I had on-hand and how they inspire me. Lavender and coconut were the flavours I chiefly wanted to bring out, and vanilla is of course a baker’s best friend. Together, for me they evoke the way it feels to sit at a café and watch a flower market being set up. When you try out this recipe, please let me know what these scents and tastes evoke for you!

I’ve spoken often of how, just a few years ago, my daughter baked a chocolate cake for the family which was a turning point in my life. It was the best cake I had ever eaten, and I remember watching her as she made it. She was in good spirits, and hummed and sang while she was gathering the ingredients and lining them up in front of her. Then, she happily pulled out a recipe and began with such lightness and joy. Watching her, I thought to myself: “I’ve tried baking for so many years. I must try again with the same spirit my daughter has.” The first bite of the cake that came out of the oven was the last push of encouragement I needed. I set my mind to it: I would learn to bake with joy. I spent the next month baking the exact same cake every single day, tweaking the method and learning with each effort, until I too fell into a happy, humming rhythm. And the rest, as they say, was history…

My daughter is a big part of the recipe I am sharing today, but it’s not just because of that life-changing chocolate cake (which you can order right here if you are in Chennai). Rather, it’s because of one of the many dishes she introduced me to when she was studying for her Bachelor’s in Boston. Whenever I would visit her, she would always take me to interesting new places to try out delicious cuisines and treats that never failed to inspire me. It was in one such café that I tasted madeleines for the first time. They were pistachio ones, and you know I love pistachio (of course, a pistachio cake also sits prettily on the re:store product list).

Madeleines are a kind of basic sponge cake which are made in a shell-like shape (you can find trays for this in most baking stores). They are widely regarded as being of French origin, and an English version with jam, desiccated coconut and cherries is also popular. But to me, it’s the Spanish madeleine that captured my heart. You see, some time before being introduced to the sweet treat in Boston, we had gone to Spain, where I first heard of the little sponge cake. It was the loveliness of the trip itself which gave its local version a sentimental value for me, even though it wasn’t until later that I got a chance to eat it.

It was an experience of a lifetime to be in Santiago de Compostela, in Spain’s Galician region, on the holy day of Palm Sunday. We had been delayed and had missed our connecting flight, so we were surprised to find we had made it in time for the services. And even better, we had somehow wound up in the front row. Here, we had a wonderful view of a special ritual that only takes place on special occasions. Enormous incense holders known as botafumeiro are swung across the expanse of the church and back, filling the environment with scent, smoke and a feeling of divine grace.  The effect of the smoke in that beautiful cathedral, amidst the chants and prayers, was surreal.

Heading back to the exquisite Hostal dos Reis Católicos, which dates back to 1486 and is thought to be the most beautiful hotel in Europe, I gathered these new memories together. Somewhere on this trip was where I learned how the humble madeleine is related to the grandeur of a Spanish cathedral, and that’s how I think of it, no matter where I eat it. You see, Santiago de Compostela is the culminating point of the Camino de Santiago pilgrimage route. In the Spanish origin story of the recipe I am sharing today, a medieval chef named Madeleine used to make these little shell-shaped delights to feed the pilgrims there. The treats took on her name.

Short or long, pilgrimages are all metaphors for our own life as we pursue our dreams and life’s mission. To me, my own pilgrimage is a journey of delighting people through food which appeals to every sense. From the tastebuds to the memory centres, and everything in between. These sweet madeleines are a perfect example – and yes, they are made with joy!

Madeleines

(Yield: 12 madeleines)

90 grams flour

¾ teaspoon baking powder

100 grams unsalted butter

65 grams sugar

2 eggs

1 teaspoon vanilla extract

½ teaspoon lavender seeds

2 teaspoons maple syrup

2 teaspoons milk

Powdered sugar for dusting

The basic madeleine recipe is simple and elegant and I have done little to change it but sweeten it further using maple syrup. I also added a little re:store flourish in the form of one of my favourite ingredients – lavender, the subtle hint of which always lightens up my mood.

Prepare a madeleine pan by buttering and dusting it.

Whisk all the dry ingredients together. Carefully melt the butter in a pan, on a medium flame, until it turns brown.

Place the sugar in a bowl and mix it. Add the eggs one at a time and beat well.

Now, add the vanilla extract, the lavender seeds and the maple syrup. Whisk well until the mixture is perfectly blended.

Now, add the remaining dry ingredients. Once all the ingredients are well incorporated, add the butter in slowly, using just a small quantity at a time. Then, stir in the milk.

Now that you have made the batter, divide it into the moulds of the madeleine tray and allow it to cool in the refrigerator for 15 minutes. In the meantime, preheat the oven at 160 °C.

Remove the tray from the refrigerator and place it directly into the oven. Depending on what kind of oven you use, bake for 10-15 minutes.

Once the baking is done, remove the tray from the oven. Upturn it and watch as the beautiful madeleines fall out. Dust them with powdered sugar and store in a dry container. That is, if you don’t serve them immediately. Chances are, you won’t be able to resist.

These delicious madeleines are a perfect tea-time snack, so brew yourself a pot of your favourite as you enjoy the scent of baking still lingering in your kitchen.

I love ruminating over tea, as I sit with Max and enjoy a little me-time. It was on one such day that I dreamt up this post as well. And I especially like having a little sweet treat to go with my beverage. How about you? Please be sure to let me know what tasting these madeleines inspires in you!