Tag

breads

Browsing

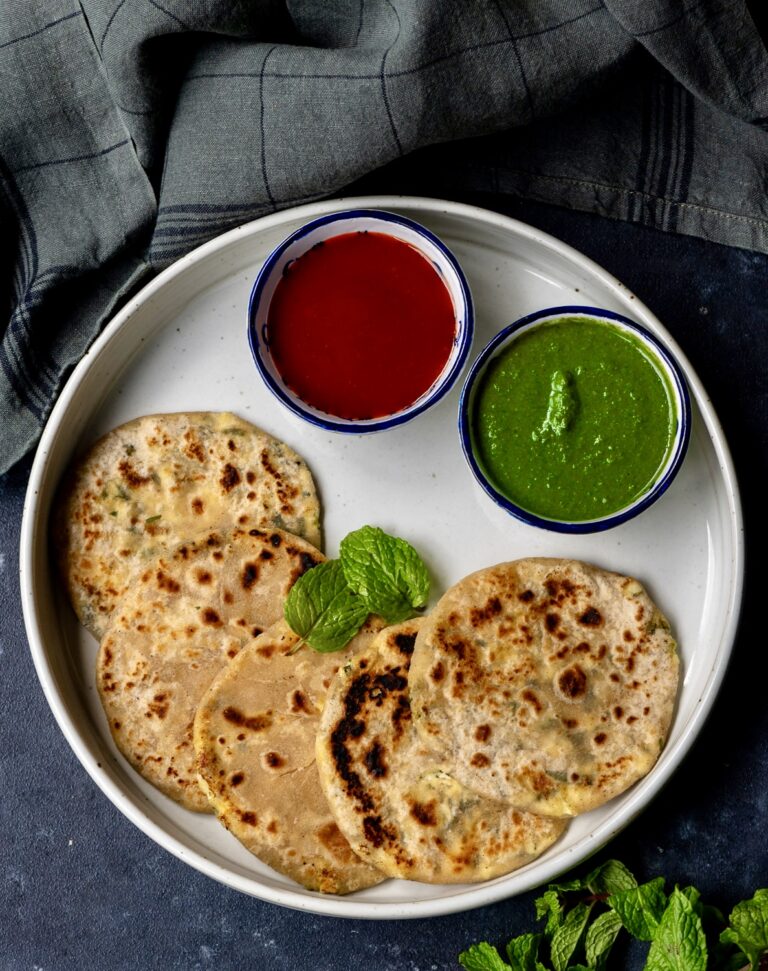
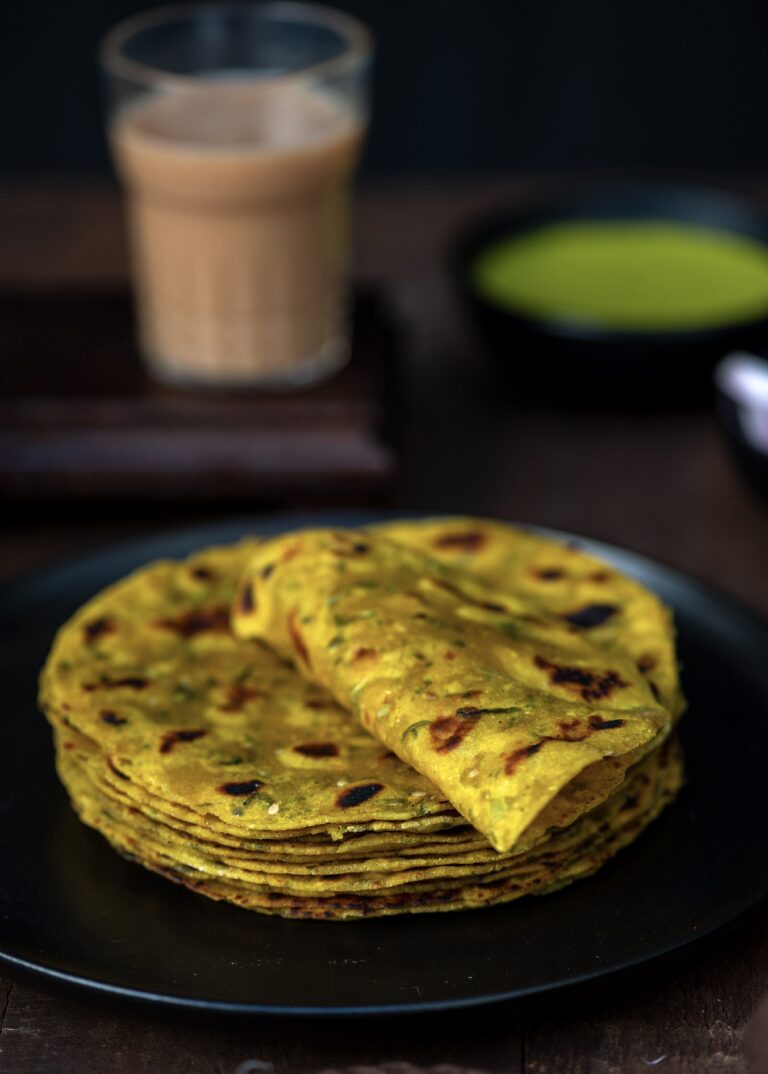
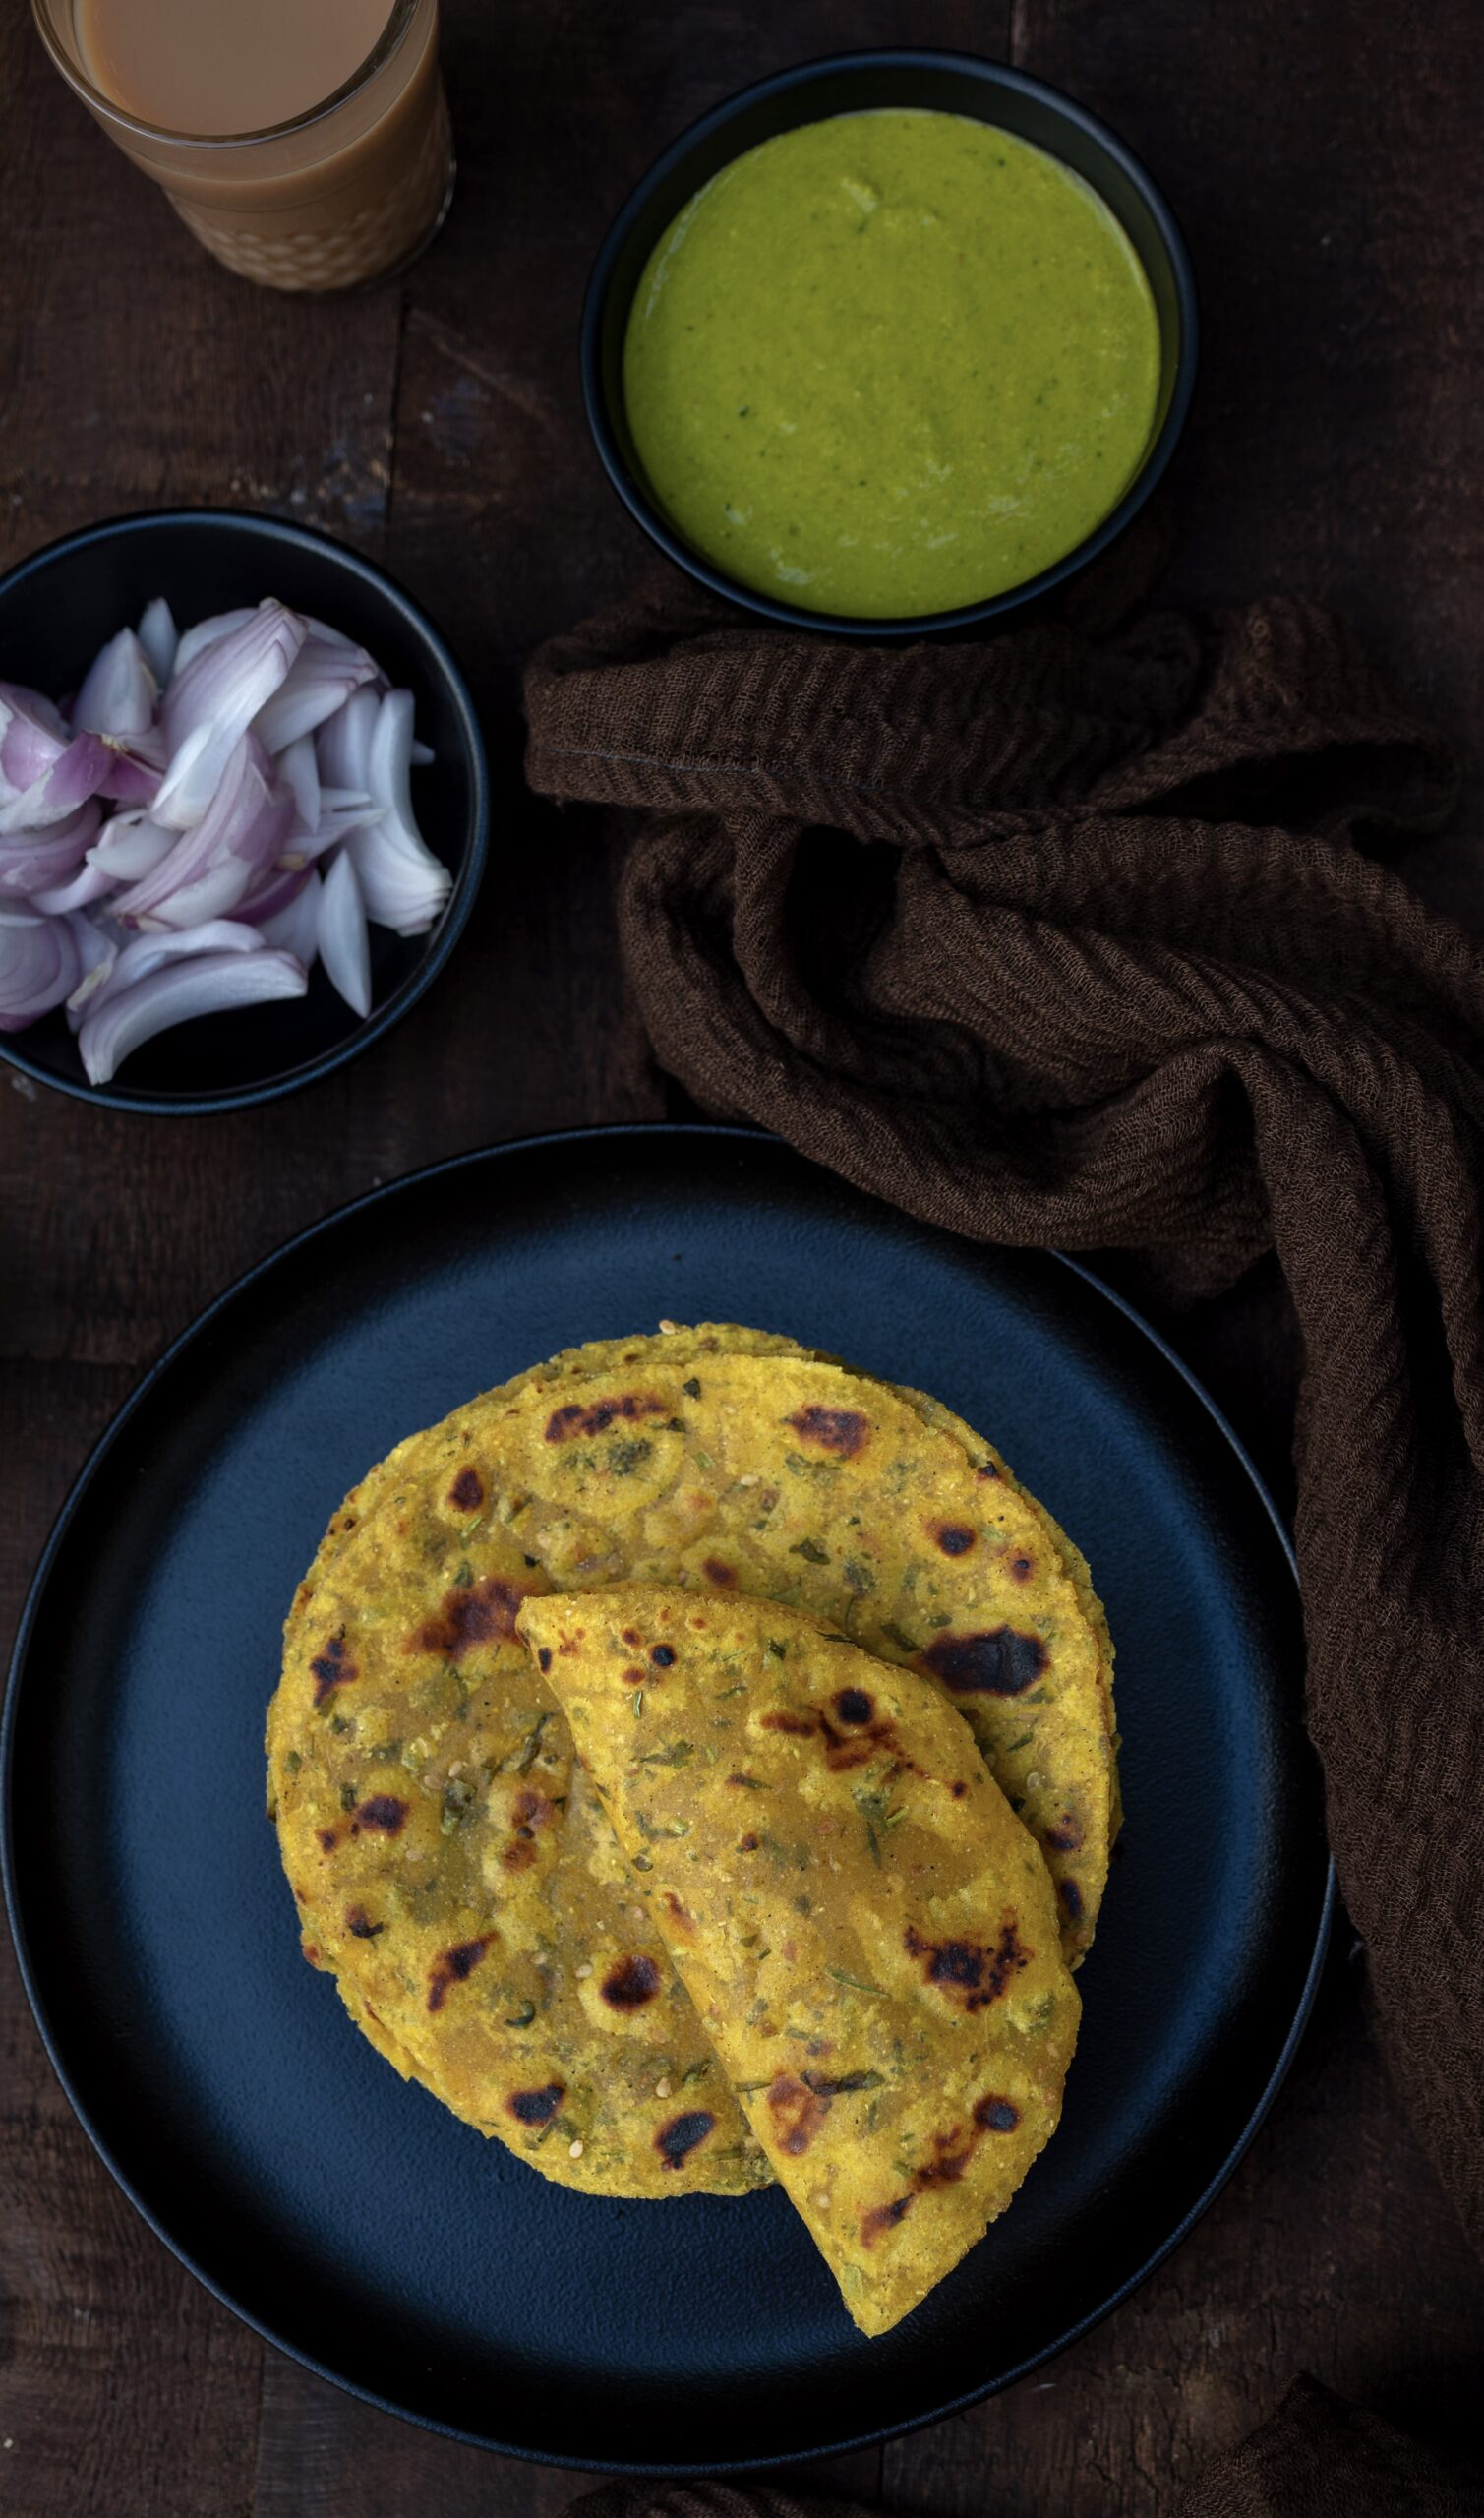
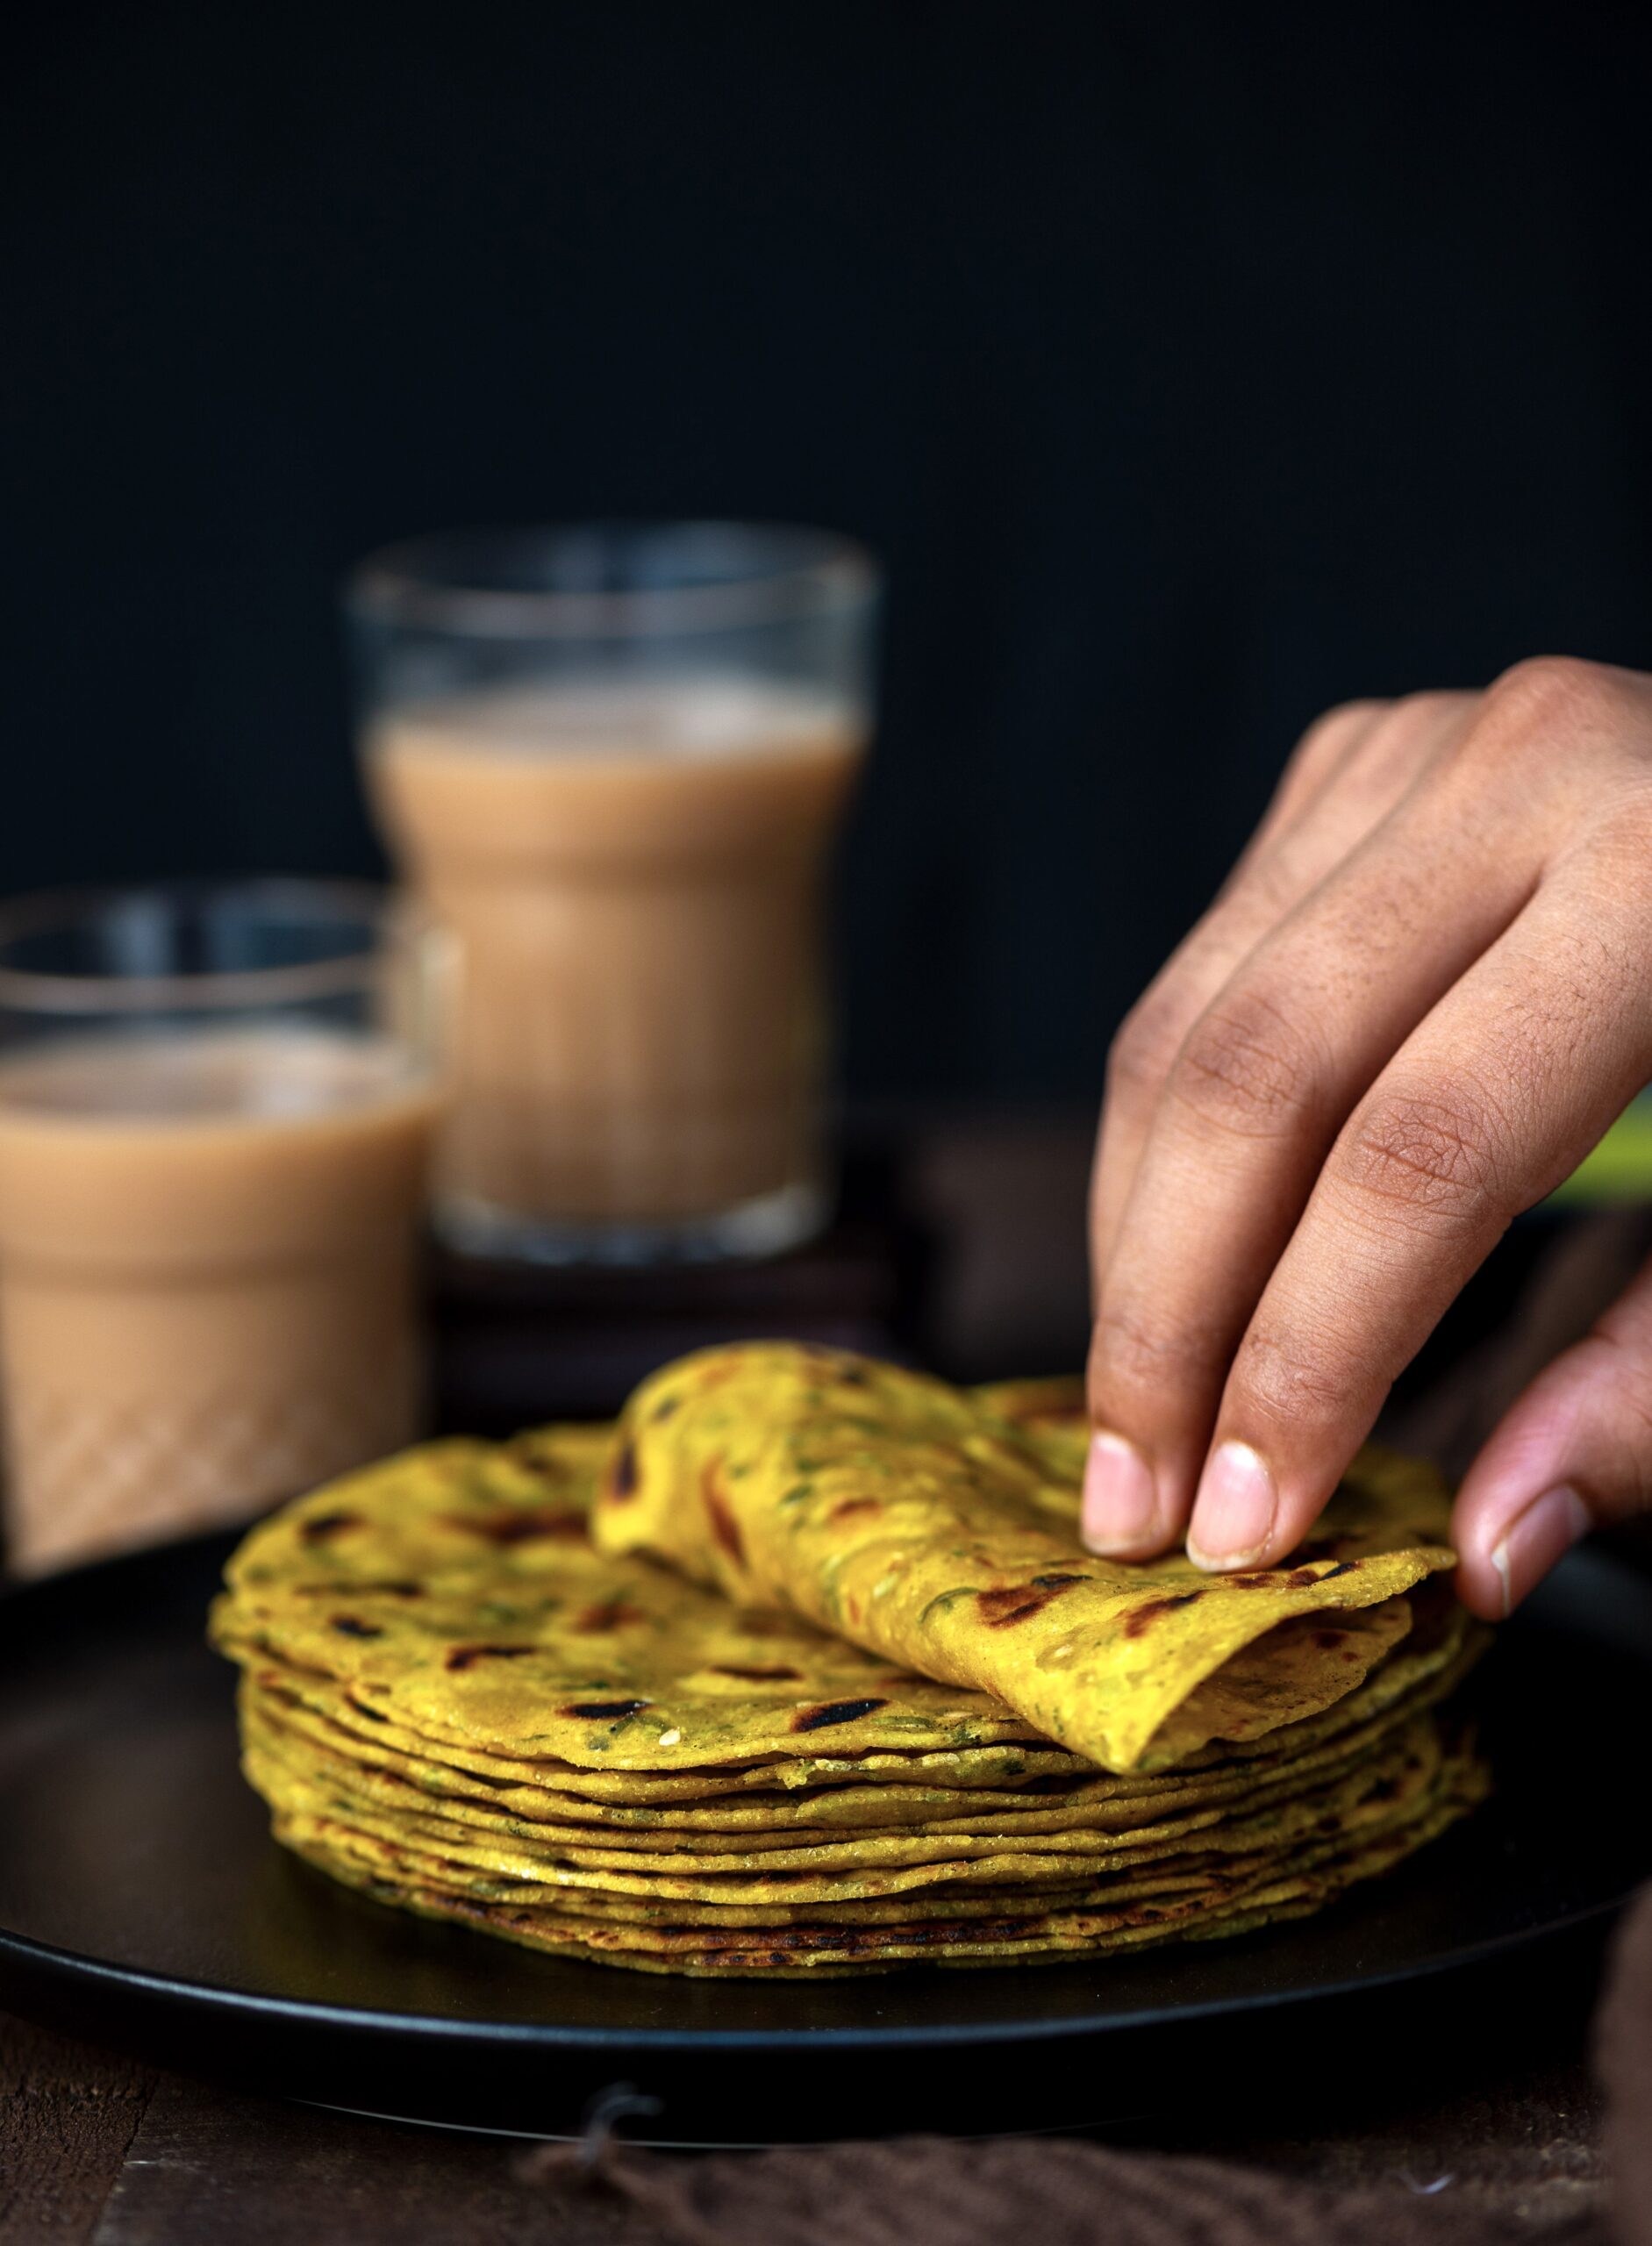
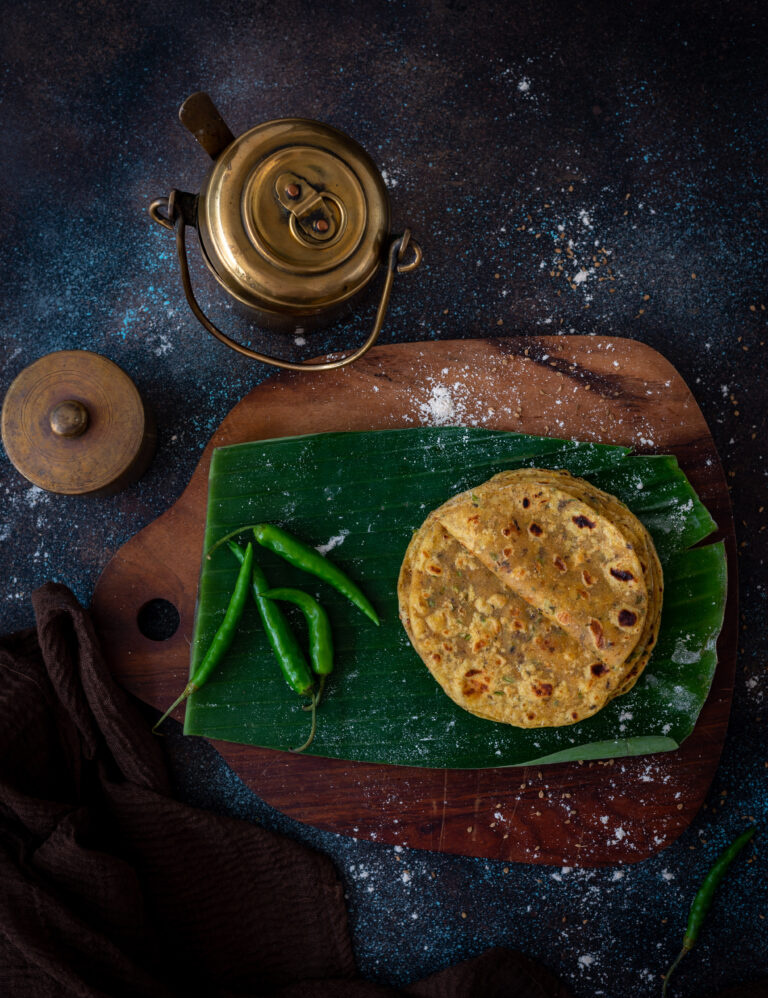
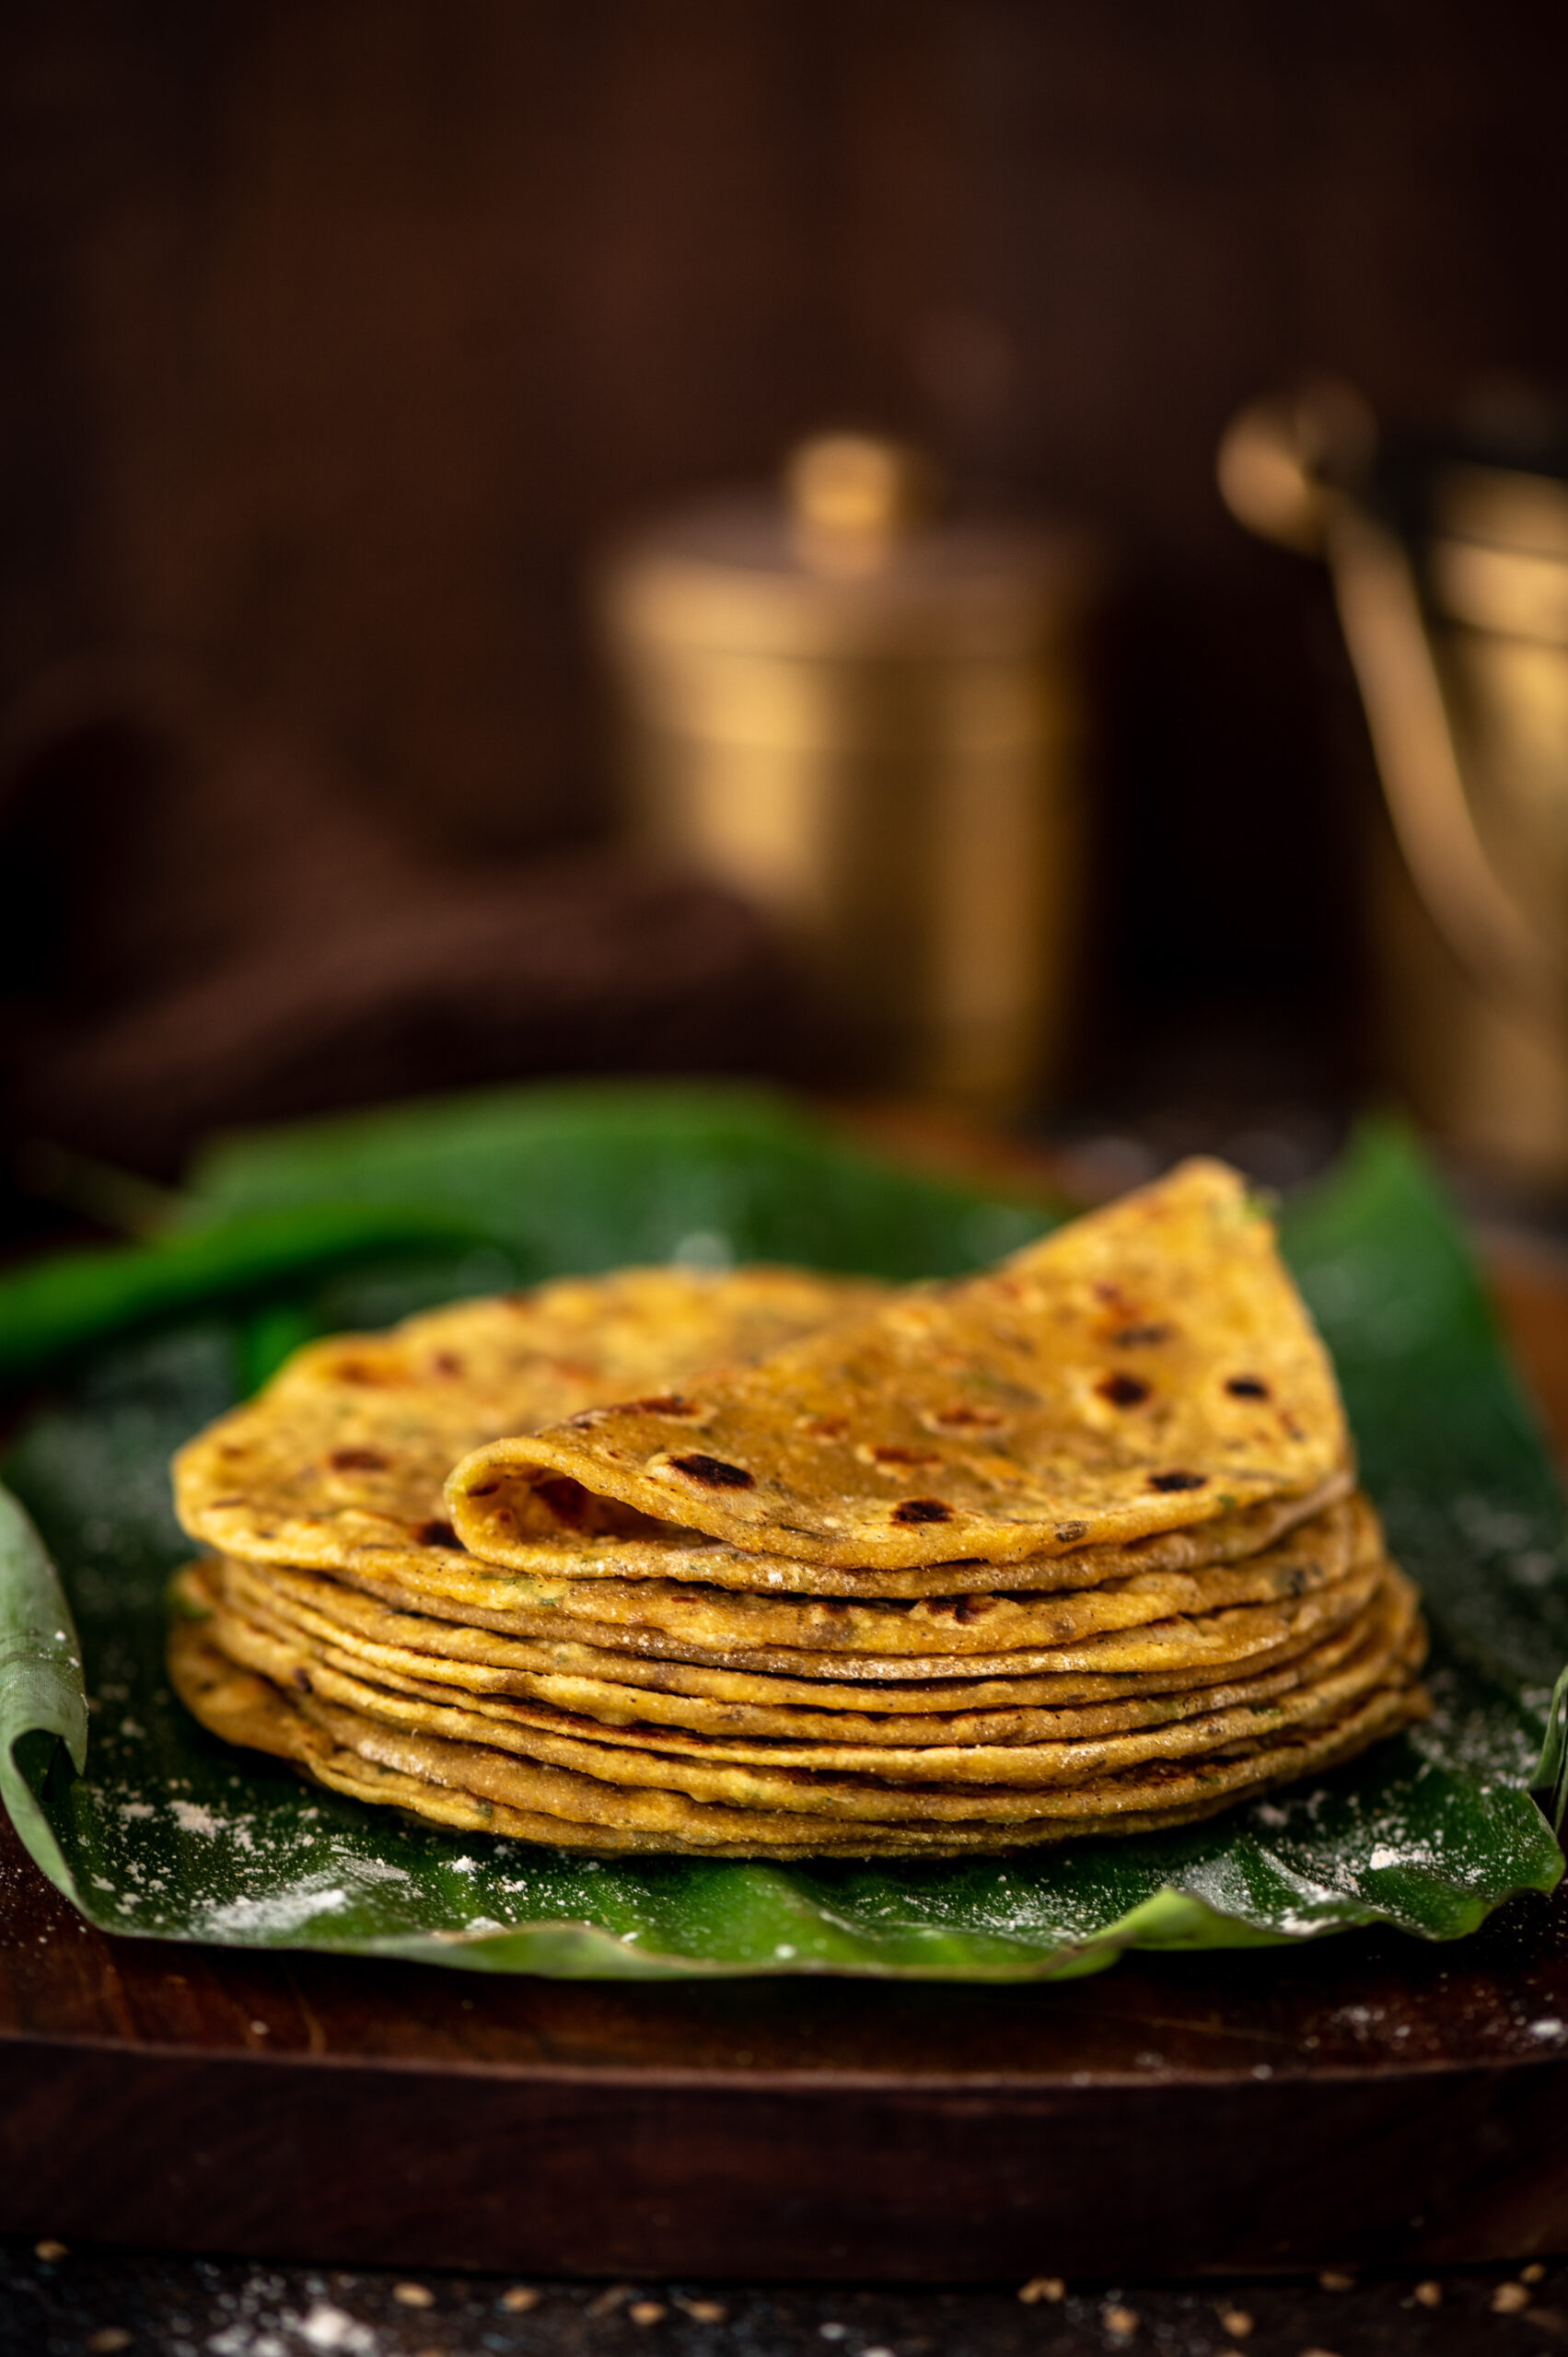
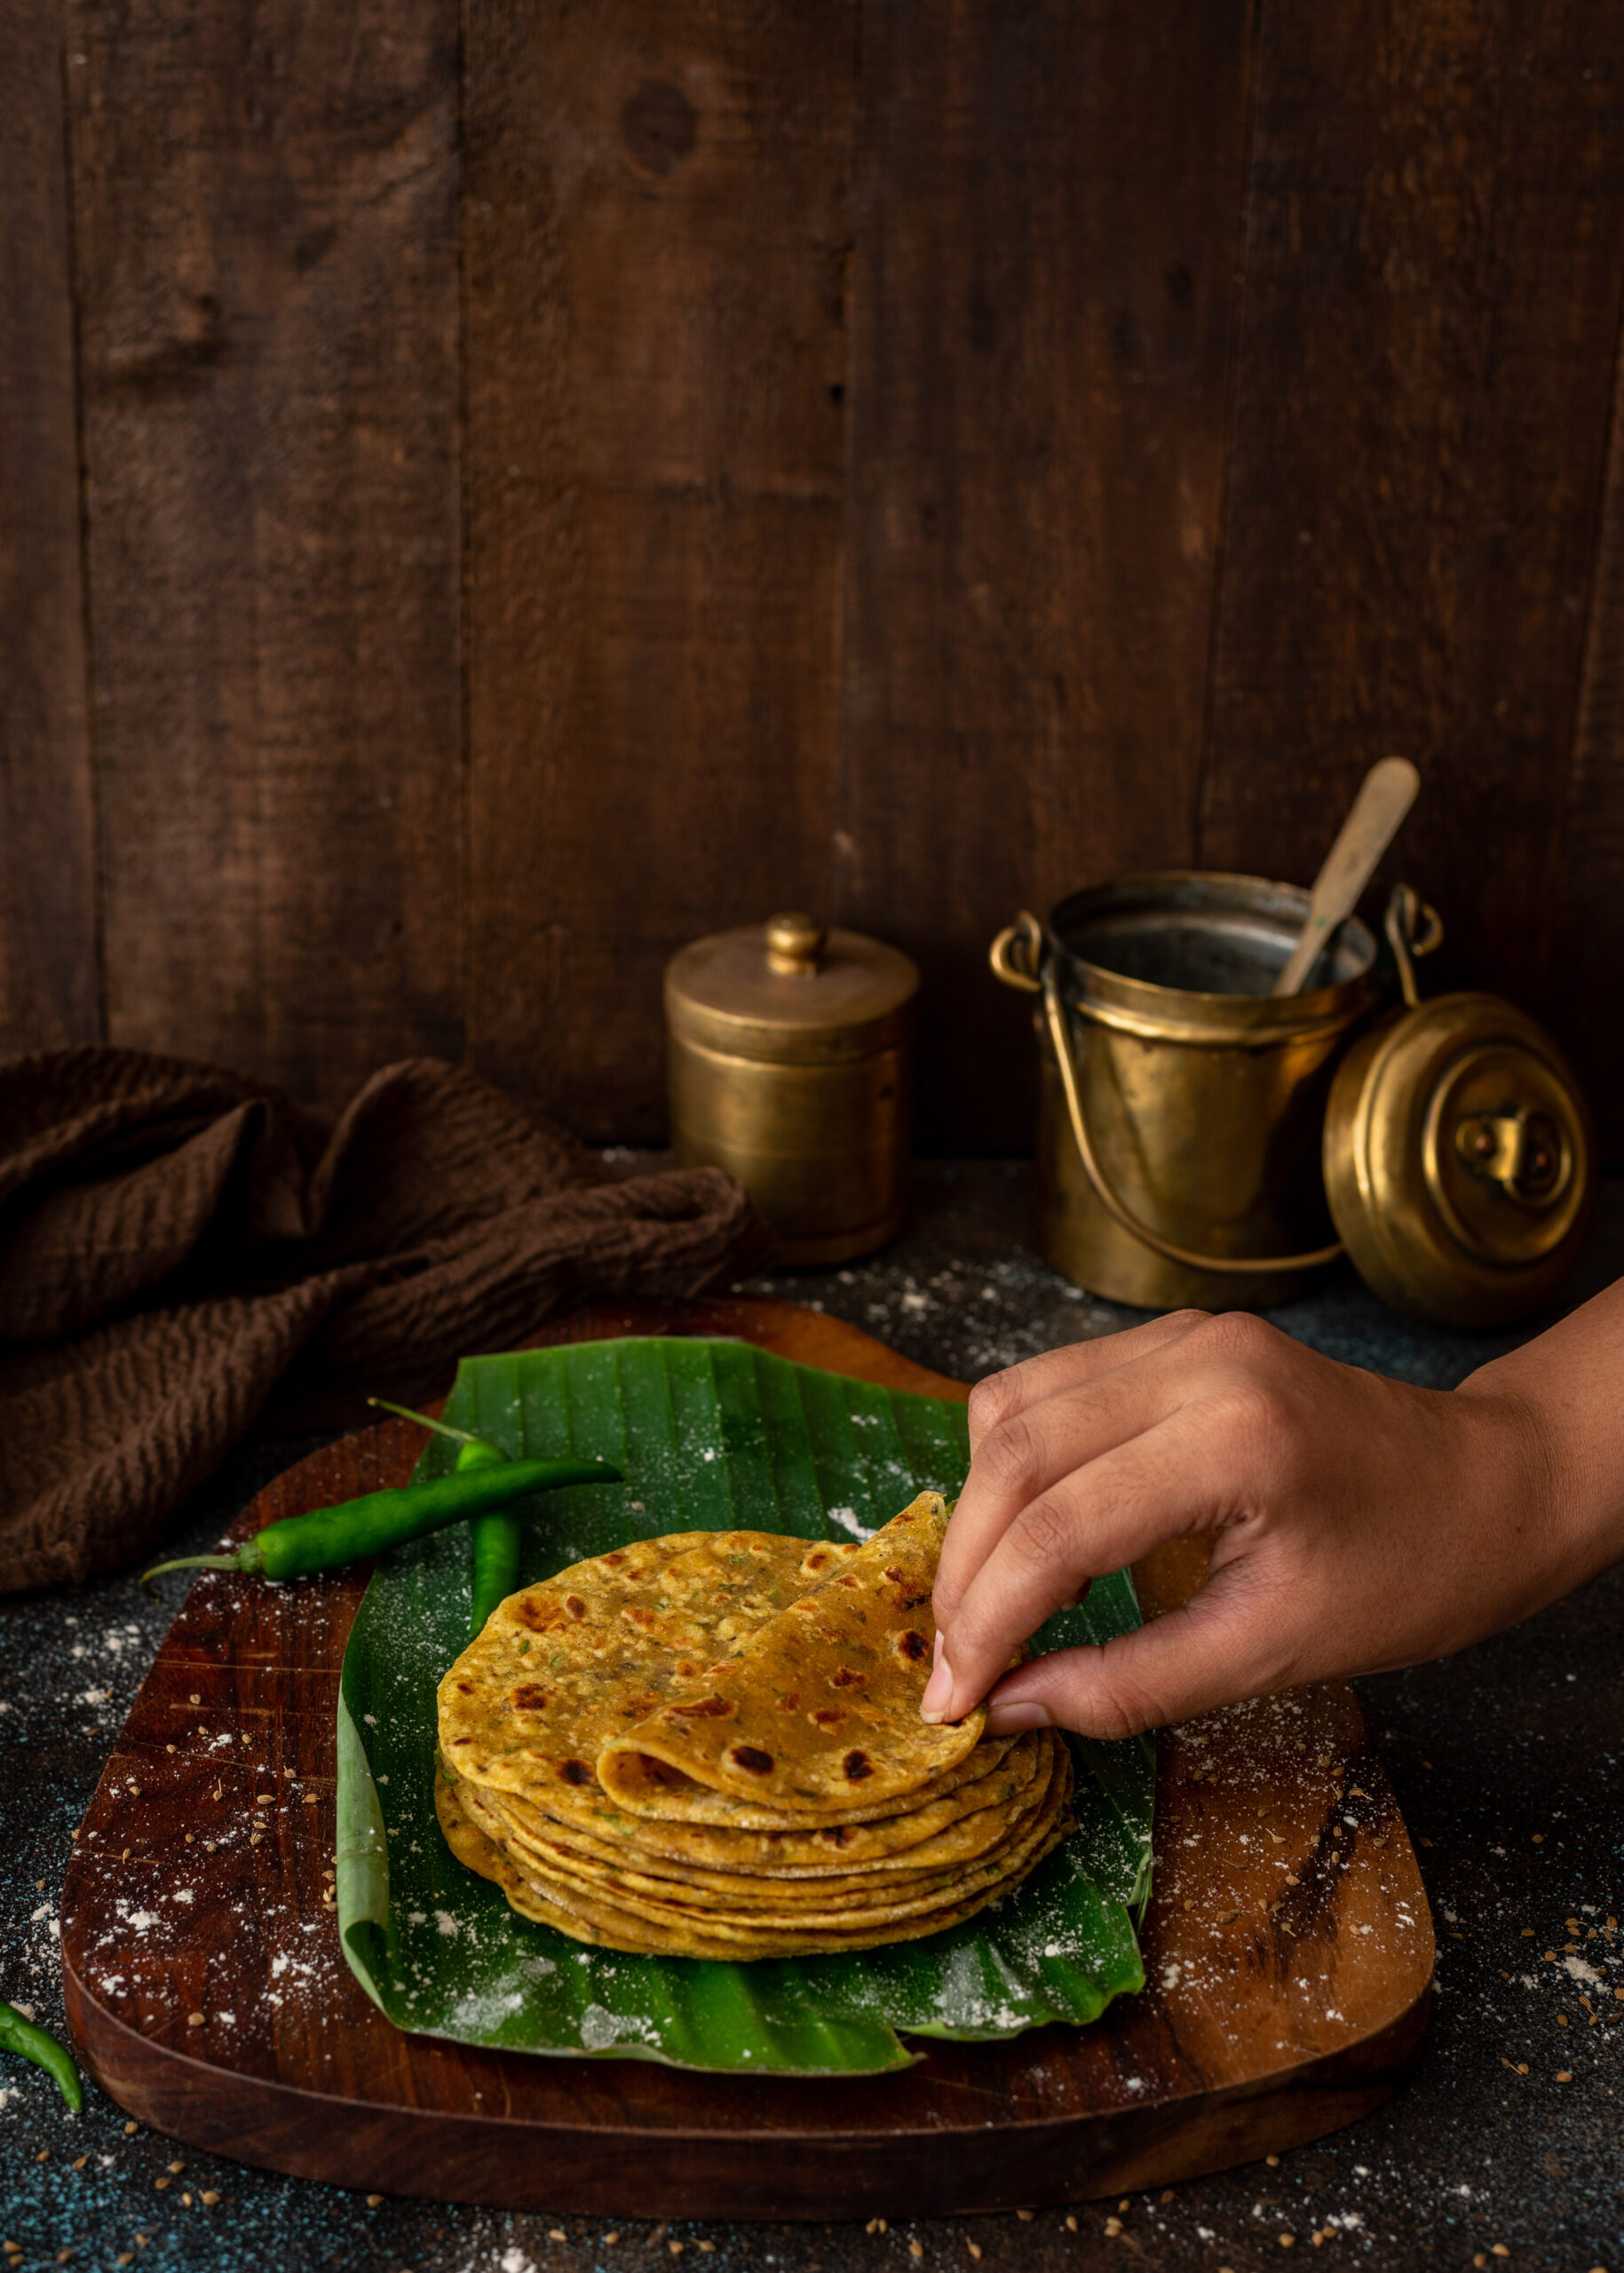
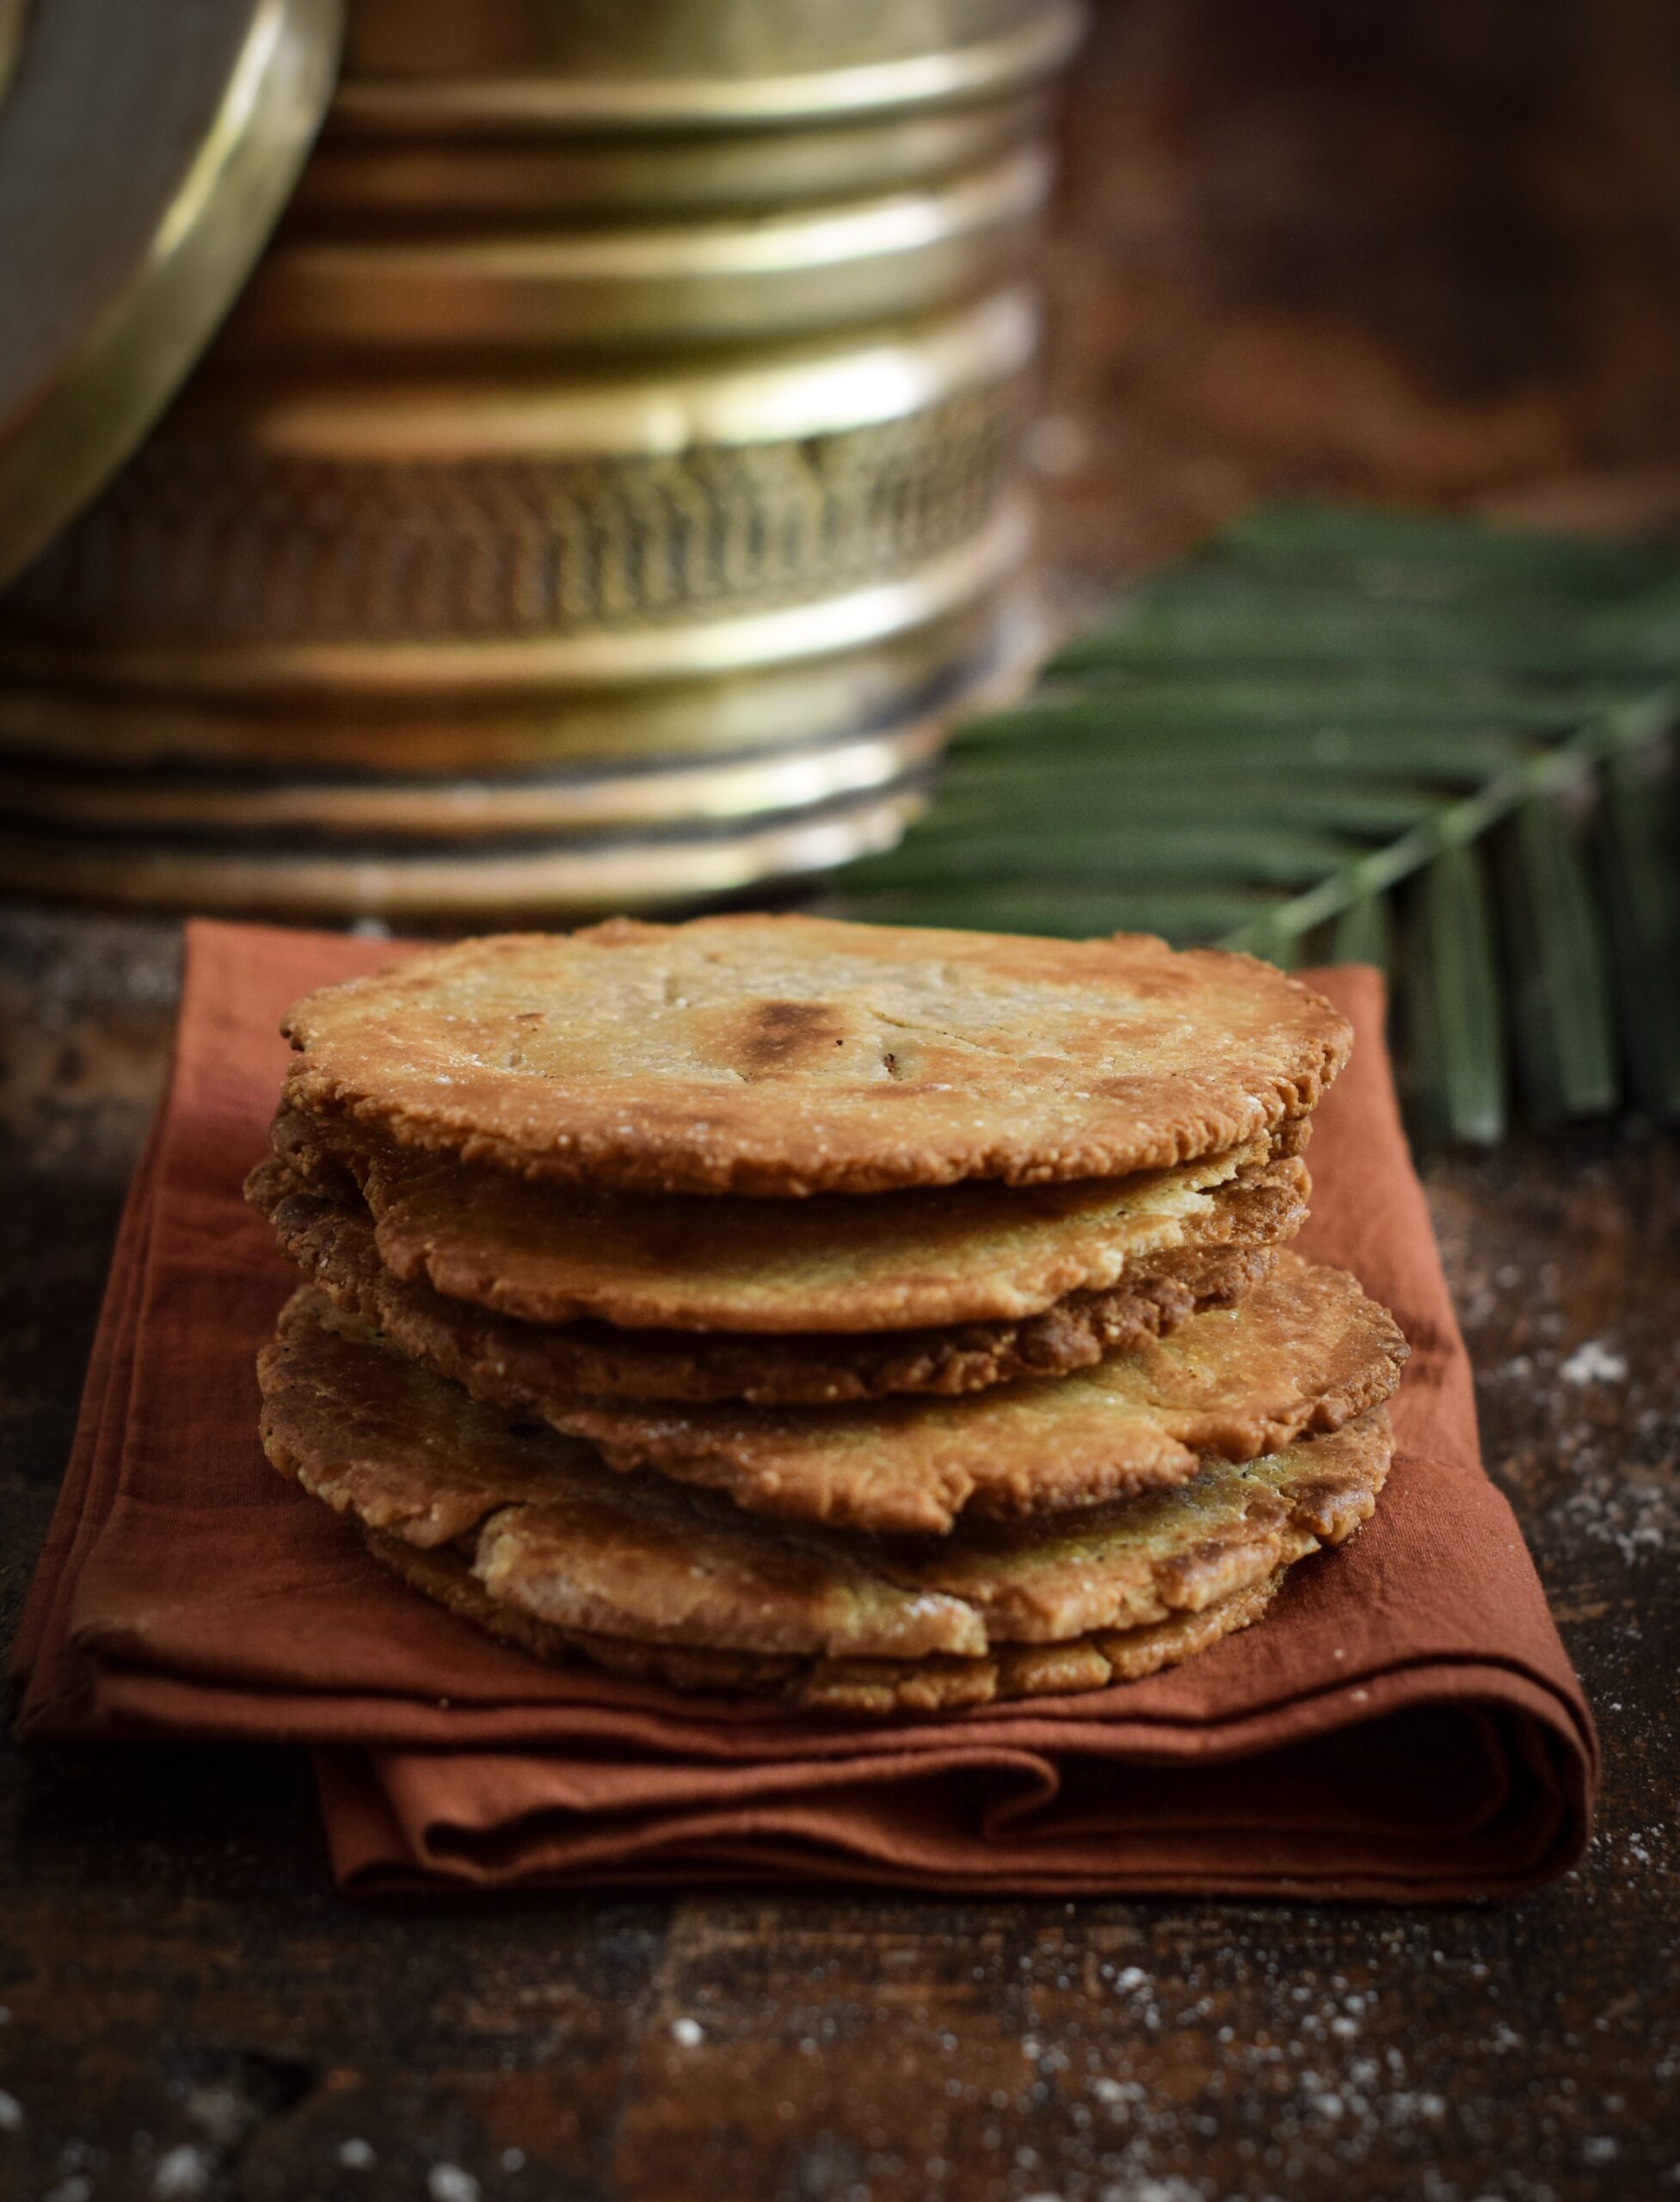
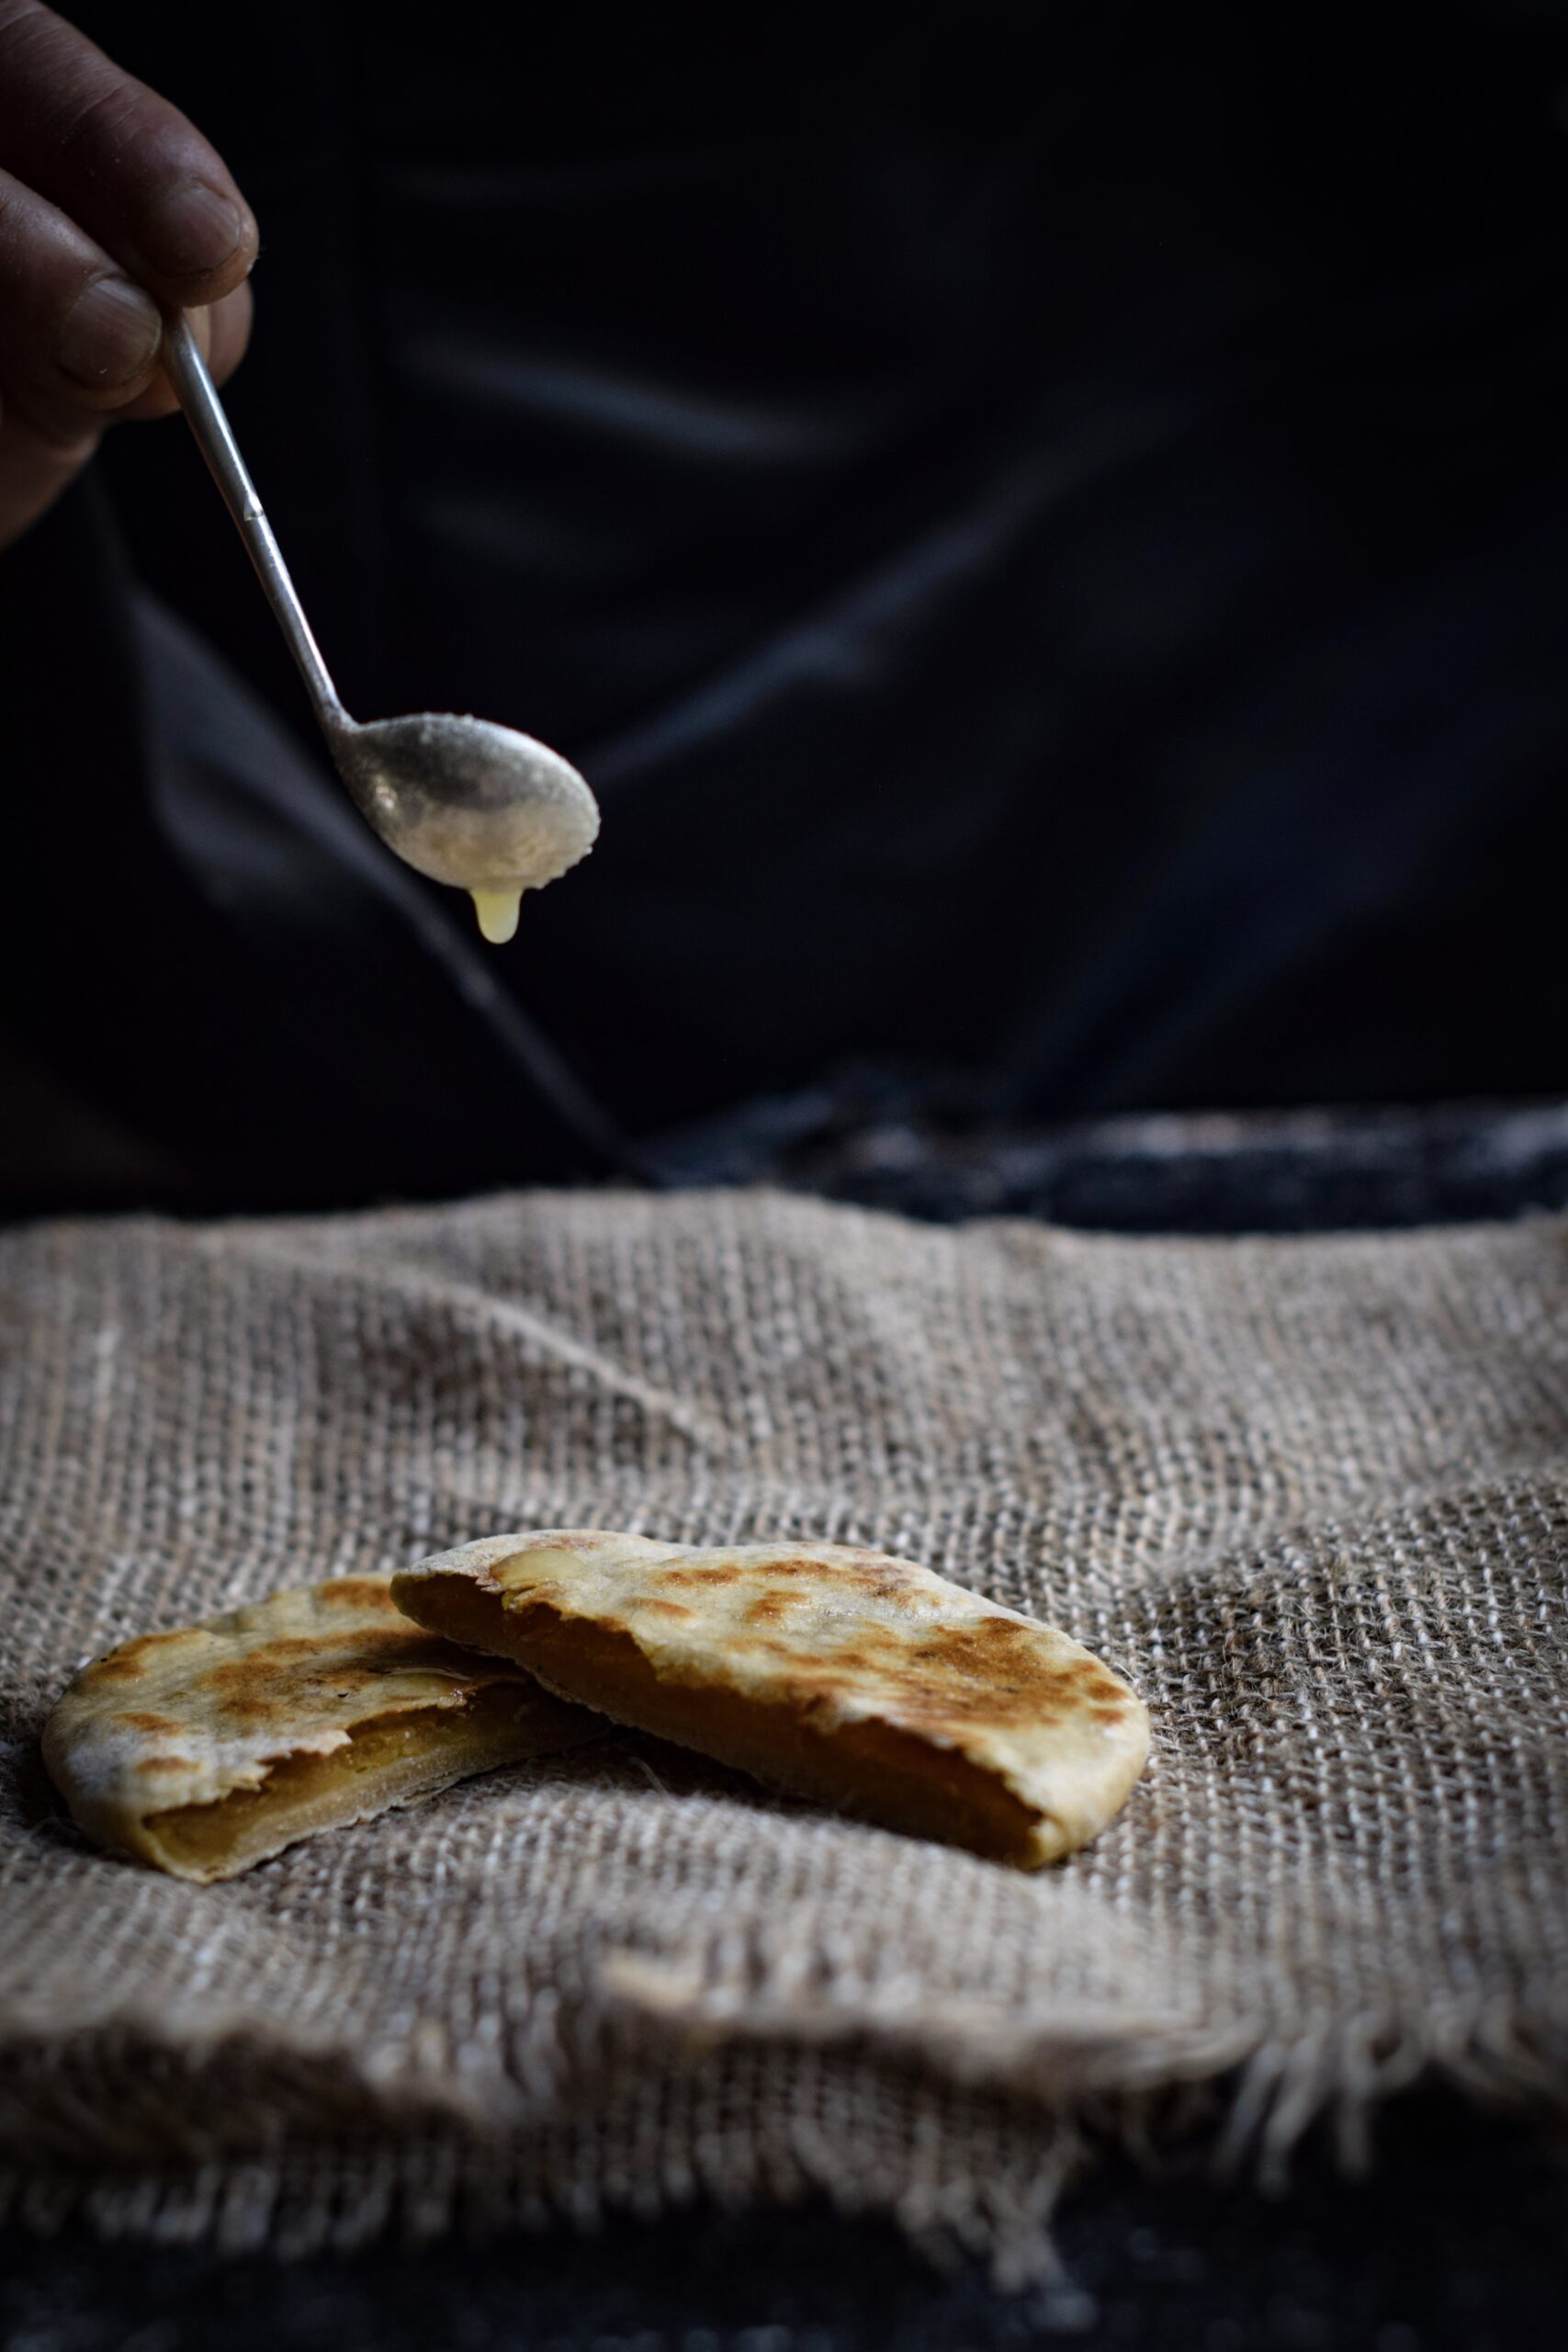
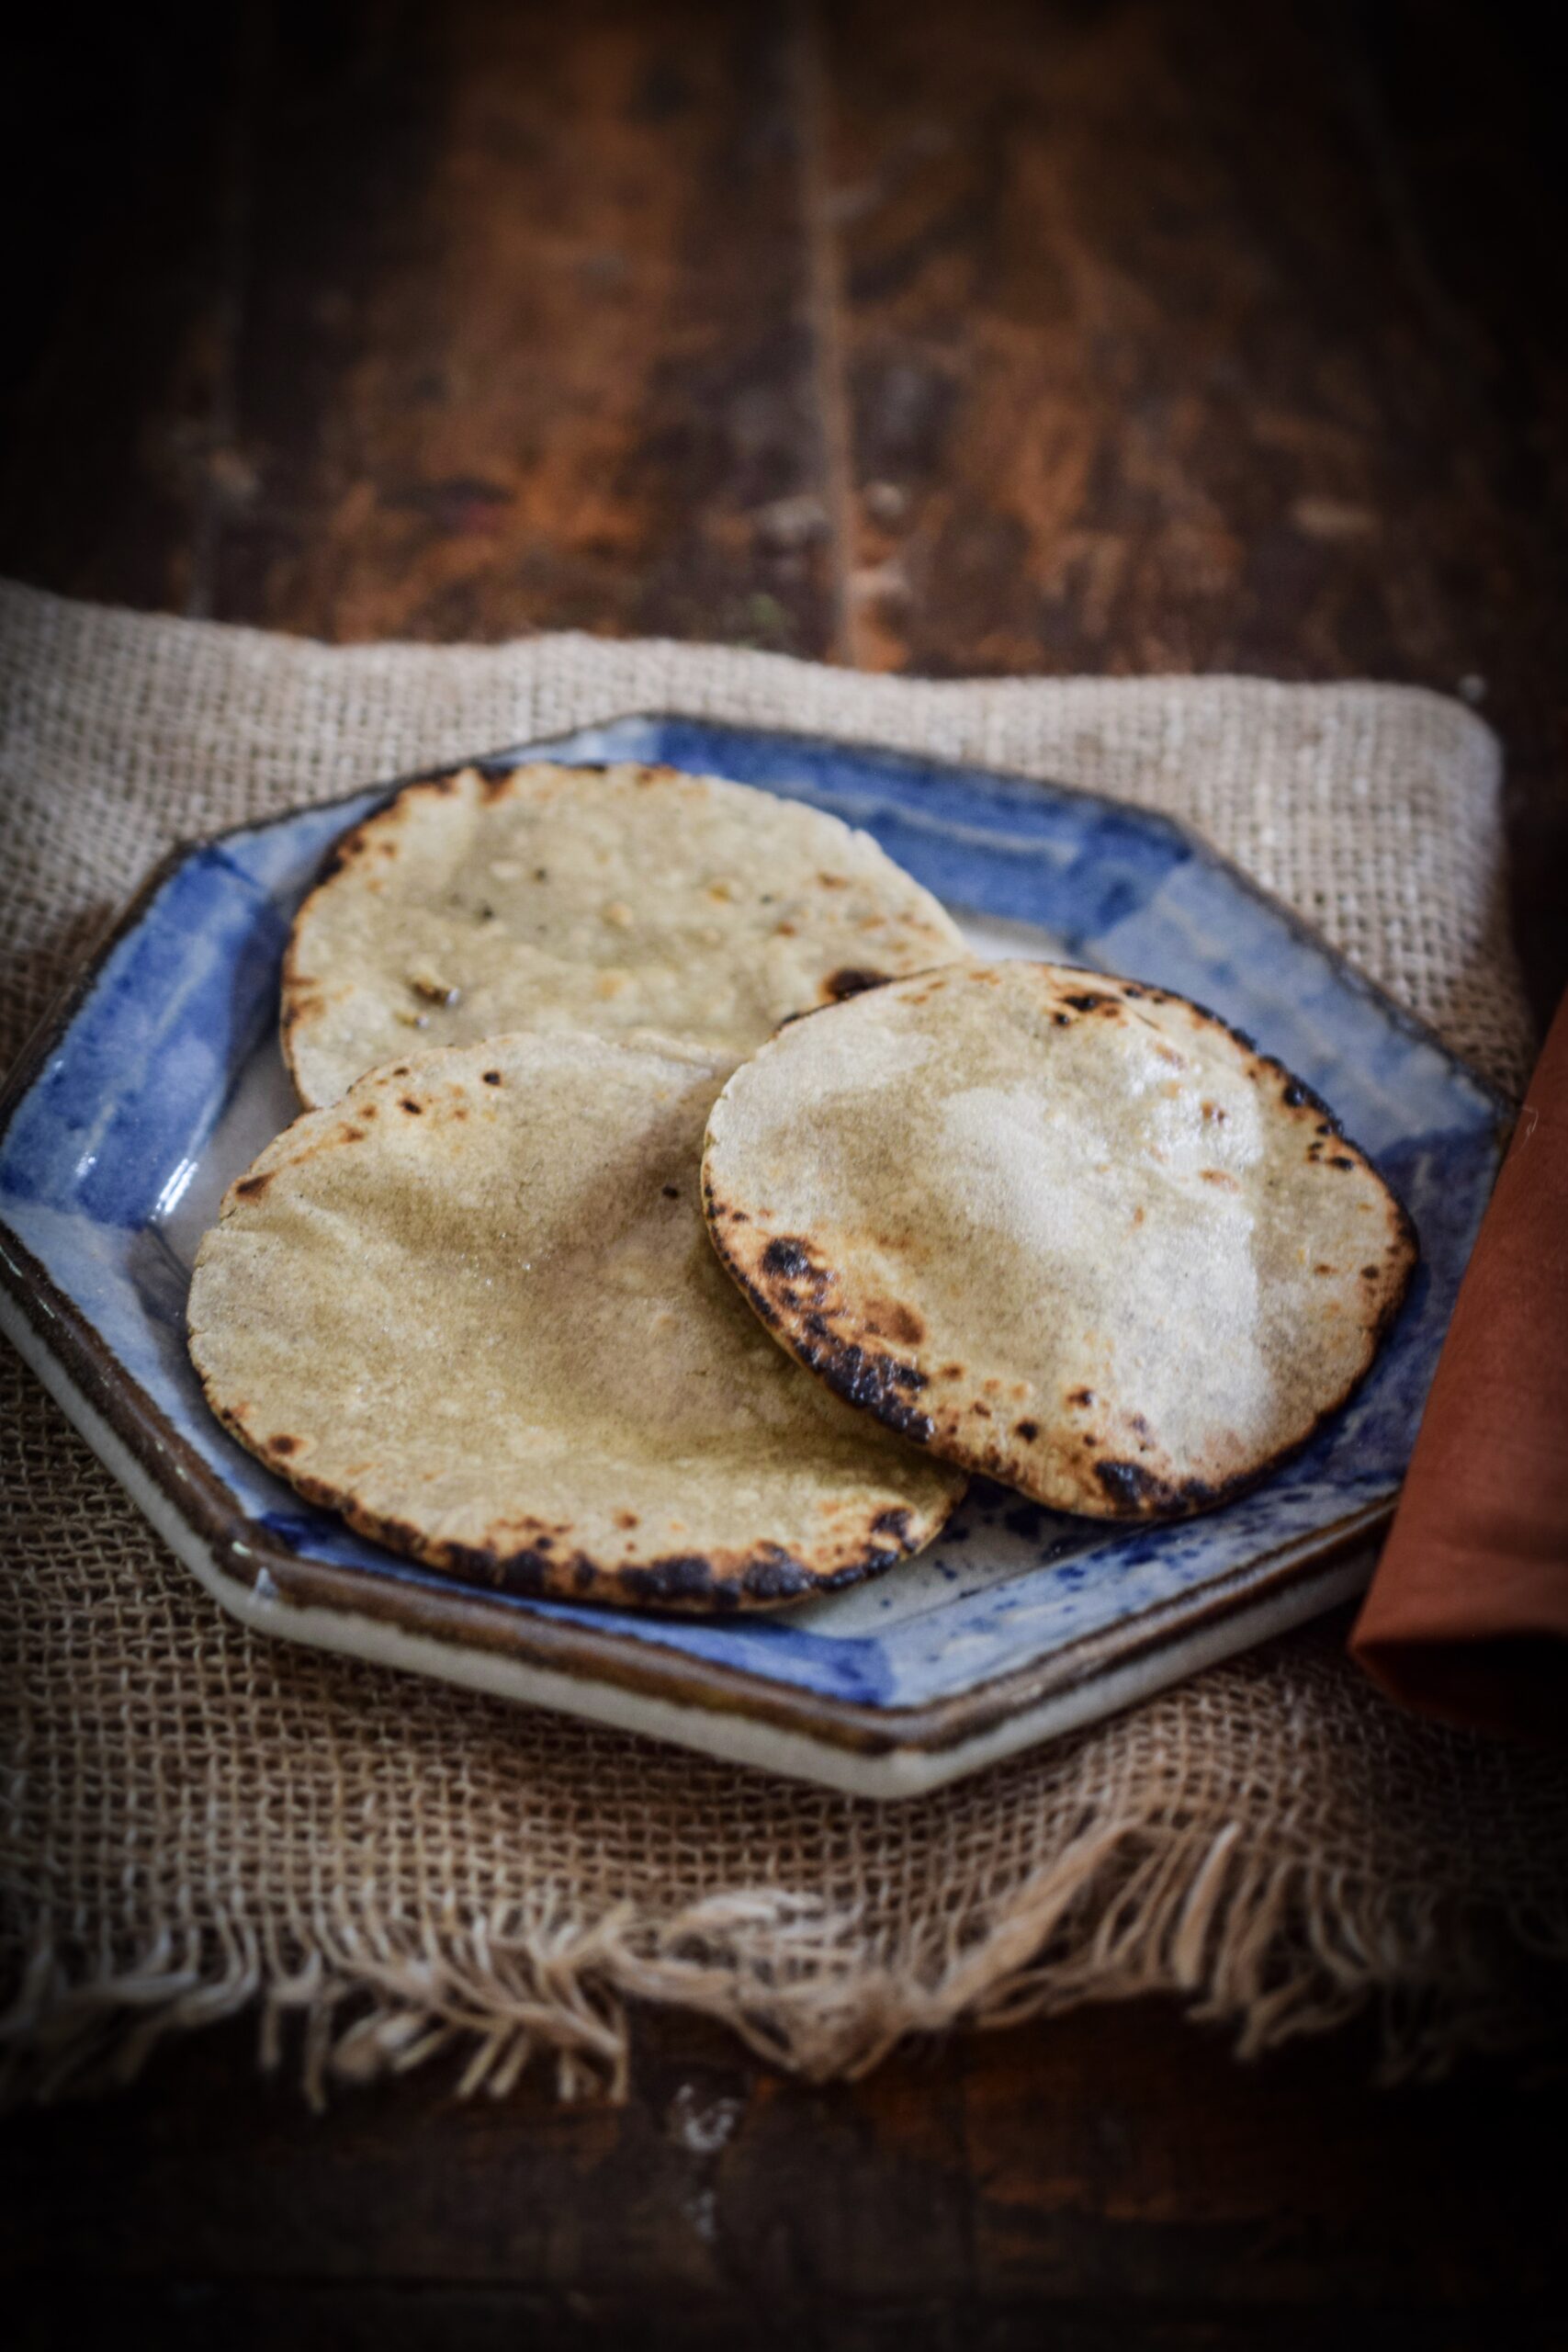
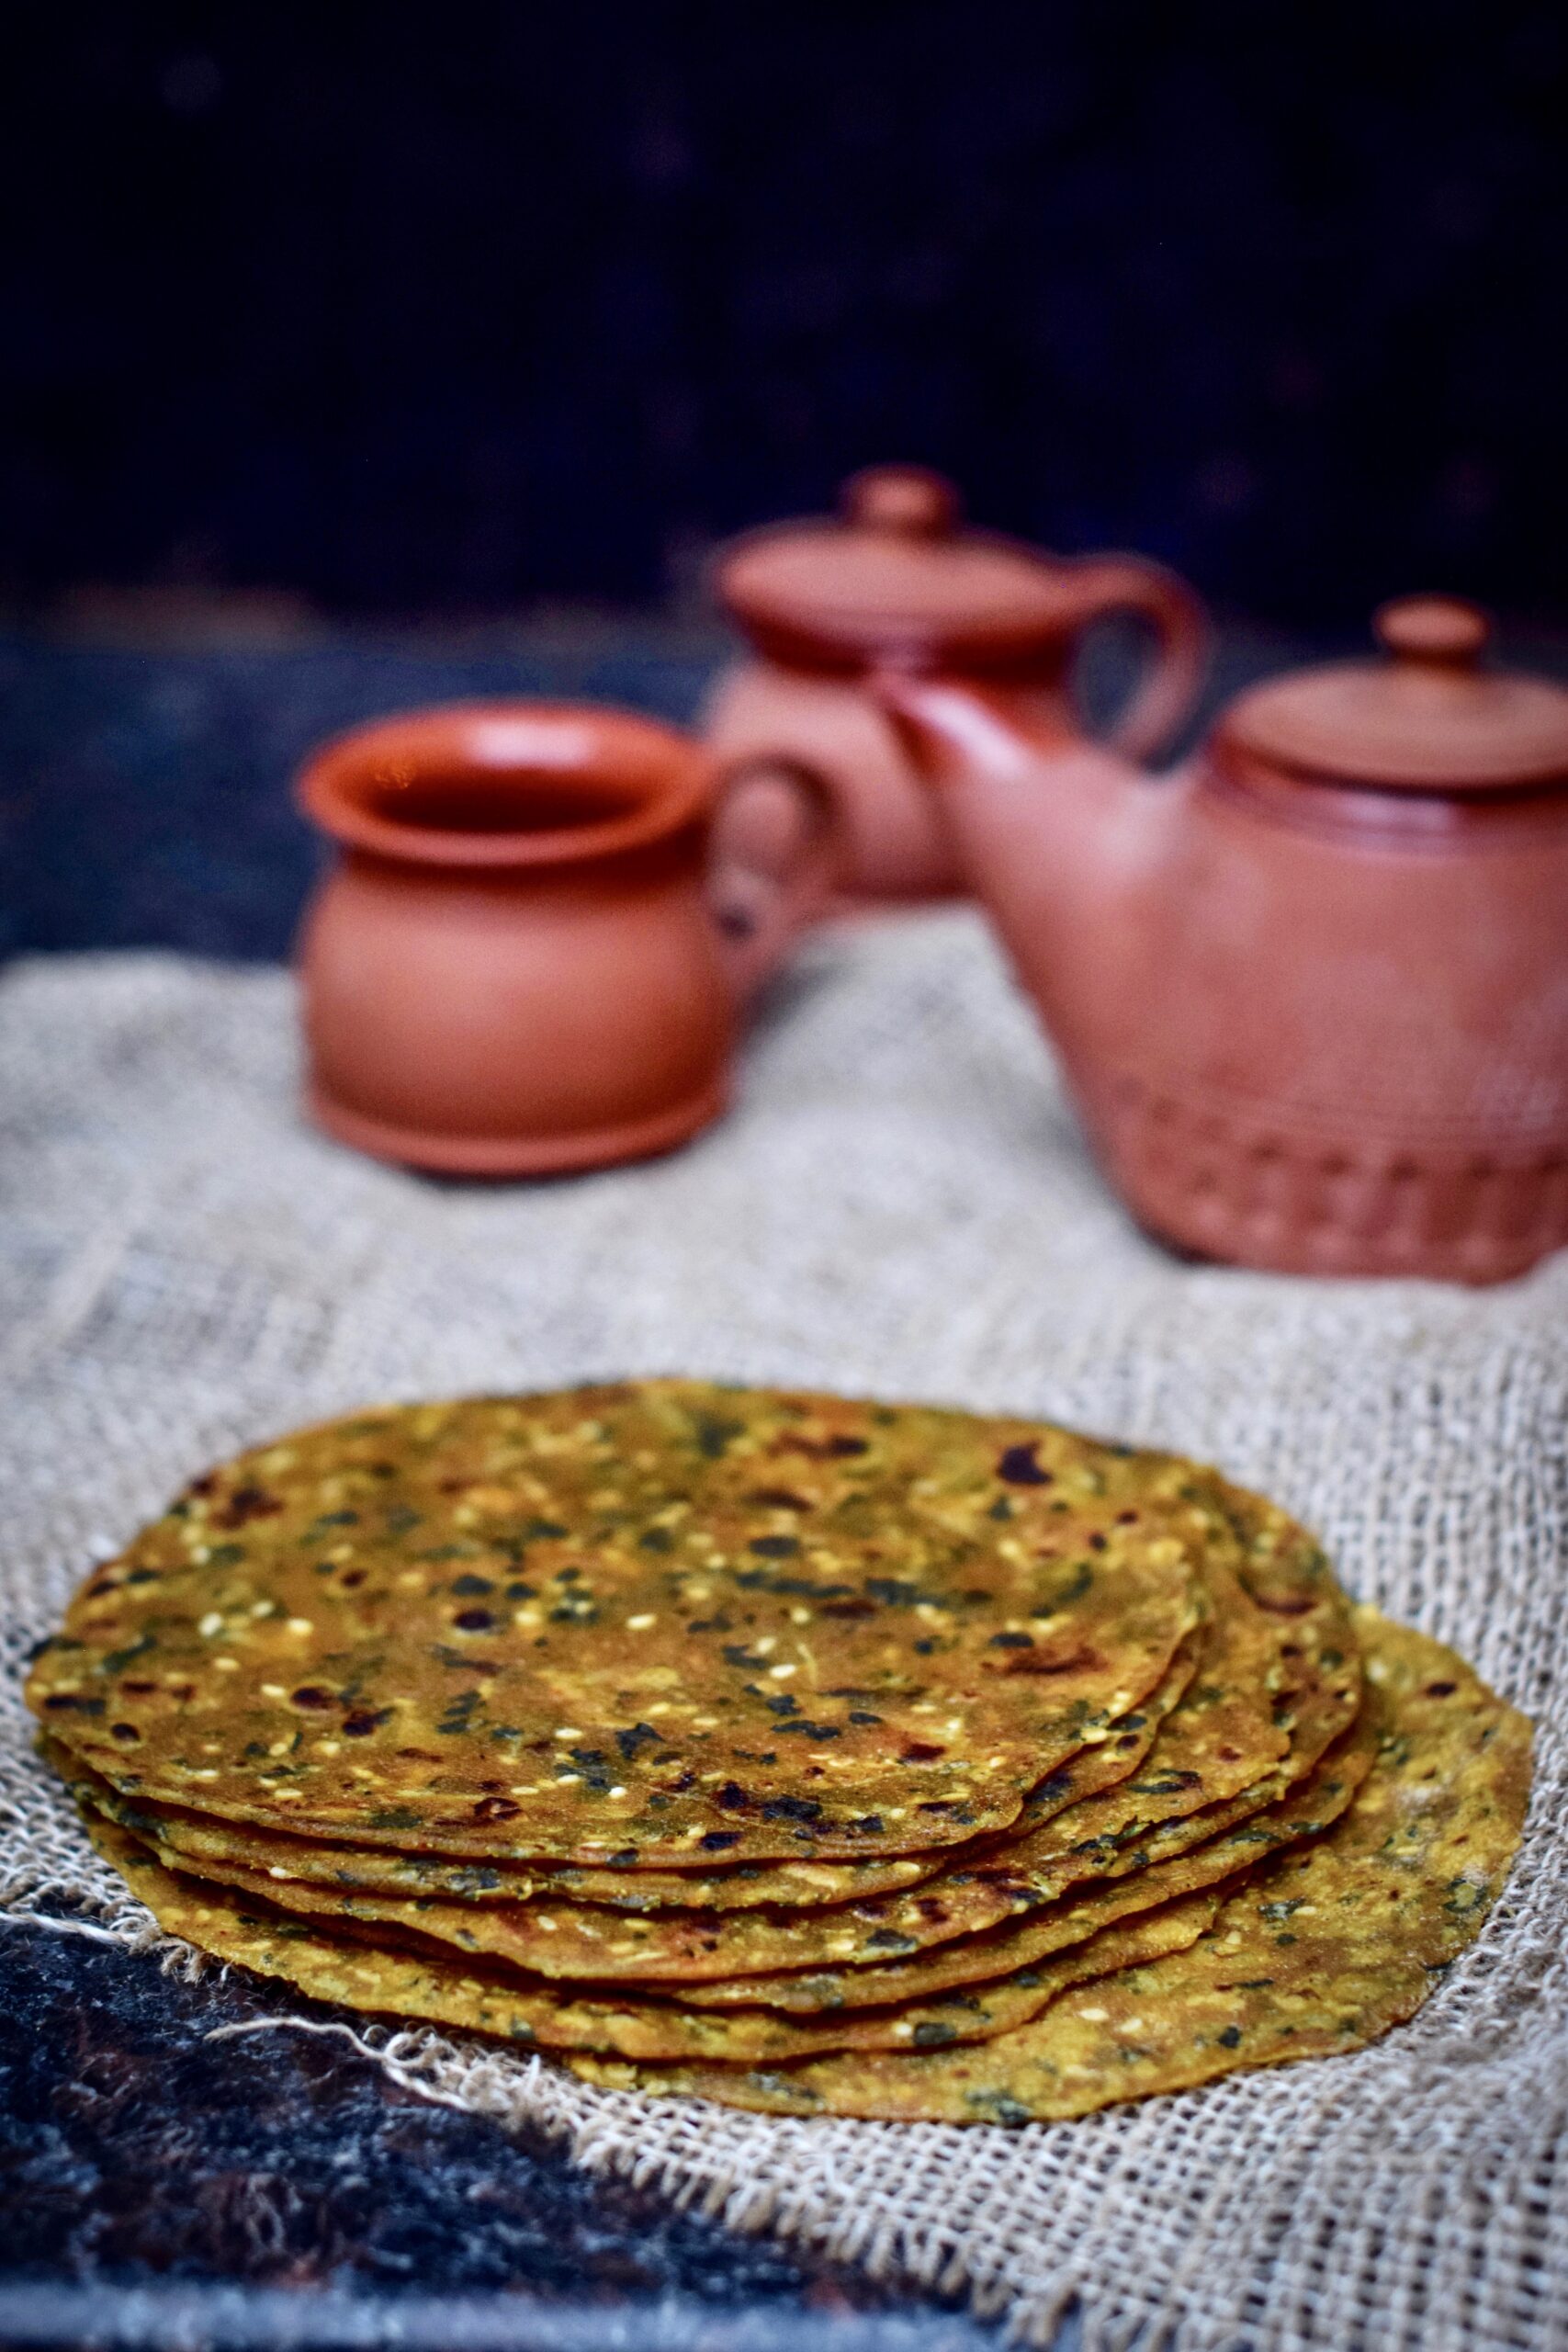
Several years ago, close to when I began this blog, I had shared a post on a variety of Gujarati flatbreads. The ones featured therein were just a small selection. There are hundreds of kinds of flatbreads in India, and even within different communities or regions, each family will have its own version. The thepla in particular has many types. It is basically a masala flatbread, and may have additions of grated vegetables or flavourings. Bottle gourds and leafy greens, of all different sorts, are often used. Here, I share with you a recipe for jowar methi thepla. It uses fenugreek leaves (methi) and sorghum millet (jowar) alongside the standard wheat, which makes it richly nutritional.

I prefer to use fresh methi, but dried kasoori methi will also work. If you’d like to totally substitute the methi, you can do so with any spinach. In my version of this flatbread, I make it with green chilli paste. My sister likes to use red chilli powder instead, which gives it a darker colour. Traditionally, jowar (sorghum) is replaced by bajri (pearl millet) in winters, as the latter is more warming. You can use the same method below to make bajri methi thepla.

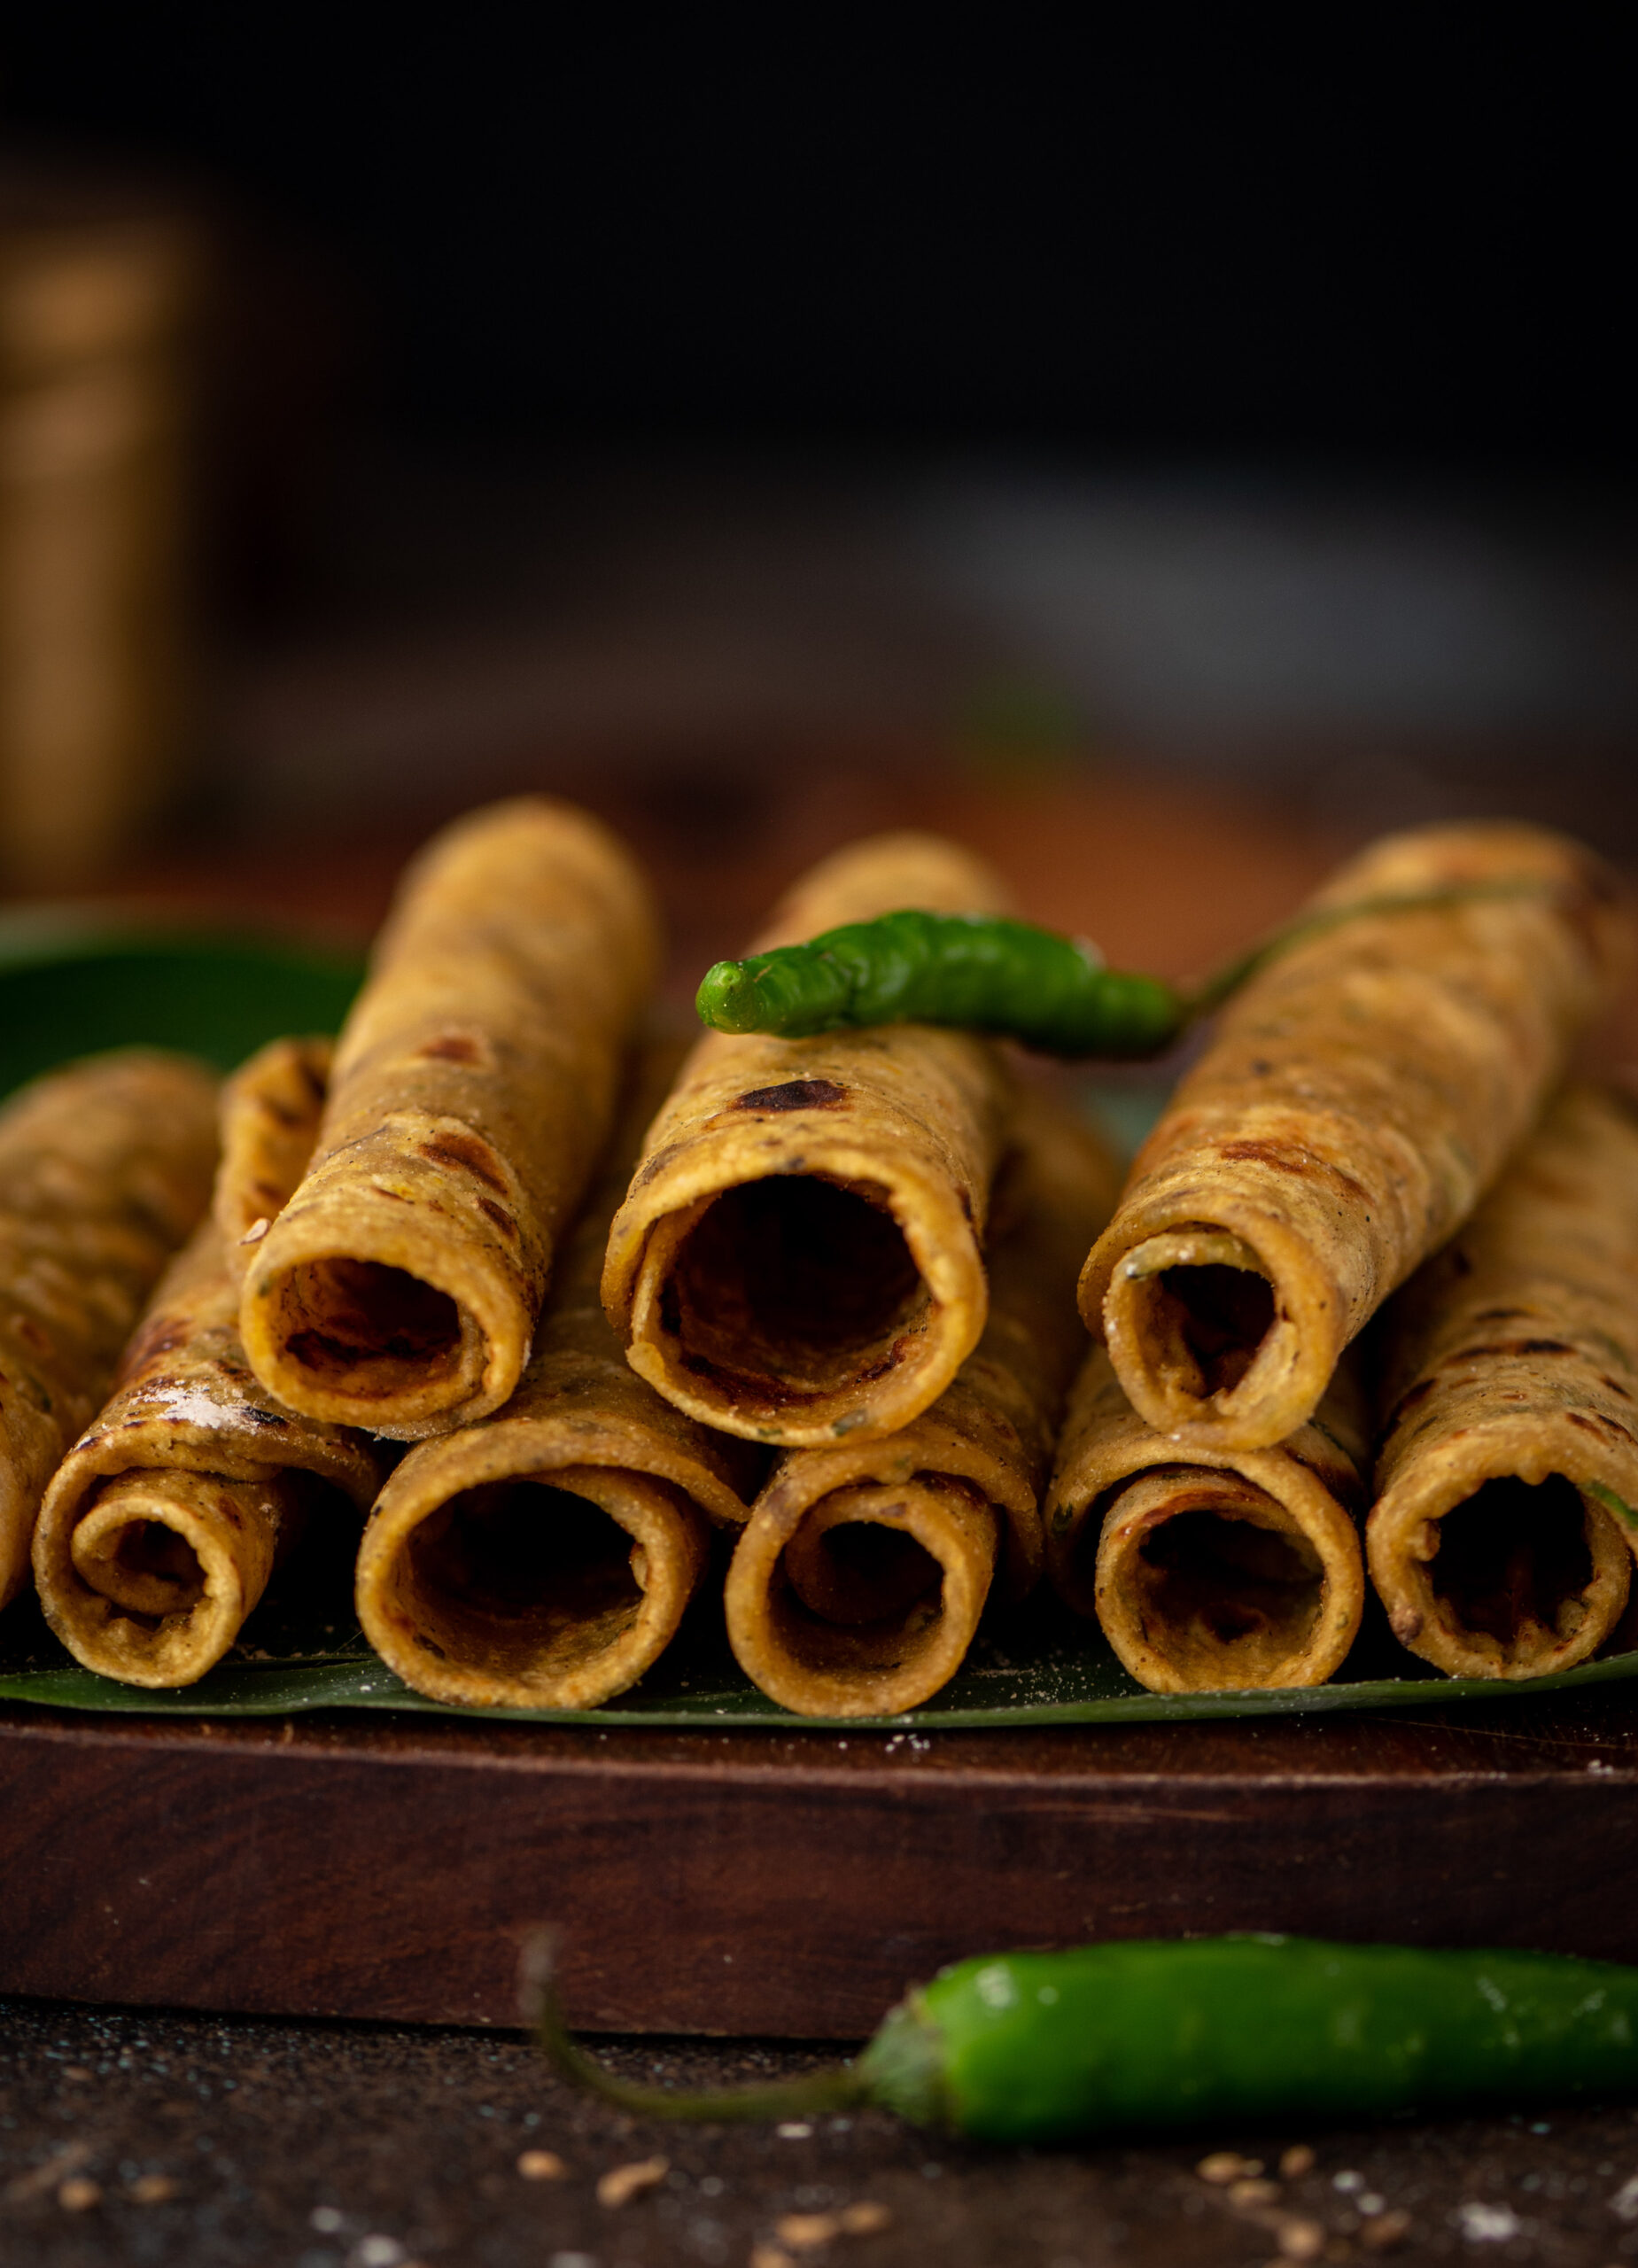
Theplas go well with pickles, vegetables, curries and gravies (a potato and tomato gravy pairs nicely, for instance). They are also great by themselves, or as an accompaniment to a cup of chai. They are perfect for school and office tiffin boxes – applying some chhundo on one, rolling it up and packing it makes for an easy lunch. However, they are more traditionally eaten at dinner time, and I think this is because they don’t go well with dals, which are usually served in the afternoon. There are no hard and fast rules about theplas because convenience is the key to their popularity. They keep for a few days, and travel well. I often make a pile of theplas and carry them with me during short trips, so that I can avoid eating outside food.

As for jowar methi thepla specifically, I’ve had it all my life and so I take it for granted. Only if I sat down to think about it would I really be able to list the memories associated with it. It was frequently served at home for dinner, eaten as leftovers for breakfast, or carried to school for lunch. It was just a part of everyday life, and it still is. I hope it finds a regular place in your meals too.

Jowar Methi Thepla

(Yield: 12 pieces)

1 cup whole wheat flour

½ cup jowar flour

Salt to taste

1 tablespoon oil

½ teaspoon turmeric

½ teaspoon sesame seeds

1 teaspoon cumin and coriander powder

1 teaspoon green chilli paste

1 tablespoon yoghurt

½ cup chopped methi leaves (or any spinach)

Water to bind dough (approximately 1 cup)

Oil for pan frying


Add all the ingredients to a mixing bowl. Knead and bind the dough with water, pouring it a little at a time. Ensure the dough is neither too soft nor too hard.

Leave the dough covered for at least 30 minutes. Then, make even-sized balls from it. You will get roughly 12.

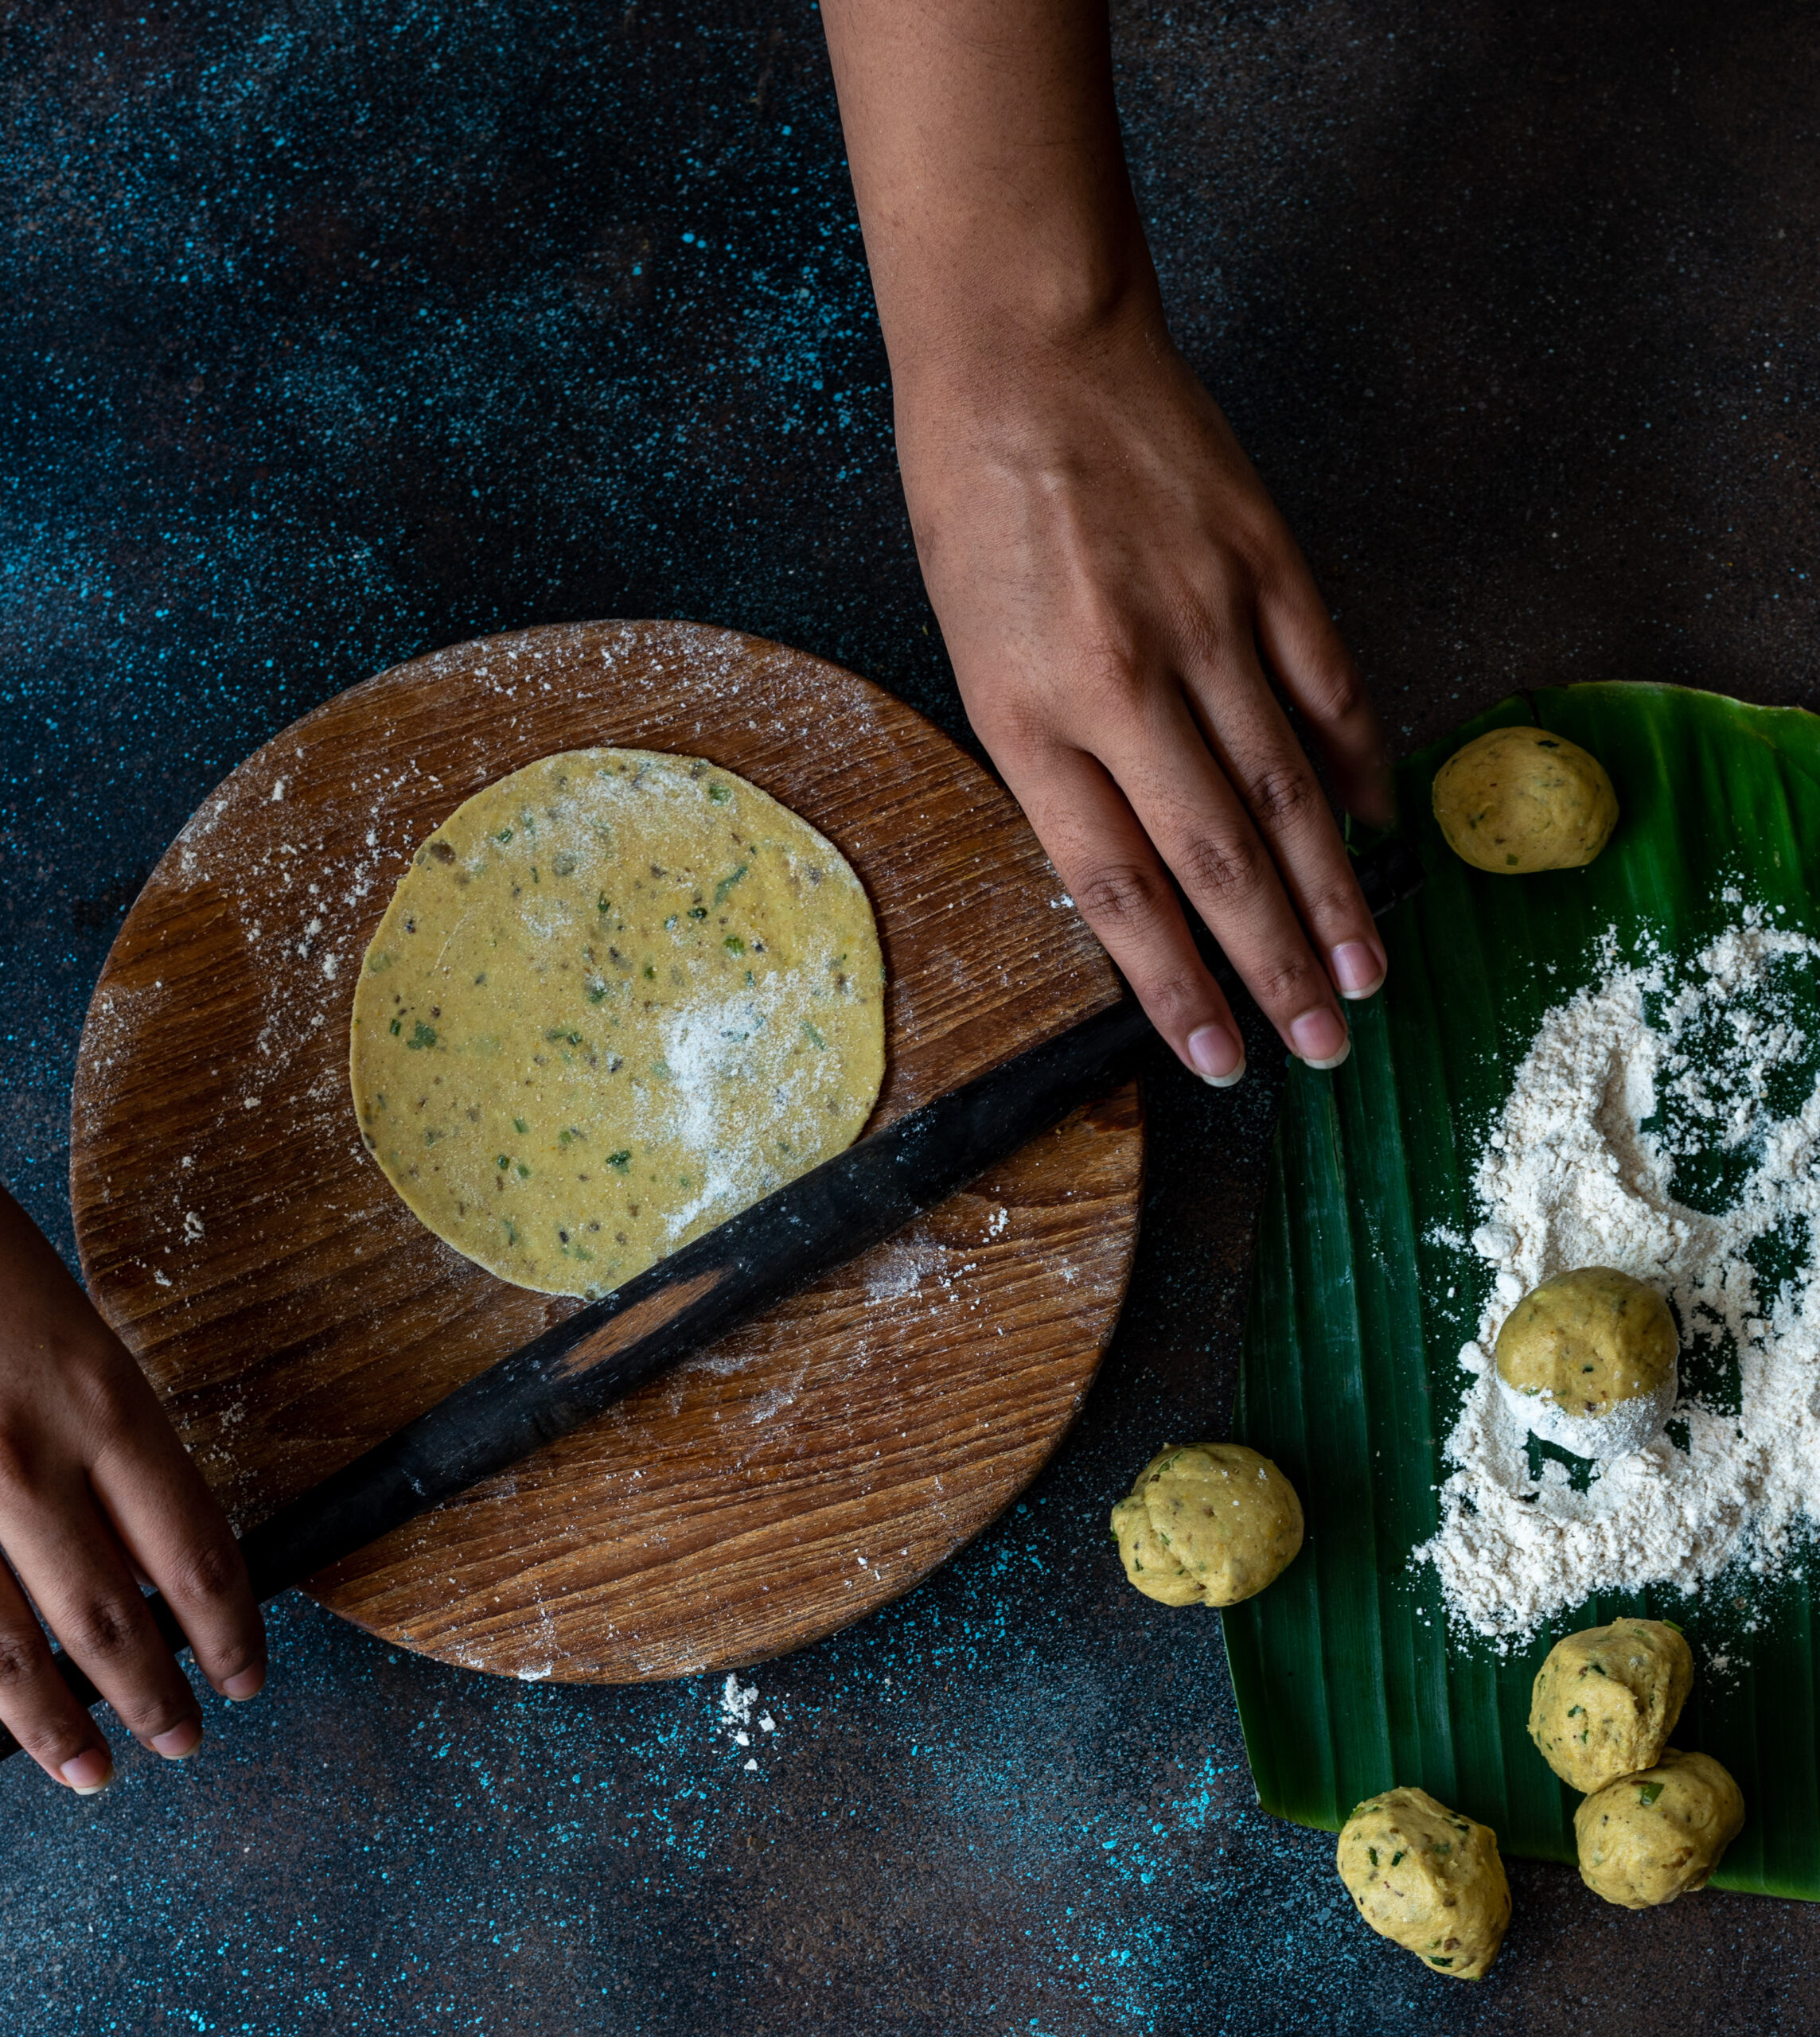
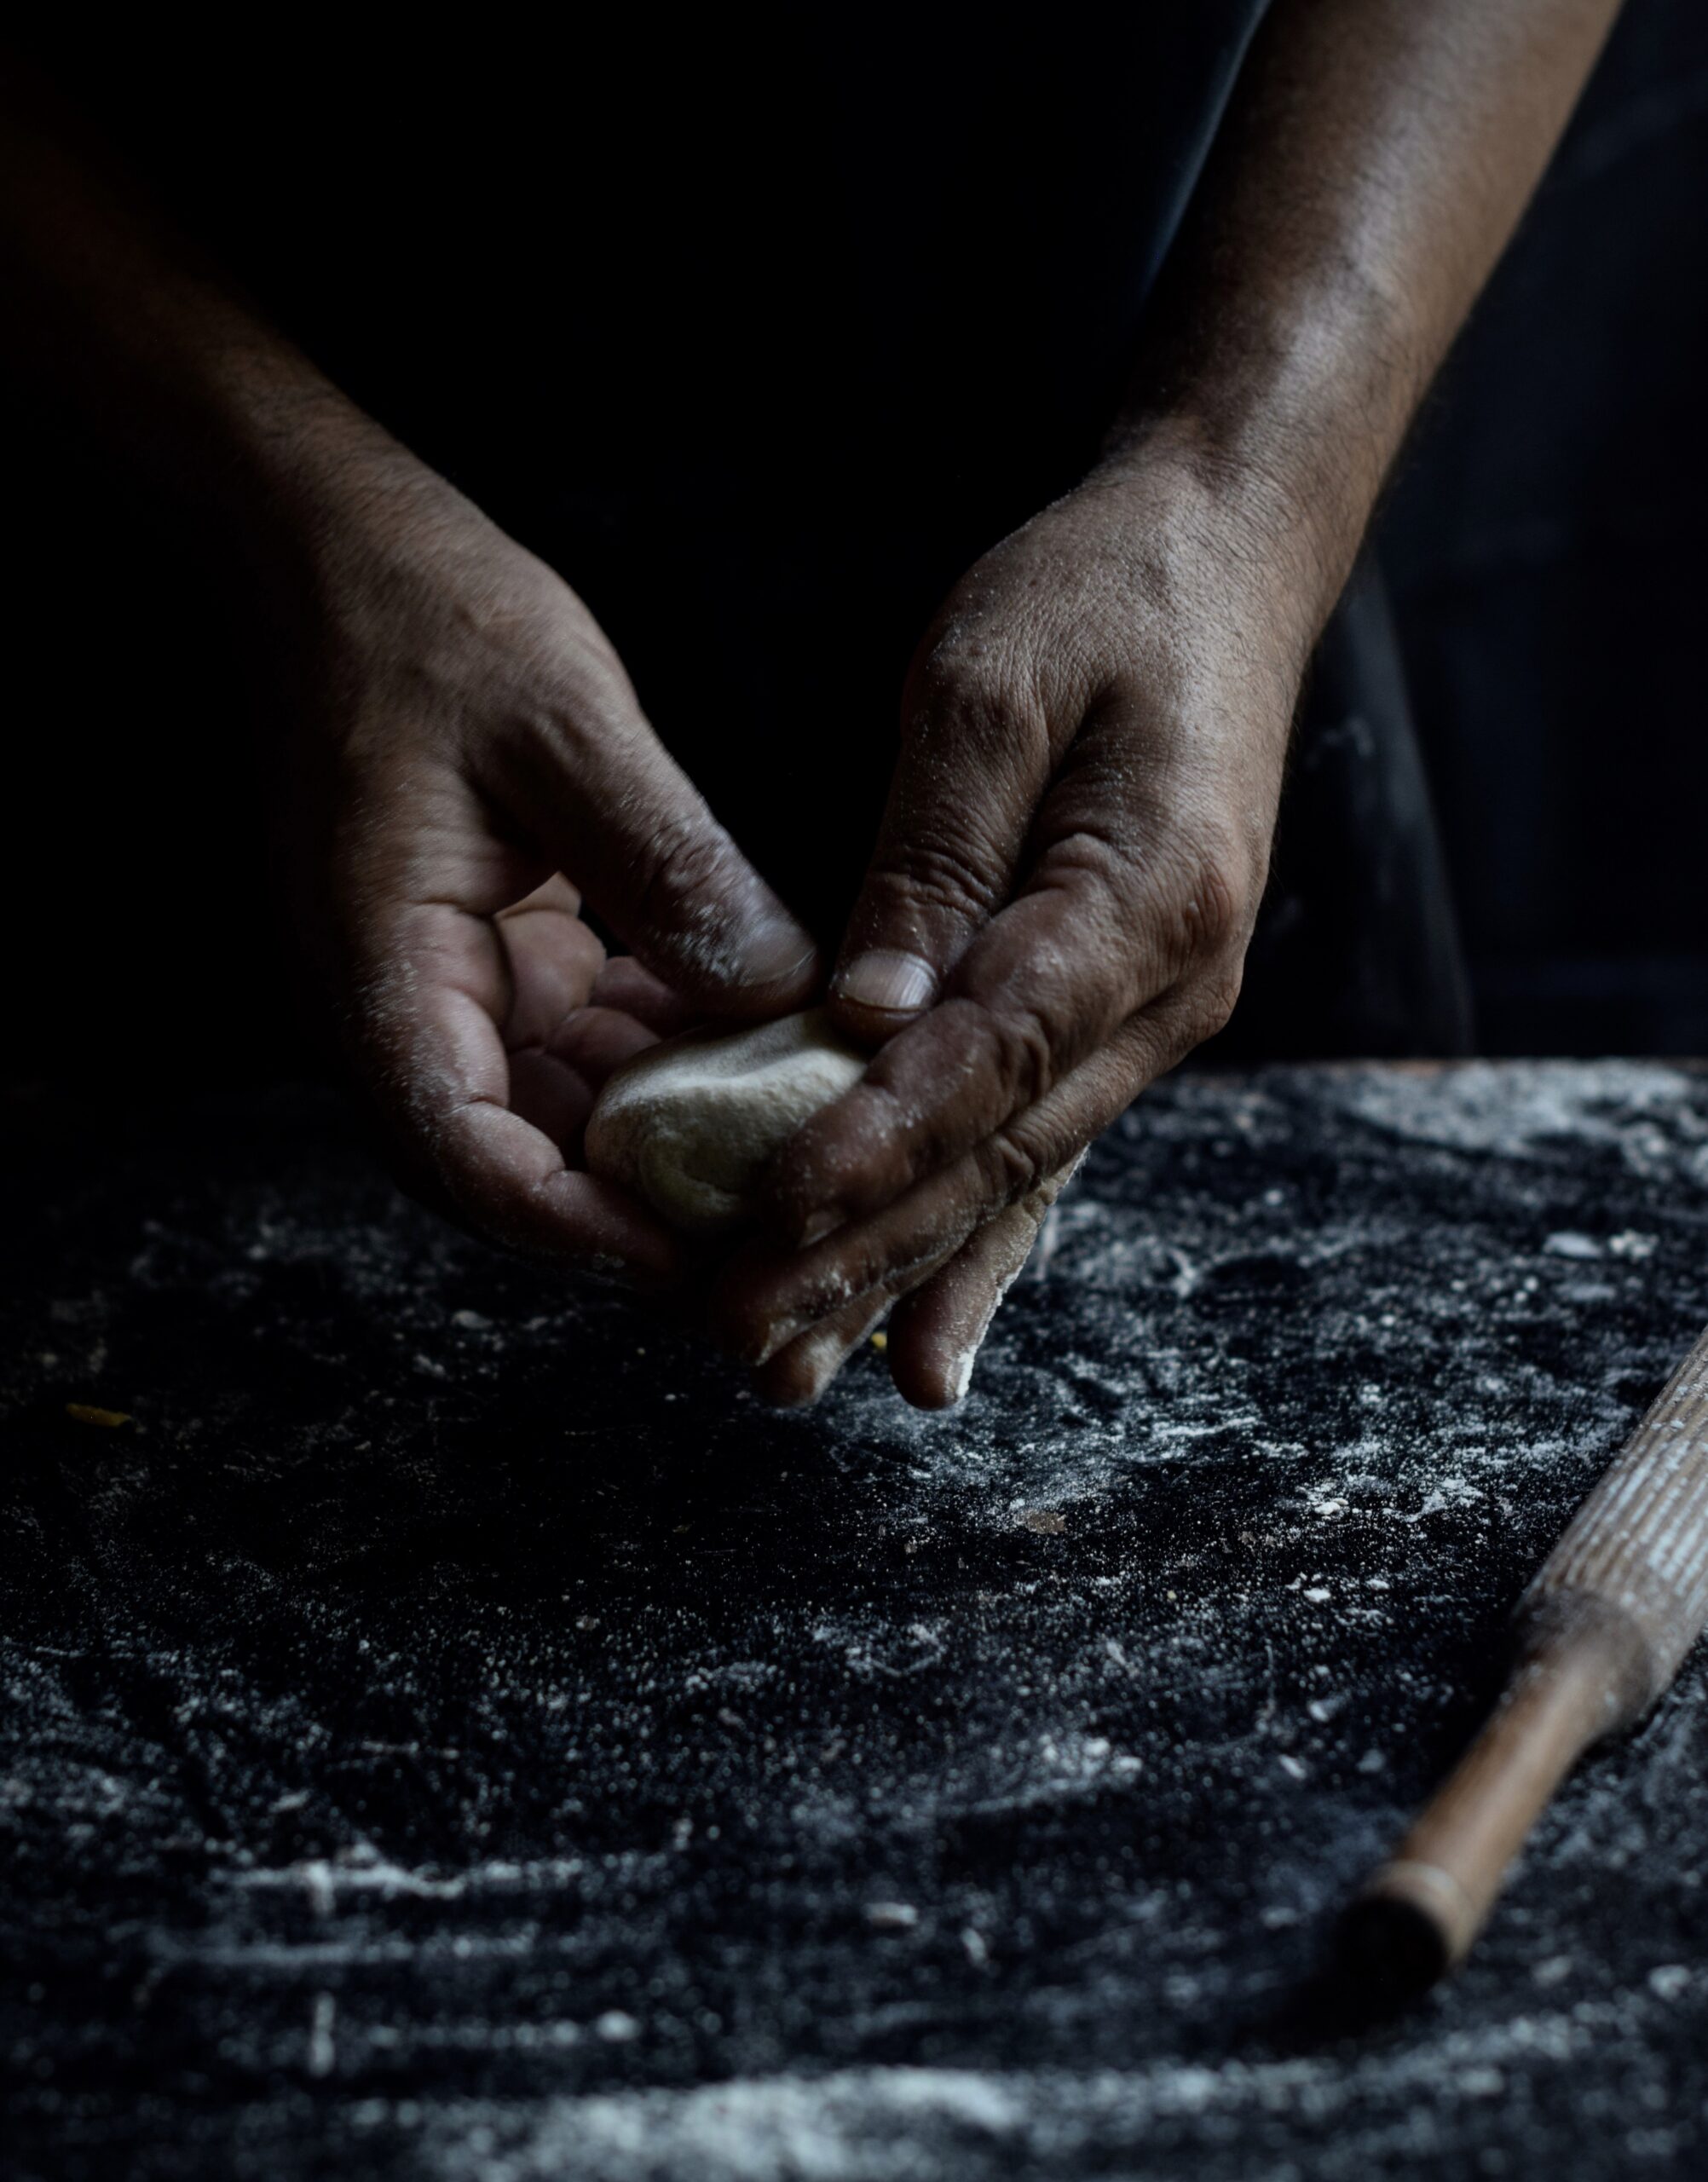
Roll each ball out with the help of flour into flat round discs.

Shallow fry them on a hot griddle with the help of some oil. Make sure the oil is added to the edges, as this way the thepla will not dry out.

Store the theplas in a covered box and consume within three days.

While there are endless variations on theplas themselves, all Gujarati homes will invariably have theplas available on a more or less daily basis. I hope you will explore more of my thepla recipes on this blog, and I’d especially suggest that you take a look at the taco theplas, if you’re feeling in the mood for some fusion fun, and this khichdi thepla that makes great use of leftovers.

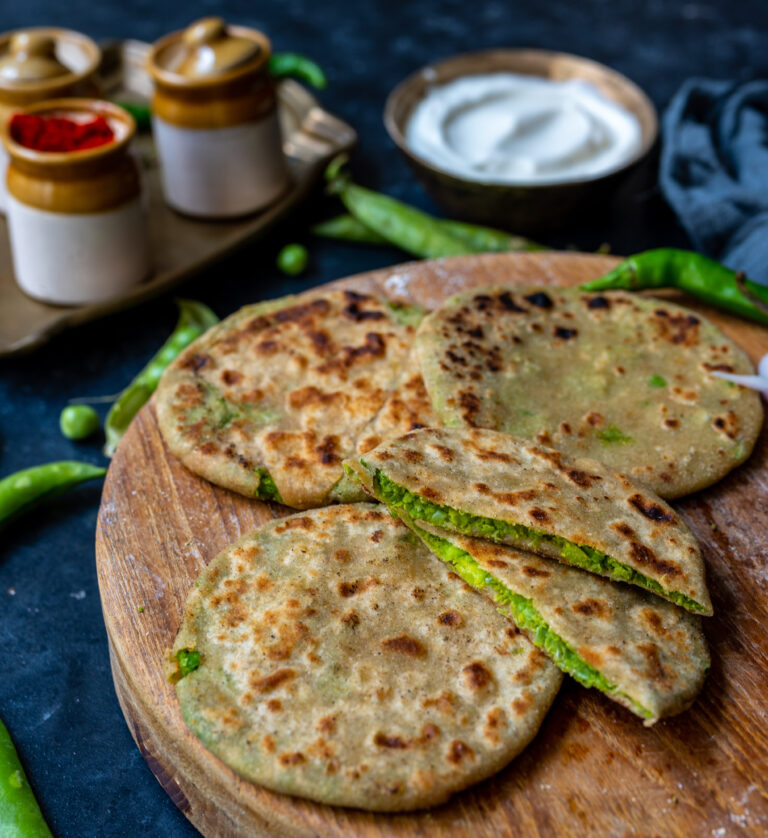
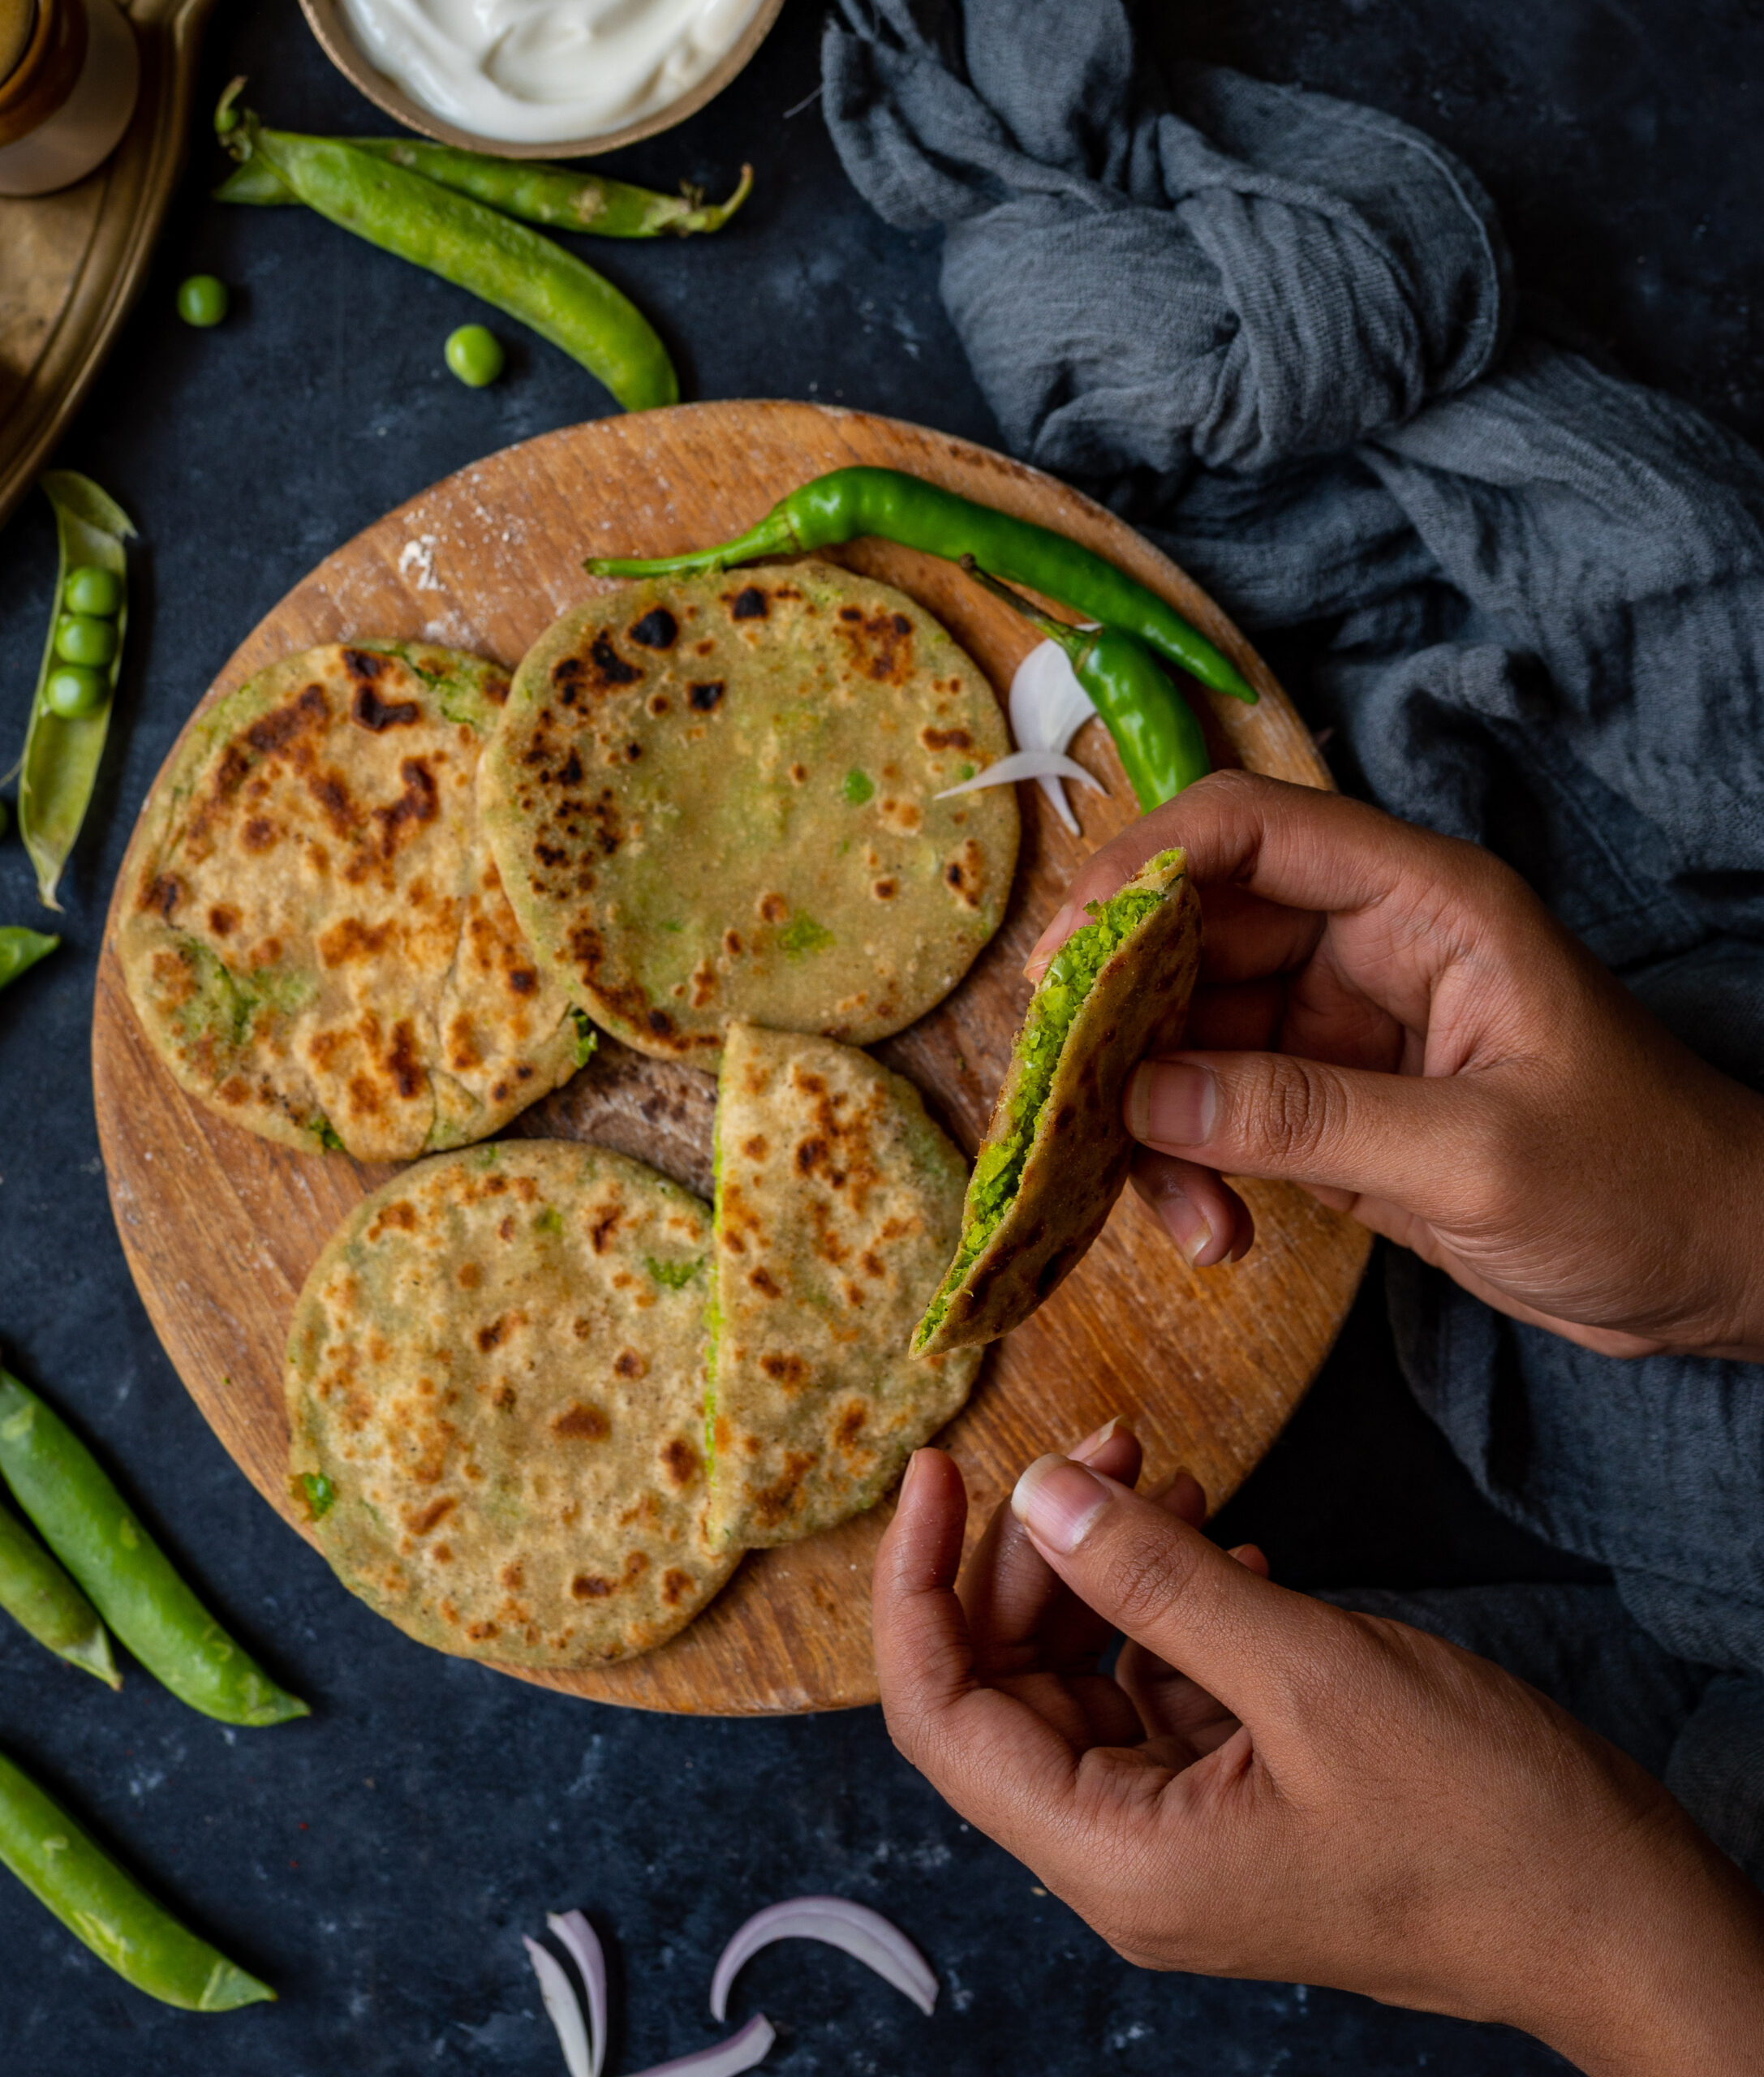
Peas are in abundance right now – they are in season, cheap to purchase, good for health, and I for one am glad they are flooding the local market. It feels like I am making something with them every day. Recipes I’ve shared with you in the past, like this harra bhara kebab, pea-pomegranate festive kachori and chura matar are being relished at my dining table. I’ve even begun using peas as substitutes for staples. For instance, I usually send my family members off to their offices with some aloo paratha in their tiffin carriers, but the potatoes have been swapped out for – you guessed it – peas. I would like for you to experience the lovely pea-stuffed parathas that they are enjoying at the moment too, so that’s exactly the recipe that I’ve decided to share this week.

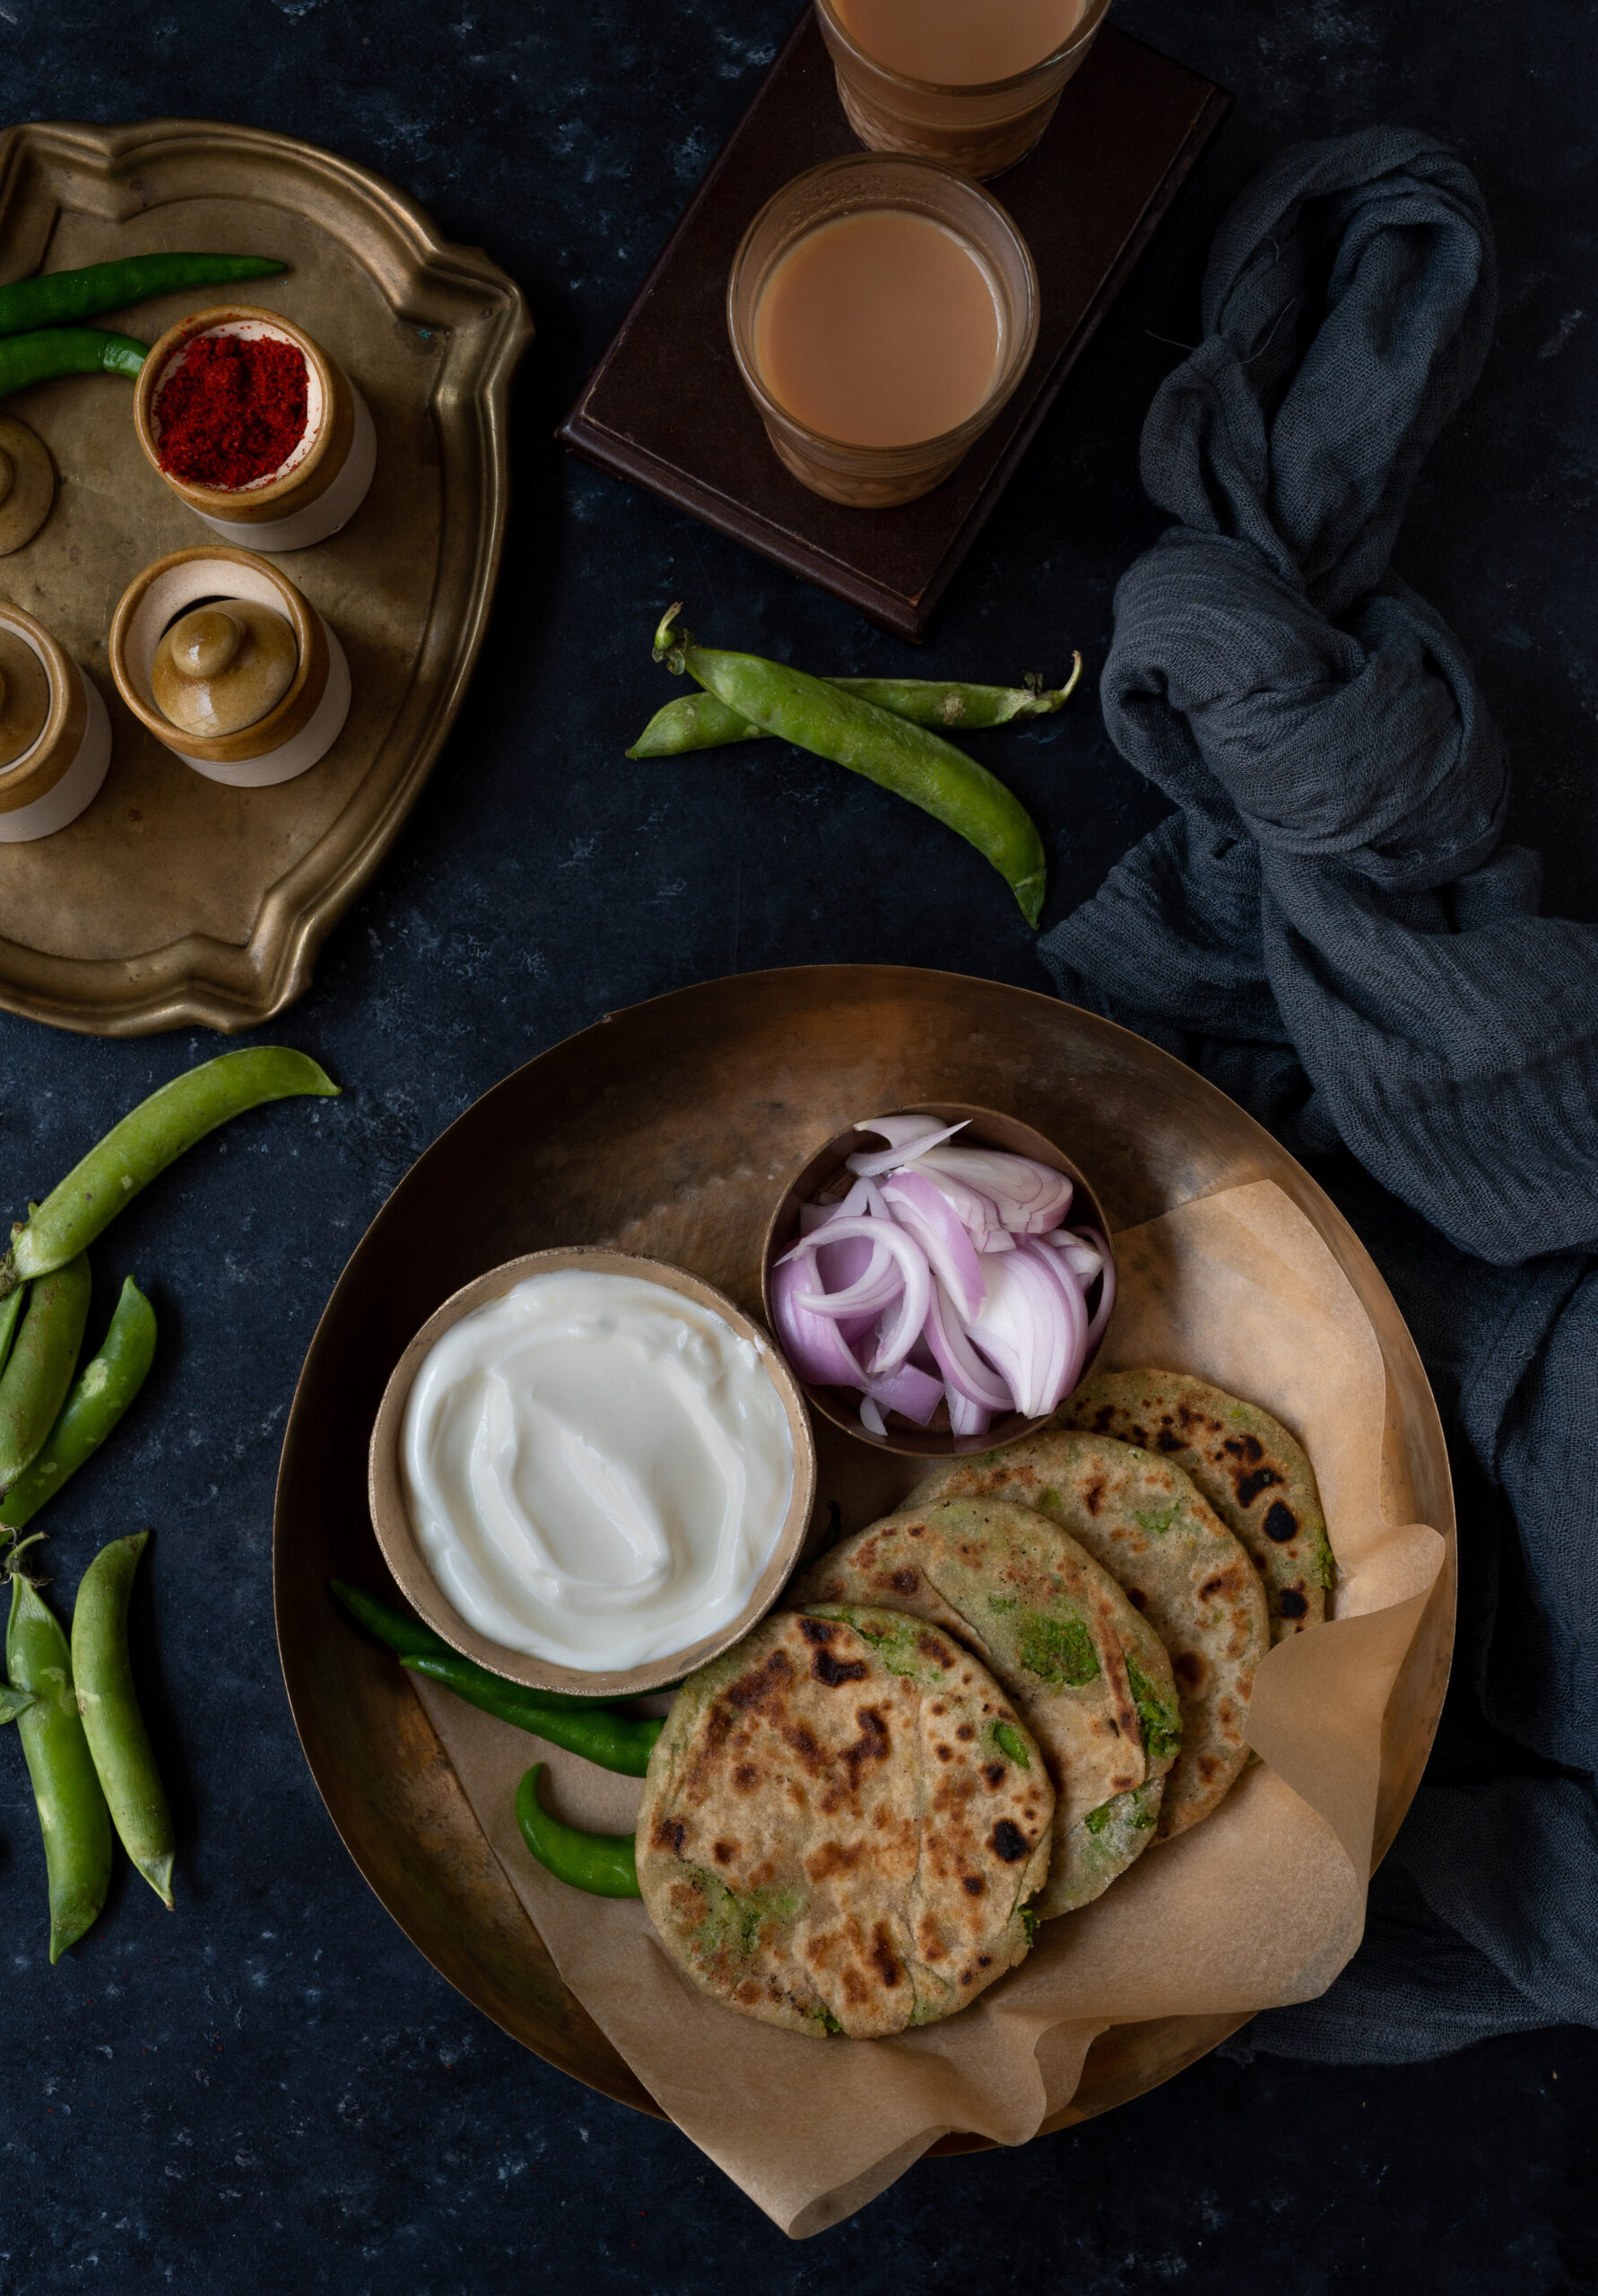
Since I am now preparing as well as eating these pea parathas daily, I’ve observed that they are healthier and lighter than aloo parathas, which makes them more suitable for the mid-day meal when one’s work has to be resumed after. The best accompaniment for them is yoghurt and a cup of simple salad – add these two elements and you’re all set with a nice lunch. Traditionally, parathas are meant to be generous in size, but I prefer to make them small. They look pretty and dainty, fit more easily into your Tupperware or tiffin carrier, and the overall presentation just looks and feels nicer. That’s quite important for any meal, not just a special one. When a loved one opens their lunchbox at the office, the dishes within would have been prepared hours earlier and may no longer be warm or as fresh, so making them look attractive makes a difference.

I’ve been using peas grown in my region, but I must admit a preference for those harvested in Jaipur or Delhi at this time of year. The weather there is more conducive to this vegetable, and the yield is smaller in size and so sweet that it can be eaten raw (and even used in desserts, like in peas halwa). I have friends who grow peas on farms there, and visits from or to them during this season would always include some fresh produce. Sadly, no one is able to travel much at the moment, but the local variants are still much enjoyed in my home.

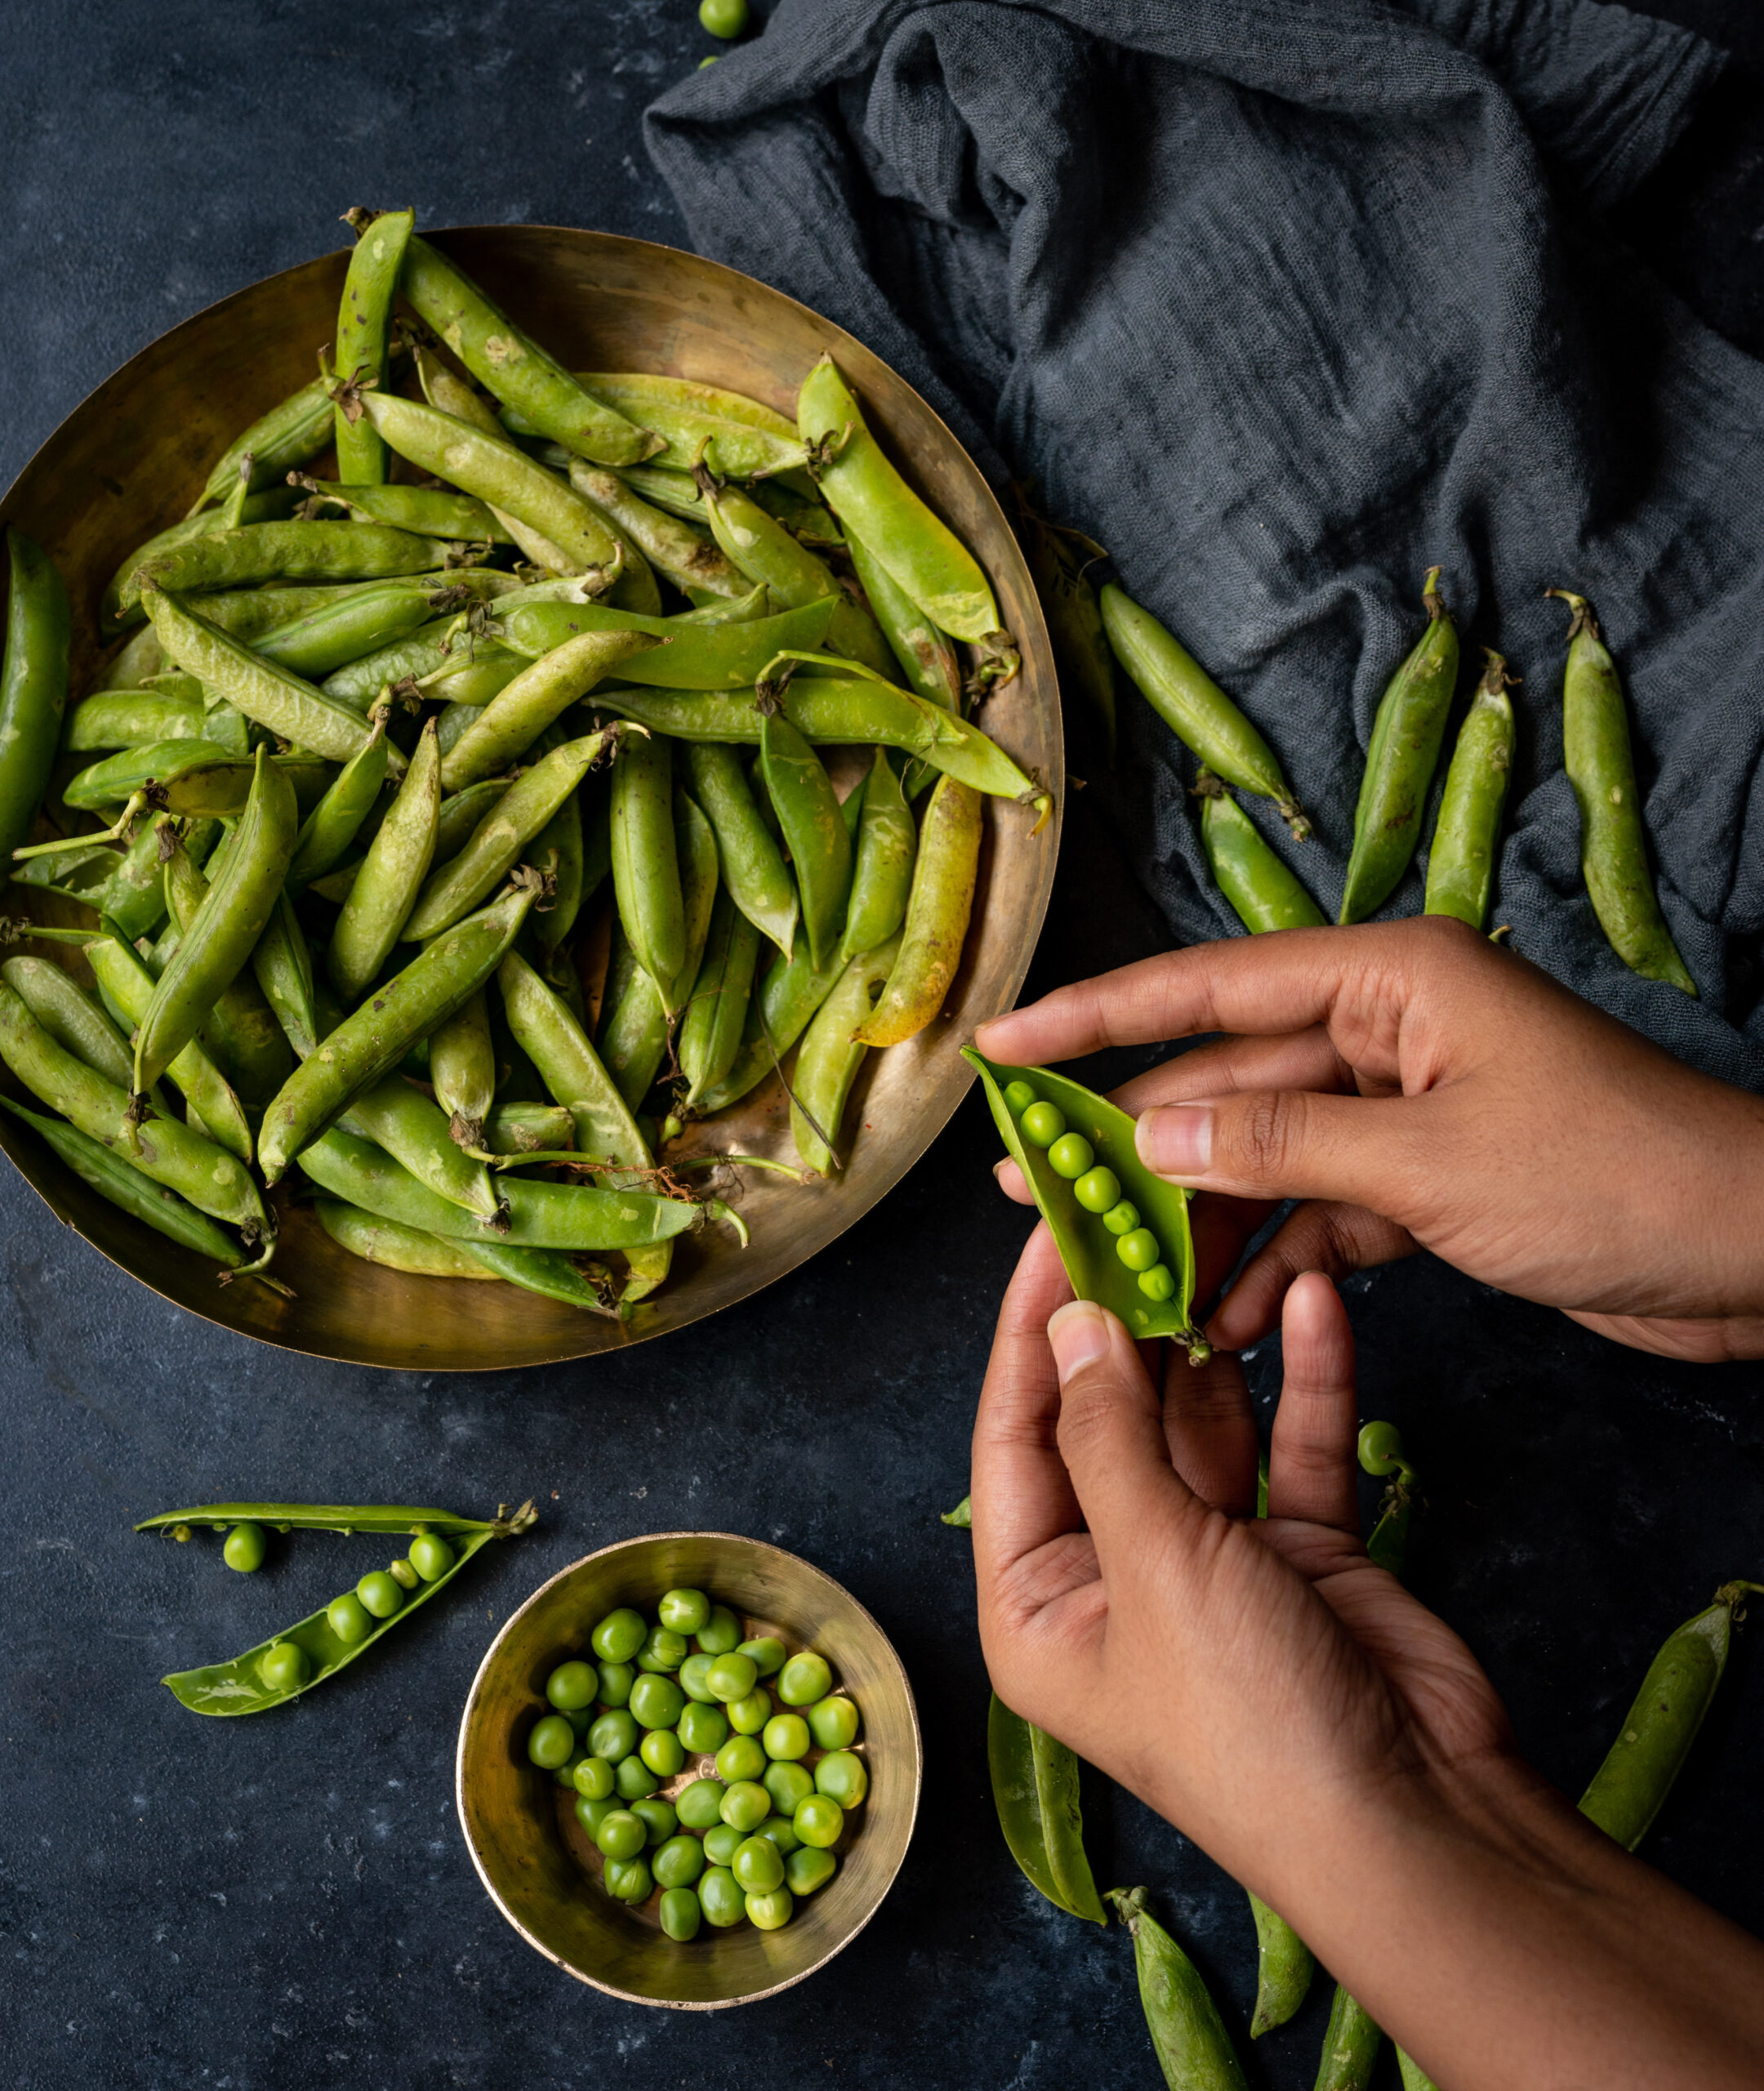
As I was preparing the peas for my photo shoot, I smiled as I recalled helping out in the kitchen when I was growing up. When we were kids, my siblings and I would have a competition about who would peel and shell the most peas. These were a chore that our mother often assigned to us, and this is how we would make it more interesting. The winner had no reward and the loser had no punishment, but this game was just a way for us to pep up a boring activity. Once again, as I did while sharing the previous recipe, I reminisce about how kids of my generation always found ways to keep ourselves entertained. We were innovative and creative in the absence of technology. What sorts of games did you play to make chores go by faster?

Peas Paratha

(Yield: 4-6)


Peas stuffing

1 full cup crushed green peas

1 teaspoon aamchur powder

1 teaspoon roasted cumin powder

1 teaspoon ginger/green chilli paste

Salt to taste

1 teaspoon oil (to roast the peas)


Paratha dough

1½ cups whole-wheat flour

Salt to taste

1 teaspoon oil

+ Oil for shallow frying


Divide the dough and the stuffing separately into equally-sized small balls (lime/lemon-sized).

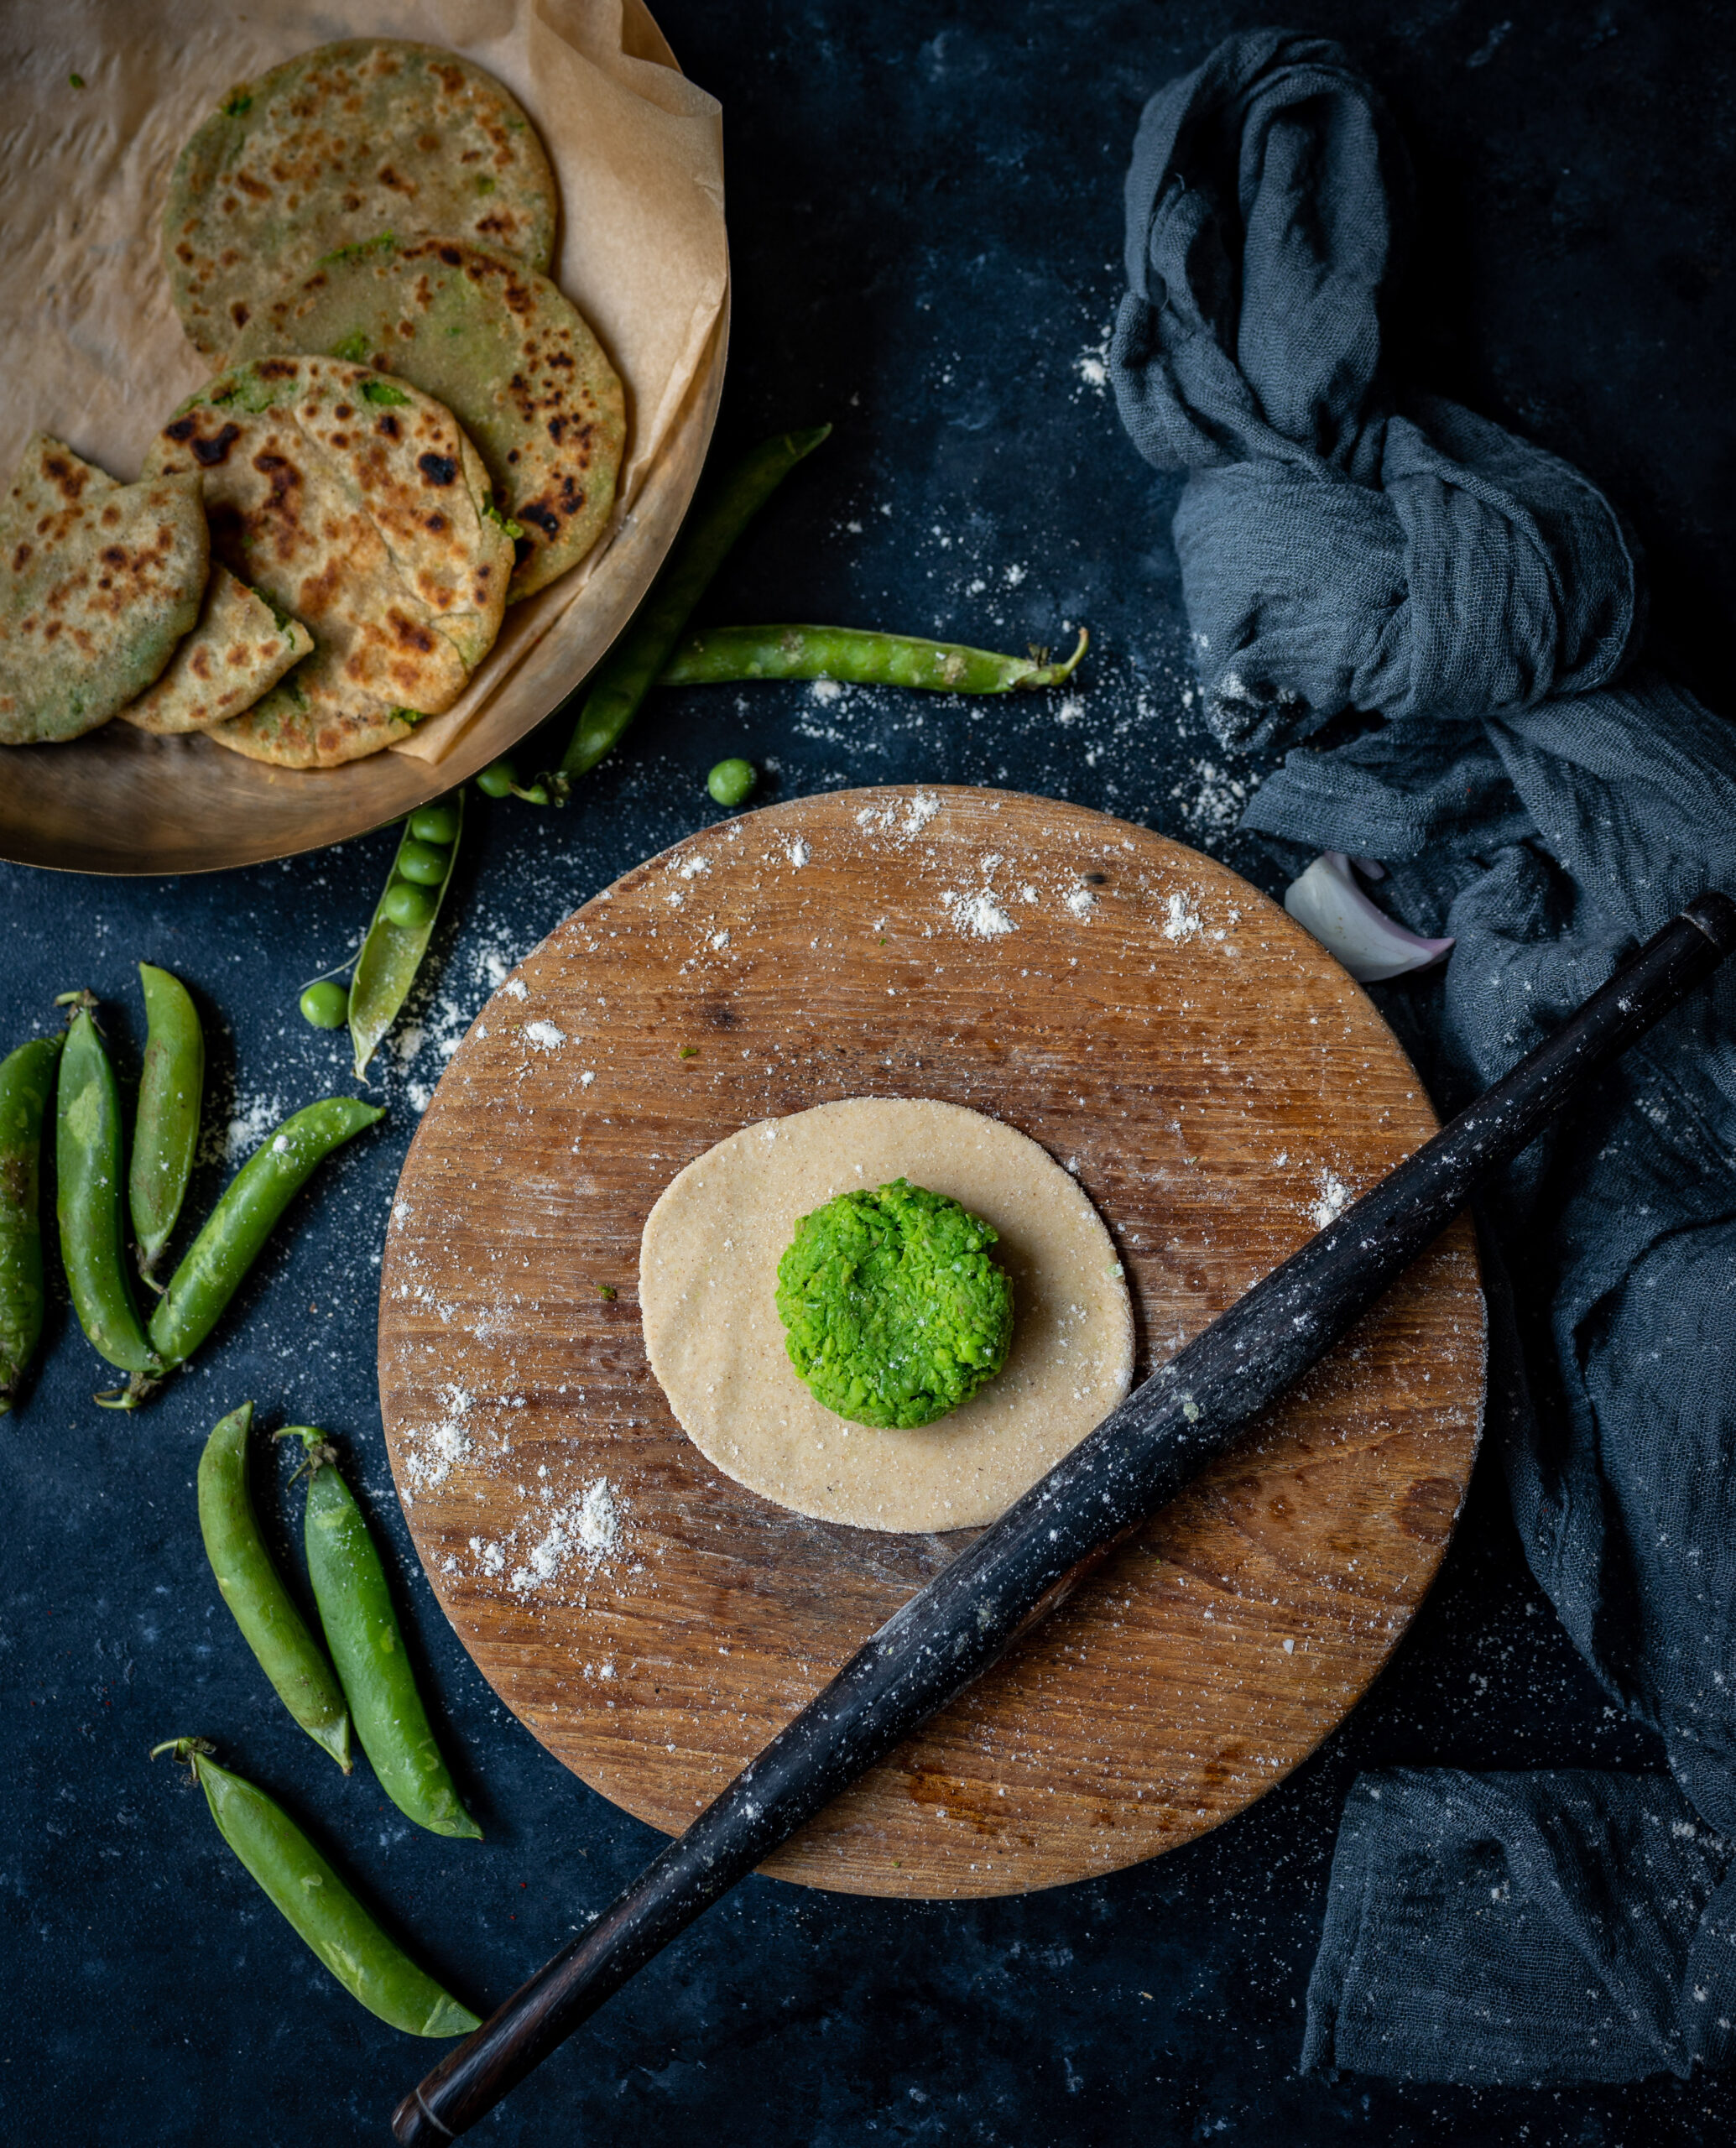
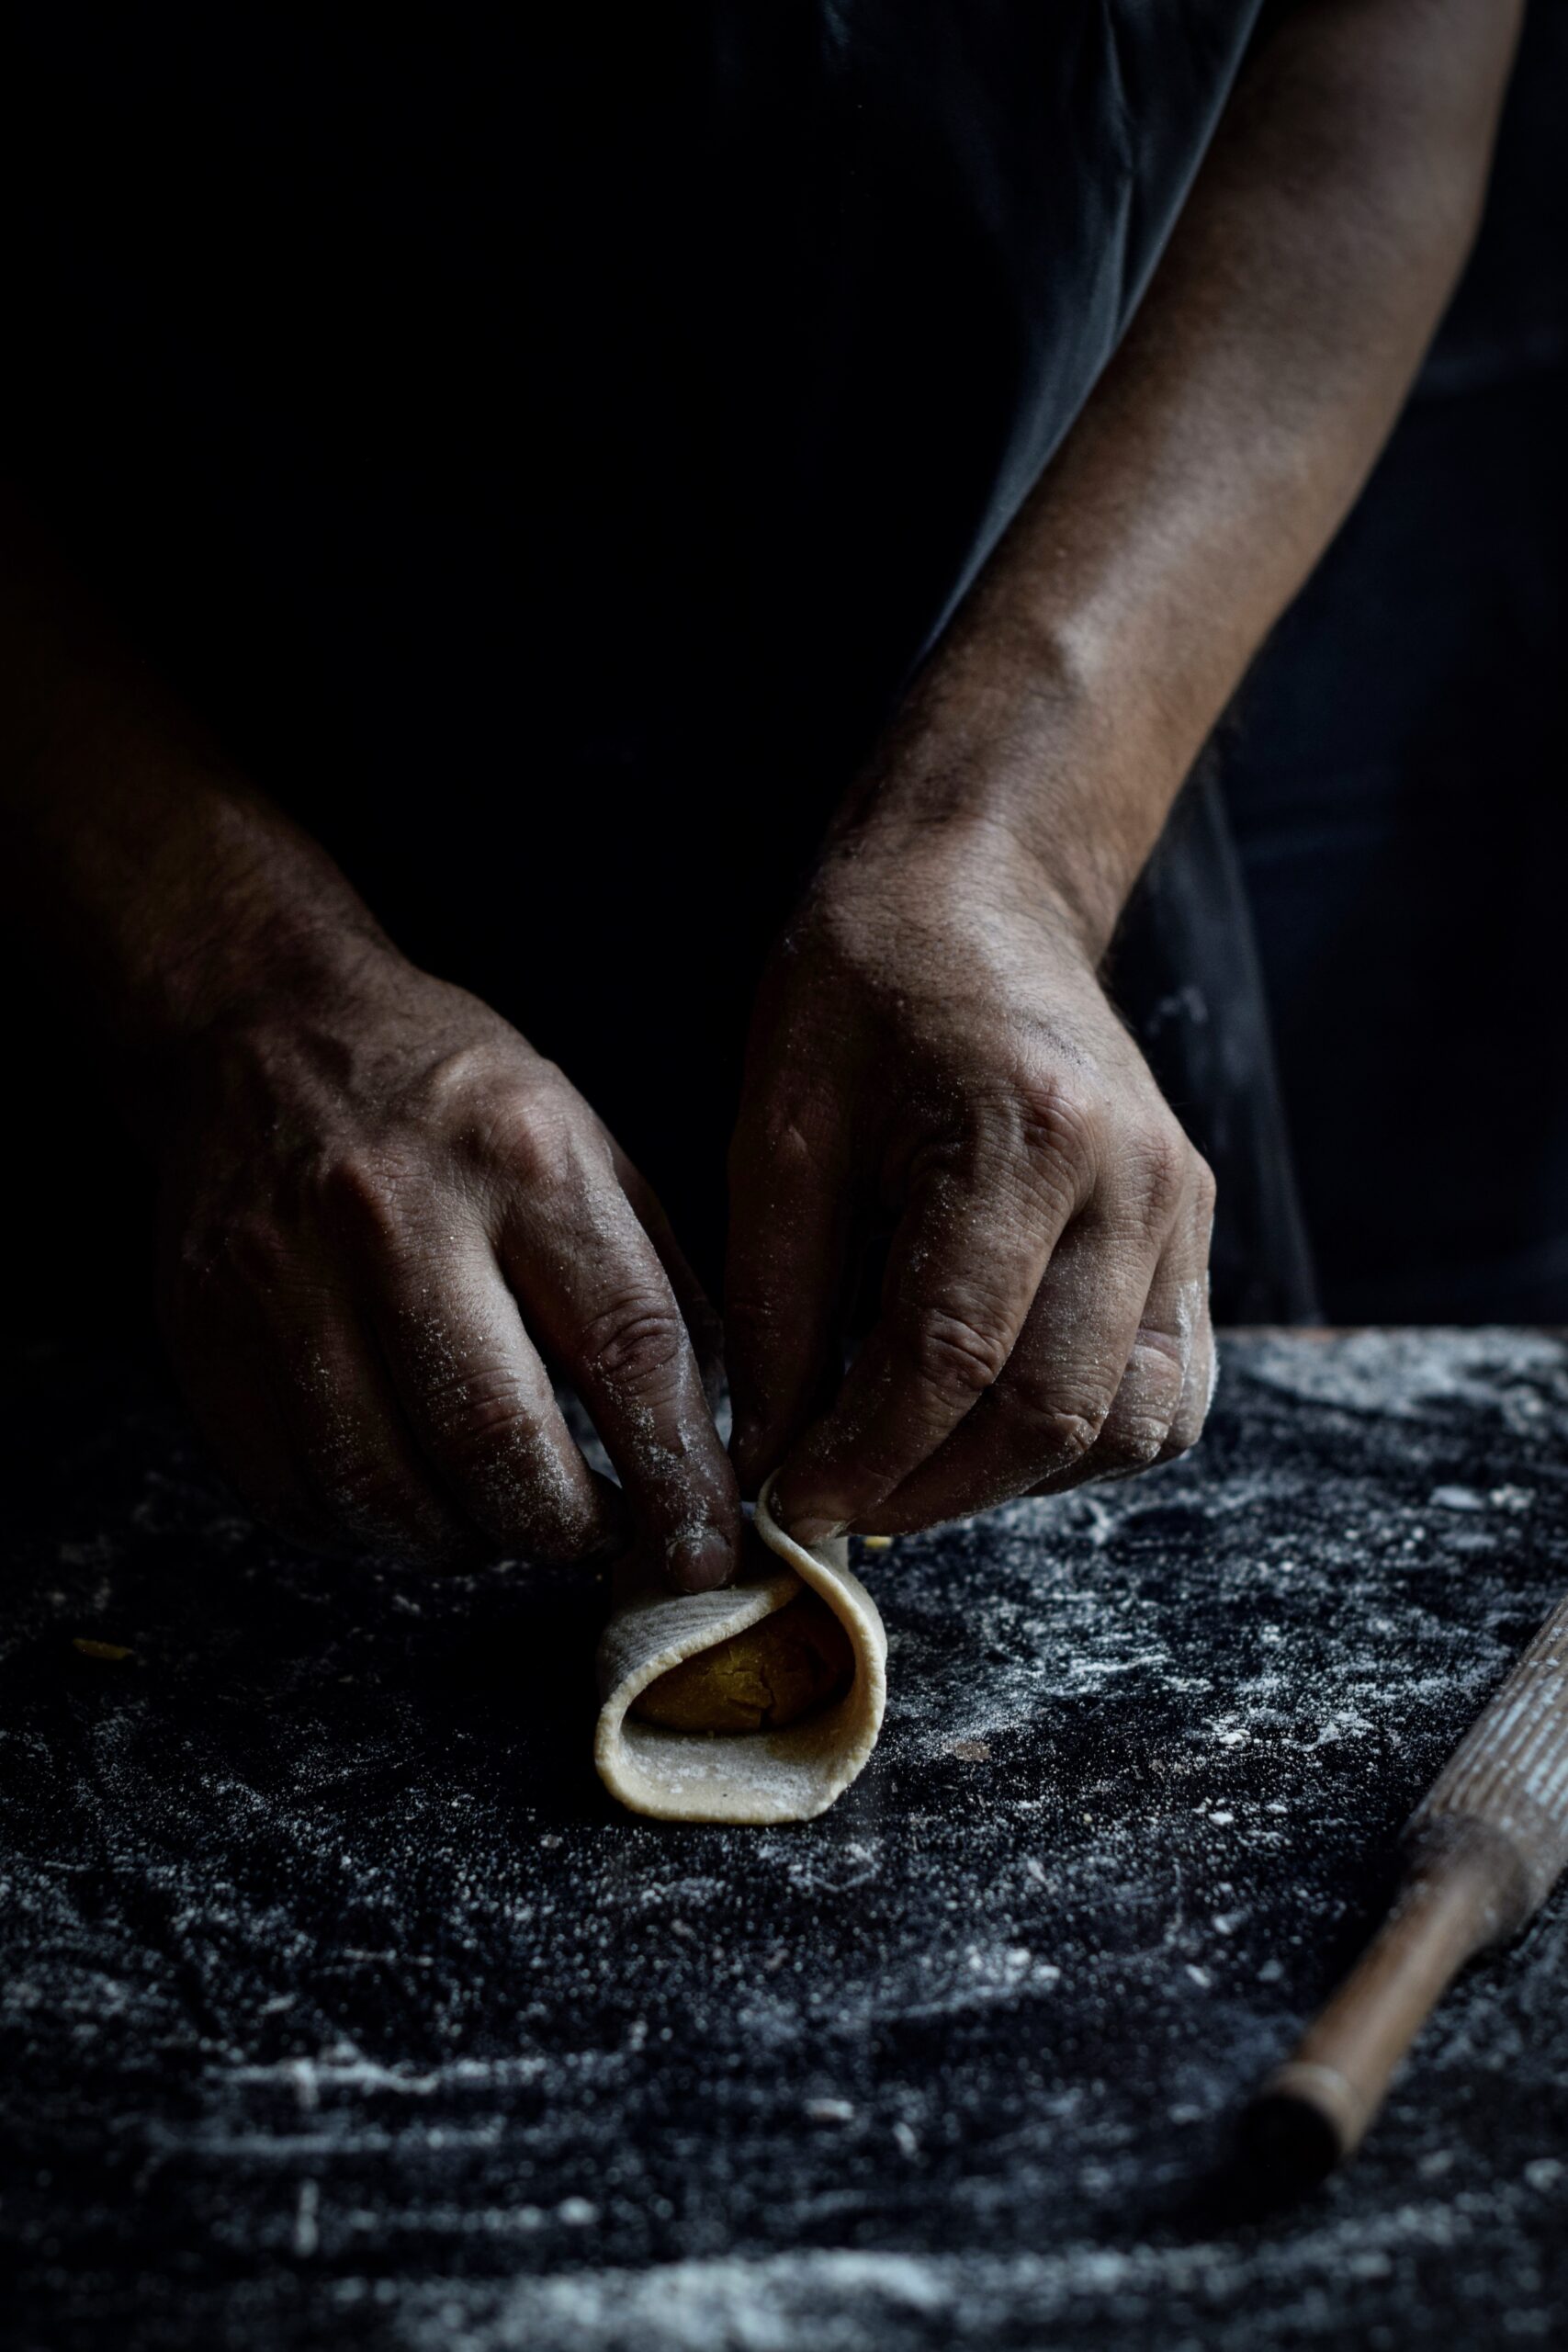
Roll one dough ball out, and place a spoonful of the peas stuffing in the centre. Gather the dough around the peas and make a smooth round ball, using gentle pressure.

Dust some flour onto the ball and roll out again delicately, making sure the peas do not come out of the dough.

The method of stuffing the paratha with peas is similar to the method for making puran poli, which you can refer to in this post here.

Heat the tava over a medium flame. Once it is hot, place the rolled paratha on it and cook. Flip and spread a ½ teaspoon of oil evenly around the edges and shallow fry both sides until light golden brown spots appear. Repeat with the remaining parathas. Serve.

As I said earlier, some yoghurt and a bit of salad are great accompaniments, but even eaten on its own this peas paratha is flavourful. It is a perfect light meal, and it is lunchbox-friendly, cost-friendly and health-friendly too!


Still on the theme of post-festive millet-based goodness, after the previous post’s millet upma, I’m glad to share another recipe that I’ve been turning to frequently. This is another breakfast dish, and what’s even better is that it makes use of the previous day’s leftovers, maximizing resources and minimizing time. There’s a long tradition of innovative dishes that do this, as we’ve seen in my second helpings series from a few years back, and this bajra rotlo cereal fits beautifully into that category too.

Bajra, or pearl millet, is a long-fingered crop with hundreds of grains on the cob. It has been cultivated on the Indian subcontinent for thousands of years, and is a staple across different cuisines in this region. As a darker coloured millet, which indicates that it is heavier on the digestive system, it is perfect for monsoons and Indian winters. It keeps the body warm, since the digestive system is active for longer, working on those slow-release carbs, and thus reduces hunger between meal-times. I have noticed that it is one of the key ingredients consumed by farmers, such as the people I’ve met on my travels to the Rann of Kutch, where the salt-harvesting community eats bajra with chutney daily.  It has a high iron quotient, is gluten-free and is rich in amino acids, fibre and antioxidants.

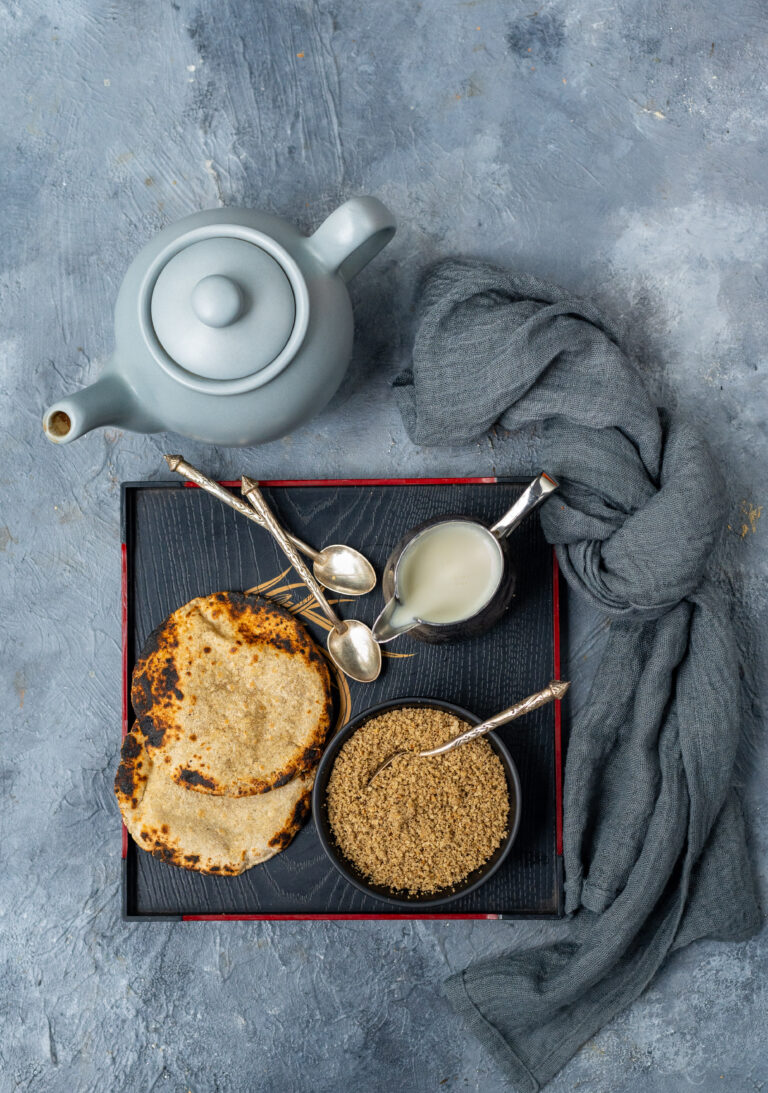
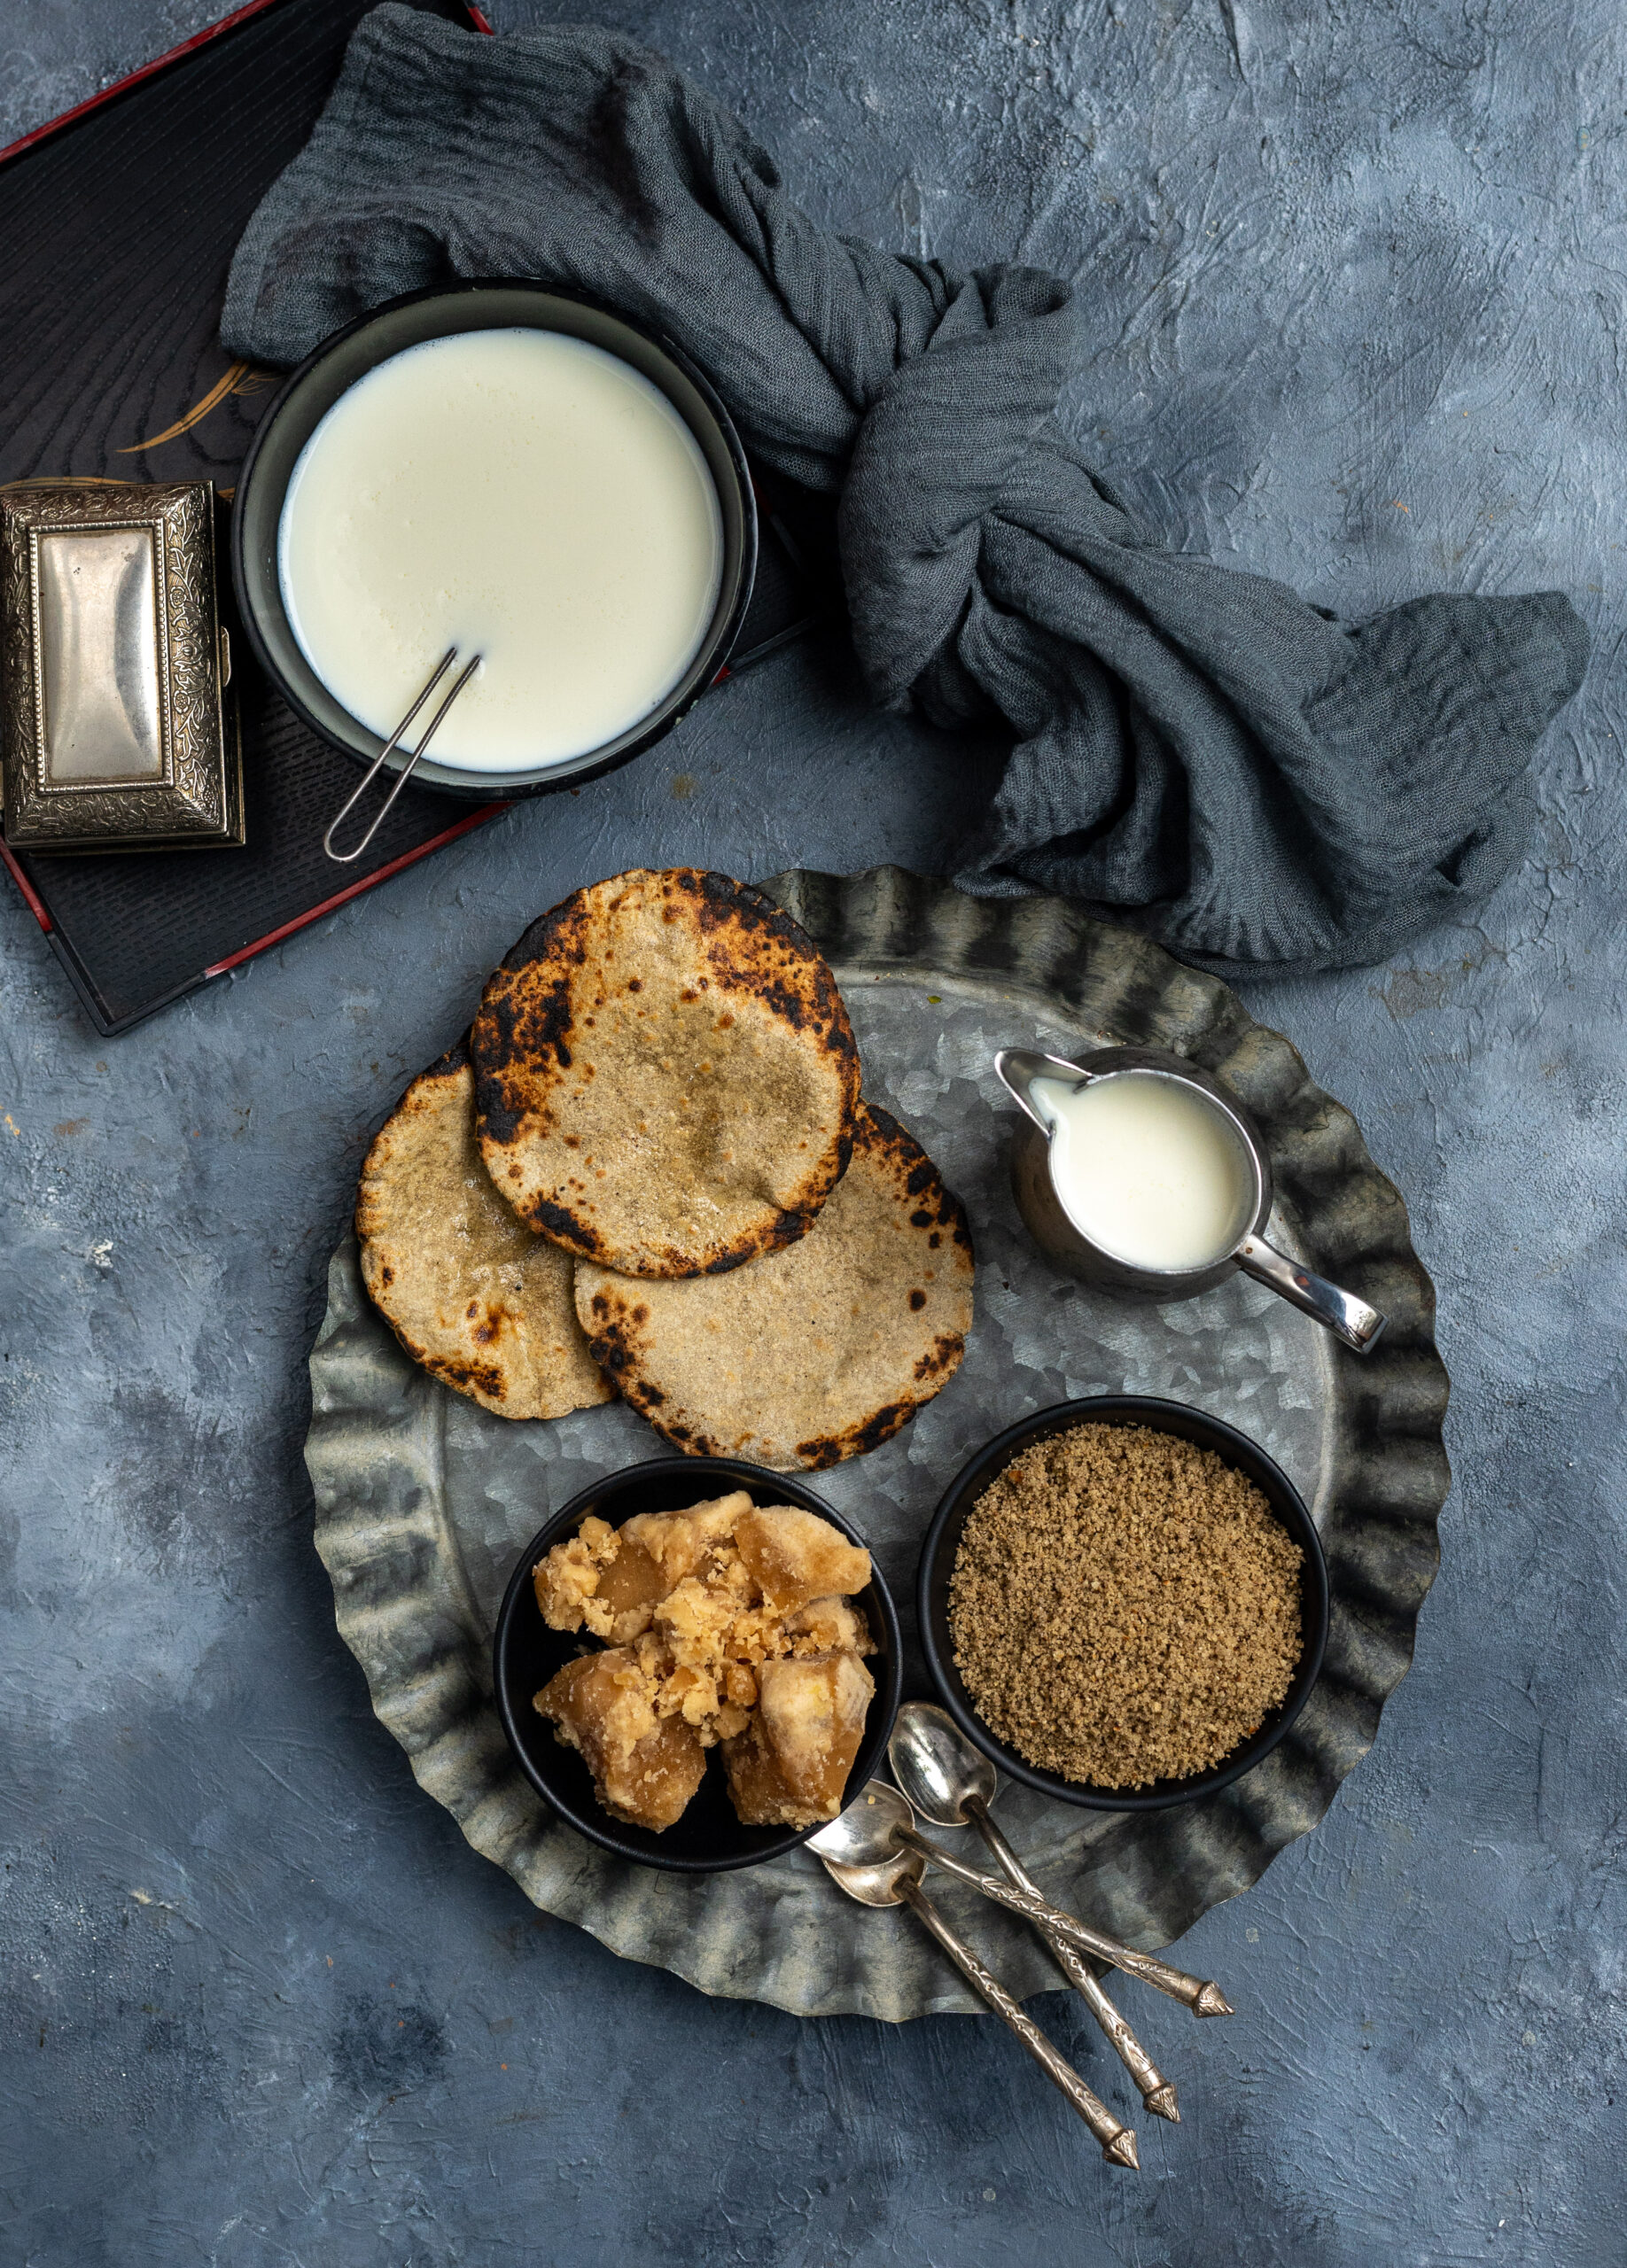
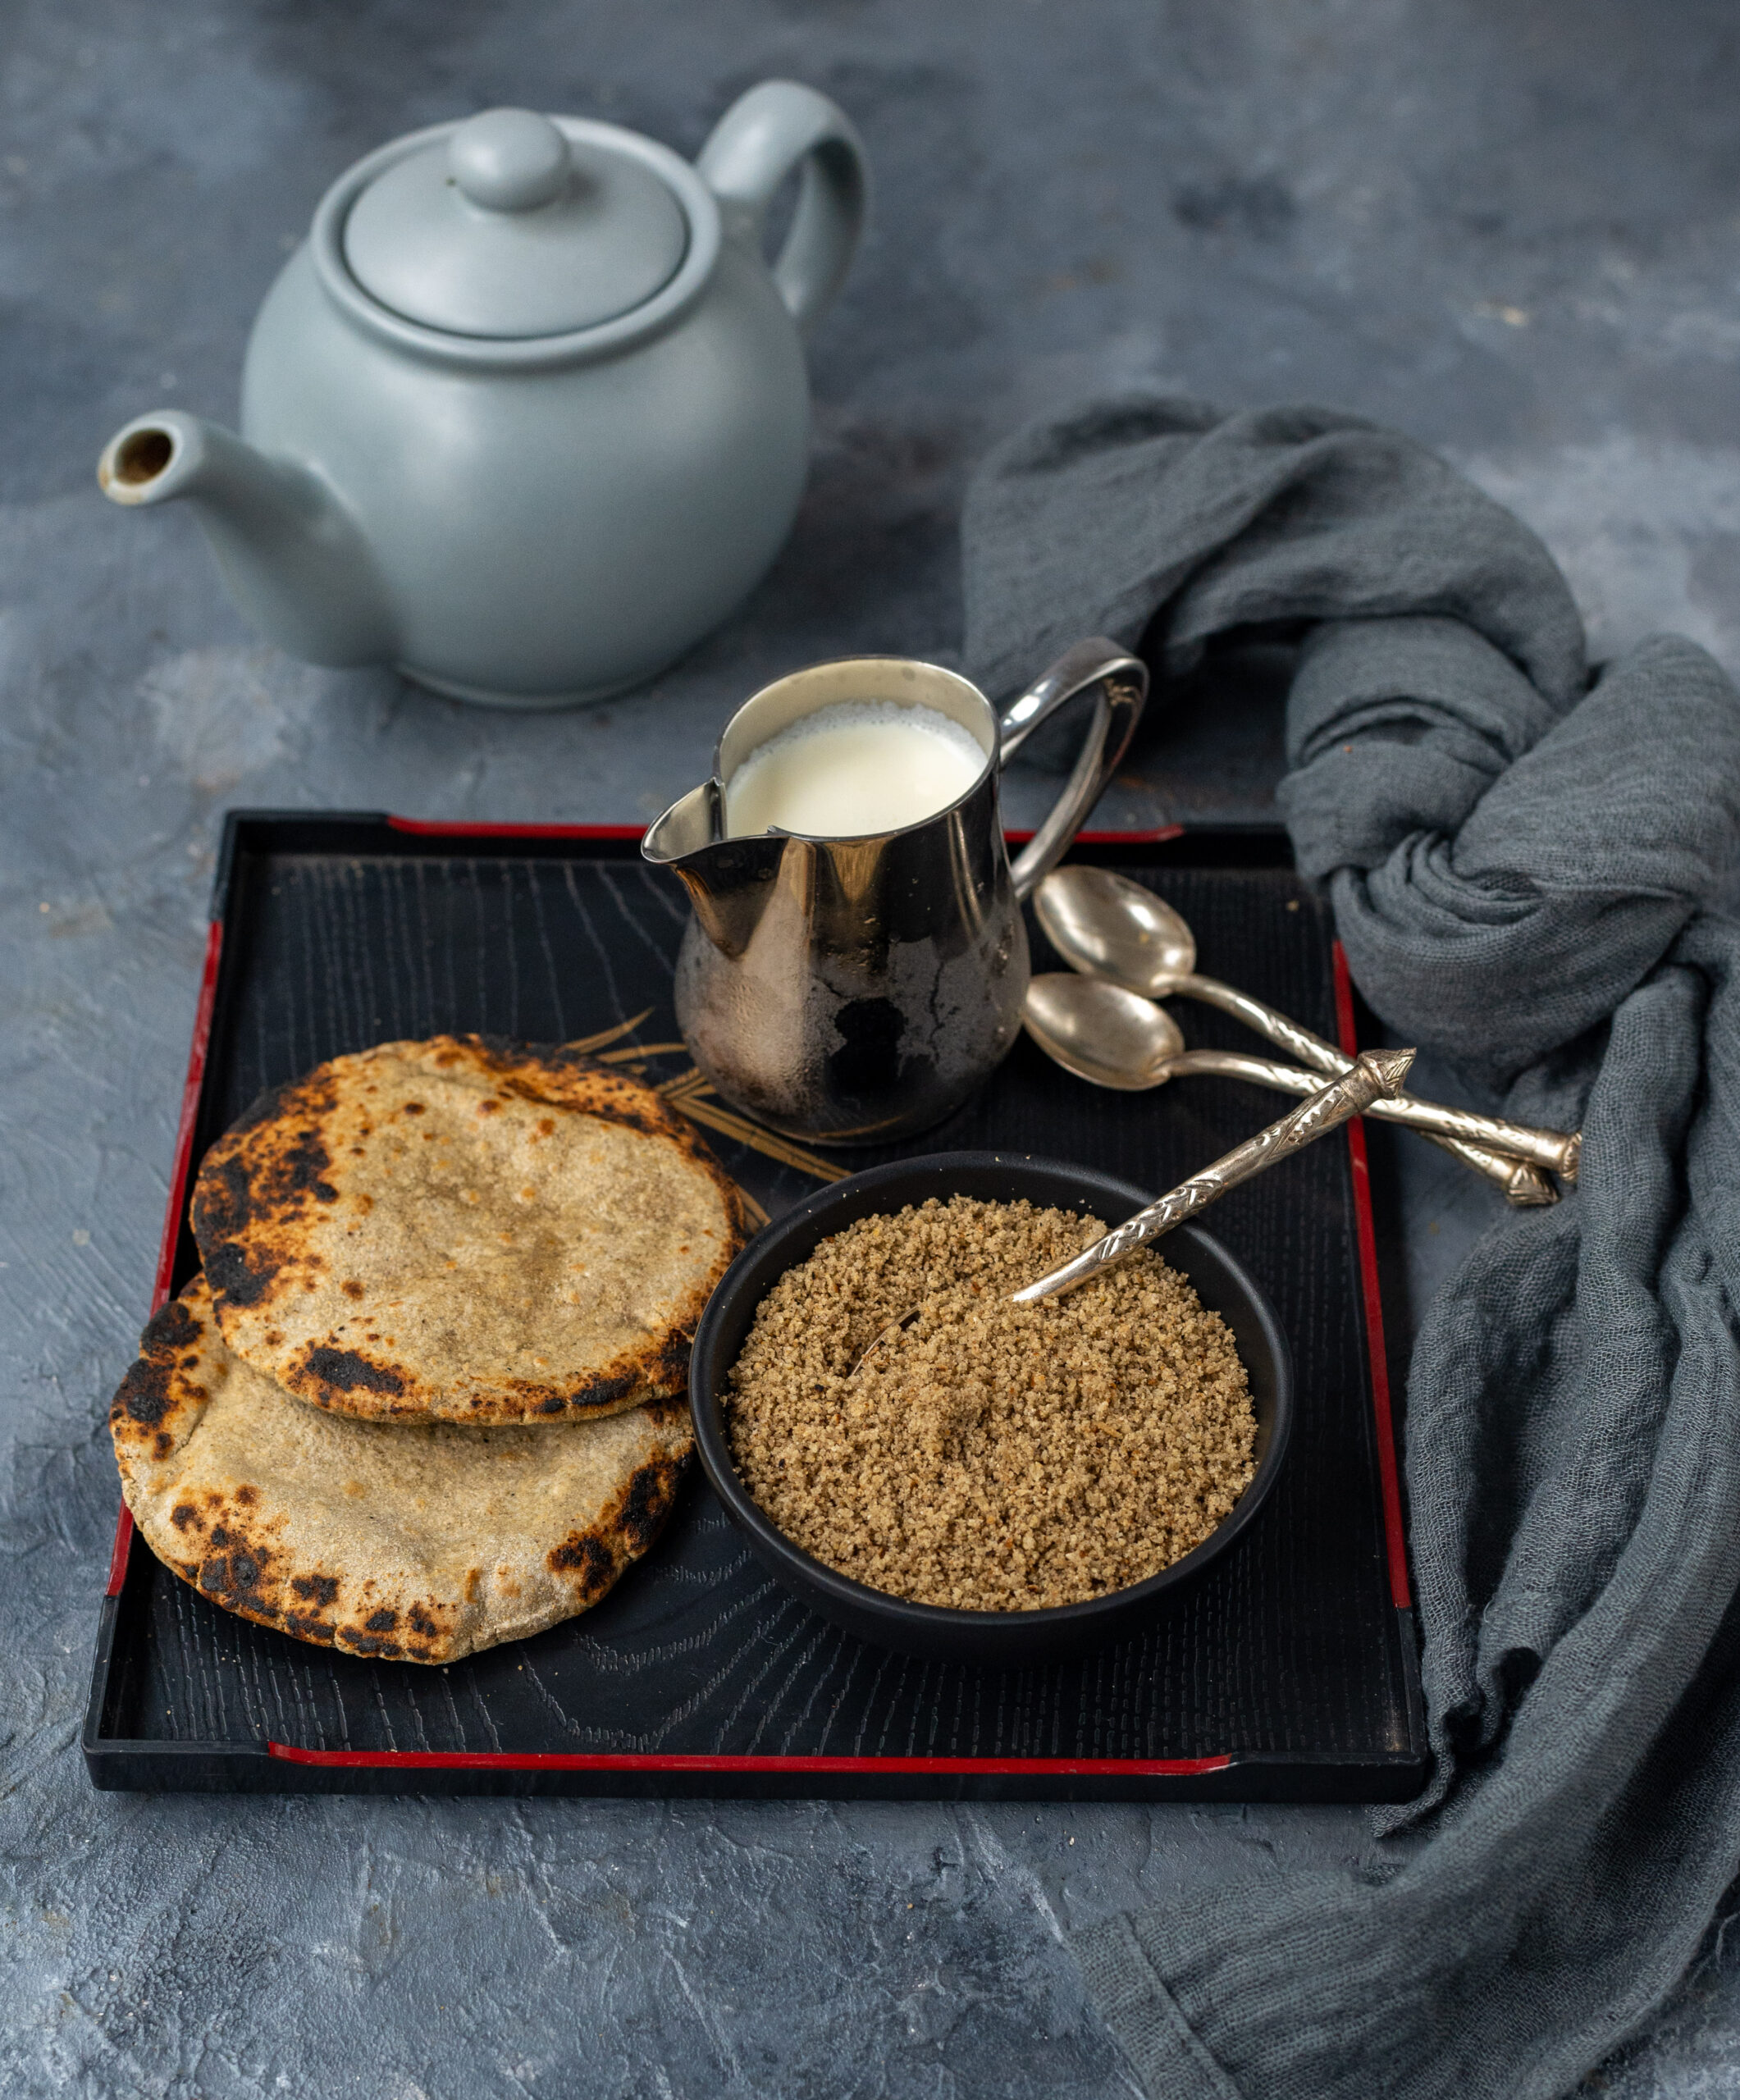
Bajra rotlo is a flatbread, one of many varieties enjoyed by the Gujarati community. It is most often accompanied by a garlic chutney, but while I was growing up my mother would usually serve it to us with jaggery and ghee or else with homemade white butter. In those days, the milk quality of brands that are still around today was pure and excellent, which meant we could extract our own buttermilk from the curd, and from this the butter. I remember watching my mother churning the buttermilk, which would make the butter float on top. She would often ask me for my help. We would collect the white butter and set it aside. Having it with some bajra rotlo over dinner was one of my favourite meals.

Of course, the homemade butter no longer exists and the store-bought ones just don’t compare when it comes to this purpose. Which brings me to my second-favourite way of eating bajra rotlo: as cereal.

It’s funny how things come full circle. As a child, this was a dish that I scorned at the breakfast table. My mother would always prepare a few extra bajra rotlos, to be kept overnight for my father and her to have in the morning. She would crumble these with her hands, turning them into a cereal consistency, and my parents would eat this cereal with milk. It looked like cornflakes to us kids, which was interesting in theory, but we did not like the taste back then. I grew to love it, however. In fact, I now enjoy this deconstructed version more than I enjoy the previous night’s freshly-made, unbroken bajra rotlos themselves!

Now, when I prepare bajra rotlo cereal, the memory of my mother’s hands and the way she would crumble the rotlos always comes to me. The dish is all the more special because of this.

For the time being, no one else in my family likes bajra rotlo cereal. But they watch me eat it, just as I once watched my parents eat it. I’ve never forced it on my kids, but maybe somewhere later down the line, they’ll reach out for this comfort food on some mornings too. Fond memories really are what make food palatable, above all else. Besides, as parents we always set an example. The next generation, be they little or a little older, will make similar choices to ours. So the more healthily we eat, the better a model we set for them.

Bajra Rotlo Cereal

(Yield: 4 servings)

1 cup bajra flour

½ cup water

A pinch of salt

½ cup flour for rolling


Optional (non-cereal version)

1 tablespoon finely chopped onion

1 tablespoon finely coriander leaves


Put the flour in a bowl, add the pinch of salt and stir. If you plan on having the bajra rotlo as a bread, not a cereal, then make the savoury version and add the onion and coriander now. Skip these optional ingredients if you plan on having the cereal version.

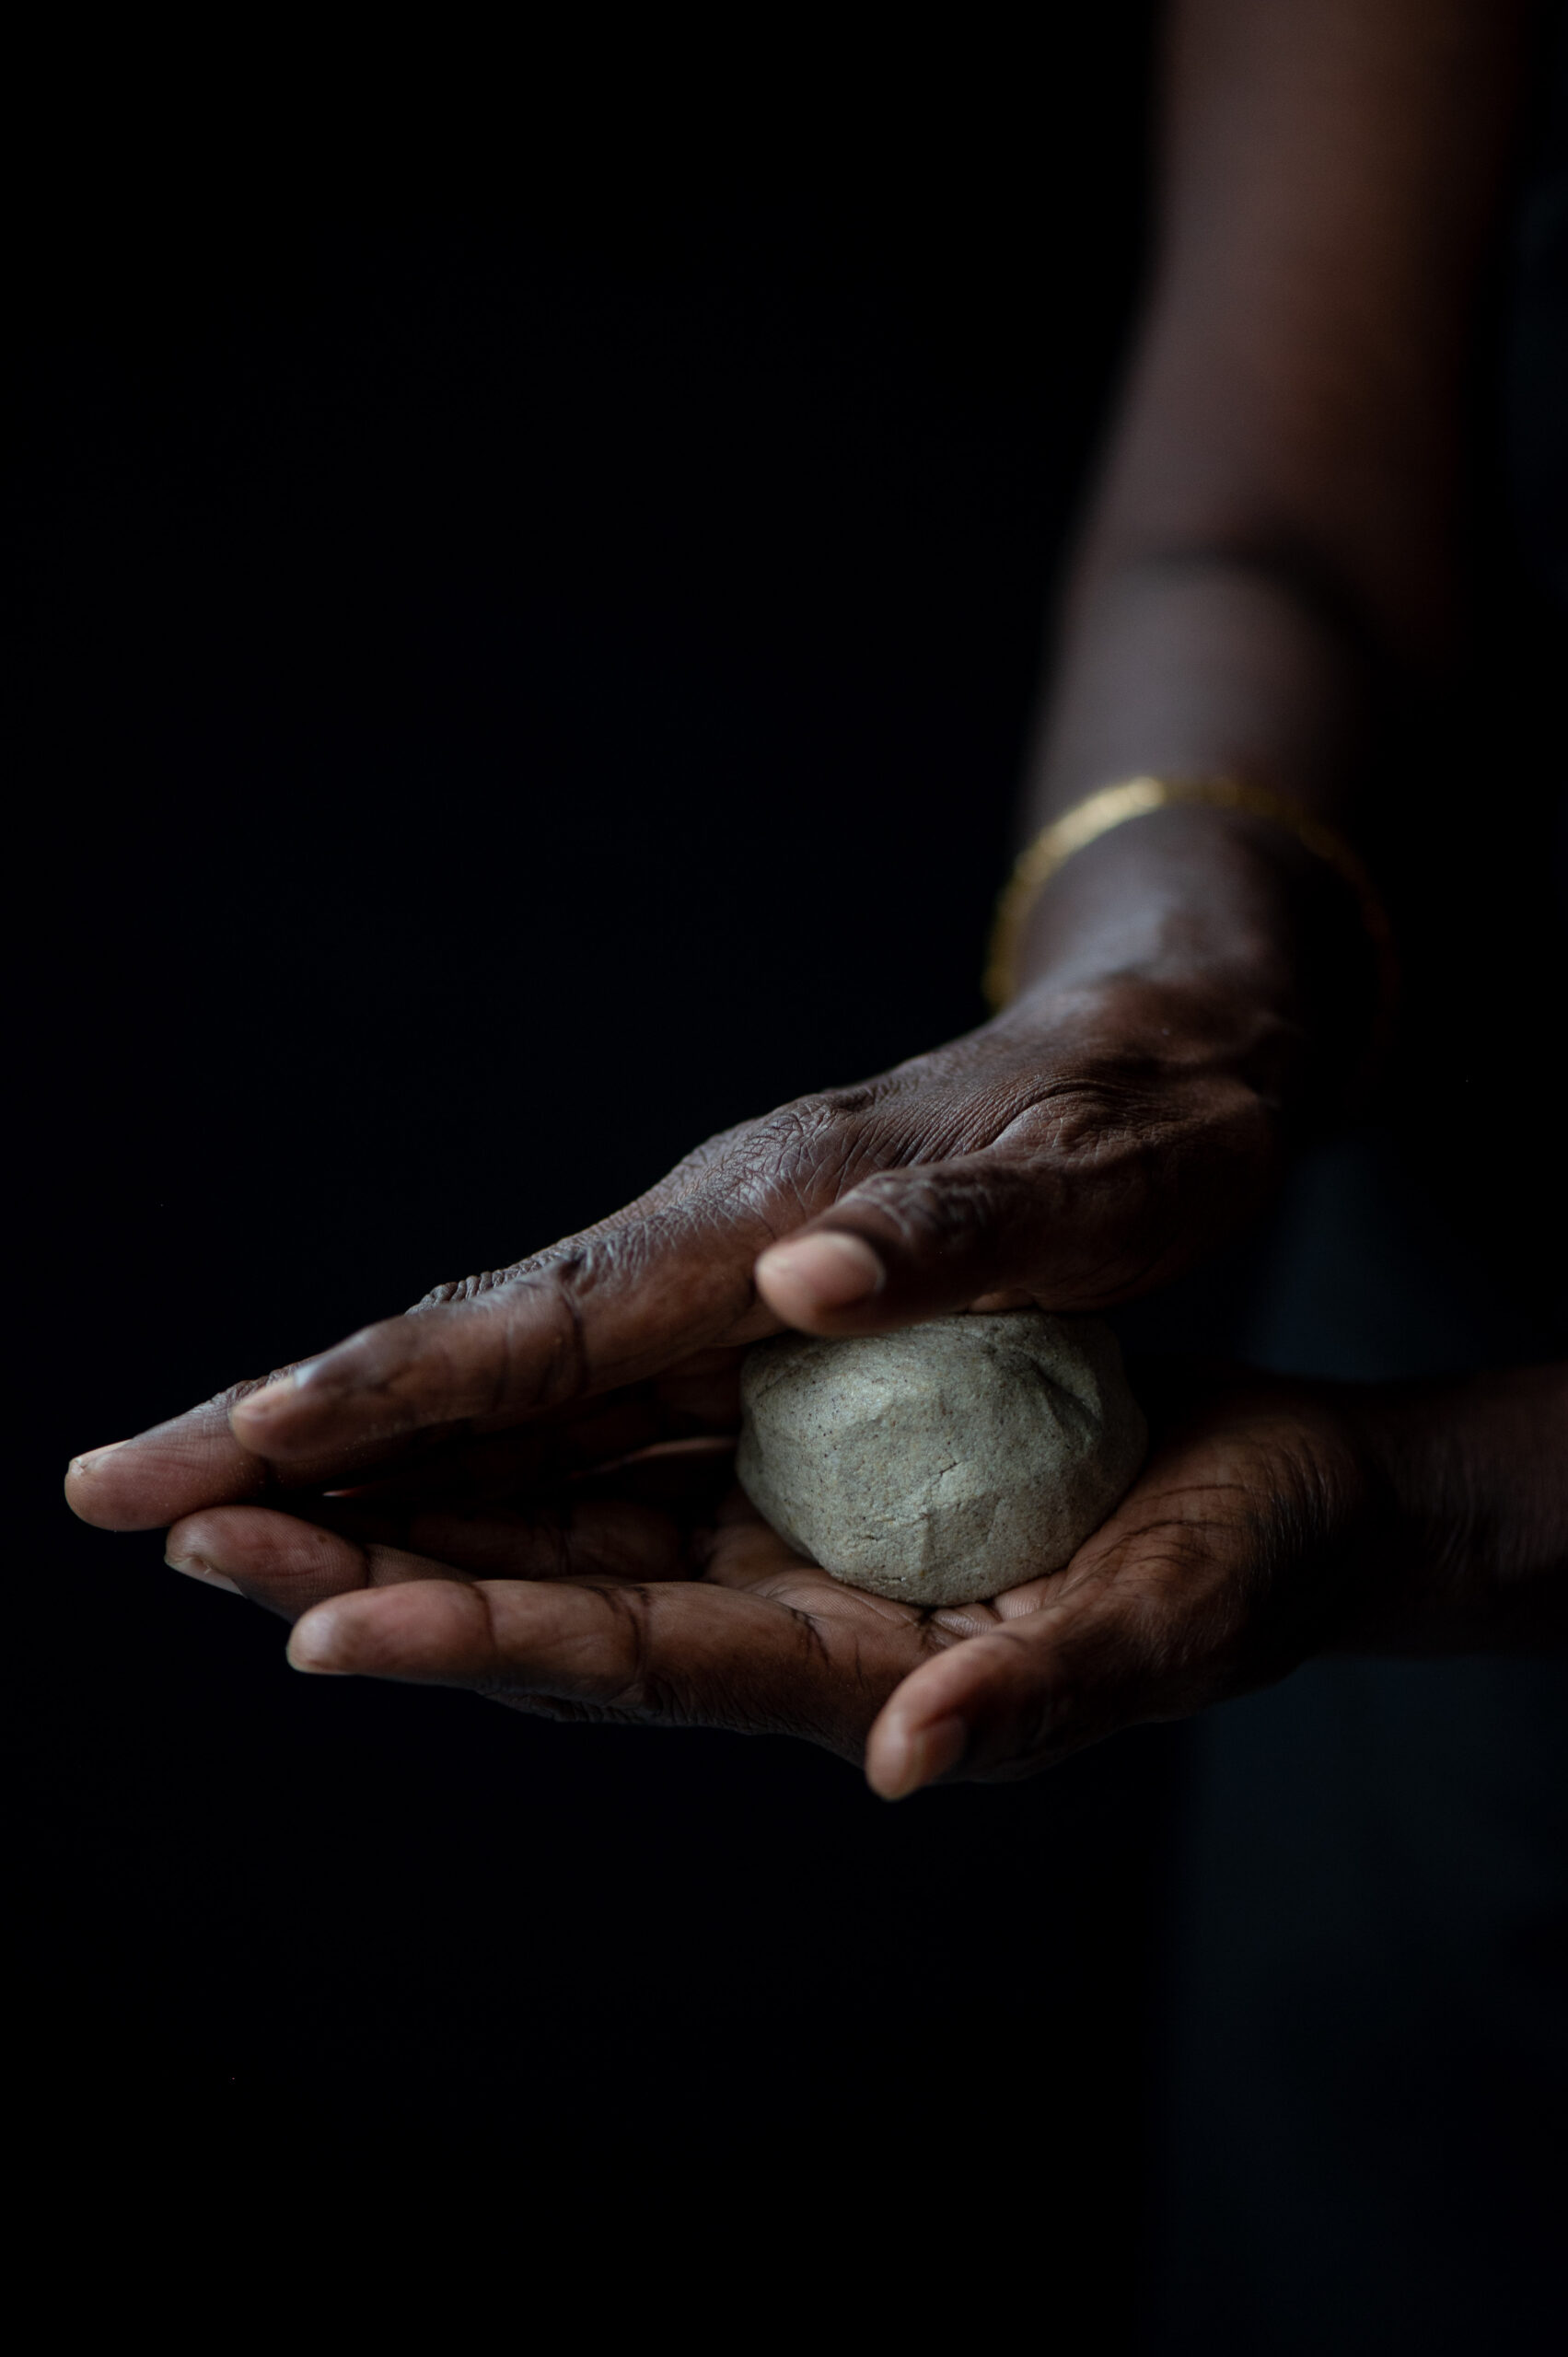
Add the water. Leave a little bit behind in the cup – use just enough to make a malleable dough.

Once the dough is made you, don’t let it sit. You will have to roast the rotlo immediately.

Make four smooth balls with the dough. On a rolling board, sprinkle more flour. Place a ball of dough on it and use your palms to gently pat it out. Use your fingers to press down the edges of the rotlo. If you need the help of the rolling pin, you may use it, but very lightly and gently. Since there is no gluten, the dough will be soft and needs to be handled with care. Add more flour if necessary. Each rotlo needs to be ¼ inch in thickness. Keep dusting with flour at the bottom too. Make all four pieces.

On a hot griddle, place each rotlo individually. Use your fingers to wet the top of the rotlo with water.

Roast on one side and flip over. Cool on a medium flame. As it’s thick, it needs to cook well on the inside. Once it has spots on both sides, place the rotlo directly on the flame to cook further.

Remove from the stove and top with ghee. Allow to cool. You can now serve this bajra rotlo with chutney or dal, if you like.

To make a cereal, once it has cooled, either the same day or the next morning, simply crush or crumble the rotlo with your hands.

You can have this with cold milk, if you prefer that. I usually have mine with warm milk. Specifically, I enjoy it with almond milk, which I’ve been reaching for more and more in my quest to make my diet more vegan. You can also add some sugar, if you wish to sweeten the cereal. All in all, it makes for a complete and healthy breakfast.

The festive season also coincides with the wedding season, which means that there is a general period of celebration until February or so in most Indian communities, peppered with religious occasions as well as personal gatherings. Foods like this dish, which nourish the body and let it recover from the heavy, fried, sugary, buttery, ghee-rich foods that are eaten at special events, are welcome and appreciated after and between feasts. This isn’t to knock indulgent foods at all – in fact, I have noticed how traditional ingredients like gond or gum resin, which are used in laddoos, are a warming agent and boost immunity. There’s a culinary and seasonal logic to indulgence too. But the body really does feel better when some millets are in the mix, balancing out the treats.

I’ve got quite a repertoire of millet-based dishes in my recipe archive, if you are keen to bring this nutritious category into your kitchen more often. Having tried this bajra rotlo cereal, if you find that you’re a fan of pearl millet at breakfast, the traditional Gujarati bajra ghensh is also a fantastic option. Here’s to happy, healthy mornings!

When the grain-based series concluded last weekend (you can catch up here, here and here, I promised a recipe that would make use of leftover khichdi in a unique way that transforms it into an entirely new dish. Years ago, I had mentioned in this post on rotis that khichdi is sometimes used to make theplas. That’s exactly what we’re going to do today.

Theplas are really a category, not a dish. They are a flatbread staple in Gujarati cuisine, and the diverse range includes methi thepla (made with fenugreek leaves), dudhi thepla (made with bottlegourd), bajra ke thepla (made with pearl millet) and more. The main ingredients change, but the seasonings and masalas tend to remain the same. The simplest form of theplas are the plain ones, made without any vegetables or other ingredients that spoil quickly. They are often made especially for travel, as they store well. I believe I’ve mentioned in previous posts how theplas were a part of all our train journeys, to Bombay and to other places. As kids, we ate every two hours, and so our mother would pack a large quantity of plain theplas, which would keep us well-fed for the two or three days that it took us to arrive at our destination. They were healthy, clean and home-made, and we would enjoy them with mango pickles as our train criss-crossed the country.

Mango pickles, specifically chhundo, which I’ve shared the recipe for before, are the chief accompaniment to most theplas. A dollop of yoghurt is also enjoyed alongside, and a dry vegetable like roasted potatoes can round out the meal. Theplas can be a light meal of just the flatbread and a pinch of pickle, or a full meal with the works. They are often a taken-for-granted dish too – “chalo (‘come/okay’), let’s have thepla” is a standard refrain when planning dinner in many a Gujarati household.

This style of thepla, which incorporates leftover khichdi into the dough and which is deliciously flavoured with ginger and green chilli (you may add garlic too, if you wish), is a perfect dinner dish to prepare with the unused portion of a simple khichdi made for lunch. Every family that uses this resourceful technique will have their version of what goes into the recipe.

Growing up, I was always impressed by the way my mother had a knack for turning over leftovers. It is a skill I’ve observed time and again in so many intelligent homemakers, who innovate ways to make a large meal go further, while appeasing picky children who demand fresh and interesting food. So this is especially for those of you who have fussy mouths to feed. Unless they are right there in the kitchen with you as you transform old khichdi into new theplas, they’ll never guess your little magic trick!

Khichdi Thepla

(Yield: 10 theplas)

½ cup khichdi

¾ cup + 2 tablespoons wheat flour

½ cup wheat flour (for rolling the theplas)

Salt to taste

¼ teaspoon turmeric

½ teaspoon dhania-jeera (coriander-cumin) powder

1 tablespoon + 1 teaspoon oil

¼ teaspoon ajwain (carom seeds)

1 teaspoon green chilli and ginger paste

1 teaspoon oil + 3 tablespoons to cook


Keep aside the oil.

Assemble all the remaining ingredients in a wide bowl. Make a dough by mixing them together with your hands, until the mixture is smooth. Towards the end, once it begins to turn sticky, add 1 teaspoon of oil and spread it around the bowl. Knead the dough completely.

I have used a soft and wet khichdi, and thus did not need to add any water. If your khichdi is dry, then you may need to add water too.

Once the dough is prepared, either make the theplas right away or refrigerate the dough as it will release water and turn soft again. Remember that as you are already working with leftover khichdi, it is best to make and consume these theplas on the same day. If you’ve kept the dough in the fridge for a while, do not wait for it to thaw. You can roll out your theplas right away.

Heat a roti pan. Make small discs of the dough, and dip them in the wheat flour. Roll out each thepla into a thin disc.

Place each thepla on the pan. Allow it to cook on one side, then flip over after 5 seconds. Once it has slightly cooked on the second side, add a few drops of oil and spread them. Flip the thepla and repeat until large dark spots appear on both sides. This indicates that it has been cooked well.

Set aside. Fry all the discs the same way. I usually intermittently lower the flame so that they are cooked evenly, but also do not end up dry and crisp.

Here are a few more tips that will help ensure that your theplas are soft, which is their ideal texture:

  • The dough needs to be pliable and smooth.
  • When adding the oil as you cook each thepla, make sure that the edges are oiled. They tend to dry up otherwise.
  • Once done, take each thepla off the pan immediately and pile it on top of the other ones. Somehow, this results in them all staying soft without becoming moist.

If you’ve enjoyed this, I hope you’ll take a look back at my original Second Helpings series, which featured Gujarati masala curd rice, dal dhokli and rotli na ladoo for a sweet finish. Do let me know in the comments about how you innovate new dishes using your leftovers too! As always, I love to learn more about recipes and the stories behind them.

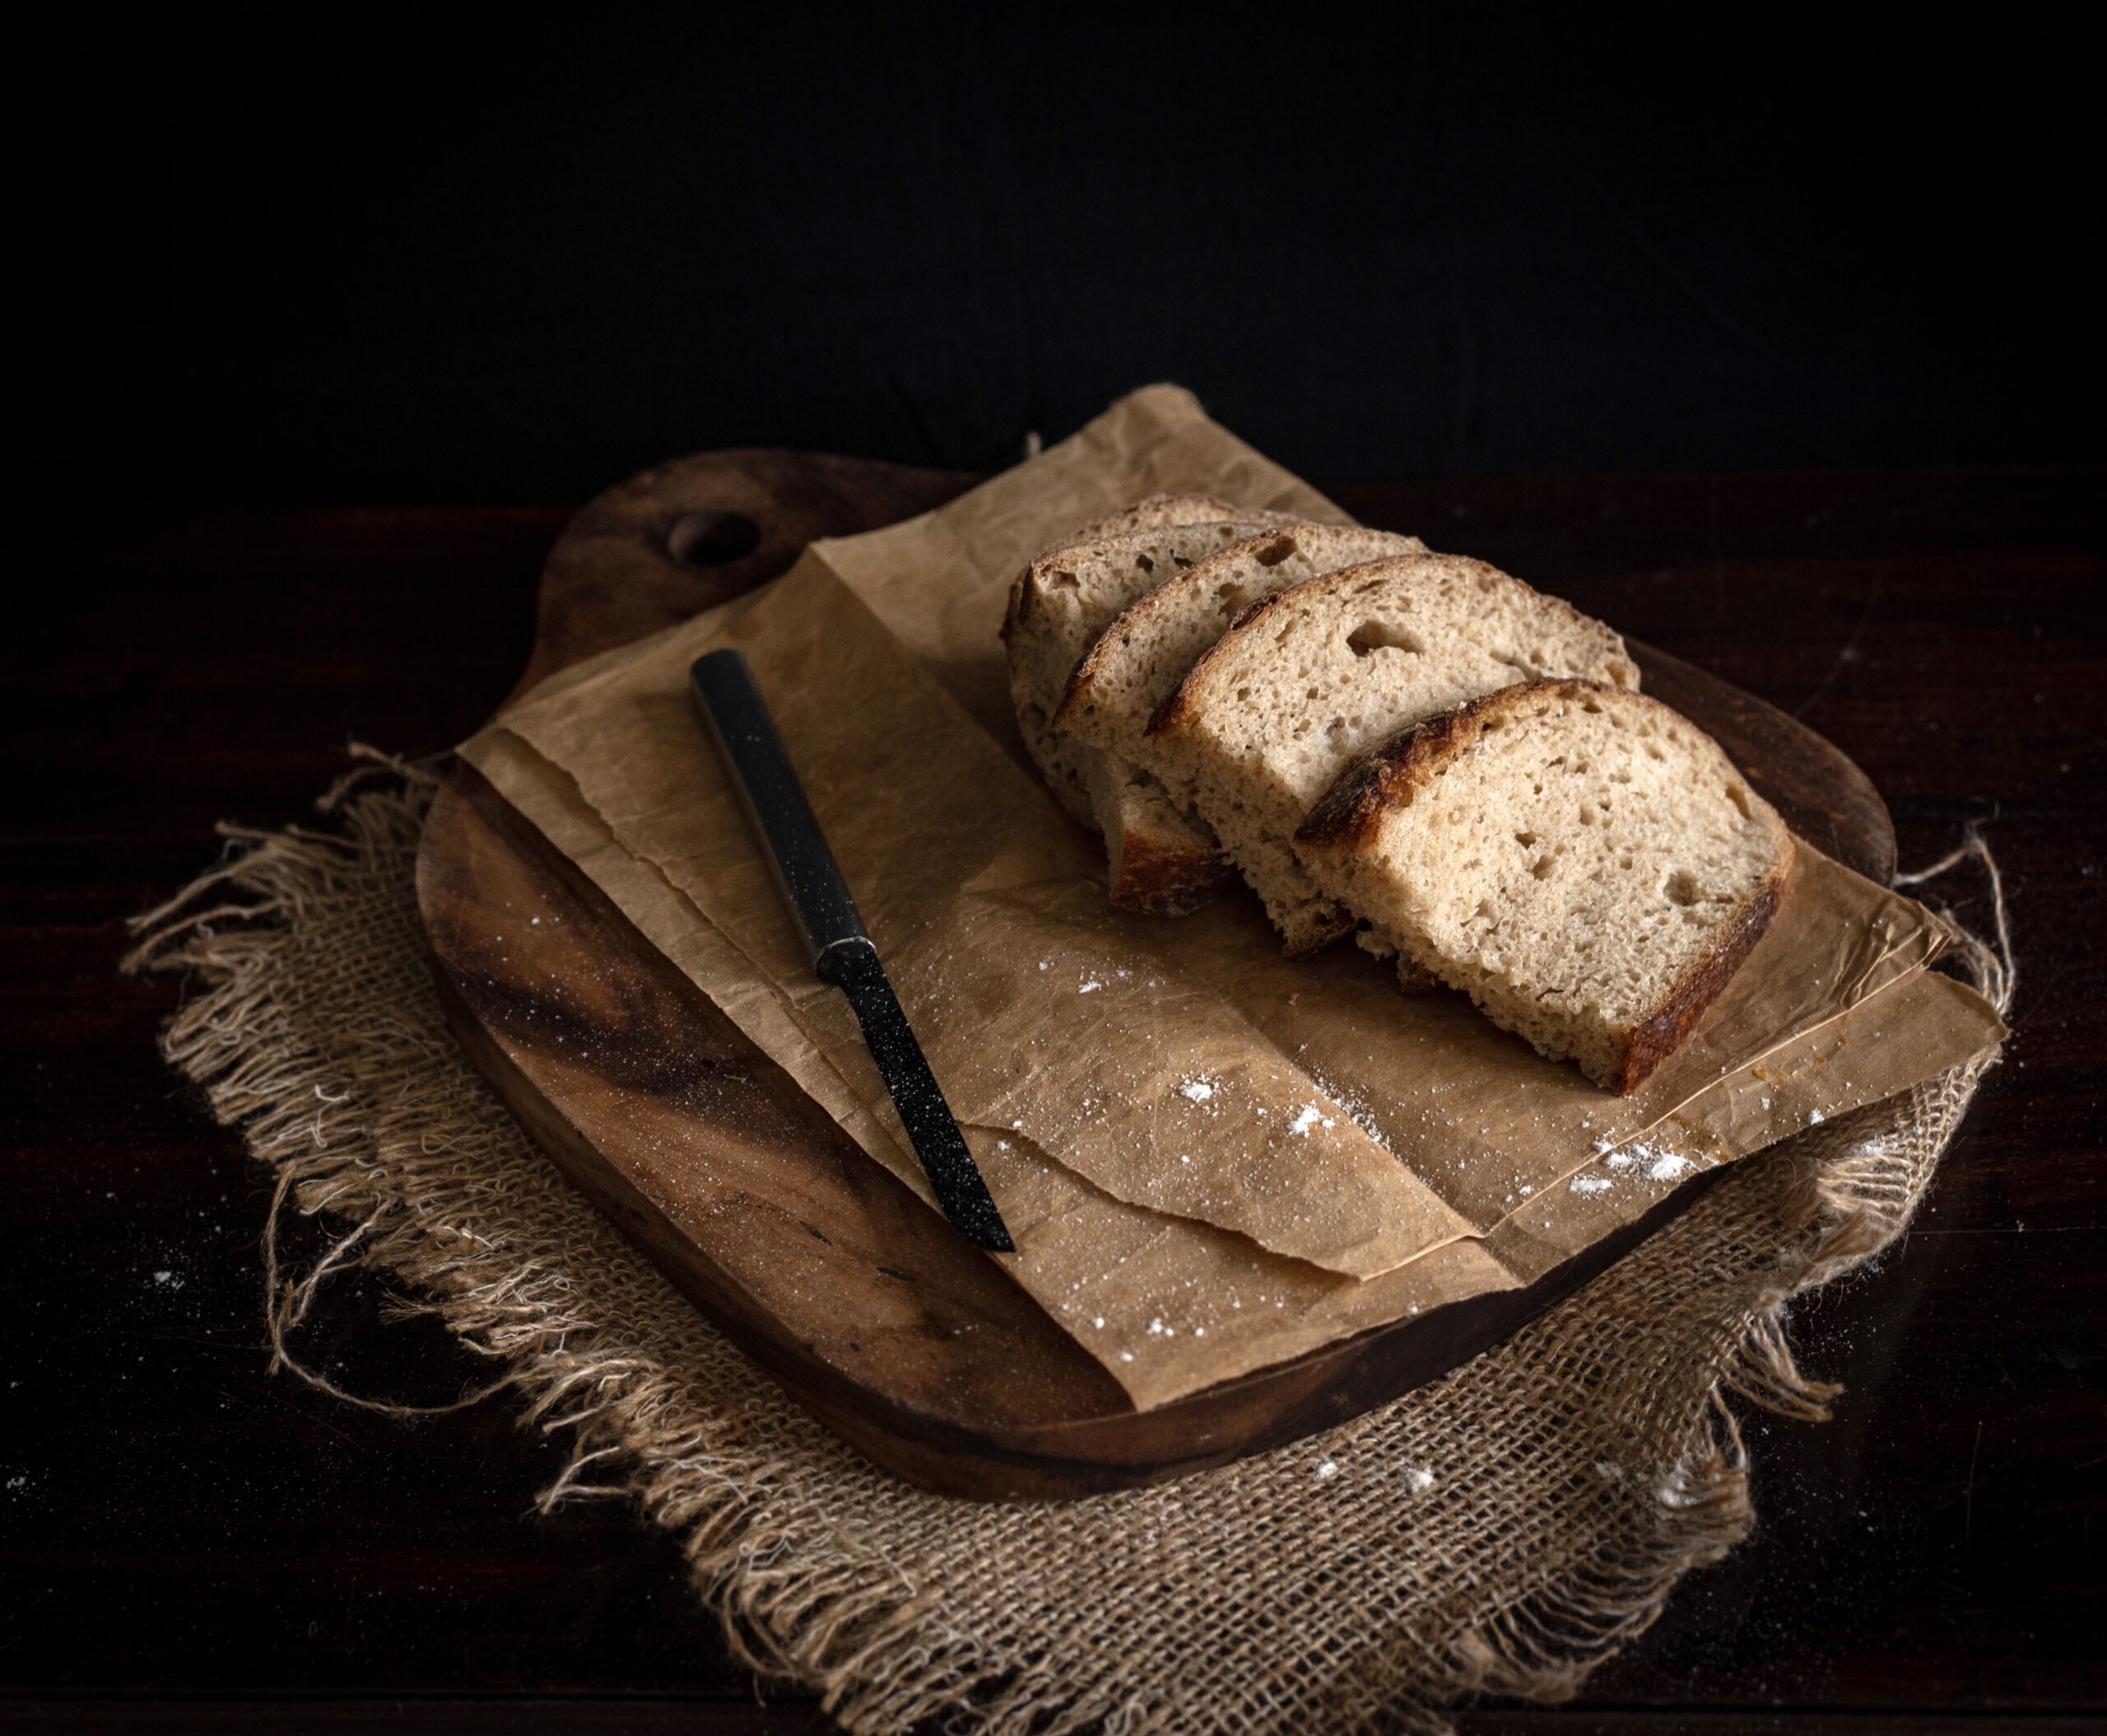
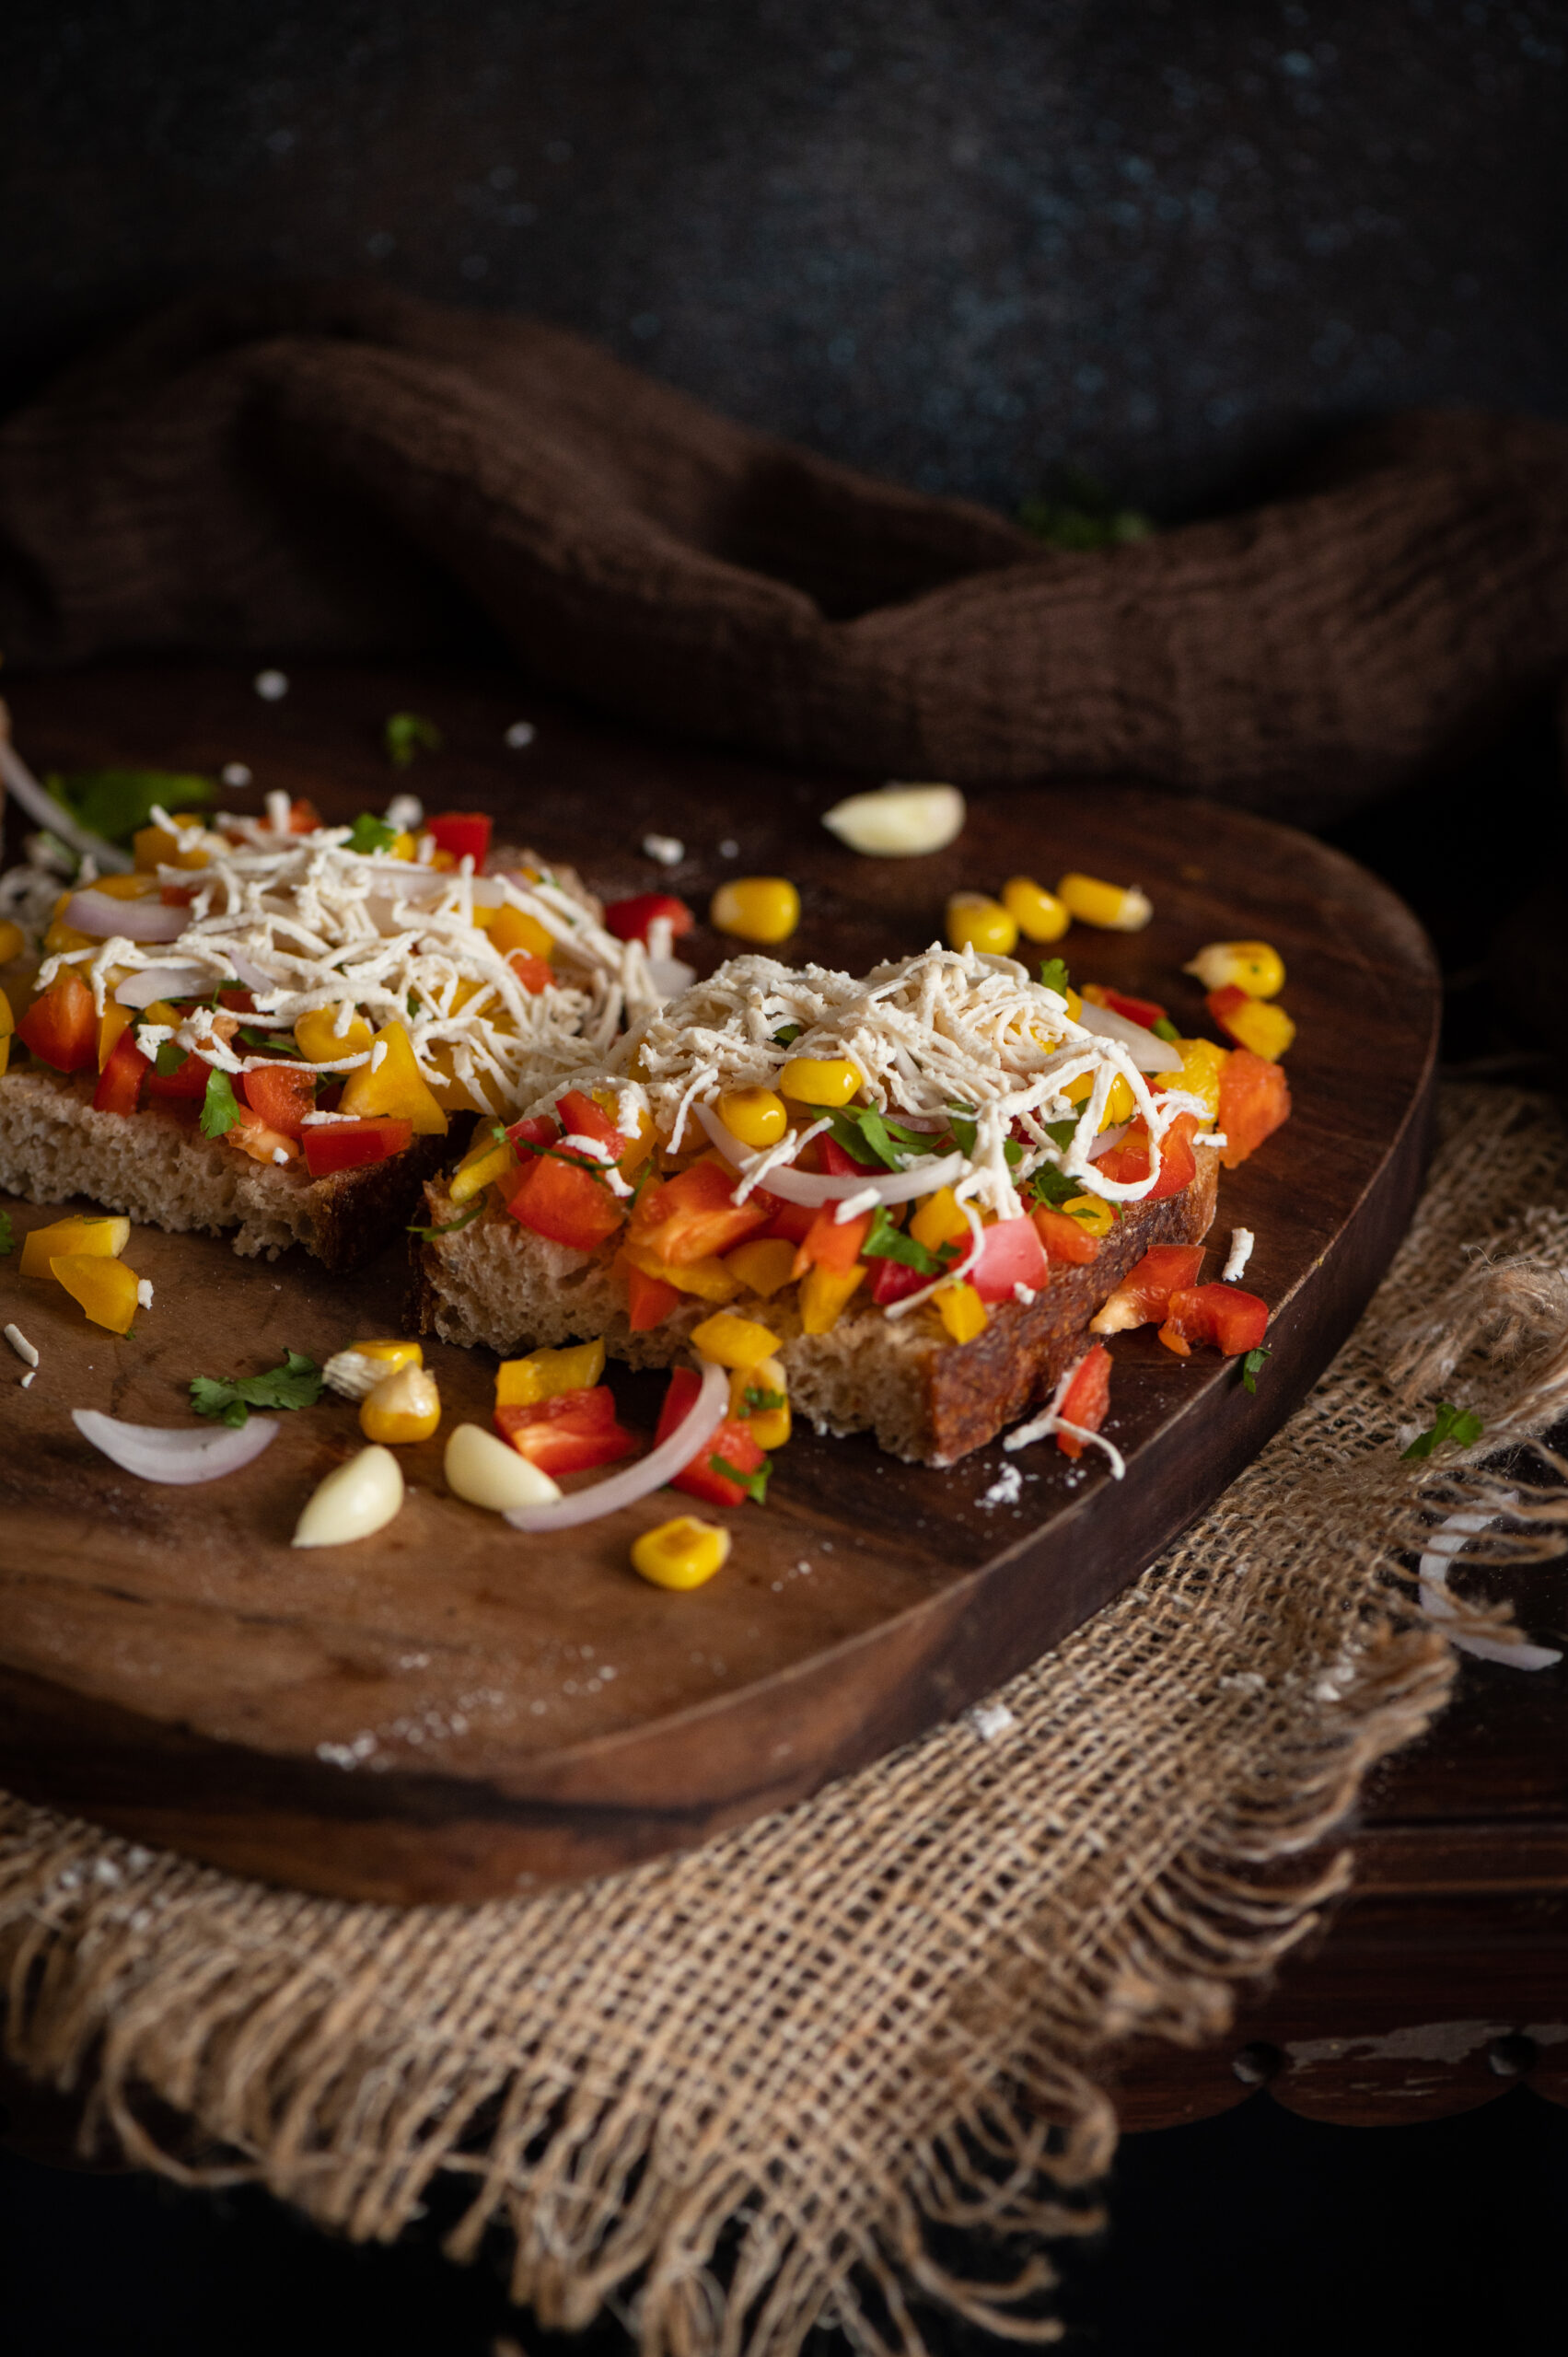
When it comes to any dish that I’m a novice at, I love making it as often as possible so that I can learn from each attempt. Novelty is part of the motivation, but improving my success rate is the real goal. The more you use your hands, the better you get at anything. For you, this may be true for one of your own creative passions, and for me this is all about baking and photography. This was certainly the case for me with sourdough. Those of you who’ve followed my sourdough journey through my Instagram Stories over the past couple of years will know how enthusiastically I’ve pursued working on it. Sourdough is all the rage everywhere at the moment, since the pandemic has made so many people  explorers in the kitchen, so it’s especially exciting for me to share this sourdough toast recipe today.

I bake sourdough every other day, and ever since I began doing this, my family doesn’t eat any other kind of bread. They prefer this natural variety to yeast-filled commercially-produced bread, and we use it in many ways. I make pizza bases, loaves and more all the time, and use them in main courses, sides (such as with a lovely minestrone soup, the recipe for which I promised you recently and will share soon) and snacks. At home, we are all very into daily exercise and healthy eating, so we have lots of one pot meals, and a slice of sourdough on the side is always nice. I find that this sourdough toast especially makes for a filling lunch, and that helps us reduce the number of heavy meals we have at supper time.

The idea of making a simple, yet fabulously delicious, sourdough toast came up during our planning for my husband’s birthday recently. This is not an innovative recipe as such, yet it’s one that suits the occasion of a celebration during lockdown. It’s a lovely appetizer using wholesome and easily available ingredients for a small celebration. We decided to have a picnic in our own garden, and I was thinking about which healthy dishes I could make to balance out the indulgence of the white cake I’d be baking when I came up with this idea.

Now, the white cake itself has a funny story behind it. You see, my husband adores the tea cake from the McRennett bakery, which many of us who grew up in Chennai will associate with childhood memories. As it happens, I can’t stand that cake, as it has a very strong vanilla essence smell. We have a running joke in the house that no matter what fabulous thing I have baking in the oven, my husband will say, “I’m going to get a McRennett cake!”, knowing it will tick me off. This year, I turned the joke on him by saying that I’d order him that tea cake for his birthday and not bake any of my own specialties. Secretly, I had a plan to prepare a cake that was inspired by his lifelong favourite, but which I would elevate with my own twists to a level that would make him forget the original. He must have gotten a whiff of my plan, because he said to me that if I could achieve the softness of the original, he wouldn’t mind trying mine. Well, I baked a lovely tea cake with real vanilla and pretty white icing (I rarely ice my cakes at re:store, so you know this was a special treat!) which he enjoyed very much… but it didn’t quite unseat the McRennett as his favourite!

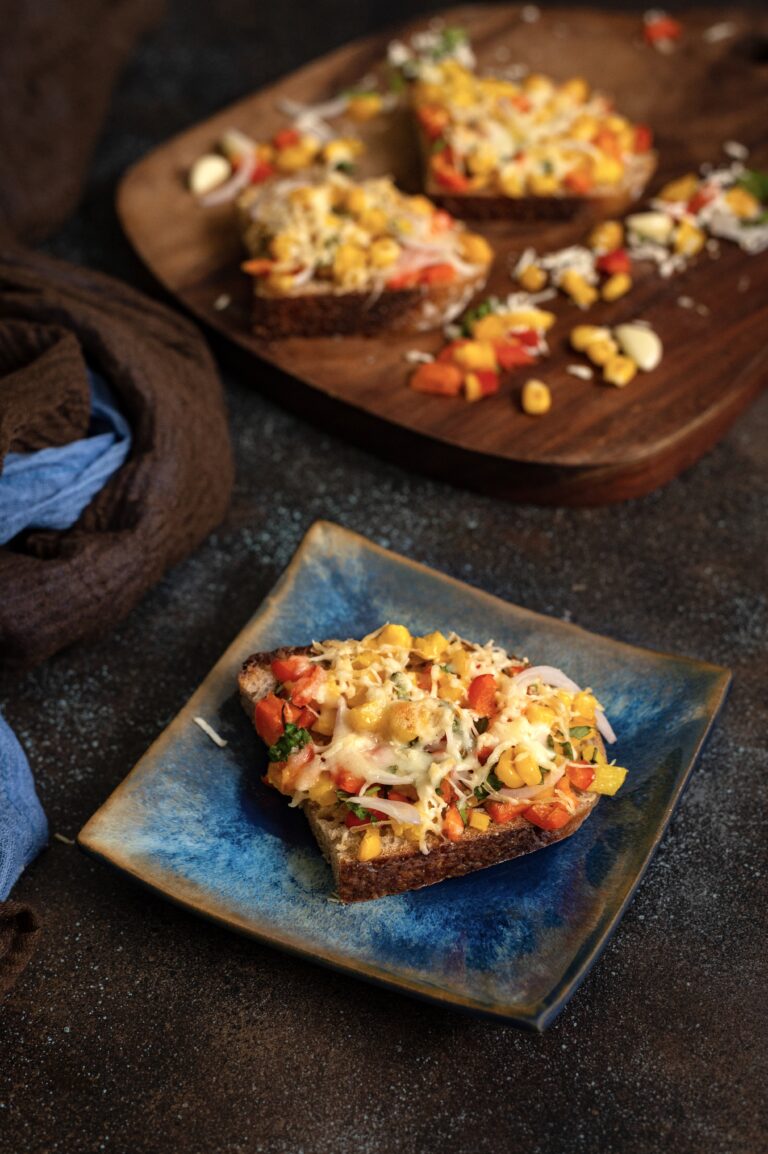
Oh well! At least I can safely say that this cheesy, spicy, garlicky sourdough toast was the hit of the picnic! I’ll always associate it with the memories of the fun we had that day, spending time together as a family in our garden. That’s the thing about food prep: when something is made to suit a particular need or occasion, the dish also gains meaning. Is it for a daily meal, is it for a special person, is it for an event? By thoughtfully planning the lockdown birthday picnic menu to feature a healthy but delicious snack like this, and making sure I prepared it in a way that was also special, the dish became impressed upon my memory and in my culinary repertoire.

Before I share the recipe, here’s a quick note on sourdough itself, just in case you’re curious about what it is. It’s the traditional, ancient way of making bread, which people around the world used for millennia before baker’s yeast was invented. It’s based on natural fermentation, with air pockets created by the same, and it rises beautifully. You can keep the starter going for ages, just like yoghurt. For me, it took a few miserable failures before I managed to get mine going. Before that, friends generously shared their own starters with me, which I fed and nurtured, but there’s a different kind of challenge and a sense of achievement when you’ve made your own. The learning is continuous, especially when you have to take into account variables like weather conditions. Sourdough maintenance is like plant maintenance.  Making sourdough in Chennai weather is a struggle, as the natural temperature is not really conducive, while air-conditioning dries out the starter. I’ve managed to make a few chips and freeze them just in case my sourdough dies on me, and I’ll need to start it all over again. In the meanwhile, we are truly enjoying the bounty of the current batch.

I am almost sure that foodies following this blog have either been making their own sourdough, or have access to a store-bought loaf, so I’ll jump right ahead to what you can do with it, rather than spend time on how to grow it. In case you don’t have it on hand, you can use white bread or any bread you like.

Cheesy, Spicy, Garlicky Sourdough Toast

(Yield: 4 slices)


4 slices toast

1 teaspoon oil

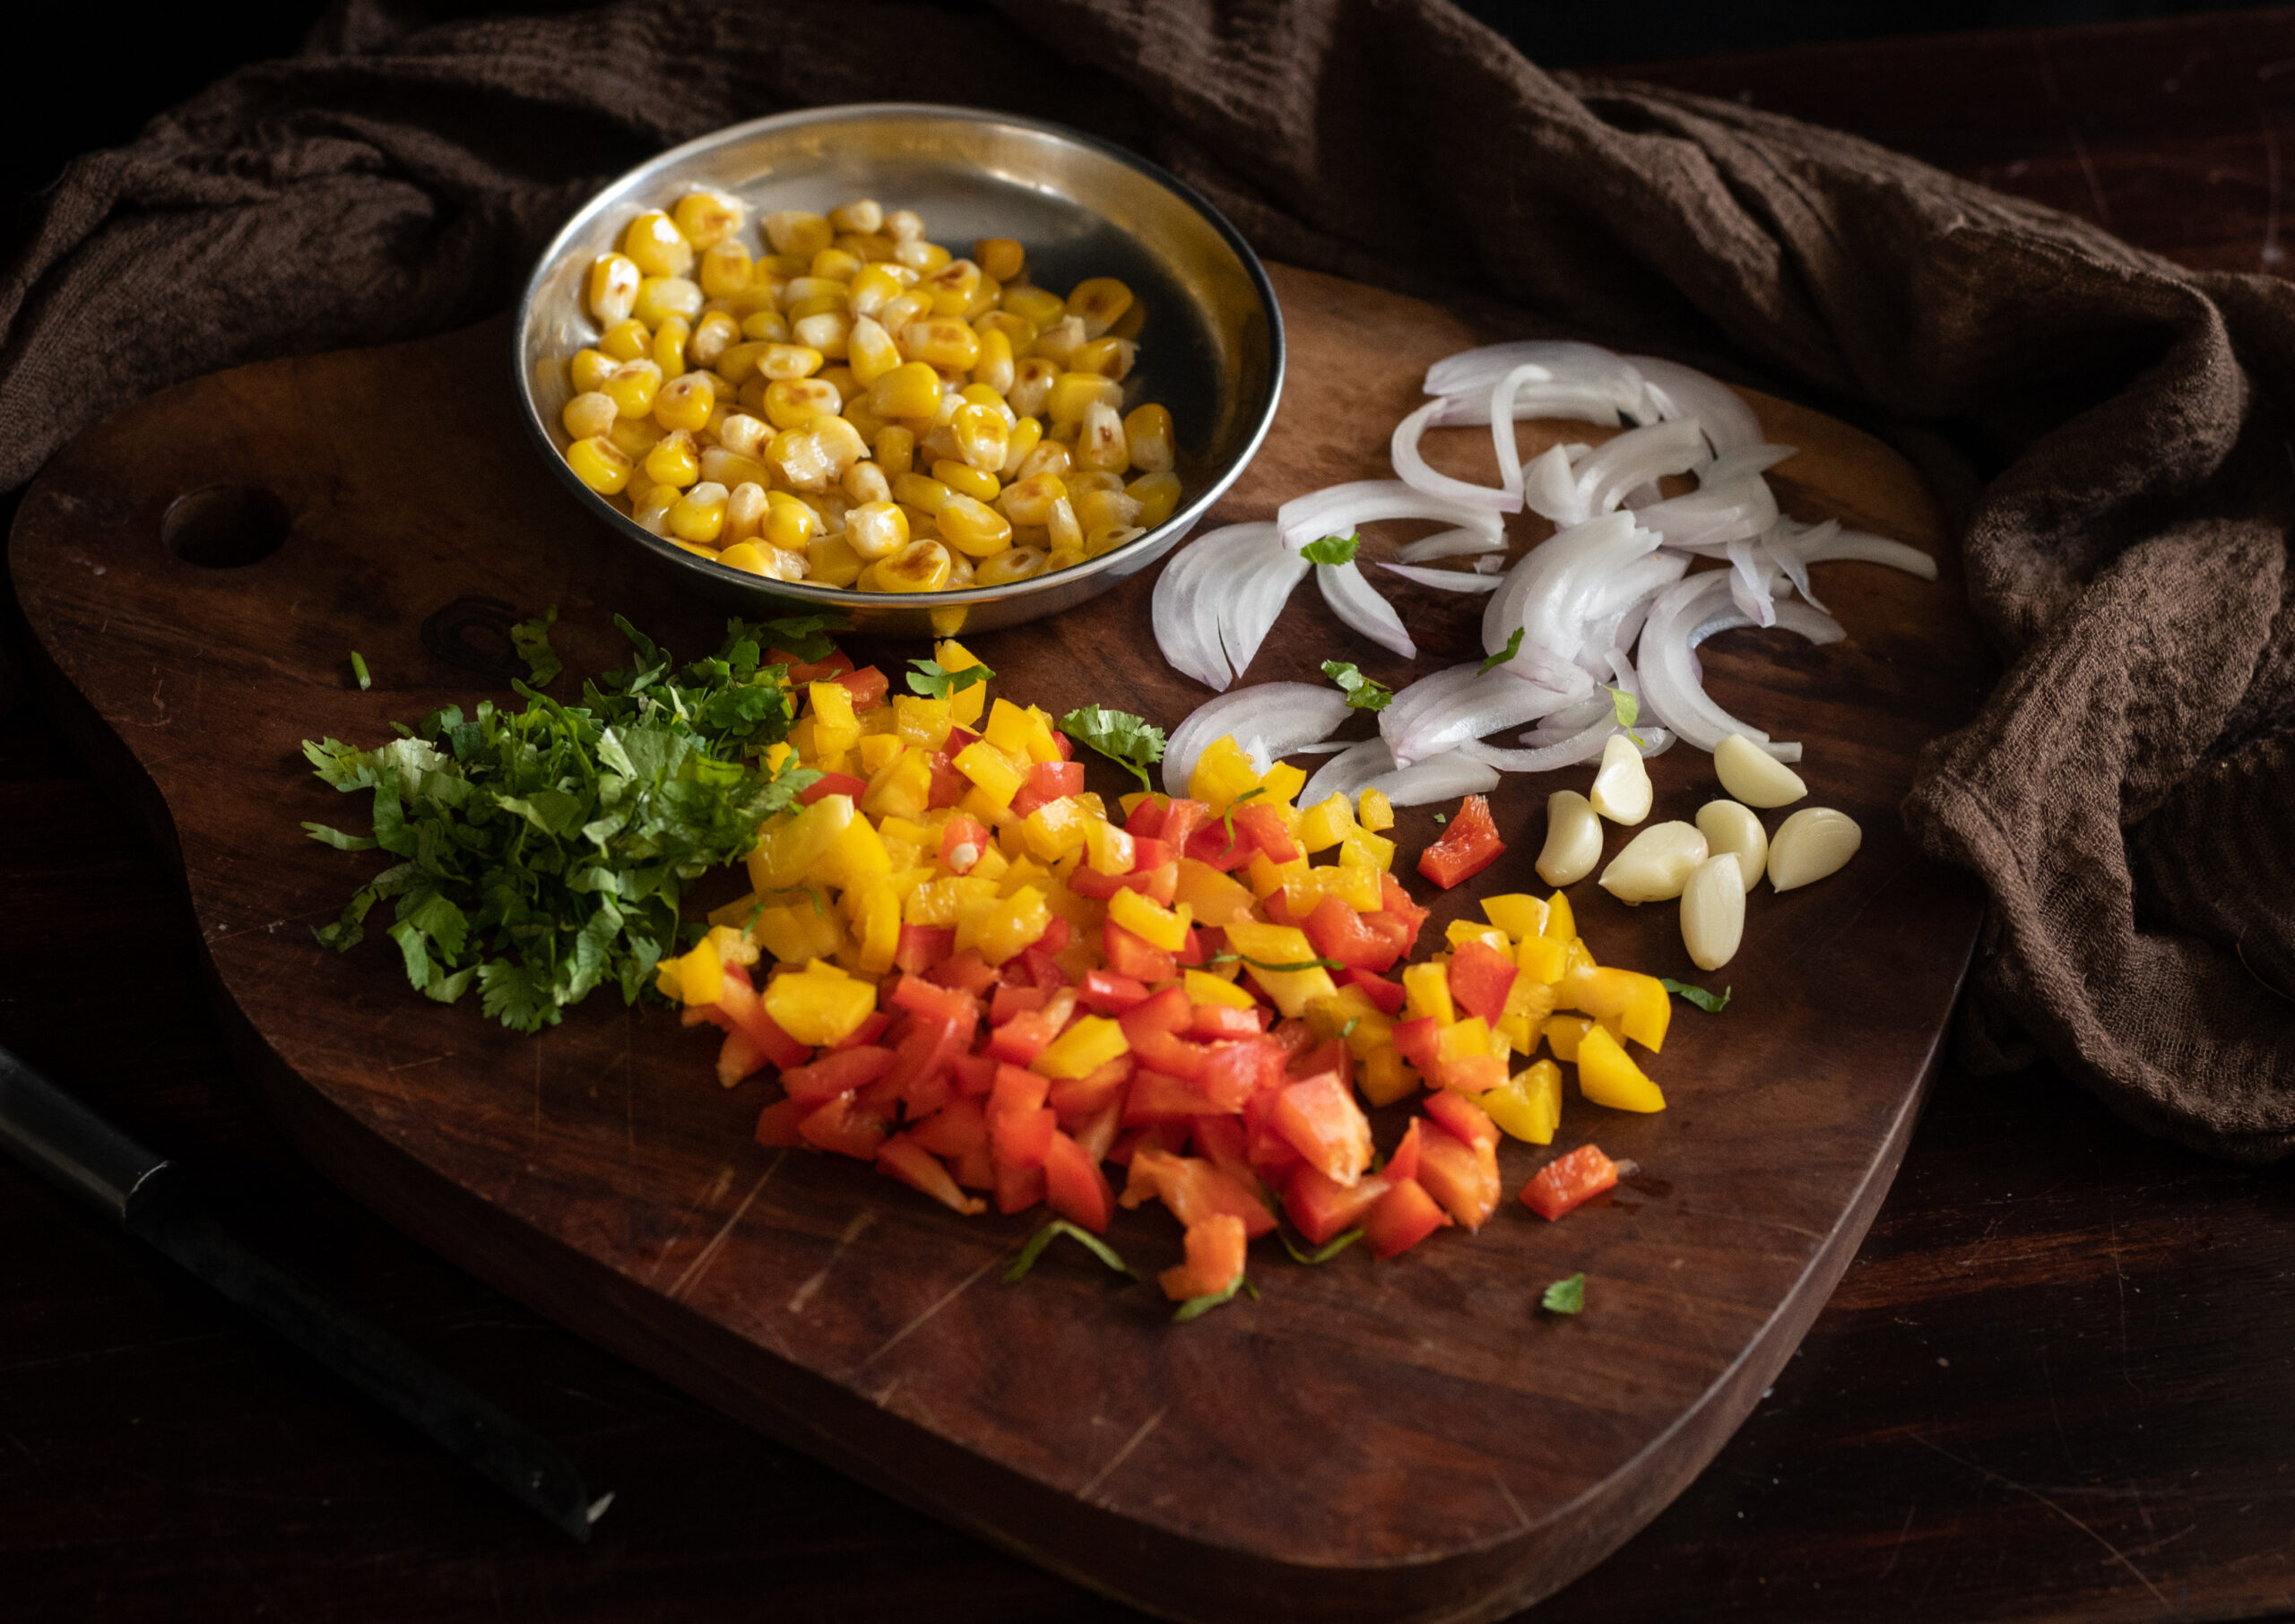
2 cups chopped vegetables (bell peppers, onions, garlic, coriander or parsley, cooked corn)

1 tablespoon chopped jalapeño peppers

¼ teaspoon grated ginger

Coriander chutney (alternative: pesto)

Salt to taste

Chili flakes

Butter as required

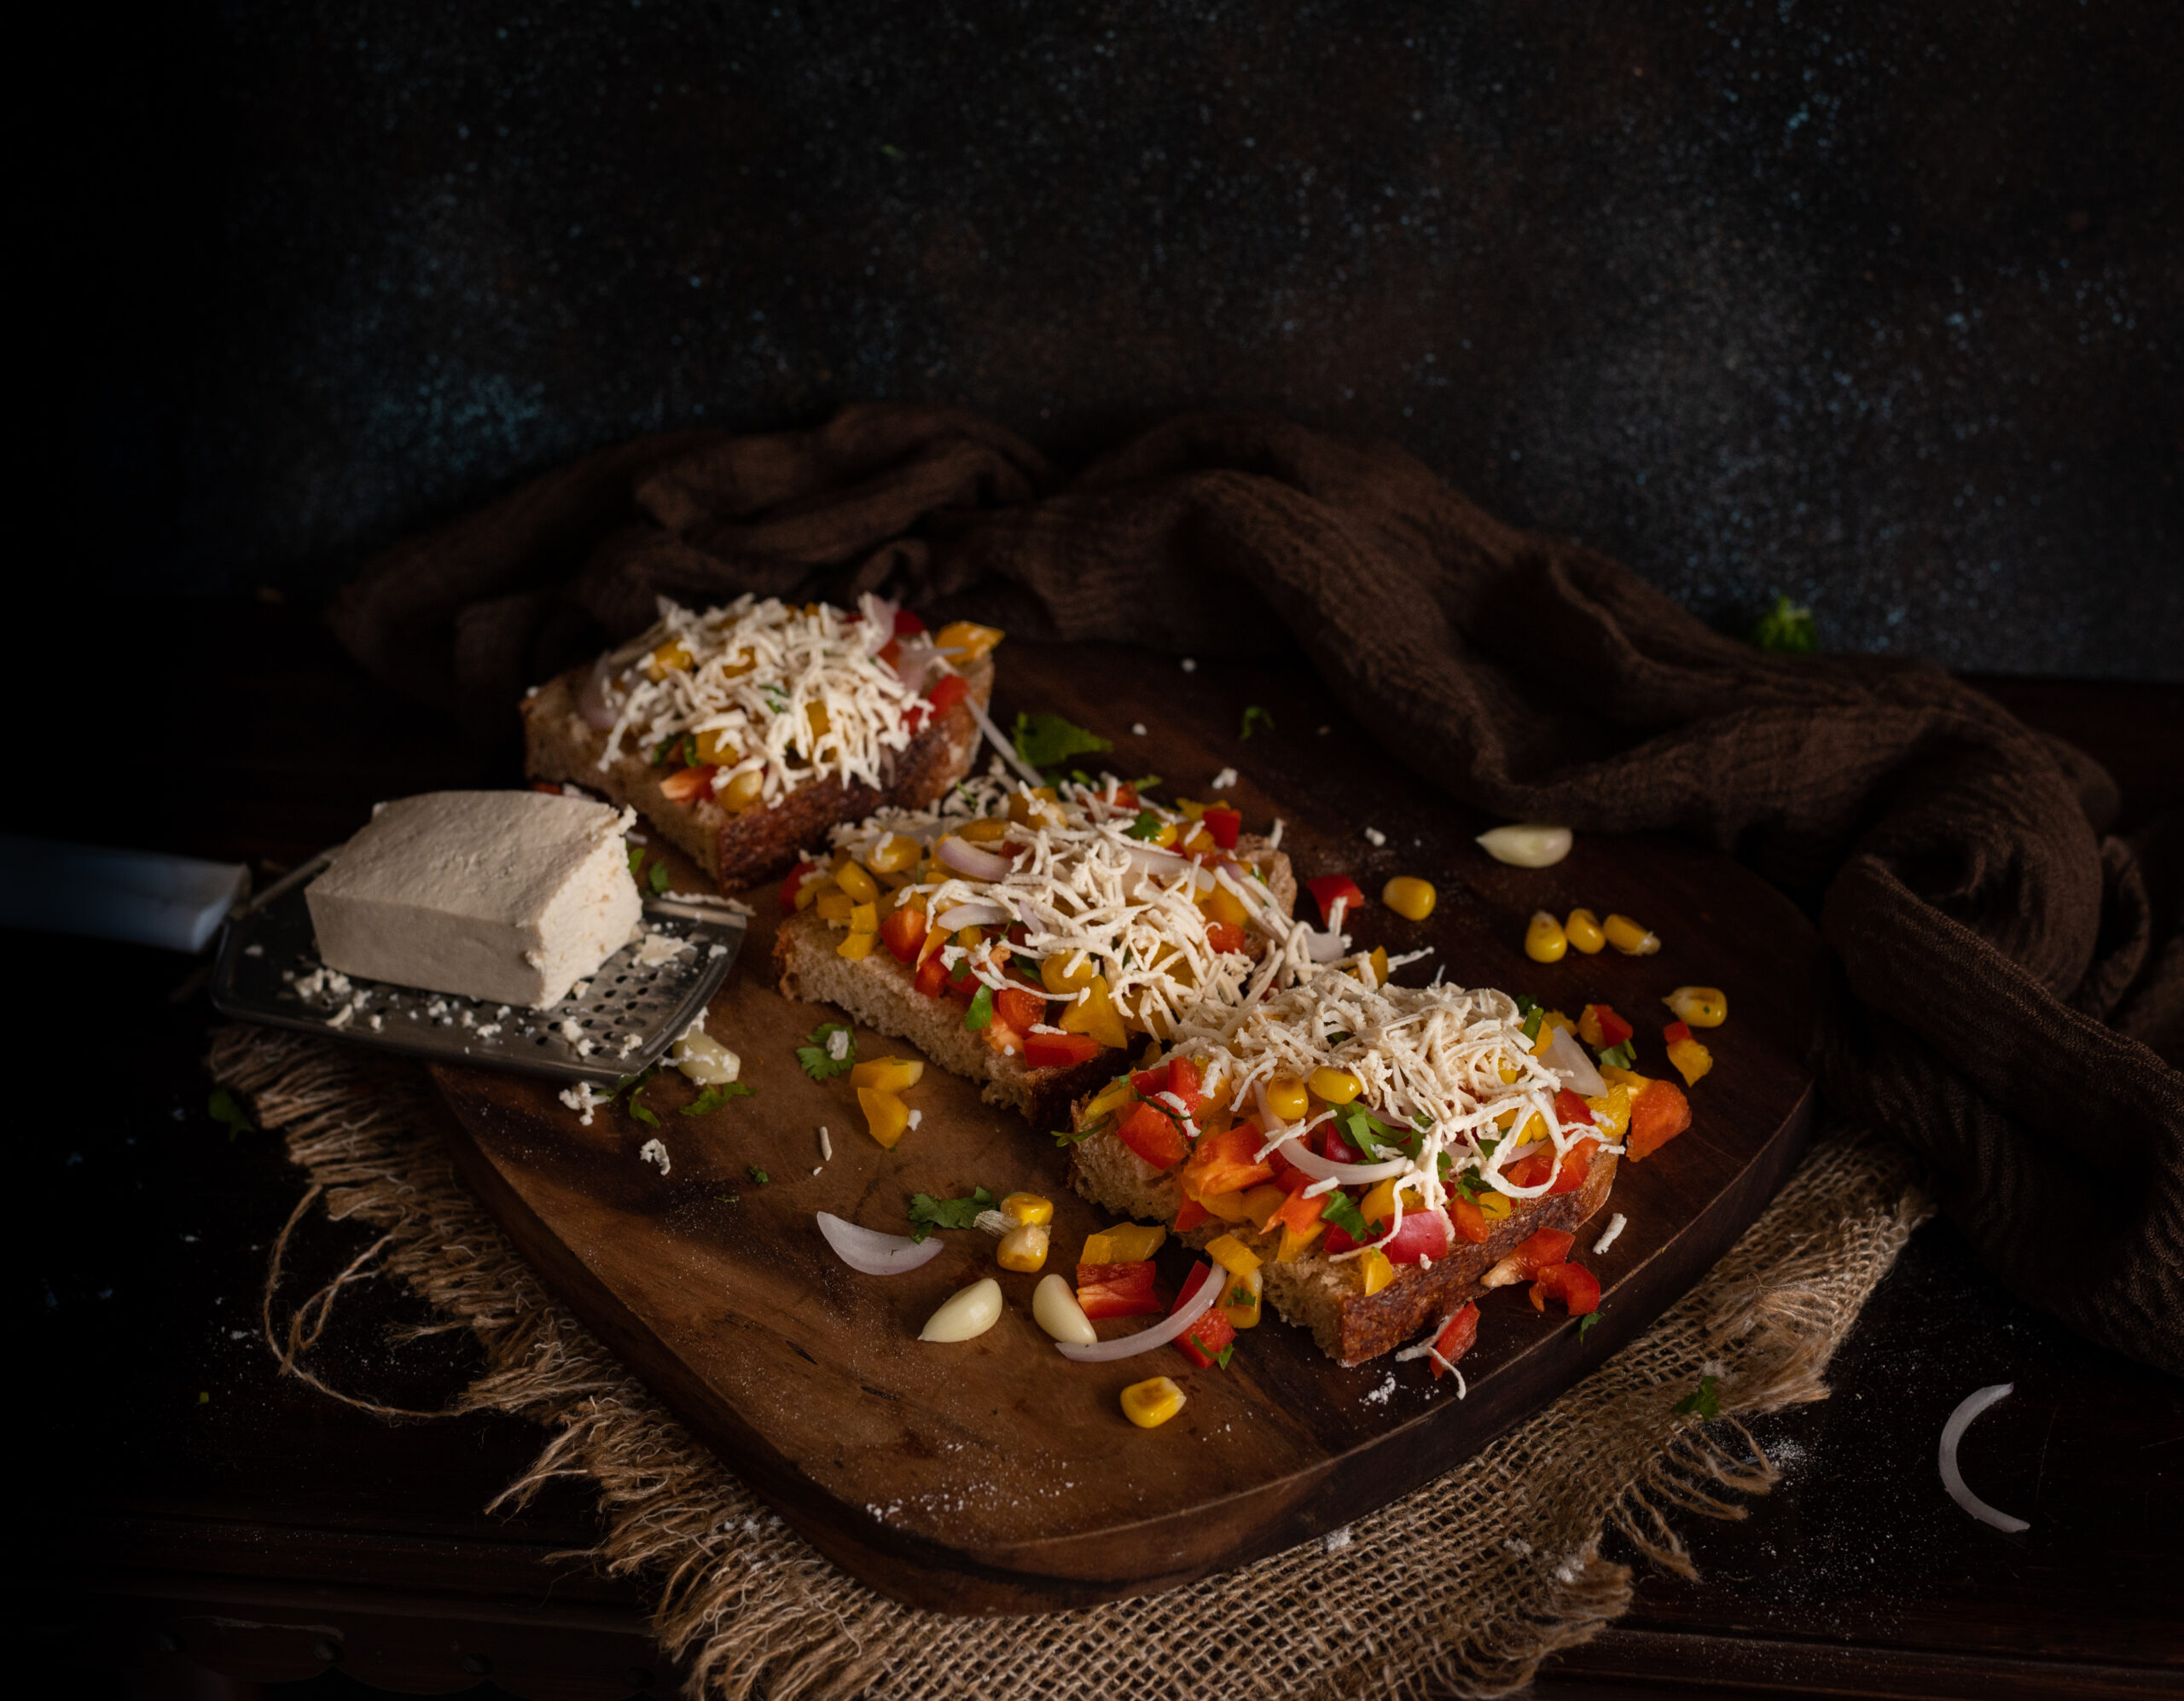
1 cup grated cheese (alternative: tofu/paneer)

Heat a pan and add the oil. Add the garlic and ginger, and then add the chopped vegetables. Stir-fry on a high flame. This mixture doesn’t take more than 5 minutes to sauté. Add the salt. Set aside. Allow to cool.

Prepare the slices of sourdough by buttering them lightly. Next, spread the coriander chutney (or pesto, if you prefer) over the butter.

Now, add a heaped spoonful of vegetables over the chutney/pesto. Top this with grated cheese or tofu.

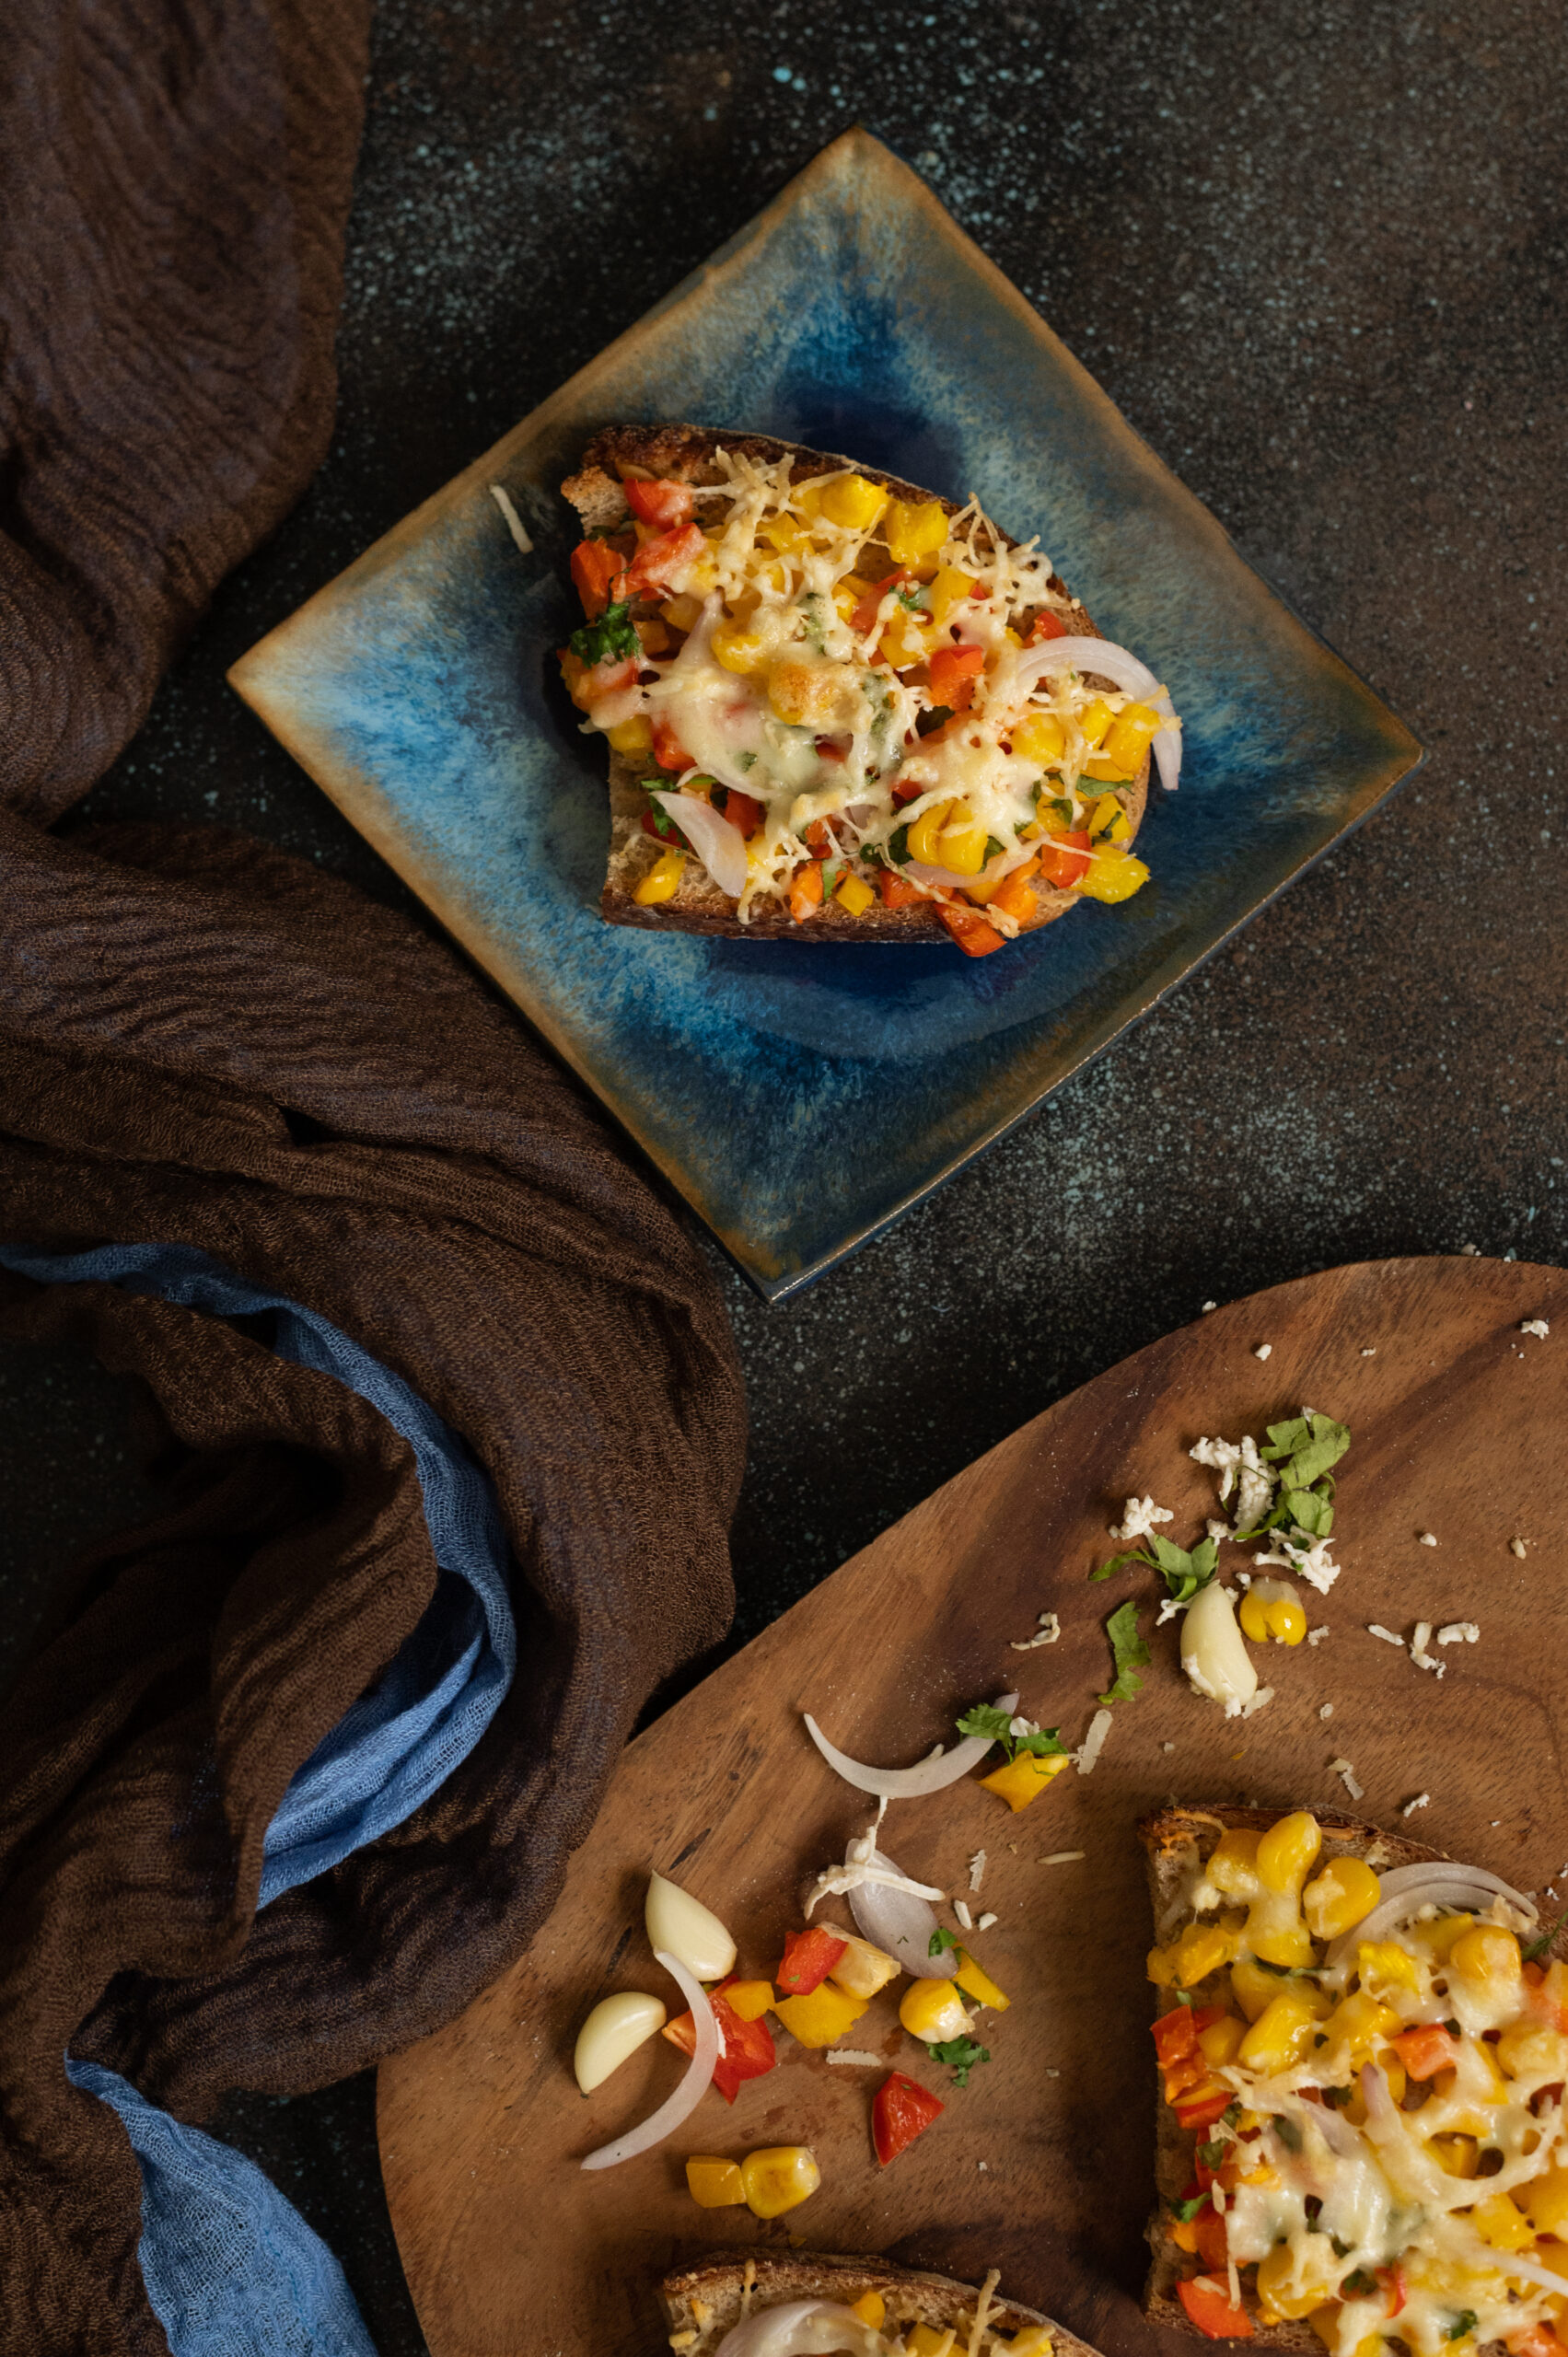
Place the bread in the oven and allow to toast/bake for about 10 minutes or until the cheese melts and the slice of sourdough turns golden underneath.

Remove the slices from the oven and sprinkle with the chili flakes. Serve warm.

This cheesy, spicy, garlicky sourdough toast called to mind a variety of toasts my family has enjoyed over the years. When I was growing up, my mum used to make a version of masala and mashed potatoes with toasted bread. My husband is an ardent fan of  Bombay toast, as you may remember. In lieu of either, my sourdough toast – rich in fresh vegetables – is healthier, without skimping on taste.

Feel free to substitute the vegetables or even the spices as per availability and preference. You may want to increase the quantity of some based on your taste as well (I’m personally a big fan of corn and bell peppers too). If you prefer to go vegan, just replace the butter with olive oil, and either tofu or paneer are tasty and healthy alternatives to cheese.

This version has become my go-to every time I feel like having a snack. When I’m done with my workout and feel peckish, I whip up a slice or two. I sometimes also have it drizzled with olive oil and a sprinkling of salt without adding the spices. Given the lockdown and the limited vegetables that are on hand on some days, I improvise the ingredients. No matter how I make it, it’s unbelievably tasty!

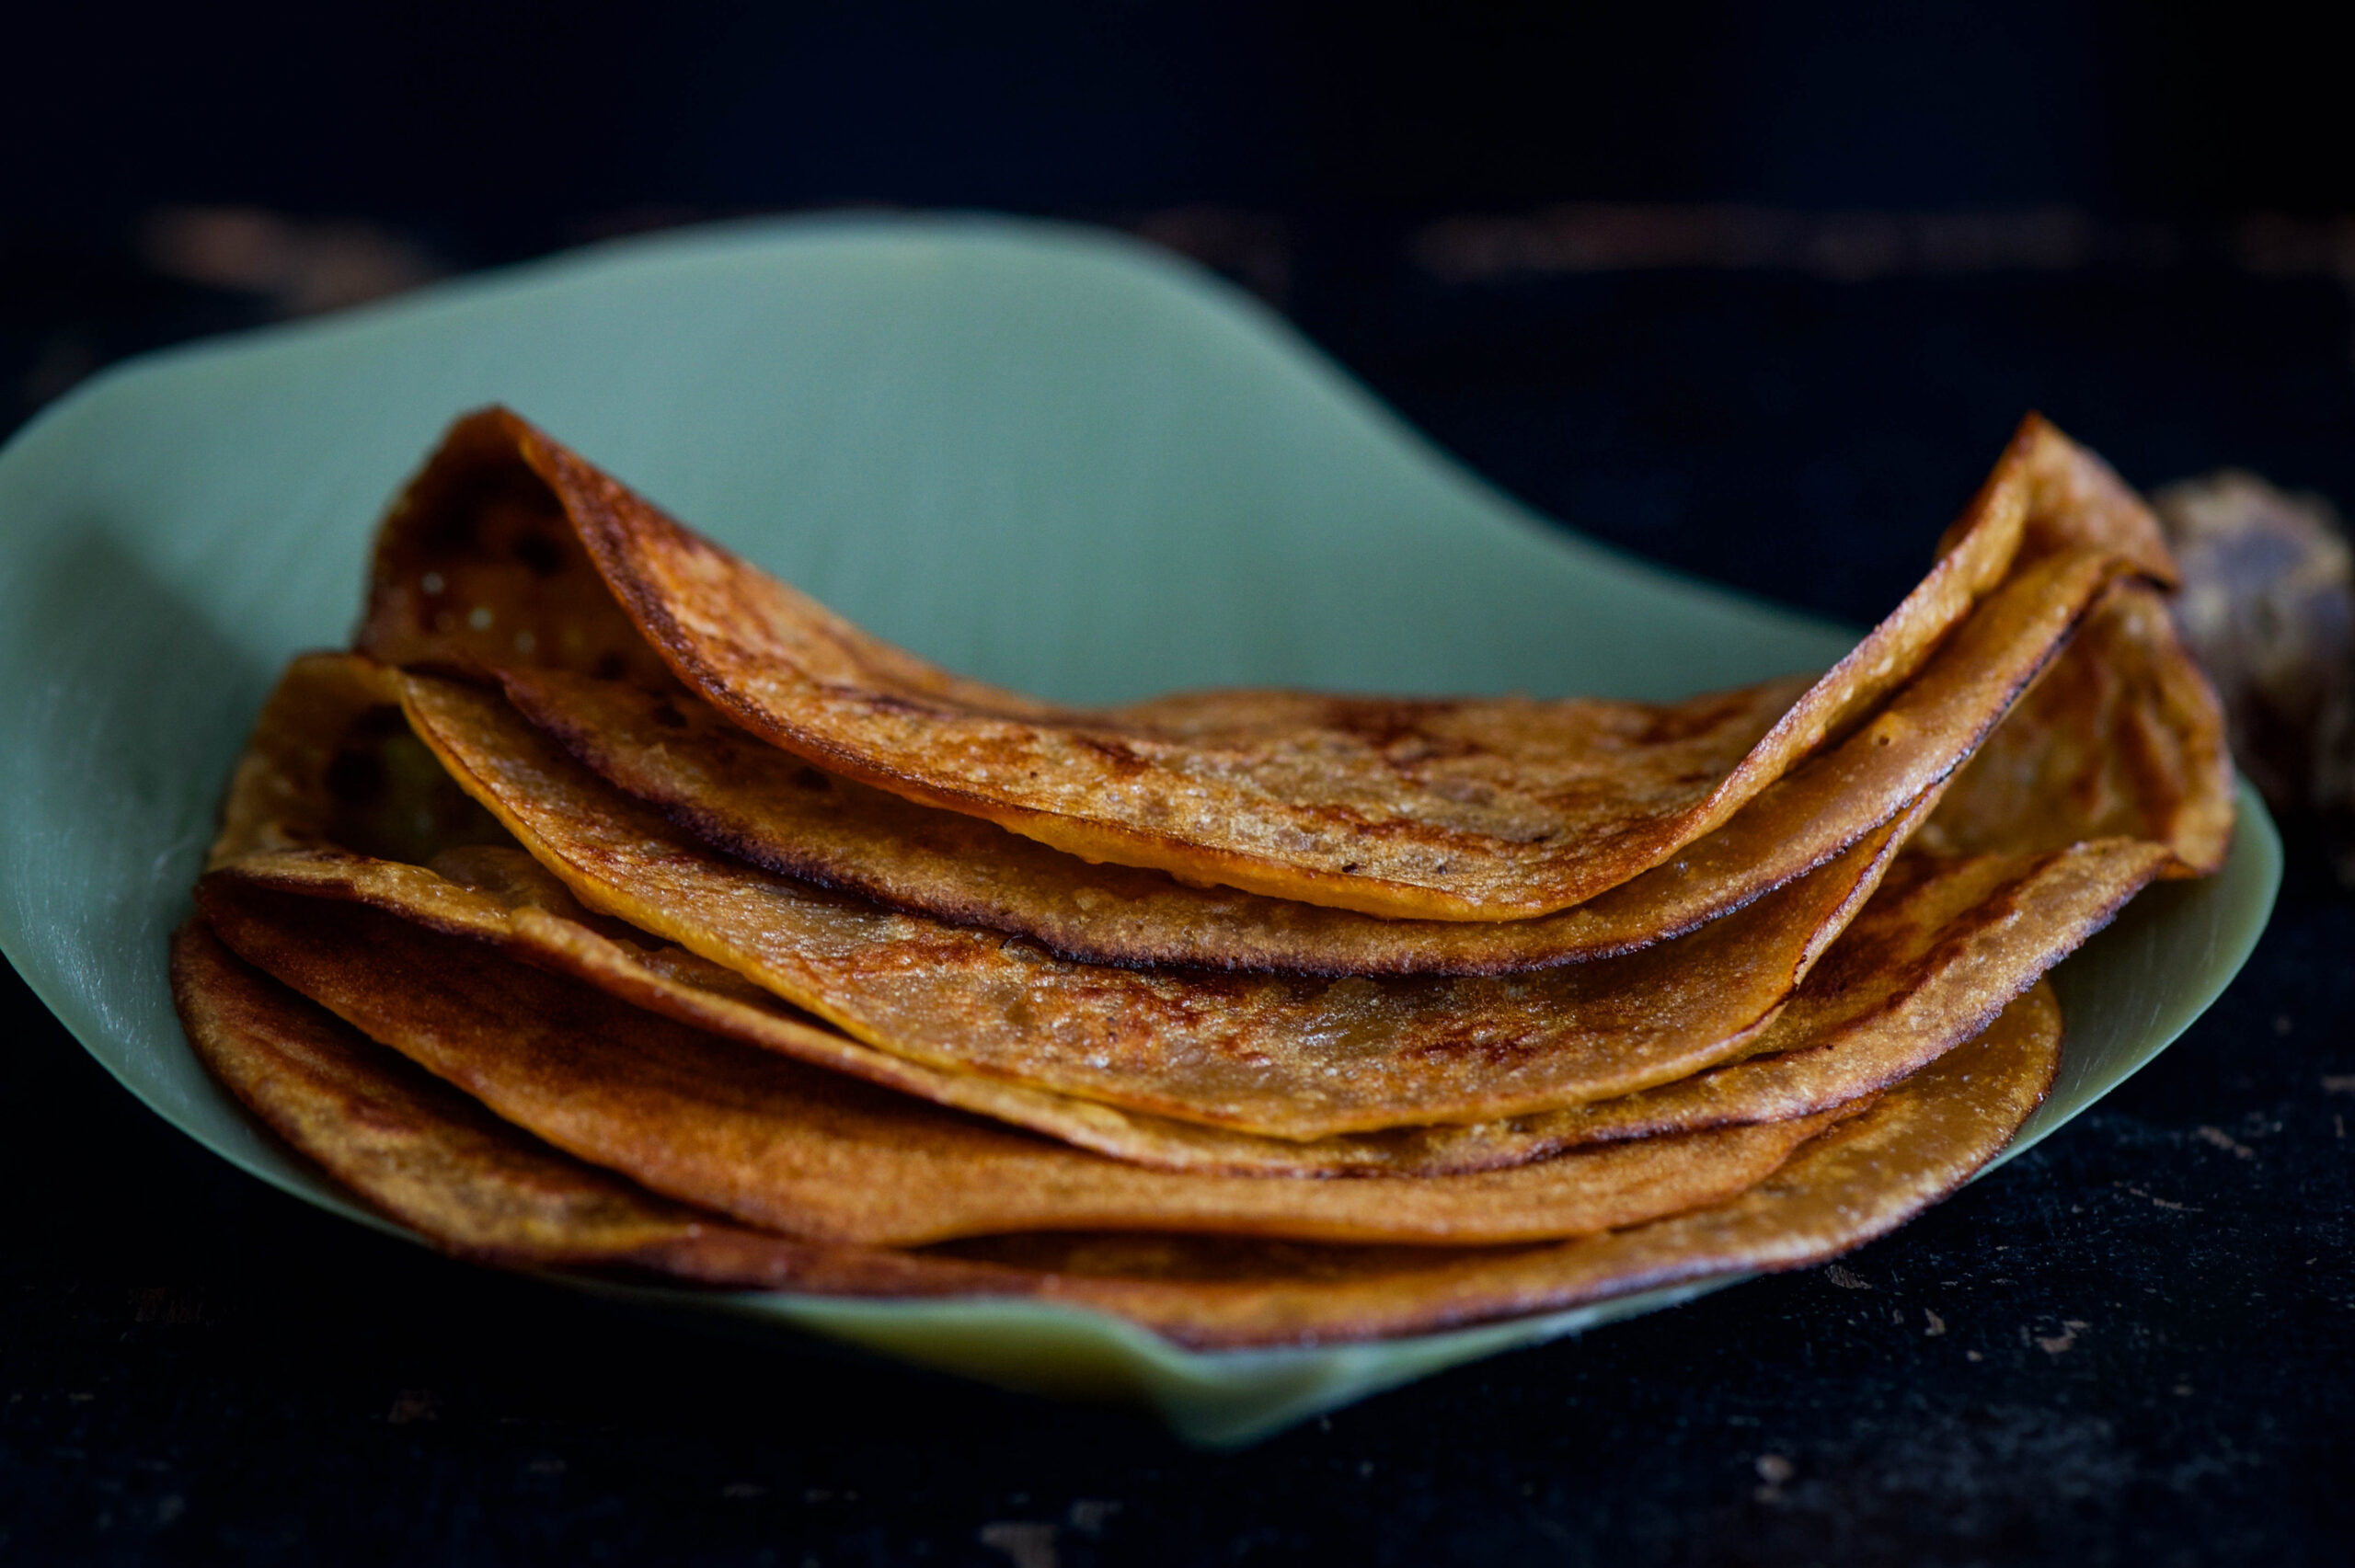
What’s the go-to dish in your home when you don’t want to think about what to make? For me it is the chilla, and it was also my mother’s staple dish. Once I began to cook, I saw that it was not a lack of inspiration but ease that makes certain dishes a part of cooking-on-default mode. Whether the dish in question is idli, upma, macaroni – or in my case, chilla – it’s something you’re so good at that you don’t even have to spend a moment mulling it.

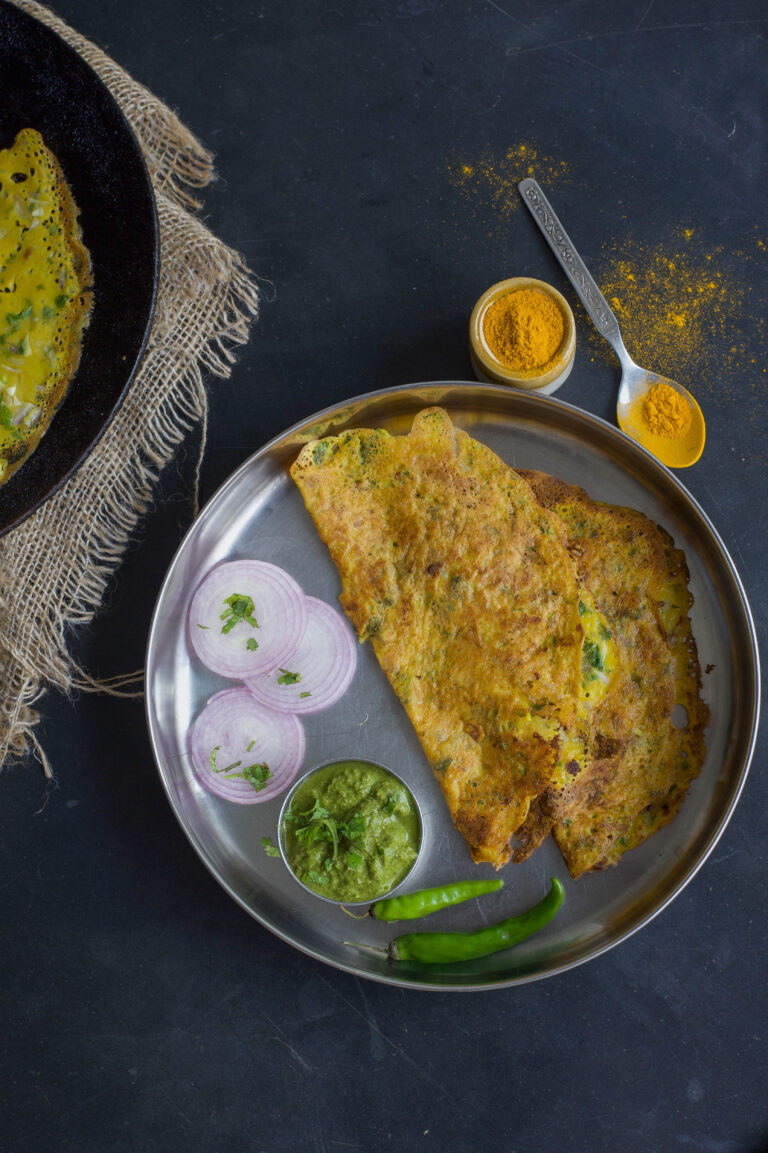
Chilla was what we had for dinner whenever my mother was busy or tired, or if we were in a post-festive feasting slump. Chilla is a kind of crepe, made with powdered pulses and flavoured with vegetables and spices. Like all staples, each cook will have her own variations – and her family will definitely grow up on the same. My mother made two: a moong dal chilla and a sweetened variant. The deal was that only if I ate the savoury one would I be given the sweet one – which itself was quite healthy, considering it was made of jaggery and whole wheat.

Instead of moong dal, which is most often used, I prefer to make savoury chillas using chickpea flour, also known as besan. I love chickpeas because they are so versatile and so easily accessible – they’re found everywhere from Mexico to Lebanon (hummus!) to right here in India, and have been cultivated by humans for at least 7,500 years. The many names this humble and popular legume has attests to this fact: Bengal gram, garbanzo bean, channa and Egyptian pea are but some. Did you know that in the 1700s, a German writer brewed them to drink instead of coffee, and Germany cultivated them for the same purpose during World War 1?

Chickpeas are widely loved as a healthy ingredient, for they are rich in protein, which is one reason why they are so popular with vegans.

In Indian cuisine, chickpeas are eaten whole in dishes such as sundal, a fun salad that is popular on Chennai’s beaches, and in dough form to make the pastry for fried goodies like fritters, among other variations. The ingredient works perfectly in both sweet and savoury items, and is also a thickening agent like cornflour or agar-agar.

I now have great respect for the humble chickpea, but it must be said: growing up, I’d argue with my mother about having to eat it. My reasoning was that: since I used powdered chickpea to wash my face (it exfoliates the skin gently and is an ancient beauty treatment), I should not also have to consume it!

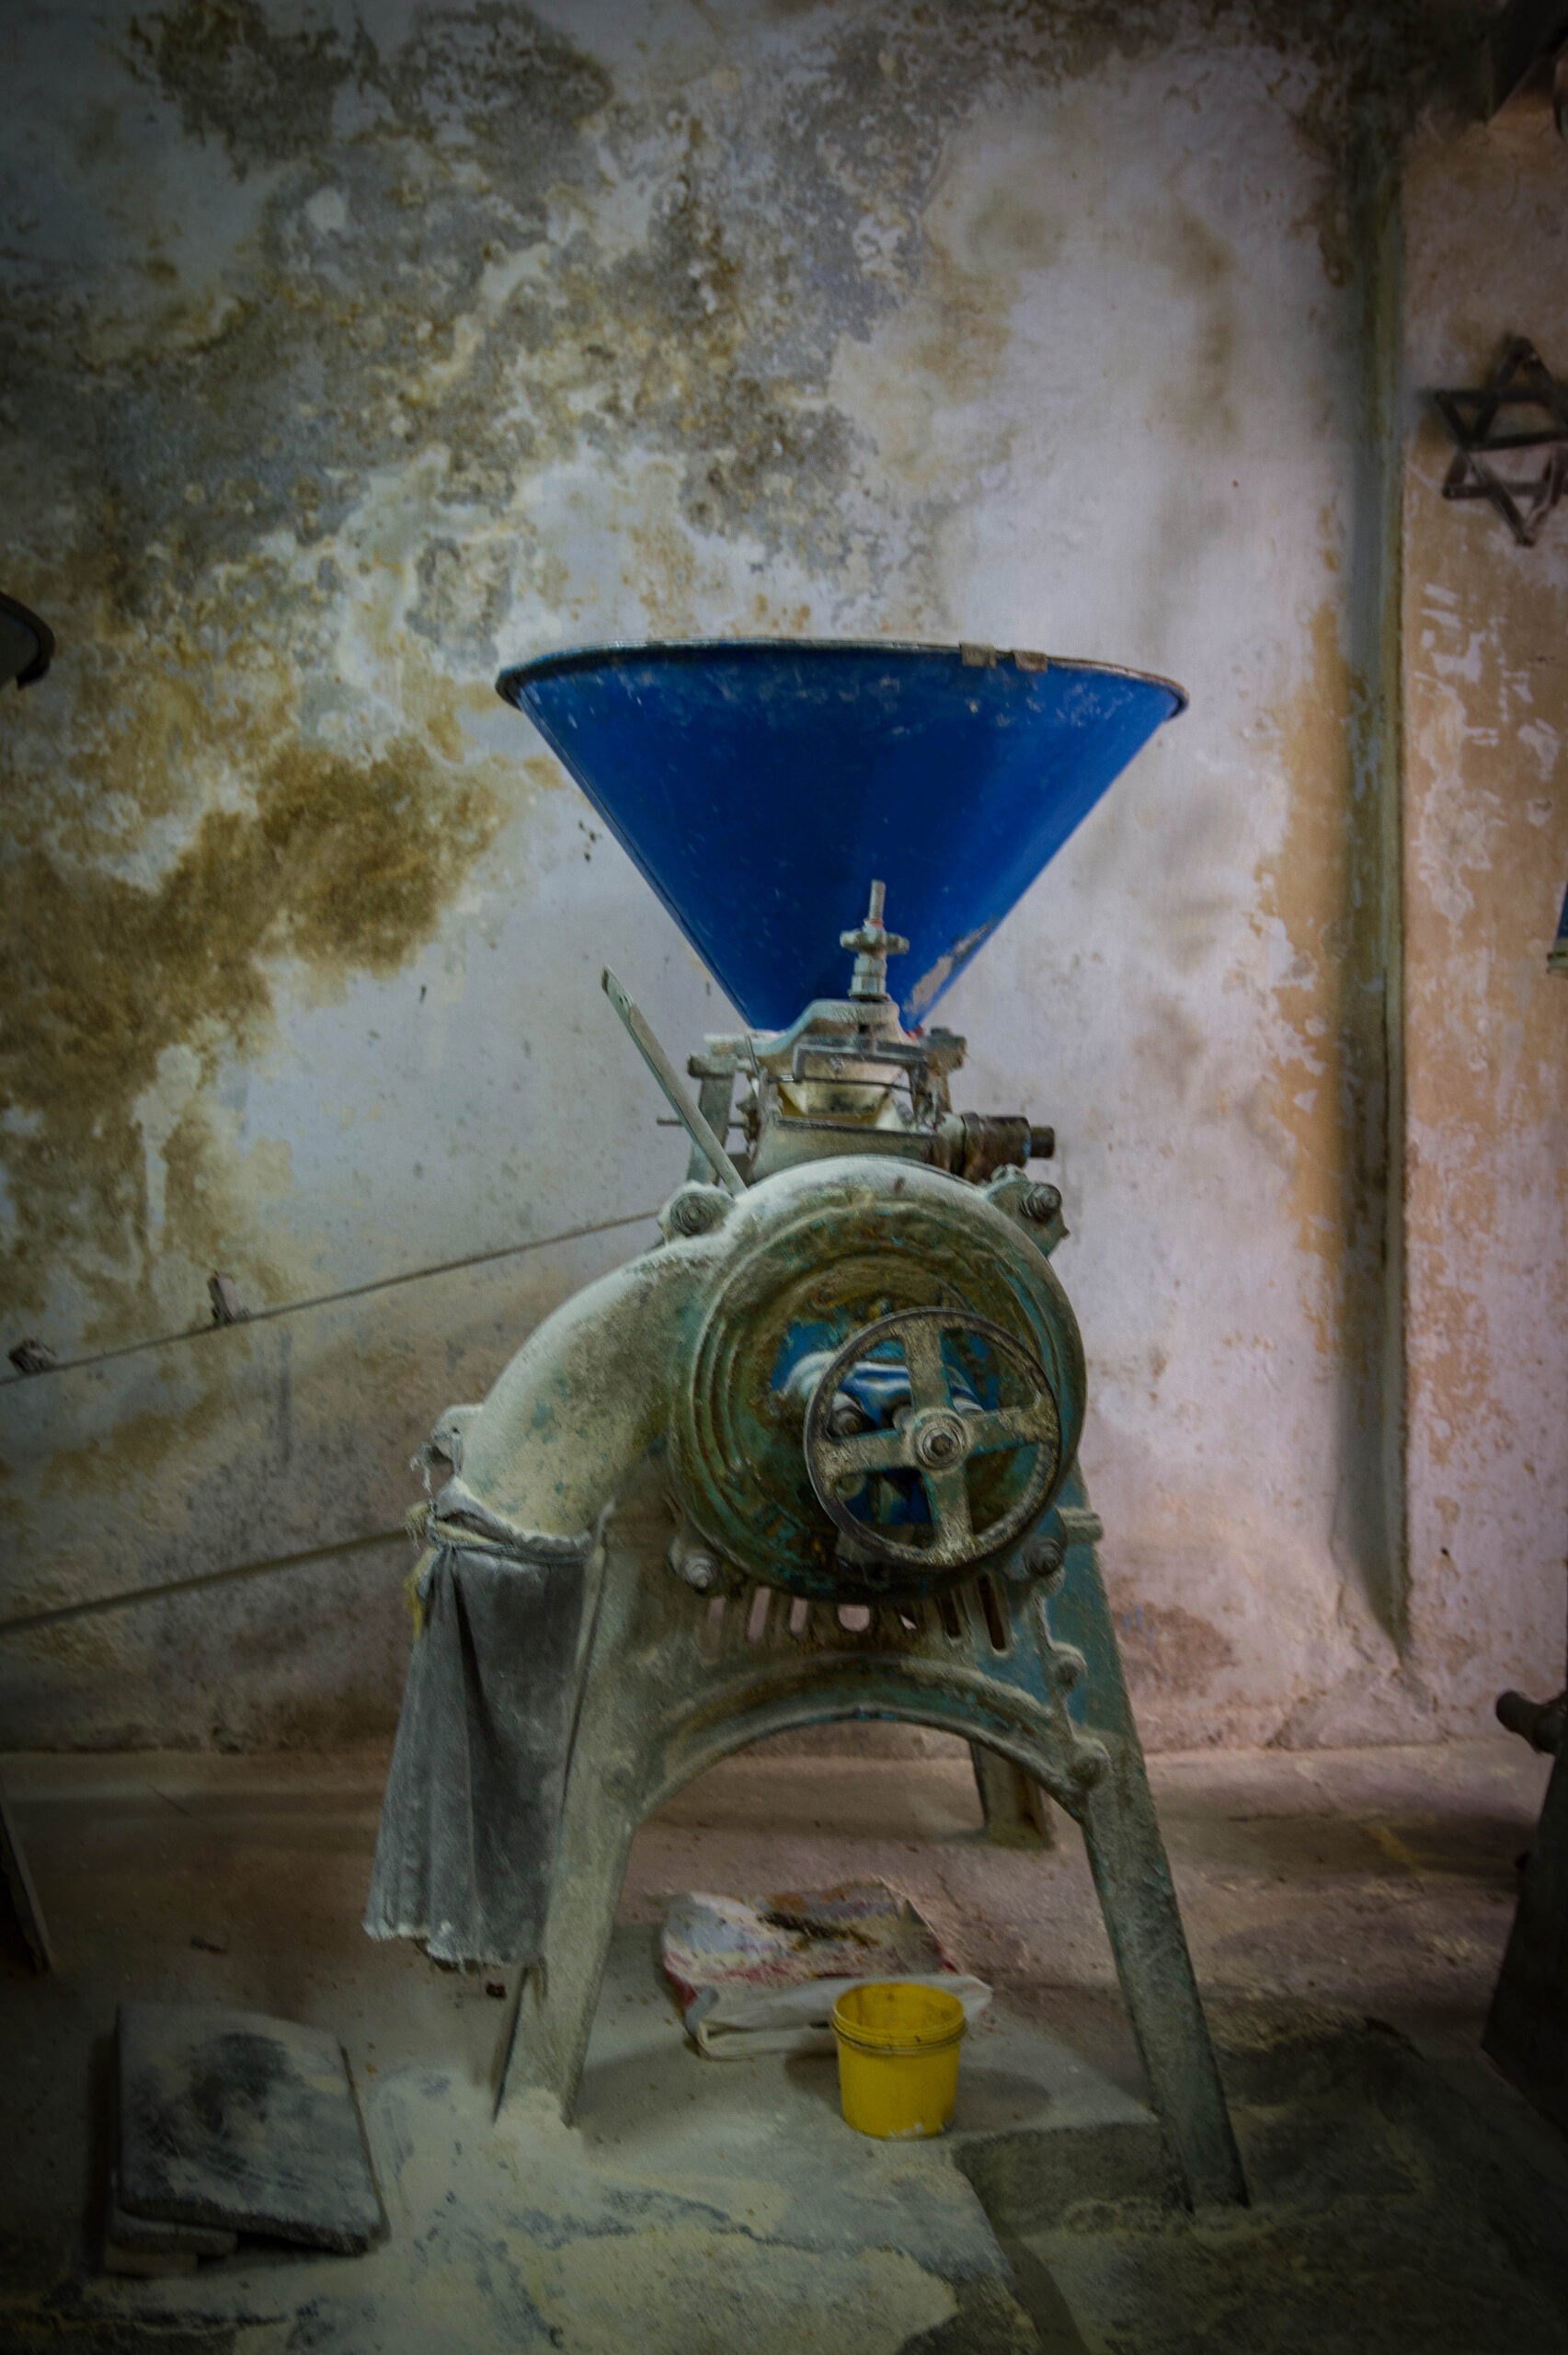
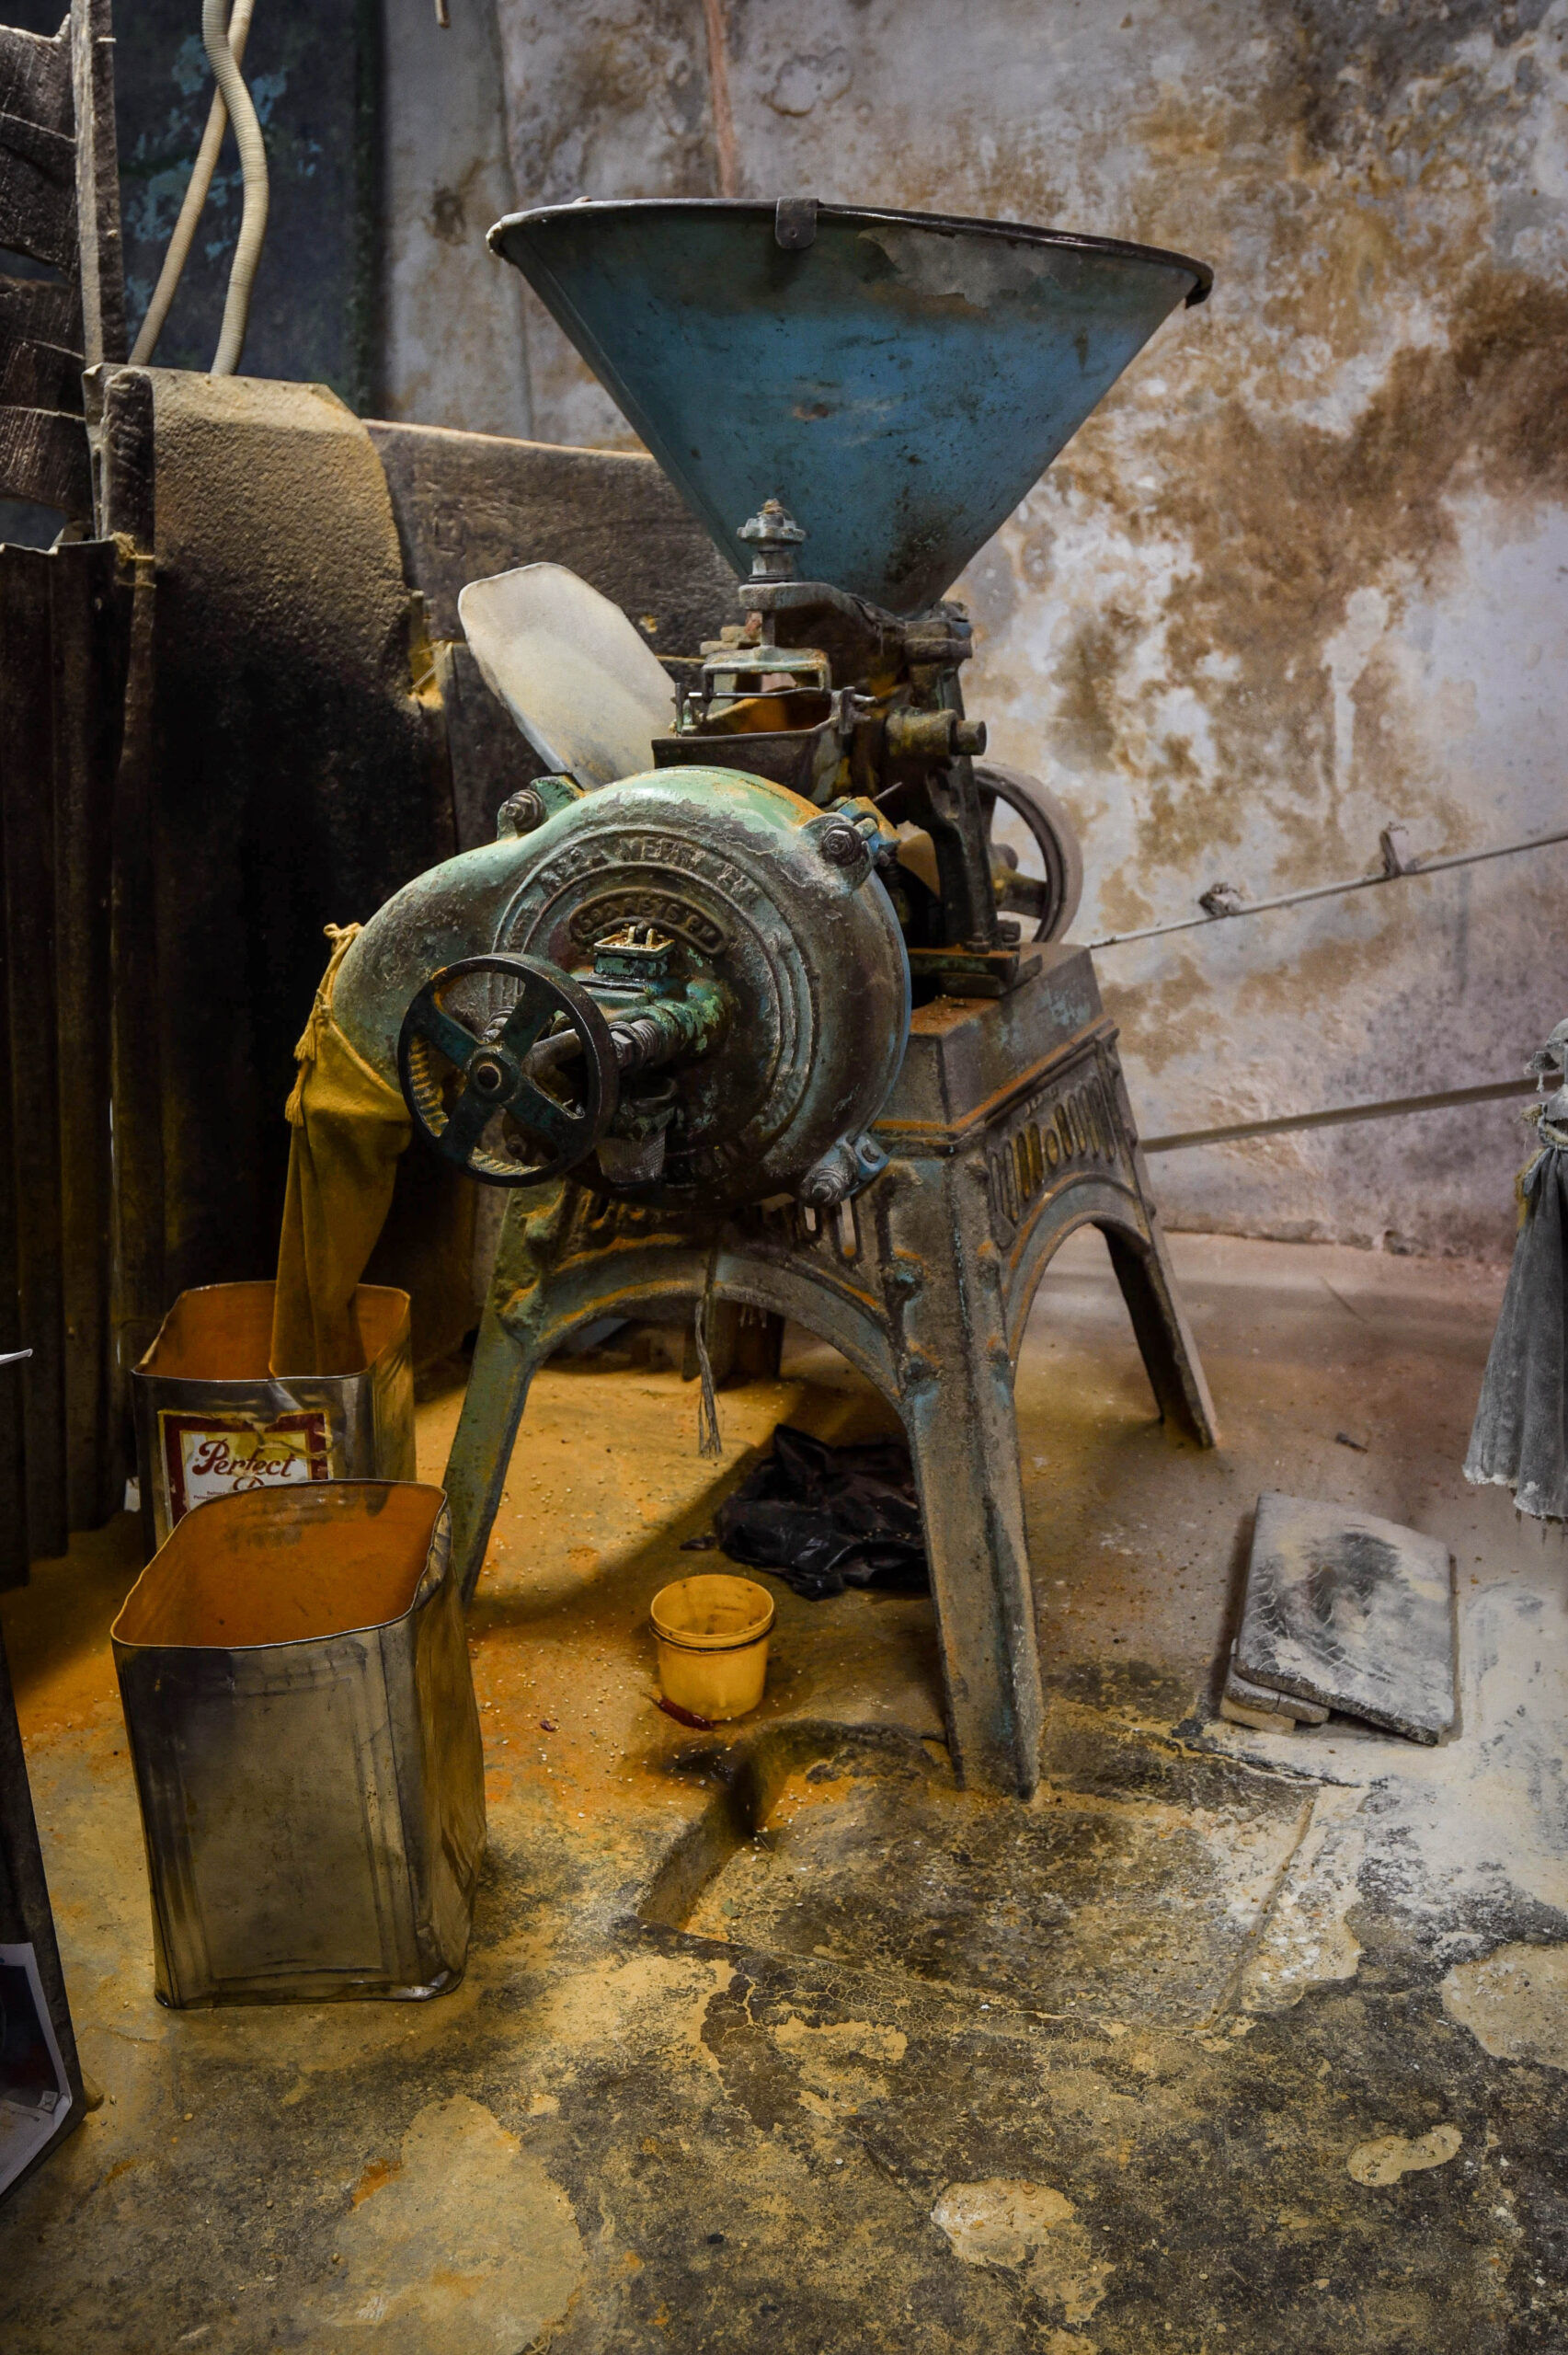
Of course, I love to have my ingredients be made or processed at home as much as possible, and by “home” in this case I mean Arumugam Chettiar’s quaint flour mill. Established in 1939, the mill uses a 10hp machine, with two grinding plates, that was imported from England by his grandfather. These machines are no longer available, and what you get now are pulverisers. But there’s nothing like old-fashioned, time-honoured methods when it comes to food. Along with chilli, ginger and other dry powders, I buy channa dal and have it ground to make chickpea powder.


I’m going to share both the recipes for savoury and sweet chilla with you, so that you can strike a version of my deal with my mother – whether that’s with your own kids, or just your diet plan!


Chilla – Savoury

(Yield – 4-5 crepes)

Ingredients
1 cup chickpea flour

2 cups water

½ teaspoon cumin powder

½ teaspoon grated ginger and garlic paste

½ cup finely chopped fenugreek (methi) leaves

½ teaspoon salt

Blend the water with the chickpea flour until there are no lumps. Add the salt, turmeric, cumin powder, grated ginger and garlic paste and fenugreek leaves, and mix the batter well. The consistency should be a little thicker than crepe batter.

Fenugreek in batter may remind you of theplas, one of the many types of Indian breads. A note about the ingredient: most people soak fenugreek leaves in water with salt, to remove the bitterness. This is something I don’t like to do because I don’t see why the flavour should be removed. With regards to these chillas especially, the taste of the savoury one is offset by the sweet one beautifully.

You may replace the fenugreek with another spinach available to you, or even with finely chopped vegetables like onions, grated carrots, bell peppers or coriander leaves.

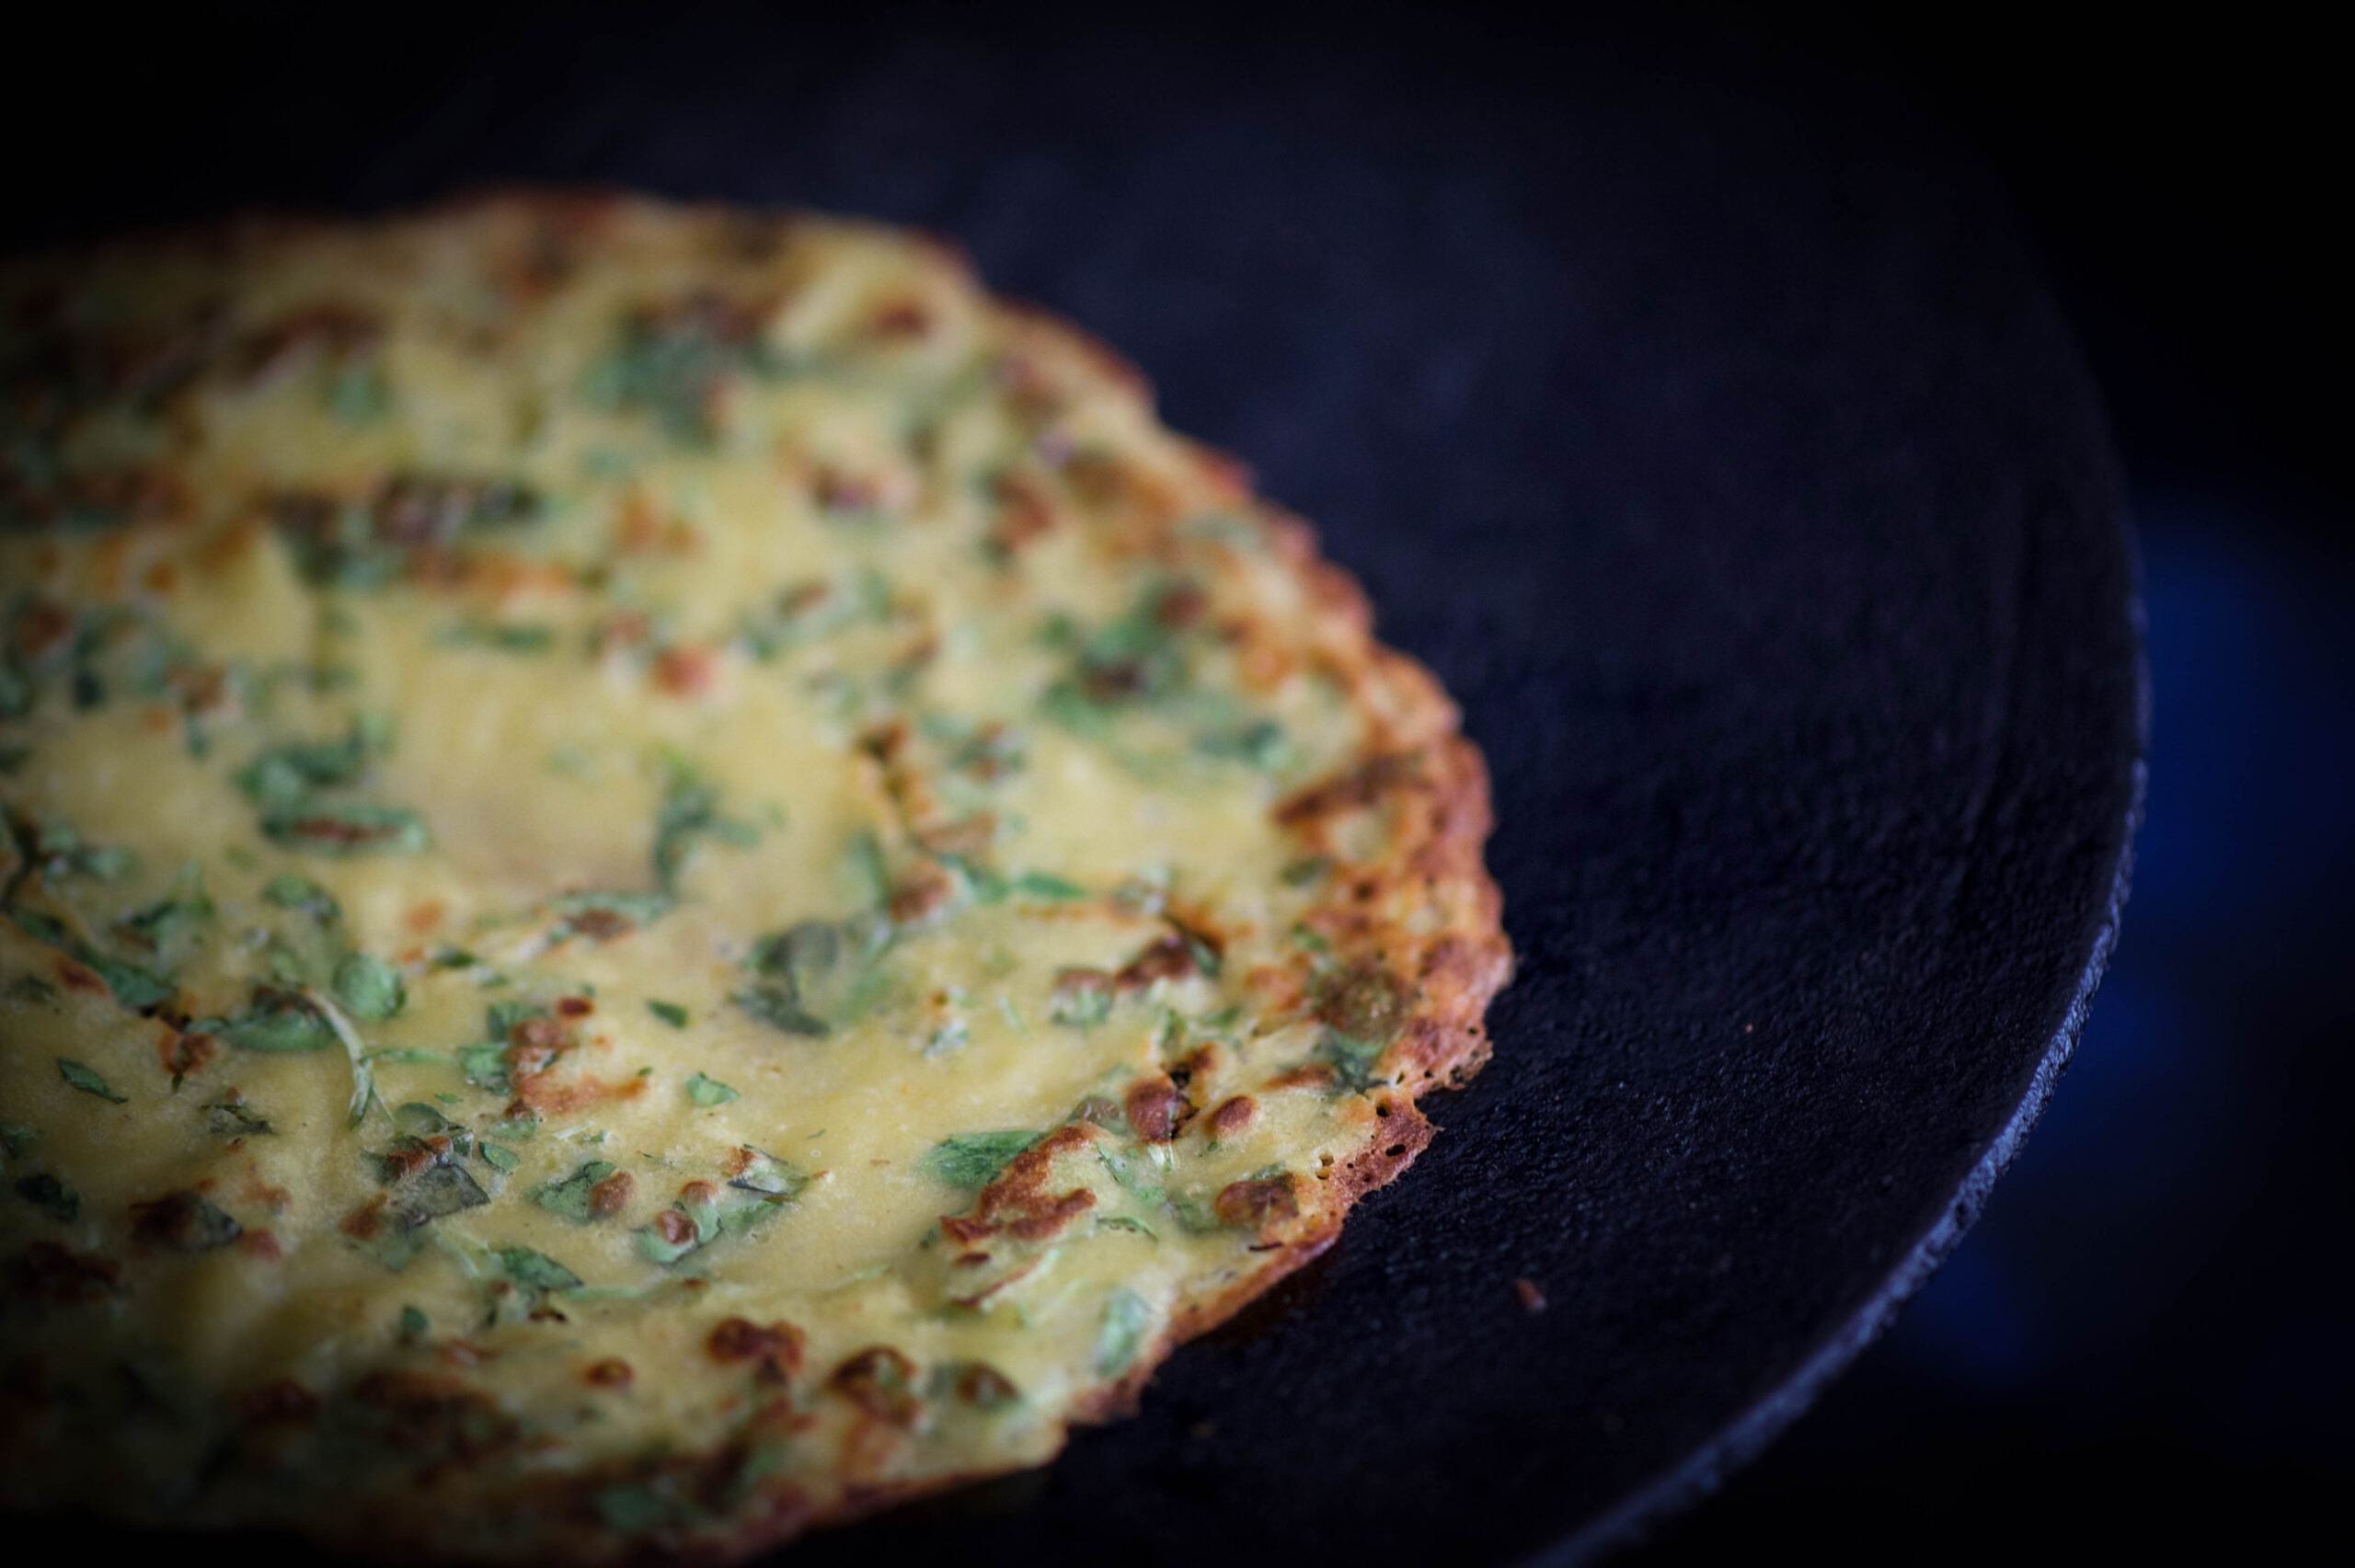
Heat an iron griddle or a non-stick skillet and pour a few drops of oil on it. I make both my savoury and sweet chillas on an iron pan. Mine is a seasoned one, hence it does not stick. But if you do not have one, use a non-stick vessel.

Wait till the skillet is hot, then turn the flame down. This is a delicate moment, because if the batter falls on a too-hot pan, it will spread unevenly. My trick for this is that when the skillet is very heated, I sprinkle a little water on it and allow it to sizzle. This cools it down just enough so that I can pour the batter.

Spoon the batter onto the skillet. Spread it in a circular motion, much like you would a regular crepe. The video below gives you a look at the technique, if you’re unfamiliar with it. For those who make dosas, you will already be experts at this.

As the chilla fries, drizzle a few drops of oil around (not on) it, so that it can be removed easily. Increase the flame. You will know when it’s ready to be flipped when the edges begin to rise and turn golden. Do not attempt to flip the chilla earlier, as it will tear.

Using a spatula, flip the chilla and allow its other side to cook as well. Both sides should be a lovely golden colour before you take it off the skillet.

Then make the next one, and so on, until you have enough. Fold each chilla in half and serve with green chutney or date chutney, both of which I’ve shared recipes for earlier on this blog. I also top these savoury chillas with finely chopped vegetables, with gives the health factor an extra boost, and makes them even more filling. Just a couple will give you a light but complete meal – provided you’re able to stop eating them, that is!


Chilla – Sweet

(Yield – 5 small crepes)

Ingredients
1 cup whole wheat flour
½ cup jaggery
1 ½ cup water
1 teaspoon ghee per crepe (oil for a vegan option)

Warm the water a little and allow the jaggery to melt into it. Stir well until all the lumps are removed.
Wait till the jaggery-infused water has cooled, then strain it so the sediments are removed.

To this, add the whole wheat flour and blend it so it’s a little thicker than regular crepe batter. You may have to adjust the quantity of water added to make it just the right consistency.

Now, pour a drop of ghee or oil on a non-stick skillet. When it is hot, lower the flame. Start spooning out about half the batter onto the skillet, in small and well-spaced quantities. These sweet chillas are ideally dessert, so they are smaller than the savoury chillas.

Using a circular motion with the spoon, make small crepes on the skillet (as shown in the video above). Keep the flame on medium, so as to ensure that the chillas don’t burn. When one side has begun to turn golden, flip it over. Both sides will be thoroughly cooked in about 2-3 minutes.

The process of frying the sweet chilla is almost identical to making the savoury one, so do refer to the above recipe for more extensive notes and tips. They do not need to be served with an accompaniment.

These delicious chillas are very much comfort food to me, and I hope they find the same place in your cooking repertoire. The sweet ones are especially popular with kids, and as I said earlier – if they crave it, offer it to them as a reward for eating the savoury one!

I’ve come to understand that most Indian palates require something sweet and something savoury in order to feel satisfied. Life is all about both the sweet and the savoury isn’t it? And sometimes, like in the fenugreek-flavoured chilla, a hint of the bitter too. But that’s why the order of eating makes such sense: after everything else, one is always assured of sweetness.

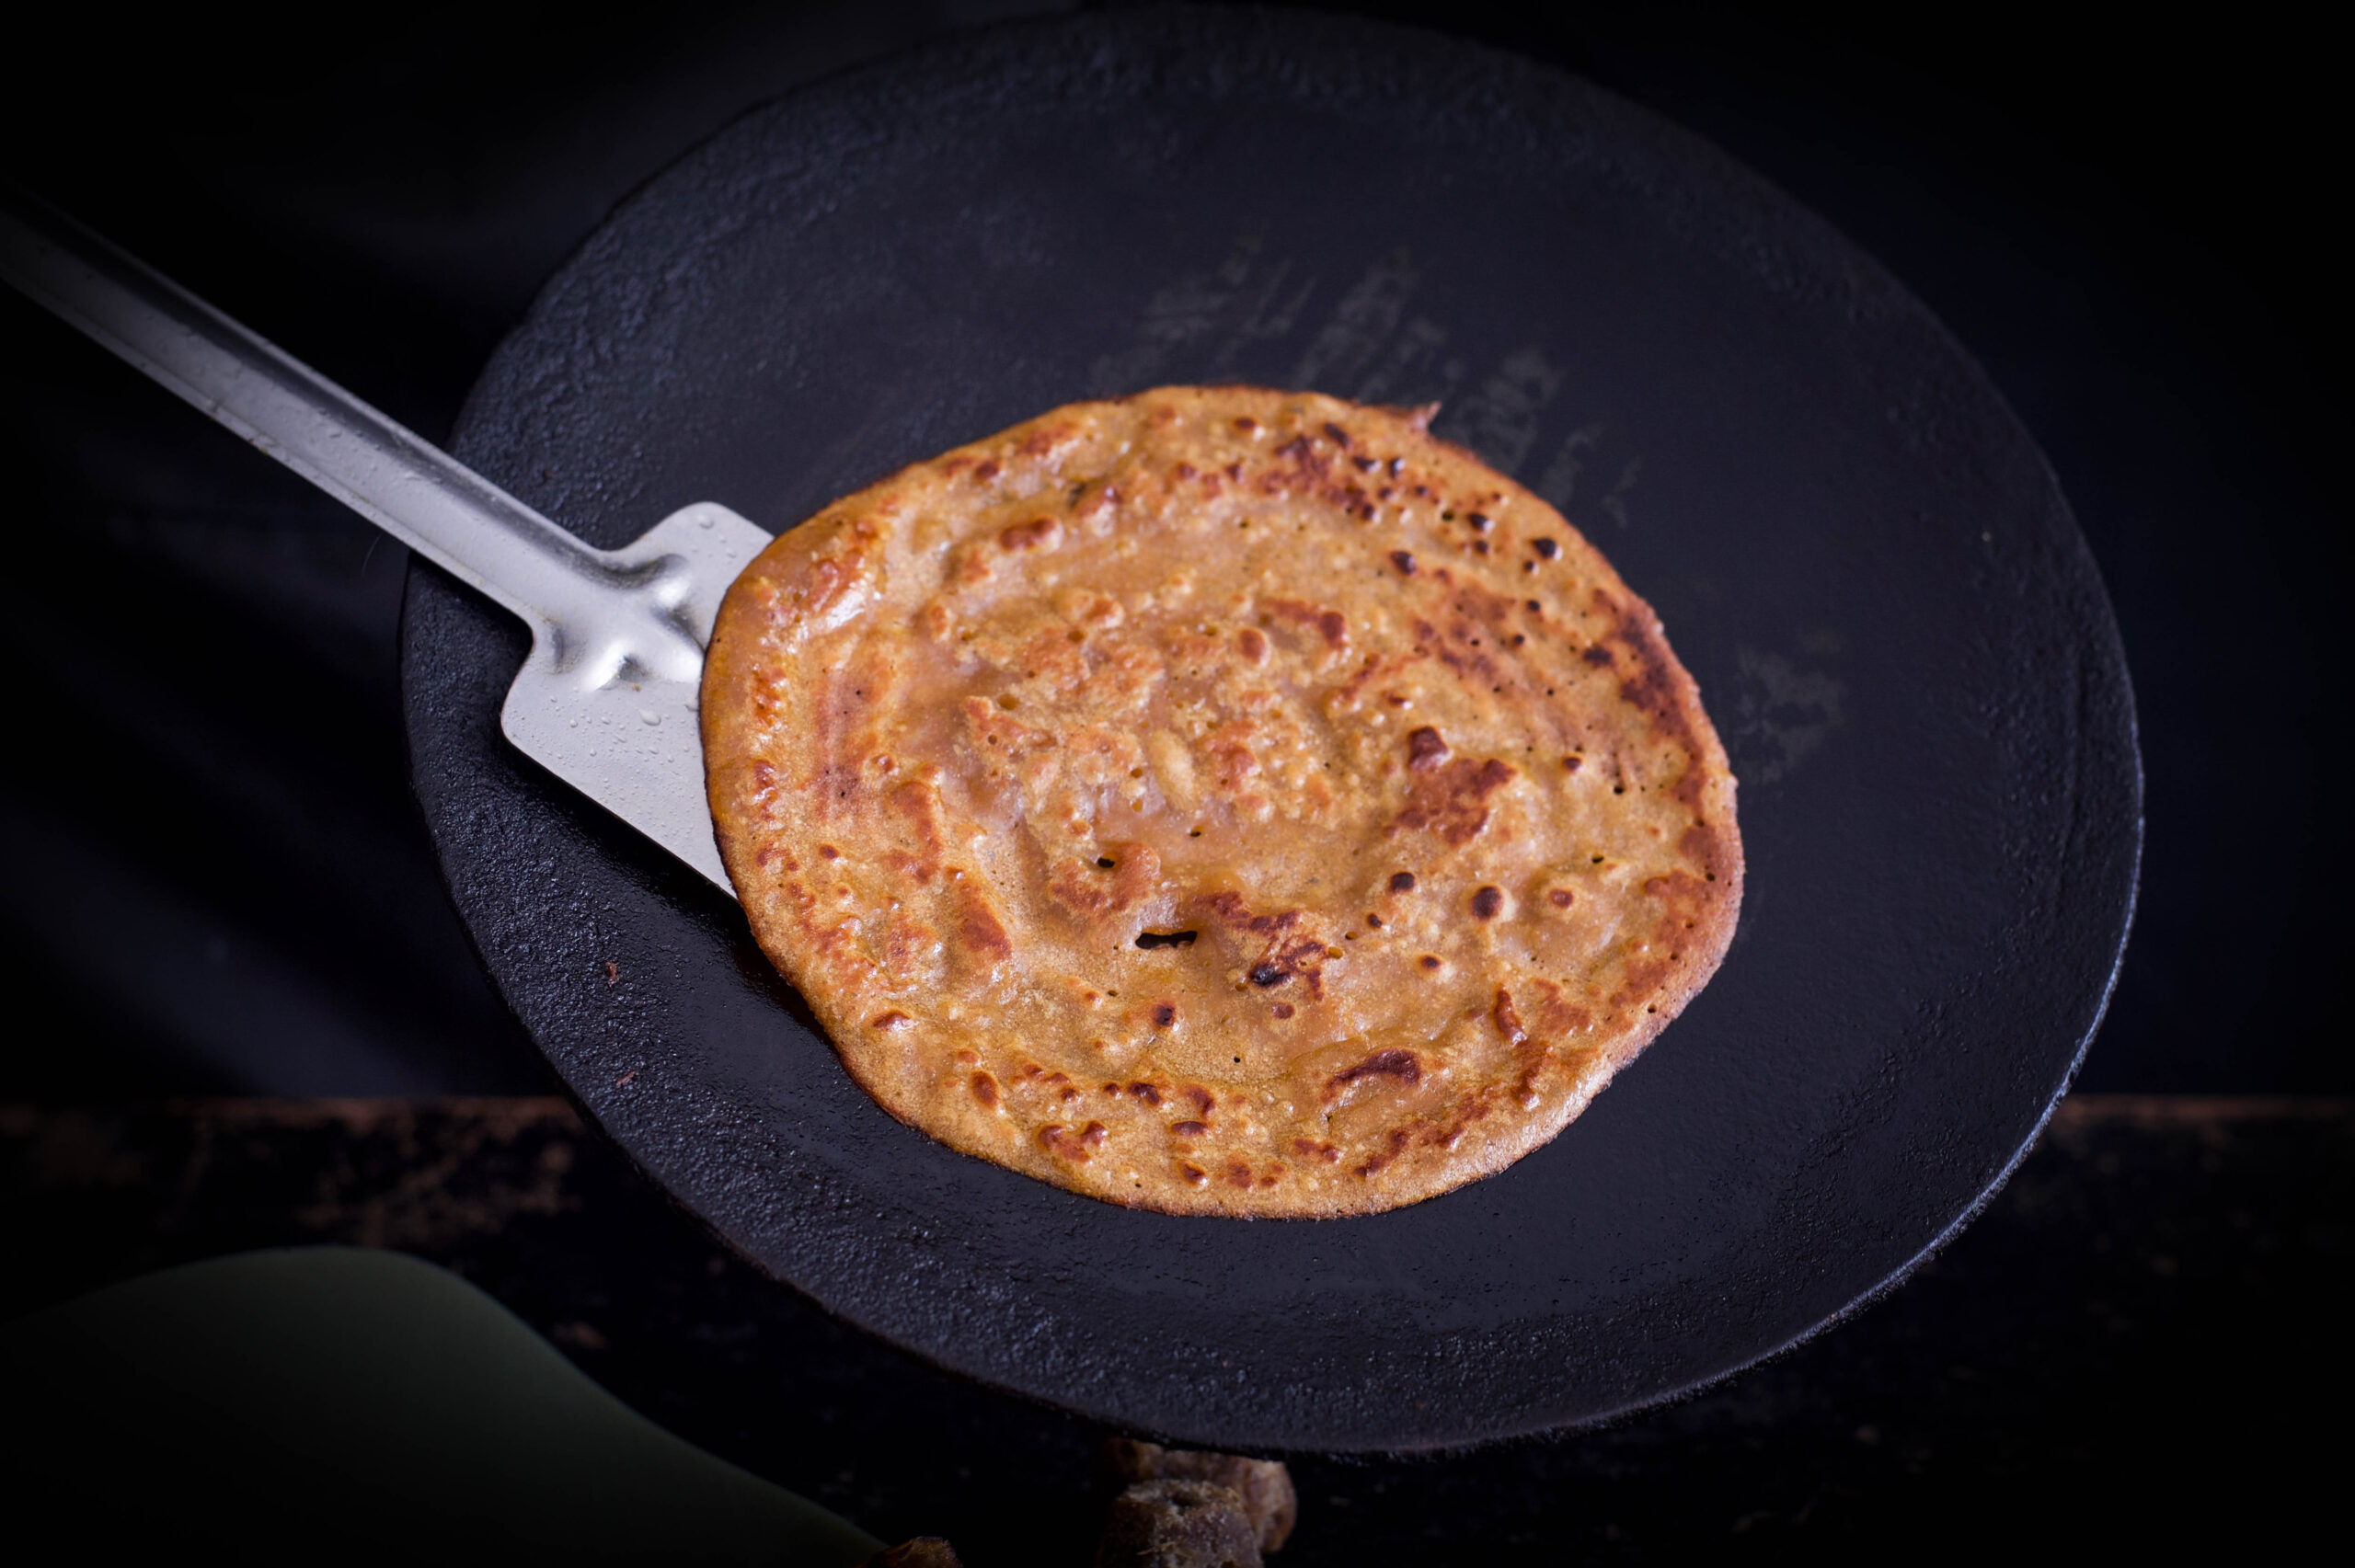
The very first recipe I learnt from my mother was the foundation of all Gujarati meals: the humble yet hard-to-perfect roti. Or as we call it, rotli. The ideal Gujarati rotli has to be as thin as muslin, and it took me years of practice to expertly knead the dough and roll it into perfect circles. My mother insisted that a good Gujarati girl’s rotis had to be dainty and delicate. My early ones often turned out like Punjabi parathas, large and thick – and by the norms of the Gujarati kitchen, totally wrong! Curious about this cultural difference, I asked a Punjabi neighbour why their standard for the perfect flatbread was so unlike ours, and she gave me a beautiful answer: the big Punjabi paratha reflects generosity, large-heartedness and the desire to share what you eat with the world!

Rotis, known by many names and variations, originated in the Indus Valley civilisation, where grain grinding is said to have been invented. Indian breads are different from other loaves in that they do not contain yeast. This soft form of unleavened bread comes in various forms, shapes, sizes and flavours typical of the region it is prepared, with flour made of millets, wheat, rice and other grains.

All over India, the basics of a good roti are flour, fat and flavour. The fat comes from oil, butter, cream or ghee. There are so many kinds of flavourings and stuffings – from green chilli paste to potato to cauliflower to the quintessentially Bengali renditions made with fish.

I’d like to tell you more about a few Gujarati variants: the herbed thepla, the crispy bhakri, the sweet puran poli, the seasonal juwar and bajri, and the simple rotli. Of these, I’ll share two recipes – both are meant to be eaten hot, and bear in mind that an average person can easily eat several at a time! Some notes for kitchens outside India: while binding the dough, I work with my hands. However, if you’re used to the food processor, please do utilise it. You can use a standard rolling pin.


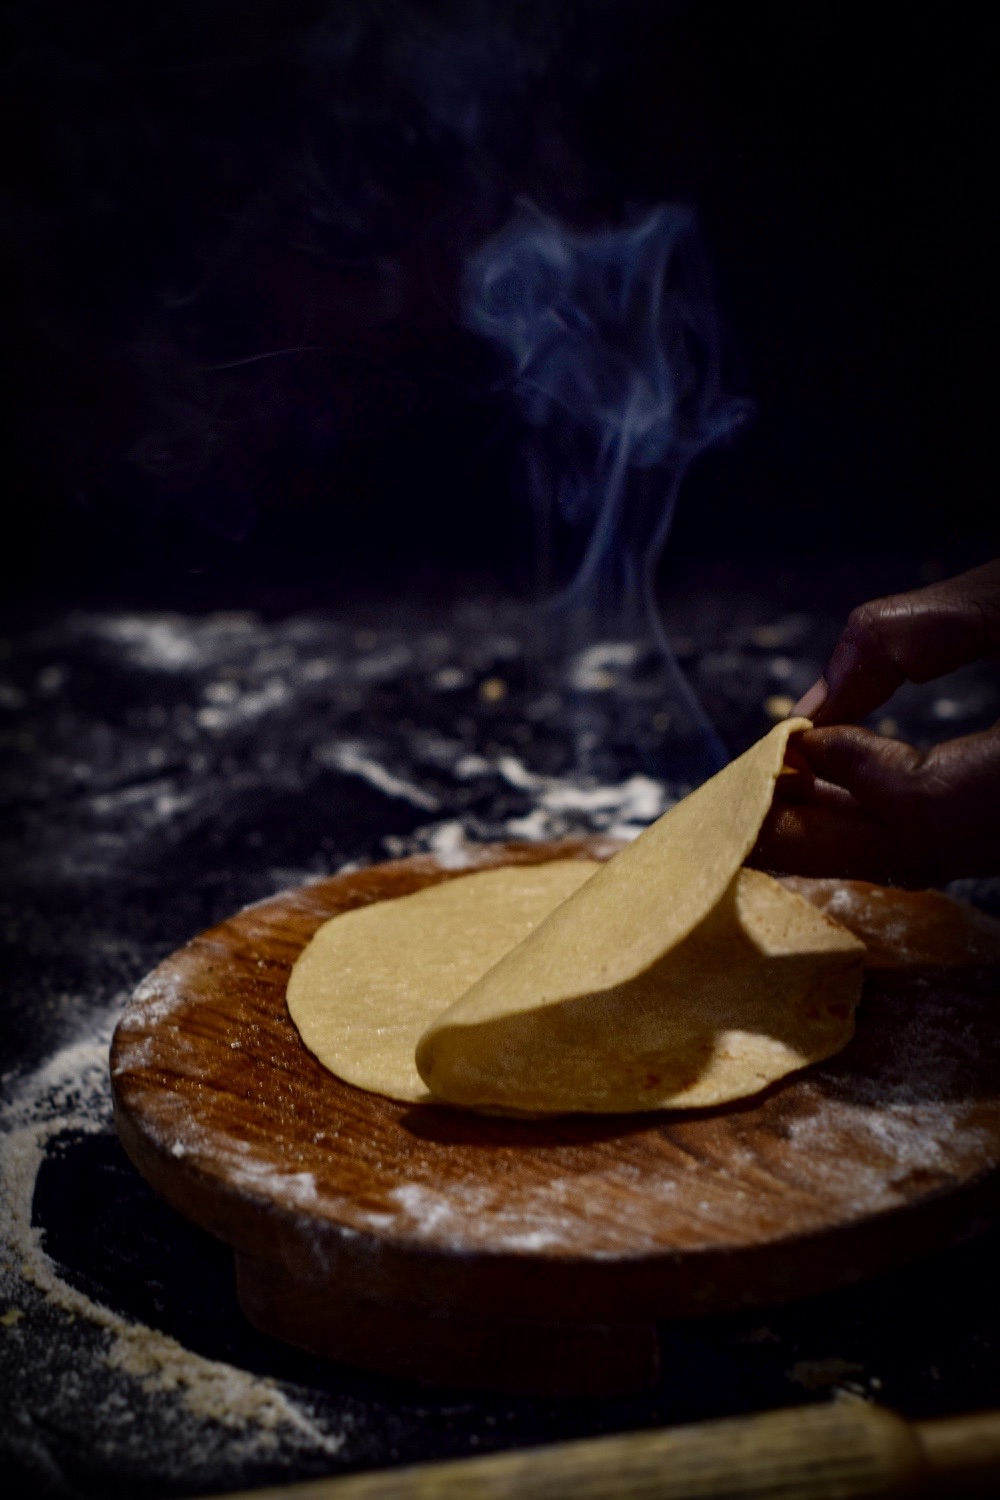
Rotli

Lunch during our summer holidays as children was a competitive affair: who could eat the most rotlis? These rotlis were the simple, everyday variety, washed down with aam raas, a seasonal mango purée. A blissful siesta would ensue, the heavy lunch and the heat lulling us to sleep to the sound of old Hindi songs on the radio…

The rotlis we had then were made from balls of dough joined together, then roasted and peeled from each other. They were as fine as skin. We also ate a sweetened “children’s” version, made with jaggery water. Another way to sweeten a rotli, if you want to, is to eat it with a strained yoghurt dessert known as shrikand. I’ll be sharing a recipe for that soon, and if you subscribe to this blog, you’ll be the first to know.


Thepla


(Yields: 12)


1 cup methi (fenugreek) leaves, picked and washed

1 cup whole wheat flour

1 teaspoon salt

¼ teaspoon turmeric powder

2 teaspoons cumin powder

1 teaspoon white sesame seeds

1 teaspoon crushed green chili (adjust to your taste)

½ teaspoon ginger paste

1 tablespoon yoghurt

1 tablespoon sunflower oil + oil for sautéing

100 ml water or less


Traditionally, theplas are often made with leftover rice or khichdi, so as not to waste food, but you can make them fresh too. In a mixing bowl, add all the dry ingredients and blend them gently. Now add the 1 tablespoon of oil and the yoghurt. Slowly add water and continue mixing, until you feel the mixture is slightly tougher to the touch than bread dough. You do not need to use the entire 100ml.

Dust both sides of the ball with flour. Make small lemon sized balls and allow them to sit for at least half hour. Now, dusting more flour as you do, roll out the dough into discs. Make them as thin as you can.

On a heated iron pan, place the thepla on a medium flame for 30-40 seconds. Then turn it to the other side. In another 30-40 seconds, add a few drops of oil. Make sure the oil is spread to the edges too, as the thepla may dry out. Press down with a spatula to help it cook. Flip the thepla a couple of times until it is golden on both sides. Remove from the pan and fry the next disc, and so on.

As you make each thepla, either store it in a hot case, so it remains soft and warm, or pile them up on a plate. Serve hot, with a curry of your choice or a sweet mango or kumquat pickle, or simply enjoy them as some Gujaratis do – with a lovely cup of chai.


Bhakri


(Yields: 15)


2 cups whole wheat flour

¼ cup semolina

¼ cup oil

100 ml warm water

¼ teaspoon salt


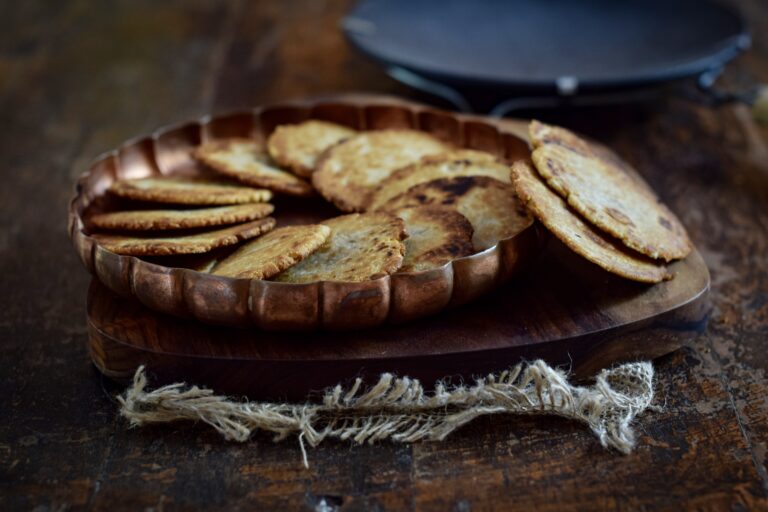
A bhakri is really a type of biscuit, made with a greater quantity of oil than water. A version with jaggery water was my standard after-school snack while growing up. You can make this in the sweetened (what I call “children’s”) version too, by substituting plain water for jaggery water.

Assemble all the ingredients in a large bowl. Add water slowly as required and bind the dough together. Continue pressing firmly, until it all comes together and does not stick to the bowl or your fingers. The dough should appear as a smooth, firm ball. There’s no need to dust this ball of dough with flour, as it is quite tough and will not stick while rolling. If it does stick, you have probably added more water than required, and only in this case should you dust a little flour. Now, divide the dough into 15 smaller balls and keep aside.

Heat an iron pan. Roll out the dough into discs of about 1 cm thickness – this is where the thin-as-muslin standard doesn’t apply! Place the discs onto the hot pan and reduce the flame. Since bhakris are thicker they need to cook on the inside too, so it will take longer to cook. The flame needs to be maintained between medium and slow. Flip over each bhakri a couple of times until golden. If you’d like to, use a pair of tongs and roast the bhakri directly over the flame towards the end of its cooking time. This is the traditional way – dough to flame, directly, just like in this video!

Once they are crisp and golden, remove from the pan and let a trickle of ghee melt onto the bhakri. Serve with tea. They also travel well, so consider packing them for journeys. As my mum would say, a well-made bhakri will be like an easily chewable cookie – it can be eaten comfortably both by the elderly and by children alike.

Puran Poli

Sweet, stuffed and festive, the puran poli is enjoyed not just in Gujarati cuisine but throughout India. Made of toor dal (pigeon pea) and jaggery, it is a stuffed and folded variant that is half-roti, half-dessert.

Juwar & Bajra

It’s only after years of practice with the other rotis that one comes to seasonal variants like juwar and bajra, which are even more difficult to make, let alone master. Gluten-free, the juwar roti is made of sorghum flour while the bajra roti is made of pearl millet. These thick flatbreads were traditionally eaten during winters, roasted on a charcoal flame and thus imbued with a different flavour. They were most often relished with a thick layer of white home-churned butter and sugar or jaggery. Leftover juwar and bajra make delightful, healthy cereal when crushed and eaten with milk.

*

Many Gujarati rotis were created to satisfy two specific purposes: to suit the extremely dry summers and cold winters, or to be travel-friendly, a fact proven all the way from the traders of yore to families like mine who took cross-country train rides. Whether unpacked during a picnic or a road trip, or eaten fresh and piping hot from the stove, the roti satisfies.

Throughout the subcontinent, we eat with our hands. According to Indian philosophy, the 5 senses are at our fingertips, and the act of eating activates all of them. Eating is truly a multi-sensory experience: presentation, ambience, mood and texture (even the texture of the thaali or plate – is it silver, terracotta, bell-metal or steel?), who serves us, who we eat with, the memories we recall or create through the meal – all of these matter as much as the taste itself.