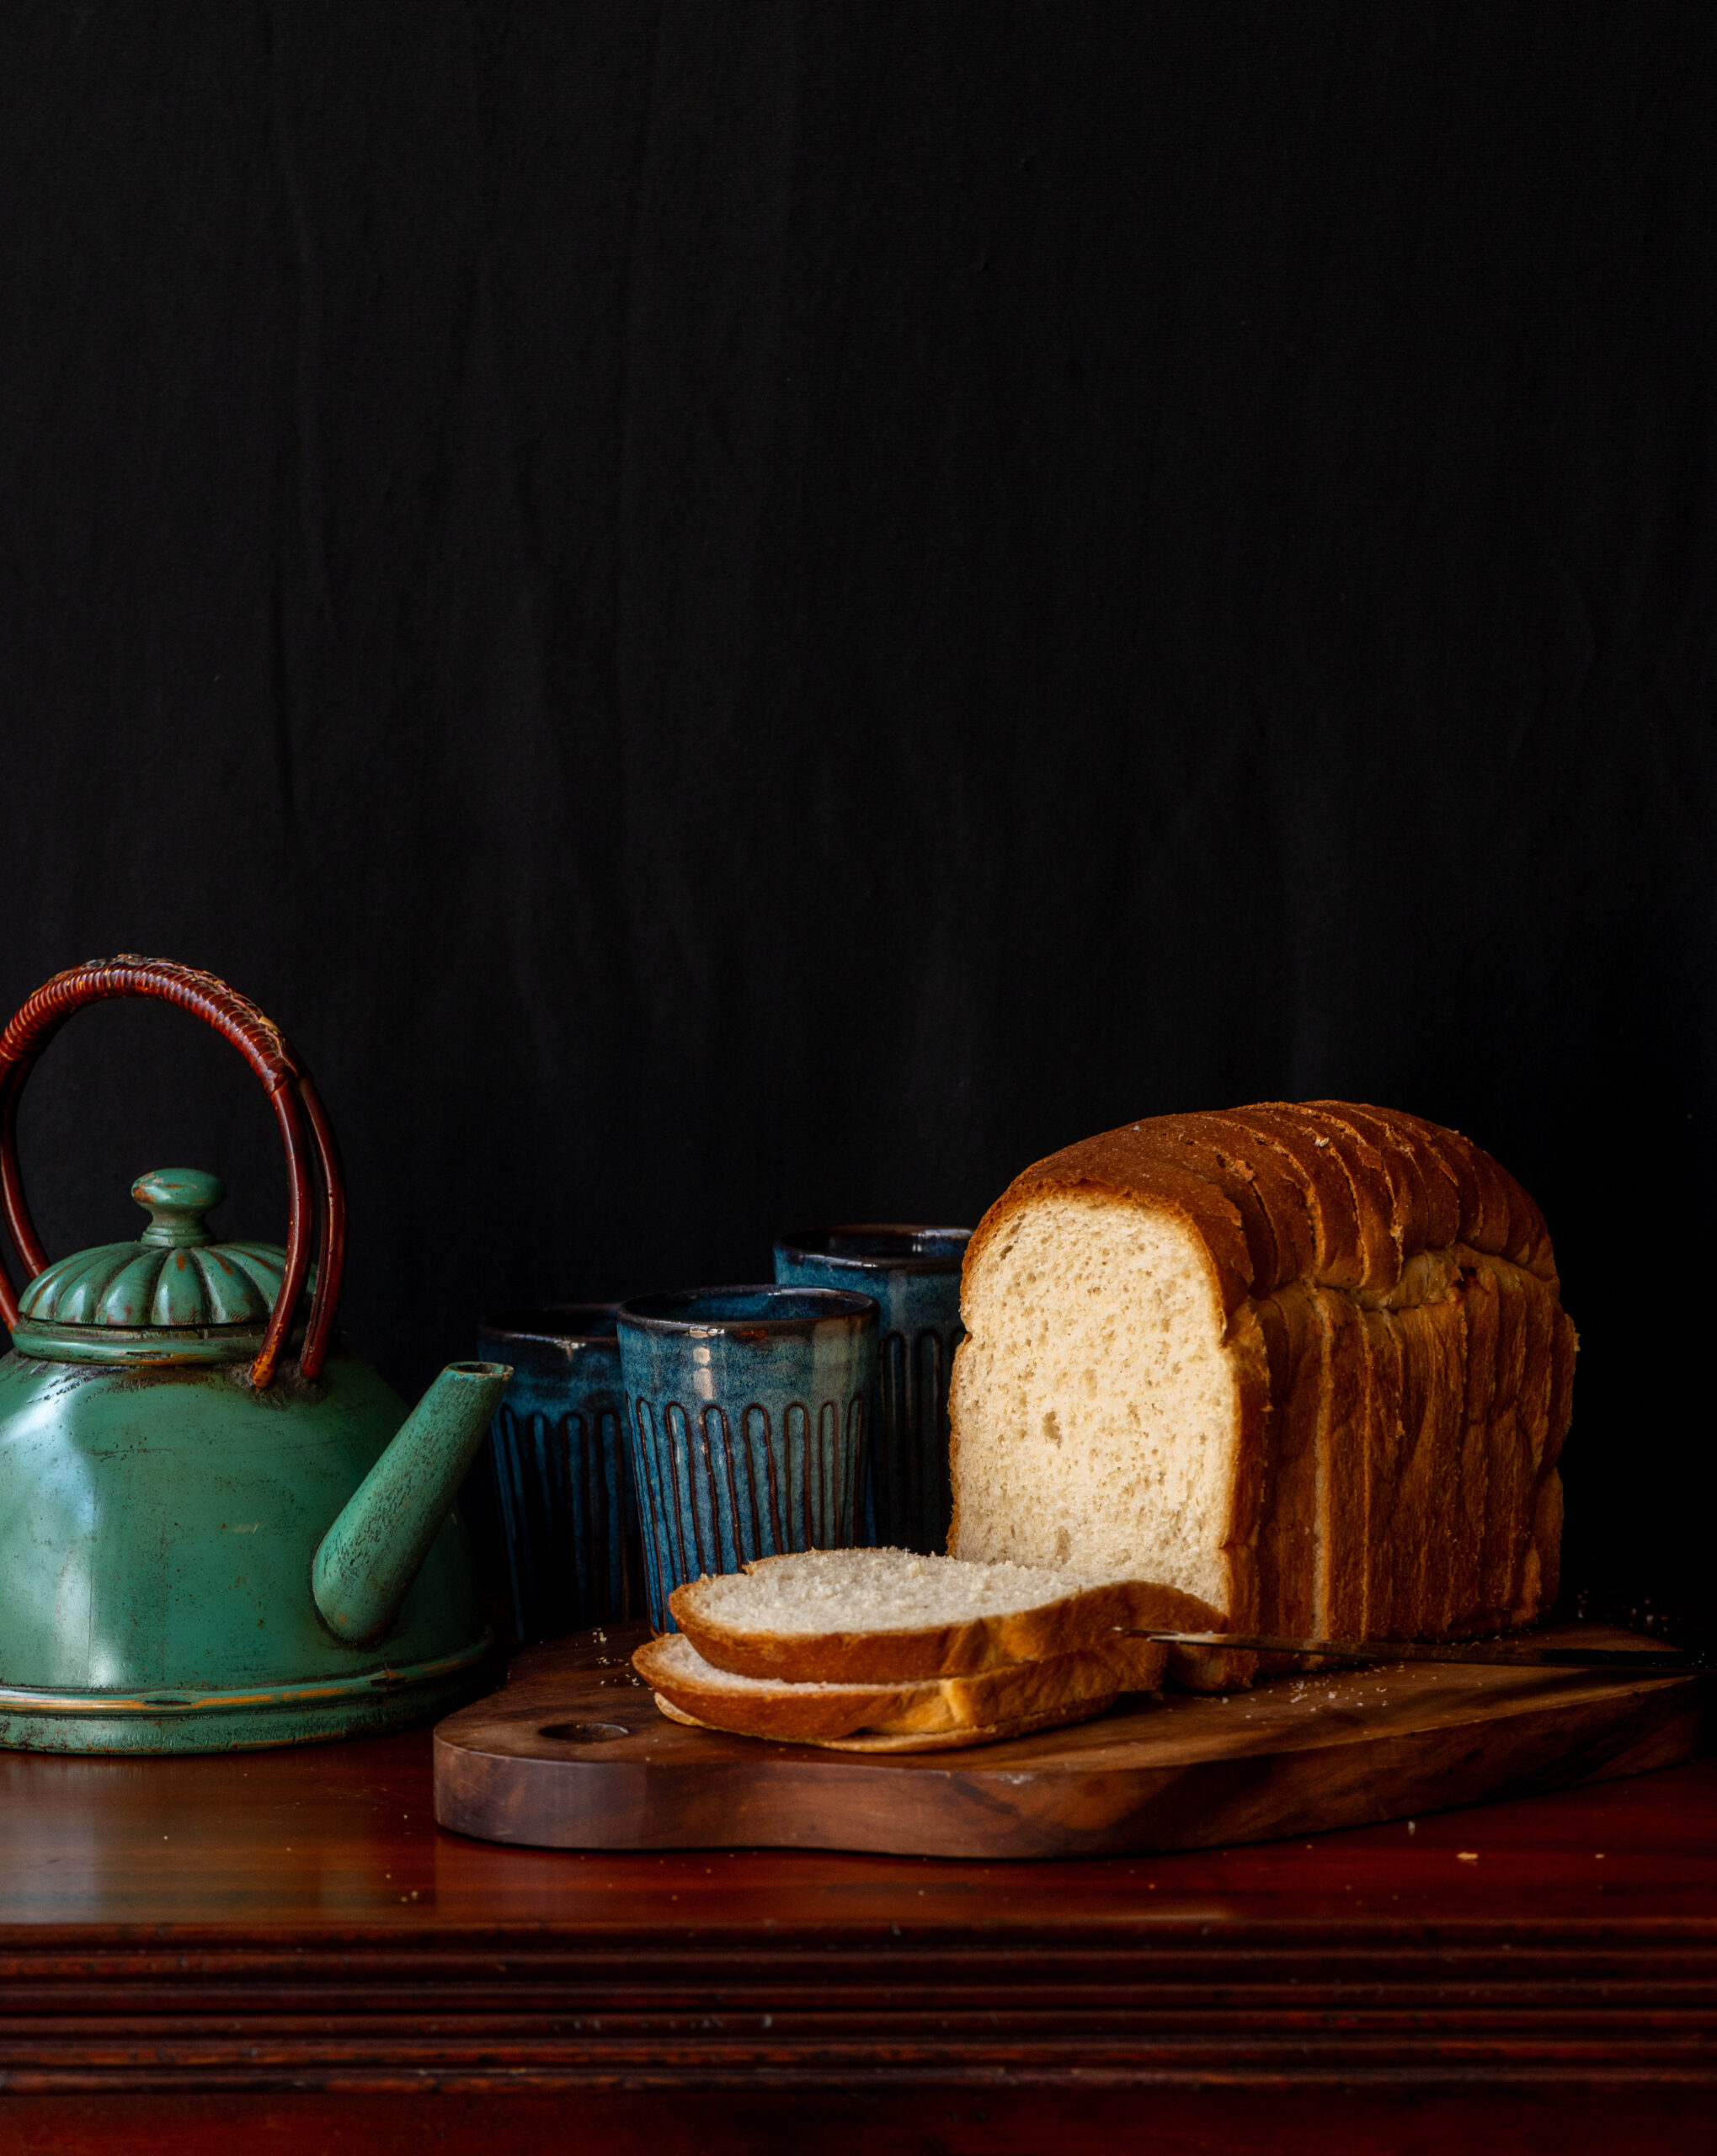
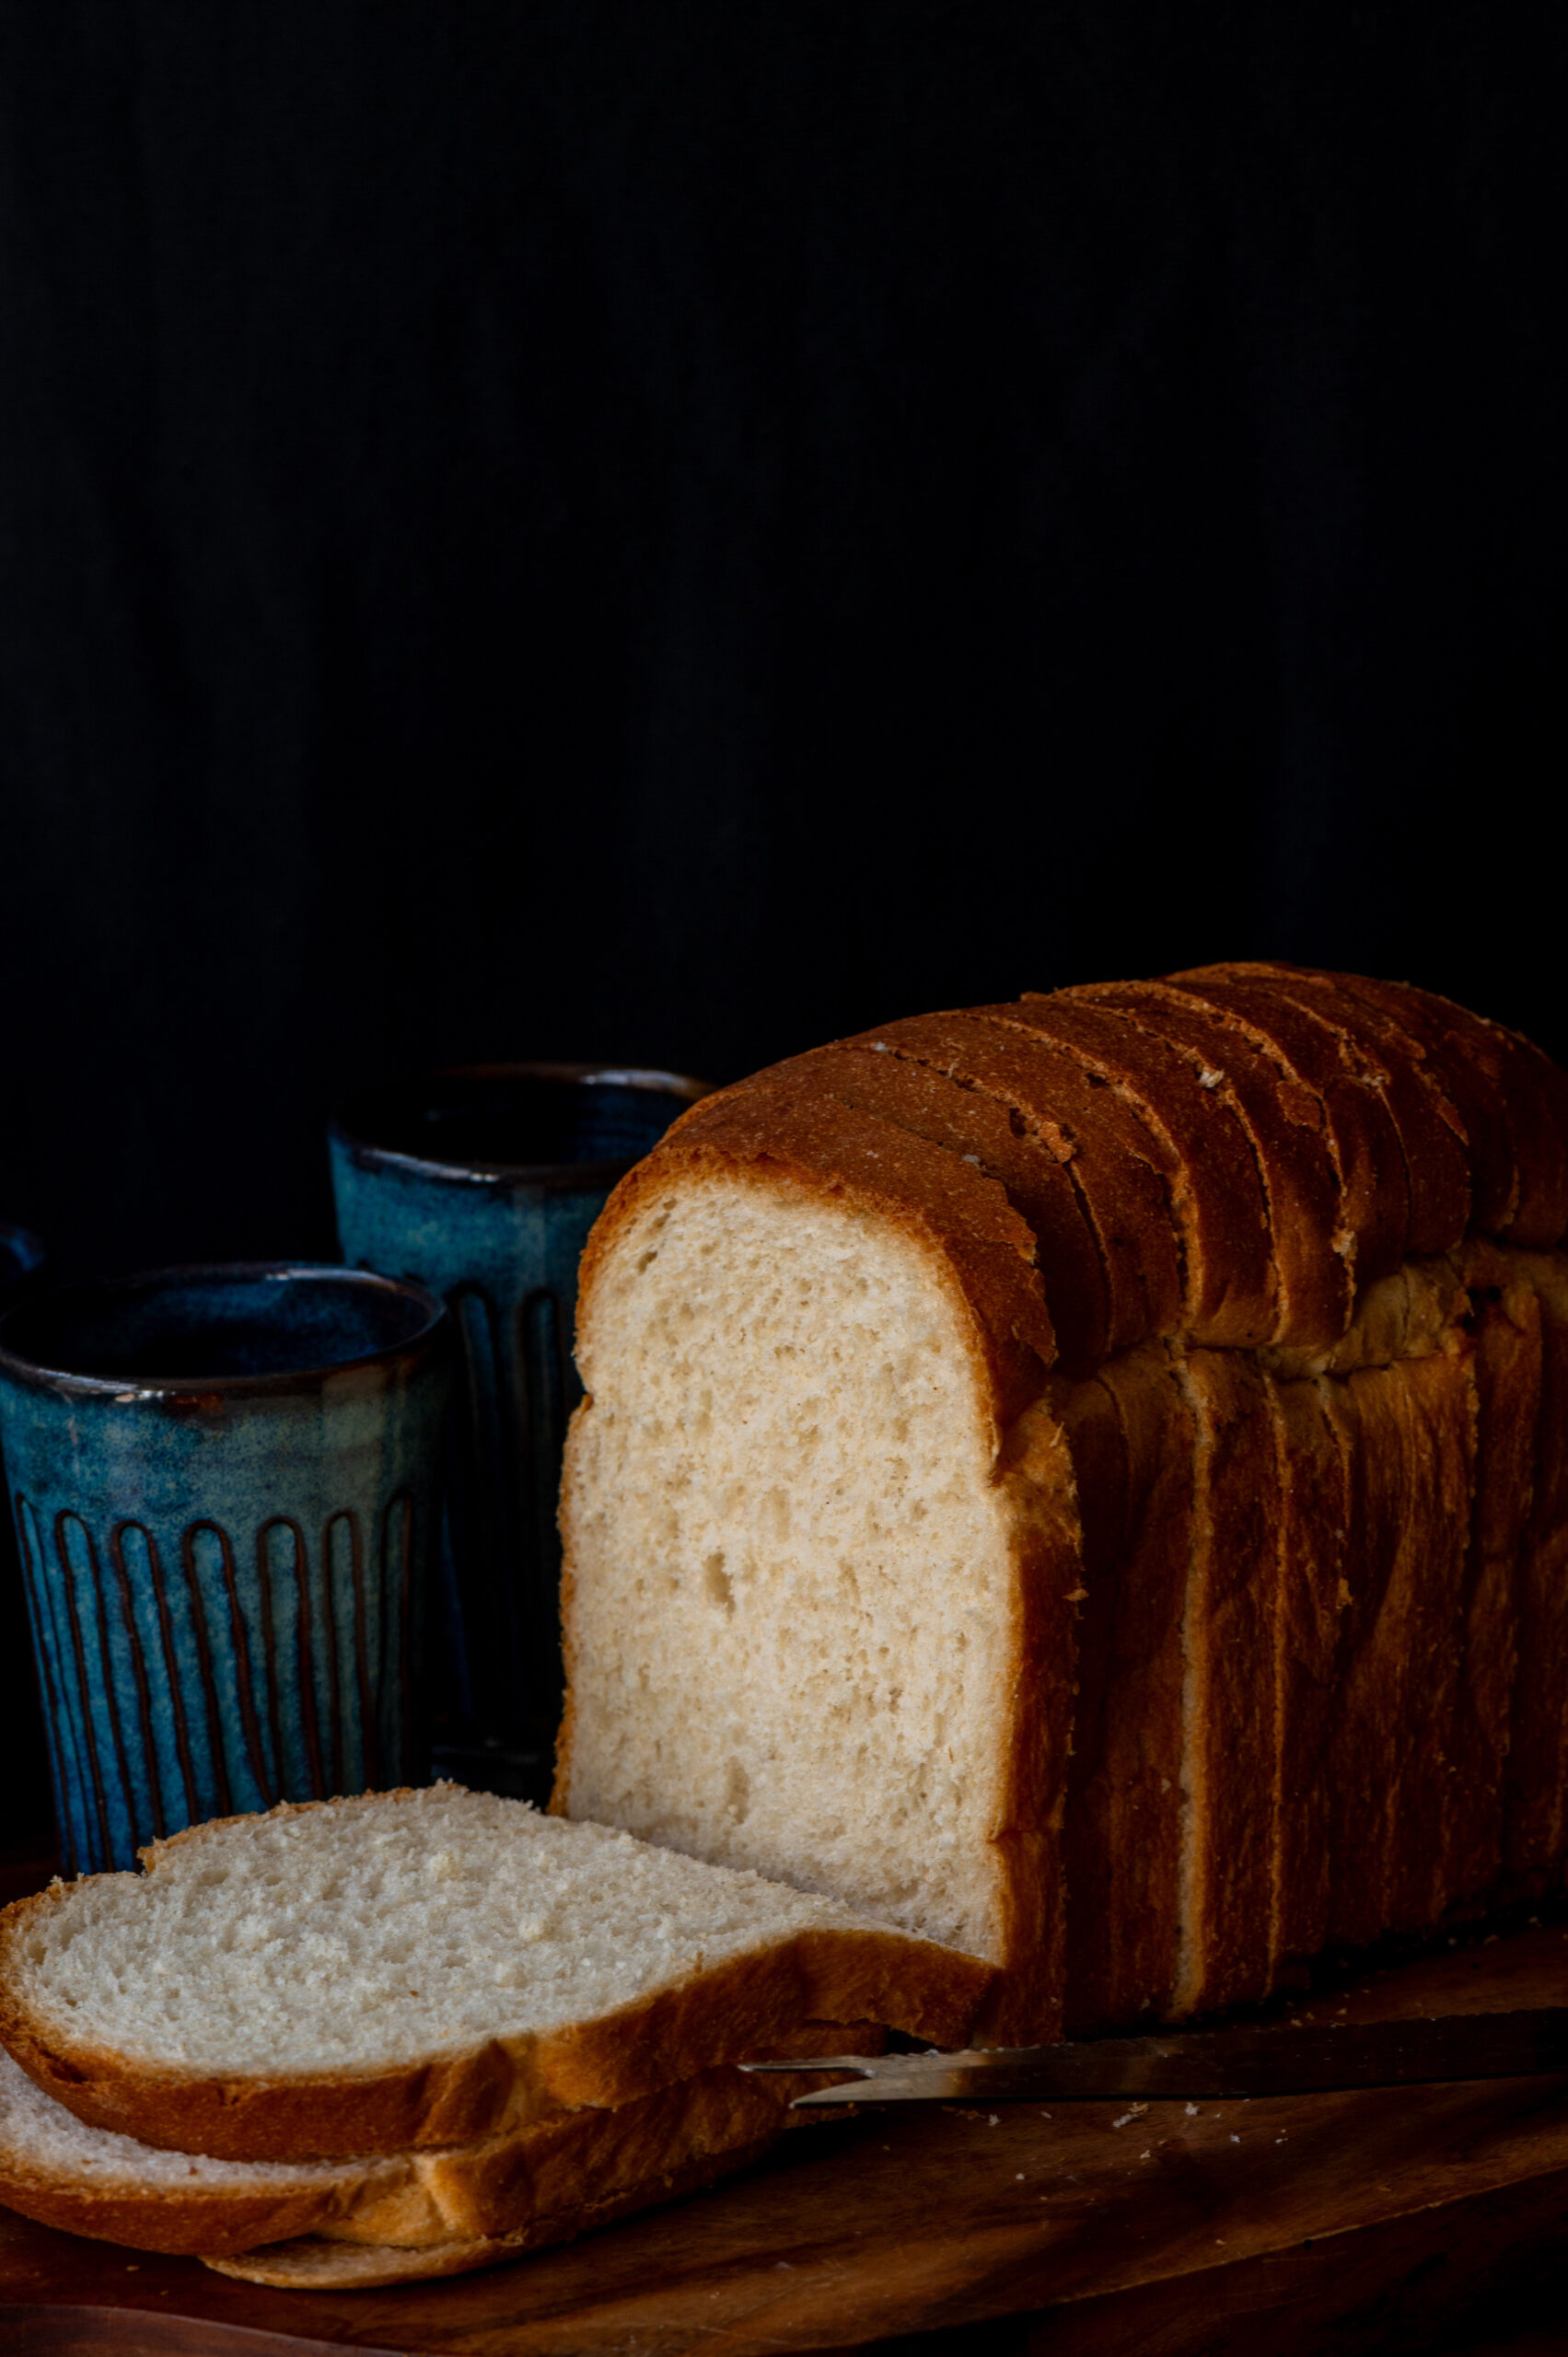
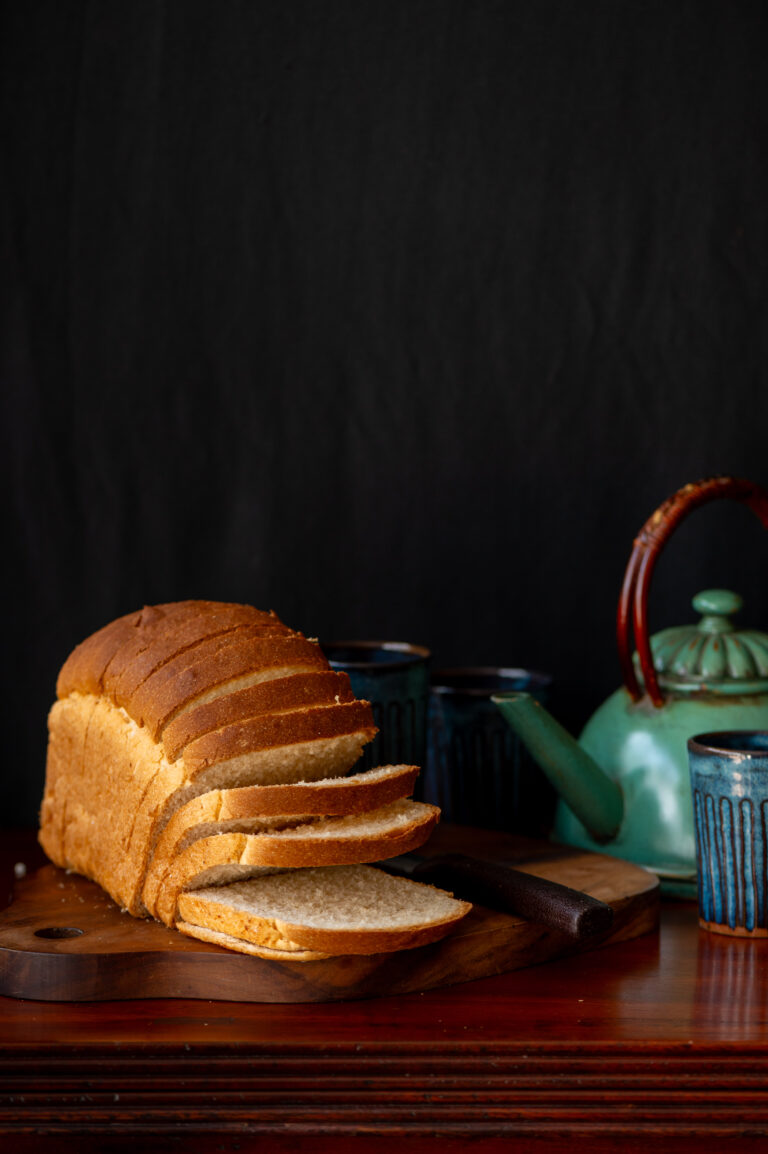
If you’ve been following my work for a while now, you may know all about my love of sourdough, and perhaps even came along for the journey on my Instagram Stories as I practiced and practiced making that wonderful bread. By now, I’ve been baking sourdough for years, and it was especially a fixture in my home during the COVID-19 lockdowns when I wanted to ensure my family was eating extra clean and healthy food. Still, that doesn’t mean that it is the only type of bread that I bake regularly. In fact, when my kids come home to visit, they tend to be a bit fussy about wanting regular, plain white bread for their breakfasts. Being me, rather than just pick some up at a store, I decided to start baking good old basic bread at home too, using refined white flour. The last time I put a loaf in the oven, I thought – why shouldn’t you too?
Believe me when I say that baking your own basic bread is easy. I know there are plenty of bread-making devices out there, and I do have one too. My brother had gifted me one when the gadget was still very new on the Indian market. I recall that the instructions were pretty easy: throw all the ingredients in at night, set the timer, and come down in the morning to fresh bread, ready to eat. I used to do that, until I learned how to bake a loaf without the device. I still keep it for its nostalgic value, as it was a gift from my beloved brother.
That said, the device I still love to use, and which adds more fun to my bread-making, is a small bread slicer. I do enjoy culinary gadgets of all kinds and this one ensures that the loaf is evenly cut. One of the great things about making your own bread is that you get to decide the thickness of each slice. A regular slice is great for sandwiches and toasties, and a thick one is ideal for French toast. I’ll share the recipe for the latter in the future (please remind me, if you’d like it!), and as for the former category, there is a whole variety of recipes to explore on this blog through the links above.
However you slice it, I can say this for sure: it will fly off the table. Made from scratch, the loaf will be warm, moist, soft and fresh. As with all totally homemade food, you will know exactly what went into it and be assured that it is healthy and free of preservatives and so on. This is also an eggless recipe.
While I was baking this loaf for my kids recently, another memory popped up – from back when they really were kids. Each year during their summer holidays, we would go up to the hills, where there was a bakery just down the road from our home there. When I say it was “just down the road”, I mean on hill terms – which is to say that it was quite a bit of a walk, that too a sloping one. So every morning, to get our exercise, we would go for that long walk, and it would always culminate at the bakery.
I knew the exact time when hot buns and bread would be fresh out of the oven there, so I always made sure that we embarked on our walk at a precise time, on an empty stomach, so that we would reach at the perfect moment – and pretty hungrily, too! The bread would be so hot that it couldn’t even be sliced, and we would greedily pluck at it with our fingers, enjoying our delicious breakfast. I still smile to myself remembering those mornings.
That bakery continues to exist, and when we travel to the hills we still go there for old times’ sake. My grown children, now discerning eaters, claim that my homemade bread is tastier than what we buy there. I don’t know if they just say that to make me happy, but one thing’s for sure: baking for my loved ones warms my heart. I am sure you will feel the same way too, when you give this basic bread a shot.

Basic Bread
(Yield: 1 loaf)
3 cups flour
1½ tablespoons granulated sugar
1 teaspoon salt
¼ cup milk
1 cup water
1 tablespoon butter/oil
2 teaspoons dry yeast
In a bowl, combine 1 cup flour, sugar, salt, yeast and mix thoroughly. Make sure the yeast is not expired – this is an easy mistake to make.
In another bowl, mix the water, butter and milk. Warm gently, to a little over room temperature. Do not let it get hot. Add this to the flour mixture.
Blend for a minute and then add the remaining flour. Continue blending for approximately 2 minutes or until the mixture all comes together, scraping down the edges until it forms a ball.
Remove from the mixer stand onto a clean and lightly floured surface and knead for about 5 minutes at least. Kneading is key. Make sure you knead as much as possible until the dough looks smooth.
Now, cover with a cloth and allow the dough to rest.
Roll the dough into a rectangle using a rolling pin, very gently.
Start by folding from the short end of the rectangle and pinch the edges.
Oil a 12×8 inch bread tin and gently place the dough in the centre.
Cover with a cloth and allow to rise for about 30 minutes.
Bake in a preheated oven for 20 minutes at 180-200°C or until golden brown.
After you remove the loaf from the oven, use a knife to edge out the loaf. Cool before slicing.
There is just something about fresh, hot bread coming out of the oven. The entire home takes on that fragrance. It’s irresistible!


