Tag

Gujarati

Browsing

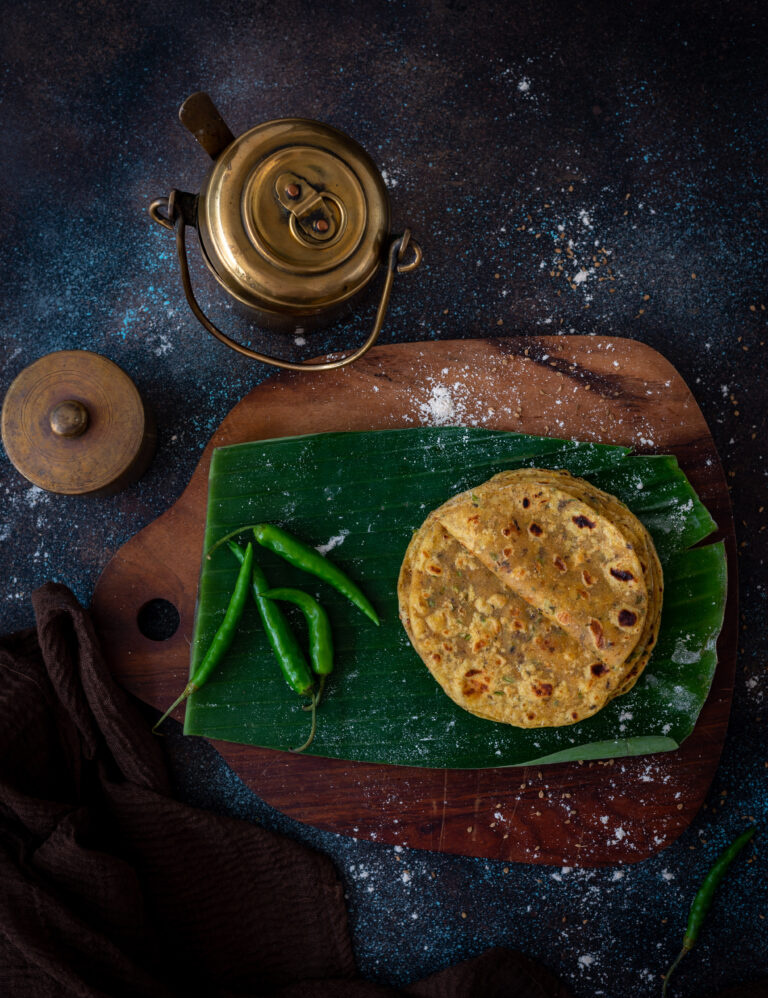
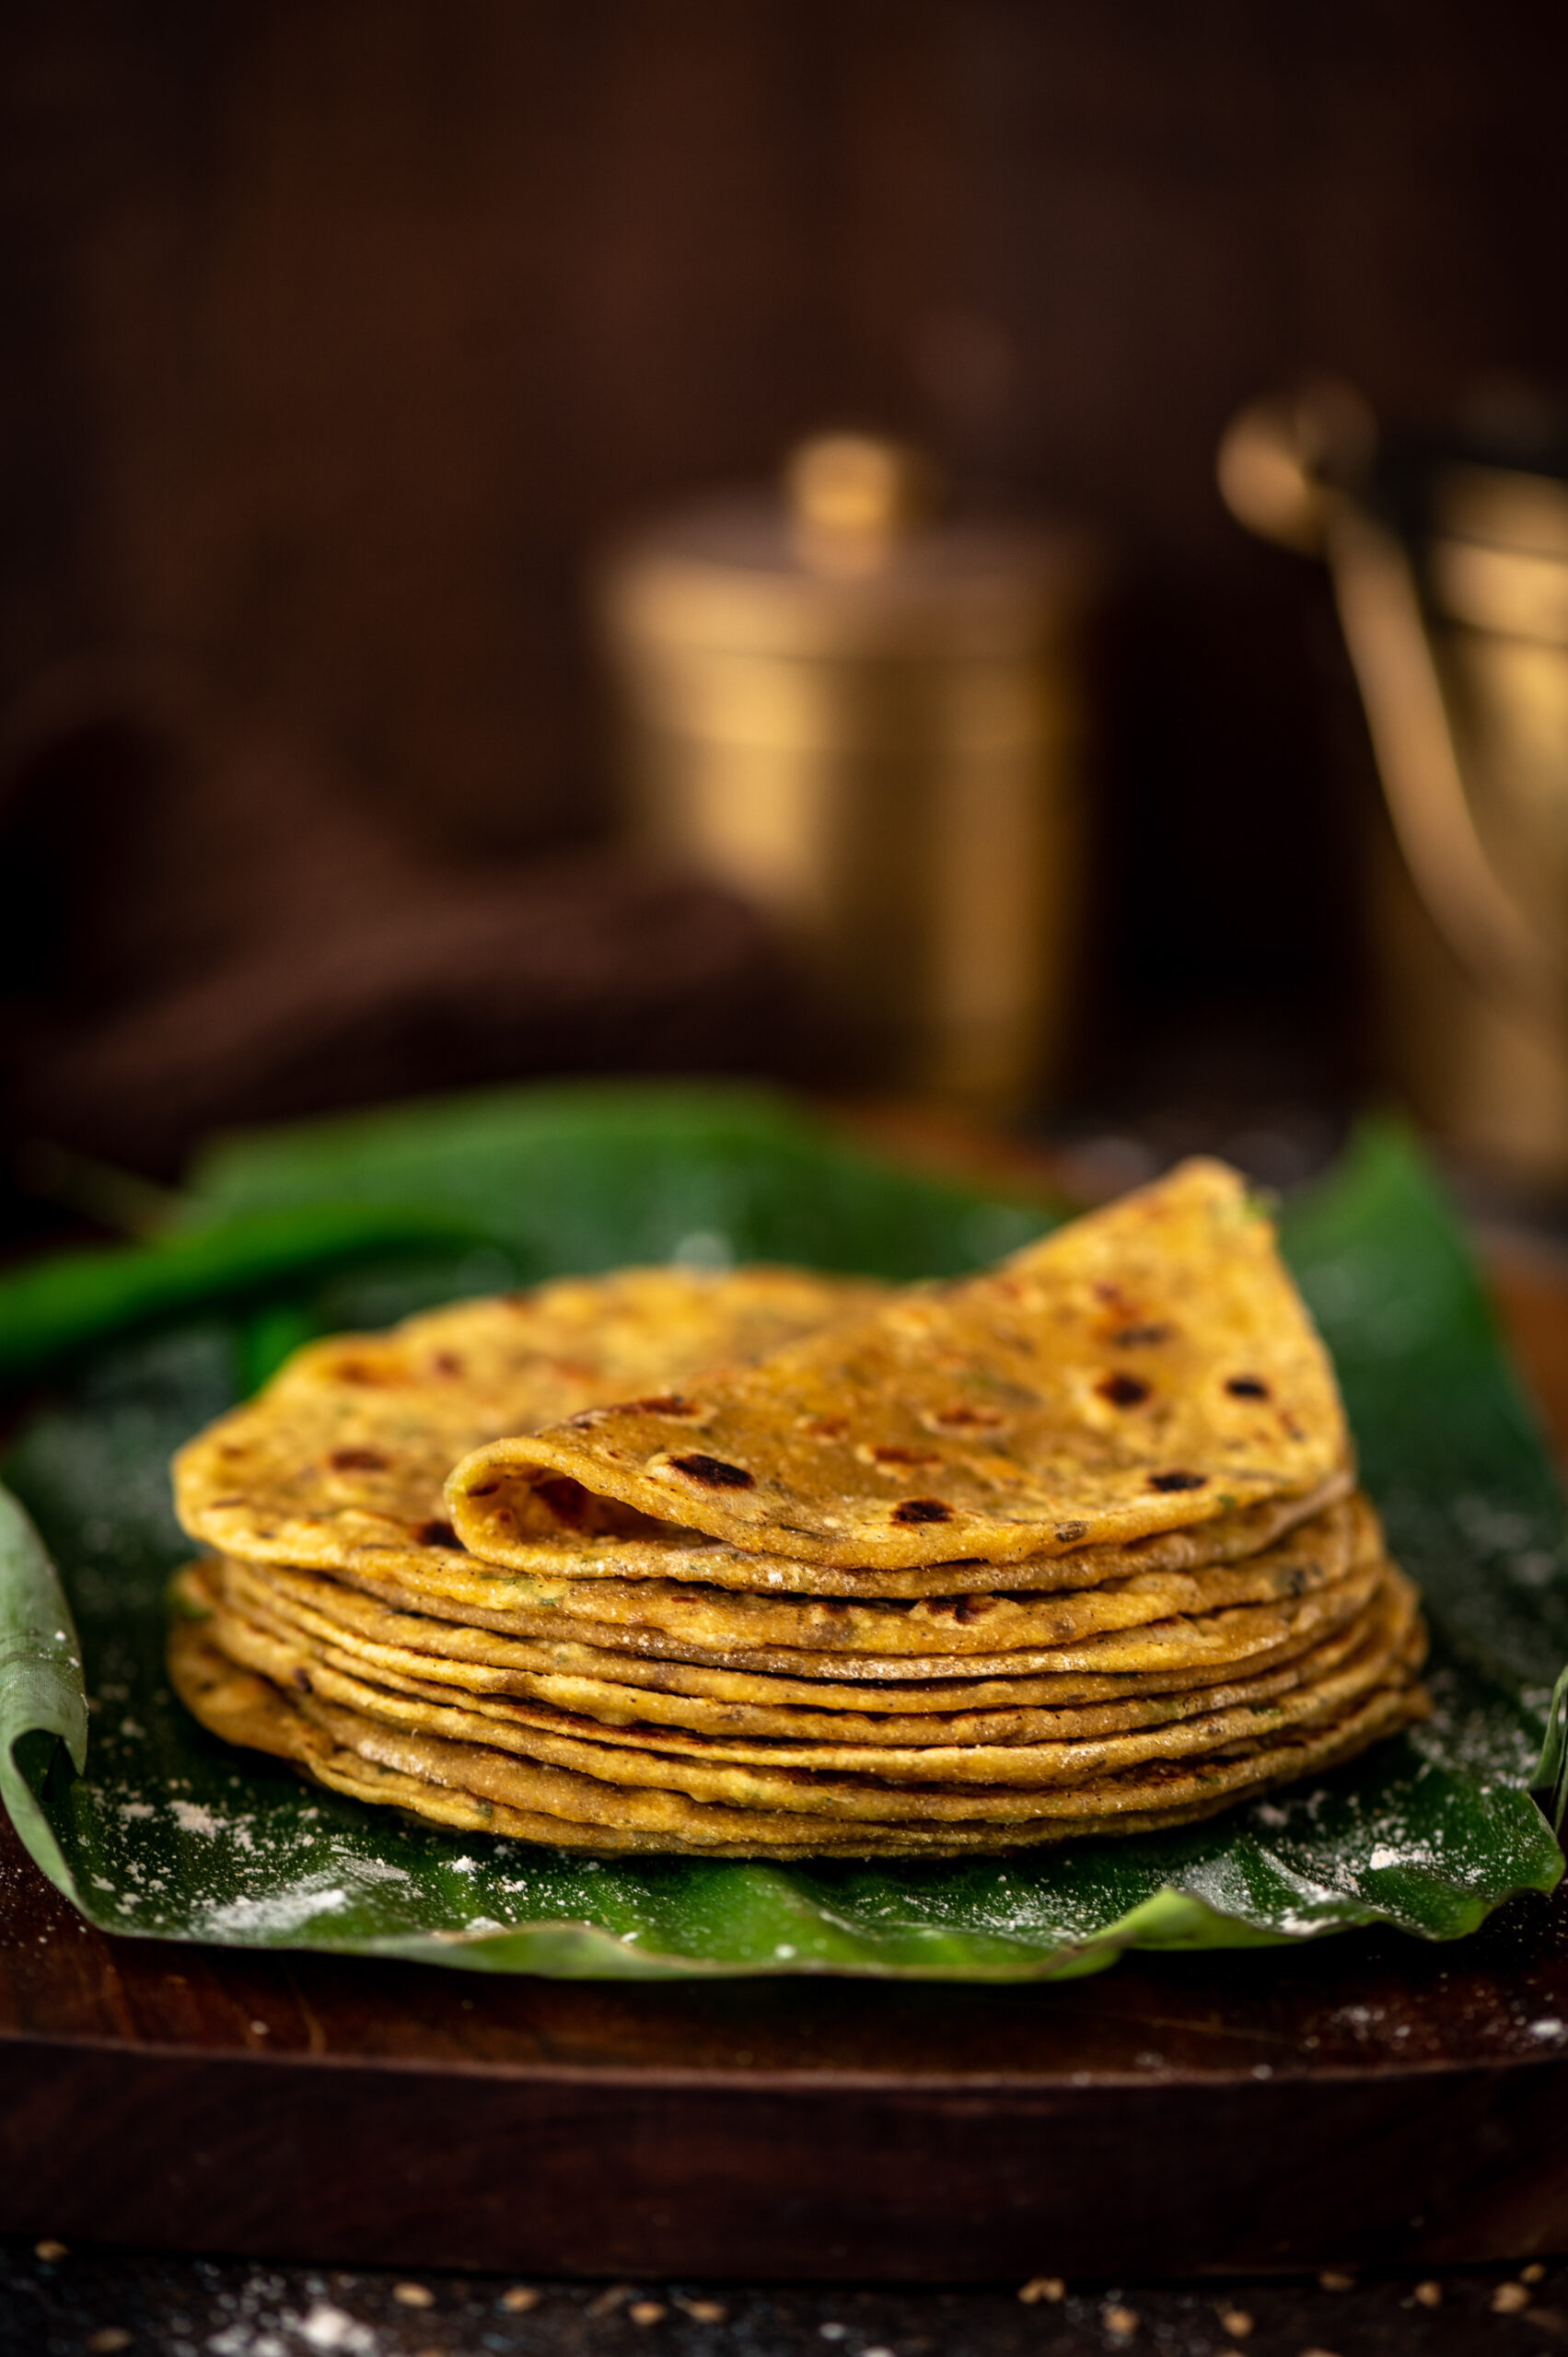
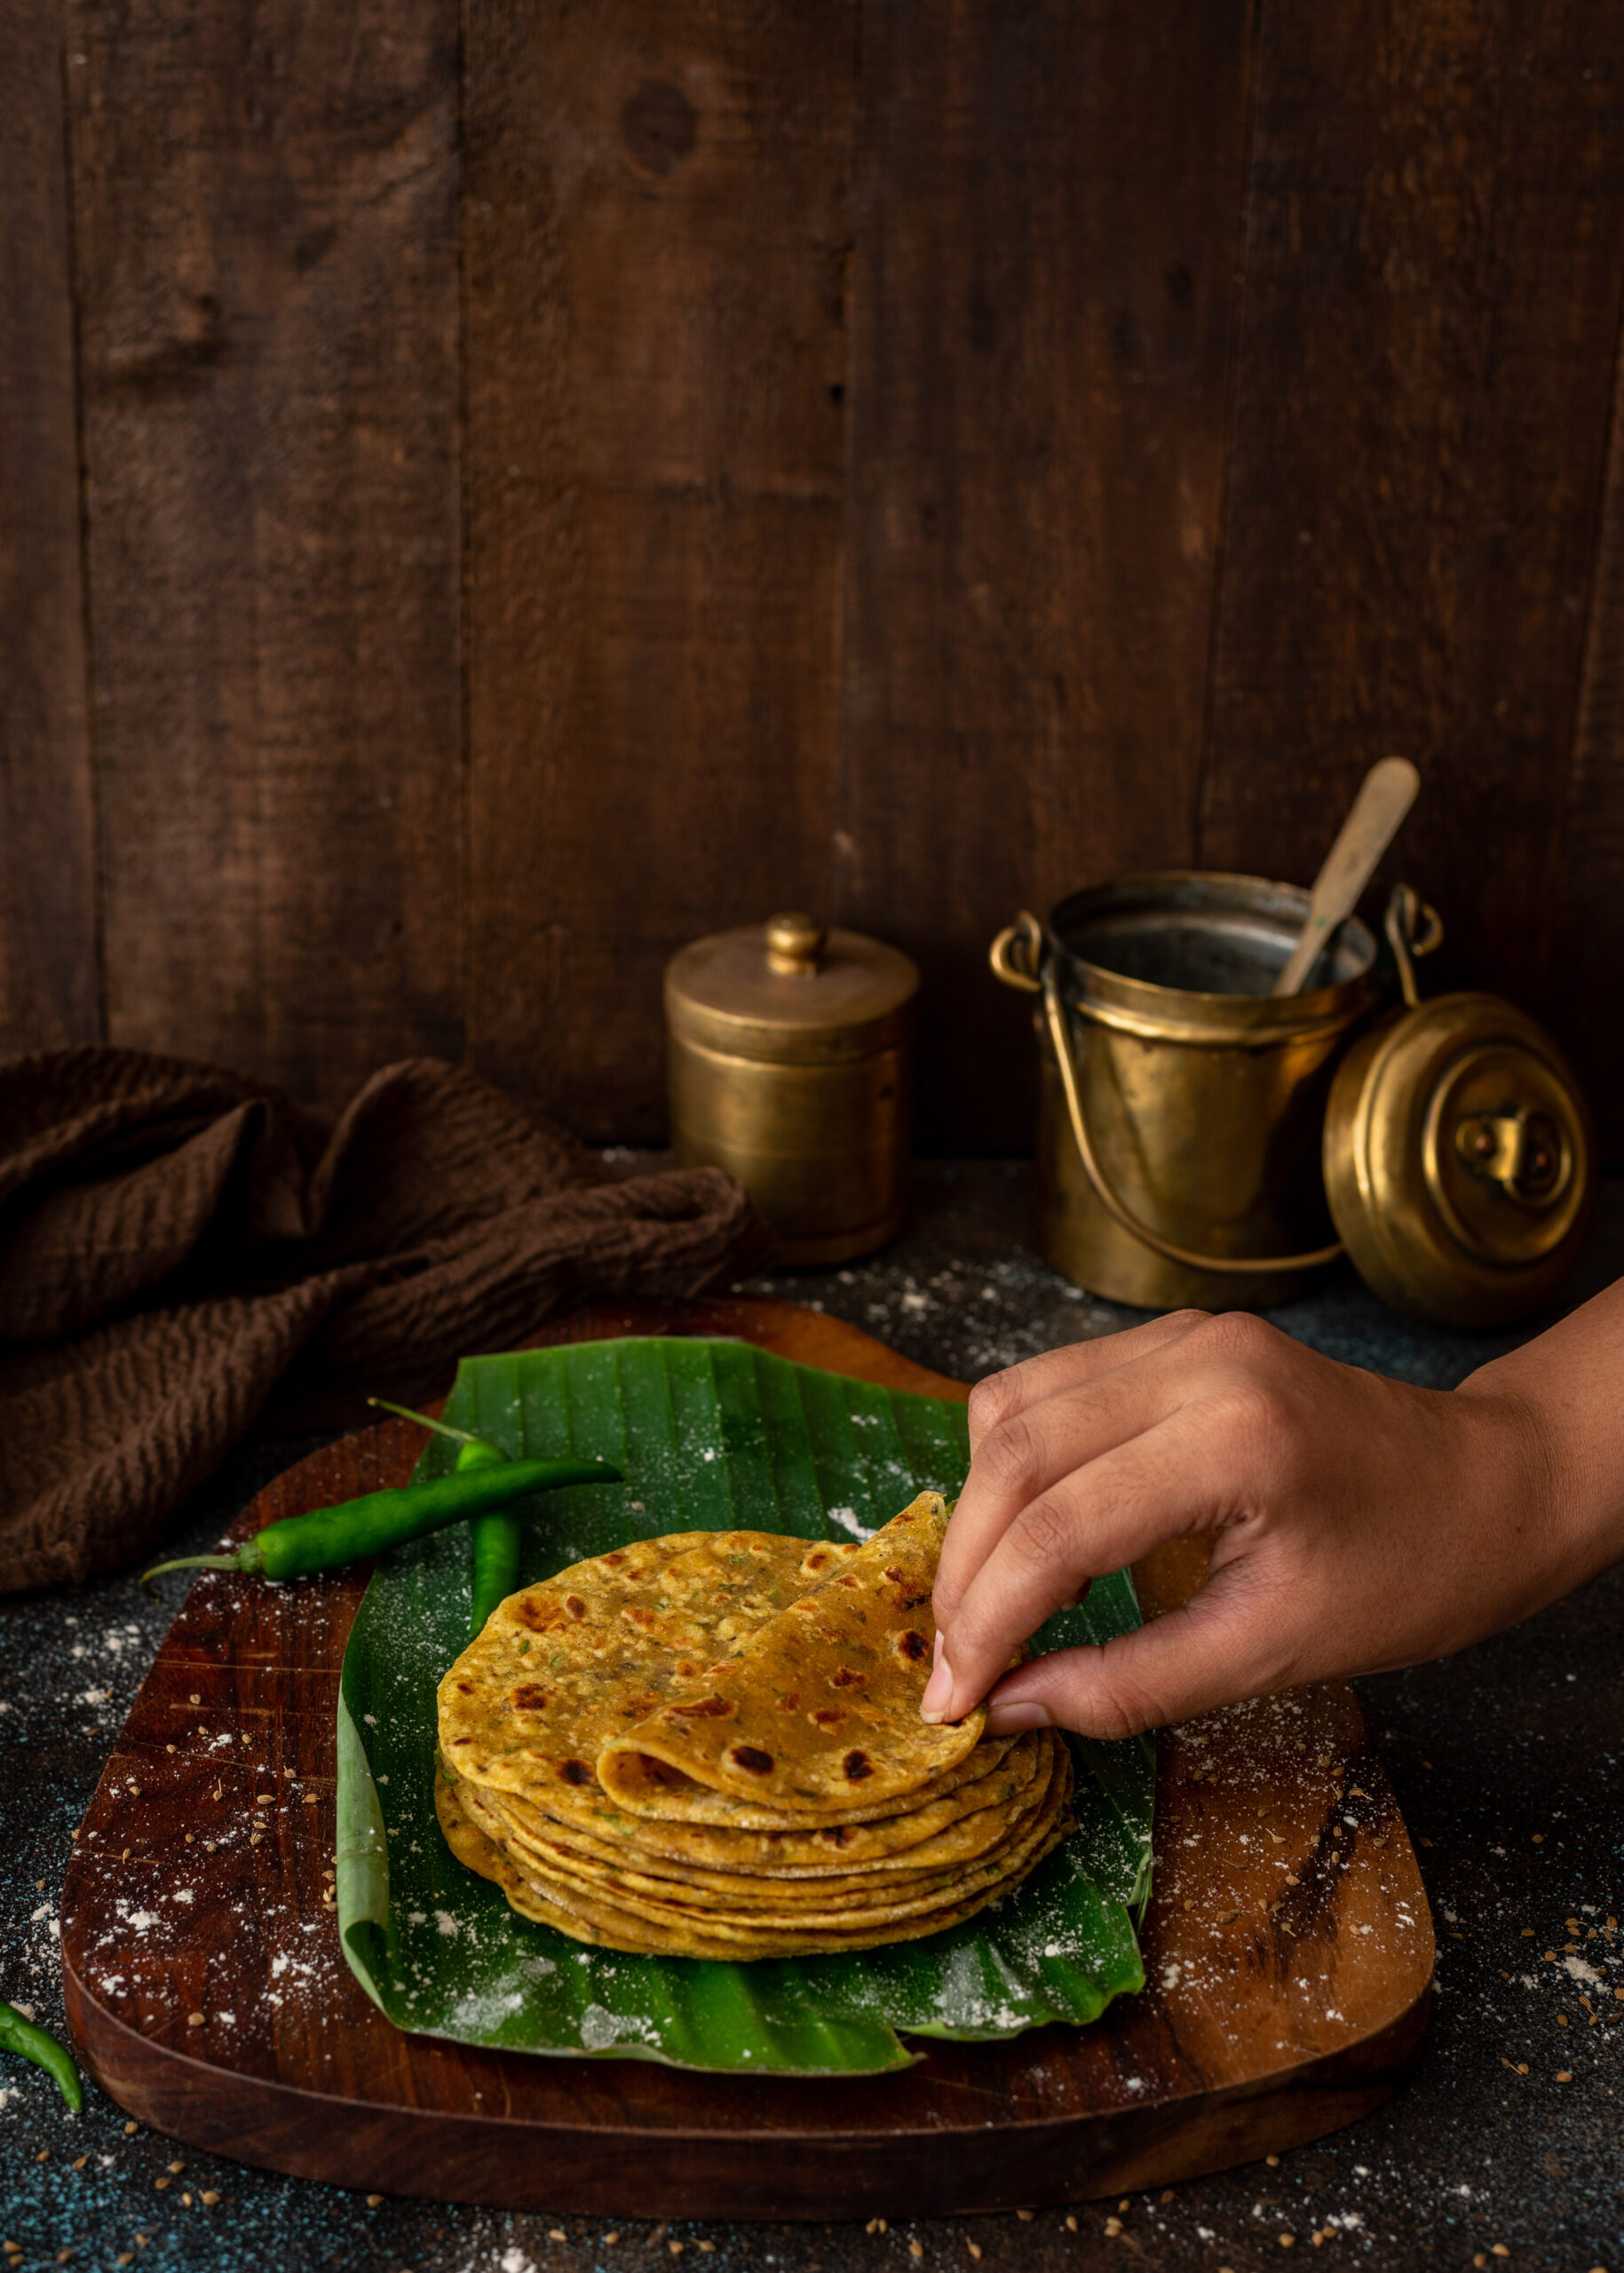
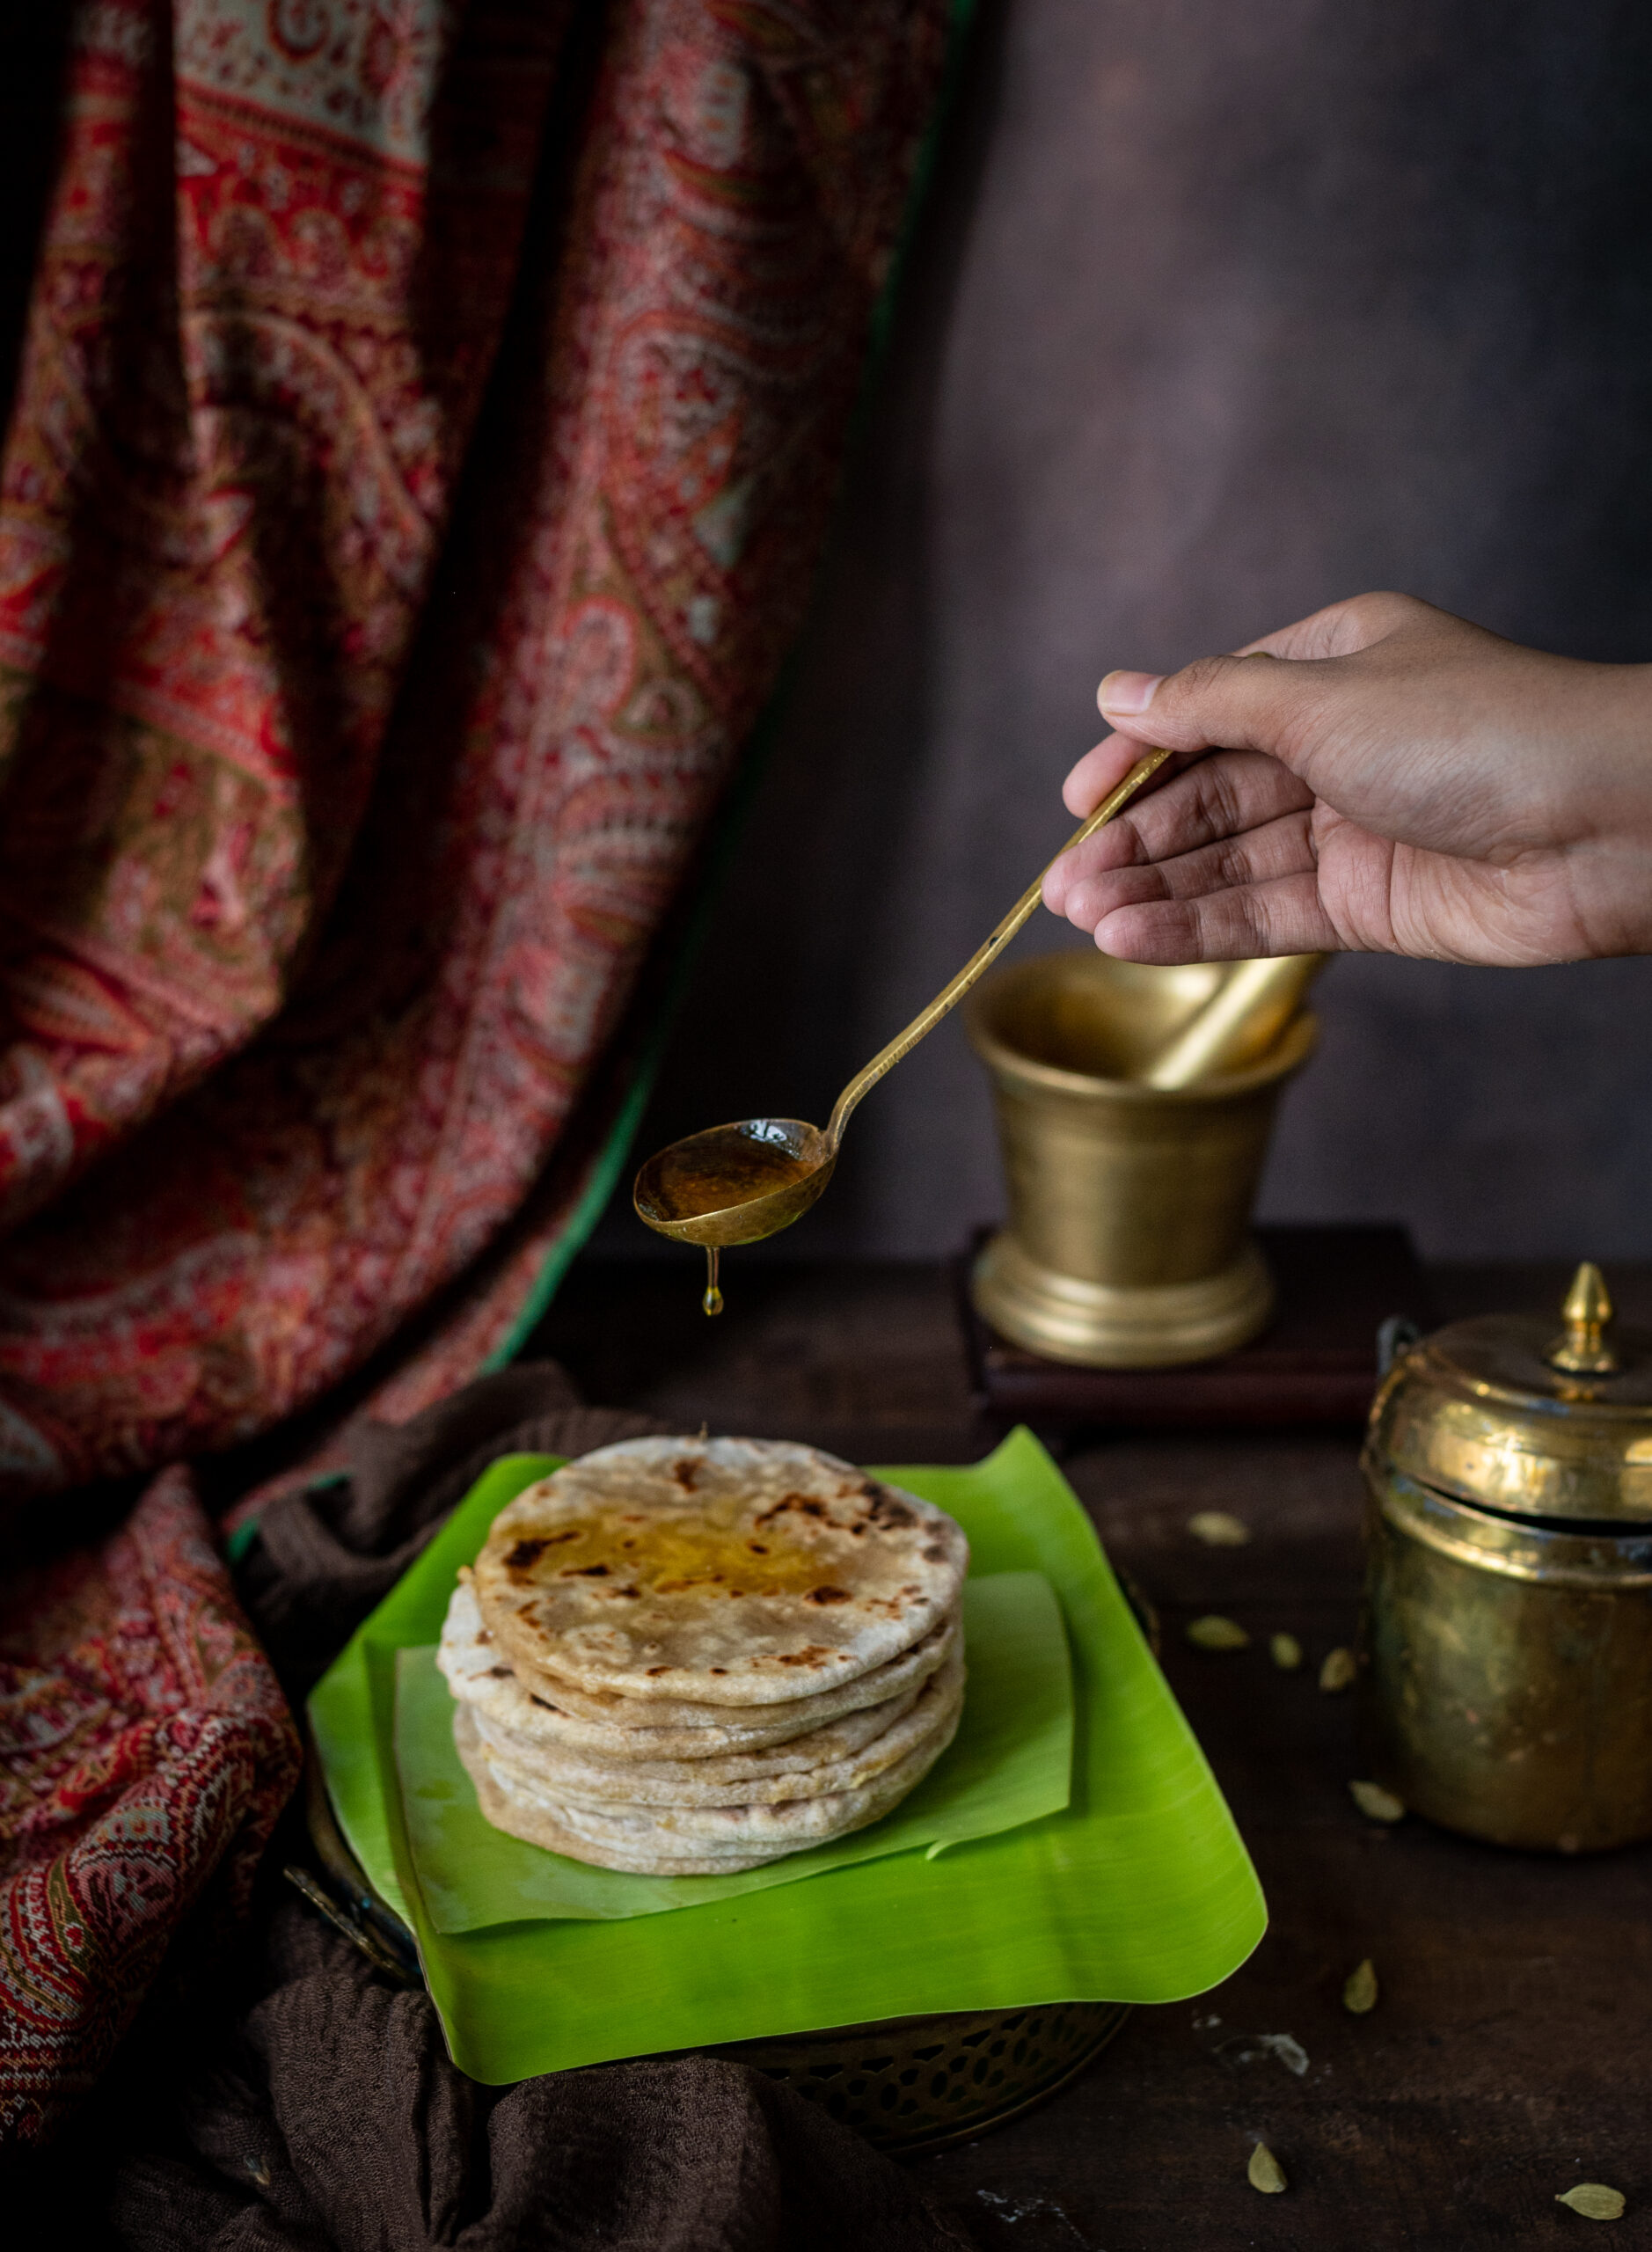
The festive season has begun here in India, and I hope that those of you who are celebrating are having a wonderful time. Feasting is such a big part of our festivals, and this month I’ll be sharing some delicious recipes to add to your repertoire of sweets and snacks to share with friends and family. At the top of this list is a dish of sentimental value: puran poli. This sweet, healthy flatbread always evokes my mother for me. Perhaps that is true of all sweet foods, if not all dishes, from my childhood. But she really was exceptional at preparing puran poli, and so it holds a special place in my heart.

Puran poli was the favourite of all five of us at home (my parents, my siblings and I). For my siblings and father, it was to them what her dhokla was to me – the one dish that they only wanted made by her, even if they would prepare or buy other items. I suppose in my case I lucked out because I learned how to make puran poli from her, rather than only have her make it for me. Now, whenever I roll out the dough to make this sweet treat, memories of my mother flood back. I recall her hands as she prepared it, the way she would measure out ingredients and little nuances about her movements. Whether she was teaching me, letting me work alongside her or just letting me watch, all those moments come together and fill me with nostalgia as I make this.

She prepared it for special occasions and birthdays, and it was always a part of our festive meals. On such days, the lunch table would be laden with rich, heavy food of all varieties. We would partake of the feast while surrounded by happy people, and a nice long afternoon siesta would follow. One of the reasons why this sweet, which always featured in these feasts, was such a star on the menu is that something about it made her indulge us more. Even though there would always be healthy greens in the spread, she would say with a smile when she saw us reach for her famous puran poli, “It’s okay if you don’t eat your vegetables today”. So we would look forward to this dish all the more.

To me, these are not just memories to fondly look back on, but they show the way forward too. I feel strongly that beautiful moments at home must be created. They don’t just happen. When we put time and thought into creating experiences that celebrate the love within a family, while honouring tradition and heritage, we ensure that the next generation has something precious to look back on too. Festive occasions offer the perfect opportunity for this, which is why I have such a firm rule that my children come home for Diwali and Raksha Bandhan no matter where they are in the world. Every year, as a family, we renew our bonds and form new memories together. I know that some day, when they are older and reminiscing, they will feel joy – and remember us with love, just as I do my dear mother.

I often ask myself these questions: what will my children recall; what will their memories of me be? The desire to bring joy to them always, not just now but well into the future, is what motivates me to make our time together as meaningful as possible. Food as a daily expression of love enables this, and festivities make this expression all the more vivid and enjoyable. Family, food and feelings are interconnected. When we have healthy relationships, we eat better (as we share mealtimes, and are stressed less overall). When we eat nourishingly, we have healthier relationships (as our bodies and minds are performing optimally, and fatigue or illness don’t impede our ability to spend time together). Do you notice that you binge eat when you feel downcast? Do you notice that you enjoy food more when you’re with a close friend? These are clues about the nature of this interconnection.

This puran poli, thanks to the wonderful memories it brings back, strengthens my connection to my late mother. It is also meaningful to my children for the same reason. Decades ago, when I was away from home and expecting my second child, my eldest missed his grandmother – my mother – so deeply that I had to ask my friend Chandrika Behn to make puran poli just for him. She prepared it just like my mother would, and I didn’t mind my kid gorging on the treat often as it’s stuffed with protein-rich dal. Even now, when one of us visits her, this elderly aunty rolls out a batch of puran polis just for us. Such is the power of a beautifully-rendered dish. It becomes a way to treasure a relationship – between grandmother and grandchild, between friends, between parent and child, between siblings, between partners, and so on…
Puran Poli

(Yield: 10)


Stuffing ingredients

½ cup toor dal

1 cup water

½ cup jaggery

1 tablespoon almond powder

½ teaspoon cardamom

Ghee for topping


Dough ingredients

¾ cup whole wheat flour

A pinch of salt

½ cup water (based on your requirement)

1 teaspoon oil


Make a dough with the ingredients. Ensure it is soft and smooth. Make small balls, cover and set aside.

In a pressure cooker, cook the dal in water until it is soft and tender.

Open the cooker and add the jaggery. Keep stirring the mixture of dal and jaggery constantly on a low flame. Make sure the dal does not stick to the bottom of the pan/cooker.

Once the mixture has thickened, which will take approximately 12-15 minutes, turn off the flame and add the cardamom powder and almond powder.

You will know the stuffing is ready when you make a spatula stand upright inside the thickened dal and it doesn’t fall.

Allow to cool. Divide this into portions of 10 balls. Your stuffing is now ready to roll.

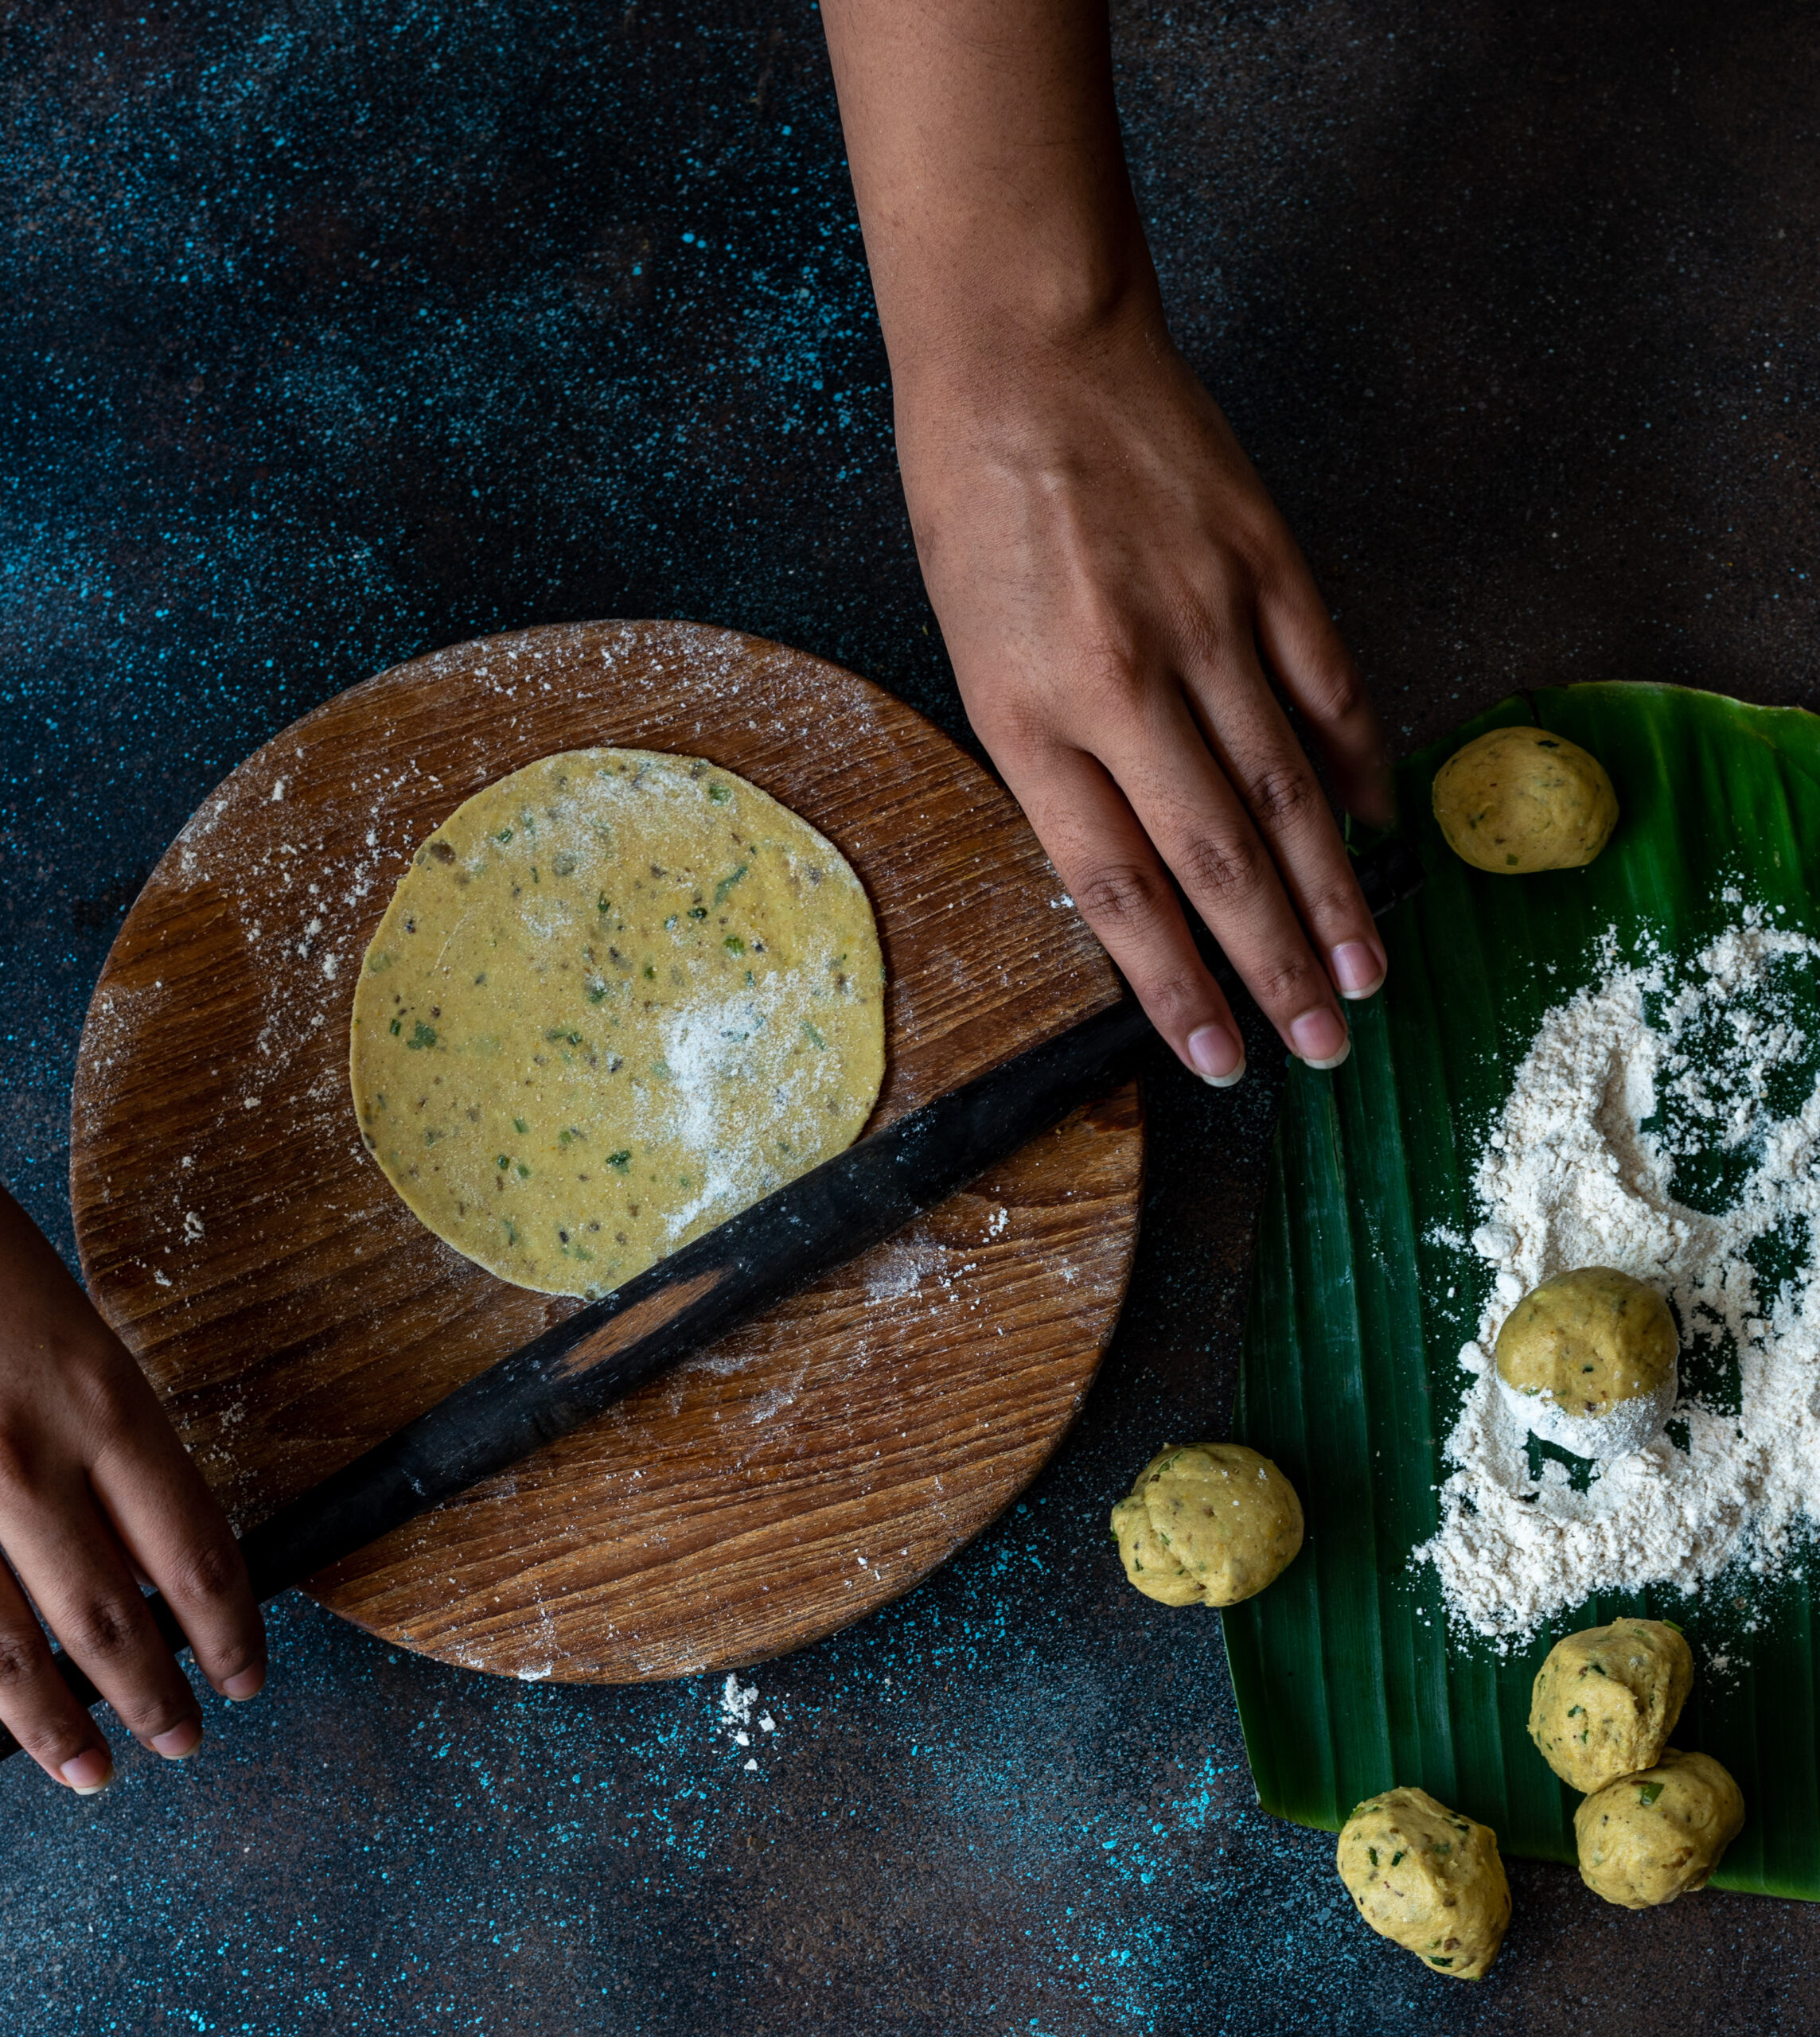
Assemble each puran poli. Roll out one small dough ball into a small disc. Place the ball of stuffing in the centre, gather the rolled out roti together and flatten. Dip the stuffed disc into dry flour for easy rolling out once again.

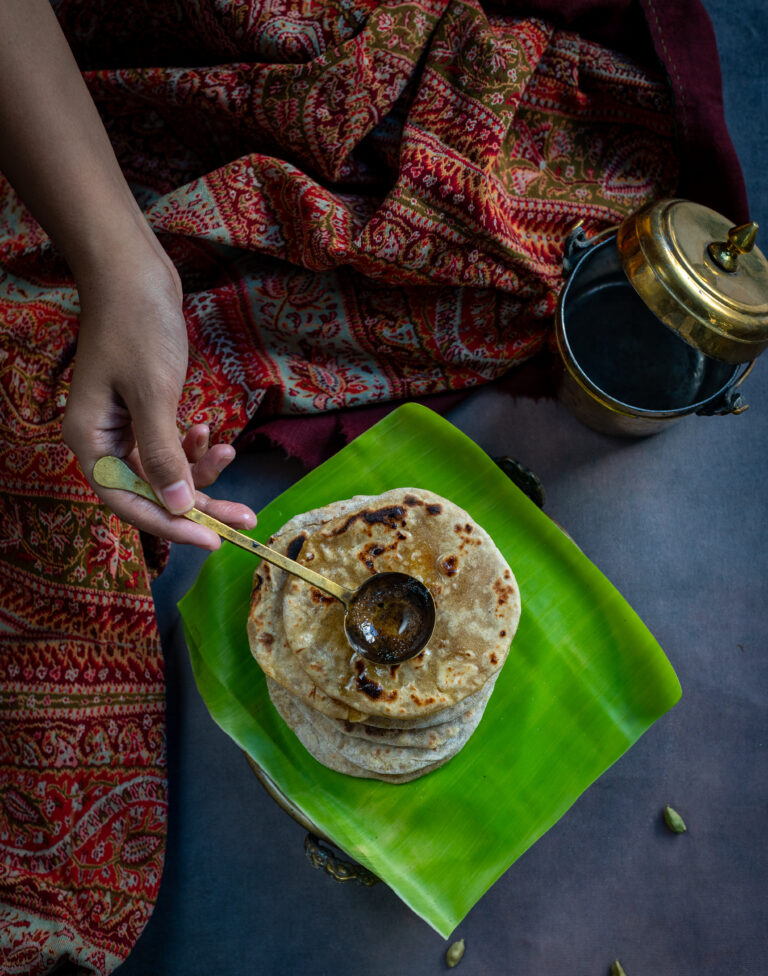
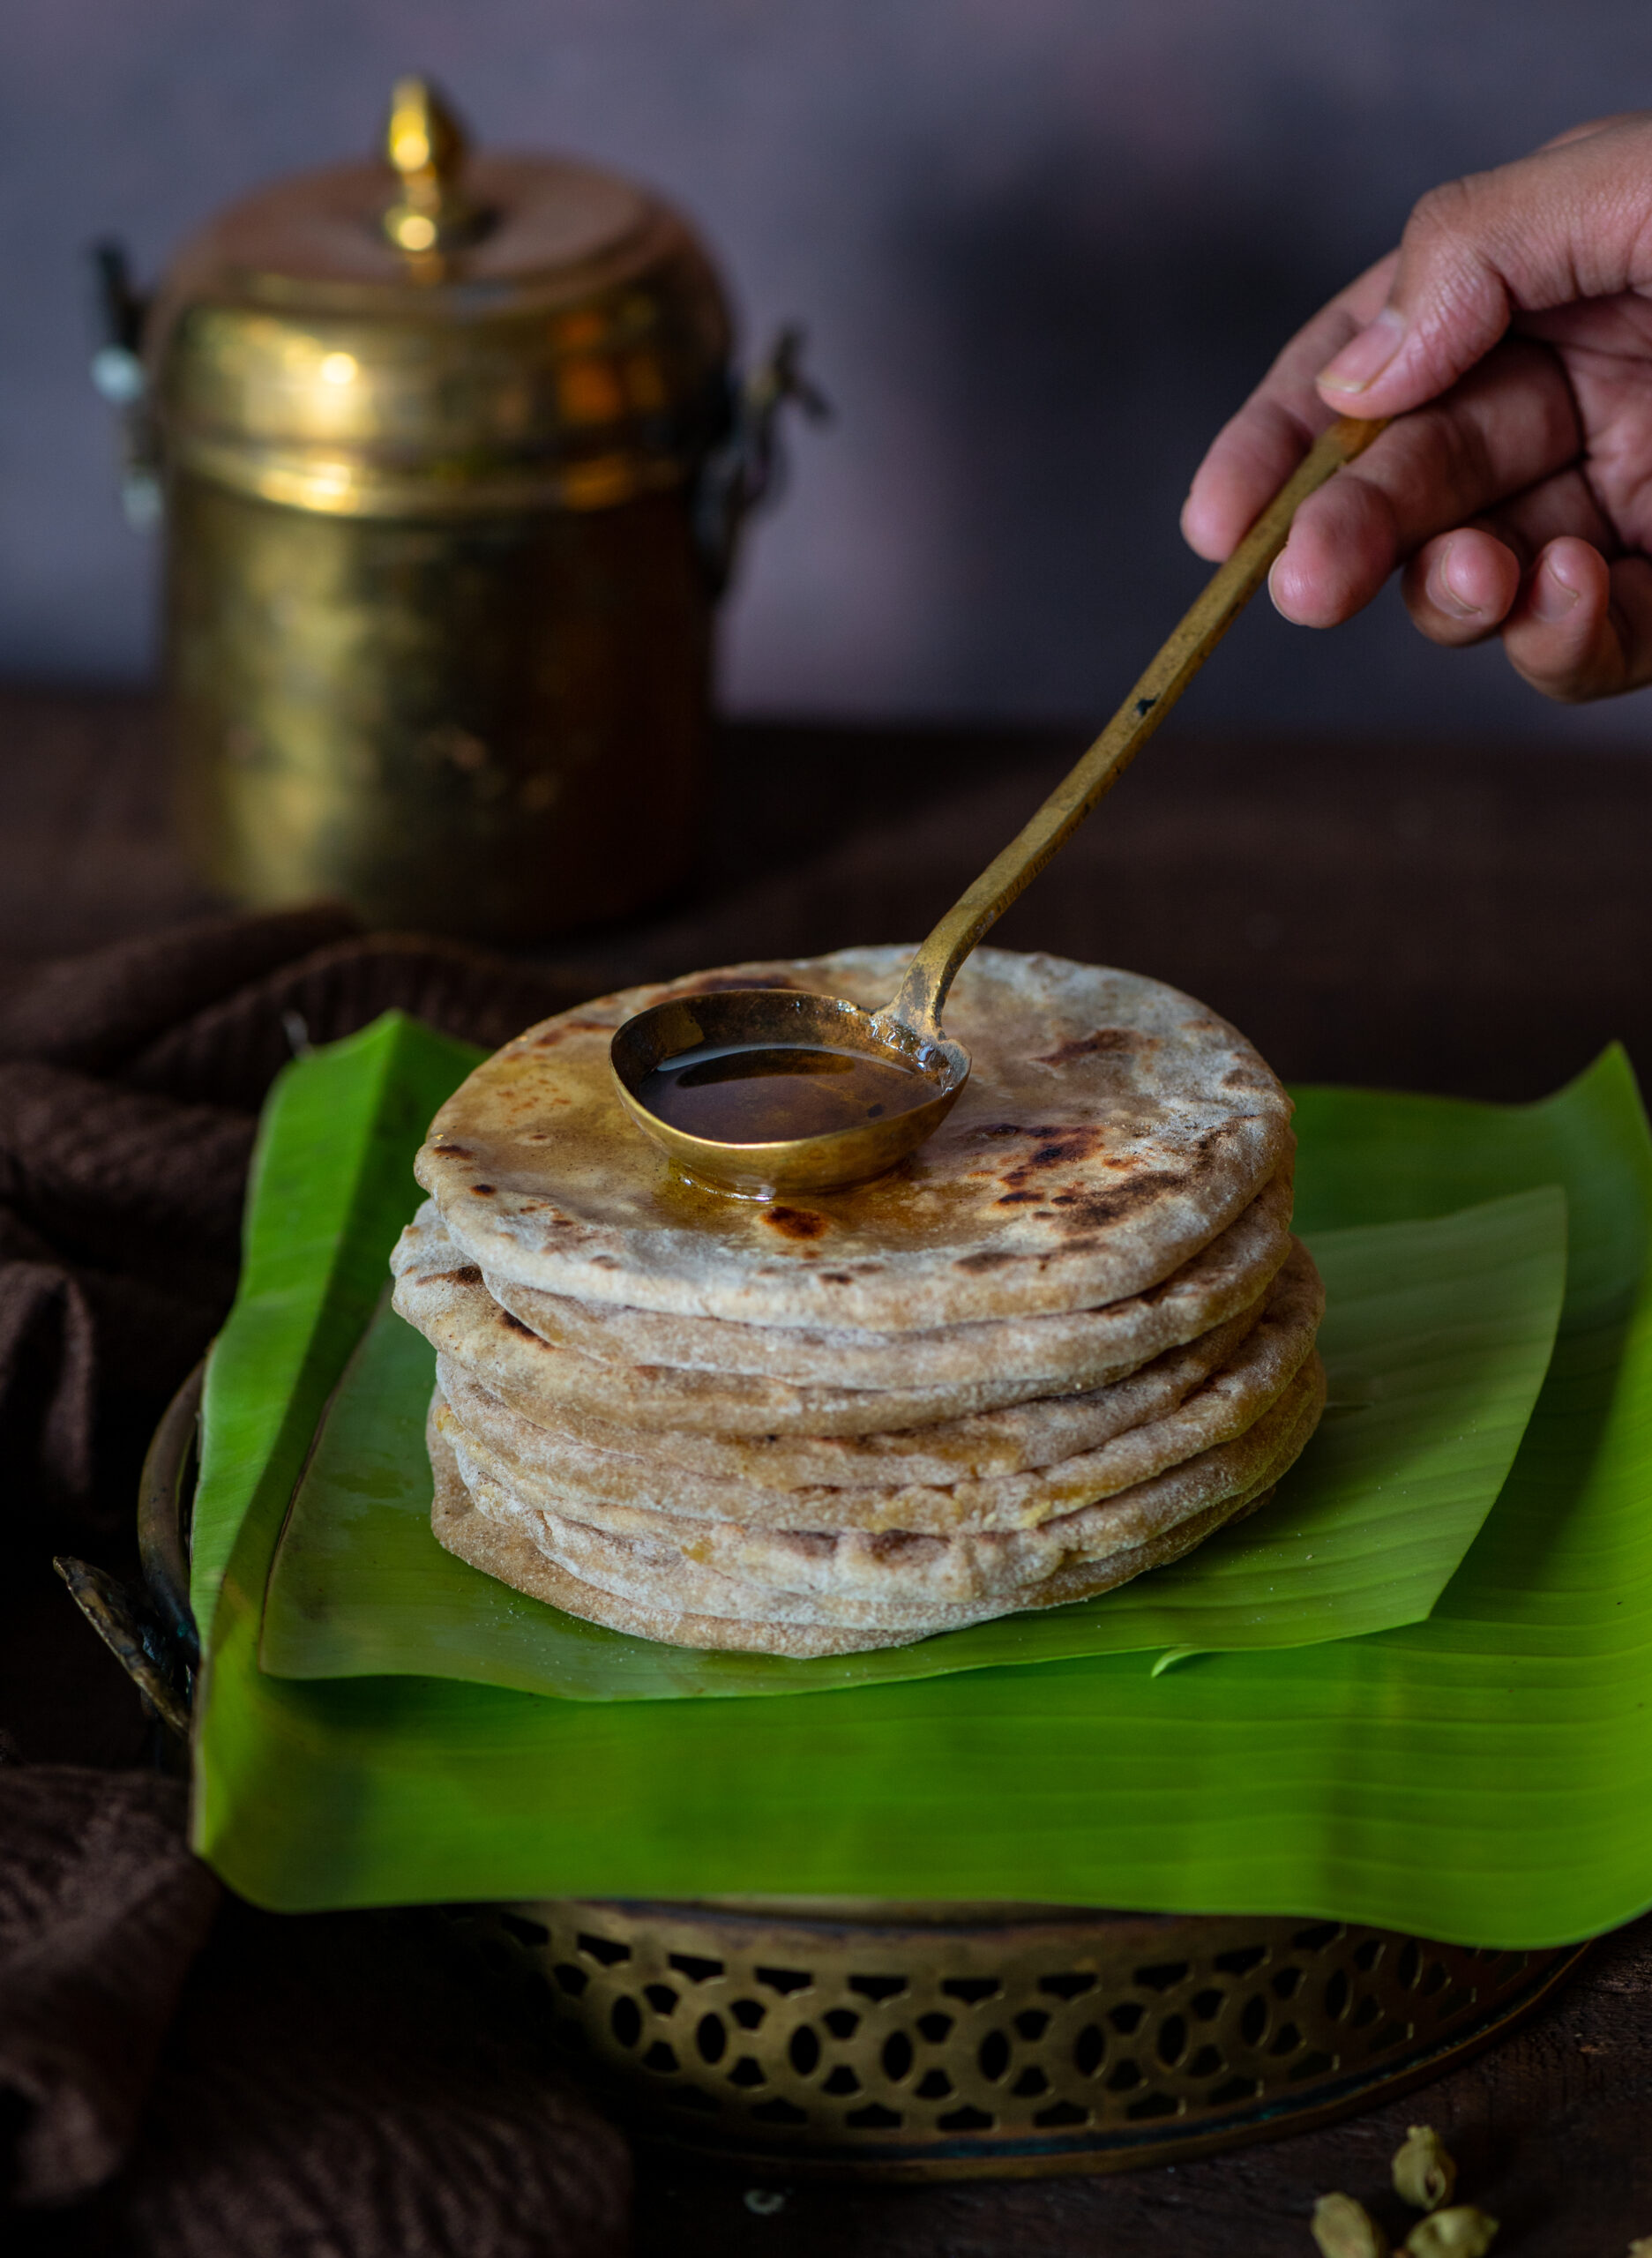
Now, place the rolled-out stuffed disc onto a hot griddle and allow to cook. Flip and cook on the other side. Remove onto a plate and pour ghee over the puran poli. Repeat for the remaining balls of dough and stuffing, until you’ve prepared them all. Enjoy them hot and fresh.

Each puran poli will be small – palm-sized. As far as sweets go, this is quite healthy, not only because of the portion size but also because the jaggery and almonds used in it are nutritious. Traditionally, it is made with chopped almonds, but my mother always used powdered almonds. This changes the texture of the stuffing, making it softer, and I’ve retained this twist too.

These are lovely little treats that invariably feel festive to me, and increase the joy of this season. I hope they will do the same for you. Wishing you and yours a wonderful time of celebration!
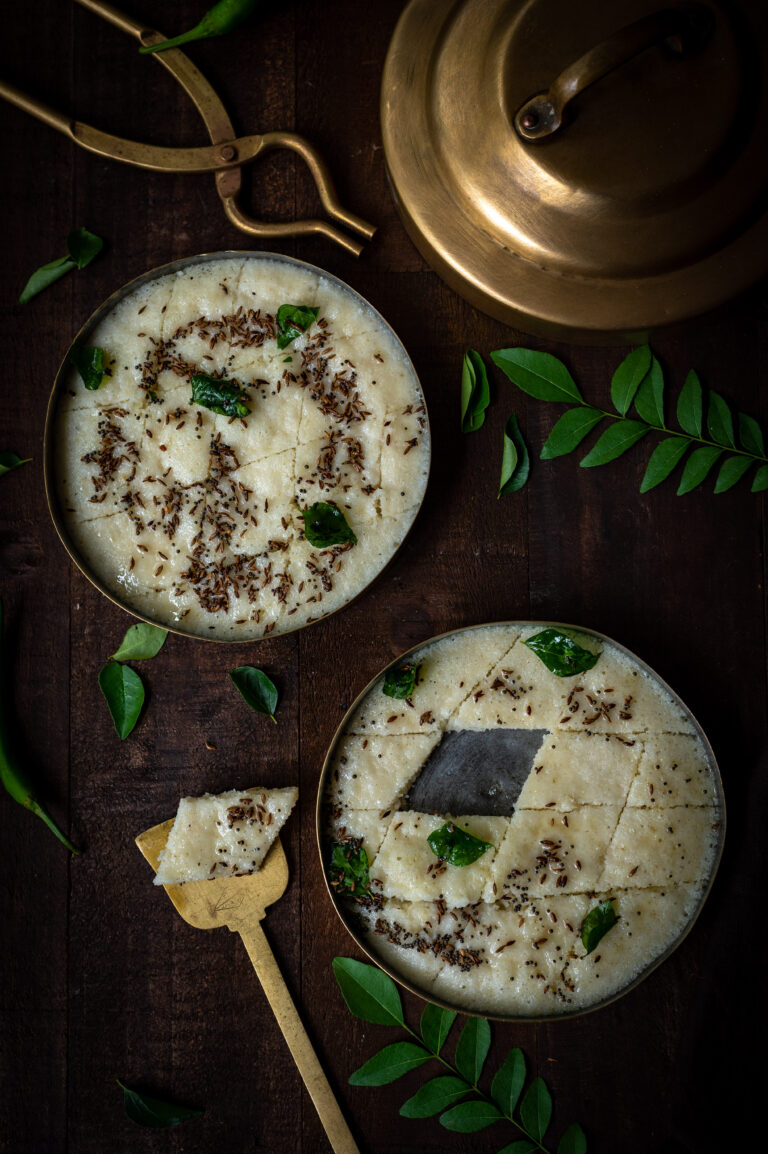
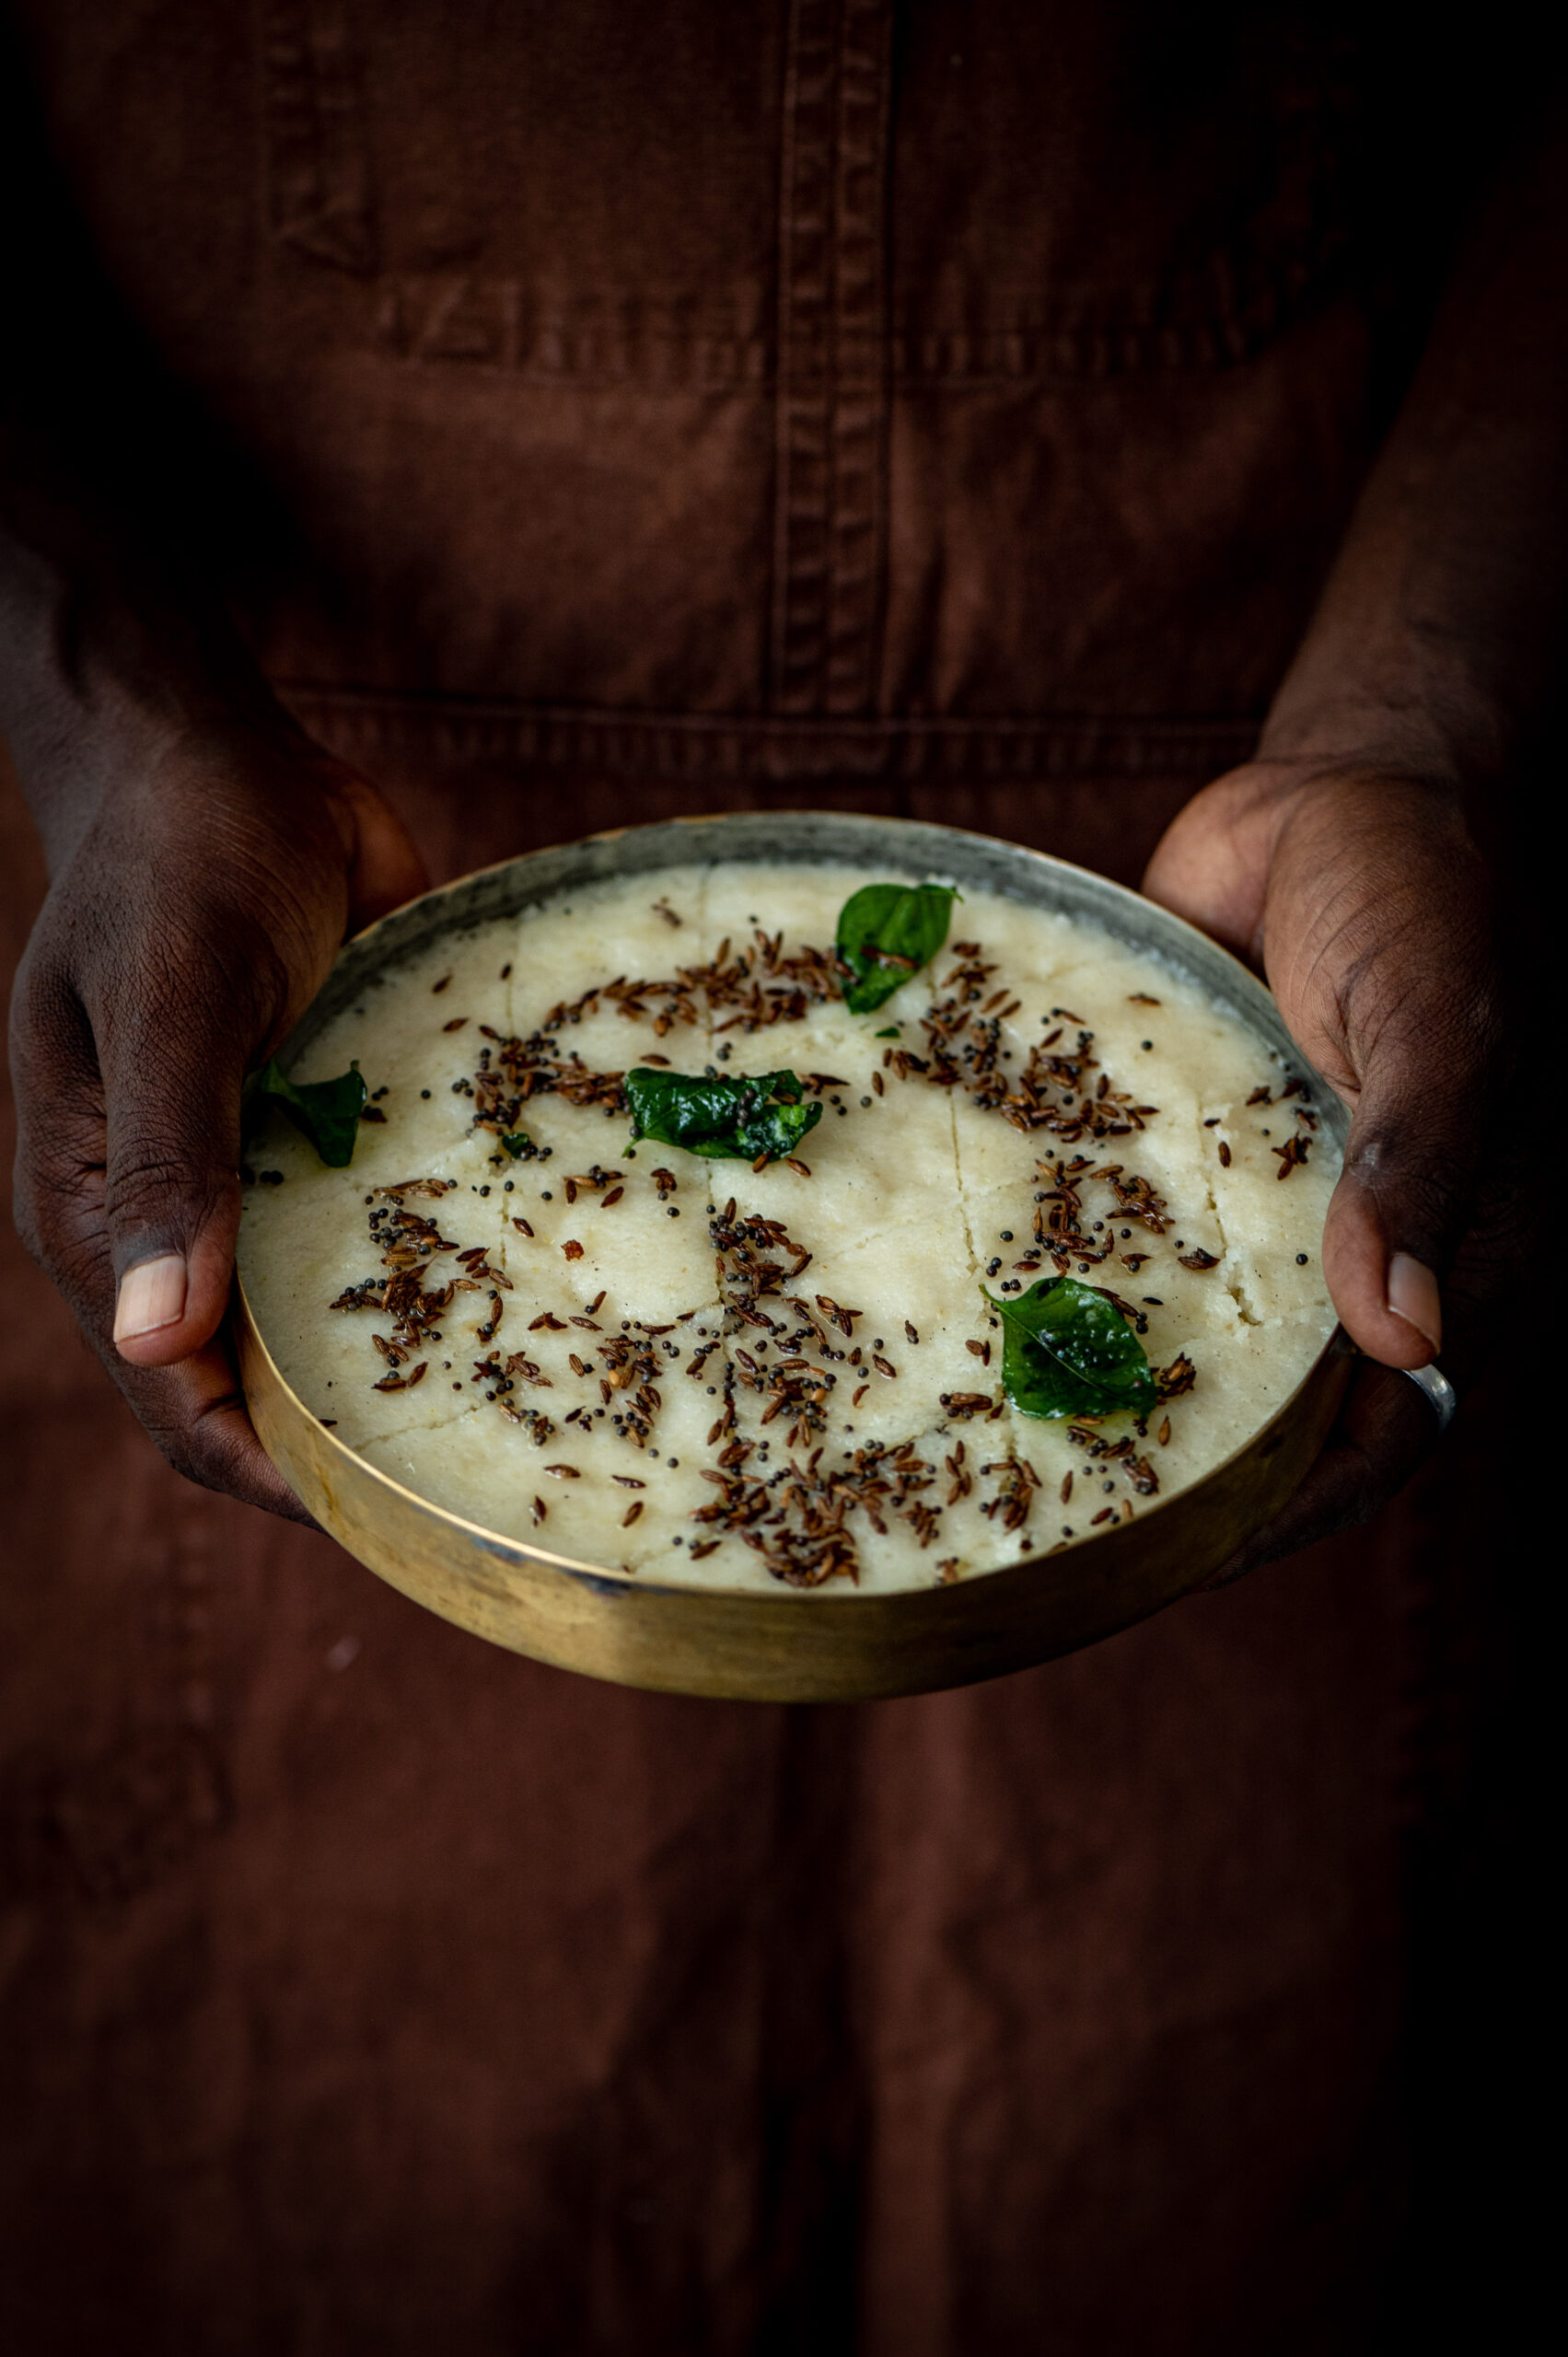
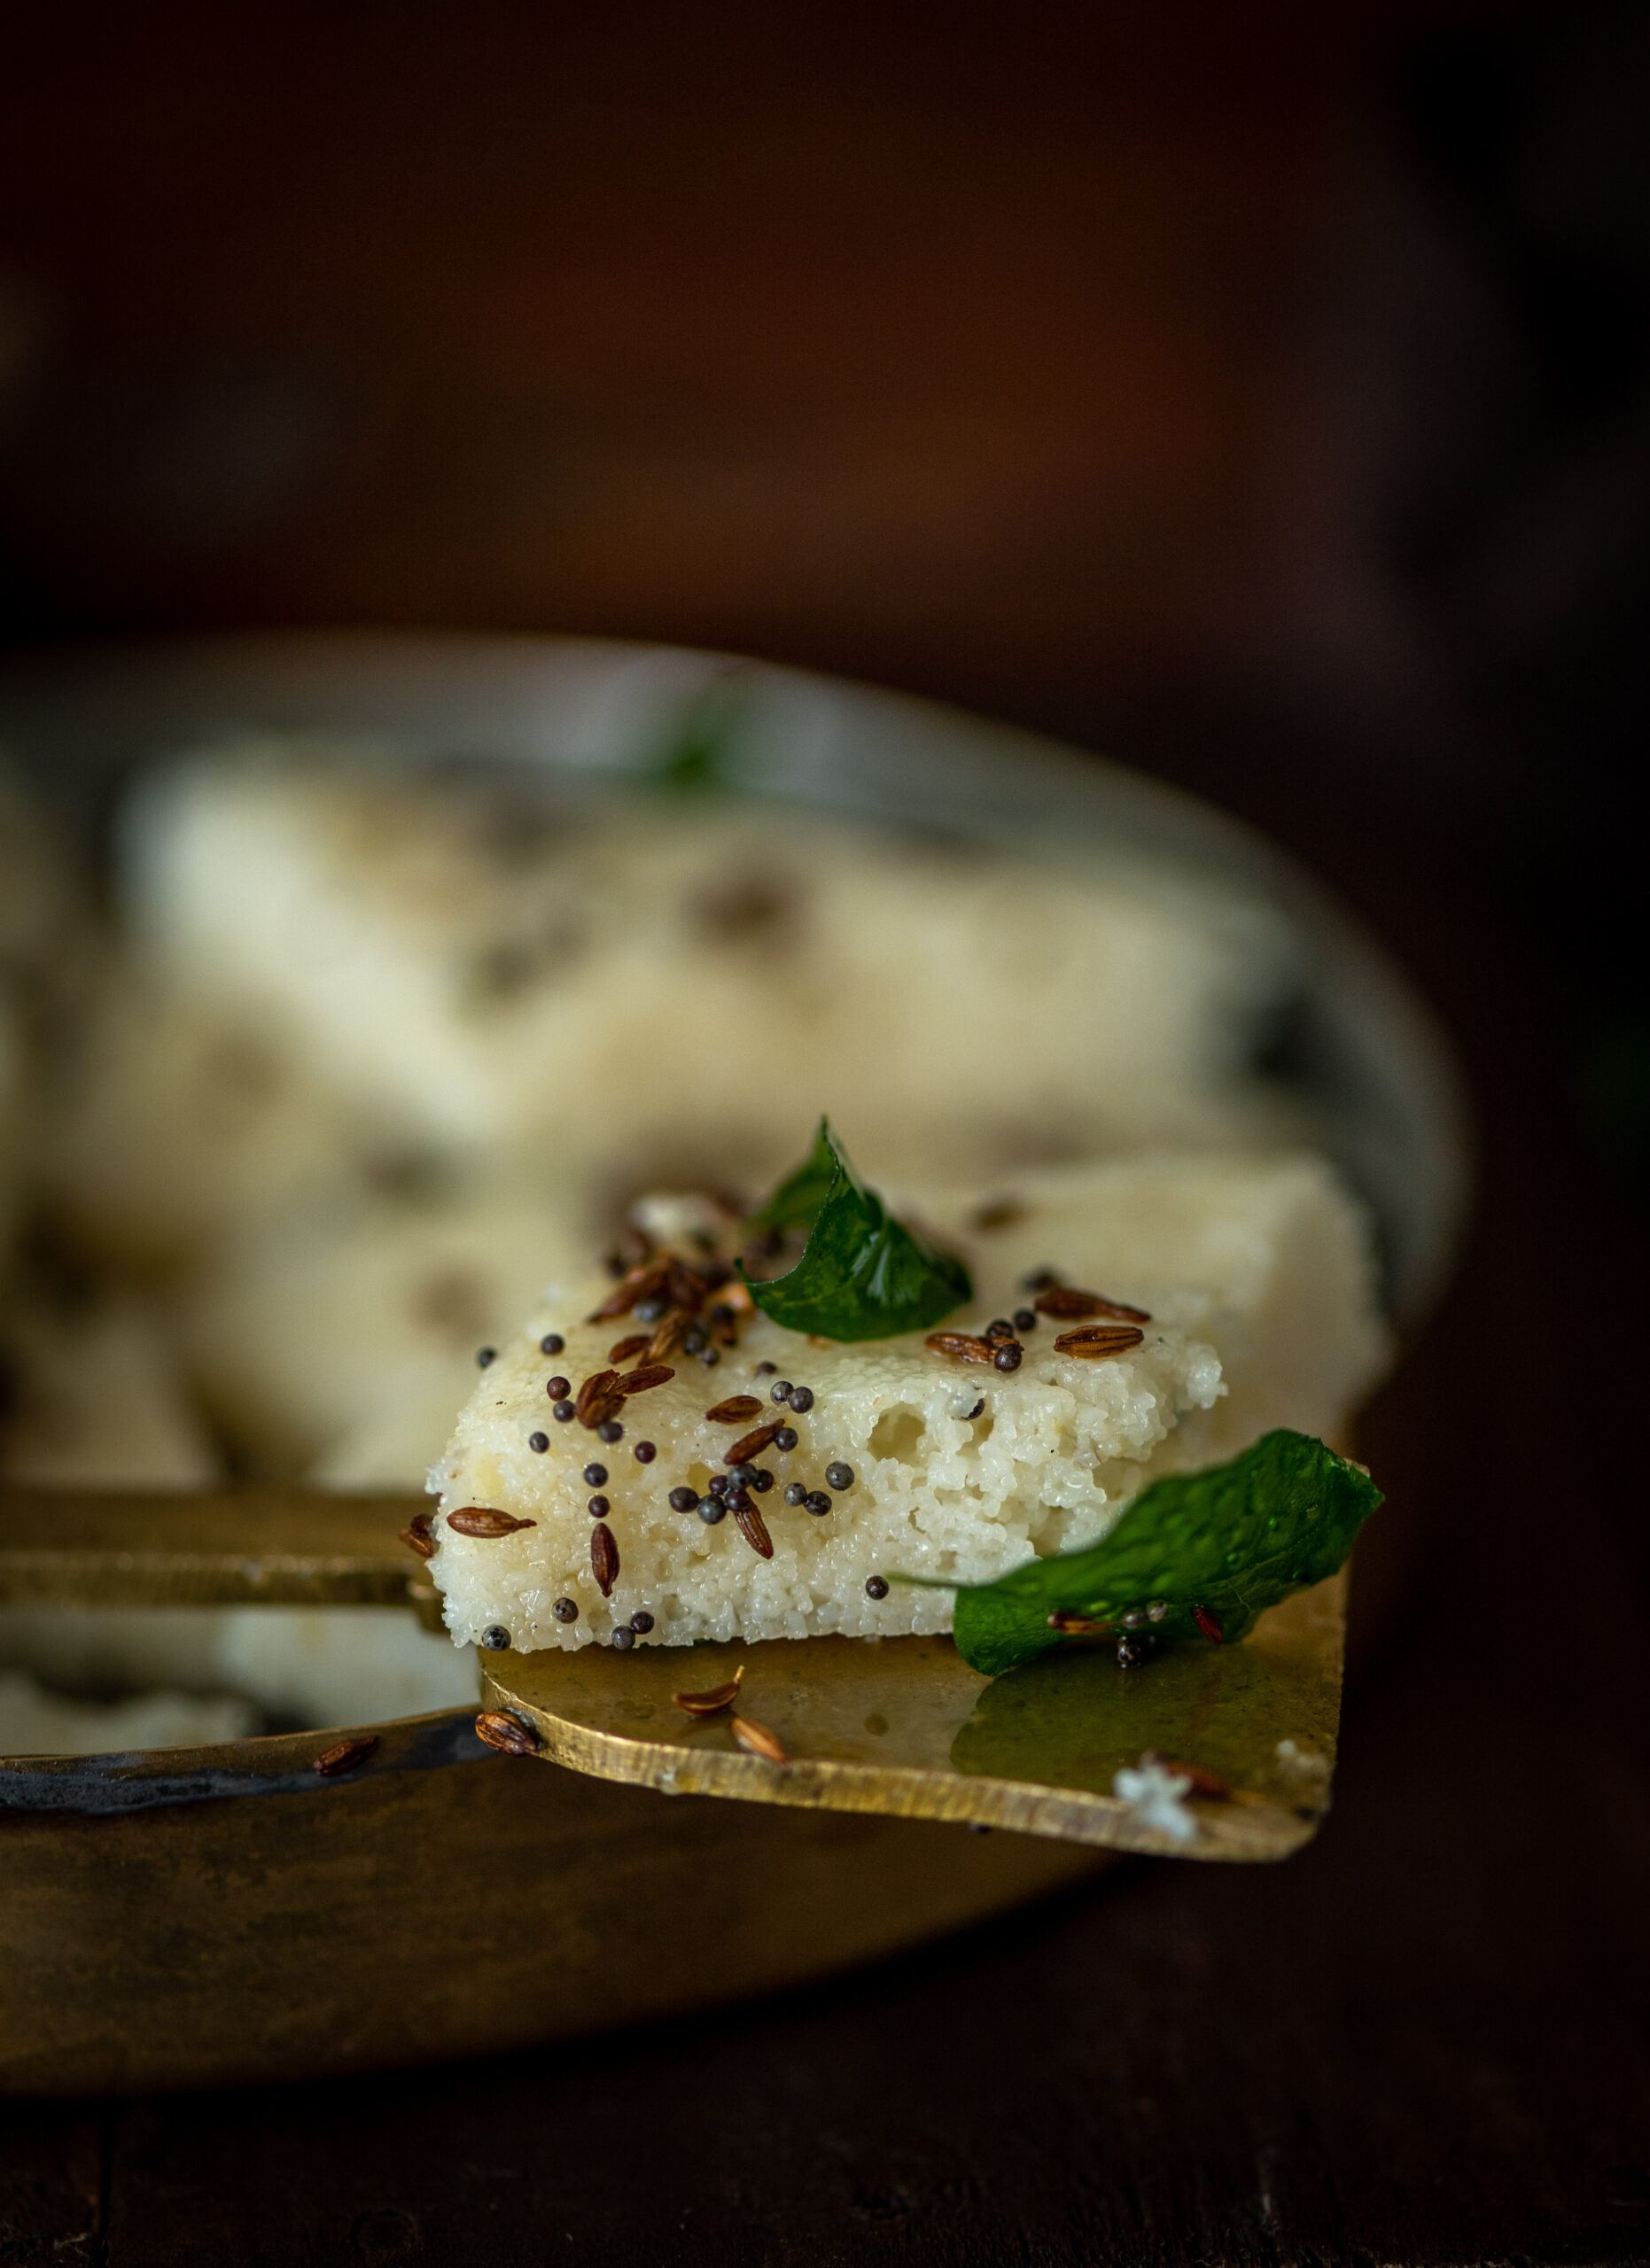
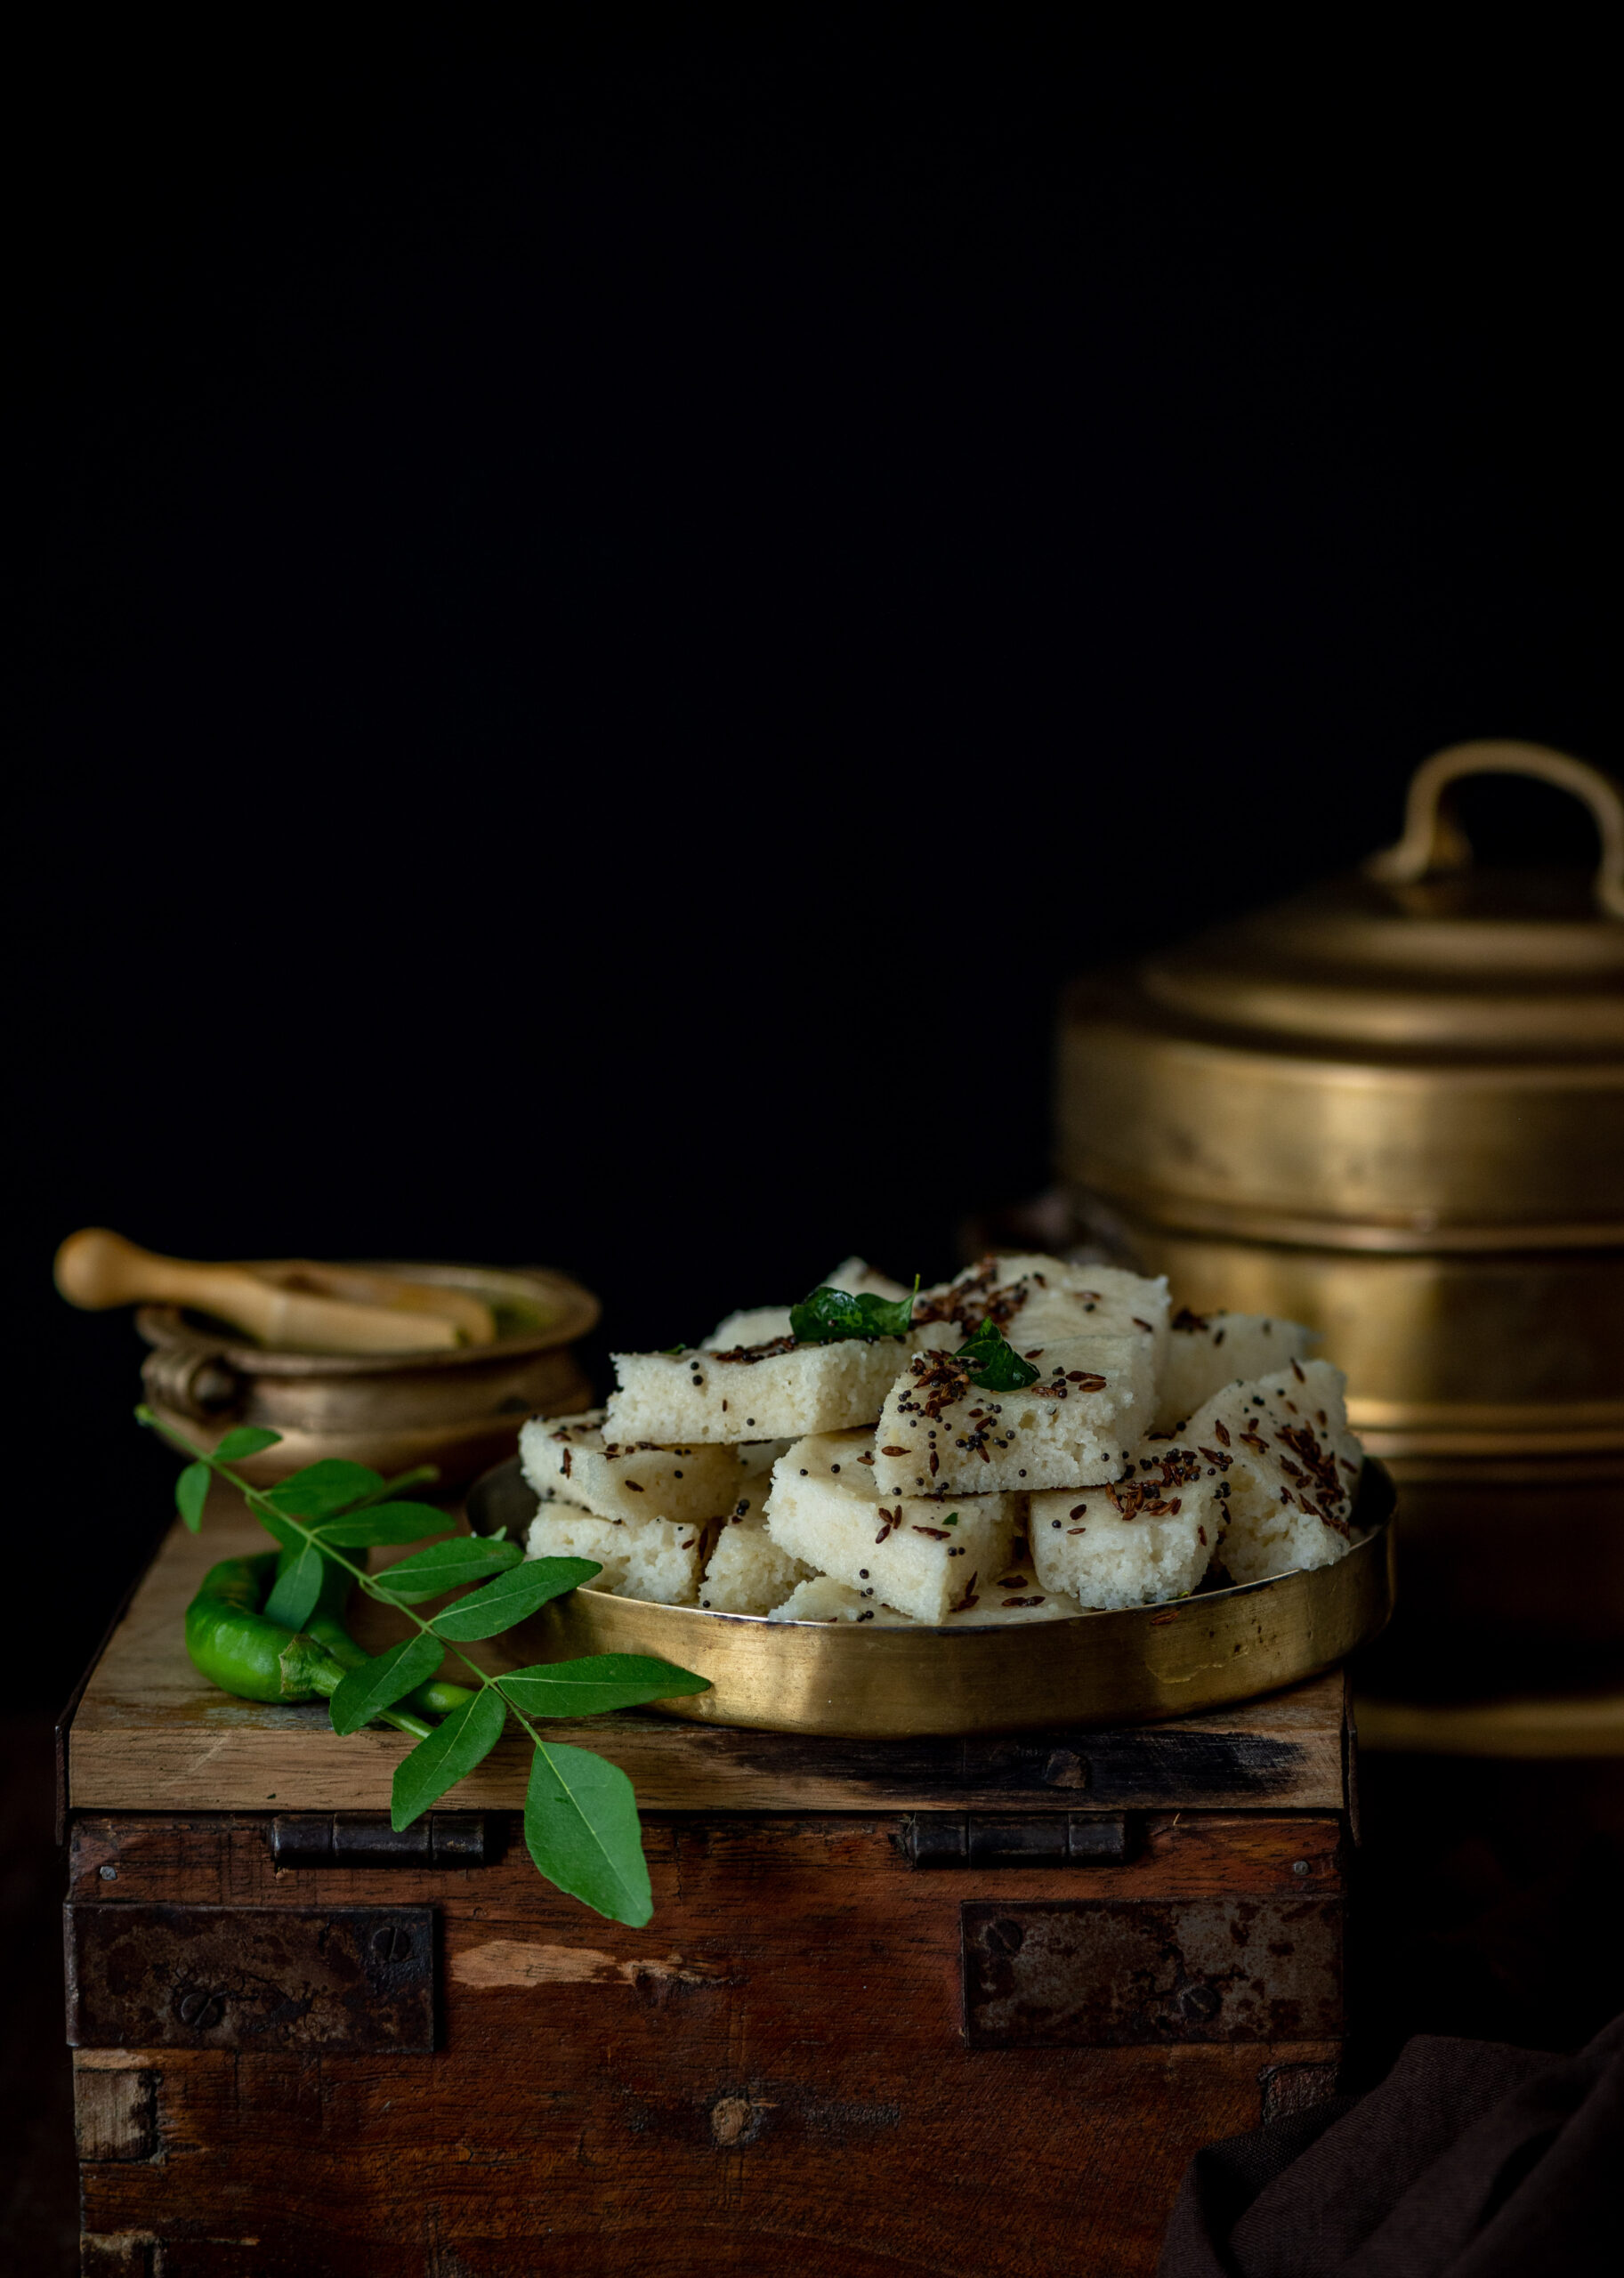
When I shared this recipe for a dhokla made of green moong a couple of years ago, I had mentioned that Gujaratis are so famous for this item of food that it’s what we are stereotypically called. “Hey, dhokla!” – there is hardly a Gujarati who hasn’t heard this phrase, just as there is hardly a Gujarati who doesn’t, as stereotyped, love this dish. Dhoklas are a kind of savoury cake, spongy in texture. There are numerous varieties of dhoklas, and the khaman dhokla (yellow in colour, and made with channa dal) is the most popular one, and the one you may be acquainted with from restaurants. But the one that Gujaratis mostly consume at home is the white dhokla, which I am sharing the recipe for today.

There are two kinds of white dhoklas: a version that is more tedious to prepare, which entails washing rice, drying it in the sun and then powdering it. My mother would make these traditional rice flour dhoklas often, but for a quick go-to it was always the rava dhokla. The rava dhokla is the other version of white dhokla, and the recipe that I’ll share today. It tastes quite similar to the rice flour dhokla, and has a quick and easy process. It makes for a light dinner, or as a tasty snack when you have company, and is often had with garlic chutney or a sweet mango pickle.

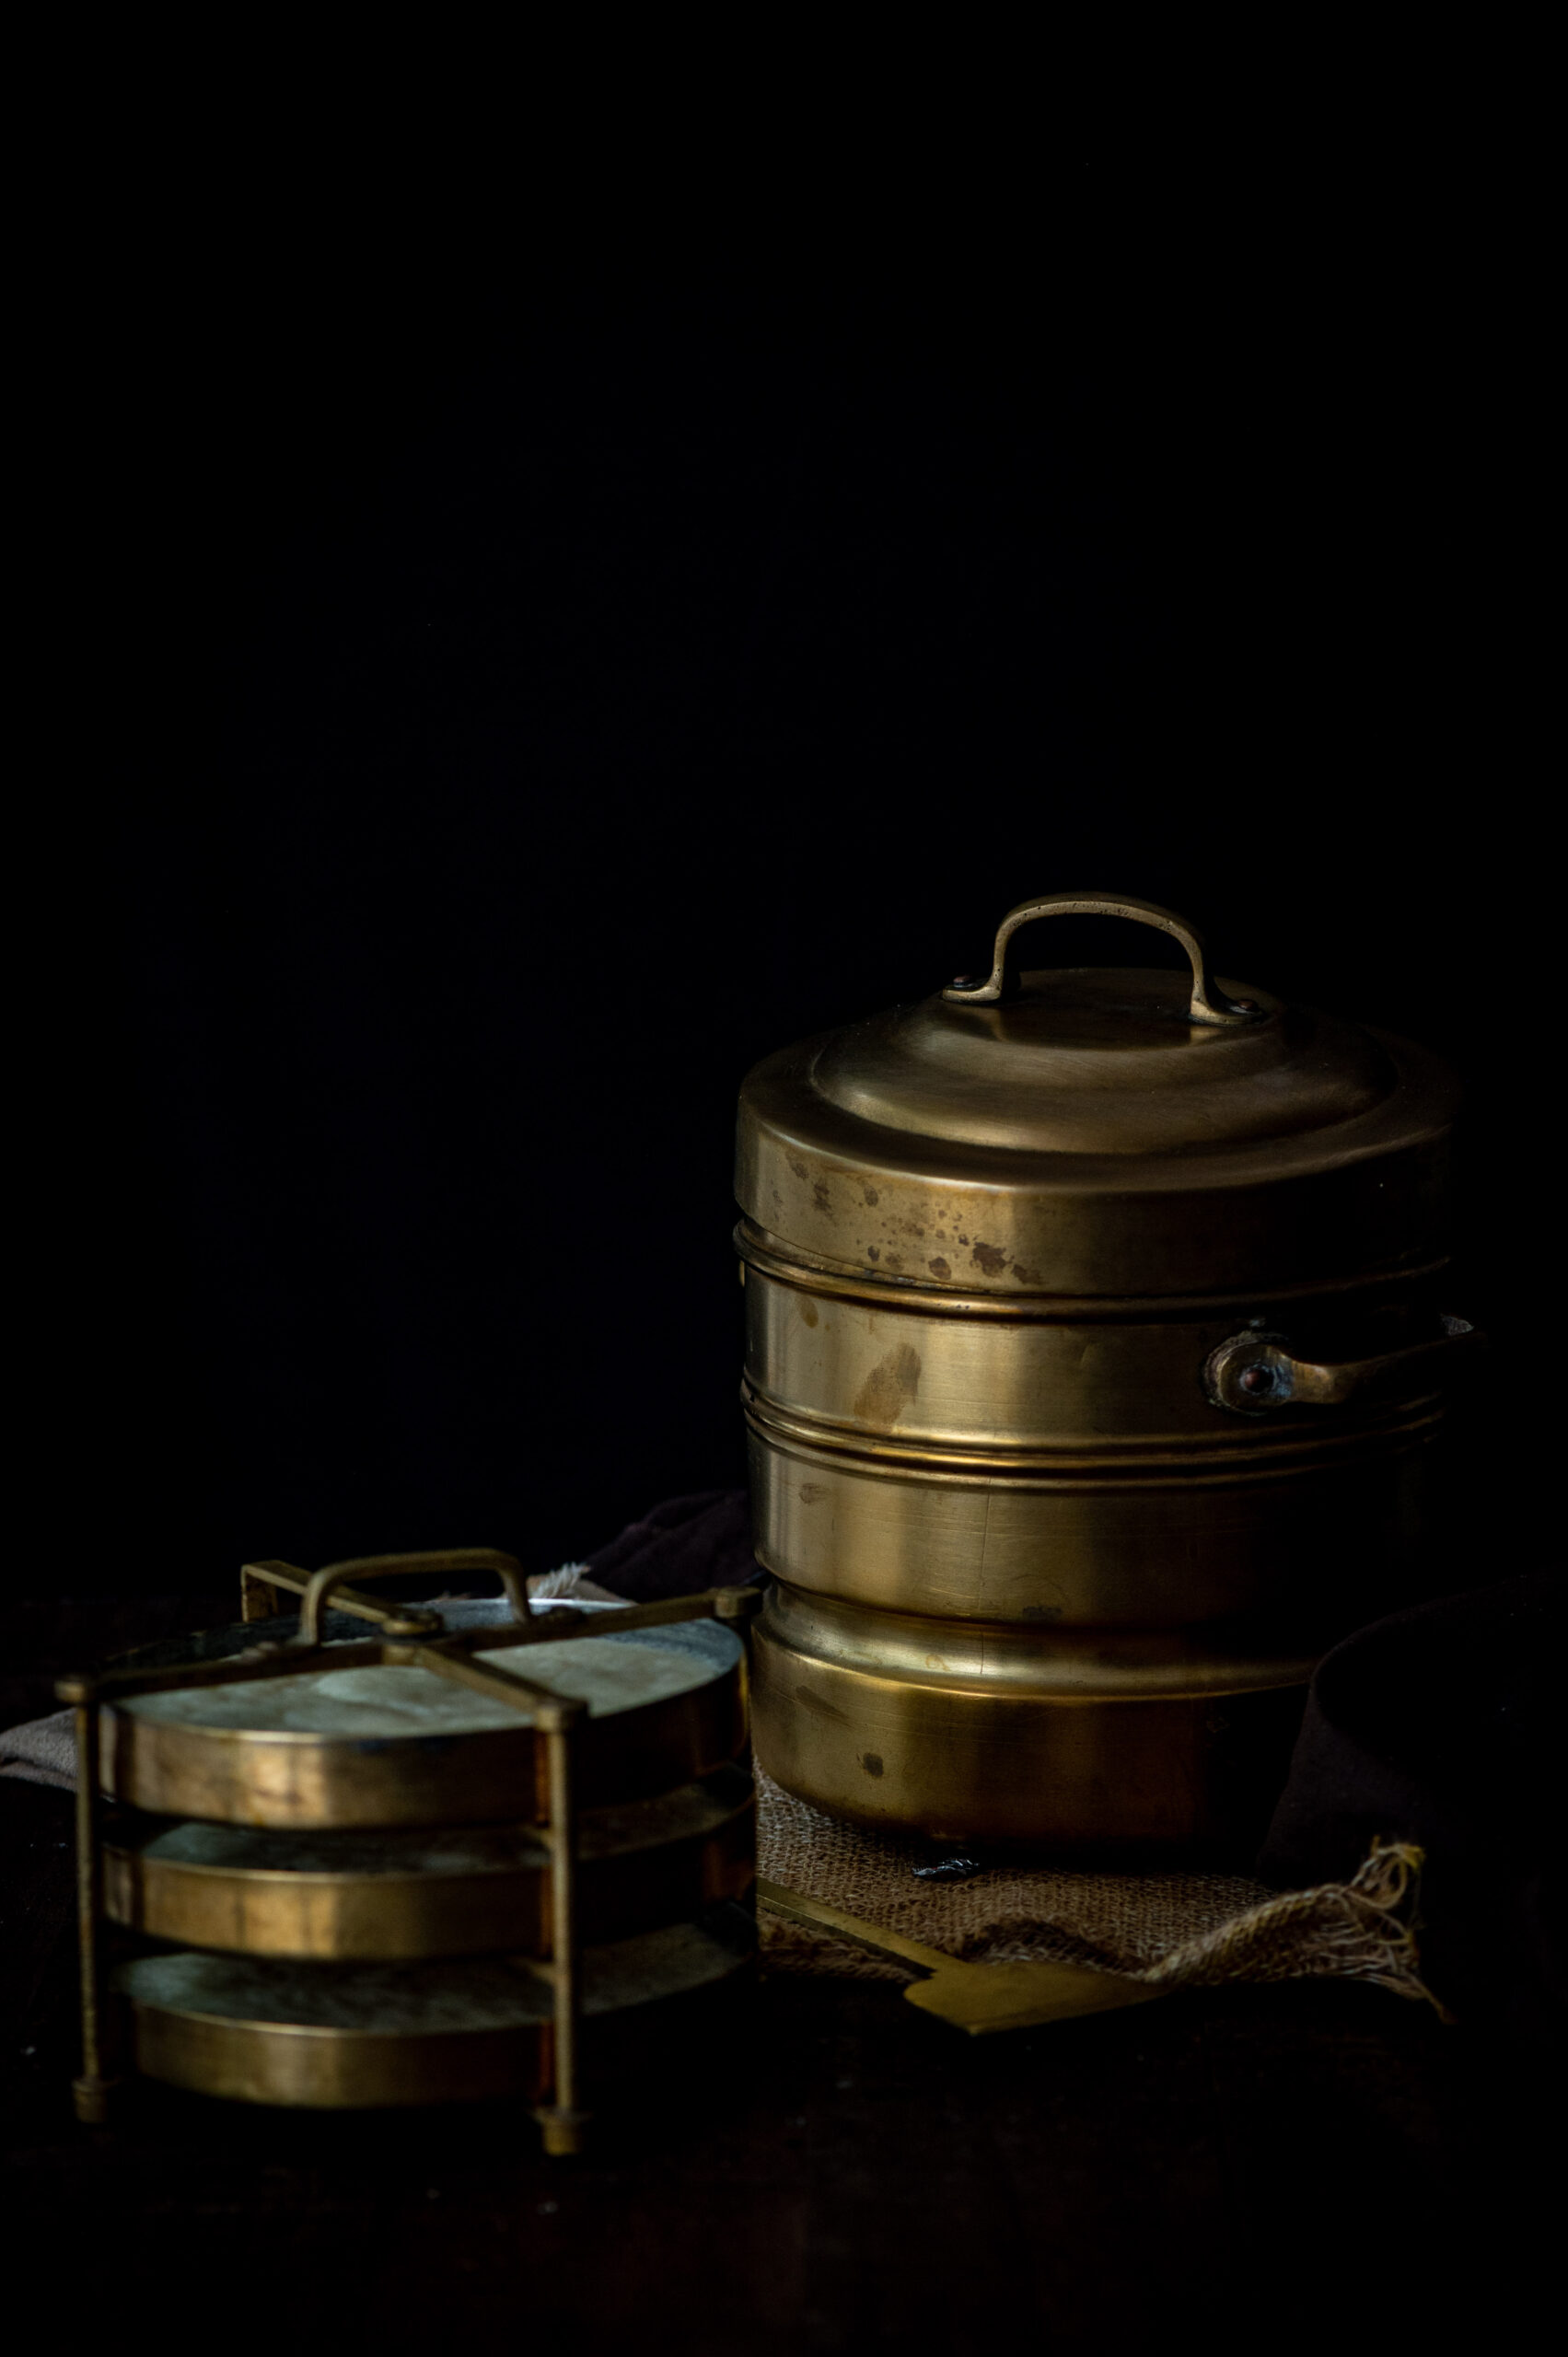
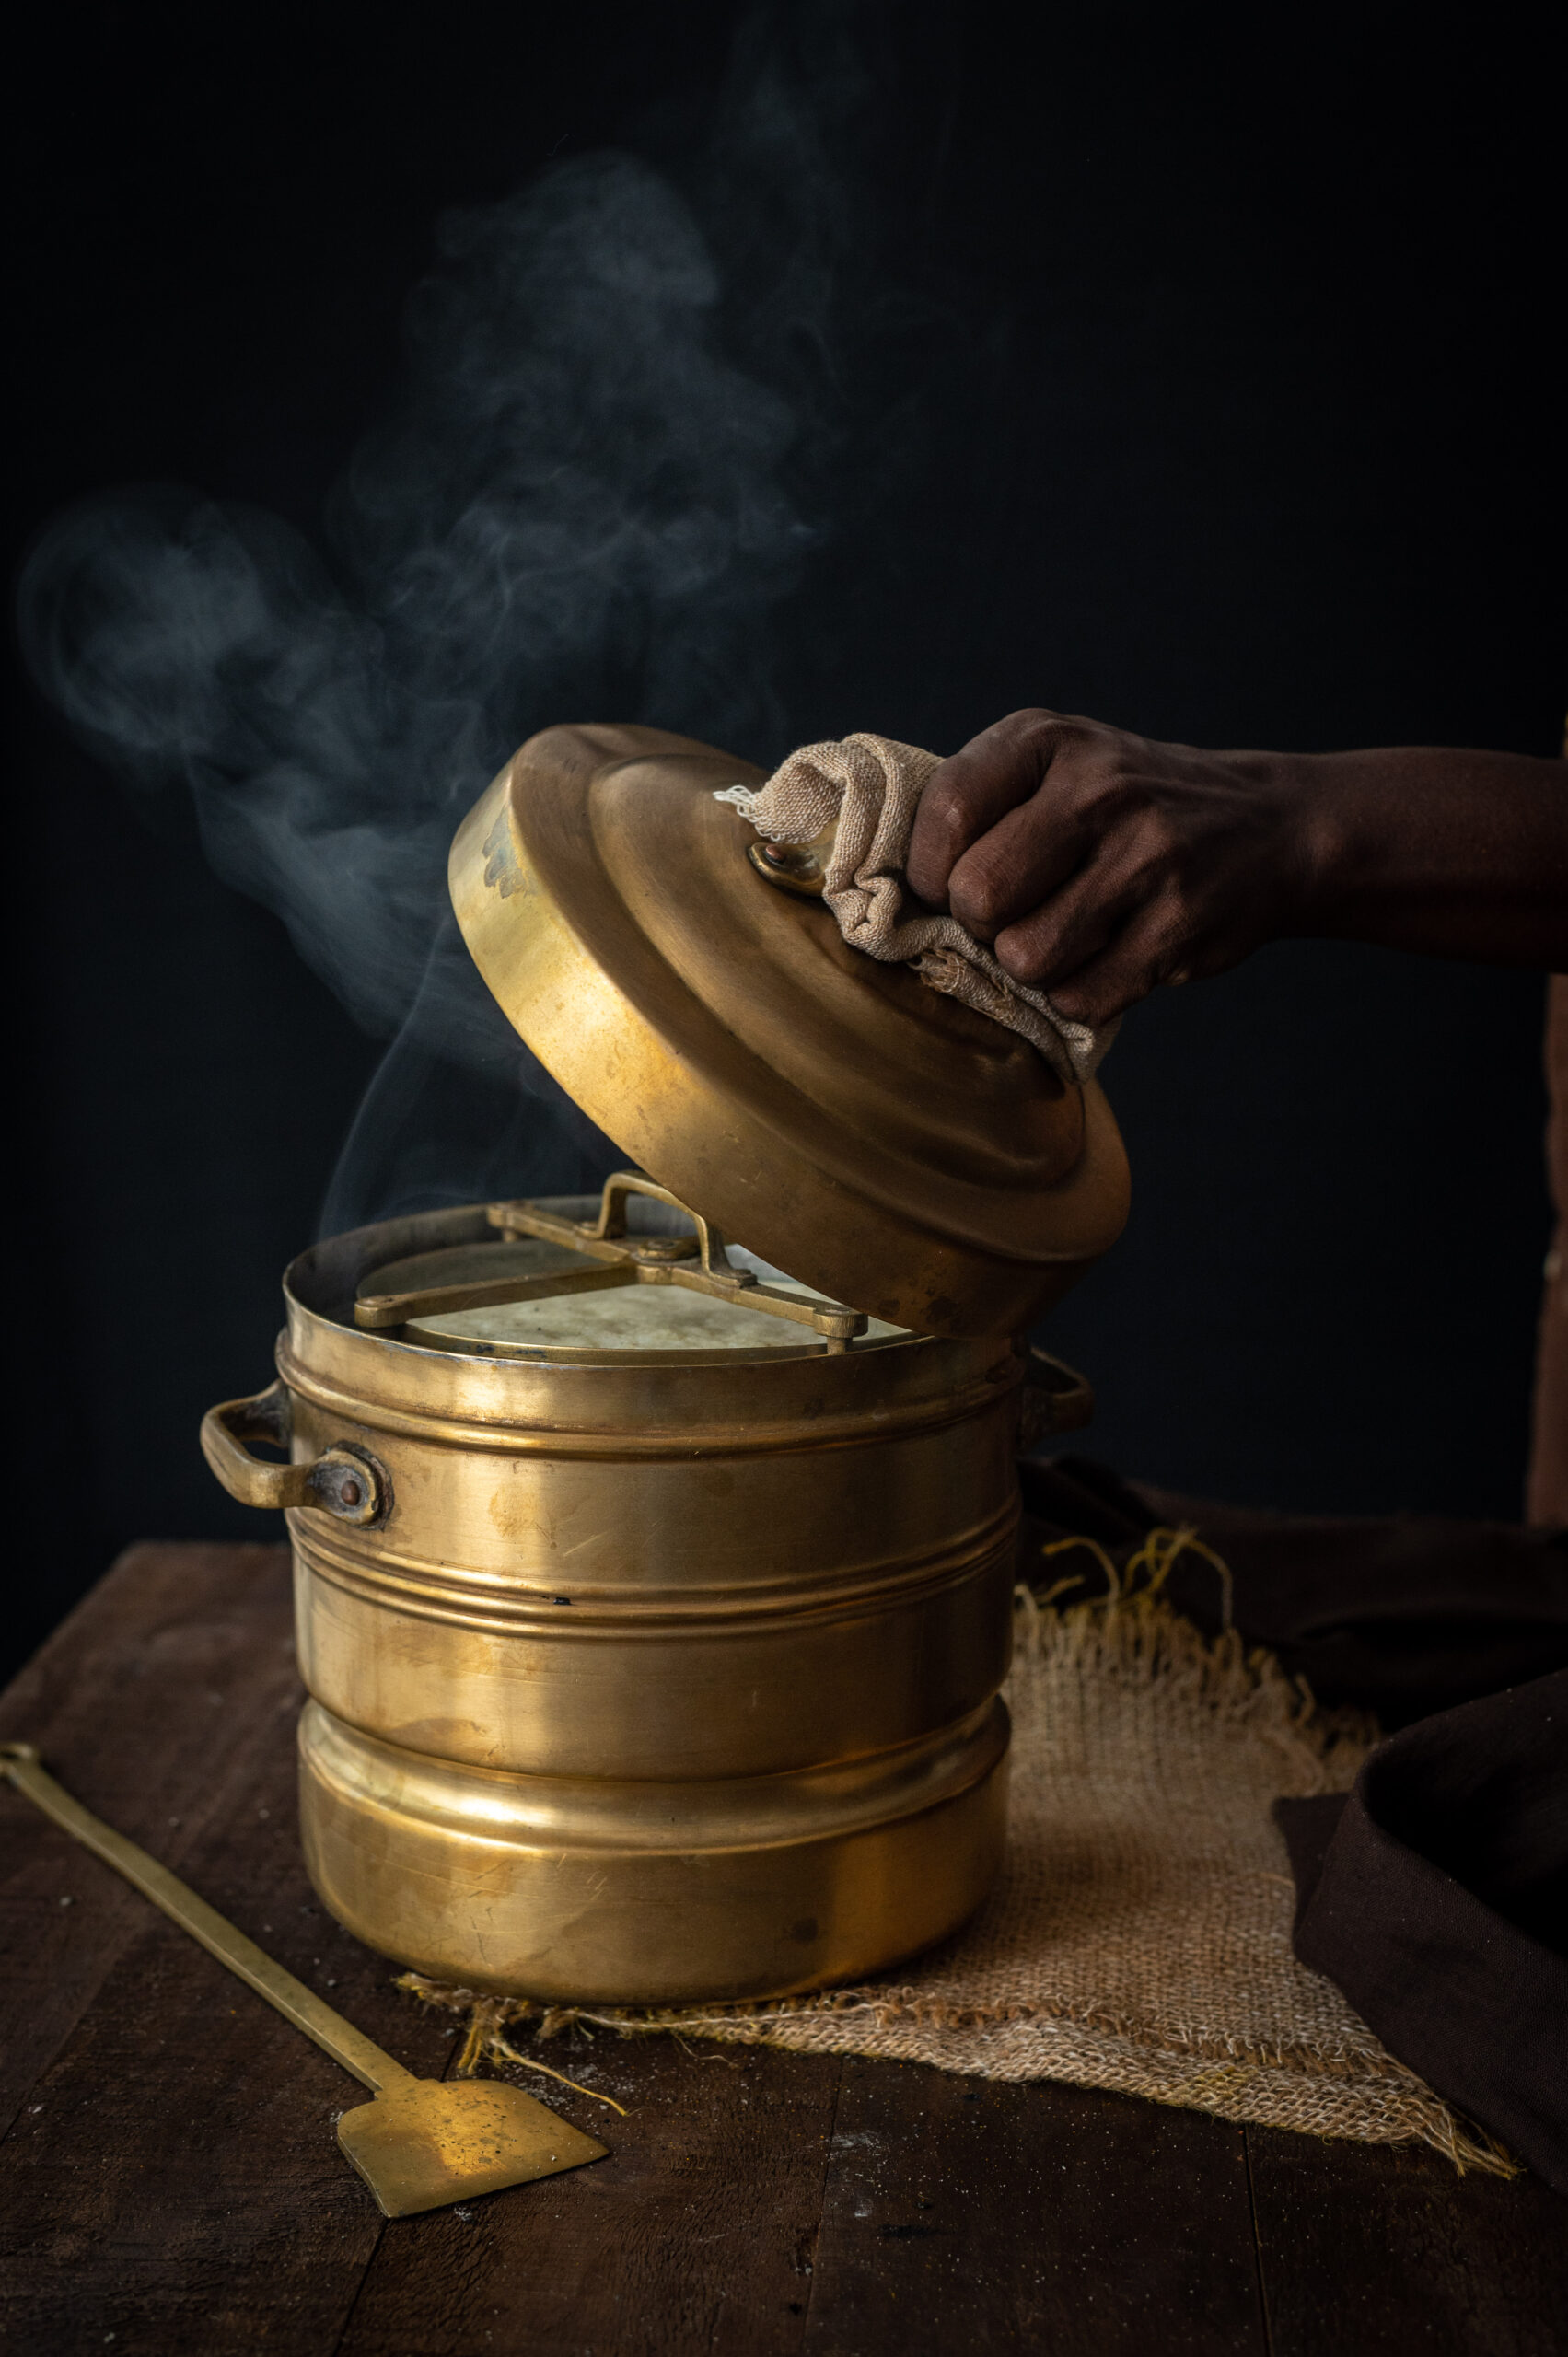
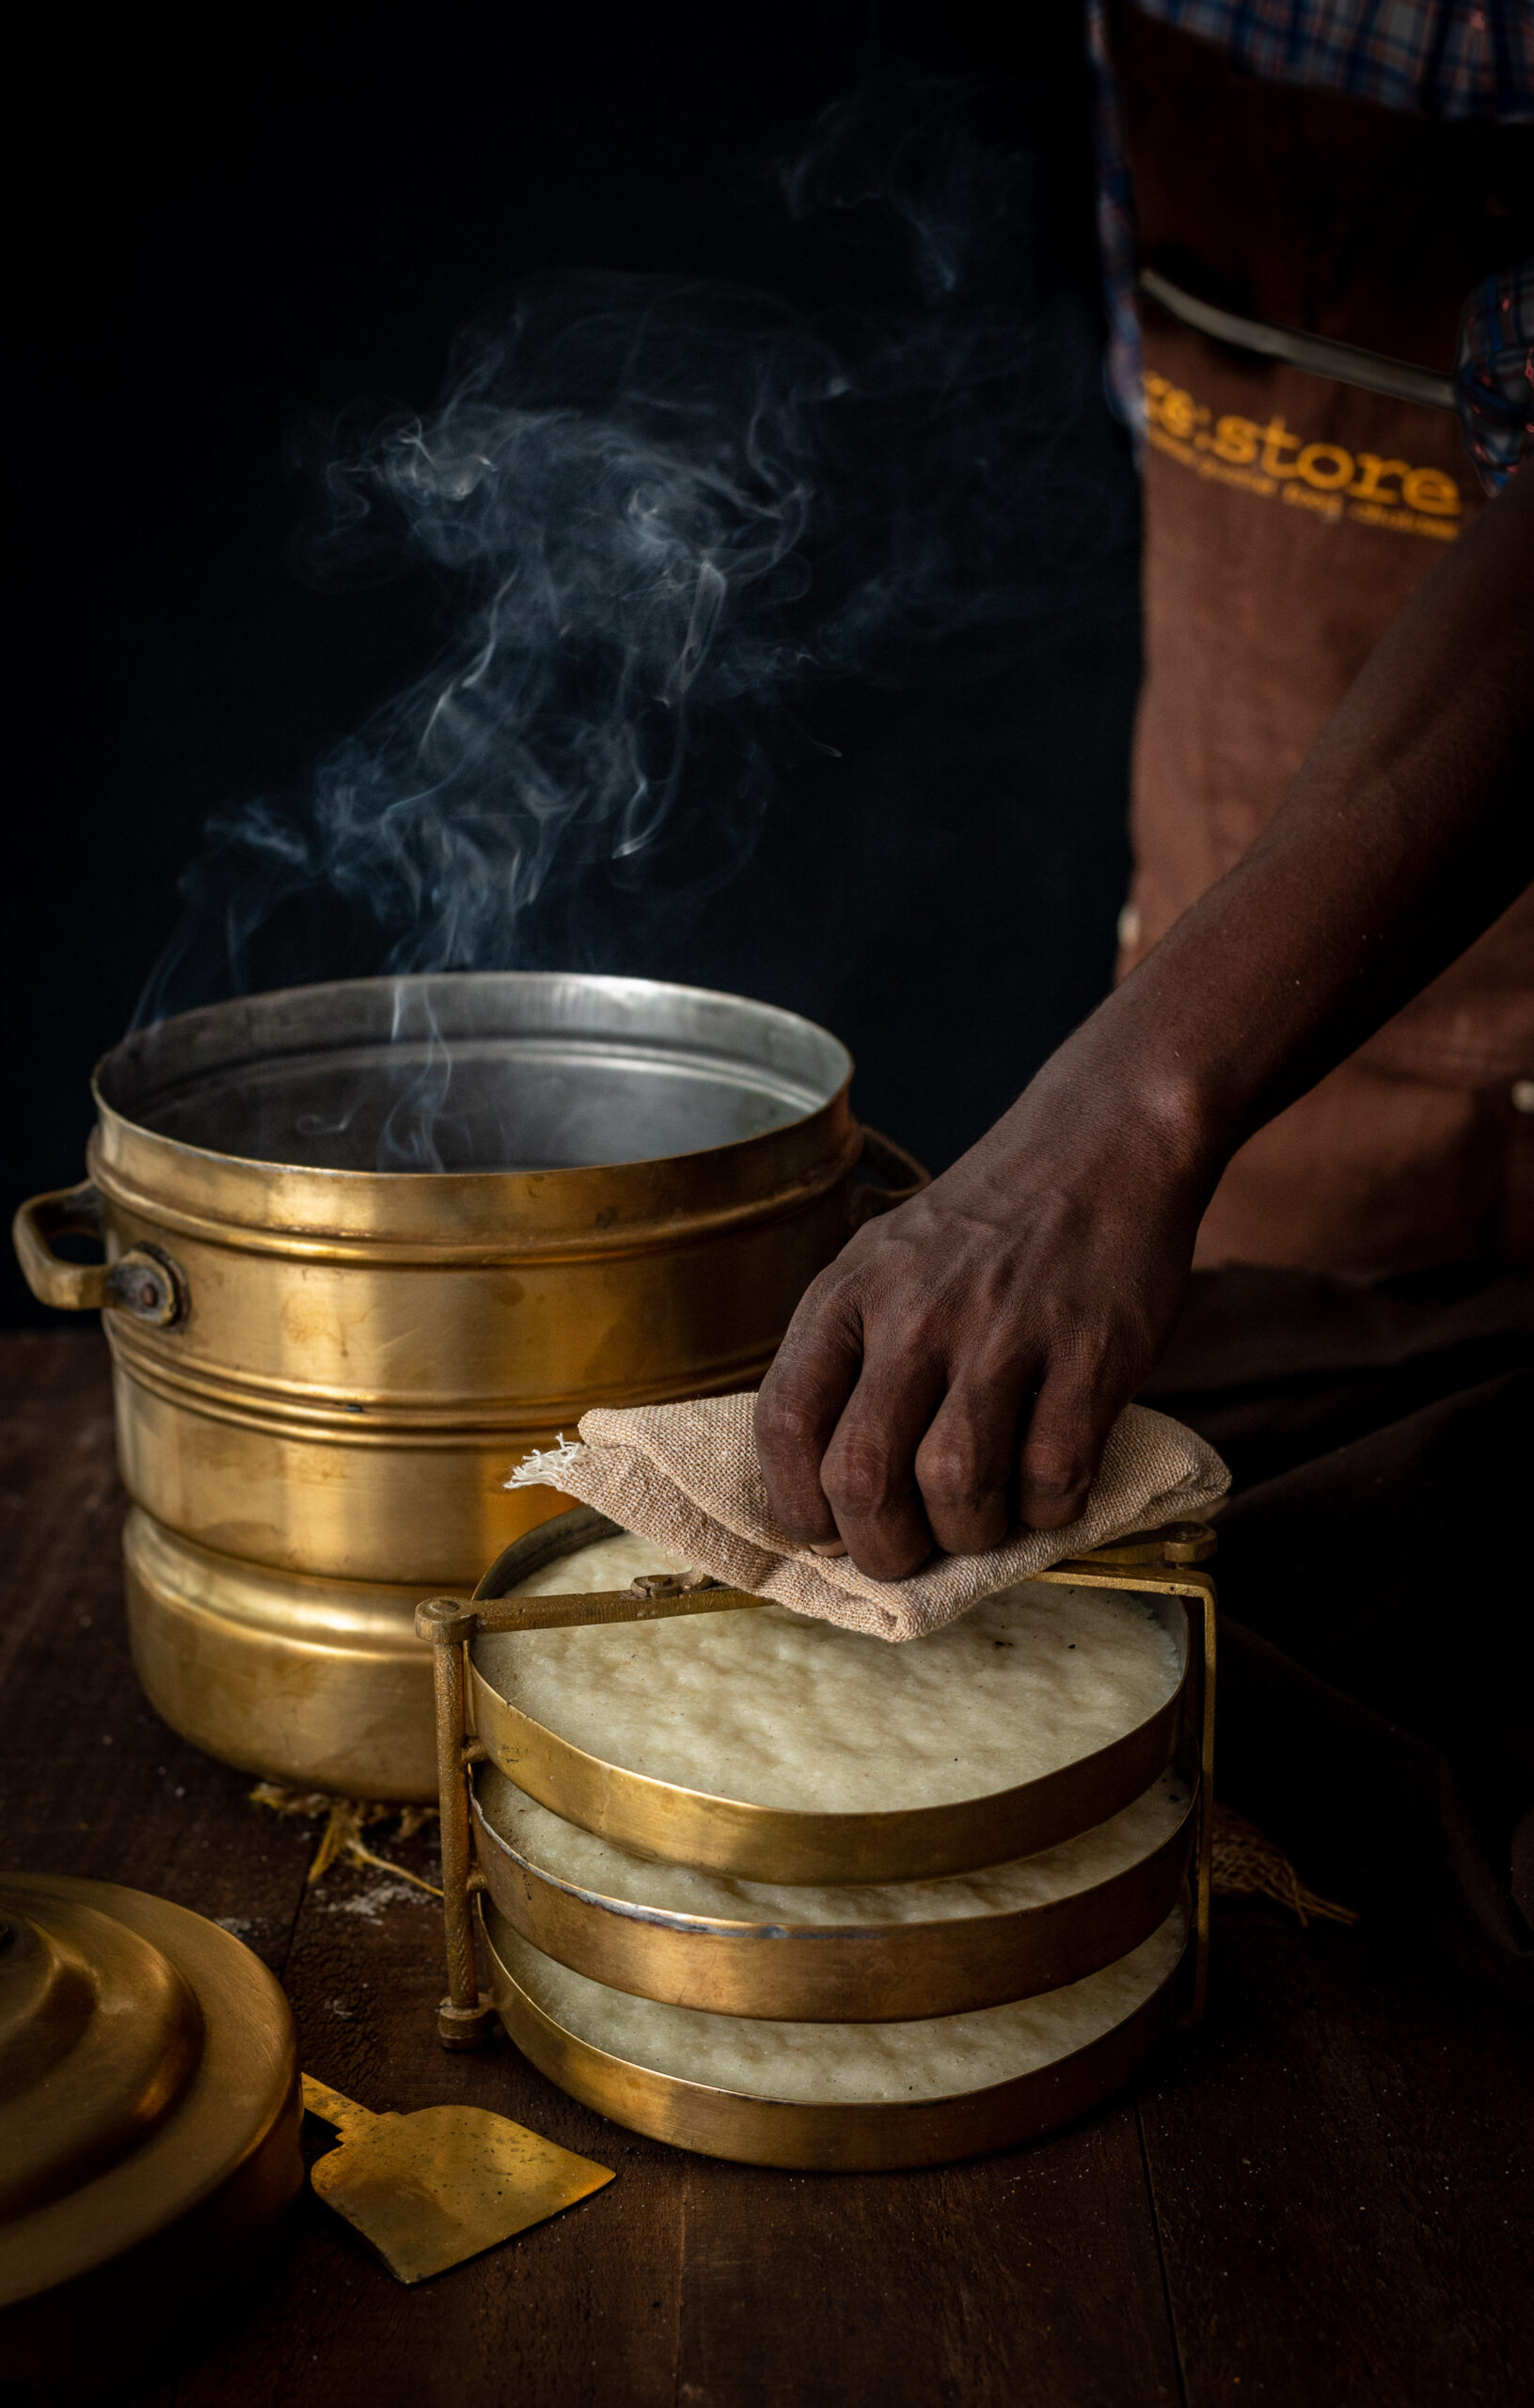
As you may know from some of my photography, I love antique kitchen objects. They are not only subjects or props to me, but are functional too. I have an old dhokla maker, one that feels like it has always been with me. I cannot remember when it entered my kitchen. Similar to an idly cooker, except flat, it has a set of plates stacked on top of each other. The dhoklas are steamed on these, then cut and served.

To be honest, I don’t use my dhokla maker very often because I don’t make dhoklas at home frequently, even though we all enjoy this dish very much. I think this is because, for me, the perfect dhokla was always my mother’s. Even when she became really old and would rarely cook, and I would send her all her meals, I would ask her to prepare just dhoklas for me. With great love, she and I had a recurrent jesting conversation in which I would make fun of her – “What’s this, why are you sitting around? Time to start training for a marathon! Or how about getting started on the cooking, and make me some dhoklas?” I would say, and she would laugh, or offer one of her famous smiles – to be followed shortly by a mouthwatering beautiful treat. My sister’s dhoklas are a close second, but as for me, I am still learning – and as always, eager to share what I know.

That reminds me also of how, not so long ago when we were all still zipping up and down the country and around the world with ease, I would pack dhoklas for short flights of under three or four hours. They travel well as they don’t need accompaniments, and the best part is that they don’t have a strong smell. The whole plane doesn’t find out that you’re eating dhoklas when you open your lunchbox. So I’d fly off to Mumbai, eating my own dhoklas in the air, and when I arrived, my sister would be ready to serve me a fresh batch of her own.  I guess it’s true what they say: no matter where we are, Gujaratis can’t get enough of a good dhokla.

White Dhokla

(Yield: Serves 2)


1 cup rava

½ cup yoghurt

1 cup + ½ cup water

Salt to taste

1 tablespoon oil

½ teaspoon ENO fruit salt

½ teaspoon green chili-ginger paste


Tempering:

2-3 tablespoons oil

¼ teaspoon mustard seeds

¼ teaspoon cumin seeds

A few curry leaves


In a bowl, add rava, yoghurt, 1 cup of water, salt, green chili-ginger paste and oil. Mix well. You will get a thick batter. Set this aside for at least half an hour.

Now, the batter would have thickened further. It needs to be of the consistency of idly batter, so add the remaining half cup of water if required.

Add the ENO fruit salt and gently mix the batter. At this point, it will be frothing.

Prepare the dhokla cooker / plates by greasing them. Then, pour the batter into the plates and steam for about 20-25 minutes with the lid on.

Remove the plates from the cooker once the batter has cooked. Allow to cool.

Finally, temper the dhokla. For this, heat the oil and add the mustard seeds and cumin seeds. Allow them to splutter, then add the curry leaves. Immediately, pour this hot mixture over the dhokla.

Cut and serve plain or with accompaniments of your choice. Once again, I would recommend trying out one or all of the three dips in my recent Indian condiments series. The raw mango thovayal, the lasun ki chutney or the ginger chutney will beautifully elevate the soft, spongy dhokla. I hope you’ll enjoy this delicious white dhokla – and that it will make you clearly understand why we Gujaratis love it so much! If you do, don’t forget to try out the green moong dhokla variant too. Let me know which one you prefer!

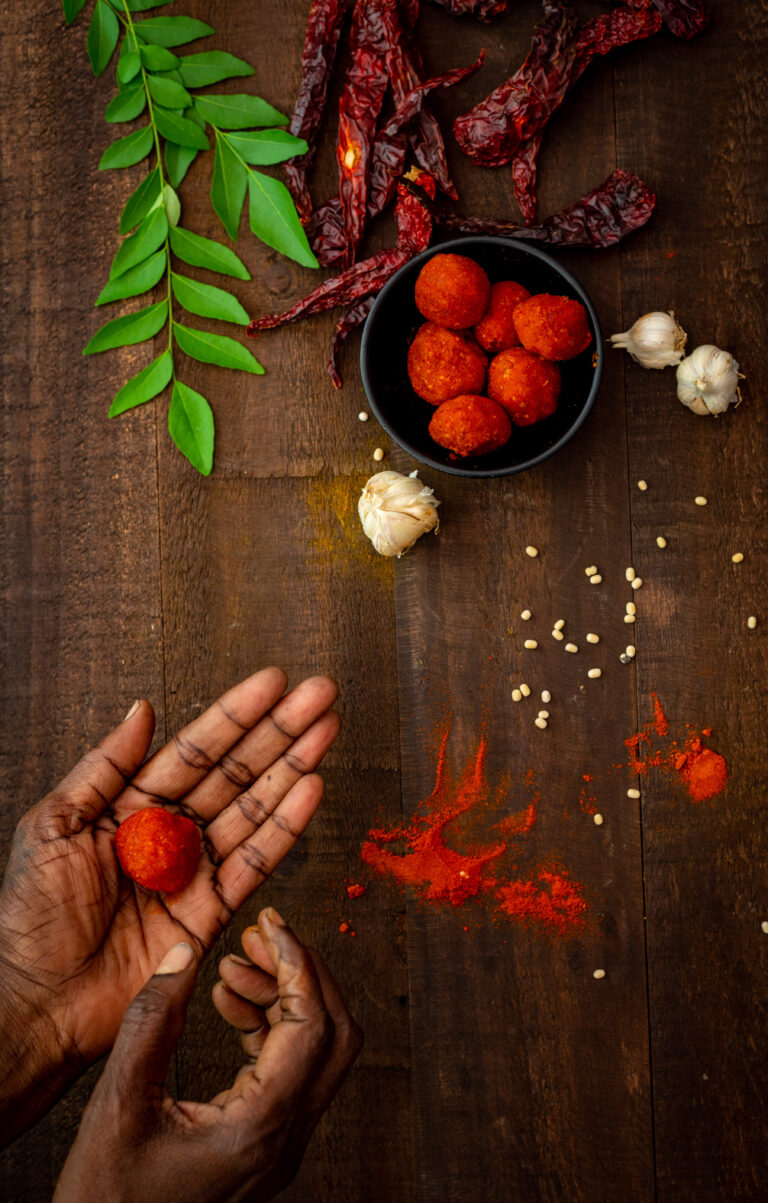
What did you think of the raw mango thovayal that I shared in my previous post? I hope it added a tangy kick to your meals, and if you used it in any offbeat ways (such as as a marinade, or in a fusion dish), I’d love to know. The next dish I’m sharing in this dip series is another recipe that could lend itself to versatile use too. It also has an interesting dry-to-wet storage solution built into its preparation, which you’ll learn about below. This lasun ki chutney (dry garlic chutney) is a Gujarati condiment, one that always existed in my childhood food experiences, and I know it is also made Maharashtra, which borders Gujarat.

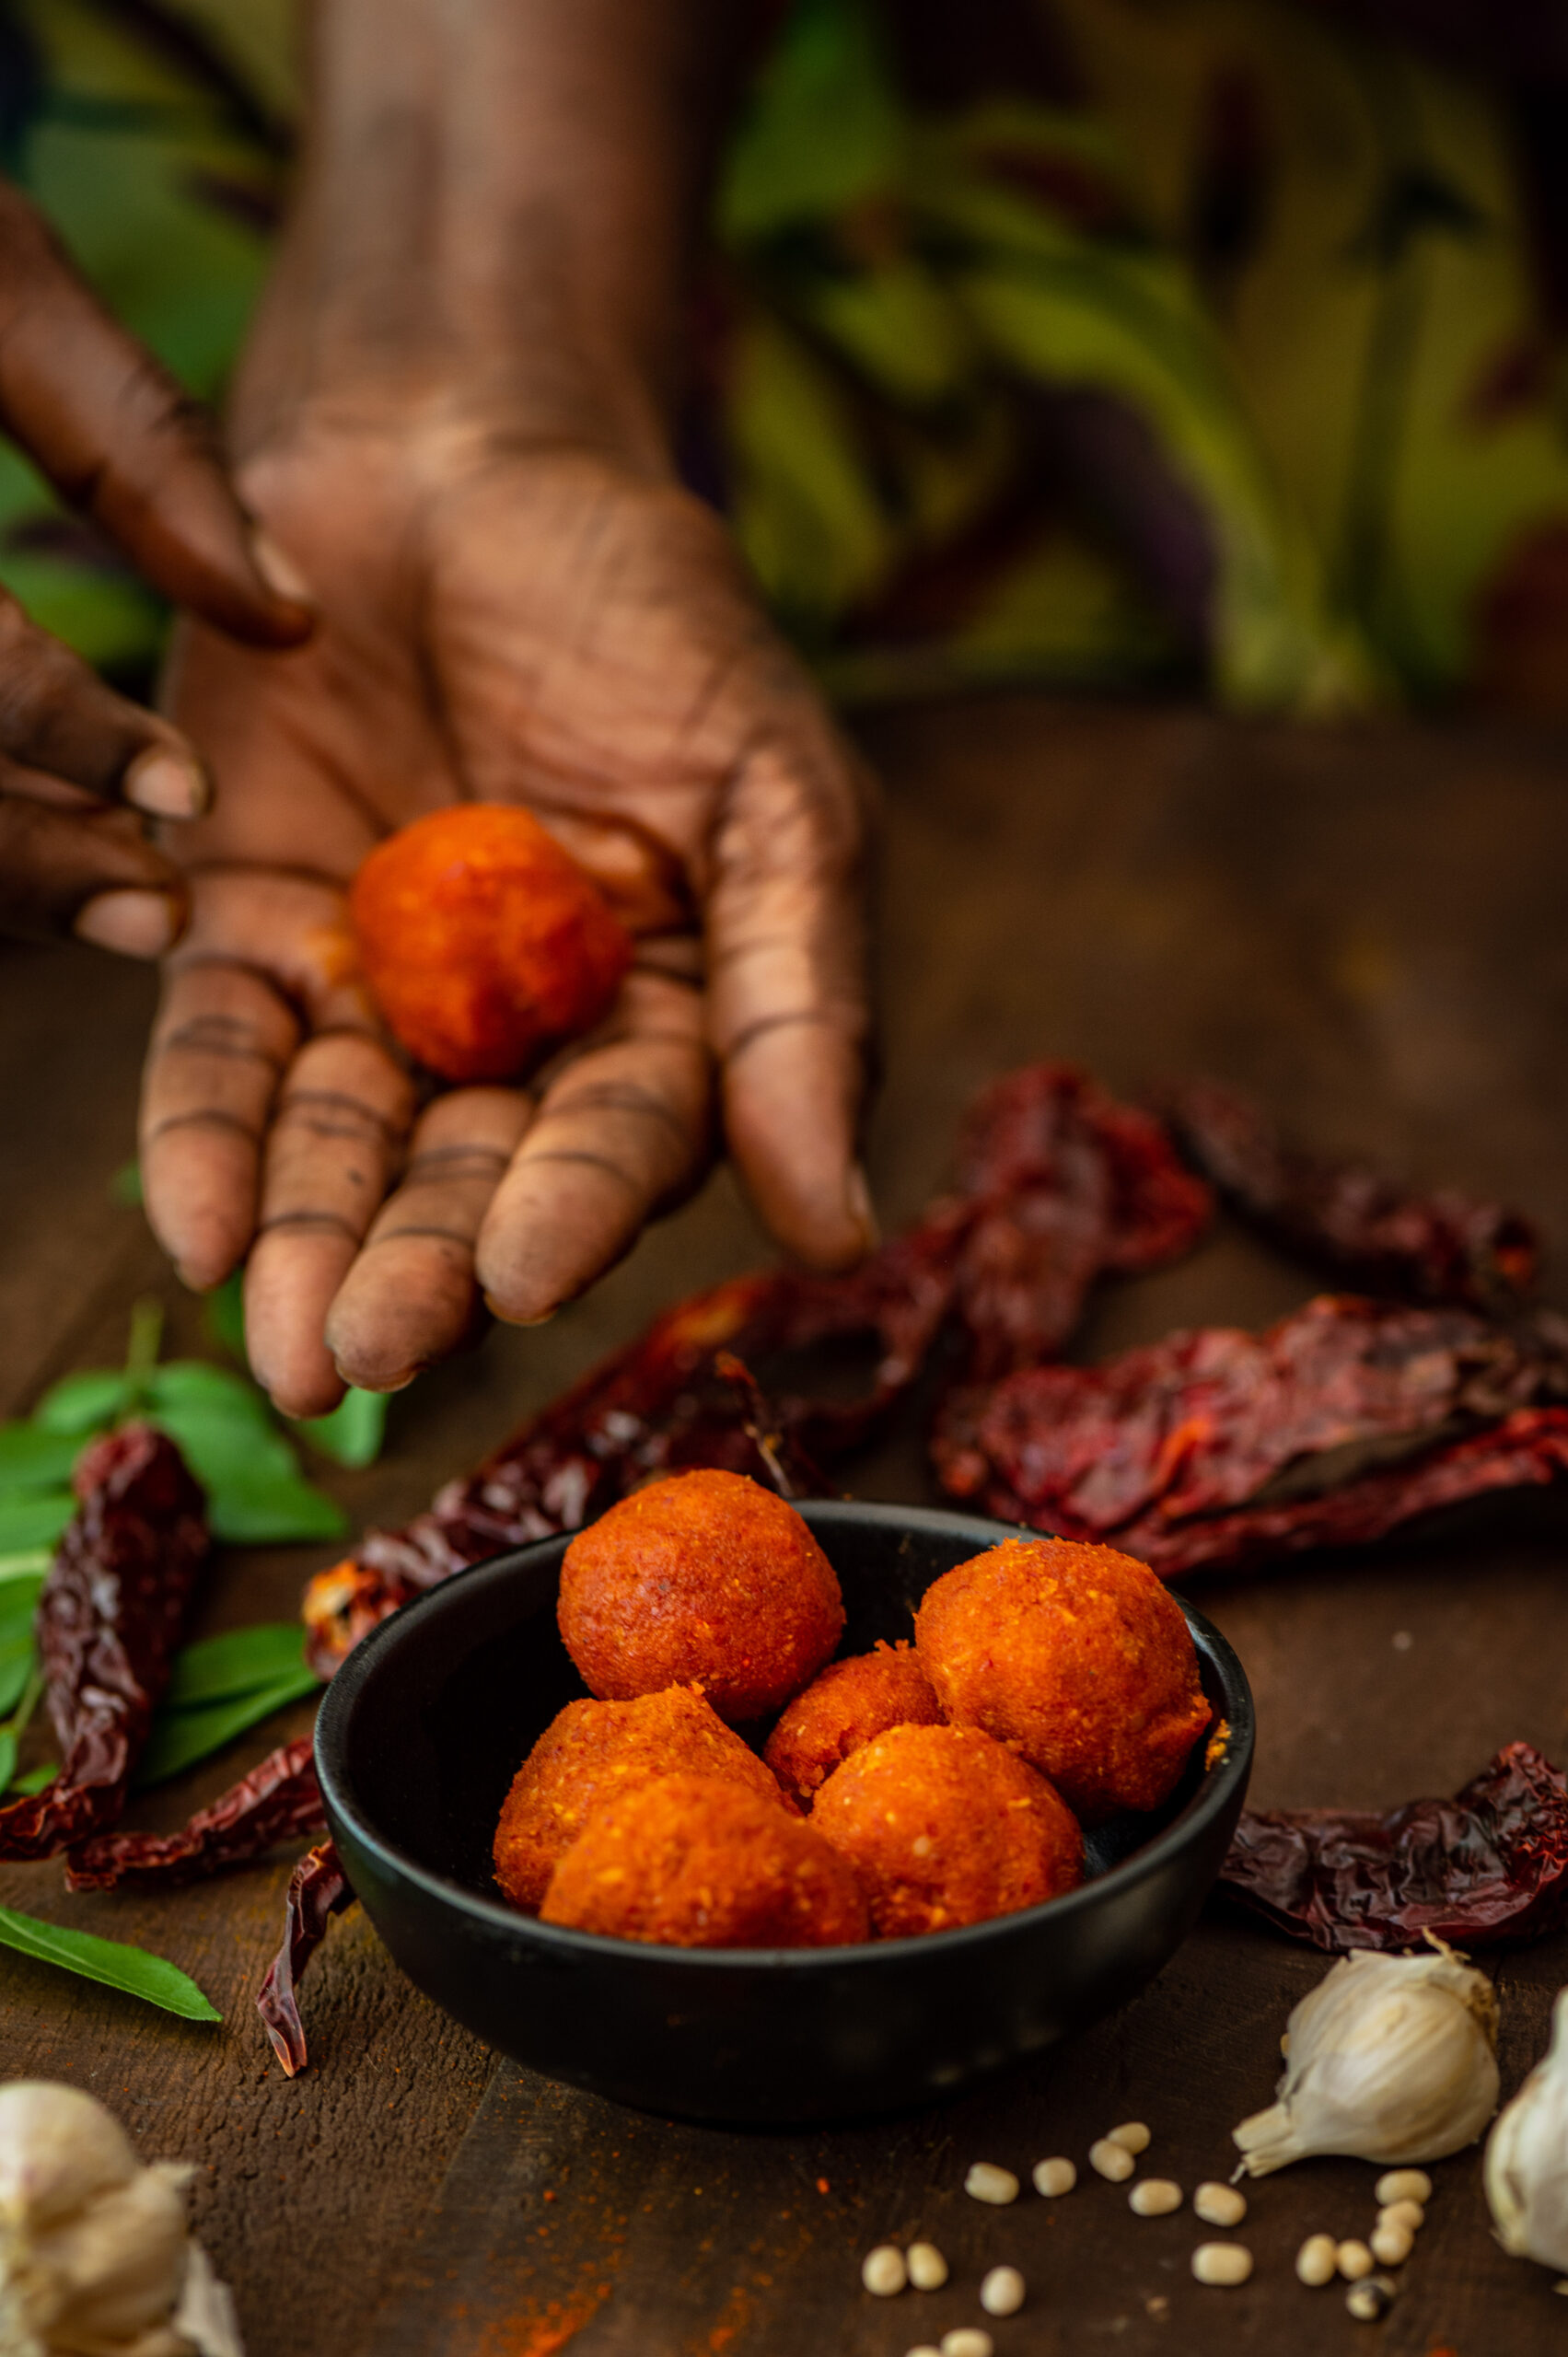
It is a dry garlic chutney with a fiery colour, and is made in a ball form that is supposed to last two or three days without refrigeration. This means it travels well, so it is often paired with the equally durable thepla on train journeys and so on. While I was growing up, my mother kept her lasun ki chutney in the fridge, which extended its shelf life a little further too. The concept is like this: it’s a dry chutney, made with minimal water, that is rolled into a ball and stored. Whenever one wants to consume it, one simply pinches some off, adds warm water, makes a paste and enjoys it as an accompaniment. Once water is added, it needs to be consumed immediately.

Aside from theplas, it is typically an accompaniment for bajra ki rotla, dhokla or handvo. Although we now enjoy it year-round, in concept it is the ideal winter condiment for more frugal meals. I am told that farmers in Gujarat typically consume it with bajra ka rotla, a flatbread made with pearl millet flour, in winters. Being very flavourful, it uplifts the thepla or other main staple without the need for other side dishes, especially when the harvest is scarce.

When I first started making lasun ki chutney, I began by making the soft version directly rather than the storable dry balls. I learnt the recipe for my grandfather, who came to live with us when he was 93 and absolutely had to have some of this lovely condiment at every meal. And at every meal, without fail, he would always say, “Garlic is very good for you.” He would sit on the floor and have a full Gujarati main course served to him, and he relished dipping his chapati into a bowl of ghee and eating it with lasun ki chutney. Perhaps because he reminded us every day that this is a nutritious dish, it grew on the rest of us too, and soon we began to have a side of spicy garlic chutney with most of our meals as well.

Garlic is indeed very good for us, and is well-known as an immune system booster, and as an ingredient that keeps blood pressure and cholesterol under control. It’s rich in antioxidants, manganese and fibre, among other nutritious elements. Plus – it’s delicious. Aromatic and pungent, it’s a pleasure for the senses.

That said, I would be remiss not to mention that there are communities that avoid garlic entirely as some believe that it affects the hormones in such a way as to charge us up and make us express our anger. If you do not eat garlic for this reason or any other, I’m afraid this recipe won’t suit you – and I hope you’ll explore the archives and find another one that does.


Lasun Ki Chutney

(Yield: 1 small cup)


10-12 cloves garlic

1 tablespoon toasted sesame seeds

4 Kashmiri red chillies (fried)

½ cup shredded coconut

1 tablespoon sesame oil

Salt to taste


Set aside all the ingredients, except the oil, in a food processor. In a flat pan, add the oil and once it has heated, pour the oil into the food processor along with the other ingredients. Make sure that you grind the mixture well. Your dry, coarse garlic chutney is now ready.

Now, make small balls and store them in the refrigerator. When you’re sitting down to a meal over the next few days, pinch off as much as you need, add warm water to make a paste, and enjoy. Have it with dhoklas or theplas, or even add it to Asian stir fries to spice them up, like I do. I’d love to know how you use it!

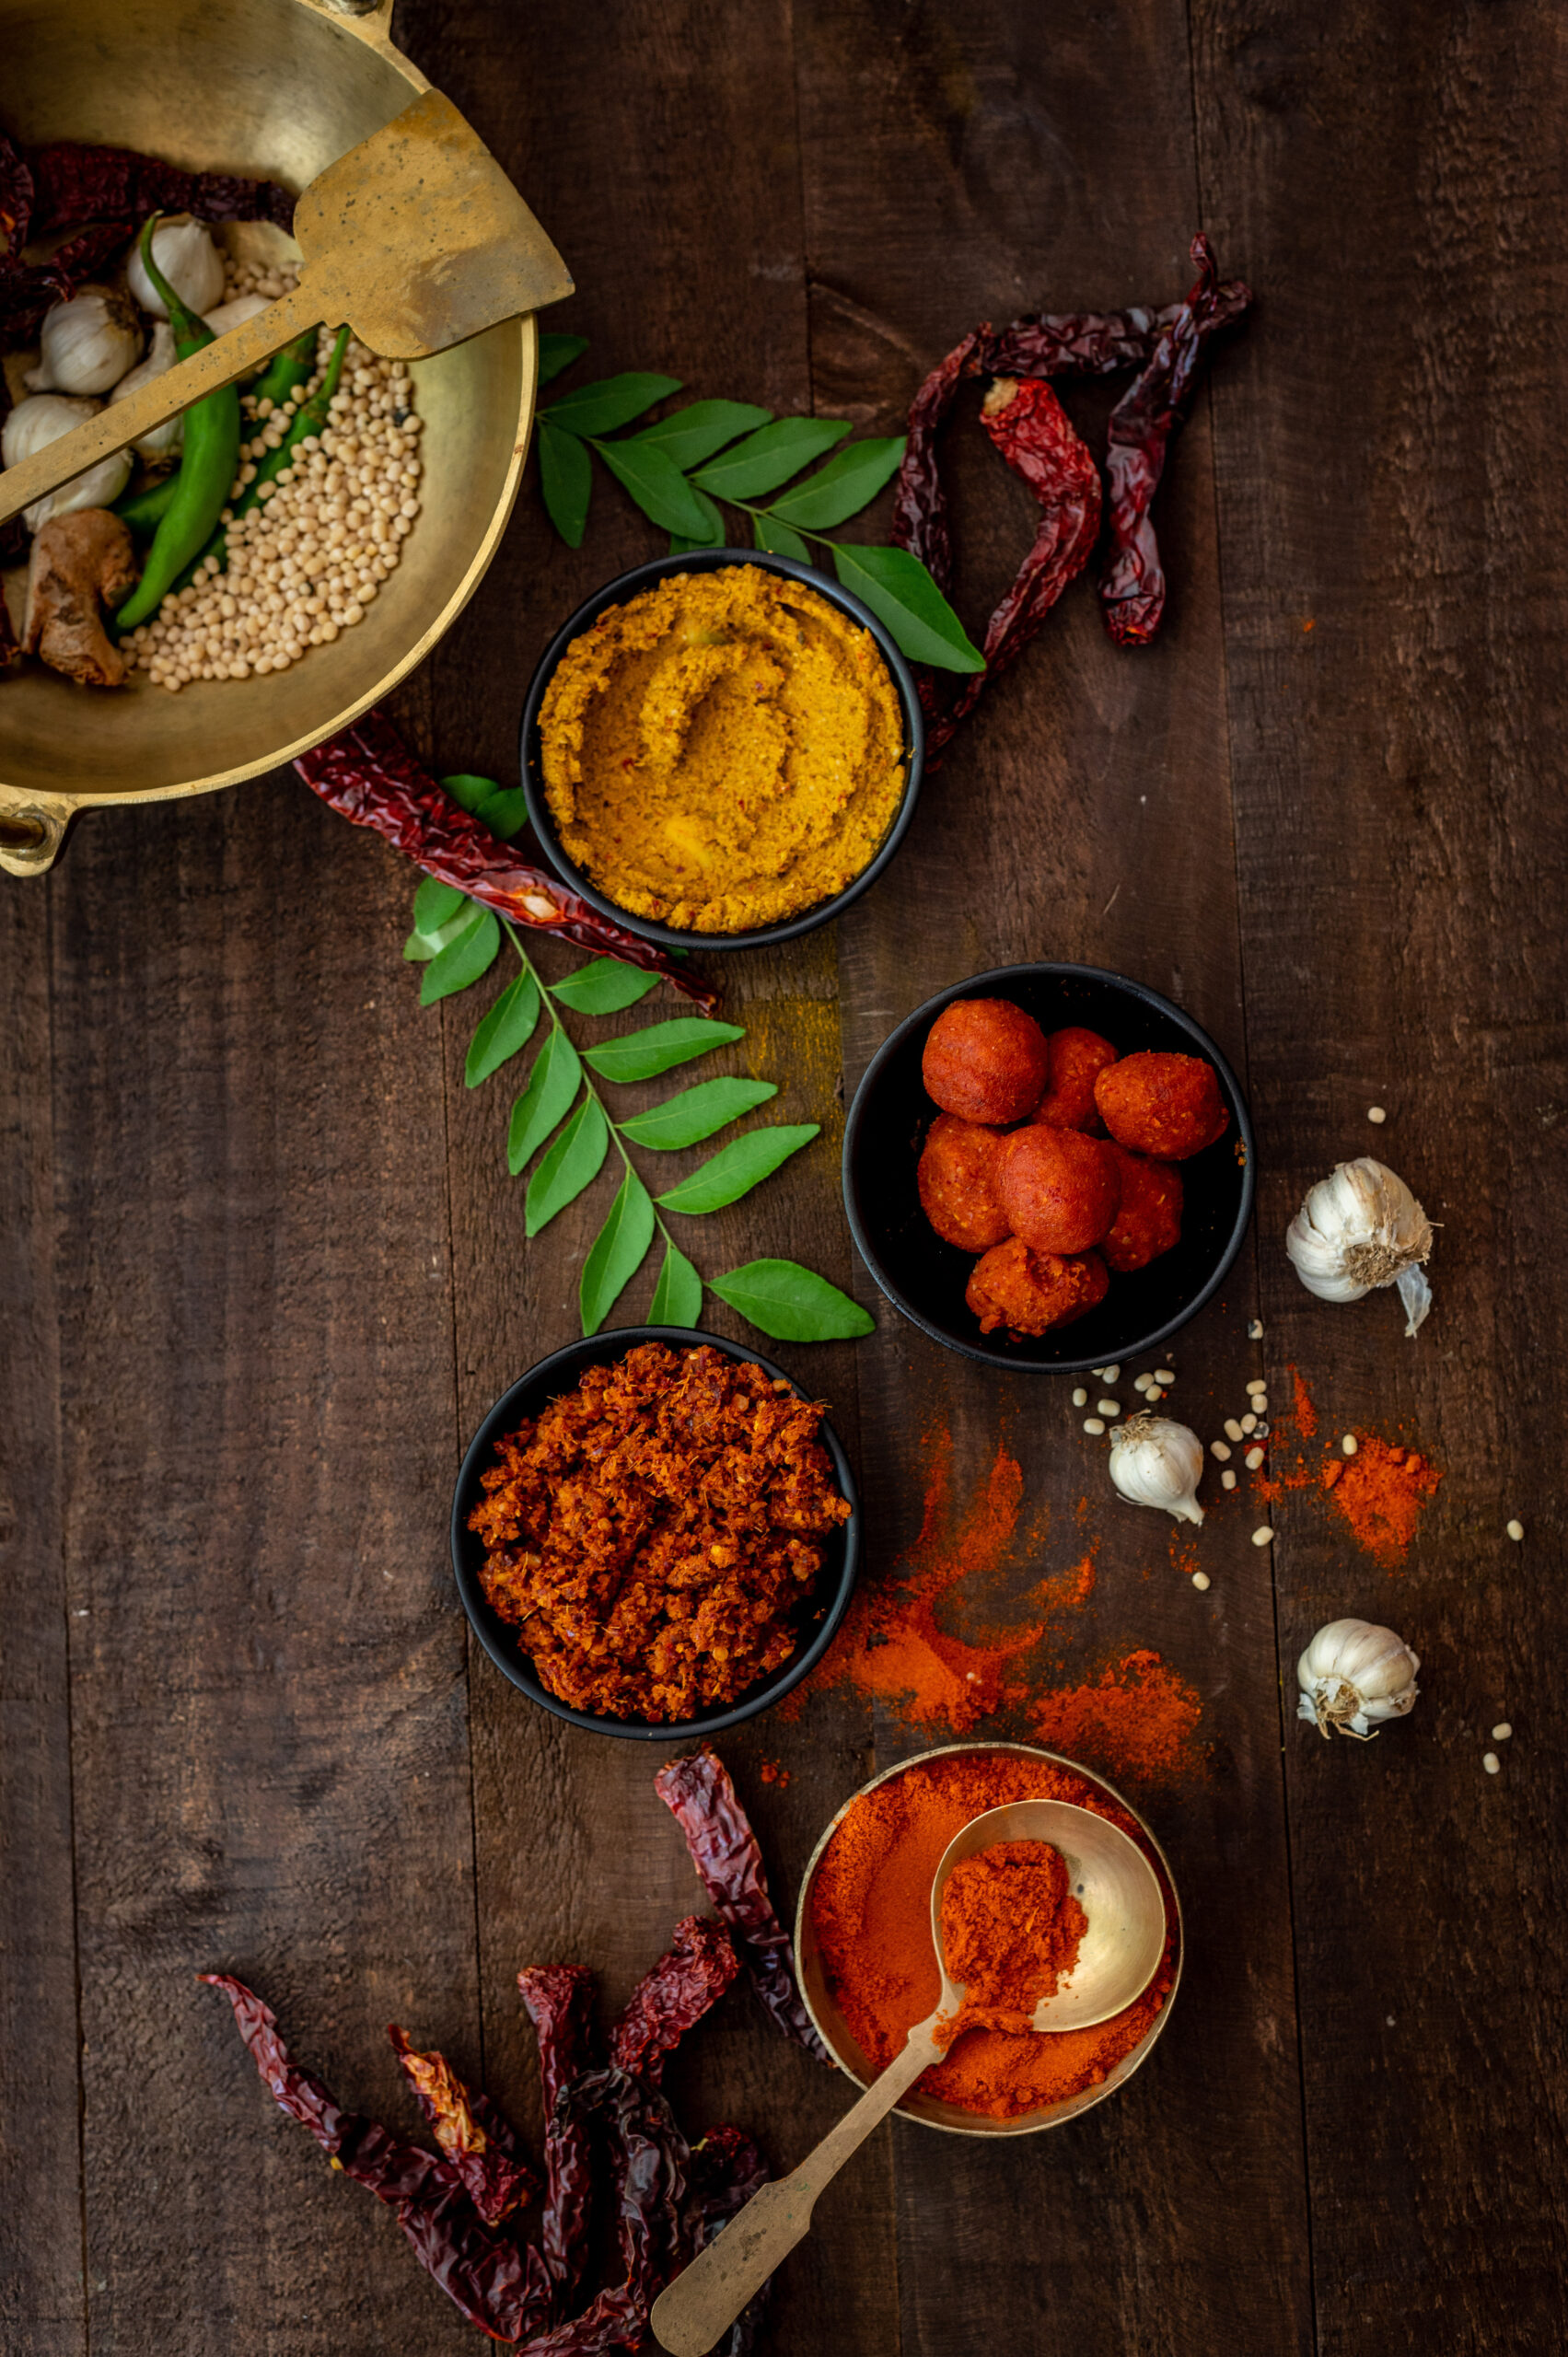
I’ll end this post by giving you a visual glimpse of the recipe that will round out this dip trilogy. In the photo below, you can see the raw mango thovayal and the lasun ki chutney – along with the forthcoming dish. Any guesses about what it is, or what its chief ingredient is?


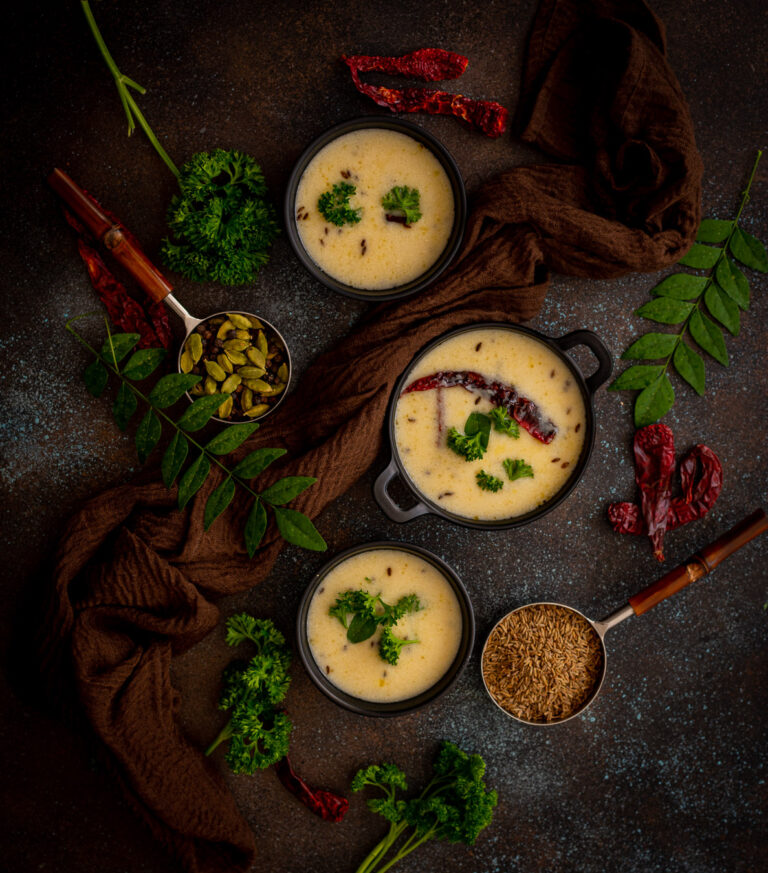
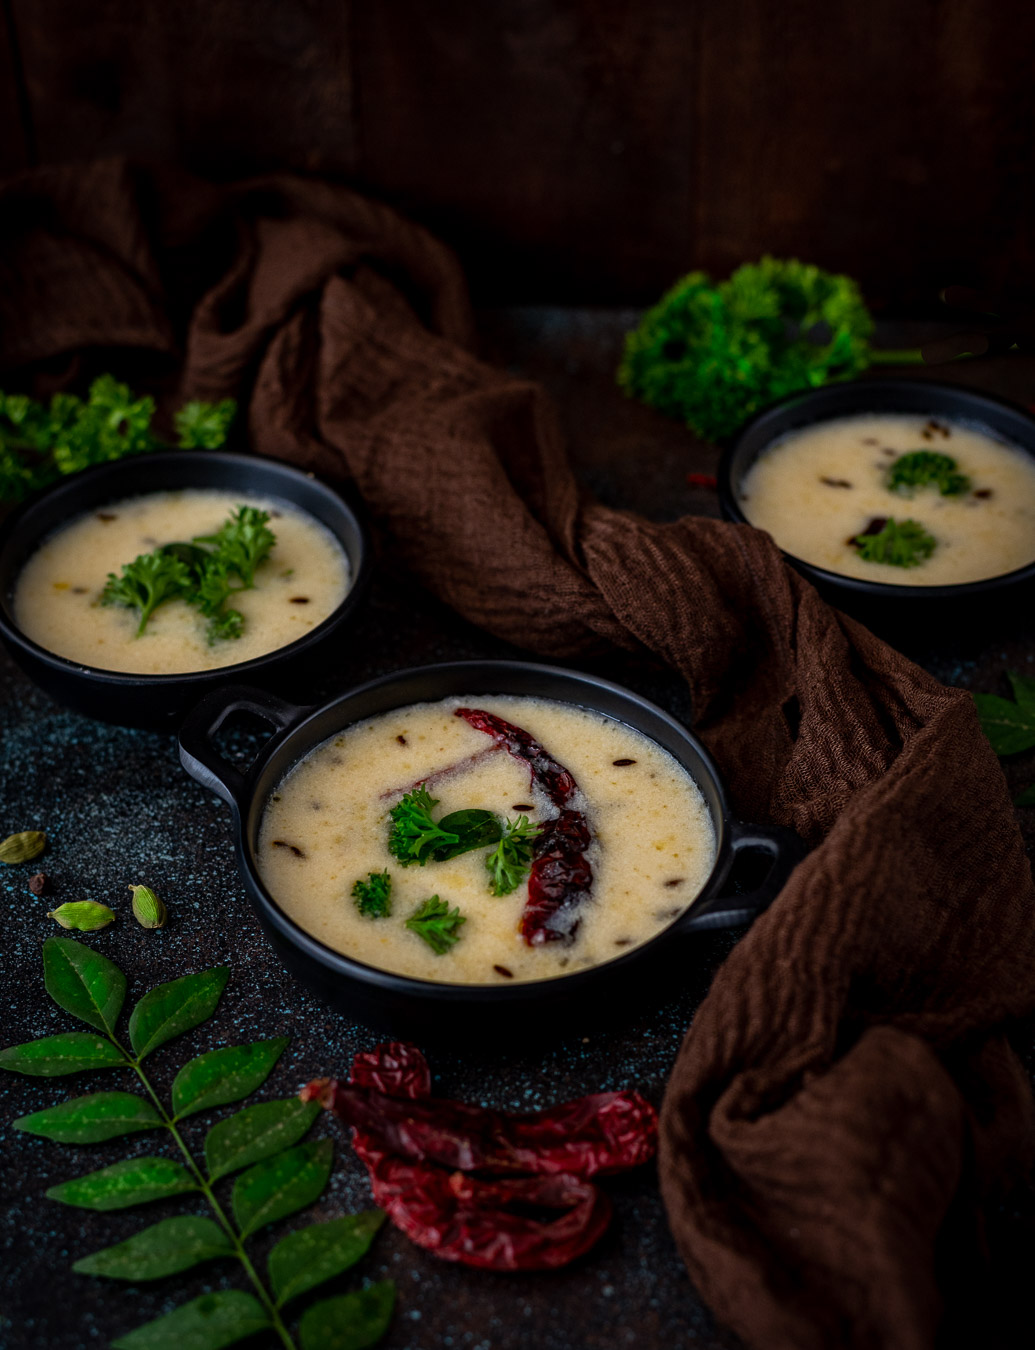
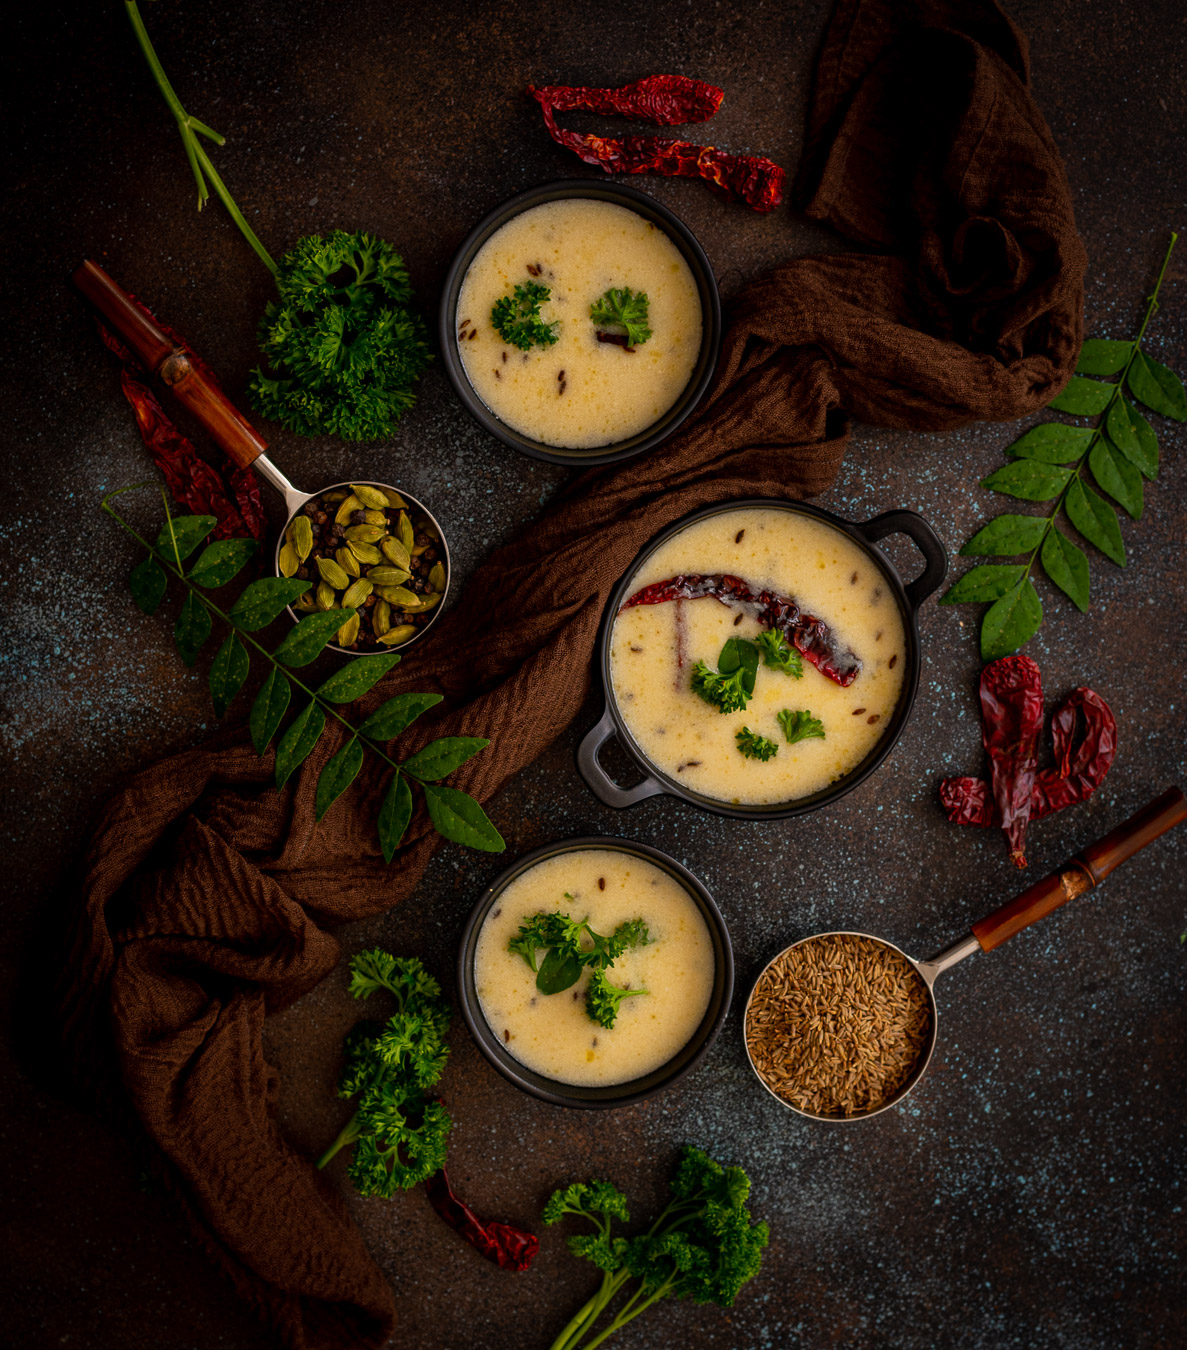
I dropped references to kadhi not once but twice on this blog recently, during the grains-based Gujarati recipe series I was sharing. I’m delighted to feature the recipe for this wonderful accompaniment today, and I hope it gives a superb flavouring to all your khichdis, khichdos and much more.

Kadhi was traditionally made from soured buttermilk. Here in South India, even today, many households make our dairy products at home. I still prepare my daily yoghurt and let it set overnight. While I was growing up, my mother and most of our neighbours also made butter, cream and ghee regularly. As long as milk and a fridge were available, these resourceful homemakers ensured that their families had a steady, homemade supply of these essential ingredients.

So my mother would often collect cream in a pot, store it in the fridge, and then make white butter from it. We absolutely loved this as kids, and ate it with everything, including rotis. There would always be quite a lot of white butter prepared, and from it she would also make ghee. The residue of that white butter would be soured buttermilk, and from this she would make kadhi. It’s truly amazing how far she could stretch a vessel of milk!

So on the days when she made butter, we would almost invariably have kadhi, because she would never let that soured buttermilk go to waste. My father loved this kadhi, and never ate that great Gujarati mainstay, dal (the rest of my family are ardent dal enthusiasts, and you can check out my recipes for horse gram dal, mixed dal and classic Gujarati dal). I prefer lentils and legumes myself, but always prepare some kadhi for my father when he visits.

As I’ve said before in the posts in the Second Helpings series, culinary innovations are truly the forte of ordinary people over so many generations, who would dream up ways and means to make every bit of food go an extra mile. I too have learned that another good way to make kadhi, rather than to prepare butter and use its residue, is with yoghurt that’s been in the fridge for a few days.

If you’ve never tried a kadhi before, I would describe it as being an equivalent to the South Indian mor-kulambu. A kadhi is thinner in consistency, but it has a similarly spicy, slightly sour flavour. There are also mango kadhis, in which chunks of the fruit are added to the mixture when they are in season. These may be similar to the Tamil manga pulissery. Dumpling kadhis are another interesting variant. The recipe I will be sharing with you today is the base on which these variations are built.

Gujarati kadhi is sweetened with sugar, as with many of our dishes. This is a culinary twist that’s a signature of the cuisine, and you may prefer to make yours without it. We also do not add turmeric, and prefer to keep the kadhi white in colour. It is always tempered with ghee and just a few spices, so that just a subtle hint of their flavours are infused.

There’s one way in which my kadhi differs from my mother’s, and that is in my addition of curry leaves, which she never used. I have a sense that curry leaves as an ingredient are a South Indian element, which is why they seem to be absent in Gujarati cuisine. I’ve never come across any dish that uses curry leaves in any form in Gujarat, whereas here in Tamil Nadu we prolifically use powders, chutneys and the fresh leaves too. I’ve noticed in my travels there, especially to agricultural areas, that curry leaf trees aren’t abundant either. But like I said, this is just a sense of things. I would absolutely love to hear any insights you may have into curry leaves and their role or lack thereof in Gujarati culture or cuisine. Please do shed some light if there’s anything you may know about this topic.

I’d love to hear those insights over a tummy-filling thaali, but in these socially-distanced times, here’s the next best thing: my recipe, and a request to share what you know in return!

Kadhi

(Serves: 2 people)

½ cup yoghurt

1¼ cups water

1 tablespoon chickpea flour

½ teaspoon green chilli/ginger paste

Salt to taste

1 teaspoon sugar (optional)

1 tablespoon ghee

½ teaspoon cumin seeds

¼ teaspoon methi seeds (fenugreek)

A pinch of asafoetida

2 dry red chillis

2 cloves

1 stick cinnamon

1 cardamom

1 sprig curry leaves

In a pot, add the yoghurt, water, chickpea flour, ginger and chili pastes as well as the salt. Beat well until the mixture is fully incorporated.

Allow this to cook for approximately 7-8 minutes on a medium flame. Stir constantly so as to prevent the yoghurt from splitting.

Add the fenugreek seeds. Boil some more. Once this has cooked, set aside.

Prepare the tempering. For this, use a small pan. Add ghee and then add the cumin seeds, cardamom, cloves and dry red chillis. Once the cumin seeds splutter, add the curry leaves and the asafoetida, and immediately pour the tempering into the kadhi.

Garnish with coriander leaves, stir then serve hot. As mentioned earlier, kadhi goes beautifully with several kinds of khichdis (or you could have it with white rice, in which case it becomes the meal known as “kadhi-bhat”). It’s wonderful as part of a simple, traditional meal. I’d love to know what you think of it!

When the grain-based series concluded last weekend (you can catch up here, here and here, I promised a recipe that would make use of leftover khichdi in a unique way that transforms it into an entirely new dish. Years ago, I had mentioned in this post on rotis that khichdi is sometimes used to make theplas. That’s exactly what we’re going to do today.

Theplas are really a category, not a dish. They are a flatbread staple in Gujarati cuisine, and the diverse range includes methi thepla (made with fenugreek leaves), dudhi thepla (made with bottlegourd), bajra ke thepla (made with pearl millet) and more. The main ingredients change, but the seasonings and masalas tend to remain the same. The simplest form of theplas are the plain ones, made without any vegetables or other ingredients that spoil quickly. They are often made especially for travel, as they store well. I believe I’ve mentioned in previous posts how theplas were a part of all our train journeys, to Bombay and to other places. As kids, we ate every two hours, and so our mother would pack a large quantity of plain theplas, which would keep us well-fed for the two or three days that it took us to arrive at our destination. They were healthy, clean and home-made, and we would enjoy them with mango pickles as our train criss-crossed the country.

Mango pickles, specifically chhundo, which I’ve shared the recipe for before, are the chief accompaniment to most theplas. A dollop of yoghurt is also enjoyed alongside, and a dry vegetable like roasted potatoes can round out the meal. Theplas can be a light meal of just the flatbread and a pinch of pickle, or a full meal with the works. They are often a taken-for-granted dish too – “chalo (‘come/okay’), let’s have thepla” is a standard refrain when planning dinner in many a Gujarati household.

This style of thepla, which incorporates leftover khichdi into the dough and which is deliciously flavoured with ginger and green chilli (you may add garlic too, if you wish), is a perfect dinner dish to prepare with the unused portion of a simple khichdi made for lunch. Every family that uses this resourceful technique will have their version of what goes into the recipe.

Growing up, I was always impressed by the way my mother had a knack for turning over leftovers. It is a skill I’ve observed time and again in so many intelligent homemakers, who innovate ways to make a large meal go further, while appeasing picky children who demand fresh and interesting food. So this is especially for those of you who have fussy mouths to feed. Unless they are right there in the kitchen with you as you transform old khichdi into new theplas, they’ll never guess your little magic trick!

Khichdi Thepla

(Yield: 10 theplas)

½ cup khichdi

¾ cup + 2 tablespoons wheat flour

½ cup wheat flour (for rolling the theplas)

Salt to taste

¼ teaspoon turmeric

½ teaspoon dhania-jeera (coriander-cumin) powder

1 tablespoon + 1 teaspoon oil

¼ teaspoon ajwain (carom seeds)

1 teaspoon green chilli and ginger paste

1 teaspoon oil + 3 tablespoons to cook


Keep aside the oil.

Assemble all the remaining ingredients in a wide bowl. Make a dough by mixing them together with your hands, until the mixture is smooth. Towards the end, once it begins to turn sticky, add 1 teaspoon of oil and spread it around the bowl. Knead the dough completely.

I have used a soft and wet khichdi, and thus did not need to add any water. If your khichdi is dry, then you may need to add water too.

Once the dough is prepared, either make the theplas right away or refrigerate the dough as it will release water and turn soft again. Remember that as you are already working with leftover khichdi, it is best to make and consume these theplas on the same day. If you’ve kept the dough in the fridge for a while, do not wait for it to thaw. You can roll out your theplas right away.

Heat a roti pan. Make small discs of the dough, and dip them in the wheat flour. Roll out each thepla into a thin disc.

Place each thepla on the pan. Allow it to cook on one side, then flip over after 5 seconds. Once it has slightly cooked on the second side, add a few drops of oil and spread them. Flip the thepla and repeat until large dark spots appear on both sides. This indicates that it has been cooked well.

Set aside. Fry all the discs the same way. I usually intermittently lower the flame so that they are cooked evenly, but also do not end up dry and crisp.

Here are a few more tips that will help ensure that your theplas are soft, which is their ideal texture:

  • The dough needs to be pliable and smooth.
  • When adding the oil as you cook each thepla, make sure that the edges are oiled. They tend to dry up otherwise.
  • Once done, take each thepla off the pan immediately and pile it on top of the other ones. Somehow, this results in them all staying soft without becoming moist.

If you’ve enjoyed this, I hope you’ll take a look back at my original Second Helpings series, which featured Gujarati masala curd rice, dal dhokli and rotli na ladoo for a sweet finish. Do let me know in the comments about how you innovate new dishes using your leftovers too! As always, I love to learn more about recipes and the stories behind them.

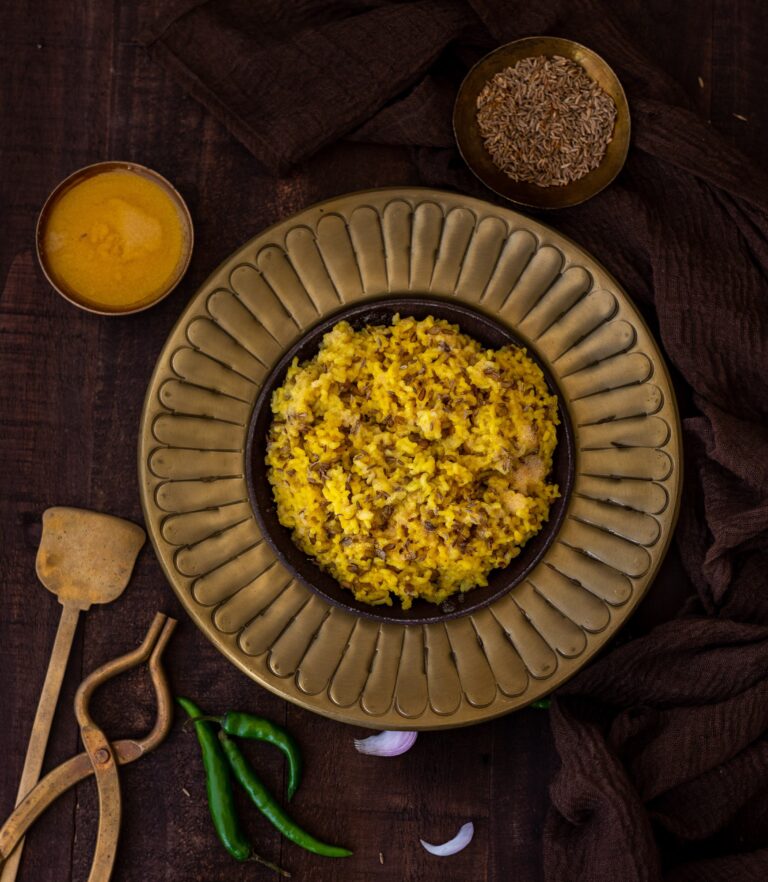
Rounding off this series of grain-based, khichdi-like dishes is the simplest, most quotidian version of all: a frequent-use Gujarati-style khichdi. If you’d like to catch up first, we began the series with the work-intensive and tummy-filling seven-grain khichdo and then went on to the versatile breakfast/dinner meal of bajra ghensh). Today, we come to an extremely basic dish, one that is sheer comfort food. What I’ve come to see over the years is that meals that one takes for granted in one’s own home are sometimes novelties in another’s. This is why I often share unassumingly familiar recipes alongside original and unusual ones. This classic khichdi is one among the former category.

Like many staples that are good for our health, khichdi is the kind of dish that kids turn their noses up at. At least, my siblings and I just hated it were growing up. So our mother would negotiate a lot of deals to work around our aversion. In those days, all our food was homemade, so this would take some extra effort on her part. If there was going to be khichdi for dinner, she’d serve something exotic that she learnt at her Continental cuisine or baking classes for lunch. We also cottoned on to the strategy: if there was a special snack in the evening without it being an occasion or a holiday, we knew she was going to put a bowl of khichdi on the table for dinner!

As adults though, it’s a different story. Our palates change and we begin to enjoy food that is good for us, feeling the difference in our bodies when we consume it. In fact, this subcontinental staple (which is eaten in similar forms like pongal in South India) is so relished that it even caught the fancy of the British during the colonial era. They enjoyed a version with fish, a dish they called “kedgeree”, and popularised it in England for a time. It was an import similar to mulligatawny soup, which came from the Tamil dish called molaga-thanni. Some form of khichdi is believed to have been eaten in this part of the world since ancient times, but the recipe reached its pinnacle in the kitchens of the Mughal empire, where its richly spiced and garnished versions are recorded as having been among the favourites dishes of various rulers.

For us at home though, khichdi is neither fancy nor fishy. Every single Gujarati household consumes this khichdi as a comfort food, as well as a frequent meal. During festive seasons or after important occasions like weddings, when the feasting is in full flow, someone or the other will finally say, “Bas (‘enough’), make khichdi today.” That is shorthand for being done with heavy meals, and wanting something that will make the gut smile.

In fact, when I say it is comfort food, I mean that quite literally. It’s the dish that is most commonly made in a home that has just undergone a bereavement, when the family just needs something basic to meet their nutritional needs as they tend to the necessary rituals. Most likely because of its association with grieving, khichdi is never served during celebrations. After them, certainly, as I mentioned above. But never as part of a special event. Neither is it served while entertaining guests. It is very much something that is all about family and simplicity. As we rarely get to encounter another family’s khichdi, I can only guess that the variations between recipes must be innumerable.

So no, khichdi is not special. That’s the best thing about it. It’s a brass tacks dish that gives the body the basics, and uses ingredients that are likely to be in the kitchen at all times. It is comprised mostly of moong dal and rice, with a bit of salt, turmeric and ghee. If it is served with accompaniments, crispy pappads and a bit of kadhi are usually enough. Some potato curry or other vegetable may round out the meal more, if desired. I’ve mentioned kadhi, a type of gravy, a couple of times recently. I’ll be sure to share the recipe for that soon.

Another recipe I will share soon will be for theplas that use leftover khichdi. As I’ve said before: cuisines across all communities in India are innovative when it comes to leftovers. We see poverty everywhere in our country and respect food, acknowledging it as a blessing from God. This in turn becomes a part of our religions too, which discourage food wastage.

Simple Khichdi

(Yield: 2 persons)


75 grams rice

25 grams split mung beans

3 cups water to soak

2 cups water to cook

Salt to taste

¼ teaspoon turmeric

½ teaspoon cumin seeds

2 tablespoons ghee


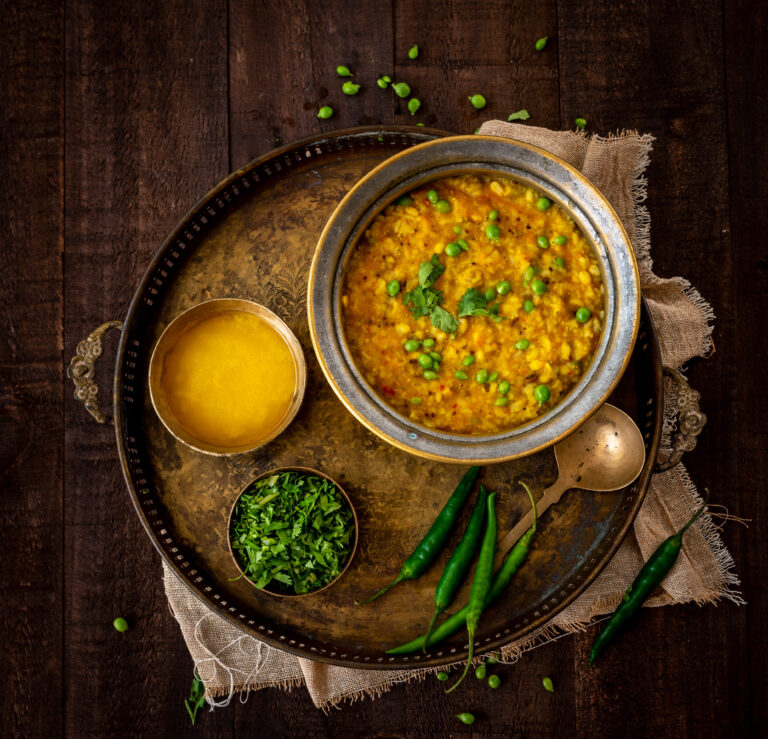
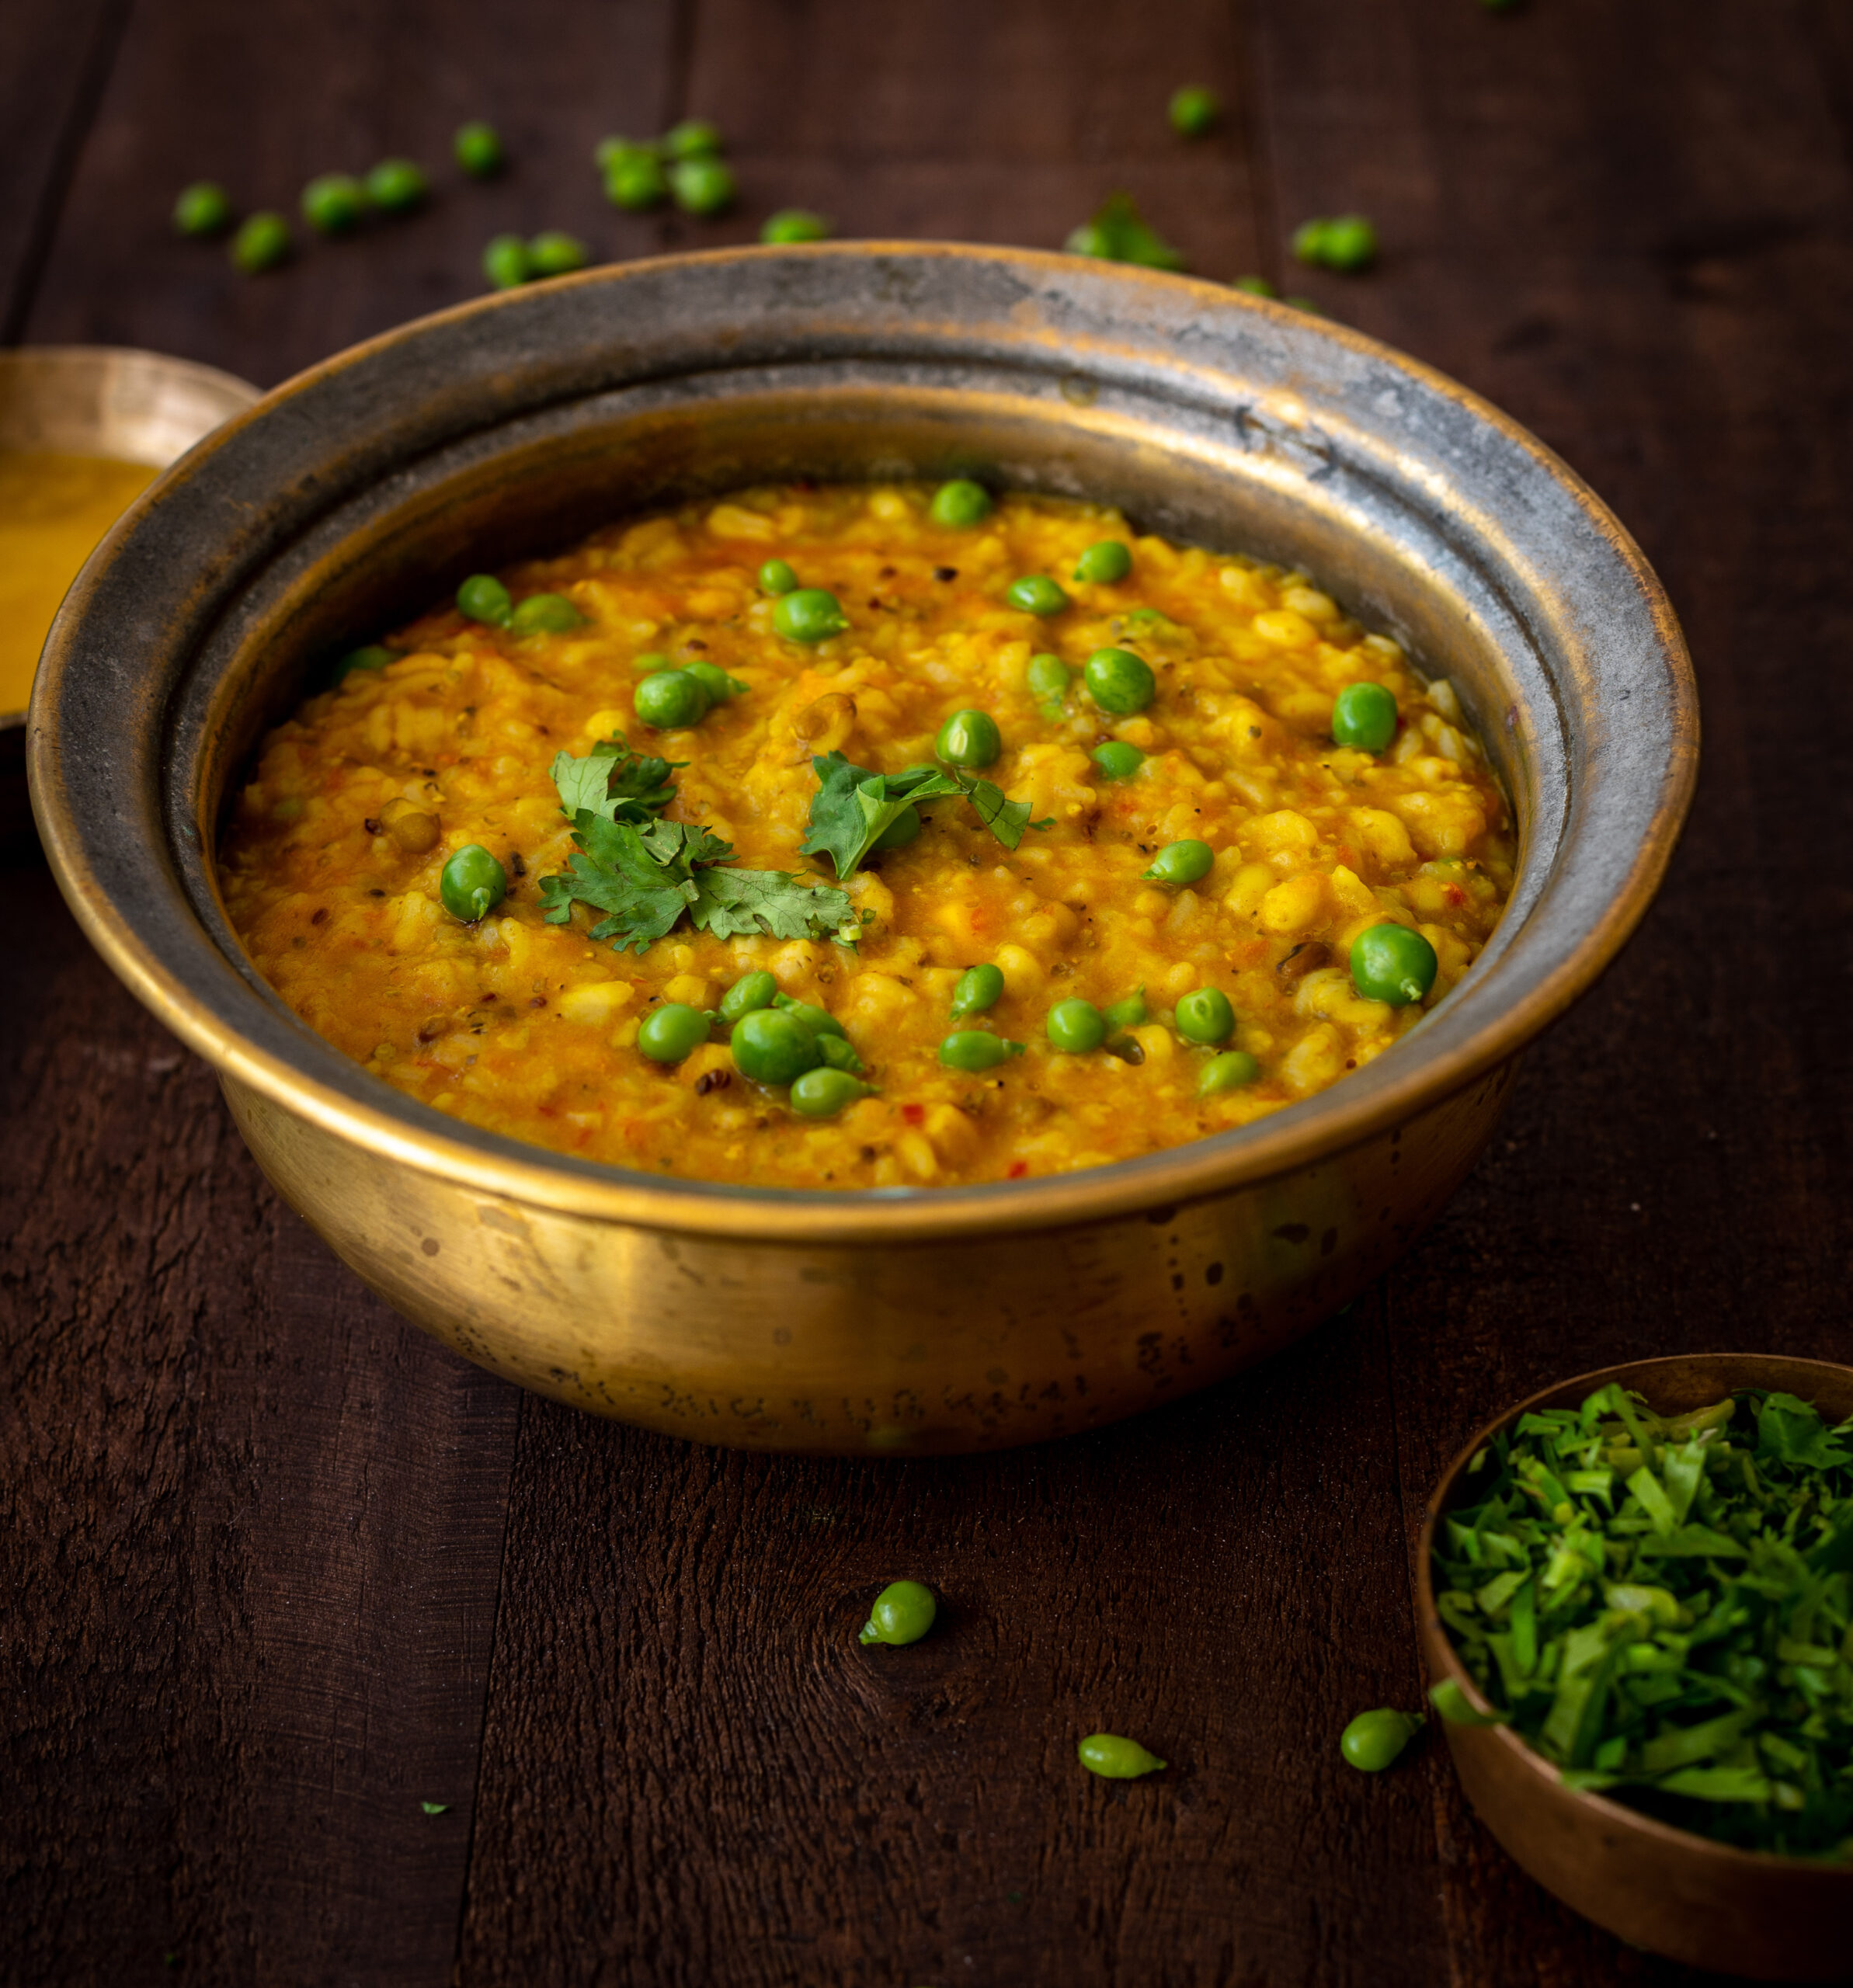
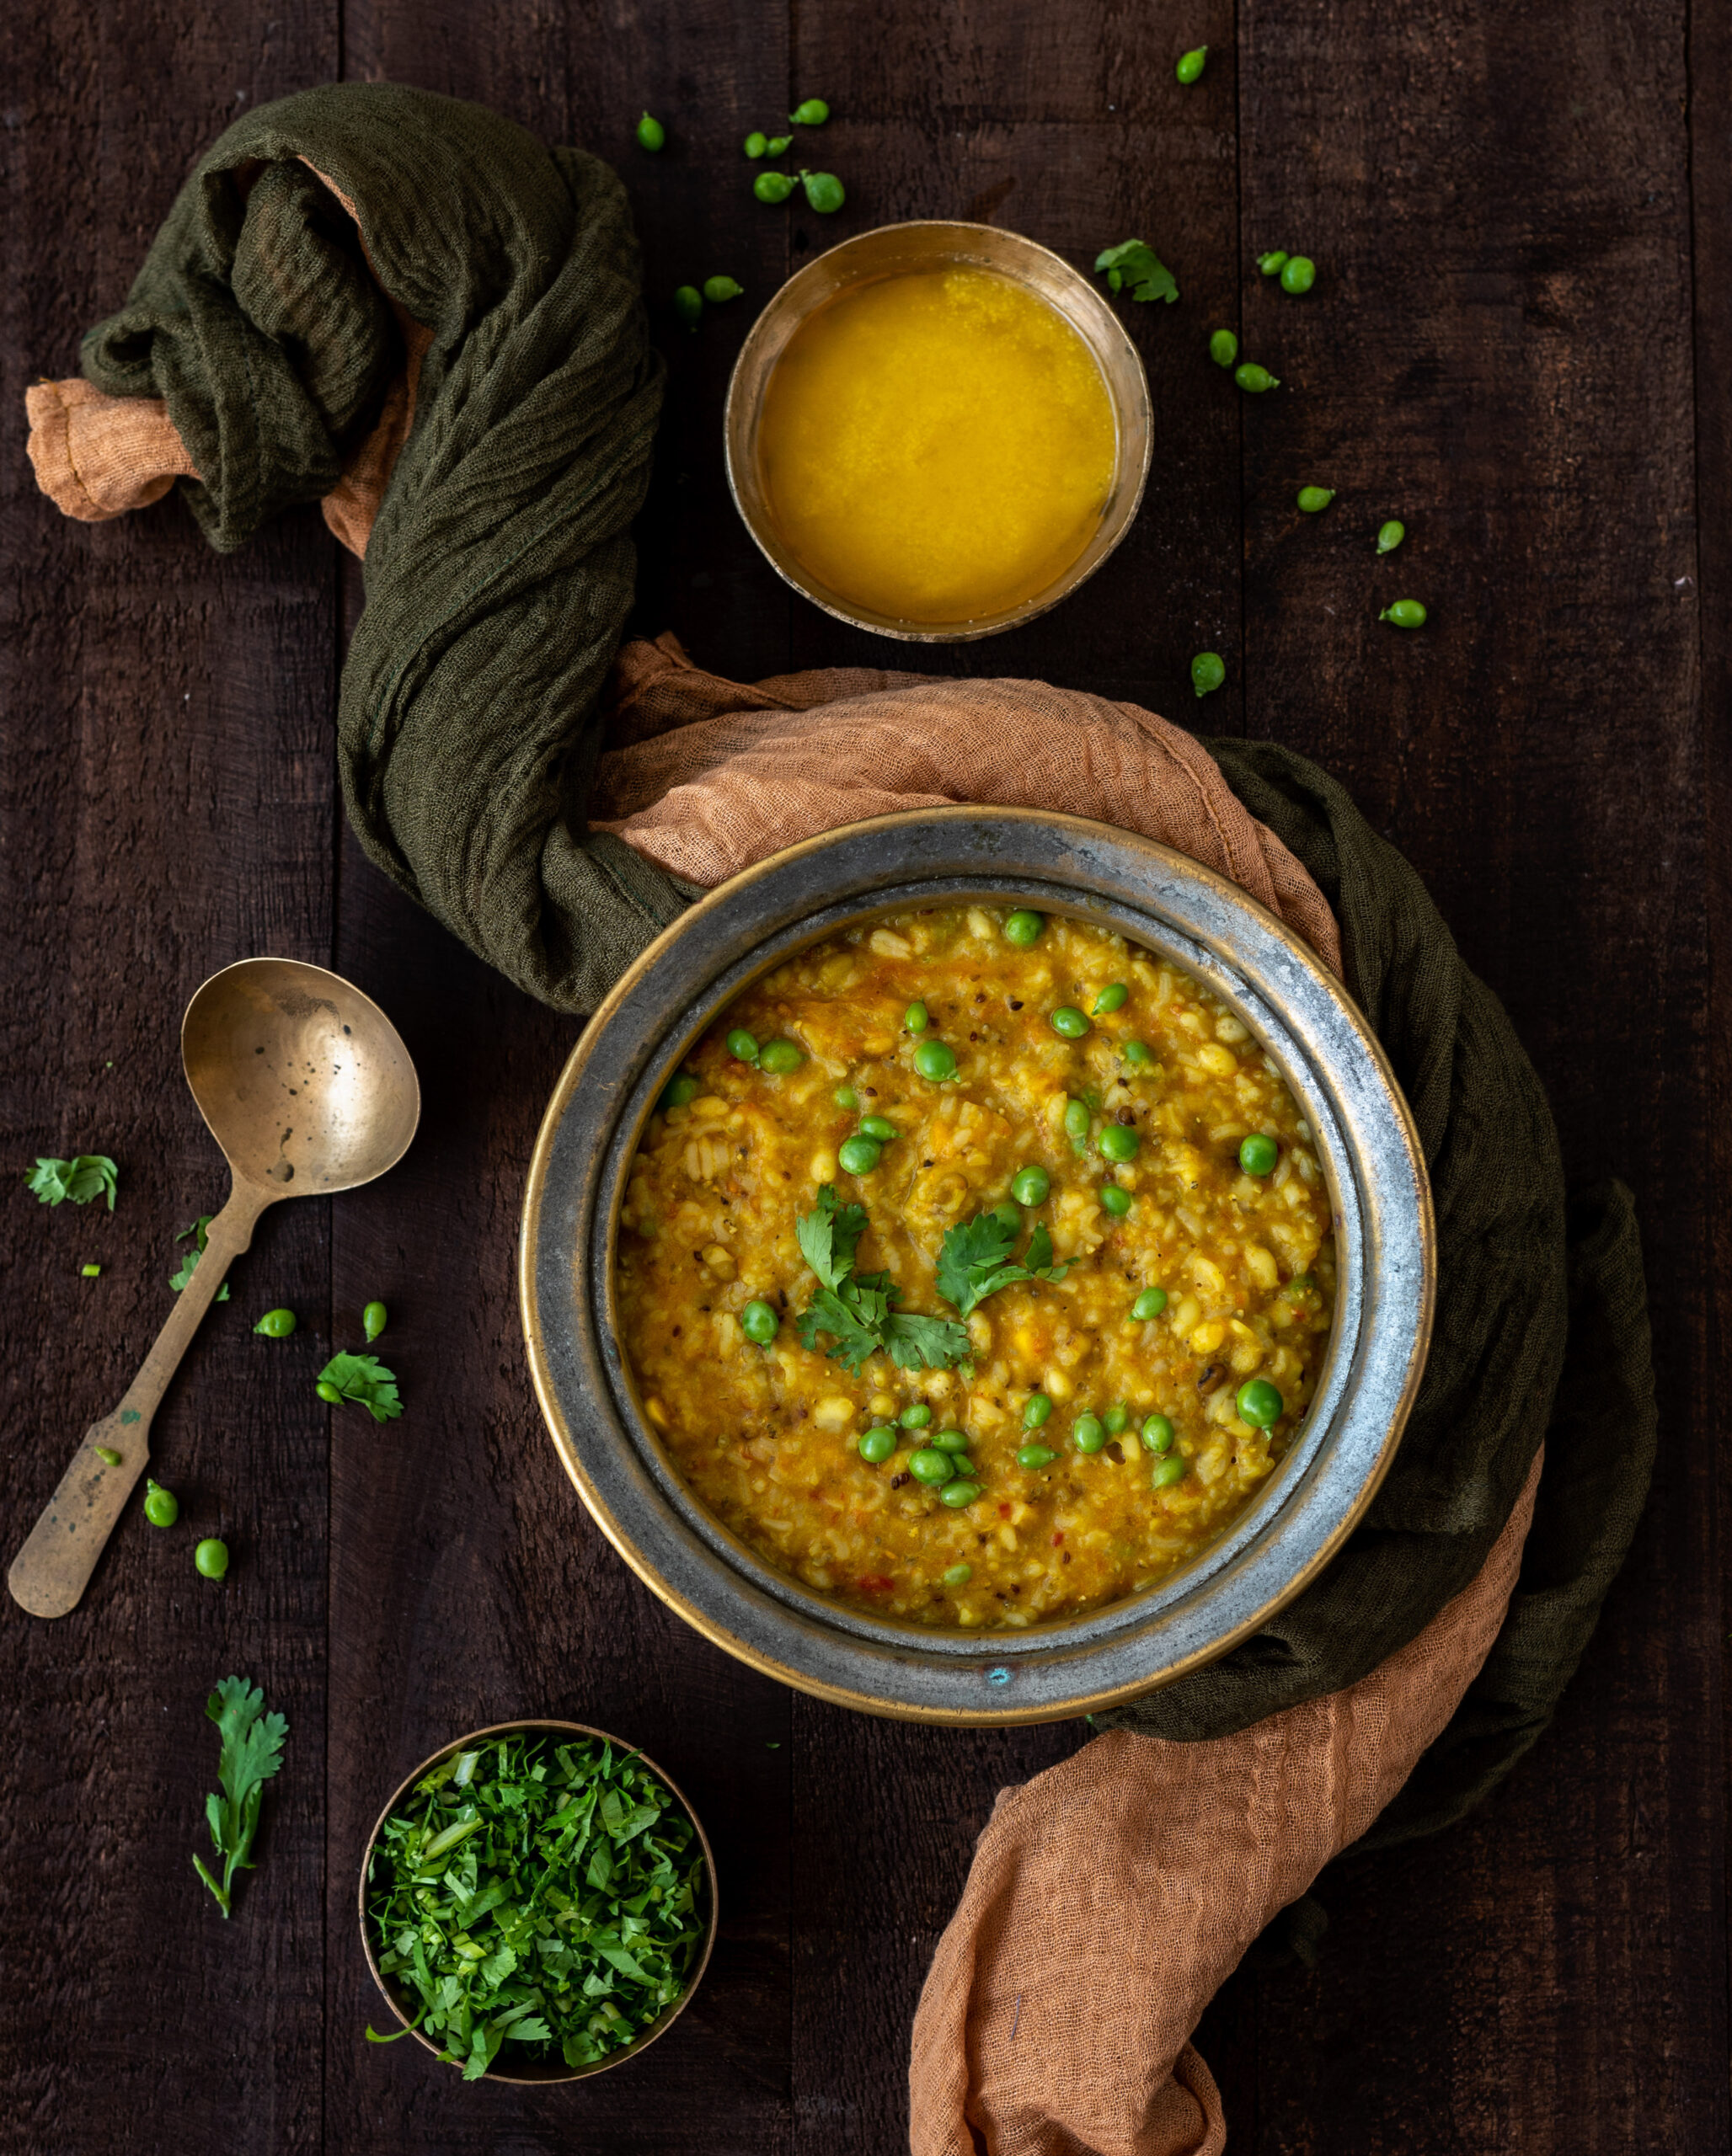
Wash and soak the rice and dal together for approximately ½ an hour to an hour. I have used split mung beans, but you can try this with other variants including pigeon pea/toor dal. Doing so will change the khichdi somewhat. Toor dal grains will separate like rice does, whereas split mung beans will create a thicker concoction.

Once soaked, discard the soaking water. Place the rice and dal in a pressure cooker along with the cooking water. Use a medium flame. Allow to cook for approximately 20 minutes or 3 whistles, or until the grains are tender and soft to touch.

Allow the pressure to decrease, then open the cooker.

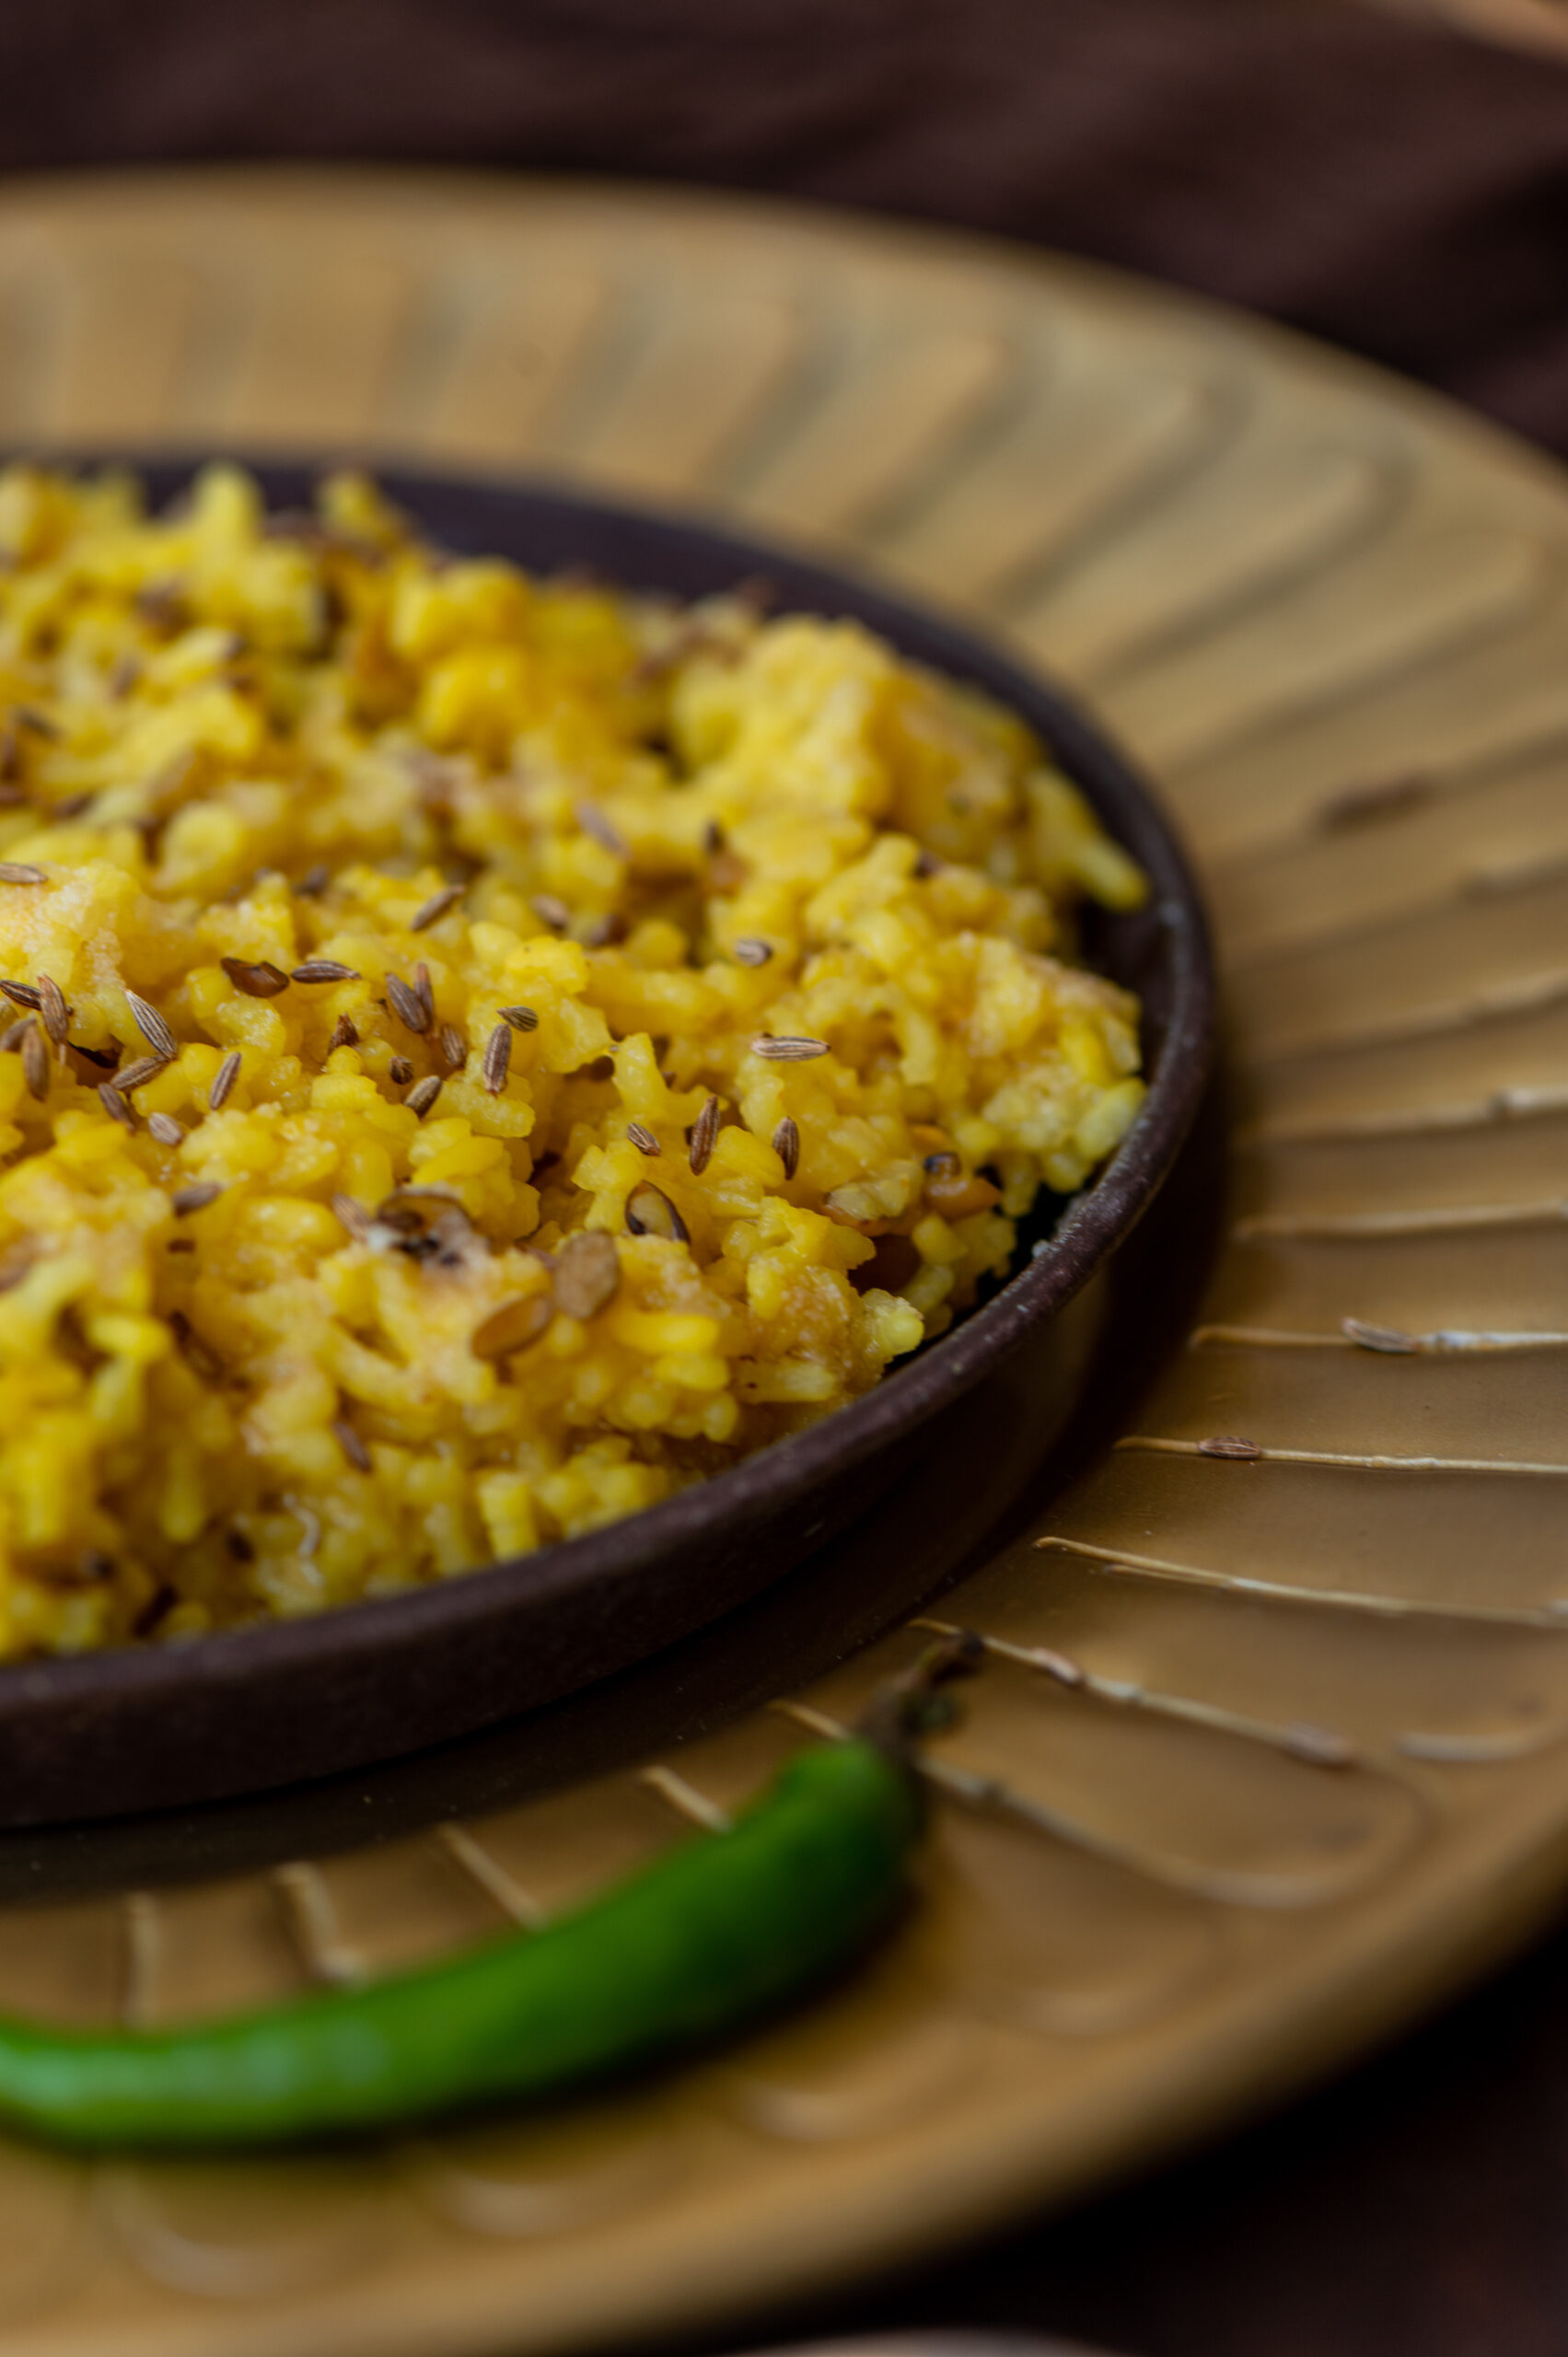
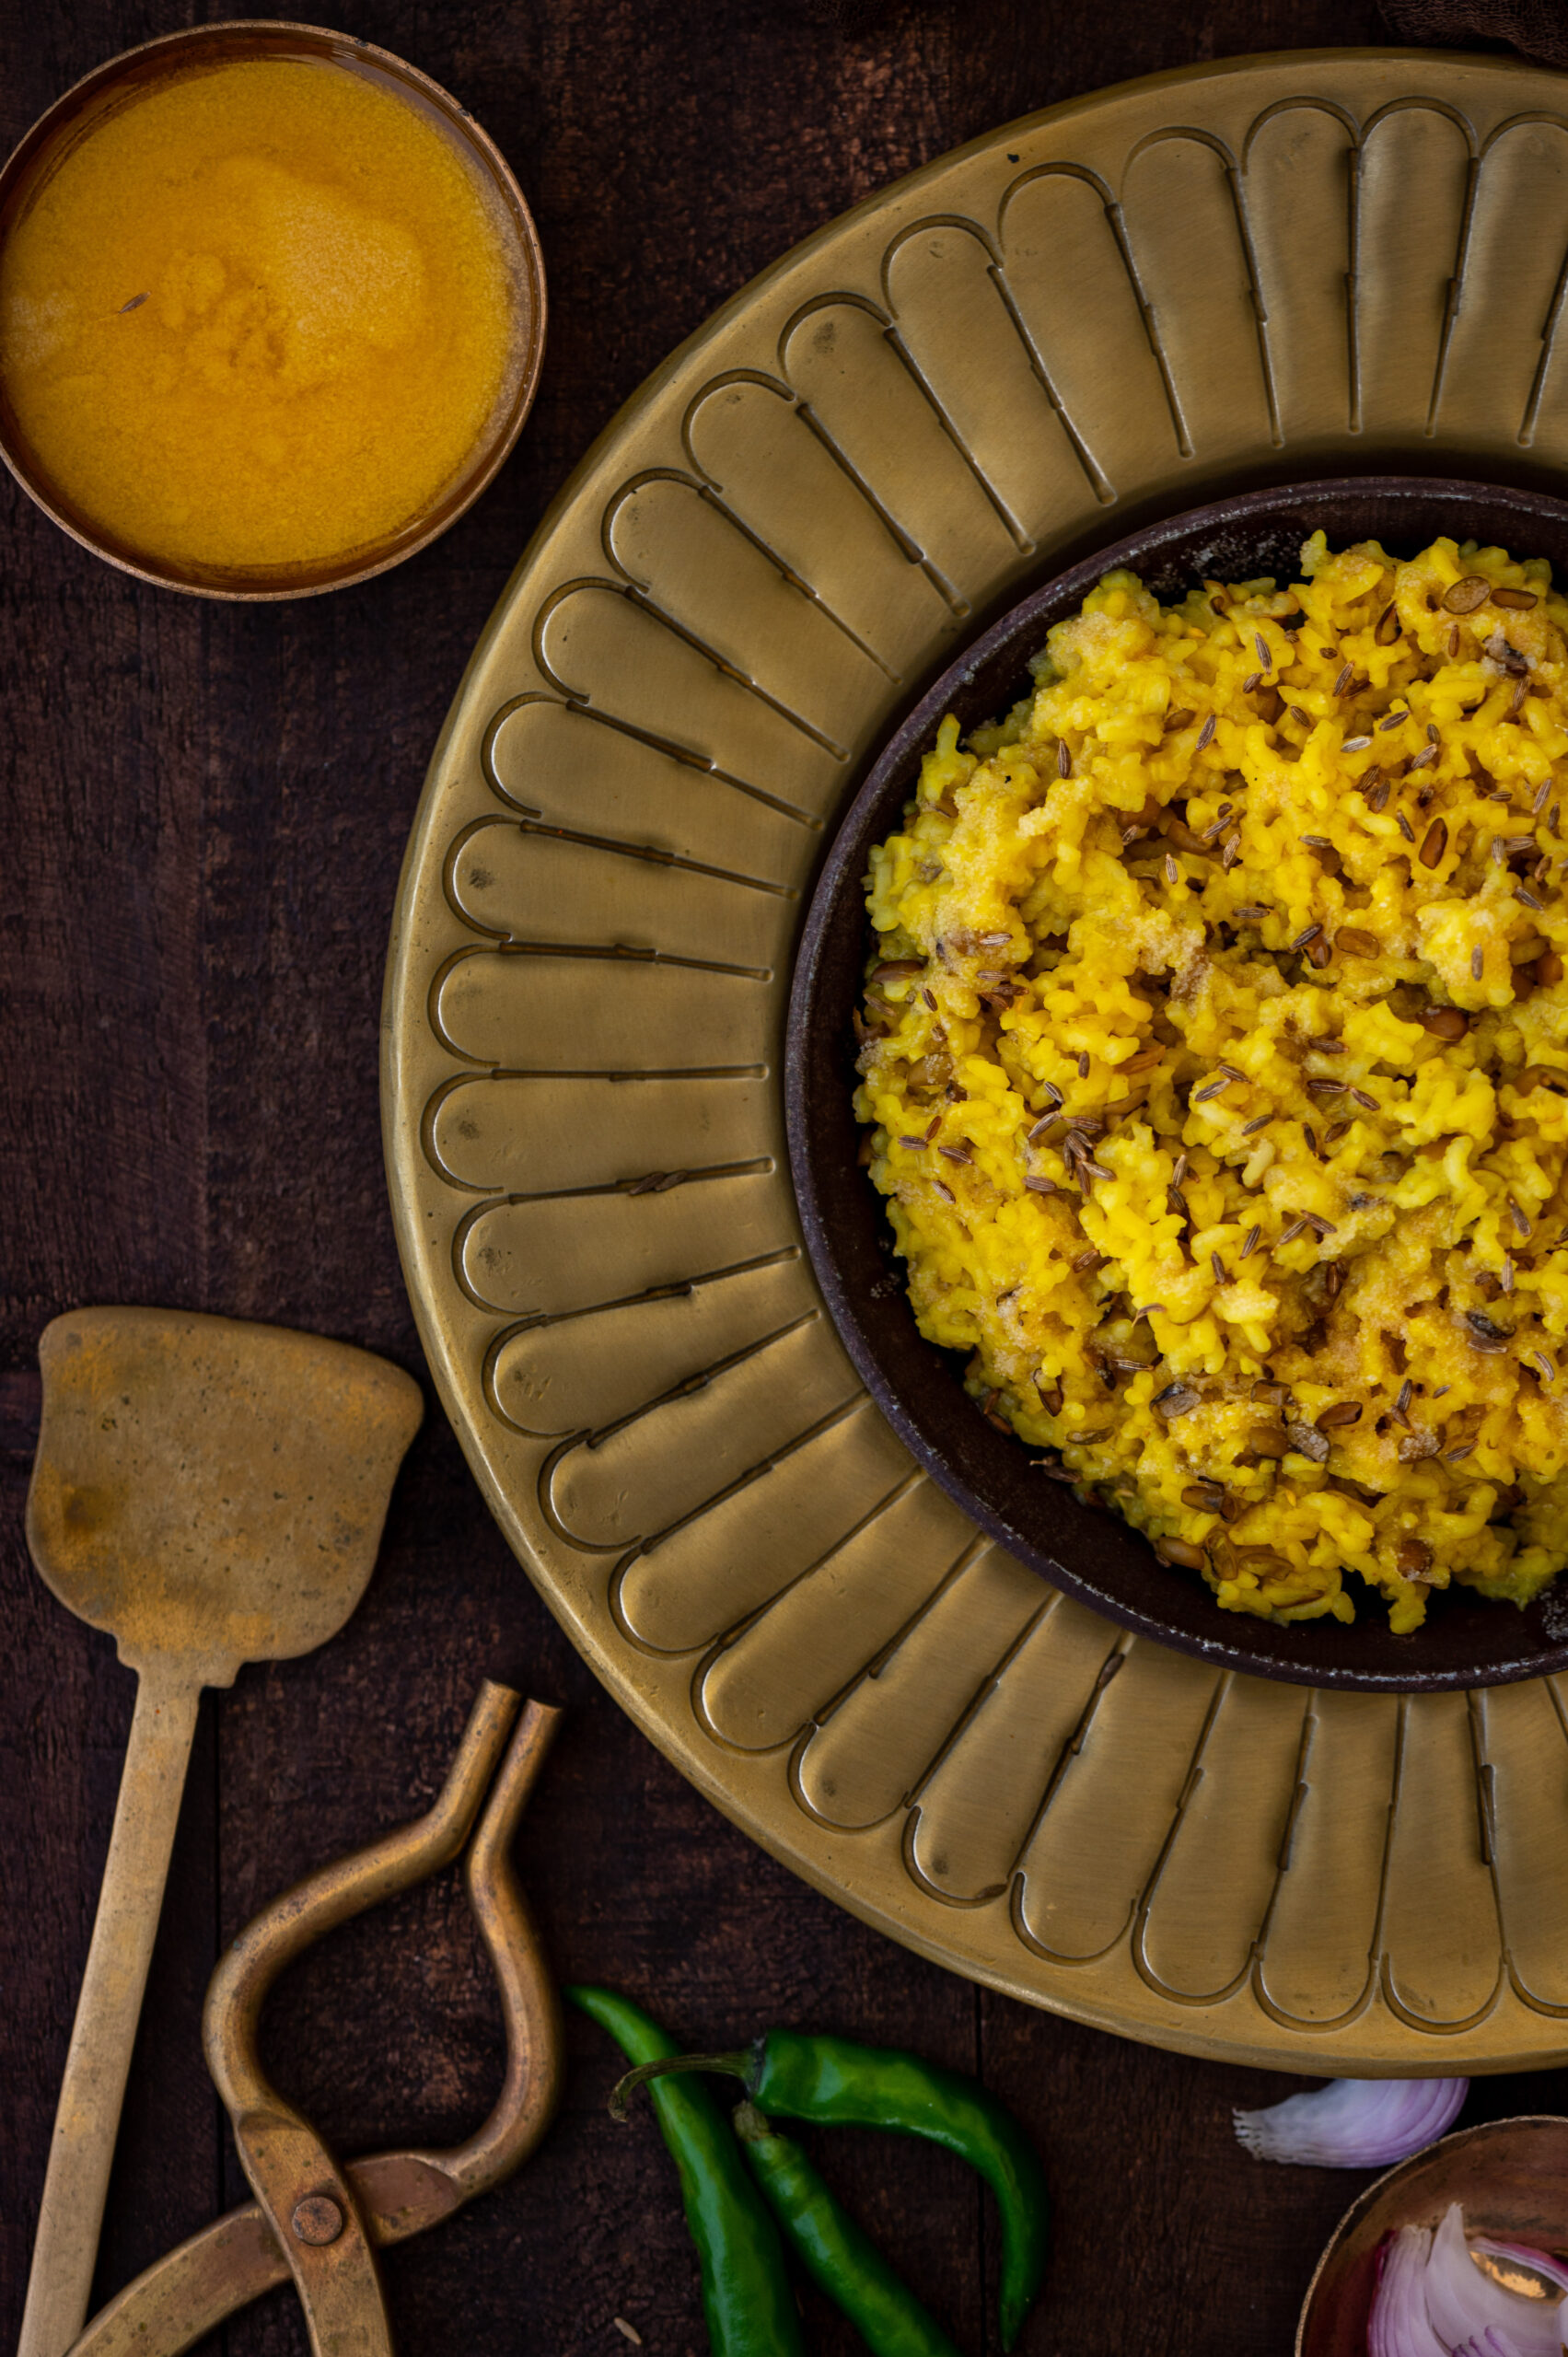
In a small pan, add ghee. Once it is hot, add the cumin seeds. Let them fry until they change colour. Add this cumin-filled ghee to the khichdi. Stir gently and serve hot.

This grain series concludes with this simple and flavoursome recipe. I hope you’ve enjoyed trying out the gamut, from the work-intensive, “holiday special” seven-grain khichdo to the nourishing breakfast that is bajra ghensh, to this basic khichdi that is the ultimate go-to dish. Traditional Gujarati cuisine is something I’ve delved into many times on this blog, and I hope you’ll have a delicious time exploring a wide range of meals, snacks and desserts that I’ve shared here over the years.

After making the nutritious (and labourious) seven-grain khichdo to share with you last week, I felt inspired to do a short series of similar dishes. This series will showcase the versatility of the staple grains we consume, and the many ways they help make up the traditional Gujarati menu. So here is part two of this series: bajra ghensh, which uses the goodness of broken pearl millet. Pearl millet has been cultivated in India for thousands of years, and is a vital part of both the authentic Gujarati and authentic Tamil cuisines that I grew up surrounded by. As you may know, I truly believe in the revival of higher quantities of millet usage in our diets, especially as a preferred alternative to white rice, and have written many times about their value to us.

I’ve been spending more time with my sister recently, and as always this means exploring her cooking style and picking up new techniques to include in my own. As she sometimes does, she said to me the other day, “Come, I’ll teach you a new recipe.” Working alongside her in her kitchen, I was very surprised to discover that it wasn’t a new recipe to me at all, but only a different interpretation of one I knew well, and made for a different meal of the day. My sister prepares bajra ghensh as dinner, whereas for over three decades my mother-in-law and I have been eating it for breakfast.

What did I tell you about the versatility of millets? In this highly adaptable bajra ghensh, we see an example of how dishes themselves become versatile too depending on the choices of the cook and the habits of the one consuming the same. The method of preparing it, as either breakfast or dinner, is still less the same, but storage and serving determine the type of meal it becomes. It’s a very simple dish with three base ingredients and a generous helping of dry fruits and nuts.

Bajra ghensh wasn’t something we ate while we were growing up, and just as my sister was introduced to it after getting married, I too first encountered it thanks to my mother-in-law. I remember how when I first moved in, my mother-in-law would make it as a porridge or cereal to be had in the mornings, and I loved it from the start. Soon, I was frequently whipping up a big pot of it for both her and I and we would share it for breakfast. We both enjoyed it so much that we would have the same dish for two or three mornings in a row, without needing variety. This was the only way I’d ever eaten it, until my sister served it for dinner the other day.

As delicious as that was, to my mind this is still a breakfast dish, and so my recipe and my photographs here reflect this perspective. It’s a very healthy post-workout meal, and it’s an ideal replacement for supermarket cereals, which make tall claims about nutrition values but are usually full of processed ingredients and sugar. On the other hand, this is comparable only to the simplicity and goodness of whole oats. It is also gluten-free, for those who are making a dietary switch, but it is not dairy-free.

Traditionally, just like the seven-grain khichdo, bajra ghensh was also a winter dish. Pearl millet is warming and high in iron, and the Macrobiotic principle of darker grains being considered winter-friendly applies here. They are harder to digest, whereas in summer lighter grains like jowar and amaranth that are light on the stomach and easiest to digest are better, as per the time-honoured logic of seasonal culinary usages. As I said earlier, since I usually have bajra ghensh in the mornings, I’ve noticed that on days when I have done so, I tend to not become hungry again till at least lunch time or even later. A dish like this cancels out your snack cravings, which automatically increases its already high healthiness quotient.

Finding out that this works well both as a filling breakfast and as a heavy dinner, as well as making the connections with Indian seasonal logic and Macrobiotics, also made me ponder how my mother-in-law and I prepare this at night and store it in the fridge. Since this is a traditional recipe, this meant that in earlier times it could only have been made in winters, when the climate as well as the type of vessels used would allow it to be stored overnight. Only certain probiotic foods would be kept to be on eaten the following day (including homemade yoghurt). There could be no such thing as leftovers, and if there were there were resourceful ways to ensure that these were consumed quickly too. Particularly for Jains, wastage goes against religious philosophy and practice, so quantities are an important part of cooking methods. In the absence of refrigeration, and often with access issues or resource concerns to consider as well, creating perfect portions that satisfy the entire family without any excess is a special skill, and one that cooks across the centuries had to cultivate. It is only in our modern age that we can rely on certain conveniences.

So what happens is this: because of its thick consistency, this bajra ghensh sets when you keep it in the fridge. In the morning, take a chunk, add a bit of milk and have it as a cereal. Or else, prepare it in the evening and eat it hot, right off the stove and with no milk added for breakfast, just like a khichdo.

Bajra Ghensh

(Yield: 2 persons)


½ cup broken bajra (pearl millet)

1½ – 2 cups water

½ cup thick yoghurt

Salt to taste

20 grams kharek (dried dates)

10 grams dried coconut slices

10 grams cashew nuts


Clean, rinse and soak the broken bajra for 2-3 hours.

Once soaked, cook the bajra along with the 1½ cups of water in a pressure cooker until the grain is soft and tender. Open the pressure cooker lid when ready.

Place a kadai on a medium flame and pour the bajra into it. Now, add the yoghurt and stir continuously. Next, add the salt. Finally, add the dried nuts, dates and coconut and mix well.

This is the point at which you have a choice: today’s main meal, or tomorrow’s breakfast?

Let’s say you decide to have it for breakfast. Just pour the concoction into a container and set it aside for some time. As the bajra ghensh cools, it will solidify. Once it is at room temperature, refrigerate.

You don’t have to do anything the next morning but scoop out a portion into a bowl, add a little milk or buttermilk (which I prefer for the tang) and enjoy!

Do you have a recipe in your own repertoire that you’ve been making and having a certain way for ages, which you later found in an alternate rendition somewhere else? It’s always fascinating to me how the very same dish is prepared or consumed in different ways, depending not even on the community but just on the family or the person who does the cooking. I hope you’ll enjoy this bajra ghensh, and be sure to let me know which meal you had it for!

For centuries, Gujaratis observed the harvest season of Sankranti (which takes place in January) with a special dish, a seven-grain khichdo which celebrated the bounty of the earth. It was originally made with fresh, still green grains, and cooked for many hours in a large brass pot on coal. It would be prepared right before the harvest itself, when the grains would be ripe and tender. What constituted the seven key ingredients of the recipe depended on what was being grown, and some ingredients that we may think of as being legumes or lentils also qualified. It was also sometimes made with fewer. It was called “saat dhaan” – “seven grain” – when made with all the staples, and “paanch dhaan” – “five grain” – when a couple were eliminated for reasons of convenience, availability or taste. Pearl millet (bajra), wheat, rice, split pigeon peas (toor dal), sorghum (jowar) and green gram (moong dal) were among the traditional staples used. Over time, changes in agriculture and culinary life have allowed us to enjoy this wonderful dish whenever we please.

Even still, it’s a dish with a long preparation and cooking time, so I think of it as a Sunday dish – the kind that you begin working on as soon as you wake, and which is hot and ready just in time for lunch with the whole family. This was exactly how I used to see it being prepared in my sister’s home when I would visit her when she first got married. Her mother-in-law made an amazing seven-grain khichdo, and I would observe as she soaked each ingredient separately early in the morning, then as she literally pulled out the big old brass pot and coal in order to cook it in the time-honoured way. I had the good fortune of experiencing this whole process, just as I used to watch my own mother make Navaratri handvo authentically. Biting into the piping hot khichdo when she served it at lunch after having worked on it since the crack of dawn was unimaginably beautiful. My sister and I now make this khichdo in our own ways, with our modern appliances, but of course it’s her mother-in-law’s recipe that inspired us to keep this time-consuming (but so rewarding) dish in our own repertoires.

Another significant change that has come with urbanisation is that while certain ingredients began to become available year-round, access to fresh ingredients became limited. Thus, a contemporary saat dhaan khichdo will be more likely to use dried ingredients. Here, too, availability determines what you can use. For instance, in Gujarat and Maharashtra you can get readymade chaffed wheat, with the skin removed. I haven’t been able to procure the same in Chennai, so I have to pound the grain gently, to remove the outer covering.

Hand-pounding each grain individually is an important part of the process when using dried ingredients. Each one needs a different type of pressure. Bajra and jowar can be pounded very coarsely, for example, whereas wheat breaks when you do so. Of course, if you happen to have the tender green grains, there’s no pounding required.

Then there’s the individual soaking too, with each grain requiring a different duration. Wheat, bajra and jowar take the longest, whereas rice can be soaked a few hours after the overall preparation has started. As you will likely be making this khichdo with a mix of readymade, hand-pounded or fresh grains that you have available, do use your familiarity with the ingredients to determine the preparation time you need. In addition to the grains mentioned earlier, some I have used or heard of being used in this khichdo include black-eyed peas and green chickpeas too. It just comes down to availability, but the trick is to strike a balance between heavy grains and the lighter variants.

That is because this seven-grain khichdo is itself a very filling dish. While it was a part of Sankranti traditions that honoured the harvest, there is also a science as to why it was made this way. Mid-January would still be winter in Gujarat, and a heavy dish like this made of up whole grains would take a long time to digest. It would increase the metabolism and keep the body warm through the day. It is meant to be enjoyed at lunch, served hot and without need for accompaniments, except some pickled green chilli and kadhi (which is similar to more kolumbu) if you have it.

In terms of spices, the authentic version of this dish required no sautéing and very minimal spices. Everything just went into the large brass pot and cooked away for hours. The flavours of the grains would be allowed to dominate, with just a bit of ajwain (which aids digestion), and the two quintessentials of turmeric and salt being added. That and ghee – a couple of dollops of glorious ghee are an important part of this khichdo.

My sister’s mother-in-law would include a bit of dhaniya-jeera (coriander-cumin) powder, while my sister chooses to add curry leaves and garam masala. I don’t use any of these, but I do use tomato. Play around as you wish to as well, until you hit on the seasonings you most enjoy.

Seven-Grain Khichdo

(Yield: 2-3 persons)

25 grams whole wheat (chaffed)

15 grams broken bajra

50 grams rice

15 grams green whole mung

15 grams yellow split mung dal

¼ cup green peas

¼ cup fresh green pigeon peas

Water to cook

2 tablespoons ghee

½ teaspoon ajwain (carom seeds)

¼ teaspoon asafoetida

1 crushed tomato

¼ teaspoon turmeric

Salt to taste

1 – 2 cups hot water

Soak the grains individually until they are tender to touch, in water about an inch higher than the level of the grains.

When cooking, add 2½ times water to the quantity of grain.

You may pressure cook the bajra and wheat together as it takes a longer time to cook these grains. Set aside.

Next, pressure cook the rice and green whole mung and yellow split mung dal together. Set aside.

In a kadai, add ghee and once it becomes hot, add the ajwain first and then the asafoetida. Next, add the crushed tomato and then all the spices.

Now, add all the grains together to the hot, spiced ghee in the kadai. Stir on a medium to low flame.

Keep stirring. Add some hot water if required, especially if you like the khichdo to be soft as I do.

Once cooked, serve hot along with a garnish of green chili and coriander leaves.

The long preparation and cooking processes that go into a good seven-grain, or even five-grain, khichdo mean that it’s really meant to be a feast, just as it originally was during Sankranti. I recall how whenever my sister’s mother-in-law prepared it, she would distribute it to their neighbours as well. It is a meal in itself, meant to be shared, and meant to be consumed immediately after the many hours that the cook would have spent putting it together.

As with all tasty things that are best shared, I hope you’ll whip up a nice big batch the next time that you have half a day to linger over putting a meal together. Then, I hope you’ll gather your favourite people around the table, and enjoy this traditional Gujarati khichdo, with all the joy that the farmers of yore would have felt as they feasted with their loved ones right before the big harvest.

Dal is made in every single Gujarati home almost every single day. Literally. No exaggeration. Dal is the staple, the tradition, the go-to, the “I must have my daily dal”. It is made the same way every afternoon, and we never get bored of it. Come what may, there’s a bowl of dal on the table for lunch, alongside a vessel of hot rice. Given what a fundamental part of our palate it is, it’s funny that it’s taken me over four years of blogging to share the recipe, especially when so many of you have also requested it from me. But here it is, finally! I can say for certain that it’s been worth the wait.

While I’ve asserted repeatedly over so many recipes that every dish tastes different based on the cook, the kitchen and the place it’s being made in, this one somehow always tastes the same. Which is to say: it tastes perfect. It’s a mainstay, made exactly the same way no matter who is making it or where. I have enjoyed it everywhere I have tried it and have never tasted a difference. So what you are getting today is an absolutely authentic, time-honoured recipe for quintessentially Gujarati dal.

It’s funny how the stereotype as far as food is concerned goes “dhokla!”, when dhokla isn’t quite the backbone of the cuisine the way that dal-bhat (dal and rice) is. It should tell you so much about stereotypes versus the real experience because while we may not be famously associated with dal-bhat, it’s such a part of our culture that the dish even forms part of our pleasantries. When one Gujarati person meets up with another, we often say these words: “dal-bhat, rotli, shaak?” The phrase means: “dal and rice, rotli and vegetables?”. The question is a way of saying, “Have you eaten?” – a typical and pan-Indian form of polite chatter. If you notice, dal-bhat is the first term even though it is actually served later in a meal. In a traditional meal, it is rotlis that are served first, and once the rice comes out you know that there are no more rotlis left. Still, in our greetings, the importance is accorded to dal-bhat, because that’s the place it has in our hearts.

The Gujarati dal and rice combo is one that has been relished for generations in my home. When my husband was little, his grandpa nicknamed him Dal-Sukh Dal-Bhat (“sukh” means “happiness”) because it was the only dish that always satisfied him, without fail. My husband’s grandpa also lived to the ripe old age of 99, very fit and healthy on a daily diet of dal and rice – and happily watching his great-grandchildren eat this beloved dish every day too. The very first solid food that my children all ate was dal and rice, and it is still their comfort food. Just as in some South Indian homes, when kids come home after eating out somewhere, they’ll head to the kitchen and say, “Ma, do you have any thayir sadam (curd rice)?”, a bit of dal-bhat is the dish that most Gujaratis will crave in order to feel like a meal is truly complete.

Never come between a Gujarati and their dal rice. Trust me, no matter what other traditions are parted from, this one will stay true for the ages!

While dals are eaten everywhere in India, what makes this one unique to our community is that it panders to our famous sweet tooth. It contains jaggery, which sweetens it, and is also made tangy through kokum. It should only be made with toor dal (pigeon pea), and there is no substitute for this ingredient that won’t alter the entire recipe and the entire experience.

Gujarati Dal

(Yield: Serves 4-5 persons)


½ cup raw toor dal

2 cups + 2 cups water

2 tablespoons ghee

½ teaspoon mustard seeds

½ teaspoon cumin seeds

1 dry red chilli

A pinch of methi seeds

A few curry leaves

A pinch of asafoetida

½ cup finely chopped tomato

Salt to taste

¼ teaspoon turmeric powder

½ teaspoon red chili powder

2 tablespoons unsalted peanuts

3 tablespoons jaggery

4-6 stems of kokum flowers

¼ cup chopped coriander leaves


Wash and strain the dal. Pressure cook it in 2 cups of water. Then, blend the dal with a handheld blender and set it aside.

In a kadai, add ghee. Once it has heated, add the mustard seeds, cumin seeds and fenugreek seeds and allow them to splutter. Next, add the dry red chili and the salt, chili powder, turmeric and asafoetida. Finally, add the curry leaves, peanuts, chopped coriander leaves and chopped tomato. Sauté. Cover with a lid and allow this to cook on a slow flame until all the spices and the tomato come together and look mashed, as in this video below.

Now, add the jaggery. Then, add the blended dal that was set aside earlier. You will need to add more water at this stage, based on the thickness you prefer. I’ve added 2 cups. Remember that once cooled, the dal will thicken a little more.

The final touch is to add the kokum to the kadai. If you don’t have this ingredient, you can use a little lime juice as a substitute. Allow the concoction to boil for approximately 4-5 minutes.

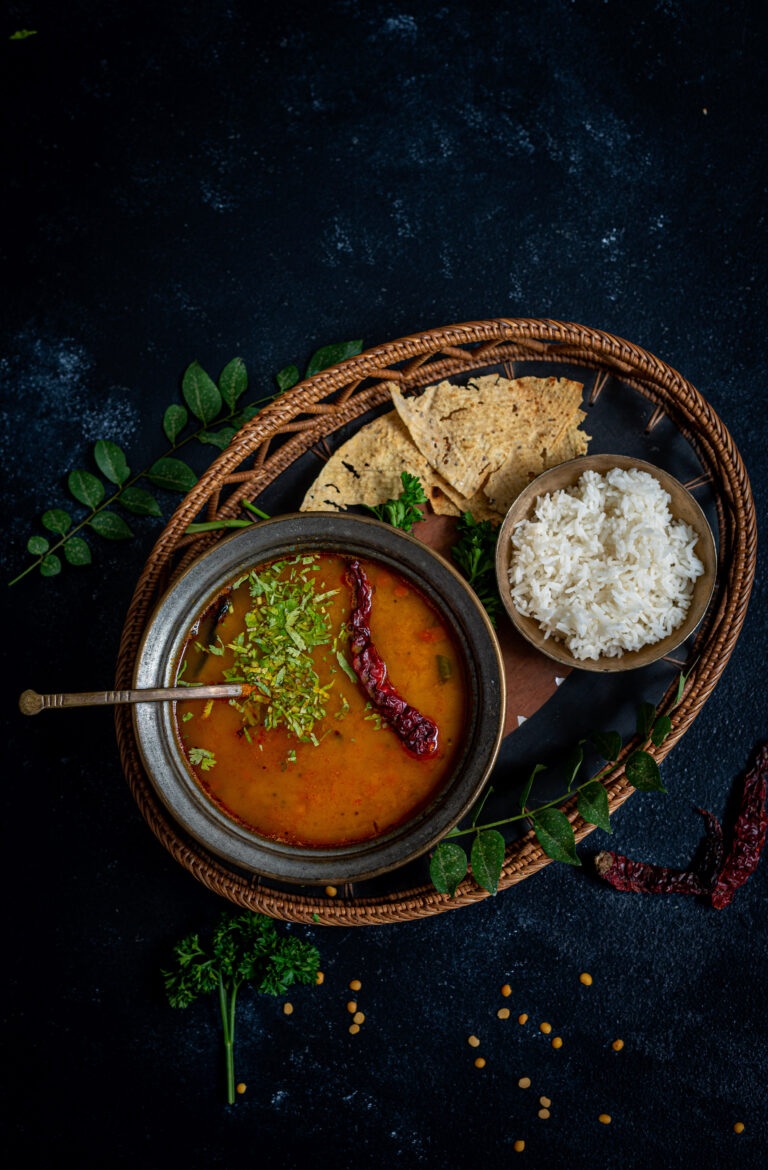
Then, serve hot alongside rice or rotli, or both – as in a traditional Gujarati thaali.

Not only does this dish have the charm of simplicity and familiarity, it is also downright delicious. It’s truly such a pleasure to share this recipe for this deeply-loved Gujarati dal with you. I would not be surprised to hear of it being made in your own home daily from now on, just as it has been in mine since time immemorial!

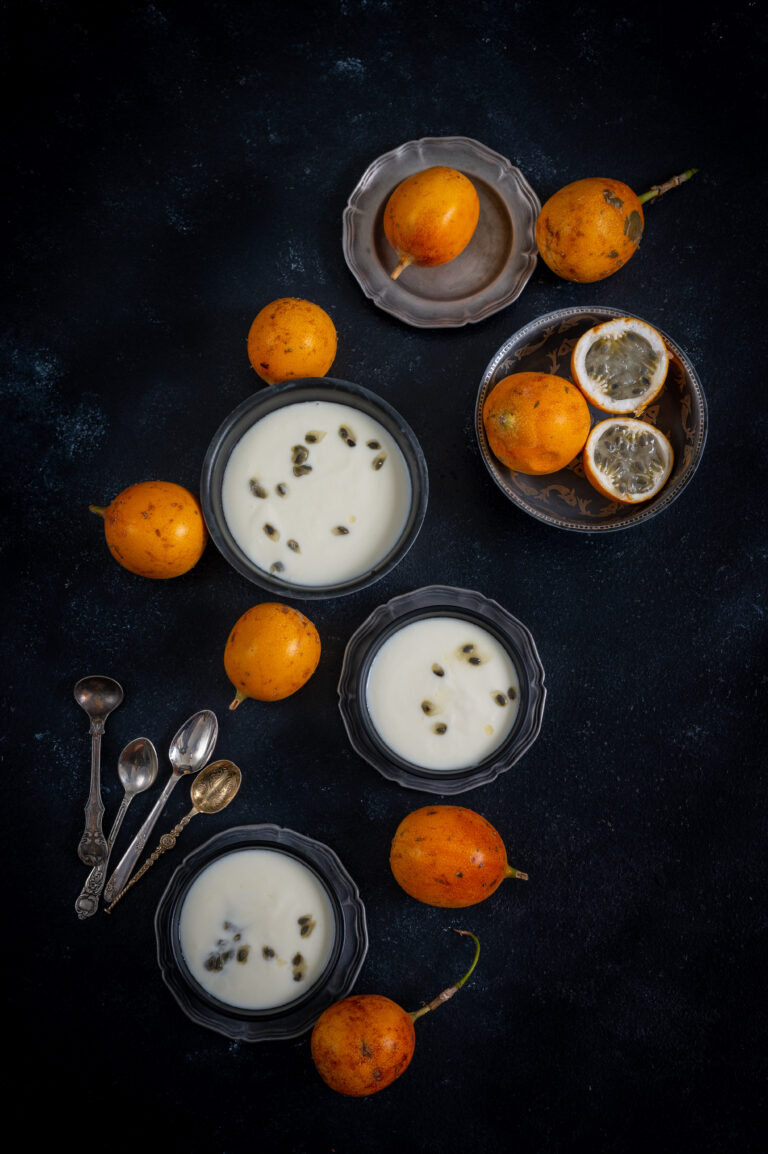
A friend and I were on a weekend getaway in the hills when another friend, who coincidentally had embarked on the same idea of a little escape to the same sleepy town, dropped by to visit us. We were enjoying each others’ company and trying to pep up the meal we would share, wanting to make it as fancy as possible with the simple but fresh ingredients at our disposal. There was a lot of yoghurt on hand, and perchance, some luscious passion fruit. Voilà, inspiration struck! We were quick to leap into action and put together a beautiful shrikhand for dessert, and even quicker to polish it off as we caught up on our conversation.

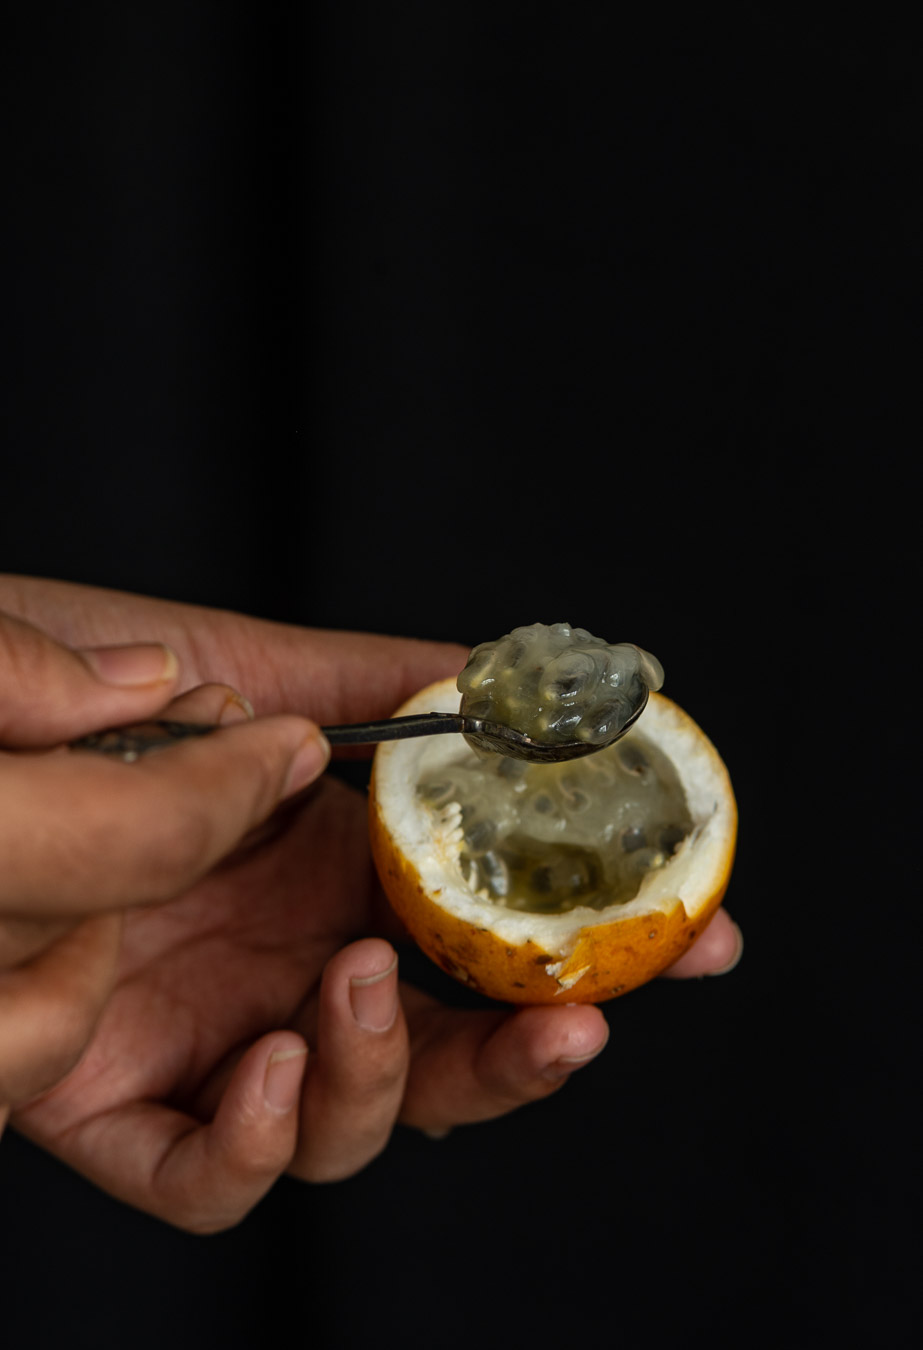
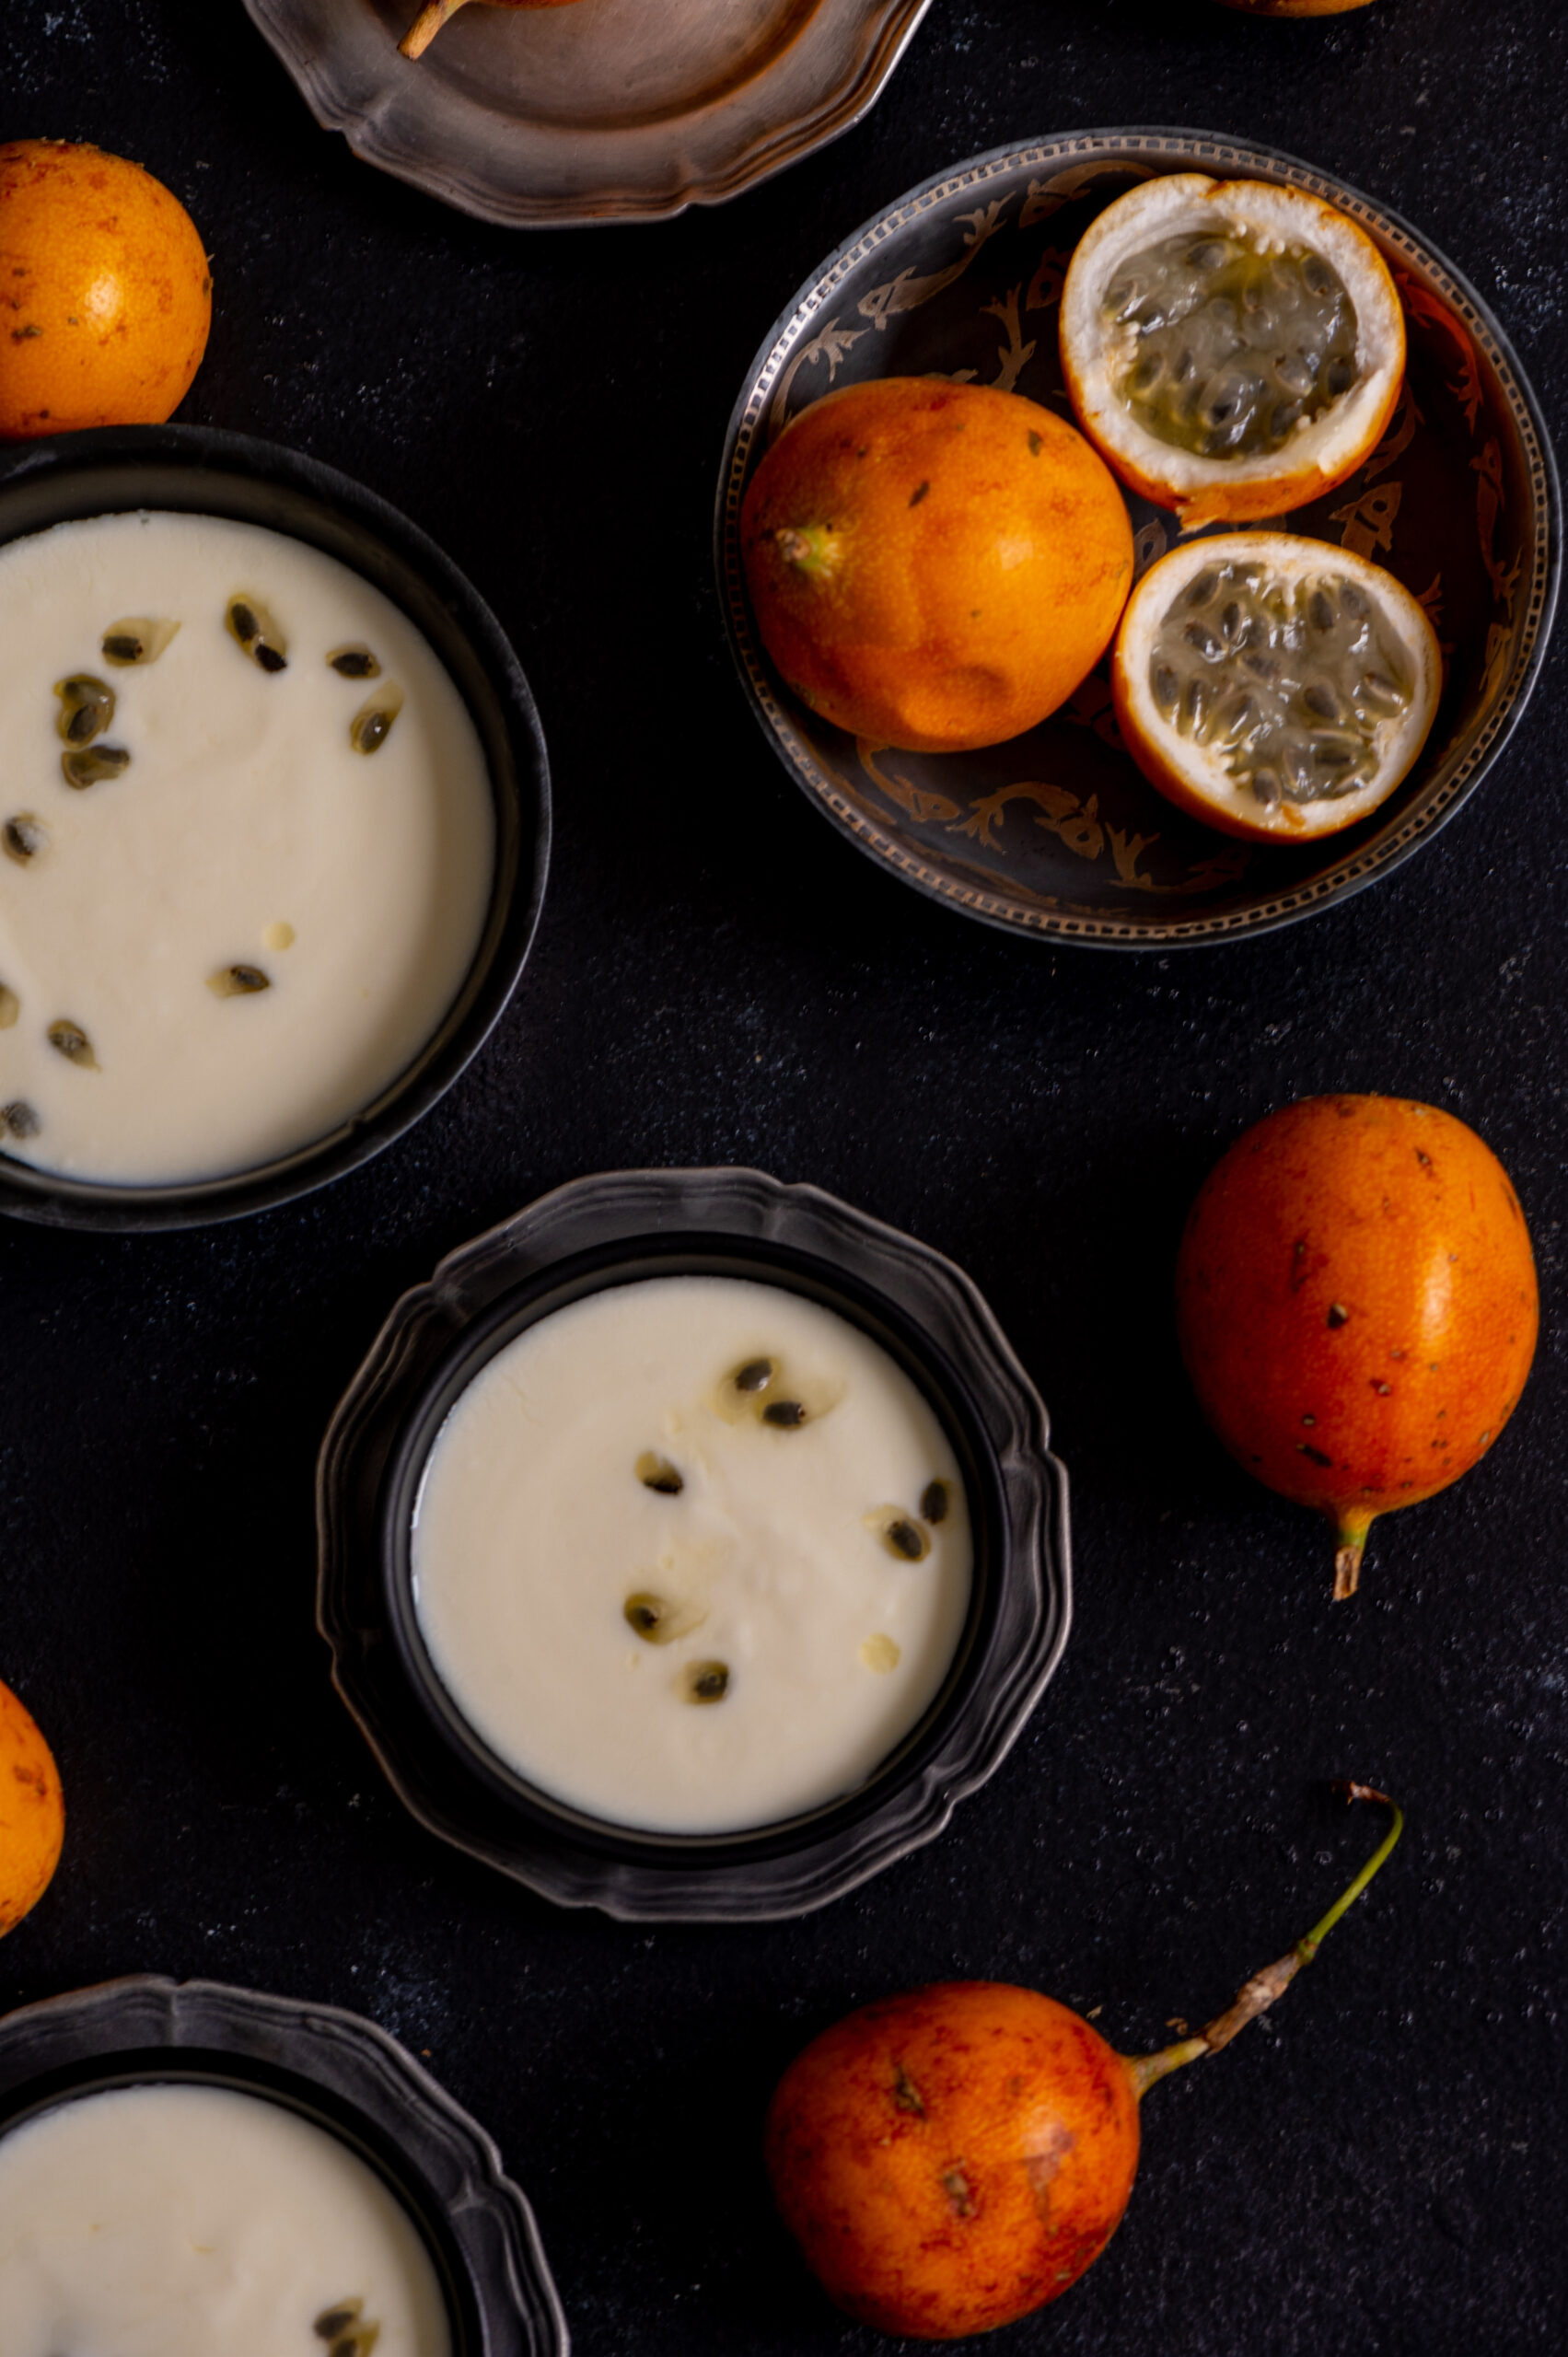
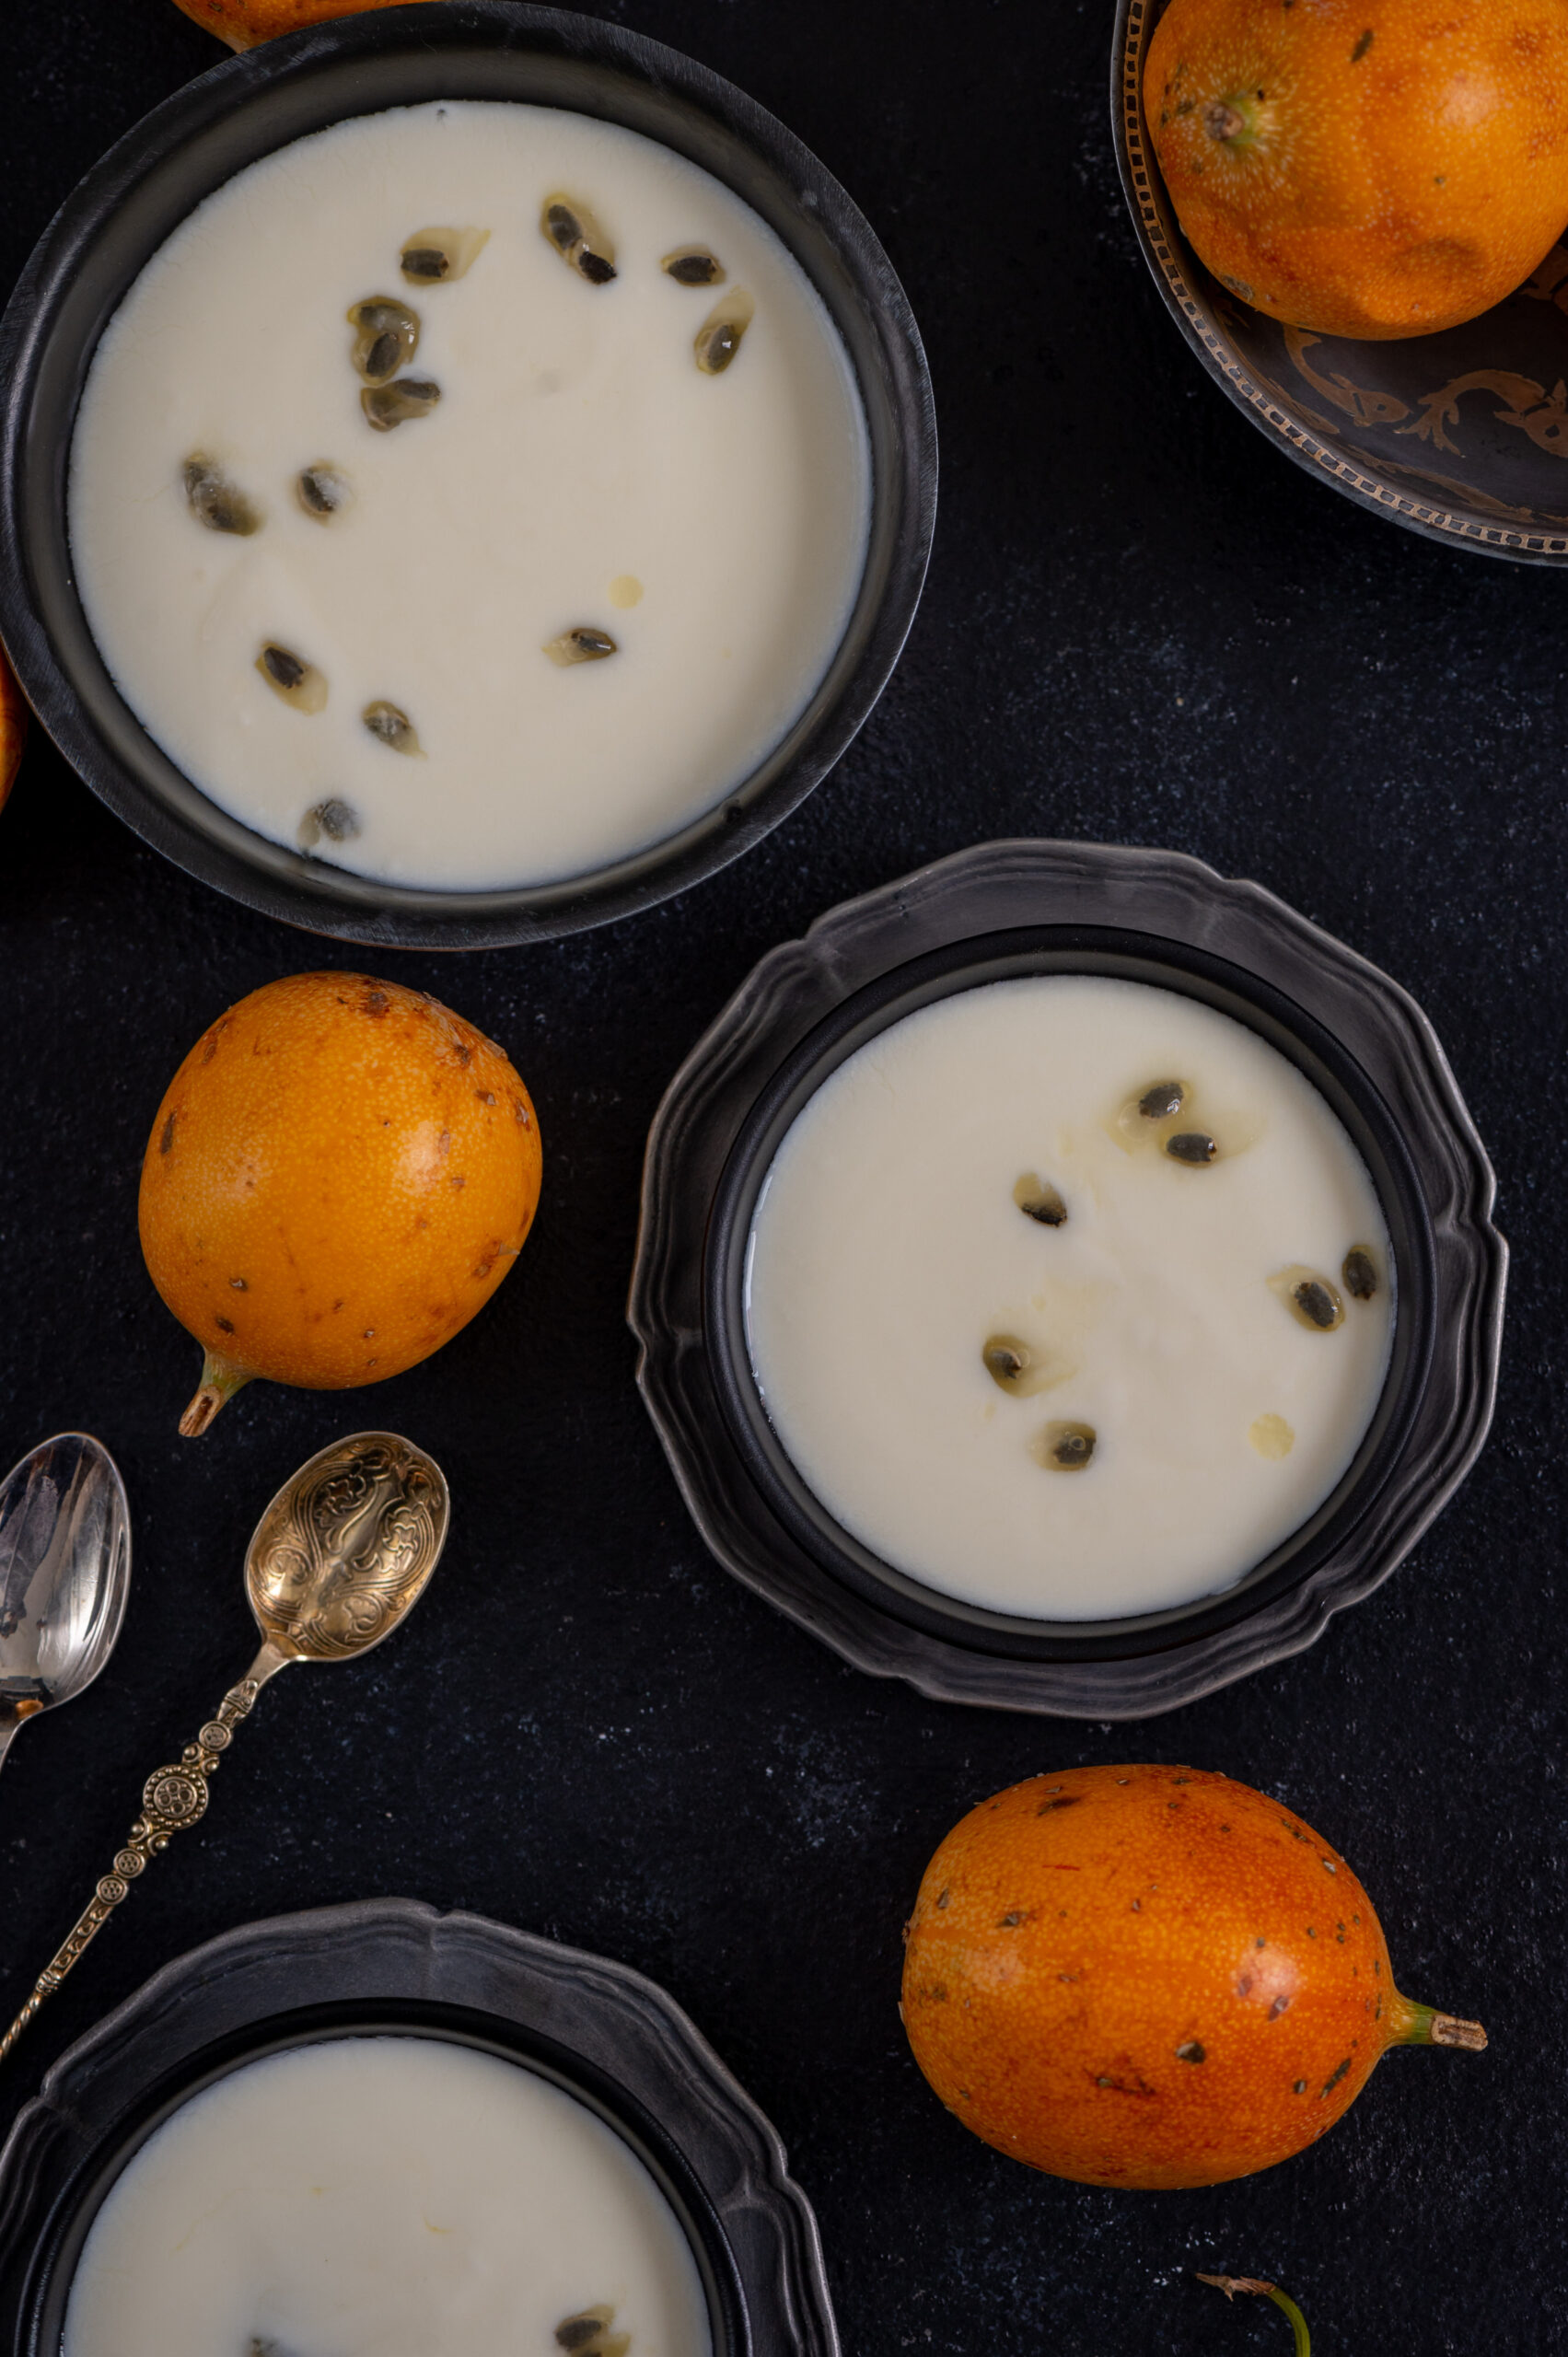
Both passion fruit and shrikhand have been celebrated on this blog before, and bringing them together felt like a lovely stroke of luck. Passion fruit always has a short season, so I suggest that you take advantage of the same and try this recipe as soon as you find the fruit. It truly is one of the most beloved fruits in my home, as you may remember from this recipe for a passion fruit salad dressing that I still make as often as possible. At the very least, sliced passion fruit or passion fruit juice is a daily feature whenever we’re able to get a fresh harvest.

While I had prepared this dish using dairy while on the getaway, once I got back home I tried it again in a vegan preparation. I had initially wanted to make a vegan version of the coconut pudding that was shared last week, but wasn’t able to do enough trials due to the festive rush. So this time, what I am sharing is a tried and tested vegan dessert, made with coconut yoghurt.

Quite like the sitaphal kheer that needs very little to enhance it, being so flavourful on its own, the passion fruit shrikhand too does not need the the usual frills of a typical or traditional shrikand. It doesn’t need saffron or slivers of almond or pistachio to elevate it. All I used was a little bit of cardamom. The focus is very much on the taste of the fruit, which happens to be quite sweet, and this means that you can cut down on the sugar quantity used in the dish.

Gujaratis take pride in our shrikhand, and it is even eaten as part of a main meal in a great combination known as shrikhand-poori (I’ve written many times on this blog about that famous Gujarati sweet tooth!). So while I don’t want to make an easy comparison to flavoured yoghurts you can get in supermarkets, I can definitely say after this experiment that it’s very easy to flavour your shrikhand too, using different kinds of fruits. It’s very easy to prepare overall, too. The best part of it is that being homemade, we know exactly what goes into it. A flavoured shrikhand is a healthy treat, and a fun and simple way to add a twist to this immensely popular Gujarati dish.


Vegan Passion Fruit Shrikhand

(Yield: 4-5 cups)

5 cups coconut yoghurt

½ cup icing sugar (substitute: ½ cup honey or maple syrup)

¼ teaspoon cardamom

Pulp of 2 passion fruits


Take a fine muslin cloth, put the 5 cups of coconut yoghurt into it and tie the cloth. Use plain yoghurt if you prefer a vegetarian rather than vegan version. Hang this yoghurt for about 2-3 hours or until all the whey drips out. You can use this whey to bind dough for rotis.

Then, put the yoghurt into a strainer and add the sugar to it. Sieve the yoghurt with the help of a spoon and collect it into a bowl. Add the cardamom powder and passion fruit pulp. Mix well.

You may garnish the bowl with a pinch more of cardamom and some lovely passion fruit seeds. Serve chilled.

While you can use almost any fruit as flavouring, there’s just something about a naturally sweet one such as passion fruit that brings this dessert together so beautifully. Do be sure to take advantage of the season for it.

We returned from our trip to the hills with lots of fruits, bringing bags of avocado and passion fruit back to our urban lives. The cooler climes really do have such an interesting variety of produce, and if you have access to these at the moment, I’d love for you to check out some other posts using peas, plums, strawberries and peaches. Fruits had been such an integral part of our meals on our getaway, and usually made up our entire breakfasts too. Given the nutrition quotient of this food category, I think I’m going to keep looking more deeply into bringing more fruits into more dishes, innovatively…