55 Results

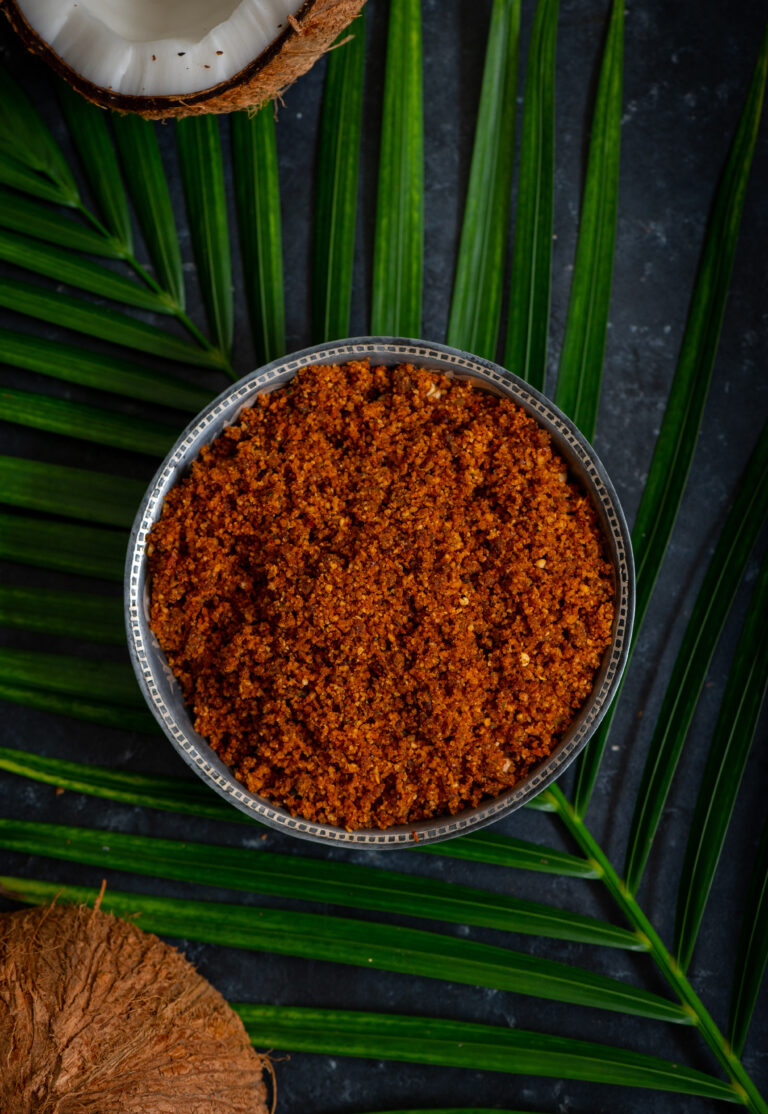
jaggery

Search

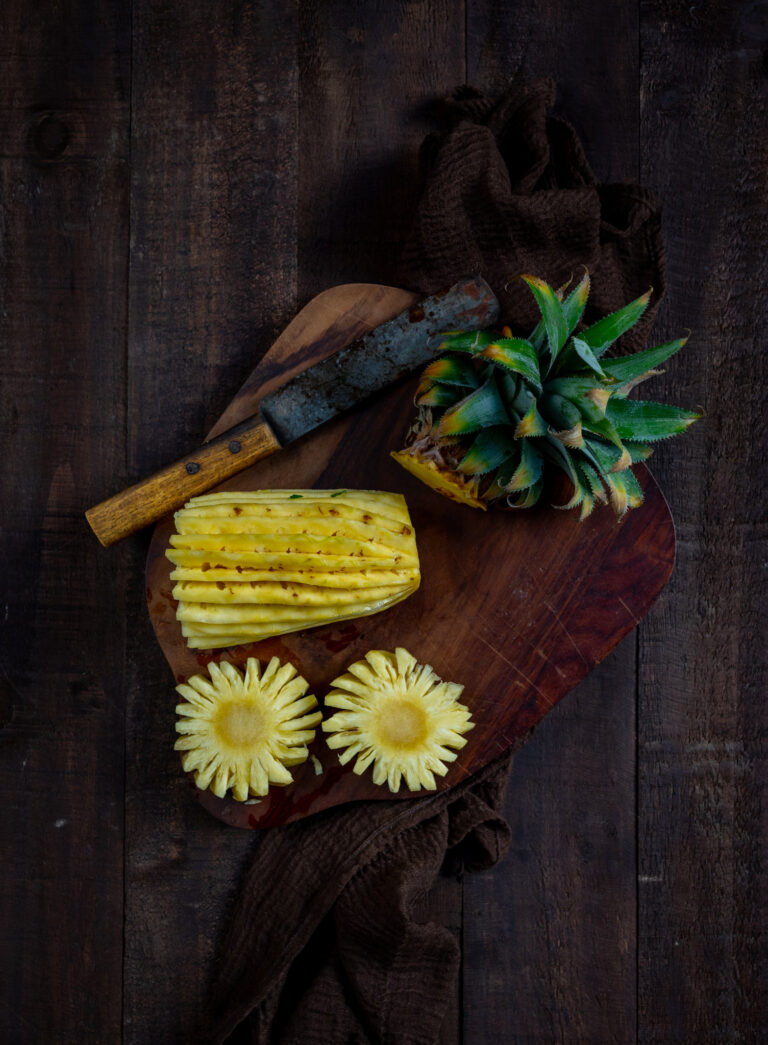
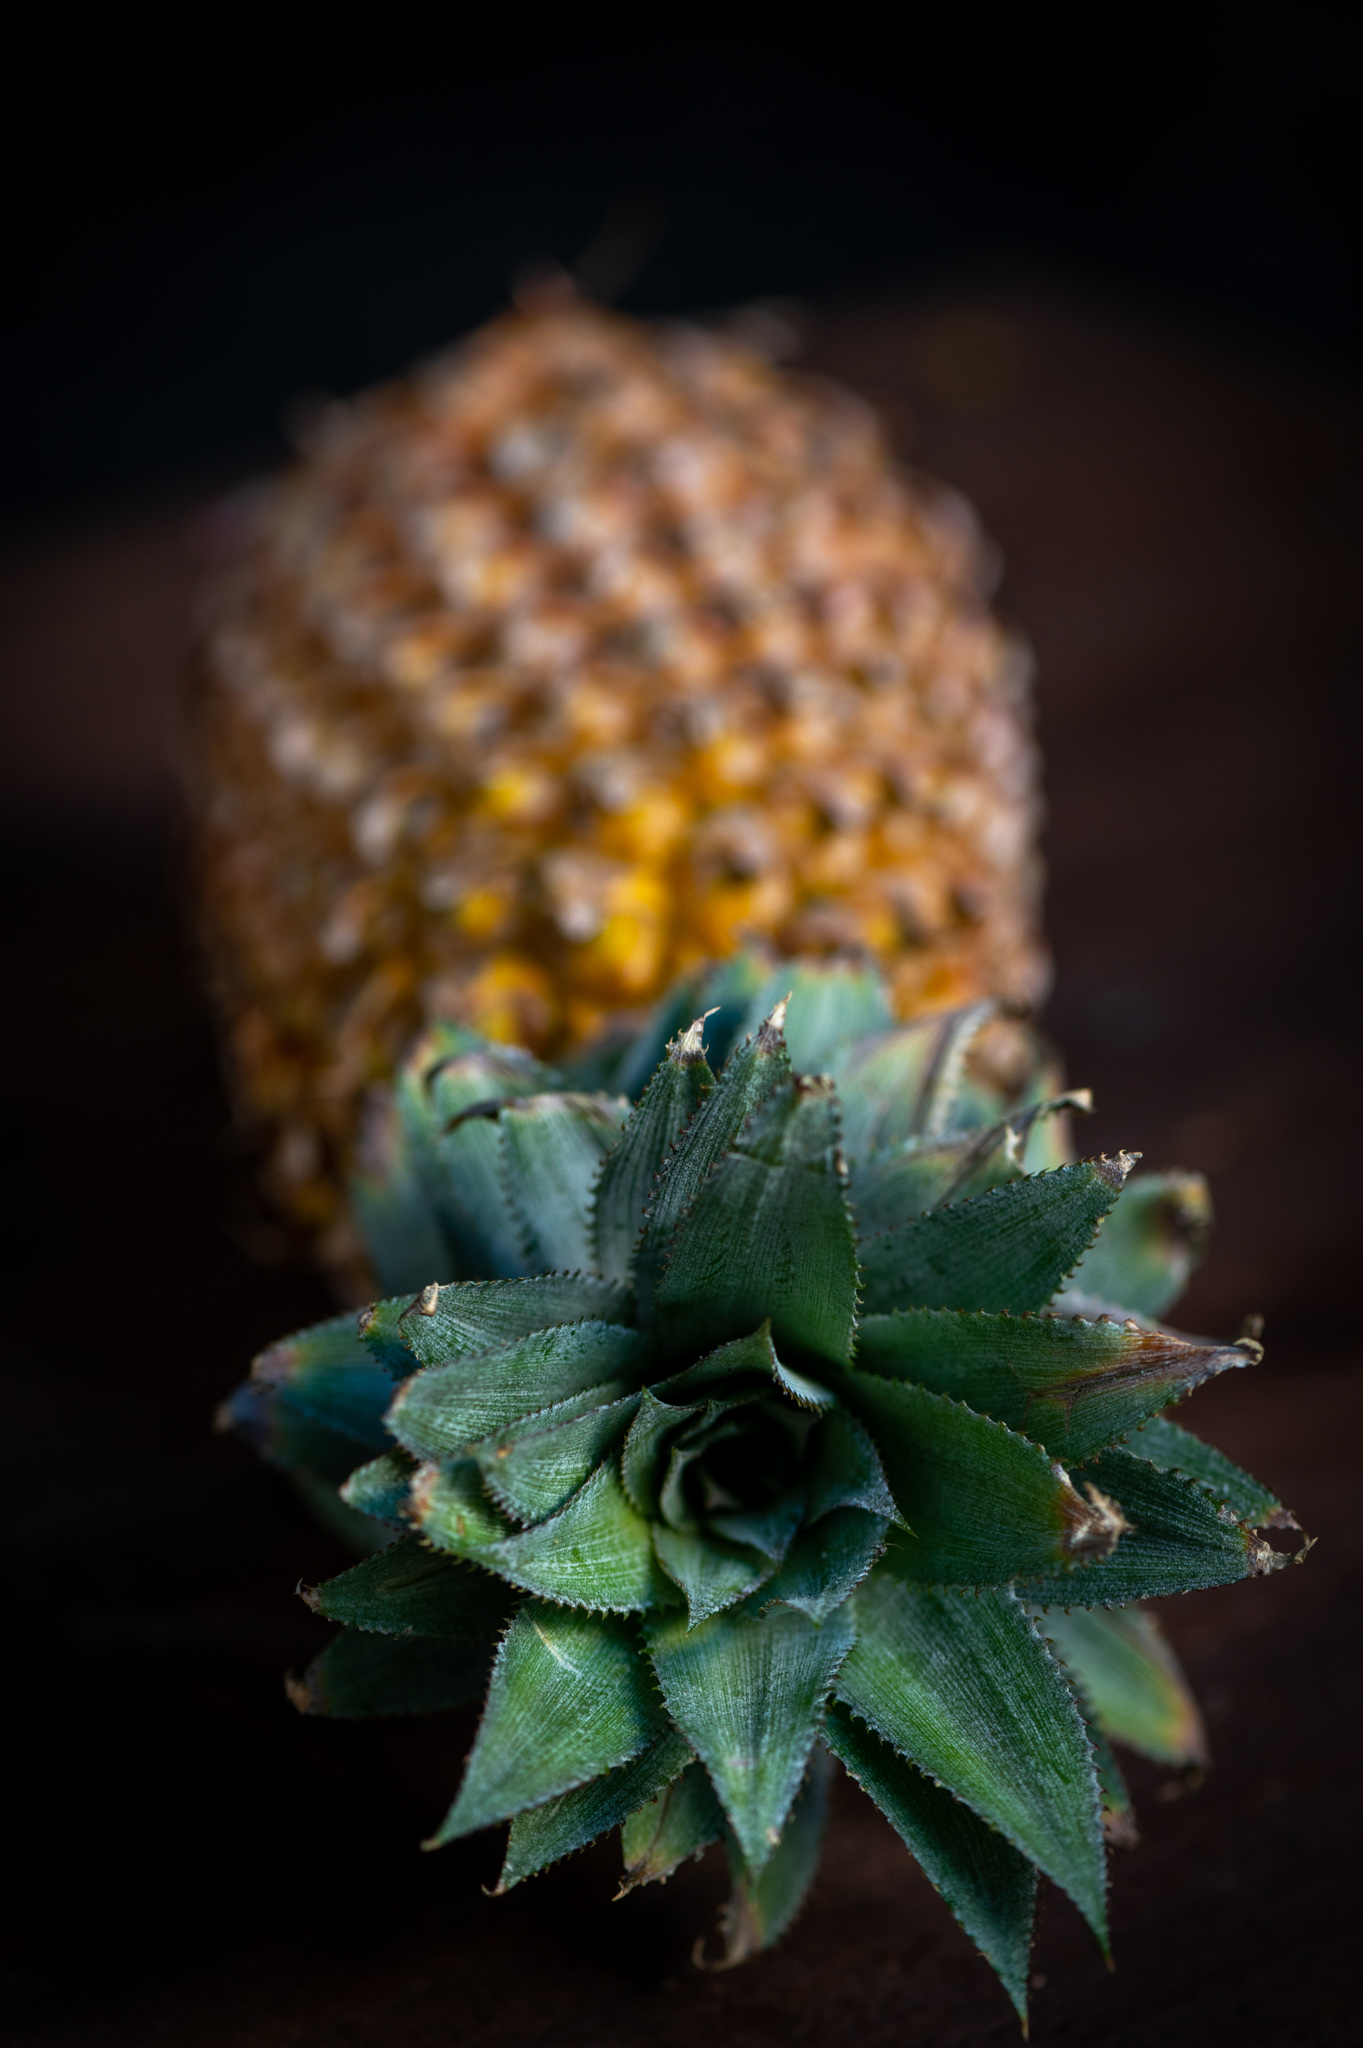
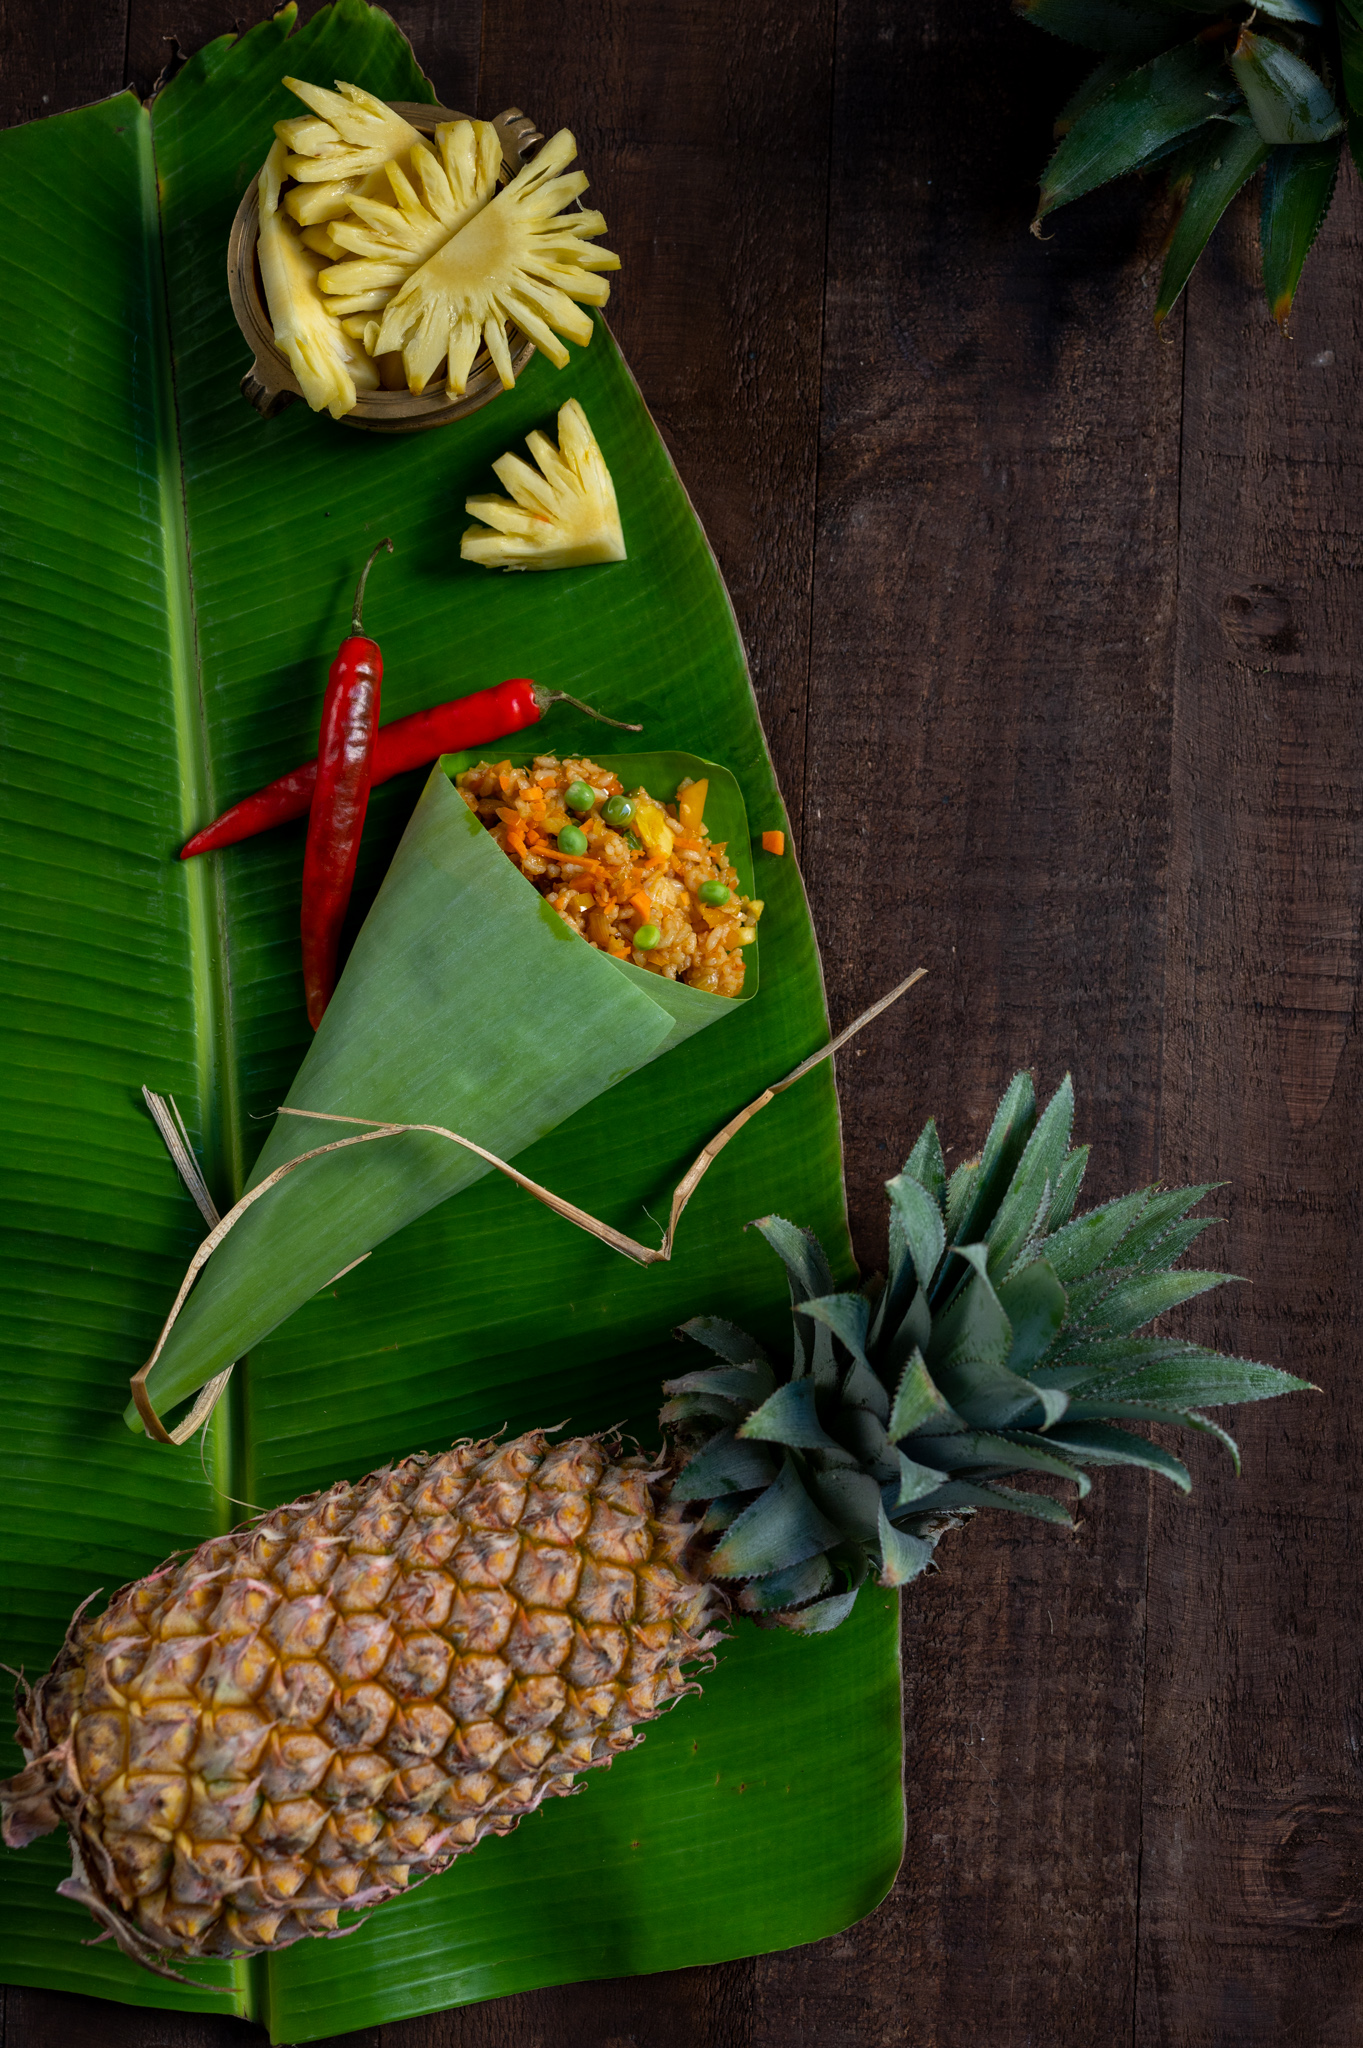
On a trial basis, my son has been cultivating organic pineapples in Bangalore. They are mini-pineapples, about half the regular size. I had never seen this variant until I visited him shortly after a successful harvest. I found them incredibly sweet, and adorable to look at too. Back home in Chennai, pineapples stayed on my mind, which was perfect timing as they happen to be in season. Considering the possibilities of how to consume the fruit, aside from eating it just as it is, I decided to give making a pineapple rice a shot. As far as I know, this dish is of Thai origin. However, I feel it fits in well with Indian and especially with Gujarati cuisine, given our enjoyment of a bit of sweetness in every preparation. I think the Indian palate in general also likes to have something sweet, something tangy and something spicy at every meal, and this pineapple rice covers all three requirements.

Aside from pineapple rice being my preferred dish at local Thai restaurants, the memory of the one time that I had authentic Thai pineapple rice in Bangkok still lingers in my mind. Those flavours are the ones I am trying to recreate here in this recipe. Bringing culinary experiences from our travels into our own kitchens is a beautiful, and of course delicious, way to preserve those good times.

This dish is only one of the many ways that I use pineapple, one of my favourite fruits, in my cooking. It also makes a frequent appearance at my dining table in my pineapple salsa (you may want to try out my peach salsa, the recipe for which is here). It is my topping of choice when it comes to my homemade pizza, which I make on a sourdough base. Pineapple is a healthy way to satisfy my terrible sweet tooth, so what I do is to add a little jaggery, and then put the slices on a non-stick pan or stick them in the oven. This makes for a completely natural dessert that hits the spot, without any artificial or processed ingredients.

One recipe that I’ve not yet attempted, but hope to have the courage to give a shot one of these days, is my mother’s pineapple upside down cake. She often made it when I was growing up, and it was utterly delicious. I am quite tempted to try… Wish me luck! I’ll certainly keep you posted about my endeavours (most likely on Instagram).

As I said, I love pineapple, and while it would seem from my sharing above that I eat it all the time, this is sadly not true. This wonderful fruit is a pain to peel and slice up, and this often becomes a deterrent to consuming it as much as I’d like to. Yet, it really is worth it every time. Perhaps it is just as it is with everything else in life: whatever is most difficult often has a juicy reward at the end of it. Hard work does pay off. As for how incredibly sweet the pineapple is once you get past the tough exterior – ah, I suppose that’s the case with a lot of people as well. Wouldn’t you agree?
Pineapple Rice

(Serves 2)


2 tablespoons sesame oil

2 cups cut vegetables (I used carrots, onions, yellow bell peppers and green peas)

½ teaspoon garlic paste

½ teaspoon ginger (grated)

1 red chilli (finely sliced)

1 teaspoon chilli sauce of your choice

2 cups cooked rice

¼ cup water (if required)

2 teaspoons tamari or light soya sauce

1½ teaspoons coconut vinegar

½ teaspoon brown sugar

Salt to taste

1 cup finely chopped pineapple

Finely sliced green onions (to garnish)


In a pan, add the oil. Once it has heated, add the cut vegetables. You may use the ones you prefer; as listed above, I have used carrots, onions, yellow bell peppers and green peas. Sauté on a high flame for a few minutes or until al dente. Add the sliced red chilli. Stir well until fragrant. Sprinkle some water if required.

Now, add the cooked rice. Partially cooked rice is best, and this is also a great way to use up any leftover rice that you may have.

Then, add the tamari, salt, chilli sauce, vinegar, brown sugar and another sprinkling of water. Stir well on a high flame. Finally, add the pineapple and mix well again. Garnish with the finely sliced green onions and serve.

Trust me – the moment that you take a bite, you’ll forget the effort it took to peel that pineapple! What the fruit adds to this fried rice is well worth it. It brings together all the elements that make up this dish. Flavours of sweetness and spiciness play harmoniously here. This pineapple rice is perfectly satisfying, evoking the flavours of Thailand while fulfilling Indian tastebuds. I hope you’ll try it out, and that you’ll enjoy it just as much as I do!
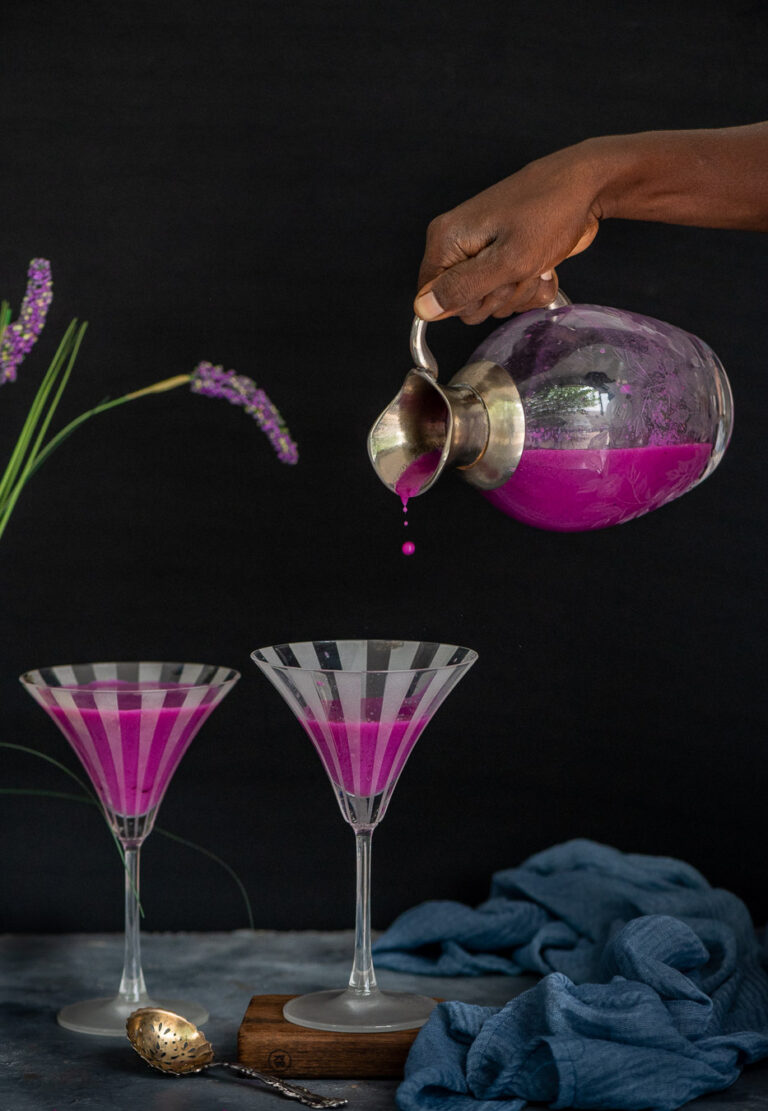
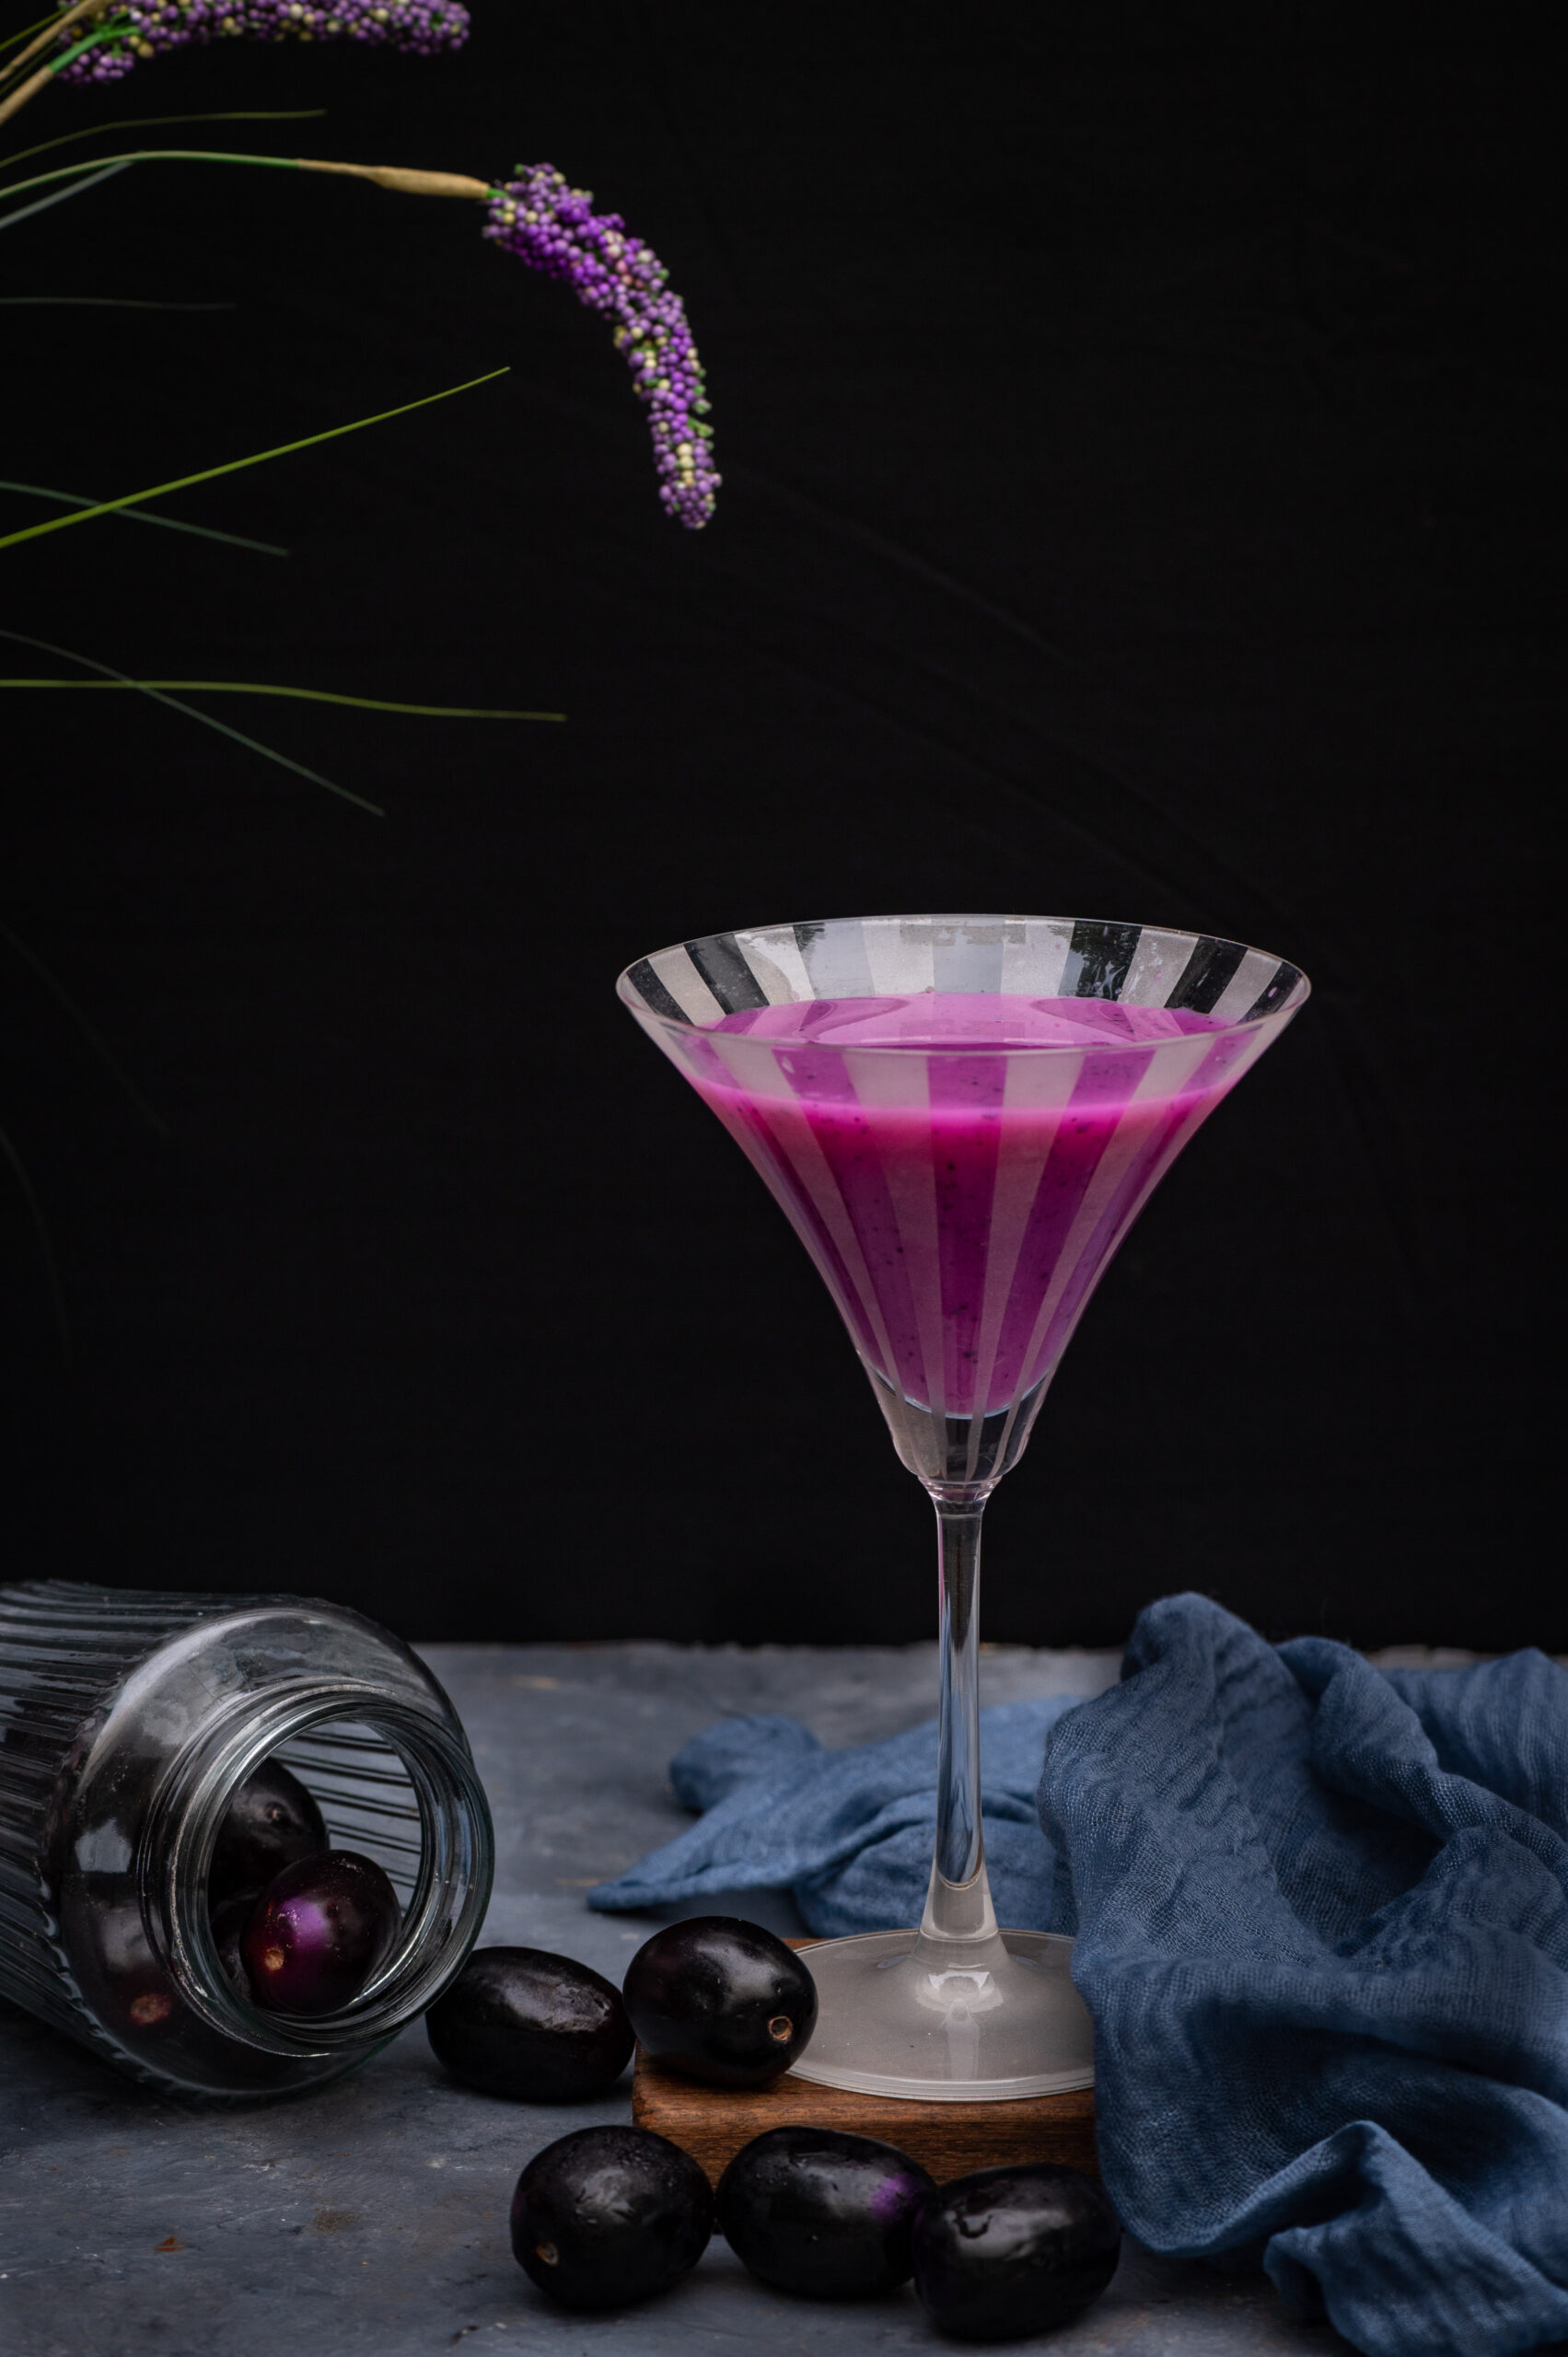
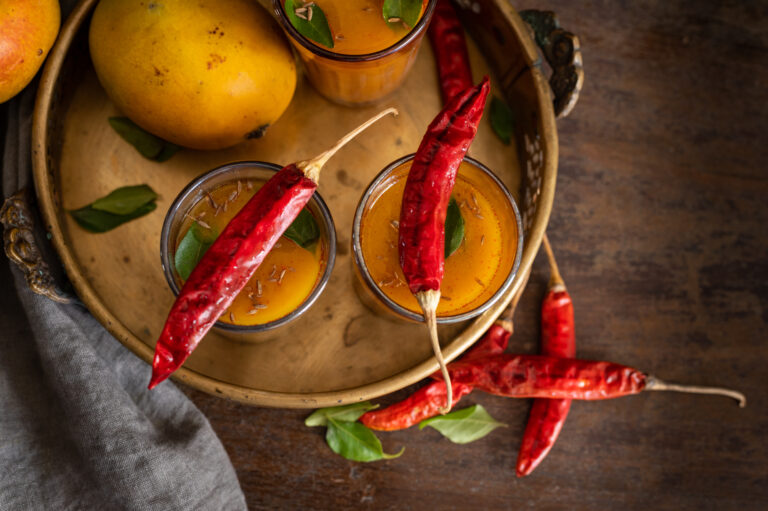
I have been seeing these gorgeous lilac drinks being made and beautifully captured by food bloggers abroad this summer, and have been so enamoured by their vivid colour and the extremely pretty flowers. I admired them, a little wistful that lilacs do not grow here, only to quickly realise that we too have a glorious abundance of plants and blooms. In the tropics, and especially here in India, we have just as much colour, flavour, texture and taste – if not more? – to captivate our senses. I have written in the past about my love for manoranjitha, oosi malli, shenbagha and other native flowers, some of which have faded from memory and many of which I’ve been trying to grow both on our farm and at home. These musings led me to remember the perfect local equivalent to lilacs, the plant (and specifically, the fruit rather than the flower) that could let me create an eye-catchingly vibrant beverage as well: jamun.

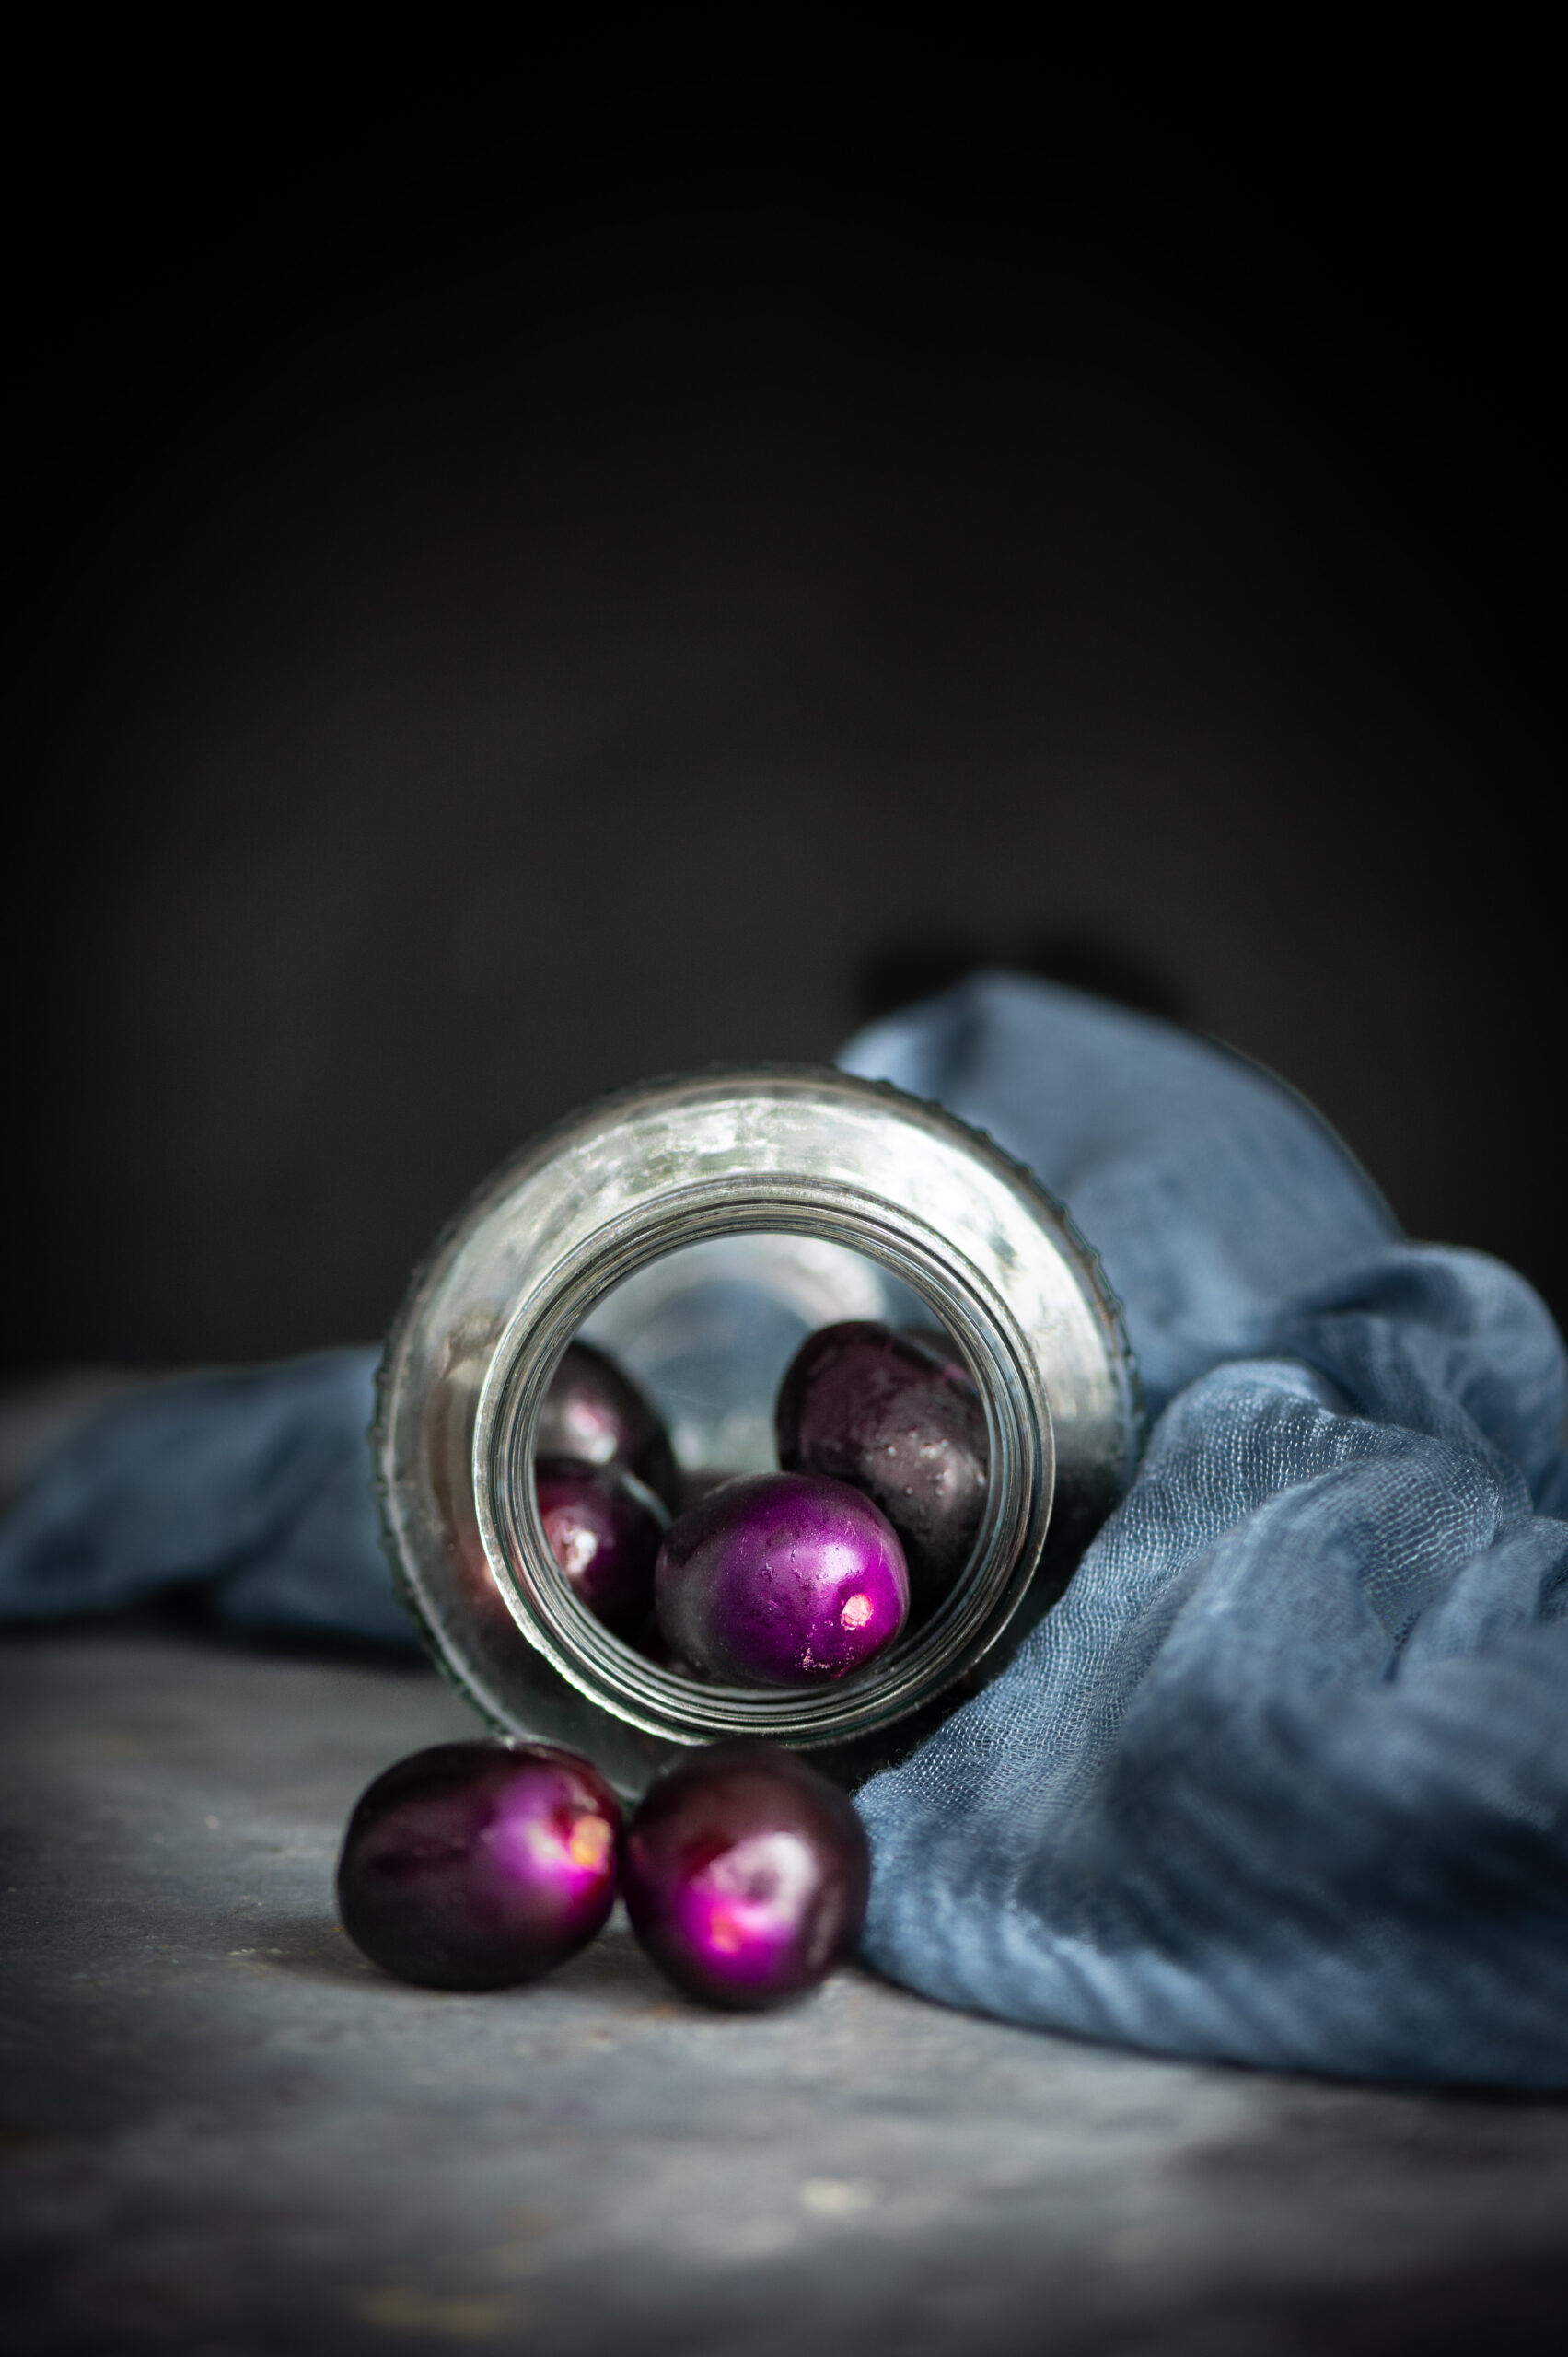
Also known as Java plum and Indian blackberry, jamun is indigenous to this region. The fruit is prized for a range of health benefits. These include: reducing blood sugar levels, improving cardiac health and haemoglobin production, assisting the digestive and immune systems and regulating blood pressure. It has a cooling effect, and it’s wonderful that its season is at the cusp between the summer and the monsoon, when it can simultaneously beat the heat while building immunity for the upcoming rains. It has a unique umami-like taste, which people either like or don’t (similar to the love-it-or-loathe-it jackfruit, which also happens to be in season now).

Here in Chennai, we all grew up with jamun trees around us, that we ate from directly. They were literally in our own backyards and in the neighbourhood. We consumed only local fruits in those years – bananas, mangoes, jamun, jackfruit (and of course, if we were lucky to get away to the hills, the summer bounty of fruits and vegetables there, which I’ve talked about here). Even fruits like litchees that grew in North India didn’t make their way to our markets, and some of the produce that has since been cultivated in the hills (like strawberries) had not yet been introduced. Now, of course, the market is full of exotic imports. But when I see the exorbitant prices on a pack of foreign raspberries, for instance, I sometimes wonder why I’d reach out for it when the Indian blackberry and other local fruits are right here – accessible, nourishing and delicious?

On the subject of local plants, I’ve just redone my little garden and it has truly become a place of joy and solace for me. Full of lushness and greenery, it has a pleasant clime despite the heat. I love hanging out there, either by myself or with my family. We have had some beautiful, quiet dinners there, in that intimate and special space. At other times, I sit by myself and read a book as I sip on a nice beverage. If someone hollers for me and I’m nowhere to be found in my house, I am definitely in this sanctuary of mine. It was my birthday a few days ago, and it was where I was able to have both moments of contemplation as well as moments of celebration. With a glass of this fabulous jamun drink by my side, of course.

Jamun (Indian Blackberry) Drink

(Yield: approximately 4 glasses)


300 grams jamun

2-3 cups cold water

Black salt to taste

Sugar or jaggery (optional)

¼ teaspoon roasted cumin powder


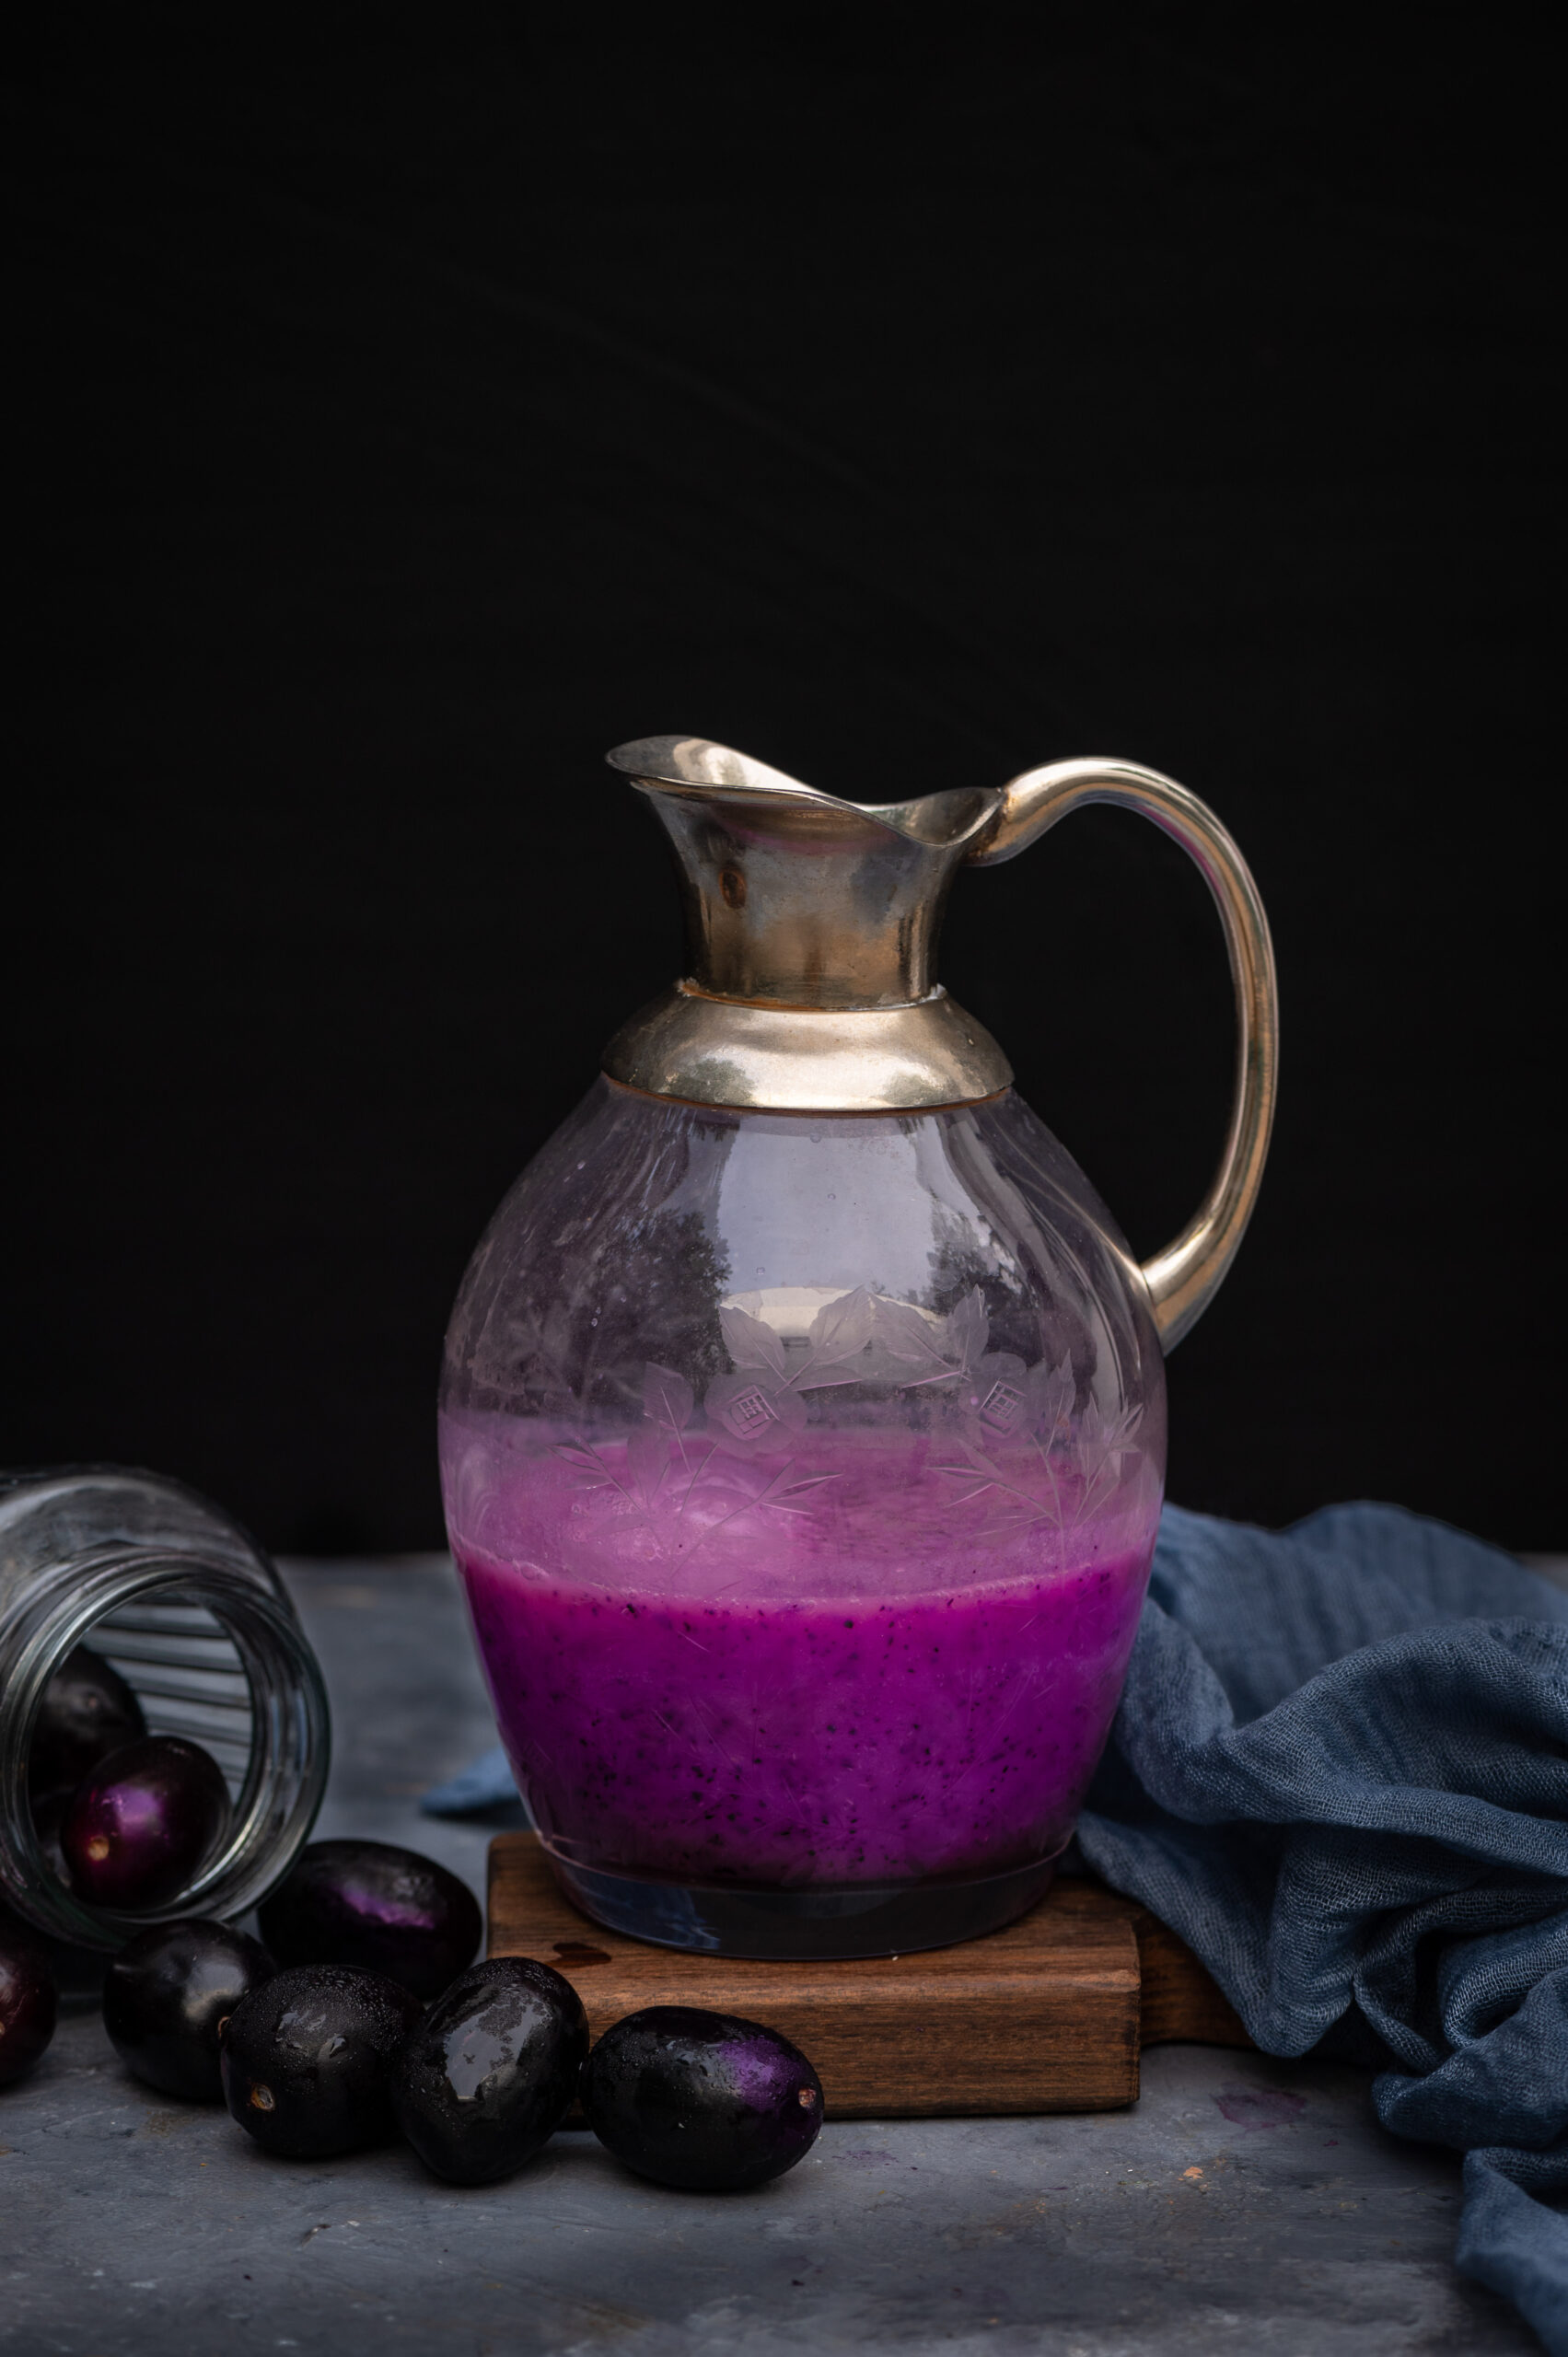
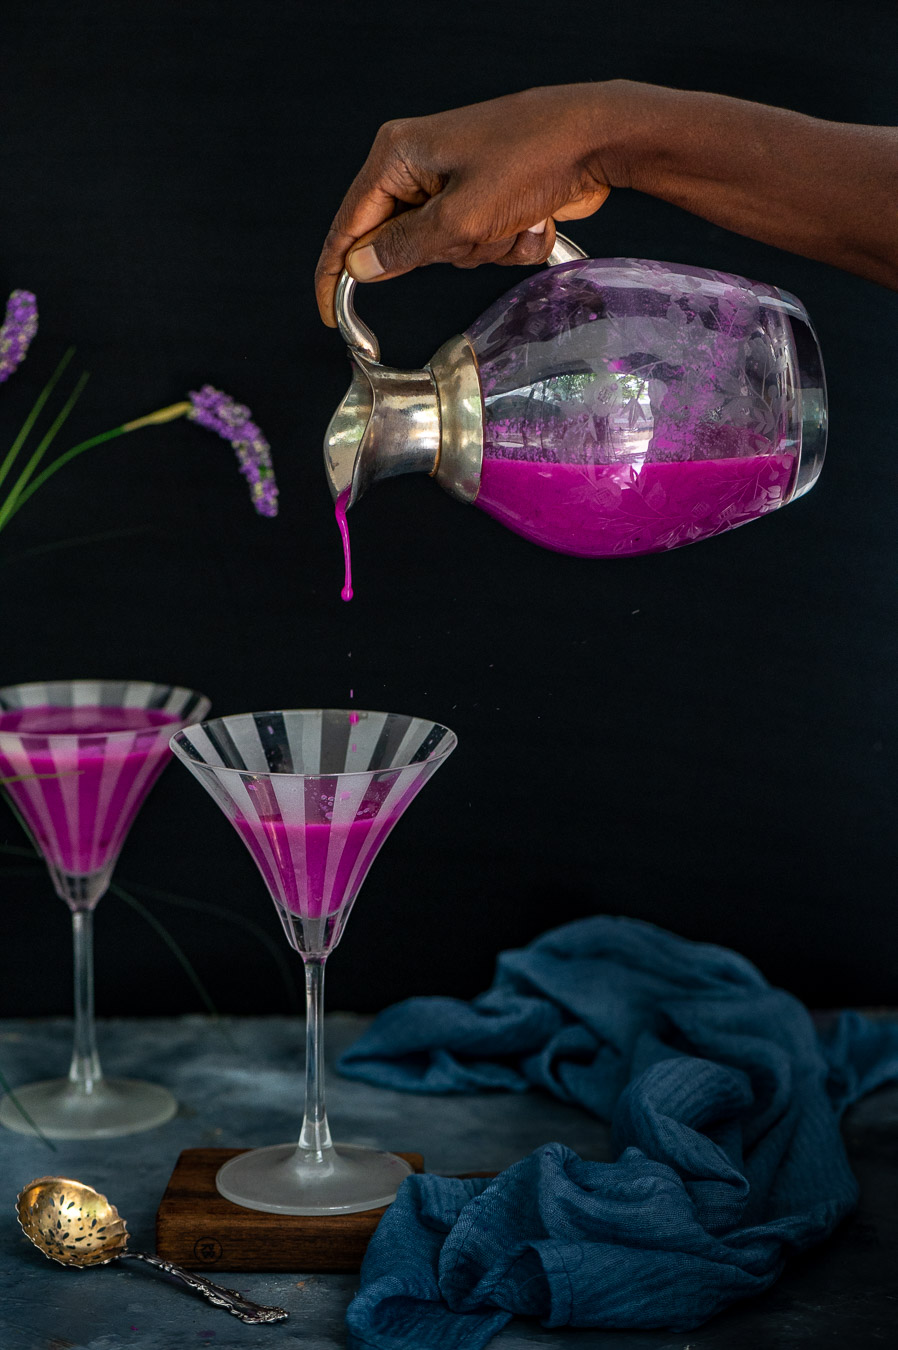
De-seed the berries and put them in a blender along with the salt, cold water and cumin powder. The amount of water you use depends on the consistency you prefer. Use a sweetener if you’d like to. Blend well.

Strain into the glasses, add an optional topping of mint leaves – and then go to the sweet, safe spot in your home that’s your “happy place” and relax! Let’s raise a toast to good things ahead for us, which we all so richly deserve.

This jamun drink can be very filling, so portion sizes are important. You can thin it with more water, or else have a smaller glass of thick juice. With jamun, as with many other highly flavourful items, there can be such a thing as too much of a good thing. In my case, when I enjoy something, I can sometimes eat such a lot of it or have it so often that I feel sick of it after a point. So as wonderful and stunningly attractive as this drink is, I do take care to have a just-right portion.

There you have it, a lovely seasonal drink, just perfect to enjoy as the summer begins to turn to the monsoon. If you’re someone who enjoys discovering new thirst-quenchers, I hope you’ll explore the various beverages I’ve shared on this blog over the years.

As I said, for me, making this jamun drink all began with that enchanting colour – about which these photographs really say it all. But thinking about it a little more, I wondered if there are other ways I can bring this fruit into my meals? Do you have any jamun recipes you can share with me?

For many years, a lovely lady named Hamsa has visited a few times a week, to conduct a chanting class for me. She teaches me Sanskrit scriptures like the Vishnu Sahasranamam and the Lalitha Sahasranamam. I’ve been chanting for the last fifteen years and it’s a source of immense solace for me. Hamsa is from Andhra Pradesh, a region known for its spicy cuisine, and it so happens that one of my favourite condiments comes from there. It’s a ginger chutney sweetened with a hint of jaggery, and I’m delighted to share the recipe for it with you today.

Before the pandemic, I was a frequent customer at a wonderful South Indian restaurant where an array of chutneys would be served. No matter how diverse the spread, I would always reach instantly for the ginger chutney, so much so that I’d even ask to have any leftovers of it packed to take back home and enjoy with the next meal. One day, as we were chatting after class, I asked Hamsa if she knew how to make that fabulous dish. I was thrilled to hear her say, casually, that she made it daily! Of course, she then kindly brought me some a couple of times, after which I asked that she teach me the recipe. I’m a hands-on learner and I wanted to watch her preparing the dish. So one day when she visited, she prepared it in my kitchen as I eagerly watched the process, and I’ve been making it happily ever since.

I believe that we all experience learnings from any person. It doesn’t matter who they are, or in what form the learning comes, but it enriches us just the same. This is something that’s so crucial for us to keep in mind at this difficult time for India. If we keep our eyes and our minds open, we will perceive that all of life itself is a learning, and that we are amidst so many ongoing lessons given what is happening is the country and the world. We are learning about what works and what doesn’t, and what has to change for a better future. In our personal lives and relationships, we are learning something every day about how to get through this crisis – seeing which relationships can withstand it and how, seeing sometimes that the problem isn’t the other person but us, and so much more. These are valuable learnings that we must carry forward.

I’m grateful to have learnt this recipe from Hamsa, to add to all the knowledge she has given me over the years spiritually. She doesn’t just teach me chants, but also talks about culture and ritual, deepening my understanding of the same. When I’m feeling down, she will often suggest a mantra that I can say to strengthen myself. This is advice that has kept me in good stead through my adversities.

I’m sharing the recipe for ginger chutney with you today along with a slice of my life. After I have completed my baking, cooking and exercise schedule in the morning, I always sit down to chant. I genuinely believe in prayer, and in the power of hope. I believe that as a human race we will come out of this darkness, and when I am in prayer, my conviction in this is at its strongest.

With the current lockdown in Chennai, I now take virtual classes from Hamsa daily. I can read Sanskrit, and one of the things I appreciate about her teaching style is that she is very particular about pronunciation. This takes me back to when I was a little girl in a convent school full of wonderful Irish nuns, who insisted on precision in handwriting and enunciation. The lovely Mrs. Martanda, my English teacher, would teach us the difference between the spoken words “vow” and “wow”, for example. She used the Wren and Martin grammar book and various dictionaries as teaching tools. That I am able to recall these details decades on is a testament to the influence a good teacher can have, in any aspect of life. As I said earlier: we learn something from someone, every day. We are all students, and we are all teachers.

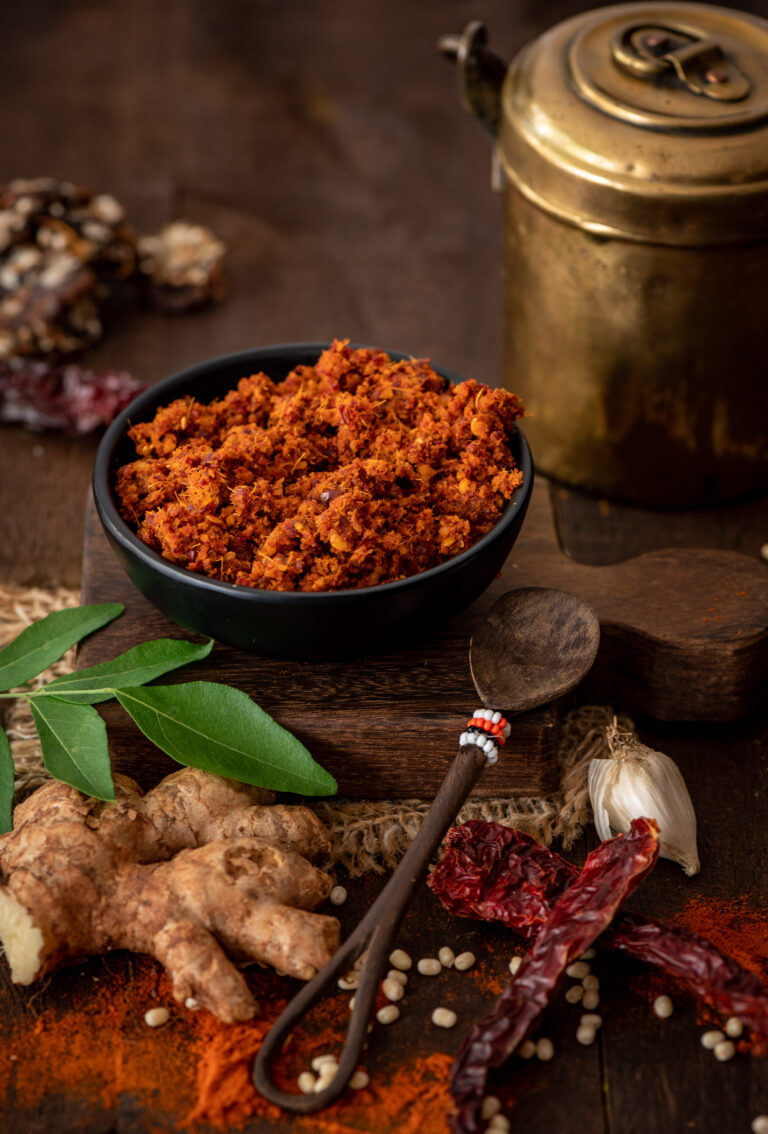
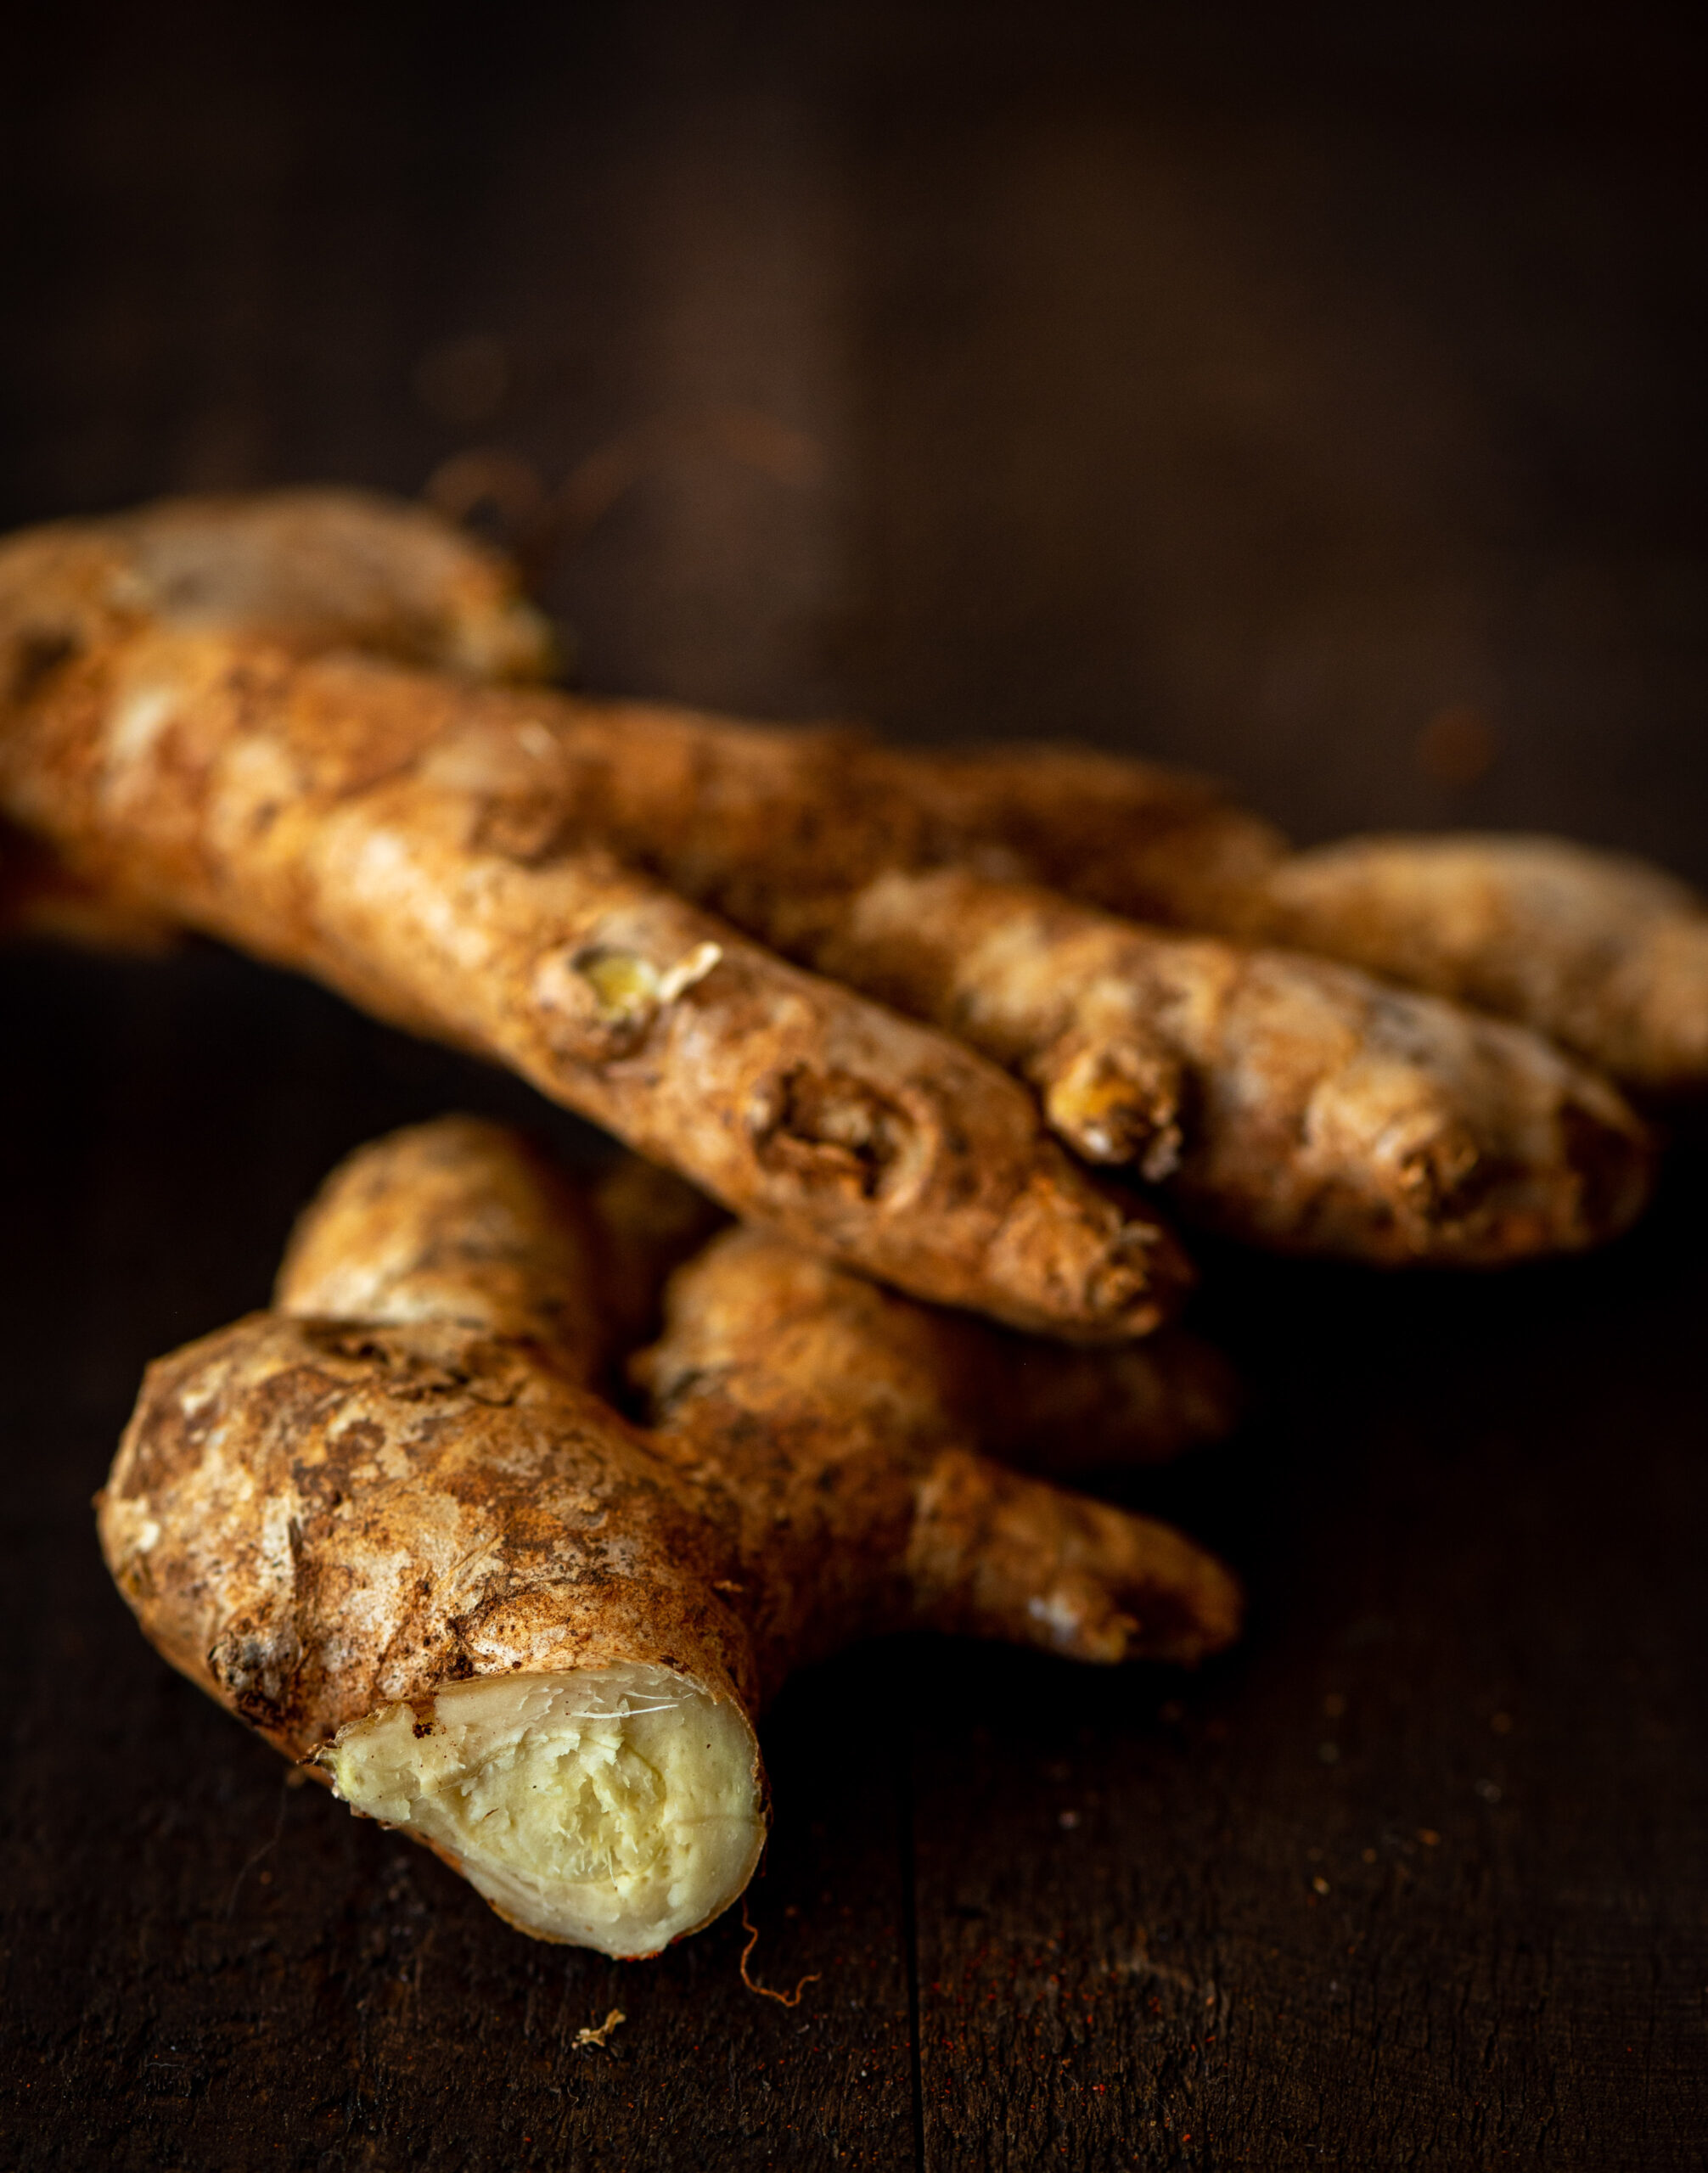
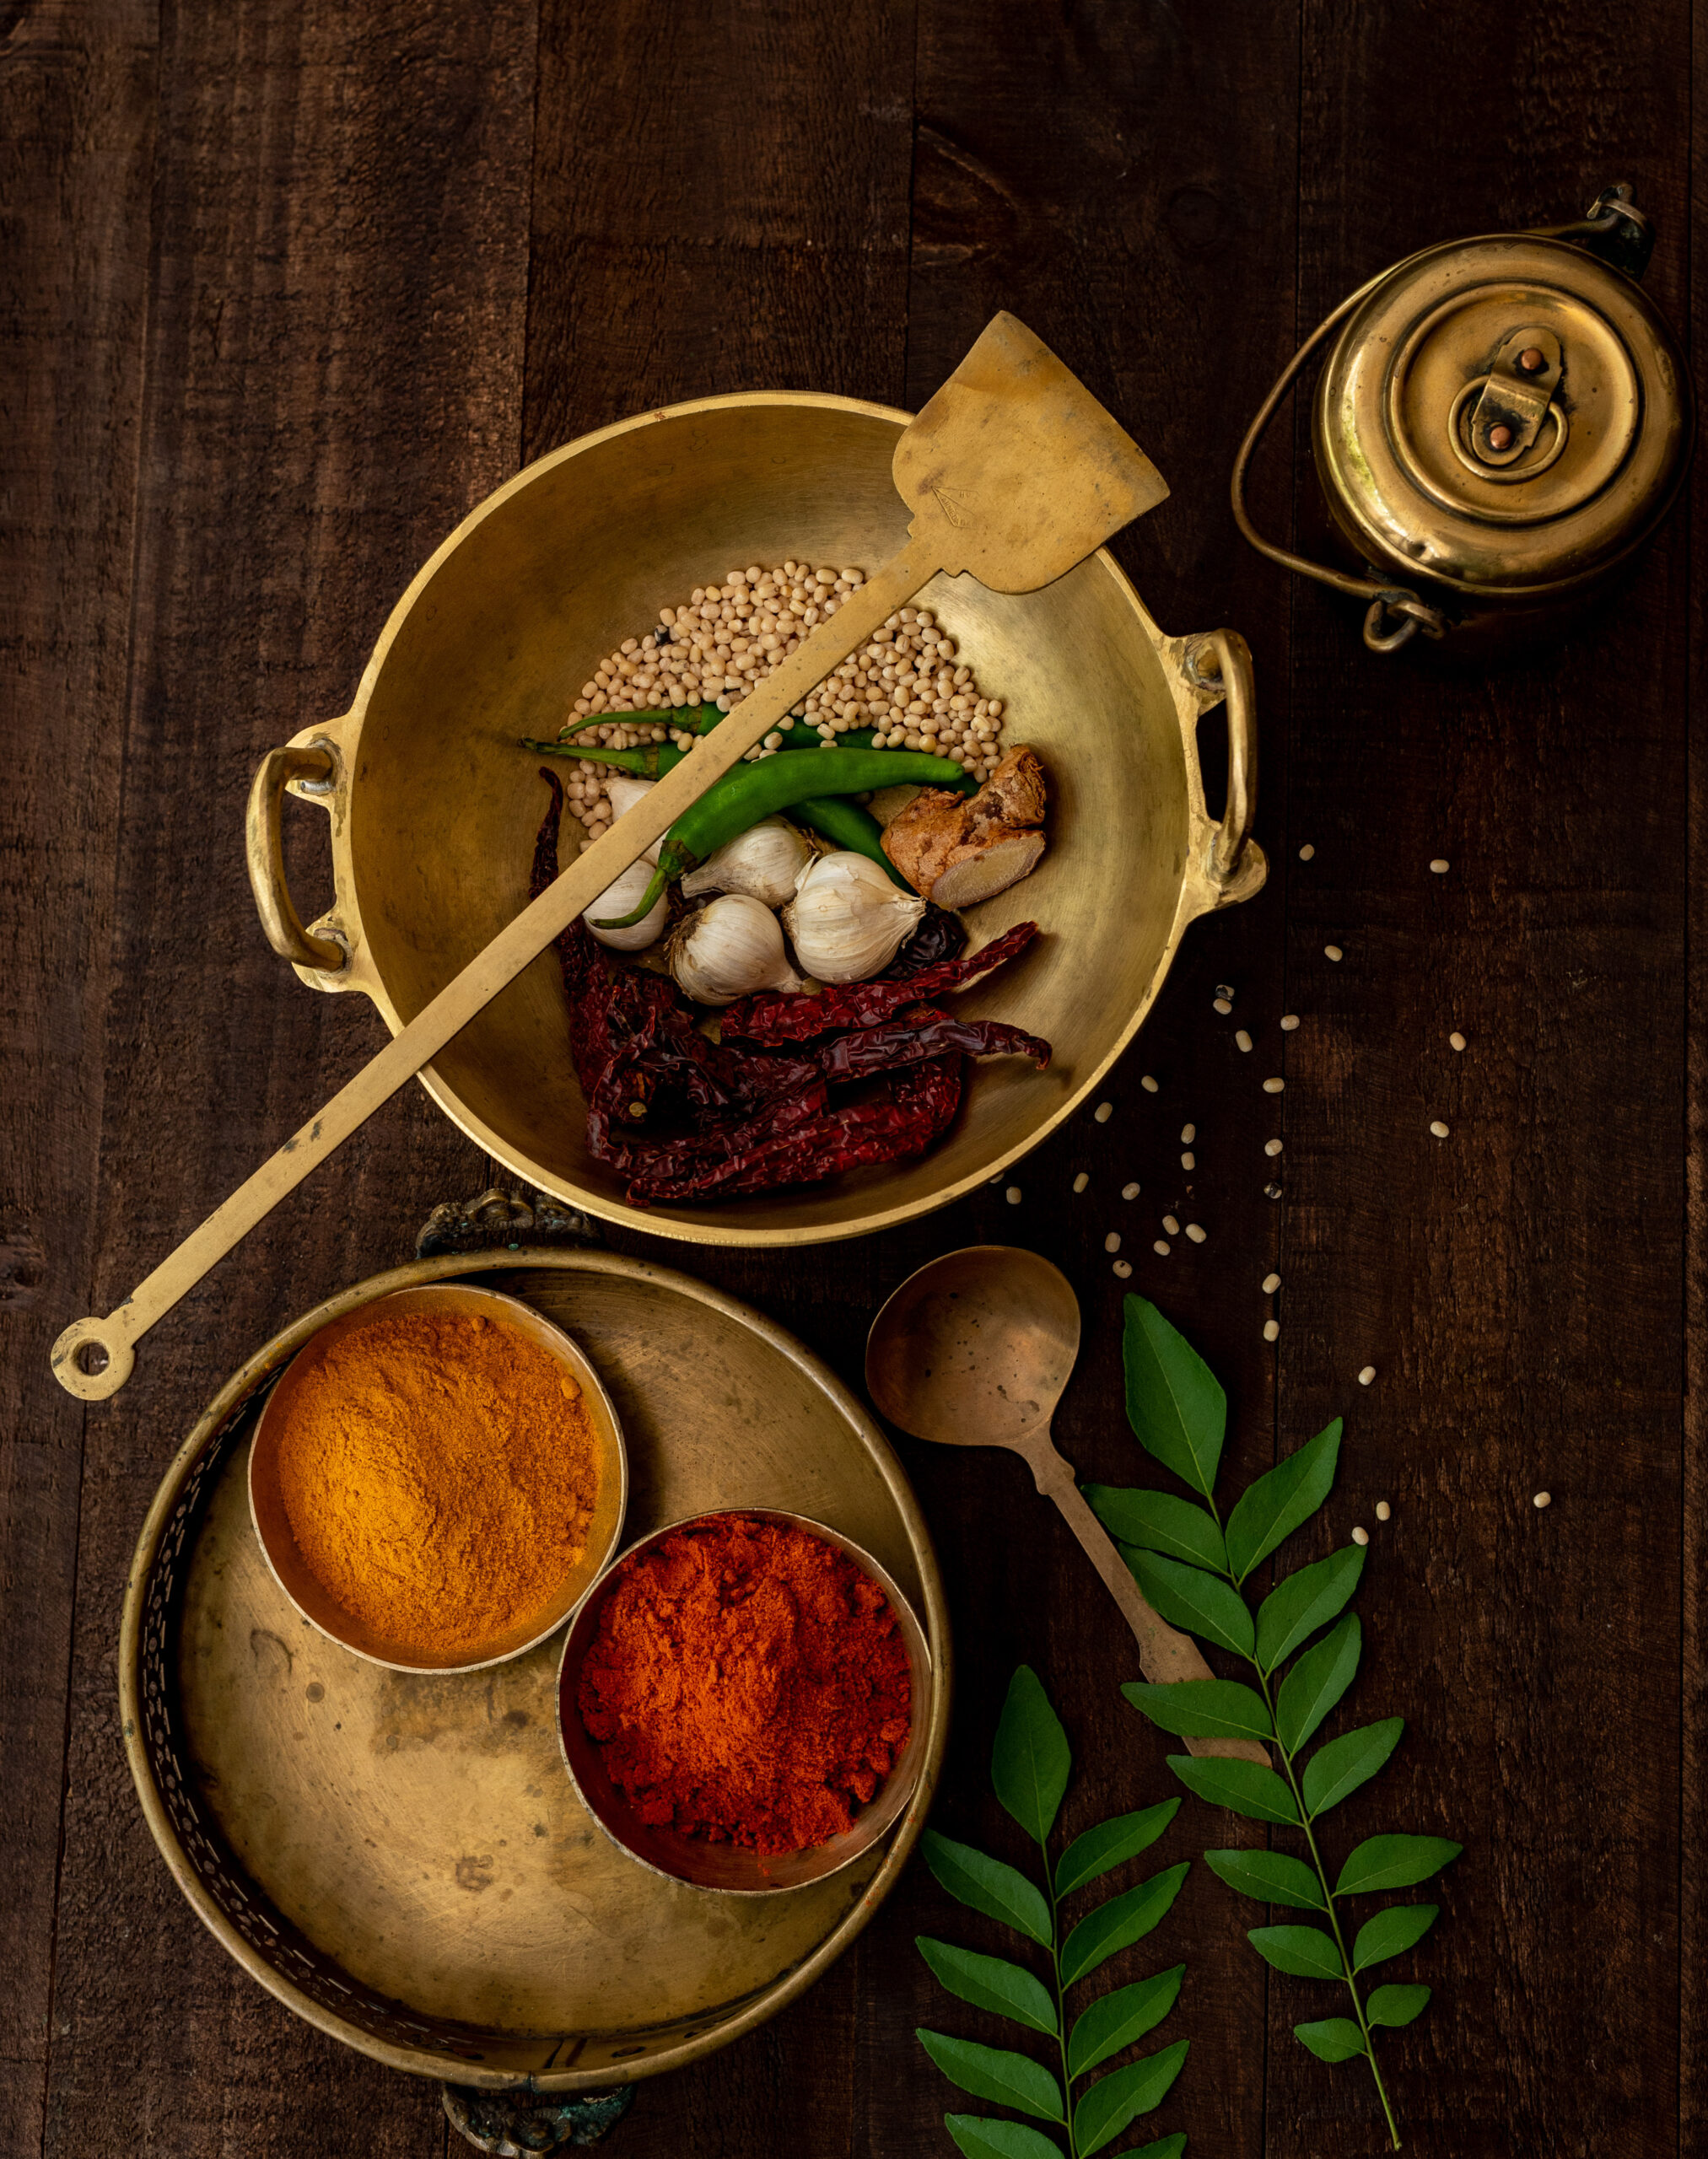
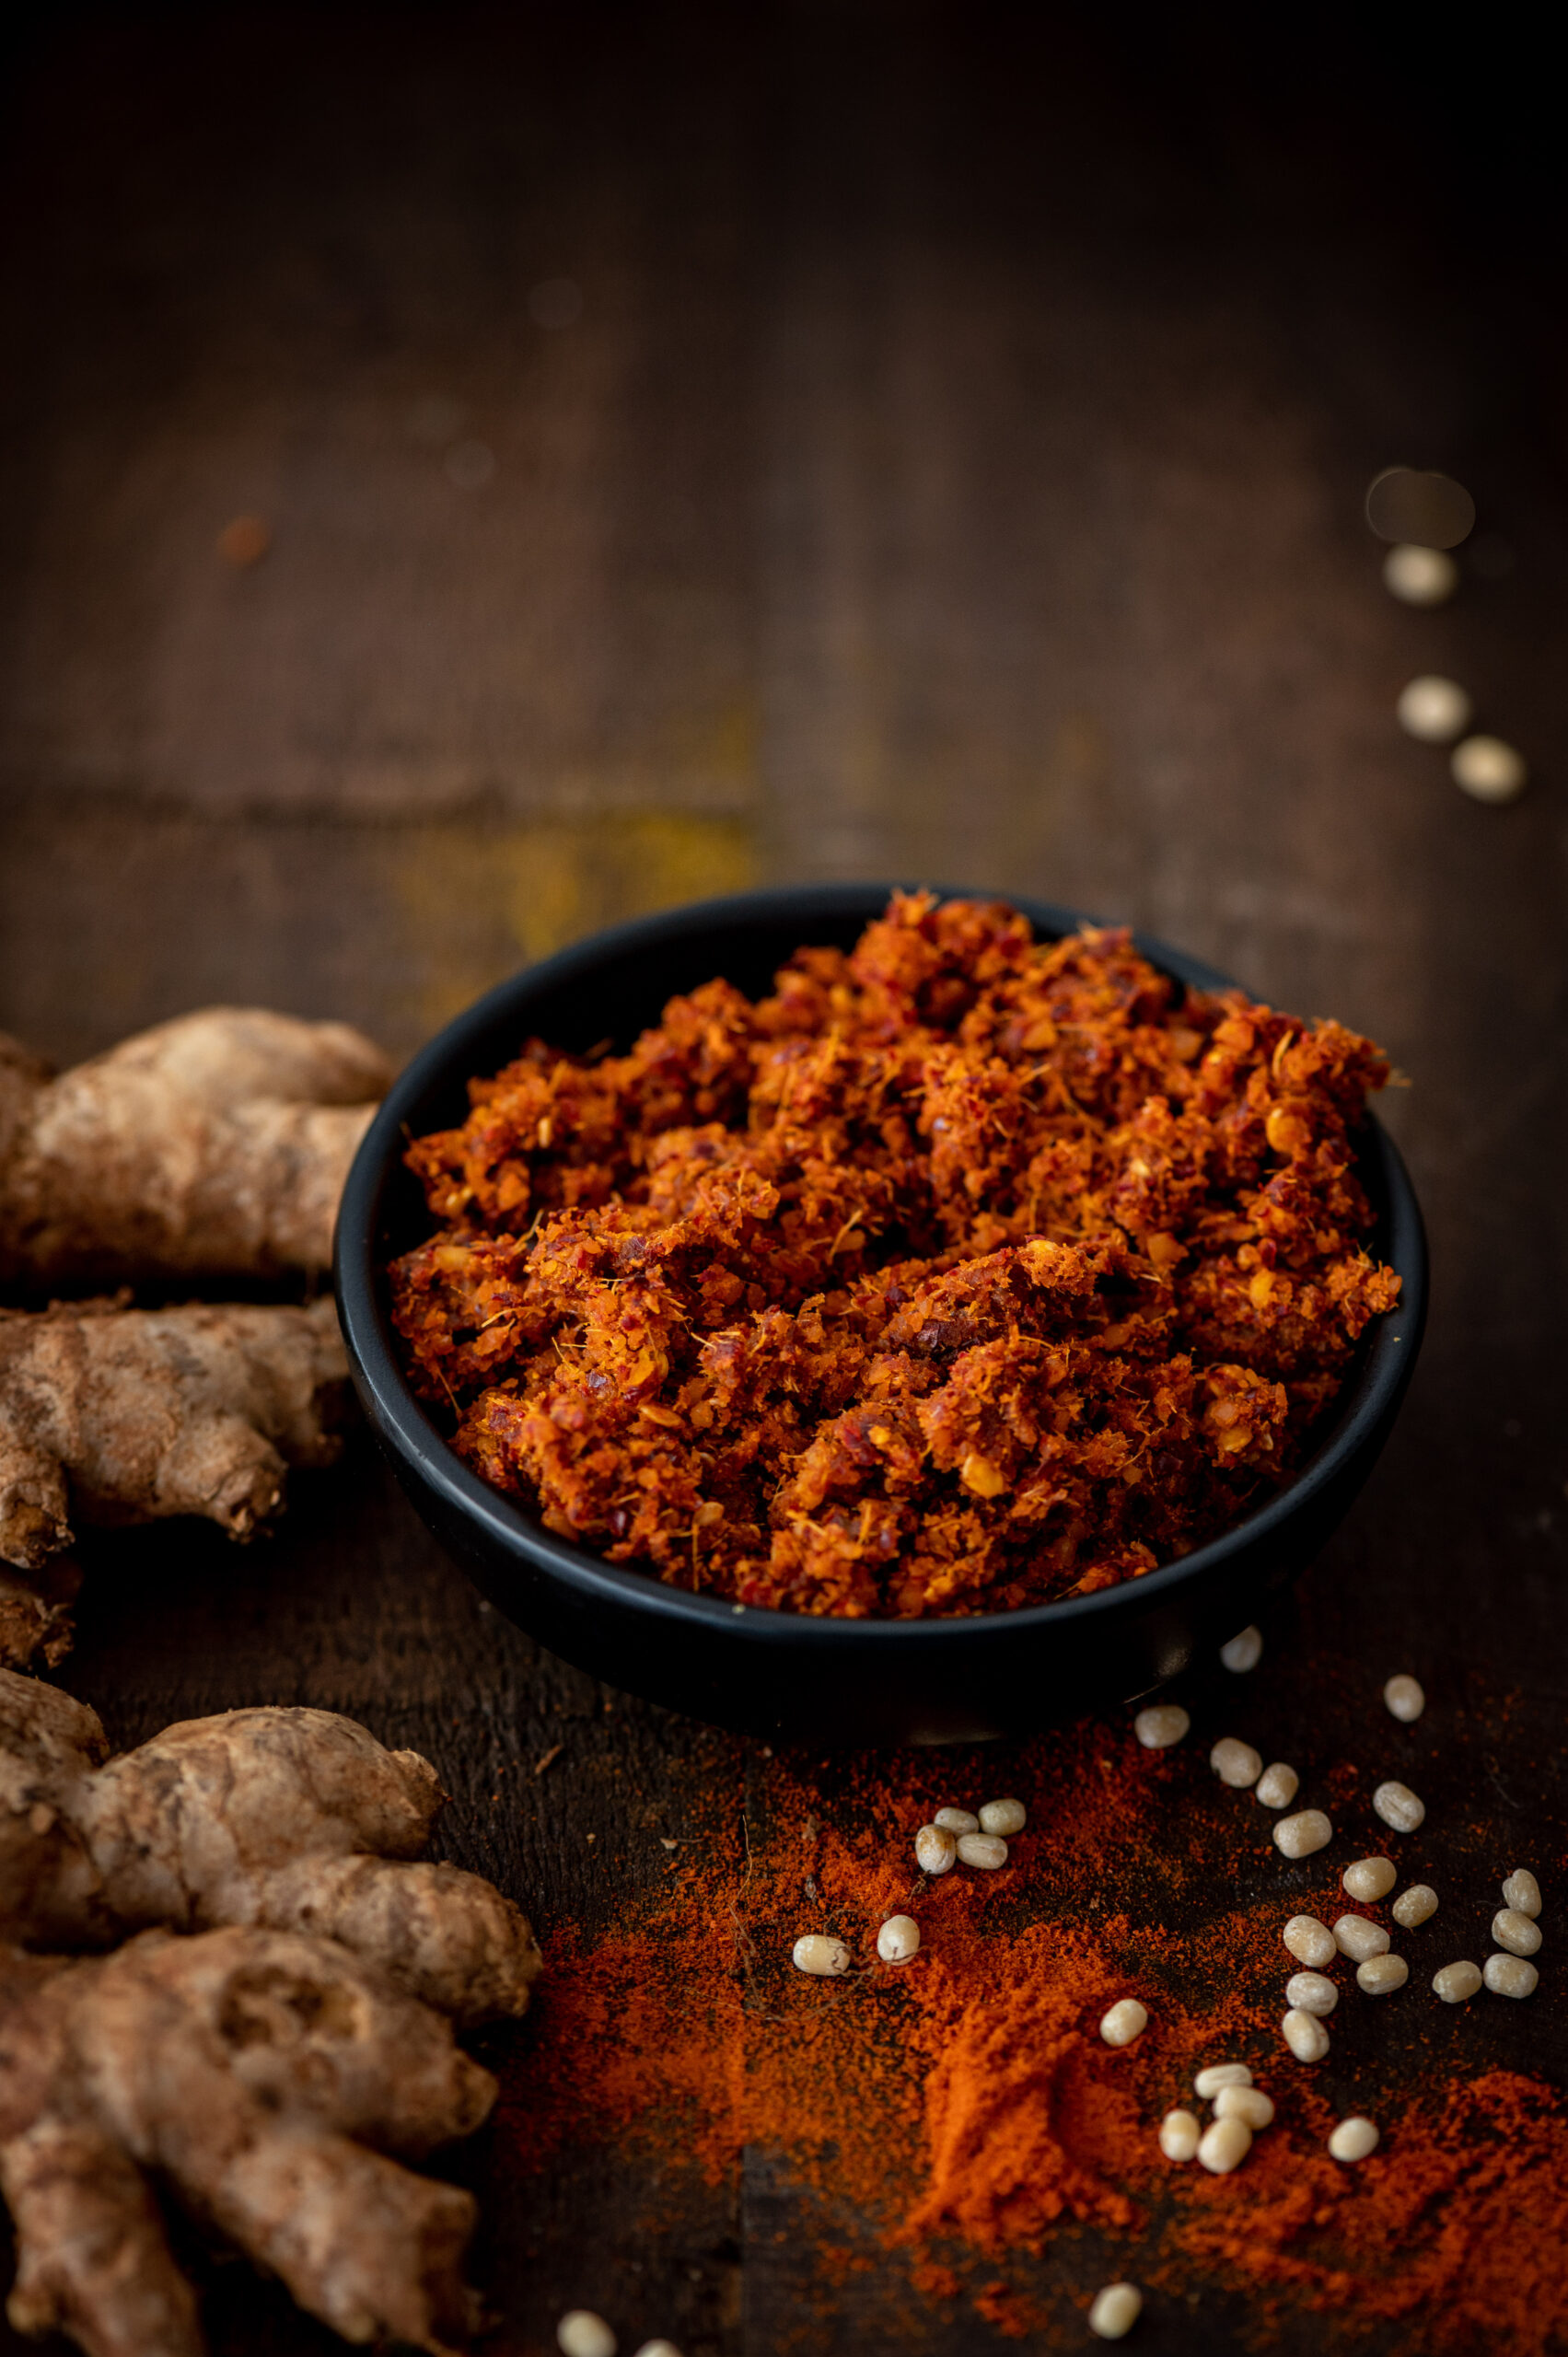
And so – I learnt this from Hamsa and I am now teaching it to you. It’s a brilliant ginger chutney made in the Andhra style. My version is drier than Hamsa’s, and I make it this way so that it lasts longer. It has a perfect combination of flavours – sweet jaggery, spicy red chilli and piquantly aromatic ginger, the last one being a particular favourite of mine. It’s so Indian, yet so doable in any part of the world, consisting of simple ingredients and a quick and easy process. In case you cannot source jaggery, try brown sugar or coconut sugar as a substitute. This ginger chutney lifts up the flavours of my Buddha bowls, my dhoklas, my dosas… it adds such a sumptuous taste to anything I pair it with.

Ginger Chutney

(Yield: 1 cup)

2 small cups washed, finely cut ginger

1 small (lime-sized) ball tamarind

8 dry red Kashmiri chillies

2 tablespoons urad dal

Salt to taste

2 teaspoons cumin seeds

2 tablespoons jaggery powder

2 tablespoons sesame oil


Add the oil to a pan. Dry roast all the ingredients – except the jaggery – until they all turn golden, on a medium flame. Finally, add the jaggery.

Allow to cool. Blend well together without adding any water. You can store this in the refrigerator for 10-15 days. As a dry chutney, it is inherently more long-lasting.

I’d love to know how you’ve been pairing the various dips I’ve been sharing. The previous two in this Indian condiments series were the Tamil-style raw mango thovayal and the Gujarati-style dry garlic chutney. In the past, I’ve also shared several fusion and Indian dips and condiments, all of which can be used creatively, and I hope you’ll be curious about exploring those too. Here they are: curry leaf and green chilli hummus, plum chutney, wood-apple chutney, coriander chutney and date chutney. Enjoy!

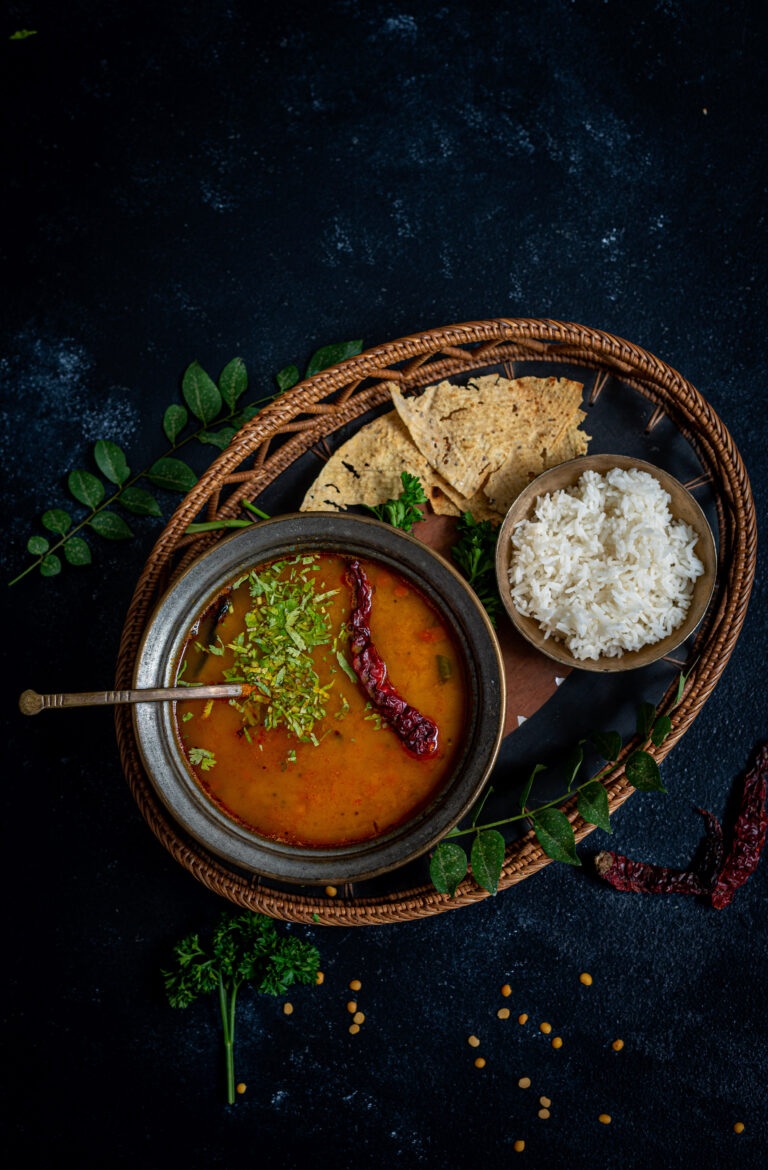
Dal is the daily staple in practically every Gujarati home, and it’s no different in mine. The classic style is slightly sweet and slight sour, and I shared the recipe for it a few months ago. I try to use a range of lentils, so that we get a good mix of nutritious elements as well as variety of tastes over the course of a week at home. Other dal recipes that I’ve shared earlier include this horsegram dal and this mixed dal. There are hundreds of varieties across India, and I’m happy to share one more recipe that I hope you’ll be able to add to your repertoire too.

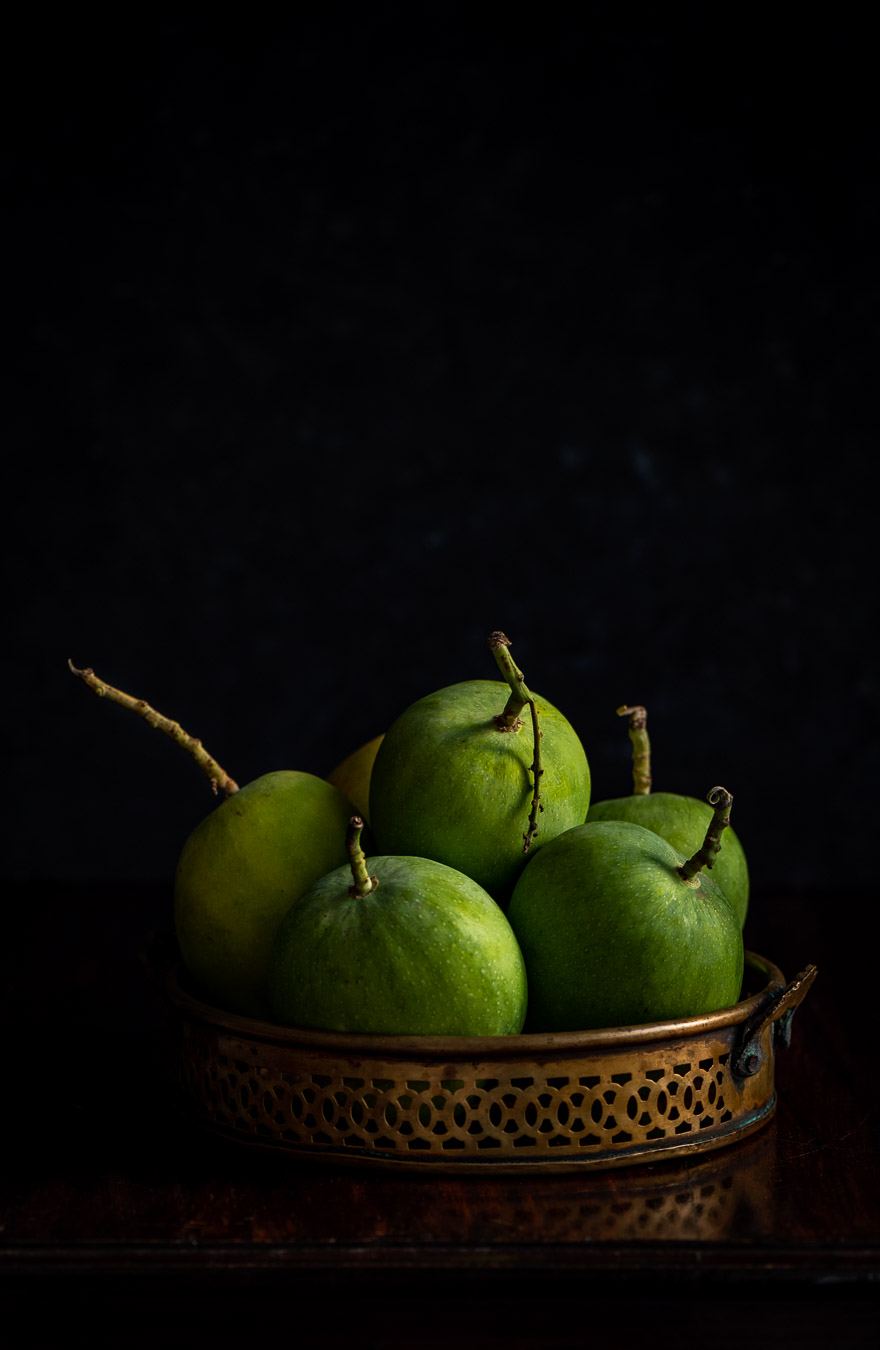
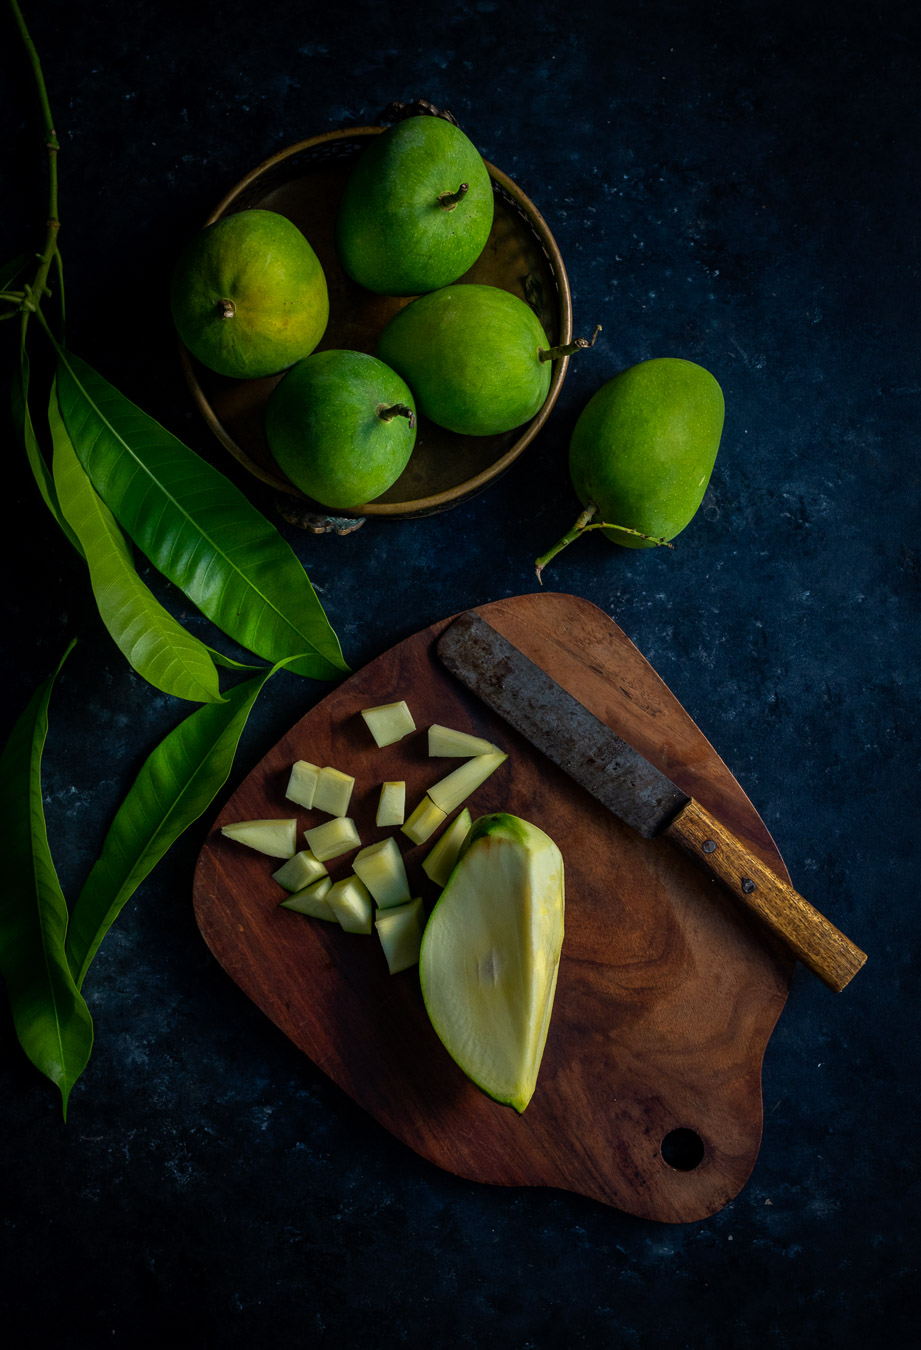
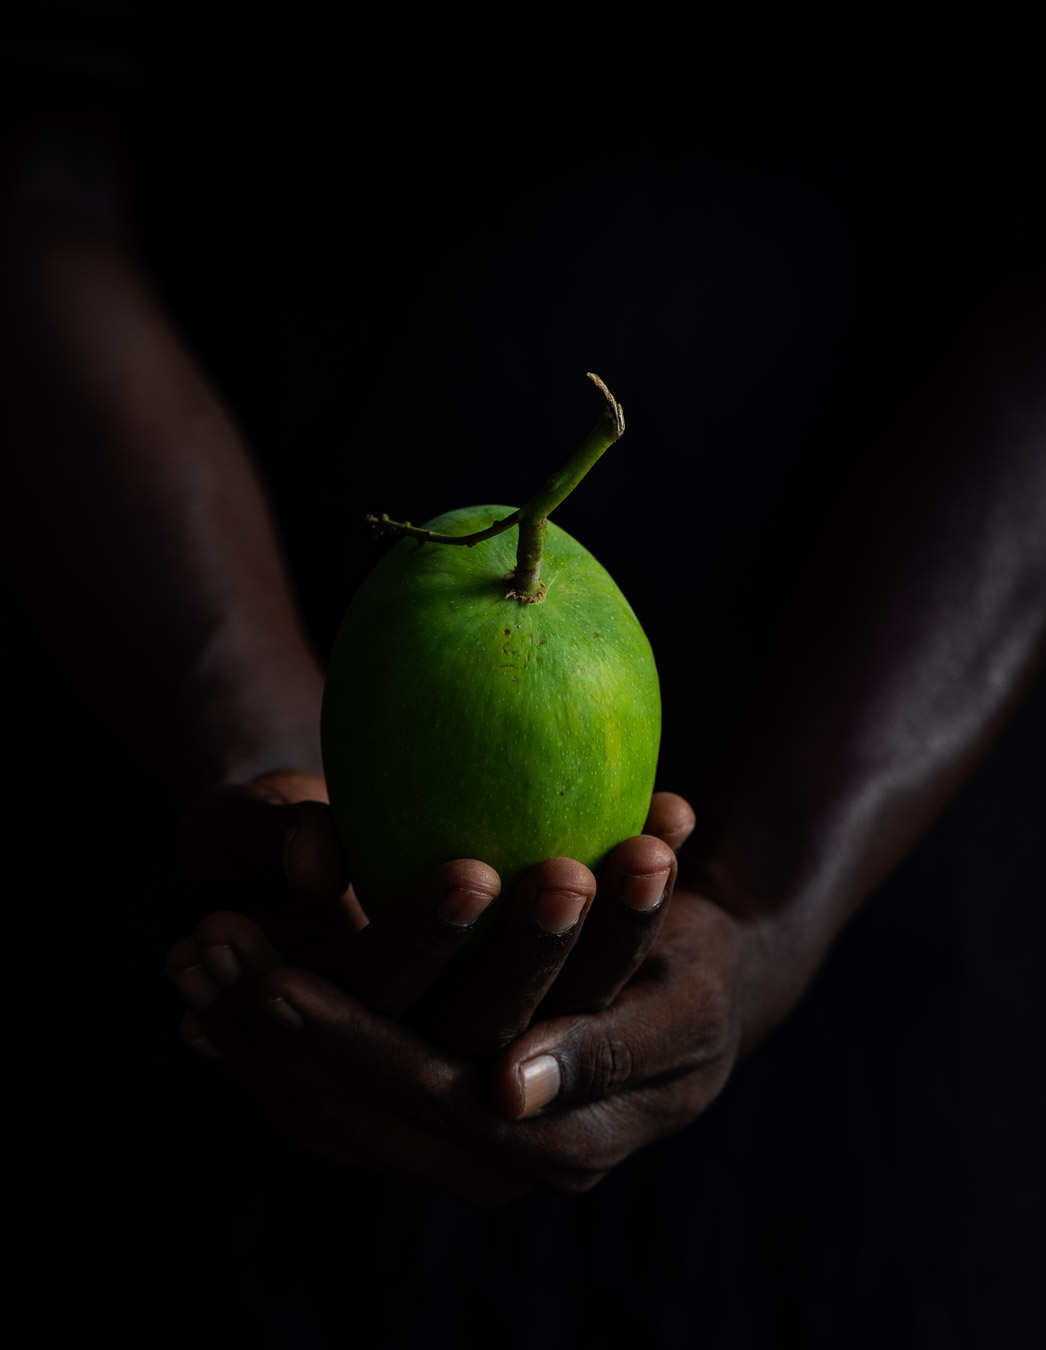
Just like there are hundreds of varieties of dal in India, there are also hundreds of varieties of mangoes. Other than the parrot-beaked, sweet-sour killimooku, I also have the not-sweet-at-all sindura growing in my garden. This won’t begin to fruit properly until May, however, and I had been eyeing it daily, wanting to make some amchur (dry mango powder), which requires a sour variant. Finally, I decided to put out an enquiry in a local resource group, asking if anyone had organic raw mangoes I could use for the same. Shefali, whom I had known through mutual friends, came to my rescue. She sent across a beautiful bounty from her own tree. Sour mangoes – and one very sweet gesture.

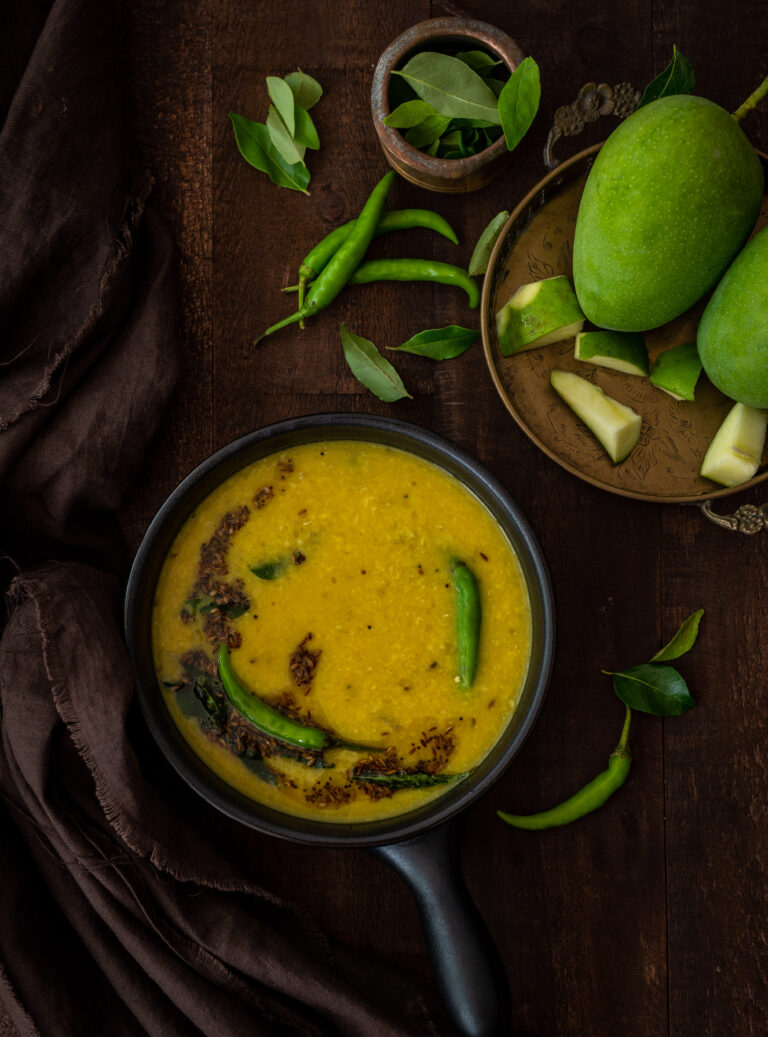
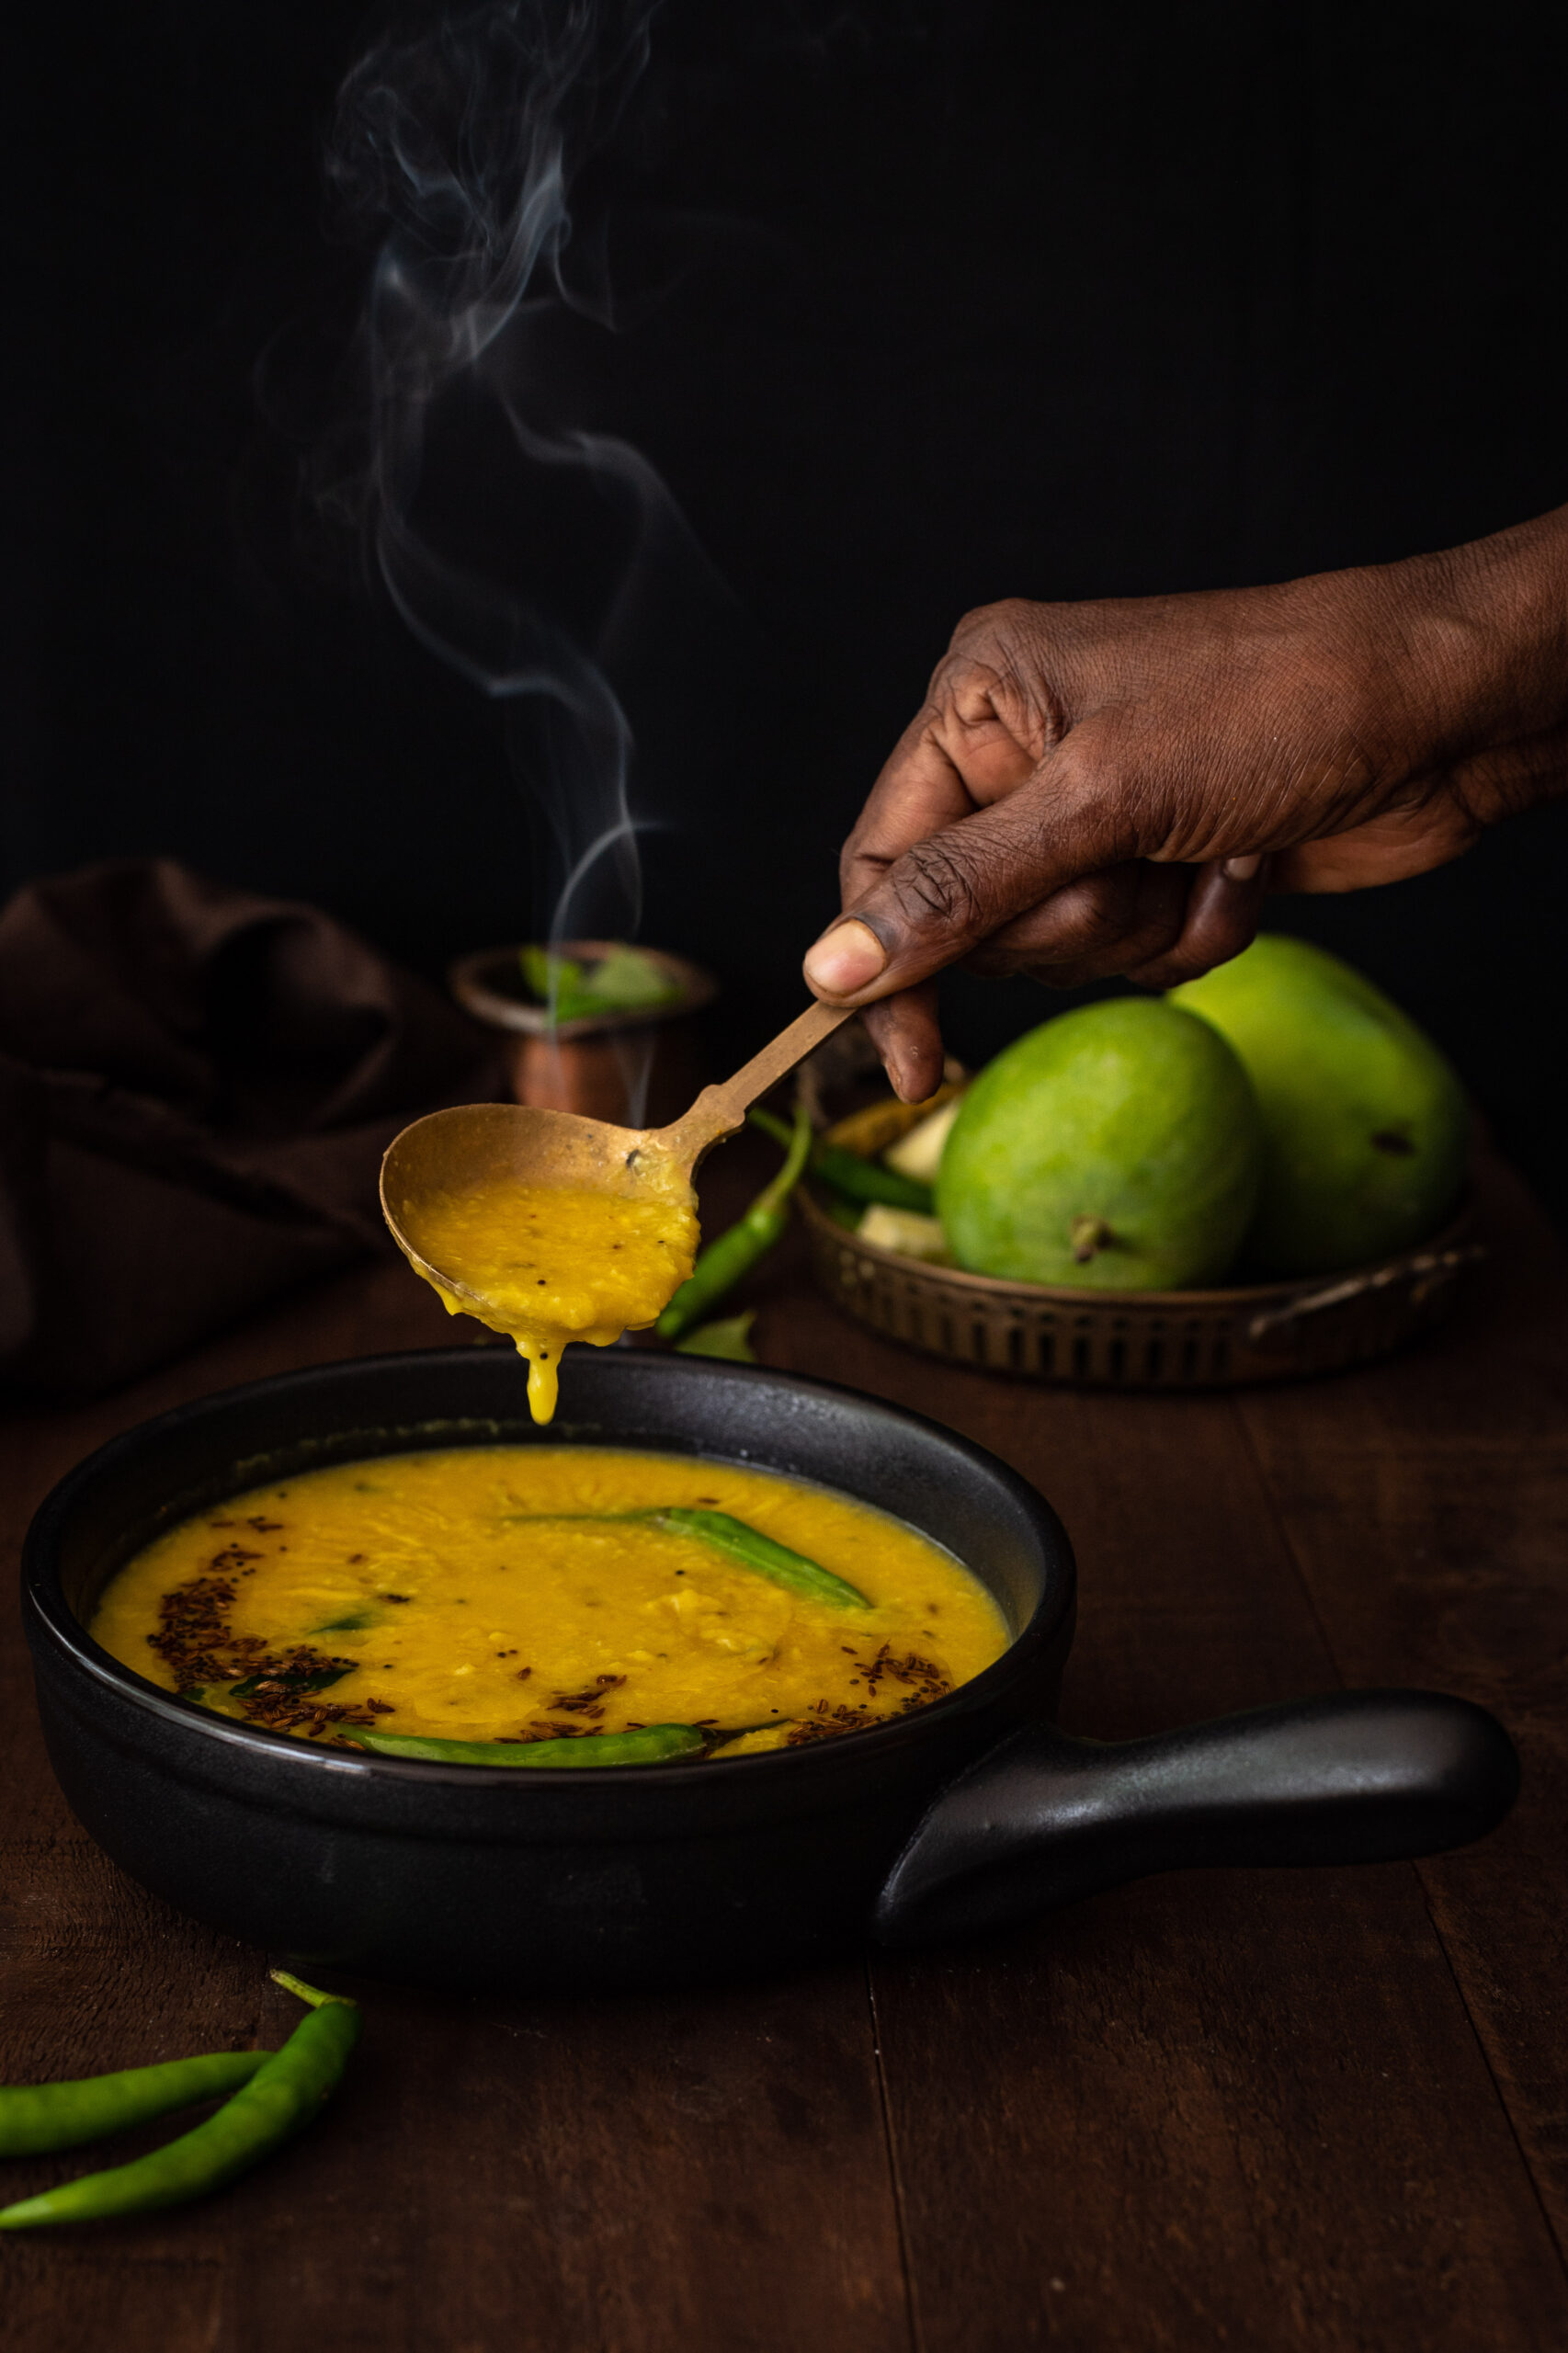
This vegan raw mango dal recipe came about because I had wondered whether raw mango would be a good substitute for the kokum or lime that I was using to add some tang to our daily dals. Since I had Shefali’s mangoes on hand for the amchur, I decided to give this a try. It worked out spectacularly – raw mango here isn’t just a condiment, but is in fact a vital component of this dal.

I know that many communities across the country make dals using either raw mangoes or ripe mangoes, and that this is especially common in Bengal and Kerala. The harvest in my home aside, I was already in ideation mode about what kinds of recipes to share with you through the season, and I knew I wanted to do something that would accompany rice or rotis. Having given you this ripe mango rasam a few summers ago, I was keen to offer a raw mango accompaniment this time. I had been thinking over how to, when this recipe grew organically from the kokum-substitution I’d mentioned earlier. Don’t you just love it when something simple clicks in a surprising way, and you realise that you’ve innovated something special? I’m all the more excited these days when I discover I can make something the vegan way, and this recipe is vegan too.

Raw mangoes are nutritious, as they are high in Vitamins A, B and C, as well as magnesium and calcium, thus offering health benefits ranging from the cardiac to the dental, with some heat-busting and hydrating properties to boot. They’re great for summers as they can prevent water loss, replenish the thirsty body, as well as help against stomach ailments arising from the heat. Digestive detoxification, lowering cholesterol levels and improving hormonal functions are some of the other qualities they are known to have.

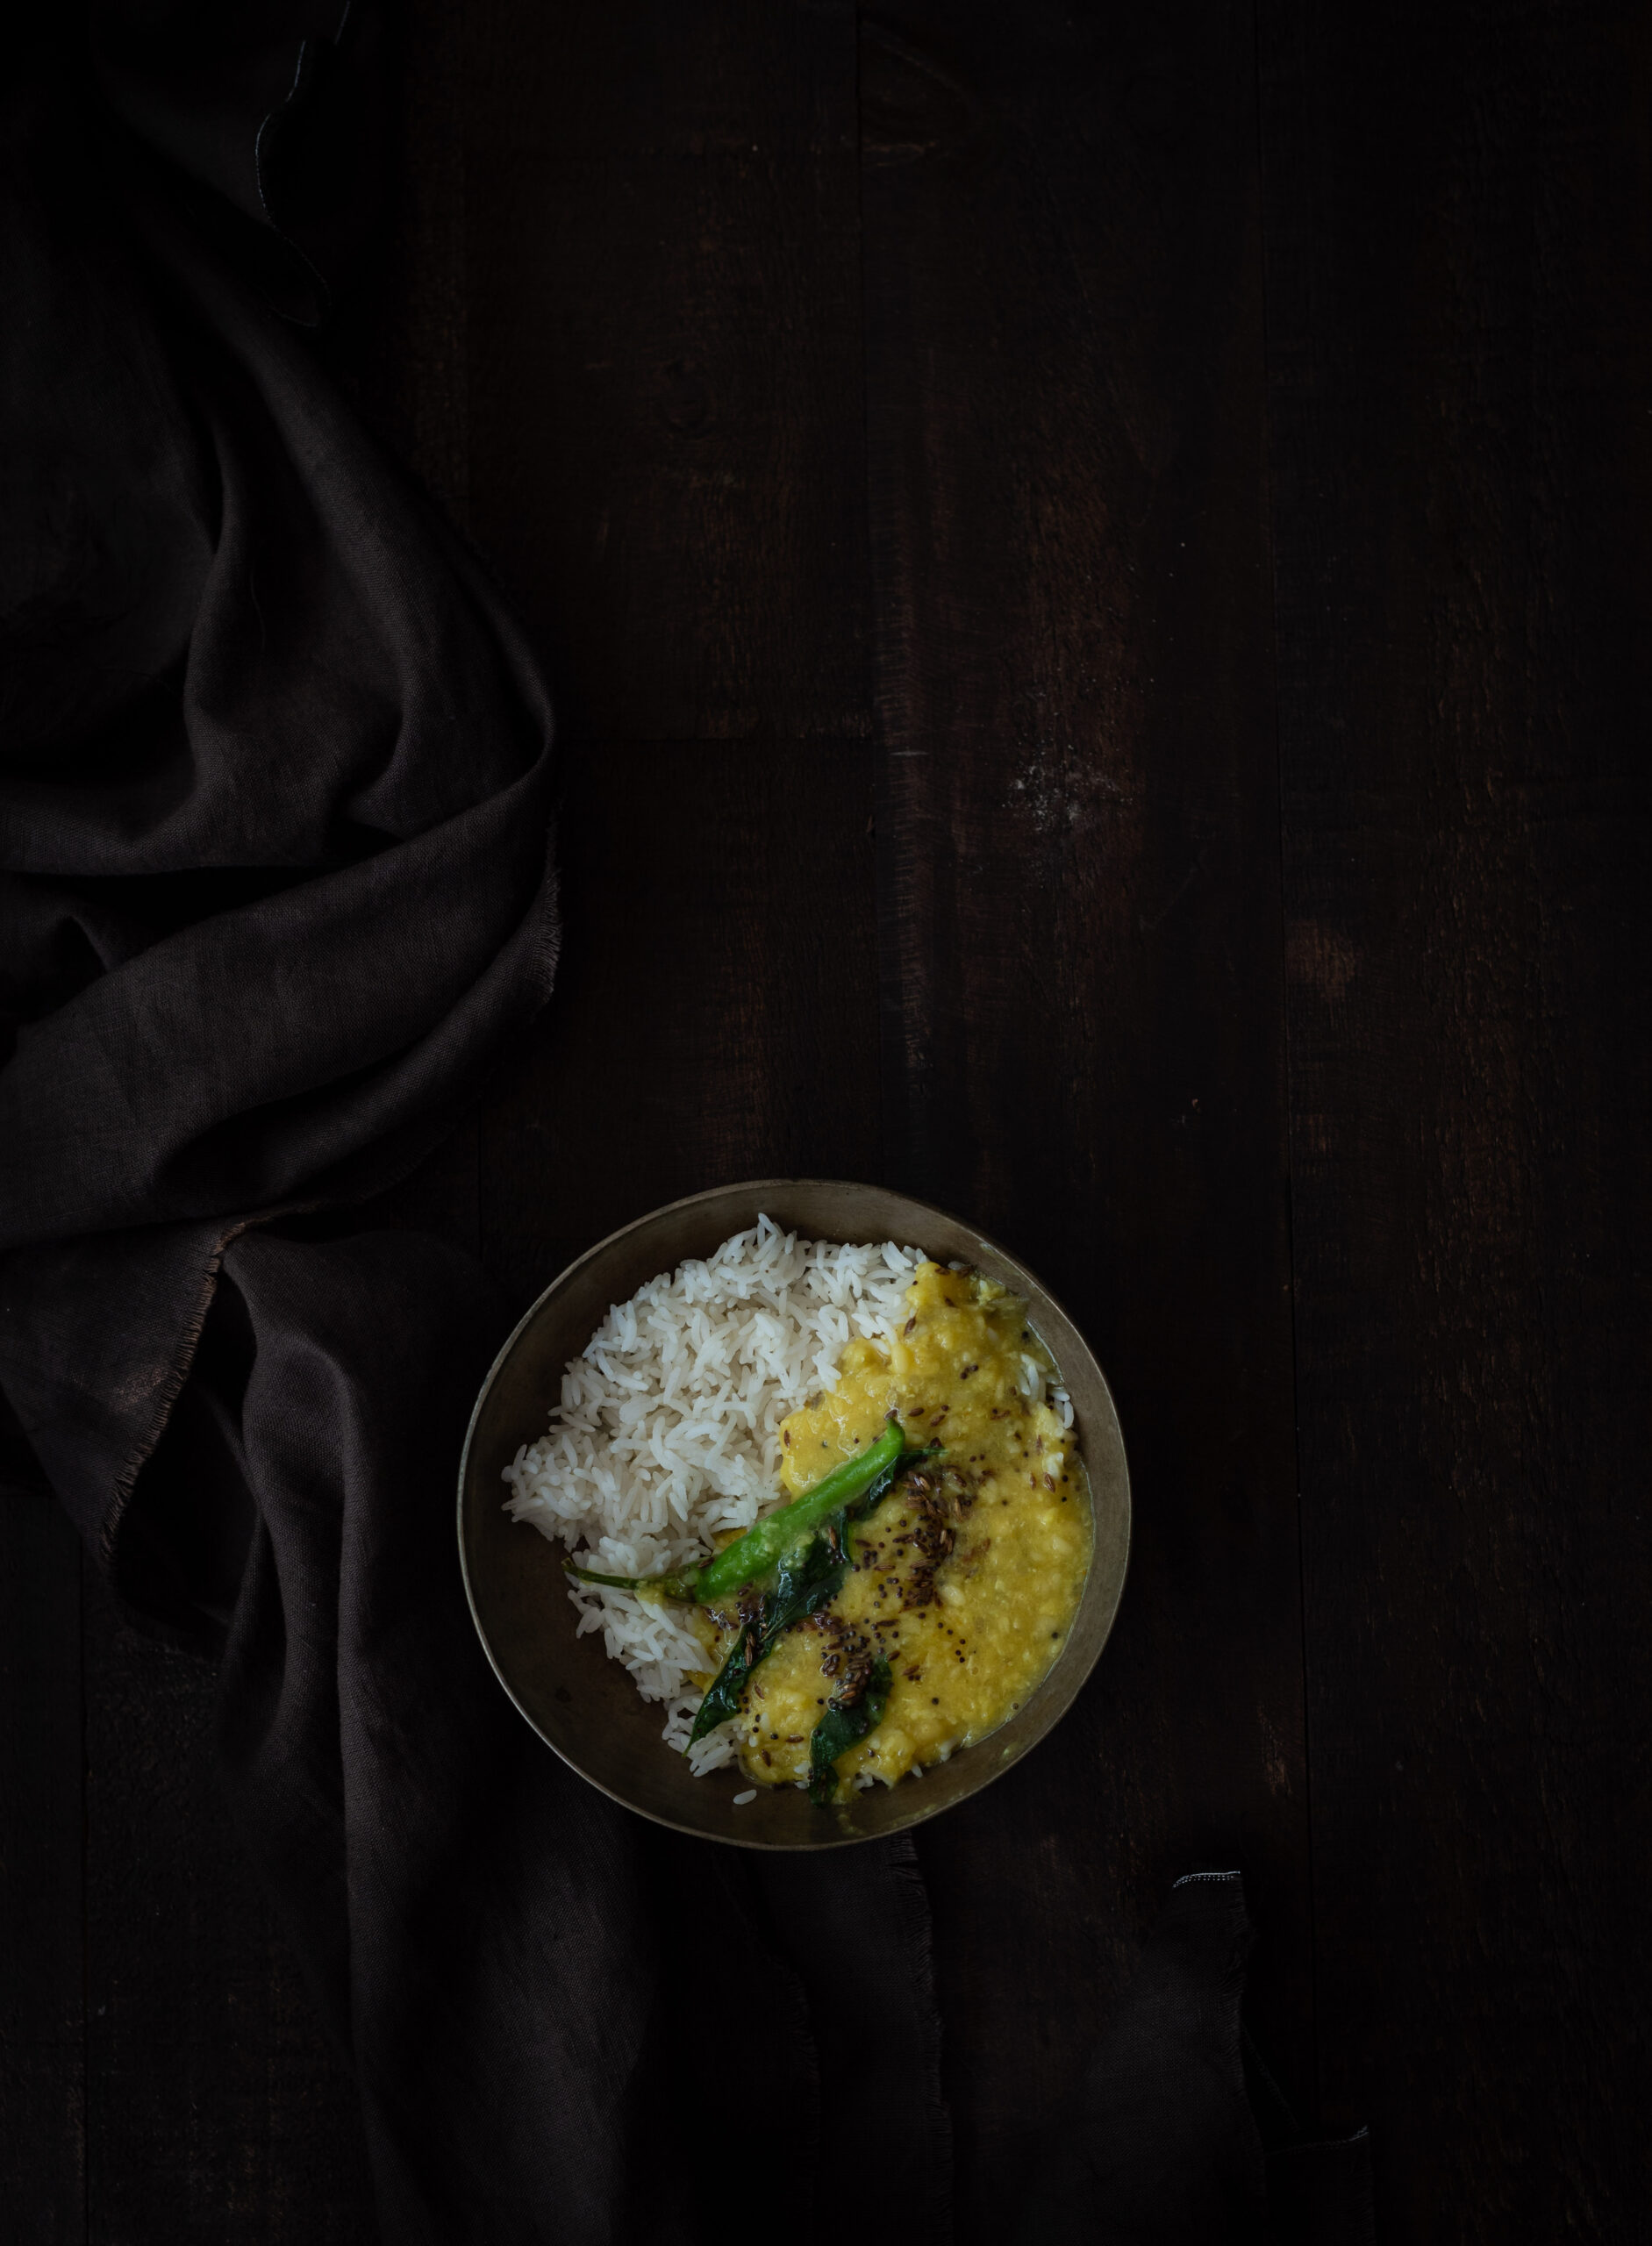
As for the lentils I’ve chosen to use in this recipe, they are combination of split yellow mung dal and toor dal (pigeon pea). The former are lighter on the stomach than the latter, hence the mingling of the two to create a dish that’s easier to digest while still giving you the benefits and taste of both lentils. Since we mostly eat this dal at lunch time, I also avoid the use of garlic on weekdays as most of us have to get back to meetings and so on during the rest of the afternoon. If you make a thick preparation, this dal is ideal for rotis, whereas a thinner preparation is best enjoyed with rice.

As for me, being a carb-observant eater, I often consume a bowlful of dal with just a tablespoon of rice, topped with a liberal tempering of ghee (not vegan, I know – but this is completely optional). This becomes such a healthy, delicious meal all by itself. I am still light on my feet afterwards, and that little extra kick that comes from the raw mangoes when I’ve made this particular recipe that day is so satisfying in itself.

Raw Mango Dal

(Yield: 4 cups)

¼ cup toor dal
¼ cup split mung dal
½ cup cut raw mango
1½ cups water to cook
Salt to taste
1 tablespoon oil
½ teaspoon mustard seeds
½ teaspoon cumin seeds
¼ teaspoon turmeric powder
1 teaspoon green chili/ginger paste
¼ teaspoon asafoetida
½ teaspoon coriander/cumin powder
4-6 curry leaves
2 tablespoons finely chopped coriander leaves

Rinse the dals together and place them into a pressure cooker, along with the cut raw mango and turmeric.

Let this cook until tender. Mash the dal with a masher and set aside.

In a kadai, add the oil, and once it has heated, add the mustard seeds. You may substitute the oil with ghee if you are not making a vegan preparation. Once they begin to splutter, add the cumin seeds, curry leaves, asafoetida and finally the chili/ginger paste. Sauté for 2 seconds and add the mashed dal. If you like the flavour of garlic, you can add some during the sautéeing.

Add salt and coriander/cumin powder. Mix well and serve hot with the garnish.

If the mango is not sour enough you can add more chunks of it or even squeeze in some lemon or lime.

If like me or any Gujarati you know, you have a sweet tooth, you could also add some jaggery to compete with the tang of the raw mango. This would make for a most delicious dal, with a medley of tastes.

As it is, this is a very simple and appetising dal, with the flavours of the mango and the lentils evident because it is not overloaded with spices or condiments. It’s not the kind of dal one makes when a burst of masala is preferred; instead it is the comforting, homemade kind, albeit with a little kick from the raw fruit.

I hope that this vegan dal made with sour mangoes adds nutrition to your diet, gives you energy and strength, and as strange as it may sound – sweetens your day during these challenging times with its sheer deliciousness.

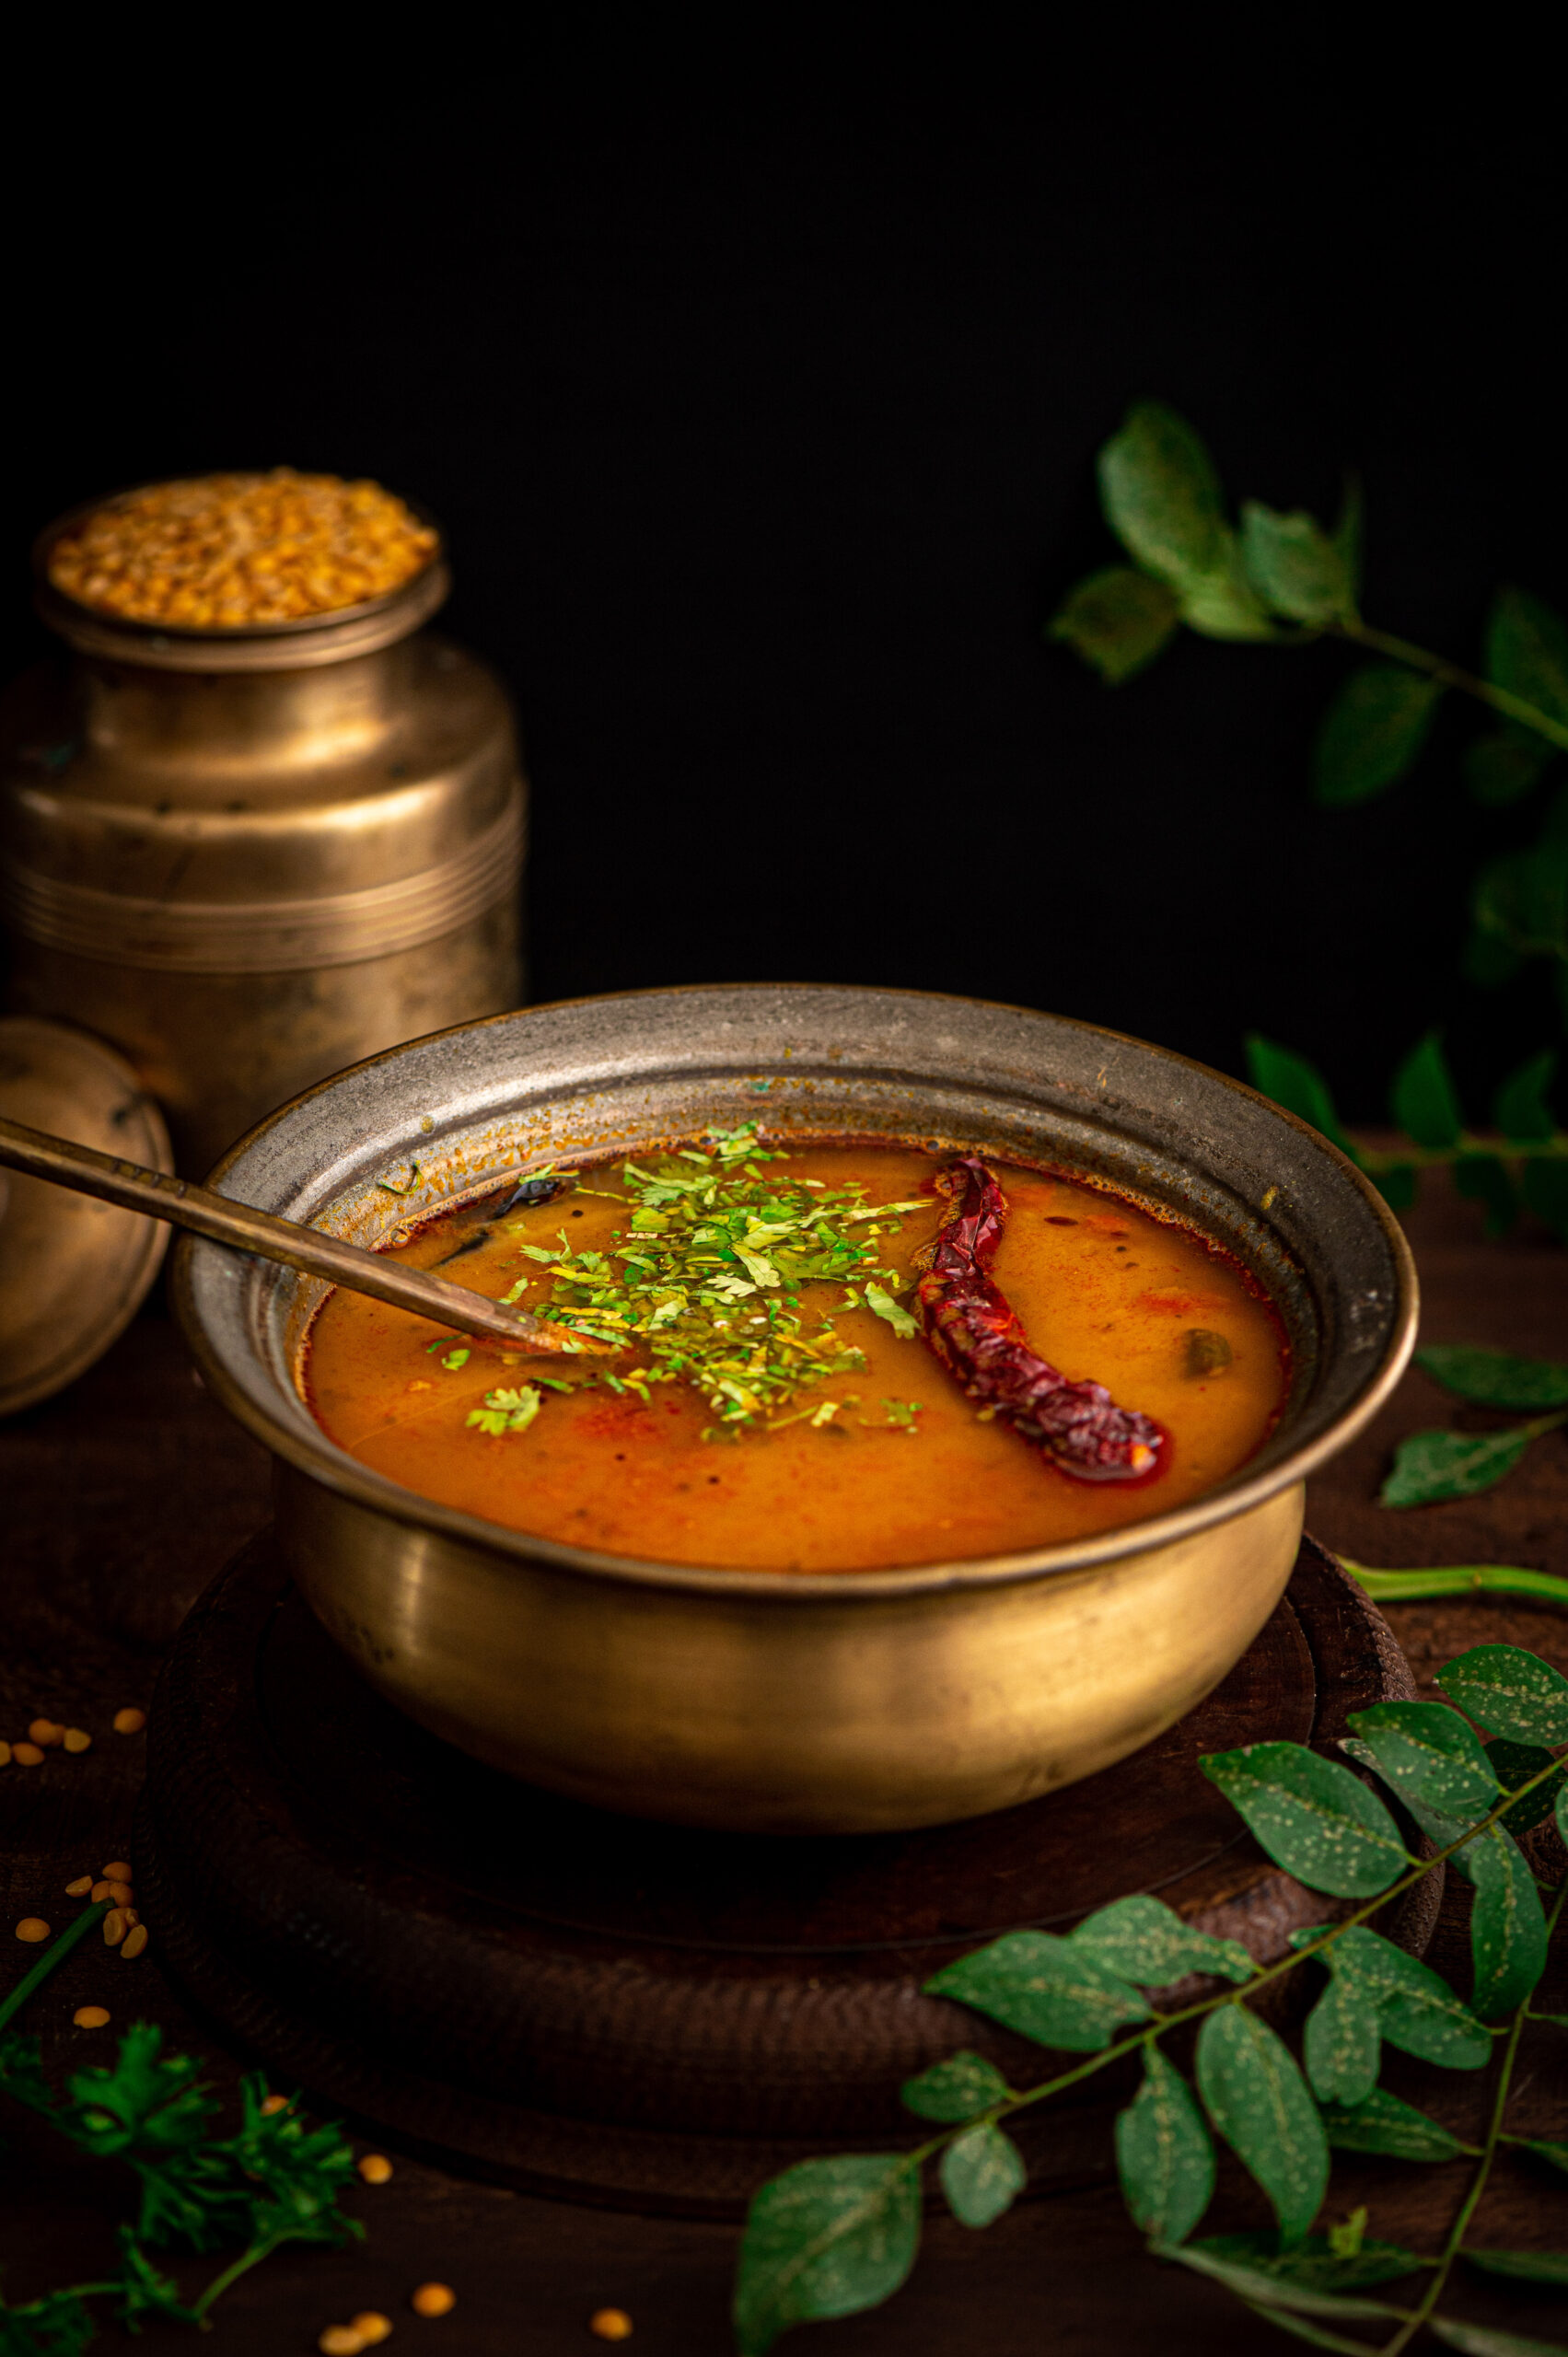
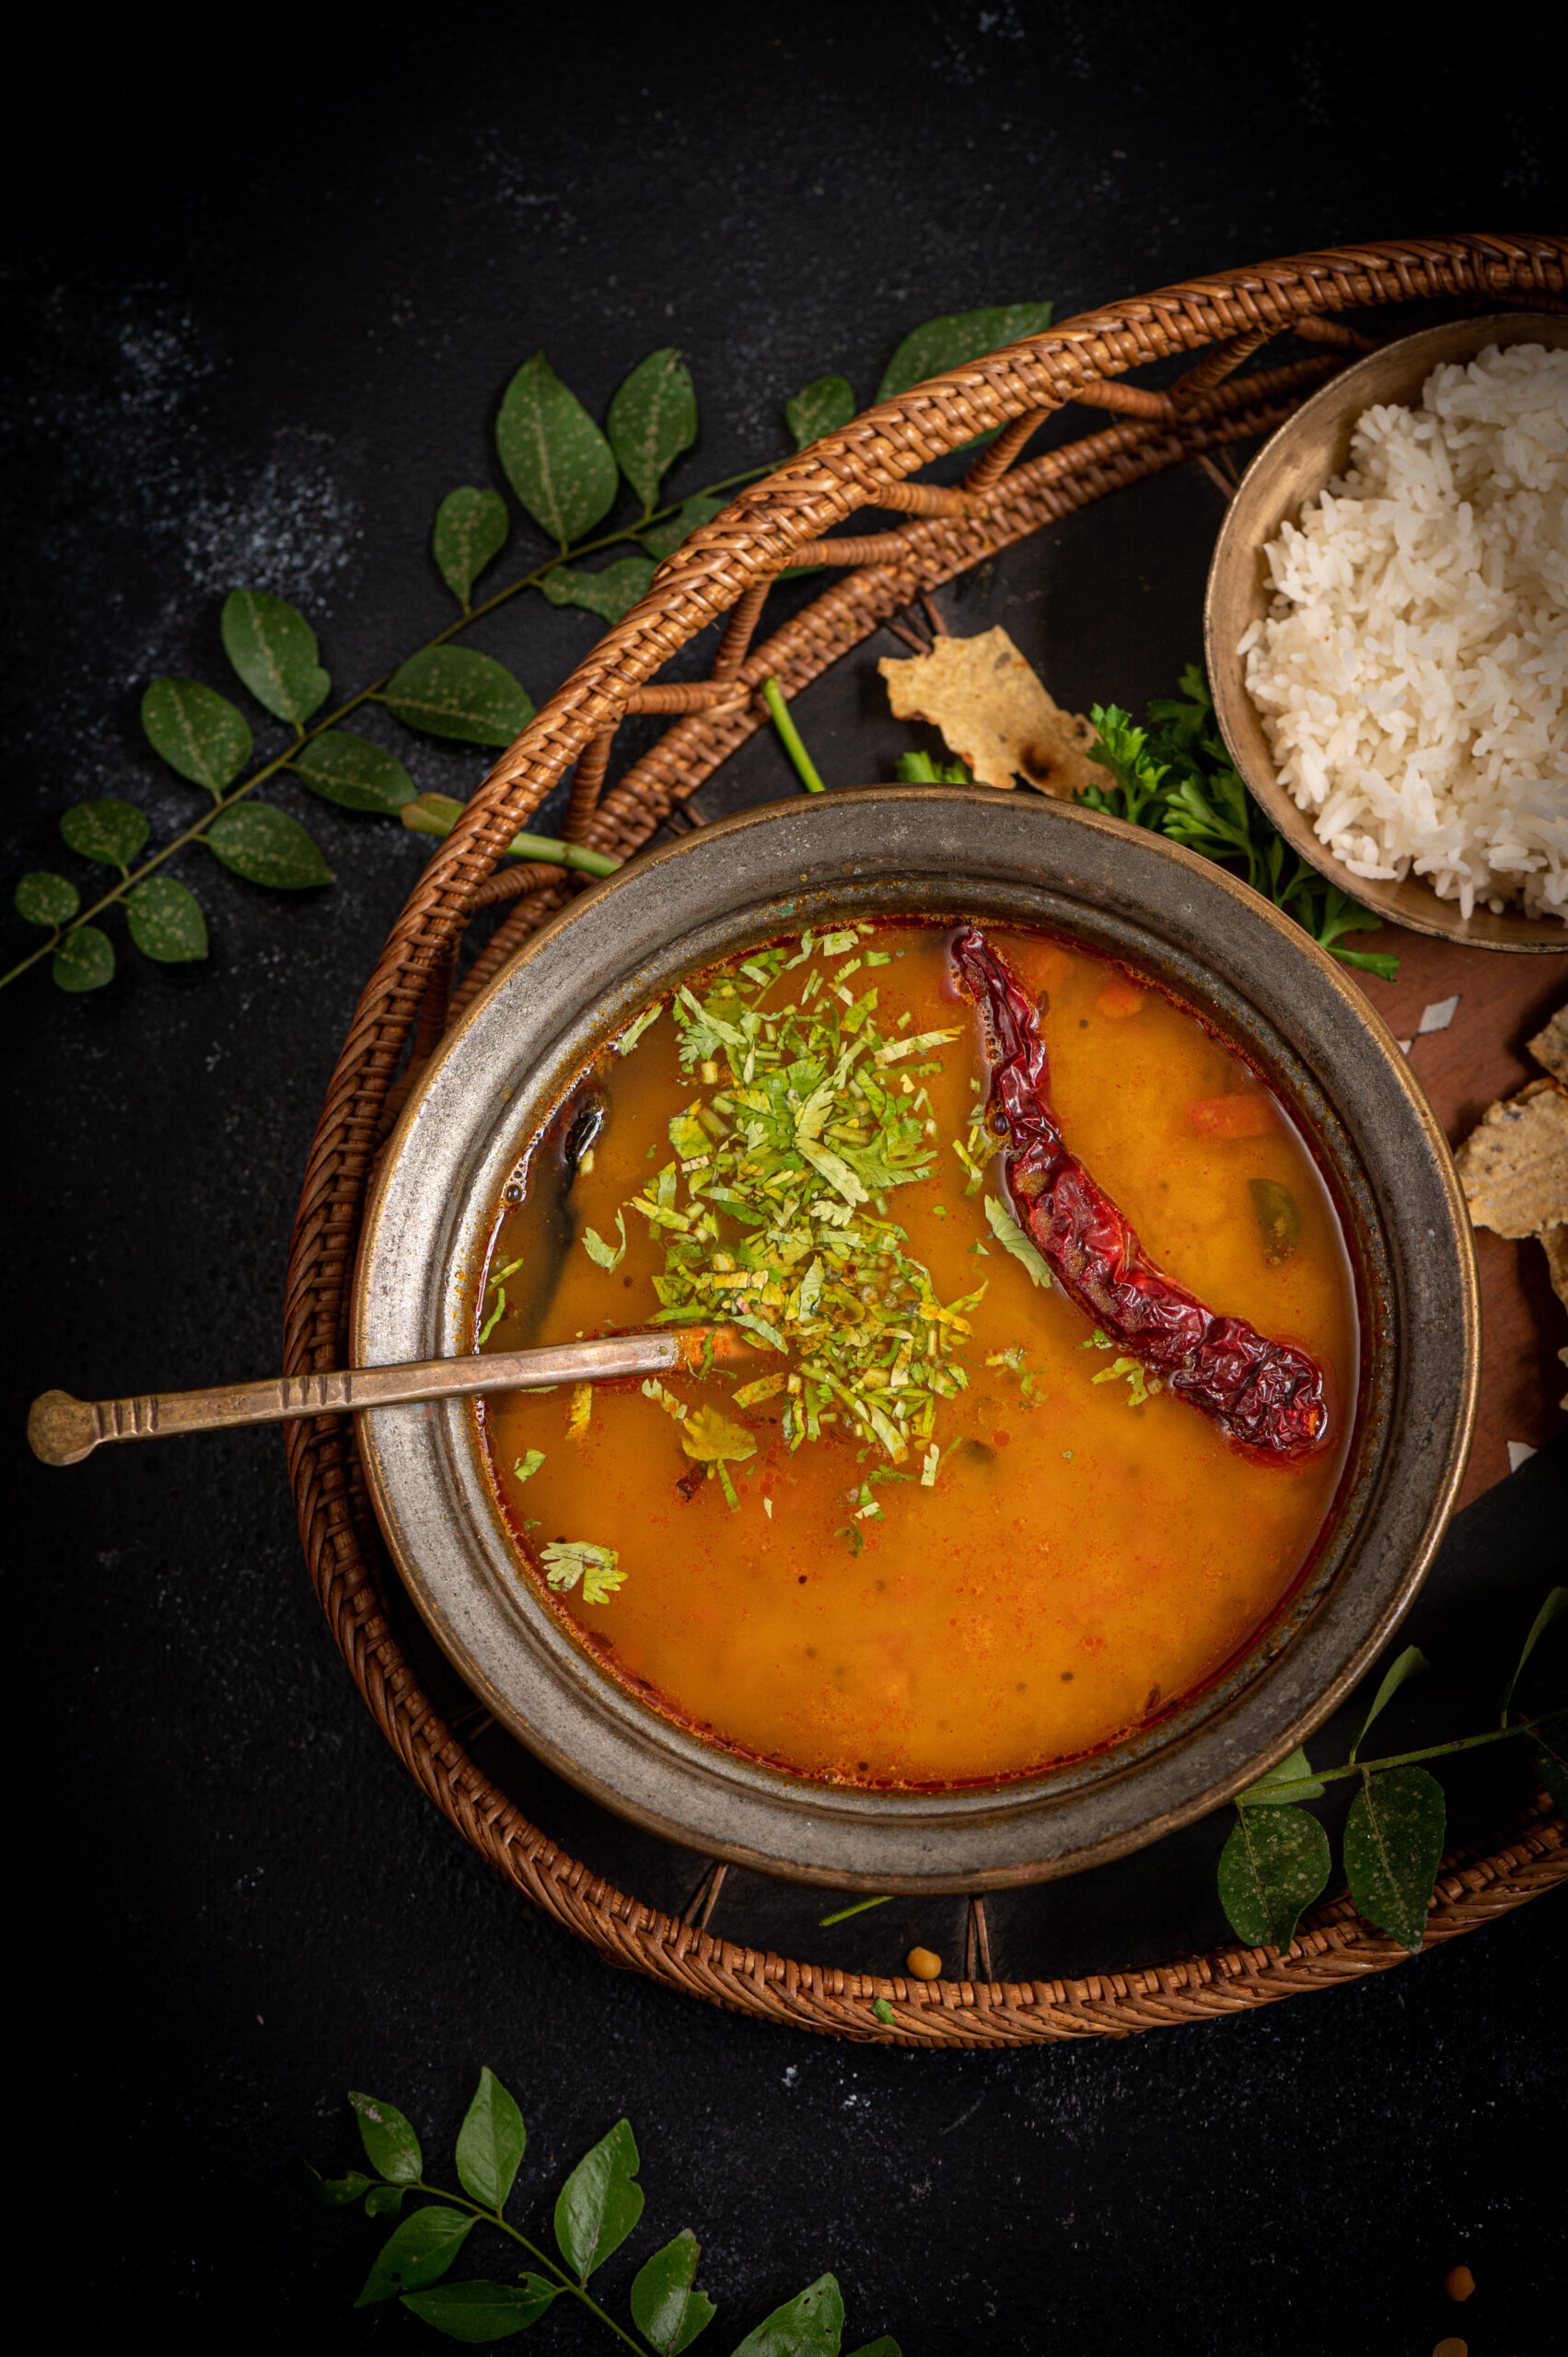
Dal is made in every single Gujarati home almost every single day. Literally. No exaggeration. Dal is the staple, the tradition, the go-to, the “I must have my daily dal”. It is made the same way every afternoon, and we never get bored of it. Come what may, there’s a bowl of dal on the table for lunch, alongside a vessel of hot rice. Given what a fundamental part of our palate it is, it’s funny that it’s taken me over four years of blogging to share the recipe, especially when so many of you have also requested it from me. But here it is, finally! I can say for certain that it’s been worth the wait.

While I’ve asserted repeatedly over so many recipes that every dish tastes different based on the cook, the kitchen and the place it’s being made in, this one somehow always tastes the same. Which is to say: it tastes perfect. It’s a mainstay, made exactly the same way no matter who is making it or where. I have enjoyed it everywhere I have tried it and have never tasted a difference. So what you are getting today is an absolutely authentic, time-honoured recipe for quintessentially Gujarati dal.

It’s funny how the stereotype as far as food is concerned goes “dhokla!”, when dhokla isn’t quite the backbone of the cuisine the way that dal-bhat (dal and rice) is. It should tell you so much about stereotypes versus the real experience because while we may not be famously associated with dal-bhat, it’s such a part of our culture that the dish even forms part of our pleasantries. When one Gujarati person meets up with another, we often say these words: “dal-bhat, rotli, shaak?” The phrase means: “dal and rice, rotli and vegetables?”. The question is a way of saying, “Have you eaten?” – a typical and pan-Indian form of polite chatter. If you notice, dal-bhat is the first term even though it is actually served later in a meal. In a traditional meal, it is rotlis that are served first, and once the rice comes out you know that there are no more rotlis left. Still, in our greetings, the importance is accorded to dal-bhat, because that’s the place it has in our hearts.

The Gujarati dal and rice combo is one that has been relished for generations in my home. When my husband was little, his grandpa nicknamed him Dal-Sukh Dal-Bhat (“sukh” means “happiness”) because it was the only dish that always satisfied him, without fail. My husband’s grandpa also lived to the ripe old age of 99, very fit and healthy on a daily diet of dal and rice – and happily watching his great-grandchildren eat this beloved dish every day too. The very first solid food that my children all ate was dal and rice, and it is still their comfort food. Just as in some South Indian homes, when kids come home after eating out somewhere, they’ll head to the kitchen and say, “Ma, do you have any thayir sadam (curd rice)?”, a bit of dal-bhat is the dish that most Gujaratis will crave in order to feel like a meal is truly complete.

Never come between a Gujarati and their dal rice. Trust me, no matter what other traditions are parted from, this one will stay true for the ages!

While dals are eaten everywhere in India, what makes this one unique to our community is that it panders to our famous sweet tooth. It contains jaggery, which sweetens it, and is also made tangy through kokum. It should only be made with toor dal (pigeon pea), and there is no substitute for this ingredient that won’t alter the entire recipe and the entire experience.

Gujarati Dal

(Yield: Serves 4-5 persons)


½ cup raw toor dal

2 cups + 2 cups water

2 tablespoons ghee

½ teaspoon mustard seeds

½ teaspoon cumin seeds

1 dry red chilli

A pinch of methi seeds

A few curry leaves

A pinch of asafoetida

½ cup finely chopped tomato

Salt to taste

¼ teaspoon turmeric powder

½ teaspoon red chili powder

2 tablespoons unsalted peanuts

3 tablespoons jaggery

4-6 stems of kokum flowers

¼ cup chopped coriander leaves


Wash and strain the dal. Pressure cook it in 2 cups of water. Then, blend the dal with a handheld blender and set it aside.

In a kadai, add ghee. Once it has heated, add the mustard seeds, cumin seeds and fenugreek seeds and allow them to splutter. Next, add the dry red chili and the salt, chili powder, turmeric and asafoetida. Finally, add the curry leaves, peanuts, chopped coriander leaves and chopped tomato. Sauté. Cover with a lid and allow this to cook on a slow flame until all the spices and the tomato come together and look mashed, as in this video below.

Now, add the jaggery. Then, add the blended dal that was set aside earlier. You will need to add more water at this stage, based on the thickness you prefer. I’ve added 2 cups. Remember that once cooled, the dal will thicken a little more.

The final touch is to add the kokum to the kadai. If you don’t have this ingredient, you can use a little lime juice as a substitute. Allow the concoction to boil for approximately 4-5 minutes.

Then, serve hot alongside rice or rotli, or both – as in a traditional Gujarati thaali.

Not only does this dish have the charm of simplicity and familiarity, it is also downright delicious. It’s truly such a pleasure to share this recipe for this deeply-loved Gujarati dal with you. I would not be surprised to hear of it being made in your own home daily from now on, just as it has been in mine since time immemorial!

I’ve spoken often about how I love growing many of my own ingredients, whether at home or on our farm. I’m excited about sharing this new series about one that is a staple in so many dishes here, and which I’m fortunate to have a lovely homegrown supply of. That hero ingredient is the coconut, and over the next few weeks I’ll be sharing several recipes that star it. We have our own coconut trees in the backyard, and I am always looking for ways to put the yield to use. The coconut climber came by recently, to harvest the trees, and from this abundance of crop I’m making as many things as I can. For any recipe at all that calls for coconut, I use a fresh one. Even coconut milk is squeezed at home.

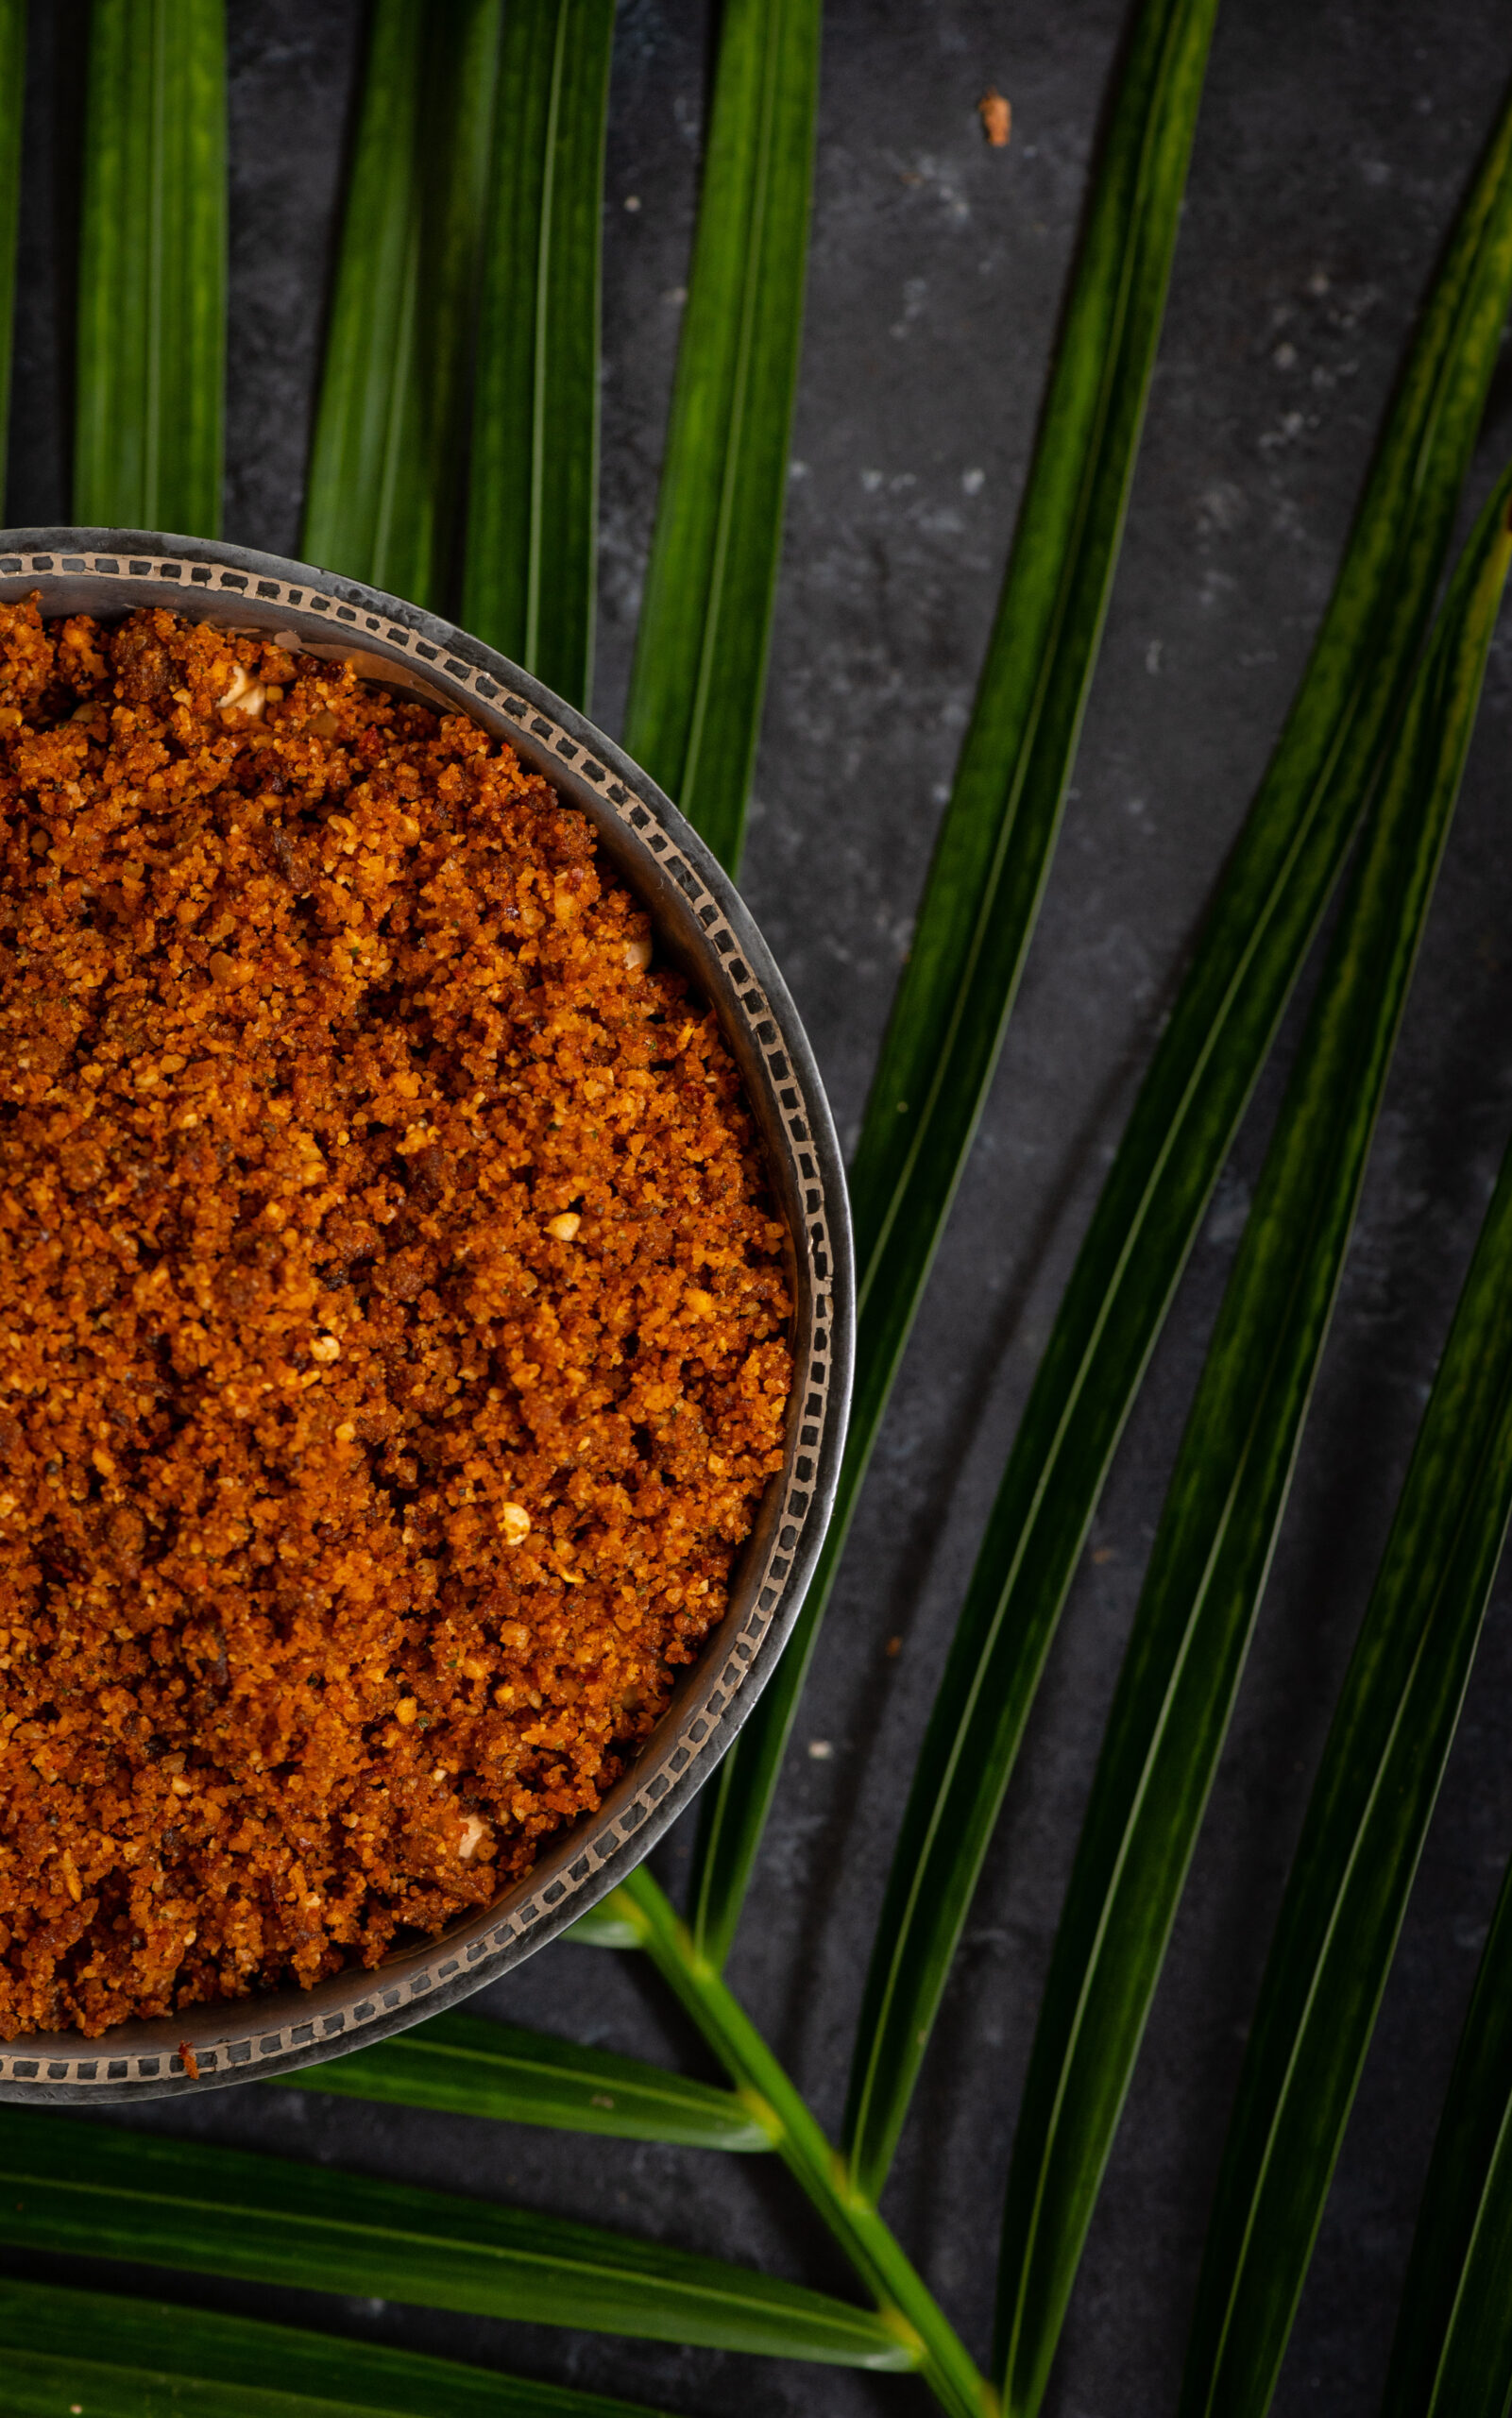
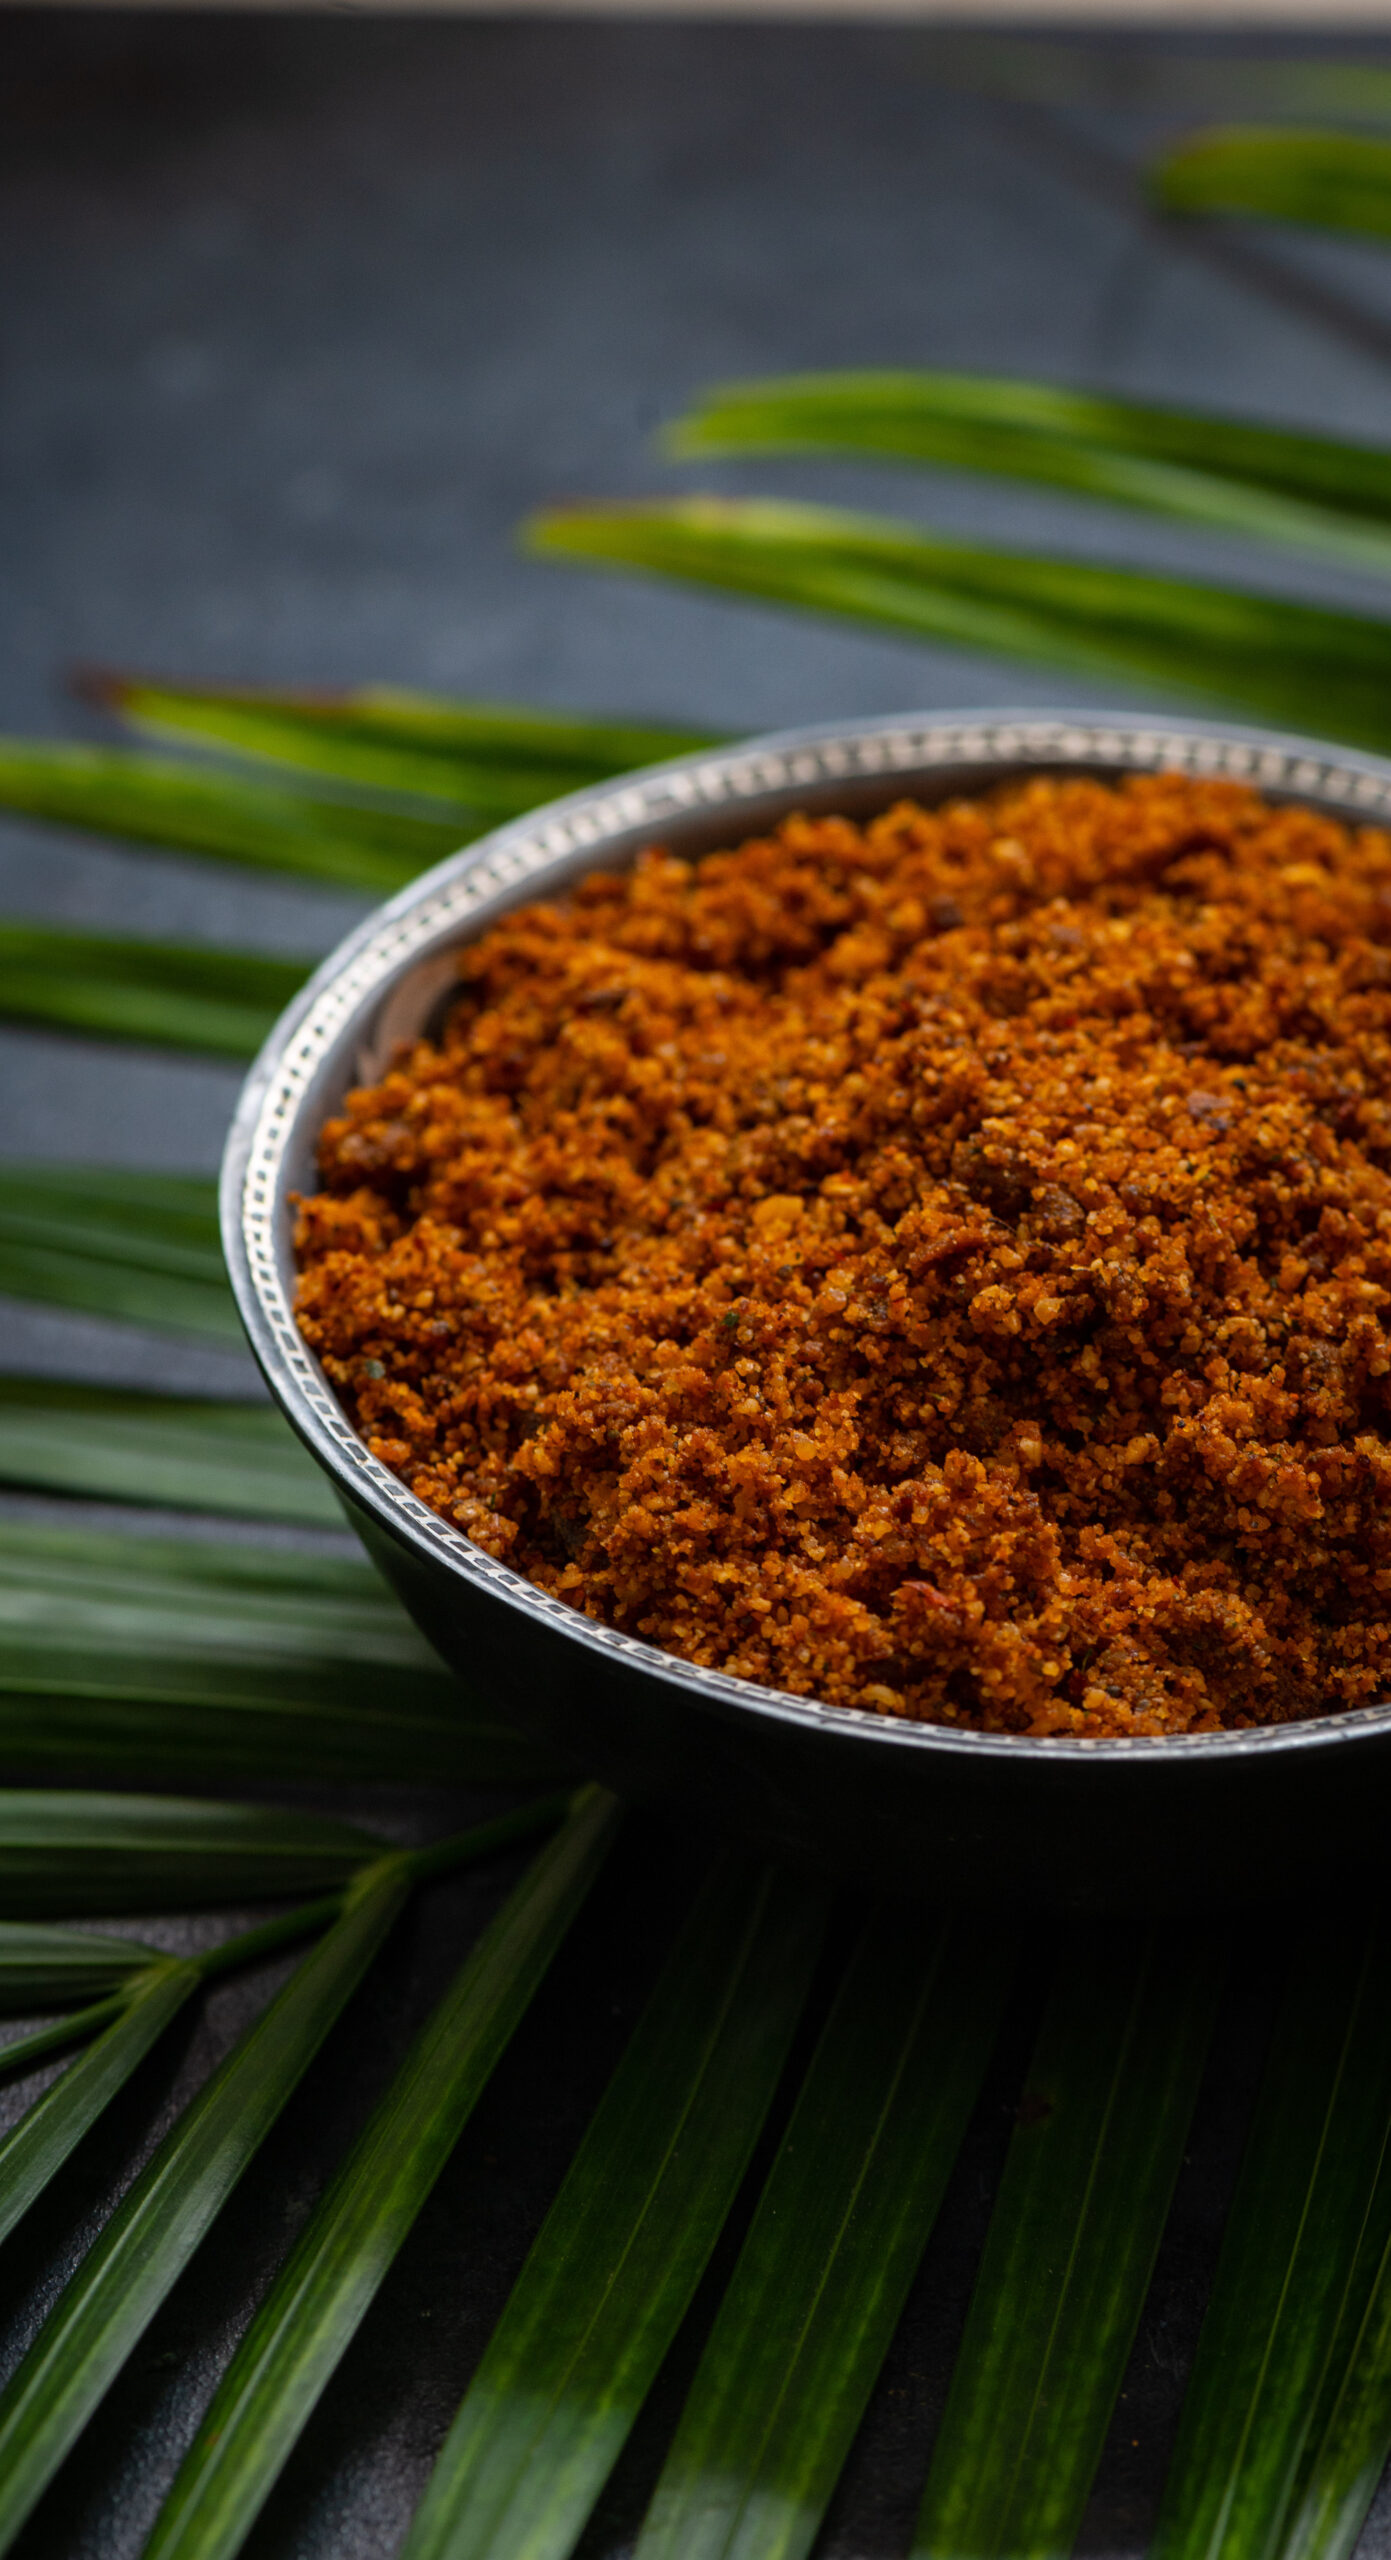
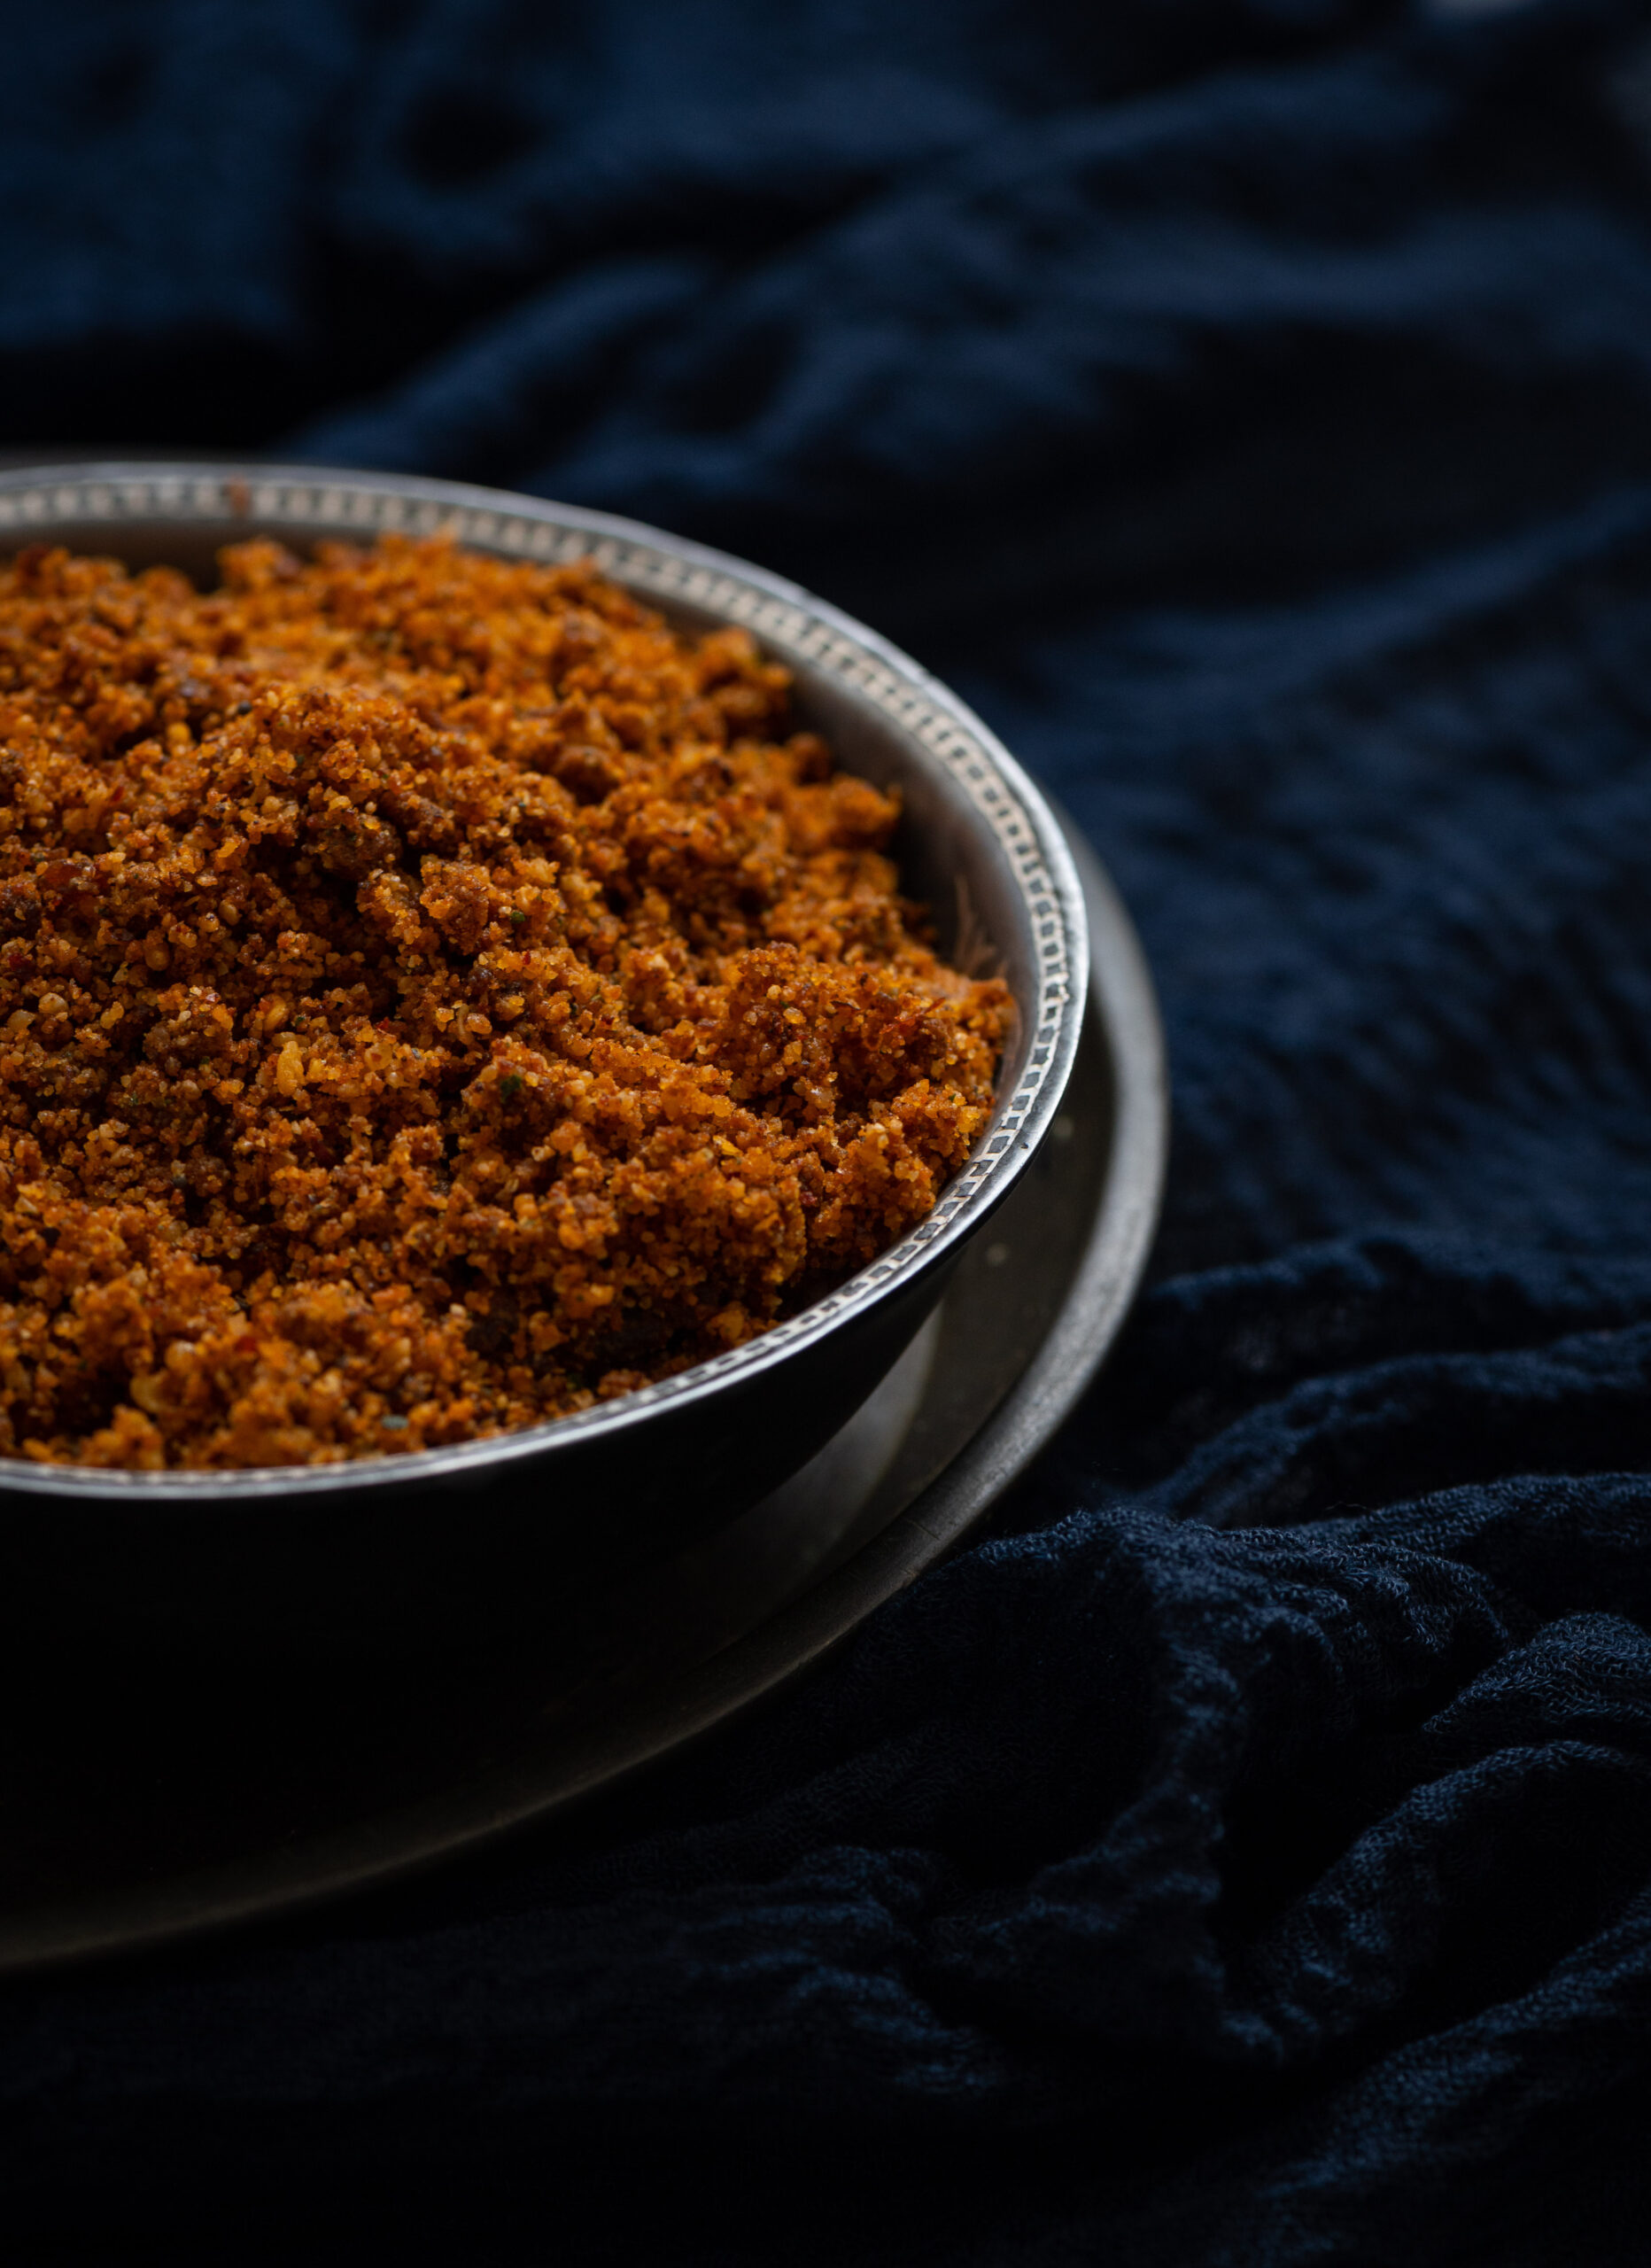
Kicking off this series is a condiment, coconut podi. Condiments are popular across Indian cuisines, and South India has a fair share. Dry podis (“podi” means “powder” in Tamil) and wet chutneys, as well as semi-wet, semi-dry variations are made using a variety of spices, dals and ingredients like curry leaves, raw mangoes and more. The idli podi, for instance, is made to last long. Coconut is not an ingredient that can be be kept for that long, so this one has a shorter shelf life. But I can almost guarantee that you’ll reach out so often for it that your stock won’t expire. If made correctly, this coconut podi remains fresh for around 3-4 weeks, stored at room temperature.

One of the reasons why I was especially keen to make a coconut condiment is that I personally love the Sri Lankan sambol, and wanted to see if I could make a vegetarian version of sorts. While sambol uses seafood, I feel this recipe is similar. Like sambol, this podi is not a finely-ground one, and has many tiny coconut pieces. My friend Akila also encouraged me to try this experiment out, and she was happy to share her own basic coconut podi recipe. I’m always aware that different communities and families have their own ways of making the same recipe.

With Akila’s recipe as a base, layered with things I learnt from other recipes I’ve tastes over the years, and finally through speaking with various families to retain some kind of local authenticity, I added my own touches: tamarind and curry leaves.

While I was growing up, we often ate some kind of podi mixed with ghee and rice. It was the perfect impromptu go-to in case the day was too busy to prepare a curry or a dal, and I still reach out for this for the same reason. This podi is also delicious with a bit of ghee and a dosa, or to add flavour to yoghurt. One of the great things about any podi is that it tends to be easy to carry to work, since it won’t cause a mess or have a strong smell in one’s lunch carrier, whereas a curry might.

It smells divine as it roasts, however. The morning that I made this coconut podi, using those freshly-harvested coconuts, my whole home was filled with the most beautiful aroma as it was being prepared. Everyone wanted to have it for breakfast, immediately, lured by that fragrance. I wonder if the same thing will happen in your home!

Coconut Podi

(Yield: 2 cups)

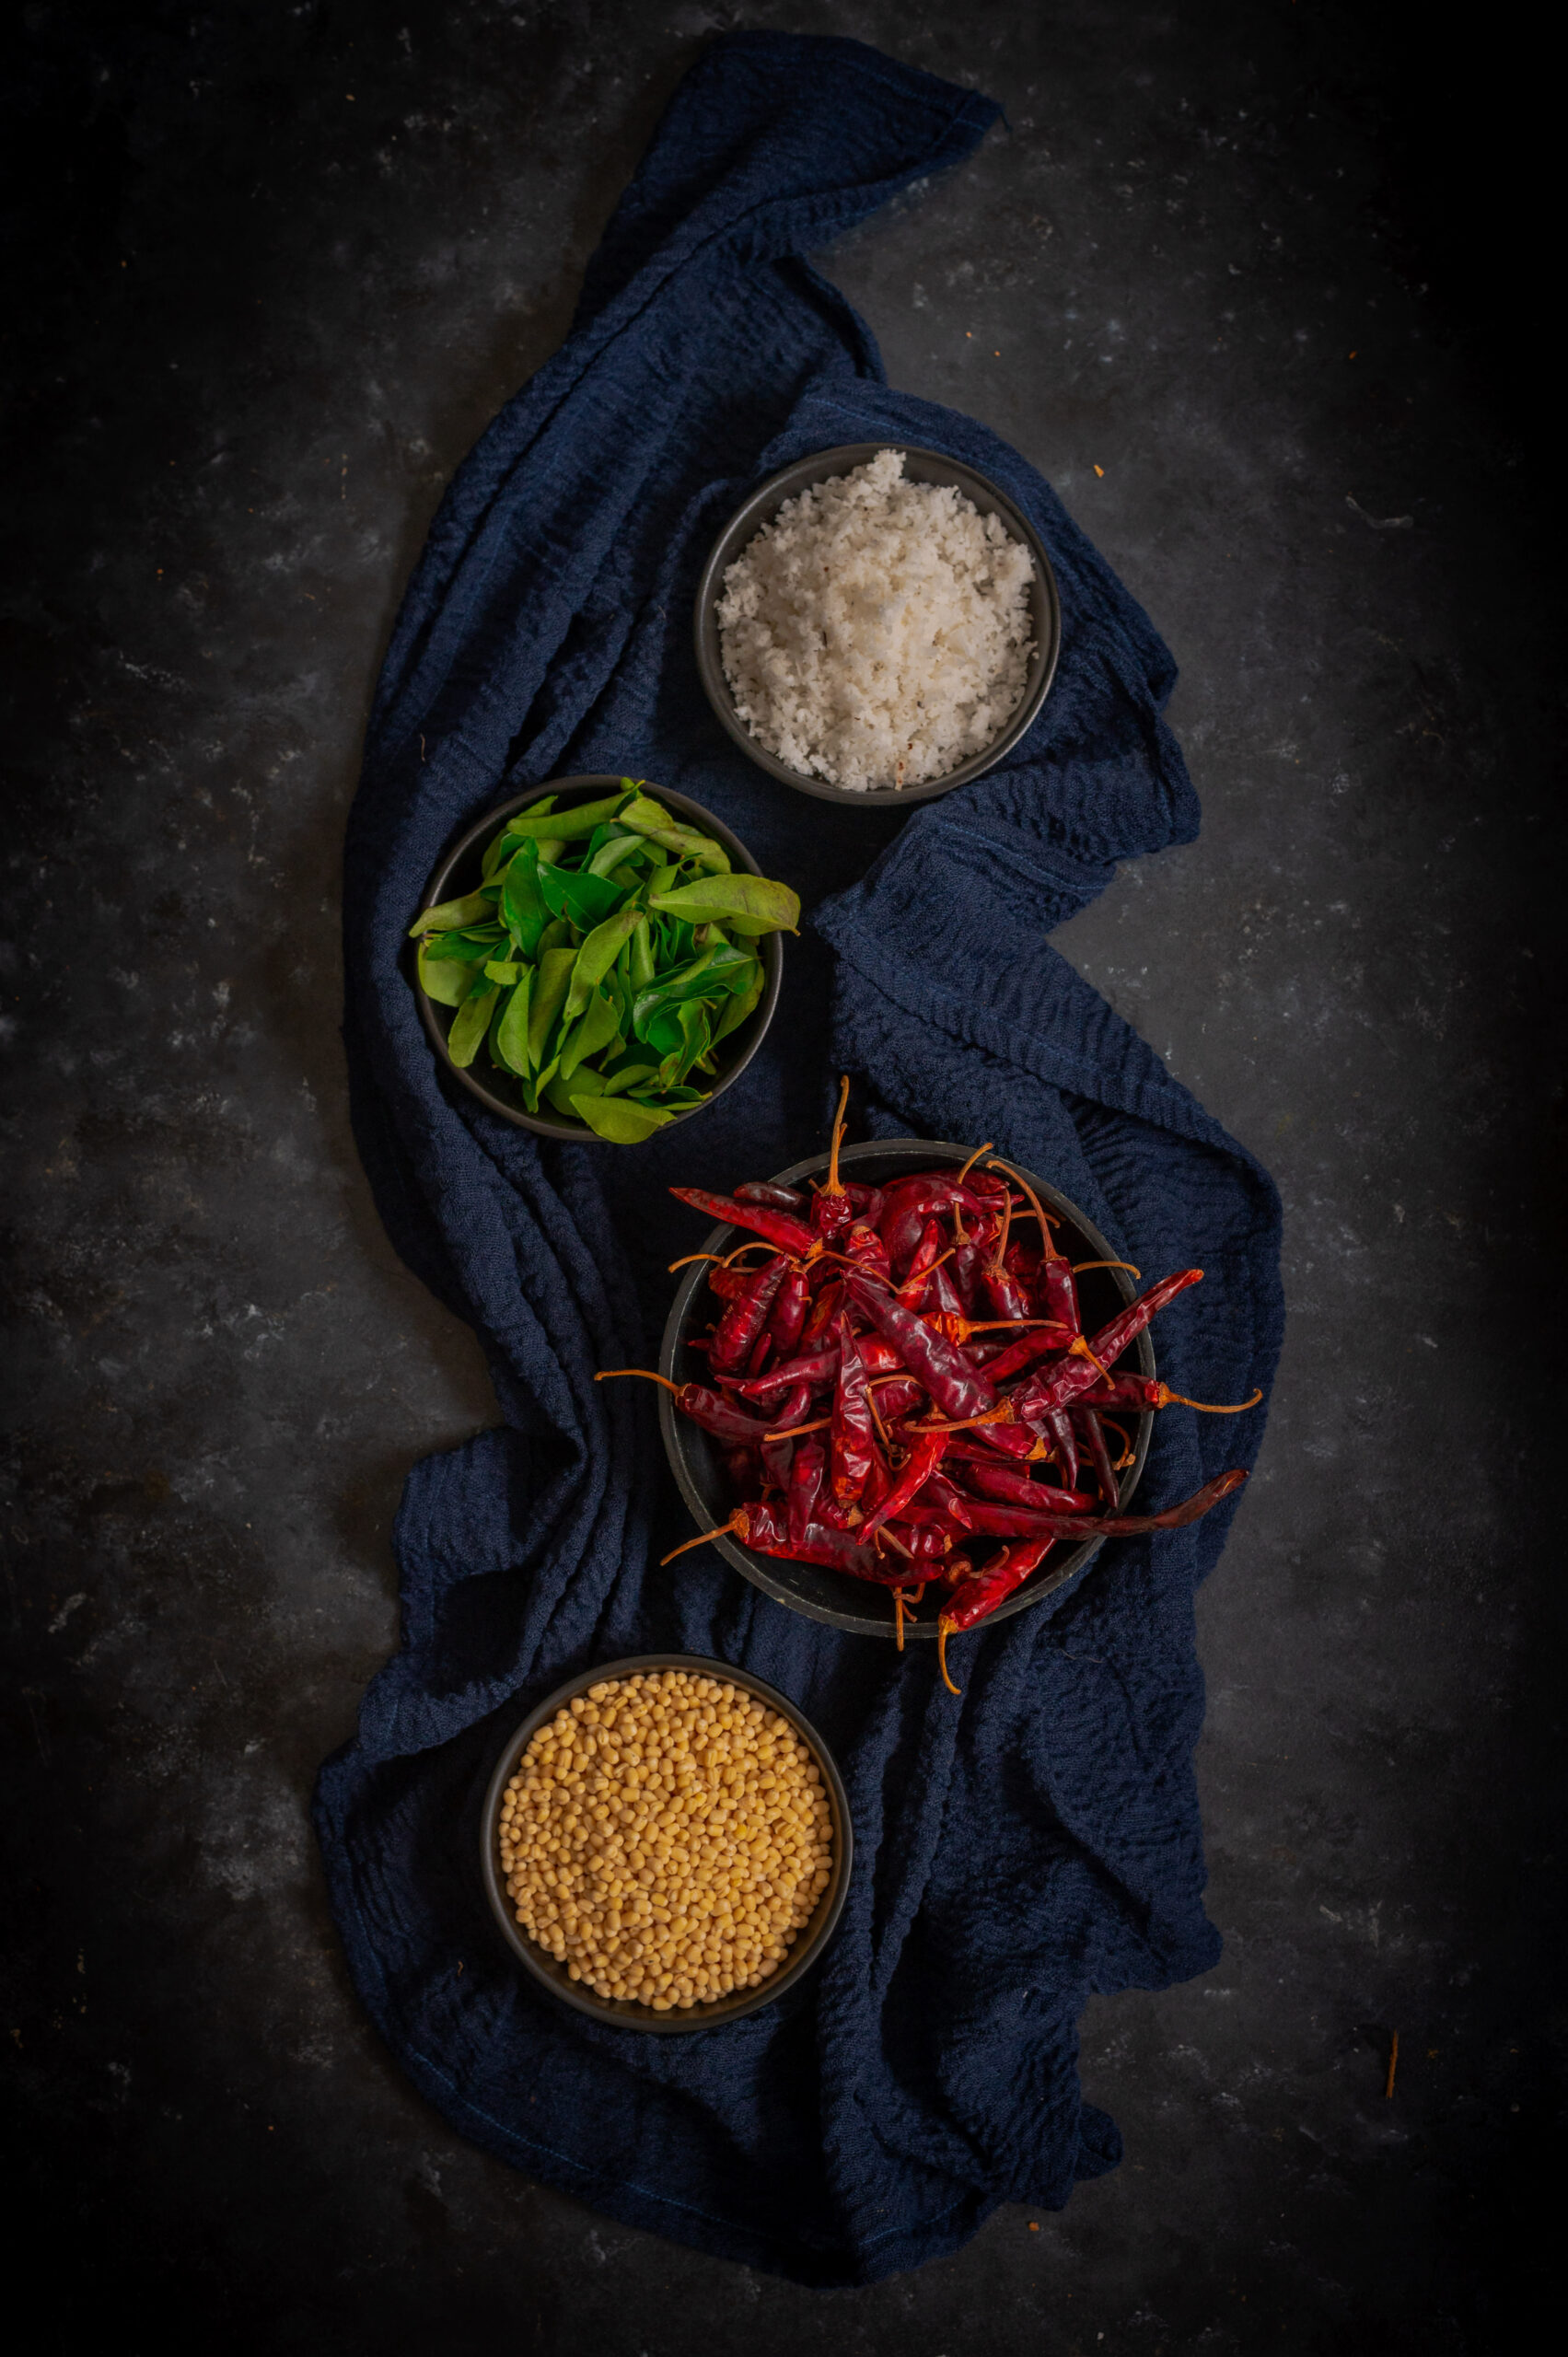
1 cup fresh coconut (shredded)

2 tablespoons urad dal

2 teaspoons sesame oil

¼ teaspoon asafoetida

2 -3 dry red chillies

¼ teaspoon mustard seeds

Salt to taste

6-8 curry leaves

1 marble-sized ball of tamarind


Add oil to a pan. Once it has heated, add the asafoetida, urad dal, mustard seeds, tamarind, red chillies and curry leaves.  Roast until the urad dal turns golden. Set aside.

In the same pan, dry-roast the coconut on a low flame, using just a few drops of oil, until it turns reddish in colour. Set aside.

Use a spoon to remove only the urad dal from the earlier mixture. Coarsely blend the remaining ingredients together, adding salt. Use a blender, and keep it at room temperature. Once a coarse blend is achieved, add the urad dal and blend everything again. The reason for adding the dal only at the end is so that there is a bit of crunch in the podi. You’ll see what I mean when you taste it!

You may also want to add just a pinch of jaggery to this recipe, if you’d like to enhance the flavour with some sweetness. That was an element I used in some trials of mine, and ultimately eliminated from my final version. If you’d like to, you can eliminate the curry leaves too. It all depends on what combination of spice, sweetness and tang (which comes in this case from tamarind) you most enjoy.

Store at room temperature, and enjoy with dosa, idly, rice, roti or any combination you prefer.

Over the next few weeks, I’ll be sharing more coconut-ty goodies, from anytime staples to festive specials. Please do subscribe to this blog, so that you’ll know as soon as a new post goes up! Don’t forget to let me know in the comments what you think of the recipes, too. As always, I love hearing from you about how you’ve translated my recipes to suit your own tastes!


There are one-pot meals and meal-in-a-bowls to be found in cuisines all over the world, even though distinguishing them as a category is a relatively new idea. They’ve gained popularity among diners everywhere thanks to the Buddha bowl trend, which are comprised of a medley of attractively arranged (and usually nutritious) food items in a single bowl. I’ve had quite a few versions of these on my travels, and they’ve always motivated me to make them a regular part of my lifestyle. Now that we’ve all been at home for months, I’ve been bringing as many of these inspirations into my day-to-day cooking as possible. The Buddha bowl is among my favourites for its aesthetic appeal, health quotient and convenience. I’ve been making variants focused on different cuisines, and will share a few of them in the coming weeks. Let’s begin today with my South Indian-style Buddha bowl.

The Buddha bowl concept itself is a great one, and is based on putting together a compact and even portable meal which packs in lots of flavours and textures. You may be wondering what makes a Buddha bowl different from the thaalis we enjoy in India, in which a wide variety of dishes are served in their own separate containers, arranged around the central eating space of the plate. The answer is in the portion sizes. With thaalis, there’s a lot more space, and you tend to fill up that space and thus consume what you’ve filled it with too. A Buddha bowl is just one vessel, usually a bowl as per the name, but a plate will do as well. Thaalis are indulgent, whereas Buddha bowls take a minimalistic approach. The latter are closely tied to fitness for this reason. These days, with the necessity of watching what I eat in a smarter way as I grow older, I reach for them very often in the interest of health. I can attest that eating a Buddha bowl keeps you light on your feet. Whenever I have one for lunch, I feel active for the rest of the day. There is a bounce in my step and I feel revitalised, and find myself doing my photoshoots with more energy.

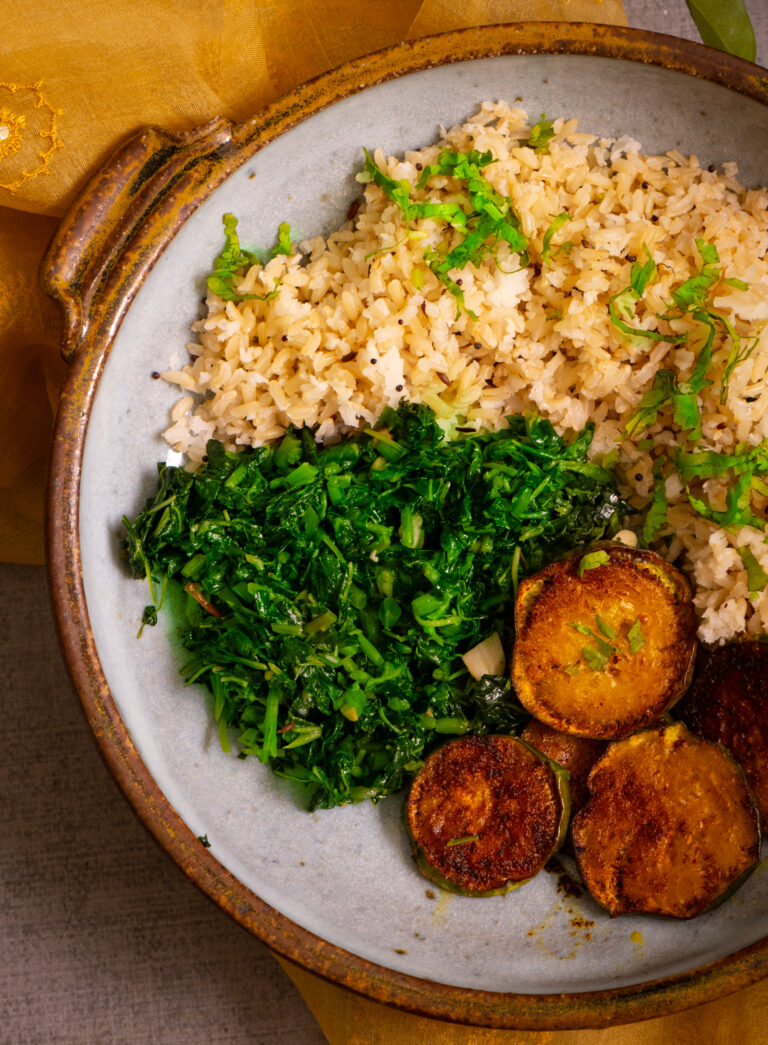
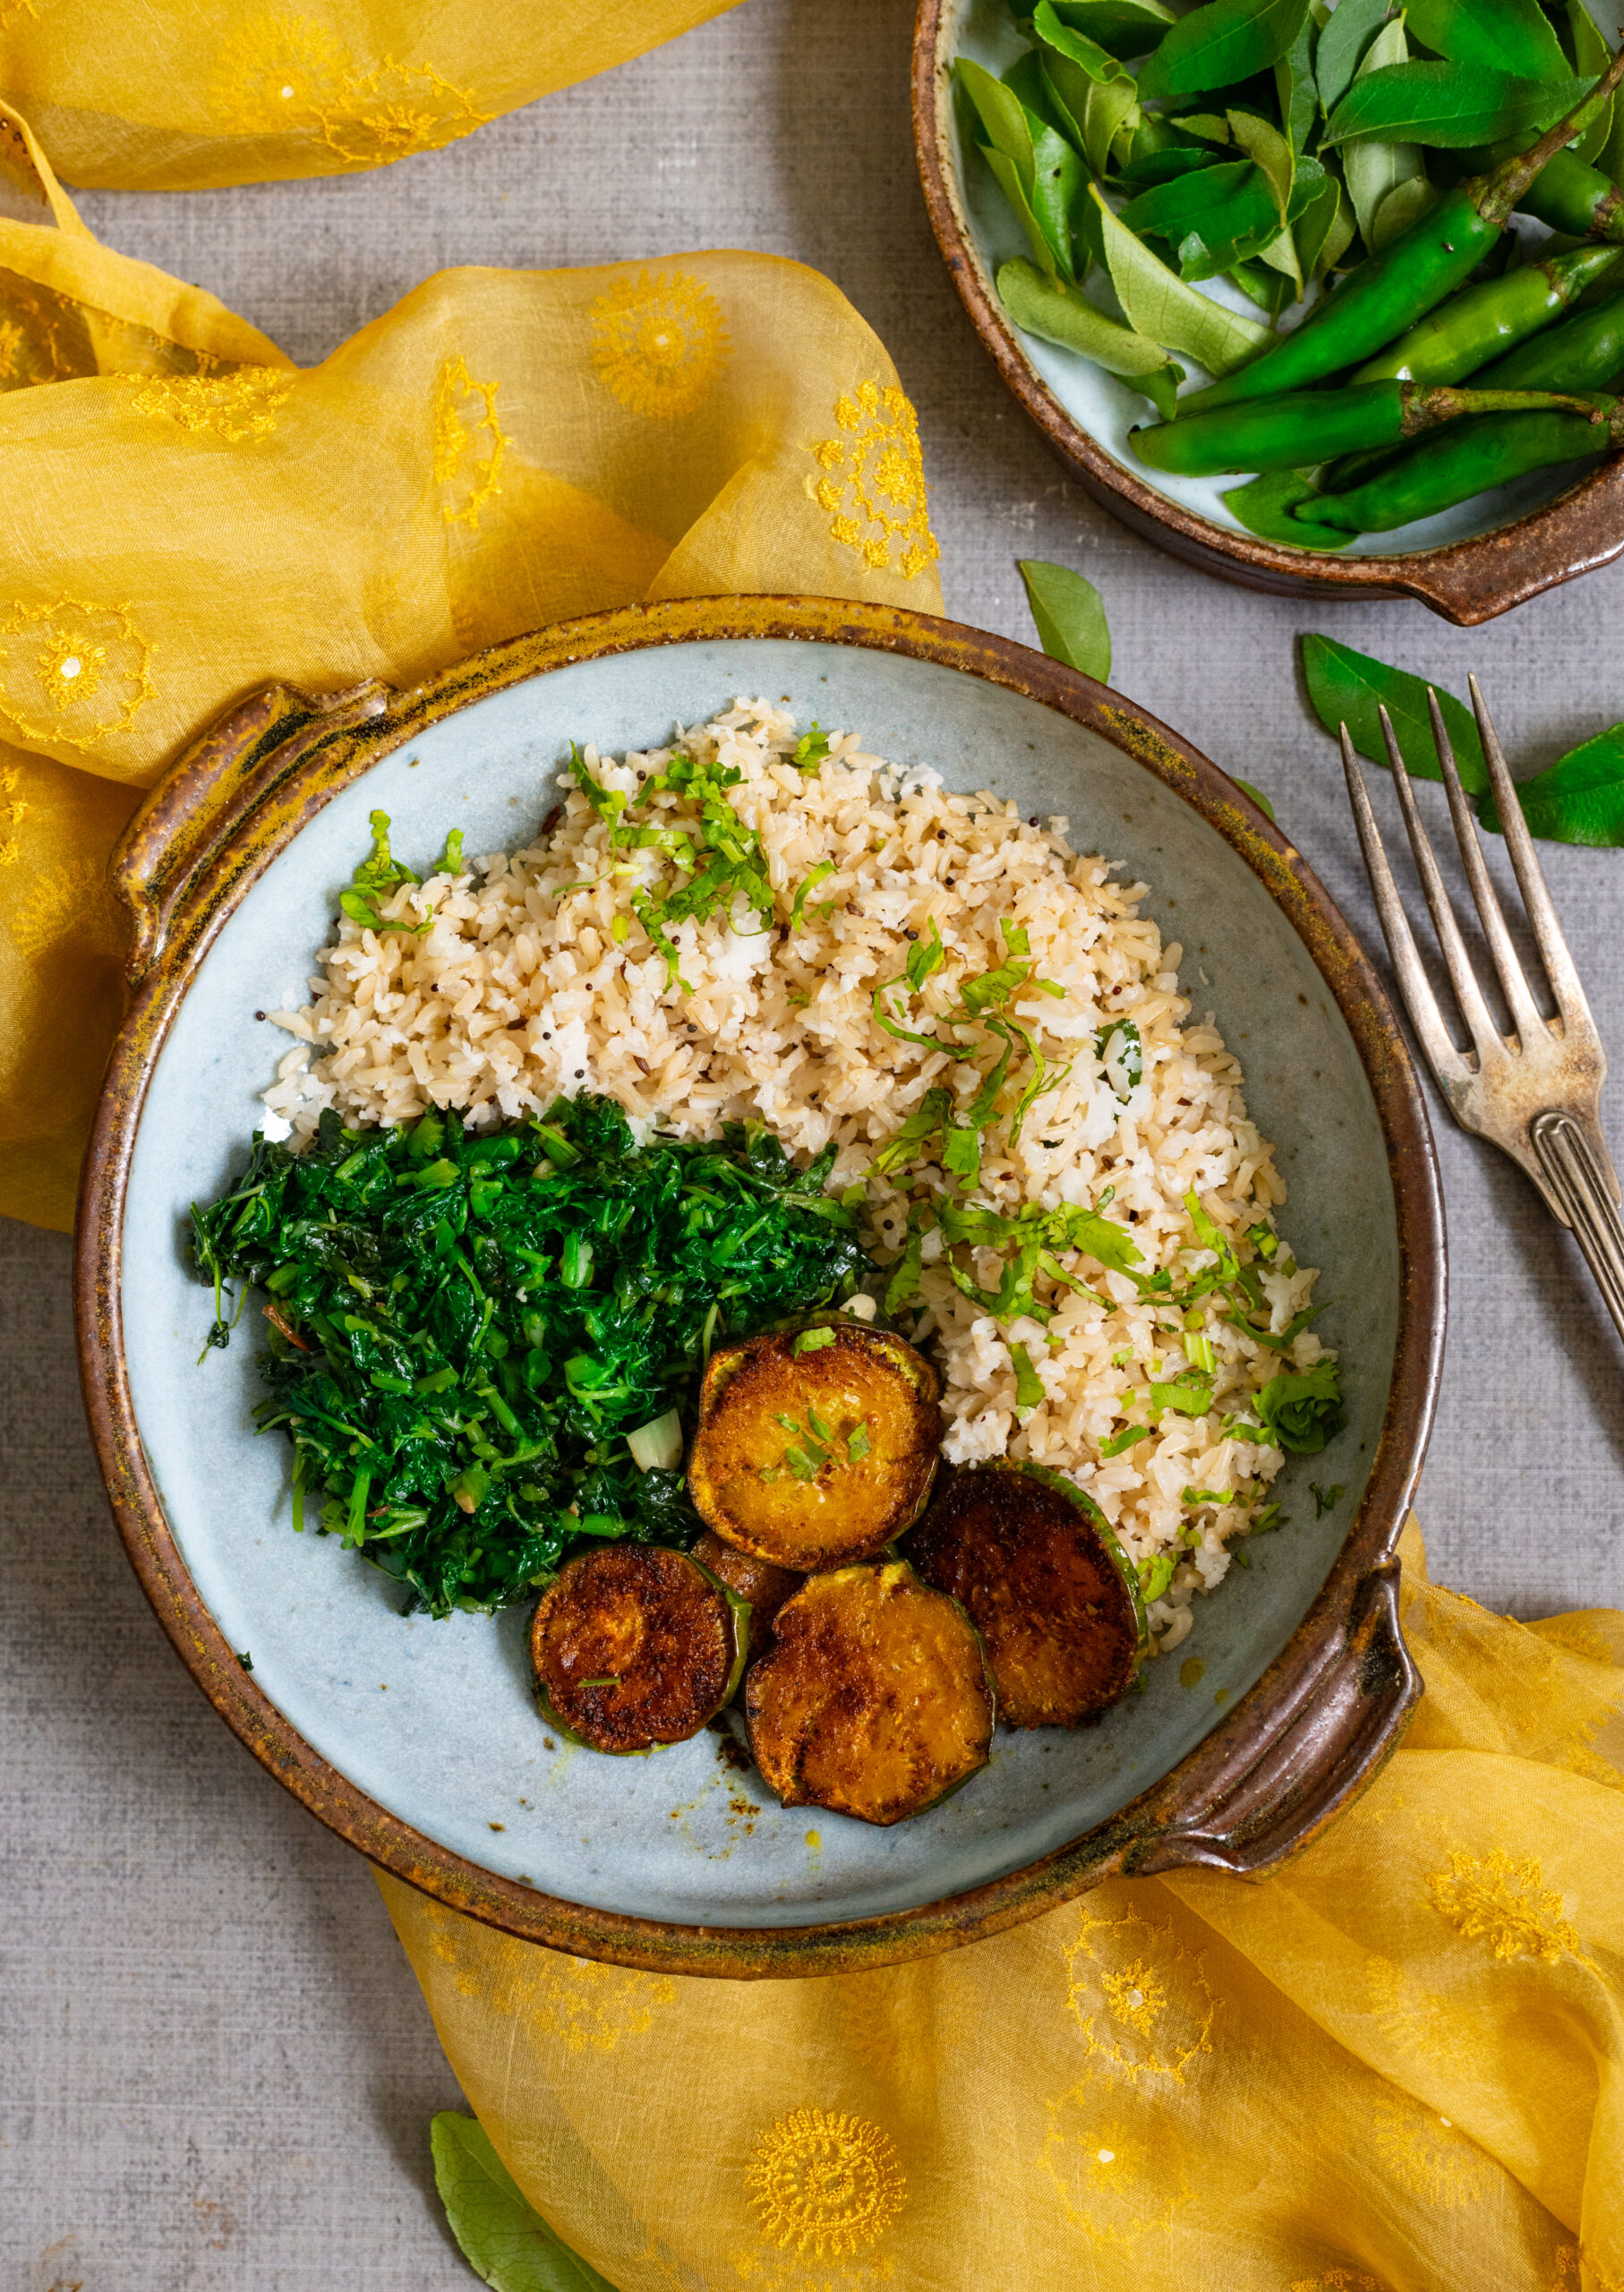
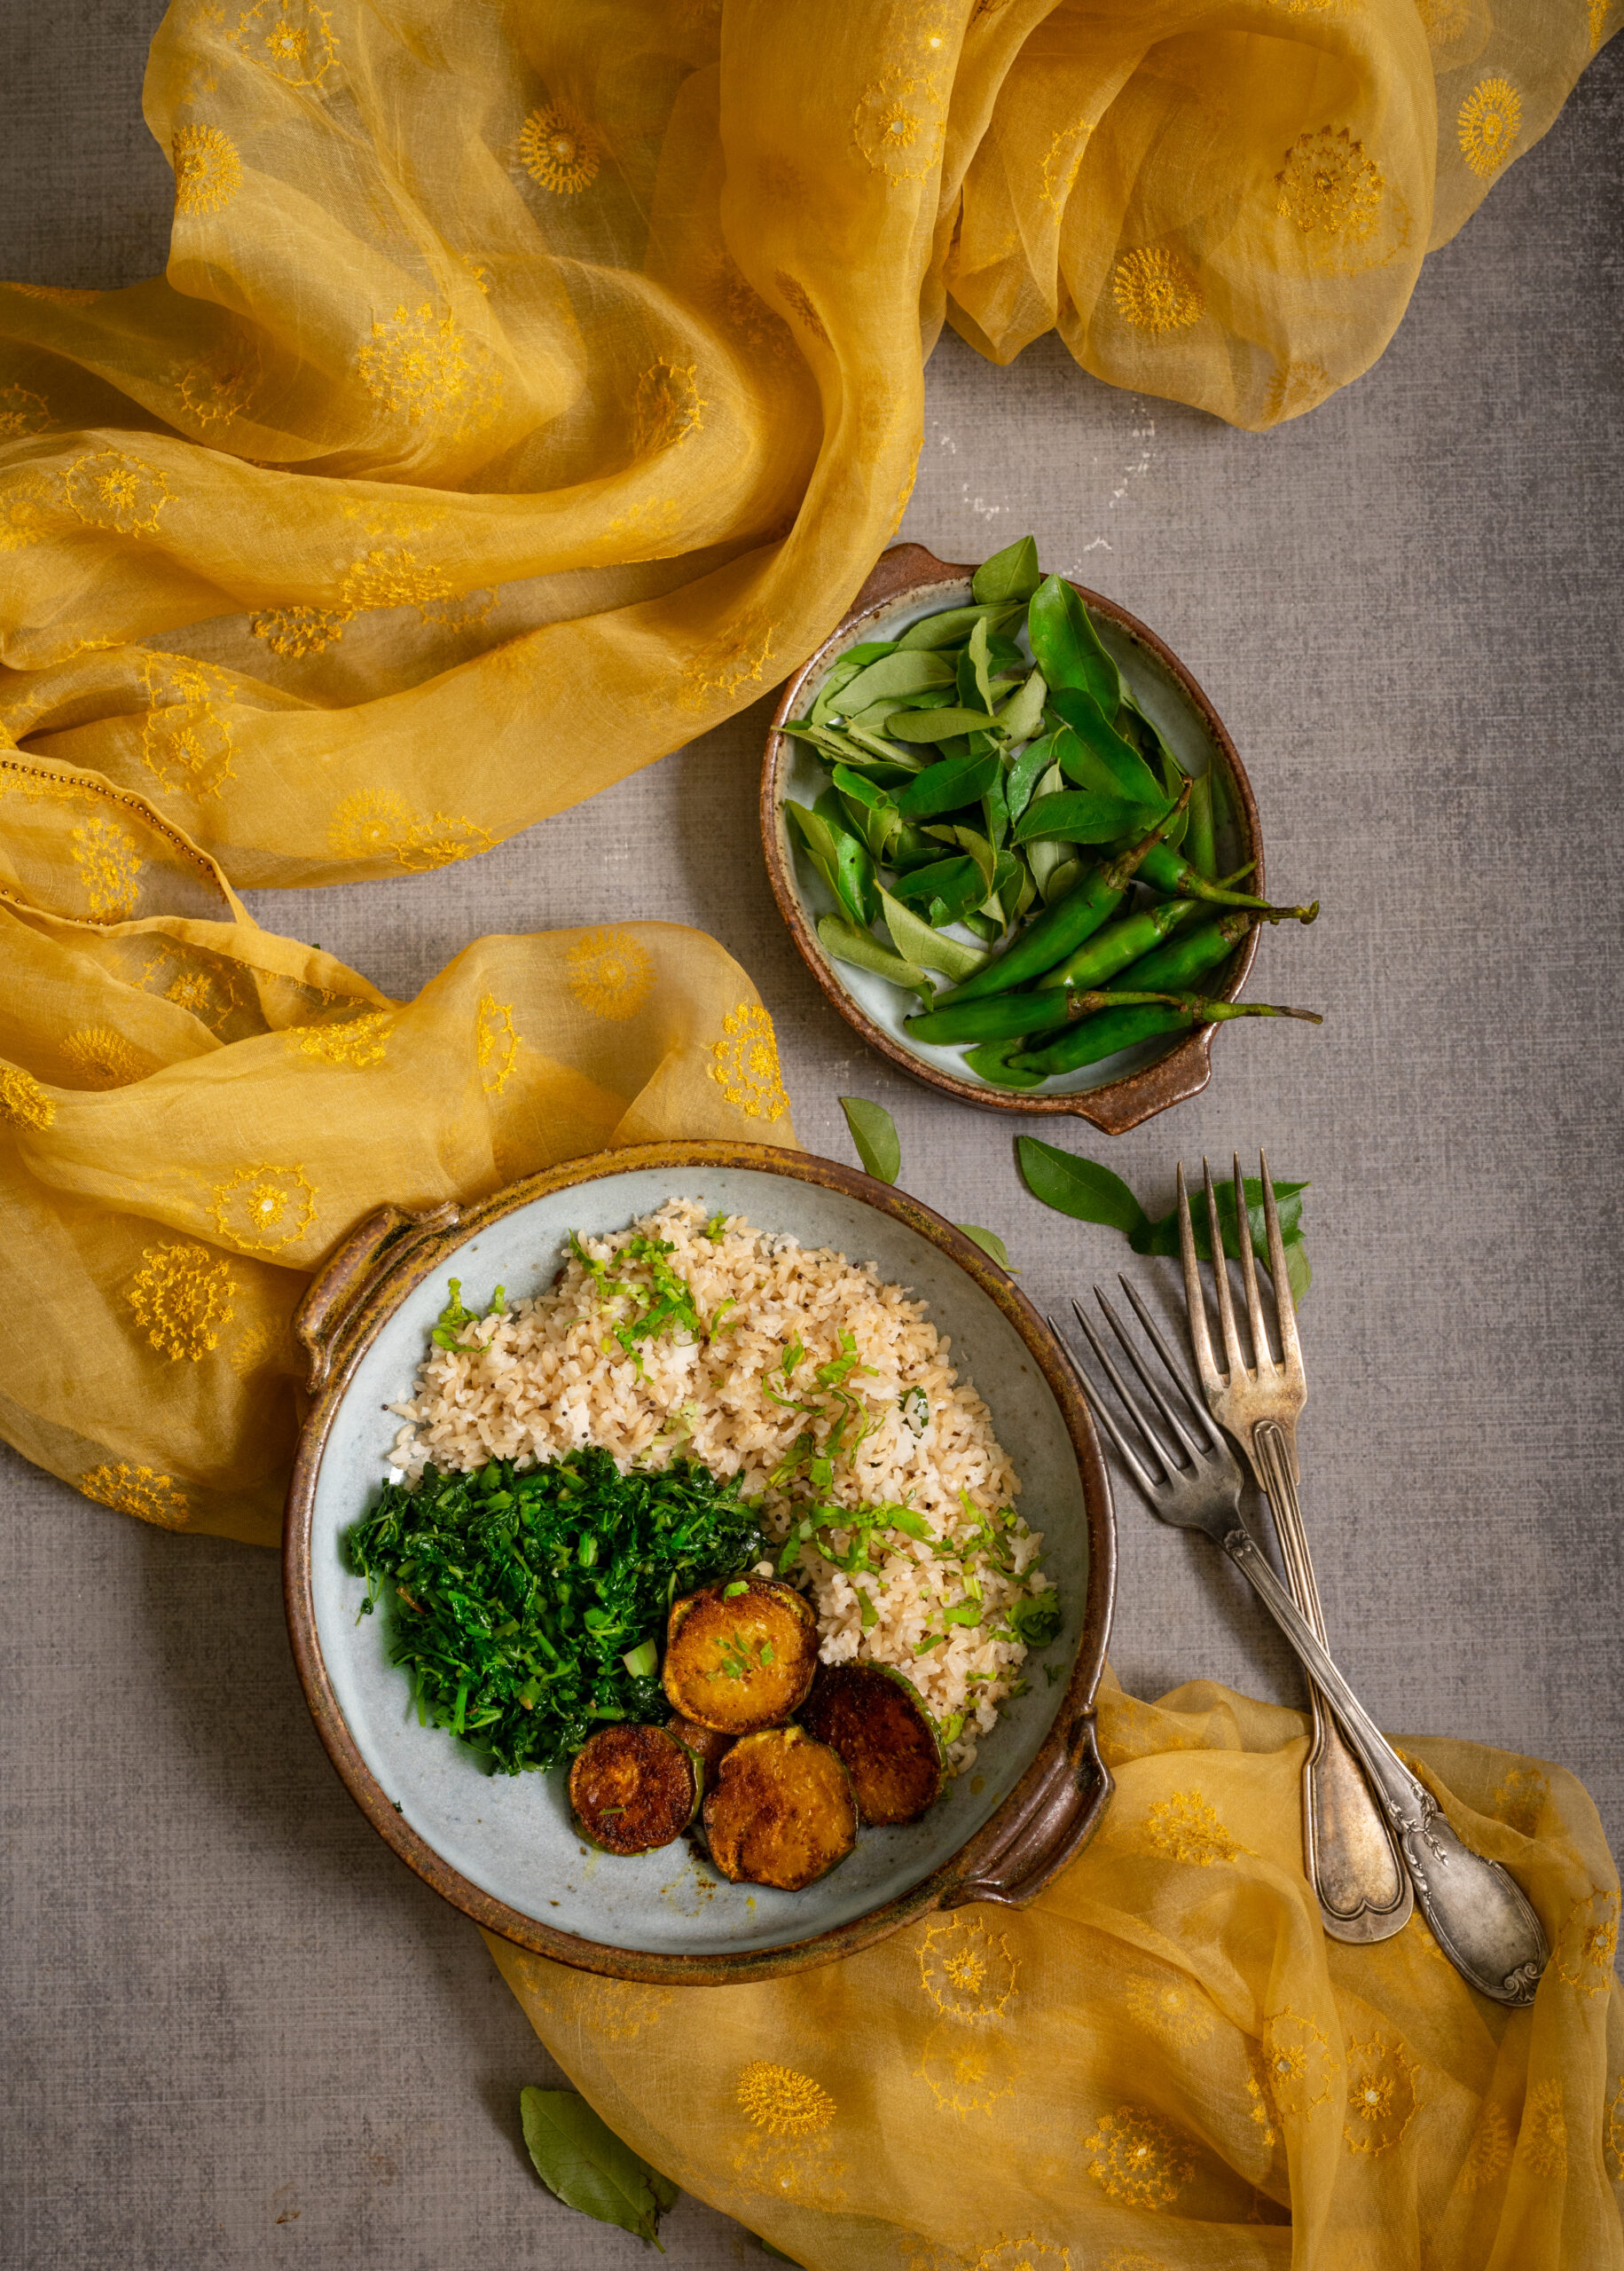
You can make carb-free variants if you like, but for me it’s simply about cutting down on the quantity of them while still getting the boost they give to my energy. Offsetting the carbs with a delicious load of greens is also key. This South Indian Buddha bowl contains the perfect combination of crispy eggplant, flavourful rice and nourishing, lightly-spiced greens. Every single dish-within-the-dish tastes wonderful, and they come together beautifully with their richness of textures and flavours.

I am a fan of healthy grains options, so I’ve used brown rice in this recipe. You can substitute this with white rice, if you prefer. As for the greens, here in South India we enjoy an incredible variety of spinach, including vendaya keerai, moringa, mollaraikeerai, sirikeerai and more. I have some kind or another every single day, and just happened to use mullakeerai in this recipe. It’s just very lightly seasoned with garlic, salt and dry red chilli and is very flavourful when eaten almost plain this way. We also get a variety of eggplants, from thin and long green ones to fat and purple ones, and while I don’t know all their names, you can use any that are available too. One of the beautiful things about this recipe is that it requires just the staples.

I always say that you eat with your eyes first, and the aesthetics of serving are very important to me not only as a photographer but equally as a culinary enthusiast. When you serve these diverse portions in a beautiful and well-proportioned bowl, the vessel looks full and the moment you see it, you get a sense of “Wow, I’m going to have a big meal.” You truly do feel satiated at the end of it, because your eyes have convinced your brain before your belly begins its work! Making a Buddha bowl as colourfully as possible also has health advantages, as you may remember from my post on eating the rainbow.

Speaking of what the eyes take in, initially, I had planned a photoshoot using South Indian brass crockery and props. I ultimately decided to go with an international look instead, to celebrate the global popularity of the Buddha bowl. As I discovered, there’s also another trick of the eye in this. You see, my daughter doesn’t always enjoy South Indian cuisine, but if I present it this way, she tucks in enthusiastically. It’s all about presentation, and how good you can make a dish look so that it will please the person who is going to eat it even before they’ve had a bite. Personally, I would also love eating this very same meal off of a banana leaf (yela saapad), as is tradition. That would change the experience of having it totally as well. But for now, I need the shot of energy that a Buddha bowl puts into my day, and I’ll carry on having it this way for a while!

South Indian Buddha Bowl

(Yield: 1 bowl)


Coconut rice

200 grams (approximately 2 cups) cooked brown or white rice

30 grams (2 tablespoons) grated coconut

4 curry leaves

1 tablespoon coconut oil

¼ teaspoon cumin seeds

¼ teaspoon mustard seeds

1 green chilli

Salt to taste


Greens

2 cups chopped and cleaned greens

1 teaspoon oil

2-3 garlic cloves

1 dry red chilli (optional, can be replaced with green chilli)

Salt to taste


Eggplant

10-12 slices of small eggplants

Salt to taste

¼ teaspoon turmeric

1 teaspoon coriander powder

¼ teaspoon cumin powder

1 tablespoon chickpea flour

2-3 tablespoons oil


Prepare each of the components separately. I’ll begin by sharing the method for the coconut rice. In a pan, add the coconut oil. Once it’s heated, add the cumin and mustard seeds. When the seeds splutter, add the curry leaves and green chilli. Next, add the freshly grated coconut. Sauté them all together for a few minutes and finally add the rice and salt. Stir until combined.

The following is the method for the pan-fried eggplant. On a plate, place the eggplant slices and sprinkle all the masala (including the chickpea flour) onto them, and gently massage them in by using your fingers. Allow the coated slices to sit for ½ an hour or more. If letting the tray sit for longer, then refrigerate it so that the eggplant doesn’t begin to give out water.

When you are ready to fry the eggplant, add the oil in a pan. Allow it to heat up, then gently place the round eggplant slices onto the hot oil. Allow them to turn golden on both sides on a medium flame, then cool.

Finally, here is the method to prepare the greens. Heat a kadai and add the oil to it. Once it’s hot, add the garlic and stir fry until the cloves change colour slightly. Now, add the chilli and then finally add the greens. Keep the flame at a medium level and sauté for a few minutes or until the greens turn a little tender. Do not overcook, as they release water and will change colour. Add the salt and stir well.

My daughter felt that this bowl was a little dry, and if you think so too, you can either add some yoghurt to it as a fourth component or make the spinach in a more gravy-like style if you prefer.

With all the components of the dish prepared, it now comes down to the assembly. Pick out a beautiful bowl and arrange the coconut rice, sautéed greens and pan-fried eggplant on it. Let your eyes feast first. Enjoy!

You may have noticed that my blog is also a kind of Buddha bowl, a mix-and-match that I put together from across categories. This is deliberate, because I want people from across age groups and from all over the world to enjoy my recipes. I always try to balance the traditional and the modern, and bring in all my varied experiences and learning – be they through travel, my training such as in Macrobiotics, my memories, or my experiments. I strive to keep up with the times, and I also strive to keep challenging myself. Thank you for coming along with me on my journey! There are a few more Buddha bowls in the next couple of stops. Any guesses where they might be inspired from?

The lovely thing about India is that on the levels of states, communities and right down to homes, the very same dish or category of dishes will be prepared with a unique twist. Whether they are delectable main courses or fun snacks or refreshing beverages, we have so much variety across our cuisines here, even when it comes to staples. They are also eaten in different ways, at different times of day. So it was a pleasant surprise when I encountered this tasty green peas dish, known as chura matar (literally – “poha and peas”), at the home of my very dear friend Vrinda in Jaipur one morning. Poha in and of itself is often a breakfast item, and the inclusion of peas (something I was not used to encountering in the morning meal) elevated it to a new high. What a great start to the day it was!

All breakfasts across India are healthy. I know some of you will disagree by bringing up something like the aloo parathas of Punjab, but there’s a simple reason why a heavy meal is eaten in the mornings. Days tend to be busy, and getting a proper boost of nutrition to tide a person through many hours is important. When you think about how this is especially true for those engaged in labour work, who may not be able to sit down for three square meals, the logic is evident. So whether that’s fried pooris or idlis made of rice flour, that first meal of the day is designed to go a long way. In Maharashtra and Gujarat, people often begin the day with poha, or flattened rice. It’s also an ingredient in special dishes like Diwali chevdo or the sweet dudh-poha made on Sharad Purnima. It’s eaten across the subcontinent, and is known here in Tamil Nadu as aval. I recall also having it steamed and topped with jaggery, as served by a friend I was visiting in Assam once.

Chura matar is a traditional dish from Uttar Pradesh, where the poha is deep-fried. Our version here is a healthier one, sautéing and steaming the poha rather than frying it. People from Uttar Pradesh may find this strange, but as a Gujarati raised in Tamil Nadu, my cultural influences are diverse and have an effect on my culinary choices too. Gujaratis also have a version of this dish, mixing the peas and poha – but when the vegetable is in season, you get so much of it that you may as well make it the star of its own dish and serve it separately too.  Green pea season in India usually takes place in November, and the markets are simply abundant with the vegetable then. However, they grow year-round, as you may remember from one of my recipes that fondly recalled the Ooty summers of my childhood, where peas were known as “English vegetable”. My memories of the Nilgiris aren’t the only ones that this ingredient rekindles. In fact, especially in this time of no travel, they make me miss the north of India in a big way. All my trips to Gujarat while I was growing up, and my later journeys to Rajasthan (such as when I visited the friend who shared this recipe with me) come back to me vividly when I eat this dish. I miss the exposure to a wide range of delicacies, and discovering so many new treats. It’s a pleasure to be able to evoke those experiences in my own kitchen.

Even though we are technically off-season at the moment, I am writing this now because I am missing Vrinda and craving her chura matar. It’s funny how food is sometimes connected to a person. A roti or puran poli always reminds me of my mother, who taught me how to make those dishes and enjoyed them too. A stir-fry always makes me think of my daughter, who loves them. We absolutely connect recipes to people.

I learned through Vrinda that the younger the pod, the more beautiful the flavour of the peas within it. There in Jaipur, these are called colloquially as “zero number” in the local markets, to indicate the smallness of their size. The best peas are harvested right at the beginning of the season, before they are fully grown.

We are fortunate in India to have easy access to fresh and affordable green peas, and in years past I’ve often frozen batches while the season is in full swing to use later. Even before peas became widely cultivated in India during the colonial era, we have always had our own lentils and legumes. You could think of them as being native versions of peas. Green toor dal or split pigeon peas, red rajma or kidney beans, green channa or chickpeas, and so many more make up this list. Steamed, salted, eaten plain or dressed up with different flavours, they make great pea substitutes too and work especially well in salads. The South Indian sundal is a favourite of mine.

Another food item that I freeze often are chutneys. I make large batches, then freeze them in small single use portions. I do this with my sweet, tangy date chutney and my green chutney, among other variants.  This chura matar is chutney-free, because it doesn’t need it, since the green peas add a soft texture to the medley of basic elements. But you may enjoy using it, so feel free to add some if you would like to.

Without further ado, here is the chura matar recipe that I’m sharing today. I would love to know what your own take on it is too. I keep saying the same thing over and over on this blog, but it’s true: every cook makes their own version. My kitchen has its flavours, as do yours. My hands have their own type of love, as do yours. There’s what I’ve been taught, and what I’ve been exposed to, and the same goes for you and your own experiences. But the one thing we all have in common? A passion for all things delicious!


Chura Matar

(Serves 2-3)


For the poha

70 grams / 1 cup raw poha (it will become 170 grams or 1½ cups after soaking)

50 grams / ½ cup finely chopped onions

¼ teaspoon mustard seeds

2 tablespoons oil

A few curry leaves

1 green chilli

Salt to taste

Juice of ½ lemon

1 teaspoon sugar (optional)


Peas

1 cup frozen peas

1 teaspoon oil

¼ teaspoon cumin seeds

½ teaspoon ginger paste

Salt to taste


Topping

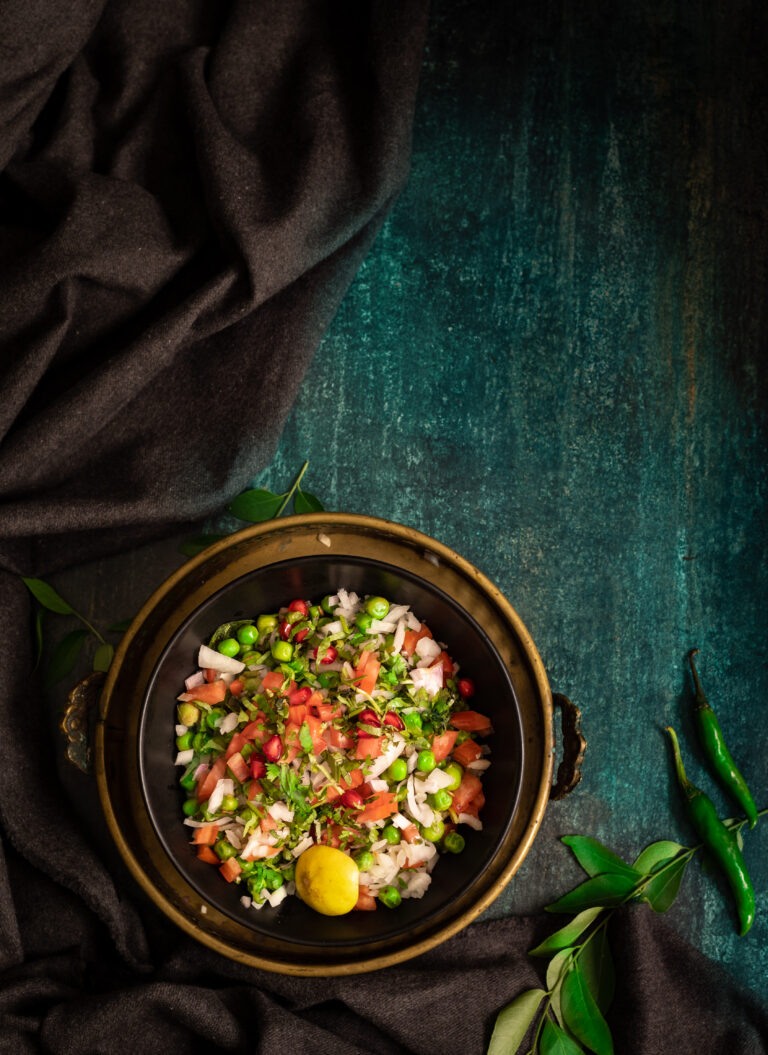
Onions (finely chopped)

Tomatoes (finely chopped)

Coriander leaves (finely chopped)

A squeeze of lemon


First, rinse the poha under water and allow it to drain. If the poha is of the thin variety, draining alone will do. Otherwise, soak it for half an hour.

In a pan, add the oil. Once it has heated, add the mustard seeds and wait until they splutter.

Then, add the green chili and onions. Once they are golden, add the soft, soaked poha. Next, add the salt and sugar (if you are using it). Stir well on a slow flame, gently. Set aside.

Now, prepare the peas. Add the oil in a pan and add the cumin seeds. Wait until they turn aromatic. Now add the ginger paste. Stir, and finally add the peas. If you are using frozen peas, make sure you allow them to cook long enough to turn soft. Set aside.

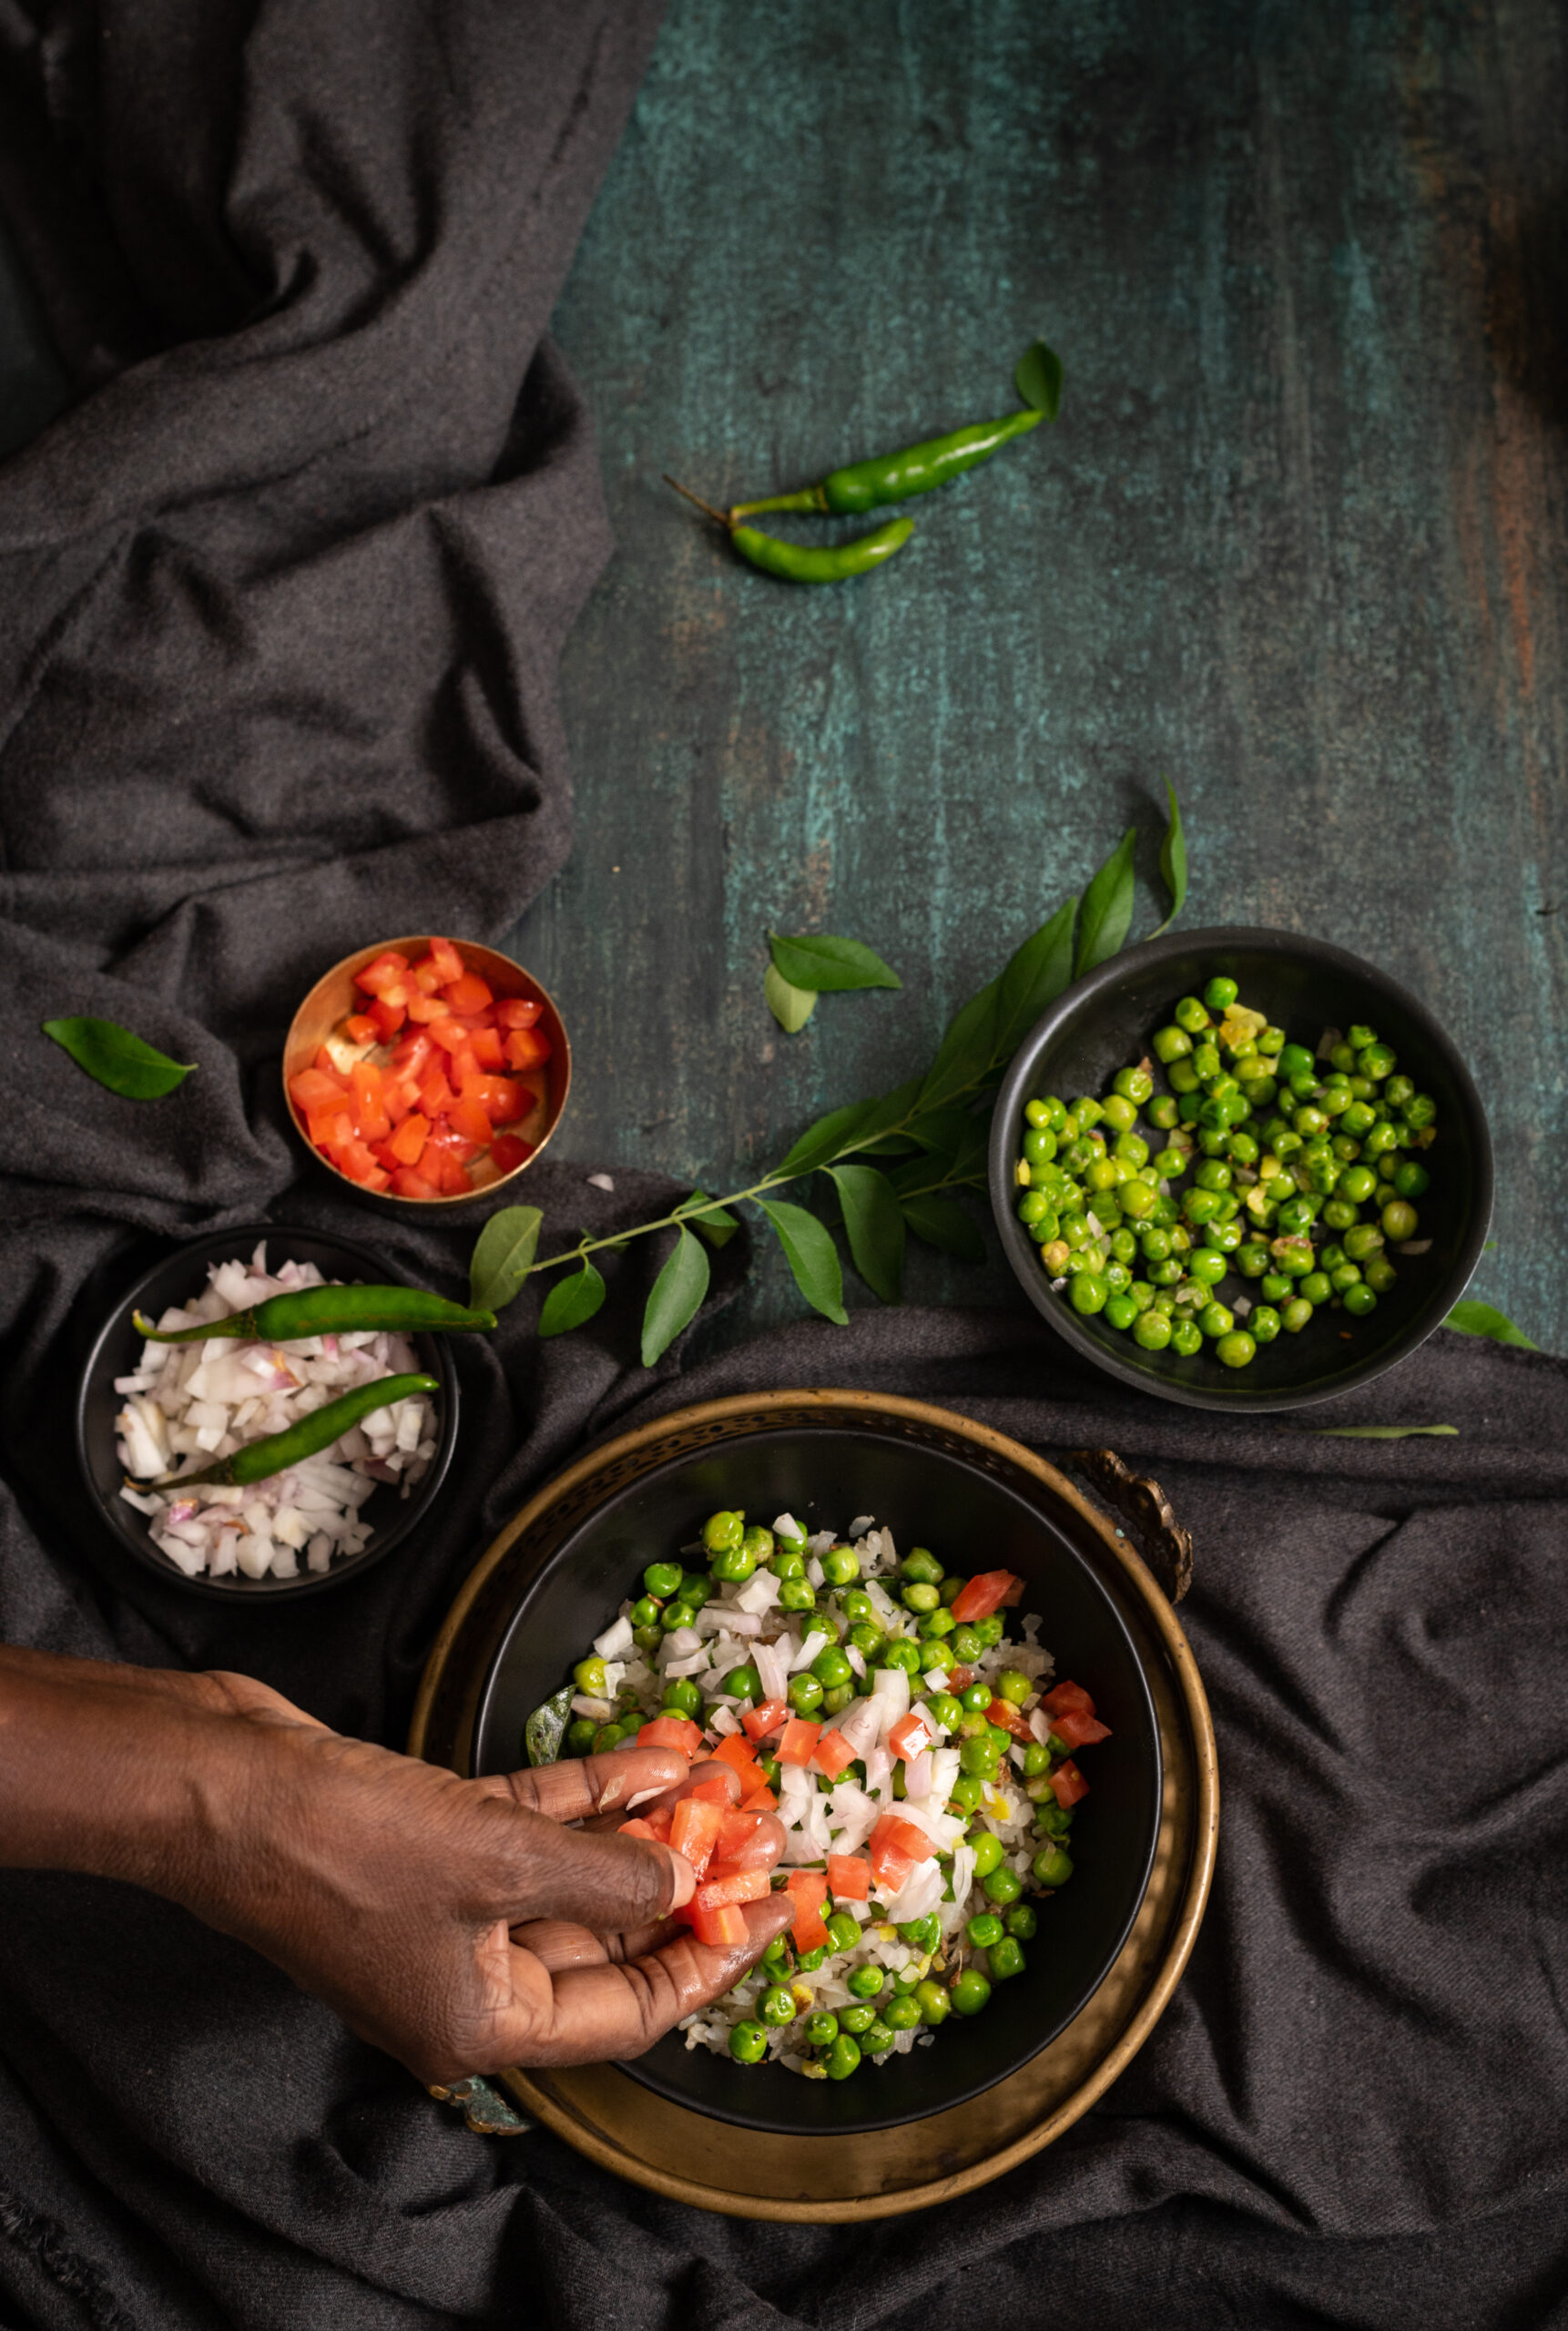
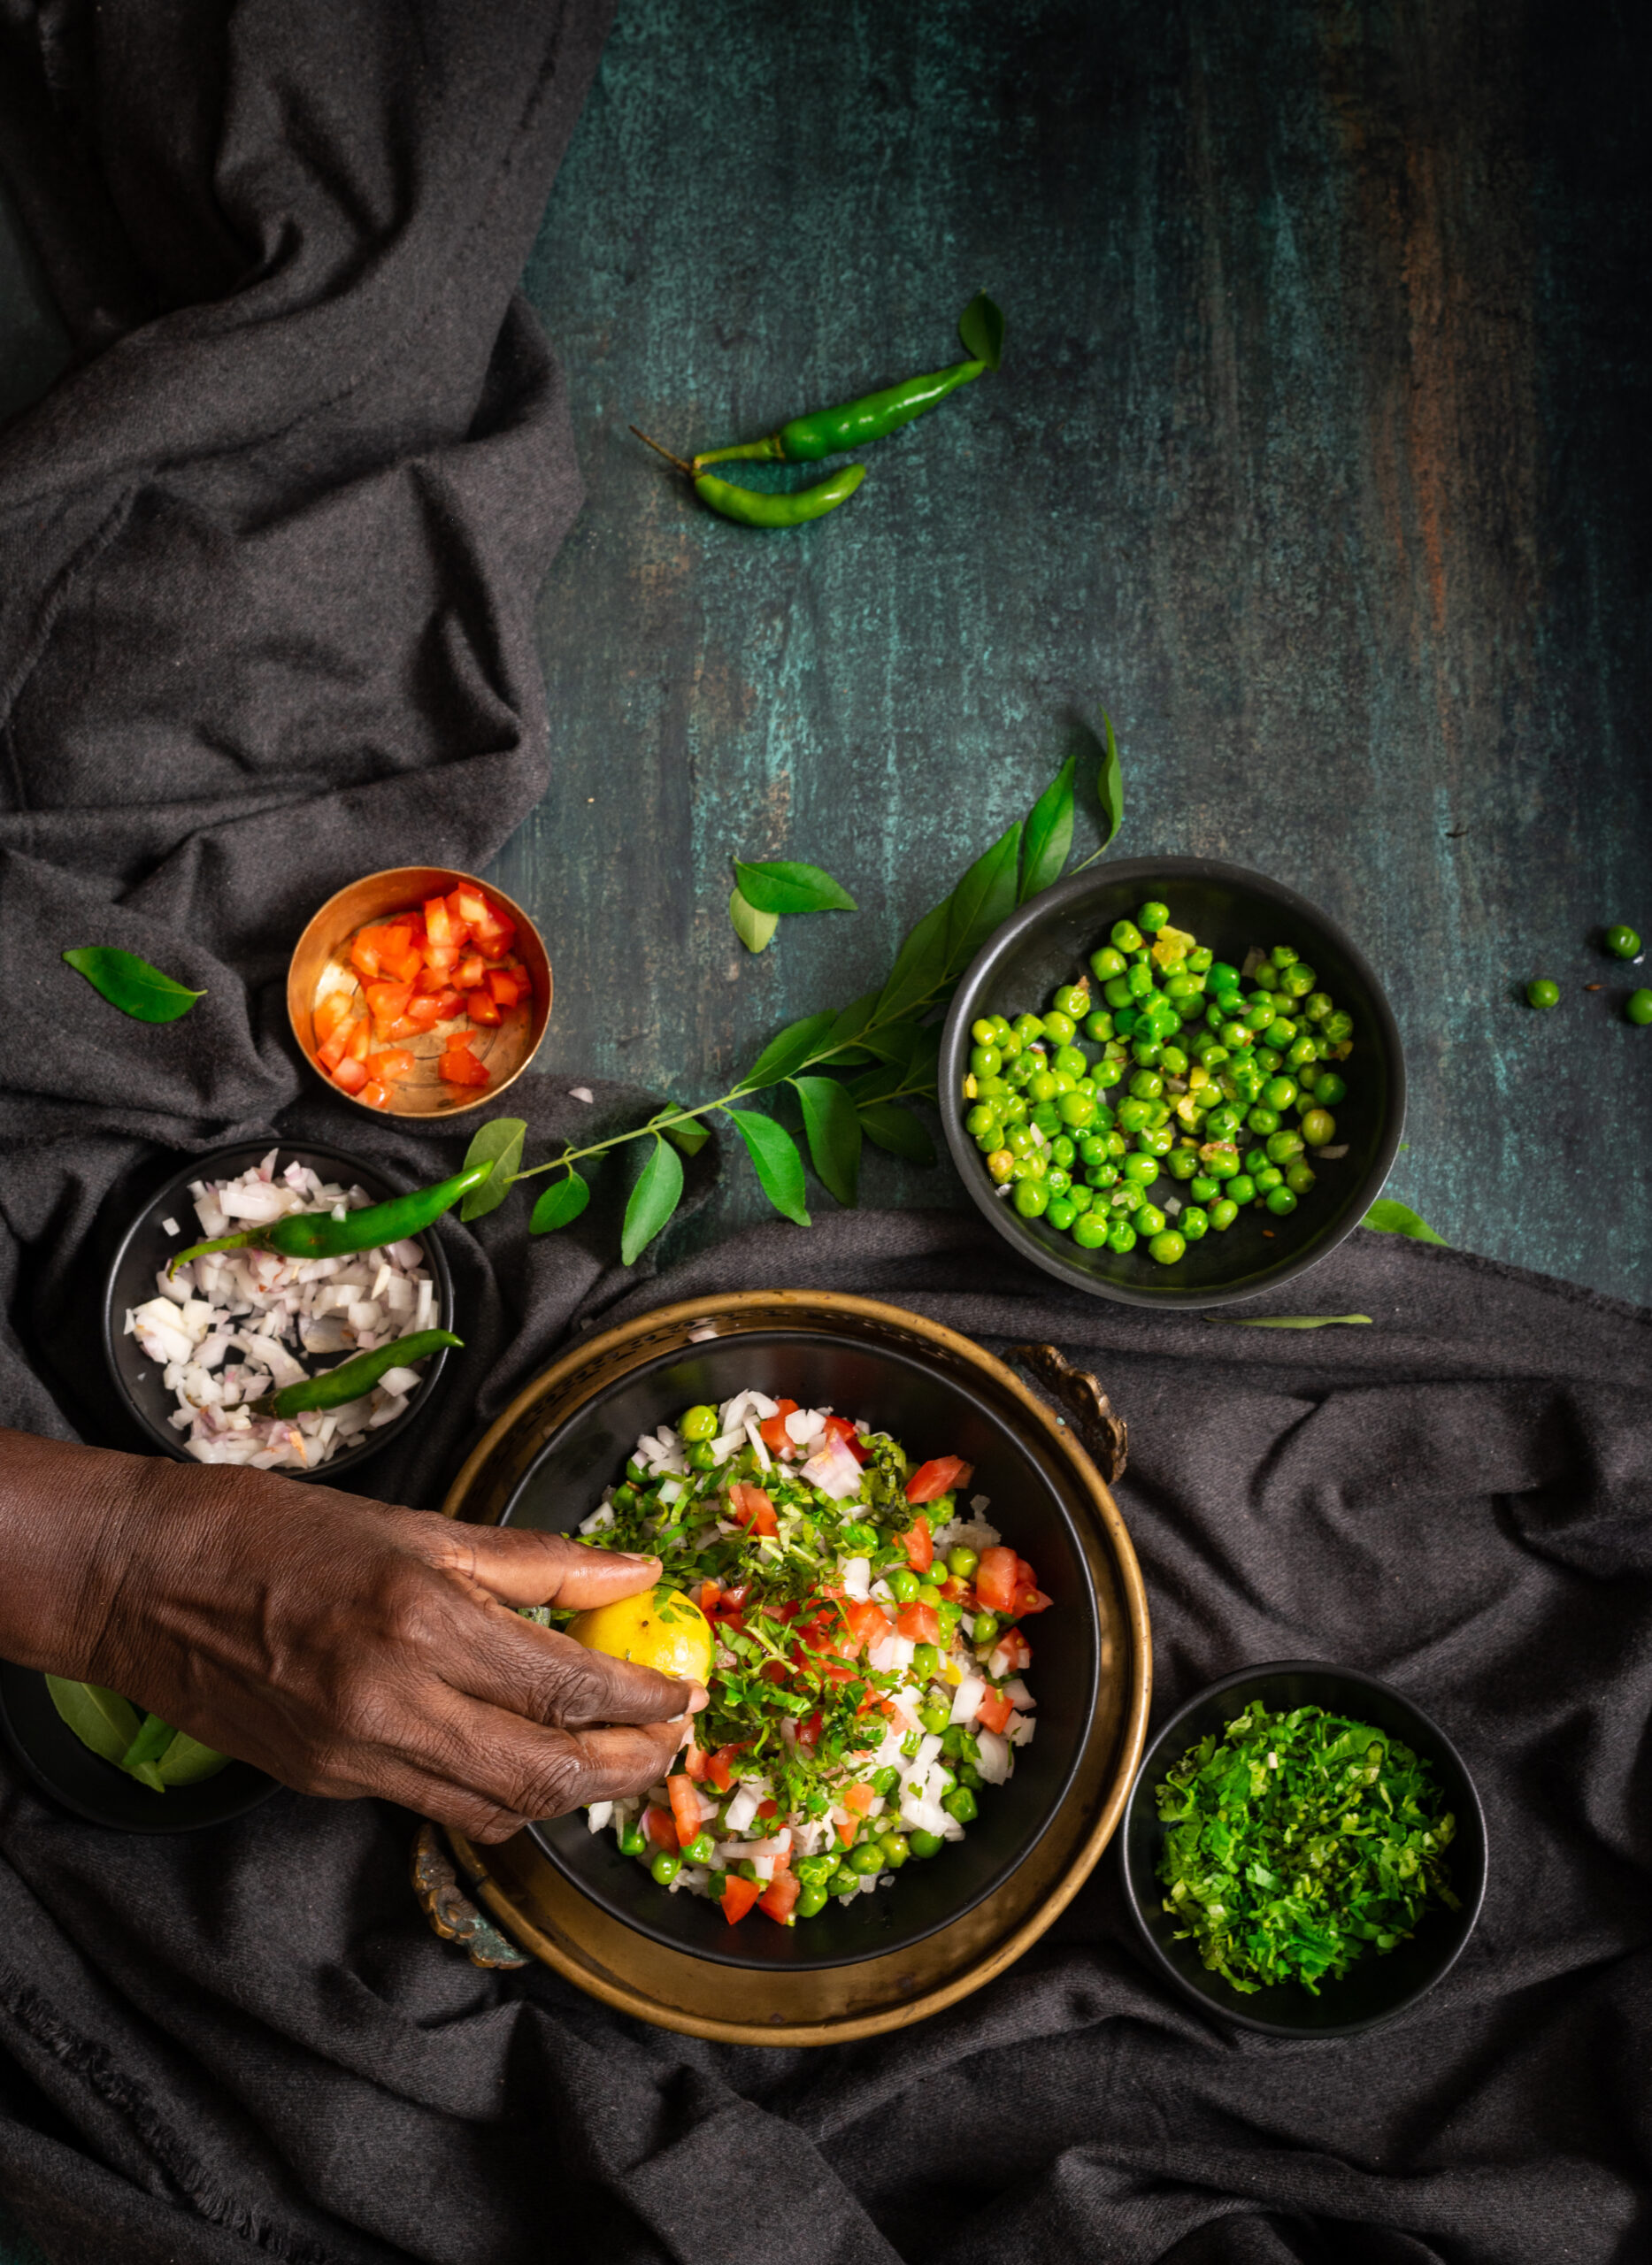
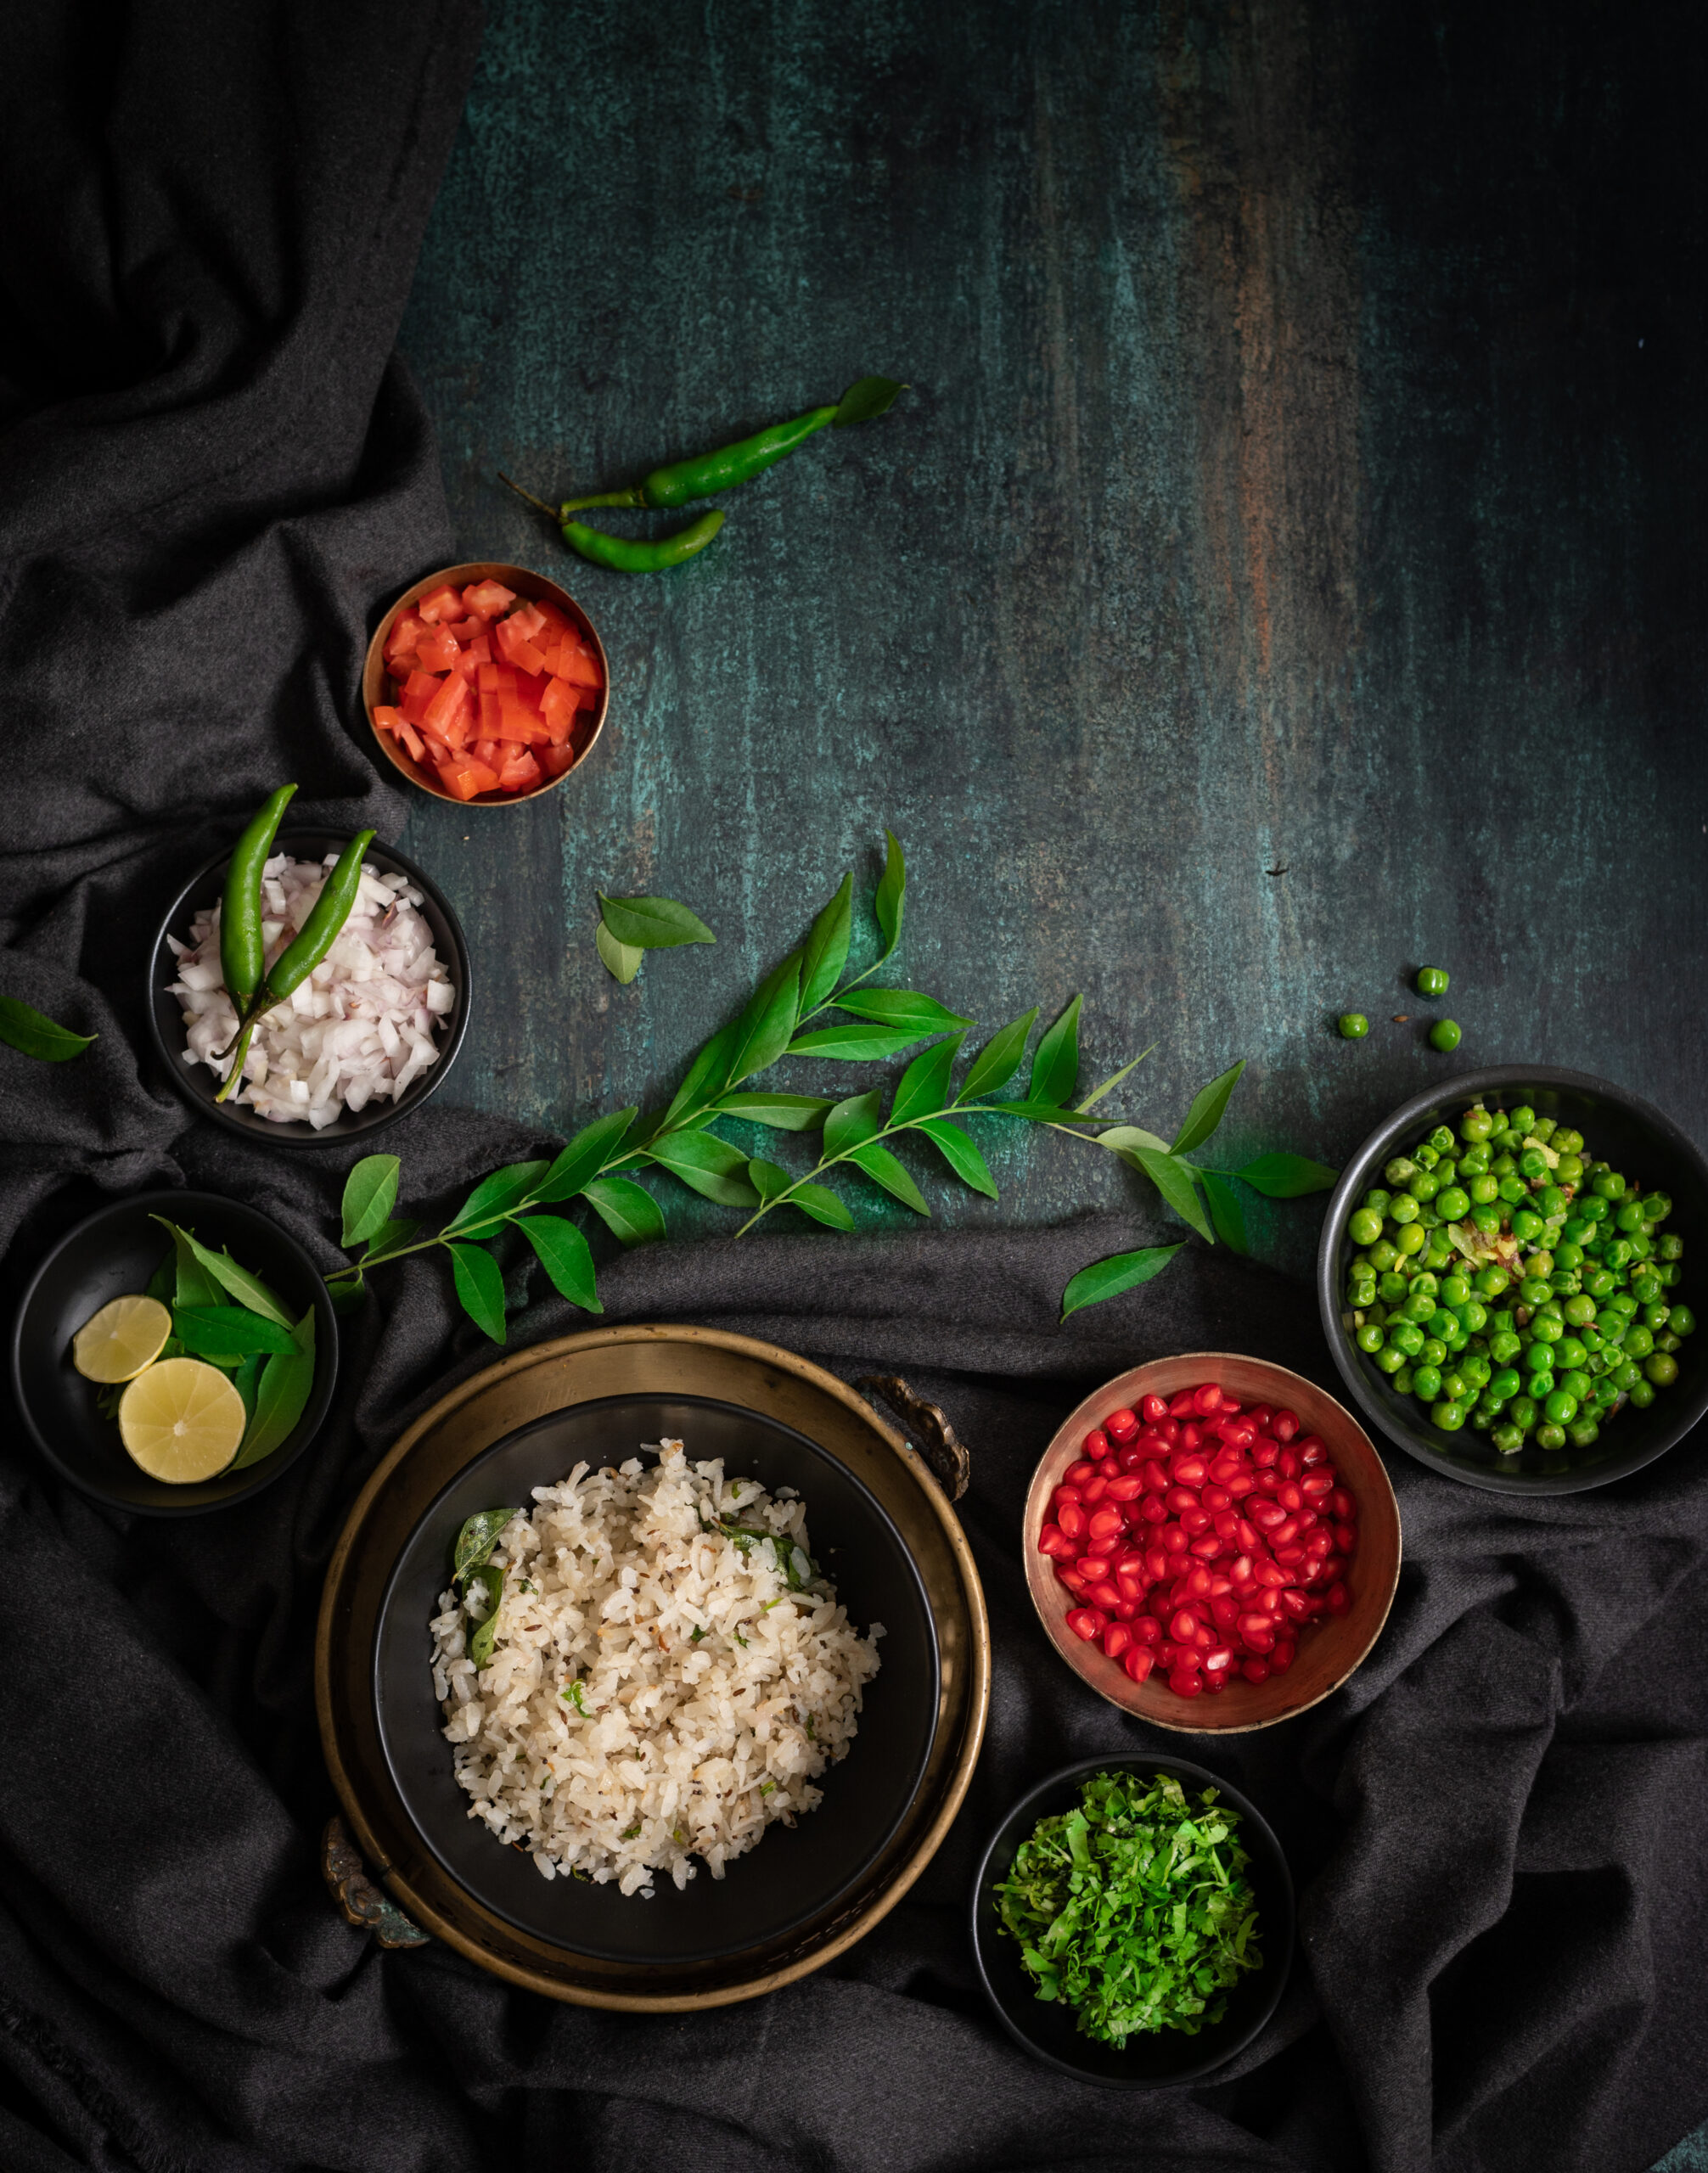
Use a shallow serving platter to assemble the dish. First, place the cooked poha as a layer. Over this, add the peas as a layer. Top this with the healthy garnish of freshly chopped onions, tomatoes and coriander leaves. Finish with a dash of lemon juice. Serve.

Now that remembering this fabulous chura matar has brought it into my repertoire, I envision making it for evening treats, as a filler between meals, and even as full meals (such as breakfast!). Do try this one out, and let me know what you think in the comments.

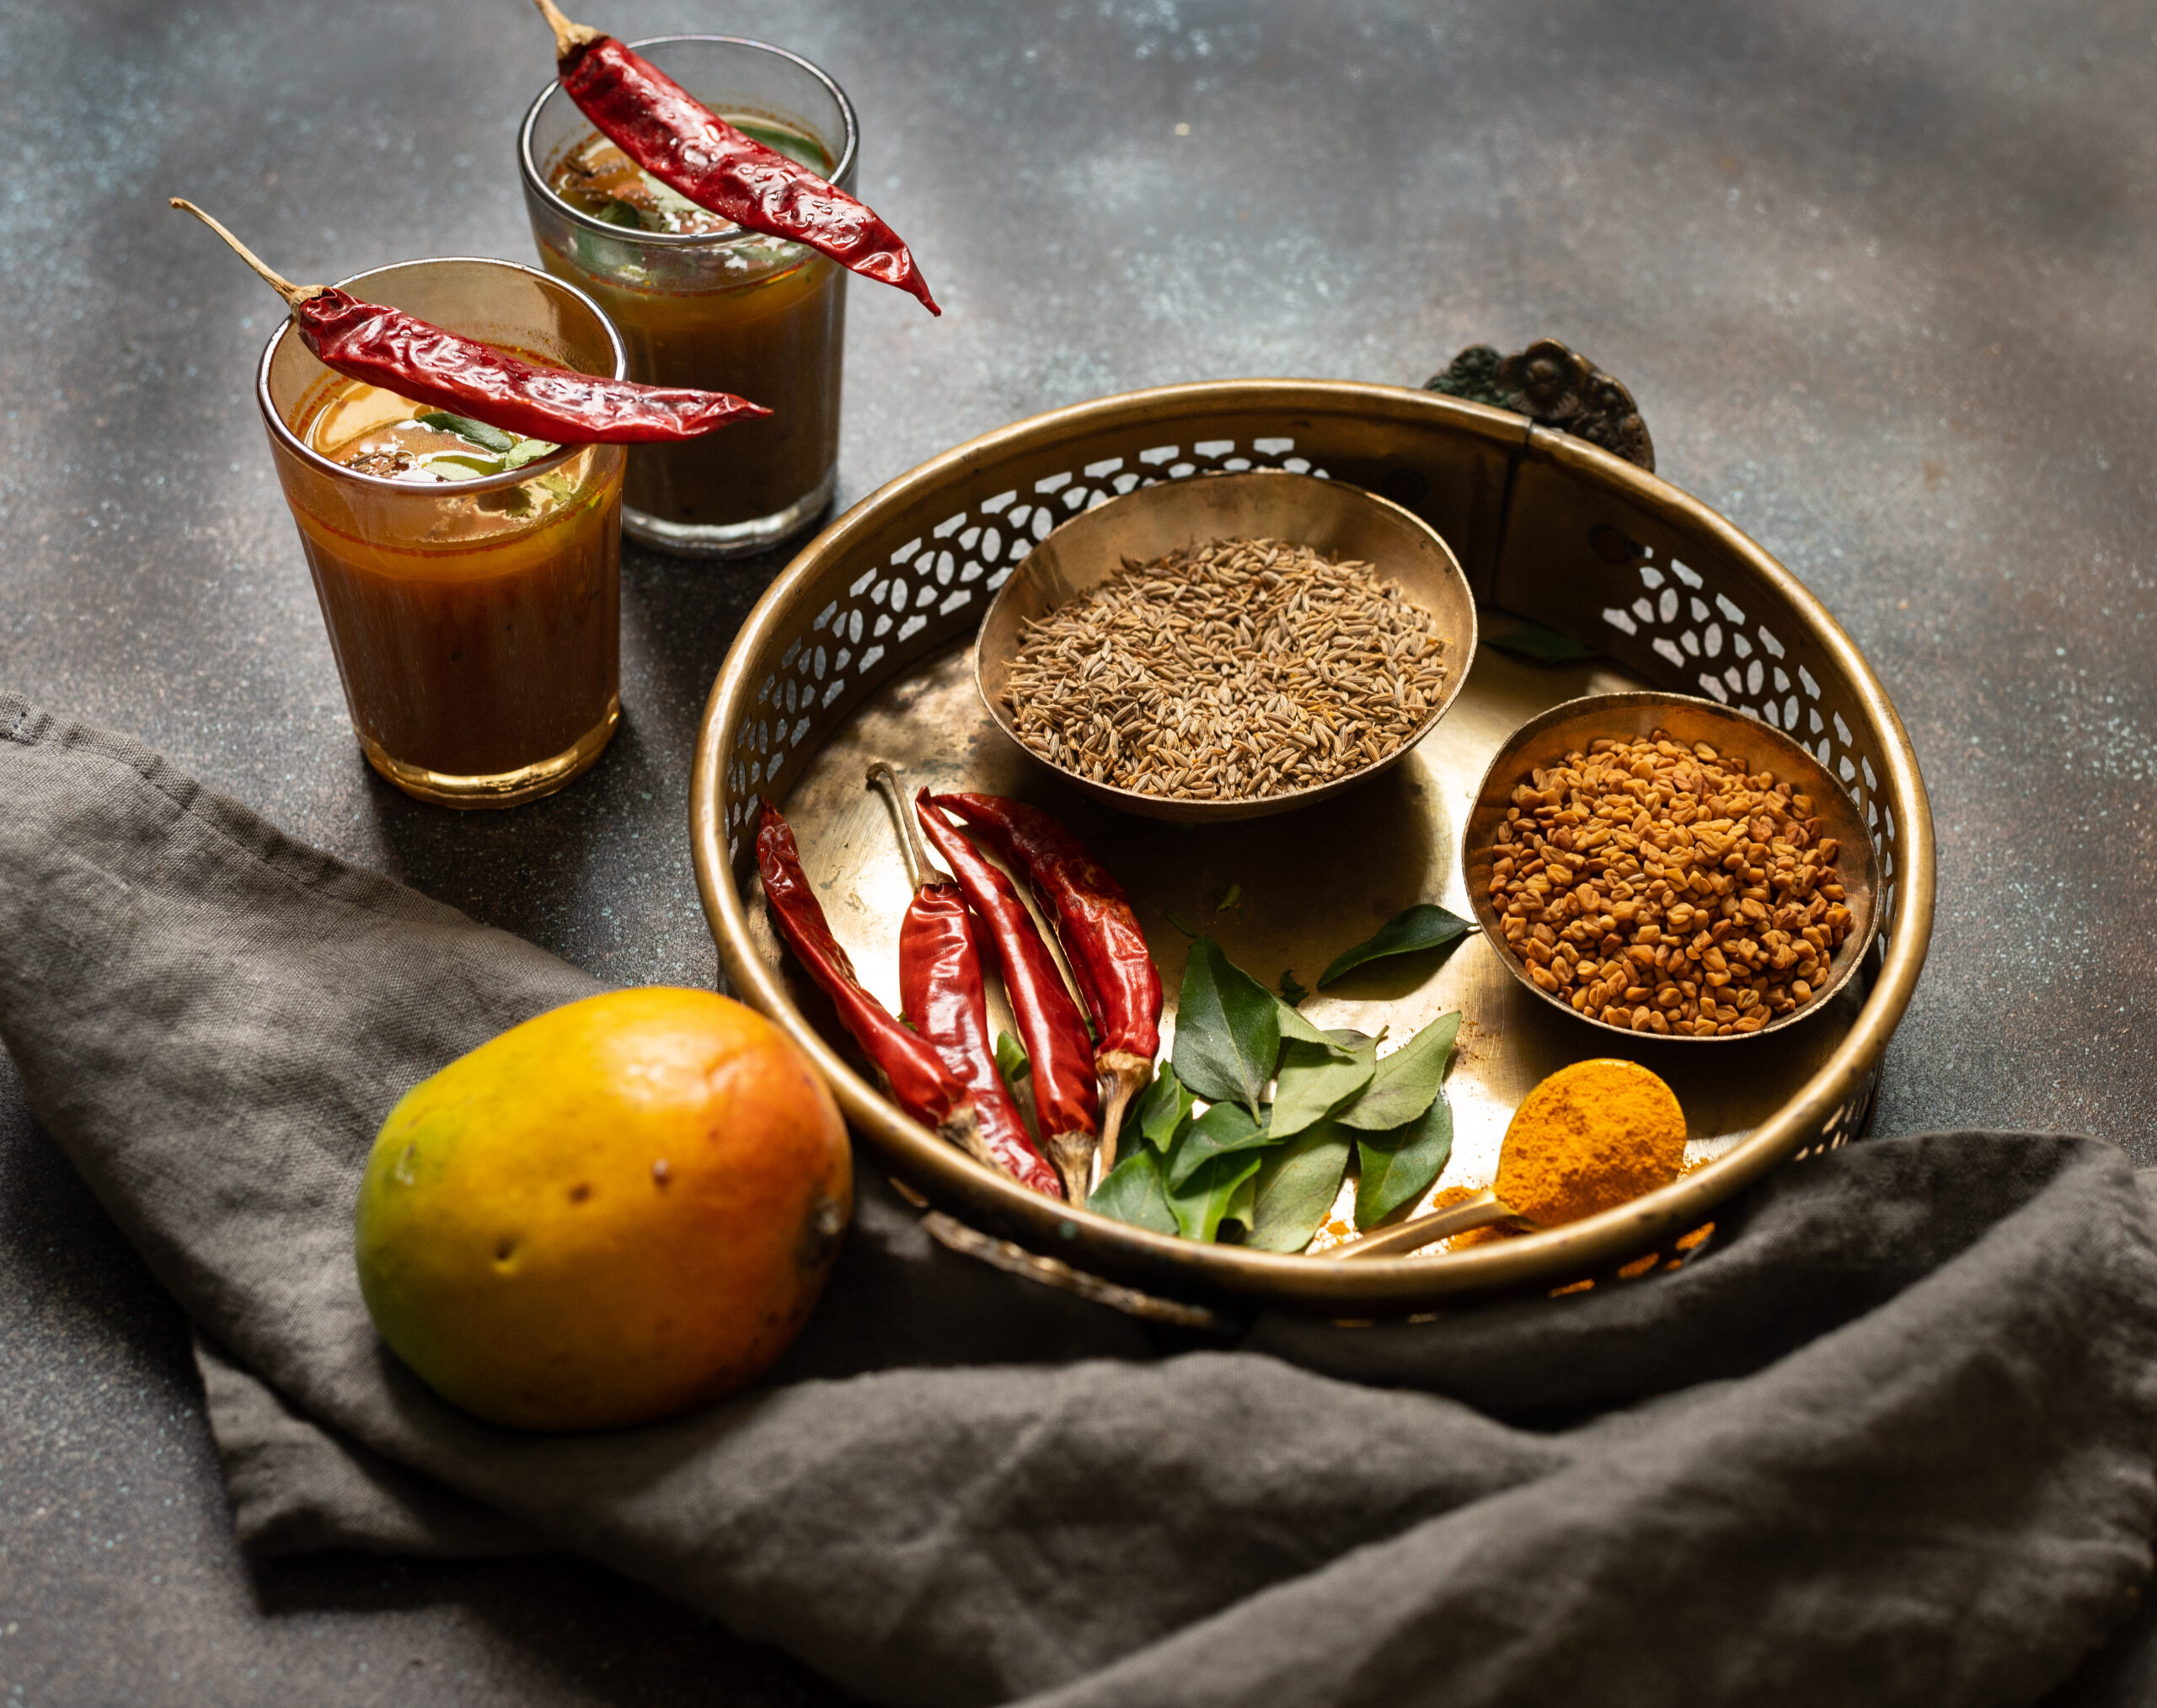
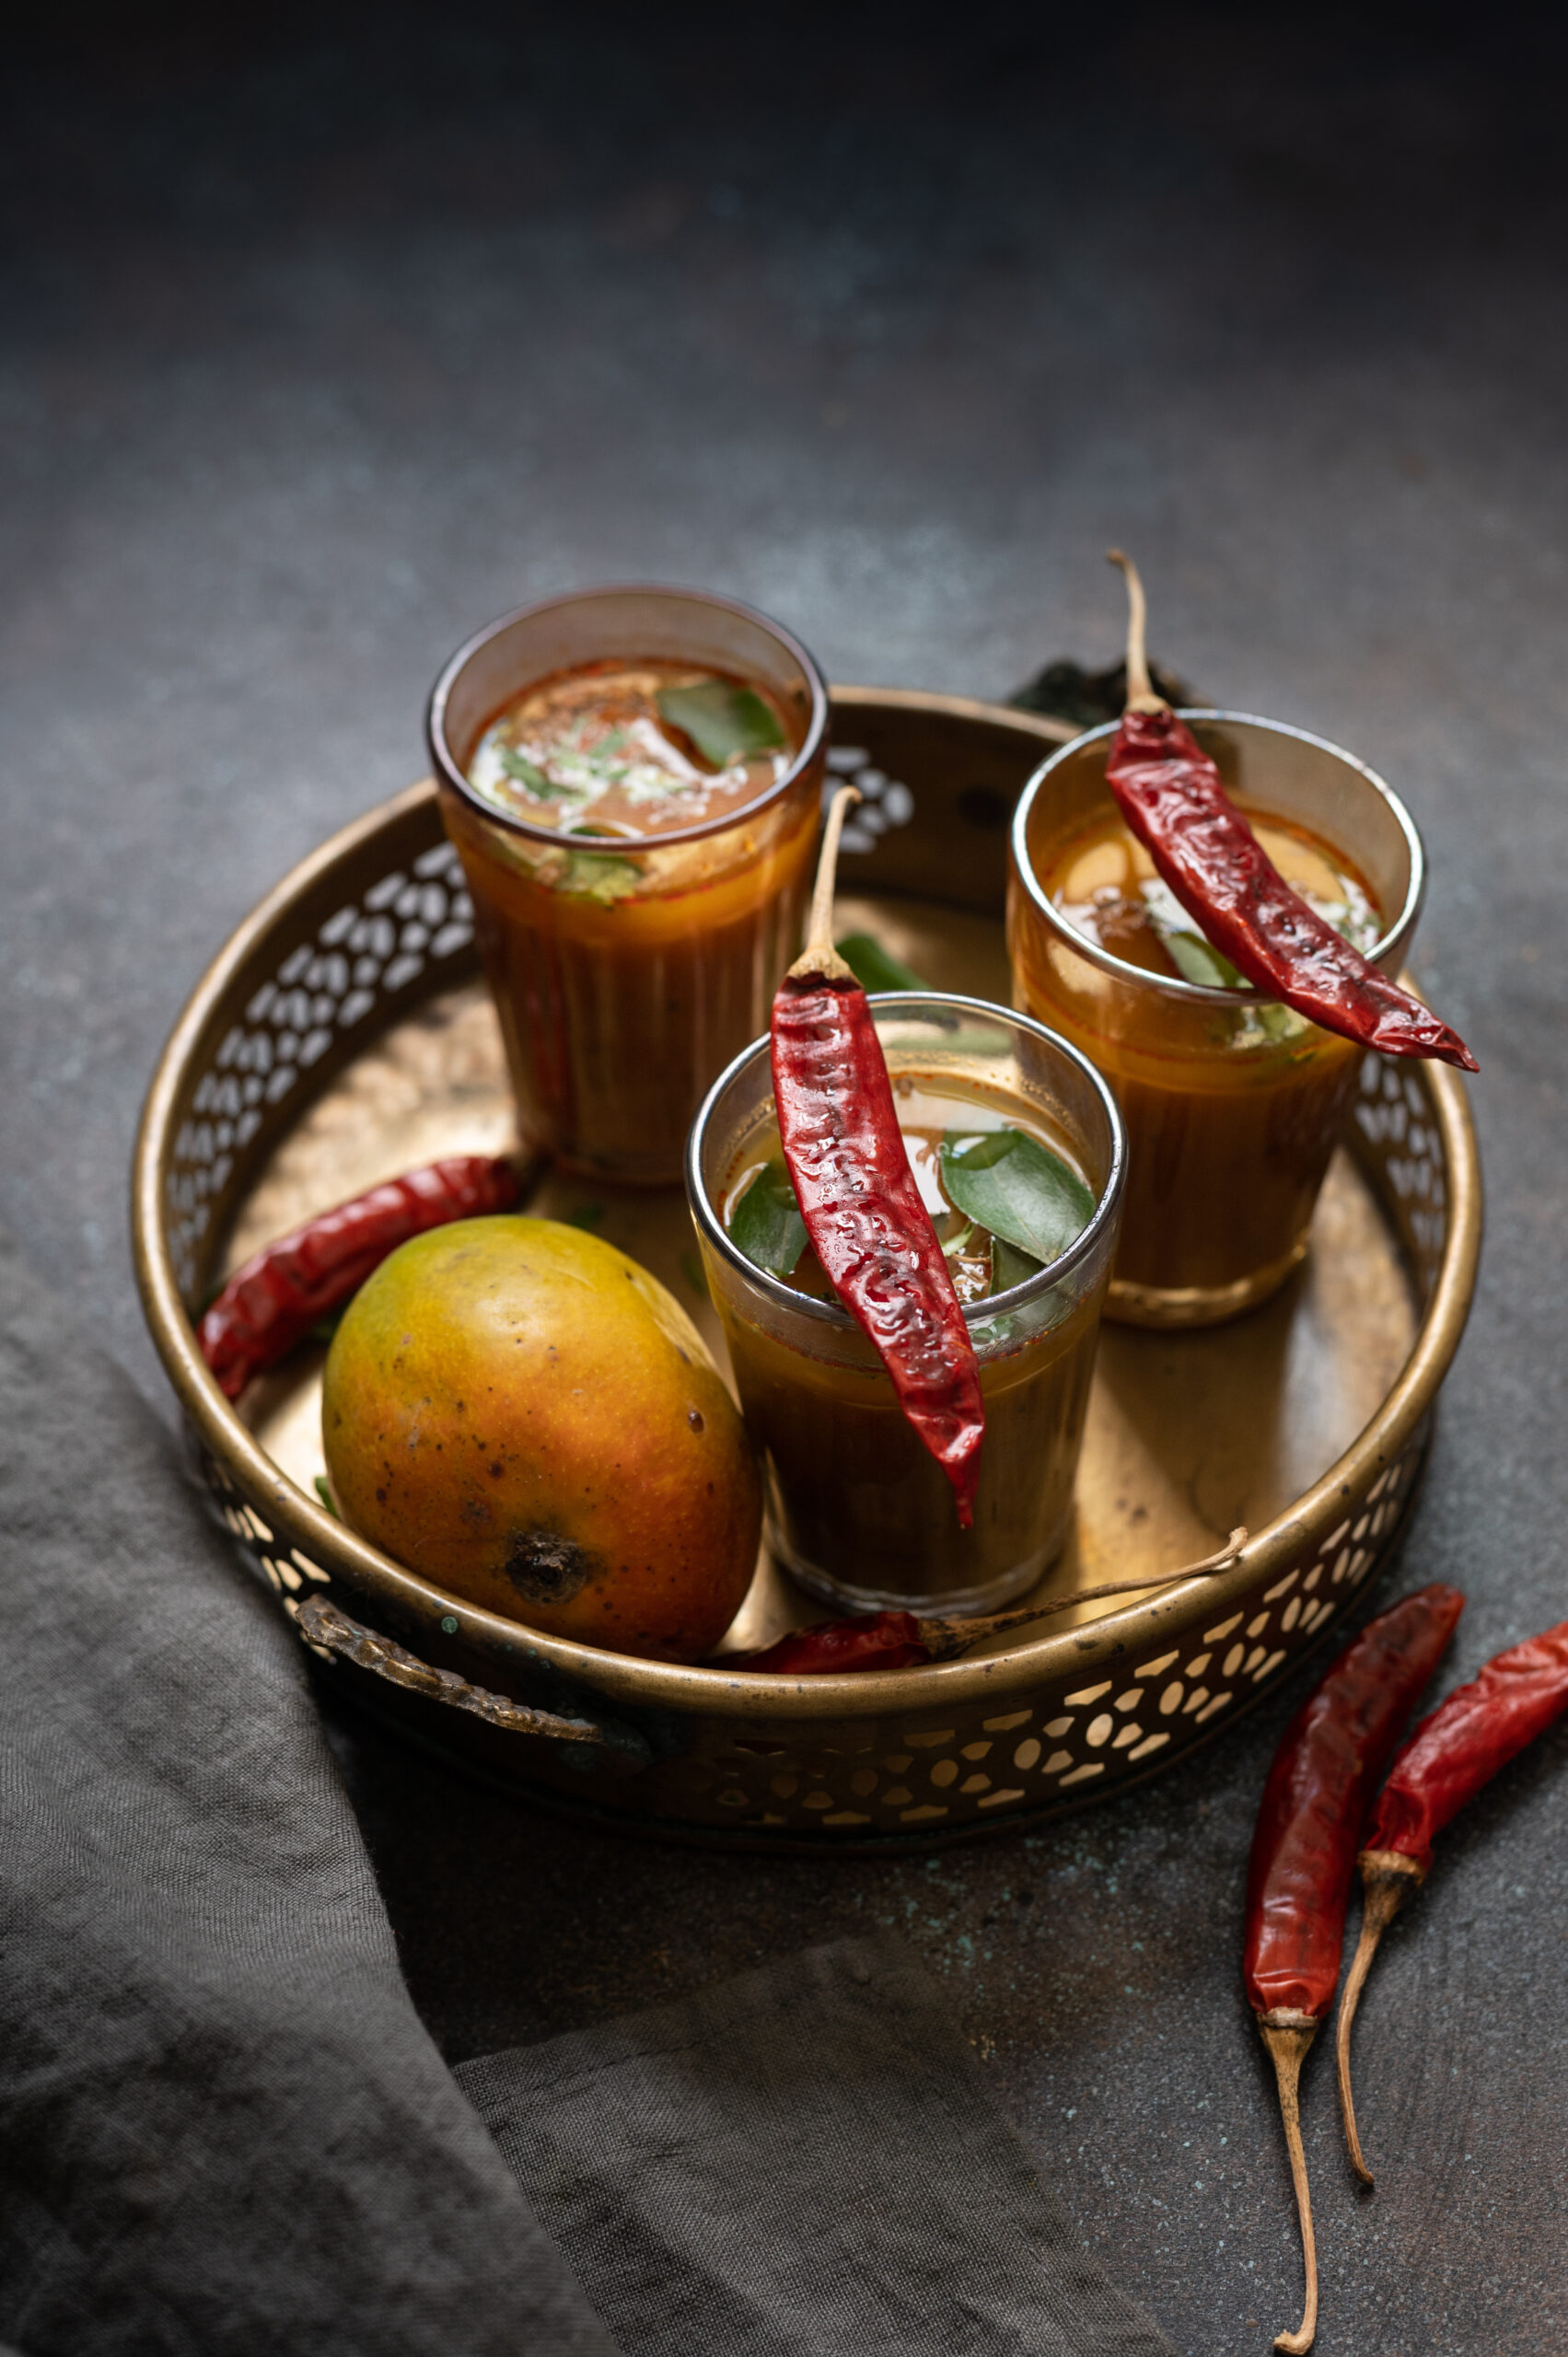
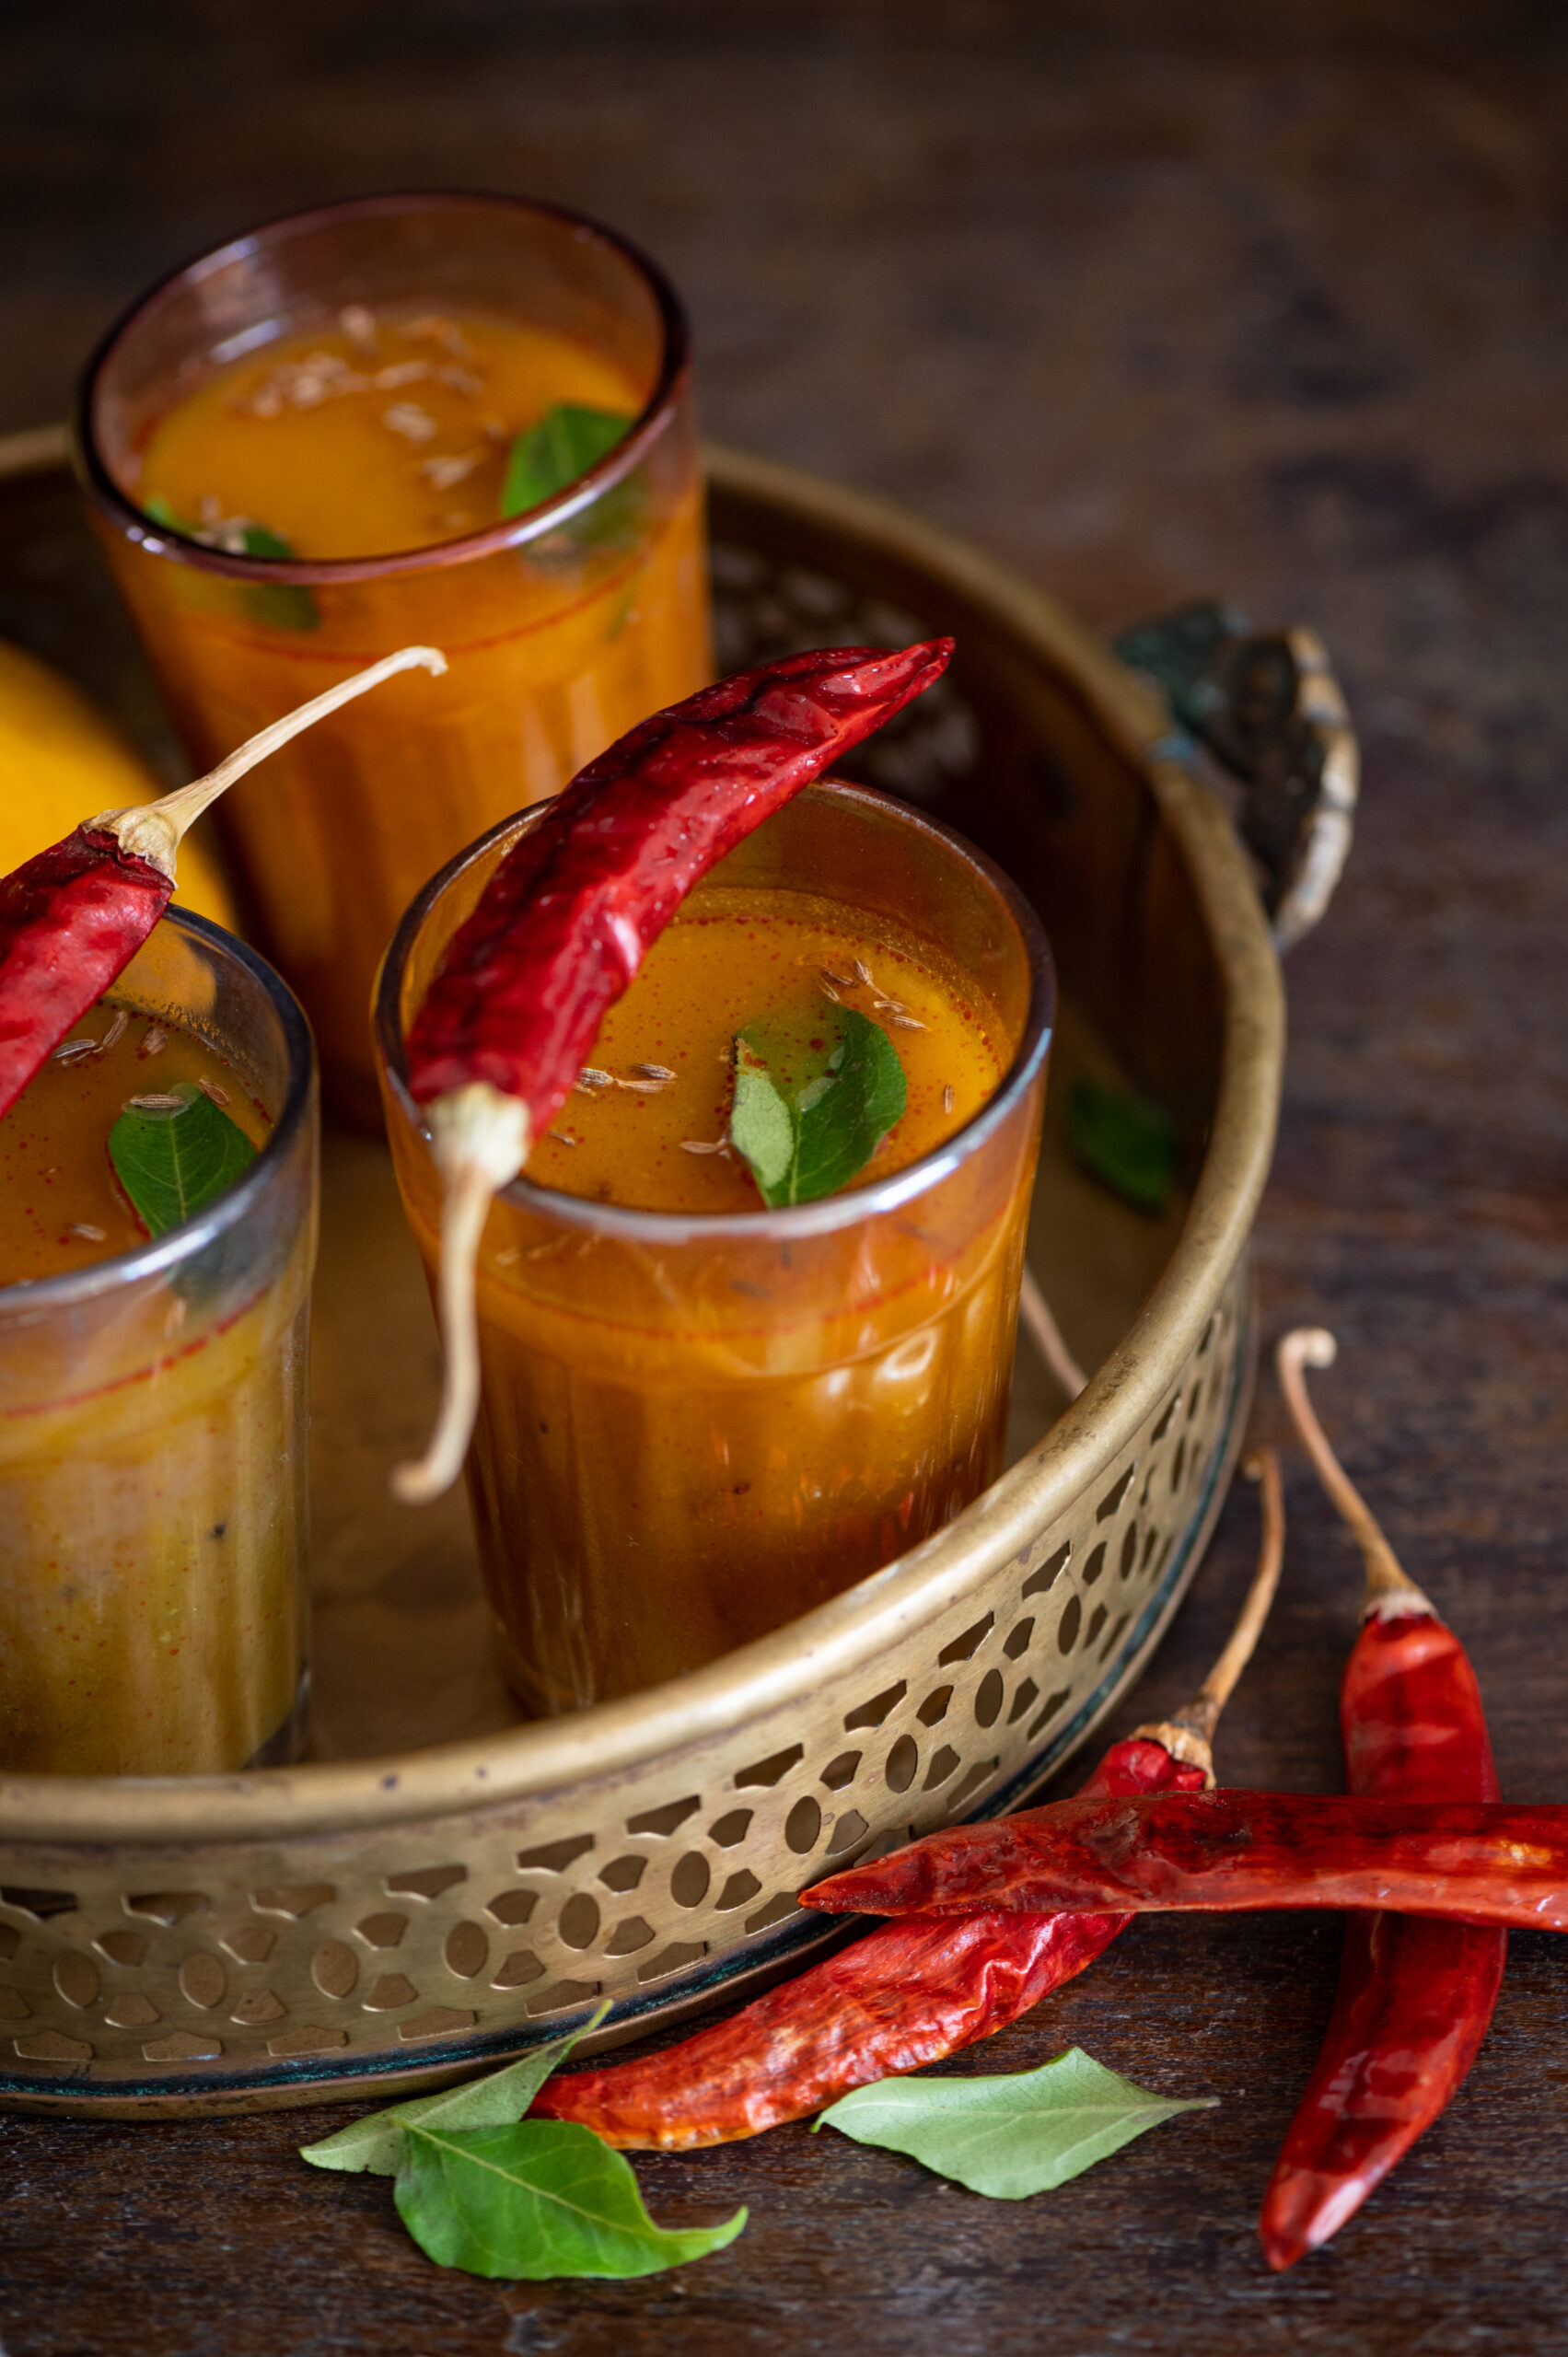
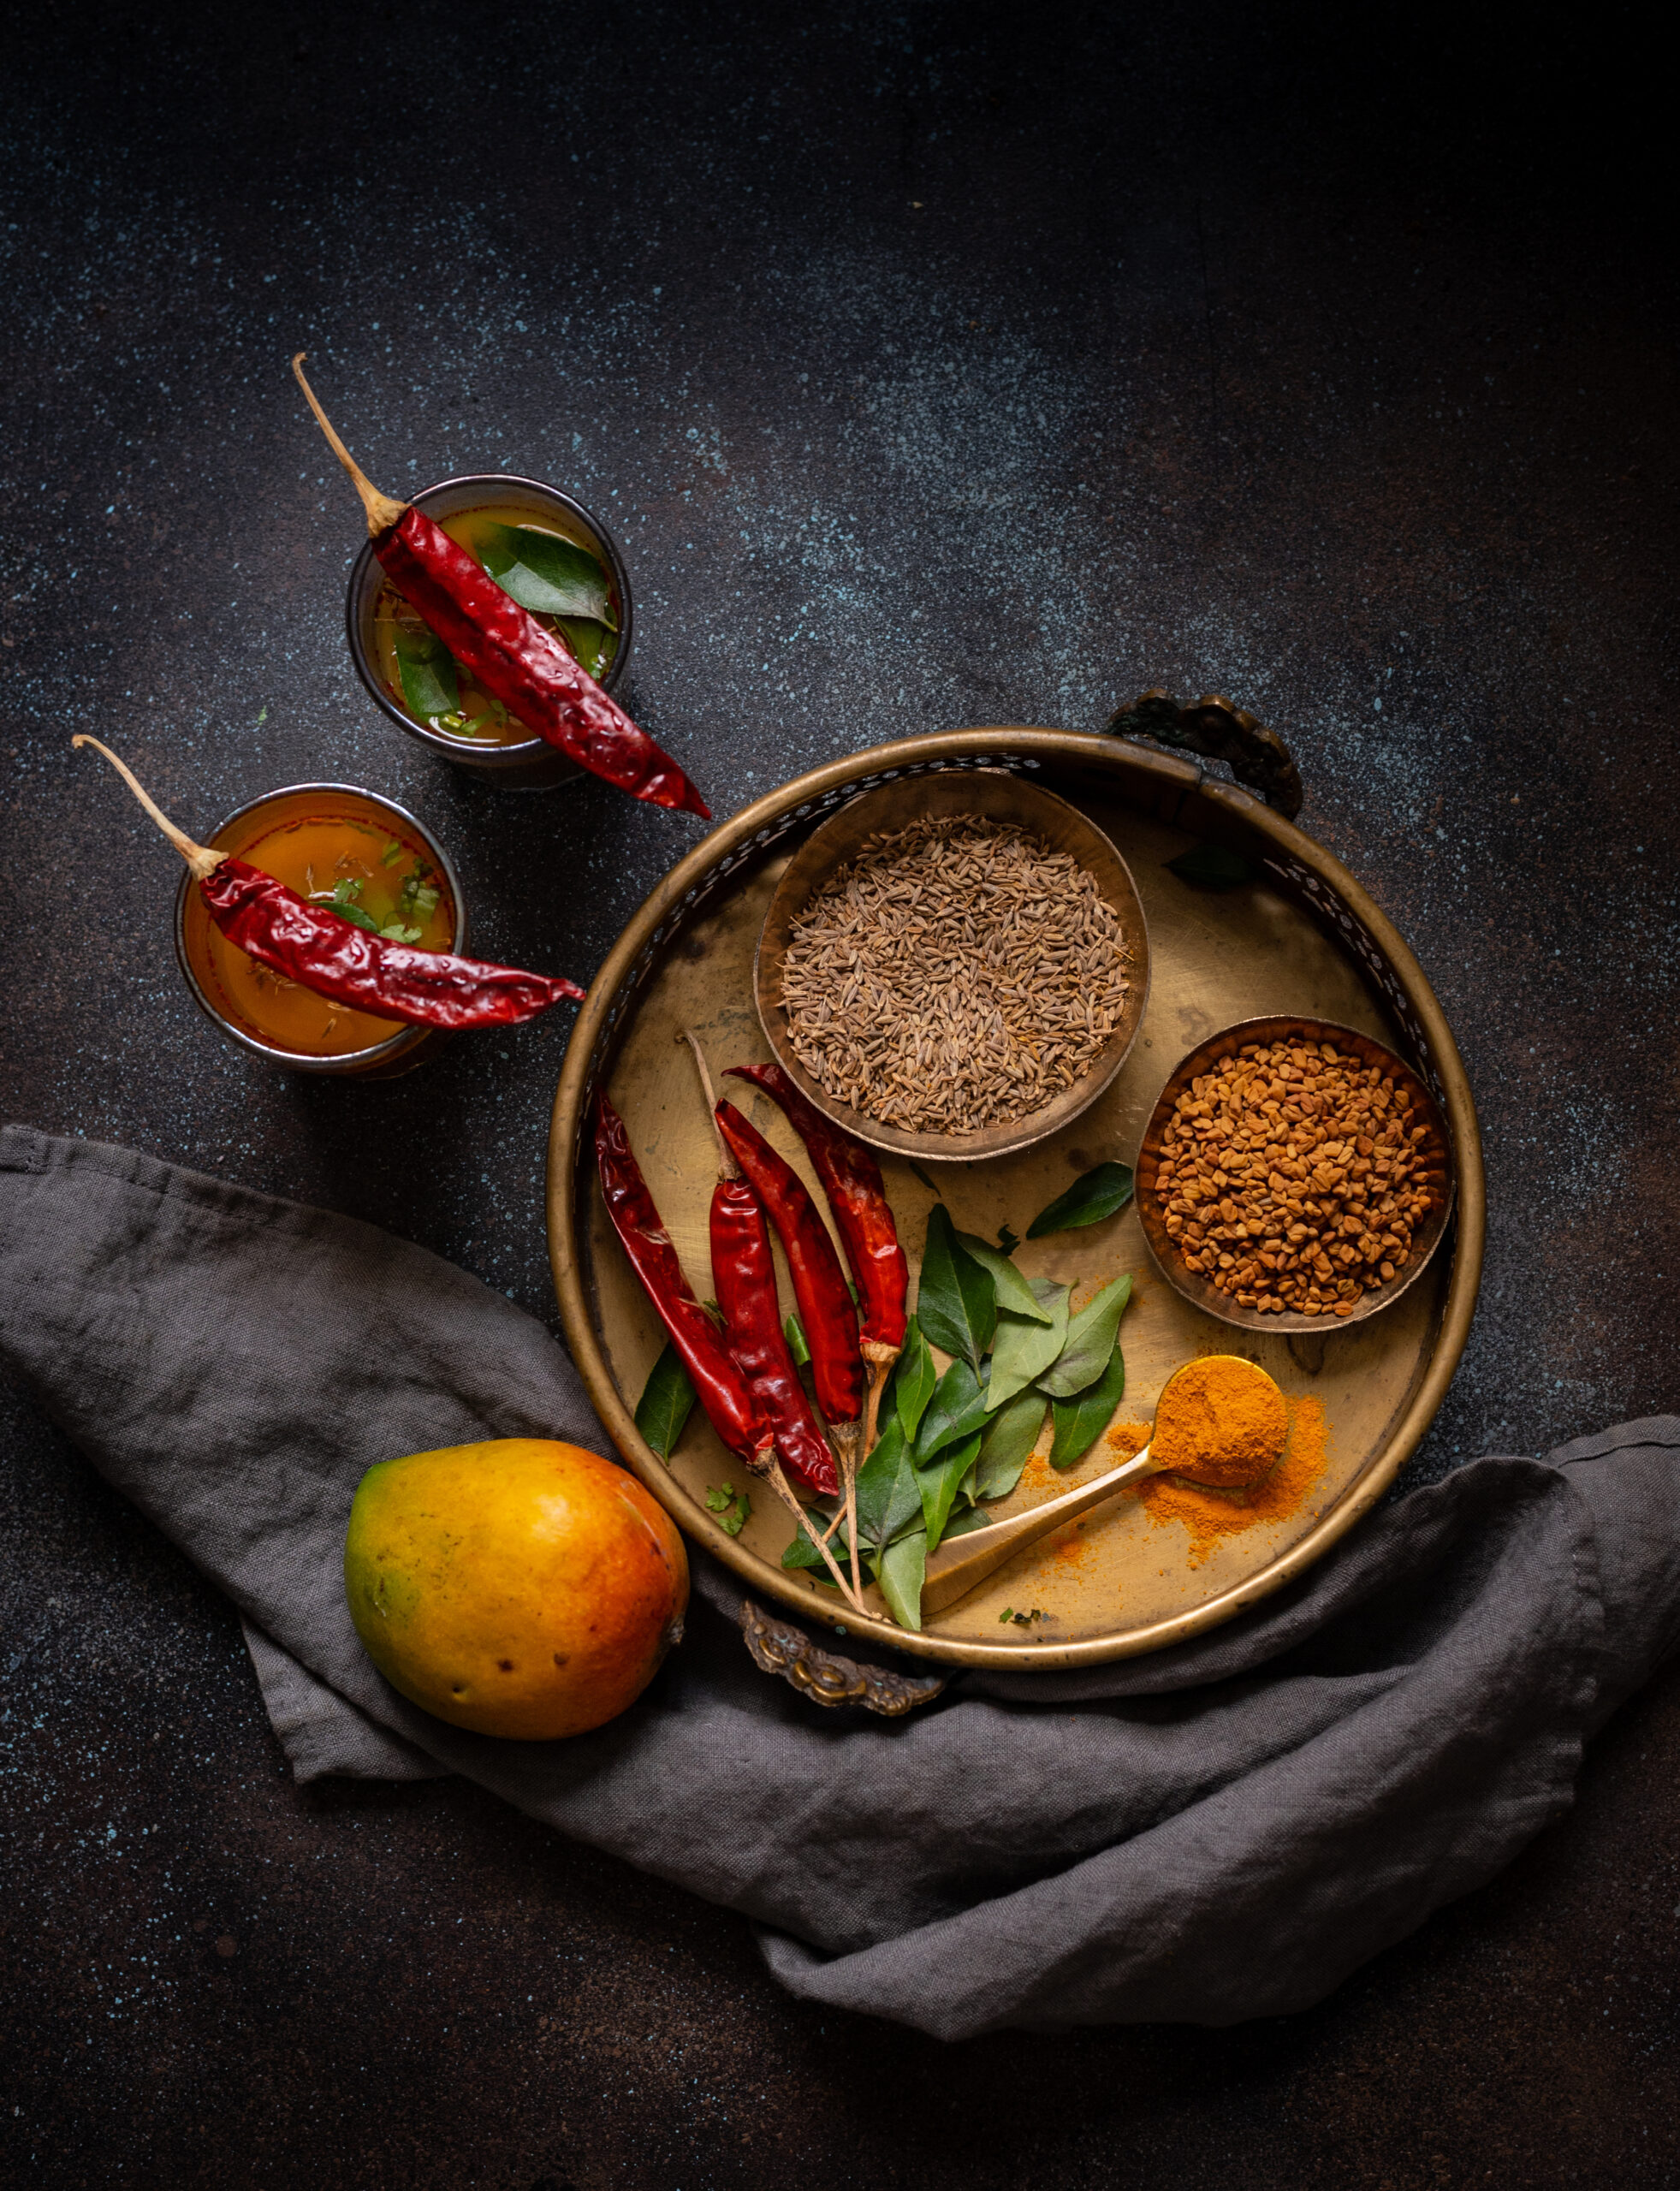
Osaman is a kind of thin broth made in Gujarati kitchens. It’s rather similar to rasam, although certain ingredients like tamarind are eliminated whereas other ingredients like jaggery are used. As I’ve said numerous times in other posts, every community and region in India will have its own variations on certain staples: rices, curries, dals and so on. With it being mango season here – in the country as well as on this blog! – this ripe mango rasam I shared a couple of years back was on my mind. That was when an idea struck: why not make the traditional osaman I had grown up with, but with a luscious, fruity twist?

Osaman is essentially made using the water that dal is boiled in, and served alongside the same dal in a meal. Inspired partly by mango rasam and partly by the Gujarati curry known as fajeto (which is similar to Tamil cuisine’s morkuzhambu), I blended some ripe mango into an osaman as a culinary experiment. The result was something delightful, and I’m excited to share it with you today. This mango osaman is my own recipe, bringing together various comforting influences into a single dish.

Despite being popular in Gujarati homes in the summer, the yoghurt-based fajeto is a heavier dish, and is not among my family’s favourites. They’ve been getting their dairy intake from this lovely lassi anyway, so this osaman was the perfect substitute, allowing me to bring mangoes into our lunch preparations in a new way as well. It’s been much appreciated, and I’m sure it will become a part of our regular meals over many mango seasons to come.

Ripe Mango Osaman

(Yield: Approximately 5 cups)


3½ cups water

1 cup ripe mango pulp

½ cup boiled toor dal

Juice of 1 lemon

Salt to taste

½ teaspoon turmeric powder

1 teaspoon cumin powder

1 teaspoon coriander powder

½ teaspoon red chilli powder

2 teaspoons jaggery

2 teaspoons ghee

½ teaspoon mustard seeds

½ teaspoon cumin seeds

1 teaspoon grated ginger

2 dry red chilies

A handful of finely cut coriander leaves

In a pot, add the dal, mango pulp and water. Mix well, using a hand blender.

Add the salt, cumin powder, coriander powder, jaggery, turmeric powder and grated ginger to the pot. Allow to boil for about five minutes so that the flavours come together nicely.

In a small pot, prepare the tadka (seasoning). Add ghee. Once it’s hot, add the mustard seeds, cumin seeds and dry red chillies. As soon as they begin spluttering, add the red chilli powder and immediately pour it over the hot osaman.

Squeeze some lemon juice over it, and garnish with coriander leaves and serve.

Just like rasam, this ripe mango osaman works beautifully both as a warm beverage and as an accompaniment to rice. I hope you’ll enjoy this Gujarati-Tamil fusion dish of mine. I’m simply thrilled to have one more recipe to make the most of my mango madness with!


Here in lockdown mode, due to the global pandemic, I feel now more than ever that memories, bonding, love and food are what keep us going and make it possible to manage this difficult time. I sincerely hope that you and your families are keeping well, and that my recipes will offer you some comfort.

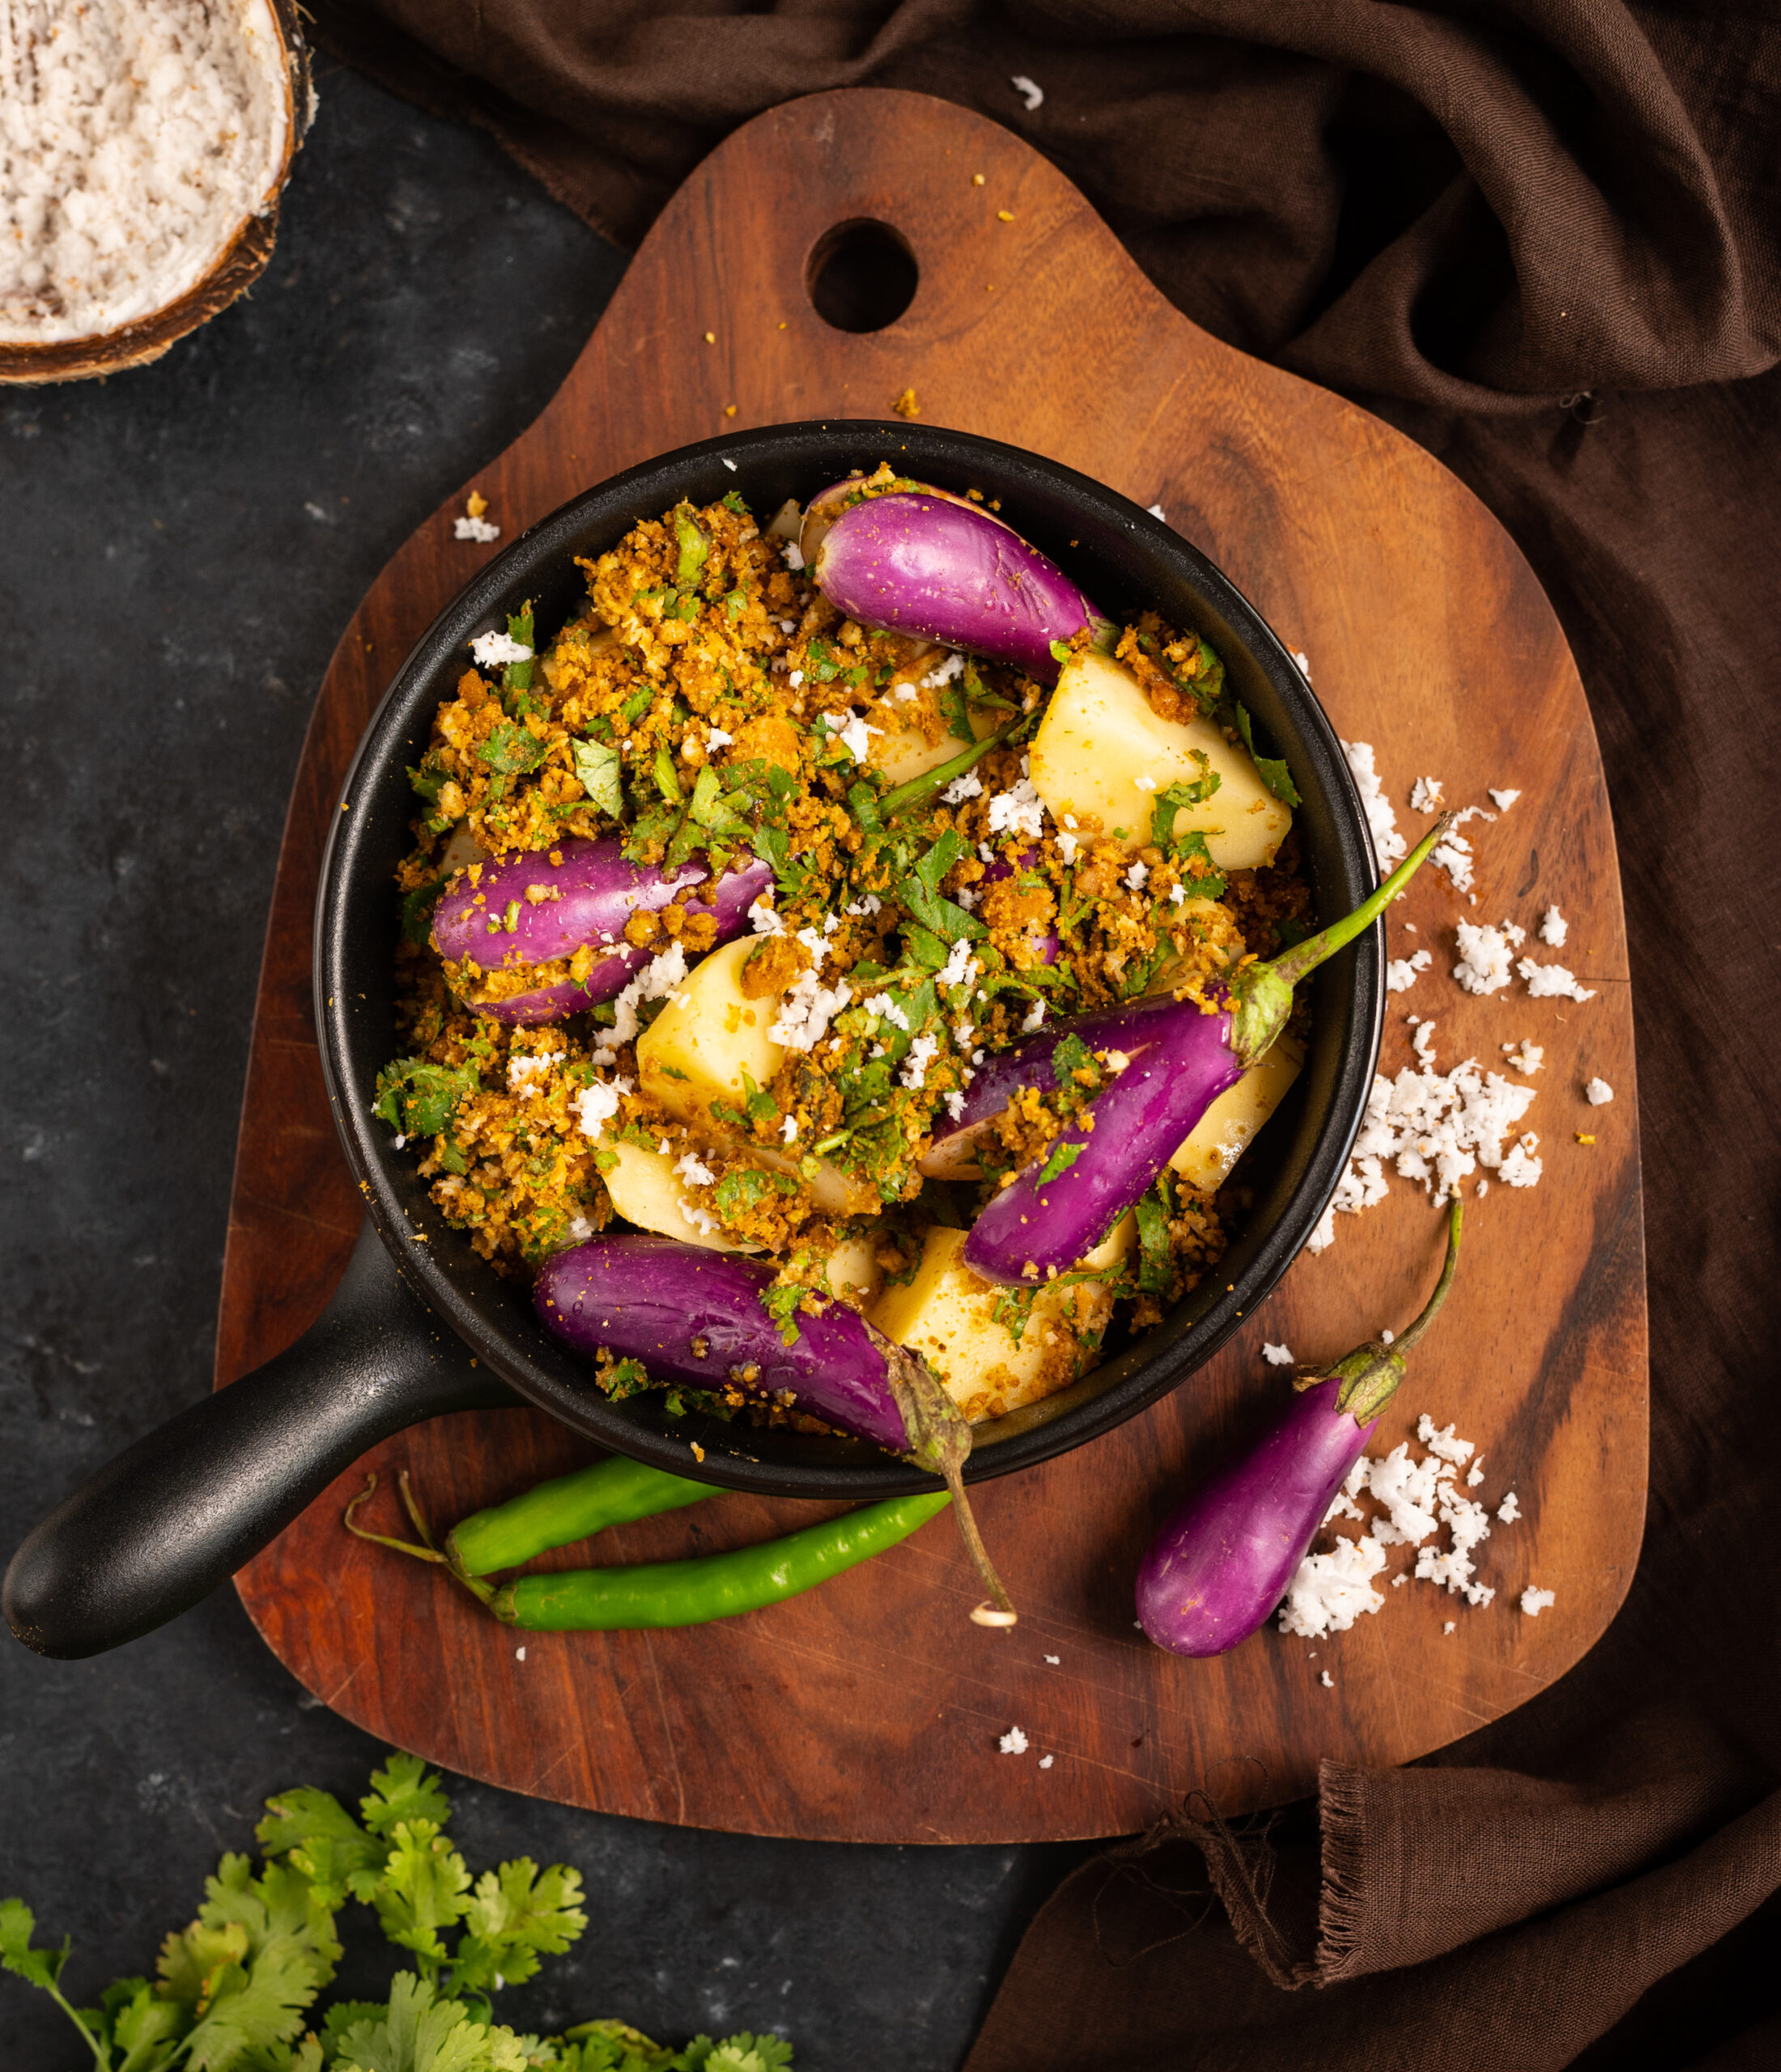
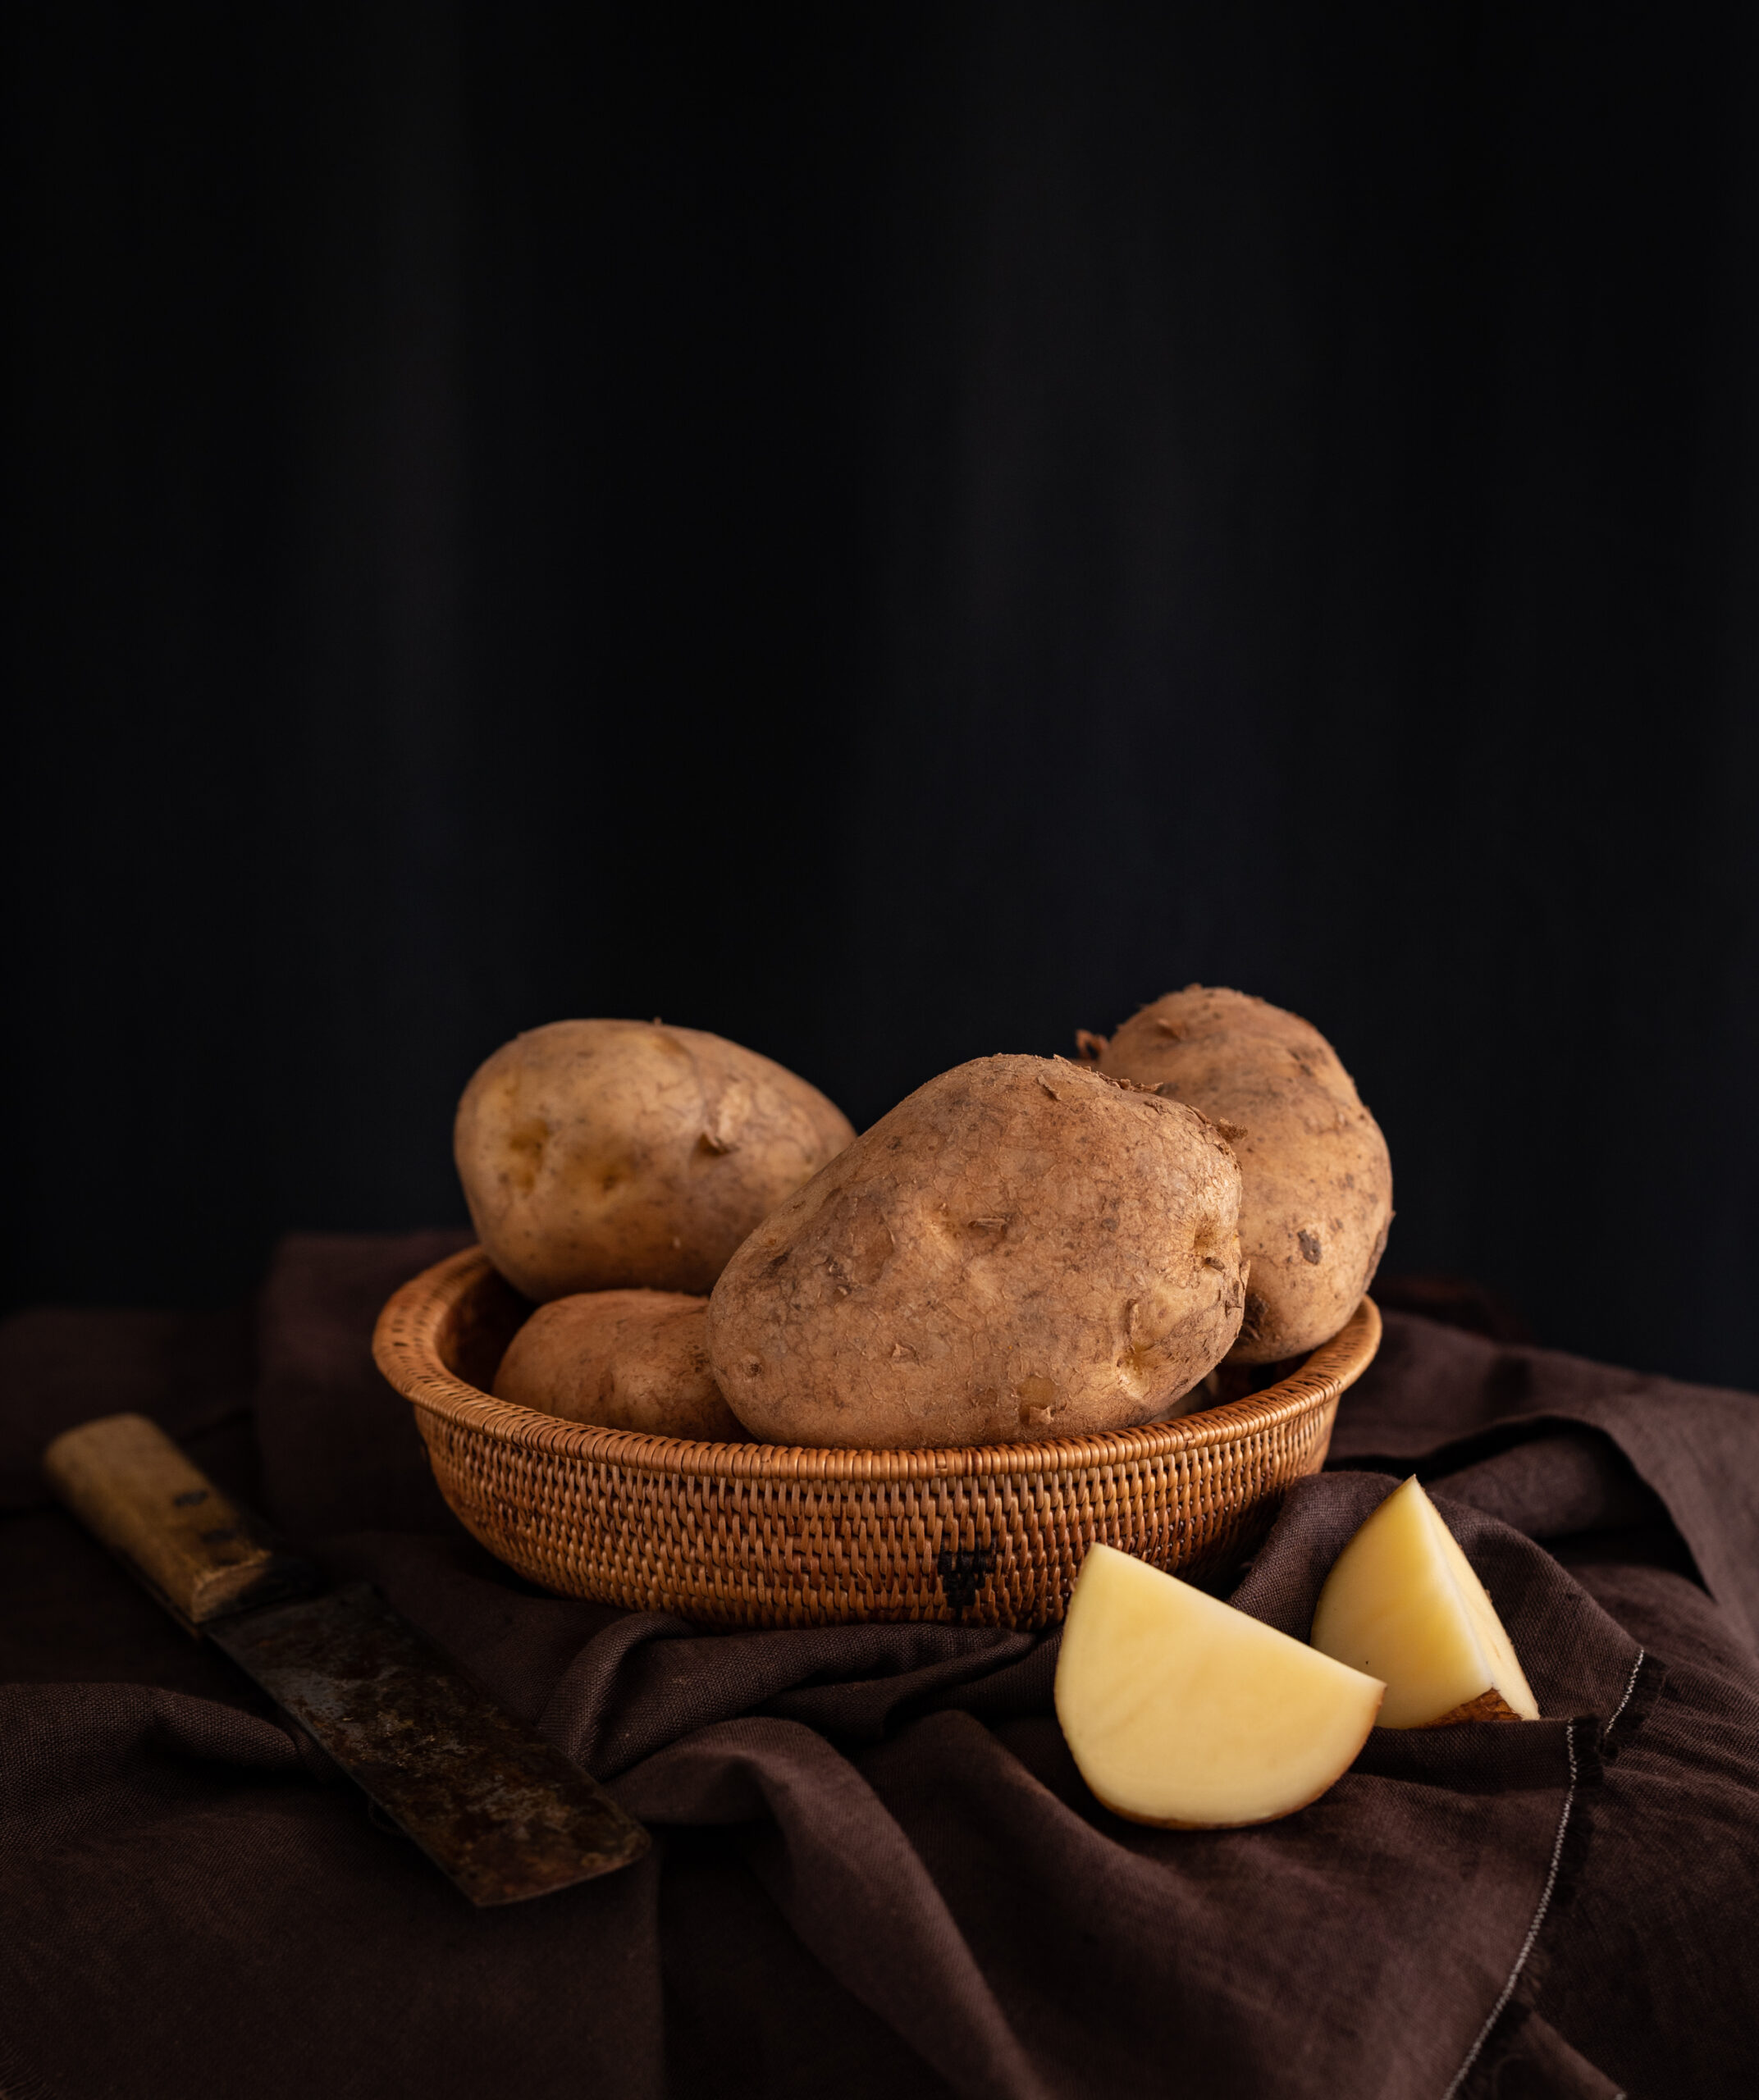
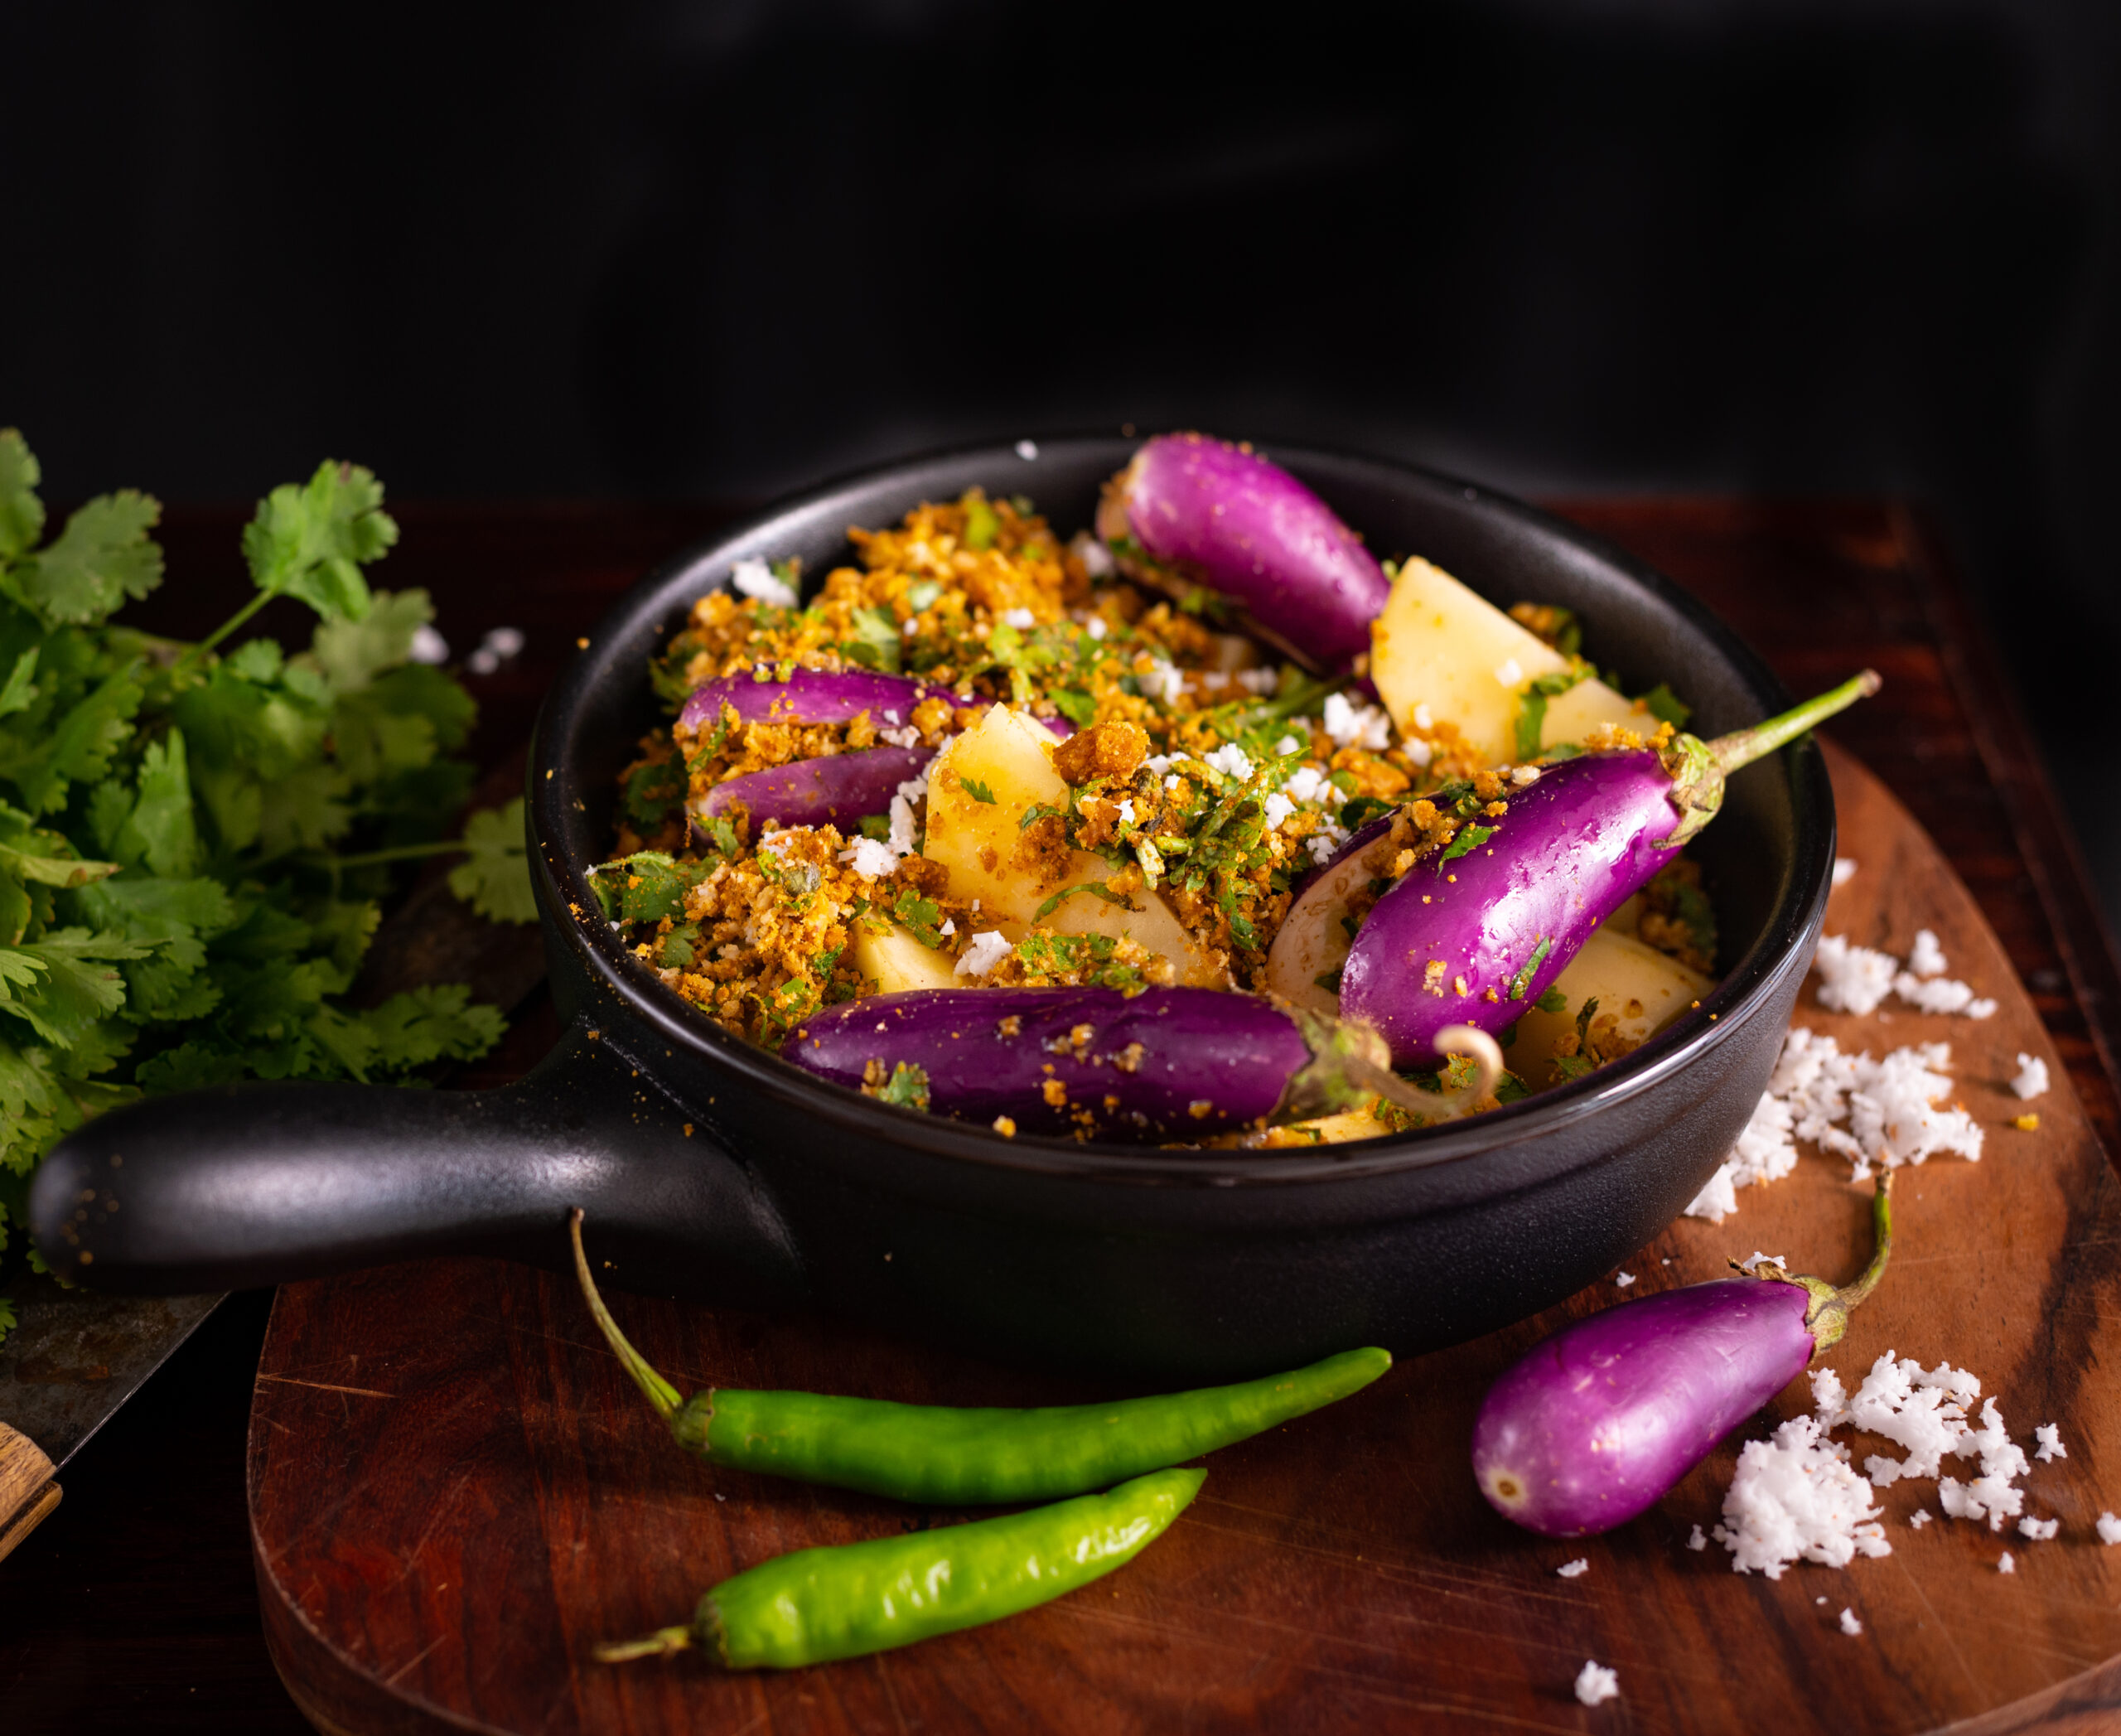
Ever since I can remember, this traditional stuffed vegetable dish has been a part of my life. It’s typically Gujarati, in the sense that every Gujarati household makes it. Some use onions and garlic, while for others these ingredients are not permitted religiously. Some use peanuts to add more texture. This dish is true to its region, so the taste and style you experience will also vary depending on where in the state the family originated from. No matter the variant, the base recipe for this Gujarati Potato & Brinjal Curry, which can be made either as a gravy or dry, is the same.

Needless to say, it’s a favourite and frequent dish in my home today, just as it was when I was growing up. It was a trademark preparation of my mother’s. When I first got married, she would speak to me often on the phone and if she sensed that I was feeling down, she would always say, “Come home for a meal. I made your favourite vegetable dish today.” Till she was 84 years old, she cooked this sabzi regularly for me. In that last year when she was unwell, it became my turn to. I would cook it and send it to her, made with all the love I have for her and the memories she had given me, and she would enjoy it just as much as I did.

And how many memories I have of this dish! Memories of eating it at home as a child, memories of making it for my own family once my kids were born, memories of visiting Gujarati relatives and friends for a meal and almost invariably being offered their own personal rendition of it. Perhaps there was something extra special about it to me always, and maybe this was the reason why my mother recognised that it was my favourite. That was because it was always served during our Sunday lunches when we were growing up. We would all be glad for the weekend, enjoying our leisure, and this delicious concoction of potato and stuffed brinjal would fill our tummies and become associated with the joy of a day of rest itself. Funnily, for such a quintessential and ubiquitious dish, Gujaratis don’t have a special name for it. We just call it “potato-brinjal curry” in our language too!
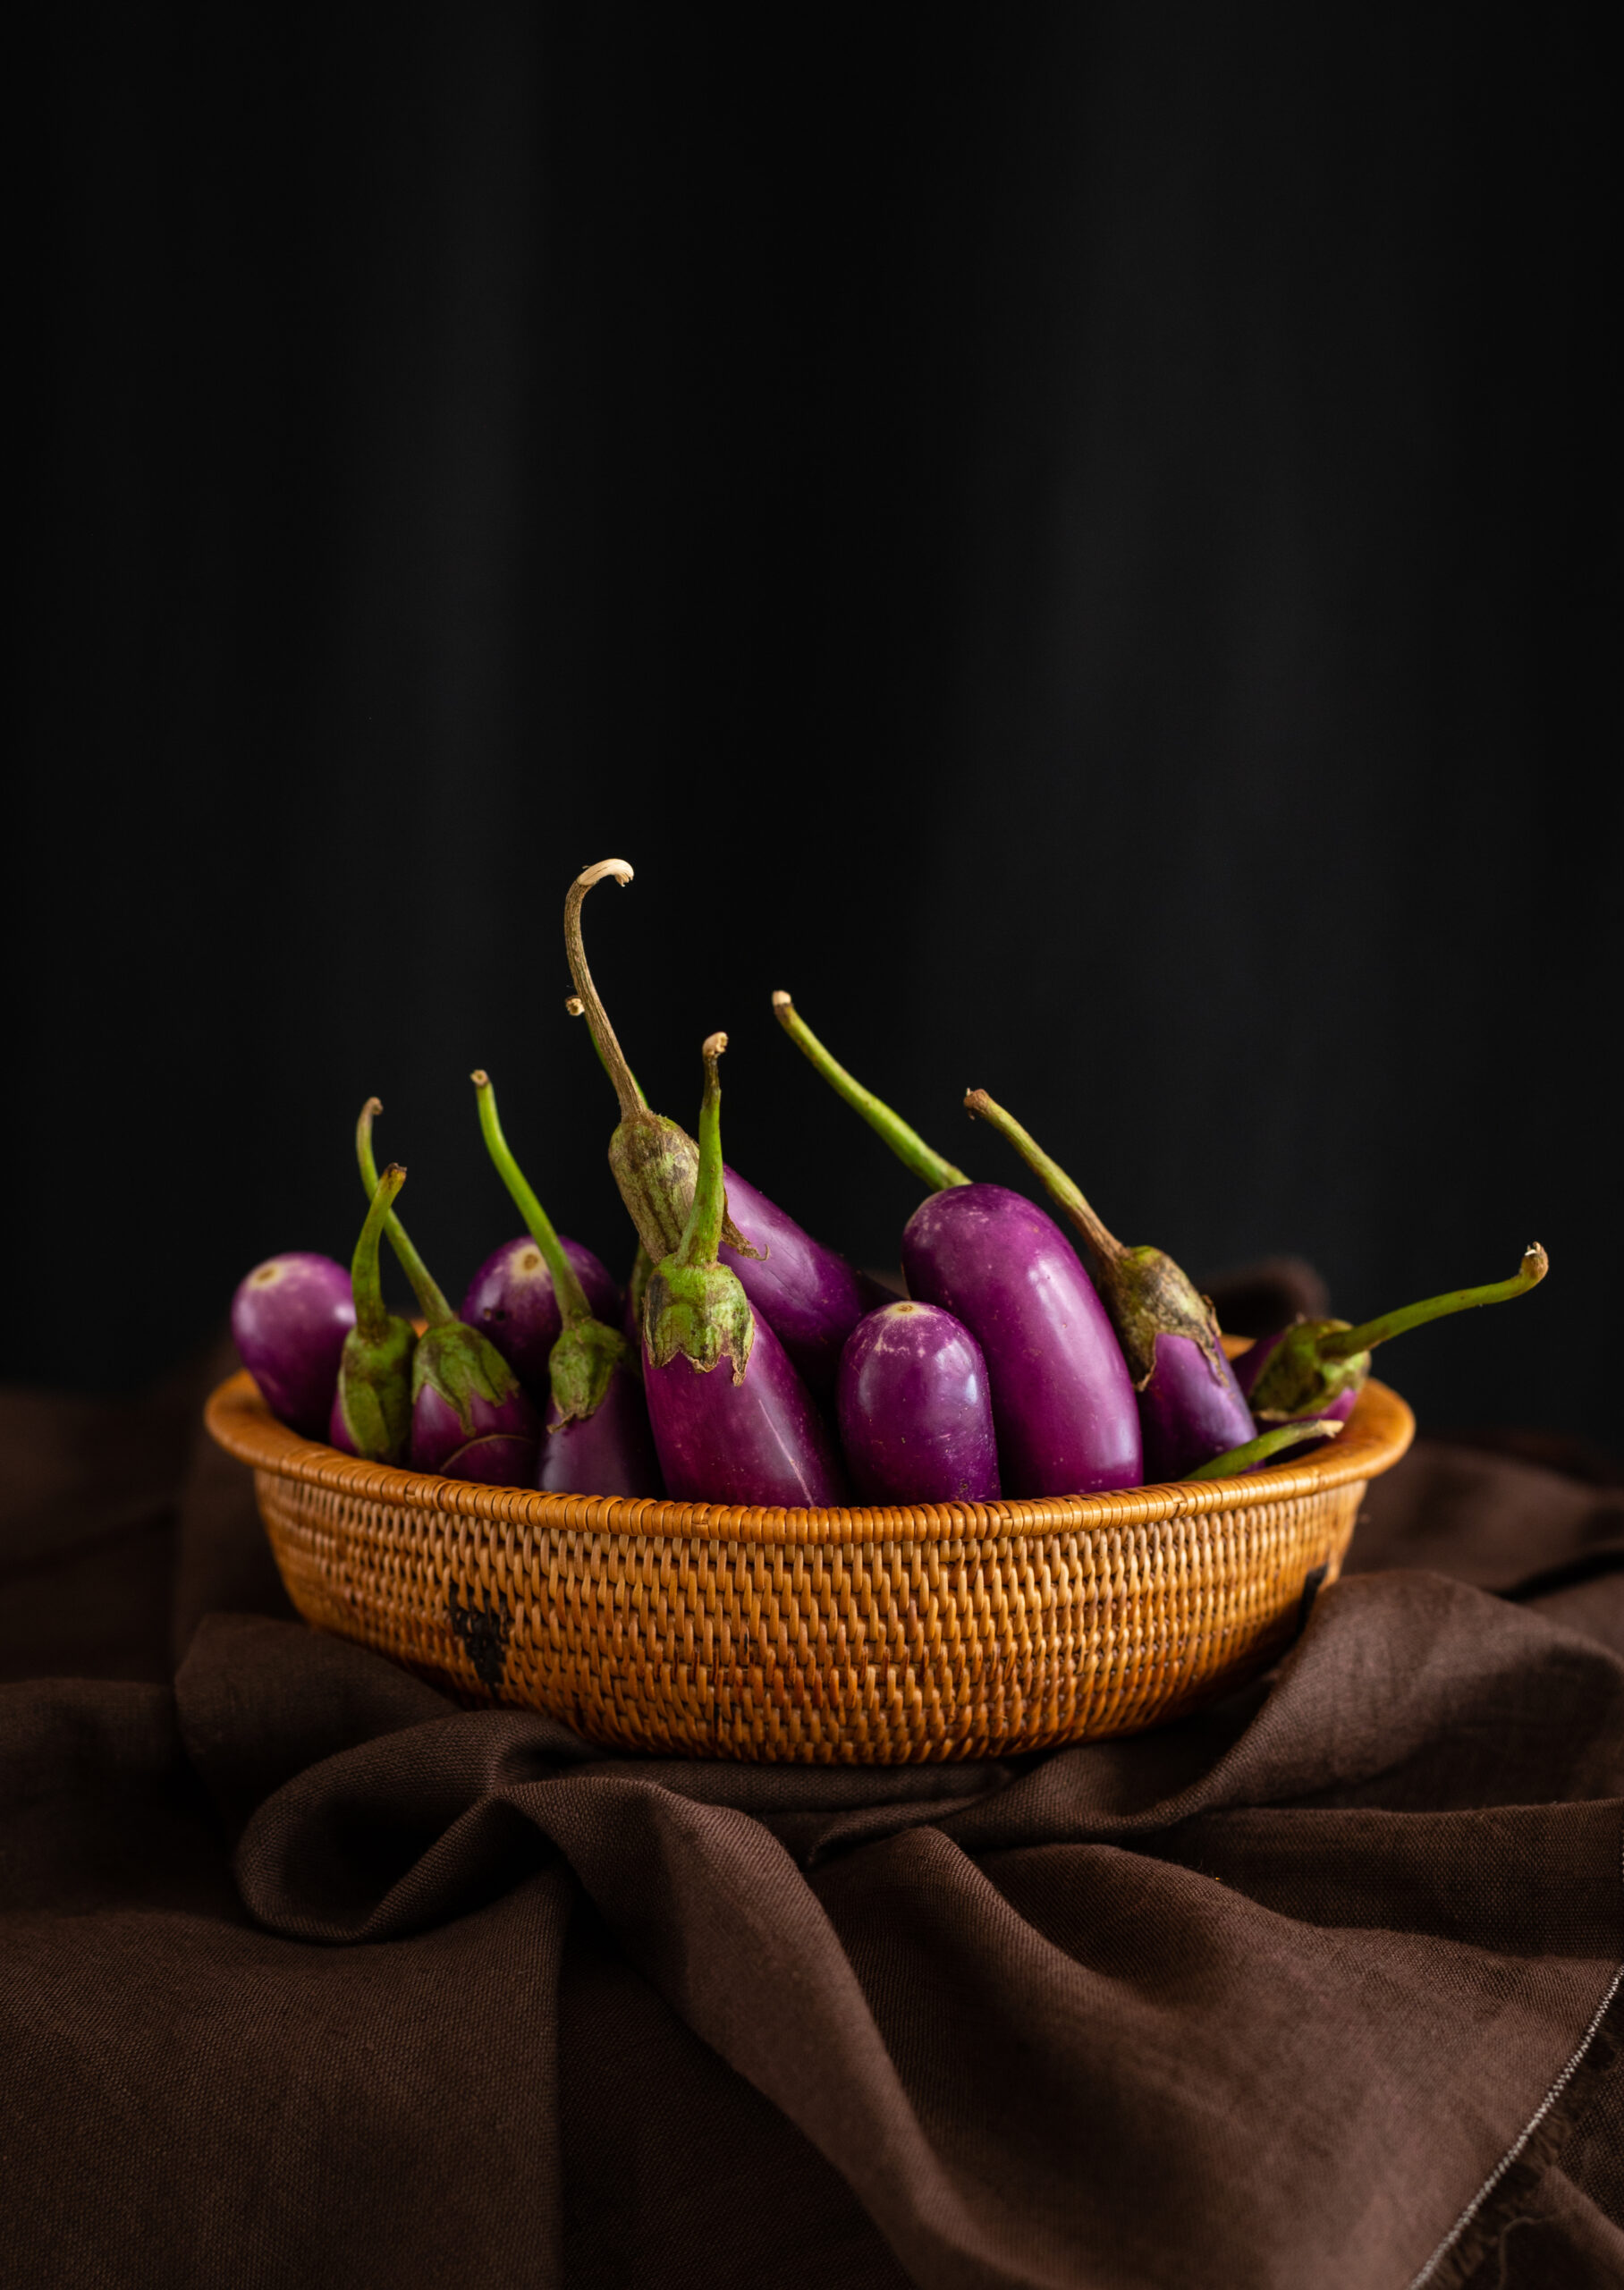
There are certain dishes which, even if one usually dislikes the main ingredient, the magic of the preparation always sways the eater to relish it. I’ve heard quite often that people who don’t enjoy eggplant in other ways do so when they have a bite of this. (People not liking potatoes is much rarer, of course!). Whether you call it brinjal, baingan, aubergine or eggplant, it’s a vegetable that has a host of benefits, and which can be made in delicious ways so that your family receives these. This Gujarati curry, for which I will provide both the gravy and the dry options in the method below, is the perfect way to bring the antioxidant-rich, fibre-rich, nutrient-rich vegetable into your regular diet.

Gujarati Potato & Brinjal Curry (Gravy/Dry)

(Yield: 1 bowl)

½ cup grated coconut

¼ teaspoon turmeric powder

2 tablespoons cumin/dhania (coriander) powder

1 teaspoon amchur (mango powder)

1 teaspoon garam masala

2 tablespoons jaggery

1 teaspoon chilli powder

Salt to taste

½ teaspoon grated ginger/green chili

½ cup finely chopped coriander leaves

2 tablespoons oil

6 baby eggplants

3 large potatoes

3-4 cups water

First, let me share the gravy version of this dish. The dry version is provided further below.

Wash the baby eggplants. Slit them lengthwise (so that they can be stuffed; be careful not to cut completely) and keep the slices in water.

Peel the potatoes and cut them into big pieces. Set aside.

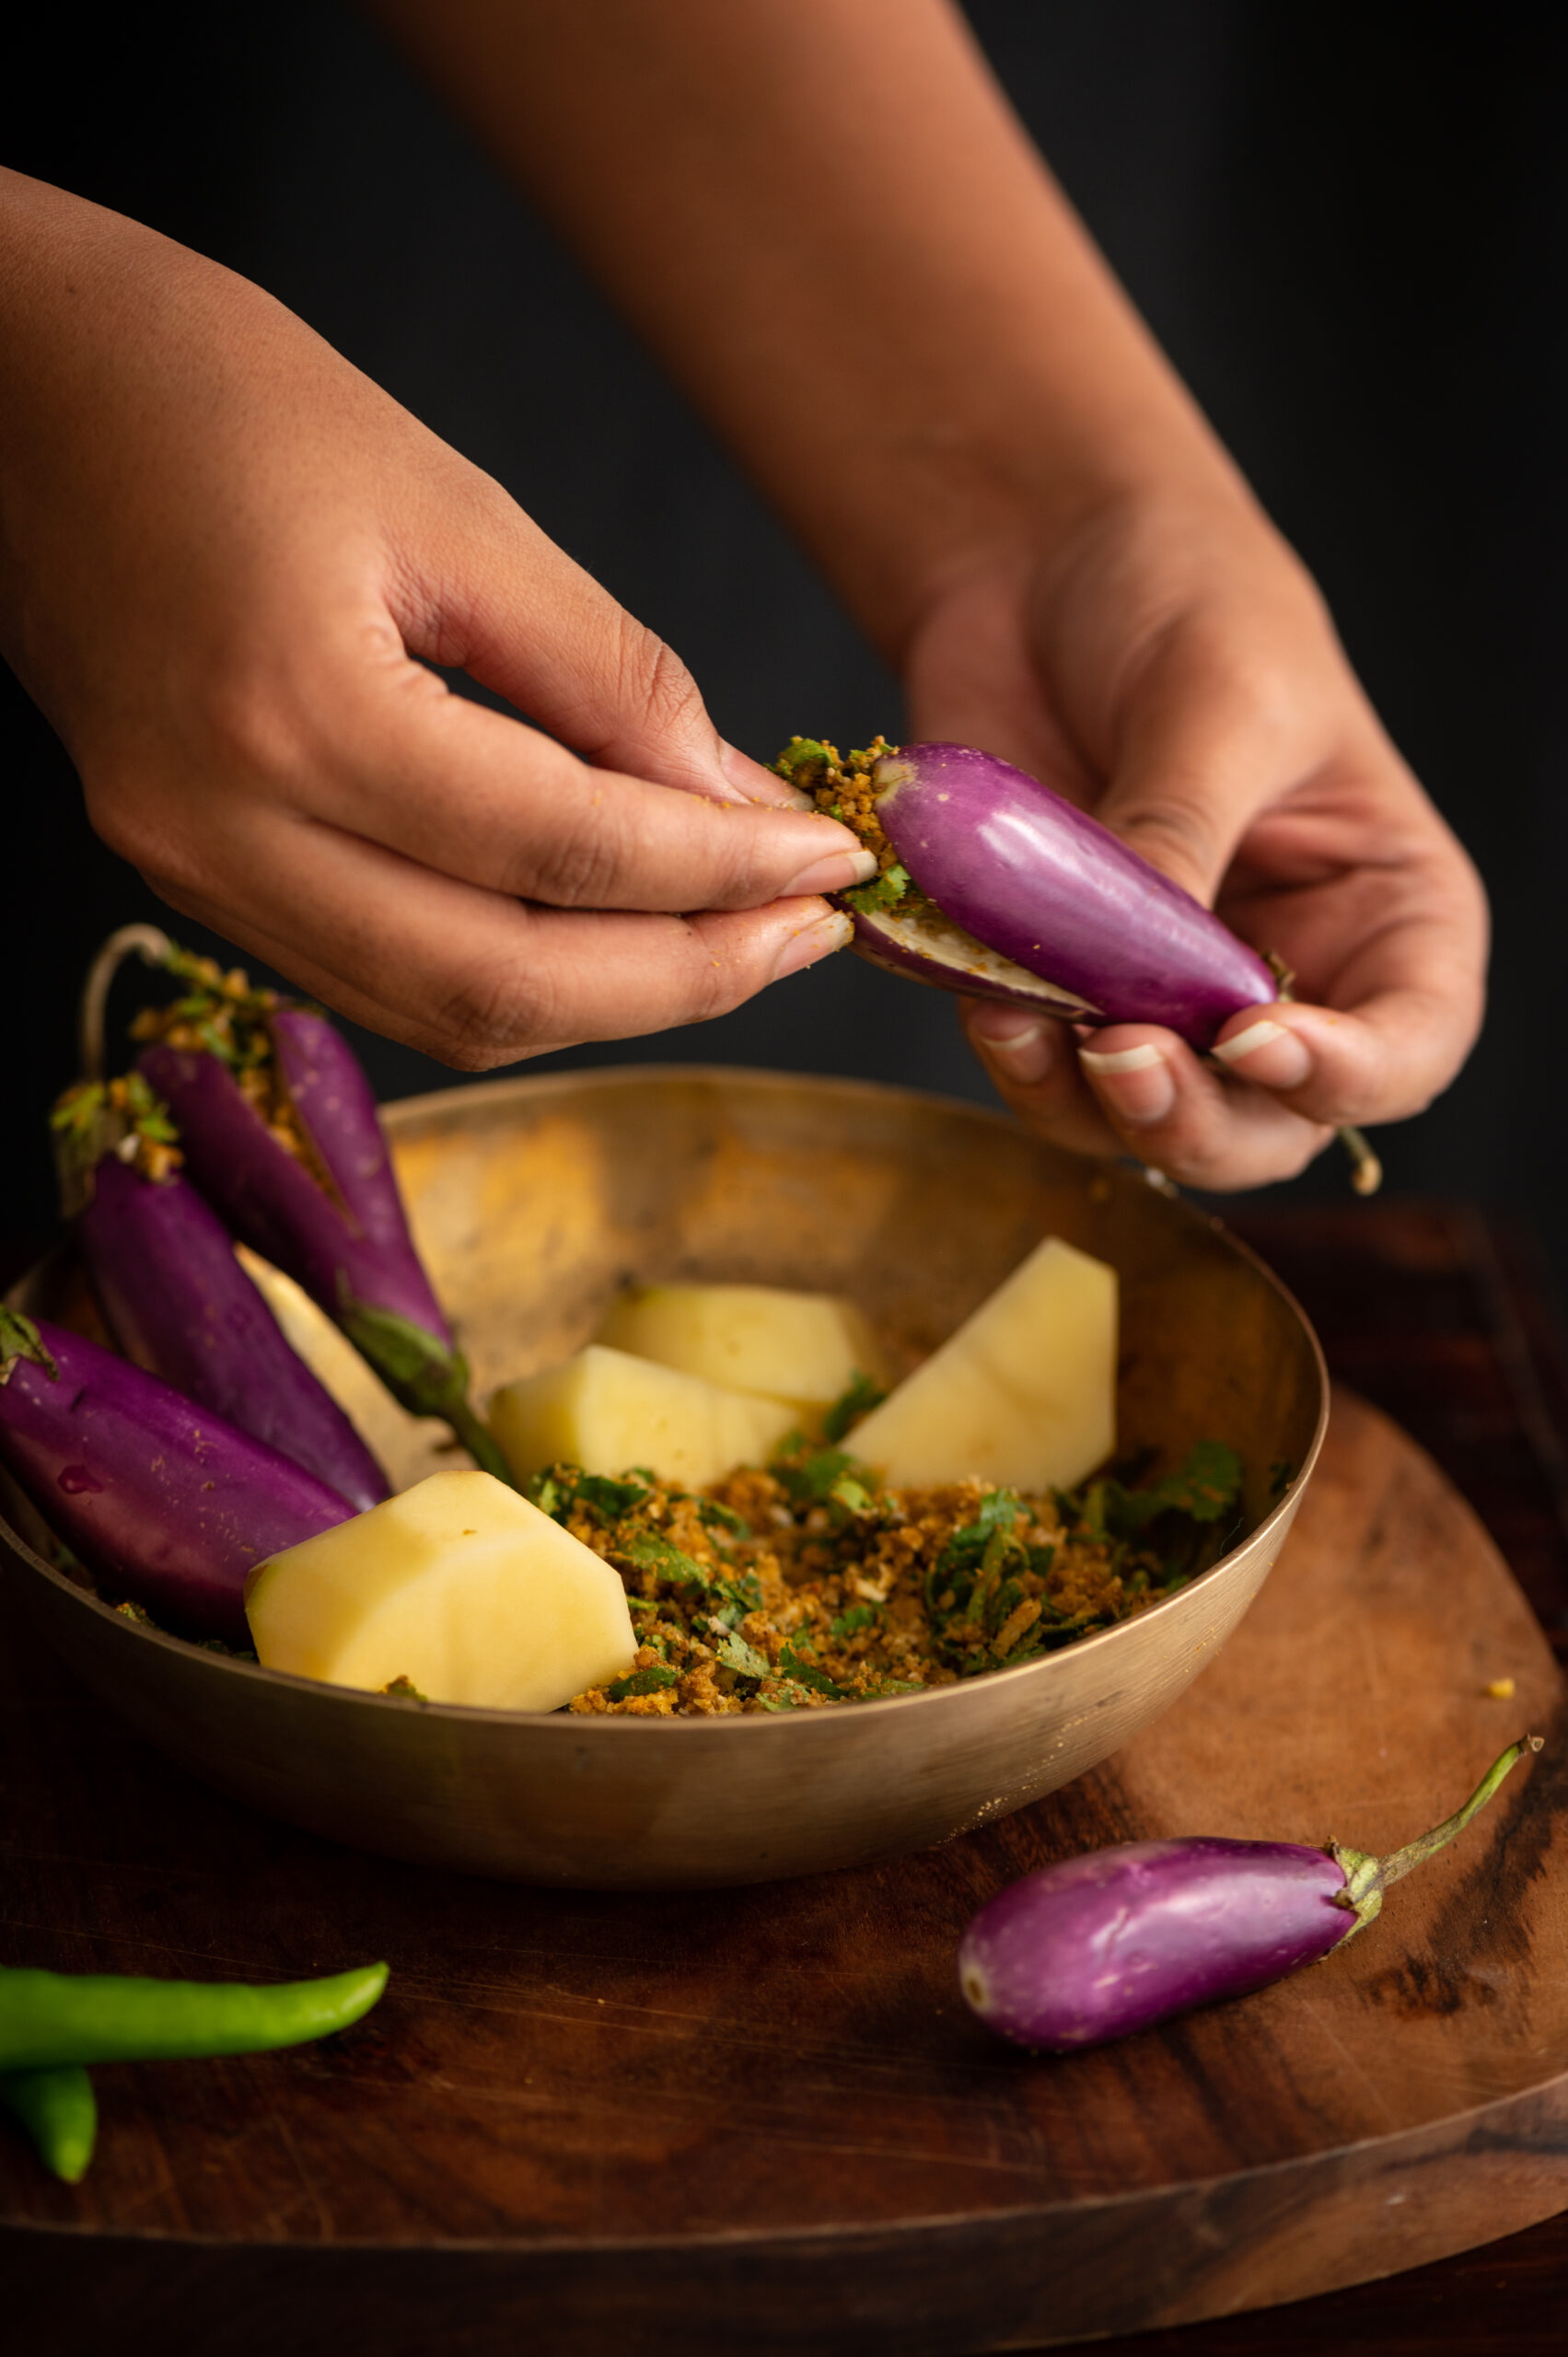
In a plate, prepare the stuffing by adding together the coconut, salt, spices, coriander leaves, ginger chili paste, and jaggery. Mix it well with your fingertips and set aside. Now, take each eggplant and stuff it with this prepared masala. Keep aside.

Heat the oil in a pressure cooker and gently add potatoes, making sure the oil doesn’t splutter. Next, gently add the stuffed eggplants over the potatoes. You will find that there is a lot of masala left over. Sprinkle this over the vegetables, leaving just a little on the plate for later. Again, gentleness is key so that the stuffed eggplants don’t break.

Now, add the water and mix the concoction – again, gently! Cover the cooker and wait for three whistles. Allow to cool, then open the lid and add the remaining masala. Stir once again. Your gravy Gujarati Potato-Brinjal Curry is ready to serve.
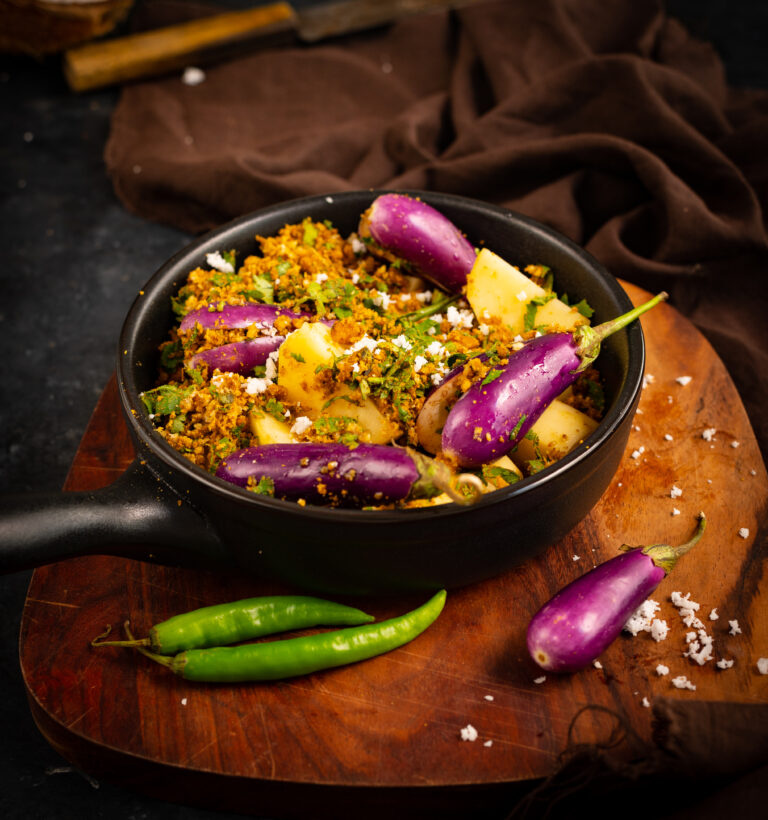
If you prefer a dry version of the same, follow the first three steps as above: cleaning and preparing the eggplants for stuffing, cutting the potatoes, and preparing the masala.

Then, add the oil in a kadai. Once it has heated, add the potatoes. Stir them, then cover with a lid on a slow flame. Stir occasionally, making sure they do not stick to the bottom. Once the potatoes are slightly tender to the touch and not overcooked, open the lid and add the stuffed eggplants. Remember that potatoes take longer to cook than eggplants so gauge the time well.  Cover again.

If required, especially if the vegetables are sticking to the bottom of the pan, sprinkle some water and cover. Continue to allow the dish to cook until all the vegetables are well-done. Finally, add the masala and stir gently. Cover again and allow it to sit. The dry version of this dish is now ready to serve.

As you prepare the dish, adjust the spices as per your preference. If you don’t like the standard Gujarati-style touch of sweetness, don’t include jaggery. If you want to spice it up while maintaining colour, chopped green chillies will do the trick. Don’t forget the versions mentioned at the beginning, which incorporate peanuts, garlic or onions.

No matter which way you choose to make it, I hope this Gujarati Potato-Brinjal Curry brings as much comfort and deliciousness to your home as it does to mine. As with all Indian curries, it’s perfect with rice and a range of breads. It’s got the spiciness of our masala, is tummy-filling thanks to the potatoes, and just has such a feel-good effect on the heart. Trust me: generations of Gujaratis have been turning to this dish as nutritious comfort food!