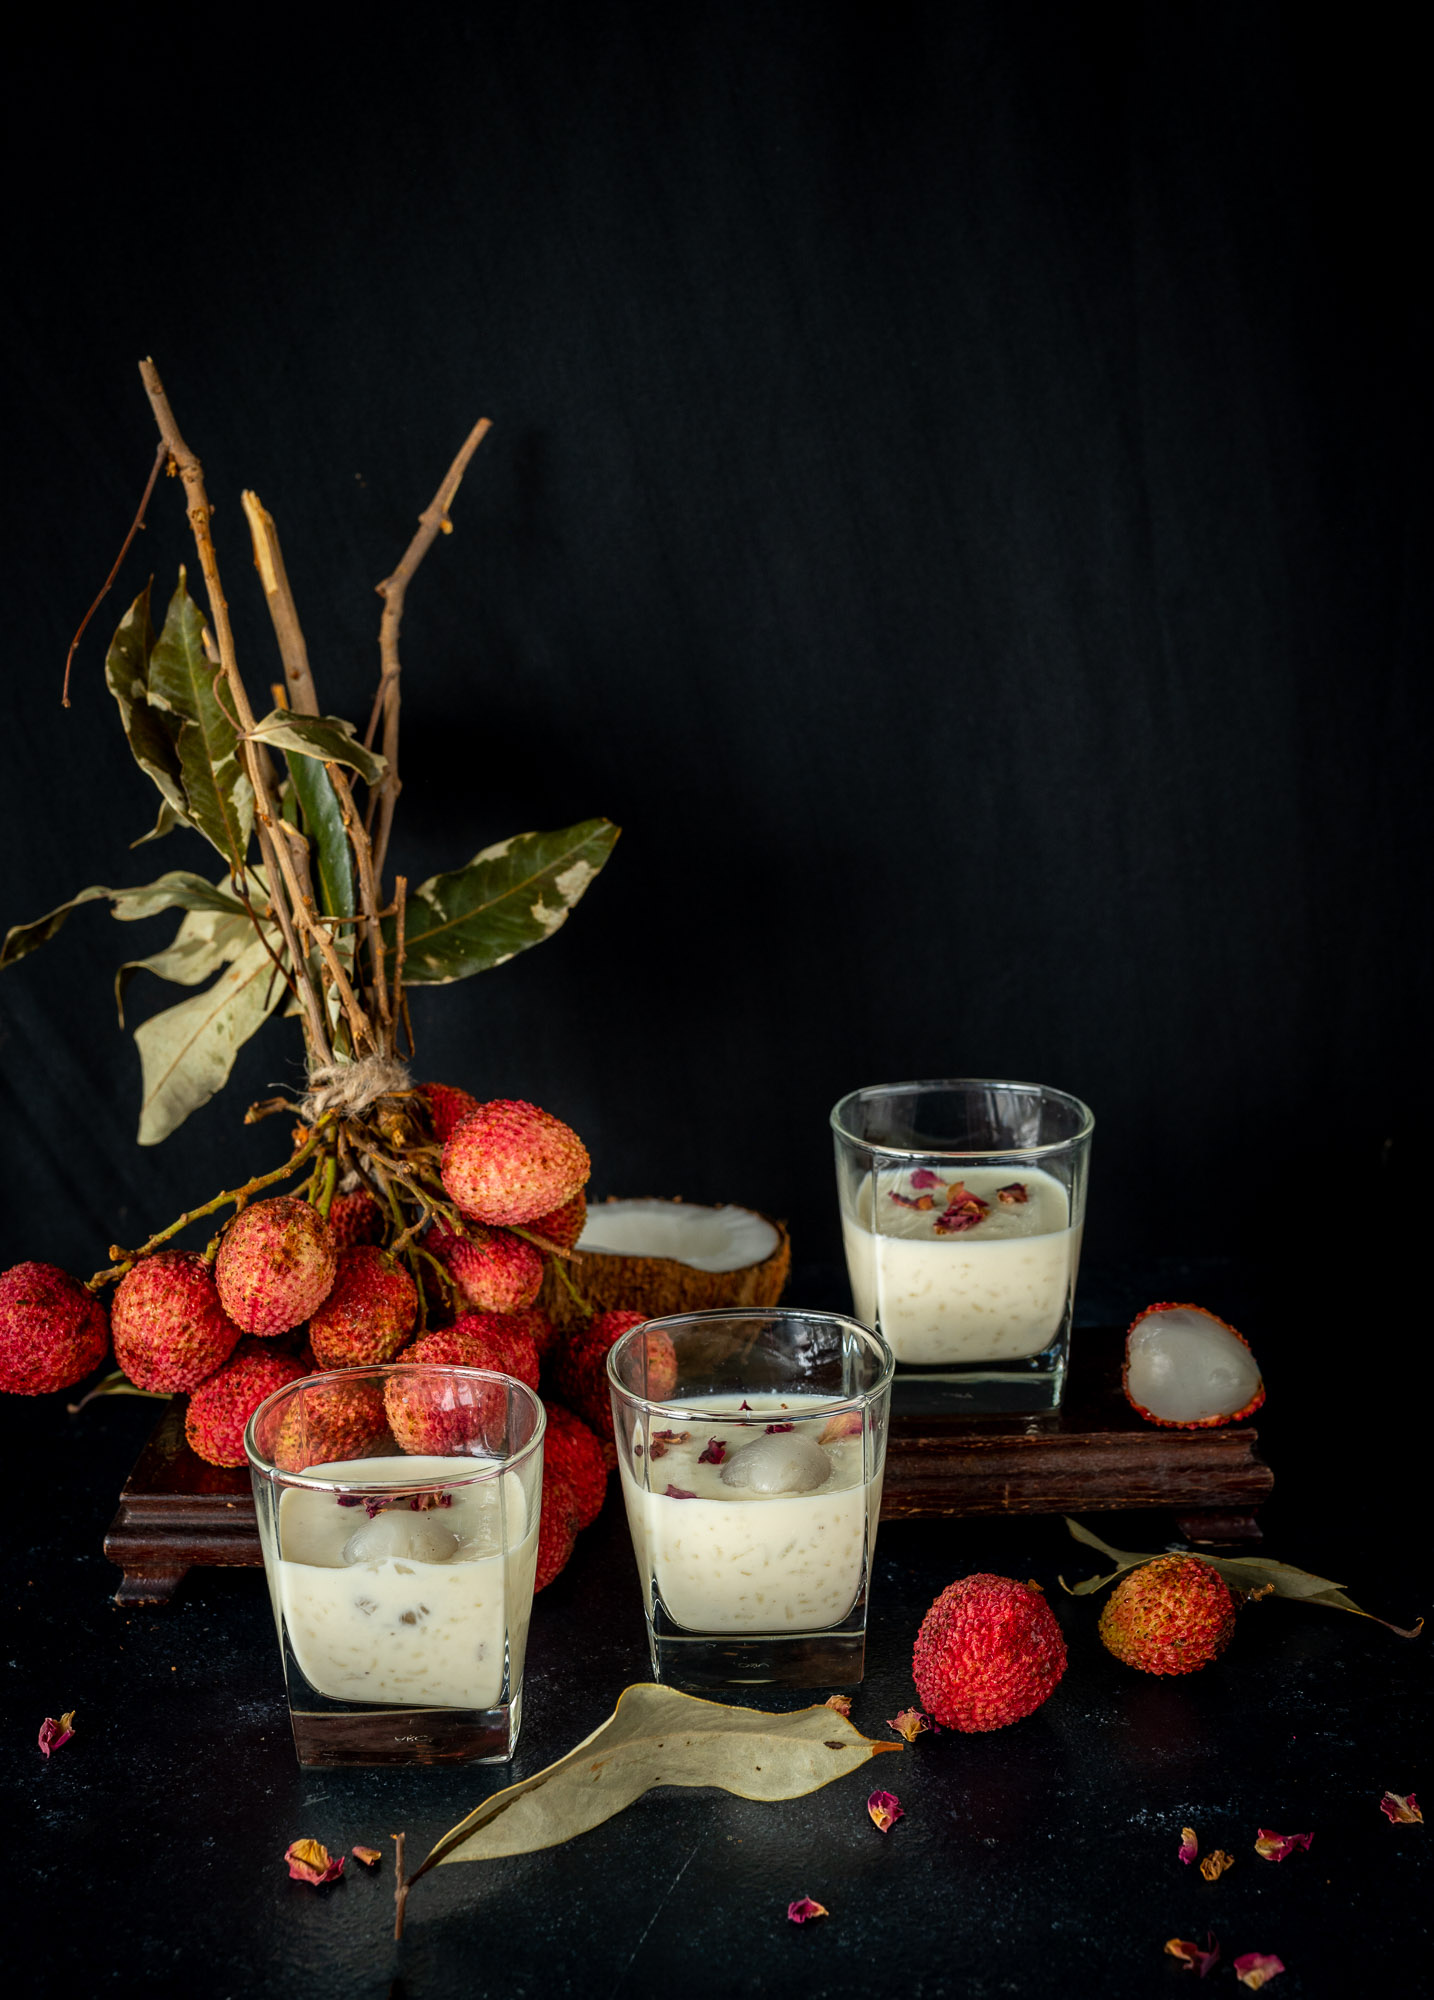
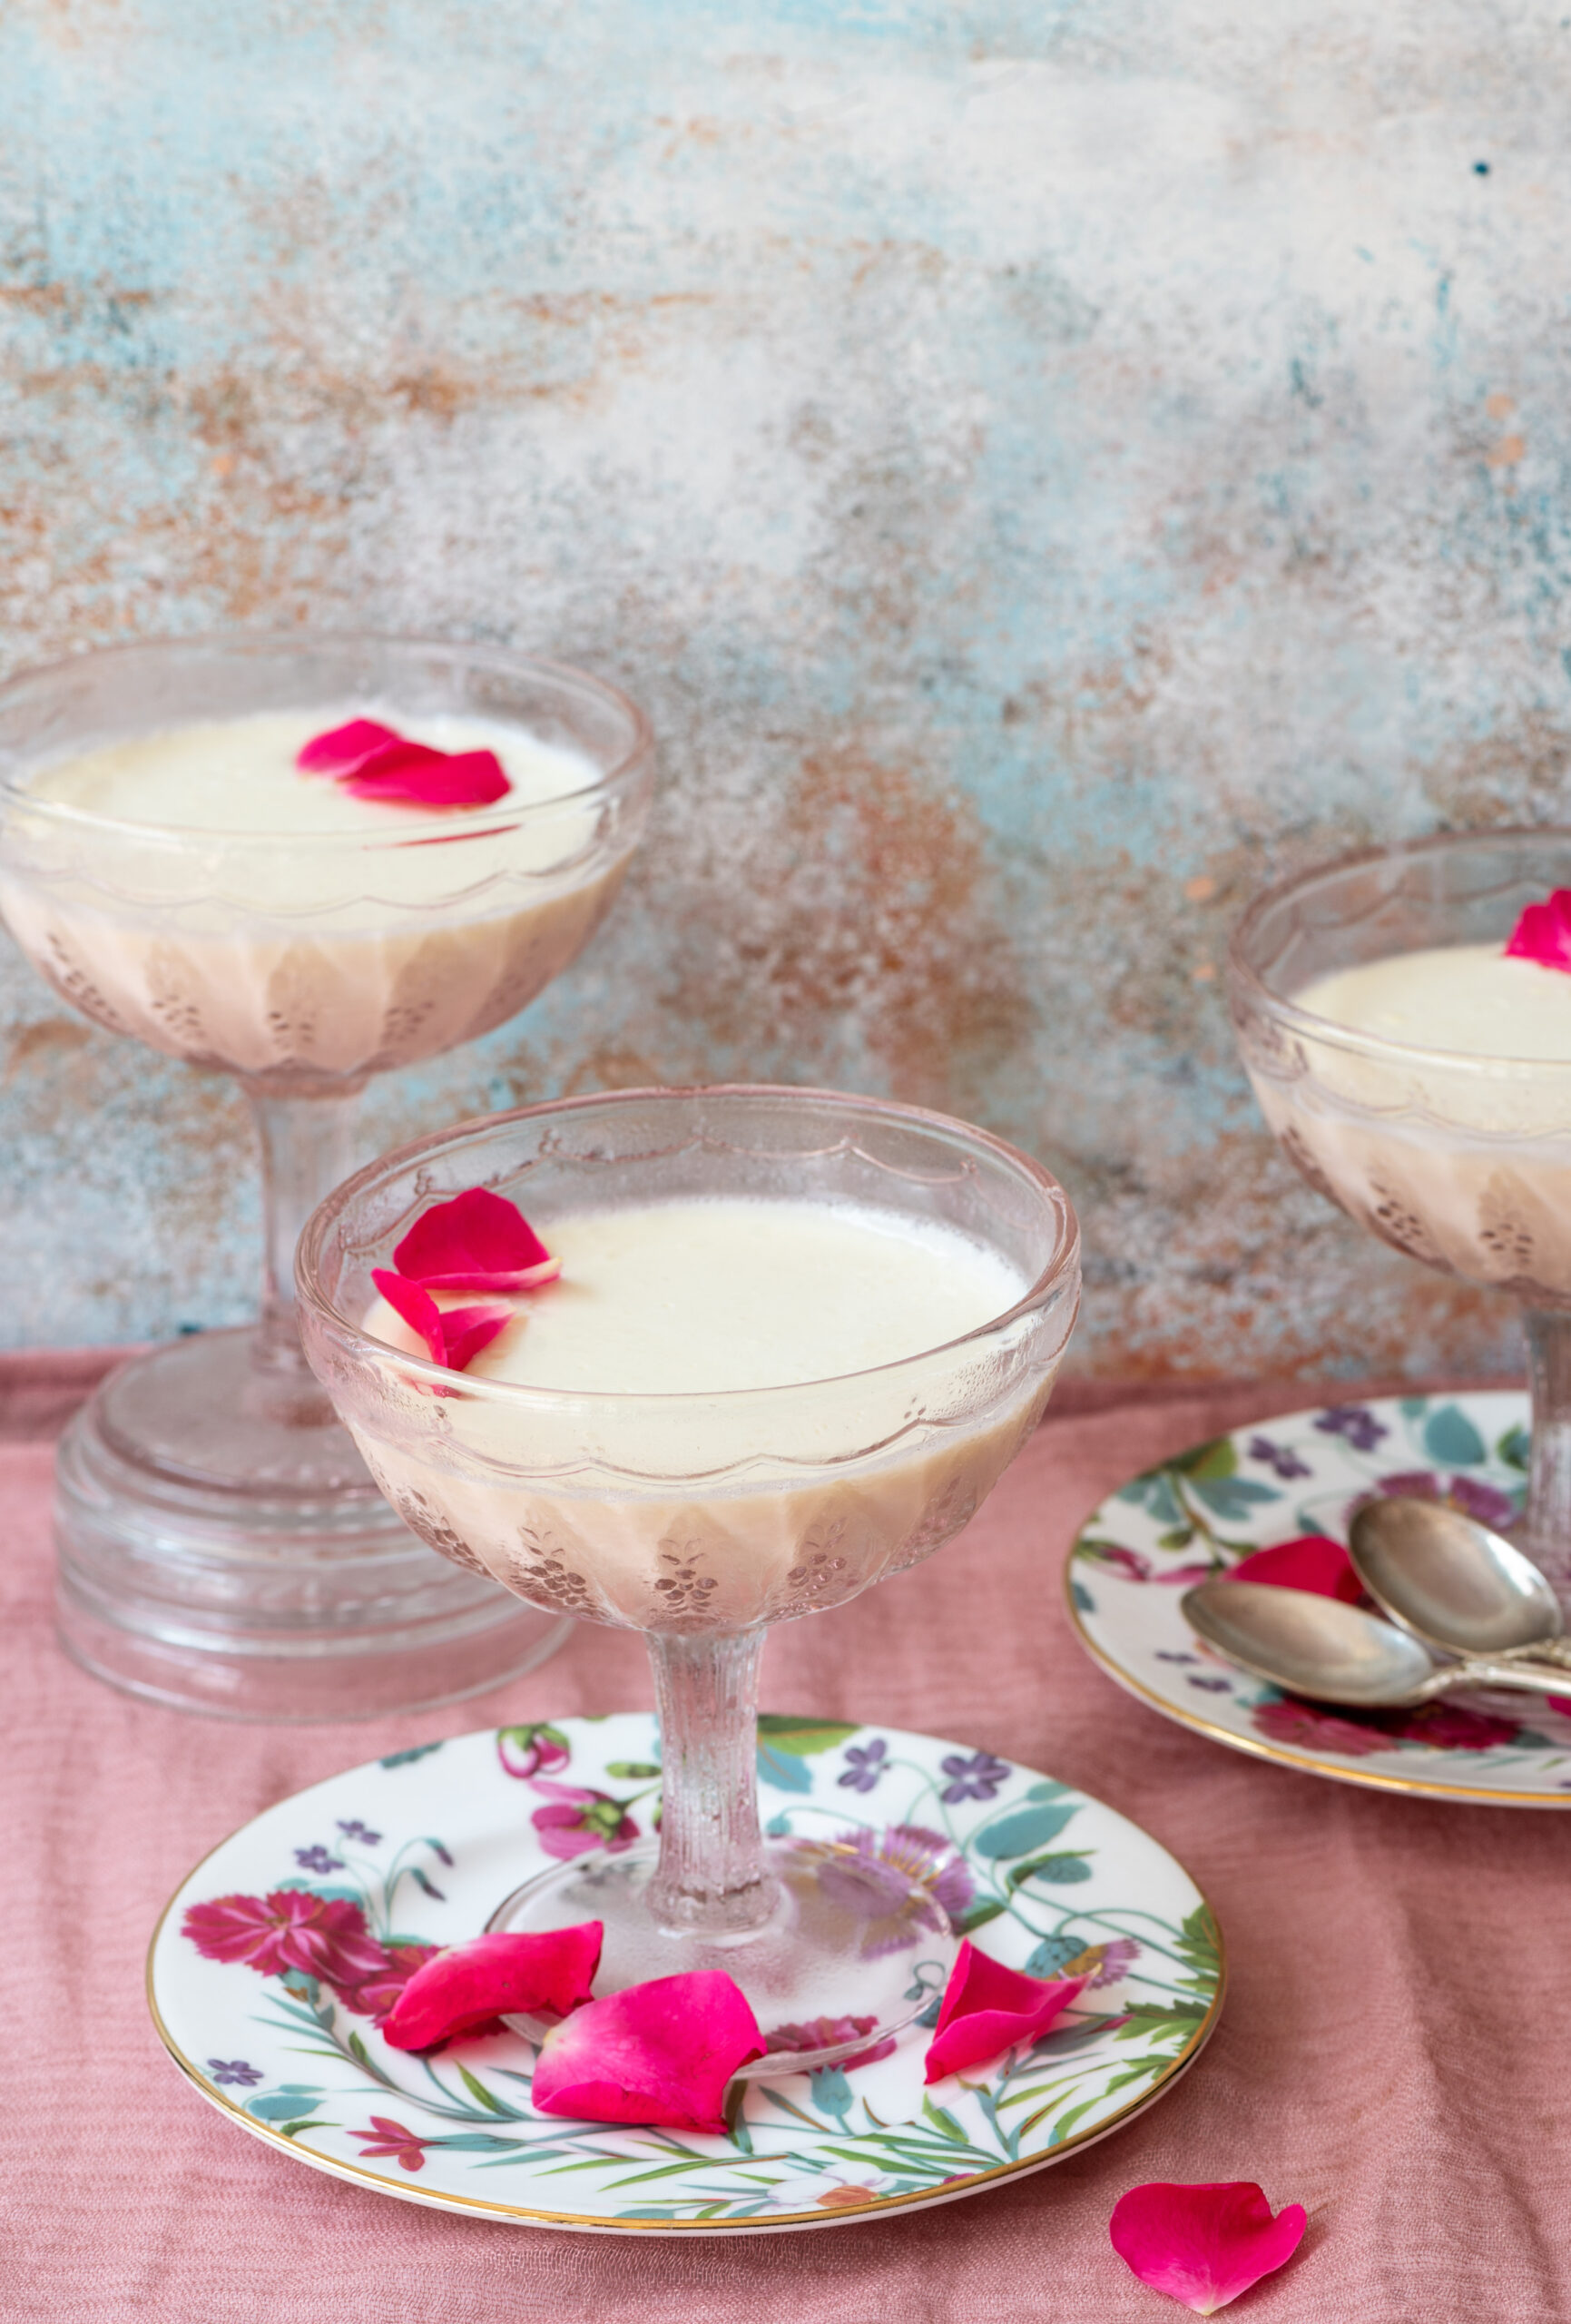
I wanted to make a panna cotta recently but didn’t have the time, which is when I decided that something like a kheer would be the next best thing. Isn’t it lovely when we can almost match our cravings with something equally delightful, although different? This dish is all the more special because it uses lychees, which have a really short season. This lychee kheer is simply perfect as a cold dessert for the summer.
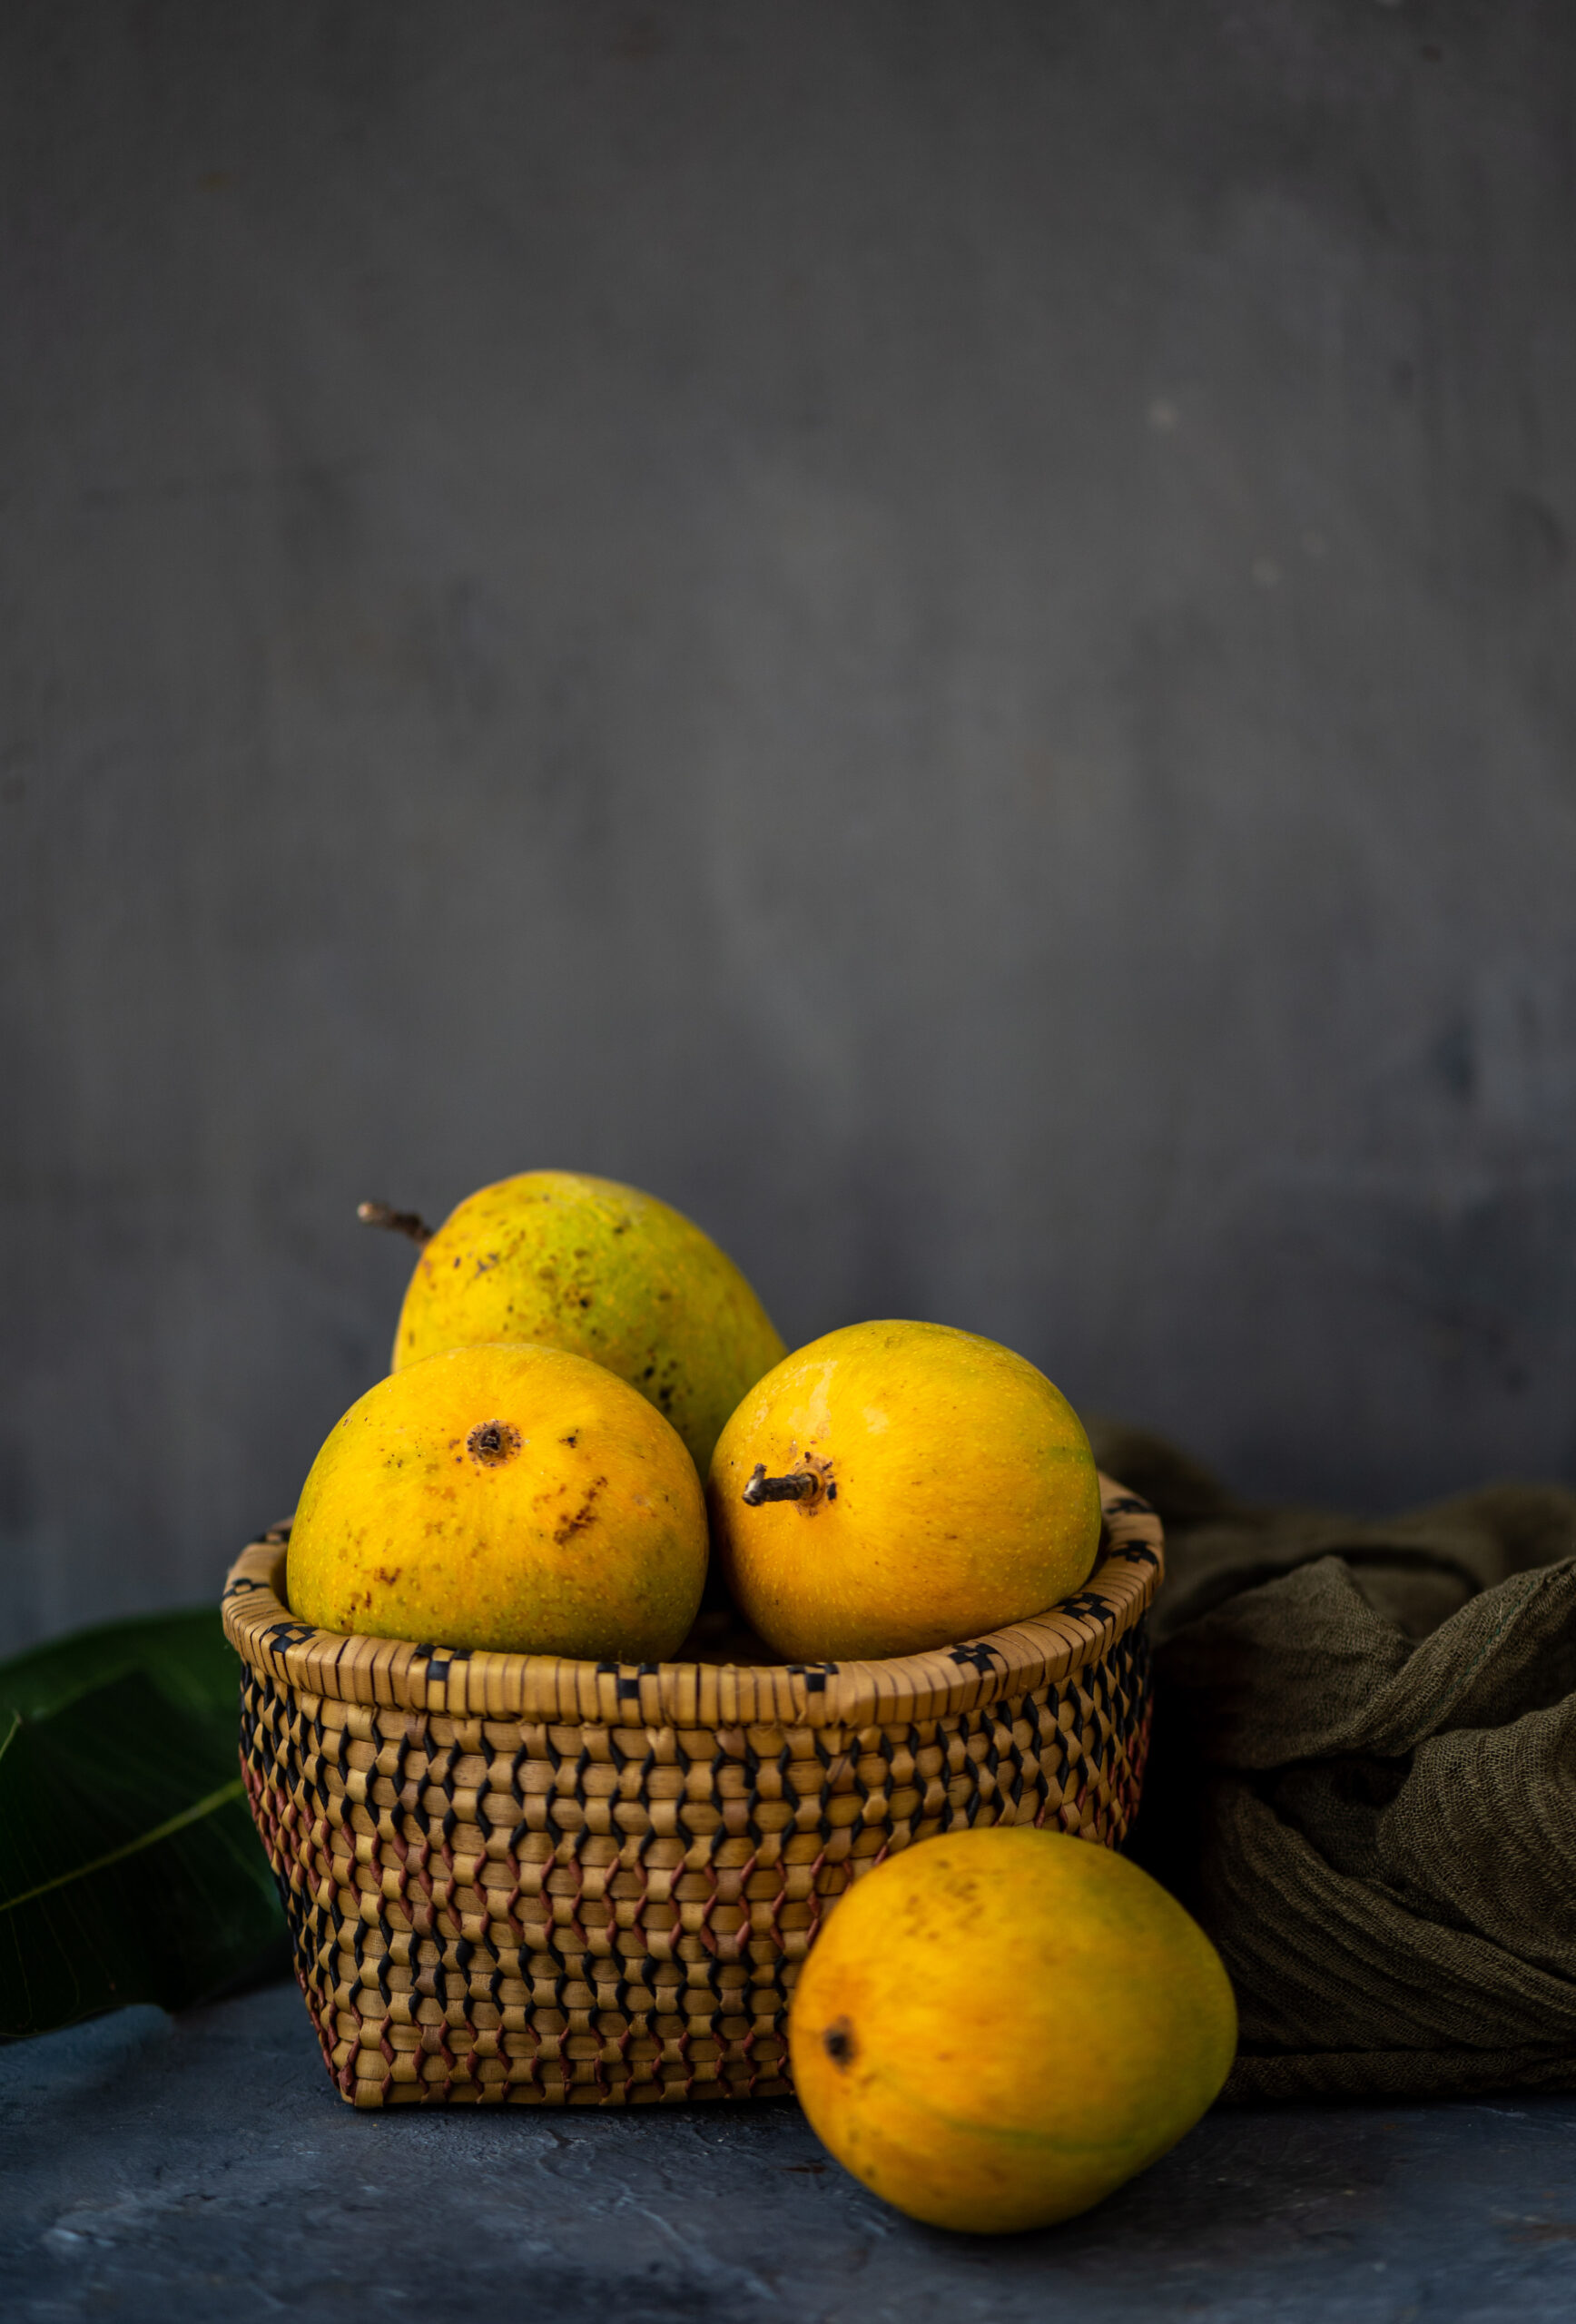
I really love Indian lychees, even though I know that they originate in East and South East Asia. The flavours of each variant depends on the location, and the Indian-grown ones are my favourite. Perhaps it’s just that I am used to that taste. Similarly, mangoes grow all over the world but there is nothing like an Indian mango to me, the ones we find in our own neighbourhoods. Incidentally, lychees are at their own best during a short time during mango season. They are also more suited to the heat, as they are definitely more cooling than mangoes. Since lychees have a short season, I want to add that you can use tinned ones too – the kheer will taste just as good.
In fact, the memory of some very cool lychees were what inspired this dish. I had visited a friend a while ago, during another lychee season, and she had peeled and frozen the fruit. We enjoyed these after a lazy afternoon lunch, and they tasted like ice cream. I will never forget how that day was: gossip, food, laughter and the delicious frozen lychees melting in the mouth.
I have shared below a very basic recipe that focuses on the flavour of this fruit, but I have found that it pairs quite well with coconut and/or rose too. As I have so much of it on hand from the trees at home, I’ve added some grated coconut, which is optional. I’ve also found that saffron and almond, despite being typical kheer flavourings, don’t quite match. Still, go with your gut instinct and choose to add what you’d like to. Or else just stick to the simplest version, for it really is quite wonderful as it is.
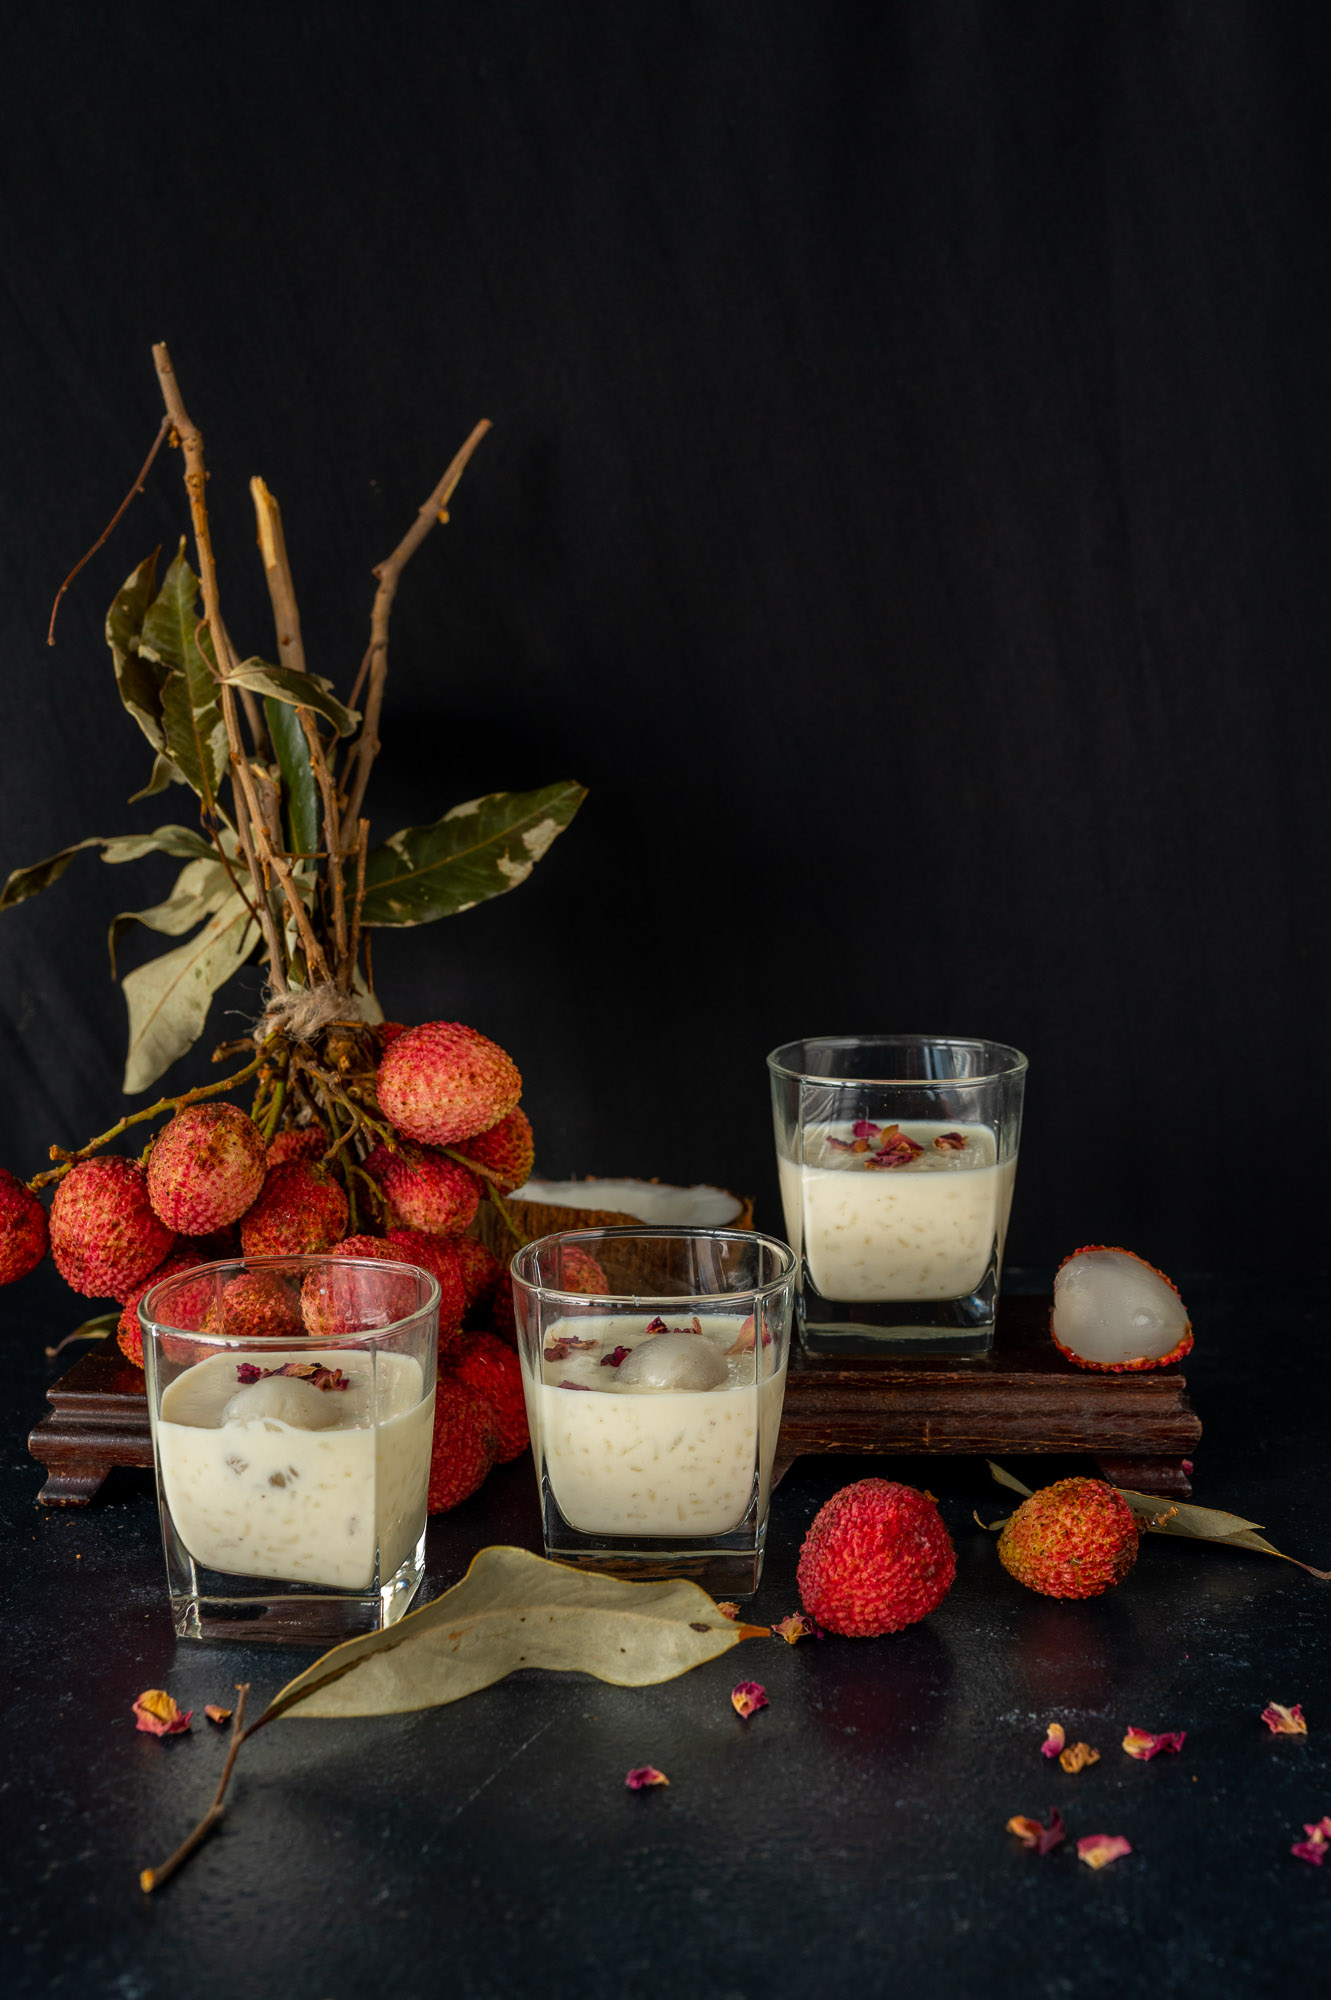
Lychee Kheer
(Yield: 6 cups)
1 litre milk
½ cup broken rice (washed and soaked)
½ cup sugar
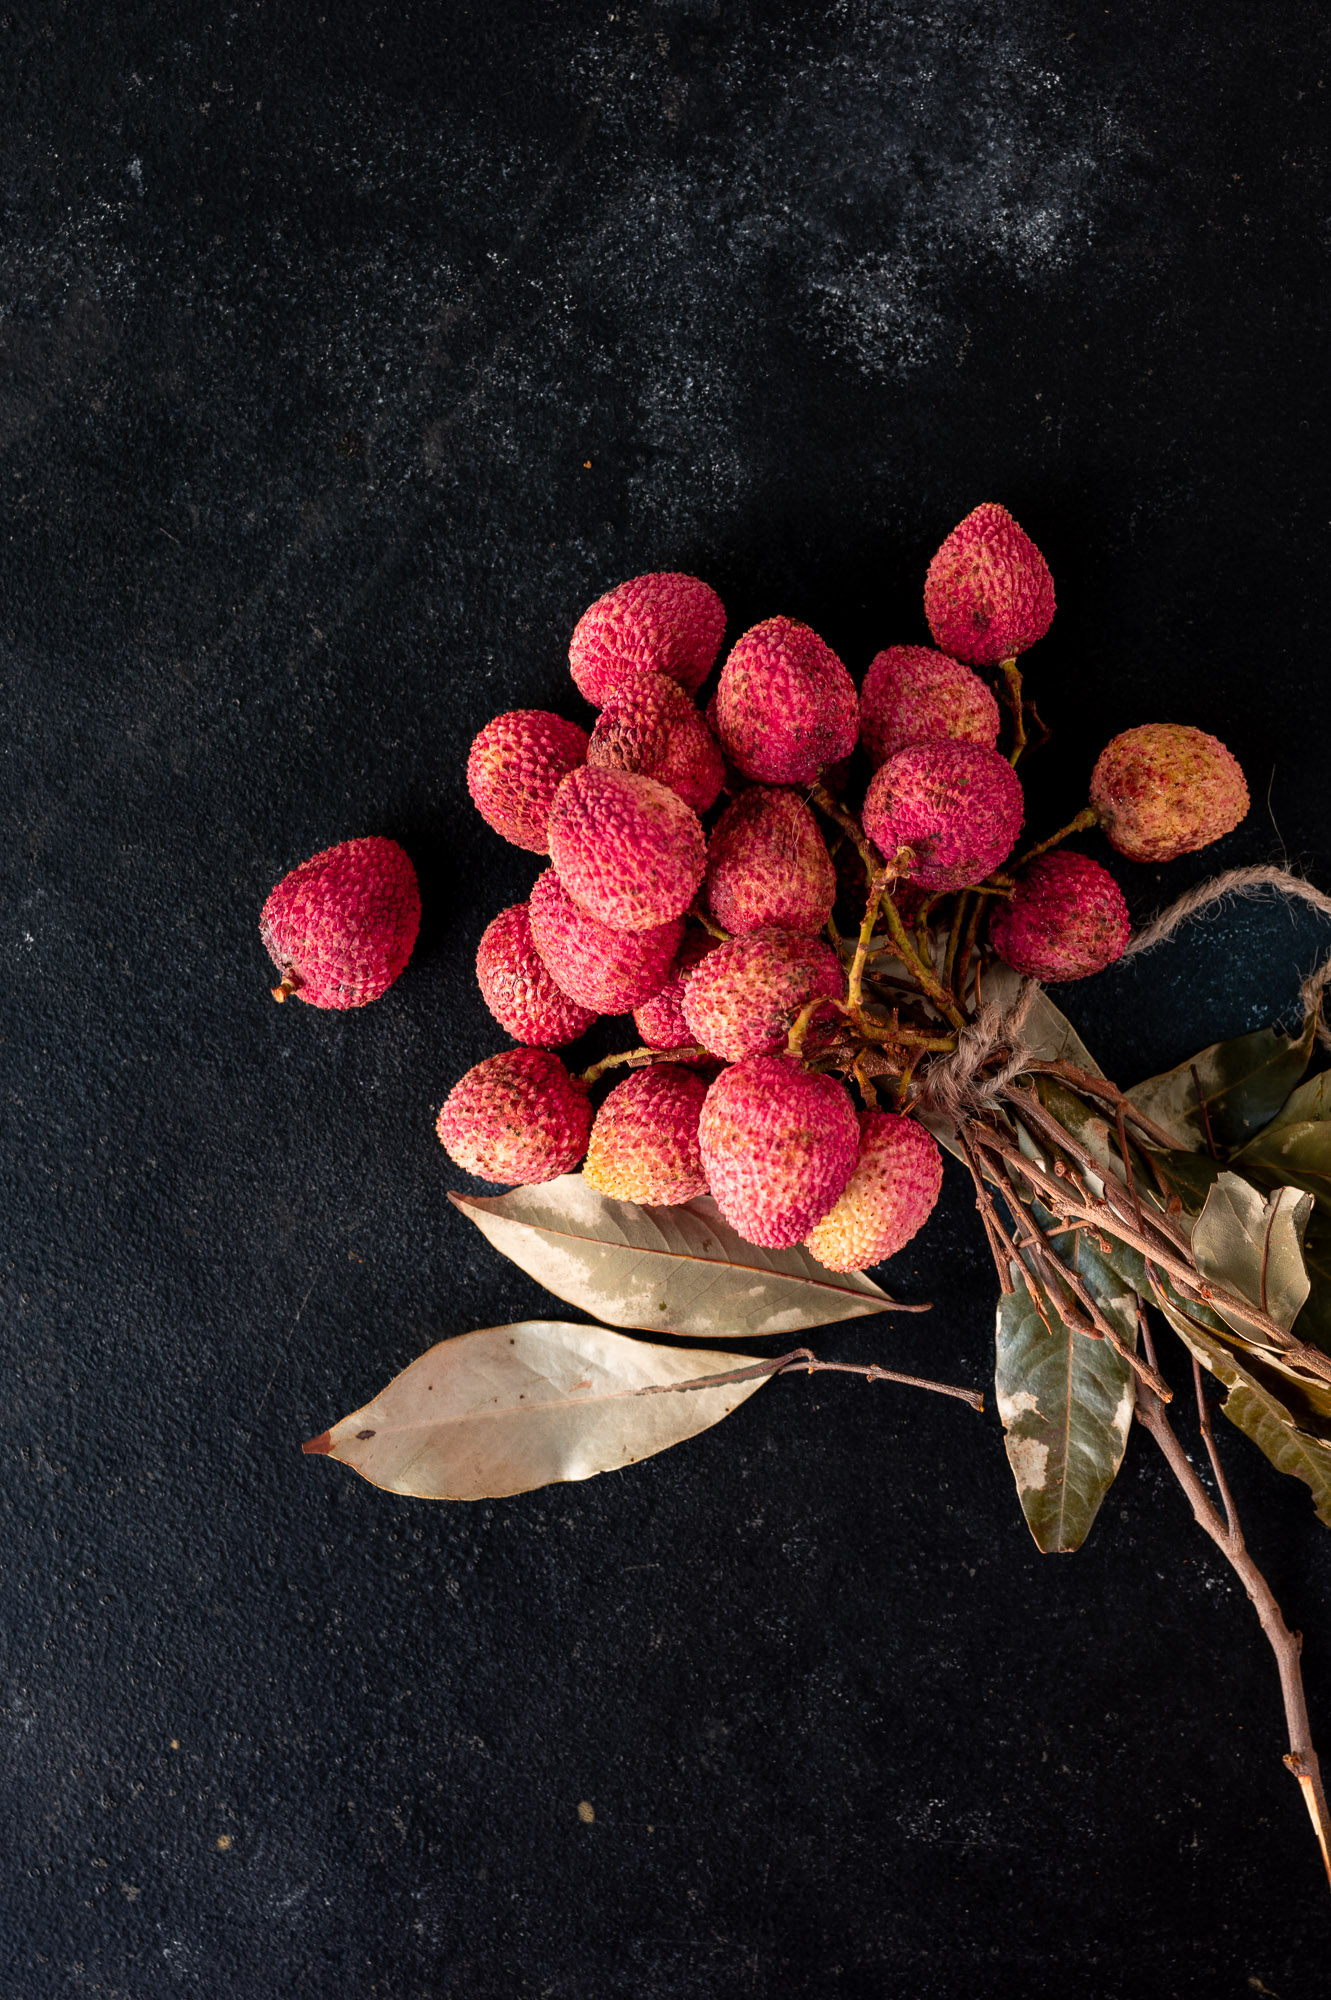
1 cup lychees
2 tablespoons grated coconut (optional)
Boil the milk until it reduces a little, then add the soaked broken rice. Substitute with whole grain if you prefer.
Allow the rice to cook in the milk. You will notice when the rice cooks and the milk reduces further. Once cooked, the rice becomes tender. Now, add the sugar.
I used a hand blender to gently whip the mixture so the rice breaks down further.
Remove from the flame and cover. Allow to cool to room temperature, then refrigerate.
Meanwhile, peel the lychees and chop finely. Add them to the kheer along with the grated coconut, if you are using it, and stir well. Refrigerate again and serve cold.
The main thing that gets in the way of making this dish properly is that you will have to be careful as you peel the lychees not to pop them into your mouth! I hope you have a nice big bunch around, as you’ll find it very tempting to do so. Trust me, putting them in the kheer is well worth it – try it out, and you’ll see.