Author

Nandi Shah

Browsing

After many travels, I have finally been back home and quite gladly too. It has been lovely to just relax, and be right where I want to be. I was recently struck by something that Michelle Obama said in The Light We Carry, her interview with Oprah Winfrey: “Home is where Barack is”. These words were so sweet, and in some ways resonated for me too. I realised when I heard this line that I had been missing my husband while I was away. He may not be the president of a country, but he is certainly the president of this house. We were watching the interview together on a Sunday evening, and with those loving thoughts in my mind I set about baking for us as I often do on weekends – and the result that day was this vanilla coconut bundt.

A cake like this goes so well with this hot summer weather. It is extremely flavourful, and all the ingredients are easily available. The coconut grows in my own backyard, as I’ve said umpteen times before, and I thought it would be great not just seasonally but also as a fitting finish to this All Things Tropical recipe series I’ve recently shared.

A bundt is a kind of sponge cake or tea cake, and keeps for a bit longer. That’s one of the good things about it. We try to control ourselves by not eating half the cake in one go, and these days it’s keeping us happy over a few days for sure. I must admit that this may be because the kids are away, which is a bit of a sore topic for me. I never actually felt that empty nest problem when they went off to study. But I feel it now, now that they are in their late 20s and have their own lives as adults, their own worlds of friends and family. It is similar for my husband too. So small things like this vanilla coconut bundt cake cheer us up.

Speaking of our children’s generation and ours, and to return to Michelle Obama’s very impressive accomplishments and sentiments – I suppose it also has to do with age. When you are younger, you want to do everything – you want to achieve so much, you want to build empires, you want to make a name for yourself. But there comes a time in your life when all you really want, once you have met all your ambitions, is to spend time with your loved ones. Your partner first and foremost, and then the rest of your family. My husband and I now feel able to make time for each other despite our busy schedules. We come home to each other, and to treats like this recipe. This vanilla coconut bundt can pep up any evening and in my opinion can impress the president too – of a country, or at any rate of a home!

Vanilla Coconut Bundt

(Yield: Serves 6-8)


250 grams soft unsalted butter

225 grams granulated sugar

2 teaspoons vanilla extract

2 whole eggs

250 grams all purpose flour

½ teaspoon baking soda

1½ teaspoons baking powder

¼ teaspoon salt

¾ cup desiccated coconut

1 cup coconut cream

½ cup fresh cream


Preheat the oven to 160°C.

Grease and dust the bundt pan well. Set aside.

Add the flour, baking powder, baking soda and salt and sieve. Set aside.

In a bowl, add the butter, sugar and vanilla extract. Blend well until fluffy.

Now, add the eggs and beat well until incorporated. Next, add the flour mixture and fold gently. Then, add the coconut cream and desiccated coconut. Fold until it all comes together.

Spoon the mixture into the bundt pan and bake for 45 minutes or until a toothpick comes out clean. Then, remove from the oven and allow to cool for 15 minutes.

Upturn the bundt pan and tap gently. Remove the pan. Allow the cake to cool completely before you drizzle the fresh cream on top. Your beautiful vanilla coconut bundt is now ready to serve.

The bundt has made a couple of appearances on this blog before, such as this citrus bundt cake and this lemon poppy bundt cake. If you enjoy this style of cake, you may want to explore those recipes too.

Kanda kairi is a traditional Gujarati condiment, but it is eaten in such large quantities in my home that it almost qualifies as a sort of salad. It features only two basic ingredients, as its name attests: onion (or kanda) and raw mango (or kairi). So it is remarkably simple to put together, and tastes great by itself and as an accompaniment.

Across Gujarati homes, you’ll find some kanda kairi being served on any thaali at this time of year. Similar to how buttermilk is a staple in the summer, so is this dish. It’s quite interesting how the kanda kairi has a reputation for being a cooling condiment, given the ingredients involved. Yet somehow, the combination works for this purpose. I recall how when I was growing up, my mom would insist that my siblings and I have a tablespoon of it daily during the hot months. I used to make a face every time, but now I do the same thing, and I love it.

Aside from onion and raw mango, I like to elevate the flavour with a bit of jaggery (which you don’t need if the fruit you use has a hint of sweetness), as well as some chilli powder. In India, we love to add that spice to raw mangoes as well as to guavas, as it adds a delicious edge.

Kanda Kairi

(Yield: Serves 2-4)

1 cup raw mango (grated)

½ cup onions (finely sliced lengthwise)

2 tablespoons coriander leaves (finely cut)

Salt to taste

1 teaspoon powdered jaggery

½ – 1 teaspoon red chili paste


In a bowl, add the raw mango and onions and coriander leaves. When ready to serve, add the salt, jaggery and chili paste. Mix well and gently, using your hands.

Your kanda kairi is now ready. Enjoy it as a salad or condiment. To me, it’s a bit of both – and so easy to bring together!

Last week, I shared the recipe for eggless rose-coconut mousse, and the coconut theme continues with this tender coconut salad. At home, generally, a good salad is the star of most of our meals. Slowly, the staples of rice and roti have moved aside and given way to a salad as the base, and bigger servings of the same. Also, all of us have experimented with intermittent fasting and so on at home, and breaking the fast with a bowl of salad is a sensible choice. This means that salads feature in most of our meals, which also means that I try to be as creative as possible to maintain novelty in what I serve. This recipe is one I came up with as I wanted to use up some of the abundance of coconuts in my backyard.

When concocting a salad, I just eyeball the recipe more often than not. I put in whatever I feel will work. The ingredients that are in my kitchen, their seasonal availability and my own mood also determine what gets prepared. Those who help me in the kitchen are also aware of this, so we all pretty much just put into our salads whatever we feel like. It turns out tasty every time, and there is a reason for this.

The reason is that there is a pattern when it comes to salads, even when it appears to just be a bunch of ingredients thrown together. It is as follows. First, you add some kind of lettuce leaf. Then, some kind of protein. I tend to use lots of nuts and seeds, and if you’re a meat eater then roast chicken slices or such will work great. Raw vegetables come next. I also like to add something sweet like raisins, sliced apples or orange segments; these lift up the salad, in a very healthy way. Occasionally, to turn the salad into a complete meal in a bowl, I add a grain like quinoa, barley or millet. While I don’t do this too often, a bit of crispiness, such as crushed chips, can also add texture. The trick is that the proportions of each should be appropriate, and the combinations should be complementary.

As for the dressing, it’s usually based on whatever is there when I open the fridge: juice of lime, juice of half an orange, a dollop of almond butter… There are so many options.

To me, a salad never fails to please. Today, I’ve made coconut the hero – perfect for the summer. It’s important that the coconut is very tender, as the soft flesh is much better in this preparation than the hard pieces.

Tender Coconut Salad

(Yield: Serves 3-4)


1 cup tender coconut meat

¼ cup raw mango

½ cup red cabbage

½ cup spring onions with the greens

½ cup grated carrot

A few healthy lettuce leaves

½ cup edamame (or any other beans)

A few caramelized walnuts

1 small apple, sliced

½ cup long slices of cucumber


Dressing

1 teaspoon olive oil or coconut oil

Salt to taste

2 pinches of pepper

1 teaspoon honey

Juice of 1 lemon

½ teaspoon sriracha


Add all the raw ingredients to a bowl.

Separately, mix all the dressing ingredients and stir. When I make it during raw mango season, I like to add a bit of that too – to give a boost of Vitamin C and a nice tang, as well as increasing the tropical feel.

Before serving, pour the dressing over the raw ingredients and mix gently until all of them are well coated.

Your tender coconut salad is ready: as simple as that! I hope you’ll enjoy it. Don’t forget to explore more of my salad recipes too.

Every summer, at least once, I simply have to make coconut mousse. It is a light, airy, faintly sweet eggless dessert, which also makes it perfect for some of the entertaining that I do. I have many friends and relatives who are vegan or vegetarian, or who don’t like eggs. What’s also nice about it is that I can prepare it and put it in the fridge and theoretically it will last for a few days (of course, it disappears quite fast). To me, this eggless rose-coconut mousse is the perfect Indo-Western dessert.

In addition to the tropical taste of coconut, I also use a hint of rose, which makes it a kind of fusion dish. As a mousse or pudding of sorts, it is Continental in form but the flavours are more Indian to me. I have to admit that the first time I made it, I used less agar agar and it turned out almost like a kheer or a payasam. This is not to say that that didn’t work – it was delicious too. The consistency of the mixture determines what you can name the dish. I have used fresh, tender coconut meat, but you can also use grated coconut or coconut cream to thicken it.

I also very quickly realised that you can make a mousse with any kind of fruit puree, as long as you add agar agar and use flavours that complement each other, such as coconut and rose. If you aren’t a fan of these flavours, you can substitute them. Try saffron instead, or lavender perhaps. Maybe make it with a different ingredient each time, and play around with the garnishing too. I like to make this in individual cups as it feels more personalised, but you can also just put it all in one bowl and scoop out from it. Alternately, put it in a bowl with a lovely shape and upturn it once it has set.

The first time I tasted coconut mousse was at a very dear friend’s home, and she kindly shared the recipe. As you may know from several earlier recipes, summers mean an abundance of coconuts in my home thanks to the trees in the backyard, so I made this a part of my annual repertoire ever since. Looking at the trees always reminds me of how when we were growing up, our household staff would shave off the leaves, gather the stalks, and make a broom. How simply we used what was in our surroundings. Every part of the coconut tree was used. The image of her crafting the broom comes to me whenever I talk about homegrown coconuts. This also reminds me that it’s that time of year for me to make cold-pressed coconut oil too.

Eggless Rose-Coconut Mousse

(Yield: Serves 6)

1 can condensed milk

1 cup fresh cream

1½ cups fresh coconut milk

1 cup whole milk

10 grams agar agar

½ cup boiling water

1 cup tender coconut meat (finely cut or blended)

2 teaspoons rosewater

In a bowl, add the boiling water and then add the agar agar. Stir and allow to melt. Set aside.

In a large bowl, add the condensed milk, fresh cream, coconut milk and whole milk. Stir.

Strain and add the agar agar with the milk mixture. Add the coconut meat and rose water. Mix it all gently, using a hand blender.

Pour into the desired bowls and refrigerate overnight.

Serve cold.

This marvellous dessert is really so refreshing – perfect for summer and rich with tropical flavours. If you’d like to explore more of my dessert recipes, do check out a selection here!
Last week, I offered you the recipe for kela nu shaak, a Gujarati dish that was inspired by seeing bananas all around me while travelling in Kerala. Today, my love of tropical fruits is explored through another recipe. This one is also closely tied to my recent trip as it is a part of Malayali cuisine. My favourite place to eat while in Kerala is always the Grand Hotel in Kochi. It is a simple but beautiful art deco hotel, and the restaurant is always full as its delicious traditional fare is very popular. Red rice is usually served alongside various vegetarian and non-vegetarian curries. This was where I first tasted mambalam pulissery, which I had again on this trip, of course. Each year, during mango season, I make it at home too.

If you recall, I had shared a recipe for pineapple curry with you a few years ago, and this is somewhat similar in its preparation. When I began making it at home, I found that mambalam pulissery is pretty easy, and I was able to tweak the recipe to my liking too. My family really enjoys it so it’s quite often on our dining table at this time of year. Also, when my relatives visit me from outside Chennai, where I live, they always request South Indian meals. They want novelty from the Gujarati fare that they usually have in their own homes. During the summer, this mambalam pulissery is one of their favourites.

What determines the flavour is the kind of mango that one uses, and the taste of each variety can be noted in the dish. Here, I usually use a sindoora or peetr. I have also found that alphonso or banagapalli work very well in this recipe. Really, any ripe mango from your vicinity or back garden will go perfectly.

There is something about growing ingredients on your own that makes the whole experience of cooking more pleasurable. For instance, I happen to be fortunate to have mango trees at home. So I’ll pluck some fruit from my sindoora tree and put it in this dish, and then I’ll find myself repeating to every person who eats the meal: “These mangoes are from that tree at the back, and the coconut base is from my coconut trees too!” It really feels quite special to say this. This hardly only applies to just mangoes or coconuts. If you don’t have a garden, considering growing herbs in your kitchen, or utilise a balcony or terrace. It really makes a difference in how you feel about the food you prepare when you put homegrown ingredients in.

Mambalam Pulissery

(Yield: Serves 2-4)

½ cup grated coconut

2 whole red Kashmiri chillies

A pinch of turmeric

1 teaspoon ginger-chilli paste

1 teaspoon jeera (cumin seeds)

2 ripe mangoes (peeled and cut into big pieces)

¼ cup curd


Tempering

1 tablespoon sesame oil

½ teaspoon jeera

½ teaspoon mustard

½ teaspoon urad dal

A pinch of asafoetida


Blend the coconut, red chillies, turmeric, ginger-chilli paste and jeera with enough water to make a paste. Set aside.

In a pot, add the ripe mangoes. Immediately after, add a cup of hot water and salt. Cover the pot and allow to cook until the mangoes are a little tender. It will take a few minutes. Mix gently.

Once the mangoes are tender, add the paste that was set aside earlier.

Next, beat the curd until it is smooth and then add it to the pot.

To prepare the tempering, add the sesame oil. Once the oil is hot, add the urad dal, then jeera and mustard. Allow to splutter. Then, add curry leaves and red chillies along with asafoetida.

Pour the tempering on the cooked mangoes. Stir gently.

Mambalam pulissery is usually served with rice. Enjoy it hot.

If you’d like to explore another recipe from Kerala cuisine, I’d recommend this coconut stew. As for mangoes themselves, I have a whole selection of recipes over the years!

I am visiting Kerala at the moment. Being in God’s own country, as this state is often called, has been a great experience. This is because Nature can be very inspiring. There is barely a single dry leaf anywhere – it is that beautiful. The lush greenery is all around, everywhere I go: mangoes hanging over the backwaters or down to the ground, coconuts, and plenty of banana varieties. The bananas called to mind some recipes that I really enjoy, including this delicious Gujarati dish named kela nu shaak.

Kela nu shaak is very popular among Gujarati Jains during fasting periods, when they may avoid greens. Thus, this savoury dish works as a vegetable substitute, and is eaten along with chapatis. That is, it is basically a banana subzi (“subzi” being the term for vegetable dishes). But it really is so delicious that it is a regular staple in the cuisine even beyond fasts. It goes quite well with other savoury dishes like kadhi, as well as various vegetable accompaniments too.

It was a dish my husband grew up eating, so it counts among his comfort foods and makes regular appearances in my cooking too as a result. It is really quite simple: the bananas are sautéed in ghee, and a few spices are added. I like to make it in a non-stick or iron pan, adding a little jaggery which turns crispy and golden at the bottom, almost caramelized. I find that this is a great way to lift the flavours of the dish.

If you don’t know what to do with overripe bananas, kela nu shaak is the dish for you. As you know, when they ripen the whole bunch does at once, so you may have quite a bit of fruit that doesn’t taste as good eaten raw. If you prefer something sweet instead, this banana bread recipe that I shared a while back is ideal.

I will be carrying back with me a few varieties of Kerala bananas, and it will be interesting to see the differences in flavours and the kinds of dishes they lend themselves well to. I will certainly share my findings with you once I get a good sense of how to use them. As for kela nu shaak, any of the usual green or yellow bananas that you have access to will do.

Kela Nu Shaak / Banana Subzi

(Yield: Serves 2)

5 small ripe bananas

1 tablespoon ghee

½ teaspoon jeera (cumin) seeds

½ teaspoon mustard seeds

Salt to taste

¼ teaspoon turmeric powder

½ teaspoon chilli powder

½ teaspoon dhaniya (coriander) powder

½ teaspoon jeera powder

2 tablespoons jaggery


Peel and slice the bananas. Set aside.

In a non-stick pan, add the ghee. Once it’s heated, add the cumin and the mustard seeds.

Wait for them to splutter, then add the sliced bananas.

Move the bananas around on the pan a little bit without mixing too much, and allow the slices to cook on both sides, flipping at intervals until lightly brown.

Now, add the spices and the salt. Mix very gently until the slices are coated. Next, add the jaggery.

Allow to cook on a low flame, making sure the jaggery doesn’t burn.

Once the bananas has turned golden and the jaggery has almost caramelized, turn off the flame. Your kela nu shaak is ready to serve. Enjoy hot, with chapatis.

I hope you will enjoy this savoury use of a sweet fruit!

A recent visit to Kashmir reiterated for me how rich my country, India, is. Perhaps for that reason, we have been plundered many times, yet have held strong despite it. I have travelled the world, but to me there is nothing like home. In Kashmir, I experienced the beauty of nature and the hospitality of people in a way that reminded me of this fact. Returning to Chennai, I wanted to recreate something that would remind me of that holiday, and this wonderful walnut dip fulfilled that wish.

While travelling there, I was most thrilled when I saw walnut and almond trees, among many others, including nuts that I may not even be able to name. There was such a variety of fruit trees as well: apricots, peaches, plums and apples among them. Amidst the bounty of nature, there was also a sense of kinship and love. The experience of sitting beneath an almond tree and enjoying a live musical performance in someone’s home that they graciously opened up to us was more than just a treat or a pleasure, but really touched me.

That same welcoming gesture was also experienced when I visited a friend’s home, where she laid out an entire traditional Kashmiri feast for us. I got very excited even just seeing it. Needless to say, tasting it was sheer joy. There was one thing that wasn’t on the menu that day, but which she brought up in conversation: a walnut dip. This made me very curious, so I asked for her authentic recipe and also spent some time looking up other versions later. As I’ve shared often before on this blog, I think cooking is about adapting and innovating, and I wanted to create a version that would work well for me back home. The recipe I am sharing today is exactly that.

I was able to source the walnuts easily, and I think you should be able to as well. For some reason, while walnuts may be the healthiest option, I find that many seem to favour almonds or pistachios. I enjoy them all. I prefer buying whole walnuts, cracking them open myself, as I think the chances of them getting rancid sooner reduce by doing so.

I use this walnut dip as a spread on sourdough bread, and I think it will go nicely on a cheese platter too. Or else with sliced fruits, such as peaches, or rice or other kinds of crisps. I think it could also work as a meal condiment. I’m excited about trying out these variations. How will you use it? I’d love to know.


Walnut Dip

(Yield: 1 cup)

1 cup soaked walnuts

1 green chili

1 tablespoon grated red radish (optional)

Salt to taste

A pinch of pepper

2 tablespoons yoghurt

In a blender, add the soaked walnuts along with the green chilli. If you prefer, add some grated radish, along with salt and pepper to taste.

Blend well into a paste. Finally, add the yoghurt and whir gently.

Your walnut dip is now ready. You may wish to garnish it with a tablespoon of olive oil. Enjoy it as you please.

I certainly have been enjoying it, along with my memories of a special trip. If you can, I encourage you to visit Kashmir to explore its beauty and diversity. In the meanwhile, I hope this walnut dip gets you dreaming too, as I do of my own next visit!

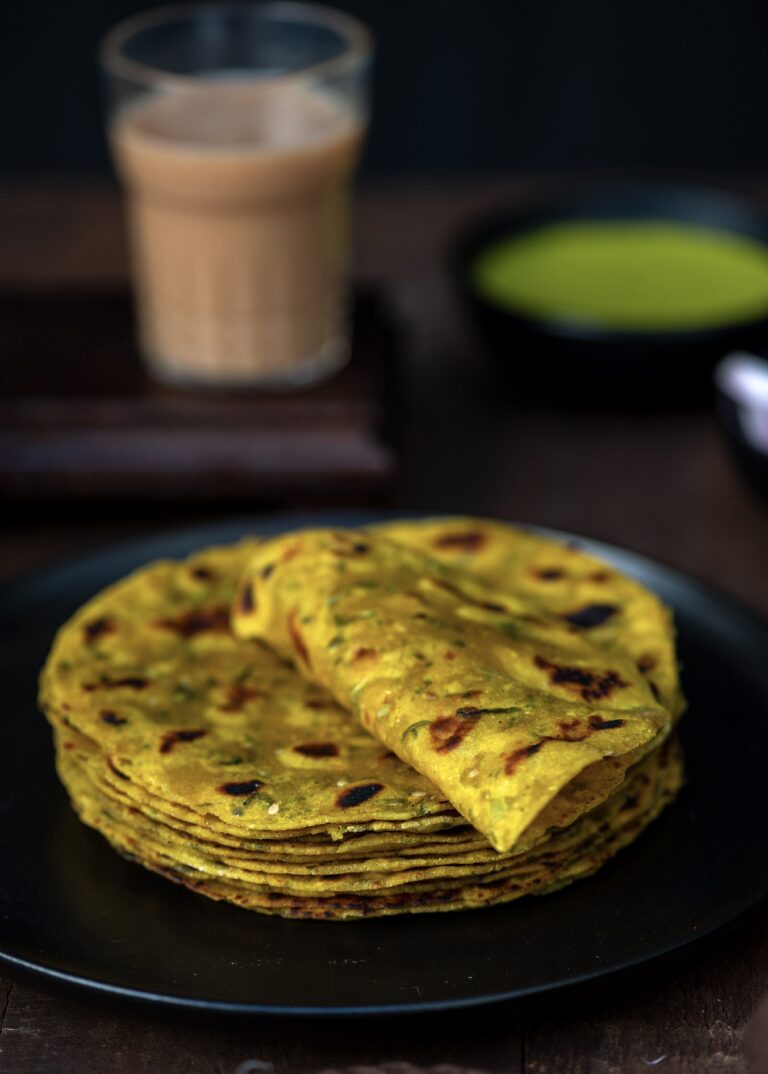
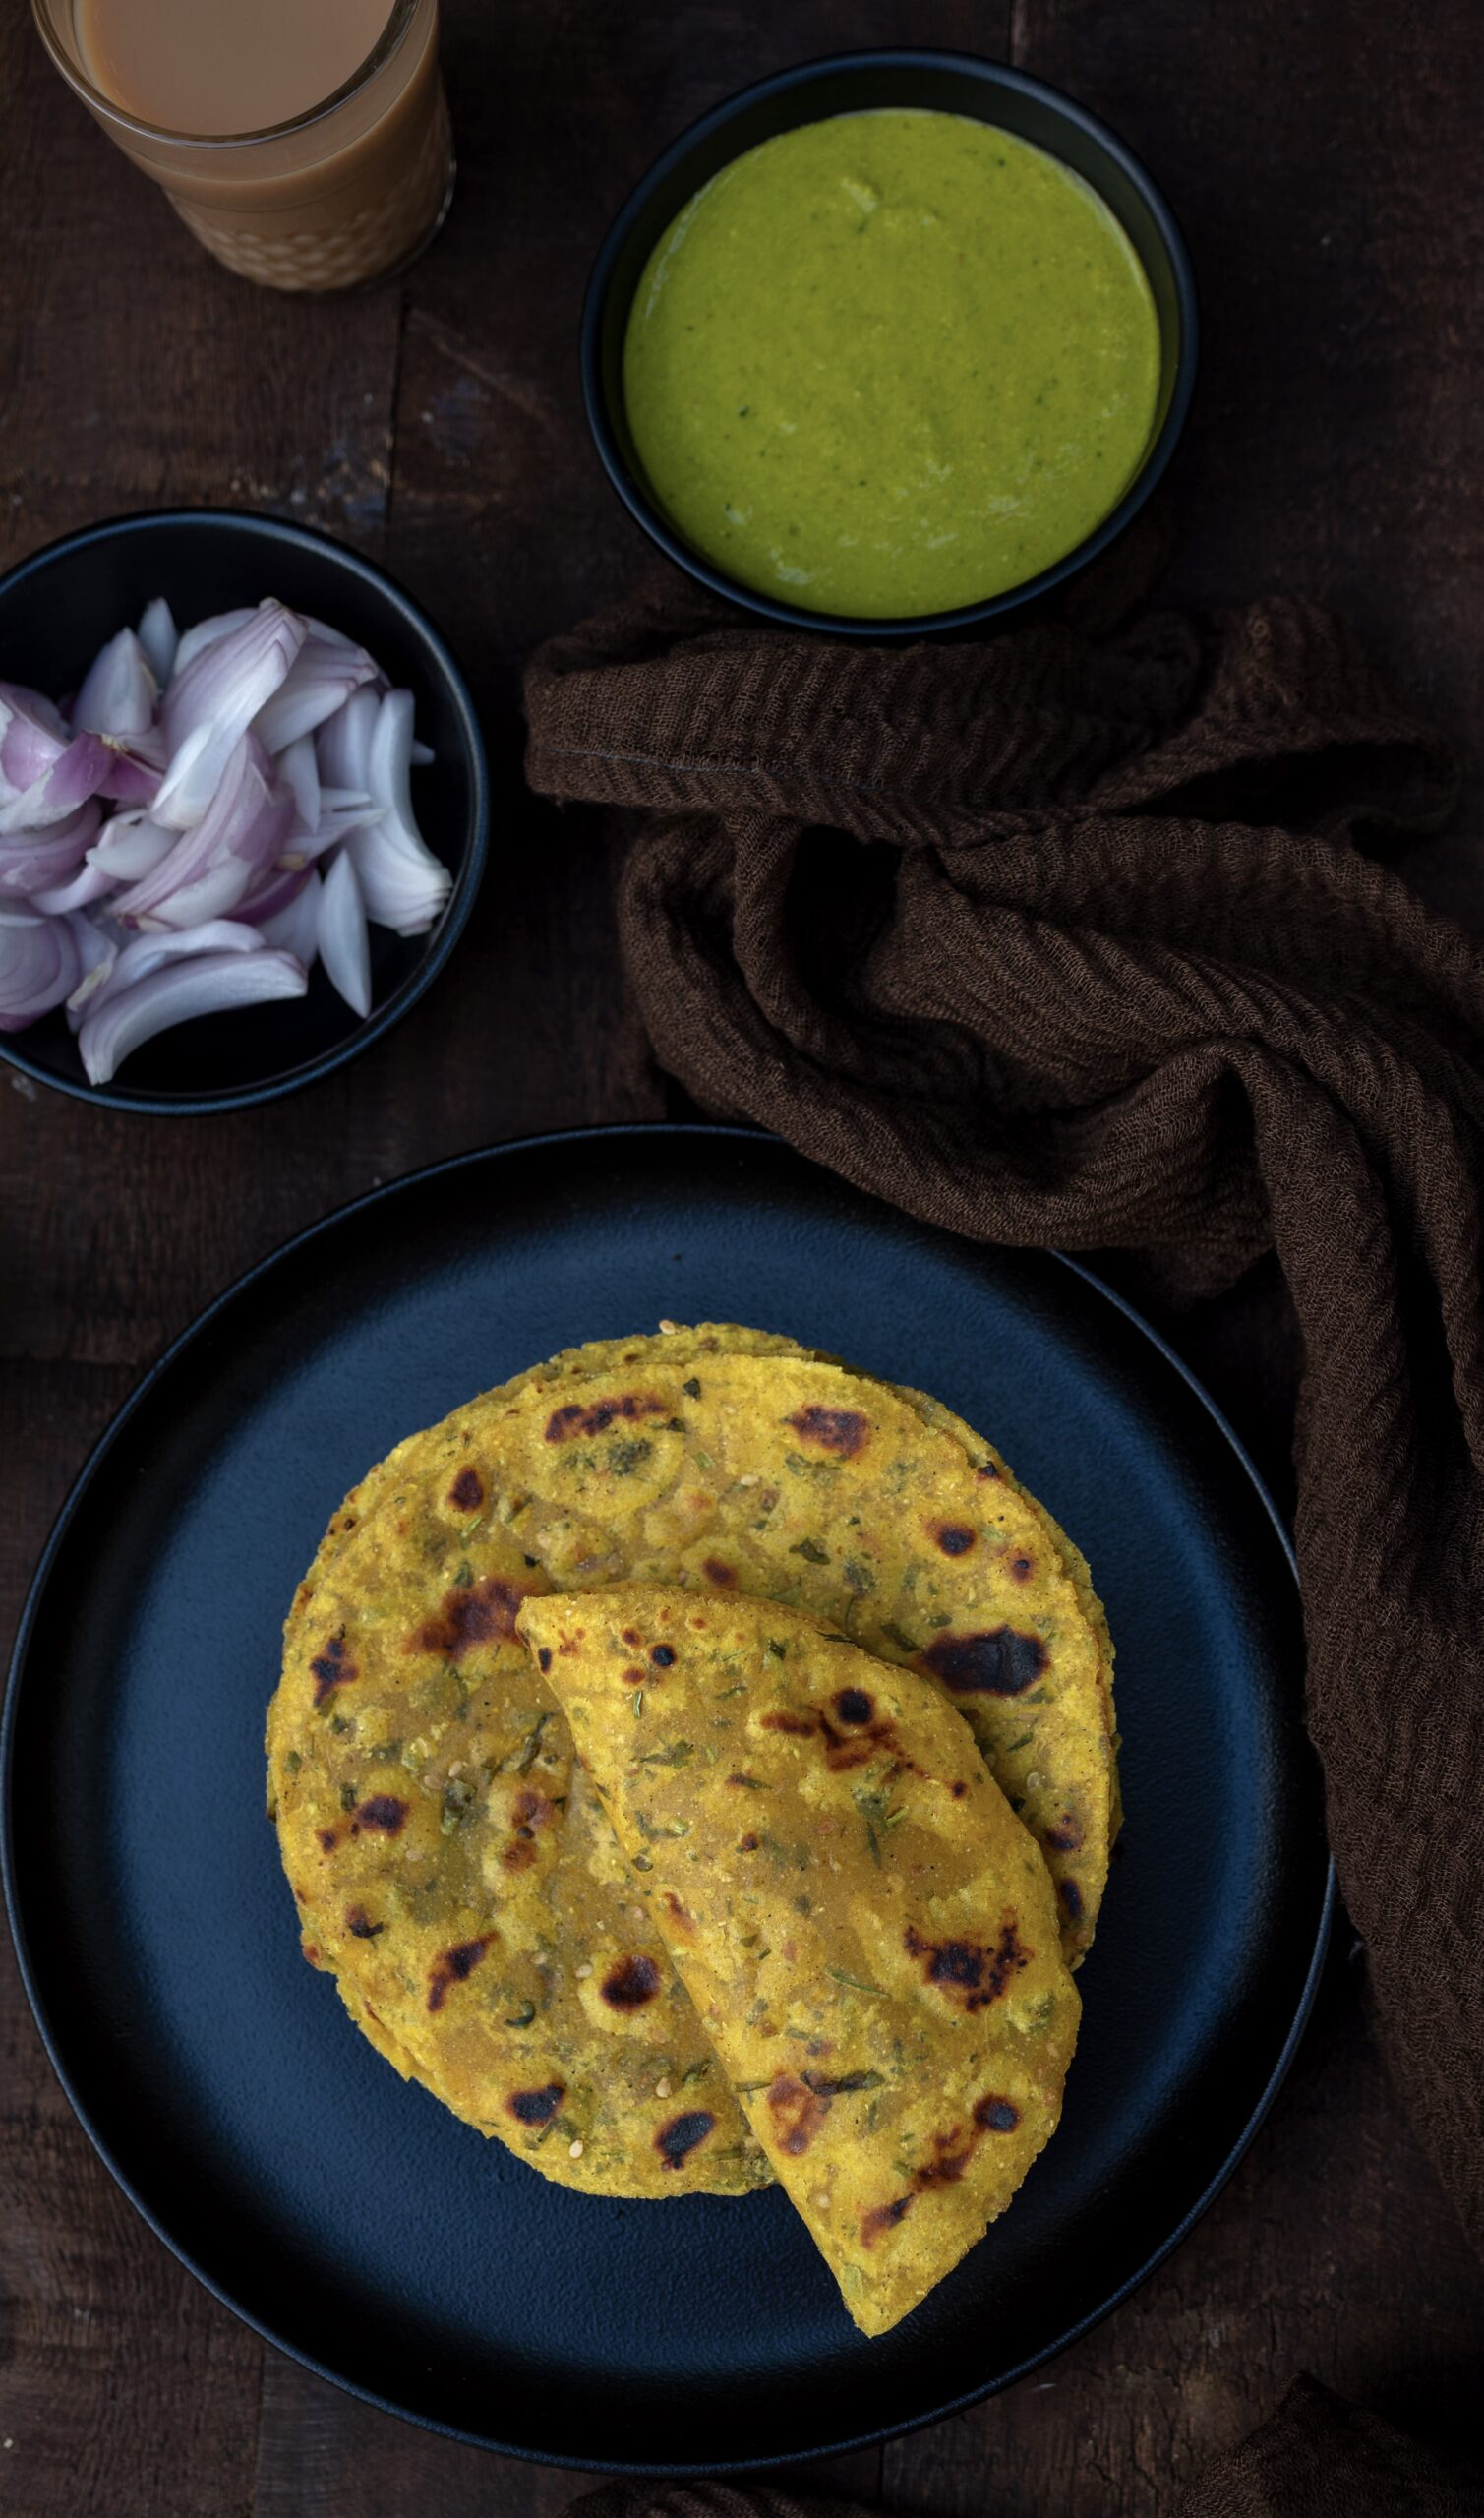
Bajra ni puri is a traditional Gujarati snack that is mostly eaten in the monsoons or when the climate is cooler. This is because bajra is heavy to digest, as I have shared in prior recipes that feature it, and also to coincide with the winter harvest of this particular millet. I often talk about how Nature tells us what we should be eating, and how and when; it was a wonderful science indeed that our ancestors followed. However, if consumed in moderation, bajra ni puri can of course be eaten year-round. Since this is the last stage before the summer heat sets in, and hence our last chance for a few months to gorge on this dish as per traditional logic, I thought it was the perfect time to share it.

Bajra, also known as pearl millet, is a millet rich in iron. You can infer this because of its darker colour, as I learned while studying Macrobiotics some years ago. Speaking of seasonal consumption, lighter grains are usually had in the summer. Funnily enough, cravings for heavy food are not often there in the hot season anyway. Our bodies naturally adapt to Nature, and we should become more conscious of these needs and put them first.

There are different methods of making bajra ni puri. I like this one as it has a bit of tanginess, created by the yoghurt that is added to it. It is also spiced up by ginger-green chilli paste.

My mother used to make the puris a bit bigger, and they would be fluffy – soft in the centre and crisp on the edges. My sister makes it this way too, and I love hers perhaps because it reminds me of our mother’s.

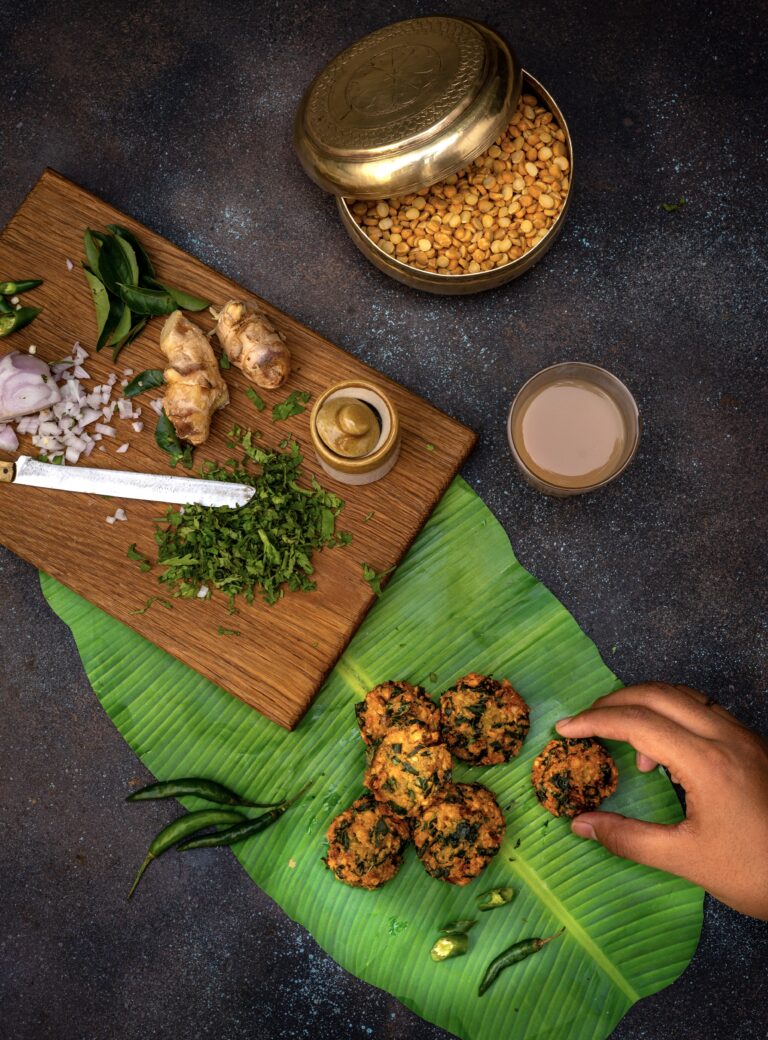
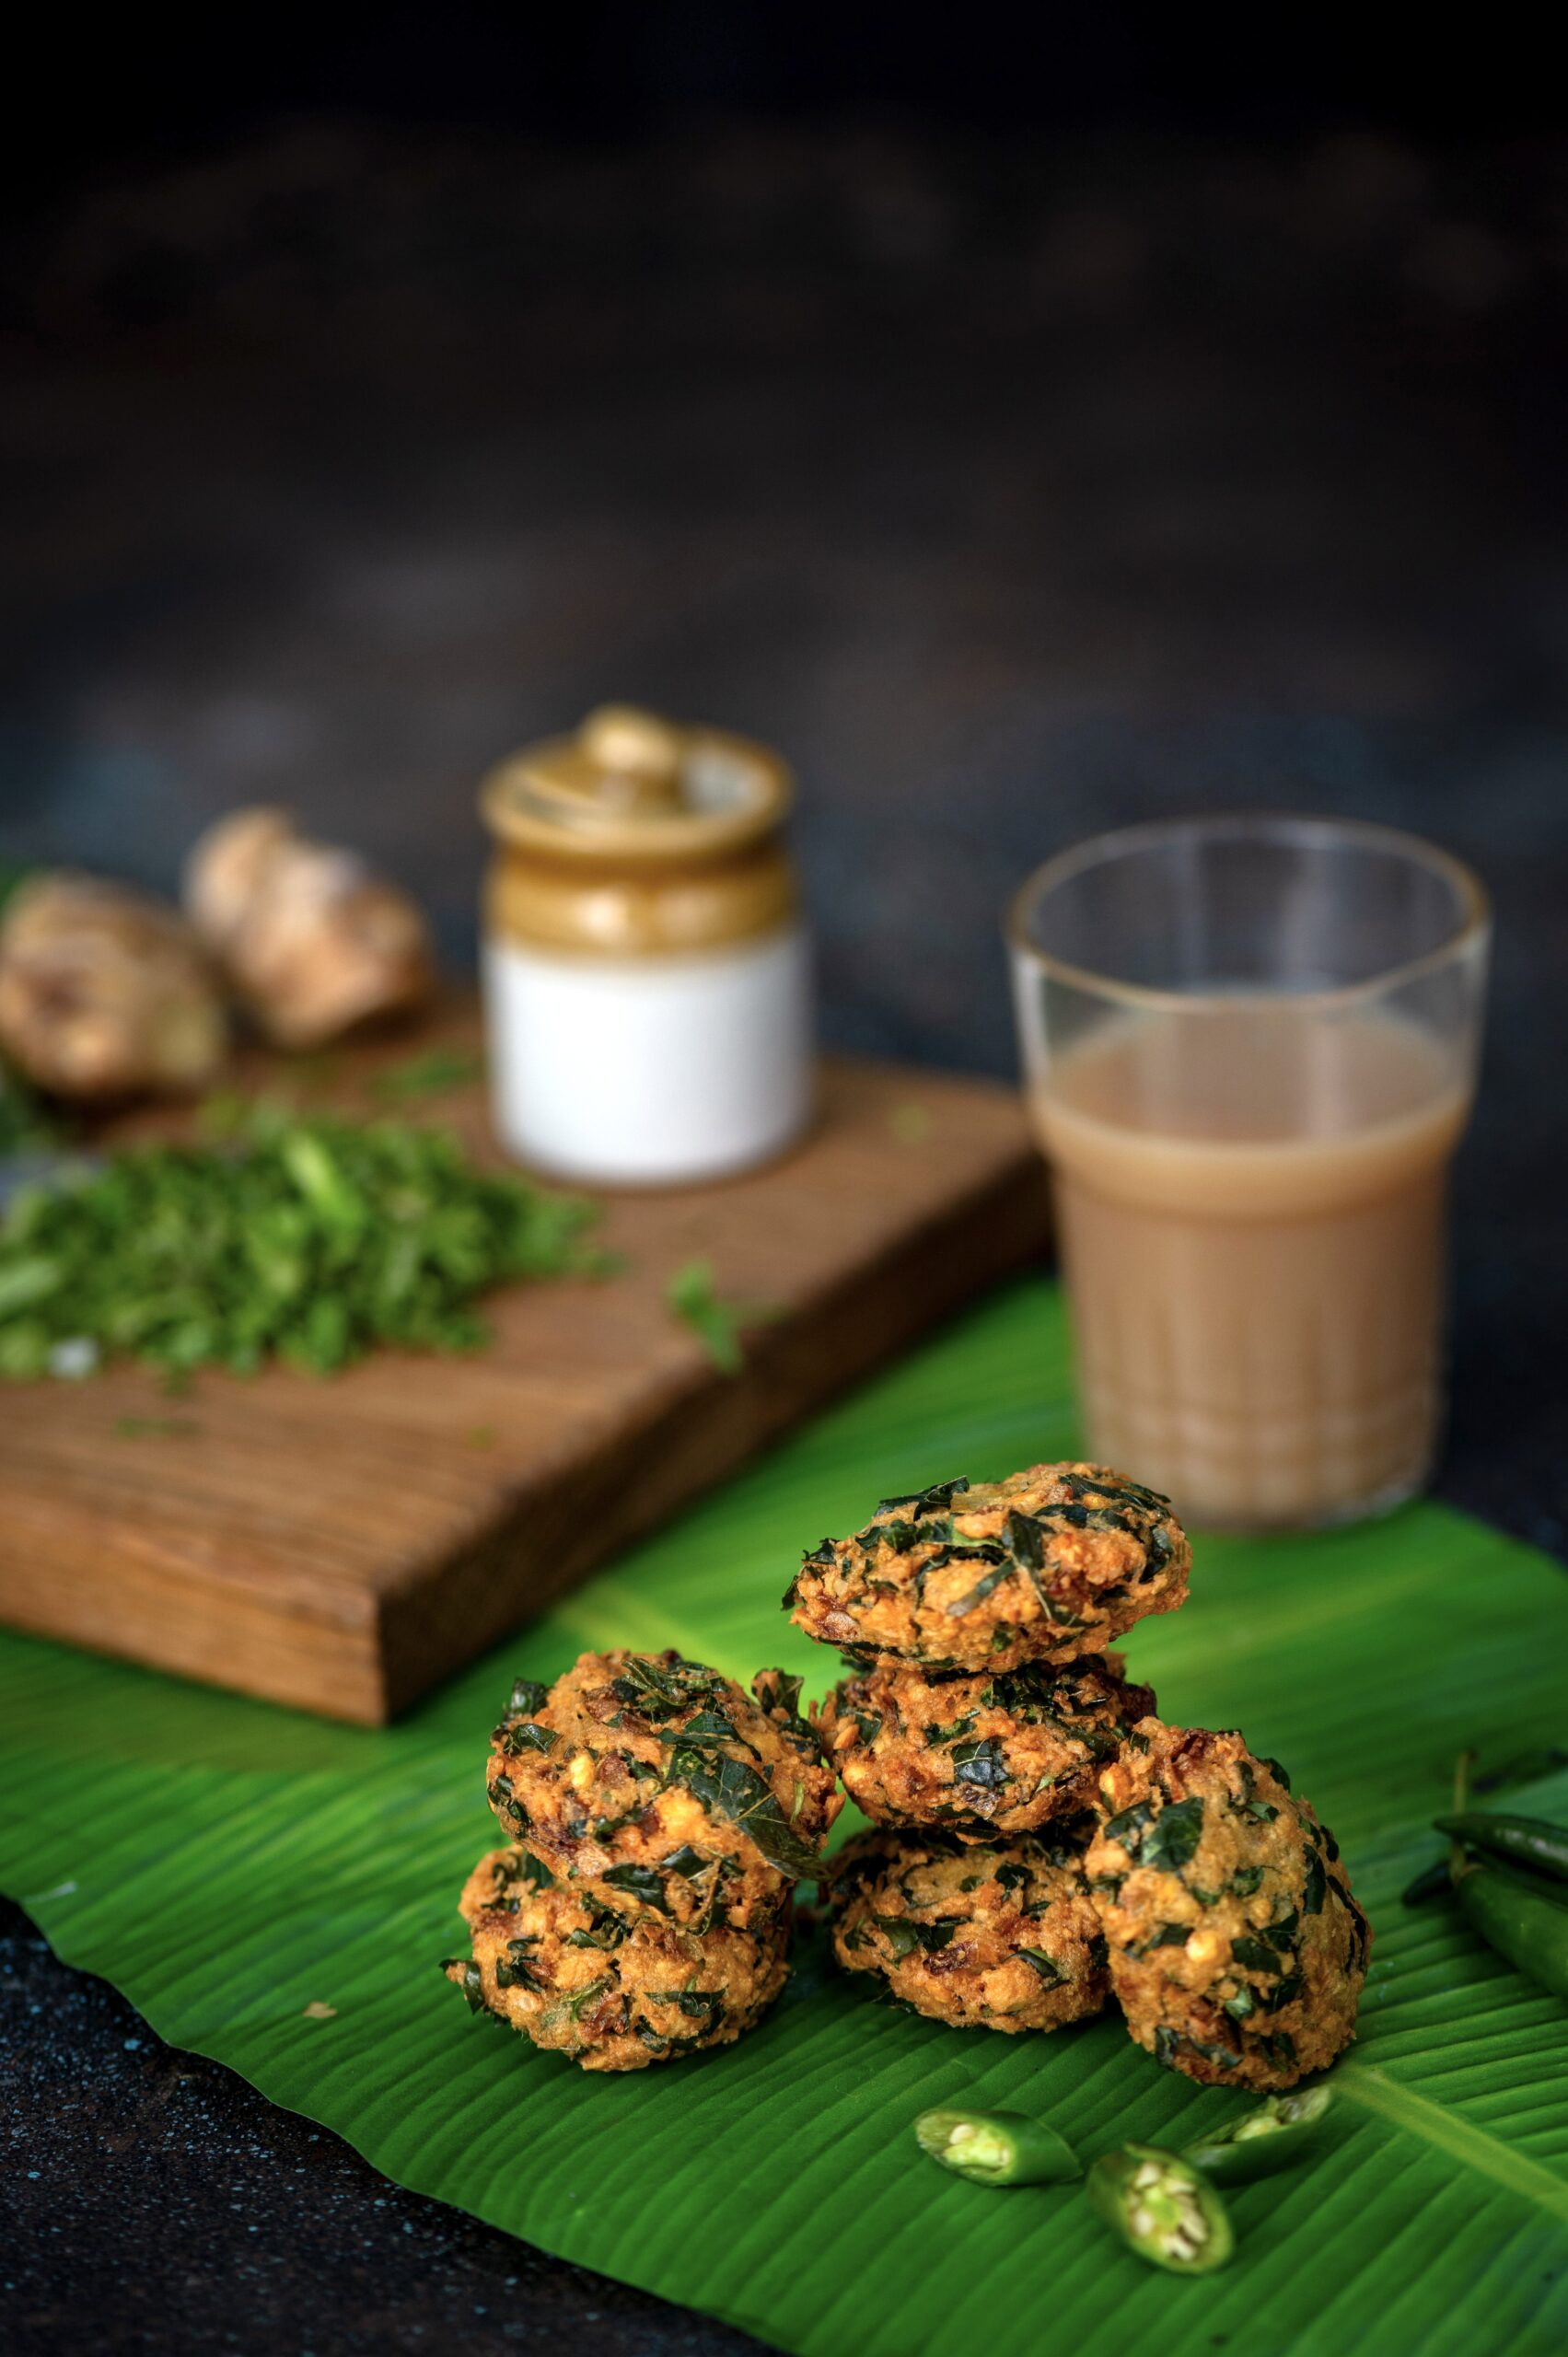
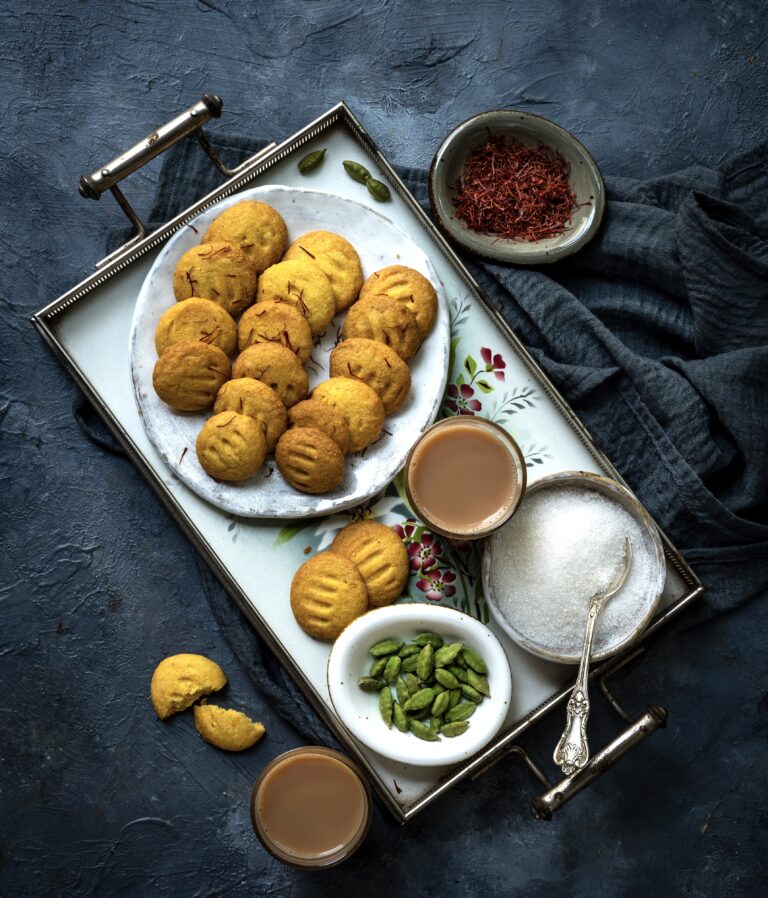
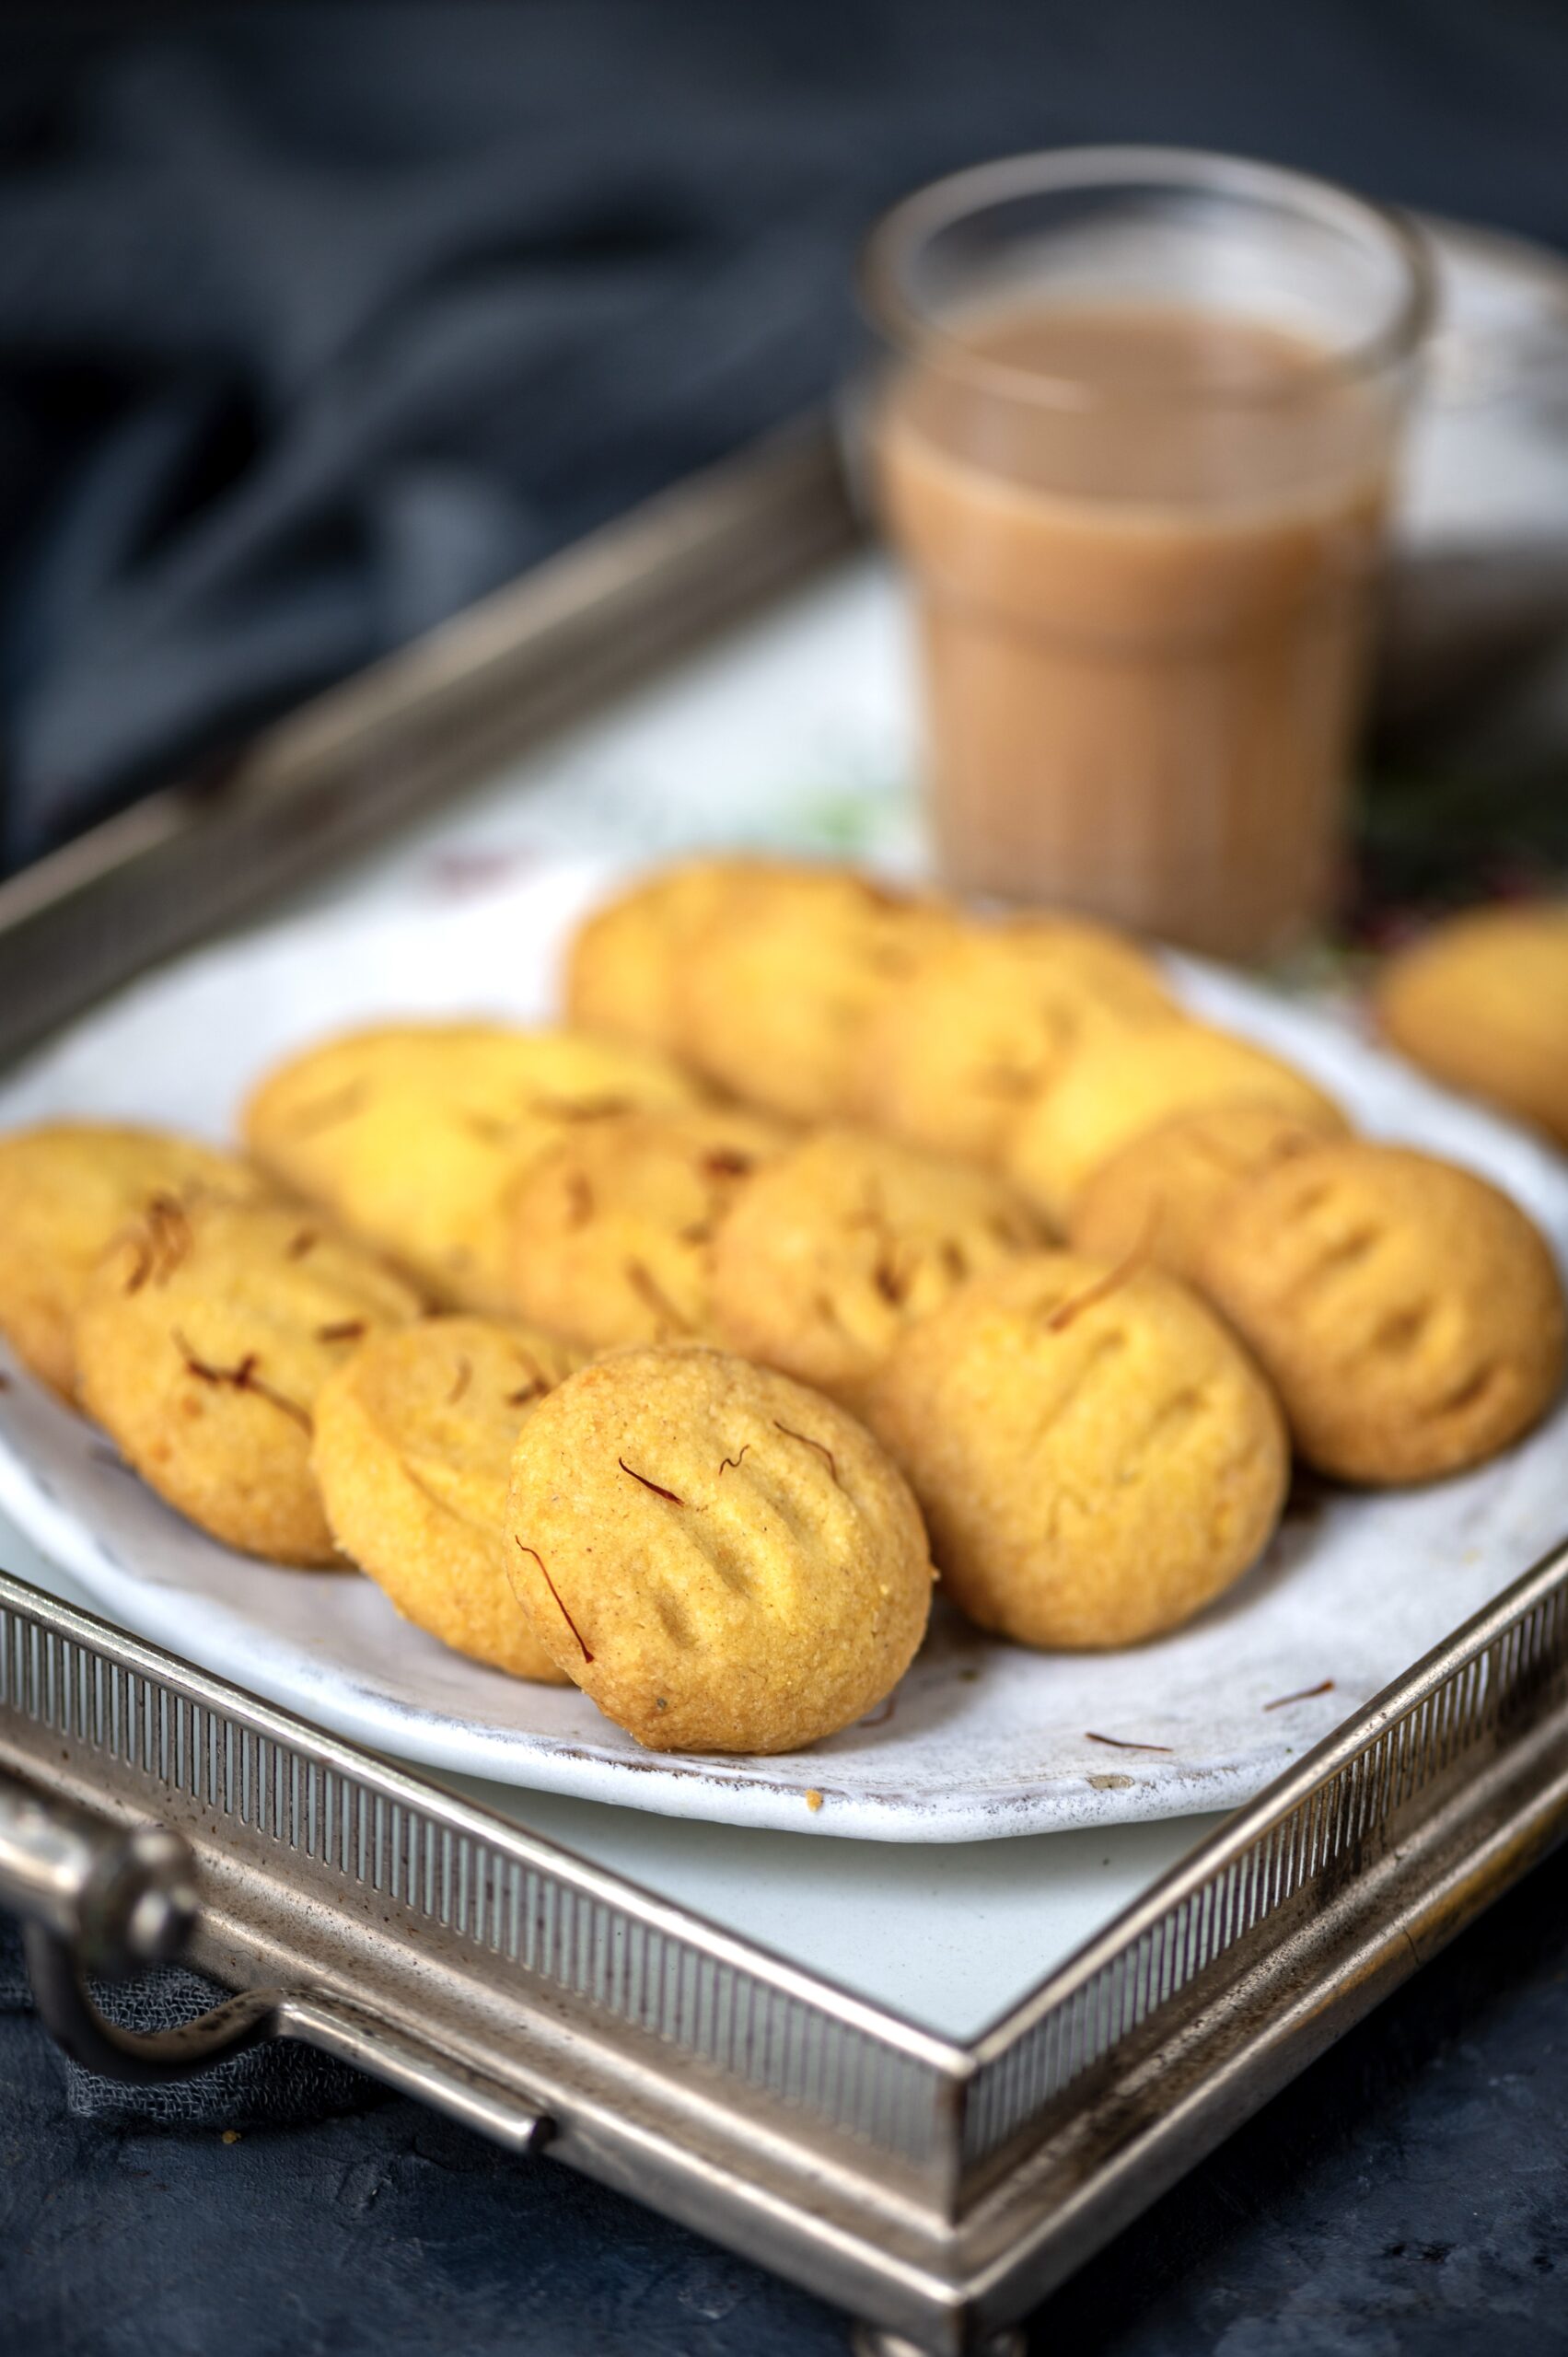
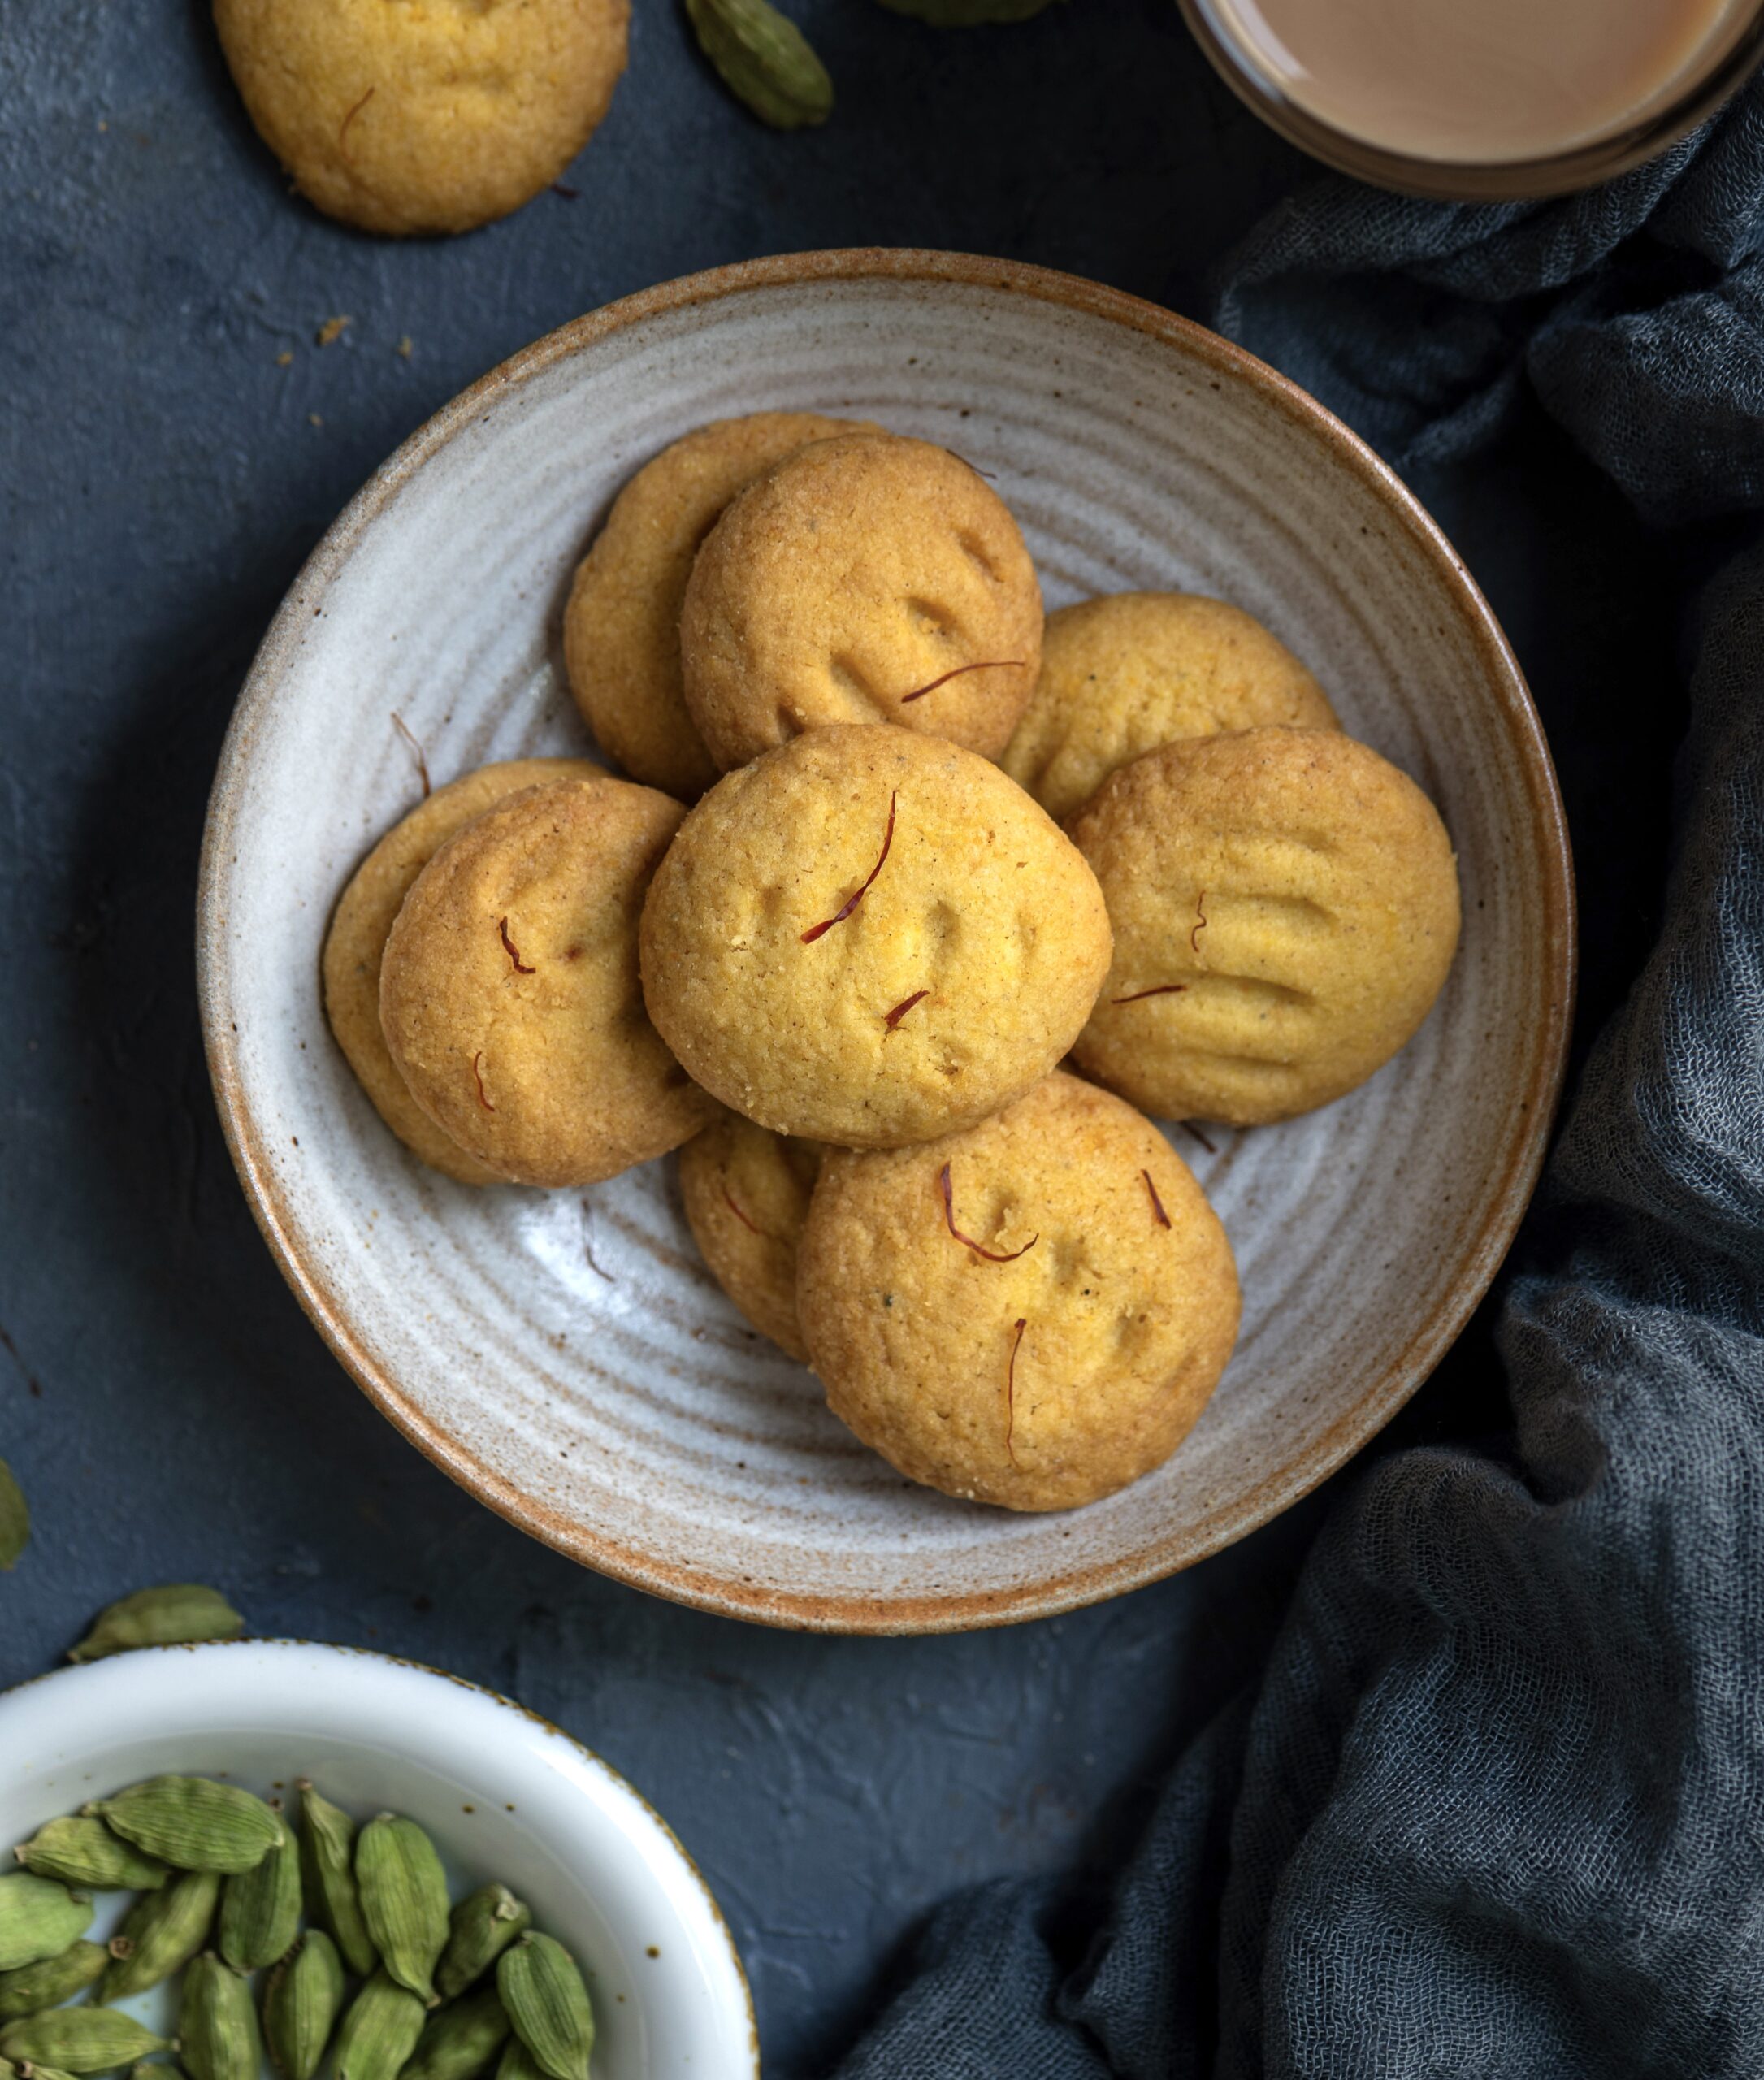
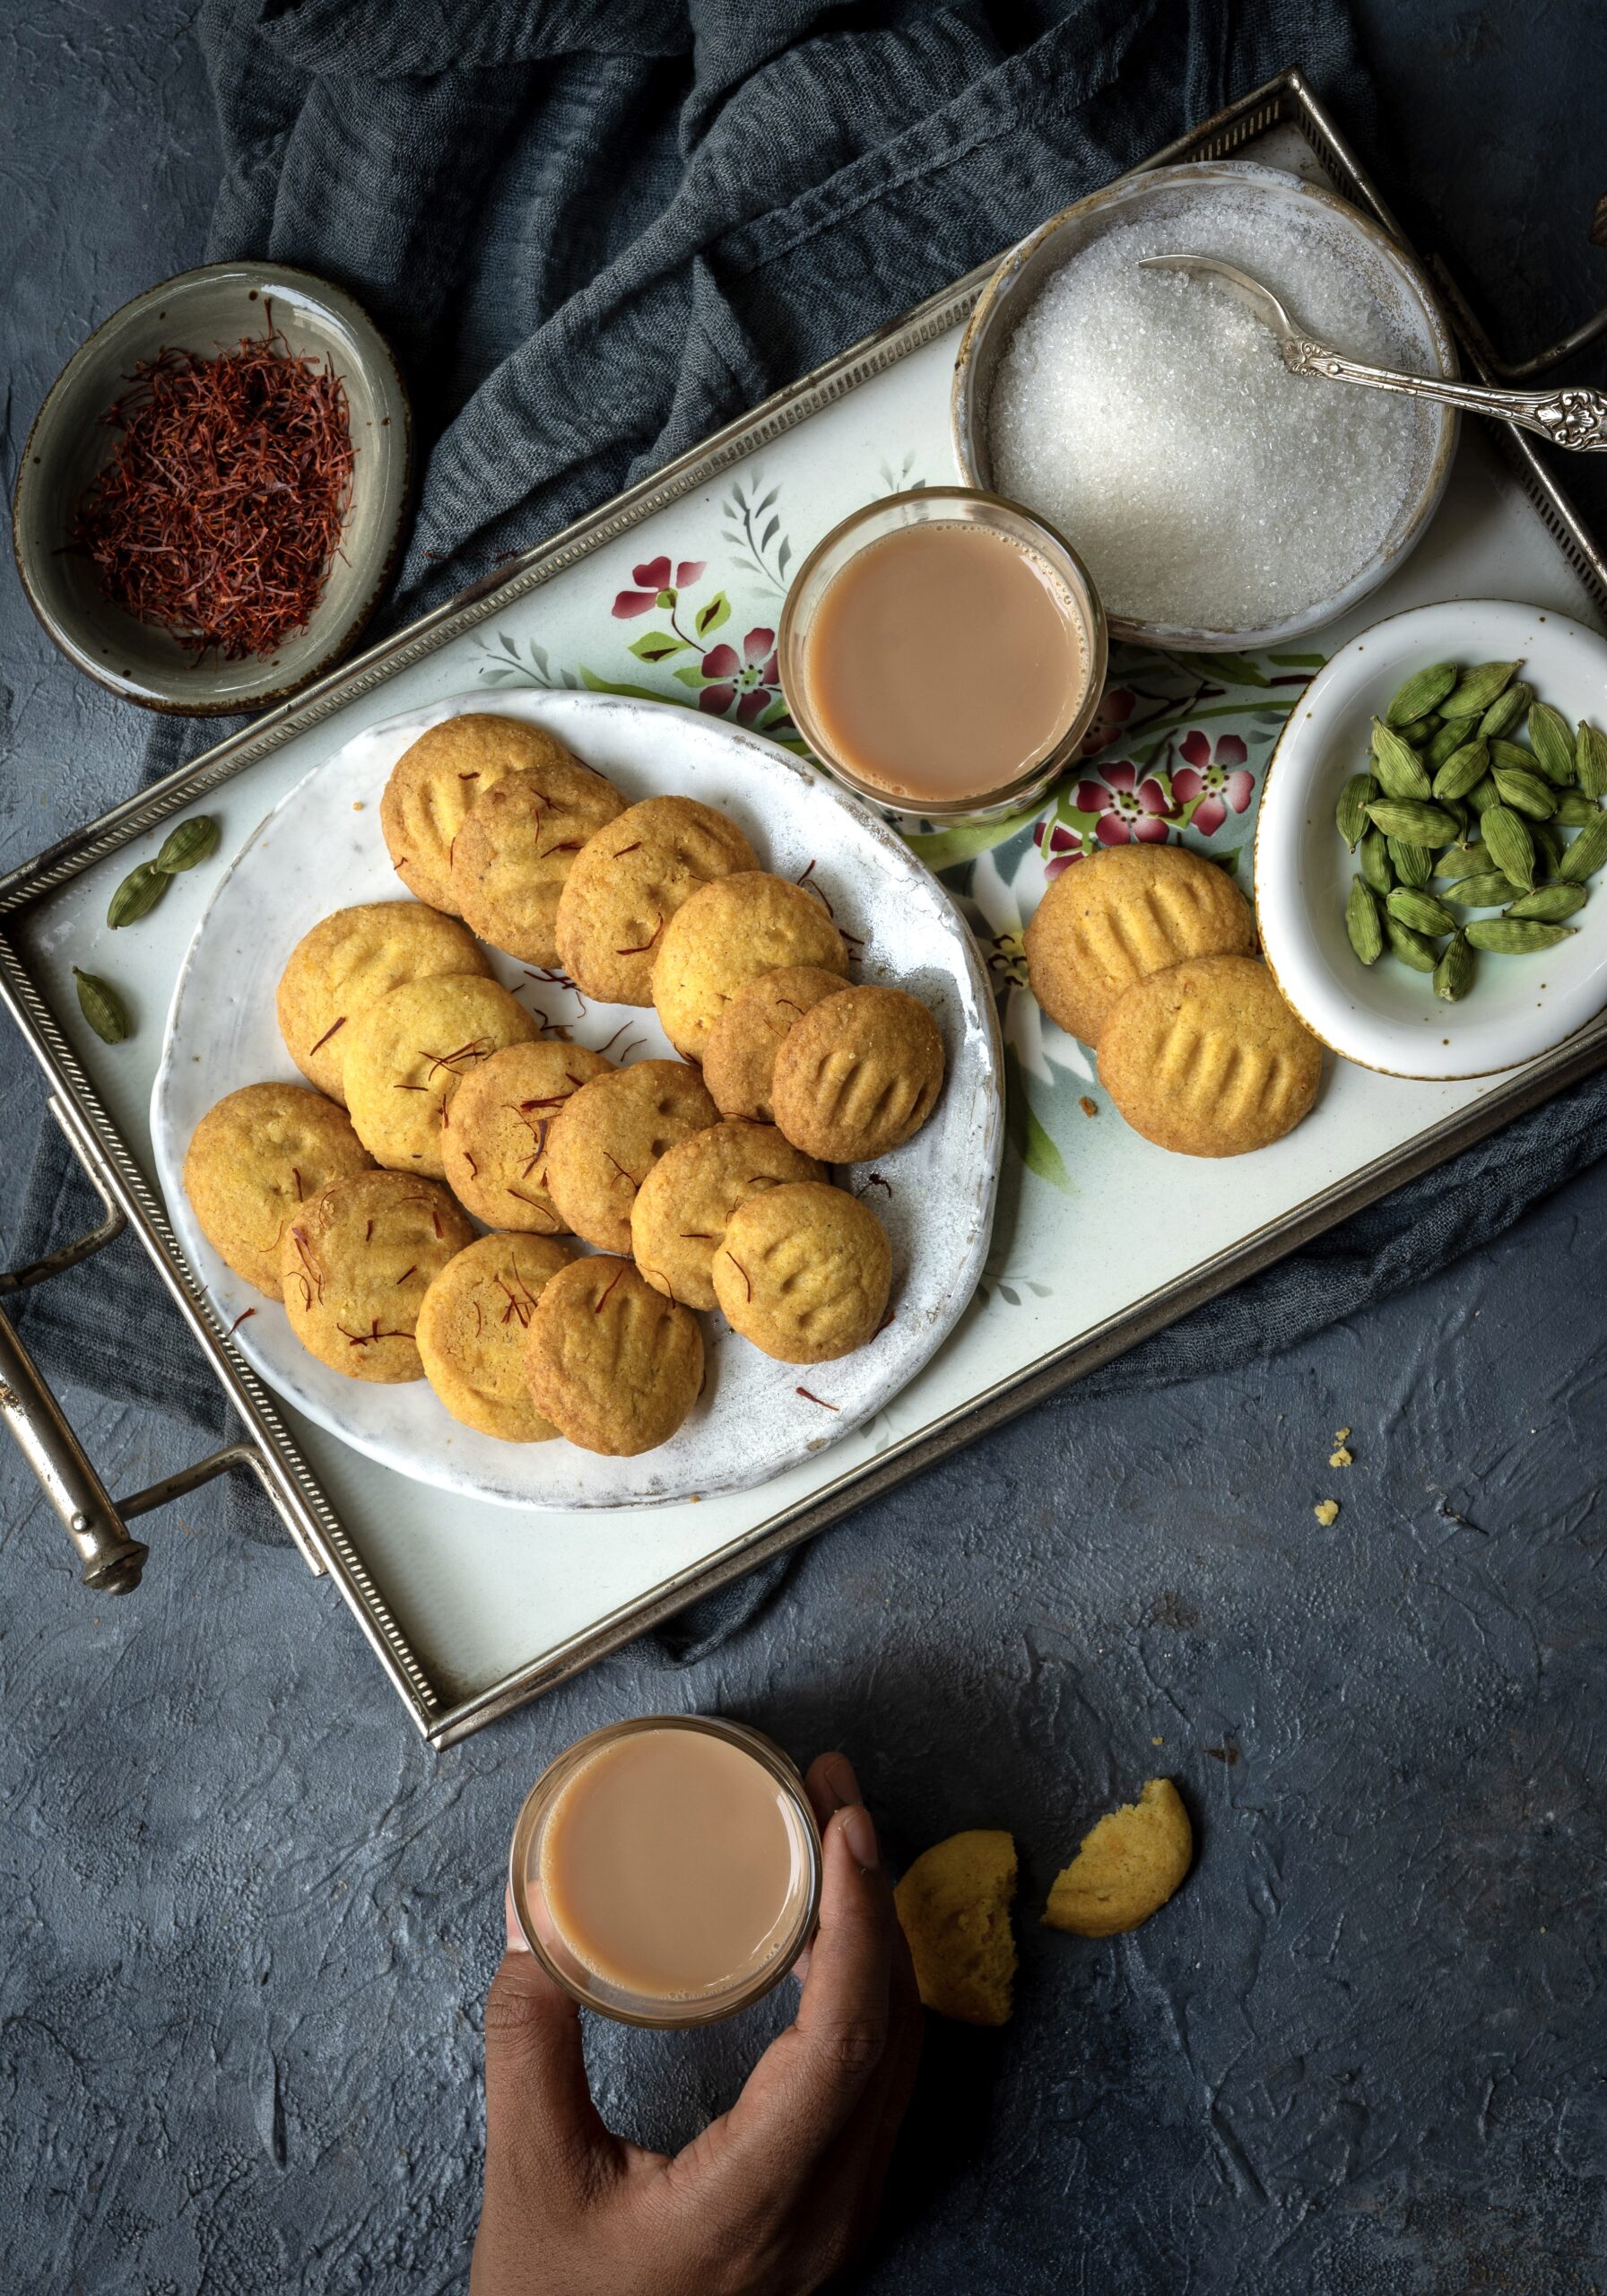
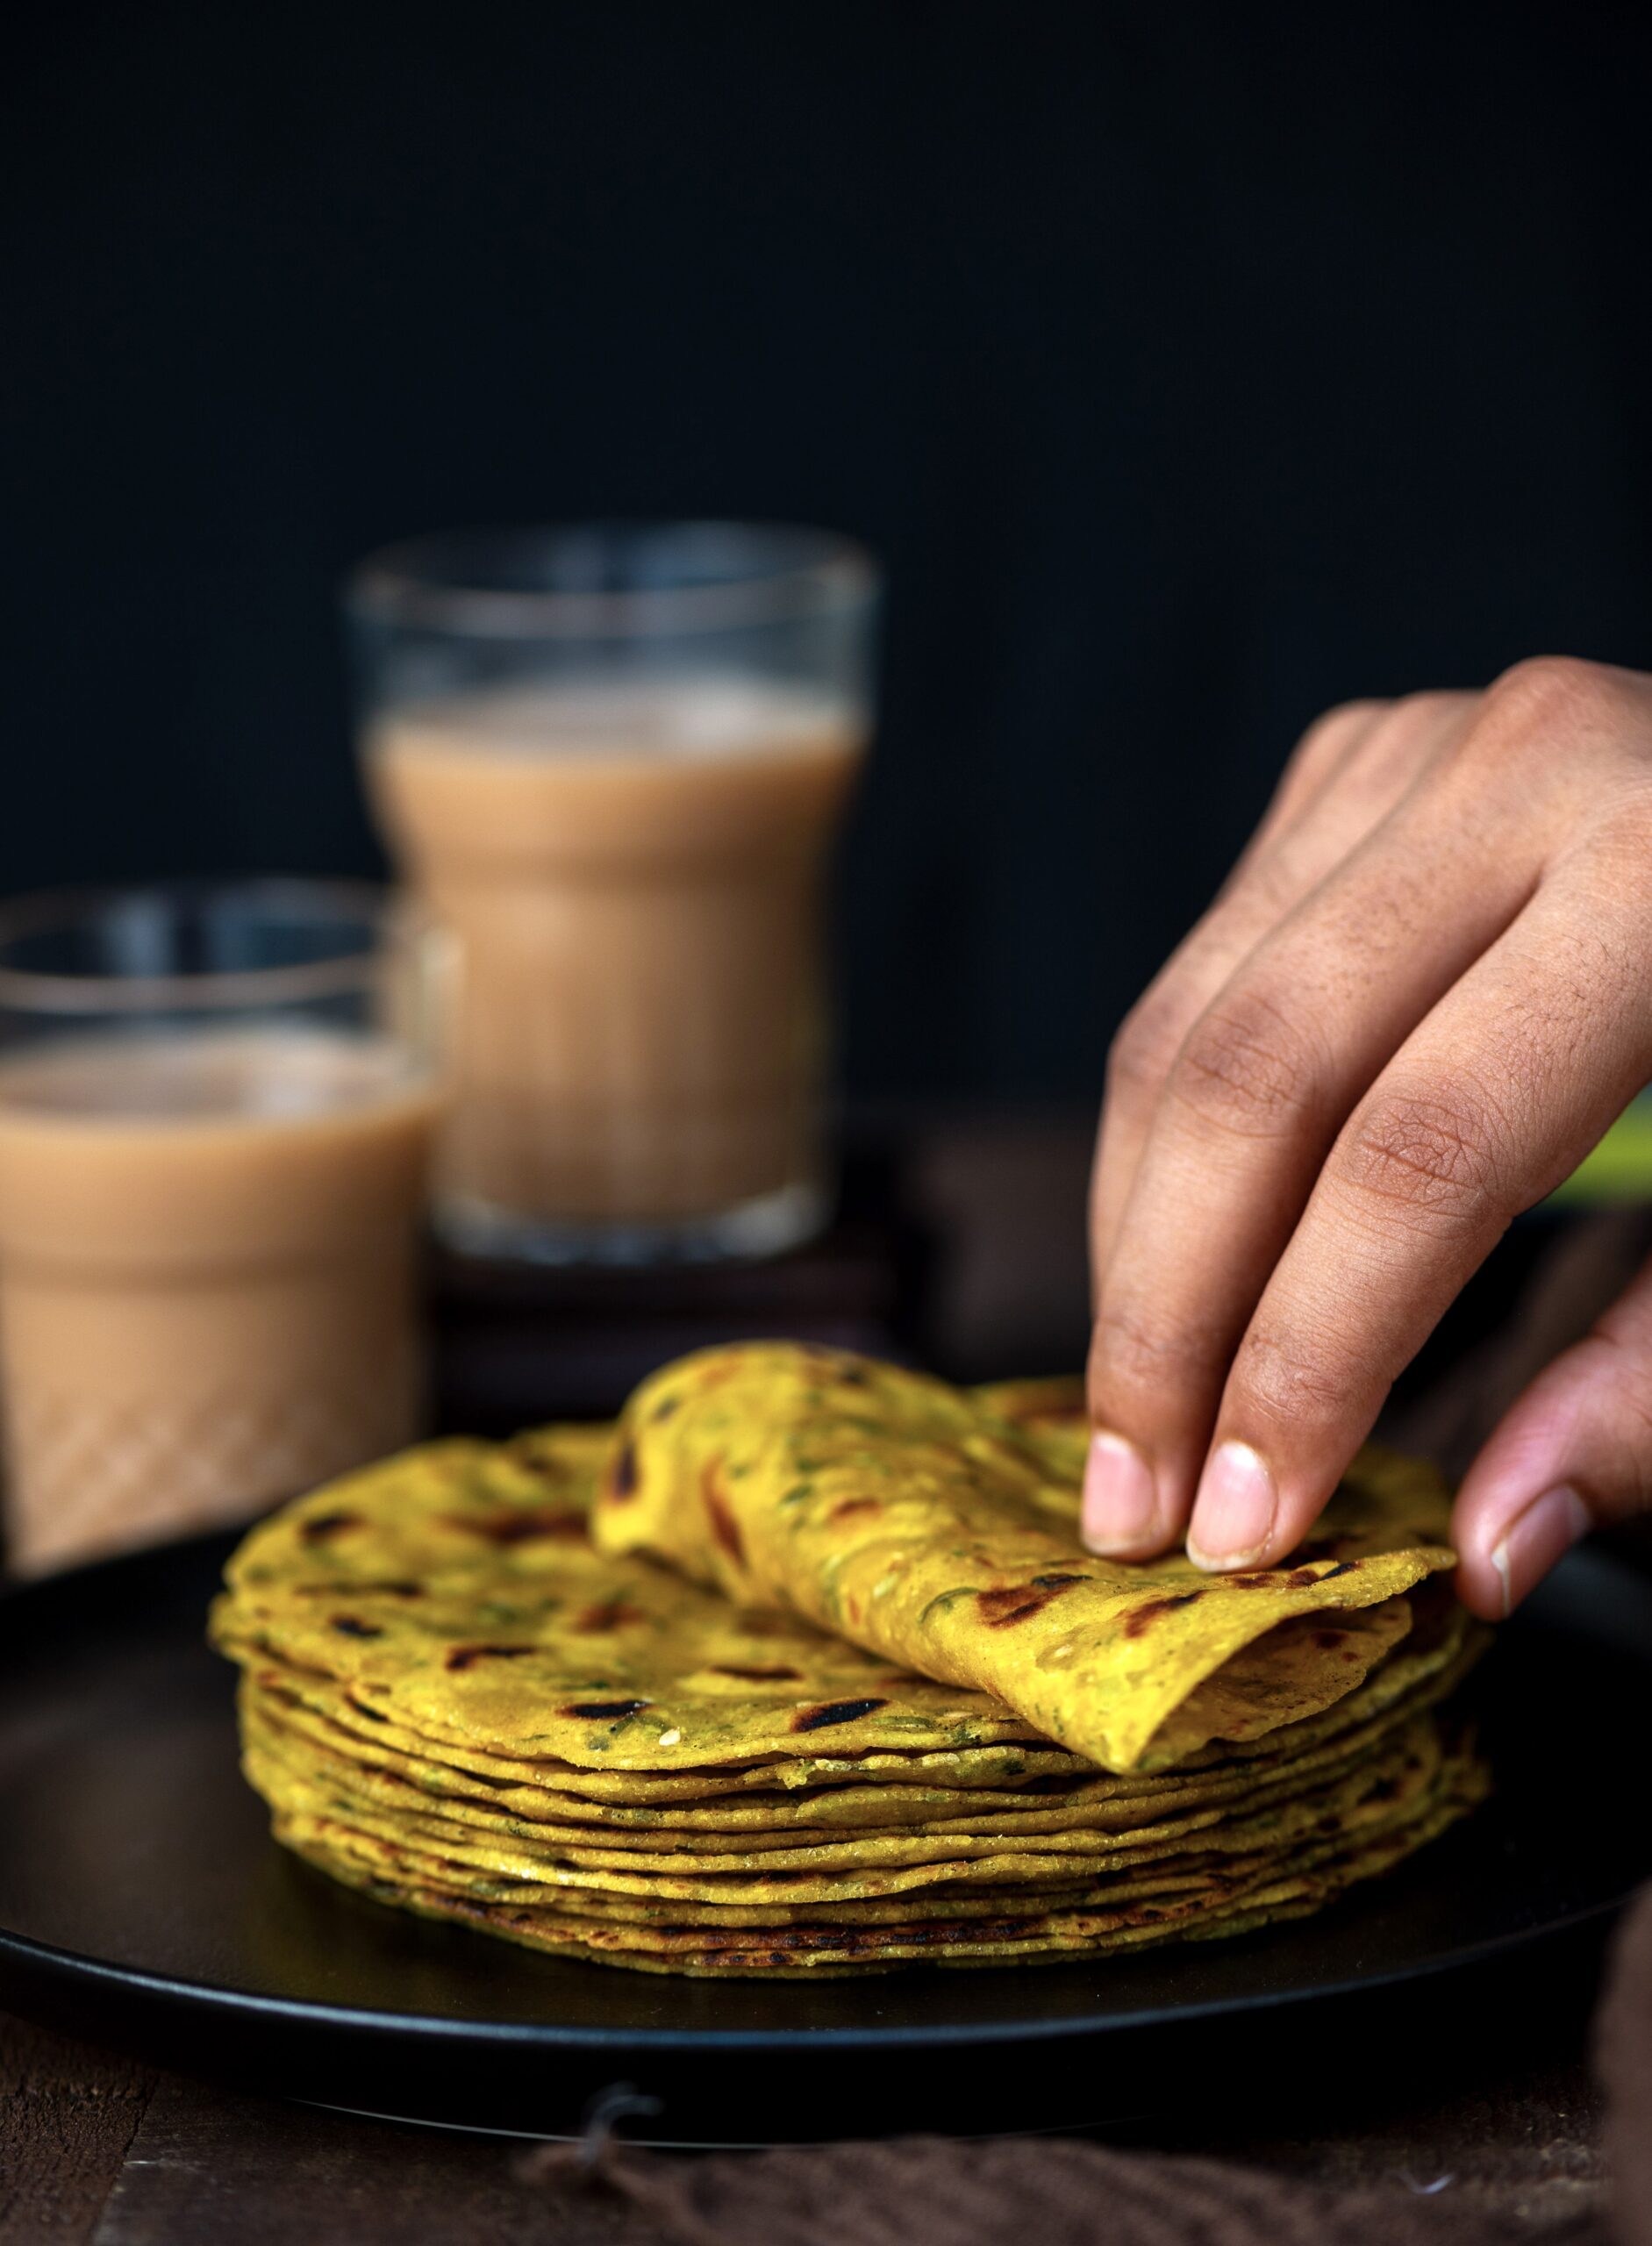
My version is a small and crispy one, which goes well with masala chai. To create this perfect pairing, you can check out my recipes both for the masala and the chai itself.

When my daughter who is away studying came home recently, she took back with her the entire batch of bajra ni puri that I had made then. She loved it that much. So even though my own favourite version is what my sister learned from my mother (which she must have learned from her own mother), my daughter’s is probably mine. I am happy to share with her not just this snack but also the traditions that come with it.

What I am reminded of in some way is of how when a Gujarati bride gets married and leaves her home, she is given a pot full of goodies to take back with her. My understanding is that she would need the sustenance as she left her village and crossed into her new one, be it by road or by train, and items that would provide energy (like millets) would be included. Today, the tradition is continued in the form of fancy silver trays laden with sweets and nuts.

My mother must have brought with her the pot that is now an heirloom of mine when she got married. It was the only thing that I asked from her before she passed on. It is a beautiful round brass pot with a small mouth and a small lid; I imagine this was to ensure that only a little air got in and the items within remained fresh. It adorns my kitchen, and maybe I’ll share a photo of it in future.

Bajra Ni Puri

(Yield: 40 tiny pieces)


¾ cup bajra flour

¼ cup wholewheat flour

2½ tablespoons curd (use lime juice – optional)

2 tablespoons oil

Salt to taste

1 teaspoon sesame seeds

¼ teaspoon asafoetida

½ teaspoon turmeric

2 teaspoons green chilli+ginger paste

½ cup finely chopped fresh methi leaves (optional)

2 tablespoons water (optional)


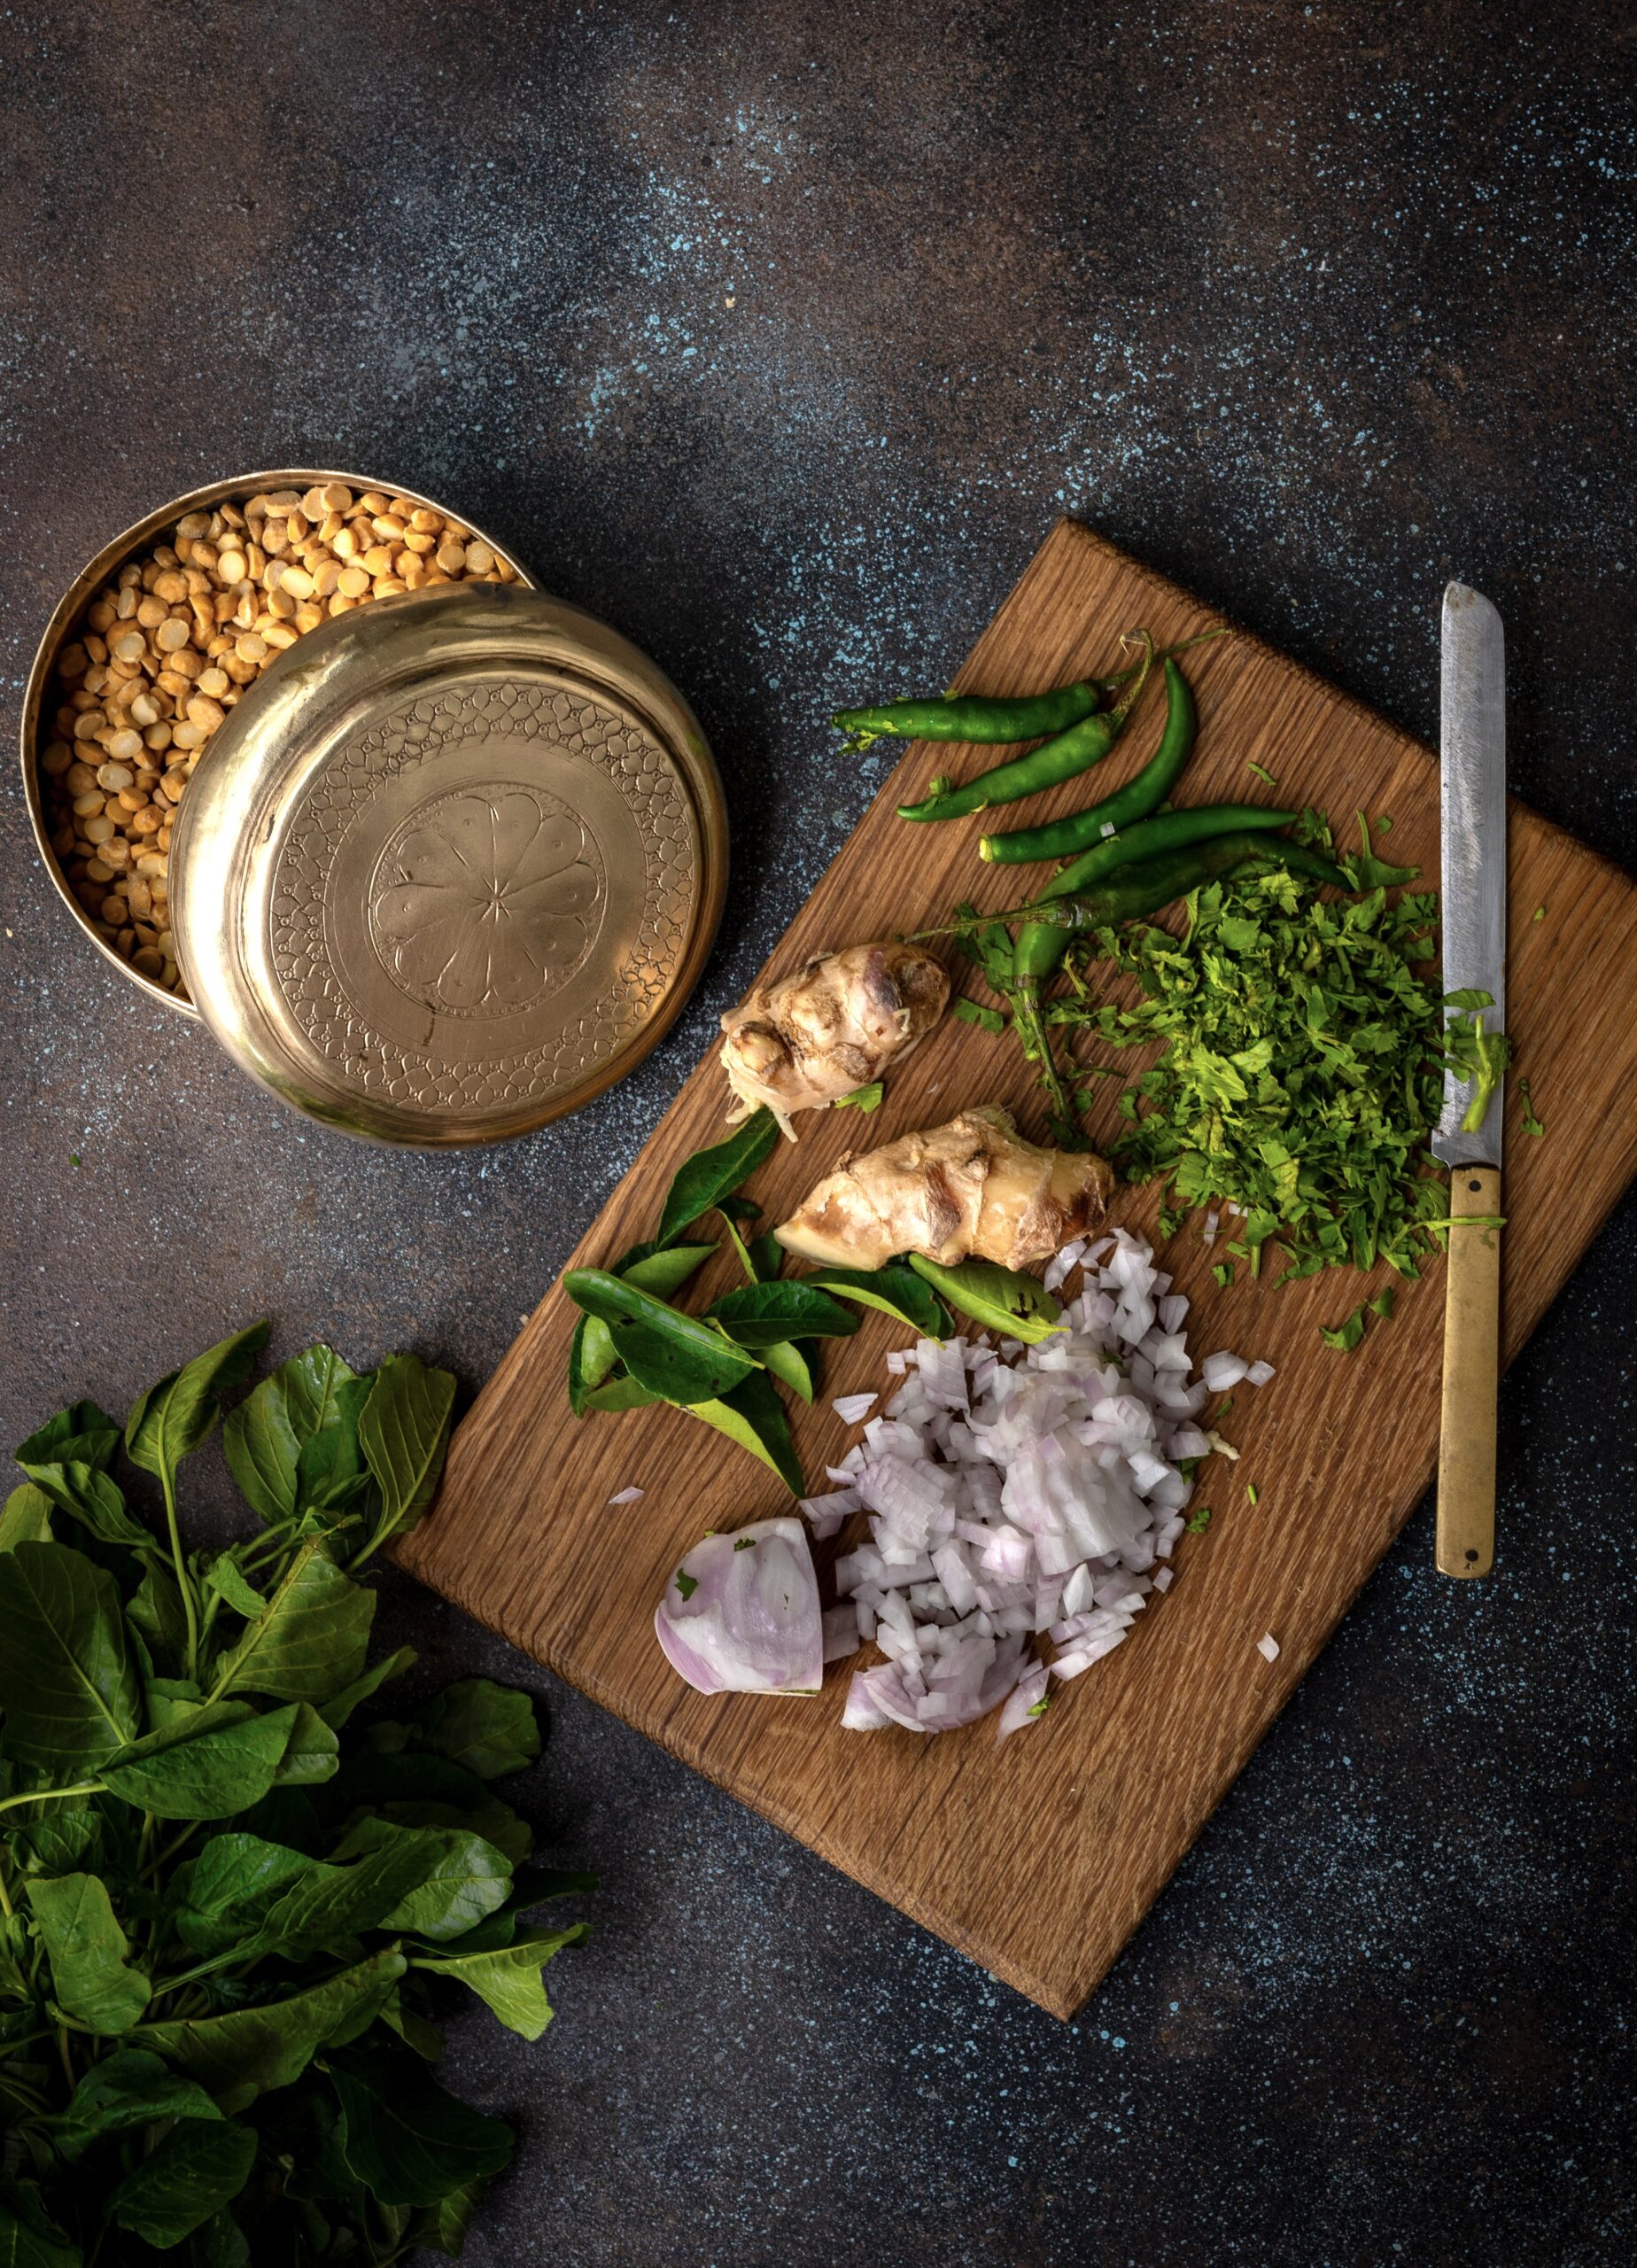
In a bowl, add the flours, salt, turmeric, asafoetida, curd, oil, sesame and green chili-ginger paste. Mix, then add the methi (fenugreek) leaves if you wish to. Now, gauging the quantity of water required, add it slowly – 1 tablespoon at a time – making sure the dough is thick.

In the mean time, heat the oil for deep frying. Once it has heated, gently add a few puris at a time and lower the flame. Turn them over frequently so that both sides cook well and become a golden colour. Fry on a low to medium flame.

Remove and drain on a paper. Once cooled, store in an airtight container. Enjoy with your chai. You’ll find it tangy, spicy and yummy.

I love how this bajra ni puri contains the significance of my mother’s wedding pot, and also the simplicity of an afternoon snack.

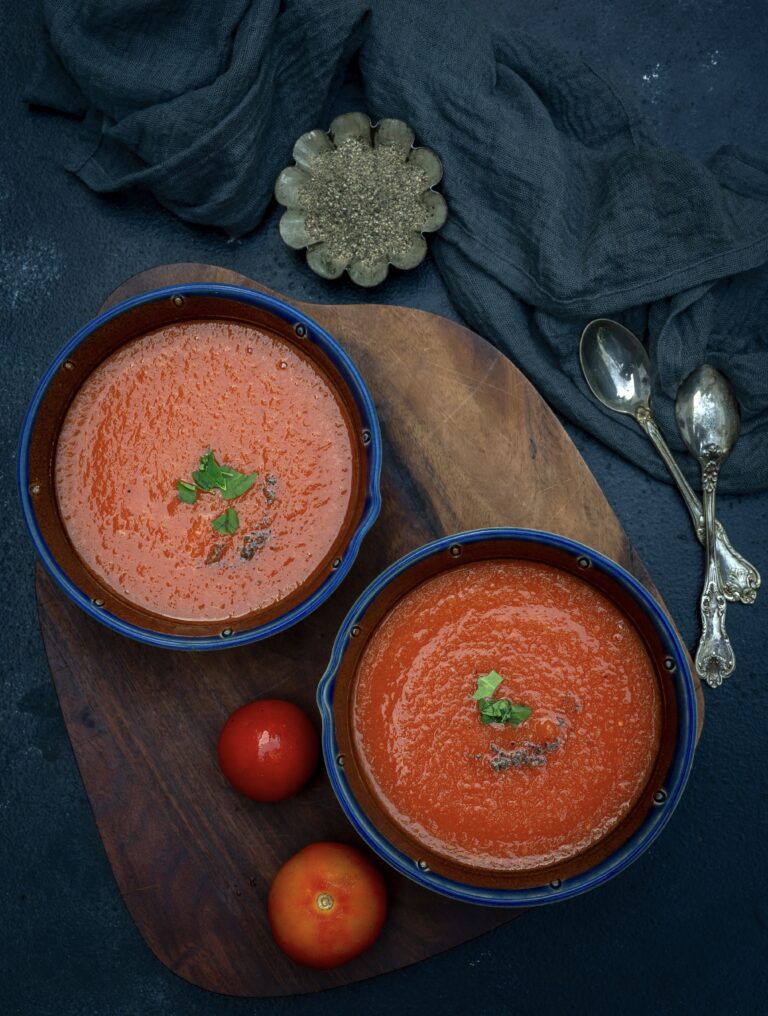
If you are ever in any South Indian restaurant, you will notice that they will offer you an abundance of chutneys. Each restaurant will be famous for its own twist on ginger, coconut, mango and so many other variations and options. Whenever such a range is available, I usually want to lick and taste them all, until I find one that I love. Then, I’ll stick with that for that particular restaurant – at least for that particular day. Across many such meals, I have discovered that my favourite at many places is tomato chutney, so of course I decided to make my own version at home too – and to share it with you.

This tomato chutney can be kept in your fridge for about a week, and it goes well with anything – from main staples like dosas and idlys to assorted savoury snacks.

One thing I also like to do is to spread this chutney on the dosa itself, and it makes for an amazing flavour combination, along with the sesame oil used to fry the dosa and the ghee used as a topping. The dish looks so pleasing to the eye, is so appetizing, and is also healthy. Whenever I prepare a tomato chutney-laden dosa, it reminds me once again of the colourful plates at restaurants. Those red, green and white chutneys really change your perspective on just how delicious nutritious food can also look.

This in turn reminds me of a friend of mine whom I have learnt a lot from. She lives alone in a beautiful home, and at every single meal – whether or not she has visitors – she takes care to set a table properly. She places the crockery out along with crisp linen napkins and silverware. When one lives alone, one often takes things for granted. But not so with my friend, who pays attention to her meal and enjoys it the old-school way. No TV switched on, no carelessness. She cooks every single meal afresh and makes it a point to make it a pleasure.

Watching how she has chosen to live inspires me. We often rush through processes rather than pausing and being present. Yet what a difference it makes, especially as we get older, to truly enjoy and experience each moment.

Stop. Sit down. Look at the wonderful plate in front of you. See what the colours and flavours add to your life. If you plan to prepare such a plate soon, be sure to add this vibrant tomato chutney to it. I’m sure you’ll see and feel the difference it makes to the tastebuds, and to the mind.

Tomato Chutney

(Yield: 1 cup)

1 onion

2 tomatoes

3 dried red chilies

4-5 cloves garlic

2 tablespoons oil

1 piece ginger

1 teaspoon urad dal

Salt to taste

Water as required, enough to grind to a paste (I used 3-4 tablespoons)

Juice of ½ lemon


Heat a pan and add the oil. Add the garlic and urad dal and sauté.

Add the onions and dry red chilies. Sauté until the onions becomes translucent then add the tomatoes. Then, add the salt. Cook until the tomatoes are tender and their colour changes.

Now, add the water. Once the concoction cools considerably, blend with the lemon juice.

Store in a fridge for up to a week, using as an accompaniment to any dish of your choice. Enjoy!

For another tomato recipe that has multipurpose qualities, do check out my tomato purée recipe too!

We talk about leftovers in all of our homes. How to store them, how to repurpose them and so on. You may have remembered from my Second Helpings series a while back that certain traditional dishes, like rotli na ladoo, are in fact innovations that deliberately use leftovers. This ragi paniyaram recipe is similar in nature. It basically uses up the leftover batter from ragi idly, and becomes a whole new savoury snack of its own.

You would already have learned the recipe for the batter used here, as linked above, so we can head straight into how to make paniyaram. They are amazing: pillowy soft on the inside and crisp on the outside. Dip one in chutney and it’s heavenly. I really feel like ragi paniyarams are bites of paradise!

The recipe below is my go-to. It is very easy to prepare and uses only readily available ingredients. You can add a flavouring of your choice as well. One special way that I like to make it is by dropping half the required batter in the paniyaram mould, adding a dollop of pickle in the centre, and then layering it with more batter. Mango or lemon pickle work perfectly for this, and add a piquant taste when you bite into the paniyaram. That’s the thing about many traditional staples – they are so flexible that you can add whatever you want within your reach. Be innovative, be creative, do you. Enjoy the process and the taste will come on its own.

I would describe paniyarams as being the South Indian version of Gujarati dhoklas, which are a quick fix for sudden guests. All you have to do is add some chopped veggies and seasoning to your regular idly batter and you have everything you need. They are a great snack at tea time and mid-morning, and I would say they are versatile even as dinner or breakfast items.


Ragi Paniyaram

(Yield: Serves 2-4)


1+½ cups ragi batter

1 small onion (finely chopped)

1 green chili (finely chopped)

1 tablespoon coriander leaves

1 teaspoon urad dal

½ teaspoon mustard seeds

¼ teaspoon cumin seeds

2 teaspoons sesame oil +oil for cooking


Pour the ragi batter into a bowl and set aside.

Heat a pan and add the oil. Once it’s hot, add the mustard seeds. When they splutter, add the cumin seeds. Now, add the urad dal and heat until golden. Next, add the onions, green chili, coriander leaves and curry leaves. Sauté for a minute.

Add all of this to the bowl of ragi batter. Mix well.

Prepare and heat the paniyaram plate (I use a seasoned iron grid for the same; you can use non-stick to be safe or if you’re new to the game). Add a few drops of oil to each mound (I like to use ghee for its flavour; since it’s no longer considered one of the evil fats, I’d suggest trying it out, or use either as you prefer). Once heated, add a tablespoon of batter into each mould. Cover, reduce the flame and allow to cook. In a few minutes, with the help of a sharp knife, turn each paniyaram over and allow to cook on the other side until golden.

Remove and serve. There you have it – ragi-rich bites of paradise! Paniyarams are best paired with chutney. I always have grated coconut at home from my trees in the backyard, and make a fresh chutney with it pretty much every day. I sometimes throw in some coriander leaves to make it green. This aside, there is an amazing tomato chutney that I feel works beautifully with ragi paniyarams, and that will be my next recipe on this blog. Stay tuned!