Sometimes it happens that I chance upon a wonderful dish somewhere, and as I’m never shy about asking for recipes, I decide to find out exactly how to replicate it myself. But then, the story of how that dish wound up at that table turns out to be more complicated, and I’m unable to get to the source. There was a horse gram dal that I had at a friend’s house once, but it had been made by someone else and I didn’t have access to the original recipe. I was intrigued not just by its fine taste, but also by the use of a legume that I’ve encountered relatively rarely. I haven’t been able to stop thinking about that dal since, and between my inability to obtain a recipe and my own culinary inquisitiveness, I set forth on a series of trials to create a version that I would want to serve – and to eat! – again and again.
Fortunately for me, I had an accomplice in this endeavour. We have a new cook at home, Prem, who shares the kitchen space with me. He is a wonderful chap, and we’ve been getting used to each others’ styles and quirks. I am very particular about who enters my kitchen, and the cryptic but tangible measure of “good energy” is extremely important for me. He definitely has that. The problem though? He is as meticulous as I am, maybe even more so. He talks constantly and questions everything I do, because of which I call him my second mother-in-law. He rattles off 25 questions about each thing, and nags me about certain details, with food wastage being a pet peeve of his. When I arrange something on the shelves, he’ll come in two minutes later and rearrange it to his own preference. I tease him for his pedantic nature, and he teases me back. I’m not complaining; the kitchen has not become a battleground at all, but is now a space for shared experimentation. We came up with this horse gram dal recipe together. In fact, to give credit where it’s due, it’s more his than mine.
I must add this suspicion here: I think there may be a secret ingredient that he adds to this dish once I’ve stepped out of the kitchen, but you know how determined I am when it comes to cracking a recipe! I think I’ve done it, and between him and I, we have pretty much perfected it. This wonderful dish has actually made me forget what the original horse gram dal I enjoyed at my friend’s home tasted like. Now, this is the only rendition I know, and it’s served in my home several times a week. You may recall from my recent Gujarati dal recipe that toor dal is very beloved in my home. It’s been quite exciting to introduce a new dal that actually challenges the multi-generational staple!
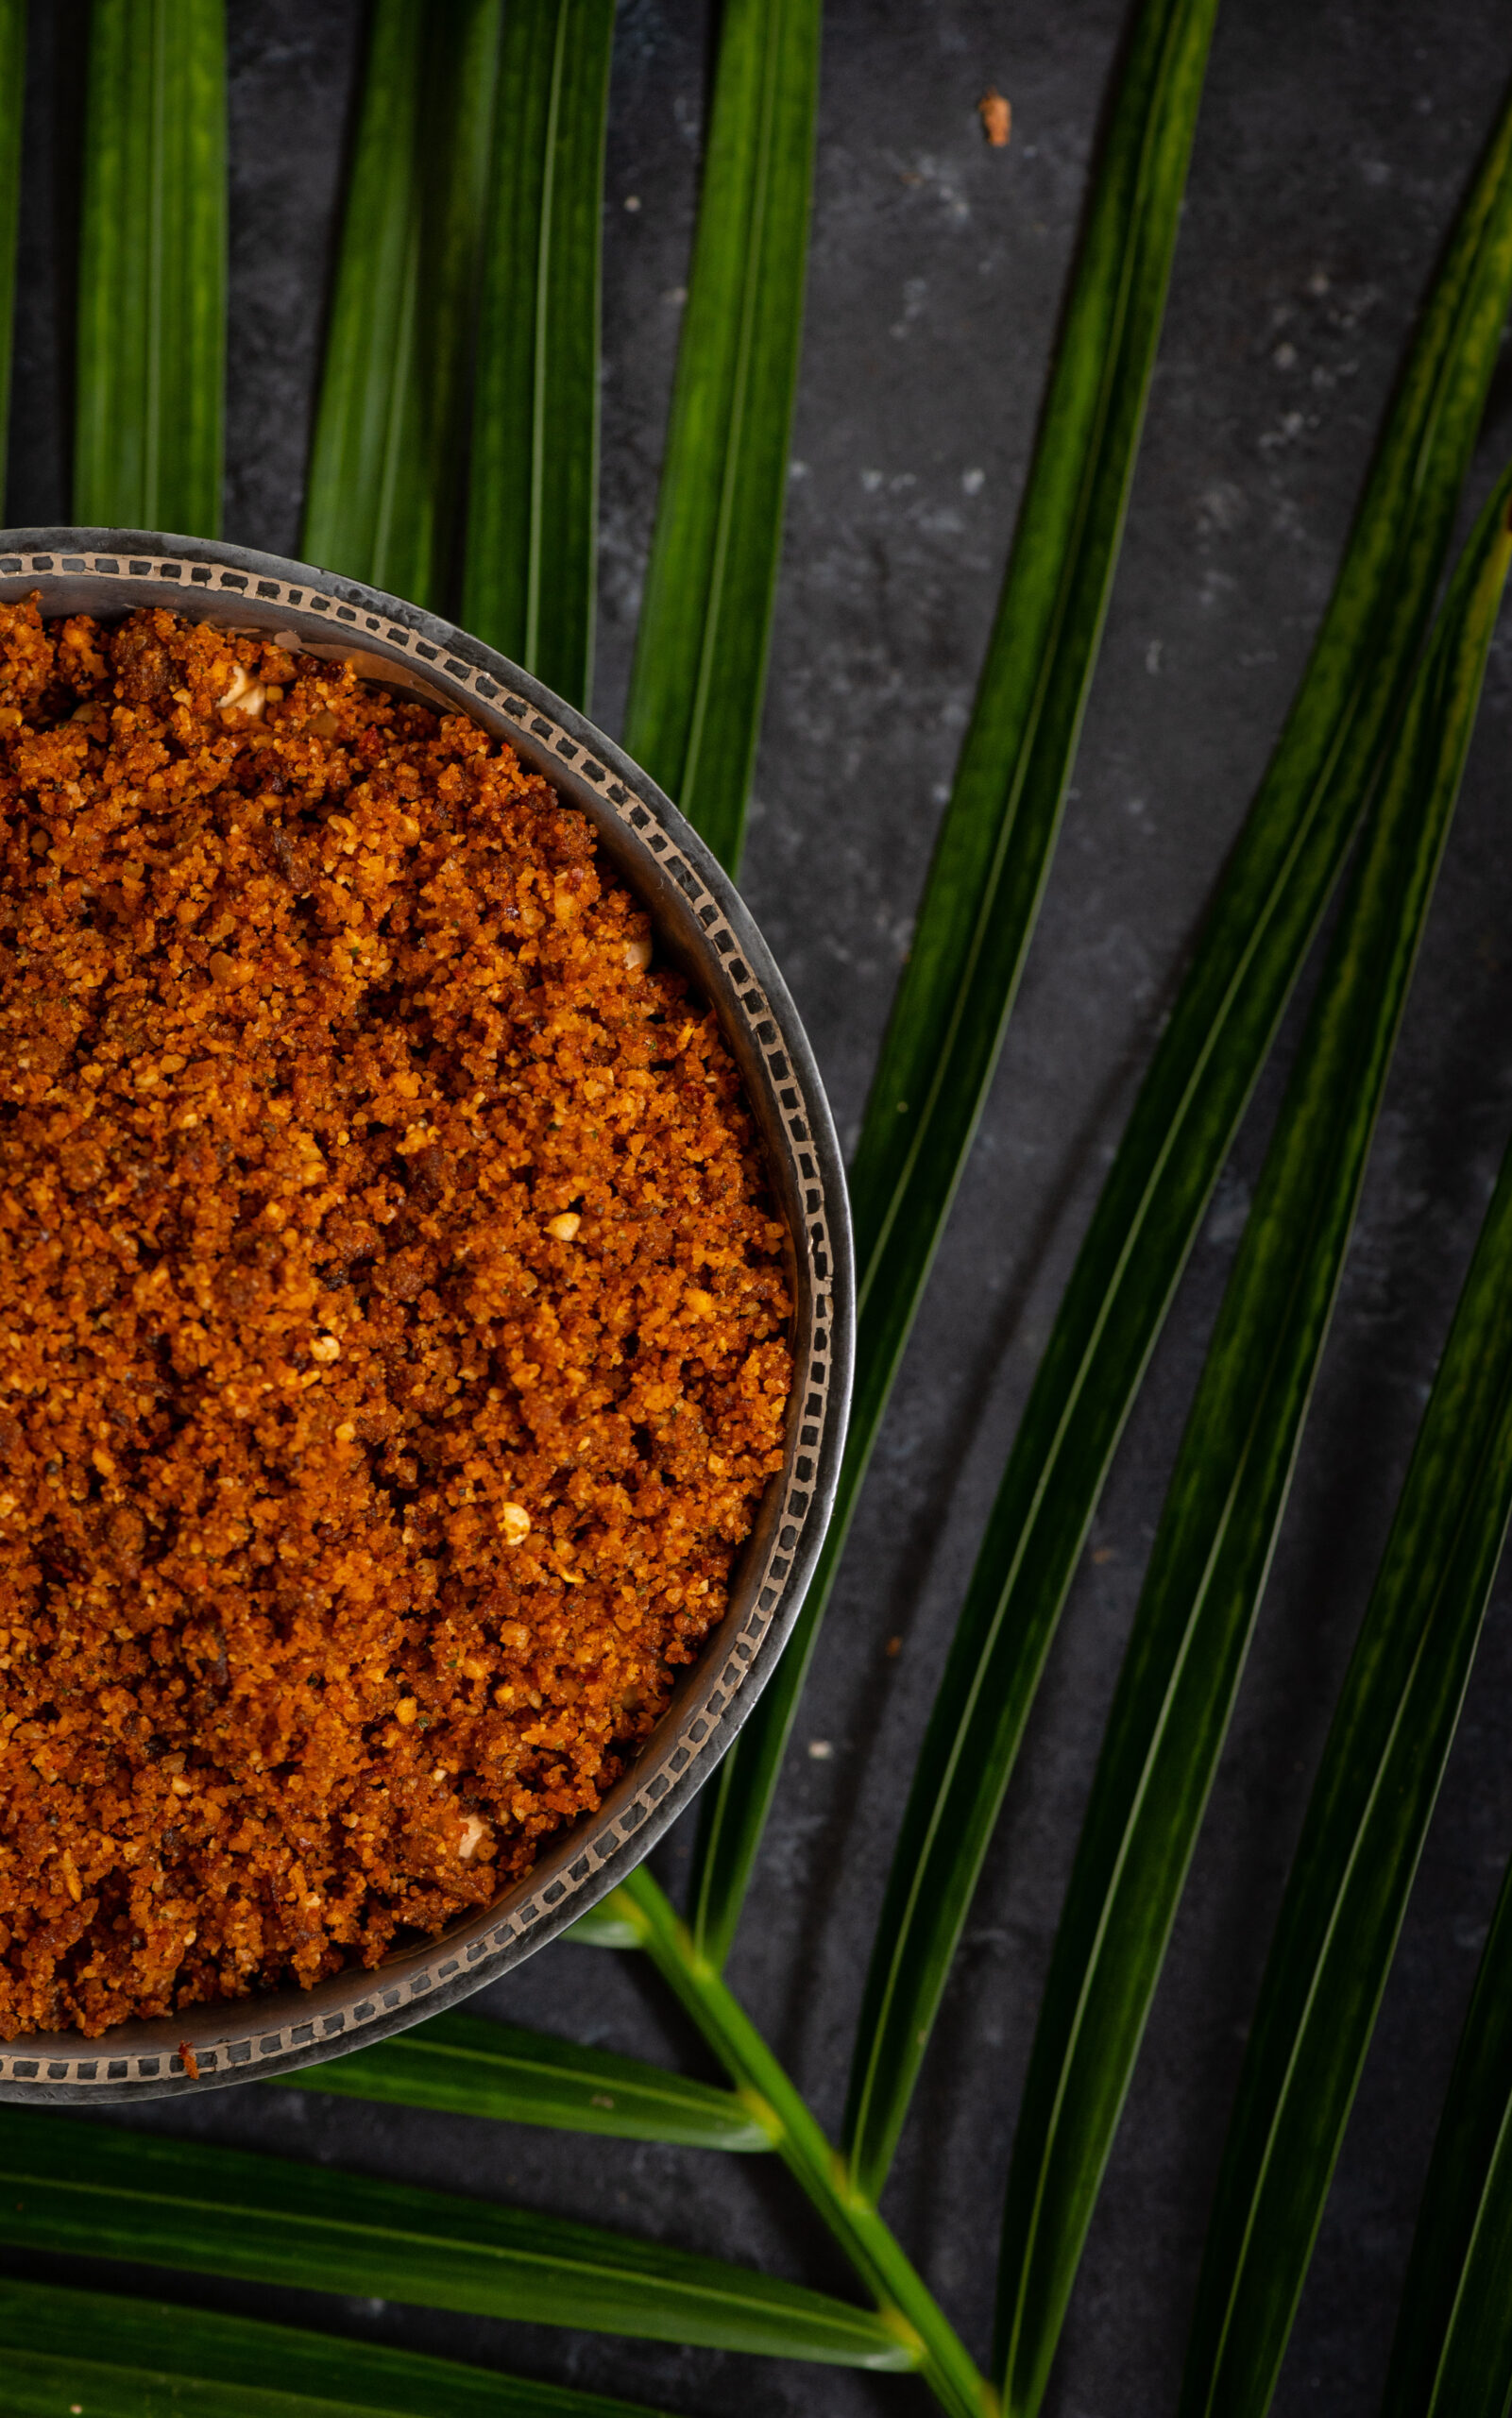
While doing a little research on horse gram, especially since it’s an ingredient that strangely enough isn’t a staple itself, I was tickled to find that it is also called Madras gram! In Tamil, it’s known as “kollu”, and it seems that it is native to the subcontinent and has its own names in various Indian languages (it takes its English name from its prevalence in horse feed, where it was used because it gave the animals such a boost of energy, just as it does for us). In terms of health quotient, horse gram is high in iron and protein, and is used in traditional medicine systems to help treat kidney ailments, mumps and jaundice. It’s certainly a legume that we could all be eating more of. So I would also like to use it in more dishes, and if you’re open to sharing your recipes, you know that I’m all ears!
Perhaps it is just like so many other traditional foods that have slowly been declining in common usage. As a sustainability and authentic food revival enthusiast (as I’ve discussed various times on this blog, such as in this black sticky rice pudding recipe) this has me very intrigued. Do you use horse gram in your cooking? I’d love to hear about your memories, experiences and theories about why it’s become less popular.
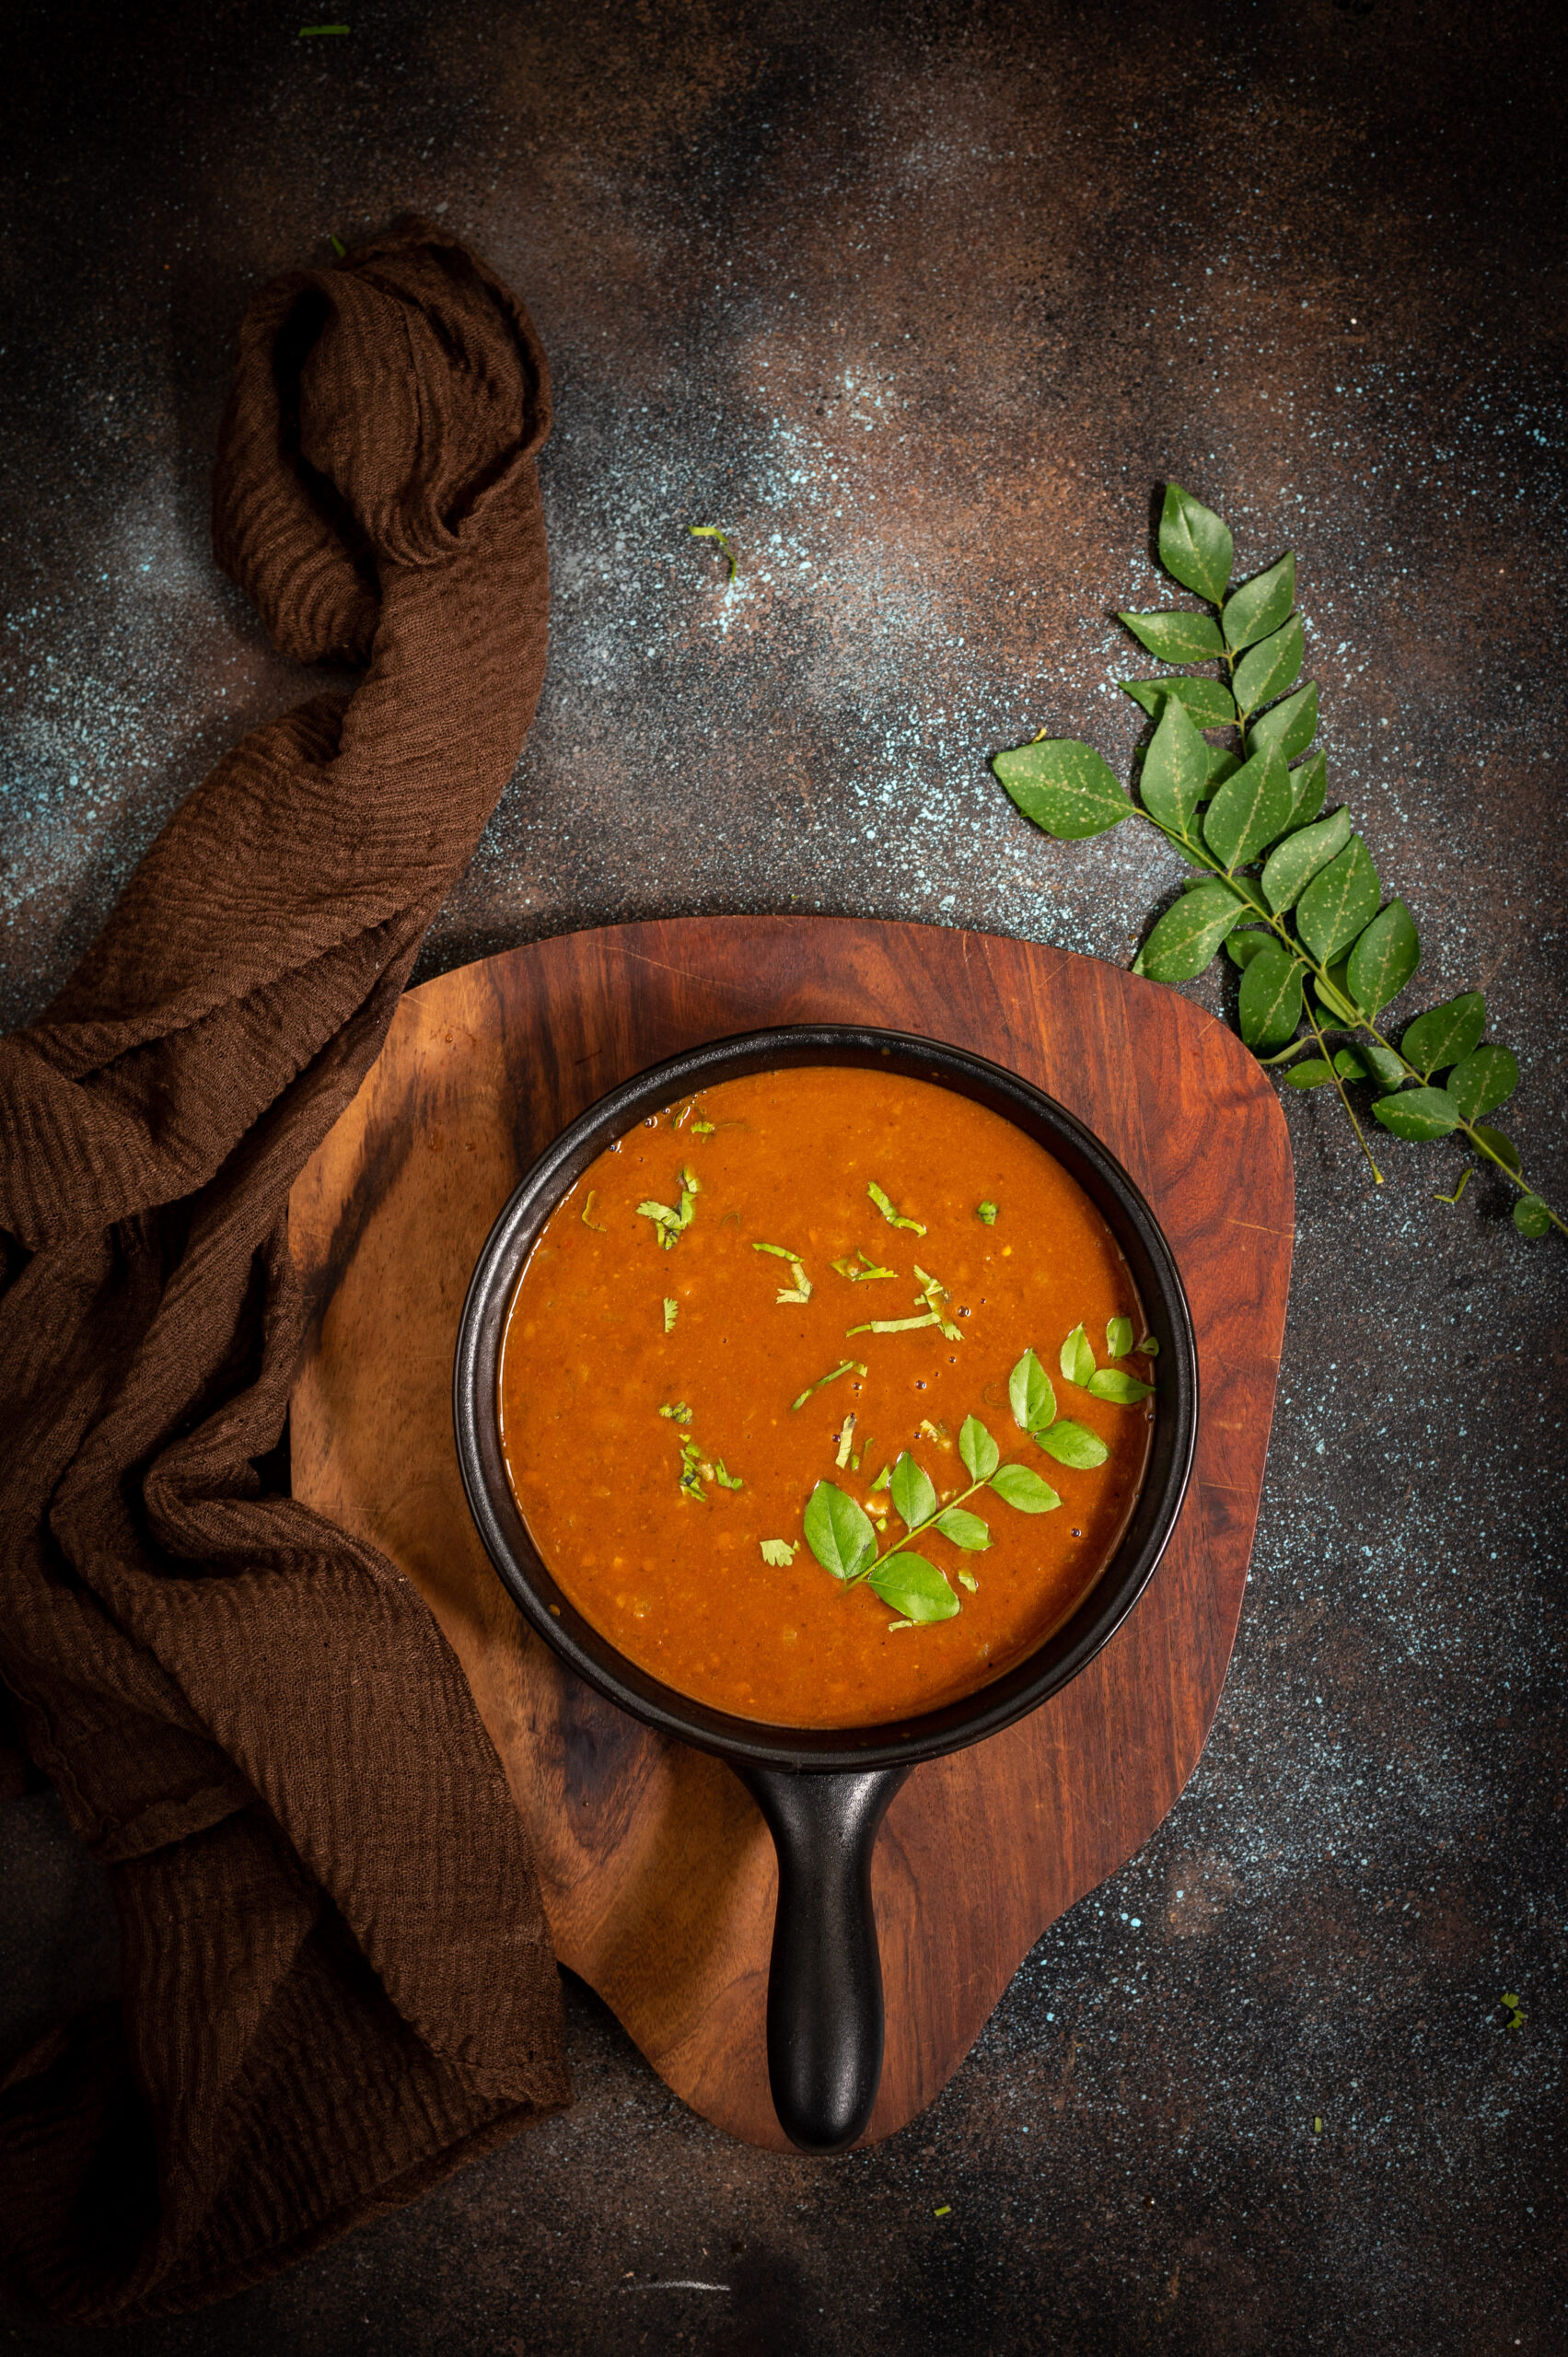
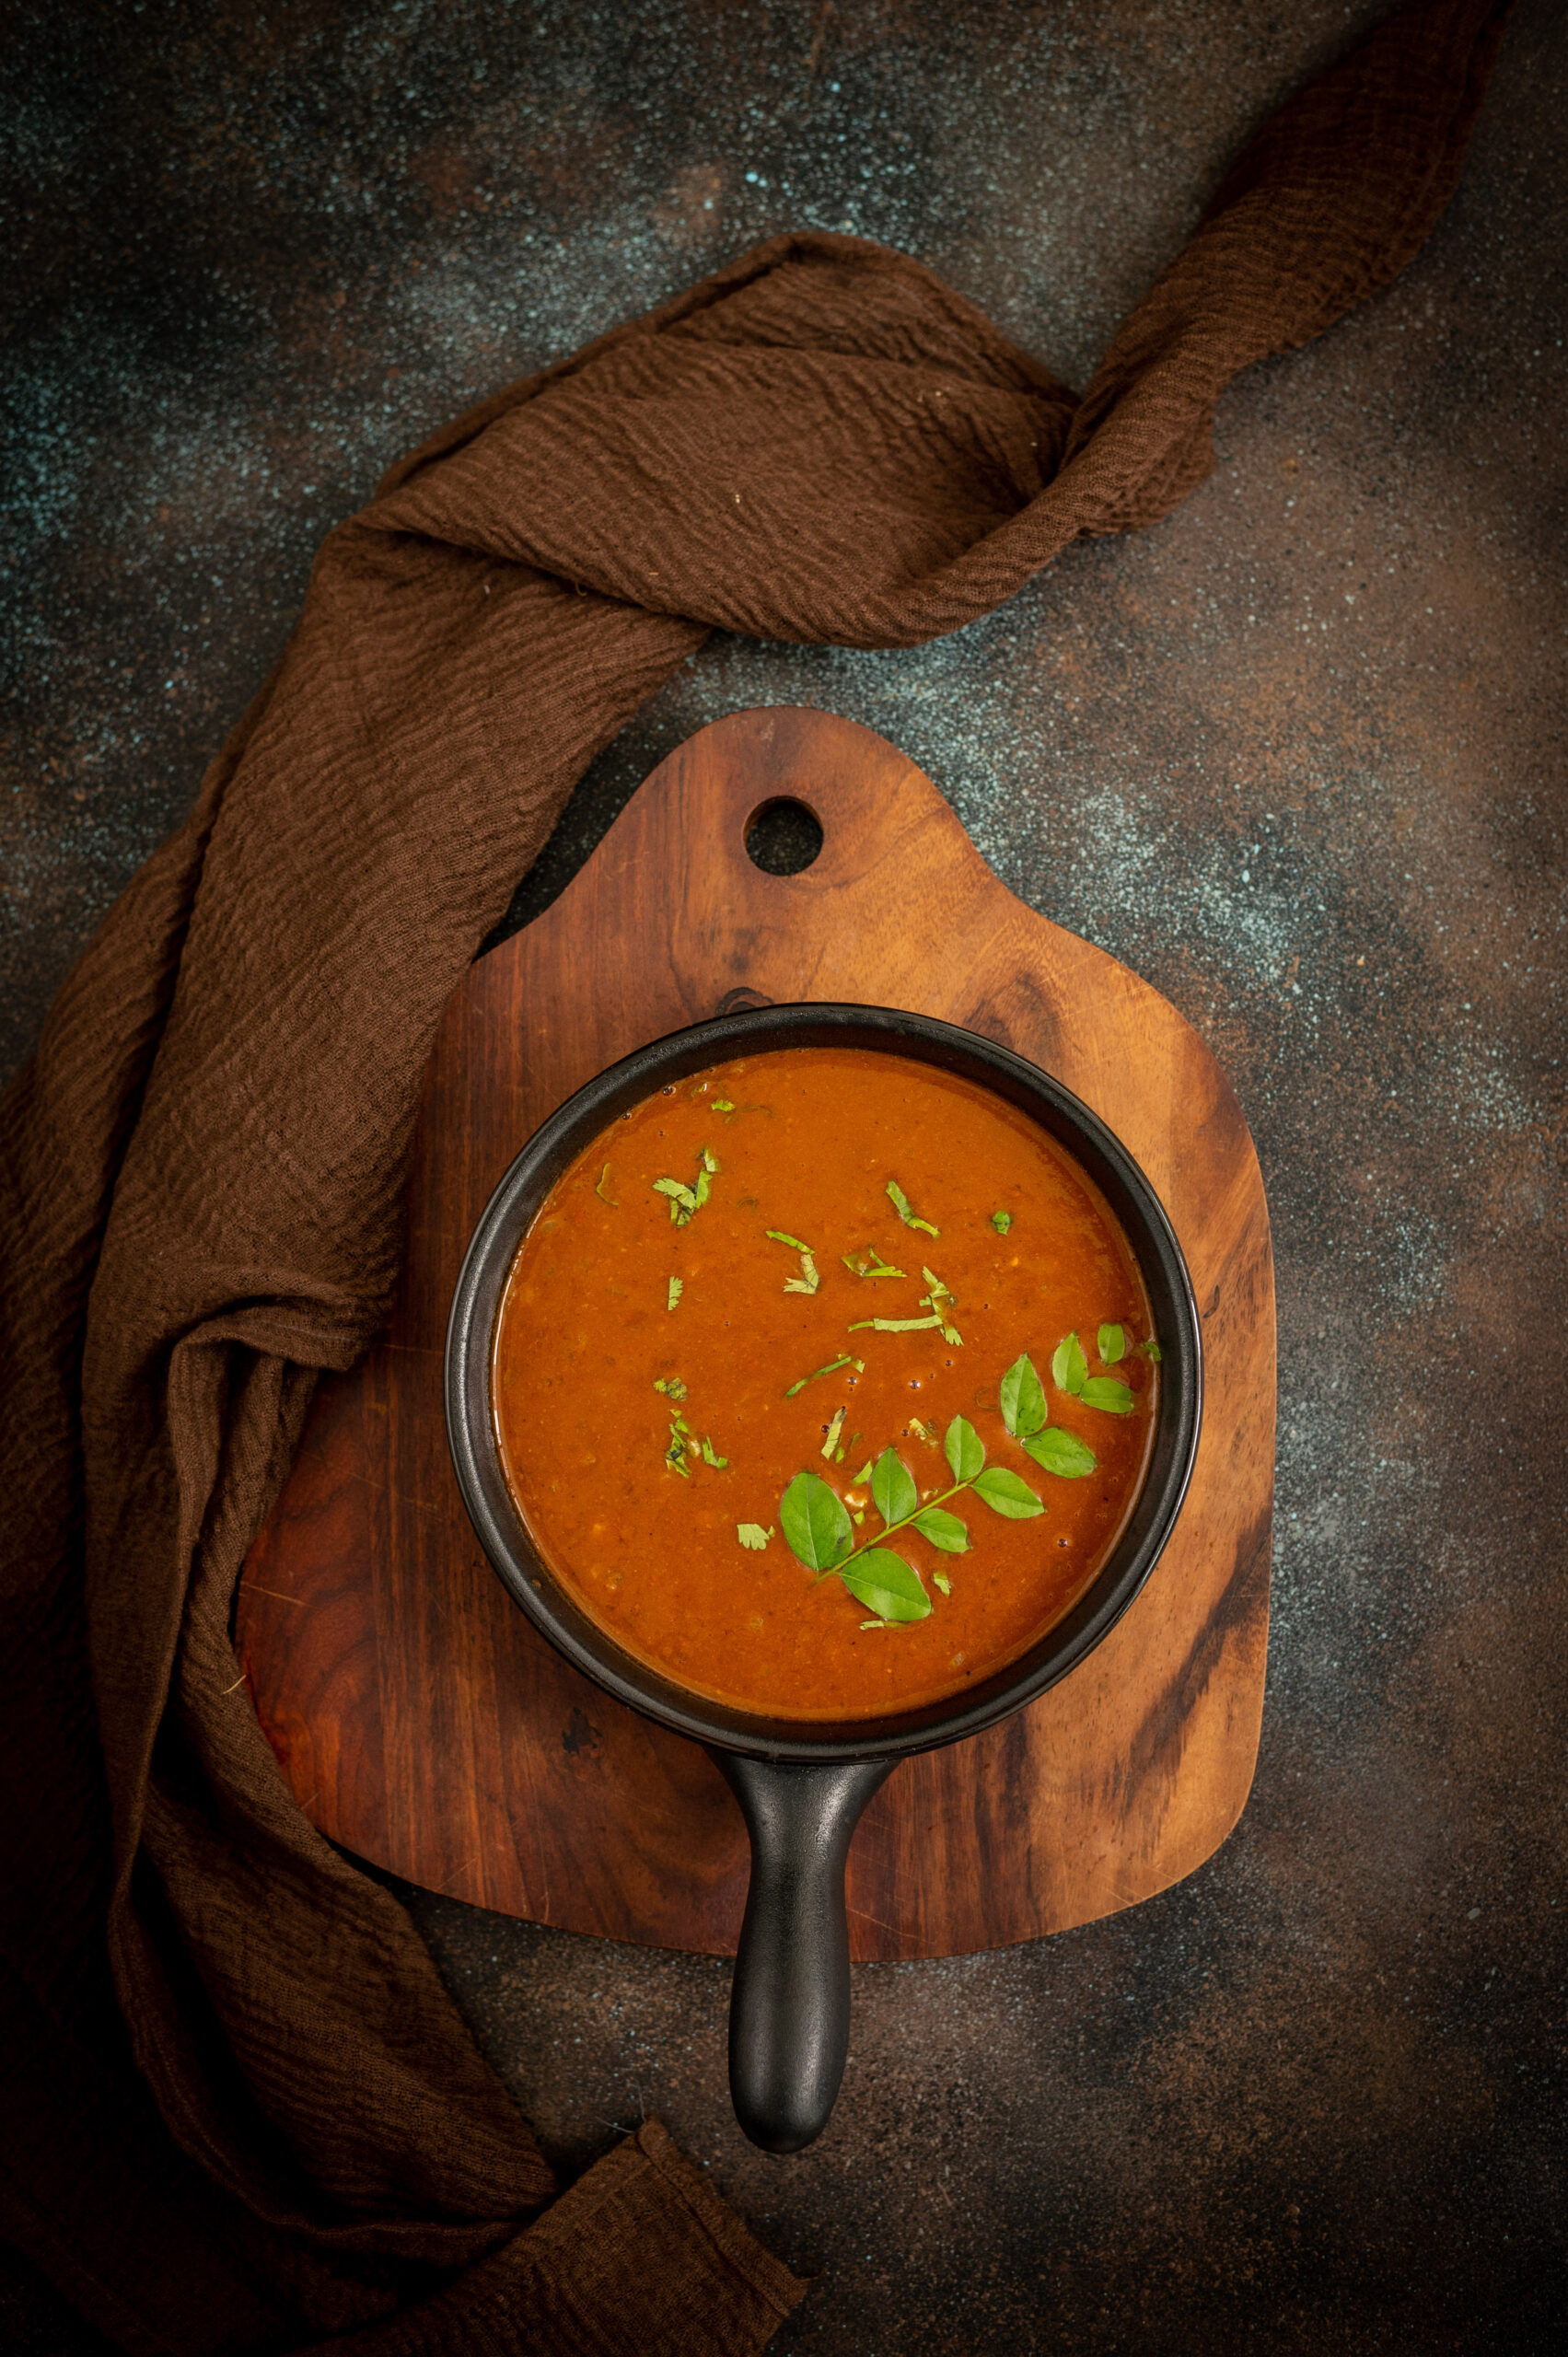
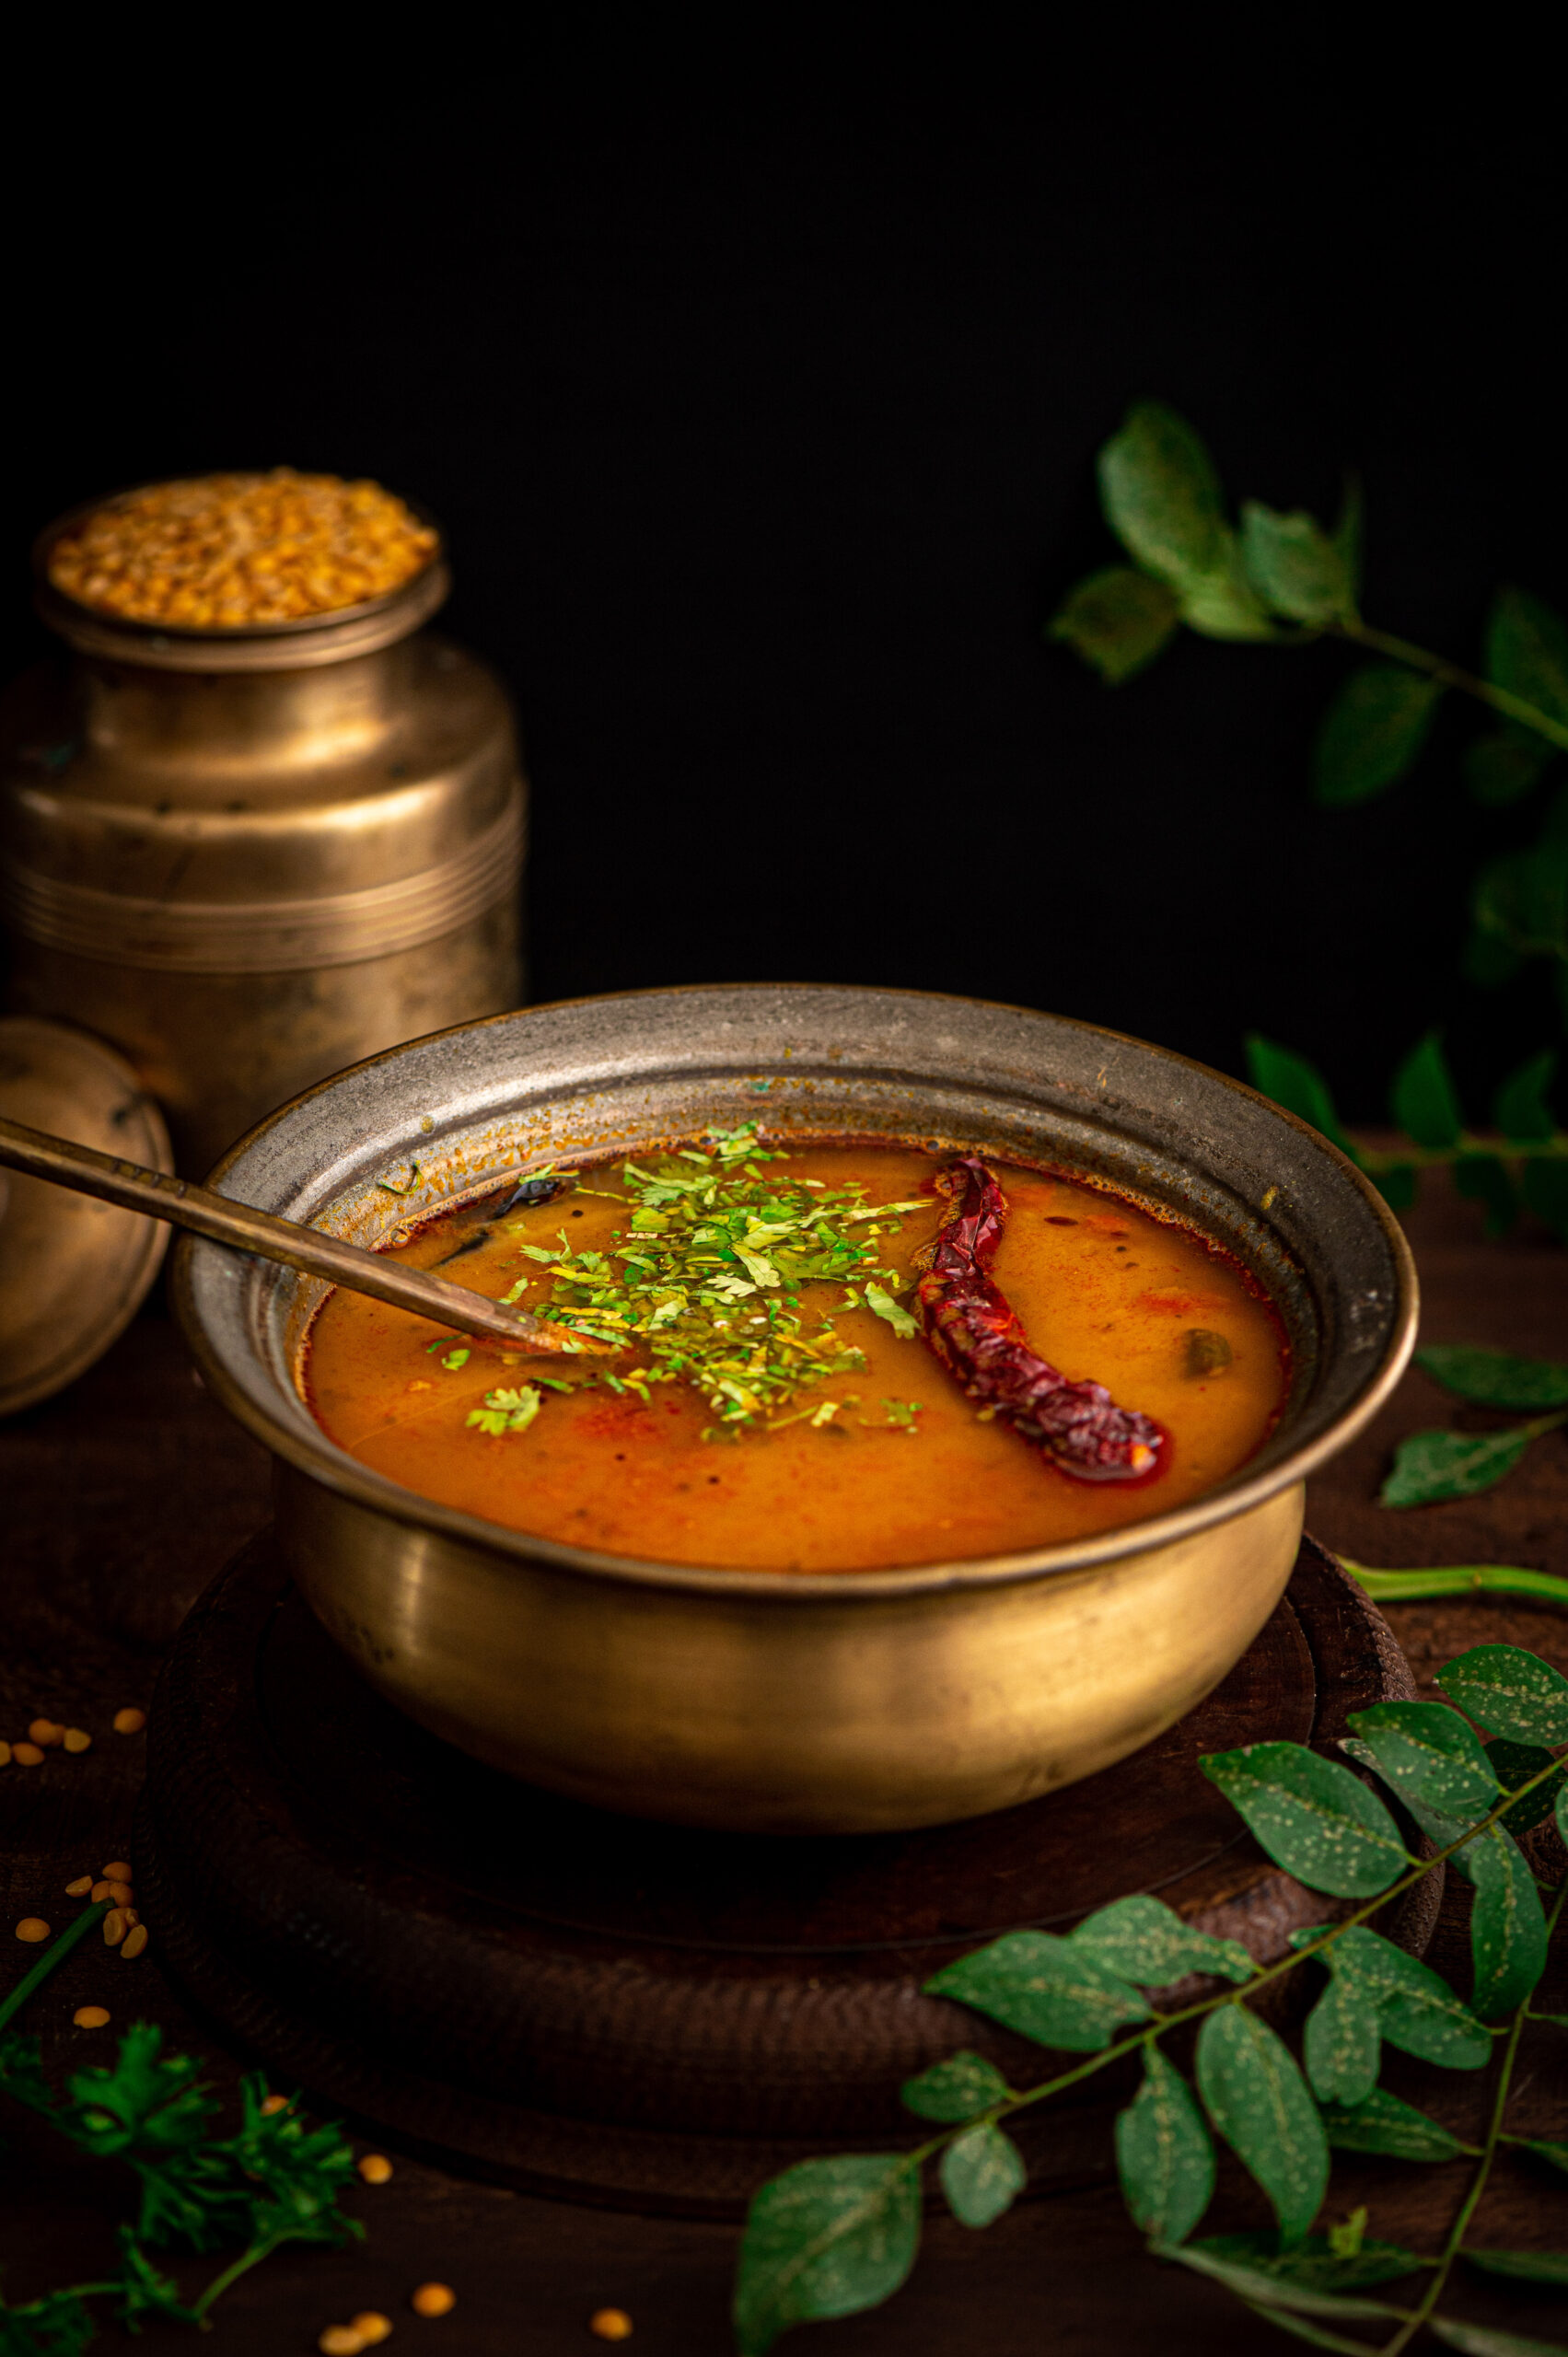
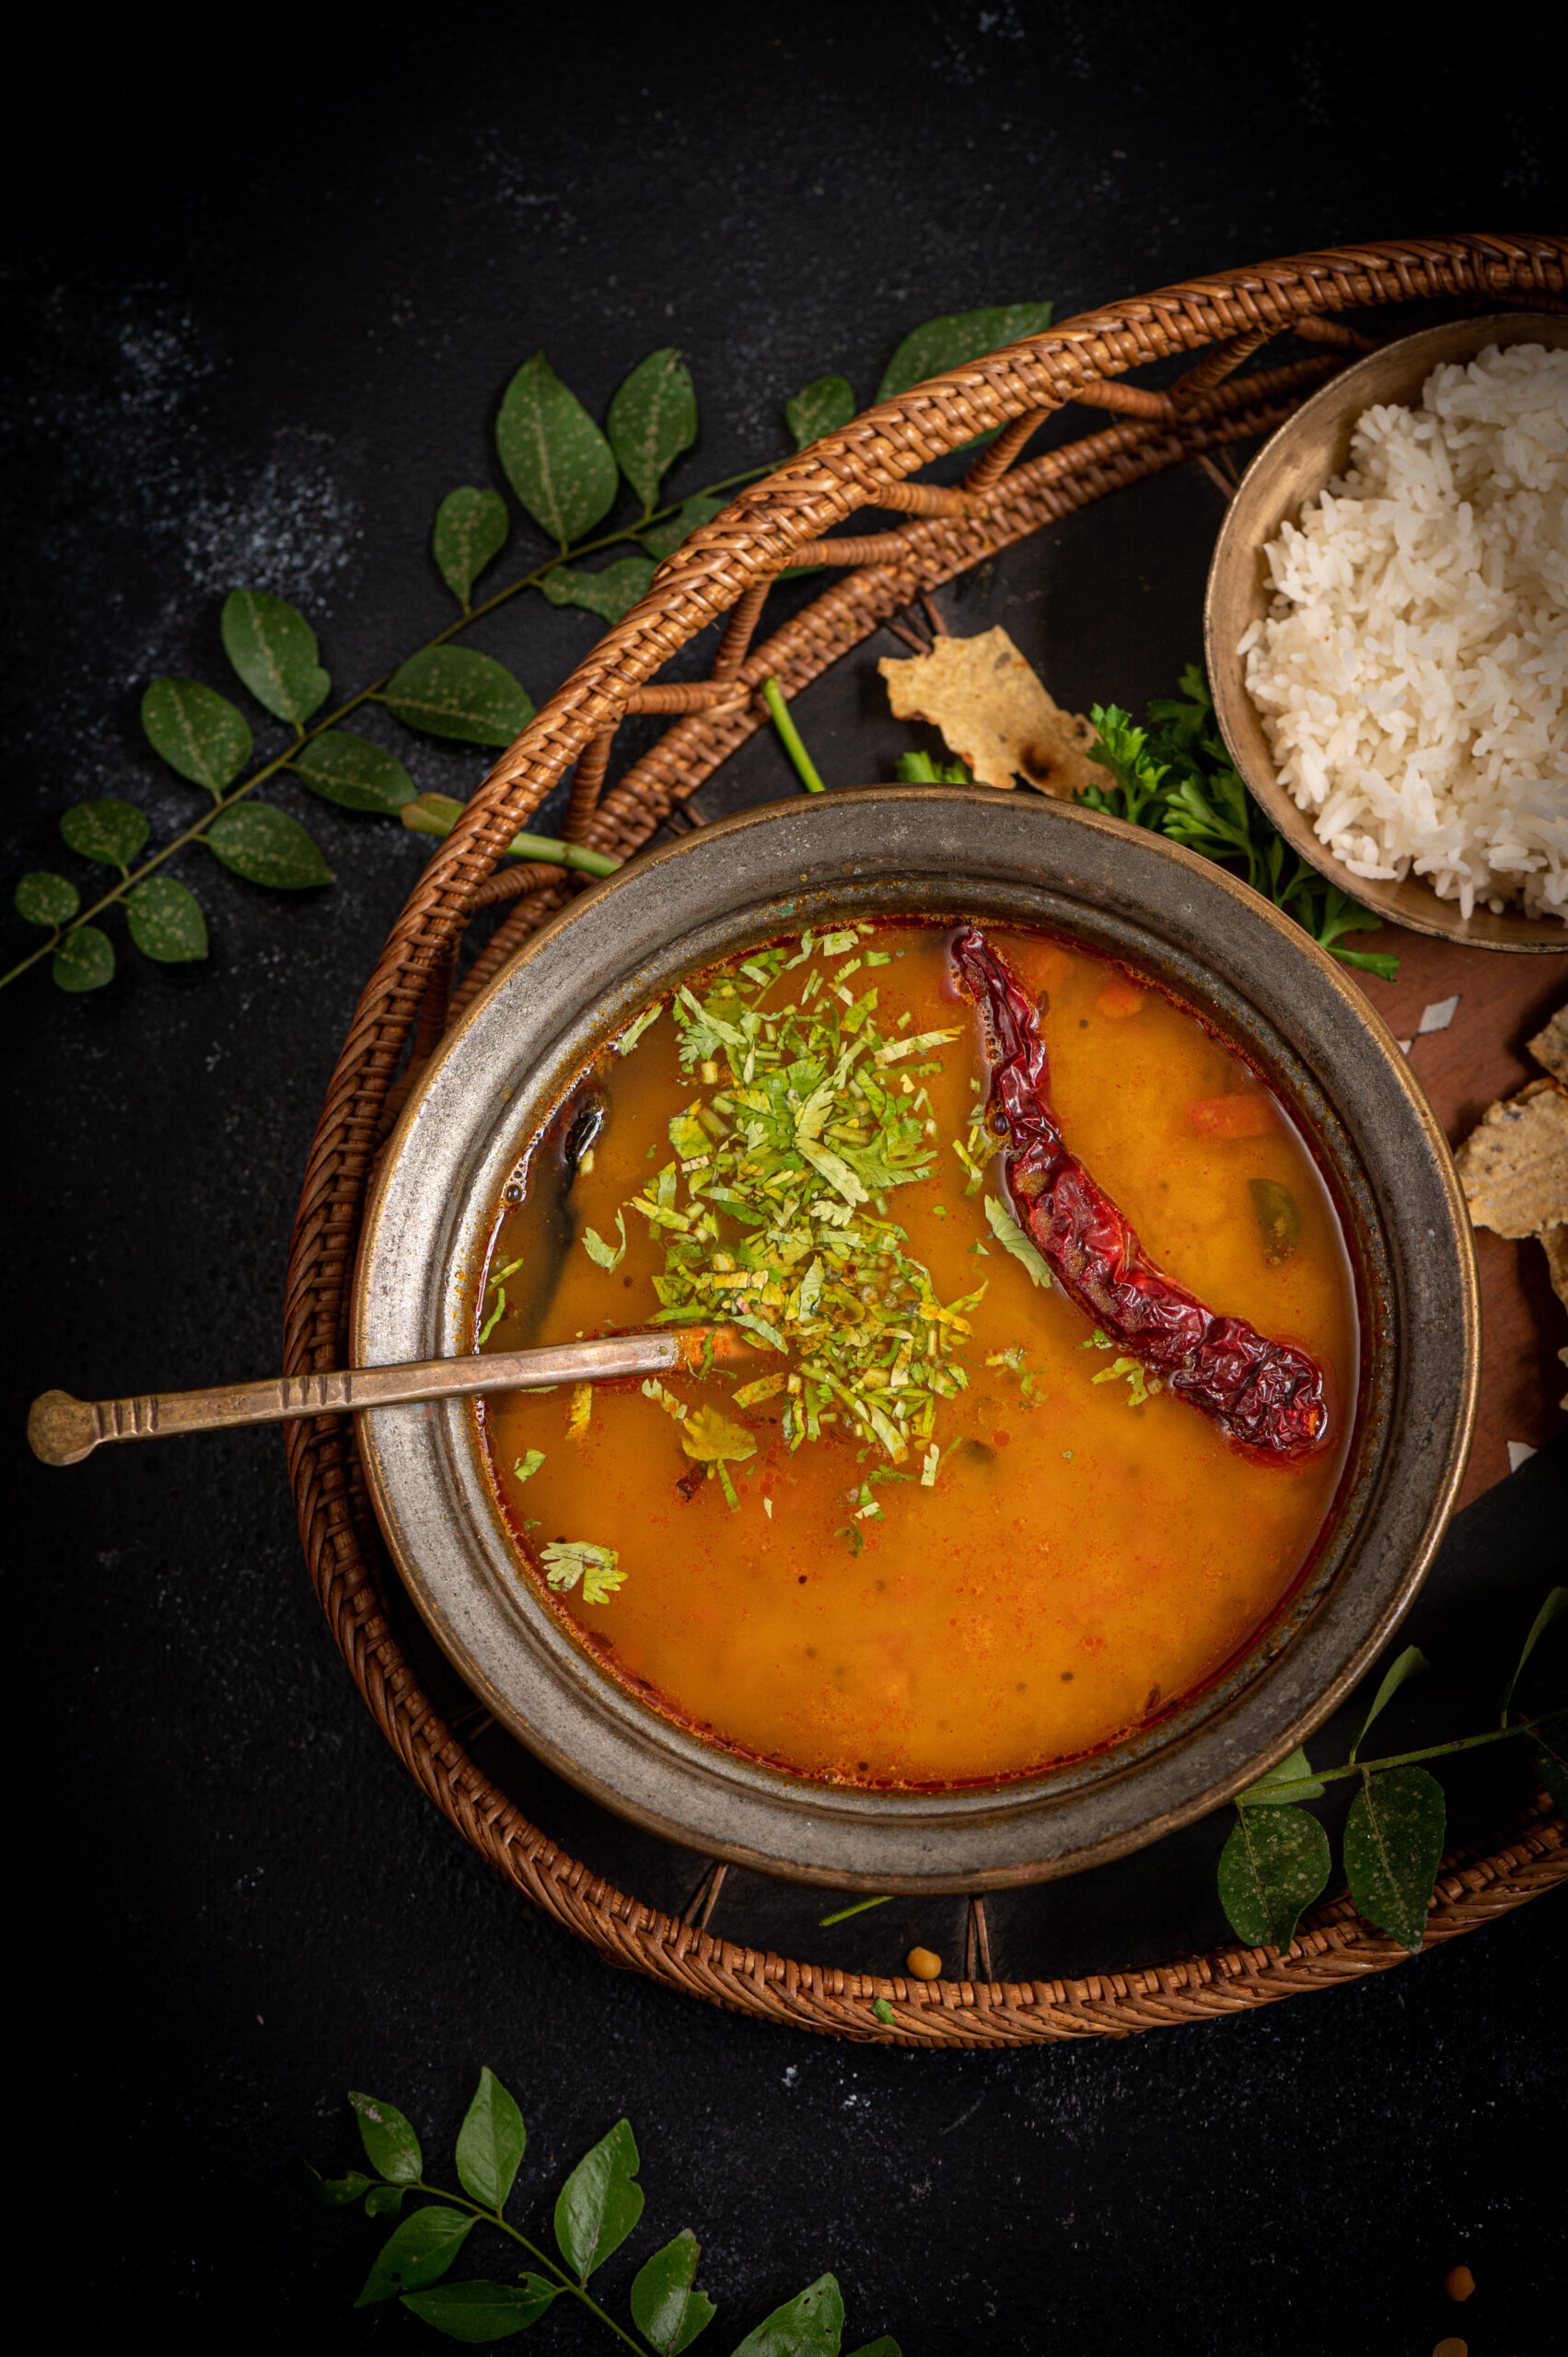
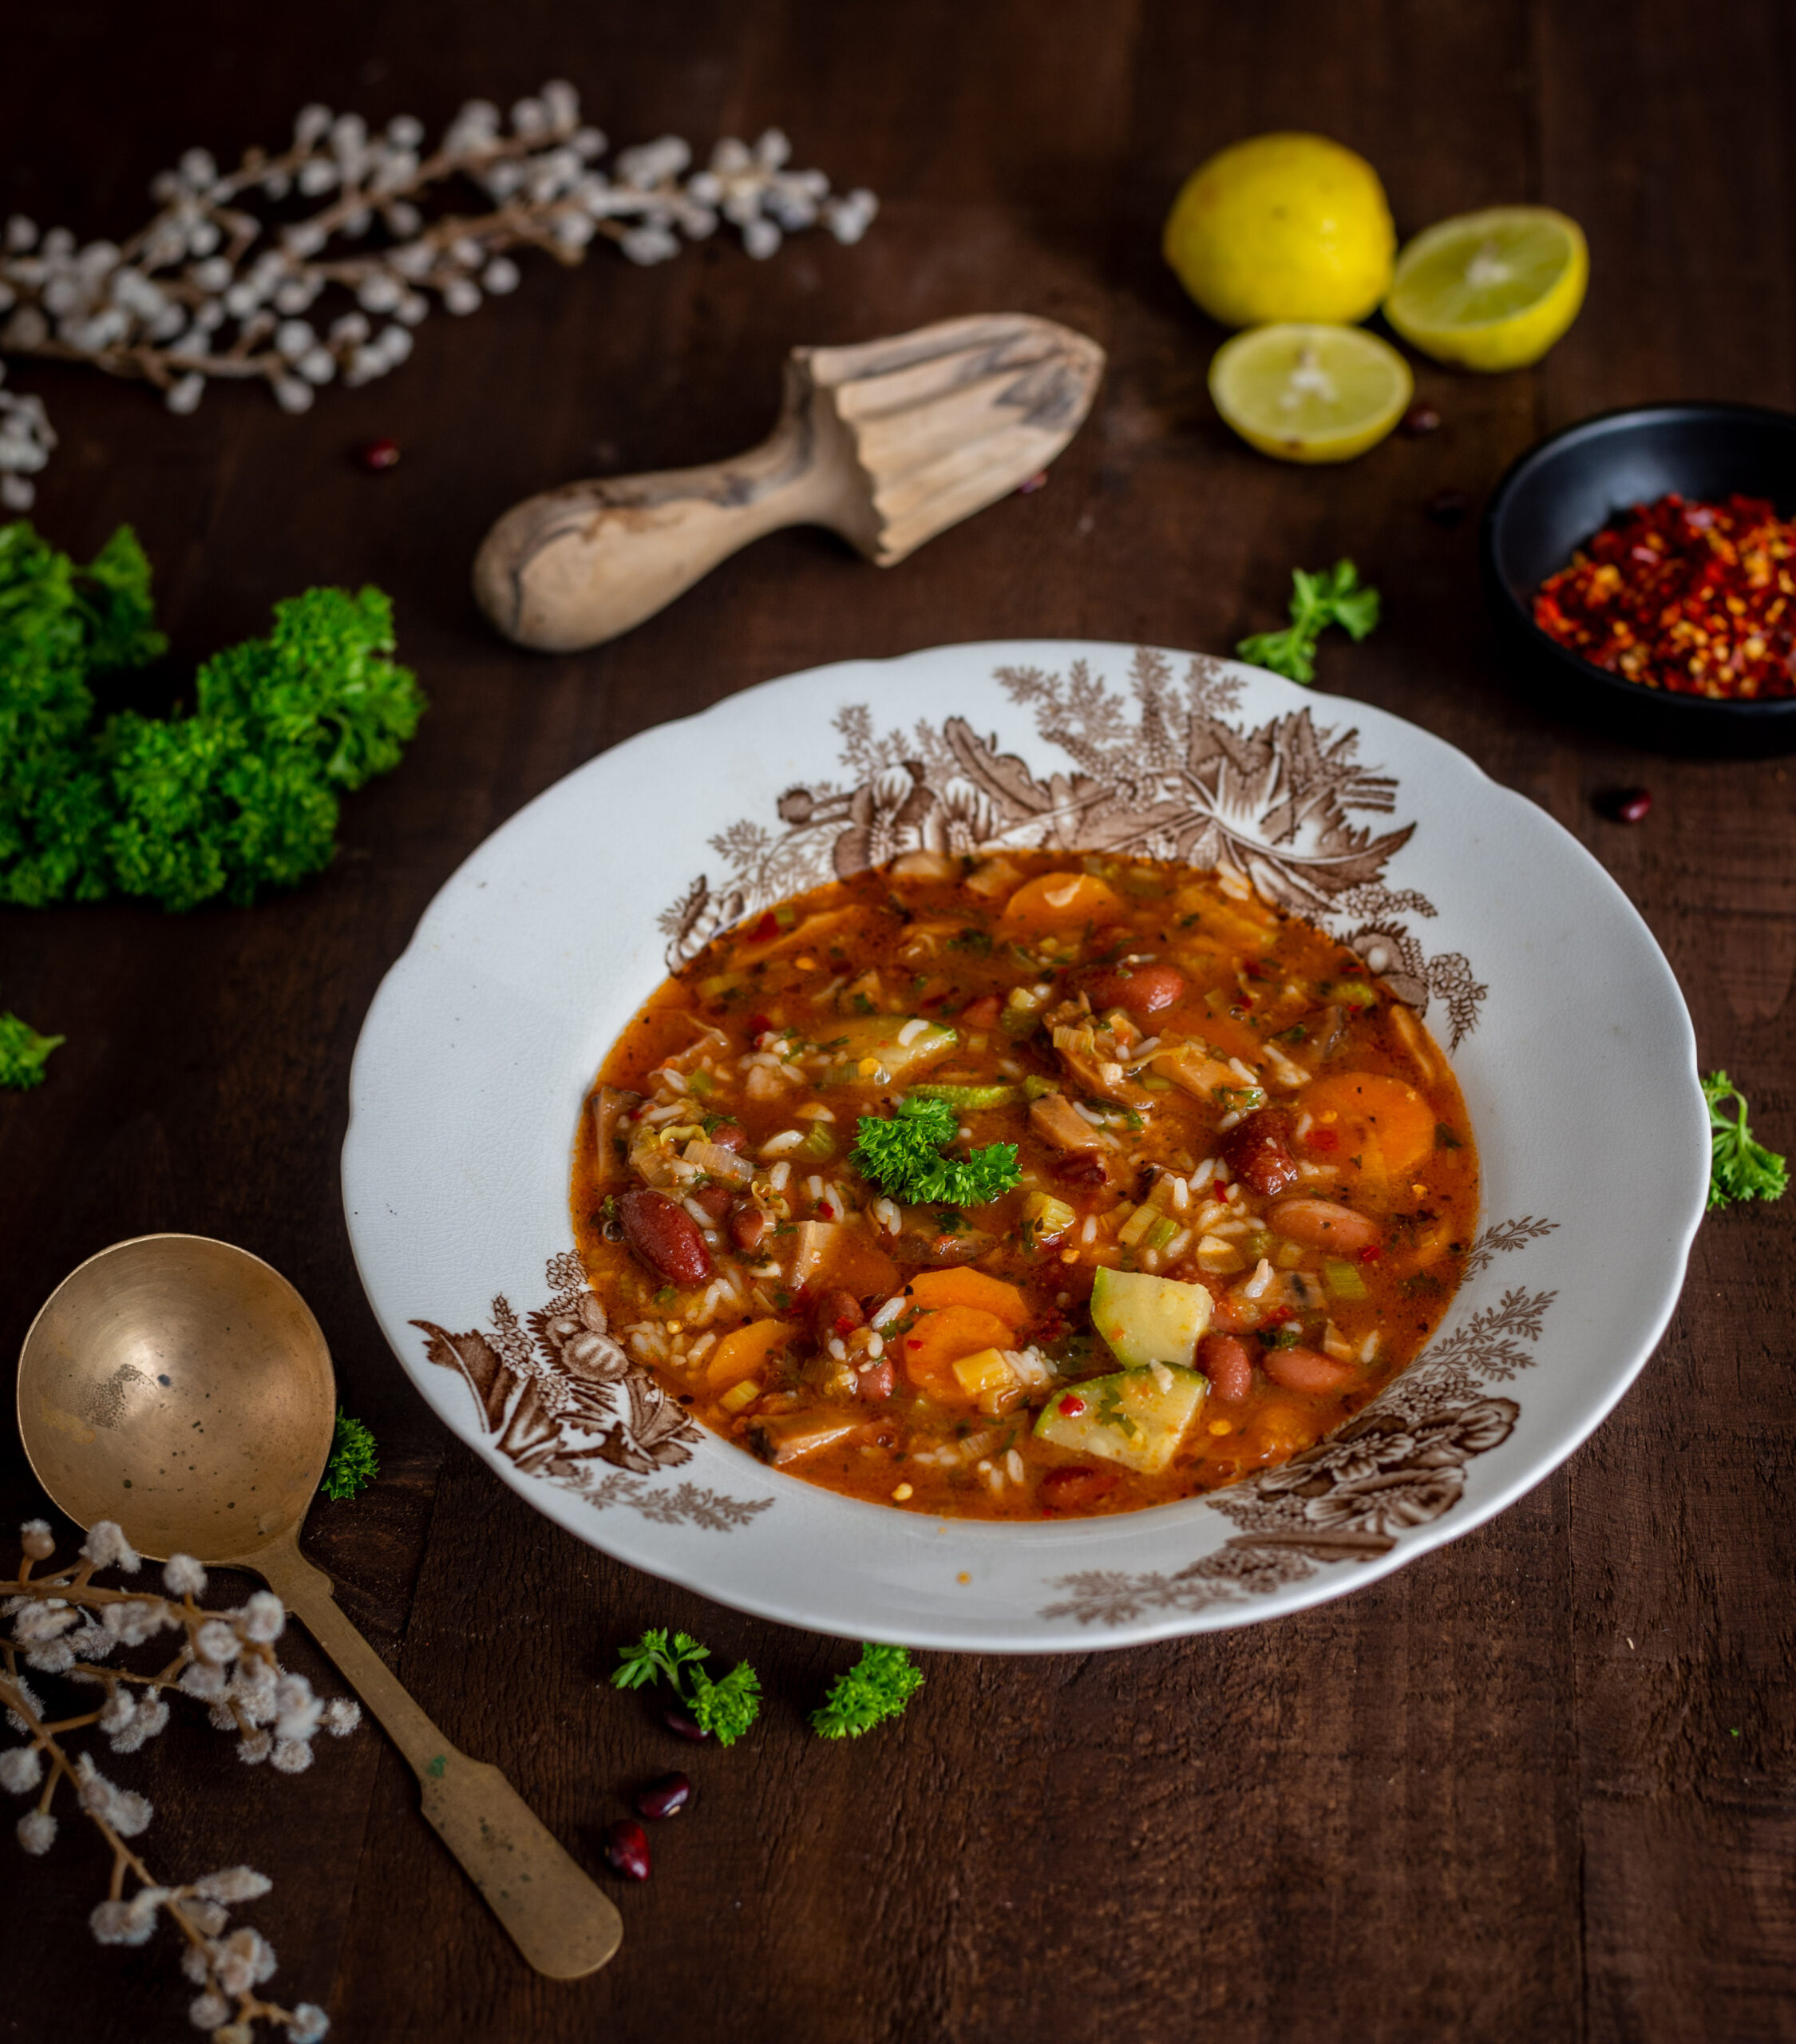
Horse Gram Dal
(Yield: Serves 3-4 people)
½ cup horse gram dal
3 cups water
2 tablespoons oil (+ 2 tablespoons)
¼ tsp cumin seeds
1 finely chopped onion
3 blended tomatoes
1 teaspoon garlic-ginger paste
1 teaspoon dhaniya-jeera (coriander-cumin) powder
¼ teaspoon turmeric powder
1 teaspoon rajma masala
1 teaspoon Kashmiri chili powder
1 pinch asafoetida
1½ heaped teaspoon besan (chickpea flour)
Salt to taste
Soak the legumes in water, overnight. Make sure that they are completely immersed. In the morning, the dal will double in size.
Rinse the soaked dal and put it in a pressure cooker. Add 3 cups of water and allow to cook until the legumes are soft and tender to the touch. Allow to cool slightly.
In a kadai, add the oil and cumin seeds, and allow them to splutter. Then, add the onions. Sauté until they are brown.
Next, add the garlic-ginger paste. Sauté again and add the chickpea flour. At this point you will need to add more oil, about 2 tablespoons, until the concoction looks like it does in this video.
Next, add the chili powder, coriander-cumin powder, turmeric, salt, asafoetida and rajma masala. Mix, and then add the blended tomatoes. Now, sauté for about 3-6 minutes or until the oil separates. Finally, add the dal, along with the water it was cooked in, to the mixture.
Stir and allow to boil for no more than 5 minutes. Serve with roti, rice or however you usually take your dal. I can’t wait to hear what you think of it!