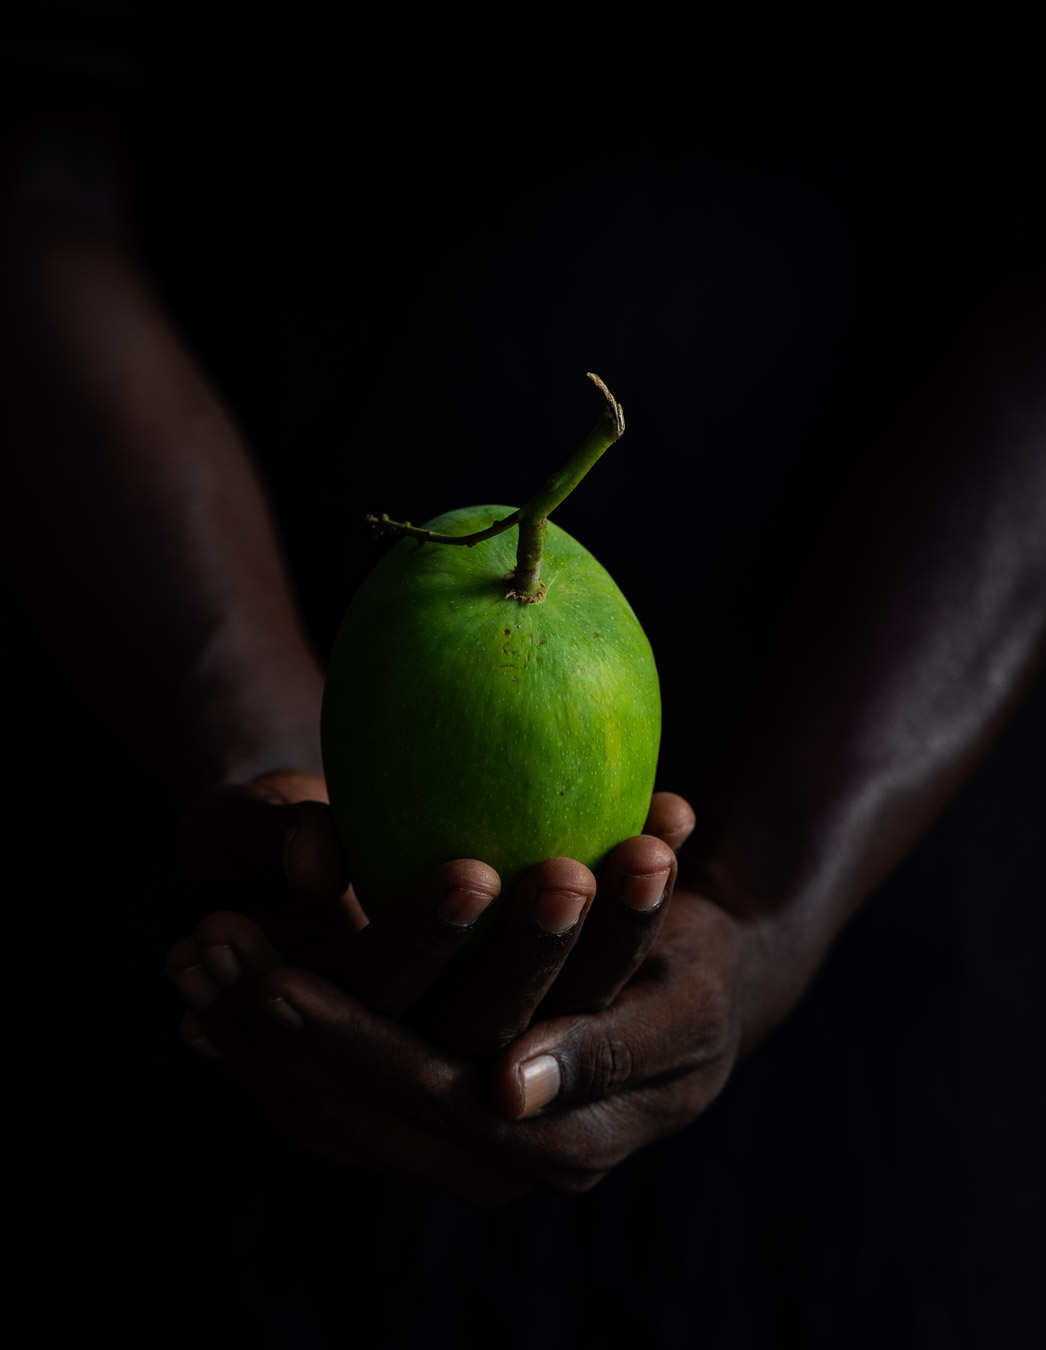
I literally grew up under a star gooseberry tree – the very same tree that you may know as amla or nellika. I loved the fruit of that tree so much that I braved its hairy inhabitants, known in Tamil as kambili poochis (blanket worms, a type of caterpillar that becomes a moth). These small creatures have a self-protection mechanism of dropping their spiky, needle-like hairs onto the skin of predators or threats – such a little girl greedy for some ripe fruit! How many times would I have run crying to my mother with one hand full of green star gooseberries and the other one holding the sore spot lanced by caterpillar hairs? She would painstakingly have to remove each one, and this was a pretty frequent occurrence. Even caterpillars could not keep me away from the fruit that I craved!
Although a long time has passed since then, I still have a star gooseberry tree in my home now. Like all native trees that seemed to be everywhere in Chennai when I was growing up, they are scarcer now, and I cultivate those in my backyard with care. I repeatedly tell my children stories about my misadventures with the caterpillars that lived on the one in my childhood home, mostly because I don’t see them any longer. I wonder if this has something to do with urban pollution, and with how we are misusing our planet. We as human beings are responsible for the disappearing bees, and the extinction of so many other species. Even though the caterpillars can literally hurt me, they are proof of the health of this planet, and I hope to see them crawling in my garden again some day.
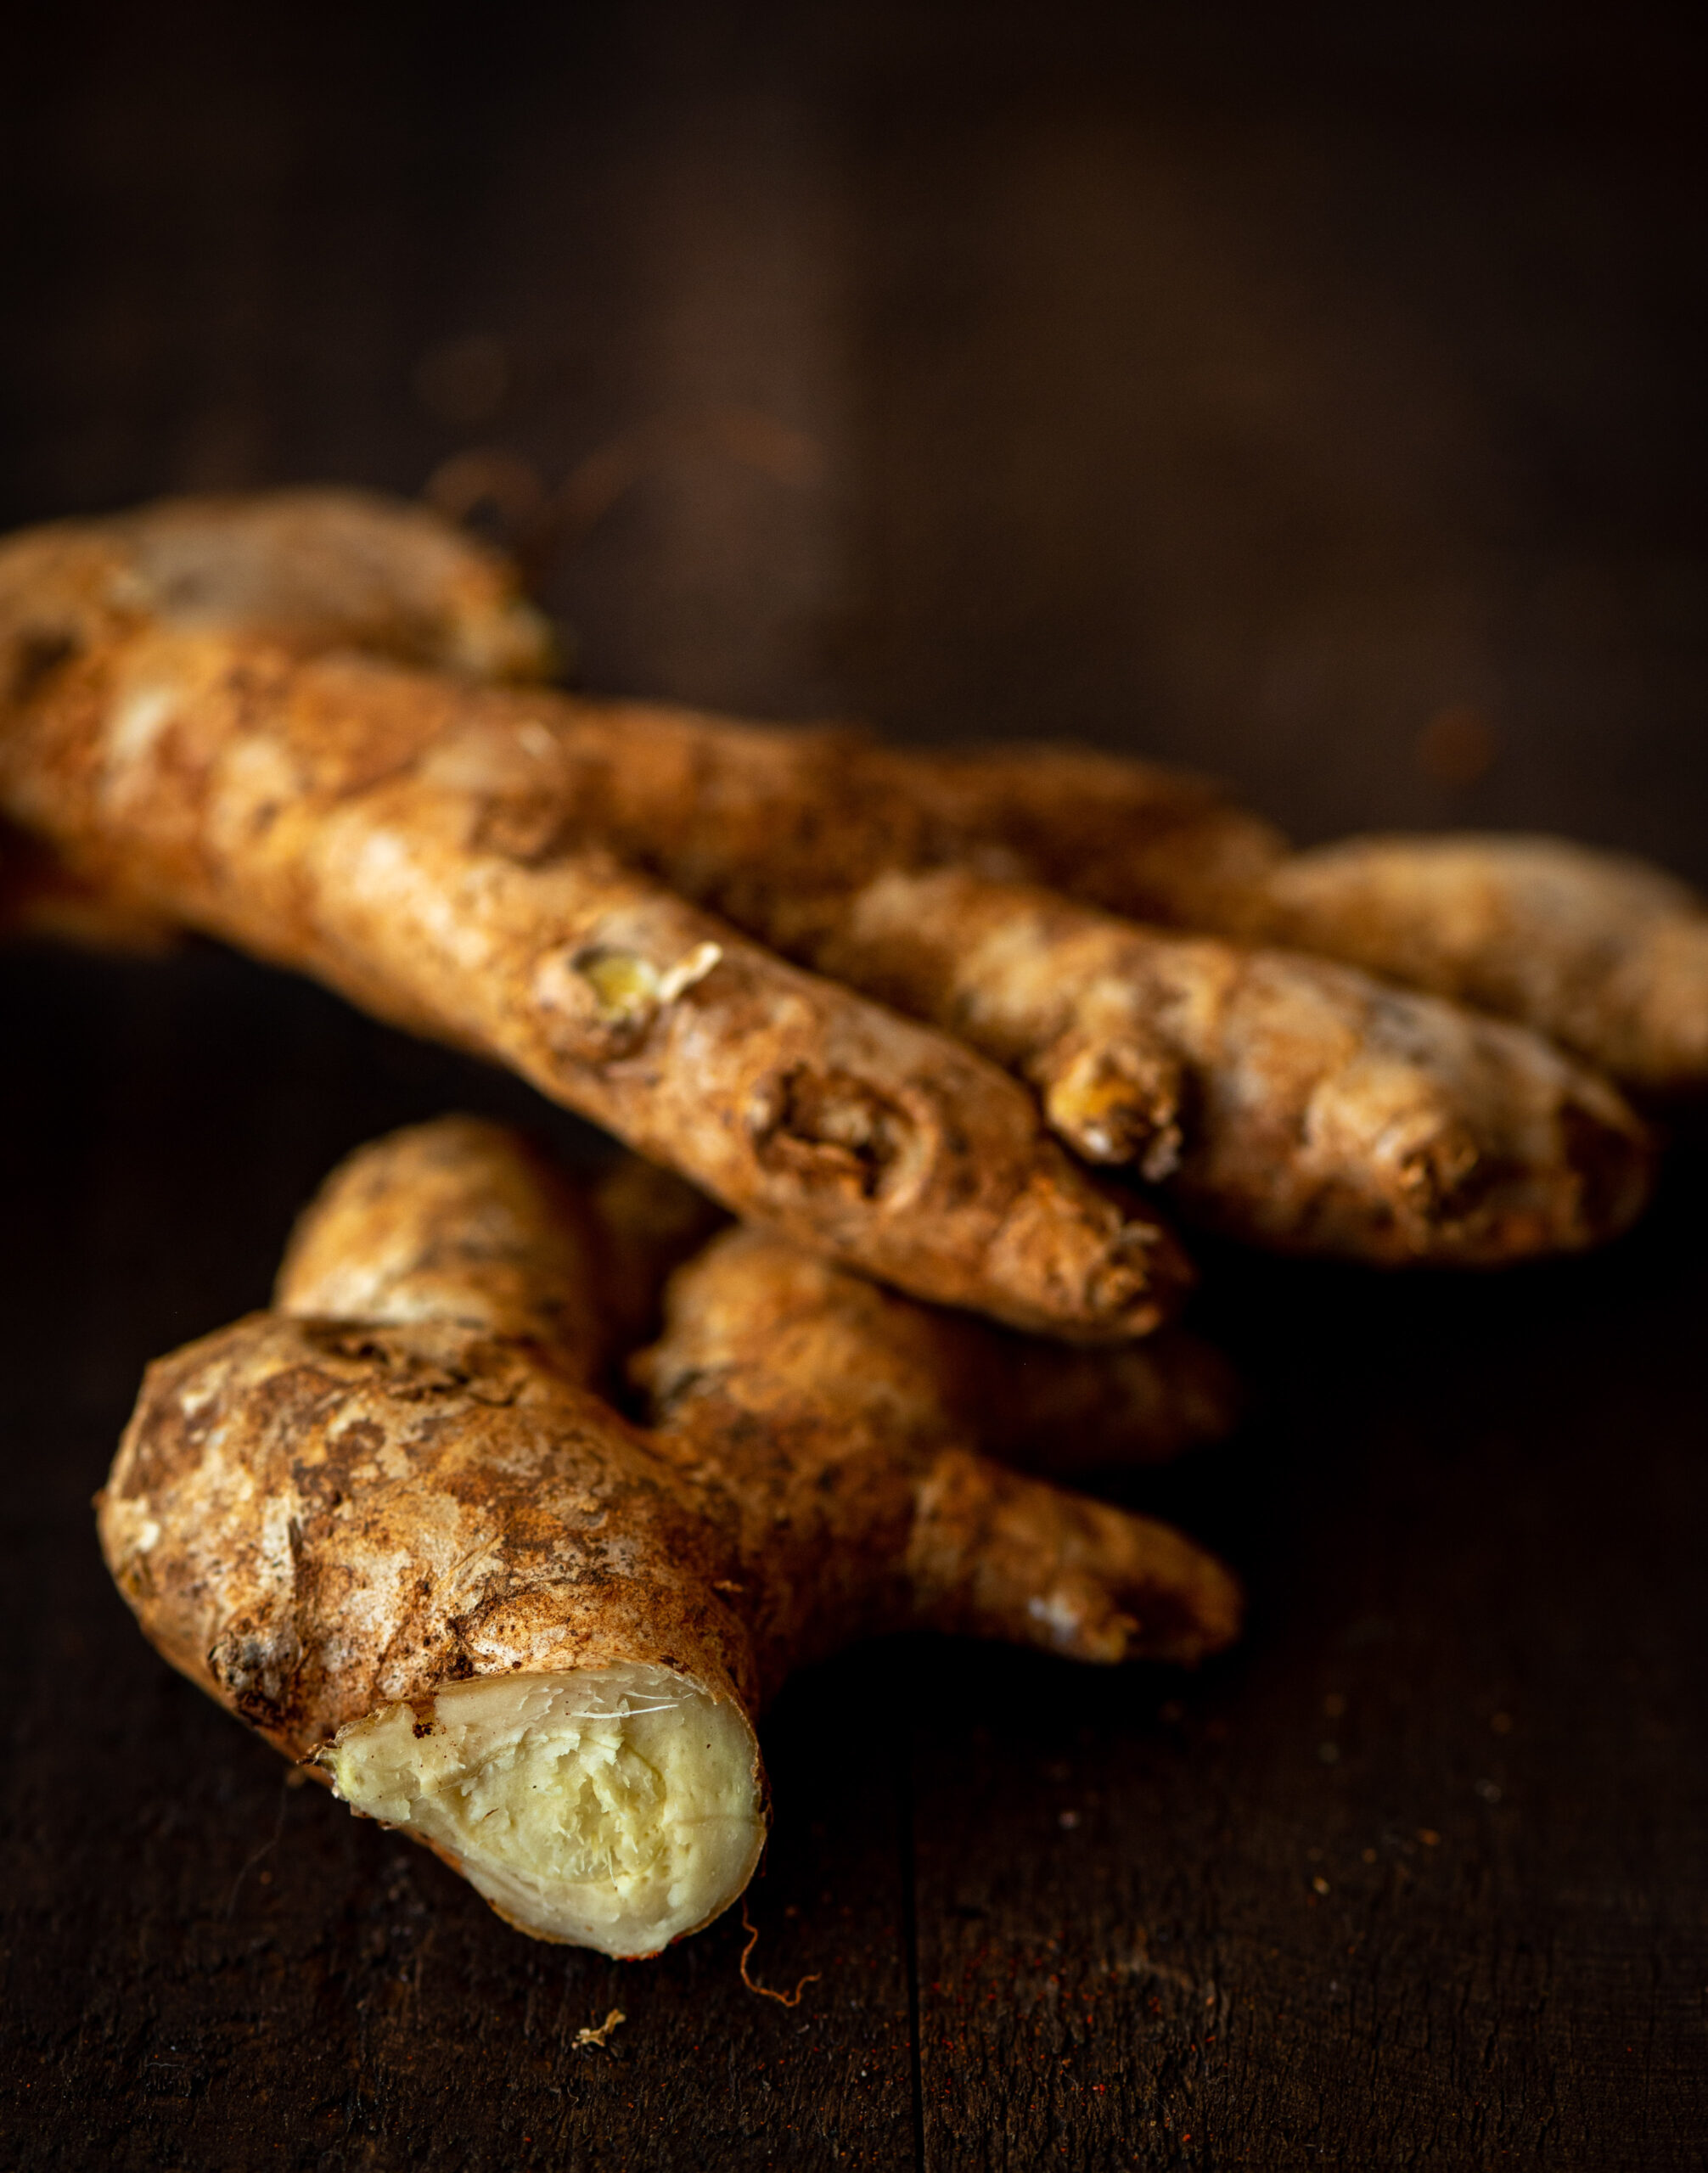
The variant of the gooseberry tree I have at home is the same as the one I grew up with. It is the ribbed or ridged star gooseberry (nellika), not the softer, more rounded amla. They are closely related fruits and you can use either one in this recipe. I prefer the star gooseberry for its sour taste, whereas the amla has a hint of bitterness. I enjoy this fruit so very much that I don’t just eat it plain, but incorporate it into my cooking as well. This star gooseberry rice is a wonderful way to bring its unique flavour into your meals. Pickling is another great idea, given the fruit’s naturally intense taste.
The best-known benefit of all Indian gooseberries is that they have a very high Vitamin C quotient. They are also very good for fighting sinus-related issues, boosting immunity, beautifying skin and hair and improving digestion. The leaves and roots of the tree also have a long list of uses in traditional medicines, in anti-viral, anti-venom, analgesic and other capacities.
This post came together between a friend mentioning eating star gooseberry rice one day, a trip down memory lane about those hairy caterpillars, and more recent memories from journeys around India.
On some of my travels, I have noticed gooseberry-shaped artistic motifs in borders and jalis at different monuments and temples across India – including even at the Taj Mahal – and this made me think about how India has always been a land of plenty. I understood that these motifs of so many common culinary and botanical elements that we take for granted – including not just star gooseberries but pomegranates, mangoes and a great variety of flora and fauna as well – are ways to celebrate that bounty, depicting the amazing harvests that grow here. Among all our many exotic mysteries and riches, the natural wealth of India attracted so many to our shores, and still does. We have so much to be proud about.
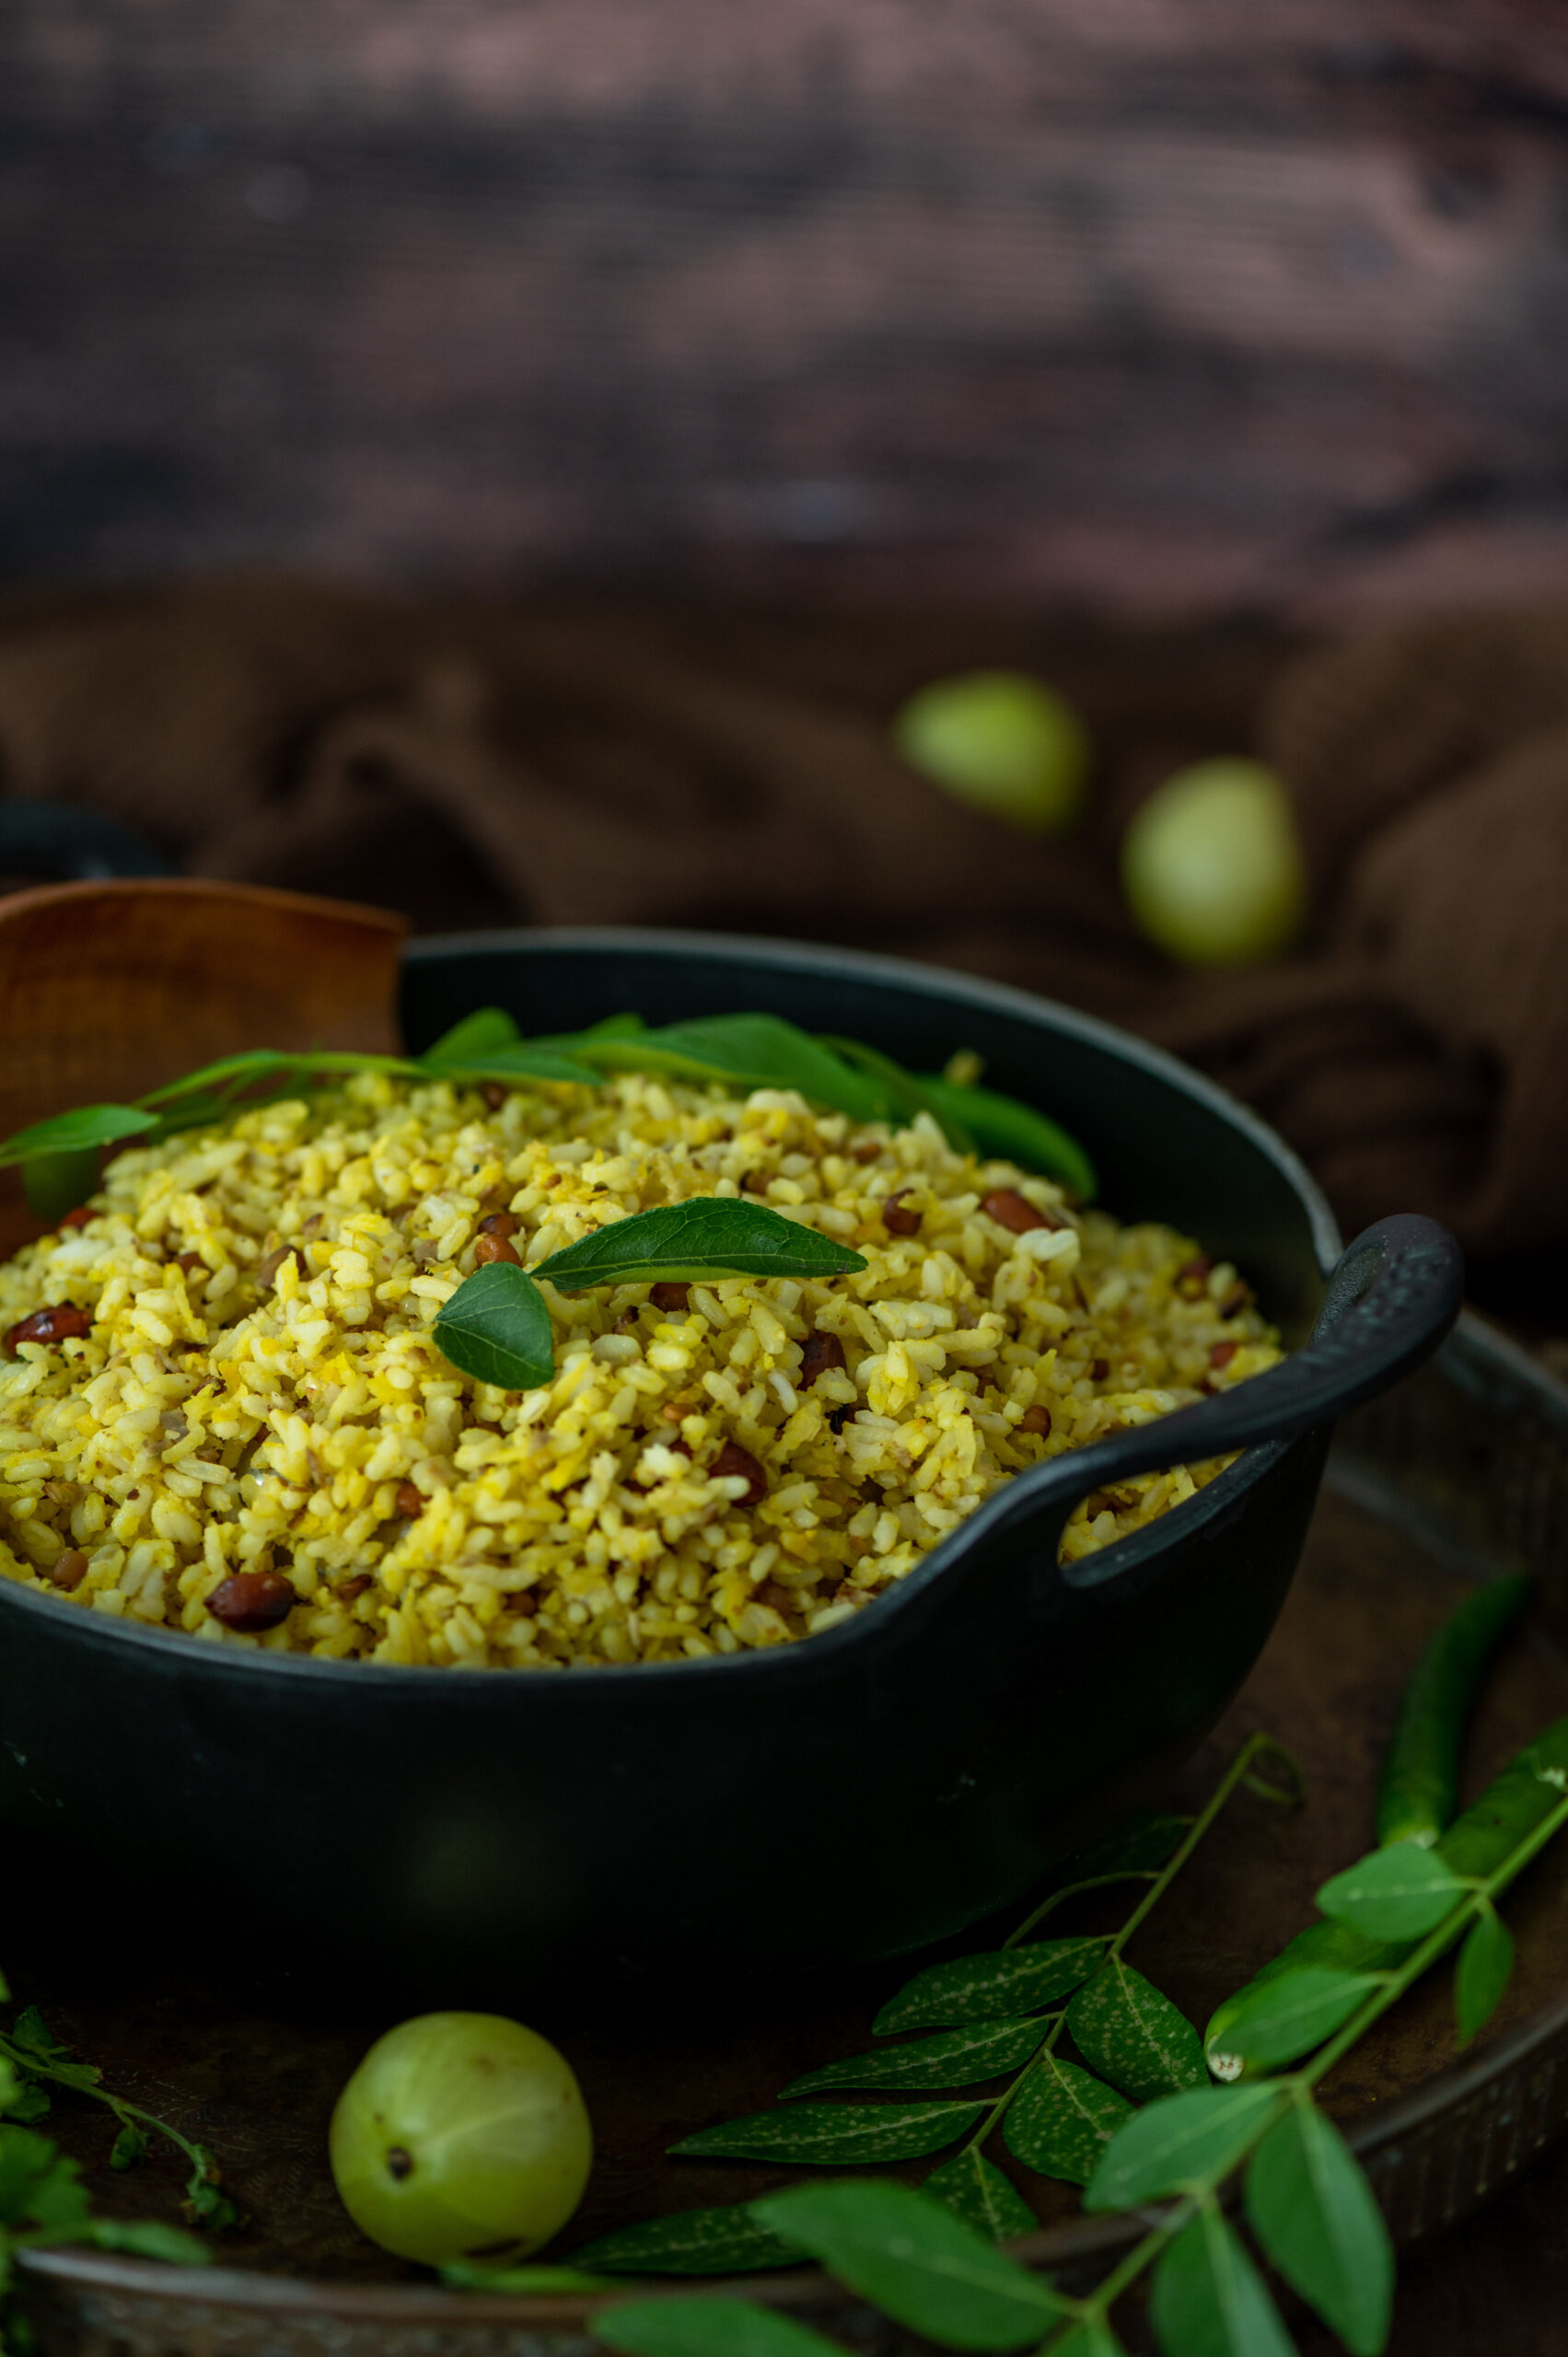
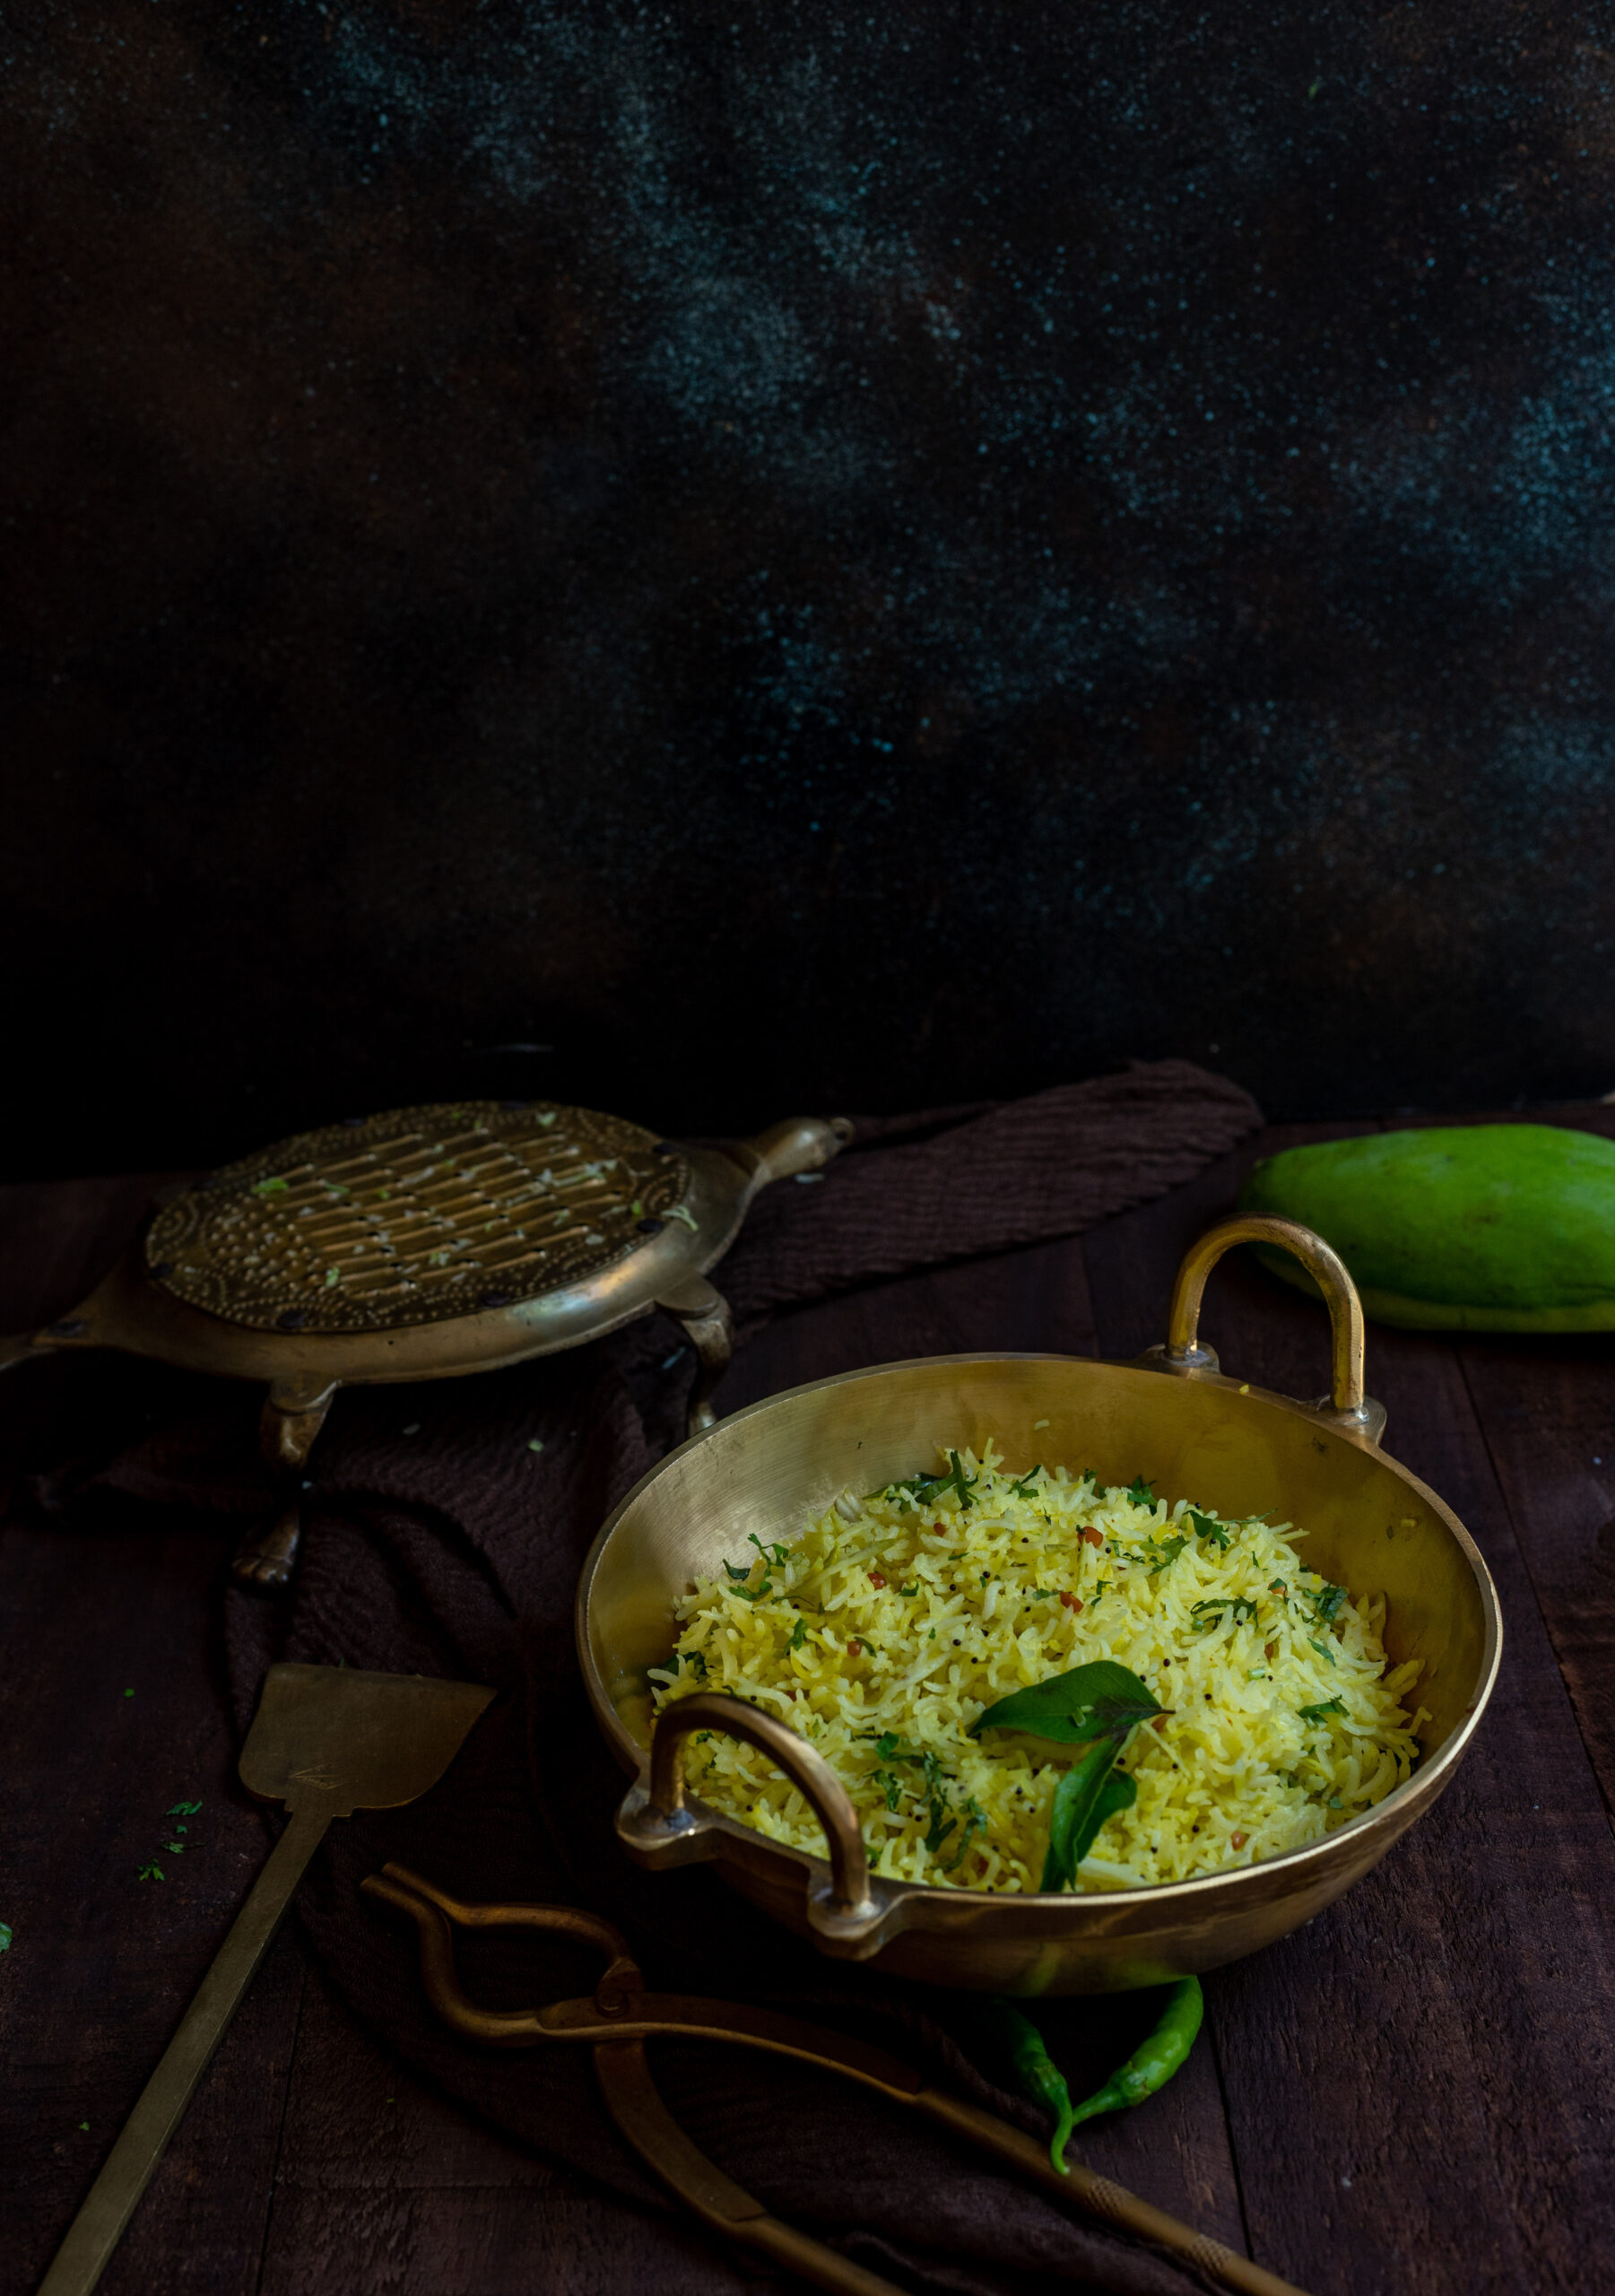
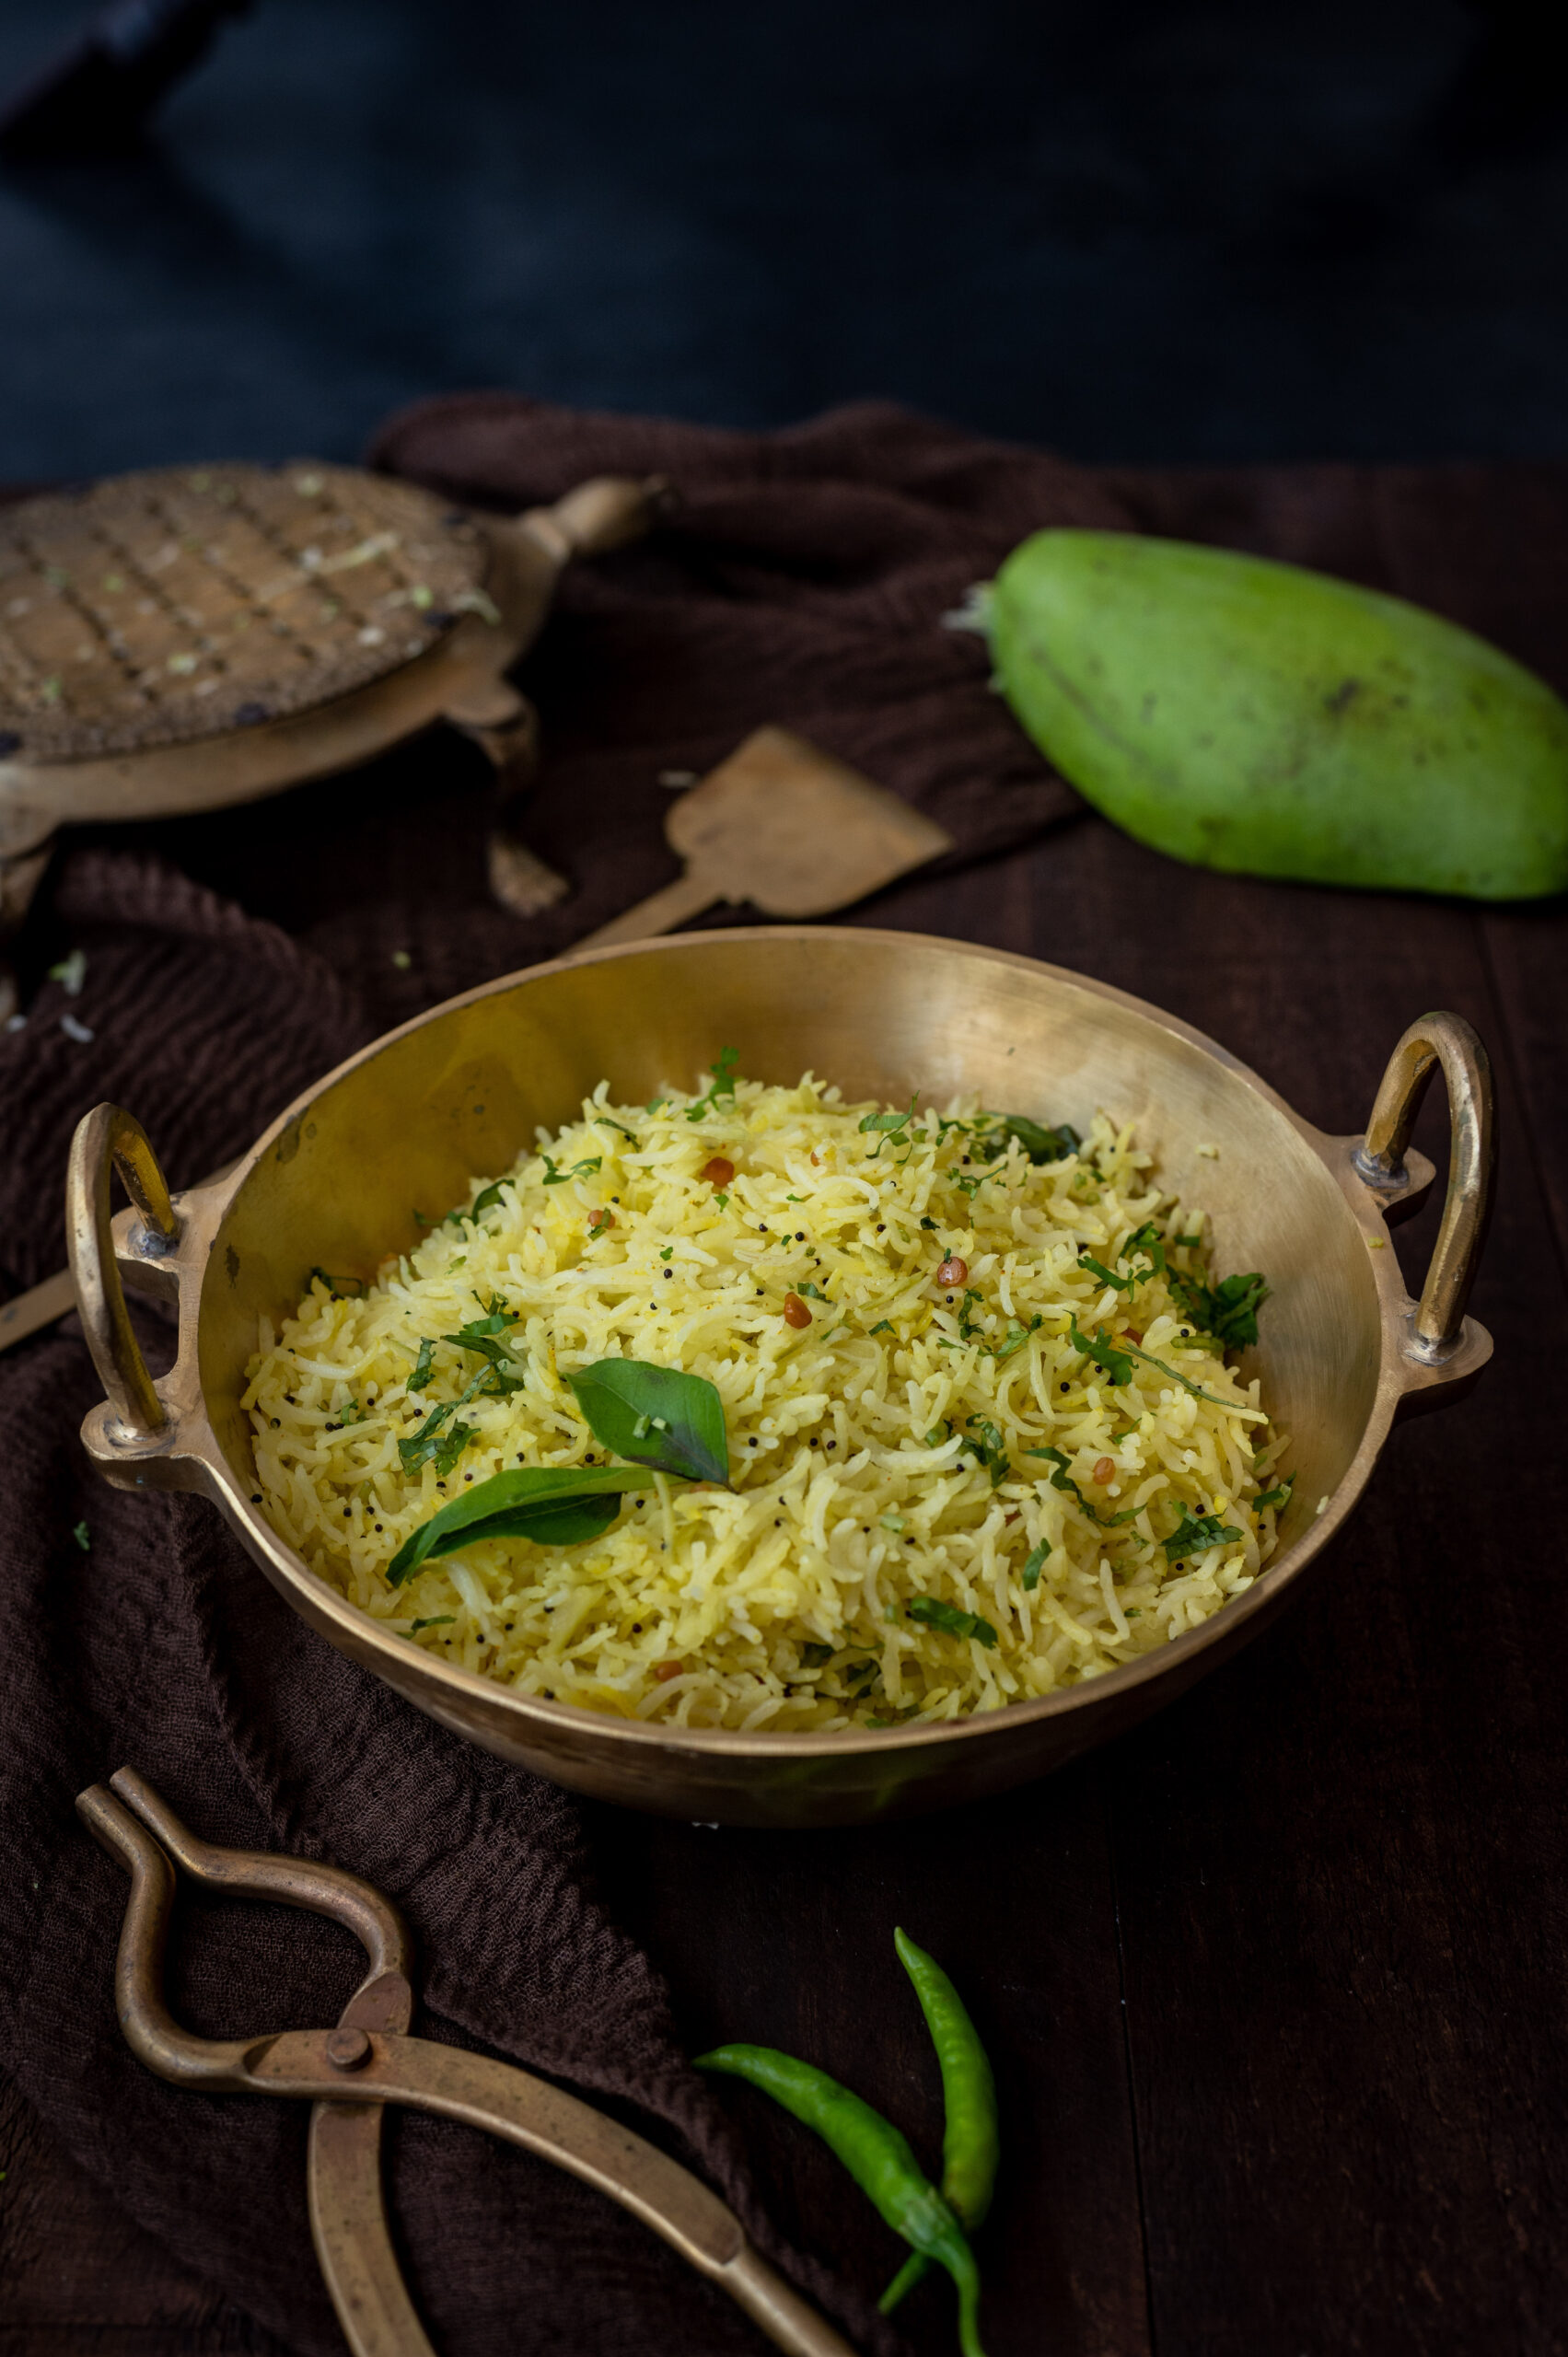
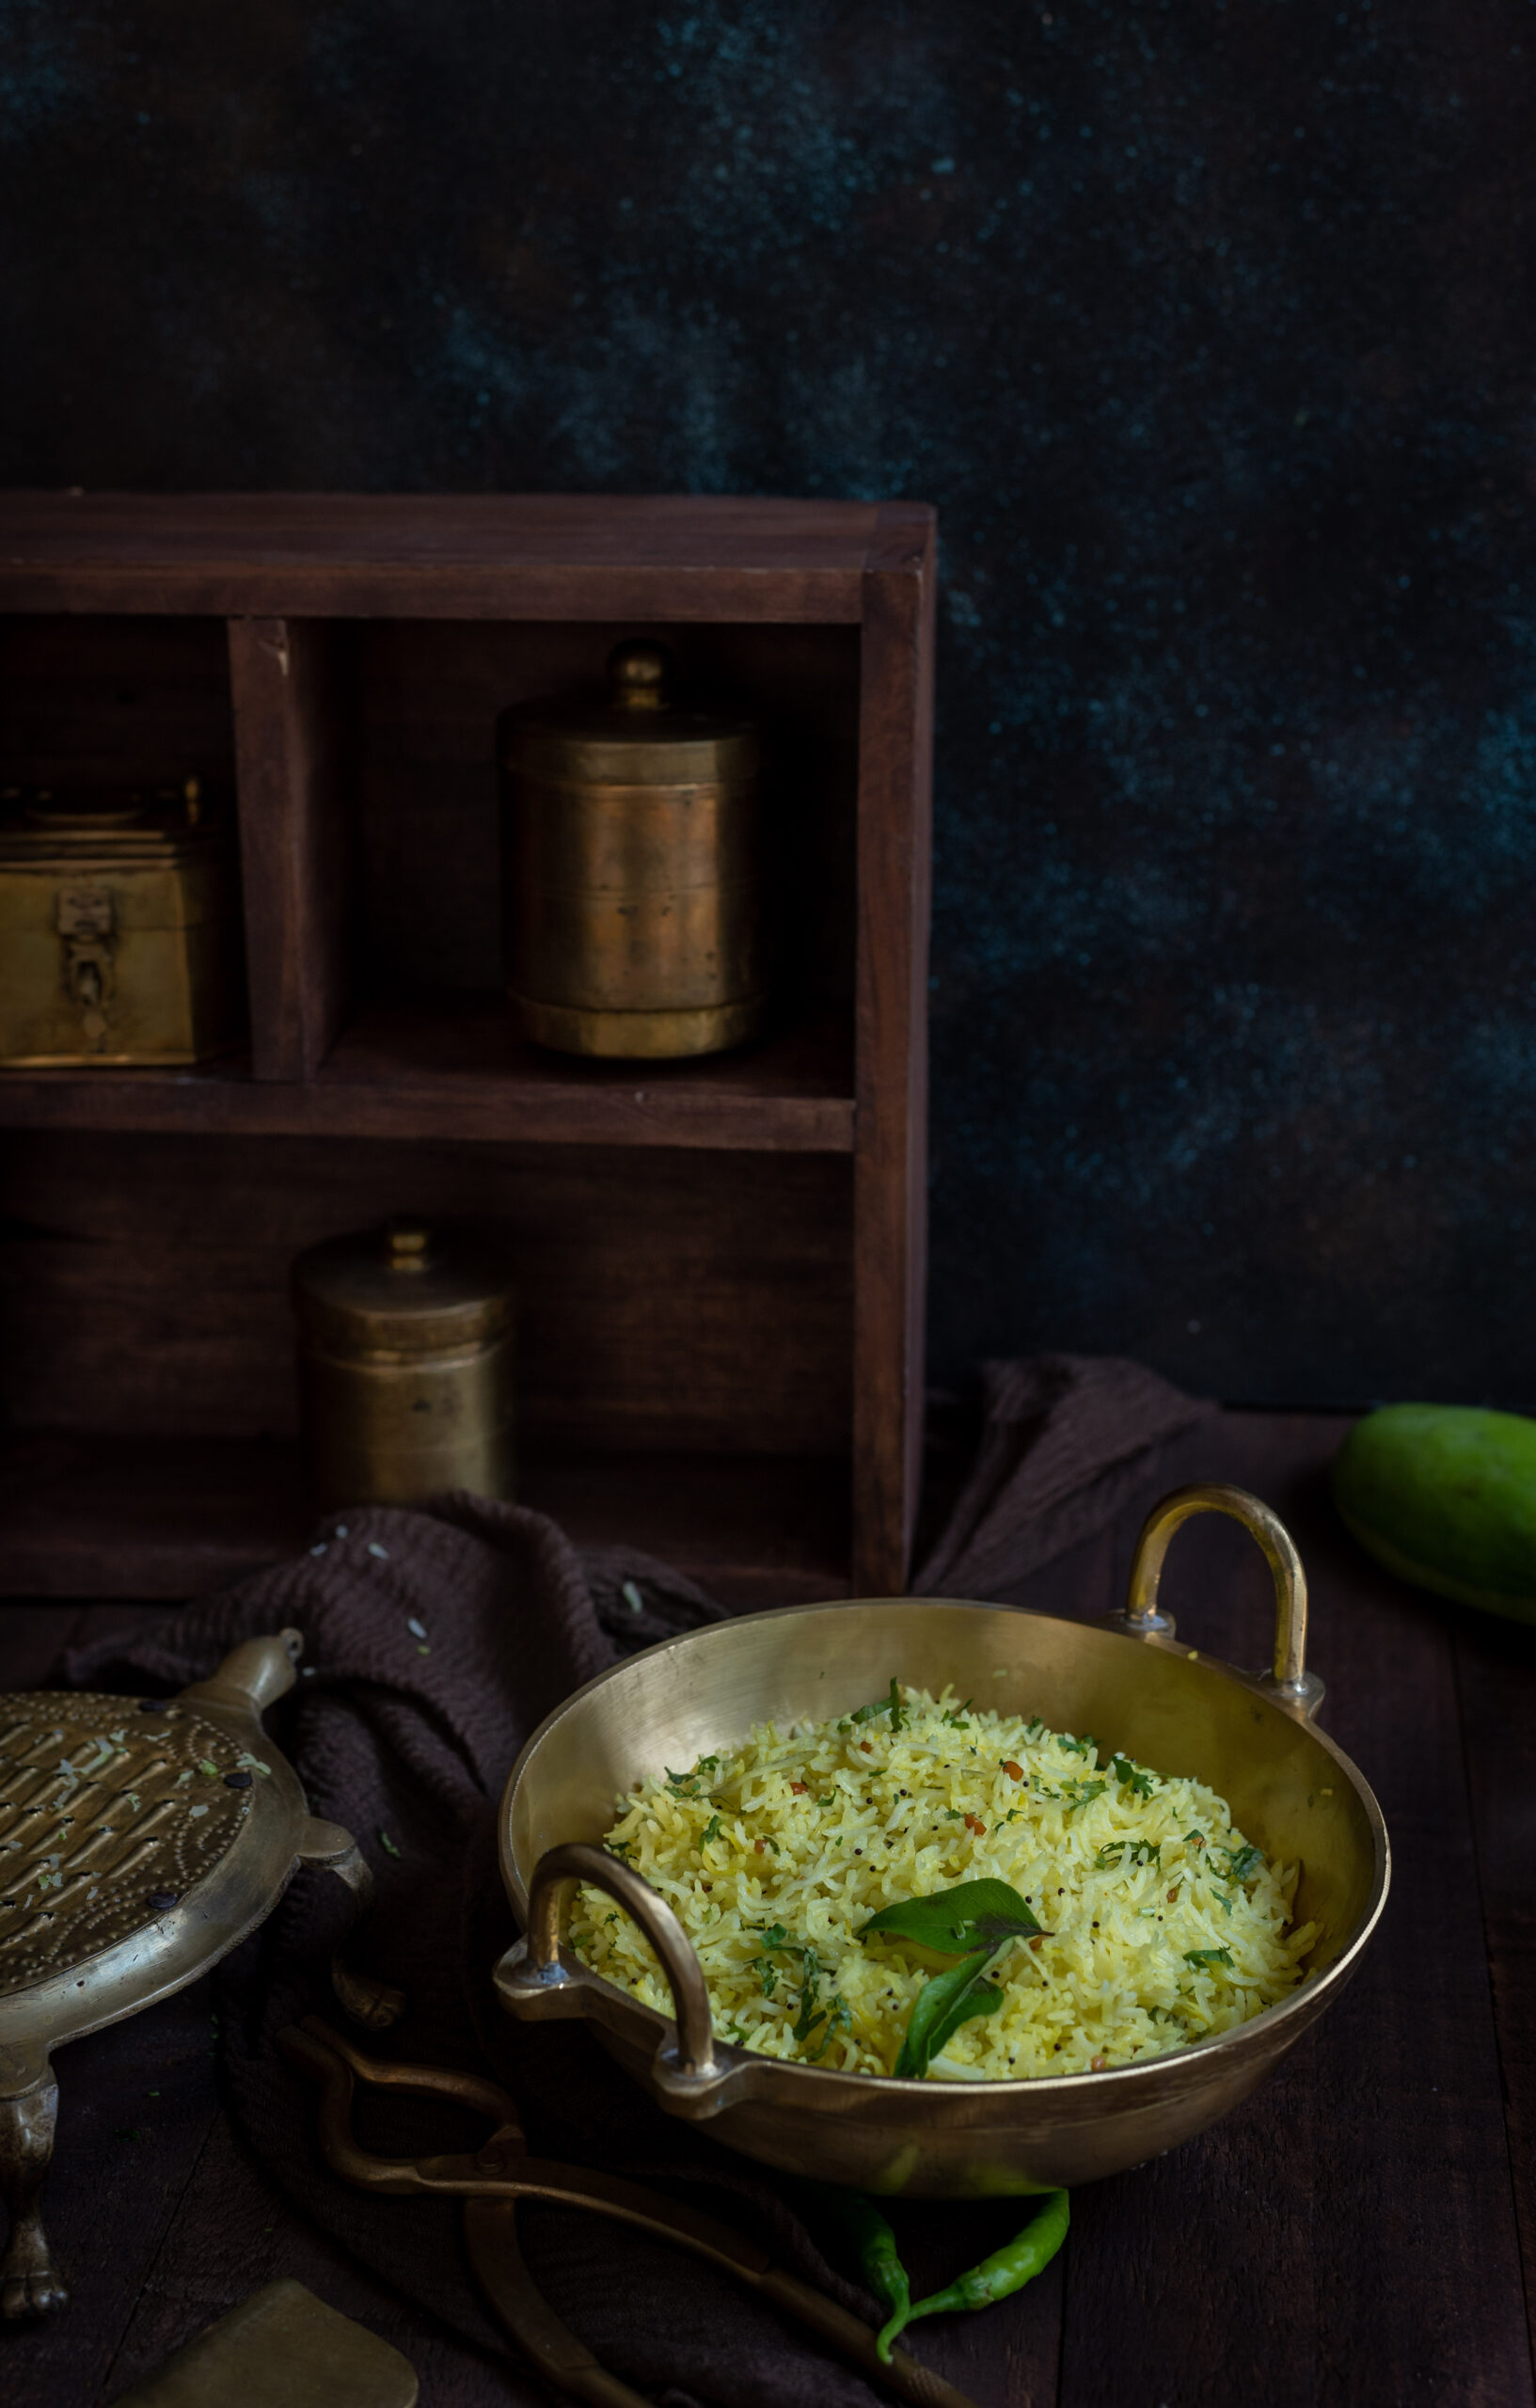
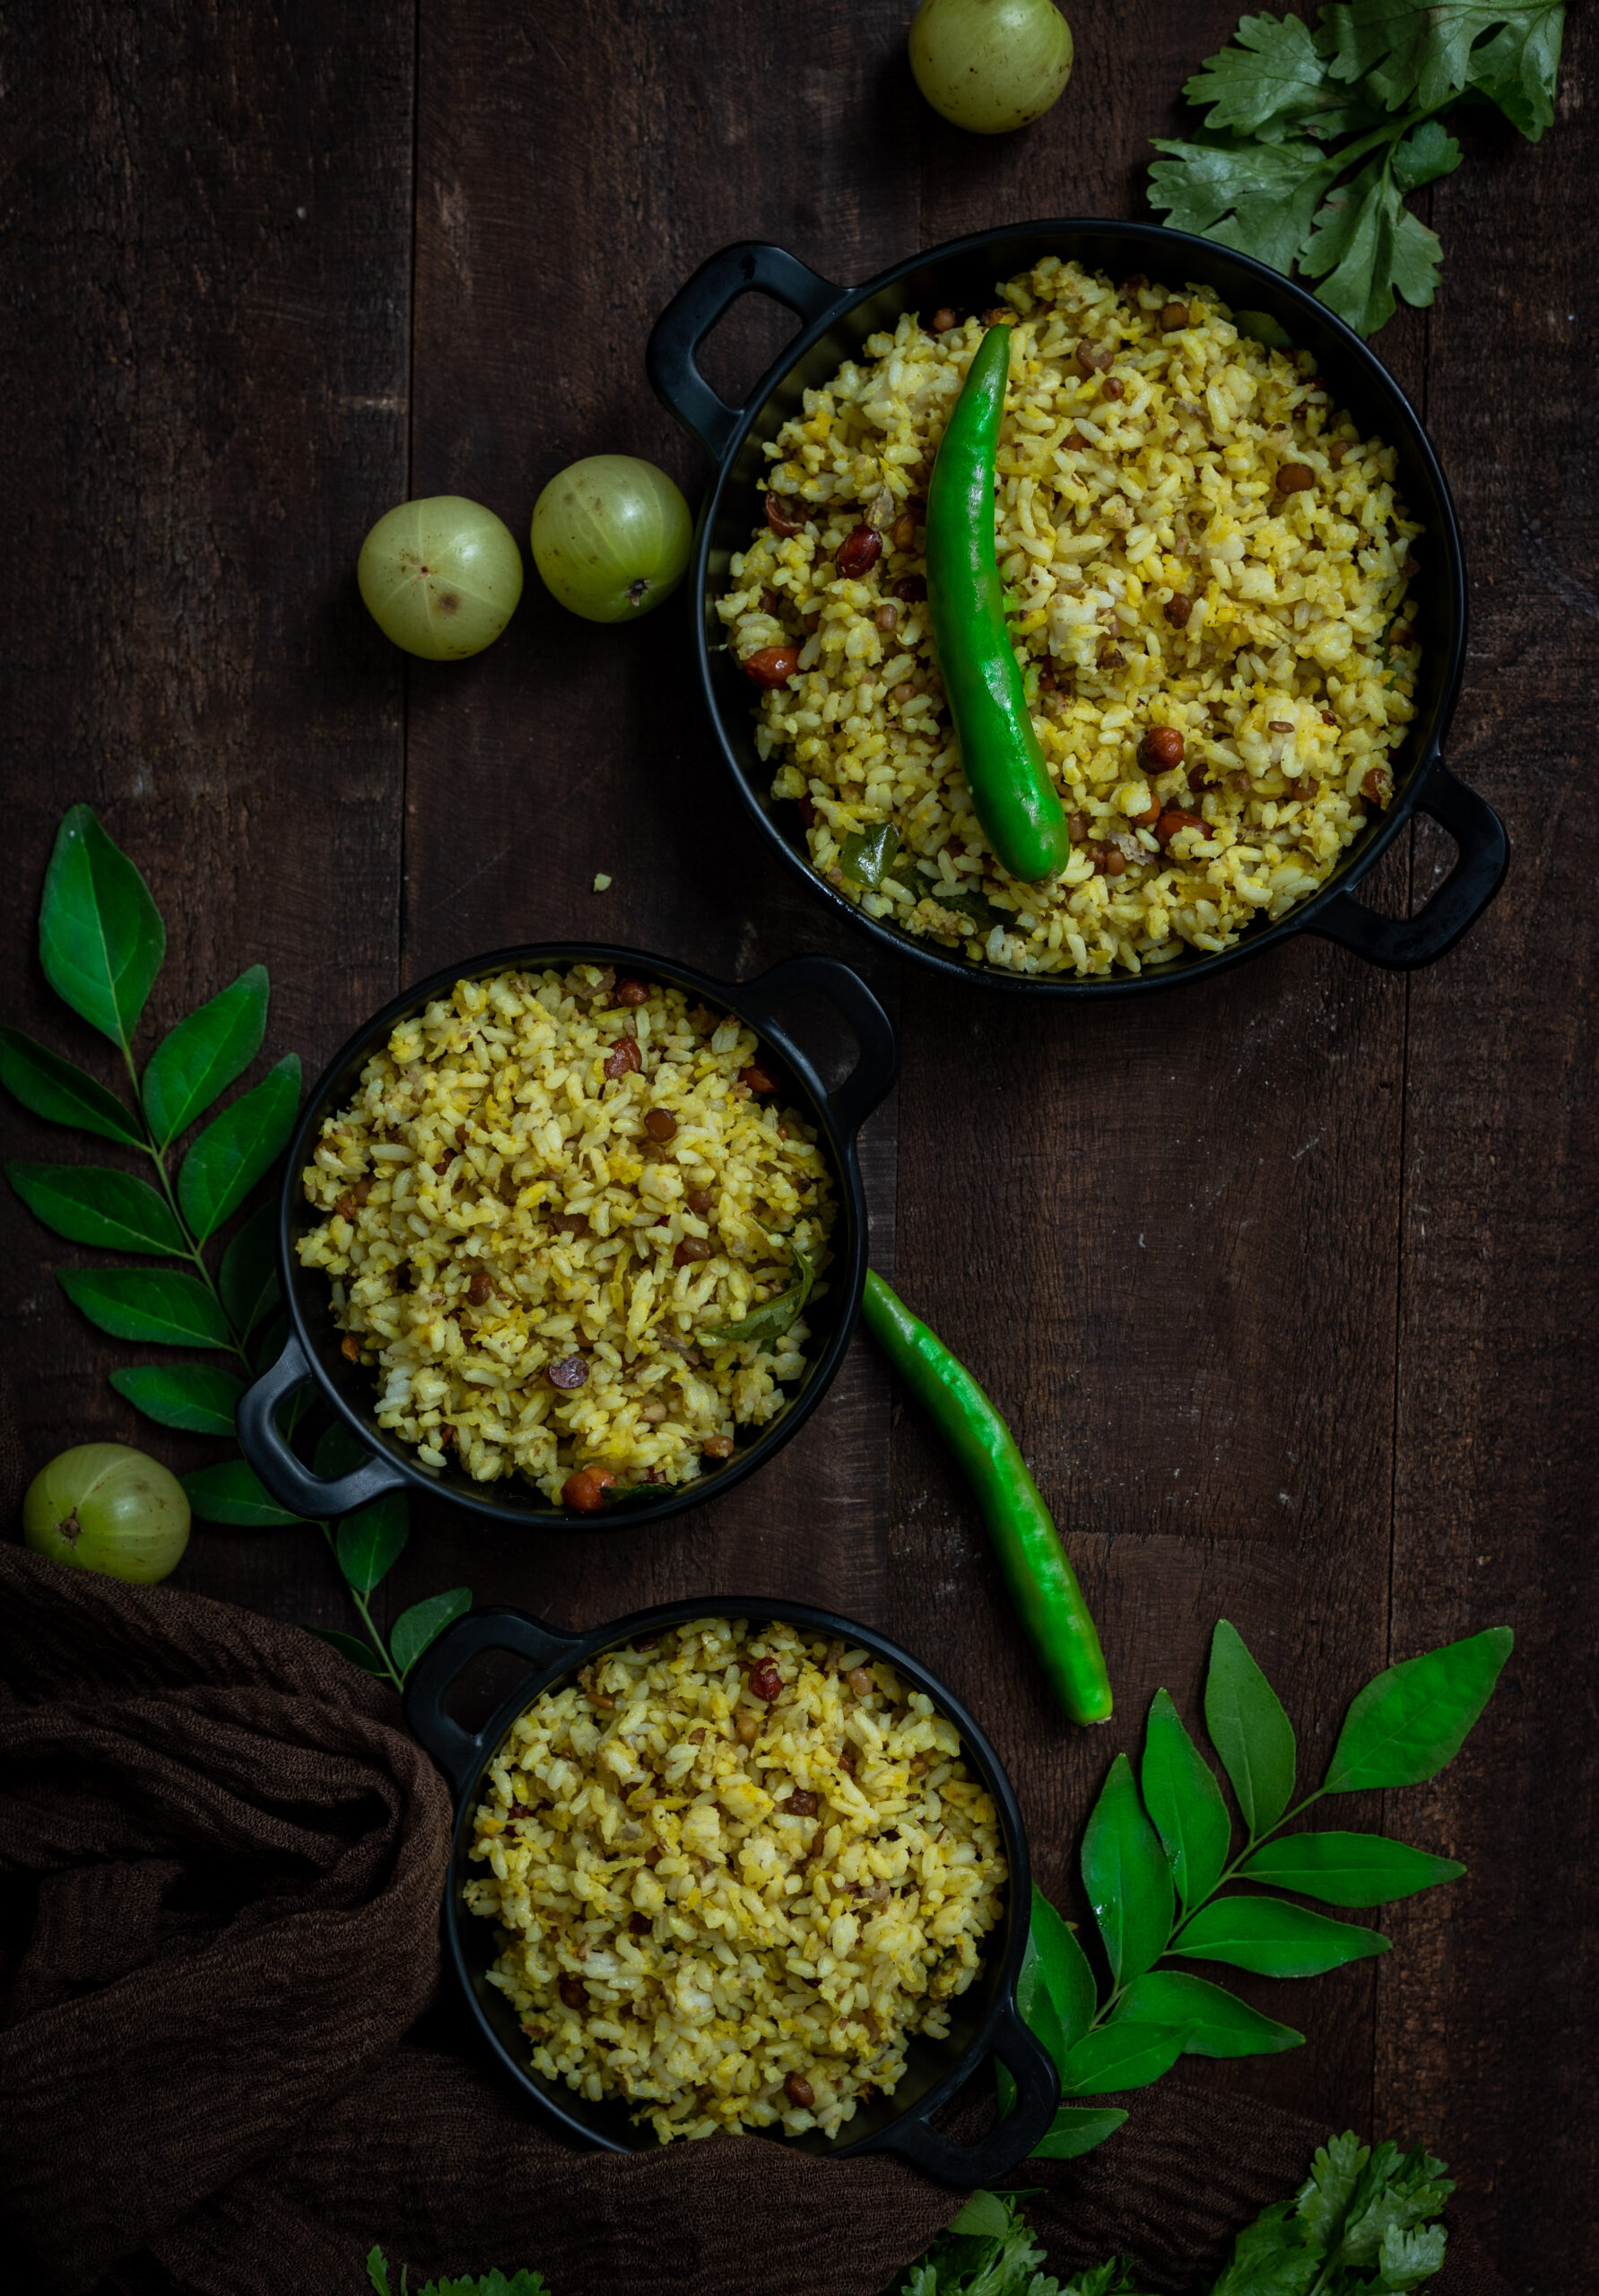
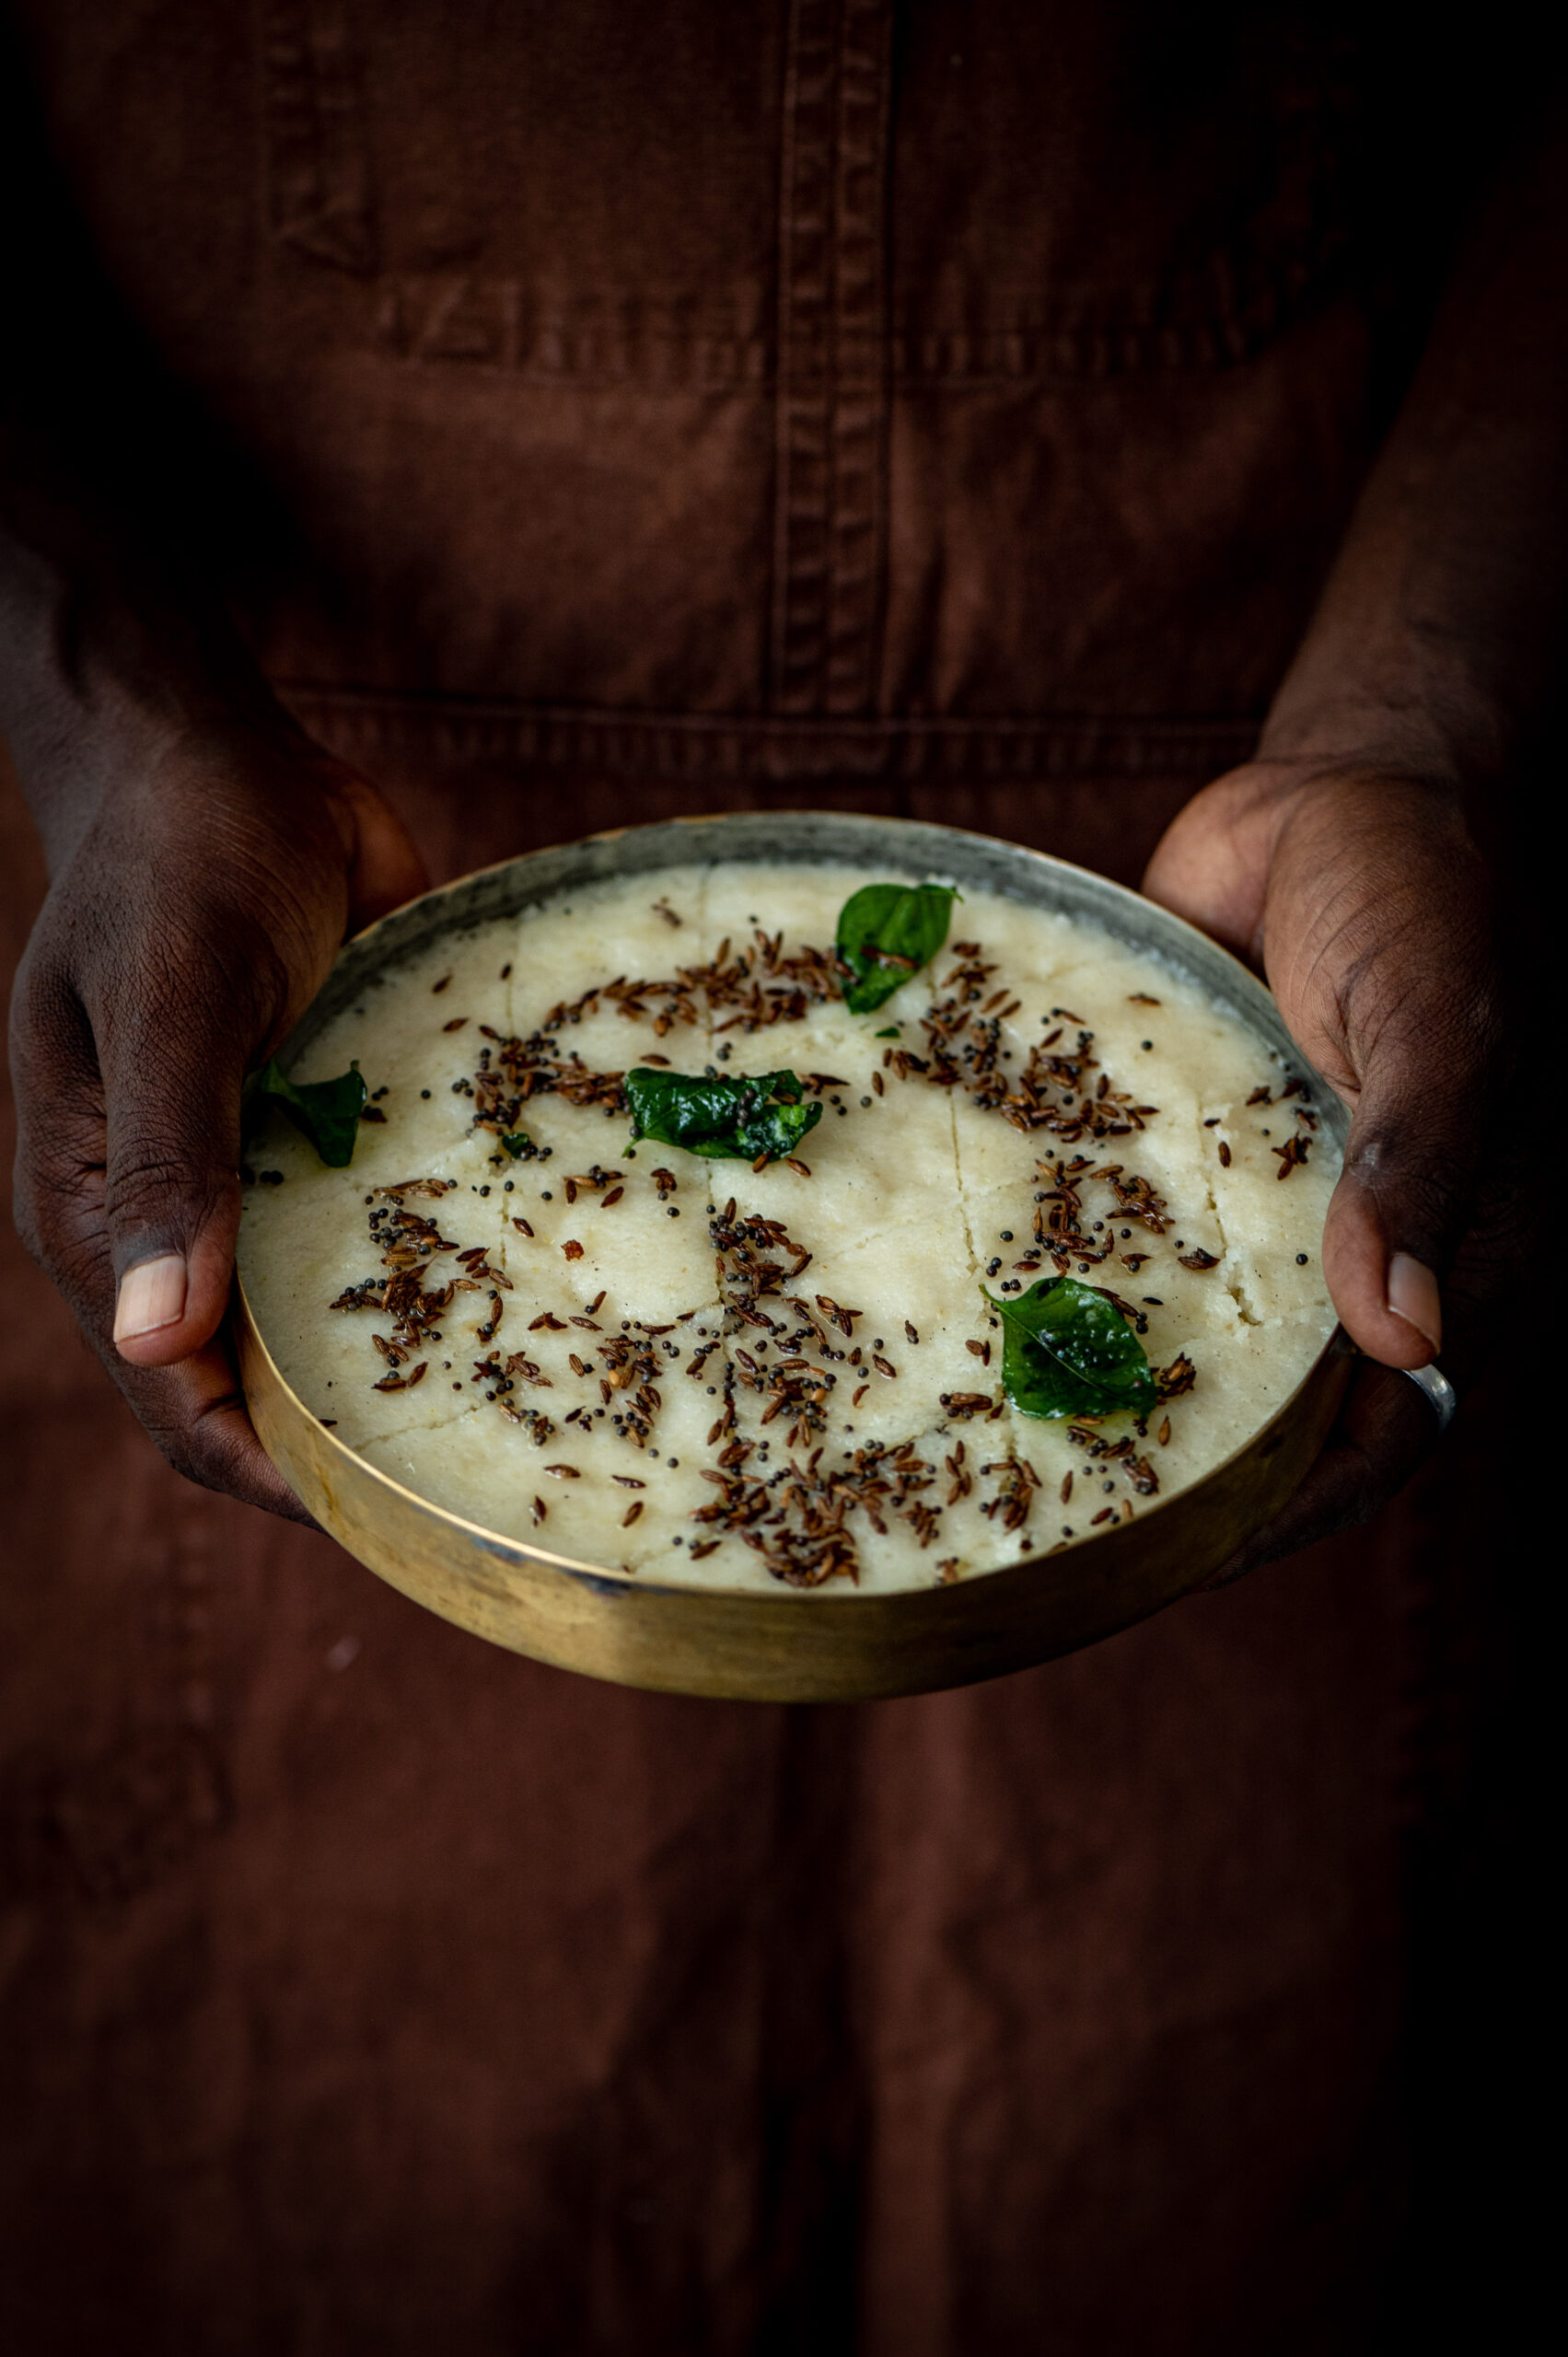
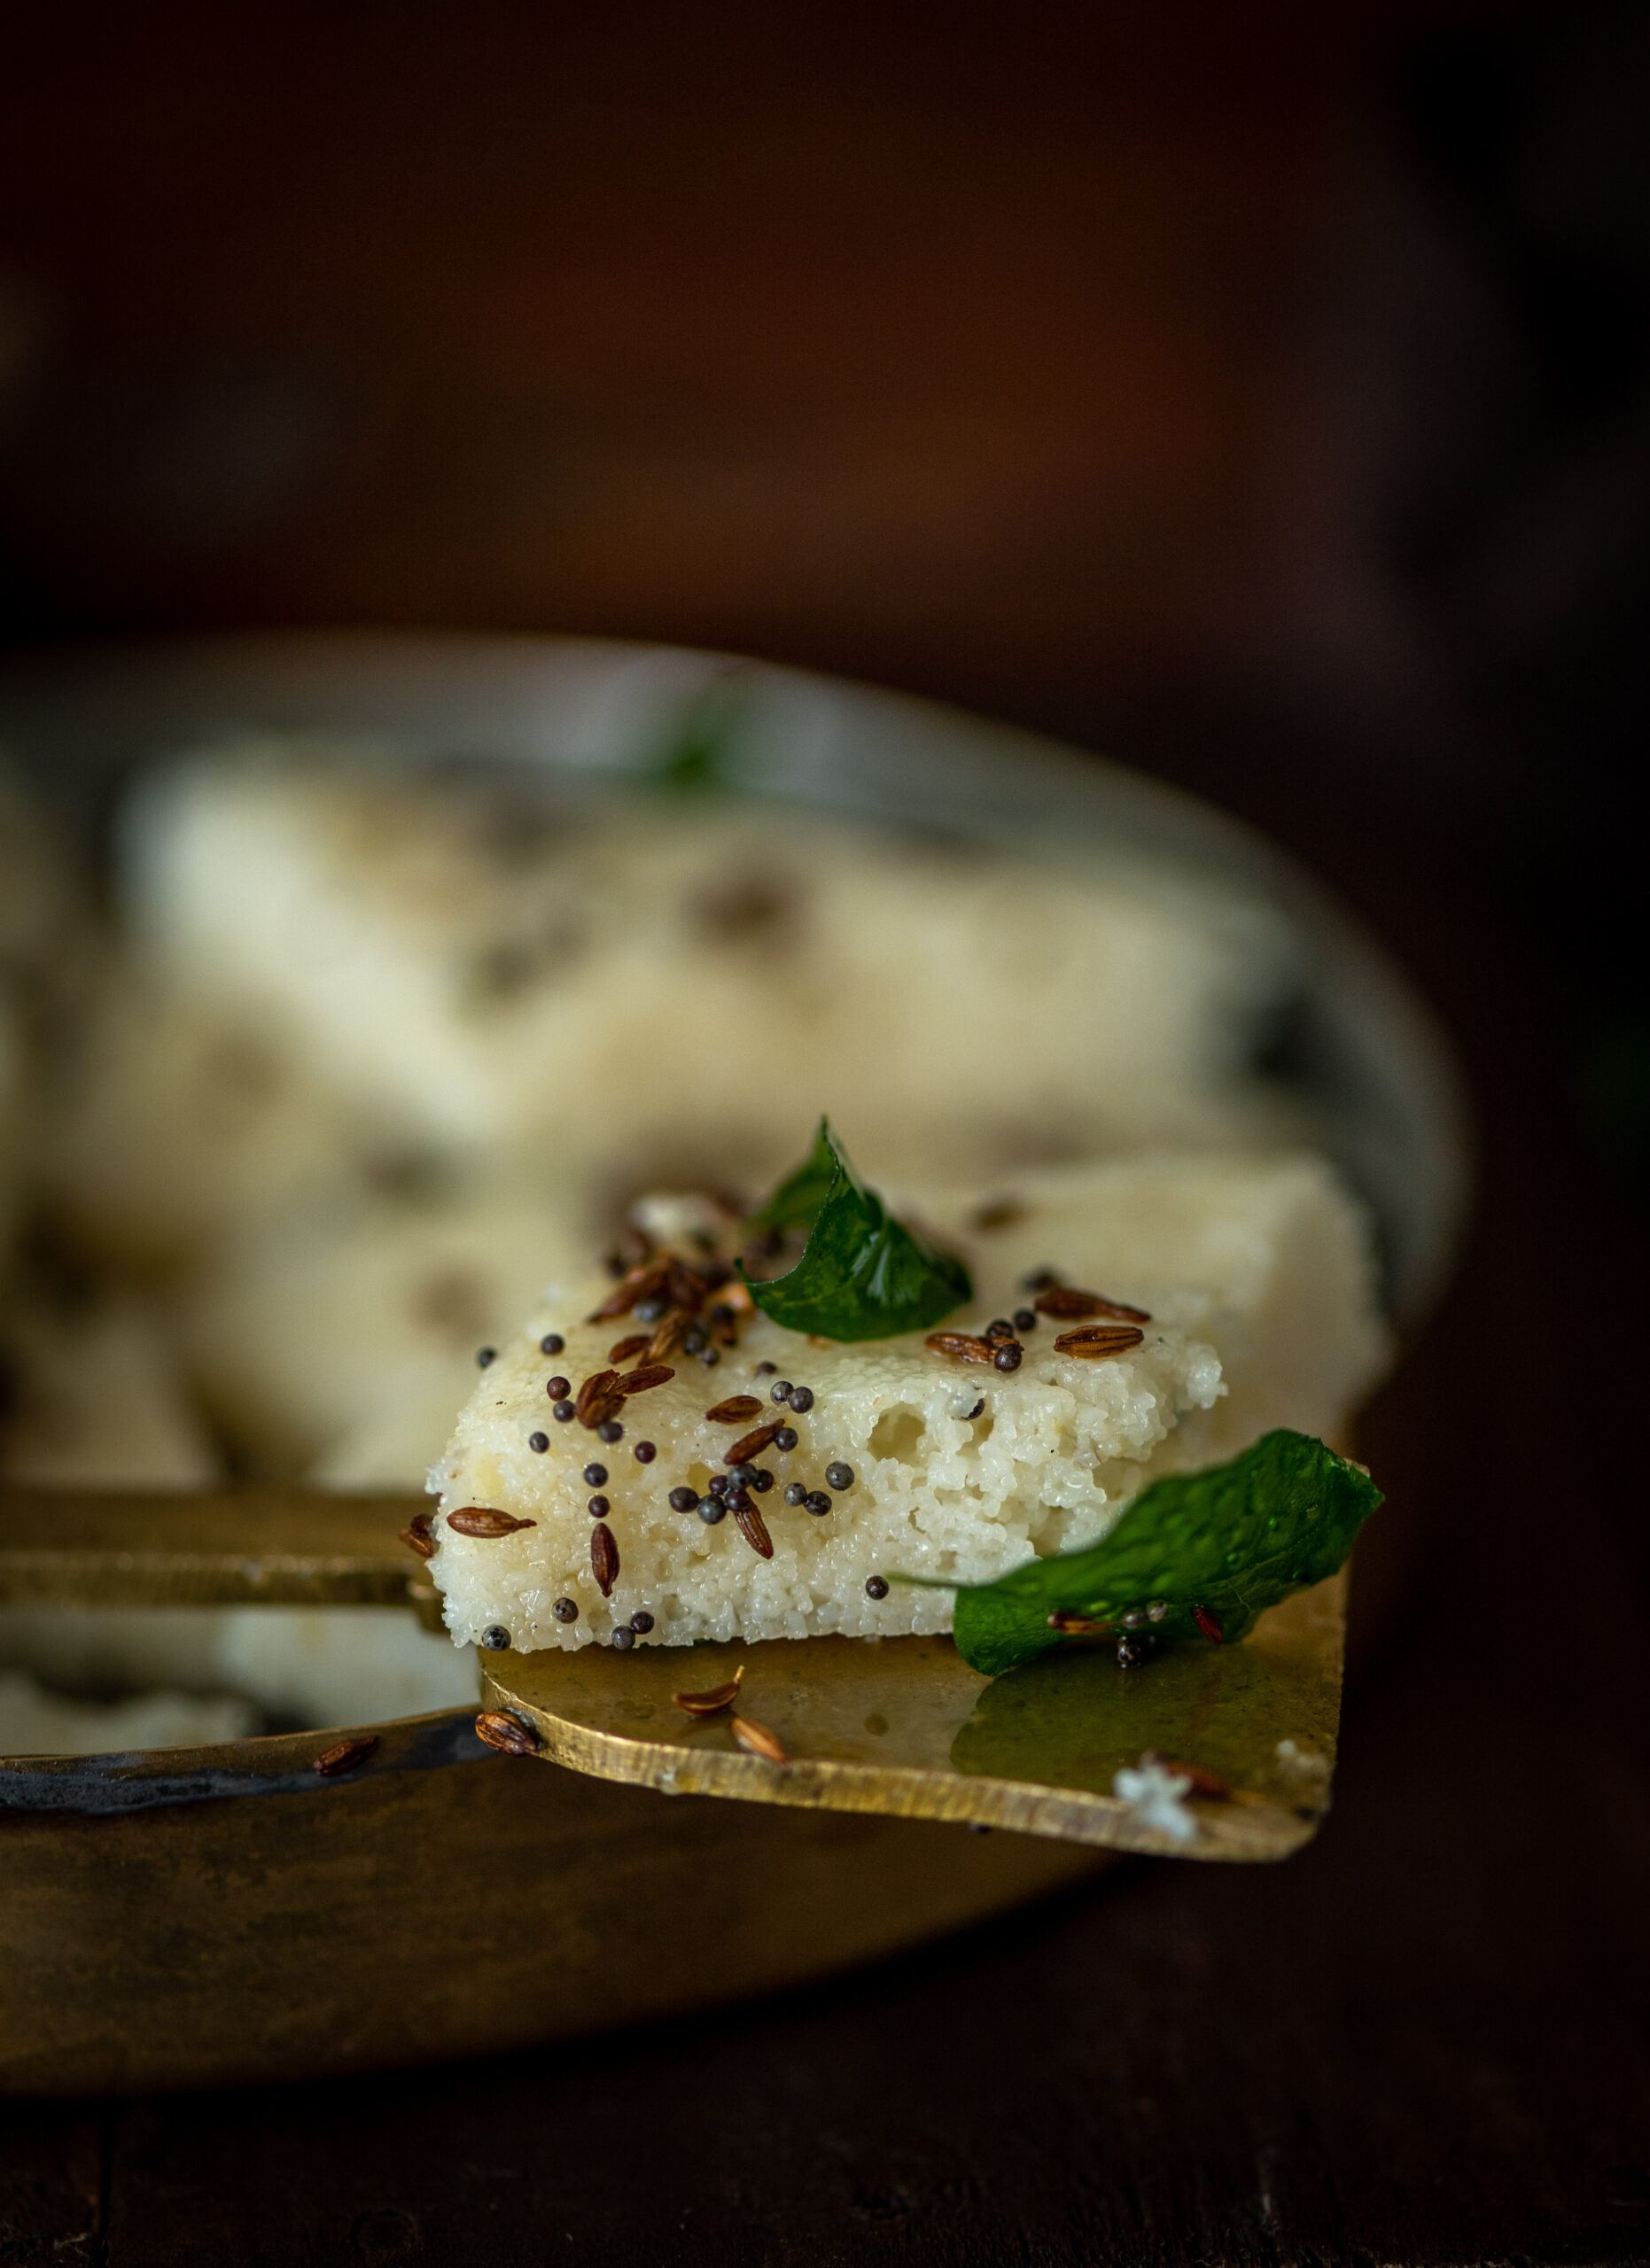
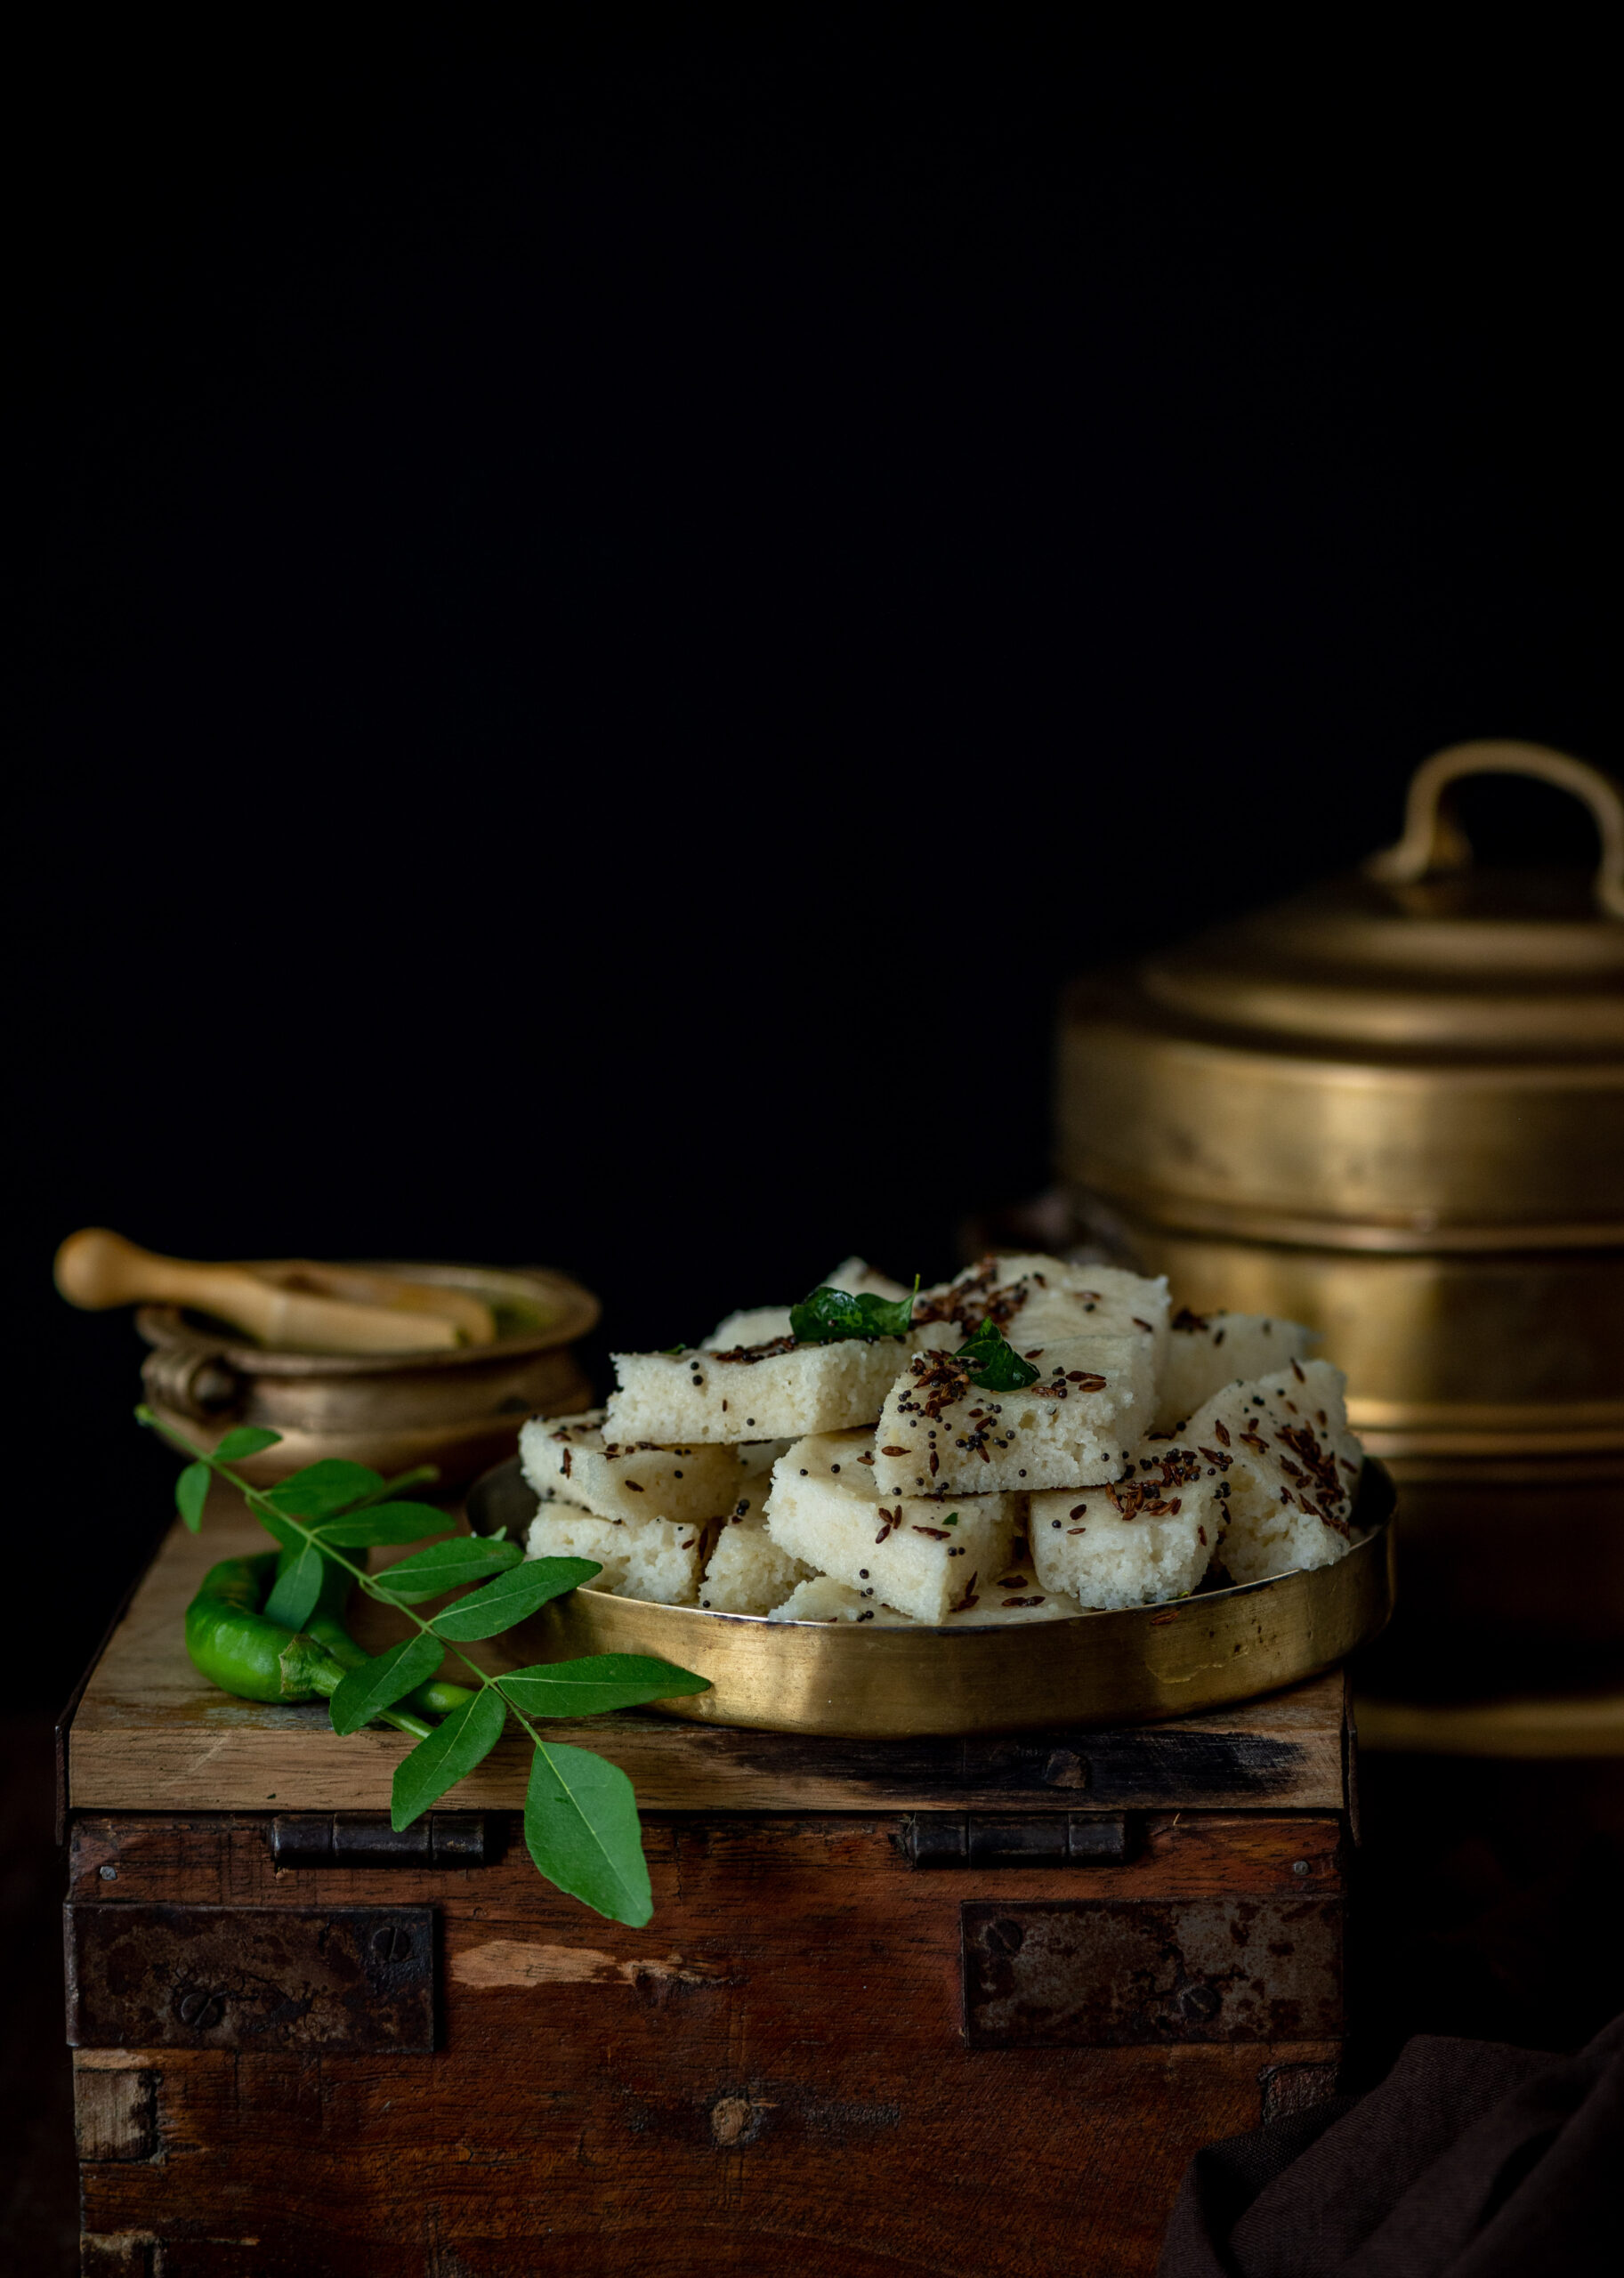
Star Gooseberry Rice
(Serves 2)
2 tablespoons sesame oil
2 tablespoons groundnuts
¼ teaspoon methi seeds
¼ teaspoon mustard seeds
¼ teaspoon cumin seeds
½ teaspoon channa dal
½ teaspoon urad dal
1 green chilli
2 cups cooked rice
Salt to taste
A pinch turmeric
A few curry leaves
4 grated star gooseberries
1 grated tablespoon coconut
Finely chopped coriander leaves (garnishing)
In a kadai, add oil. Once it has heated, add the groundnuts and allow them to splutter. Next, add the mustard seeds, cumin seeds, channa dal, urad dal, methi, green chilli, grated coconut and curry leaves. Mix well. Now, add the grated Indian gooseberries – whichever variant you have on hand or prefer.
Once the mixture turns lightly golden, add the rice, salt and turmeric. Stir well.
Garnish with the coriander leaves and serve.
I hope you’ll enjoy that unique flavour of this star gooseberry rice. If you’re a fan of rice dishes in general and are always looking to spice up your plain steamed rice, you may want to explore the many recipes I’ve shared earlier that do exactly this. Raw mango rice, dill rice or spinach rice make for exciting daily staples. Vegetable biryani is perfect for a small celebration. If you want something a little more exotic, this glutinous black sticky rice with mango is quite a delight. Do try them out and let me know what you think!


")