The festive season has begun here in India, and I hope that those of you who are celebrating are having a wonderful time. Feasting is such a big part of our festivals, and this month I’ll be sharing some delicious recipes to add to your repertoire of sweets and snacks to share with friends and family. At the top of this list is a dish of sentimental value: puran poli. This sweet, healthy flatbread always evokes my mother for me. Perhaps that is true of all sweet foods, if not all dishes, from my childhood. But she really was exceptional at preparing puran poli, and so it holds a special place in my heart.
Puran poli was the favourite of all five of us at home (my parents, my siblings and I). For my siblings and father, it was to them what her dhokla was to me – the one dish that they only wanted made by her, even if they would prepare or buy other items. I suppose in my case I lucked out because I learned how to make puran poli from her, rather than only have her make it for me. Now, whenever I roll out the dough to make this sweet treat, memories of my mother flood back. I recall her hands as she prepared it, the way she would measure out ingredients and little nuances about her movements. Whether she was teaching me, letting me work alongside her or just letting me watch, all those moments come together and fill me with nostalgia as I make this.
She prepared it for special occasions and birthdays, and it was always a part of our festive meals. On such days, the lunch table would be laden with rich, heavy food of all varieties. We would partake of the feast while surrounded by happy people, and a nice long afternoon siesta would follow. One of the reasons why this sweet, which always featured in these feasts, was such a star on the menu is that something about it made her indulge us more. Even though there would always be healthy greens in the spread, she would say with a smile when she saw us reach for her famous puran poli, “It’s okay if you don’t eat your vegetables today”. So we would look forward to this dish all the more.
To me, these are not just memories to fondly look back on, but they show the way forward too. I feel strongly that beautiful moments at home must be created. They don’t just happen. When we put time and thought into creating experiences that celebrate the love within a family, while honouring tradition and heritage, we ensure that the next generation has something precious to look back on too. Festive occasions offer the perfect opportunity for this, which is why I have such a firm rule that my children come home for Diwali and Raksha Bandhan no matter where they are in the world. Every year, as a family, we renew our bonds and form new memories together. I know that some day, when they are older and reminiscing, they will feel joy – and remember us with love, just as I do my dear mother.
I often ask myself these questions: what will my children recall; what will their memories of me be? The desire to bring joy to them always, not just now but well into the future, is what motivates me to make our time together as meaningful as possible. Food as a daily expression of love enables this, and festivities make this expression all the more vivid and enjoyable. Family, food and feelings are interconnected. When we have healthy relationships, we eat better (as we share mealtimes, and are stressed less overall). When we eat nourishingly, we have healthier relationships (as our bodies and minds are performing optimally, and fatigue or illness don’t impede our ability to spend time together). Do you notice that you binge eat when you feel downcast? Do you notice that you enjoy food more when you’re with a close friend? These are clues about the nature of this interconnection.
This puran poli, thanks to the wonderful memories it brings back, strengthens my connection to my late mother. It is also meaningful to my children for the same reason. Decades ago, when I was away from home and expecting my second child, my eldest missed his grandmother – my mother – so deeply that I had to ask my friend Chandrika Behn to make puran poli just for him. She prepared it just like my mother would, and I didn’t mind my kid gorging on the treat often as it’s stuffed with protein-rich dal. Even now, when one of us visits her, this elderly aunty rolls out a batch of puran polis just for us. Such is the power of a beautifully-rendered dish. It becomes a way to treasure a relationship – between grandmother and grandchild, between friends, between parent and child, between siblings, between partners, and so on…
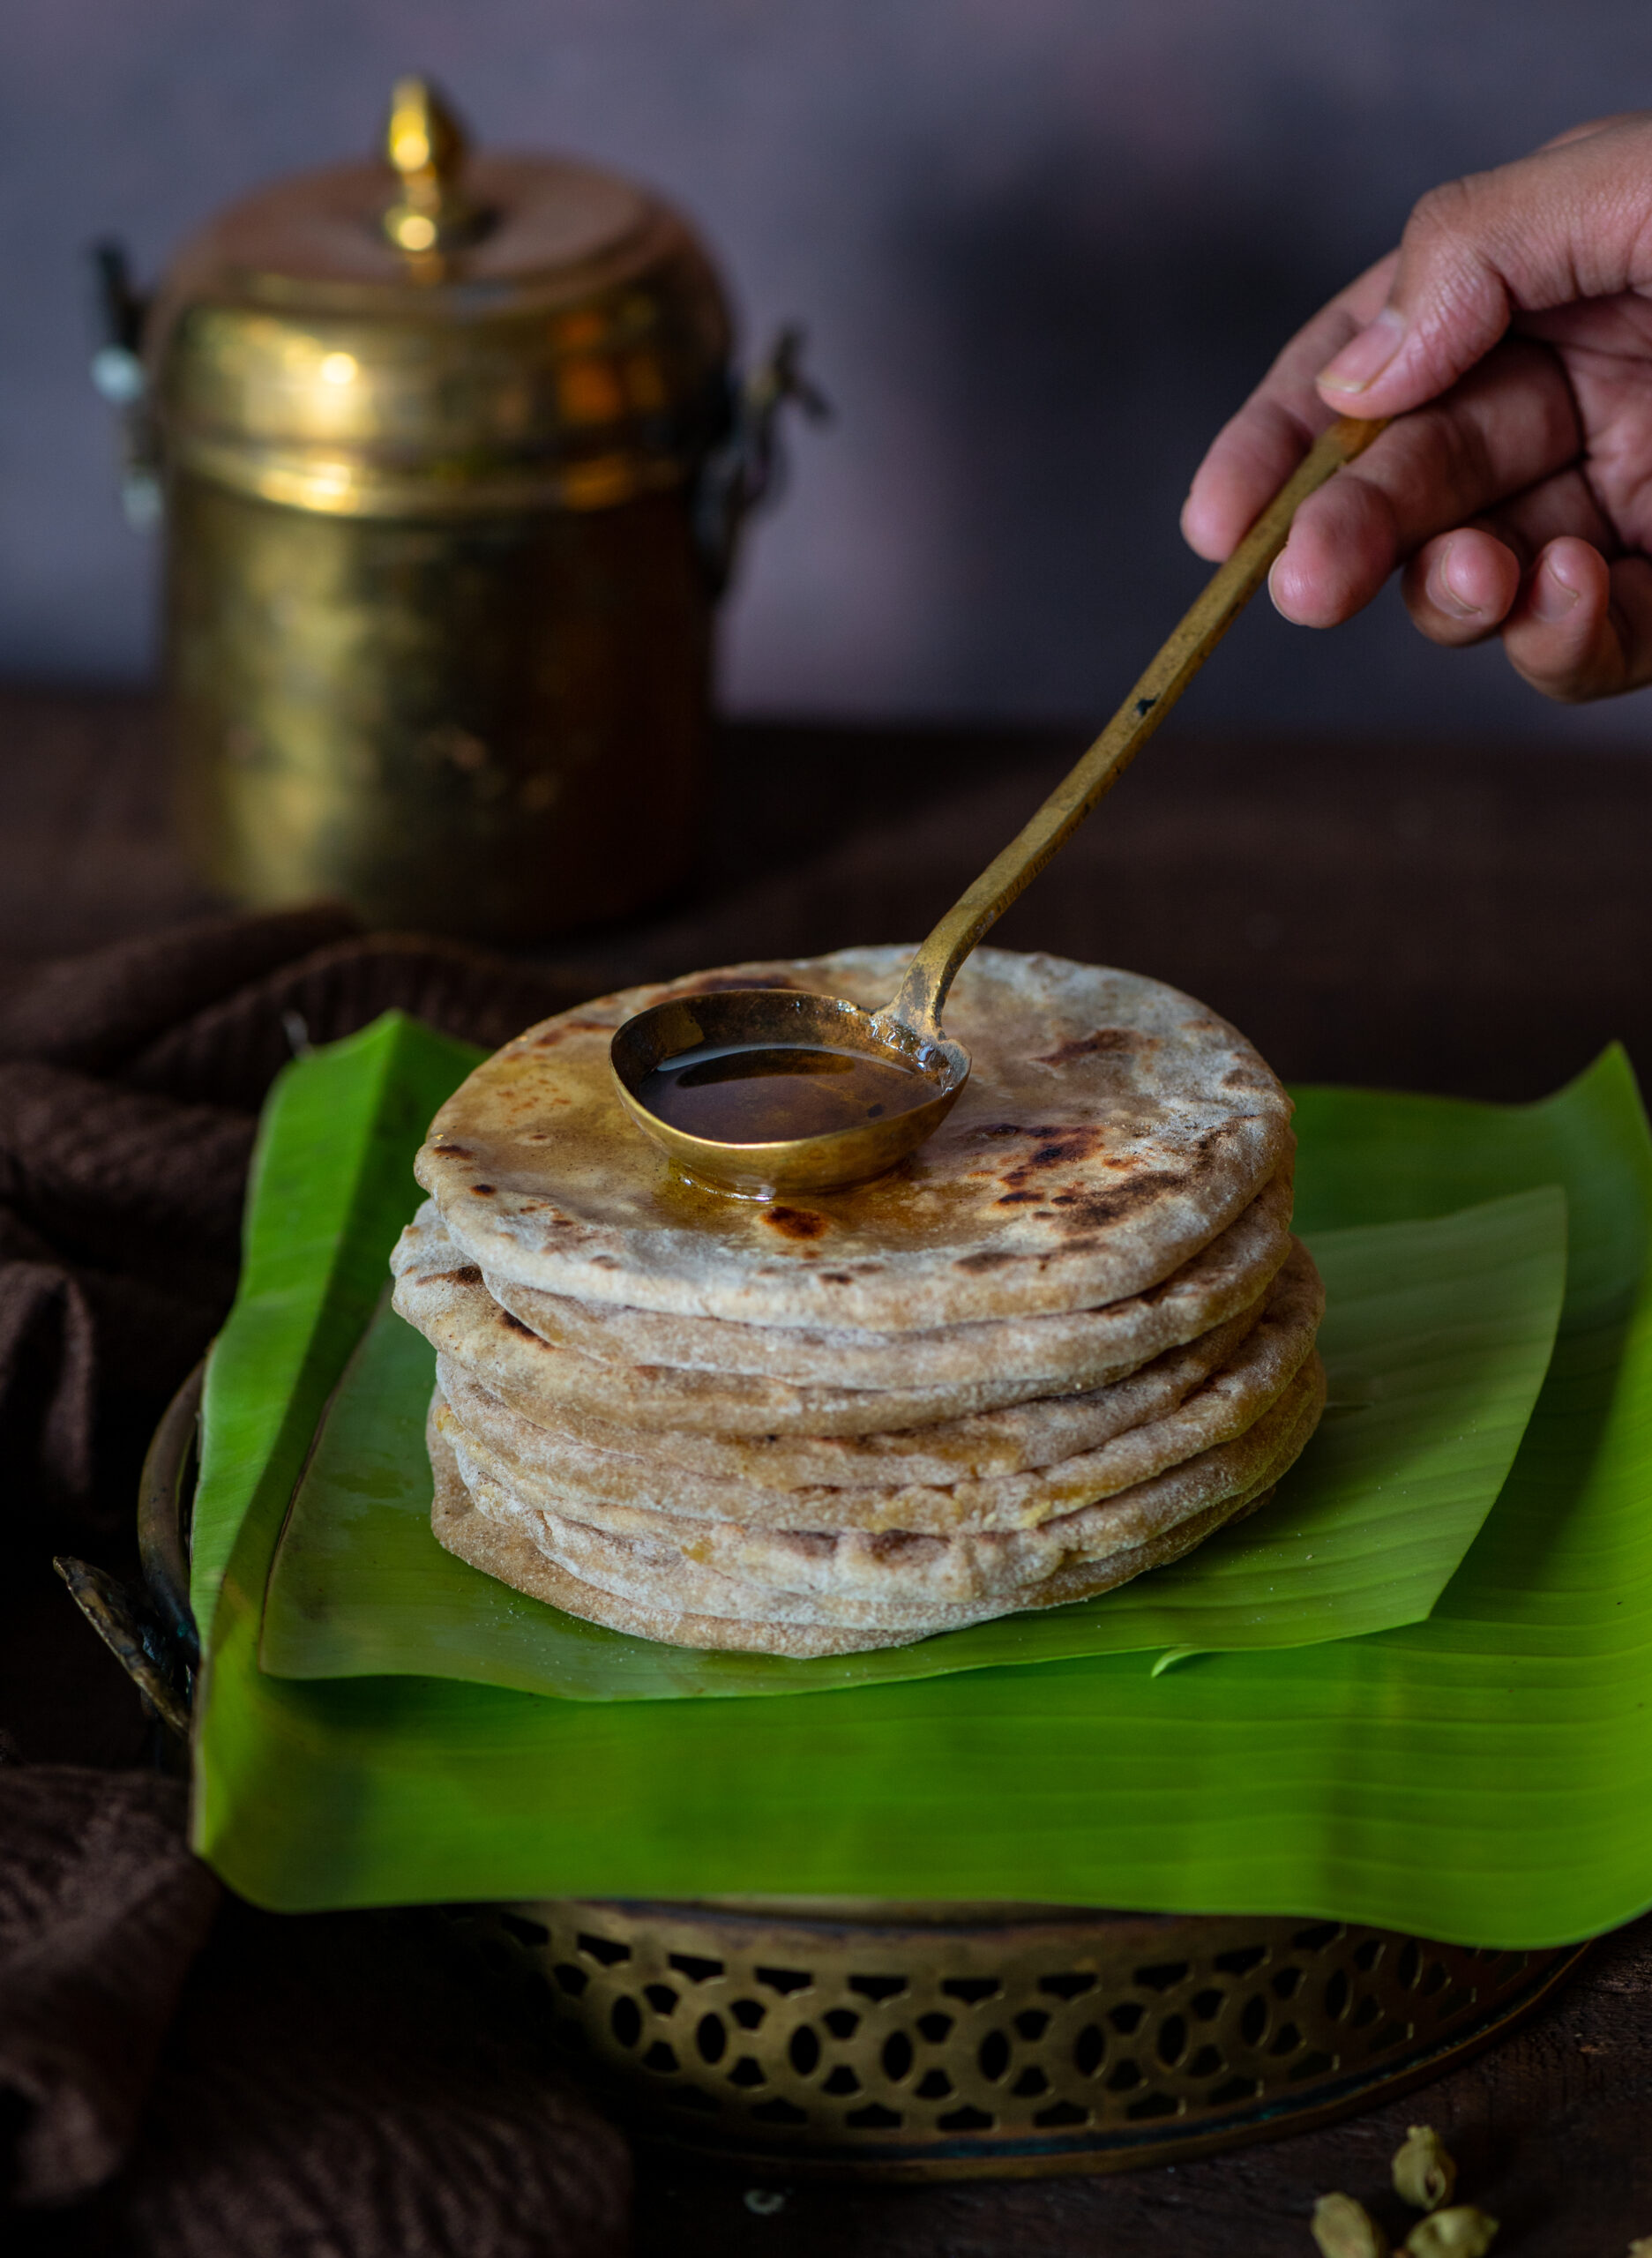
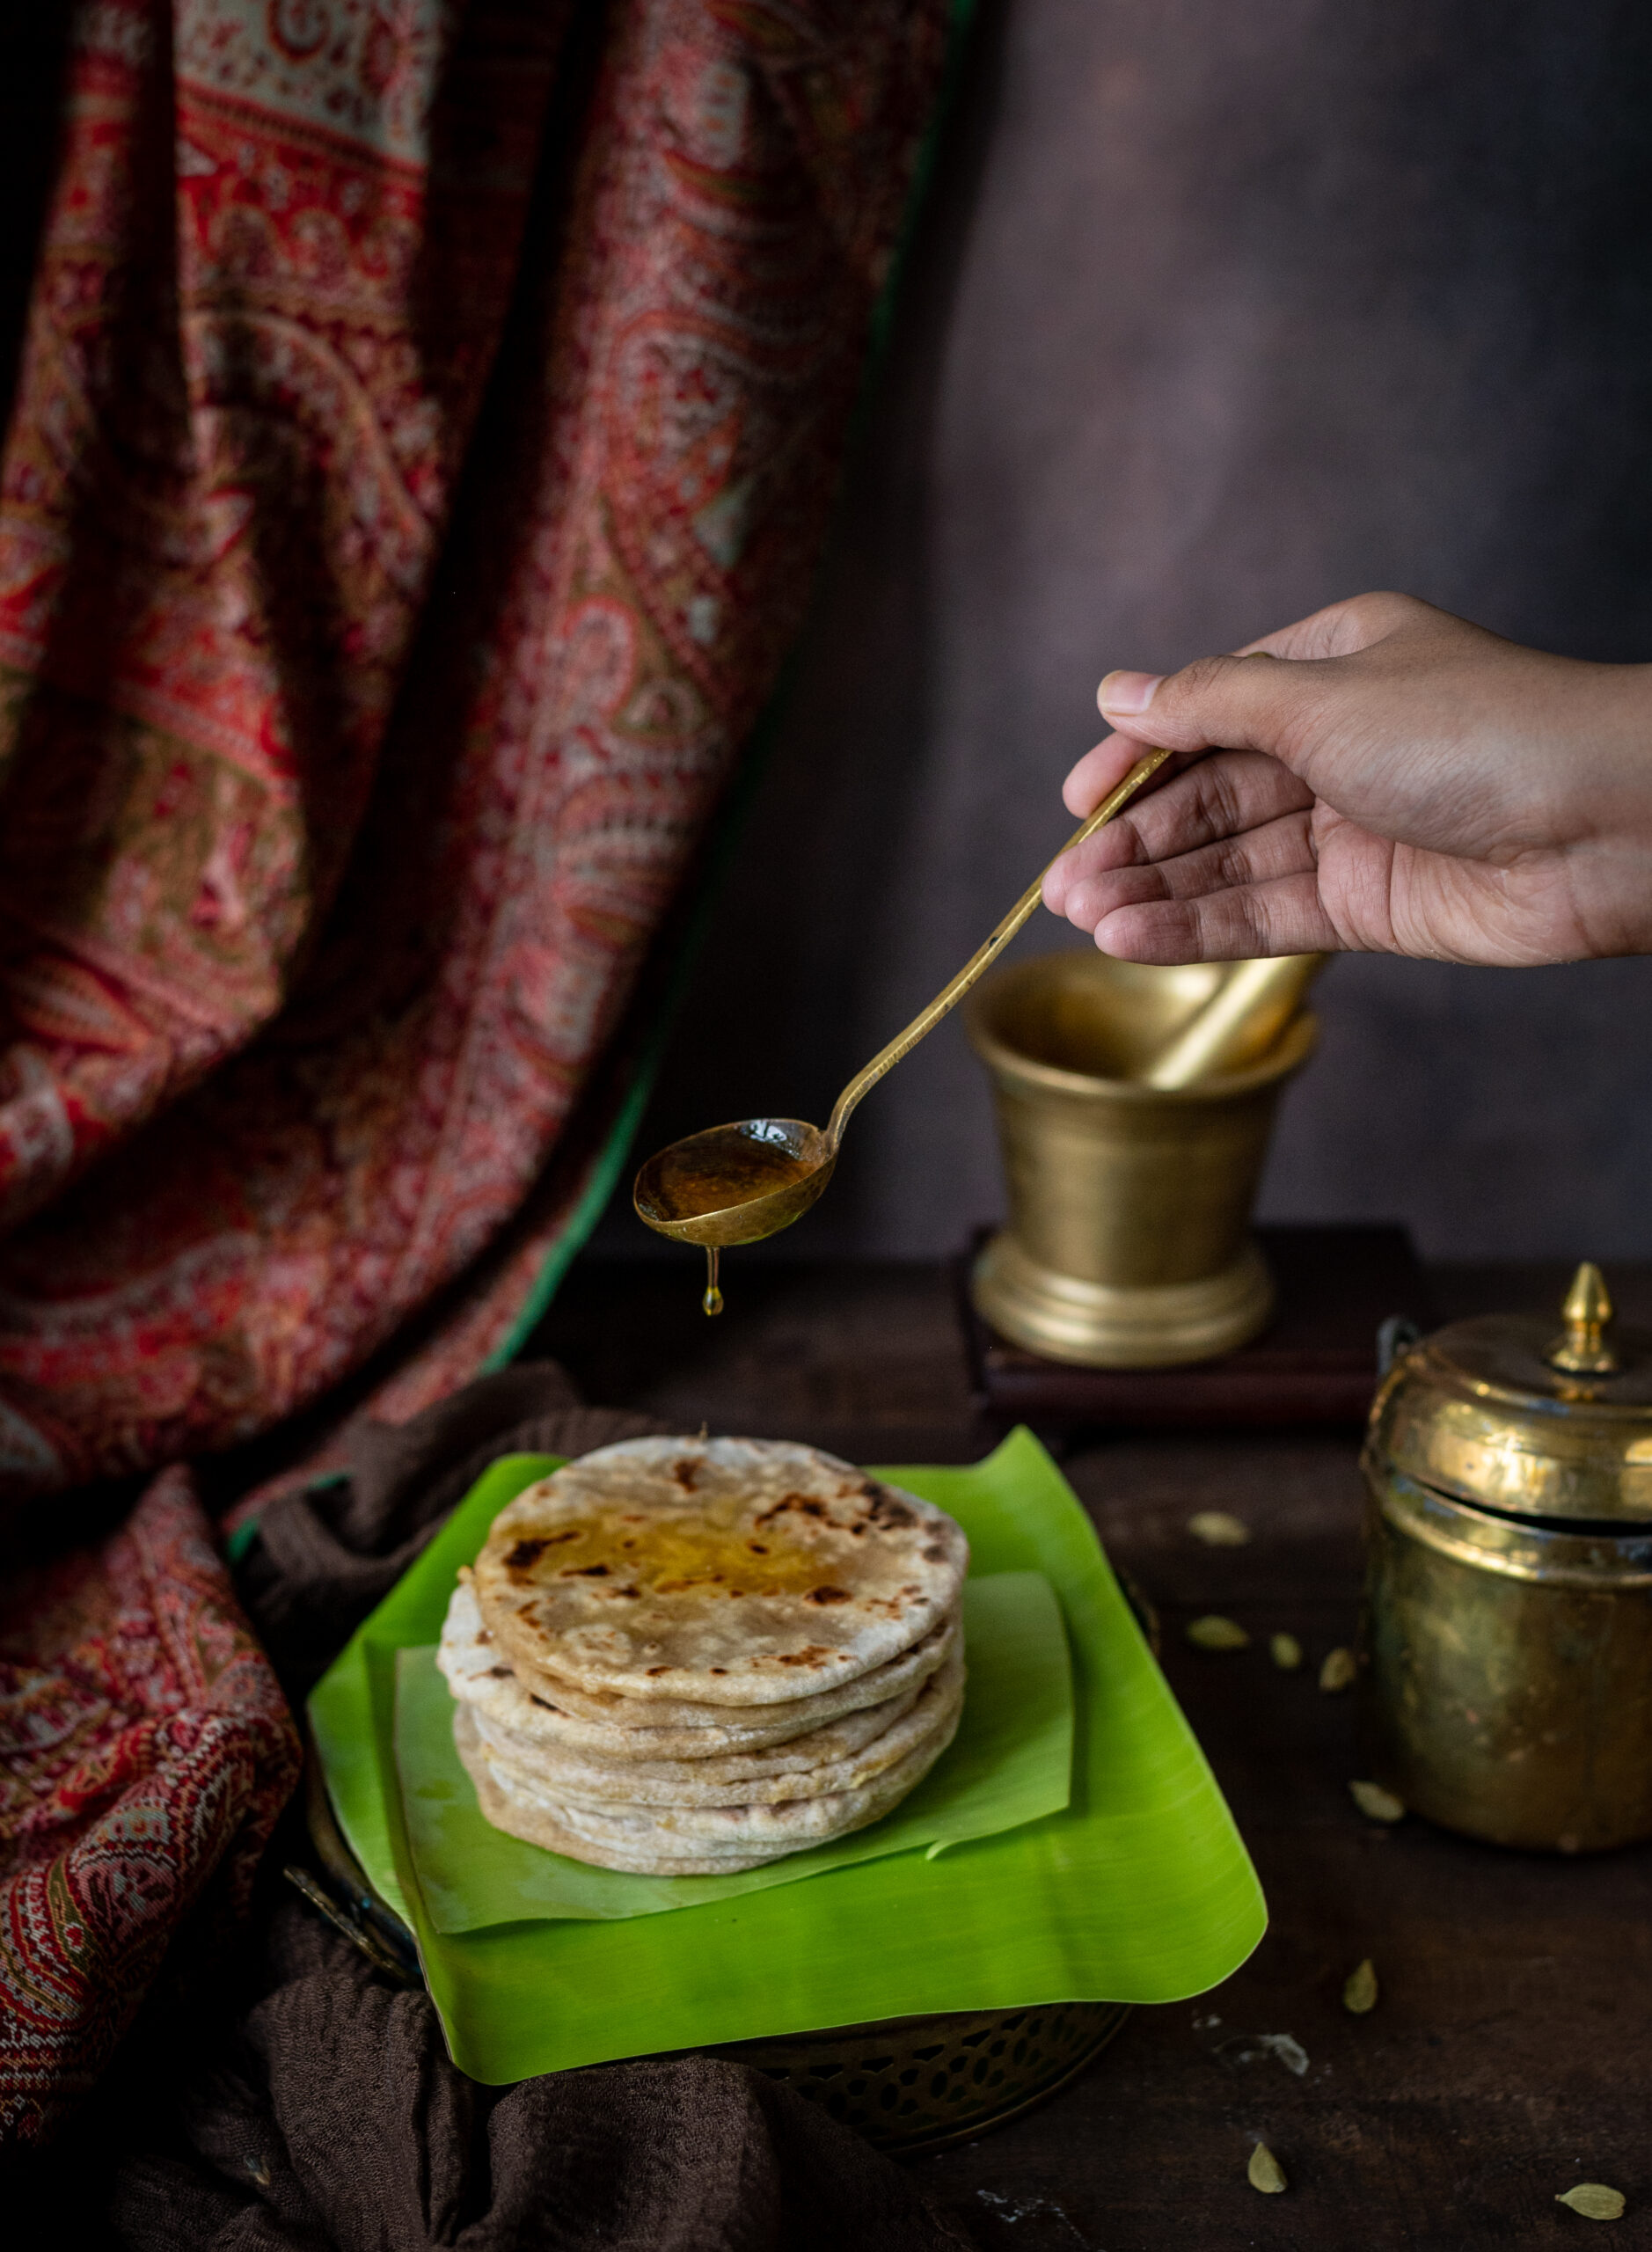
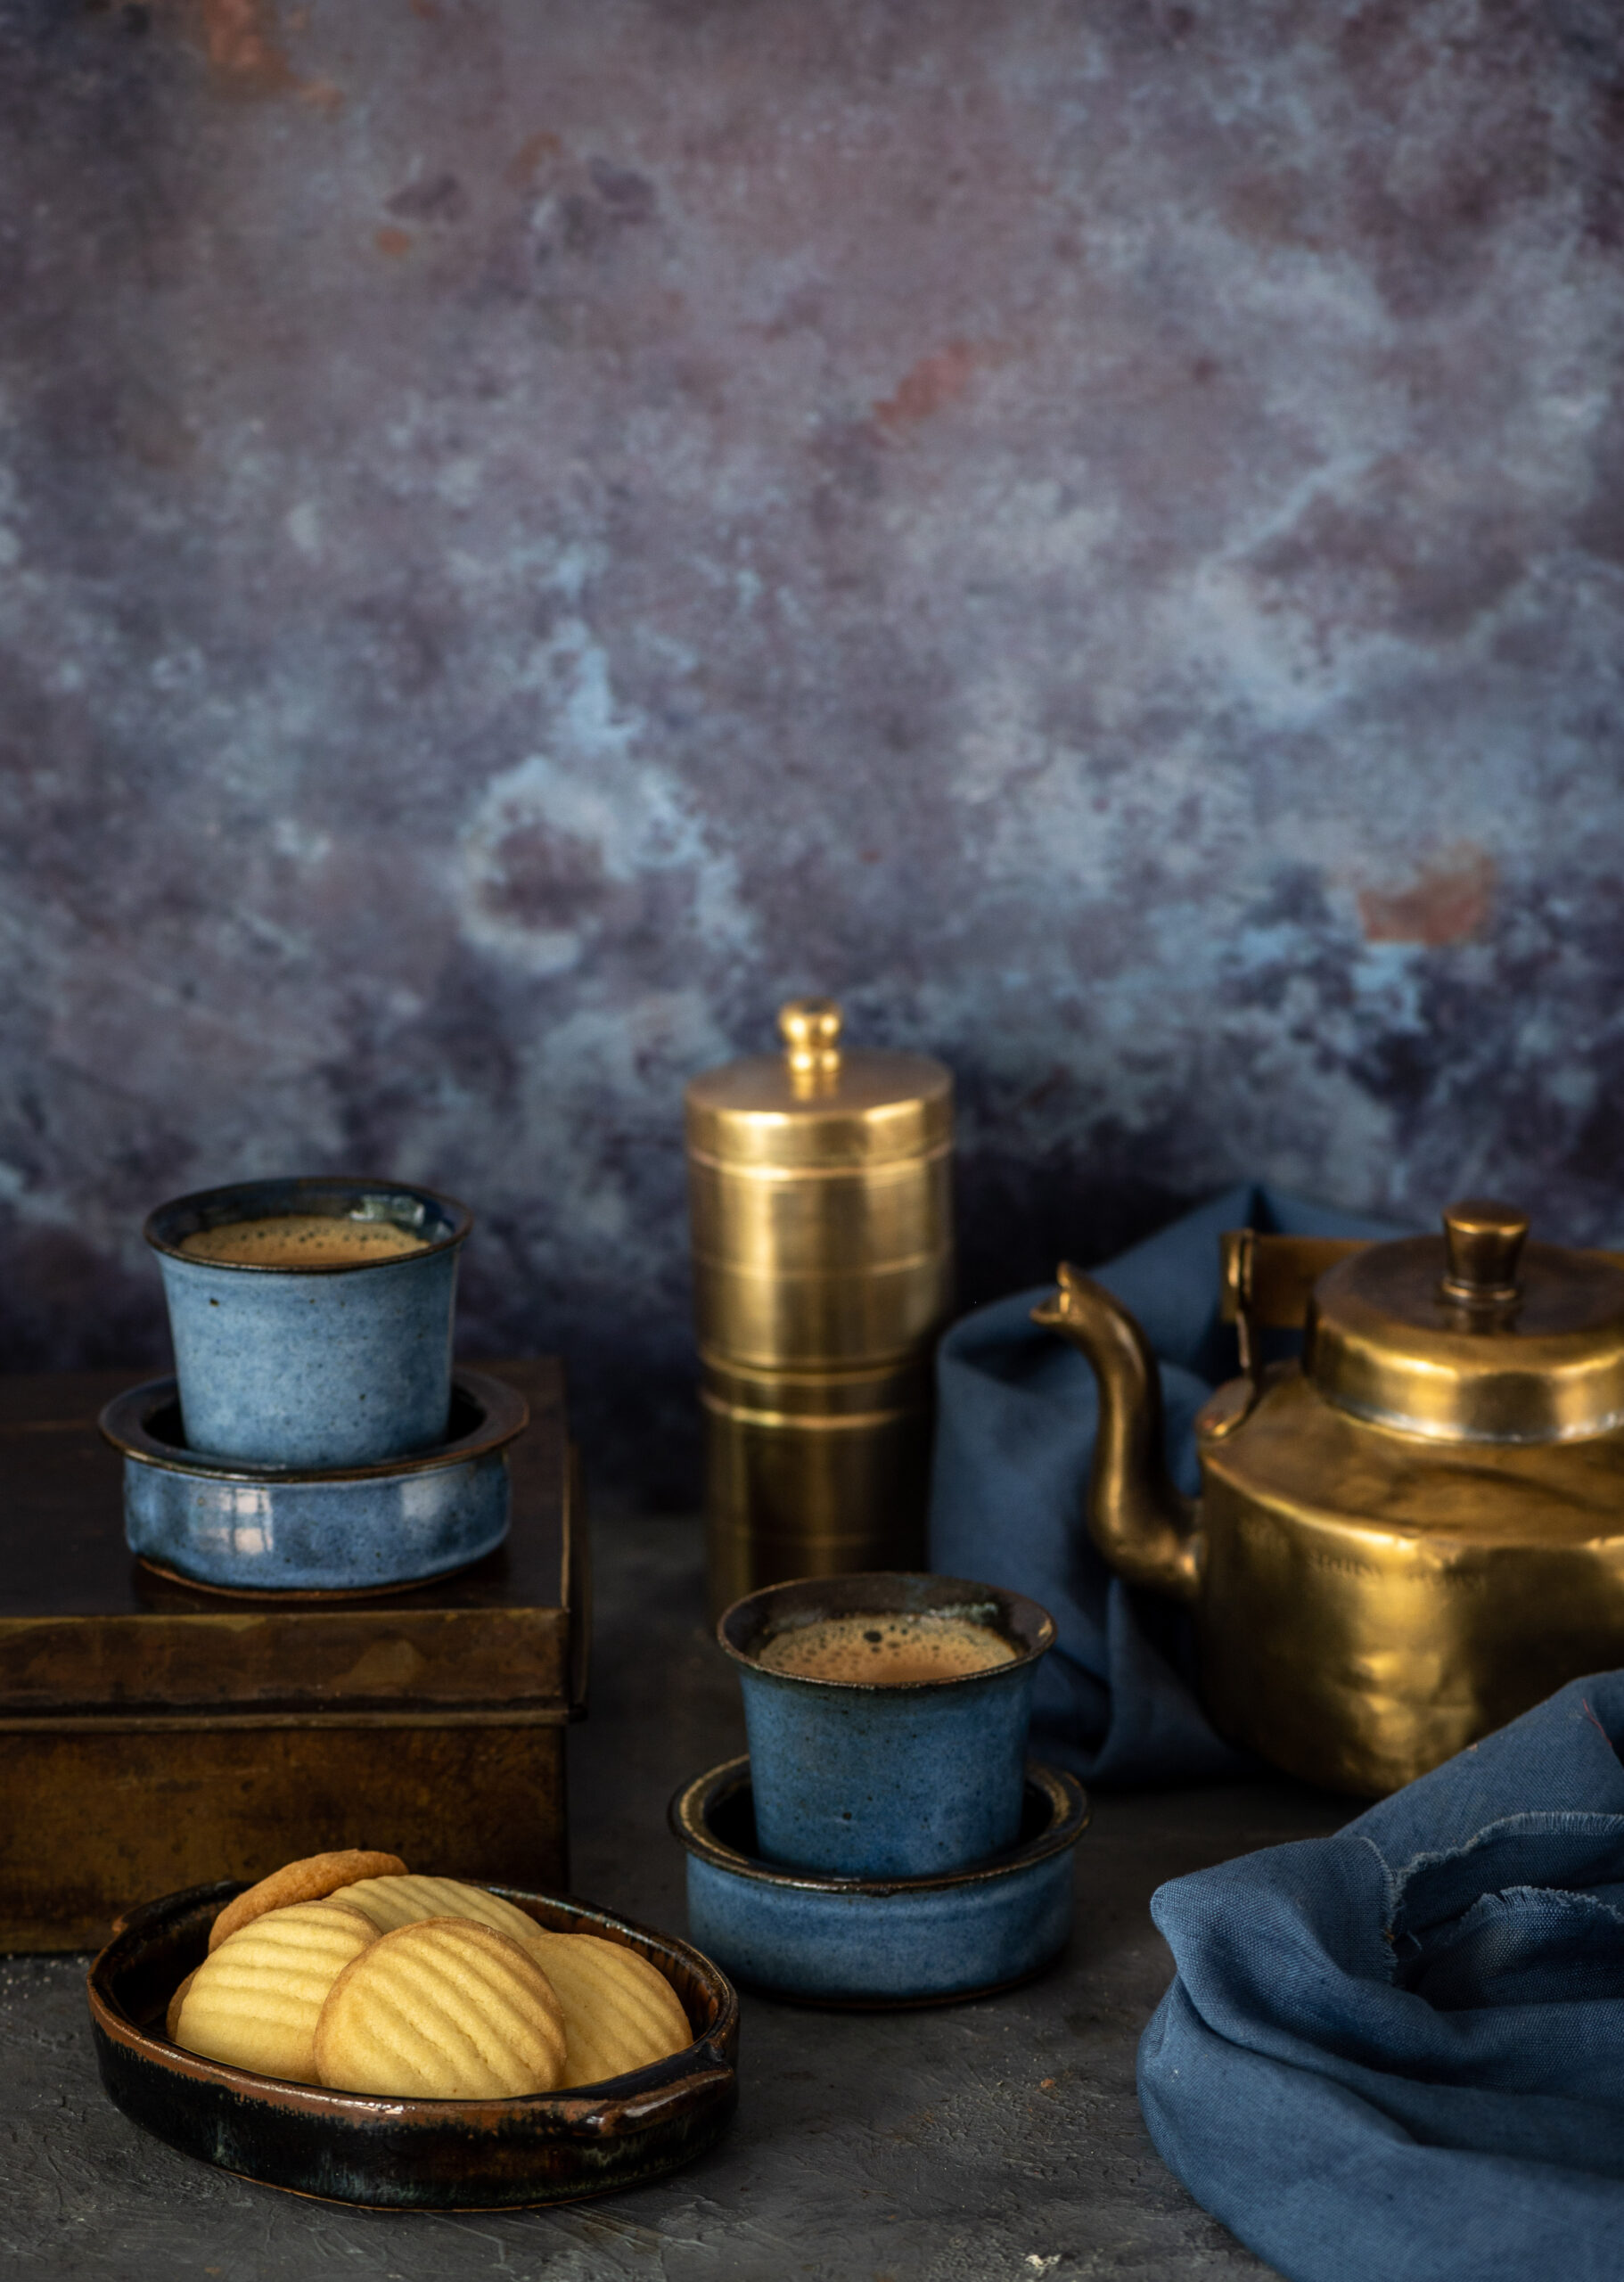
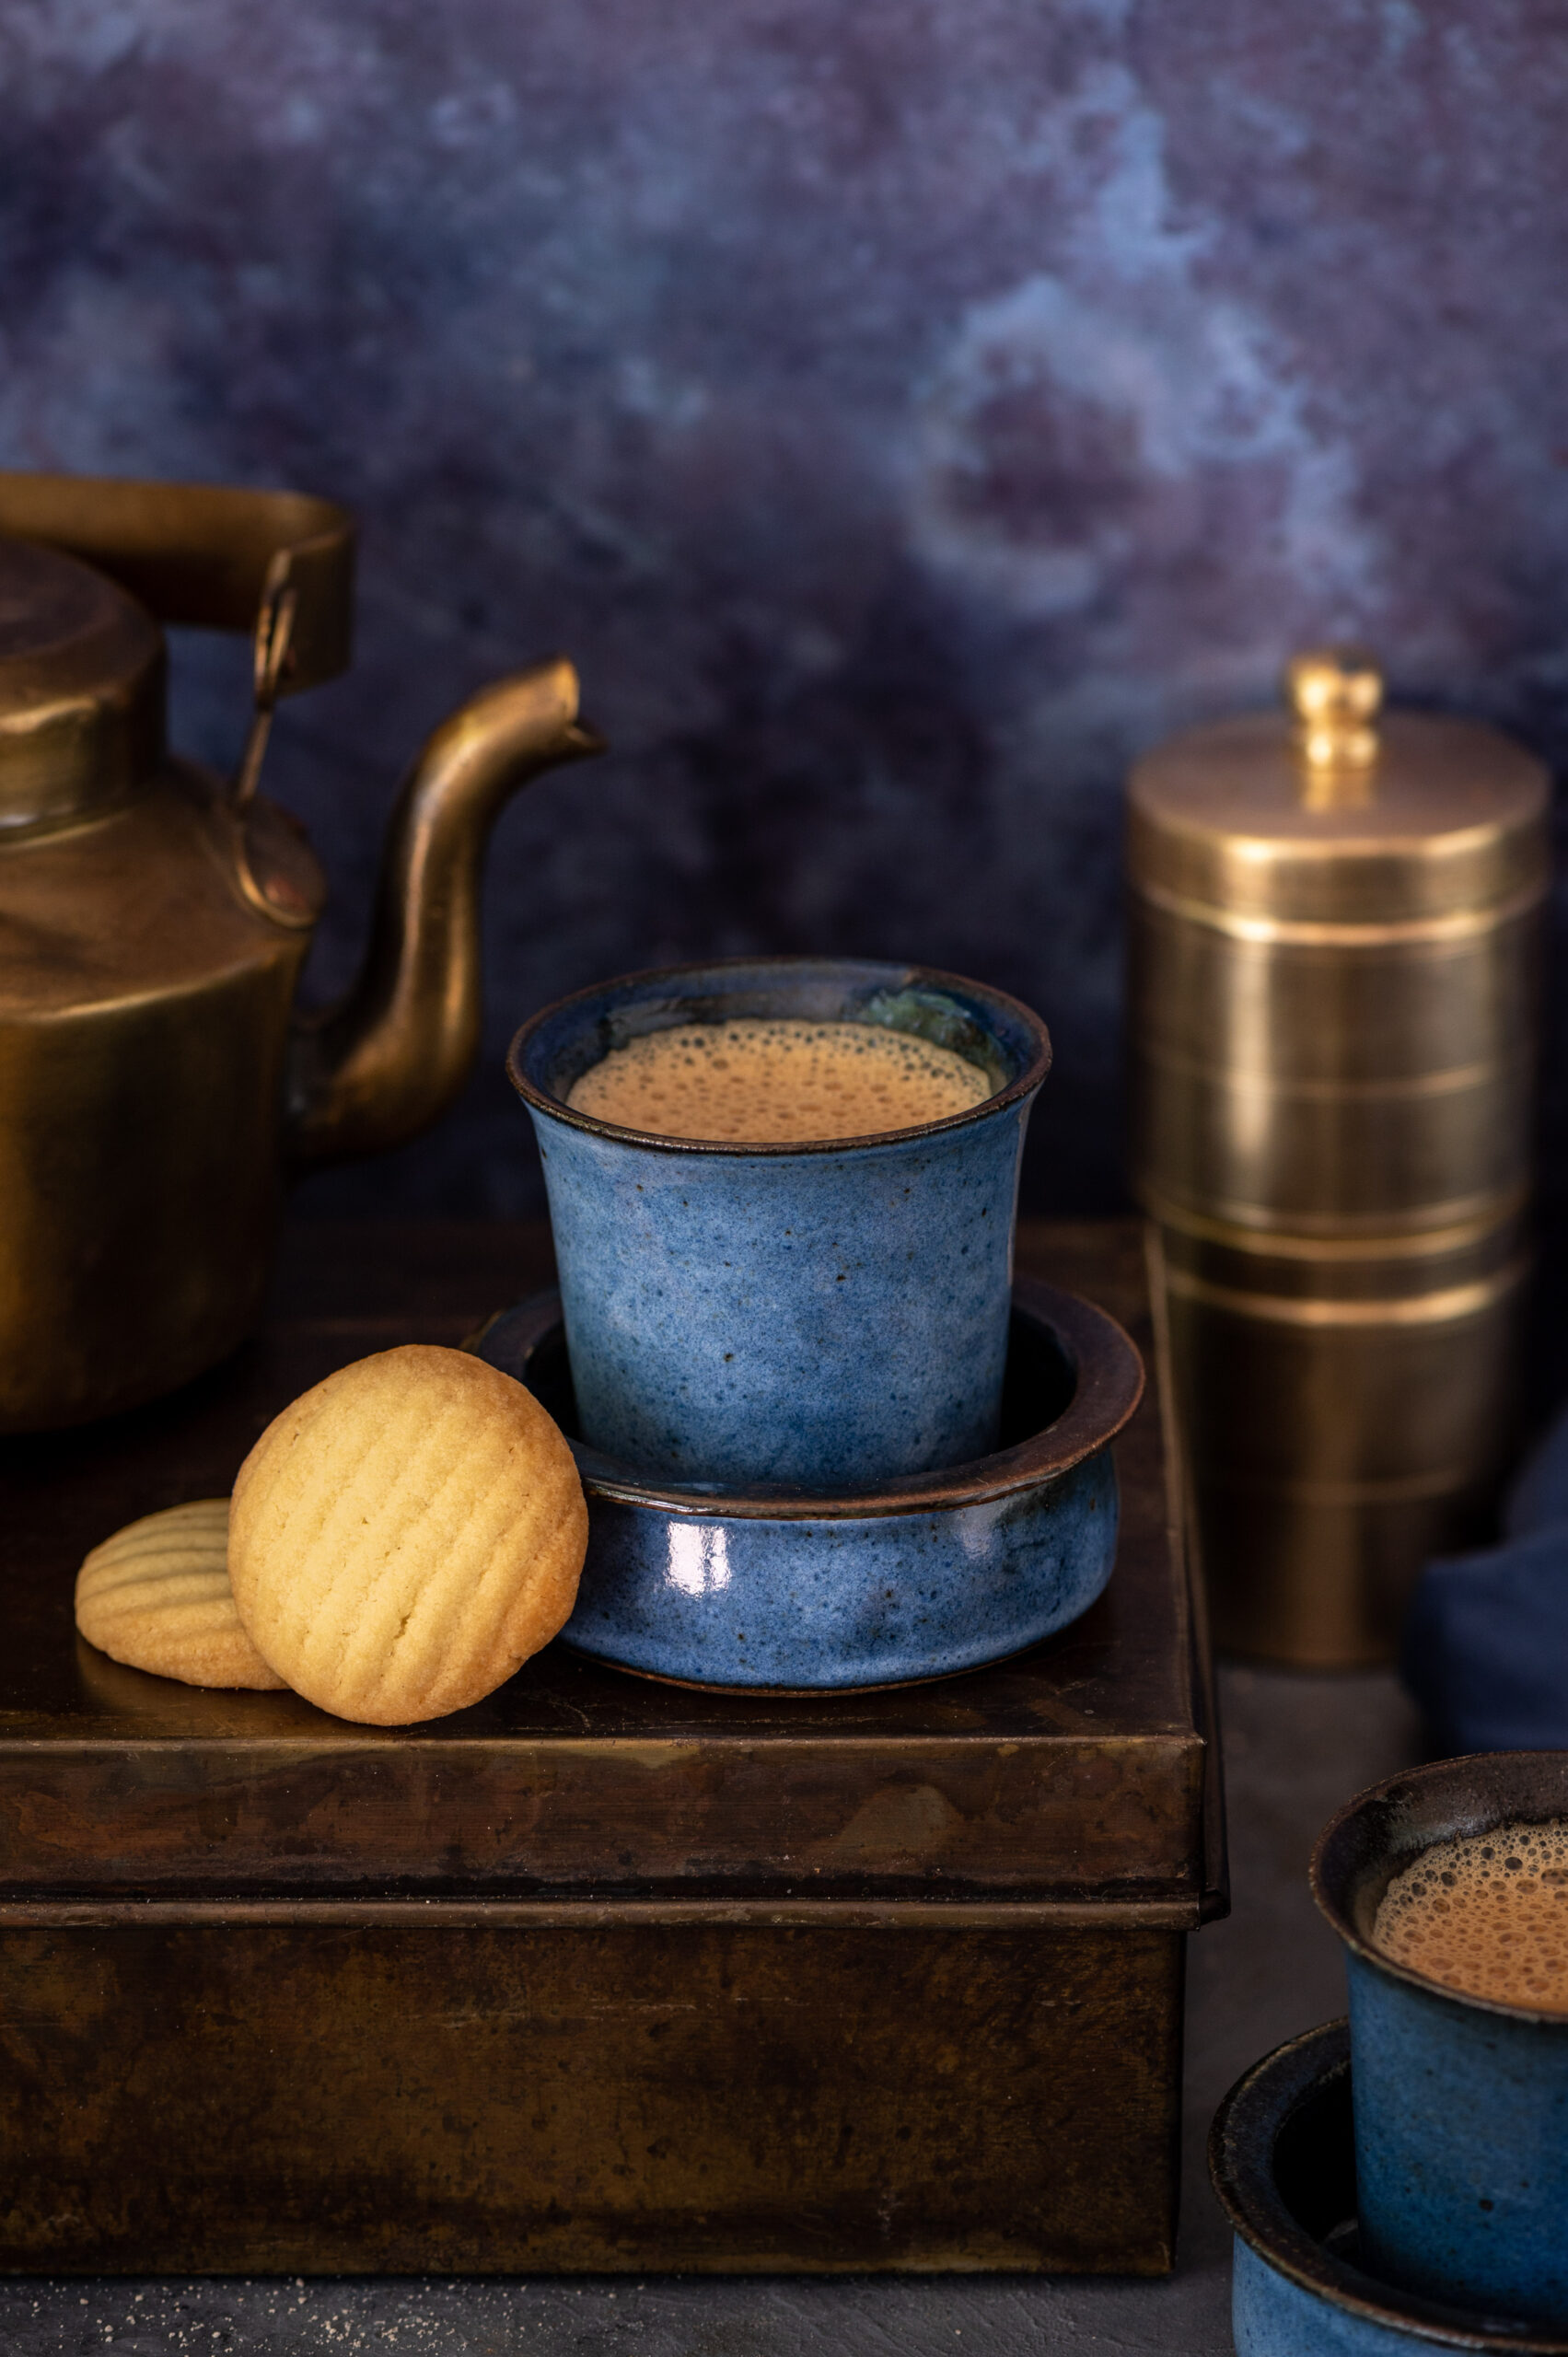
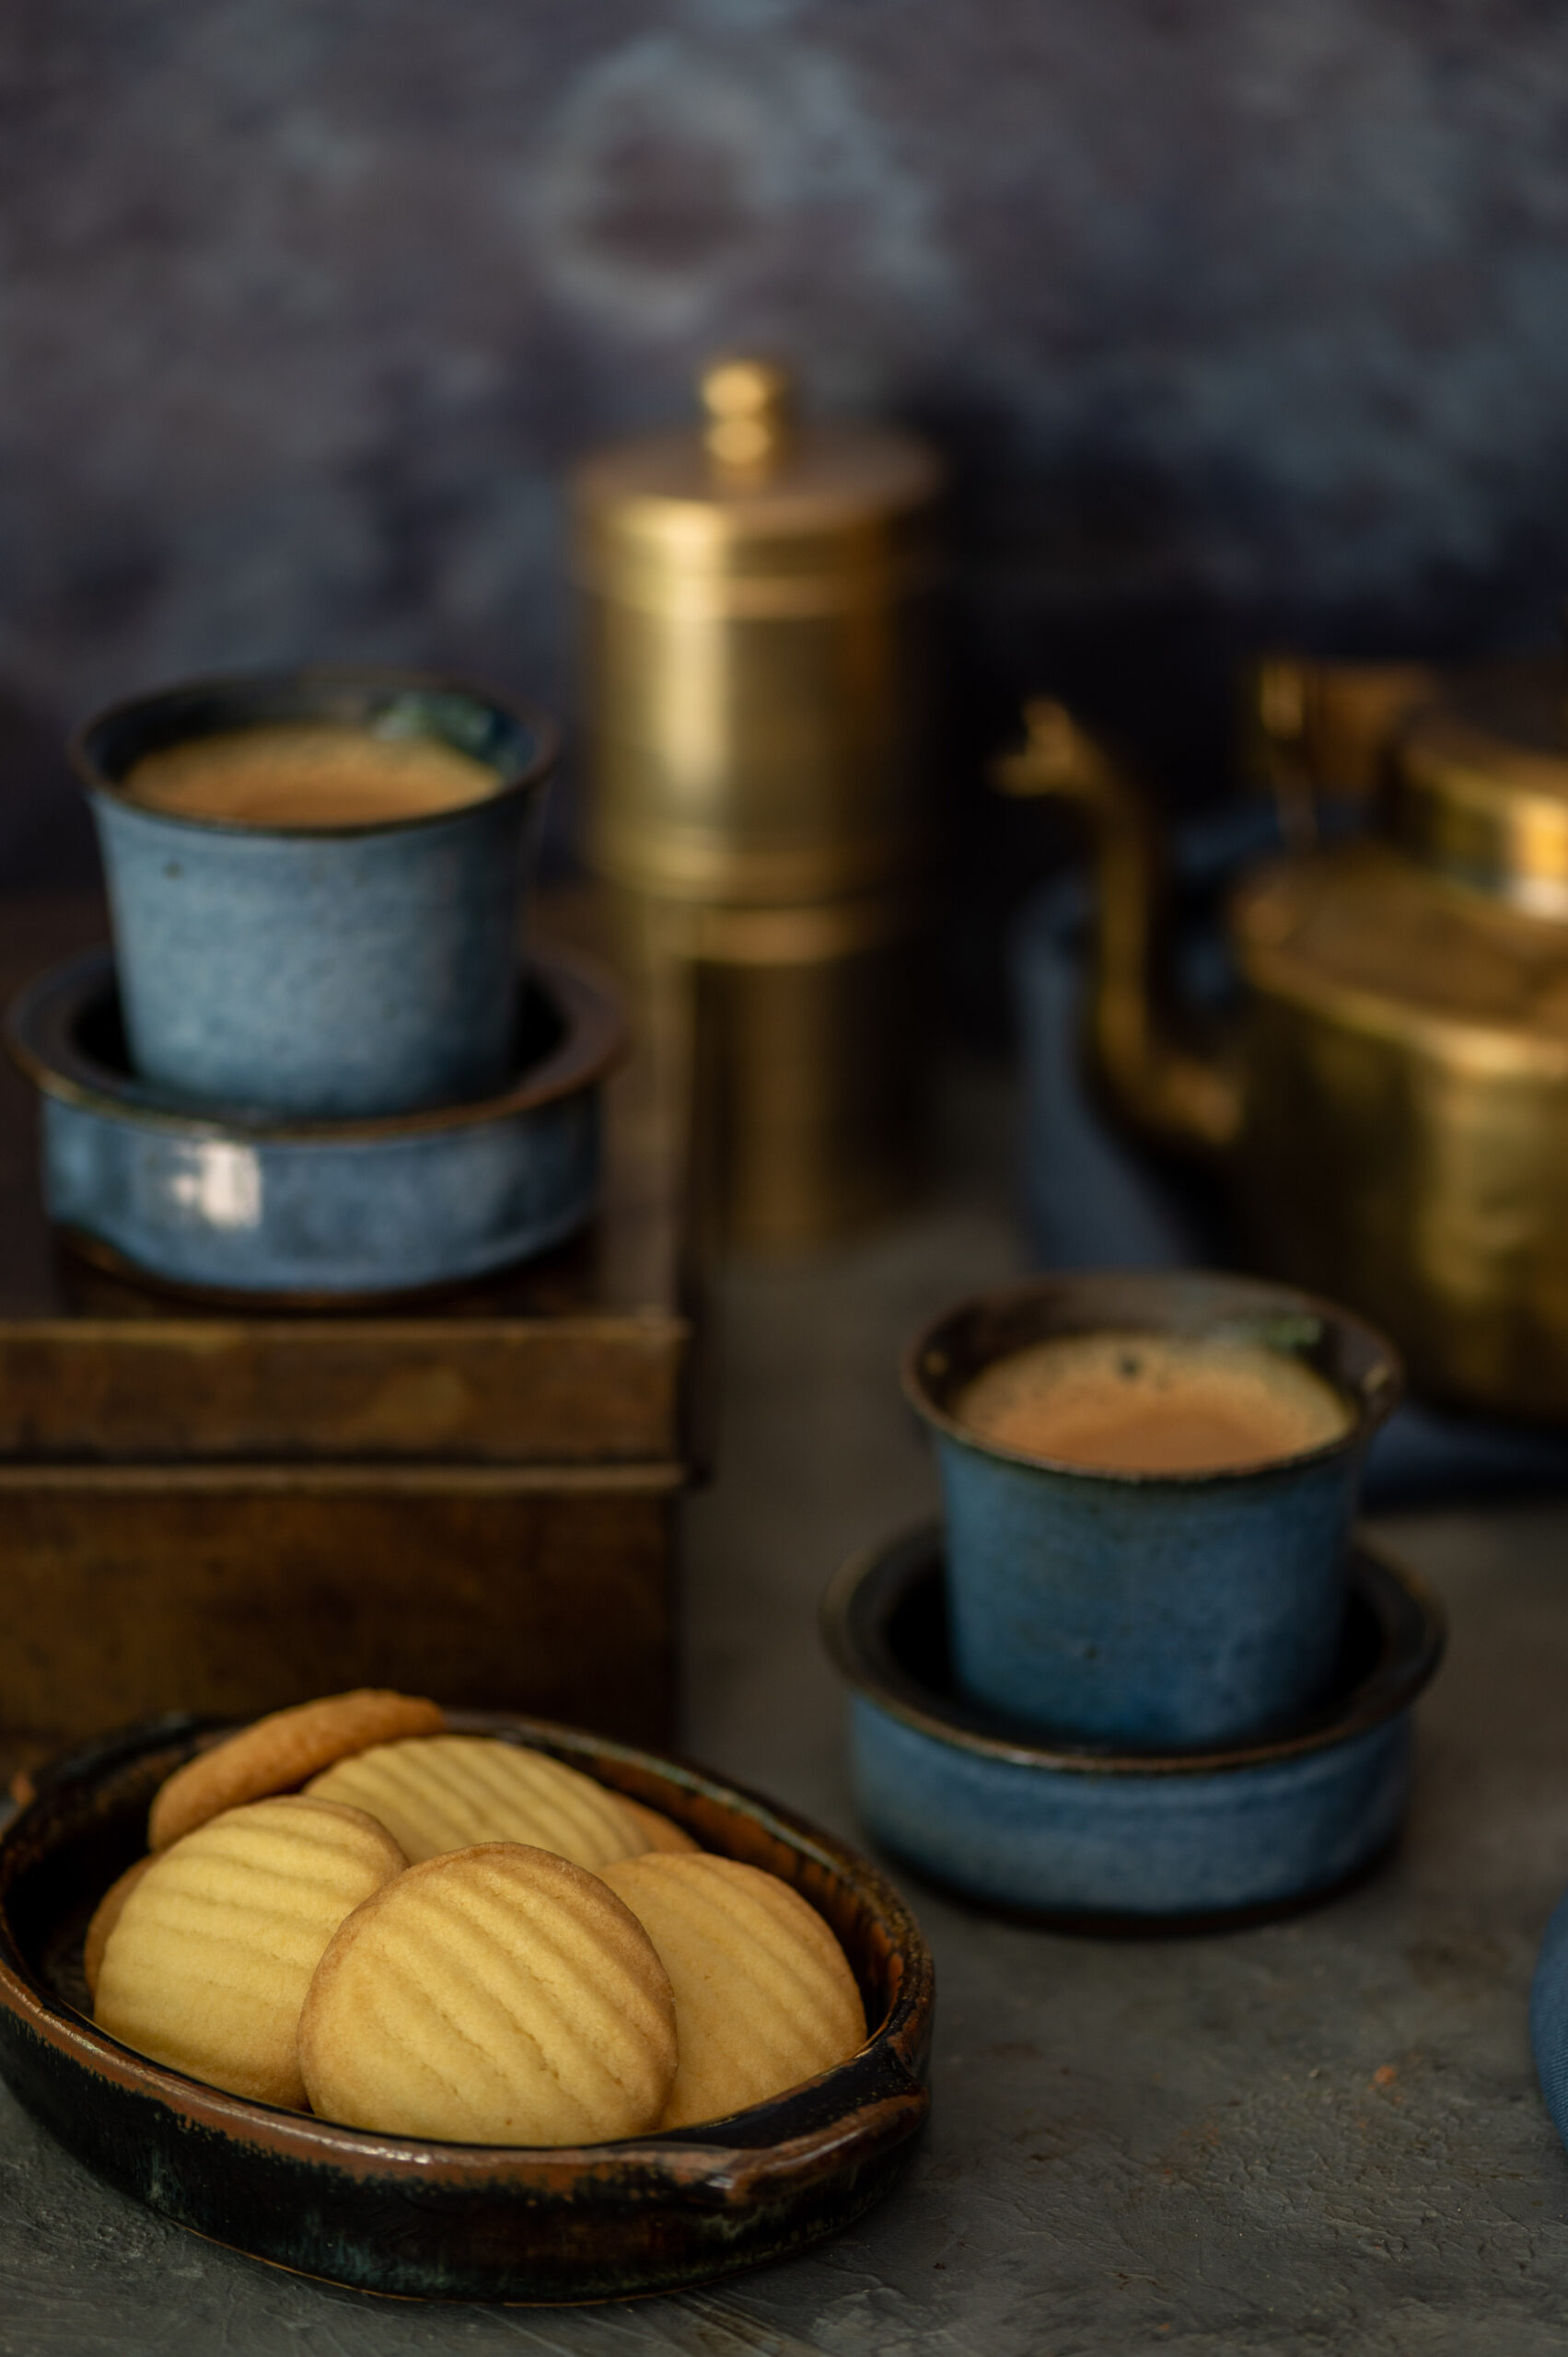
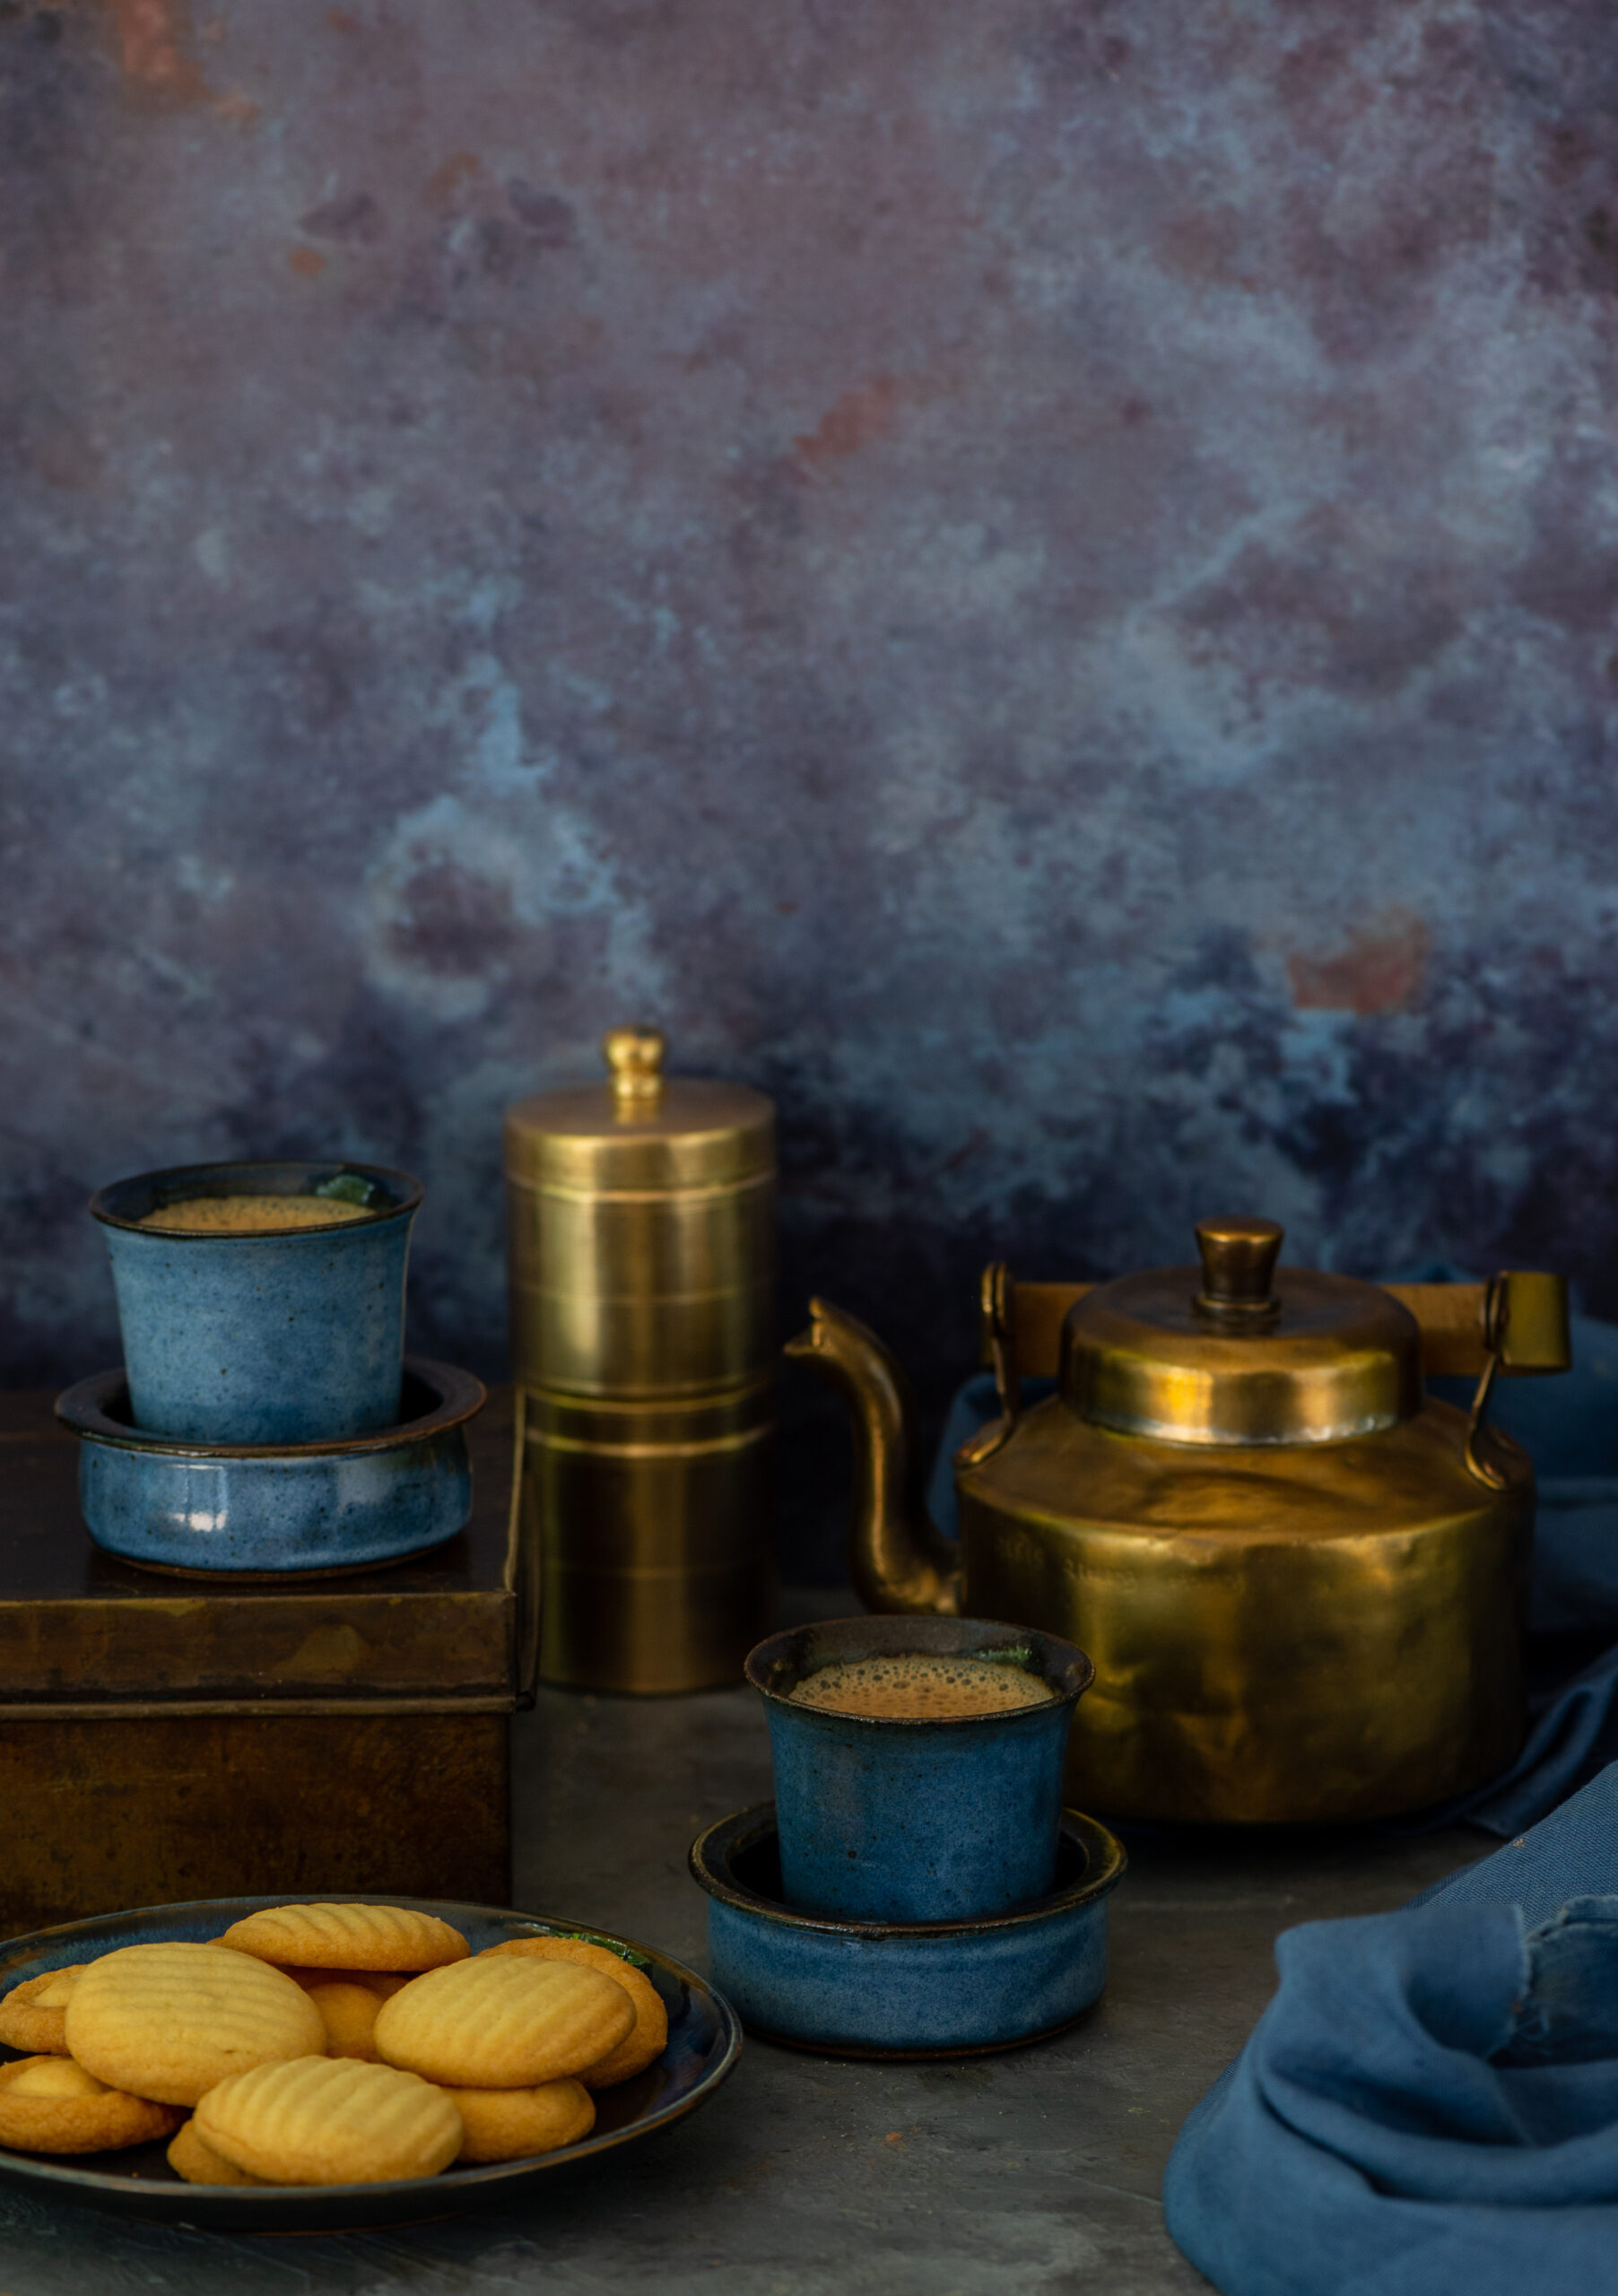
Puran Poli
(Yield: 10)
Stuffing ingredients
½ cup toor dal
1 cup water
½ cup jaggery
1 tablespoon almond powder
½ teaspoon cardamom
Ghee for topping
Dough ingredients
¾ cup whole wheat flour
A pinch of salt
½ cup water (based on your requirement)
1 teaspoon oil
Make a dough with the ingredients. Ensure it is soft and smooth. Make small balls, cover and set aside.
In a pressure cooker, cook the dal in water until it is soft and tender.
Open the cooker and add the jaggery. Keep stirring the mixture of dal and jaggery constantly on a low flame. Make sure the dal does not stick to the bottom of the pan/cooker.
Once the mixture has thickened, which will take approximately 12-15 minutes, turn off the flame and add the cardamom powder and almond powder.
You will know the stuffing is ready when you make a spatula stand upright inside the thickened dal and it doesn’t fall.
Allow to cool. Divide this into portions of 10 balls. Your stuffing is now ready to roll.
Assemble each puran poli. Roll out one small dough ball into a small disc. Place the ball of stuffing in the centre, gather the rolled out roti together and flatten. Dip the stuffed disc into dry flour for easy rolling out once again.
Now, place the rolled-out stuffed disc onto a hot griddle and allow to cook. Flip and cook on the other side. Remove onto a plate and pour ghee over the puran poli. Repeat for the remaining balls of dough and stuffing, until you’ve prepared them all. Enjoy them hot and fresh.
Each puran poli will be small – palm-sized. As far as sweets go, this is quite healthy, not only because of the portion size but also because the jaggery and almonds used in it are nutritious. Traditionally, it is made with chopped almonds, but my mother always used powdered almonds. This changes the texture of the stuffing, making it softer, and I’ve retained this twist too.
These are lovely little treats that invariably feel festive to me, and increase the joy of this season. I hope they will do the same for you. Wishing you and yours a wonderful time of celebration!