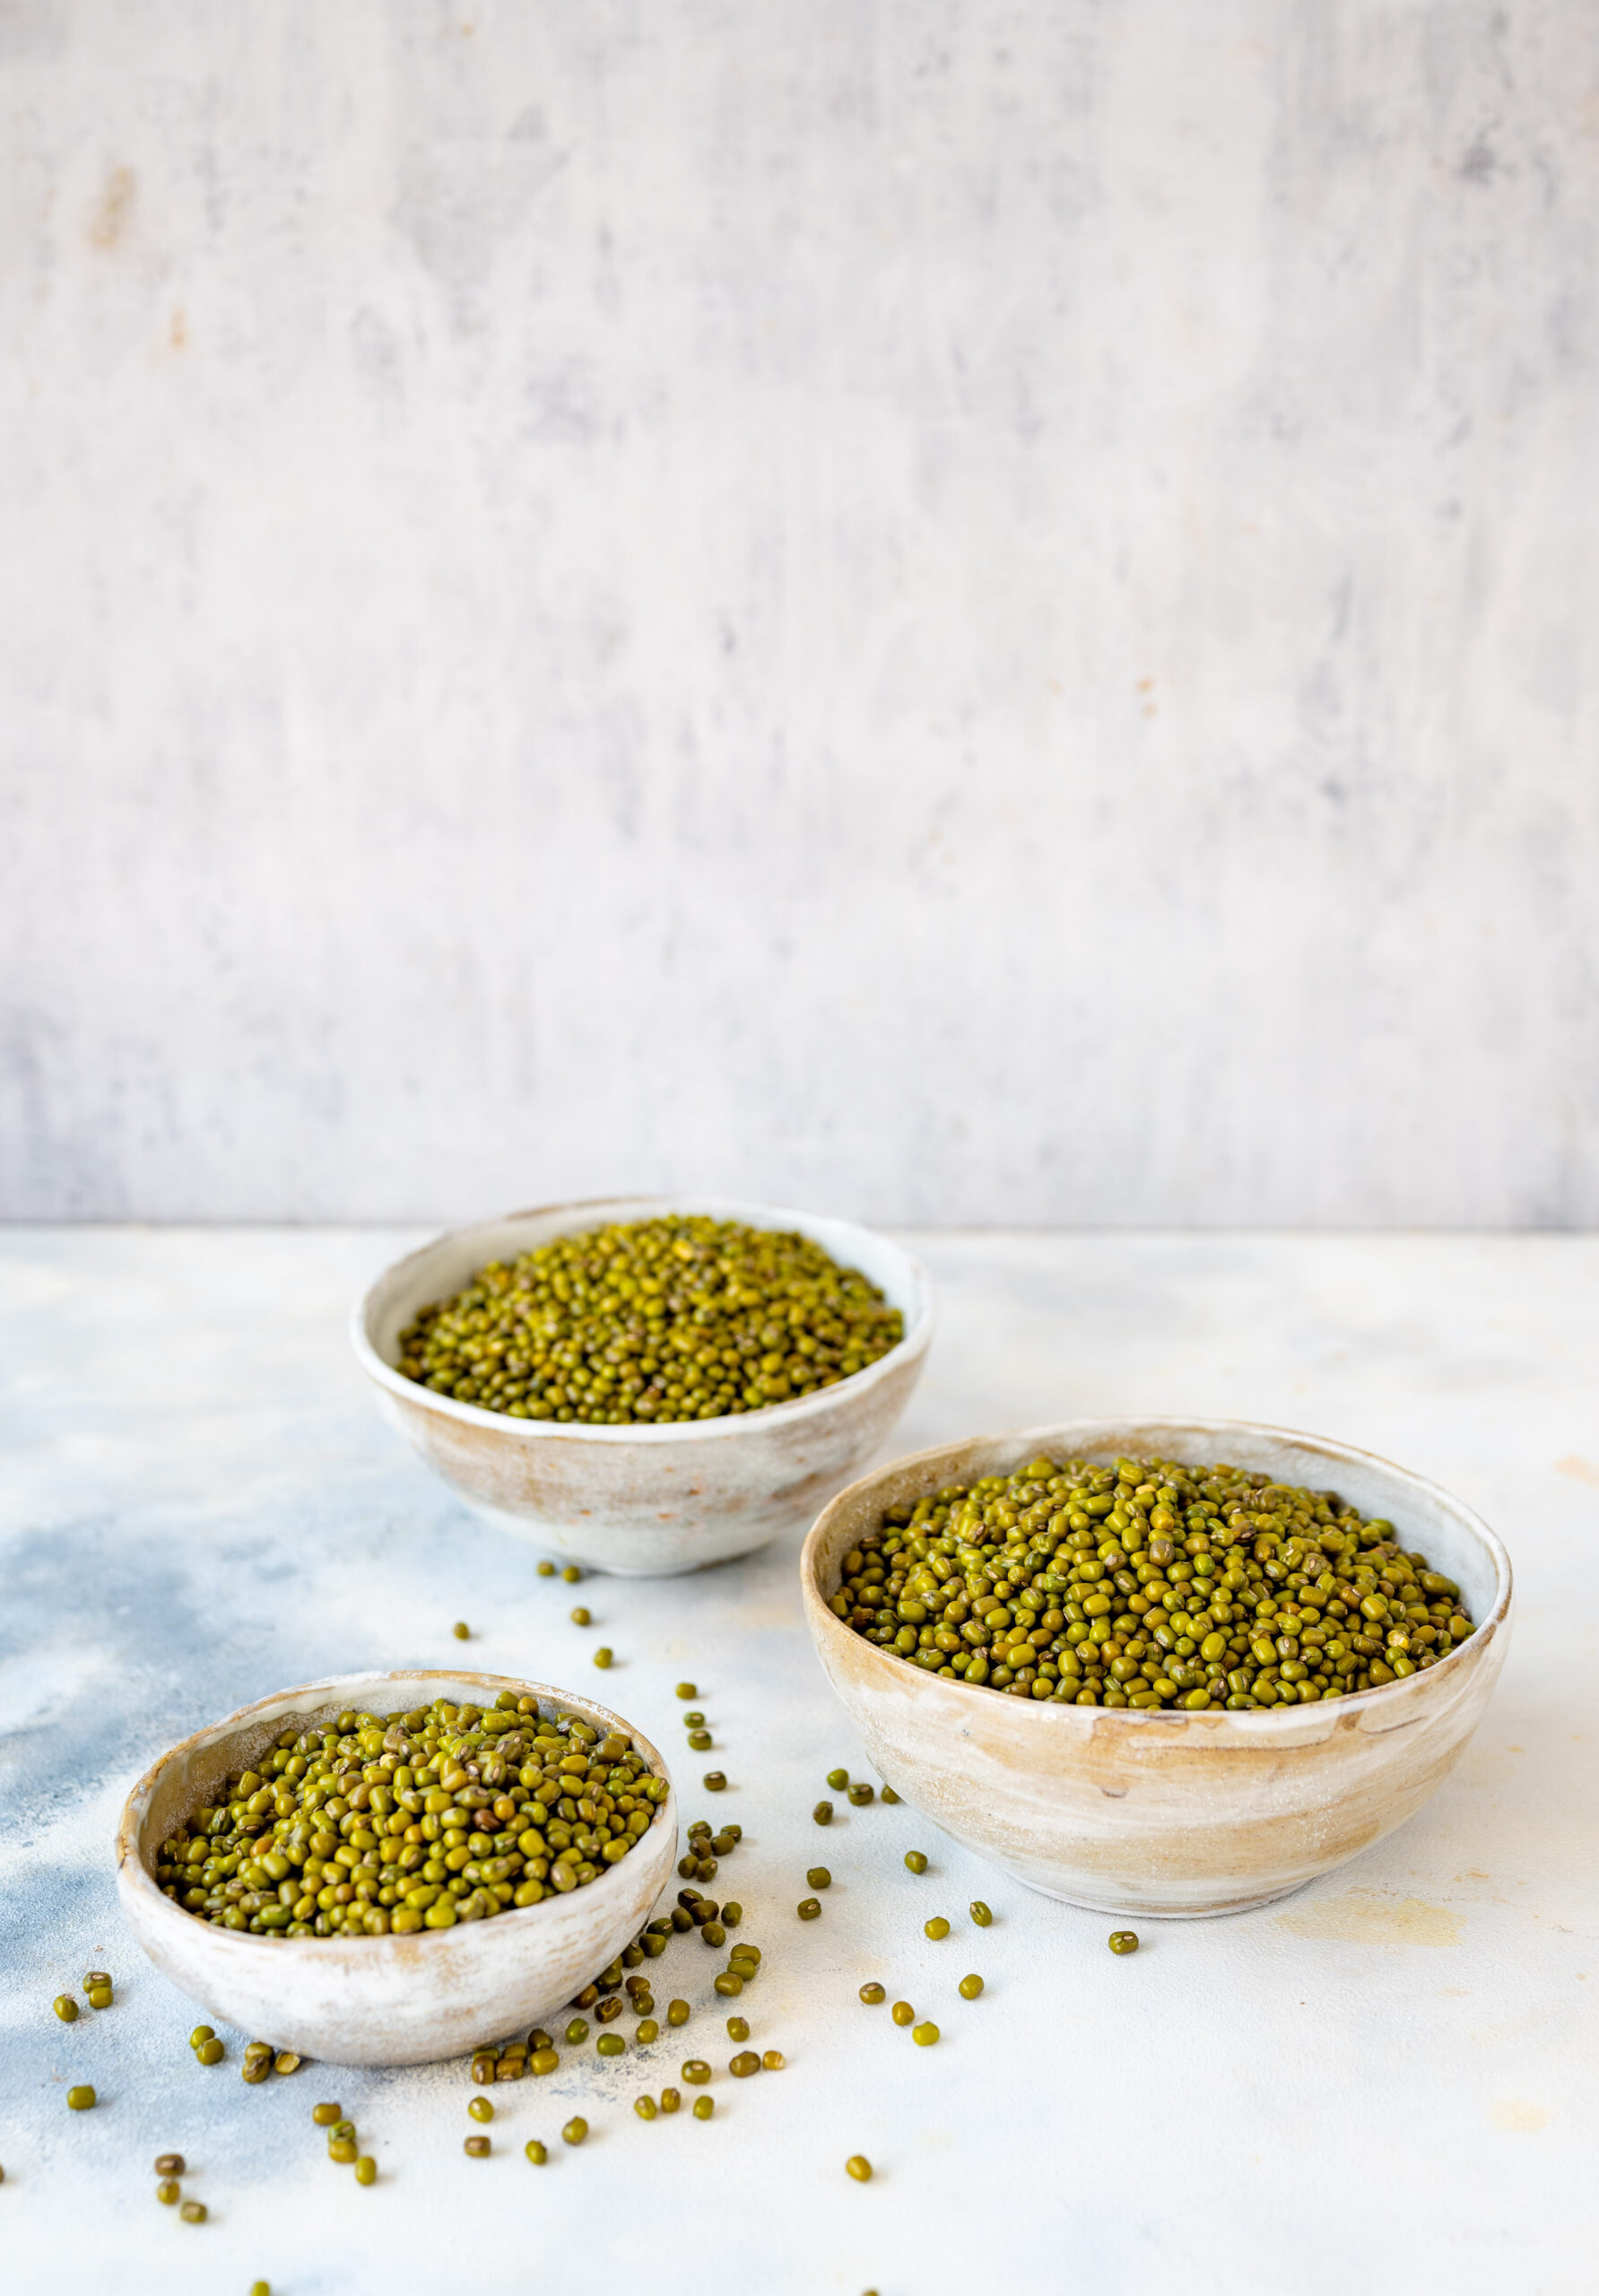
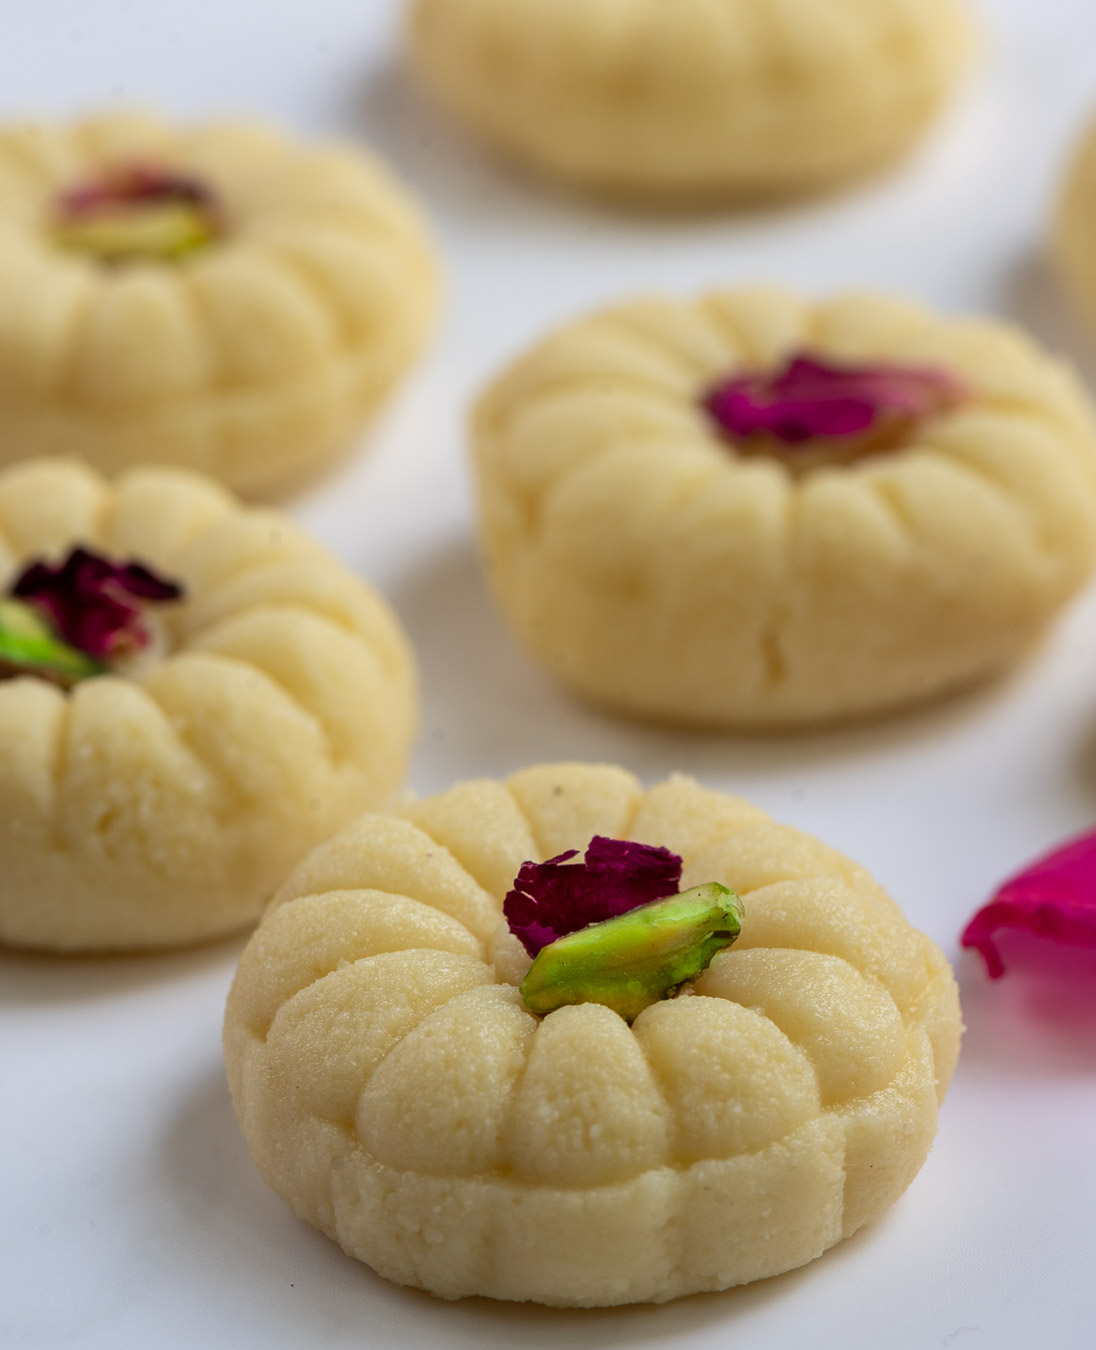
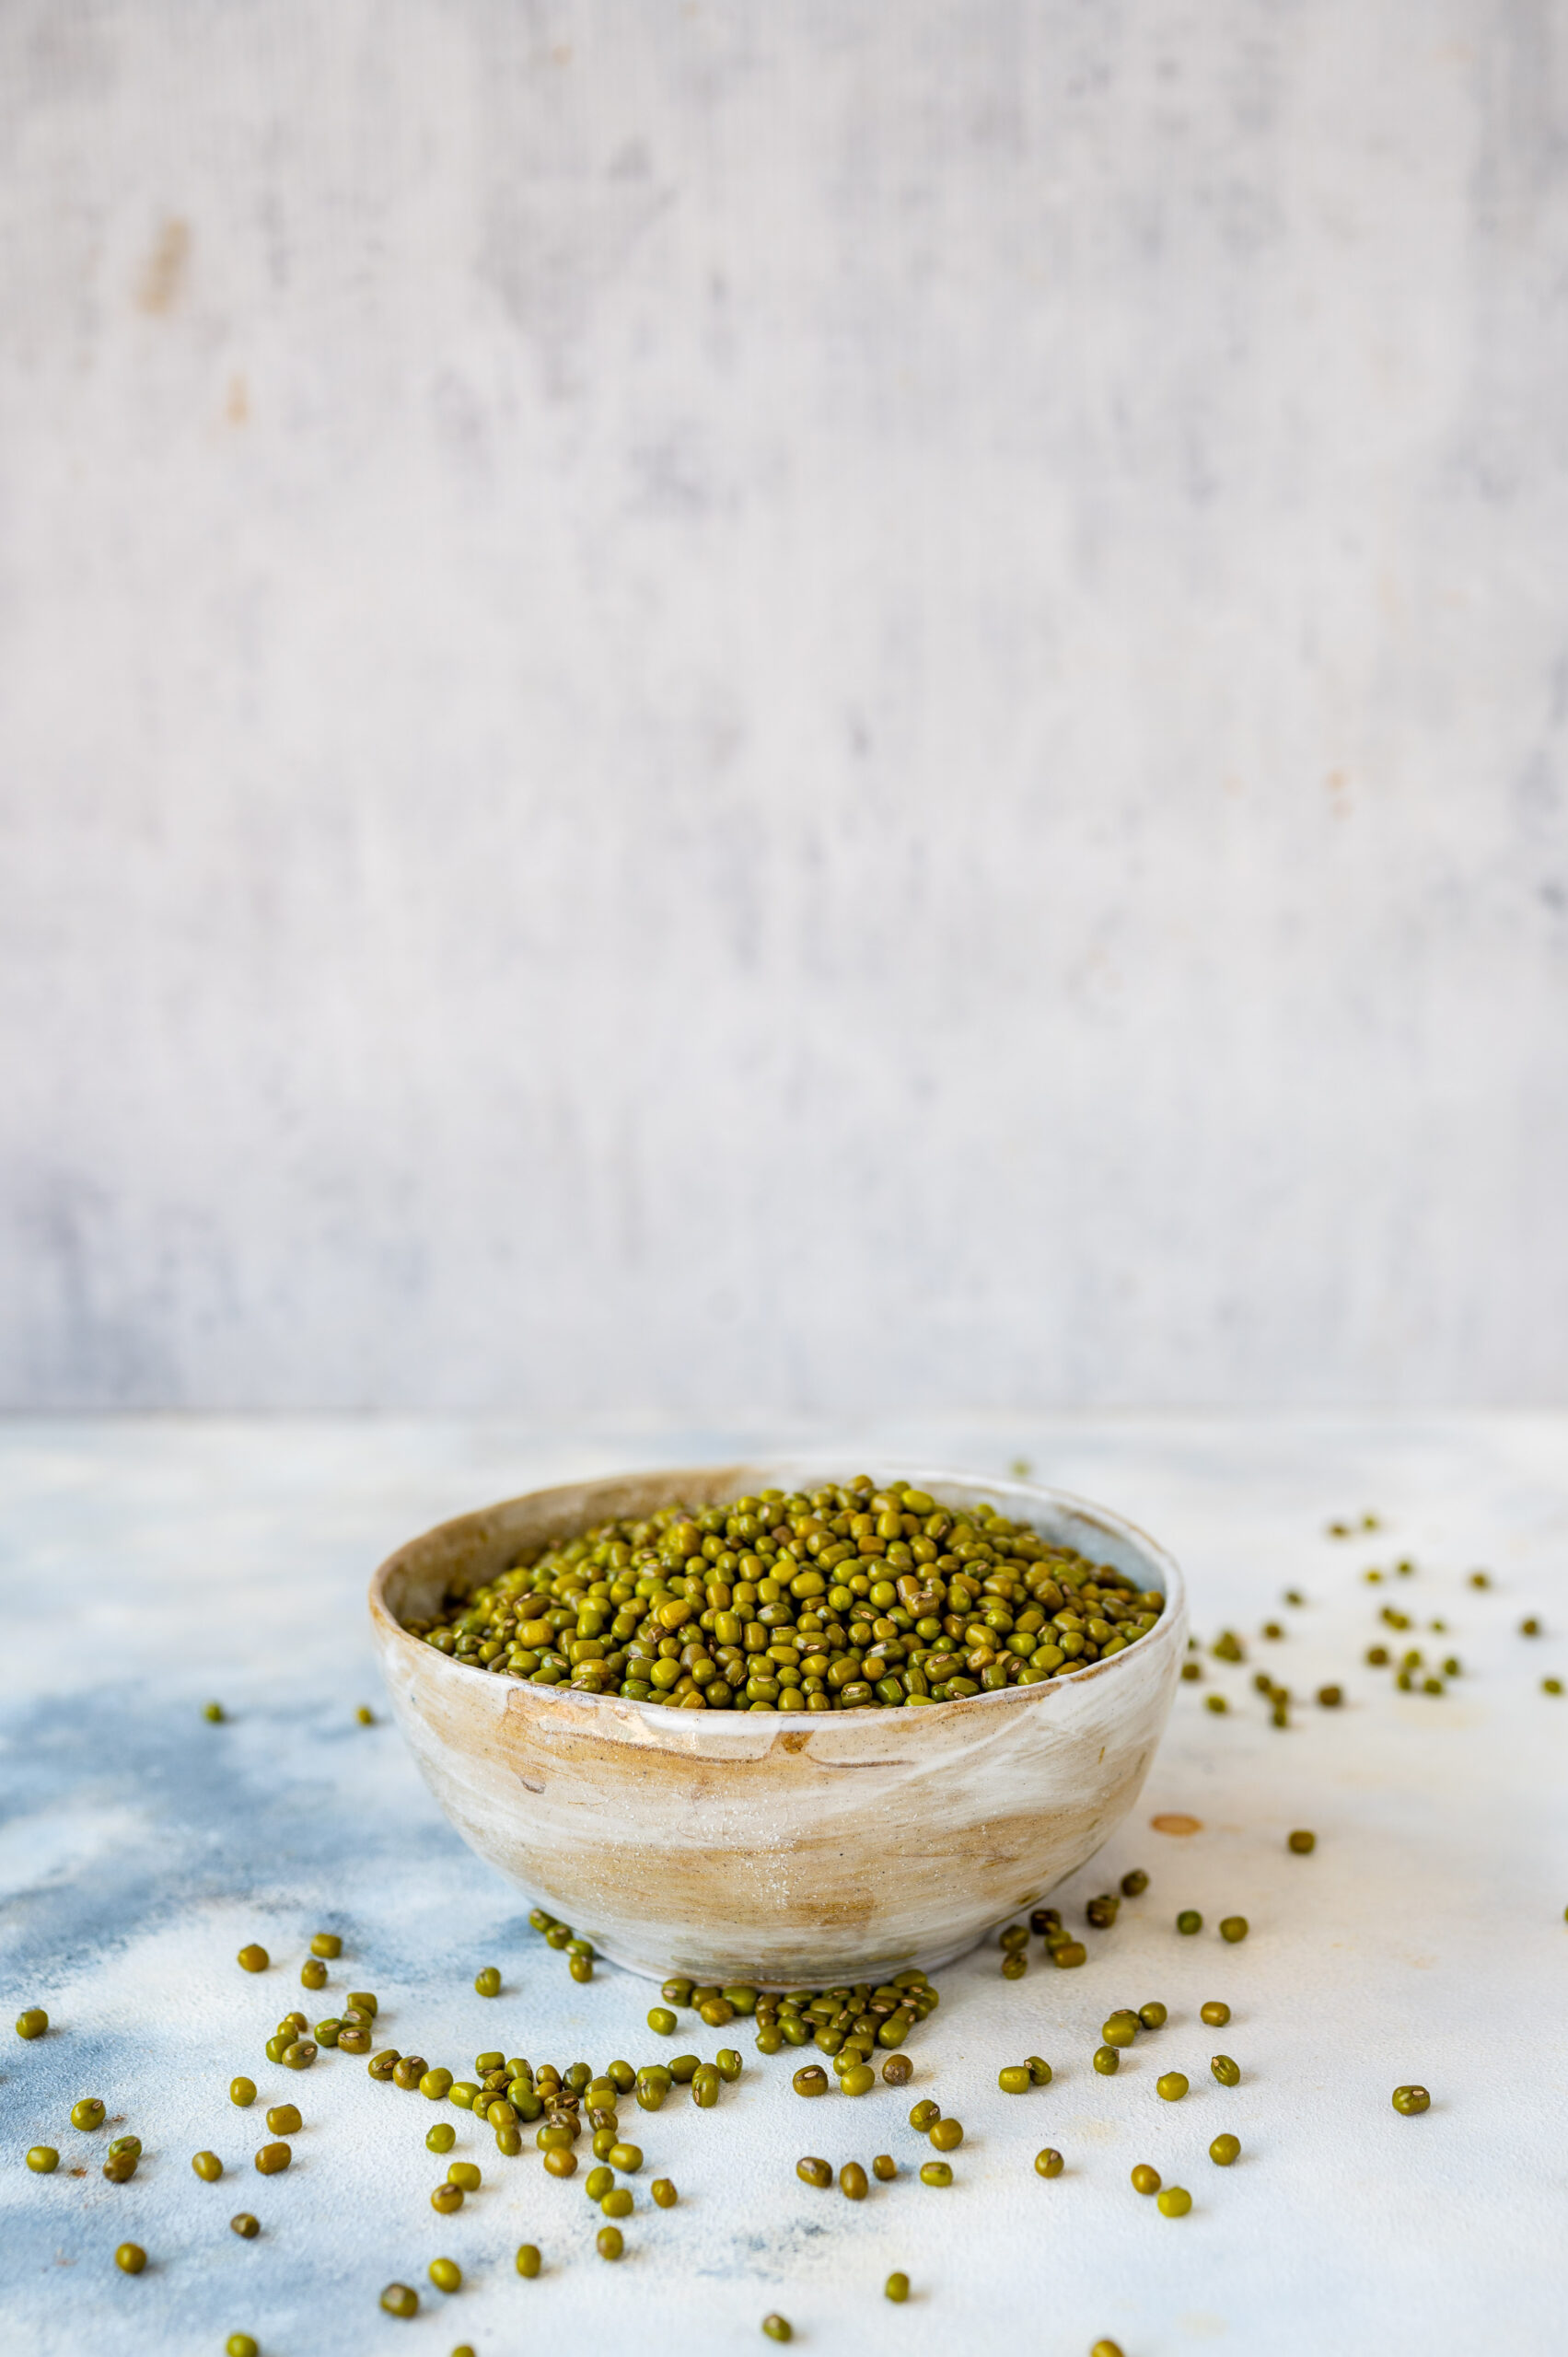
Green mung – also known as green gram, green moong and mung beans – is considered to be “shukaan” in Gujarati culture, meaning that it symbolises good luck and all things auspicious. When we hold a housewarming ceremony, the first thing we do is make a Hindu svastika on the floor using the legume. Similarly, when Jains break a significant fast, such as a 9-day fast, the first item consumed is water in which green mung had been boiled. This infused water is easy on the digestion, and helps the system adjust to whole food again after the abstinence. The combination of faith in the luck factor and the fact that it is very healthy mean that the ingredient is used across Gujarati cuisine in a wide variety of ways. You may have noticed its recurrence on this blog too: green moong dhokla, green moong bhel and green mung khatta are among the recipes I’ve shared. This time, I wanted to start the new year off on a promising note by sharing the method for getting green mung to sprout.
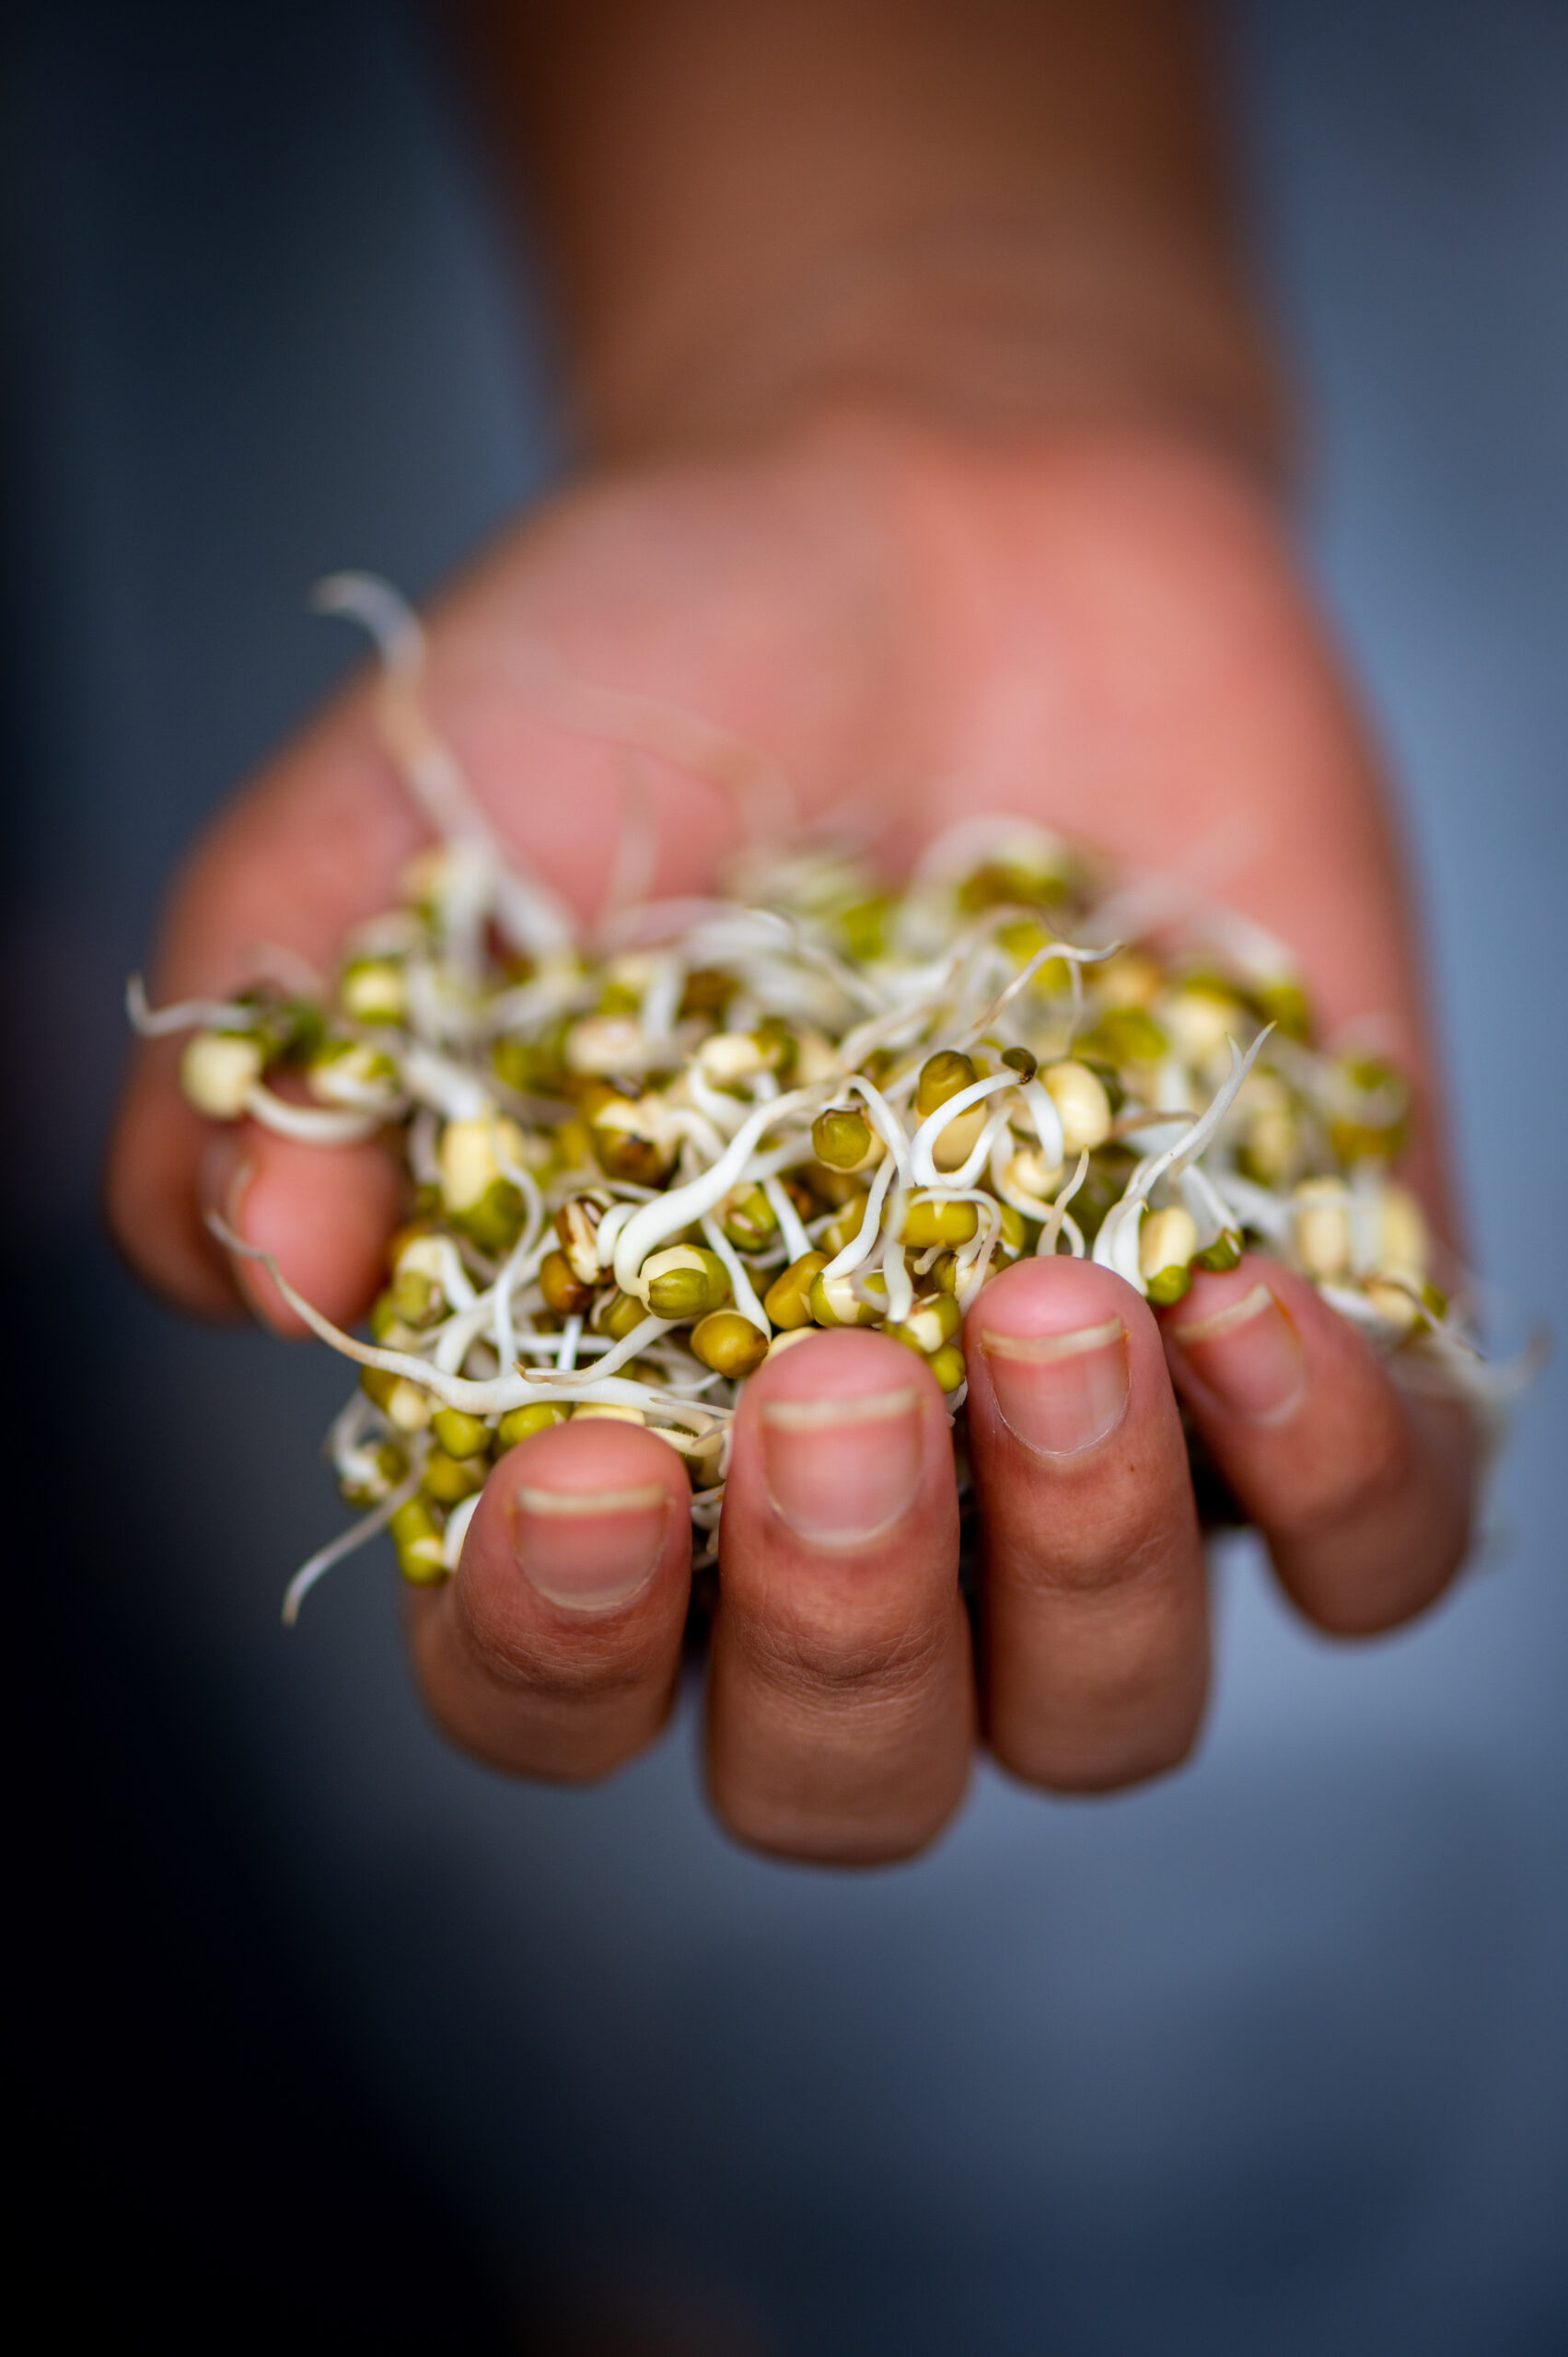
There is a special shelf in my fridge that always holds my tomato purée, a selection of chutneys and sprouted green mung. This should tell you a lot about the versatility of the last item, since it has pride of place on that always-reached-out-for list. I steam the sprouted green mung and add it to salads, sauté it and have it with roti or dosa or rice, put it in my stir-fries… You can see why I always like to have it on hand.
You may remember growing sprouts from your school days, as I do. We would have projects in Science class during which we would keep mustard seeds on a cotton ball and sprinkle water on them, then watch what happened over the next few days. The process was so fascinating back then, and when I pause and contemplate it, it still is. When I was training in Macrobiotics a few years ago, we learned that all seeds and legumes are sacred, as they contain life within them intrinsically. They may hold this potential for thousands of years before a few drops of water awaken it. This is the mystical part of nature, expressed in the way the green mung holds life within it no matter what. We are so fortunate to have these sprouting wonders: for the nourishment they provide, as well as the inspiration.
This is why the method for growing green mung sprouts occurred to me as being the perfect post to start this year with. May hope and renewal fill your heart as you conduct this experiment. Here is to all your new beginnings, to good health and to all the positive intentions you put out to the universe beautifully coming back to you. May all our goodwill come back to each of us manifold.
Method: Green Mung Sprouts
1 cup green mung
2 cups clean water
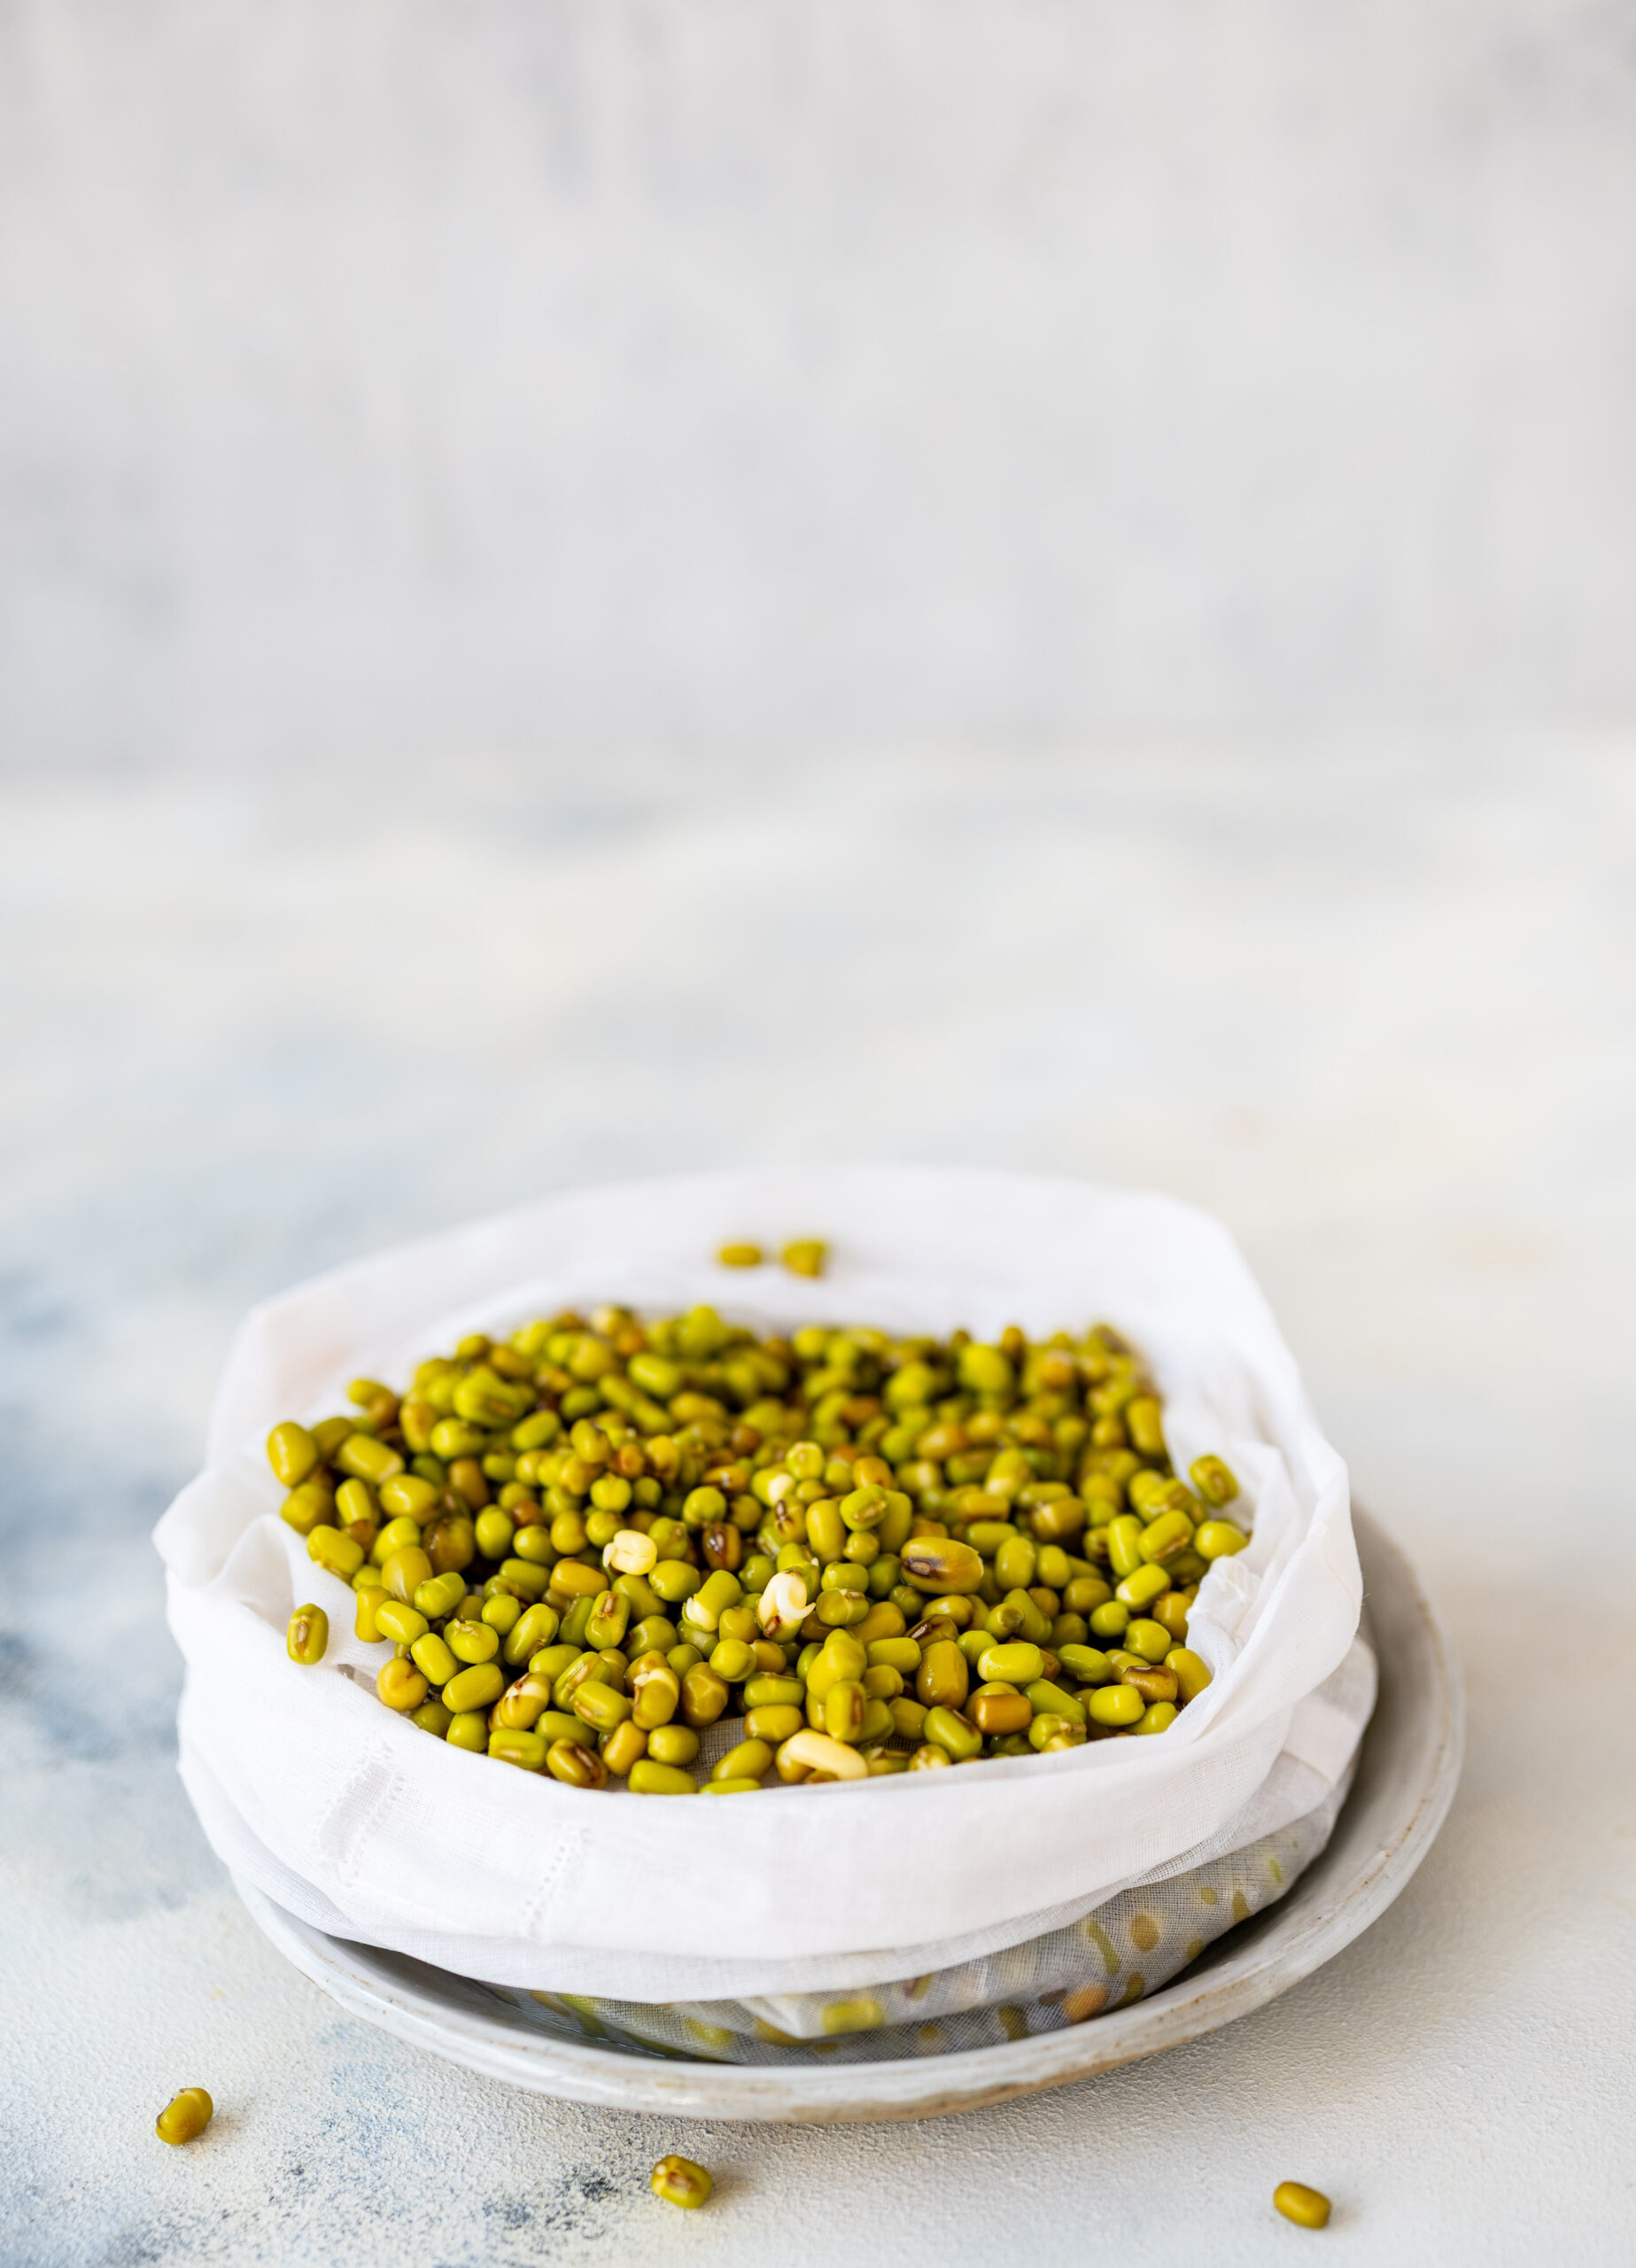
Rinse and soak the green mung in clean water overnight or for at least 8 hours.
In the morning, the beans will have increased in size and part of the skin would have opened up.
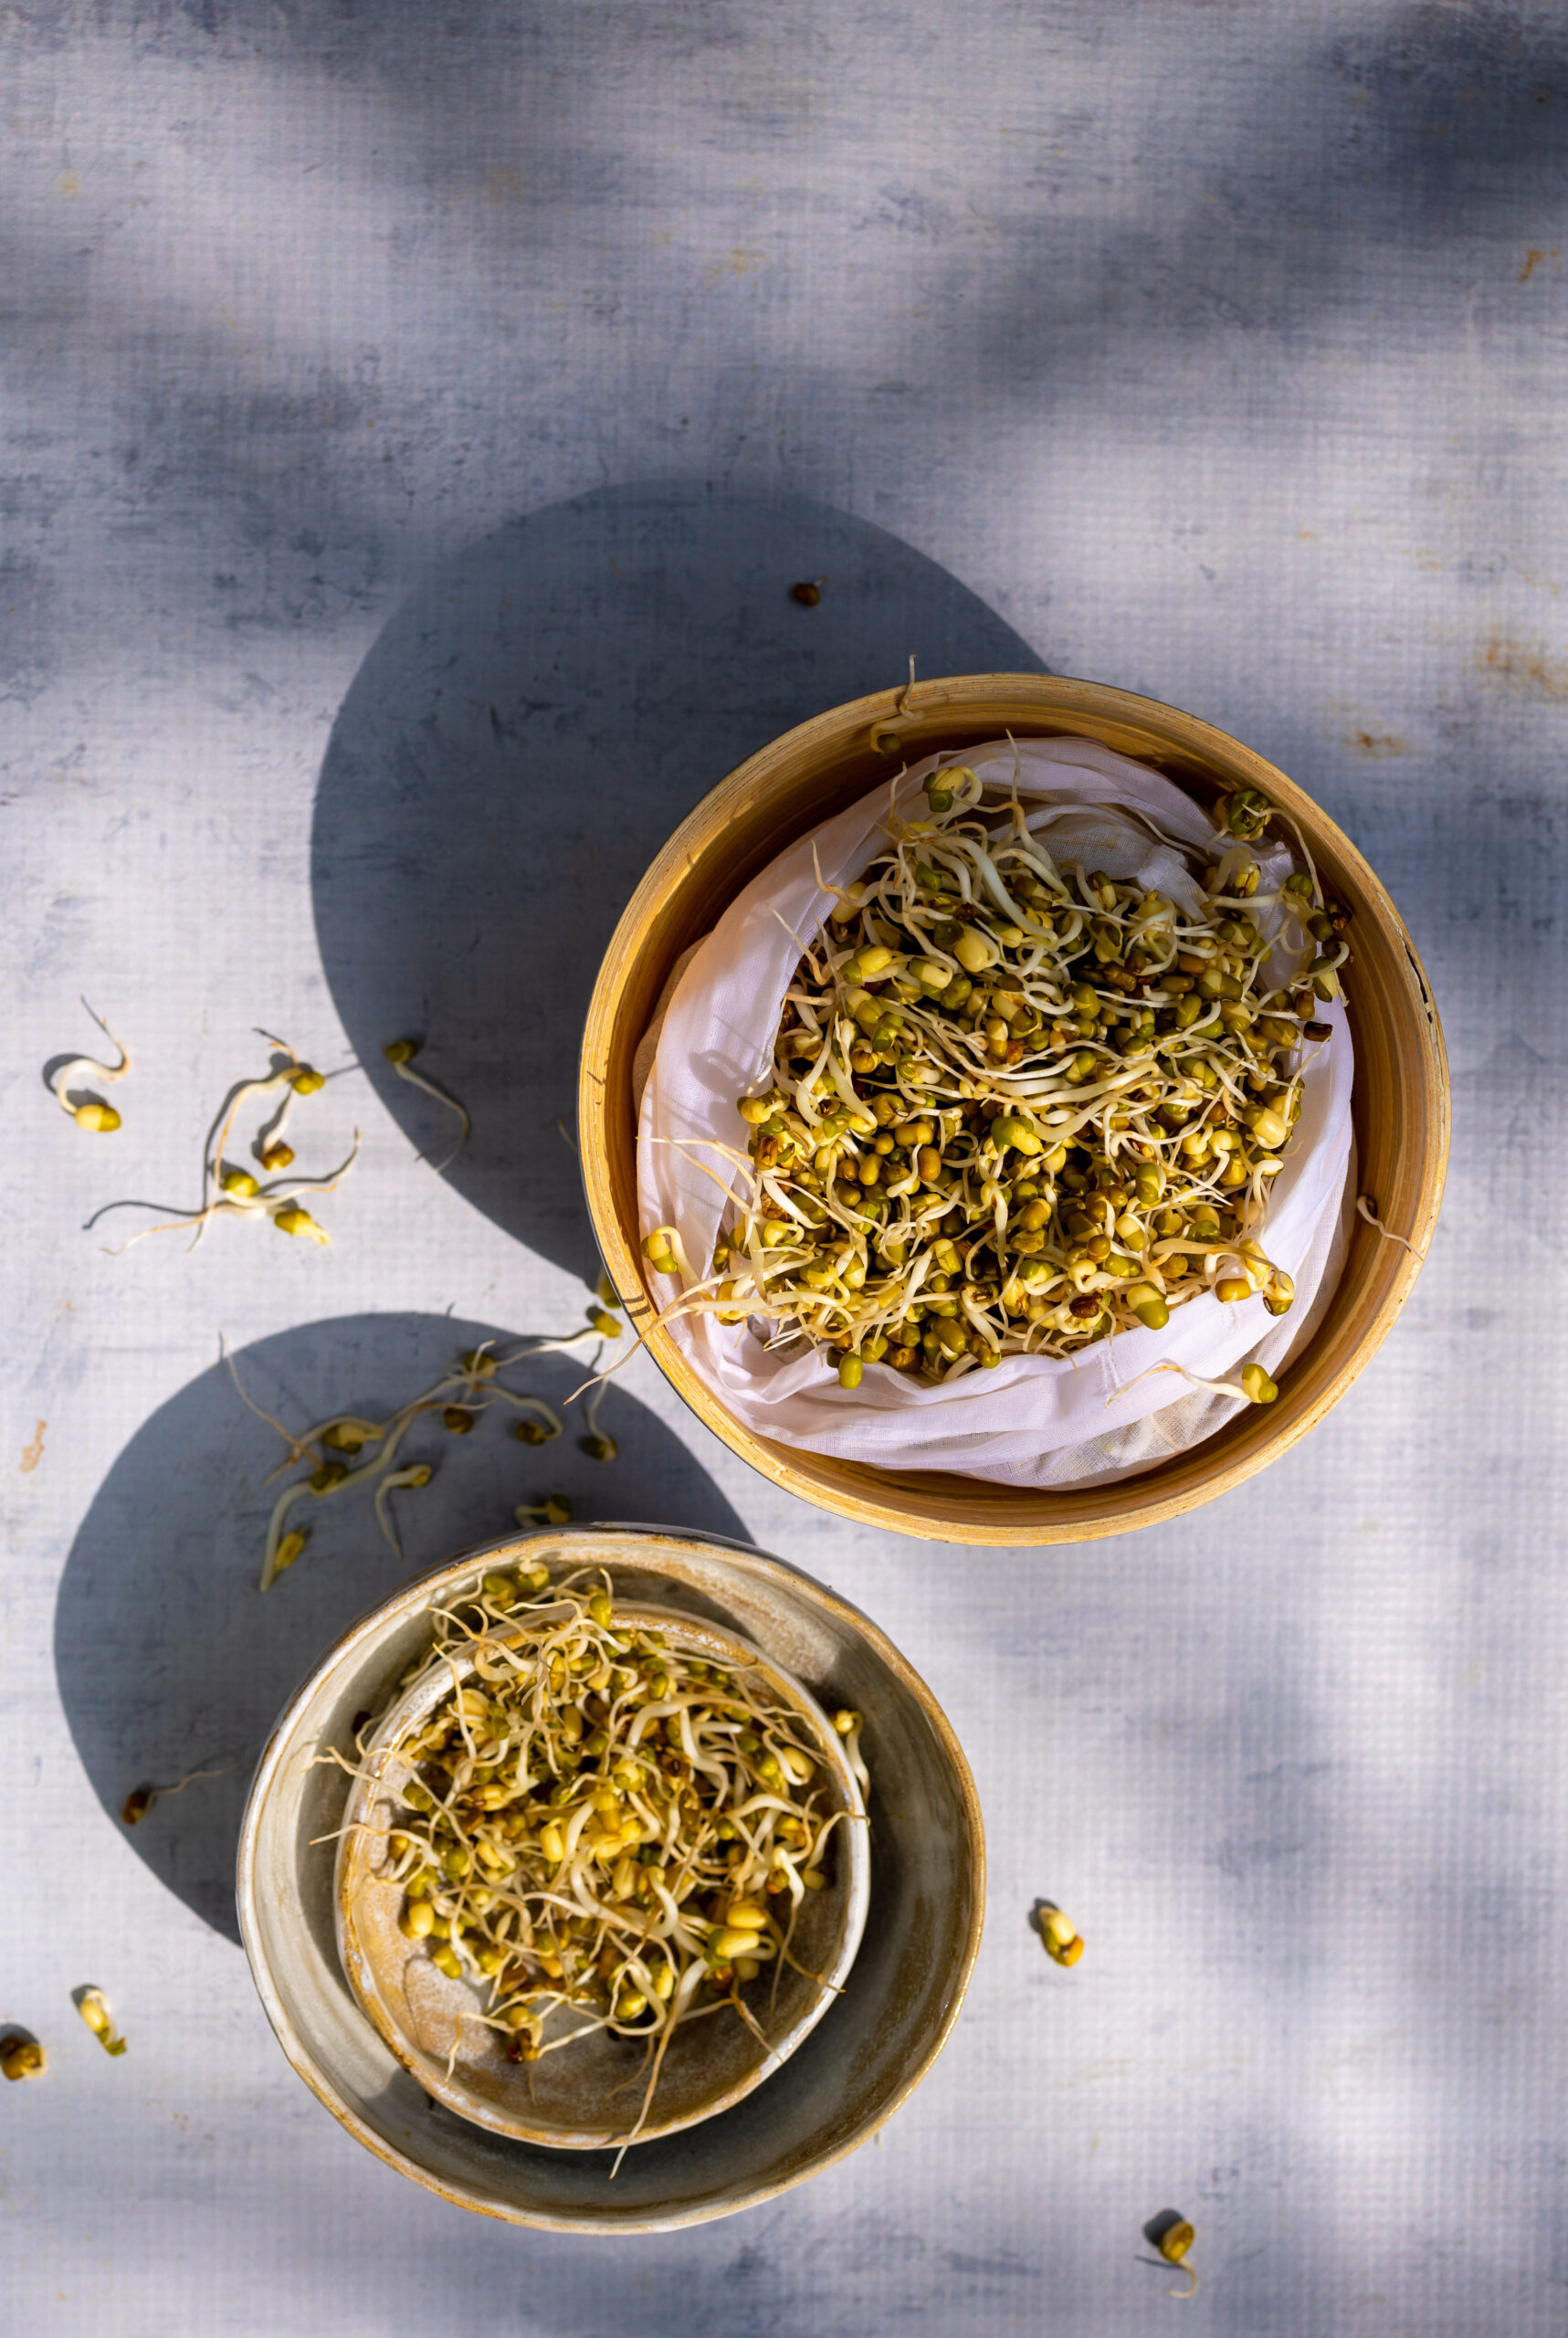
Rinse the beans once again and place them in a muslin cloth. Tie the cloth gently. It’s okay if the cloth feels damp.
Place the cloth containing the beans in a deep pot and cover this with a lid. Store at room temperature in a dark place.
Take a look the following day and you’ll notice that the beans are sprouting slightly. Cover again and leave be.
Check again on Day 2, and you will see that healthy, sprightly mung beans have sprouted – grown and ready for use.
It really is so simple to grow these sprouts yourself, and to use them as much as you want to in a wide variety of meals. I mostly sprout green mung, but also use black channa (which takes longer), and as mentioned earlier from my school memories, quite few kinds of seeds and lentils can be utilised for this purpose too. Here in Chennai, it’s really very easy to grow sprouts, as the weather is very conducive for this, versus a colder climate. Do keep that in mind – the process may take a little longer for you, depending on where you are.
These sprouts are to me small manifestations of nature’s glory, which we also experience in the form of trees. Too often, we take them for granted. Down the road from my home, a beautiful old tree was recently chopped down as part of some construction work. Seeing this was heartrending. If we cannot revere them as they deserve to be revered, the least we can do is to preserve them. A marvelous book, Peter Wohlleben’s The Hidden Life of Trees, teaches us that they communicate amongst themselves, in everything from the way their roots touch one another’s and the way they sway. There is so much we have not appreciated, respected or learnt fully about. We need to be more aware of the life-giving essence of nature.
In that spirit, I would like to share with you my New Year’s intention. We have a little farm that I’ve spoken about from time to time on this blog, and along with various crops, I’ve also slowly been growing flowers there. Local varieties, especially ones which are quickly being forgotten, are what I most want to have flourish there. I am hoping that this is the year that I really begin to design it and cultivate it, in a meaningful and long-lasting way so that the next few generations can enjoy my garden and carry forward my love of local blossoms.
What is your intention, and how do you plan to bring it to life? What is sprouting in your dreams right now? As always, I would love to hear from you.
 ‘
‘