India has a wide variety of snacks that you could call tikkis, kebabs, tikkas and by other names. They are made with different key ingredients, and may be fried, grilled, skewered or served intact. All kinds are delicious, and usually quite filling too. I enjoy a range of vegetable-based tikkis and make them with sweet potatoes, regular potatoes, paneer, kidney beans, green peas and so on. The spices as well as the binding agent remain consistent, while the core vegetable can change. I also occasionally use a mix of vegetables. Among these many options, sweet potato tikkis have been a favourite at snack time in my house of late, so I thought that I’d share the recipe with you.
Do remember that you can use this recipe as a base, as mentioned, for other tikkis as well. While breadcrumbs work well, I have personally gone for either tapioca flour or oat flour as a binding agent when I make these. They are healthier options and taste very good too.
Sweet potato itself is of course the healthier version of the regular potato, though arguably just as delicious. Sweet potato is extremely nutritious, and is rich in antioxidants, beta-carotenes, fibre and vitamins. Did you know that just one sweet potato can boost your system with between 400% and 800% of your recommended daily intake of Vitamin A? True to its name, this is also a delicious vegetable with a hint of sweetness, and one that works in versatile ways. Just talking about it jogs my inspiration, and I think I’ll be using it as the star of some recipes I’ll share in the near future too.
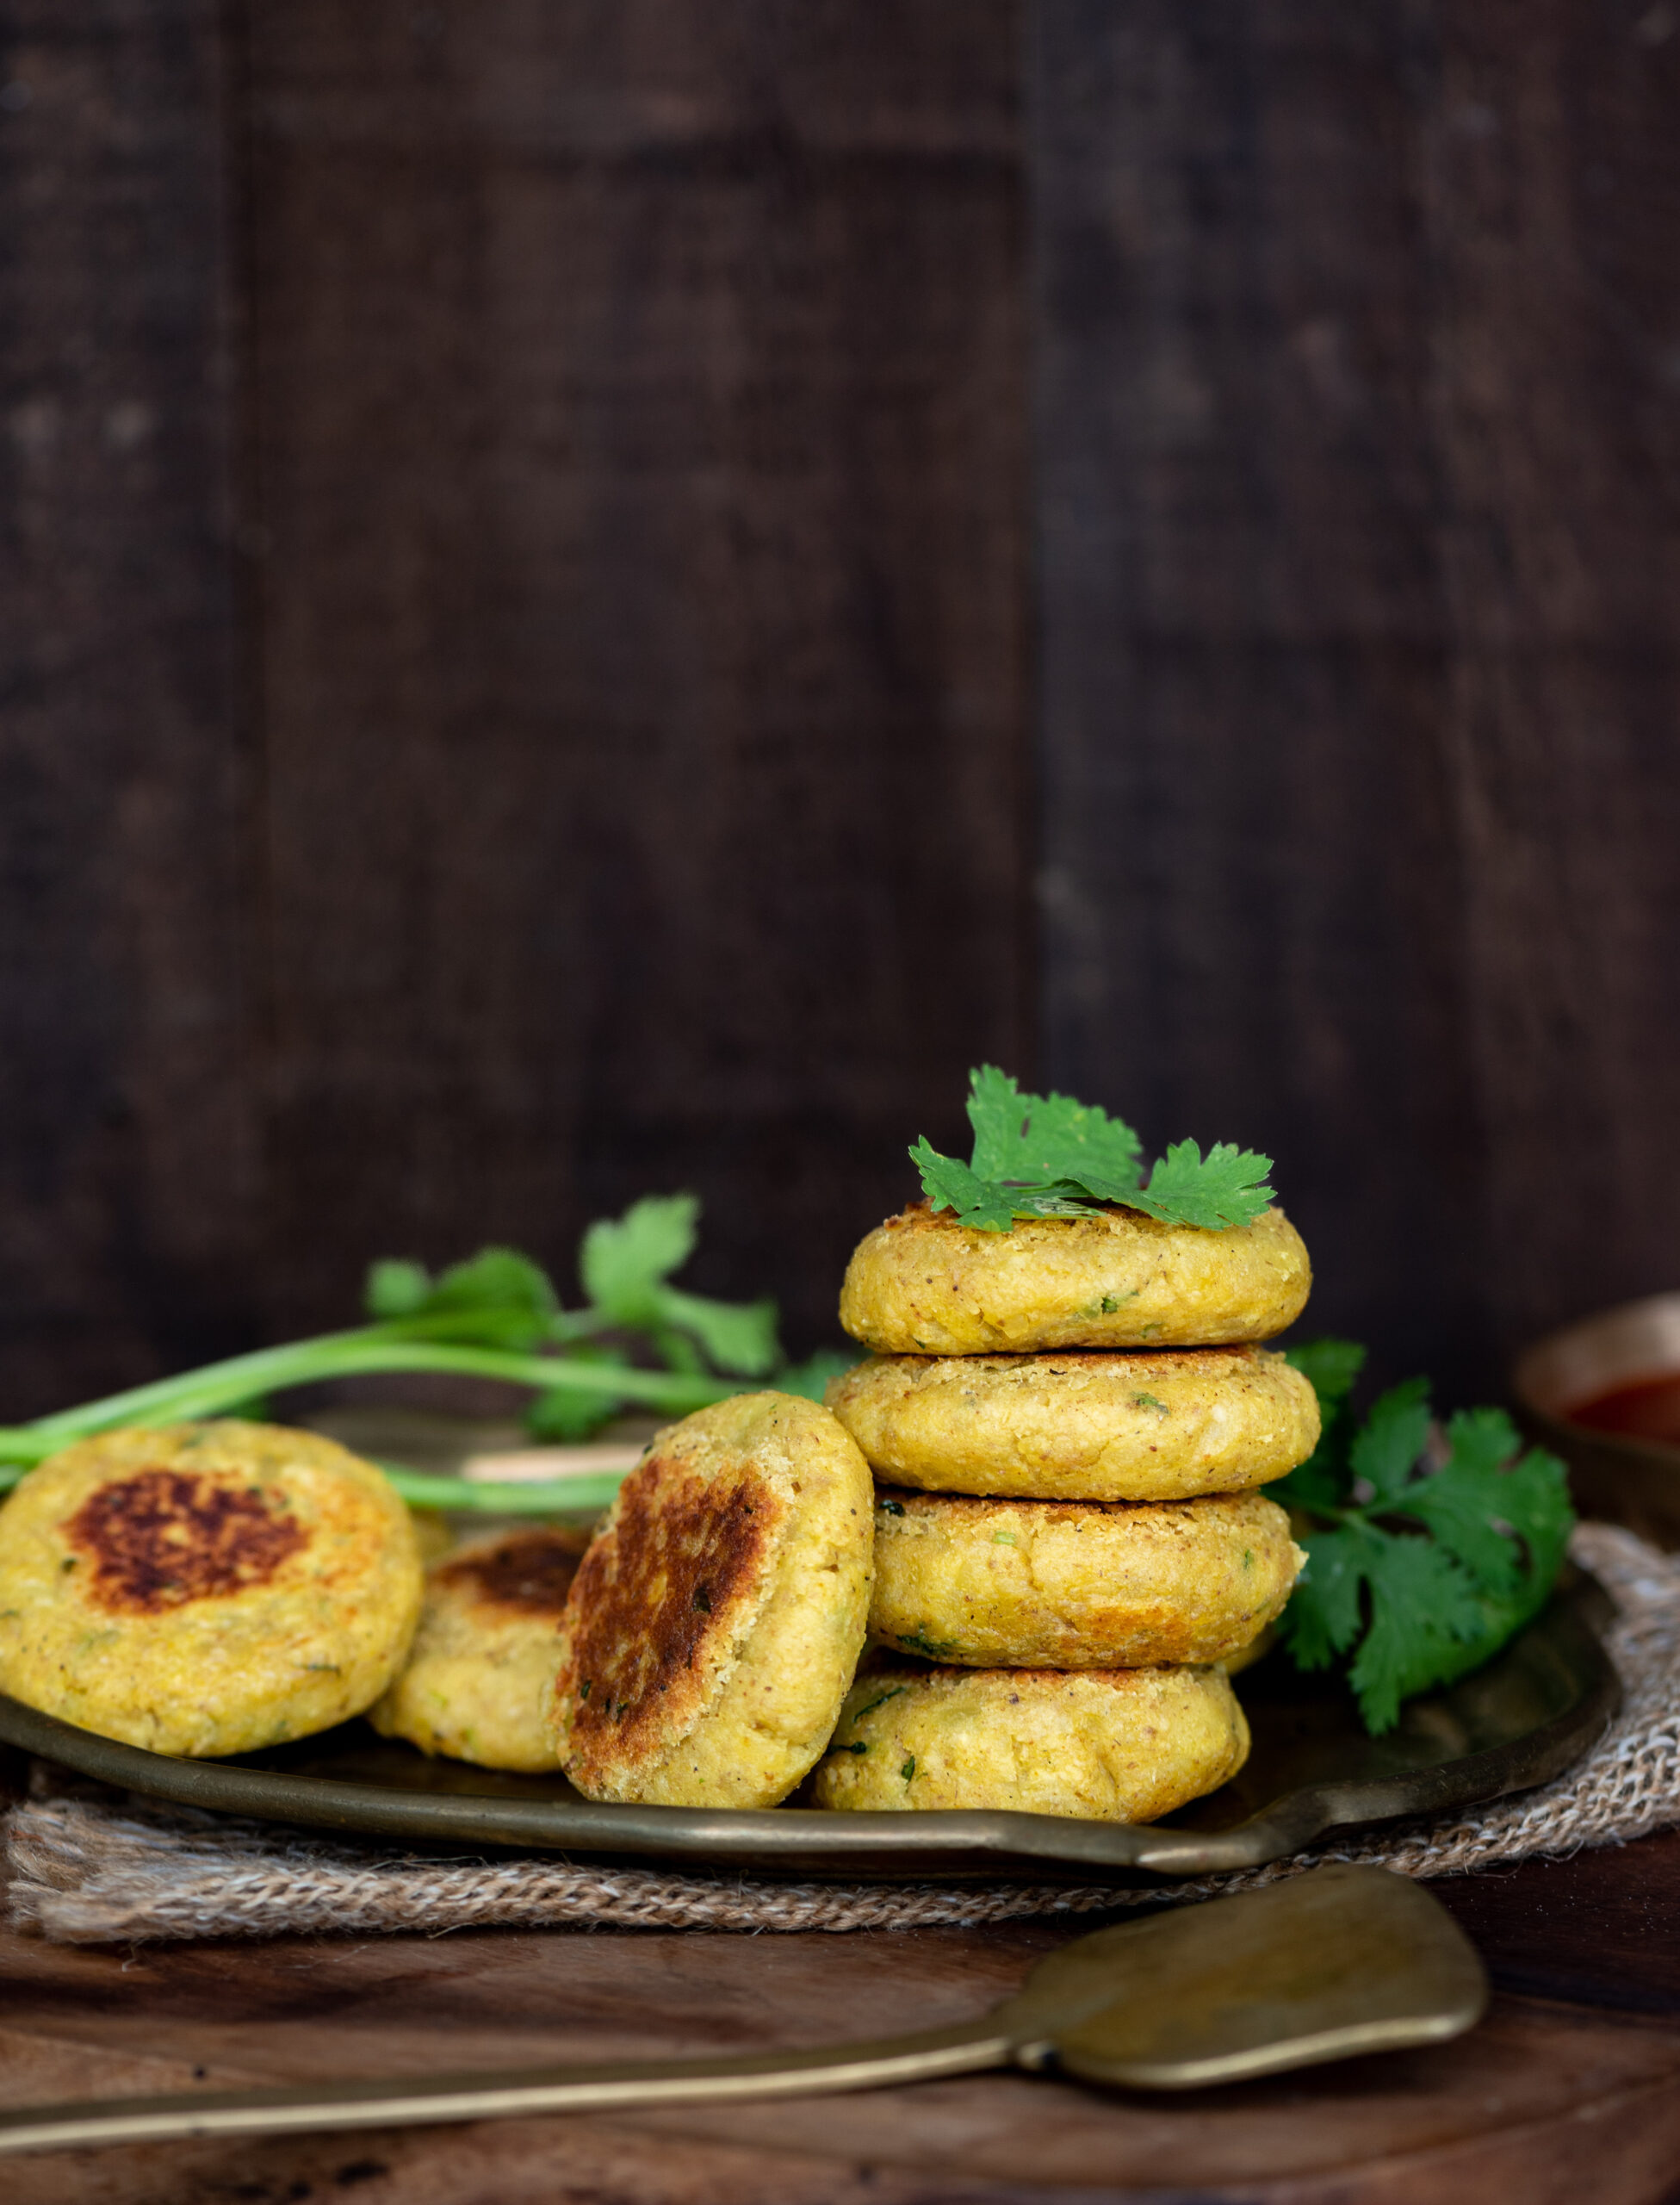
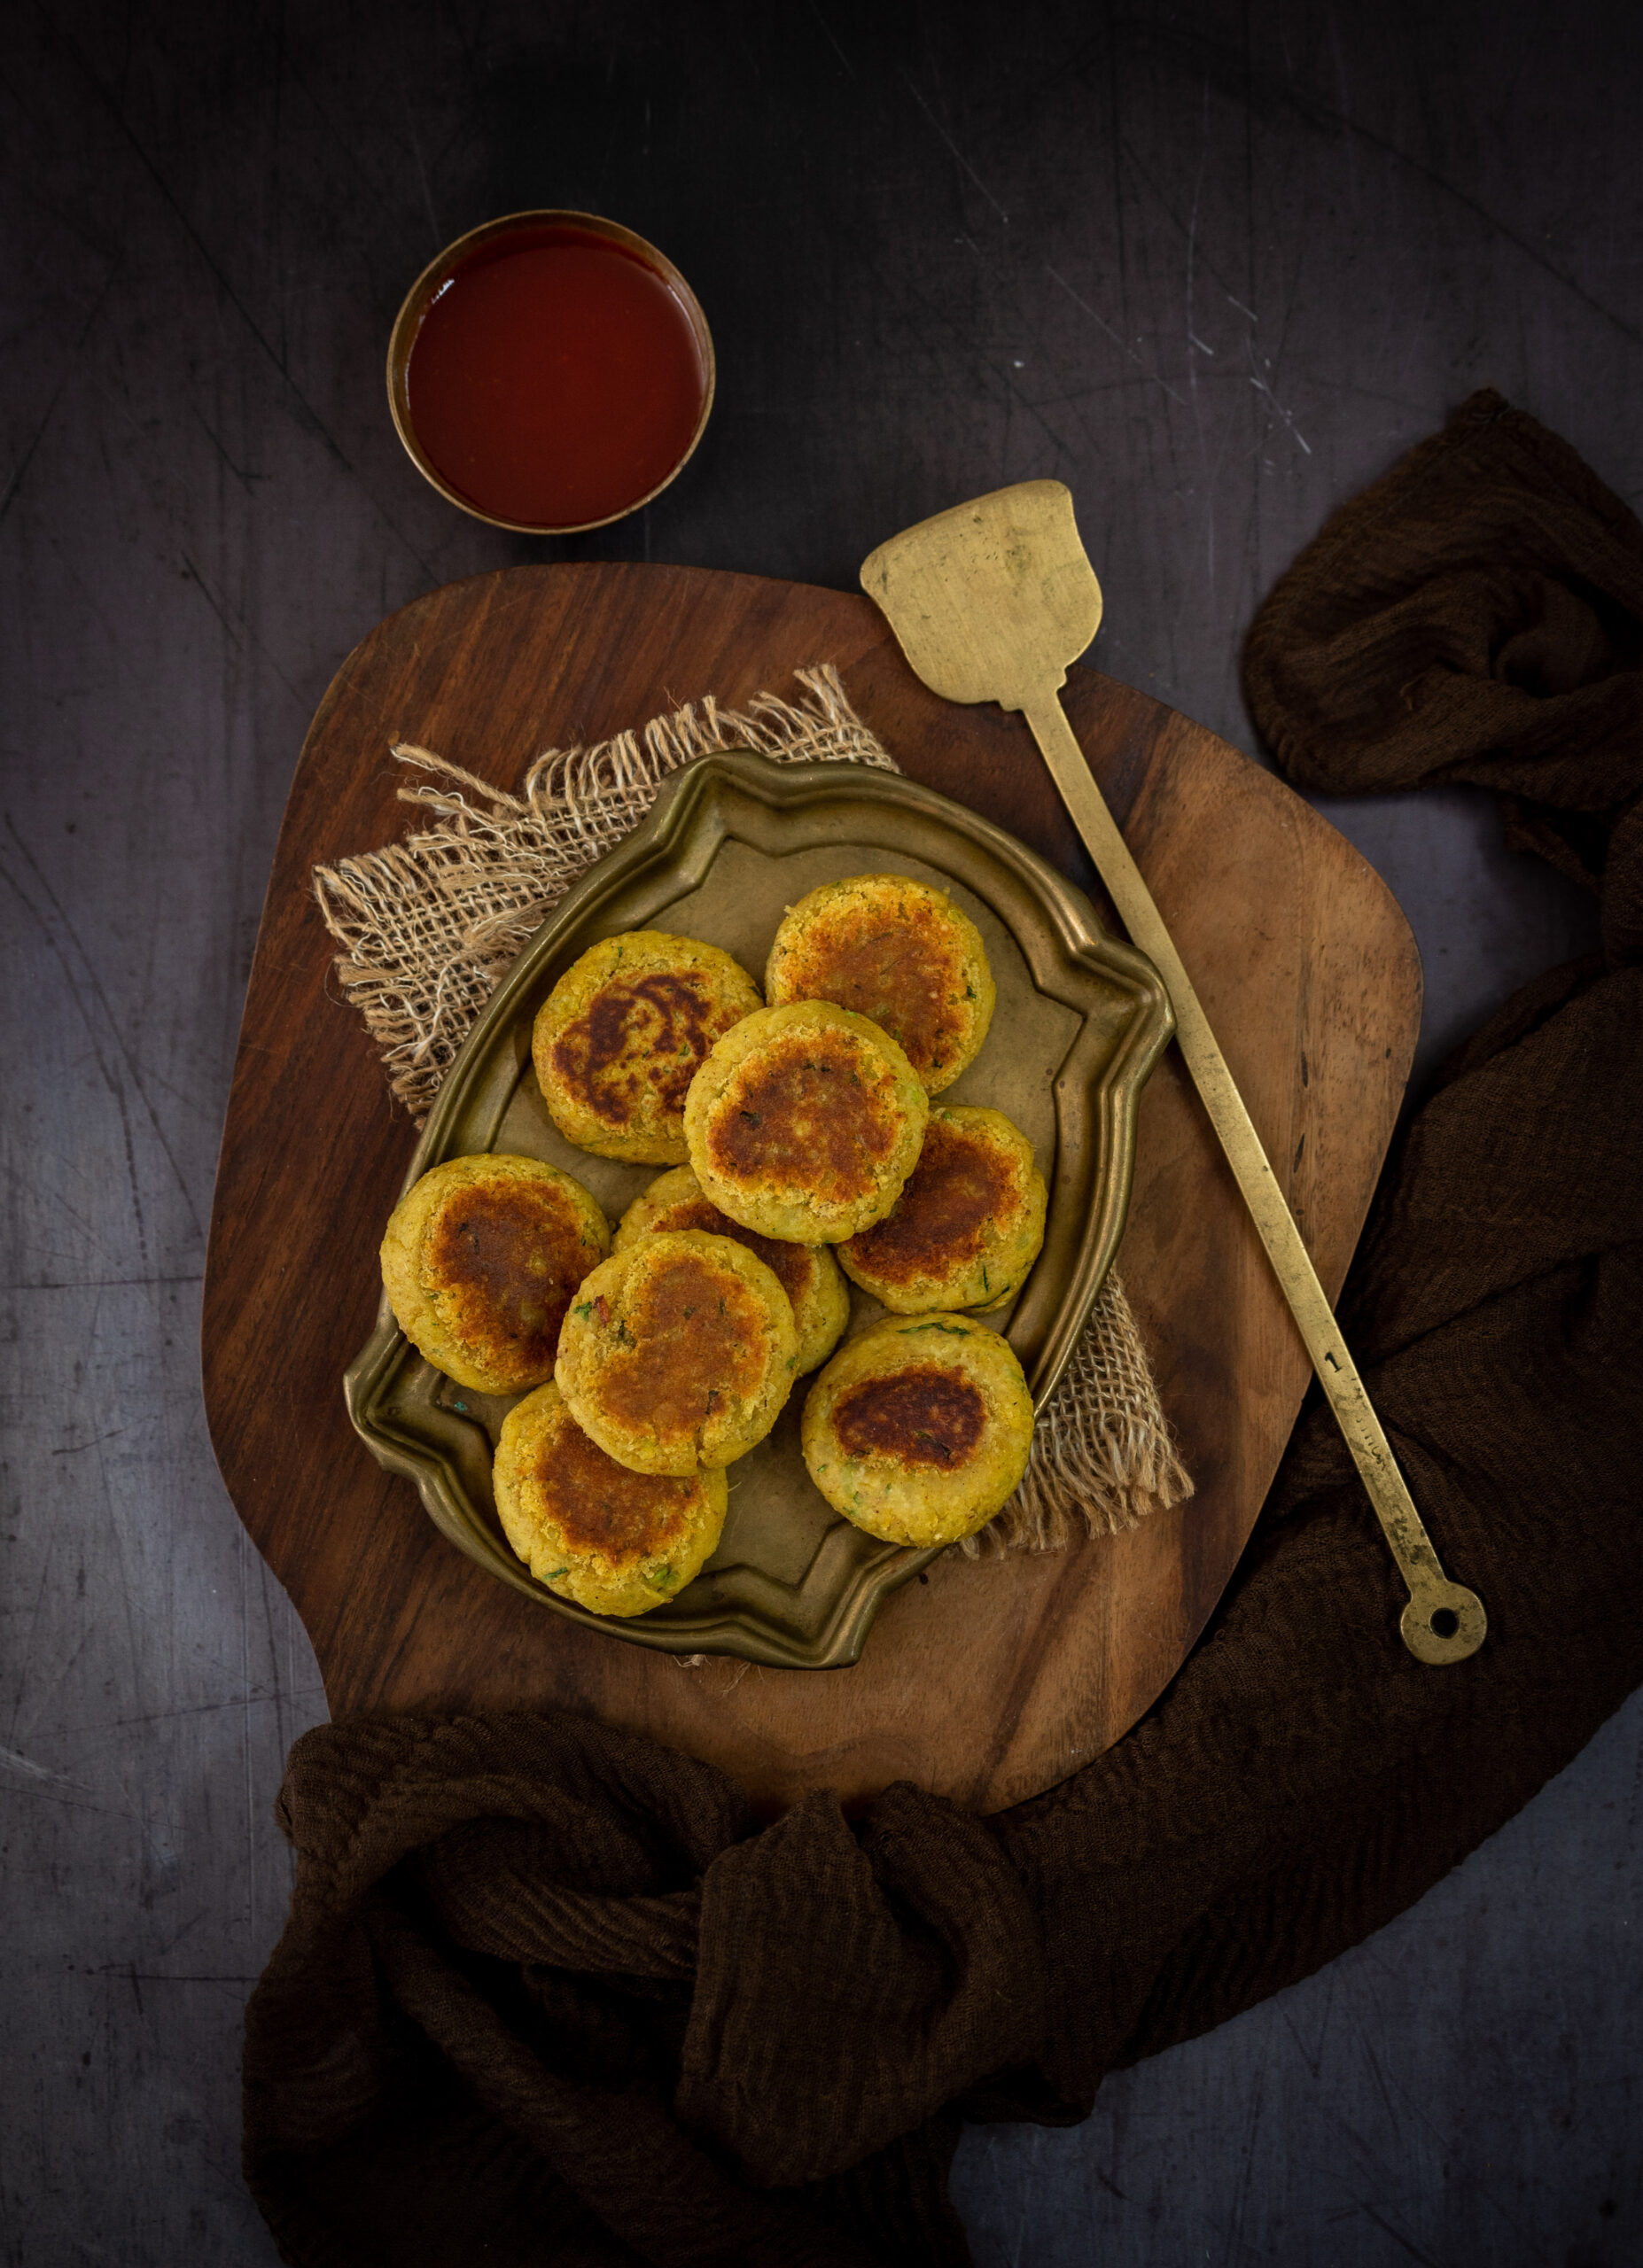
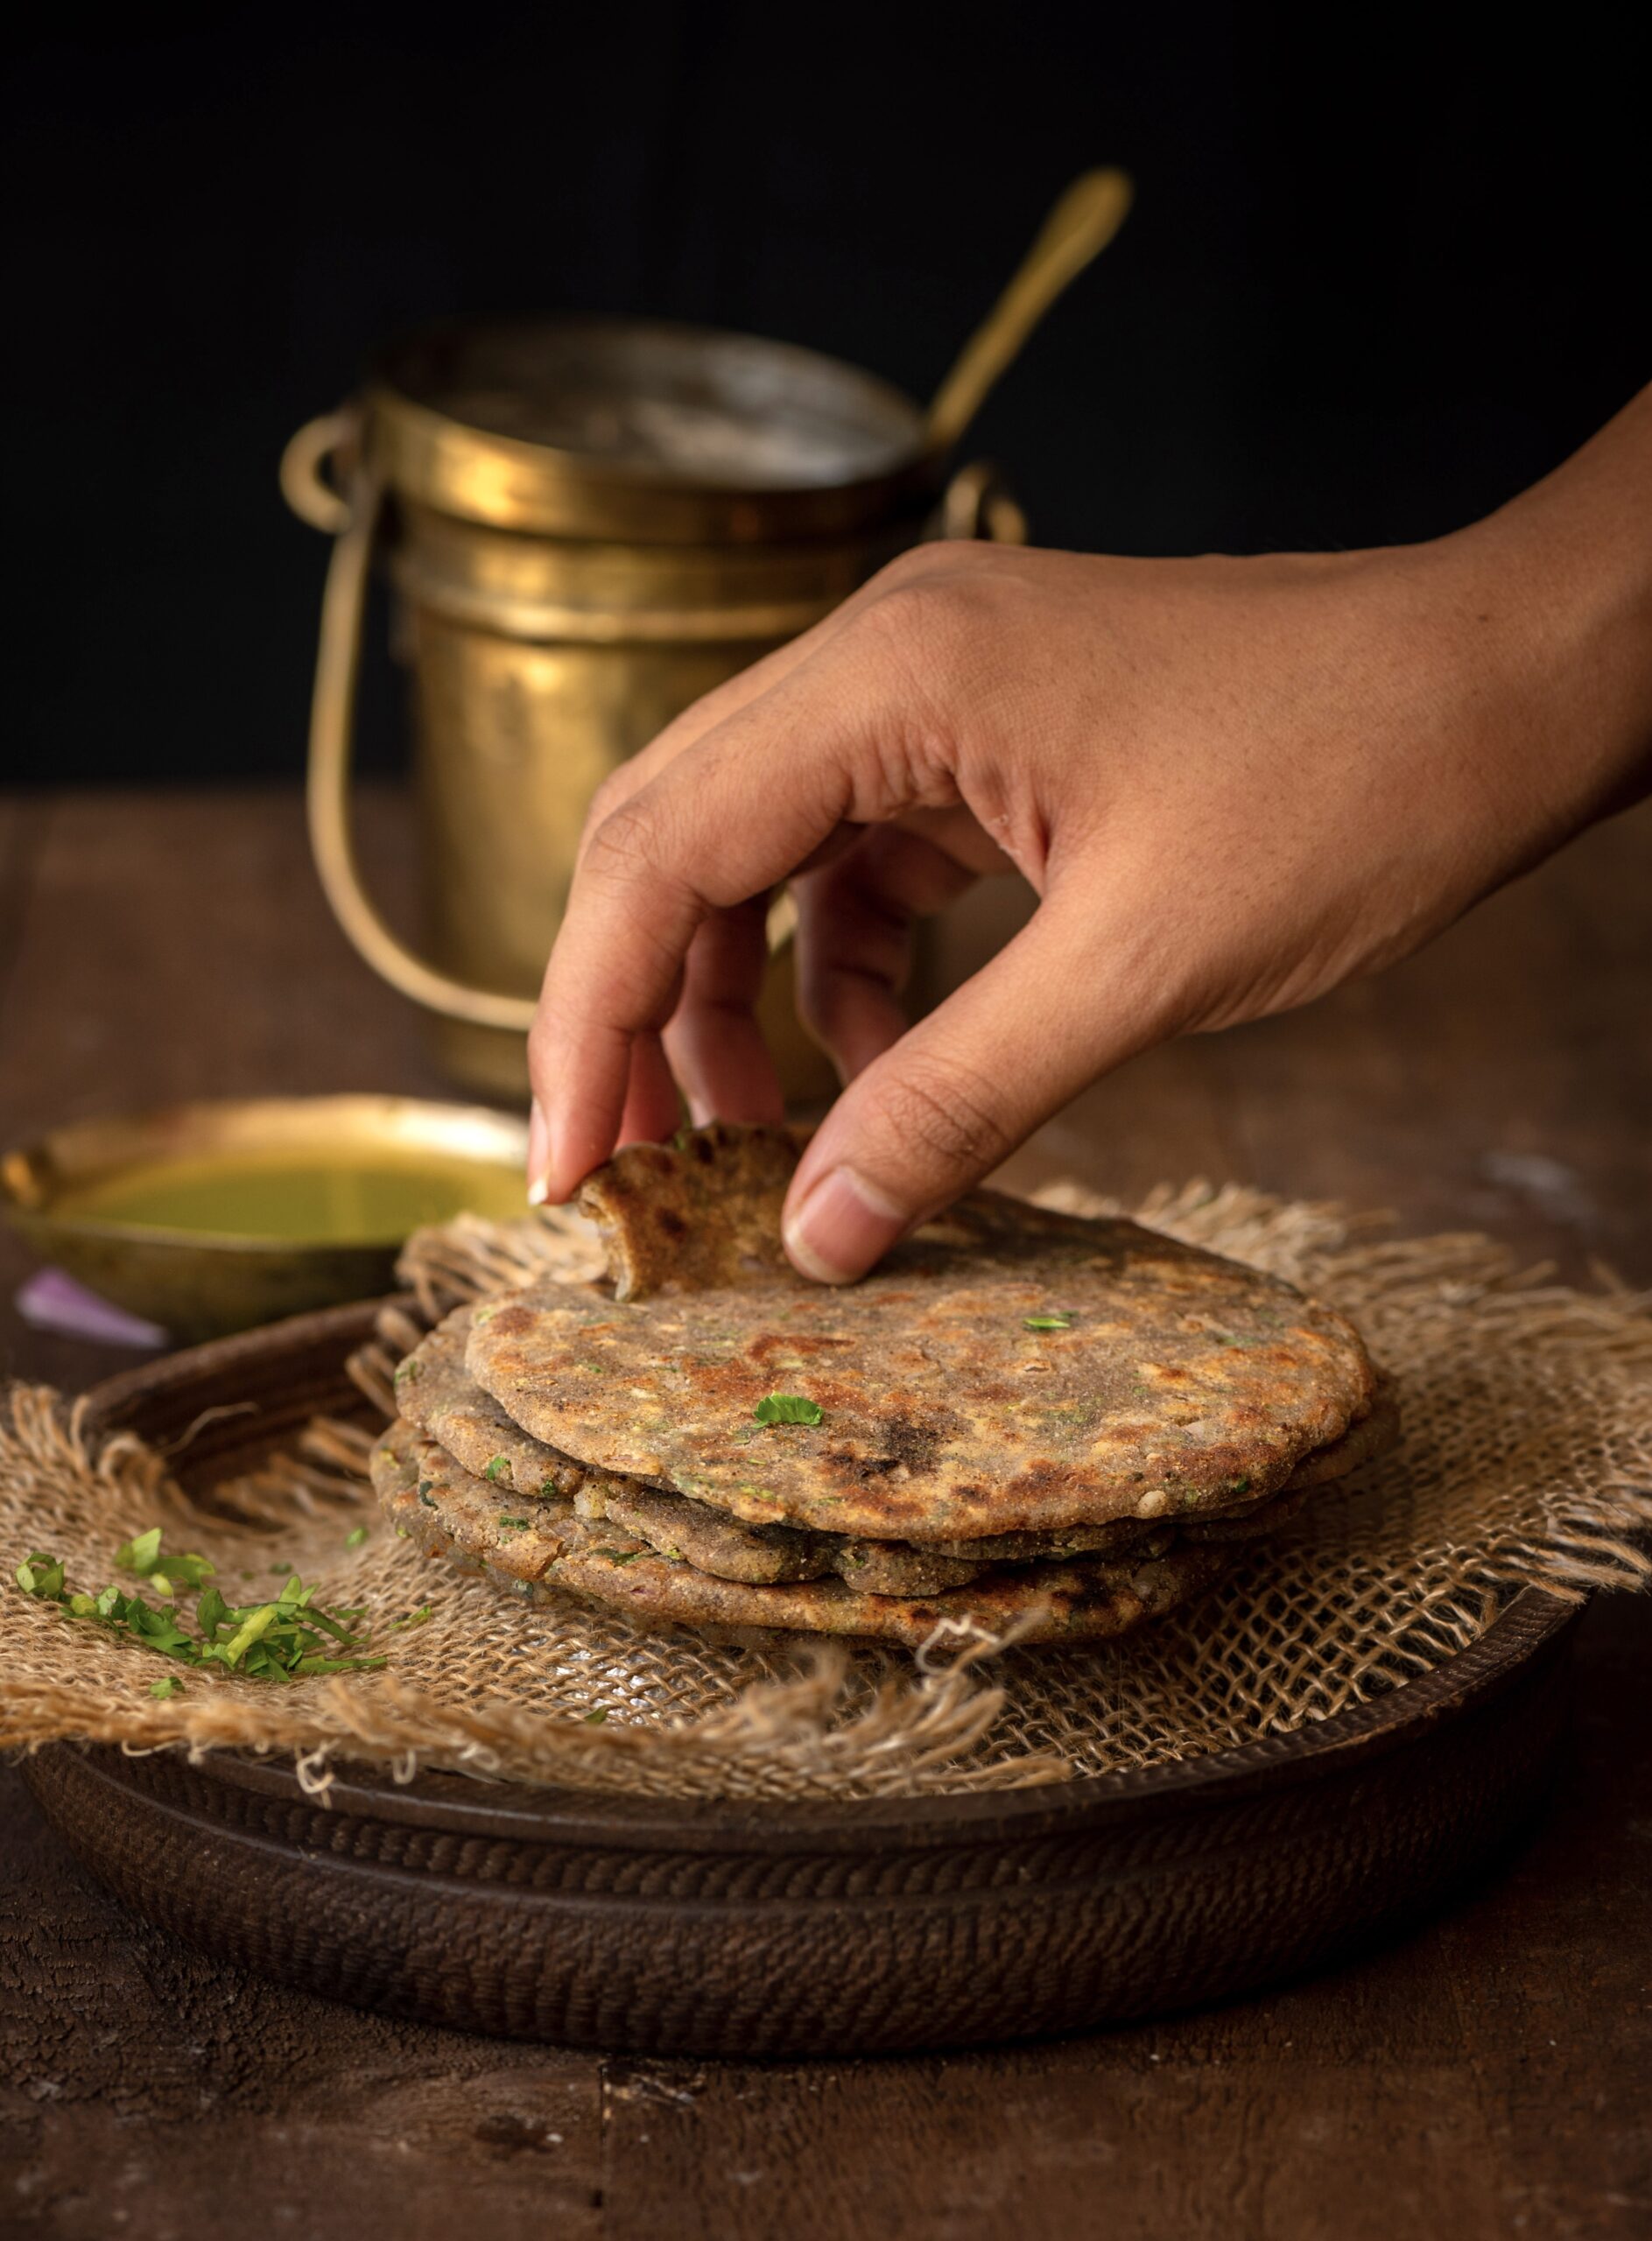
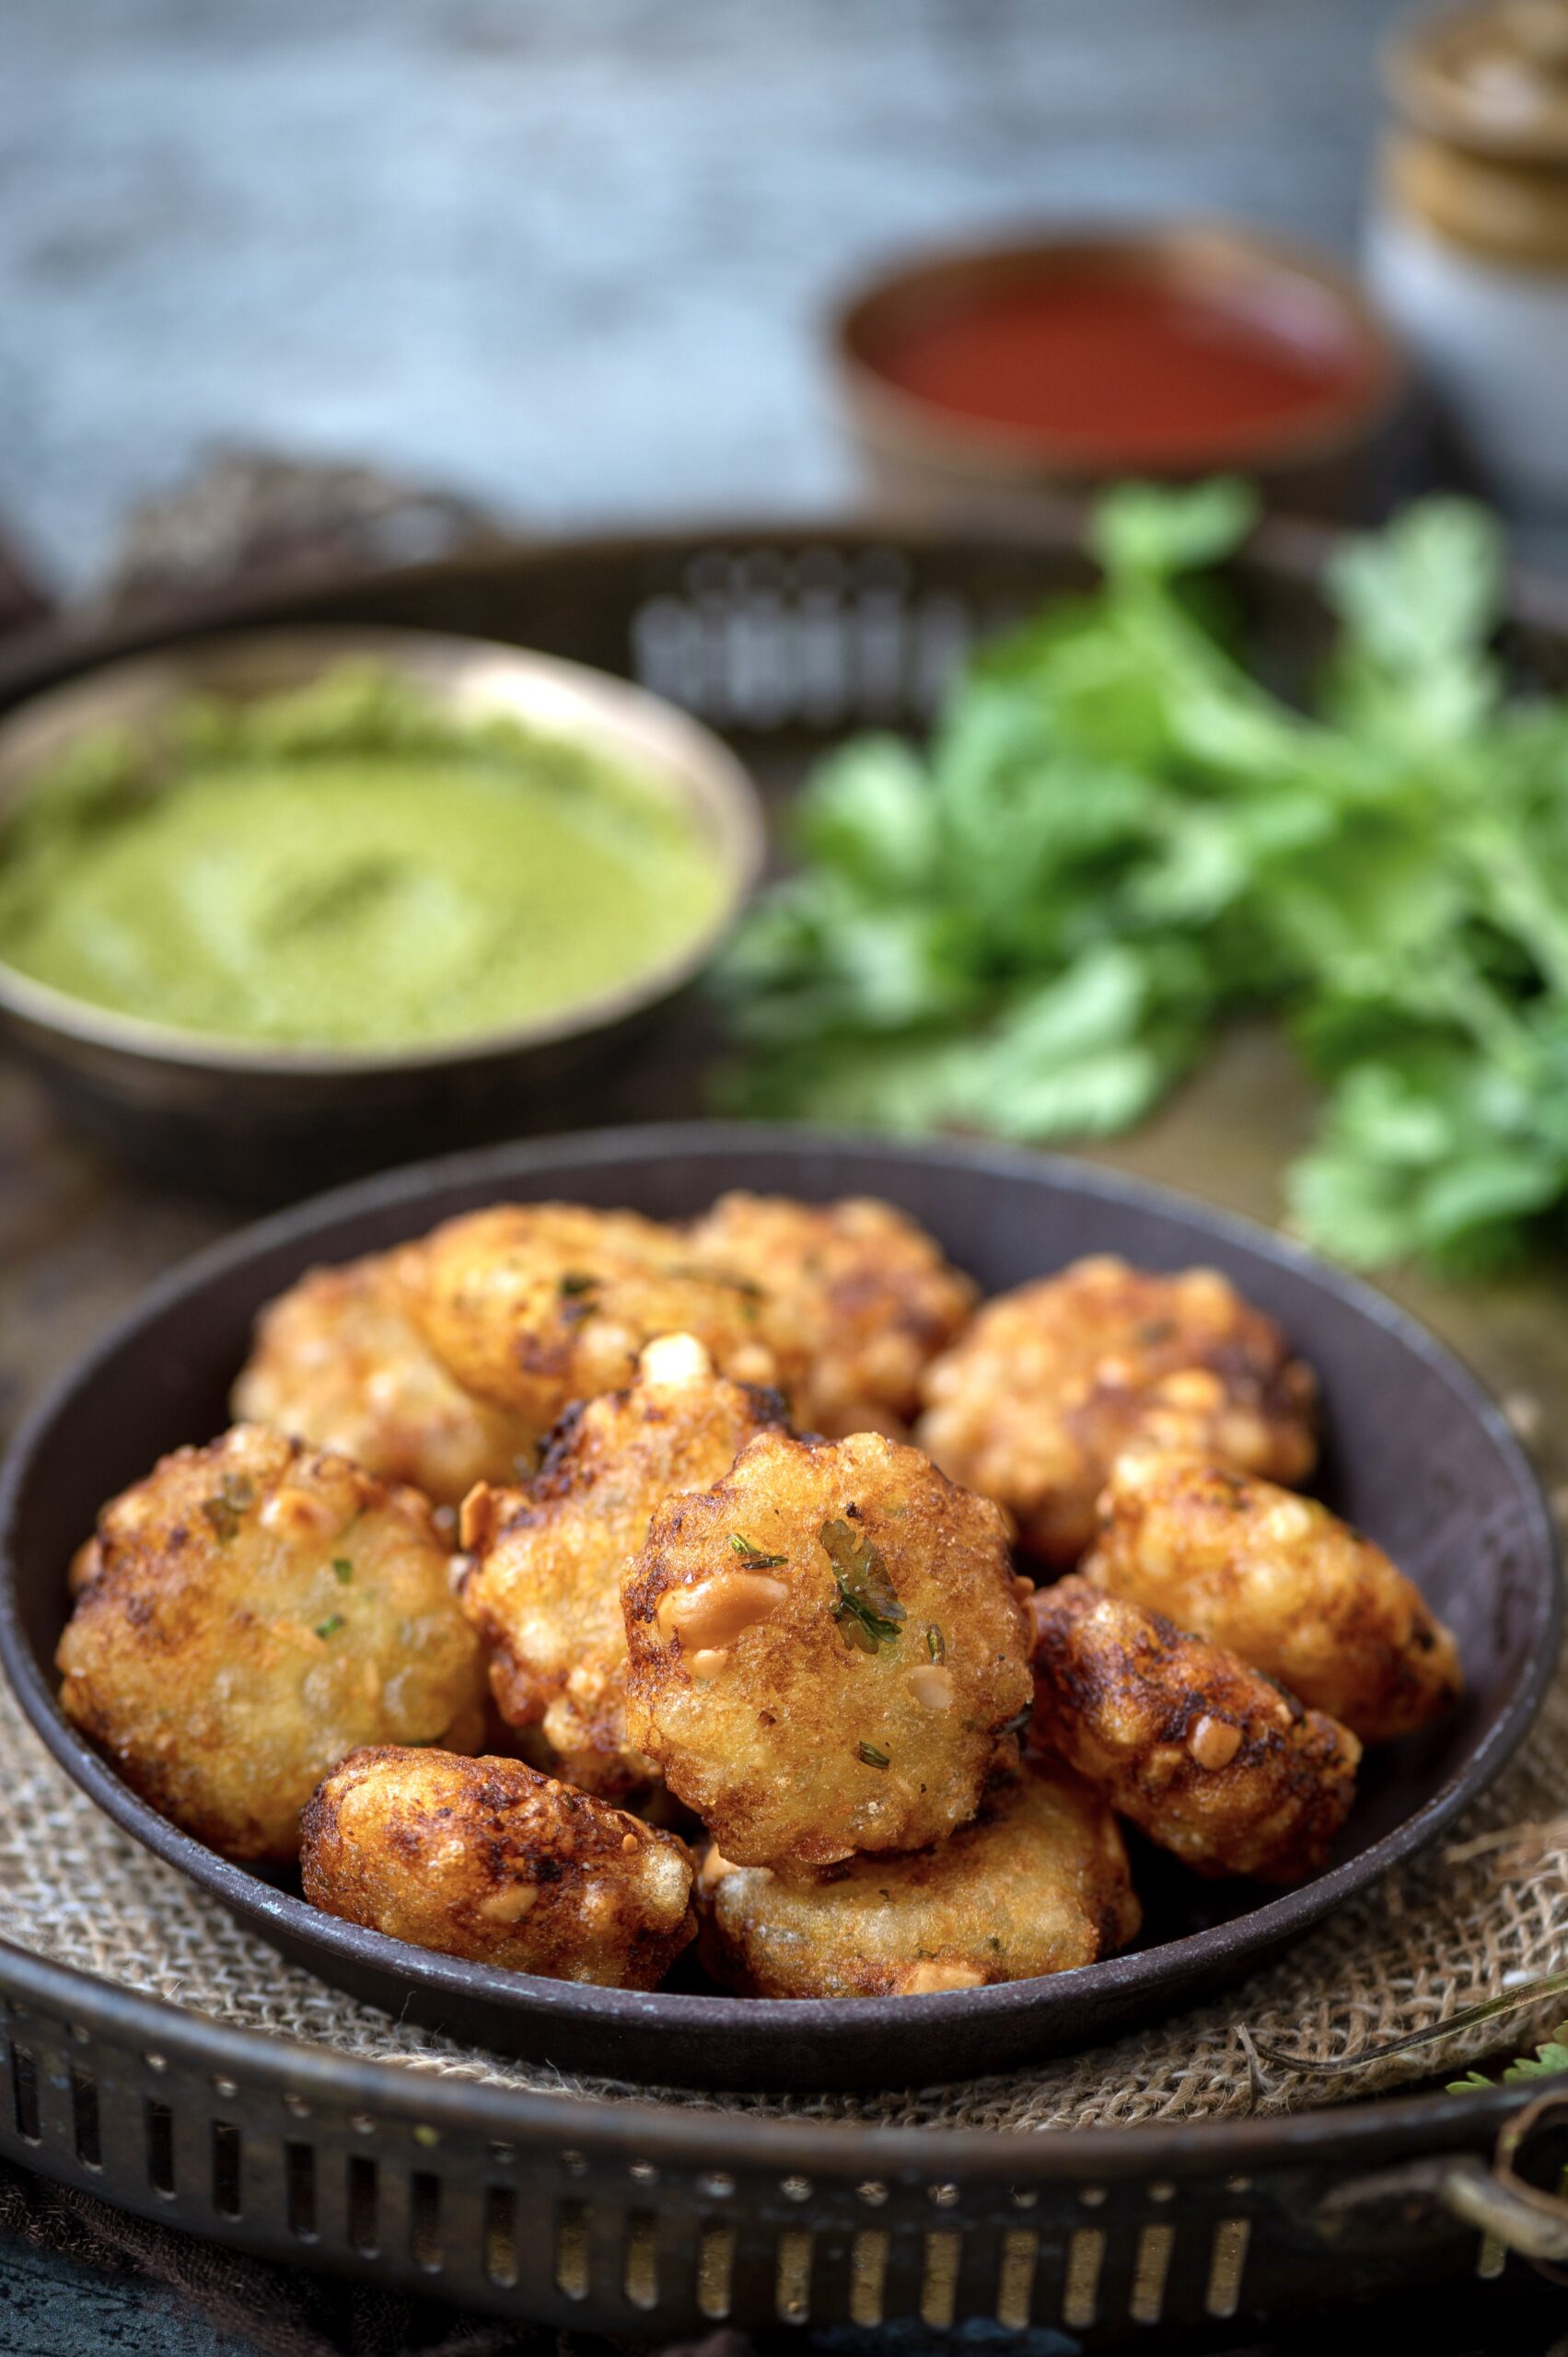
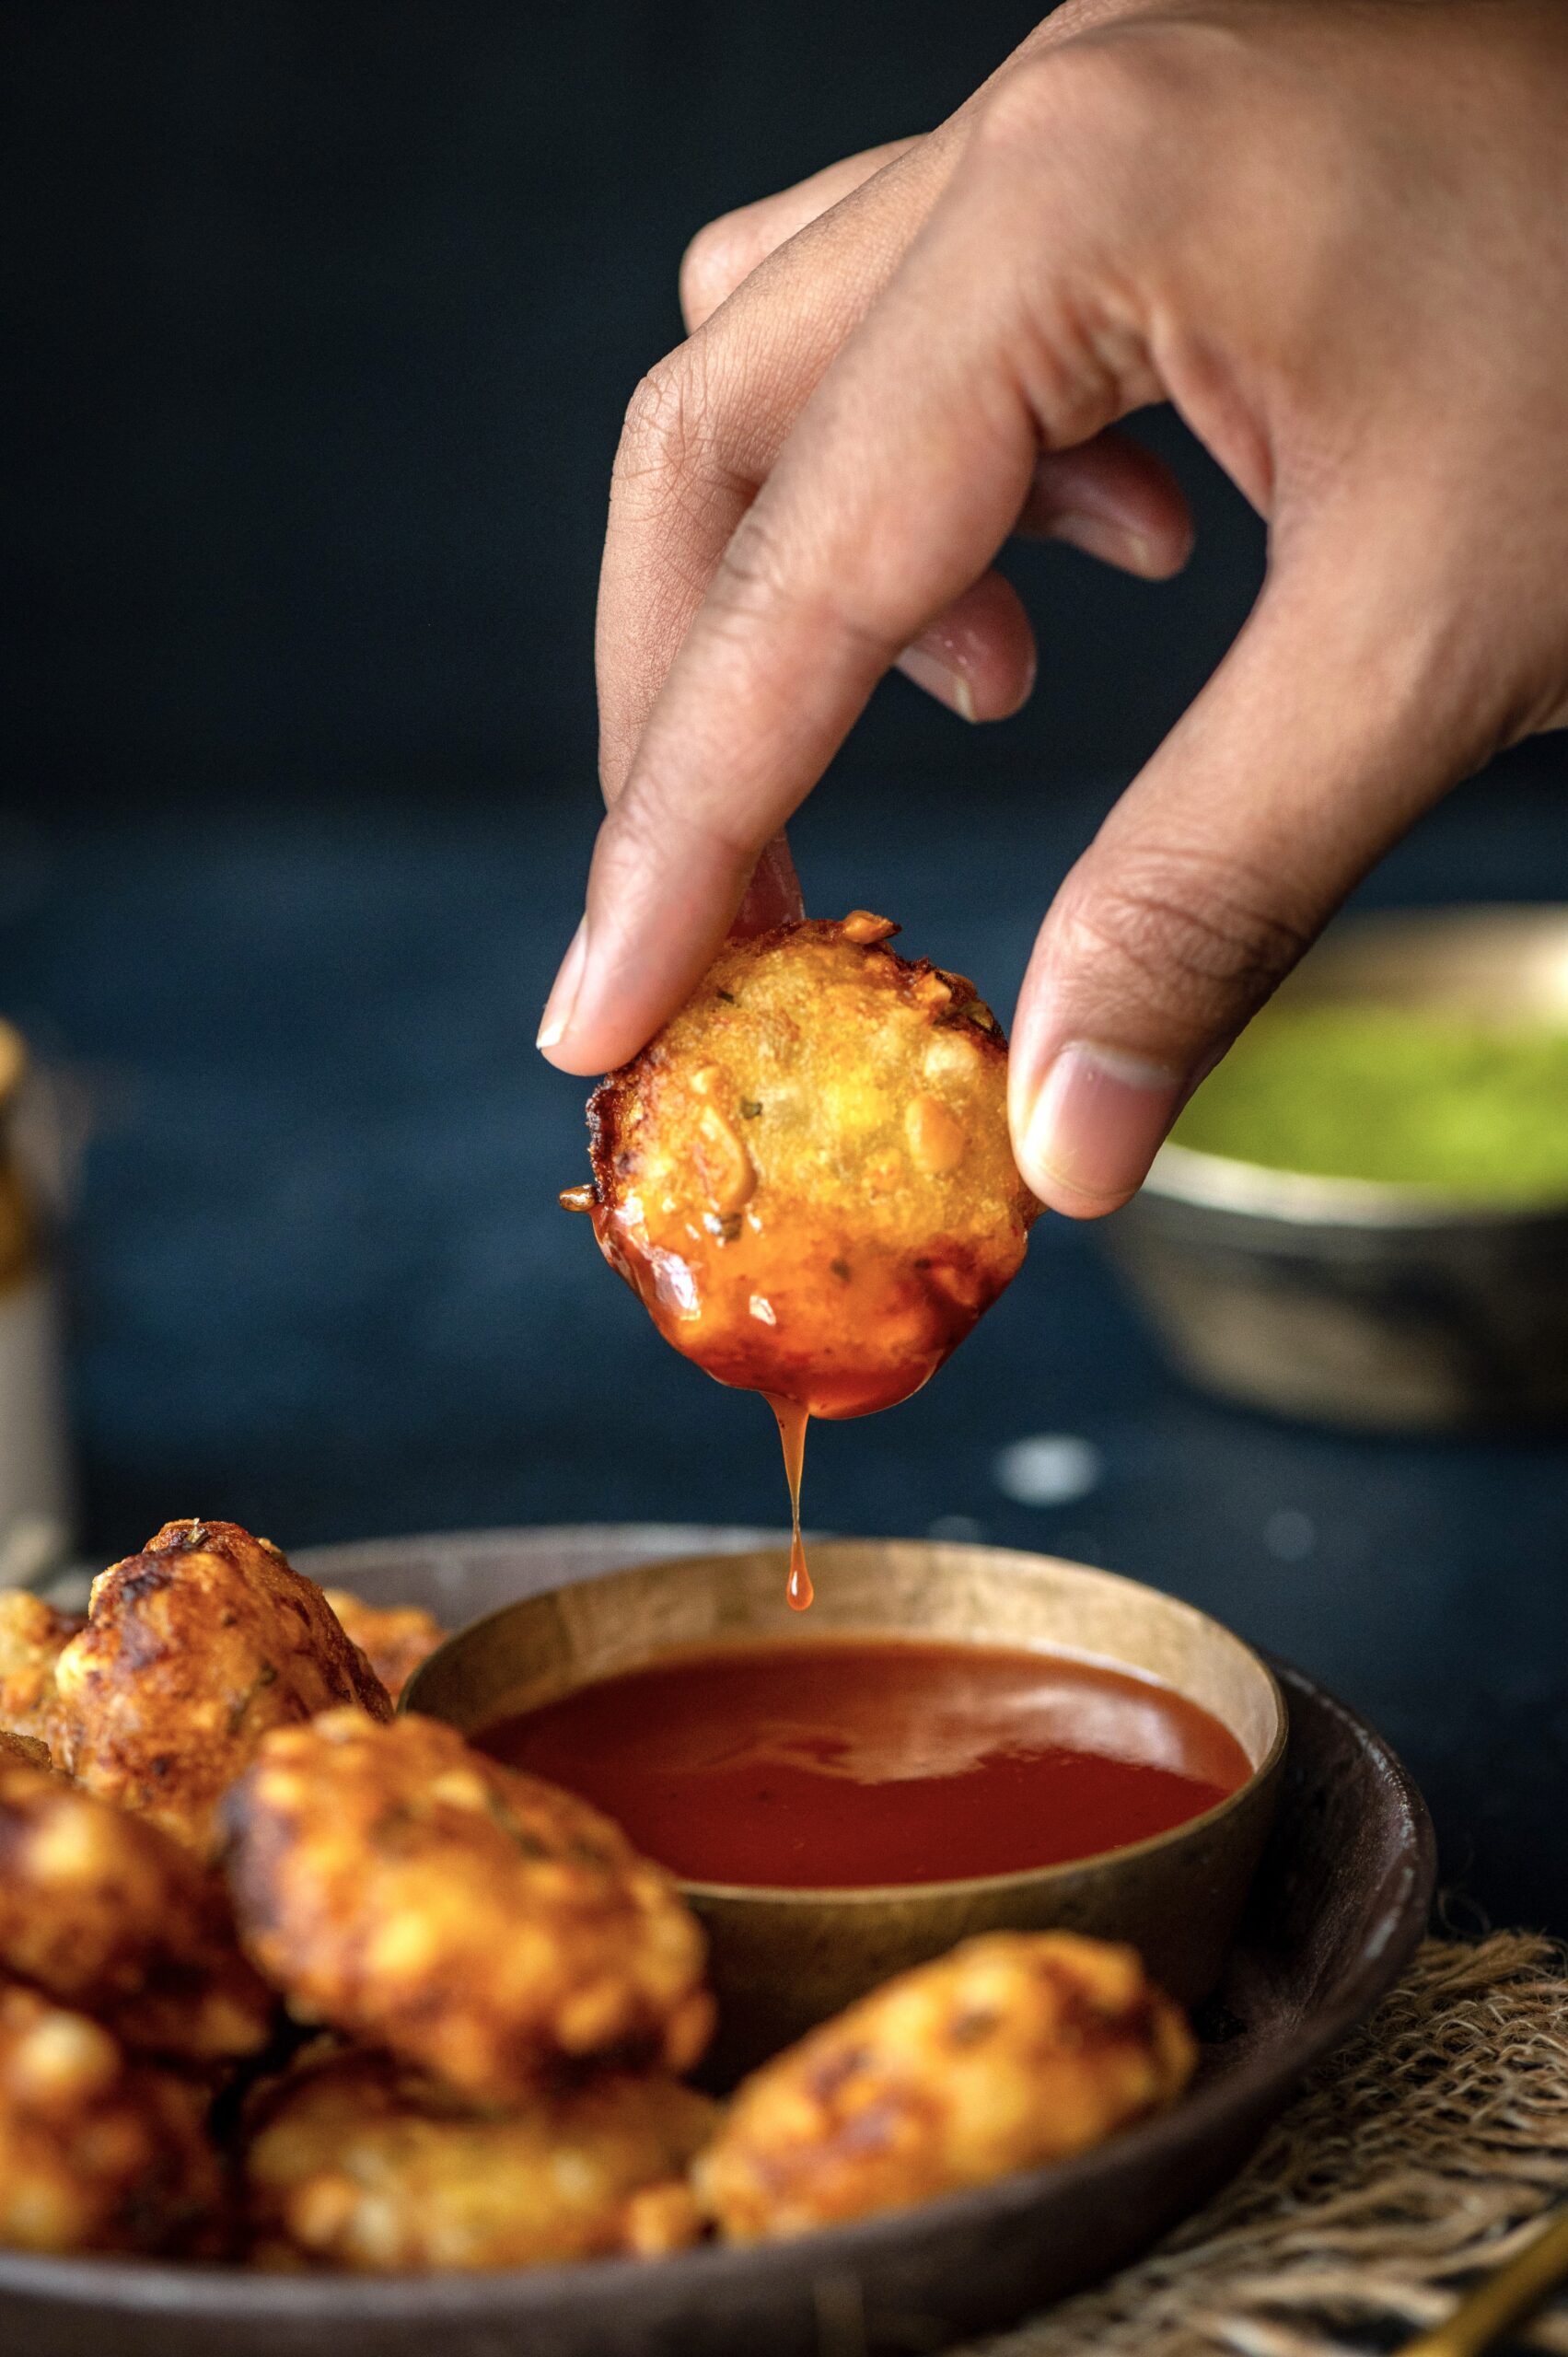
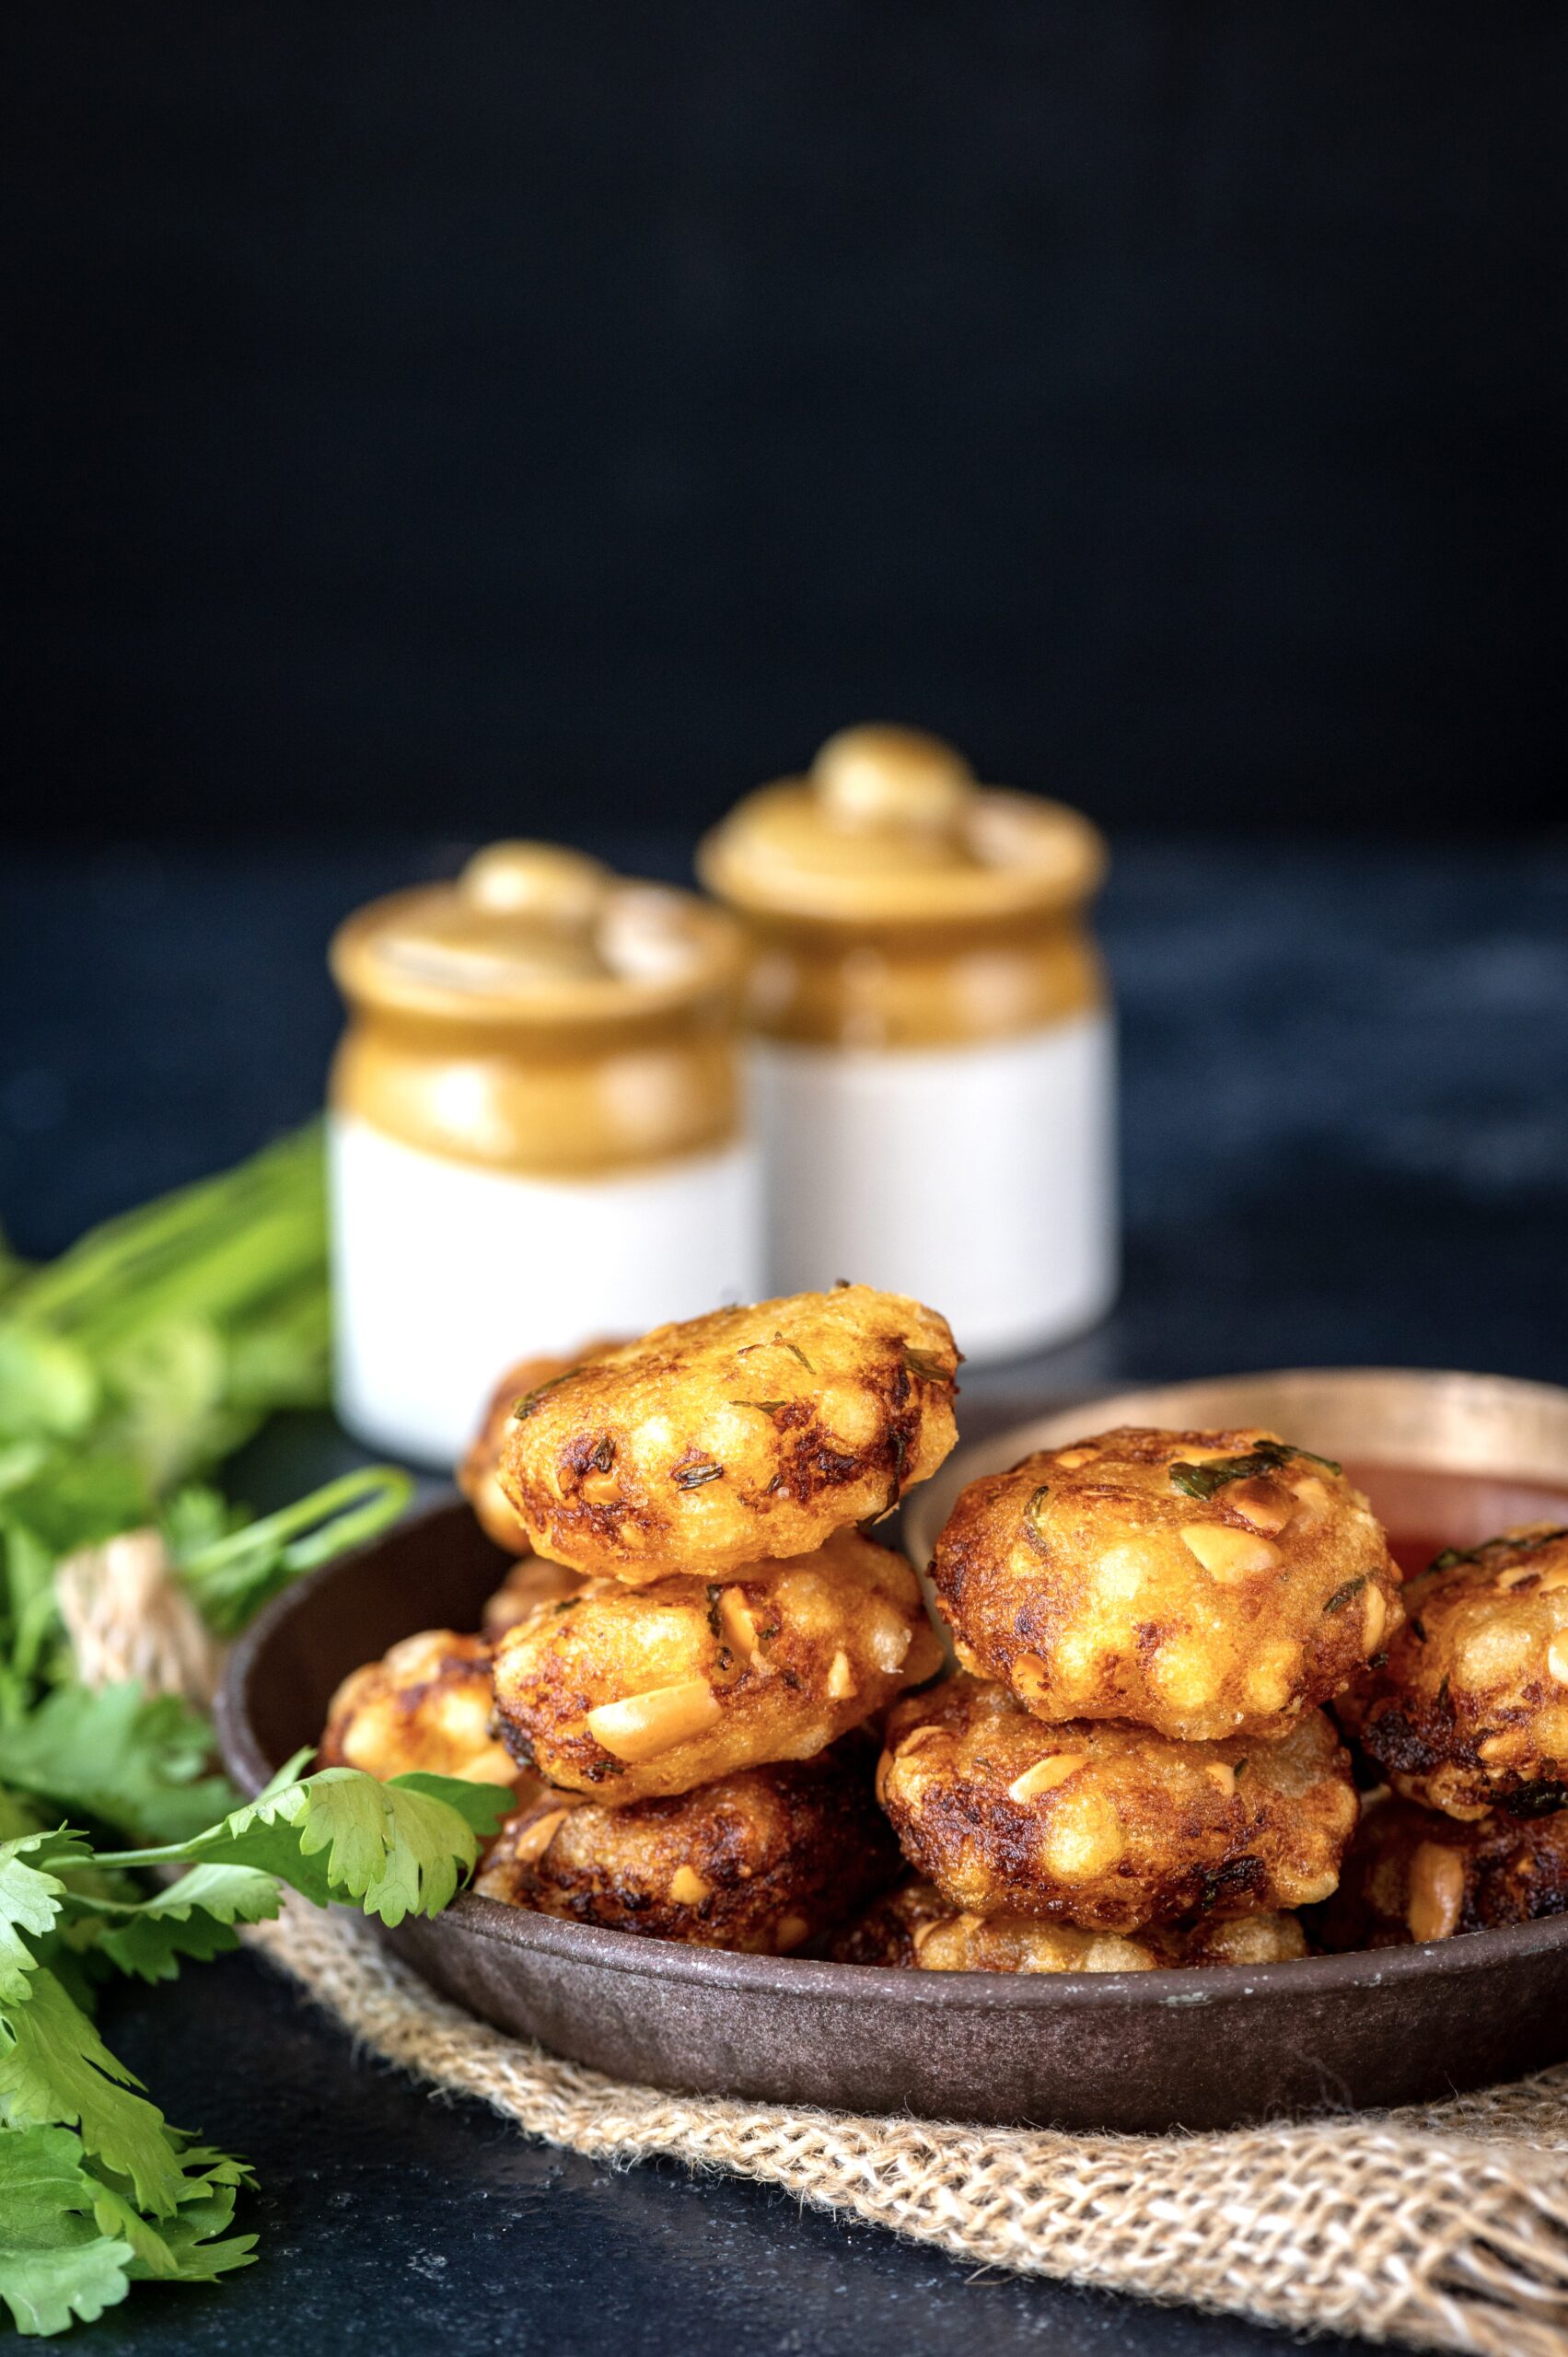
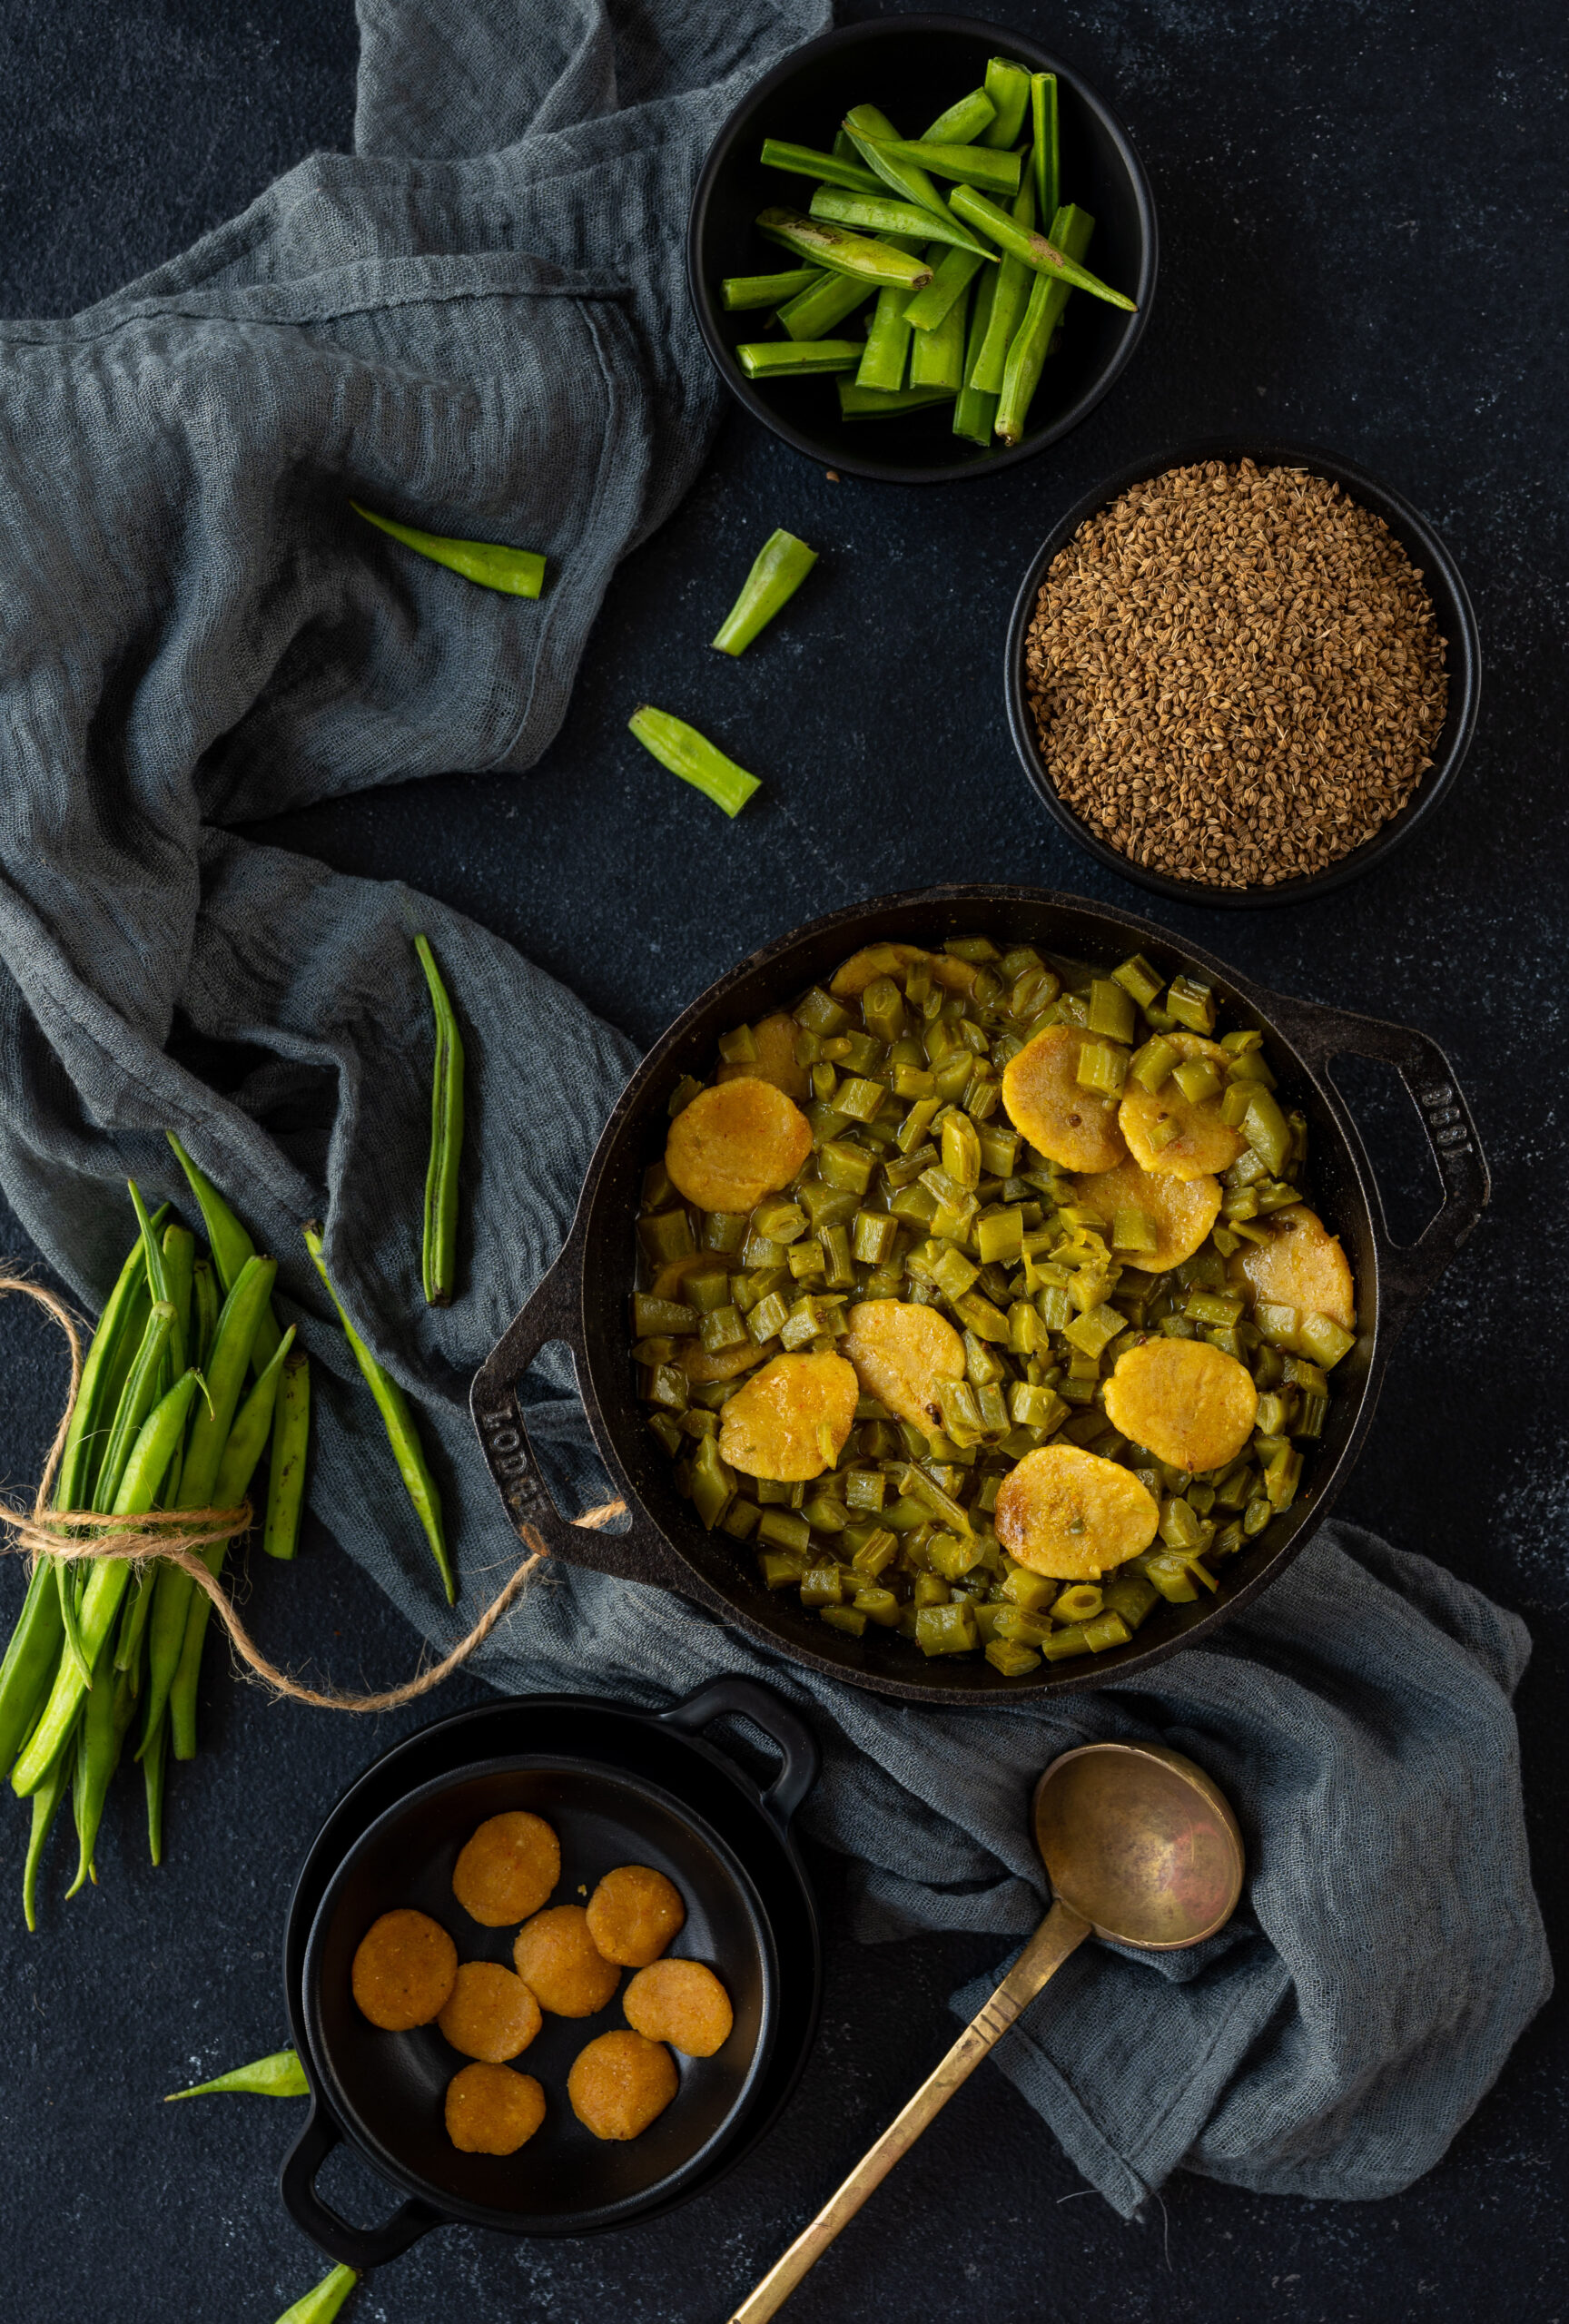
Coming back to today’s recipe, the sweet potato tikki, I would like to add here that the dish itself is quite versatile. It is a healthy choice when you need a fast but satisfying snack, and is great as finger food to serve to guests. How you serve it can also be in a number of ways. You can make it in a chaat or street food-style, serving it plain with a nice dip or sauce. You can make it as part of a meal, accompanied by a salad. You can make it in a longish roll shape, which you then roll within a chapati or roti and tuck away in your tiffin box for a spill-free lunch at the office. One of my favourite methods is to make it as a patty, thus letting you turn a tikki into a vegetable burger. I learned this method while studying Macrobiotics, when a kidney bean patty that I found very similar to our Indian tikkis and kebabs was often used in burgers. In terms of the actual preparation itself, you may choose to deep fry the tikki. I have pan-fried it, to keep it healthier. I have not yet experimented with air-frying, but perhaps you could try that and let me know?

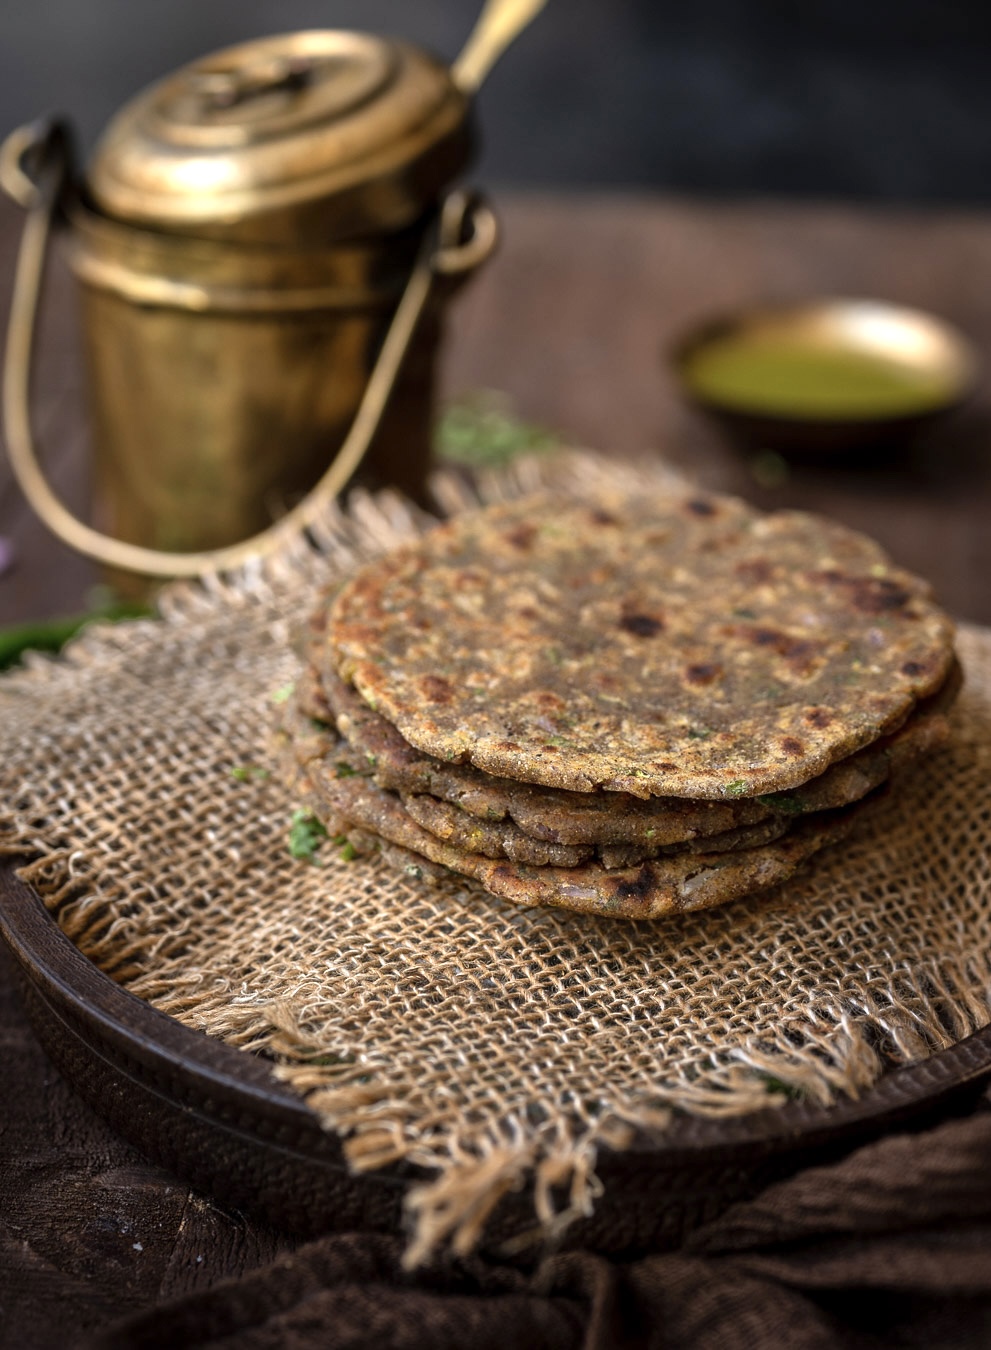
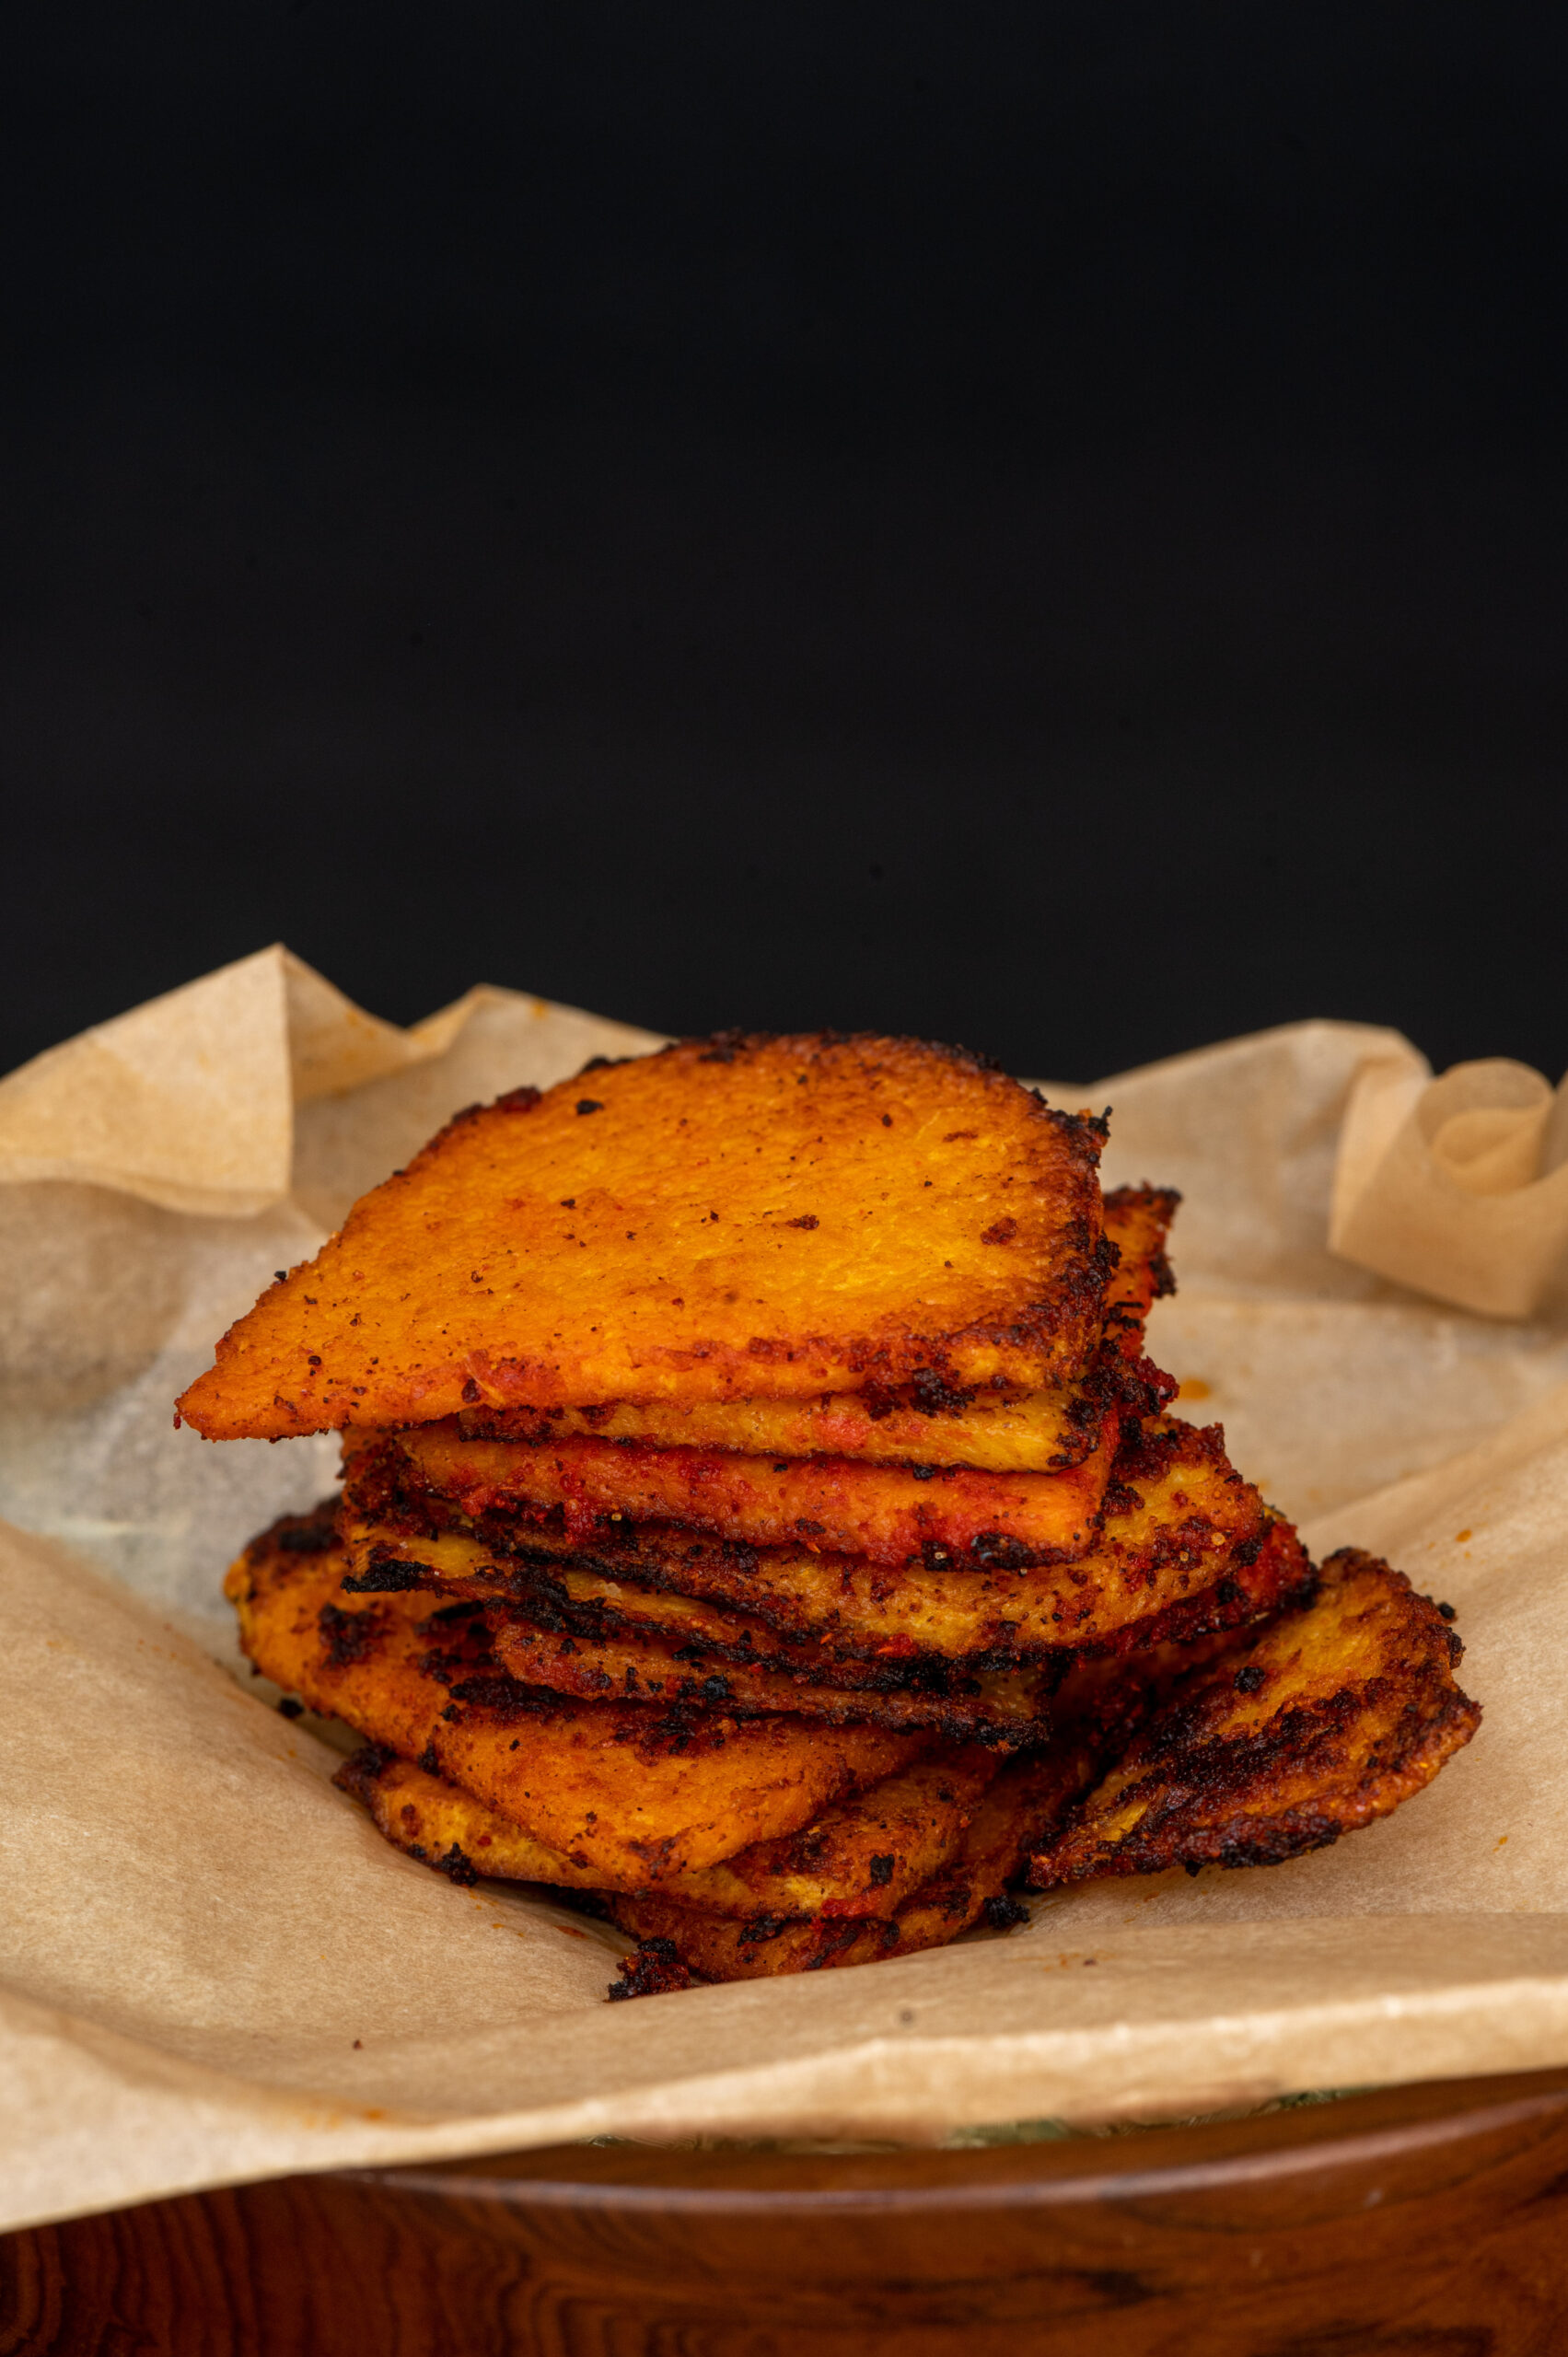
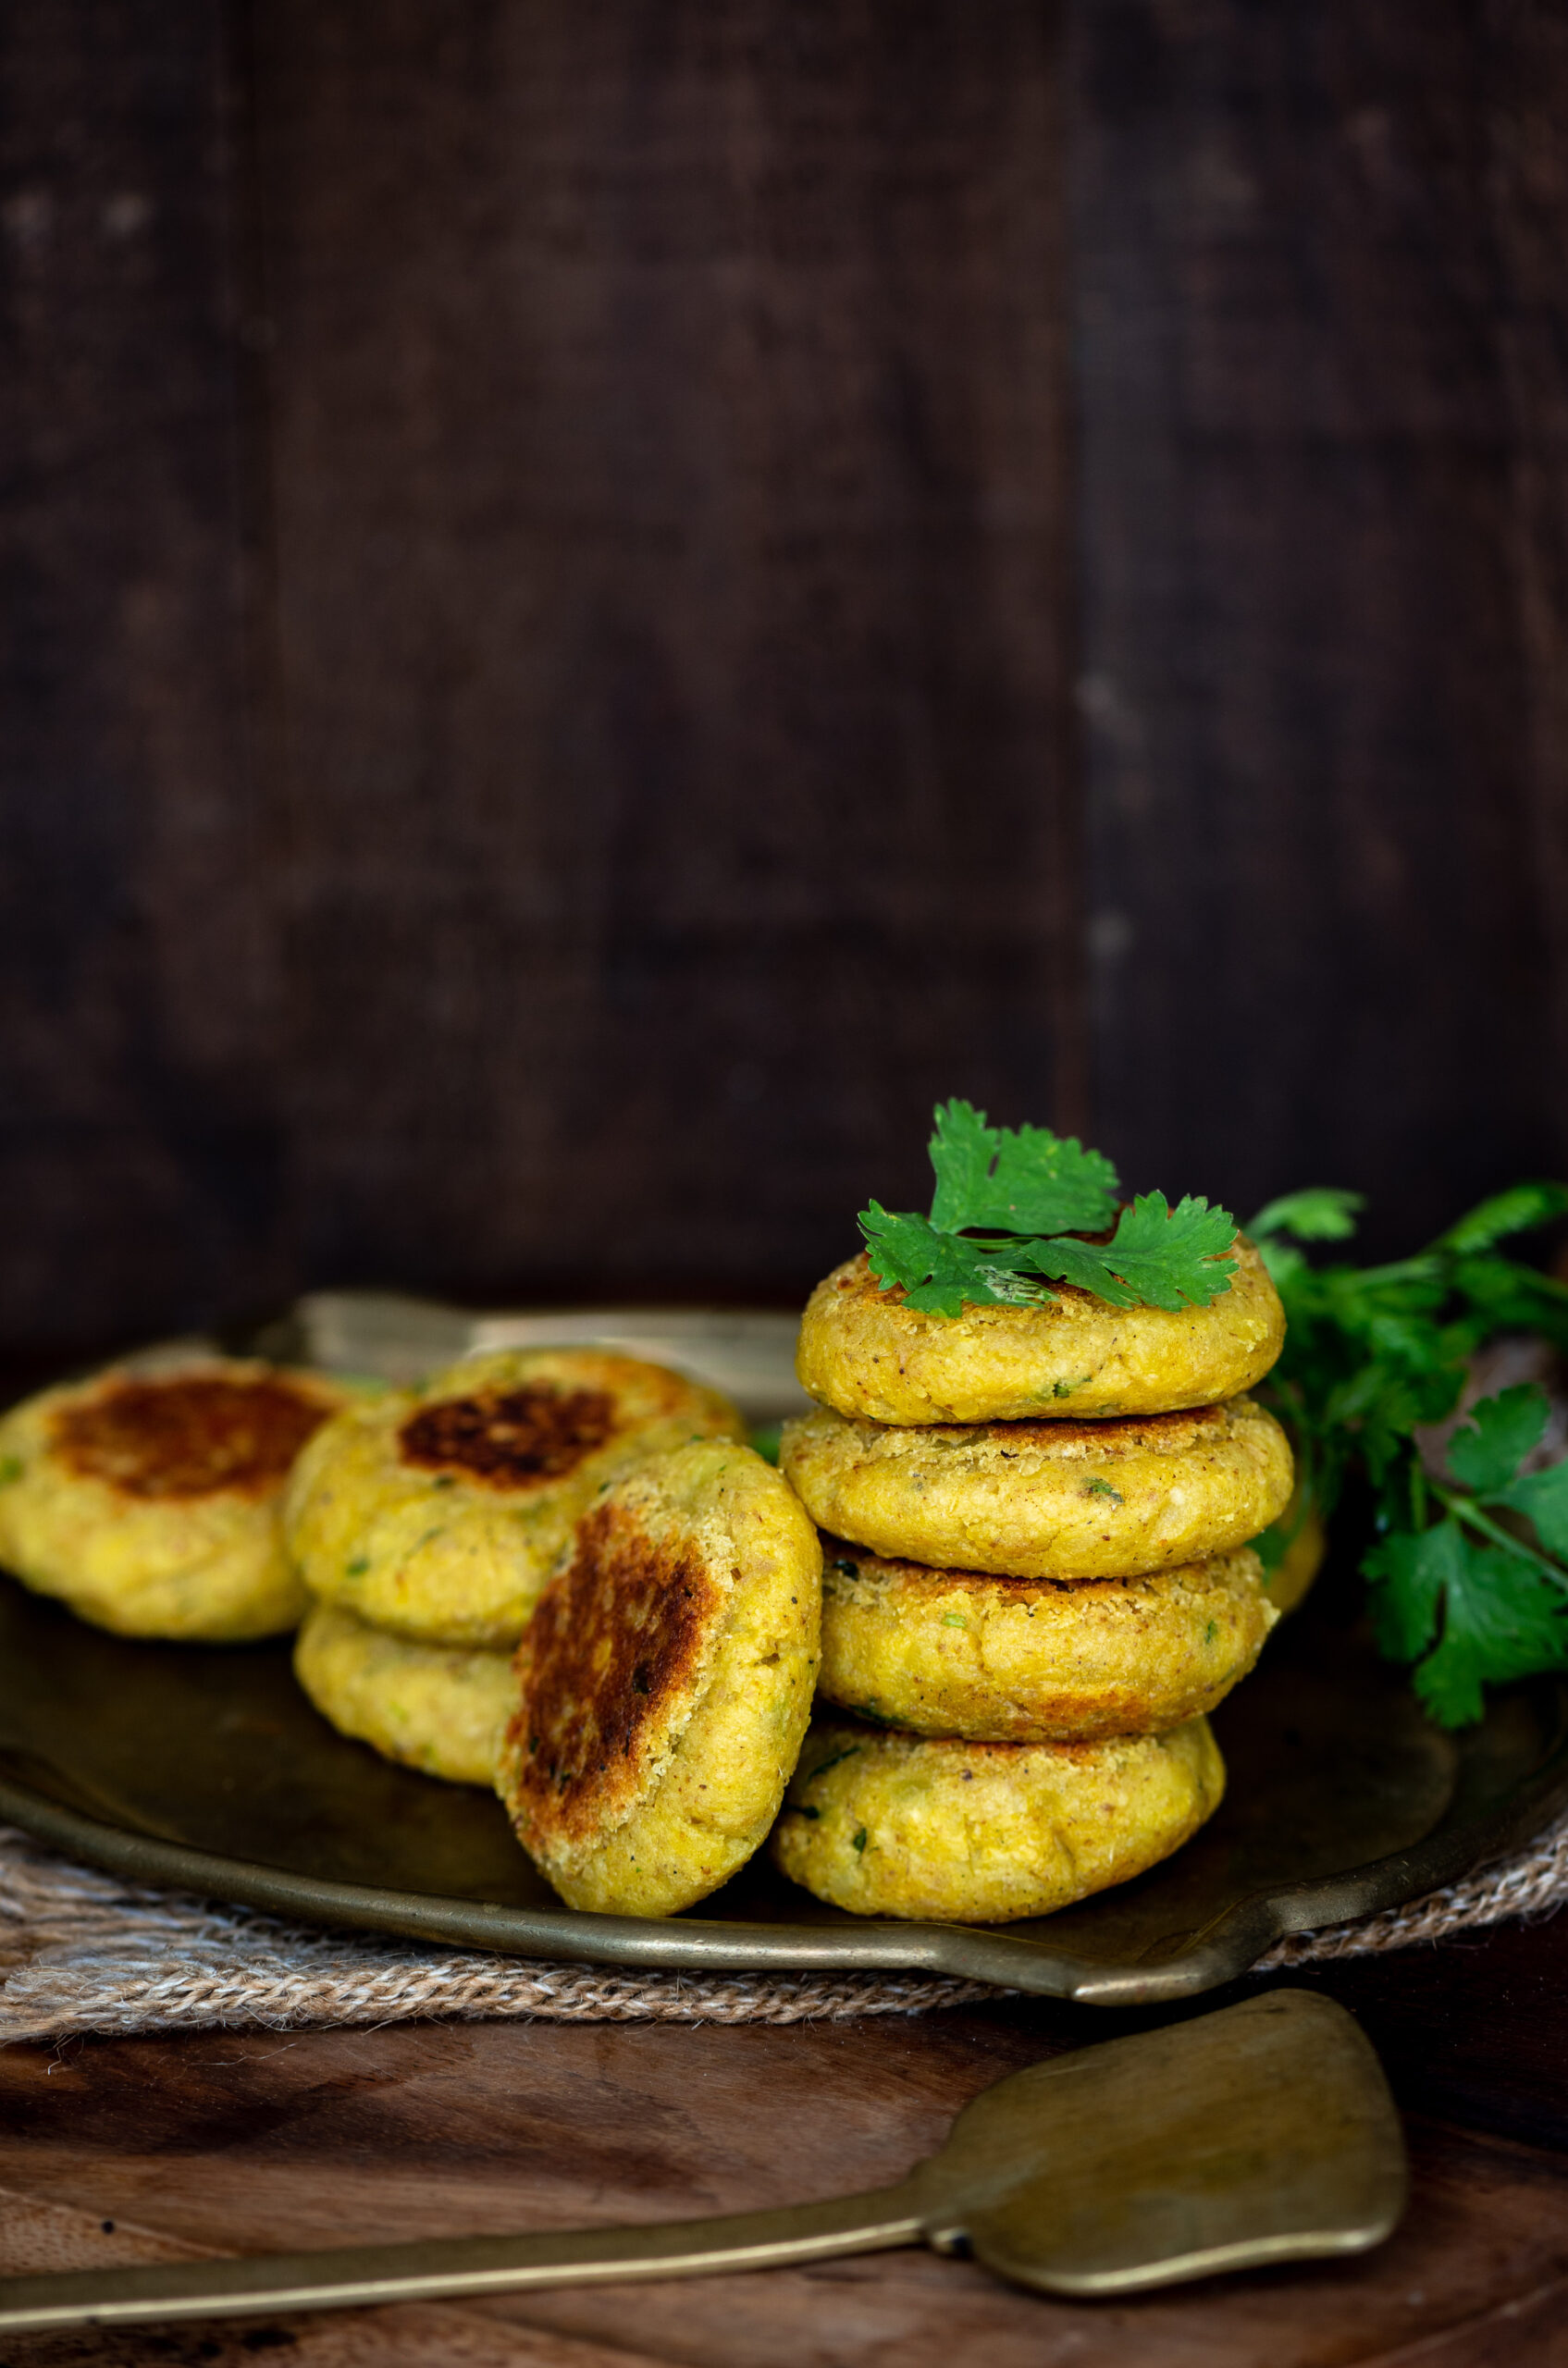
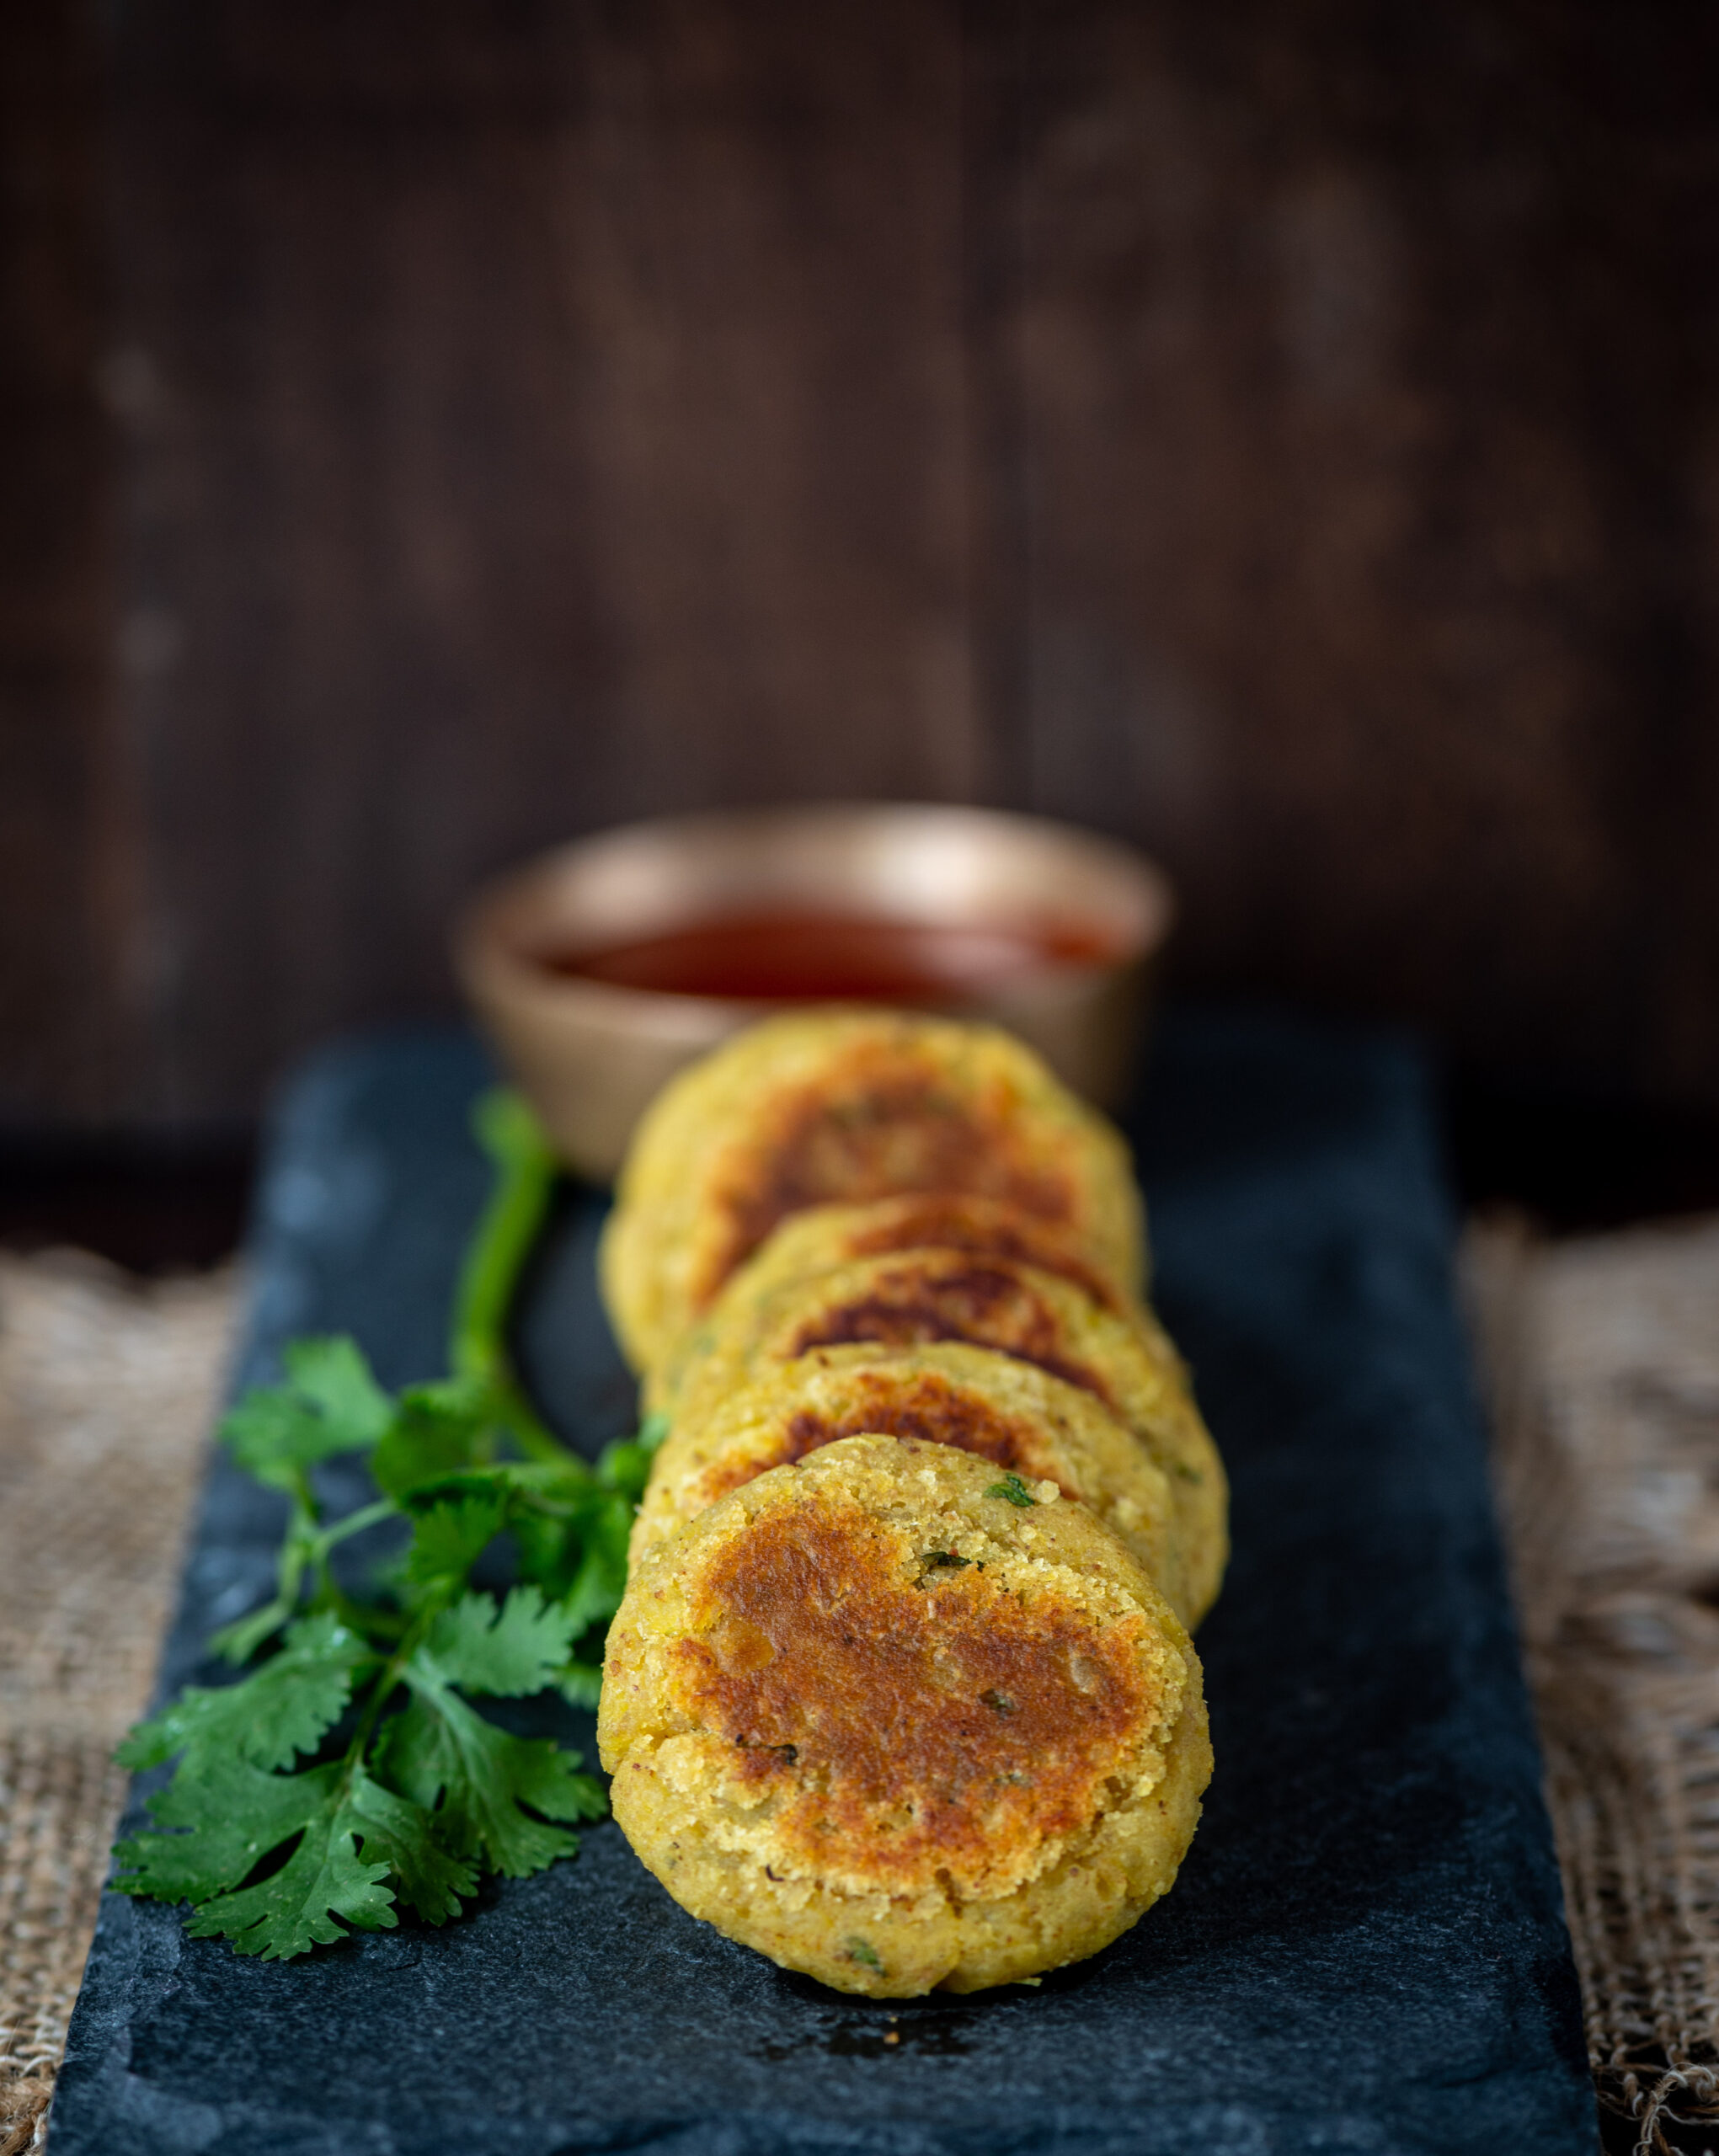
Sweet Potato Tikki
(Yield: Approximately 8 pieces)
2 cups sweet potato (mashed)
2 tablespoons finely chopped coriander leaves
1 heaped teaspoon garam masala
1 heaped teaspoon aamchur powder (or: a dash of lemon juice)
Salt to taste
¼ teaspoon black salt
2 tablespoons finely chopped onion
1 teaspoon ginger/green chili paste
3 tablespoons oats flour (or: tapioca flour)
¼ cup oil
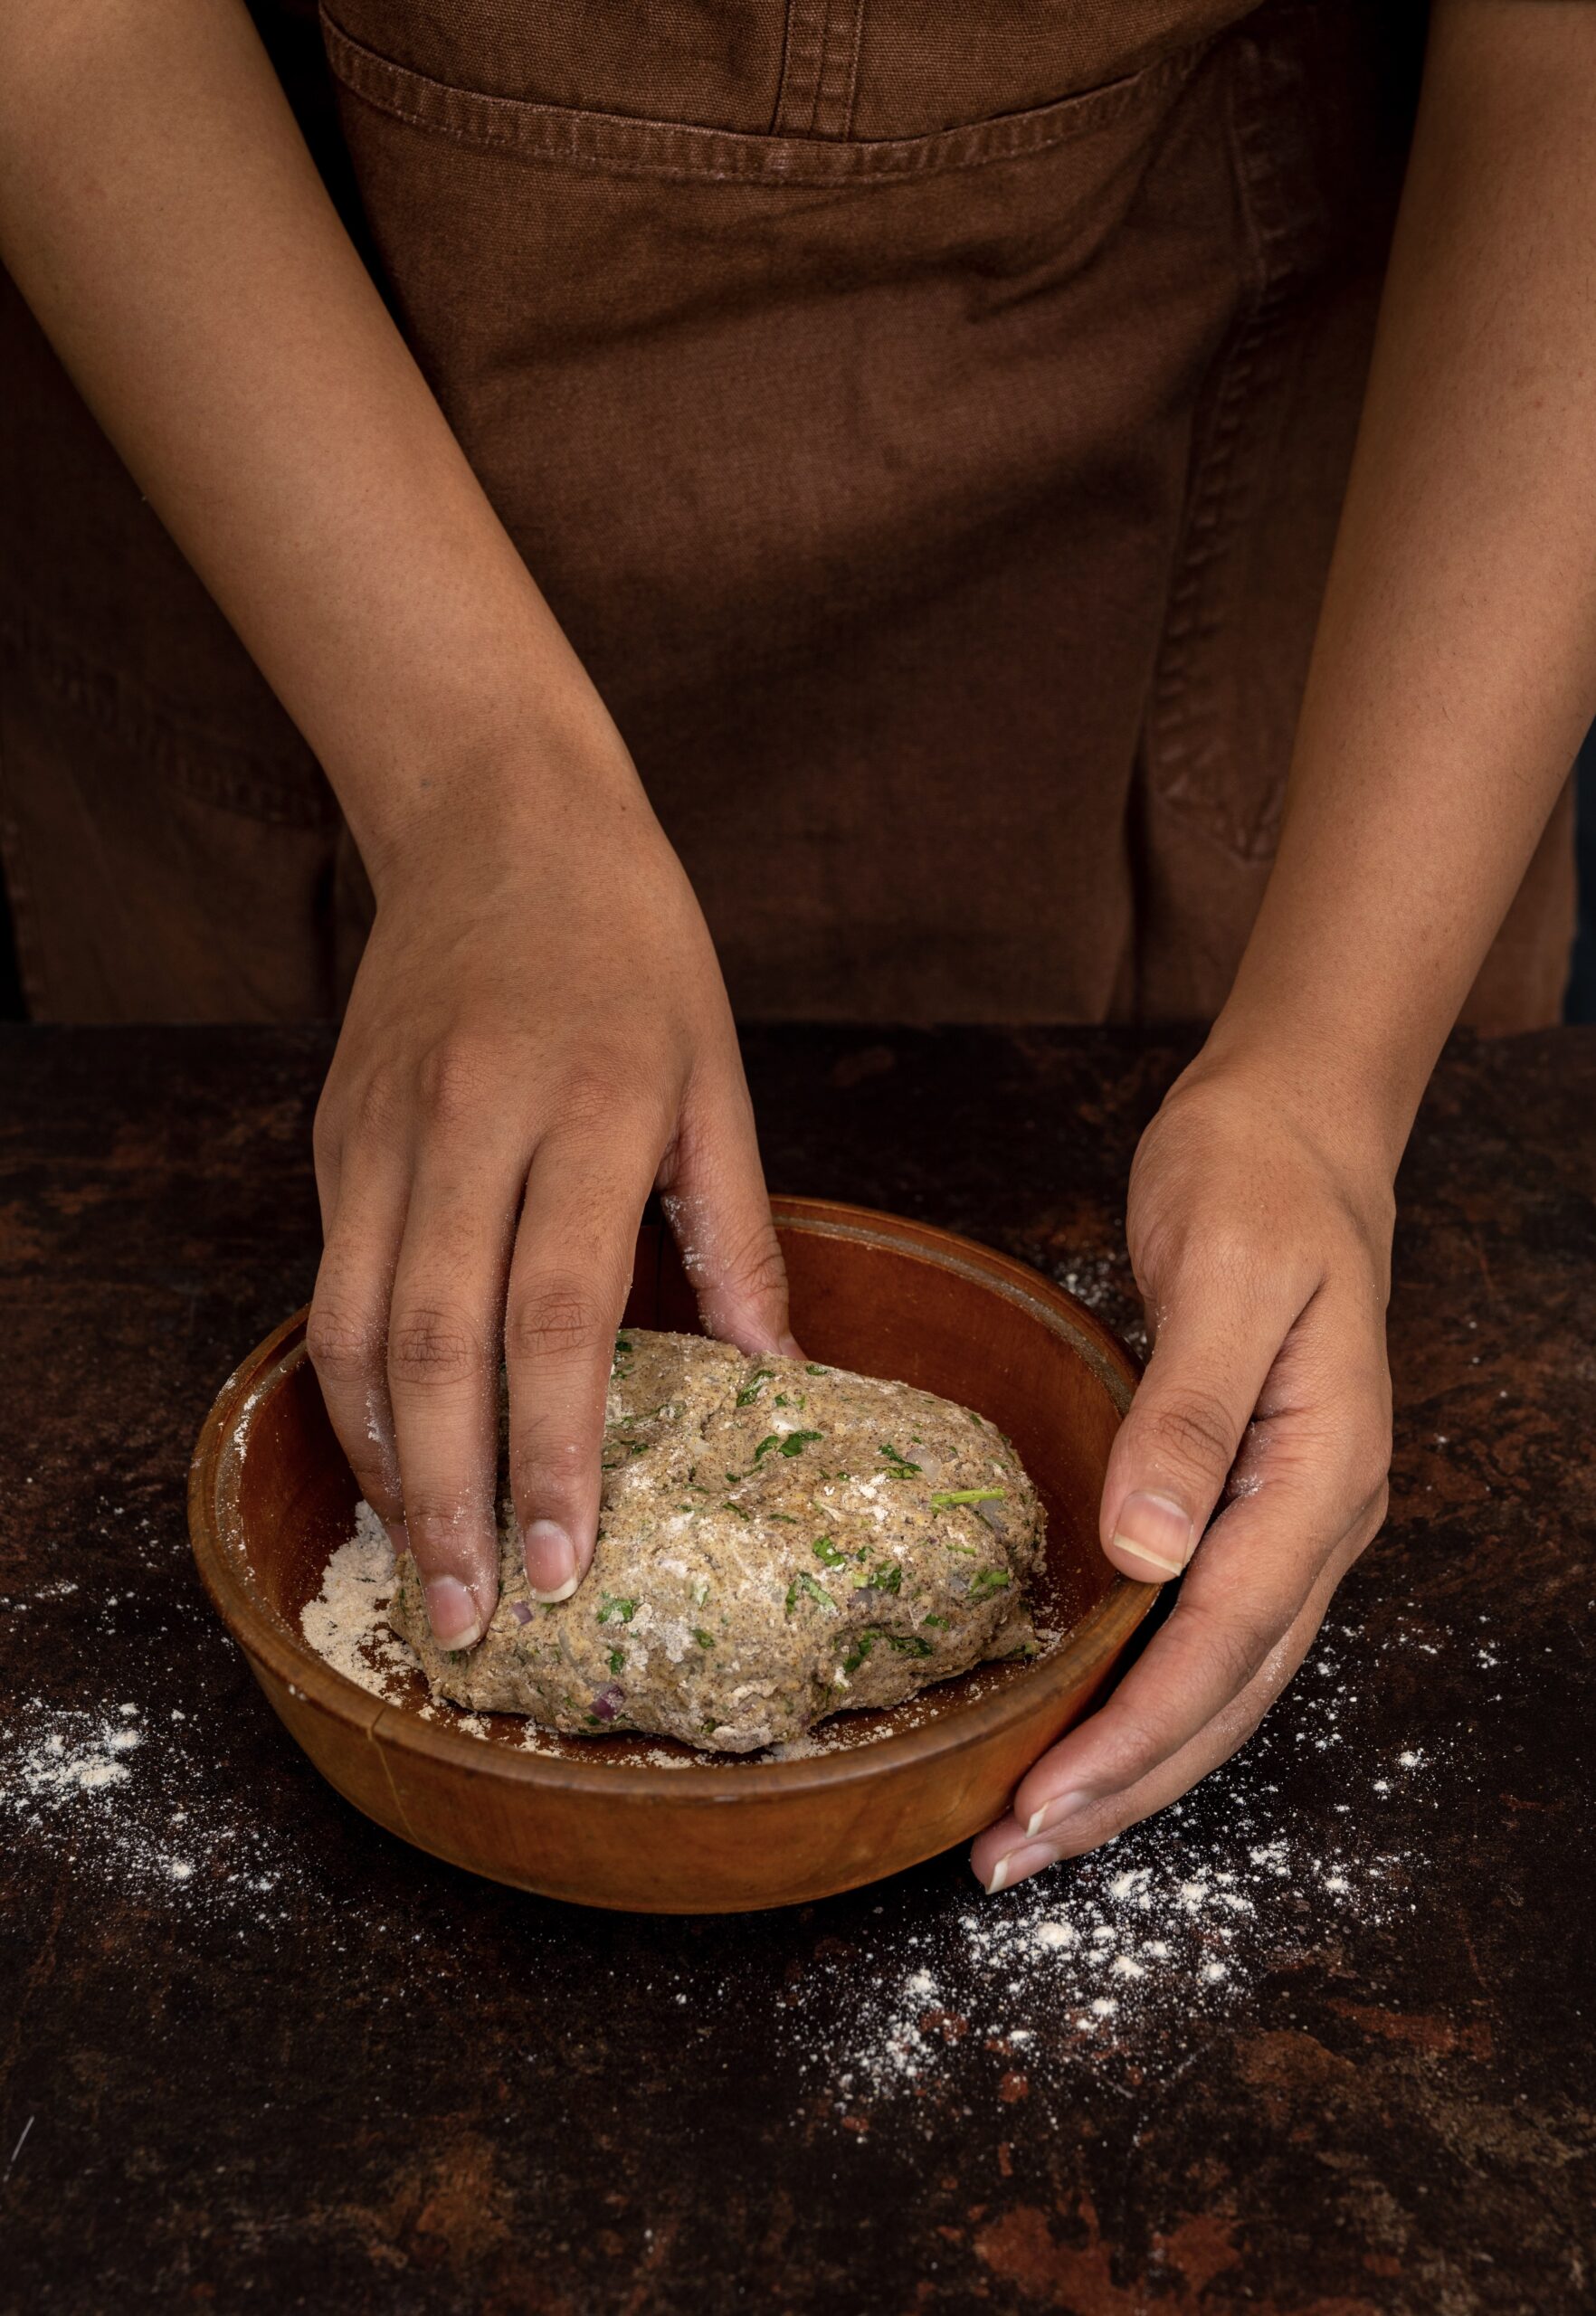
Mash the sweet potato well. Add the coriander leaves and onion. Next, add all the spices and mix well with your fingers until they all come together.
Make small discs with the palm of your hand. Keep the tikkis in the fridge for at least half an hour.
Once they have cooled, heat a pan. Add oil, then place the tikkis on a medium flame. Watch that they don’t singe at the bottom. Lower the flame if necessary. Flip the tikkis gently and allow them to turn golden on both sides.
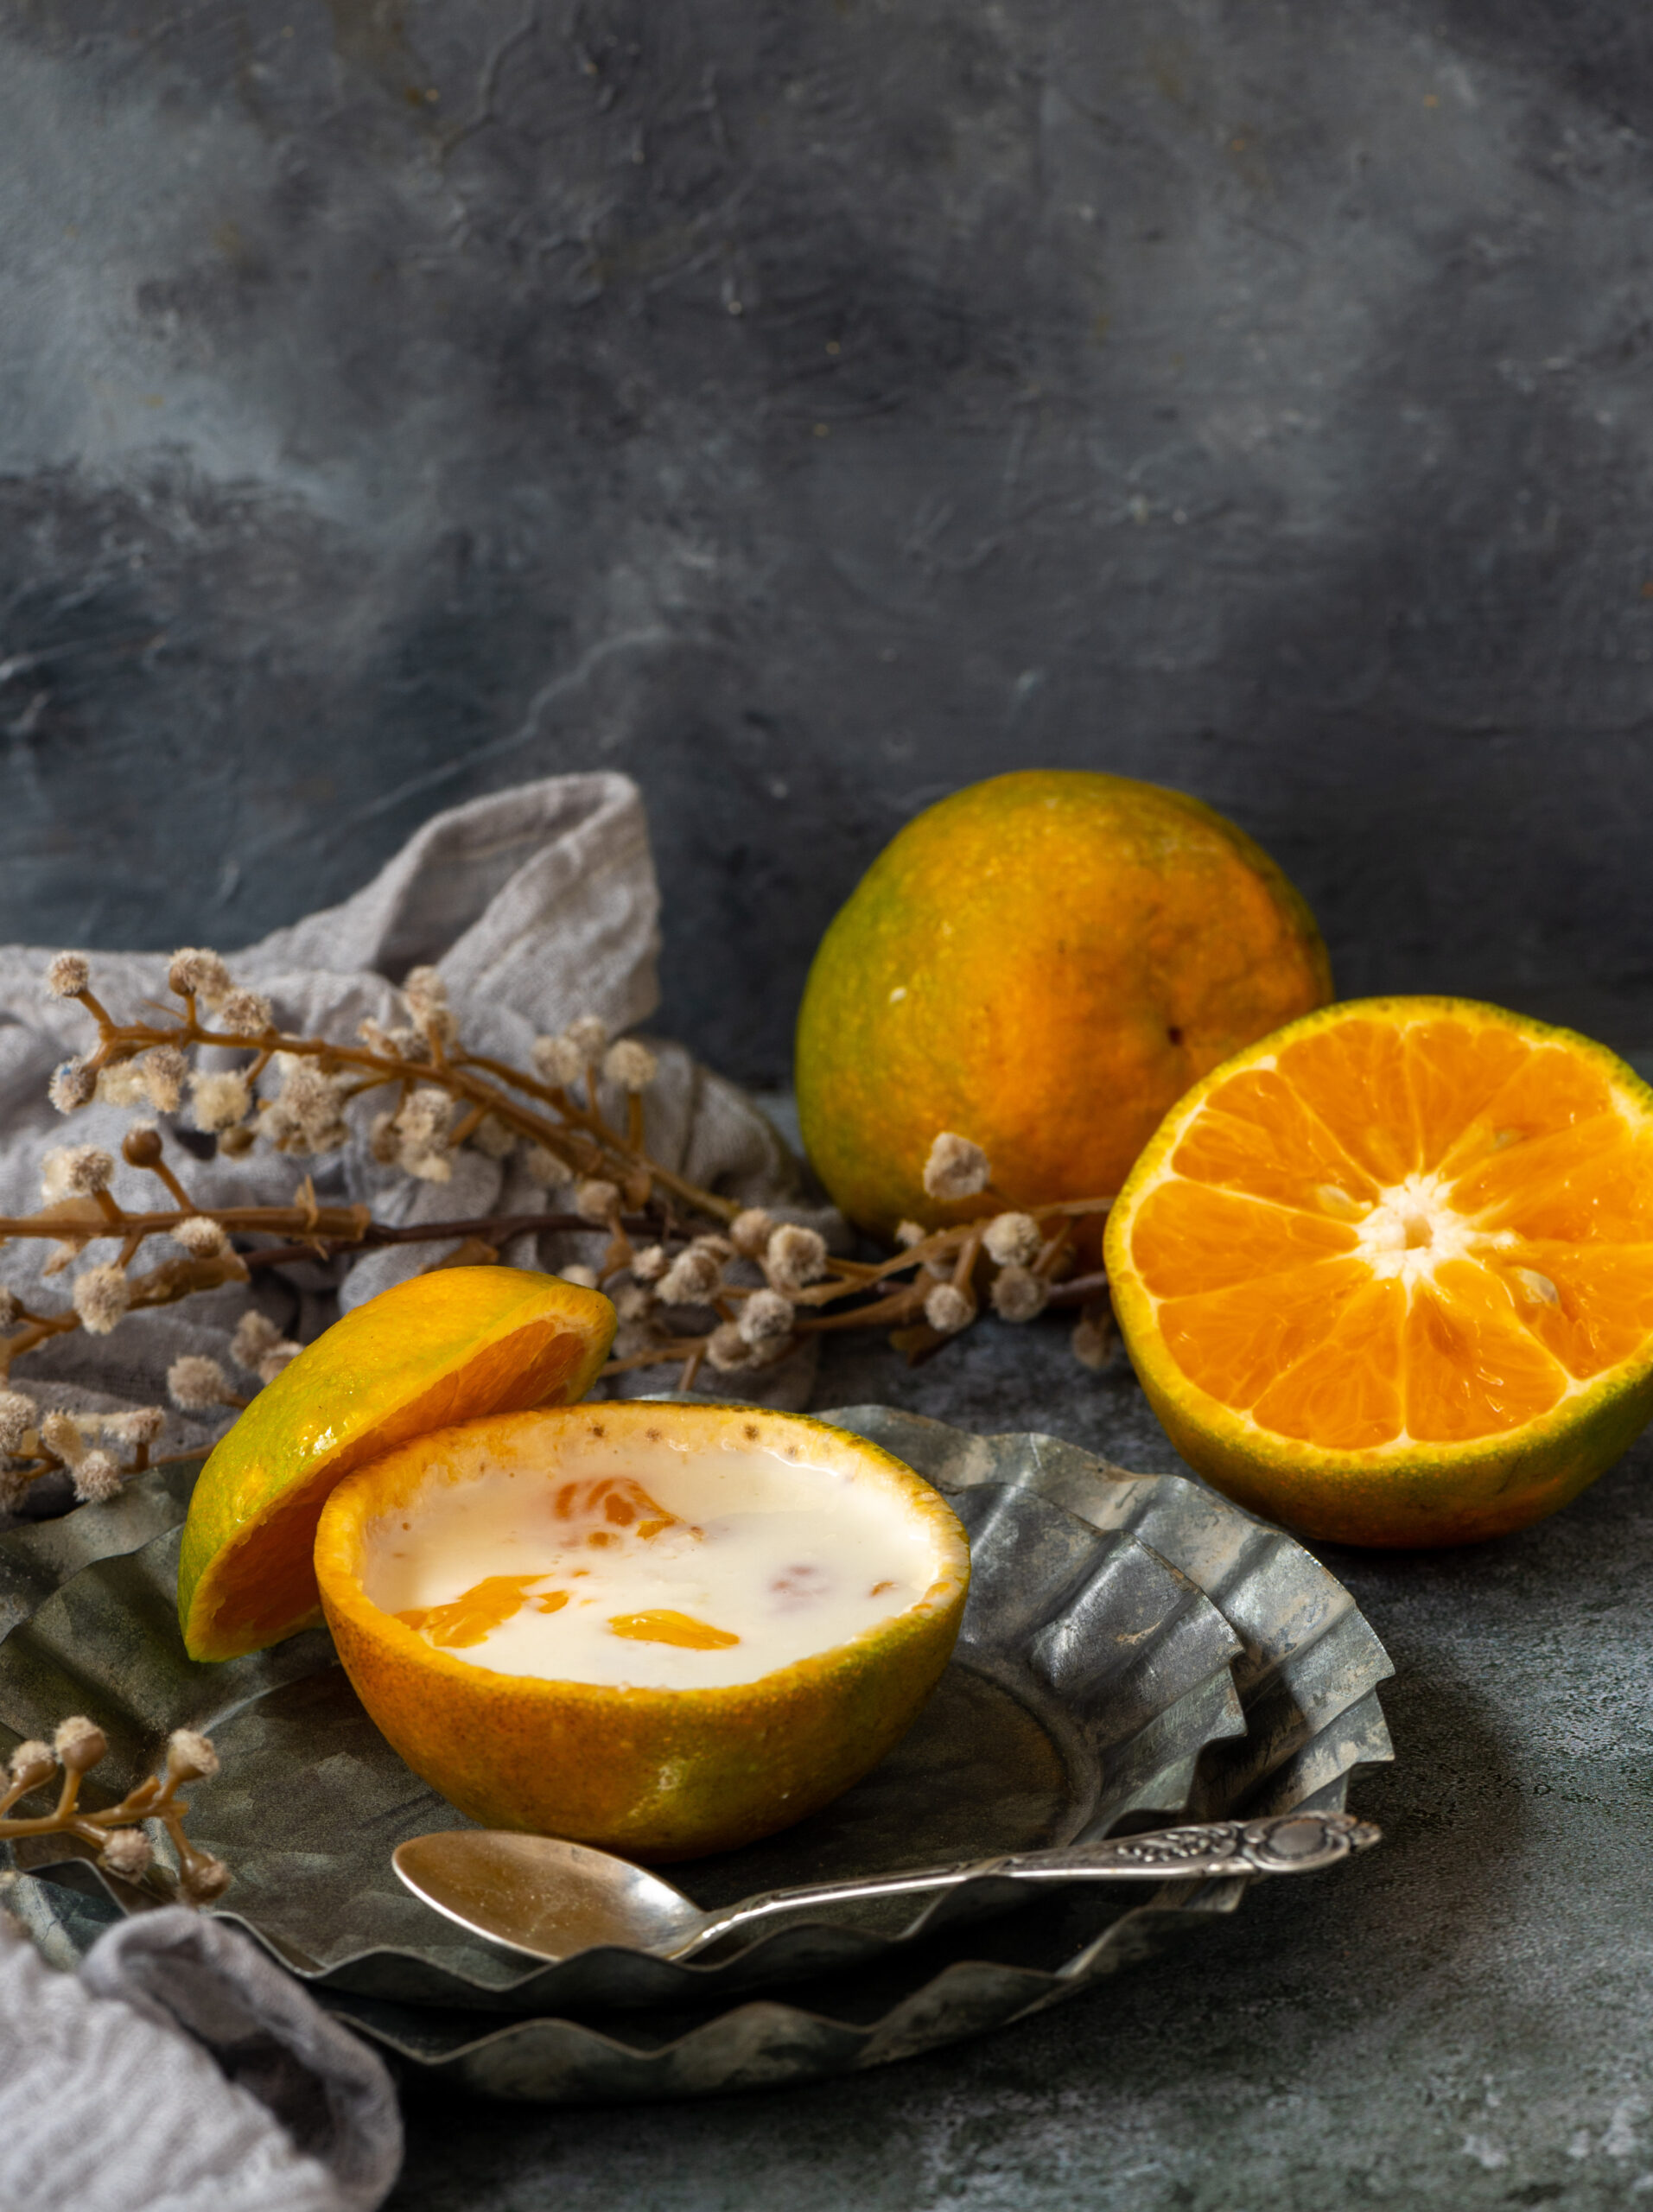
Your tikkis are now ready. Serve with green chutney or ketchup if they’re going to be a snack, or with a salad for a hearty meal. In fact, that reminds me of another way to kick up the sweet potato quotient in your diet, with this sweet potato and mango salad, especially with the fruit soon to be in season!
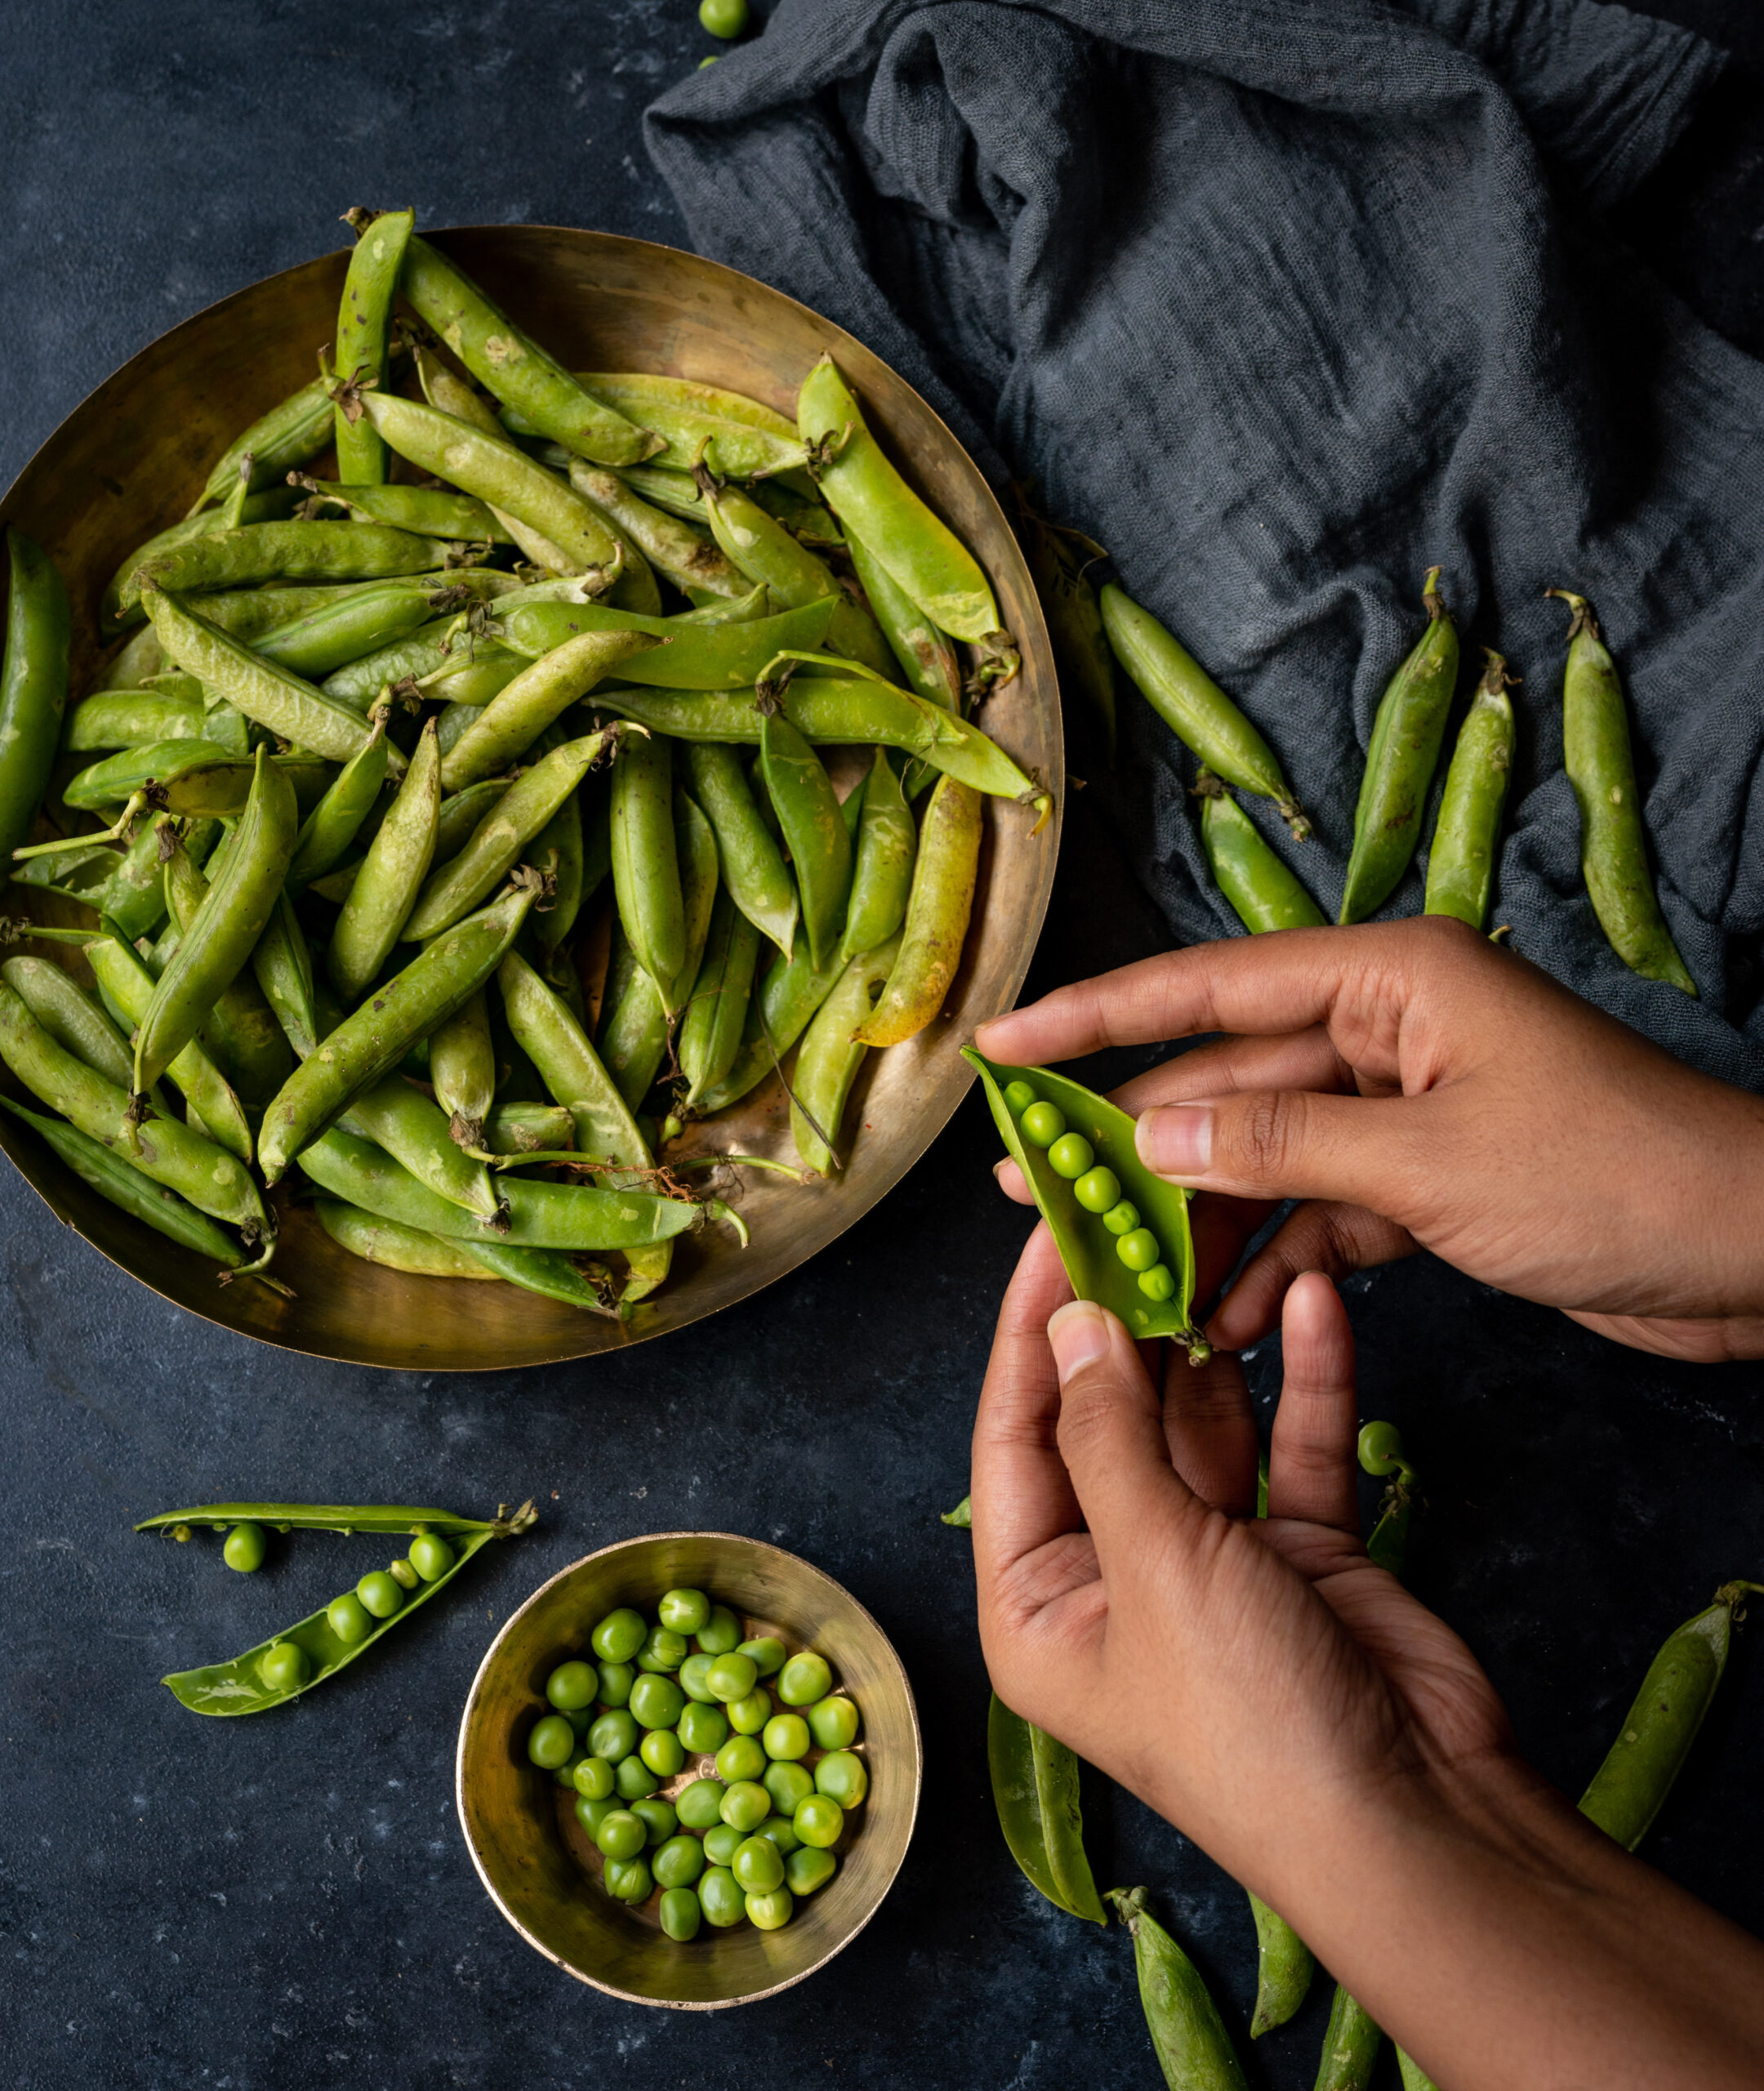
If you enjoy this recipe, you may also be a fan of the harra barra kebab, which uses green peas. That one lends itself especially well to being used as a burger patty. As always, I’d love to know what you think after you try these recipes out. Do leave a comment and let me know!