I have mentioned before that I go through phases when I binge on particular dishes, and right now, I can’t get enough of sweet potato chaat. Chaats are a category of Indian street food, and while it may be true that authentic street food is only found at roadside stalls, I love the healthier versions I make at home just as much. This one is especially so because it replaces the standard puri (a kind of crispy, round cracker) that is the base of many chaats with cubes of sweet potato. Sometimes I even pile on some extra roasted vegetables and this really boosts the nutrition quotient of this fun snack.
My version is made so that it is essentially the equivalent of an Indian salad, and I have a full plate’s serving of it. When I have it around 6.30pm, it is so filling that it can become my dinner. It’s a no-guilt chaat, and is pretty good for you, not just good to eat. The sweet potatoes are boiled then roasted with very little oil, made as crispy as possible. These are layered with mung beans, vegetables, dry masalas and the delicious chutneys that I always have around the house. Date and tamarind and green chutneys are kitchen staples in my home and lift up the flavour of any Indian dish. I use just a little of the date and tamarind chutney – the date contains jaggery and sugar, and the tamarind has a particular tang – but the green chutney is more neutral and works with a wider range of ingredients, so I use a higher quantity of it.
I’m always looking for innovative ways to play with the chaat category, and the idea of using sweet potato in lieu of puri came about one day just because I had excess sweet potato on hand. It was in season, and the thought occurred to me that regular boiled potatoes are often used in chaats, so why not sweet potatoes? That’s when I came up with the idea of using this ingredient as a puri substitute, not just a potato substitute.
When we were kids, I would often have my friends over for chaat at home as my mom was famous for them. Since I grew up right here in Chennai, I am still connected to many of my childhood friends who are also born-and-bred natives who remained. So whenever they come over for a meal today, there is always some chaat served, as a reminiscence from days long ago. It’s a given, and pretty much expected when they dine at mine. I either prepare the chaat as a main course, or else I serve a variety as a starter. This sukha bhel and this green moong bhel may be on the menu too.
This sweet potato chaat has become a favourite in my social group because it hits all the right spots: nourishing, full of vegetable goodness, not unhealthy, and still scrumptious. It’s like the memory of our childhood chaat has been adapted for our adult palates and dietary needs, and the result is a fabulous mix of nostalgia and taste!
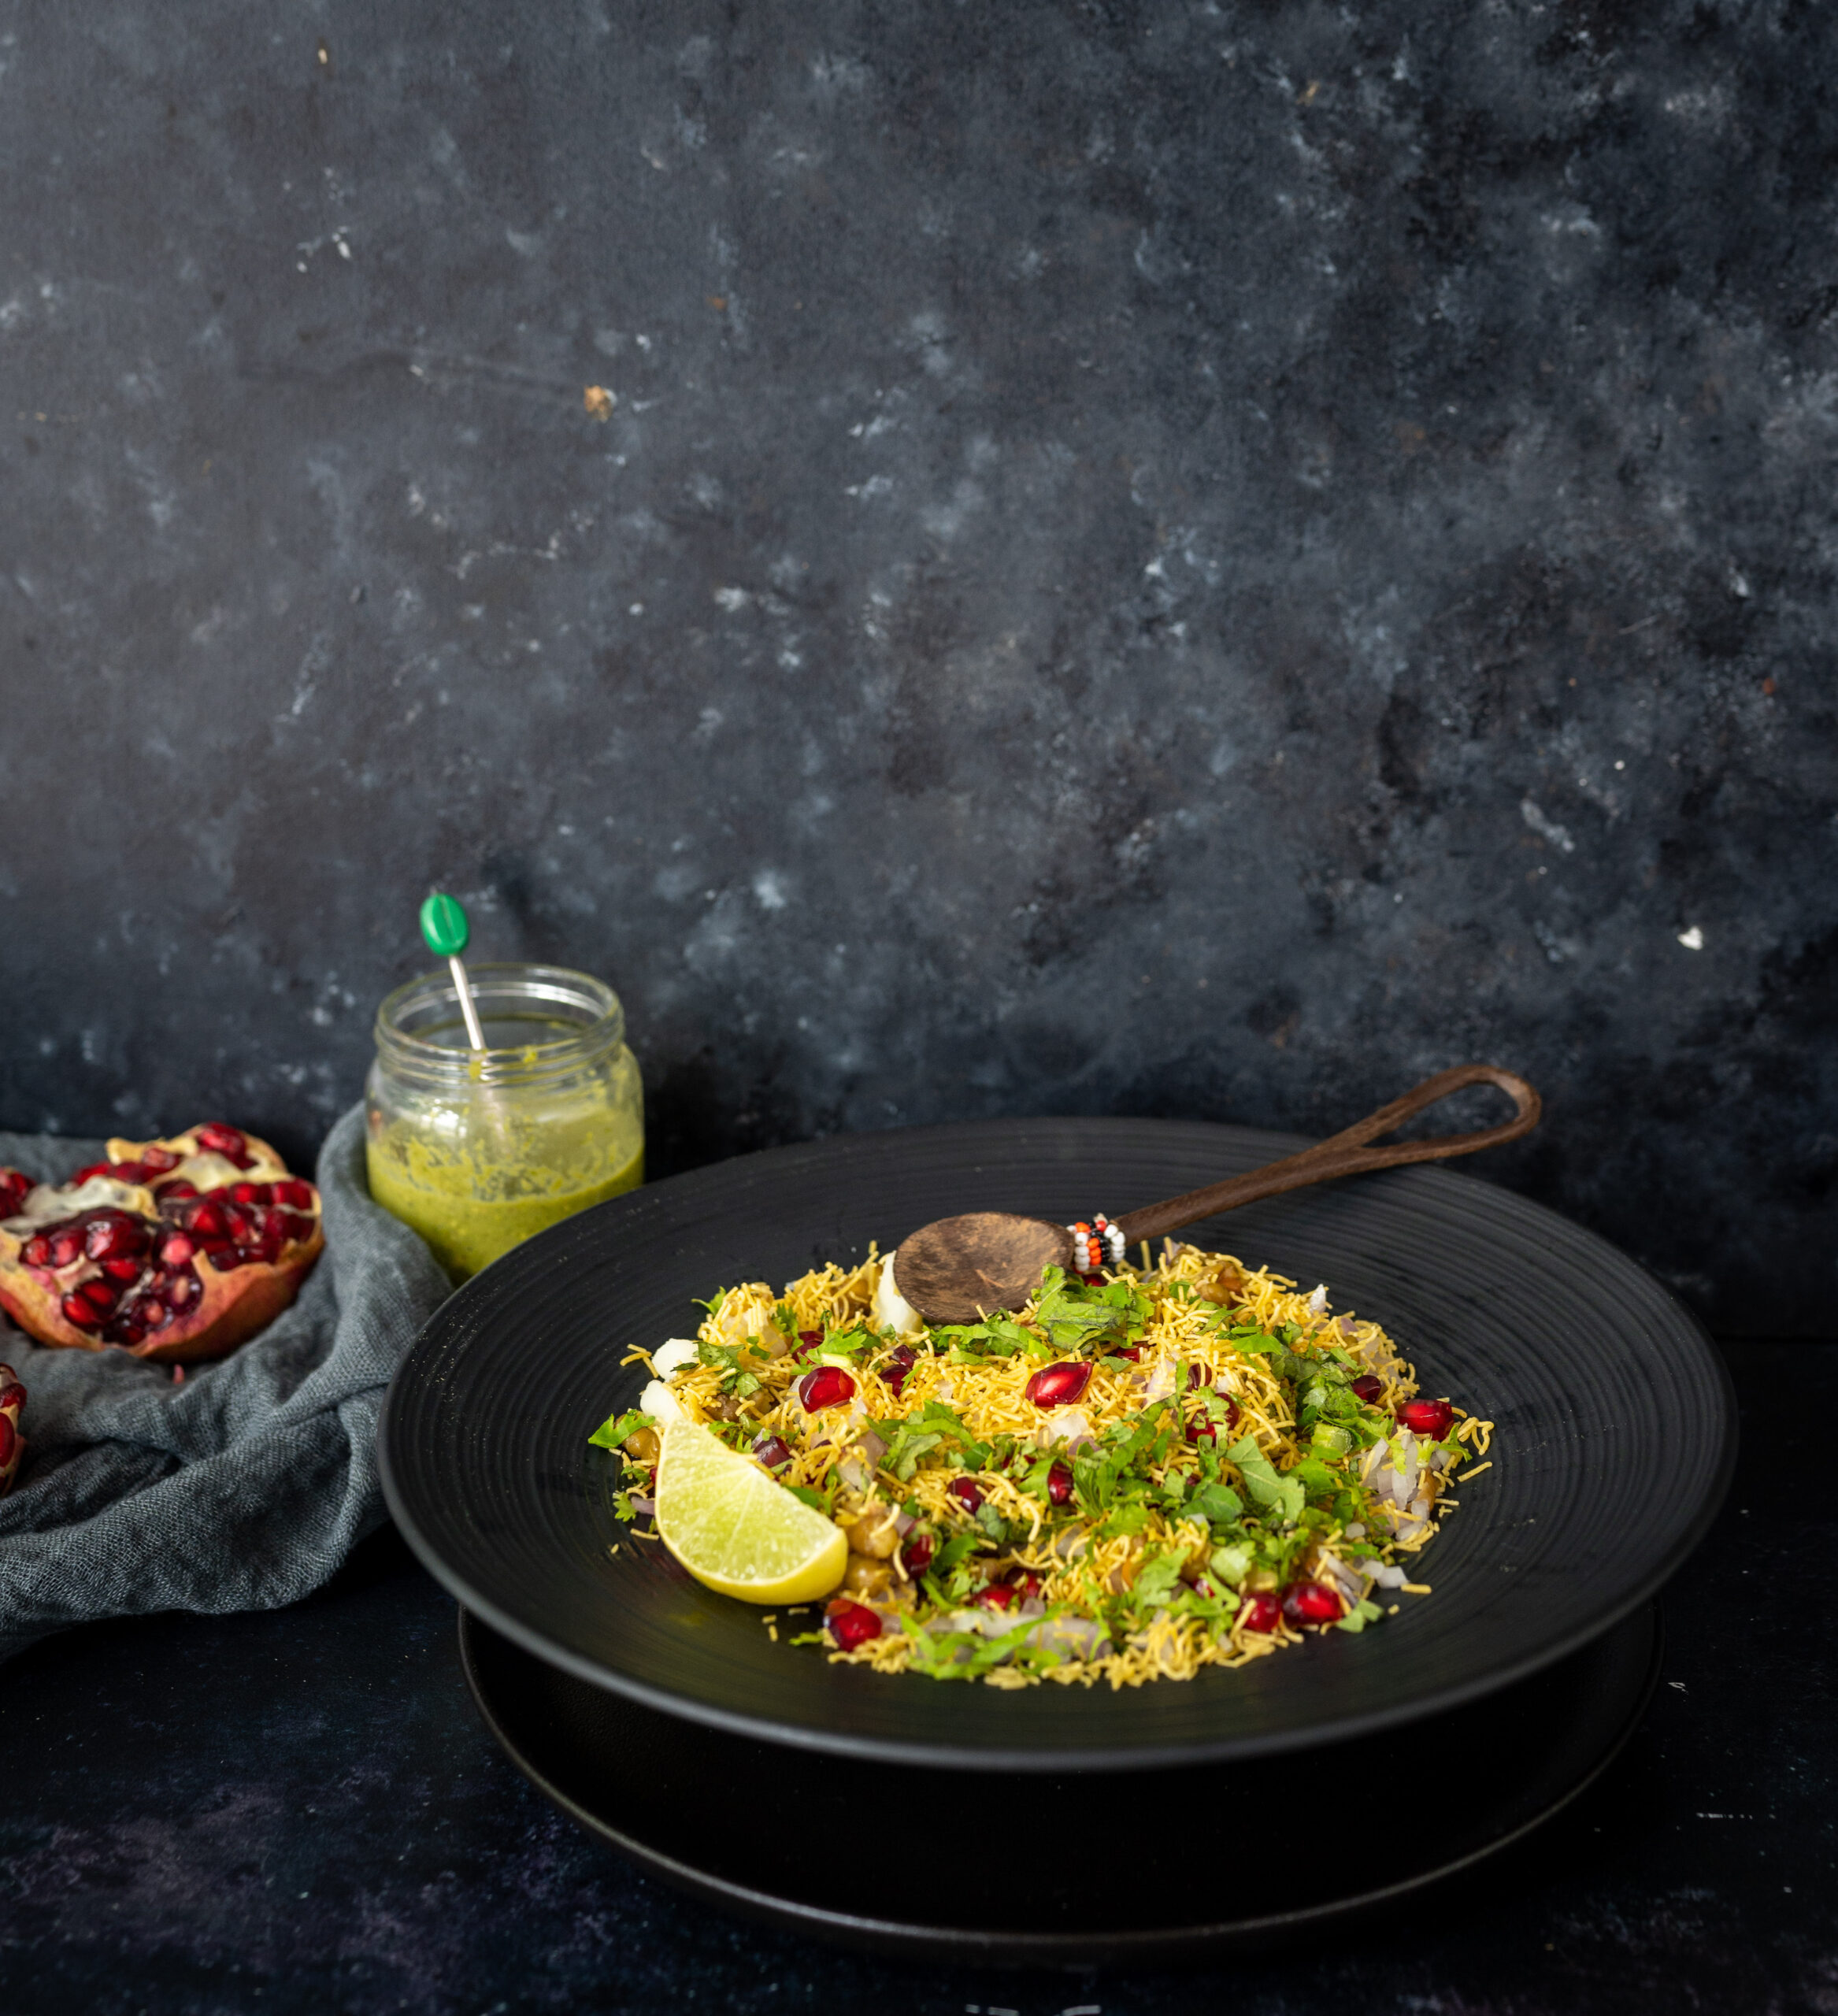
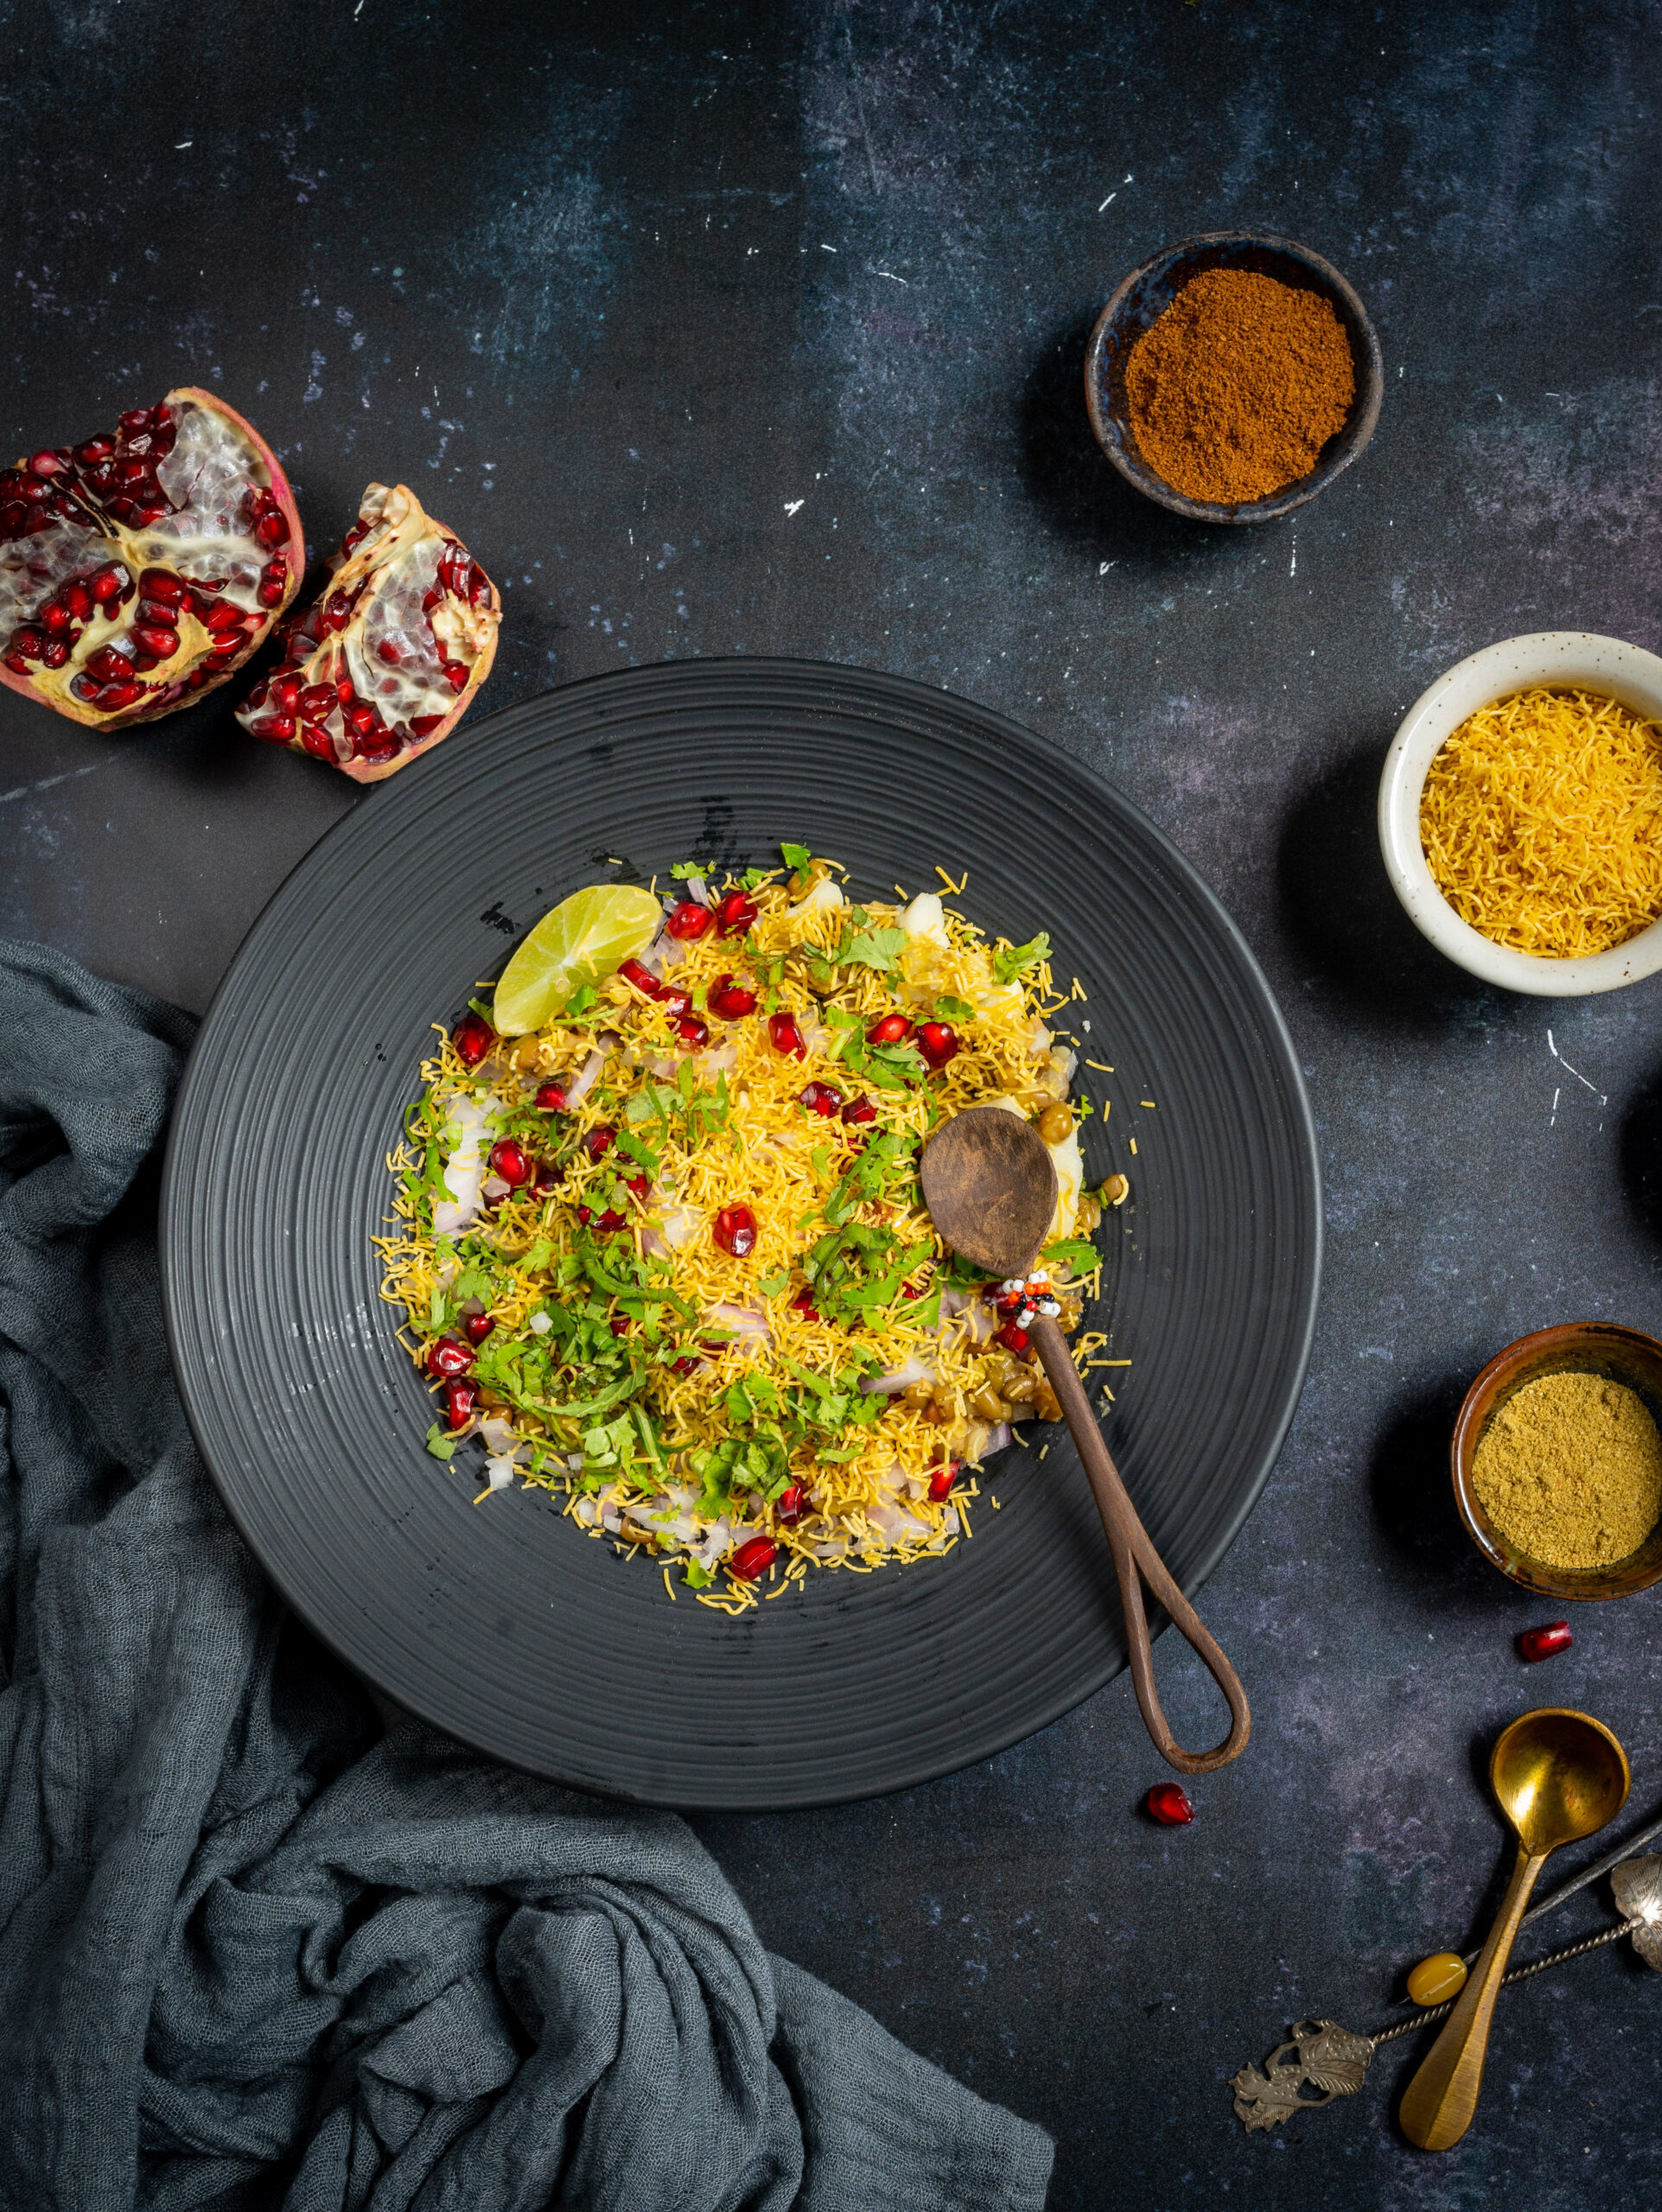
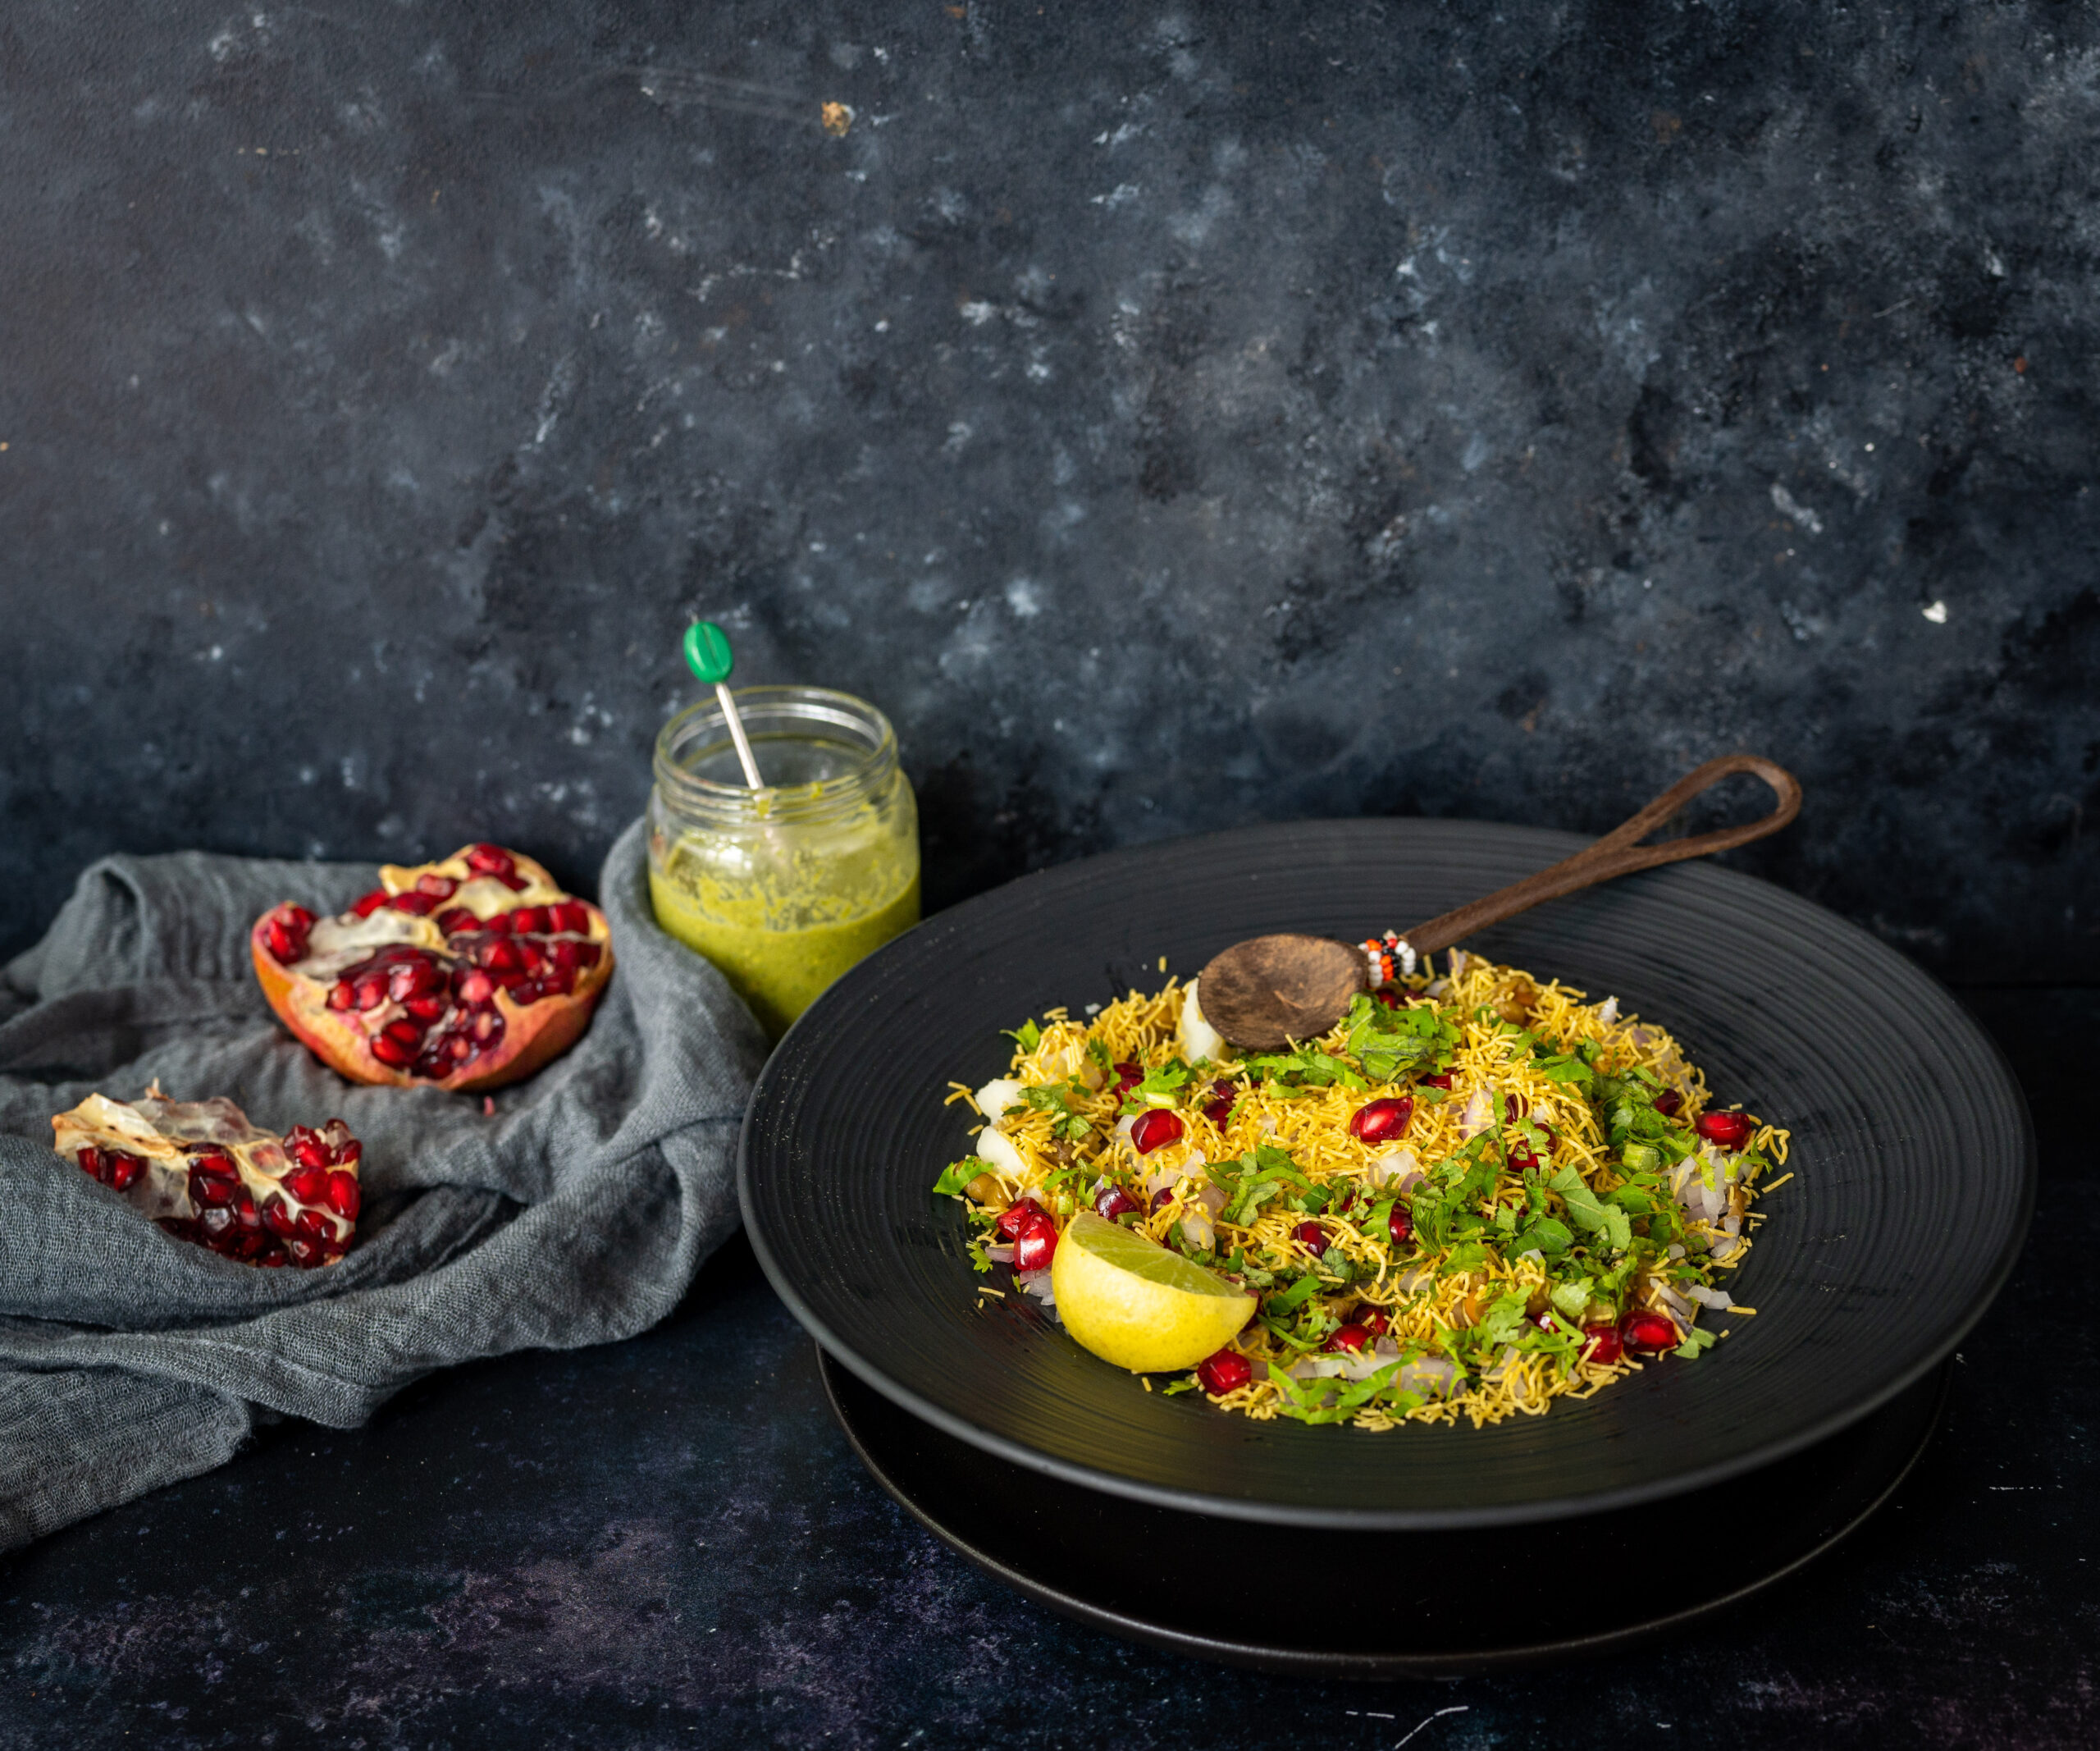
Sweet Potato Chaat
(Yield: Serves 2)
1 cup sweet potato (boiled)
½ cup finely chopped onions
¼ cup finely chopped coriander leaves
1 cup boiled mung beans
1 teaspoon oil
Salt to taste
½ teaspoon chaat masala
½ teaspoon roasted cumin powder
2 teaspoons lemon juice
1 tablespoon green chutney
1 tablespoon date and tamarind chutneys
2 tablespoons sev or any crispy topping
Chop the boiled sweet potato into cubes.
In a pan, add the oil and sauté the sweet potato cubes until they are crispy and golden on all sides.
Take two serving plates. Divide the sweet potato into both. Sprinkle the mung beans over the sweet potatoes. Sprinkle the onions. Next, add the two chutneys. Then, sprinkle the coriander leaves, followed by the spices. Finally, add the crispy topping. You can use sev, which is standard in many Indian chaats, or substitute it for something else that adds texture.
Your sweet potato chaat is now ready. As always, you can adjust any of the ingredients to your liking. Don’t forget that a big heaping of vegetables will also work well, and you may want to try some foreign vegetables so that it becomes a kind of fusion dish.
If you’re a big sweet potato fan like I am, sweet potato tikki and sweet potato and mango salad may also interest you. Enjoy!