A recent visit to Kashmir reiterated for me how rich my country, India, is. Perhaps for that reason, we have been plundered many times, yet have held strong despite it. I have travelled the world, but to me there is nothing like home. In Kashmir, I experienced the beauty of nature and the hospitality of people in a way that reminded me of this fact. Returning to Chennai, I wanted to recreate something that would remind me of that holiday, and this wonderful walnut dip fulfilled that wish.
While travelling there, I was most thrilled when I saw walnut and almond trees, among many others, including nuts that I may not even be able to name. There was such a variety of fruit trees as well: apricots, peaches, plums and apples among them. Amidst the bounty of nature, there was also a sense of kinship and love. The experience of sitting beneath an almond tree and enjoying a live musical performance in someone’s home that they graciously opened up to us was more than just a treat or a pleasure, but really touched me.
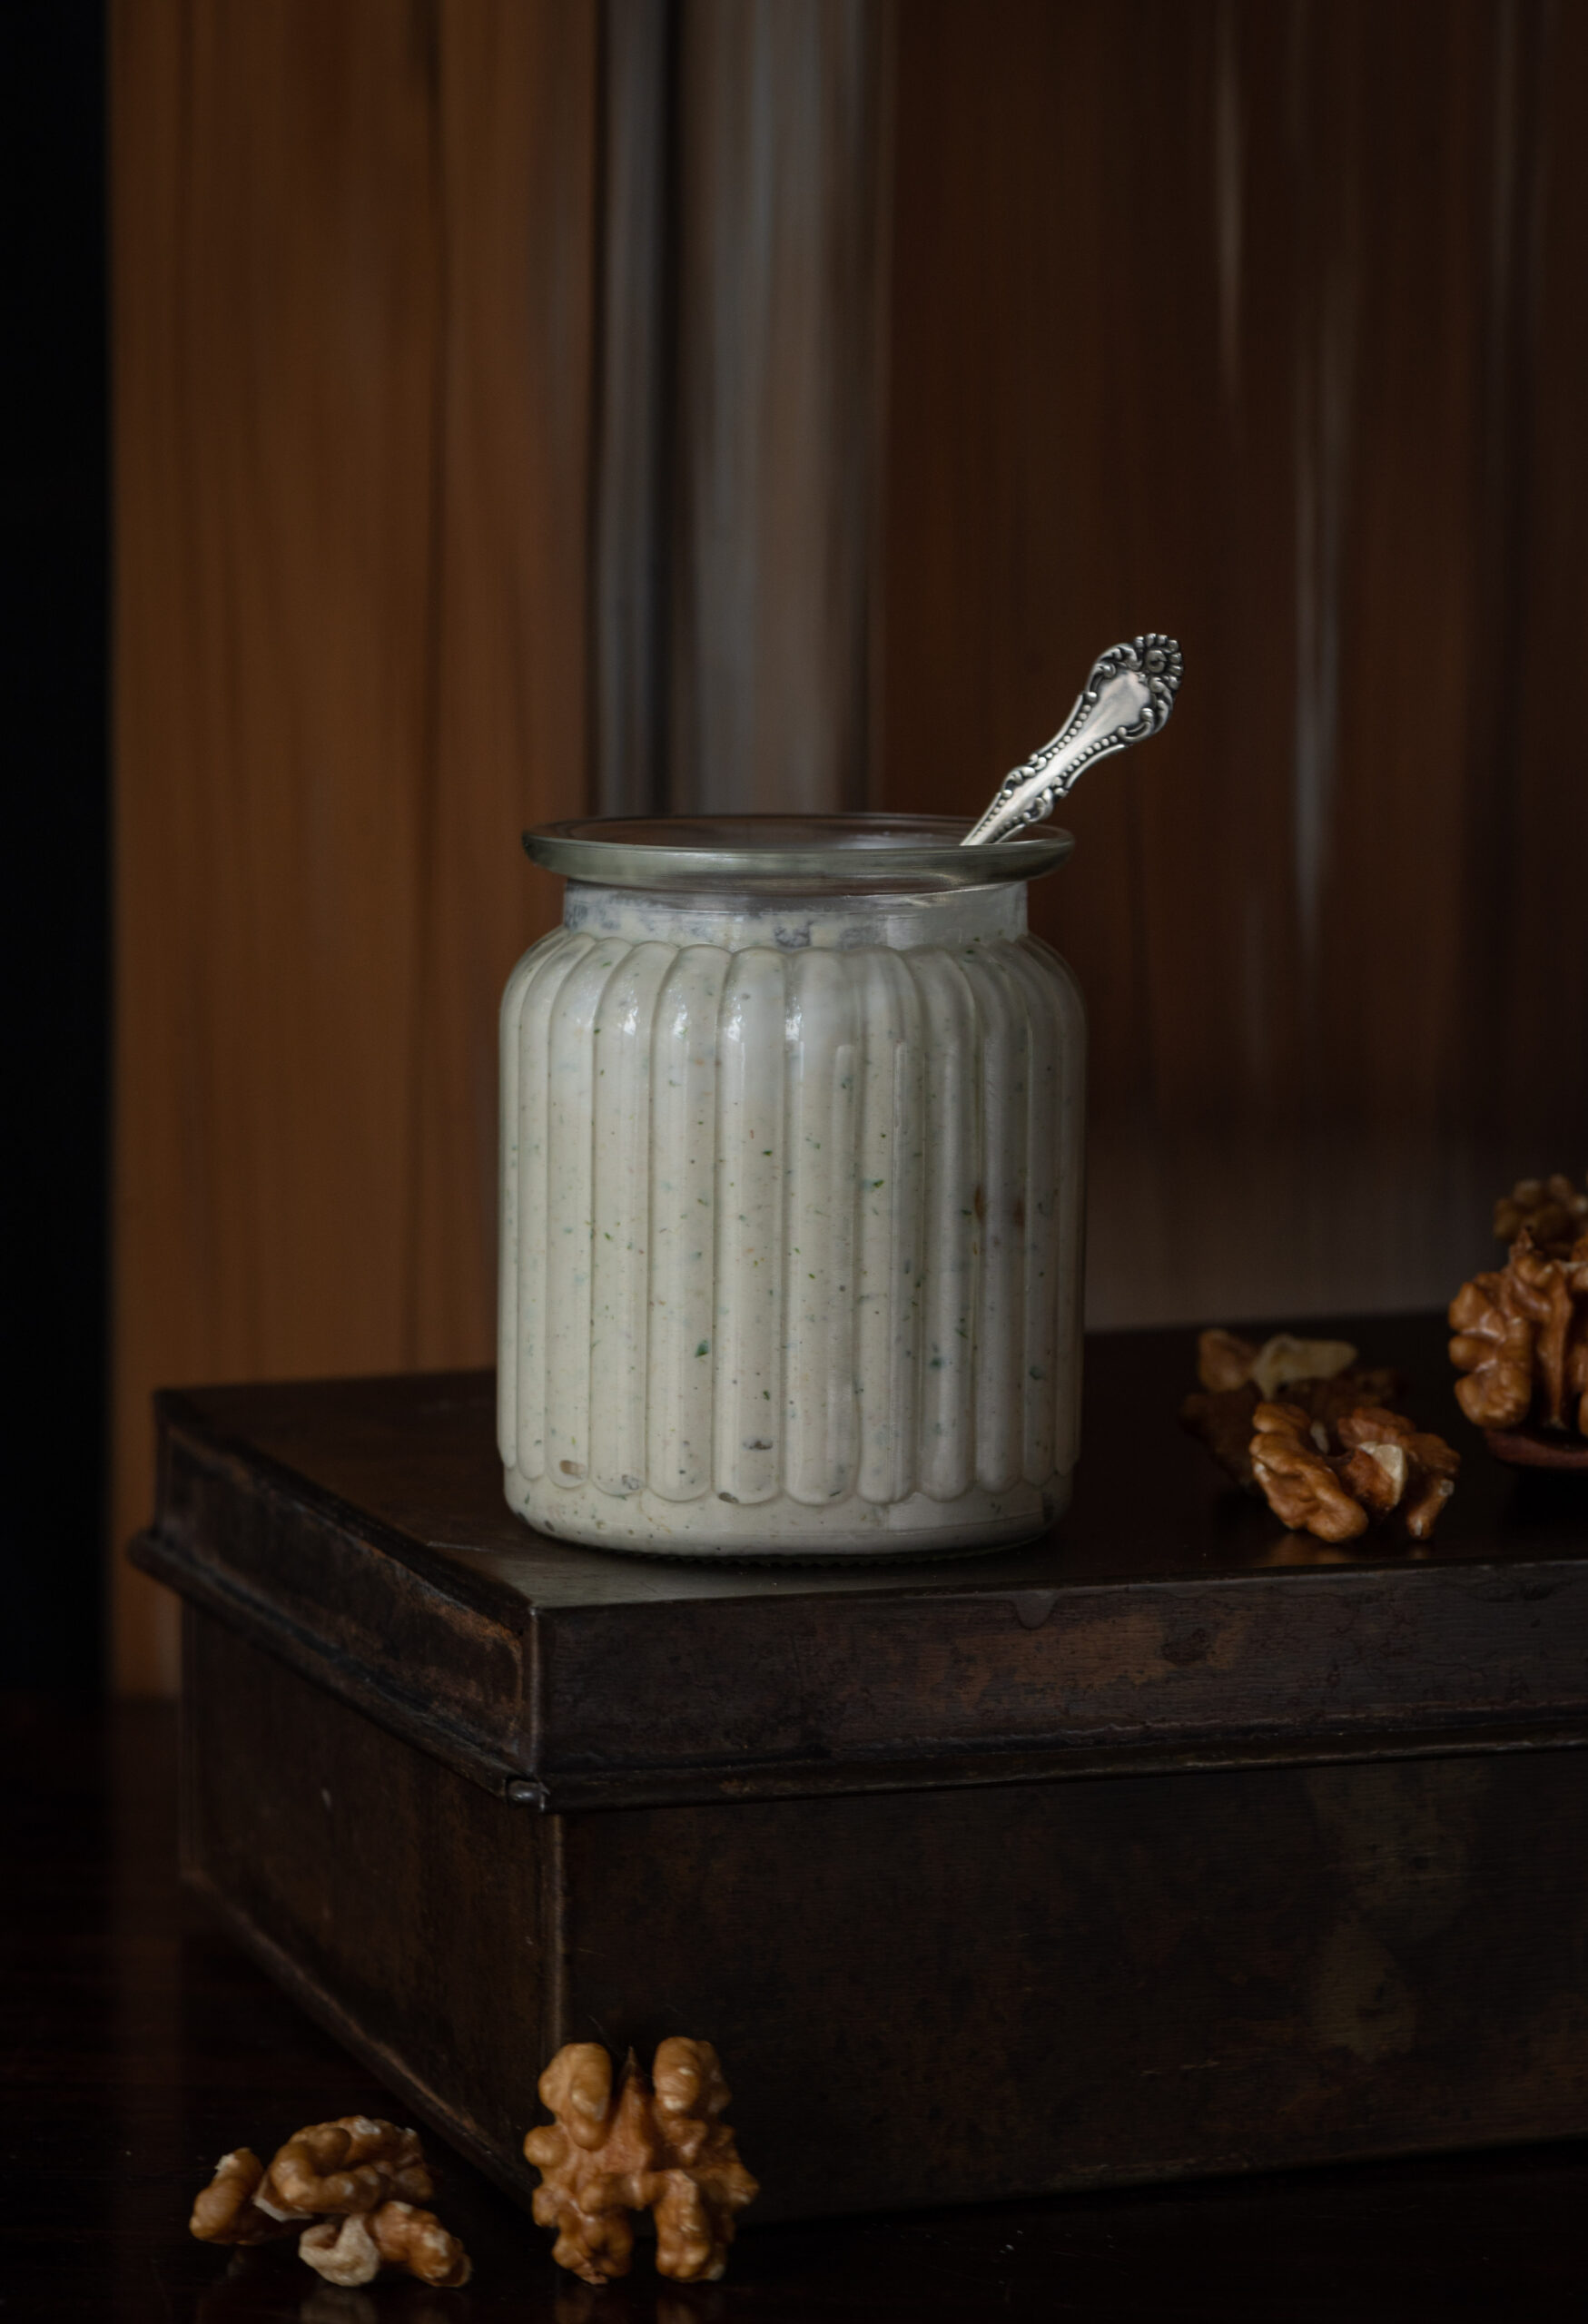
That same welcoming gesture was also experienced when I visited a friend’s home, where she laid out an entire traditional Kashmiri feast for us. I got very excited even just seeing it. Needless to say, tasting it was sheer joy. There was one thing that wasn’t on the menu that day, but which she brought up in conversation: a walnut dip. This made me very curious, so I asked for her authentic recipe and also spent some time looking up other versions later. As I’ve shared often before on this blog, I think cooking is about adapting and innovating, and I wanted to create a version that would work well for me back home. The recipe I am sharing today is exactly that.
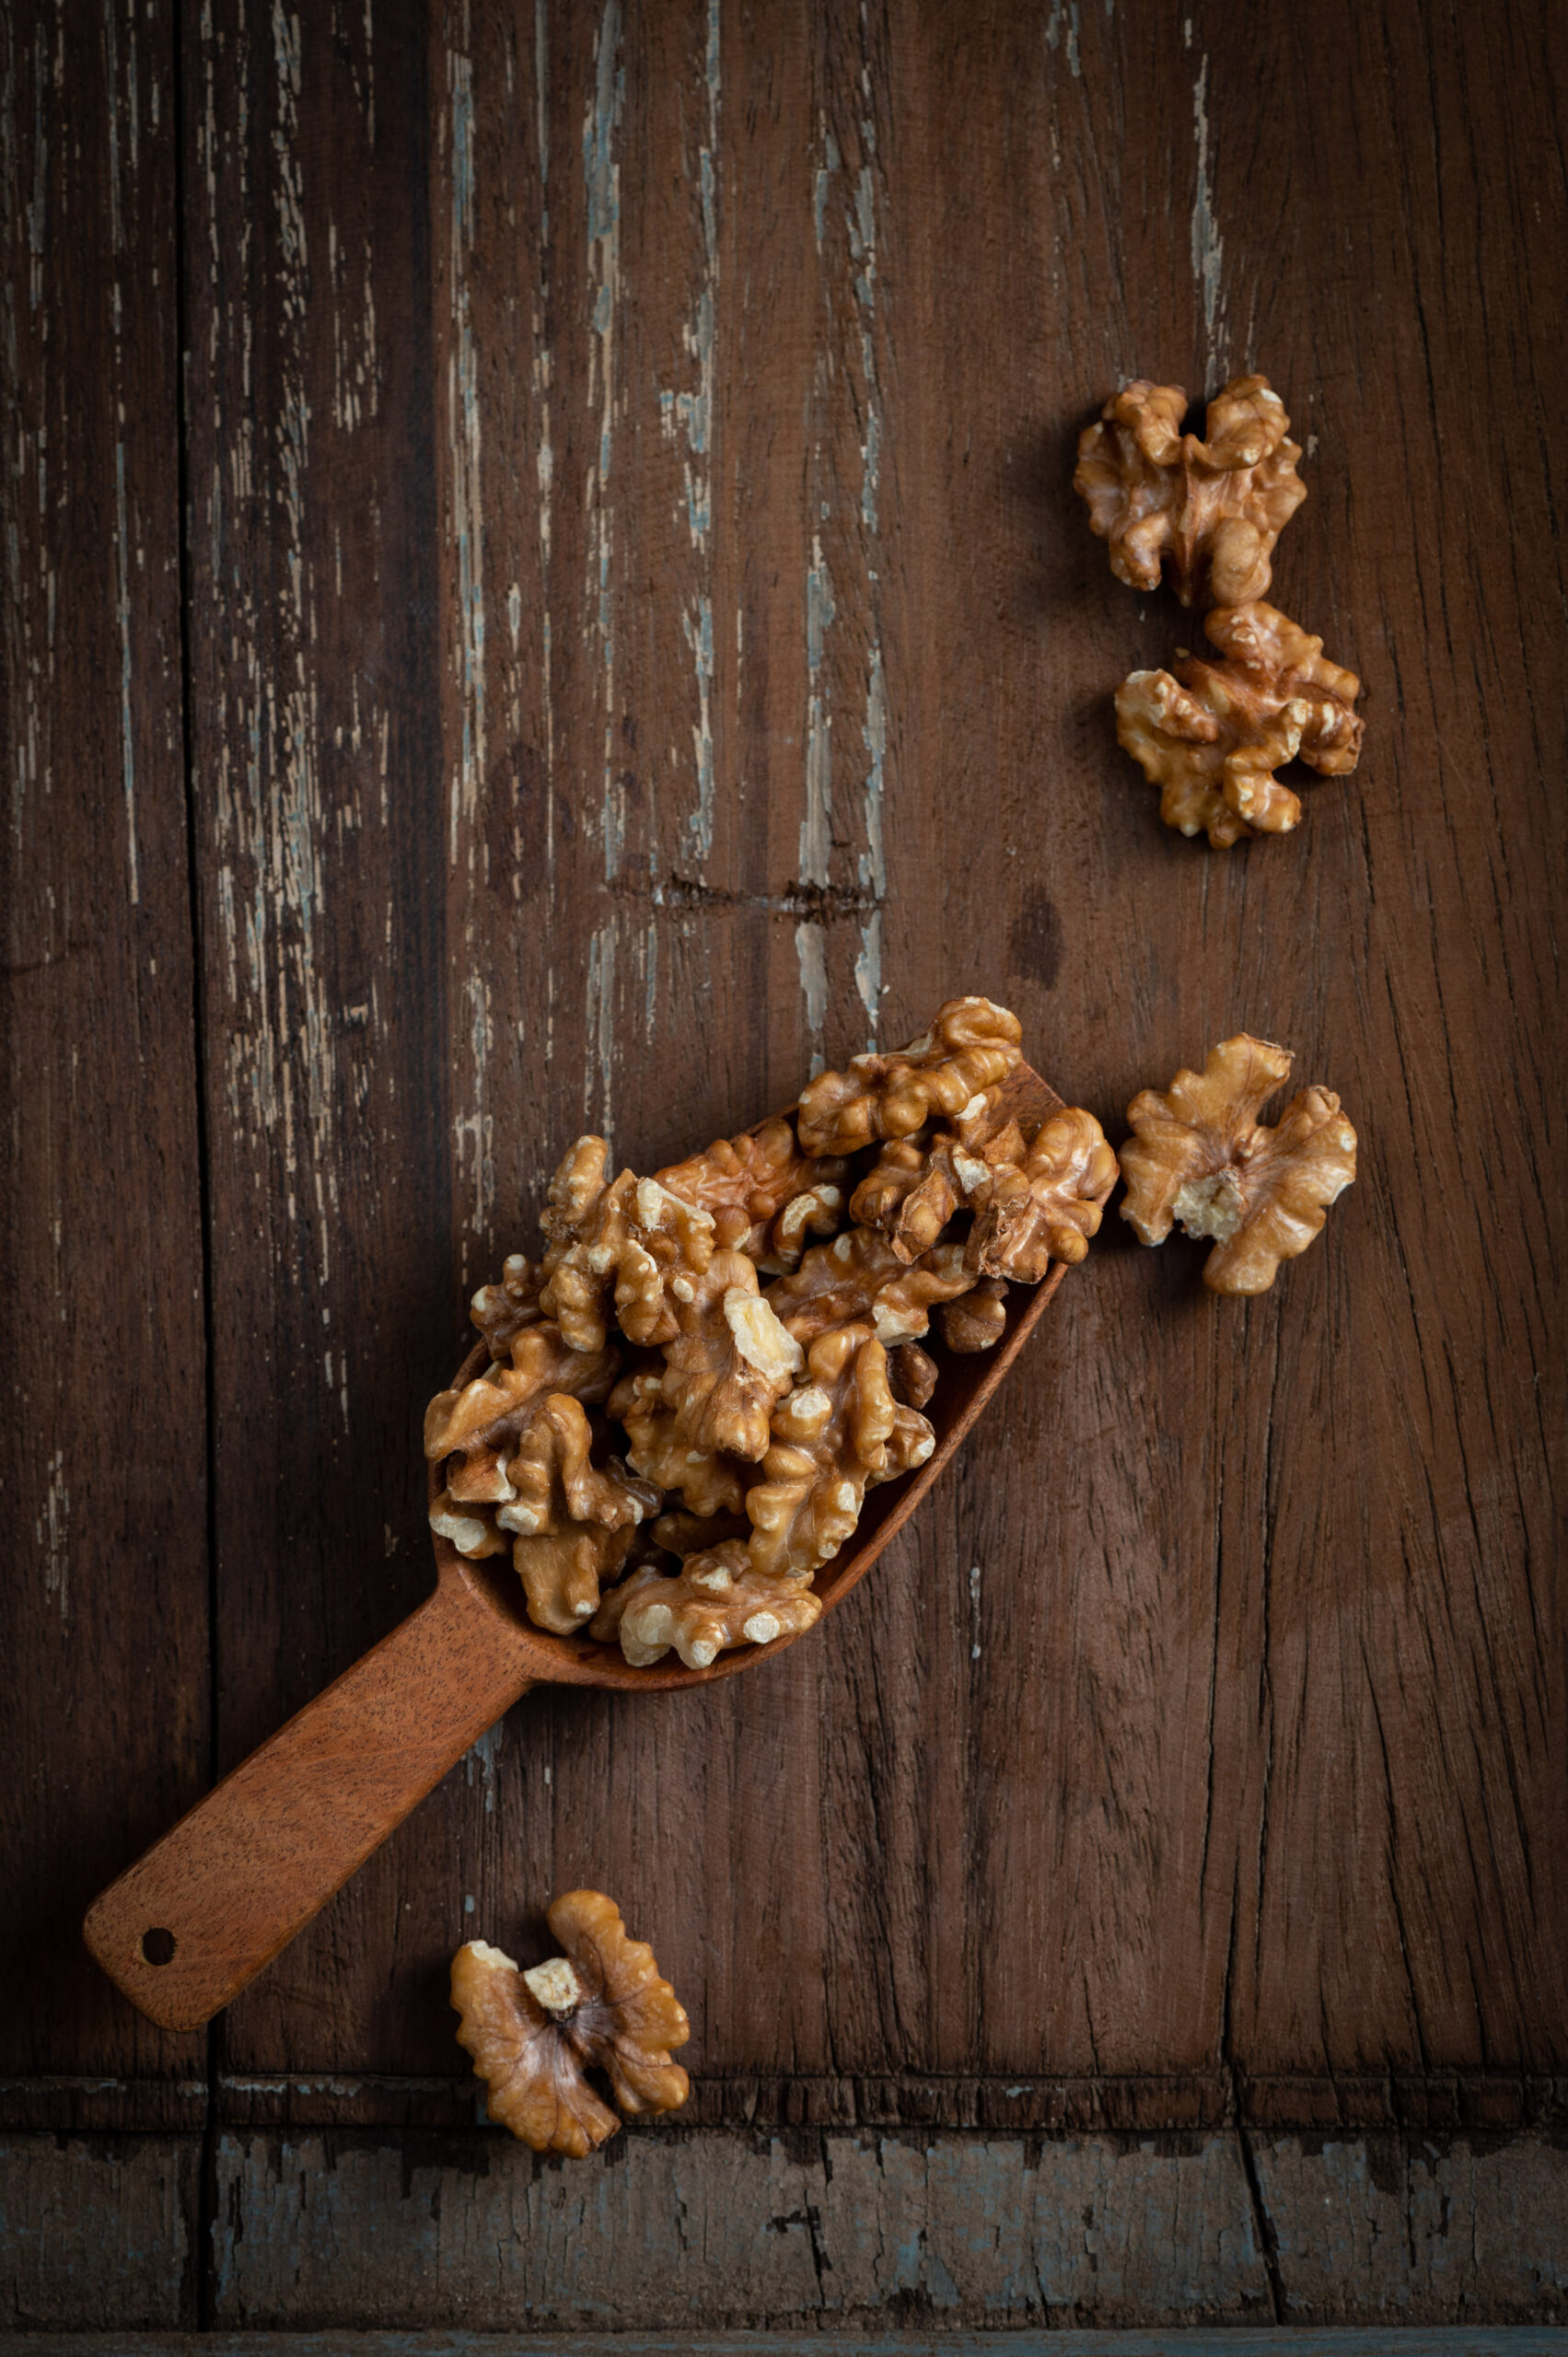
I was able to source the walnuts easily, and I think you should be able to as well. For some reason, while walnuts may be the healthiest option, I find that many seem to favour almonds or pistachios. I enjoy them all. I prefer buying whole walnuts, cracking them open myself, as I think the chances of them getting rancid sooner reduce by doing so.
I use this walnut dip as a spread on sourdough bread, and I think it will go nicely on a cheese platter too. Or else with sliced fruits, such as peaches, or rice or other kinds of crisps. I think it could also work as a meal condiment. I’m excited about trying out these variations. How will you use it? I’d love to know.
Walnut Dip
(Yield: 1 cup)
1 cup soaked walnuts
1 green chili
1 tablespoon grated red radish (optional)
Salt to taste
A pinch of pepper
2 tablespoons yoghurt
In a blender, add the soaked walnuts along with the green chilli. If you prefer, add some grated radish, along with salt and pepper to taste.
Blend well into a paste. Finally, add the yoghurt and whir gently.
Your walnut dip is now ready. You may wish to garnish it with a tablespoon of olive oil. Enjoy it as you please.
I certainly have been enjoying it, along with my memories of a special trip. If you can, I encourage you to visit Kashmir to explore its beauty and diversity. In the meanwhile, I hope this walnut dip gets you dreaming too, as I do of my own next visit!